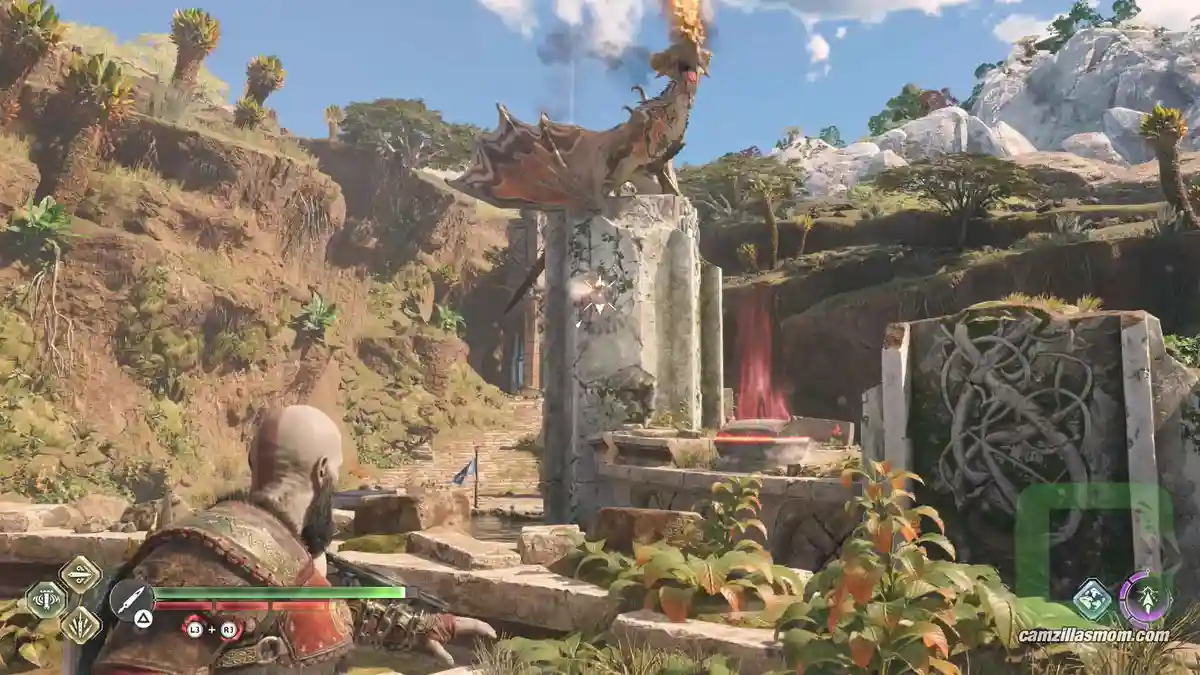
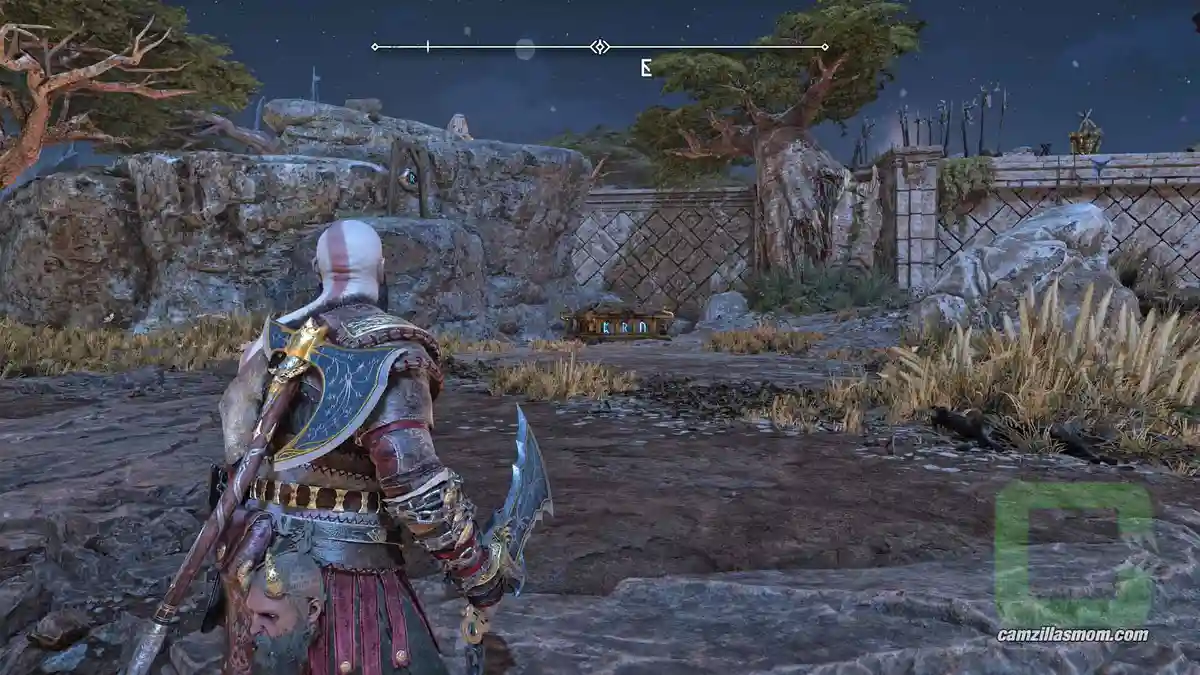
The Lost Sanctuary, God of War Ragnarök, picks up with young Atreus in Ironwood, where he meets Angrboda and earns her trust through fruit-gathering, wretch-clearing, and a tense standoff with her fearsome grandmother Gryla. This guide covers every step of the quest, from freeing the wolf from Gryla’s cauldron in the sinkhole to the return to Midgard, where Kratos steps through the gate to face Vanadis.
Related God of War Ragnarök Guides
Surviving Fimbulwinter
The Quest for Tyr
Old Friends
Groa’s Secret
God of War Ragnarök Game Hub
- Explore Ironwood with Angrboda
- Meet Angrboda at the Shrine
- Help Angrboda with “Giant Stuff”
- Follow Angrboda throught the Canyon
- Investigate the Hidden Passageway
- Clear the Wretches from the Sinkhole
- Head Home Through the Marshes
- Free the Wolf from Gryla’s Clutches
- Set the Wolf Free
- Return to Angrboda’s Home
- More God of War Ragnarök Guides
Explore Ironwood with Angrboda
After his nightmare, the wolves lead Atreus to Angrboda, a friendly girl in Ironwood. She tells you to follow you but she is going ways you can’t go. Just follow the only path possible until you see a green shimmering wall that you can destroy with Atreus’ sonic arrow ability. Blast this wall can go through to continue.
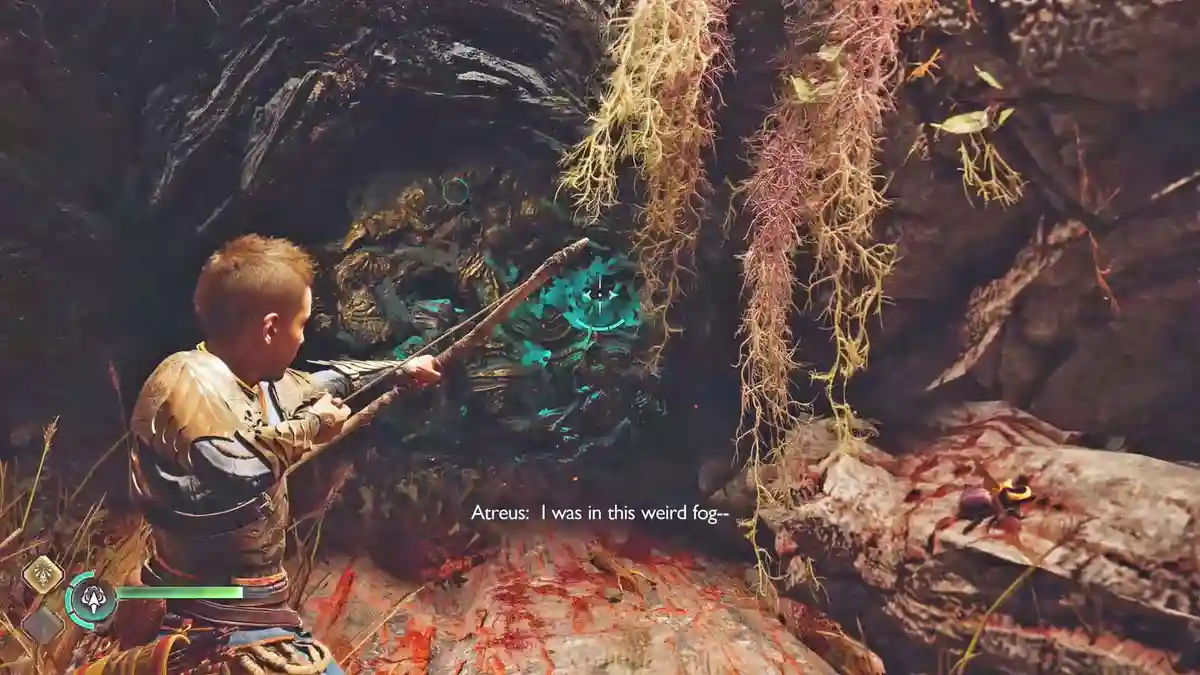
Continue on the path. You will have to destroy some more of those green walls in your way. The climb spot markings (white-red symbols) also do a great job for showing the way so look for those, too. There are also grapple-swing spots that need to be shot free so you can use them.
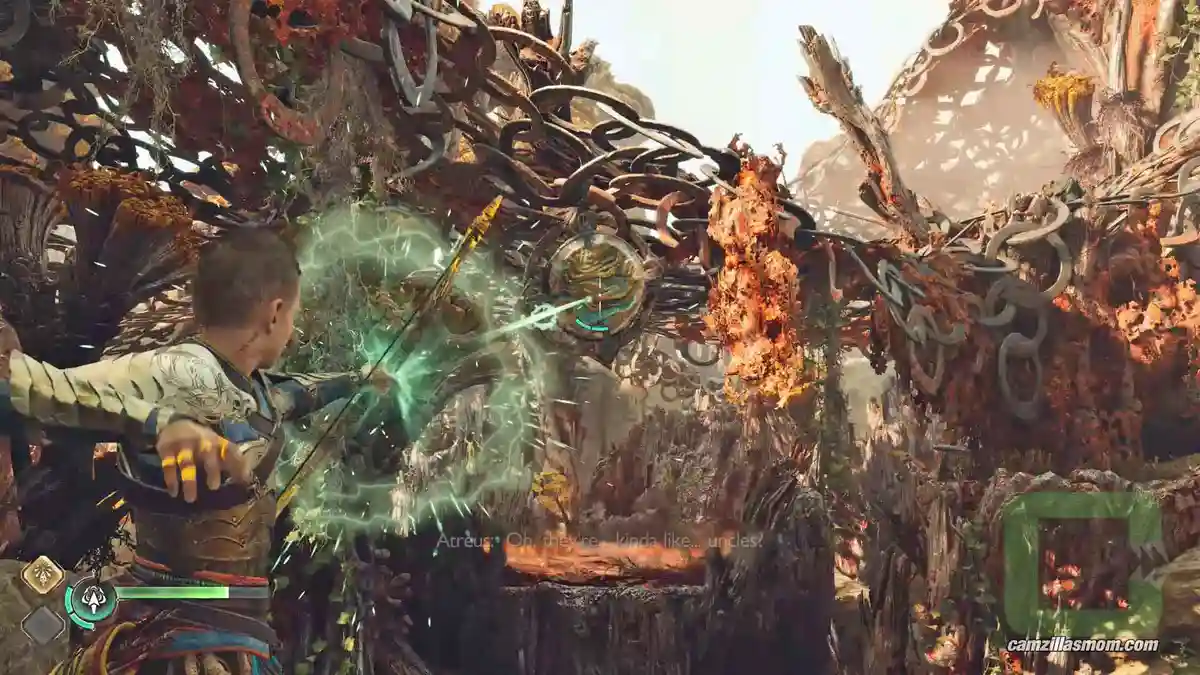
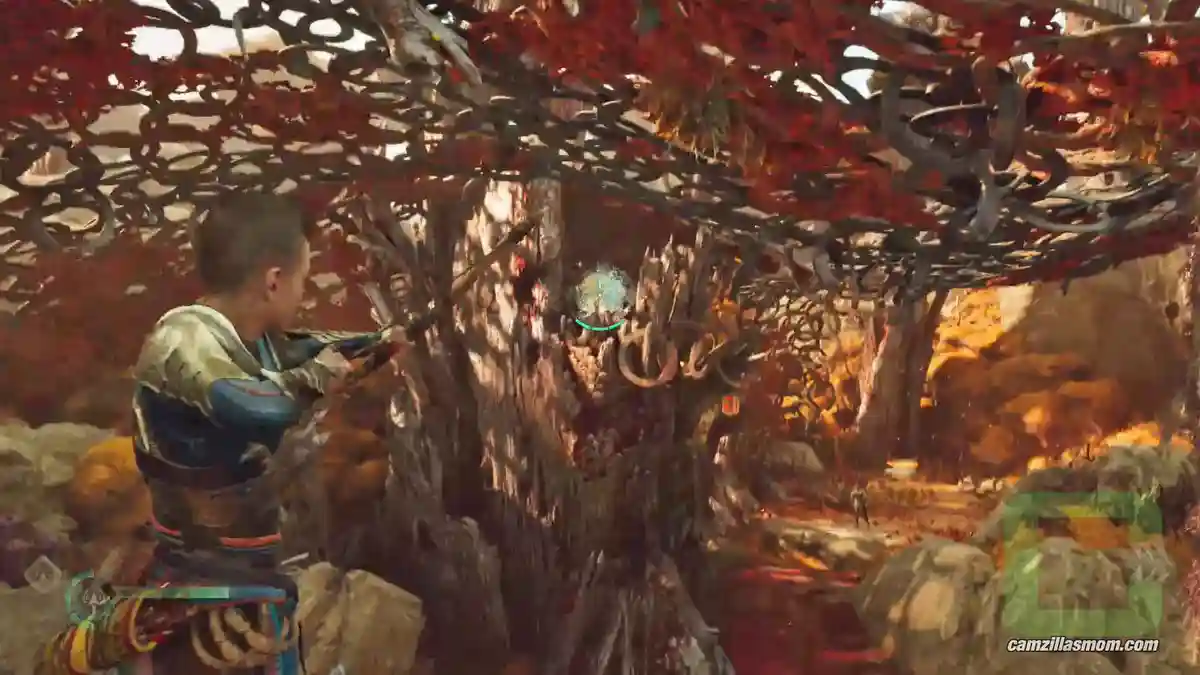
You have to fight some of the “Exploding Nightmare” enemies. Those floating eyes, until higher up, you have to climb up and left towards the top. Look around for interaction circles, where you can cross bigger gaps. At the top, shoot another grapple-swing spot with the sonic arrow ability.
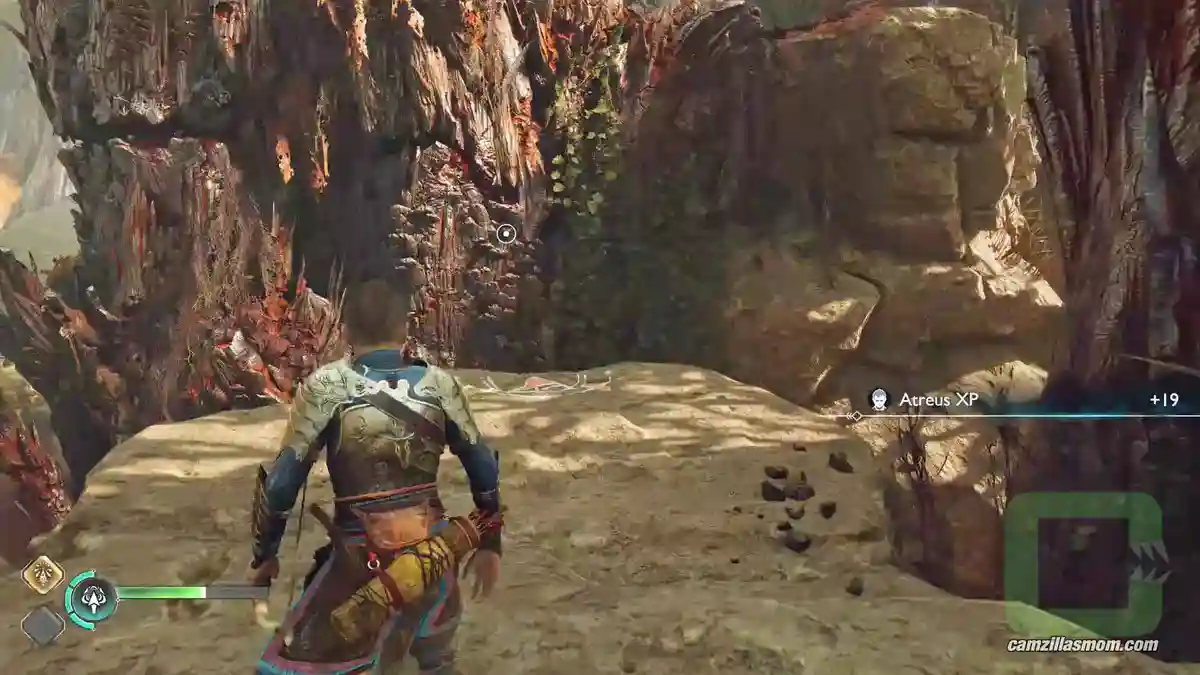
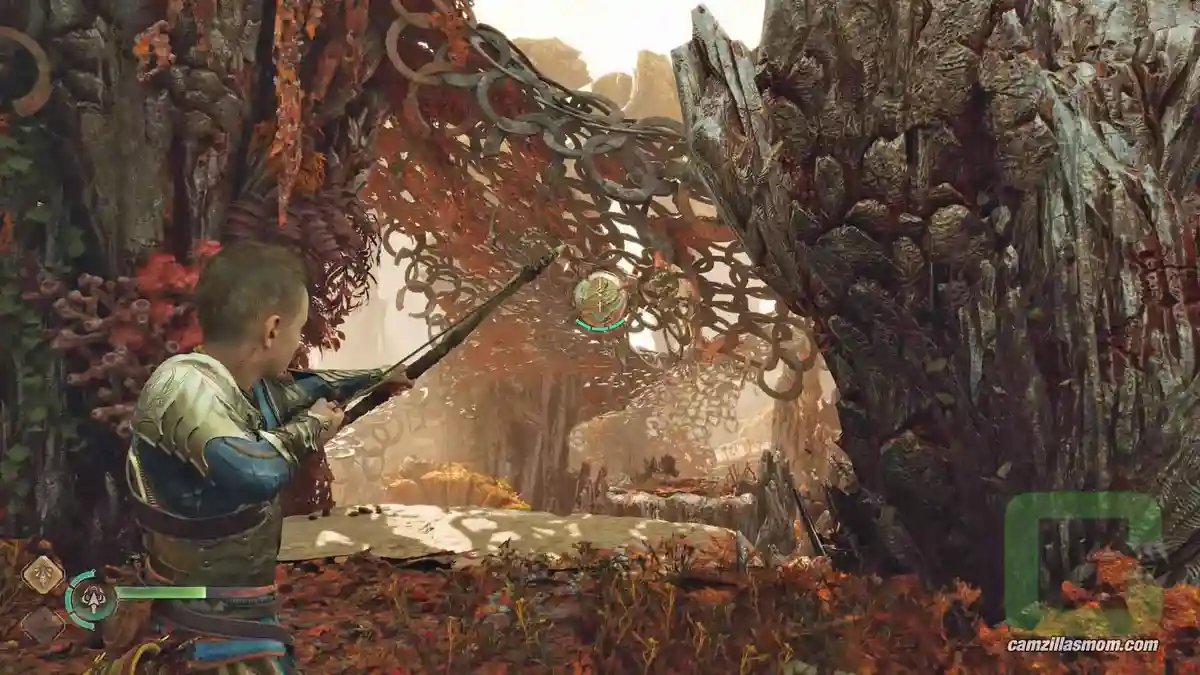
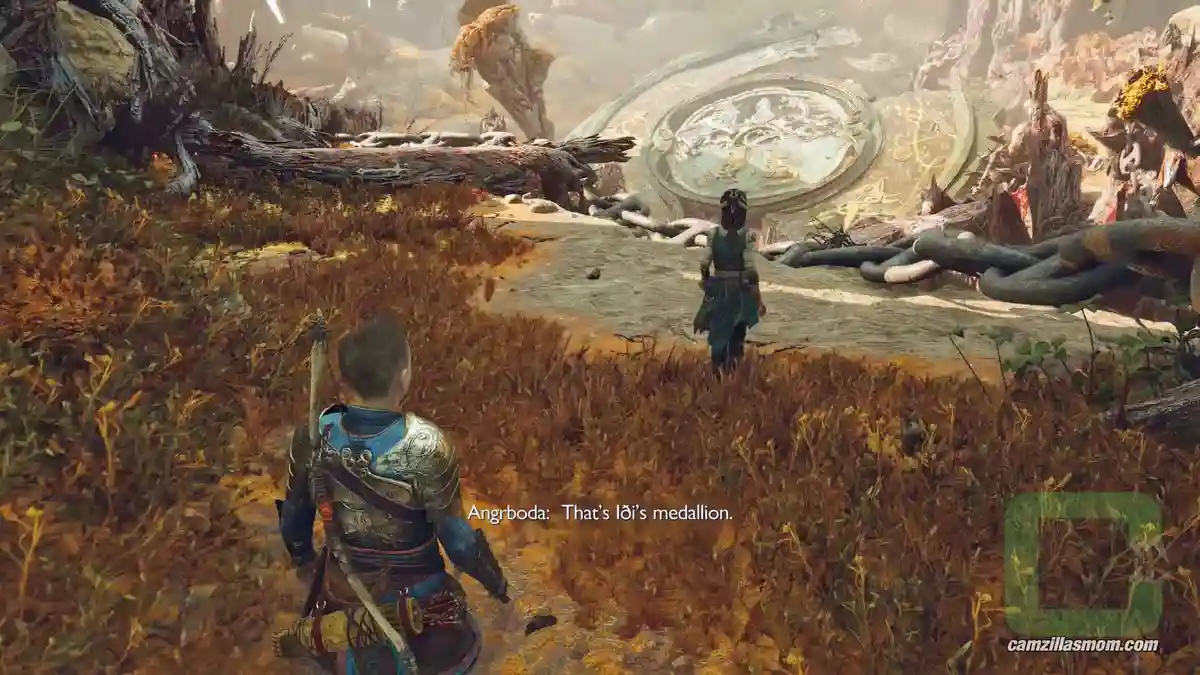
Angrboda will catch you from falling at the other side. Keep following her until you are being attacked by a Draugr. Fight it and then help Angrboda lifting a huge heavy stone to pass through to a big medallion in the distance. Race her to the top. Keep following her, fight through the forest until you arrive at her treehouse.
Meet Angrboda at the Shrine
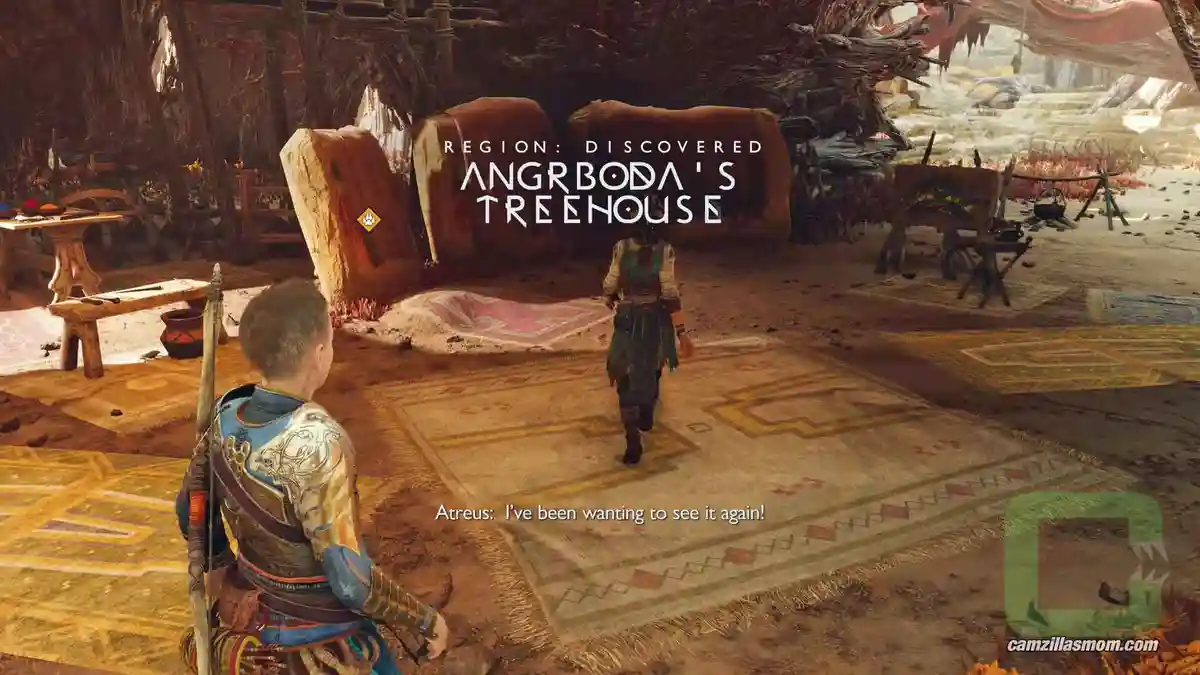
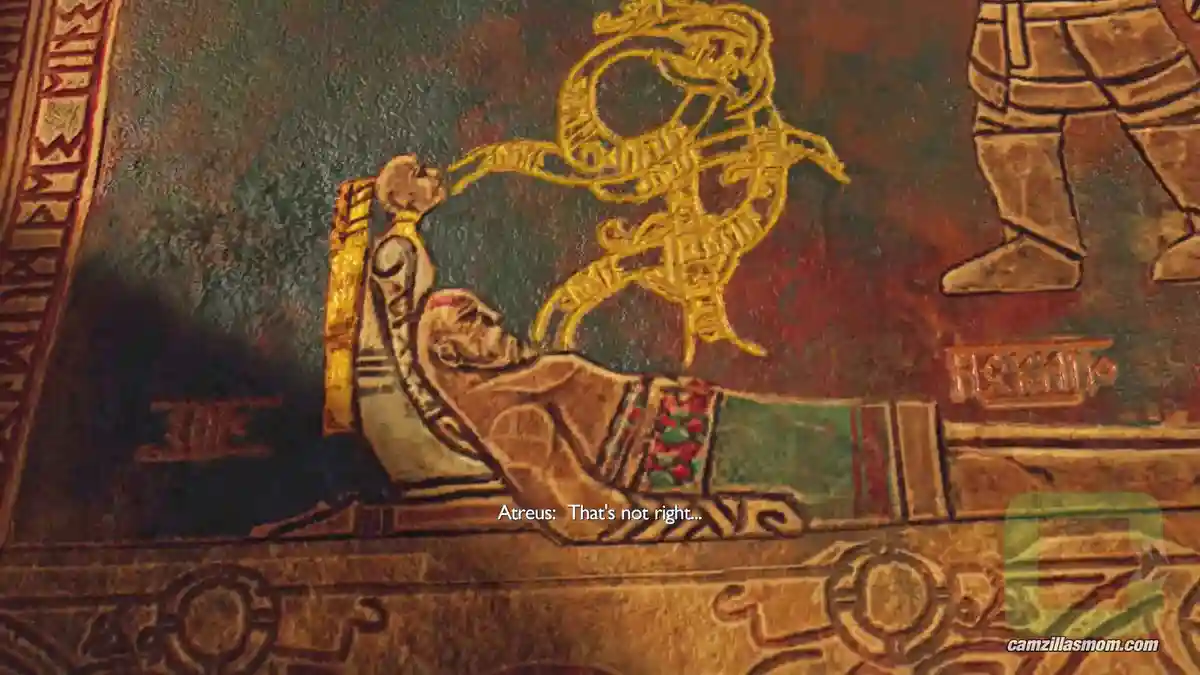
Follow her inside the treehouse, where you’ll find three painted stones. Interact with them to continue.
Help Angrboda with “Giant Stuff”
Follow Angrboda again and pick up a bag of feed that you carry to Jalla, a big Yak-like creature. Interact with Jalla to sit on her and you can now steer her. Follow the Vimur River until Angrboda will pick the first fruit.


Continue to pick fruit with Angrboda. The next one you have to pick. Go close enough and interact with it with the circle. Leave Jalla, when you see a wooden climbing wall. Interact with it and climb up, where you can pick another fruit.


Wait until Jalla is coming around. Then jump down on her from the ledge. Ride further to the next climb spot, where you pick another fruit at the top.


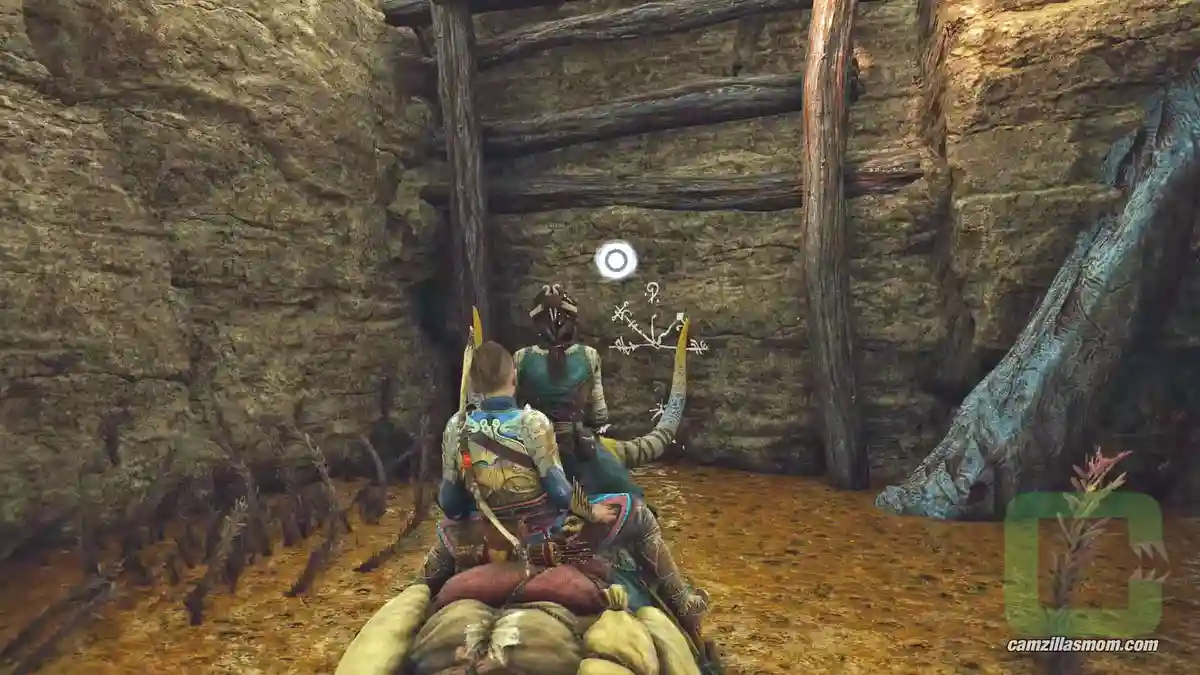
Jump down on Jalla again and climb up the next wall to pick some more fruit. At the top, help Jalla pass through by shooting the three green barriers in the river with the sonic arrow ability.

Again, jump down on Jalla and ride back to the treehouse to fill a bucket with fruit. There is a cupboard near the bucket that is in fact a smithy, where you can change and upgrade your equipment. You will also get new gear.
Off we go riding Jalla again but towards the other side of the treehouse harvesting roots. This part of the quest is more straight forward since it is simply just one path and you are guided at harvesting the roots.
Continue to ride on Jalla when prompted and fight when you fall off Jalla at an ambush until you’re finally back at the treehouse.
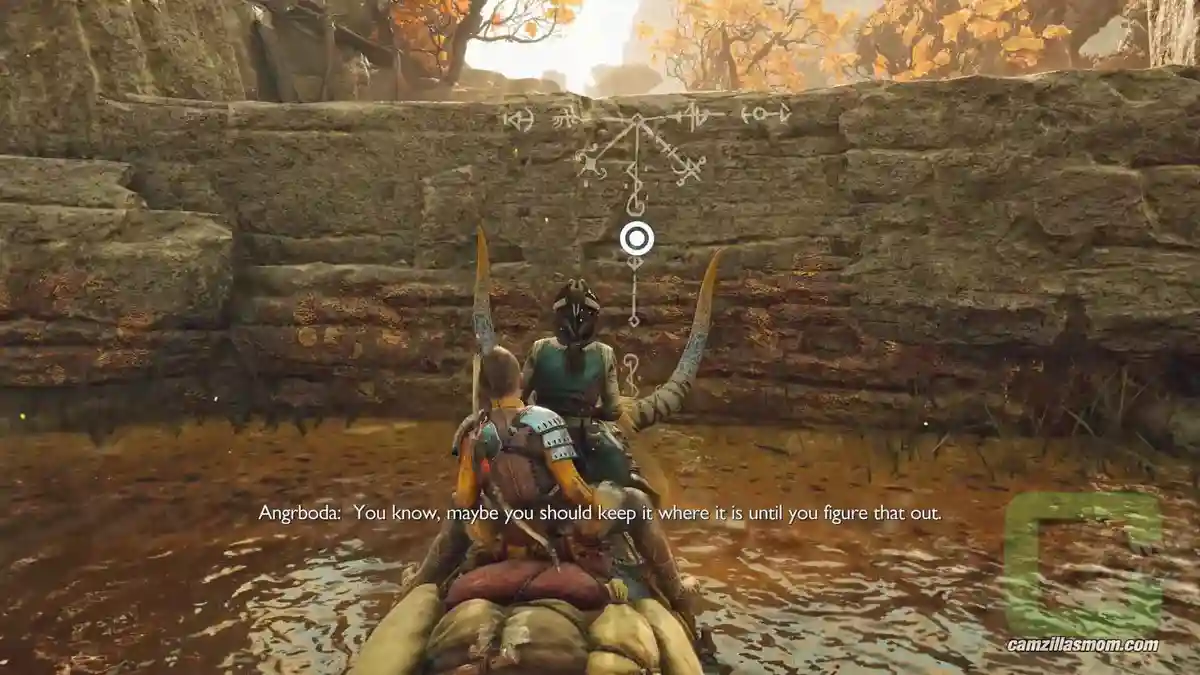
Now Angrboda wants to show Atreus something. While riding Jalla again, the path leads through a hidden passage. Get of Jalla at a climbing spot and play a little stone throwing game by the water.

After an ambush, the trip on Jalla continues to a device that turns out to be an elevator up to the “Trail of the Jötnar” area of the map.
Follow Angrboda throught the Canyon
Follow Angrboda and fight with her in the canyon until you reach the “Valley of the Fallen” where she hands over a bag of Giant Marbles.


After a longer story cutscene, head back to Jalla, where you will be separated from Angrboda to fight a big Draugr. But no worries. After you’ve survived you will reach the elevator and you are back with Jalla.
Investigate the Hidden Passageway
This time Atreus is not riding through a secret passageway but you are walking to a big sinkhole.
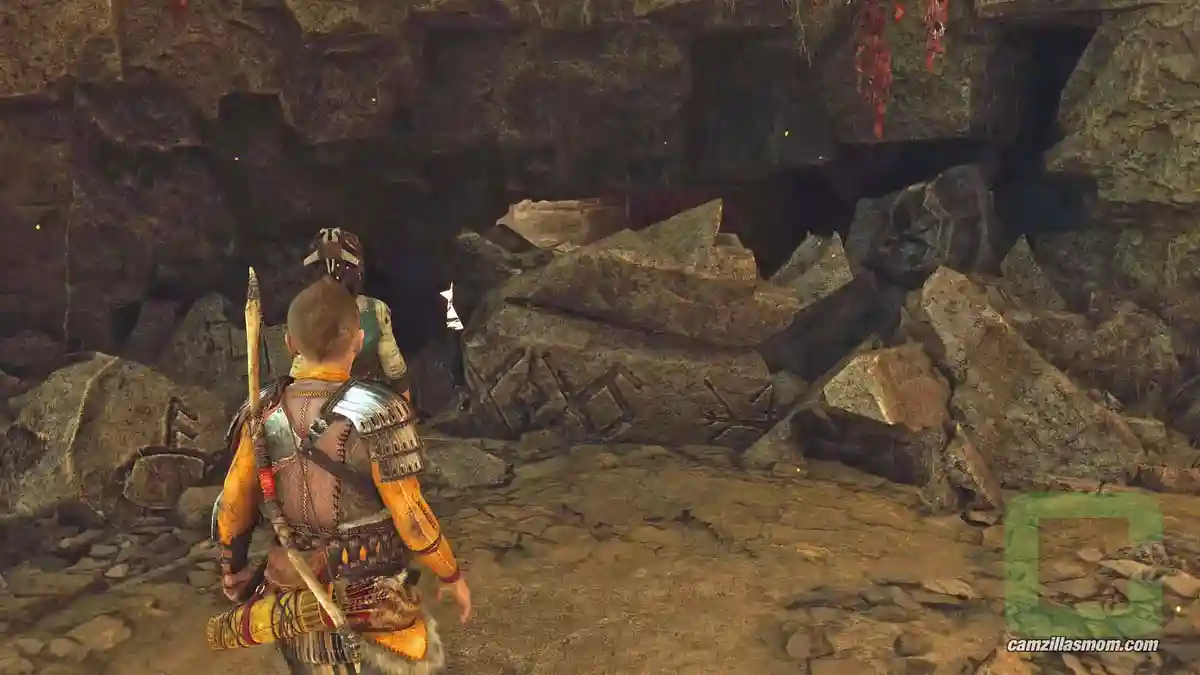

Clear the Wretches from the Sinkhole
Down in the sinkhole, you have to destroy four wretches dens.
As a general advice on how to find the nests: Always head towards the direction where the wretches are coming from.
Descend down into the sinkhole and crouch through a passage, where you will find the first nest just at the other side.
After destroying the first nest, go deeper inside until you see a white table with a bridge above it.


Head to the right, where you’ll find Angrboda stand next to a climb spot up.
Climb up there and further up from there until you see a green barrier in the distance and wretches starting to attack you. Destroy the barrier with the sonic arrow ability.
You are now on the same level as the bridge from before. There is a yellow glowing chest with a climb spot to the right. Head in this direction.


Up to the left of the chest is the second nest. Destroy it and go down again. This time, cross the two wooden bridges.

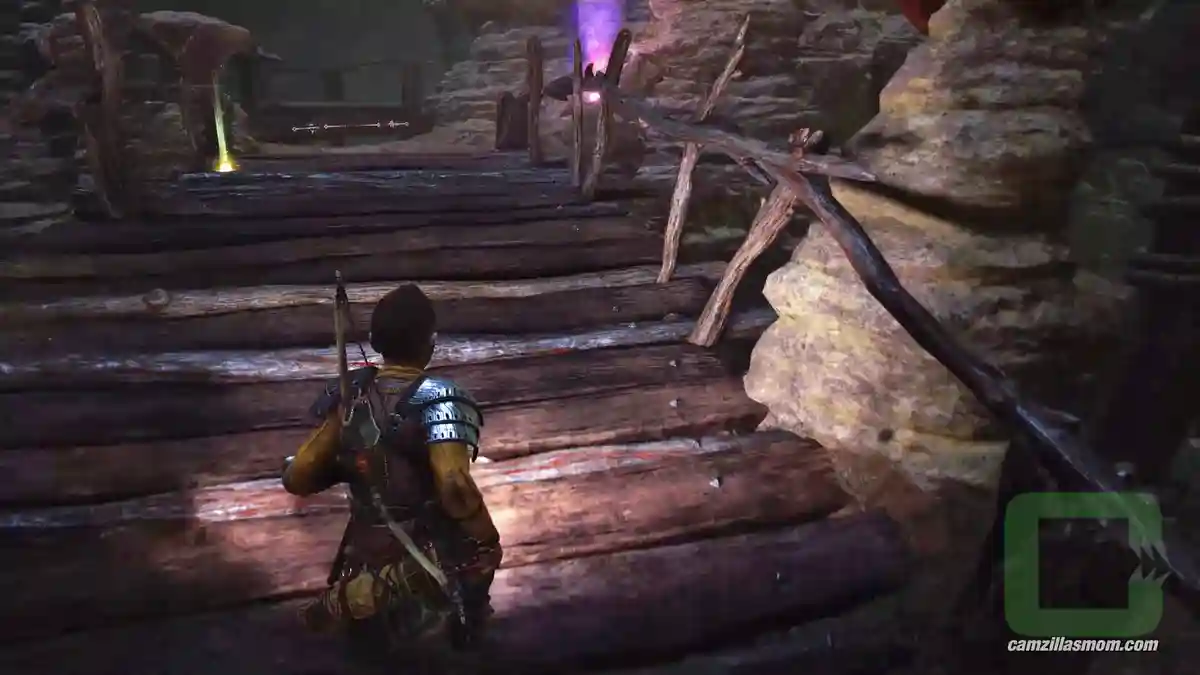
At the other side, look for another green barrier and destroy it with sonic.
Don’t go through yet.. First we take care of the third nest. Turn around with the former barrier in your back and go all the way straight ahead, until wretches attack again. Follow the direction where they’re coming from to find a gap in the wall from where you can shoot another green barrier. The wretches are coming from behind this little gap in the wall.
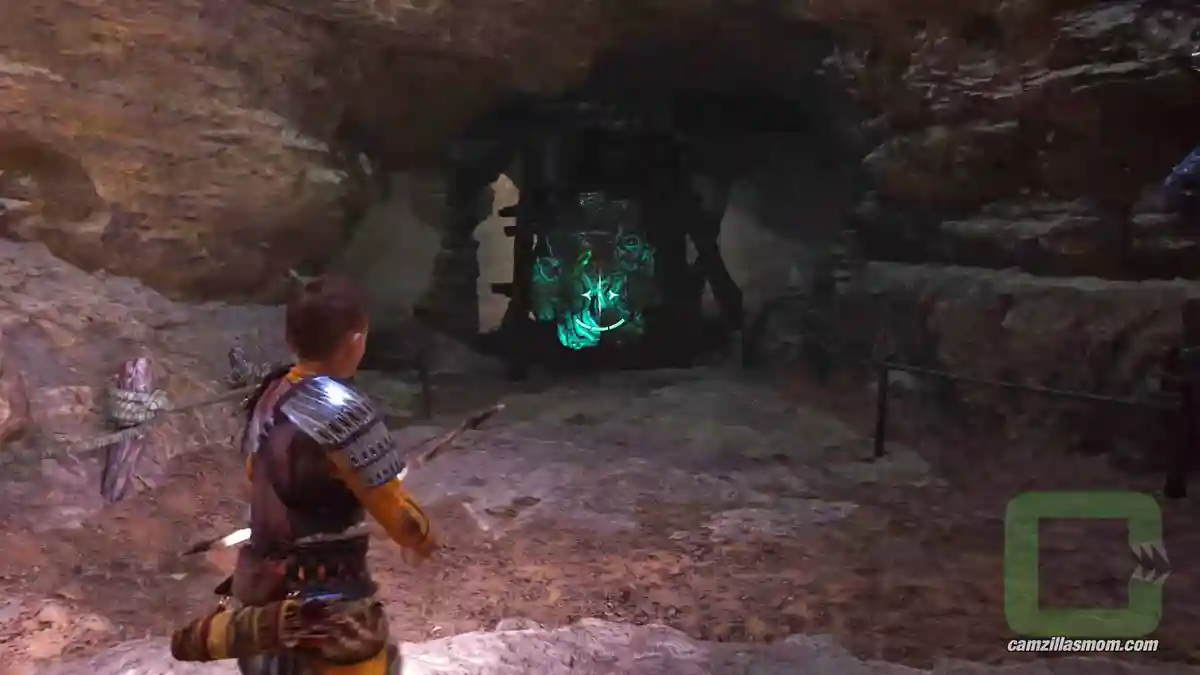

Go around the pillar towards the right, turn sharp left at the end and you will find the third nest.
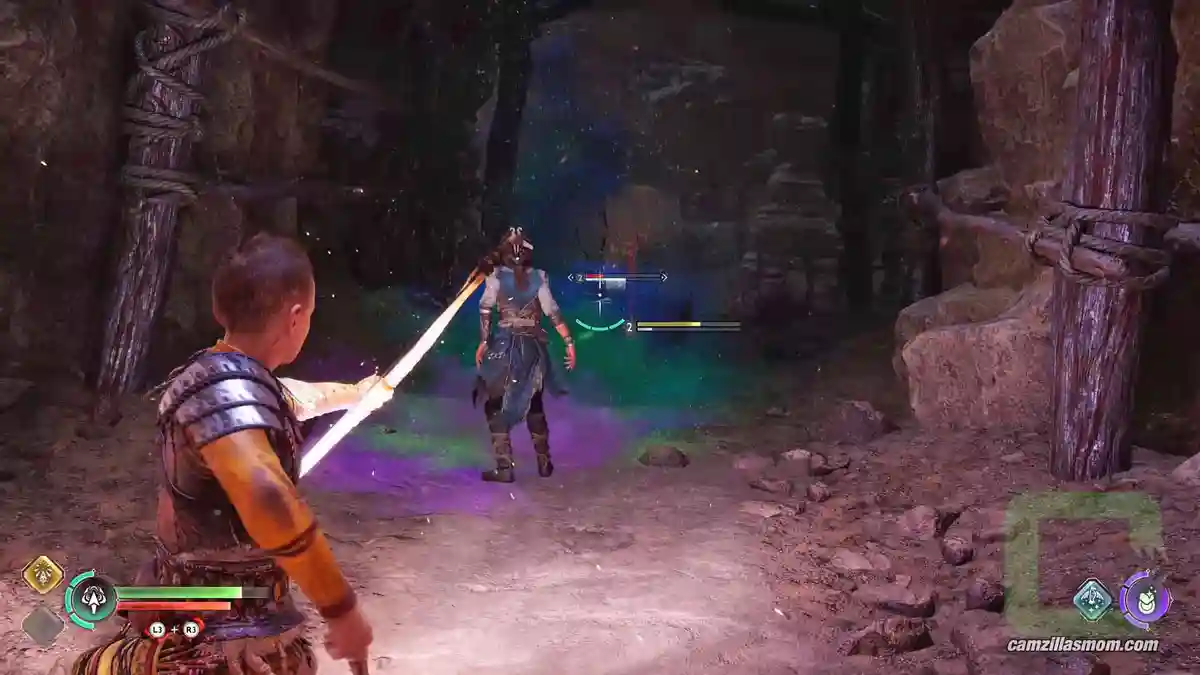
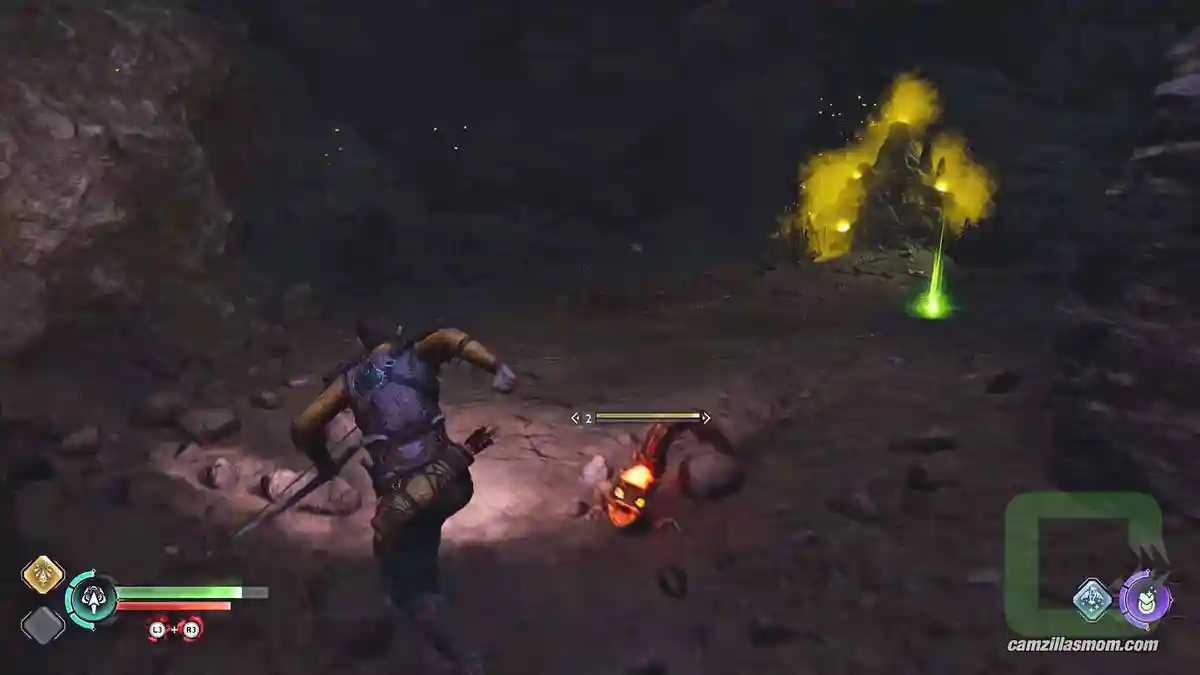
Now go through the first green barrier we destroyed after the bridges.
Jump down and turn to the right towards the yellow chest. Wretches will attack you and keep you from opening it.
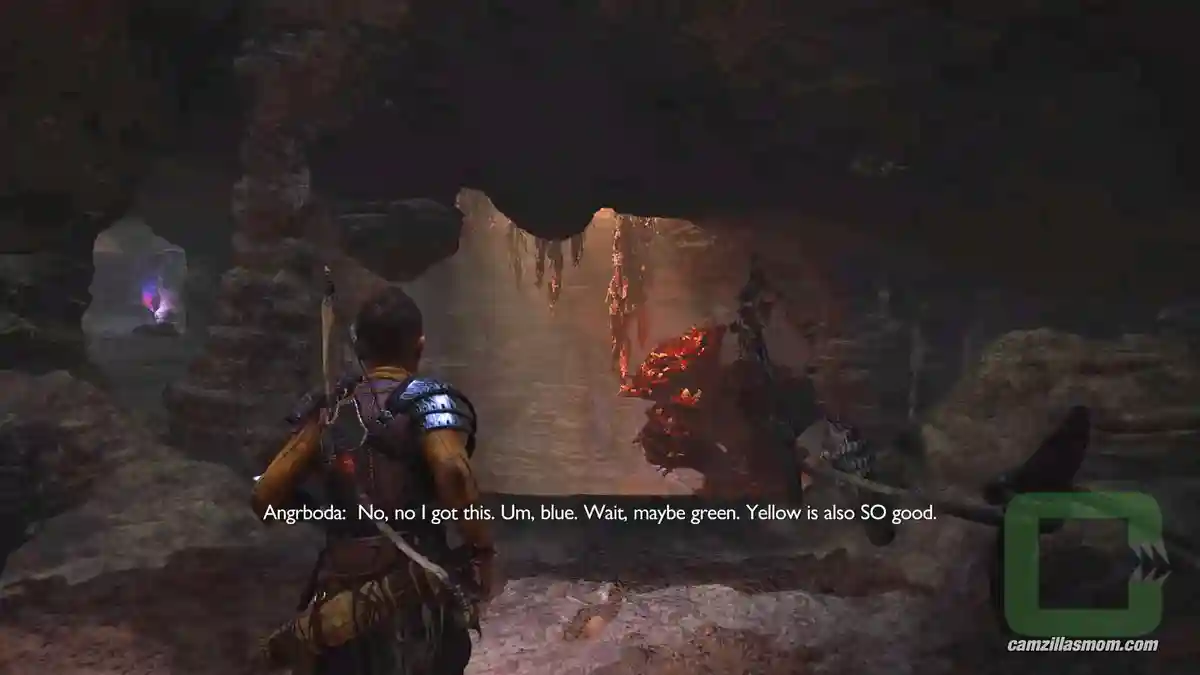
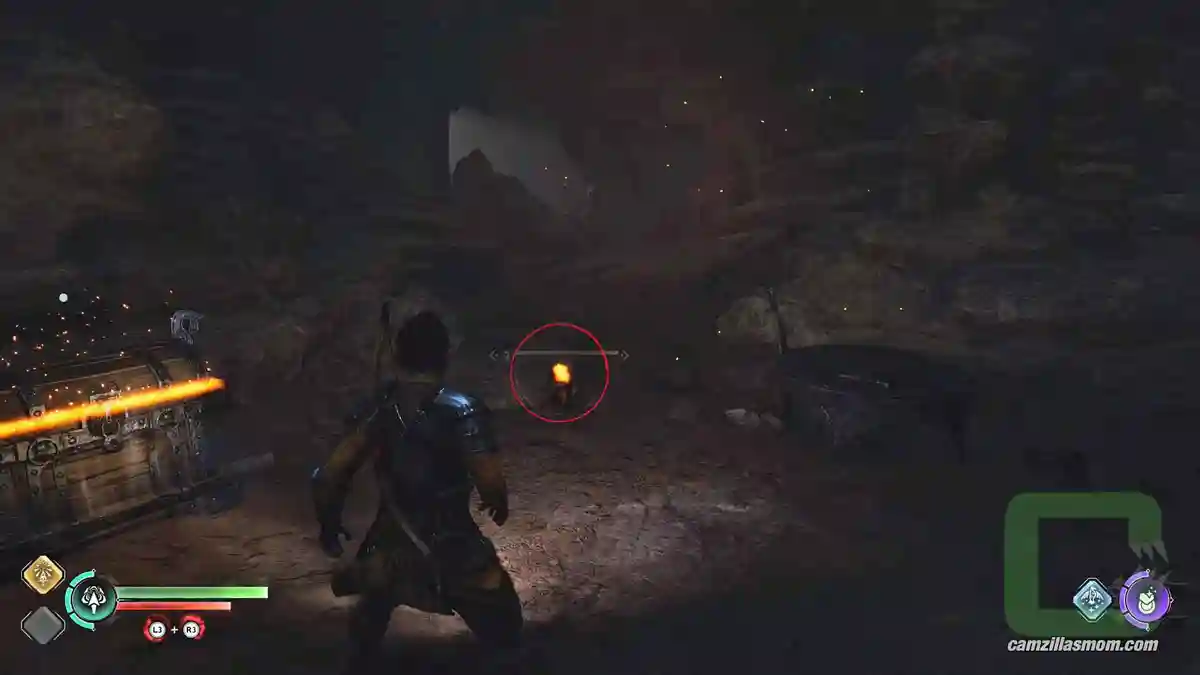
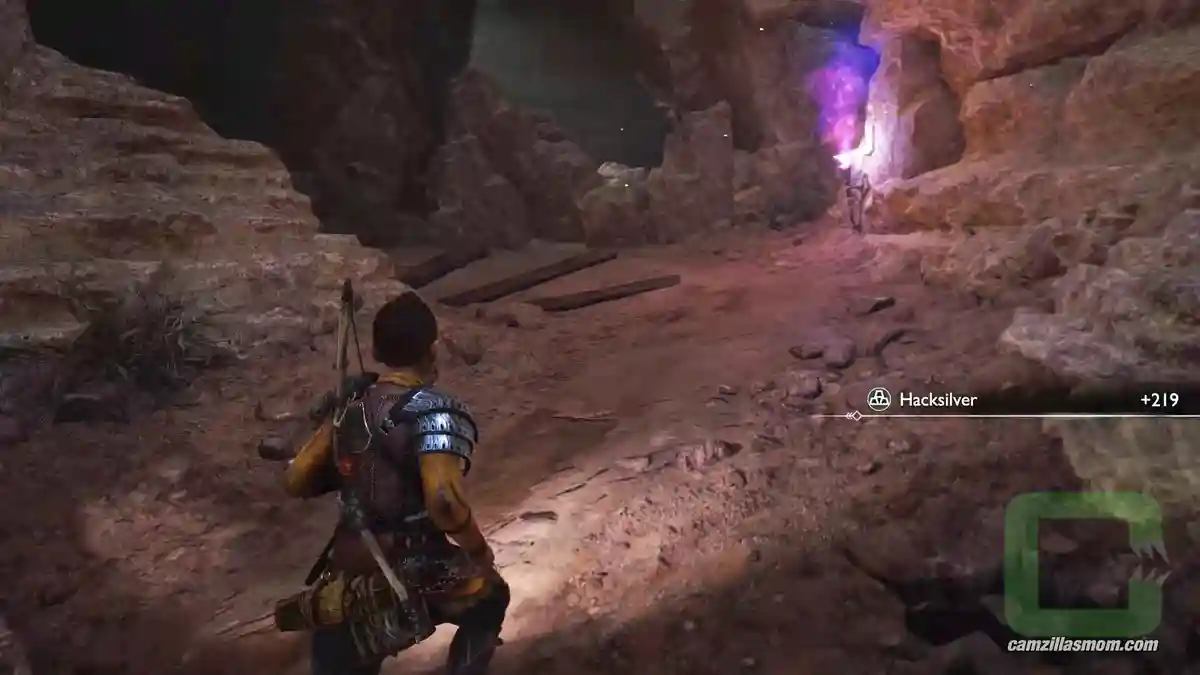
Walk past the chest and follow the planked walkway up around the corner. The last nest is just up here next to a big red glowing chest. Then, return back to the entrance and climb out.

Head Home Through the Marshes
Go around the sinkhole and follow Angrboda to Jalla. Ride her to a climb spot with fireflies and after that to a cutscene, where you get to learn of the existence of creepy “Forest Voice” – Gryla. Angrboda’s Grandmother.


Free the Wolf from Gryla’s Clutches
Follow Angrboda to a big hollow tree where the way is blocked. Turn left and you see a climb spot up. Take it. From up there you can shoot a green barrier with a sonic arrow.
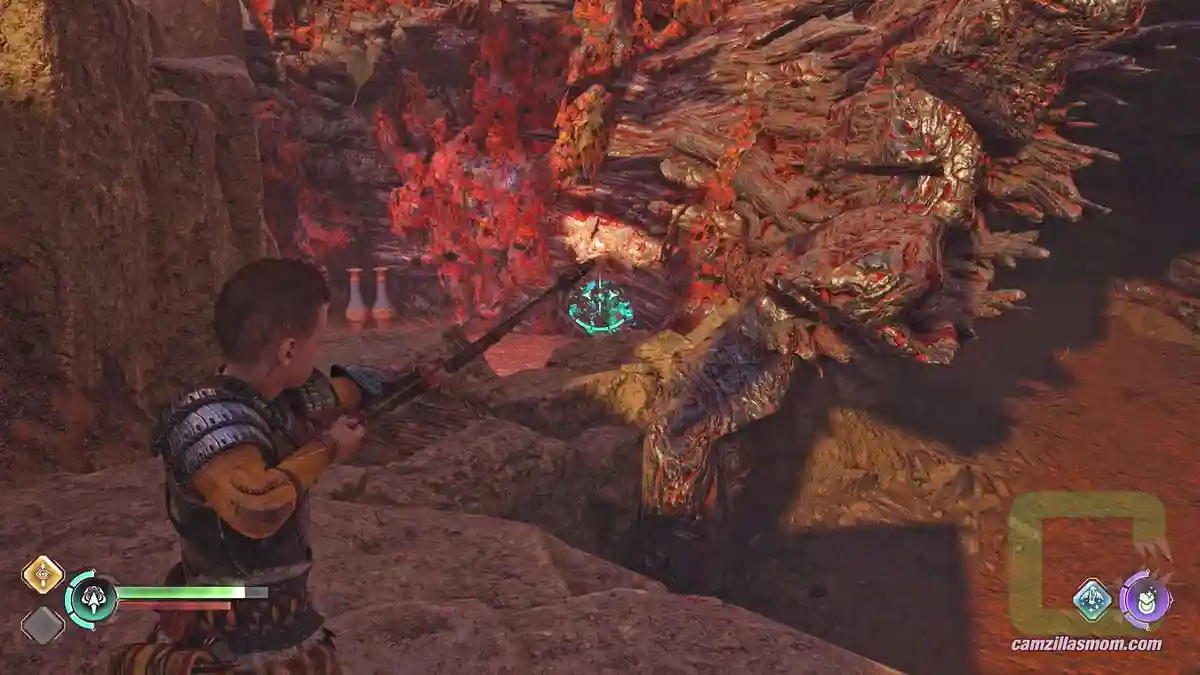
Climb back down and enter the tree to crouch through this now open entrance. Climb up at the other side, where you can shoot another green barrier in the tree.


Now you can get through the tree. But be wary, a fight awaits at the other side. When you were successful, Angrboda will help you with a grapple point up. Keep following Angrboda until you reach a huge entrance – Gryla’s home. Walk around it to the right where you can reach a climb spot up.

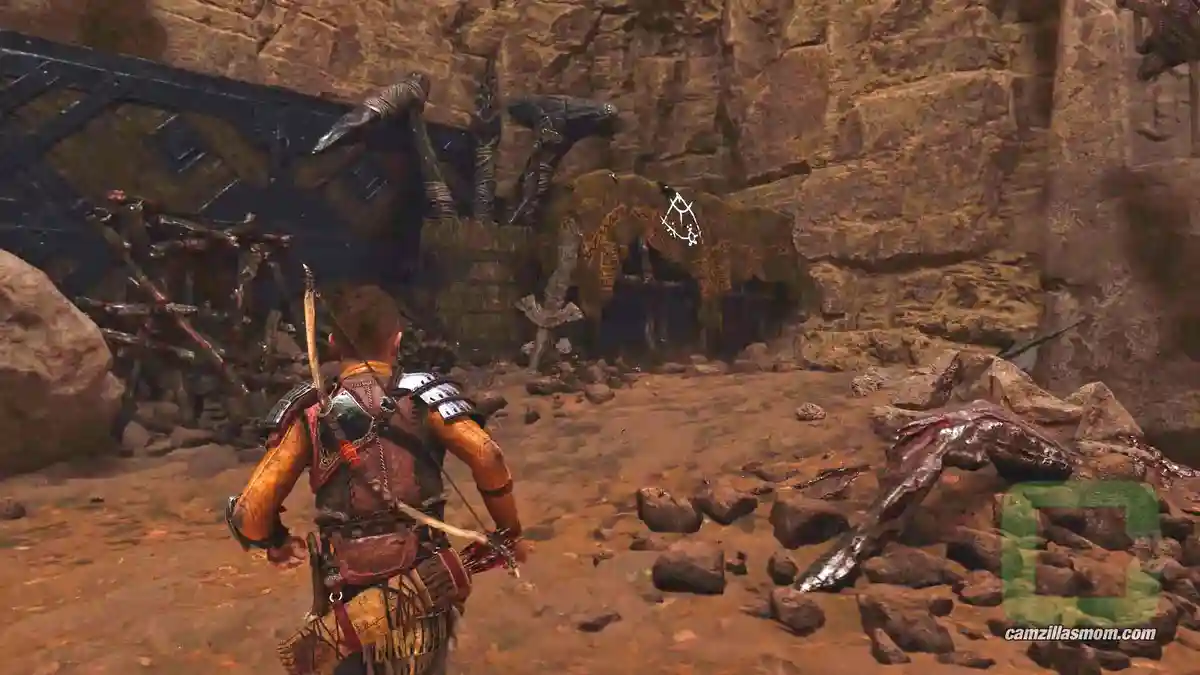
Climb up there, jump across a gap and then grapple-swing to the other side.
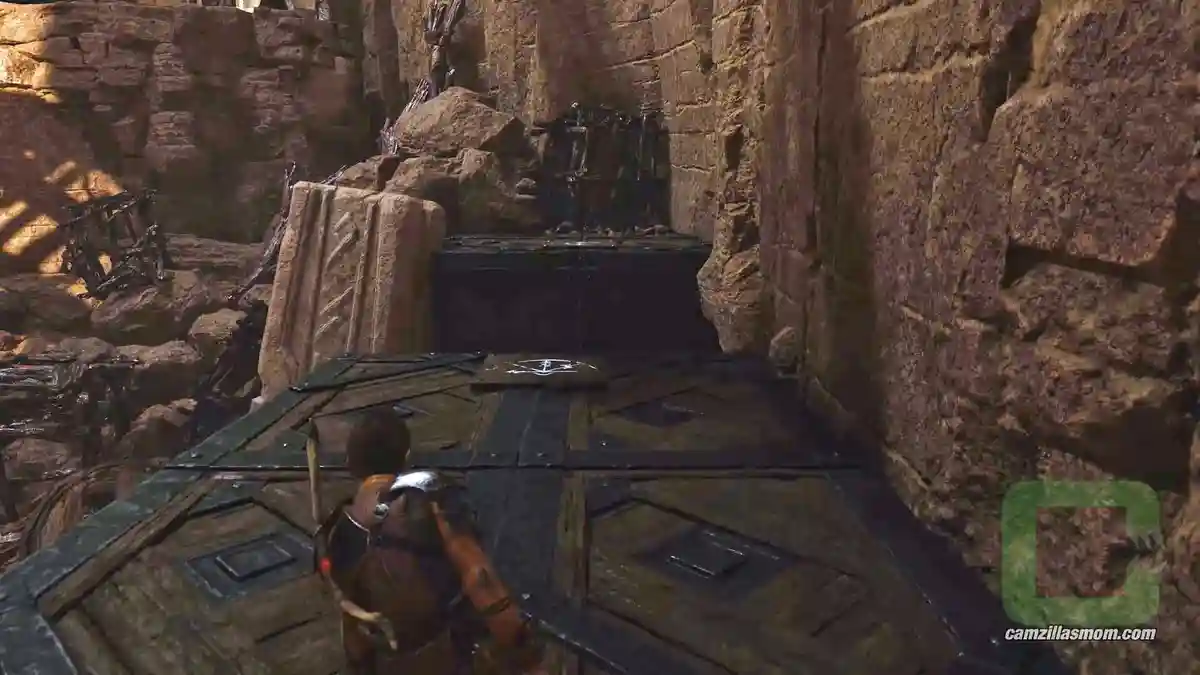
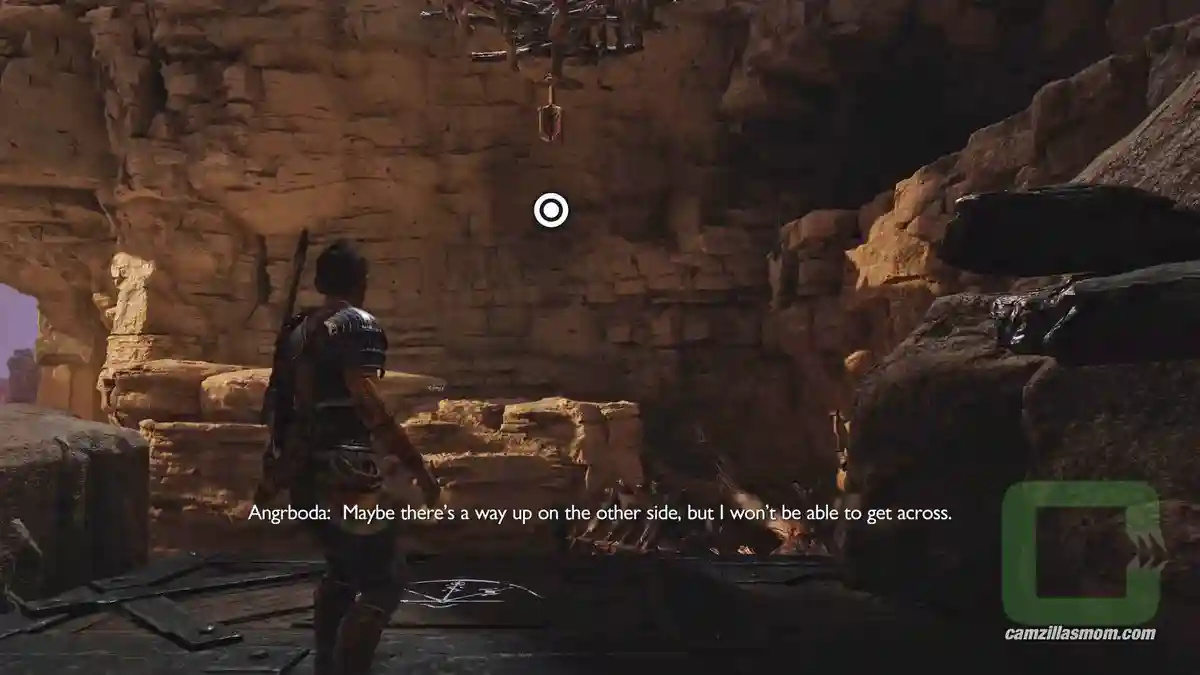
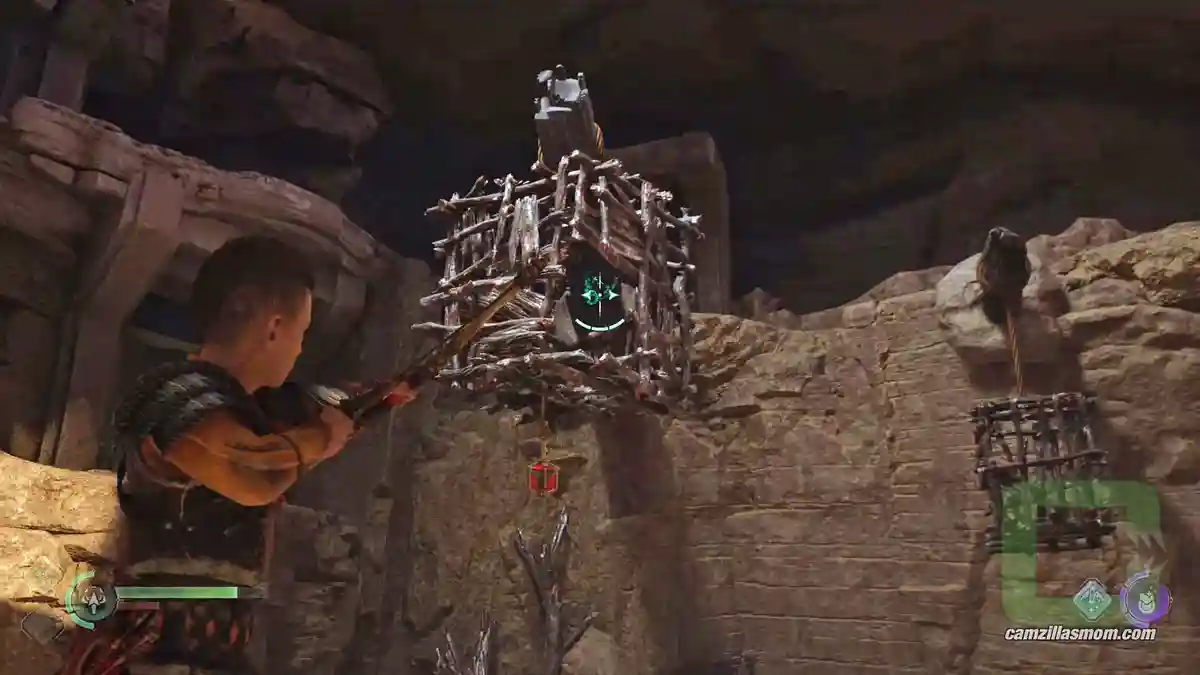
From here, you can shoot a green barrier inside one of the wooden cages hanging down. This will help Angrboda to climb up to the top and free a grapple spot for Atreus to get up and into the house.
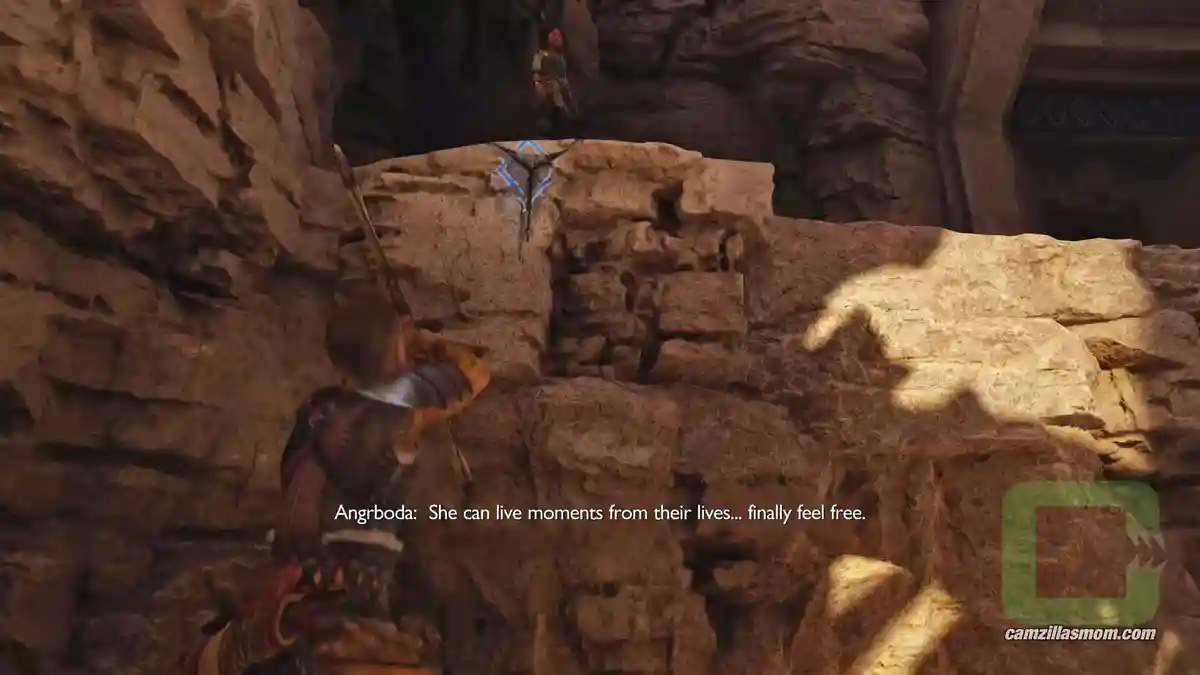
Follow Angrboda into the kitchen, where you’ll help her open a big cellar door. Descend into the cellar, where you can shoot a big toppled over barrel with green sonic to get to the back of the room. It’s here where Atreus is using one of the giants marbles to give a soul to a soulless snake so it can escape.
Then, exit the cellar the same way you came and they close the door back shut at the top. Now Gryla returns…


Set the Wolf Free
Atreus wants to free the wolf, before both aim to destroy the cauldron that gives her the ability to extract souls. Escape Gryla when she notices you and follow Angrboda back to the kitchen. From the vantage point, jump down and swing over to the cauldron. Interact with it and you start the Gryla fight.
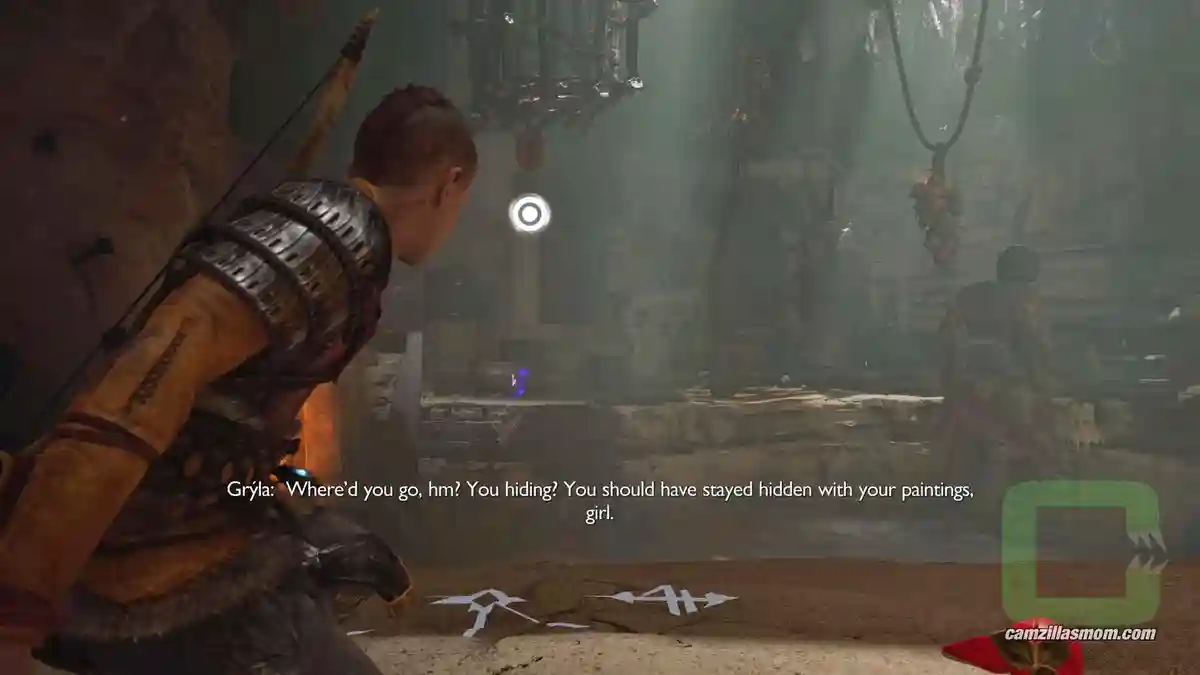
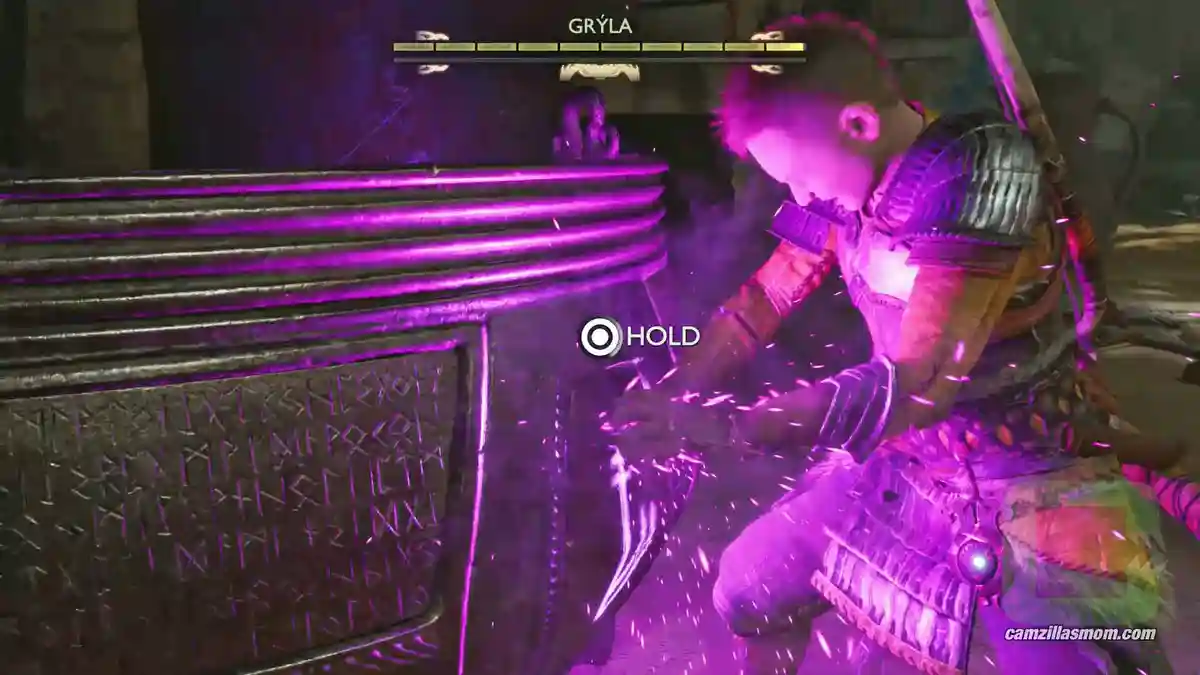
At the fight, shoot the purple glowing cauldron crystal to hurt Gryla. When she drops the cauldron, use all you have to damage it. Gryla also has some nasty area spells. When she poisons one floor, go to the other. Either up or down. She never poisons both floors at the same time. When Gryla is near one of the big white candles, tell Angrboda to shoot the candle. This will stun Gryla.

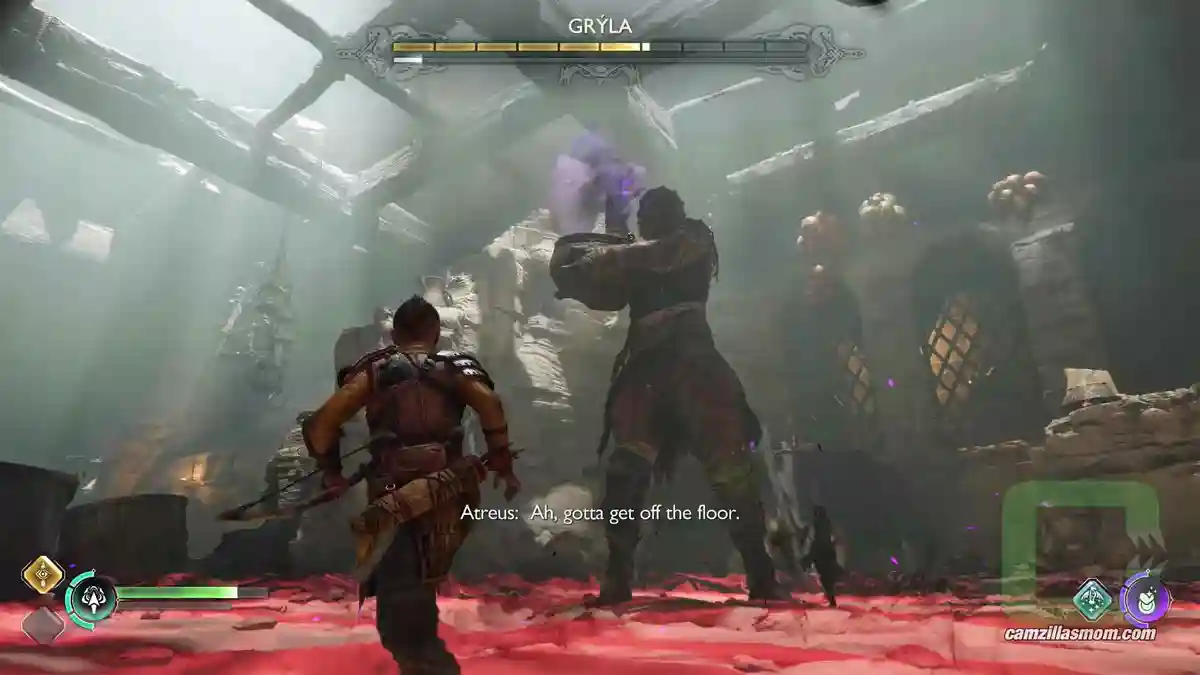
After you’ve destroyed the cauldron, leave the house.
Return to Angrboda’s Home
Follow Angrboda back home by racing her as a wolf. Explore the treehouse. There are a couple of things you can interact with. Once you’re done, go to the centre where the shrine stones are and Angrboda will help Atreus to get back home.
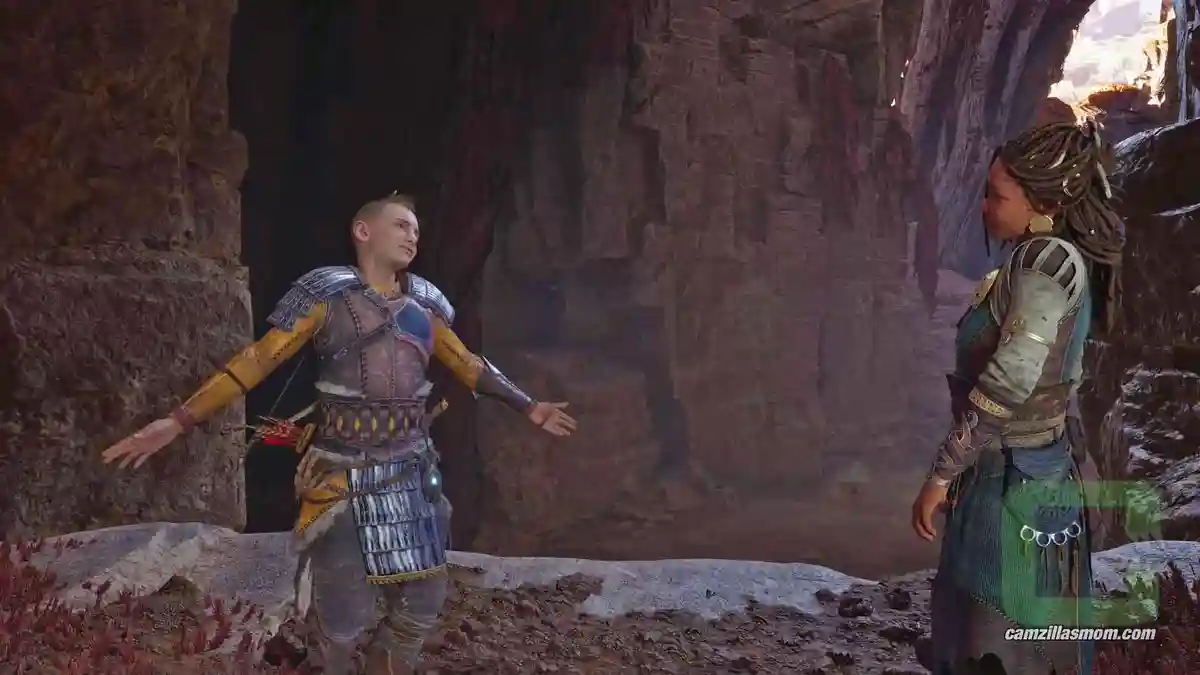

“Home” should have been Sindri’s House, but to Atreus, home is the house in Midgard. Which is now surrounded by enemies, which he has to fight before he can even access the gate.
Once he activates the gate, an angry Kratos steps out of it. And another fight emerges, following a boss fight with “Vanadis” who turns out to be Freya at the end.
Atreus is going back to Sindri’s Home, while Kratos continues on with Freya.
More God of War Ragnarök Guides
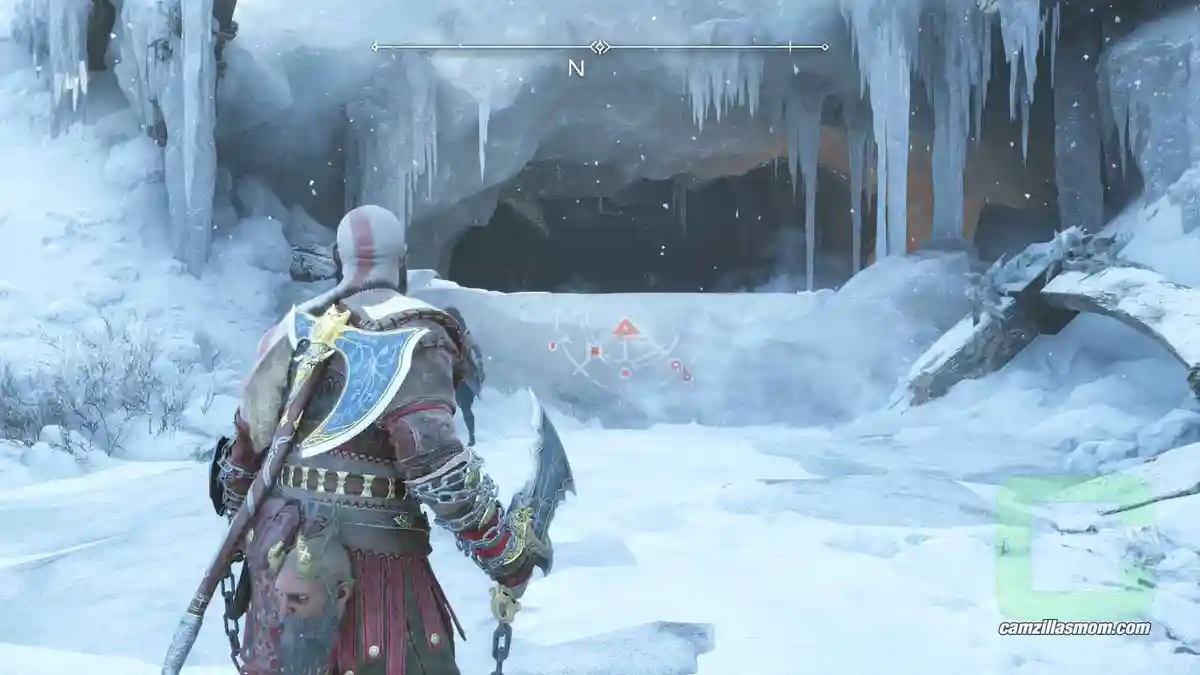
Pilgrim’s Landing Berserker Gravestone – God of War Ragnarok
Pilgrim's Landing is a small, boat-only area in Vanaheim with four collectibles: a Legendary Chest, …
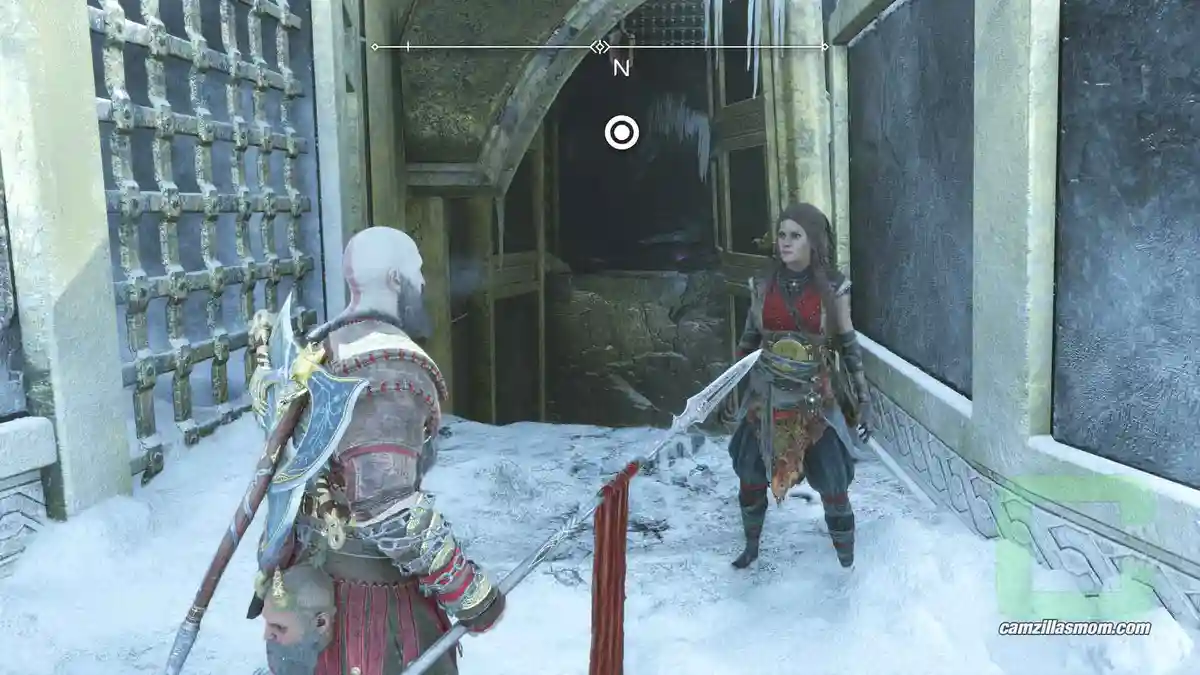
Raider Hideout Nornir Chest – God of War Ragnarok
The complete Raider Hideout guide for God of War Ragnarök, covering the Nornir Chest rune puzzle, th…
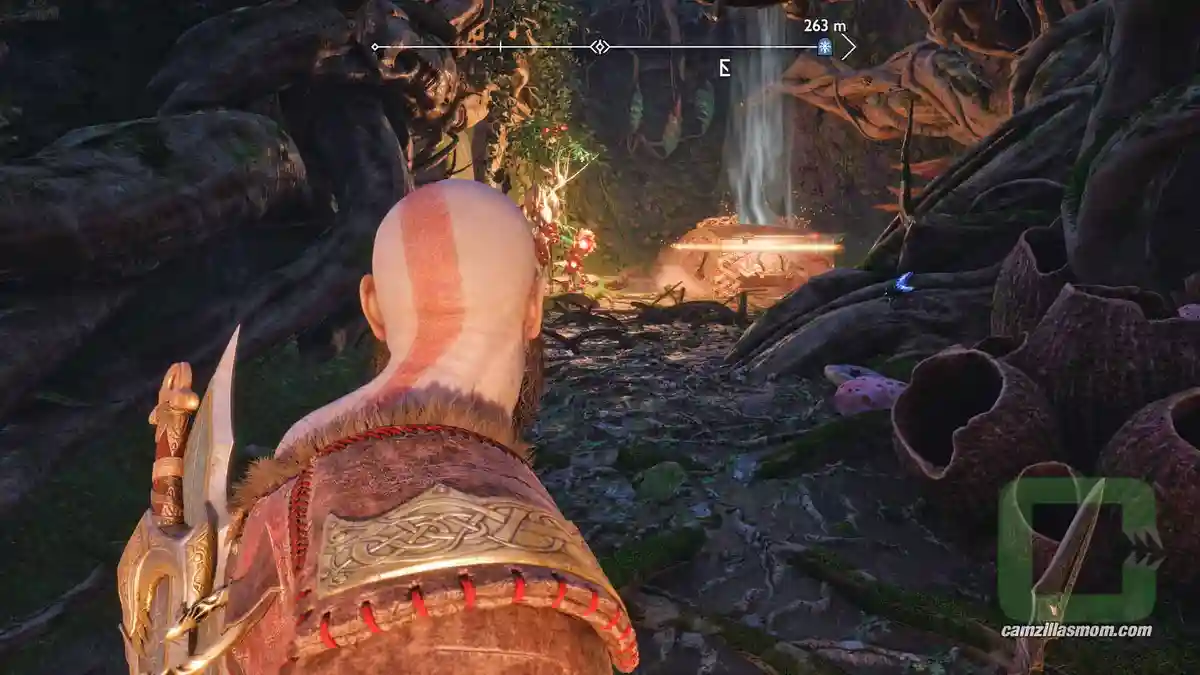
Shores of Nine All Collectibles – God of War Ragnarok
The complete Shores of Nine collectibles guide for God of War Ragnarok, covering the Stolen Treasure…
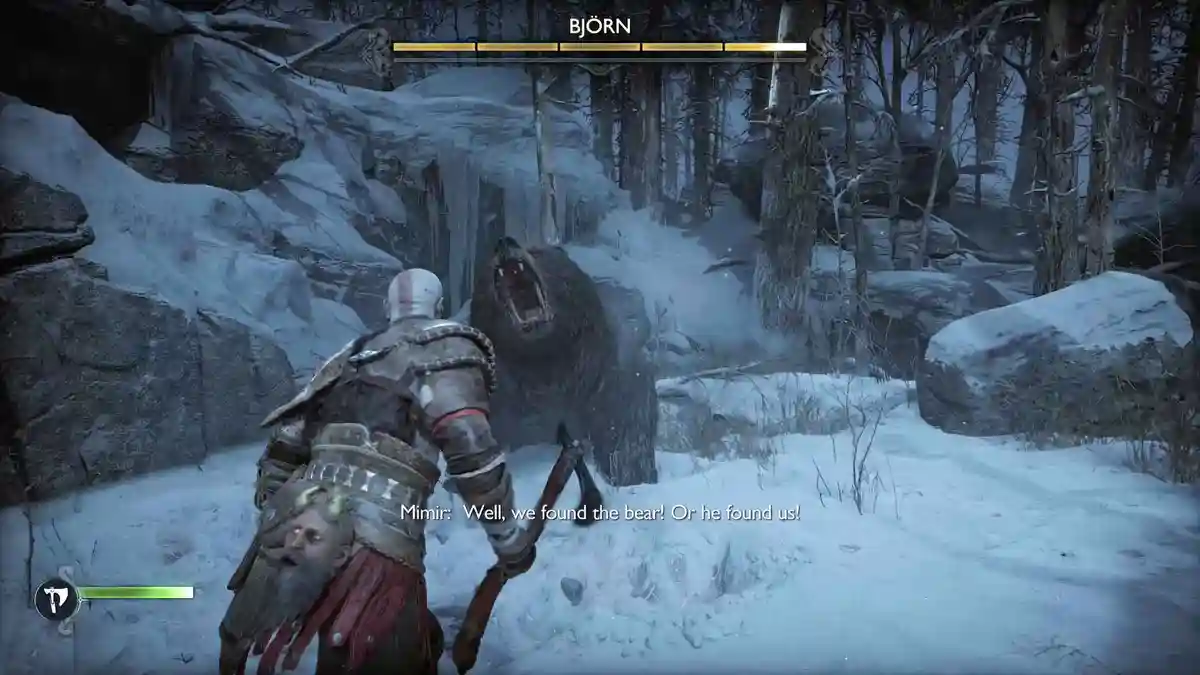
Southern Wilds Legendary Chest – God of War Ragnarok
A complete collectibles guide for the Southern Wilds in Vanaheim, God of War Ragnarok – the Nornir C…
Surviving Fimbulwinter – God of War Ragnarök
The complete Surviving Fimbulwinter walkthrough for God of War Ragnarök, covering Fenrir's death, tr…
Temple of Light Collectibles (100%) – Alfheim, God of War Ragnarok
A complete collectibles guide for Temple of Light in Alfheim, God of War Ragnarok — the Nornir Chest…


About God of War Ragnarök
Release: November 9th, 2022
Developer: Santa Monica Studio
Publisher: Sony Interactive Entertainment
Official Website: https://www.playstation.com/en-us/games/god-of-war-ragnarok/