Astoria in Marvel’s Spider-Man 2 has 10 activities, and 4 of them are Spider-Bots. Use the overview maps to jump to a single location, or work through each section to reach 100% district completion.
Related Guides:
Harlem Spider-Bots and 100% Completion
Upper East Side Spider-Bots and 100% Completion
Financial District Spider-Bots and 100% Completion
Chinatown Spider-Bots and 100% Completion
Greenwich Spider-Bots and Collectibles
Midtown Spider-Bots and 100% Completion
Hell’s Kitchen Spider-Bots and 100% Completion
Upper West Side Spider-Bots and 100% Completion
Central Park Spider-Bots and 100% Completion
Downtown Queens Spider-Bots and 100% Completion
Marvel’s Spider-Man 2 Game Guides Hub
All 10 Activities in Astoria
- 1. Blood Spider – Spider-Bot
Red-brick building wall in the north - 2. Classic – Spider-Bot
Rooftop in the south of the Astoria island - 3. Mangaverse – Spider-Bot
Top of a red-brick tower in the southeast - 4. Shocker – Spider-Bot
In the air near the bridge in the west - The Masked Challenger – Photo Op
Luchador outside the fight club in the north - Step Up to the Plate – Photo Op
Picnic on the northern tip of the Astoria island - Monster in Queens – FNSM Request
Alma’s house in the north - Prowler Stash
Tall building in the central south, with 4 Electric Panels - I Knew You Had It in You – The Flame
Hospital in Astoria - Symbiote Nest
Park in the northeast
Total: 10 activities – 4 Spider-Bots, 2 Photo Ops, 1 FNSM Request, 1 Prowler Stash, 1 Flame Mission, 1 Symbiote Nest
Astoria Activities Map
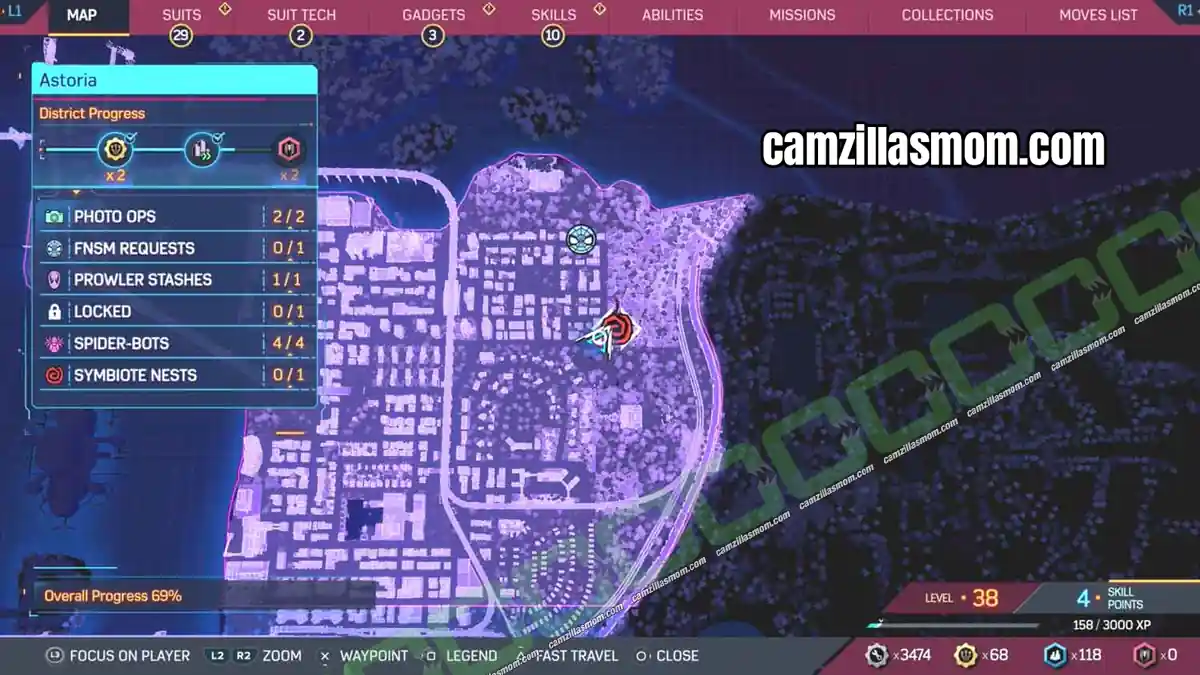
The in-game map with all 10 Astoria activities marked. Astoria is in the north of the New York City map, and the island across the bridge belongs to the district as well. Click the map to open it in full size.
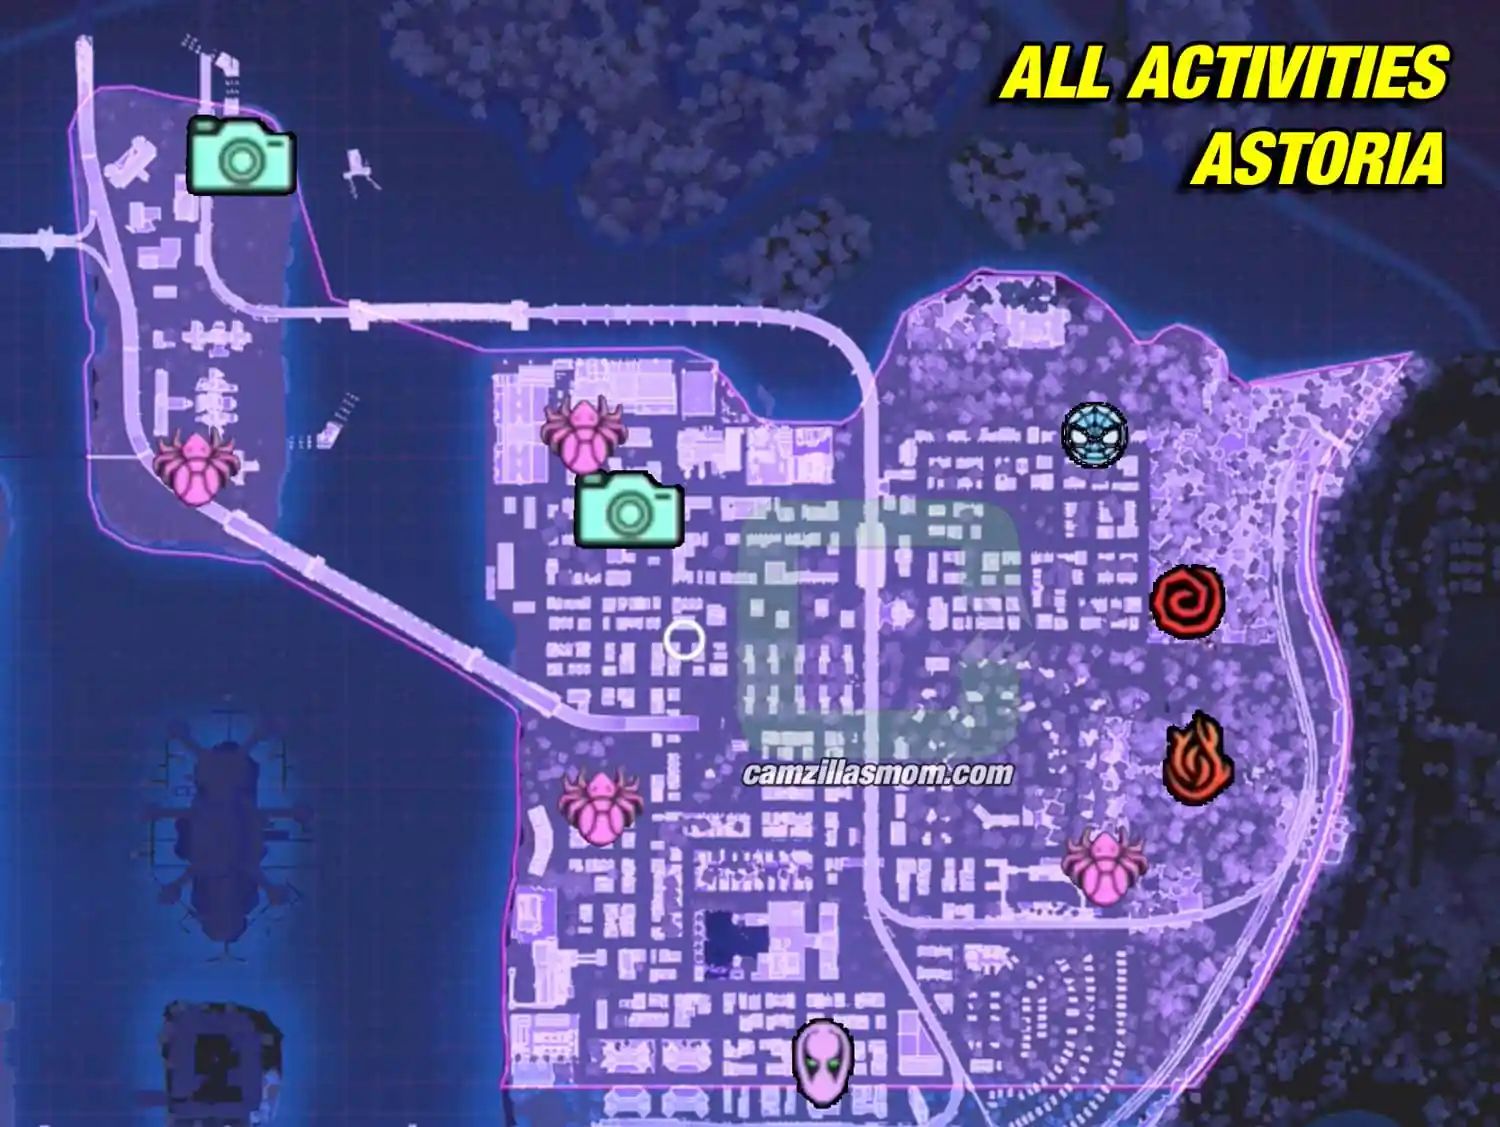
All Astoria activities are introduced during the main story. Some of them can be started from the FNSM App – The Friendly Neighborhood Spider-Man App (swipe on your controller or open it from the in-game menu). They reward you with Tech Parts, Rare Tech Parts and City Tokens, and a full district completion adds extra Hero Tokens. Finishing every activity across New York unlocks new suits.
All 4 Astoria Spider-Bot Locations
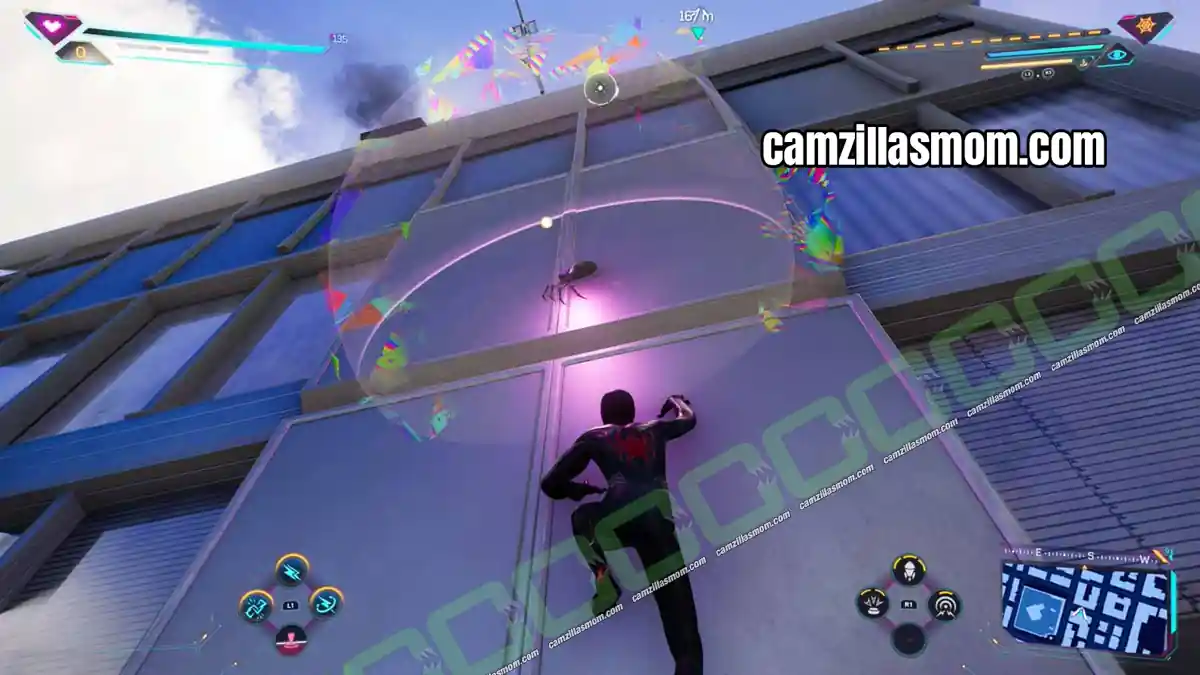
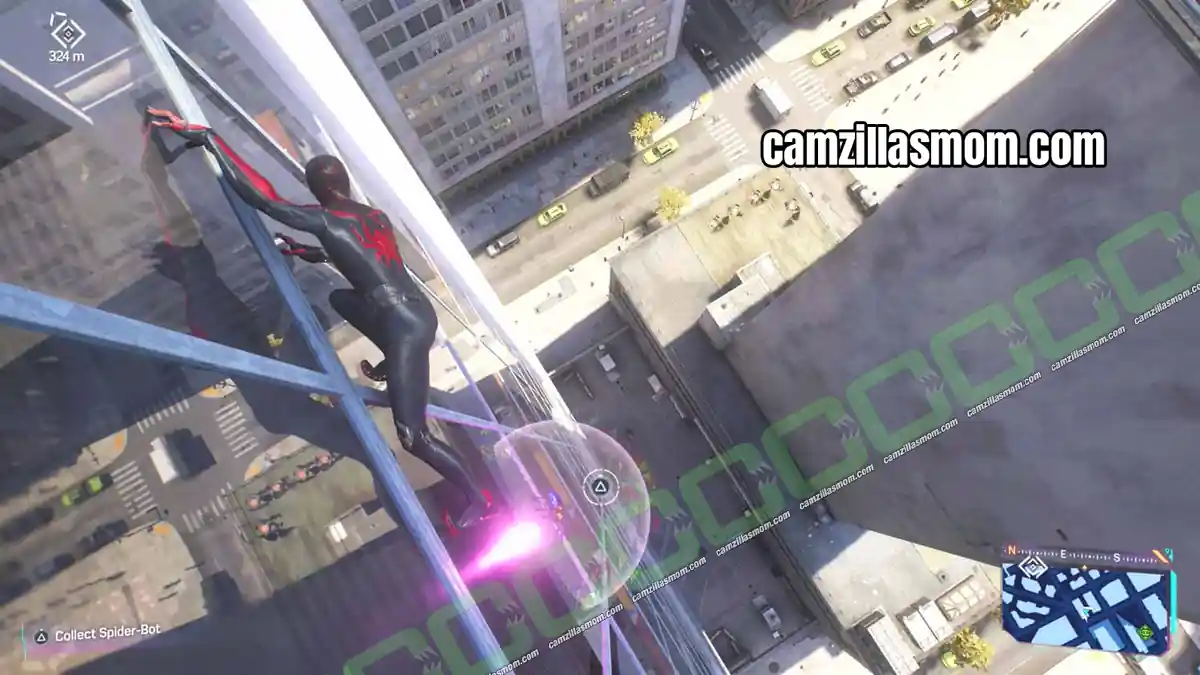
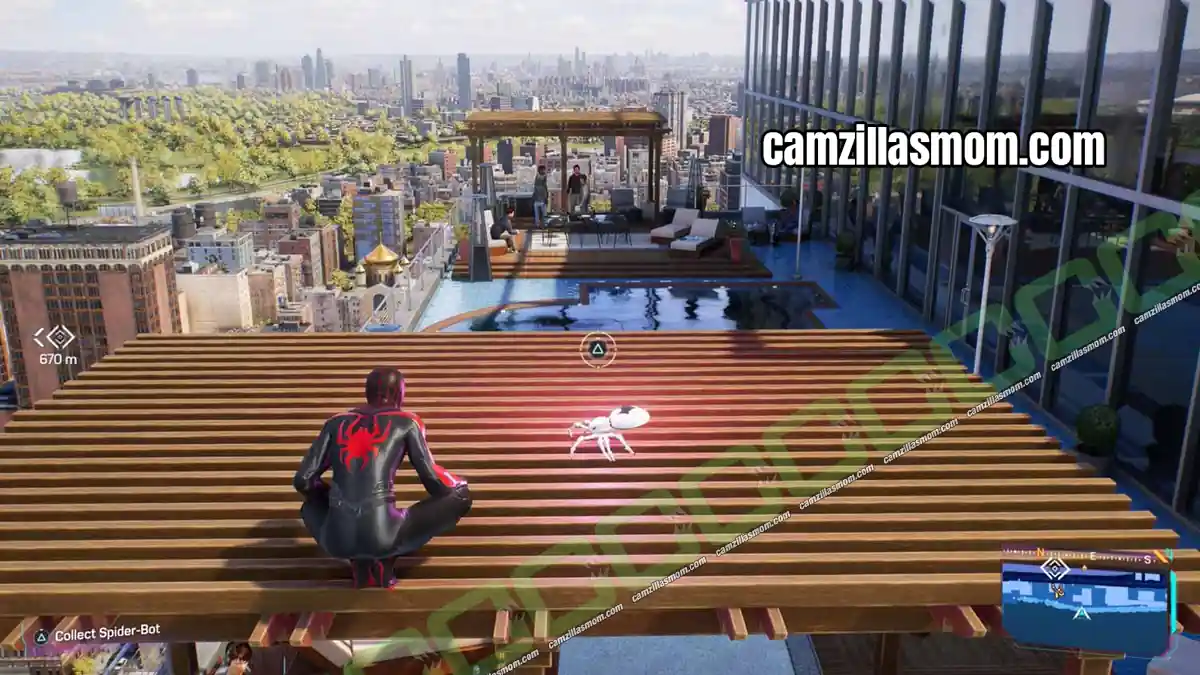
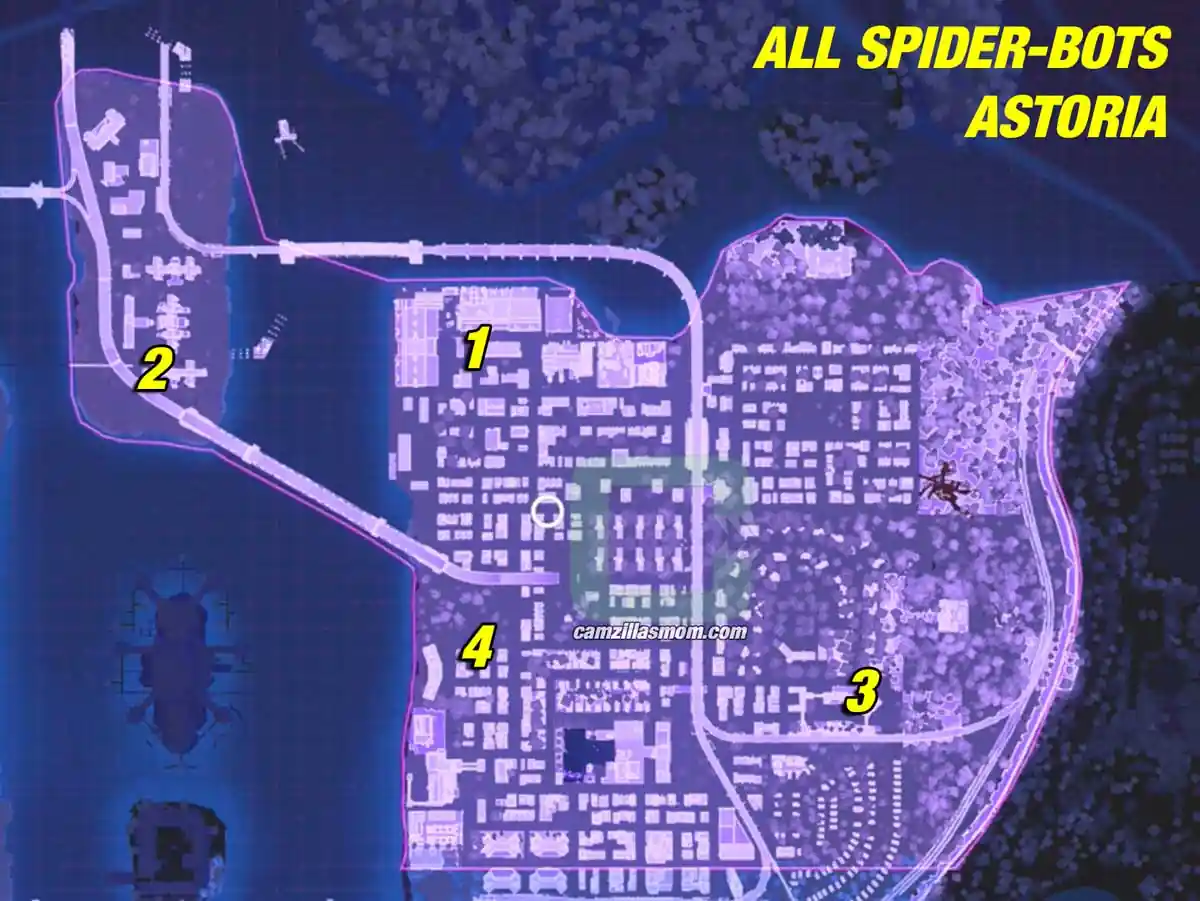
There are 4 Spider-Bots in Astoria, numbered as on the map below: Blood Spider in the north, Classic on the Astoria island, Mangaverse in the southeast and Shocker high in the air in the west. They never show on the big map, but send out a pulse and sound cue when you get close.
1. Blood Spider Spider-Bot
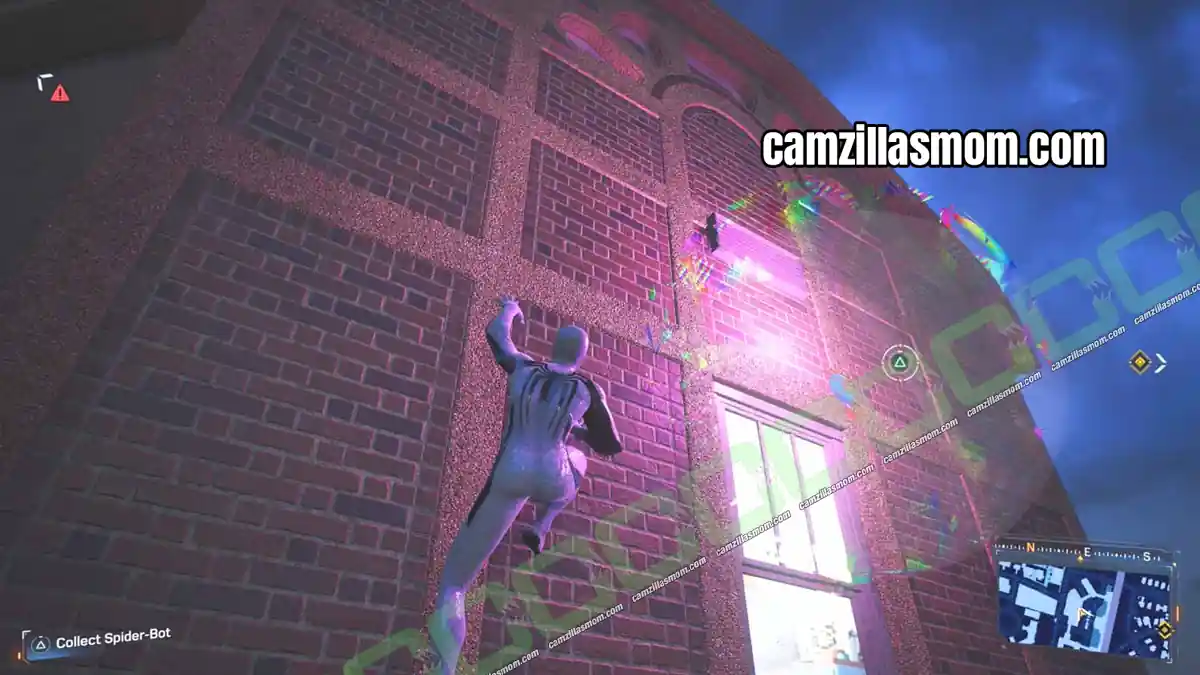
Location: Red-brick building wall in the north of Astoria
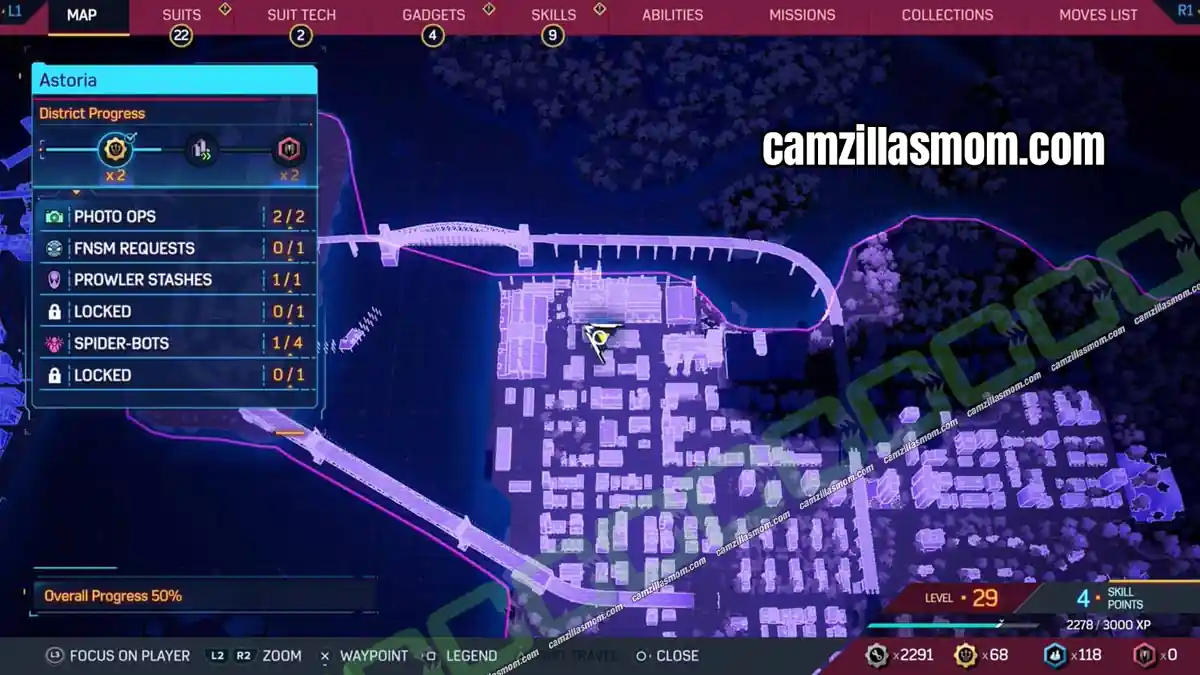
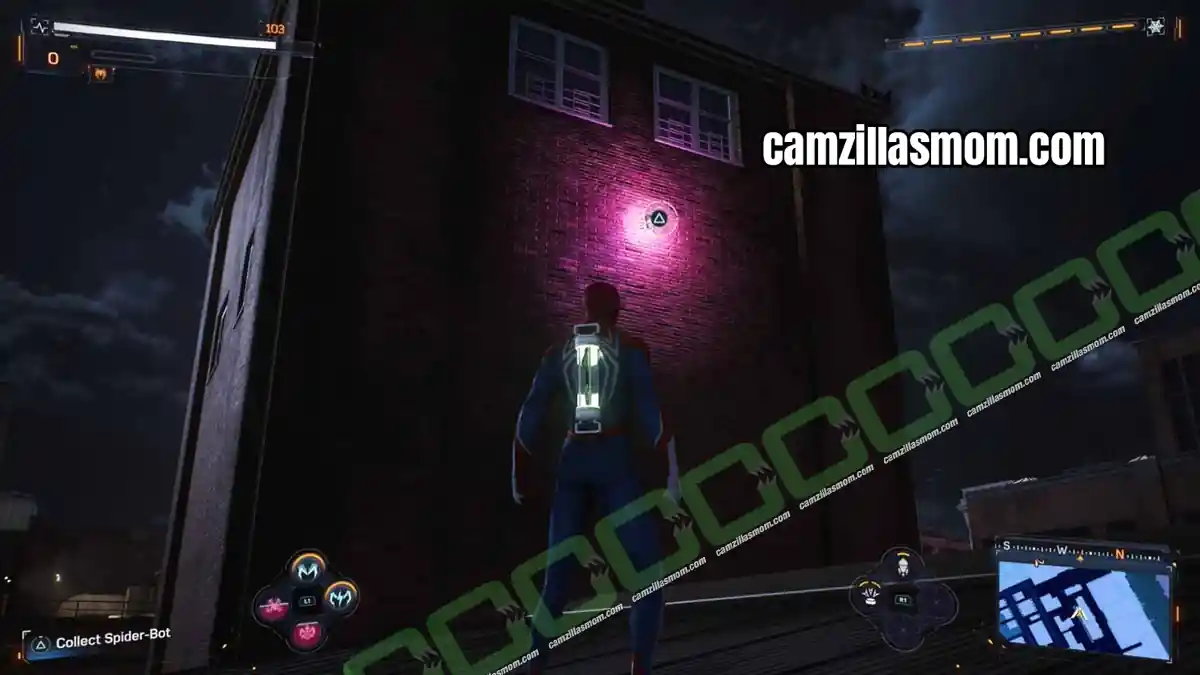
The Blood Spider Spider-Bot crawls on a red-brick building wall in the north of Astoria.
2. Classic Spider-Bot
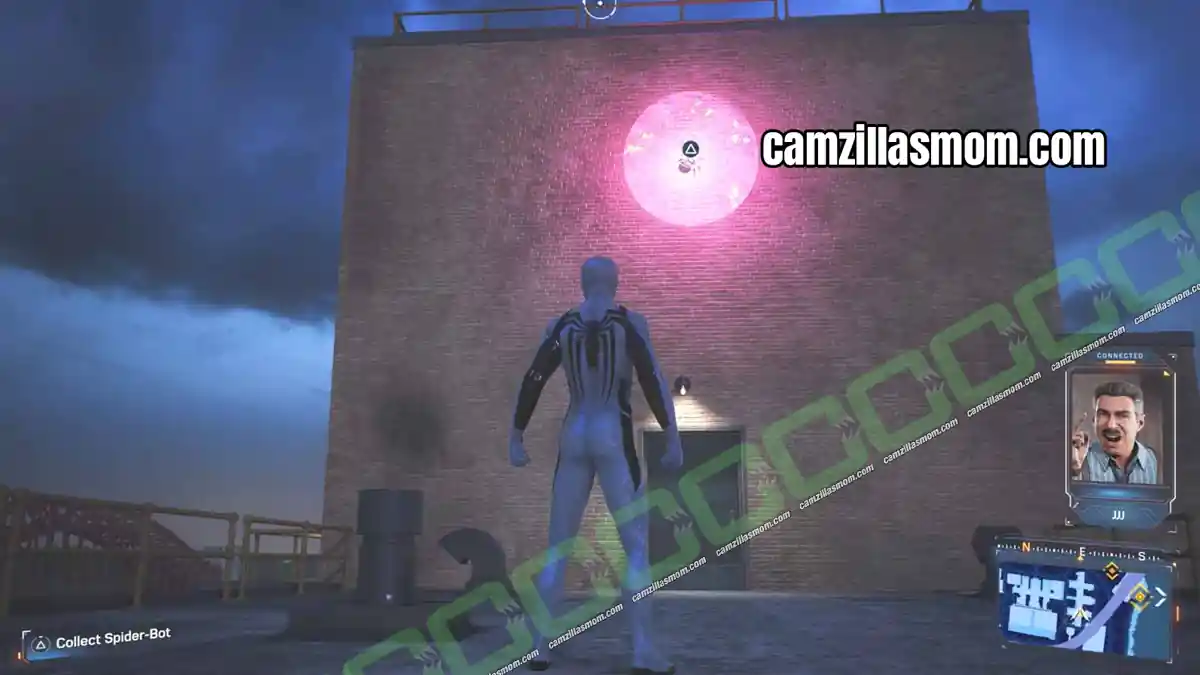
Location: Rooftop in the south of the Astoria island
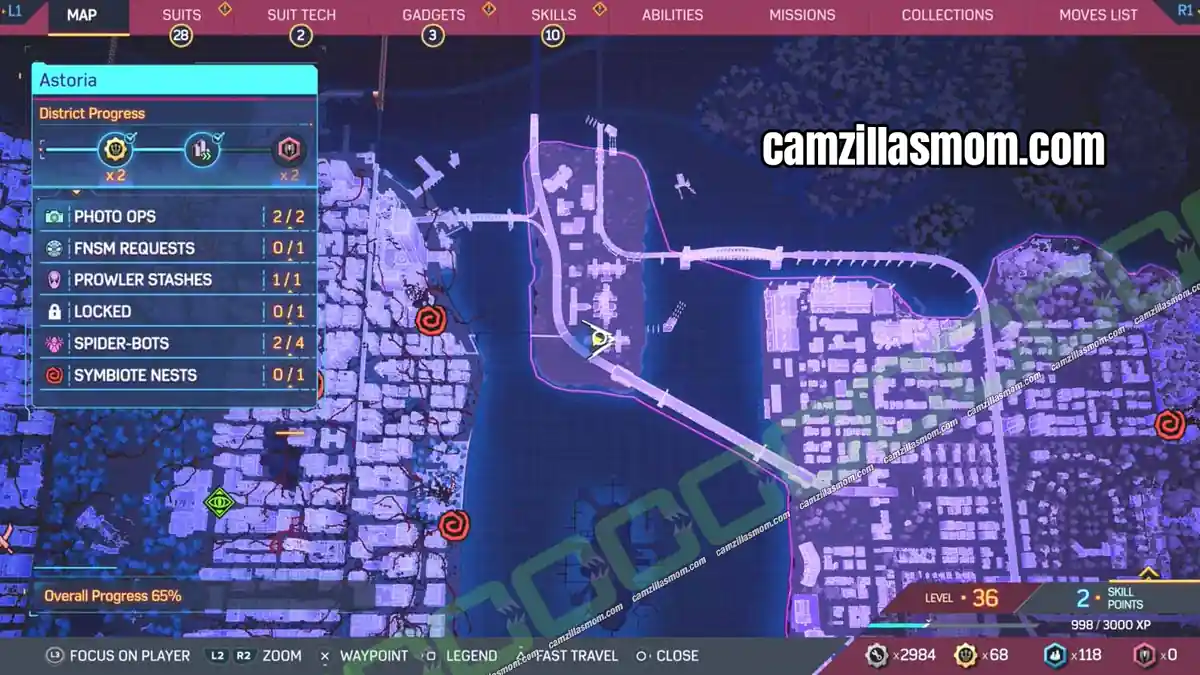
Cross the bridge to the Astoria island. The Classic Spider-Bot sits on top of a building in the south of the island.
3. Mangaverse Spider-Bot
Location: Top of a red-brick tower in the southeast of Astoria
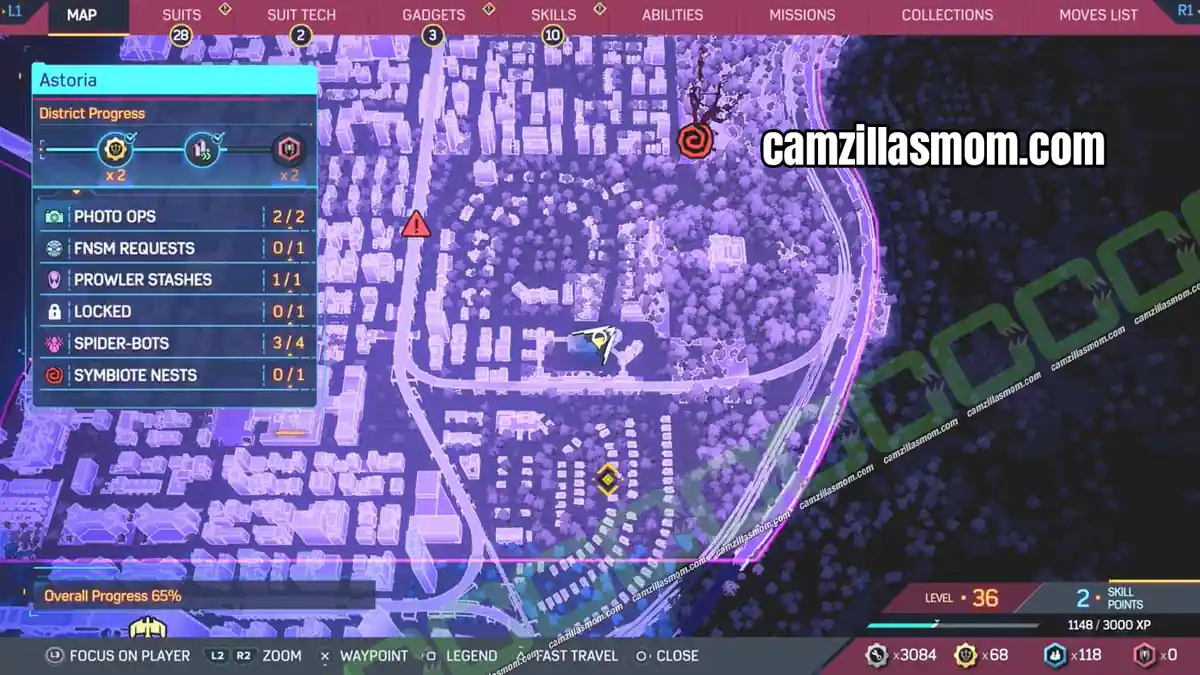
Head to the southeast of Astoria and look for a building with a red-brick tower. The Mangaverse Spider-Bot is at the very top of one of its walls.
4. Shocker Spider-Bot
Location: In the air near the bridge in the west of Astoria
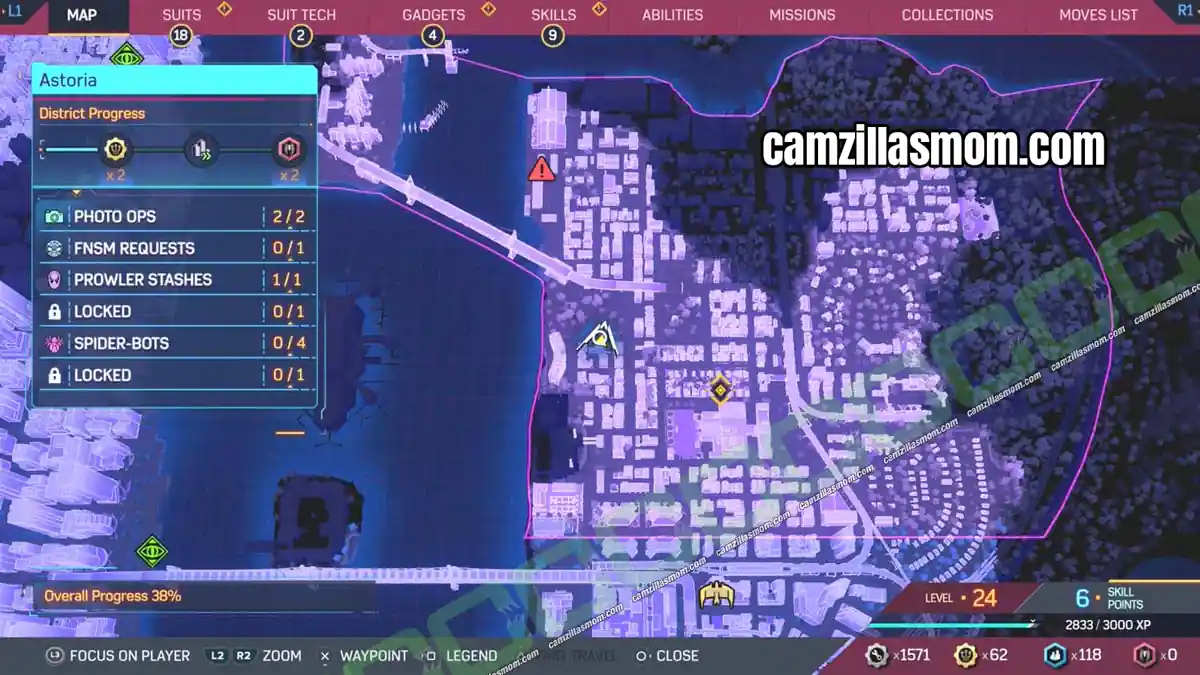
The Shocker Spider-Bot is hanging in the air near the bridge in the west of Astoria. Climb the highest point nearby, push yourself into the air with R2 + X and then use the wingsuit to glide to it.
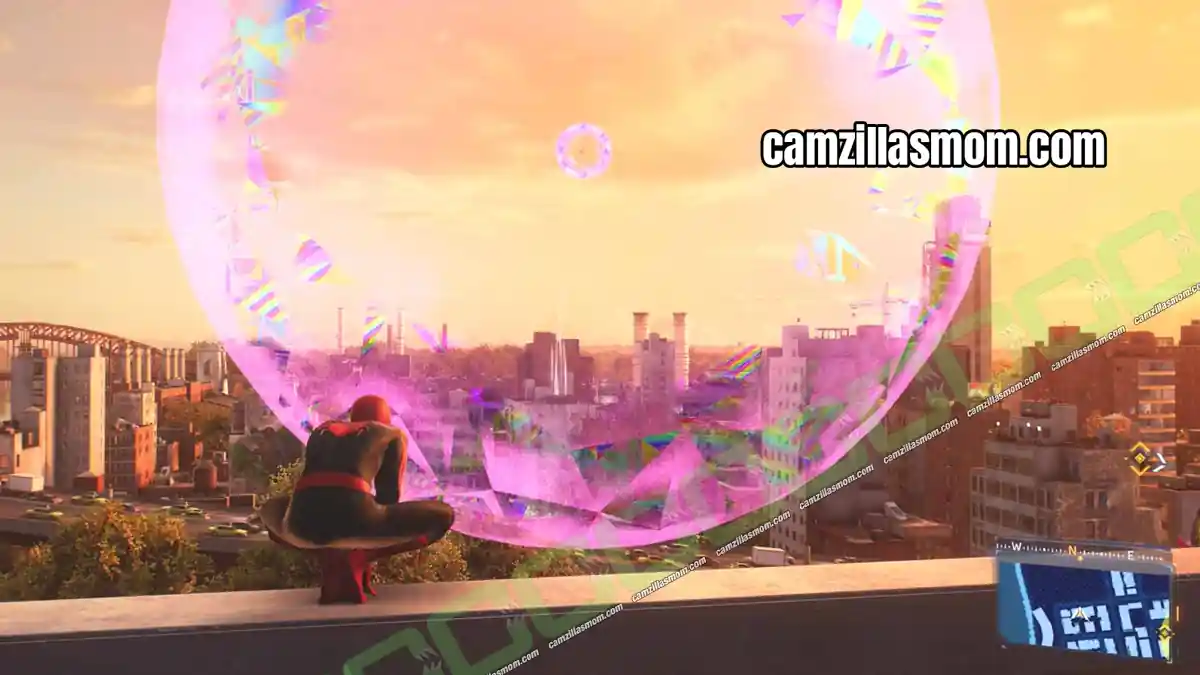
Astoria Photo Ops
There are 2 Photo Ops in Astoria. Swipe up on your controller to open photo mode and move the camera until “Subject in Focus” appears, then take the picture.
The Masked Challenger Photo Op
Location: Fight club in the north of Astoria, near the bridge to the island
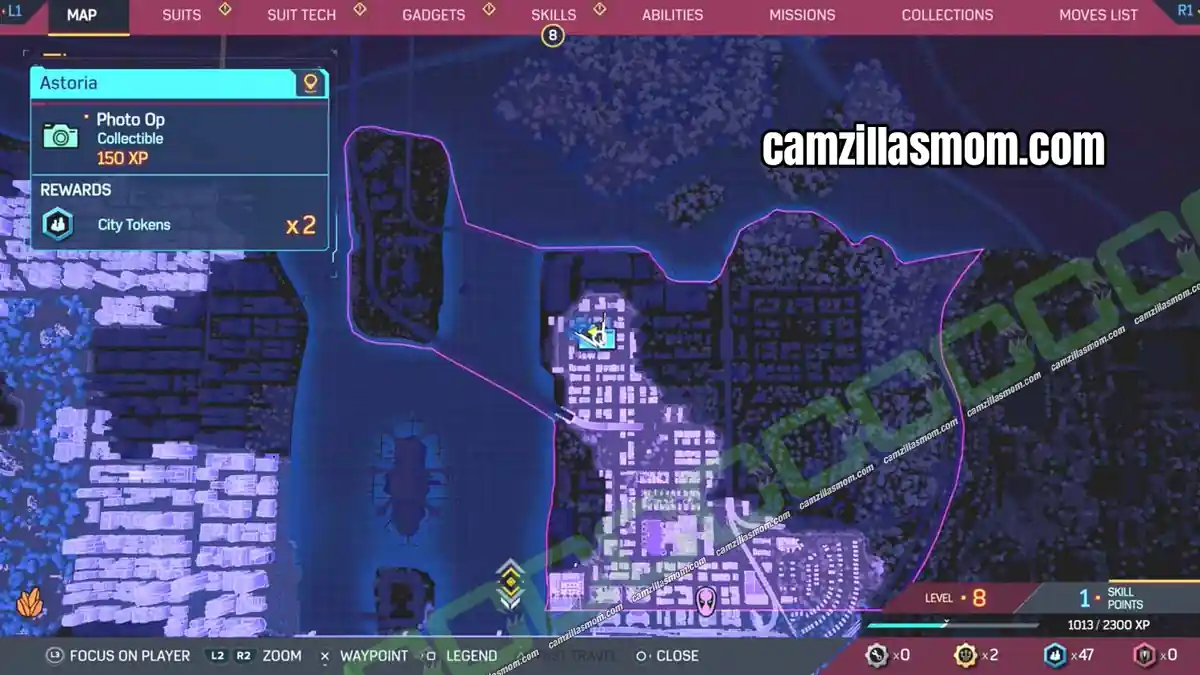
In the north of Astoria, near the bridge to the island, there is a fight club. In front of it stands a man with a mask, the Luchador. Take a picture of him.
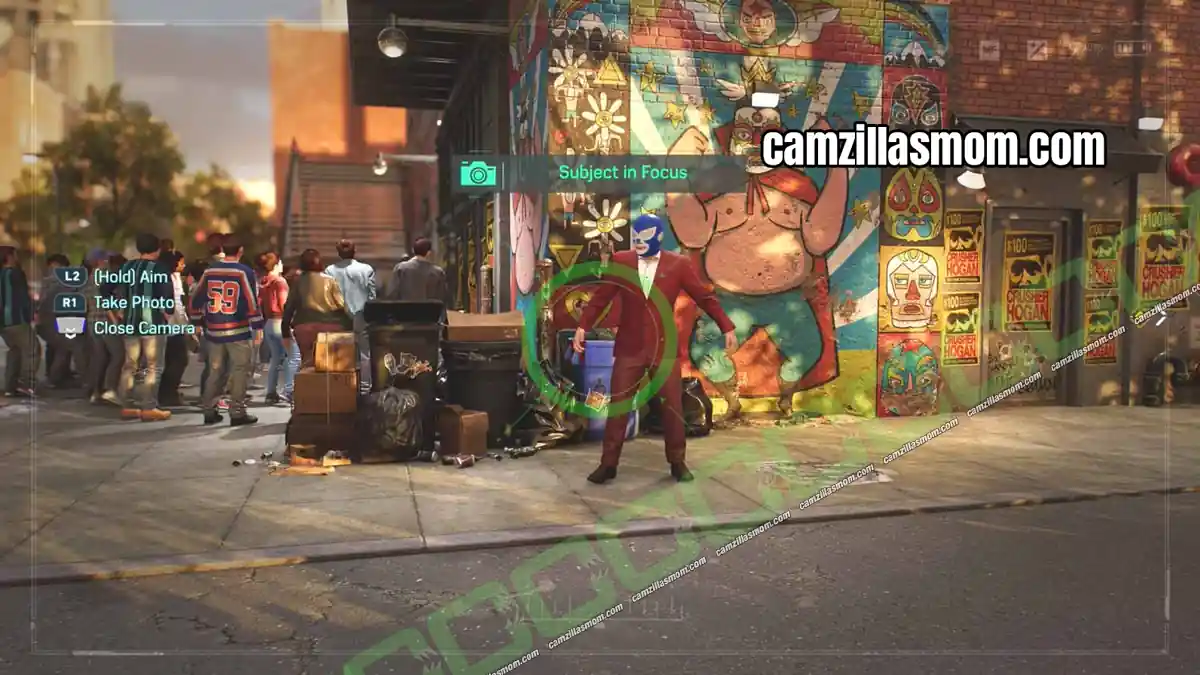
Step Up to the Plate Photo Op
Location: Small park on the northern tip of the Astoria island
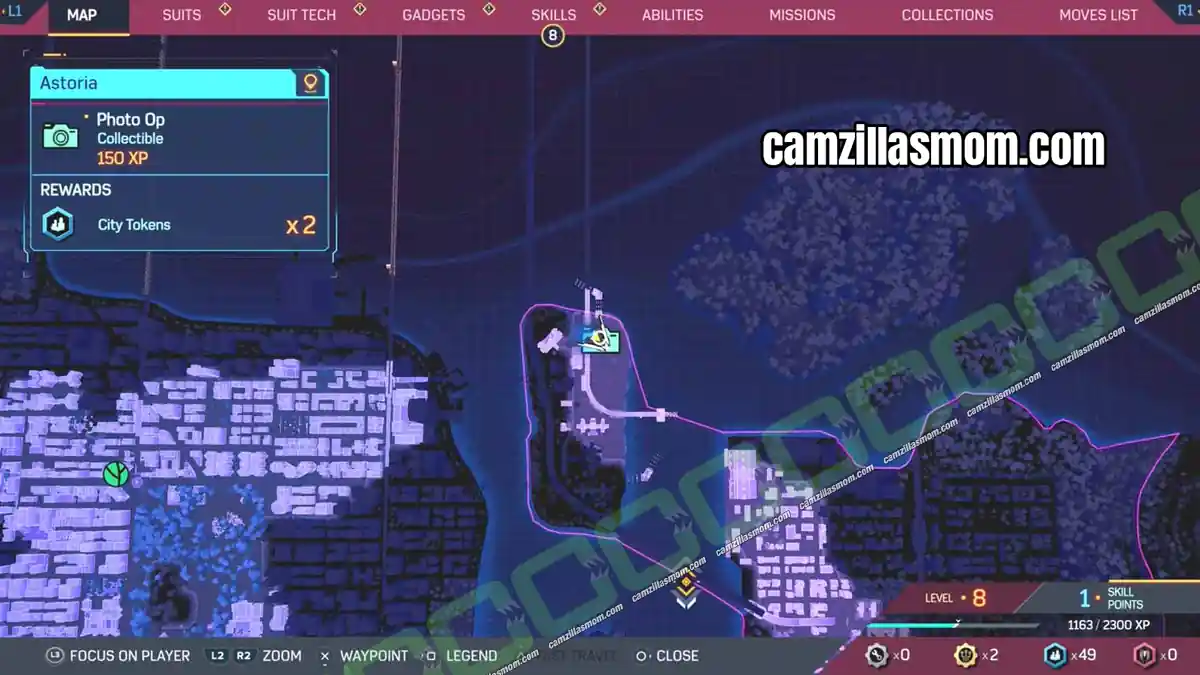
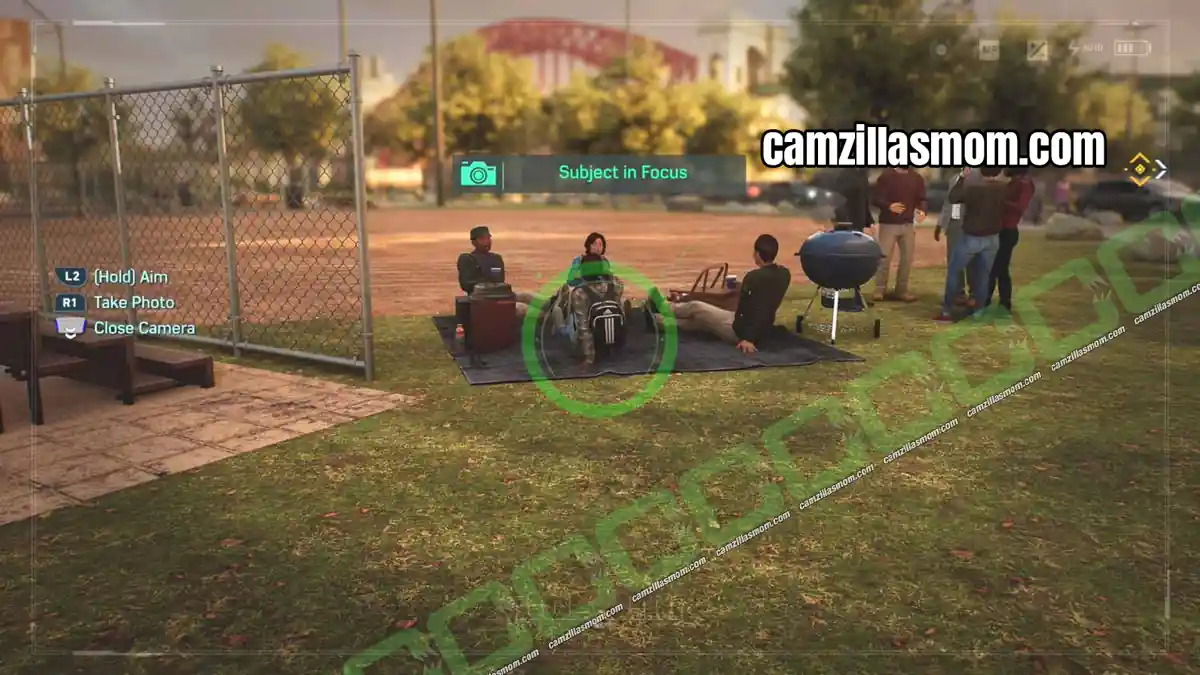
Cross over to the Astoria island. On its northern tip is a small park where people are having a relaxed picnic. Take a picture of them.
FNSM Request – Monster in Queens
Location: Alma’s house in the north of Astoria
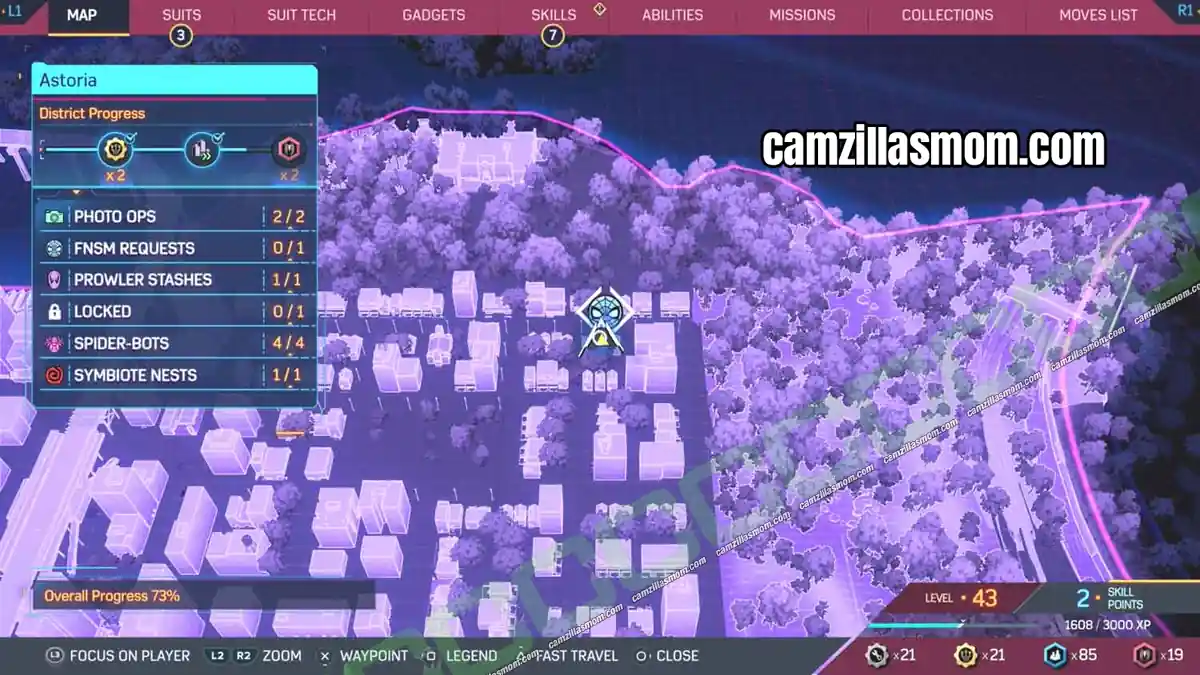
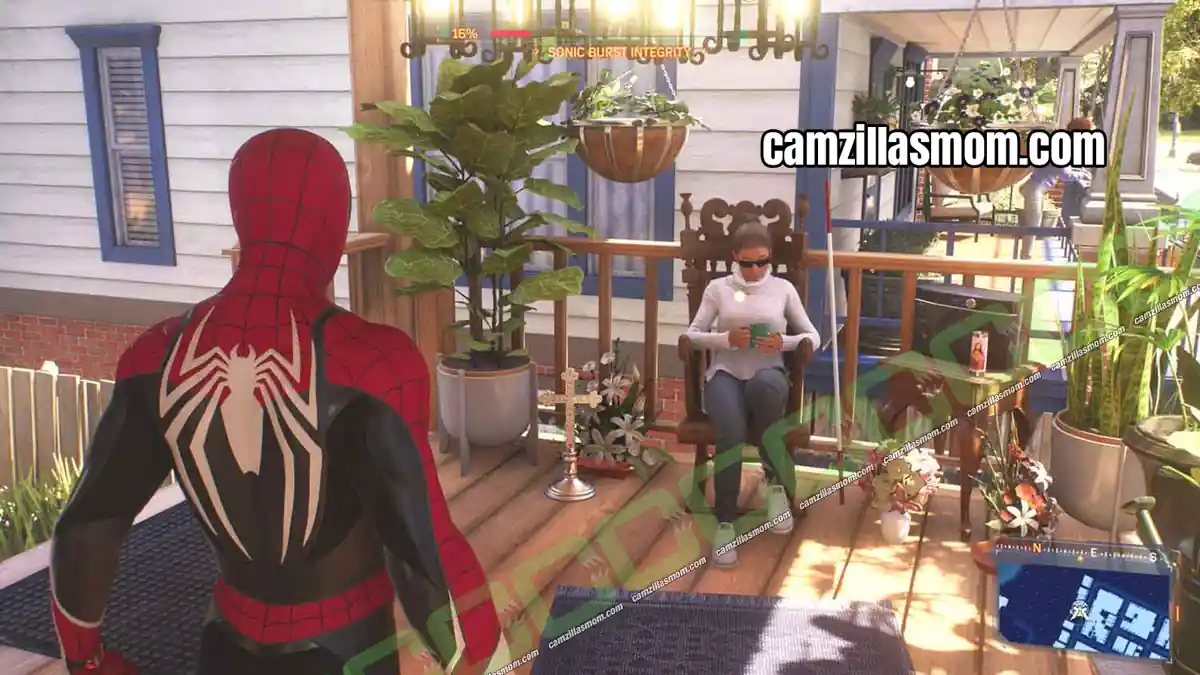
Monster in Queens is the only FNSM Request in Astoria. It starts in the north of the district: go to Alma’s house and talk to her. Alma is blind and tells you about a monster in her backyard.
Follow the Glowing Tracks
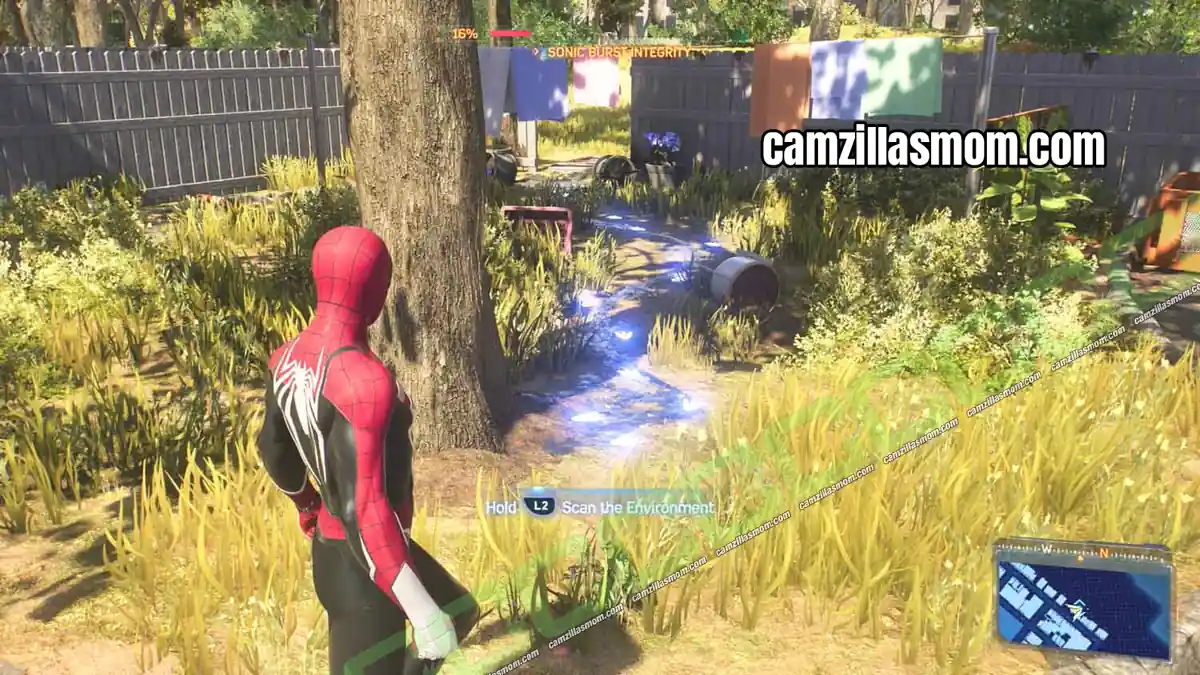
Search for the blue glowing tracks that lead out of the backyard. Follow them and scan again at the broken fence. You can interact with the turquoise goo on the floor.
Pink Corruption Puzzle Solution
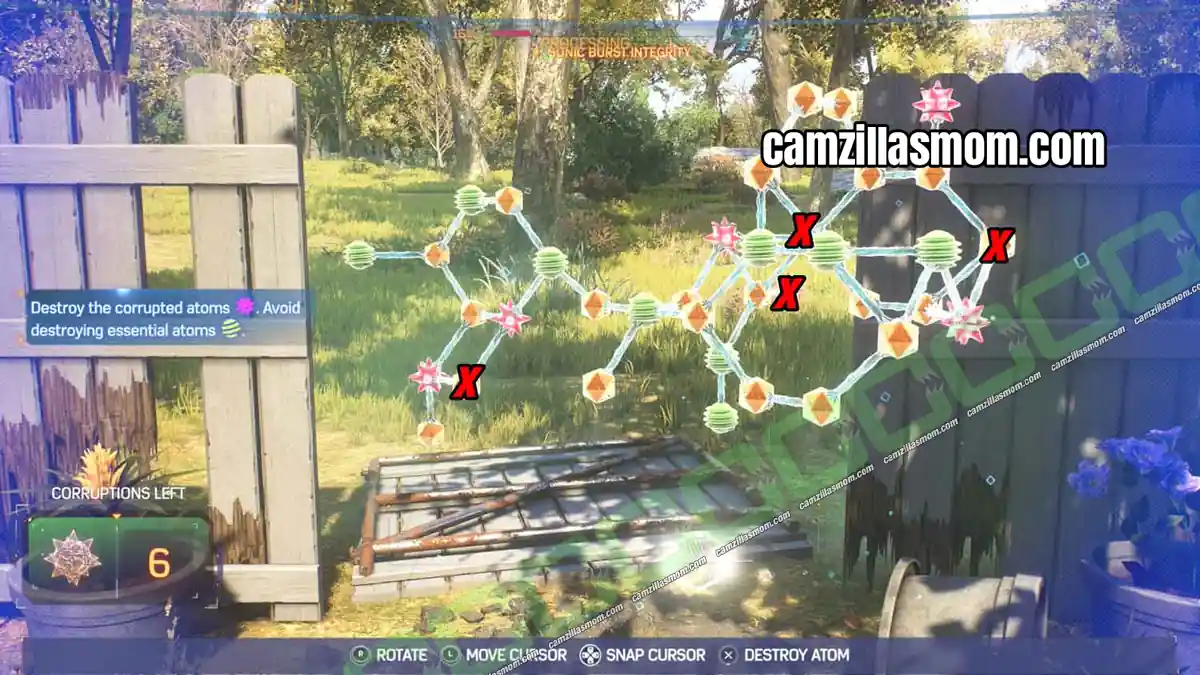
To go on, solve a puzzle by clicking on the pink corruptions marked with a red X in the screenshot below.
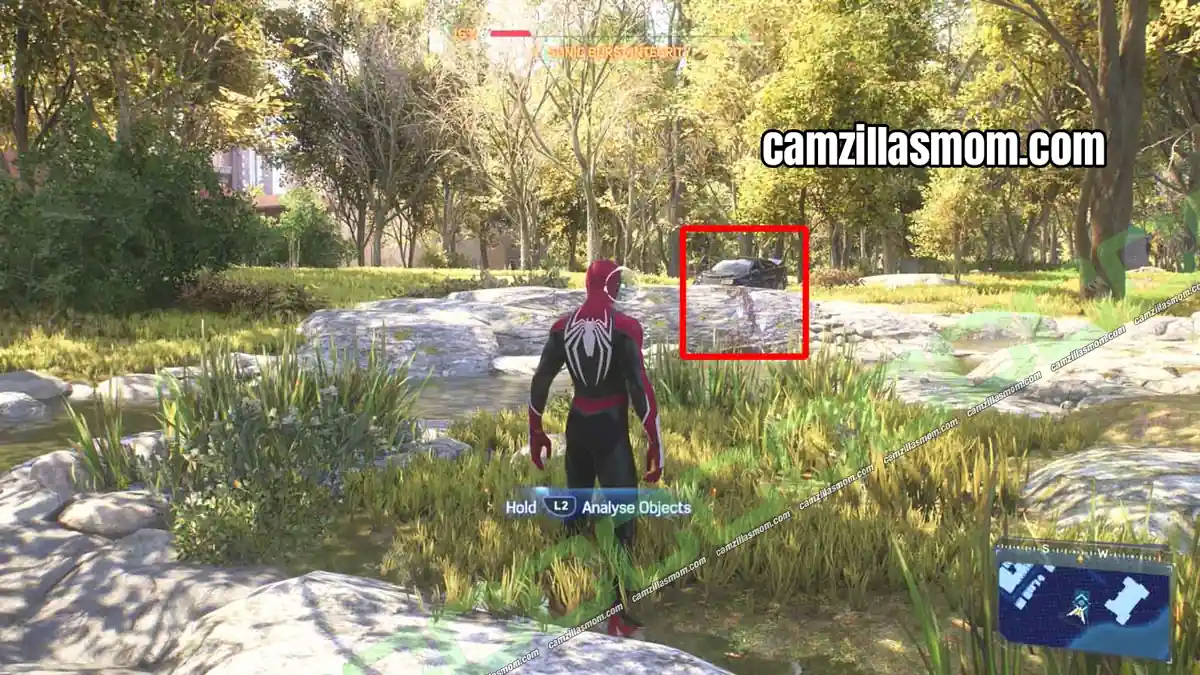
Examine the Broken Car
Follow the trail into the woods until you reach a stream. Scan the area once more. There are tracks near a broken car, so examine the car as well. Behind it is another puddle of gunk.
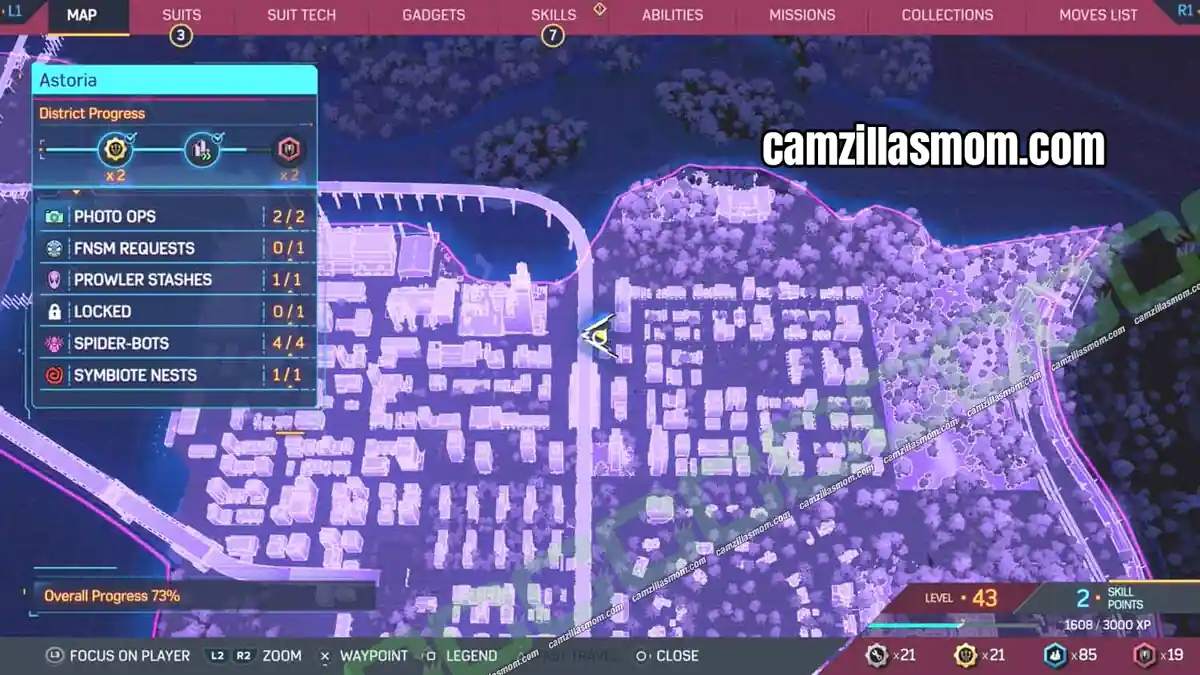
Find the Hunter-Beast
Follow the trail of gunk to this spot. There is a large paw print on the floor and a Hunter-Beast hiding between the dumpsters. Approach it.
Fight the Hunters and Return to Alma
Ganke hacks the Hunter-Beast. Then two Hunter Birds appear and the Beast starts hunting them. Spider-Man tracks it down to a church, where you fight the Hunters. After the fight, remove the arrow from the Beast’s side and return to Alma, who happily adopts it as her guide dog.
Astoria Prowler Stash
Location: Rooftop of a tall building in the central south of Astoria
Astoria has only one Prowler Stash. It sits on top of a tall building in the central south of the district.
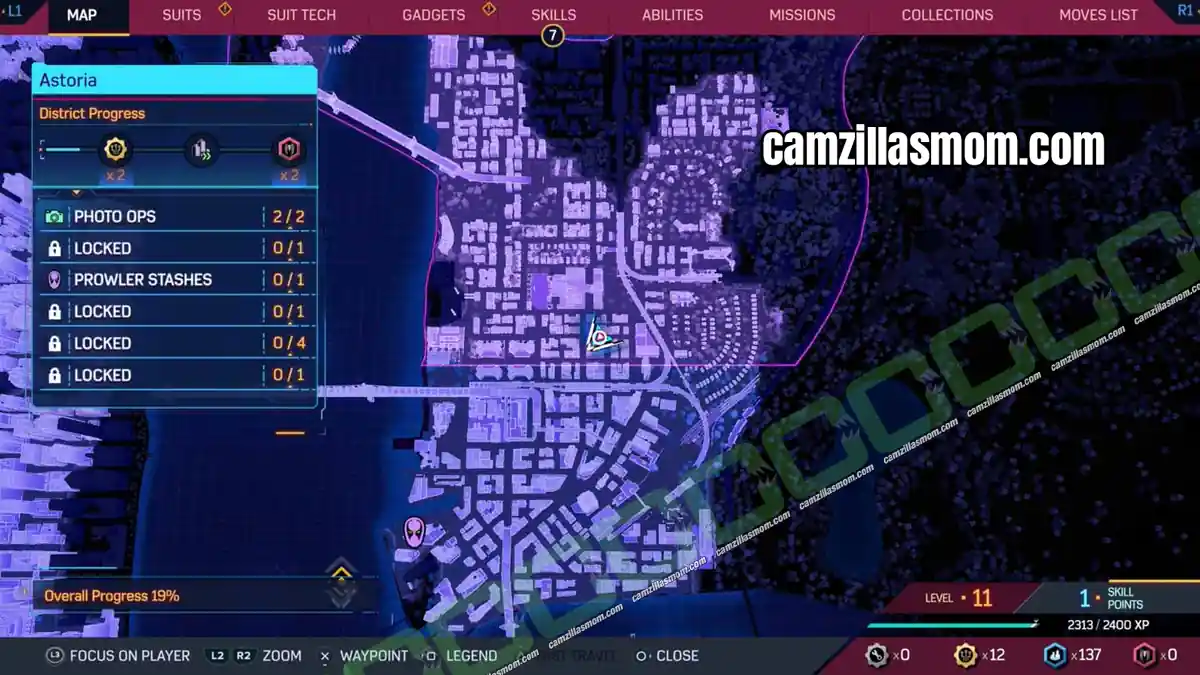
Stabilize the First Code
Scan the area with R3 to find the Stash. Then hold L2 to reveal the first code. Move both controller sticks into the highlighted area and hold them there until the code stabilizes.
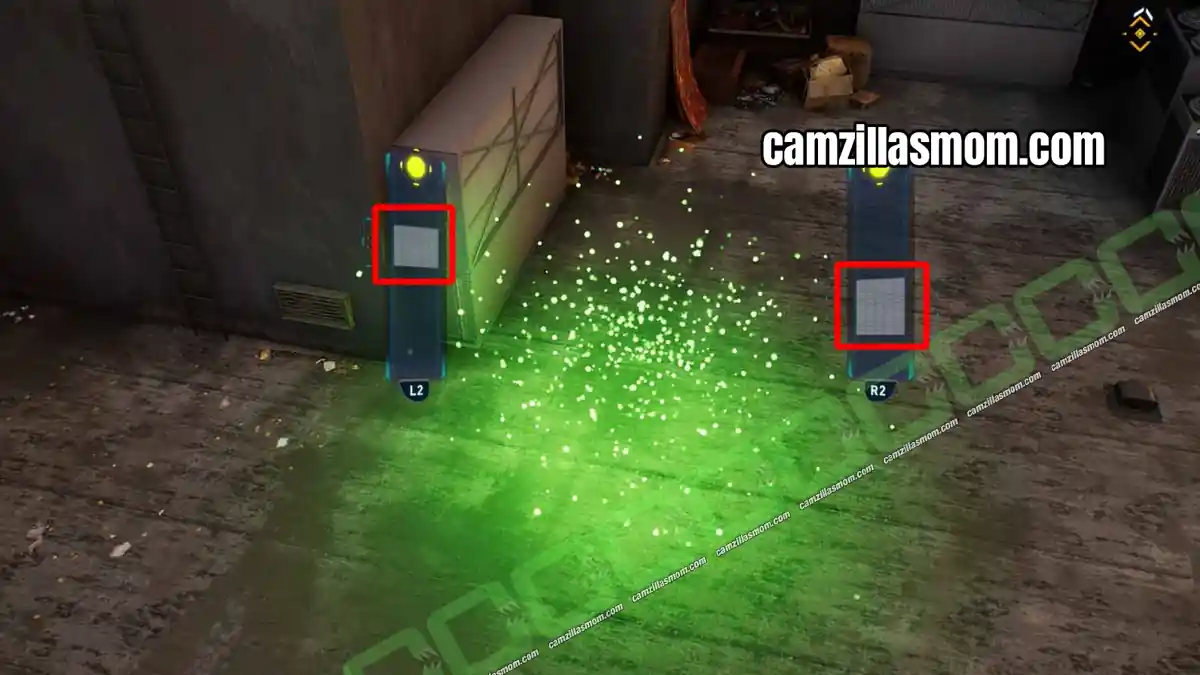
Yank the Metal Wall
The code reveals a metal wall you need to yank. Stand where Miles is in the screenshot below and pull the wall towards you with L1 + R1.
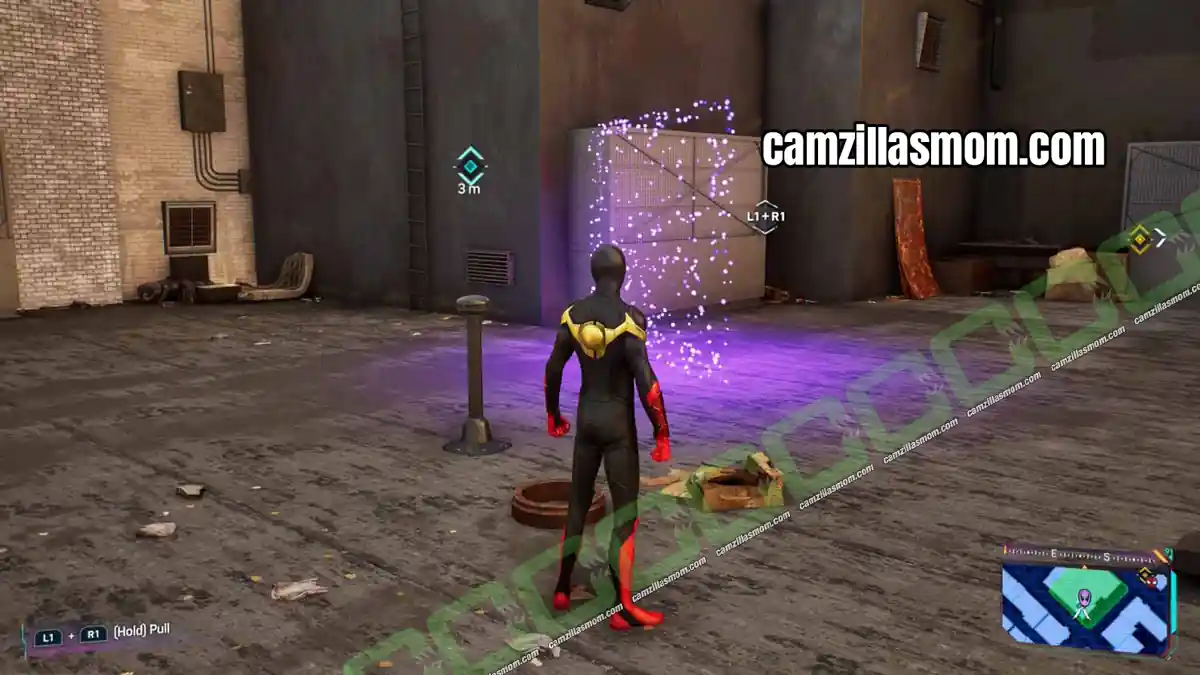
Prowler Stash Electric Panel Locations
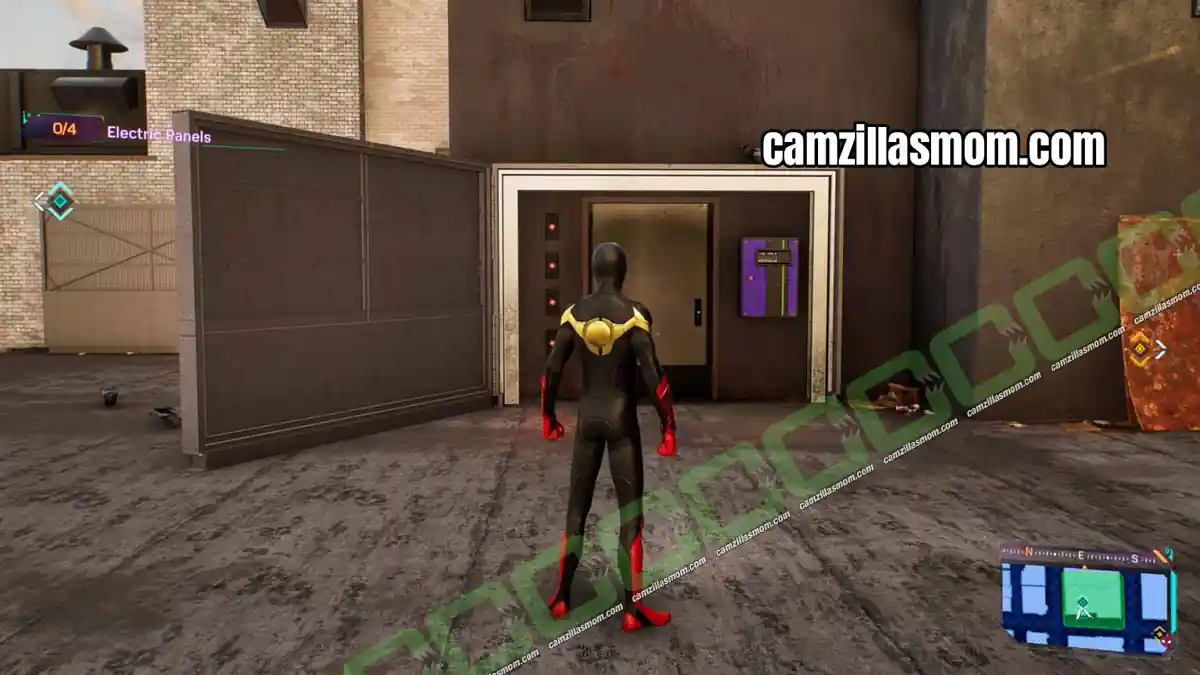
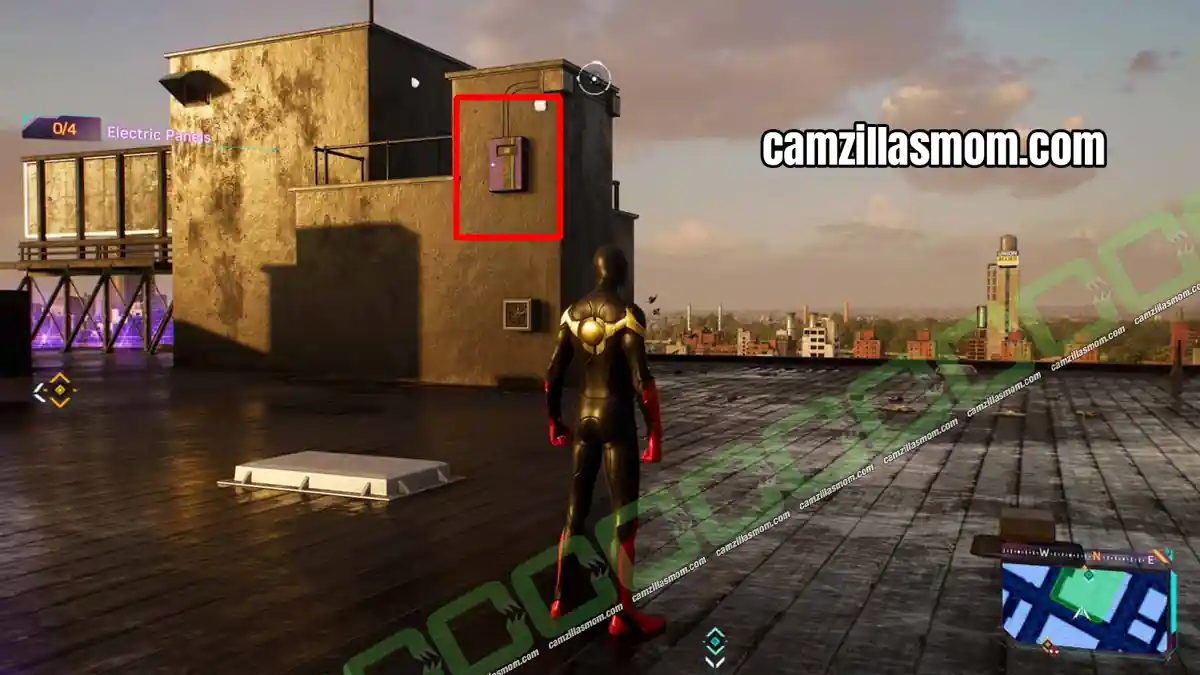
With the metal wall gone, a door appears. To open it, find 4 Electric Panels (circuit boxes) and overload them with Chain Lightning (L1 + Square). The panels are on a timer and reset if you are too slow, so the best way is to work from the top to the bottom.
Electric Panel 1: Right at the entrance of the Prowler Stash.
Electric Panel 2: Just above the Prowler Stash room. Climb onto the stash room roof.
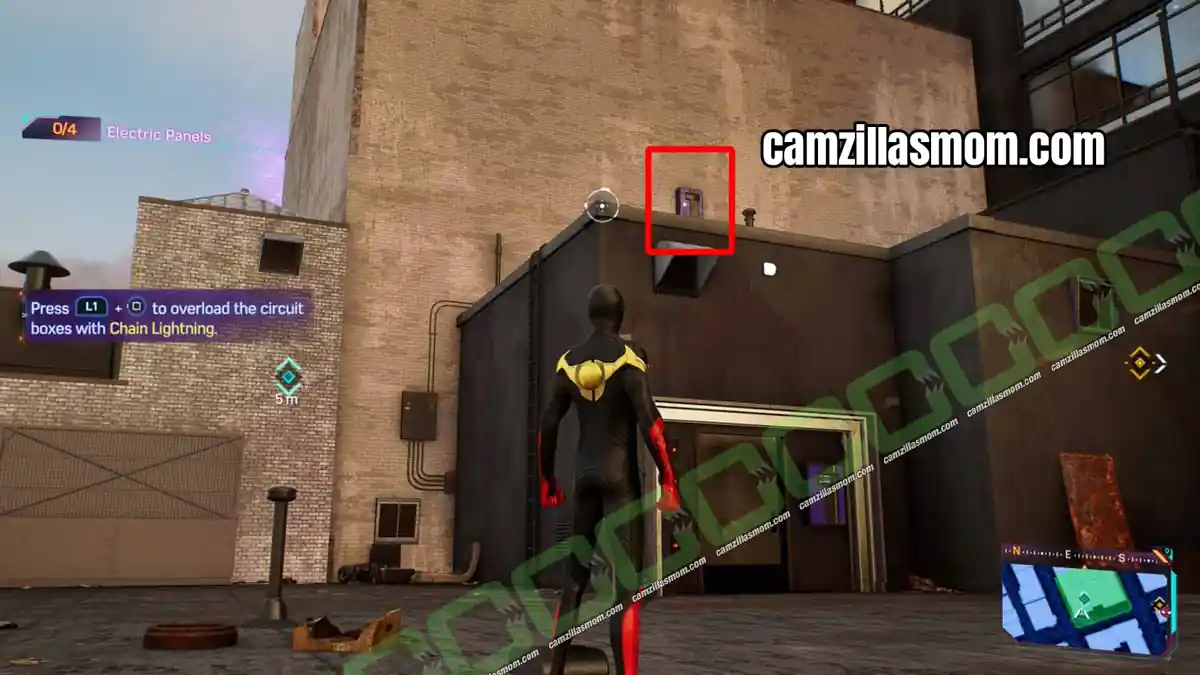
Electric Panel 3: Climb up the wall with the second panel to reach the area with the third circuit box.
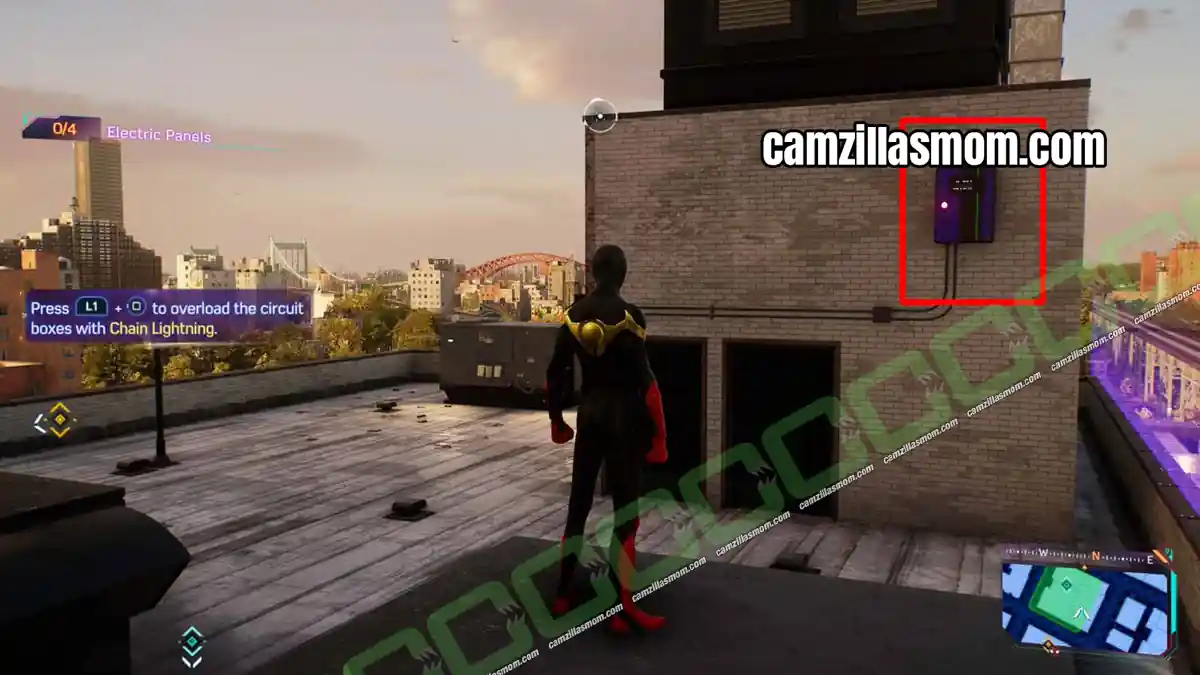
Electric Panel 4: On the very top of the highest building in the purple Prowler Stash area.
Collect the Prowler Stash
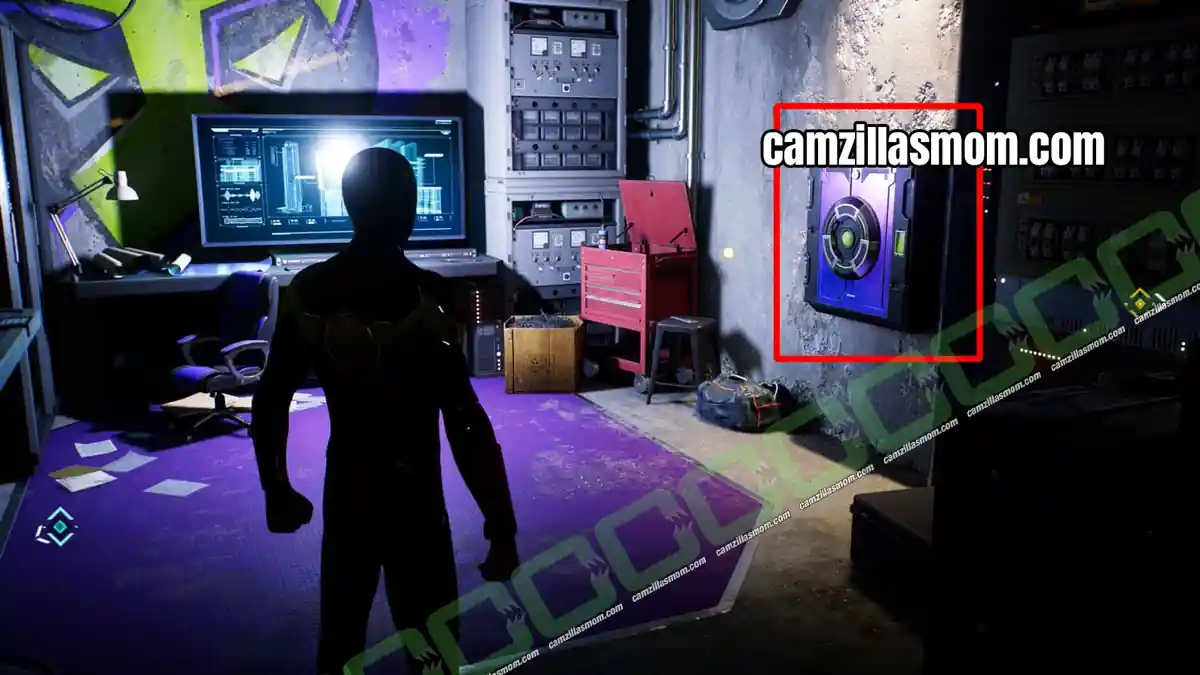
Once all four panels are overloaded, enter the Prowler Stash room and open the purple safe on the wall.
The Flame – I Knew You Had It in You
Location: Former hospital in Astoria
I Knew You Had It in You is the third of four missions in The Flame side story. After Spider-Man and Wraith clear out a former hospital in Chinatown (Everything Burns), their attention turns to a hospital in Astoria.
Fight the Cultists on the Roof
Wraith has left a “Hurry Up” message on the roof. When Spider-Man arrives, he finds unconscious cultists and needs a way inside. Head to the rooftop, where you fight lots of cultists. The entrance is up here as well.
Scan the Brooklyn Map Room
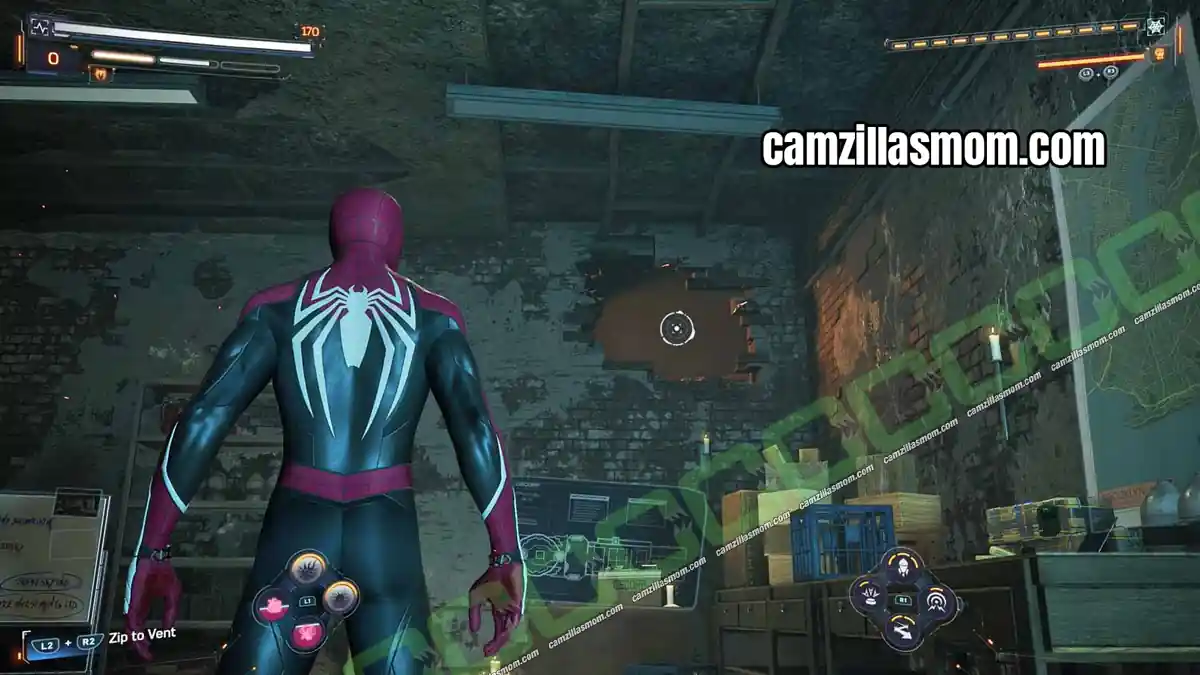
Take the stairs down. Watch for reference points on the ceiling that show where you can crawl deeper into the building. You reach a room with a map of Brooklyn. Activate your scanner with L2 and scan the Brooklyn map, the Oscorp floorplan on the wall, the whiteboard and the book on display. Then leave the room through the only opening.
Help Wraith and Fight Yuri
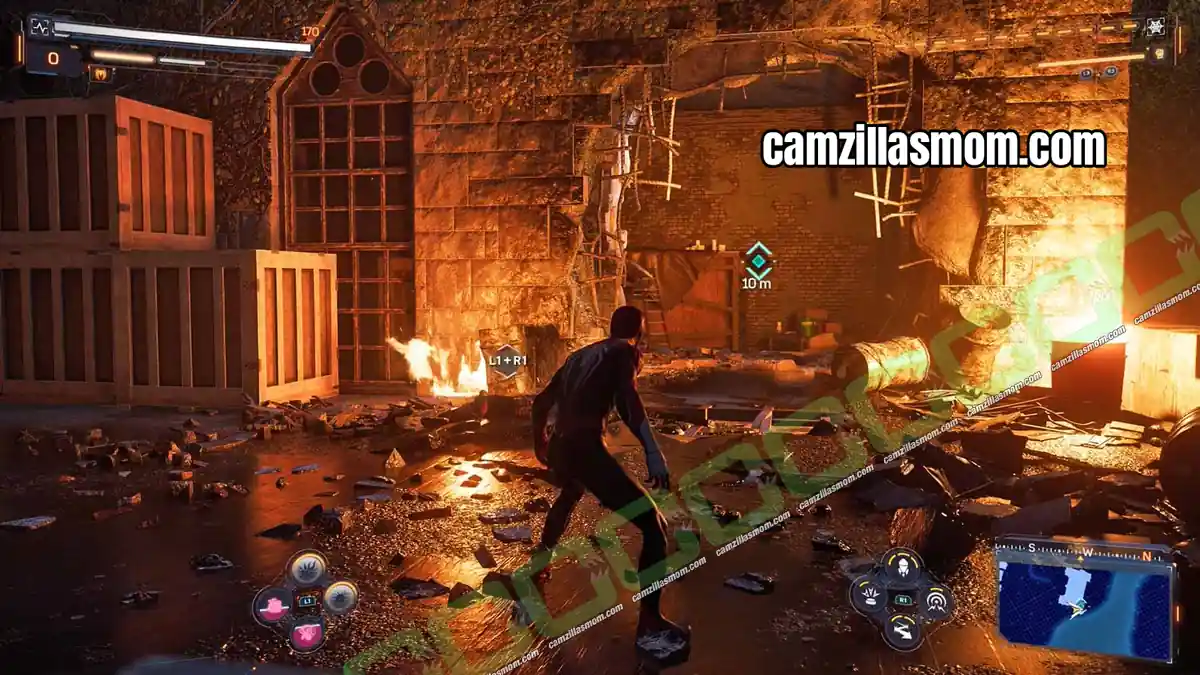
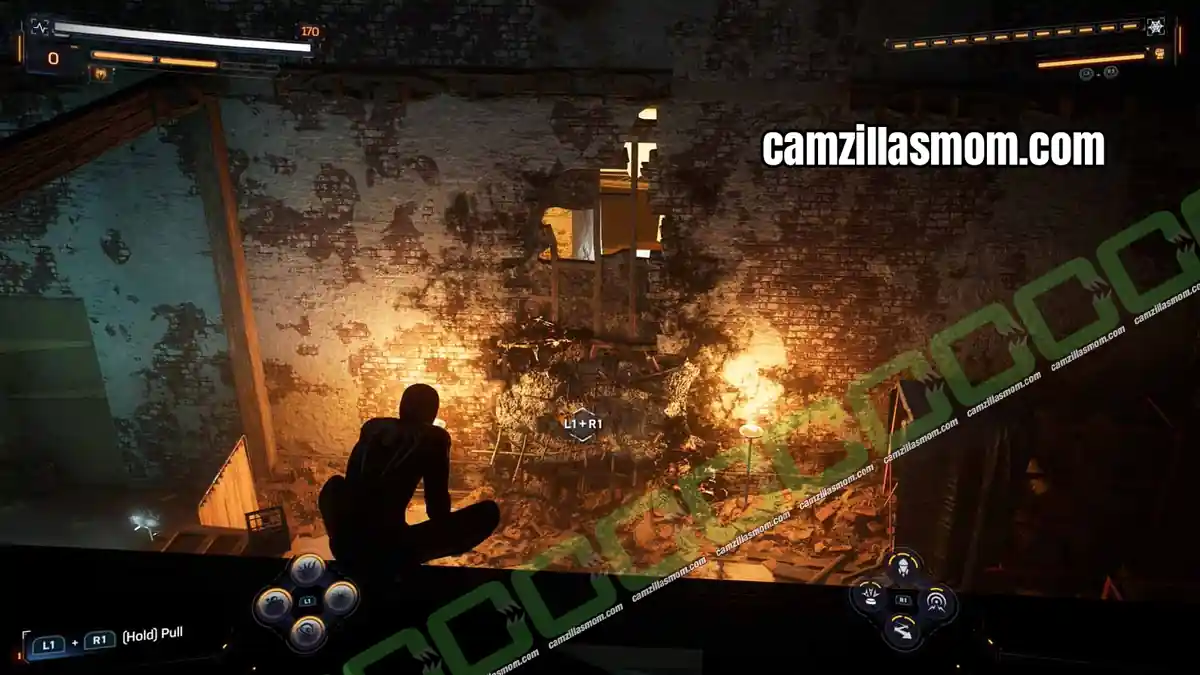
In the next area, take out all the cultists, then help Wraith (Yuri) by removing the debris on the wall. After the cutscene, you fight Yuri.
Astoria Symbiote Nest
Location: Park in the northeast of Astoria
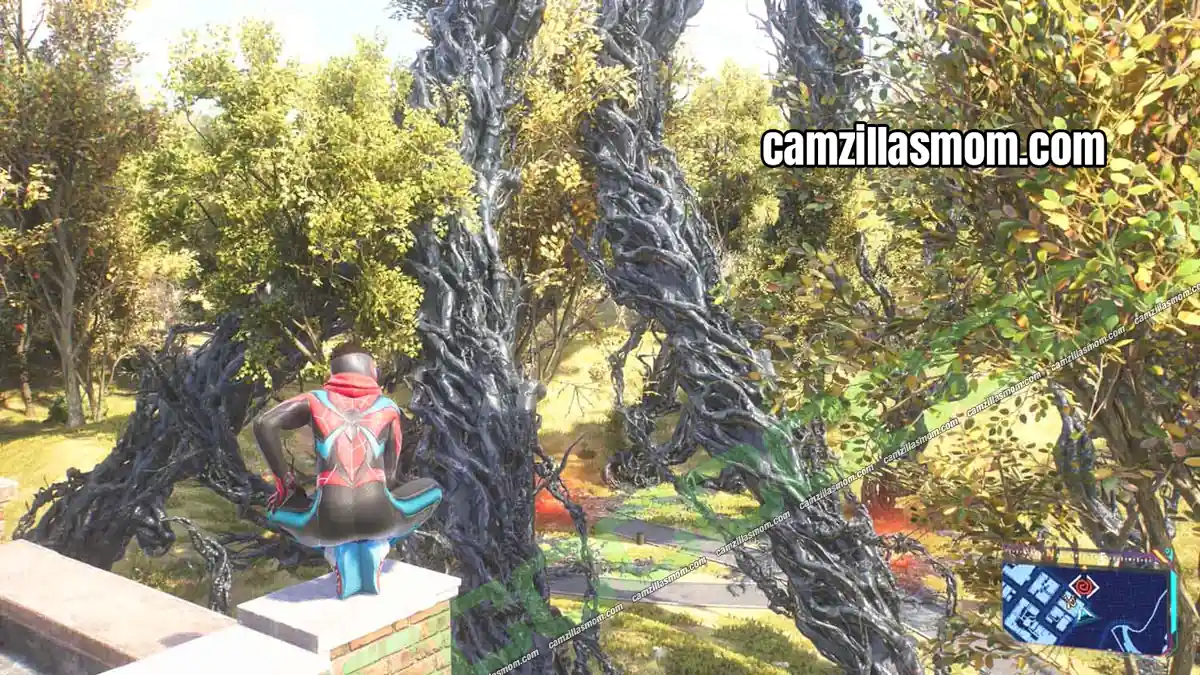
The Astoria Symbiote Nest is in the park in the northeast of the district. After you place the bomb, there are two hearts you have to protect.


About Marvel’s Spider-Man 2
Release: October 20th, 2023
Developer: Insomniac Games
Publisher: Sony Interactive Entertainment
Official Website: https://insomniac.games/game/marvels-spider-man-2/