Freeze Frame is a Control Resonant side story where you track down 14 Altered cameras, two in each of the seven zones, using the Instant Photos they leave behind. Here is where to find every photo and camera, how to sneak up on each one and how to finish the camera chase in Downtown, sorted alphabetically by zone.
Related Guides:
Carbon Copy
Into the Valley of Death
Maintenance Protocol
Panopticon Service Request
The Complete Set
The Last Taxi
The Party Won’t Stop
Unsupervised Science
Urban Survival
Control Resonant Game Guides & Collectibles Hub
- How to Start Freeze Frame and How It Works
- Central Camera Locations
- Downtown Camera Locations
- Evacuation Zone Camera Locations
- The Park Camera Locations
- Underpass Camera Locations
- Unknown District Camera Locations
- West Incursion Zone Camera Locations
- Last Step: Contain All the Cameras in Downtown
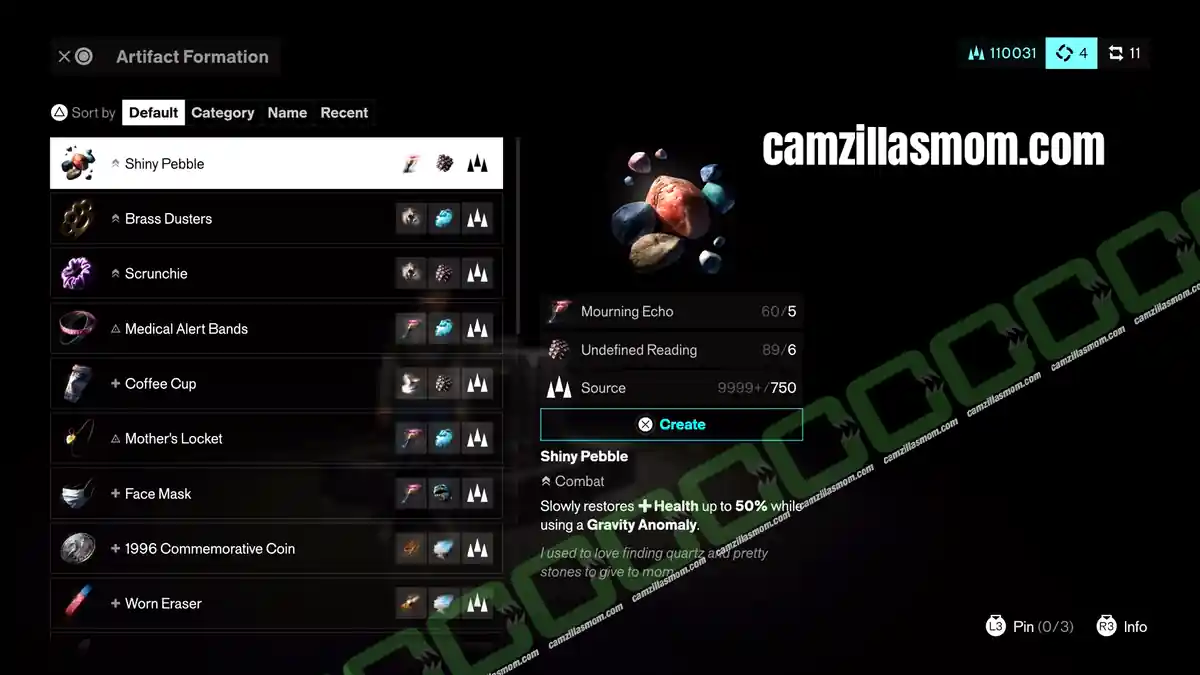
- Reward: Untapped Shiny Pebble
How to Start Freeze Frame and How It Works
Side Story: Freeze Frame
Start: Pick up any Instant Photo or find one of the cameras
Side Story Quest Text:
“An instant camera freezes anything that finds its way into its viewport. This has to be an Altered Item.”
1 – Instant Photos
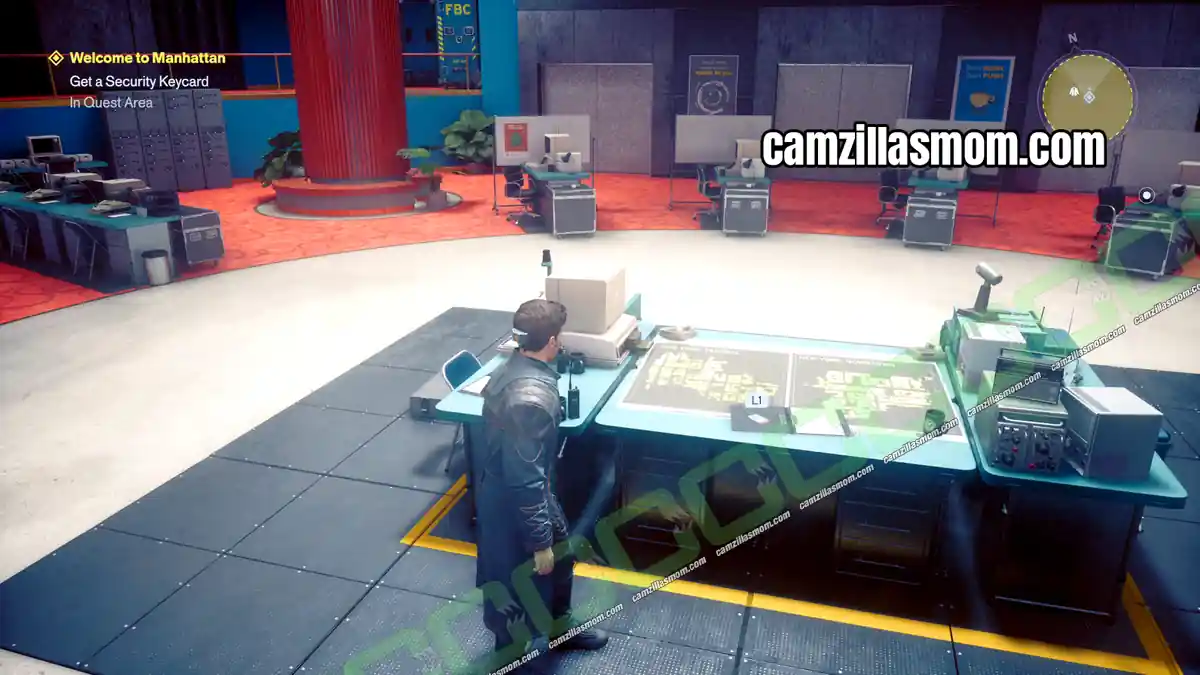
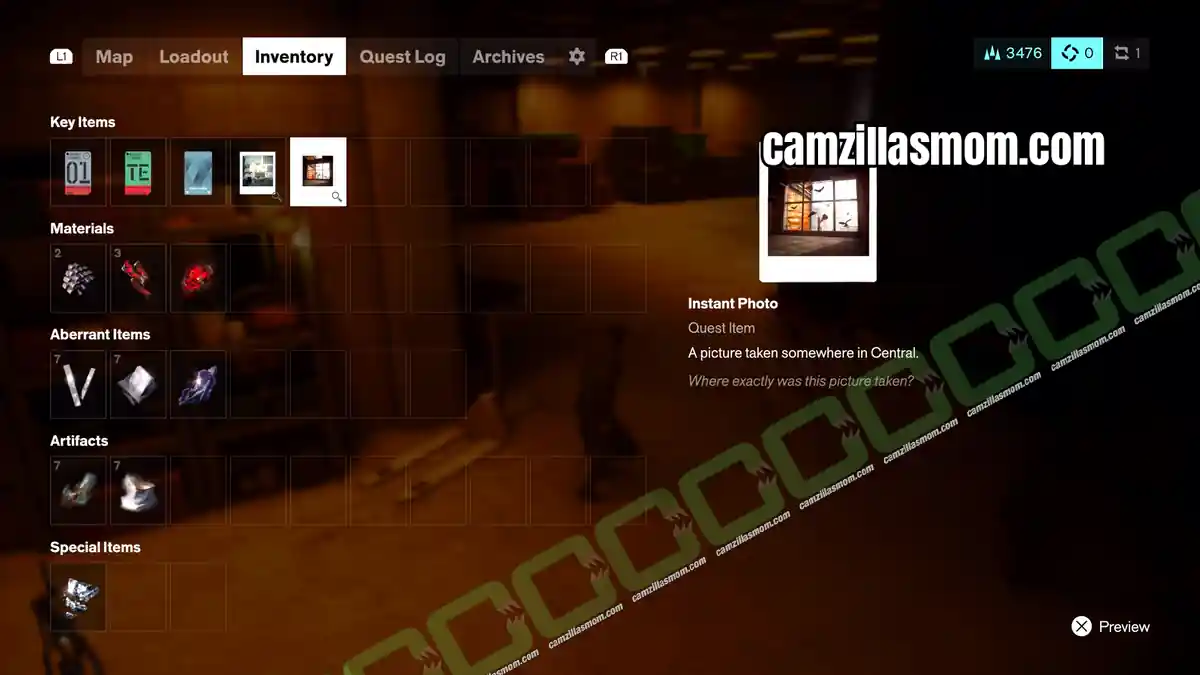
Instant Photos lie around in every zone, and each one shows the view of one of the cameras. Pick one up to start the side story. The first two are in the main building of the Central Field Office.
2 – Altered Cameras
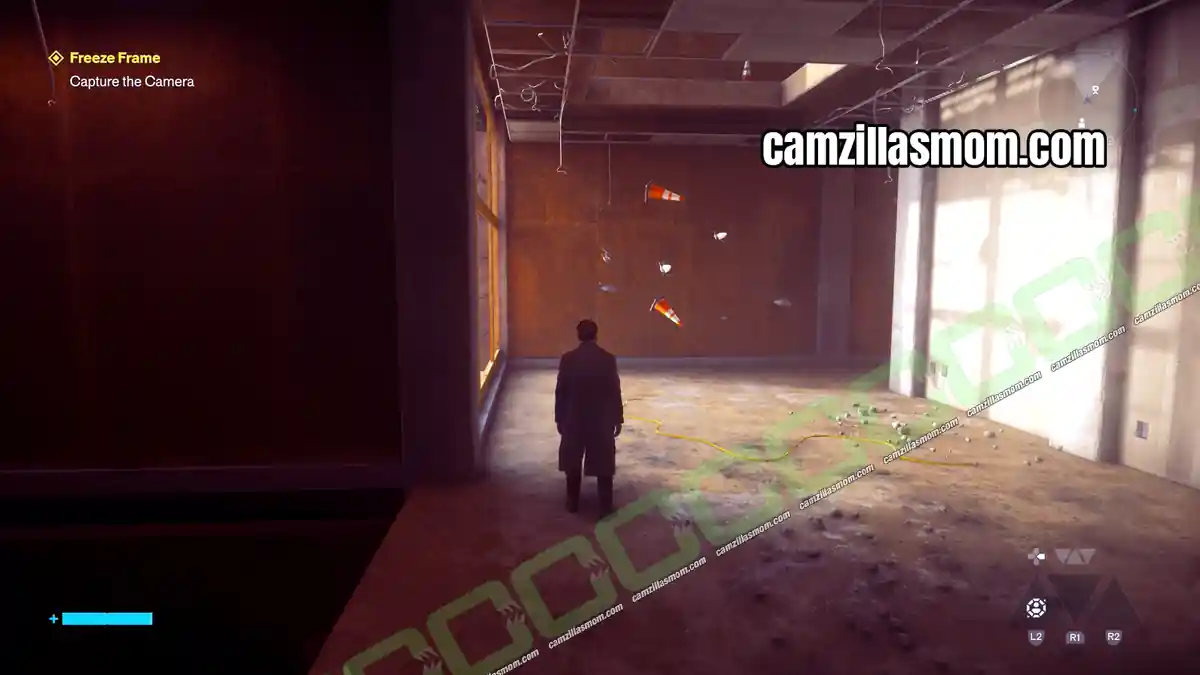
There are two cameras in every zone, and you may stumble on one before you find its photo. Look out for birds or objects frozen in mid-air. A camera disappears as soon as it sees you, but it always returns to the same spot. To catch it, sneak up from behind and shut its lid.
Central Camera Locations
Side Story: Freeze Frame
Cameras: 2
Watchtower Camera
Location: Central – bottom level below the Watchtower
Instant Photo: Central Field Office, main building
Watchtower Instant Photo
1 – Where to Find the Watchtower Instant Photo
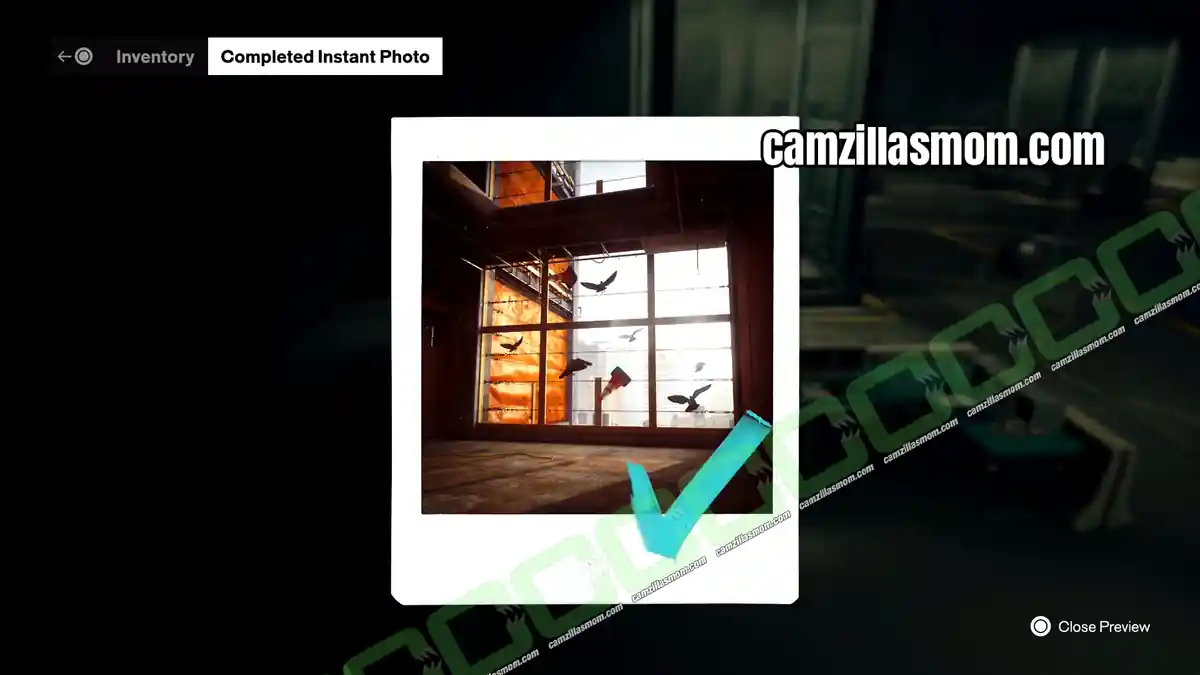
The photo is on one of the desks in the main building of the Central Field Office. It shows a big window with a red background.
2 – Watchtower Camera Location
Travel to the Watchtower in Central. An elevator takes you to the Underground Supply Route, but take the staircase instead and go down to the bottom level.
Go all the way to the back of this room and climb the scaffolding up two levels.
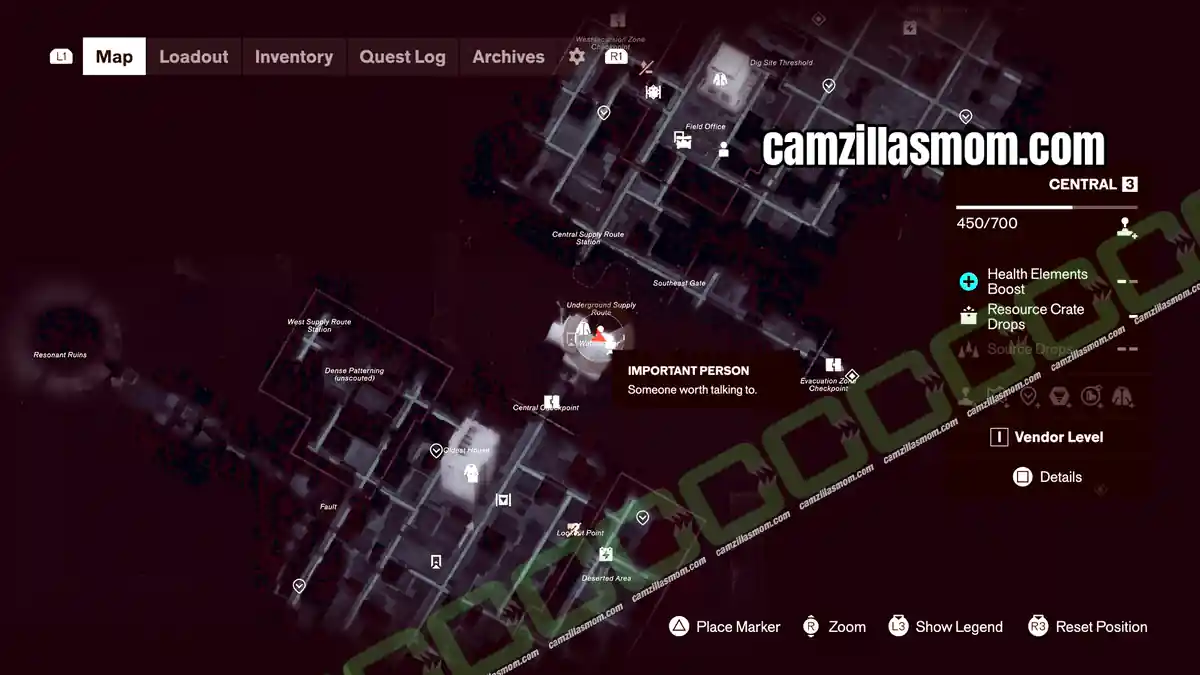
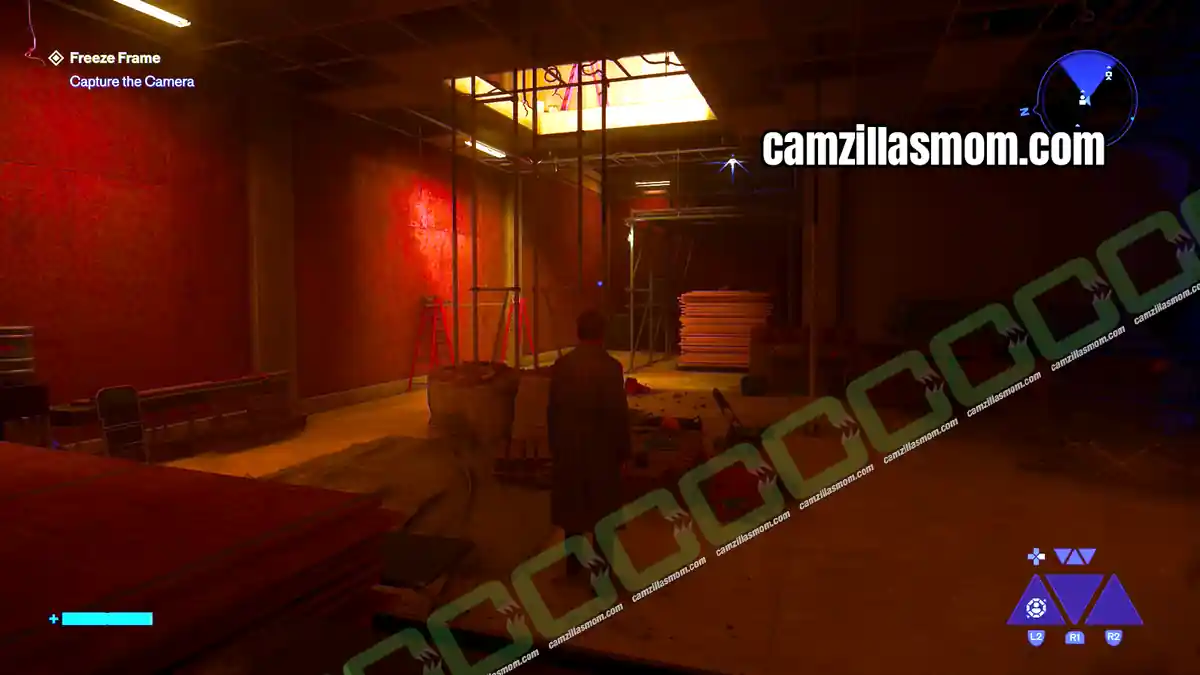
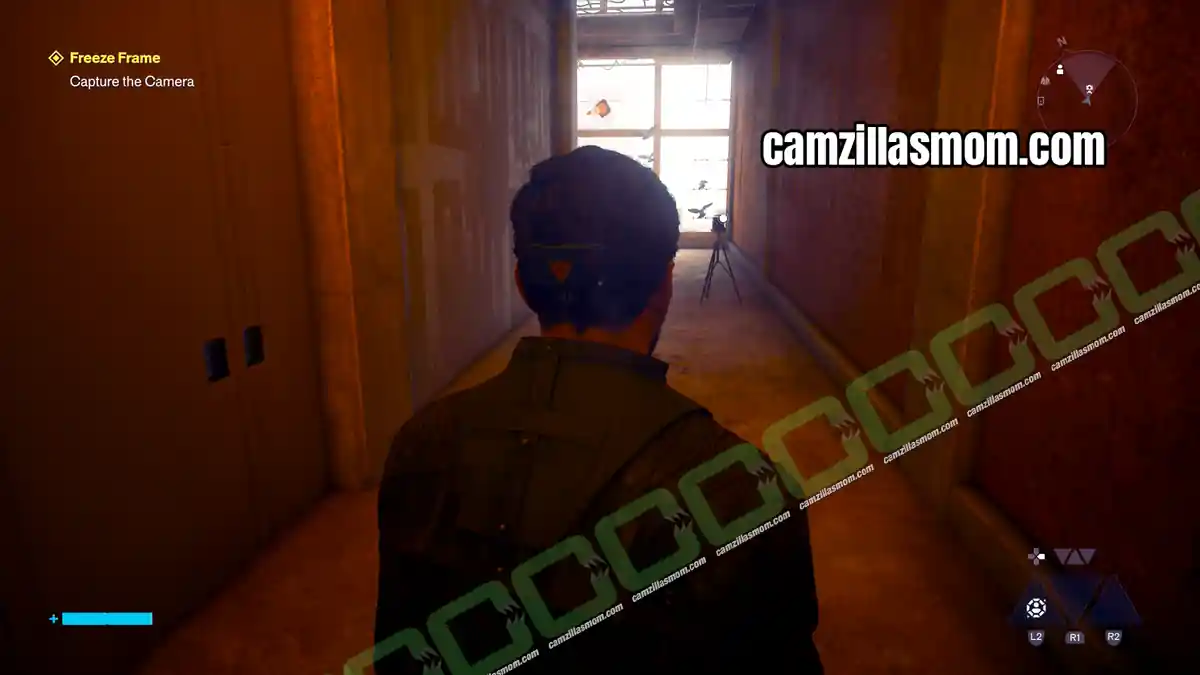
Look for traffic cones hovering in the air. The camera is hidden in the corridor next to them.
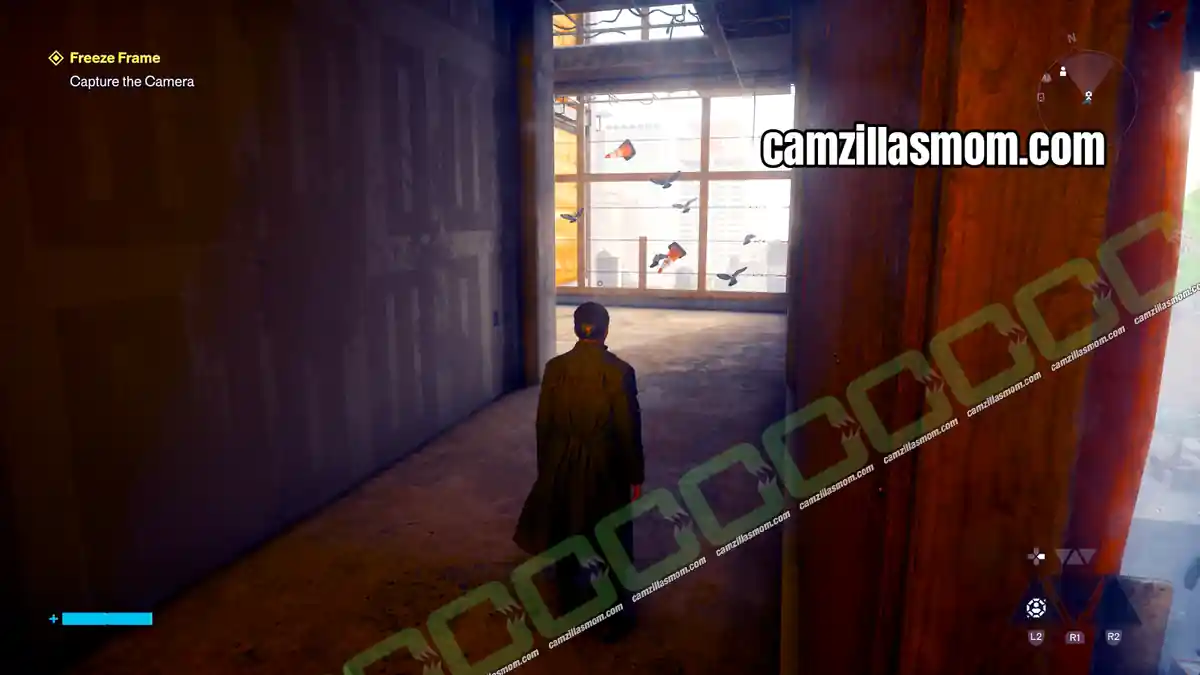
3 – How to Catch the Watchtower Camera
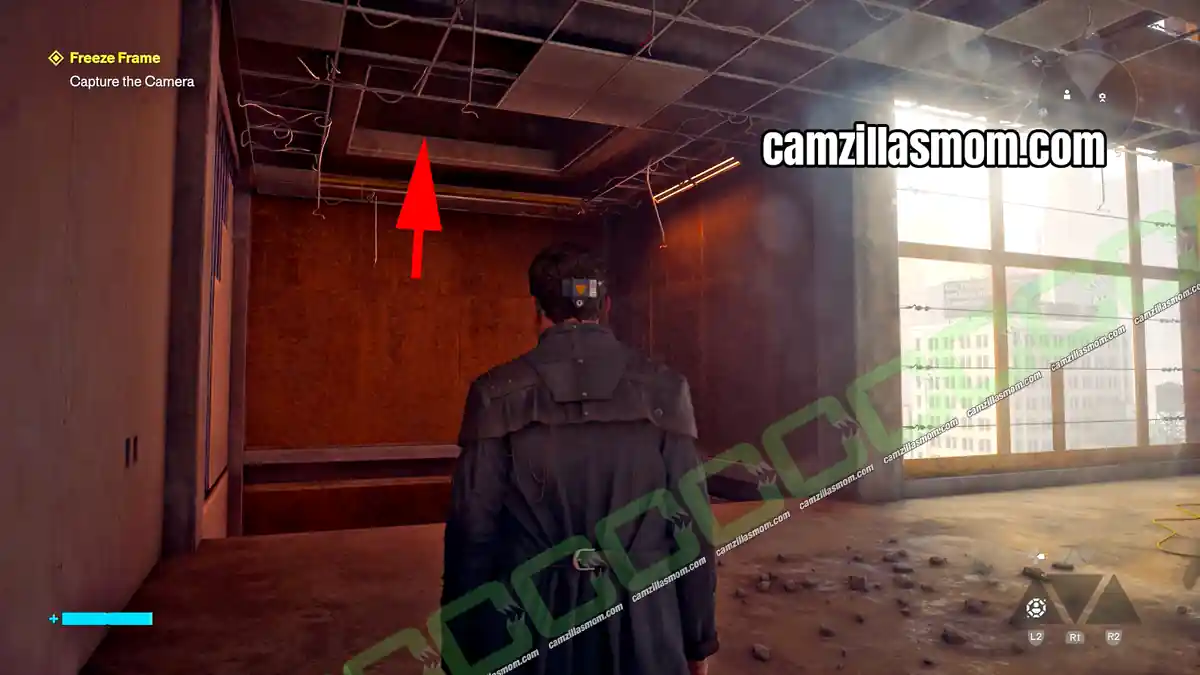
From the corridor, look up to spot a higher level you can reach. Jump up there to find two holes in the floor. You want the one at the far back, because it drops you behind the camera.
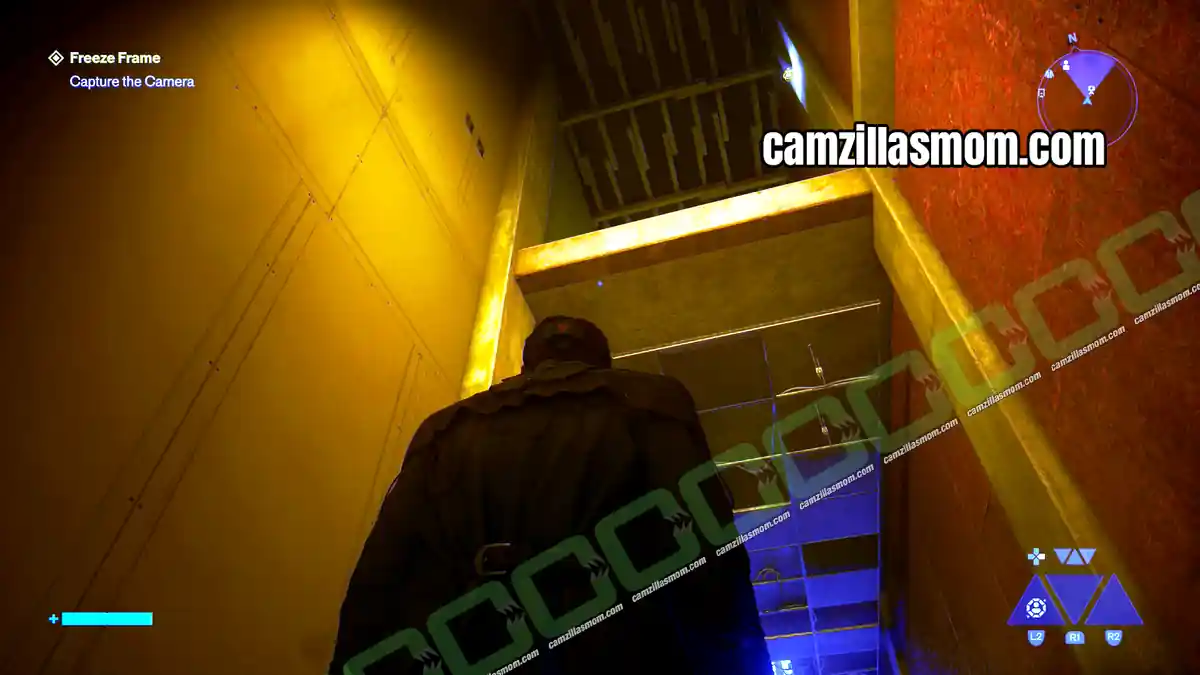
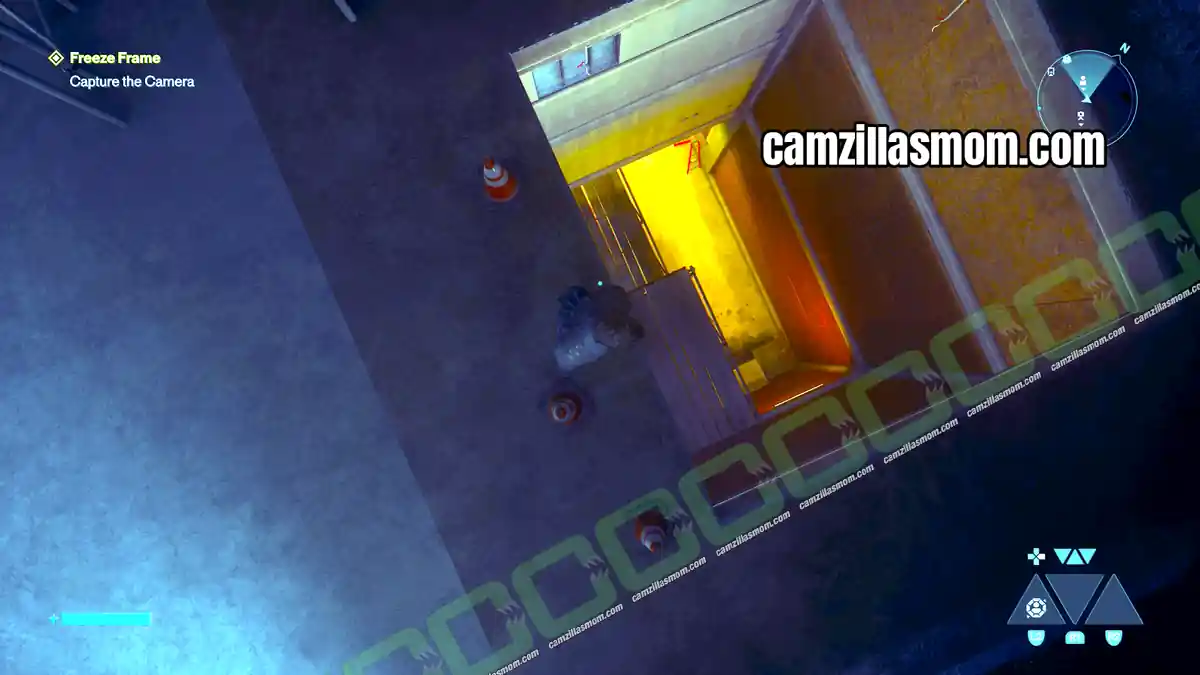
Go back to the corridor with the traffic cones and stay in the right corner so the camera can not spot you. Jump up to the upper floor, drop through the back hole and shut the lid.
Parking Roof Camera
Location: Central – top of the parking building
Instant Photo: Central Field Office, main building
Parking Roof Instant Photo
1 – Where to Find the Parking Roof Instant Photo
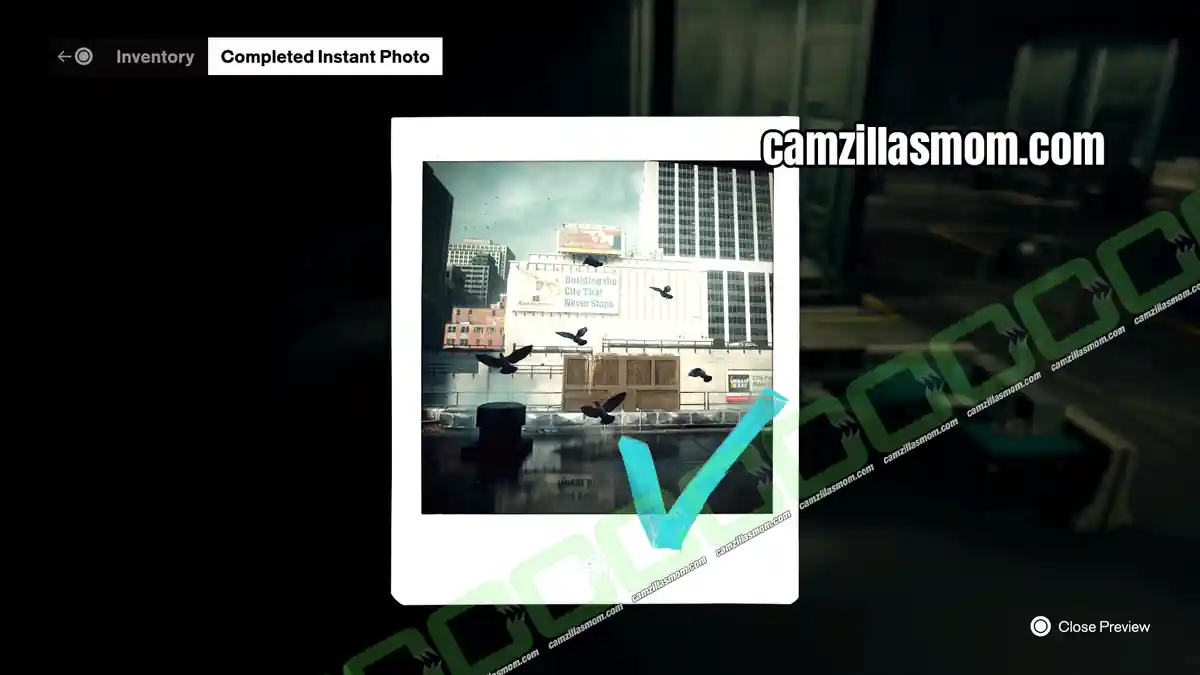
The second Central photo is also on a desk in the main building of the Central Field Office. It shows three adverts and an unusual skyscraper behind the top of a parking building.
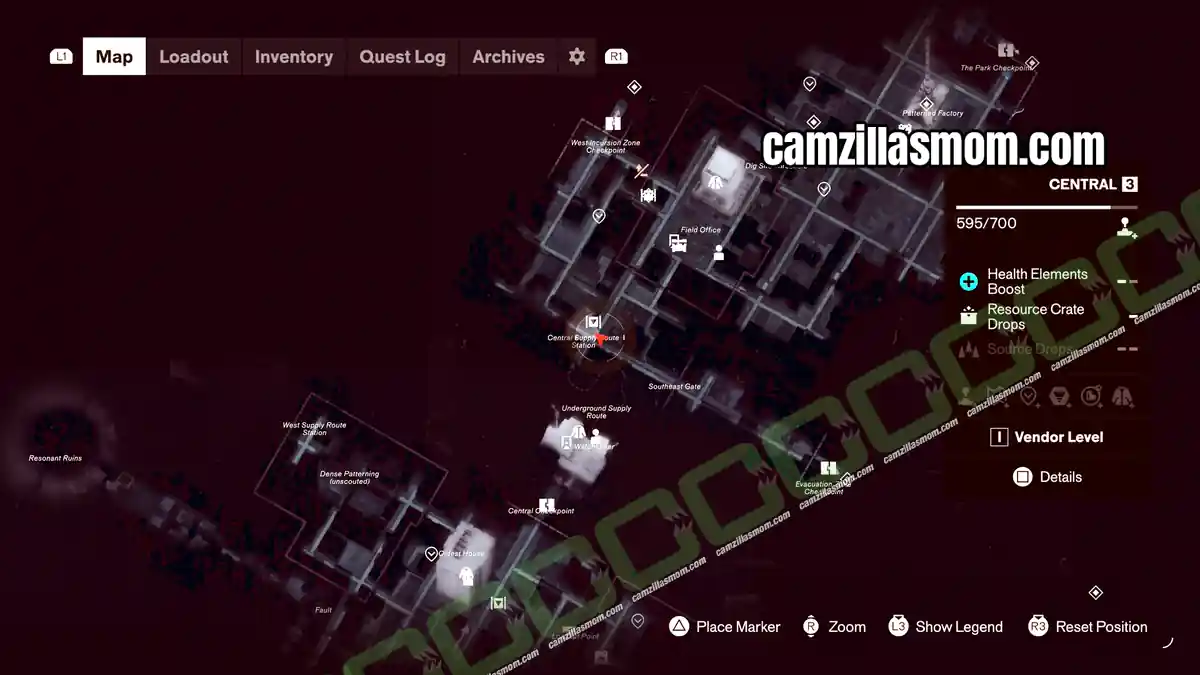
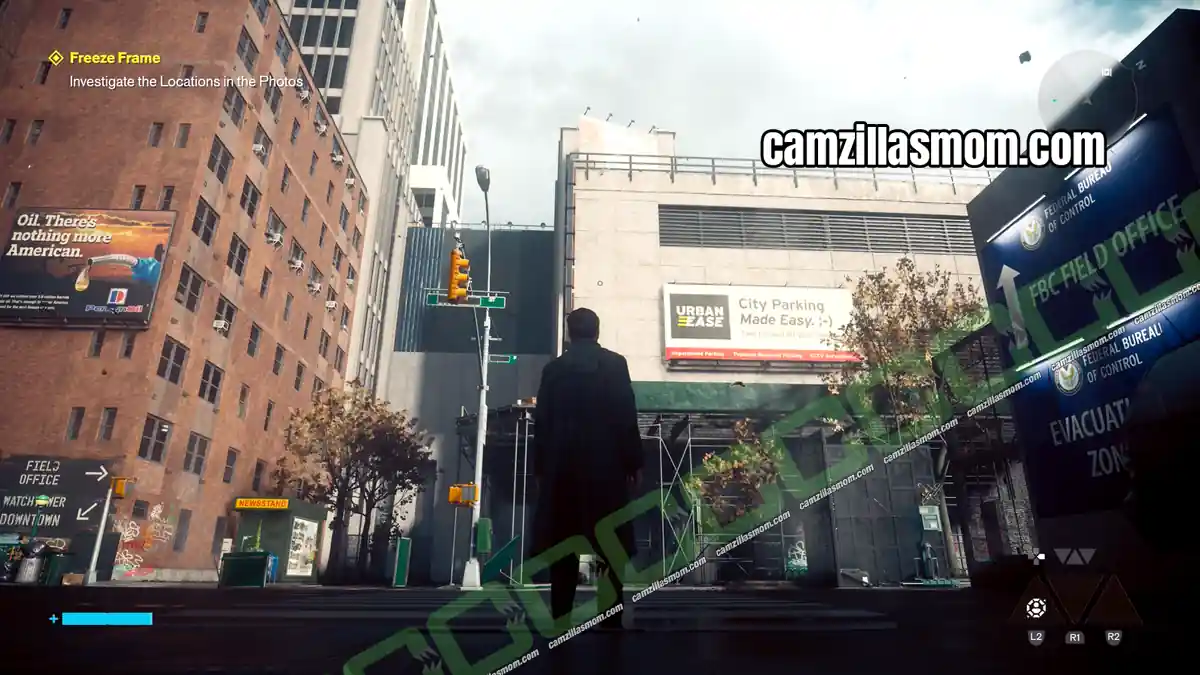
2 – Parking Roof Camera Location
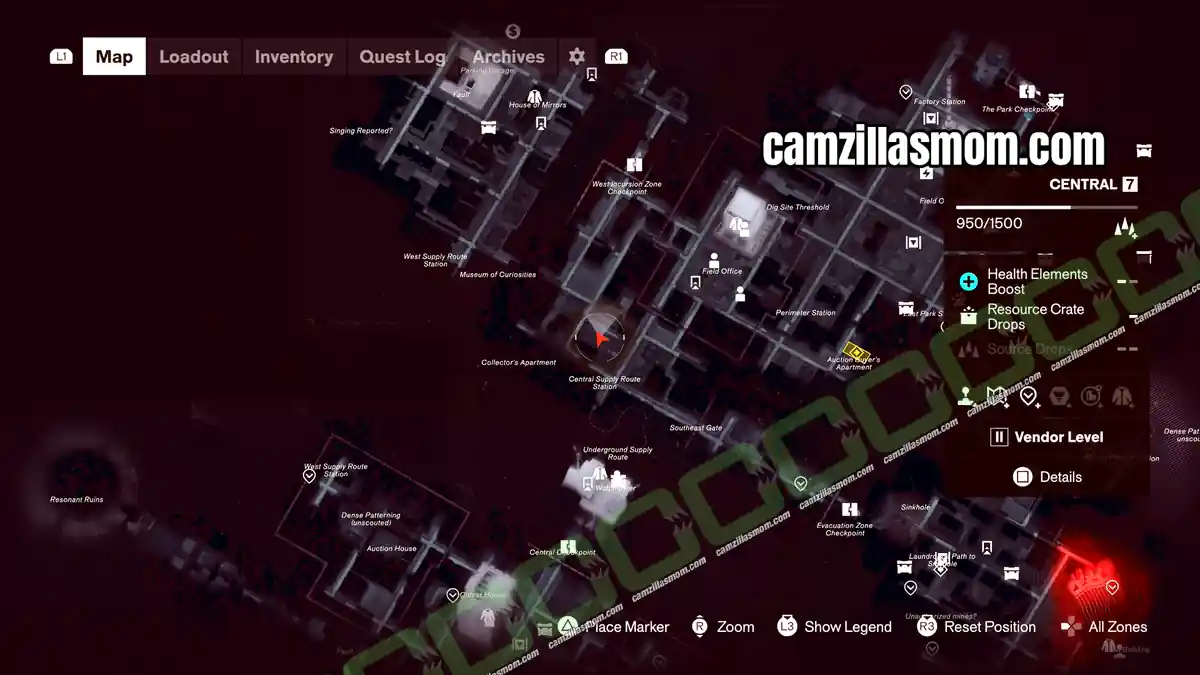
You can not get into the parking building from the side shown in the screenshots above. Go around to the other side, enter there and walk all the way to the top. While you are inside, open the two shutter doors as well, since they make it easier to get around Central.
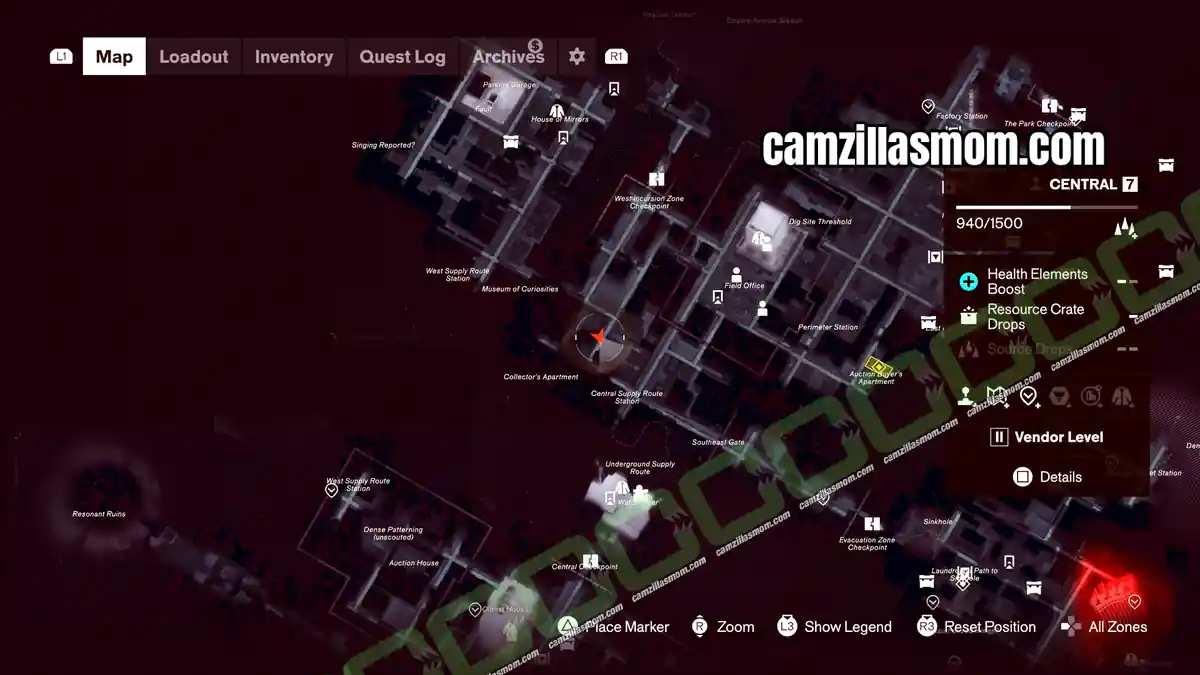
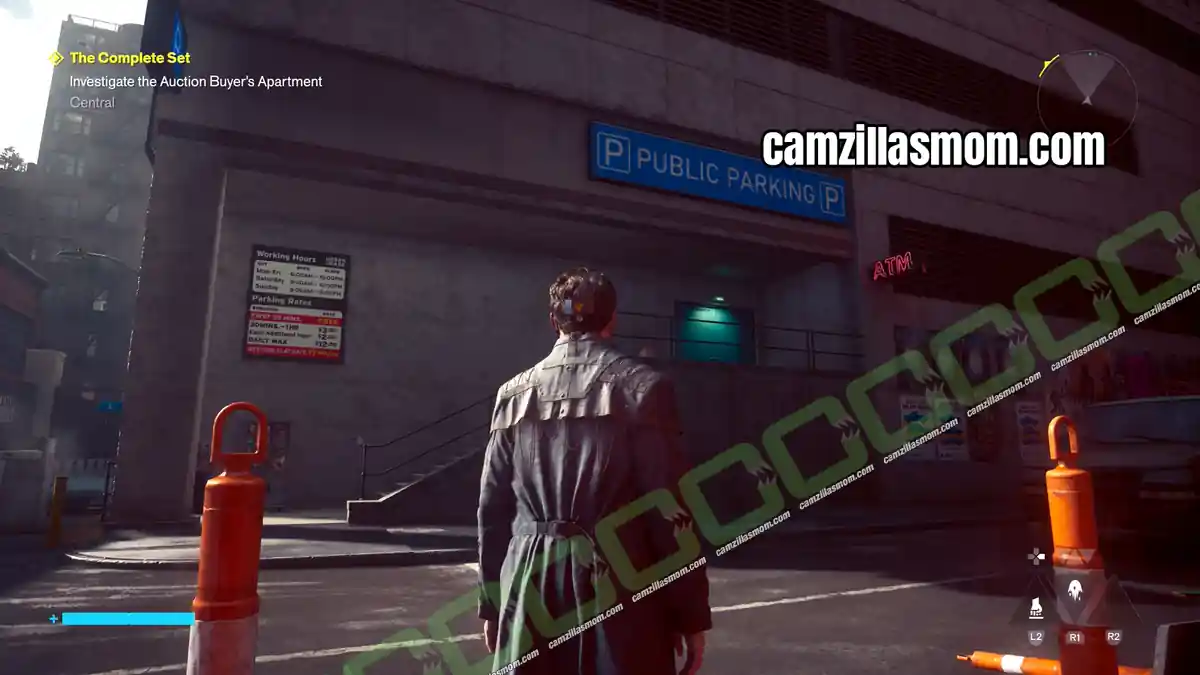
3 – How to Catch the Parking Roof Camera
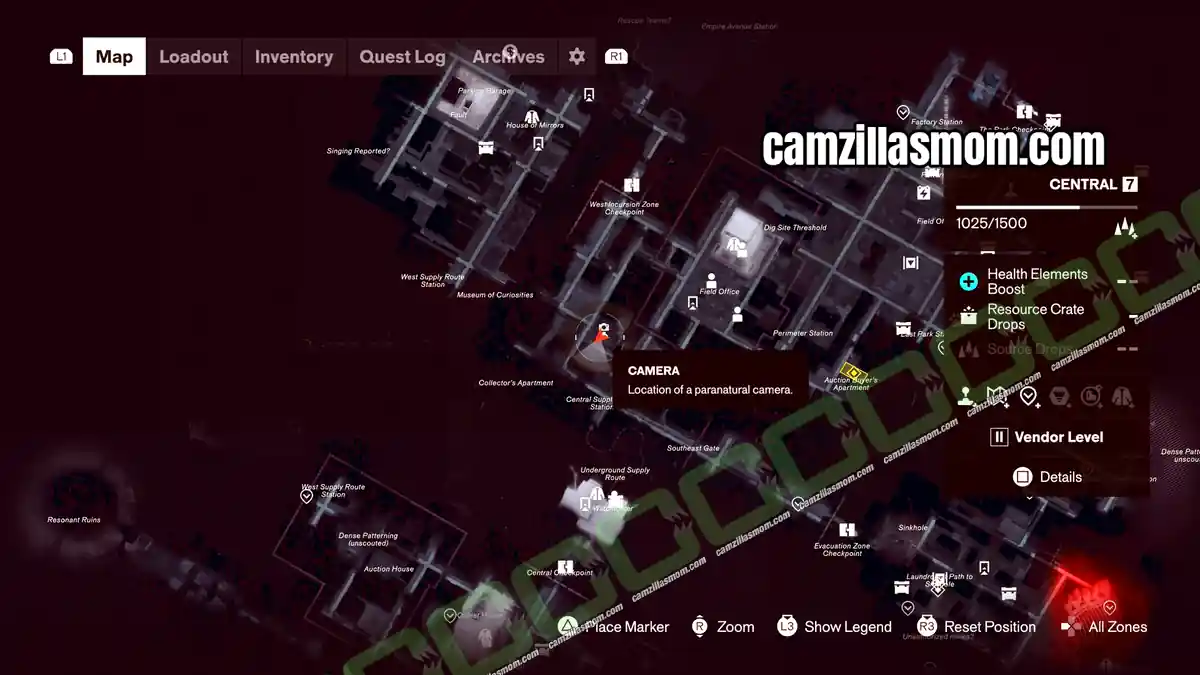
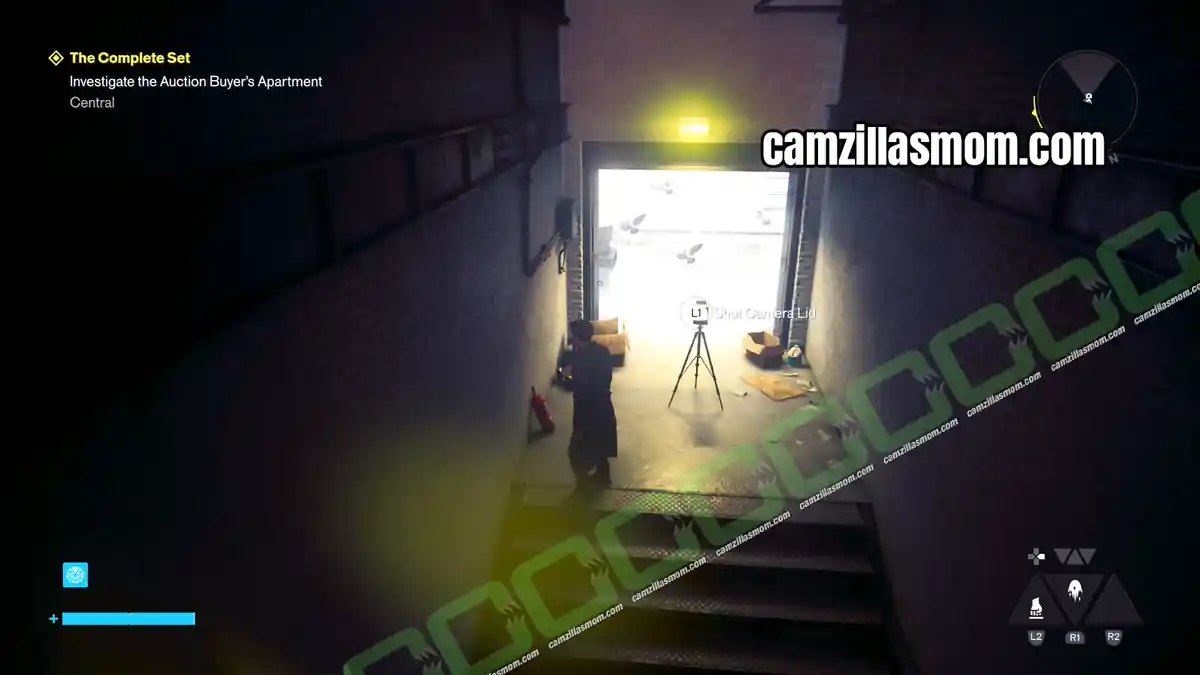
At the top of the parking building, look north for an open door. The camera is in that doorway.
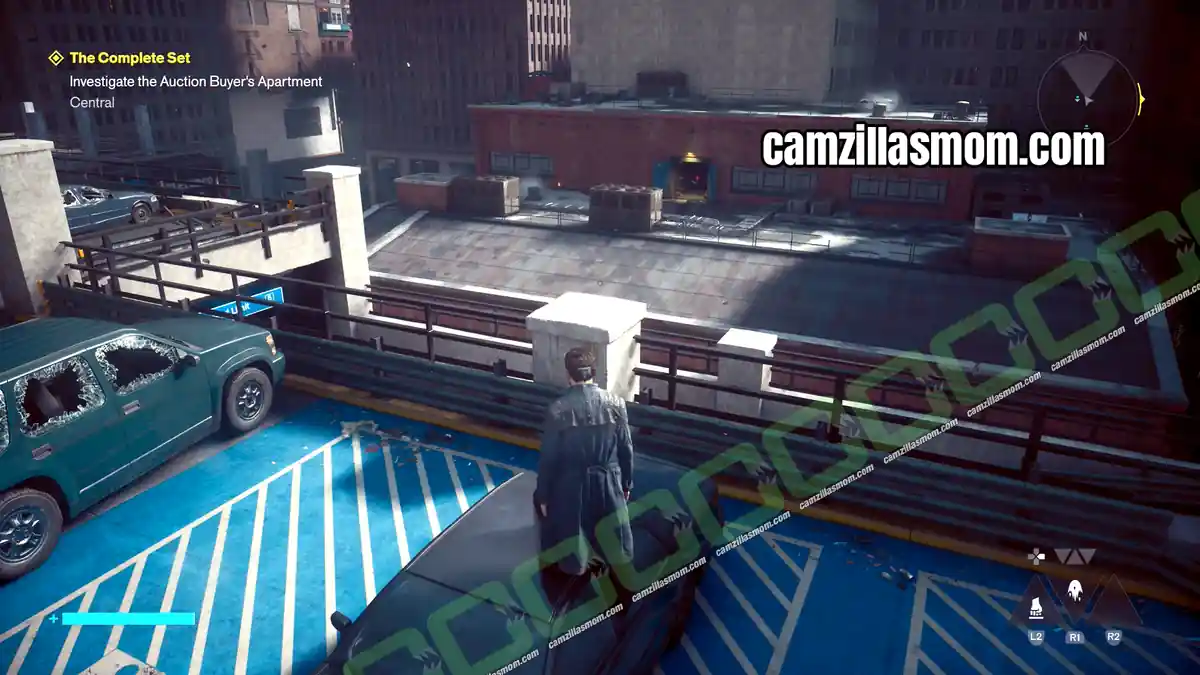
Cross over and go through the door. It is the only way in, so the camera disappears. While it is gone, go downstairs and open the ground floor door to the road, which is locked from the outside.
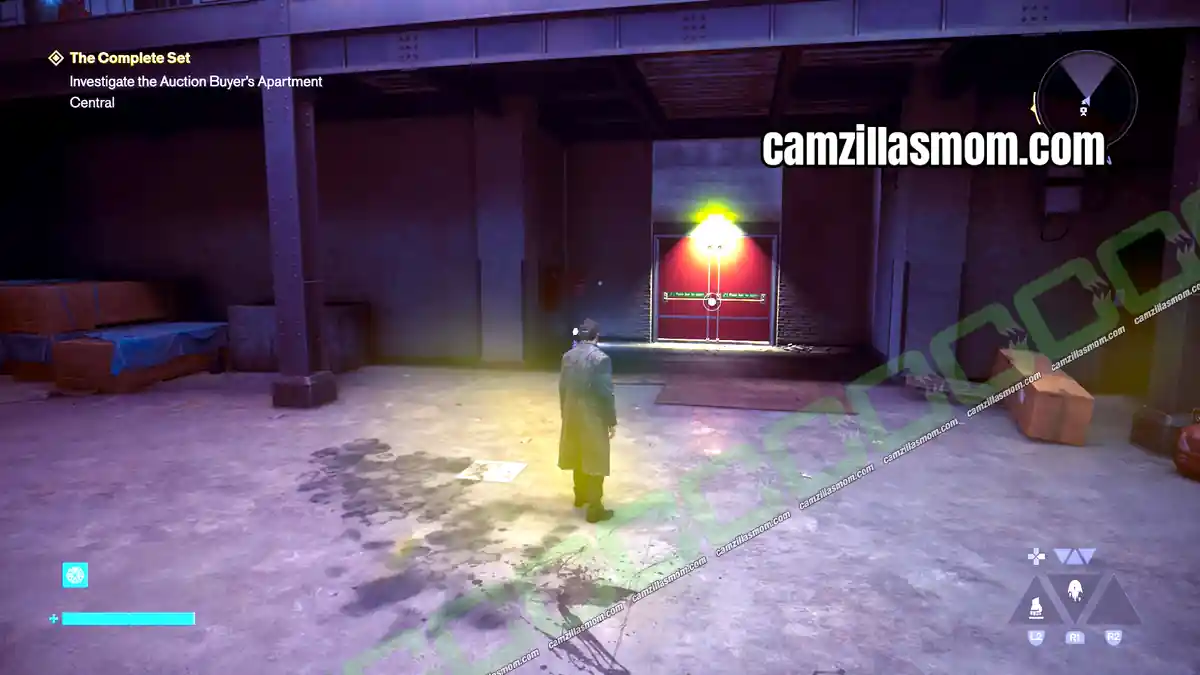
Step out onto the road and come straight back in. A group of Hiss attacks. Defeat them, then head upstairs and shut the camera lid.
Downtown Camera Locations
Side Story: Freeze Frame
Cameras: 2
Upside Down Camera
Location: Northwest of Downtown – Dense Patterning (unscouted)
Instant Photo: Oldest House, ground floor room
Upside Down Instant Photo
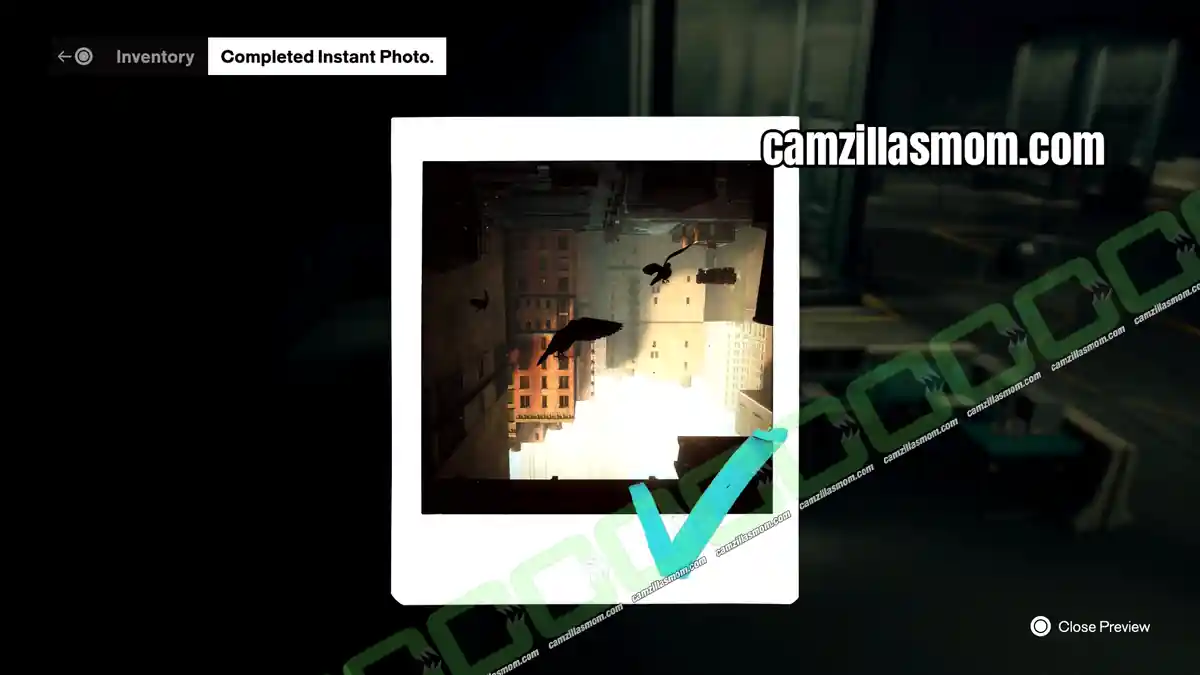
1 – Where to Find the Upside Down Instant Photo
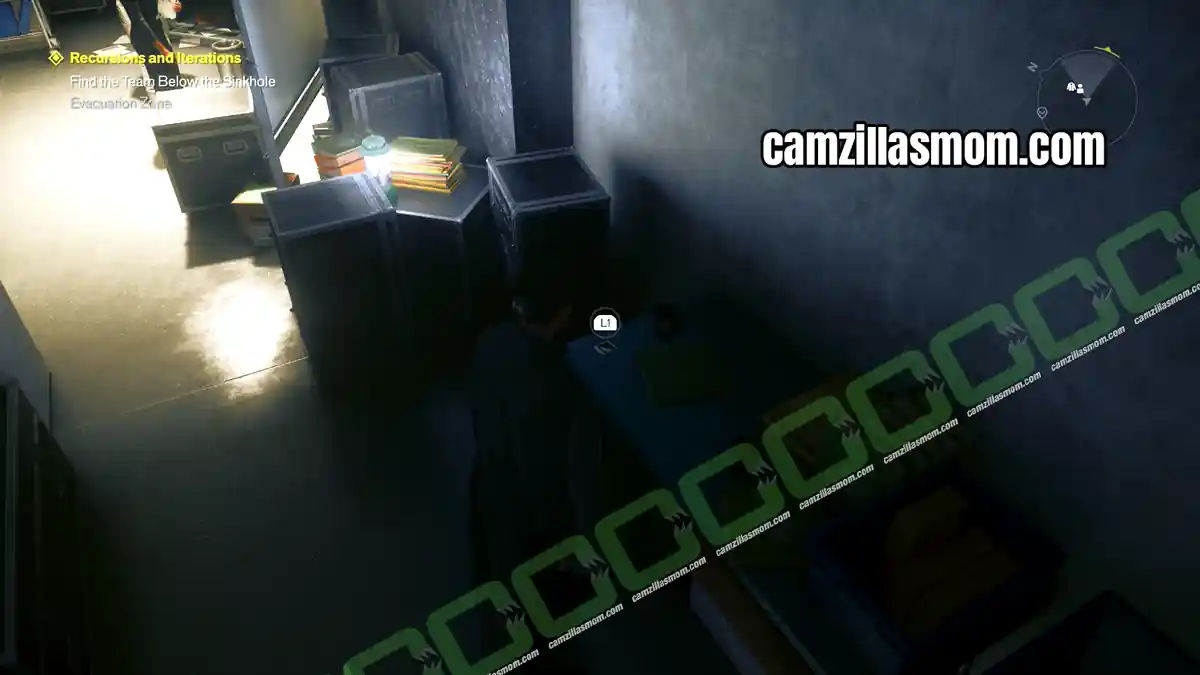
Both Downtown photos are in the ground floor room of the Oldest House. This one shows Downtown upside down, as if it were taken from a ceiling.
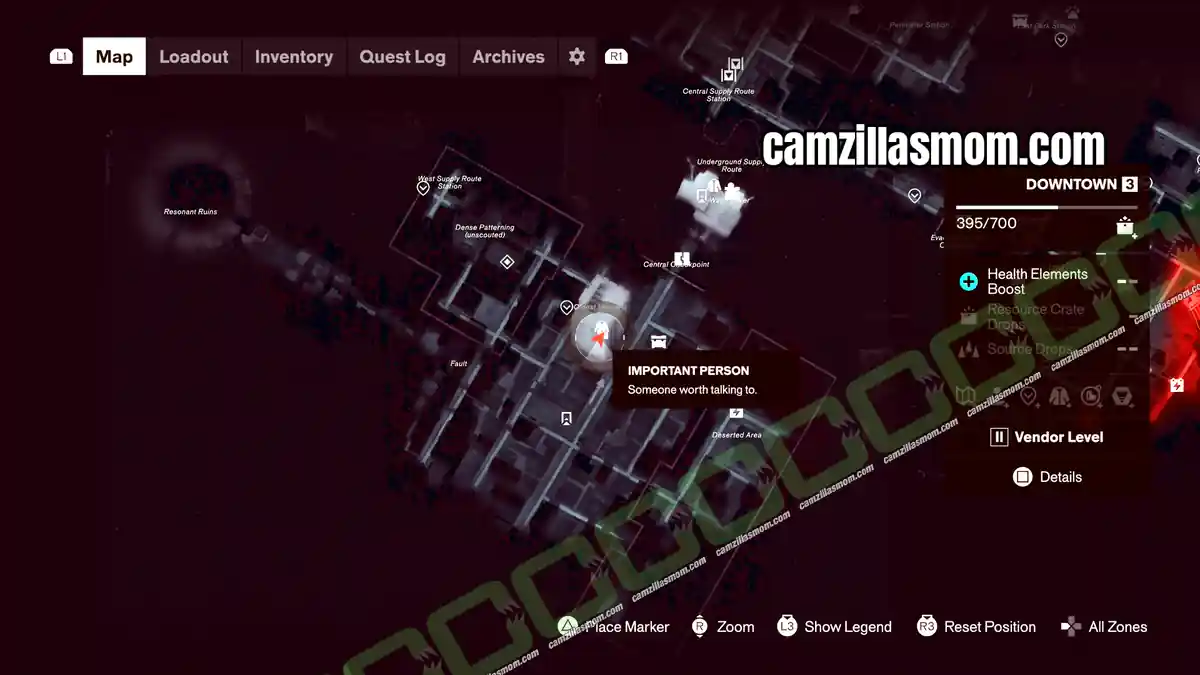
2 – Upside Down Camera Location
The camera stands in an upside down roof doorway in the northwest of Downtown, where the map says “Dense Patterning” (unscouted).
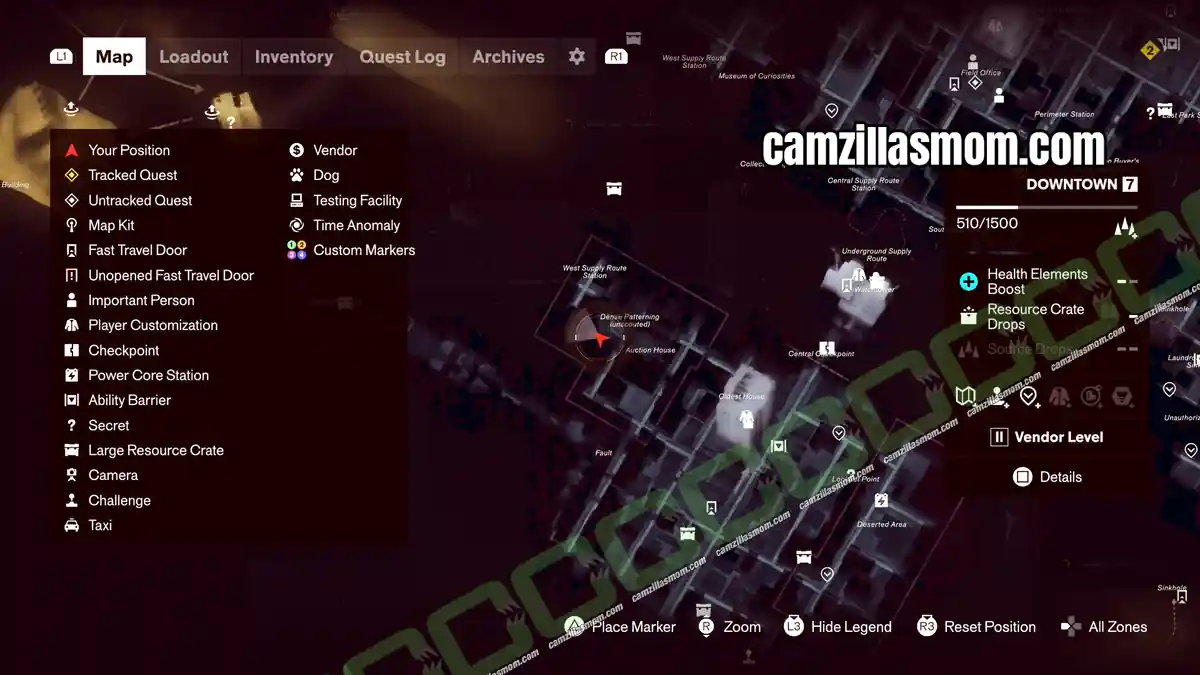
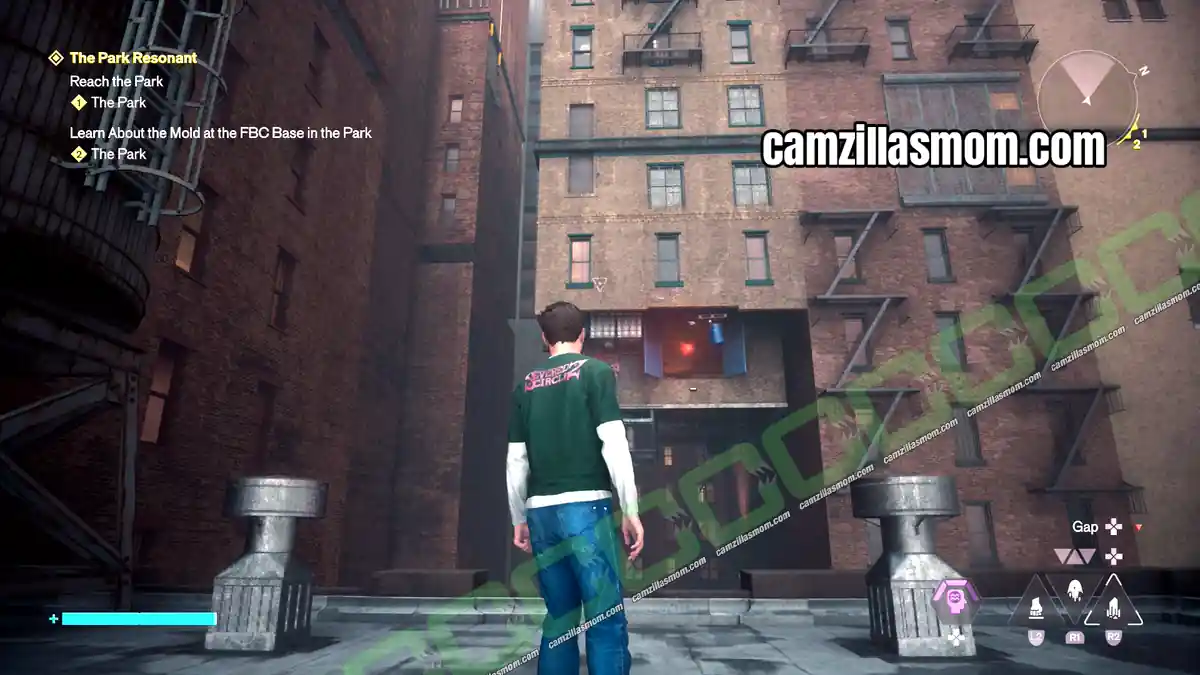
3 – How to Catch the Upside Down Camera
Jump across to the road that leads to the West Supply Route station. Shift up towards the north, then jump-shift onto the roof so you are upside down.
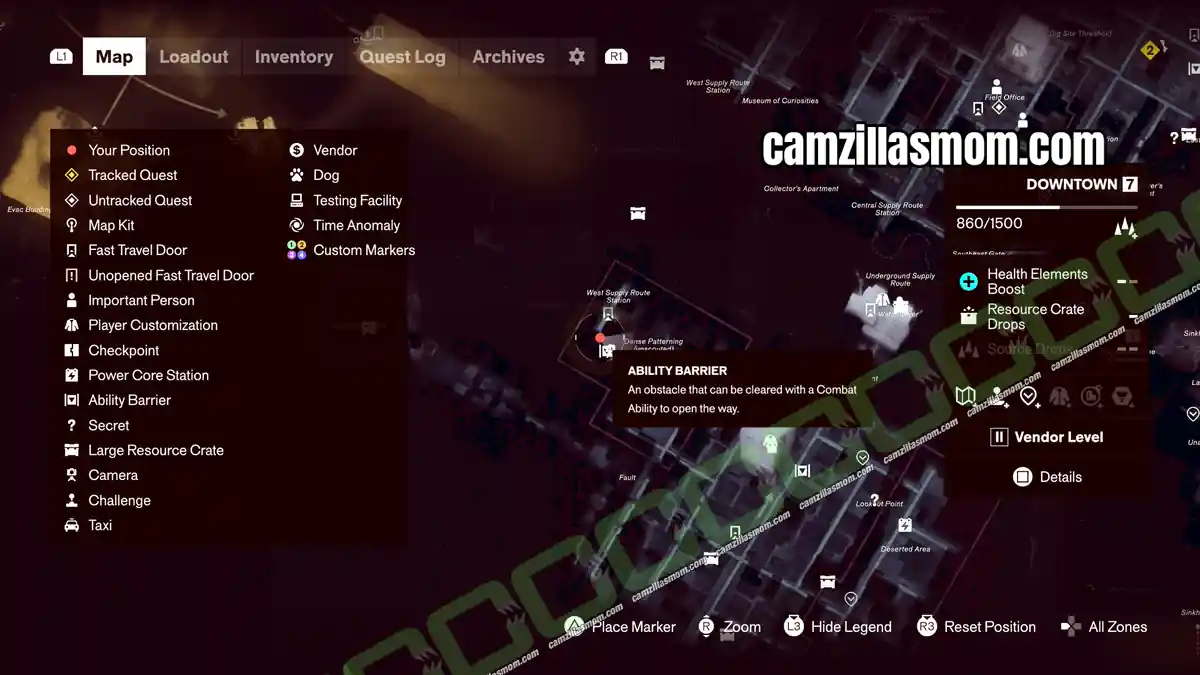
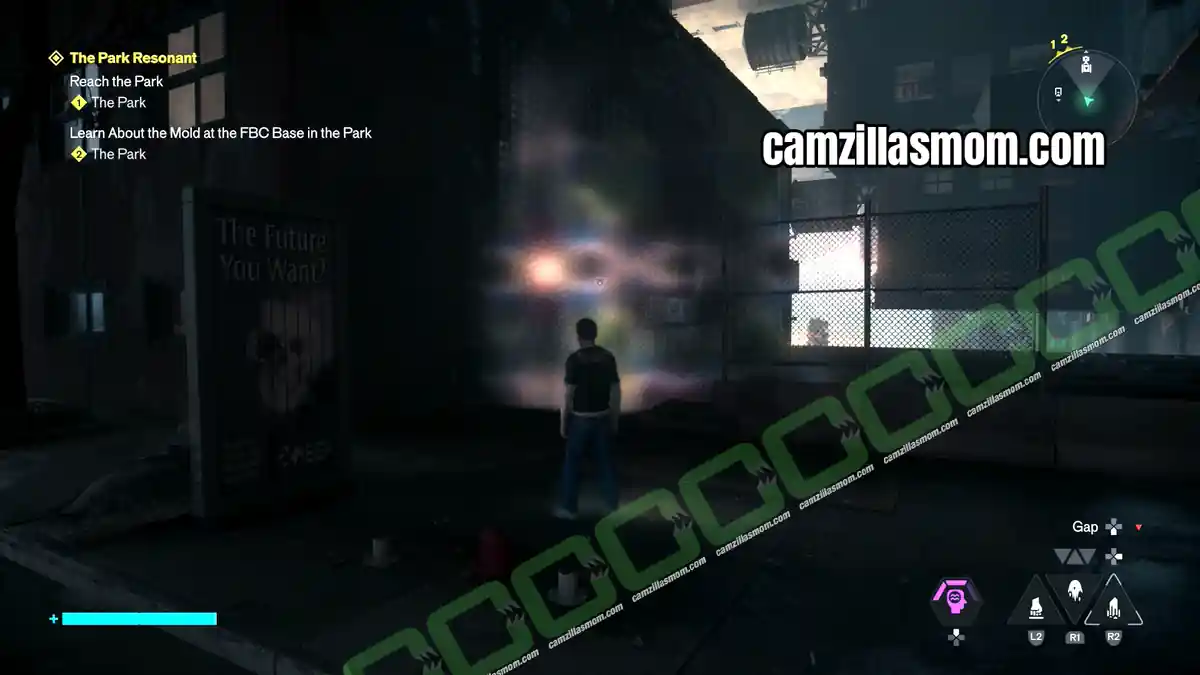
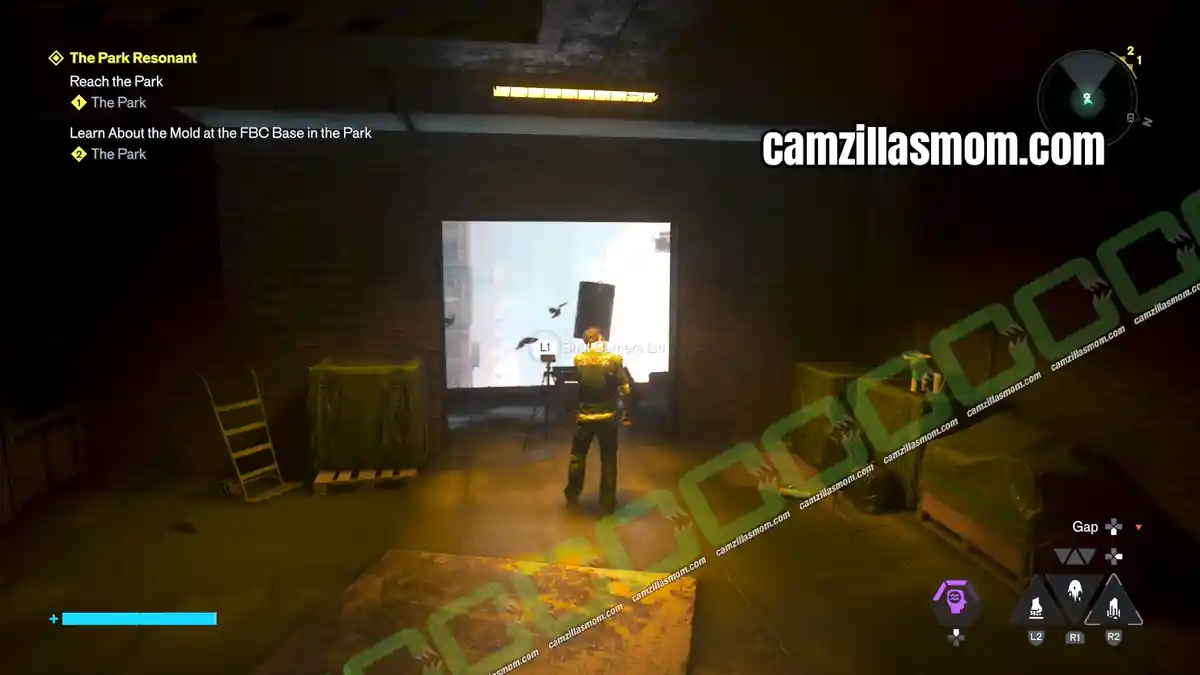
From up here, either use Ground Slam on the Ability Door or smash the barrier in the side of the wall to get behind the camera.
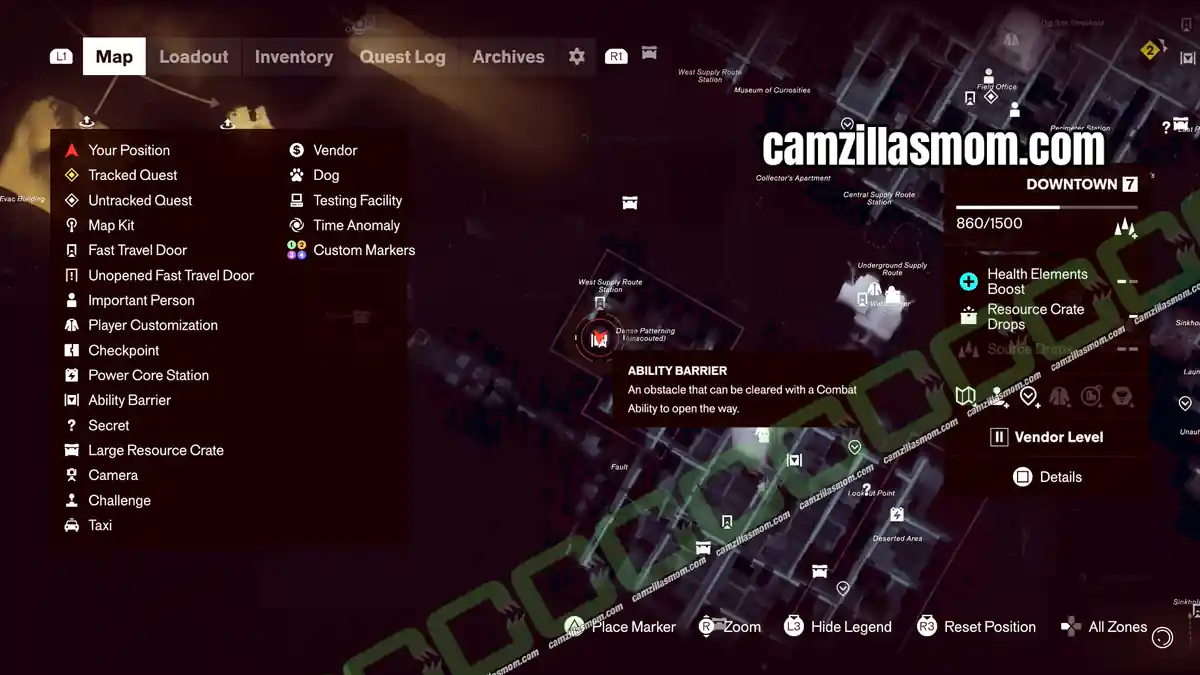
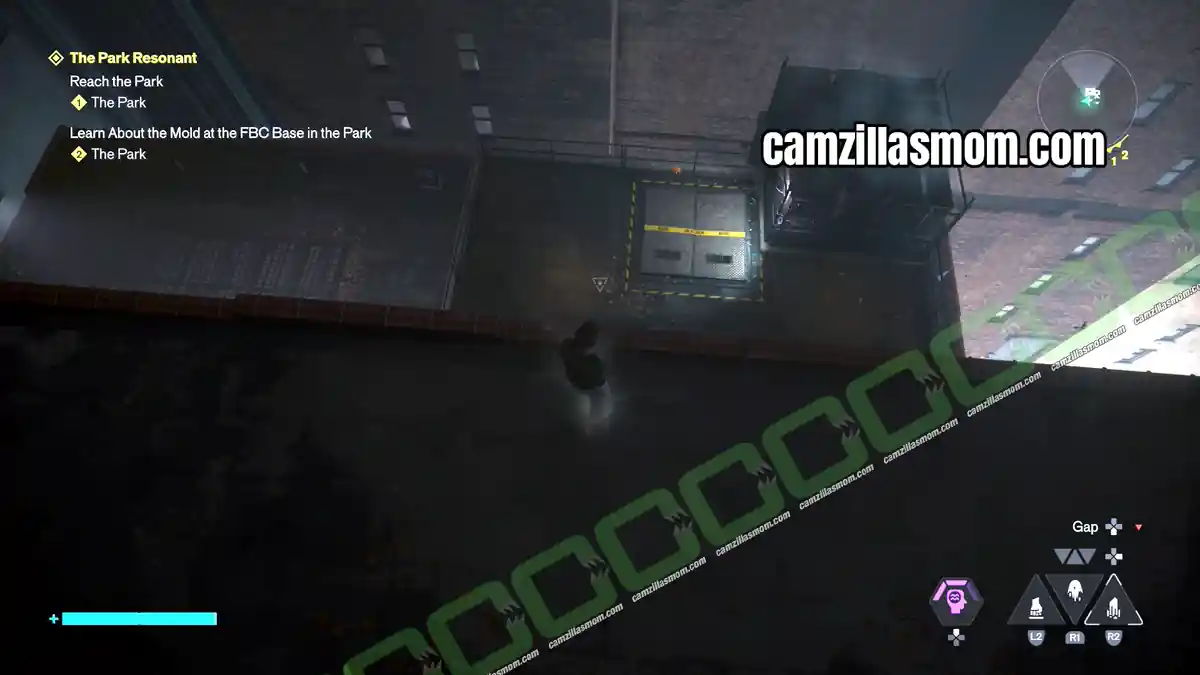
Then shut the lid.
FBC Hiss Fight Camera
Location: Deserted Area east of Downtown – locked FBC container room
Instant Photo: Oldest House, ground floor room
FBC Hiss Fight Instant Photo
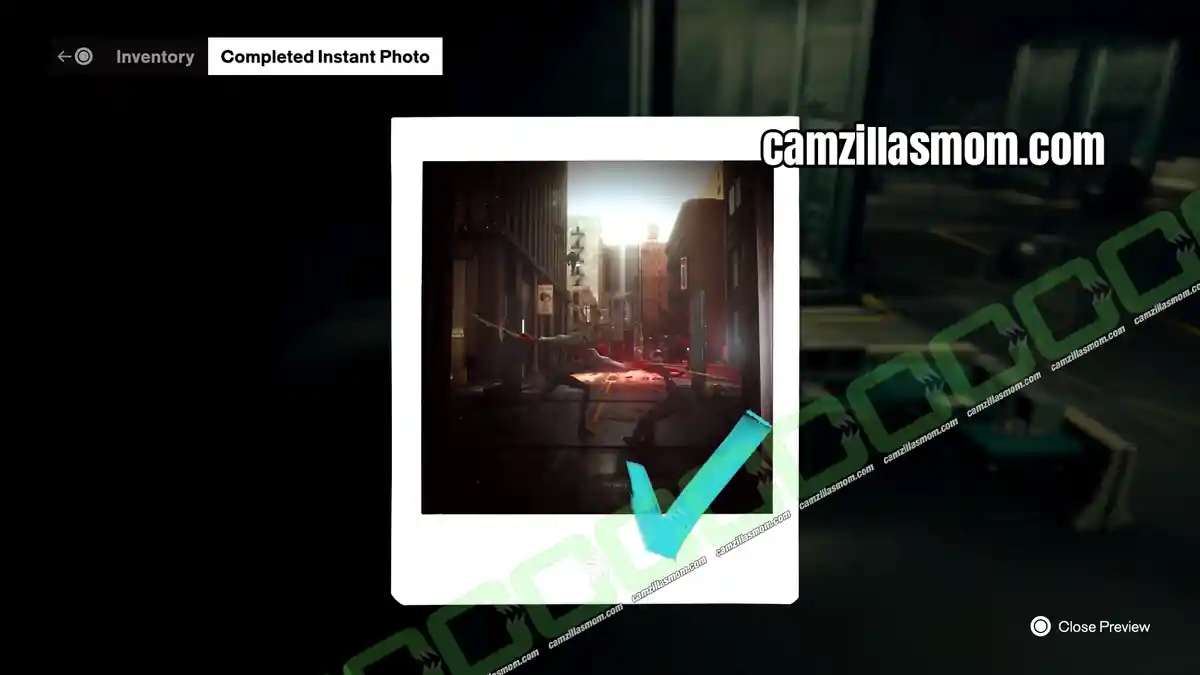
1 – Where to Find the FBC Hiss Fight Instant Photo
The second Downtown photo is in the same ground floor room of the Oldest House. It shows an FBC agent and a Hiss fighting in the street.
2 – FBC Hiss Fight Camera Location
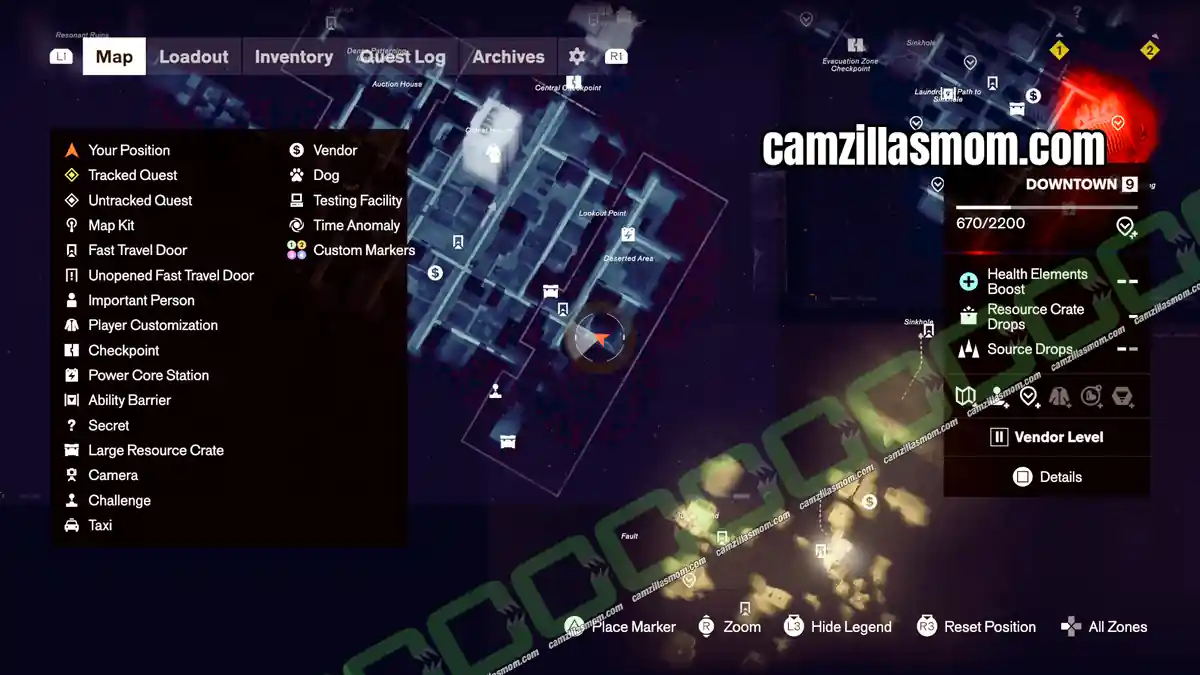
The fight is frozen in time inside one of the FBC container rooms in the center of the Deserted Area east of Downtown. The room is locked and needs power to open.
3 – How to Catch the FBC Hiss Fight Camera
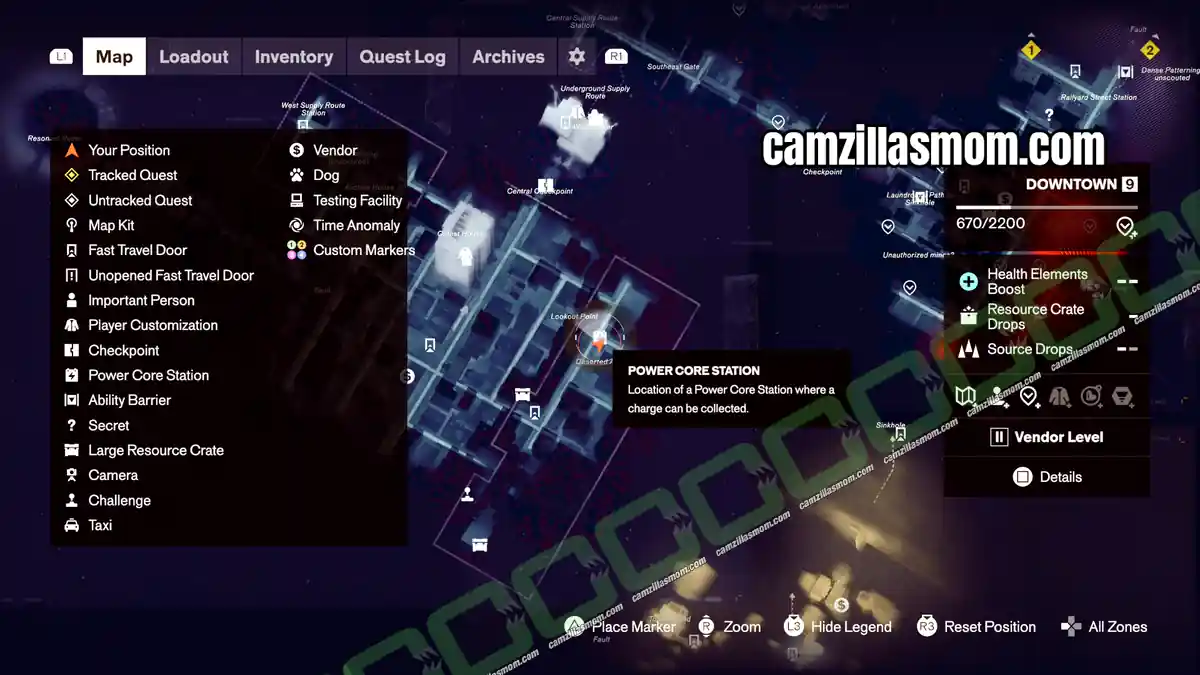
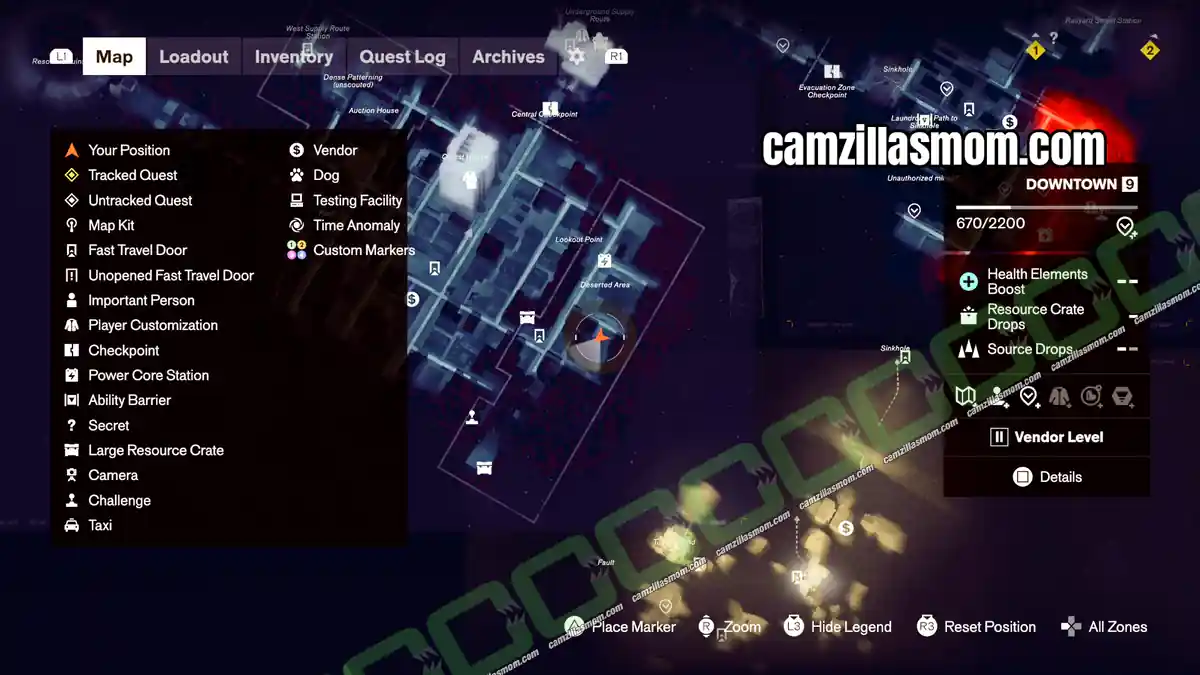
Cross over to the Deserted Area from the spot marked Lookout Point on the map. You arrive at an abandoned checkpoint with a Power Core Station.
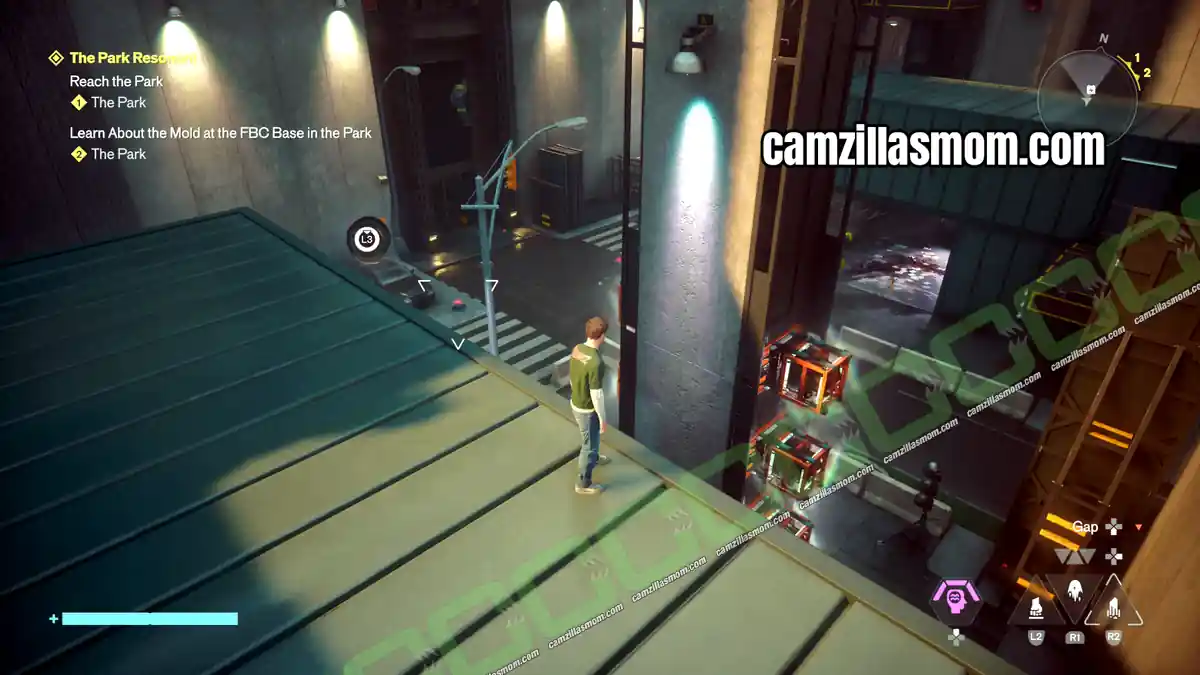
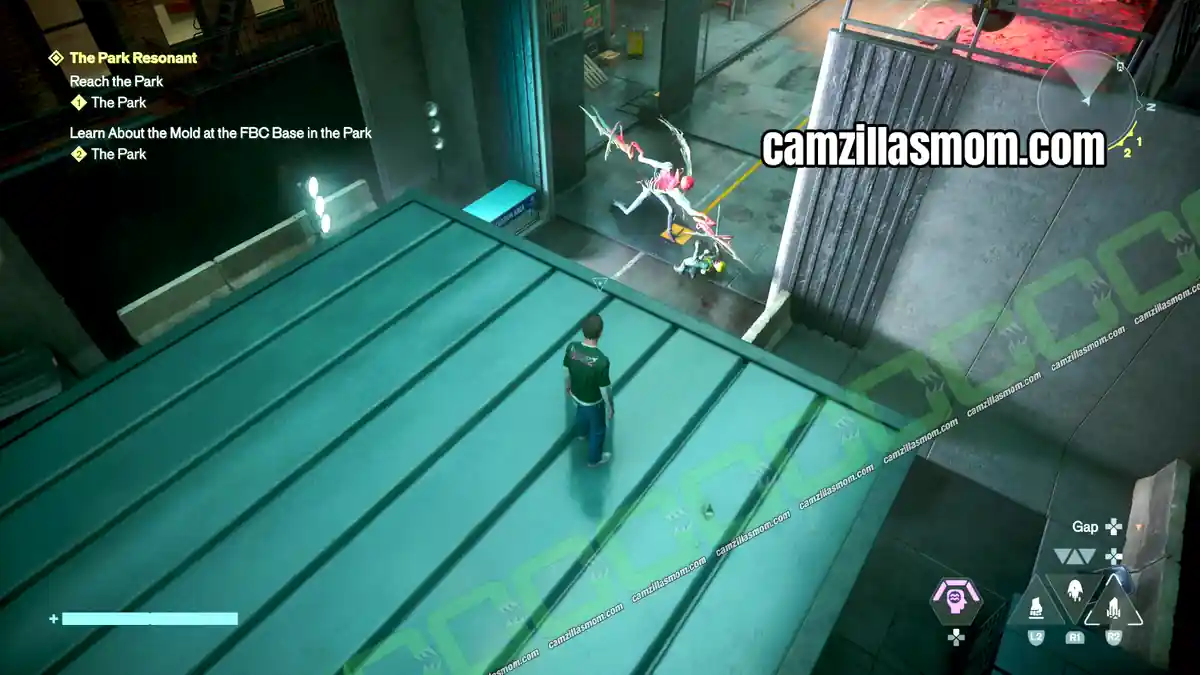
Use the Reach bubbles to carry the power to the next node on the rooftop to the south.
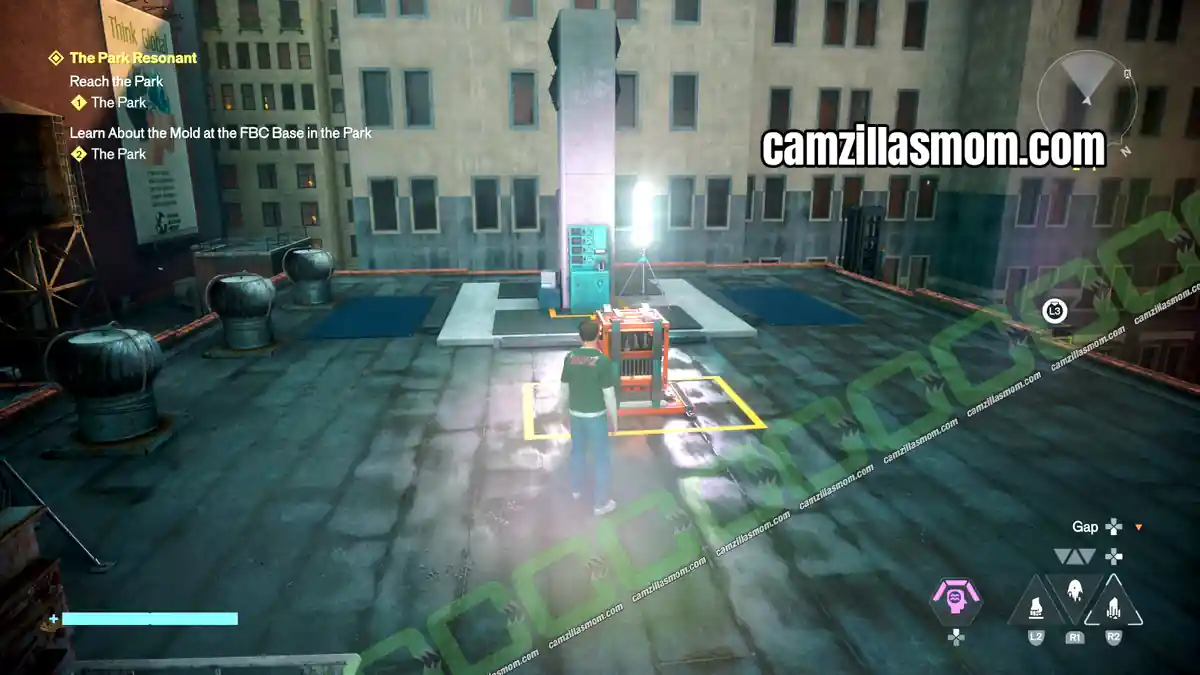
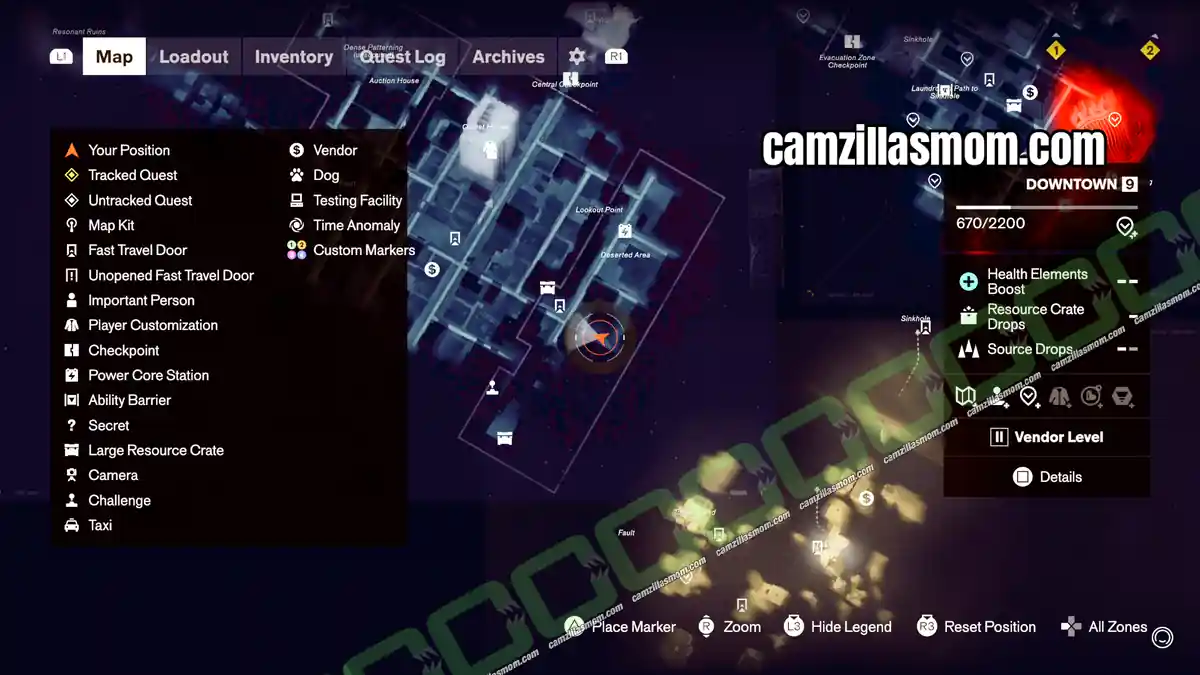
From there, carry the power to the container room. The door opens and you can shut the camera lid.
Evacuation Zone Camera Locations
Side Story: Freeze Frame
Cameras: 2
Brick Wall and Blue Sky Camera
Location: Evacuation Zone – above the Laundromat Path to Sinkhole
Instant Photo: Orange container in front of the Evac Building
Brick Wall and Blue Sky Instant Photo
1 – Where to Find the Brick Wall and Blue Sky Instant Photo
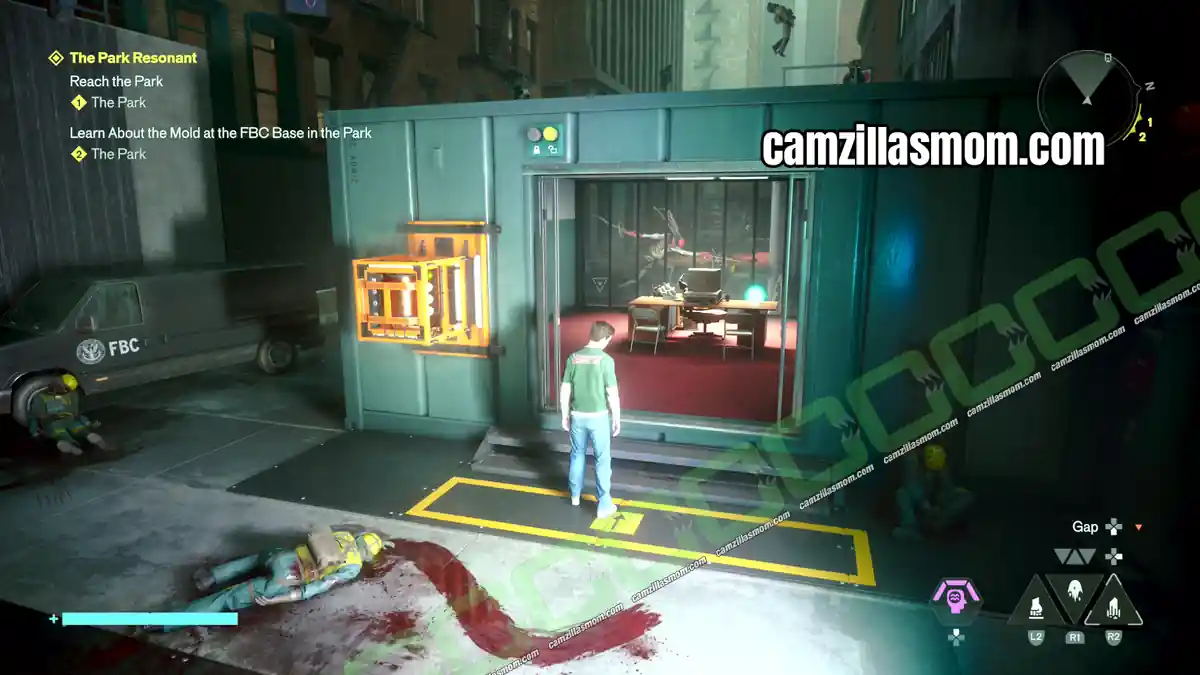
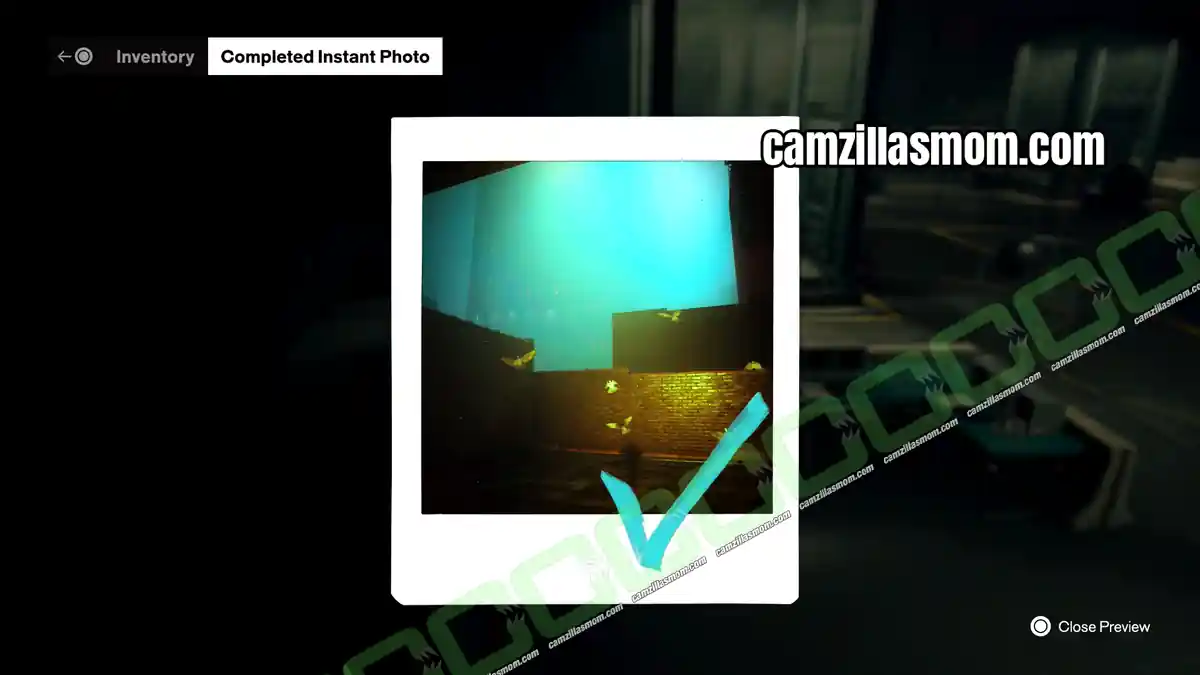
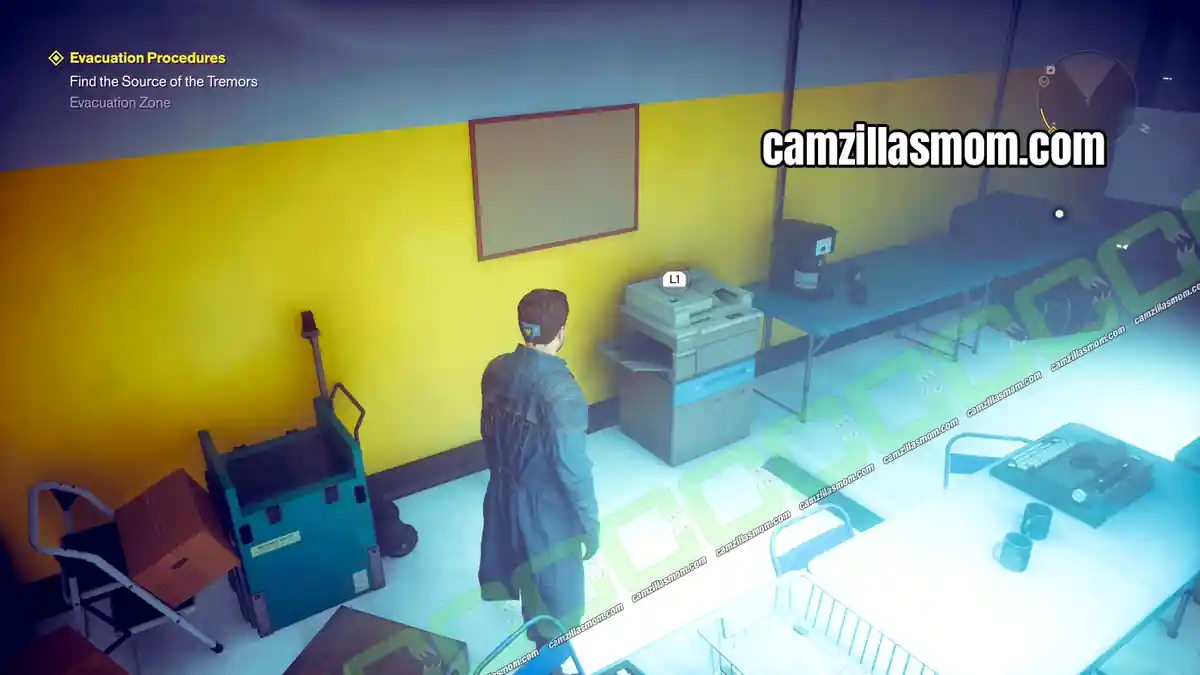
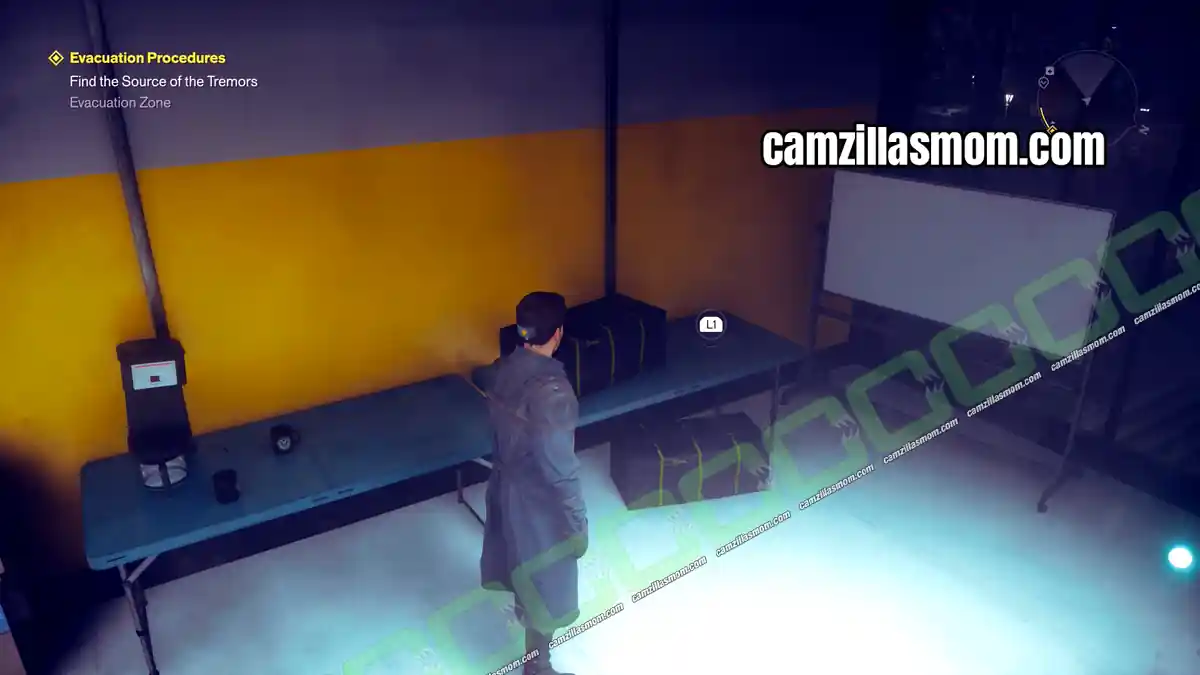
In front of the Evac Building in the Evacuation Zone is a raised orange container you can enter. The photo is on top of the copier. It shows a red brick wall against a bright blue sky.
2 – Brick Wall and Blue Sky Camera Location
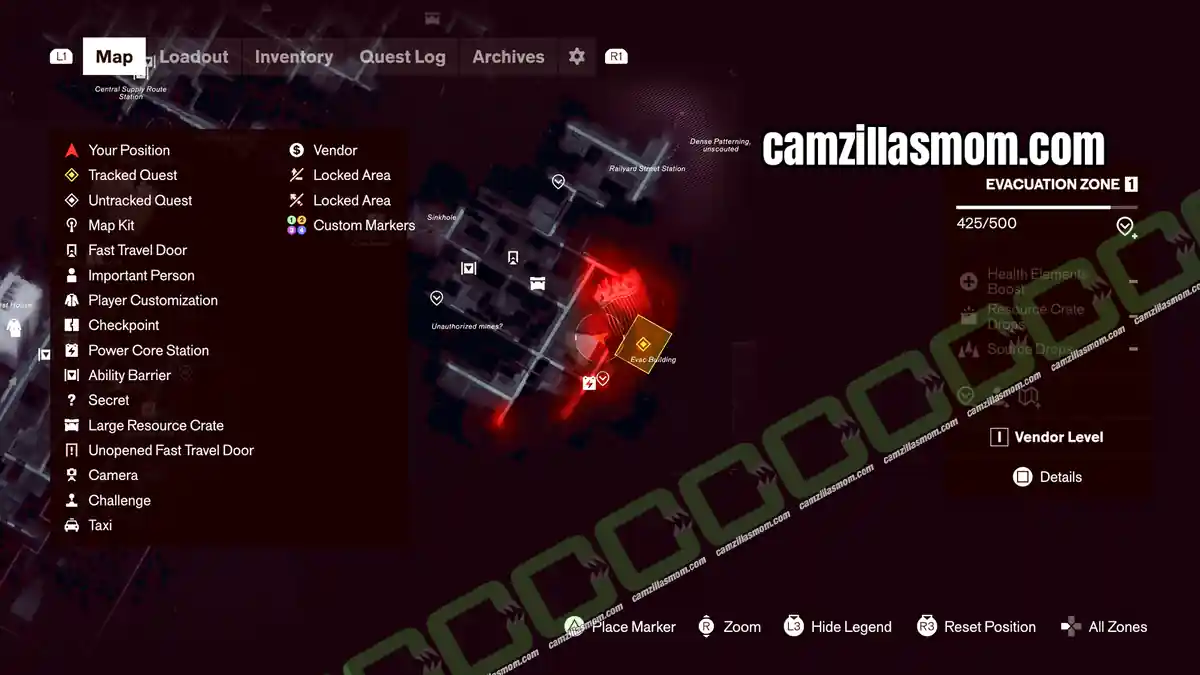
The camera is just above the Laundromat Path to Sinkhole on the map.
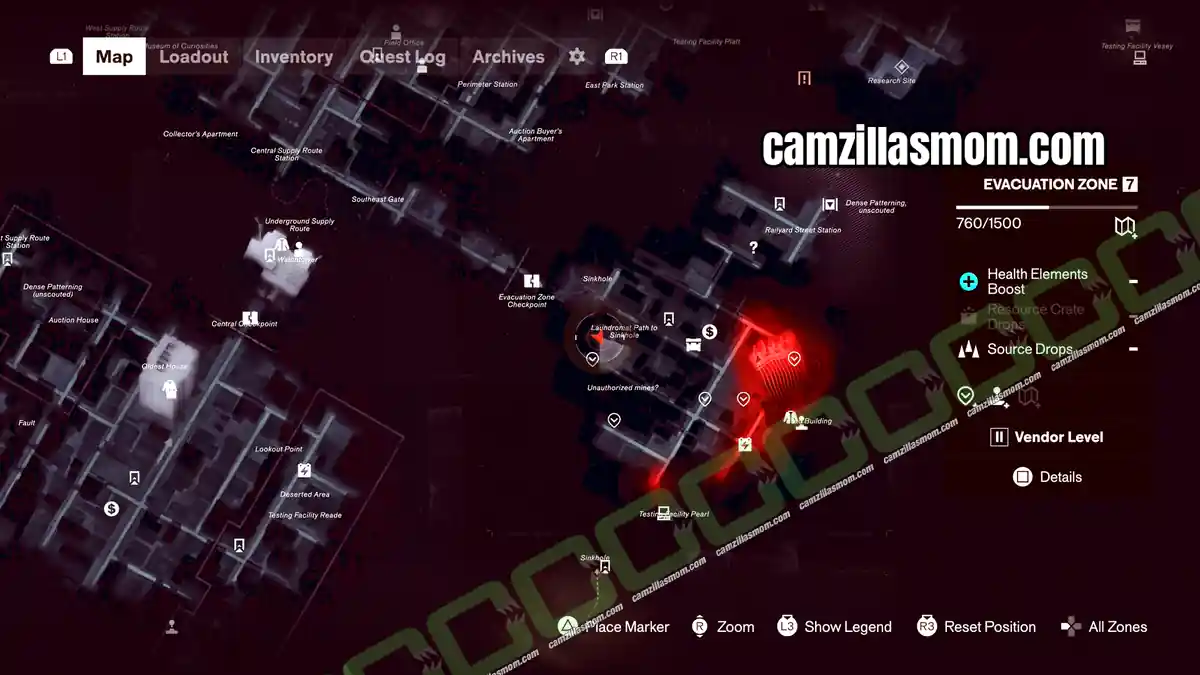
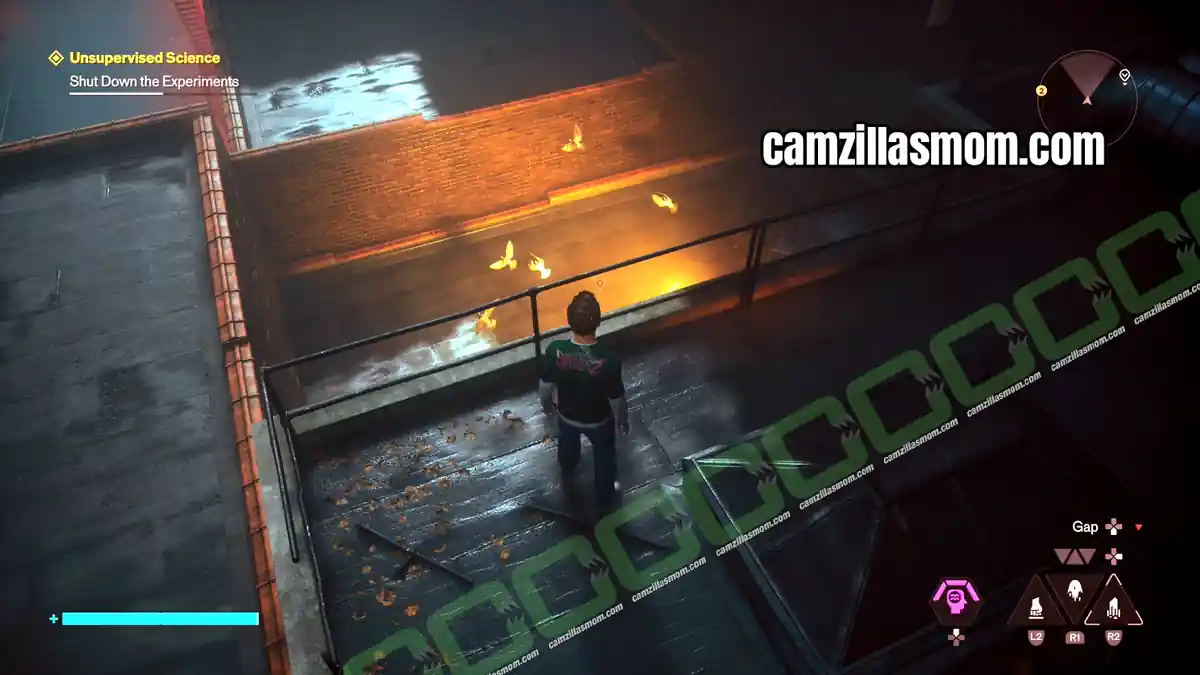
3 – How to Catch the Brick Wall and Blue Sky Camera
To catch the camera, you have to carry power to the empty power cube on the other side of the camera position.
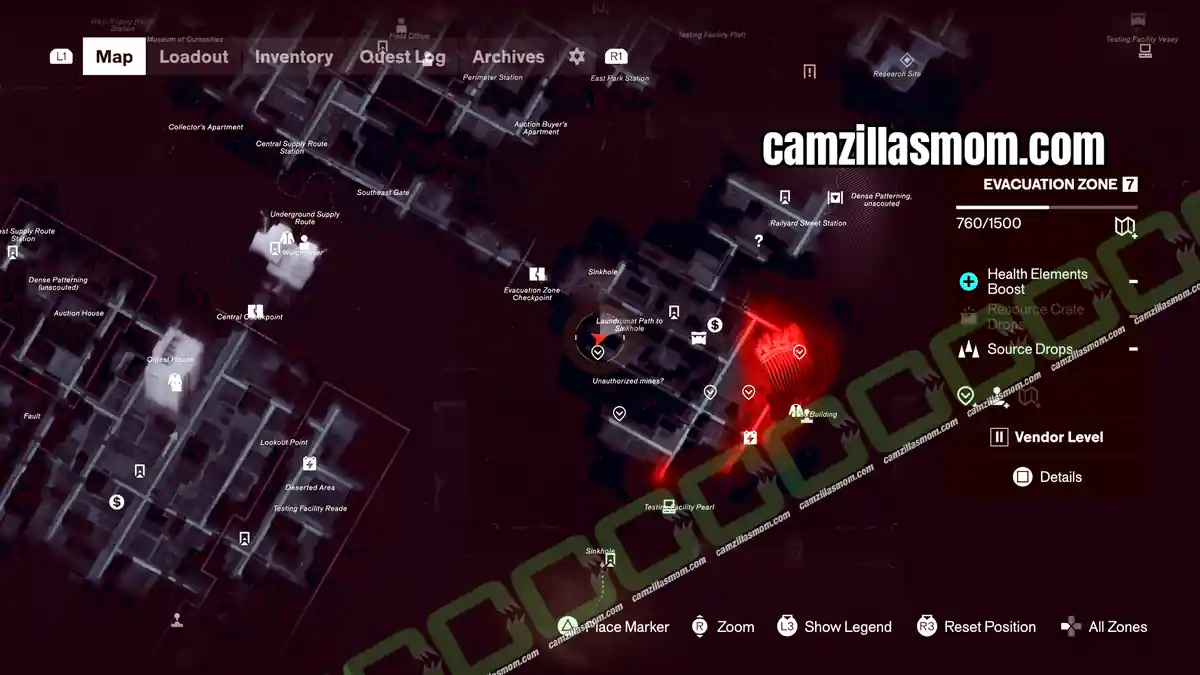
There is a Power Core Station in the southeast of the map. Take the power from one of its cores and carry it west to this empty core.
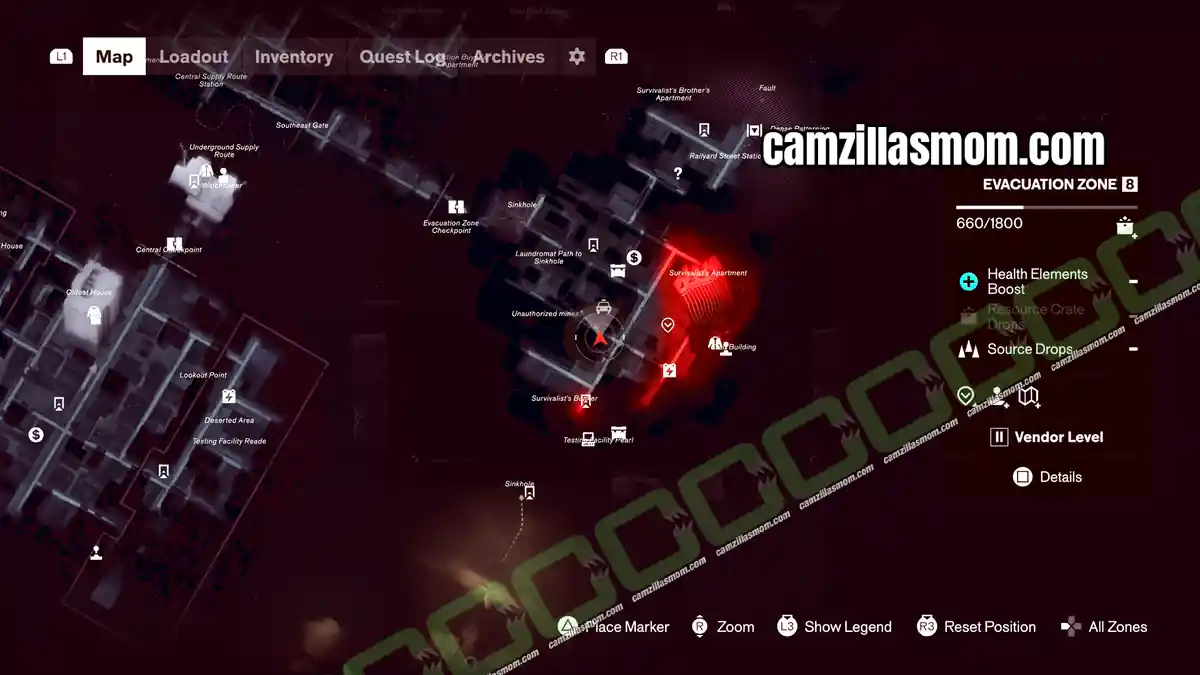
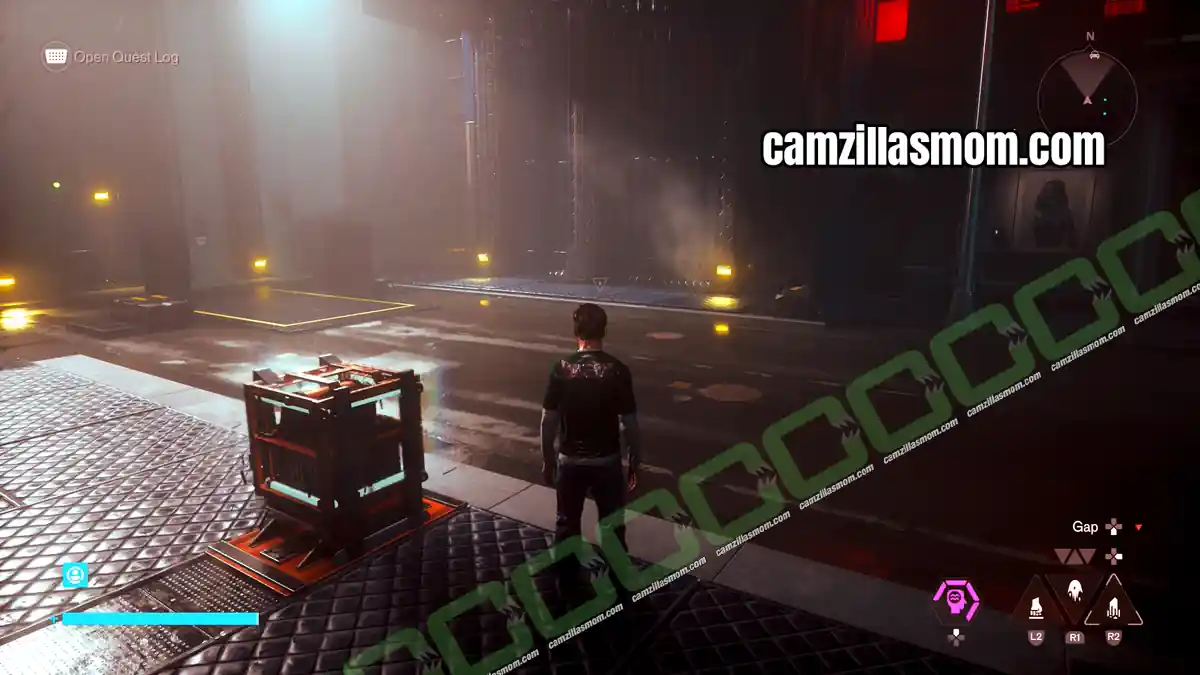
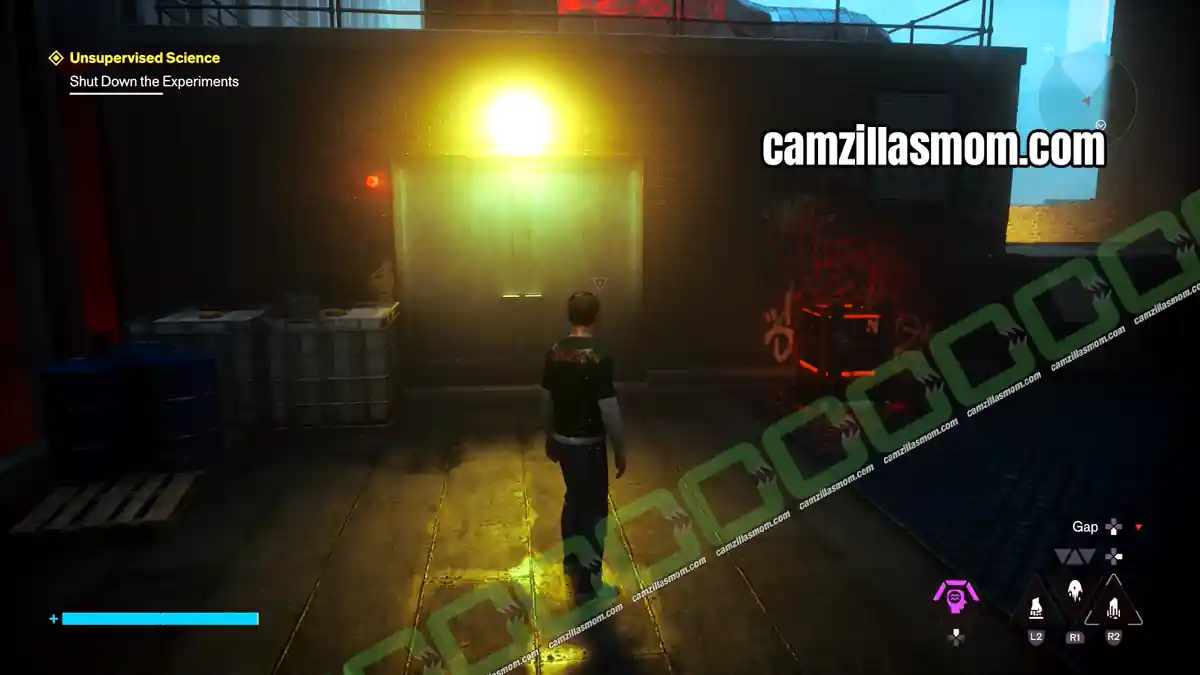
Carry the power west through the door to the next core.
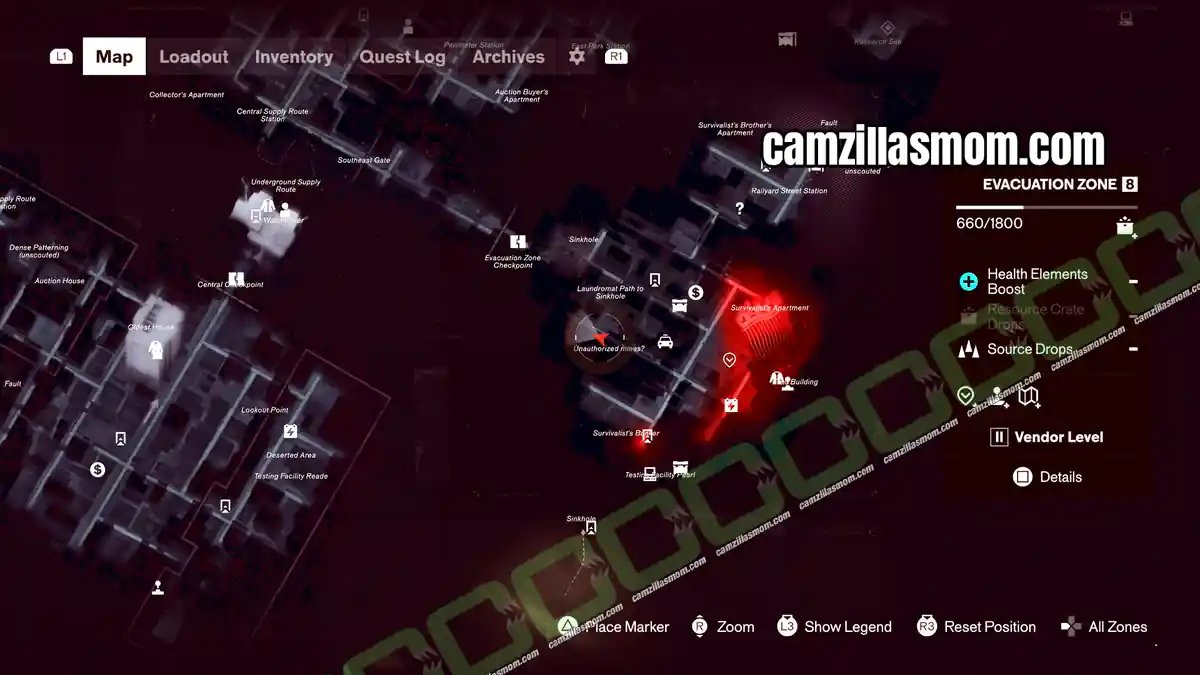
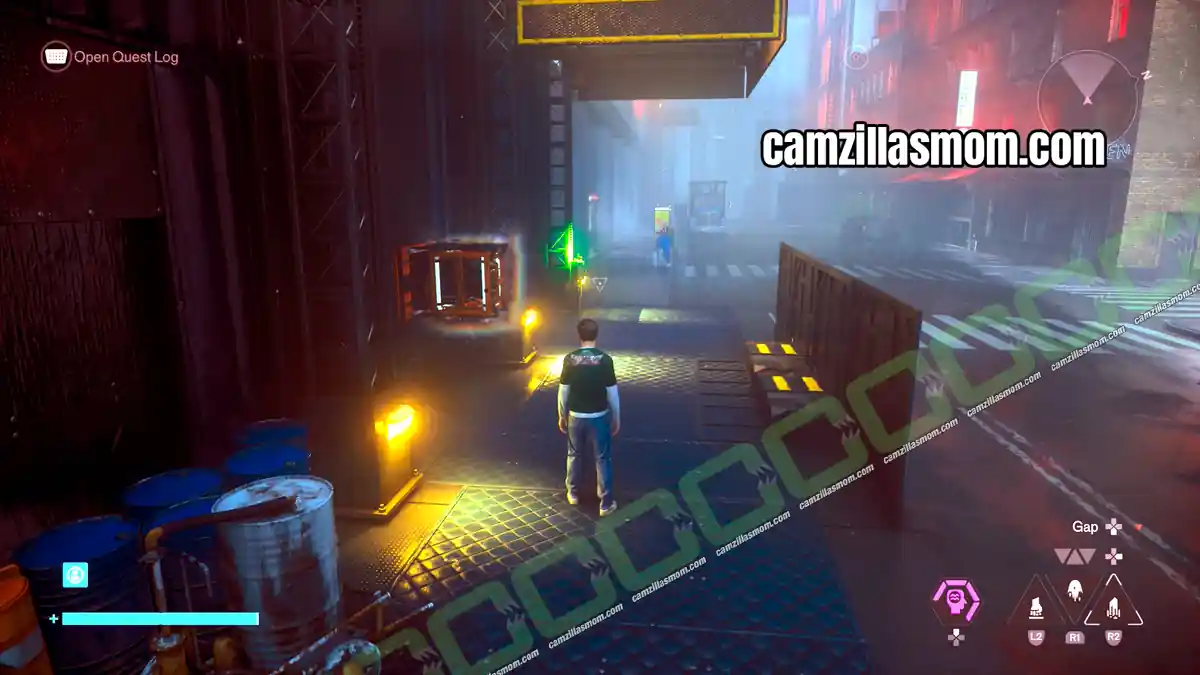
From here you have enough time to carry the power to the back door of the camera and shut the lid.
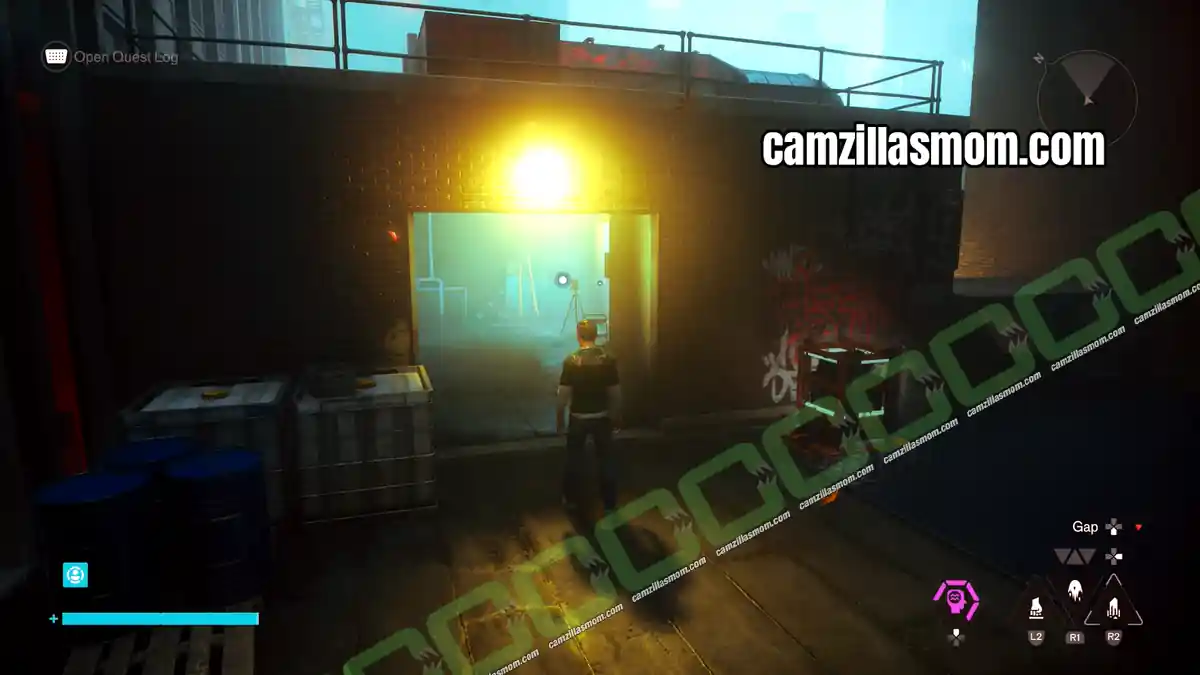
Bright Blue Light Camera
Location: North of the Evacuation Zone – apartment rooftop south of Railyard Street Station
Instant Photo: Orange container in front of the Evac Building
Bright Blue Light Instant Photo
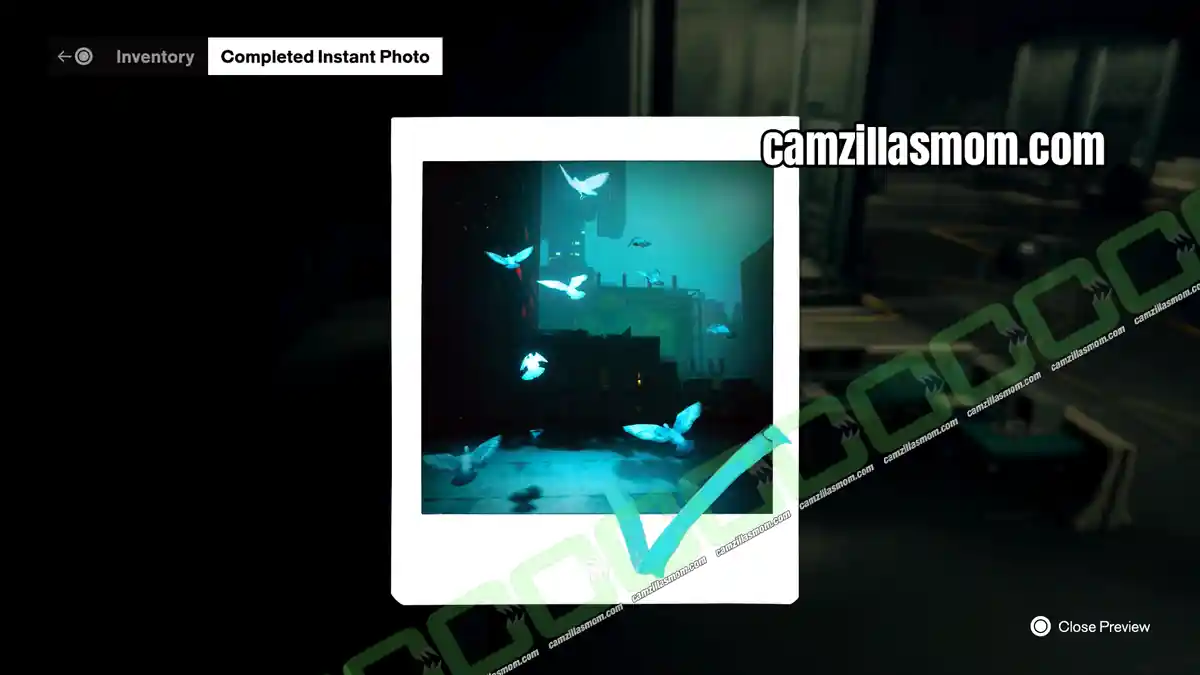
1 – Where to Find the Bright Blue Light Instant Photo
The second photo is in the same orange container, on one of the tables near the window. It shows frozen birds in a bright blue light.
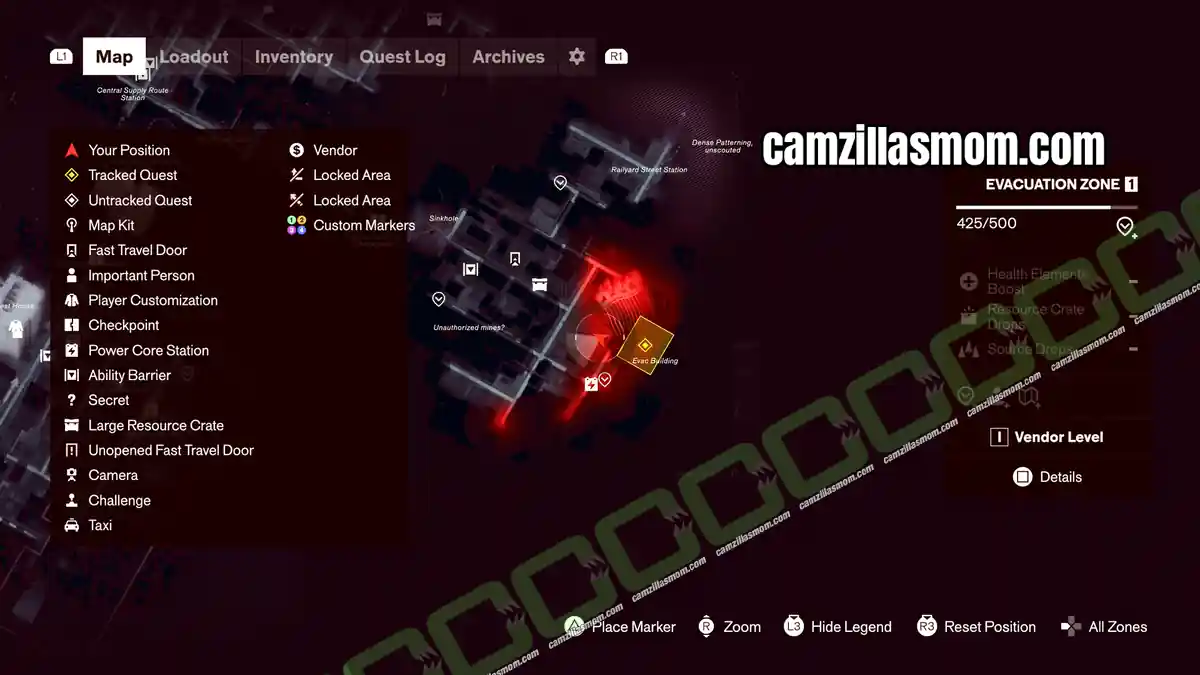
2 – Bright Blue Light Camera Location
The camera is in the north of the Evacuation Zone, south of Railyard Street Station. It stands in the rooftop doorway of an apartment building.
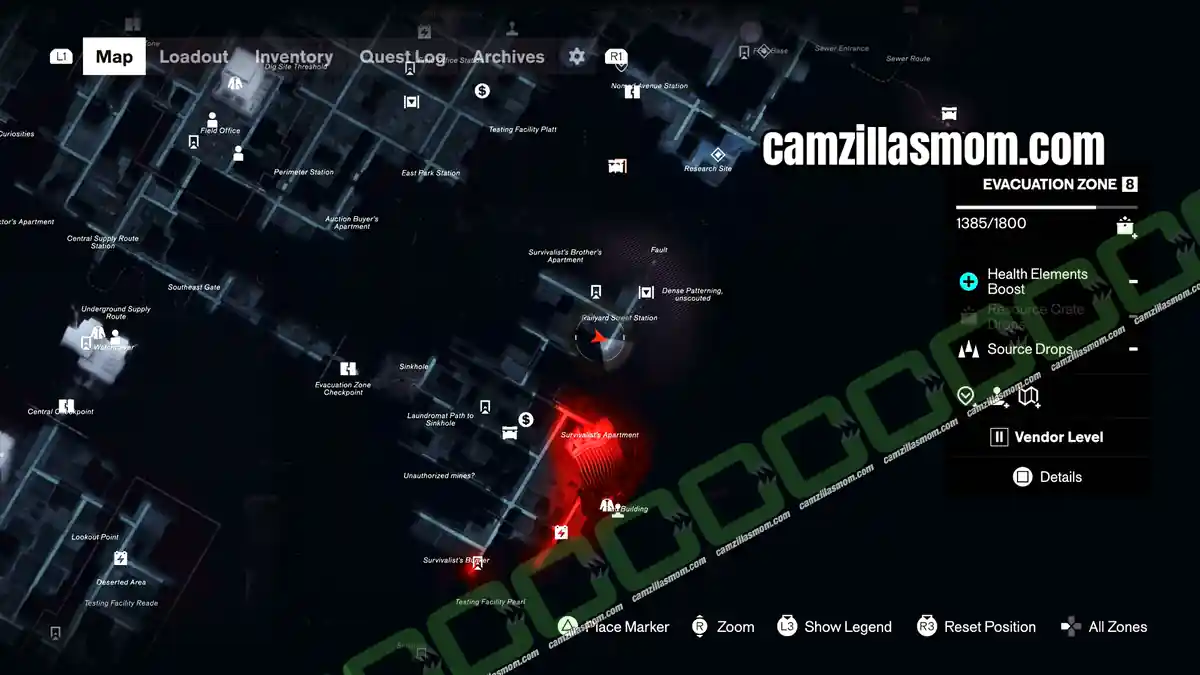
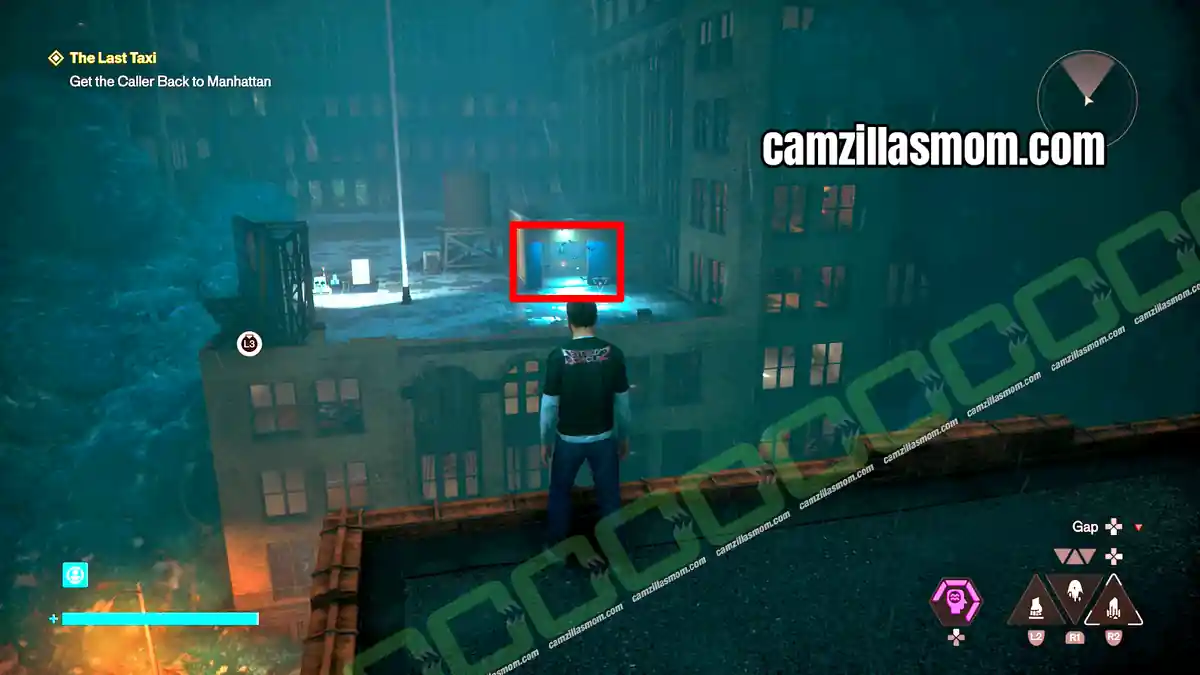
3 – How to Catch the Bright Blue Light Camera
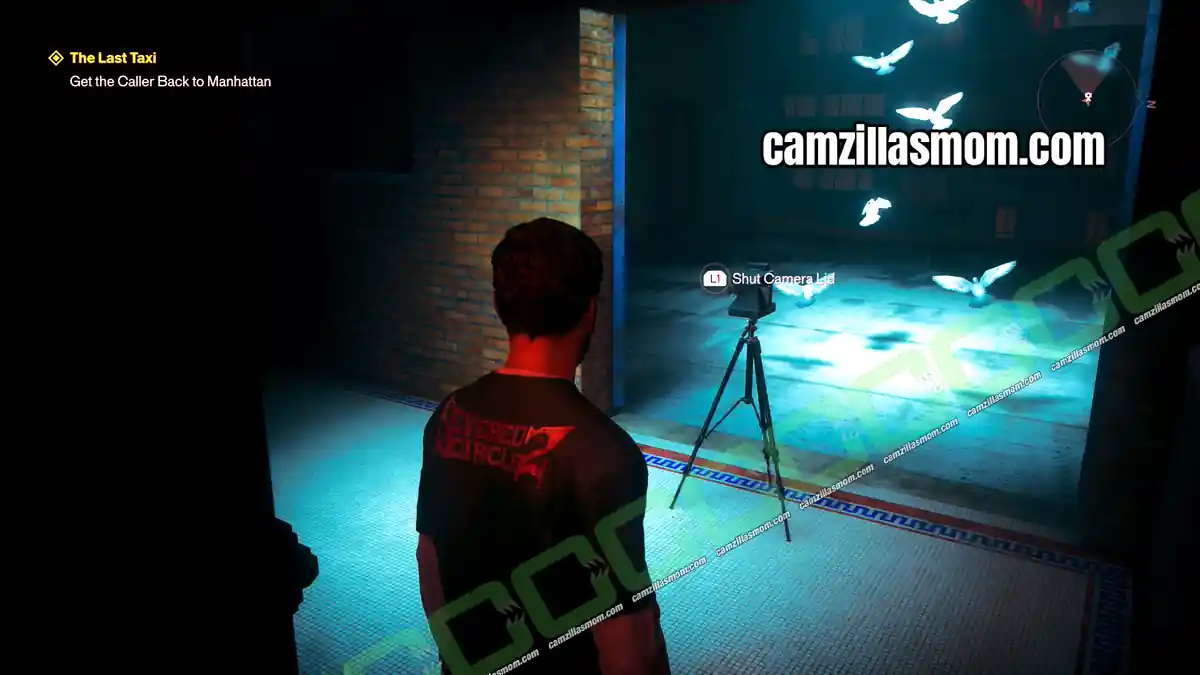
Cross over and chase the camera away. You need it gone so you can enter the apartment building and open the street level entrance door from the inside. Once that door is open, come back any time and sneak up on the camera from behind to shut the lid.
While you are in the building, visit the apartment for the Master of Many Worlds – The Nightwatchman Archives collectible.
The Park Camera Locations
Side Story: Freeze Frame
Cameras: 2
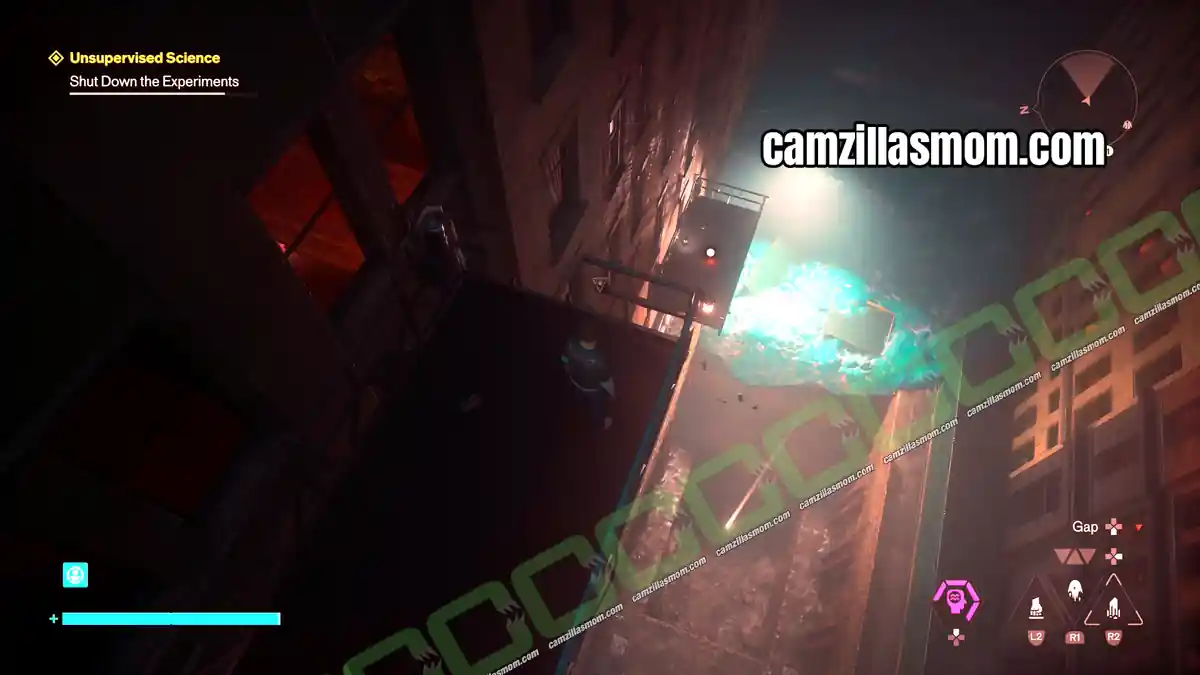
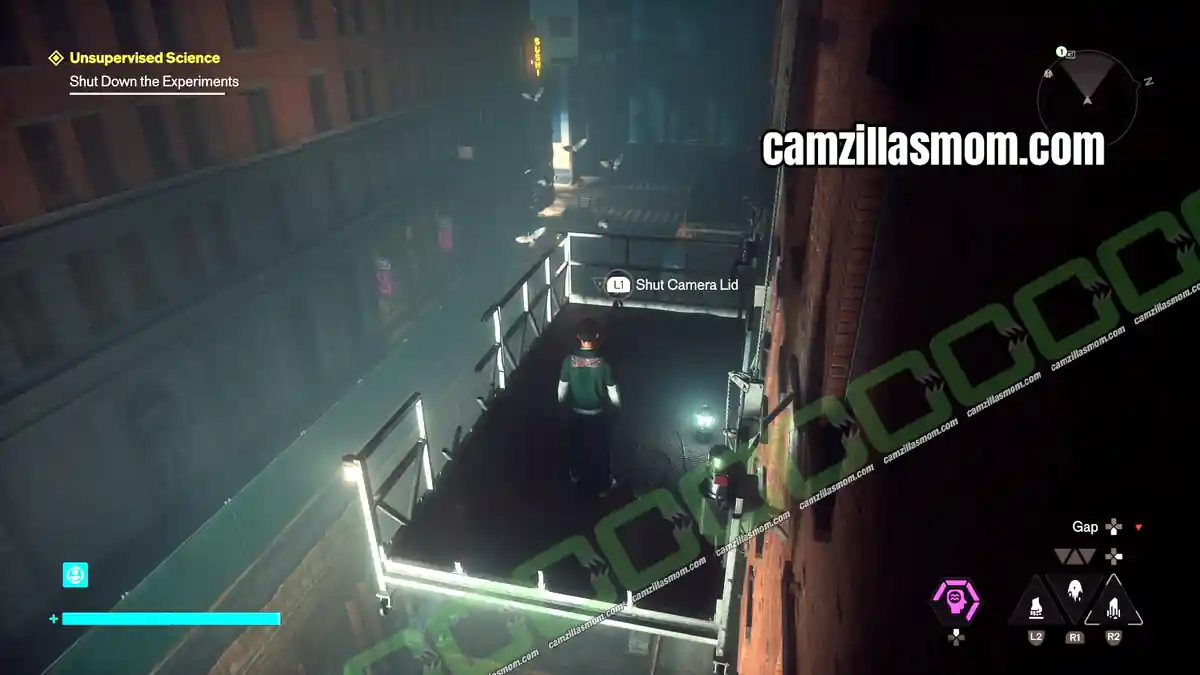
Metal Railing and Sushi Camera
Location: The Park – high platform east of the FBC Base, near the southern Sewer Entrance
Instant Photo: Backroom of Dylan’s Apartment, Unknown District
Metal Railing and Sushi Instant Photo
1 – Where to Find the Metal Railing and Sushi Instant Photo
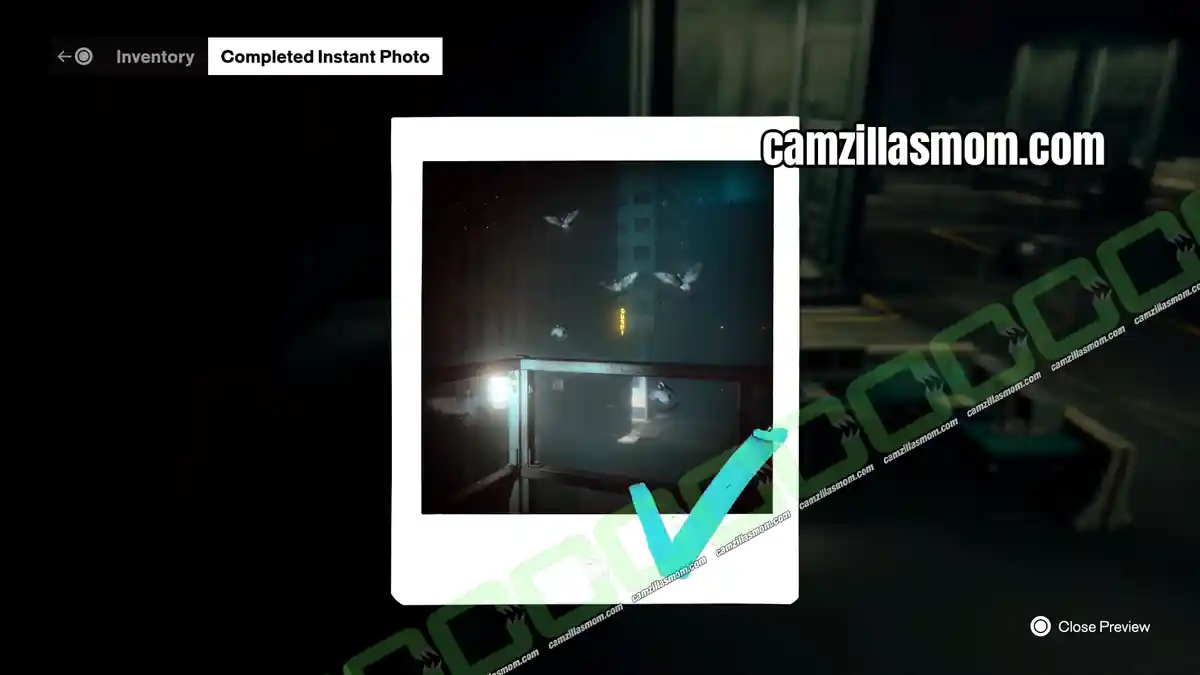
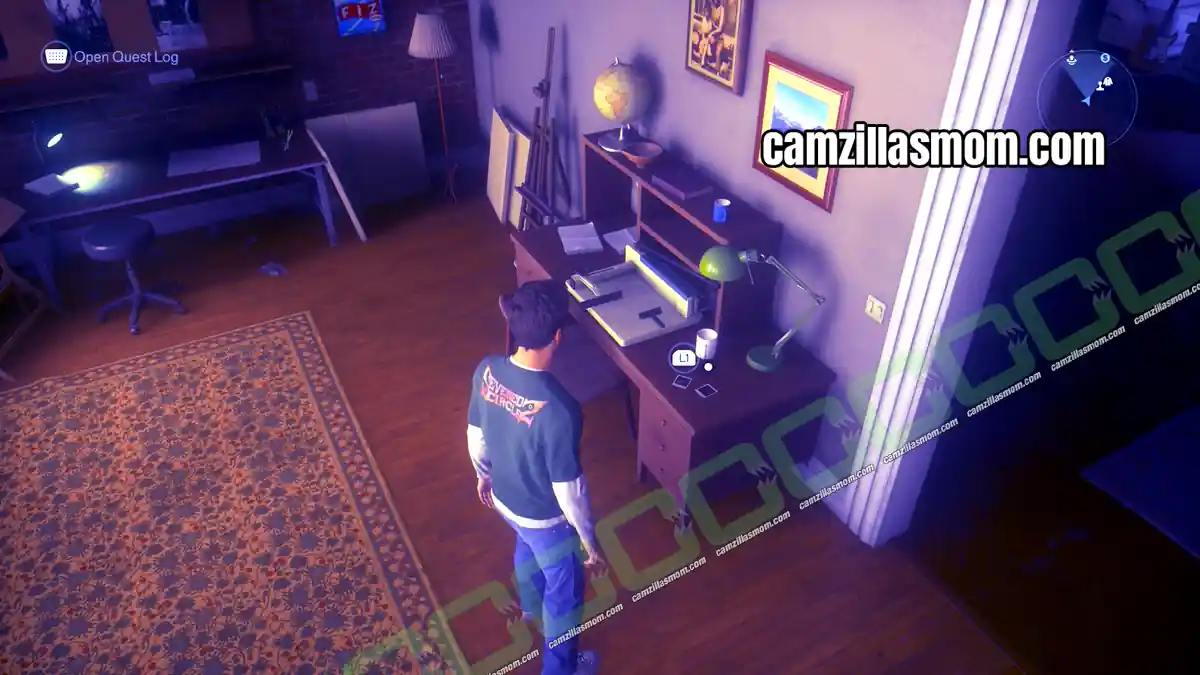
If you skip the Park during the story, both Park photos end up in the backroom of Dylan’s Apartment in the Unknown District by the end of the game. This one shows metal railings with frozen doves and a bright sushi sign in the background.
2 – Metal Railing and Sushi Camera Location
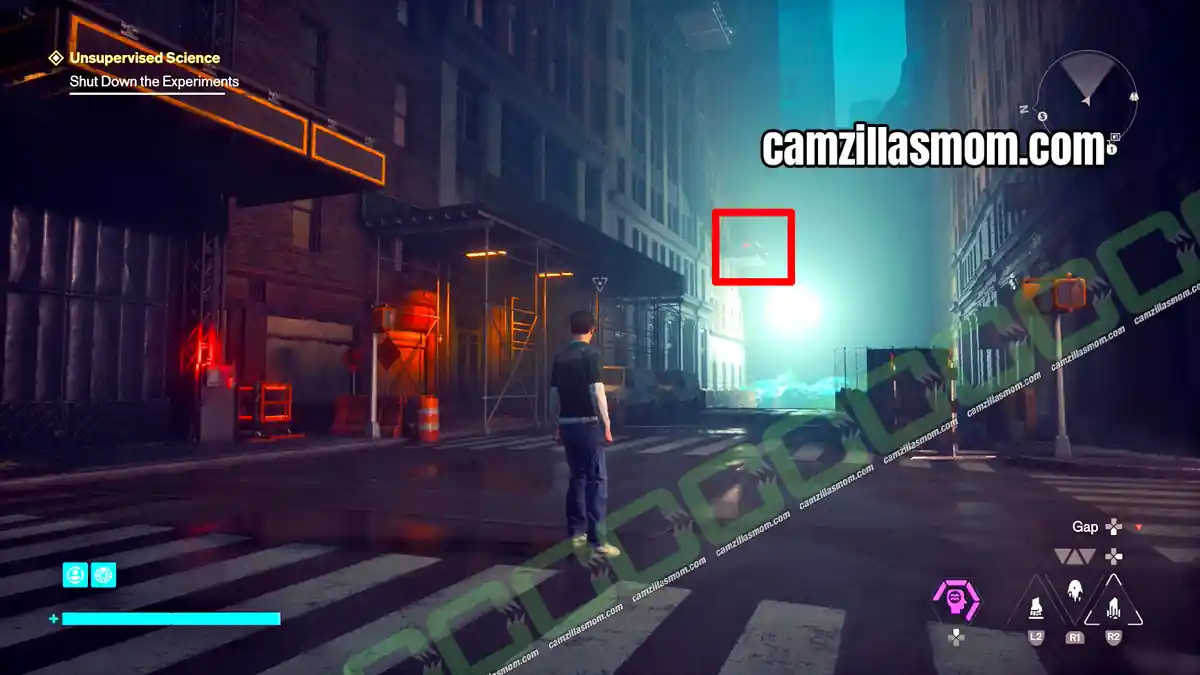
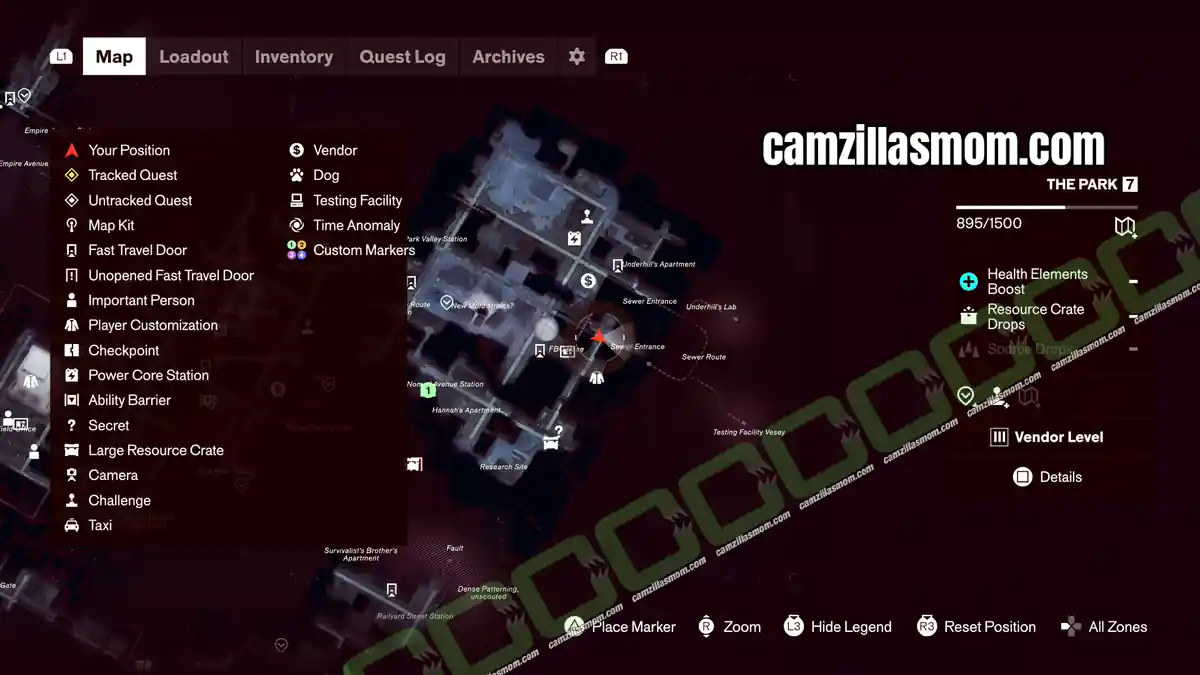
The camera stands high up on a platform east of the FBC Base, near the southern Sewer Entrance.
3 – How to Catch the Metal Railing and Sushi Camera
On the road east of the FBC Base, at ground level, is a small experiment with floodlights. One of its power cores still has power.
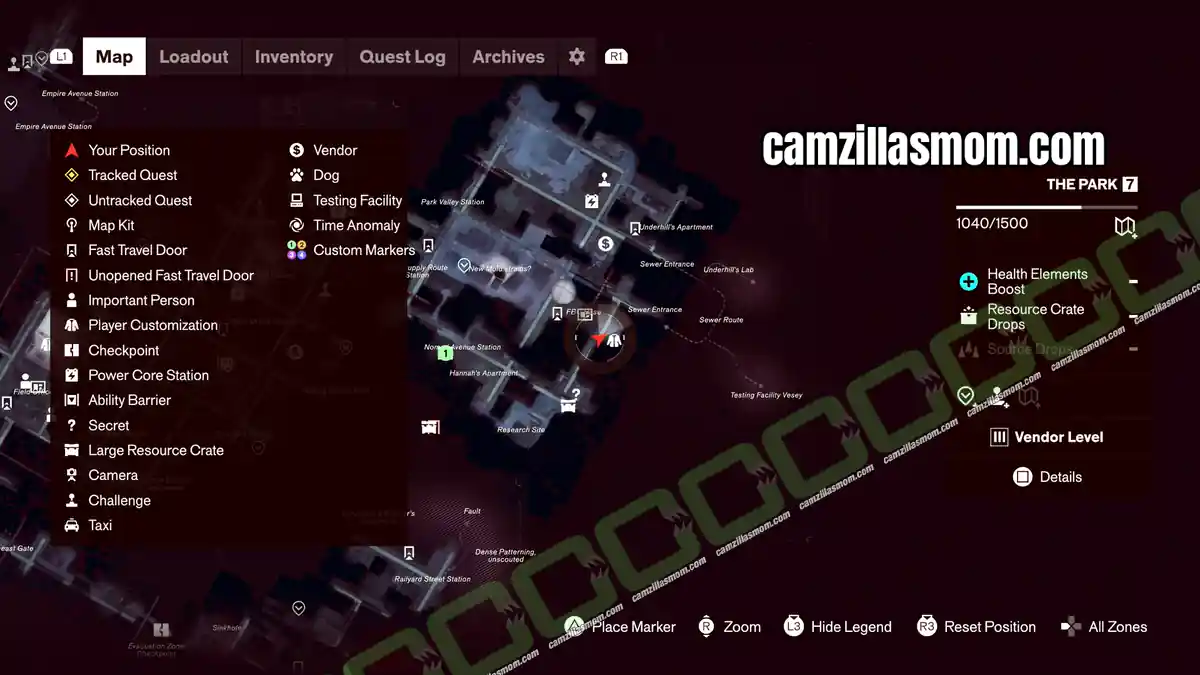
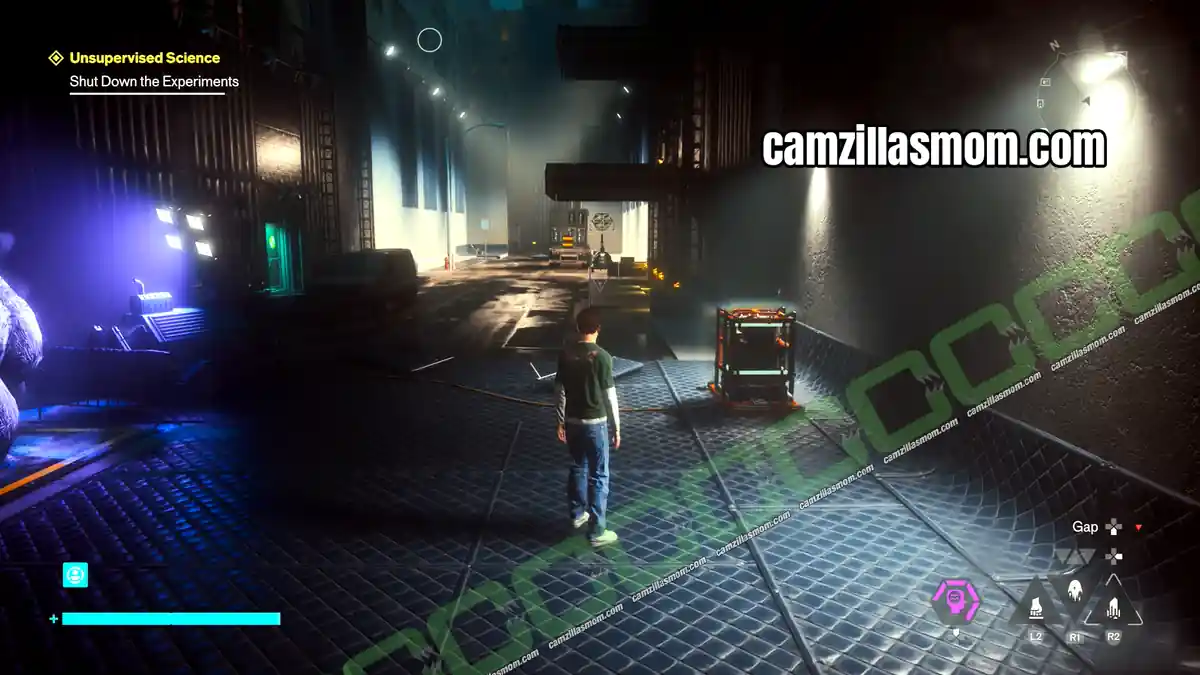
Carry the power north to the elevator at the end of the road.
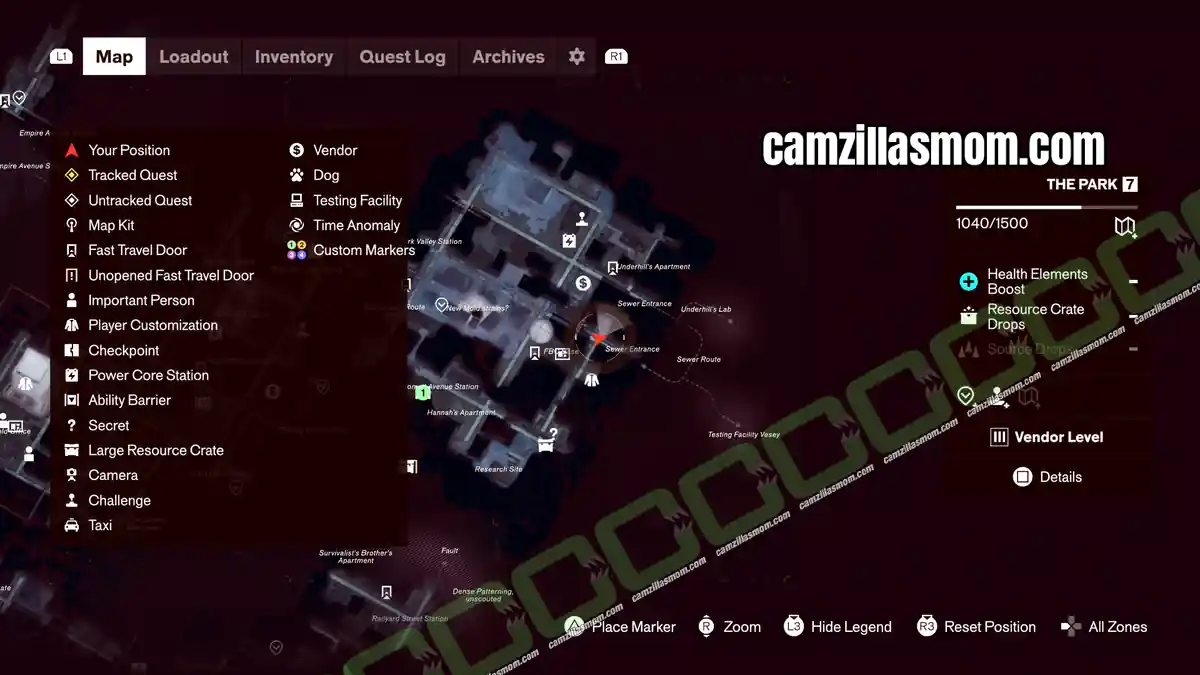
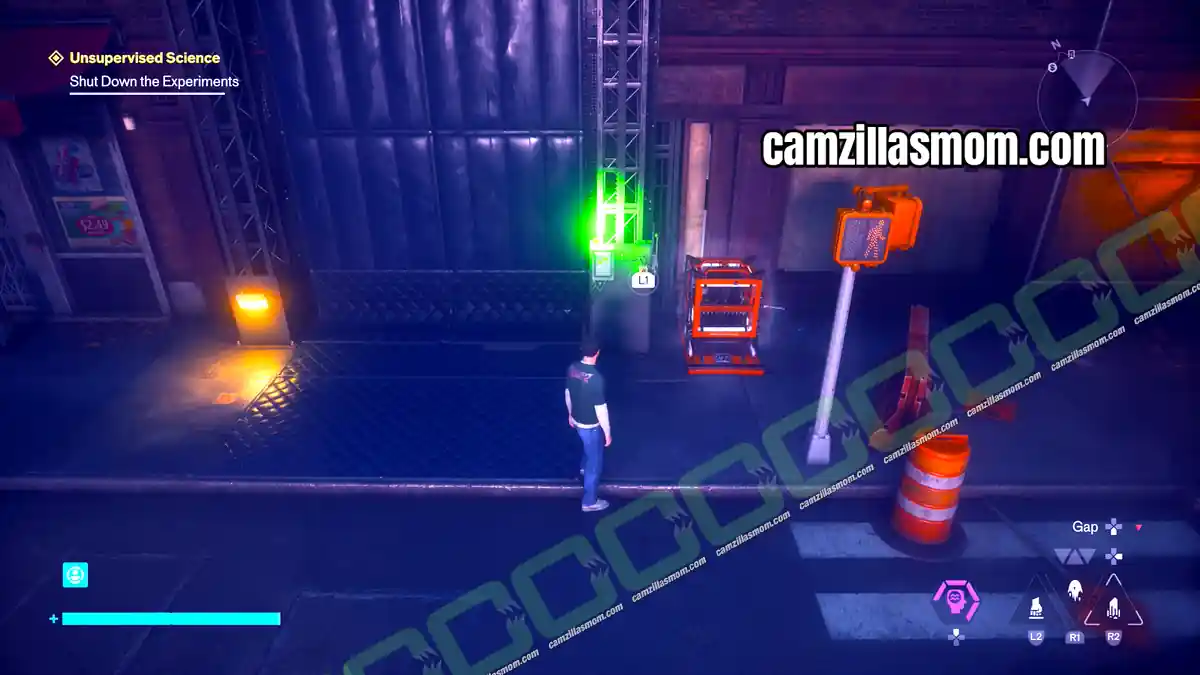
Ride to the top and look east. You can reach the platform above the camera from here. Drop down behind the camera and shut the lid.
Underground Mold Enemies Camera
Location: Southwest of the Park – Nomad Avenue subway station
Instant Photo: Backroom of Dylan’s Apartment, Unknown District
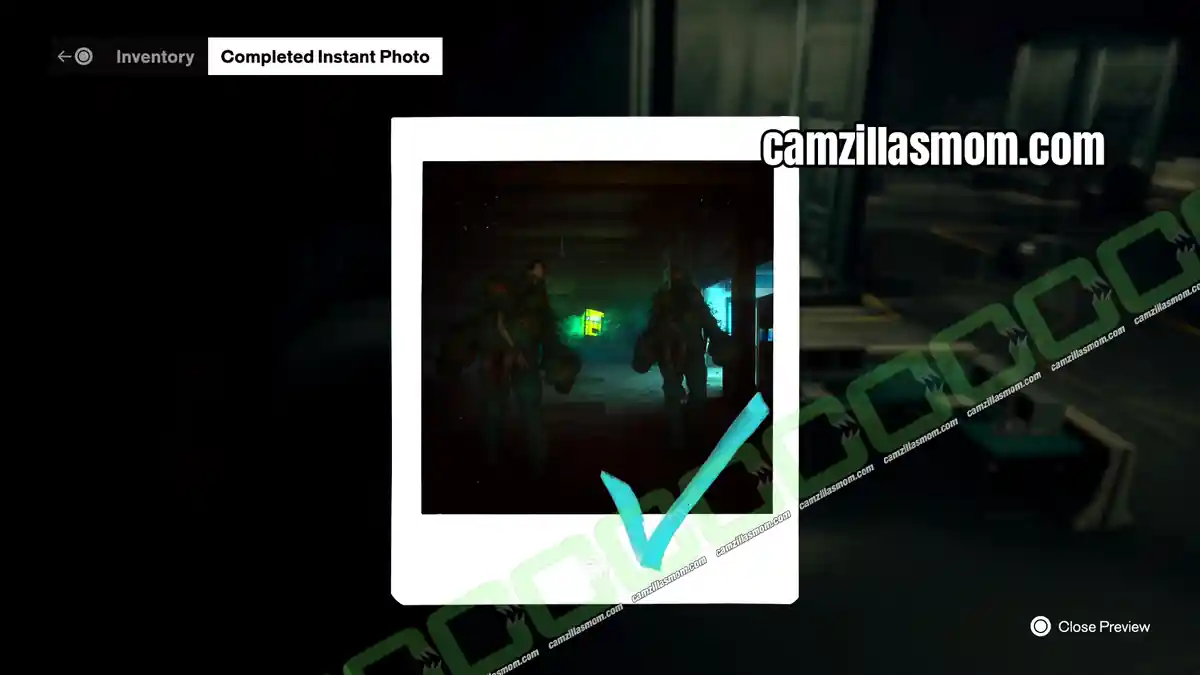
Underground Mold Enemies Instant Photo
1 – Where to Find the Underground Mold Enemies Instant Photo
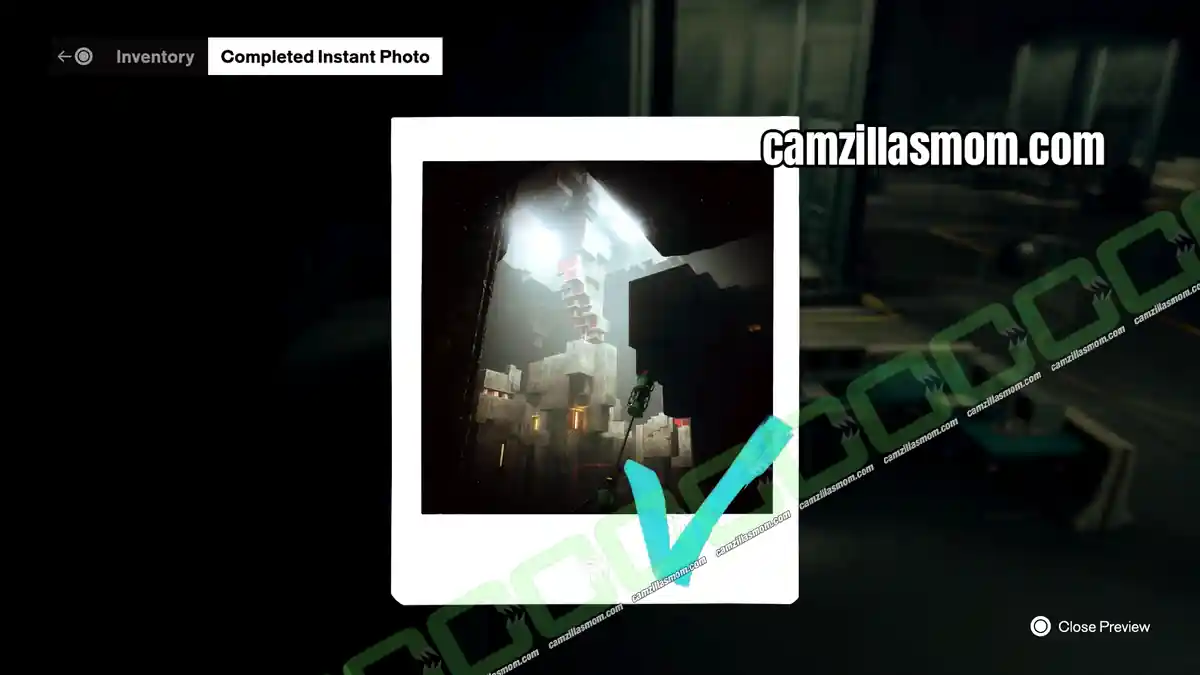
The second Park photo is in the same backroom of Dylan’s Apartment. It shows two Mold enemies somewhere underground.
2 – Underground Mold Enemies Camera Location
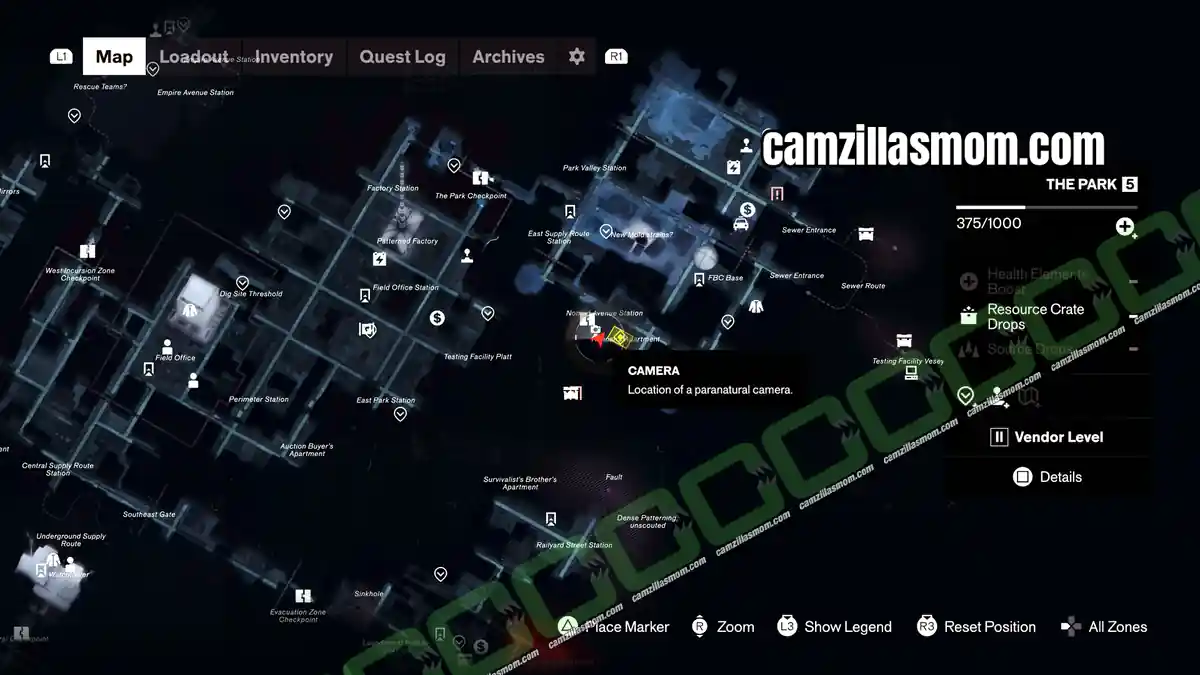
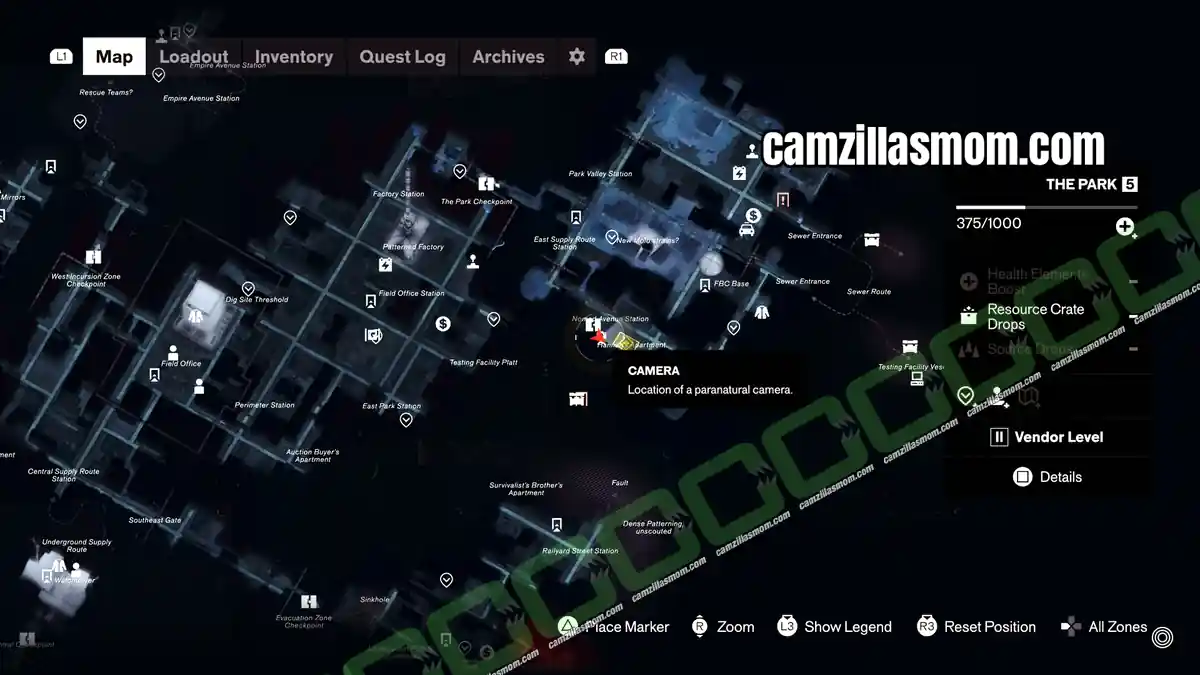
The camera is in the Nomad Avenue subway station in the southwest of the Park.
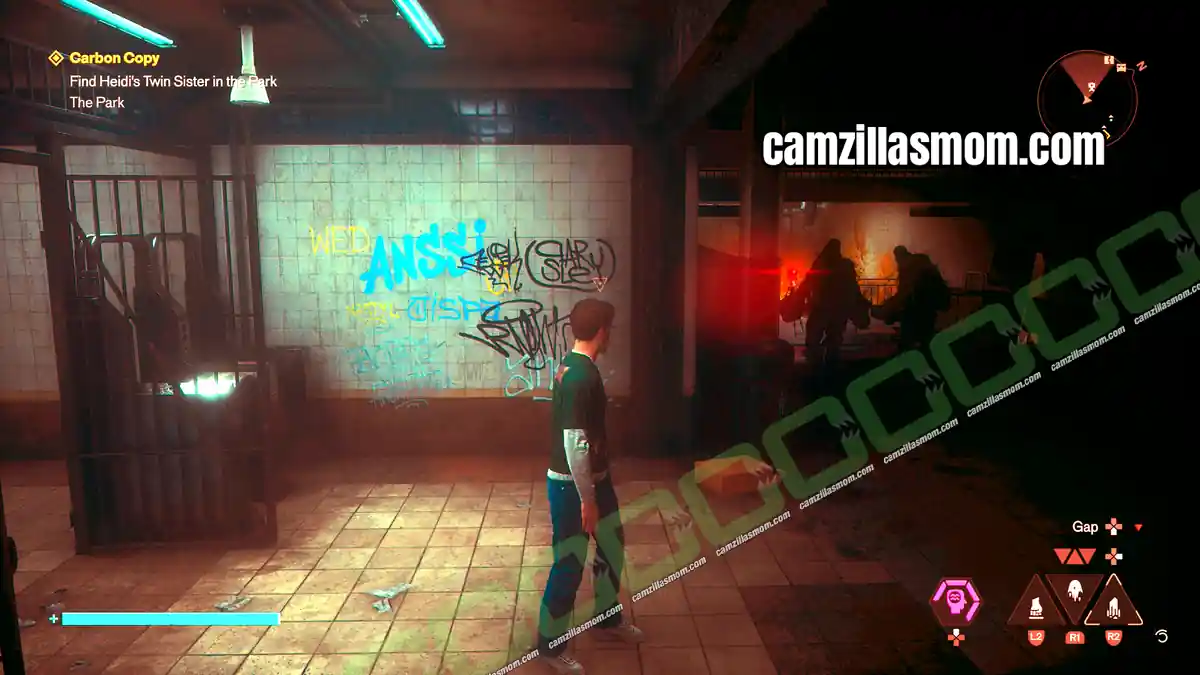
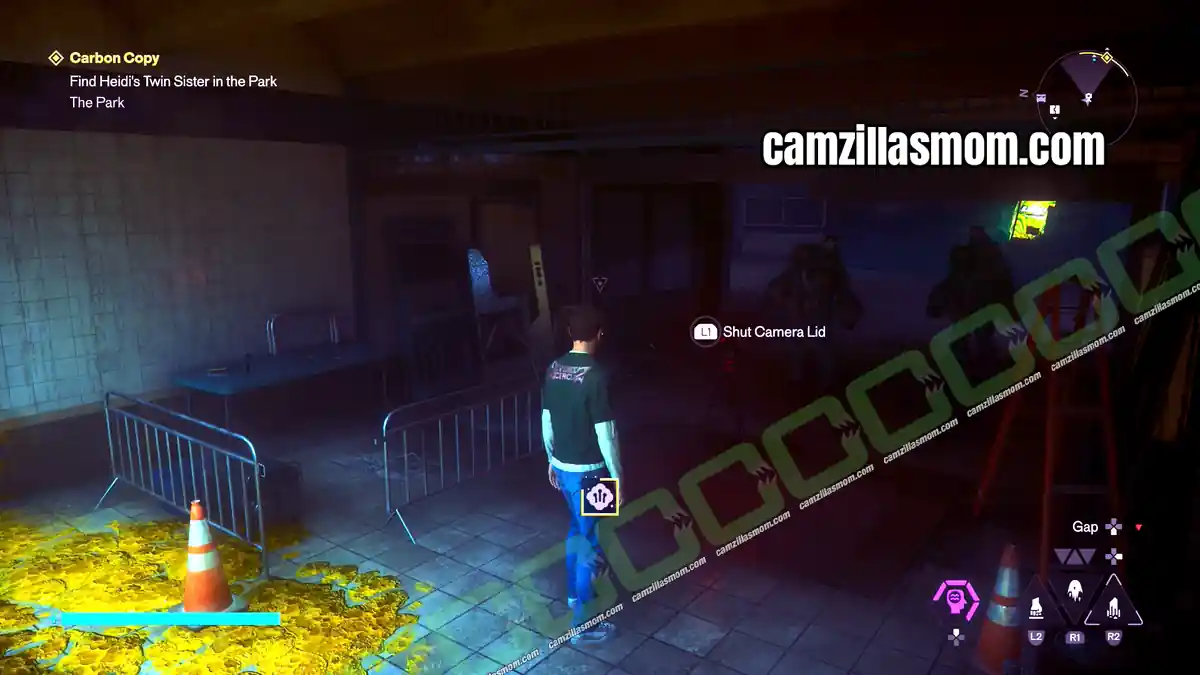
3 – How to Catch the Underground Mold Enemies Camera
Go down to the subway platform and come at the camera from the other side. On the way, you have to burn through a Mold barrier with the Inferno ability. Then shut the lid.
Underpass Camera Locations
Side Story: Freeze Frame
Cameras: 2
Antenna Camera
Location: Center west of the Underpass – blue fungus near Tubes Island
Instant Photo: Research area with tents near the Underpass Resonant location
Antenna Instant Photo
1 – Where to Find the Antenna Instant Photo
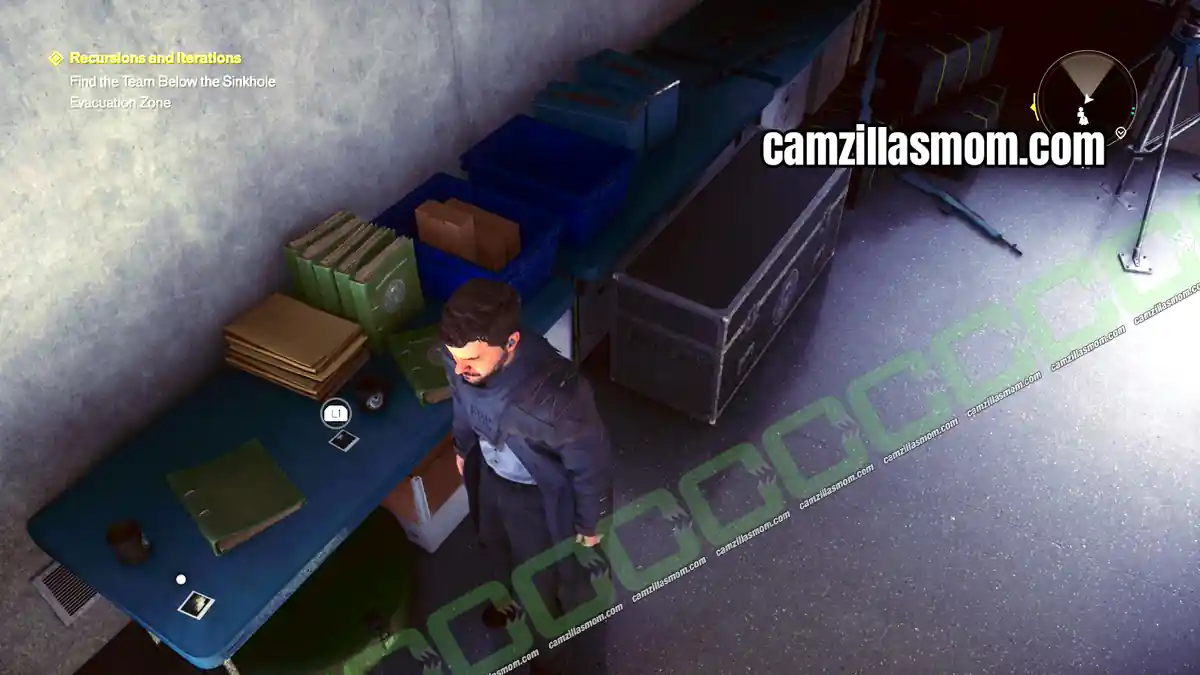
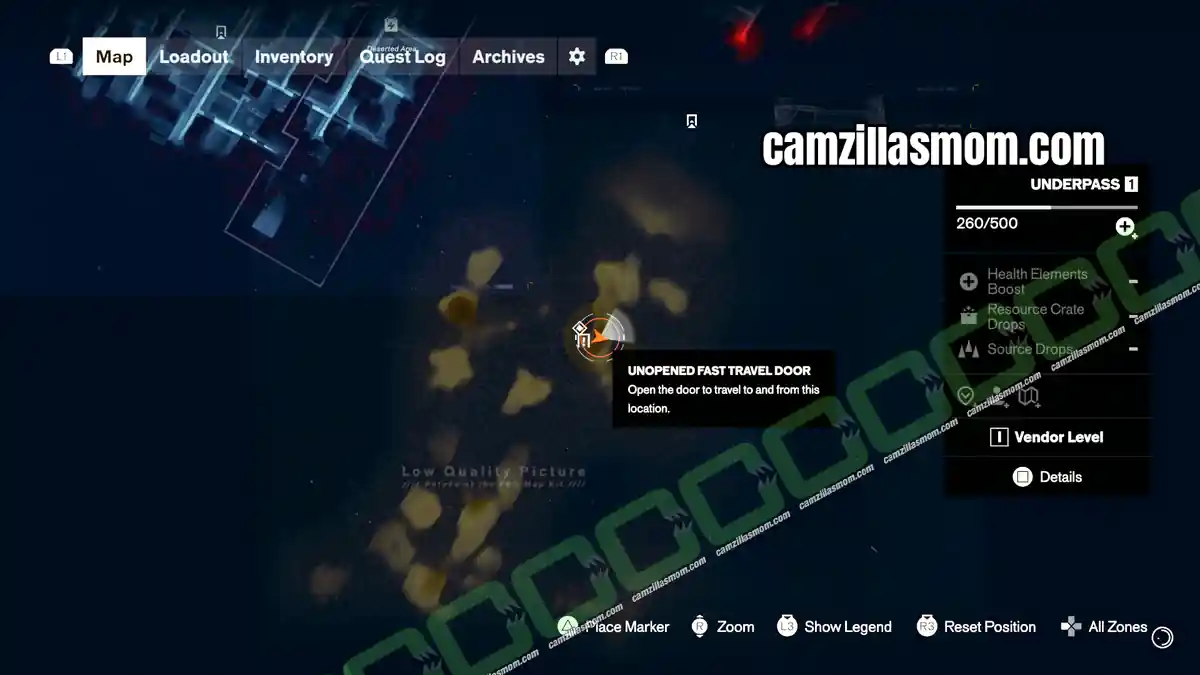
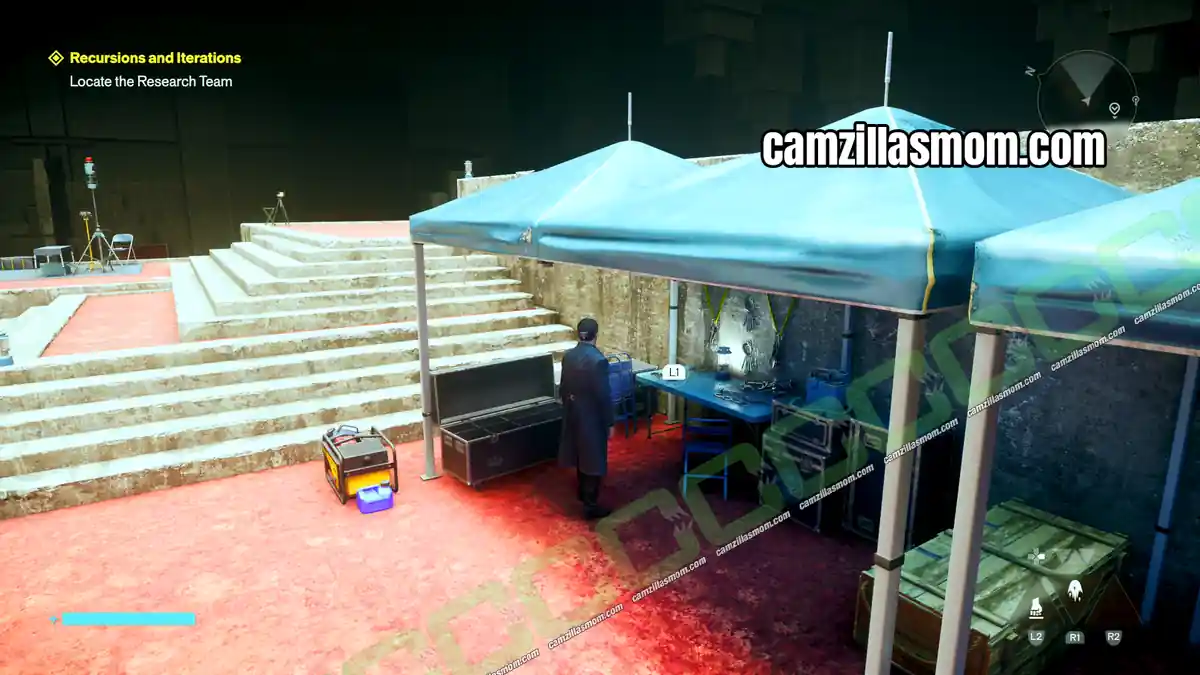
If you follow the ropes during the story quest Recursions and Iterations, you come across a research area with tents near the Underpass Resonant location and a Fast Travel Door. Both Underpass photos are on the table there. This one shows a piece of tech, possibly an antenna, with the brightly lit Underpass structures in the background.
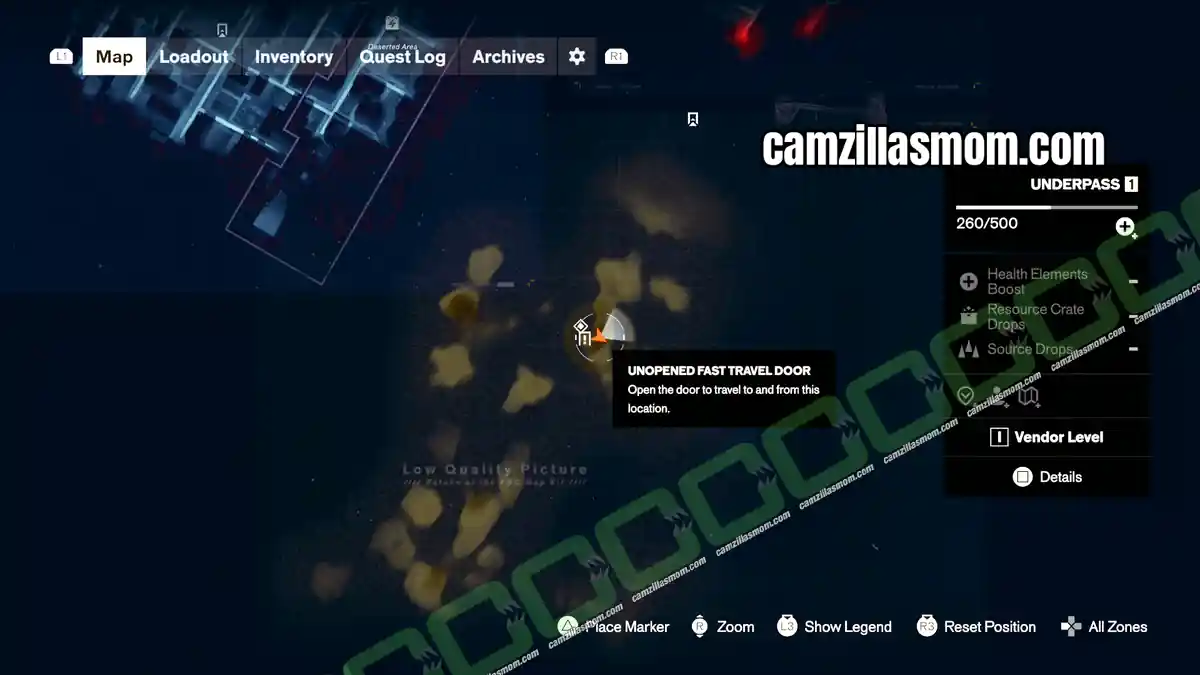
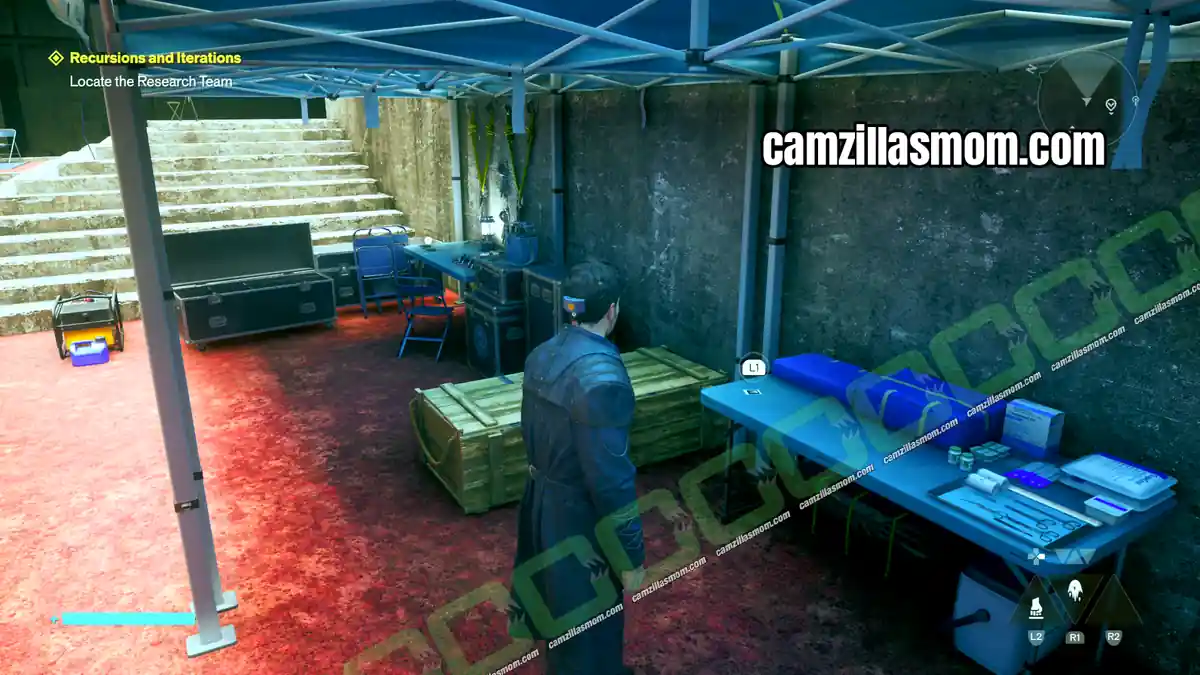
2 – Antenna Camera Location
The camera is in the center west of the Underpass, where the blue fungus grows near Tubes Island.
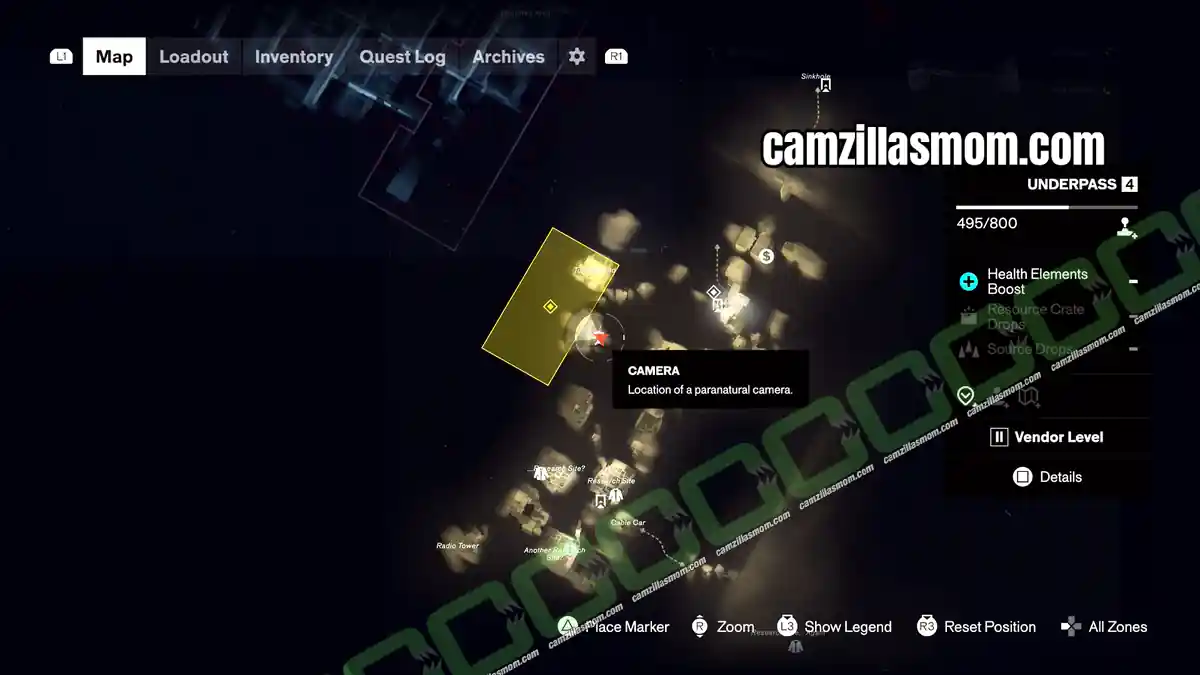
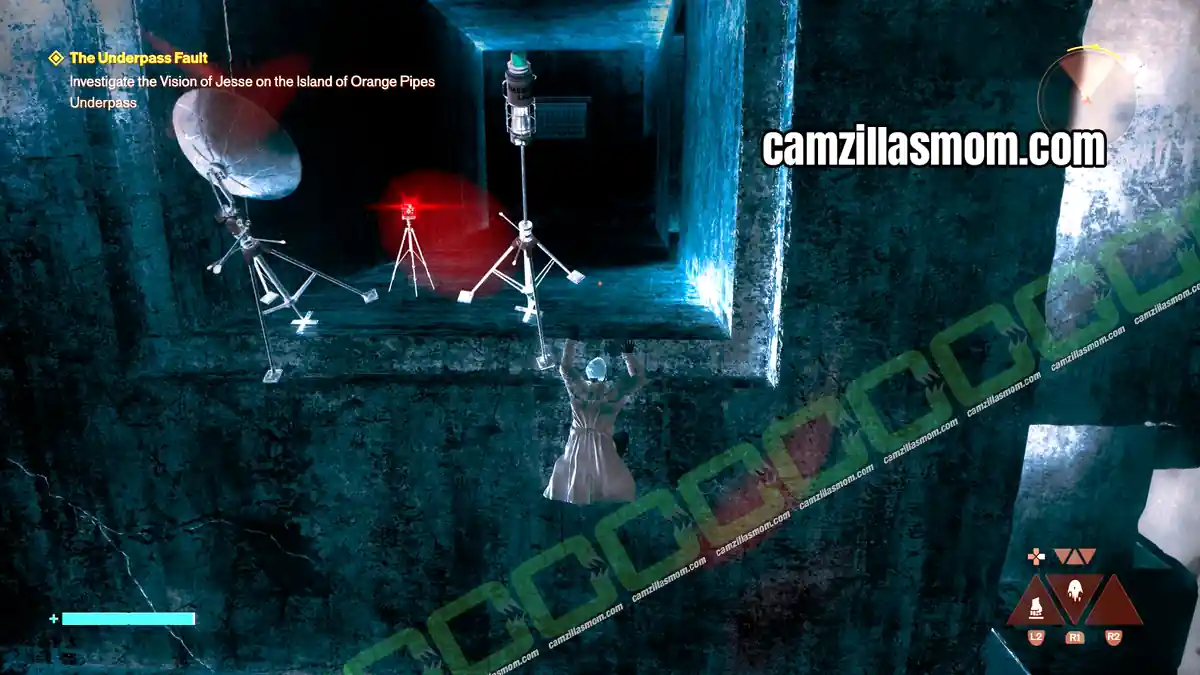
3 – How to Catch the Antenna Camera
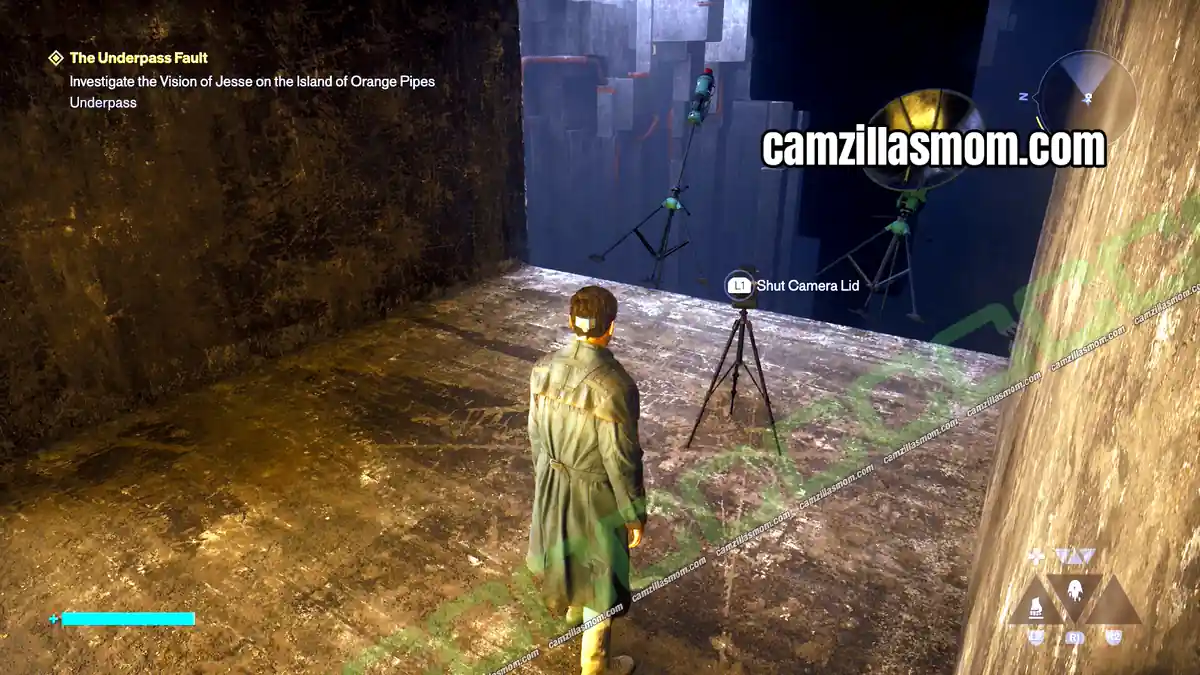
Climb up to the camera and go through the small passage to the other side. From there, jump across to another small passage at the top right. That passage is where you have to approach the camera from.
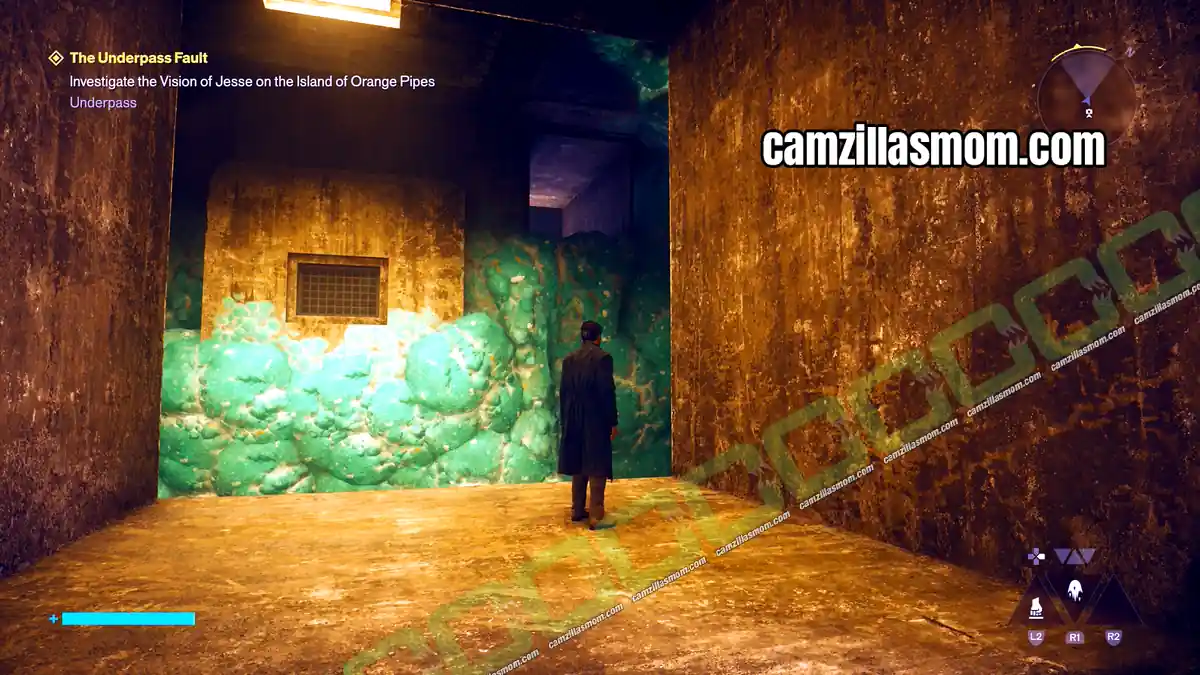
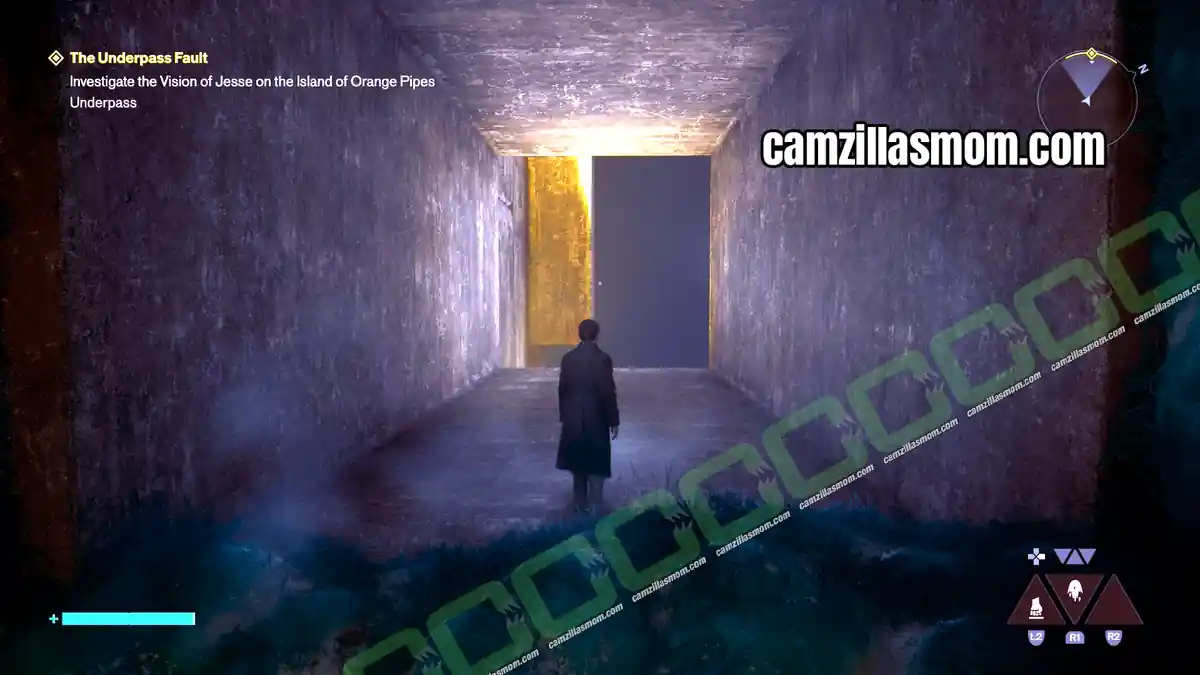
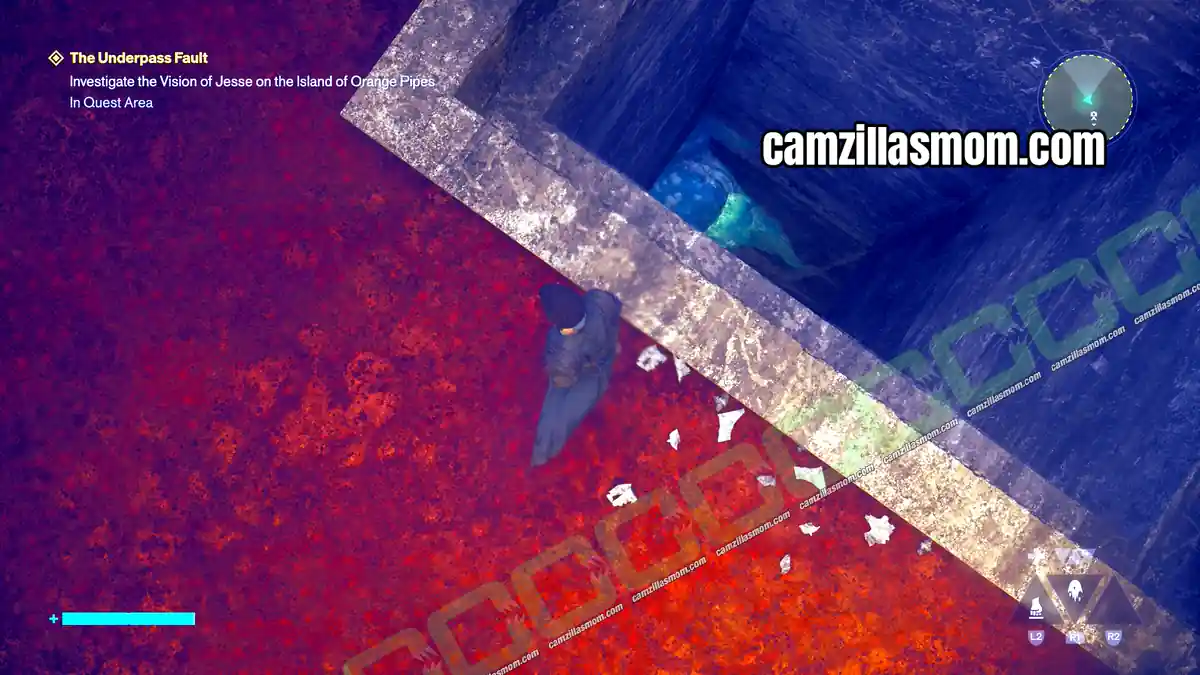
To get to that passage, use the Reach bubble here. It takes you to an area with a red floor.
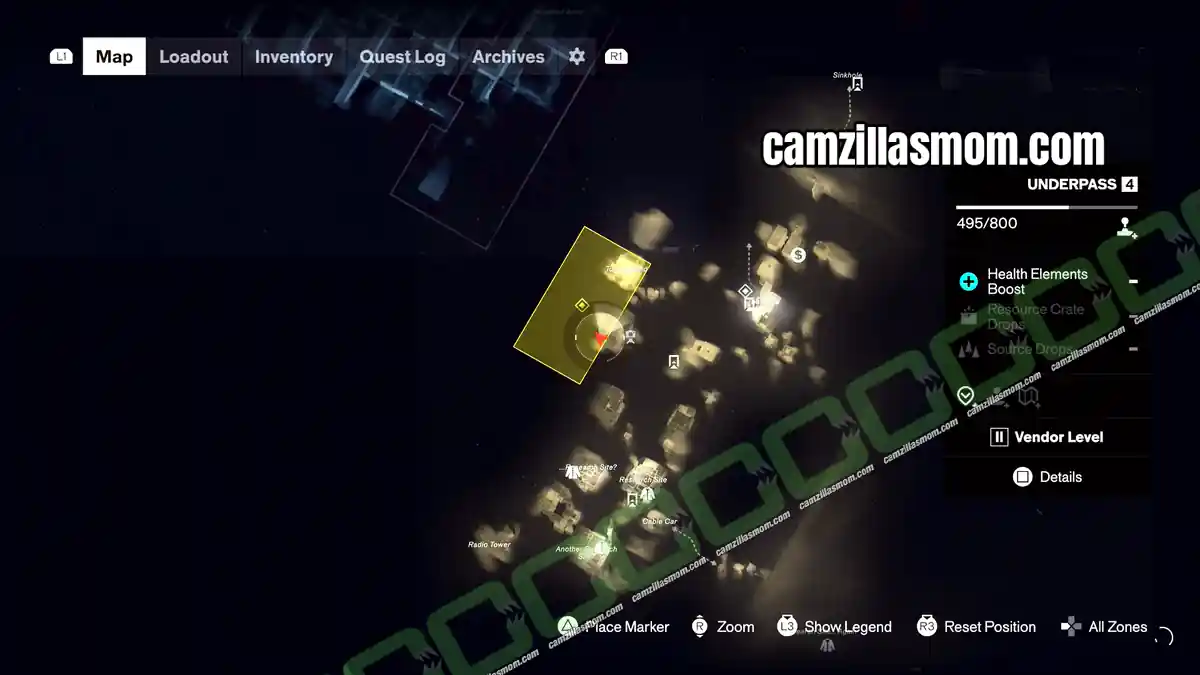
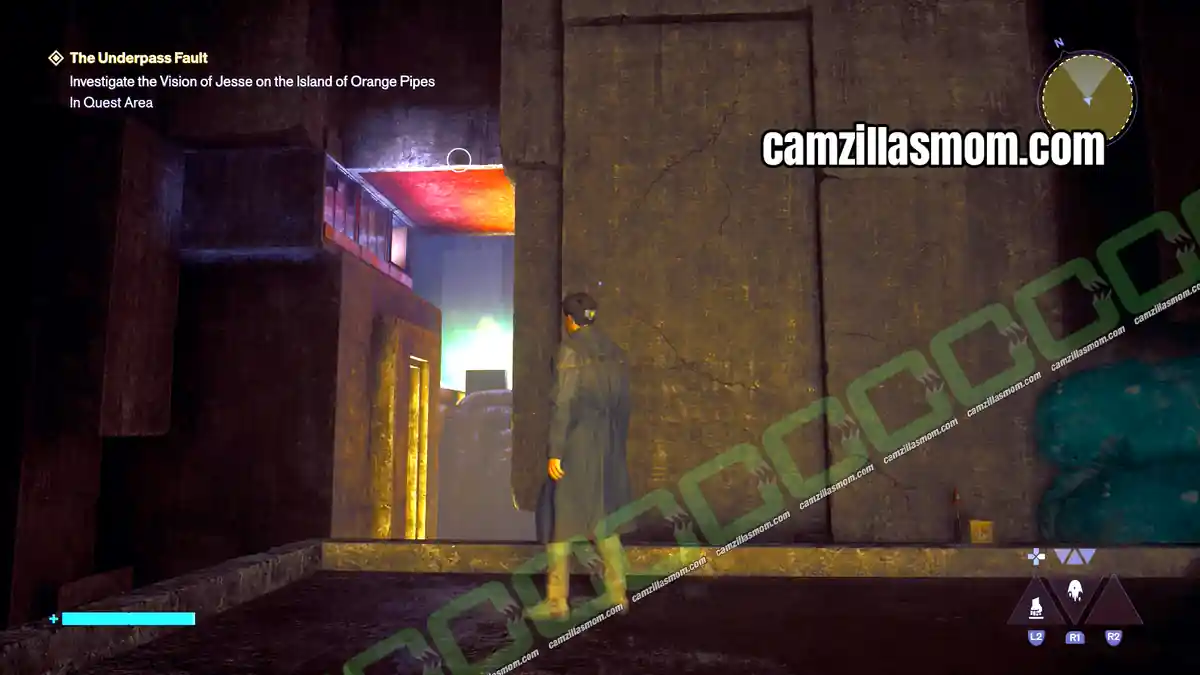
From the red floored area you reach the passage from the screenshot above, just from a different angle. Drop down and land on the overhanging Mold below. The camera is in the square hole in the ground. Drop down and time your jumps to reach it.
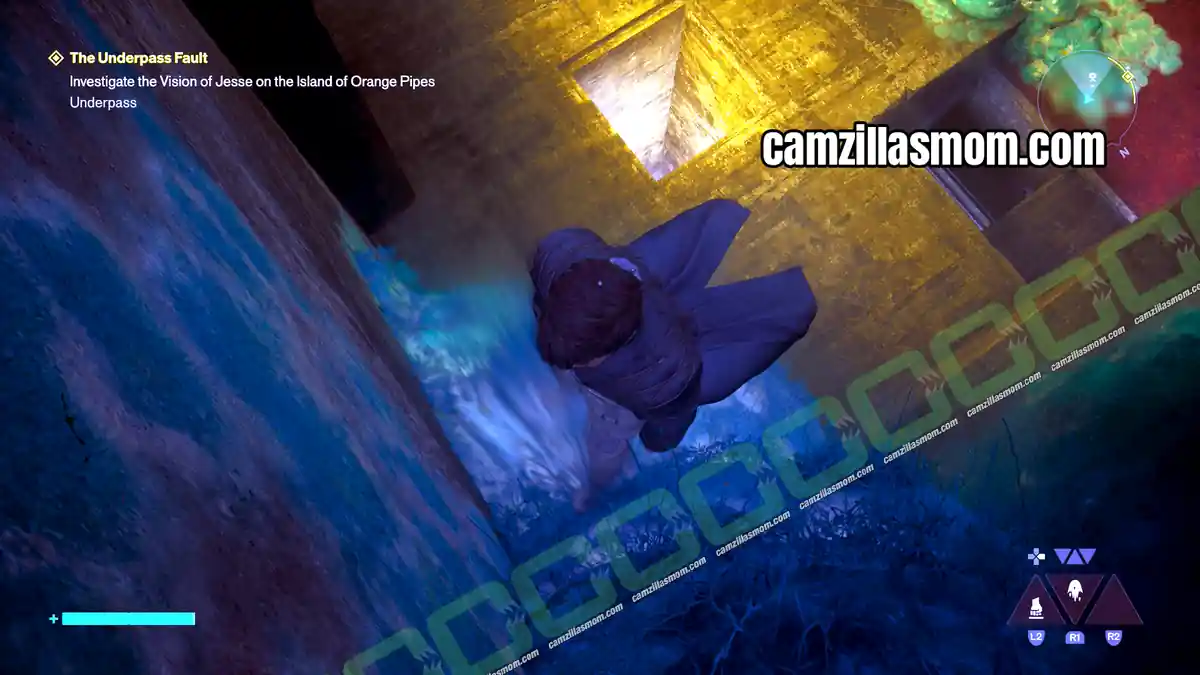
Then shut the lid.
Frozen Hiss Riveter Camera
Location: Underpass – northeast of the Spire, east of the Underpass vendor
Instant Photo: Research area with tents near the Underpass Resonant location
Frozen Hiss Riveter Instant Photo
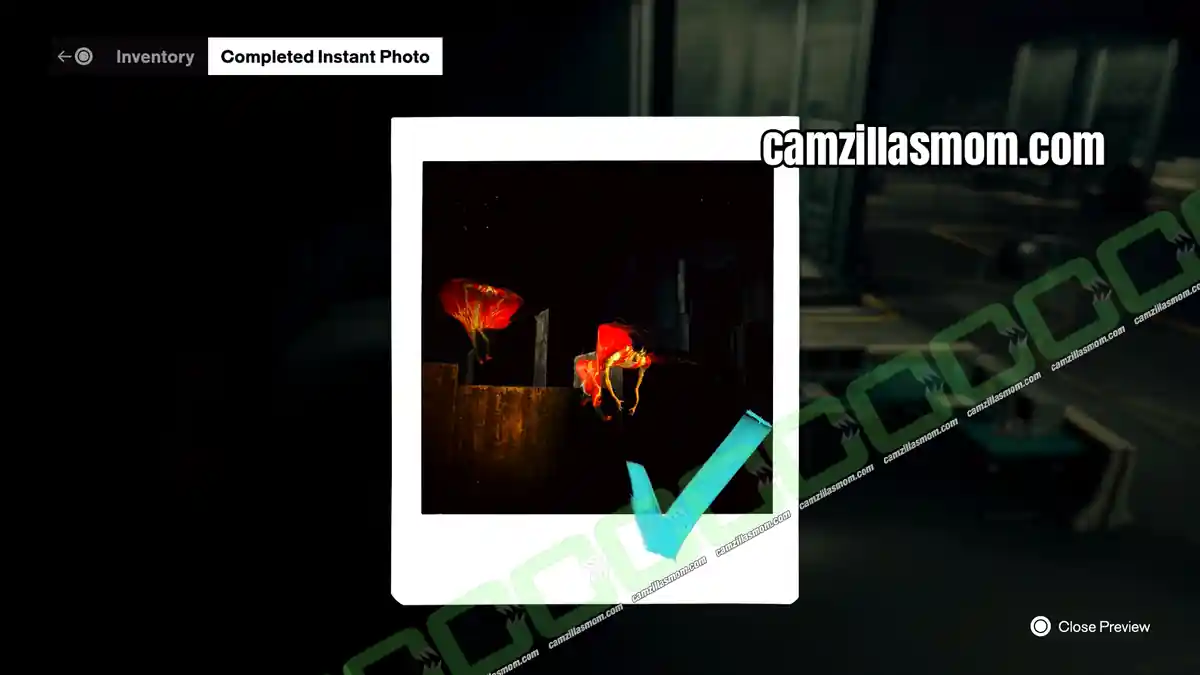
1 – Where to Find the Frozen Hiss Riveter Instant Photo
The second Underpass photo is on the same table at the research area. It shows three frozen Hiss Riveters in a dark place.
2 – Frozen Hiss Riveter Camera Location
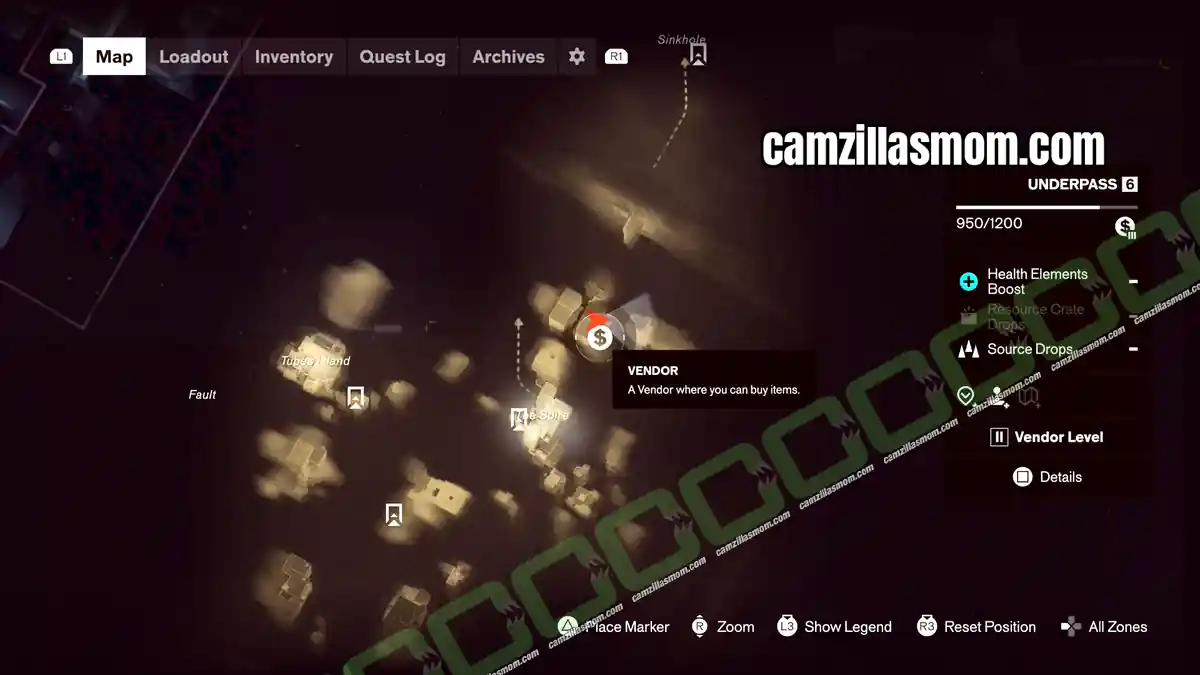
The camera and the floating Riveter are northeast of the Spire, east of the Underpass vendor.
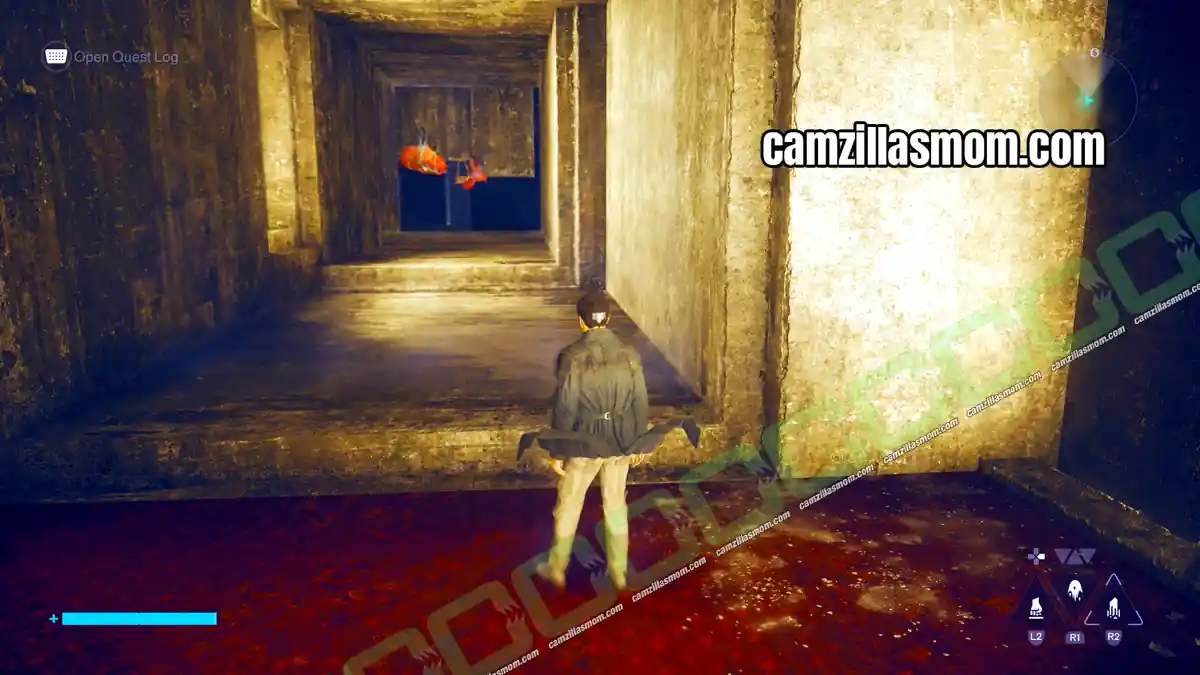
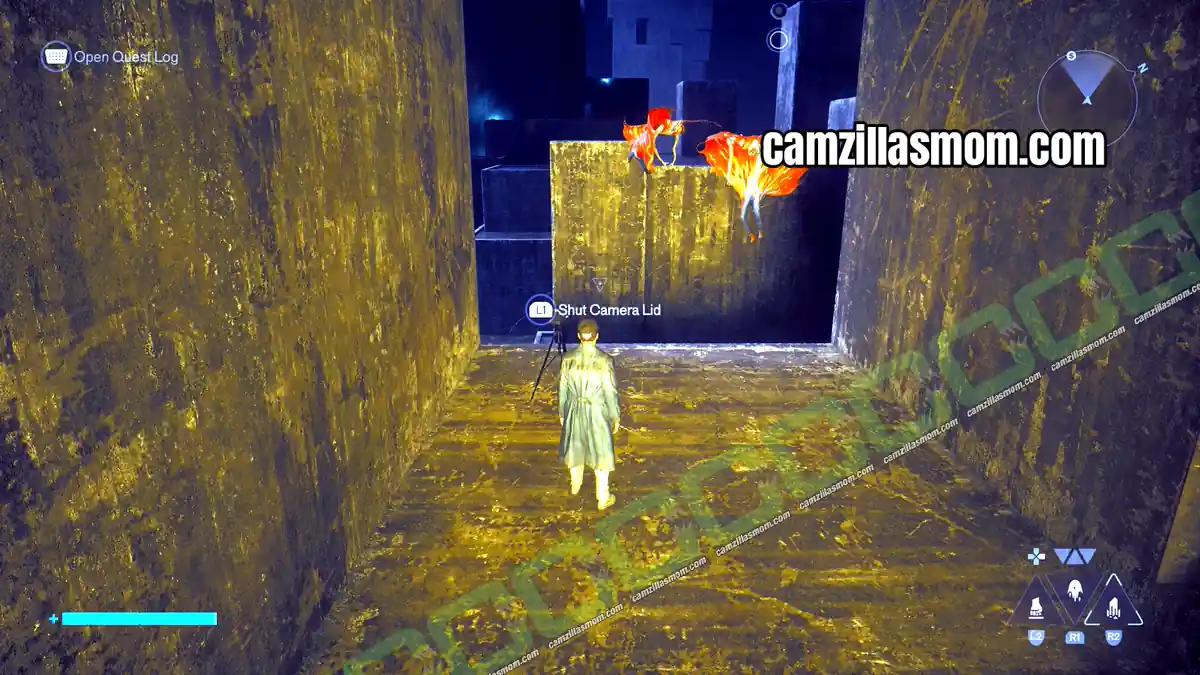
3 – How to Catch the Frozen Hiss Riveter Camera
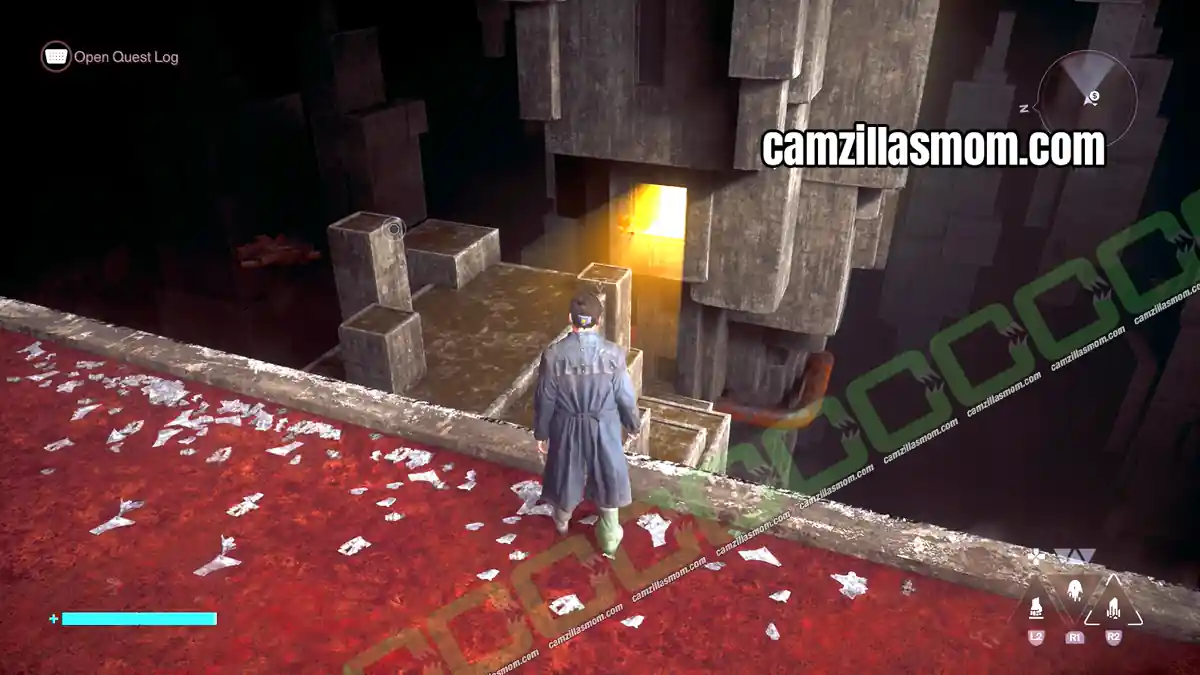
To reach the camera from behind, you have to go below it. Look down to the left for a Reach bubble. It leads to a Hiss area with a named Hiss called Thomas.
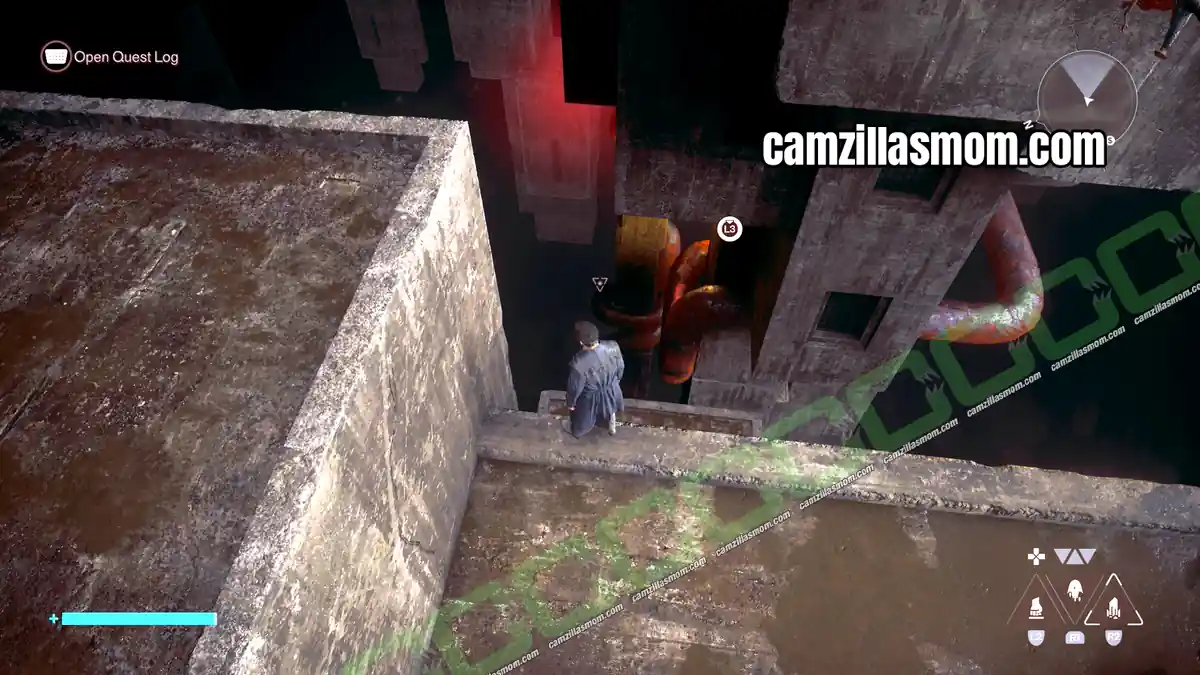
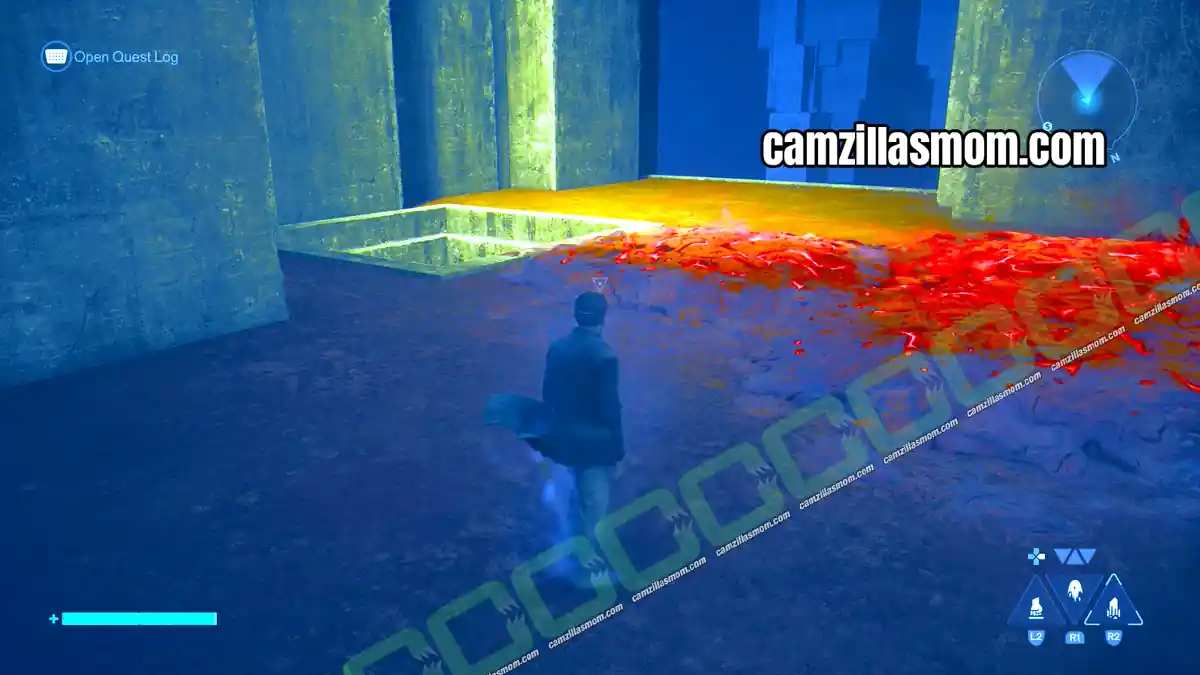
Drop down the square hole here to land right behind the camera, then shut the lid.
Unknown District Camera Locations
Side Story: Freeze Frame
Cameras: 2
Double Doors, Yellow Light Camera
Location: Unknown District – laundromat on Factory Island
Instant Photo: Unknown Field Office, main desk at Command
Double Doors, Yellow Light Instant Photo
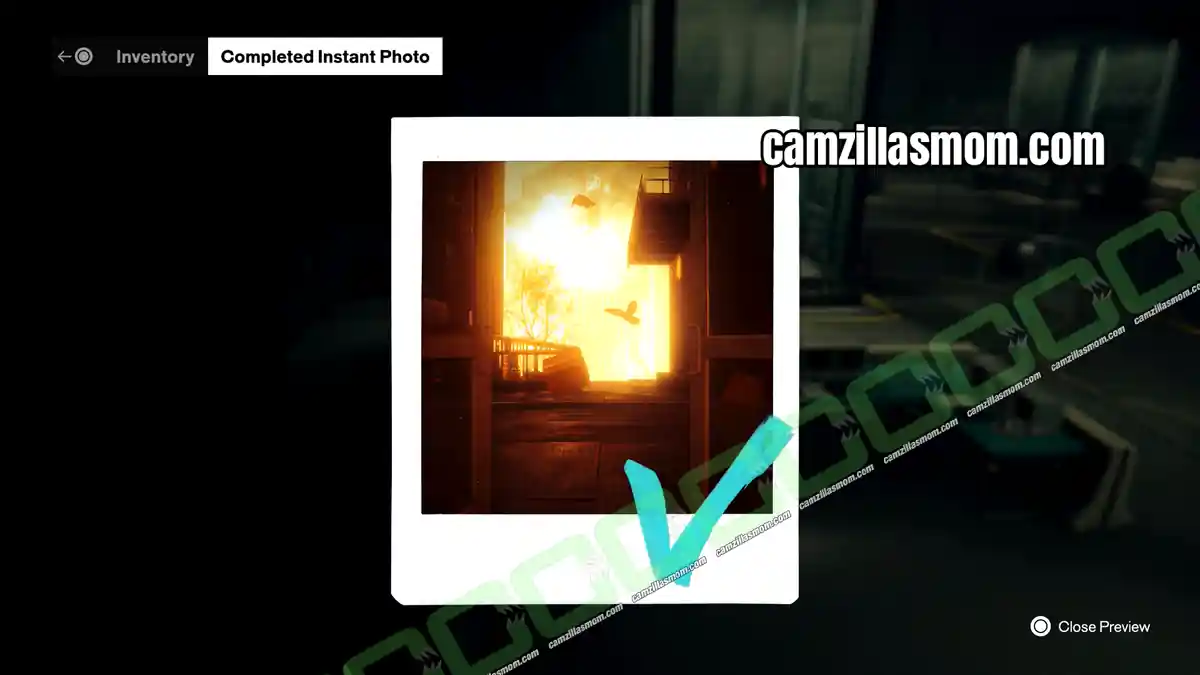
1 – Where to Find the Double Doors, Yellow Light Instant Photo
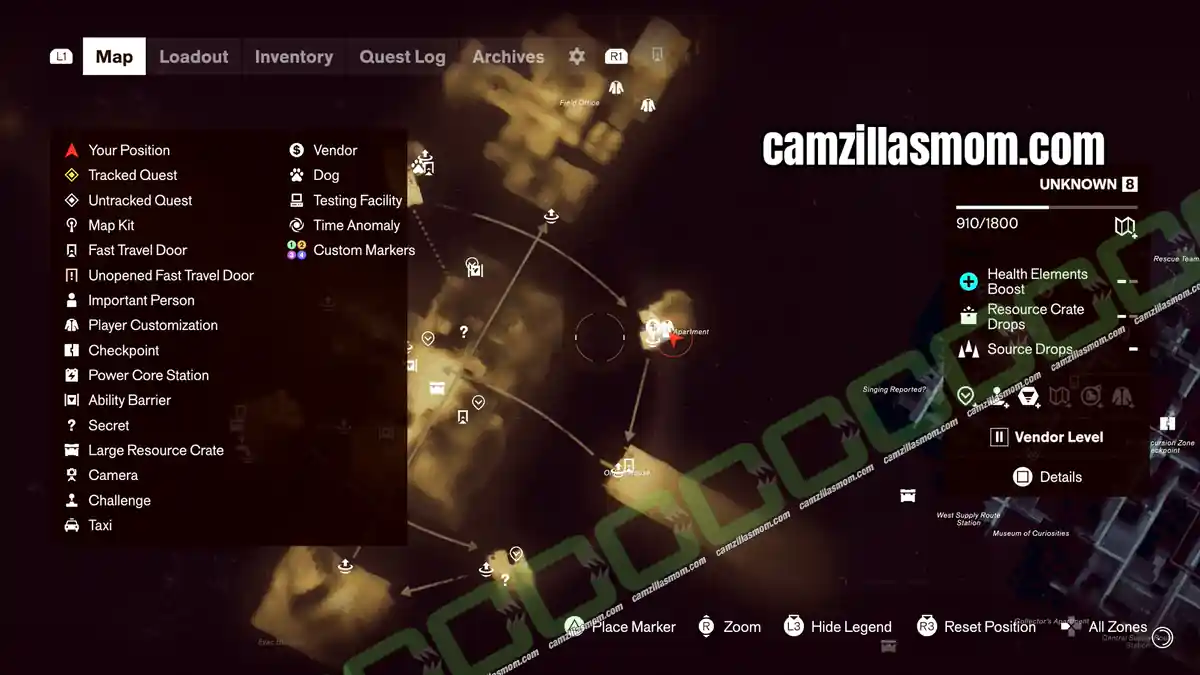
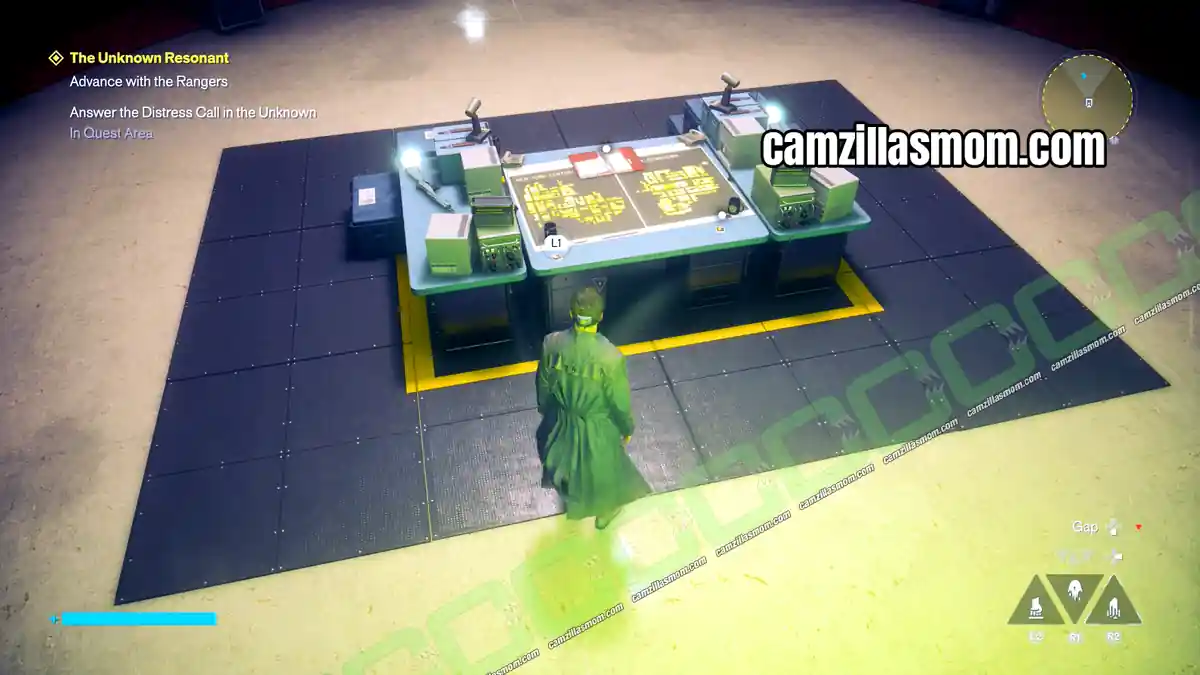
Both Unknown District photos are on the main desk at Command in the Unknown Field Office.
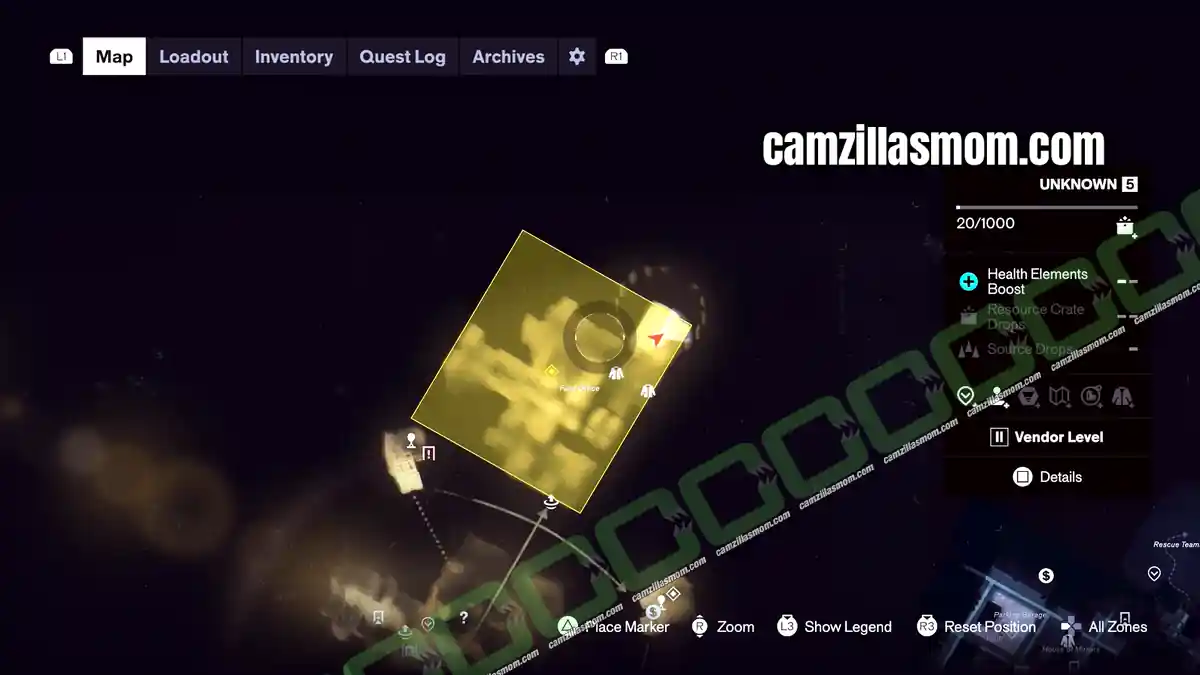
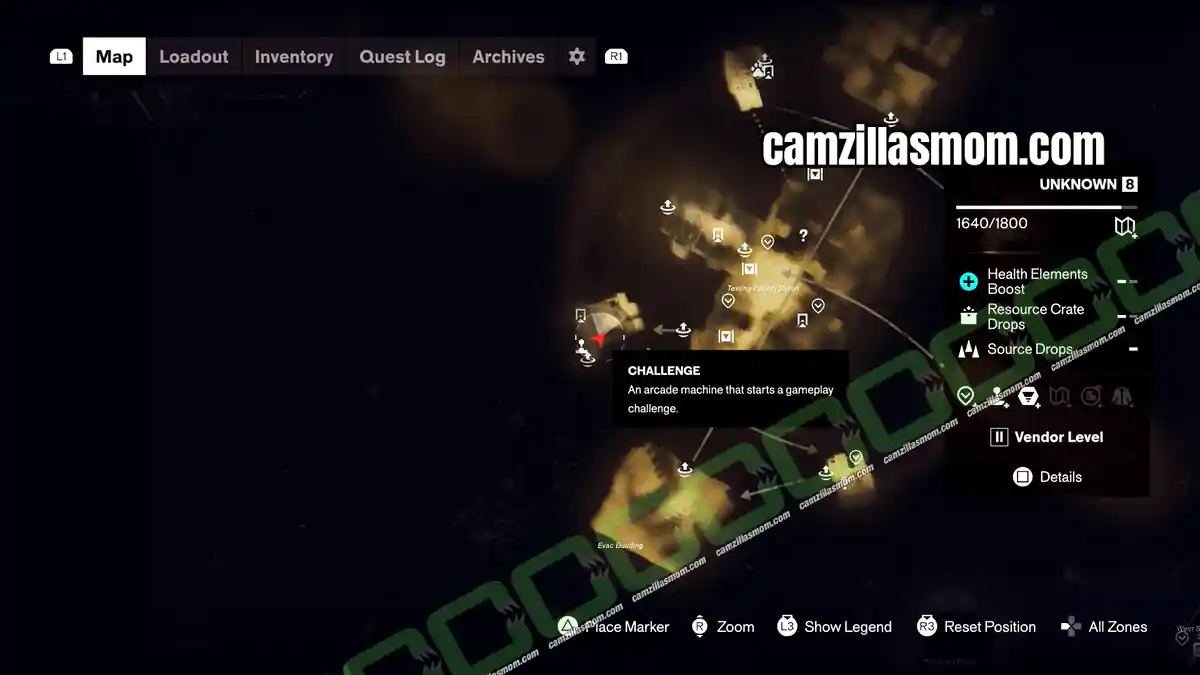
2 – Double Doors, Yellow Light Camera Location
The camera is at the entrance door of a laundromat on Factory Island.
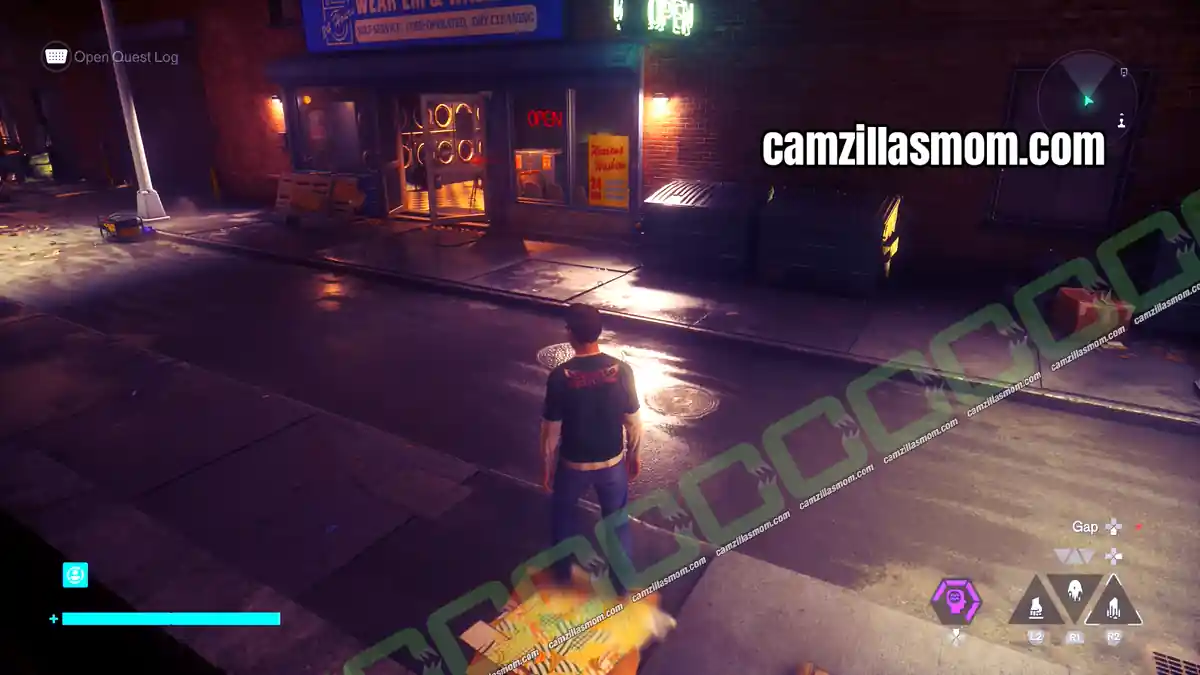
3 – How to Catch the Double Doors, Yellow Light Camera
Enter the laundromat and let the camera spot you. Then go to the back and destroy the power switch for the garage door shutters. Leave the building to reset the camera.
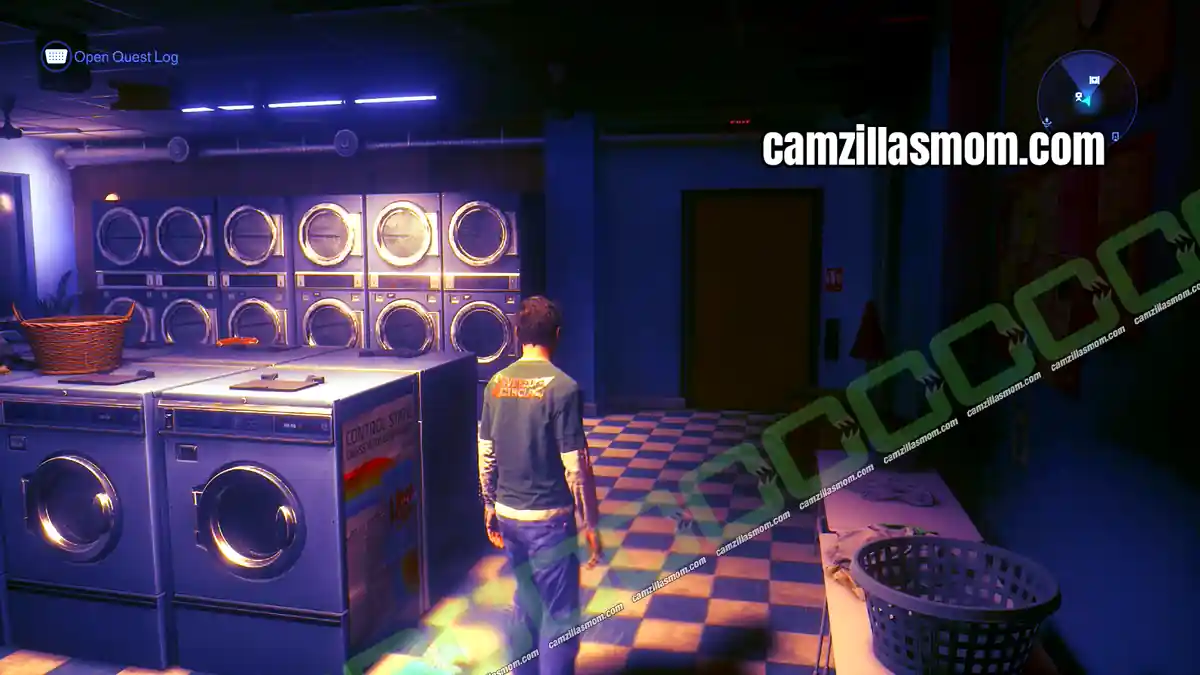
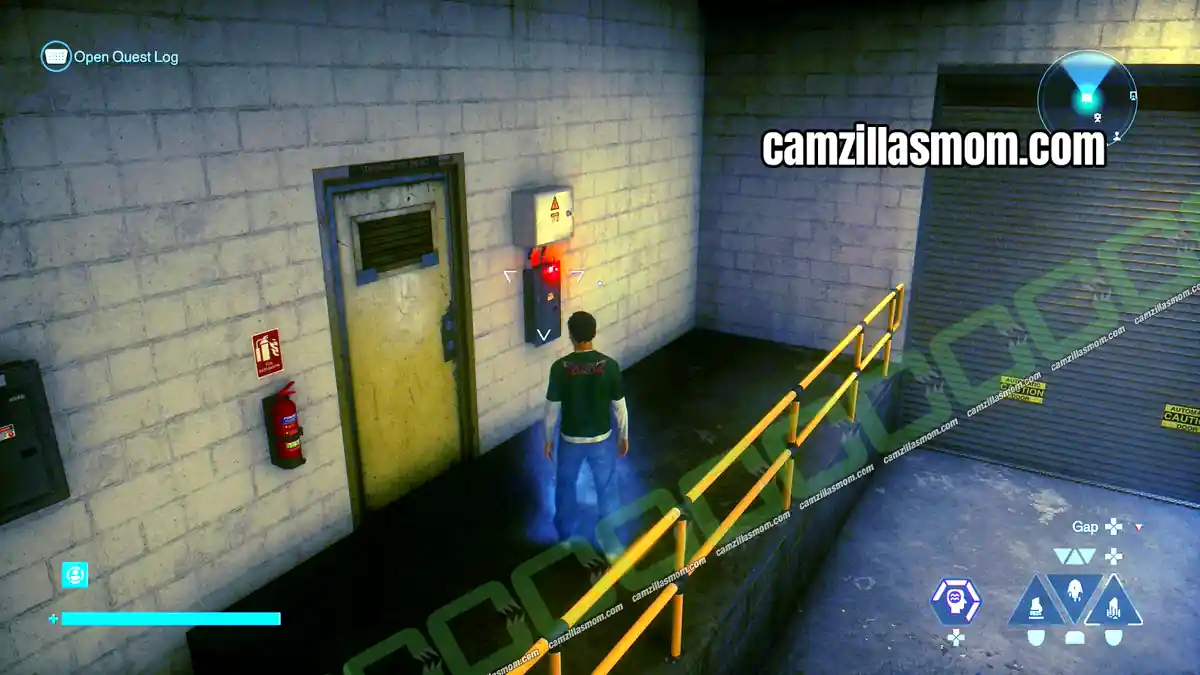
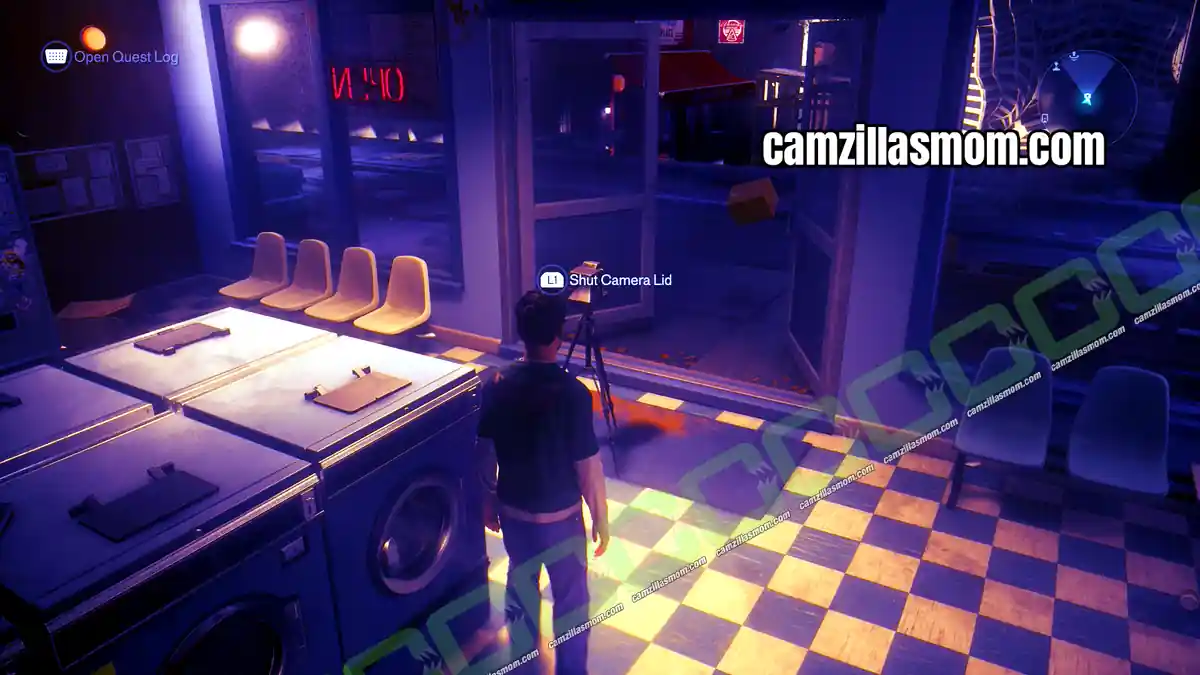
Come back in through the open back and shut the lid.
Moldy Building Site Camera
Location: North of the Twisted Rooftops – bottom level of the Mold covered building site
Instant Photo: Unknown Field Office, main desk at Command
Moldy Building Site Instant Photo
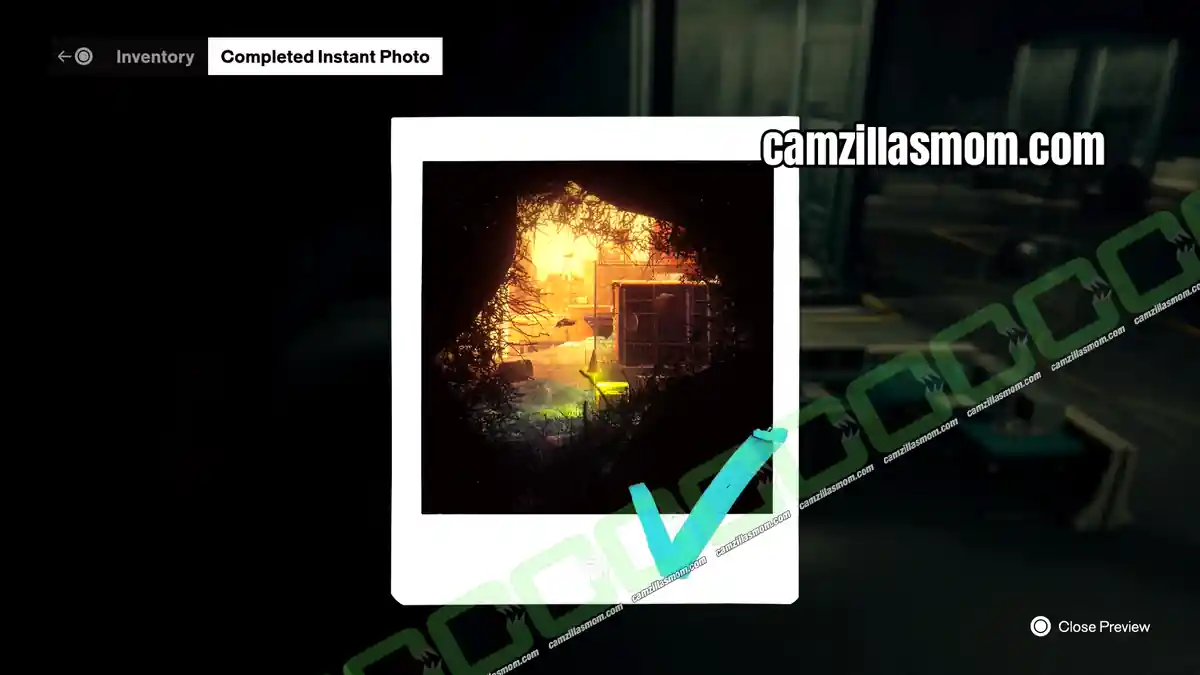
1 – Where to Find the Moldy Building Site Instant Photo
The second photo is on the same desk at Command. It shows the camera at a building site covered in Mold.
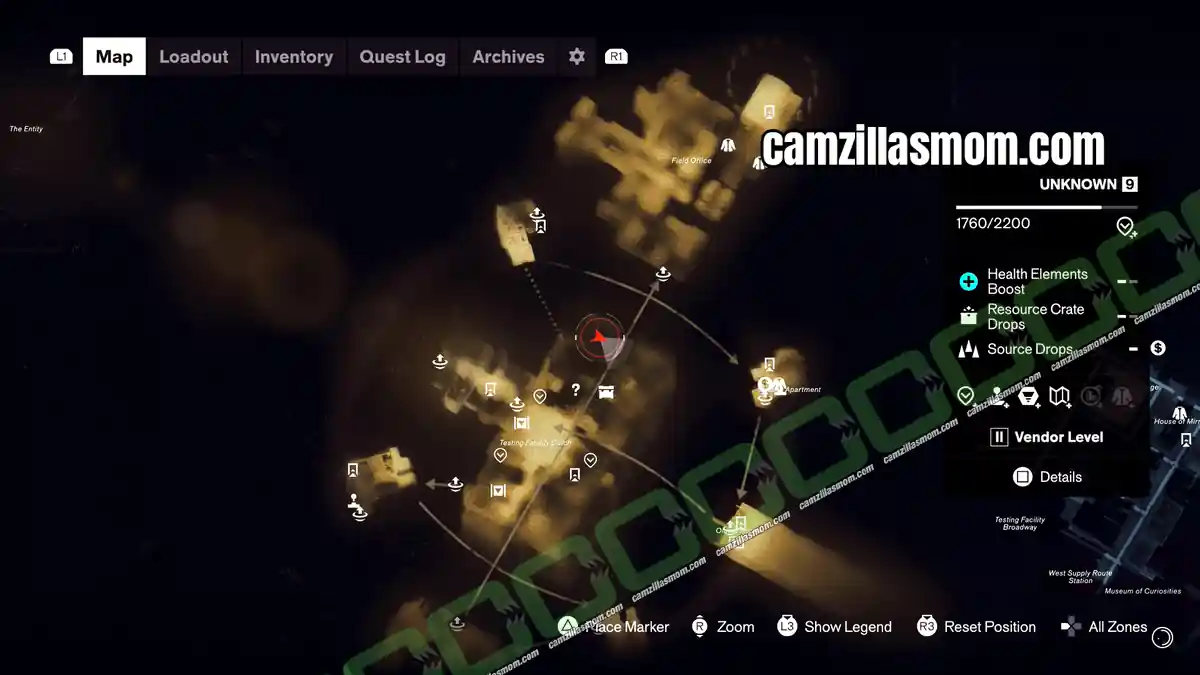
2 – Moldy Building Site Camera Location
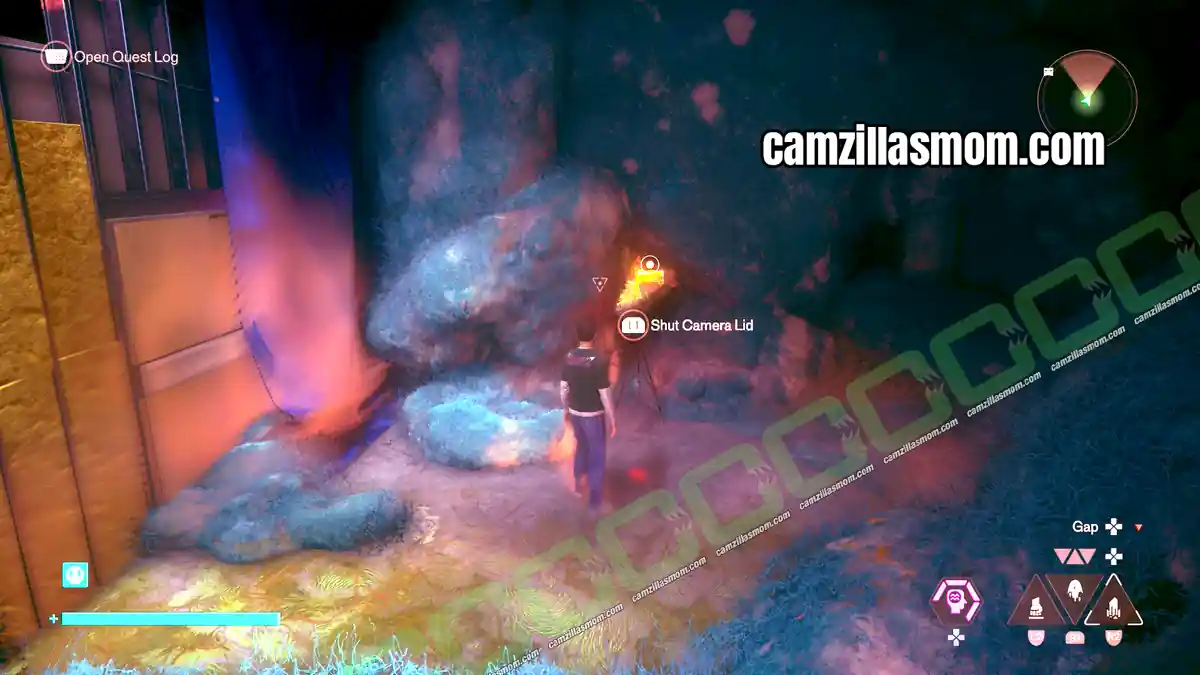
The camera is on the bottom level of the Mold covered building site in the north of the Twisted Rooftops.
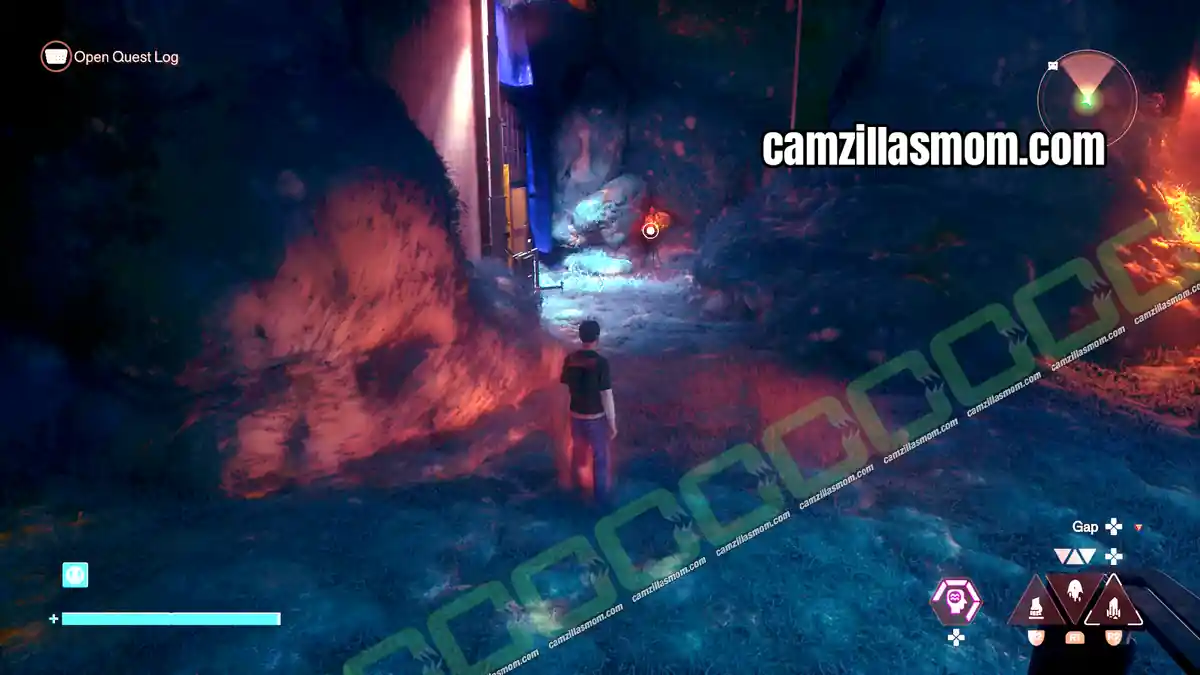
3 – How to Catch the Moldy Building Site Camera
Work your way down from the roof of the building site to the bottom level. The camera faces out through a small uncovered window, so you can walk up behind it and shut the lid.
West Incursion Zone Camera Locations
Side Story: Freeze Frame
Cameras: 2
Street Crossing Camera
Location: Northwest of the West Incursion Zone – crossing in front of the parking garage
Instant Photo: House of Mirrors
Street Crossing Instant Photo
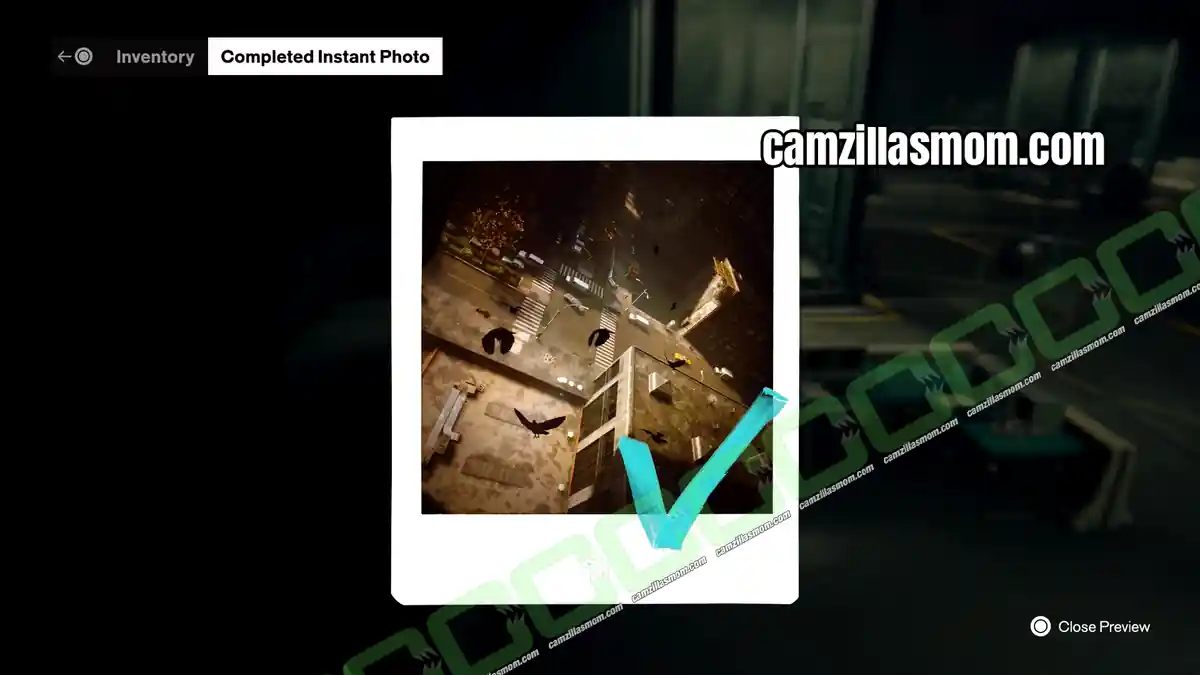
1 – Where to Find the Street Crossing Instant Photo
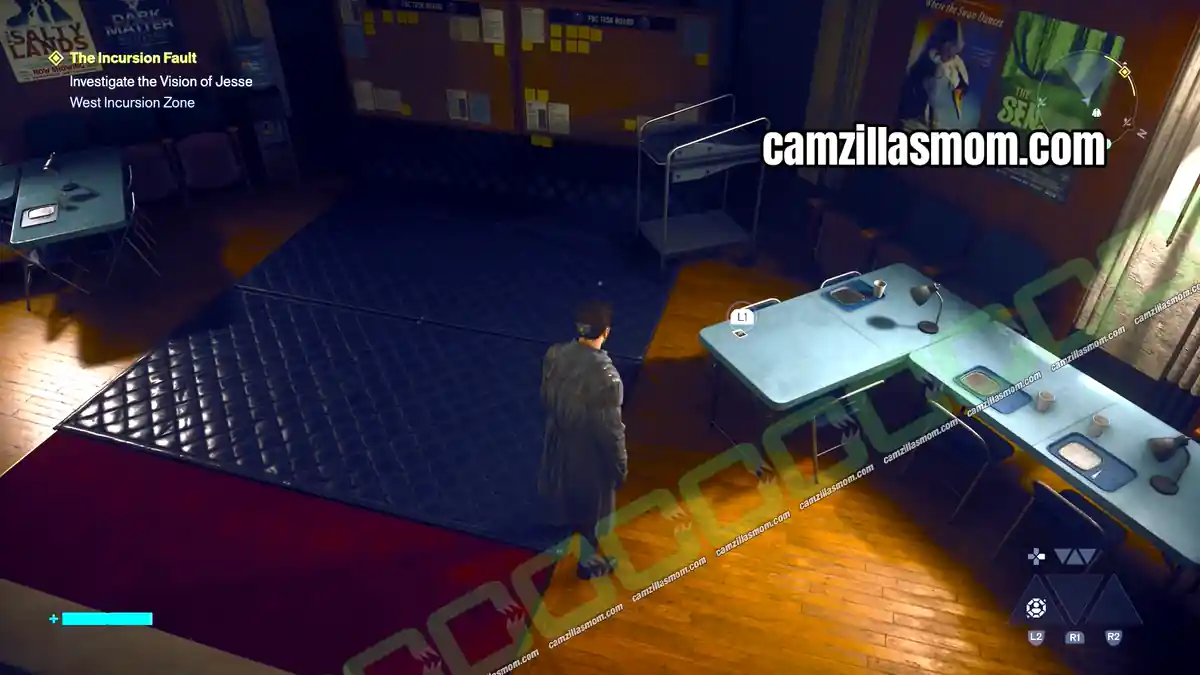
Both West Incursion Zone photos are in the House of Mirrors. This one shows a street crossing from above, at an odd angle.
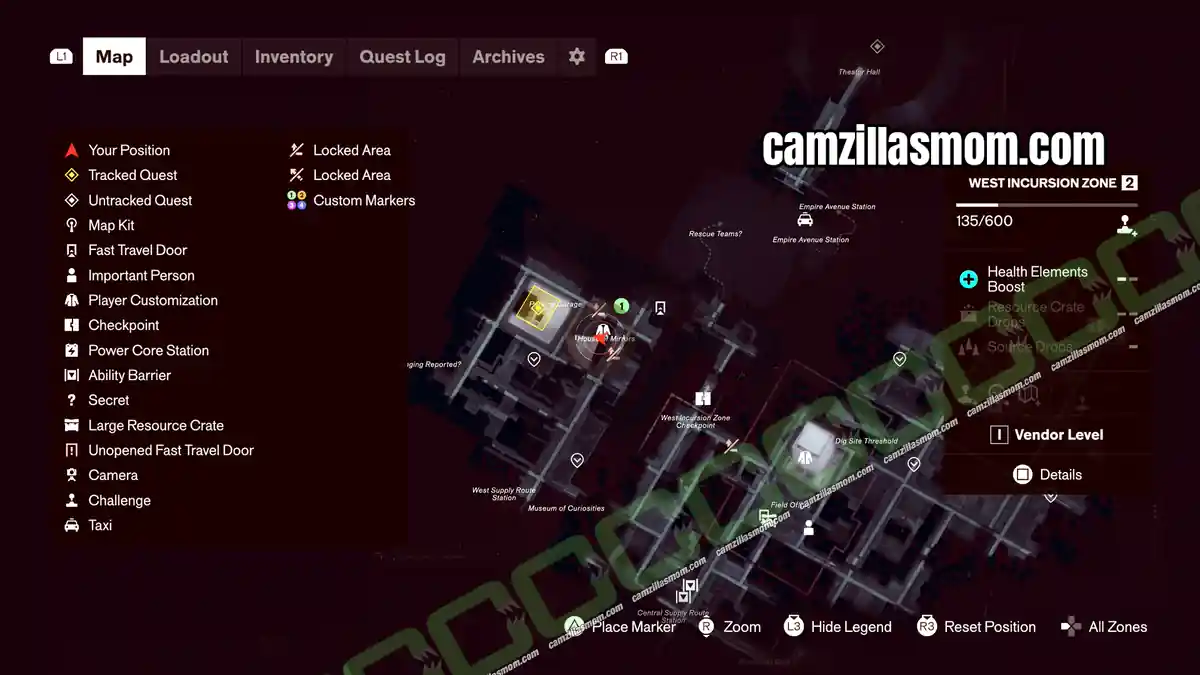
2 – Street Crossing Camera Location
The photo shows the crossing right in front of the named parking garage in the northwest of the West Incursion Zone. Stand in the middle of the crossing and look up to spot the red light of the camera in the distance.
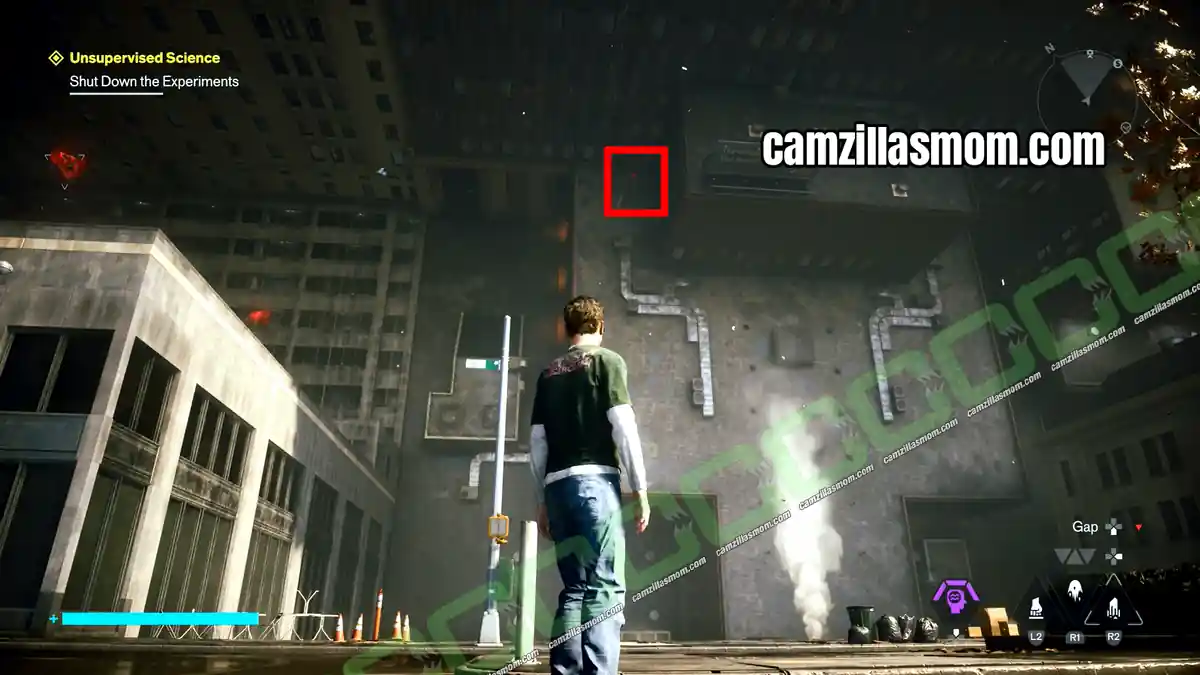
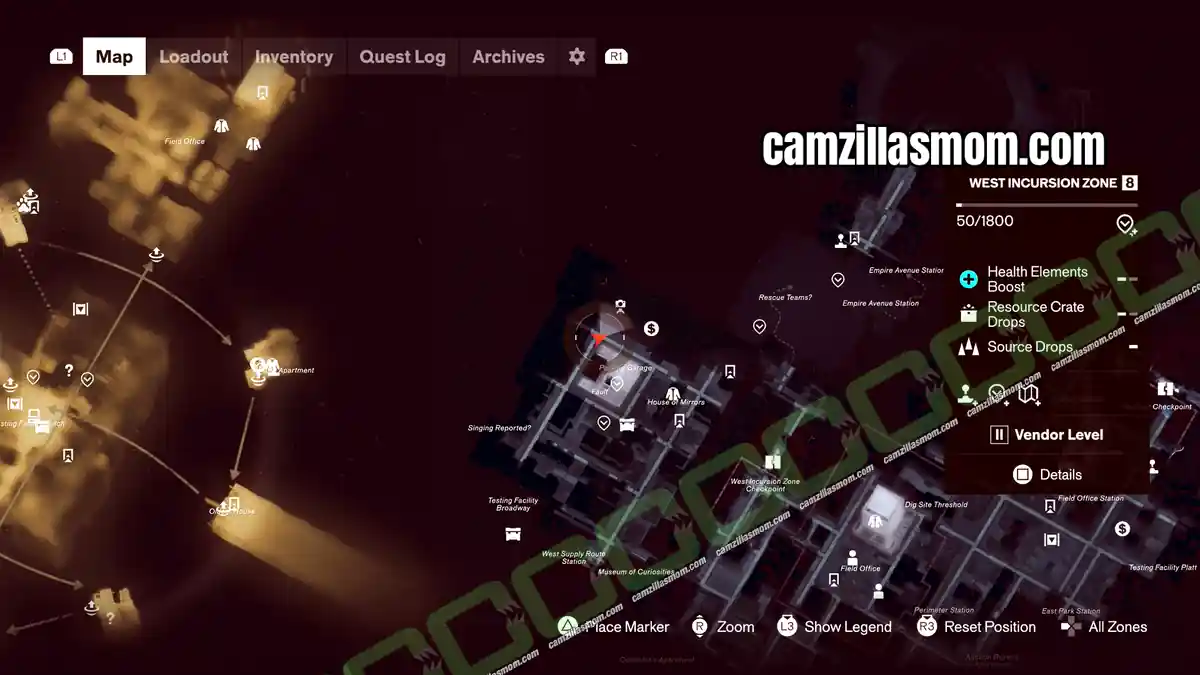
3 – How to Catch the Street Crossing Camera
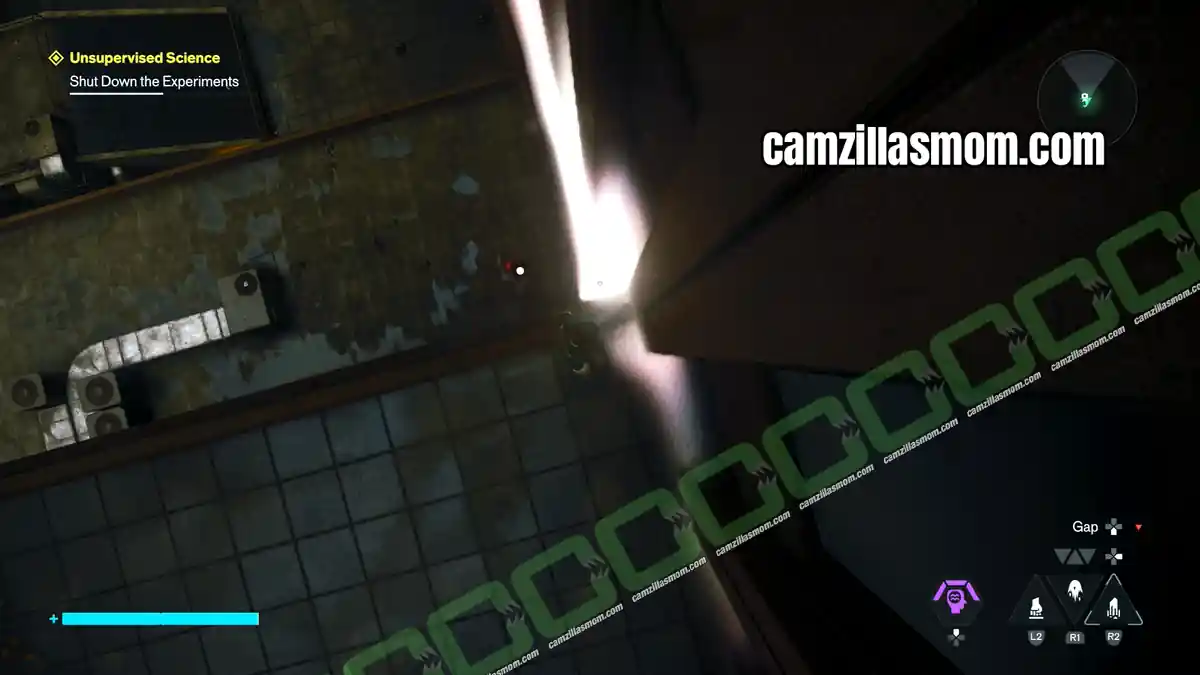
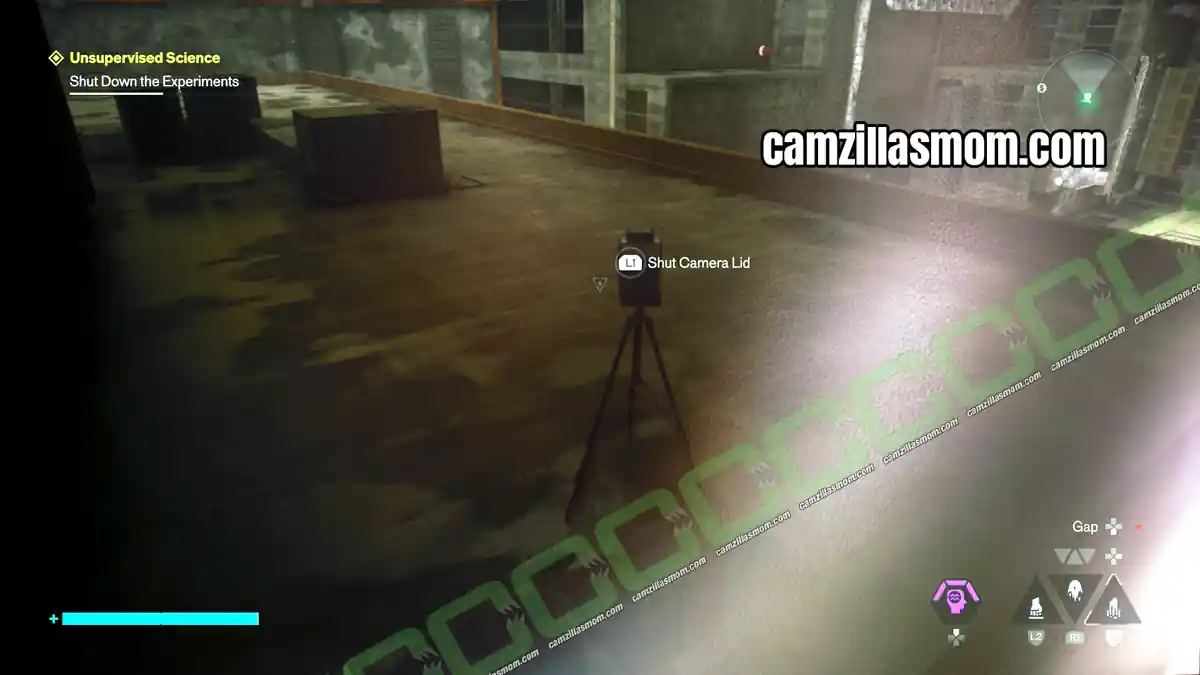
Climb onto the roof with the billboard just above the camera. Hug the wall to the right so the camera can not spot you, then drop down behind it and shut the lid.
Museum of Curiosities Camera
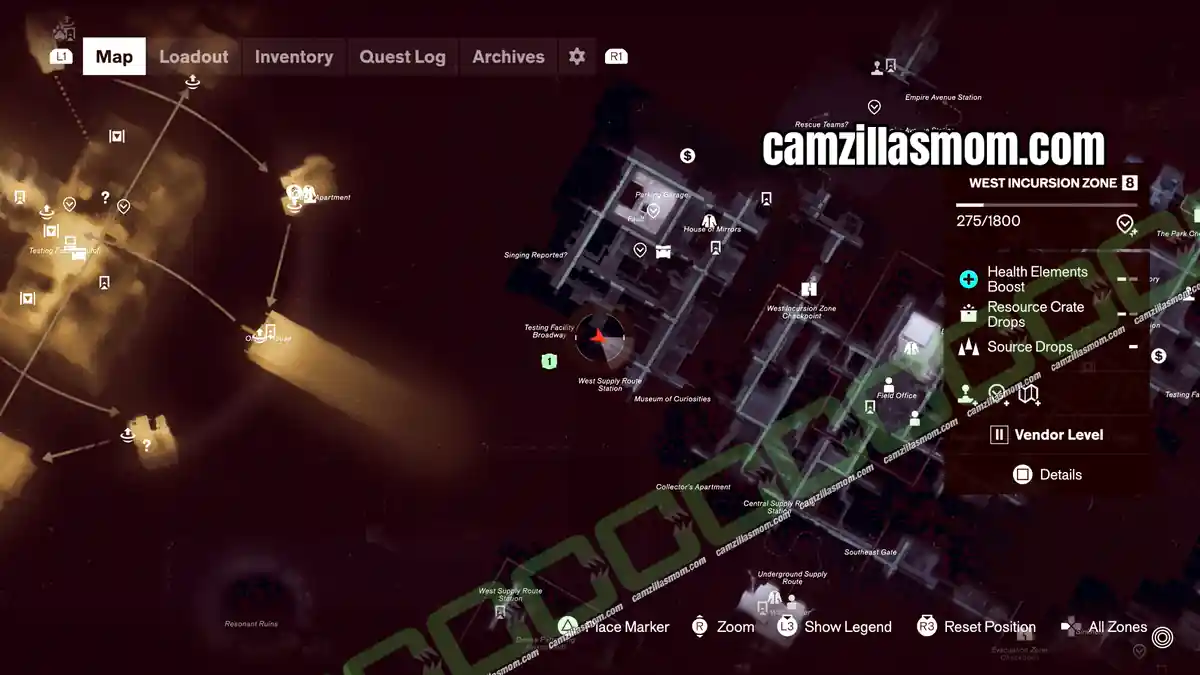
Location: West Incursion Zone – platform above the road northwest of the Museum of Curiosities
Instant Photo: House of Mirrors
Museum of Curiosities Instant Photo
1 – Where to Find the Museum of Curiosities Instant Photo
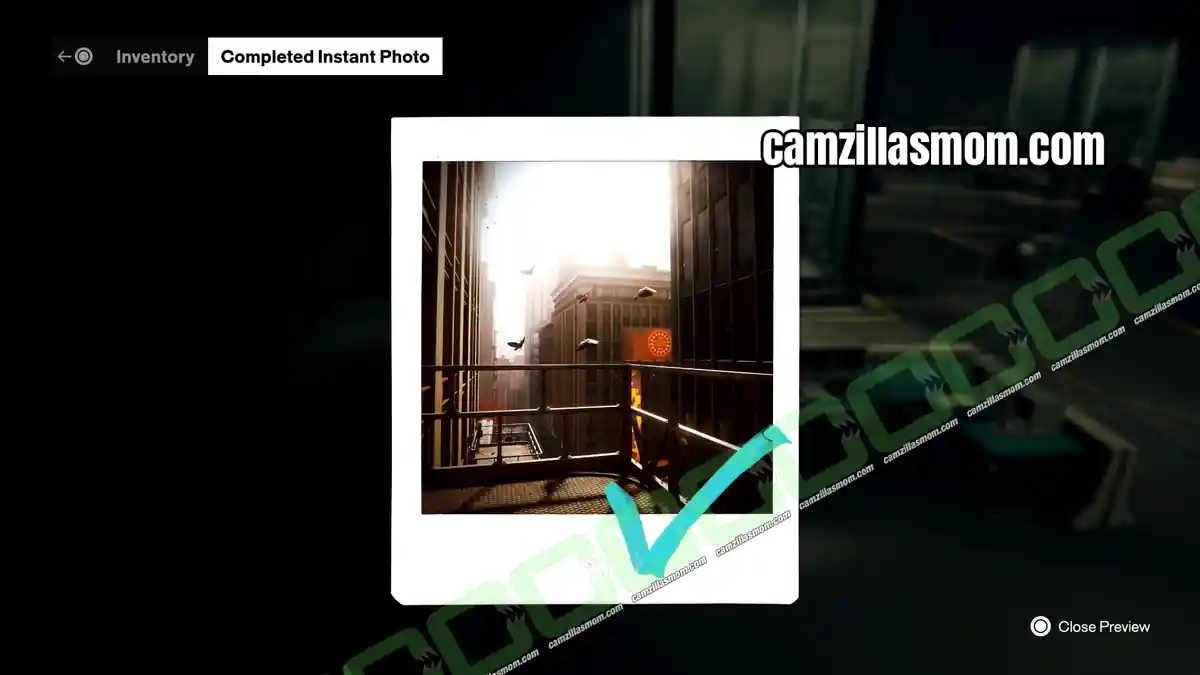
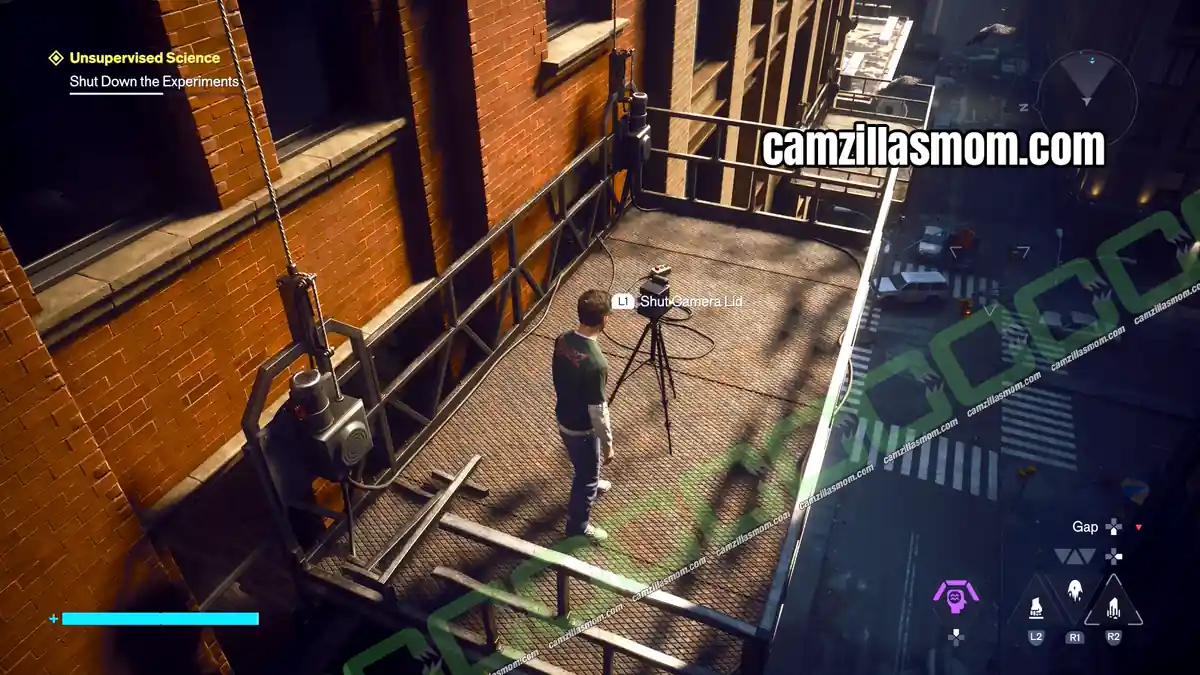
The second photo is also in the House of Mirrors. It shows skyscrapers from what looks like a window washer platform. One building has a distinct red and yellow advert for the Museum of Curiosities.
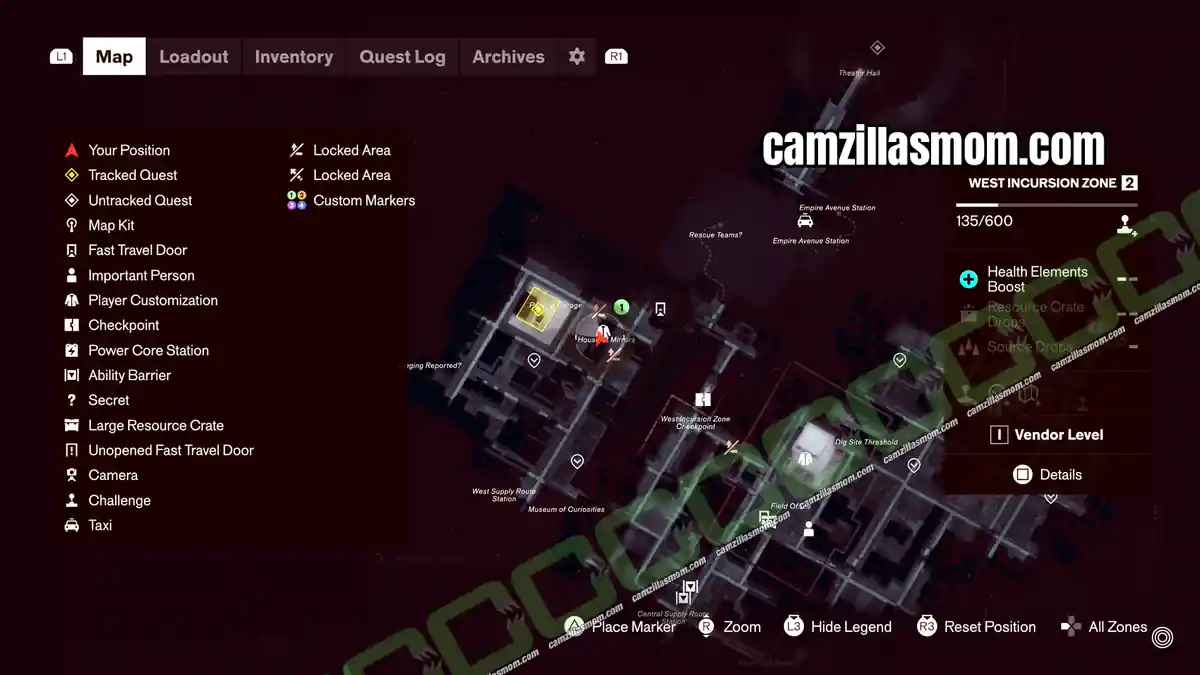
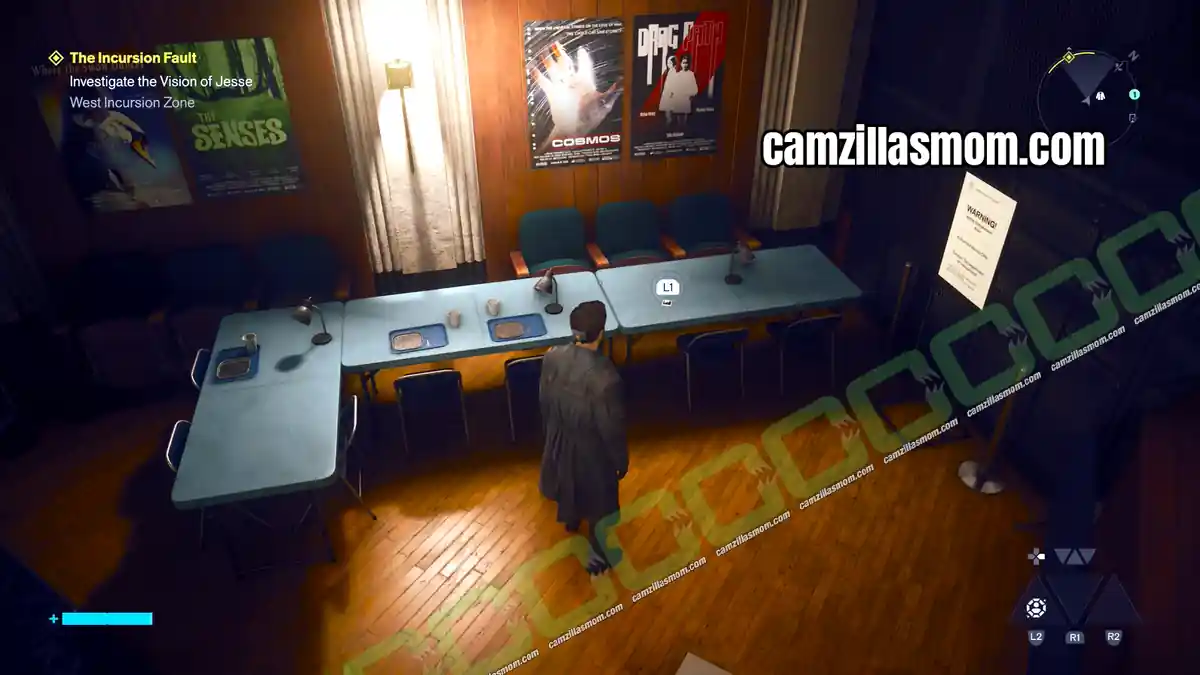
2 – Museum of Curiosities Camera Location
Go to the Museum of Curiosities and look northwest. There are two platforms above the road, and the one with frozen doves holds the camera.
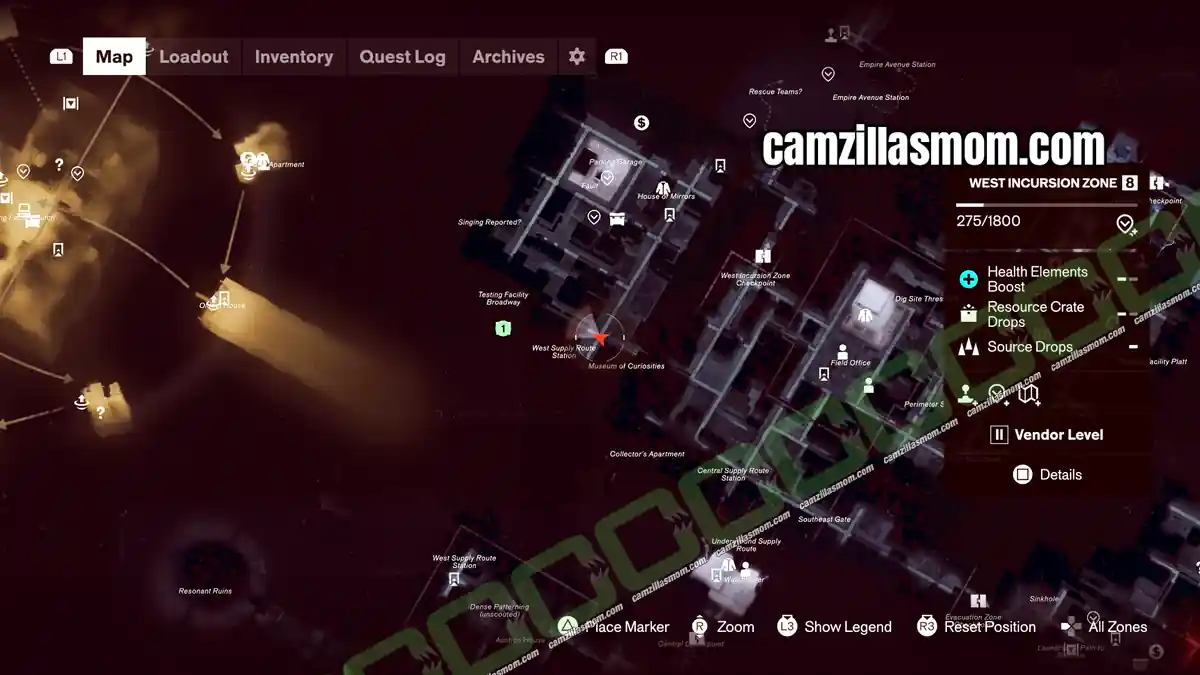
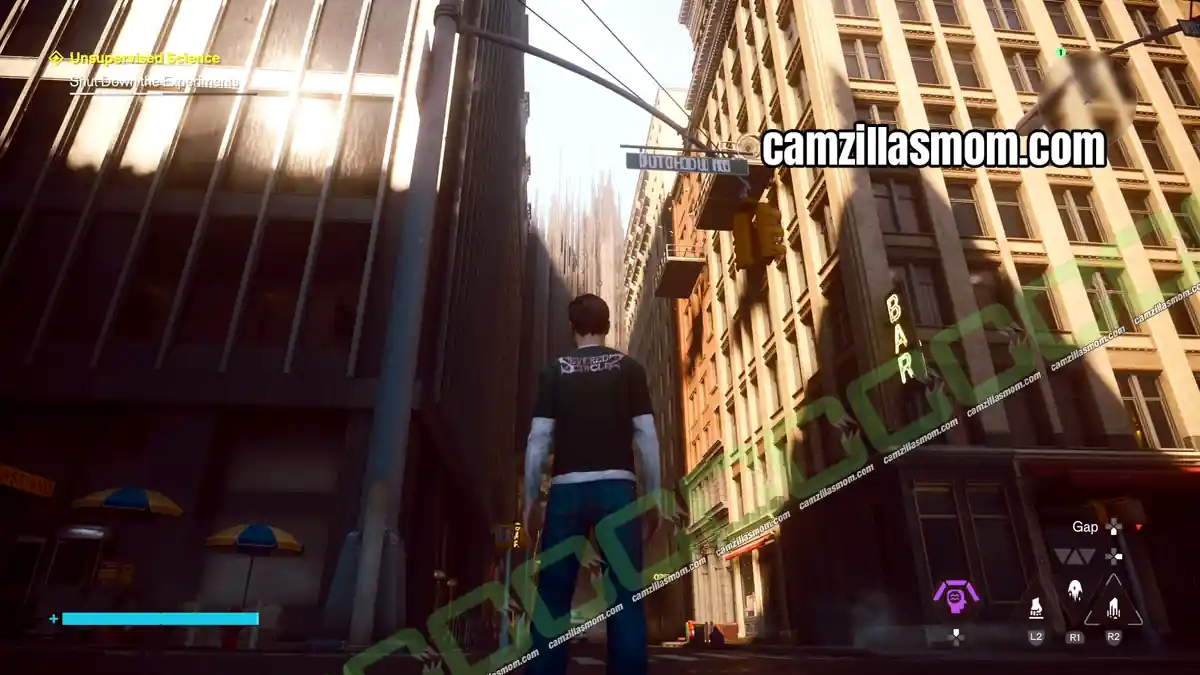
3 – How to Catch the Museum of Curiosities Camera
Head to the end of this road and flip yourself upside down so you can reach the patterned platform in the middle of the road.
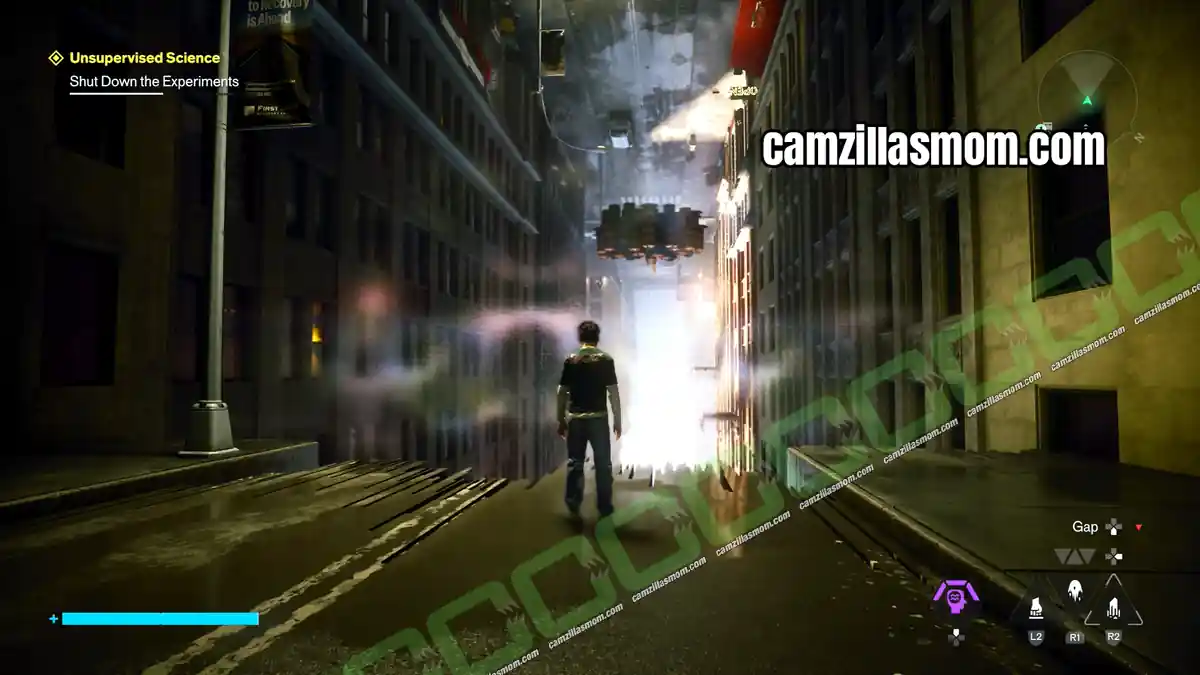
The platform disappears and another one appears. Jump onto the new platform, then onto the spot right behind the camera, and shut the lid.
Last Step: Contain All the Cameras in Downtown
Side Story: Freeze Frame (final step)
Location: Downtown – east of the Oldest House, near the checkpoint
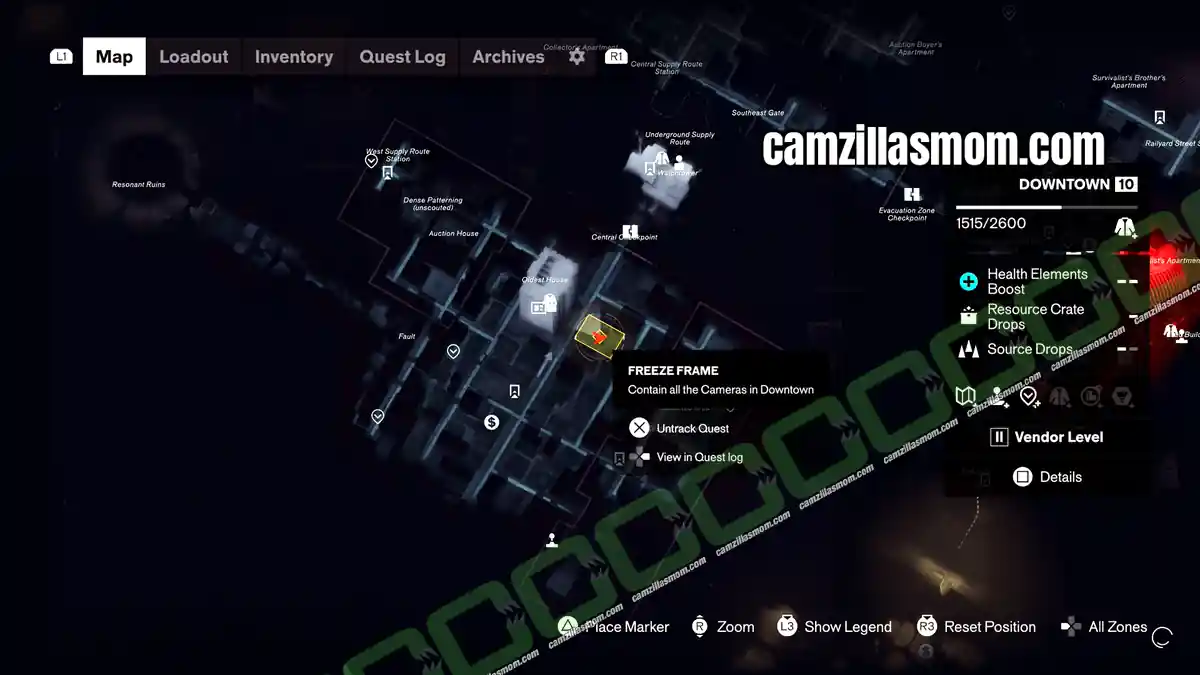
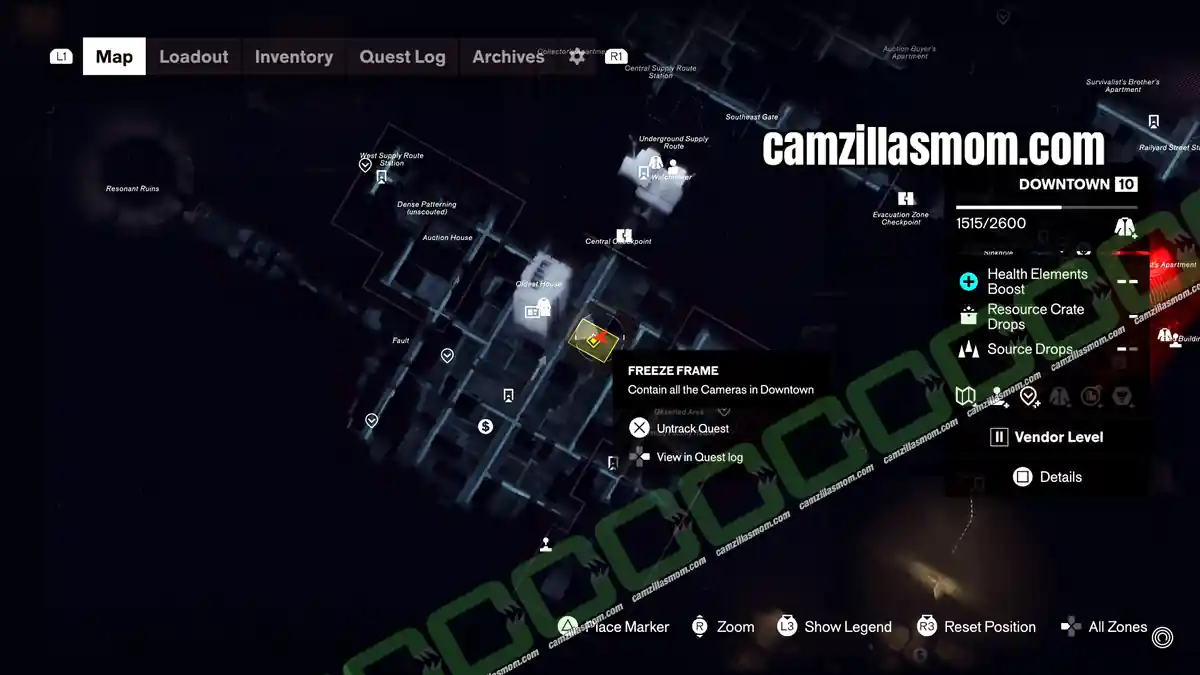
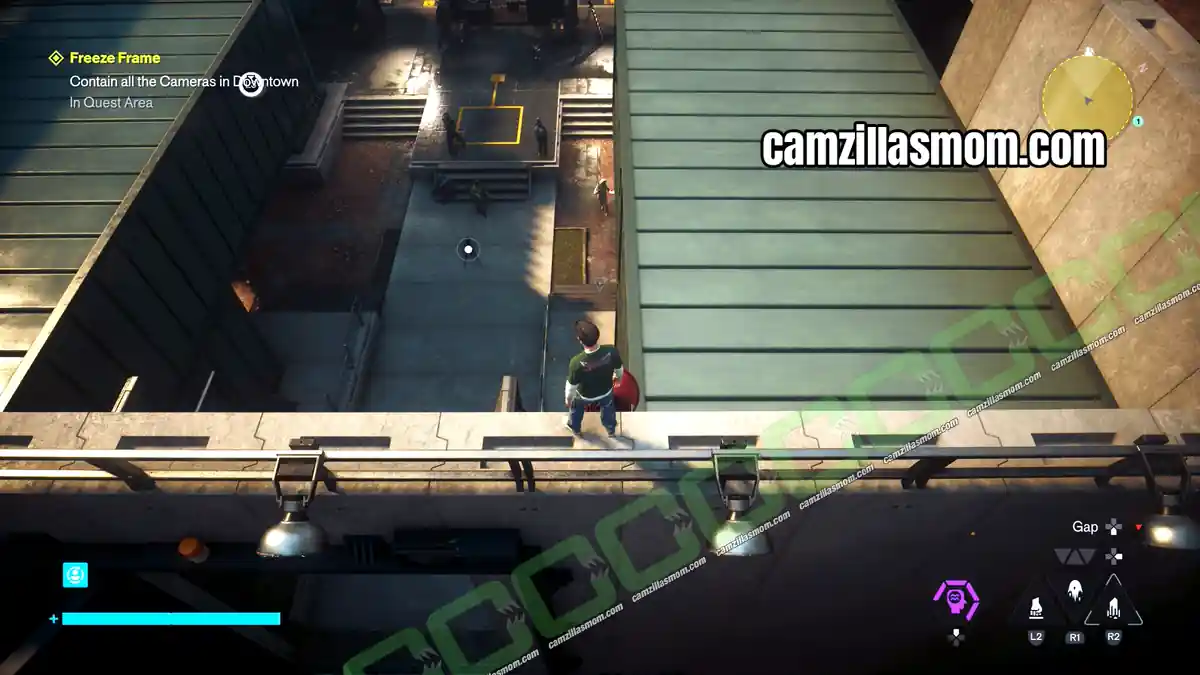
Once all 14 camera lids are shut, Zoe contacts Dylan: the cameras are now causing trouble in Downtown and she needs help. Seven cameras appear east of the Oldest House near the checkpoint. In every round, sneak up from behind and shut one lid, and the group reappears somewhere else with one camera fewer.
Round 1 (7 cameras): Near the checkpoint east of the Oldest House, all facing west. Drop down behind them.
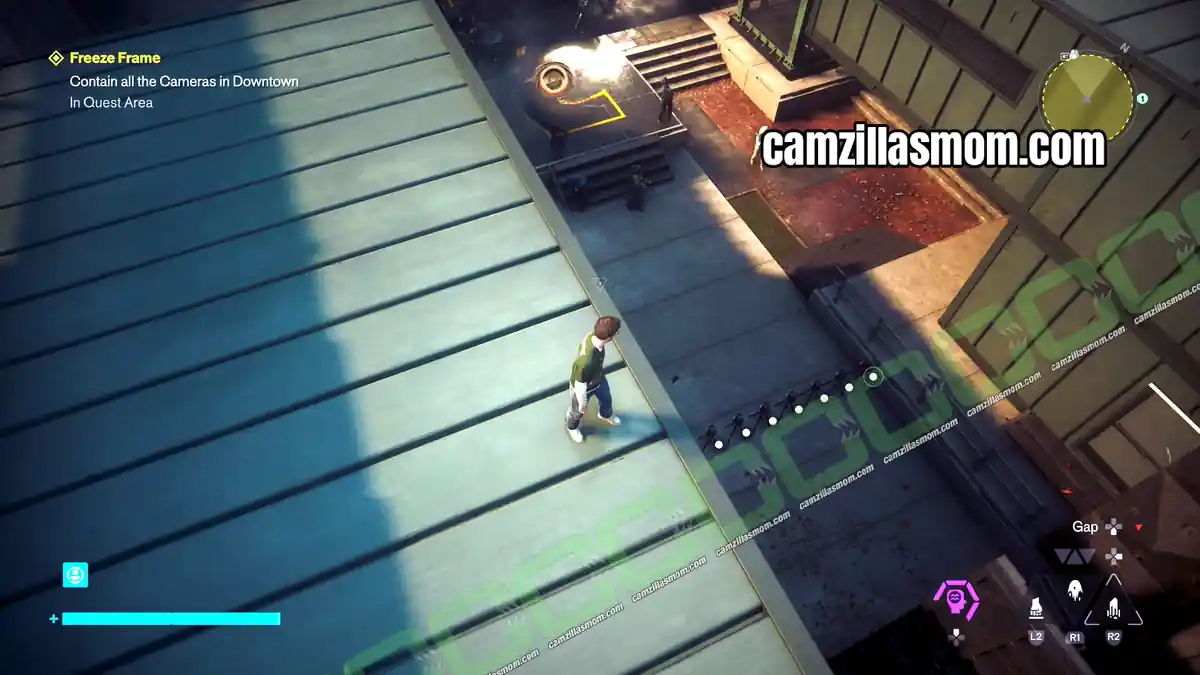
Round 2 (6 cameras): On the northern roof.
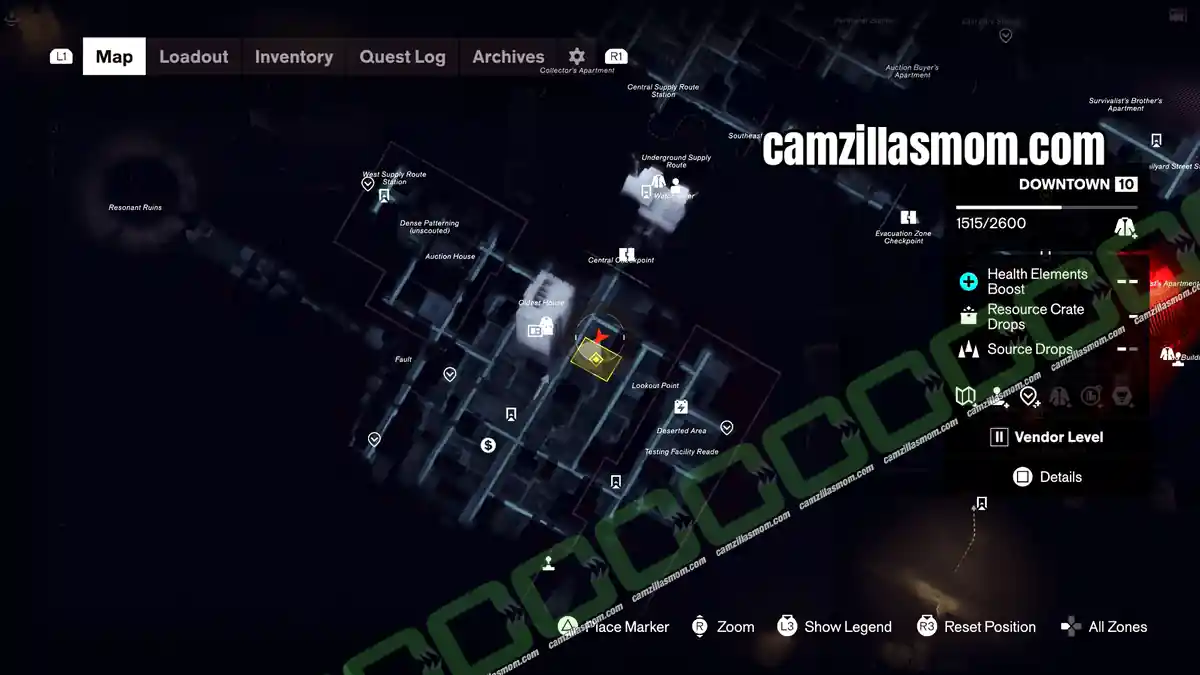
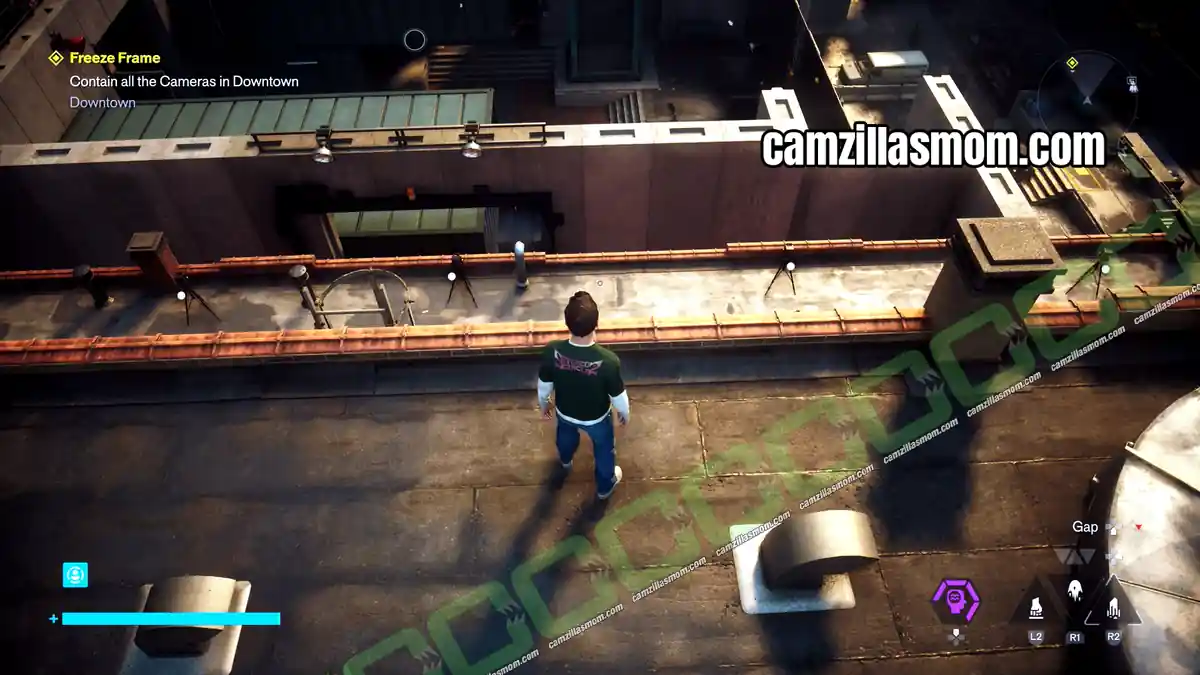
Round 3 (5 cameras): On the roofs of the green containers.
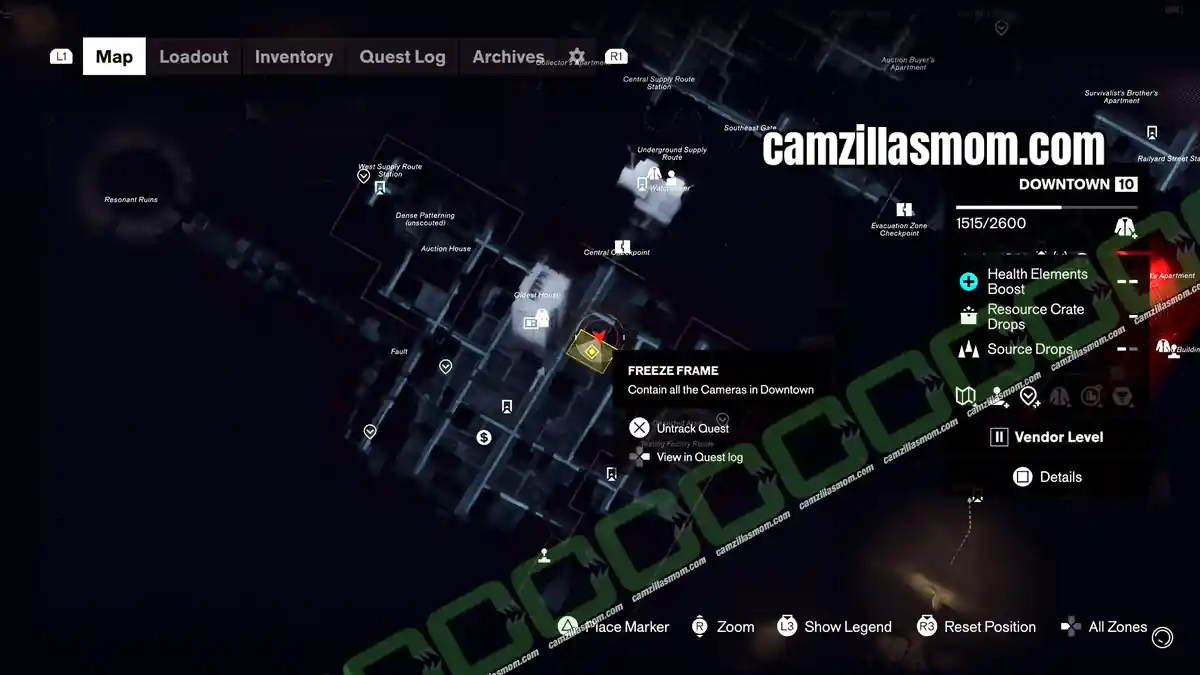
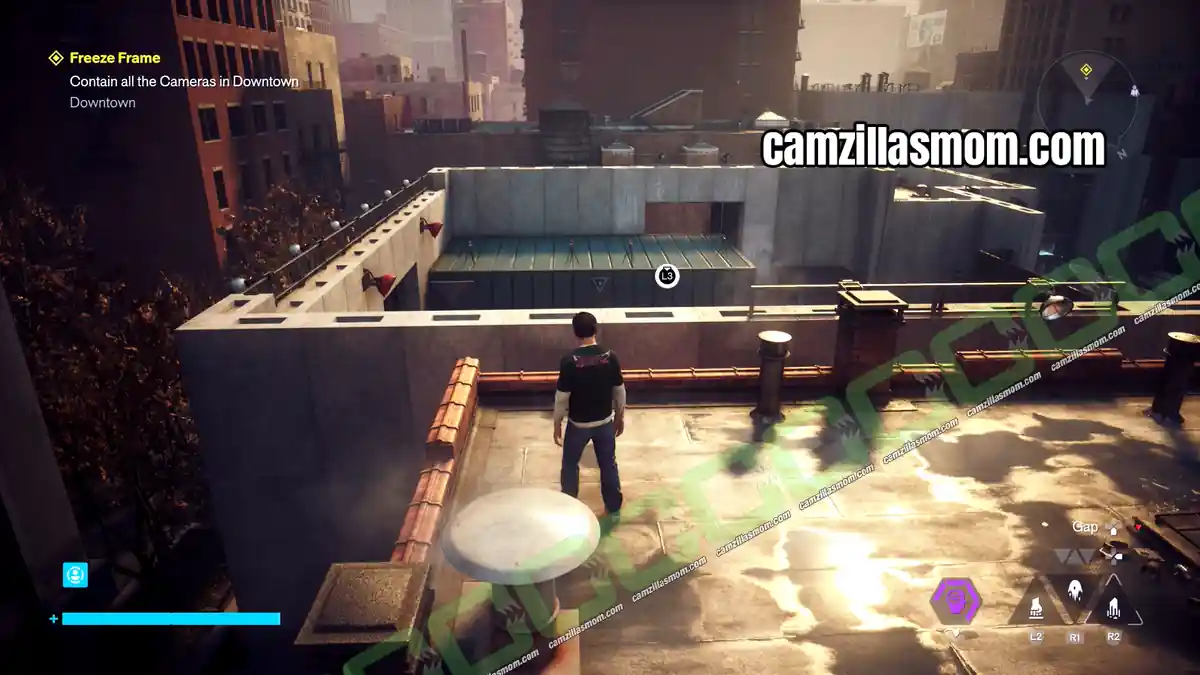
Round 4 (4 cameras): On top of and below the green containers on the other side. Shut the lid of the one at ground level.
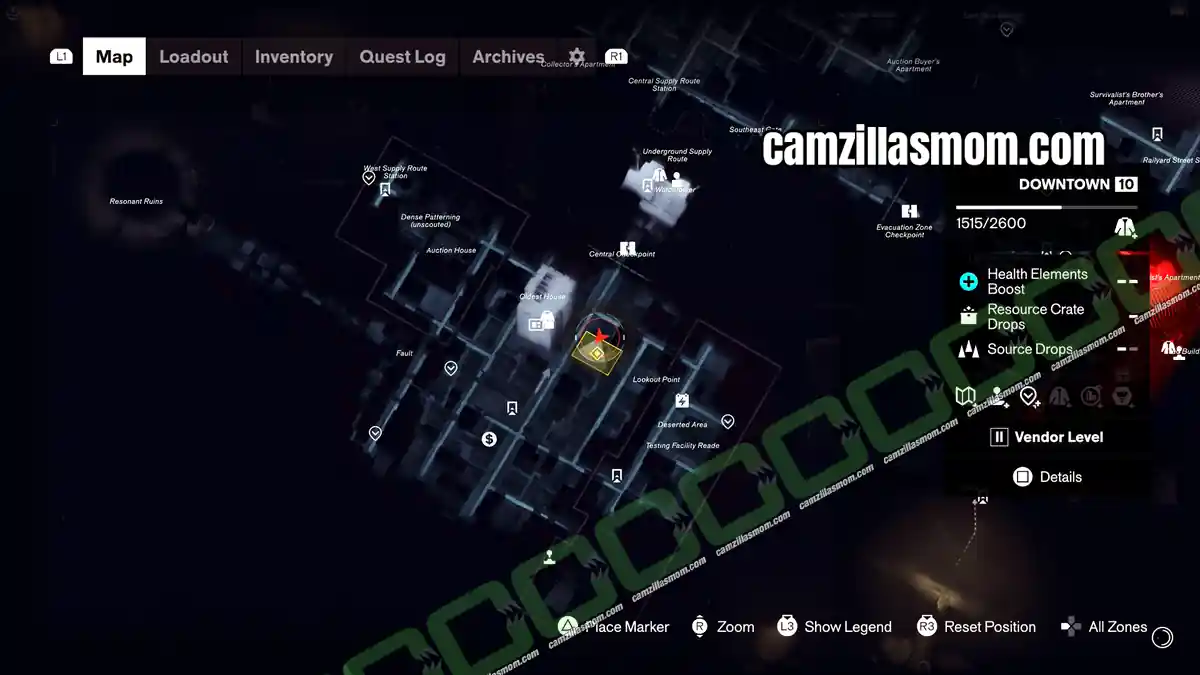
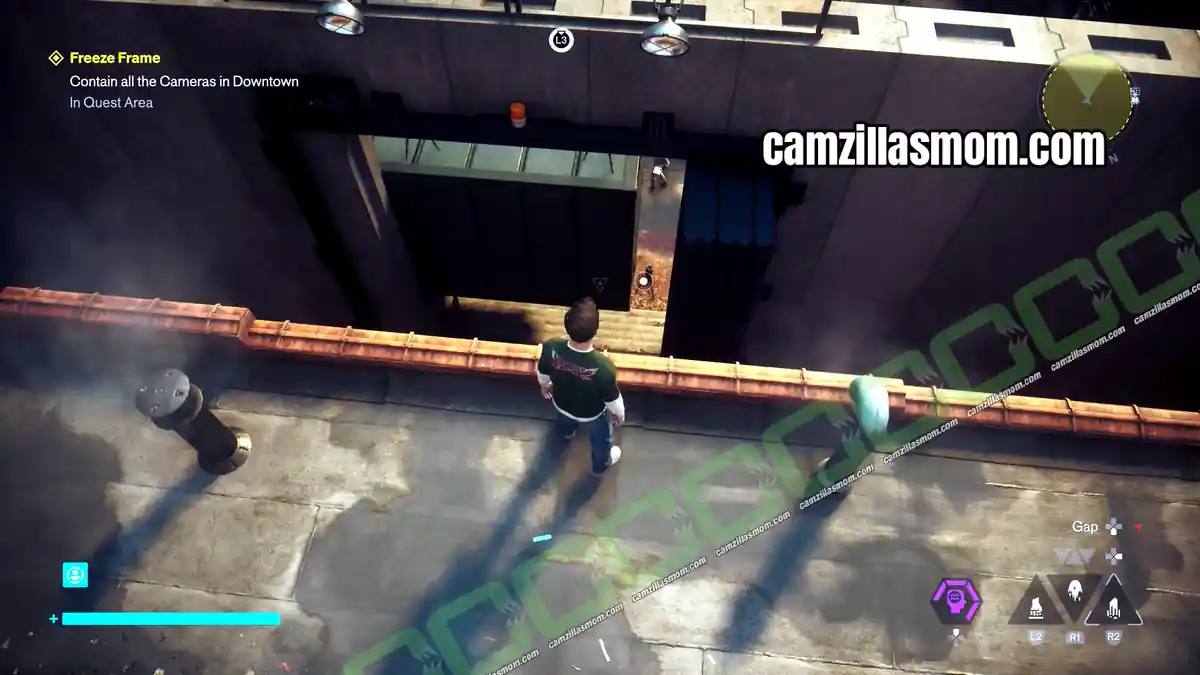
Round 5 (3 cameras): At the top of the southwestern corner. Approach along the top of the wall.
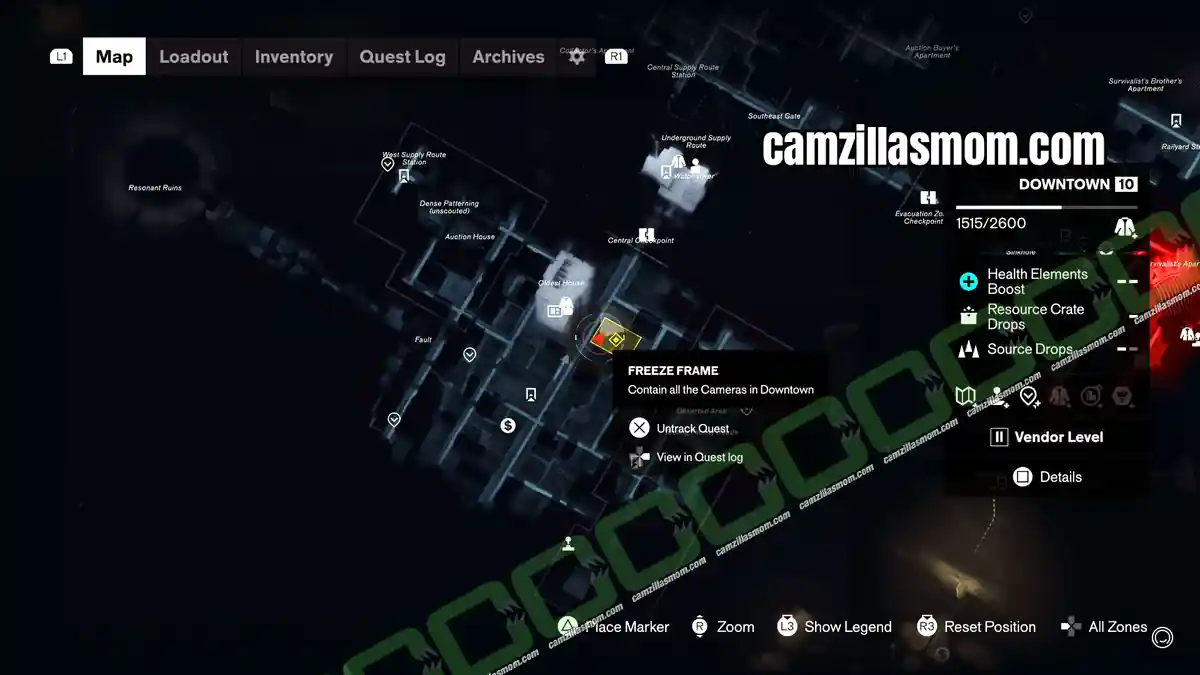
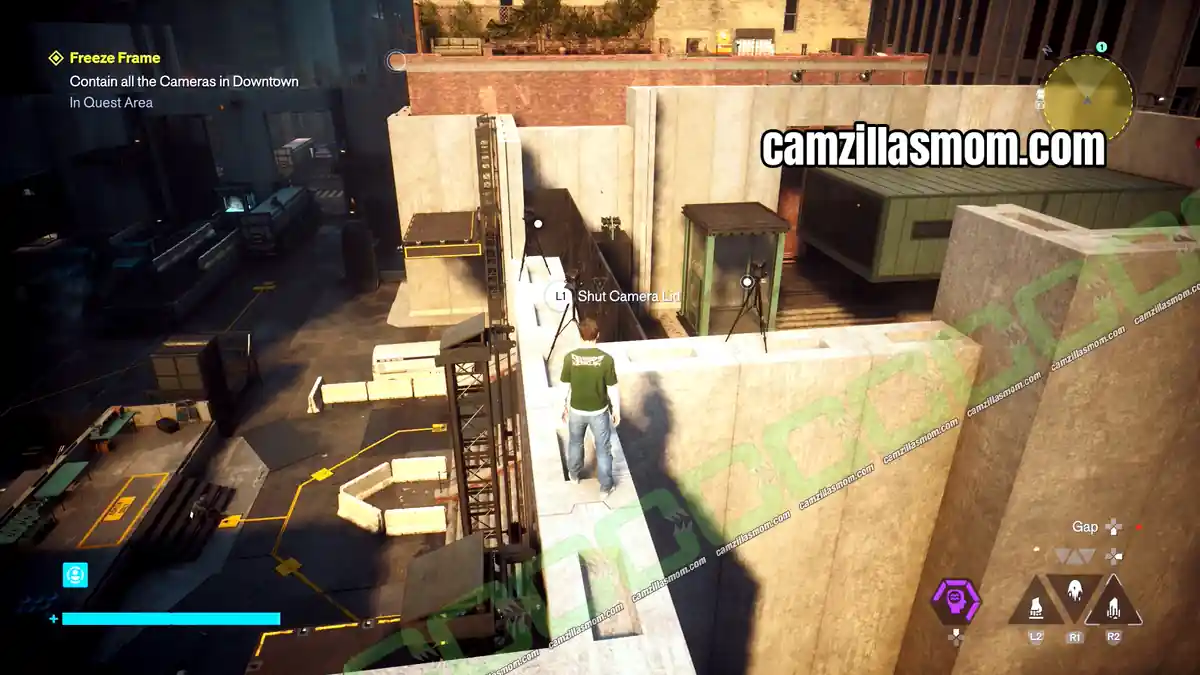
Round 6 (2 cameras): On the elevator platform by the wall in the northwestern corner.
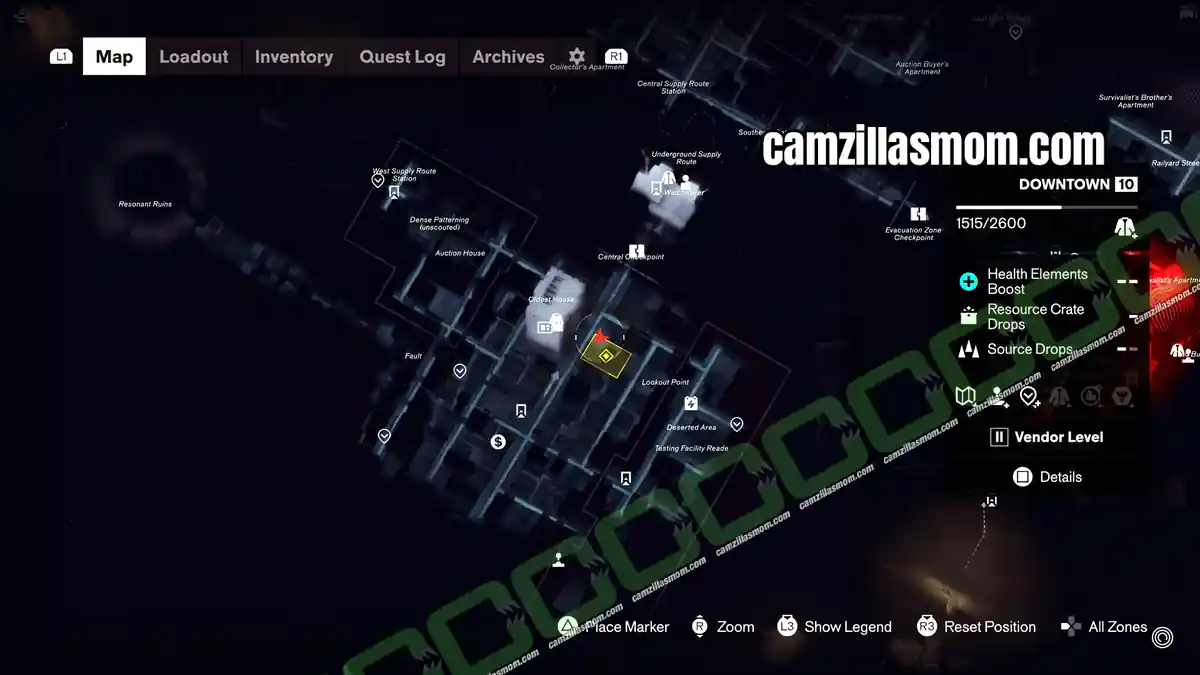
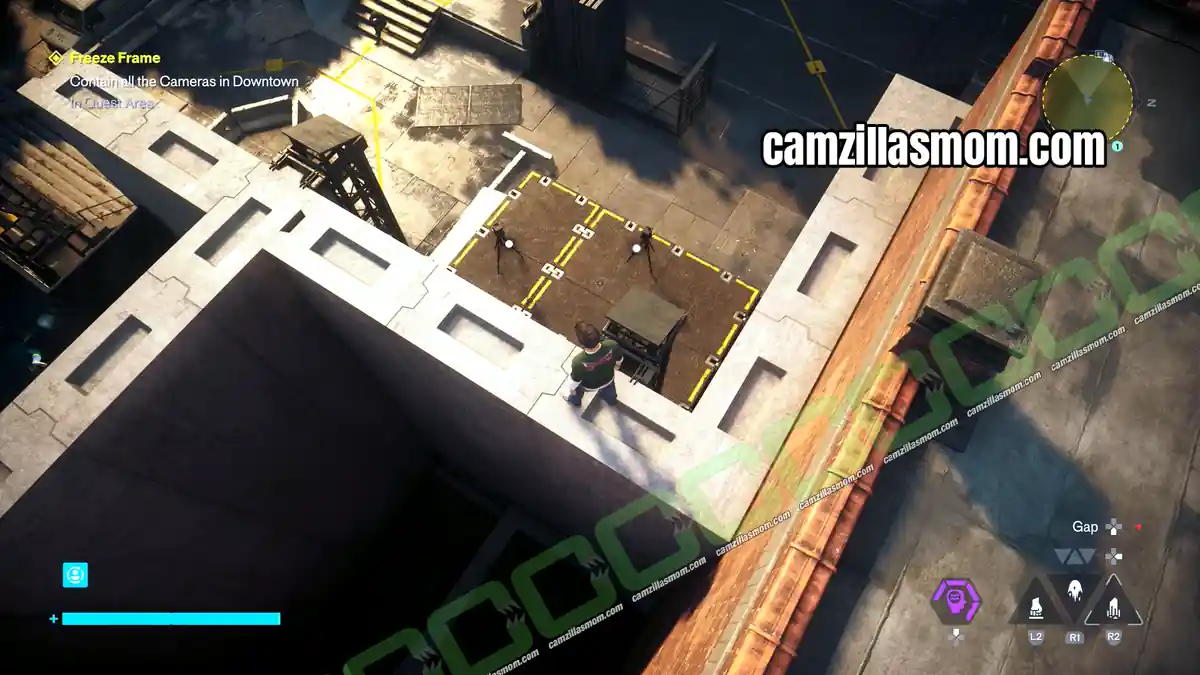
Round 7 (last camera): Back at the starting position. Drop down behind it and shut the lid to complete Freeze Frame.
Reward: Untapped Shiny Pebble
Completing Freeze Frame rewards you with the Untapped Shiny Pebble.
Type: Combat
Effect: Slowly restores Health up to 50% while using a Gravity Anomaly


About Control Resonant
Sequel to: Control (2019)
Release: September 24th, 2026
Developer: Remedy Entertainment
Publisher: Remedy Entertainment
Official Website: https://www.remedygames.com/