A distress signal reaches you the moment you enter the Freya System, and Starfield Entangled is what follows. Nishina Research Station on Freya III exists in two states at once, and you will shift between them without warning while a security chief tries to walk you to the Director’s office. Your companion has to wait outside, so bring ammo. The mission ends on a choice most players get wrong on the first run, and there is a third option that saves both realities and pays out both rewards.
Related Guides:
High Price to Pay
In Their Footsteps
Unearthed
Revelation
Starfield Powers – All 24 Temples and Power From Beyond
Starfield Game Guides Hub
- Entangled Mission Overview
- Before You Start Entangled
- 1 – Investigate the Distress Signal
- 2 – Speak to Ethan
- 3 – Explore the Ruins
- 4 – Follow Ethan
- 5 – Explore the Ruins Again
- 6 – Follow Ethan
- 7 – Find the Director’s Office
- 8 – Follow Ethan
- 9 – Speak to Director Patel
- 10 – Follow Maria
- 11 – Get to the Lab
- 12 – Speak to Rafael
- 13 – Get to the Lab
- 14 – Assist Maria
- 15 – Find the Probe Control Unit
- 16 – Speak to Director Patel
- 17 – Take the Elevator
- 18 – Get to the Lab
- 19 – Override the Lockdown in the Facilities Section
- 20 – Override the Lockdown in the Accelerator Section
- 21 – Get to the Lab
- 22 – Override the Lockdown in the Storage Section
- 23 – Get to the Lab
- Which Universe Should You Save in Entangled
- 24 – Disengage Power Interlocks or Switch Universes
- How to Save Both Universes and Everyone
- 25 – Shut Down the Probe
- 26 – Take the Artifact
- 27 – Speak to Director Patel
- Entangled Rewards
Entangled Mission Overview
Questline: Constellation, main mission 17
Starts during: Final Glimpses, the moment you enter the Freya System and pick up the distress signal
Location: Nishina Research Station on Freya III, Freya system Requirement: a ship with a grav jump range of 21LY or higher to reach Freya
Objectives: investigate the distress signal, reach the High Energy Research Lab through two universes, disengage the power interlocks, shut down the probe, take the artifact
Rewards: vary by choice, see the rewards section below
Completes: Final Glimpses, at the same time as Entangled
Unlocks next: Revelation, once Unearthed is also done
Entangled is a mission inside a mission. It has no separate start point on your quest list, it simply takes over when Final Glimpses sends you to Freya III. Two things catch most players out. The first is the shifting, which is scripted for the opening half hour and only becomes controllable later. The second is the ending, where the game asks you to destroy one of two realities and never tells you there is a way to keep both.
Before You Start Entangled
Ethan Hughes makes your companion wait outside at the entrance, so you run this entire mission alone. That matters more than usual here, because the ruined universe is full of Cataxi, and the intact universe has security robots and turrets in the lower levels once the lockdown triggers. Pack ammo for two different fights.
One thing worth knowing before you go down: containers exist in the same spots in both universes, so anything you loot in the intact station can be looted again in the ruined one. If you are hunting resources, sweep each room twice rather than once.
1 – Investigate the Distress Signal
Mission Text:
“I picked up a distress signal from the facility where the Artifact should be. I need to investigate.”
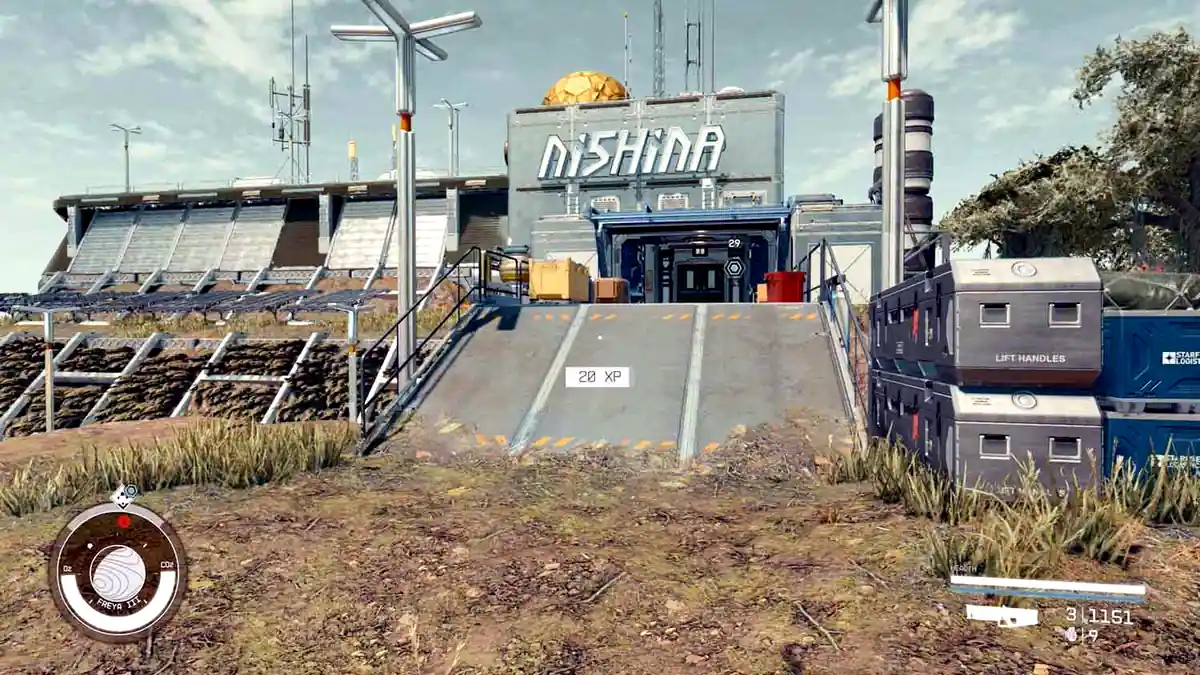
Land at Nishina Research Station on Freya III and head for the entrance of the Nishina building. The intercom triggers as soon as you reach the door, and Ethan Hughes will answer. He lets you in but keeps your companion outside, so drop anything you were relying on them to carry. After the conversation, enter the building.
2 – Speak to Ethan
Mission Text:
“I need to speak to the Director of Nishina Research Station about the Artifact and the distress signal.”
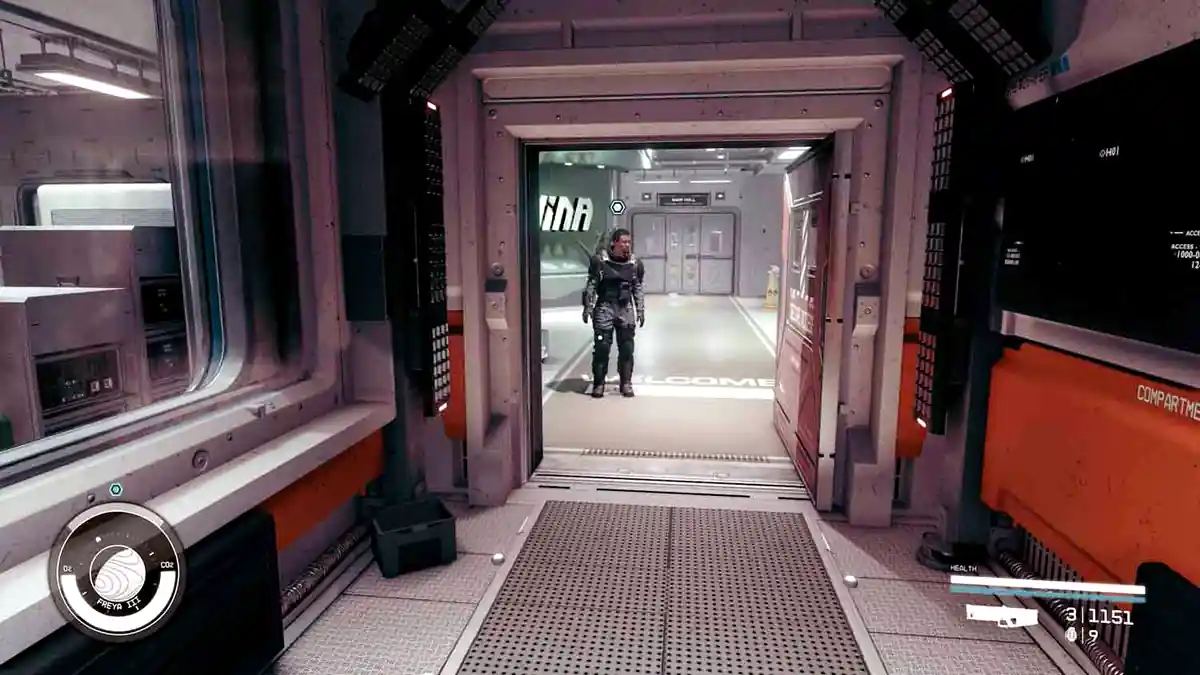
You get scanned at the entrance. Talk to Ethan Hughes, the station’s chief of security, and follow him toward the Director’s office.
3 – Explore the Ruins
Mission Text:
“I need to find out where I am and what just happened.”
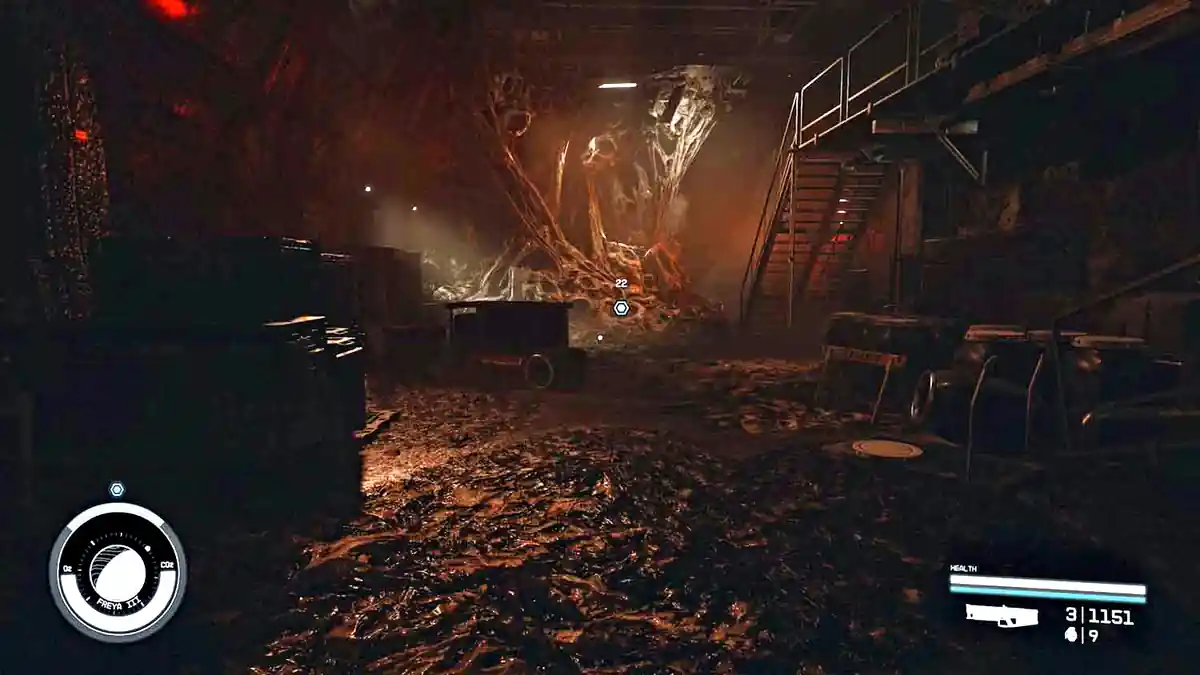
While you walk with Ethan the lights cut out mid-sentence, and when they come back you are standing in a burnt-out cave version of the same station. Follow the marker. Cataxi will burst out of the ground and attack. Fight them off, and during the fight…
4 – Follow Ethan
Mission Text:
“I need to speak to the Director of Nishina Research Station about the Artifact and the distress signal.”
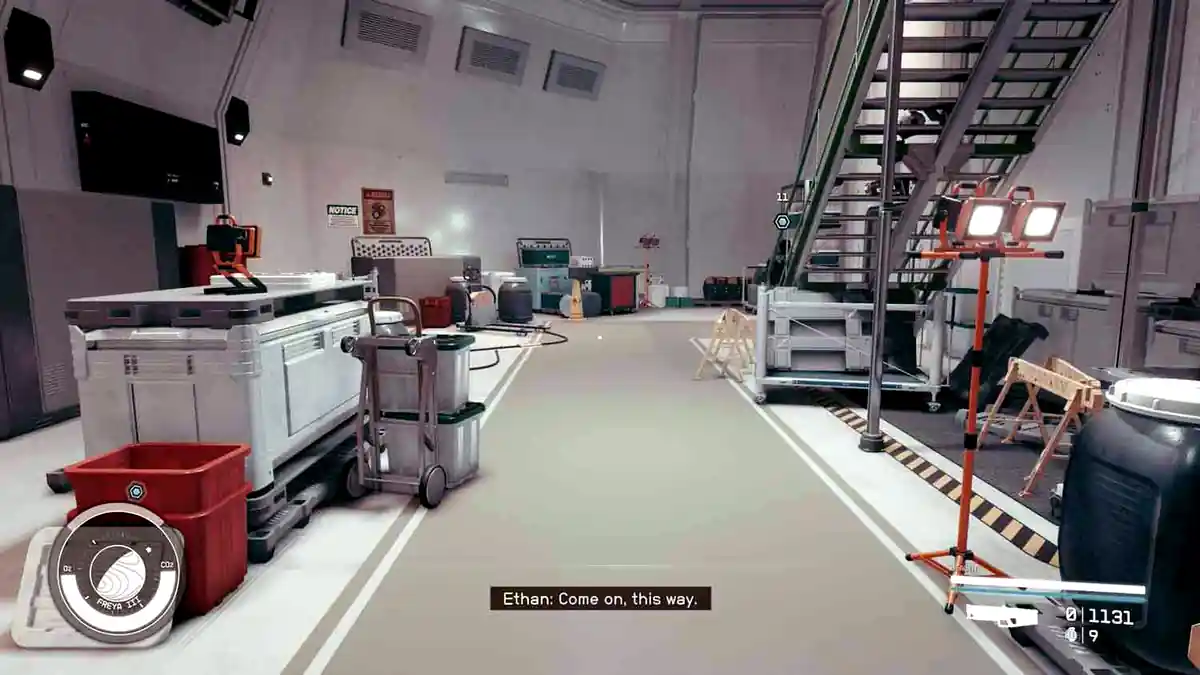
…you snap back to Ethan, who wants to know what just happened to you. He does not believe the answer. Follow him again.
5 – Explore the Ruins Again
Mission Text:
“I need to find out where I am and what’s happening.”
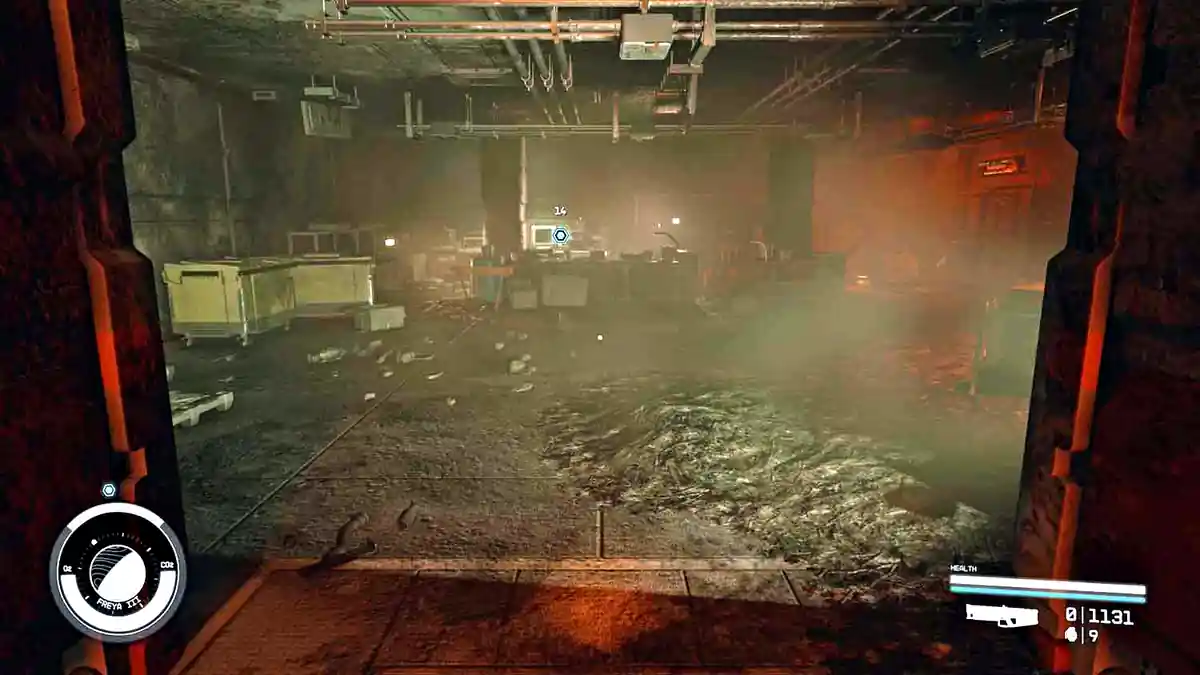
You are back in the ruined universe. Head to the mission marker to explore. Rafael is here, and he is the one who sent the distress signal.
6 – Follow Ethan
Mission Text:
“I need to speak to the Director of Nishina Research Station about the Artifact and the distress signal.”
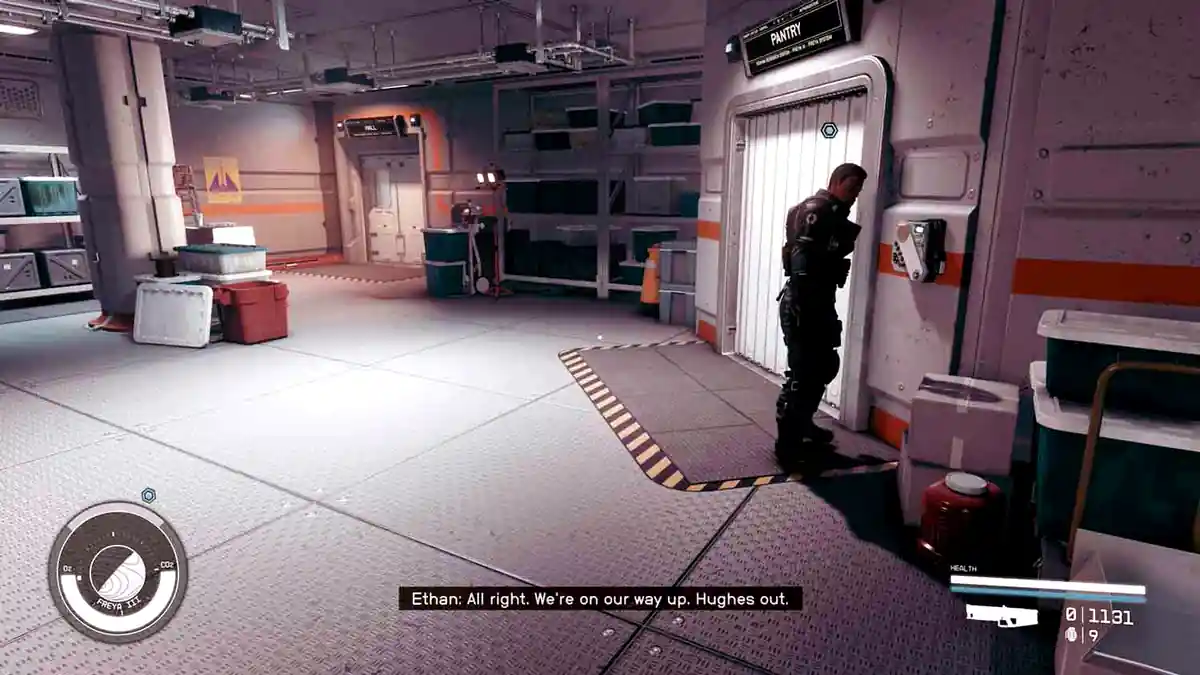
Mid-conversation you are pulled back to Ethan. He points out where the Director’s office is, in case anything happens. Something happens.
7 – Find the Director’s Office
Mission Text:
“I need to find the Director’s office in the other universe.”
Follow the mission marker down the corridor and up the stairs through the door on the right. At the top of the stairs you shift again.
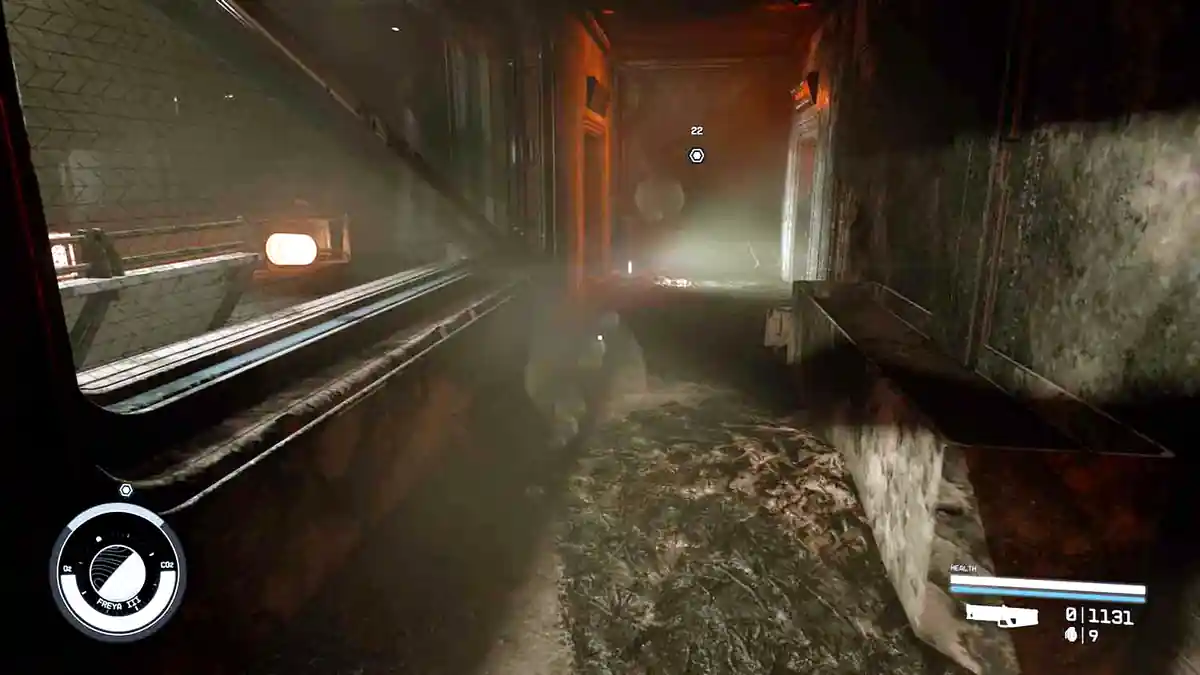
8 – Follow Ethan
Mission Text:
“I need to speak to the Director of Nishina Research Station about the Artifact and the distress signal.”
Keep following Ethan.
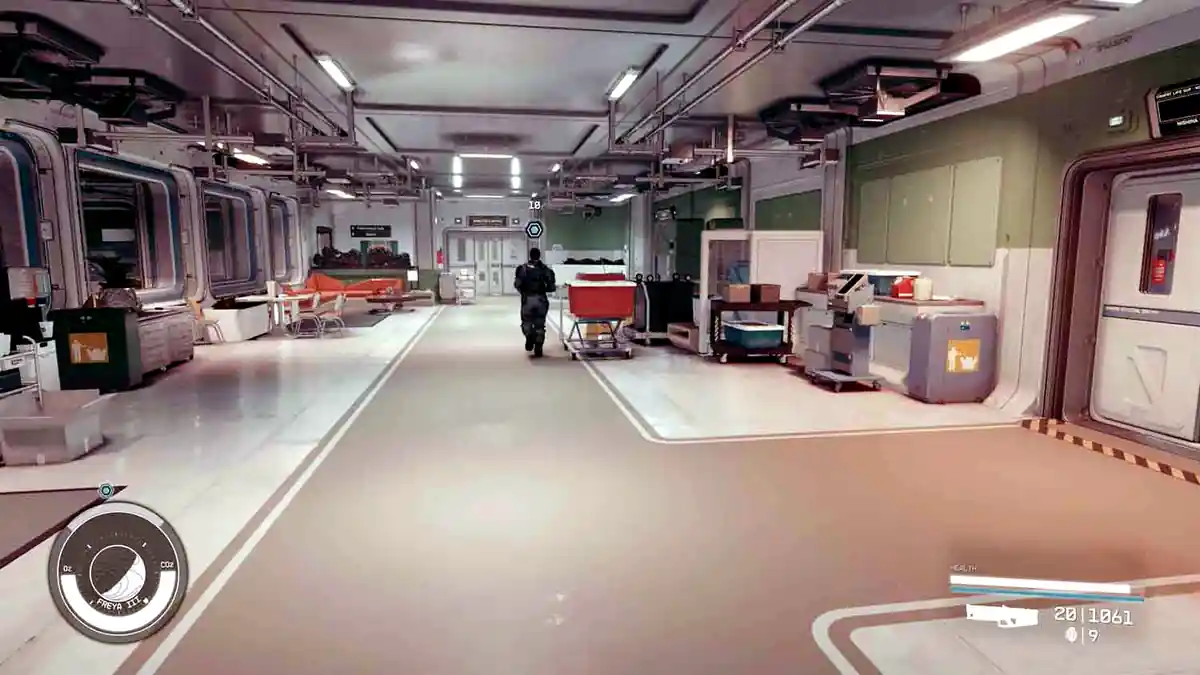
9 – Speak to Director Patel
Mission Text:
“I need to speak to the Director of Nishina Research Station about what’s happening here.”
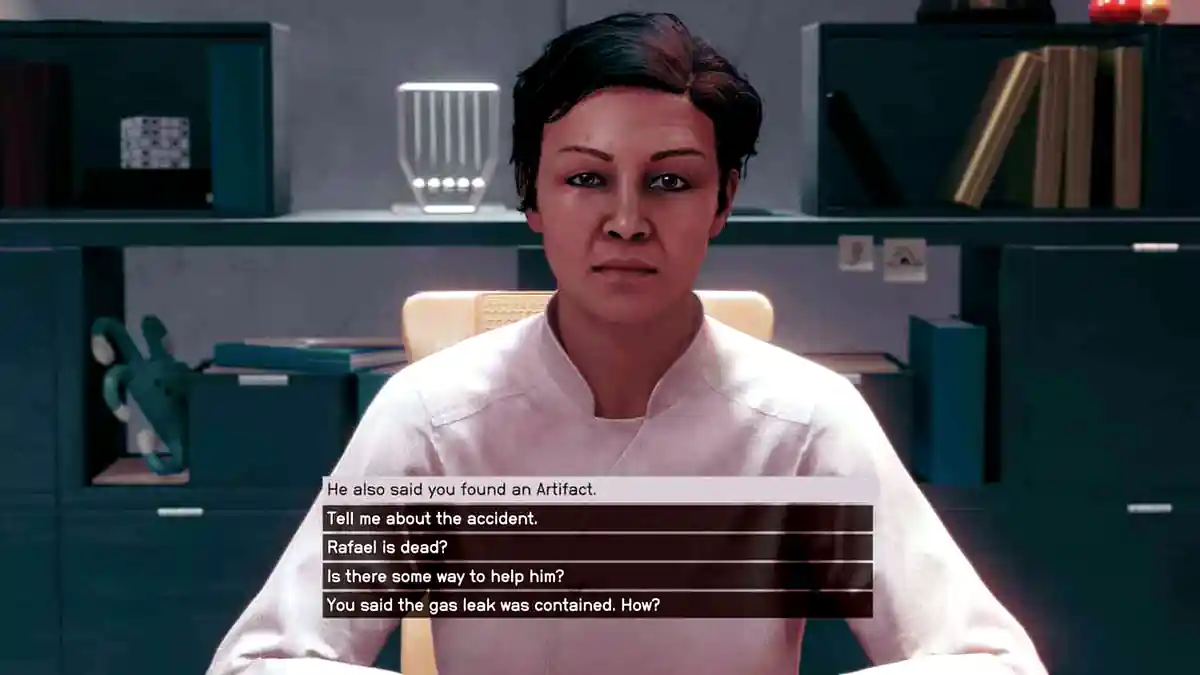
Talk to Director Kaia Patel. She knows the station never sent a distress signal, and she knows the shifting is coming from an experiment two levels down.
10 – Follow Maria
Mission Text:
“I need to follow Maria to her lab.”
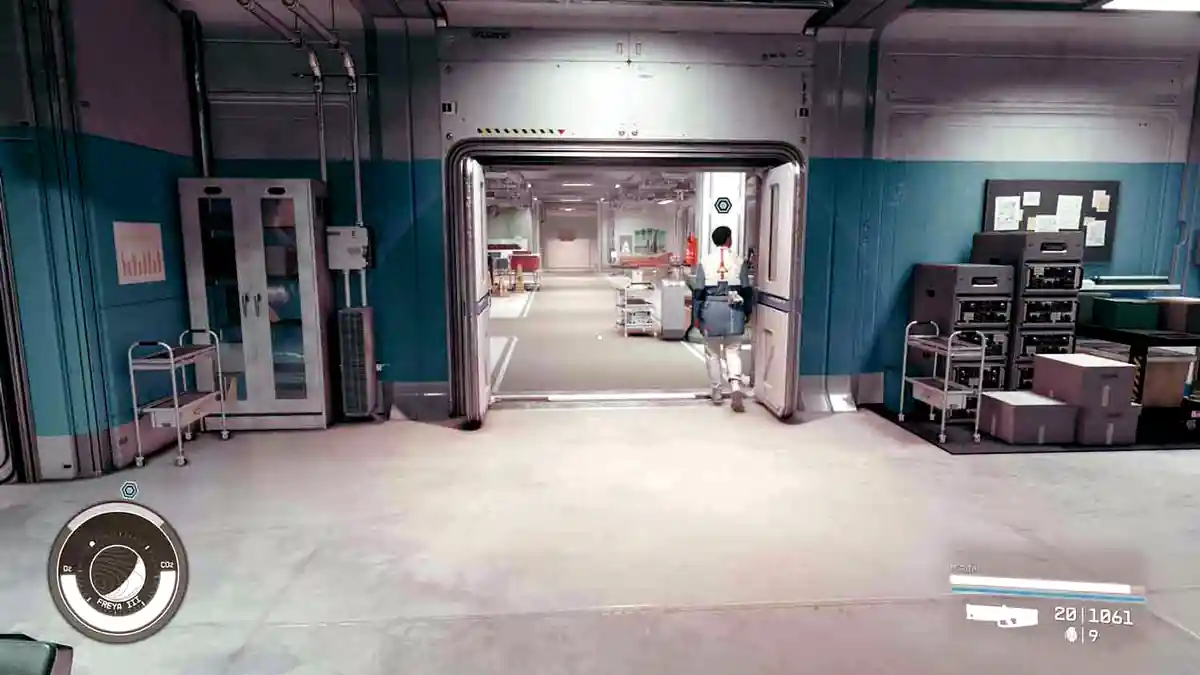
Follow Maria toward her lab until the next shift takes you.
11 – Get to the Lab
Mission Text:
“I need to find a way through the facility to Maria’s lab.”
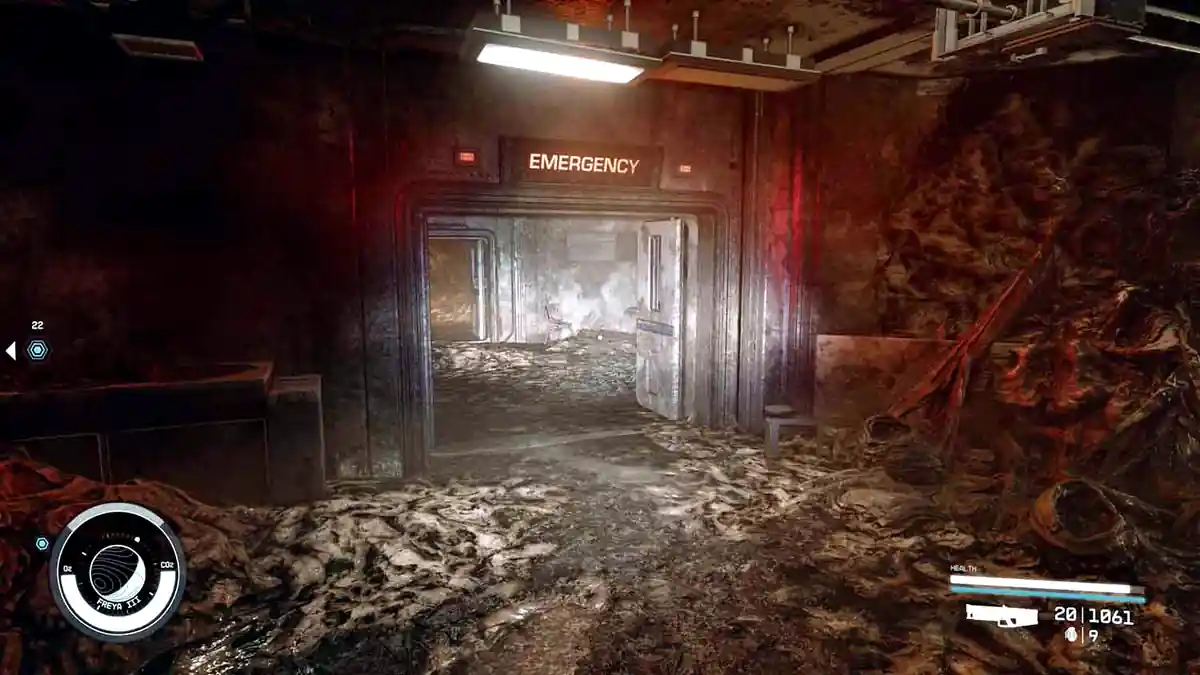
In the ruined universe, Maria’s route to the lab is collapsed. Take the emergency door instead, drop down from there and talk to Rafael.
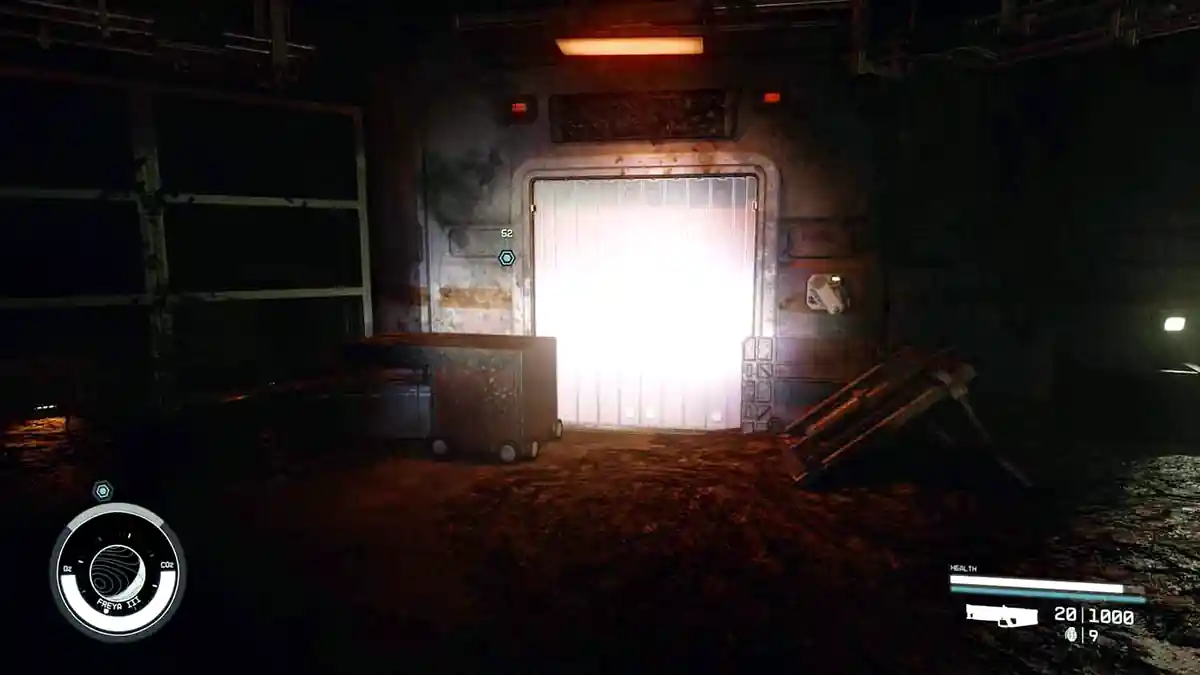
Keep working toward the lab through the pantry. It is the nearby door that needs a pantry keycard.
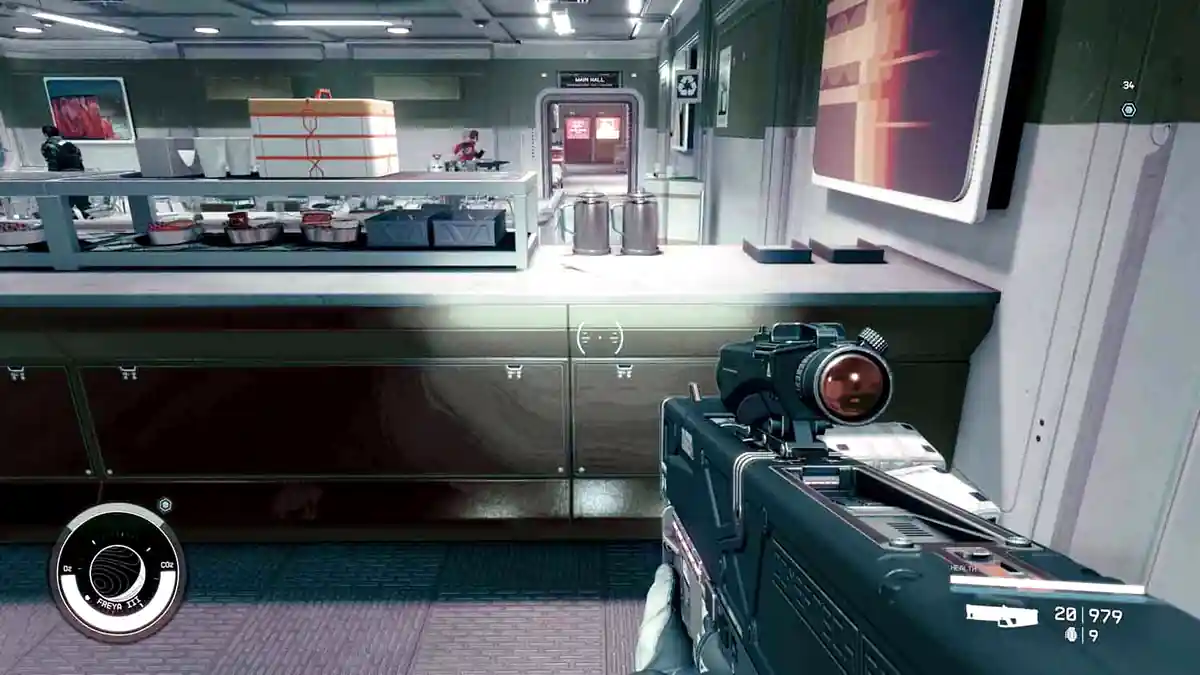
You shift again in the cafeteria and startle everyone in the room. Follow the marker anyway, you will shift back.
12 – Speak to Rafael
Mission Text:
“I need to find a way through the facility to Maria’s lab.”
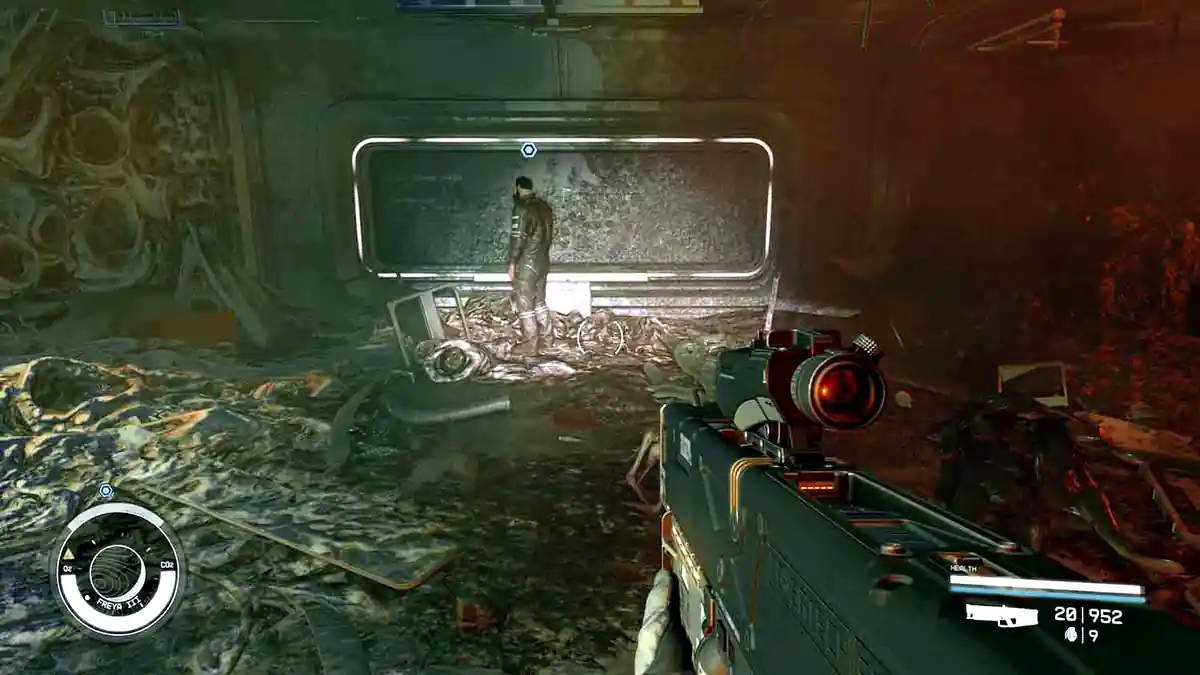
Once you have walked through the cafeteria and shifted back, talk to Rafael. He explains that there was an explosion in his universe and that he is the only survivor, which is the mirror image of what Patel just told you.
13 – Get to the Lab
Mission Text:
“I need to find a way through the facility to Maria’s lab.”
Leave Rafael’s room the only way you can and you will find yourself in a room with Ethan. Talk to him.
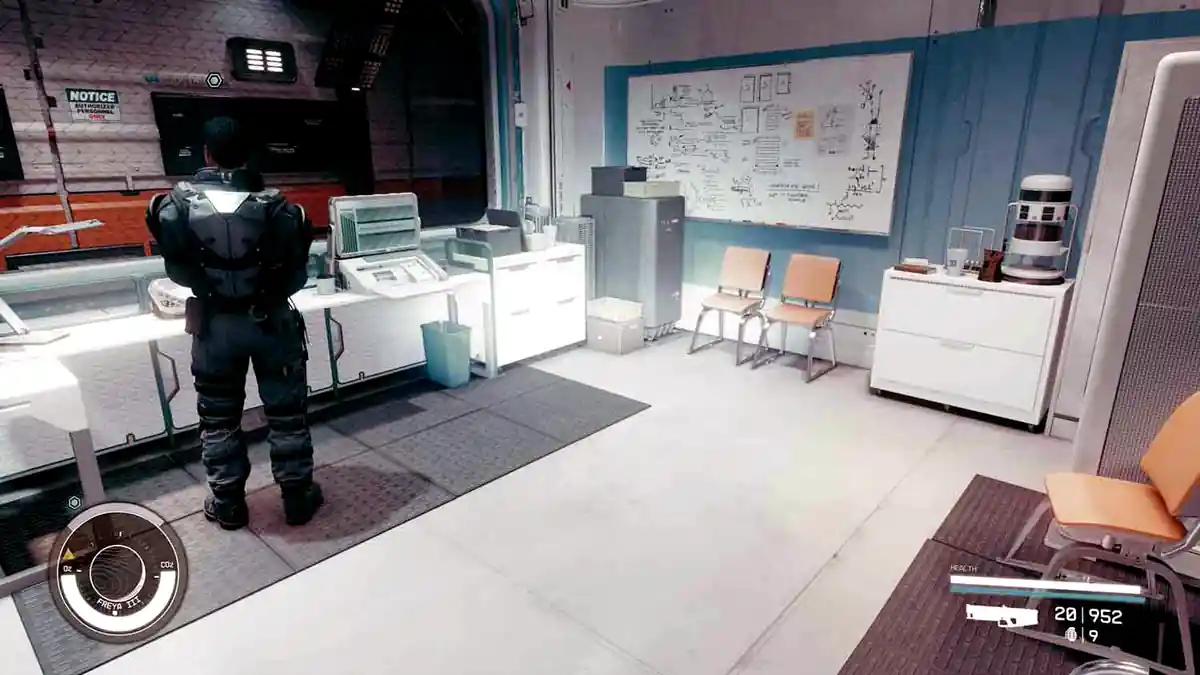
Then leave his office and cross the main hall, following the mission marker. You will shift again, but keep going straight ahead. Follow the emergency exit signs to get upstairs.
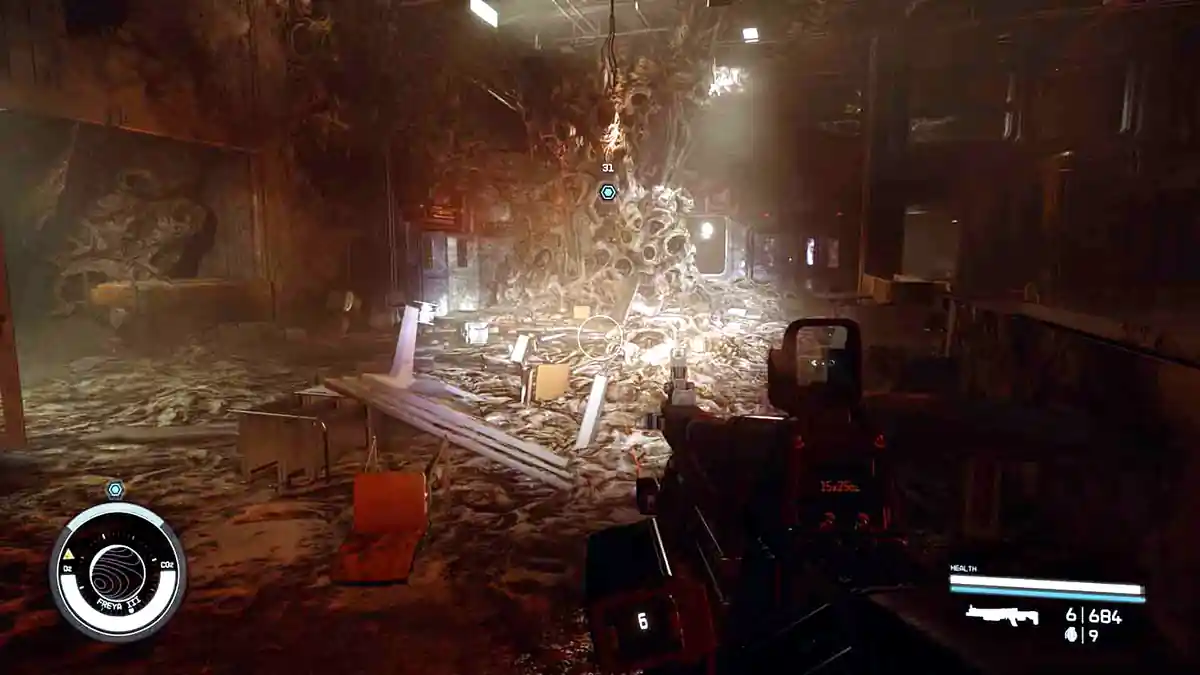
You phase back to the intact universe. Maria is waiting in the lab. Talk to her.
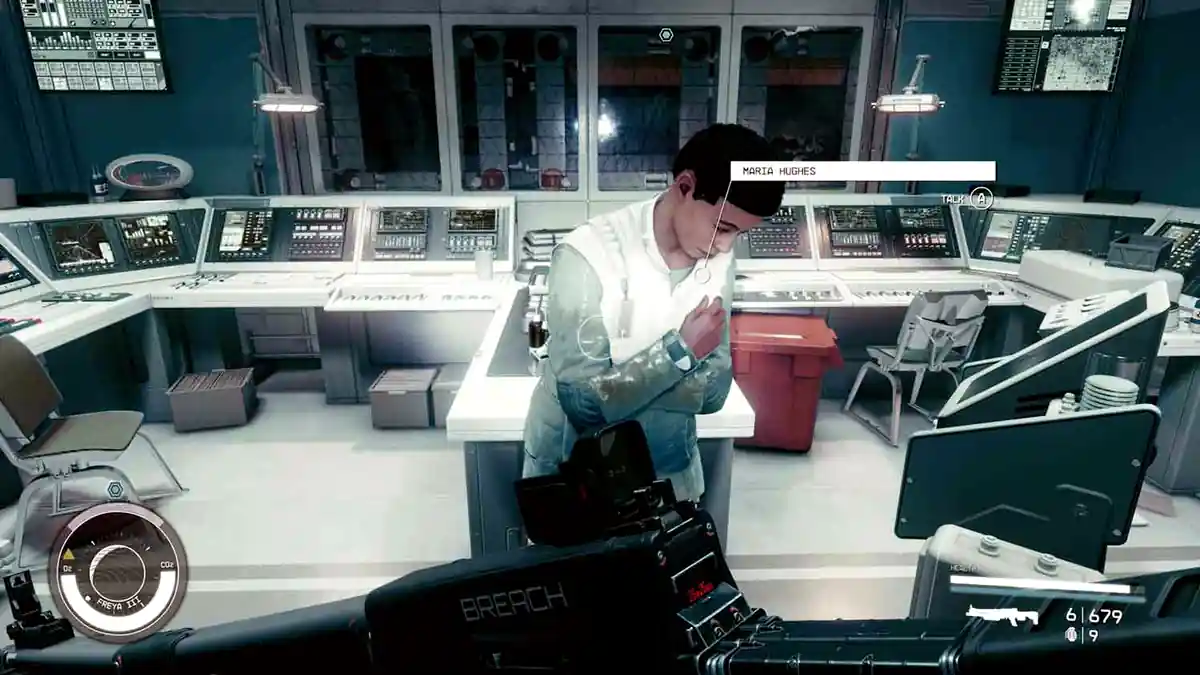
14 – Assist Maria
Mission Text:
“I need to work with Maria to find a way to control the shifting.”
During her experiments, one of the light clouds you know from the temples appears in the room. She asks you to step inside it. Stand in the distortion.
These distortions are the whole mechanic for the rest of the mission. Every one of them swaps you between the intact station and the ruined one, and from here on you control the shifting instead of the artifact controlling you.
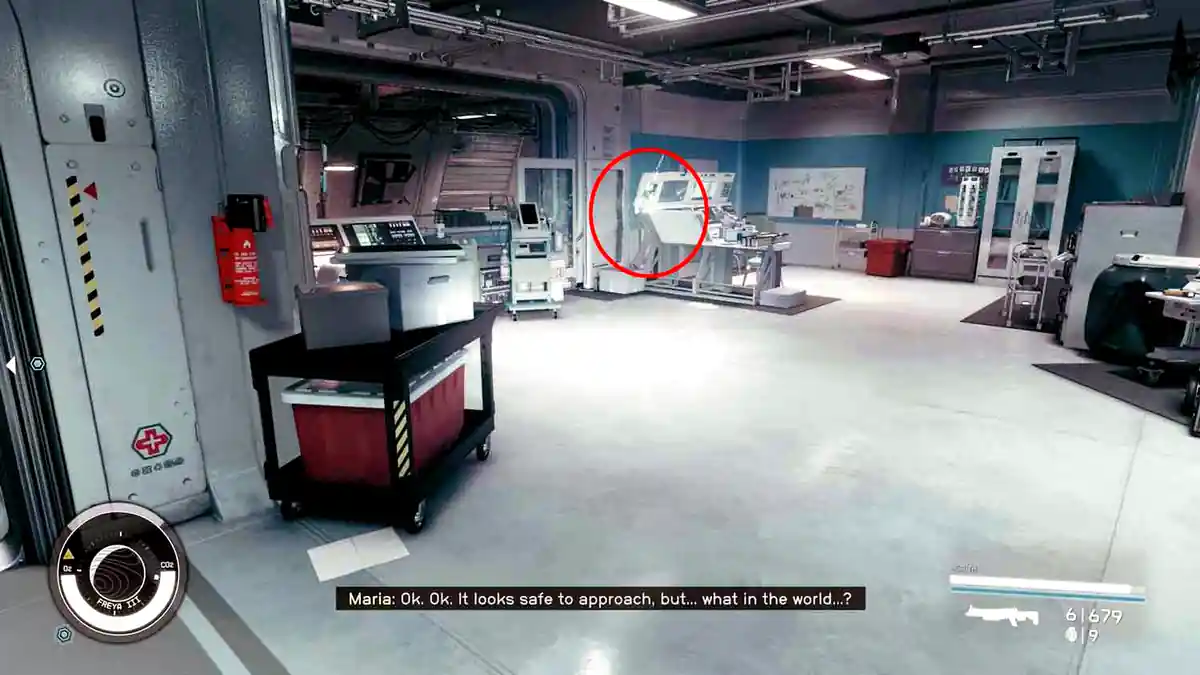
15 – Find the Probe Control Unit
Mission Text:
“I need to find a Probe Control Unit and use it to shift back to the other universe.”
You land back in the ruined universe. The Probe Control Unit is nearby in the lab. Find the light distortion in the room and interact with it. Back in the intact lab, talk to Maria.
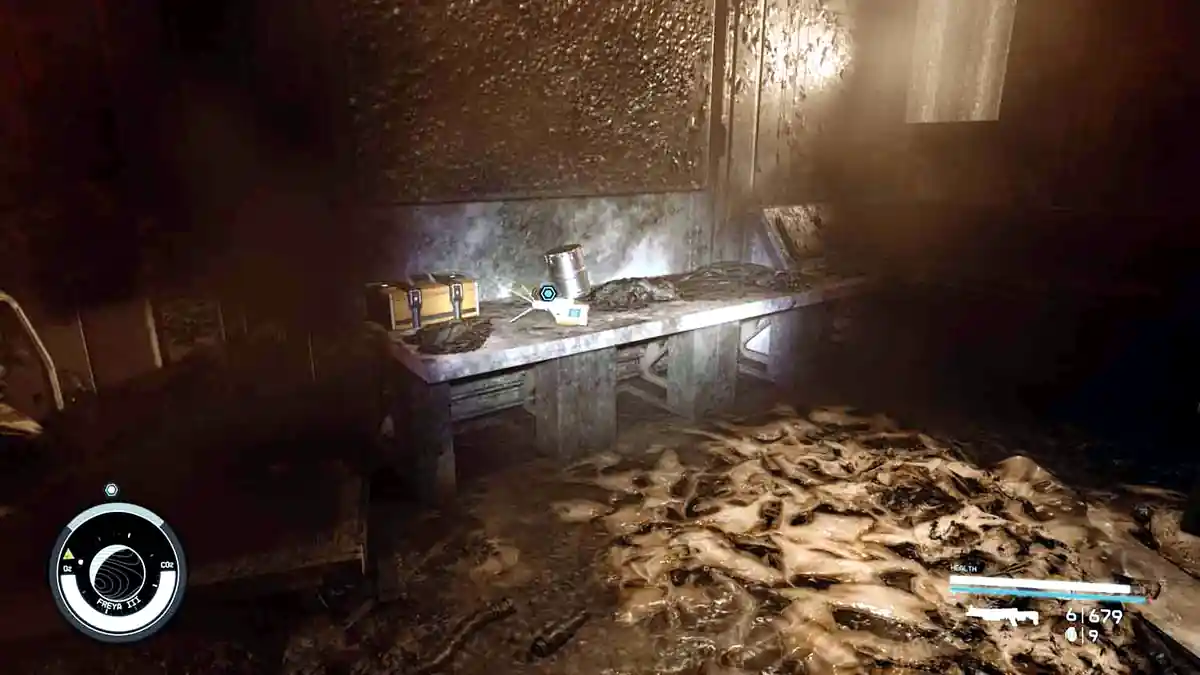
16 – Speak to Director Patel
Mission Text:
“I need to tell the Director we found a way to control the shifting.”
Go down the hall and speak to Director Patel.
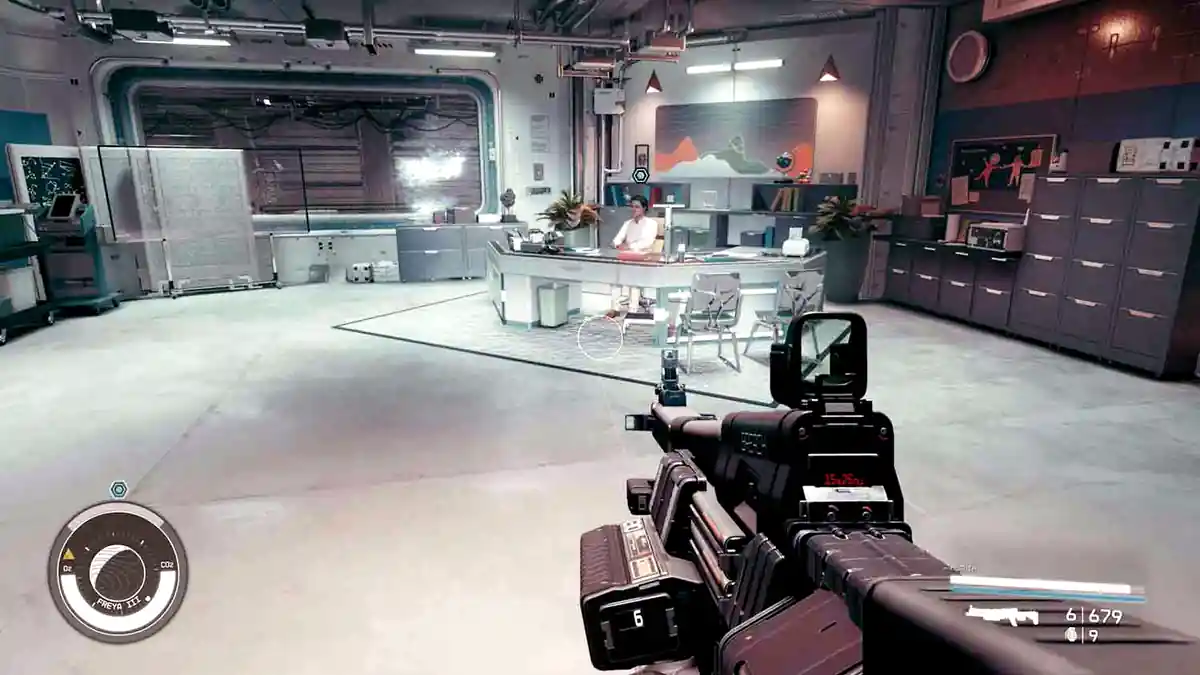
17 – Take the Elevator
Mission Text:
“I need to take the elevator down to the Research Level.”
Elevator access is off the main hall. Interact with the distortion to get back to the ruined universe.
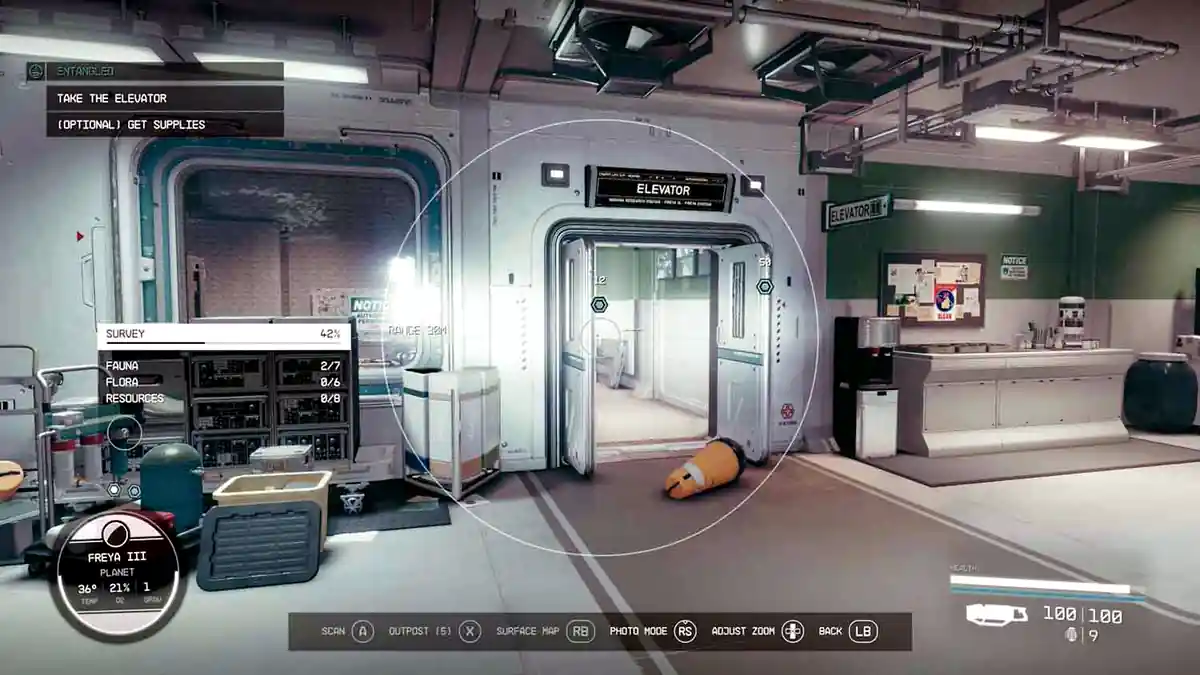
18 – Get to the Lab
Mission Text:
“I need to make my way to the High Energy Research Lab.”
From here the mission becomes one long puzzle with the same rule behind every room: doors that are locked or sealed in the intact station are usually open or blown apart in the ruined one, and computers that are smashed in the ruined station usually still work in the intact one. When you are blocked, look for a distortion and swap.
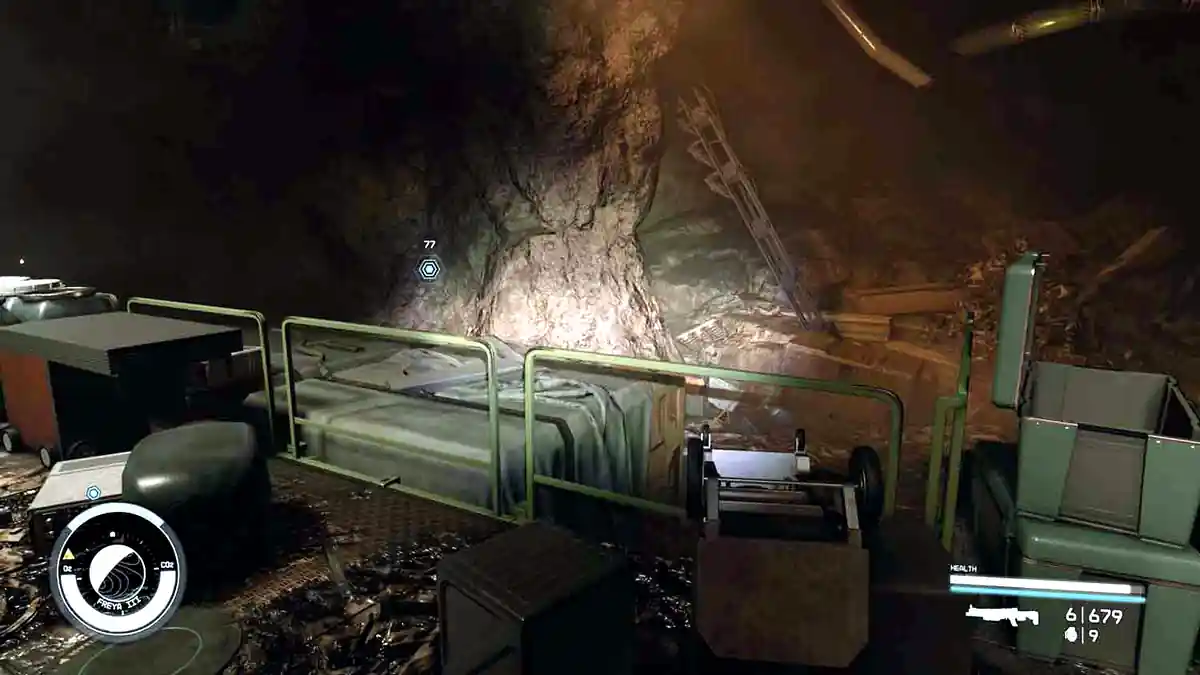
At the bottom of the elevator I switched to the intact universe and followed the marker to a master locked door.
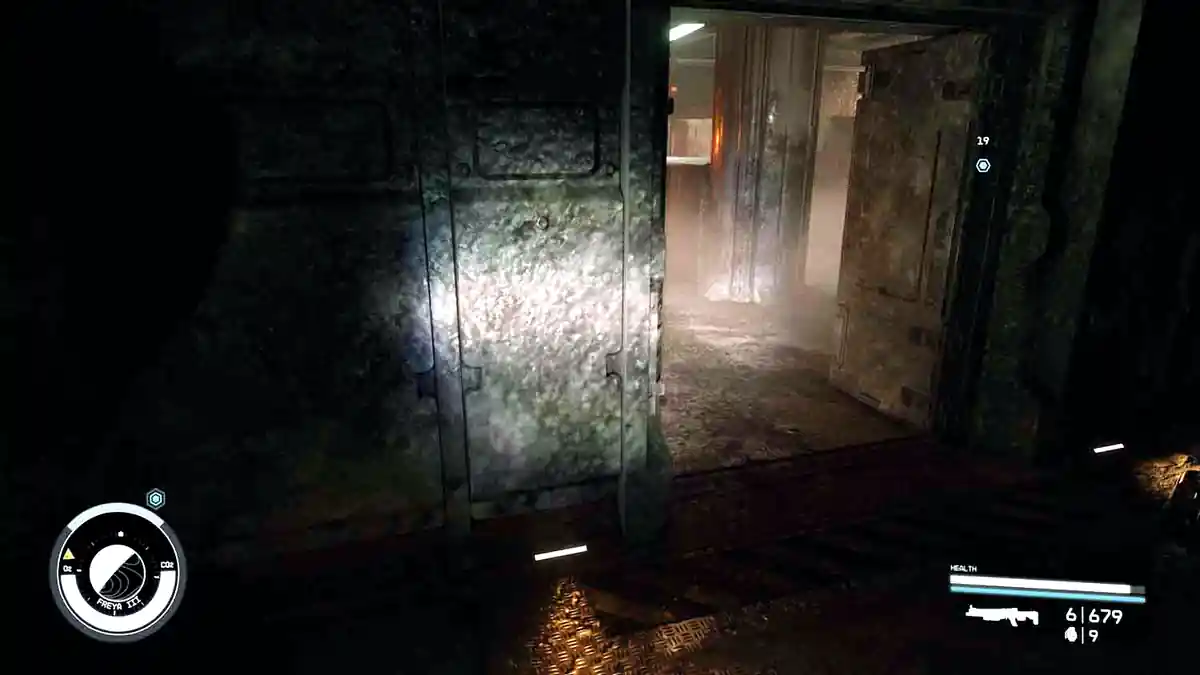
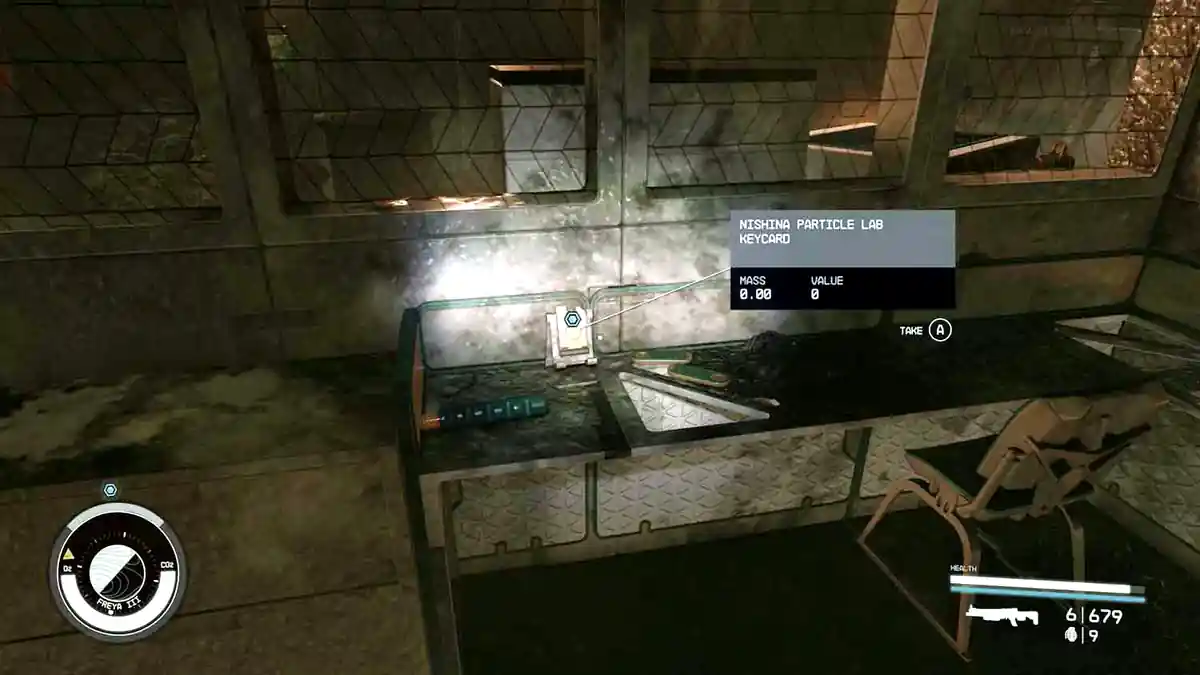
You can pick it if your Security skill is high enough. Otherwise use the nearby distortion and shift to the ruined universe, where the door is already open. Now you can grab the Nishina Particle Lab Keycard.
19 – Override the Lockdown in the Facilities Section
Mission Text:
“I need to make my way to the High Energy Research Lab.”
Use one of the distortions near the keycard to get back to the intact universe. From here you can reach the mission marker. A couple of robots and turrets try to stop you on the way down.
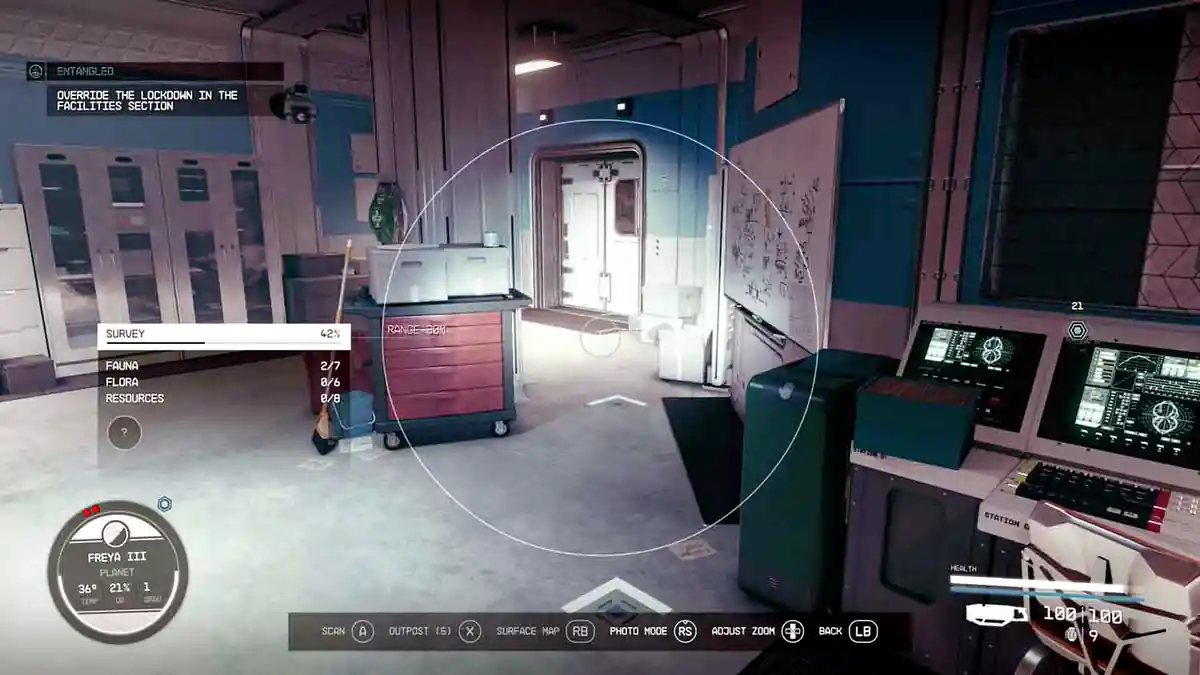
Down there are red security doors you cannot open. Use the distortion in one of the rooms to switch back to the ruined universe. The doors are gone and you can walk straight in.
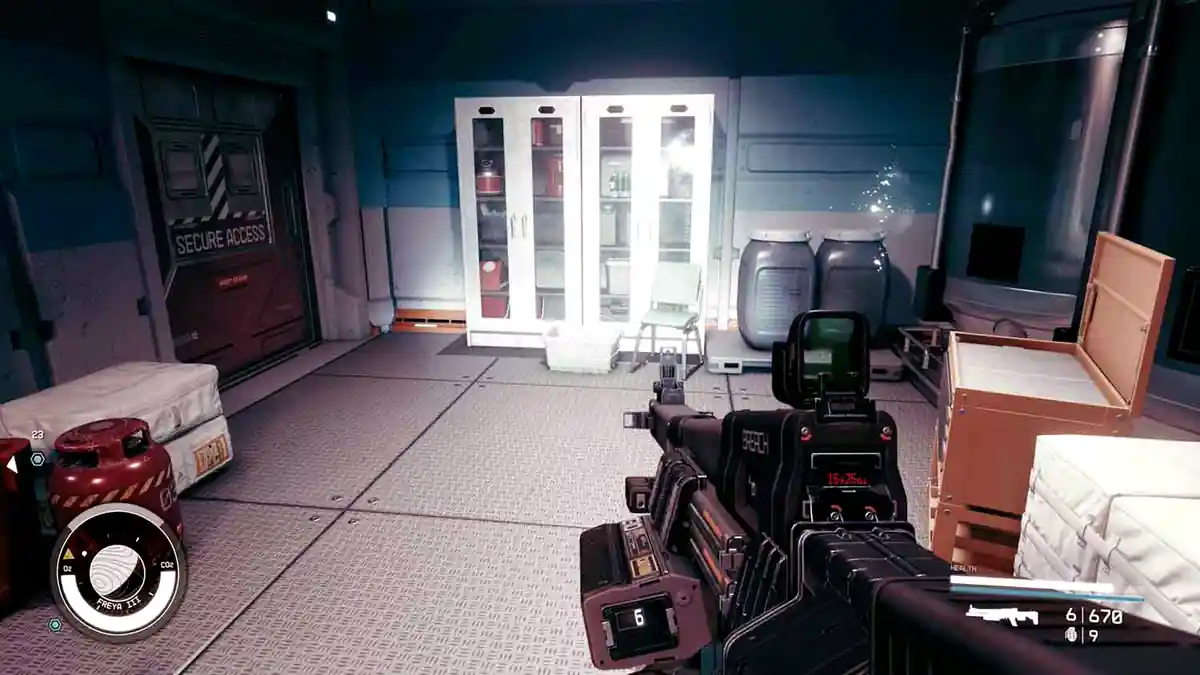
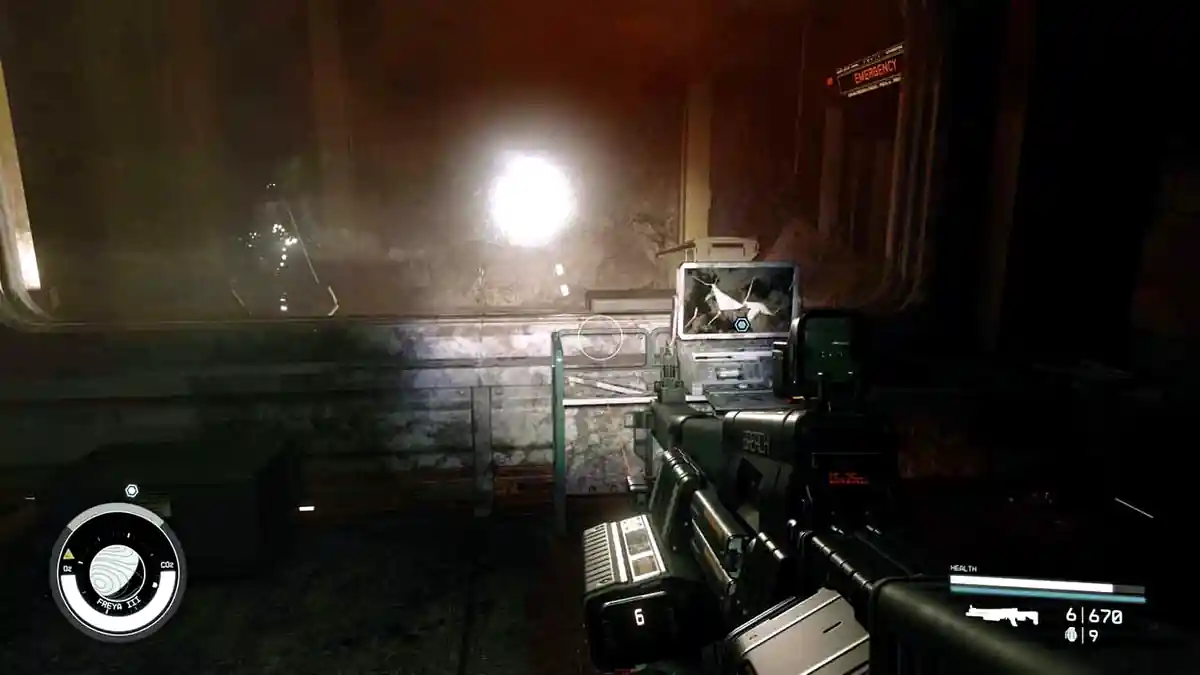
In the ruined universe the computer you need is smashed, so interact with the distortion at the back of the room to return to the intact universe and use the computer to override the lockdown.
20 – Override the Lockdown in the Accelerator Section
Mission Text:
“I need to make my way to the High Energy Research Lab.”
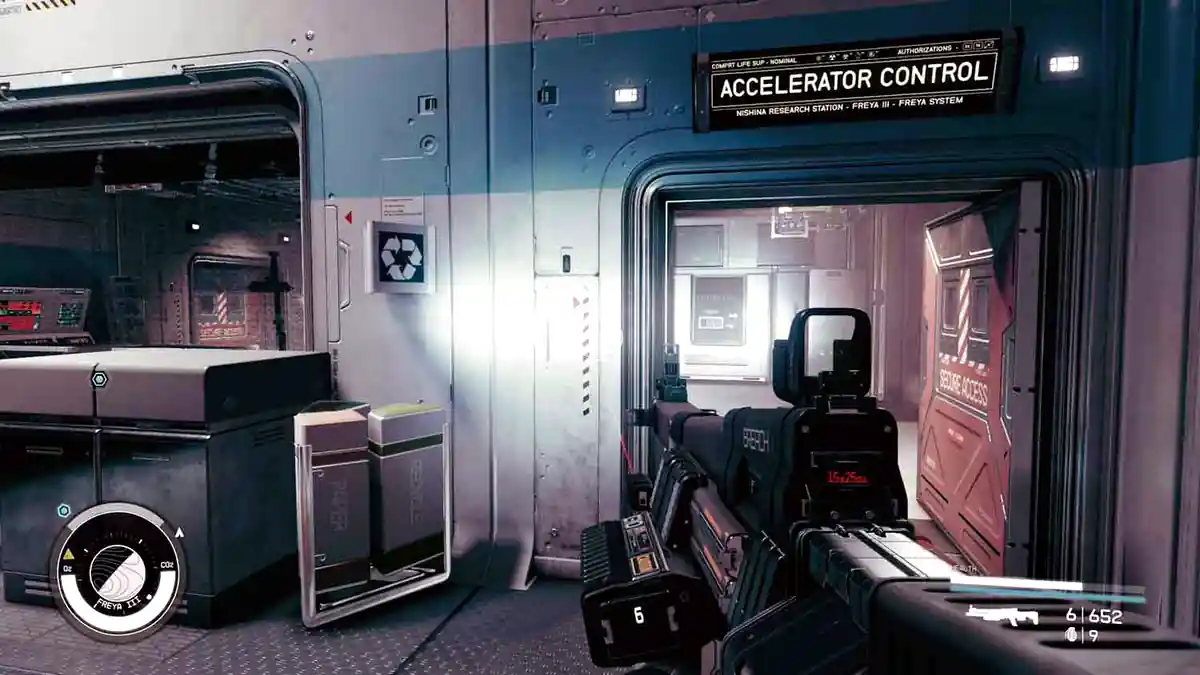
Follow the mission marker in the intact universe to the next section of the lab. Accelerator Control sits behind another locked security door.
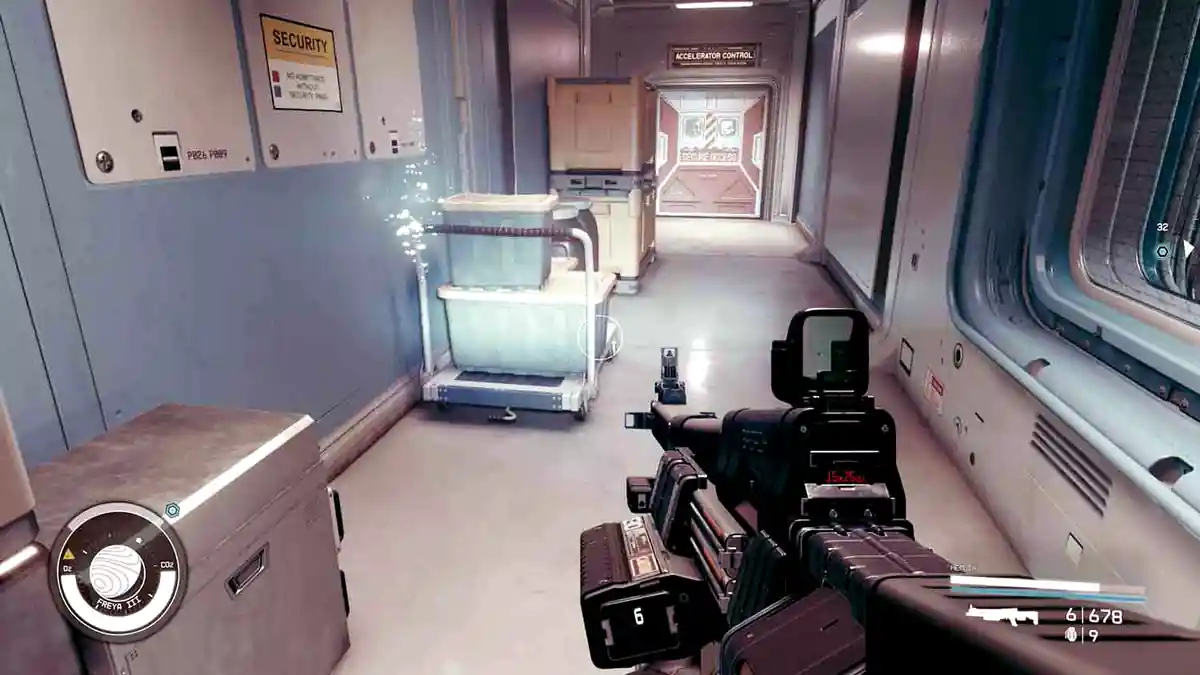
Go downstairs into the big room with the accelerators, cross it, head upstairs and find a distortion. Use it to reach the ruined universe.
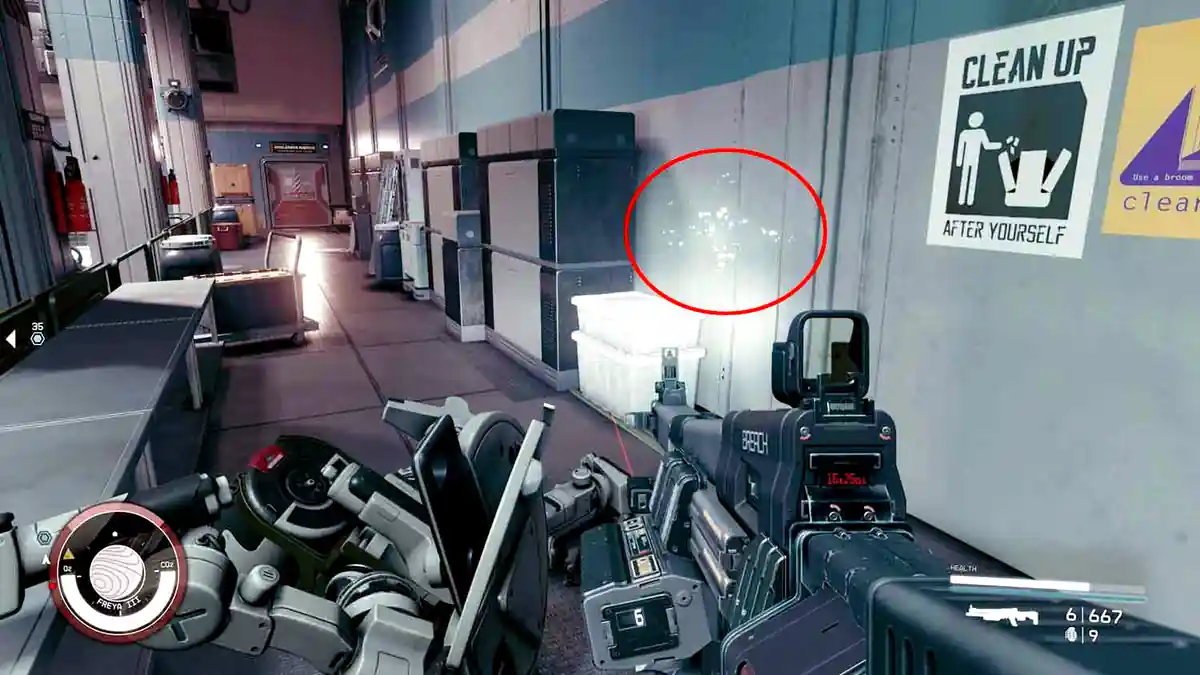
All the doors are open here.
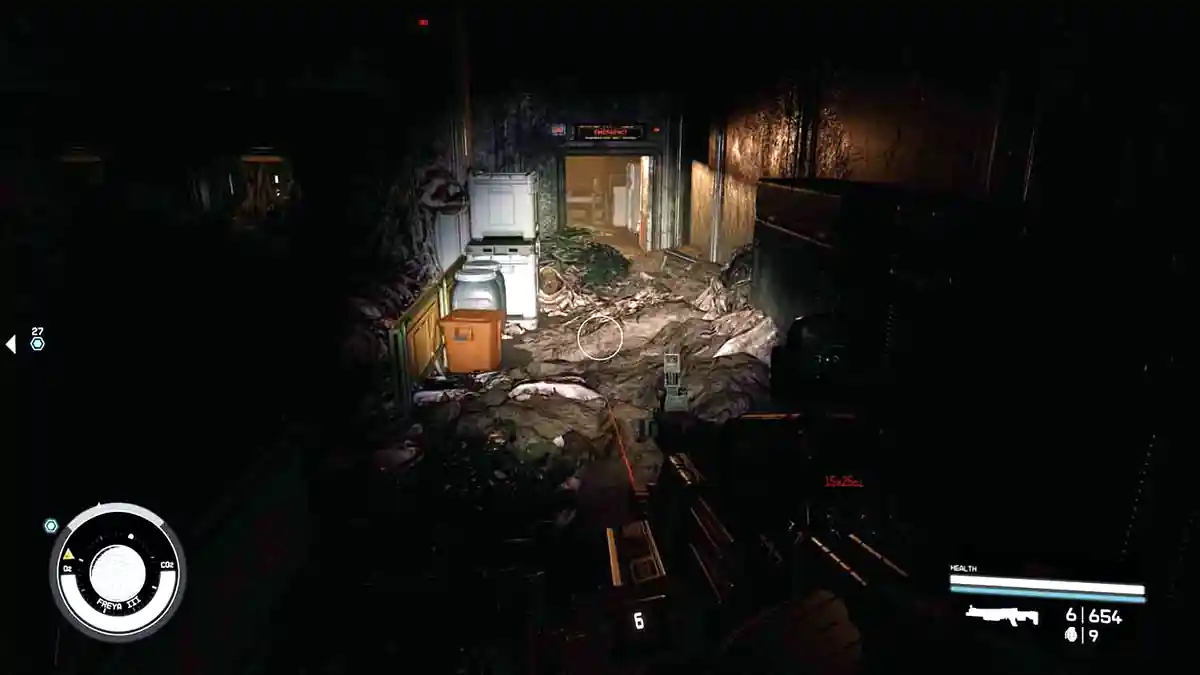
Use that to reach the mission marker down below.
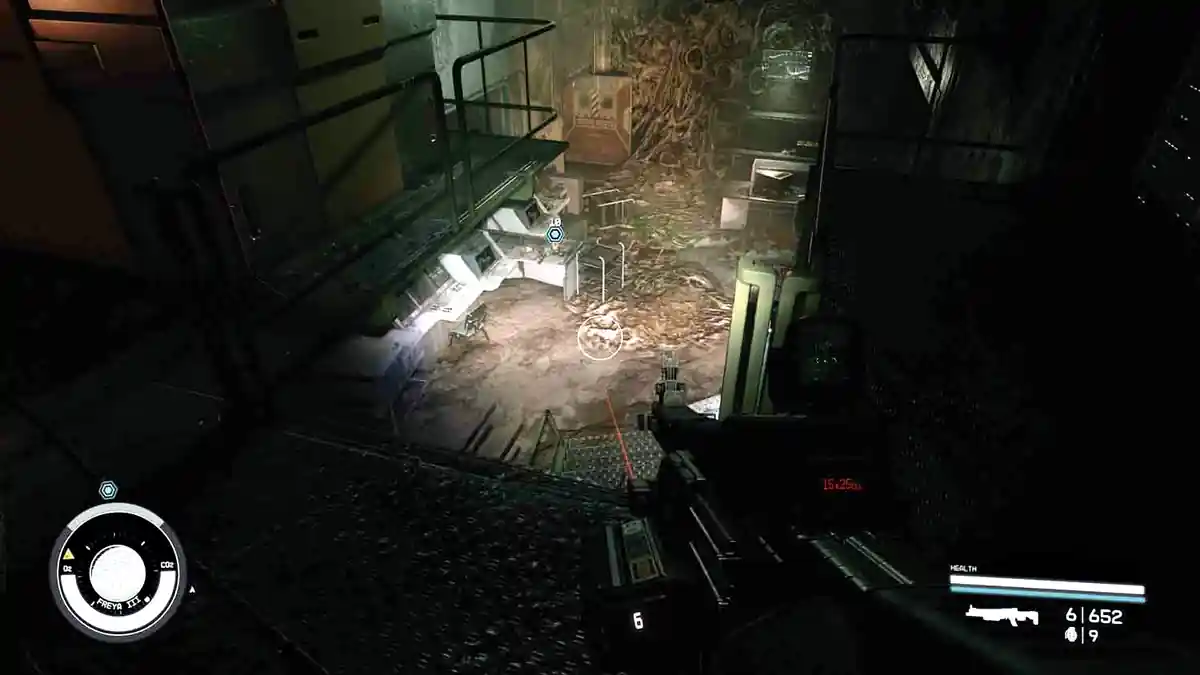
Pick up the Nishina Utility Closet Keycard at the marker.
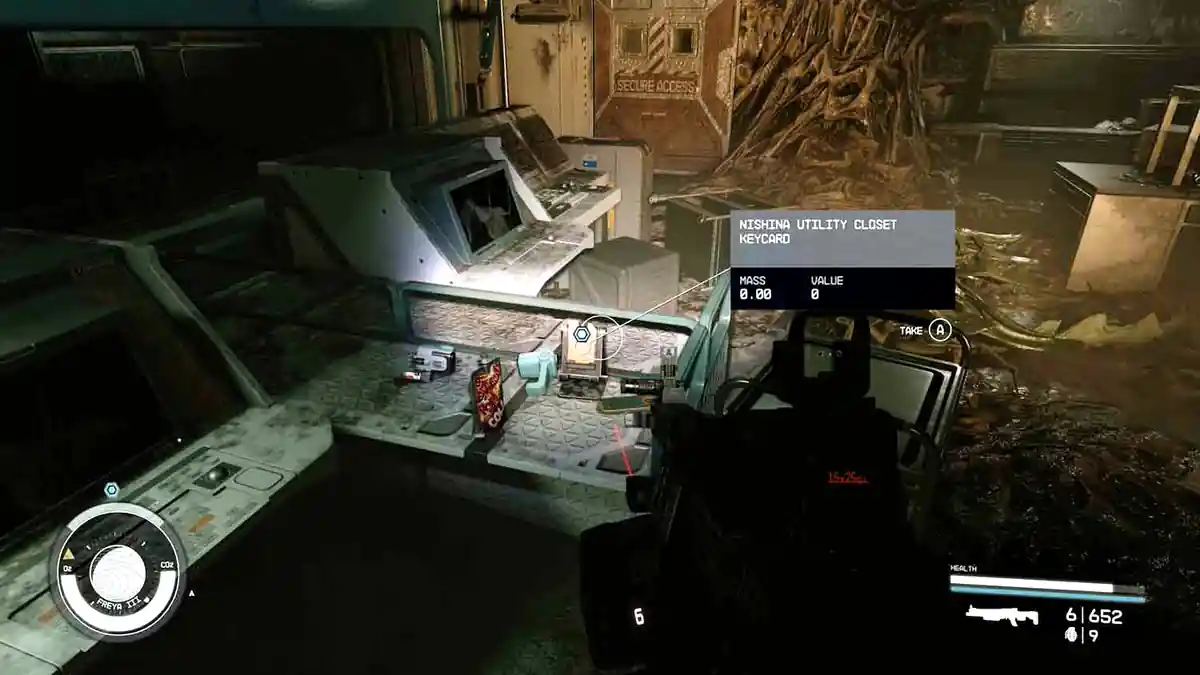
Interact with the distortion in the room to use the staircase back up, then the distortion at the top of the stairs to return to the ruined universe and leave the room.
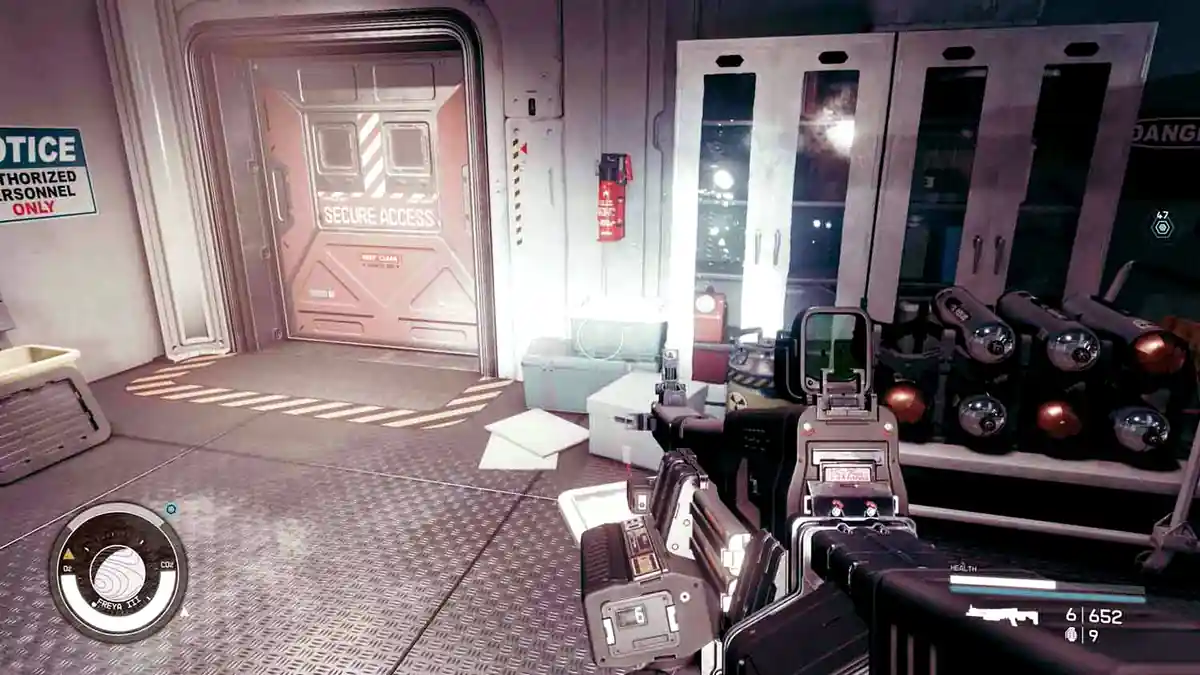
Get out into the big room and head downstairs. Look for a distortion at the top of the stairs, near the marker on the ground floor.
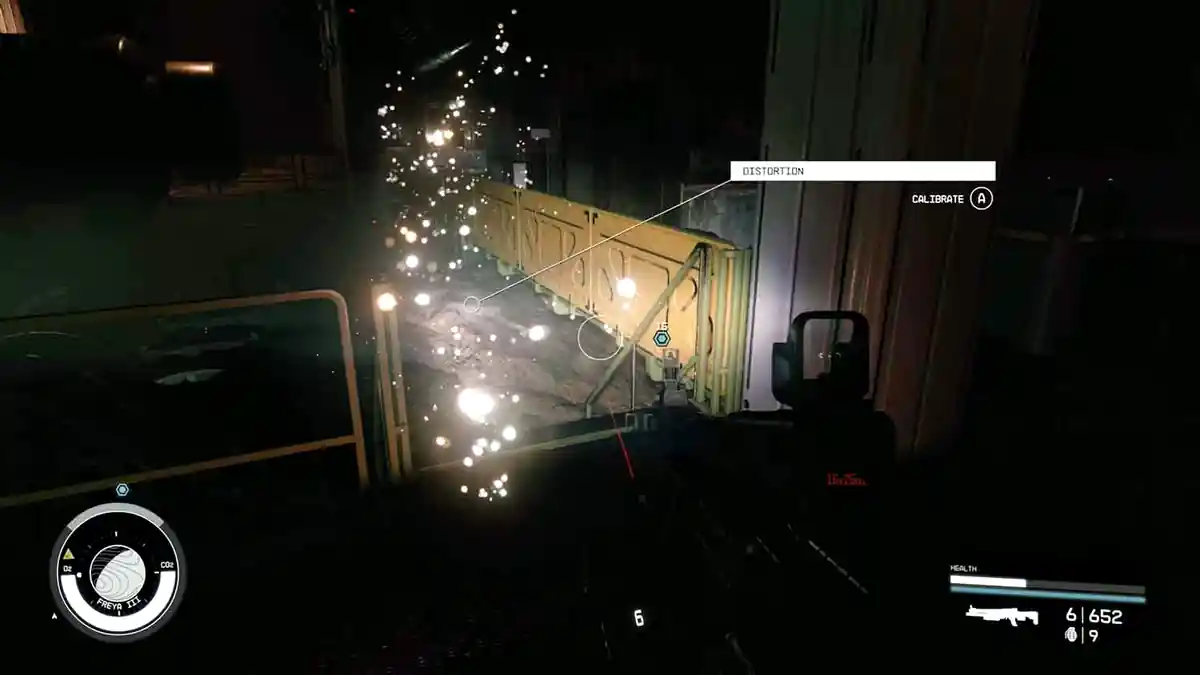
Now use the Utility Closet Keycard to get into the Utility Closet on the ground floor. There is another distortion in this small closet. Use it.
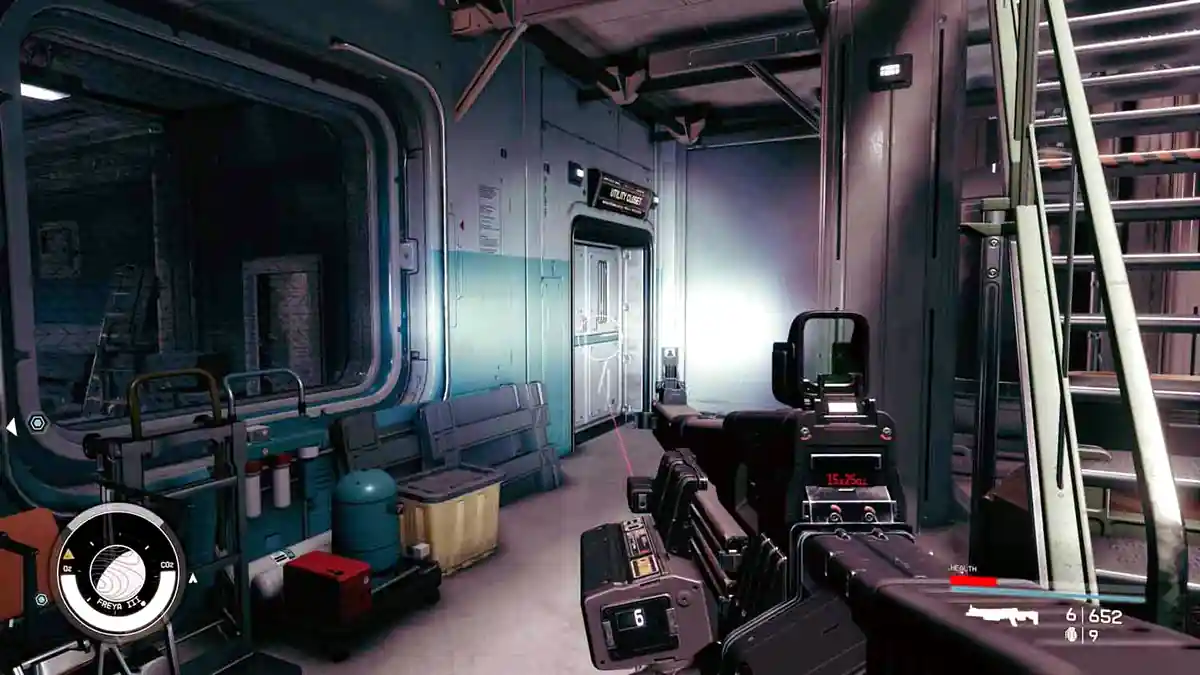
You can now enter the next room through the Utility Closet, because the wall between them is gone in the ruined universe. There is another distortion inside. Use it so you can operate the computer in the intact universe and override the Accelerator Control Room lockdown.
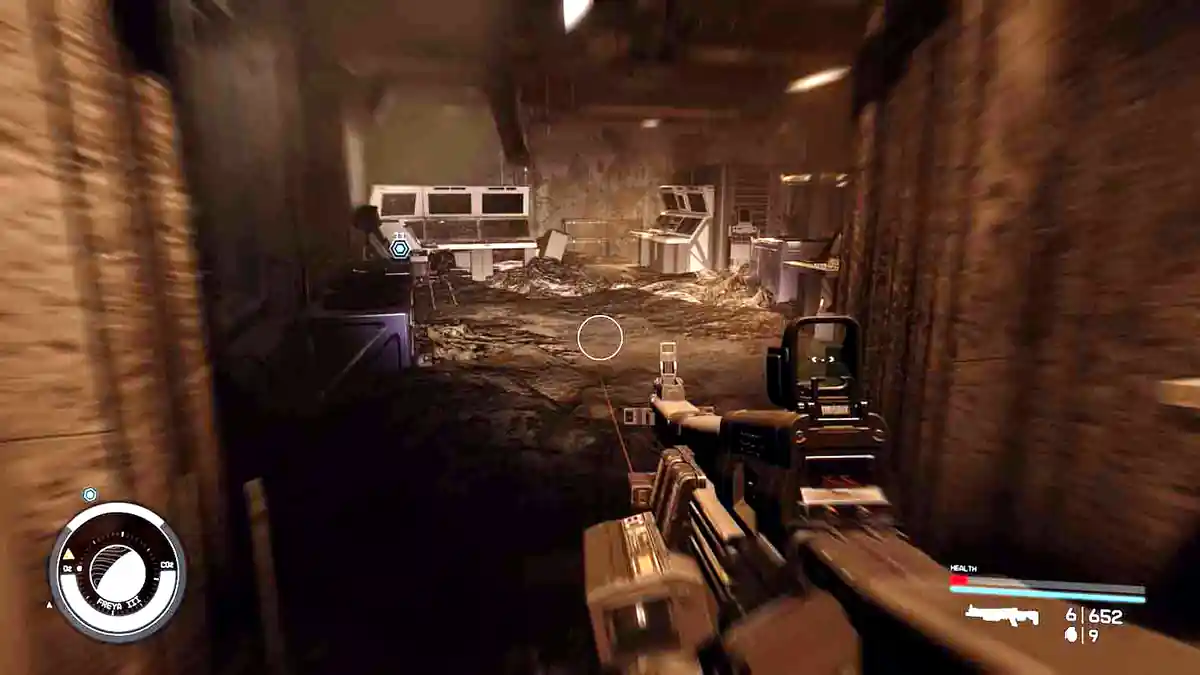
The computer in the intact universe will not open the doors for you. Use the distortion again to leave the way you came in. There is another distortion in the Utility Closet. Back in the intact universe, go to Accelerator Control upstairs and use the computer to override the lockdown for the Accelerator Section.
21 – Get to the Lab
Mission Text:
“I need to make my way to the High Energy Research Lab.”
All the doors are open now. Head for the ground floor door marked Access Tunnel.
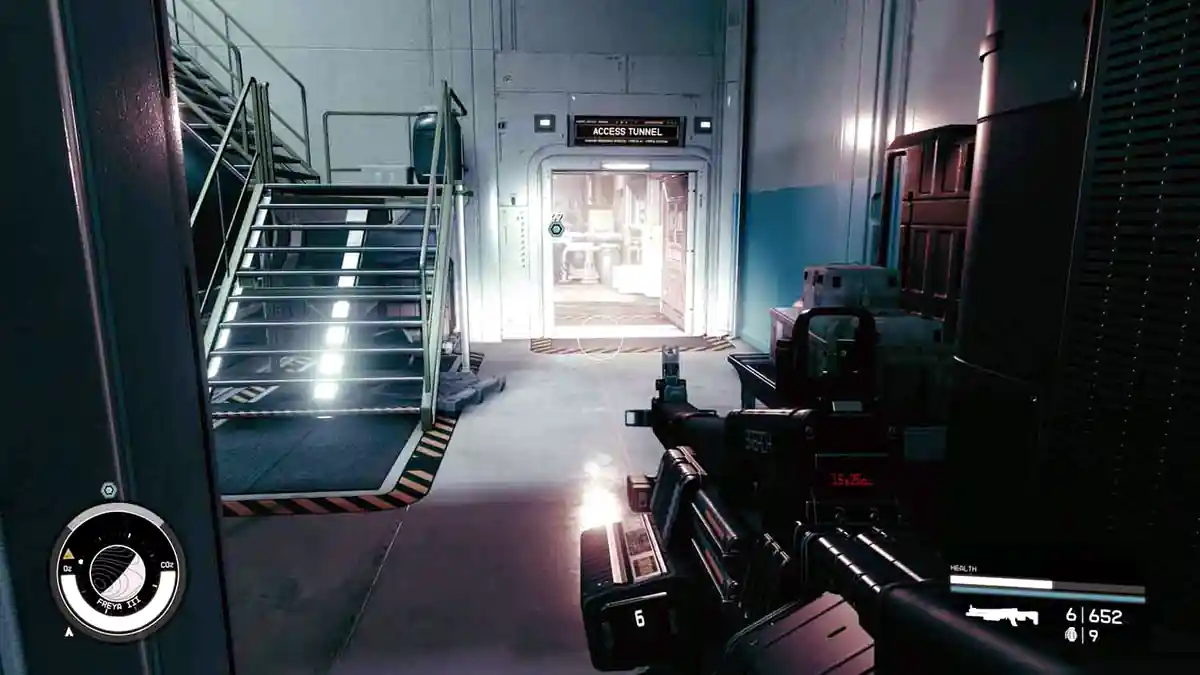
In the next room the Access Tunnel door is blocked. Use the nearby distortion to switch to the ruined universe and get past it through the gaping hole where the door would be.
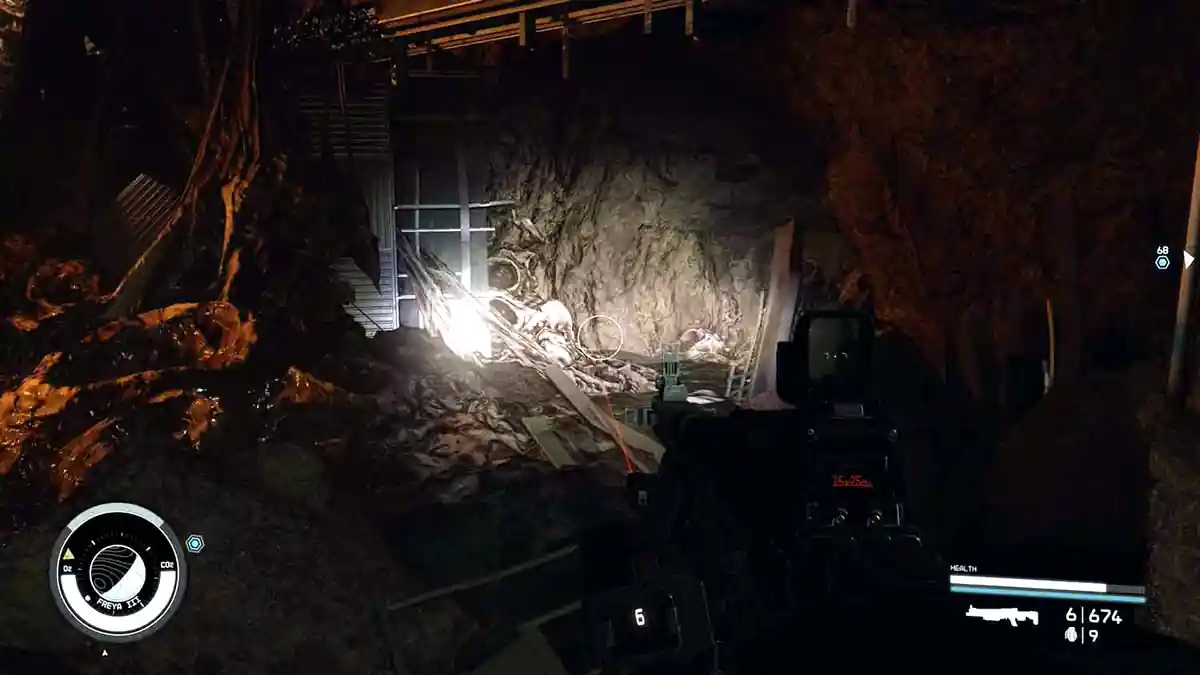
Follow the infested cave all the way down. There is a distortion at the bottom.
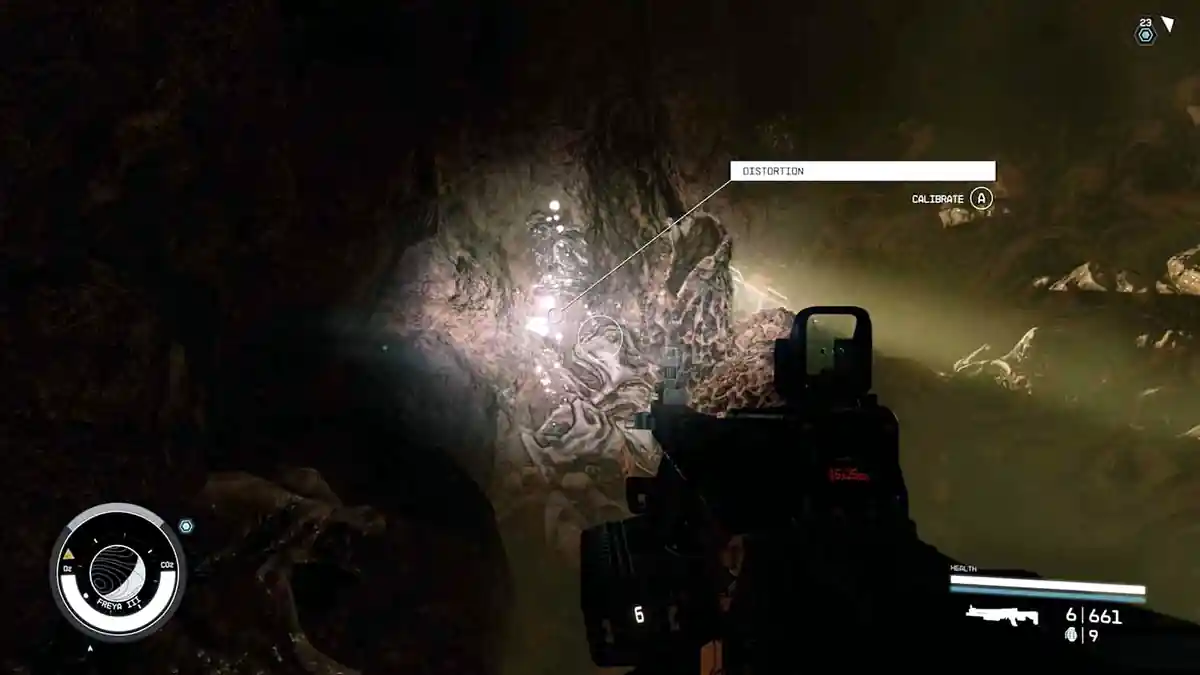
Good thing there is a cave on the intact side too. Cross to the other end and look for another distortion.
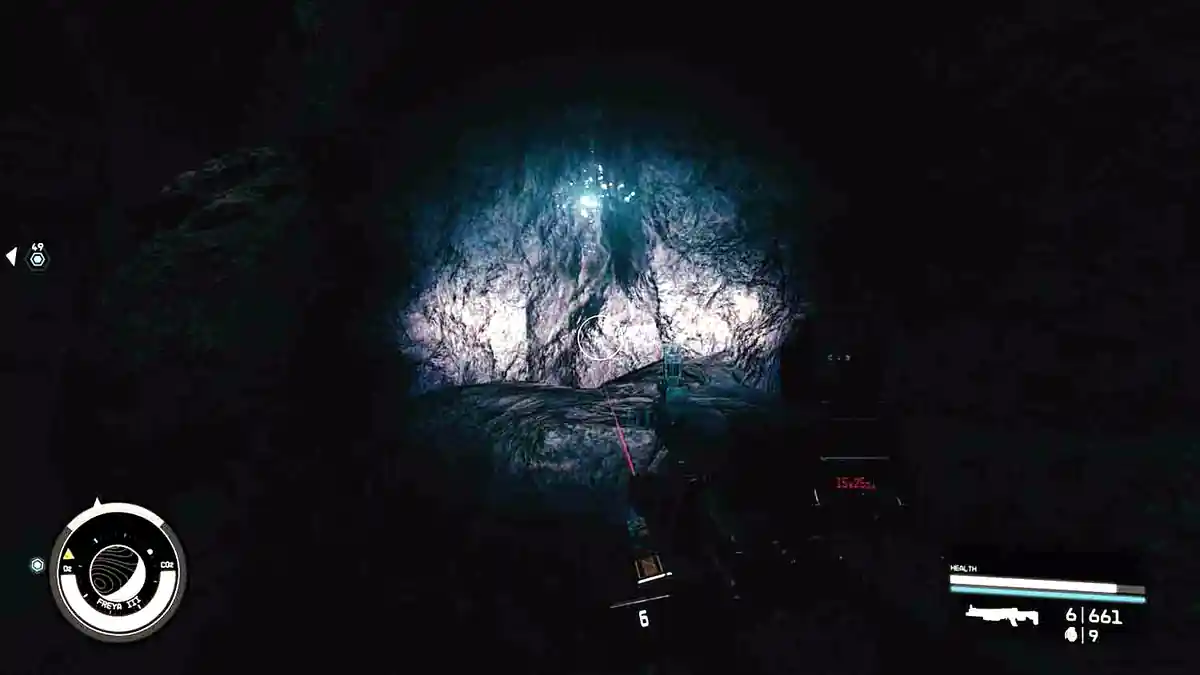
You can jump up here to reach a higher level. Use the distortion up here to return to the intact universe, where you will be standing in a normal lab room.
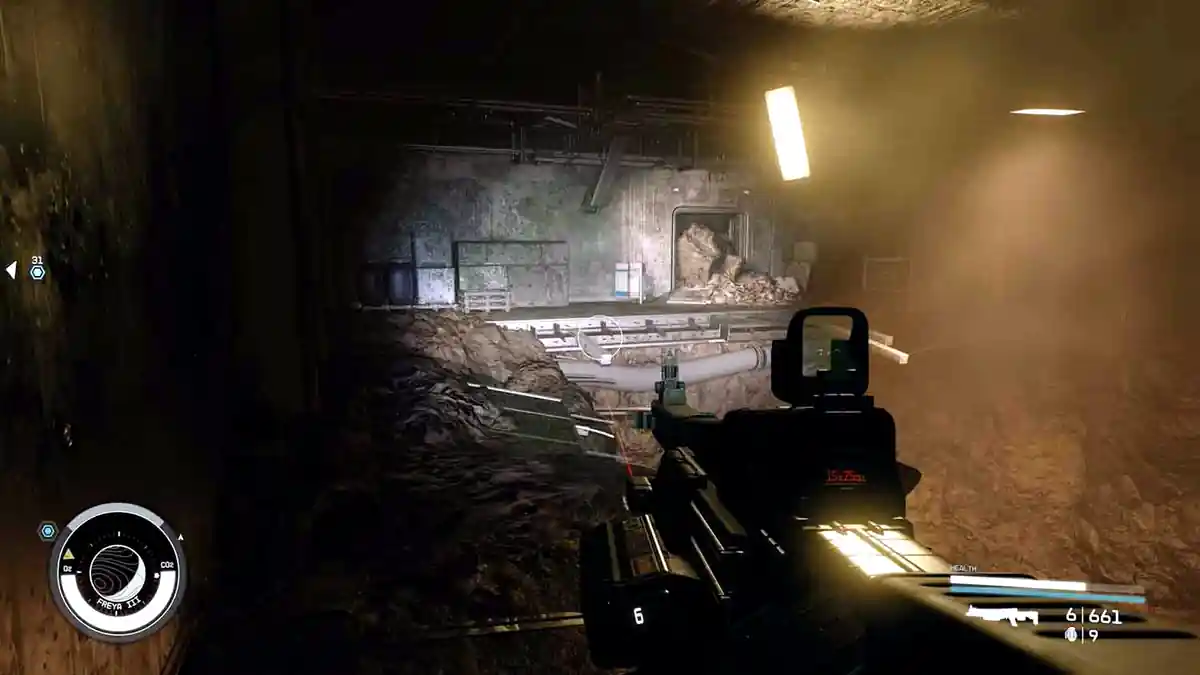
Leave this room and enter the only other room in the corridor. Use the distortion inside to go back to the ruined universe.
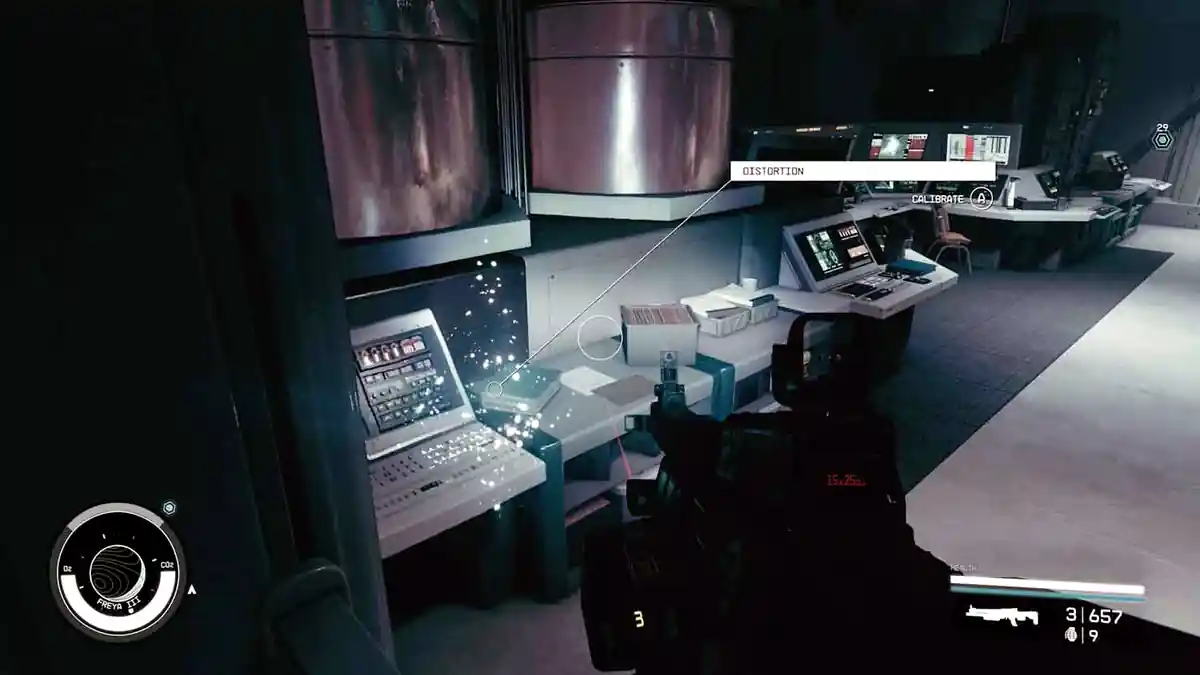
A cave passage has opened where the distortion was. Go through and fight your way past more Cataxi, up to a higher level.
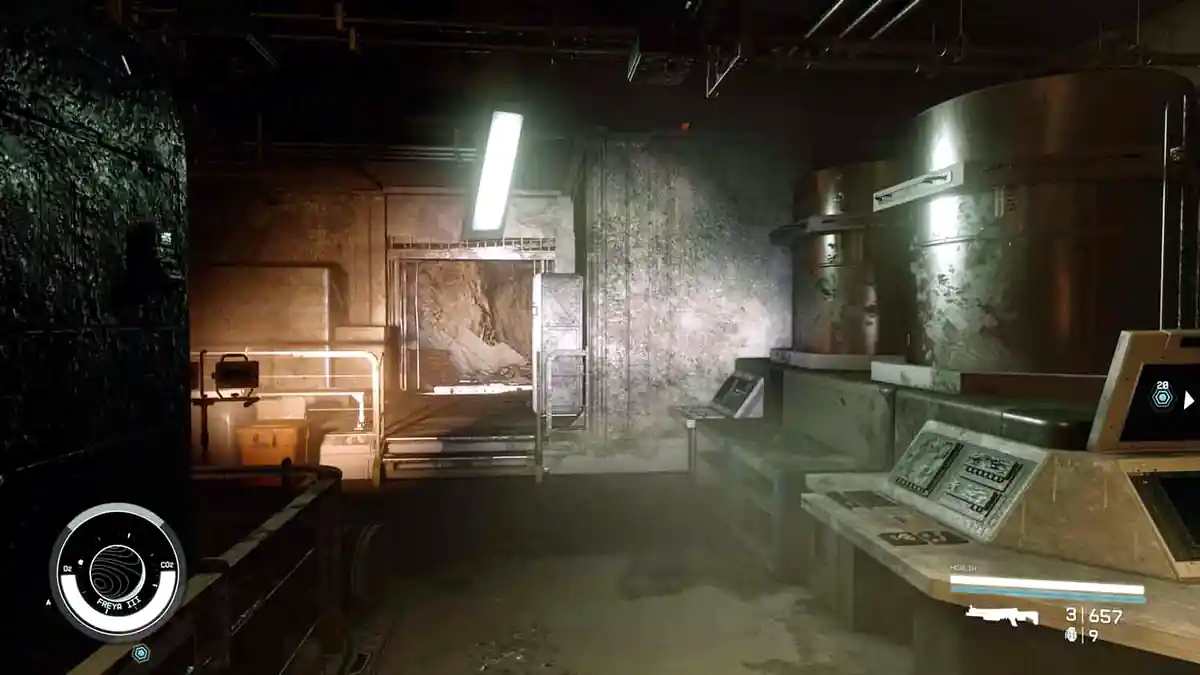
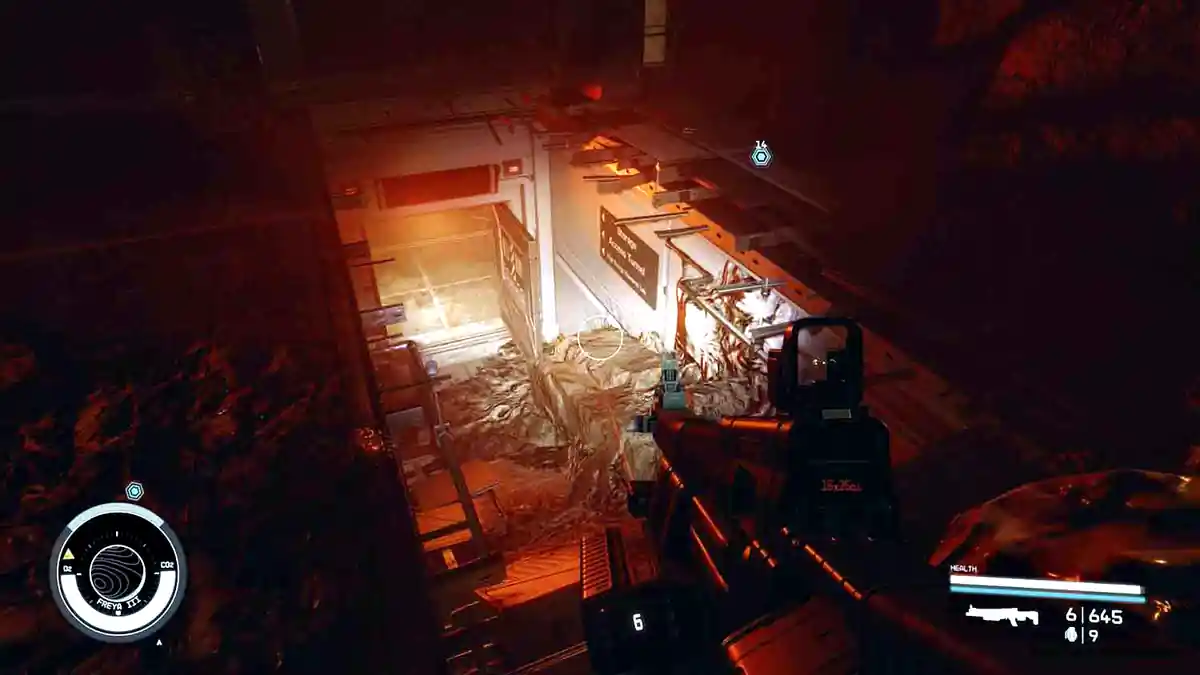
From up here you can drop into another corridor that leads to Storage and the Access Tunnel according to the signs.
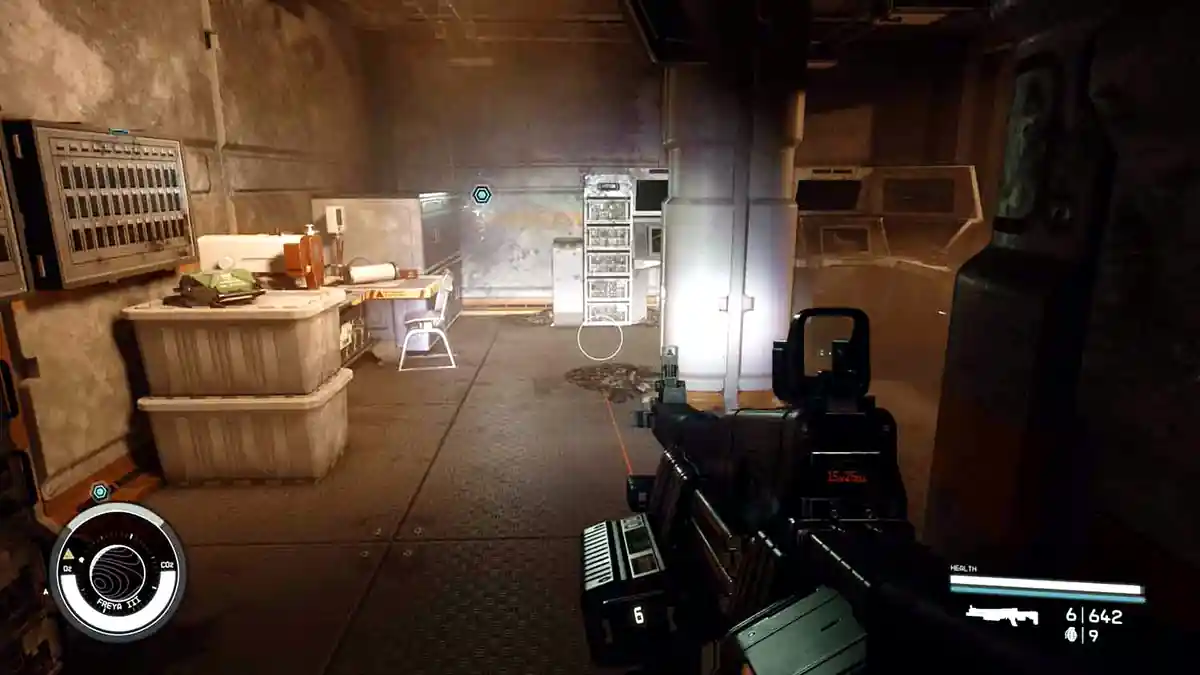
Down there is another distortion back to the intact universe, and this one even has a mission marker on it.
22 – Override the Lockdown in the Storage Section
Mission Text:
“I need to make my way to the High Energy Research Lab.”
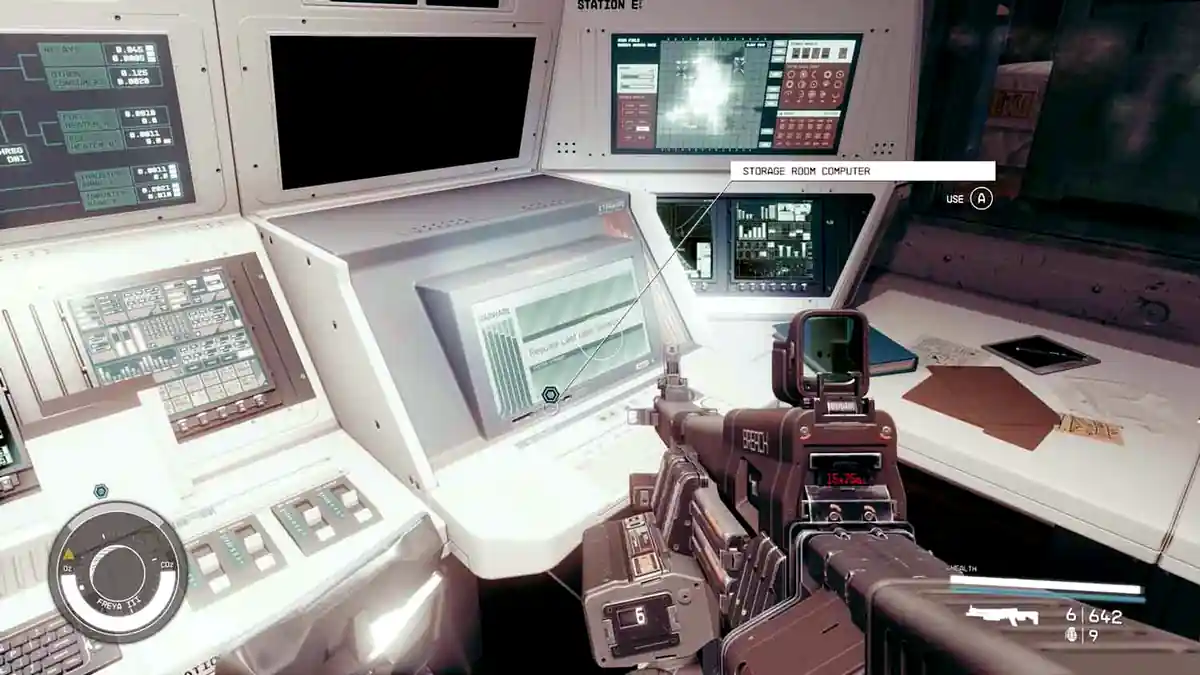
Interact with the Storage Room Computer in the same room and override the lockdown for the Storage Section.
23 – Get to the Lab
Mission Text:
“I need to make my way to the High Energy Research Lab.”
The security doors open and you can follow the mission marker. The door to the stairs is sealed by another security door, but there is a distortion at the bottom of the stairs that swaps you to the ruined universe.
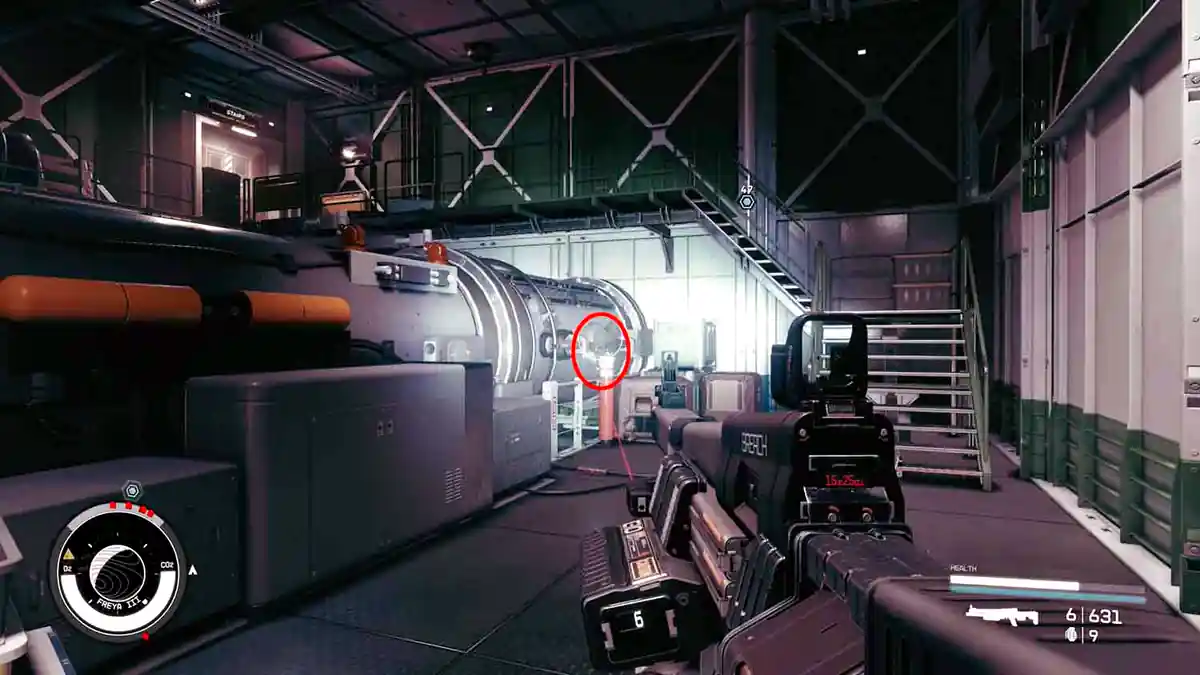
The stairs door is open in the ruined universe. Take it up one level. You are now at the High Energy Research Lab, and the mission stops being a maze and starts being a decision.
Which Universe Should You Save in Entangled
The probe is what is tearing the two realities together, and shutting it down collapses one of them. The game frames it as a straight choice between two rooms:
Disengage the seven power interlocks in the intact universe and Director Patel, Maria and everyone else at Nishina survives. Rafael stays dead. You leave with the Nishina spacesuit set.
Disengage the seven power interlocks in the ruined universe and Rafael lives while the entire station dies. Rafael eventually becomes recruitable as a crew member, and he is a strong outpost engineer.
Neither of those is the best outcome, because there is a third route the game never signposts. Flip the interlocks in both universes and calibrate the probe properly, and nobody dies. You keep the armour, you keep Rafael and you get the full credit payout. The section after step 24 walks through it.
If you only want one reward, pick a universe, flip its seven switches and skip straight to step 25.
24 – Disengage Power Interlocks or Switch Universes
Mission Text:
“I need to disengage the Power Interlocks so I can shut down the experiment”
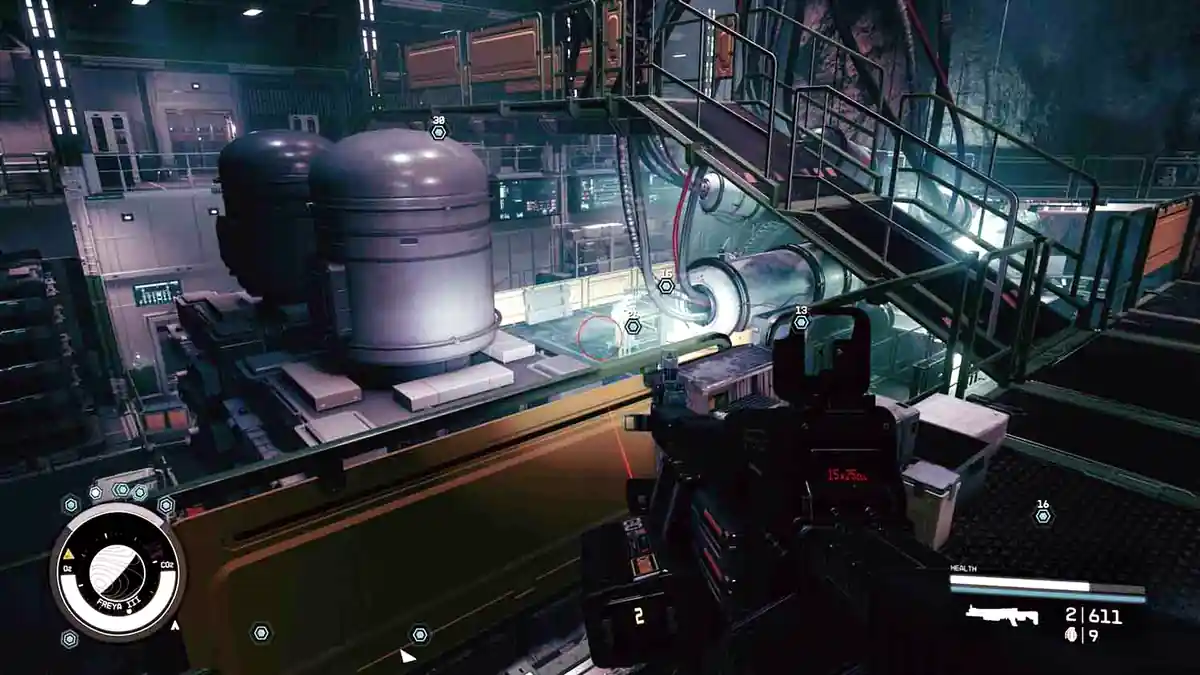
You can do this in either universe, and if you want the best ending you will do it in both. There are distortions dotted around the big lab room, so you can move between realities freely from here on. Look for the room upstairs with the Lab Control Computer. You can walk into it from the ruined universe.
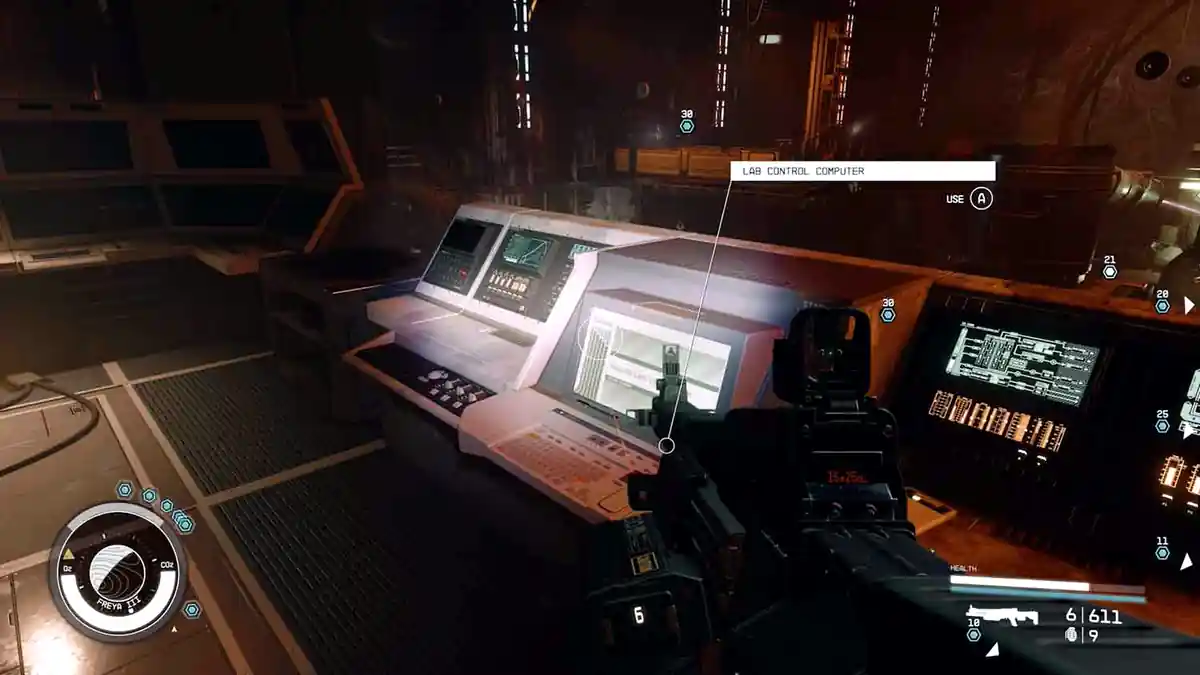
With a high enough Security skill you can handle the lab security from a terminal in here. Use the distortion in the room first, since the terminal only works in the intact universe.
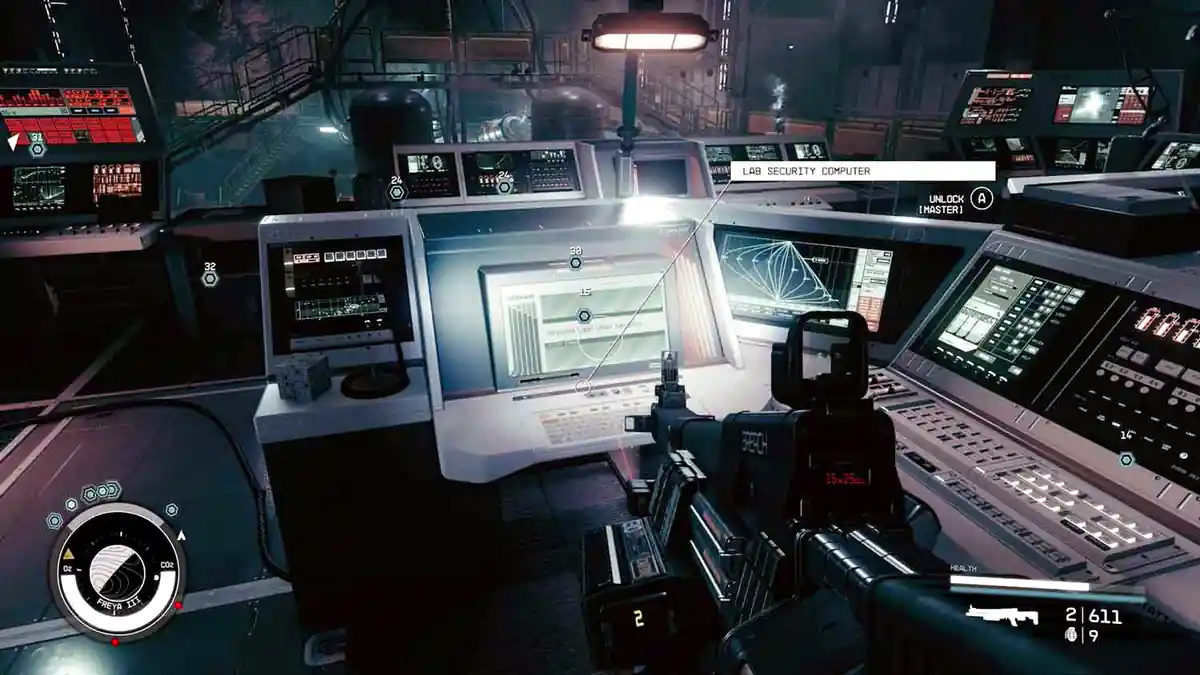
Interact with all seven power interlocks to shut down the experiment. Clearing the room first makes this much easier, so deal with the Cataxi in the ruined universe and the robots and turrets in the intact one before you start flipping switches.
How to Save Both Universes and Everyone
Saving both realities takes four things: clear both rooms, find the calibration instructions, degauss and set the frequency at the Lab Control Computer in each universe, then activate the Primary Calibration Control on both sides.
Clear the enemies in both realities first. Every Cataxi in the ruined lab, every robot and turret in the intact one. The cutscene will not fire if something is still shooting at you.
Find Rafael’s body in the intact universe, below the control room, and take the Probe Calibration Protocol from it. This is the slate that tells you the procedure, and it is easy to walk past because there is no marker on it.
Go to the Lab Control Computer in each universe and run the degauss option, then flip every numbered switch the terminal lists.
Set the Frequency Calibration on each side. The two universes need different values, and the numbers are shown to you in game, so read them off the protocol slate and the terminal rather than trusting a number from a guide. Reported values differ between playthroughs, with 40 for the ruined universe and 24 for the intact one being the pair most often quoted.
Activate the Primary Calibration Control, which sits to the left of the artifact, in one universe, then shift through a distortion and activate it in the other.
Do all of that and you never have to pick. The cutscene merges both realities into one, and you wake up in a Nishina station where the explosion never killed anyone.
25 – Shut Down the Probe
Mission Text:
“I need to disengage the Power Interlocks so I can shut down the experiment”
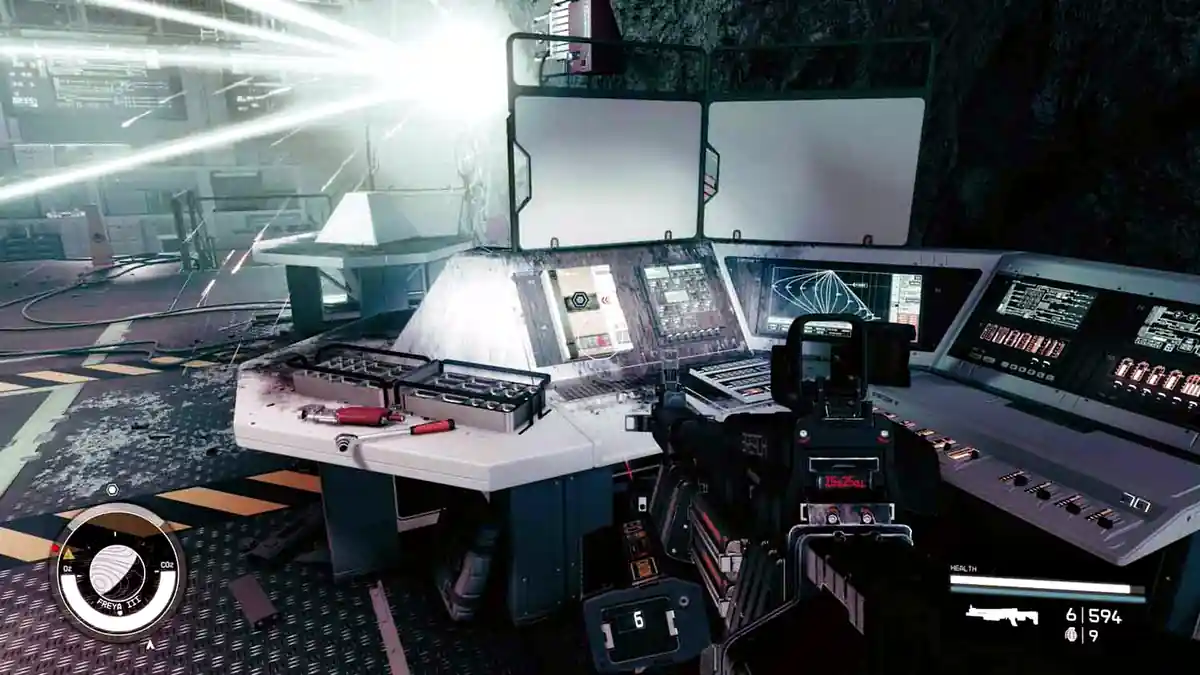
Once the seven power interlocks are off, shut down the probe. The switch is where the beam hits the wall. If you took the calibration route above, this is where both realities fold into one instead of one collapsing.
26 – Take the Artifact
Mission Text:
“I need to disengage the Power Interlocks so I can shut down the experiment”
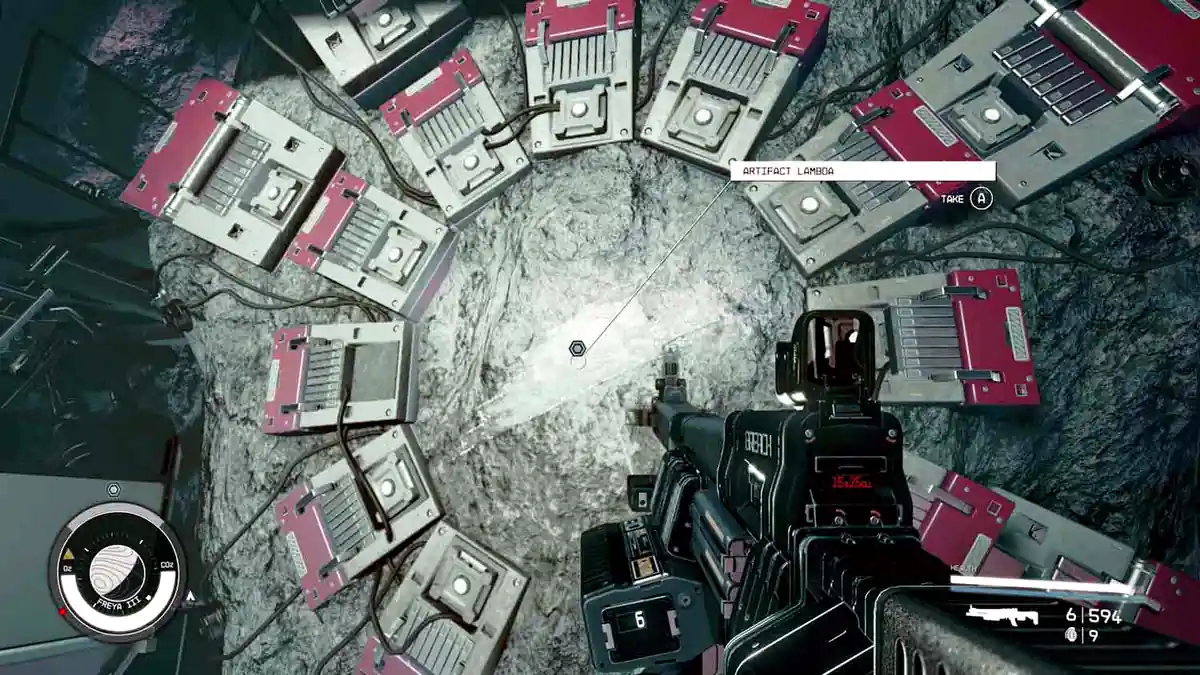
Take the artifact off the wall. The lockdown lifts across the whole facility.
27 – Speak to Director Patel
Mission Text:
“I should report back to the Director”
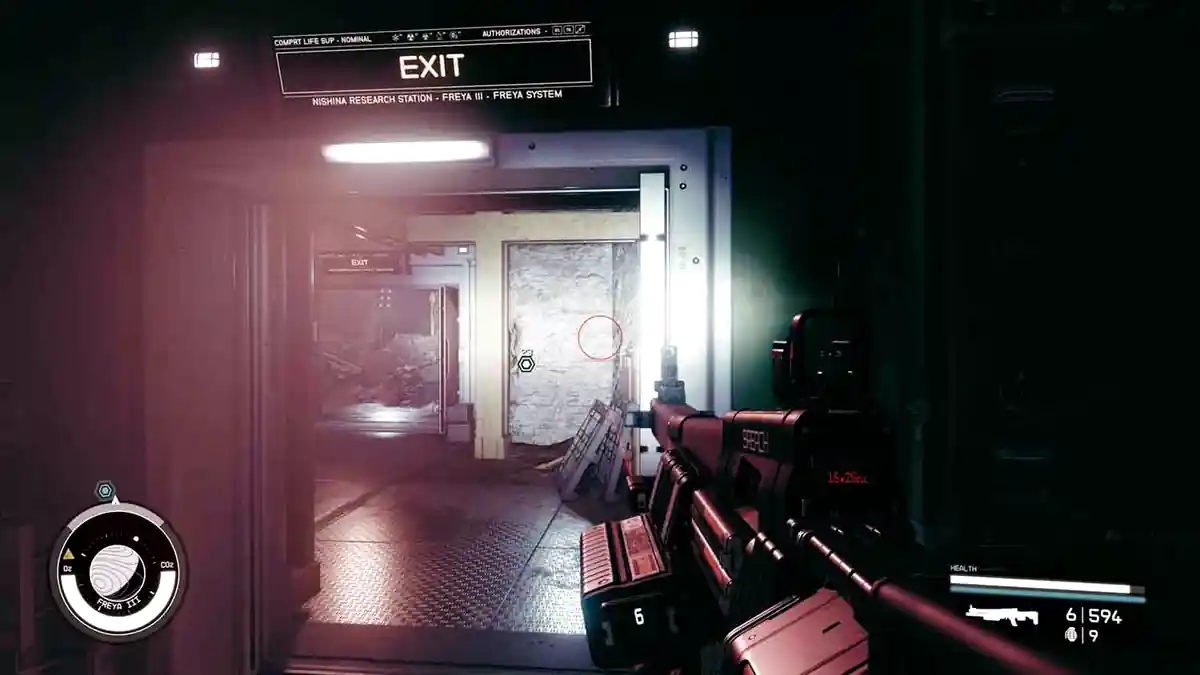
Go through the door marked Exit to reach the Director and take the elevator back up. Talking to Patel ends Entangled, and because Entangled is the last step of Final Glimpses, that mission completes at the same moment.
If you have already finished Unearthed, Revelation unlocks next. If you have not, do Unearthed first.
Entangled Rewards
What you walk away with depends on which route you took.
Save the intact universe and you get the Nishina spacesuit set, the credits payout from Patel and the artifact. Rafael stays dead and cannot be recruited.
Save the ruined universe and you get Rafael, who turns up later as a recruitable engineer with Outpost Engineering and Outpost Management. You lose the armour and everyone at the station.
Save both and you get all of it: roughly 2,435 XP, around 19,000 credits, the Experimental Nishina Spacesuit and Helmet in their calibrated and incendiary variants, Artifact Lambda, and Rafael. He shows up at the Viewport in New Atlantis on Jemison a few in game days later.
The artifact itself is the same in every version, so the only thing at stake is the armour and the crew member.


About Starfield
Release: September 6th, 2023
Developer: Bethesda Game Studios
Publisher: Bethesda Softworks
Official Website: https://bethesdagamestudios.com/