Revelation is the Constellation mission that sends you to the Buried Temple on Masada III for the last Artifact, and it is where the Hunter and the Emissary finally stop talking. Who turns on you depends on the side you picked back in Unearthed, and you can either fight them for their legendary weapons or talk them down with a persuasion check. Here is the full route through the Ecliptic base and every anomaly on the way to the temple.
Related Guides:
High Price to Pay
In Their Footsteps
Unearthed
Revelation
Starfield Powers – All 24 Temples and Power From Beyond
Starfield Game Guides Hub
- Revelation Mission Overview
- 1 – Go to Masada III
- 2 – Find the Artifact
- 3 – Defeat the Starborn
- 4 – Find the Artifact
- 5 – Defeat the Starborn
- 6 – Find a Way to Open the Door
- 7 – Find the Artifact
- 8 – Enter the Anomaly/Leave the Anomaly
- 9 – Find the Artifact, Defeat the Starborn
- 10 – Find a Way to Open the Door
- 11 – Find the Artifact
- 12 – Enter the Anomaly, Exit the Anomaly
- 13 – Find the Artifact
- 14 – Leave the Anomaly
- 15 – Find the Artifact
- Hunter or Emissary – Who You Fight in Revelation
- How to Persuade the Hunter and the Emissary
- Revelation Rewards – Unmitigated Violence and Eternity’s Gate
- Buried Temple Boss Fight Tips
- Revelation Not Working – Common Bugs
- What Happens After Revelation
Revelation Mission Overview
Questline: Constellation, late main mission
Starts after: Unearthed and In Their Footsteps, once every remaining Artifact is accounted for
Location: Buried Temple, Masada III, Masada system, far east of the star map past Volii
Requirement: enough grav jump range and fuel to reach Masada, usually across several jumps
Objectives: travel to Masada III, survive the orbital dogfight, fight through the Ecliptic base, cross three anomalies, reach the Buried Temple, take the final Artifact
Choices: fight the Hunter, fight the Emissary, fight both, or persuade whoever is hostile
Rewards: Unmitigated Violence, Eternity’s Gate, and the Artifacts both Starborn are carrying
Unlocks next: One Giant Leap
Revelation is the last mission before the Unity, and it is the only one where your earlier choice genuinely changes who is pointing a weapon at you. Two things catch most players out. The first is Masada itself, which sits far enough east that a standard grav drive will not reach it in one jump. The second is the confrontation in the temple, where the game gives you an attack option and a persuasion option without telling you that persuading costs you both legendary weapons.
1 – Go to Masada III
Mission Text:
“I must go to the Buried Temple on Masada III, where I will confront the Hunter, the Emissary, and their allies for the final Artifact.”
The Masada system sits in the far east of the star map, east of Volii and Neon. It is far enough out that most ships cannot make it in a single grav jump, so plot a course through a closer system first. If the system shows as out of range even from the nearest neighbour, your grav drive or fuel capacity is the limit, not a bug.
Who meets you in orbit depends on your Unearthed choice:
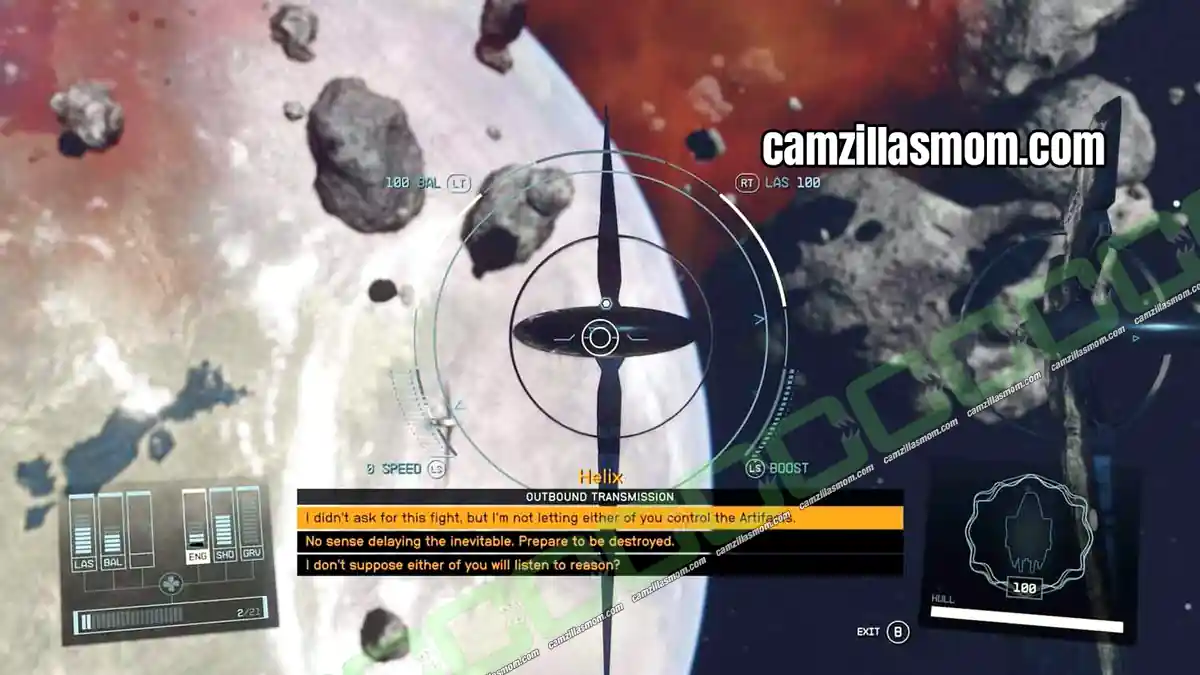
Sided with the Emissary: the Hunter arrives in the Scorpius with two Starborn ships, and the Emissary’s Helix fights alongside you
Sided with the Hunter: the Emissary arrives in the Helix with two Starborn ships, and the Scorpius fights alongside you
Sided with neither: both show up with an extra Starborn ship and you fight the whole squadron alone
Take out the escort ships first. The named ship soaks damage and your ally will keep it busy. Once the dogfight is done, land at the Buried Temple site.
2 – Find the Artifact
Mission Text:
“There seems to be a military base built over the Buried Temple. I’ll need to get through the base in order to reach the final Artifact.”
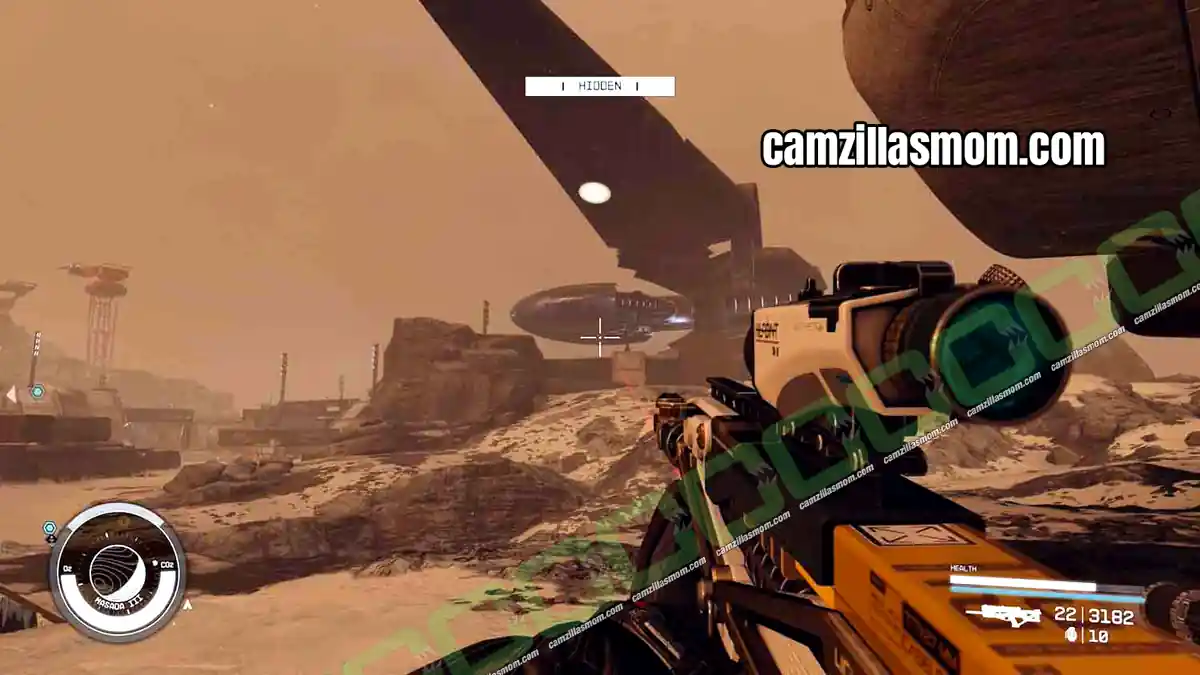
You land next to a military base with a Starborn ship parked nearby, so expect company. The Ecliptic mercenaries who were here first have already been dealt with, and the bodies mark your route in.
3 – Defeat the Starborn
Mission Text:
“There seems to be a military base built over the Buried Temple. I’ll need to get through the base in order to reach the final Artifact.”
Keep walking and the Starborn ambush you in the open. Bring something with high burst damage. Starborn shrug off small arms, and Experiment A-7 or any weapon that applies burn will cut the fight down considerably. Clear them all before moving on.
4 – Find the Artifact
Mission Text:
“There seems to be a military base built over the Buried Temple. I’ll need to get through the base in order to reach the final Artifact.”
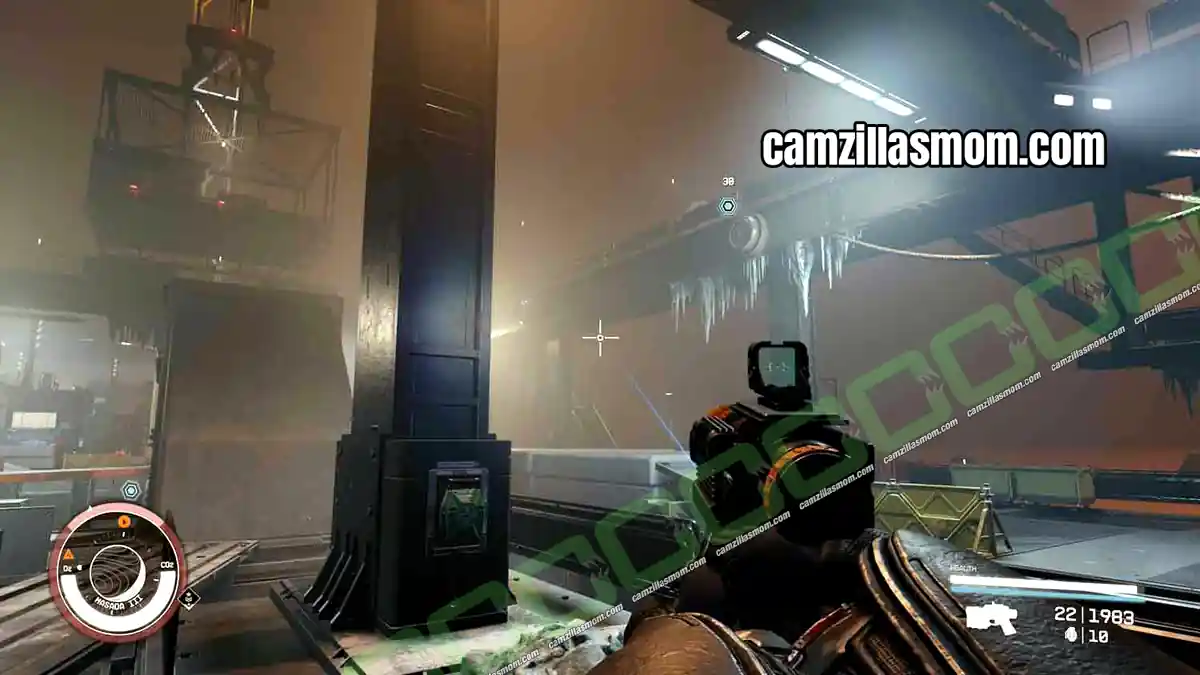
With the Starborn down you can enter the building. The Ecliptic bodies lead the way.
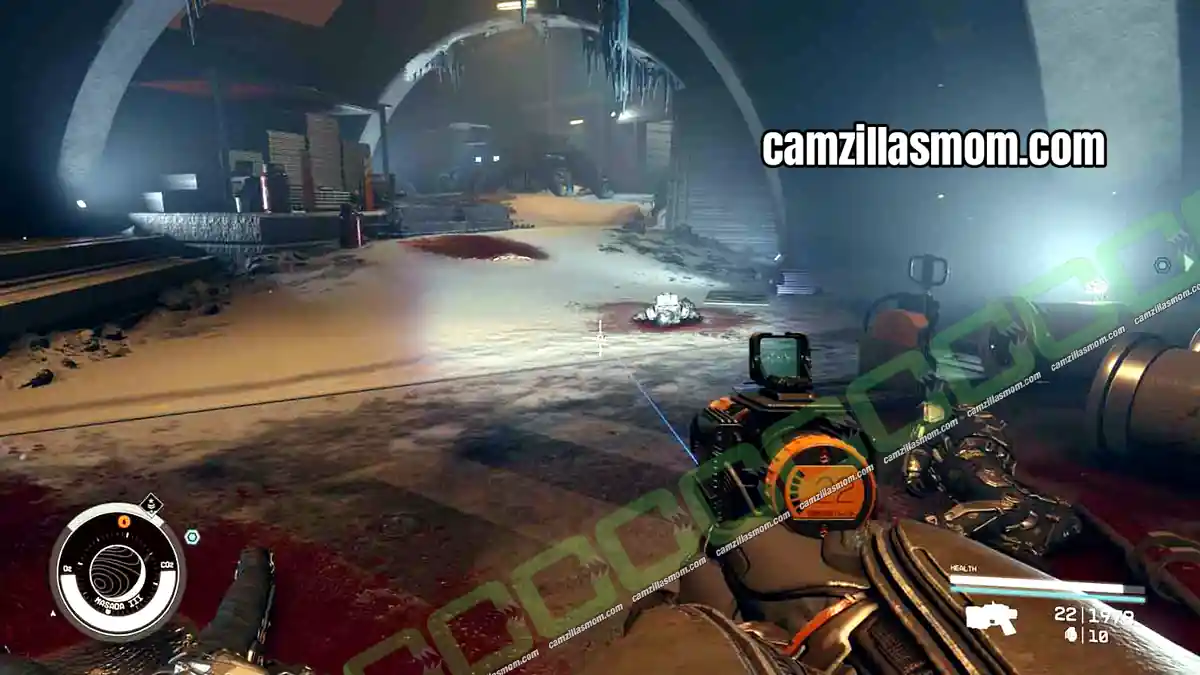
Inside you reach the Buried Temple approach, where the Starborn attack again with revived Ecliptic soldiers alongside them.
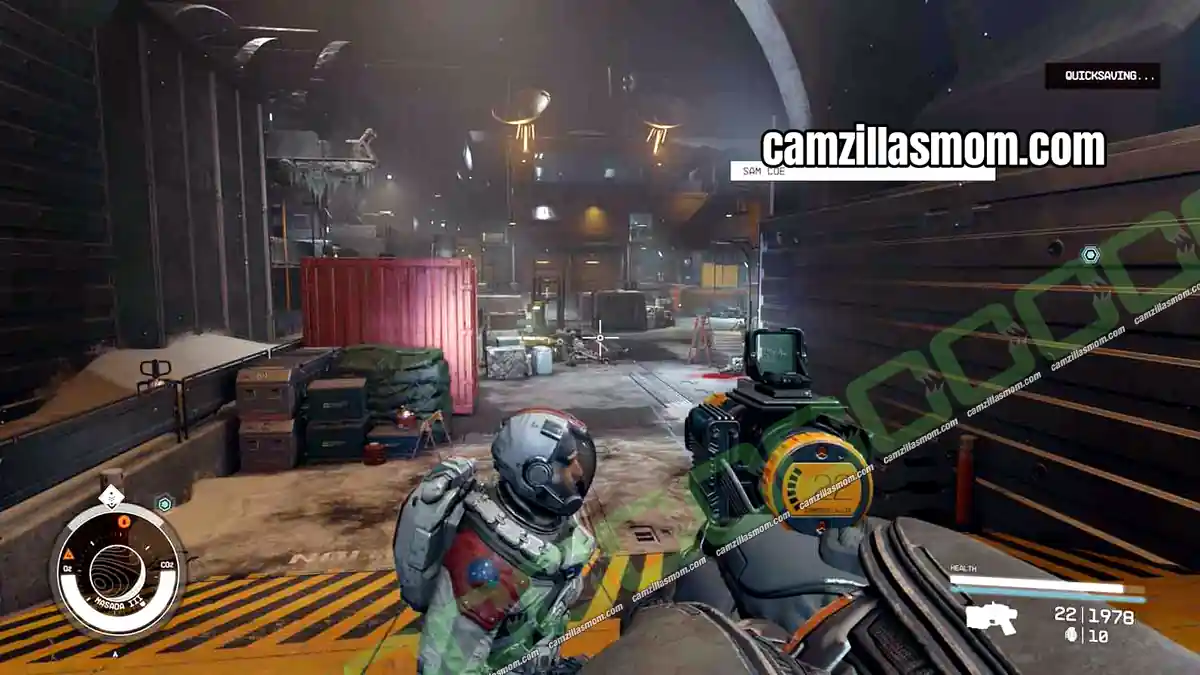
5 – Defeat the Starborn
Mission Text:
“There seems to be a military base built over the Buried Temple. I’ll need to get through the base in order to reach the final Artifact.”
Ignore the Ecliptic and focus the Starborn. They are the ones bringing the mercenaries back, almost certainly using a Starborn version of Alien Reanimation. Kill the Starborn and the reinforcements stop arriving. One of them drops a keycard, so pick it up before you move.
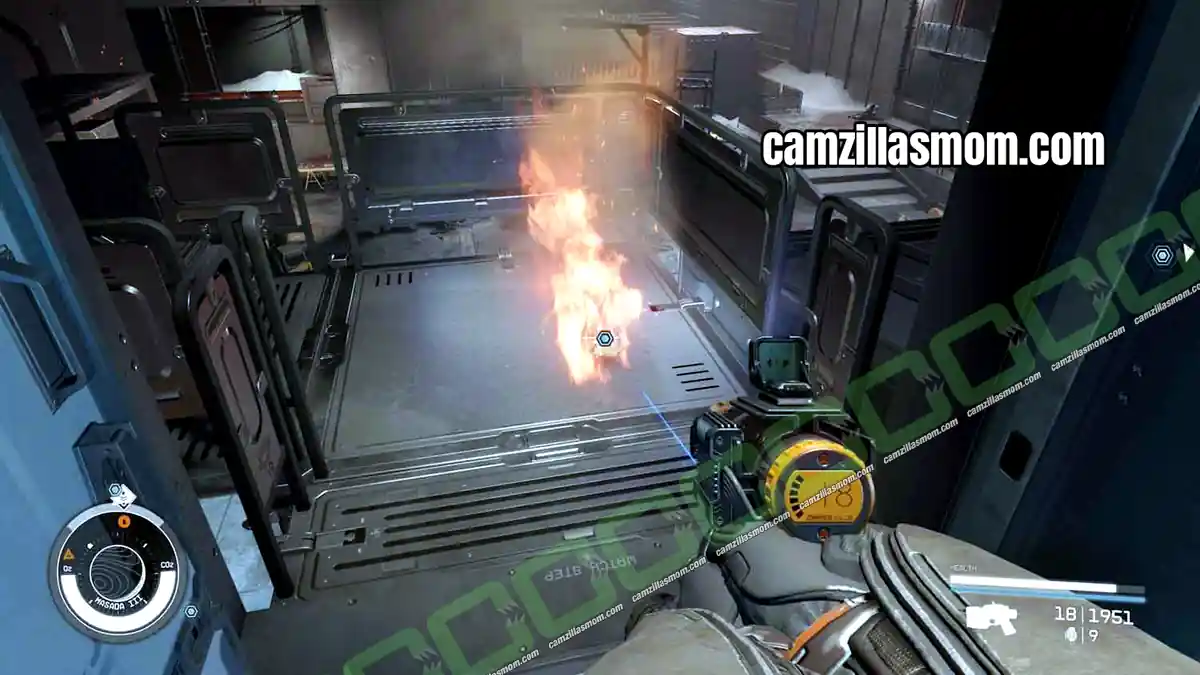
6 – Find a Way to Open the Door
Mission Text:
“There seems to be a military base built over the Buried Temple. I’ll need to get through the base in order to reach the final Artifact.”
The keycard opens the red secure access door. The card reader is mounted on the wall beside it.
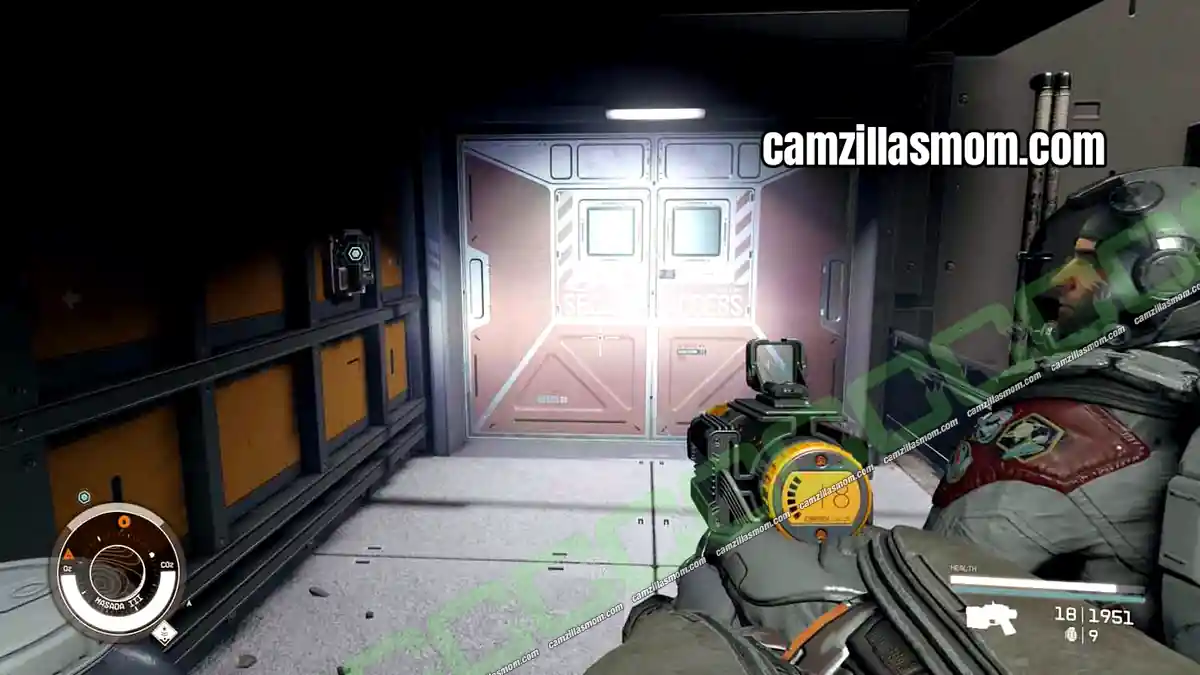
7 – Find the Artifact
Mission Text:
“There seems to be a military base built over the Buried Temple. I’ll need to get through the base in order to reach the final Artifact.”
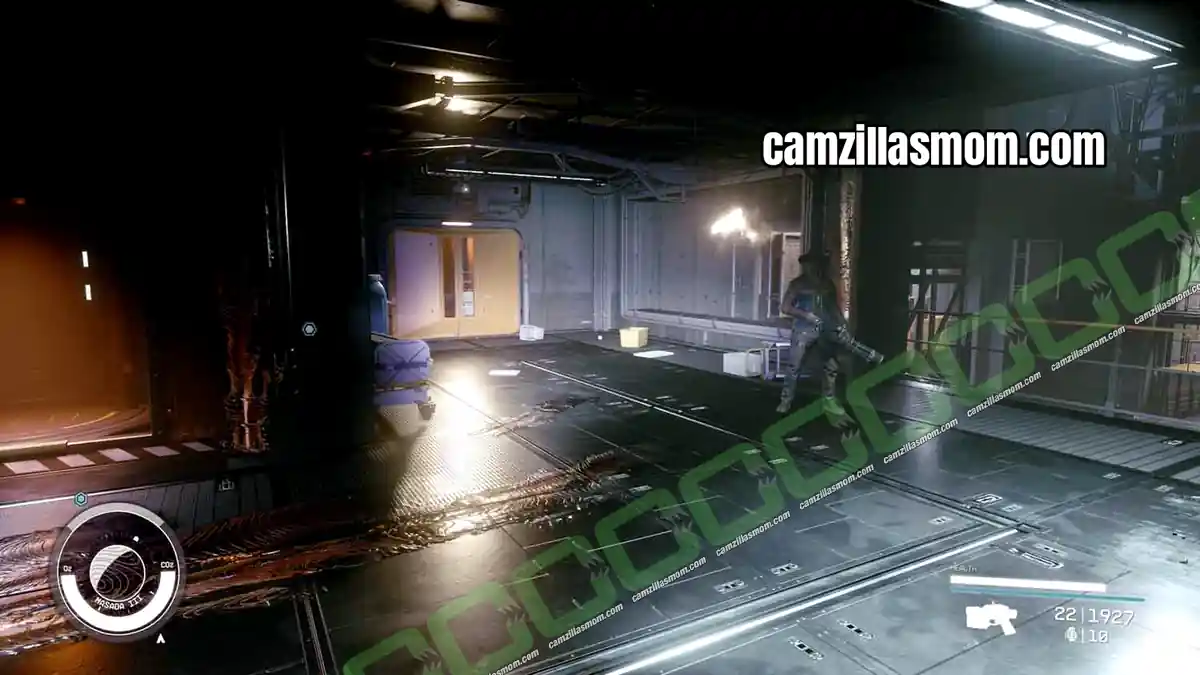
Through the red door, the entrance to the Ecliptic Base is at the end of the corridor.
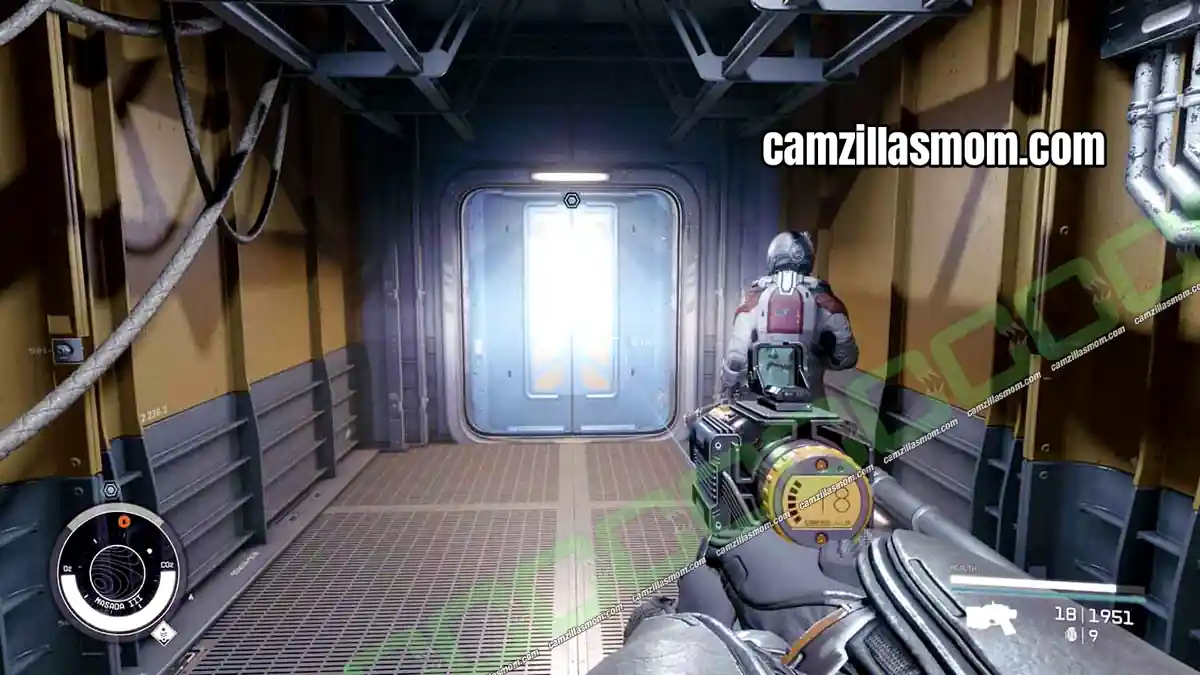
The base has been torn apart, but it is worth a detour. The shop behind the advanced lock holds the best loot in the area, and there are supplies scattered through the living quarters.
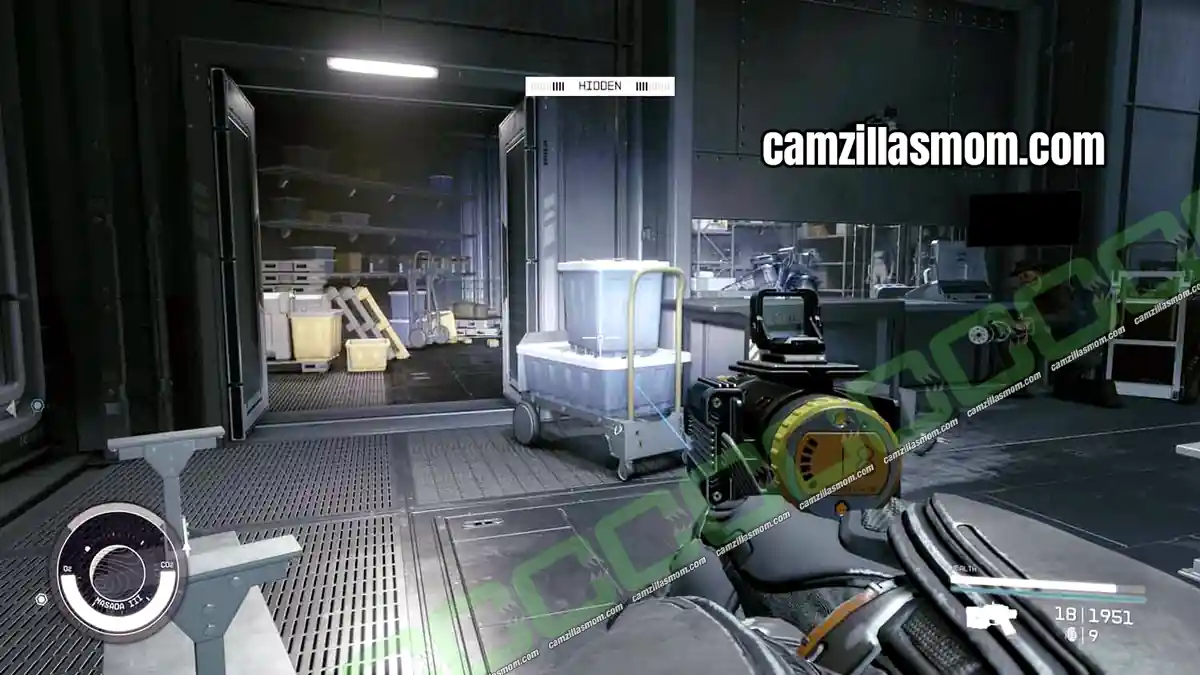
Head down toward the mission marker and you will find the first anomaly.
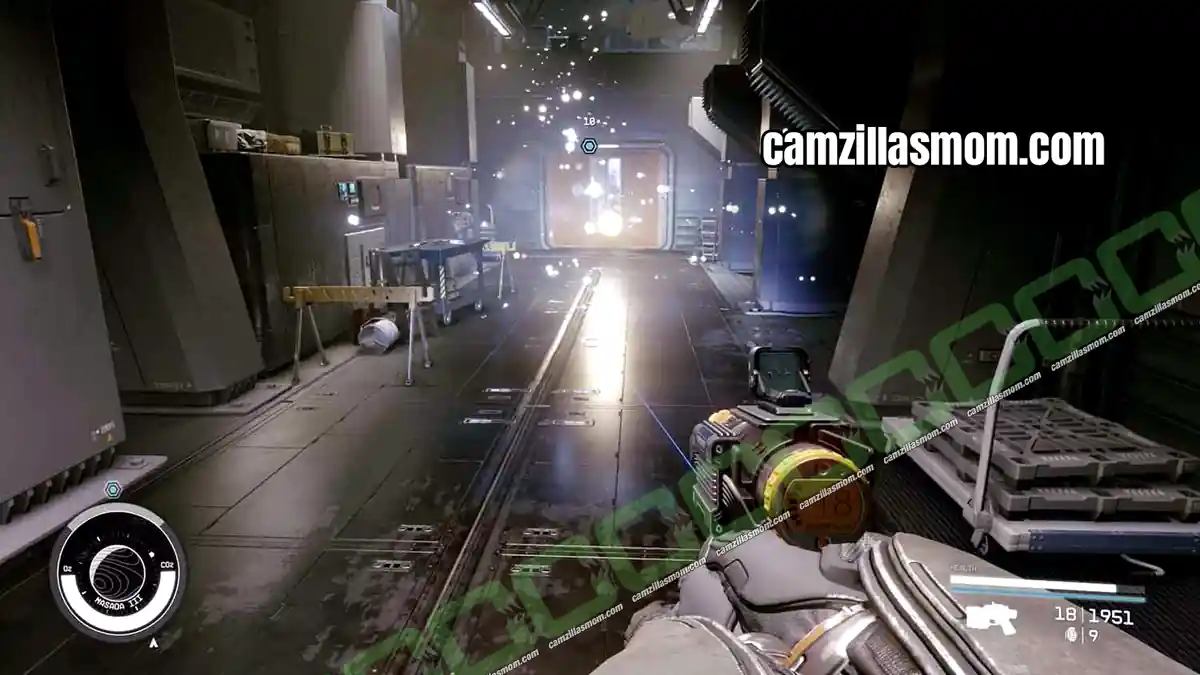
8 – Enter the Anomaly/Leave the Anomaly
Mission Text:
“There seems to be a military base built over the Buried Temple. I’ll need to get through the base in order to reach the final Artifact.”
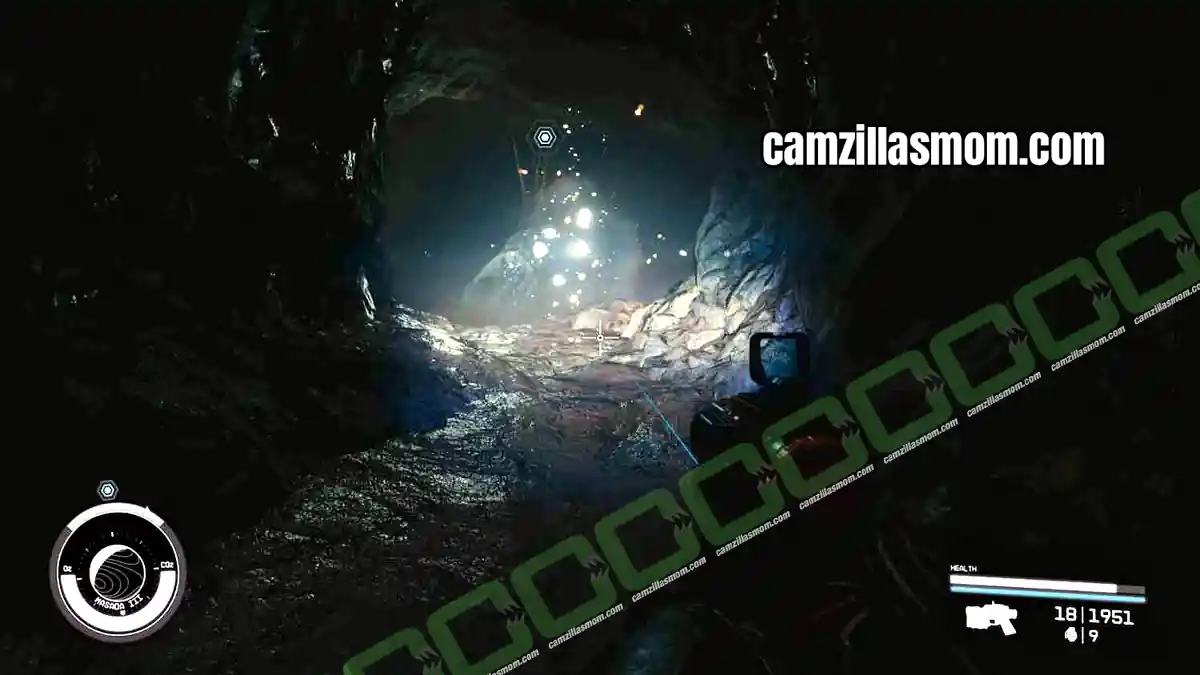
Step through and you land in a cave with two familiar figures in front of you. Your scanner will not work in here. The two people are Supervisor Lin and Heller.
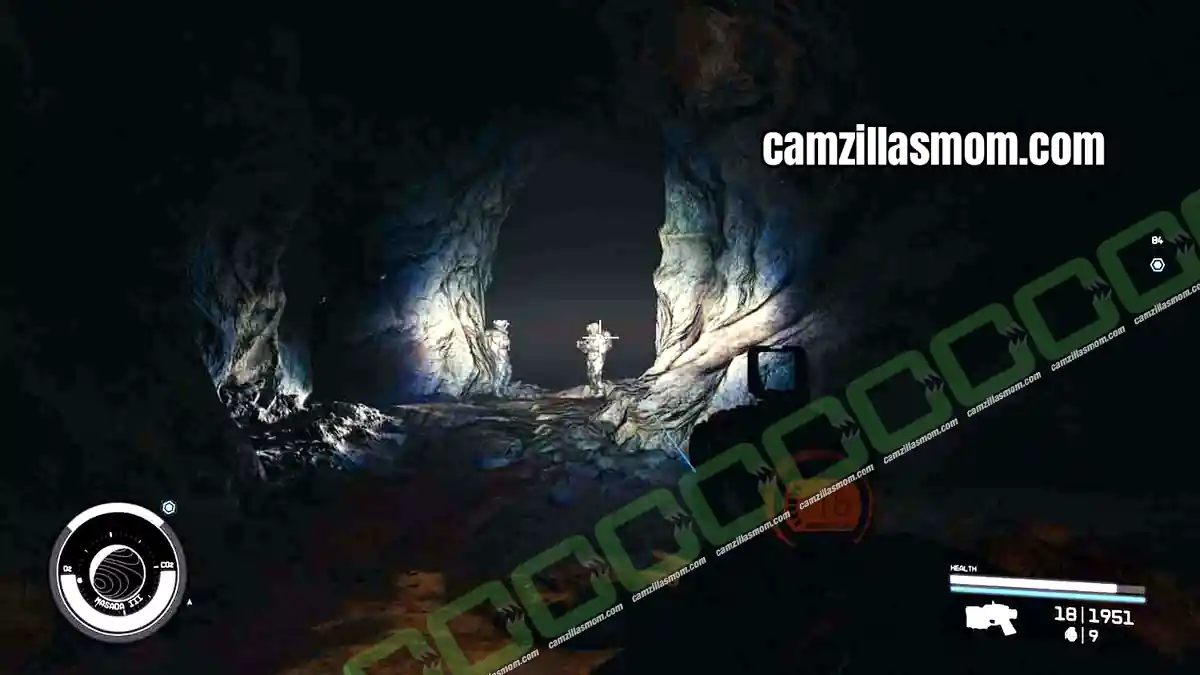
Keep going deeper into the cave. The exit anomaly is a short walk ahead.
9 – Find the Artifact, Defeat the Starborn
Mission Text:
“There seems to be a military base built over the Buried Temple. I’ll need to get through the base in order to reach the final Artifact.”
You come out in a new section of the base, and the door back needs a key you do not have yet. Starborn attack again here, with ceiling turrets and security robots joining in. Take the turrets out first if you are getting worn down.
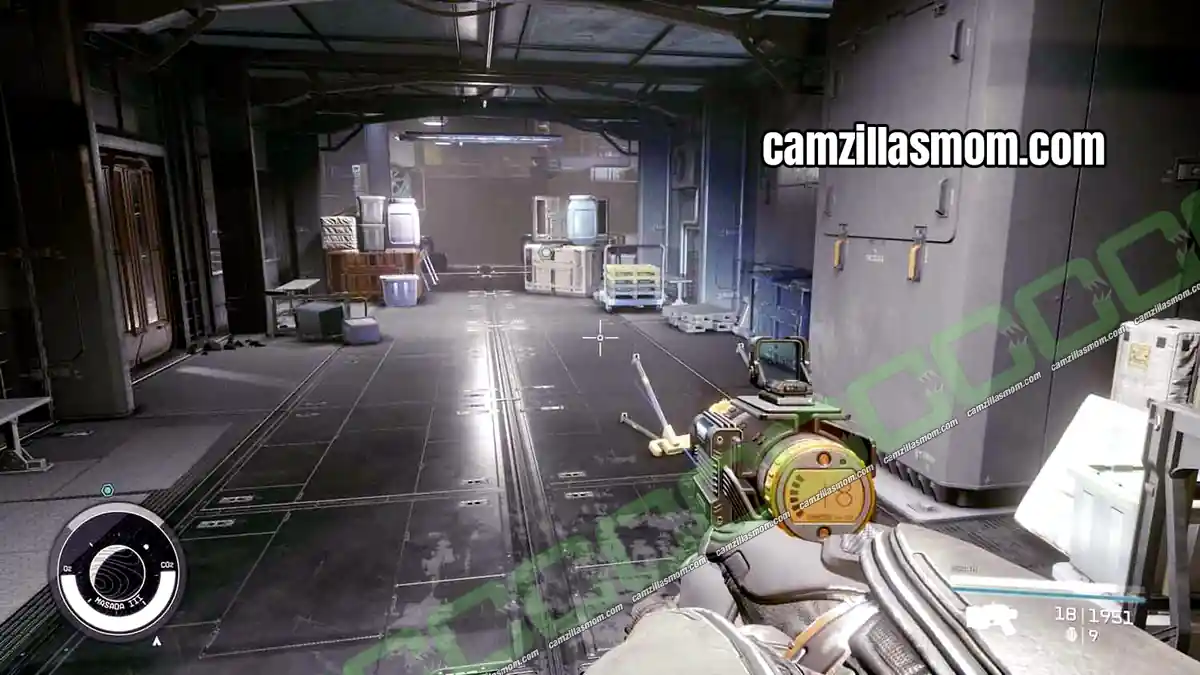
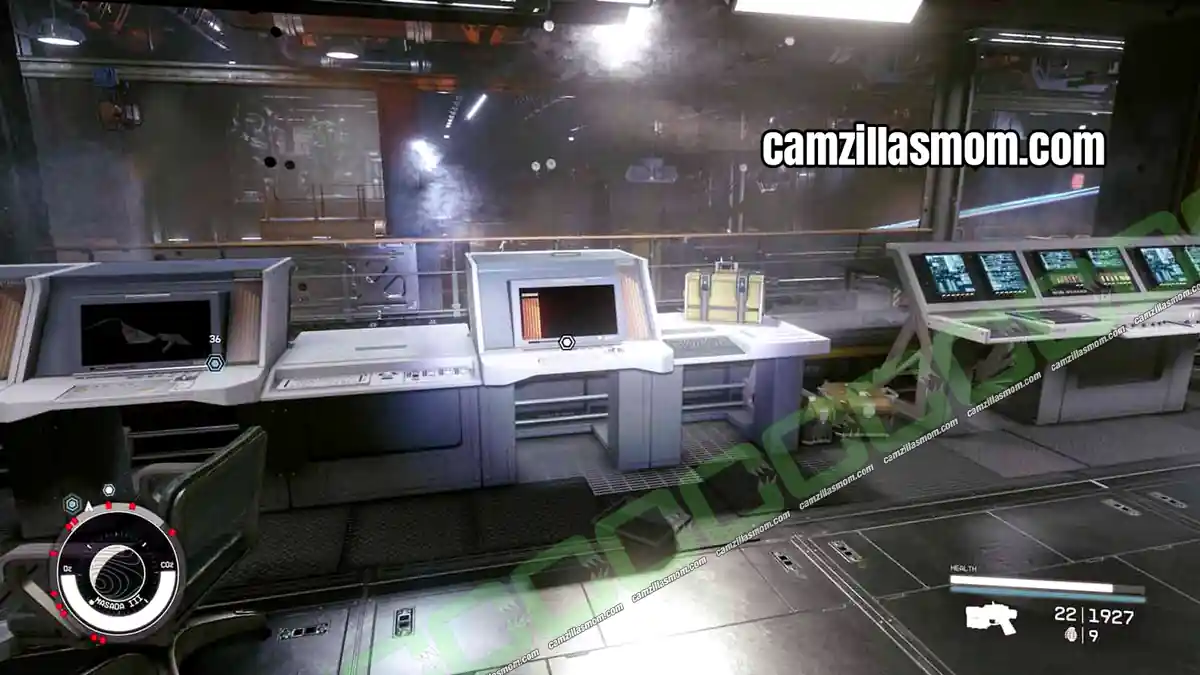
Watch for the optional objective “Disable the Defenses”. The control room is up the stairs at the back of the room, behind a Master lock. If your Security skill is not up to it you can skip it, but disabling the turrets makes the rest of the room much easier.
10 – Find a Way to Open the Door
Mission Text:
“There seems to be a military base built over the Buried Temple. I’ll need to get through the base in order to reach the final Artifact.”
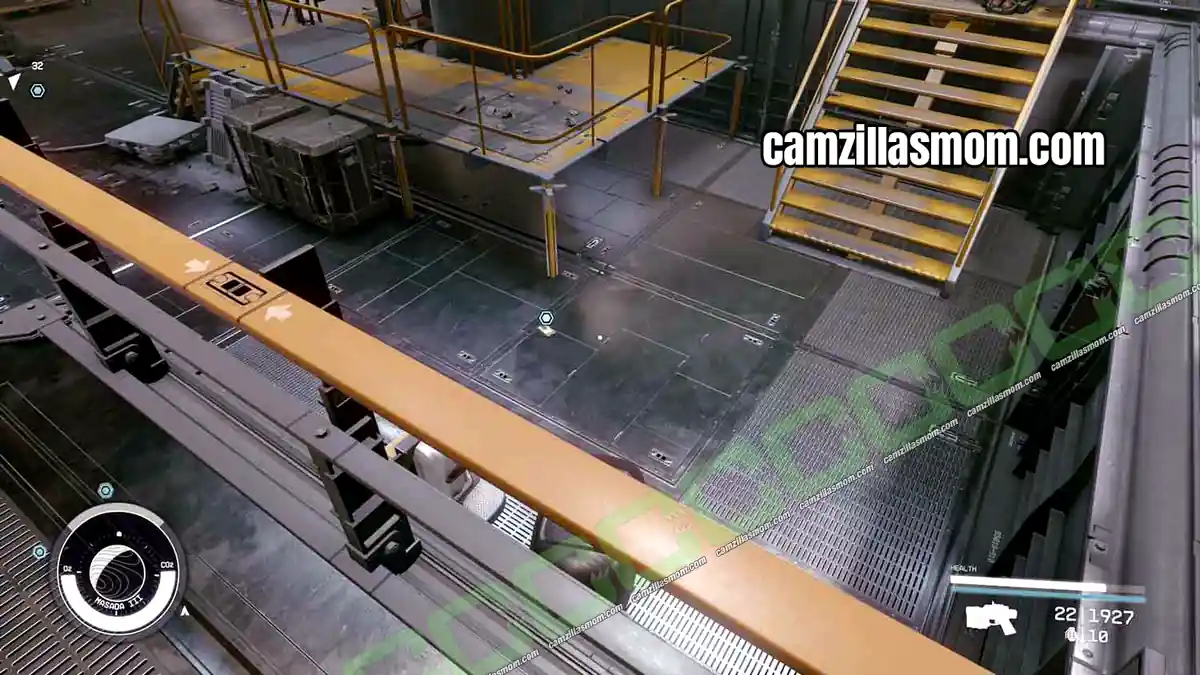
One of the Starborn drops the Ecliptic Base Key, and a mission marker points straight at it. This is also the key that opens the door you came through.
11 – Find the Artifact
Mission Text:
“There seems to be a military base built over the Buried Temple. I’ll need to get through the base in order to reach the final Artifact.”
The Ecliptic Base Key opens the yellow door on the second level of the room. It is around the back, to the left of the stairs up to the control room.
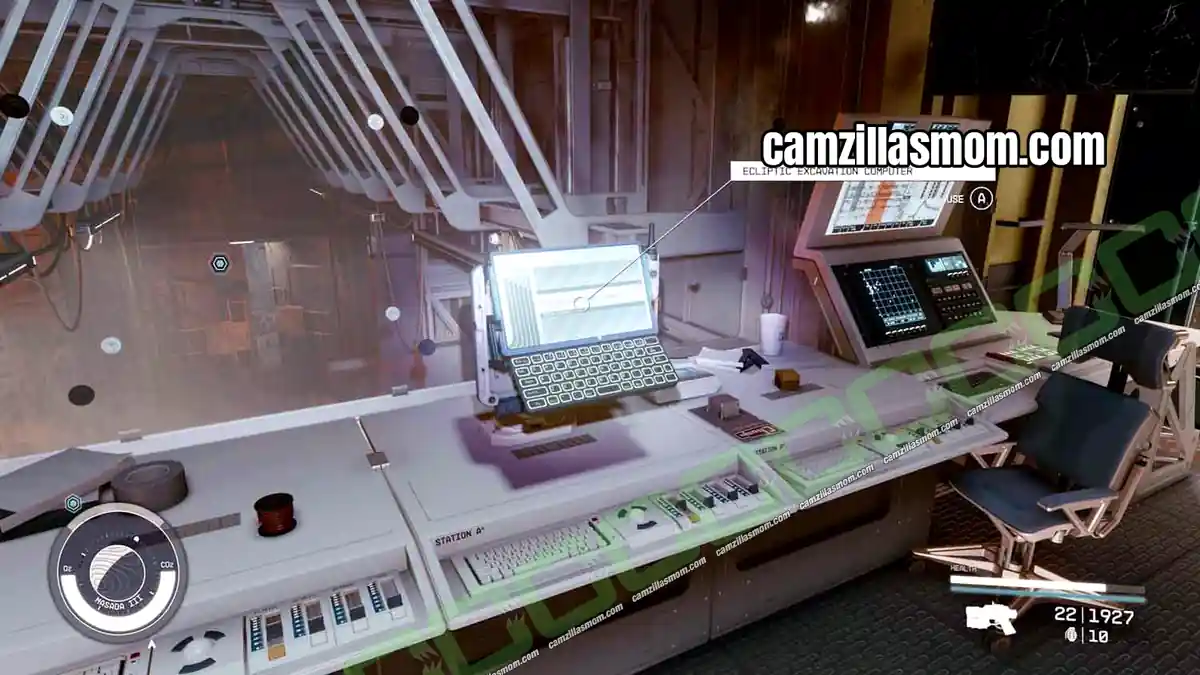
Follow the bodies through into a control room. From the window you can see the cave entrance you are heading for.
12 – Enter the Anomaly, Exit the Anomaly
Mission Text:
“There seems to be a military base built over the Buried Temple. I’ll need to get through the base in order to reach the final Artifact.”
On the way down there is another anomaly blocking the path. There is no way around it.
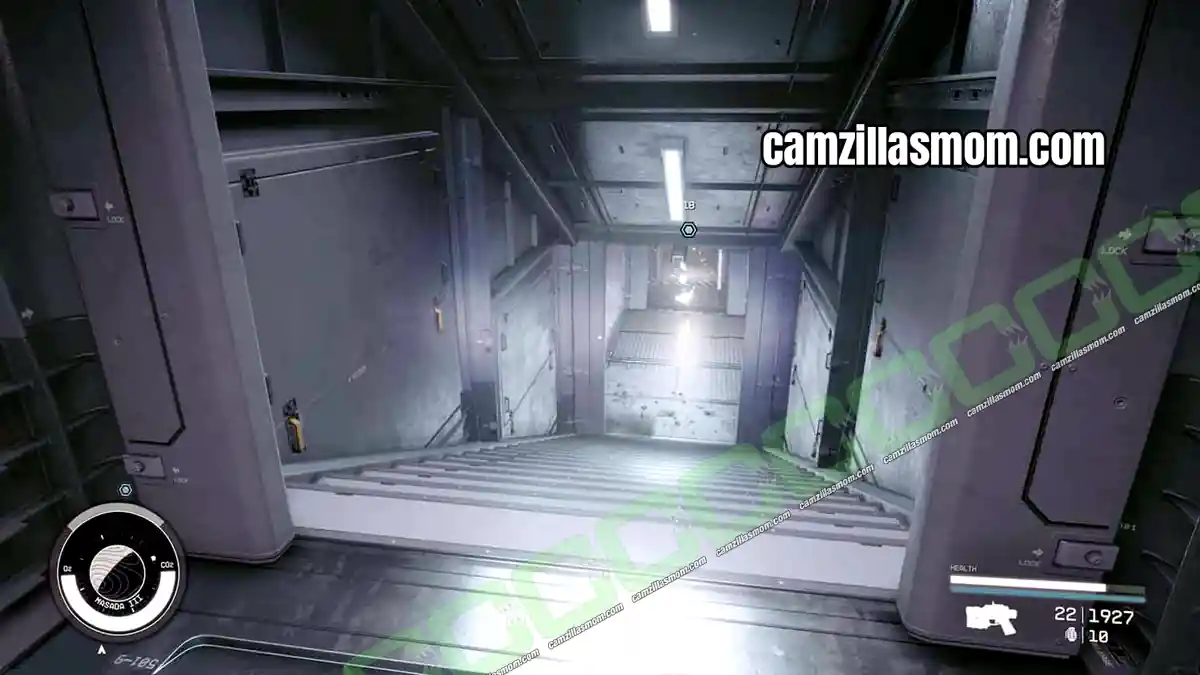
This one drops you into another moment from your own past, and Petrov is waiting.
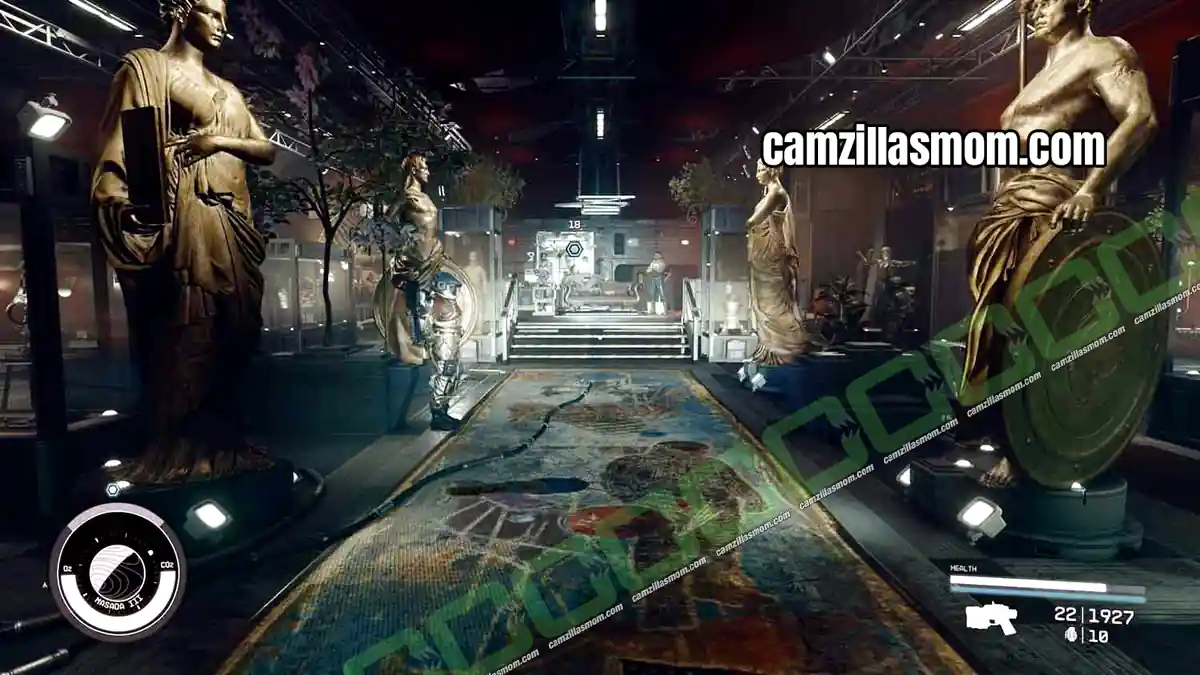
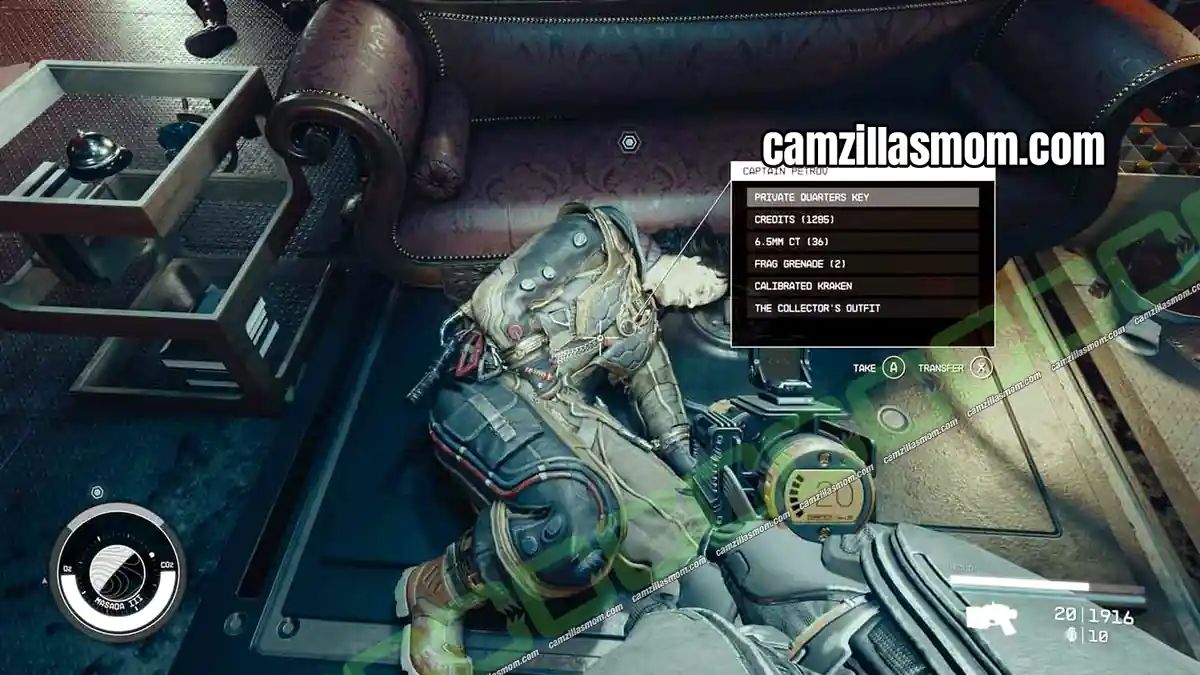
Loot Petrov after the fight and take the Private Quarters Key. Use it on the back door to get out.
13 – Find the Artifact
Mission Text:
“There seems to be a military base built over the Buried Temple. I’ll need to get through the base in order to reach the final Artifact.”
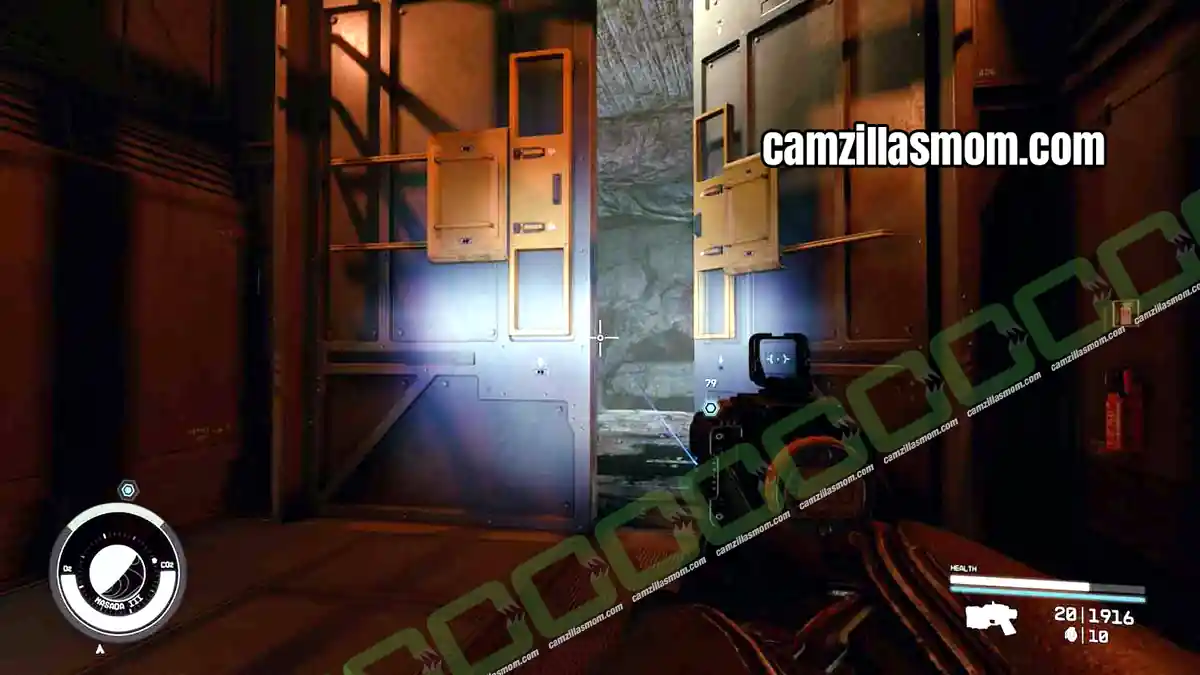
Back in your own universe, at the cave entrance. Follow the cave all the way through and take the elevator down toward the cavern.
14 – Leave the Anomaly
Mission Text:
“There seems to be a military base built over the Buried Temple. I’ll need to get through the base in order to reach the final Artifact.”
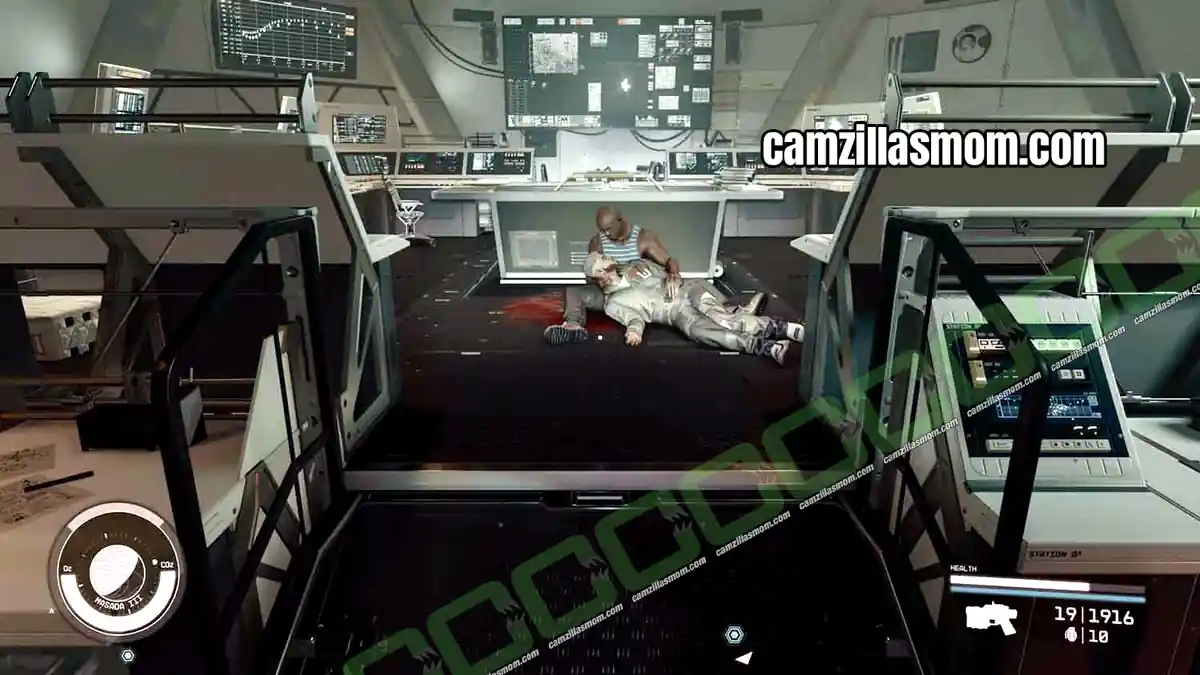
Partway down the elevator ride you hit a third anomaly and step out into a universe where Vladimir is holding your body on the floor of the Lodge. Walk up and listen to the conversation, then turn around and leave through the anomaly behind you.
15 – Find the Artifact
Mission Text:
“There seems to be a military base built over the Buried Temple. I’ll need to get through the base in order to reach the final Artifact.”
The elevator carries on to the bottom of the cavern.
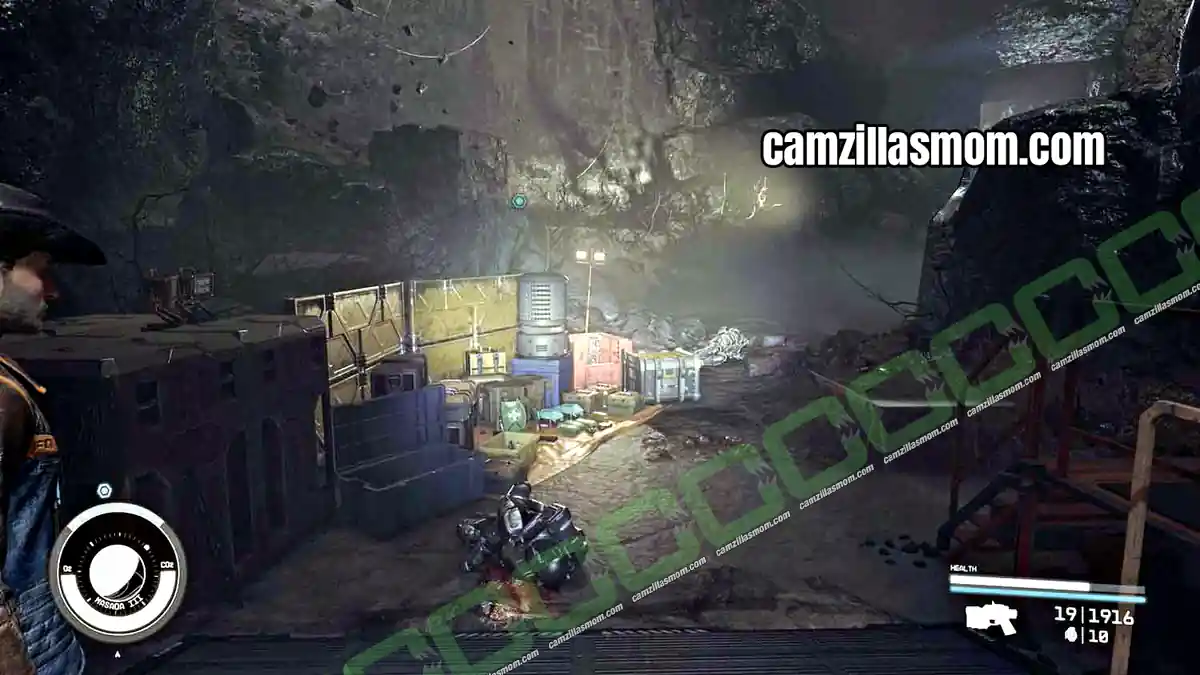
There is a supply cache down here for a reason. Restock, and save manually before you go any further, because the next stretch is the point of no return for your choices. Follow the path up toward the temple and you will be attacked by duplicates of yourself. Find the Starborn generating them and kill it.
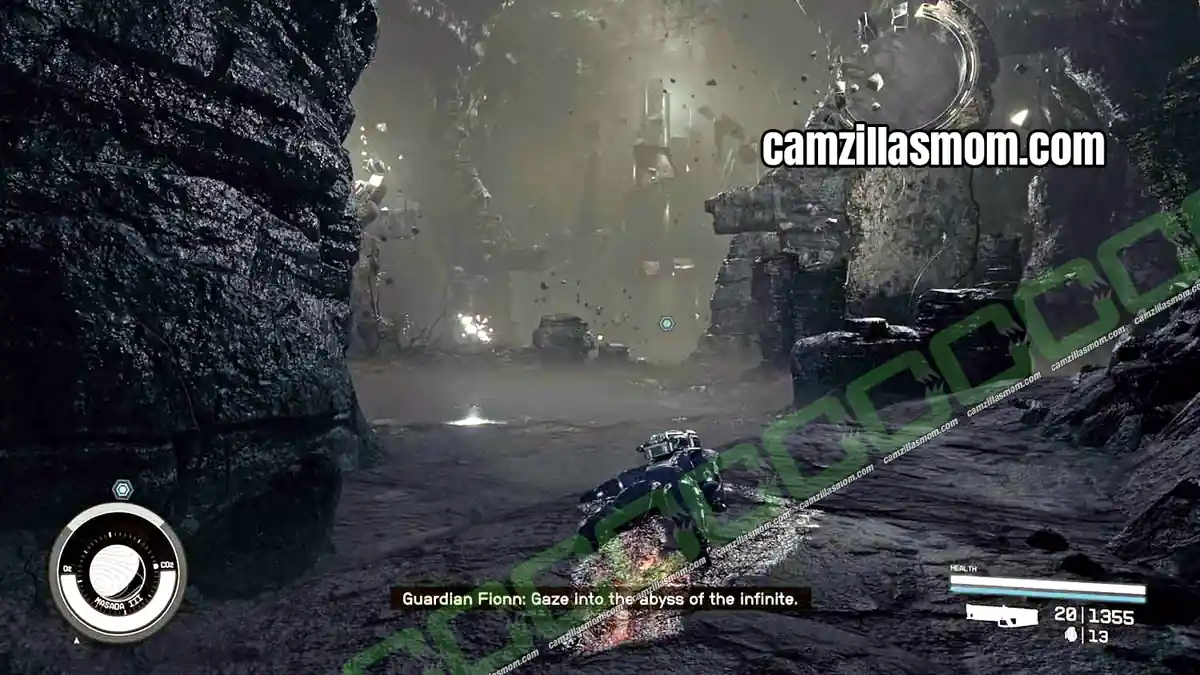
With the fighter dead, head into the Buried Temple.
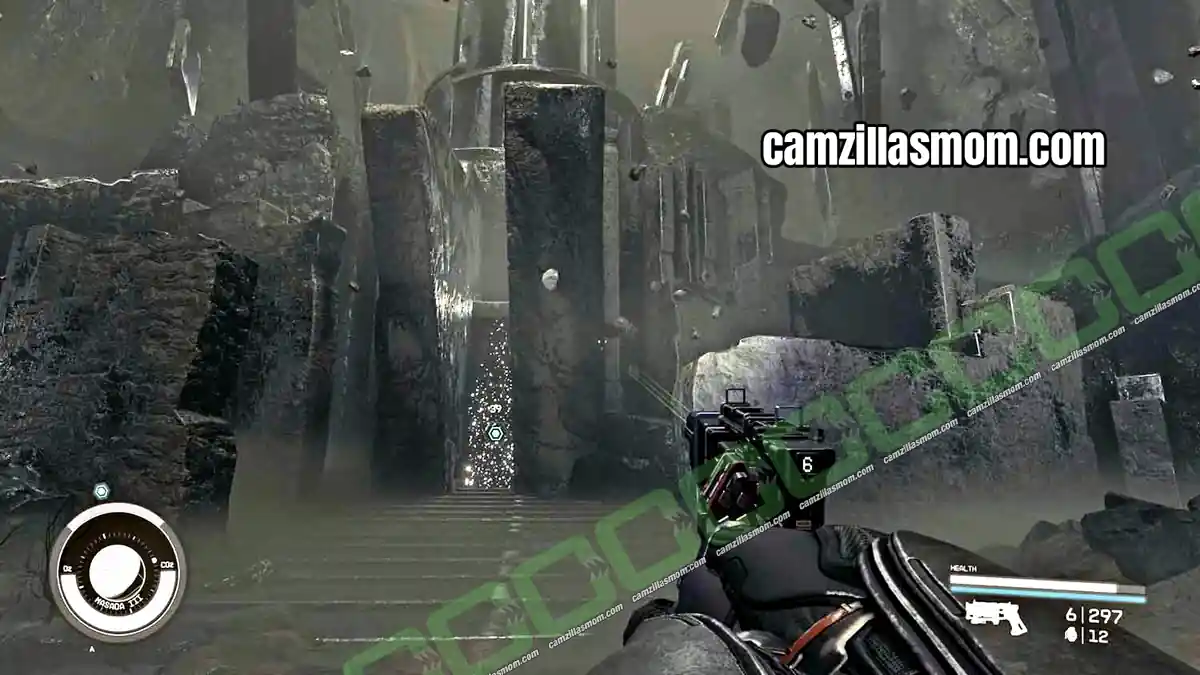
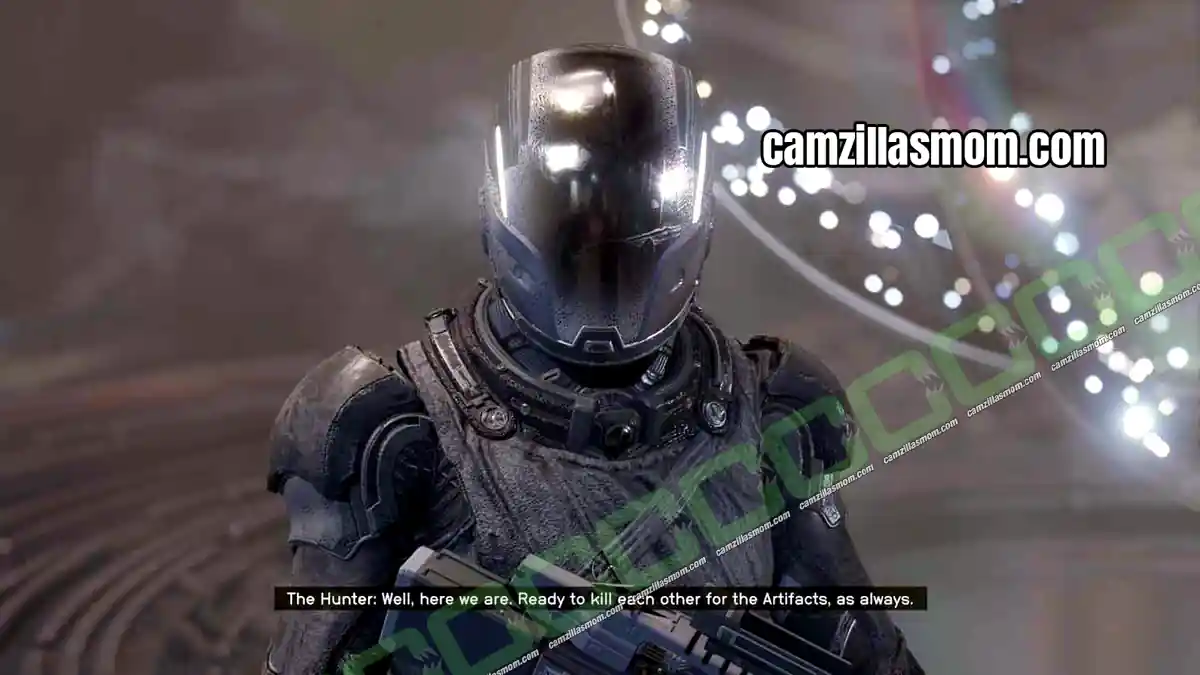
Inside you meet the Hunter and the Emissary. You can attack, or you can talk them down. Both routes are covered in detail below.
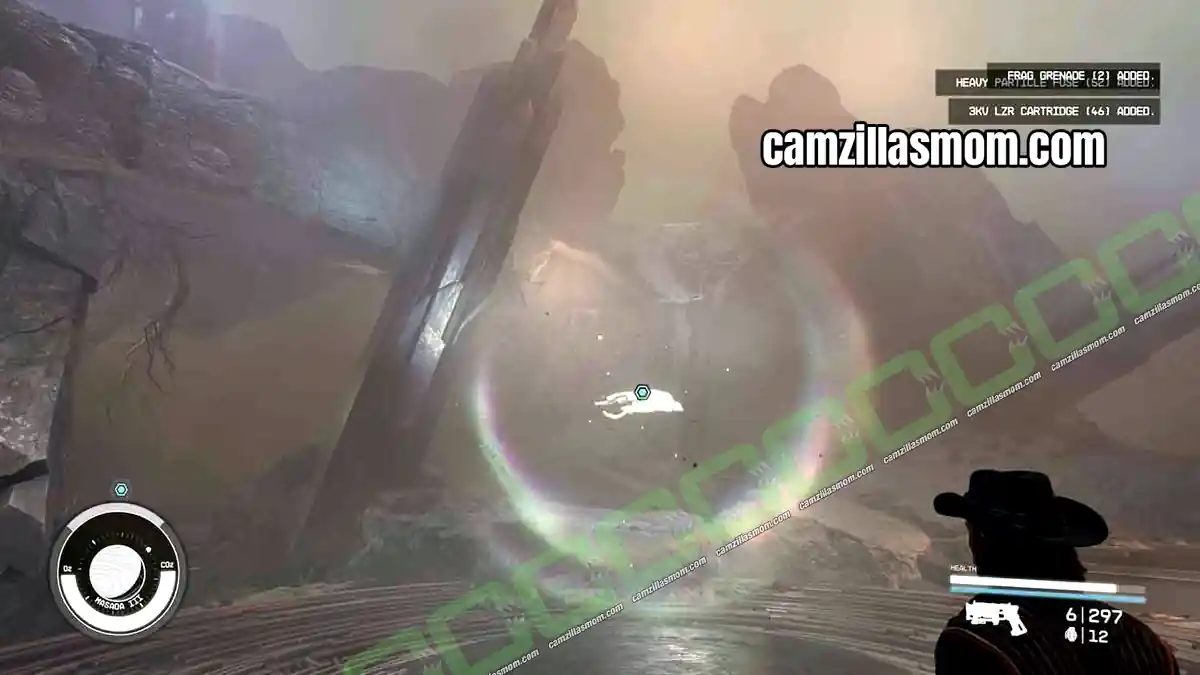
Take the last Artifact from the pedestal once they are dealt with. That transports you out of the temple and ends the mission. One Giant Leap starts immediately.
Hunter or Emissary – Who You Fight in Revelation
The whole shape of Revelation comes down to the choice you made at the end of Unearthed. There is no way to change it once you are on Masada III.
If you sided with the Emissary, the Hunter is hostile and the Emissary fights alongside you. Kill the Hunter and you get Unmitigated Violence.
If you sided with the Hunter, the Emissary is hostile and the Hunter fights alongside you. Kill the Emissary and you get Eternity’s Gate.
If you sided with neither, both are hostile and you have no ally at all. This is the hardest version of the mission by a wide margin, and it is the only one that can give you both legendary weapons in a single run.
There is no wrong answer in story terms. All three routes end with you holding every Artifact and heading into One Giant Leap. The difference is difficulty and loot.
How to Persuade the Hunter and the Emissary
When you walk into the temple you get two attack options and one persuasion option. The persuasion route ends the mission without a fight and the Starborn simply hand over their Artifacts.
It is a hard check. You need to bank 8 points, which means committing to the high-risk red options rather than playing it safe. A few things stack the odds:
Save manually right before you enter the temple, so a failed check costs you nothing Rank up Persuasion as far as you can. Rank 4 gives a large boost to success chance Take Hippolyta from the Aid section of your inventory before starting the conversation If you have already been through the Unity, you get a free bonus dialogue option for having done this before
The catch nobody mentions up front: persuading means no legendary weapons. The Starborn hand over their Artifacts and vanish, and their rifles go with them. If you want Unmitigated Violence or Eternity’s Gate, you have to fight.
Revelation Rewards – Unmitigated Violence and Eternity’s Gate
Both Starborn are carrying Artifacts and a unique legendary rifle, and you only get the rifles by killing them.
Unmitigated Violence is the Hunter’s weapon, a legendary laser rifle built on the Orion. It comes loaded with perks and mods and is one of the strongest energy weapons in the game.
Eternity’s Gate is the Emissary’s weapon, a legendary particle beam rifle built on the Va’ruun Inflictor. It fires a double projectile on every fourth shot and does bonus damage to human targets.
To get both in one playthrough you have to refuse both of them in Unearthed and then defeat them both here. Loot each body before you take the Artifact from the pedestal, because they disappear once the mission wraps.
Worth knowing before you decide: none of this carries into New Game Plus. If you are planning to go straight through the Unity, the weapons are a short-term reward.
Buried Temple Boss Fight Tips
The fight does not stay in the temple. It moves through a string of anomalies, dropping you into locations you have already visited during the campaign, and it only ends when you have worn the health bar down. How many locations you pass through depends on how fast you do that.
Both Starborn duplicate themselves. The Hunter makes a single exact copy, and once that copy is dead you are only dealing with him. The Emissary makes several at once, which makes her the harder of the two to pin down.
What actually helps:
Restock at the supply cache by the elevator and save before entering Bring a weapon that applies burn, and grenades for the clone waves Experiment A-7 is still excellent here if you have it Use your own Starborn powers rather than saving them, since the fight is long enough to recharge them If you have an ally, let them pull attention while you focus one target at a time
Revelation Not Working – Common Bugs
A few problems come up often enough to be worth listing:
The Ecliptic Base ID card never spawns and the “Defeat the Starborn” marker points somewhere you cannot reach. This usually means one Starborn in the room did not register as dead. Reload a save from before you entered the area rather than from mid-fight.
Masada shows as out of range. This is a ship problem, not a quest problem. Jump to the nearest system with a direct route first, and if it still will not go, you need a stronger grav drive or more fuel capacity.
The Hunter drops to a crawl and will not die, or will not talk. Reload a save from before the fight went aggro. Reloading mid-fight tends not to clear it.
Nothing happens when you arrive in the Masada system. The dogfight triggers on arrival at the jump-in point, not in orbit of Masada III, so hang around where you dropped in rather than burning straight for the planet.
What Happens After Revelation
Taking the final Artifact ends Revelation and starts One Giant Leap immediately. That mission takes you to the Unity and into New Game Plus, and nothing in your inventory, no credits, ships, outposts or weapons, comes with you. If you want to finish faction questlines or keep the rifles you just looted, do it before you step through.


About Starfield
Release: September 6th, 2023
Developer: Bethesda Game Studios
Publisher: Bethesda Softworks
Official Website: https://bethesdagamestudios.com/