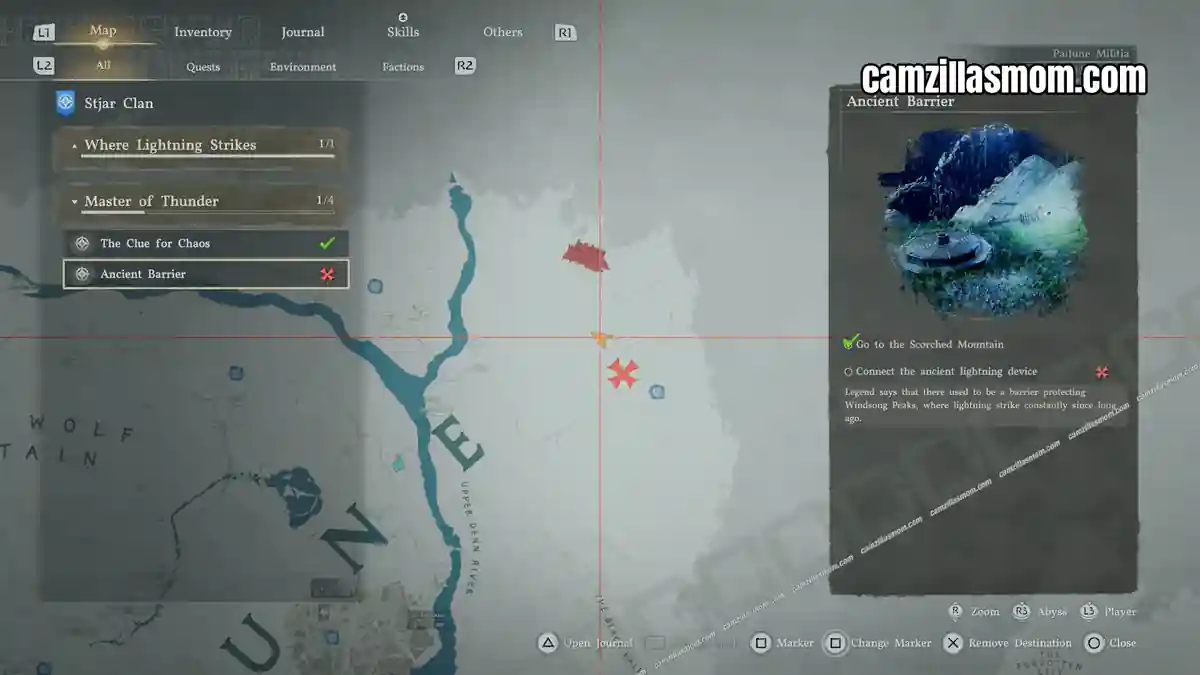
The Ancient Barrier quest in Crimson Desert tasks you with repairing a broken lightning device east of Skallcove for the Stjar Clan. This guide walks you through all three steps: placing the broken rod near the Abyss Nexus, turning the handwheel at rod 4, and freeing the ice-encased rod hidden in the mountains, so you can restore the lightning circuit and trigger the Fallen God mission.
Related Guides:
Longleaf Tribe Faction Walkthrough
Crimson Desert – Game Guides Hub
How to Start this Quest
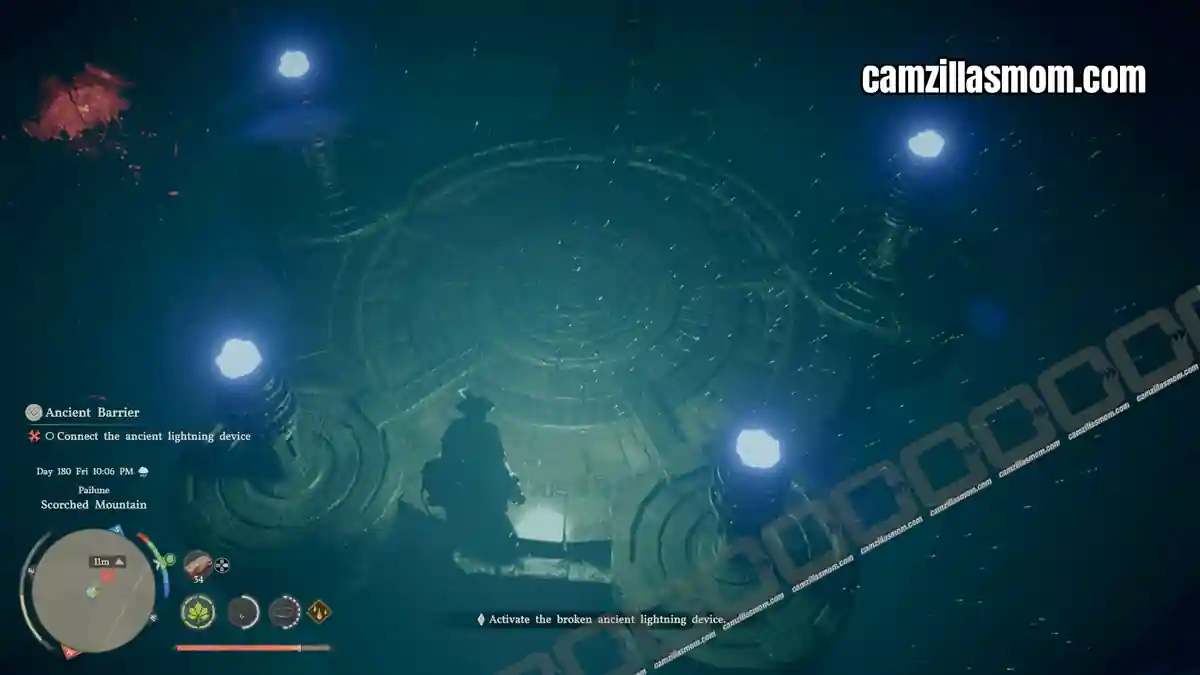
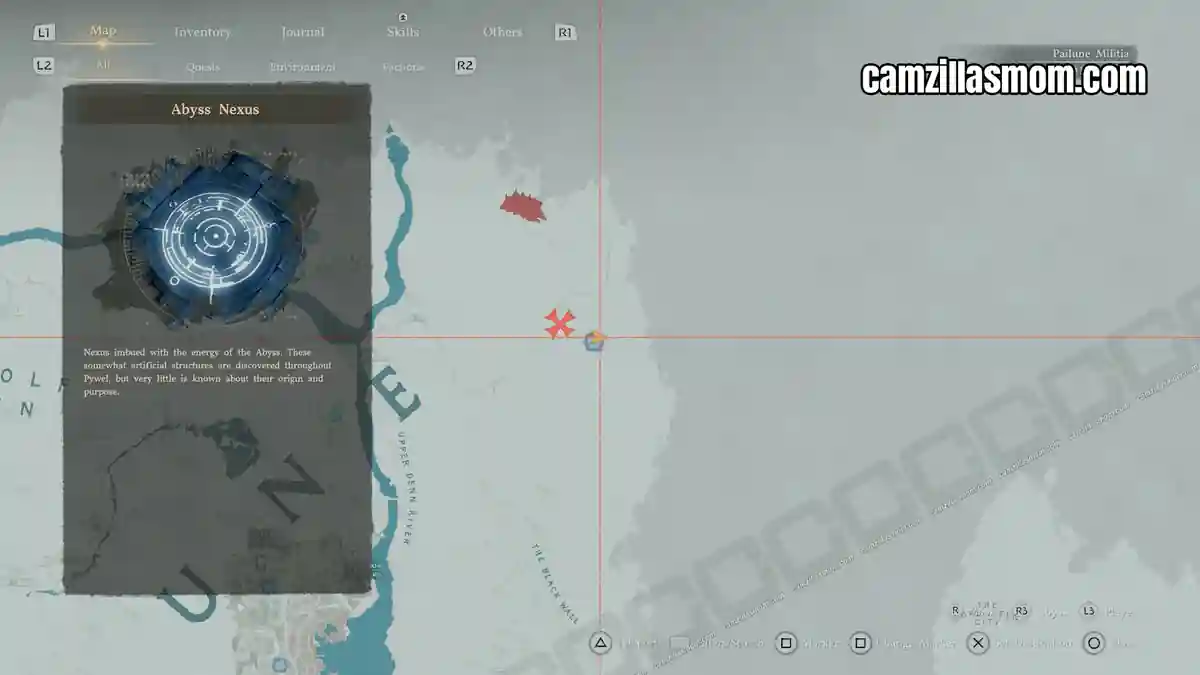
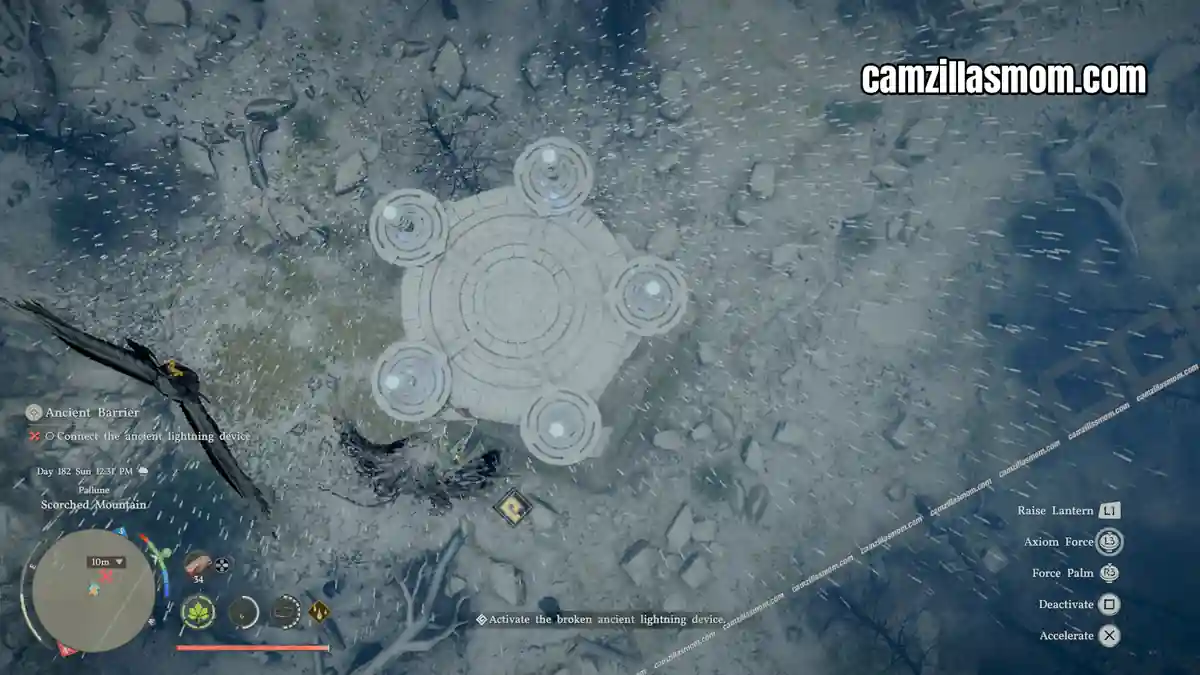
After helping the Longleaf Tribe, the Stjar Clan needs your help by first liberating Skallcove, and then repairing an ancient lightning device east of Skallcove in the Quest Ancient Barrier. As you get to the area, you will find a tall pillar with an inactive Abyss Nexus in its center and five inactive pillars with coils around it.
How to Repair the Lightning Device
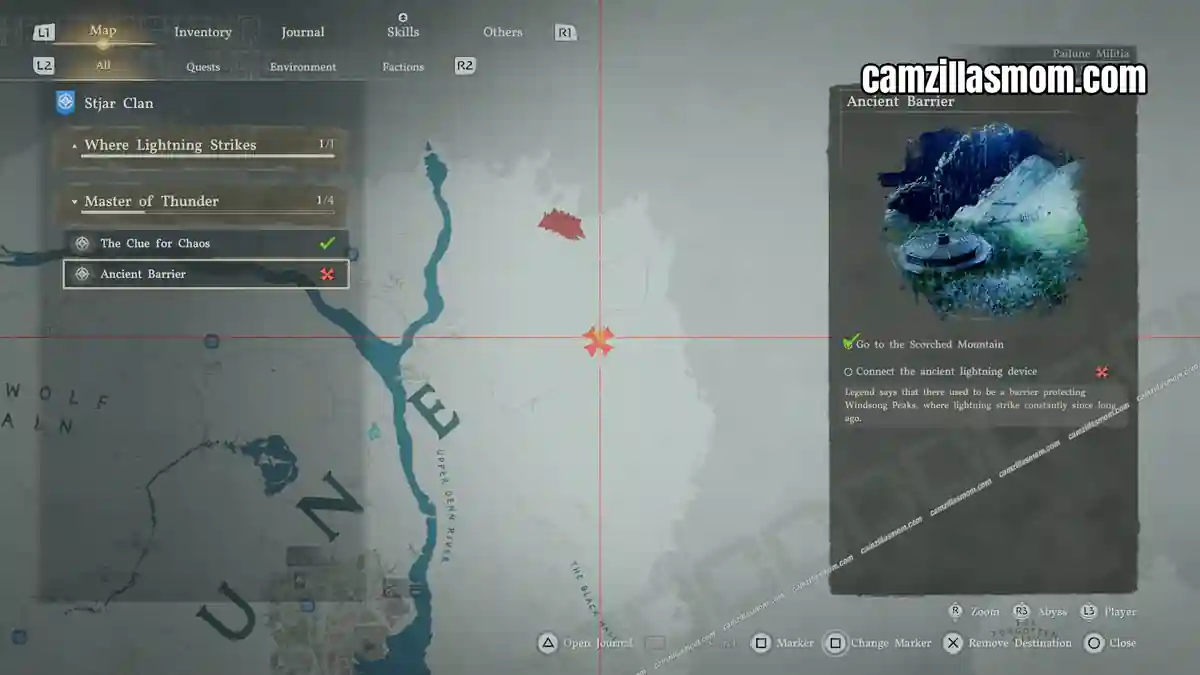
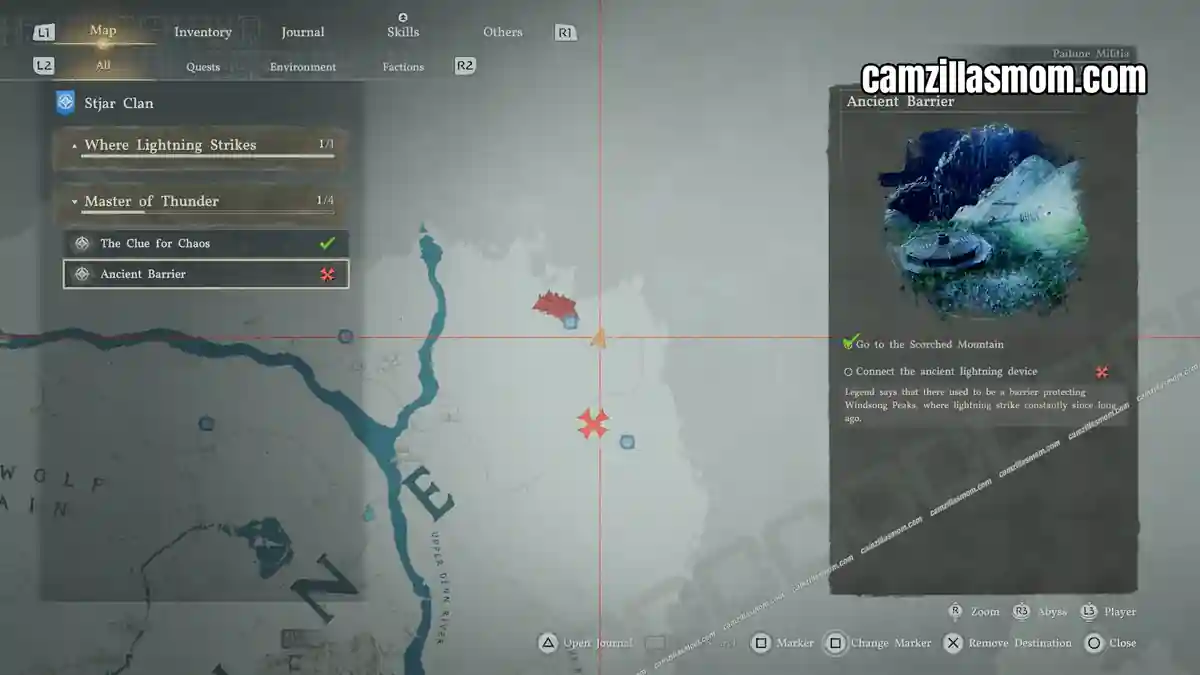
Overview Map
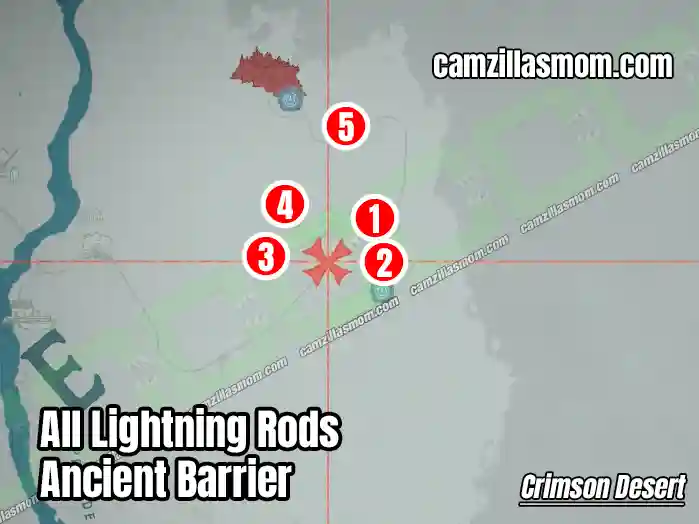
The overmap above shows you the exact position of all three lightning rods. Here’s the step-by-step solution:
Step 1
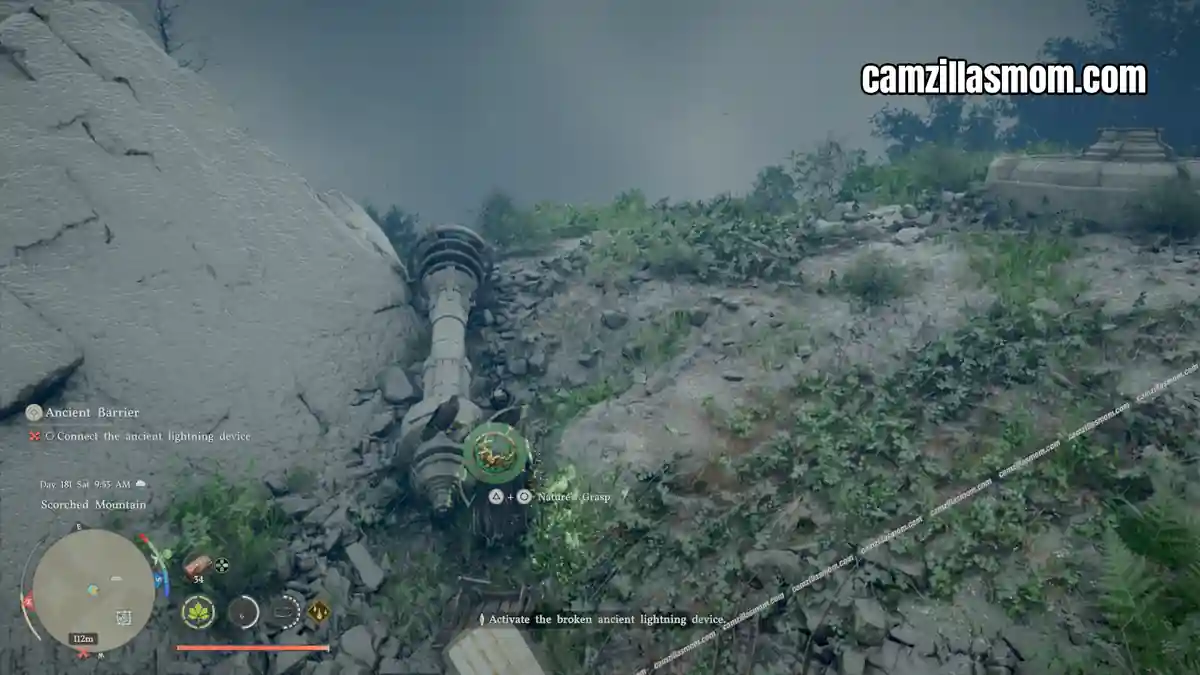
Don’t touch the lightning rod 1 and head directly to lightning rod 2, the broken one near the Abyss Nexus.
-> Pick it up with Nature’s Grasp and put it in the socket (find it on the minimap)
-> Push the lever so the lightning will hit lightning rod 3.
Step 2
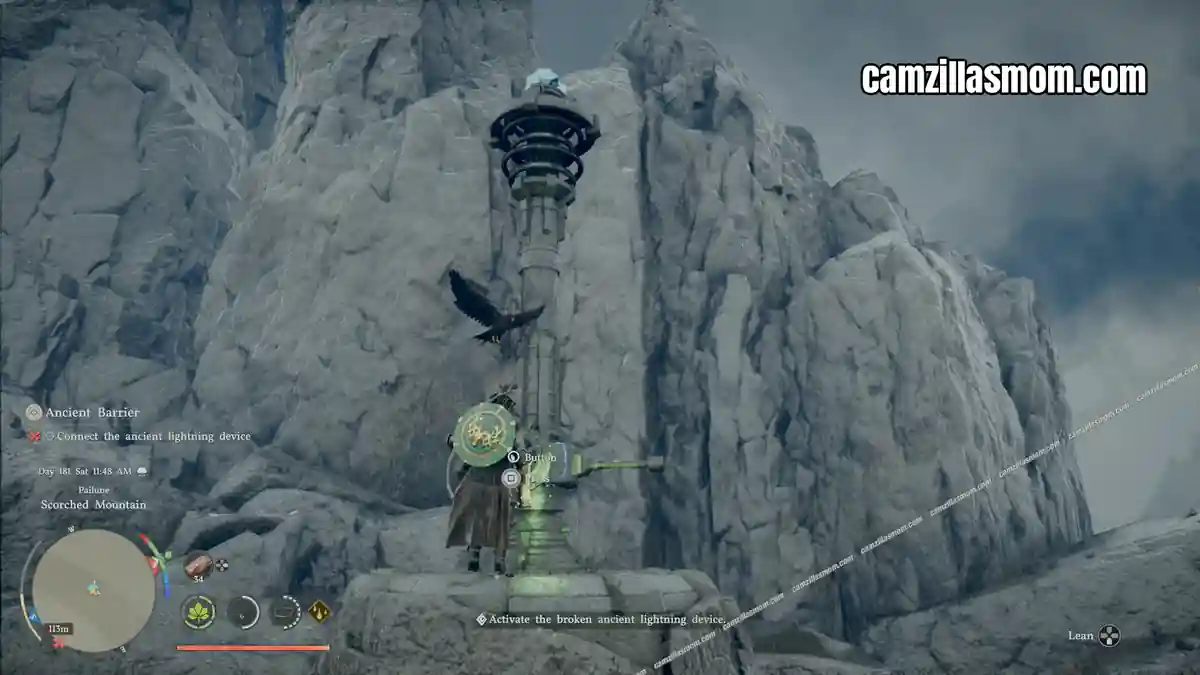
Don’t touch the lightning rod 3 and head directly to lightning rod 4.
-> Grab and turn the handwheel all the way to the right.
-> Push the button to start it up.
Step 3
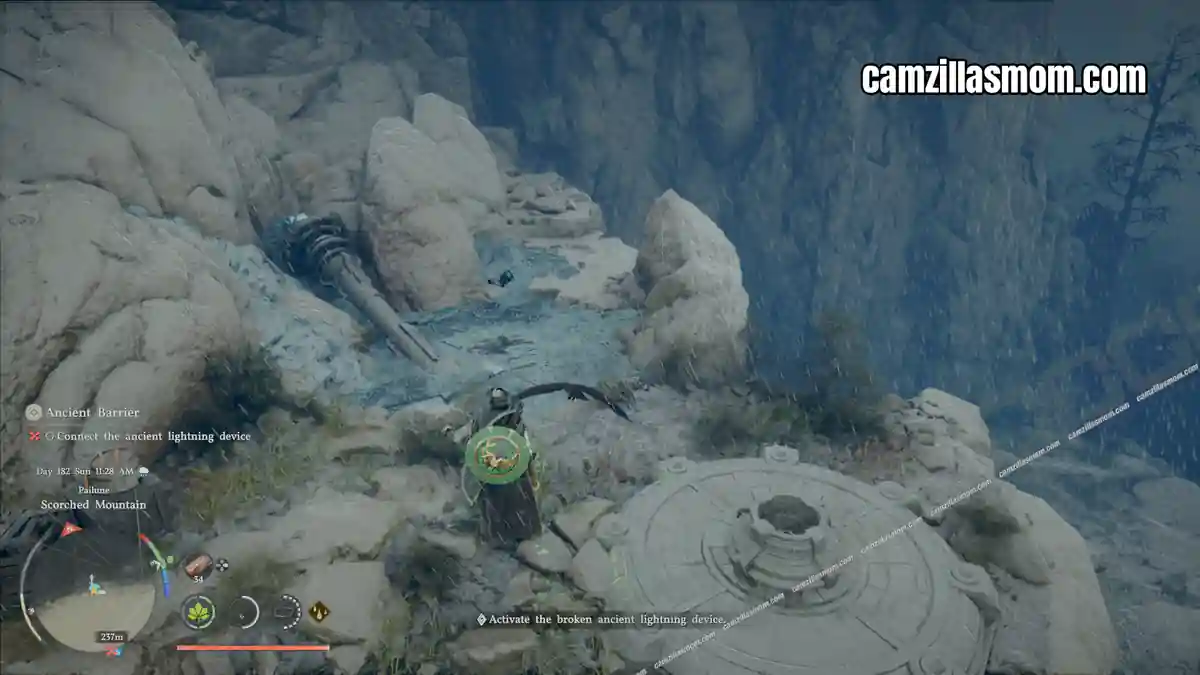
Find lightning rod 5. It is very well hidden in the mountains. It is broken, and the rod is frozen in ice.
-> Perform an Aerial Force Palm on the ice (double jump + Force Palm)
-> Pick up the rod with Nature’s Grasp and put it into the socket.
Step 4
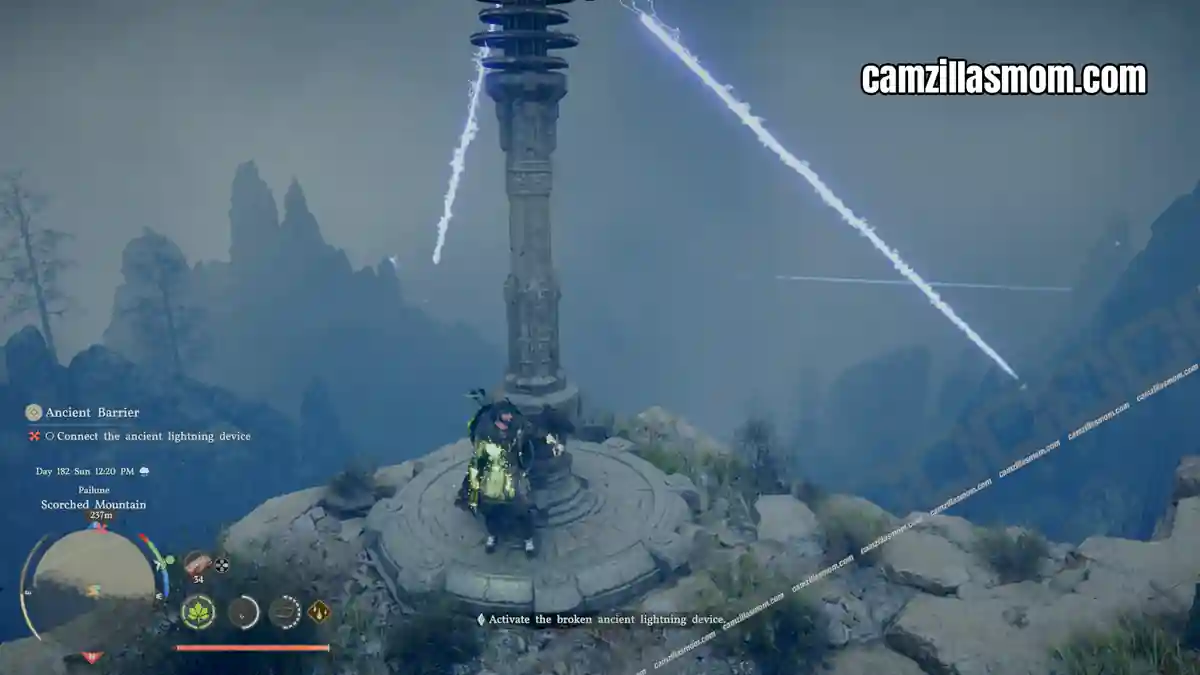
You should now see how the lightning is traveling in the circle of the lightning rods 1-5. Return to the high pillar and stand on it. The puzzle is solved, and the next mission, Fallen God, starts.
More Crimson Desert Guides
Crimson Desert: The Unyielding Shields Questline Walkthrough
Walkthrough for The Unyielding Shields questline in Crimson Desert. The final Chapter 6 questline – …
Crimson Desert: The Vanished Dye Walkthrough
Walkthrough for The Vanished Dye in Crimson Desert. Help Pororin dye merchant Devin recover stolen Y…
Crimson Desert: The Void Questline Walkthrough
Walkthrough for The Void questline in Crimson Desert. The final Chapter 12 questline – navigate five…
Crimson Desert: The Weight of Knowledge Questline Walkthrough
Solve The Weight of Knowledge in Crimson Desert by investigating suspects, resolving contradictions,…
Crimson Desert: Thinning Blade Questline Walkthrough
Walkthrough for the Thinning Blade questline in Crimson Desert. One of four Chapter 9 questlines – s…
Crimson Desert: Tina’s Request Quest Walkthrough
Crimson Desert Tina’s Request walkthrough: talk to Tina, deliver the item to Oakenshield Manor, and …


About Crimson Desert
Release: March 19, 2016
Developer: Pearl Abyss
Publisher: Pearl Abyss
Official Website: https://crimsondesert.pearlabyss.com/en-US/Main