Tutorial 4 of Forensics: Crime Scene Detective takes you through documenting a gunshot crime scene, from locating the bullet hole and reconstructing its trajectory to tracking down the firearm and running a projectile comparison in the lab. This walkthrough covers the trajectory rod, the tripod camera exposure step, and matching the reference projectile at the Projectile Comparison Workstation.
Note: This case was initially named Tutorial 4 but was renamed to Training 4 later on.
Related Guides:
Training 2
Training 3
Cold Storage Case
Training 4 Evidence Overview
Photos, Evidence and Fingerprints in the apartment:
Projectile Caliber 9mm, Lead
Trajectory Bedroom
Firearm Pistol Gastl Armory GA-20C
Evidence for Digital Analysis in the Lab:
Projectile Analysis
Briefing
This tutorial teaches you about collecting firearm-related evidence, reconstructing bullet trajectories, and comparing projectiles in the lab.
Witness Statement Jacob Doe:
“A gunshot has been reported from a neighbour. You need to locate the weapon that was used, where the projectile went and determine the weapon used.”
Travel to the Crime Scene
First, the bullet hole has to be found and documented with a number marker and the camera.
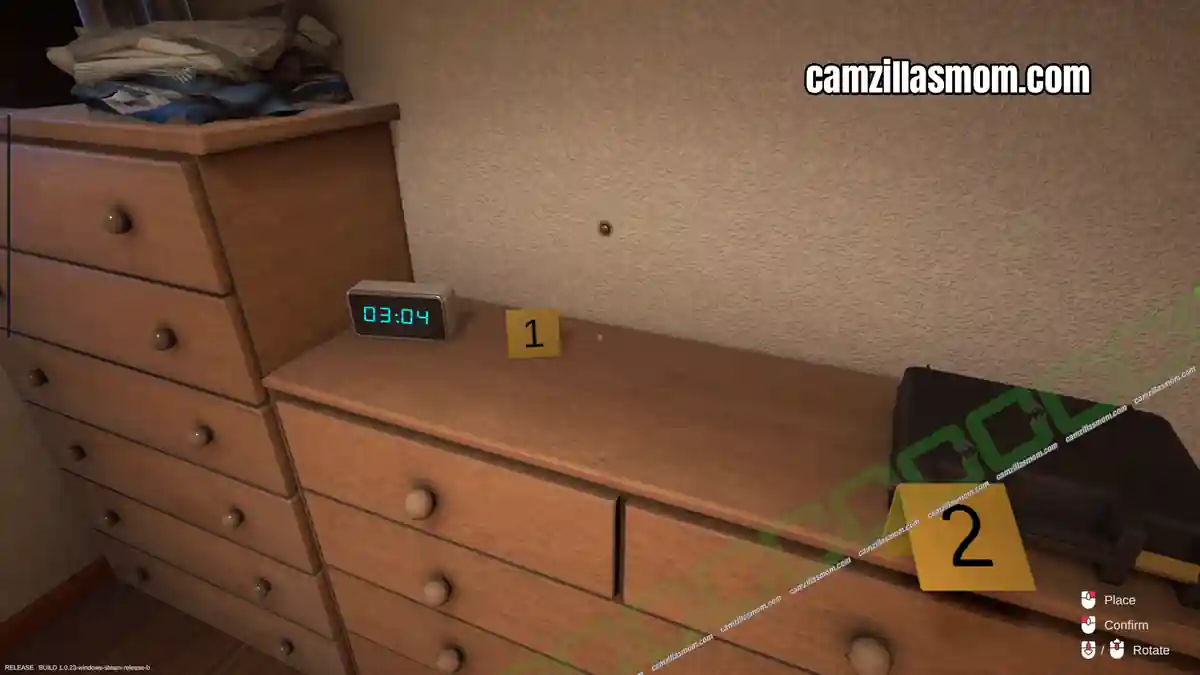
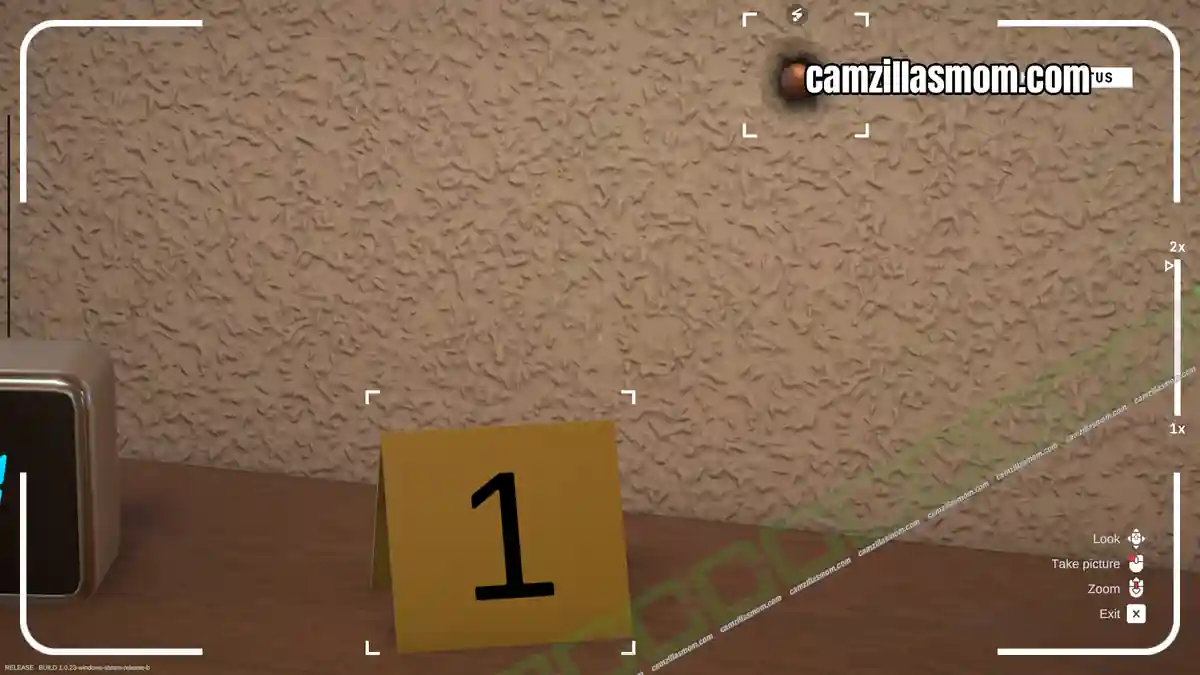
Now you can remove the projectile and put it into evidence. Then, pick up the trajectory rod and place it into the hole.
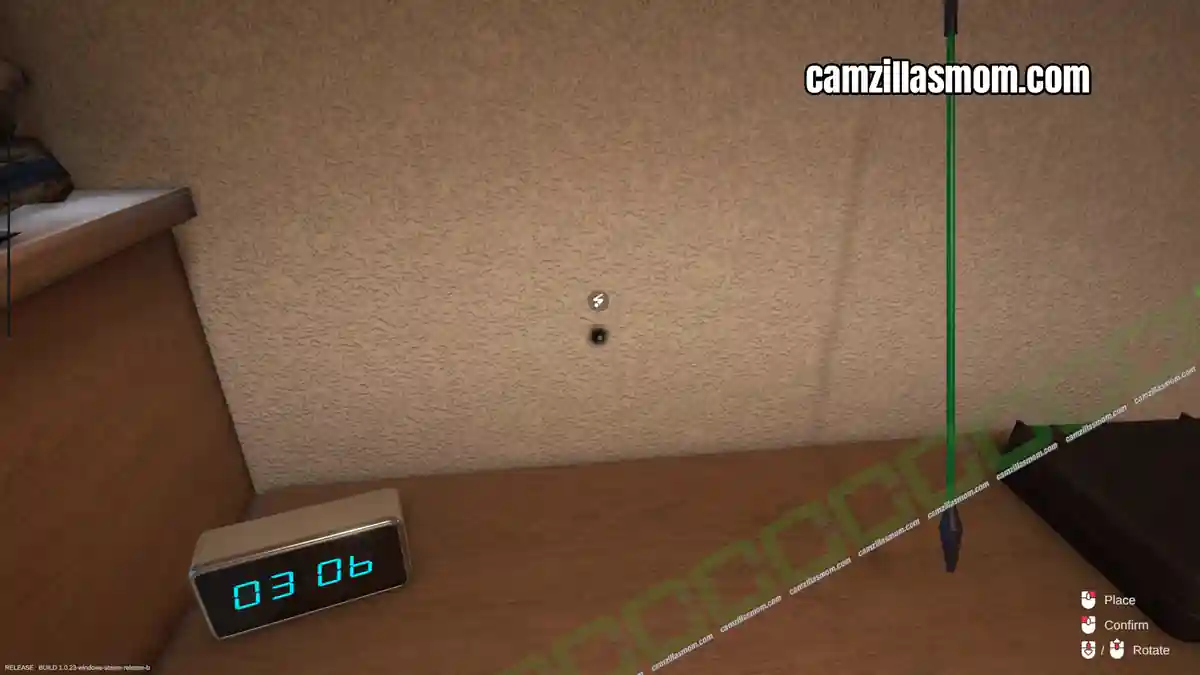
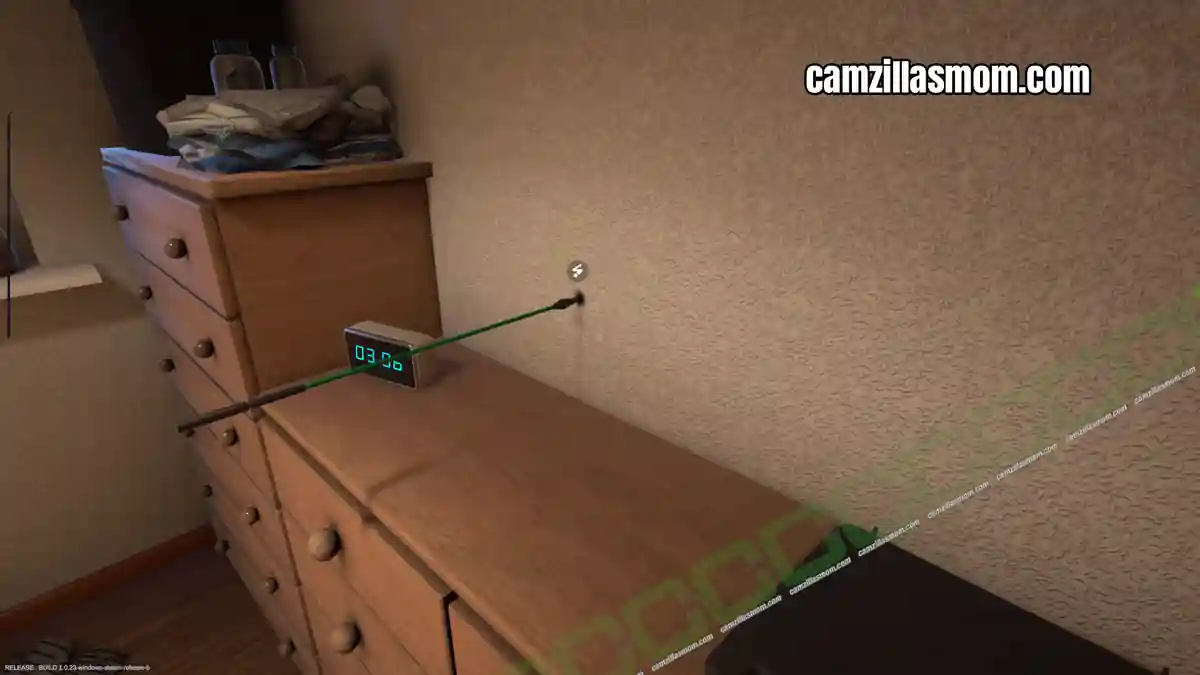
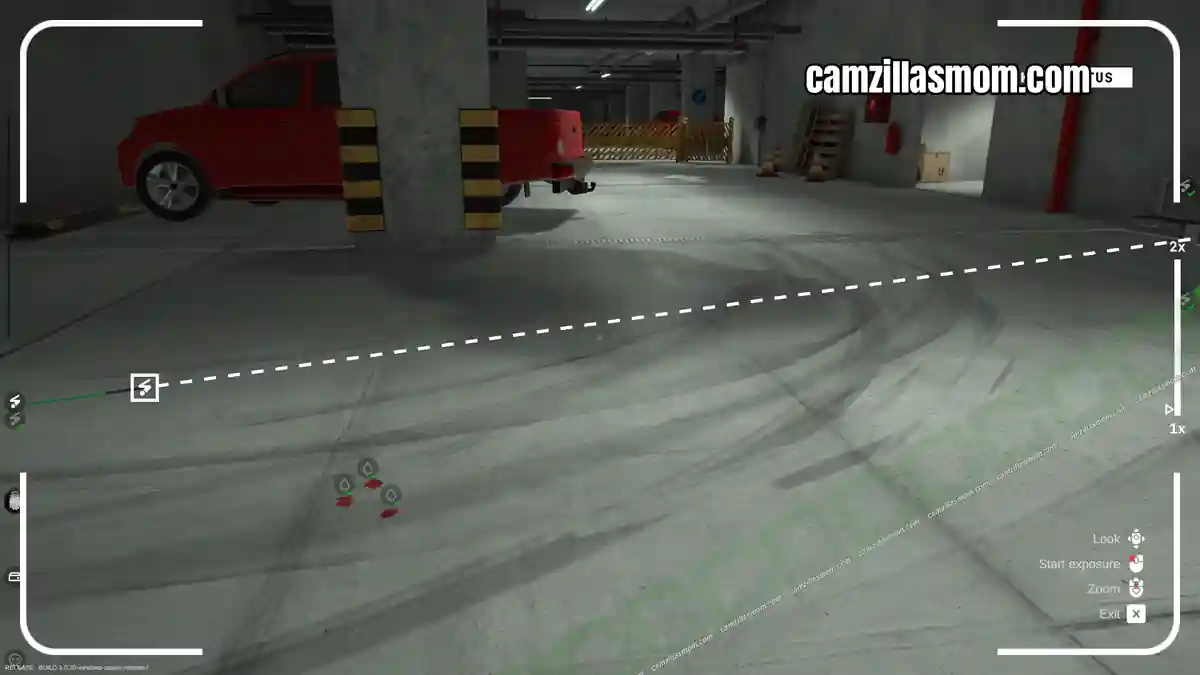
Next, pick up the tripod for the camera. Place it so it “sees” the trajectory rod and the straight line through the room. Start exposure, quickly grab a spray can from the kit and spray along the red line until you reach the end to get 100%. Once that is done, pick up the camera and put the tripod and the trajectory rod back to the case.
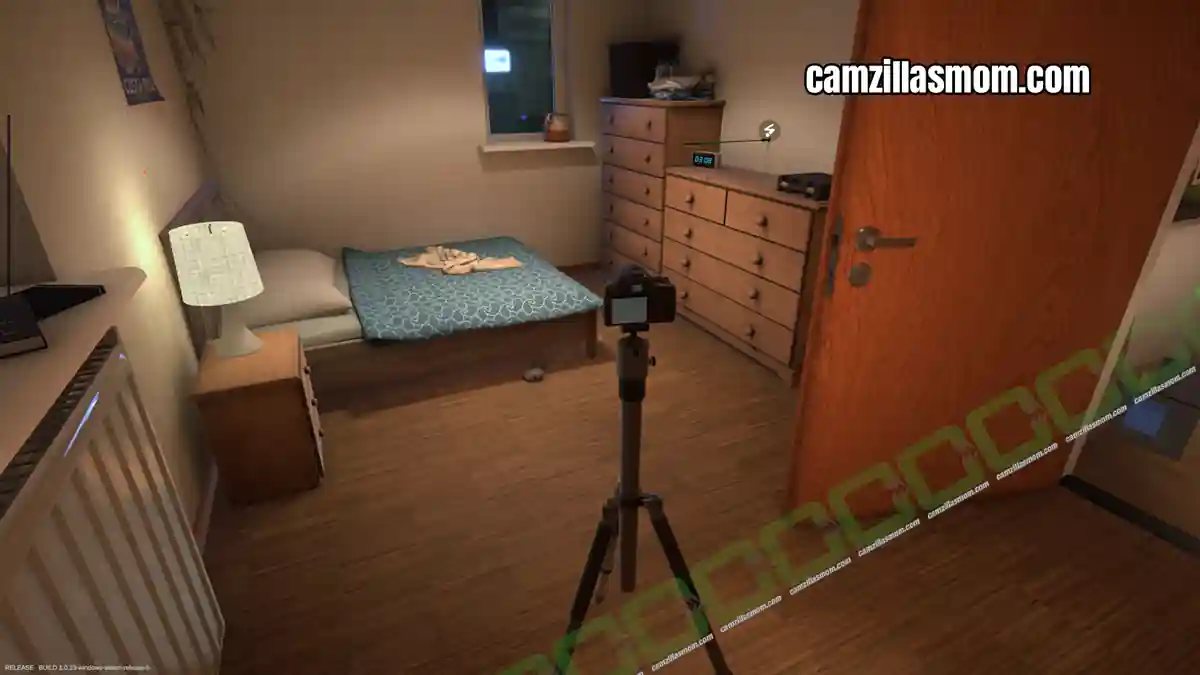
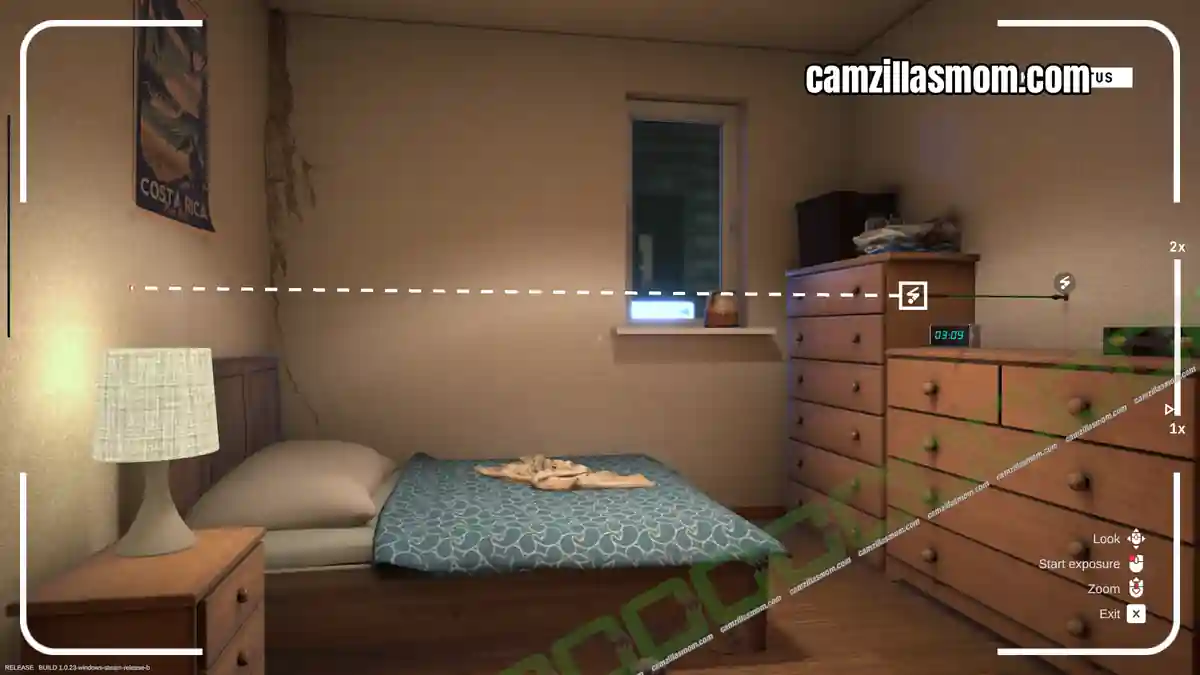
Evidence:
Projectile Caliber 9mm, Lead
Trajectory Bedroom
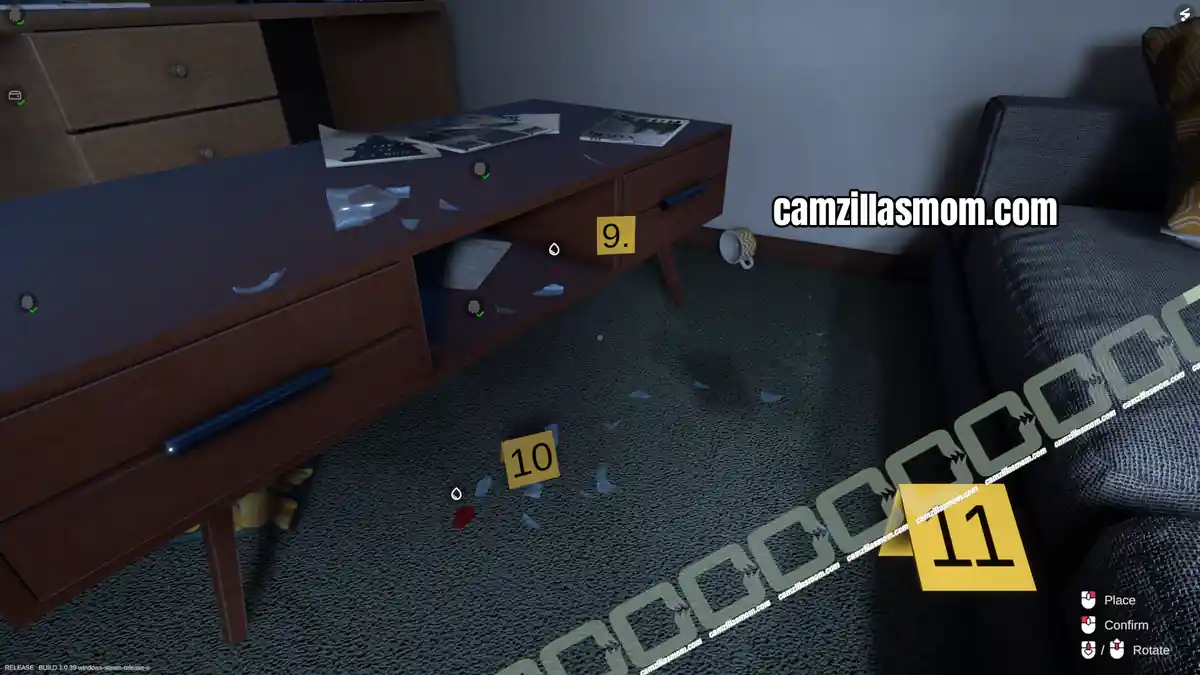
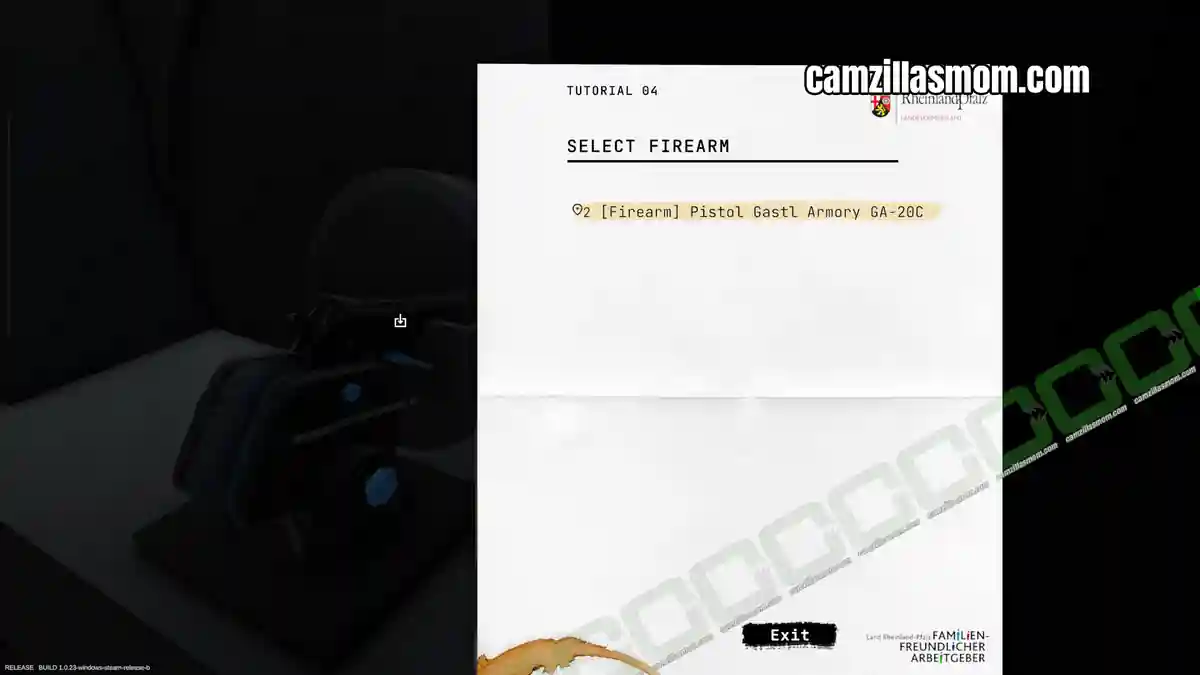
Now you have to find the weapon. Look in the lounge under the coffee table. Number it and take a photograph before you pick it up.
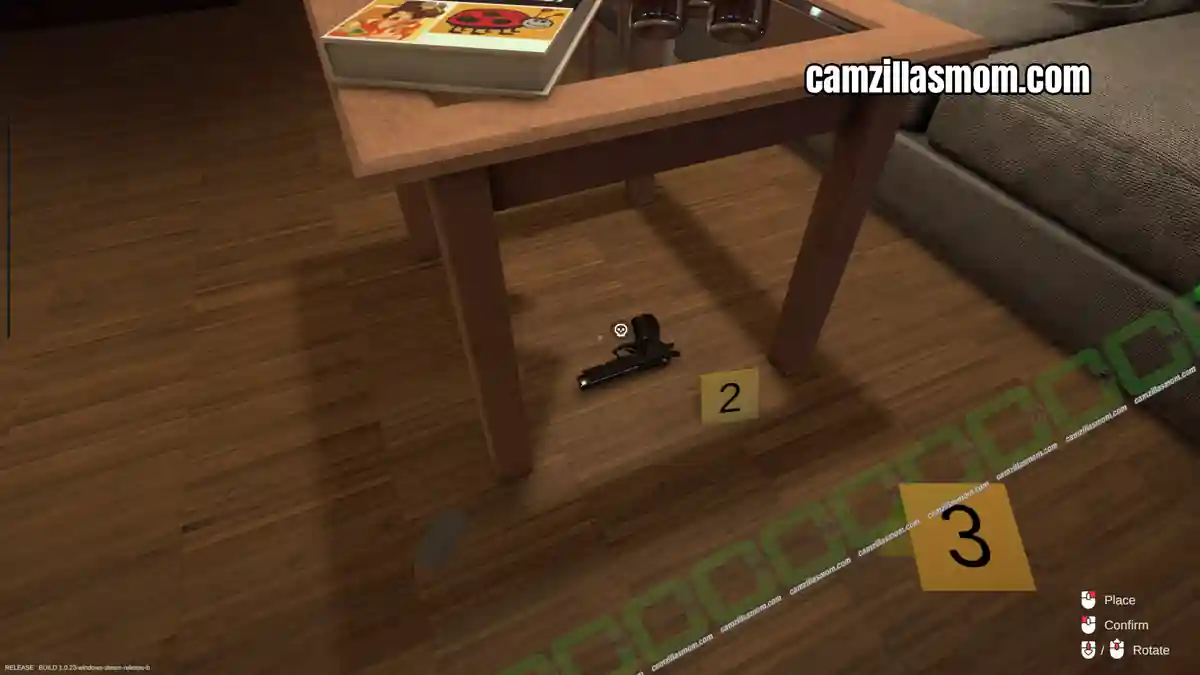
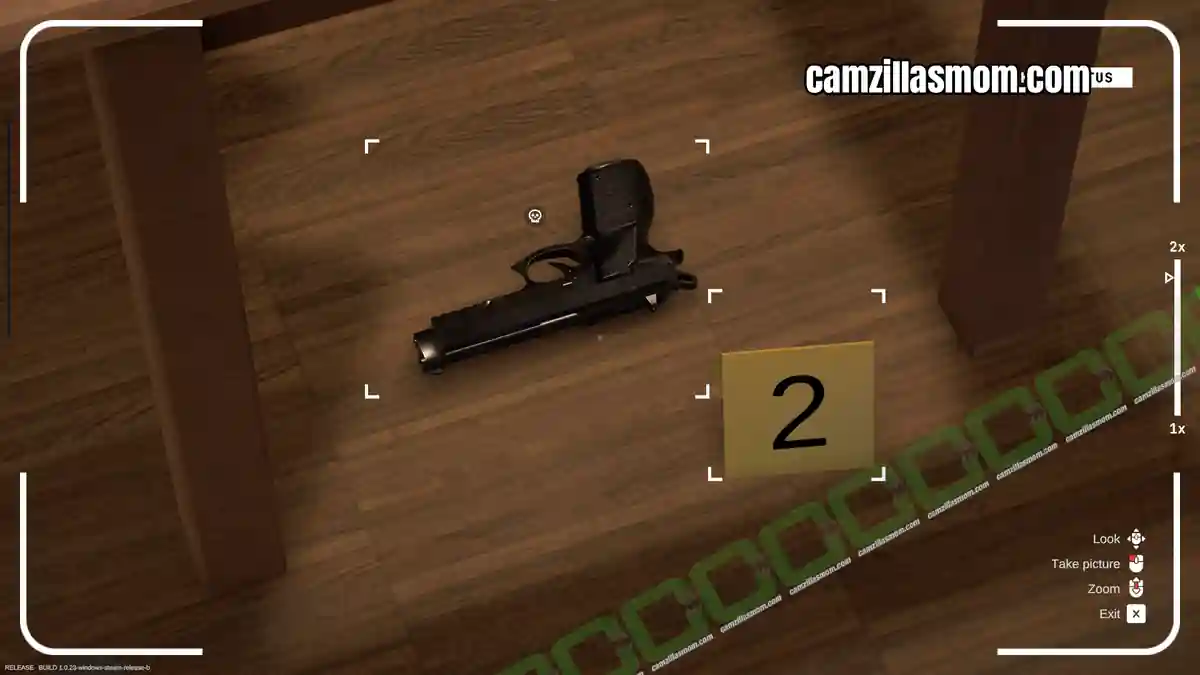
Evidence:
Firearm Pistol Gastl Armory GA-20C
Analyzing the Evidence
Return to the lab and read the email. The Reference Projectiles and the Projectile Comparison Workstations are now unlocked. First, you have to create a reference projectile based on the data you’ve collected.
Insert the found firearm into the Reference Projectiles Workstation. Then, shoot the firearm and collect the bullet from the water tank.
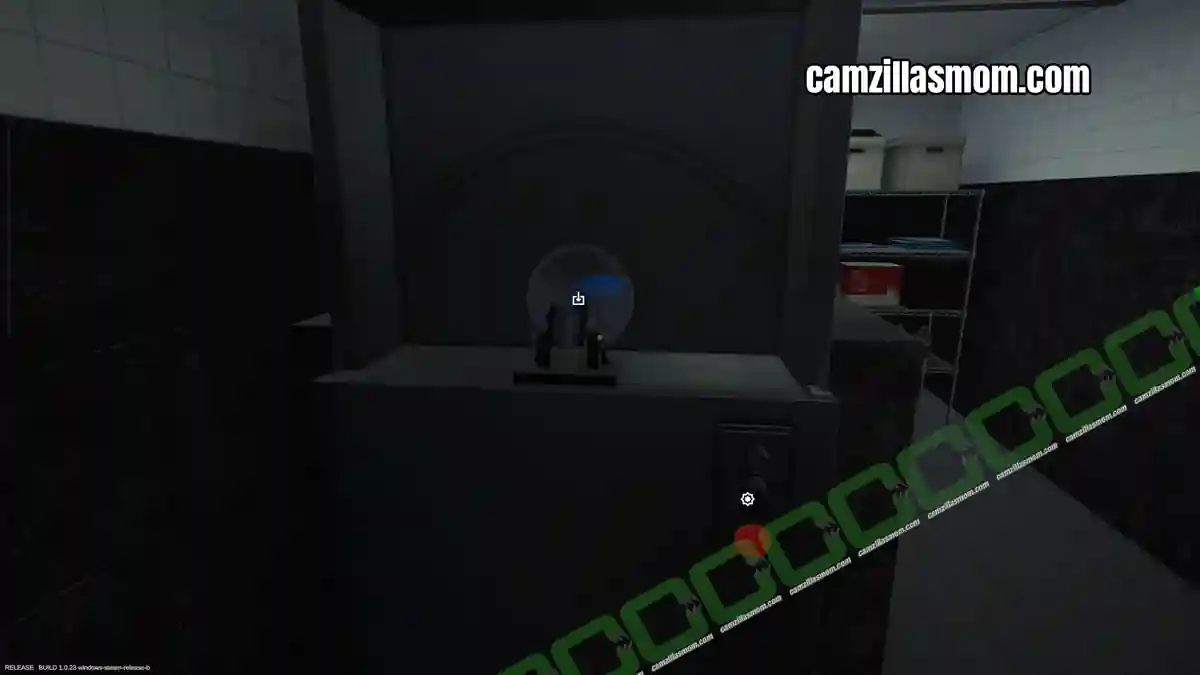
Evidence:
Projectile Caliber 9mm Lead (from evidence gun)
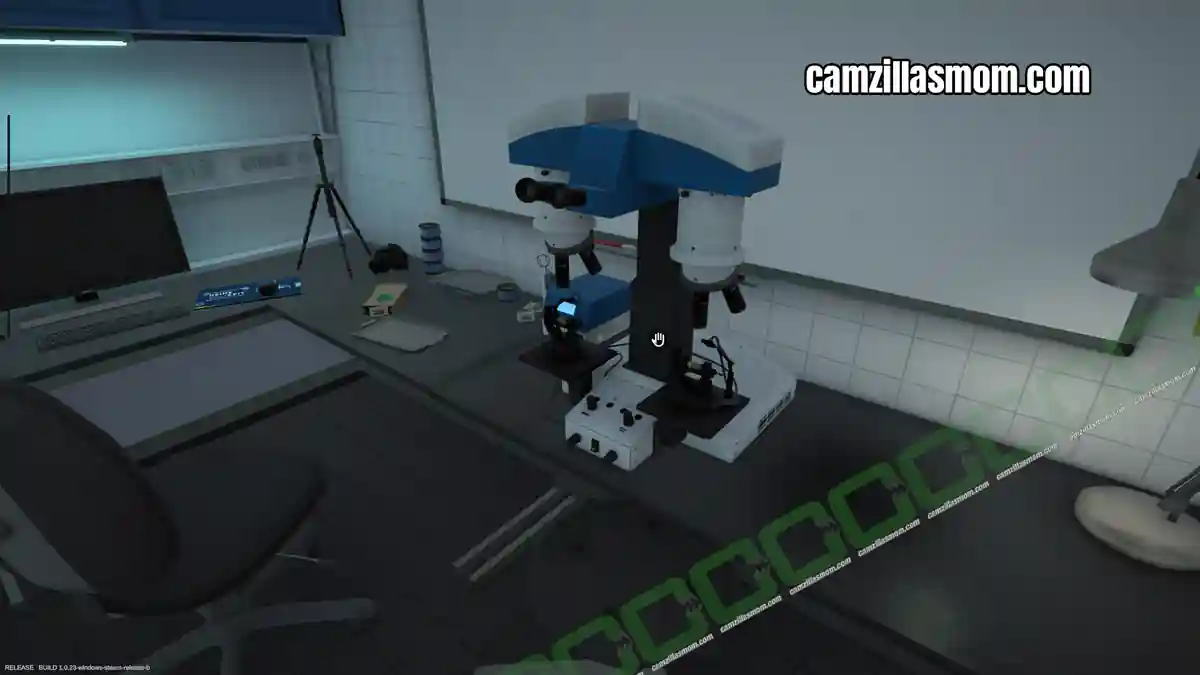
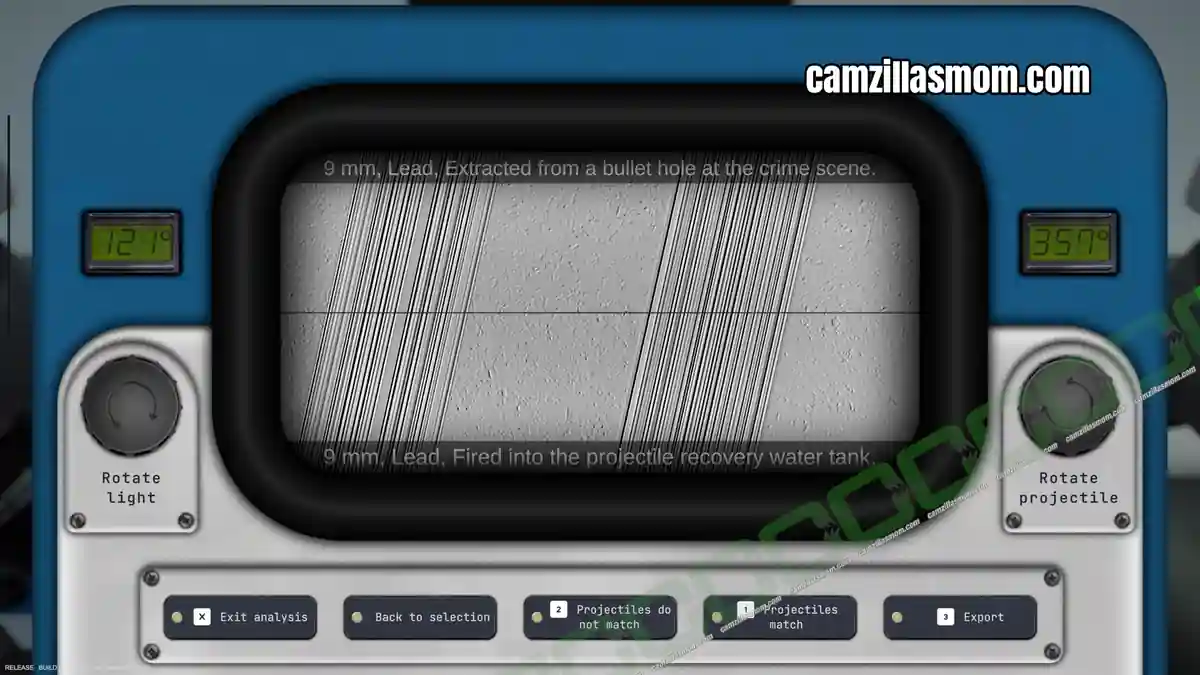
Compare the two projectiles in your evidence folder at the Projectile Comparison Workstation. As with the DNA comparison in Tutorial 3, you have to use the two knobs to match the projectiles. They match at 121, 357. Export your result and pick up the folder next to the workstation.
Evidence:
Projectile Analysis
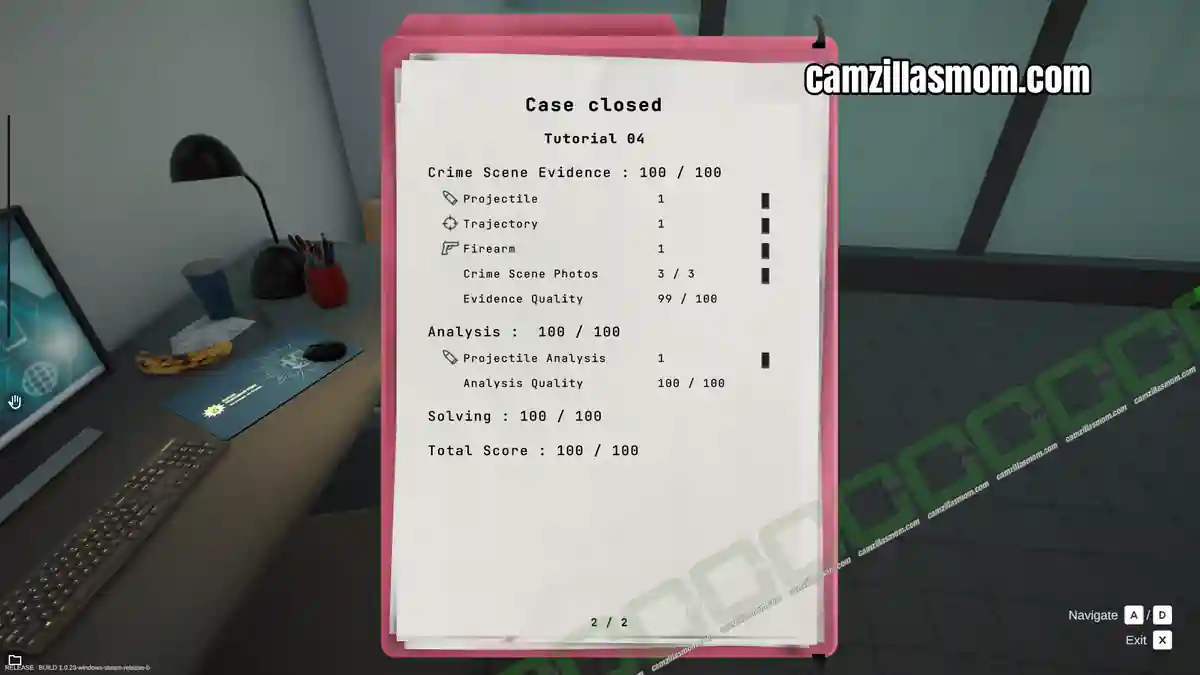
Interact with the e-mail computer to send off your evidence.


Forensics: Crime Scene Detective
Release: July 13th, 2016
Developer: Binary Impact, Alchemical Works
Publisher: Aerosoft GmbH
Official Website: https://store.steampowered.com/app/3765010/Forensics_Crime_Scene_Detective/