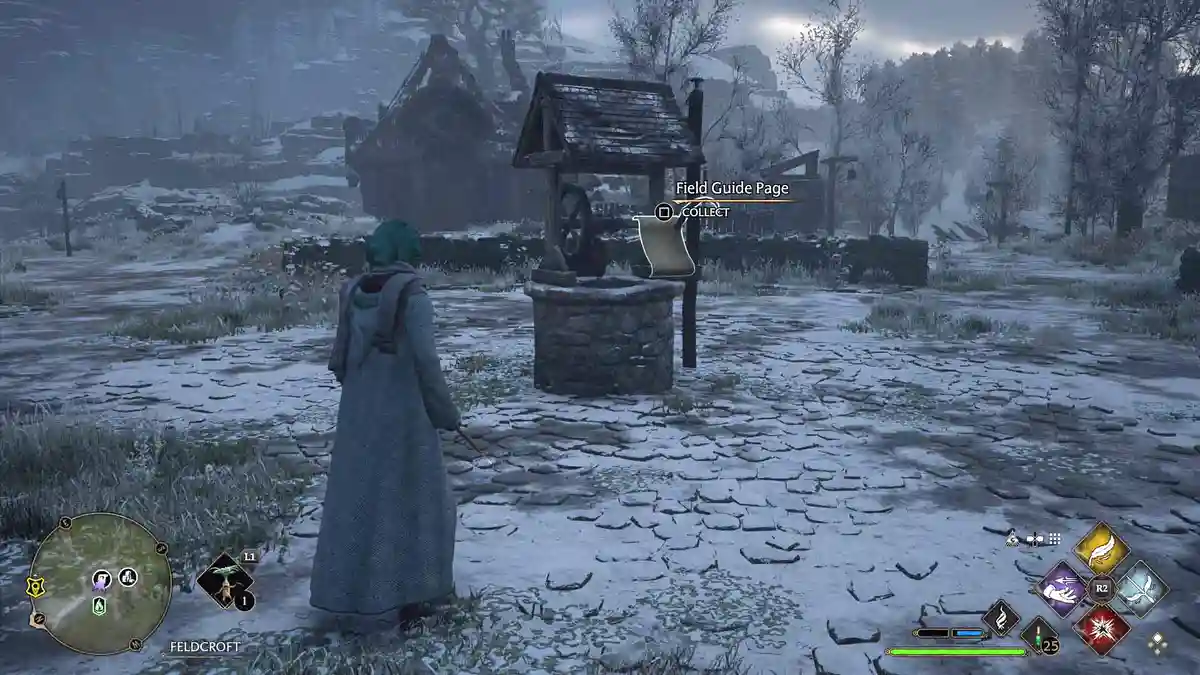
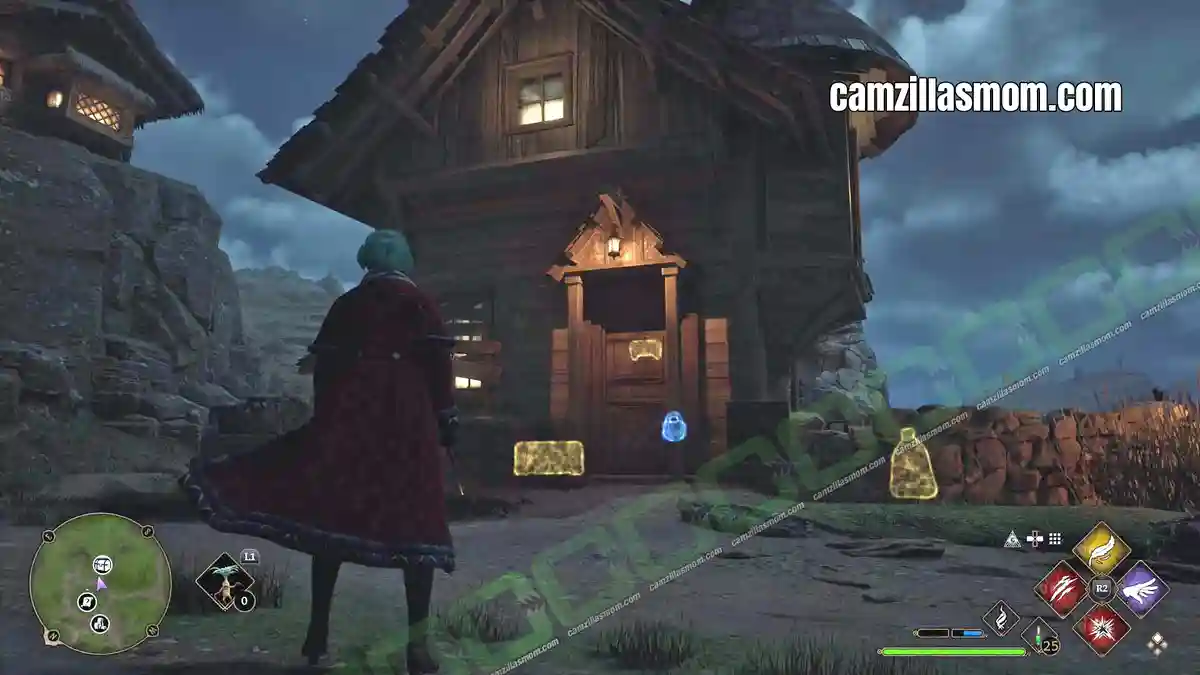
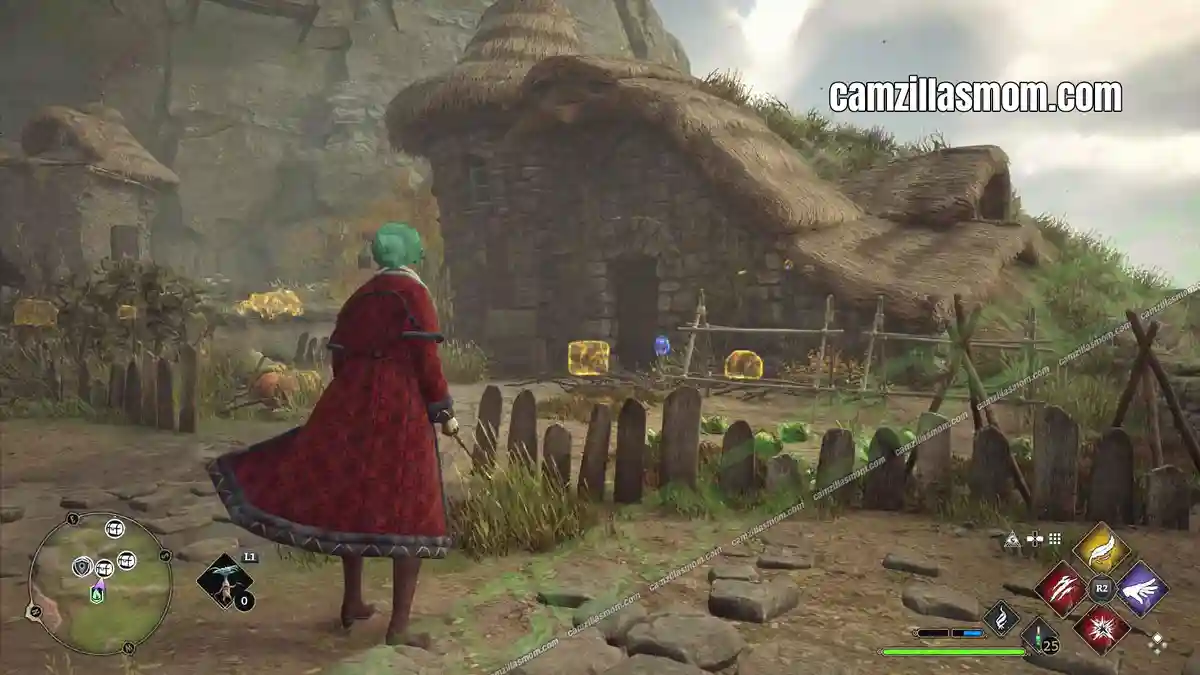
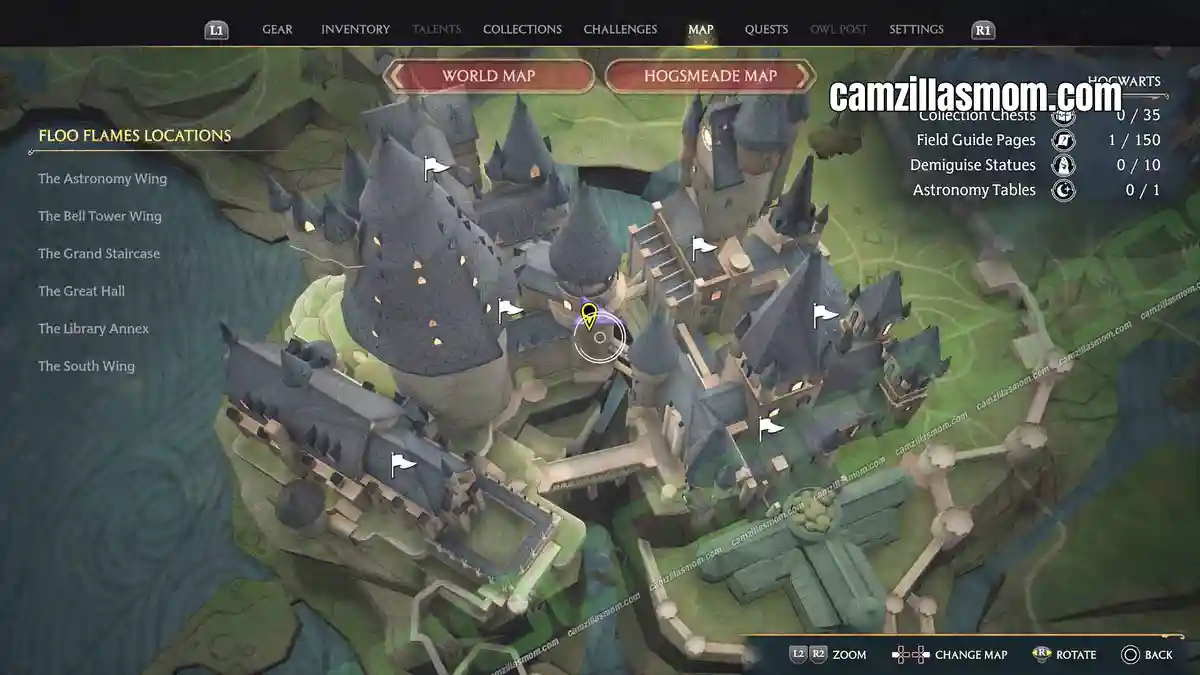
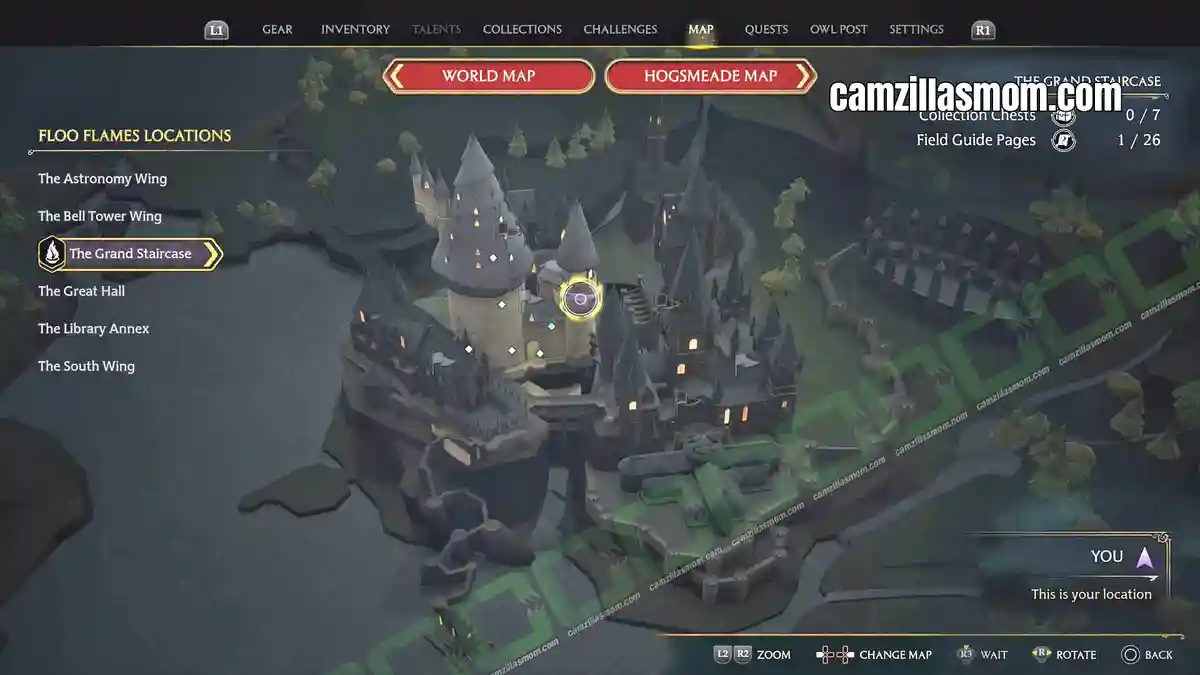
The Grand Staircase has three arithmancy door puzzles guarding collection chests, on top of 26 field guide pages and 7 chests scattered across the area. Here’s how to solve each puzzle and where to find every collectible so you can complete the area 100%.
Related Guides:
All Demiguise Statues (Demiguise Moons) Guide
Library Annex Collection Chests & Collectibles
The Astronomy Wing
The Great Hall
More Guides at the Hogwarts Legacy Game Guides Hub
- The Grand Staircase Door Puzzles & Collection Chests
- The Grand Staircase Field Guide Pages (Revelio Pages)
- Revelio Pages in The Grand Staircase
- 1 – Salazar Slytherin’s Scriptorium
- 2 – Honeydukes Passageway
- 3 – Quill of Acceptance and Book of Admittance
- 4 – Centaur Armour
- 5 – Moving Staircase
- 6 – Headmaster’s Office Gargoyle
- 7 – Goblet of Fire Casket
- 8 – House of Elf Armour
- 9 – Sleeping Portraits
- 10 – The Sorting Hat
- 11 – Troll Armour
- 12 – Trophy Room
- 13 – The Hogwarts Architect
- 14 – Hufflepuff Barrels
- 15 – House-Elf Recipe Book
- 16 – Ravenclaw Bust
- 17 – Ravenclaw Doorknocker
- 18 – Kelpie Statue
- Unnamed Field Guide Pages in The Great Hall (10)
- 19 – Flying Page – Moving Staircase
- 20 – Flying Page – Quad Courtyard
- 21 – Moth Mirror: Base of Ravenclaw Tower
- 22 – Moth Mirror: Headmaster’s Gargoyle
- 23 – Moth Mirror: Near Lower Grand Staircase
- 24 – Dragon Bowl – Top of the Moving Staircase
- 25 – Dragon Bowl – Quad Courtyard
- 26 – Globe Statue – Moving Staircase to Ravenclaw Tower
- Revelio Pages in The Grand Staircase
The Grand Staircase Door Puzzles & Collection Chests
You can find a lot of chests in the game. Some with money, others with gear. The special ones – the Collection Chests, have items that you can find in the “Collections” sections of the game menu.
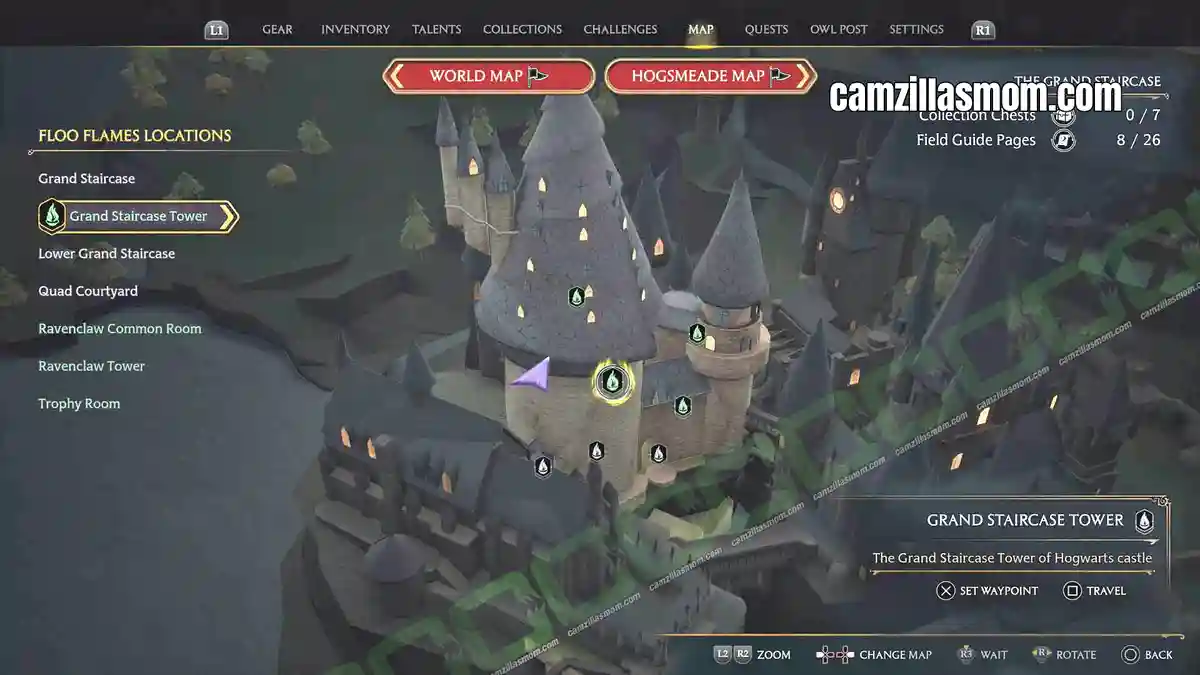
Chest 1 – Grand Staircase Tower Door Puzzle
High up at the Grand Staircase Tower is a puzzle door with beast arithmetic’s. Behind it is this Conjurations Collectible in a small chest.
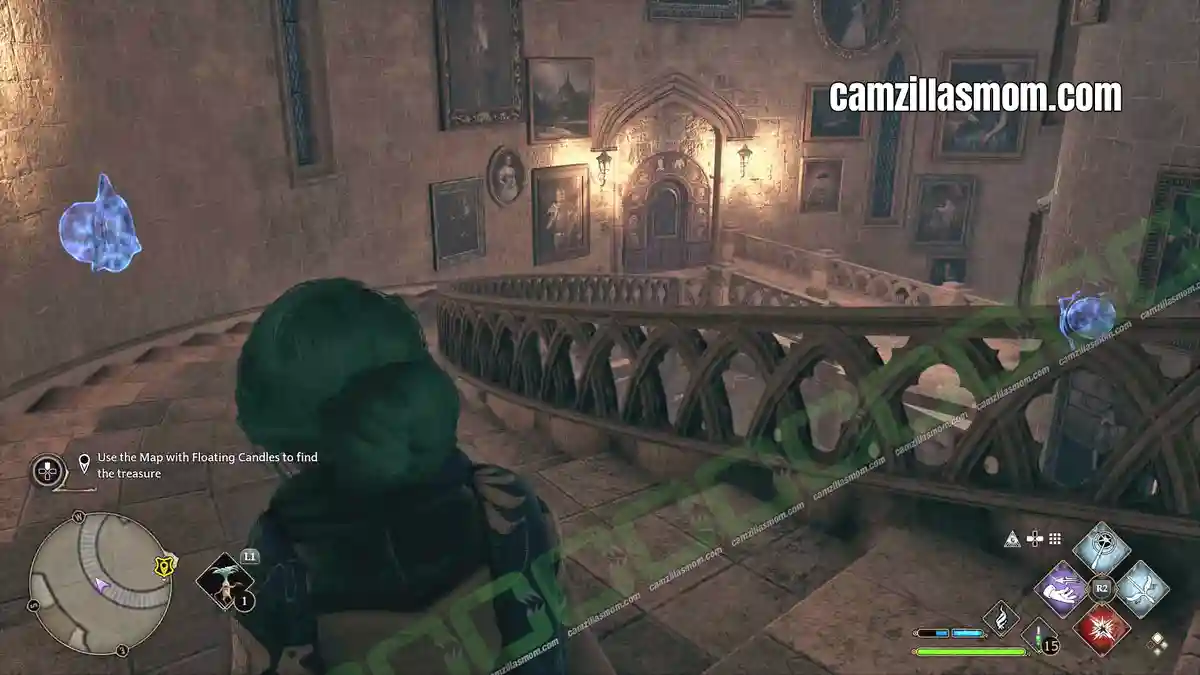
Here’s how to solve the puzzle. First of all reveal the two maths tasks in the centre of the door. The task at the top has one question mark and the one at the bottom two question marks. You should see those question marks nearby as rotatable buttons. That’s where your answer goes.
Before you start calculating, look at the door frame. Ten animals, ten numbers from 0 – 9 from left to right. So the seal at the bottom left has the Zero, then the unicorn has One, the goat has Two etc. That’s the beast you have to select in your rotating button.
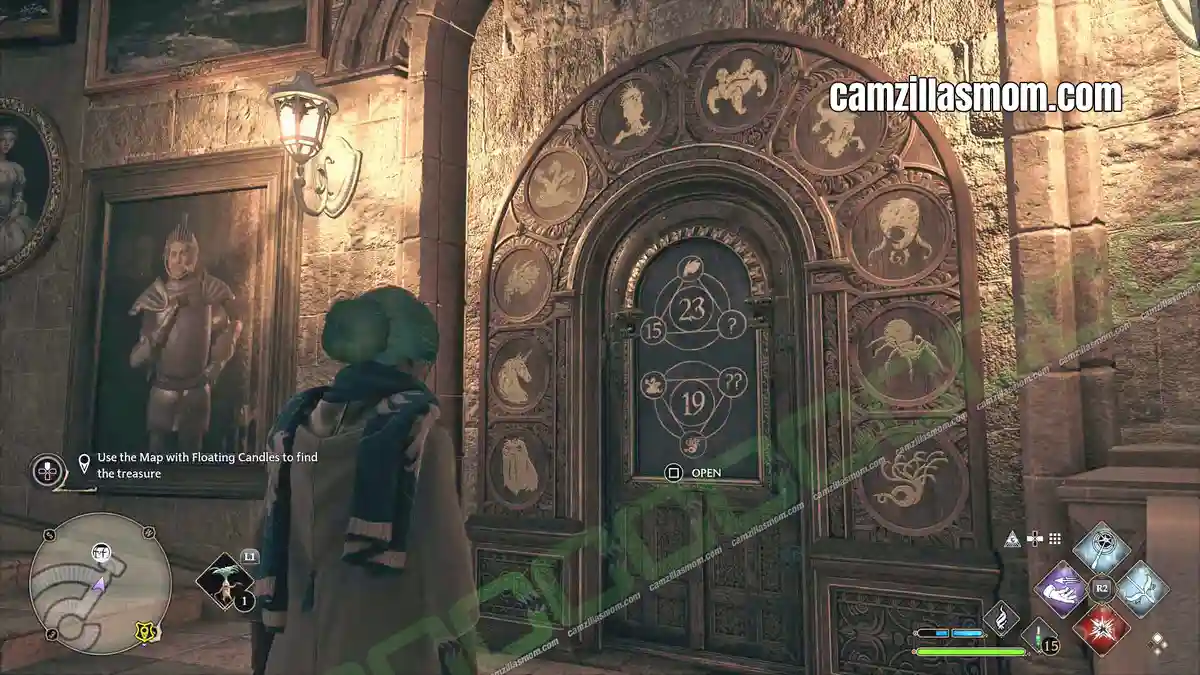
First Sum: 15 + Goat + ? = 23
The Goat is according to door frame a 2 Fifteen plus TWO (the Goat) plus SIX= 23
Select the lizard as the ? – The seventh animal from the left in the door frame.
Second Sum: Hydra + Tailed Tree + ?? = 19
The Hydra is according to door frame a 3
The Tailed Tree is a 9
3 + 9 + ?? = 19
Three plus Nine plus SEVEN = 19
Select the 4 legged octopus as ??
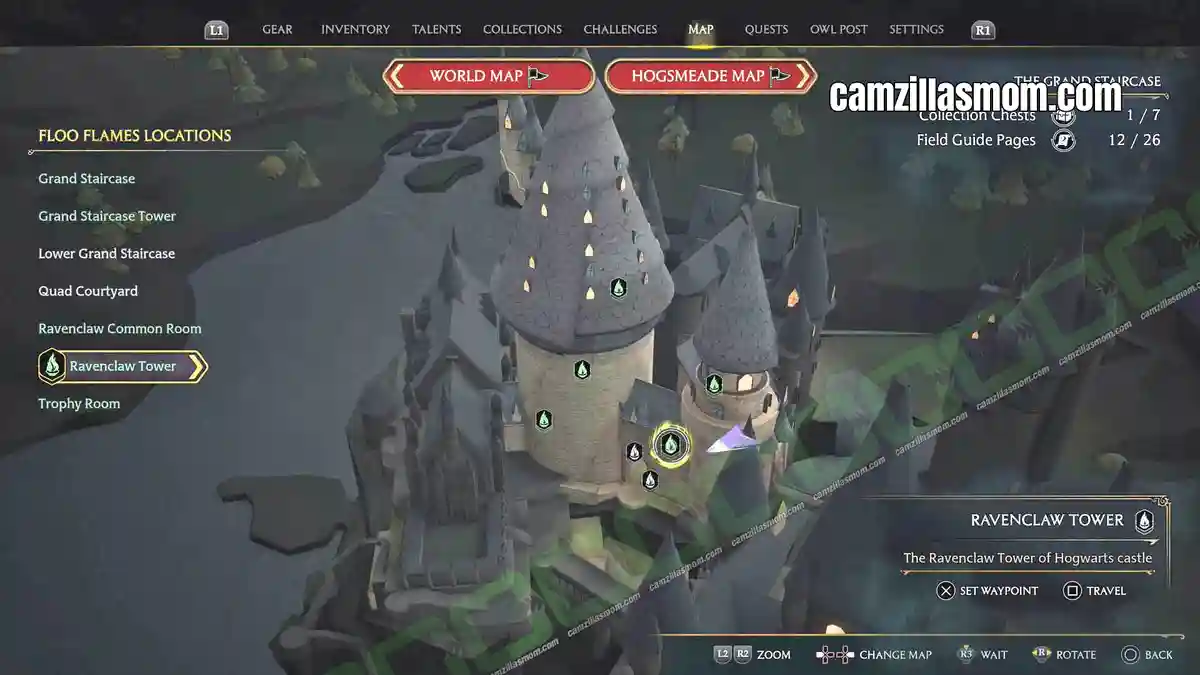
Chest 2 – Ravenclaw Tower Door Puzzle (Globes)
At the staircase to the Ravenclaw Tower is a Puzzle Door. Behind it is this Conjurations Collectible in a small chest.
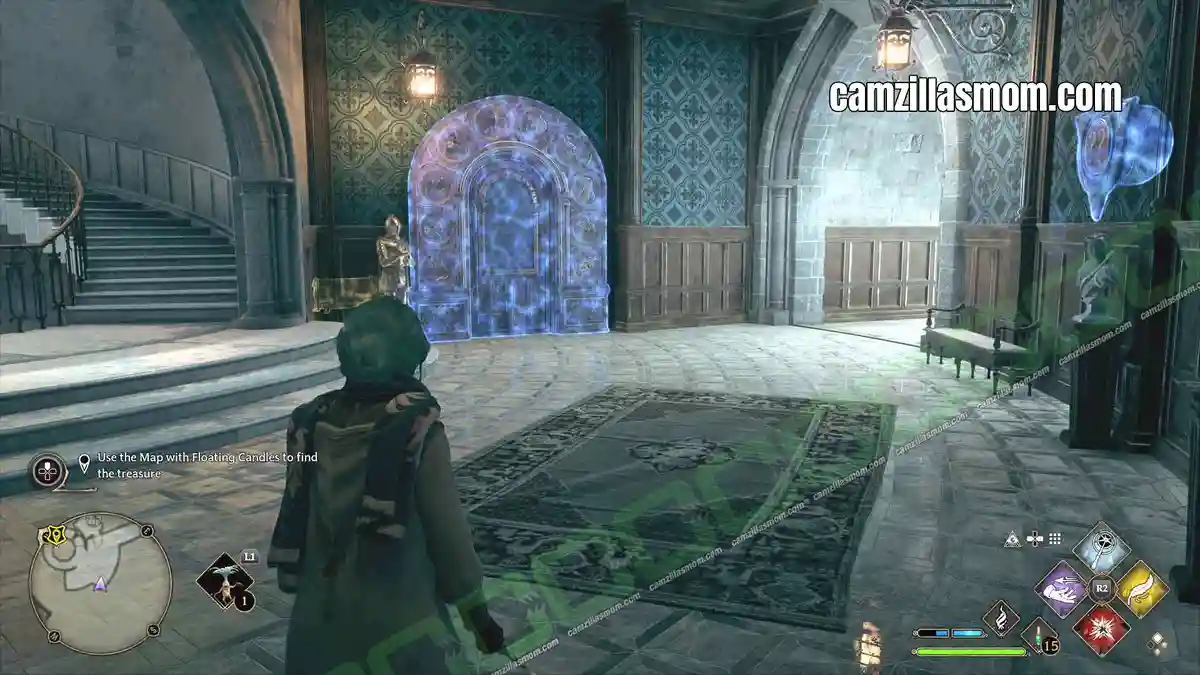
Here’s how to solve the puzzle. First of all reveal the two maths tasks in the centre of the door. The task at the top has one question mark and the one at the bottom two question marks. You should see those question marks nearby as rotatable buttons. That’s where your answer goes.
Before you start calculating, look at the door frame. Ten animals, ten numbers from 0 – 9 from left to right. So the seal at the bottom left has the Zero, then the unicorn has One, the goat has Two etc. That’s the beast you have to select in your rotating button.
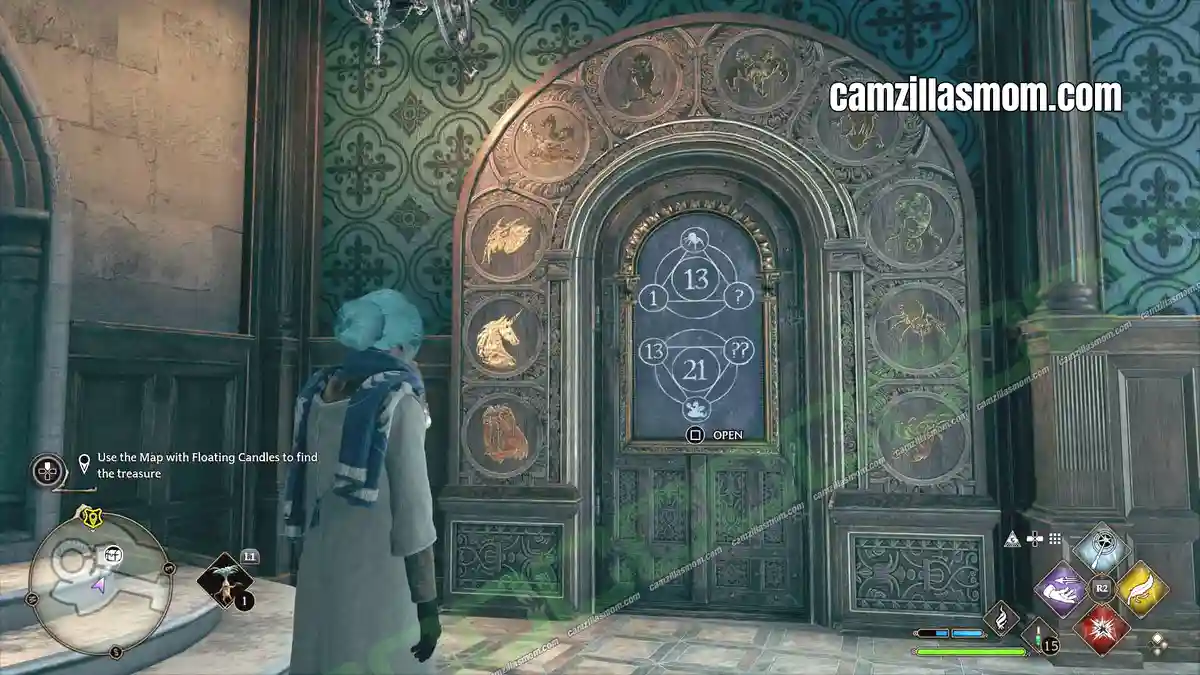
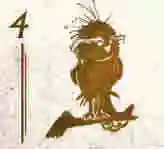
First Sum: 1 + Spider + ? = 13
The Spider is according to the door frame a 8
One plus Eight (the Spider ) plus FOUR = 13
Select the OWL as the ? – The fifth animal from the left in the door frame.
Second Sum: 13 + Hydra + ?? = 21
The Hydra is according to door frame a 3
Thirteen plus Three plus FIVE = 21
Select the FIVE LEGGED SPIDER as ??
Chest 3 – Lower Grand Staircase Door Puzzle (Magical Paintings)
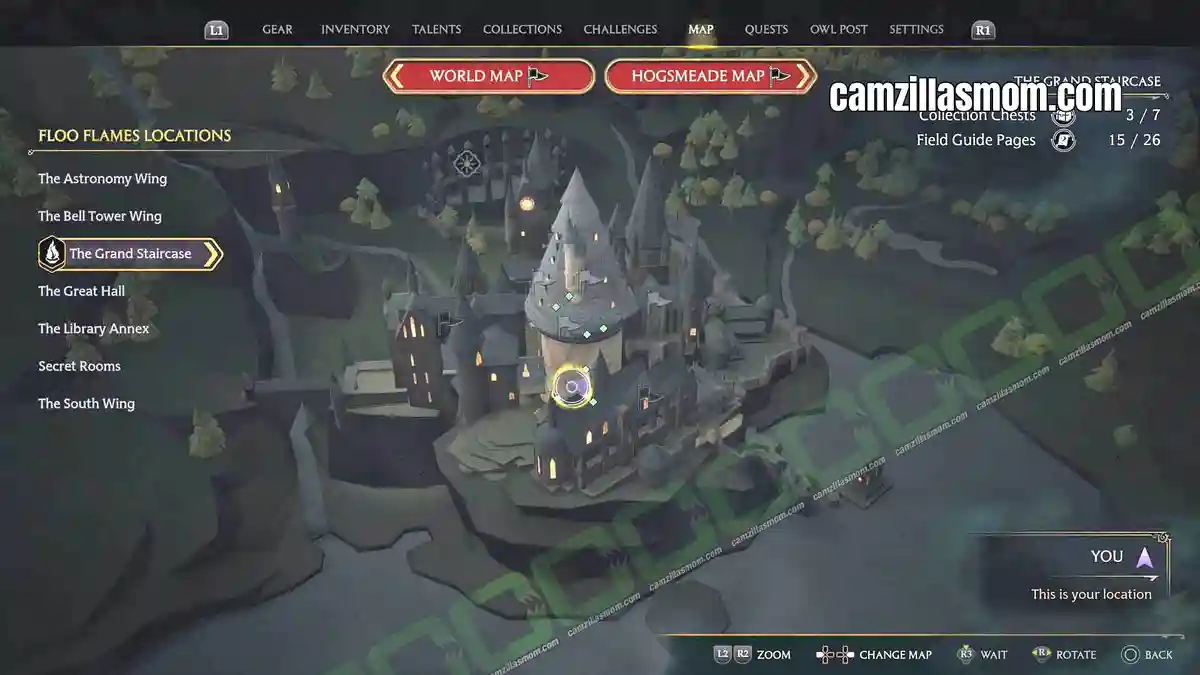
Lower down at THE GRAND STAIRCASE’S Moving Staircase is another puzzle door.
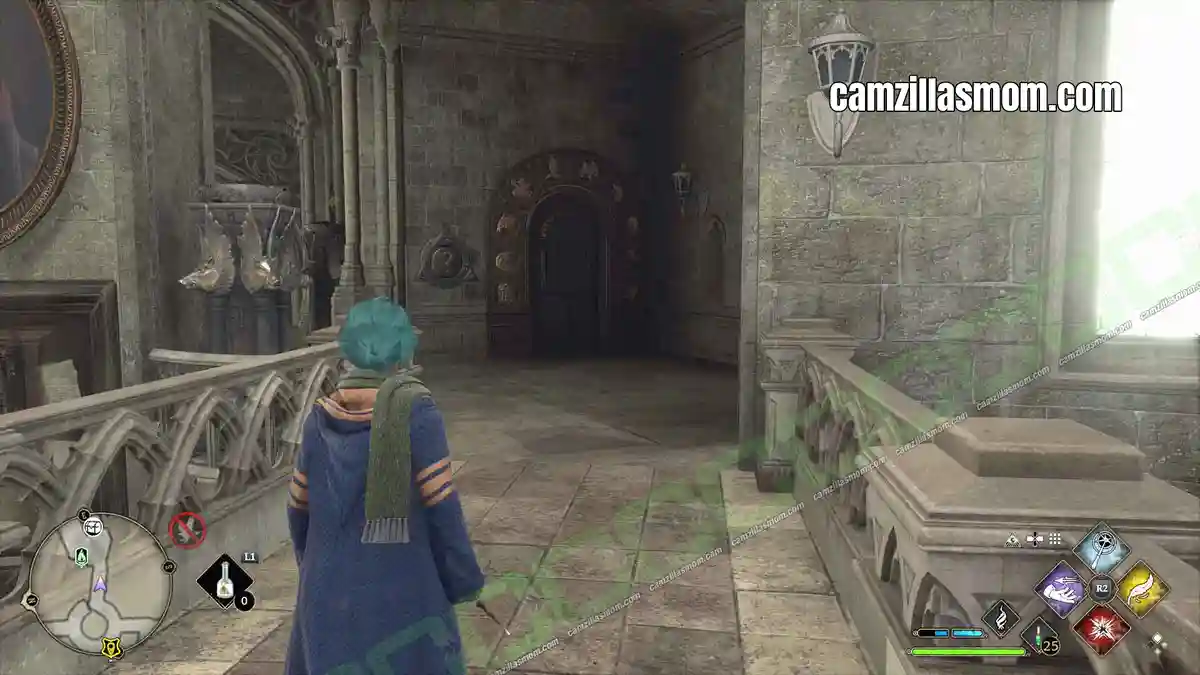
Here’s how to solve the puzzle. First of all reveal the two maths tasks in the centre of the door. The task at the top has one question mark and the one at the bottom two question marks. You should see those question marks nearby as rotatable buttons. That’s where your answer goes.
Before you start calculating, look at the door frame. Ten animals, ten numbers from 0 – 9 from left to right. So the seal at the bottom left has the Zero, then the unicorn has One, the goat has Two etc. That’s the beast you have to select in your rotating button.
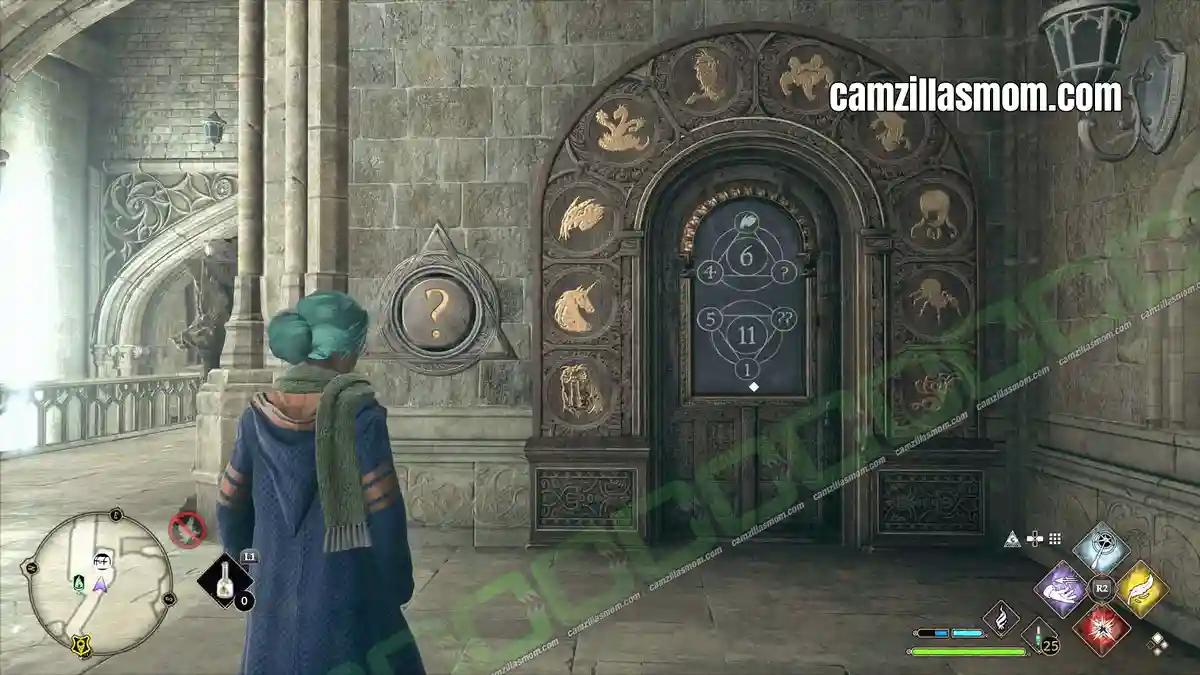
First Sum: 4 + Goat + ? = 6
The GOAT is according to the door frame a 2
FOUR plus TWO (The Goat) plus ZERO = 6
Select the SEAL as the ? – The first animal from the left in the door frame.
Second Sum: 5 + 1 + ?? = 11
FIFE plus ONE plus FIVE = 51
Select the FIVE LEGGED SPIDER as ??
Chest 4 – Headmasters’ Office
In the story, get to know the password for the Headmaster’s Office Gargoyle high above the Trophy Room at THE GRAND STAIRCASE. As you go upstairs into the office, you will see the chest on a small table.
Reward:
Avian – Brown – Wand Handle
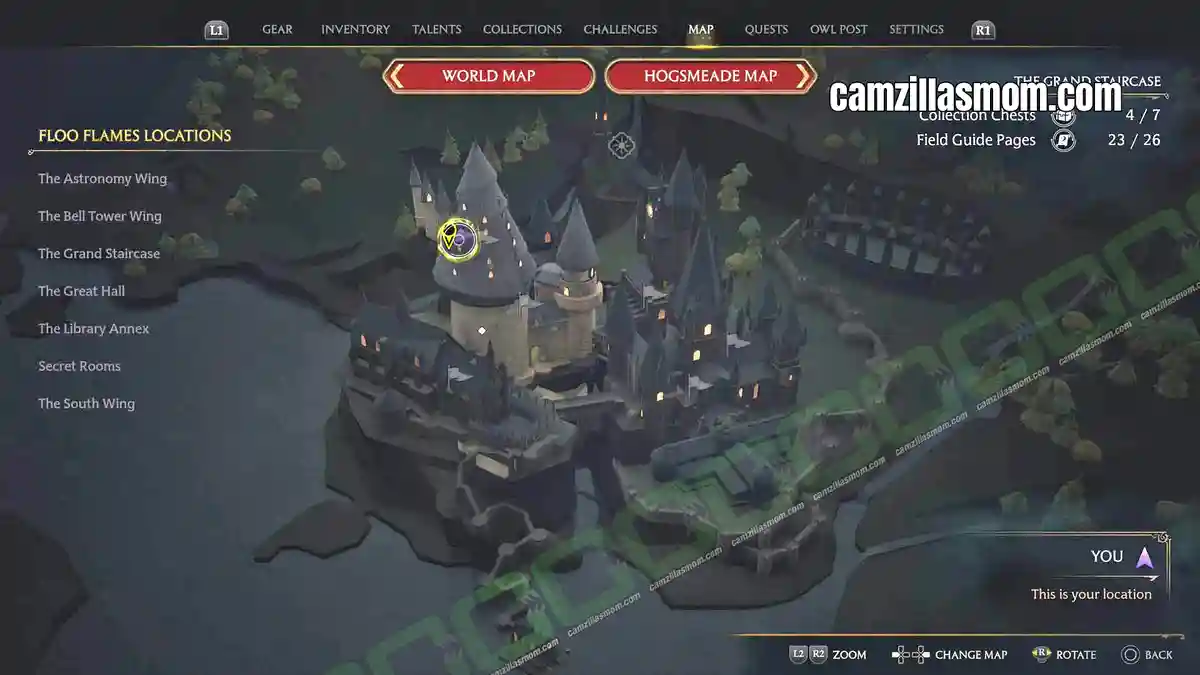
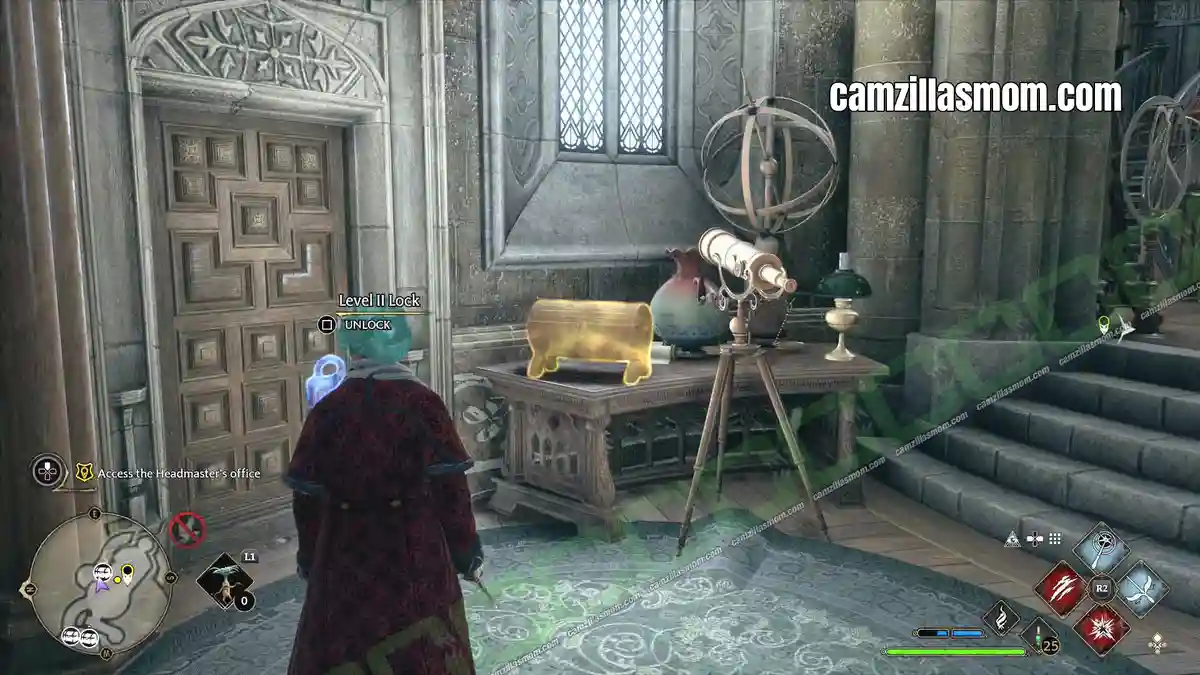
Chests 5 & 6 – Headmasters’ Office Gargoyle
There are two chests at the very top of the Grand Staircase. From the Trophy Room at the Grand Staircase, open the locked gate to get further up. Past a winding wooden corridor, up another winding staircase to a grey, stony corridor with the Headmaster’s Office Gargoyle. At the other end of the corridor is a big locked door that needs a key.
Continue with the story until you can go up to the Headmaster’s Office. From there, take the door out and up the outside staircase into the top room. There is a key lying on the table here in this blue room. It’s barely visible. That’s The Key of Admittance. It will open the door downstairs where the Gargoyle was. Go through this door and you will soon stand in front of two Collection Chests.
Rewards:
Shell – Honey Brown – Wand Handle
Dwellings – Conjurations
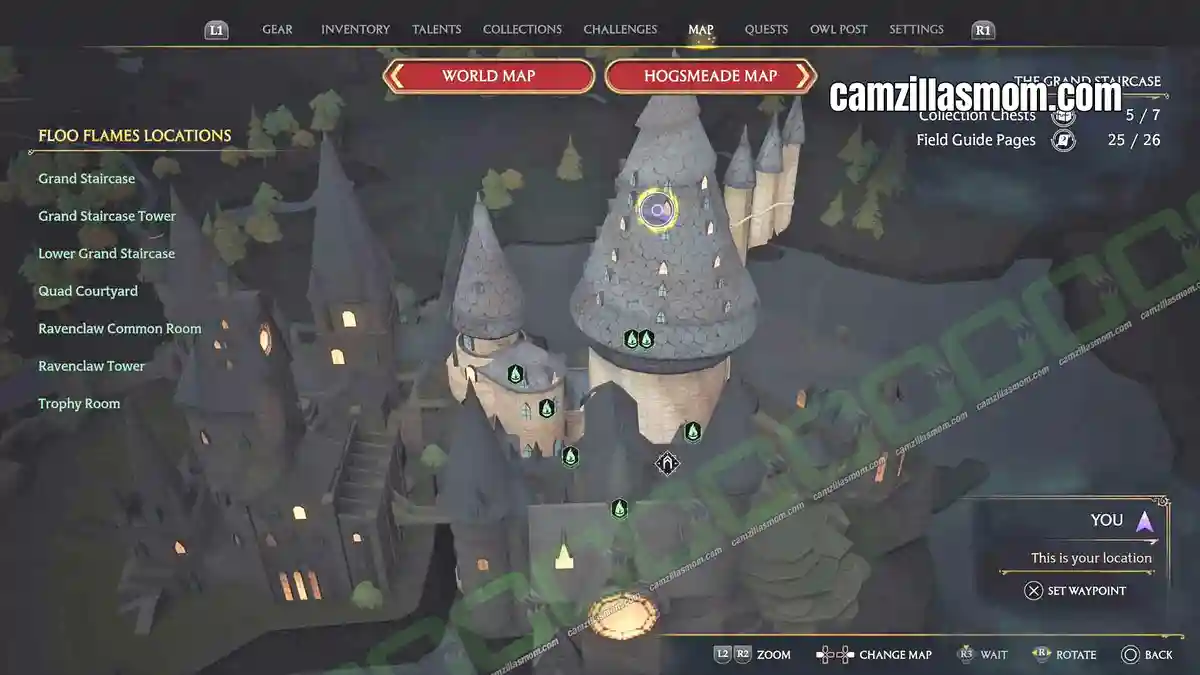
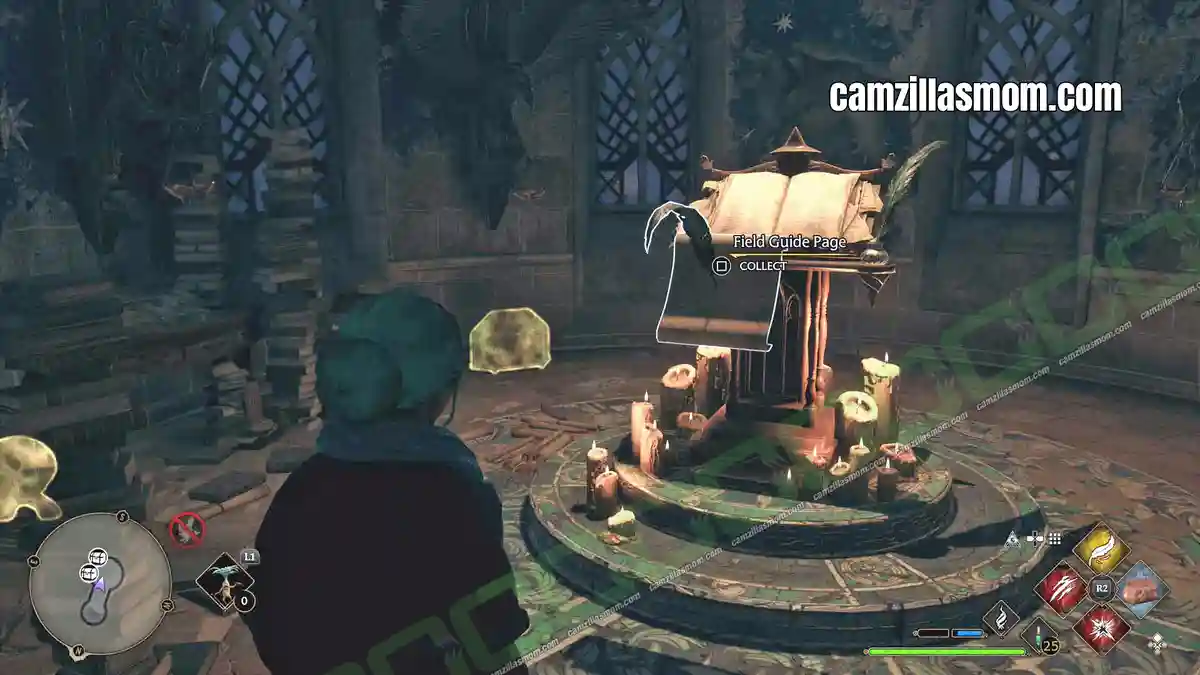
Chest 7 – Faculty Tower Door Puzzle
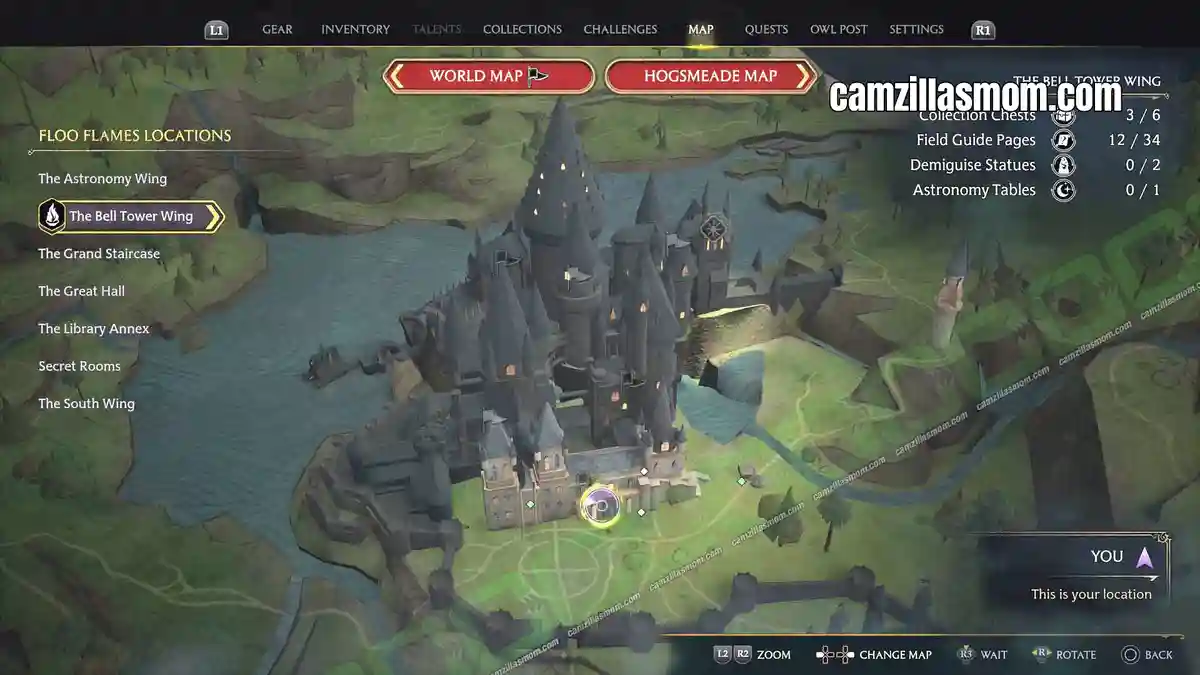
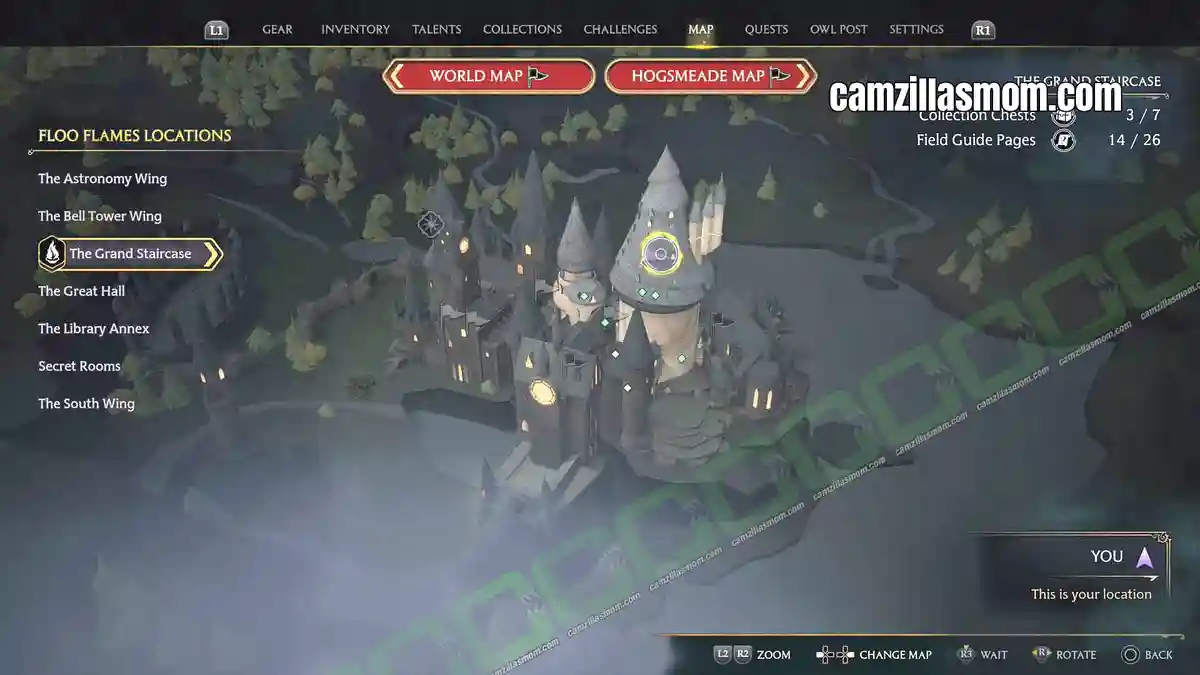
This one starts at the Faculty Tower Floo Flame, found under the SOUTH WING tab on your map. Once there, take the corridor southwest and duck through the door waiting on the right-hand side. Two staircases up, tucked into a corner of the room, you’ll spot another animal door puzzle.
Here’s how to solve the puzzle. First of all reveal the two maths tasks in the centre of the door. The task at the top has one question mark and the one at the bottom two question marks. You should see those question marks nearby as rotatable buttons. That’s where your answer goes.
Before you start calculating, look at the door frame. Ten animals, ten numbers from 0 – 9 from left to right. So the seal at the bottom left has the Zero, then the unicorn has One, the goat has Two etc. That’s the beast you have to select in your rotating button.
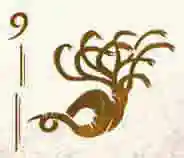
The answer here lands on the Seal for the first symbol and the many-armed tree for the second.
The Grand Staircase Field Guide Pages (Revelio Pages)
There are two types of Field Guides. Some have to be discovered – those would be the collectible Revelio Pages – and the “Flying Pages” that need to be caught with the “ACCIO” spell and are not documented anywhere else but counted against the FIELD GUIDE PAGES challenge. Below those two pages will be listed under “Revelio Pages” and “Flying Pages”.
Revelio Pages in The Grand Staircase
The Revelio Pages in this area will be shown in the same order as they appear in the “Collections – Revelio Pages” Game Menu.
1 – Salazar Slytherin’s Scriptorium
“A secret and well-protected room beneath Hogwarts where Salazar Slytherin appears to have spent time making various long-term plans with respect to the student population and reflecting on disagreements he had with the other founders.”
Play the story until you are able to do the “IN THE SHADOW OF THE STUDY” side quest, where you will have to discover Salazar Slytherin’s Scriptorium.
2 – Honeydukes Passageway
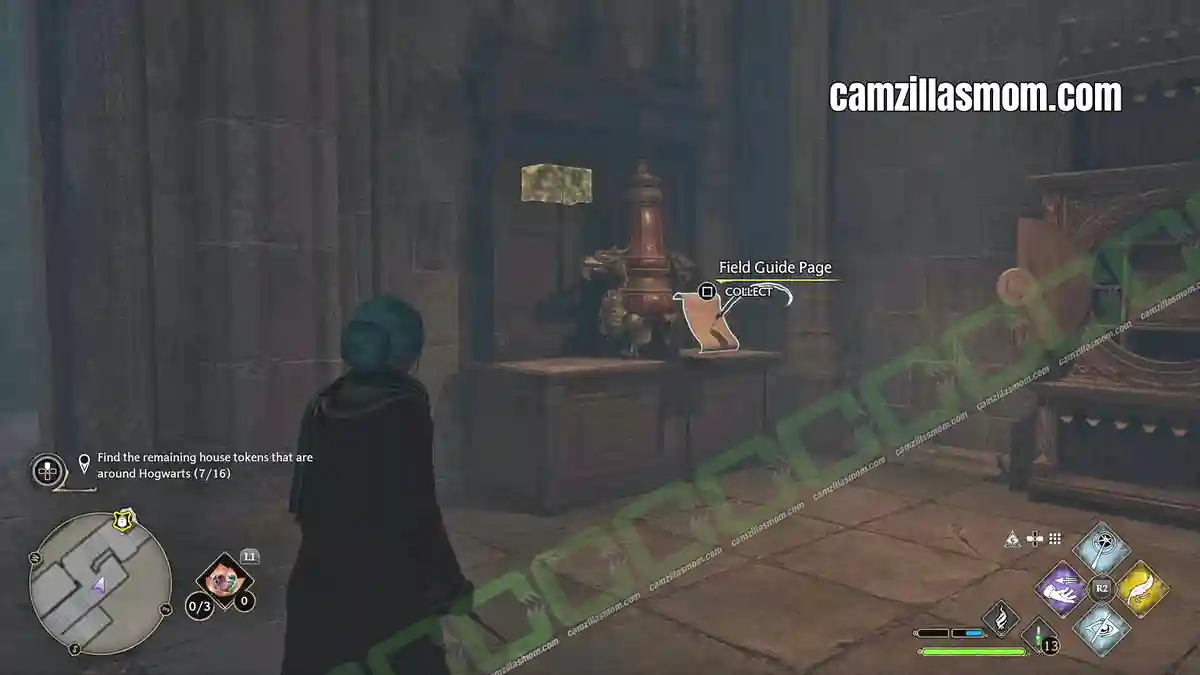
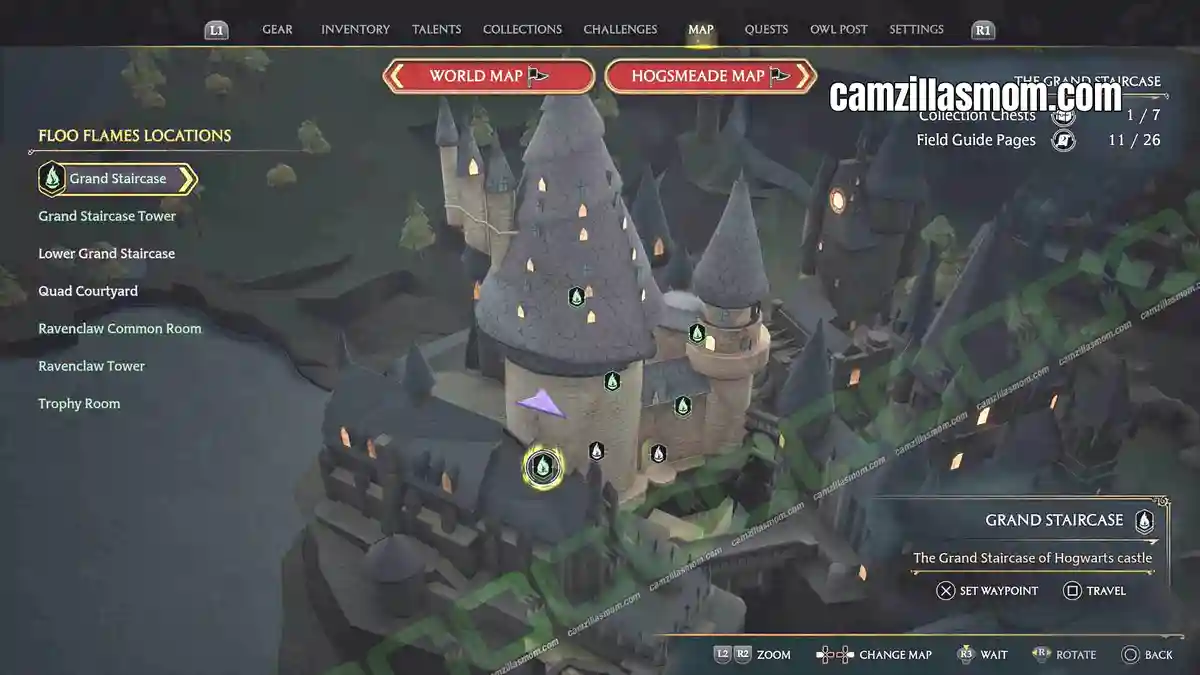
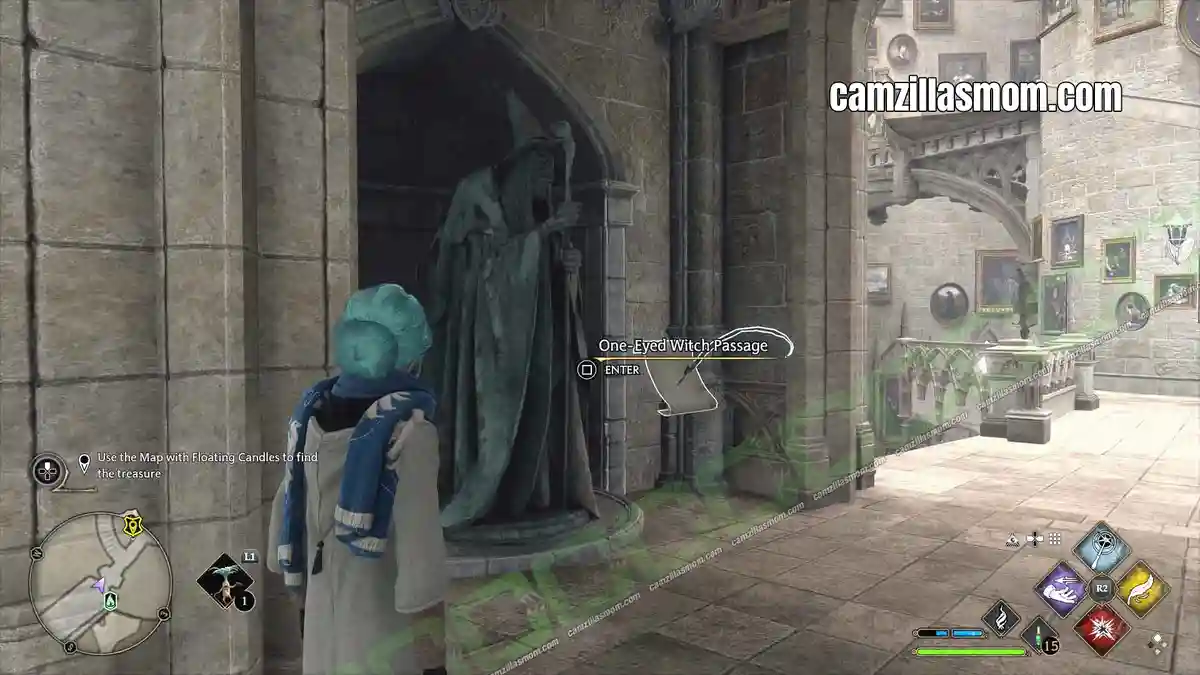
“Hidden behind the statue of a one-eyed witch is a secret passageway from Hogwarts to the cellar at Honeydukes. It can only be accessed using a particular charm.”
Lower down at the Moving Staircase, exit and you will find this statue of a witch. It’s also a passageway. If you can’t pick up the page because of that, use “ACCIO” to pull it to you.
3 – Quill of Acceptance and Book of Admittance
“The Quill of Acceptance and Book of Admittance were placed here by the founders and have not been touched since. They record the name of every prospective Hogwarts student the moment they first show signs of magic – although the quill is more lenient than the book, which will sometimes snap shut before a name is written if the evidence of magic is not dramatic enough.”
From the Trophy Room at the Grand Staircase, open the locked gate to get further up. Past a winding wooden corridor, up another winding staircase to a grey, stony corridor with the Headmaster’s Office Gargoyle. At the other end of the corridor is a big locked door that needs a key.
Continue with the story until you can go up to the Headmaster’s Office. From there, take the door out and up the outside staircase into the top room. There is a key lying on the table here in this blue room. It’s barely visible. That’s The Key of Admittance. It will open the door downstairs where the Gargoyle was. Go through this door and you will soon stand in front of the Quill of Acceptance and the Book of Admittance.
4 – Centaur Armour
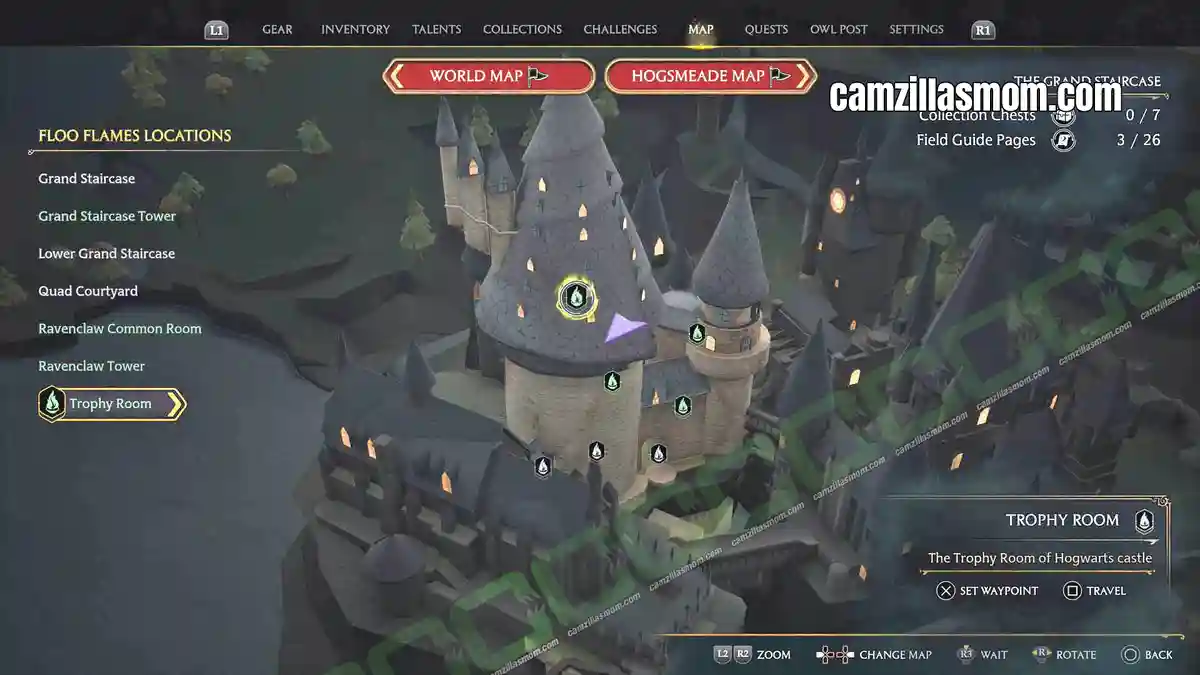
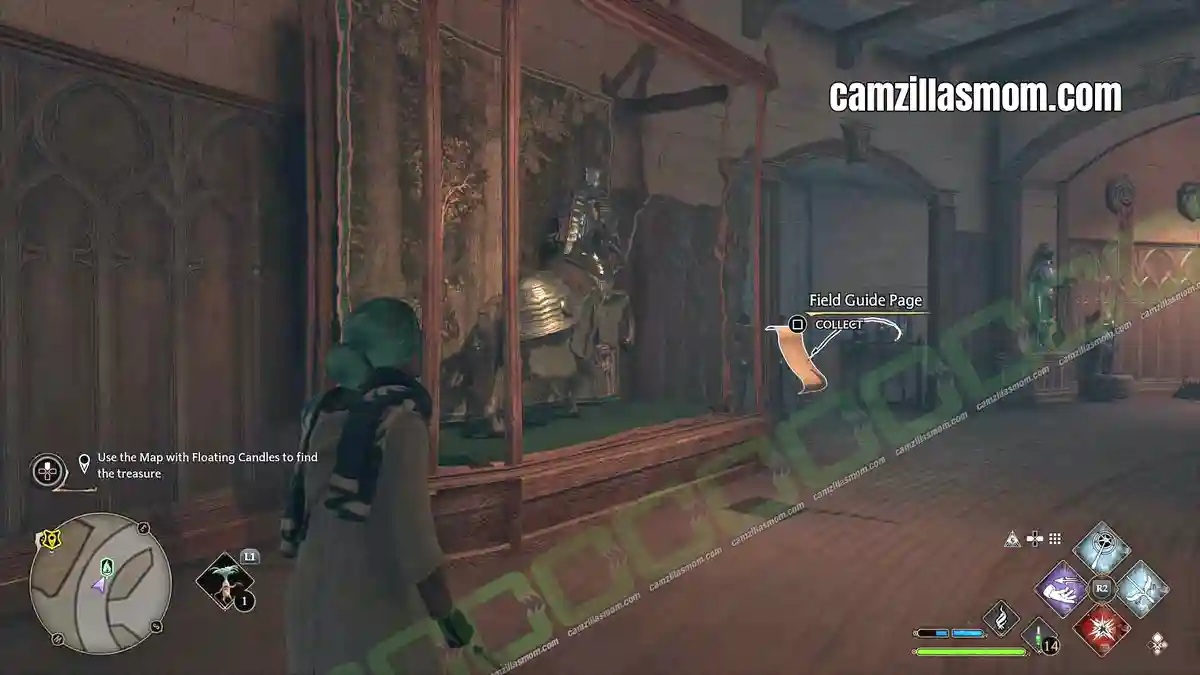
“This unique set of armour was created as misguided peace-offering to a centaur leader. The gift was spurned and the messenger shot through the leg with an arrow. The armour itself, battered with hoofmarks, was later recovered and refurbished.”
The Centaur Armour is on display at the outside ring of the Trophy Room high up at THE GRAND STAIRCASE.
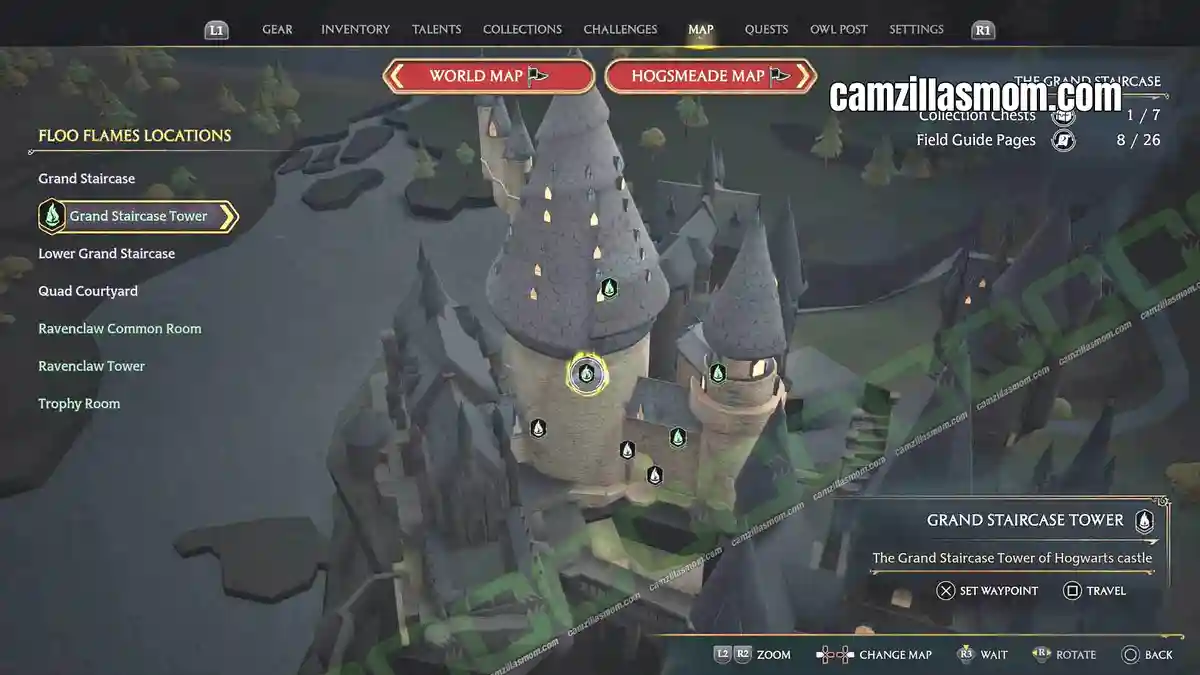
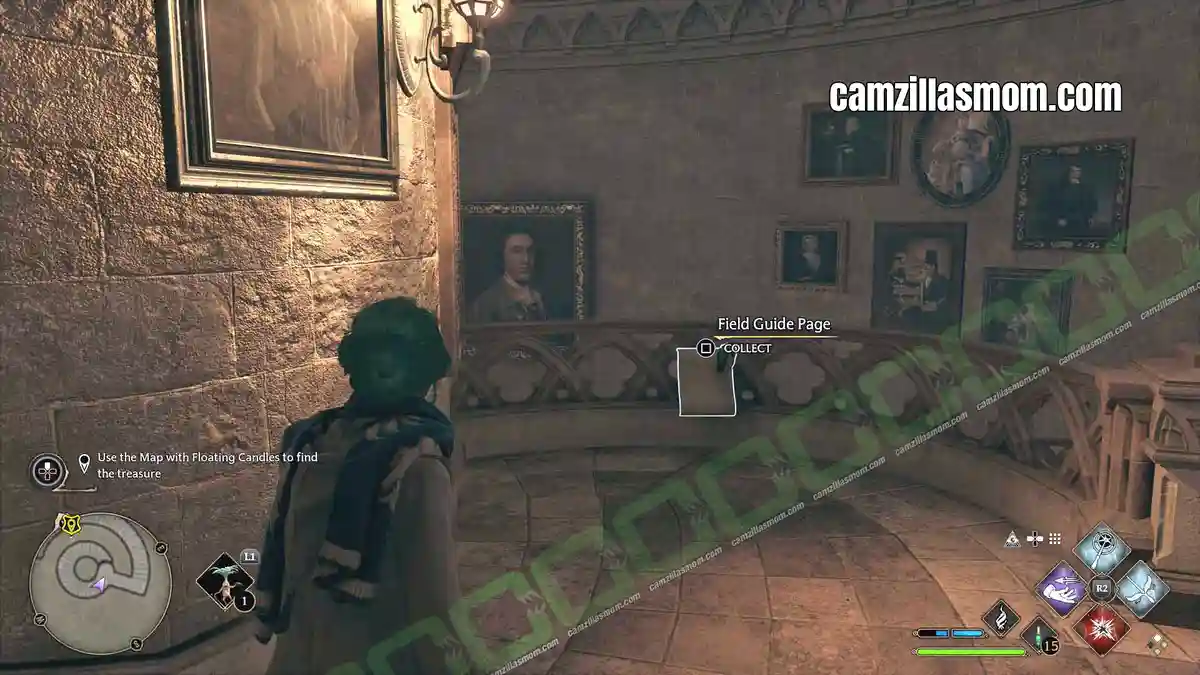
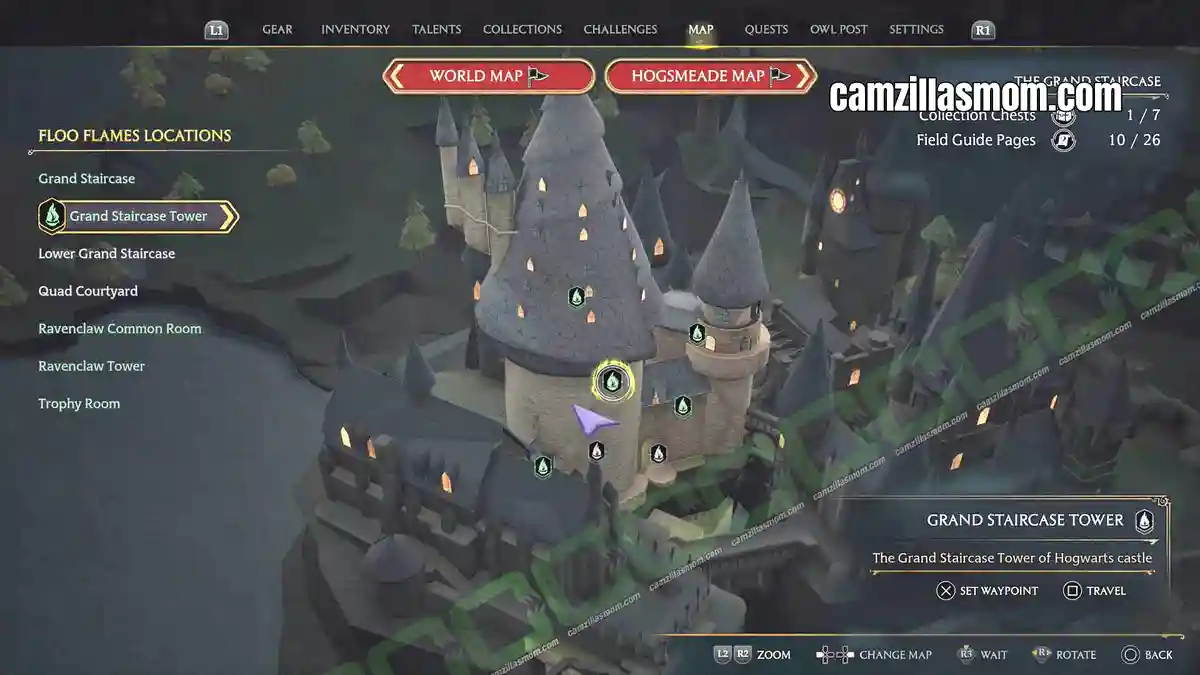
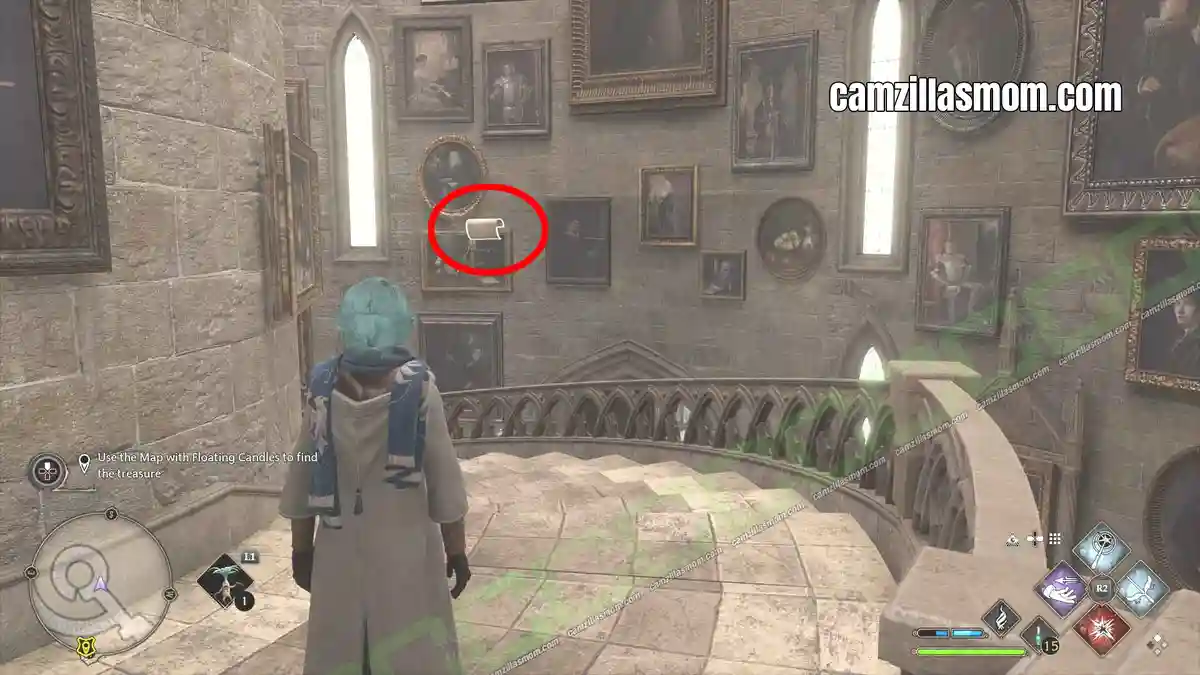
5 – Moving Staircase
“The savvy student is wise to keep an eye on the stairs, as they will change position without notice. While certain students may not mind being late for class, they may very well regret being late to dinner.”
Find this page in the centre area of the Grand Staircase Tower at THE GRAND STAIRCASE.
6 – Headmaster’s Office Gargoyle
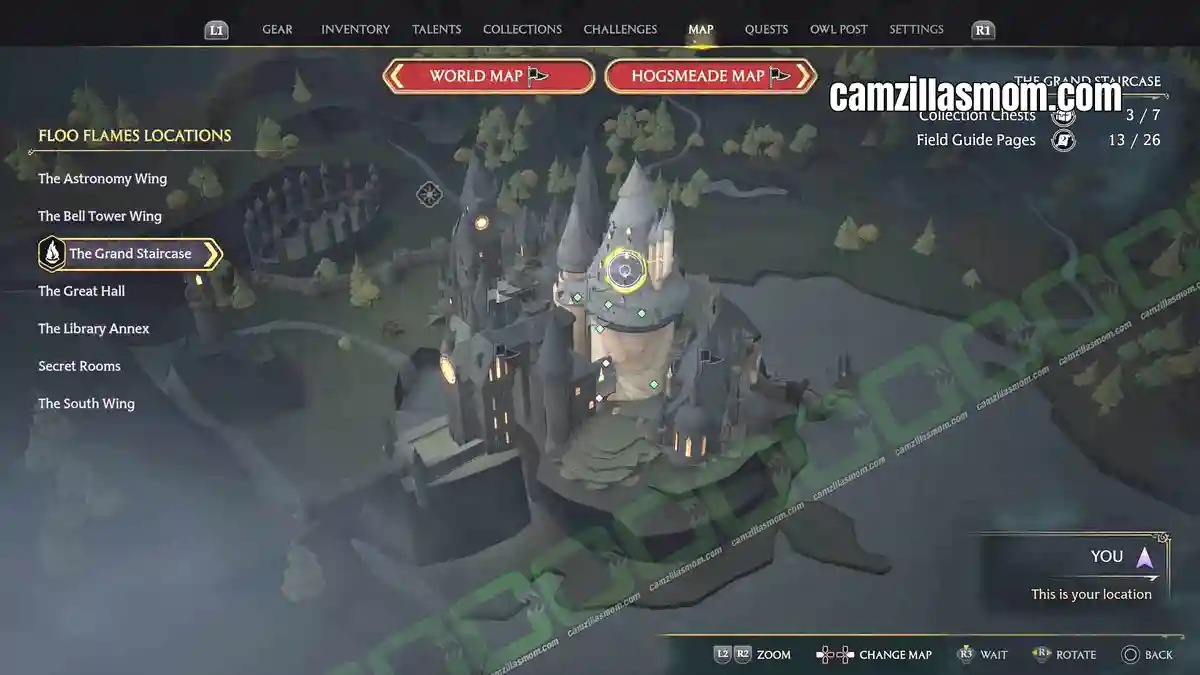
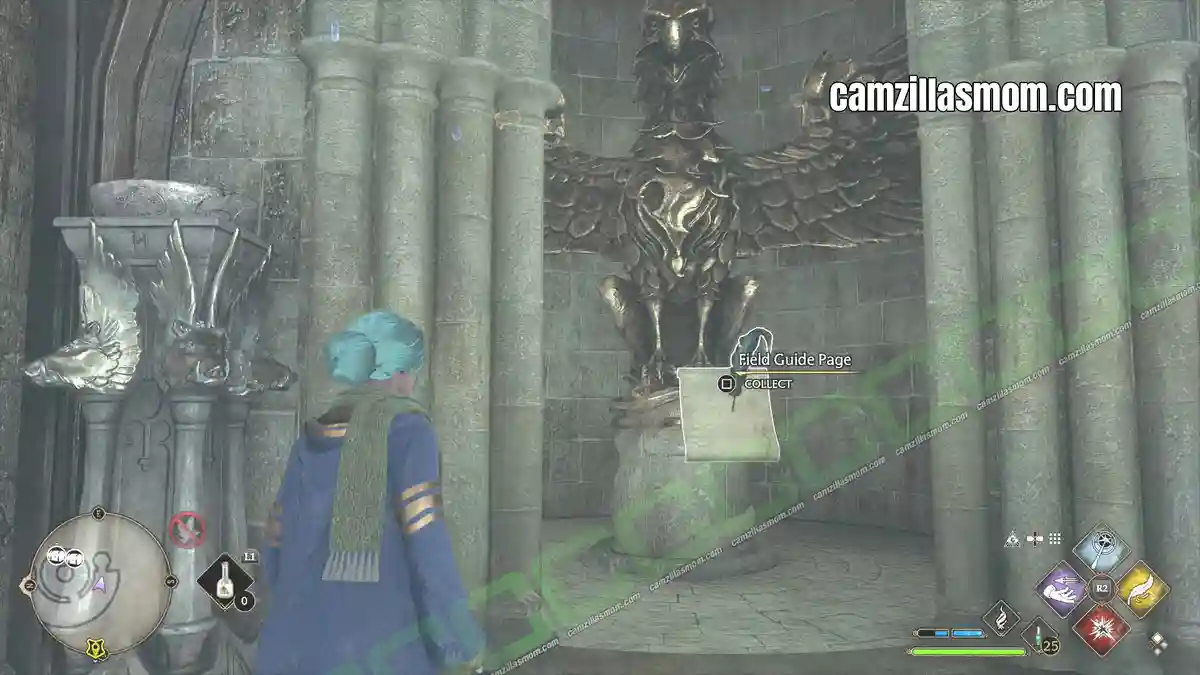
“The staircase that leads to the Headmaster’s office is guarded by an enchanted gargoyle that will let only those who know the password enter. Though, anyone choosing to visit the current occupant of the office is difficult to fathom.”
Go all the way to the top of THE GRAND STAIRCASE to the Trophy Room. Stay on the outer ring of the Trophy Room. There is a Level 1 locked up staircase. Open it with Lockpicking and go all the way past the brown corridor and up to the roof. In this storage area for mostly Egyptian statues is this Gargoyle Statue.
7 – Goblet of Fire Casket
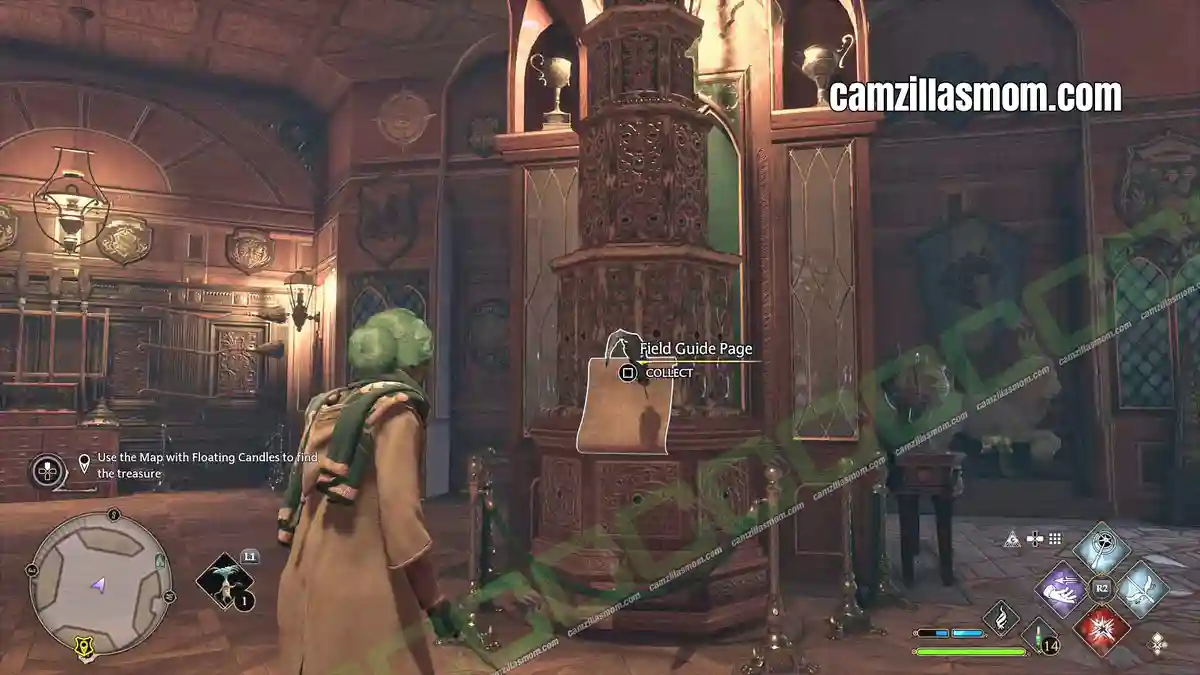
“The Goblet of Fire rests within this ancient, jewel-encrusted chest. The Goblet has served as a means of selecting champions for the Triwizard Tournament since the contest’s establishment in the late 13th century.”
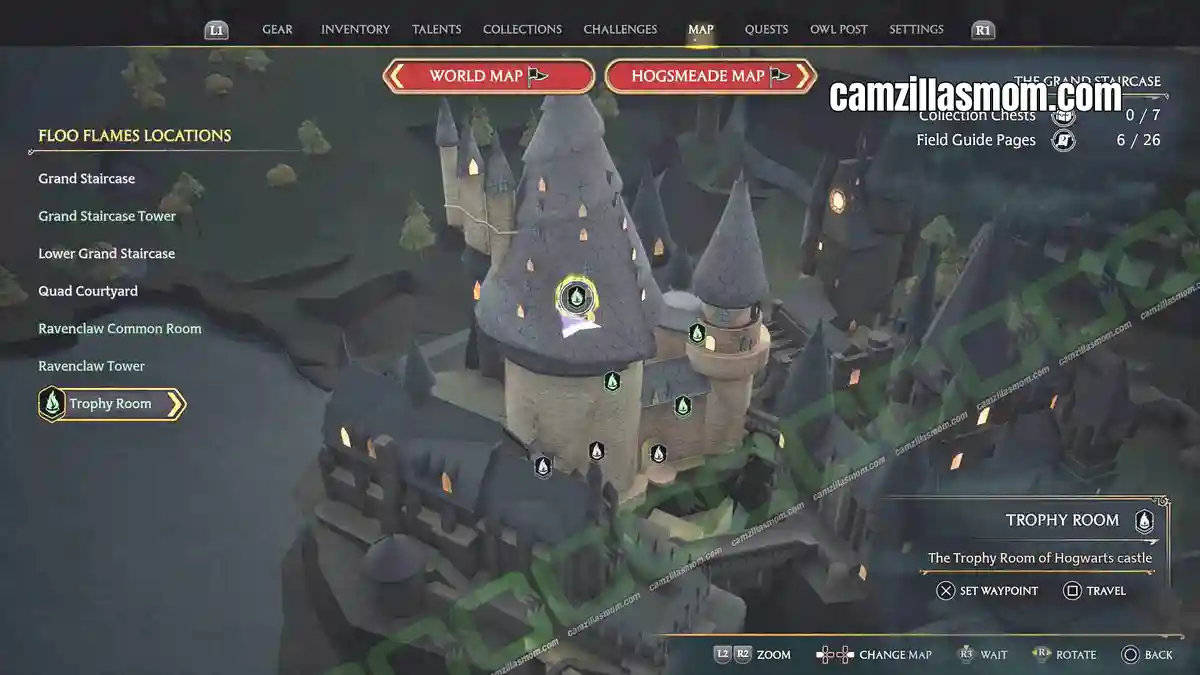
At the top of THE GRAND STRAIRCASE in the centre of the Trophy Room.
8 – House of Elf Armour
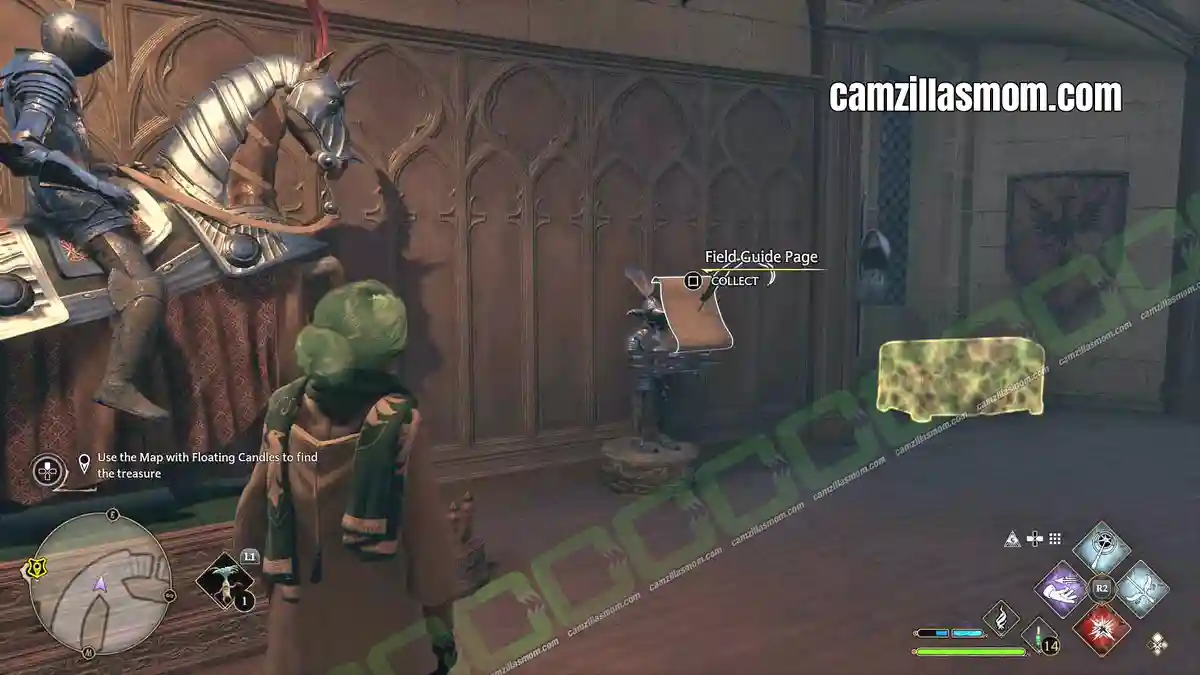
This set of armour for a house-elf is rumoured to have been made by a cruel wizard who wanted his elf to protect him in battle. Happily, the wizard was too dense to realise that armour could, in fact, be considered clothing. The moment the elf donned it, he Disapparated right out of it, never to be seen again.
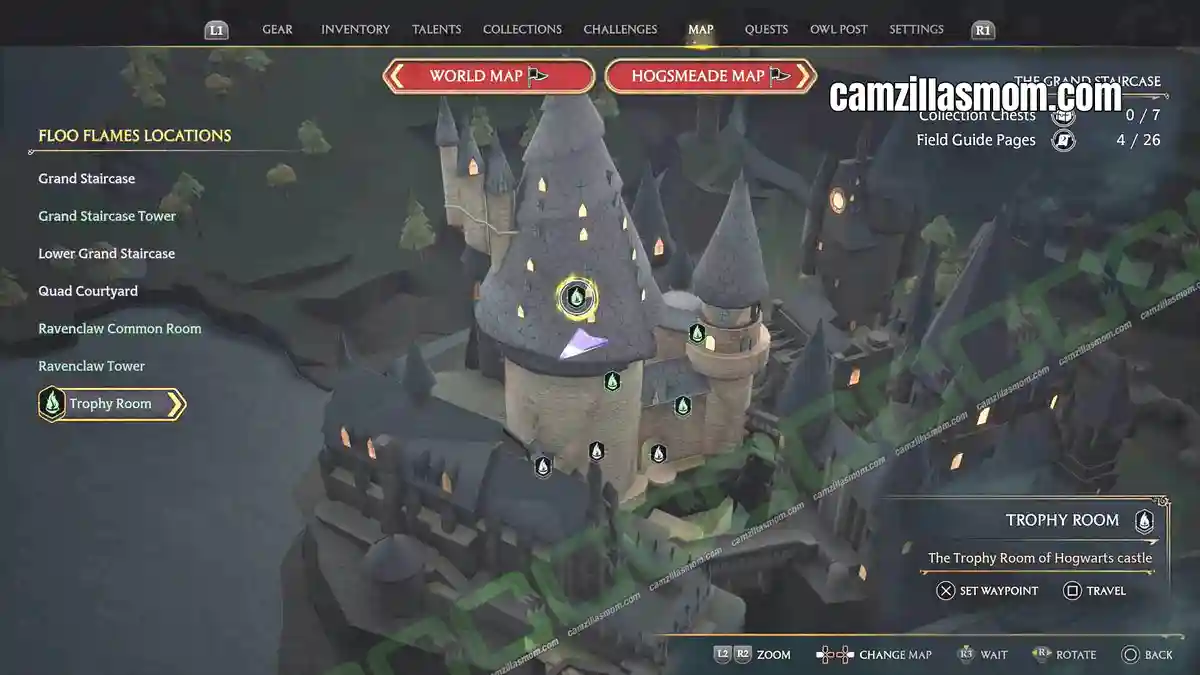
The House-Elf Armour is on display at the outside ring of the Trophy Room high up at THE GRAND STAIRCASE.
9 – Sleeping Portraits
“Not all headmasters and headmistresses enjoy reliving the day-to-day challenges of running a school of witch craft and wizardry. Some prefer to enjoy a well-earned nap when possible.”
In the story, get to know the password for the Headmaster’s Office Gargoyle high above the Trophy Room at THE GRAND STAIRCASE. As you go upstairs into the office, you will see those Sleeping Portraits on your way.
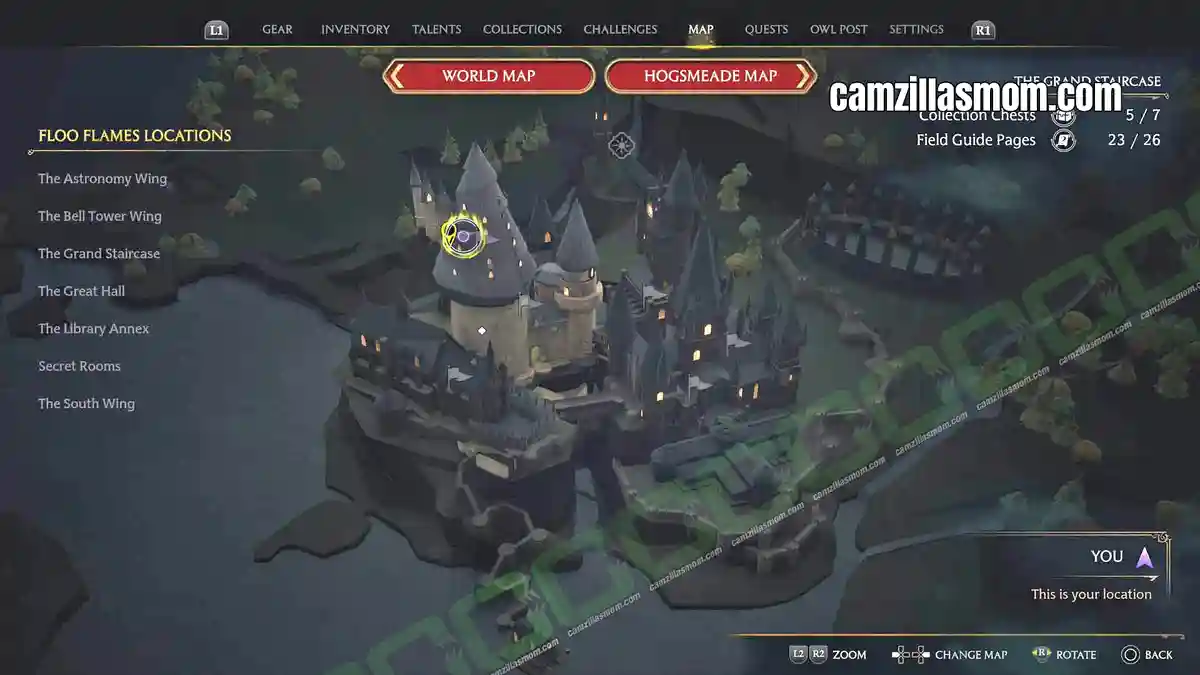
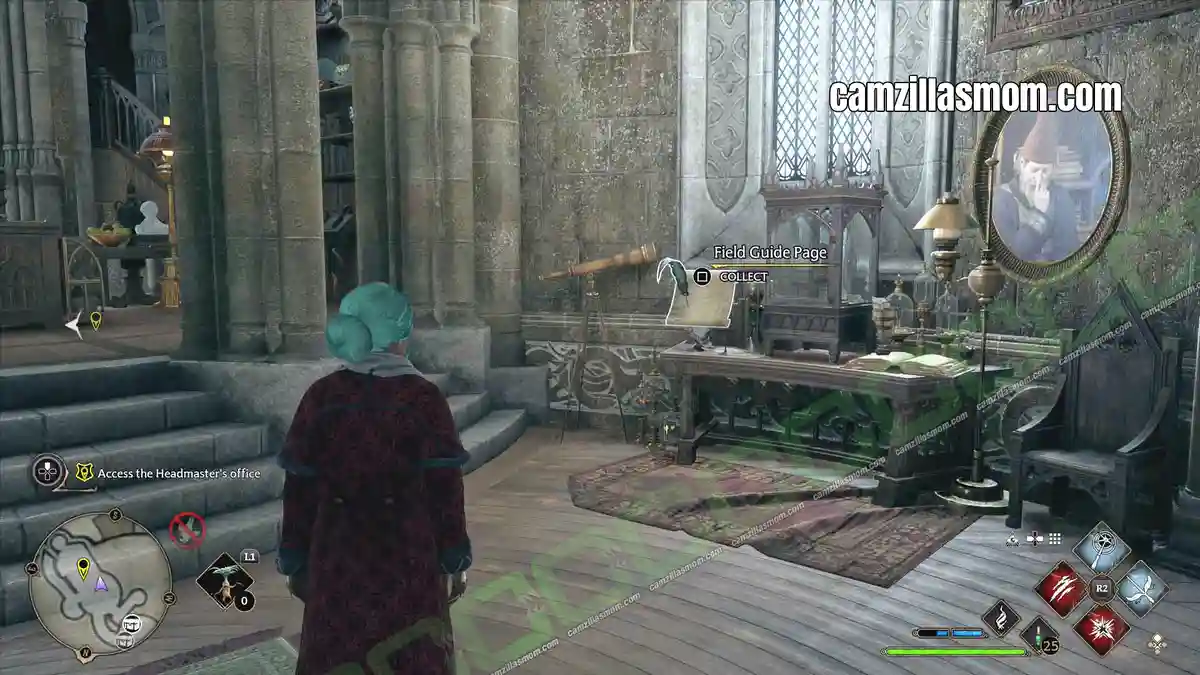
10 – The Sorting Hat
“This enchanted hat was created by the four founders of Hogwarts as the means by which students would be placed into one of the four school houses. Skilled at Legilimency, the Sorting Hat can ‘see’ into the wearer’s head, allowing it to determine their thoughts and abilities.”
The Sorting Hat is inside the Headmaster’s Office.
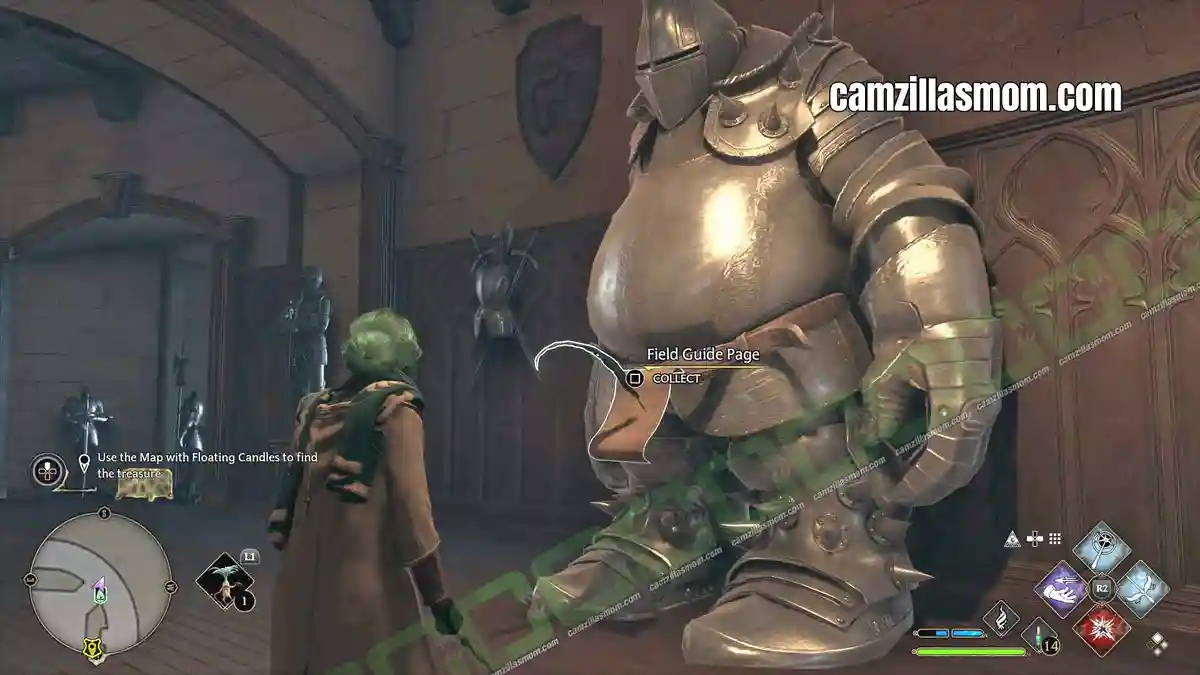
11 – Troll Armour
“This unusual suit of armour was crafted for a troll. That is has survived at all is astonishing since trolls do not ordinarily wear armour and would understandably be prone to smashing it in confusion or anger.”
The page is high up at THE GRAND STAIRCASE in the Trophy Room.
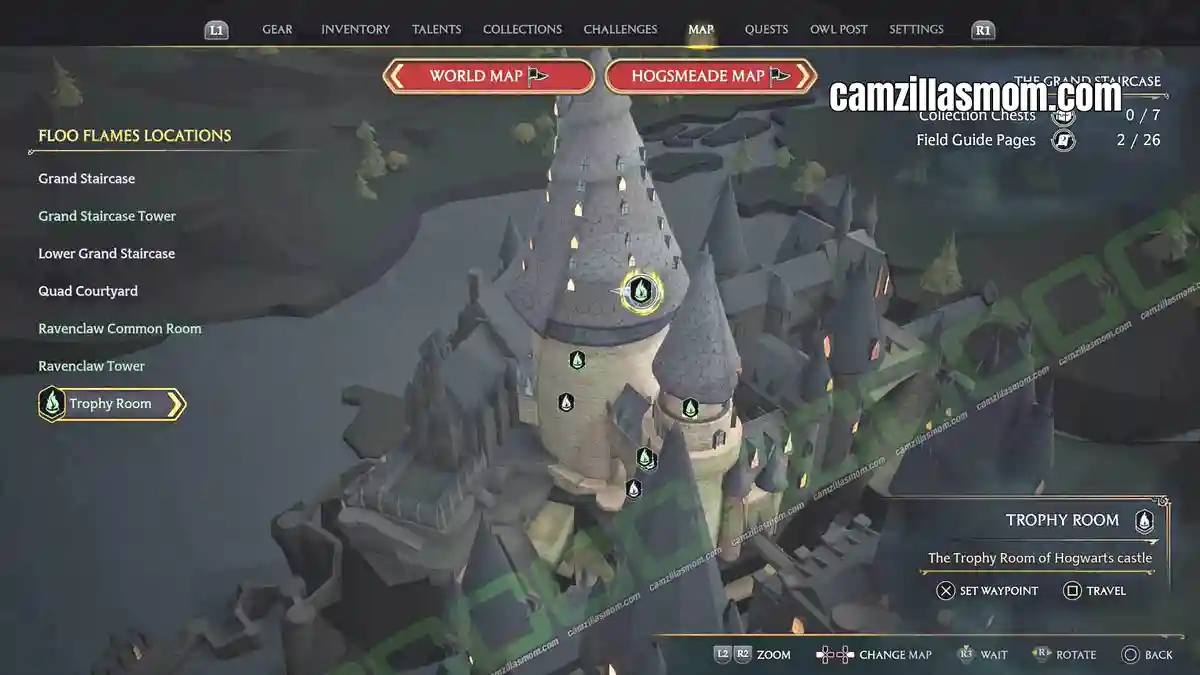
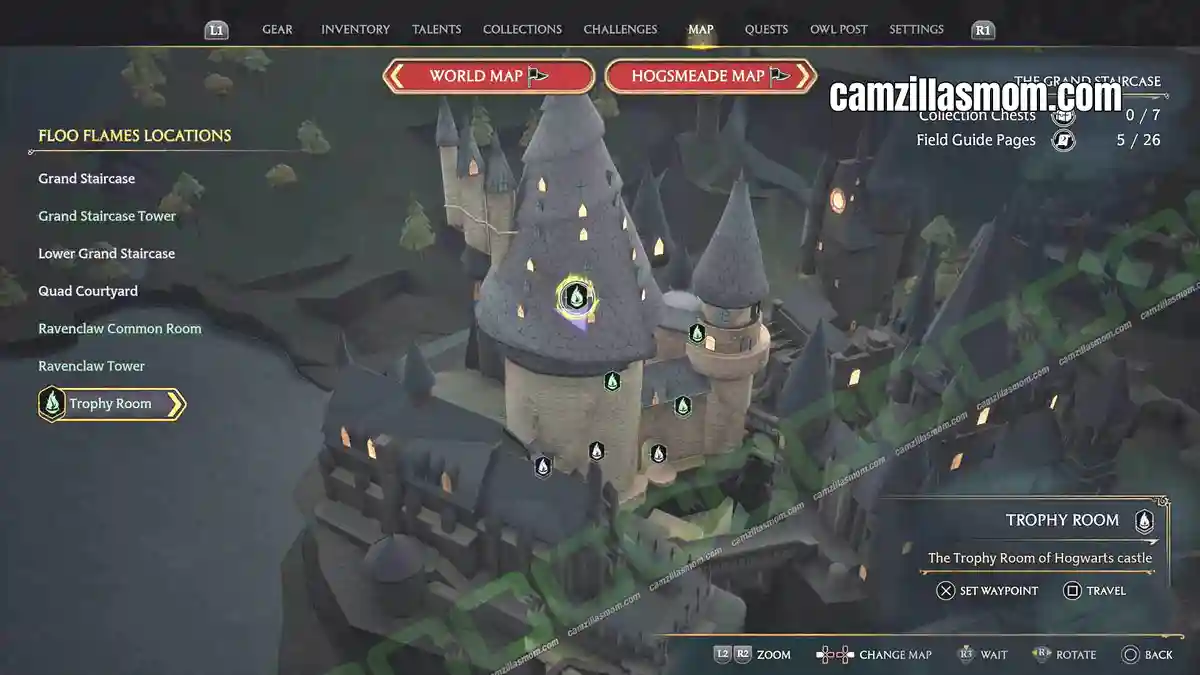
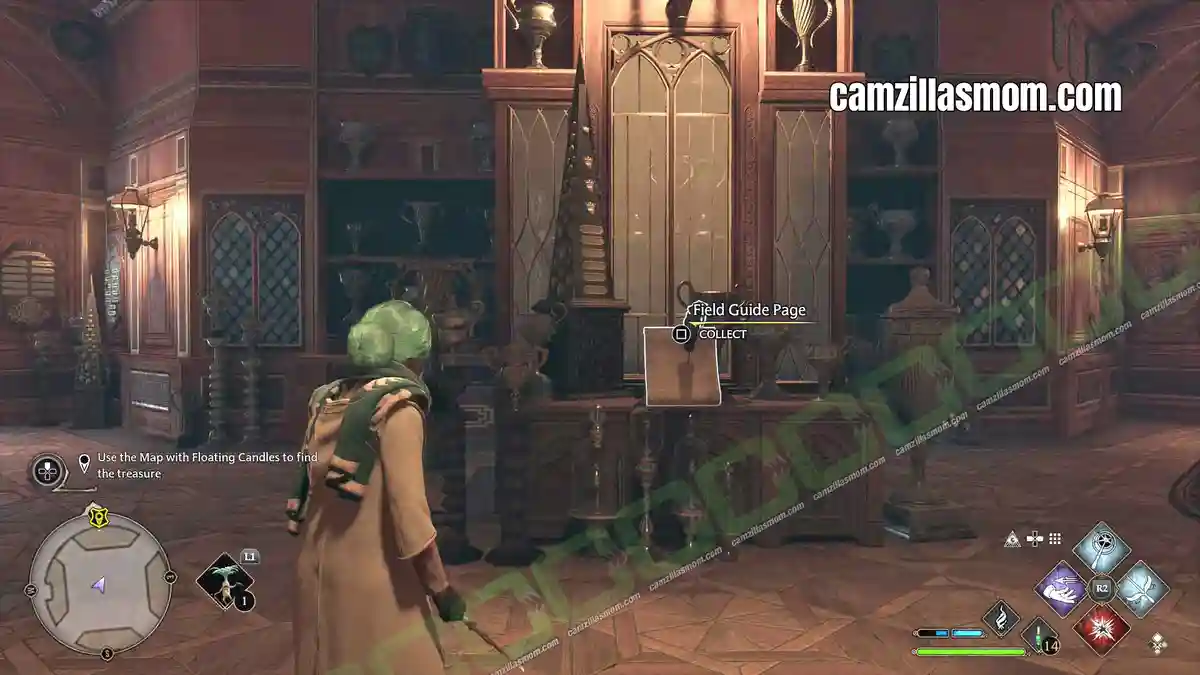
12 – Trophy Room
“This room contains the House Cup, Quidditch trophies, duelling trophies, and other awards given at the school. STudents who step out of line can be found polishing the silver here, by hand, as a reminder of the value of hard work.”
At the top of THE GRAND STRAIRCASE in the centre of the Trophy Room.
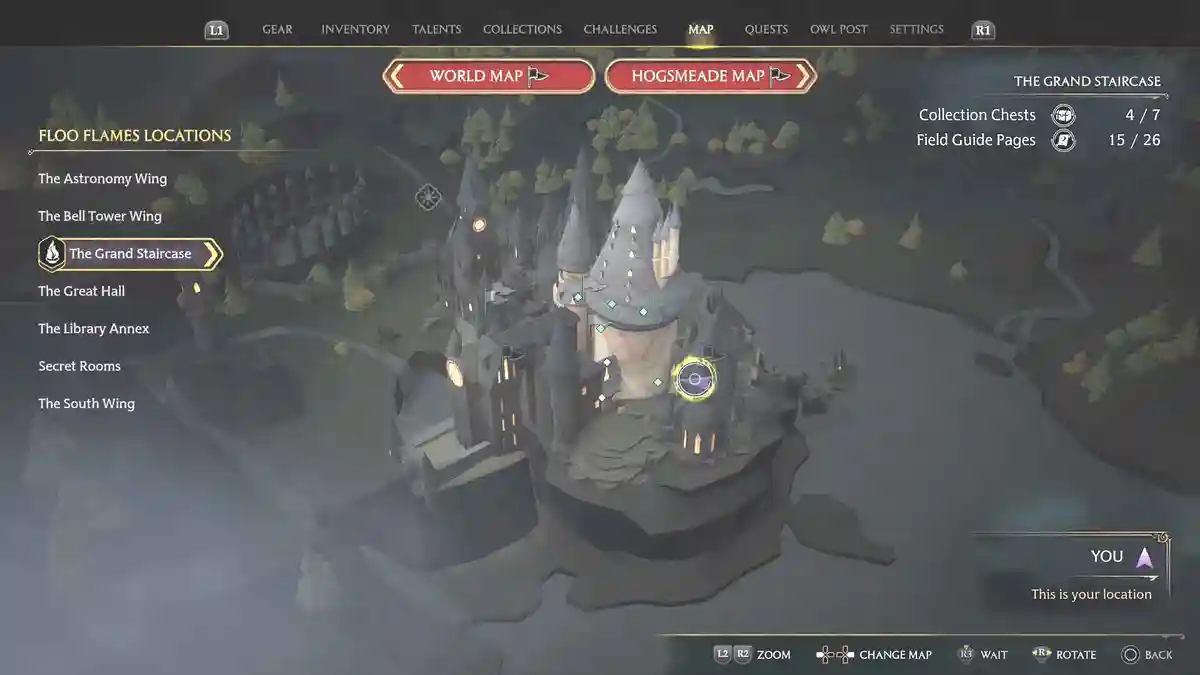
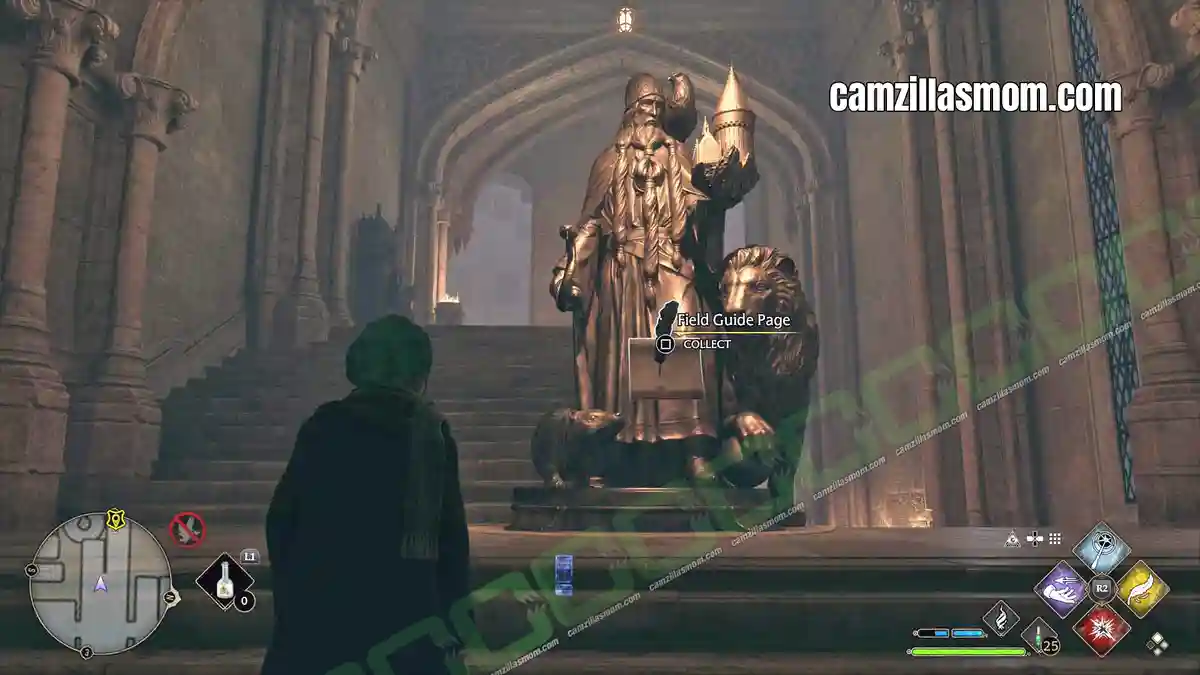
13 – The Hogwarts Architect
“The Hogwarts Architect, shown here surrounded by the four house mascots, designed and oversaw the construction of Hogwarts castle alongside founder Rowena Ravenclaw, who is credited with creating its ever-changing floorplan.”
Leave THE GRAND STAIRCASE towards THE GREAT HALL. This statue is in the centre of the staircase.
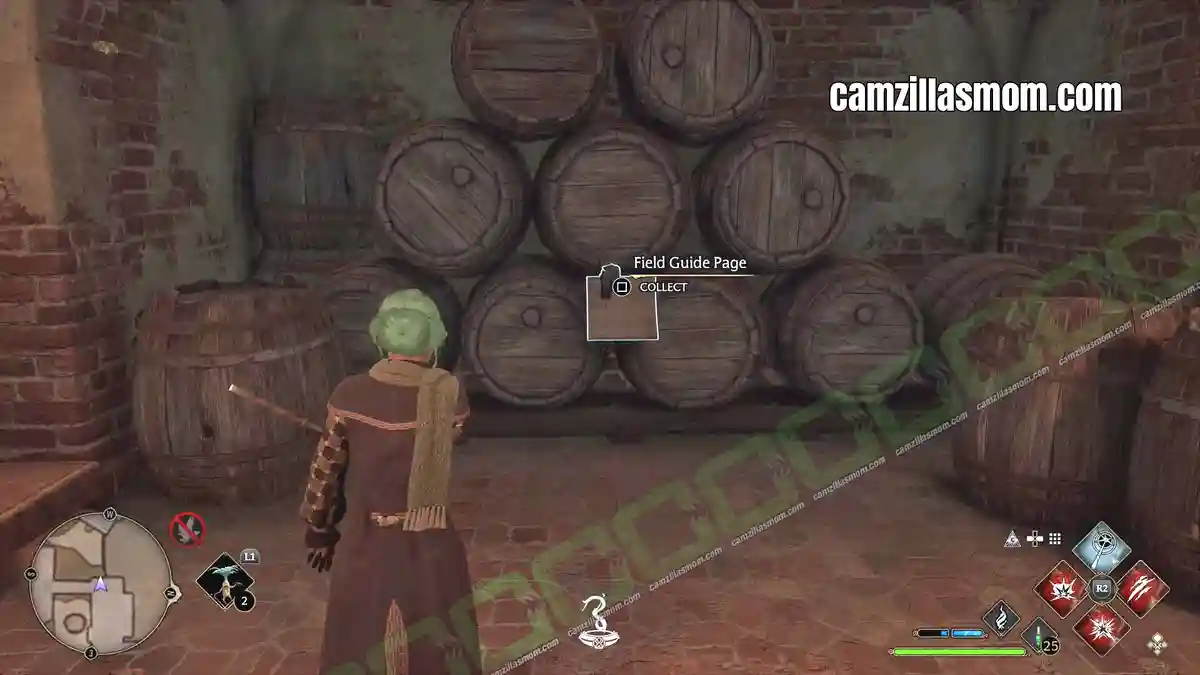
14 – Hufflepuff Barrels
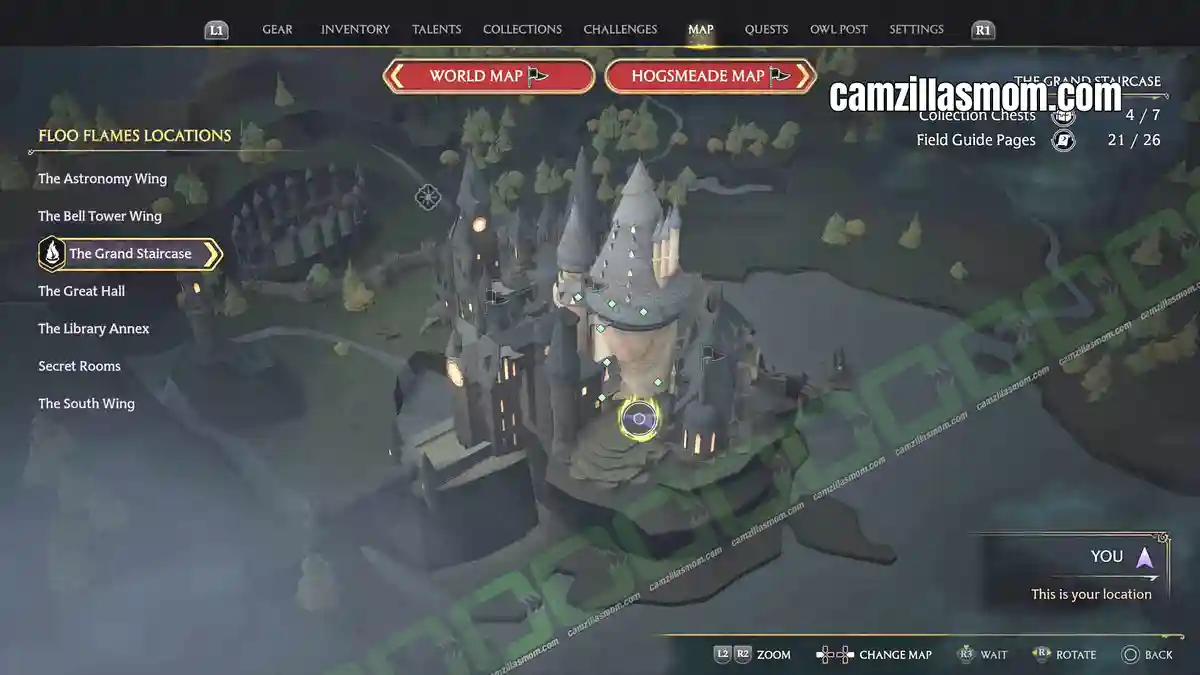
“To enter the Hufflepuff common room, one must tap the barrel two from the bottom, middle of the second row, in the rhythm of ‘Helga Hufflepuff.’ An errant tap will result in being denied access and doused in vinegar.”
Go to the GRAND STAIRCASE FAST TRAVEL POINT. From here, you can climb down the winding staircase with patchy brickworks. At the bottom, walk past the fruit painting at the wall and look at the barrels at the very back of this room.
15 – House-Elf Recipe Book
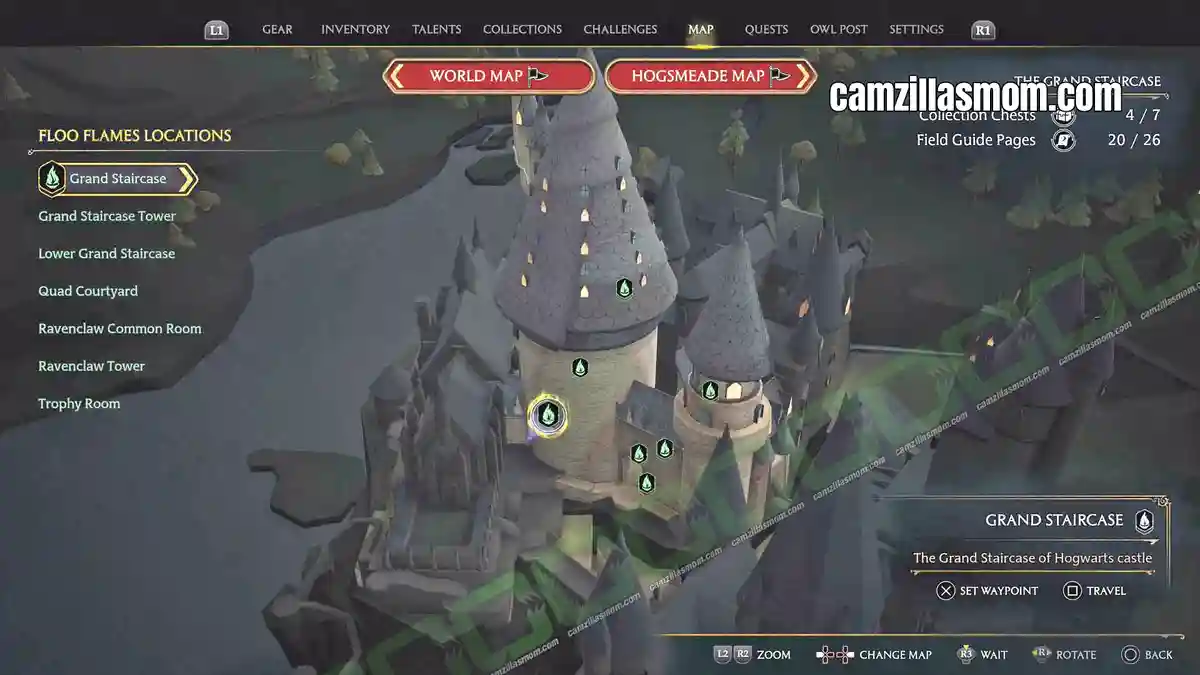
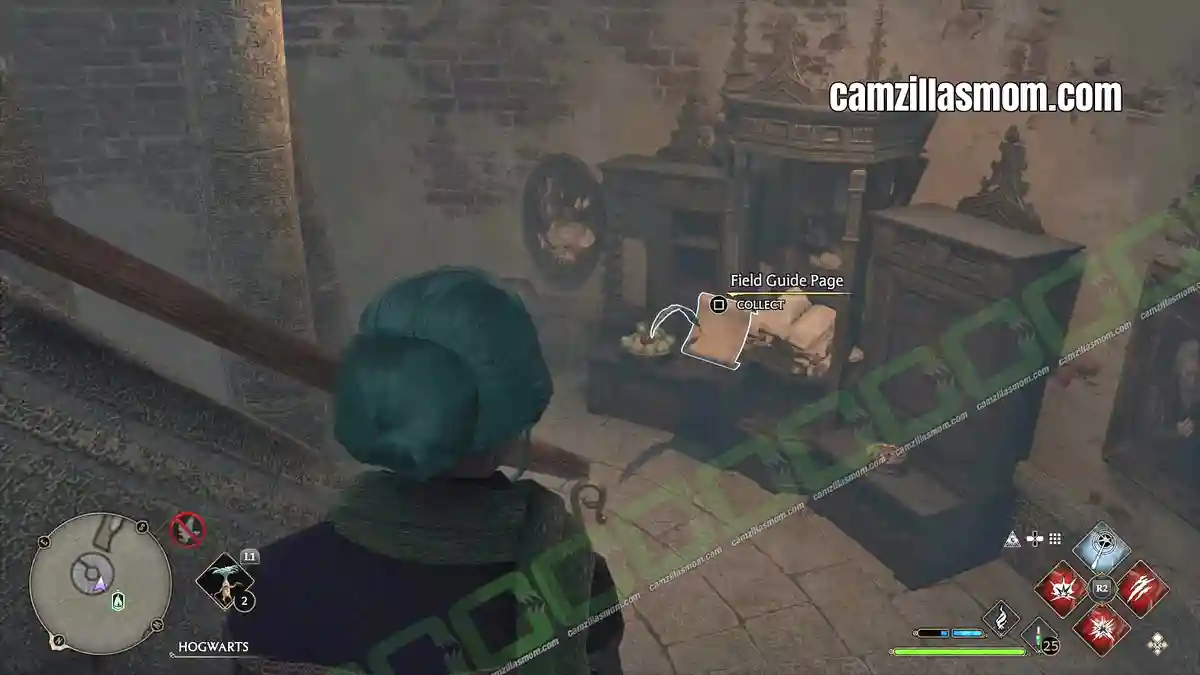
“Rumoured to contain some of Helga Hufflepuff’s original creations, this book holds a collection of Hogwarts students’ favourite recipes over the centuries. Some dishes, like pickled Dirigible Plums, are likely an acquired taste.”
Travel to the GRAND STAIRCASE FAST TRAVEL POINT. From here, you can go down the winding staircase with patchy brickworks. On this staircase is this exhibit.
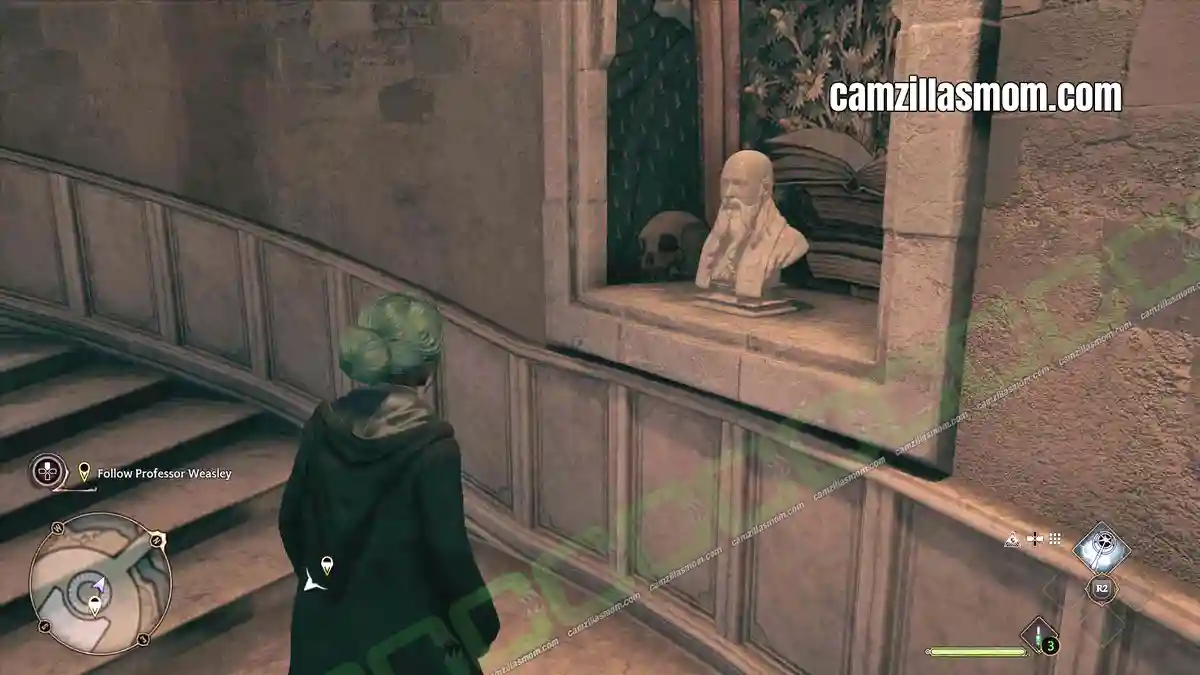
16 – Ravenclaw Bust
“This bust created in honour of Ravenclaw house resides in the lofty Ravenclaw Tower.”
This Field Guide Page is part of the tutorial. Follow Professor Weasley down the Grand Staircase and cast “Revelio” (left button) at the bust to get the Field Guide Page.
17 – Ravenclaw Doorknocker
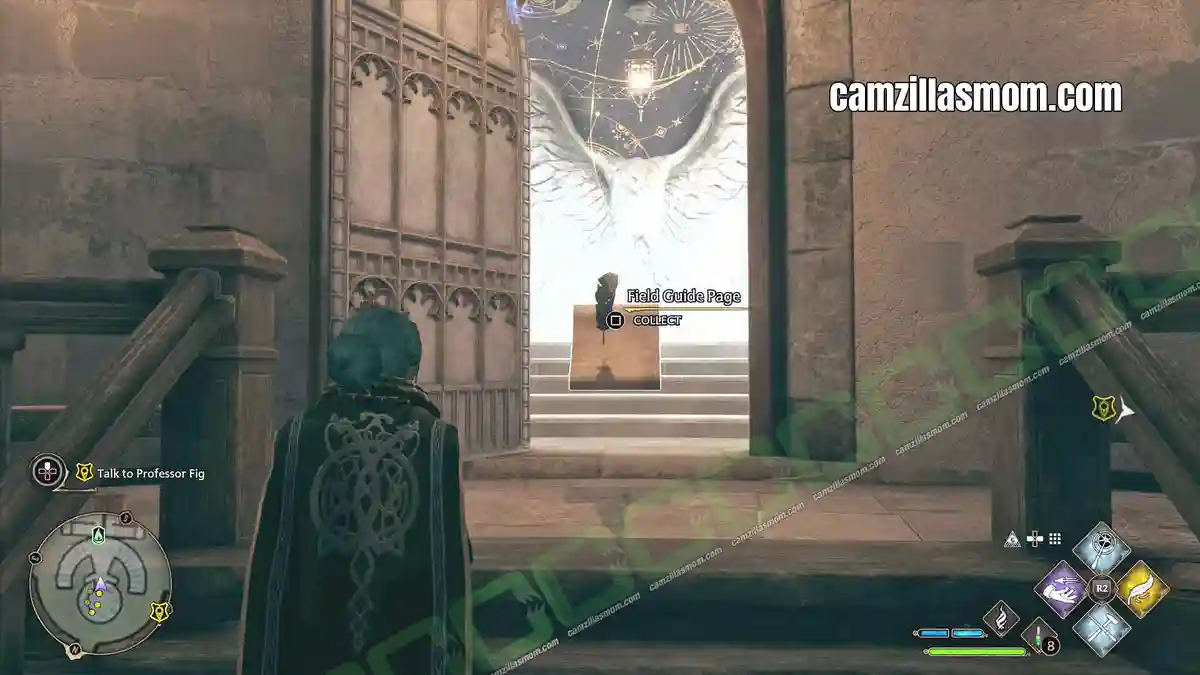
“To gain entrance to the Ravenclaw common room, one must solve a rather esotheric riddle, using logic and reasoning, posed by the eagle doorknocker.”
Exit the Ravenclaw Quarters and turn around to use “Accio” on the entrance door.
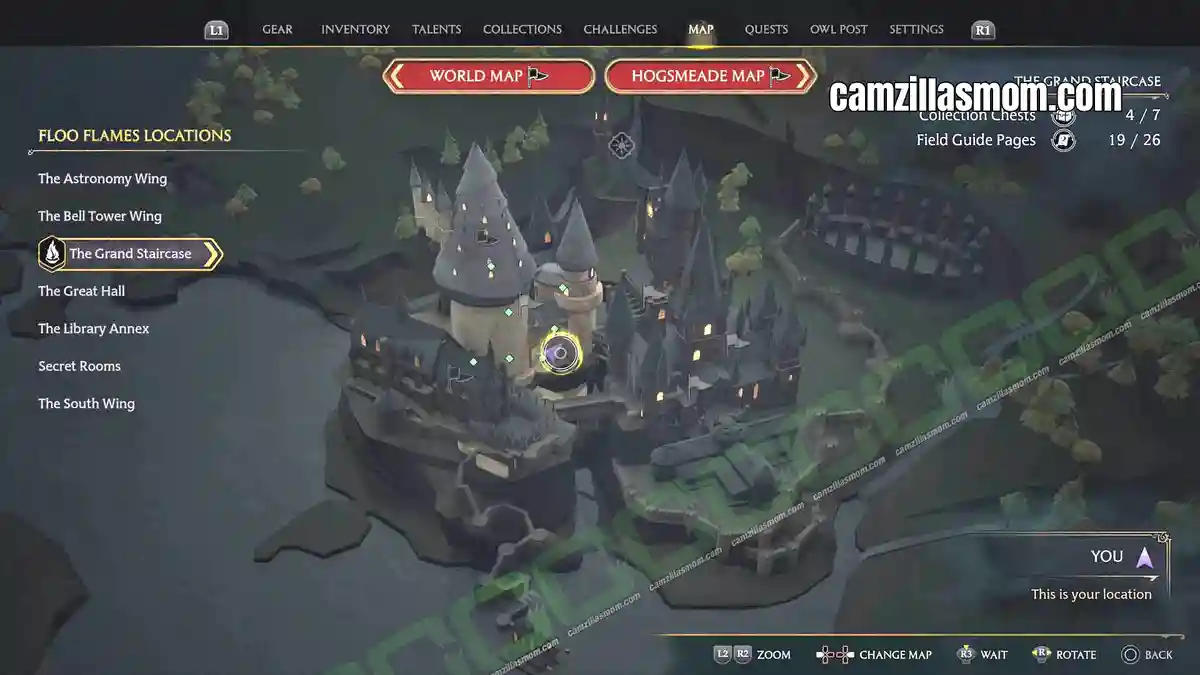
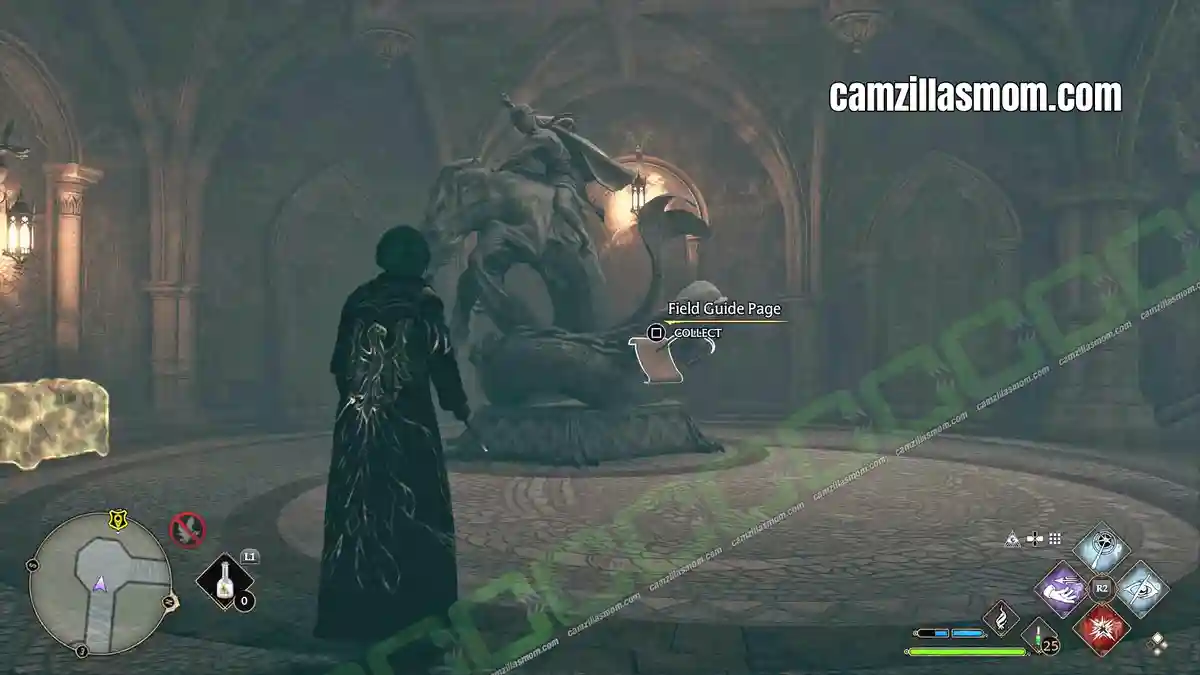
18 – Kelpie Statue
“This statue depicts the Kelpie, a shapeshifting water demon native to Ireland and Great Britain, which usually takes the form of a long-maned horse. The largest Kelpie ever reported is the Loch Ness monster in Scotland.”
Travel to the “Lower Grand Staircase” Fast Travel point. From there head down and to the left. There’s a staircase going up leading to this statue.
Unnamed Field Guide Pages in The Great Hall (10)
These don’t appear under Collections, but they all count towards your field guide page total and area completion.
1 – Flying Pages – catch them with ACCIO
2 – Moth Mirrors (black, empty picture frames) – cast LUMOS, find the moth, carry it back
3 – Dragon Bowls – cast INCENDIO
4 – Globe Statues – cast LEVIOSO
19 – Flying Page – Moving Staircase
There is a Flying Paper in the lower part of the Moving Staircase.
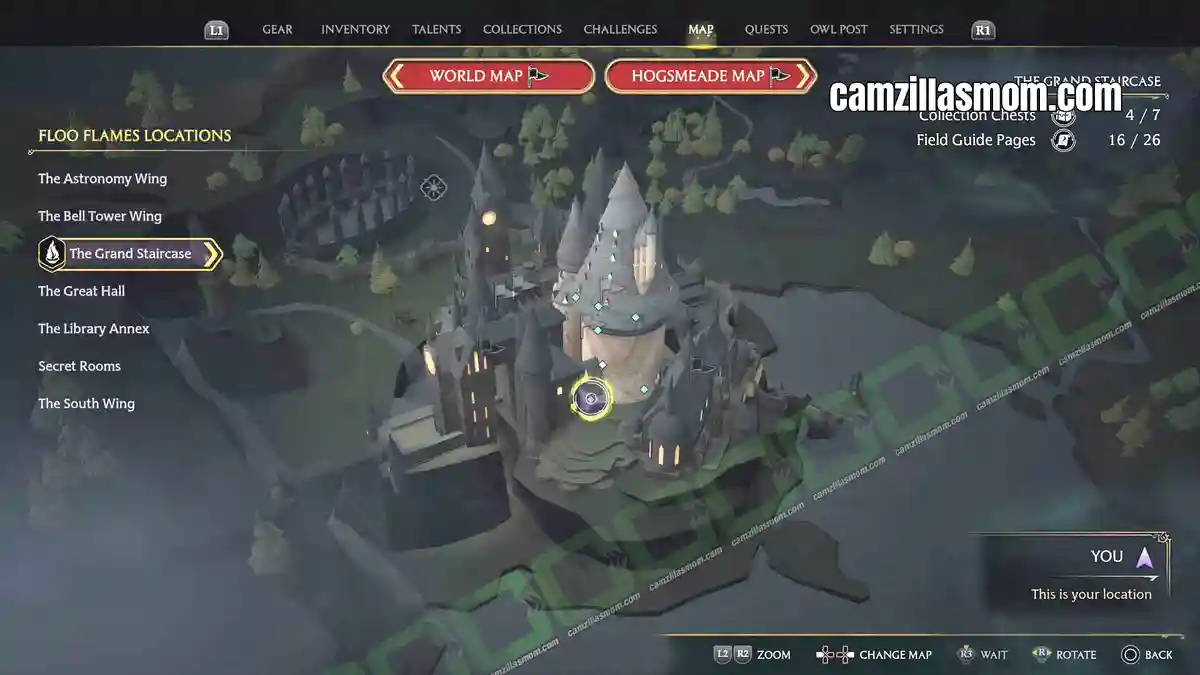
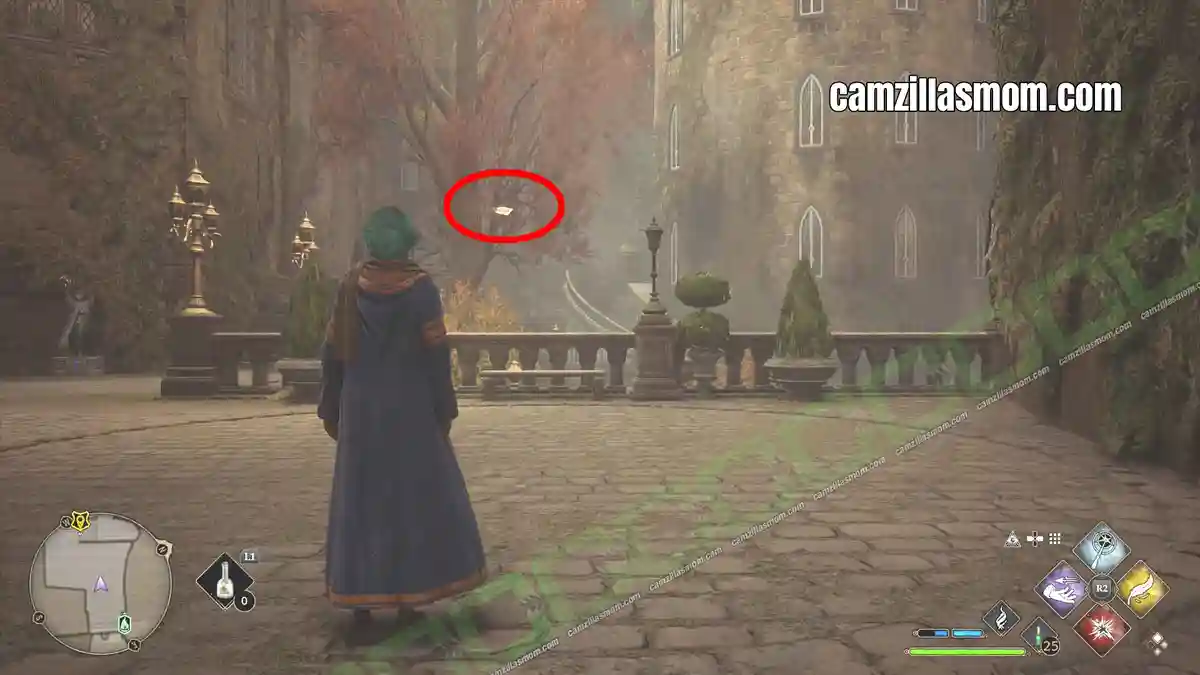
20 – Flying Page – Quad Courtyard
There is a Flying Paper in THE GRAND STAIRCASE’s garden.
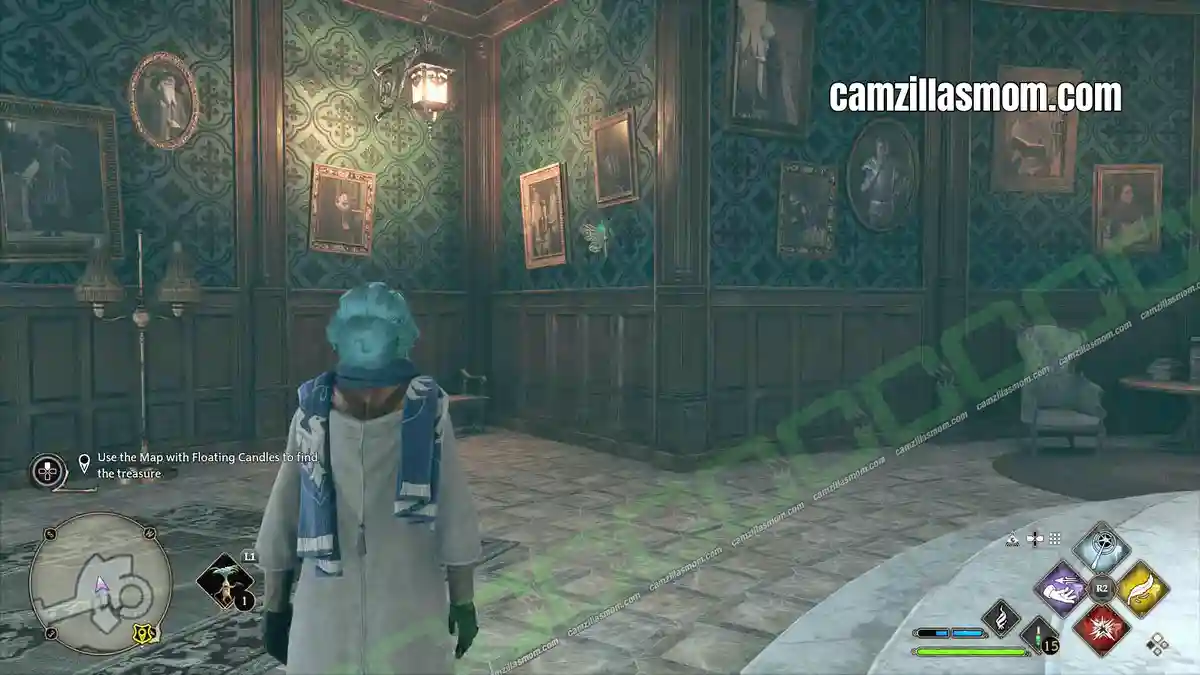
21 – Moth Mirror: Base of Ravenclaw Tower
At the bottom of the Ravenclaw Tower is a Black Painting. Use “LUMOS” to see the location of the moth.
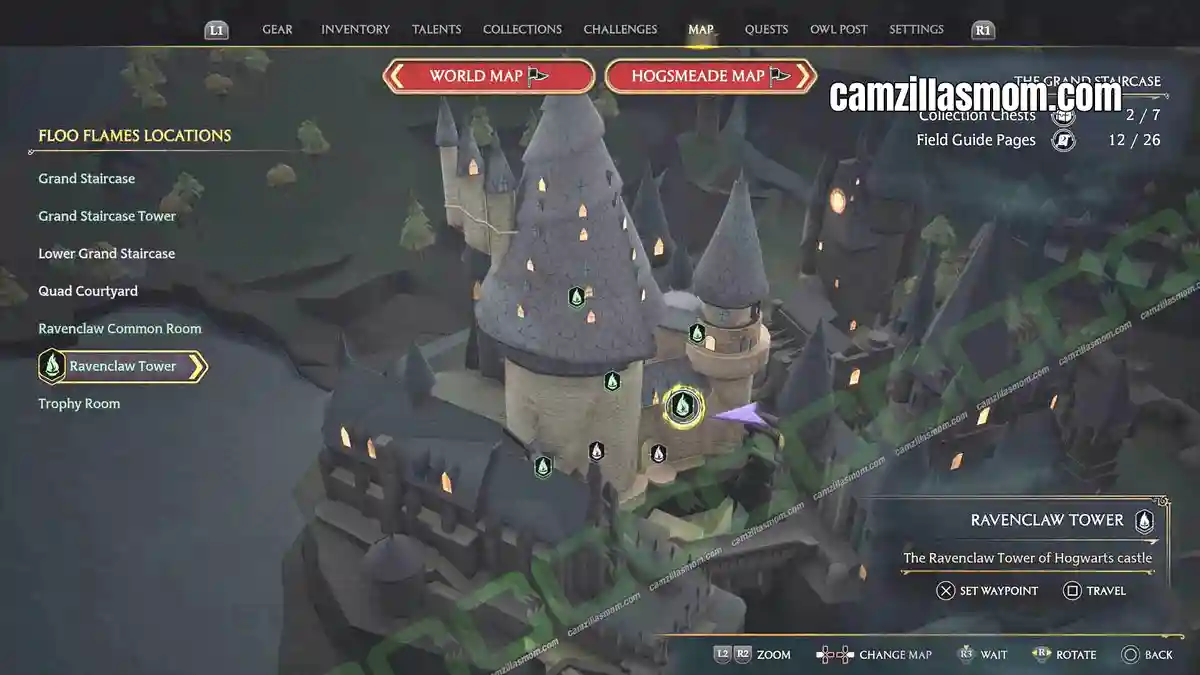
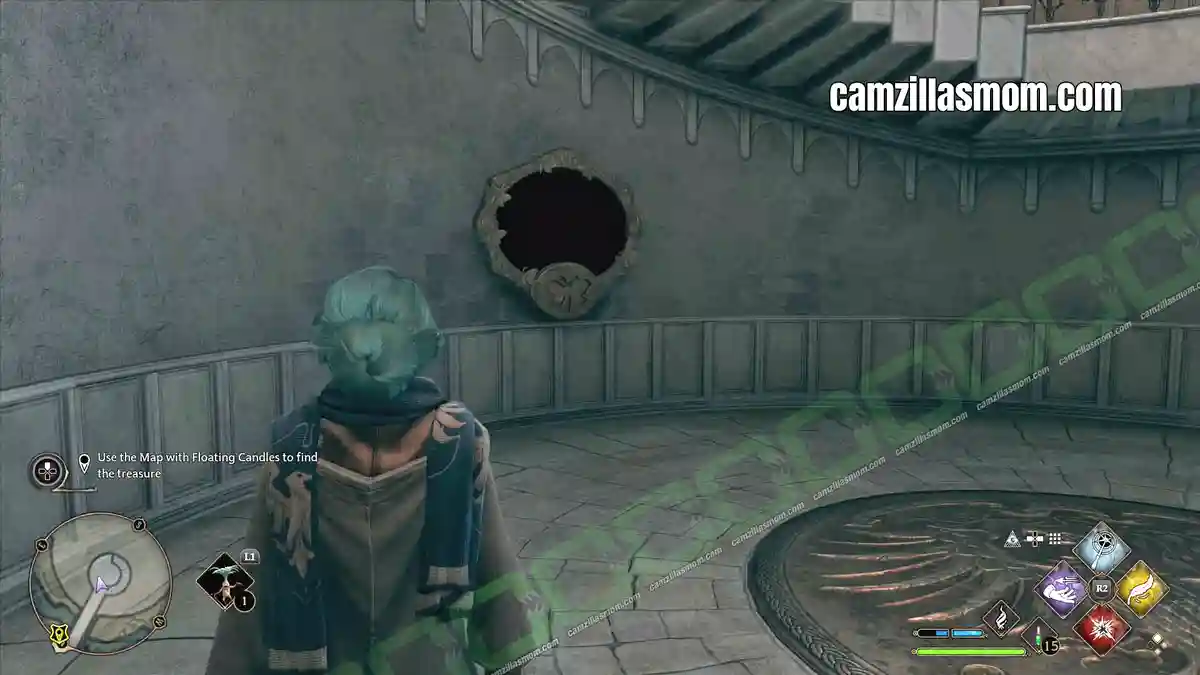
Take the stairs up and exit at the first occasion. The moth is where one of the puzzle doors are. Take it back to the frame.
22 – Moth Mirror: Headmaster’s Gargoyle
Go all the way to the top of THE GRAND STAIRCASE to the Trophy Room. Stay on the outer ring of the Trophy Room. There is a Level 1 locked up staircase. Open it with Lockpicking and go all the way past the brown corridor and up to the roof. In this storage area for mostly Egyptian statues is this Gargoyle Statue. Next to it is this Black Painting.
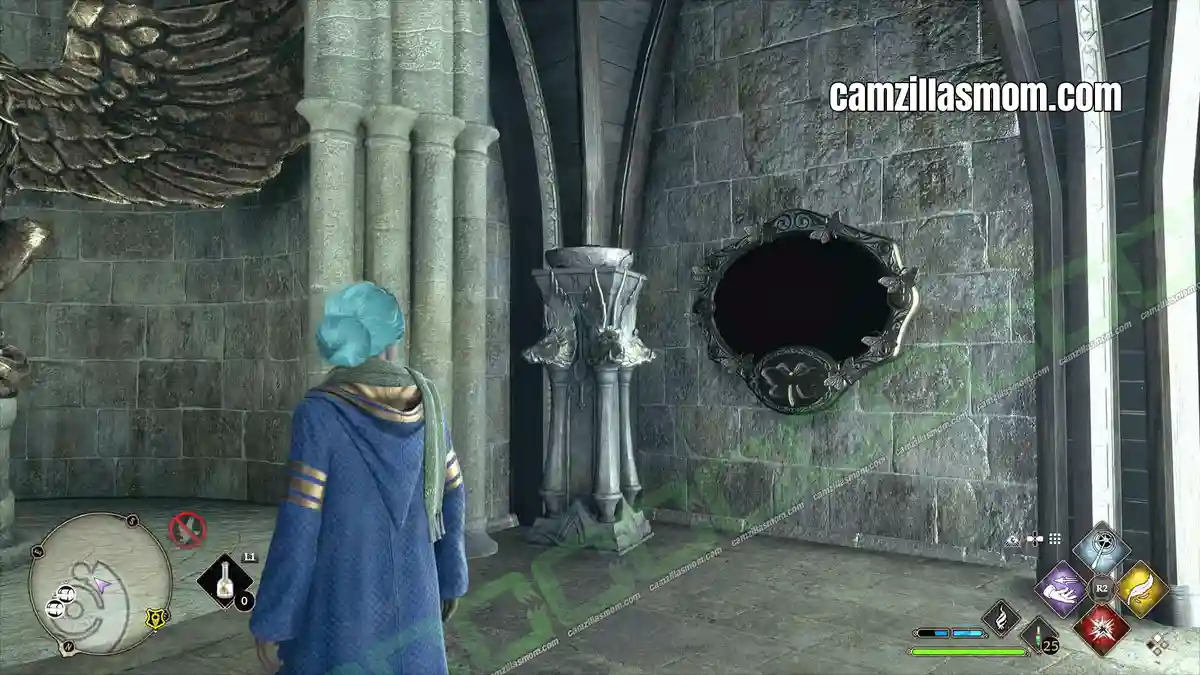
The picture in it looks like a wooden beam shaped like a Five Pointed Star. Go back down towards the Trophy Room and you should soon spot the star-shaped wooden beam with the moth.
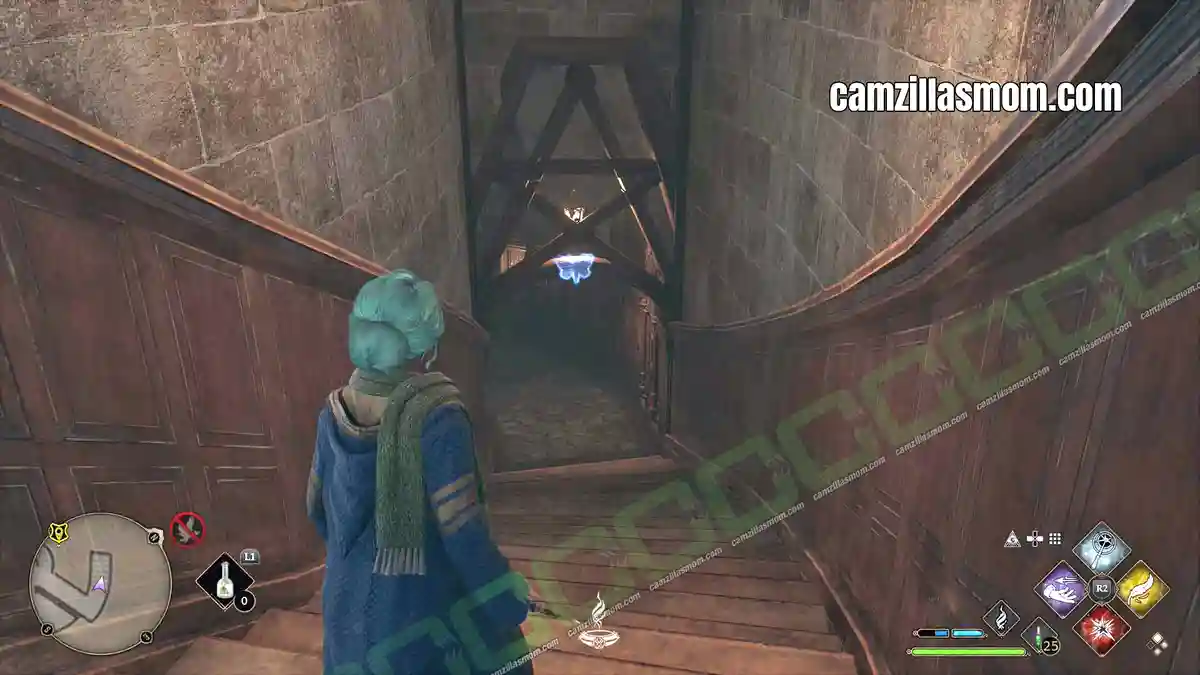
23 – Moth Mirror: Near Lower Grand Staircase
Travel to the Lower Grand Staircase Fast Travel Point. From here head down and to the right. You will soon see the Black Painting hanging on the wall.
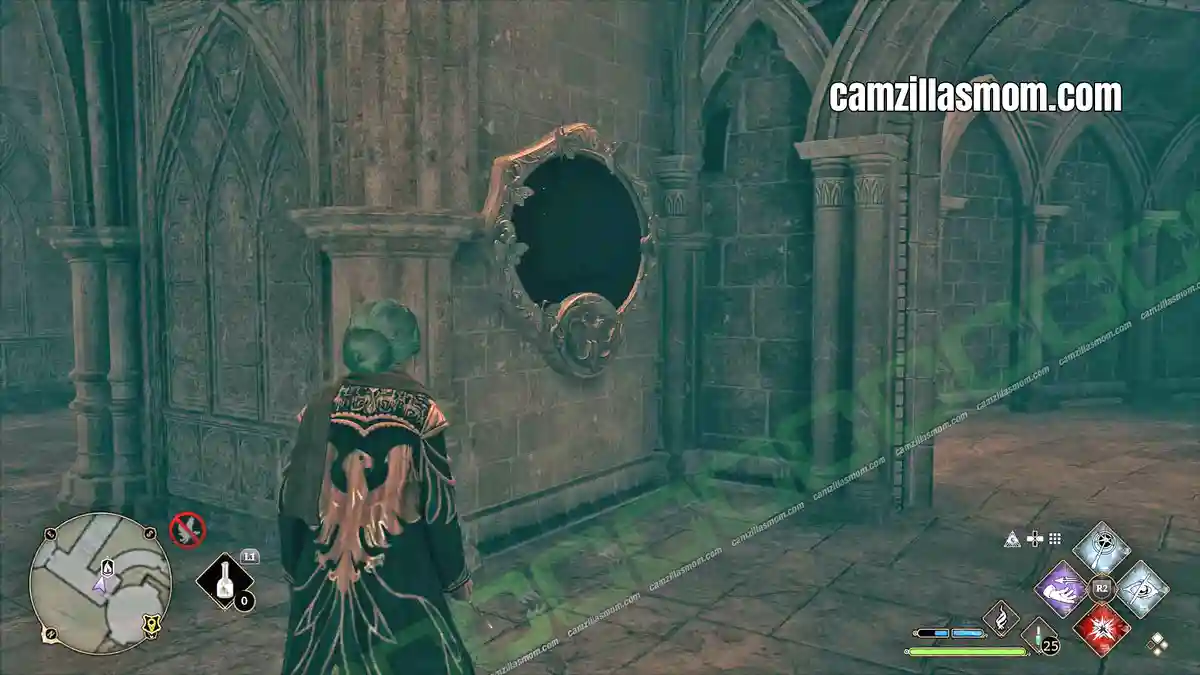
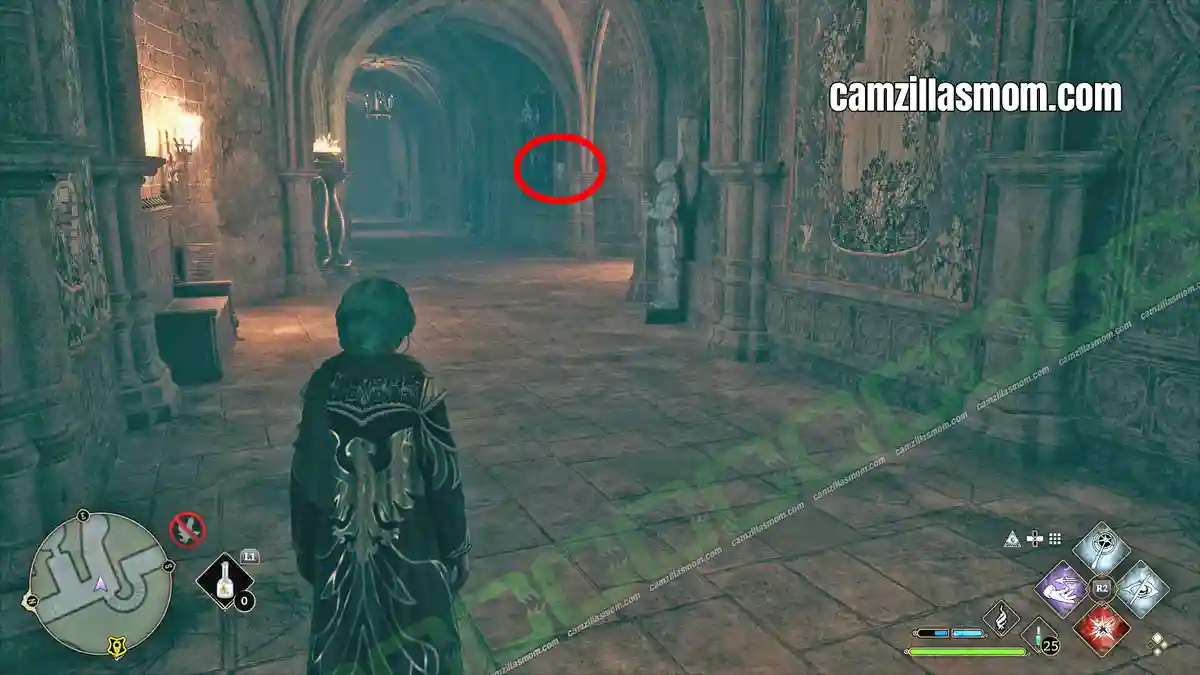
To find the moth, go the other way through the corridor that is behind the mirror. Here you will see the moth when you cast “REVELIO”. Take it back to the painting.
24 – Dragon Bowl – Top of the Moving Staircase
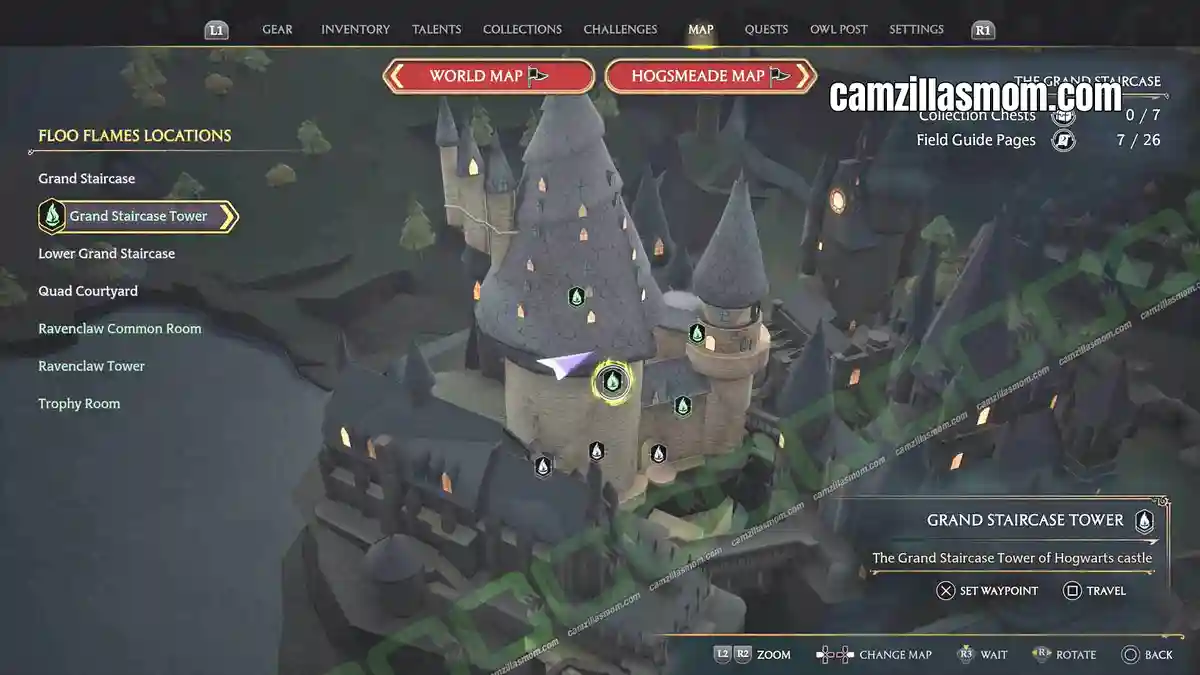
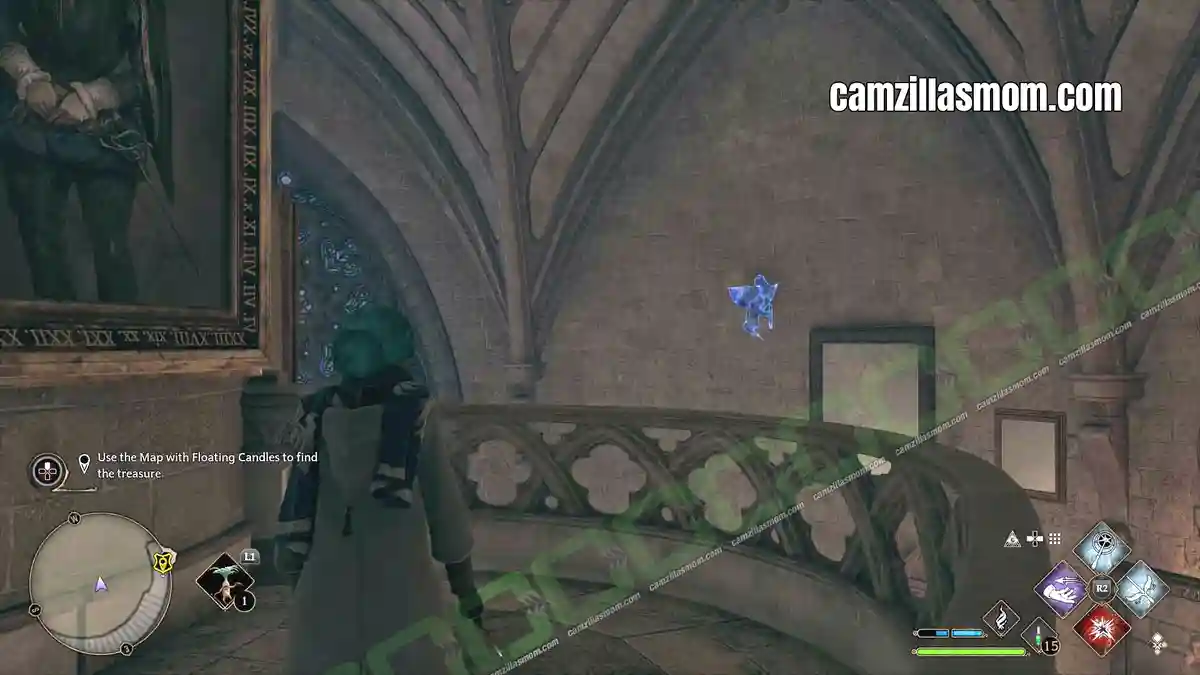
Go to the very top of the Grand Staircase. As far as the Moving Staircase takes you. At the top, you can see a Dragon Bowl on the tower wall. You can’t reach it. But you can use “CONFRINGO” to set it on fire and then “ACCIO” to pull the paper to you.
25 – Dragon Bowl – Quad Courtyard
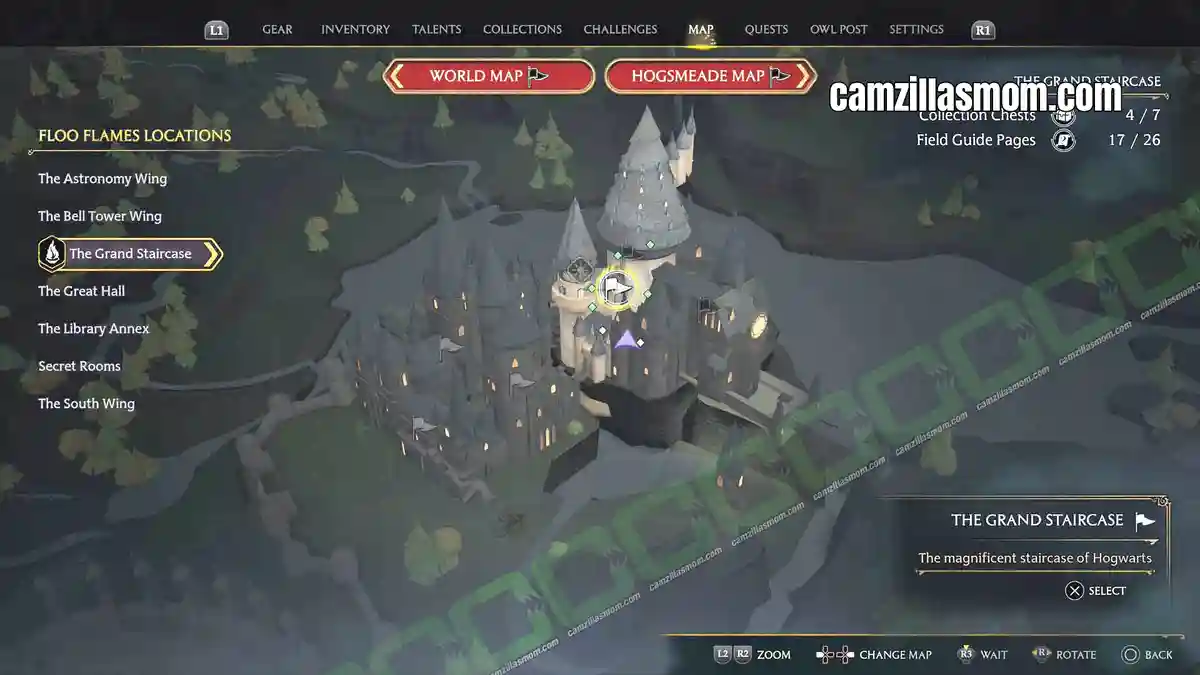
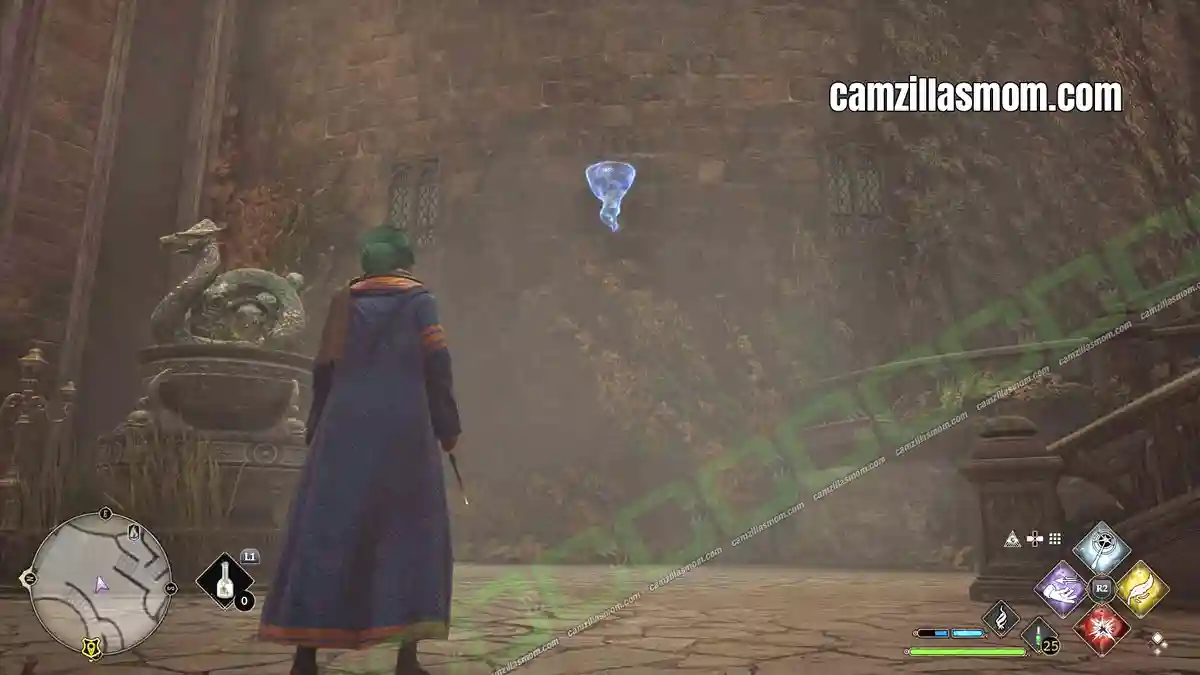
There is a Dragon Bowl high up on the outside wall of THE GRAND STAIRCASE. You can access it at the garden. Use “CONFRINGO”, then “ACCIO” to pull the paper to you.
26 – Globe Statue – Moving Staircase to Ravenclaw Tower
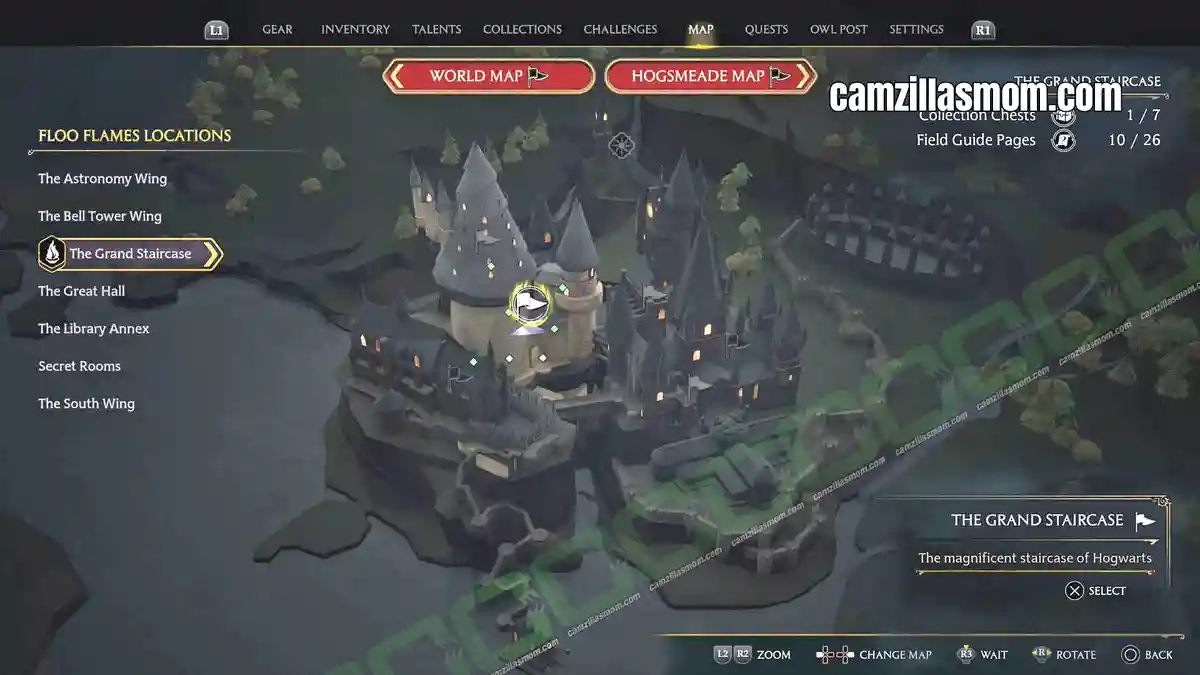
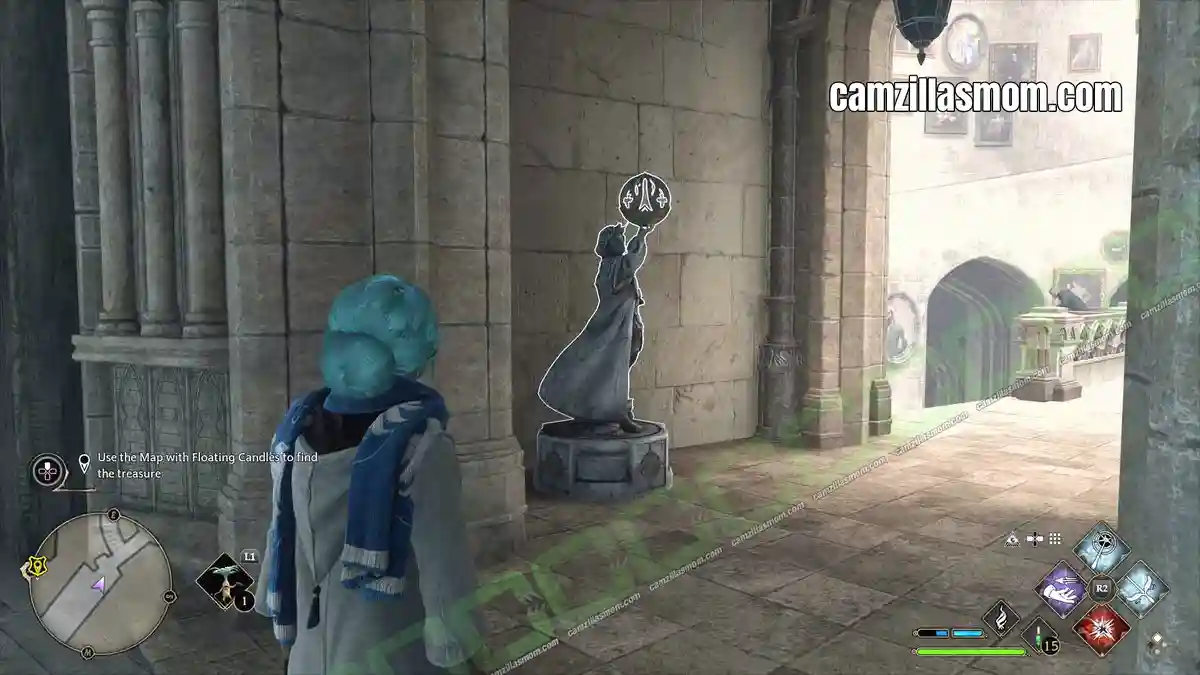
Take the exit to the Ravenclaw Tower from the Moving Staircase and you will see this Globe Staue. Use “LEVIOSO” on it.


About Hogwarts Legacy
Release: February 10th, 2023
Developer: Avalanche Software
Publisher: Warner Bros. Interactive Entertainment
Official Website: https://www.hogwartslegacy.com/en-us