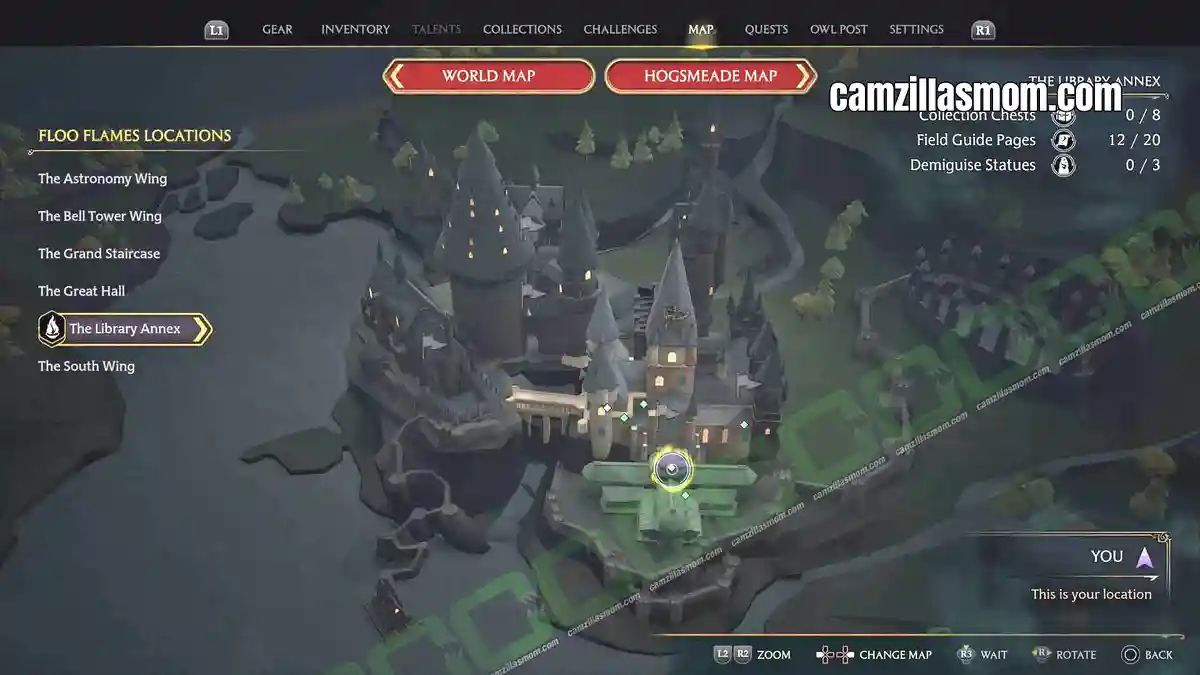
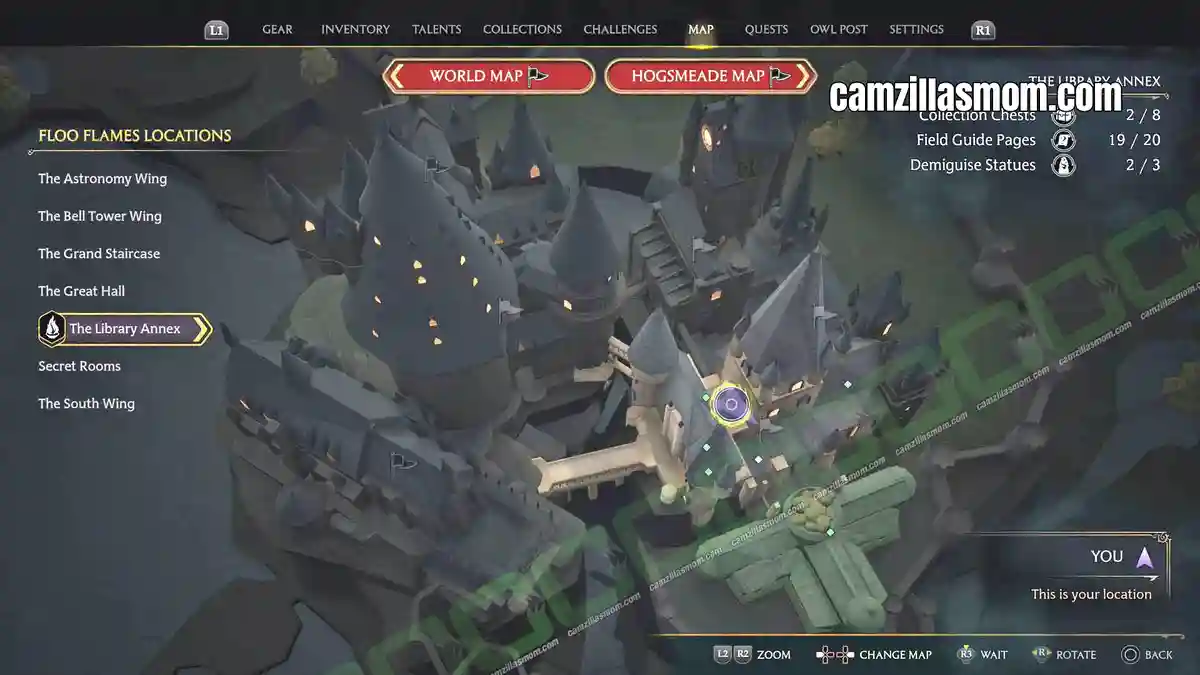
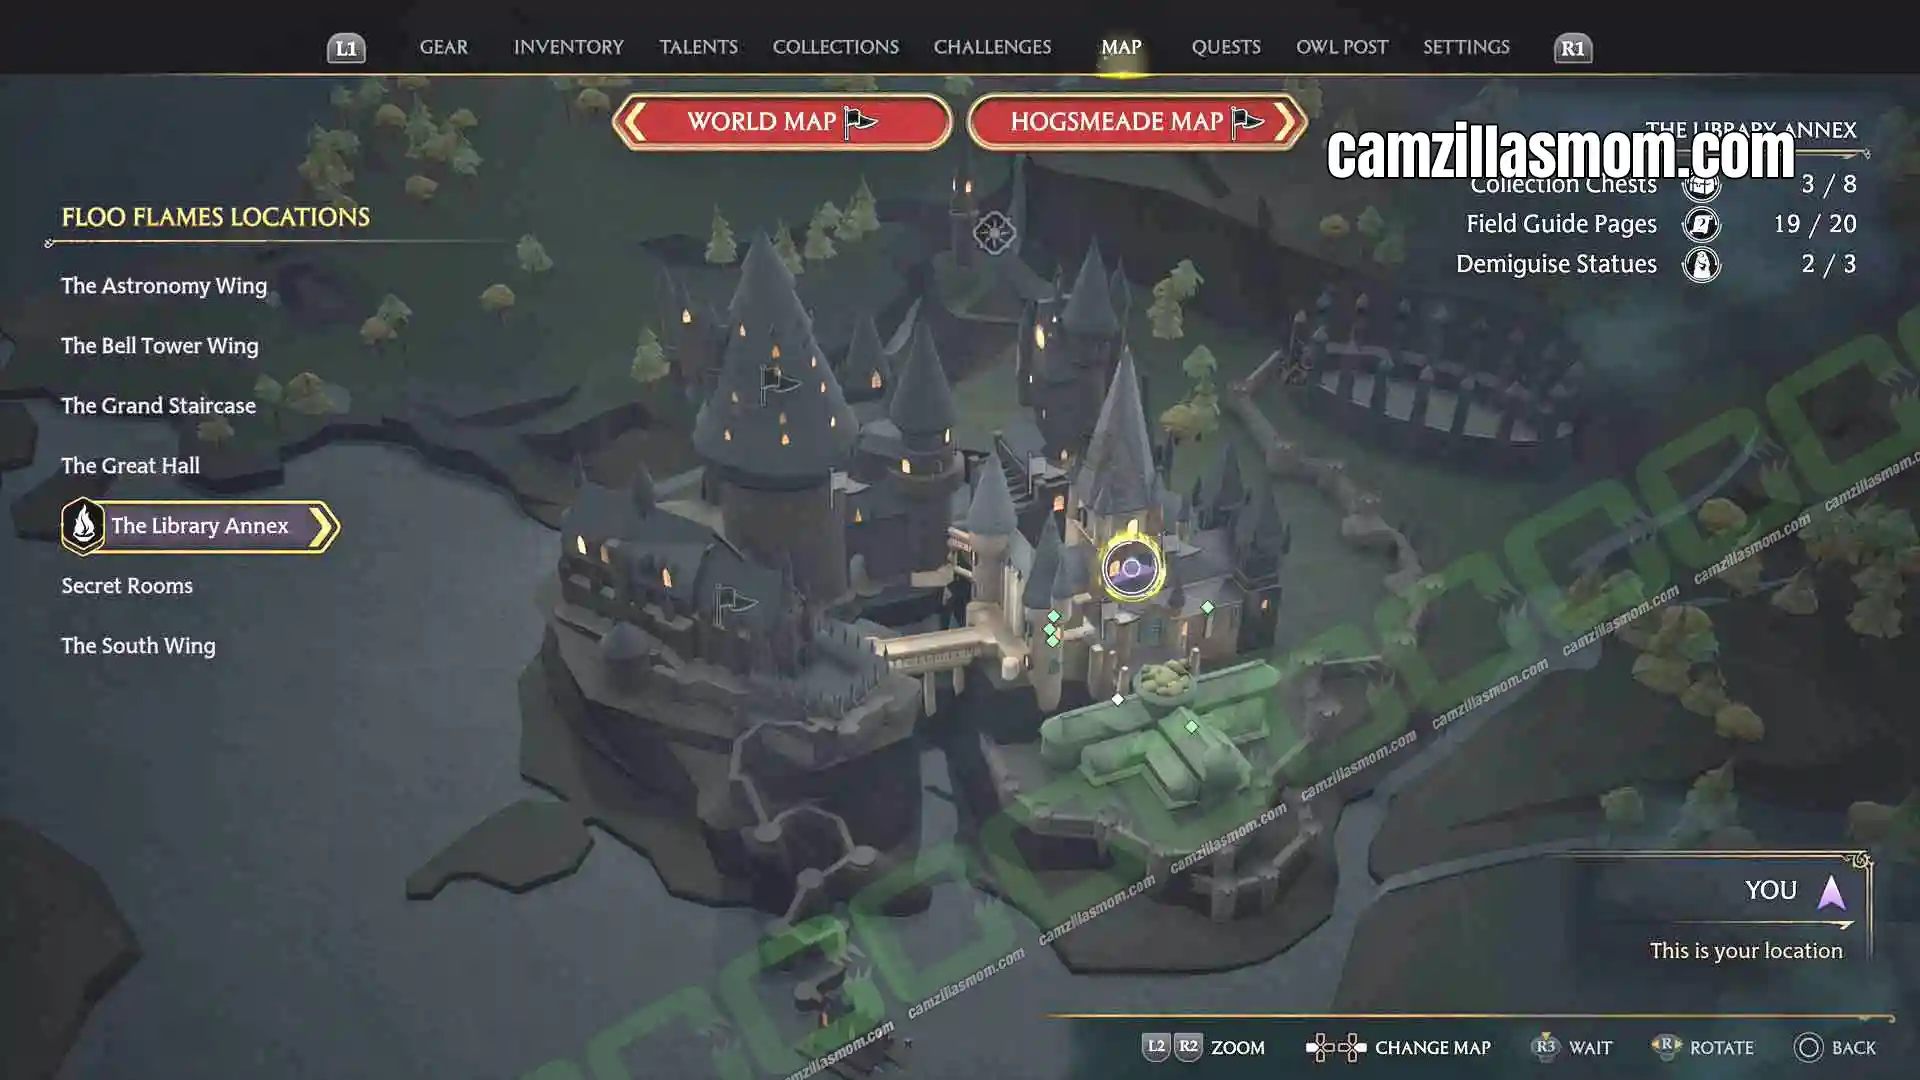
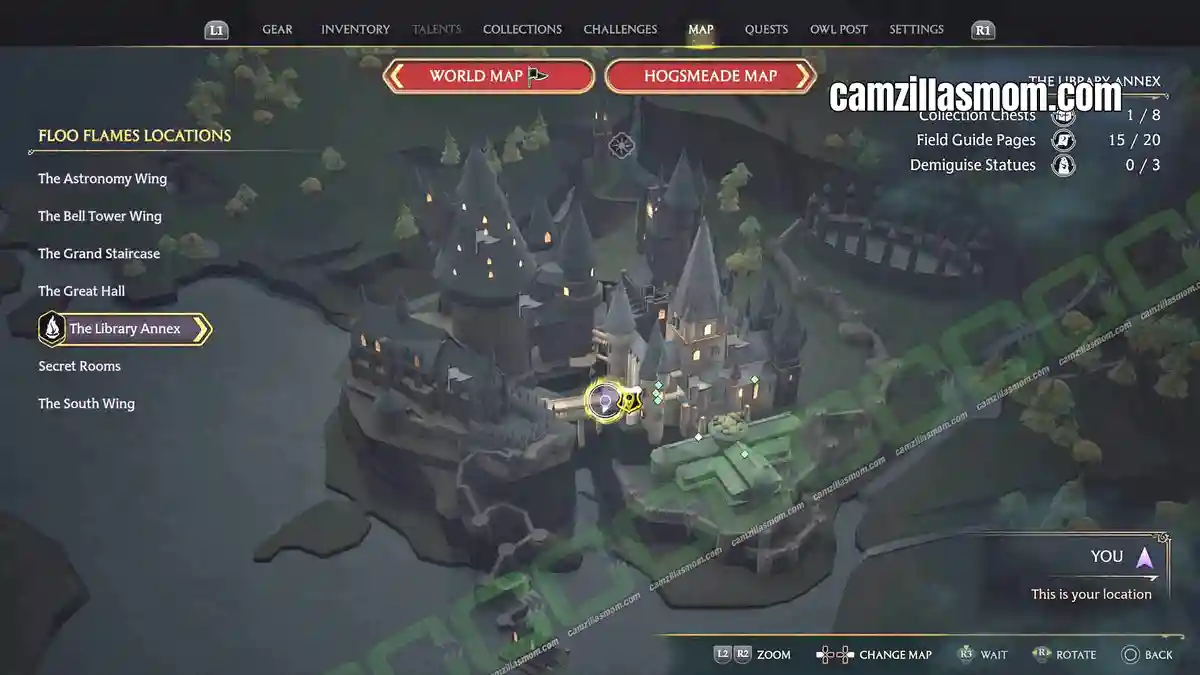
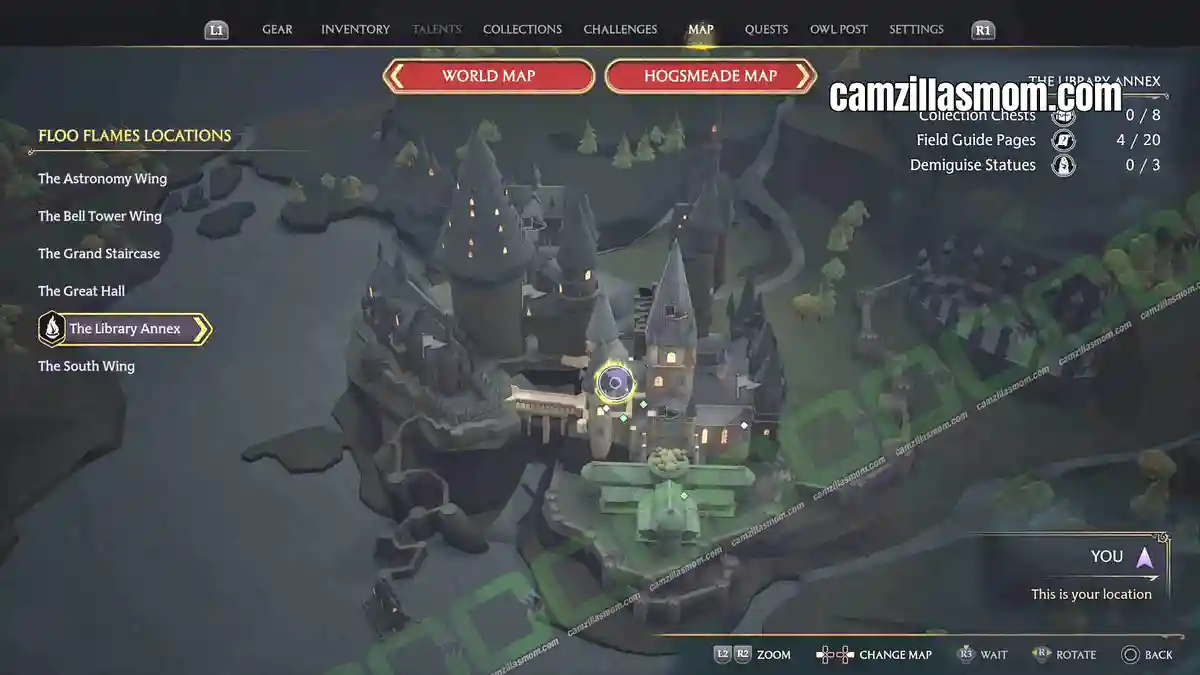
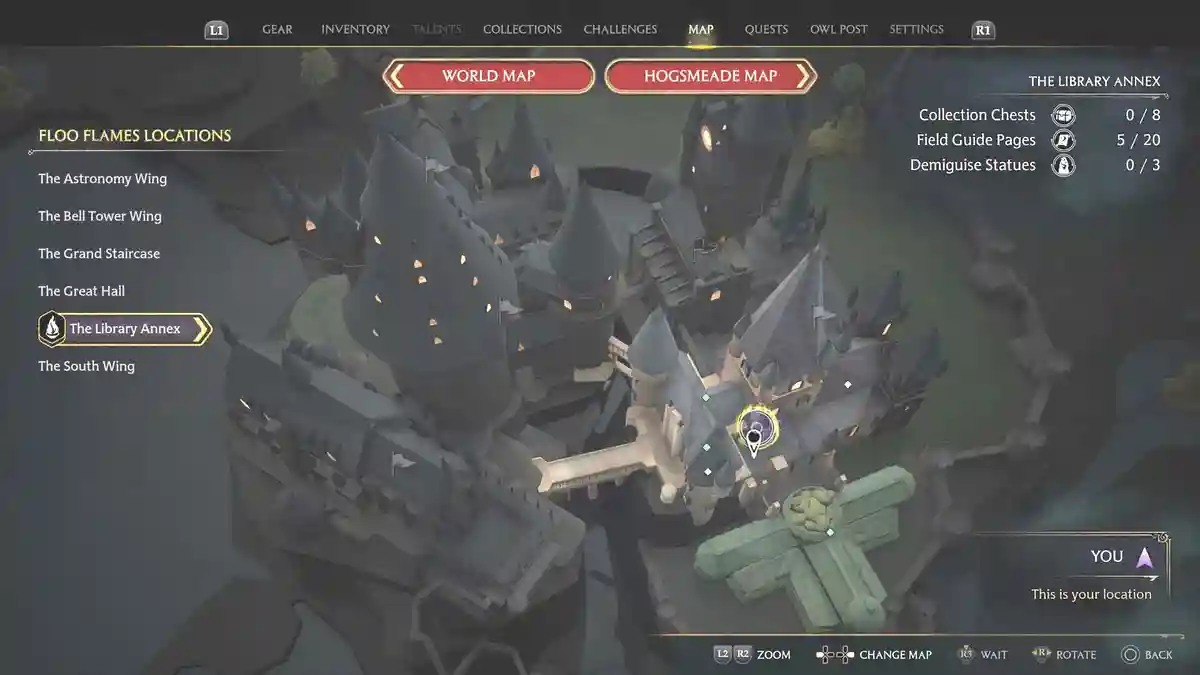
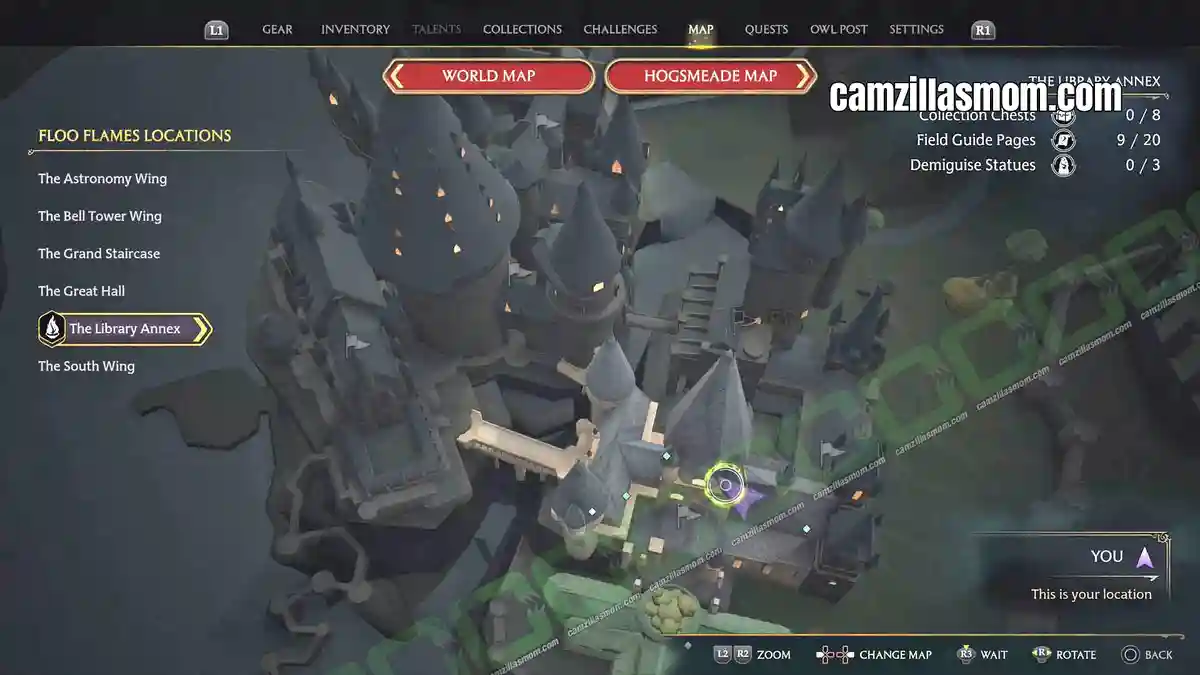
The Library Annex holds 31 collectibles in total: 8 Collection Chests, 20 Field Guide Pages and 3 Demiguise Statues. Here’s every location, in the same order the game lists them, so you can finish the area at 100%.
Related Guides:
All Demiguise Statues (Demiguise Moons) Guide
Astronomy Wing Field Guide Pages & Collectibles
How to pick Locks in Hogwarts Legacy
More Guides at the Hogwarts Legacy Game Guides Hub
Library Annex Collection Chests
Hogwarts is full of chests, but only a handful count towards the “Collections” section in the game menu. Those are the Collection Chests. The Library Annex has 8 of them, and every one is listed below with a map and a screenshot.
1 – Library
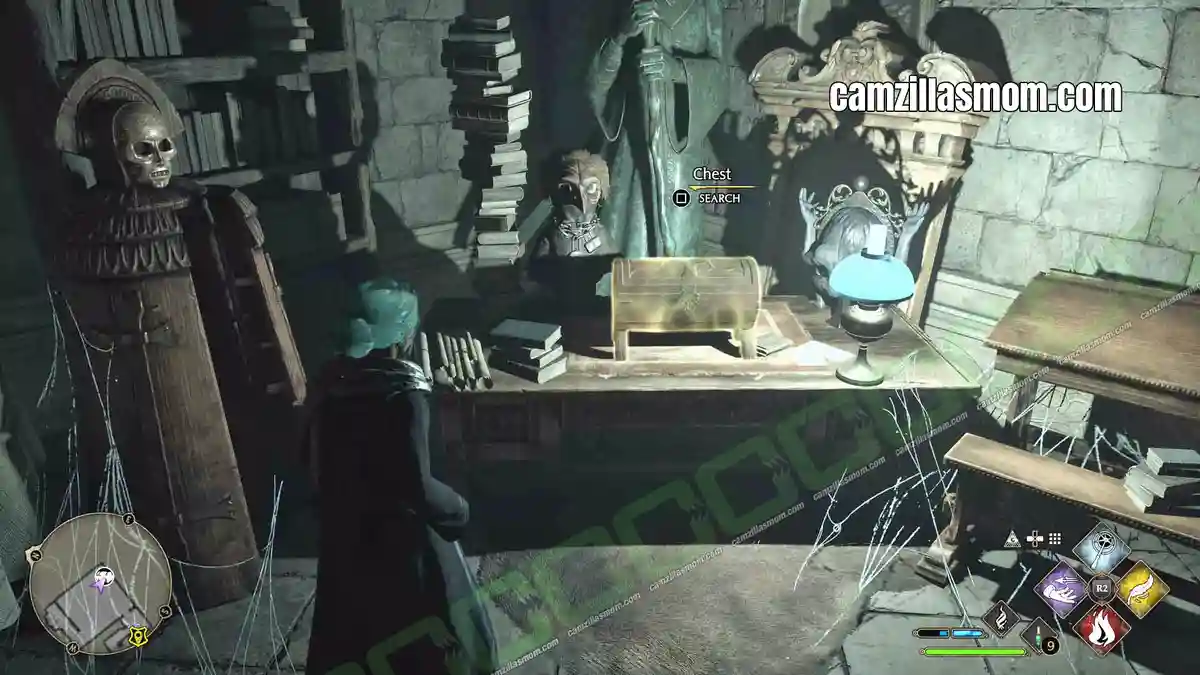
The locked ground floor area of the Library opens up as you play through the story. Once you have access, enter the Restricted Section and head downstairs, into the part where it gets really dark. A brightly lit desk sits there with the Collection Chest on top of it.
Reward:
Column – Teal and Brown – Wand Handles
2 – Below Potions Class: Arithmancy Door
From the Potions Classroom, go downstairs through the locked door. Follow the corridor to the staircase, and you’ll find the arithmancy puzzle door waiting in the room.
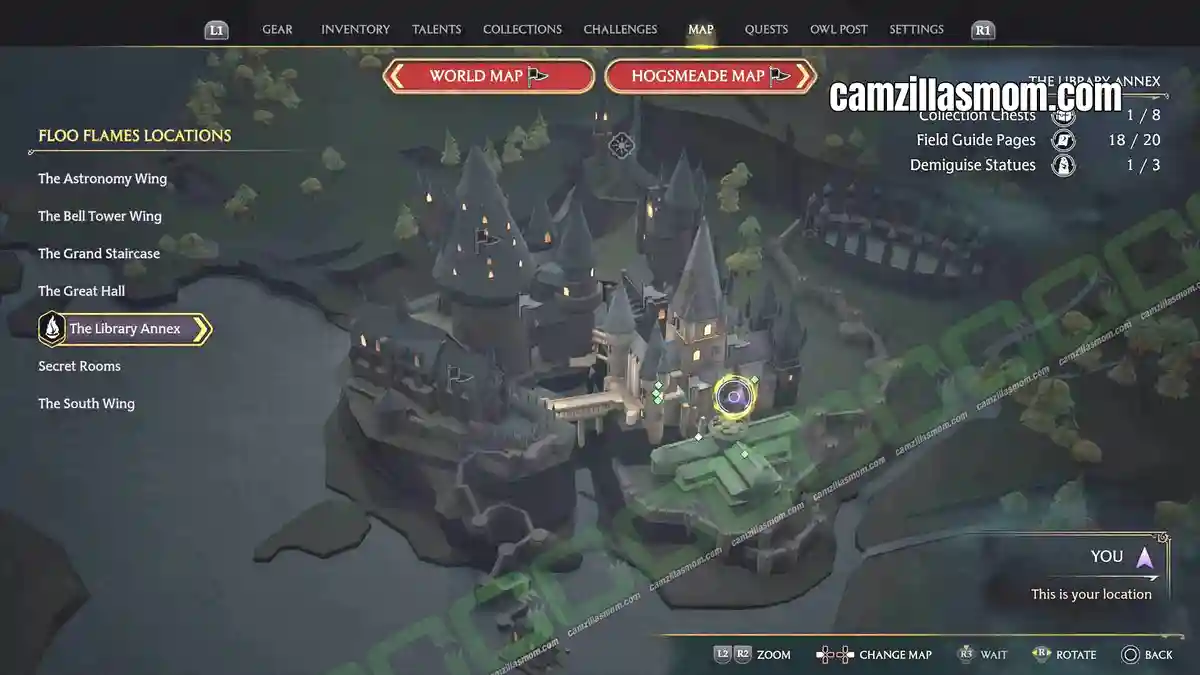
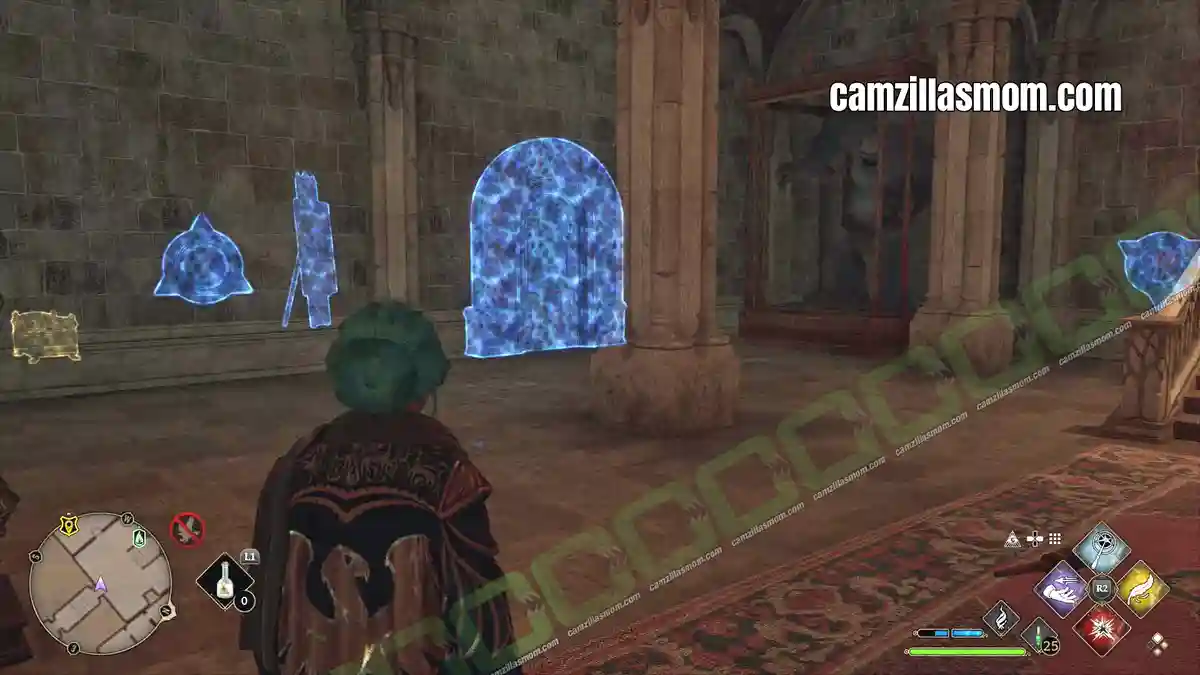
Cast Revelio to expose the two sums in the centre of the door. The top sum ends in a single question mark, the bottom one in a double question mark. Both question marks appear nearby as rotating dials, and that’s where your answers go.
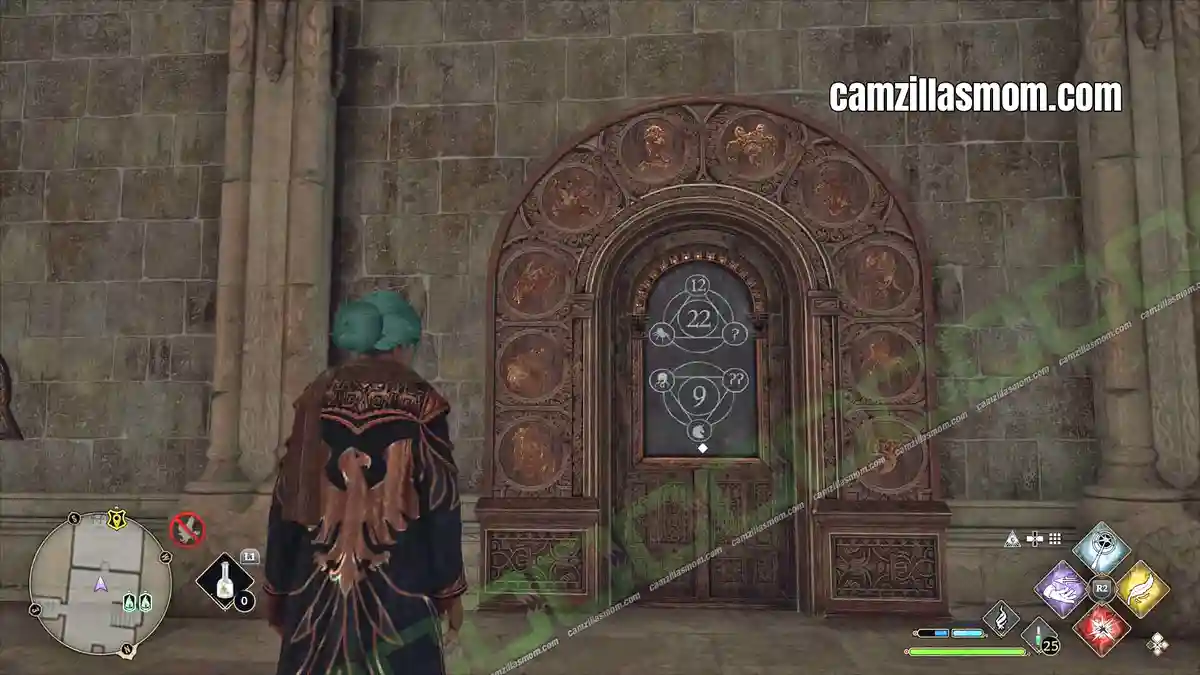
Before you do any maths, read the door frame. Ten beasts run along it, left to right, standing for the numbers 0 to 9.
Seal = 0
Unicorn = 1
Goat = 2
Hydra = 3
Puffy Bird = 4
5 Legged Spider = 5
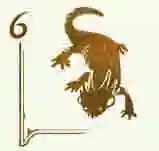
Lizard = 6
Octopus = 7
Spider = 8
Whichever number you need, dial in the matching beast.
First Sum: Spider + 12 + ? = 22
The SPIDER is an 8 on the door frame. 8 plus 12 plus 2 = 22. Dial in the GOAT for the ? – the third beast from the left.
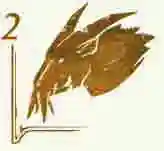
Second Sum: Octopus + Unicorn + ?? = 9
The OCTOPUS is a 7 and the UNICORN is a 1. 7 plus 1 plus 1 = 9. Dial in the UNICORN for the ?? – the second beast from the left.
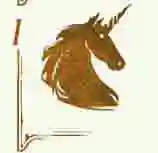
The door swings open. The Collection Chest is inside, along with a Field Guide Page.
Reward:
Wizard Mannequins – Conjurations
3 – Below Divination Classroom: Arithmancy Door
Take the winding staircase that runs from the Central Hall up to the Divination Classroom. Halfway up there’s a level full of wooden beams, and that’s where this arithmancy door is.
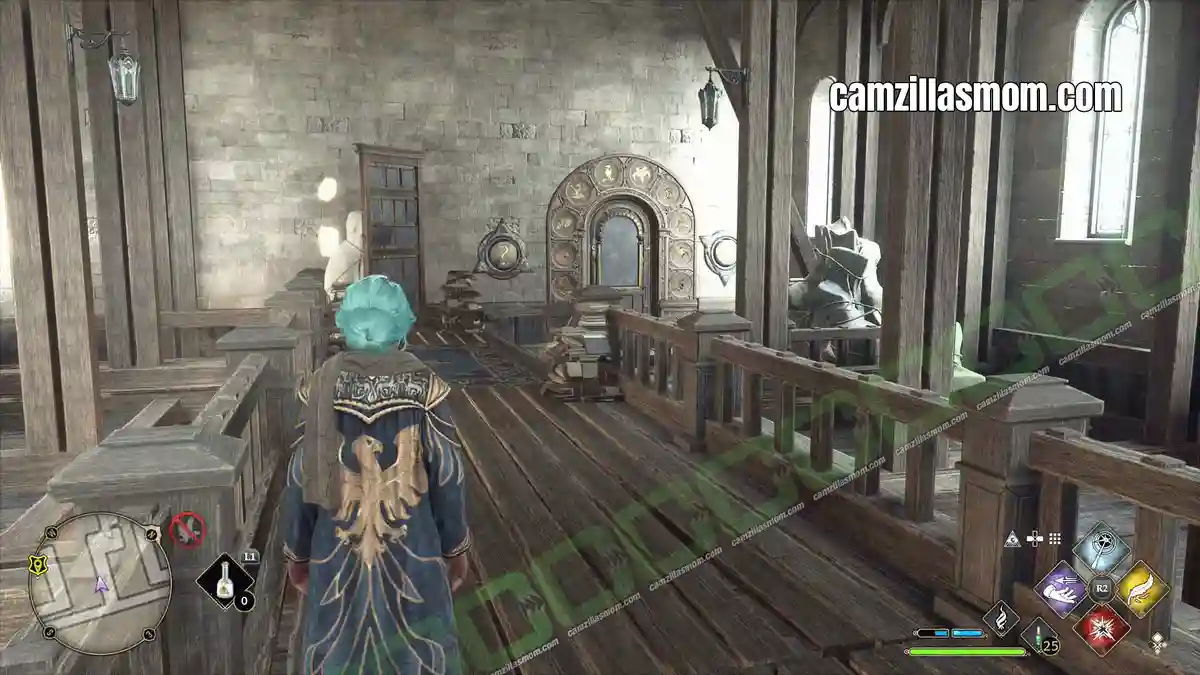
Same setup as the last door. Revelio exposes both sums, the top one needs a single answer, the bottom one a double.
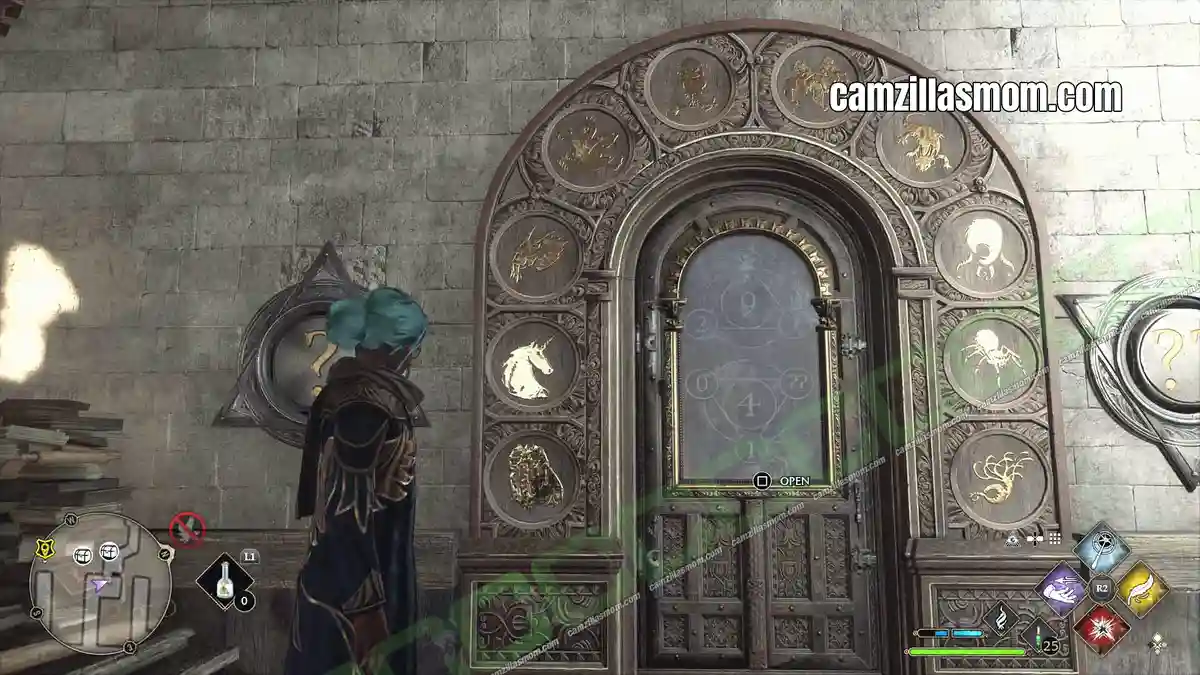
The beast-to-number key on the door frame runs seal 0, unicorn 1, goat 2, hydra 3, puffy bird 4, 5 legged spider 5, lizard 6, octopus 7, spider 8, left to right.
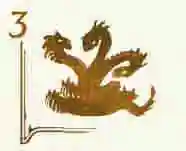
First Sum: 2 + Hydra + ? = 9
The HYDRA is a 3. 2 plus 3 plus 4 = 9. Dial in the PUFFY BIRD for the ? – the fifth beast from the left.
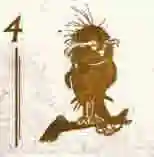
Second Sum: 0 + 1 + ?? = 4
0 plus 1 plus 3 = 4. Dial in the HYDRA for the ?? – the fourth beast from the left.
The door opens and the Collection Chest is right there as you step in. Keep going and you’ll reach a room with two more arithmancy doors side by side. Both are covered below.
Reward:
Armillary Spheres – Conjurations
4 – Left Arithmancy Door
Carry on down the corridor from the last door and you’ll arrive in a room with two arithmancy doors next to each other. This is the solution for the one on the left, marked with an “X” on the screenshot.
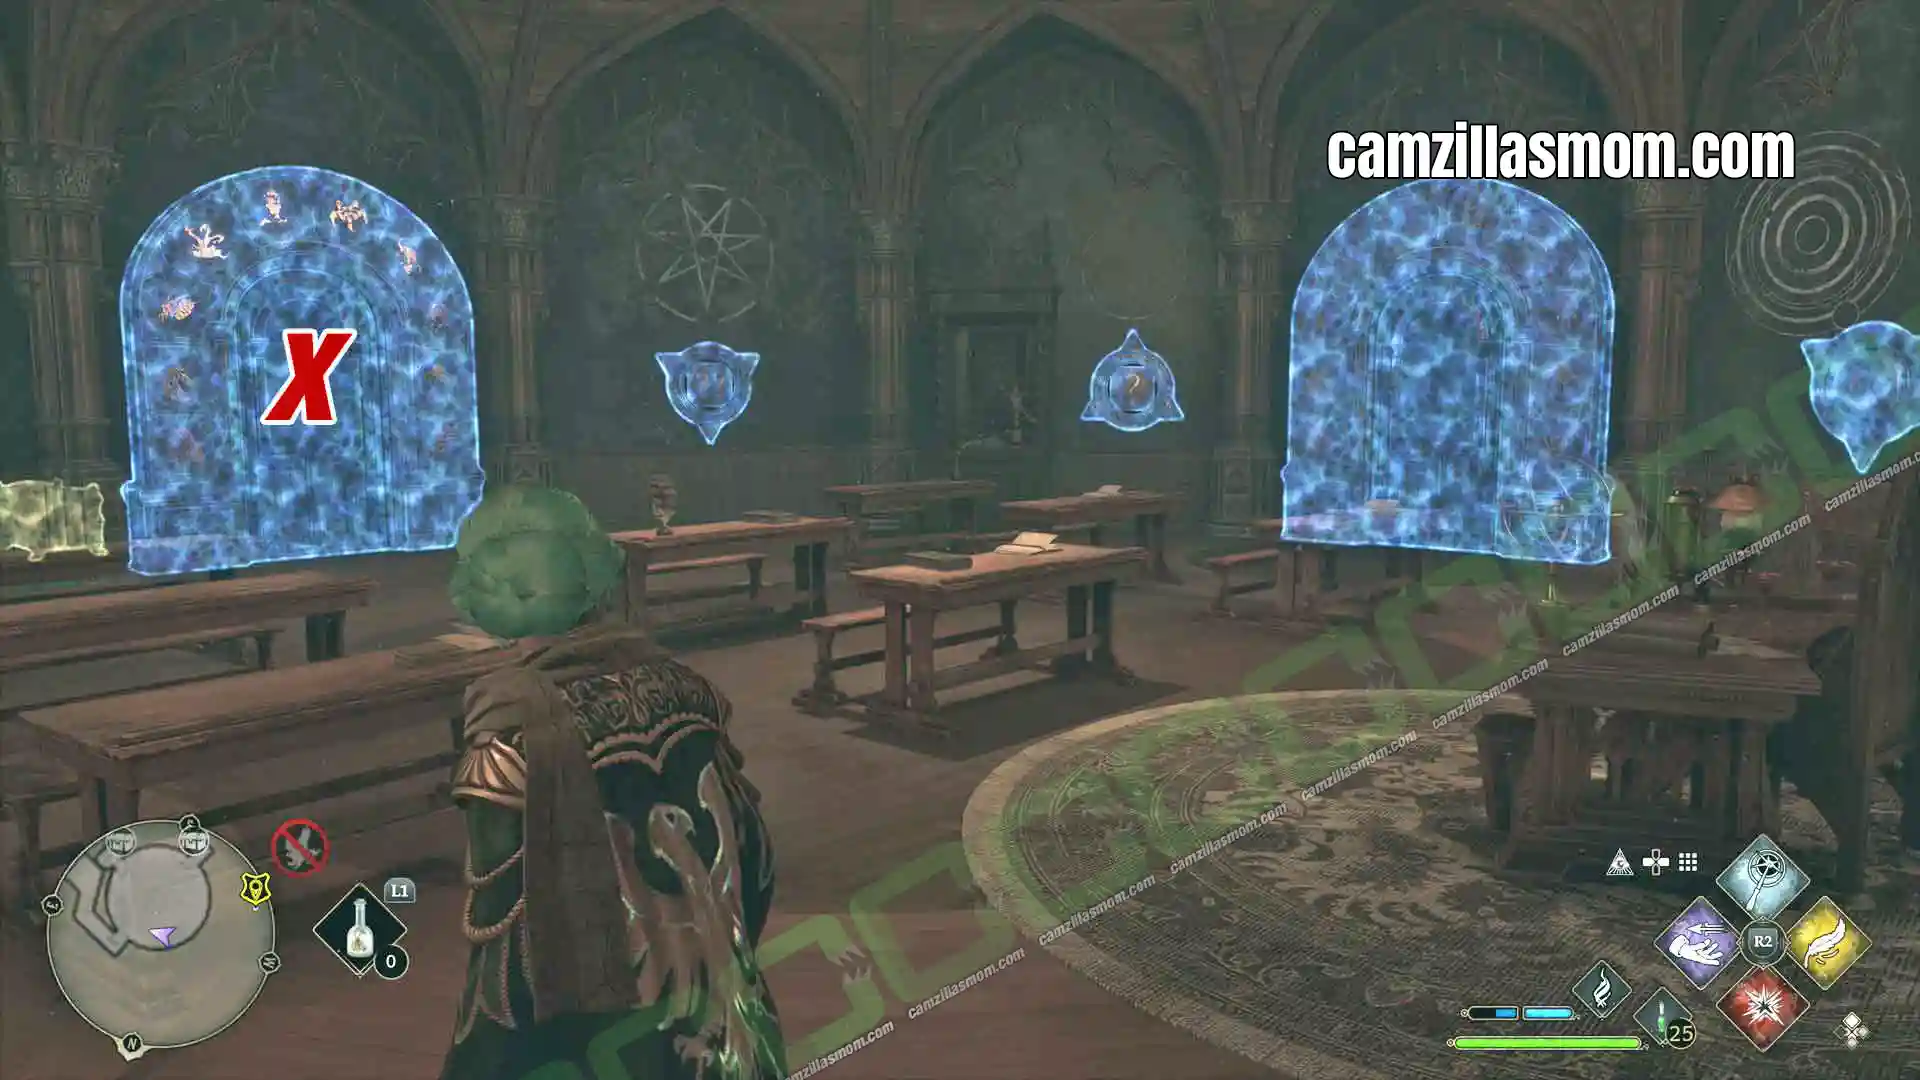
Revelio again to reveal both sums, then find the two rotating dials nearby.
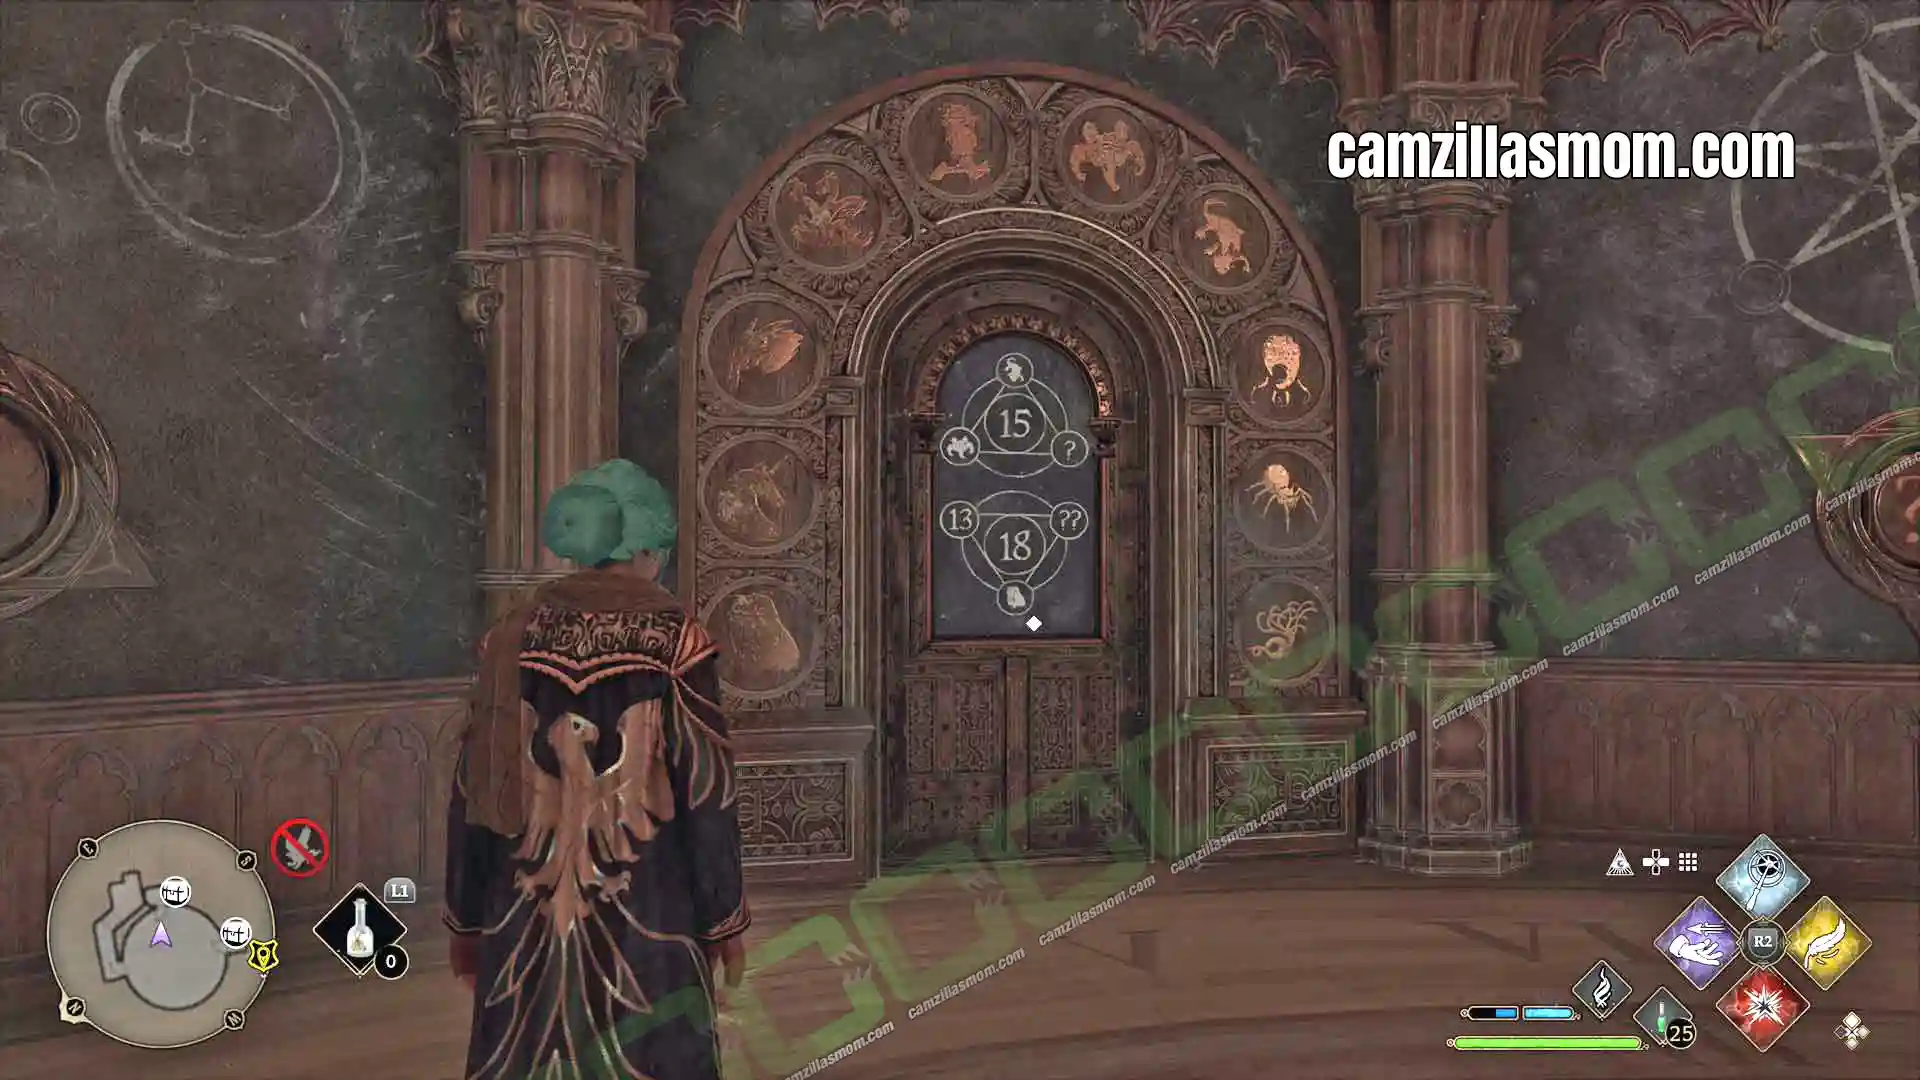
Check the door frame for the beast numbers if you need a refresher: seal 0 through to spider 8, left to right.
First Sum: 5 Legged Spider + Lizard + ? = 15
The 5 LEGGED SPIDER is a 5 and the LIZARD is a 6. 5 plus 6 plus 4 = 15. Dial in the PUFFY BIRD for the ? – the fifth beast from the left.
Second Sum: 13 + Seal + ?? = 18
The SEAL is a 0. 13 plus 0 plus 5 = 18. Dial in the 5 LEGGED SPIDER for the ?? – the sixth beast from the left.
Door open, Collection Chest just inside. The door on the right is next.
Reward:
Totems – Conjurations
5 – Right Arithmancy Door
Same room, same method. Here’s the solution for the door on the right.
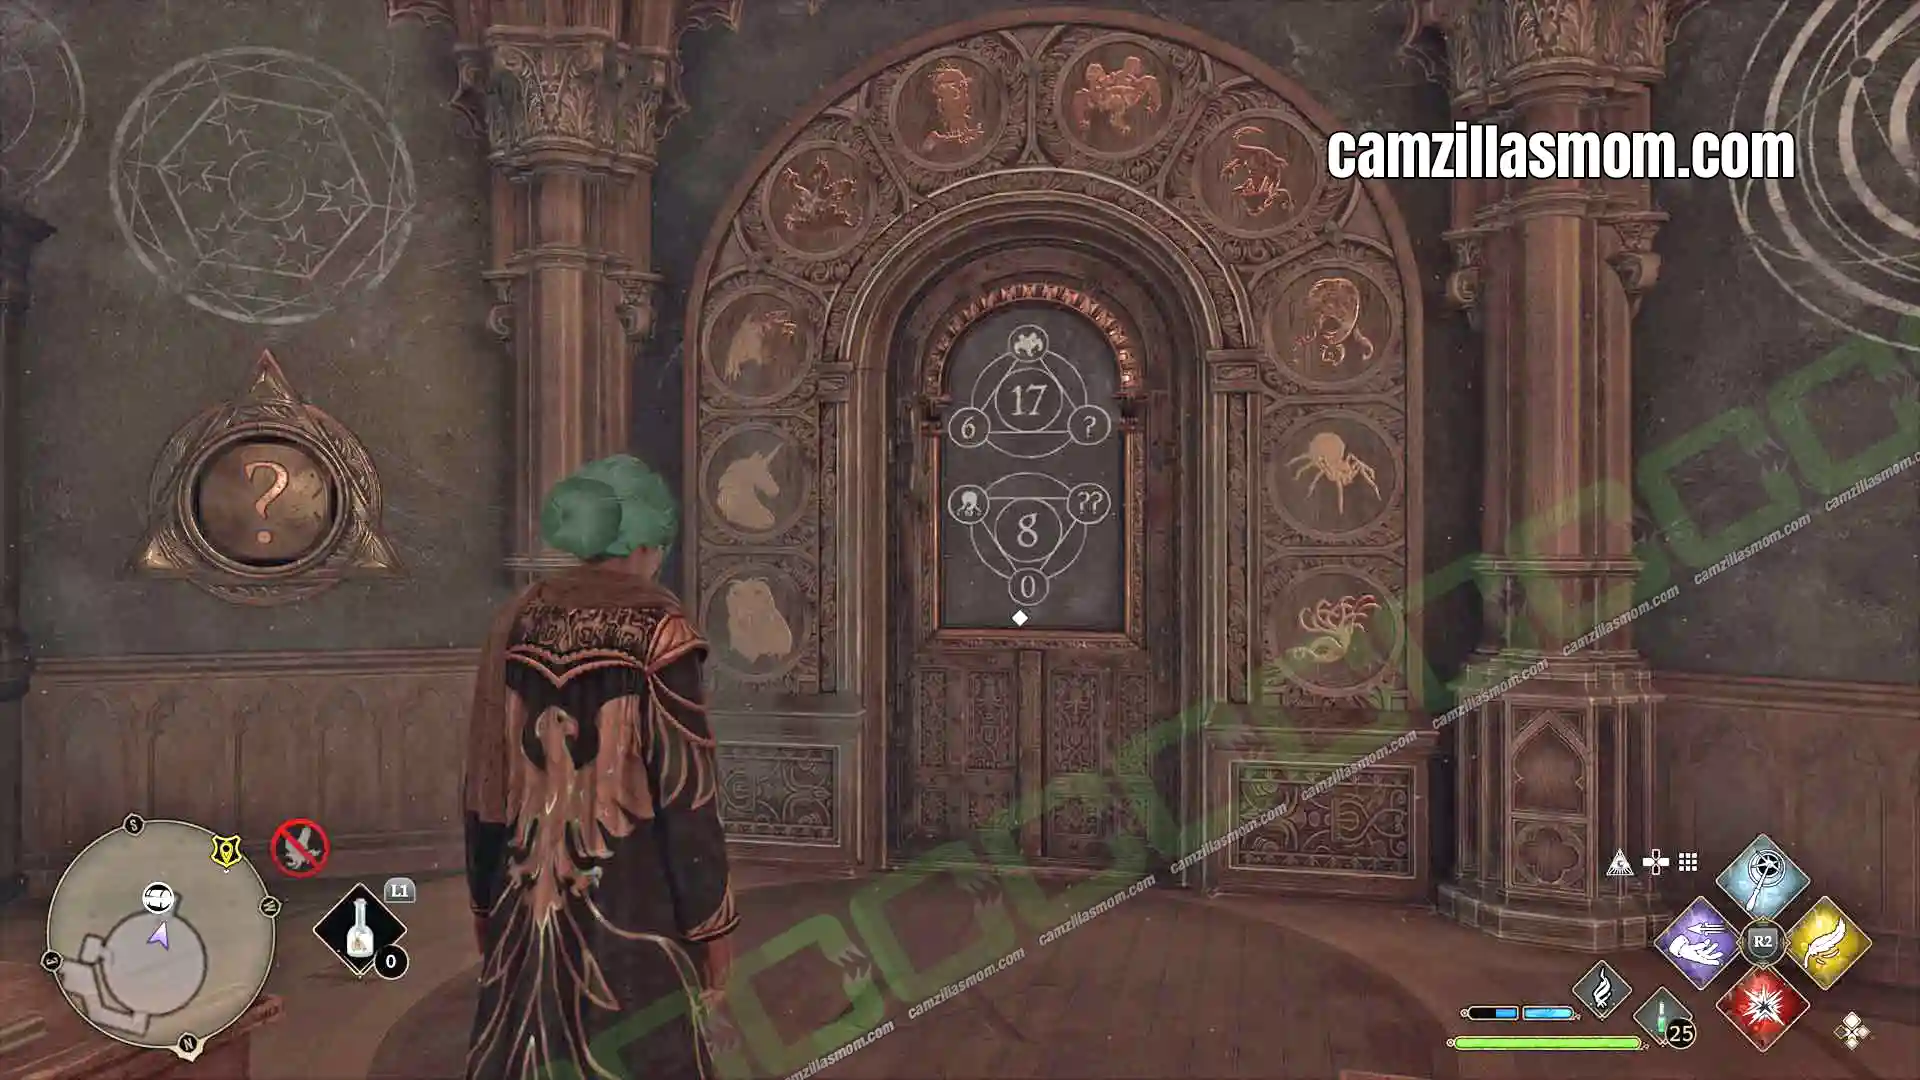
First Sum: 5 Legged Spider + 6 + ? = 17
The 5 LEGGED SPIDER is a 5. 5 plus 6 plus 6 = 17. Dial in the LIZARD for the ? – the seventh beast from the left.
Second Sum: Octopus + 0 + ?? = 8
The OCTOPUS is a 7. 7 plus 0 plus 1 = 8. Dial in the UNICORN for the ?? – the second beast from the left.
The Collection Chest is inside as you enter. One more chest location to go before the Depulso room.
Reward:
Vivarum Landscape Paintings – Conjurations
6 & 7 – Bridge Brazier Puzzle: Hogwarts Secret
Leave the Central Hall through the top exit to reach the big bridge. Light all four braziers with a fire spell.
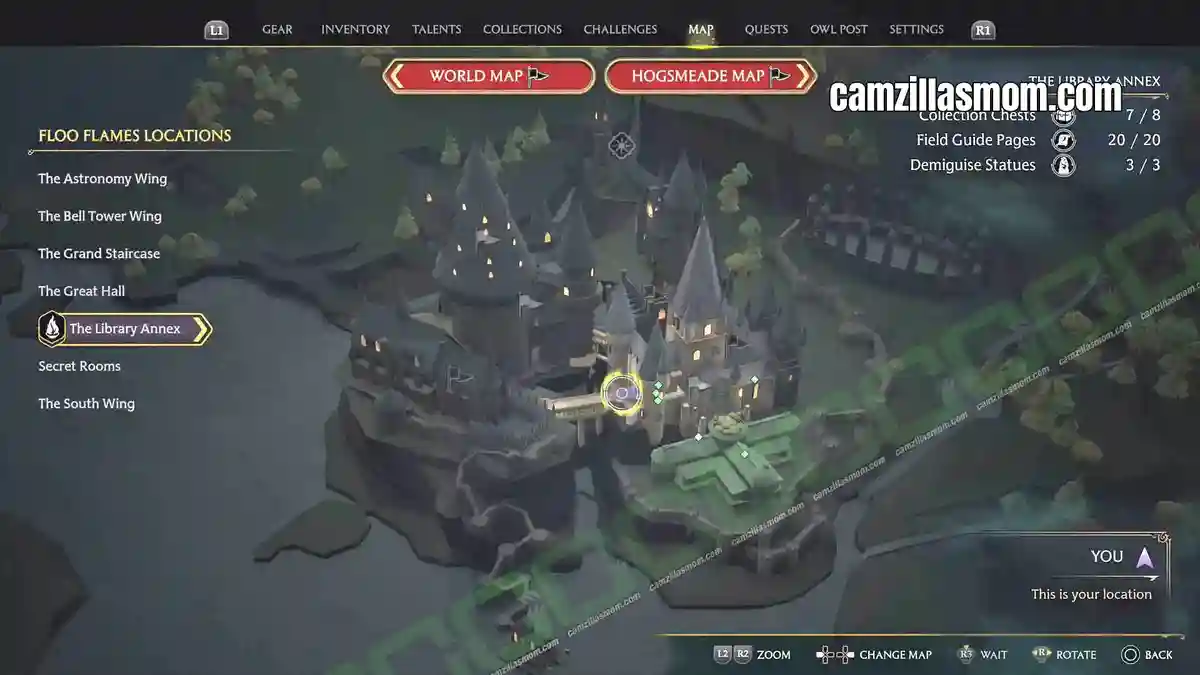
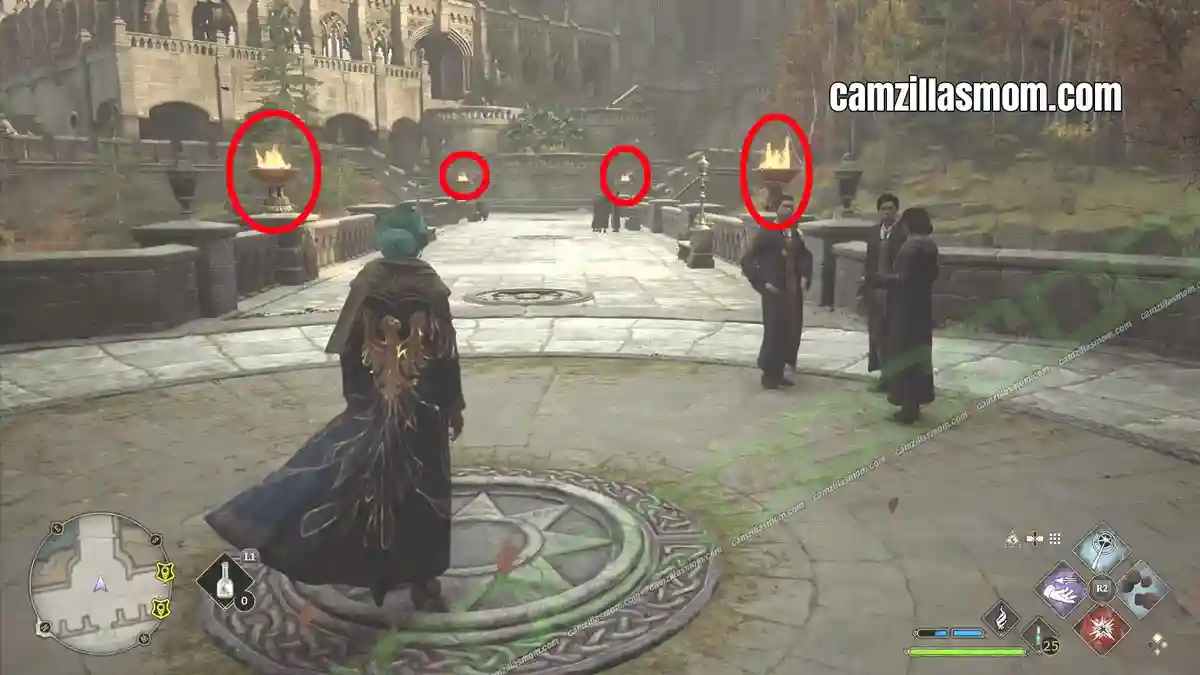
Each brazier carries a different symbol. Now find the round plate set into the bridge floor: it shows those same four symbols, each paired with a roman numeral.
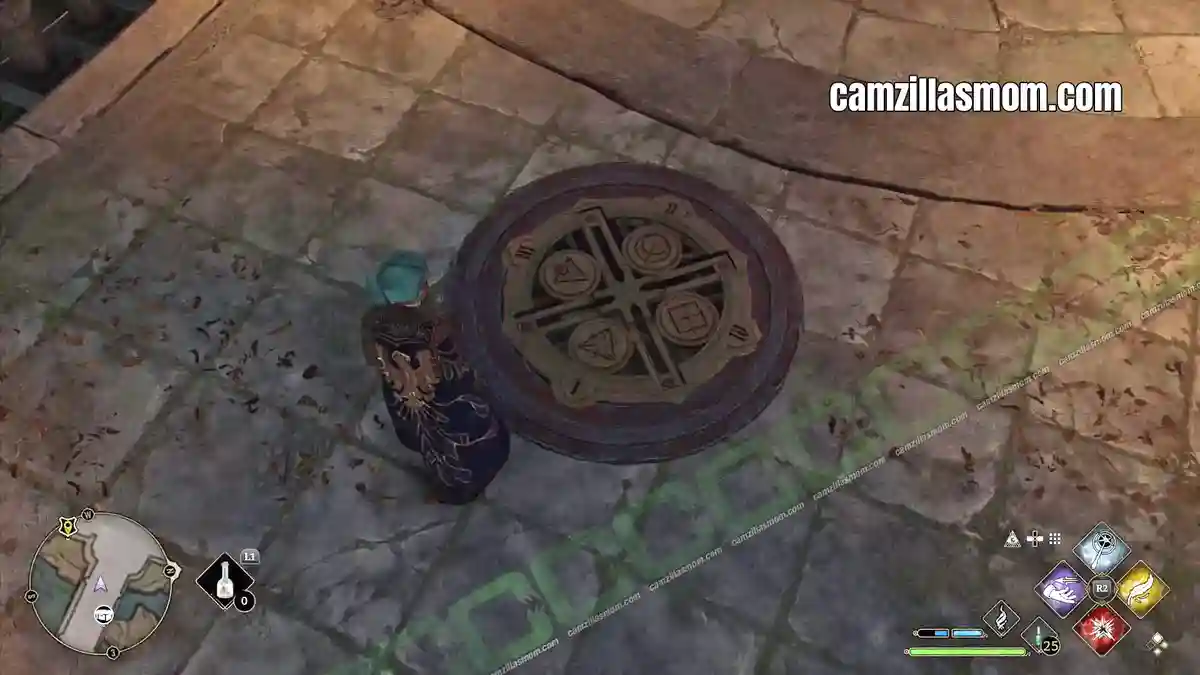
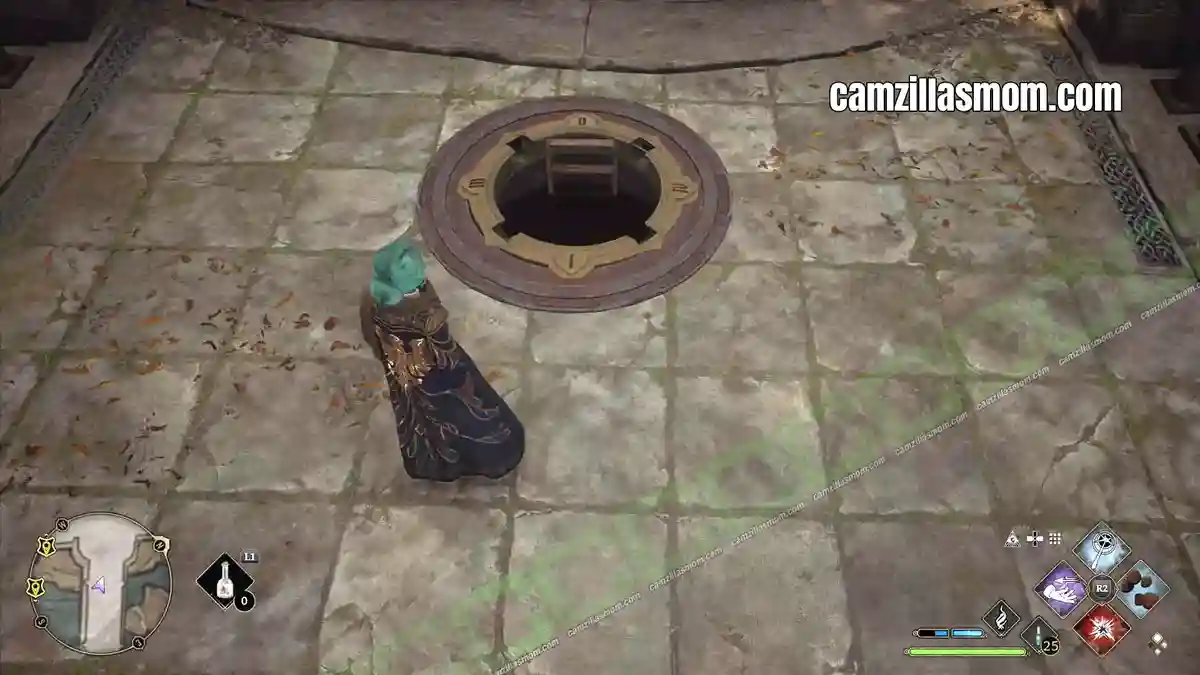
Rotate each brazier so it matches the roman numeral shown for its symbol on the floor plate. Get all four right and the plate slides open. Take the ladder down for two Collection Chests.
Reward:
Chest 1: Painting – Conjurations
Chest 2: Basketweave – Blue – Wand Handles
7 – Depulso Puzzle Room 1
This one only opens up once you’ve finished the side quest The Hall of Herodiana, and you’ll need Alohomora Level 1 to get into the corridor.
Fast travel to the Potions Classroom Floo Flame. Go through the door in front of you, turn left and take the spiral staircase down. You’ll come out in the Long Gallery, the long hallway lined with portraits. Follow it towards the Bell Tower Courtyard end.
Watch the wall on your right for a red marble fixture with a golden button. Cast Depulso on the button and the wall slides open, revealing the entrance to Depulso Puzzle Room 1.
Inside are three regular treasure chests: one left, one right and one at the back of the room. Use Depulso and Accio to shove the stone blocks into position and reach all three. You can reset the blocks at any point, so there’s no way to lock yourself out.
With all three chests opened, head back towards the entrance. The Collection Chest appears in the middle of the walkway on your way out.
Reward:
Random Conjuration
Library Annex Field Guide Pages (Revelio Pages)
Field Guide Pages come in two flavours. Revelio Pages are the named ones you uncover with Revelio and that get logged in your Collections menu. The rest are unnamed: Flying Pages you snatch out of the air with Accio, plus pages hidden behind moth mirrors, dragon bowls and globe statues. Both types count towards the Field Guide Pages challenge, and both are listed below.
The two pages from “Professor Ronen’s Assignment” don’t count towards area completion, since they belong to a tutorial quest.
Revelio Pages
These are listed in the exact order they appear in the game’s “Collections – Revelio Pages” menu, so you can tick them off one by one.
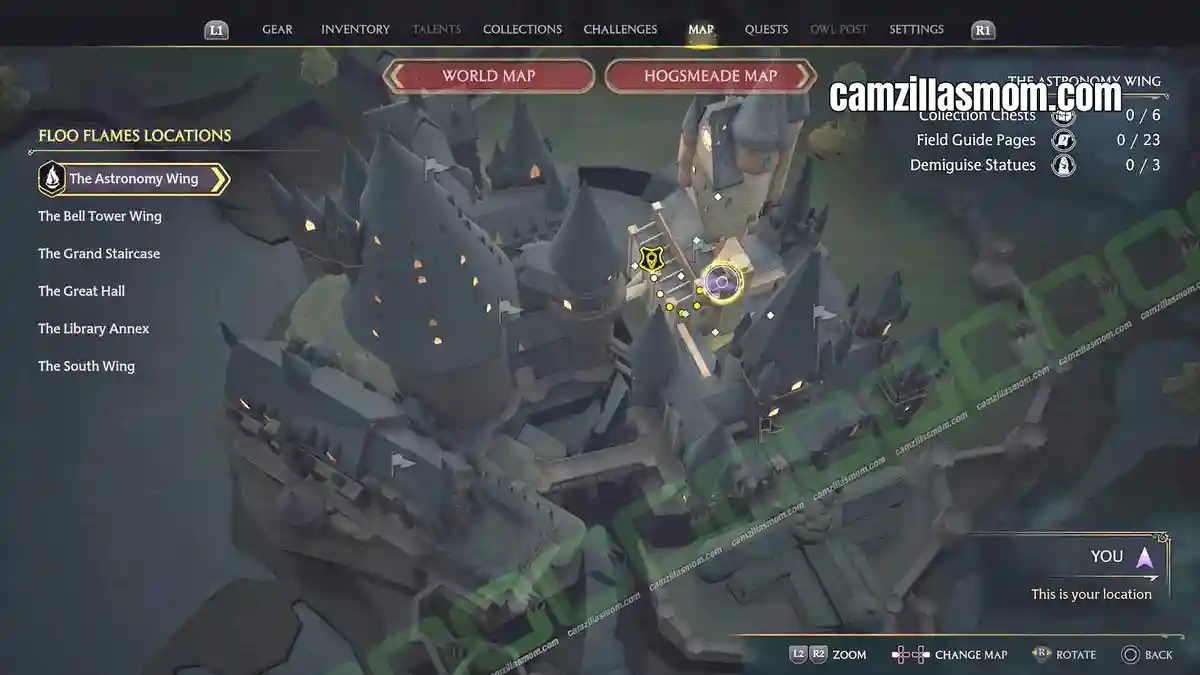
1 – Central Hall Fountain
“This ornate fountain features intricately carved statues of denizens of the magical world, including a set of stone sirens encircling the fountain’s base.”
The Central Hall Fountain sits right in the middle of the Library Annex. Cast Revelio in front of it.
2 – Professor Sharp’s Auror Badge
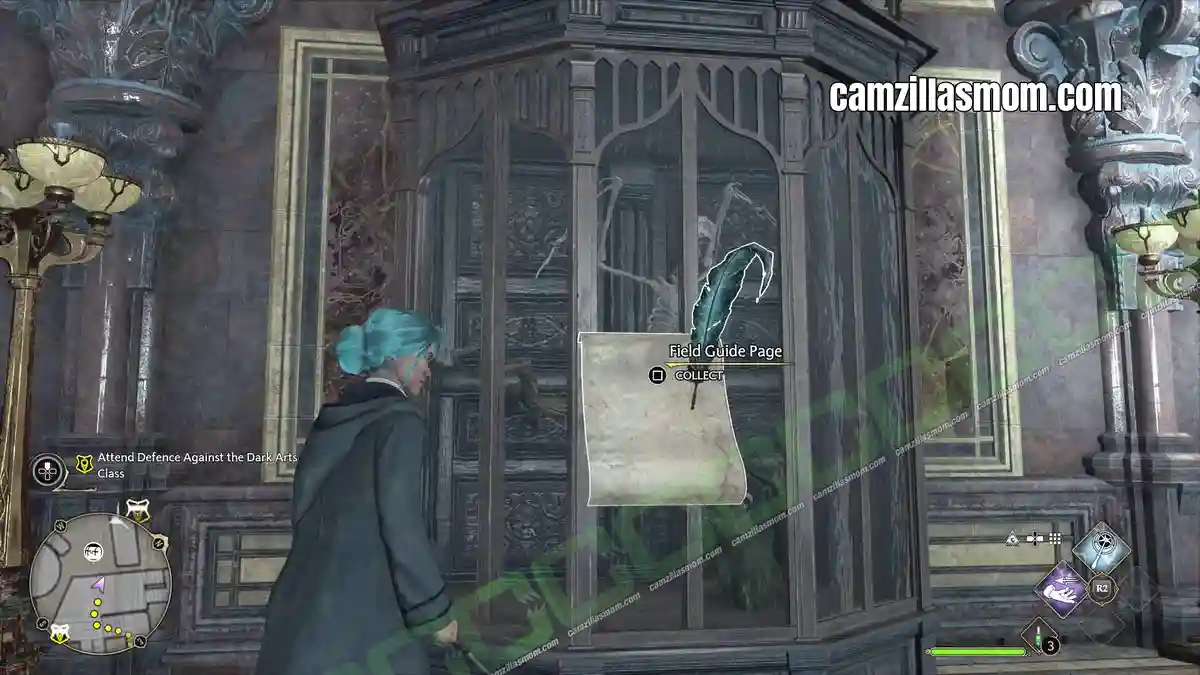
“Aurors comprise the Ministry’s magical law enforcement and protect the wizarding world from all sorts of threats – particularly those posed by Dark Magic. This Auror badge belongs to Professor Sharp.”
You’ll pass this one during the main story. Head into the Potions Classroom and look for the badge sitting on a table.
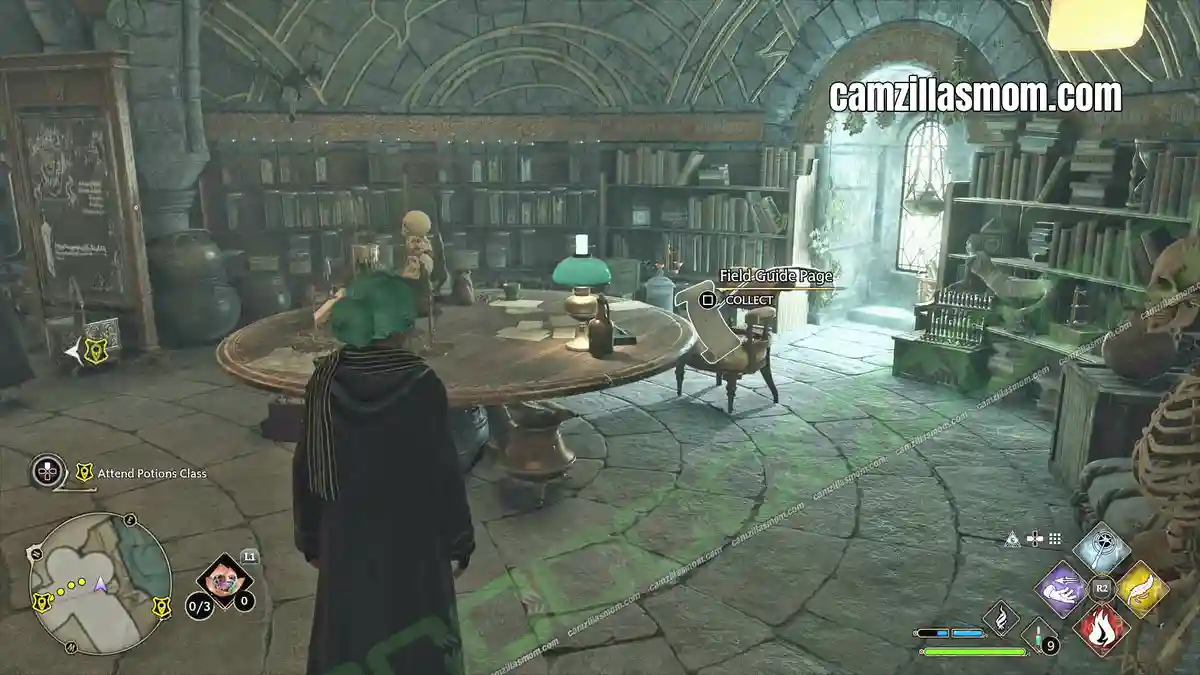
3 – Gorgon Portrait
“An oil painting of a beautiful gorgon and her suitor, whose eyes are wisely averted as he bends to kiss her hand. It is said that the artist who painted this accidentally gazed at his subject when he delivered the painting and is now forever a sculpture in a garden in Greece.”
Behind the arithmancy door below the Potions Classroom. Go downstairs through the locked door, follow the corridor to the staircase, and solve the door puzzle. The Gorgon Portrait is inside, next to the Collection Chest. Full solution above under 2 – Below Potions Class: Arithmancy Door.
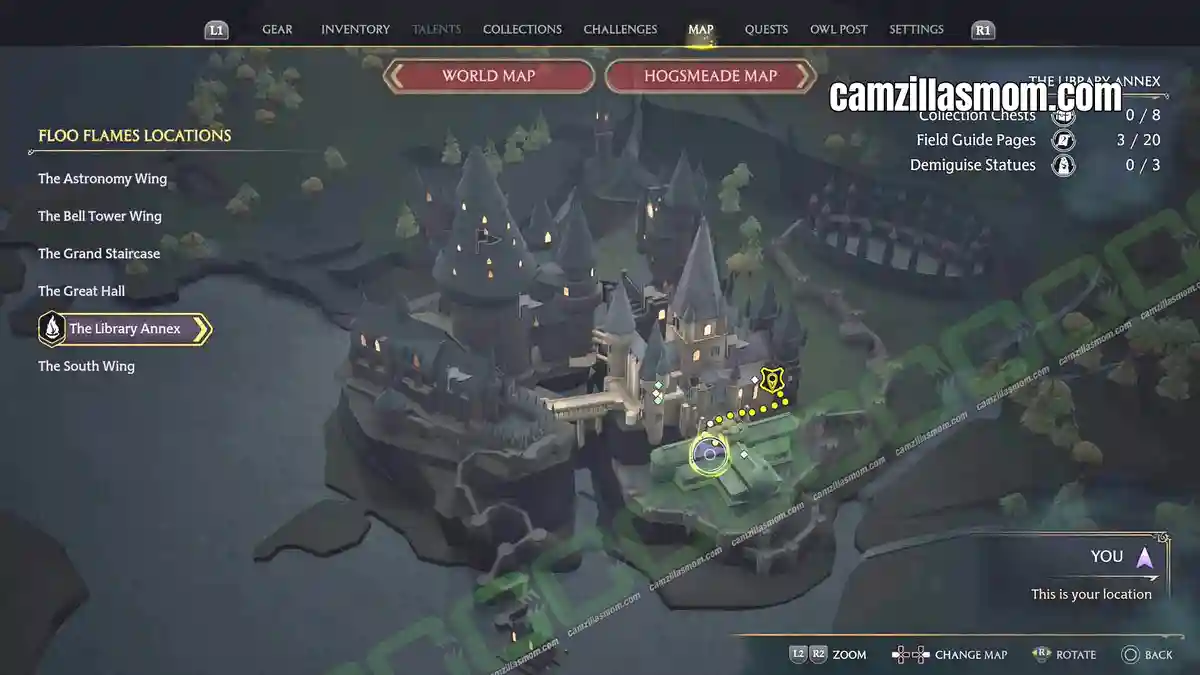
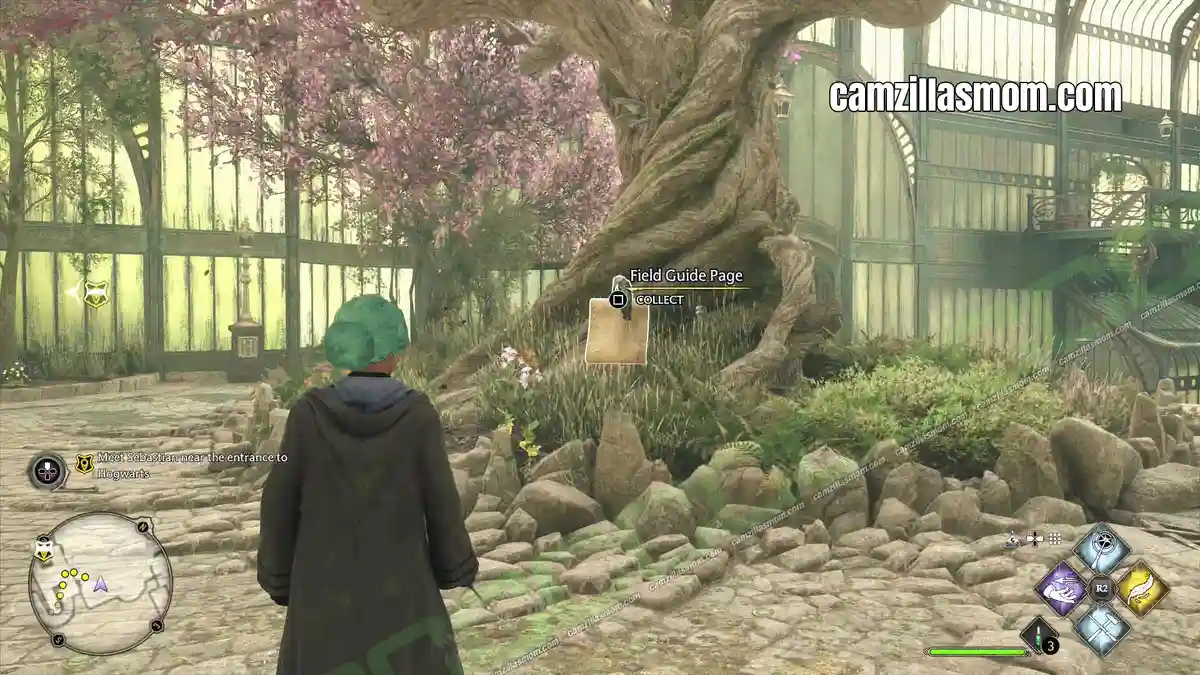
4 – Greenhouse Tree
“Situated at the centre of a Hogwarts greenhouse, this giant tree has a system of roots as deep-reaching and convoluted as the school’s dungeons.”
Take the Library Annex’s big gate exit into the Greenhouse. The huge tree in the middle has a story to tell.
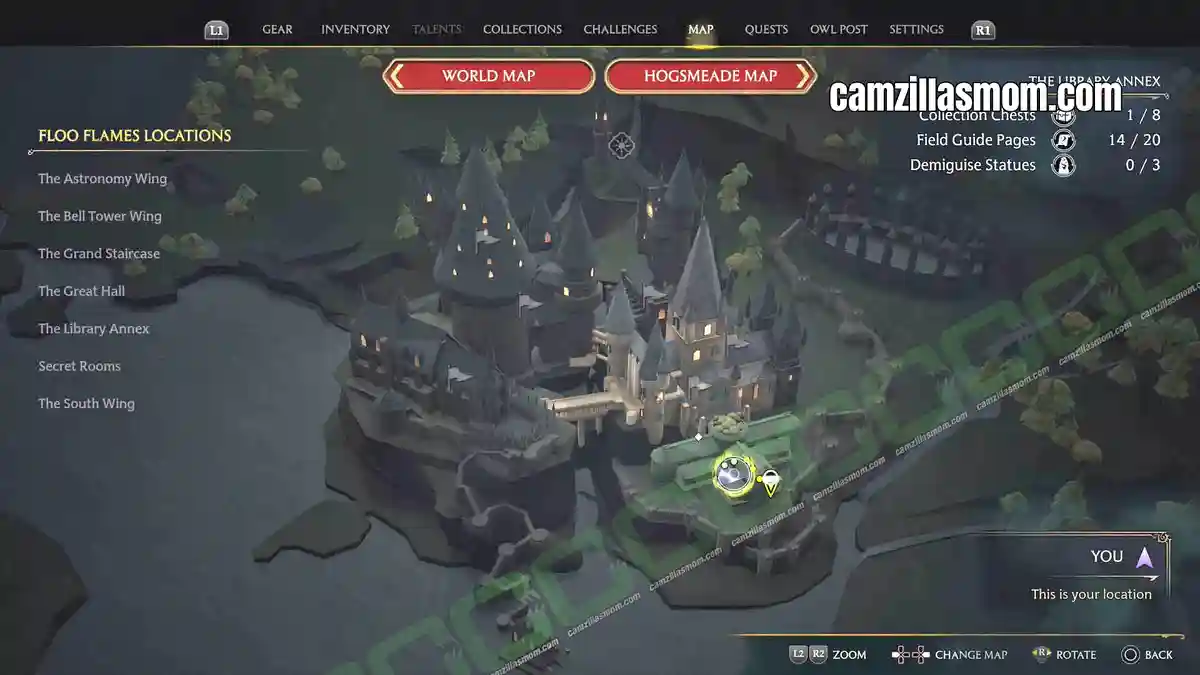
5 – Dirigimble Plums
“This orange, radish-like fruit floats upside-down as it grows. Some believe it can enhance one’s ability to accept the extraordinary.”
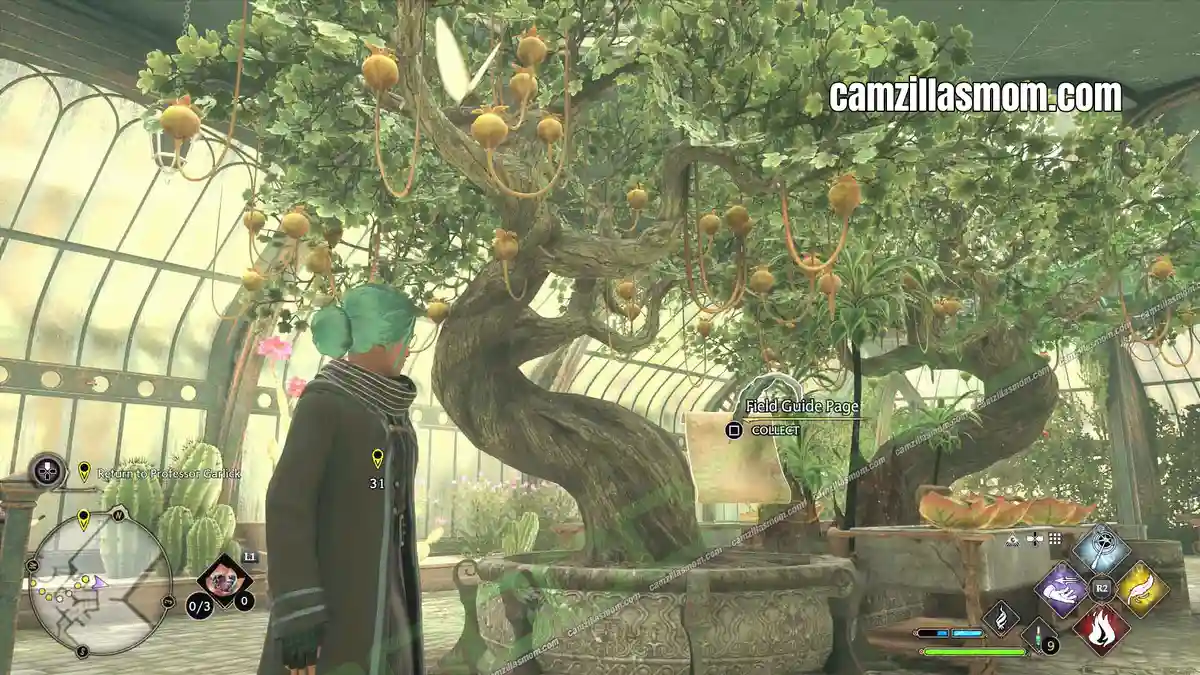
Keep playing and you’ll eventually get Herbology Class in the greenhouse. The Dirigible Plums grow in the same spot as the cabbages, you’ll know it when you see it.
6 – Statue of Gregory the Smarmy
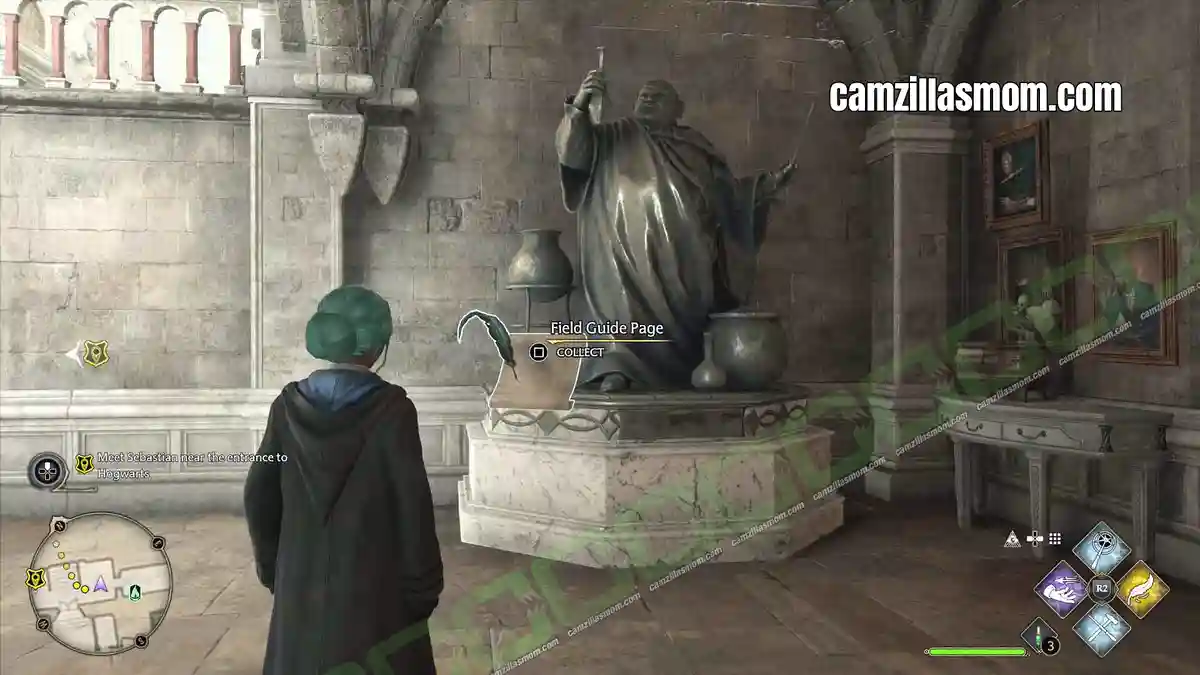
“This statue with an ingratiating grin depicts the medieval wizard Gregory the Smarmy, the wizard famous for inventing Gregory’s Unctuous Unction, a potion that makes the drinker believe whoever gave them the potion is their best friend.”
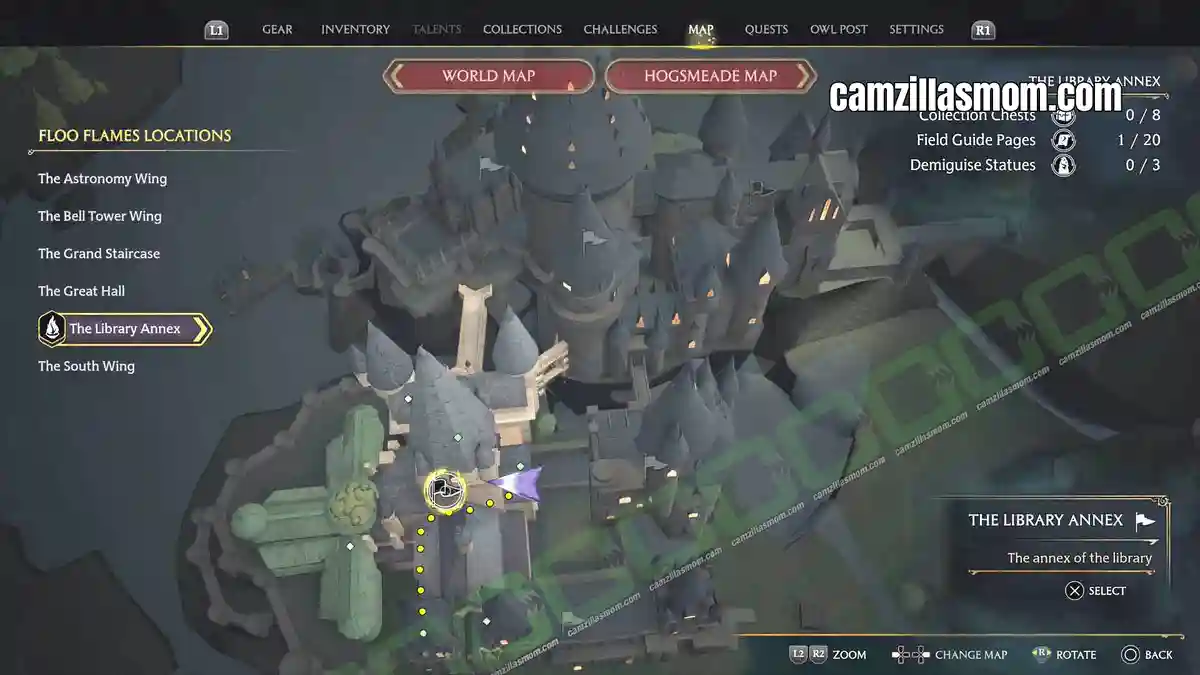
Enter the Library Annex through the courtyard coming from the Astronomy Wing. The statue is on the ground floor.
7 – The Old Librarian
“One of the first librarians of Hogwarts is depicted here. Rumour is that he had no tolerance whatsoever for noisy student and was known for his liberal use of the Silencing Charm at the slightest sneeze.”
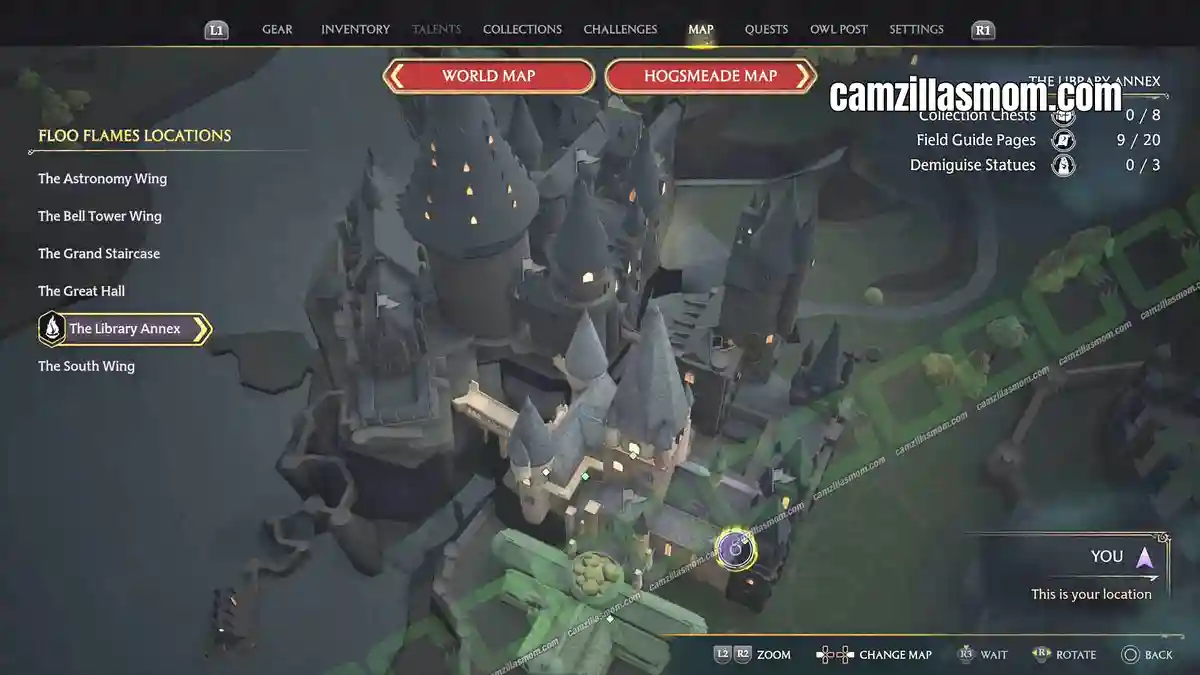
Head up to the second floor of the Library. A tall painting of the Old Librarian looks out over the whole room.
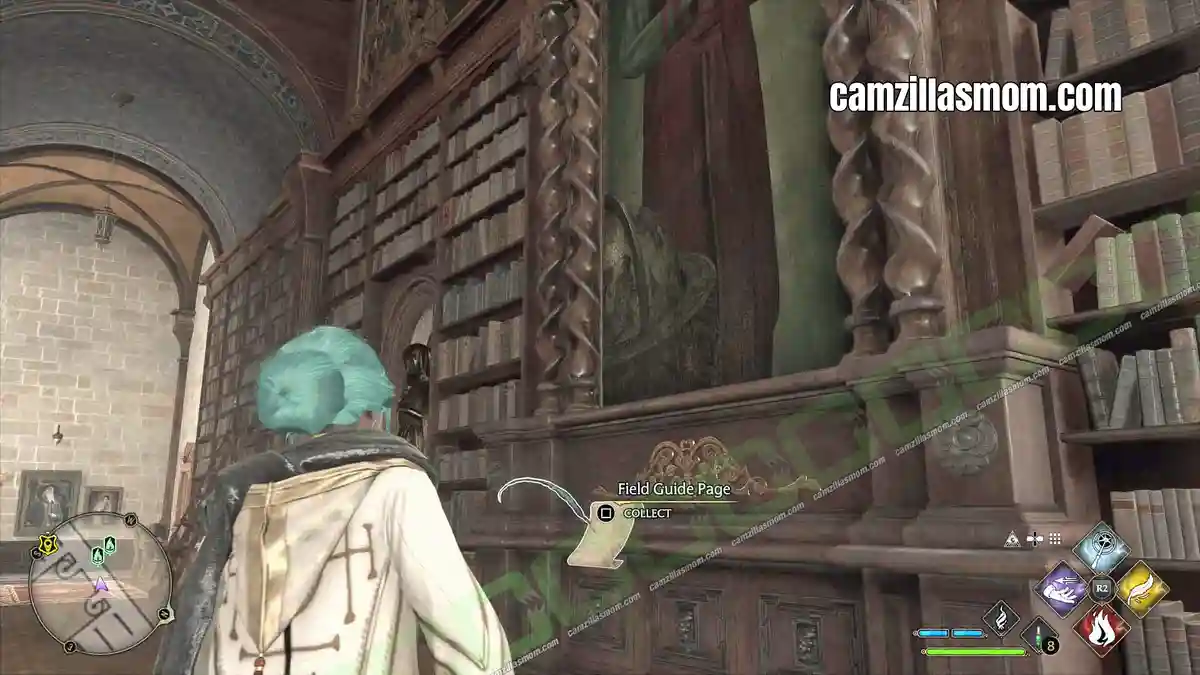
8 – Enchanted Books
“Best to avoid these books if possible – due not as much to their tendency to fly from one’s hands as to their content being spectacular drivel of no educational value whatsoever.”
You’ll need story access to the locked Restricted Section on the ground floor of the Library. Once inside, go down one level and check the bookshelves for this one.
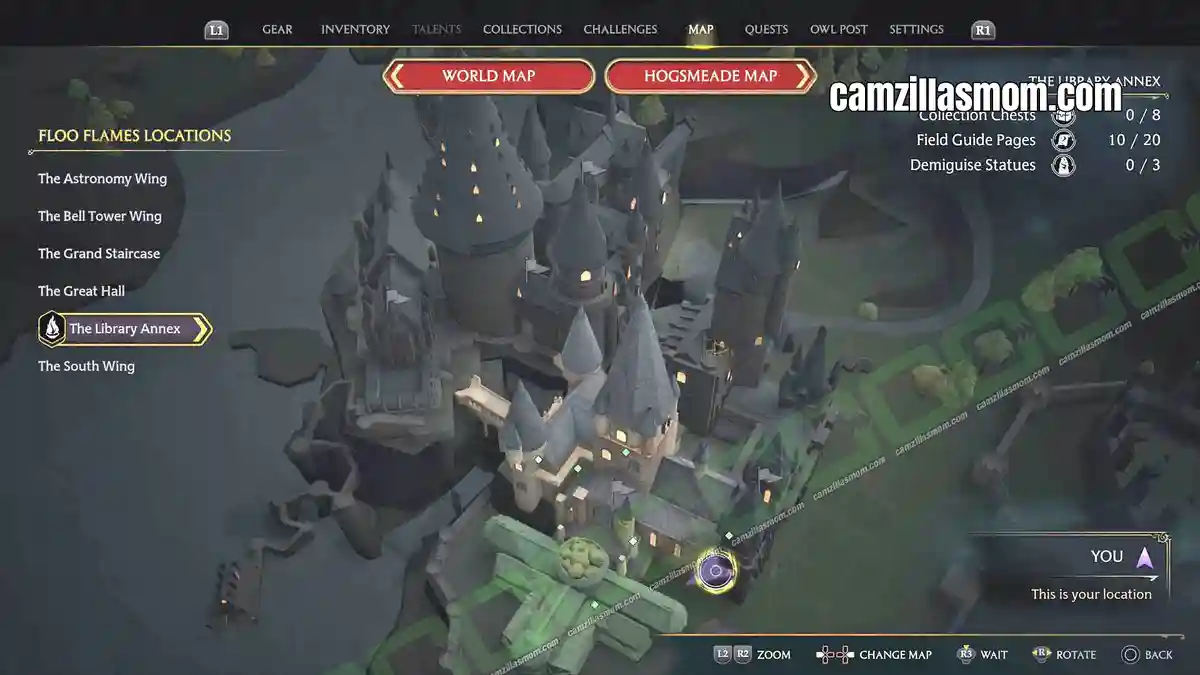
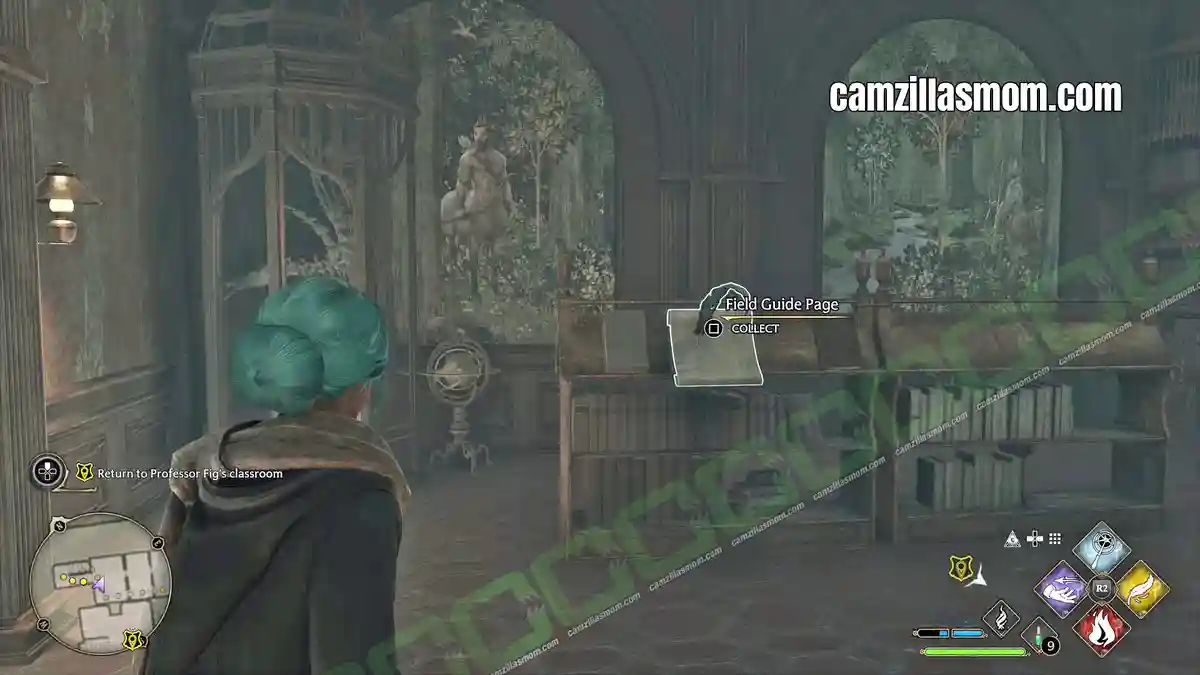
9 – Palmistry Model
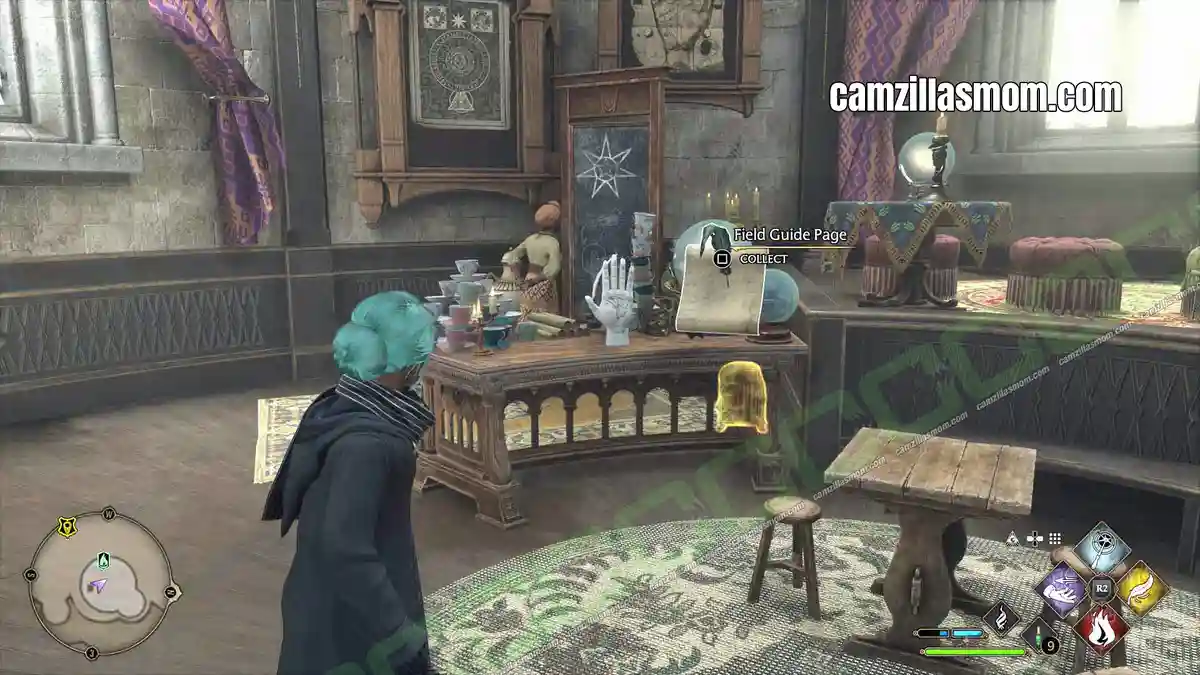
“This standing model of a hand is demarcated to help students in the practice of palmistry. Depending upon the angle at which this model is read, it either has a considerable life line or is likely to die in a fortnight.”
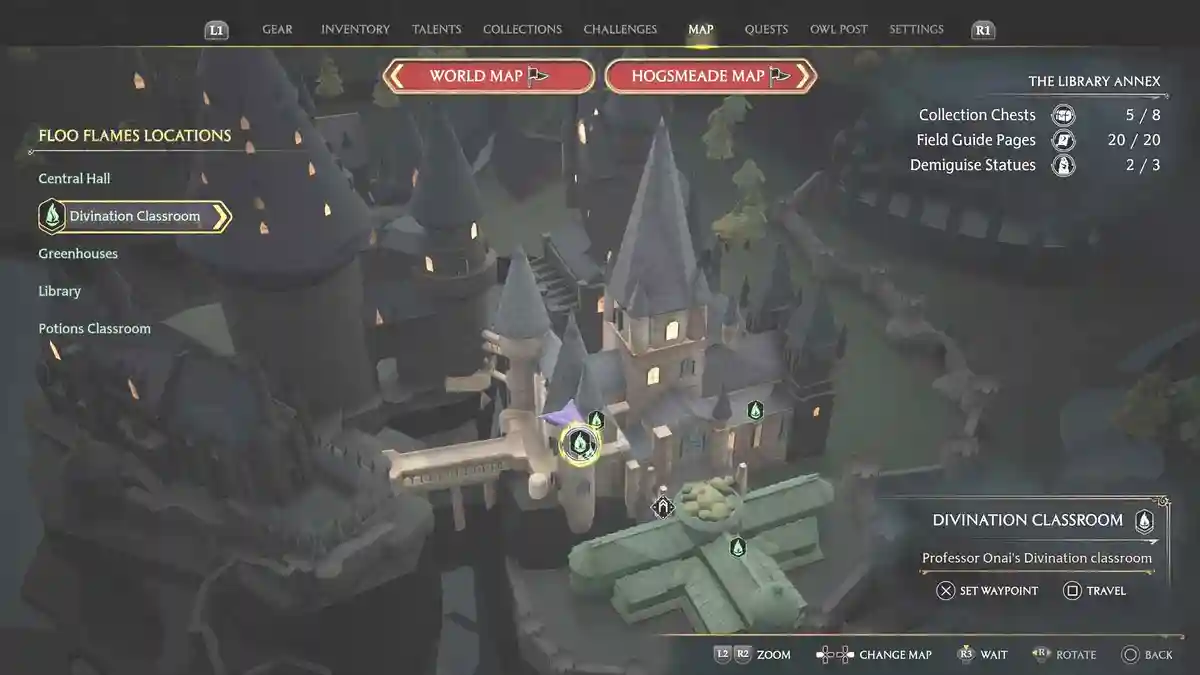
Fast travel to the Divination Classroom Floo Flame, then climb to the top of the tower and up the ladder. The Palmistry Model is in the classroom.
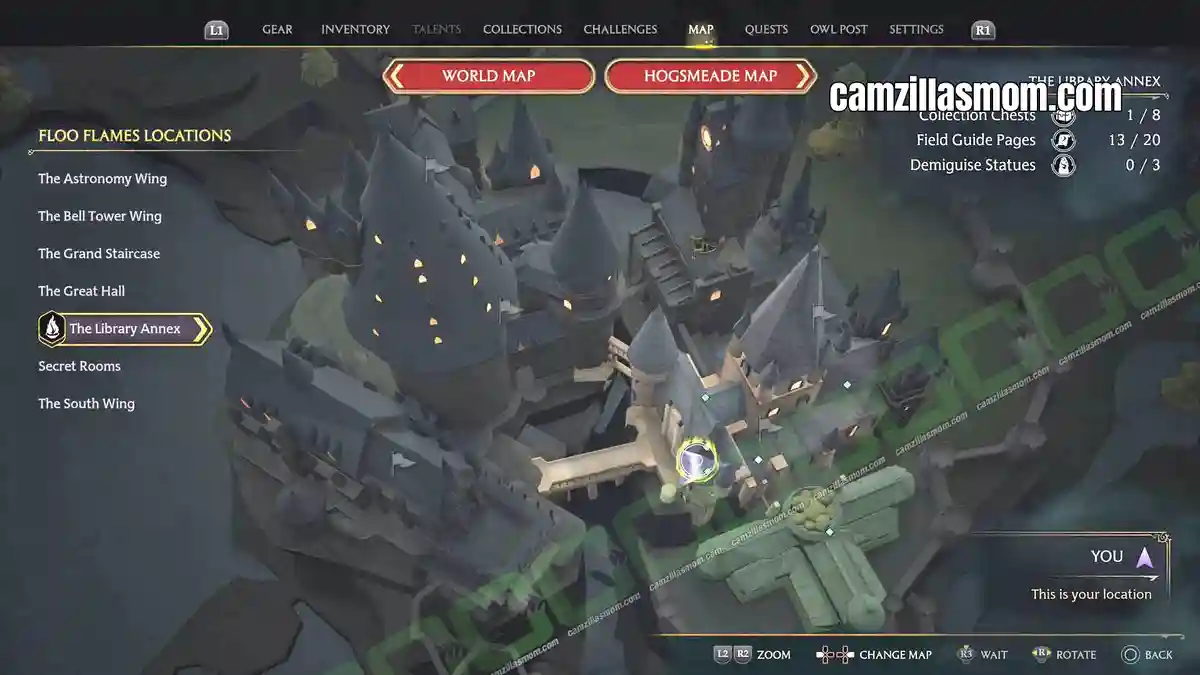
10 – Book on Intermediate Transfiguration
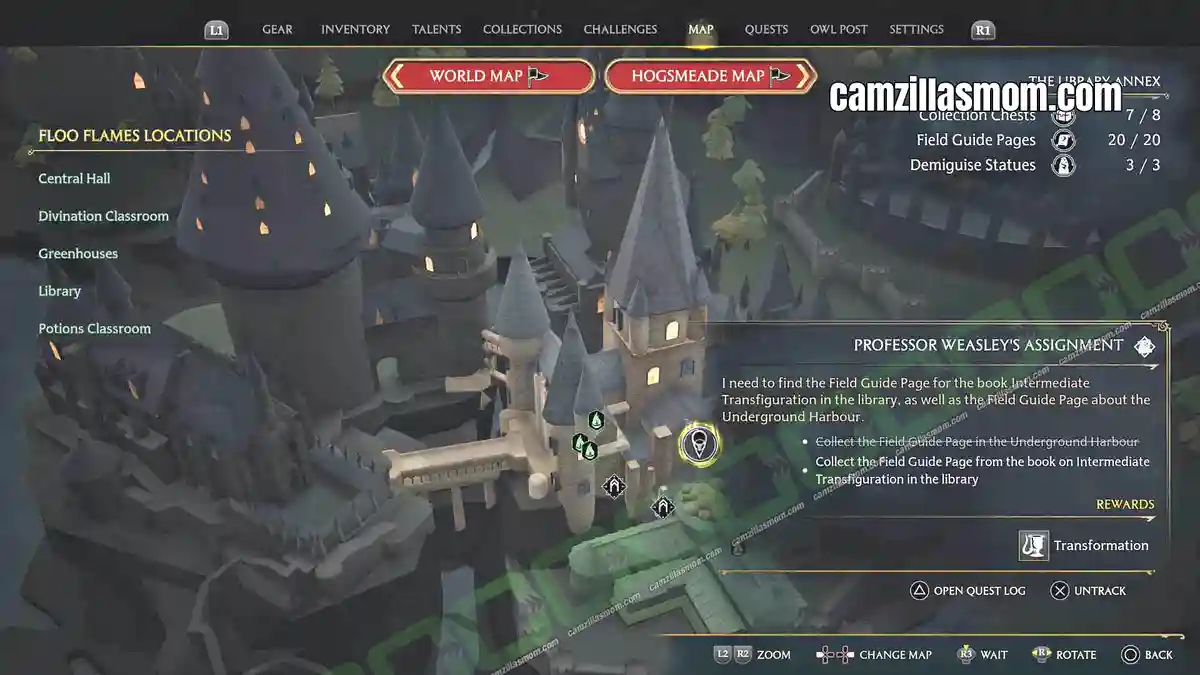
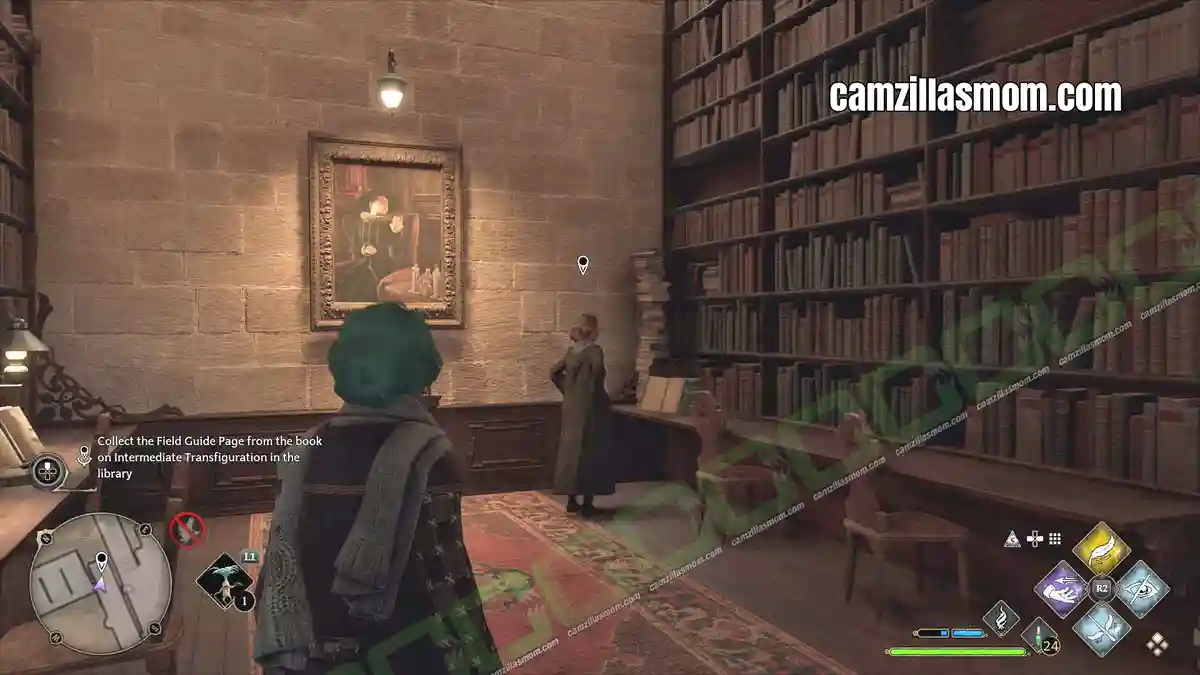
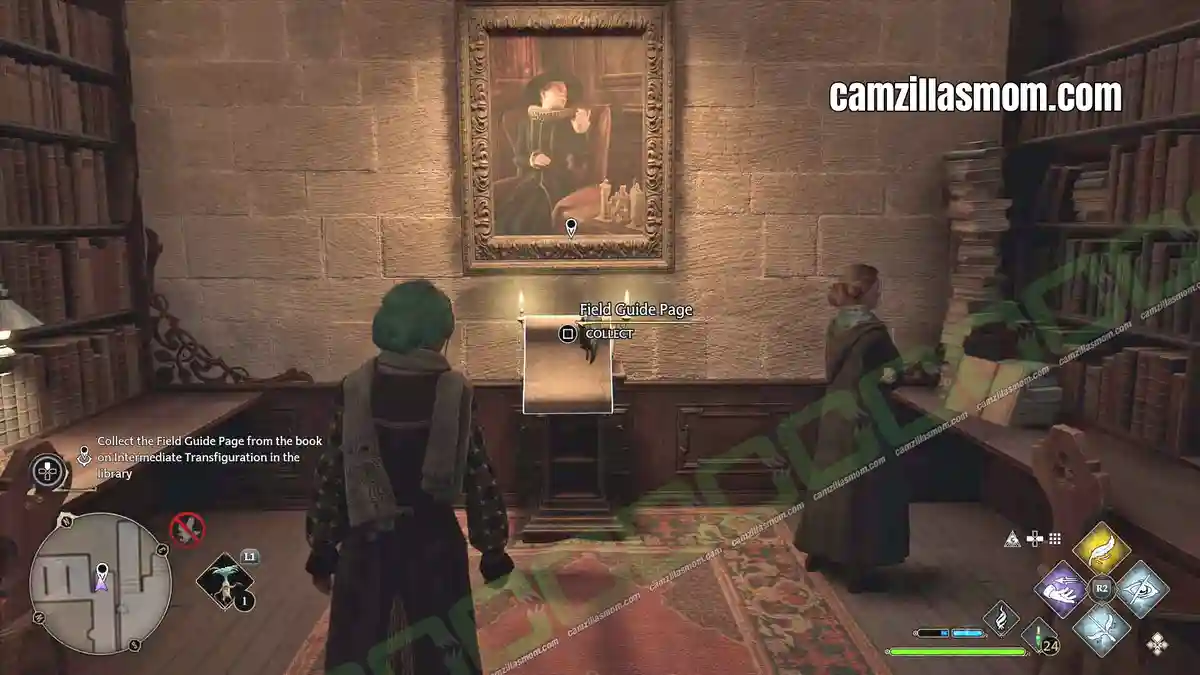
“This book is designed to help guide the student who wishes to pursue more complicated types of Transfiguration. Professor Weasley often recommends it to her advanced students as a bit of light reading.”
This one waits on one of Professor Weasley’s Assignments. Once it’s active, head to the top floor of the Library, solve the quizzes up there, and the book becomes reachable.
11 – Portrait of Sir Cadogan
“Sir Cadogan was allegedly friends with Merlin himself, and as such became a sworn Knight of the Round Table – although he is only really known to the wizarding world. He is famous for his defeat of the Wyvern of Wye and now spends his days challenging students to duels.“
Go to the top level of the Library Annex, where the framed paintings hang. Sir Cadogan is up there.
Unnamed Field Guide Pages
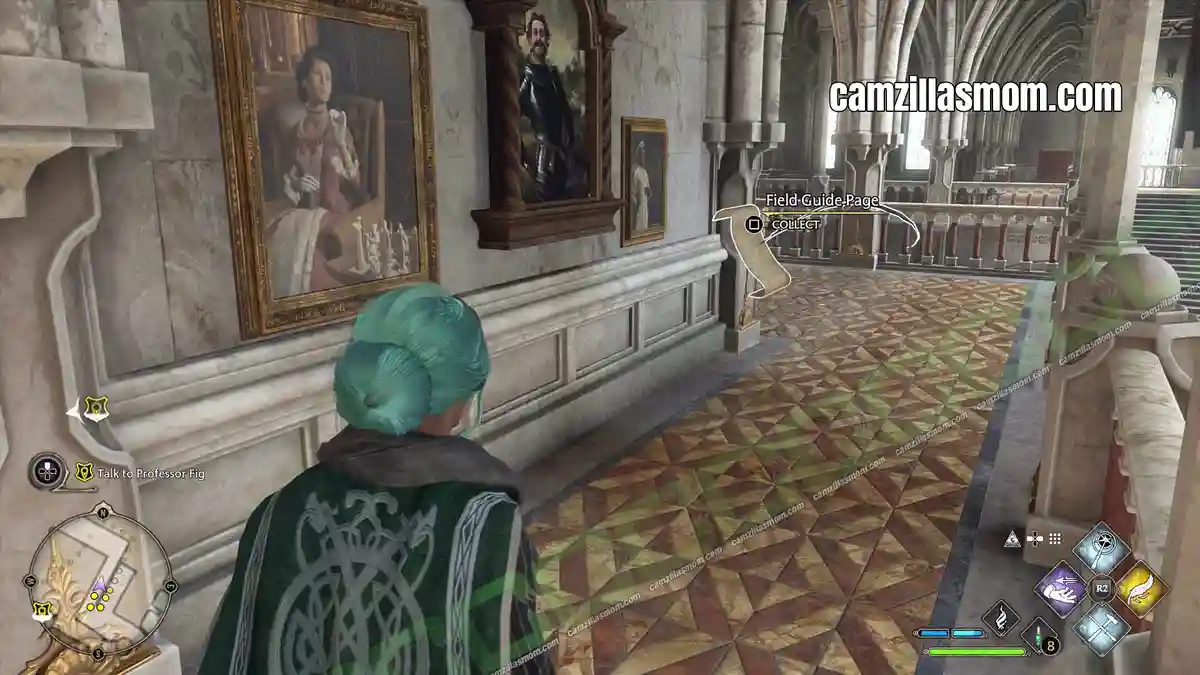
These pages have no entry in the Collections menu, so they vanish once you pick them up. They still count towards the Field Guide Pages challenge, and you need all of them for 100% area completion. Four kinds show up in the Library Annex:
1 – Flying Pages – catch them with ACCIO
2 – Moth Mirrors (black, empty picture frames) – cast LUMOS, find the moth, carry it back
3 – Dragon Bowls – cast INCENDIO
4 – Globe Statues – cast LEVIOSO
None of them appear in the Collectibles section of the game menu, but every one counts towards your challenges.
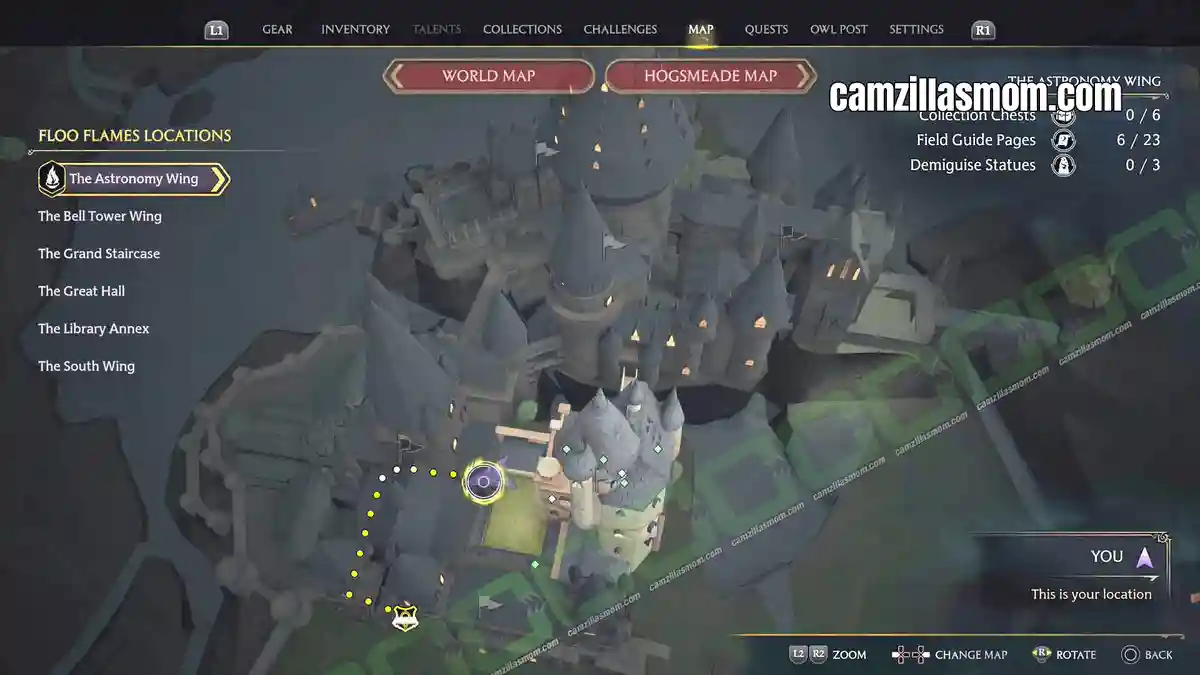
12 – Flying Page: Astronomy Wing Courtyard Door
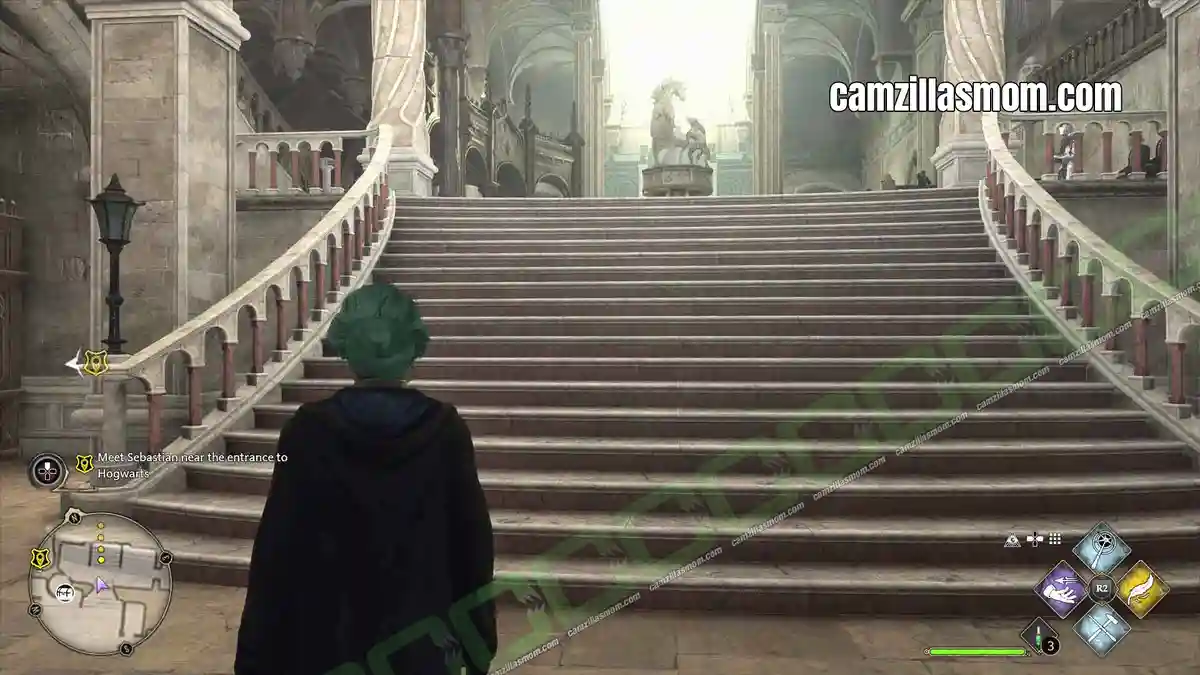
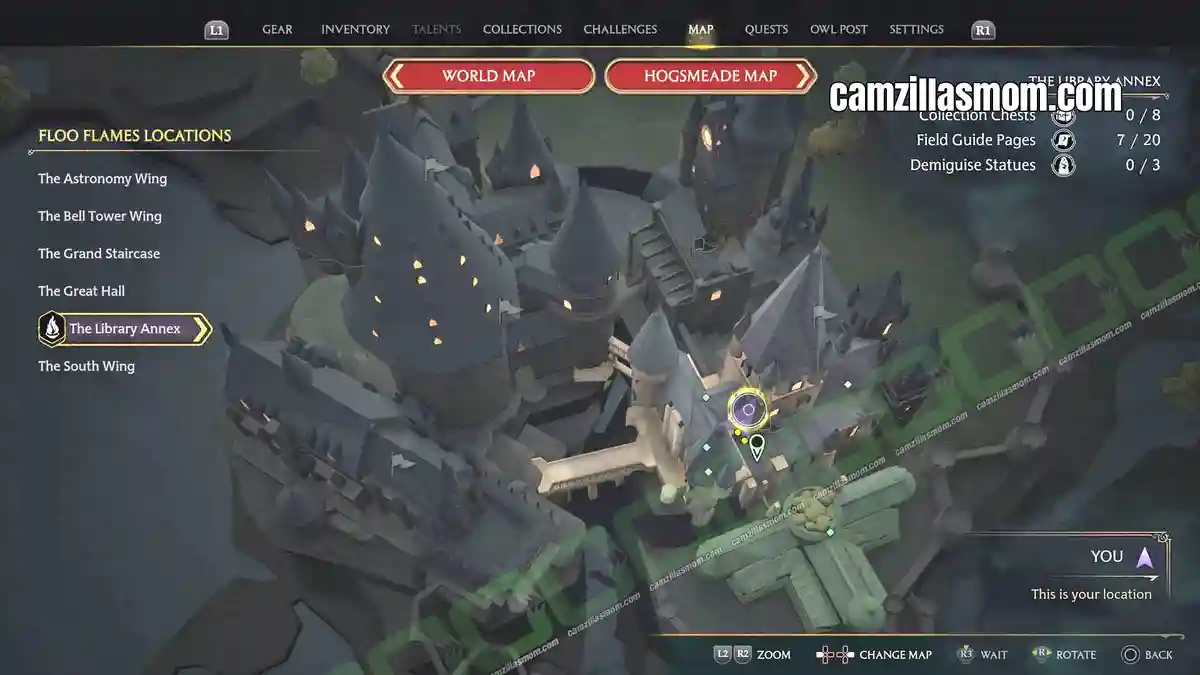
On the ground floor, at the base of the stairs coming in from the Astronomy Wing Courtyard, a page drifts through the air. Accio it.
13 – Flying Page: Main Hall, High Up
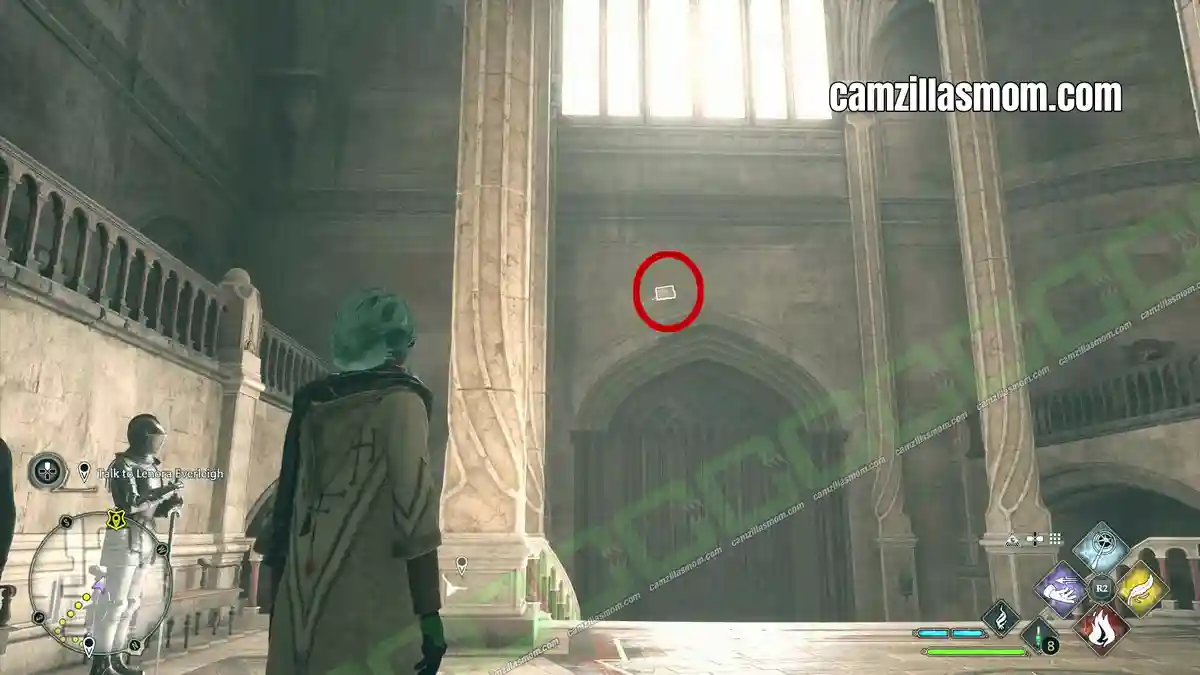
Another page circles the Main Hall of the Library Annex, this time well above your head. Accio still reaches it.
14 – Flying Page: Library
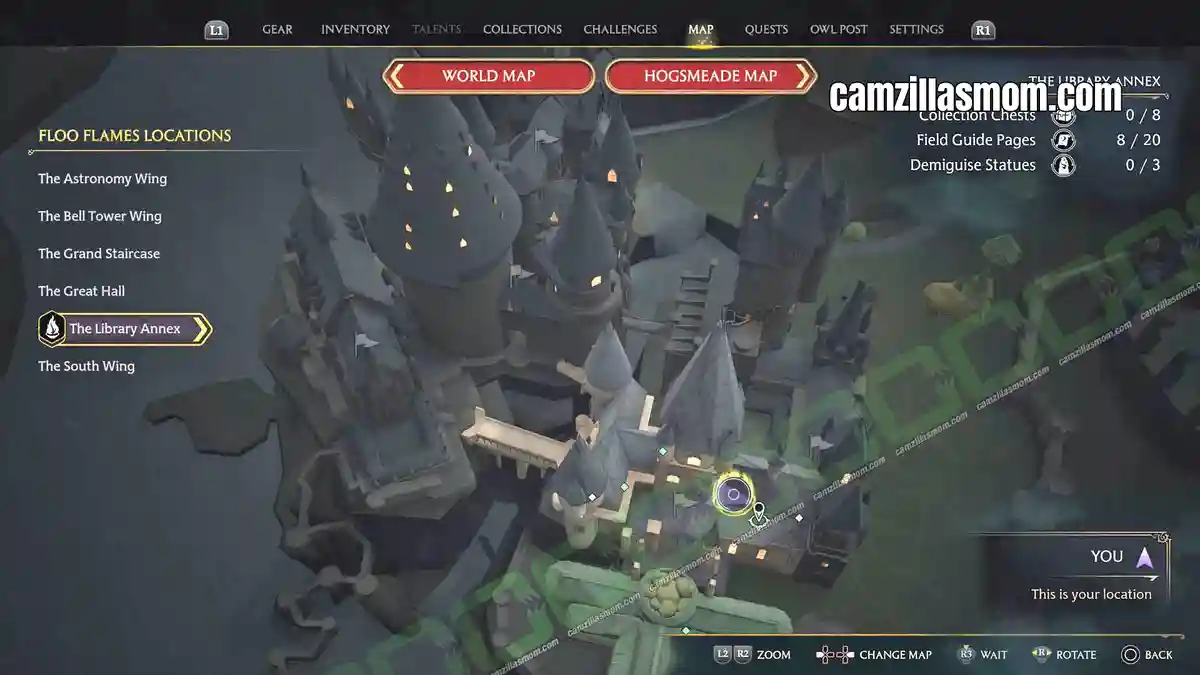
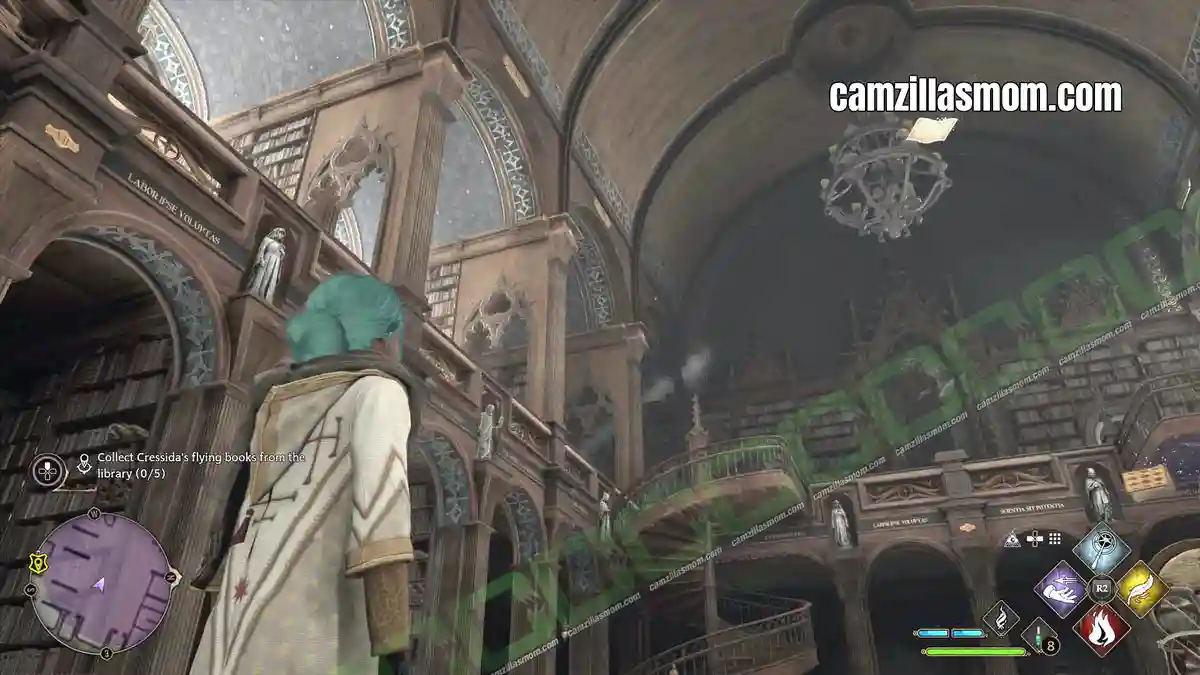
A page floats high up inside the Library itself.
15 – Moth Mirror: Main Hall
This is the collectible from the quest: A Moth to a Frame.
Step up to the black moth mirror and cast LUMOS. The frame reveals a scene, and there’s a moth-shaped notch at the bottom. Your job is to find the moth that belongs in it.
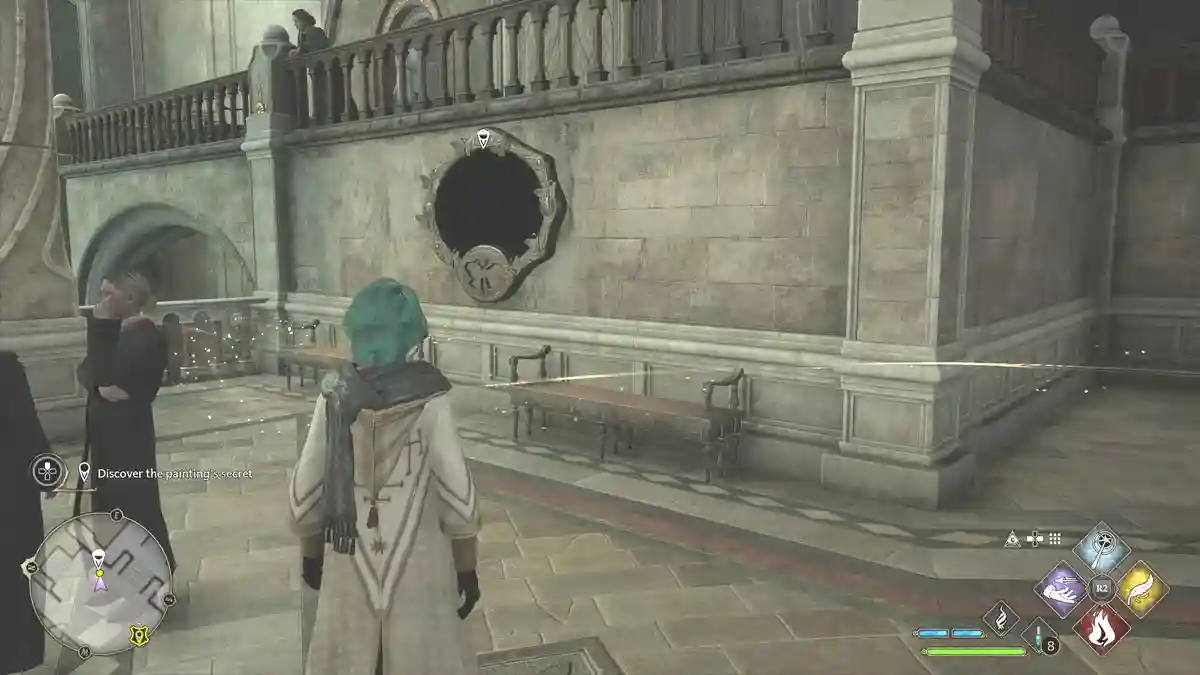
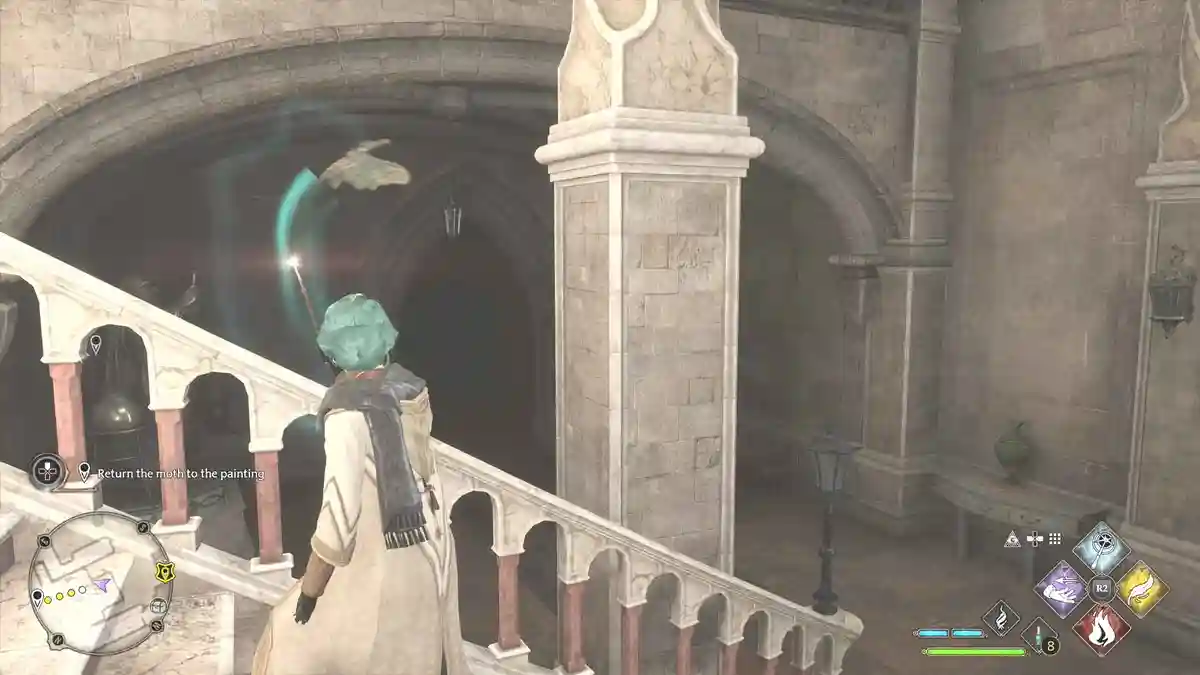
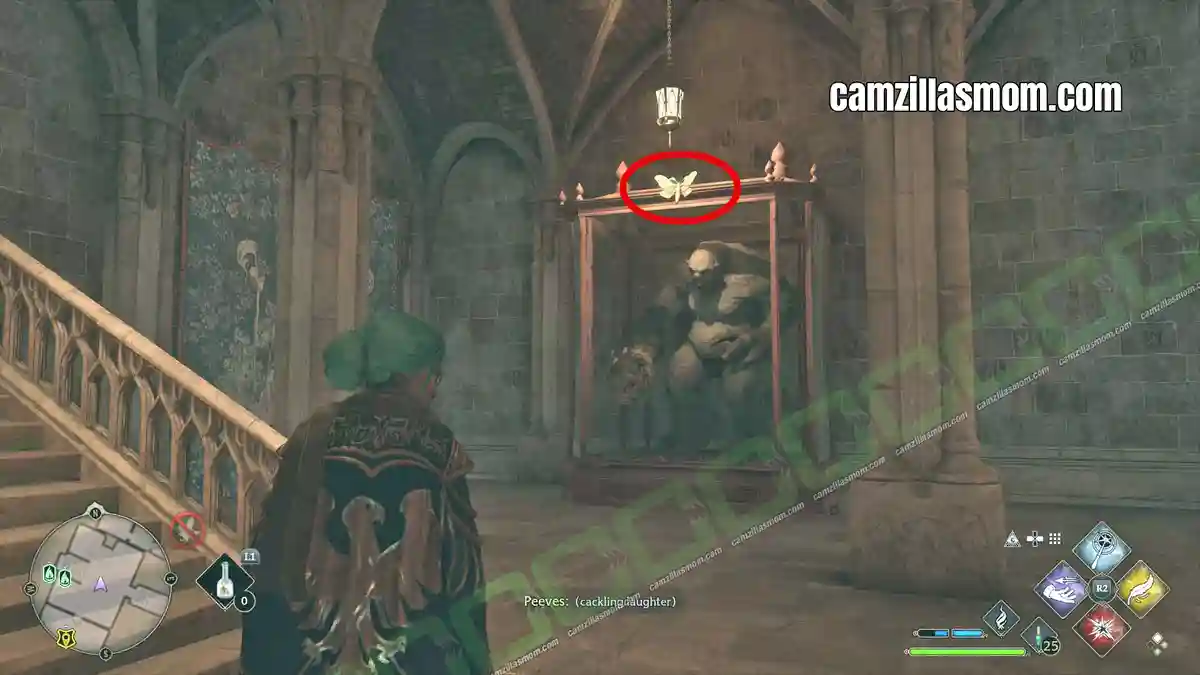
The search area shows up as a purple circle on the mini map. Head for the Main Hall’s exit, where the big statue from the revealed scene stands. Cast LUMOS again and the moth comes to your wand, so you can carry it back to the frame. Drop Lumos there and the moth settles into the notch. Grab your Field Guide Page.
16 – Moth Mirror: Library
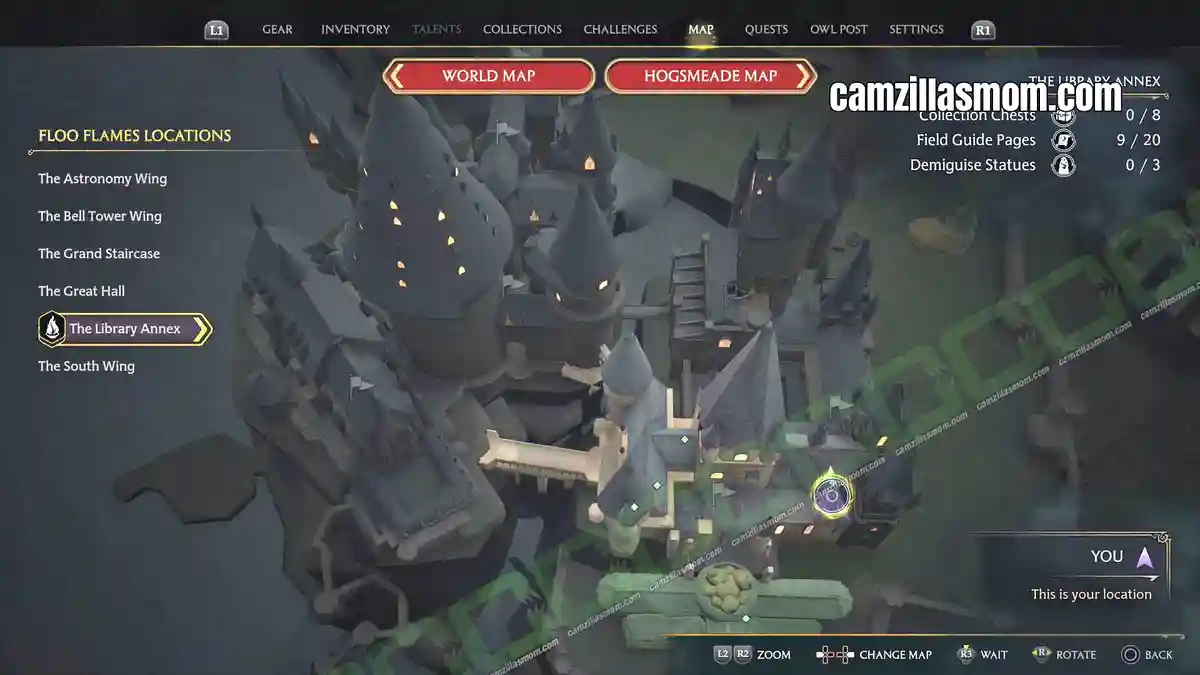
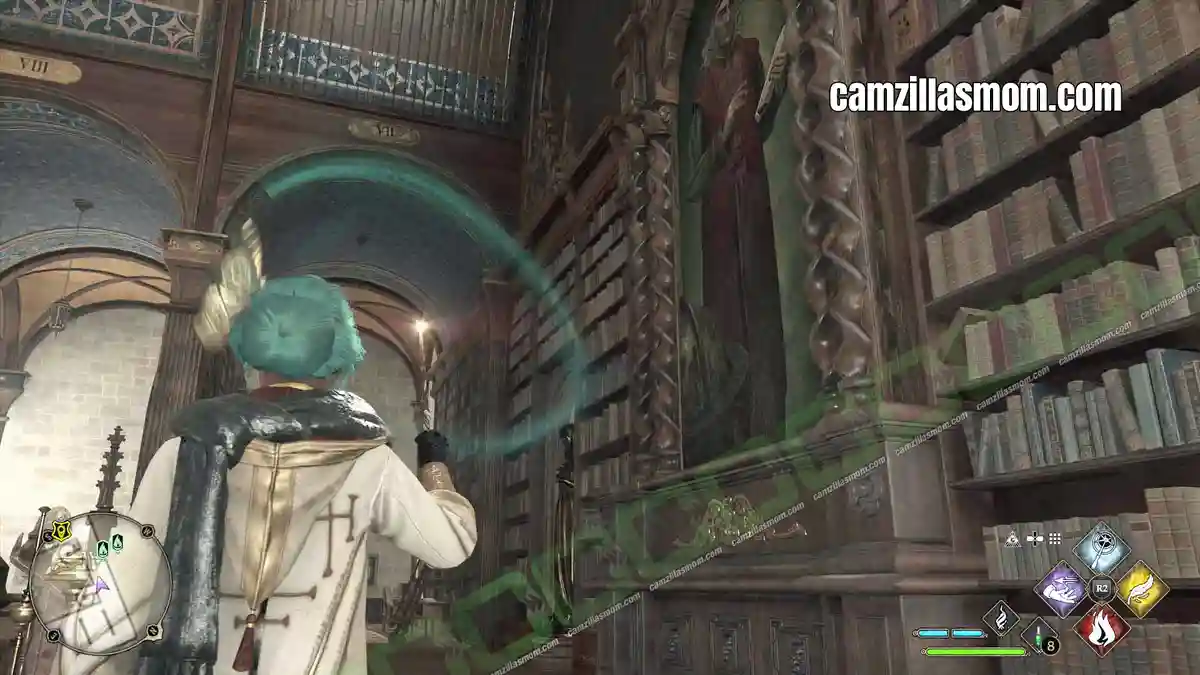
The moth mirror in the Library is on the second, top floor. Cast LUMOS and step closer to see the scene: it’s the painting of The Old Librarian.
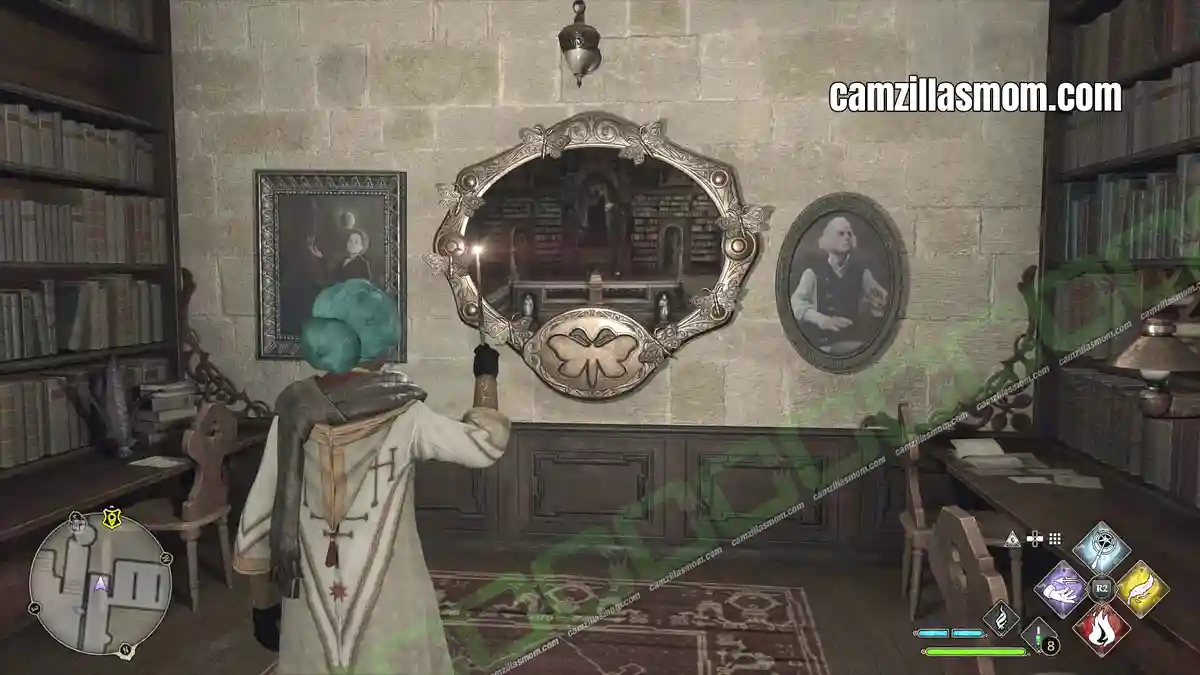
That painting hangs on the same level as the frame, between the two staircases. Cast LUMOS in front of it and the moth starts circling your wand. Carry it back to the frame for the Field Guide Page.
17 – Moth Mirror: Potions Class
From the Potions Classroom, go downstairs and open the locked door. The moth mirror hangs in the corridor behind it.
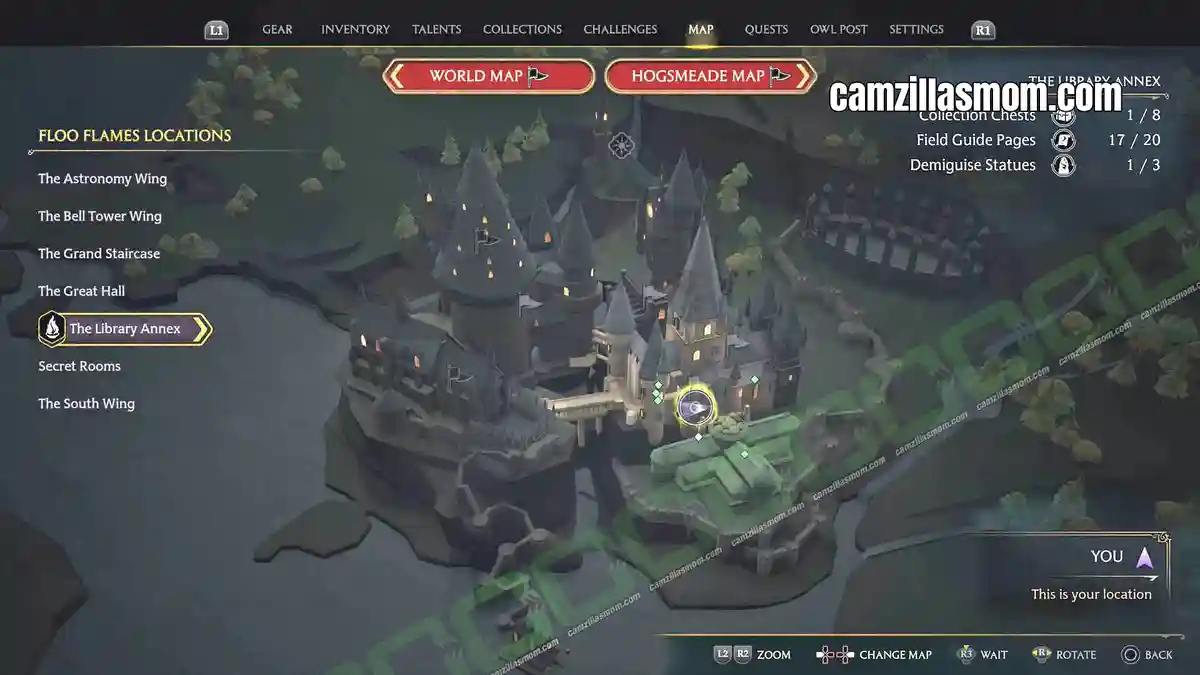
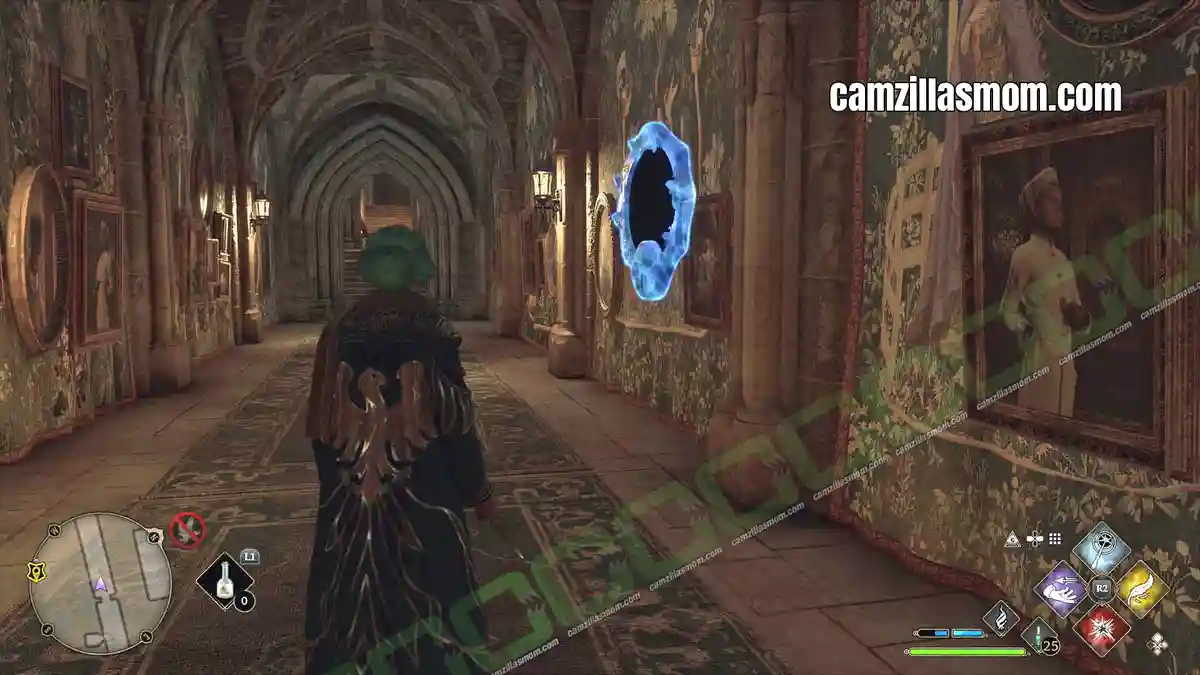
The revealed scene shows another painting and part of a staircase. The moth is sitting on the display in the next room. Carry it back to the mirror.
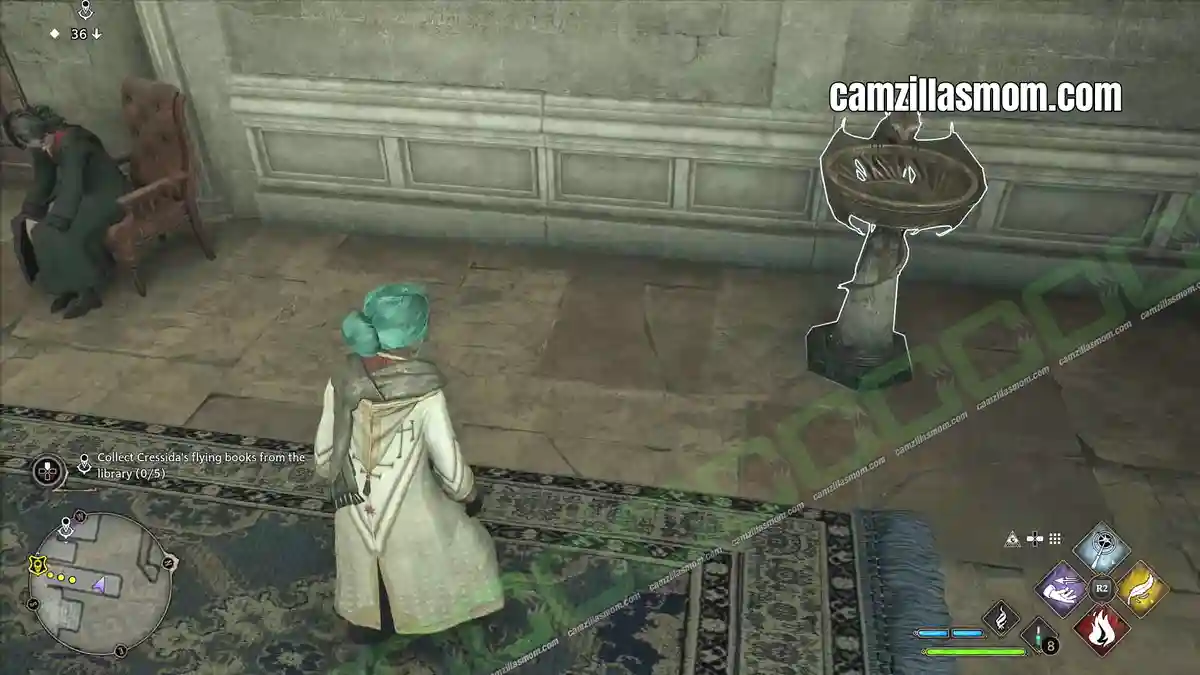
18 – Dragon Bowl: Main Hall Balcony
Look for the quest giver Cressida on one of the balconies. There’s a Dragon Bowl next to her. Cast INCENDIO on it to release the Field Guide Page.
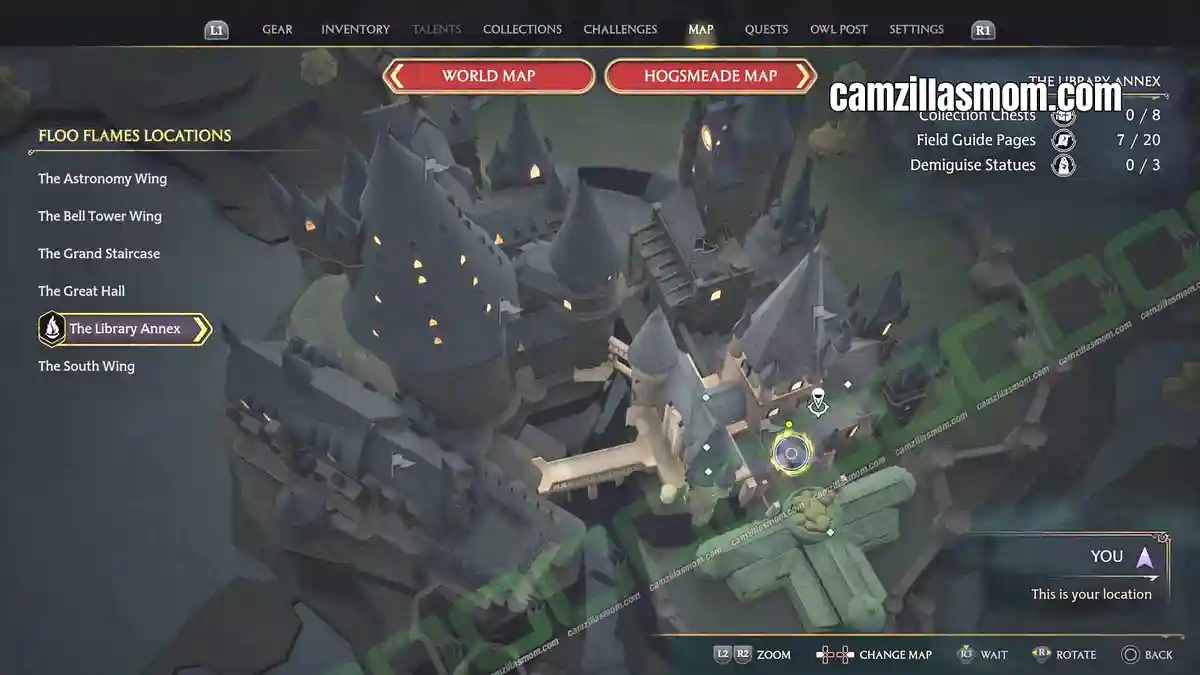
19 – Globe Statue: Library Restricted Section
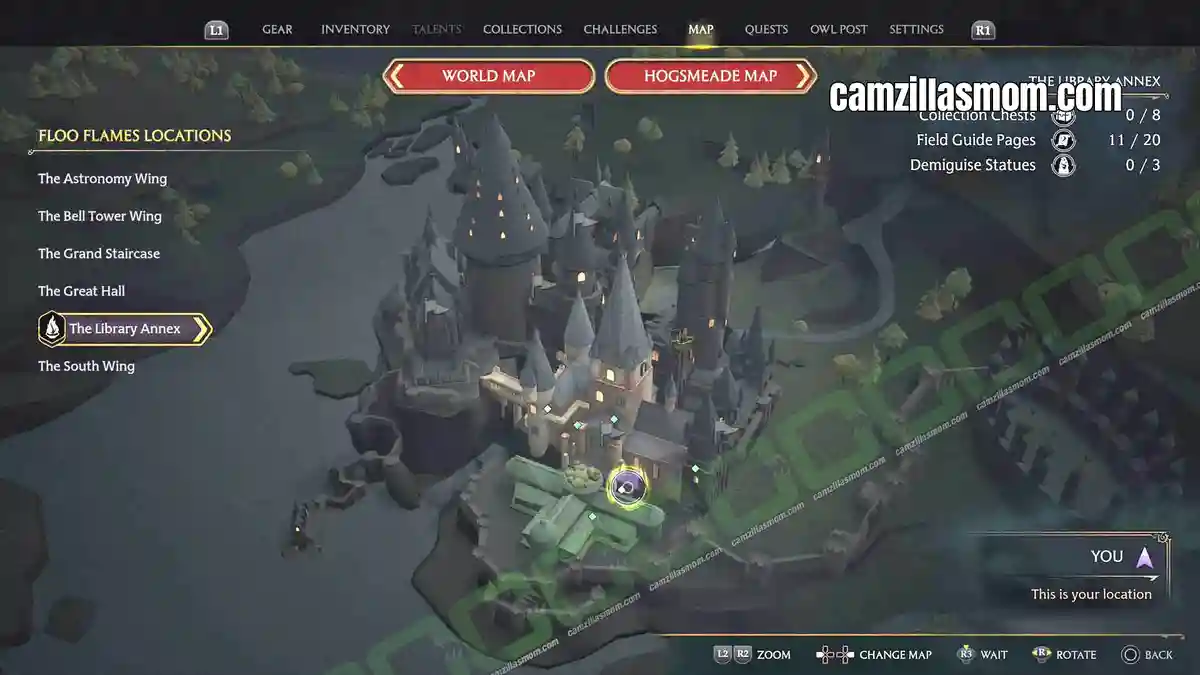
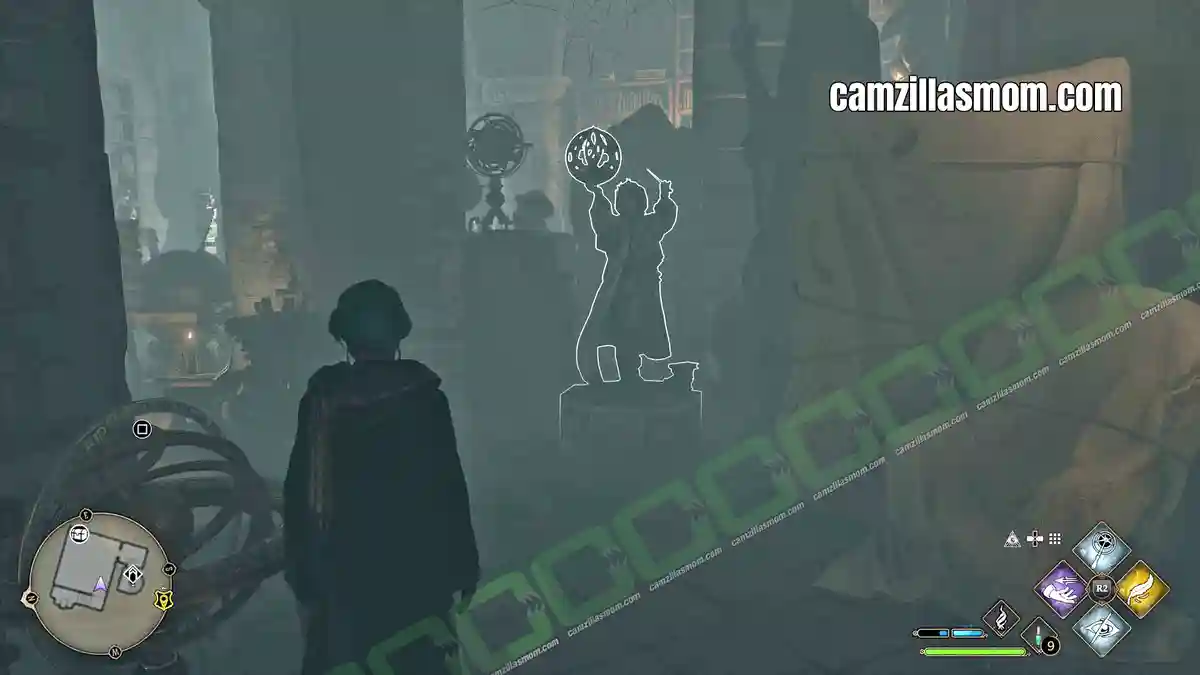
The Restricted Section is the locked ground floor area of the Library, unlocked through the story. Head deeper in, to where it gets properly dark, and you’ll find a statue holding a globe in one hand. Cast LEVIOSO on it for the Field Guide Page.
20 – Globe Statue: Locked Room by the Greenhouse Door
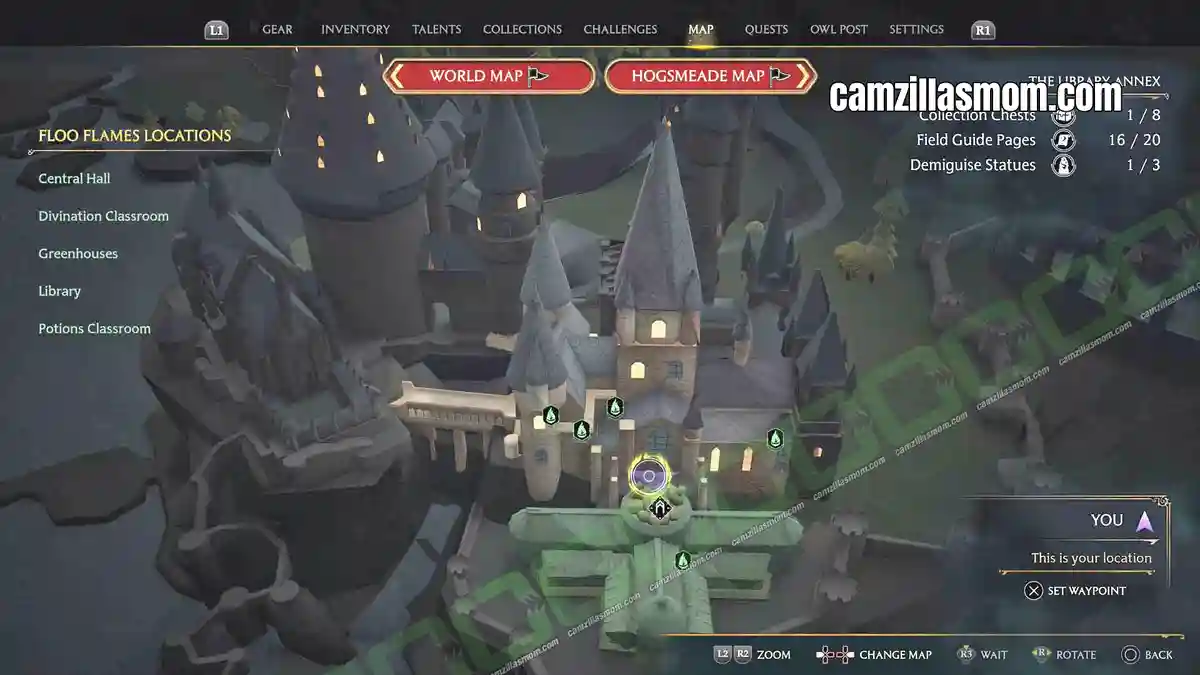
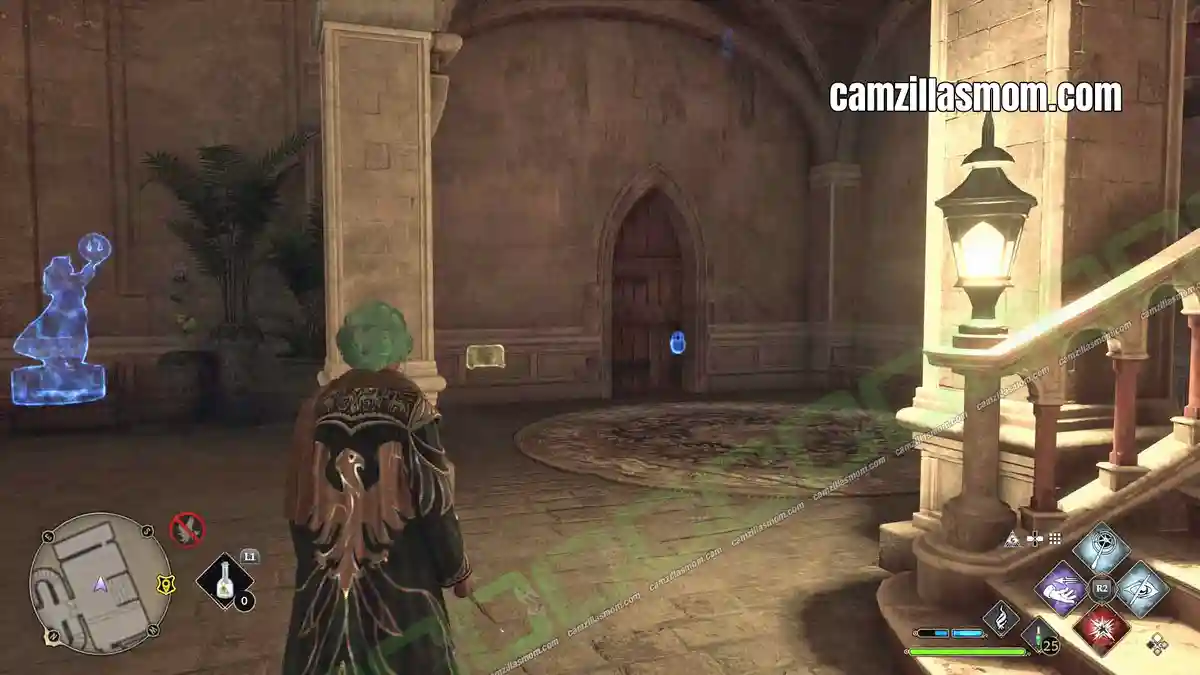
From the Central Hall, head down towards the door leading out to the Greenhouses. There’s a locked room nearby with a Globe Statue inside. Levioso does the rest.
Library Annex Demiguise Statues (Demiguise Moons)
Demiguise Statues, often called Demiguise Moons, unlock with the main story quest “The Caretaker’s Lunar Lament”. You can only collect them at night, and the Library Annex has 3.
1 – Library: Restricted Section
The Restricted Section sits on the ground floor of the Library and opens up through the story. Go down one level once you’re inside, and the Demiguise Statue is far at the back.
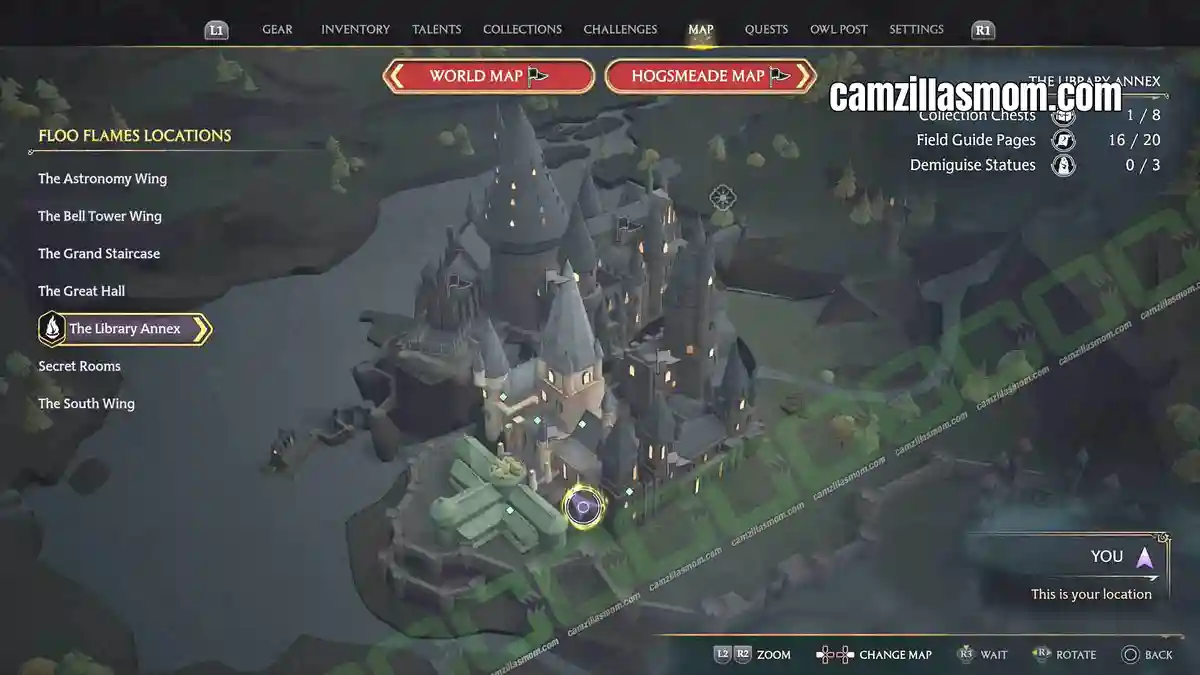
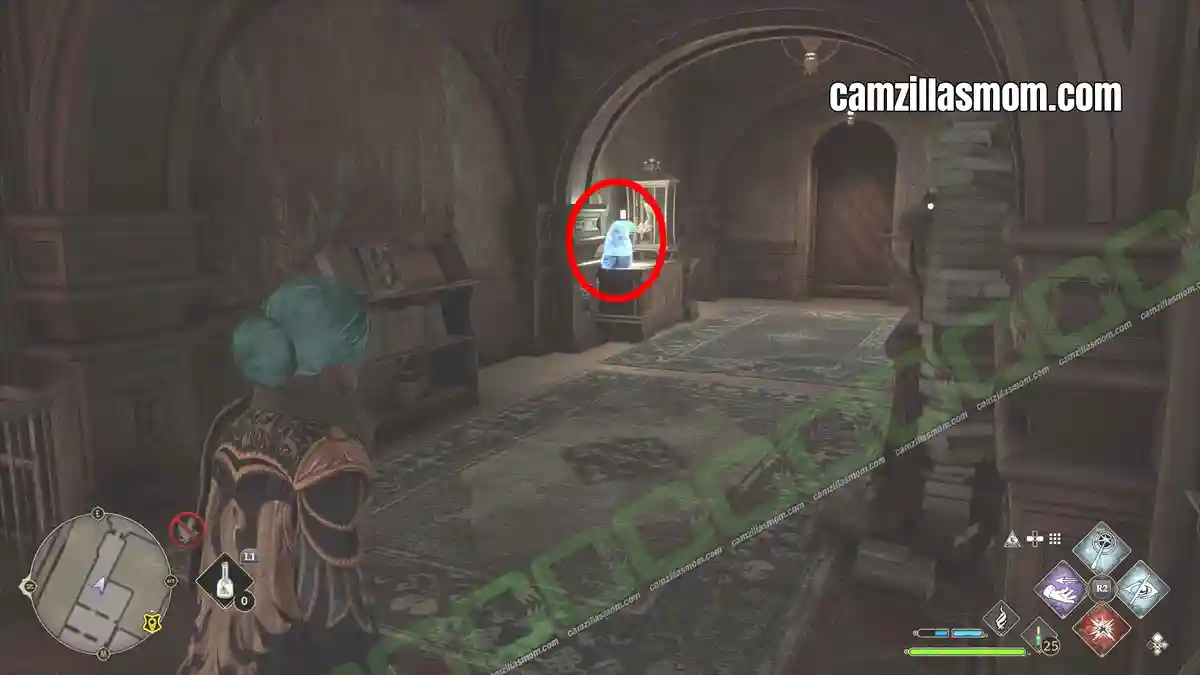
2 – Below Potions Class: Long Gallery
From the Potions Classroom, head downstairs through the locked door. In the Long Gallery corridor there’s a small side room with a Demiguise Statue inside.
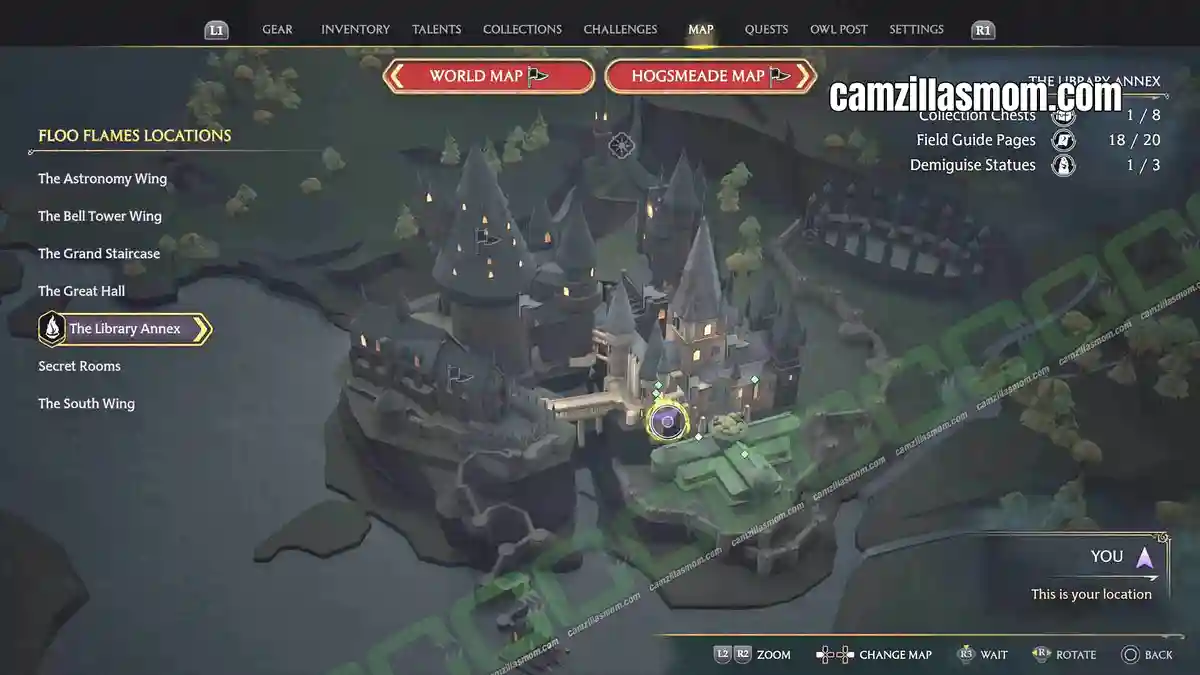
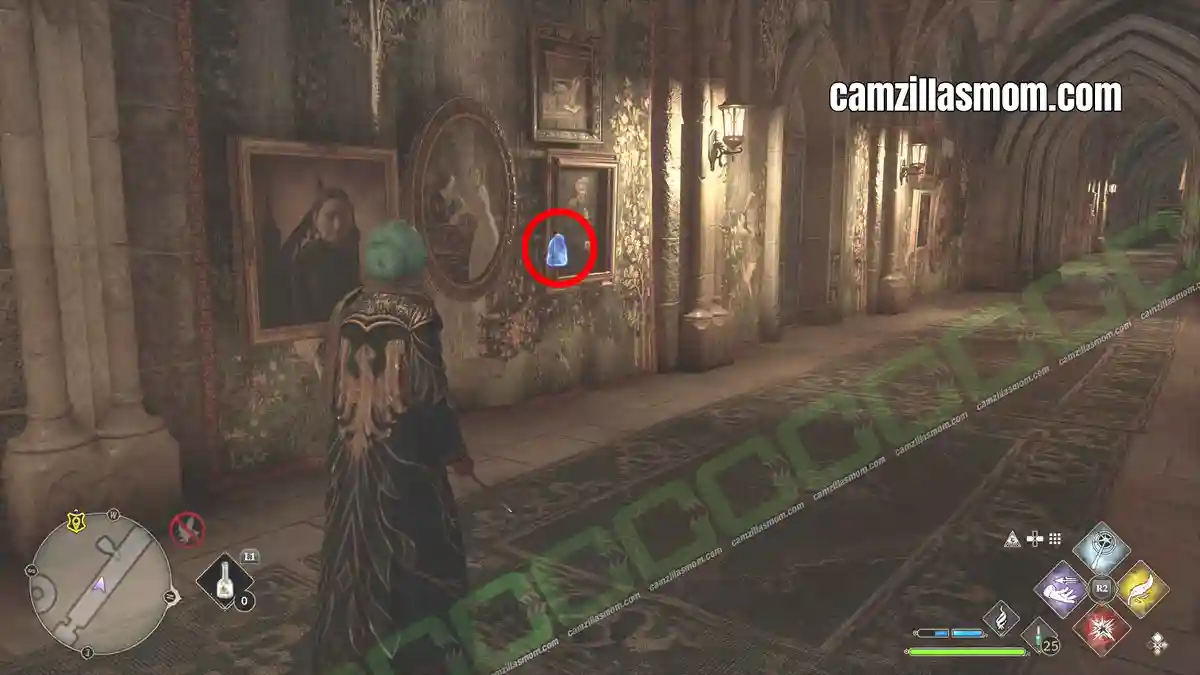
3 – Divination Classroom
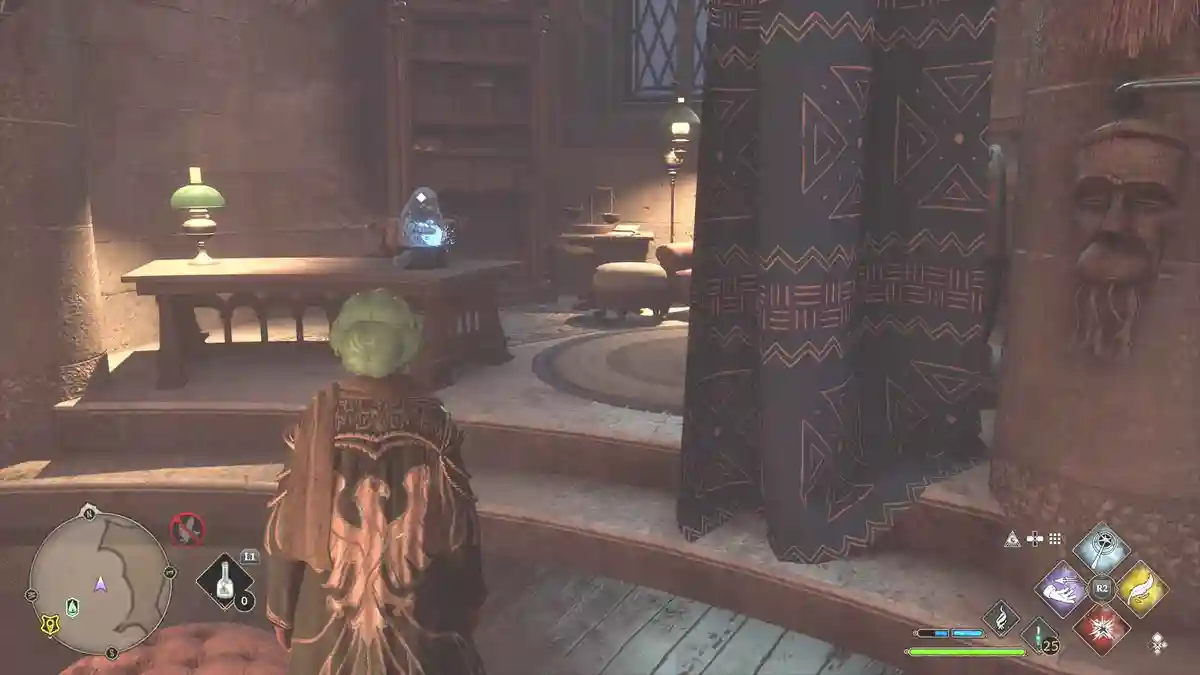
Right at the top of the Divination tower, inside the classroom, sitting on the desk.


About Hogwarts Legacy
Release: February 10th, 2023
Developer: Avalanche Software
Publisher: Warner Bros. Interactive Entertainment
Official Website: https://www.hogwartslegacy.com/en-us