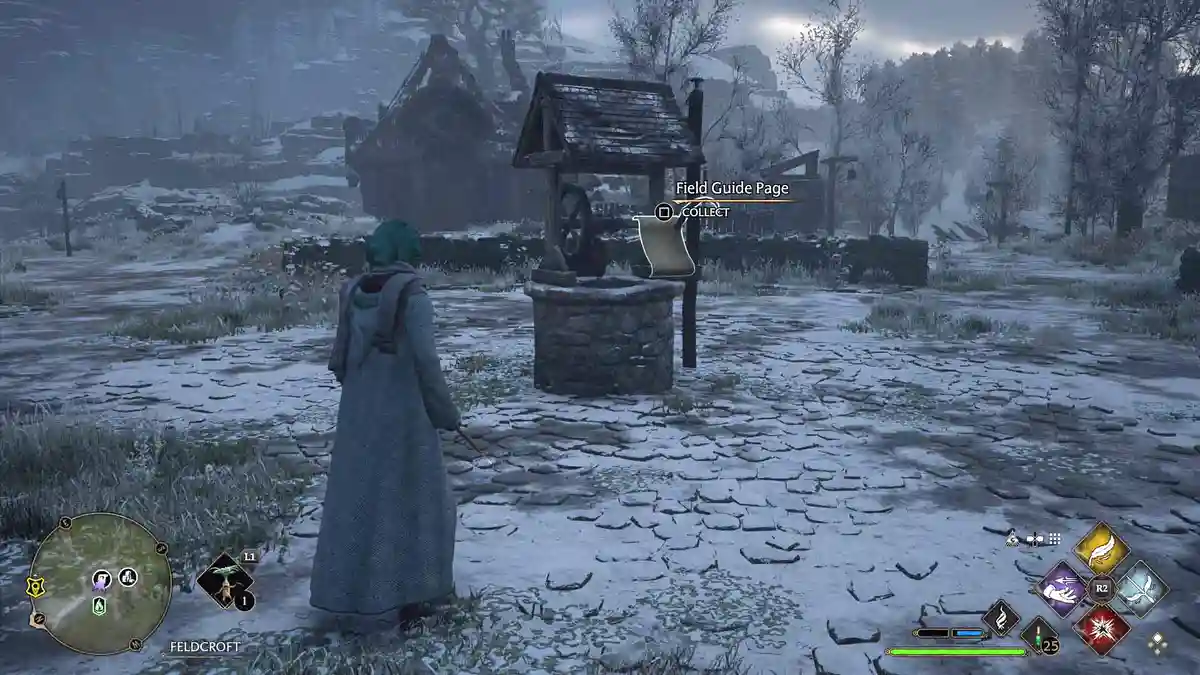
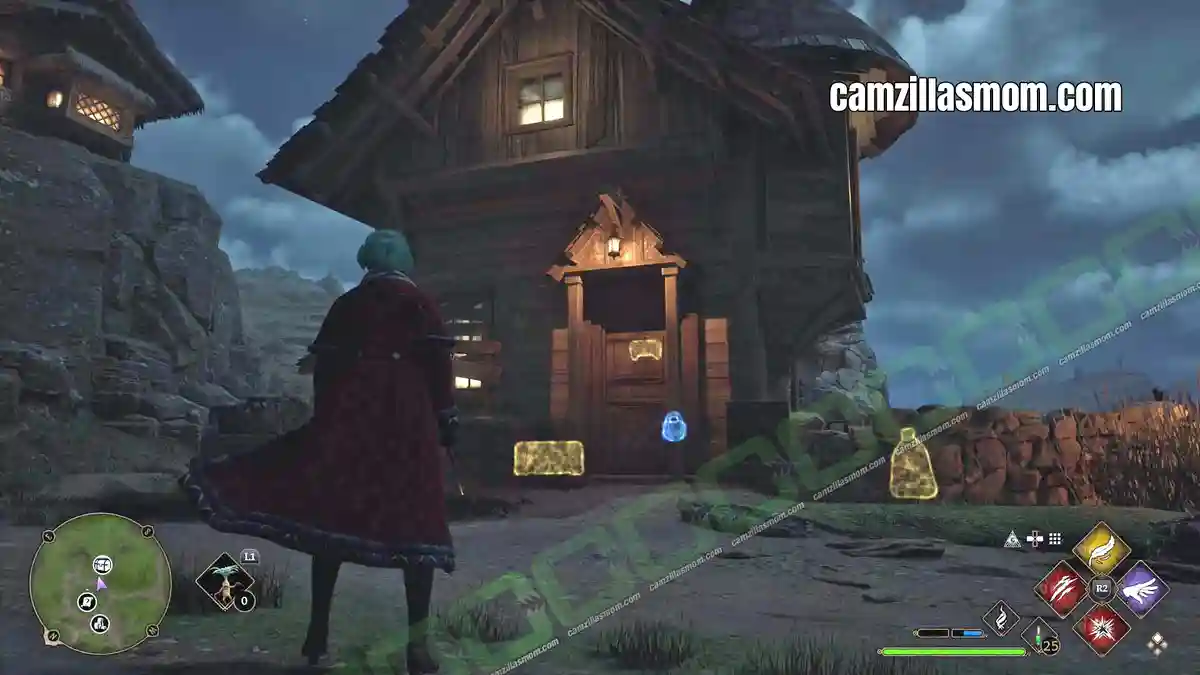
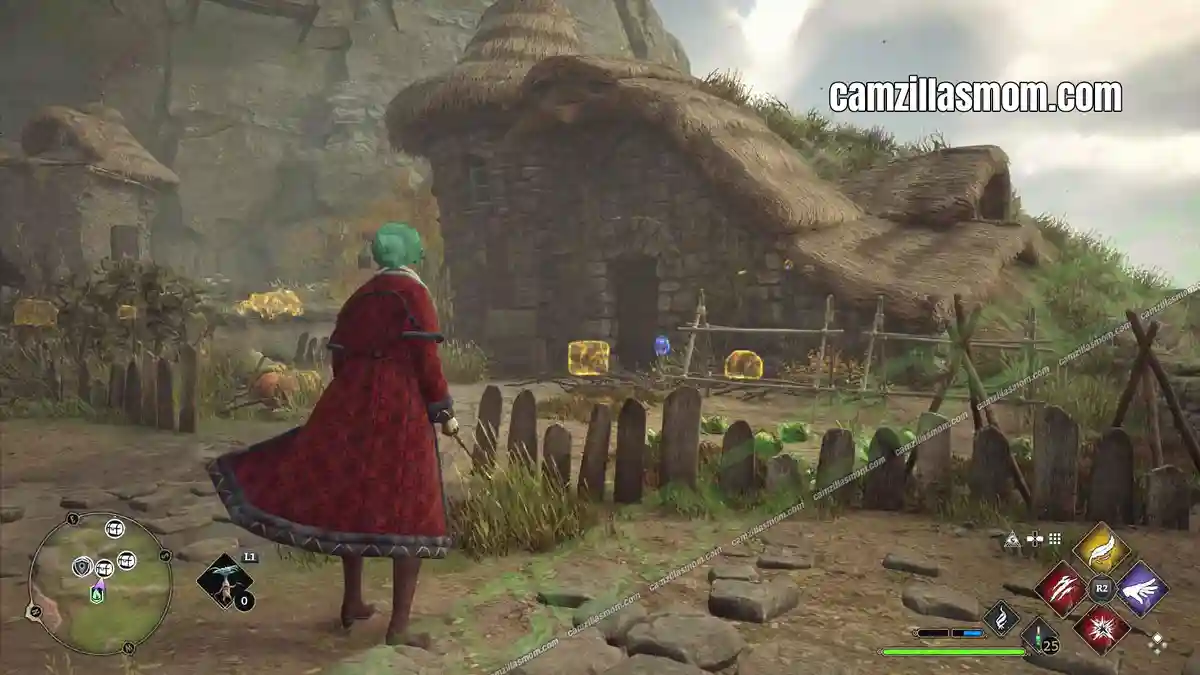
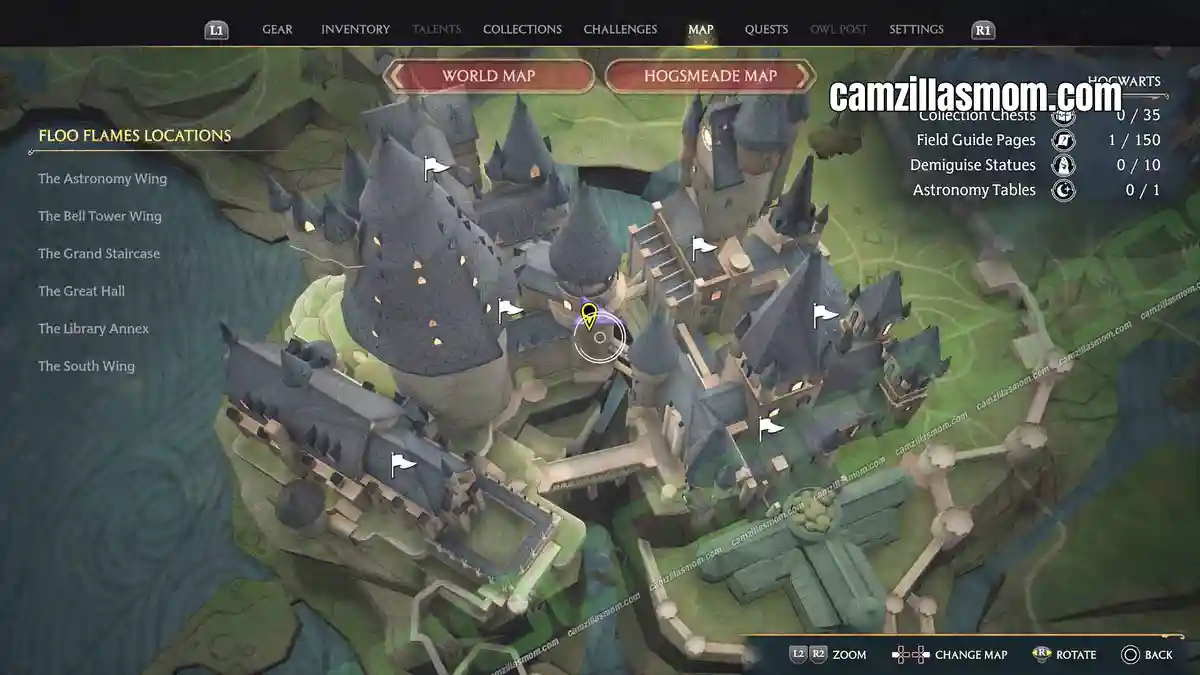
Hogwarts Legacy hides 90 Field Guide Pages inside the castle itself, each one a Revelio Page you reveal by casting REVELIO near a specific exhibit, statue, painting, or similar object. Once cast, a scroll appears that you can pick up, and it counts toward the Field Guide Pages Challenge in your challenges menu – so check back there often to claim your rewards.
This guide sorts every castle Field Guide Page by wing, following the same layout you’ll find exploring Hogwarts itself: Astronomy Wing, Bell Tower Wing, Grand Staircase, Great Hall, Library Annex, South Wing, and the Hogwarts Grounds outside. Each entry also lists its original in-game menu number, since the challenges menu itself displays pages in random order rather than by location.
You’ll also hear a faint, high-pitched noise when you’re close to a Revelio Page, which helps narrow down the exact spot. Not every Field Guide Page is a Revelio Page, though – some are tied to quests or assignments and are covered instead in the area completion guides, and a few “flying pages” need to be caught with ACCIO rather than revealed.
Related Guides:
All Demiguise Statues (Demiguise Moons) Guide
Library Annex Collection Chests & Collectibles
30 Hogsmeade Field Guide Pages (Revelio)
More Guides at the Hogwarts Legacy Game Guides Hub
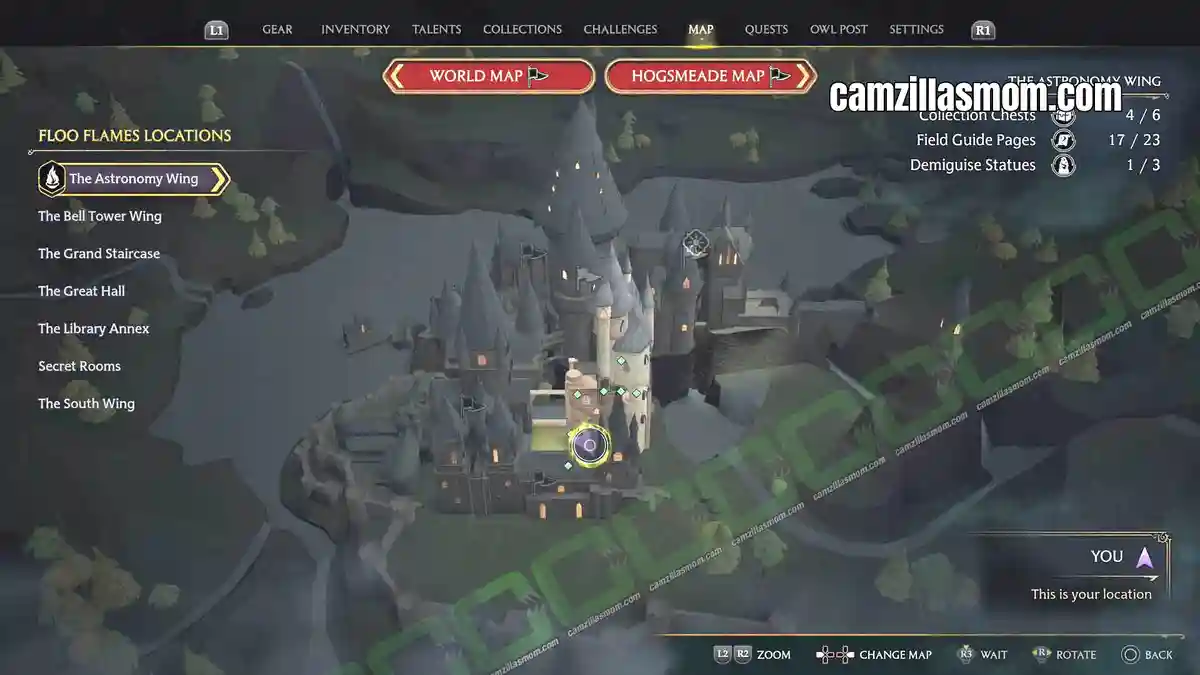
- Astronomy Wing Field Guide Pages
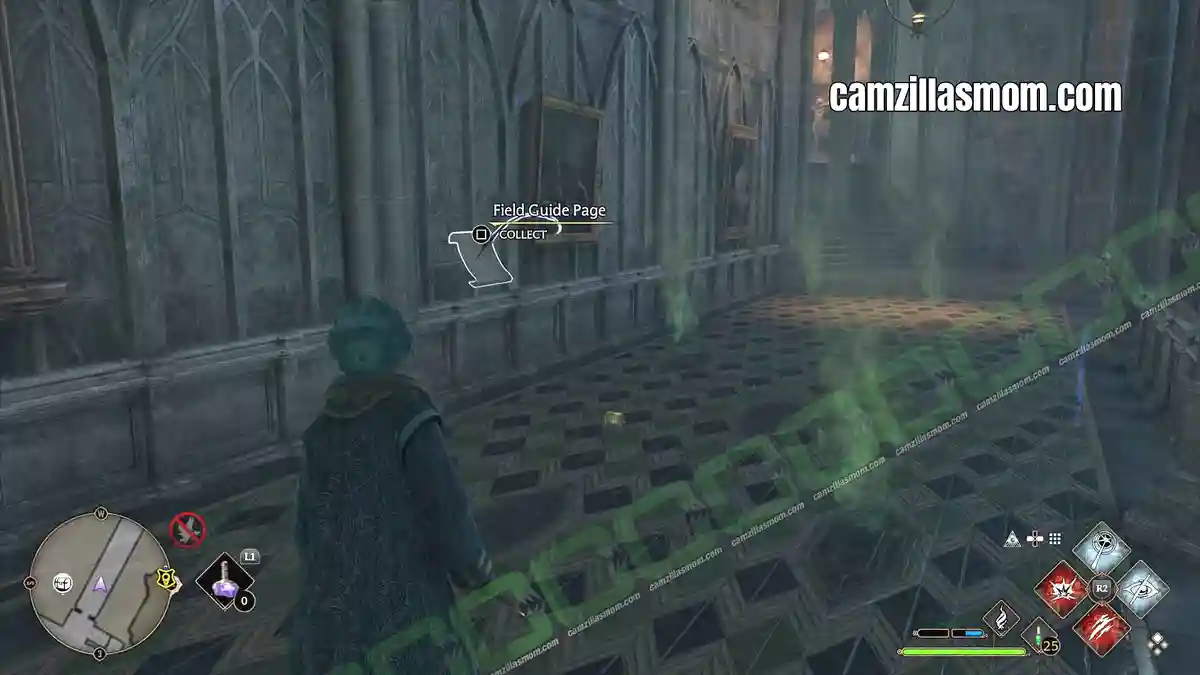
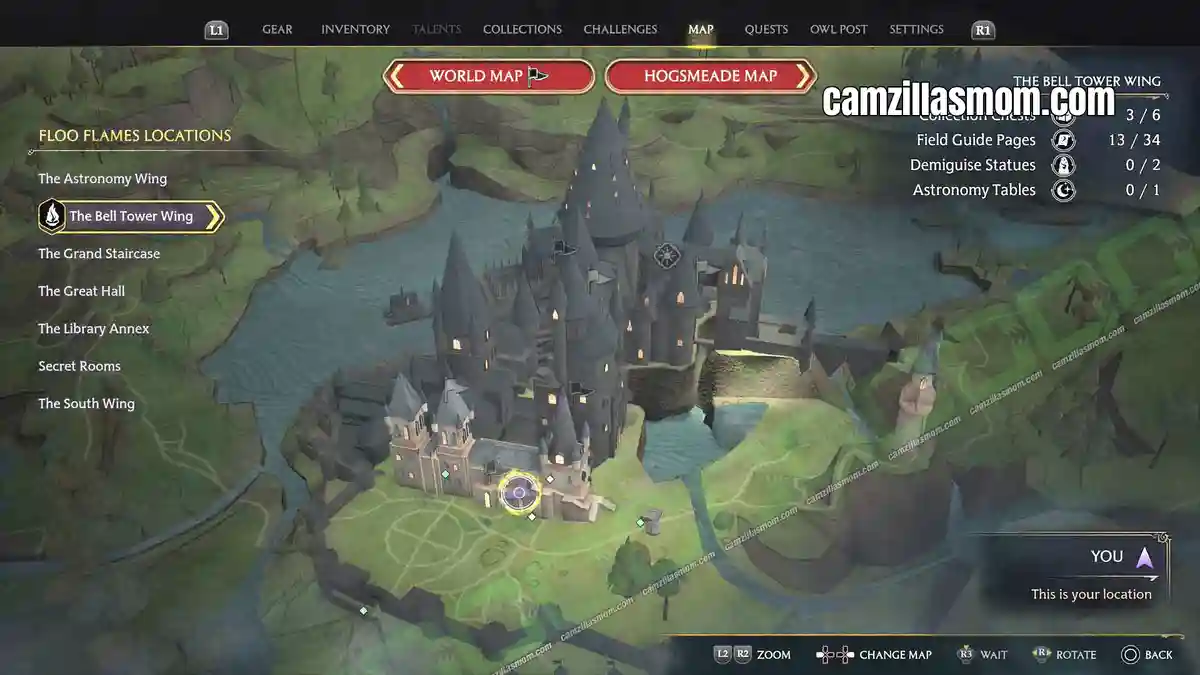
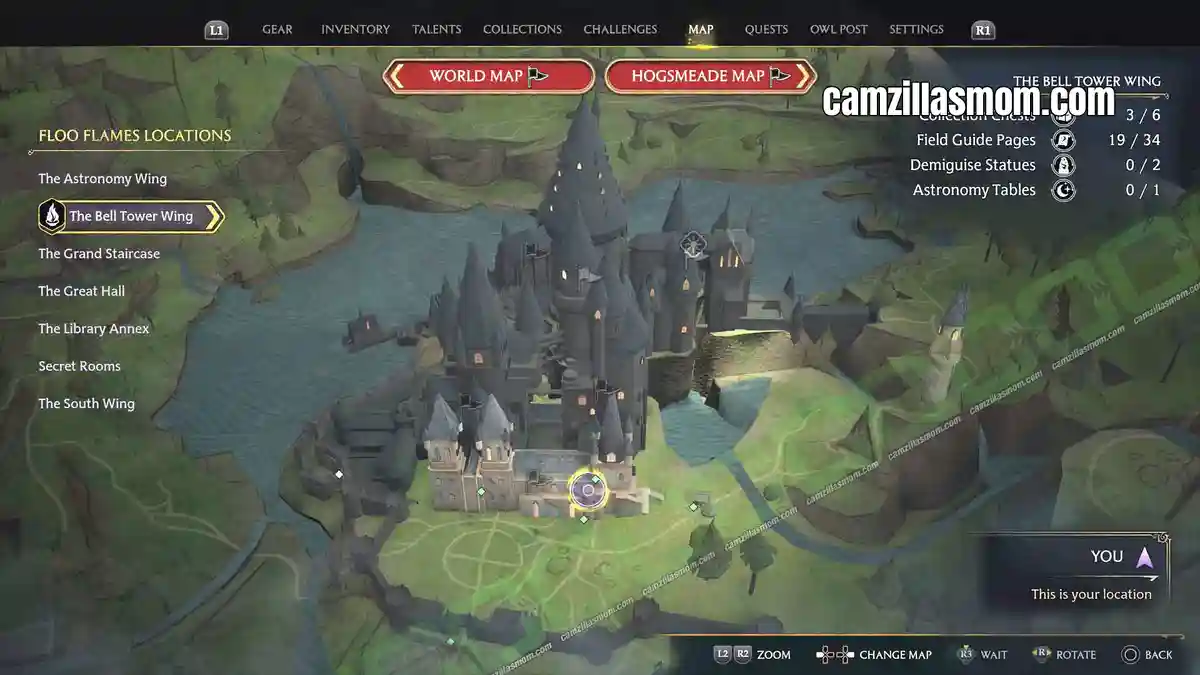
- Bell Tower Wing Field Guide Pages
- Broken Broom
- Flattened Armour
- Goblin Artefact
- Three Sisters Bells
- Scorch Marks
- Grimbald Weft
- Frog Choir
- Waving Knight
- History of Magic Windows
- Wooden Cat
- Urn of Ashes
- Salazar Slytherin’s Scriptorium
- Bloody Meat
- Caged Bathtub
- Alchemy Class
- Important Muggle Artefact
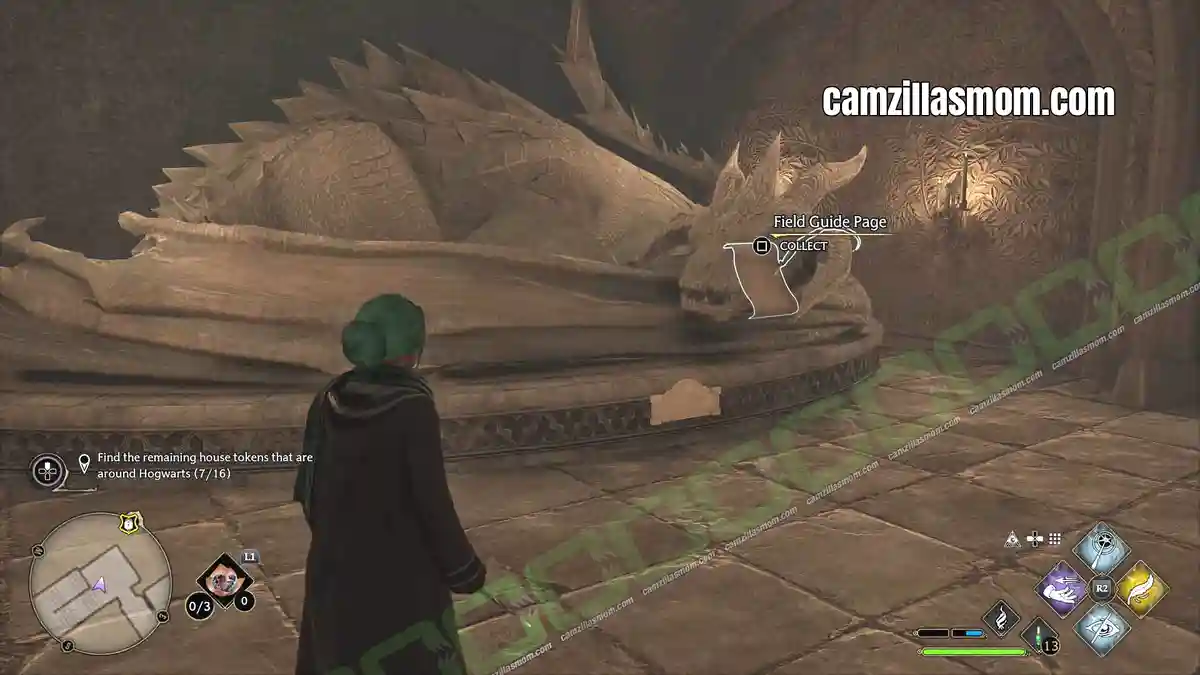
- Sleeping Dragon Statue
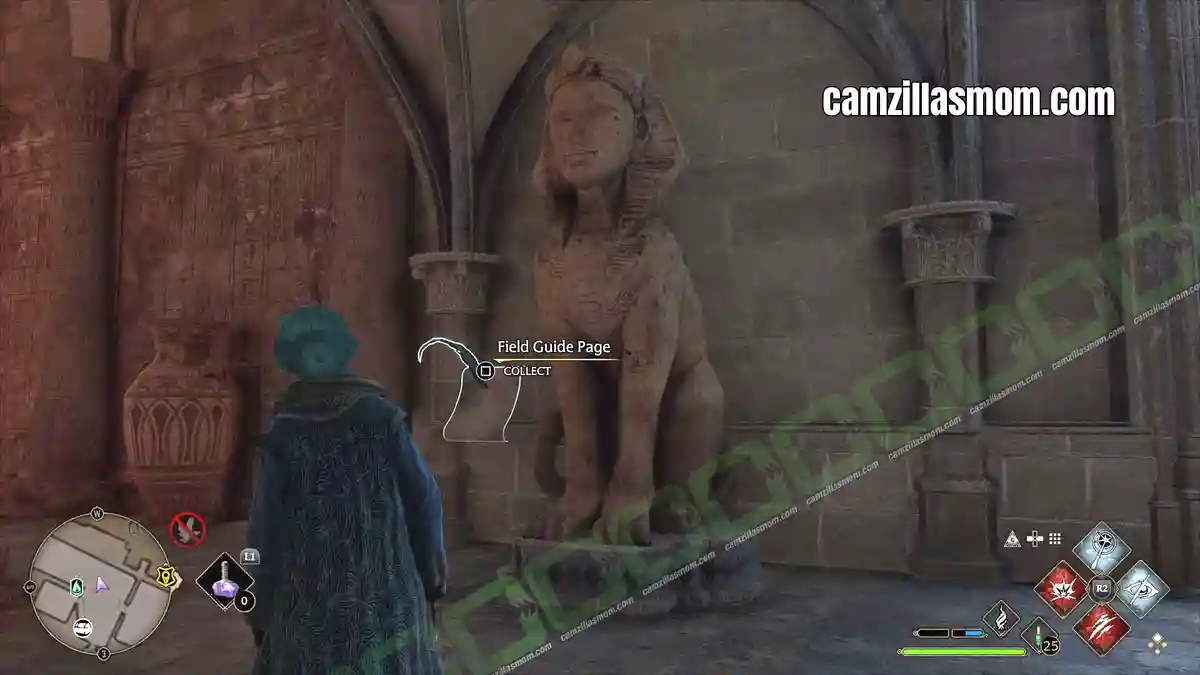
- Sphinx Statue
- Werewolf Saga Tapestries
- Grand Staircase Field Guide Pages
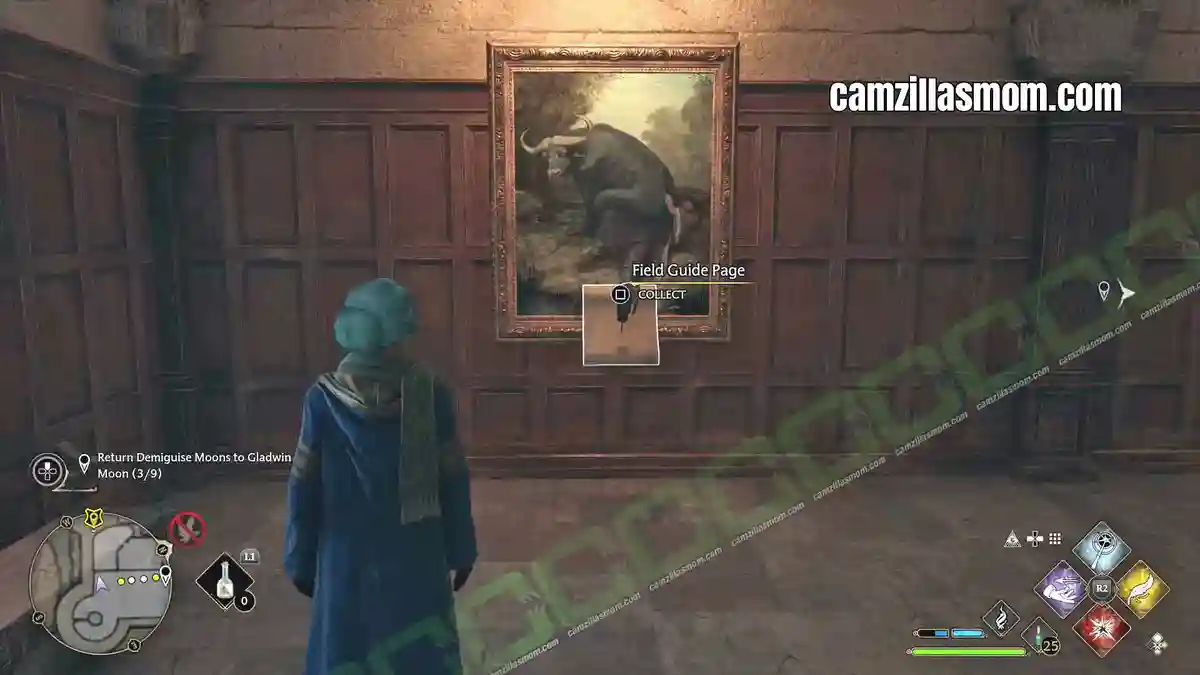
- Portrait of Baruffio
- Honeydukes Passageway
- Quill of Acceptance and Book of Admittance
- Centaur Armour
- Moving Staircase
- Headmaster’s Office Gargoyle
- Goblet of Fire Casket
- House-Elf Armour
- Sleeping Portraits
- The Sorting Hat
- Troll Armour
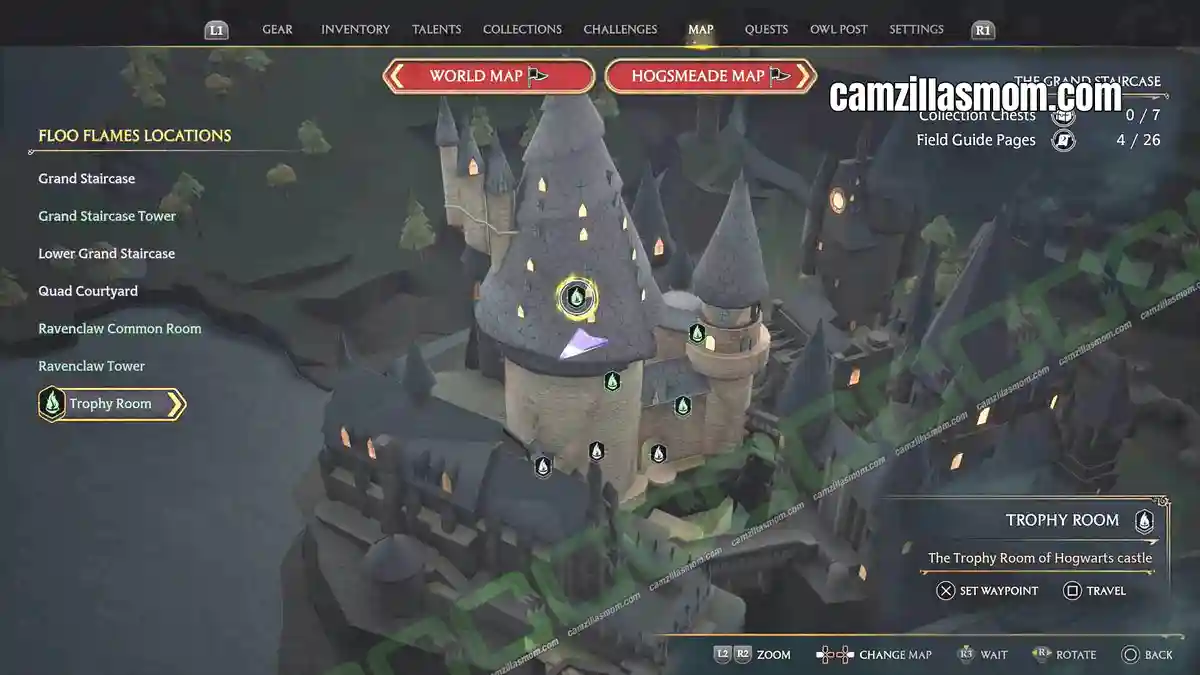
- Trophy Room
- The Hogwarts Architect
- Hufflepuff Barrels
- Kitchen Tables
- Pear Portrait
- House-Elf Quarters
- House-Elf Recipe Book
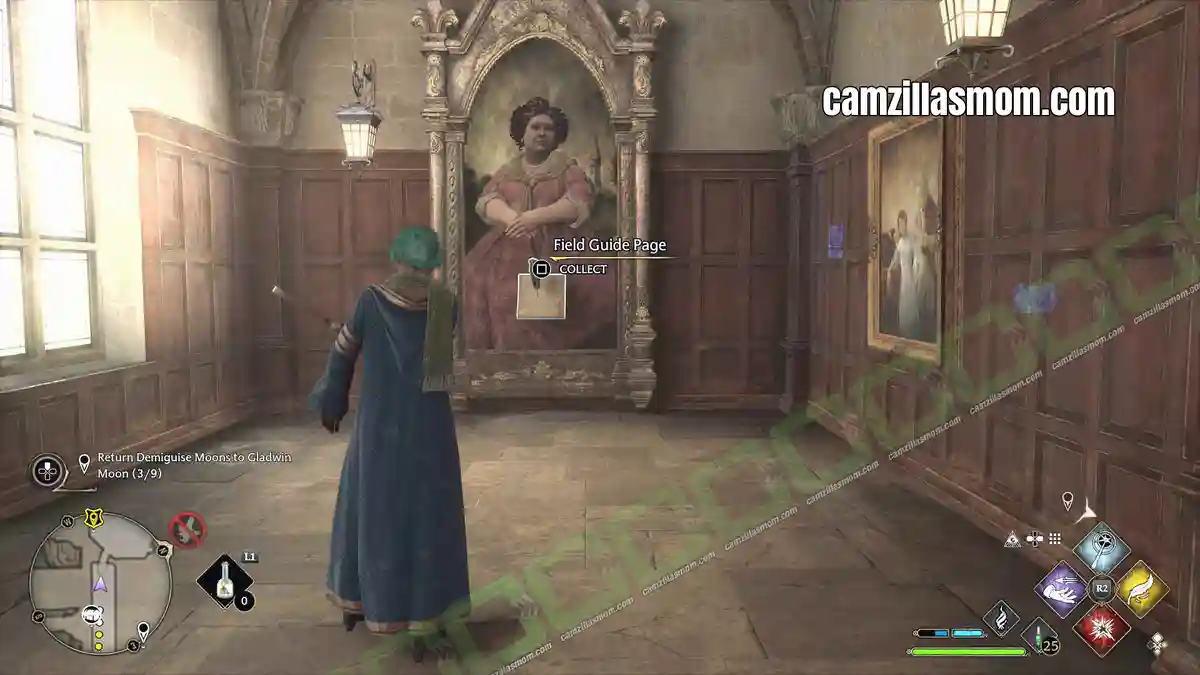
- Fat Lady Portrait
- Ravenclaw Bust
- Kelpie Statue
- Slytherin’s Sink
- Great Hall Field Guide Pages
- Library Annex Field Guide Pages
- South Wing Field Guide Pages
- Hogwarts Grounds Field Guide Pages
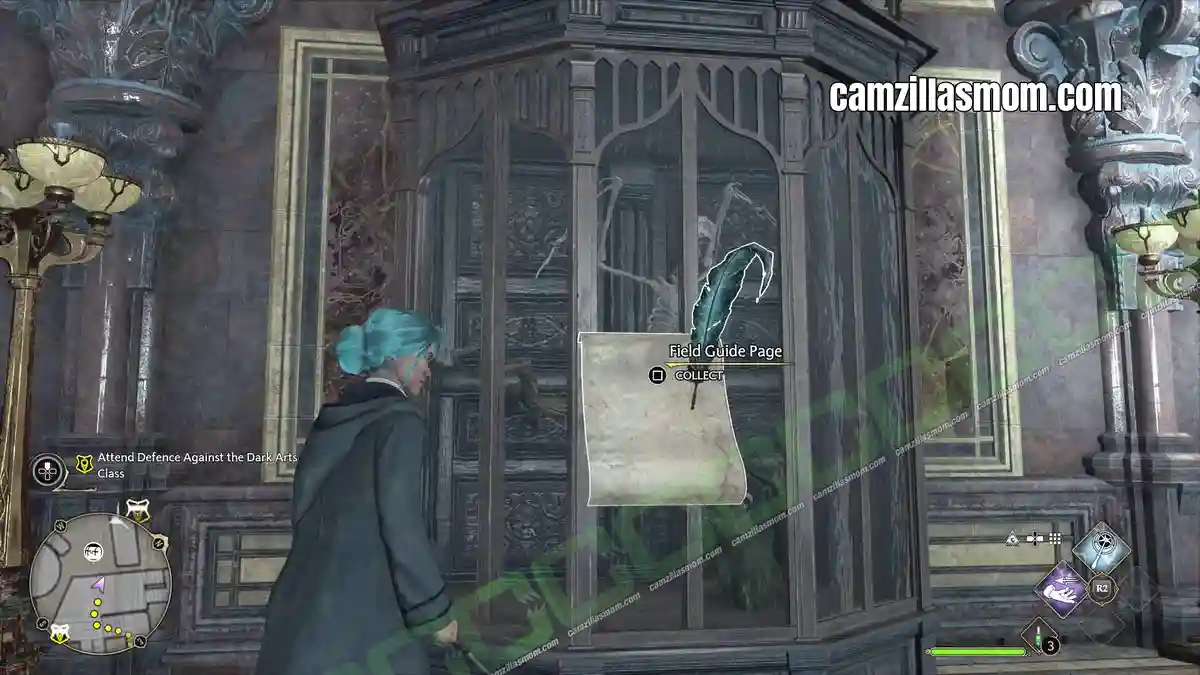
Astronomy Wing Field Guide Pages
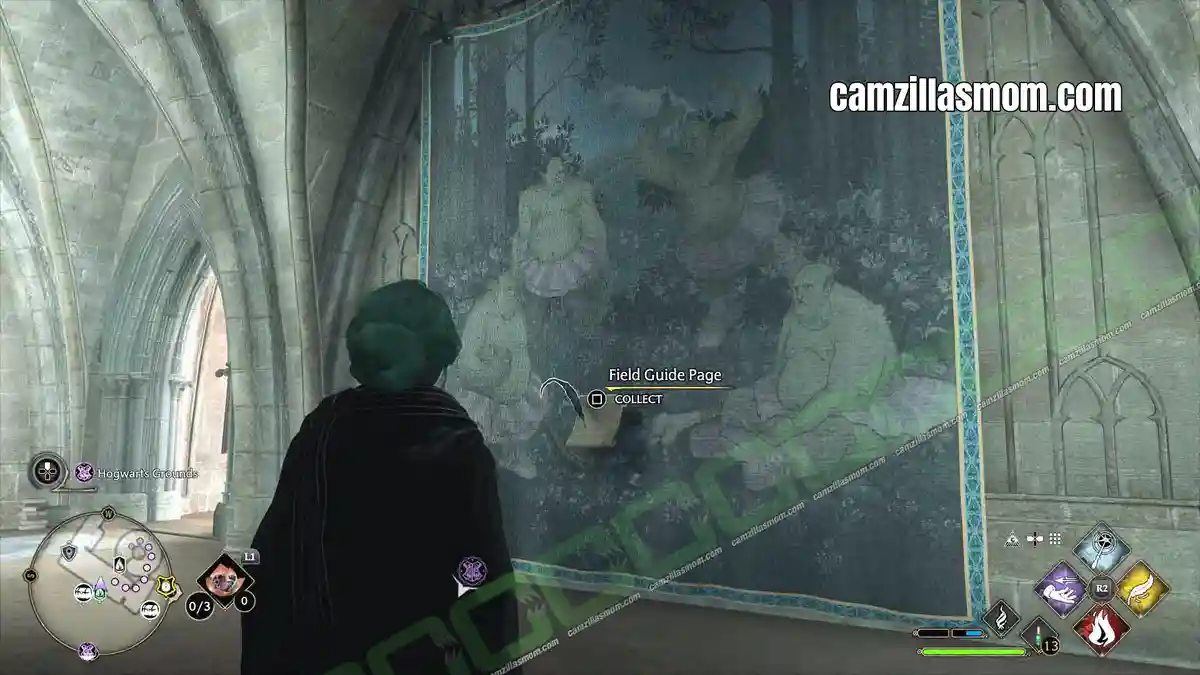
Tapestry of Barnabas the Barmy
(in-game menu #1)
“This tapestry depicts the wizard Barnabas the Barmy’s foolish attempt to train trolls for the ballet. One can only imagine the impact on the arts had he succeeded.”
From Charms Class in THE ASTRONOMY WING, work your way further upstairs into the tower part of the wing. Here, on a wall is this tapestry.
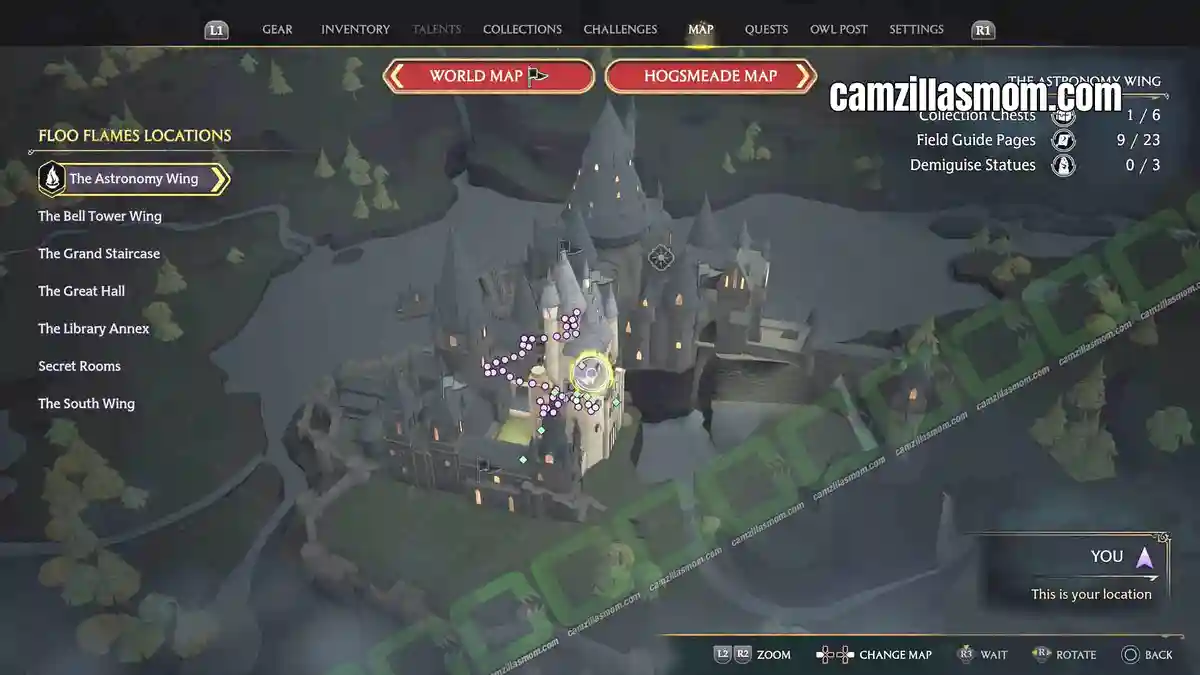
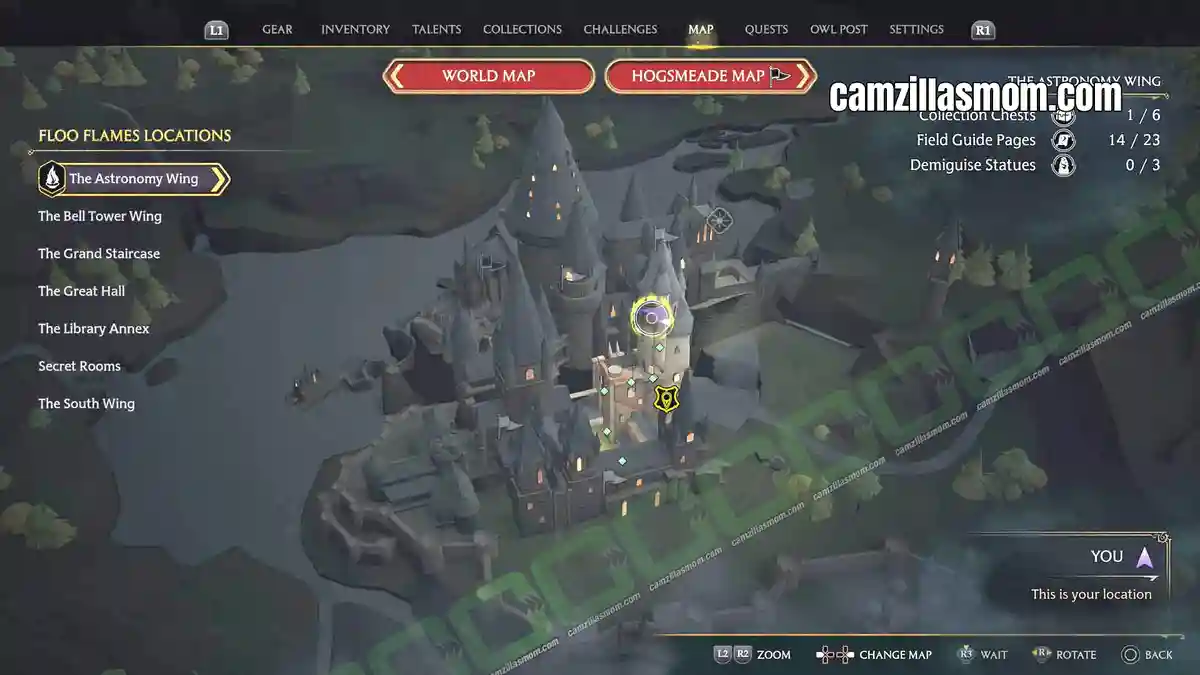
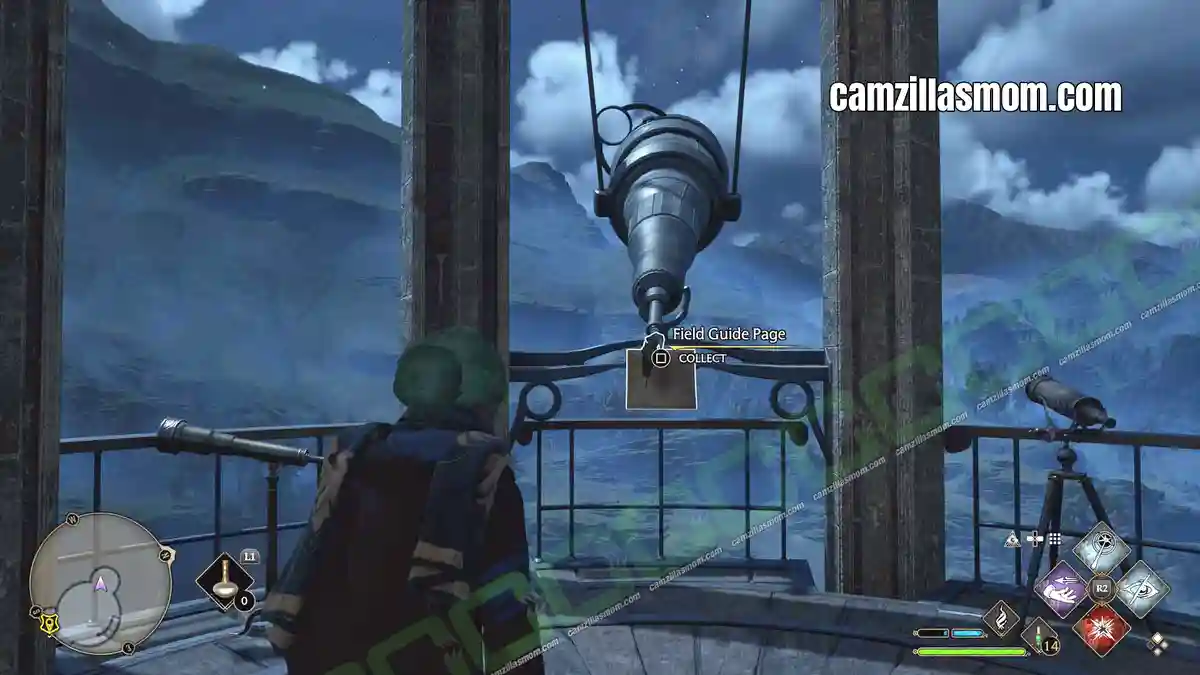
Astronomy Telescope
(in-game menu #2)
“This telescope is the finest stargazing instrument of its kind, perfect for viewing the moon and the stars and anything else one might find in the night sky.”
At the very top of THE ASTRONOMY WING is the Astronomy Tower with its telescope.
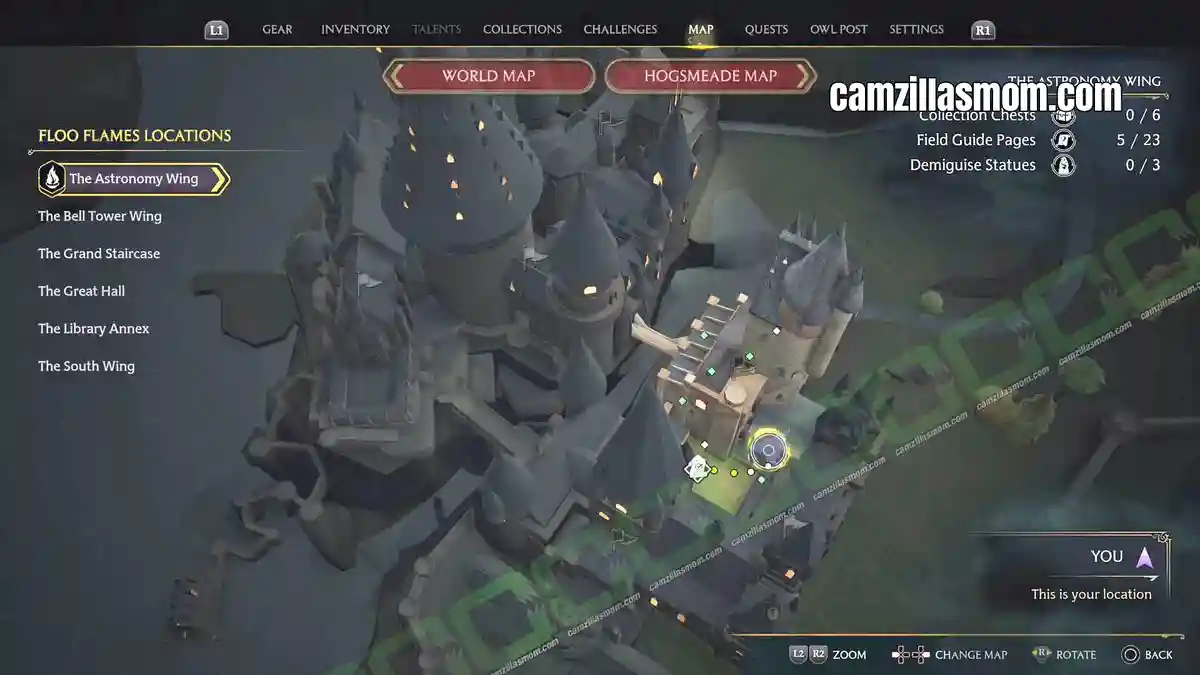
Partial Transfiguration
(in-game menu #3)
“This partially Transfigured teacup – likely the soon-to-be-reversed error of a second-year – serves as a cautionary tale for those students who do not take seriously the complexities of dangers of Transfiguration.”
This one is inside Professor Weasley’s room at the ground floor of The Astronomy Wing. Access through the courtyard.
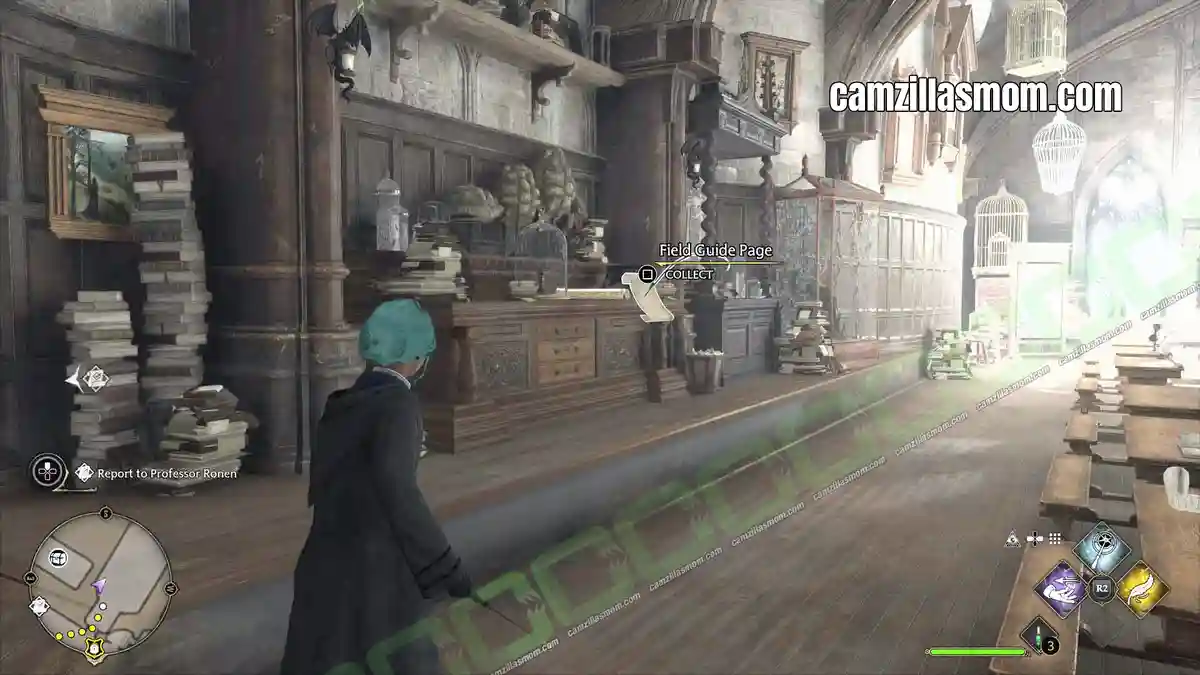
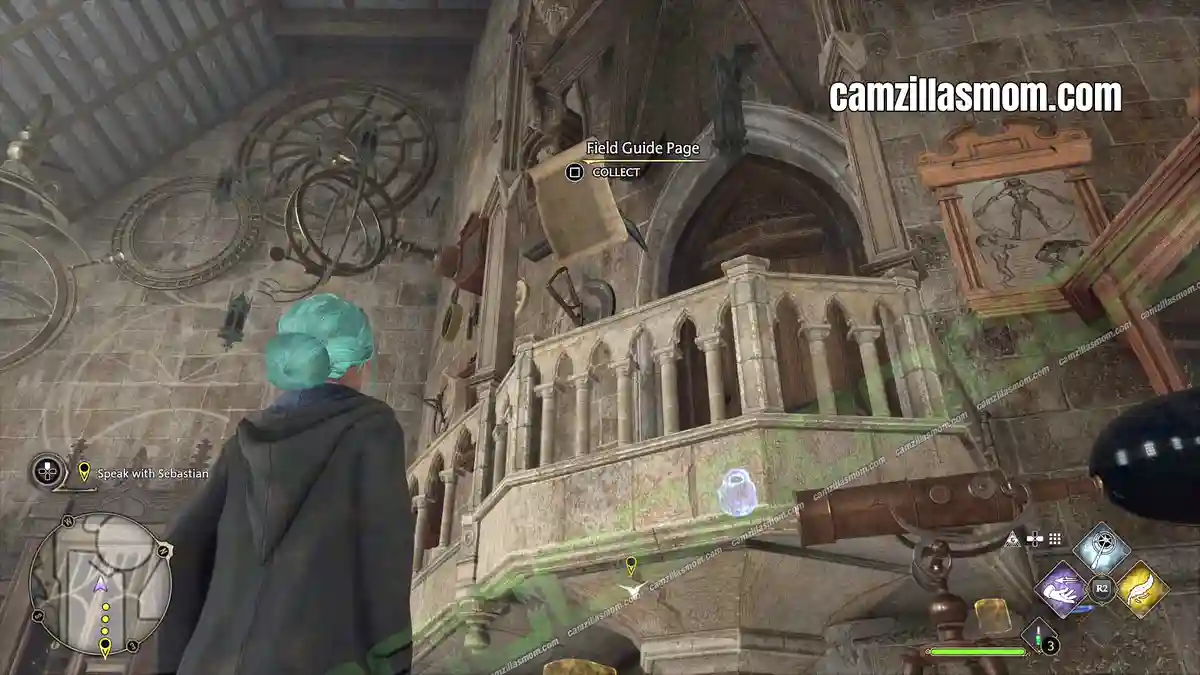
Augurey Skeleton
(in-game menu #22)
“This is a skeleton of an Irish phoenix or Augurey – an intensely shy bird who can forecast the coming of rain and whose mournful cry was once believed to foretell death.”
At the Astronomy Wing, there is a glass display with a skeleton in it. Cast Revelio when in front of it to be able to read it.
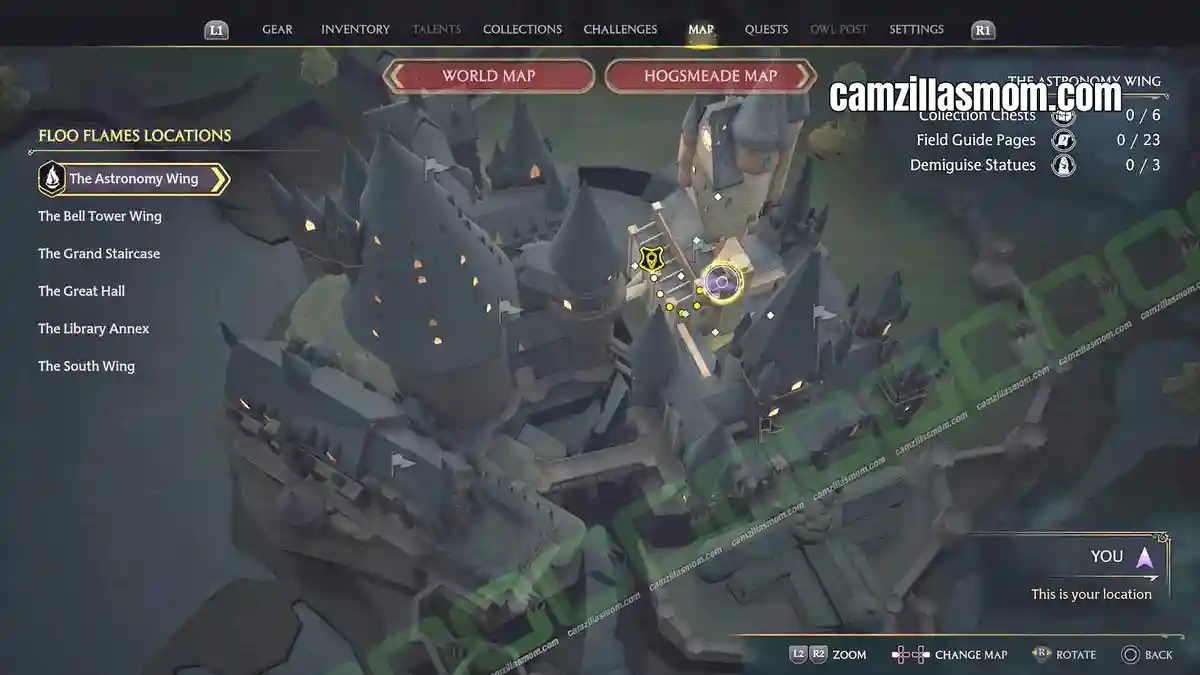
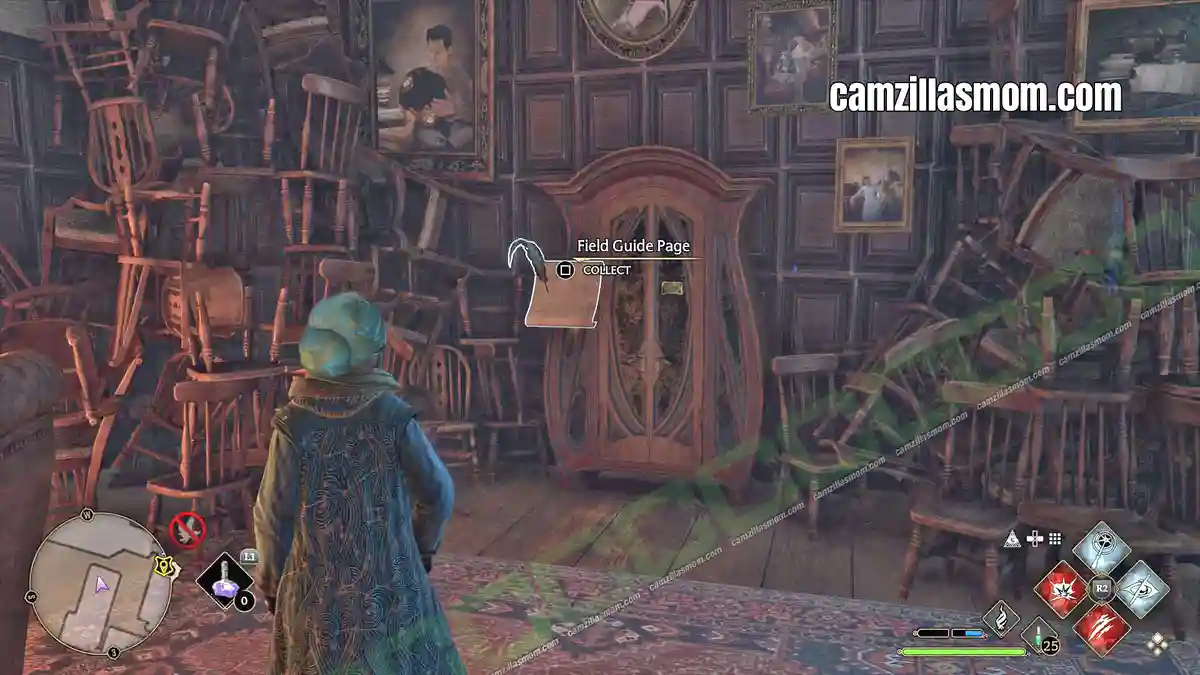
Boggart Closet
(in-game menu #23)
“This old cupboard is said to have once contained a powerful Boggart that five professors working together could barely repel as it shifted among werewolf, tornado, a plate of haggis, a Hungarian Horntail and someone’s mother-in-law.”
At the bottom of THE ASTRONOMY WING’s main staircase is a locked office. Inside is this cupboard.
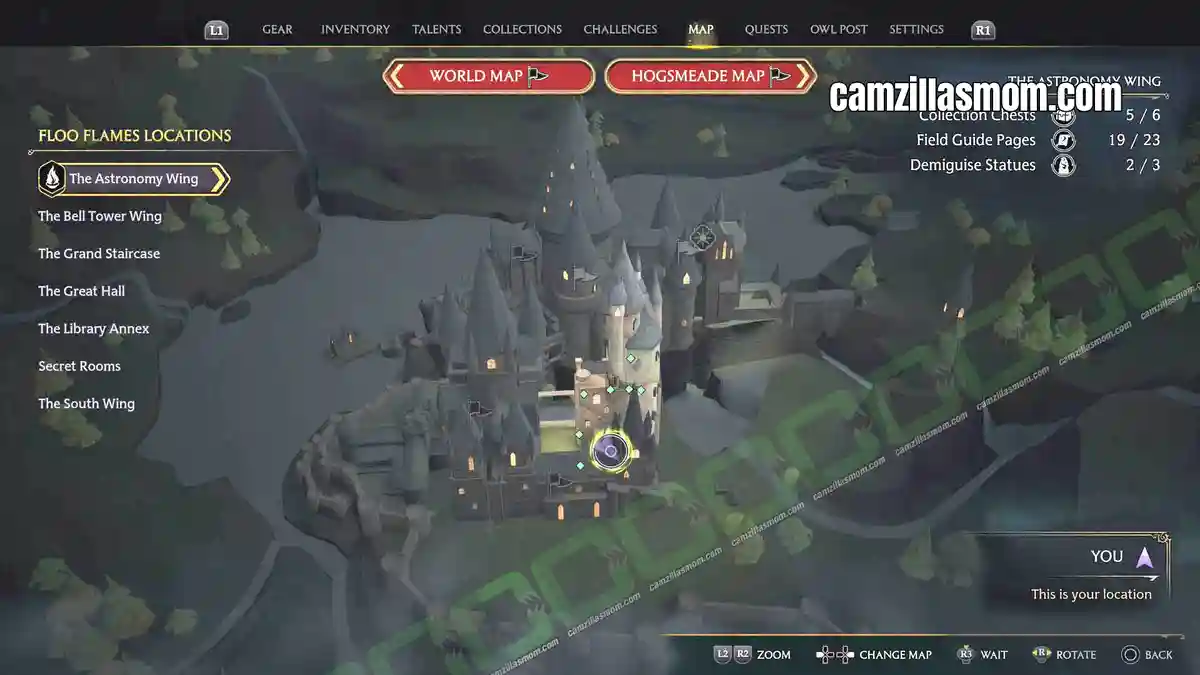
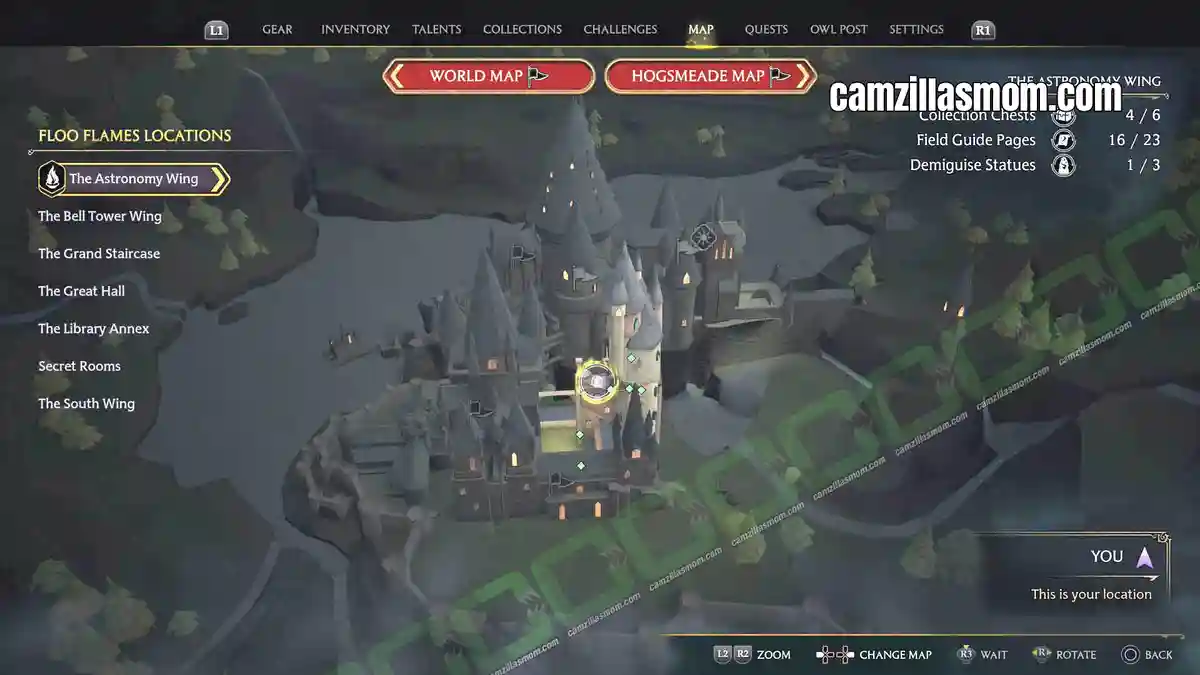
Dark Tower Cell
(in-game menu #24)
“It is said that, centuries ago, a Charms professor kept a troll here on which students could practise particularly challenging spells. Shocking, to be sure, but perhaps unsurprising during a time when Quidditch involved the use of live Snidgets. One can only wonder what it may be used for in the future.”
At the Astronomy Wing, in the Charms classroom is a staircase to a locked door. Open it and follow the staircase up to a roof outside. Here is a gate that you have to unlock again to read the page that’s inside.
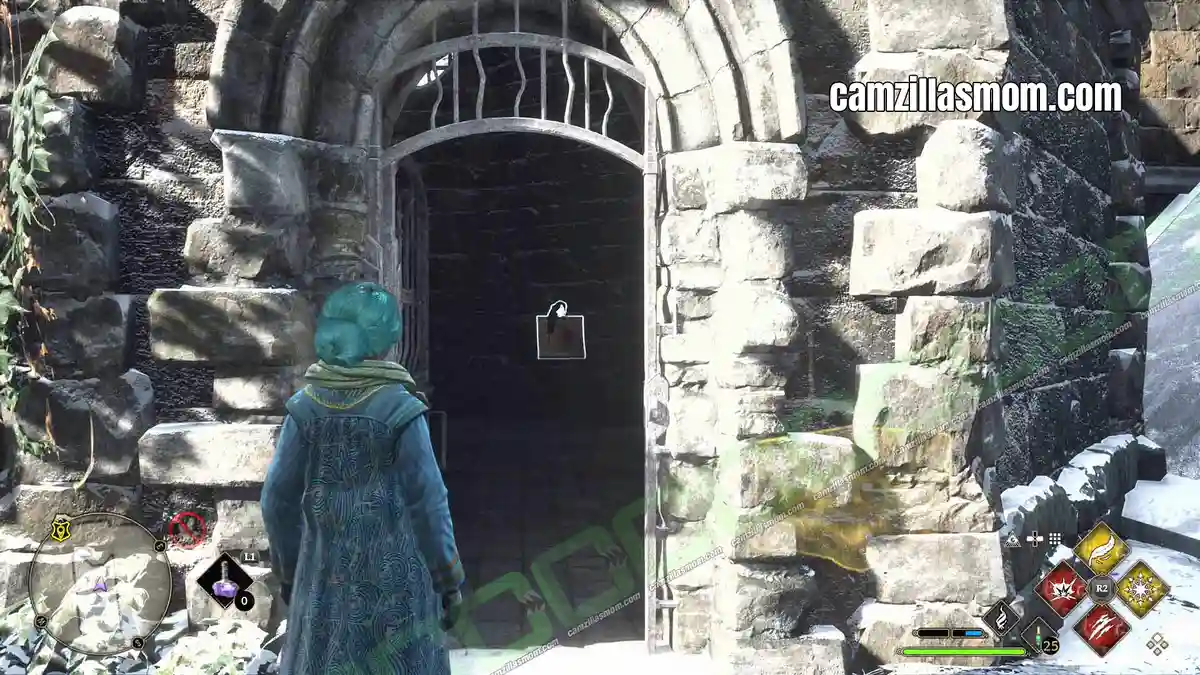
Hebridean Black Skeleton
(in-game menu #25)
“This large dragon skeleton that hangs in the Defence Against the Dark arts classroom is allegedly a trophy taken by Professor Hecat after she single-handedly defeated one of the largest poaching rings in Eastern Wales during the Great Poacher Raid of 1878.”
At the Astronomy Wing, in the “Defense against the Dark Arts” classroom, there is a Revelio Page high up the stairs.
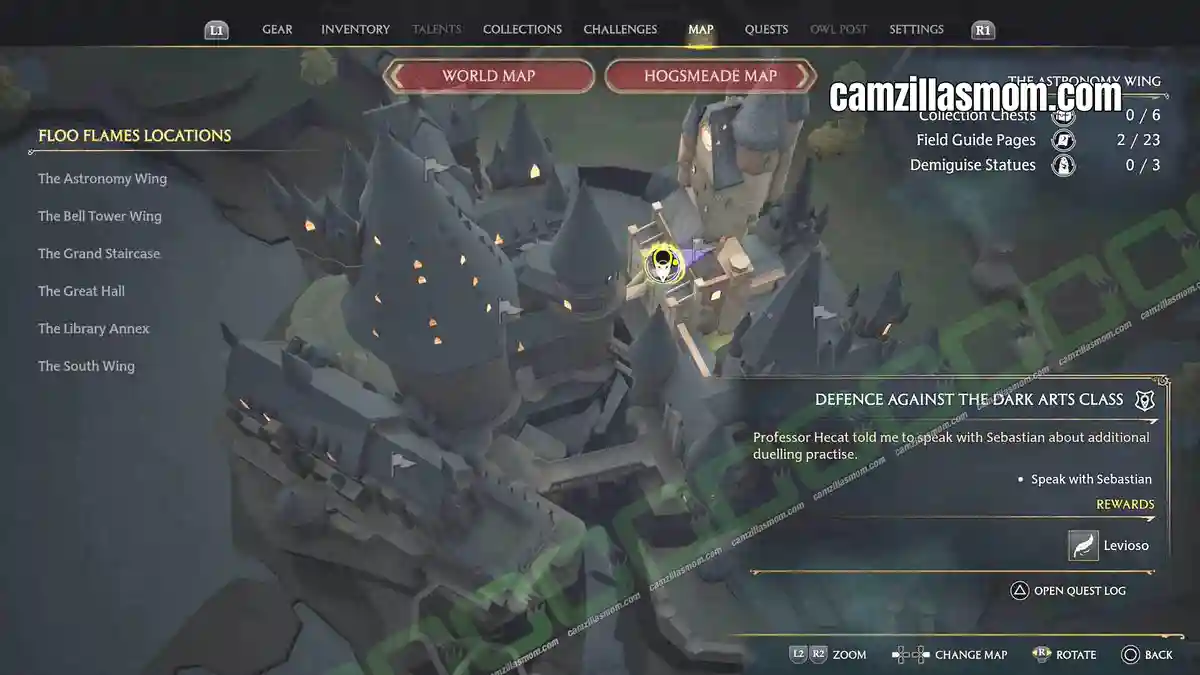
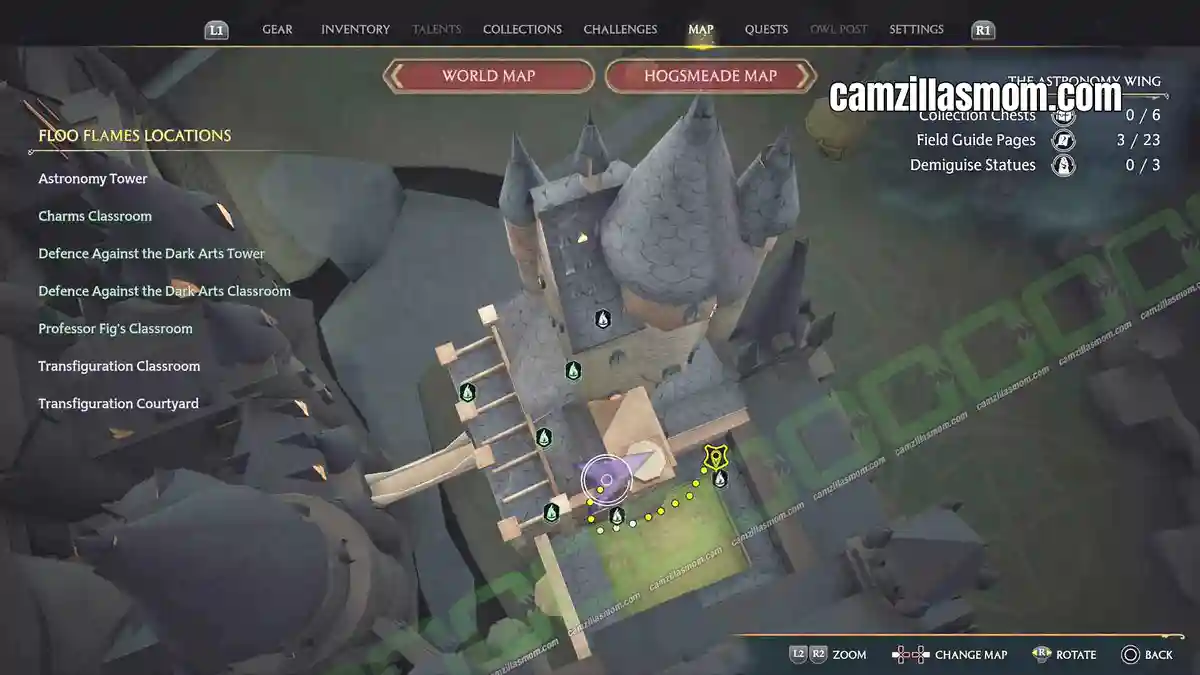
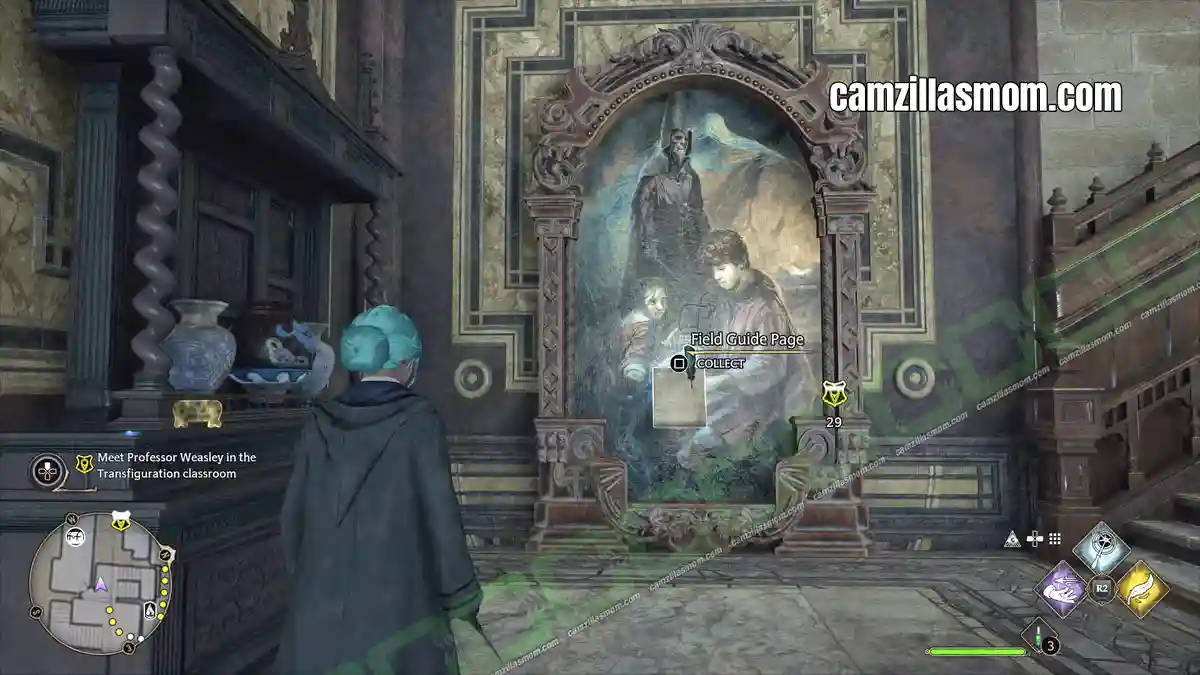
Painting of Illyius
(in-game menu #26)
“This painting depicts the young orphan wizard Illyius, who famously saved his entire village from an army of Dementors and the Dark wizard Raczidian by conjuring a mouse Patronus.”
At the Astronomy Wing, at ground floor, is a big painting on the wall.
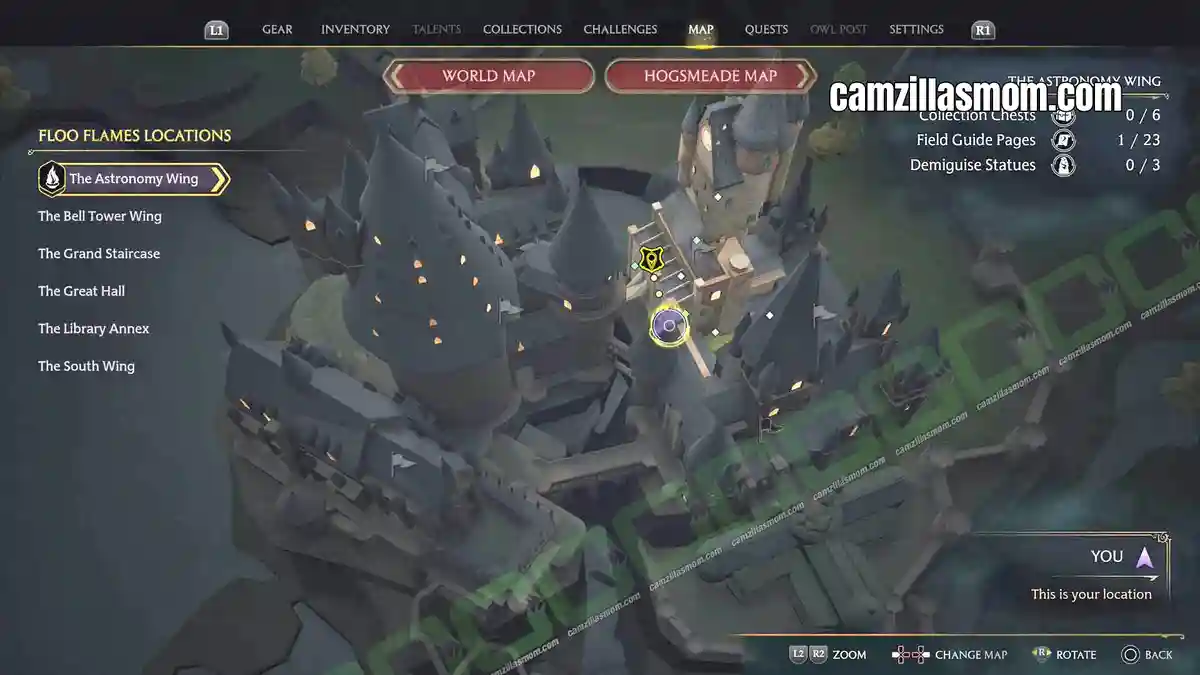
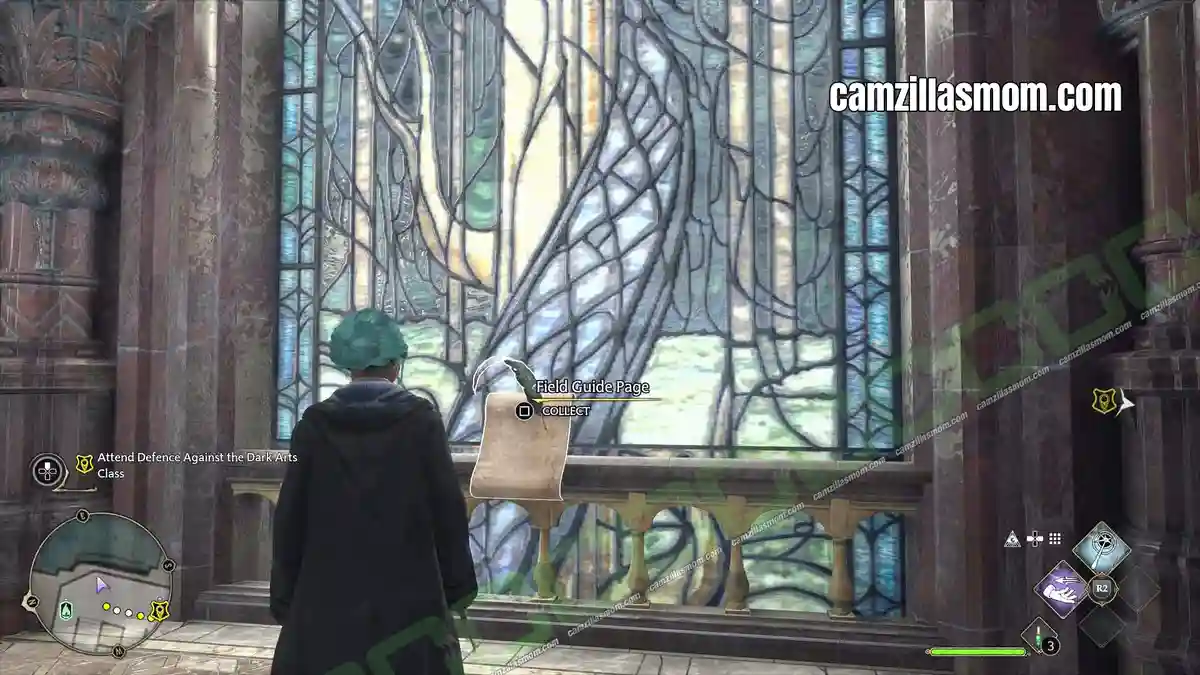
Serpentine Beast Window
(in-game menu #27)
“Although Slytherins like to think this window is somehow a tribute to their house founder, it is actually a serpentine beast coiled around a tree that extends from the mouth of the legendary Green Man.”
At the Astronomy Wing, look for a colourful, big window.
Pungent Passage
(in-game menu #89)
“This passage is relatively non-descript as far as passages go. However, the mishandling of a crop of Mimbulus mimbletonia in the sixteenth century – and the accompanying tsunami of Stinksap – left it with a rancid odour that even the strongest Scouring Charm cannot seem to eradicate.”
Take the staircase down from Charms Class at THE ASTRONOMY WING until you see a door leading to the right at the base of the stairs. Take that door and you’re standing in the Pungent Passage.
Bell Tower Wing Field Guide Pages
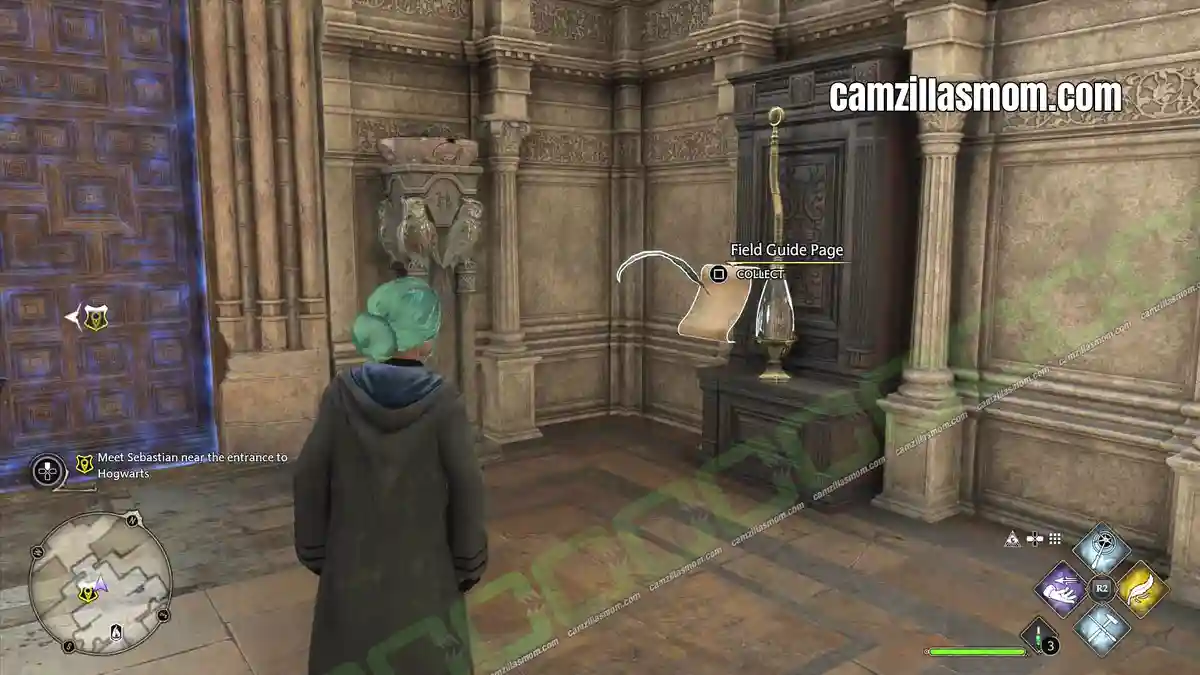
Broken Broom
(in-game menu #5)
“This broken broom belonged to Selene Wartnaby and is rumoured to be all that remains after she insisted on demonstrating her experimental ‘Lunar Apparition Charm’ to fellow third-years
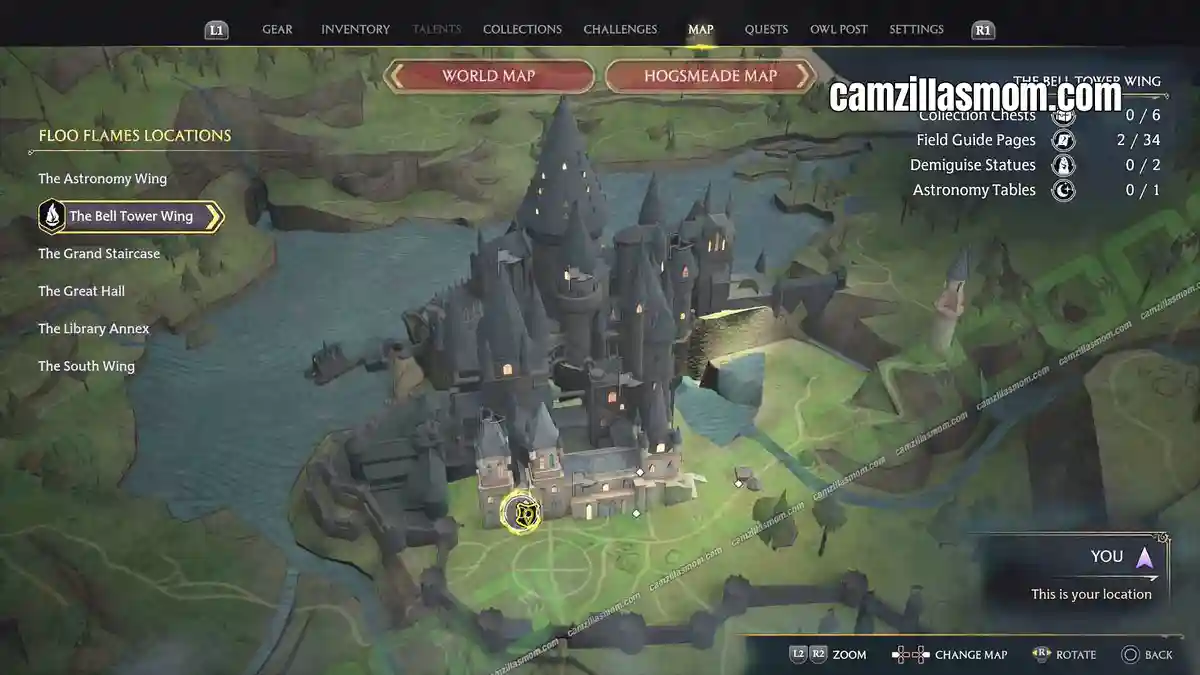
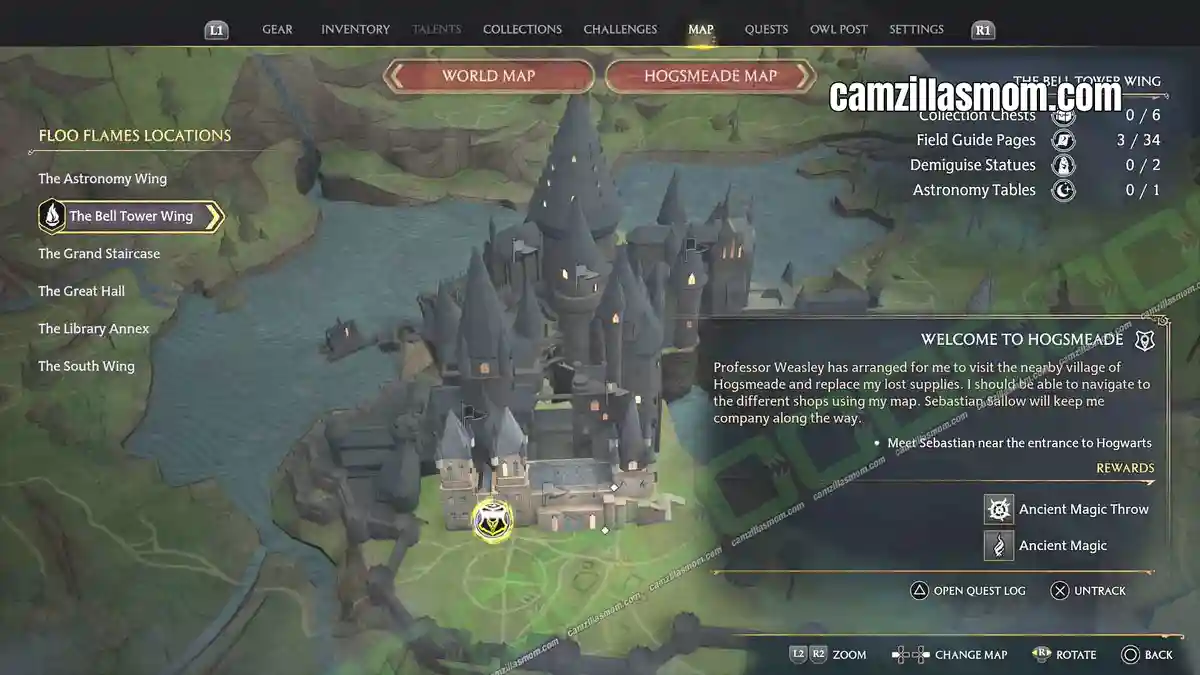
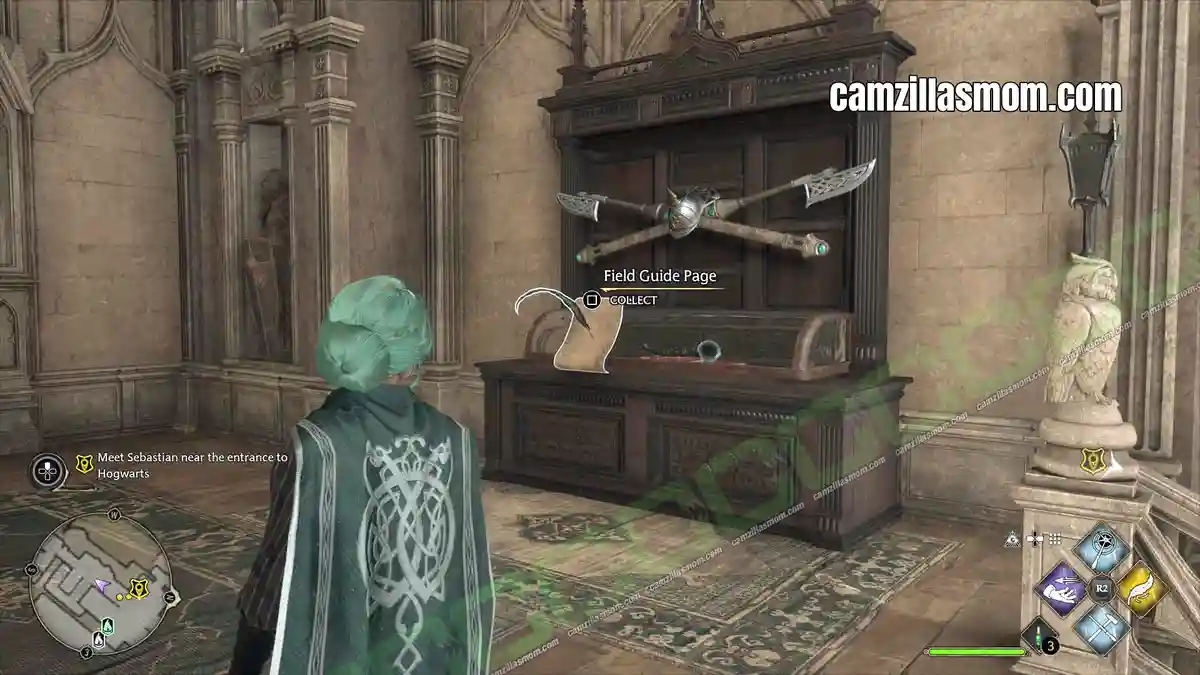
The Broken Broom is an exhibit just next to the Hogwarts’ exit at The Bell Tower Wing.
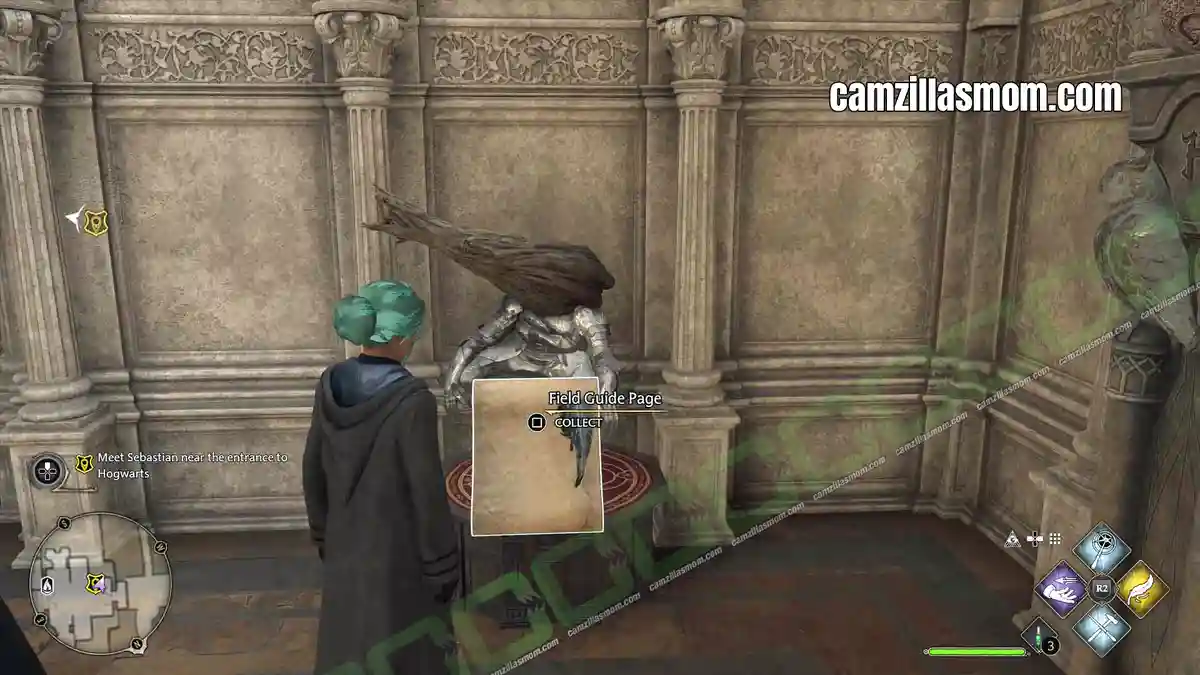
Flattened Armour
(in-game menu #6)
“This set of armour belonged to Sir Scagglethorpe the Heedless who unwisely challenged a mountain troll to a game of musical chairs.”
Just opposite the Broken Broom next to Hogwarts’ exit at The Bell Tower Wing is the Flattened Armour.
Goblin Artefact
(in-game menu #7)
“Horns like this were used by goblins during the 1612 Goblin Rebellion to rally troops and generally annoy witches and wizards. This horn was discovered in the aftermath of the rebellion behind the Hog’s Head Inn, with a wedge of gorgonzola stuffed inside – presumably to mute it.”
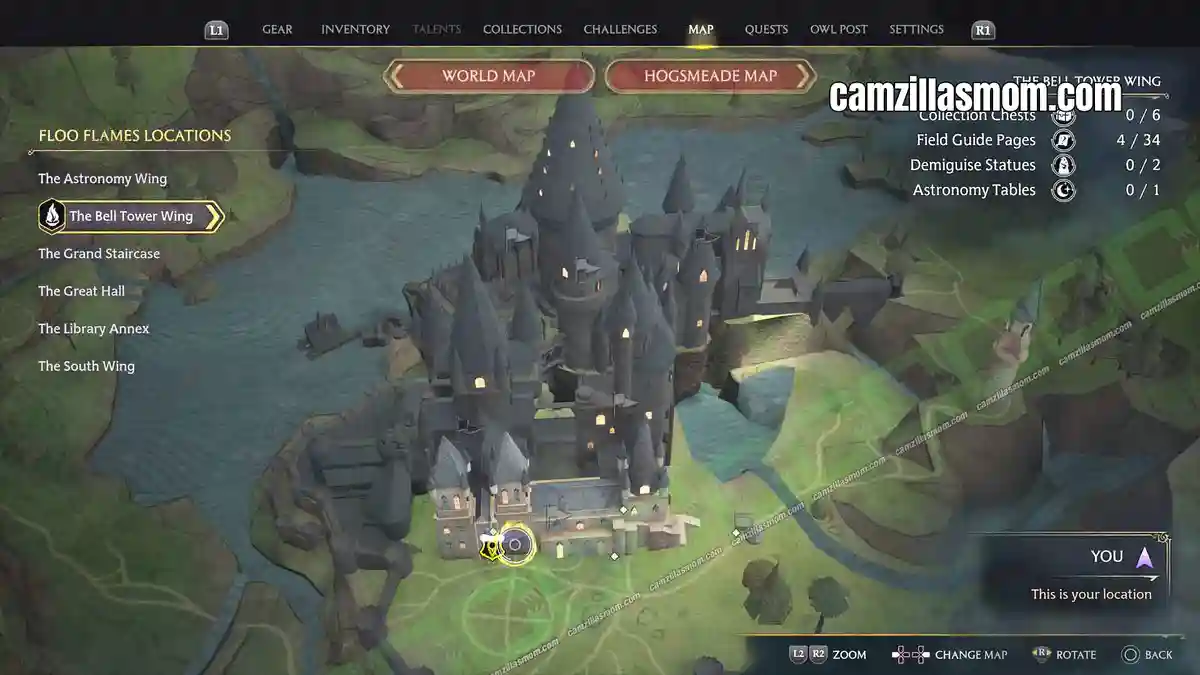
Coming from Hogwarts’ entrance / exit at The Bell Tower Wing, head to the right up the stairs to get to the Goblin Artefact.
Three Sisters Bells
(in-game menu #8)
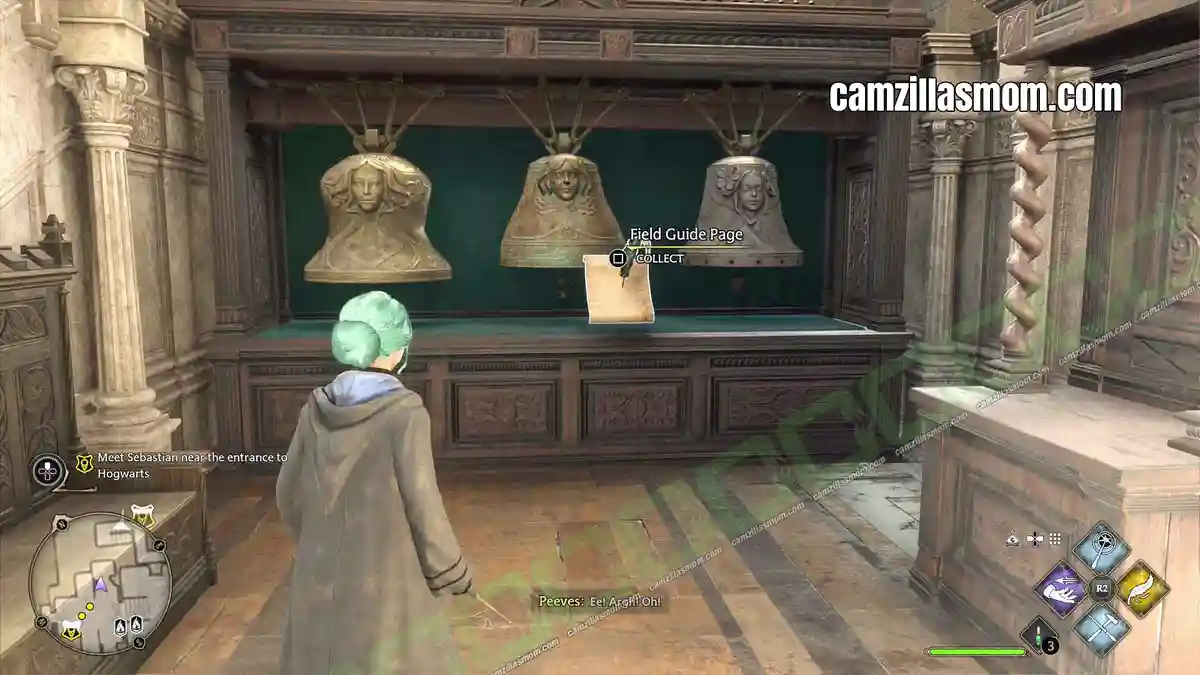
“The Three Sisters Bells are said to be a tribute to three similarly named, beautiful steep ridges that rise majestically over a glen in Argyllshire. It is rumoured that one can hear them ring in the glen, way across the Highlands, when they are rung in the castle. Locals have been baffled by the mysterious ringing for years.”
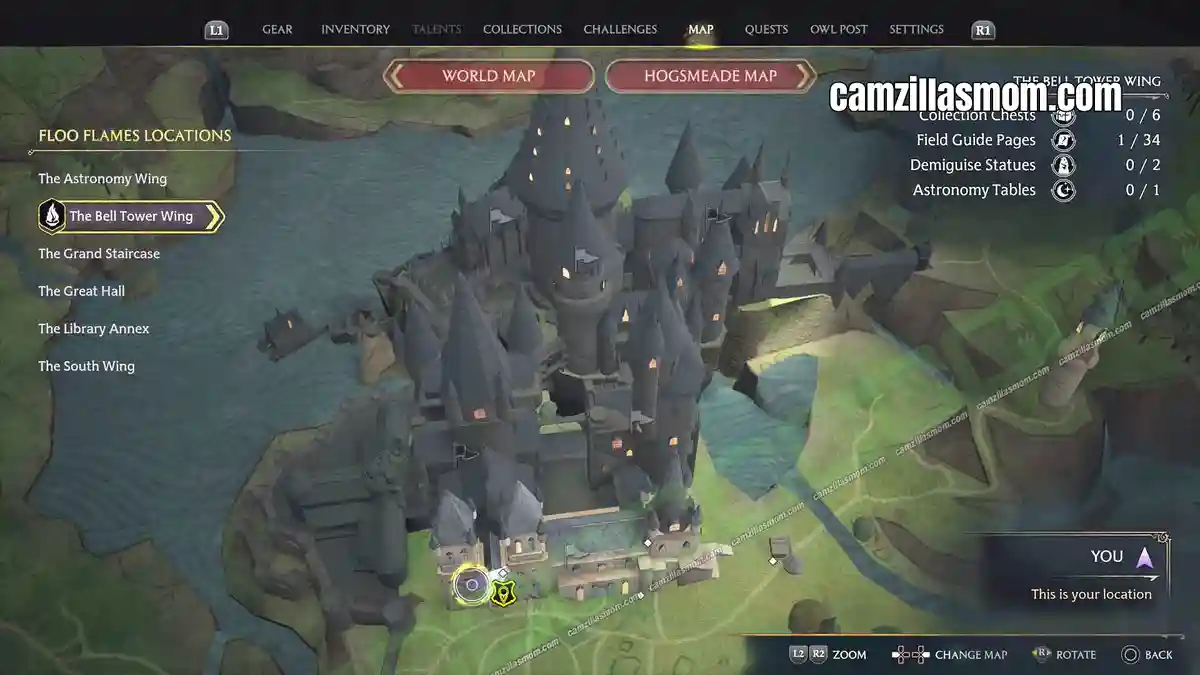
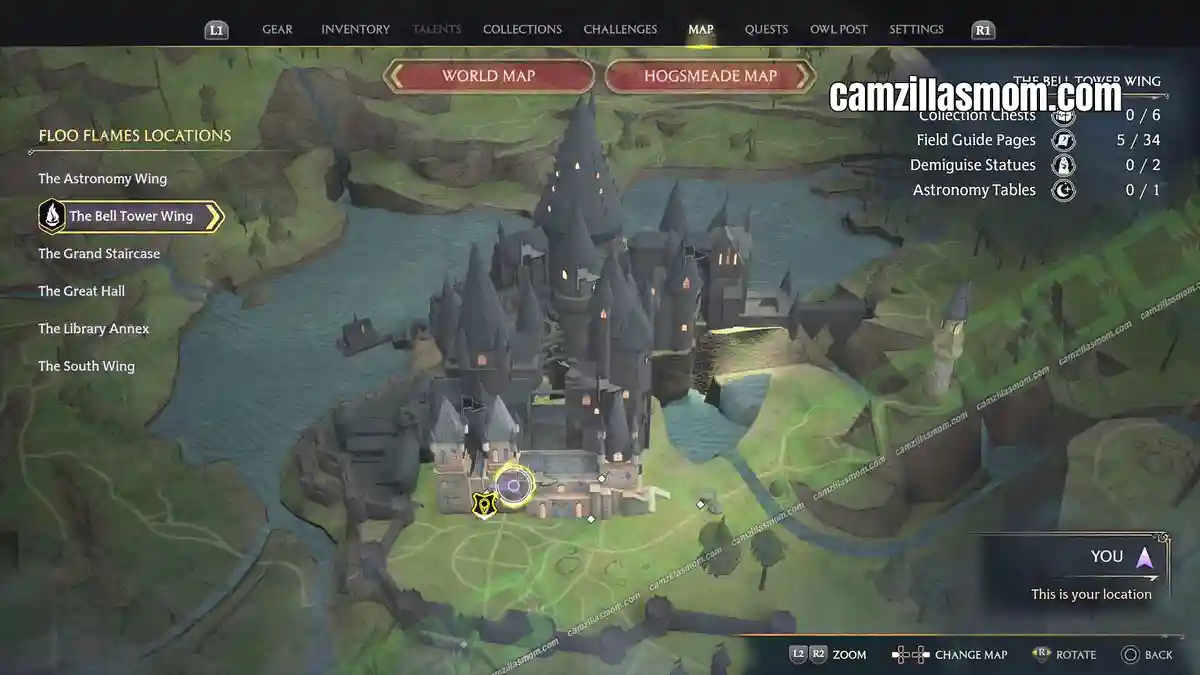
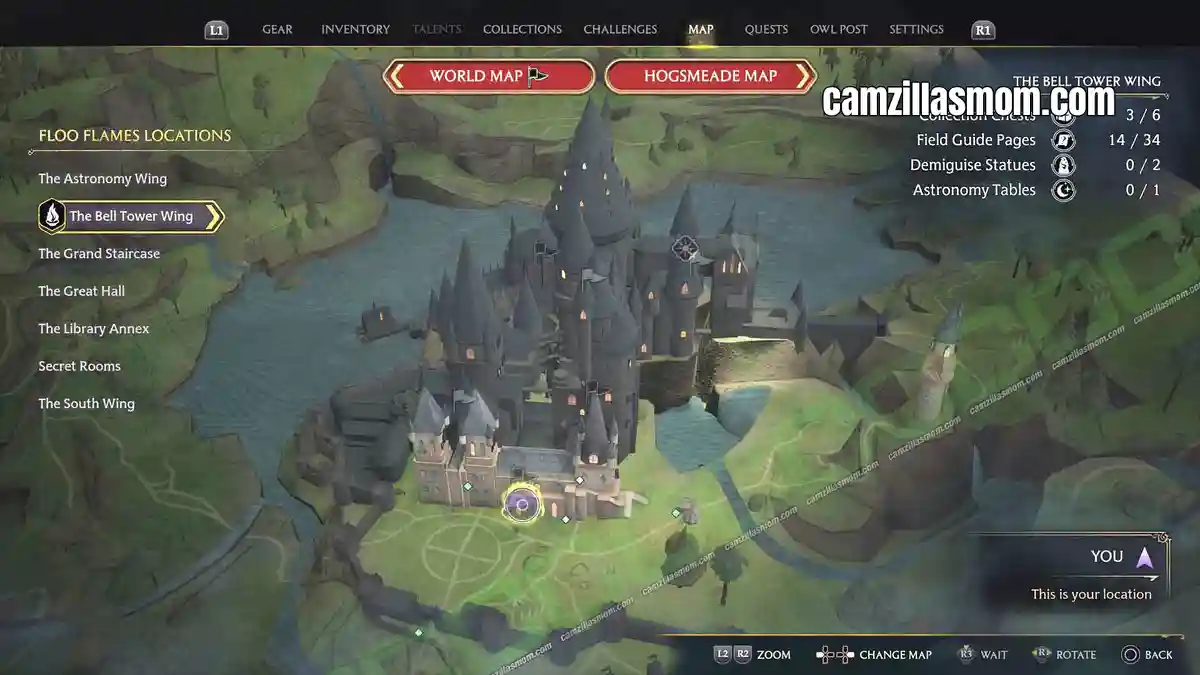
The Three Sisters Bells are at a dead end on ground level of The Bell Tower Wing.
Scorch Marks
(in-game menu #9)
“Allegedly the location of the first known instance of an arguably successful casting of Bombarda. Date unknown, caster unidentifiable.”
At The Bell Tower, head up one level. In the corridor, next to framed paintings, are scorch marks on the wall.
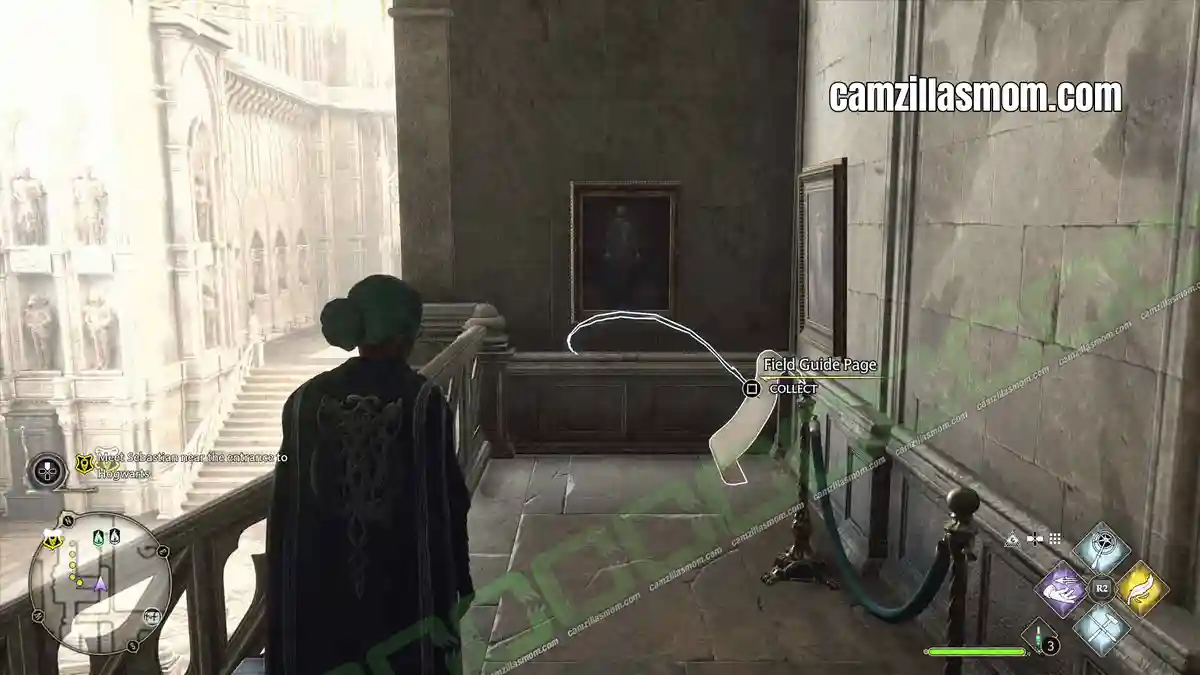
Grimbald Weft
(in-game menu #10)
“This is the skull of famed tailor Grimbald Weft, whose skilled needlework repaired countless witches’ and wizards’ coats during the Goblin Rebellion of 1752 – thus preventing them from taking ill during battle.”
This Field Guide Page is connected with the Side Quest “History of Magic Class”, where you have to find this page during the quest.
Frog Choir
(in-game menu #11)
“Here perch the slimy yet symphonic frags that comprise the Hogwarts Frog Choir. These magical amphibians can sing in six-part harmony and hold a pitch better than most humans.”
At The Bell Tower, head up the tower from the ground floor – just past the previous Scorch Marks. Up there is a room with the Frog Choir in its centre.
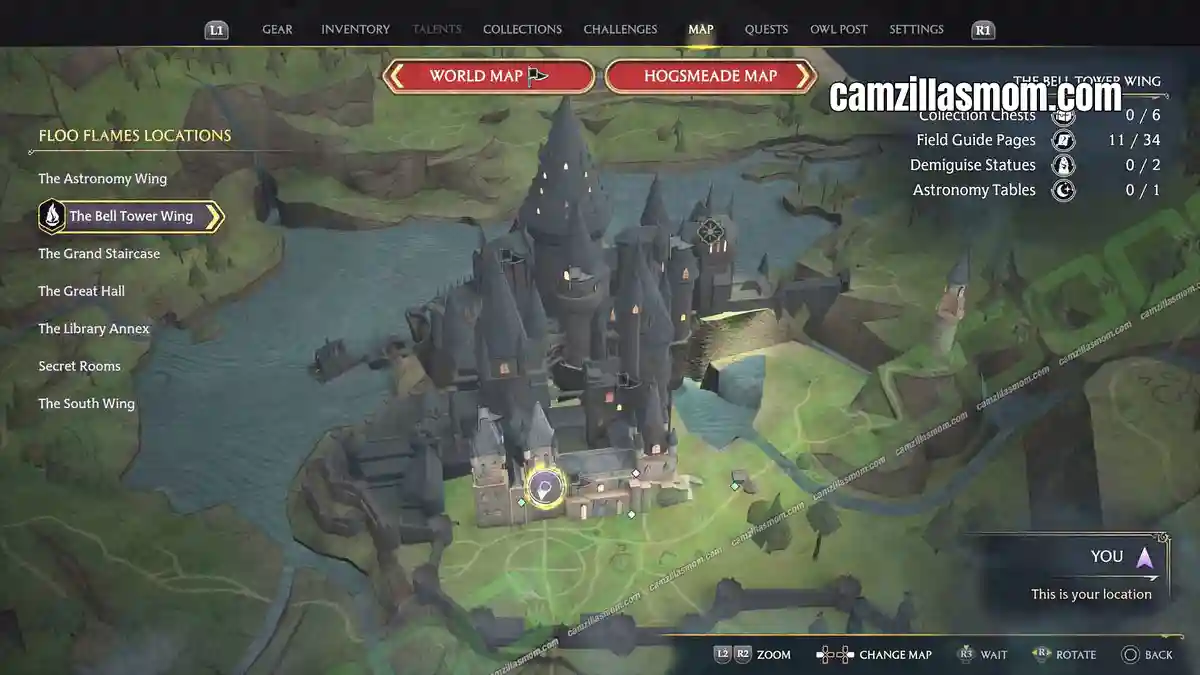
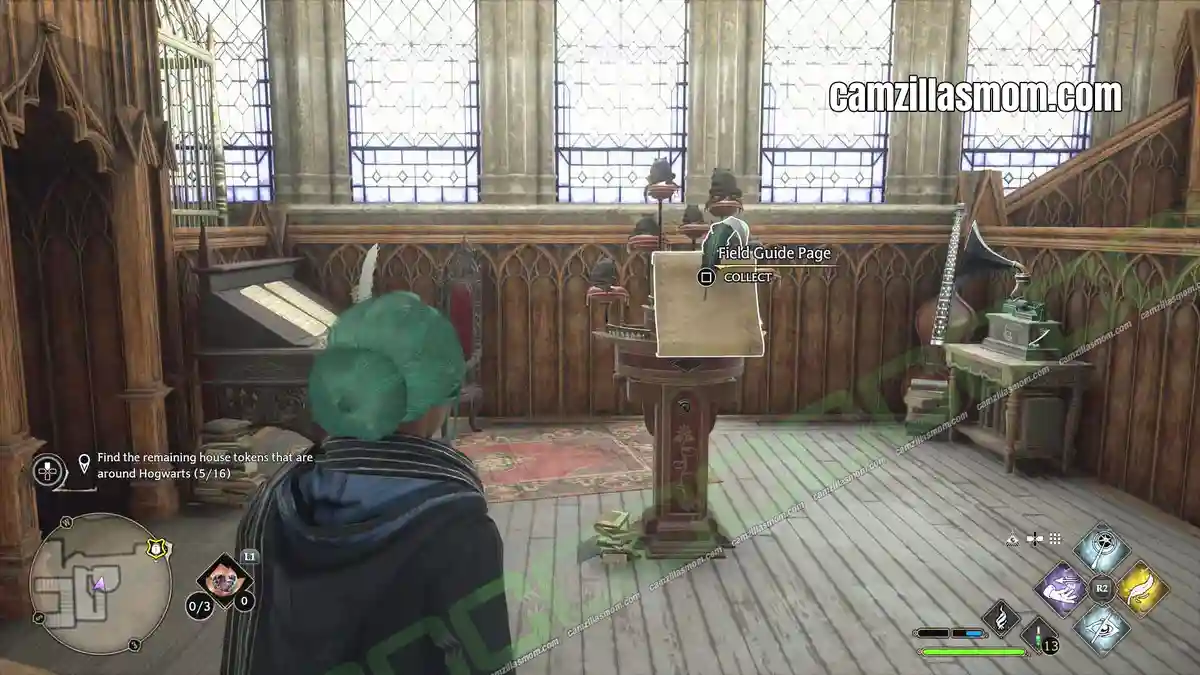
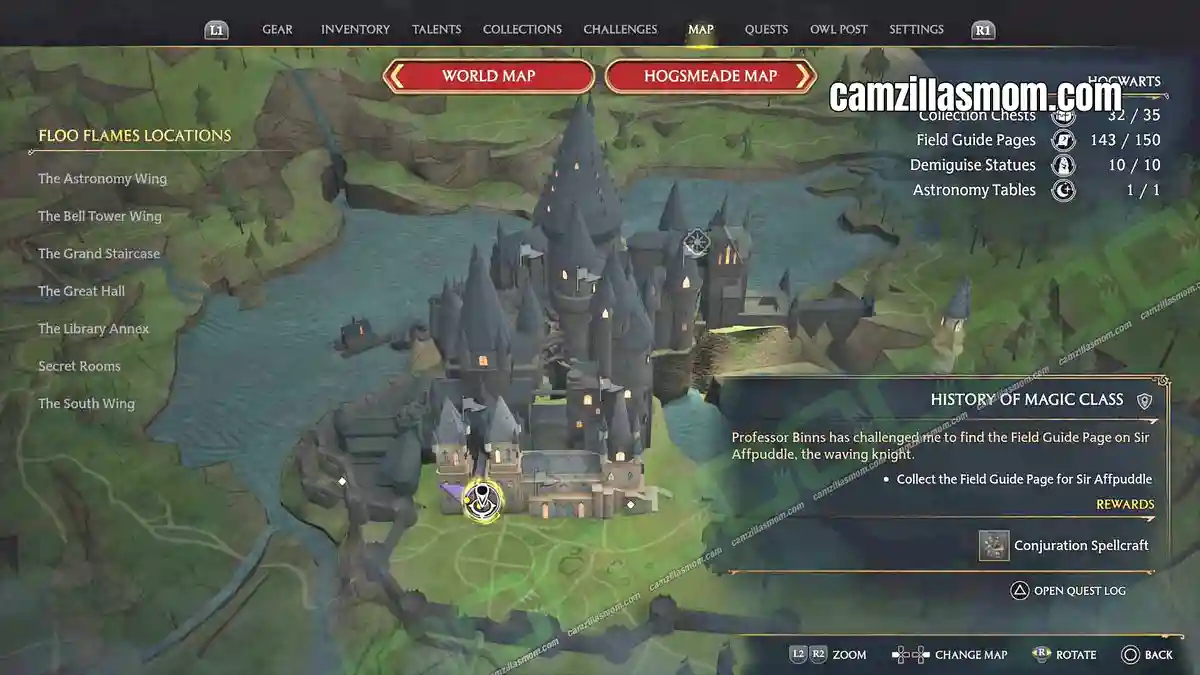
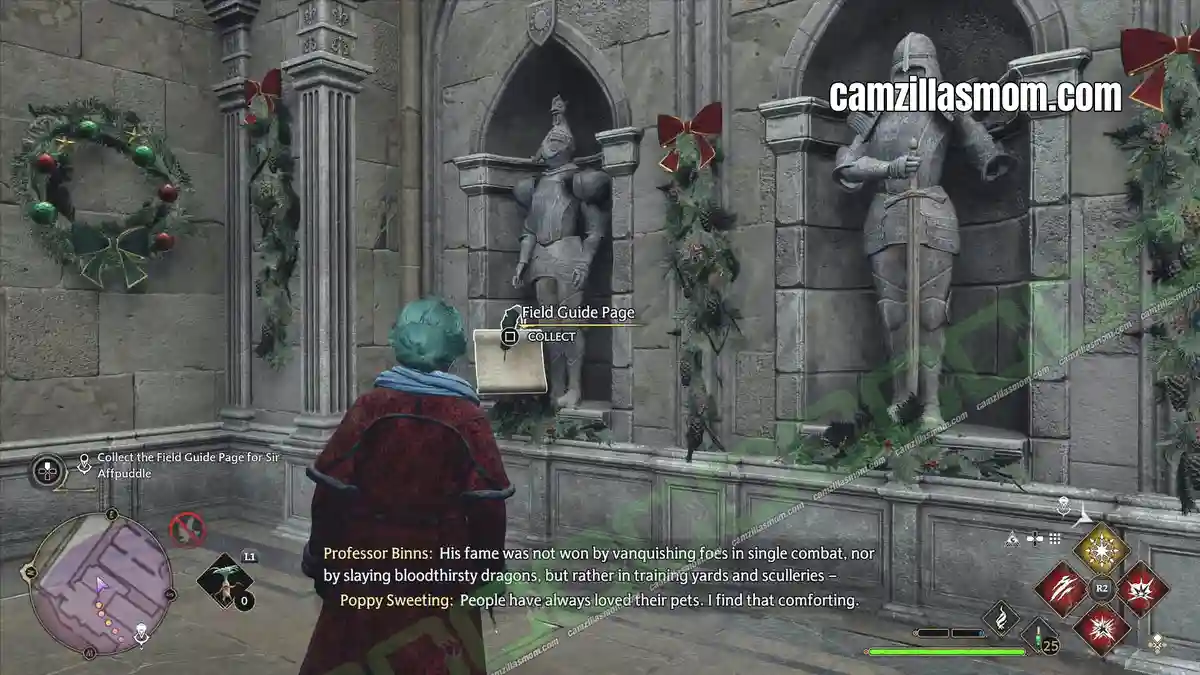
Waving Knight
(in-game menu #12)
“This set of armour belonged to Sir Affpuddle of the Cheerful Countenance, a legendarily friendly knight who supposedly won every battle before it was fought by virtue of his amiable negotiating tactics. Some attribute his success to an overly potent Cheering Charm he cast upon himself.”
This Field Guide Page is also connected with the Side Quest “History of Magic Class”, where you have to find this page during the quest.
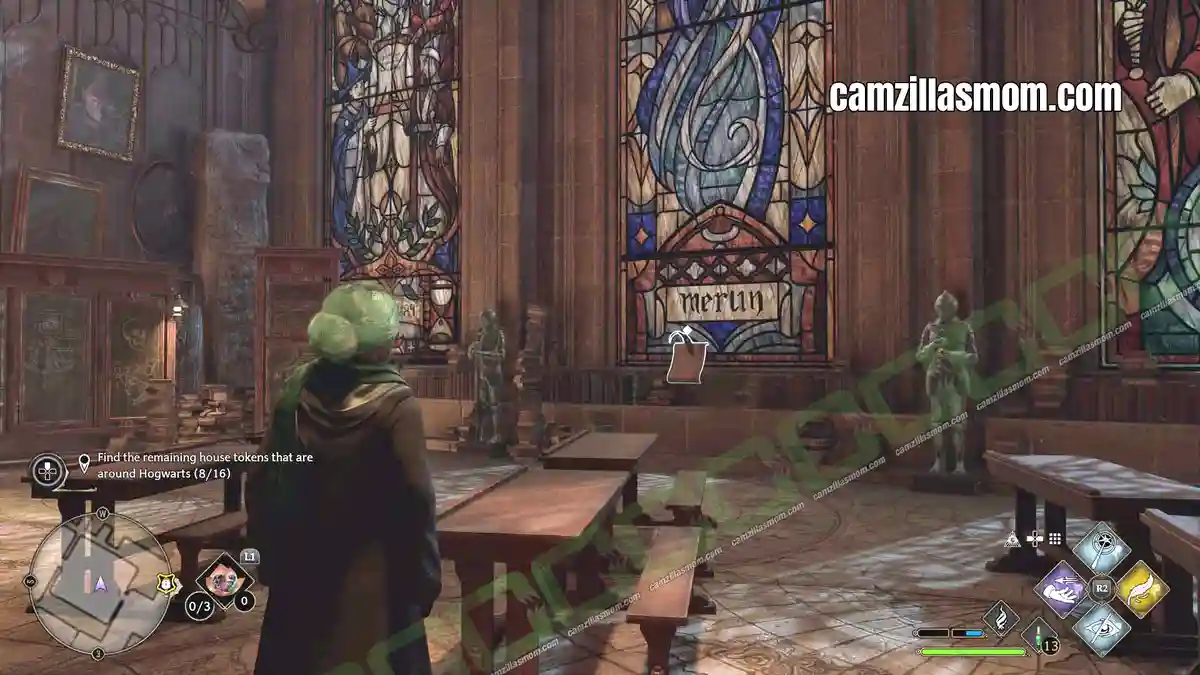
History of Magic Windows
(in-game menu #13)
“This set of stained-glass windows features Merlin, the four Hogwarts founders, and various other witches and wizards of the ages.”
Enter THE BELL TOWER WING through the courtyard and turn left into a classroom with tall, colourful windows.
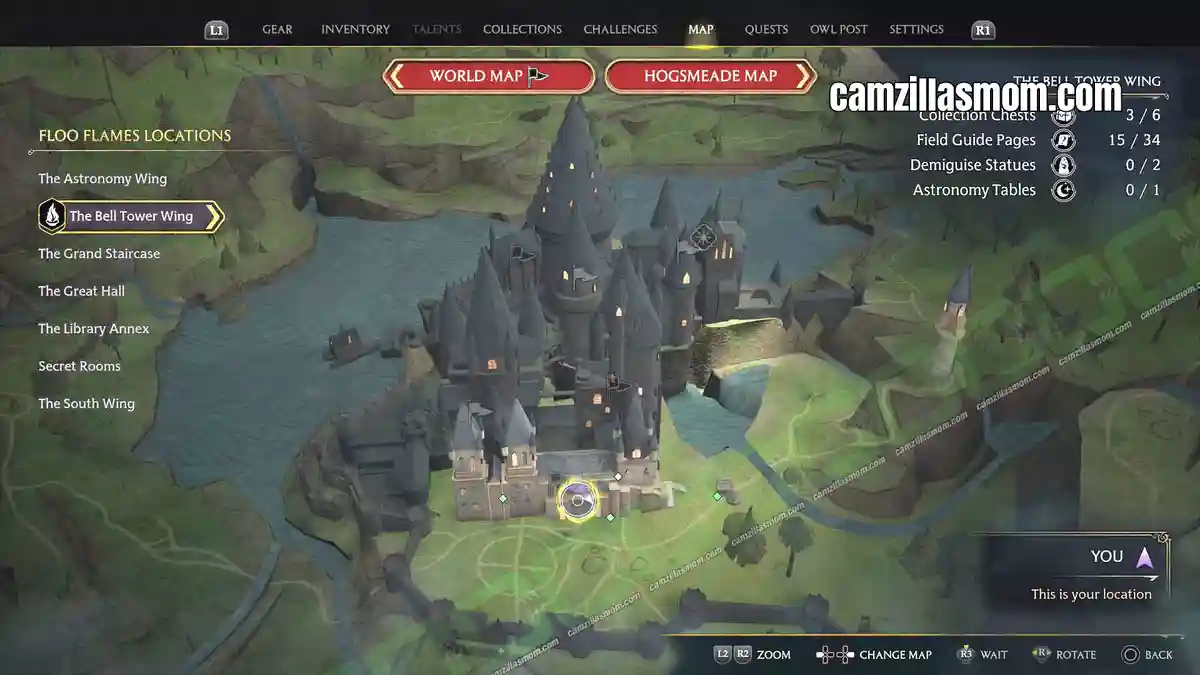
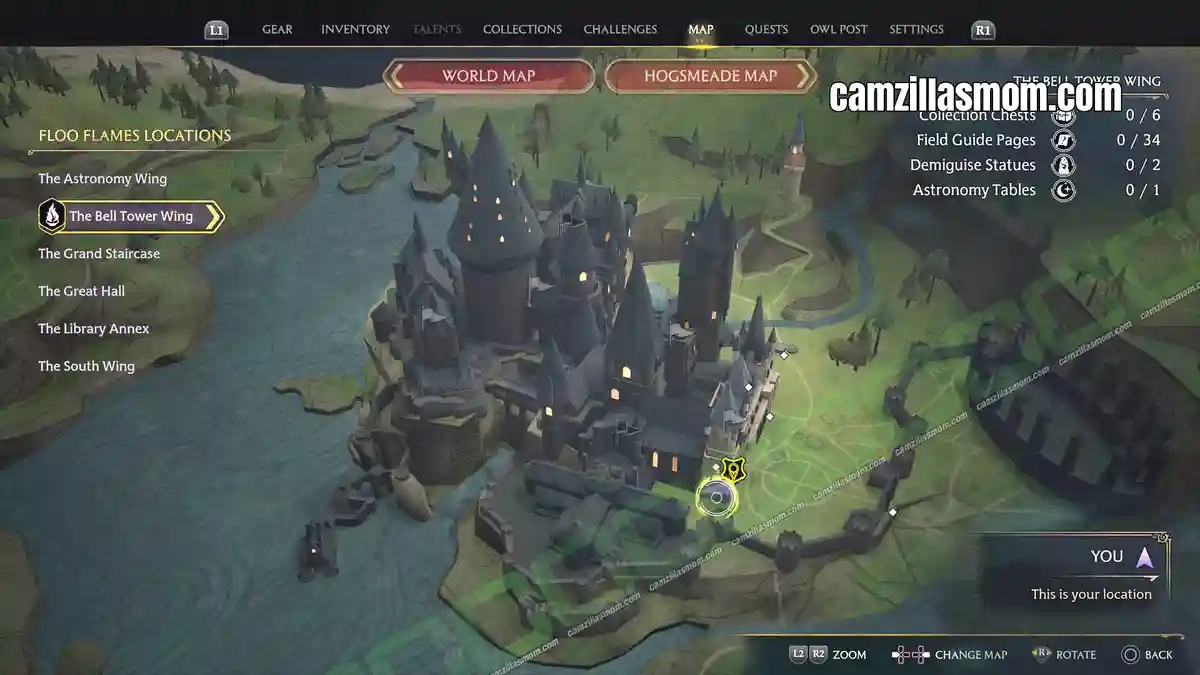
Wooden Cat
(in-game menu #14)
“This wooden statue bears the likeness of Pangur Donn, fearless feline mouse hunter and devoted study companion.”
The Wooden Cat is a collectible at The Bell Tower Wing. Coming from the Library Annex, it is just when you enter to the left.
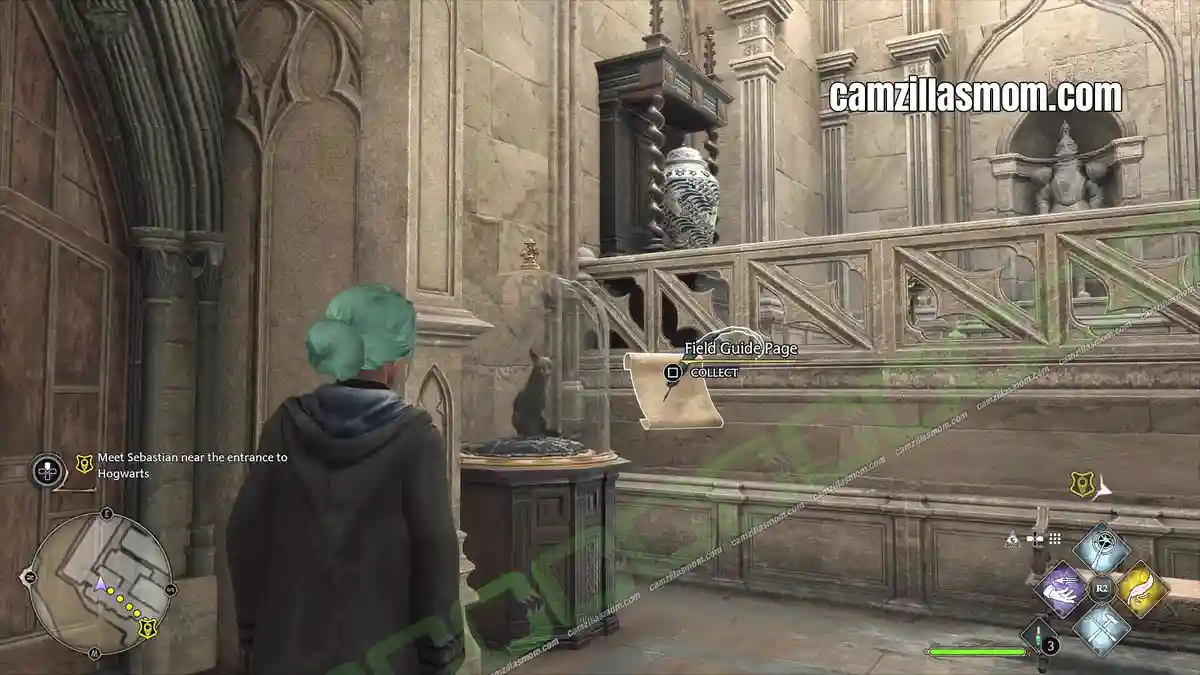
Urn of Ashes
(in-game menu #30)
“This particular urn is rumoured to have once borne the inscription: ‘Pioneer in Dragon Taming. Should not have started with the Hungarian Horntail.”
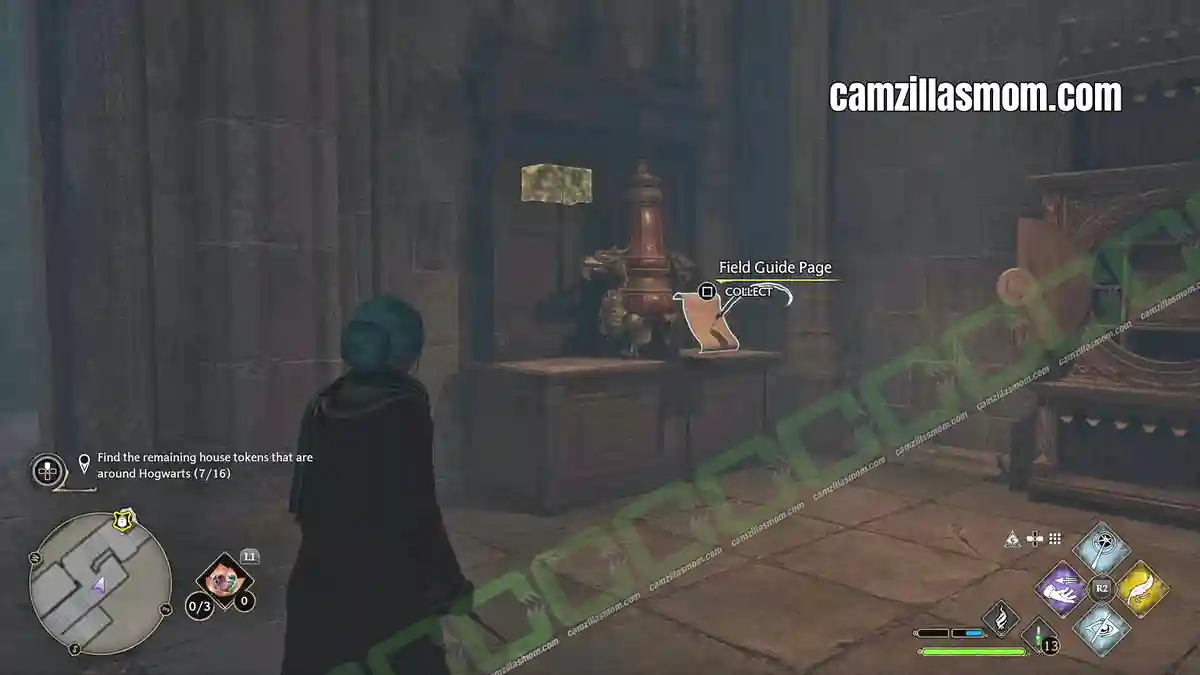
Go to the big staircase of THE BELL TOWER WING. At the bottom of it is the door to the basement. It is here, at the top of the area where you can find the Urn of Ashes next to a cabinet.
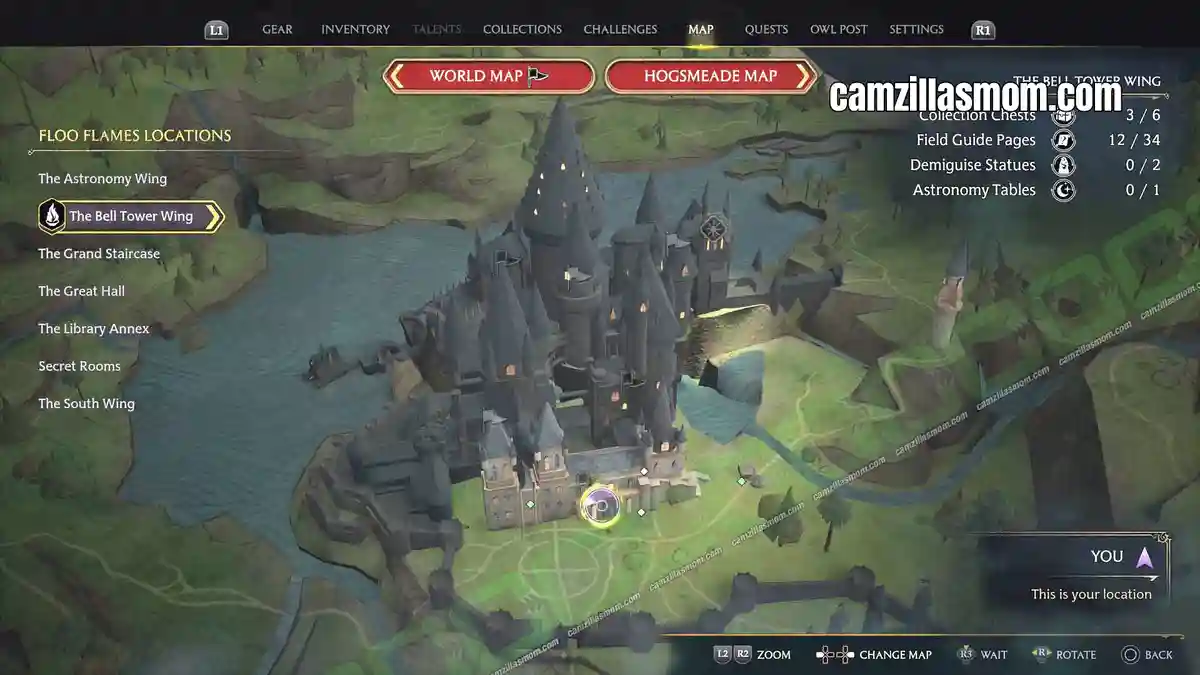
Salazar Slytherin’s Scriptorium
(in-game menu #31)
“A secret and well-protected room beneath Hogwarts where Salazar Slytherin appears to have spent time making various long-term plans with respect to the student population and reflecting on disagreements he had with the other founders.”
Play the story until you are able to do the “IN THE SHADOW OF THE STUDY” side quest, where you will have to discover Salazar Slytherin’s Scriptorium.
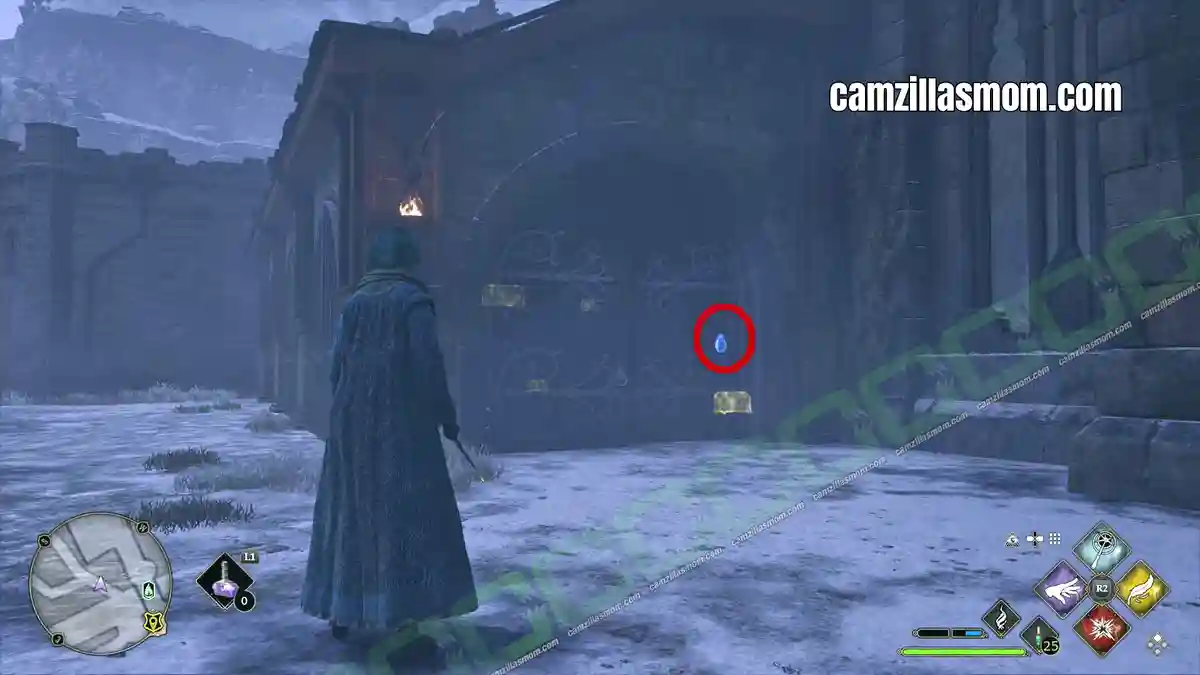
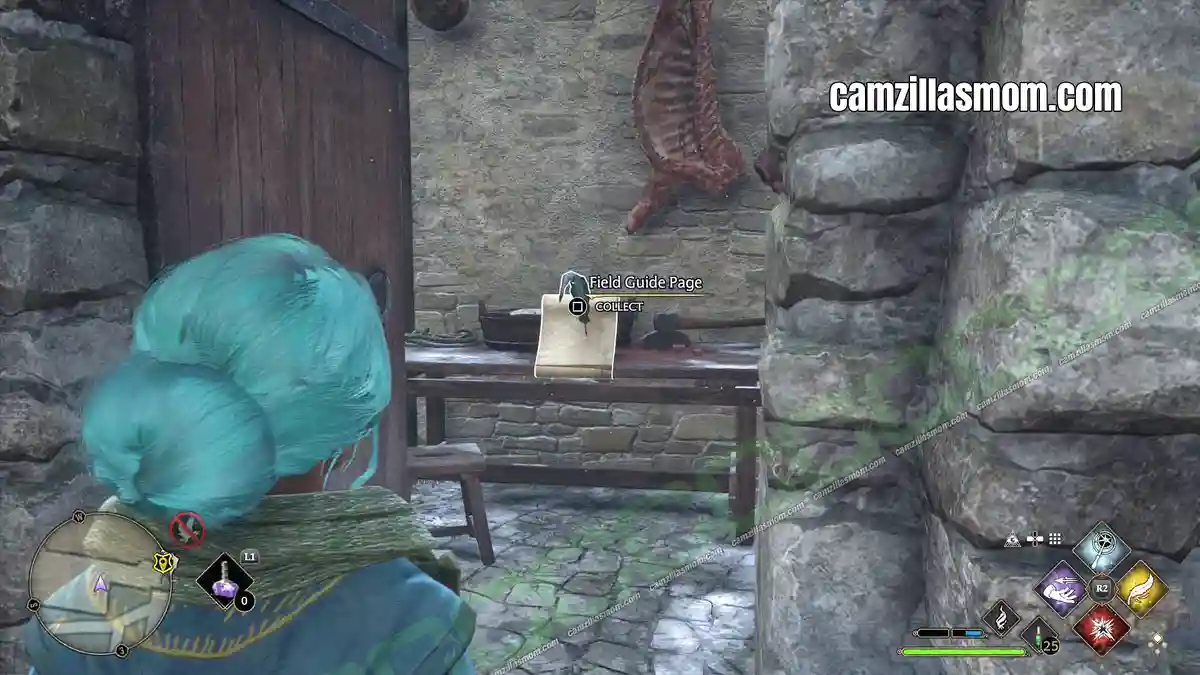
Bloody Meat
(in-game menu #57)
“At first glance, one might be inclined to alert the authorities regarding this sight. Rest assured, however, that it is mearely bloody meat used to feed the Thestrals.”
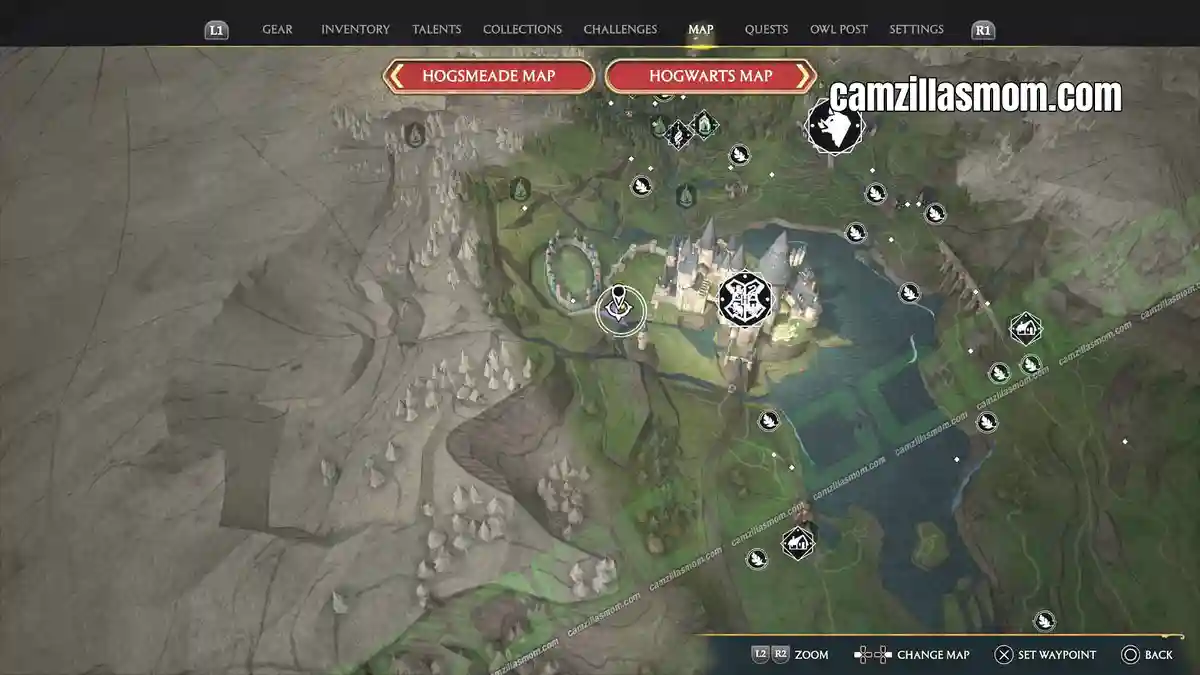
Exit THE BELL TOWER WING and go outside towards Hogwarts North exit. Left of the exit is a big gate – the stables. It has a locked door. Open it with your lock picking spell and you’ll see where the Thestrals’ feed is coming from.
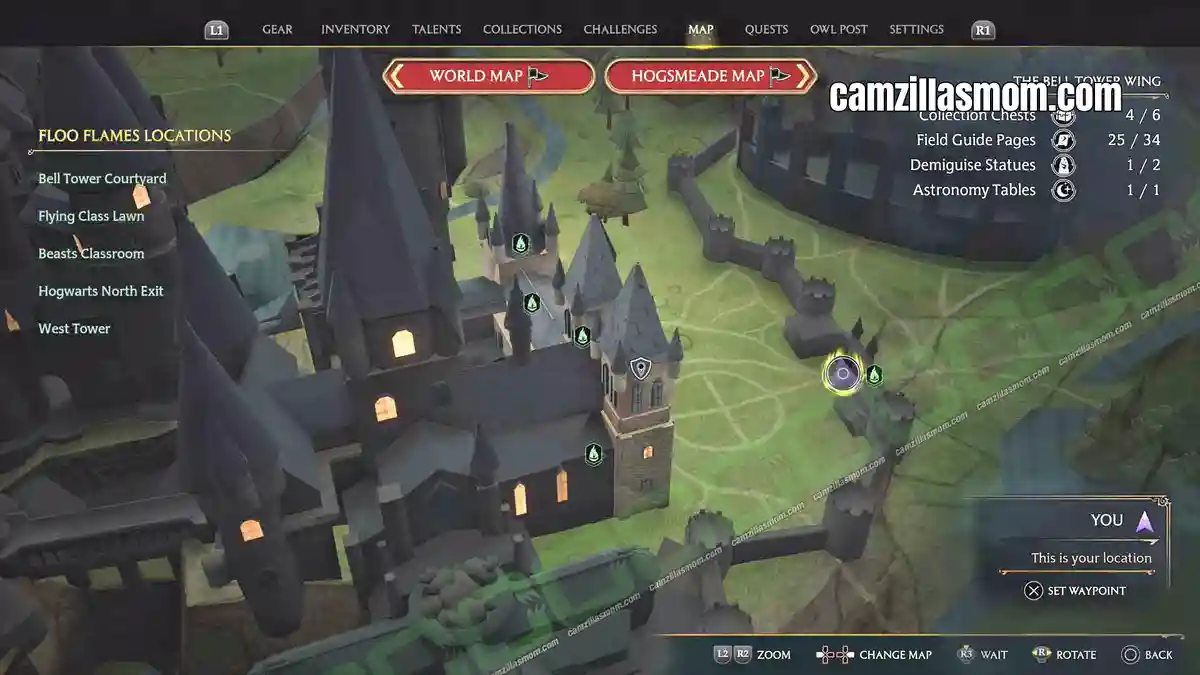
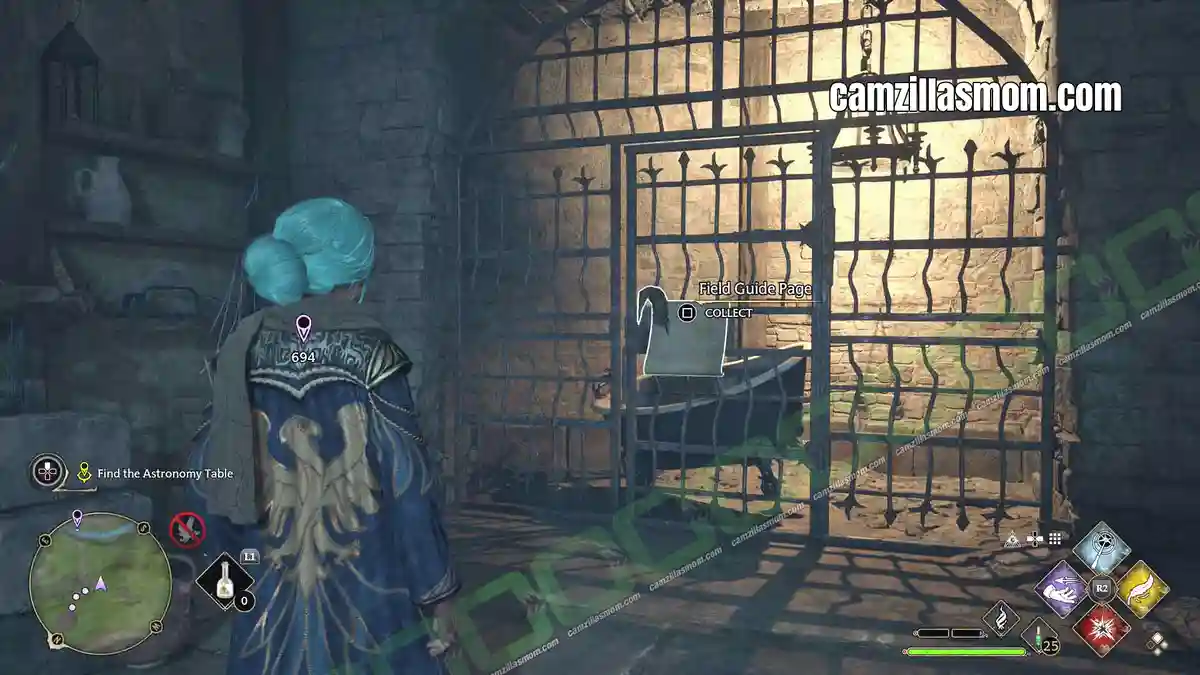
Caged Bathtub
(in-game menu #58)
“This bathtub has been kept behind lock and key for as longs as anyone can remember. Rumour has it that the tub was enchanted to chase after students decades ago who were too obsessed with their studies to care much for personal hygiene.”
While doing the “Astronomy Class” Main Quest, you meet Amit to travel through the castle turrets to find an Astronomy Table. Inside the first ruin structure you enter, there is a caged bathtub. This Field Guide page is like most of the outside Field Guide pages counted under THE BELL TOWER WING.
Alchemy Class
(in-game menu #74)
“An arcane subject offered to older students on the rare occasion when demand suffices, Alchemy focuses on the four natural elements and the science of transmutation.”
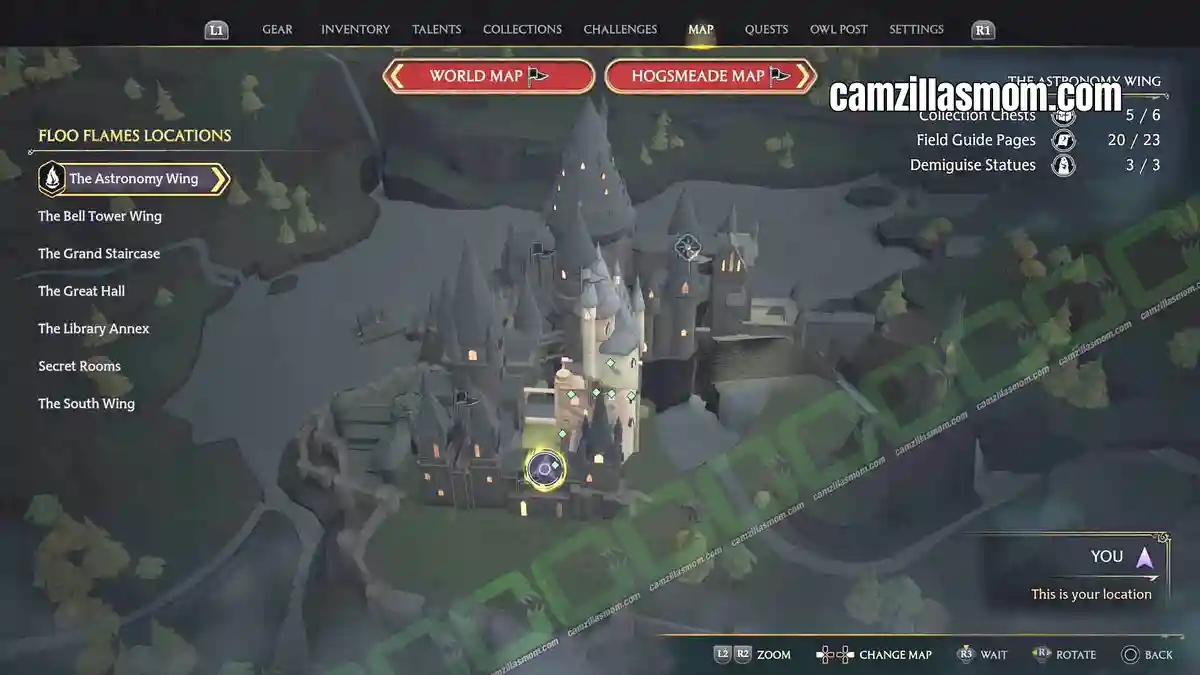
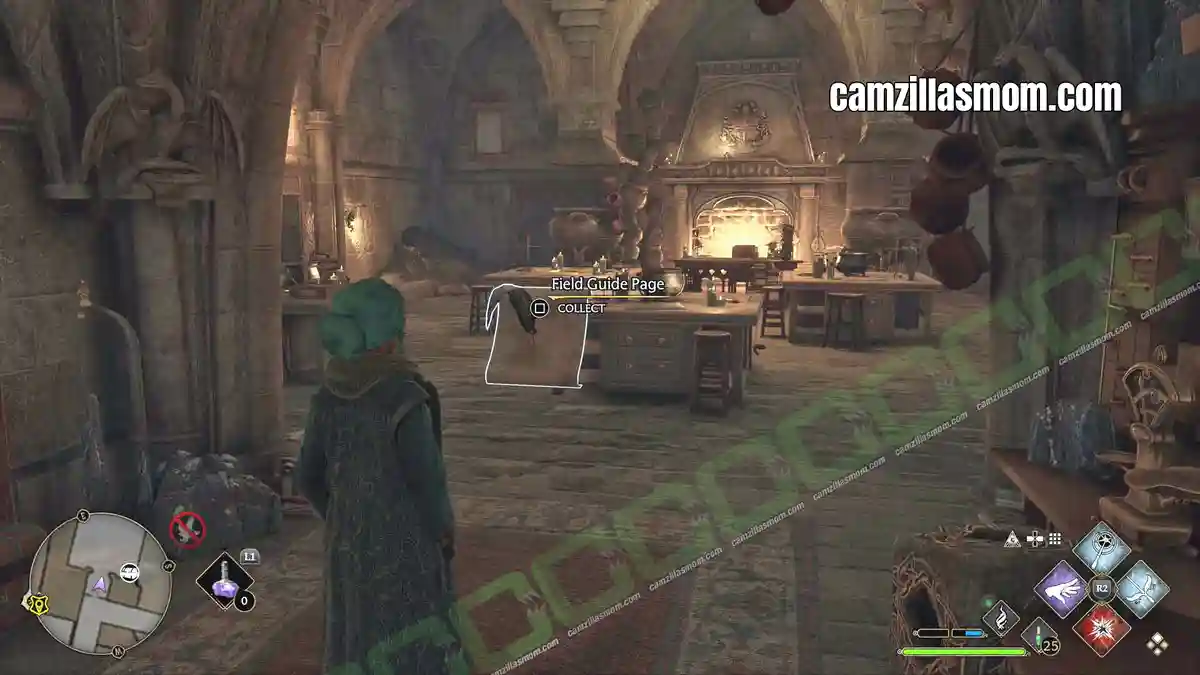
Go to the big staircase of THE BELL TOWER WING down into the basement. In the corridor after the dragon statue is another locked door after the “Important Muggle Artefact” with this Field Guide Page inside.
Important Muggle Artefact
(in-game menu #75)
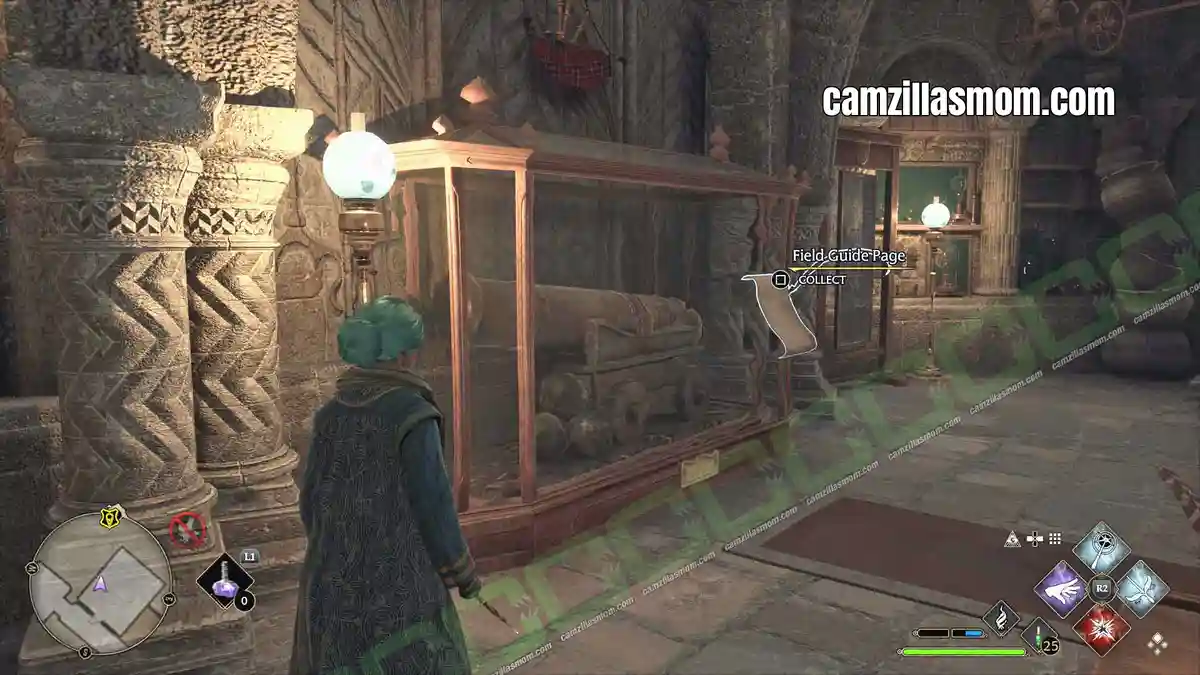
“This misunderstood artefact is supposedly important to Muggle warfare, though most of wizardkind find the prospect of wielding such a hefty – weapon? – utterly head-scratching.”
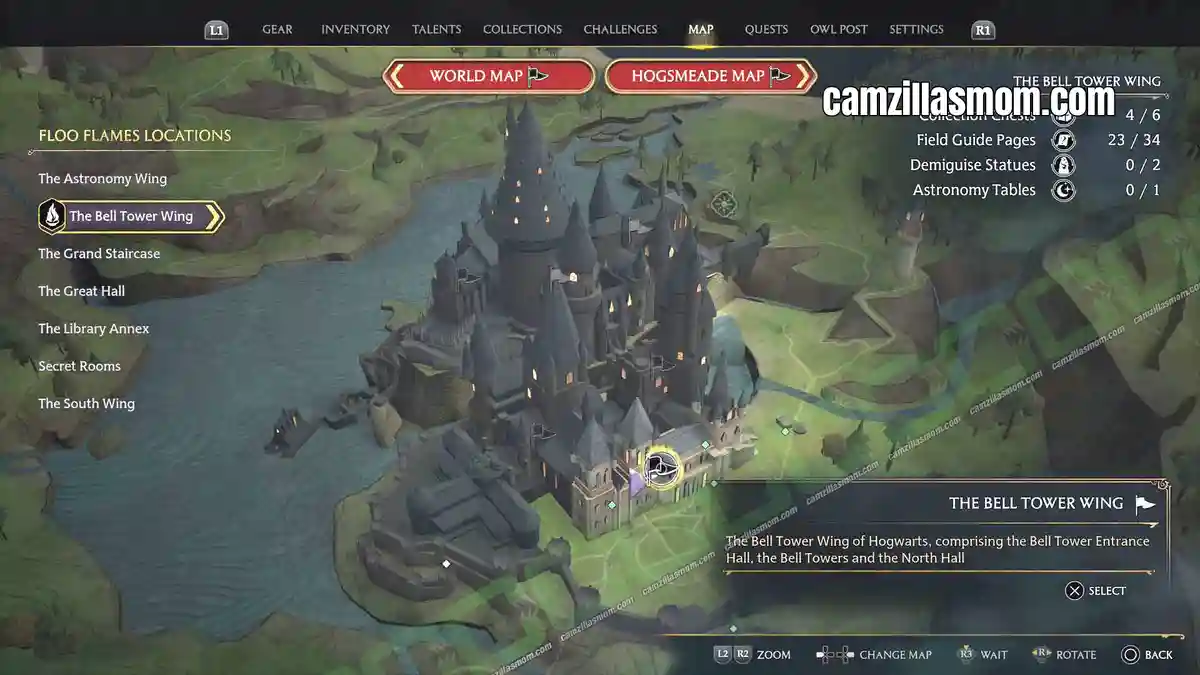
Go to the big staircase of THE BELL TOWER WING down into the basement. In the corridor after the dragon statue is a locked door with this Field Guide Page inside.
Sleeping Dragon Statue
(in-game menu #76)
“The Hogwarts motto ‘Draco Dormiens Nunquam Titillandus’ means ‘Never Tickle a Sleeping Dragon’. Fortunately, this particular sleeping dragon is made of stone and will never awaken. It may be tickled to absolutely no effect.”
Go to the big staircase of THE BELL TOWER WING. At the bottom of it is the door to the basement. It is here, downstairs, where you can find the Sleeping Dragon Statue.
Sphinx Statue
(in-game menu #77)
“The sphinx, a beast with a human head on a lion’s body, has been used by witches and wizards for centuries to guard valuables and secret hideaways due to its intelligence and affinity for puzzles and riddles.”
On ground floor of THE BELL TOWER WING is a locked door. It’s just next to Weasley’s office. Behind this door is the Sphinx Statue.
Werewolf Saga Tapestries
(in-game menu #78)
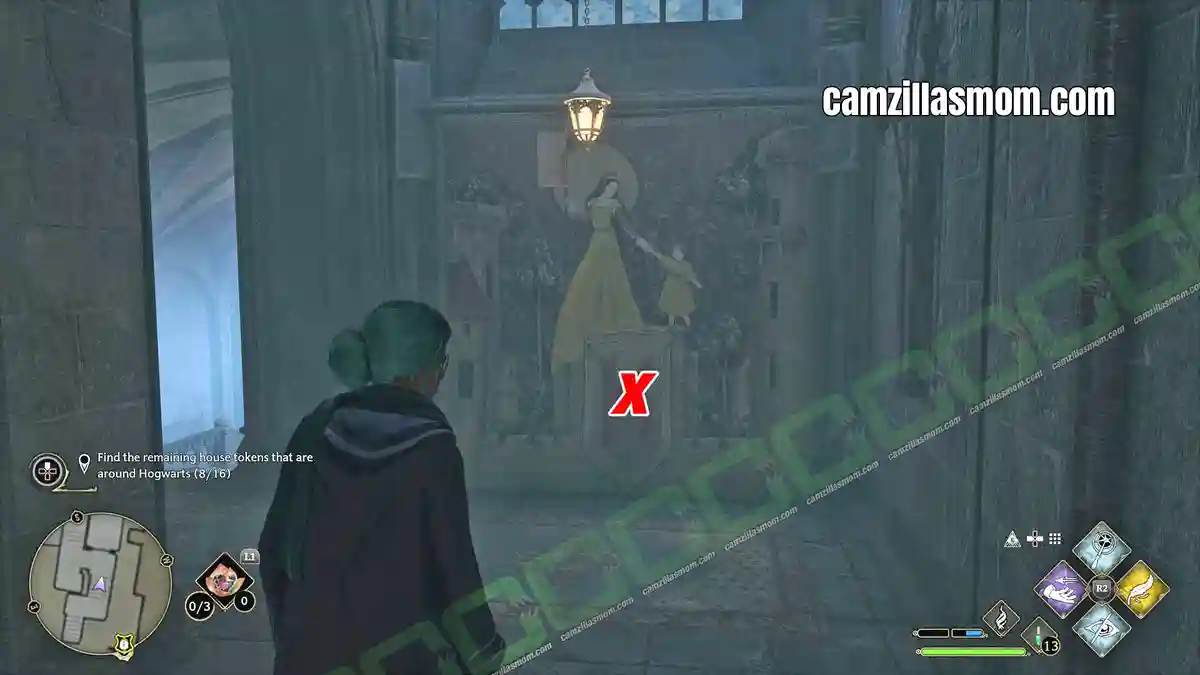
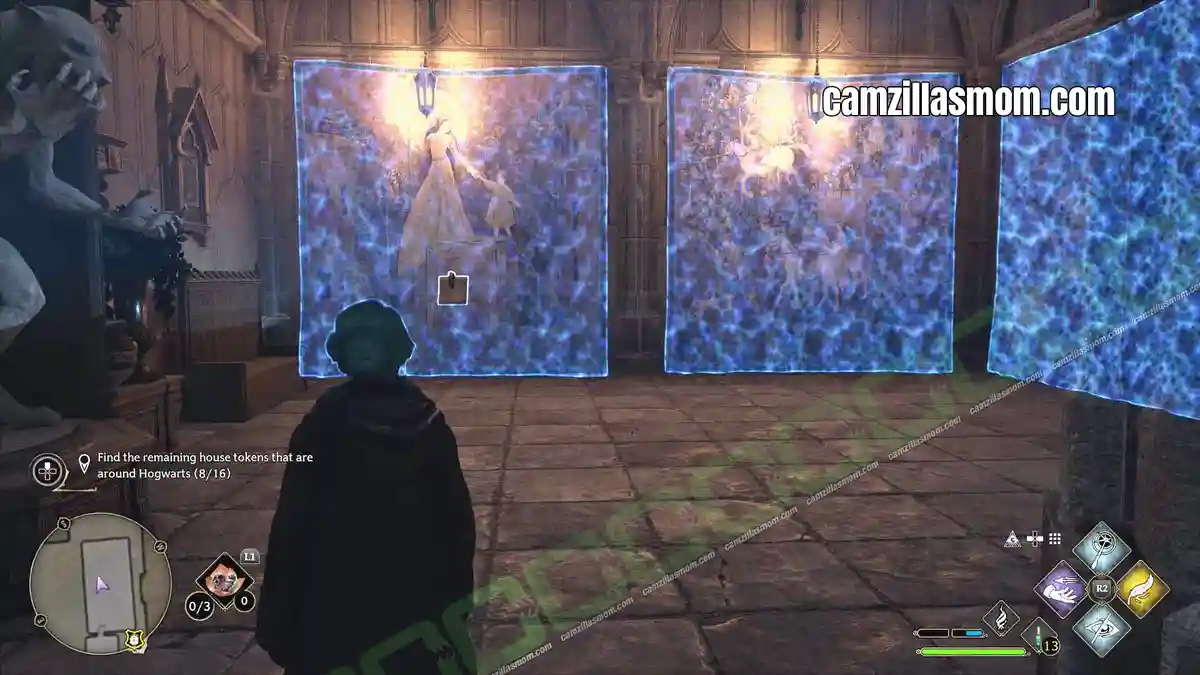
This set of tapestries tells the tragic tale of a witch bitten by a werewolf. She chose to flee from her home to protect her infant daughter and husband. Rumour has it that her daughter fell asleep to the howl of a wolf for years thereafter.
From the Dragon Statue, go back up to the top of the basement stairs and look down. There is a painting on the wall – it has a secret door. Follow the corridor behind it into the room with the Tapestries.
Grand Staircase Field Guide Pages
Portrait of Baruffio
(in-game menu #4)
“This portrait depicts the wizard Baruffio, famed for his Brain Elixir and as an example of what happens when incantations are improperly spoken: he once said ‘s’ instead of ‘f’ and found himself on the floor with a buffalo on his chest.”
This painting is in the broad corridor that leads to THE GRAND STAIRCASE and the Hospital Wing.
Honeydukes Passageway
(in-game menu #37)
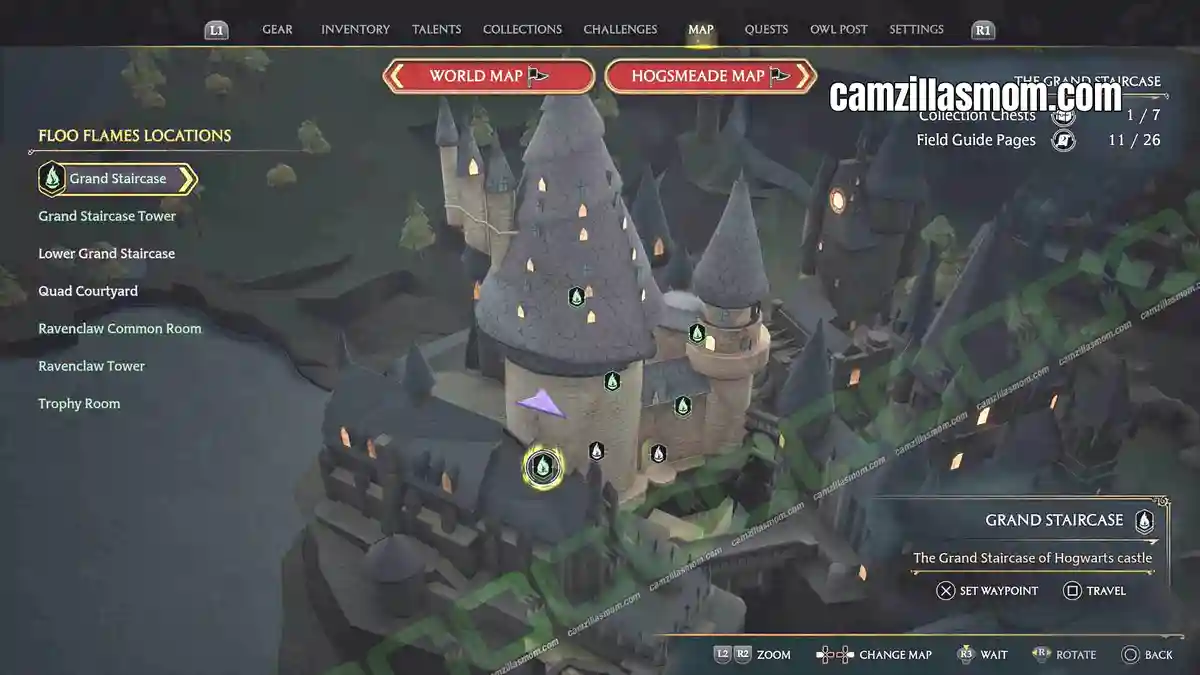
“Hidden behind the statue of a one-eyed witch is a secret passageway from Hogwarts to the cellar at Honeydukes. It can only be accessed using a particular charm.”
Lower down at the Moving Staircase, exit and you will find this statue of a witch. It’s also a passageway. If you can’t pick up the page because of that, use “ACCIO” to pull it to you.
Quill of Acceptance and Book of Admittance
(in-game menu #39)
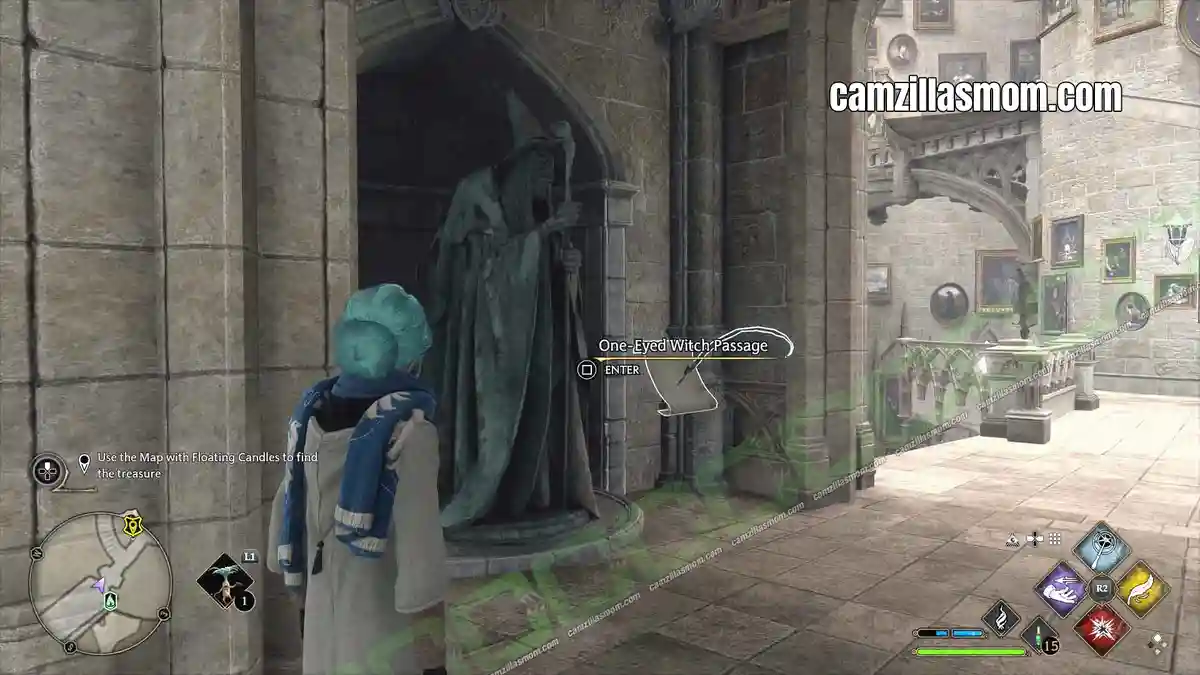
“The Quill of Acceptance and Book of Admittance were placed here by the founders and have not been touched since. They record the name of every prospective Hogwarts student the moment they first show signs of magic – although the quill is more lenient than the book, which will sometimes snap shut before a name is written if the evidence of magic is not dramatic enough.”
From the Trophy Room at the Grand Staircase, open the locked gate to get further up. Past a winding wooden corridor, up another winding staircase to a grey, stony corridor with the Headmaster’s Office Gargoyle. At the other end of the corridor is a big locked door that needs a key.
Continue with the story until you can go up to the Headmaster’s Office. From there, take the door out and up the outside staircase into the top room. There is a key lying on the table here in this blue room. It’s barely visible. That’s The Key of Admittance. It will open the door downstairs where the Gargoyle was. Go through this door and you will soon stand in front of the Quill of Acceptance and the Book of Admittance.
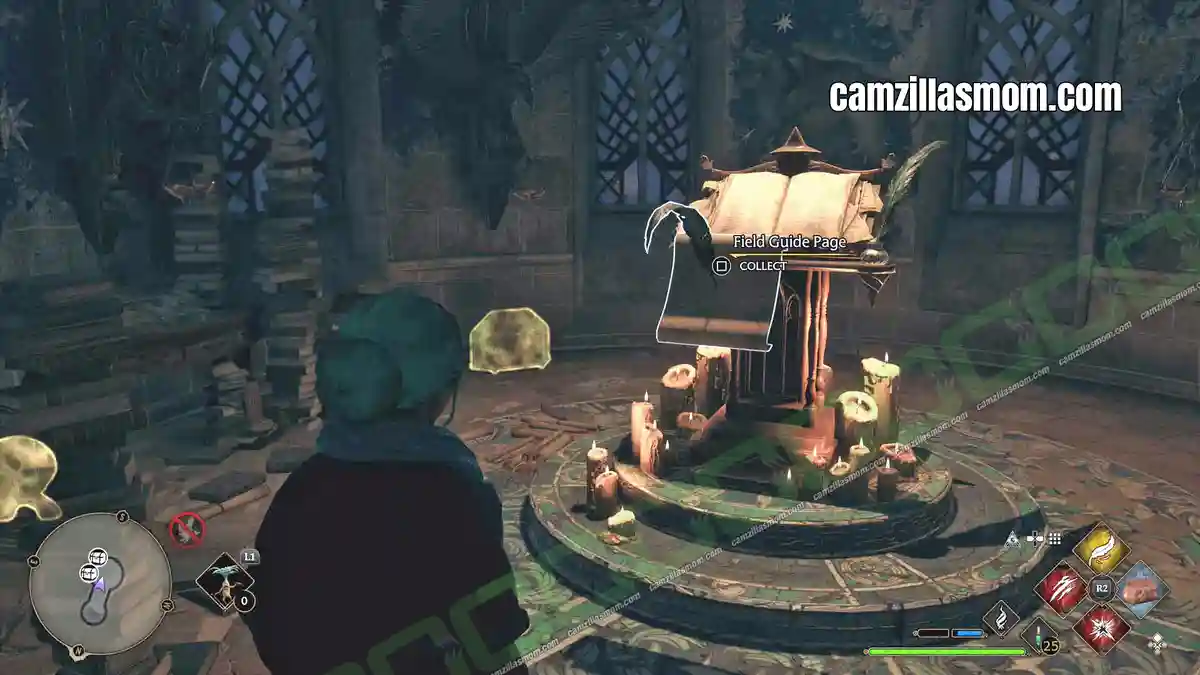
Centaur Armour
(in-game menu #40)
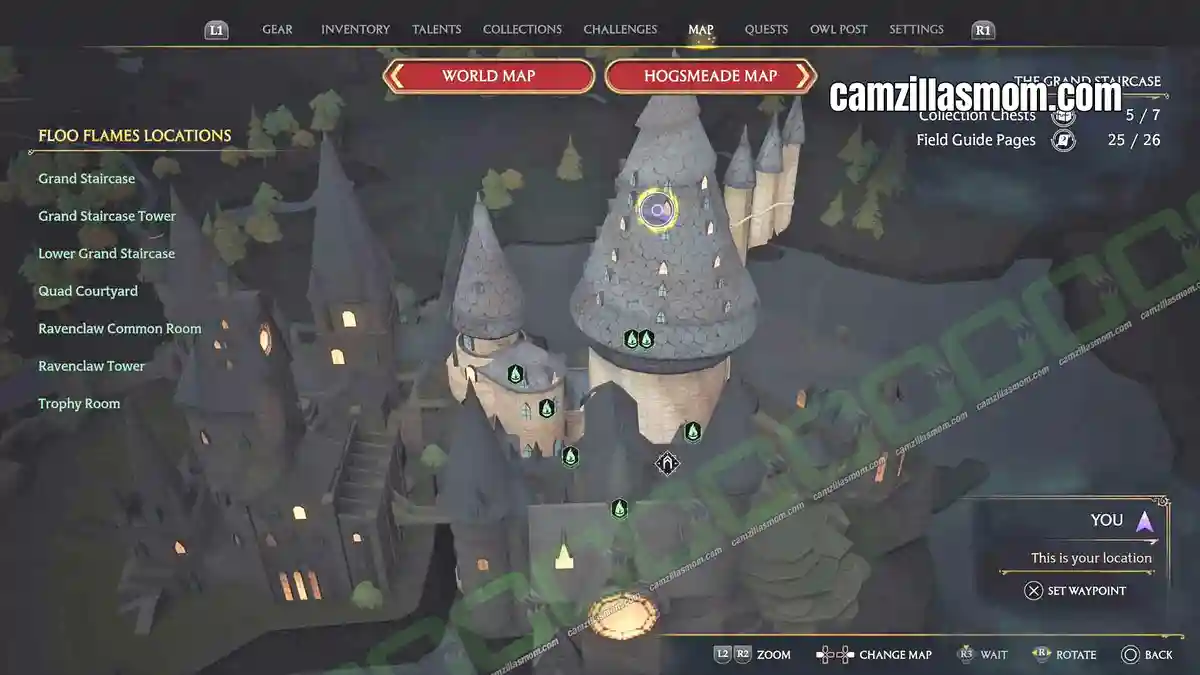
“This unique set of armour was created as misguided peace-offering to a centaur leader. The gift was spurned and the messenger shot through the leg with an arrow. The armour itself, battered with hoofmarks, was later recovered and refurbished.”
The Centaur Armour is on display at the outside ring of the Trophy Room high up at THE GRAND STAIRCASE.
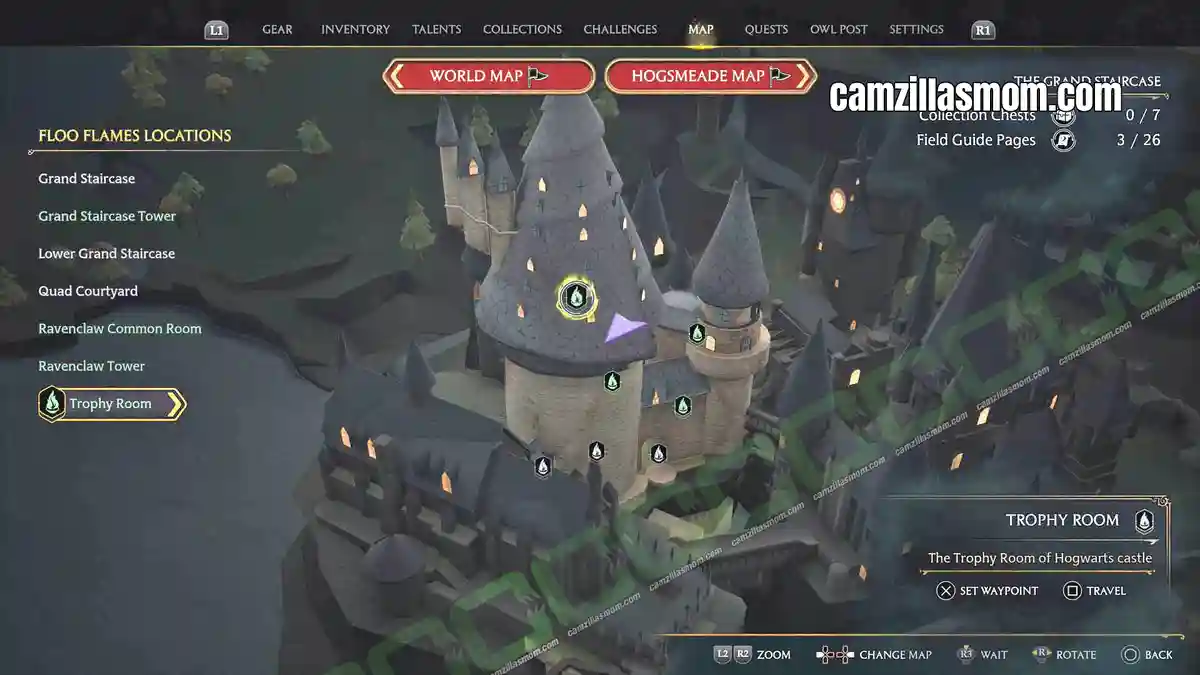
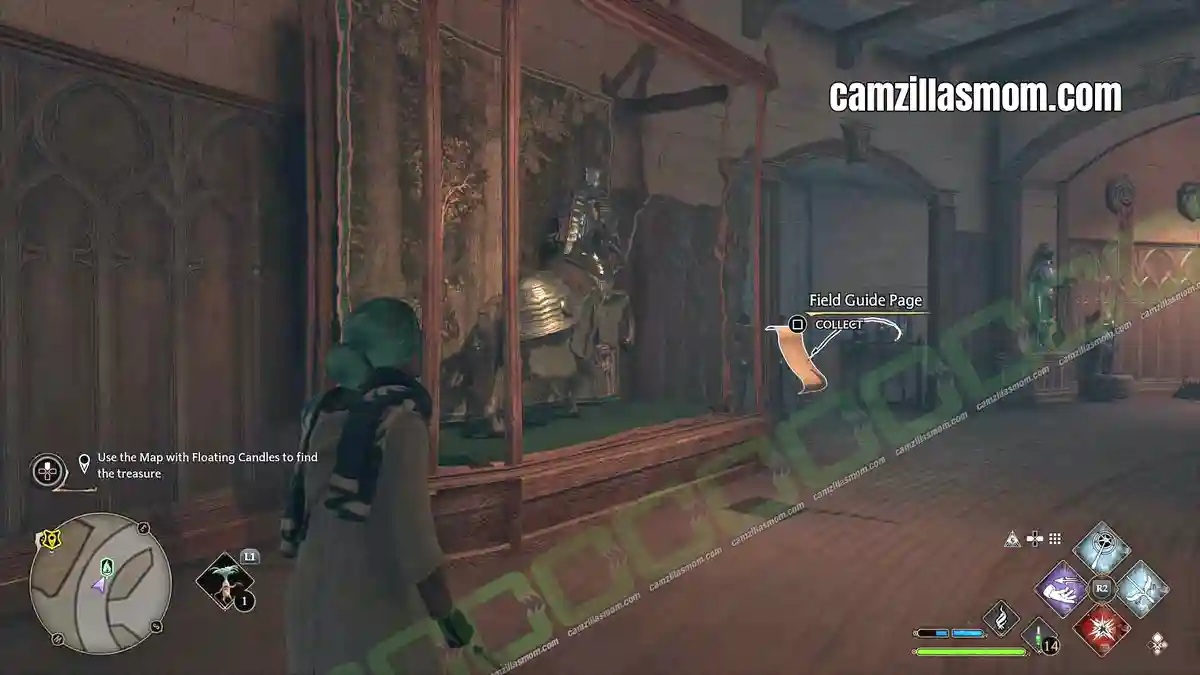
Moving Staircase
(in-game menu #41)
“The savvy student is wise to keep an eye on the stairs, as they will change position without notice. While certain students may not mind being late for class, they may very well regret being late to dinner.”
Find this page in the centre area of the Grand Staircase Tower at THE GRAND STAIRCASE.
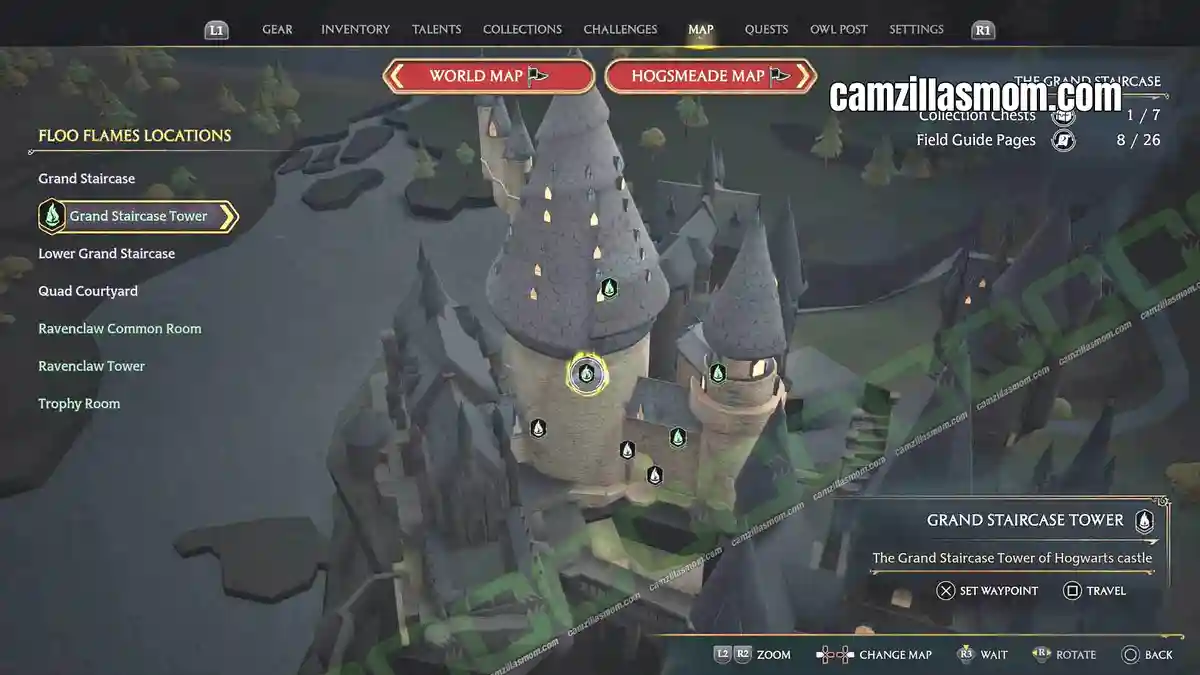
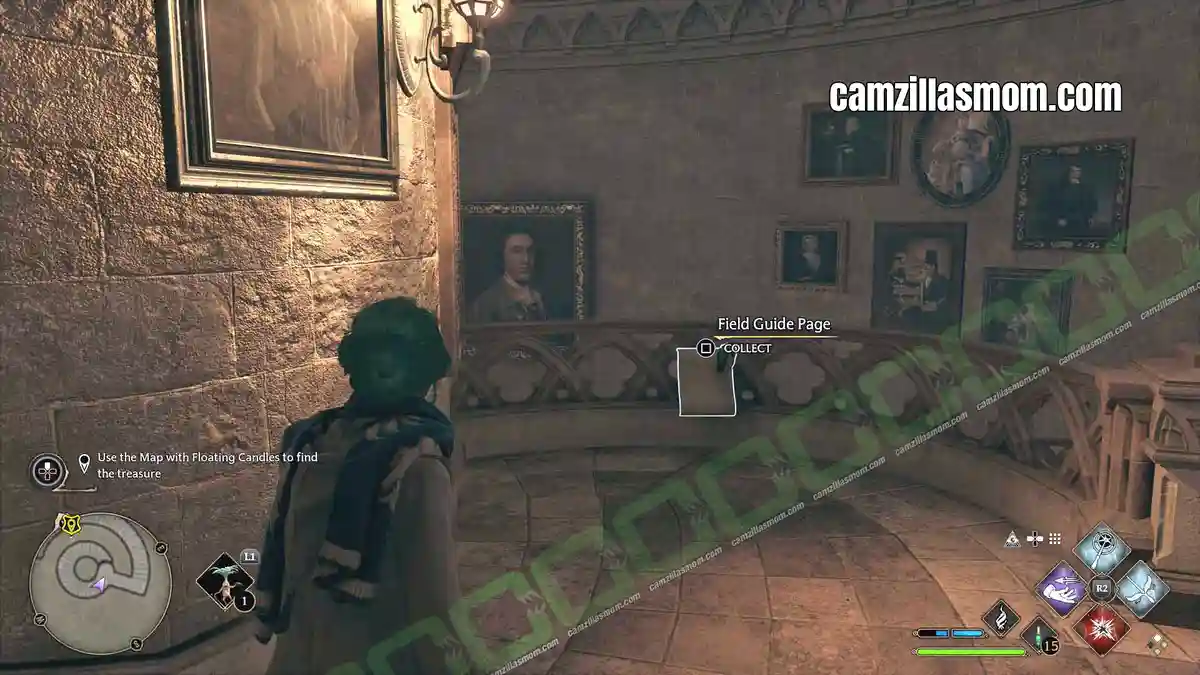
Headmaster’s Office Gargoyle
(in-game menu #42)
“The staircase that leads to the Headmaster’s office is guarded by an enchanted gargoyle that will let only those who know the password enter. Though, anyone choosing to visit the current occupant of the office is difficult to fathom.”
Go all the way to the top of THE GRAND STAIRCASE to the Trophy Room. Stay on the outer ring of the Trophy Room. There is a Level 1 locked up staircase. Open it with lock picking and go all the way past the brown corridor and up to the roof. In this storage area for mostly Egyptian statues is this Gargoyle Statue.
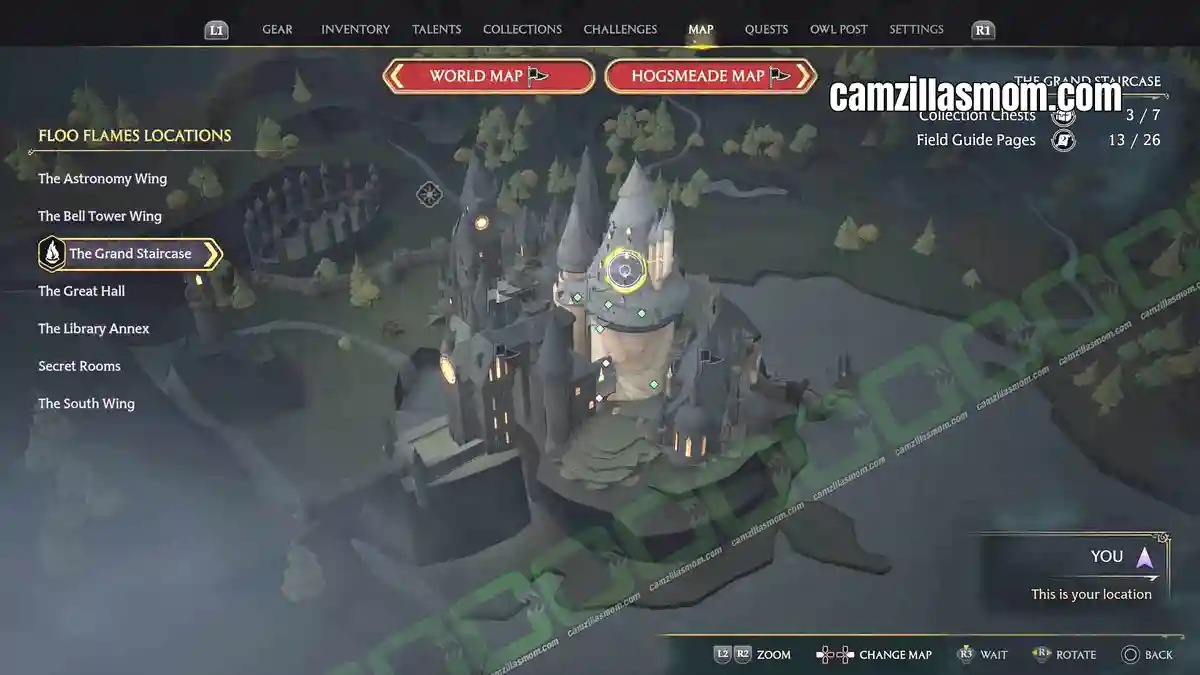
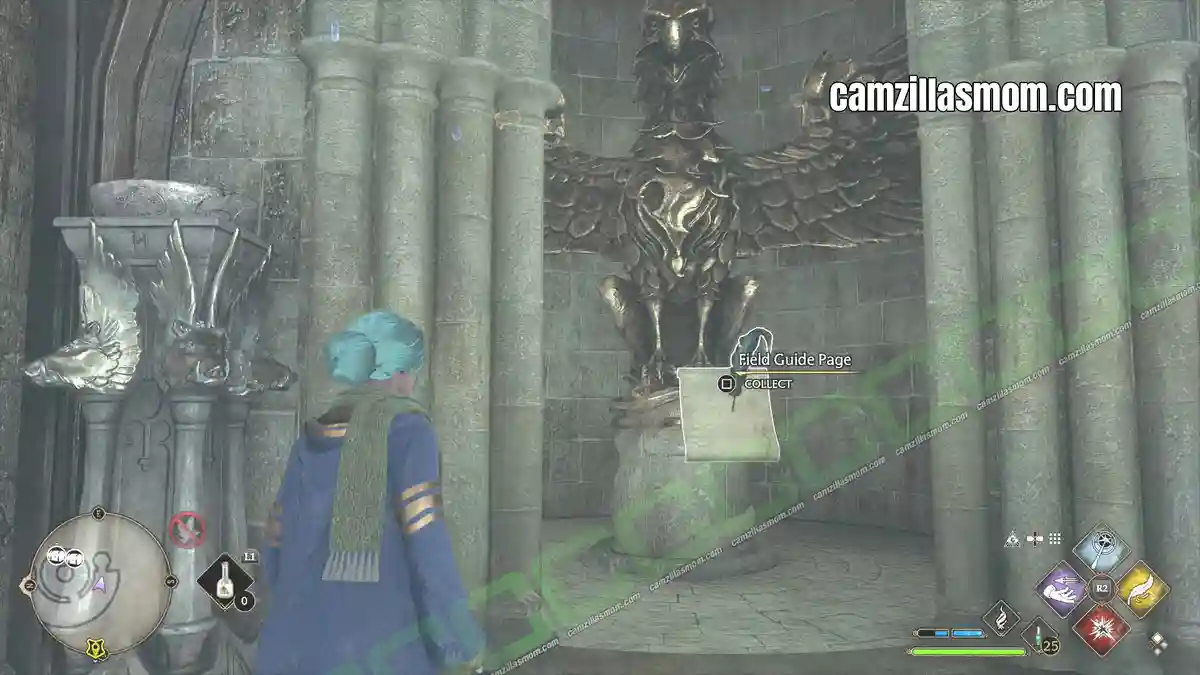
Goblet of Fire Casket
(in-game menu #43)
“The Goblet of Fire rests within this ancient, jewel-encrusted chest. The Goblet has served as a means of selecting champions for the Triwizard Tournament since the contest’s establishment in the late 13th century.”
At the top of THE GRAND STRAIRCASE in the centre of the Trophy Room.
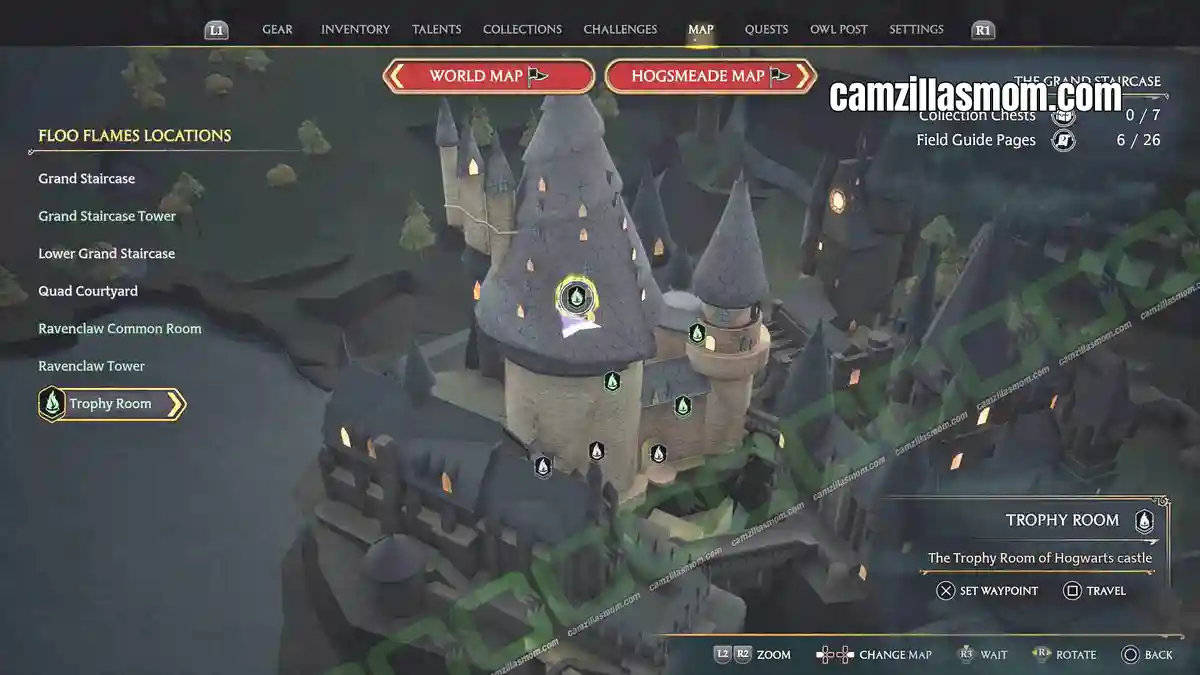
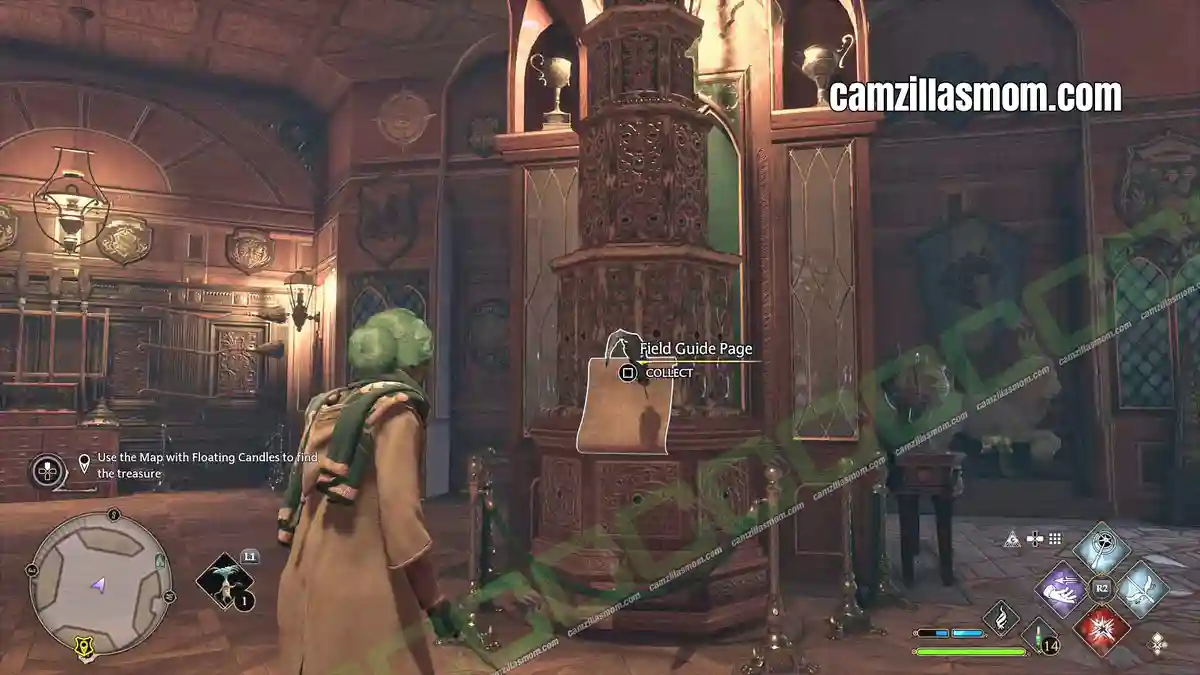
House-Elf Armour
(in-game menu #44)
This set of armour for a house-elf is rumoured to have been made by a cruel wizard who wanted his elf to protect him in battle. Happily, the wizard was too dense to realise that armour could, in fact, be considered clothing. The moment the elf donned it, he Disapparated right out of it, never to be seen again.
The House-Elf Armour is on display at the outside ring of the Trophy Room high up at THE GRAND STAIRCASE.
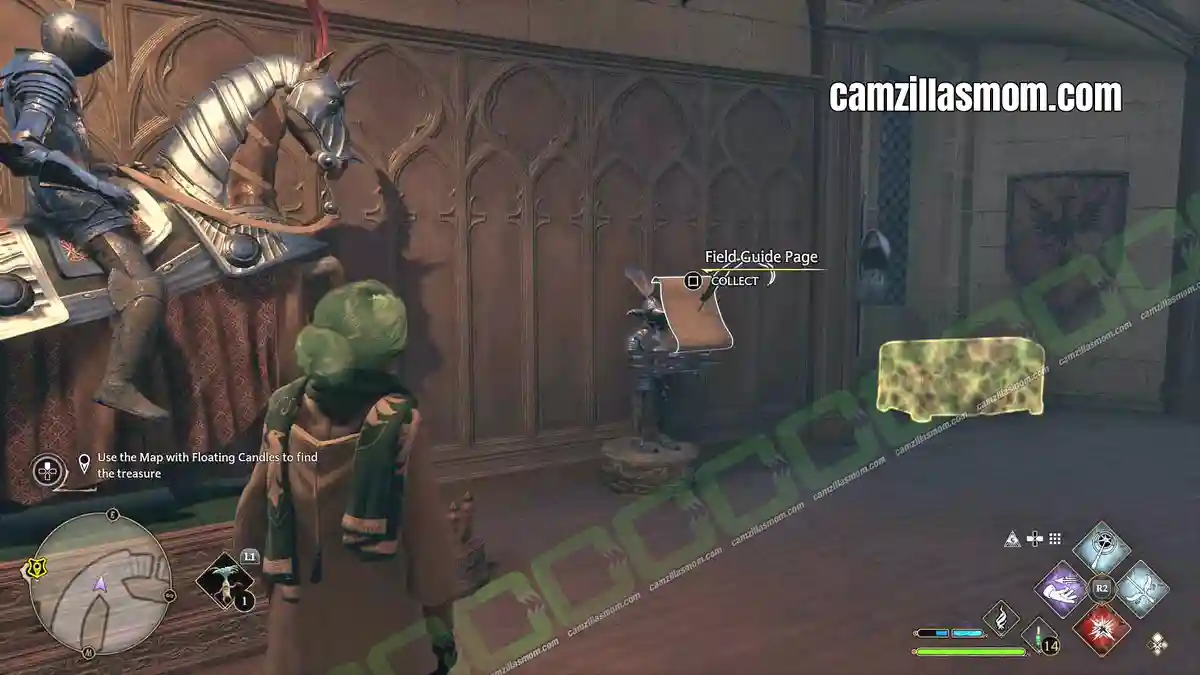
Sleeping Portraits
(in-game menu #45)
“Not all headmasters and headmistresses enjoy reliving the day-to-day challenges of running a school of witch craft and wizardry. Some prefer to enjoy a well-earned nap when possible.”
In the story, get to know the password for the Headmaster’s Office Gargoyle high above the Trophy Room at THE GRAND STAIRCASE. As you go upstairs into the office, you will see those Sleeping Portraits on your way.
The Sorting Hat
(in-game menu #46)
“This enchanted hat was created by the four founders of Hogwarts as the means by which students would be placed into one of the four school houses. Skilled at Legilimency, the Sorting Hat can ‘see’ into the wearer’s head, allowing it to determine their thoughts and abilities.”
The Sorting Hat is inside the Headmaster’s Office.
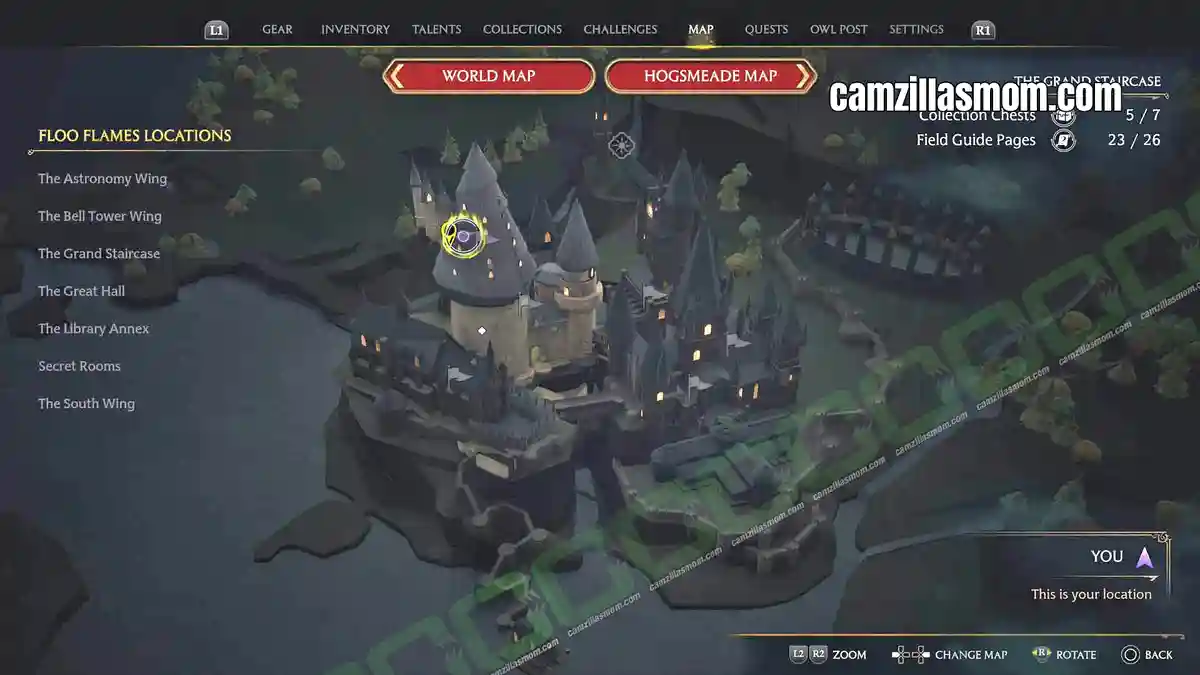
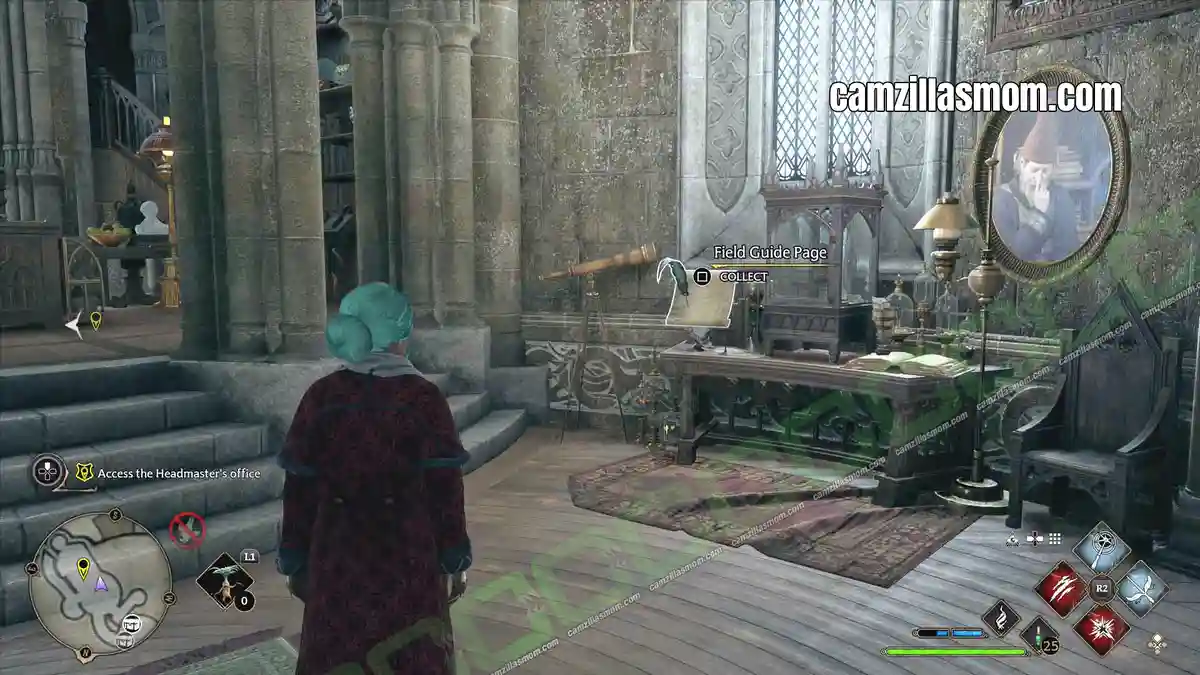
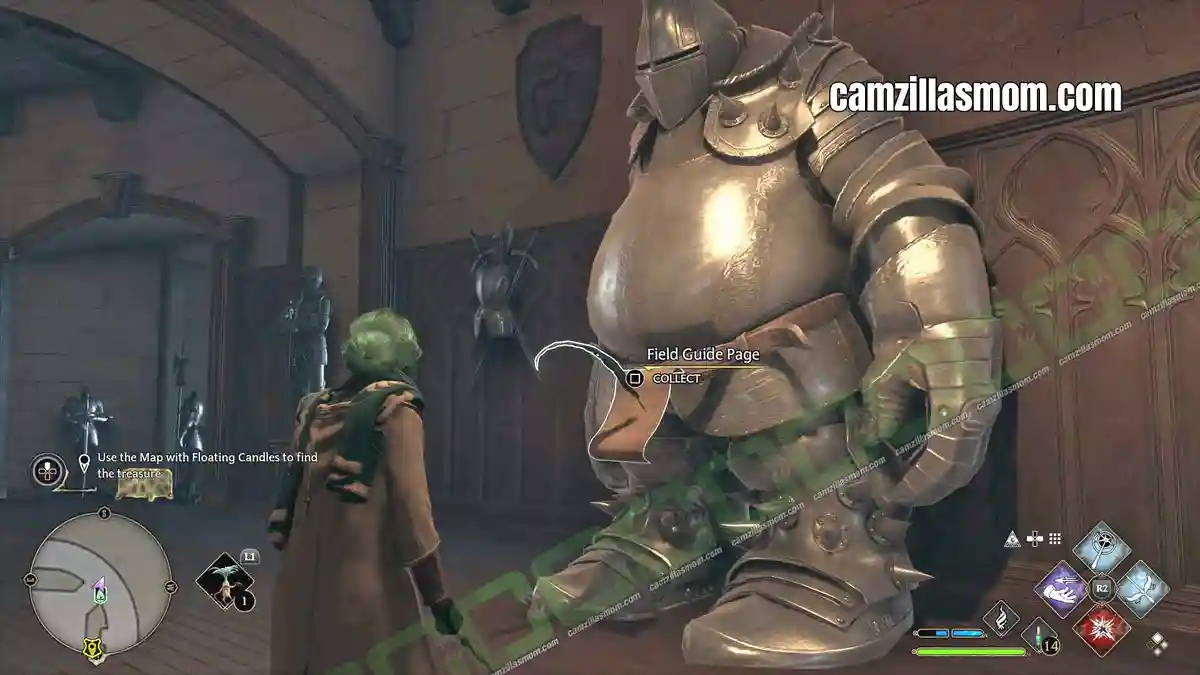
Troll Armour
(in-game menu #47)
“This unusual suit of armour was crafted for a troll. That is has survived at all is astonishing since trolls do not ordinarily wear armour and would understandably be prone to smashing it in confusion or anger.”
The page is high up at THE GRAND STAIRCASE in the Trophy Room.
Trophy Room
(in-game menu #48)
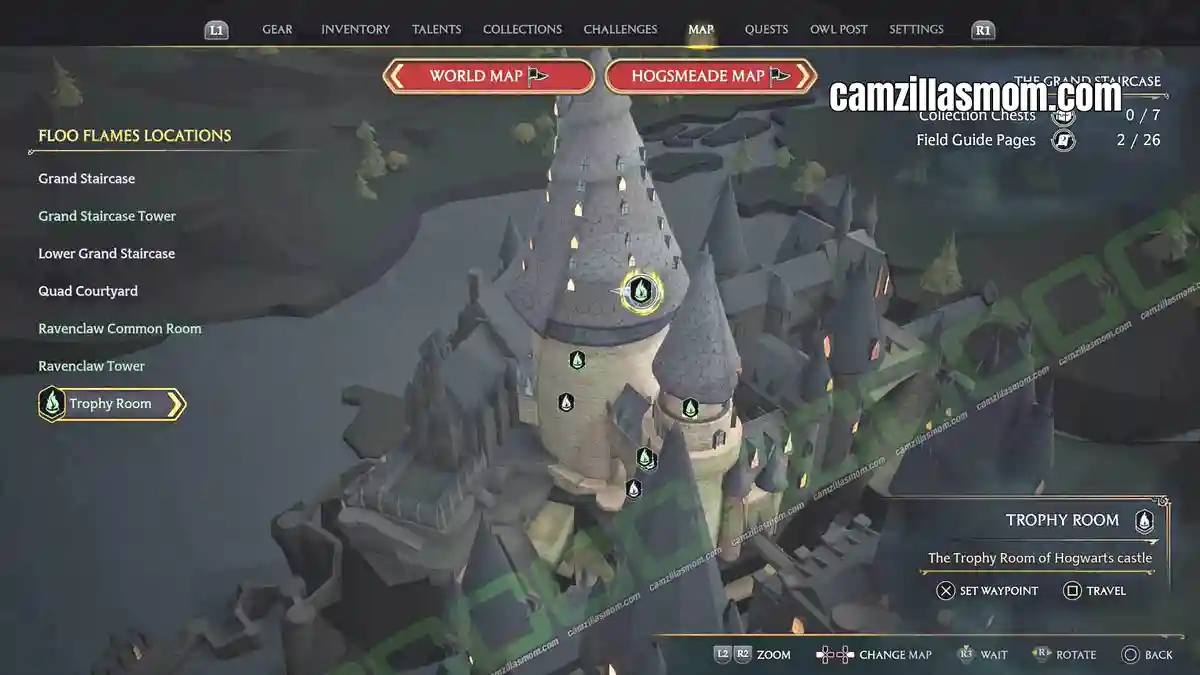
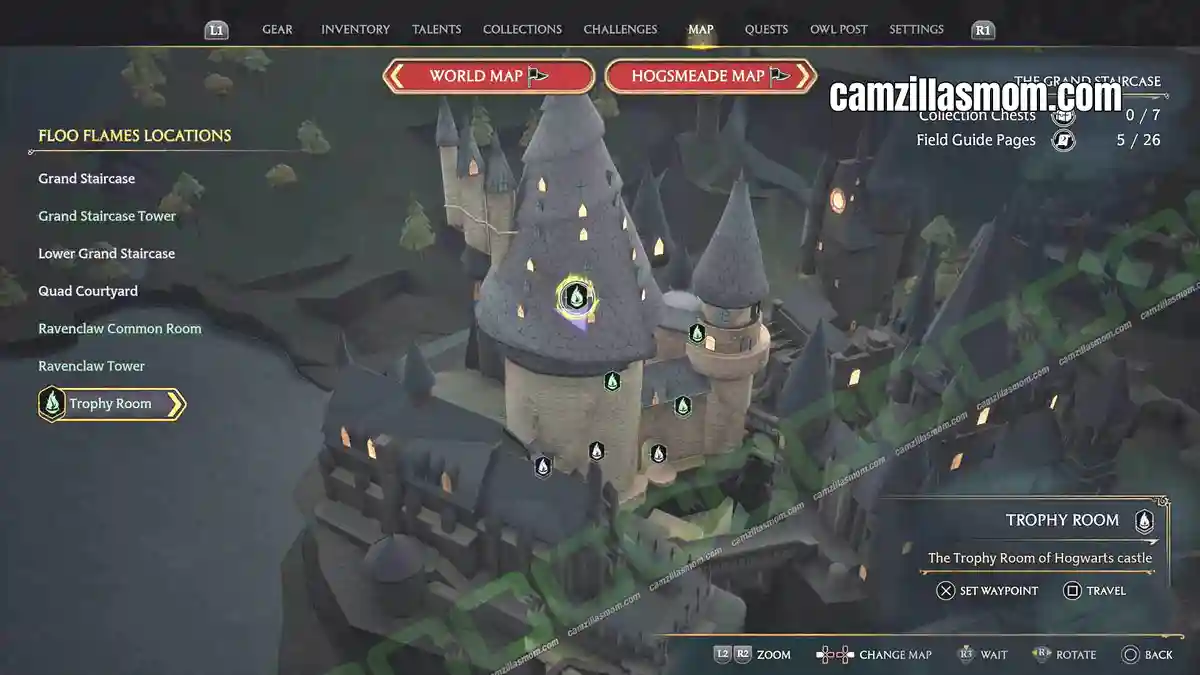
“This room contains the House Cup, Quidditch trophies, duelling trophies, and other awards given at the school. STudents who step out of line can be found polishing the silver here, by hand, as a reminder of the value of hard work.”
At the top of THE GRAND STRAIRCASE in the centre of the Trophy Room.
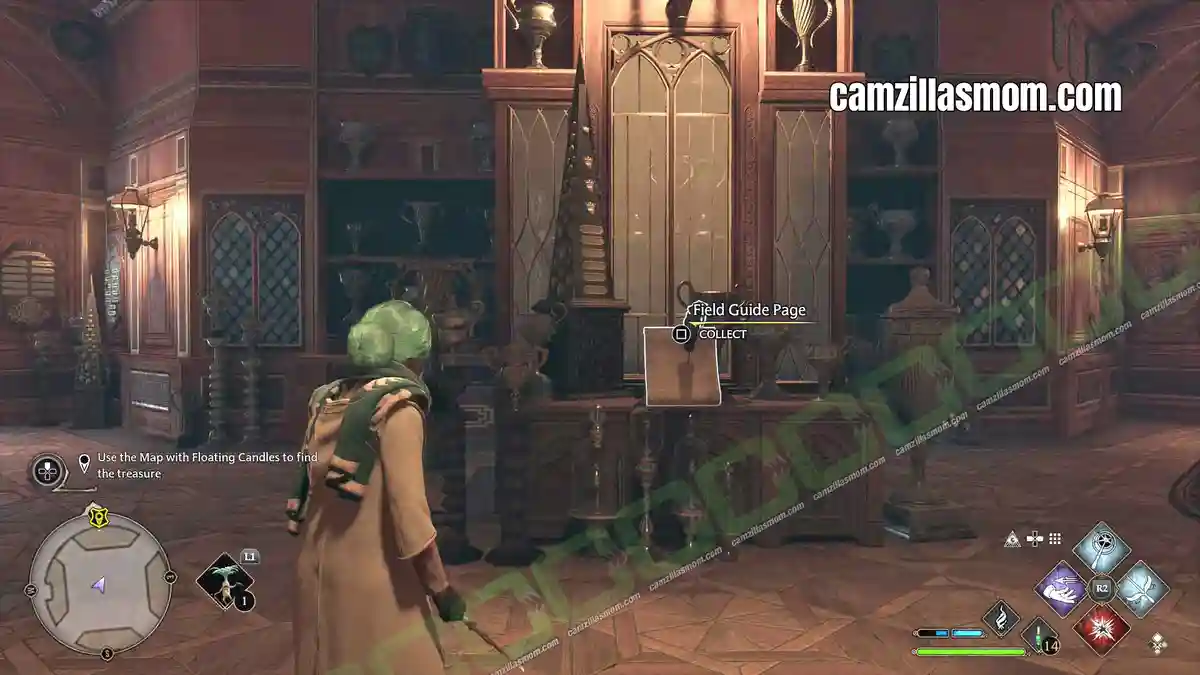
The Hogwarts Architect
(in-game menu #49)
“The Hogwarts Architect, shown here surrounded by the four house mascots, designed and oversaw the construction of Hogwarts castle alongside founder Rowena Ravenclaw, who is credited with creating its ever-changing floorplan.”
Leave THE GRAND STAIRCASE towards THE GREAT HALL. This statue is in the centre of the staircase.
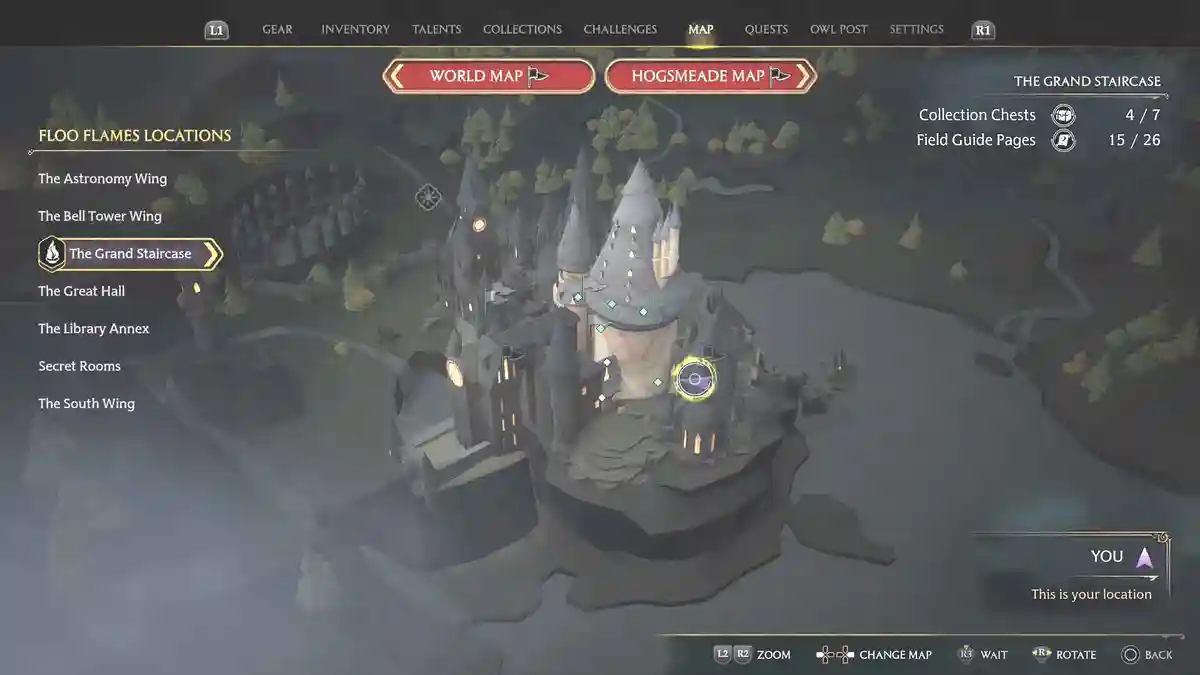
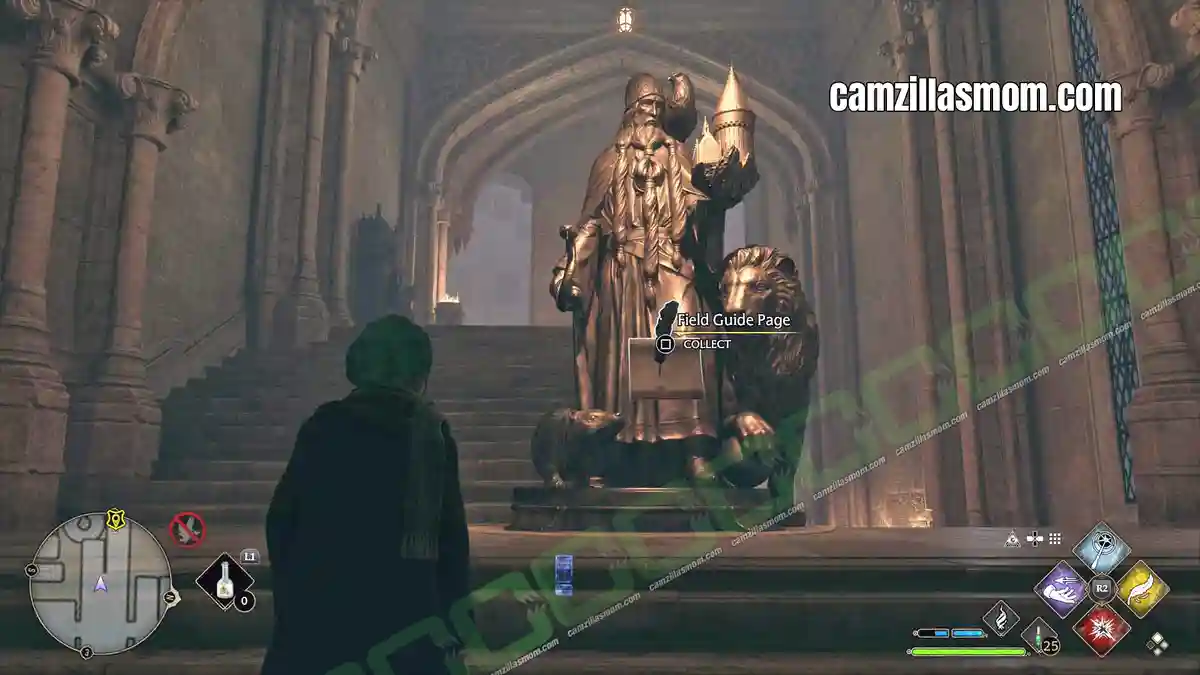
Hufflepuff Barrels
(in-game menu #65)
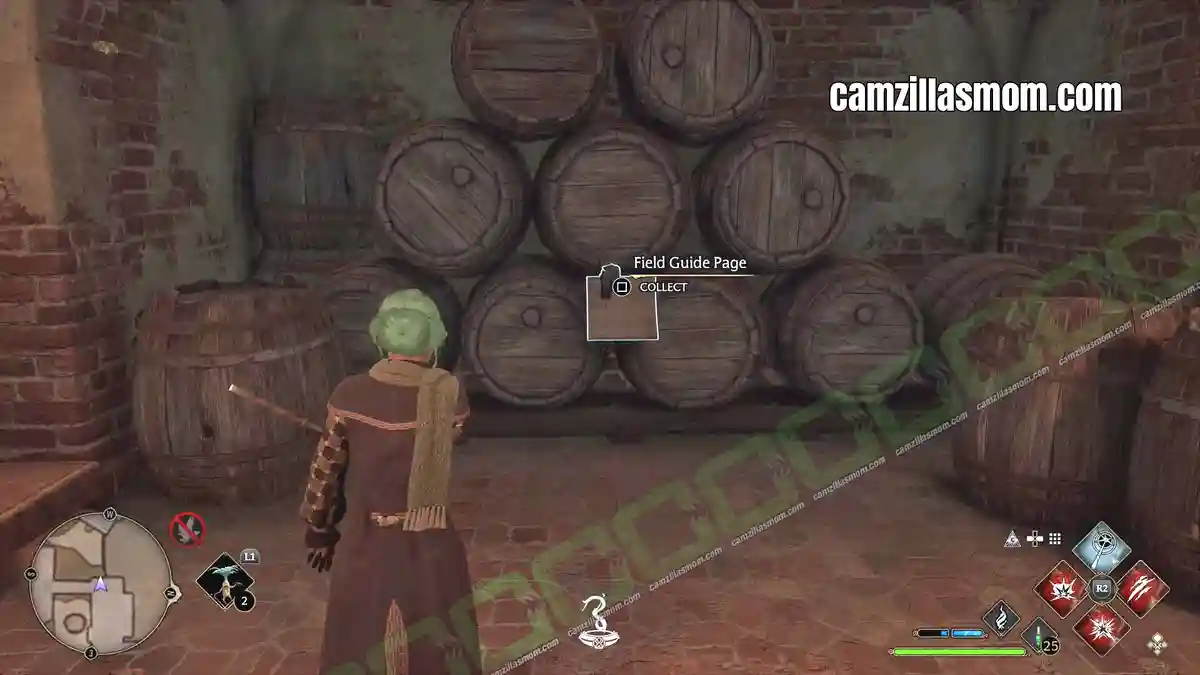
“To enter the Hufflepuff common room, one must tap the barrel two from the bottom, middle of the second row, in the rhythm of ‘Helga Hufflepuff.’ An errant tap will result in being denied access and doused in vinegar.”
Go to the GRAND STAIRCASE FAST TRAVEL POINT. From here, you can climb down the winding staircase with patchy brickworks. At the bottom, walk past the fruit painting at the wall and look at the barrels at the very back of this room.
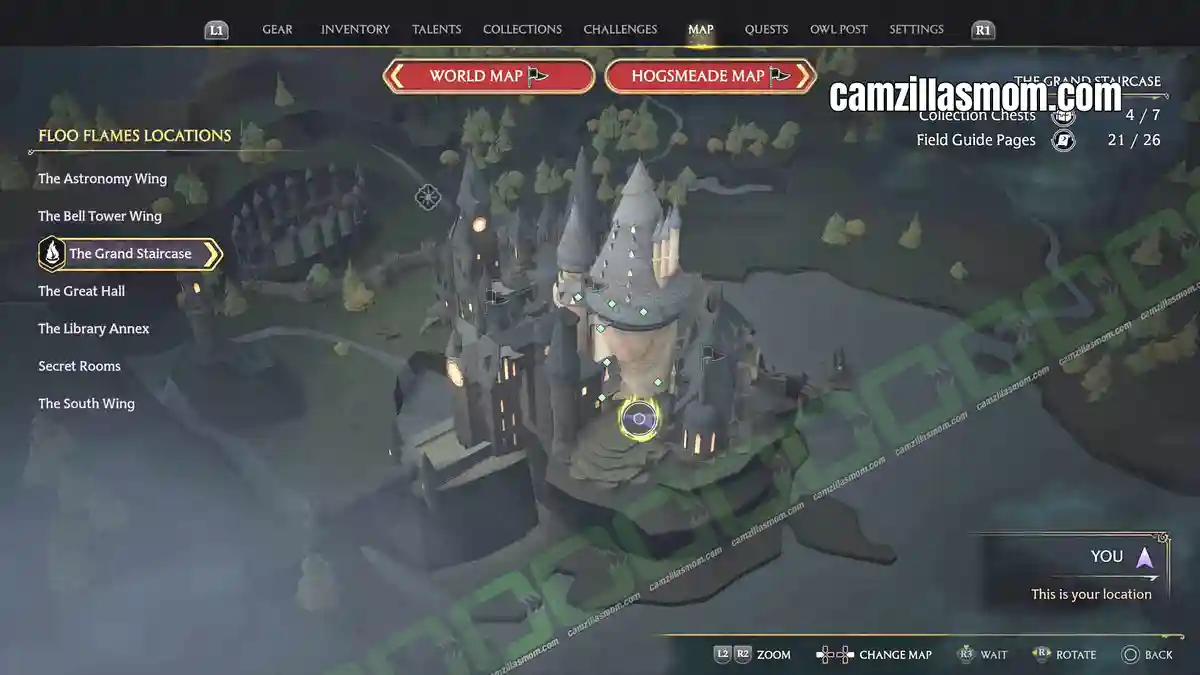
Kitchen Tables
(in-game menu #66)
“When Hogwarts house-elves place prepared food on these tables, it is magically transferred to the tables in the Great Hall directly above.”
Find the PEAR PORTRAIT – FIELD GUIDE PAGE described below and “tickle” it long enough so the door opens to the kitchen. In the centre of this huge room are long tables prepared, where you can pick up the Field Guide Page.
Pear Portrait
(in-game menu #67)
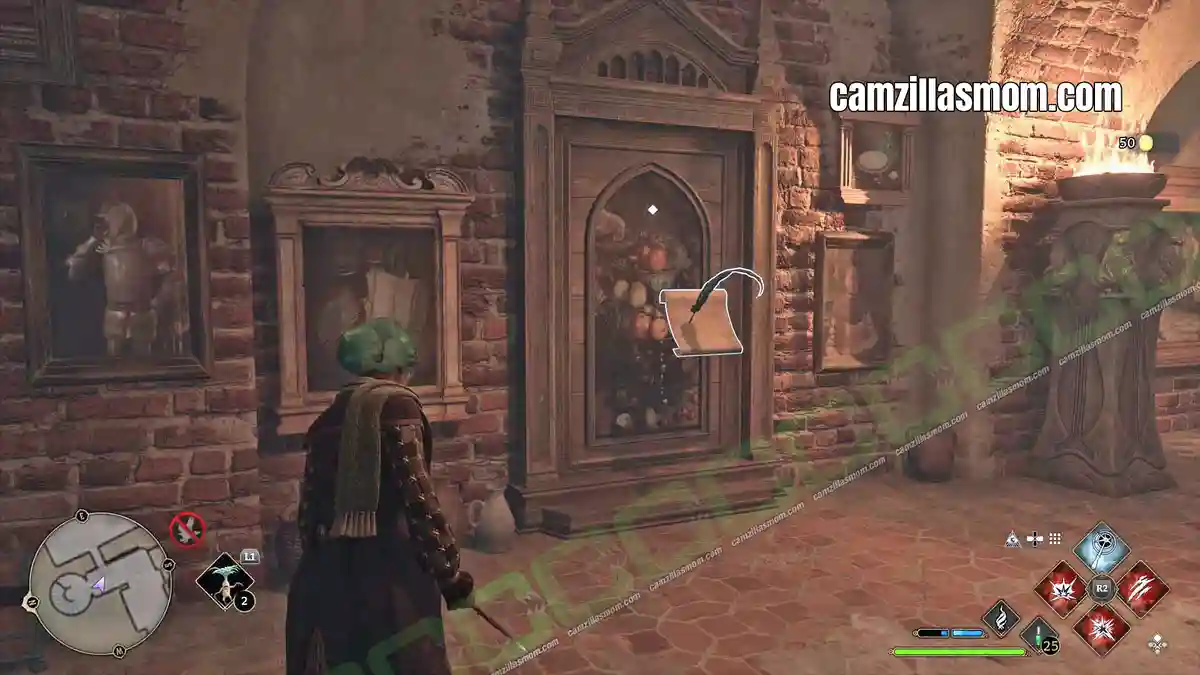
“If one tickles the pear in this still-life painting of a bowl of fruit, it will giggle before turning into a door to allow entry to the Hogwarts kitchens.”
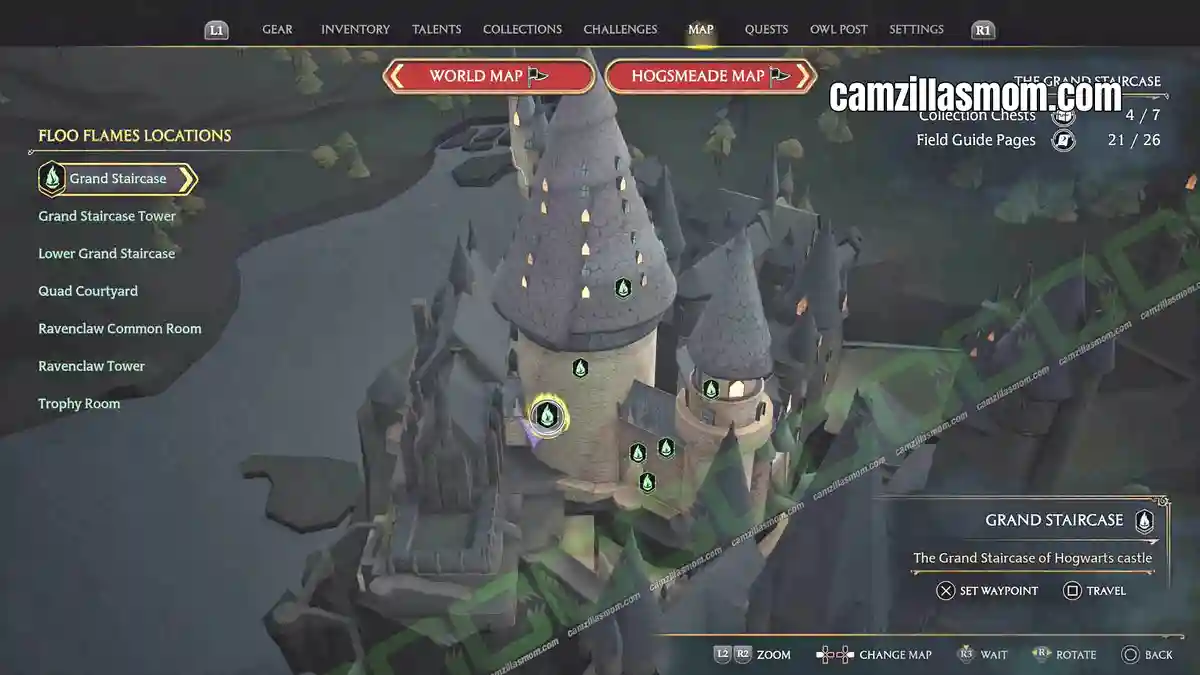
Travel to the GRAND STAIRCASE FAST TRAVEL POINT. From here, you can go down the winding staircase with patchy brickworks. At the bottom of it is a fruit painting on the wall, where you can tickle the pear and enter the kitchen.
House-Elf Quarters
(in-game menu #68)
“Ever practical and creative, the Hogwarts house-elves have created a cosy village-like home for themselves among these barrels in the Hogwarts kitchens. Of course, one cannot presume to know what they’re really like inside, as house-elves have an extraordinary magic of their own.”
Tickle the PAIR PORTRAIT above so that the door to the kitchen opens. At the very back of this huge room are the House-Elf Quarters.
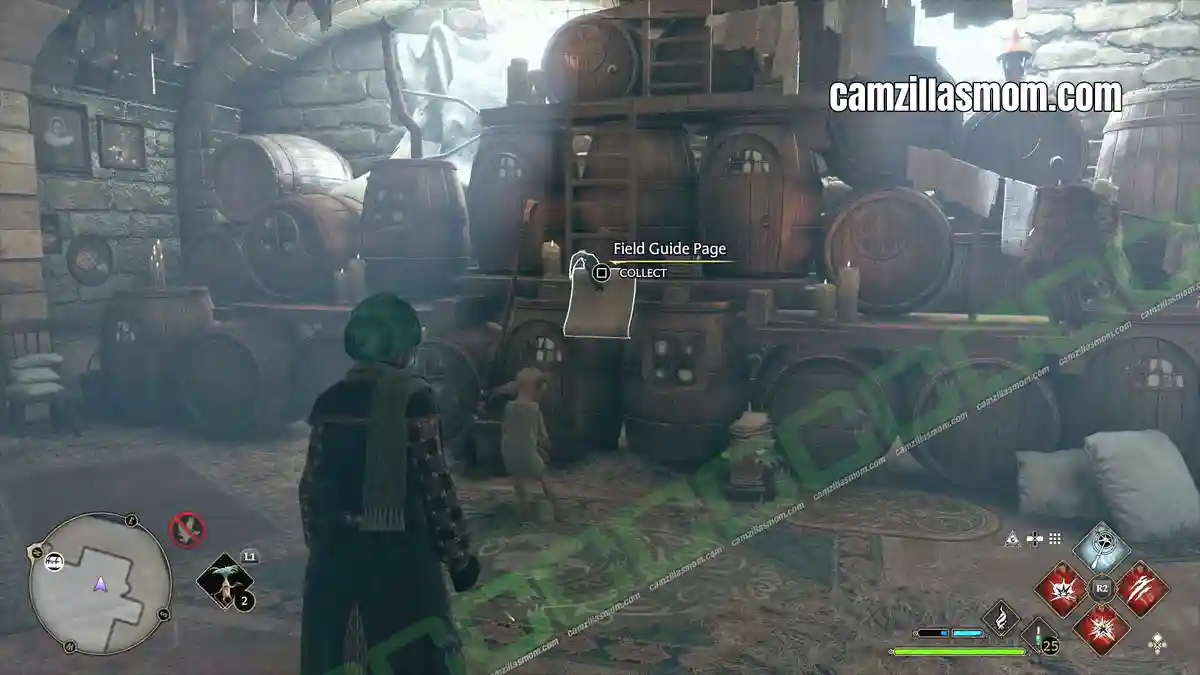
House-Elf Recipe Book
(in-game menu #69)
“Rumoured to contain some of Helga Hufflepuff’s original creations, this book holds a collection of Hogwarts students’ favourite recipes over the centuries. Some dishes, like pickled Dirigible Plums, are likely an acquired taste.”
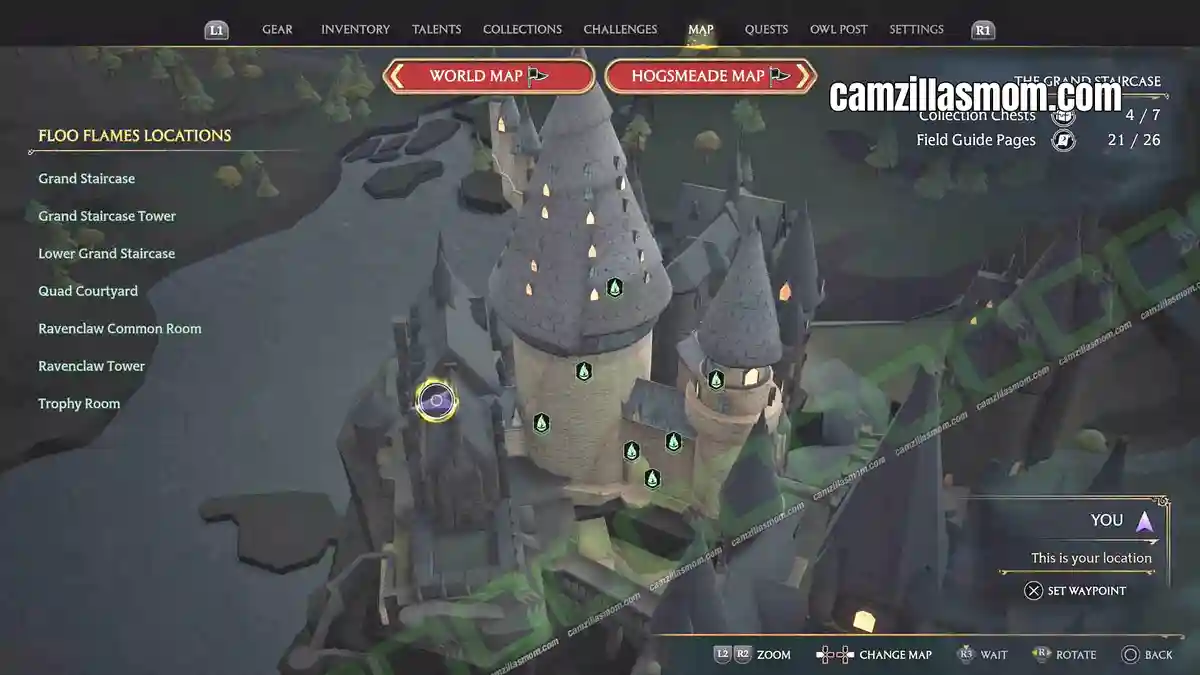
Fast Travel to the GRAND STAIRCASE FAST TRAVEL POINT. From here, you can go down the winding staircase with patchy brickworks. On this staircase is this exhibit.
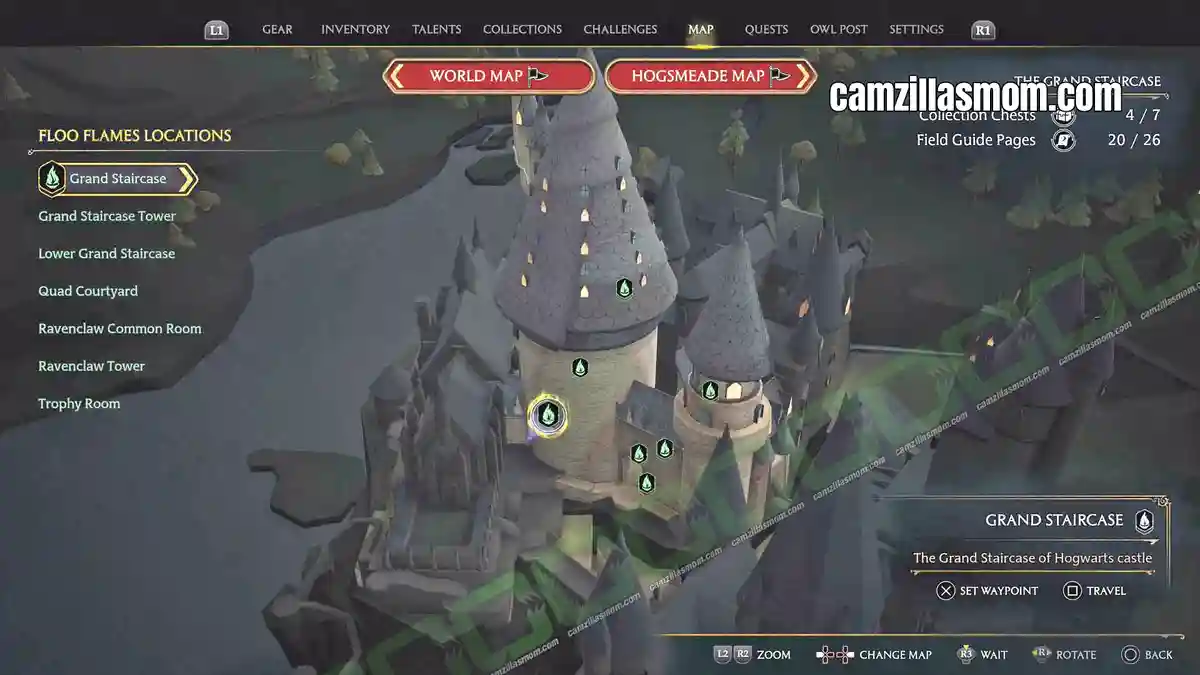
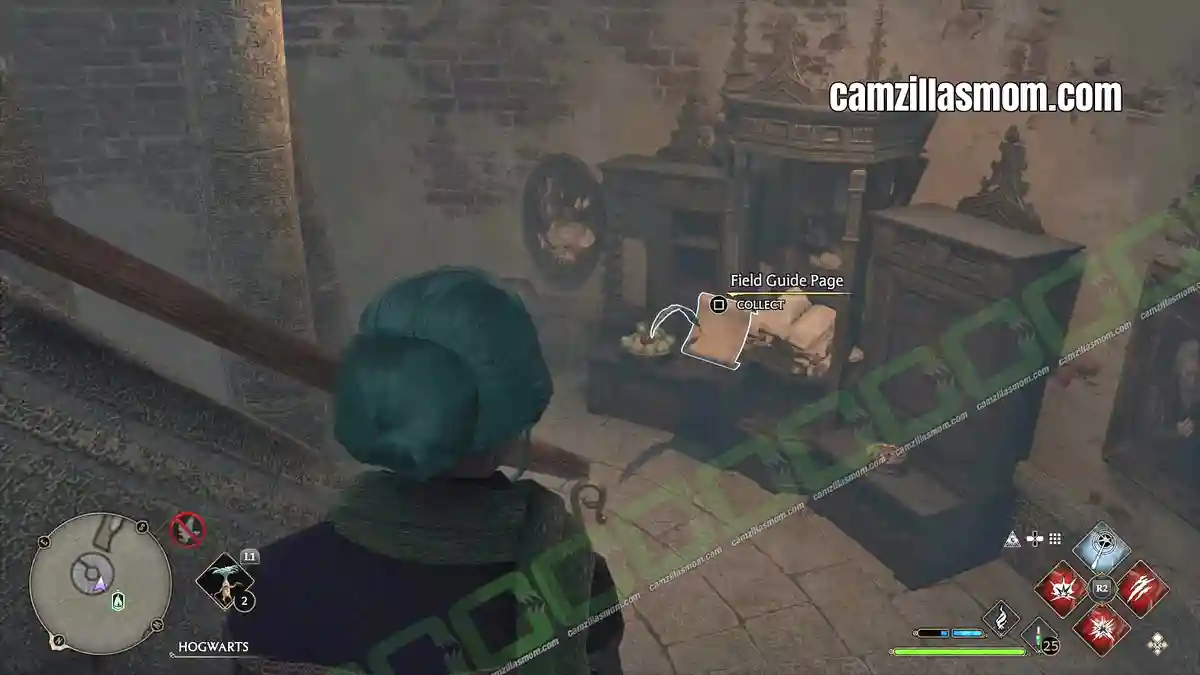
Fat Lady Portrait
(in-game menu #80)
“This portrait guards the Gryffindor common room, requiring a password from any who wish to enter. She and her friend Violet are known to wander among the other portraits, periodically helping themselves to vats of wine therein.”
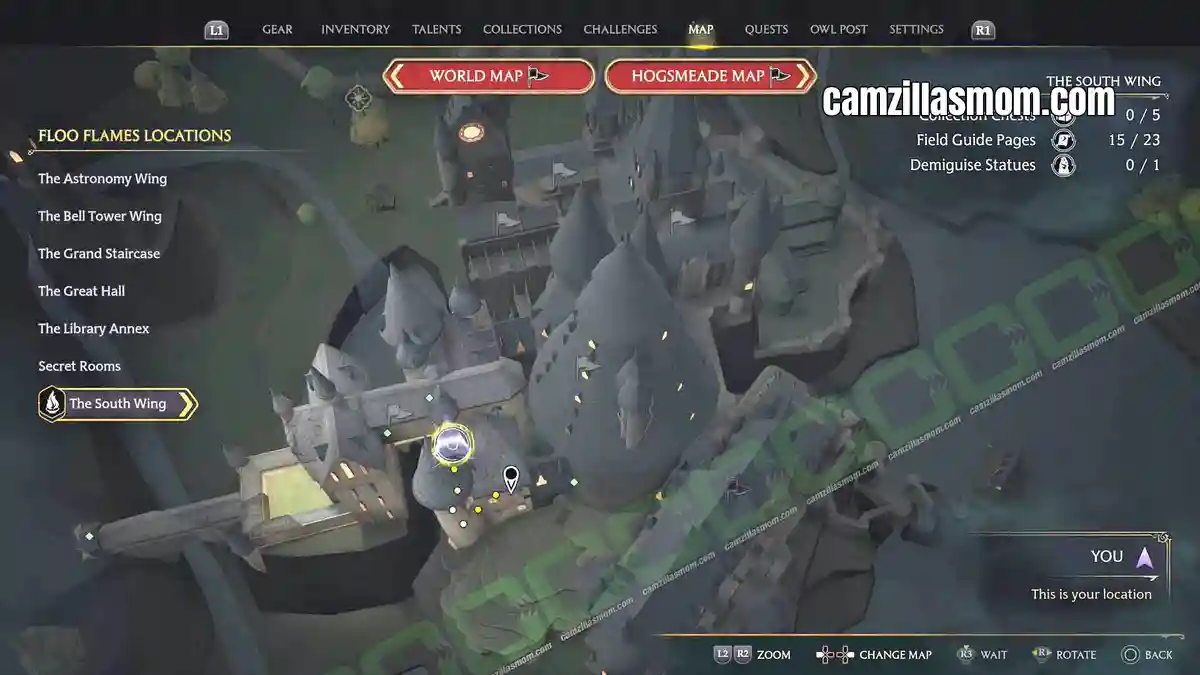
Take the top broad corridor from the Grand Staircase towards THE SOUTH WING. At the back of this corridor is a winding staircase up or down. Take it up. At the end of a corridor is this painting.
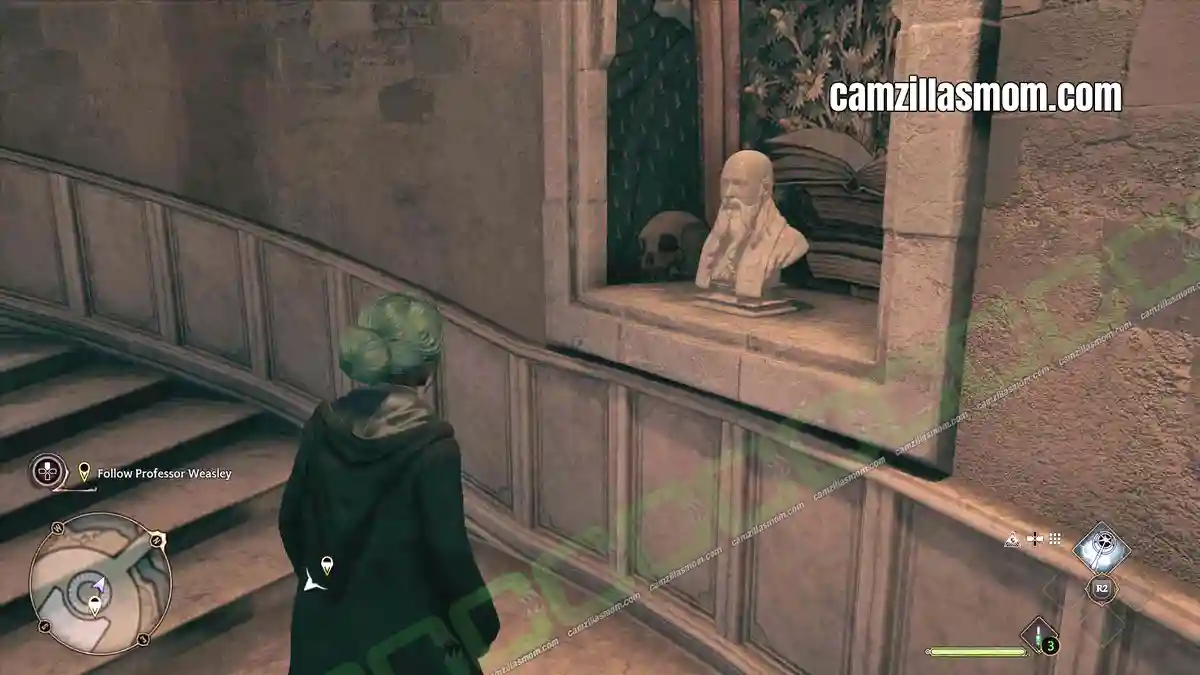
Ravenclaw Bust
(in-game menu #81)
“This bust created in honour of Ravenclaw house resides in the lofty Ravenclaw Tower.”
This Field Guide Page is part of the tutorial. Follow Professor Weasley down the Grand Staircase and cast “Revelio” (left button) at the bust to get the Field Guide Page.
Kelpie Statue
(in-game menu #84)
“This statue depicts the Kelpie, a shapeshifting water demon native to Ireland and Great Britain, which usually takes the form of a long-maned horse. The largest Kelpie ever reported is the Loch Ness monster in Scotland.”
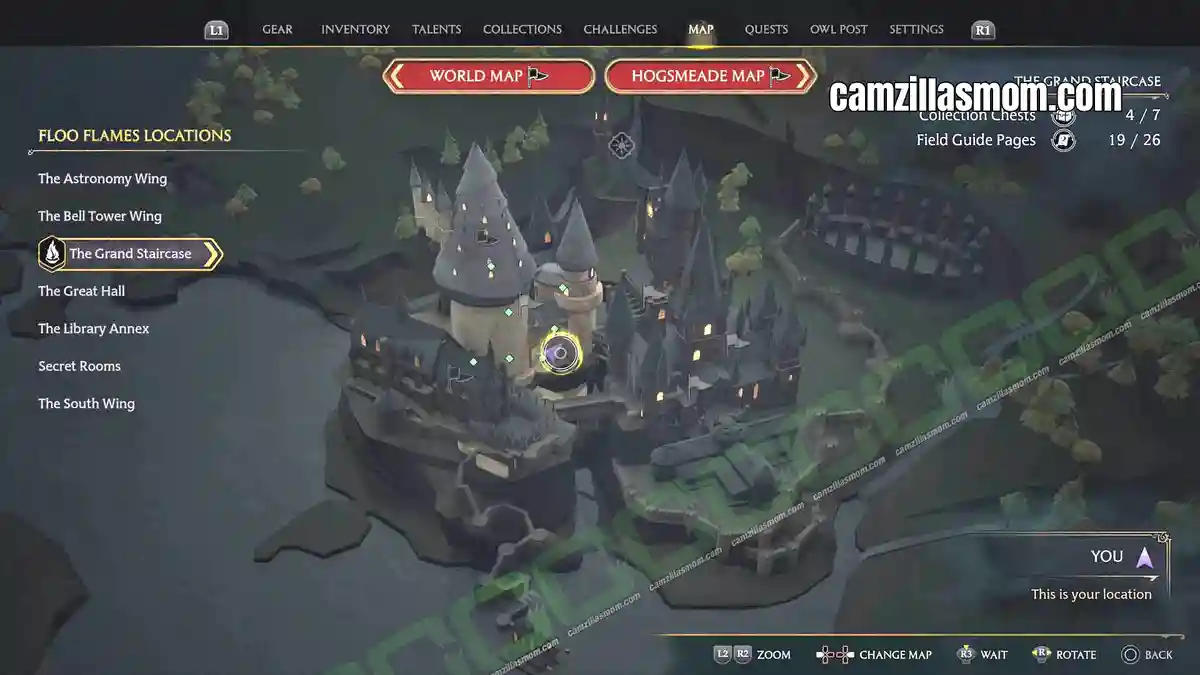
Travel to the “Lower Grand Staircase” Fast Travel point. From there head down and to the left. There’s a staircase going up leading to this statue.
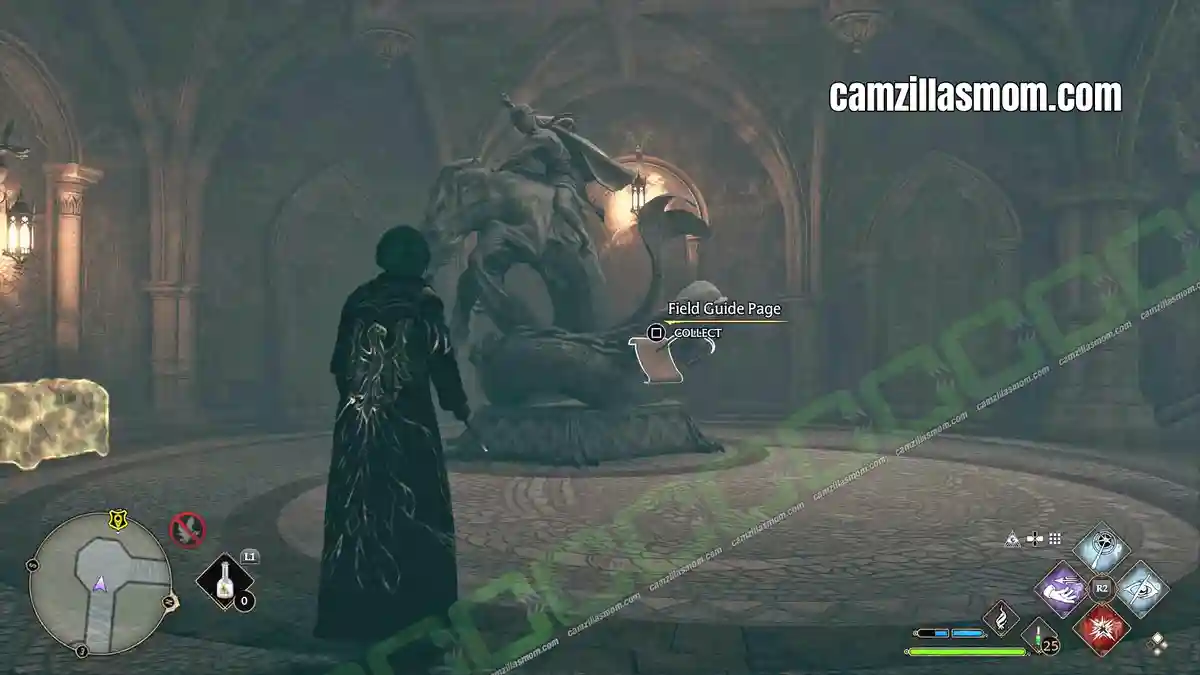
Slytherin’s Sink
(in-game menu #85)
“Scratched into one of the copper taps on this seemingly ordinary sink in the girls’ toilets is a small snake. No one knows what it means.”
Go to the GRAND STAIRCASE Fast Travel Point and go downstairs to the LOWER GRAND STAIRCASE Fast Travel Point. Here in the basement, turn left until you get to the two toilet rooms. One of them has this Field Guide Page.
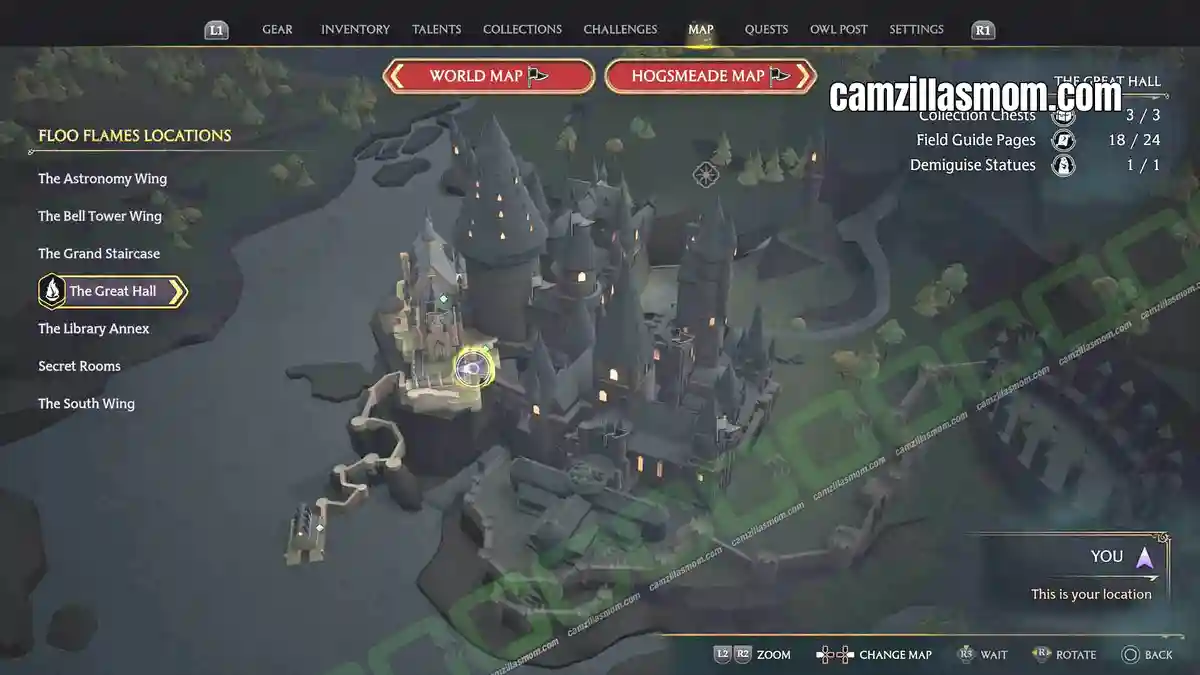
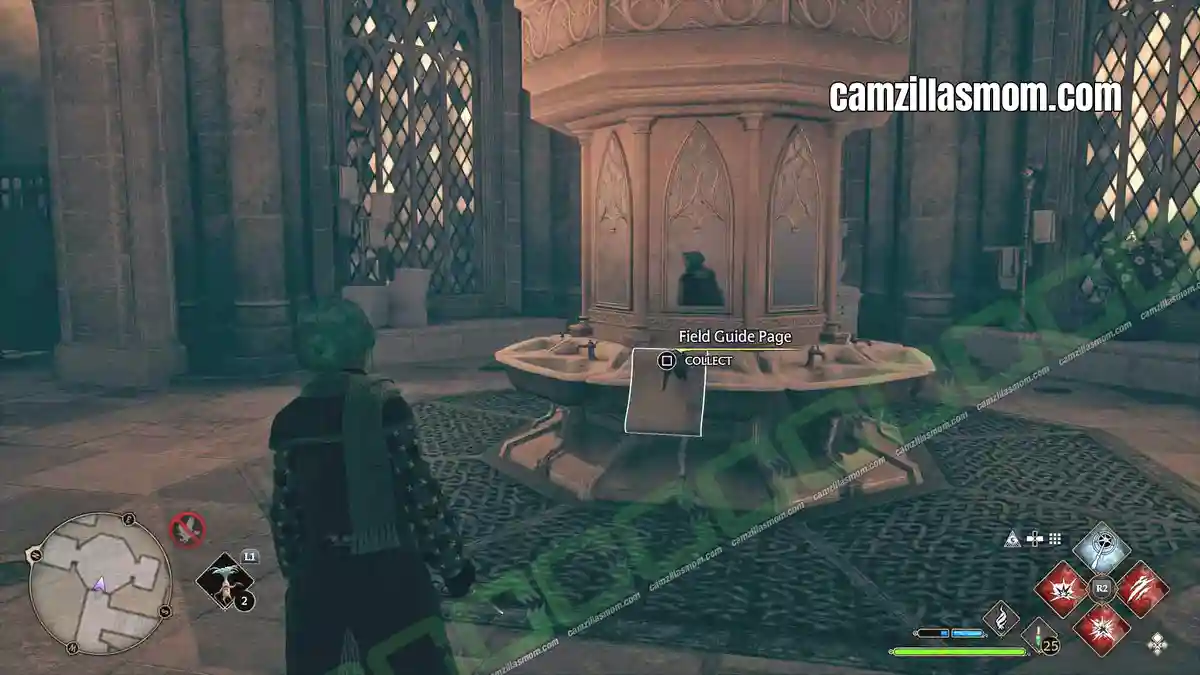
Great Hall Field Guide Pages
Black Lake
(in-game menu #15)
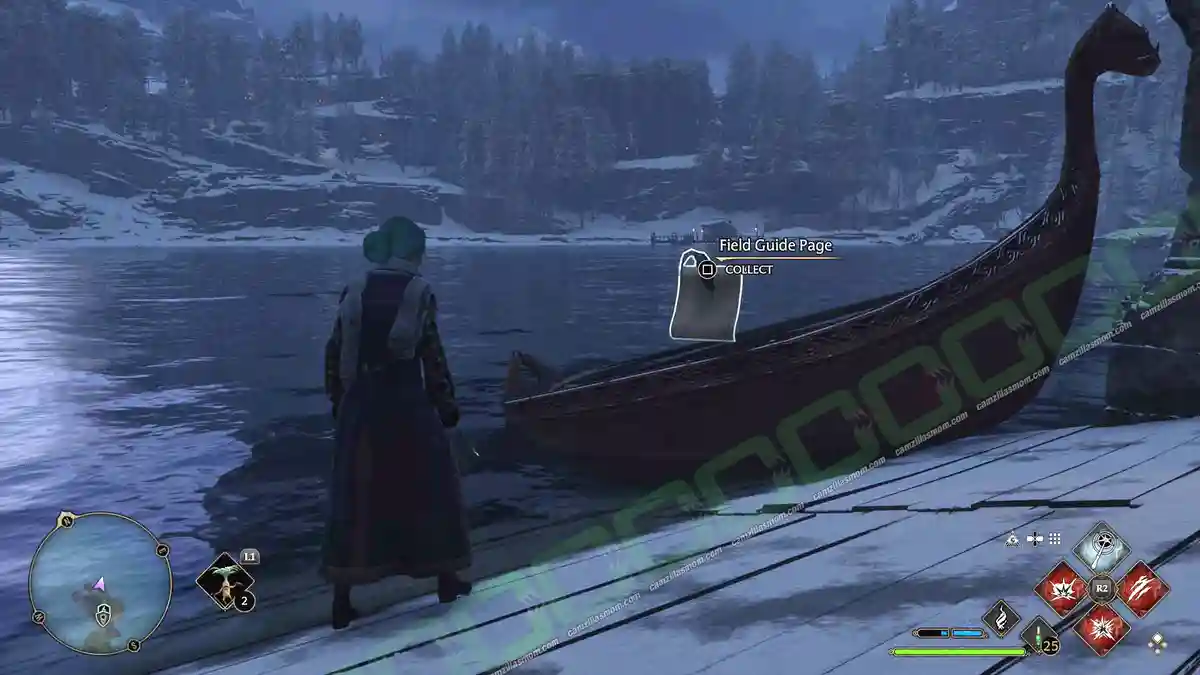
“The Black Lake or Great Lake (the sitting Headmaster vainly prefers the prior) is an expanse of fresh water south of the castle. The lake’s murky depths are home to merpeople, Grindylows, and other magical, aquatic beasts and beings, including the giant squid – a surprisingly friendly cephalopod with a fondness for toast.”
Take the exit from THE GREAT HALL main exit/entrance and take the long staircase down to the boat house by the water. At the end of the building is the lake. The Field Guide Page is just by the boat.
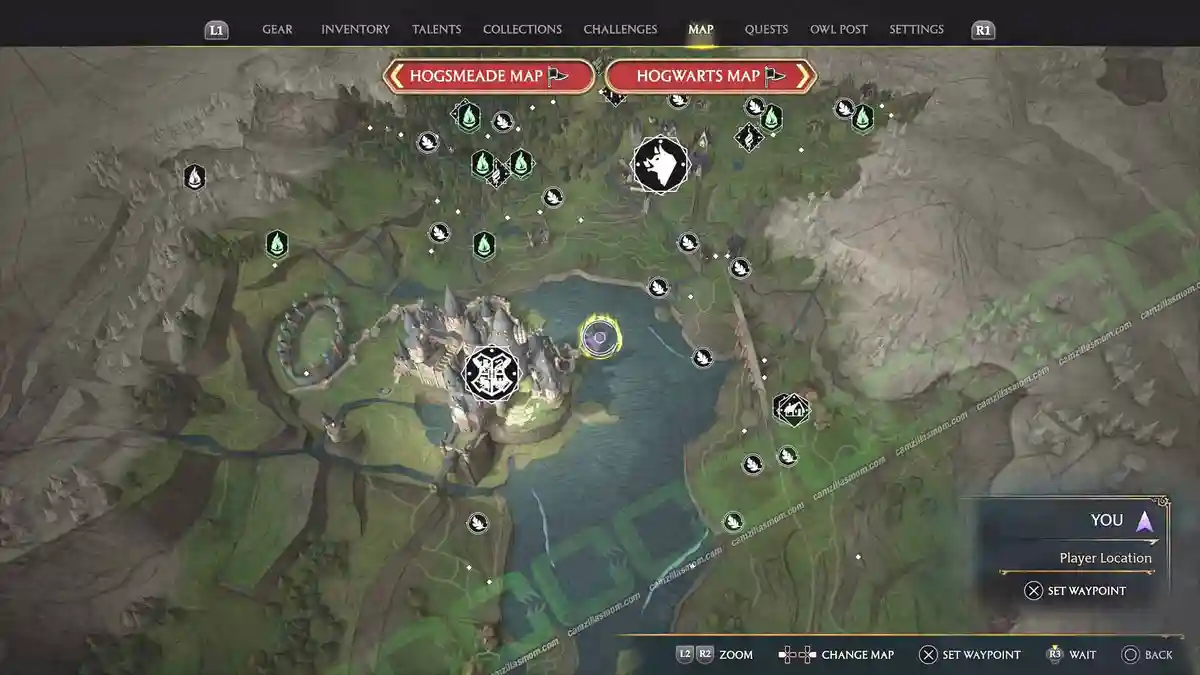
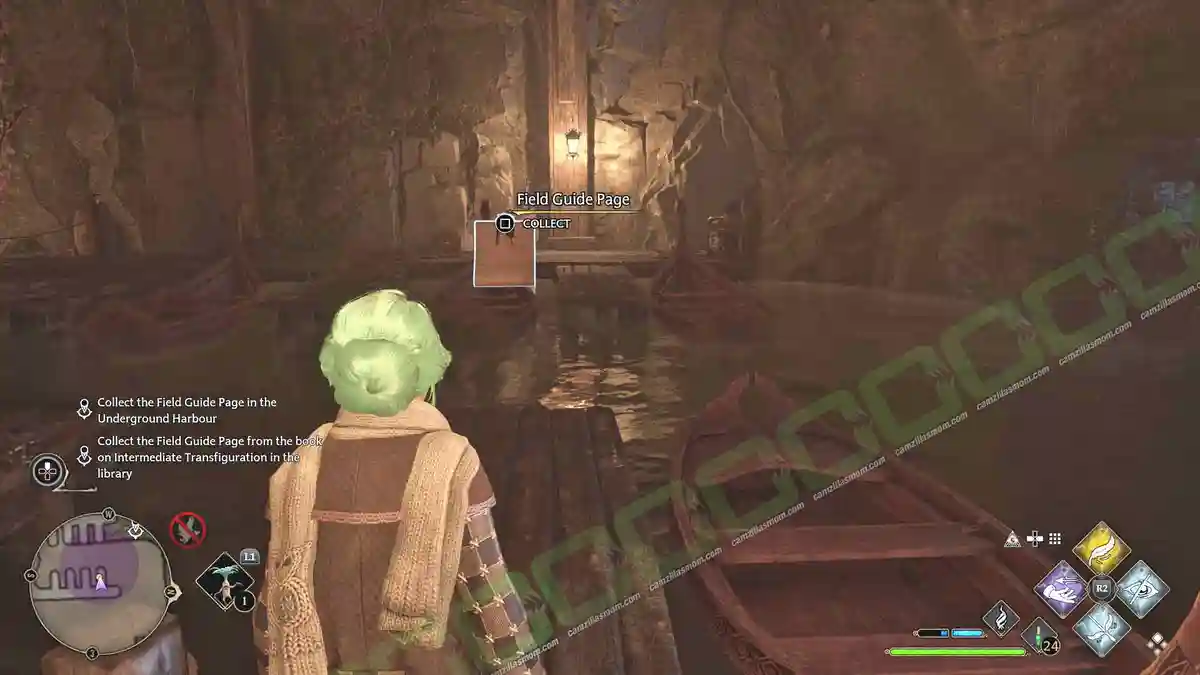
Underground Harbour
(in-game menu #16)
“Located deep beneath the viaduct courtyard is the landing for boats delivering first-year students across the Black Lake to Hogwarts.”
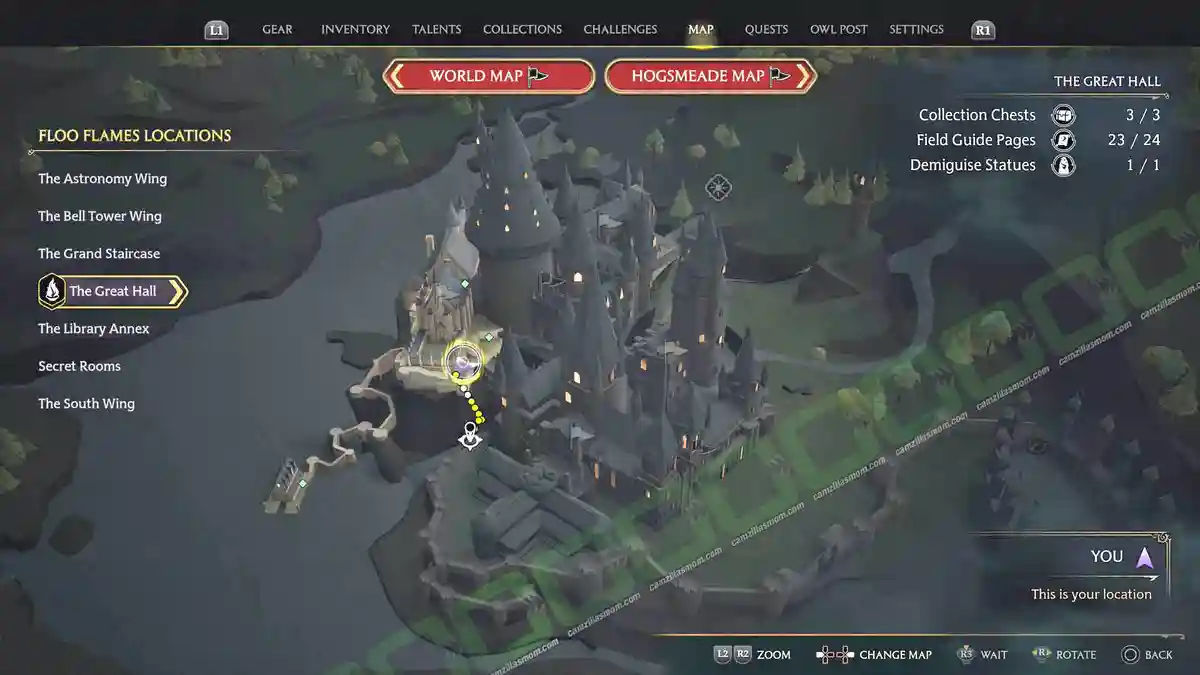
This Field Guide Page is at the Underground Harbour and can only be accessed with one of Professor Weasley’s Assignments. She’s send you to the outside of THE GREAT HALL, where you can take an elevator down to the underground Harbour.
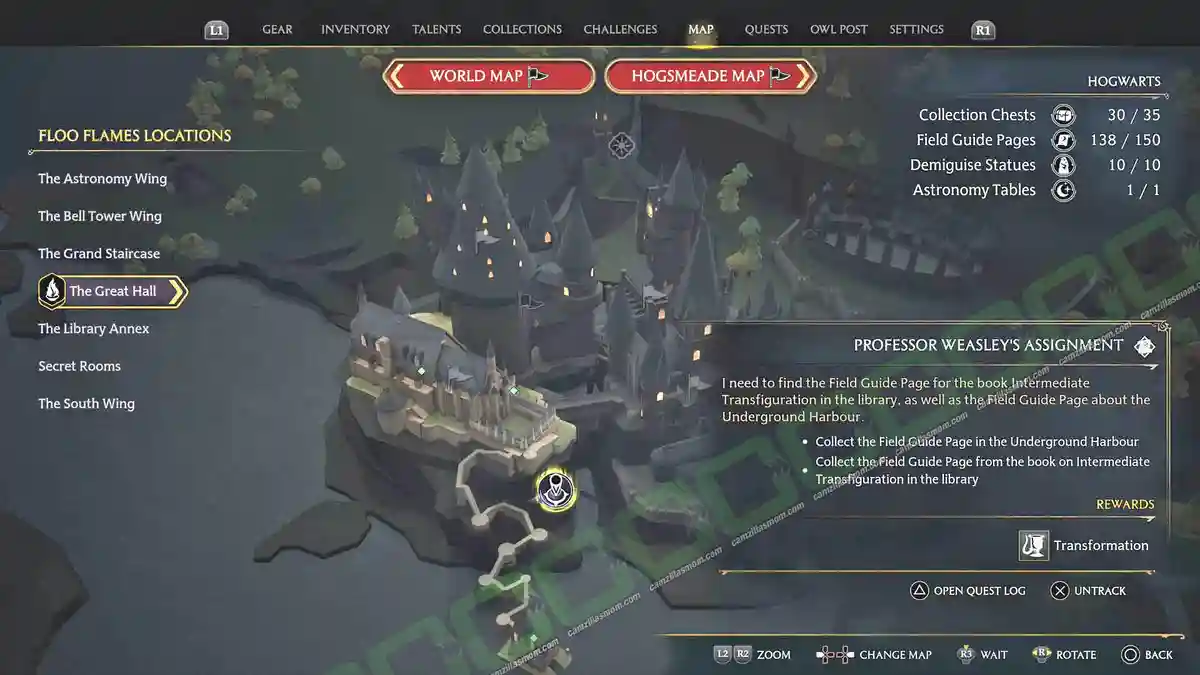
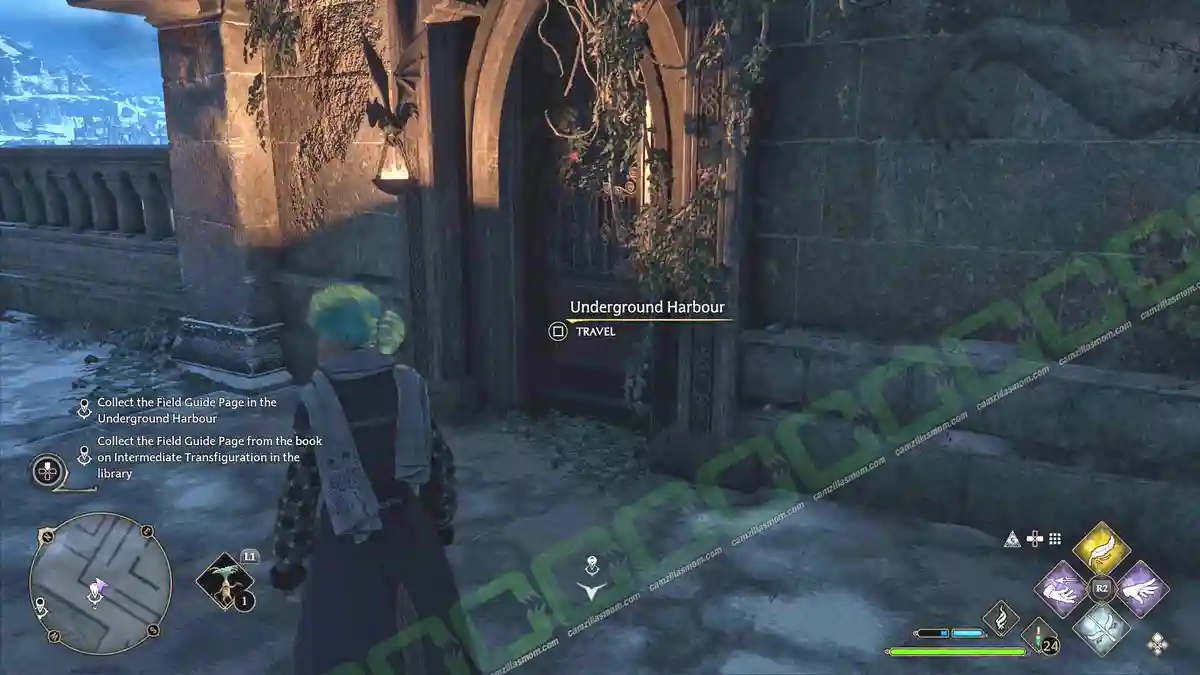
Once down there, investigate the boats and you will see the Field Guide Page.
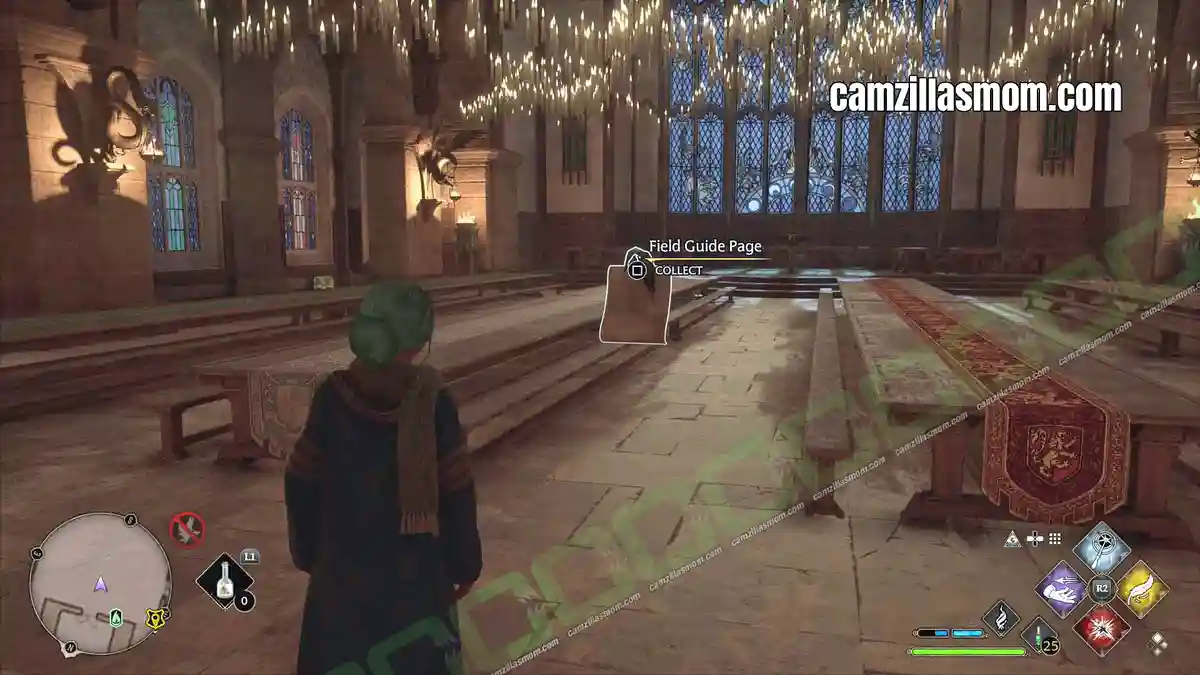
The Great Hall Ceiling
(in-game menu #50)
“The ceiling of the Great Hall has been bewitched to mimic the sky above the castle.”
Enter the Dining Hall in THE GREAT HALL and look at the ceiling.
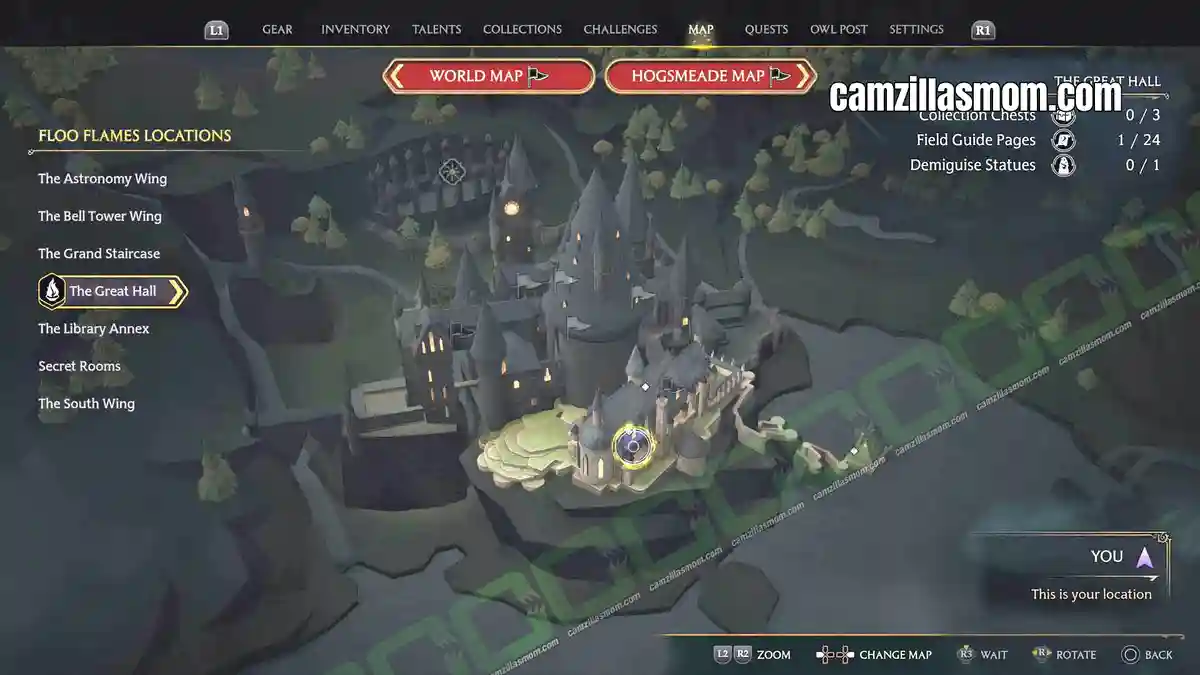
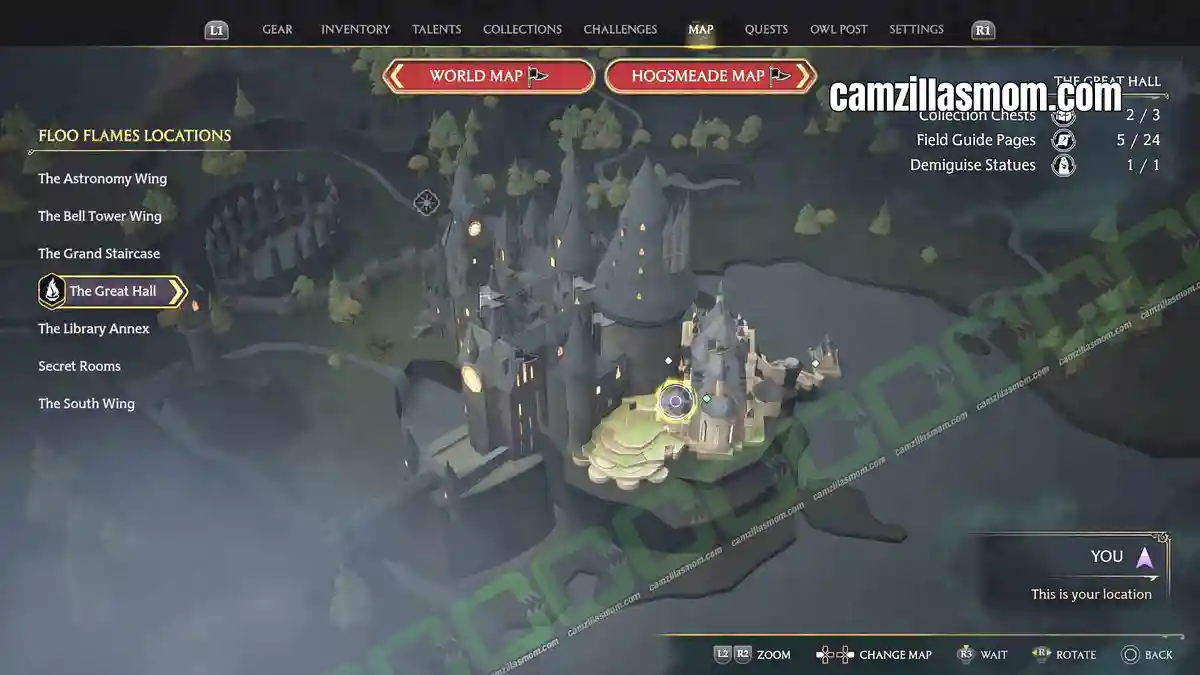
The Yawning Gargoyle
(in-game menu #51)
“Although this smoke-breathing gargoyle might appear to be enchanted, it is actually the Hufflepuff common room chimney.”
In the garden of THE GREAT HALL is this statue. You can enter the garden through the dining area.
Hogwarts Crest
(in-game menu #52)
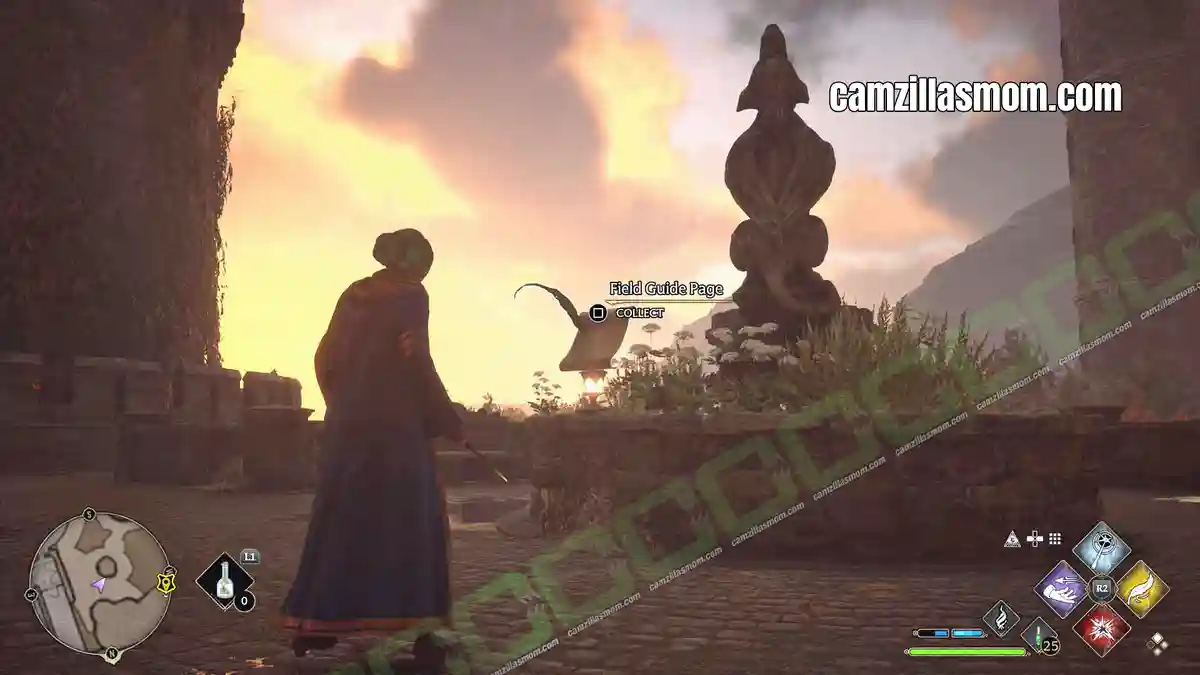
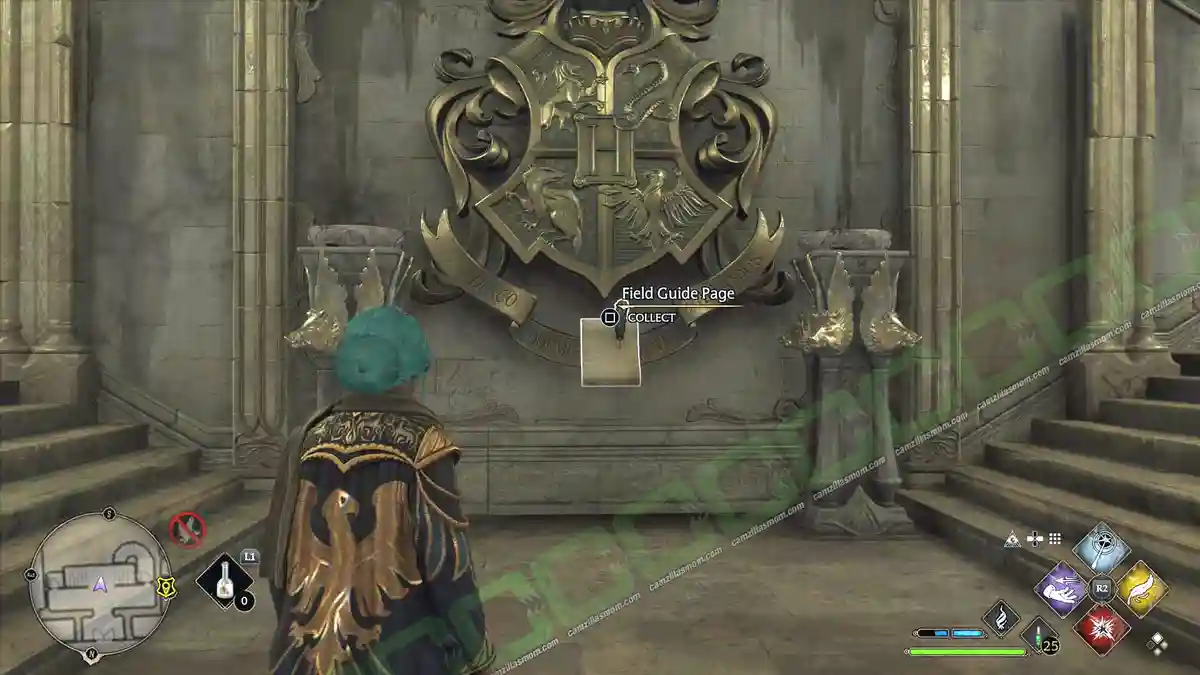
“The Hogwarts coat of arms includes a lion, snake, eagle, and badger, representing each of the four houses, along with the school motto: ‘Draco dormiens nunquam titillandus’, which means ‘never tickle a sleeping dragon.’
At THE GREAT HALL, go to the outside exit. Just by the exit/entrance – but still inside – is the Hogwarts Crest.
House Point Hourglasses
(in-game menu #53)
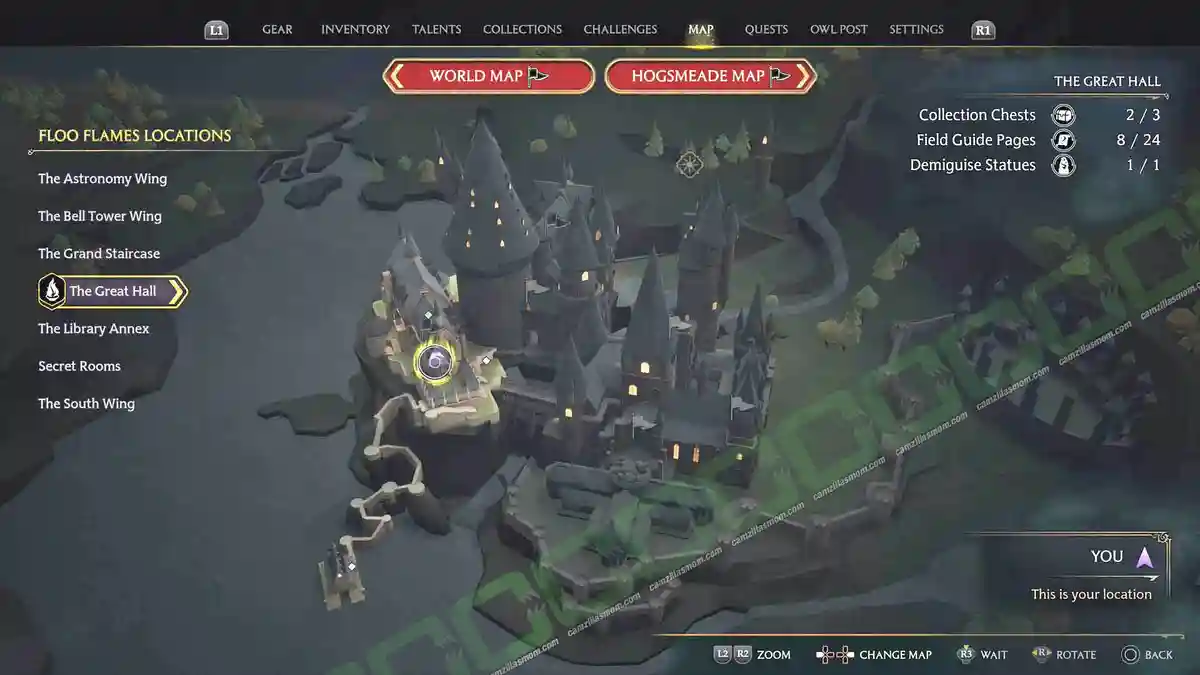
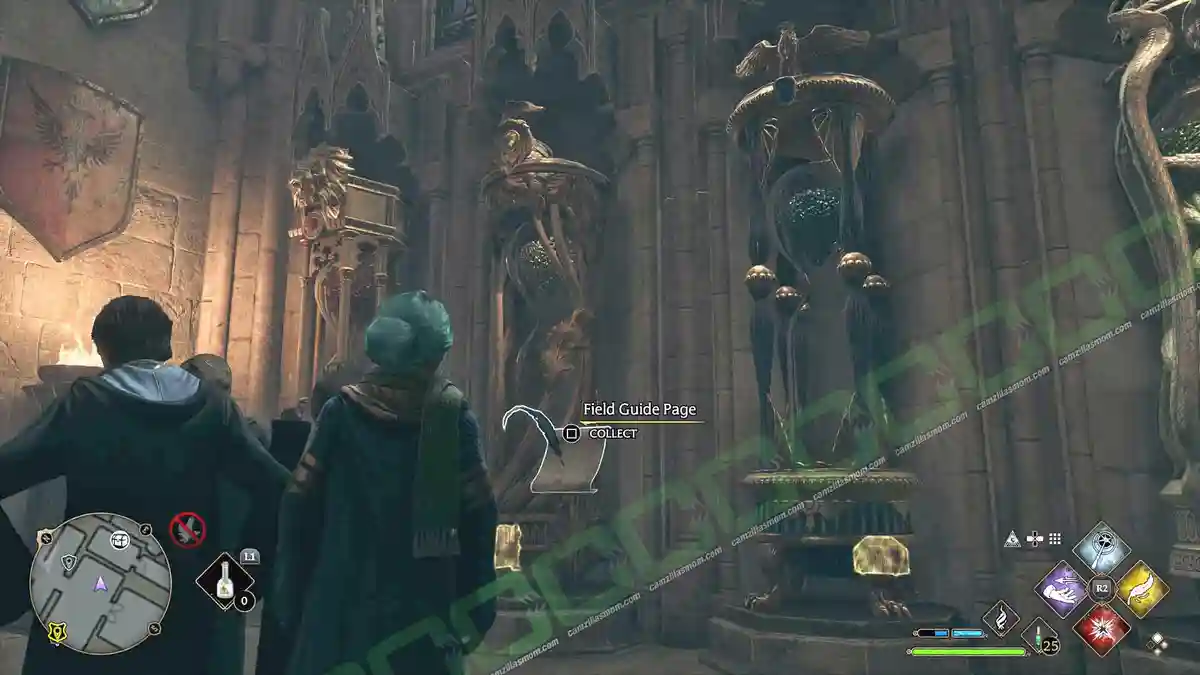
“These large, ornate hourglasses containing rubies, diamond, sapphires, and emeralds are enchanted to keep count of house points for Gryffindor, Hufflepuff, Ravenclaw, and Slytherin, respectively.”
Before you go through the big gates into THE GREAT HALL, look at the wall with the hourglasses by the gate.
Owl Lectern
(in-game menu #54)
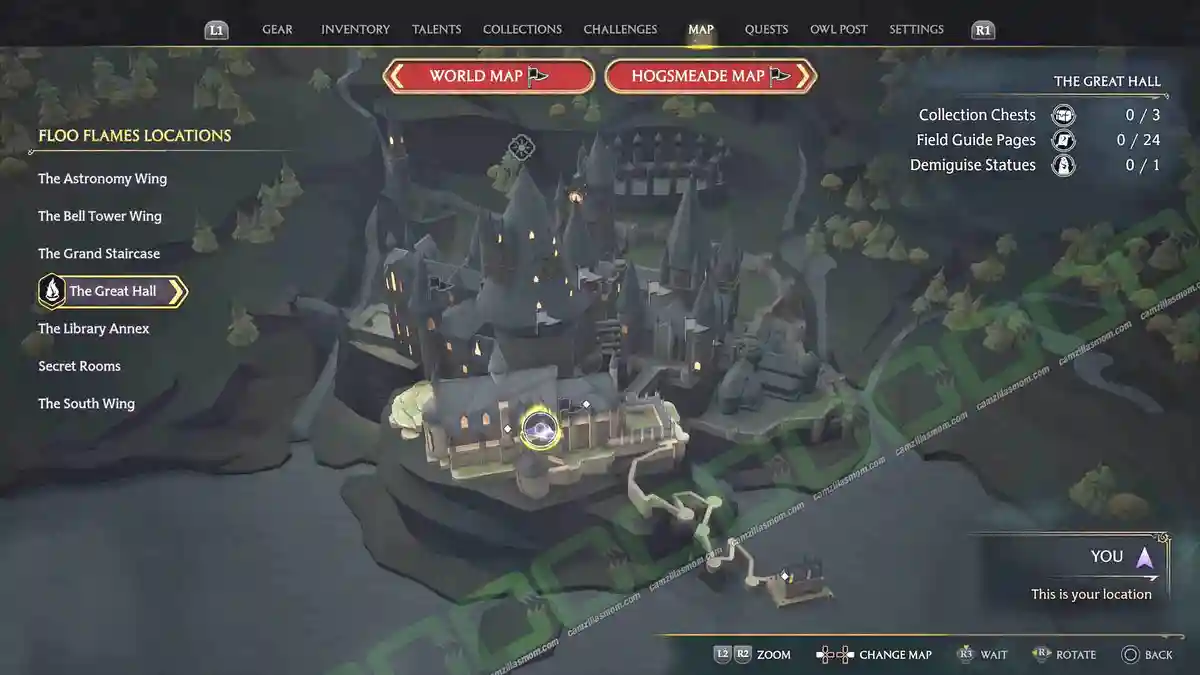
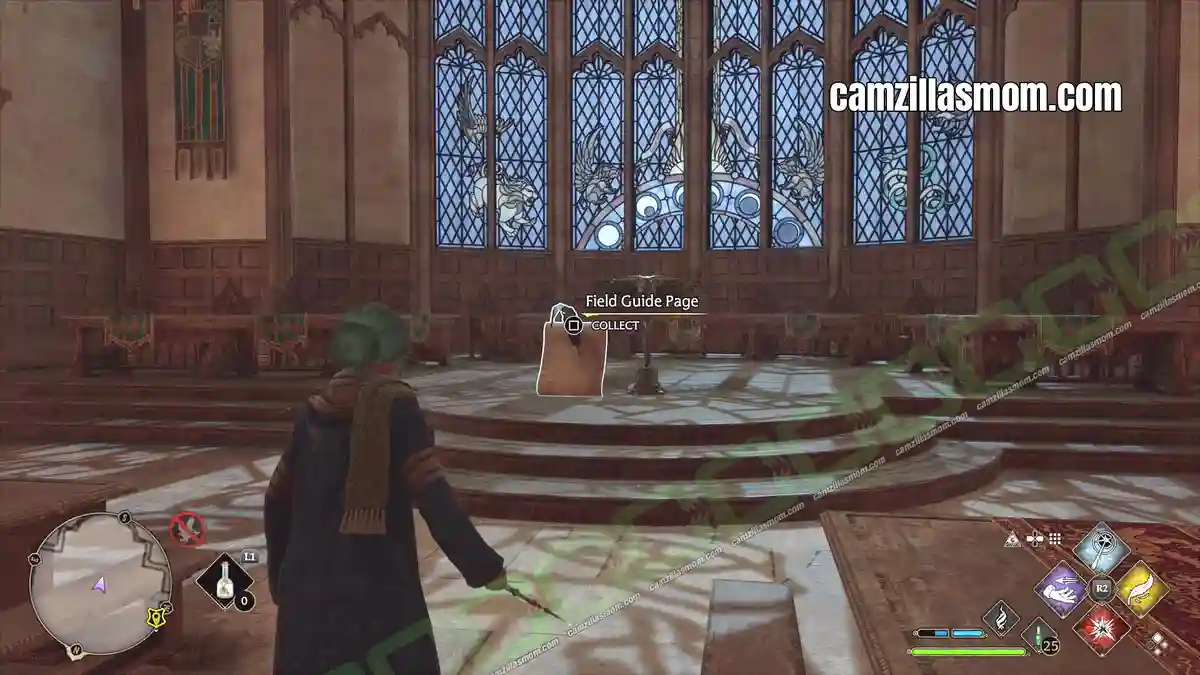
“This enchanted lectern serves as the spot from which the great headmistresses and headmasters of Hogwarts – as well as Professor Black – adress the school.”
Also at THE GREAT HALL, in the dining area there’s a lectern at the back near the window.
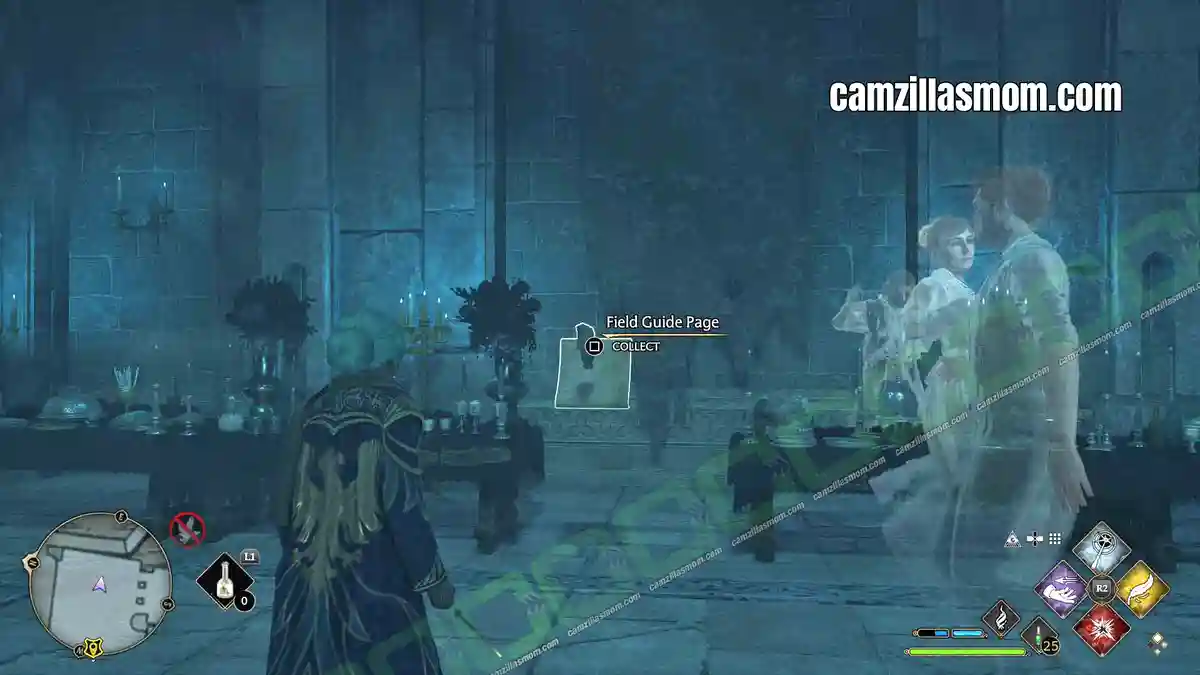
Deathday Party Room
(in-game menu #83)
“This gloomy, spacious chamber in the lower dungeons of Hogwarts is perfect for occasional Deathday party celebrated here by the castle ghosts. Most mortals will want to avoid such festivities, as the food served is frequently rotting so the ghosts can detect its aroma.”
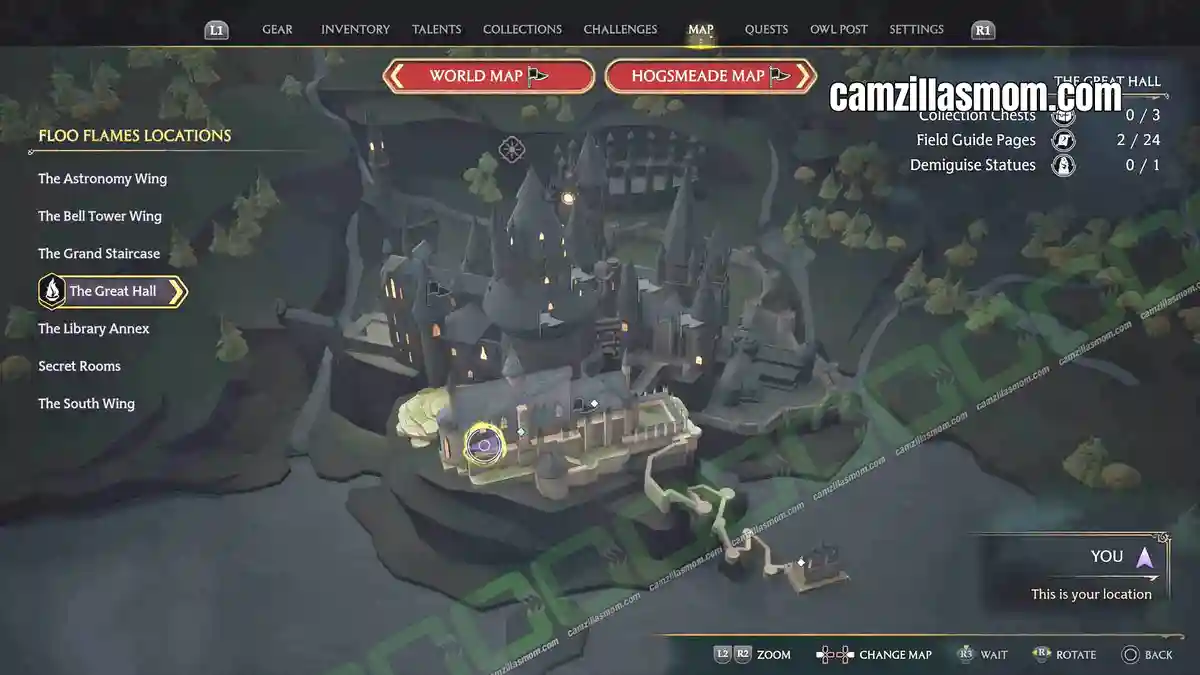
Go to the main entrance / exit of THE GREAT HALL. Instead of going out to the garden, take the staircase down and enter the basement. Head left until you see a locked barred passage with a blueish glow. Use your lockpicking abilities to open and walk all the way until you end up in a room full of dancing ghosts – The DEATHDAY PARTY ROOM.
Detention Chamber
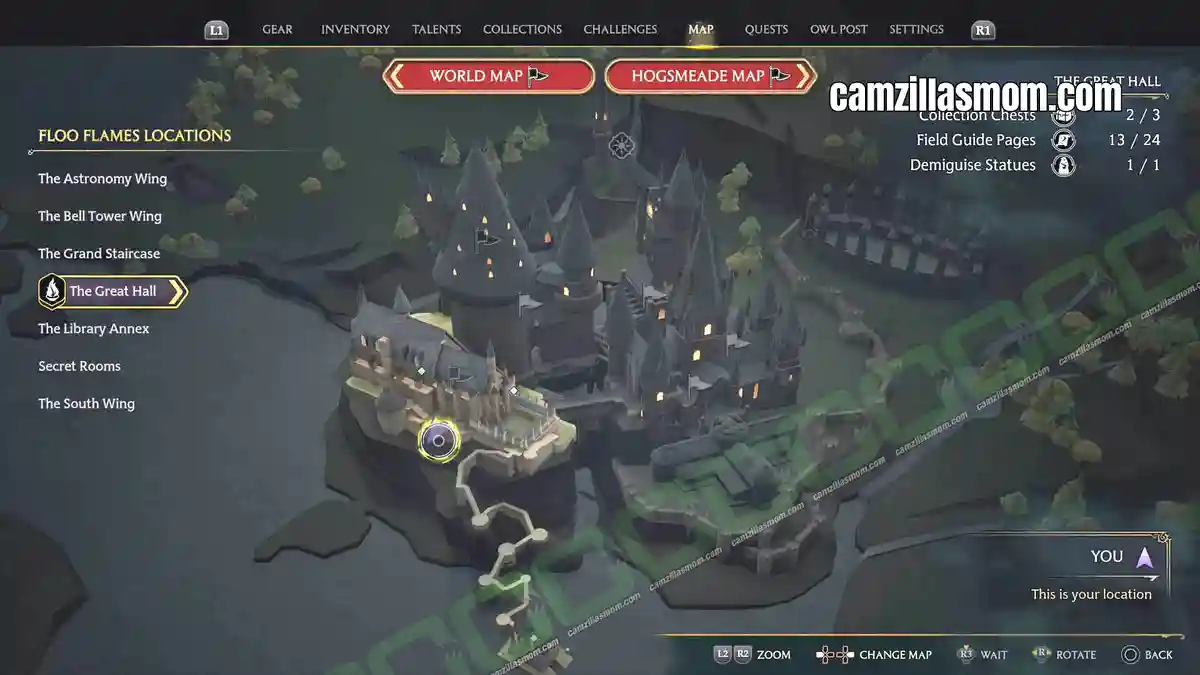
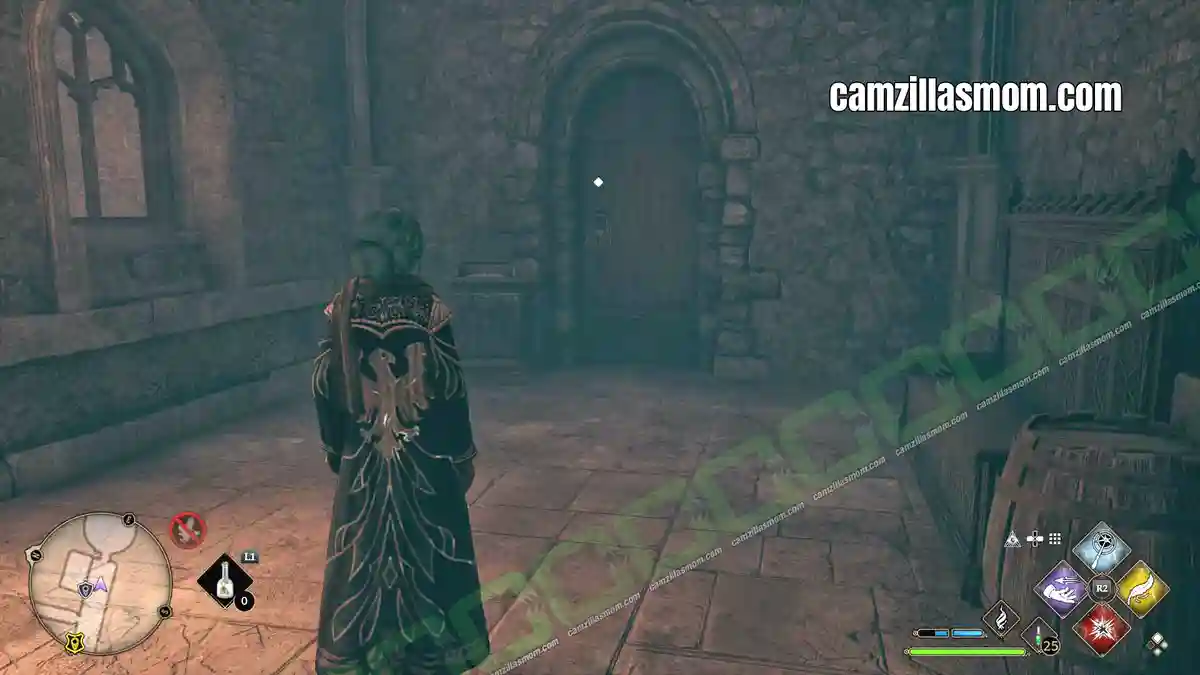
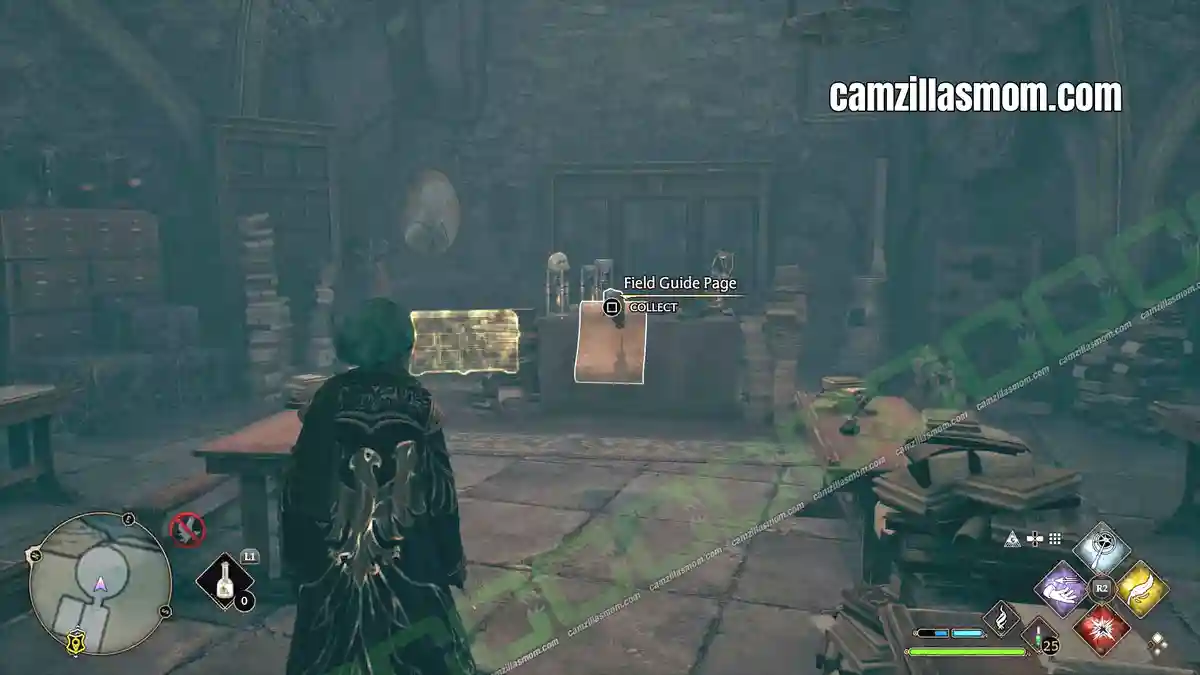
(in-game menu #87)
“This chamber allegedly served as the school’s preferred location for punishing students. Though physical torture is no longer utilised during detention, the aura of such horrific practices lingers.”
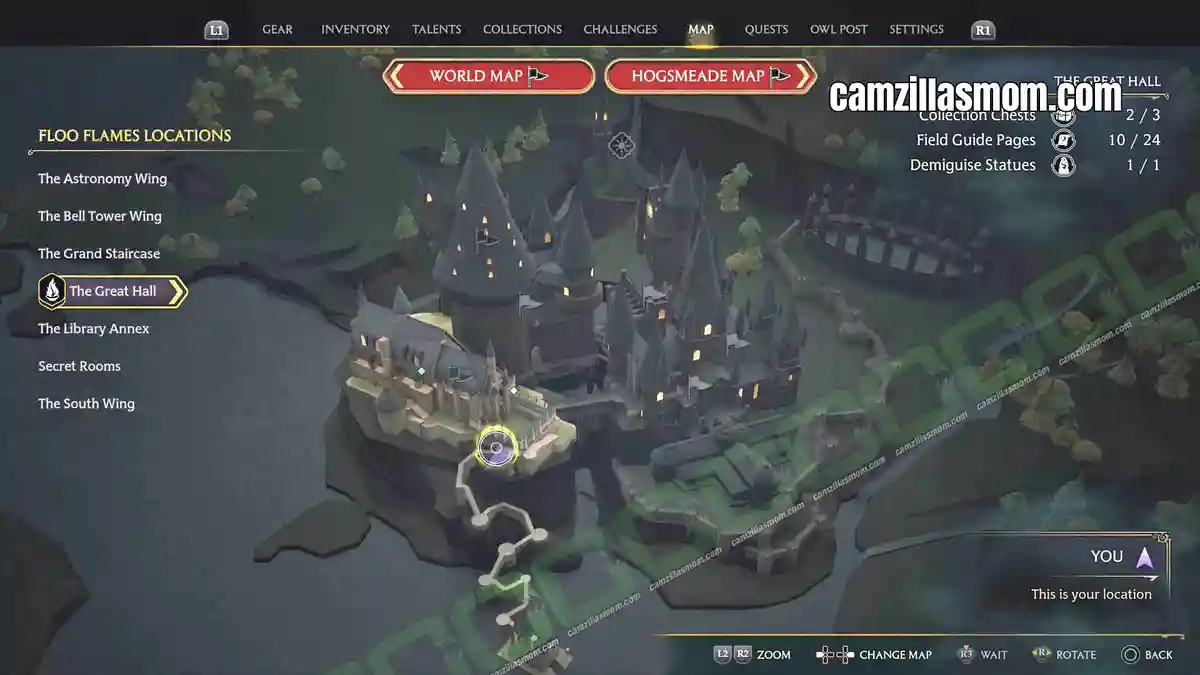
Go to the main entrance / exit of THE GREAT HALL. Instead of going out to the garden, take the staircase down and enter the basement. Head left to the very end. Unlock the door and you’re standing in the Detention Chamber.
Headless Hunt Tapestry
(in-game menu #88)
“This tapestry depicts the headless hunt, a group of headless ghosts organised by Sir Patrick Delaney-Podmore to play various headless games. They are notorious for refusing to admit Gryffindor house ghost Sir Nicholas de Mimsy-Porpington to their ranks as he is not entirely headless.”
Go to the main entrance/exit of THE GREAT HALL. Instead of going out to the garden, take the staircase down and enter the basement. Head left until you see a locked barred passage with a blueish glow. Use your lock picking abilities to open and walk all the way until you end up in a room full of dancing ghosts – The DEATHDAY PARTY ROOM. Look for “ghostly instruments” playing. Behind them is the tapestry.
Library Annex Field Guide Pages
Arithmancy Classroom
(in-game menu #17)
“This classroom is where students learn about the magical properties of numbers and numerology – though a great many opt instead to spend the period ‘counting Mooncalves’ whilst nodding off at their desks.”
When you walk from the Central Hall to the Divination Classroom at the top, you take a winding staircase. Between Central Hall and Divination Classroom is a level that is full of wooden beams. In here is a puzzle door. In the room behind this puzzle door is the Arithmancy Classroom
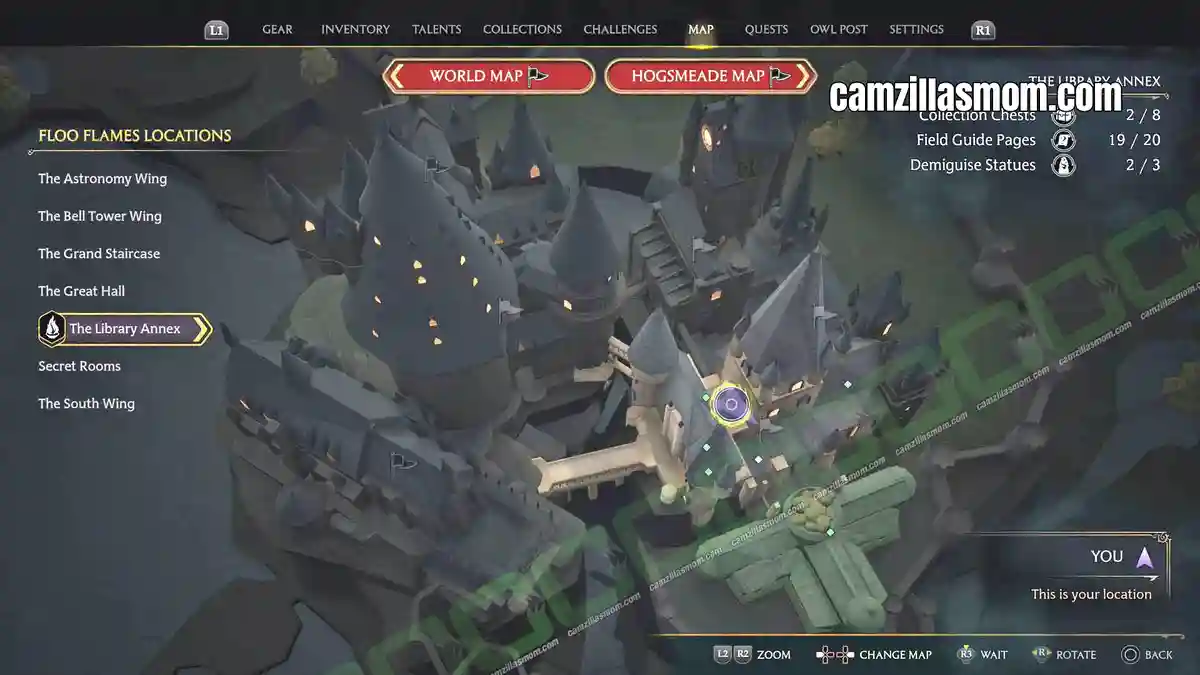
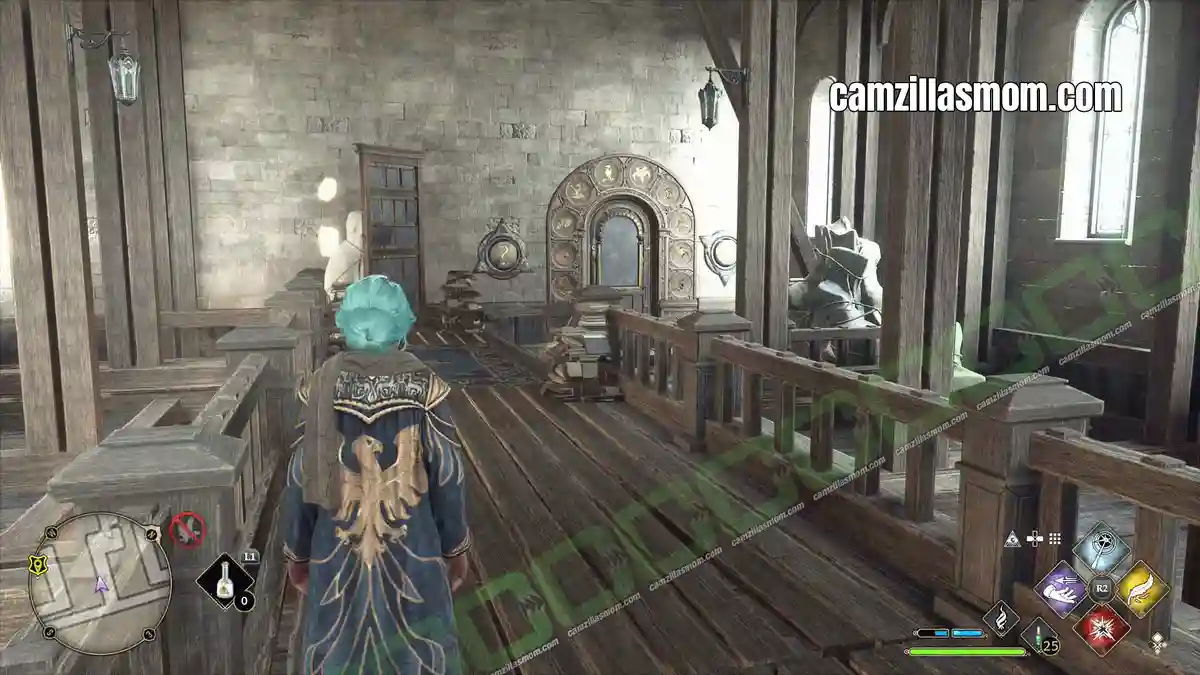
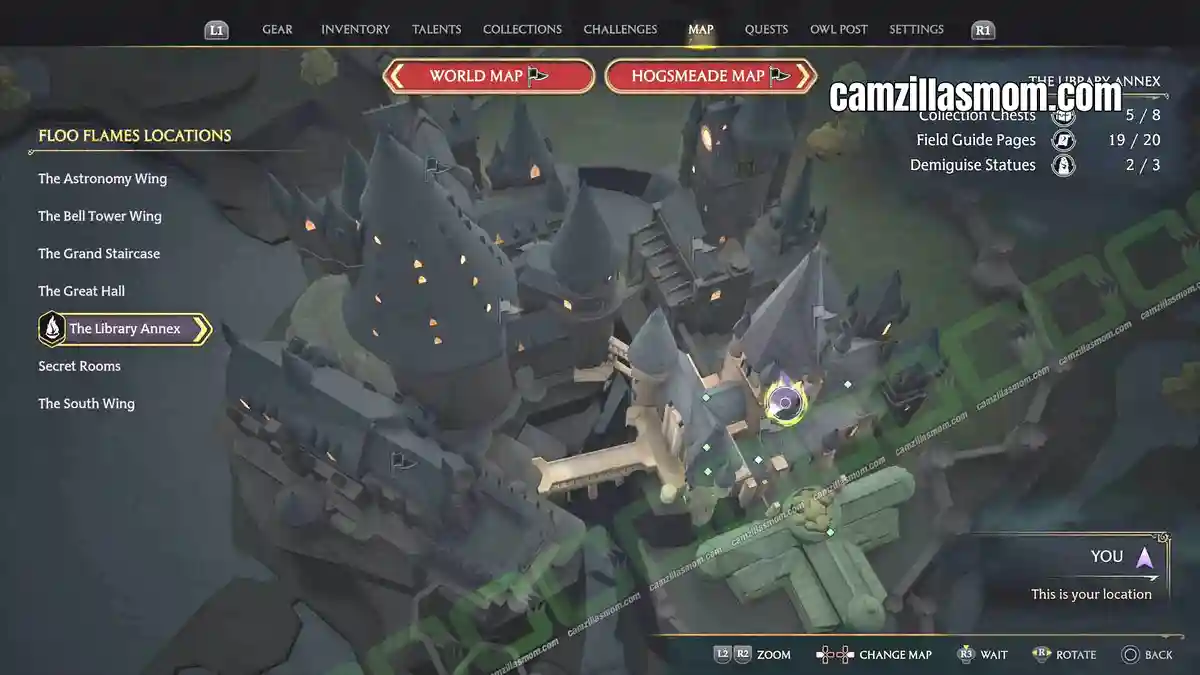
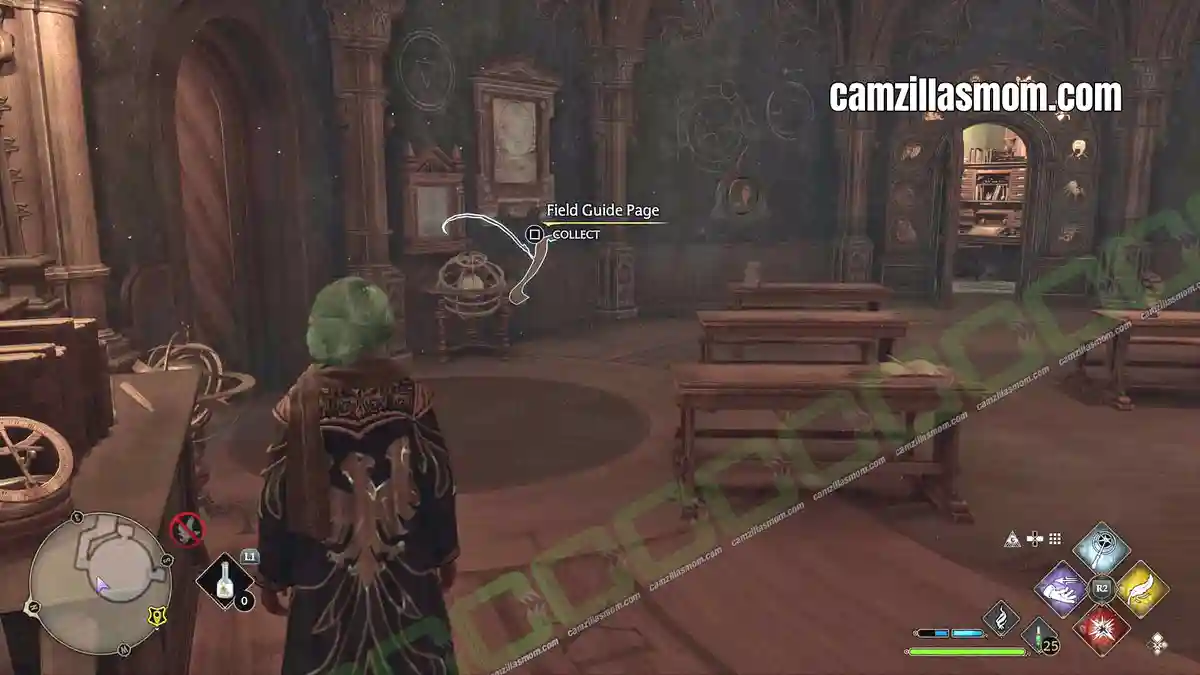
How to open the Arithmancy Classroom Puzzle Door
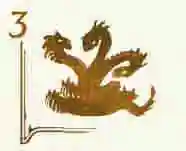
First Sum: 2 + Hydra + ? = 9
The HYDRA is a 3. 2 plus 3 plus 4 = 9. Dial in the PUFFY BIRD for the ? – the fifth beast from the left.
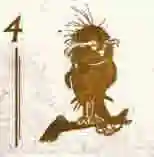
Second Sum: 0 + 1 + ?? = 4
0 plus 1 plus 3 = 4. Dial in the HYDRA for the ?? – the fourth beast from the left.
Central Hall Fountain
(in-game menu #18)
“This ornate fountain features intricately carved statues of denizens of the magical world, including a set of stone sirens encircling the fountain’s base.”
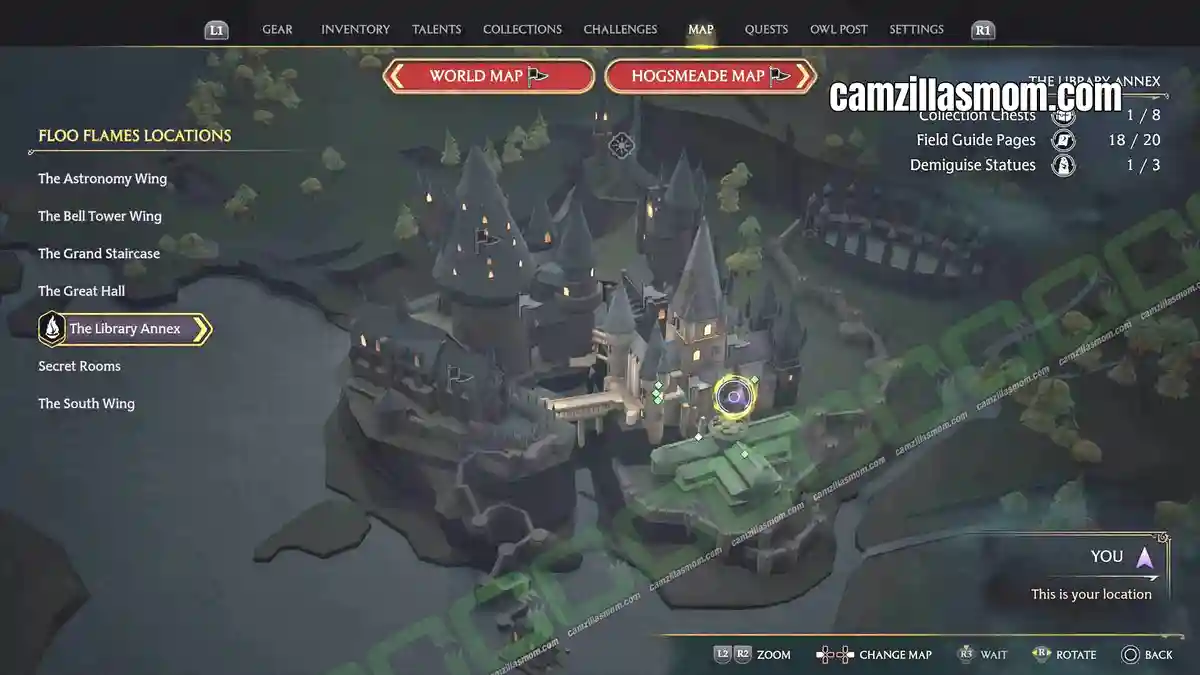
At the Library Annex is the Central Hall Fountain. It’s in the centre of the area.
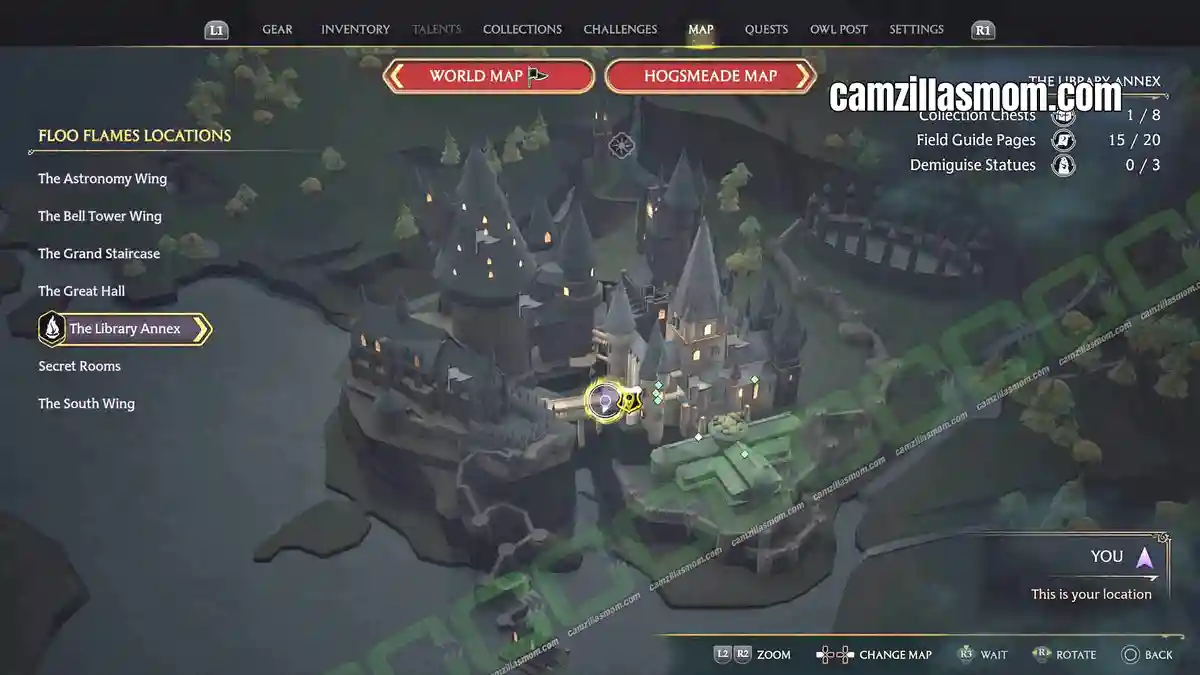
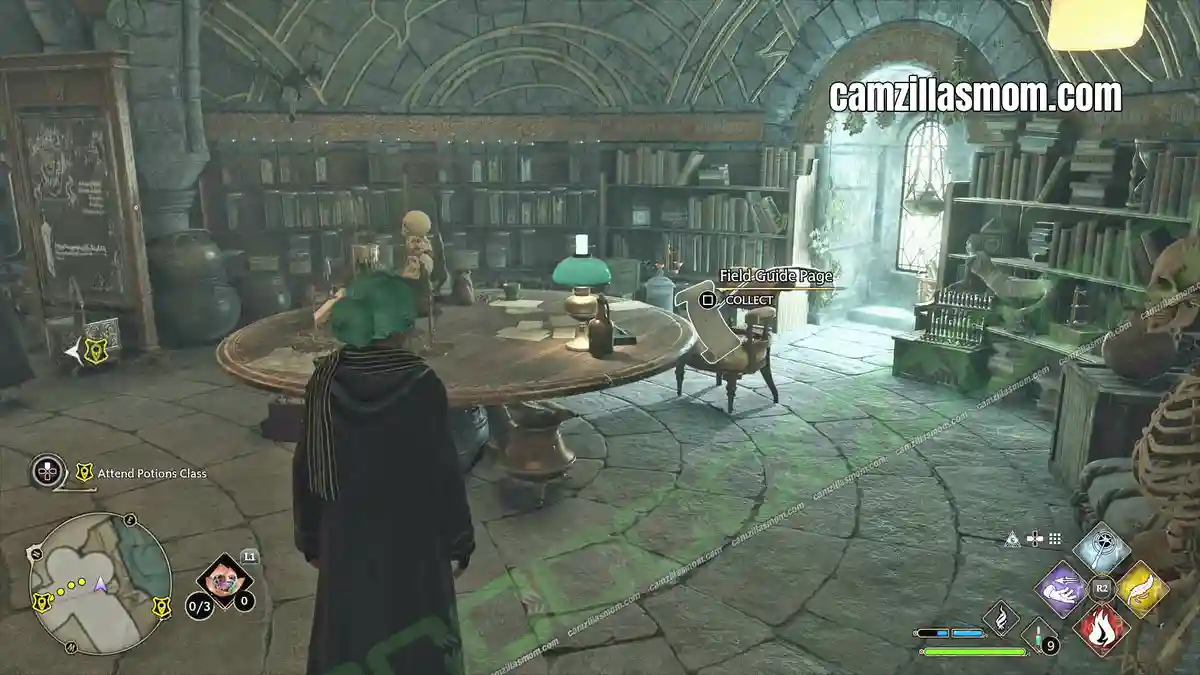
Professor Sharp’s Auror Badge
(in-game menu #28)
“Aurors comprise the Ministry’s magical law enforcement and protect the wizarding world from all sorts of threats – particularly those posed by Dark Magic. This Auror badge belongs to Professor Sharp.”
In the main story quest, go to Potions Class at the Library Annex. Inside the room is a table with this badge.
Gorgon Portrait
(in-game menu #29)
“An oil painting of a beautiful gorgon and her suitor, whose eyes are wisely averted as he bends to kiss her hand. It is said that the artist who painted this accidentally gazed at his subject when he delivered the painting and is now forever a sculpture in a garden in Greece.”
In Potions Class, go downstairs through the locked door. Follow the corridor until you get to a staircase. This puzzle is in the room. Inside is the Gorgon Portrait. See below how to solve the puzzle.
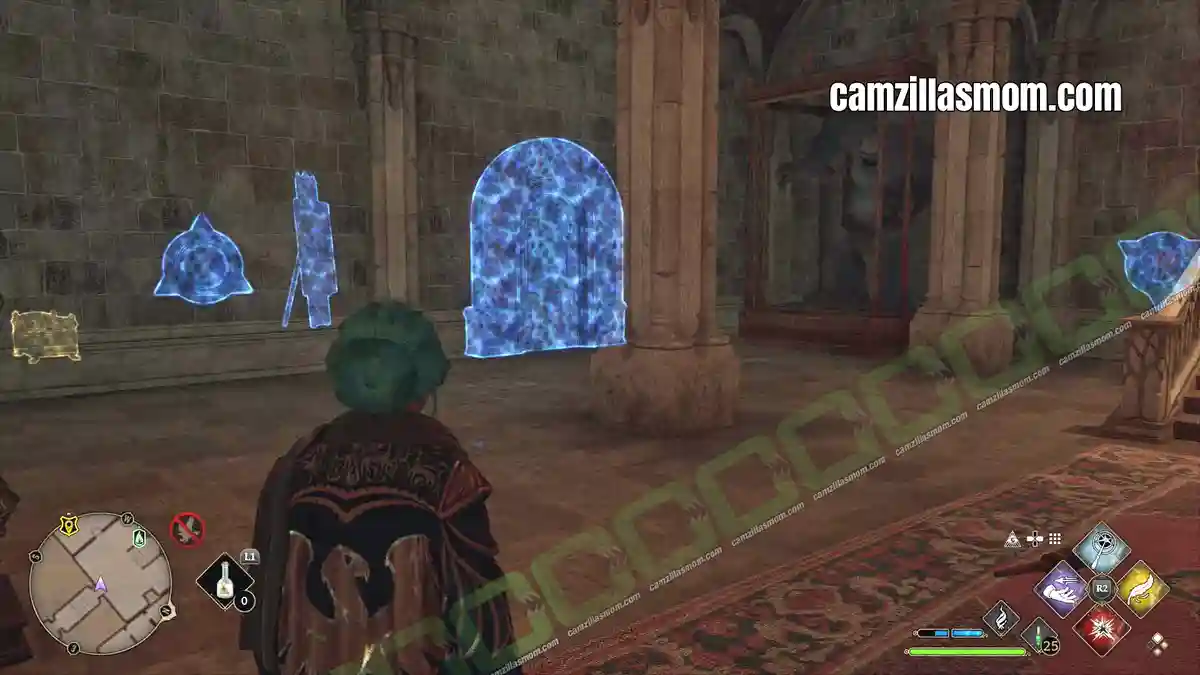
How to open the Gorgon Portrait Puzzle Door
First Sum: Spider + 12 + ? = 22
The SPIDER is an 8 on the door frame. 8 plus 12 plus 2 = 22. Dial in the GOAT for the ? – the third beast from the left.
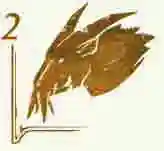
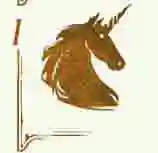
Second Sum: Octopus + Unicorn + ?? = 9
The OCTOPUS is a 7 and the UNICORN is a 1. 7 plus 1 plus 1 = 9. Dial in the UNICORN for the ?? – the second beast from the left.
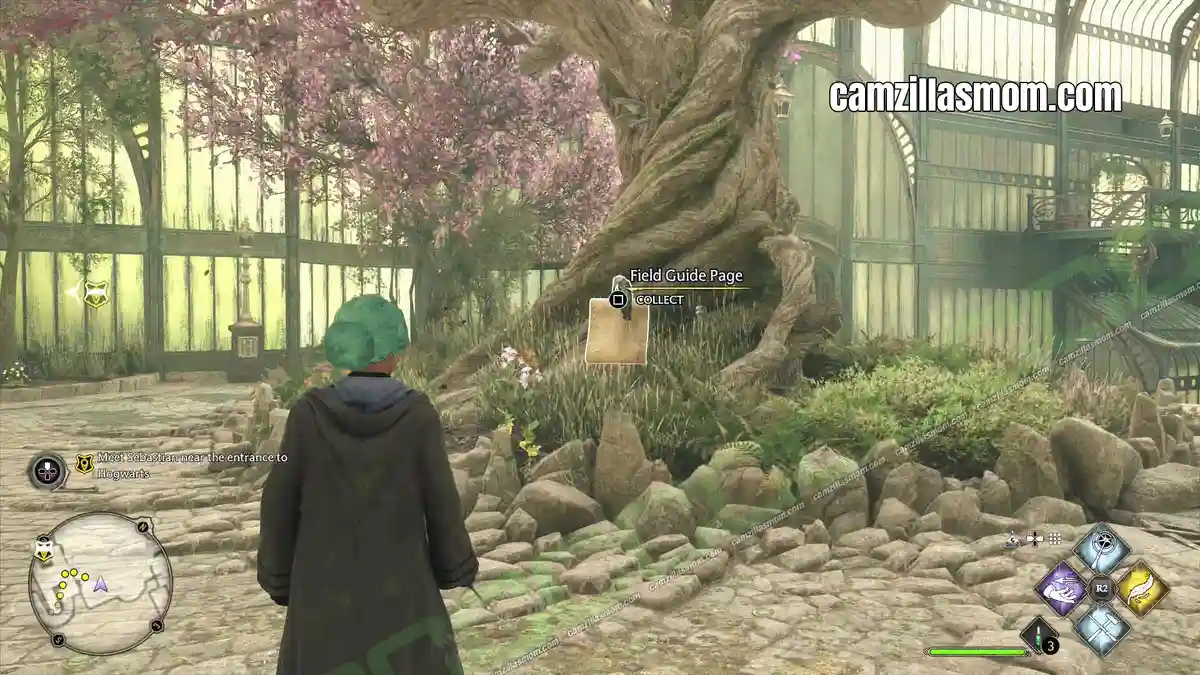
Greenhouse Tree
(in-game menu #55)
“Situated at the centre of a Hogwarts greenhouse, this giant tree has a system of roots as deep-reaching and convoluted as the school’s dungeons.”
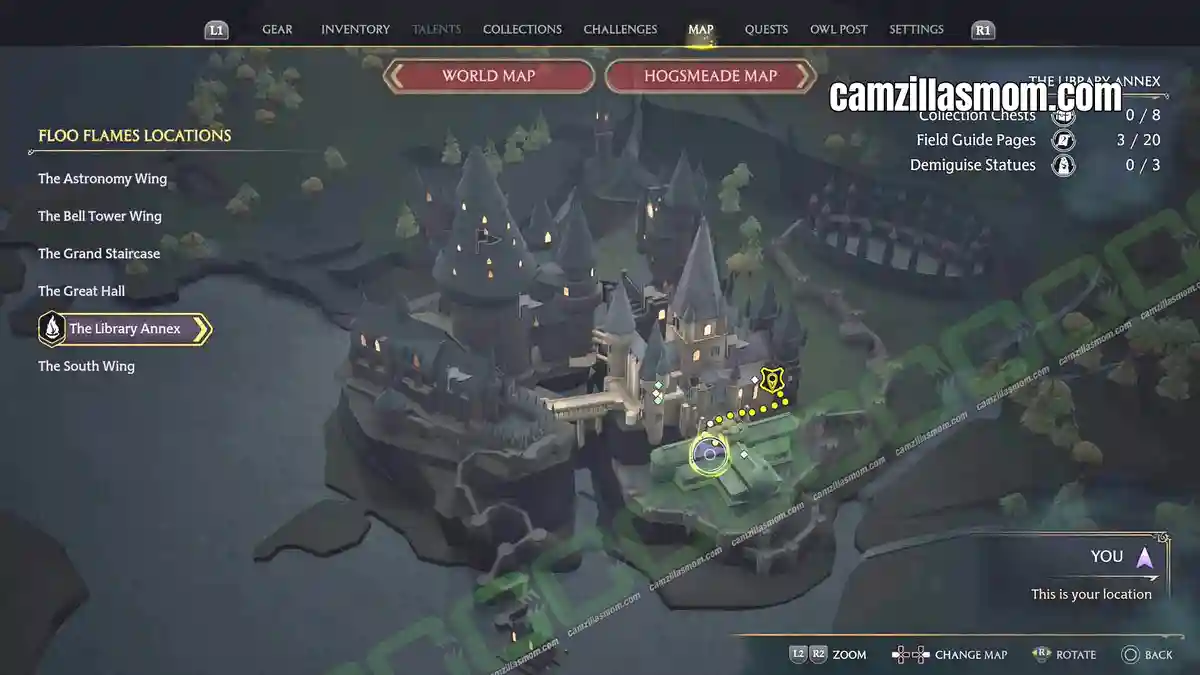
Take the The Library Annex’ big gate exit and you will enter the Greenhouse. The big tree there has a story to tell.
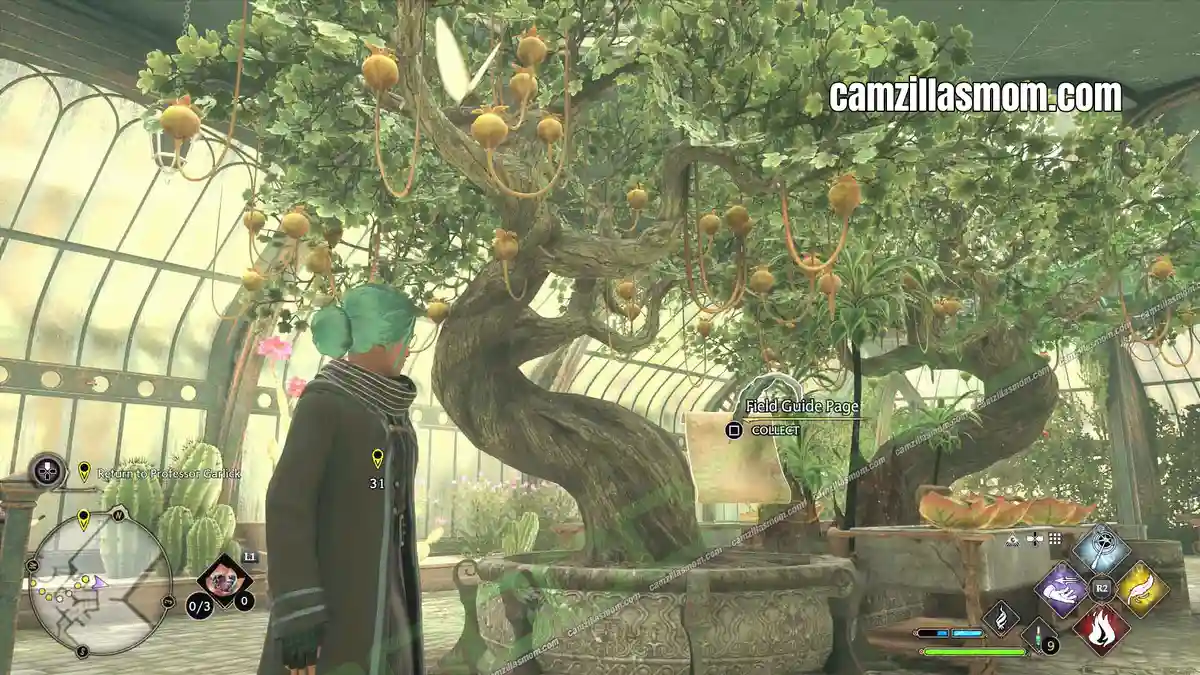
Dirigible Plums
(in-game menu #56)
“This orange, radish-like fruit floats upside-down as it grows. Some believe it can enhance one’s ability to accept the extraordinary.”
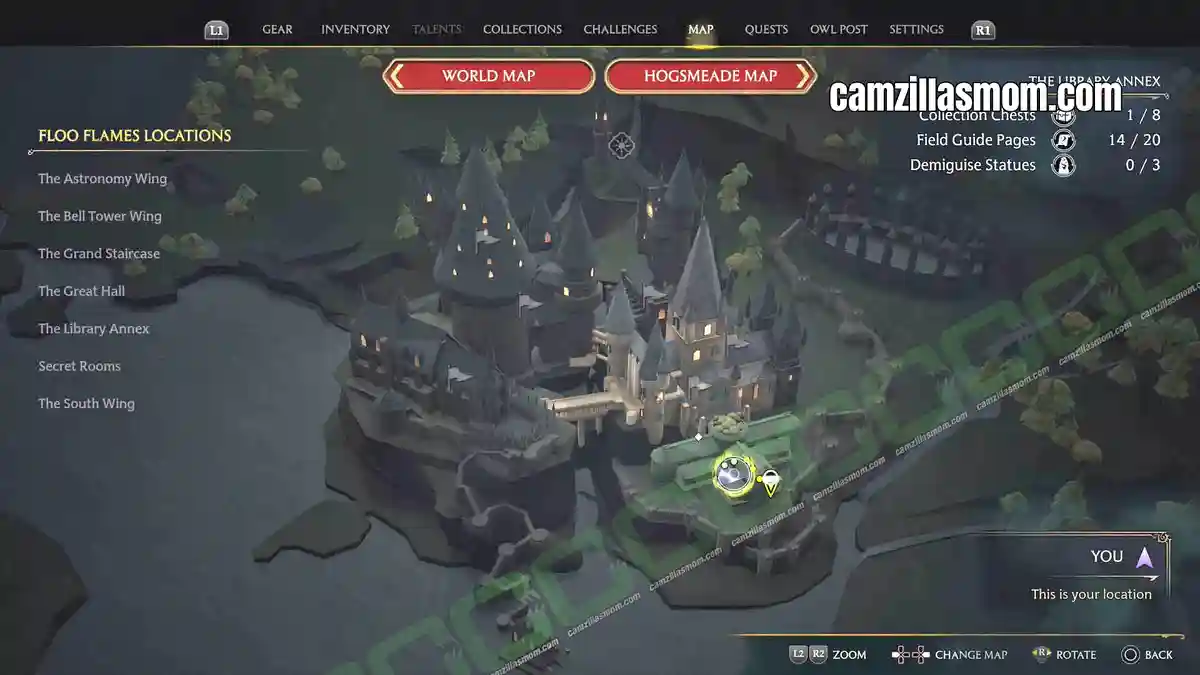
Continue with the story and you will eventually have Herbalism Class at the green house. This tree is at the same location as the cabbages. You’ll know what I mean when you get there.
Glumbumbles
(in-game menu #59)
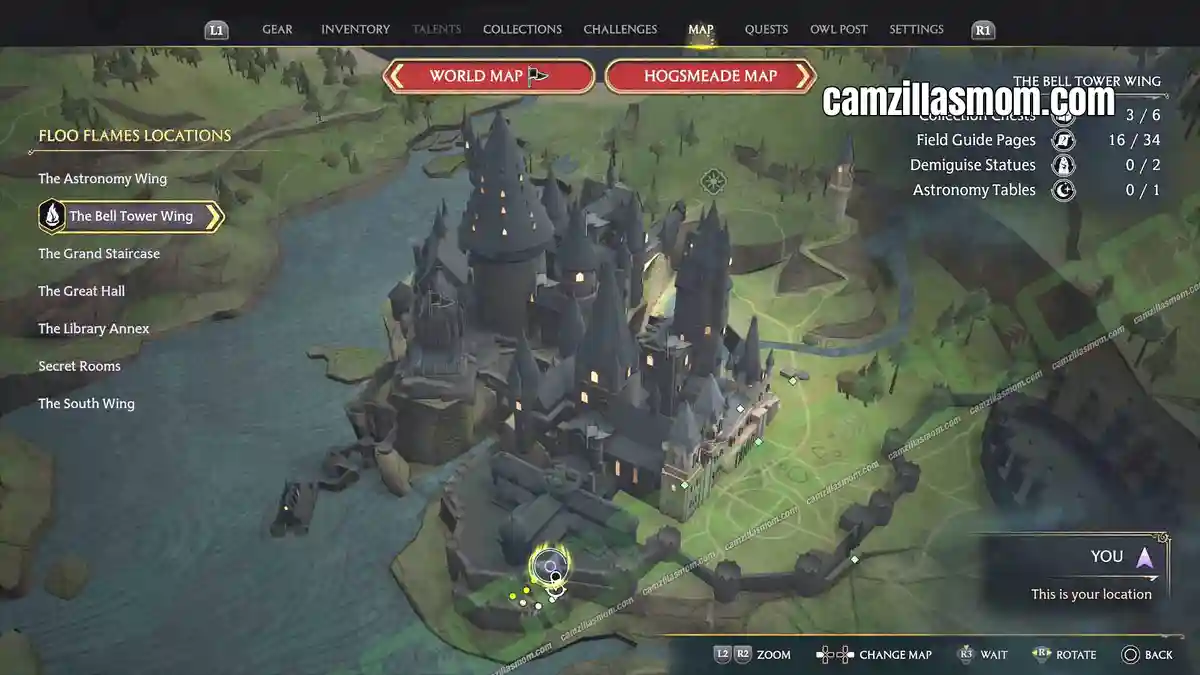
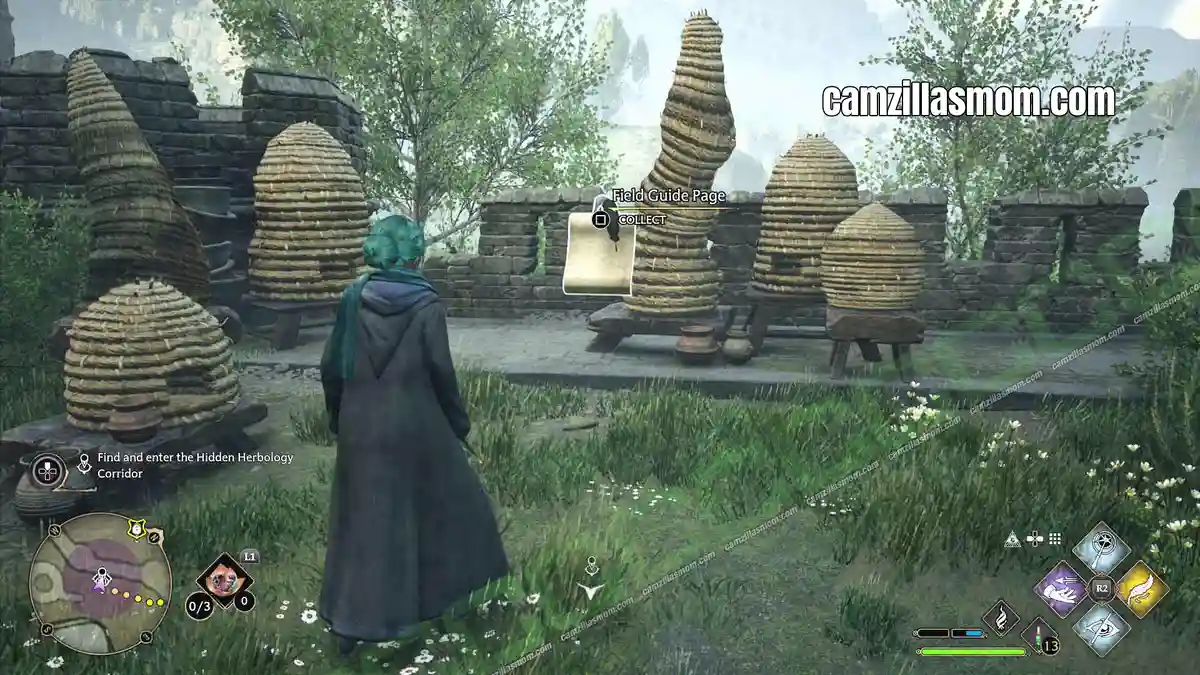
“Glumbumbles are magical flying insects that produce a treacle which will cause melancholy if consumed. They feed on nettles and nest in dark and secluded places. Unfortunately, they are known to infest beehives, having a devastating effect on the honey therein.”
Have a stroll in the gardens outside the greenhouse and look at the bee / bumble hives.
Statue of Gregory the Smarmy
(in-game menu #63)
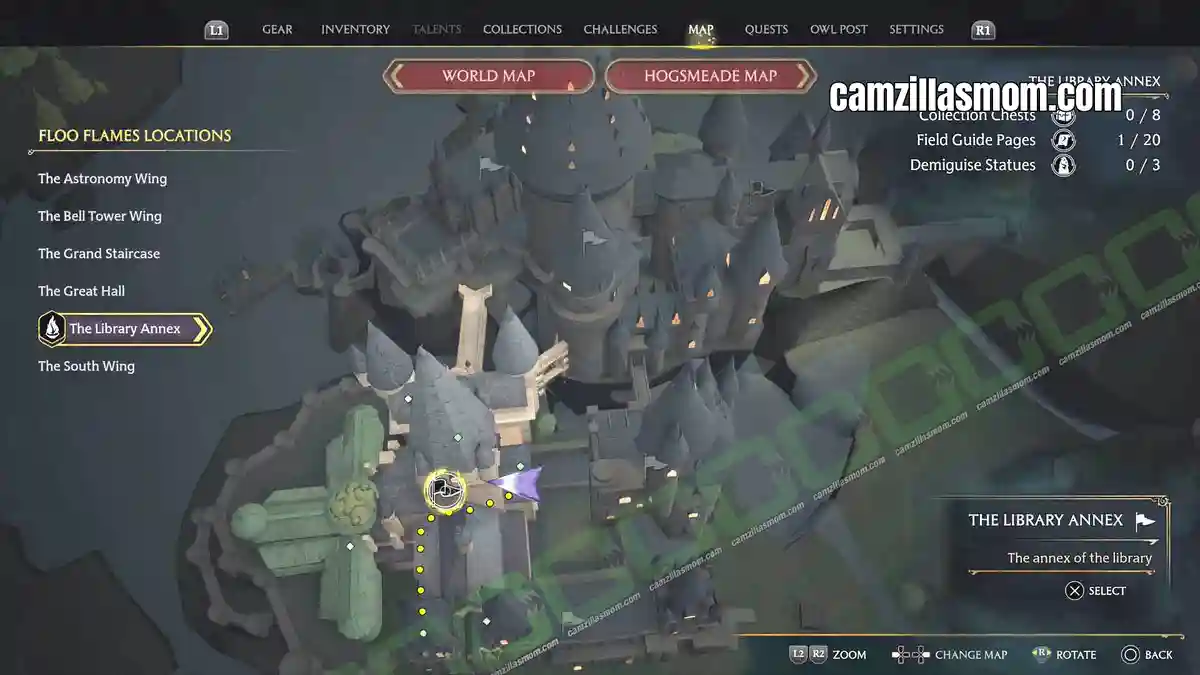
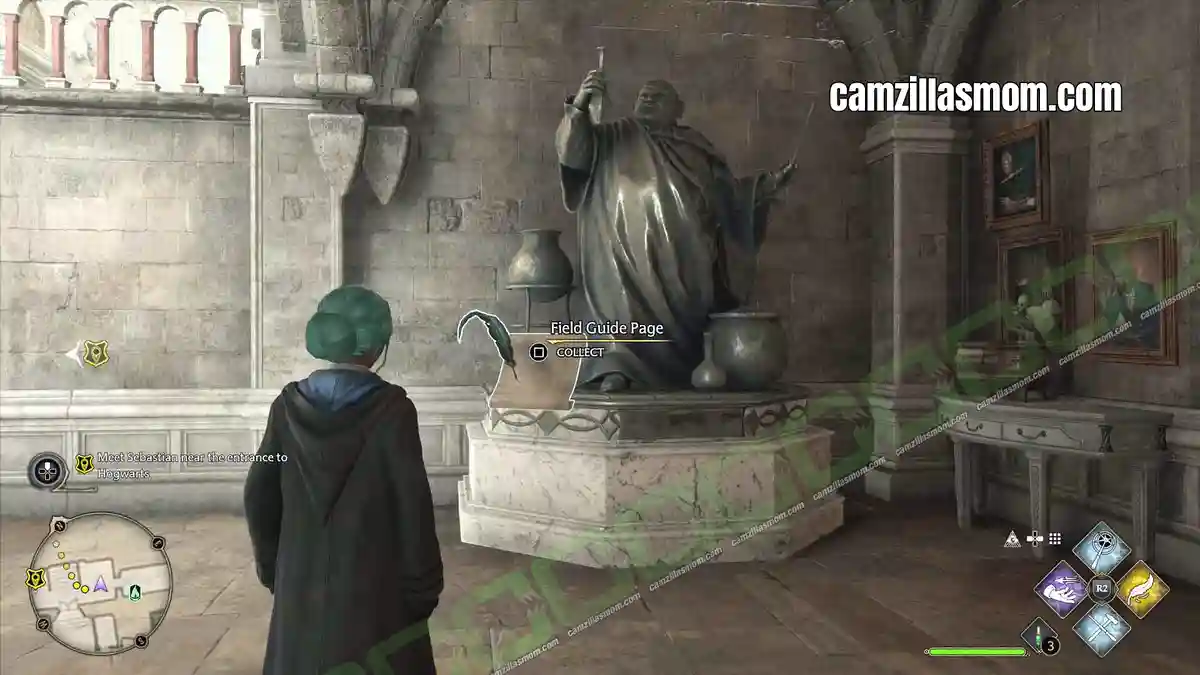
“This statue with an ingratiating grin depicts the medieval wizard Gregory the Smarmy, the wizard famous for inventing Gregory’s Unctuous Unction, a potion that makes the drinker believe whoever gave them the potion is their best friend.”
The Statue of Gregory the Smarmy is in The Library Annex. Enter it through the courtyard coming from The Astronomy Wing. It’s just at the ground floor.
The Old Librarian
(in-game menu #70)
“One of the first librarians of Hogwarts is depicted here. Rumour is that he had no tolerance whatsoever for noisy student and was known for his liberal use of the Silencing Charm at the slightest sneeze.”
Head to the second floor of the Library in THE LIBRARY ANNEX. There is a tall painting of the Old Librarian overlooking the whole library.
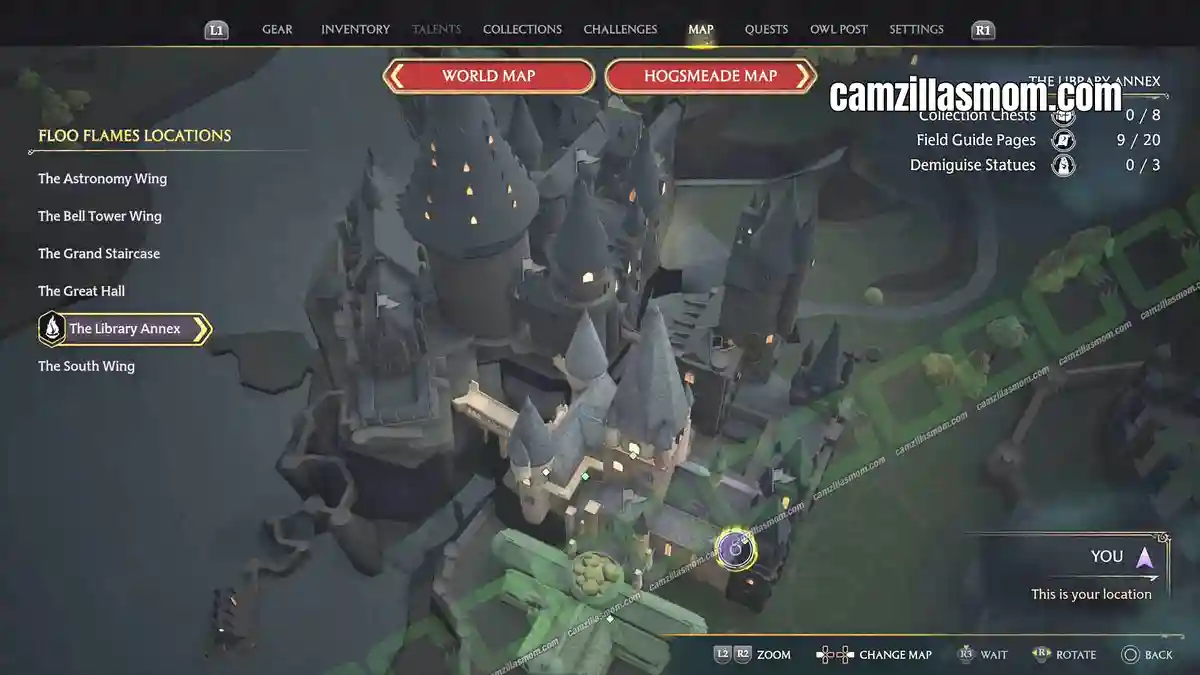
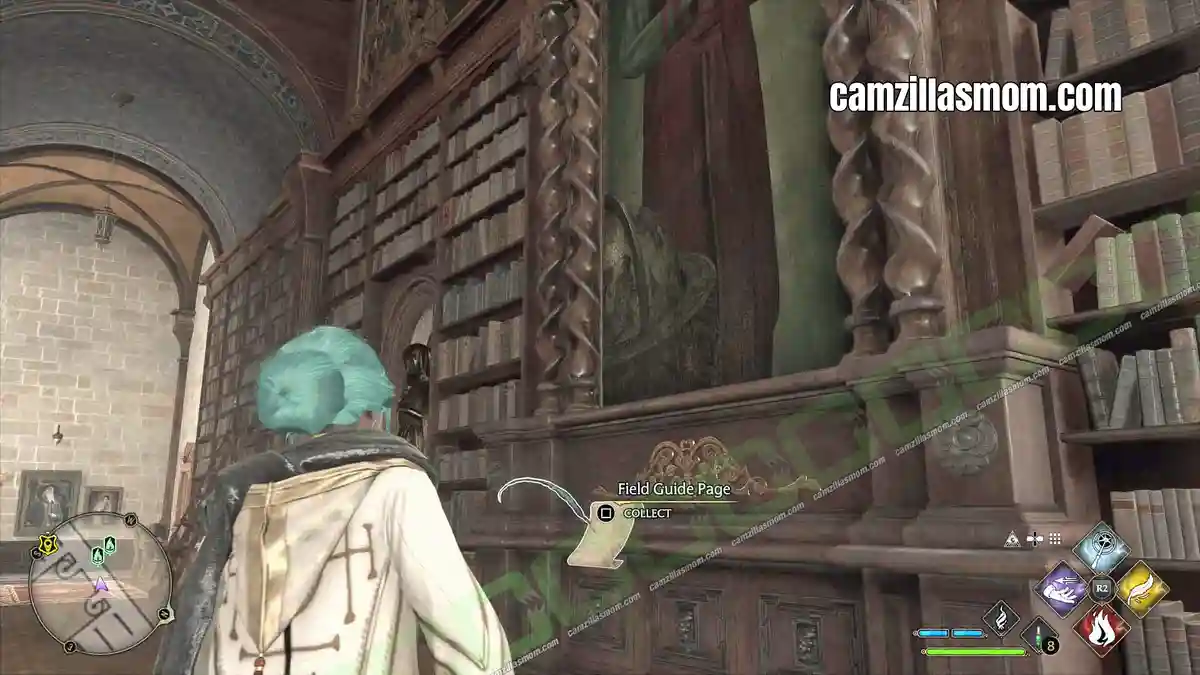
Enchanted Books
(in-game menu #71)
“Best to avoid these books if possible – due not as much to their tendency to fly from one’s hands as to their content being spectacular drivel of no educational value whatsoever.”
To get this Revelio Page, you have to continue with the story so you get access to the locked, restricted section of the library at ground floor. Then, go down one floor and look for a book shelf with this book.
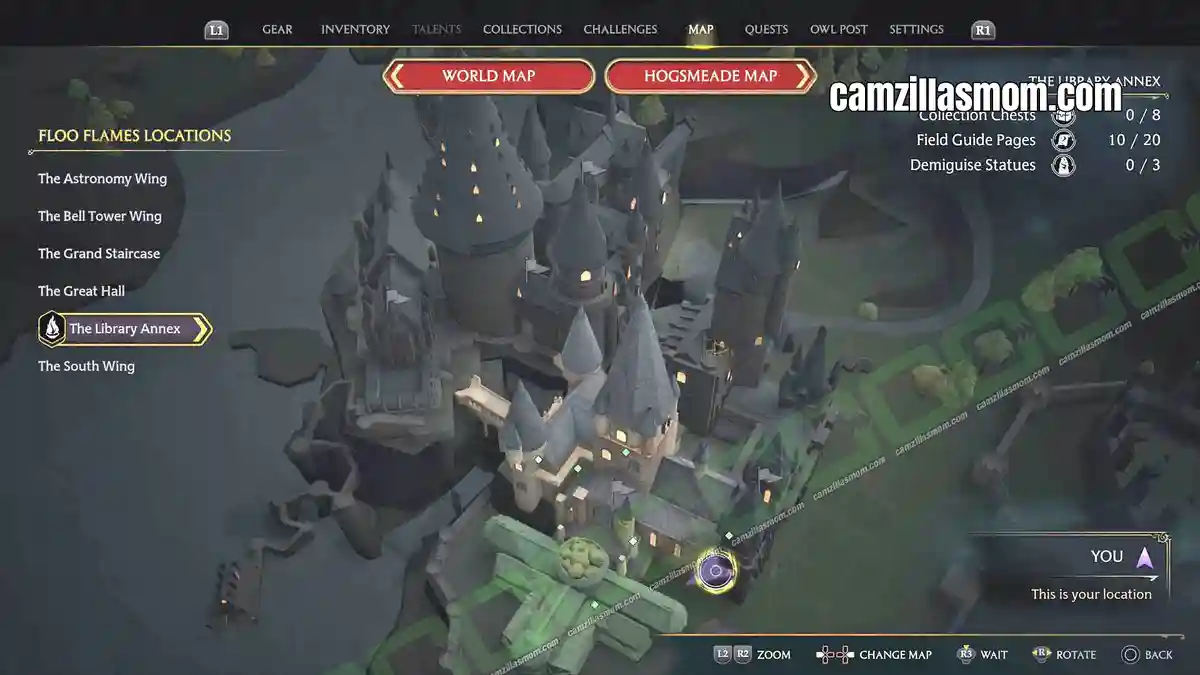
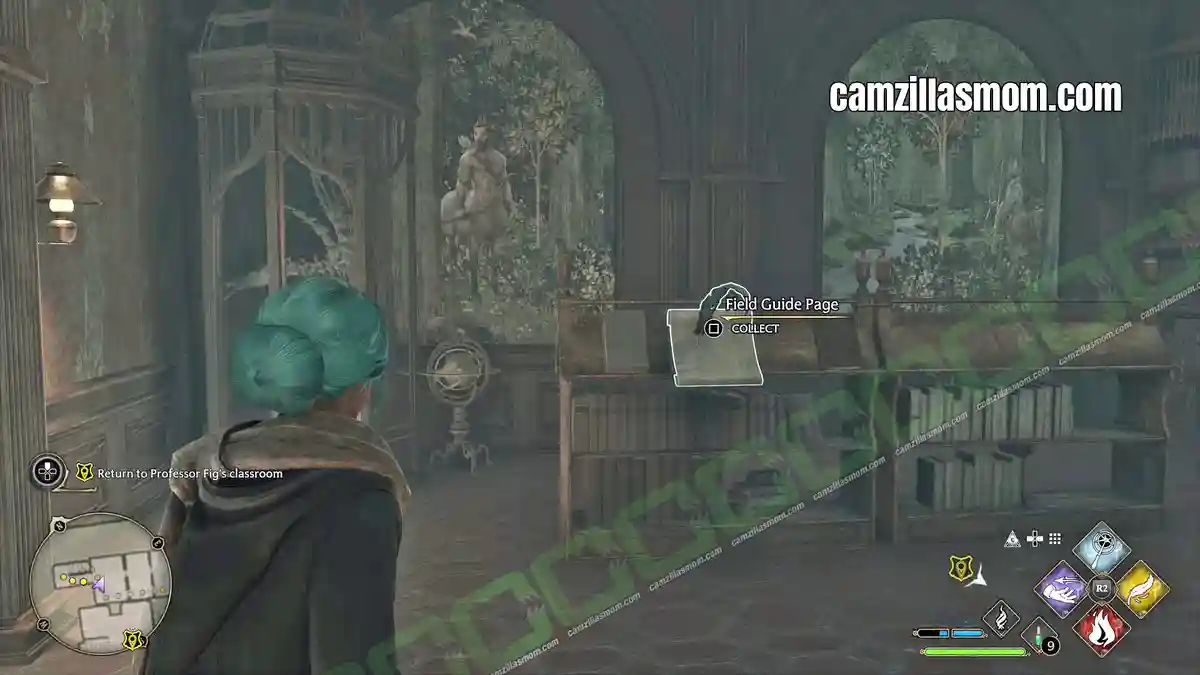
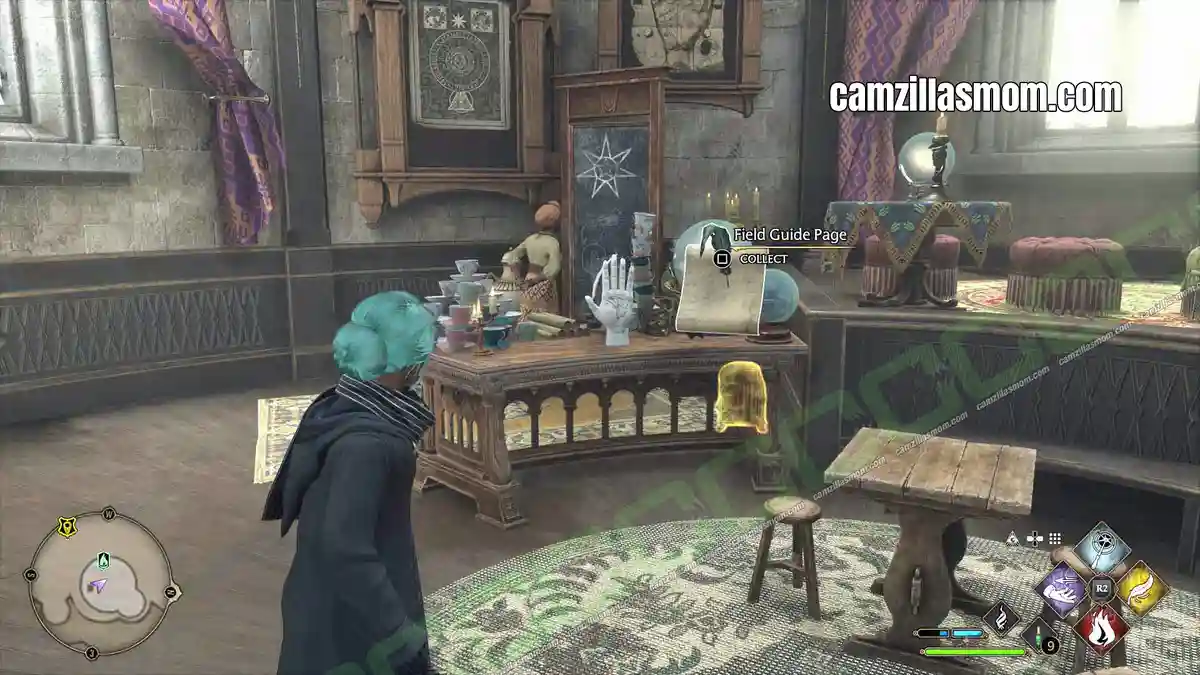
Palmistry Model
(in-game menu #72)
“This standing model of a hand is demarcated to help students in the practice of palmistry. Depending upon the angle at which this model is read, it either has a considerable life line or is likely to die in a fortnight.”
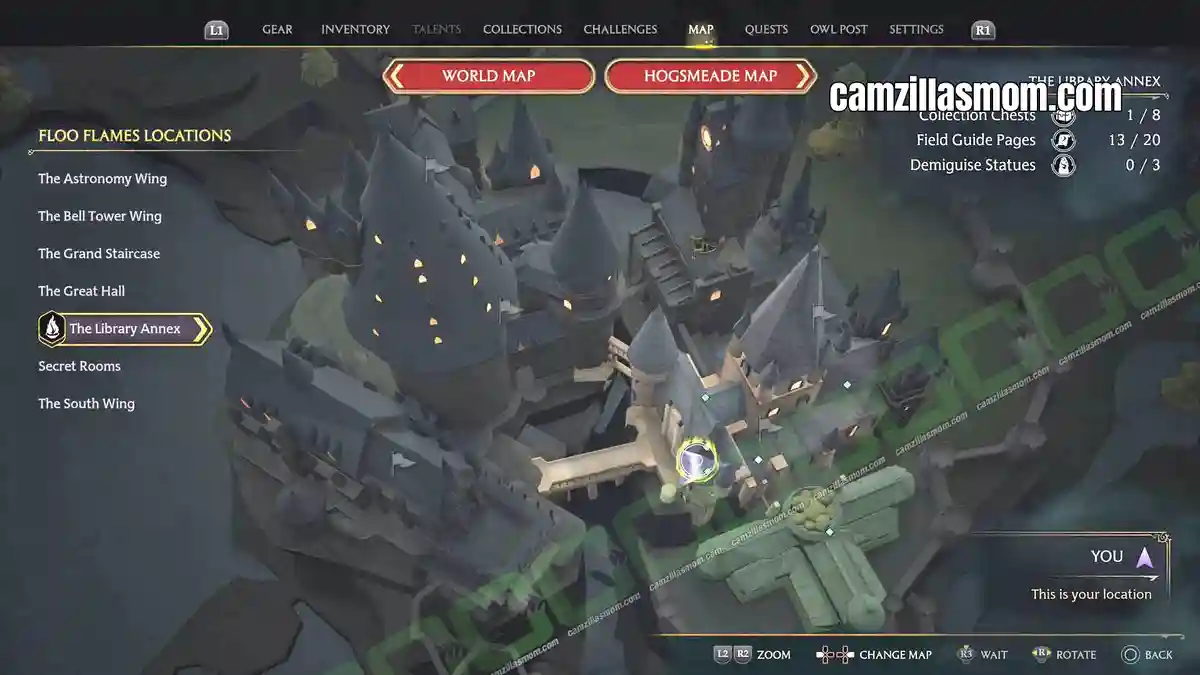
Travel to the Divination Classroom Fast Travel Point at The Library Annex. From there, go to the top of the tower, up the ladder. In this classroom is the Palmistry Model.
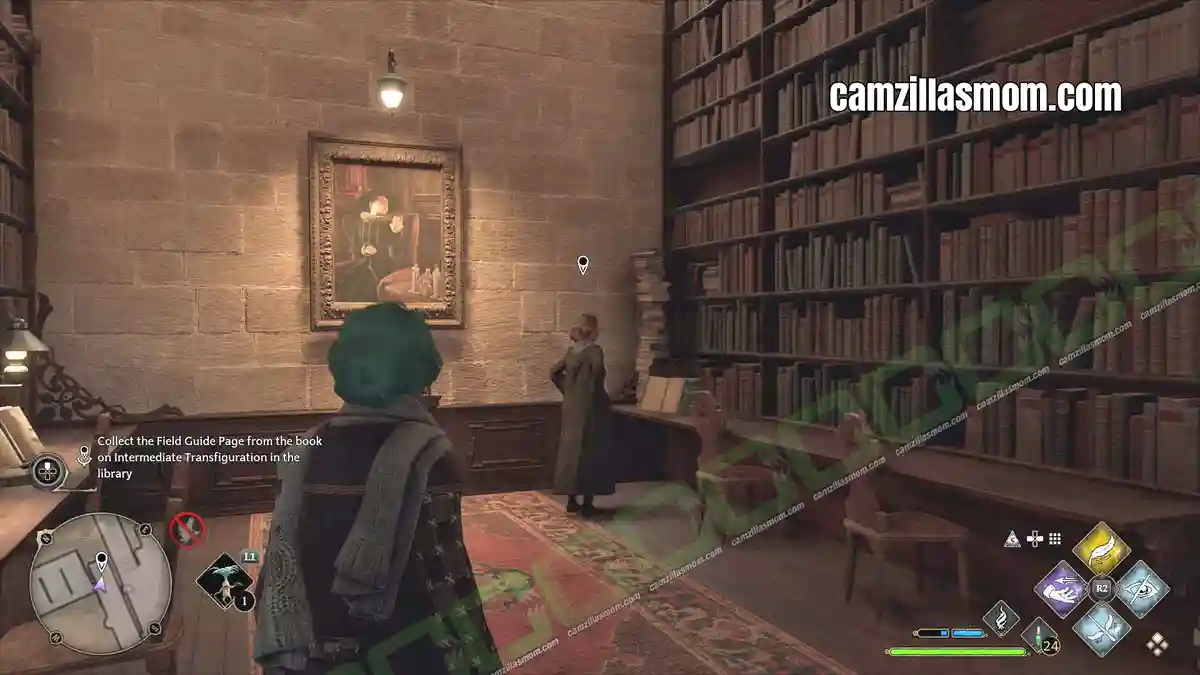
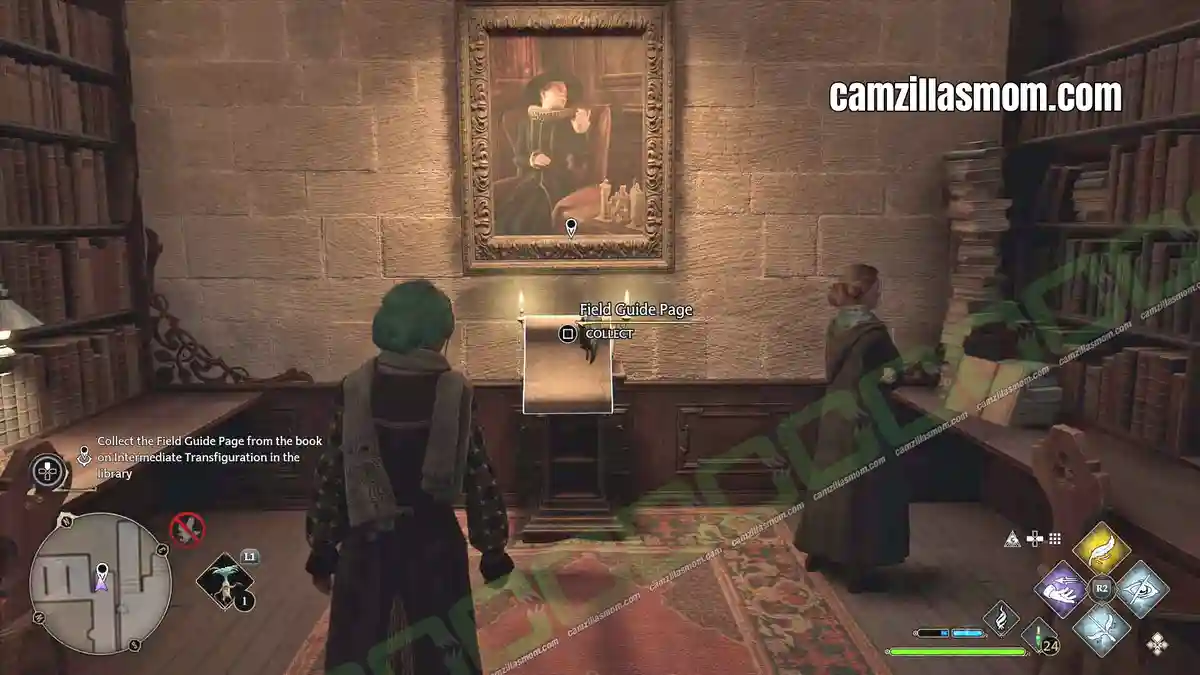
Book on Intermediate Transfiguration
(in-game menu #73)
“This book is designed to help guide the student who wishes to pursue more complicated types of Transfiguration. Professor Weasley often recommends it to her advanced students as a bit of light reading.”
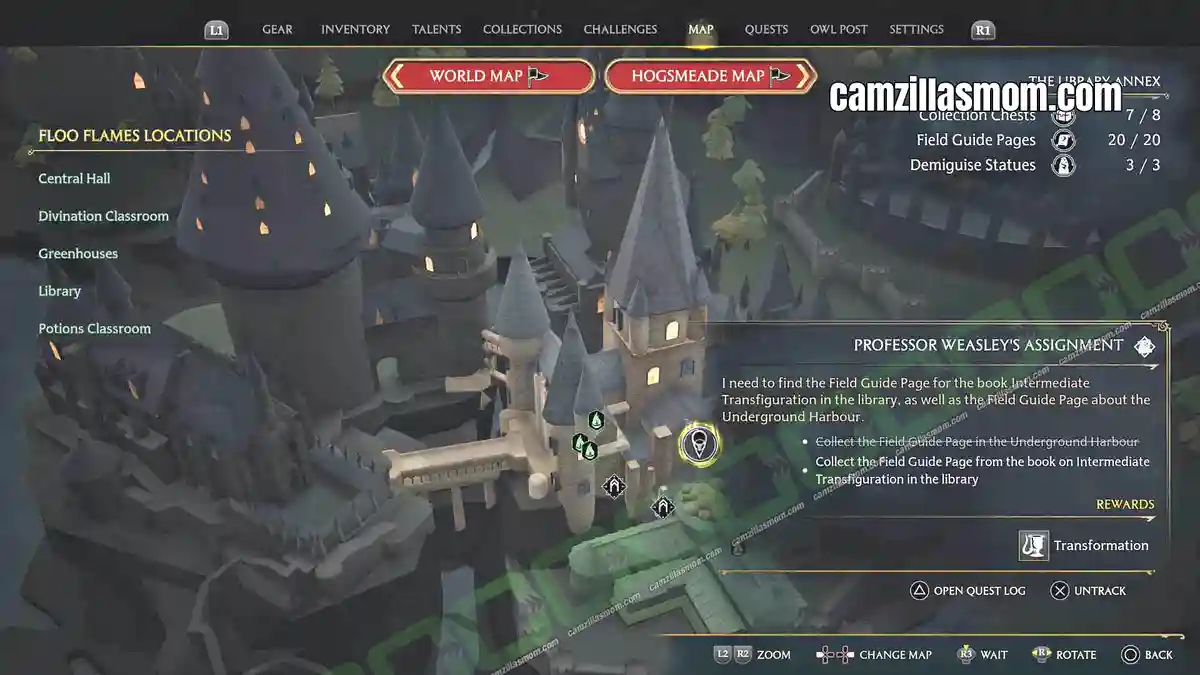
To get this Field Guide Page, you have to wait for one of Professor Weasley’s Assignments. Then you can go to the top floor of the Library, where you have to solve a couple of quizzes first, before you get access to this book.
Ravenclaw Doorknocker
(in-game menu #82)
“To gain entrance to the Ravenclaw common room, one must solve a rather esotheric riddle, using logic and reasoning, posed by the eagle doorknocker.”
Exit the Ravenclaw Quarters and turn around to use “Accio” on the entrance door.
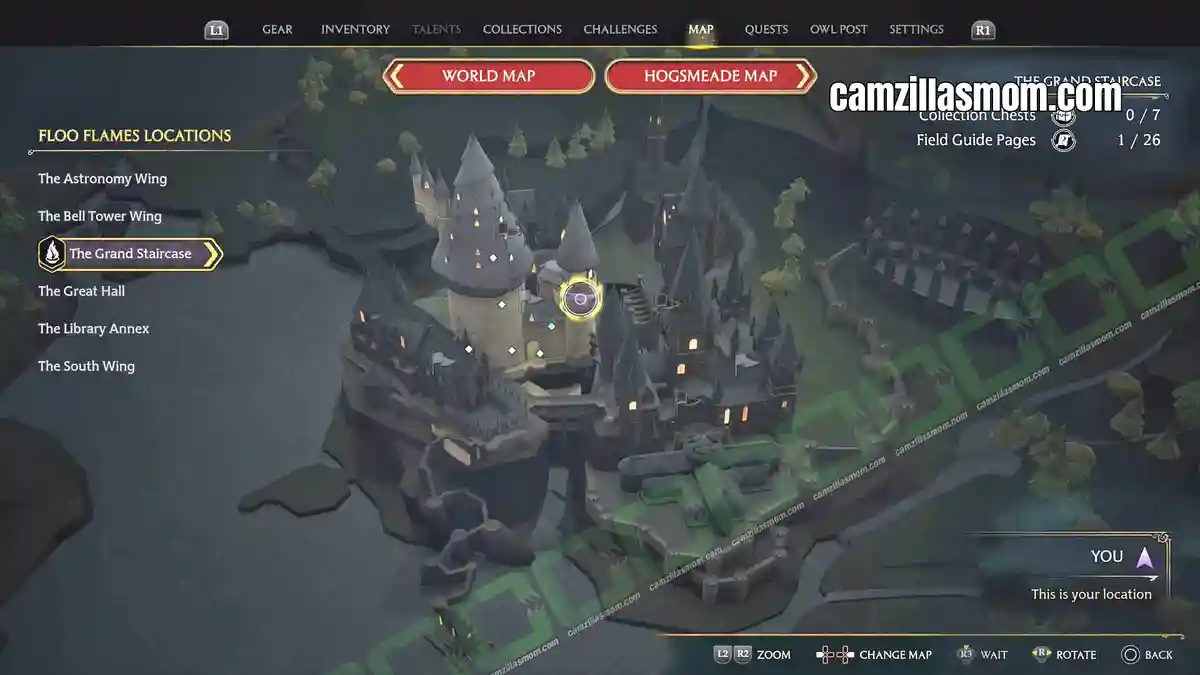
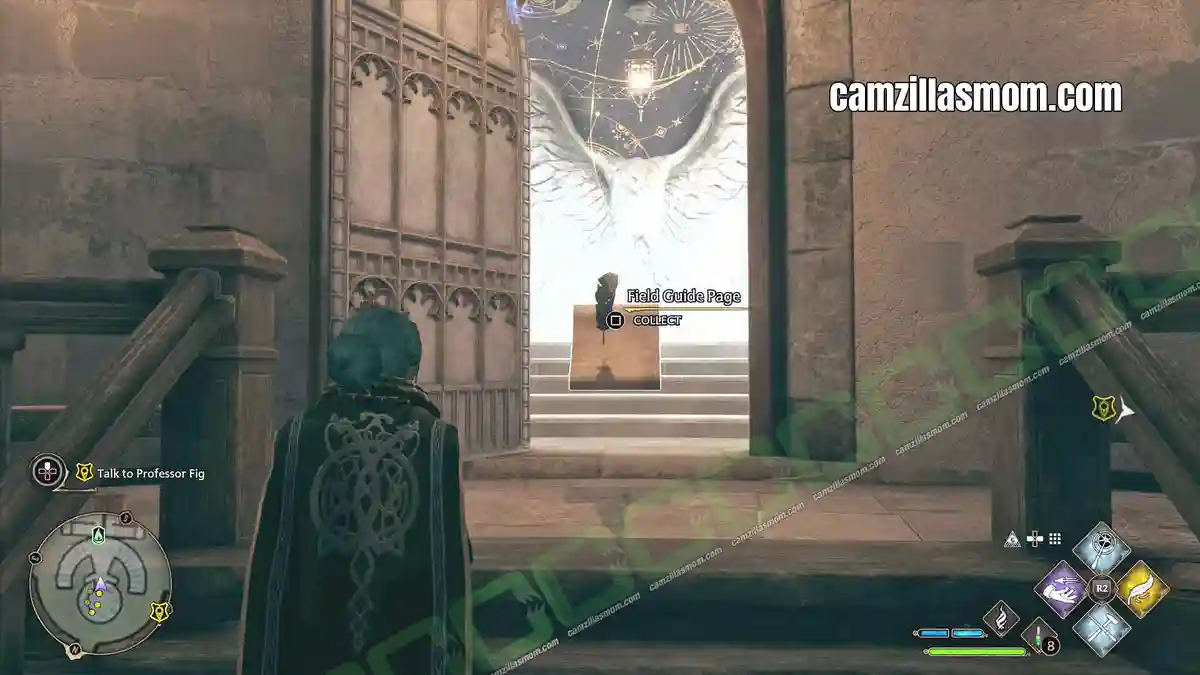
Wyvern Fountain
(in-game menu #86)
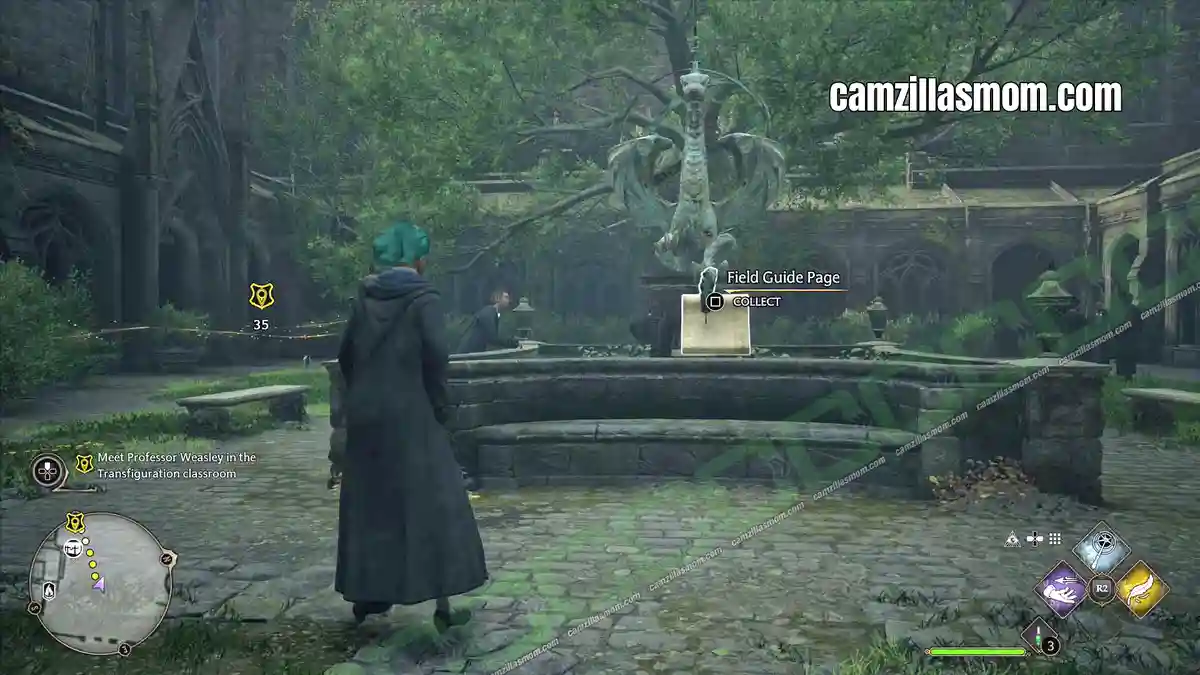
“This fountain in the Transfiguration Courtyard has a likeness of a wyvern on top and serves as a relaxing place for students to gather. Despite rumours to the contrary, possibly started by Sir Cadogan, this is most assuredly not meant to be the Wyvern of Wye, slain by the lively knight in spite of himself.”
In the courtyard between The Astronomy Wing and the Library Annex is the Wyvern Fountain.
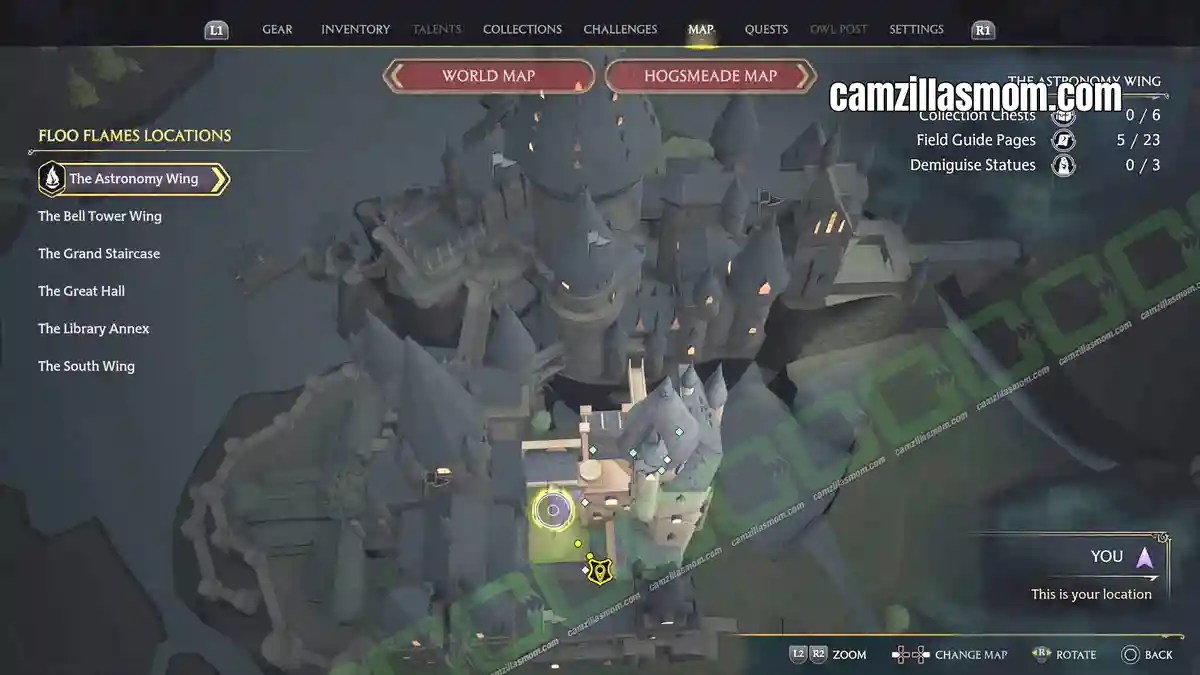
Portrait of Sir Cadogan
(in-game menu #90)
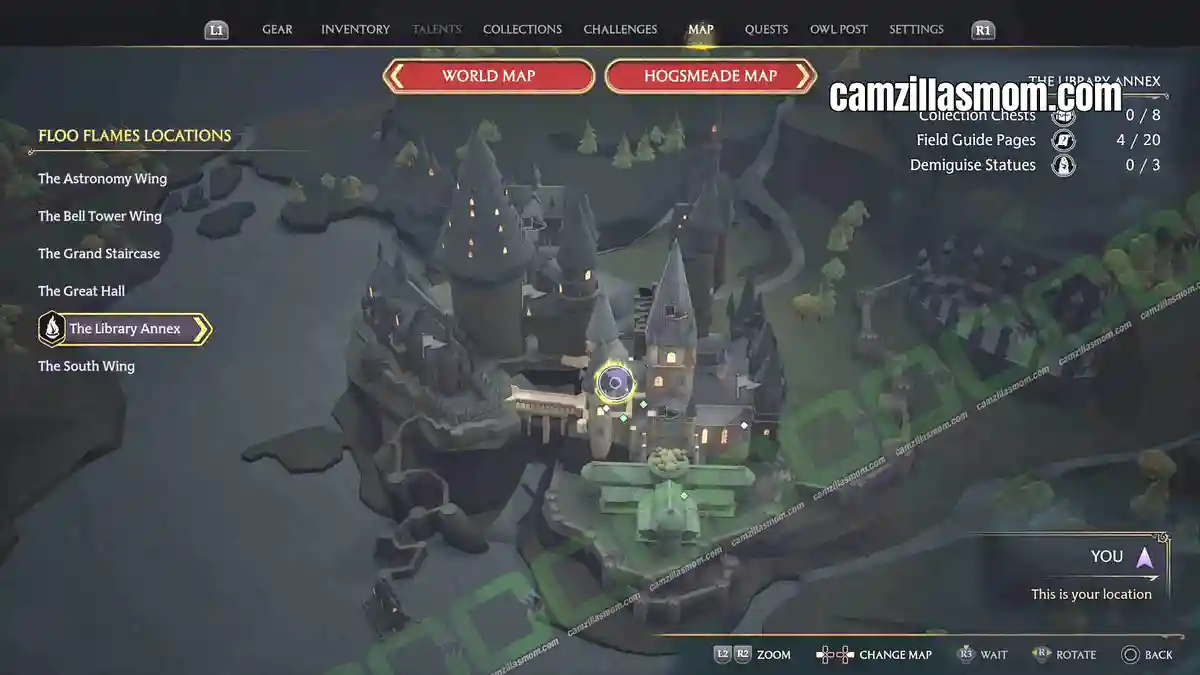
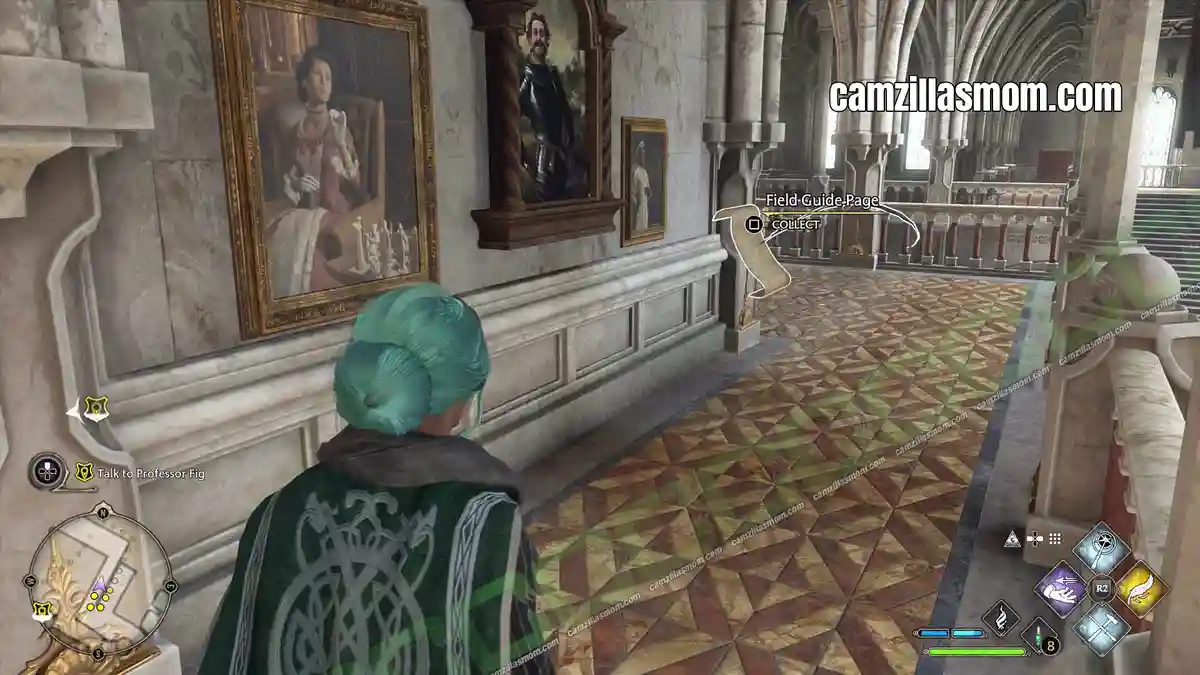
“Sir Cadogan was allegedly friends with Merlin himself, and as such became a sworn Knight of the Round Table – although he is only really known to the wizarding world. He is famous for his defeat of the Wyvern of Wye and now spends his days challenging students to duels.
At the top framed paintings level of the Library Annex is this Portrait of Sir Cadogan.
South Wing Field Guide Pages
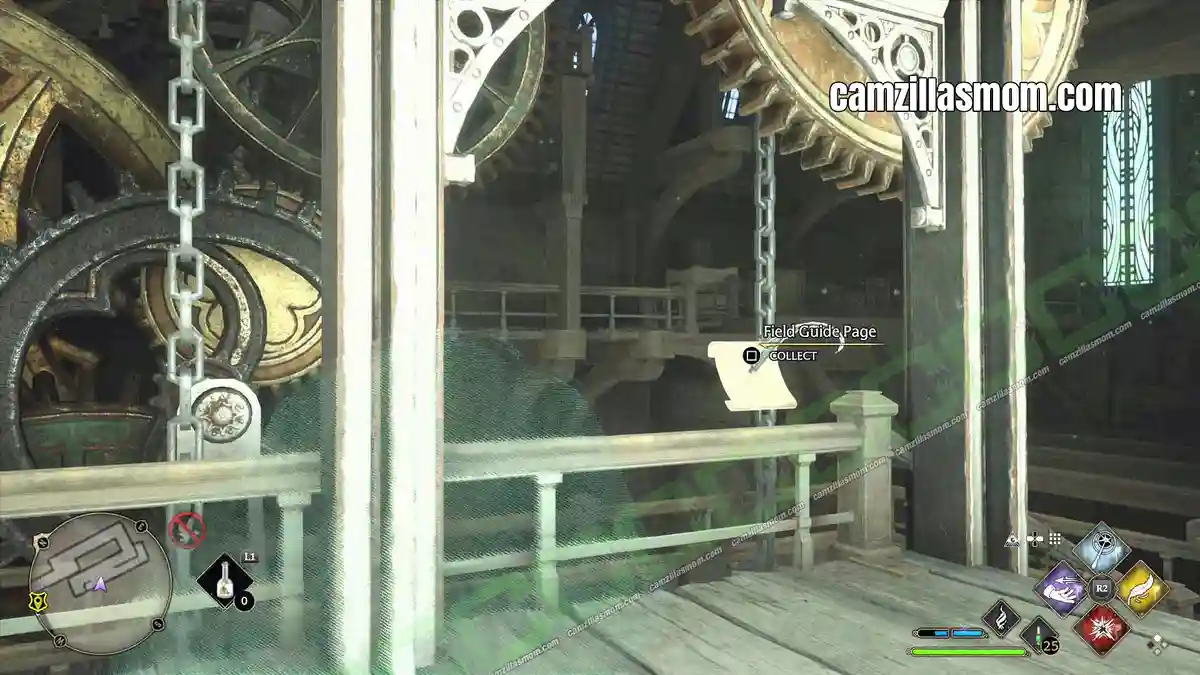
Clock Mechanics
(in-game menu #19)
“While the moving gears of the clock tower’s inner mechanics serve as a deterrent to many, others find the privacy offered by the cogs and wheels appealing.”
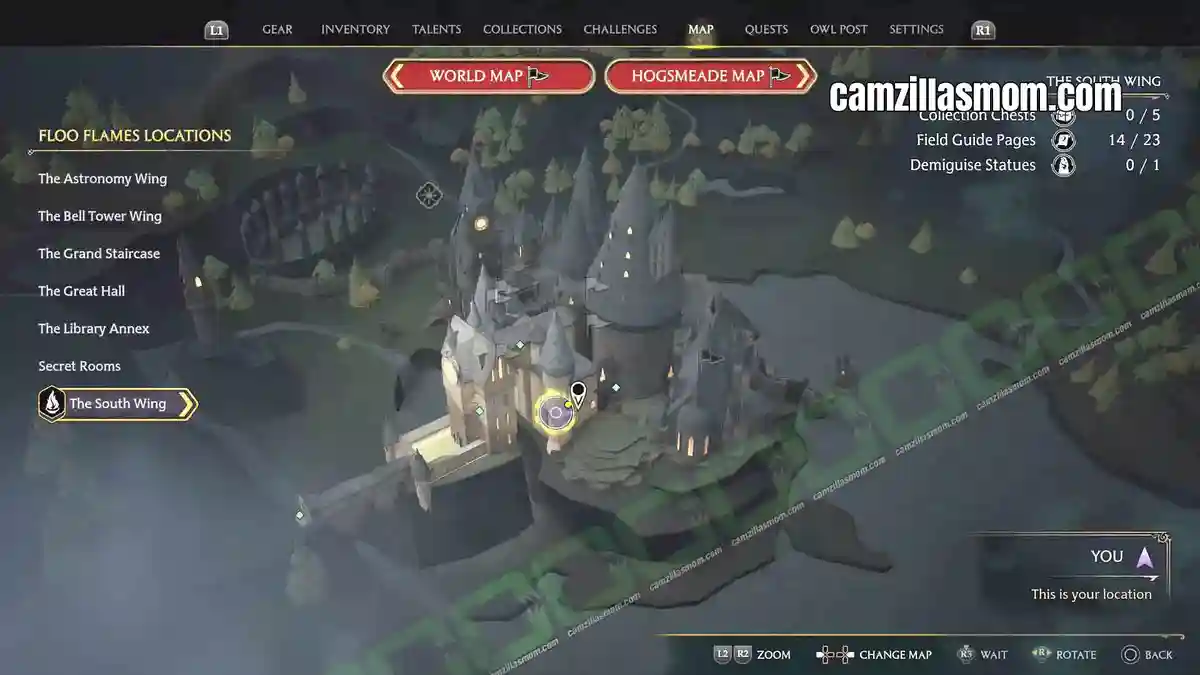
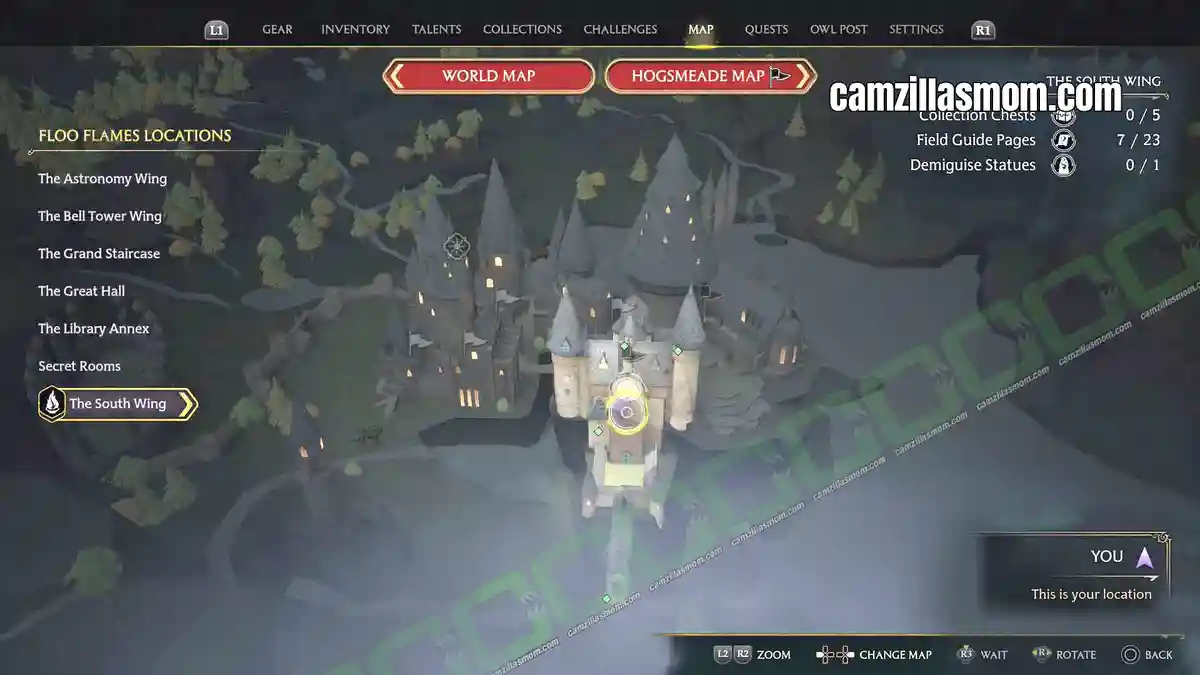
Go to the southern exit at the SOUTH WING, where the duelling is taking place. Here, you can lock pick the door to the right to get up to the clockworks.
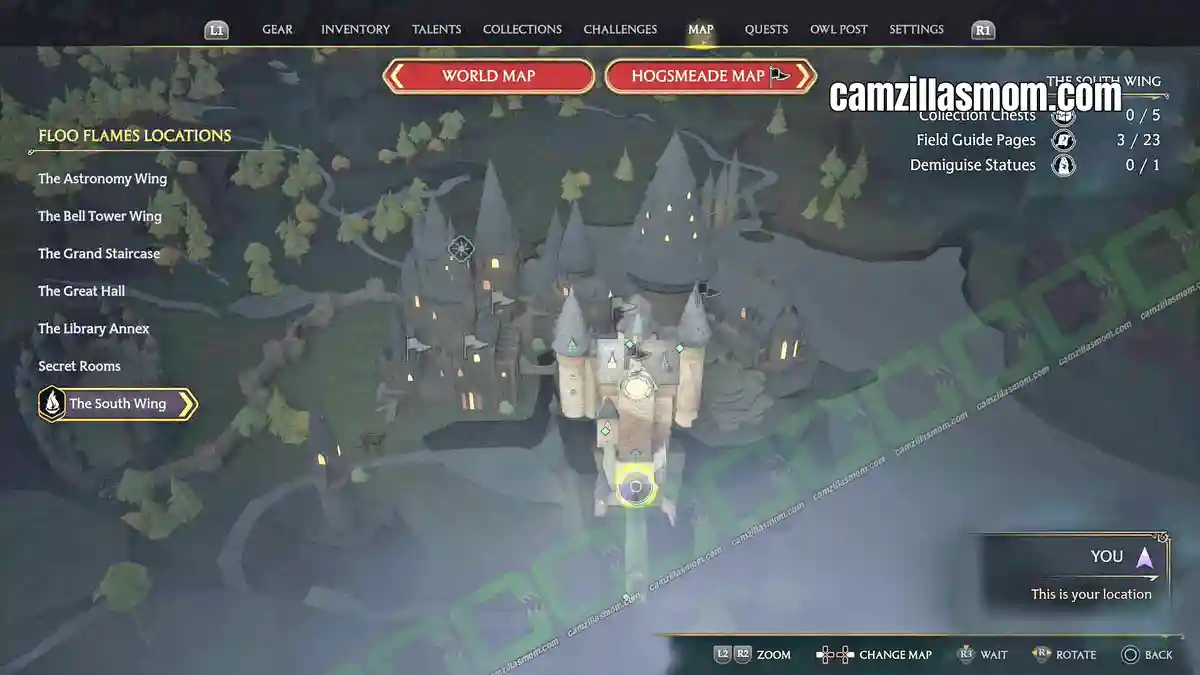
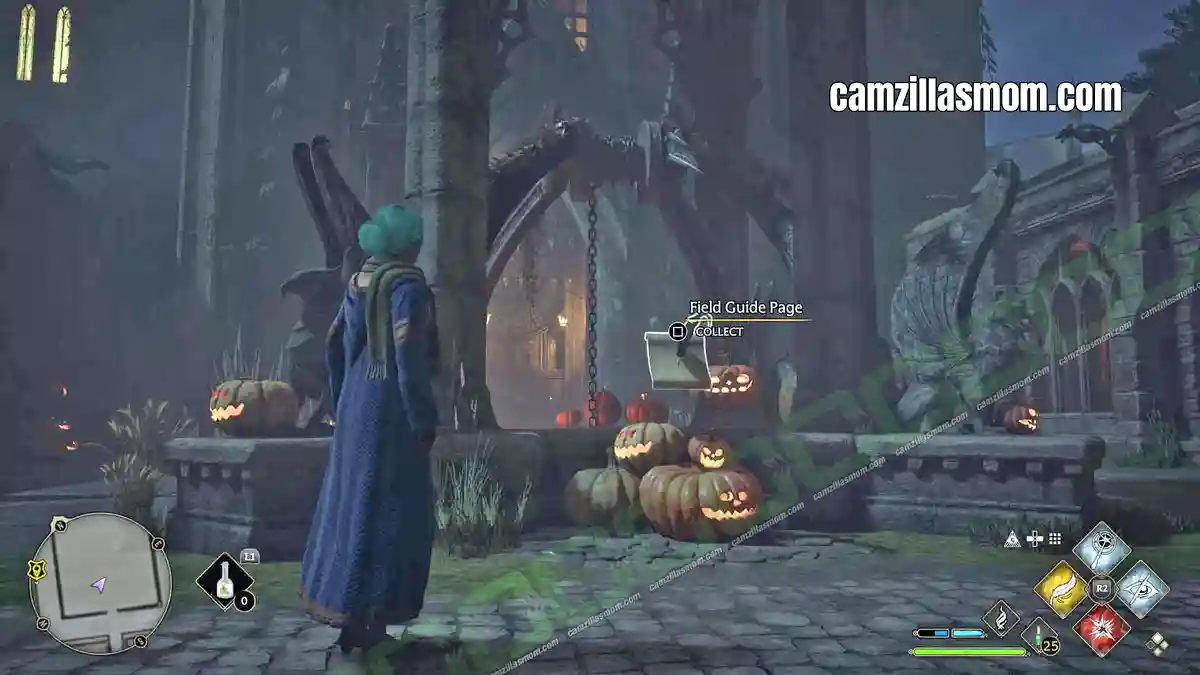
The Well of Four Beasts
(in-game menu #20)
“Some students believe that a wish made over the Well of Four Beasts – whether near the Thestral, griffin, Chimaera, or Hippogriff – will come true for one who has gained the trust of any of the four.”
The Well of Four Beasts is just outside the southern, main entrance to the South Wing.
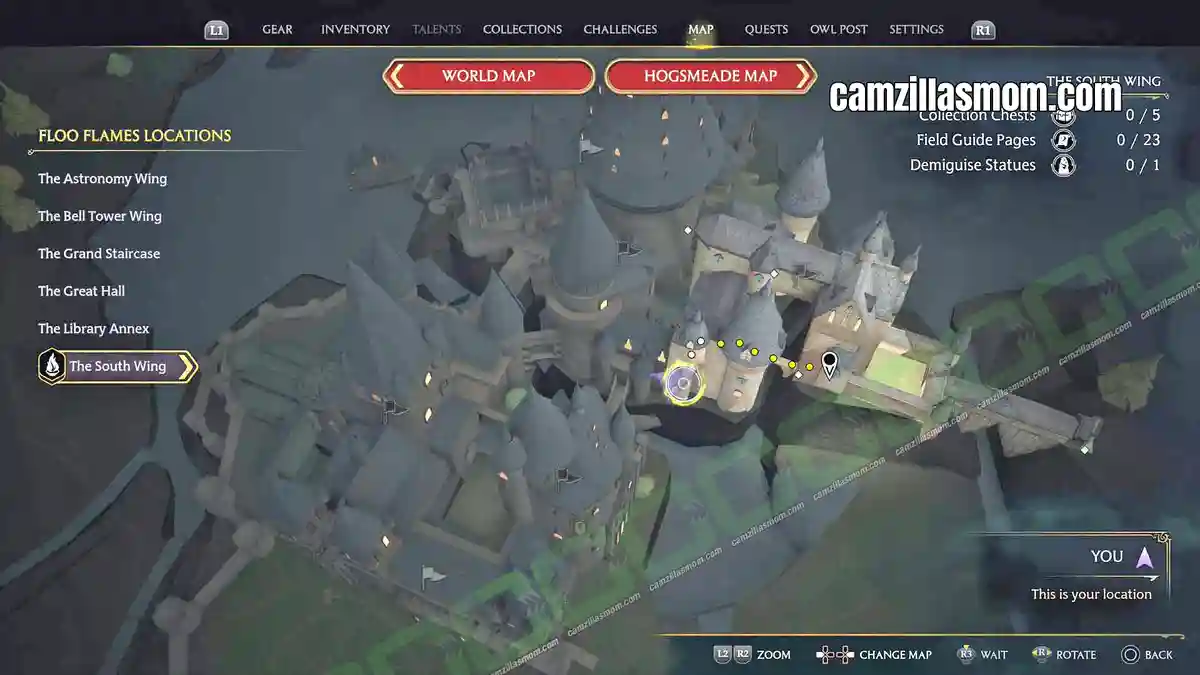
Haunted Toilets
(in-game menu #21)
“Unless in dire straits, it is probably best to avoid this particular toilet as it is allegedly one of Peeves’s favourite pranking spots.”
In a corridor at ground floor of THE SOUTH WING is the locked Hauted Toilet door.
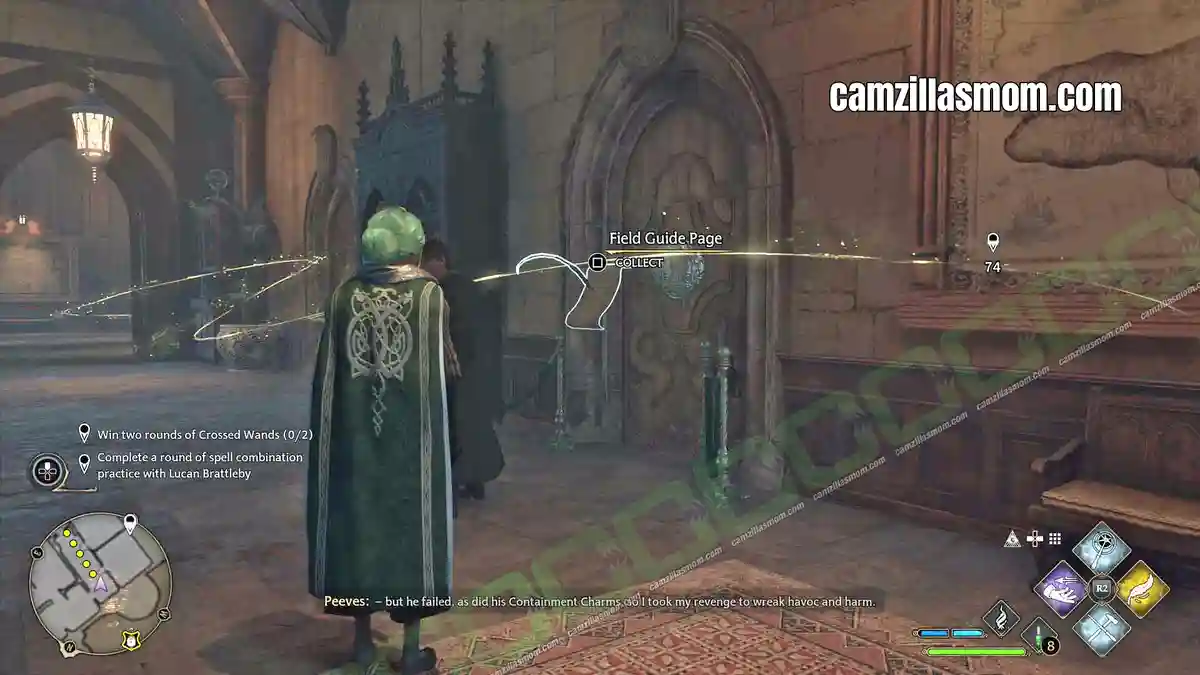
Map of Argyllshire
(in-game menu #32)
“This map depicts Argyllshire, a region in Scotland which contains the Hebrides – native home of the Hebridean Black dragon.”
Take the staircase up from the “Lachlan the Lanky” statue on ground floor at THE SOUTH WING to get to this map.
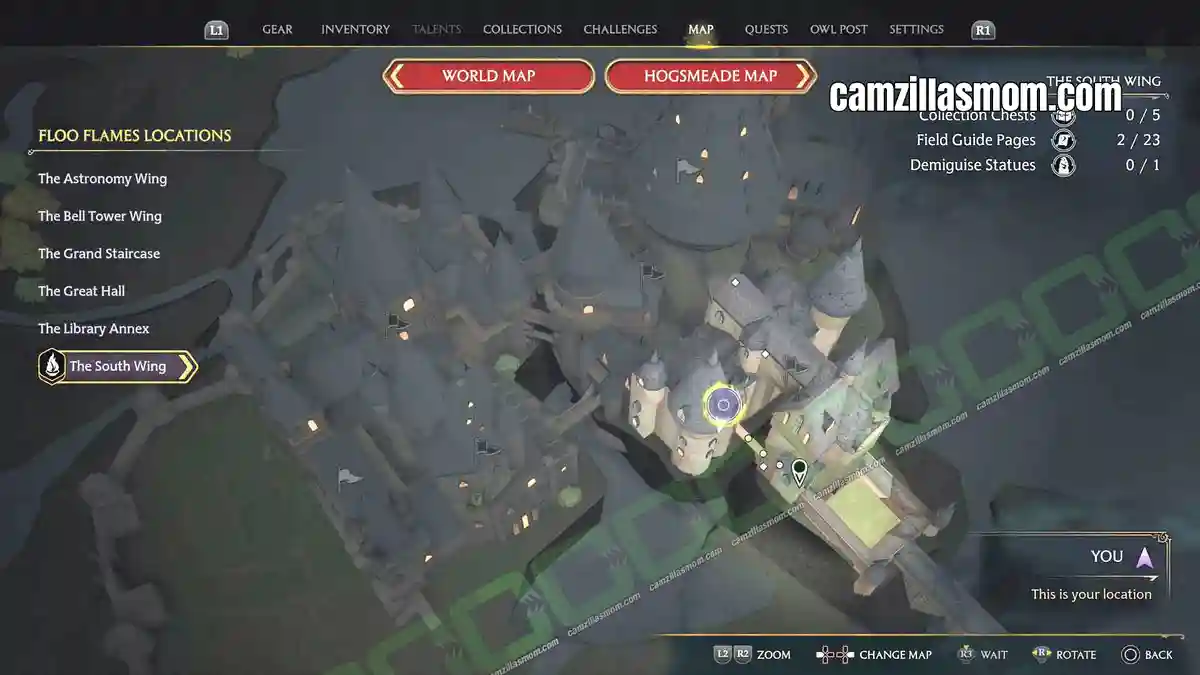
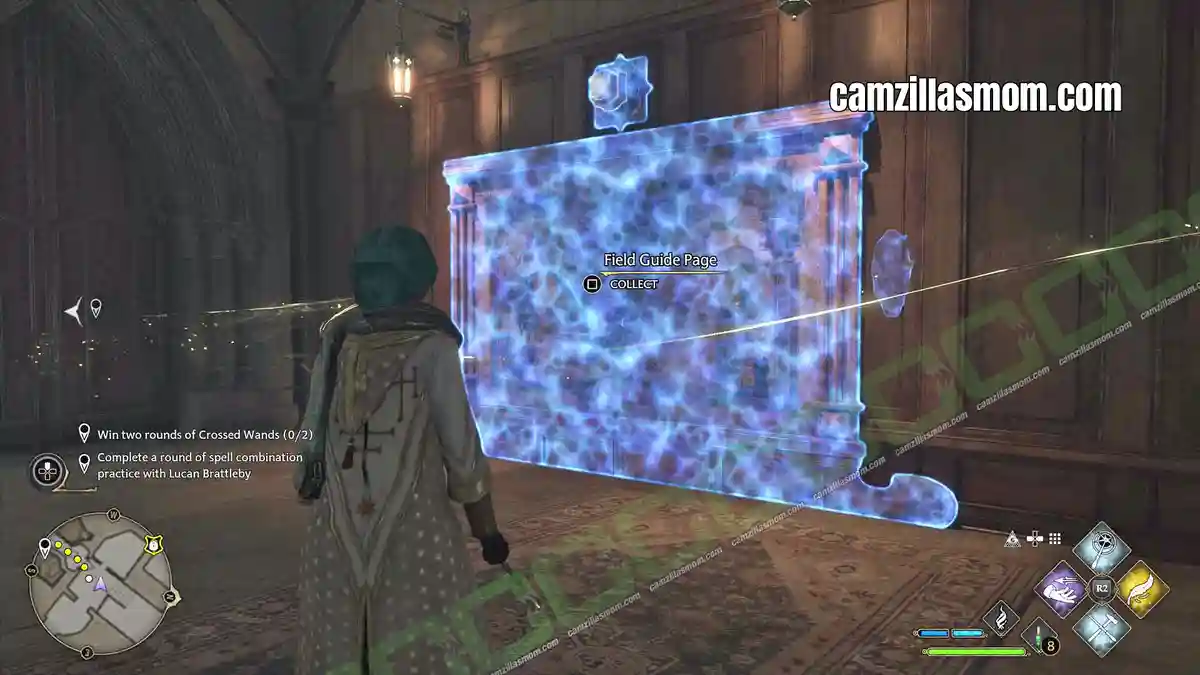
Boris the Bewildered
(in-game menu #33)
“This statue of a lost-looking wizard known as Boris the Bewildered has perplexed students for ages. Is he coming or going? Is he at the beginning of a journey or the end? Perhaps we shall never know.”
Boris is just below the Hospital in the South Wing.
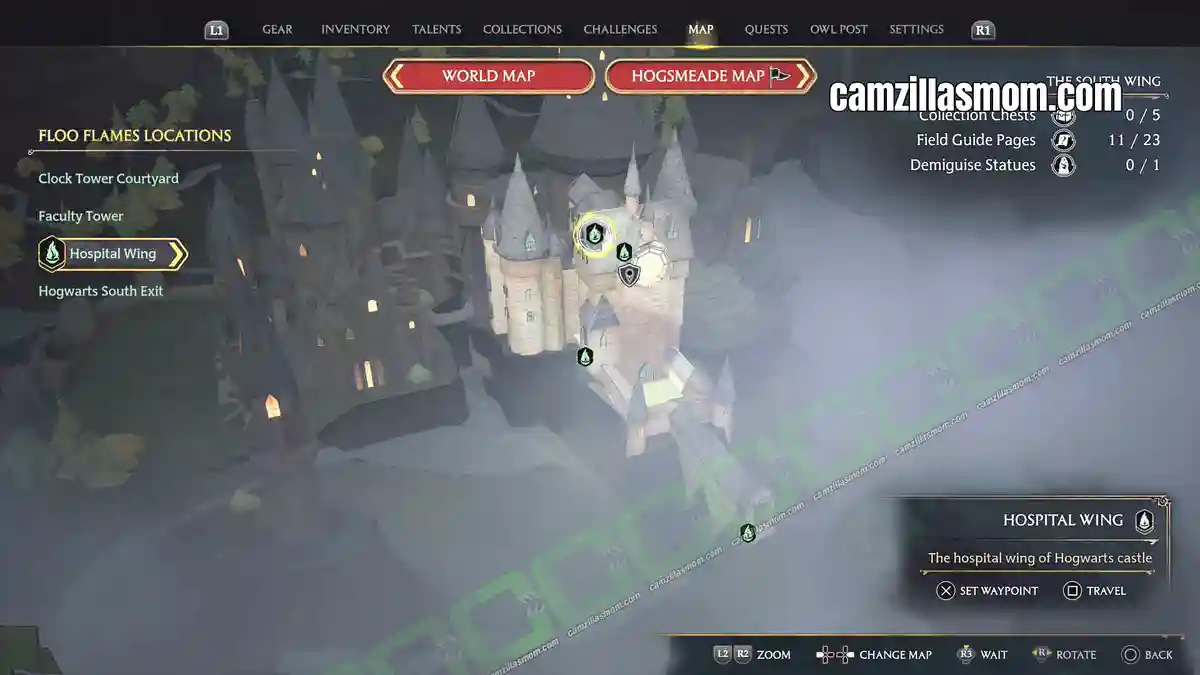
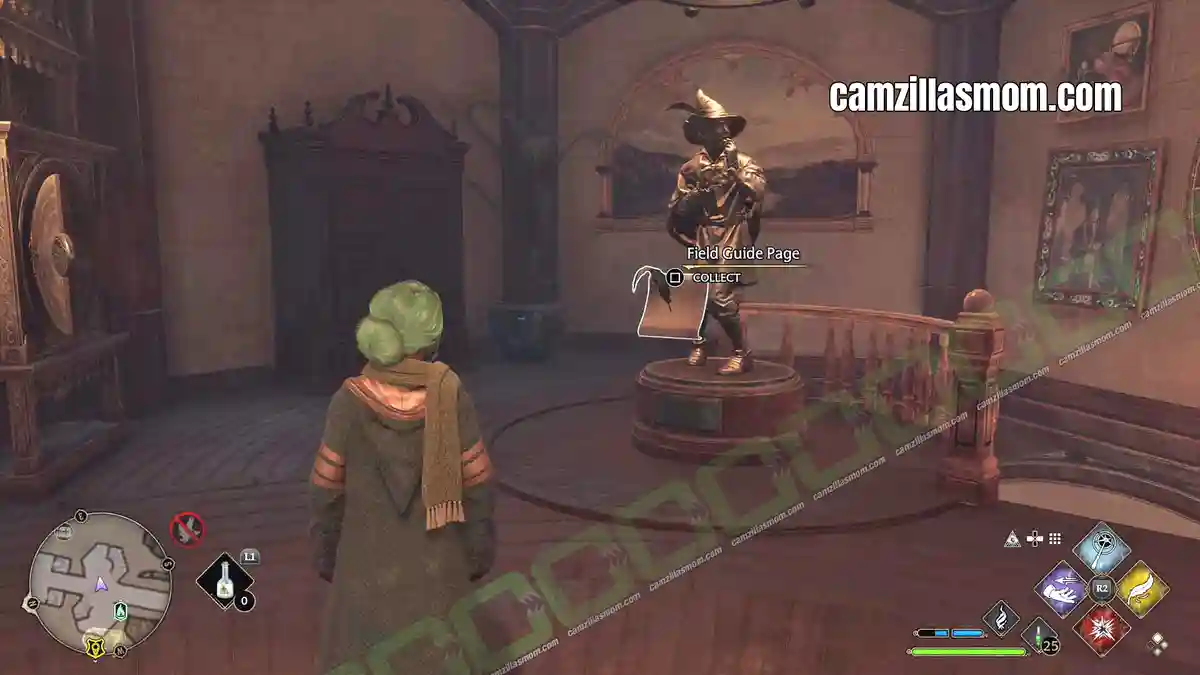
Lachlan the Lanky
(in-game menu #34)
“This statue depicts the wizard Lachlan the Lanky – a tall, slender wizard who appears quite proud of himself. For what precisely, no one knows.”
Find this statue at the ground floor of THE SOUTH WING.
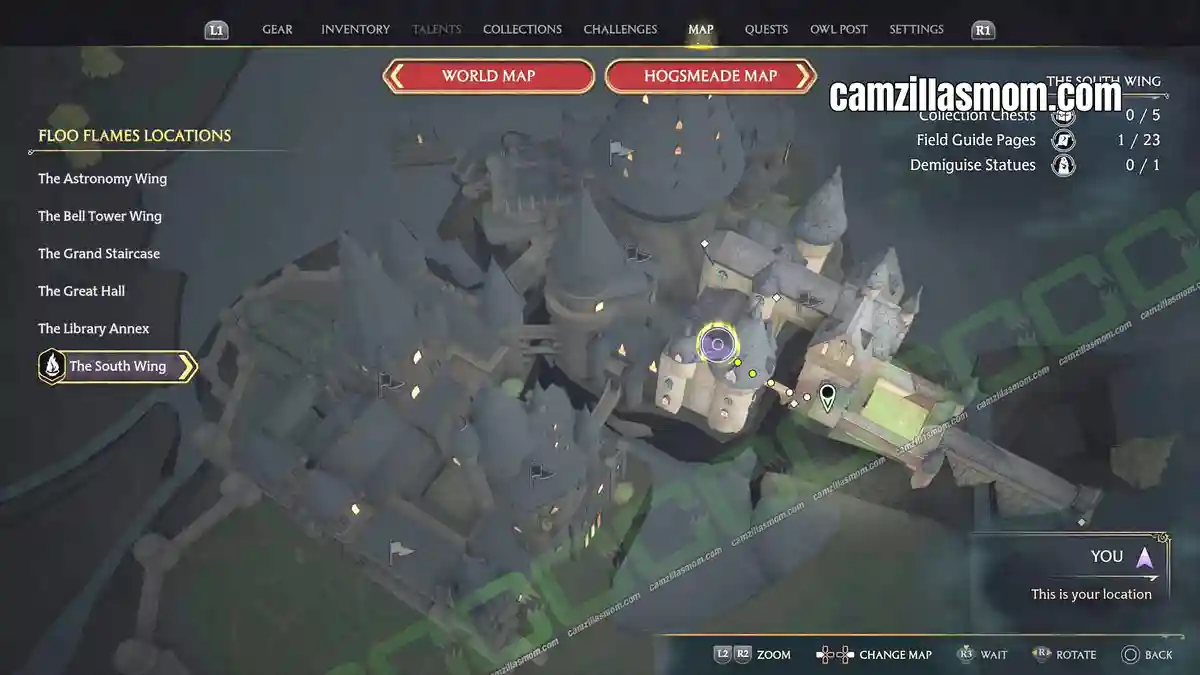
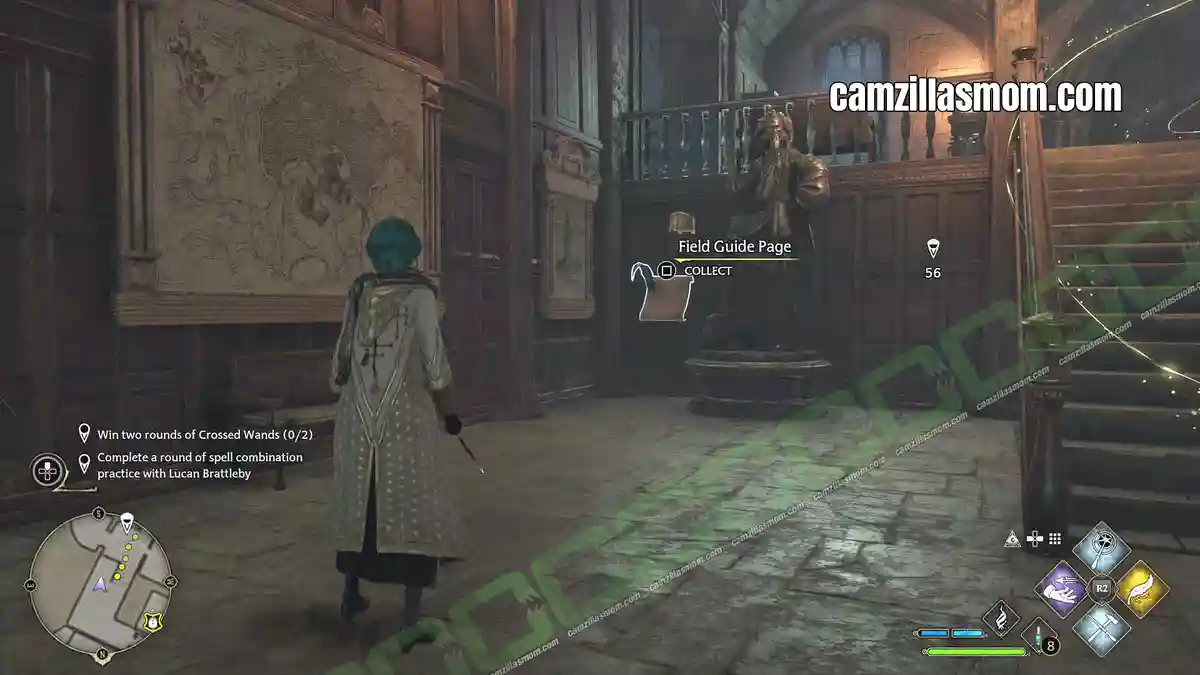
Adventure Novel Set
(in-game menu #35)
“Sketched inside the cover of this old, slightly worn set of serialised adventure novels is what looks like a gazelle. Perhaps the novels were a givt to Professor Onai or her daughter Natsai.”
Remember the restricted area you had to enter to pick up your first Demiguise for Gladwin Moon in the SOUTH WING? Here, just behind the barrier, up the stairs close to the puzzle door, is a room with a Level 2 Lock. Inside is this Field Guide Page.
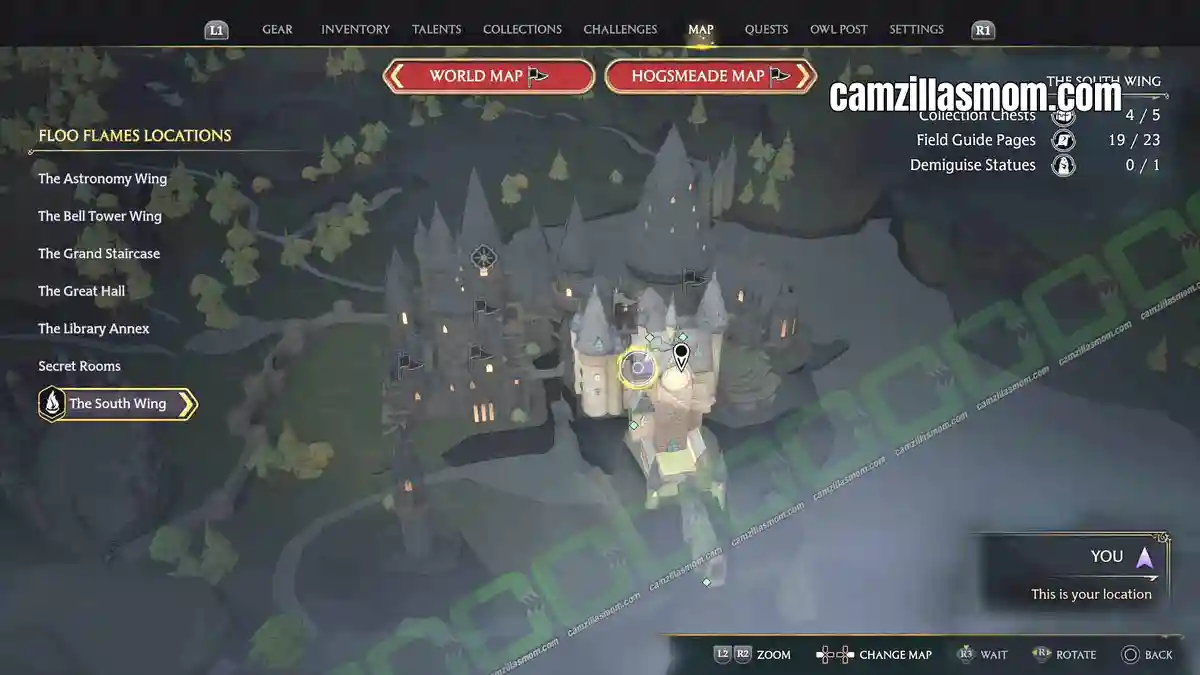
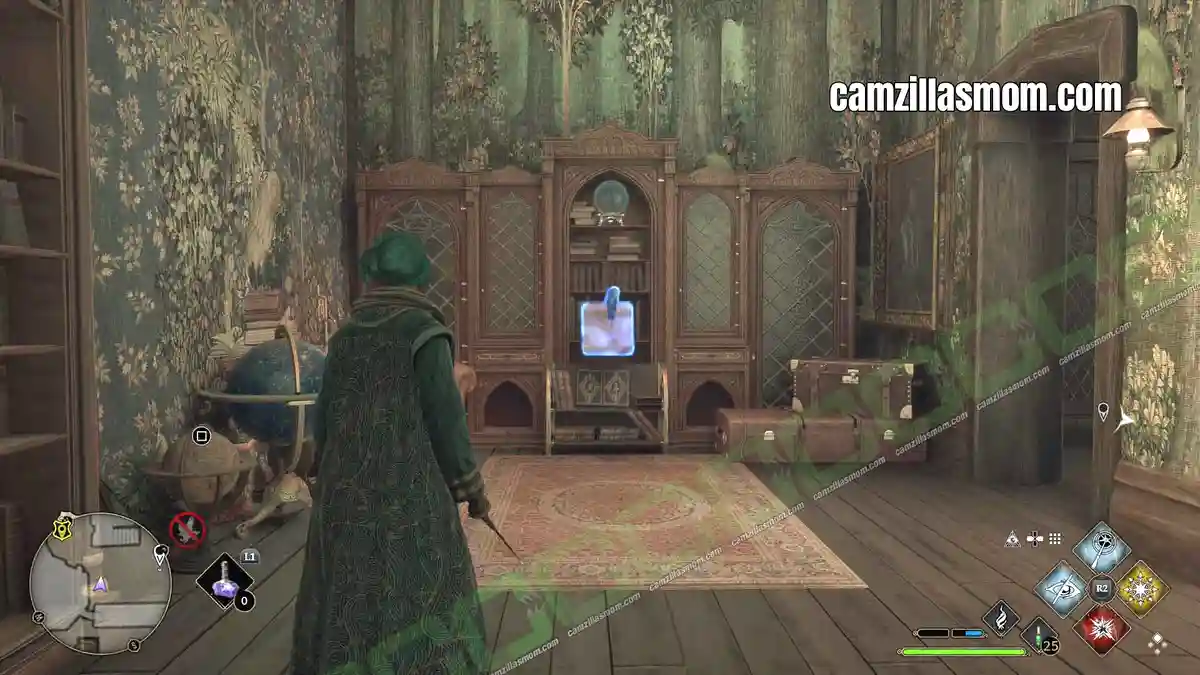
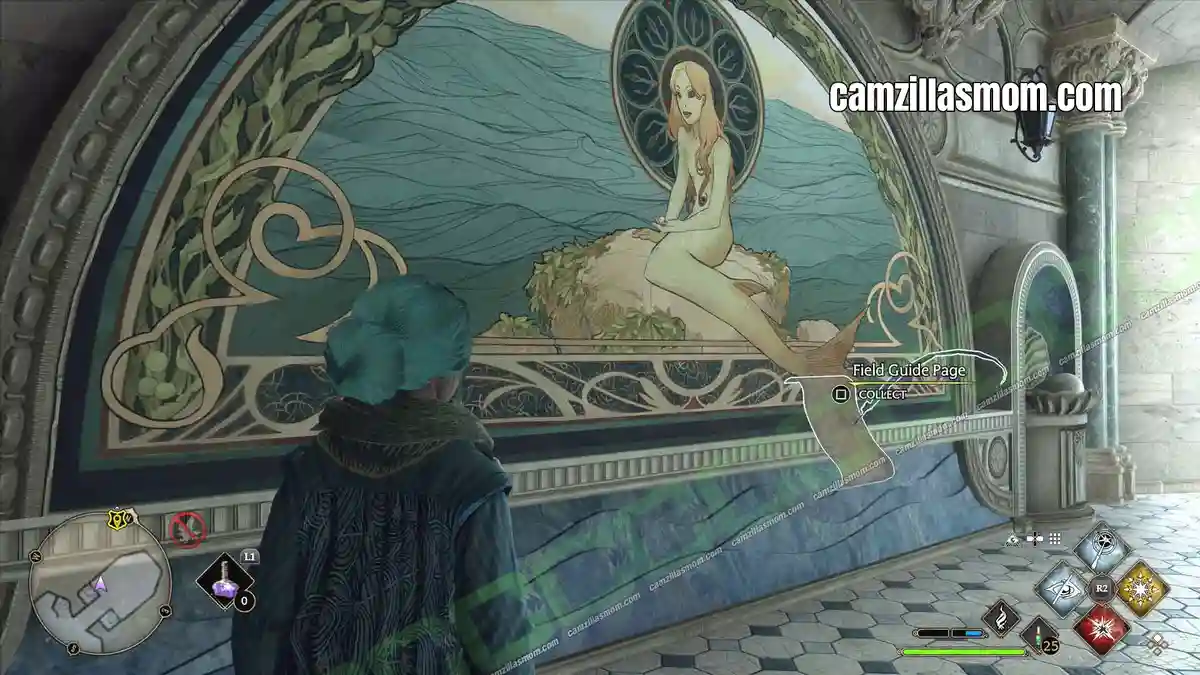
Prefects’ Bathroom
(in-game menu #36)
“The Prefects’ bathroom features a swimming-pool-sized bathtub that can be filled with enchanted soap and colourful bubbles, as well as a beautiful painted mural depicting a mermaid.”
Just below the Hospital at the Hospital Wing of THE SOUTH WING is a pool area. Here is a nice painting of a mermaid.
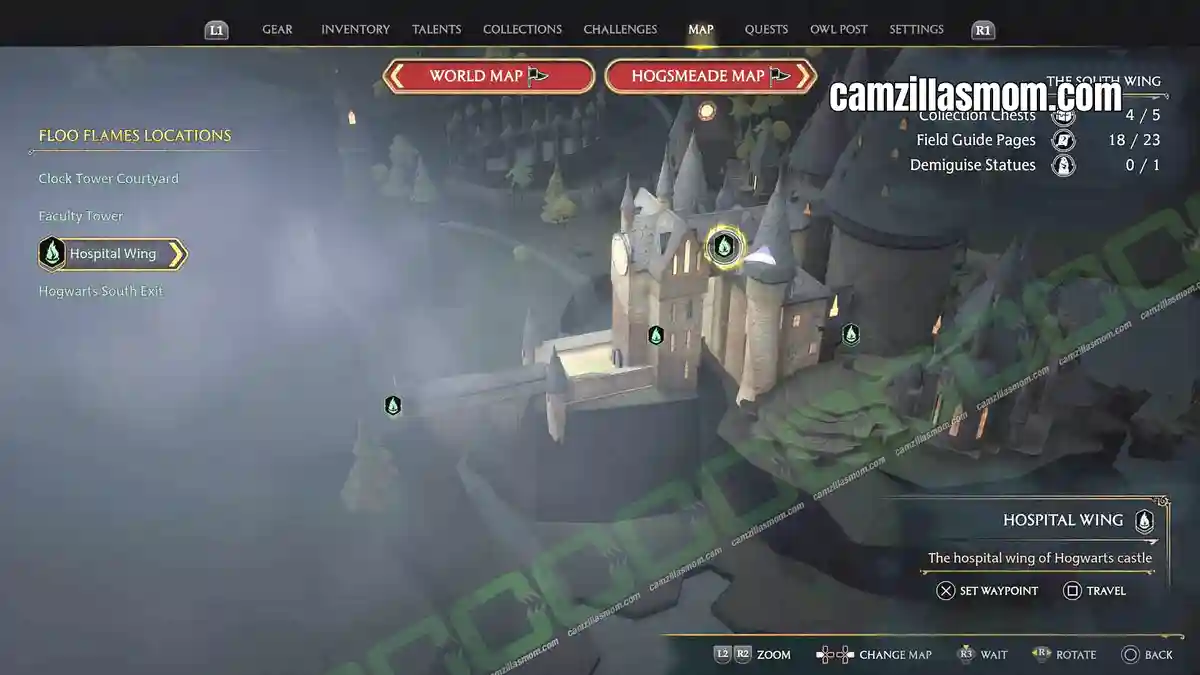
Jewel-encrusted Tortoise Shell
(in-game menu #38)
“Many assume this to be the shell of a Fire Crab, native to Fiji. However, those in the know swear it’s bejewelled tortoise shell created by a mad wizard near Versailles. When his chateau was overrun by Nifflers, the dazzling shell was carried off to be discovered years later by a Hogwarts professor on holiday in the Ardennes.”
Below the Hospital Wing is this exhibit next to a Level 3 locked door.
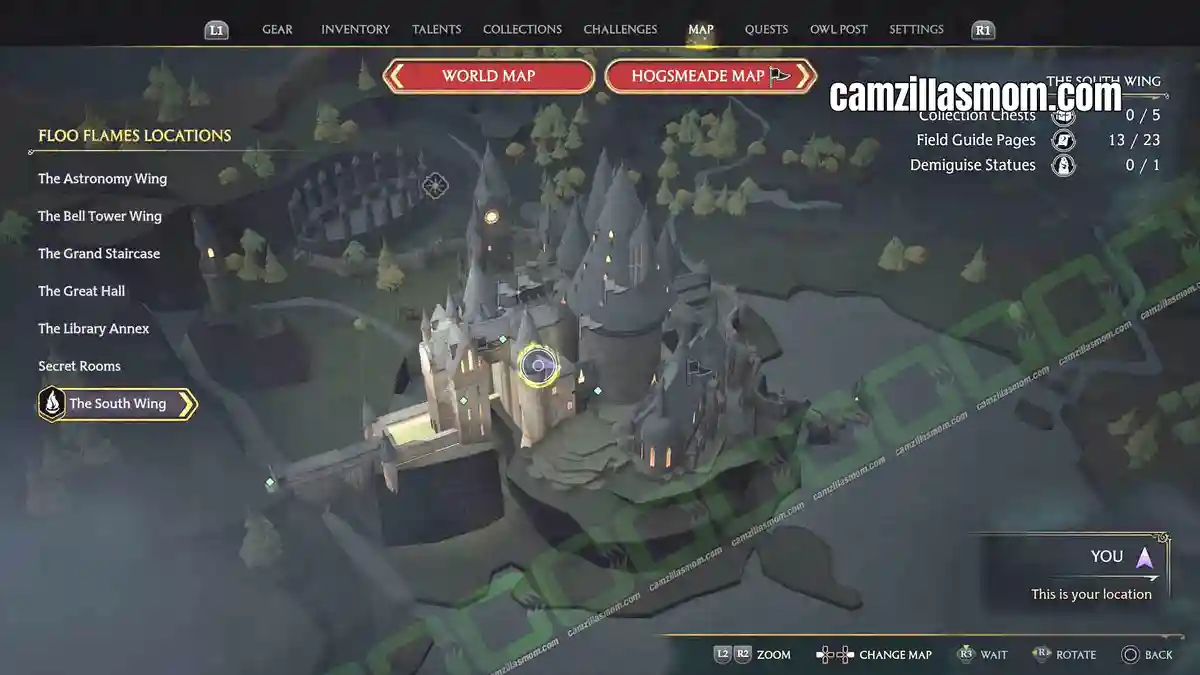
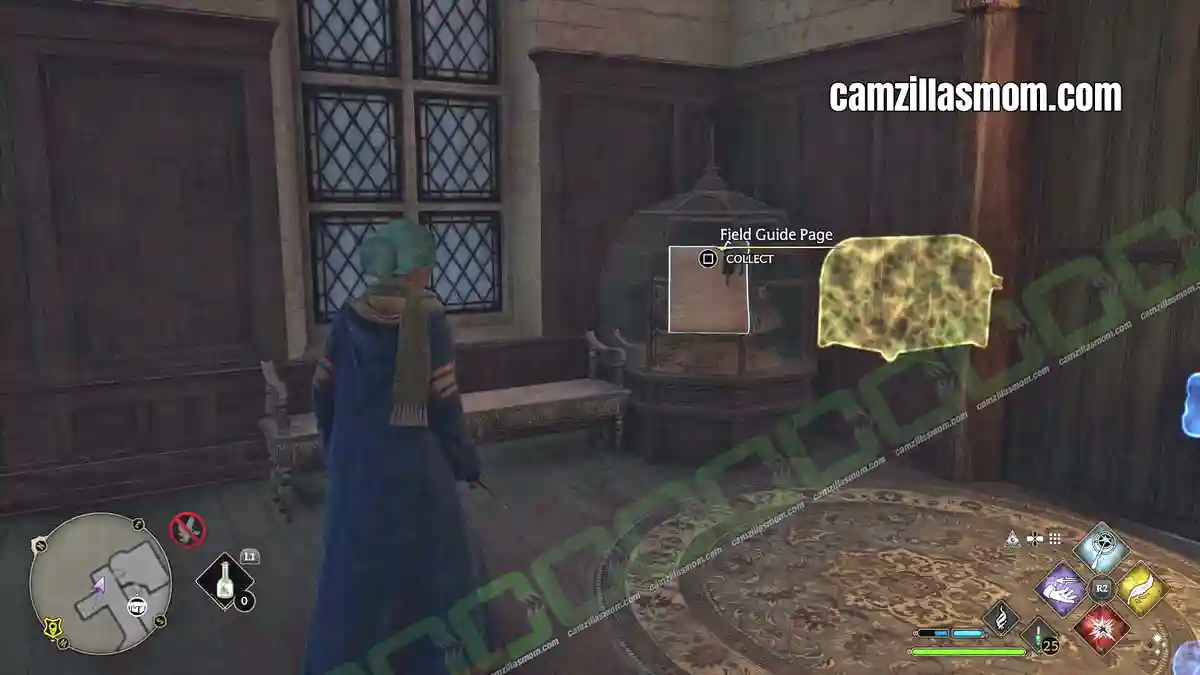
Unicorn Fountain
(in-game menu #64)
“The majestic unicorn fountain gives an air of serenity and calm to the hospital wing at Hogwarts.”
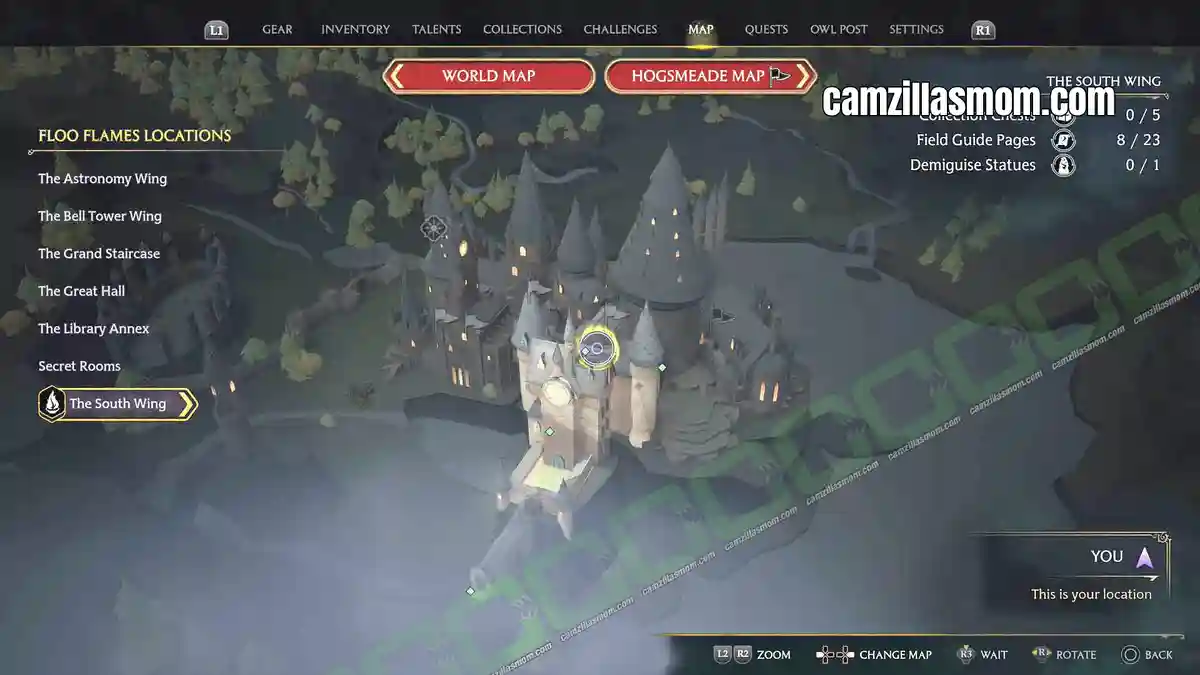
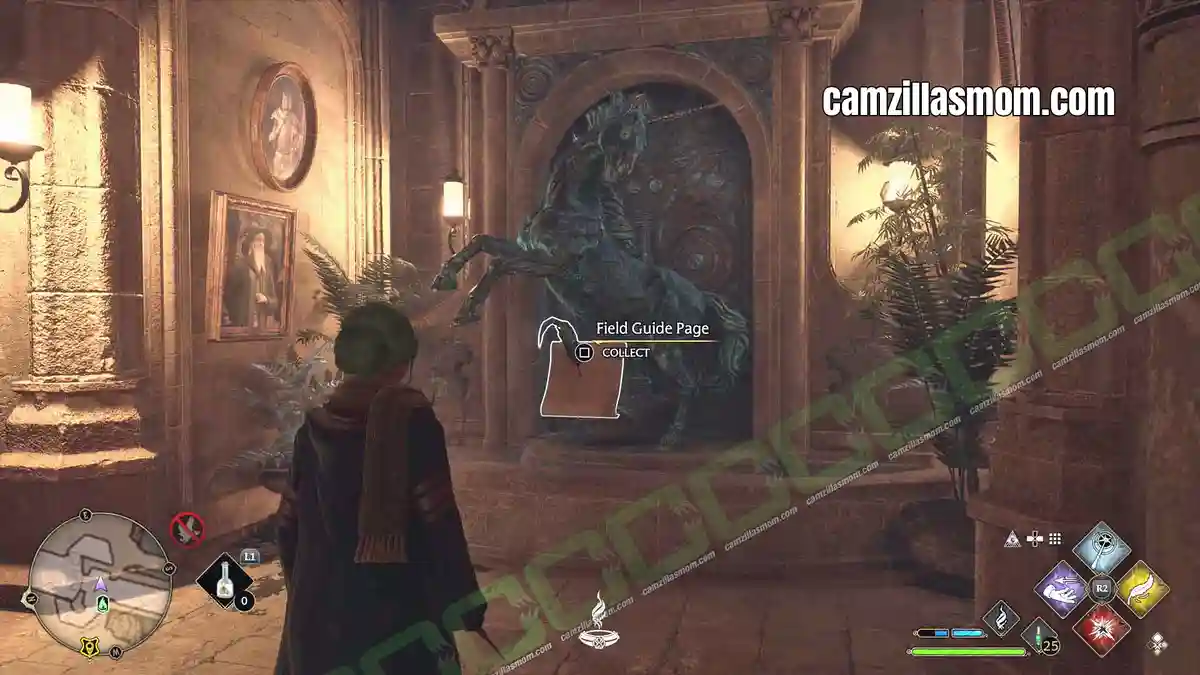
The Unicorn Fountain is high up in the clocktower of the South Wing. To get there, go to the South Wing exit – where the duelling’s take place. There is a locked door to the right. Open it with lock picking. From here, you can go all the way up to the clocktower. At the top, cross over to the roof part, where the Unicorn Fountain is.
Hogwarts Grounds Field Guide Pages
Castle Ramparts
(in-game menu #60)
“Along with powerful protective enchantments, these defensive ramparts have safeguarded Hogwarts castle for centuries. The ancient rooms and corridors along the ramparts might be worth exploring, as they harbour mysteries of their own.”
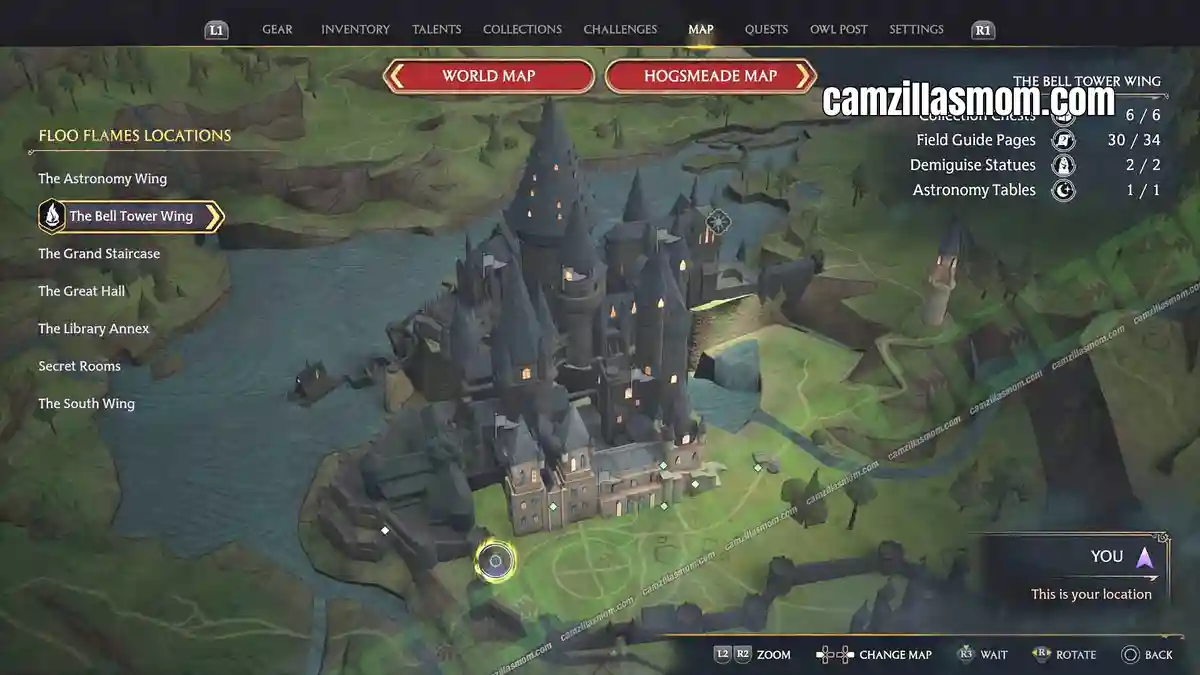
This Field Guide Page is inside one of the towers of the outside fortifications.
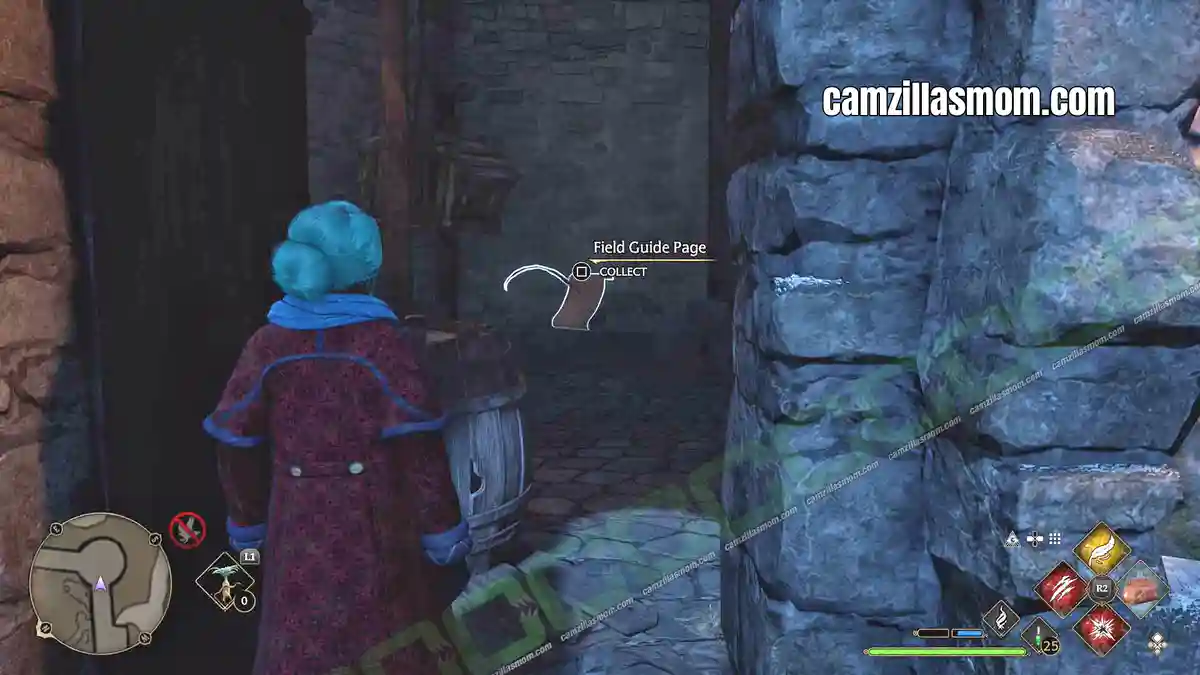
Hogwarts Owls
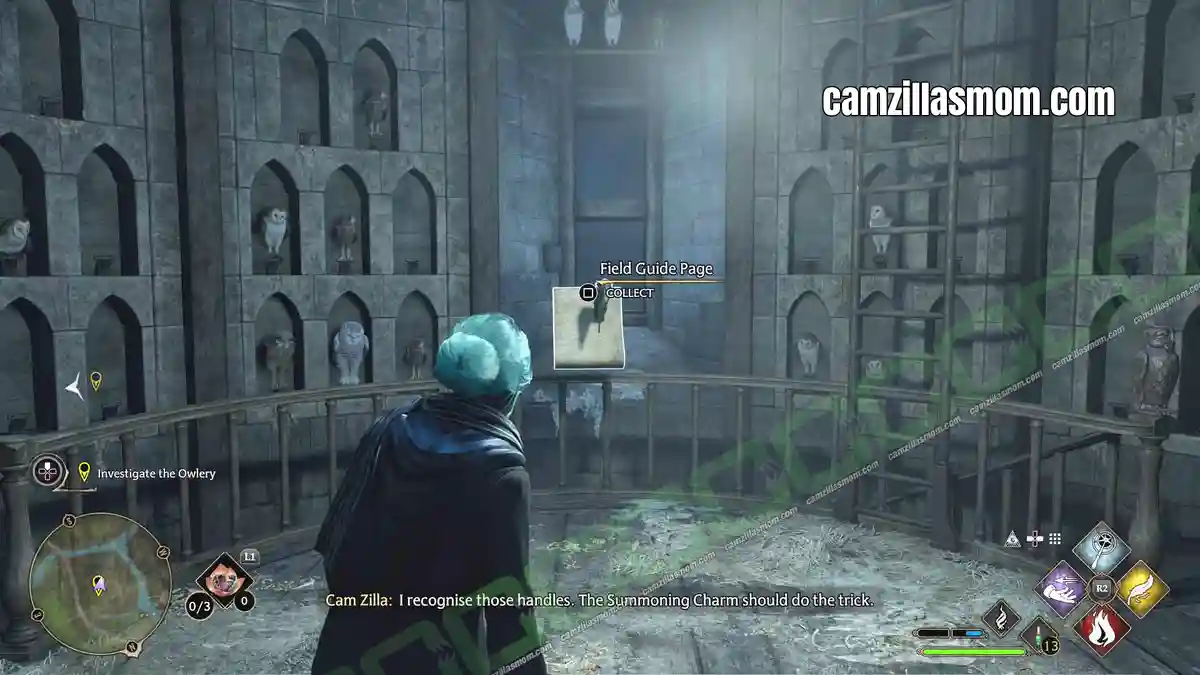
(in-game menu #61)
“School owls and owls owned by students can be found in the Hogwarts Owlery. One is advised to explore carefully, keeping an eye out for owl droppings and regurgitated mouse skeletons.”
Get this Revelio Page at the top of Hogwarts Owlery at the Hogwarts outside grounds.
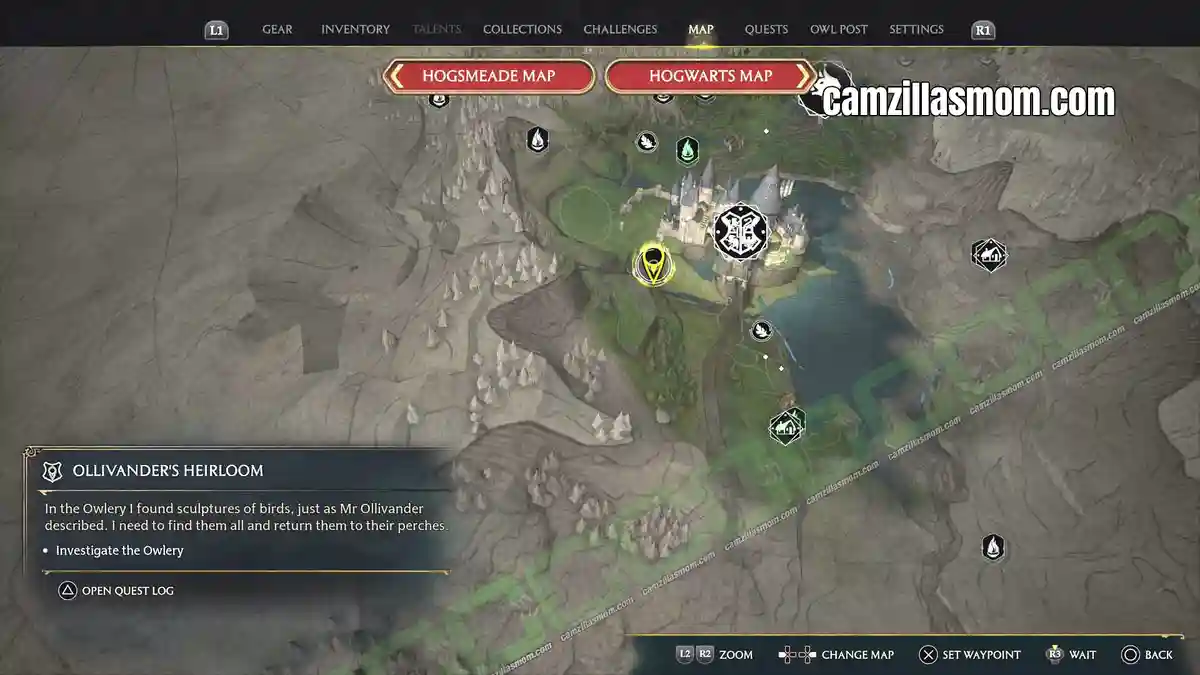
Quidditch Pitch
(in-game menu #62)
“The Hogwarts Quidditch pitch is the site of intense house rivalries, as Chasers, Beaters, Keepers, and Seekers take to the skies in pursuit of the Quidditch Cup. That is, of course, when the favourite sport of the wizarding world has not been cancelled for the year by an exceptionally oblivious headmaster.”
From the Fortification wall outside, you can get a nice view of the Quidditch Pitch, where this Field Guide Page is.
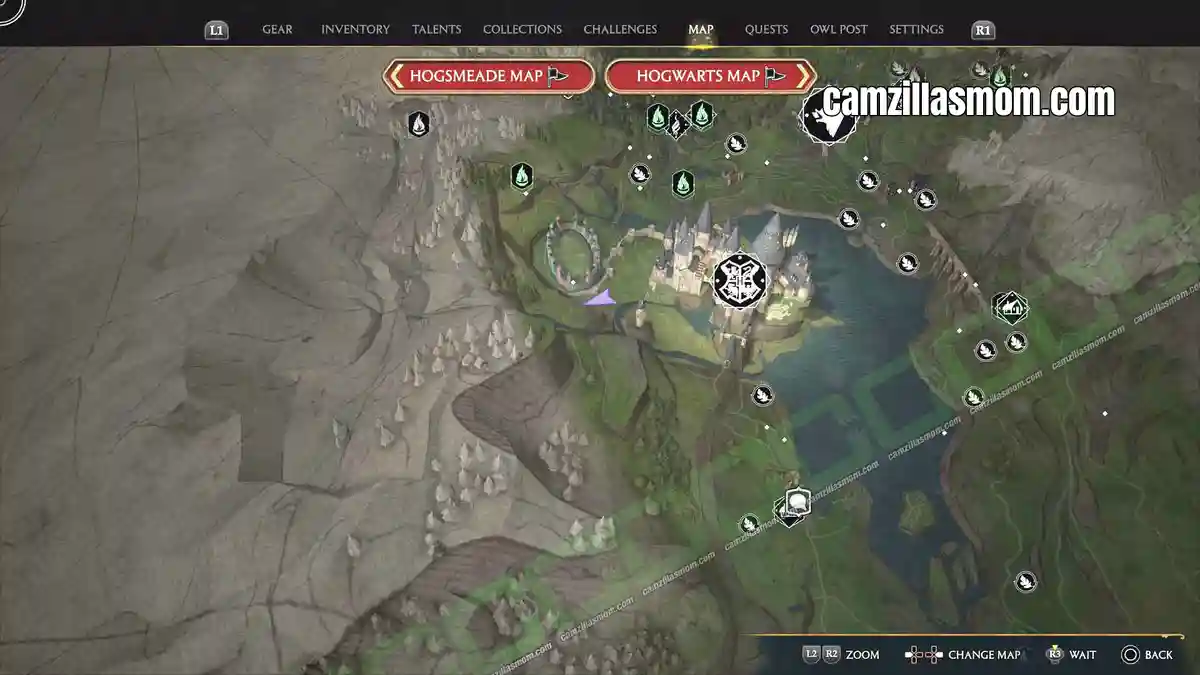
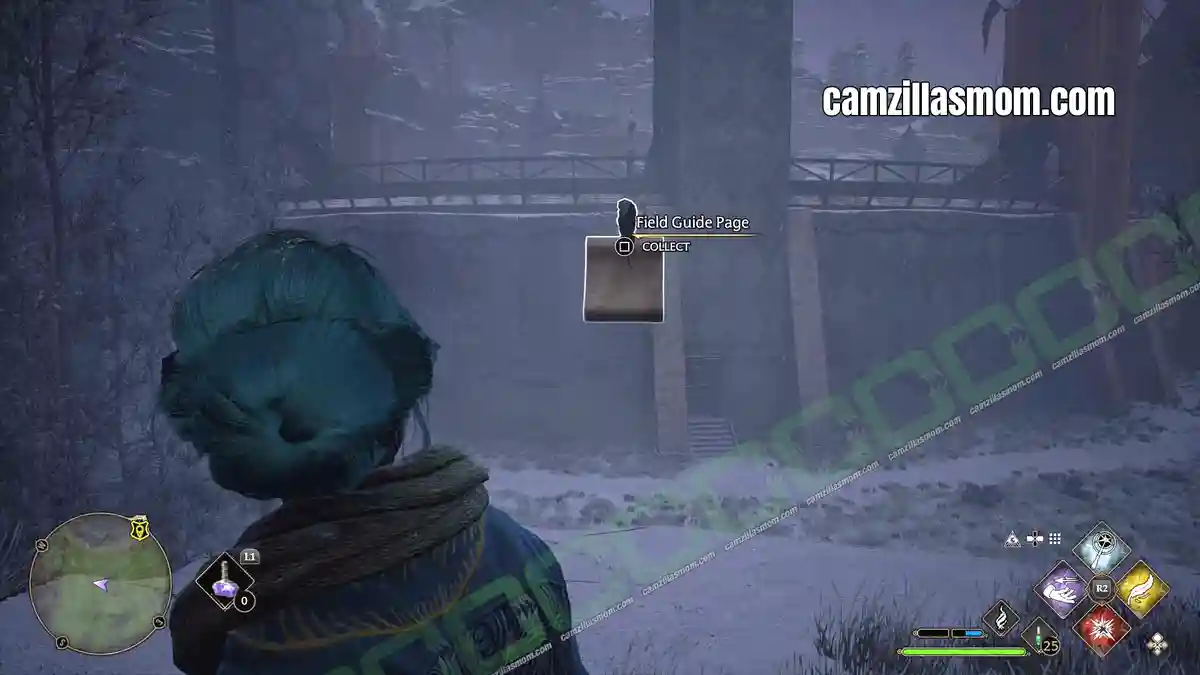
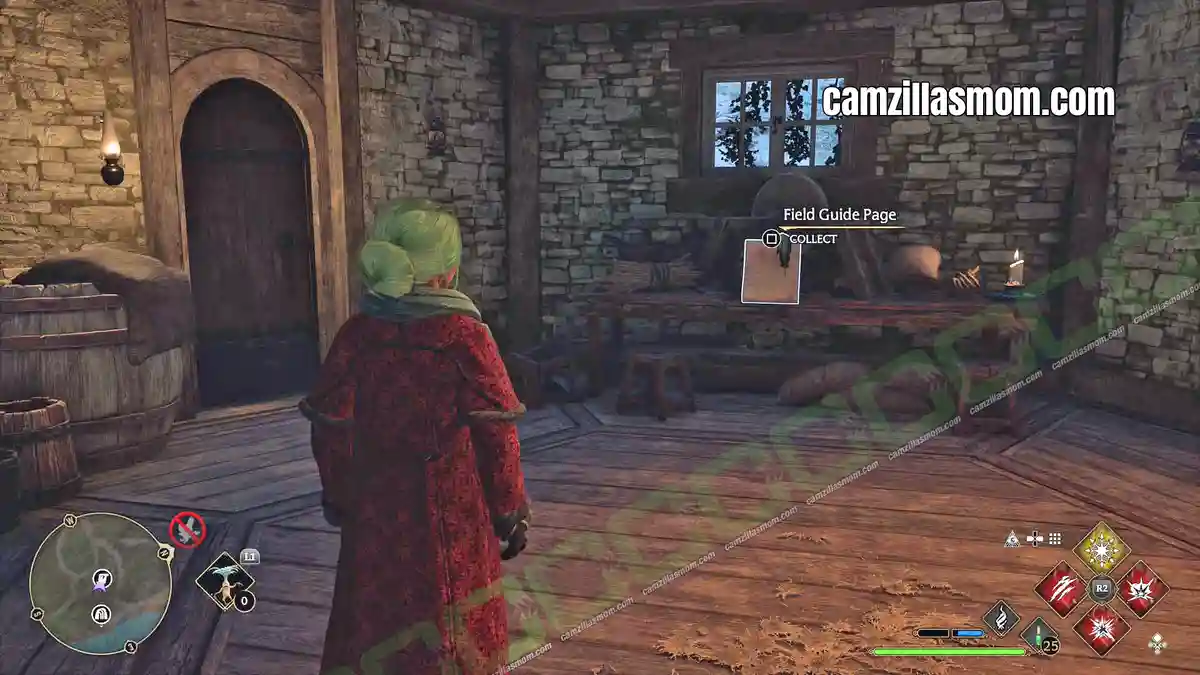
Groundskeeper’s Tools
(in-game menu #79)
“One might surmise that this set of tools could be enchanted to create all sorts of furnishings for a cosy hut – as large as the occupant may need.”
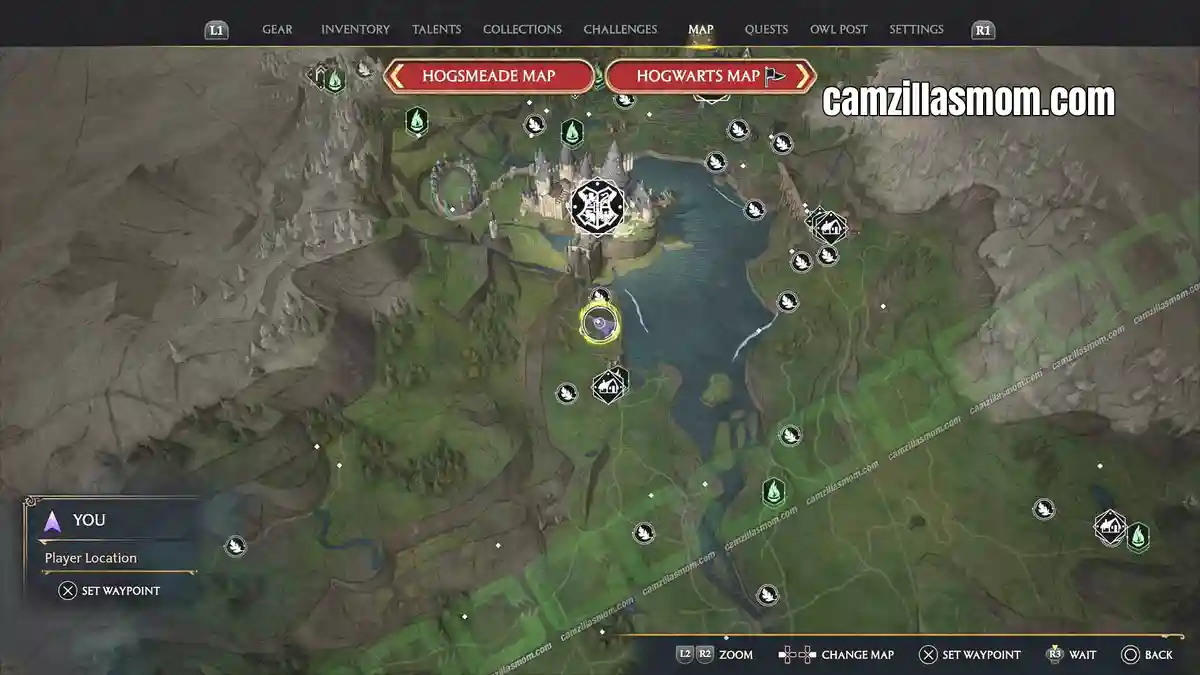
This Field Guide Page is not on the Hogwarts map but on the world map. Just exit south of Hogwarts and head down south. Enter this house not far from Hogwarts to pick up the page inside.


About Hogwarts Legacy
Release: February 10th, 2023
Developer: Avalanche Software
Publisher: Warner Bros. Interactive Entertainment
Official Website: https://www.hogwartslegacy.com/en-us