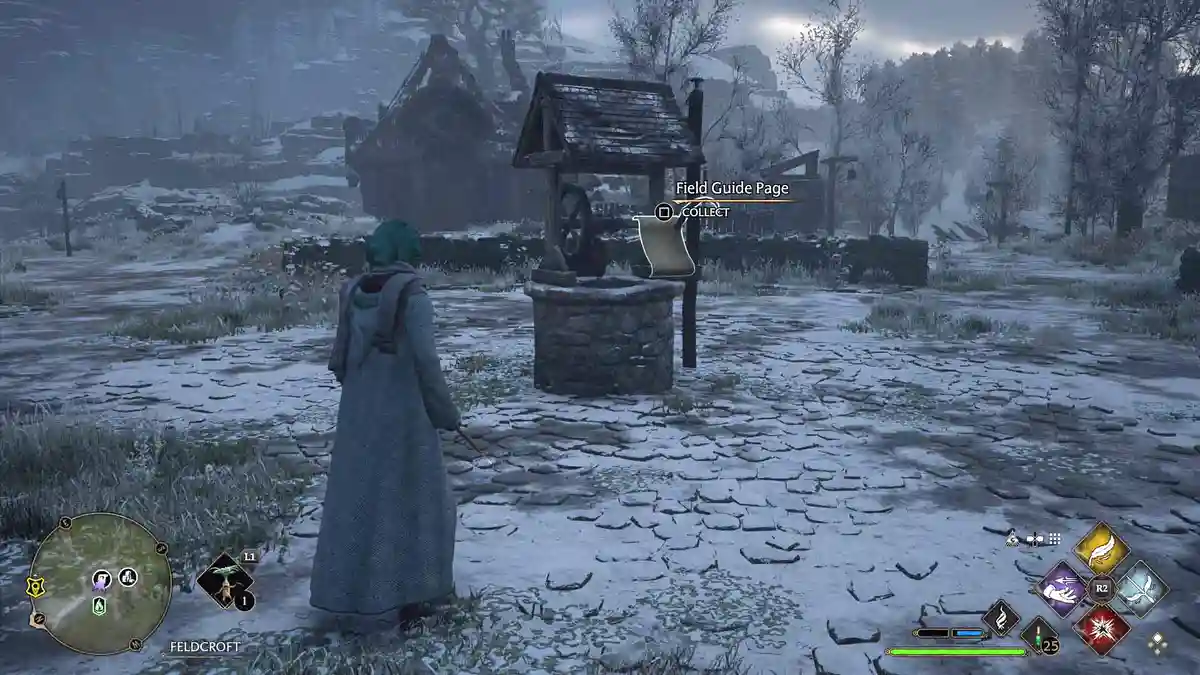
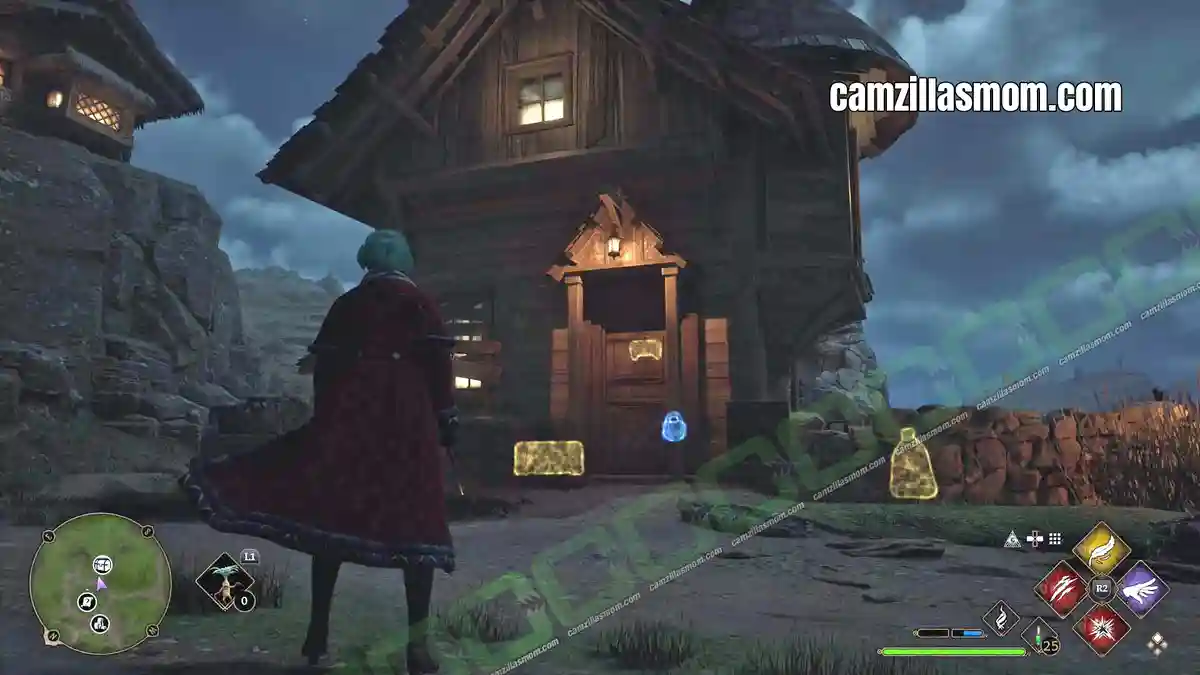
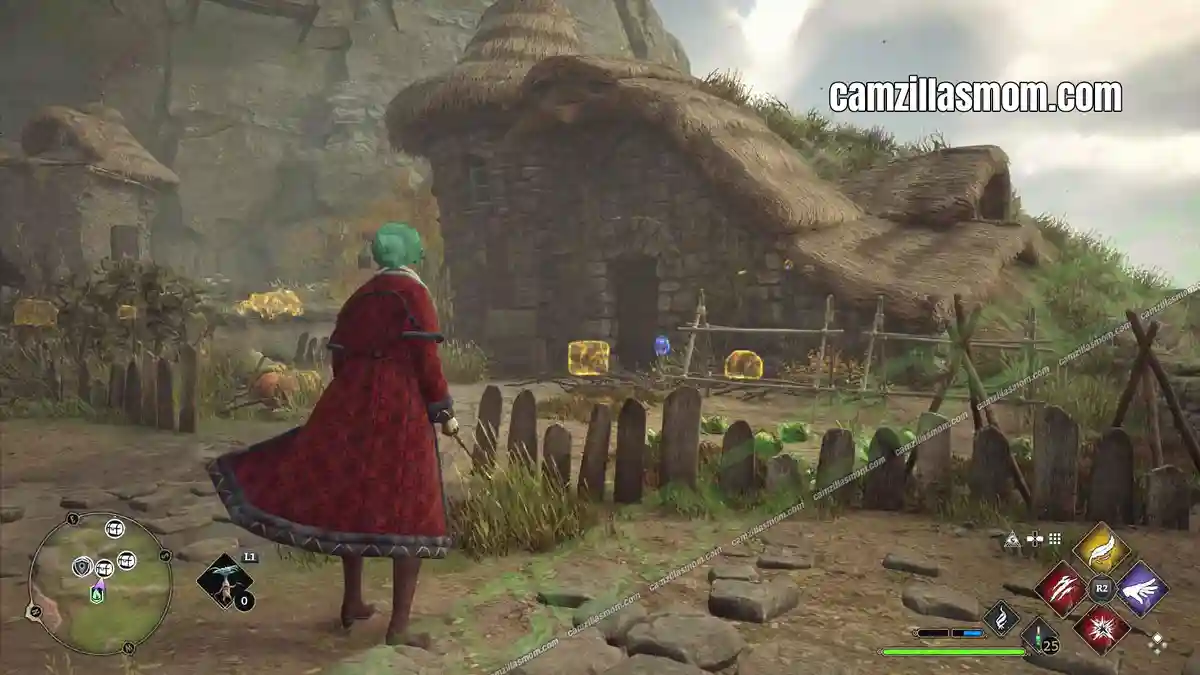
The Great Hall has 28 collectibles in Hogwarts Legacy: 24 field guide pages, 3 collection chests and 1 Demiguise statue. Below you’ll find every location with map screenshots, plus the answer to the Arithmancy door puzzle behind the dining hall.
Related Guides:
All Demiguise Statues (Demiguise Moons) Guide
Library Annex Collection Chests & Collectibles
The Astronomy Wing
How to pick Locks in Hogwarts Legacy
More Guides at the Hogwarts Legacy Game Guides Hub
- Great Hall Collection Chests – All 3 Locations
- Great Hall Field Guide Pages (Revelio Pages) – All 24 Locations
- Revelio Pages in The Great Hall (14)
- Unnamed Field Guide Pages in The Great Hall (10)
- 15 – Flying Page – The Great Hall Garden
- 16 – Flying Page – Deathday Party Room
- 17 – Flying Page – Main Entrance Hall
- 18 – Moth Mirror: Between the Dining Hall Doors
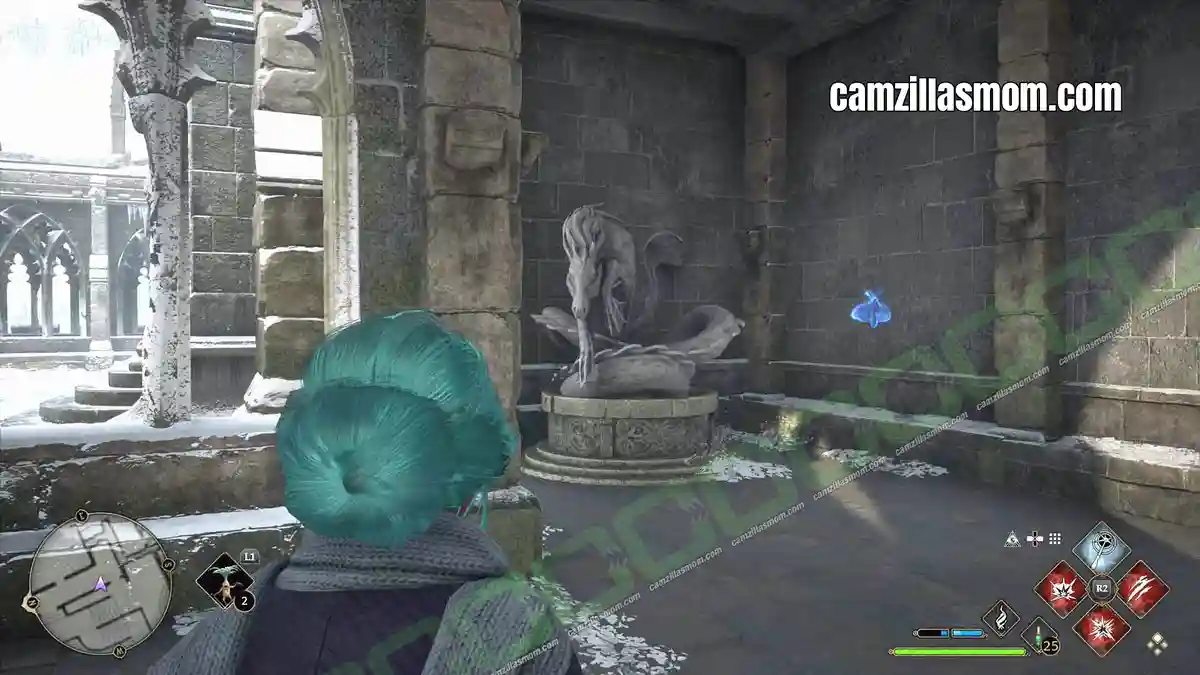
- 19 – Moth Mirror: Below the Outside Entrance
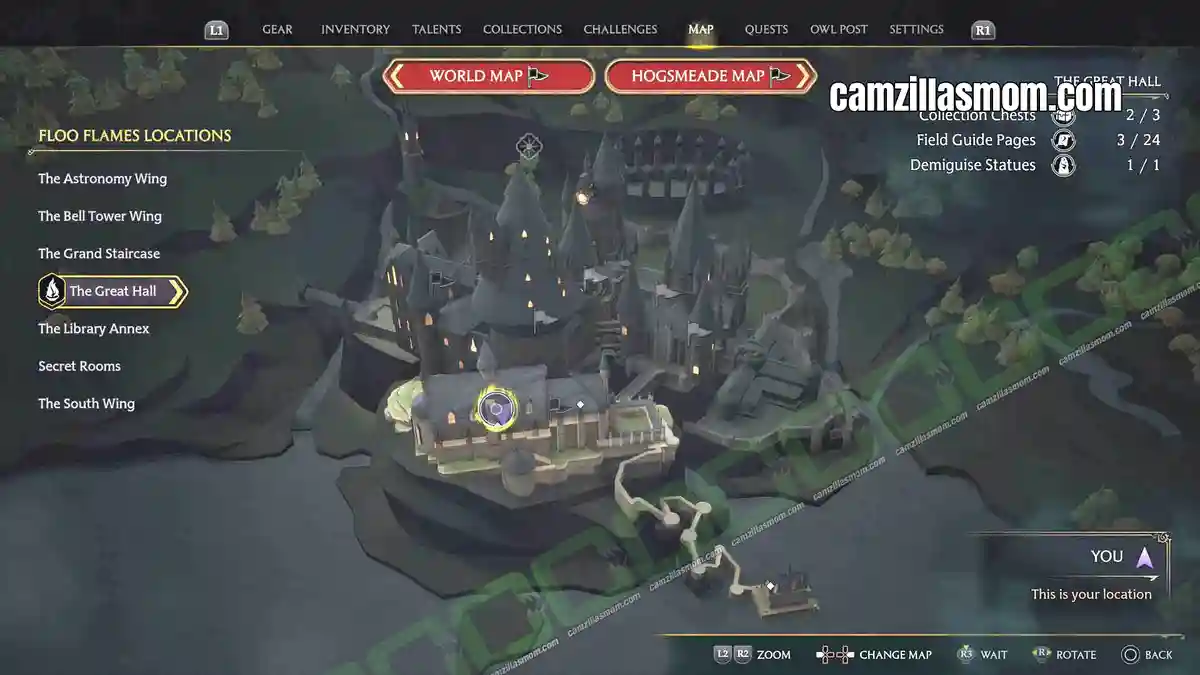
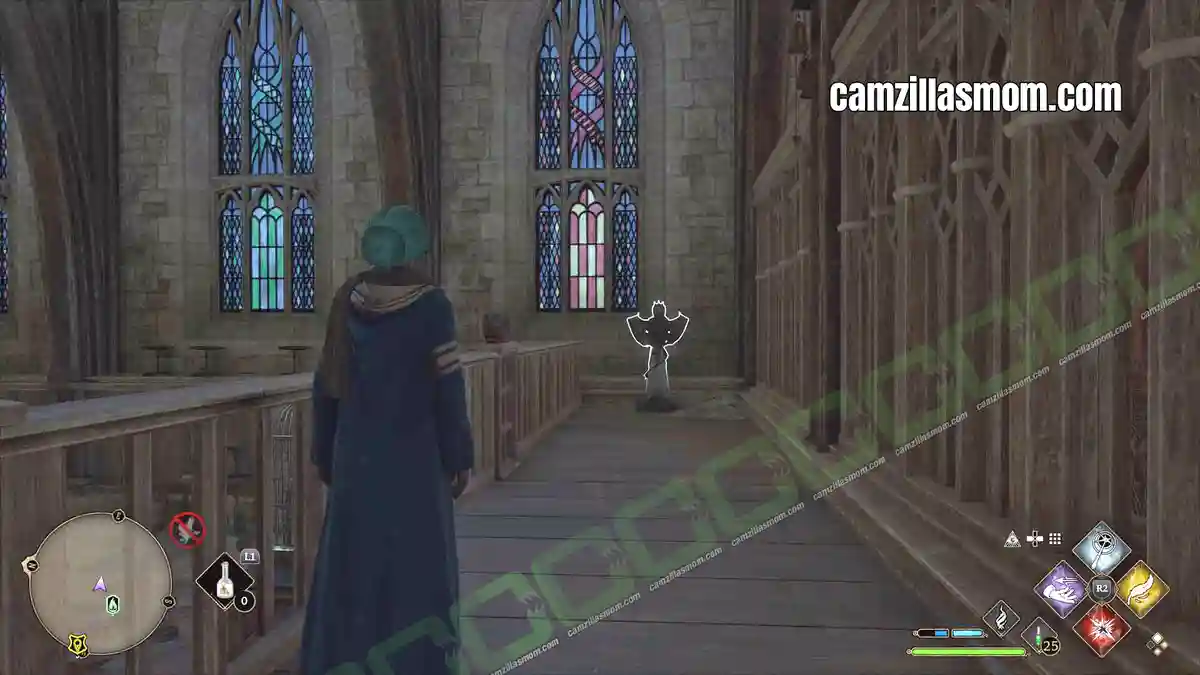
- 20 – Dragon Bowl – Above the Dining Hall
- 21 – Dragon Bowl – Basement
- 22 – Dragon Bowl – Down by the Water
- 23 – Globe Statue – Outside the Entrance
- 24 – Globe Statue – Inside the Entrance
- Great Hall Demiguise Statue Location (Demiguise Moons)
Great Hall Collection Chests – All 3 Locations
There are chests everywhere in Hogwarts Legacy, most holding Galleons or gear. Collection chests are the special ones: their contents show up under Collections in the game menu. The Great Hall has three.
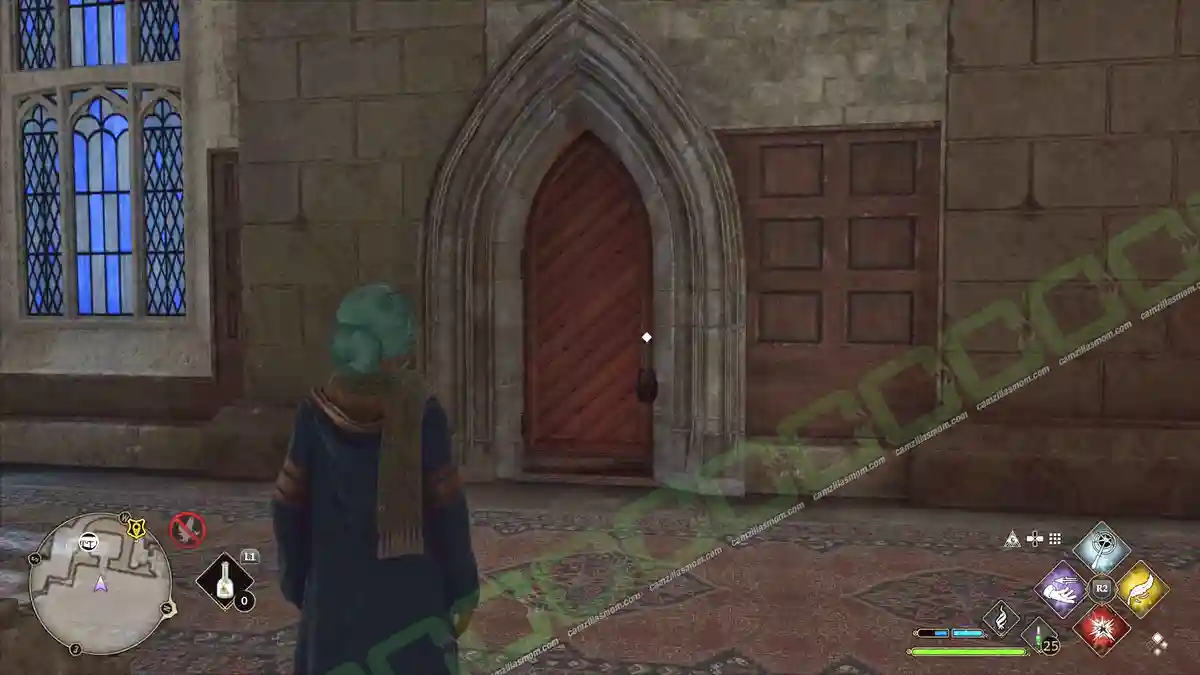
Chest 1 – Great Hall Dining, Locked Door on the Ground Floor
Head into the dining area of The Great Hall. On the ground floor you’ll find a Level 1 locked door. Open it with Alohomora.
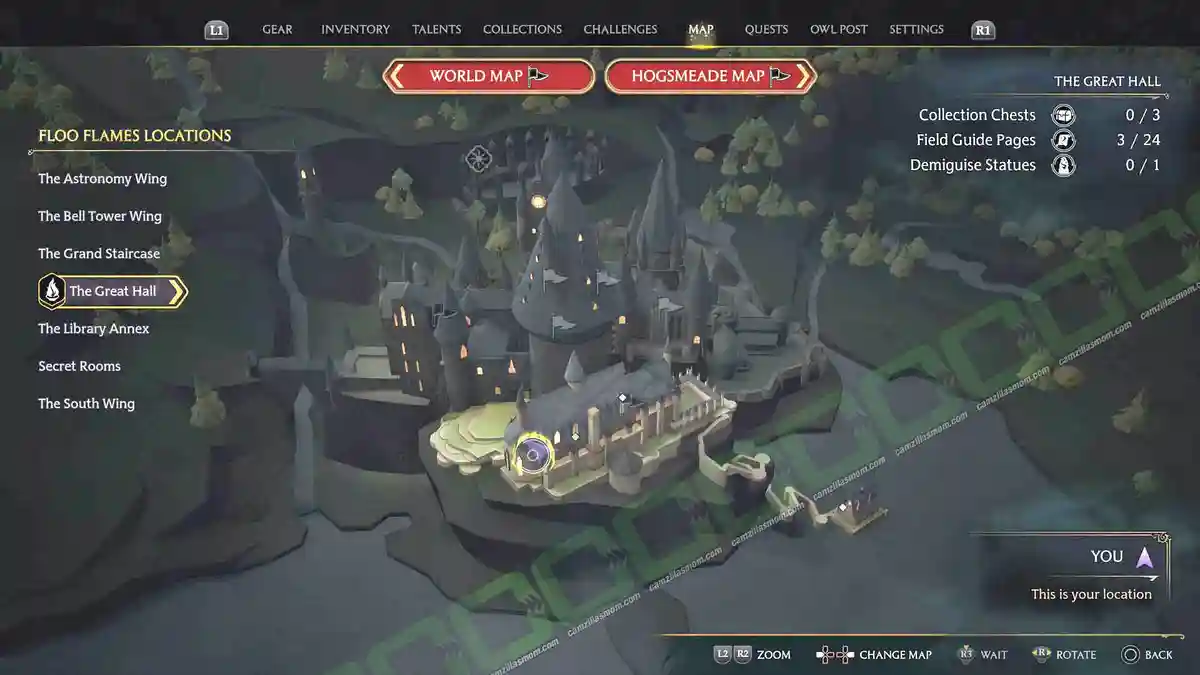
Reward:
Corkscrew – Brown – Wand Handle
The Demiguise statue for this area sits behind the same door, so grab both in one trip if you’re here at night.
Chest 2 – Behind the Great Hall Arithmancy Door
In the dining hall where the long tables are, look for the puzzle door on the ground floor. This is an Arithmancy door, and you’ll need to solve two equations to open it.
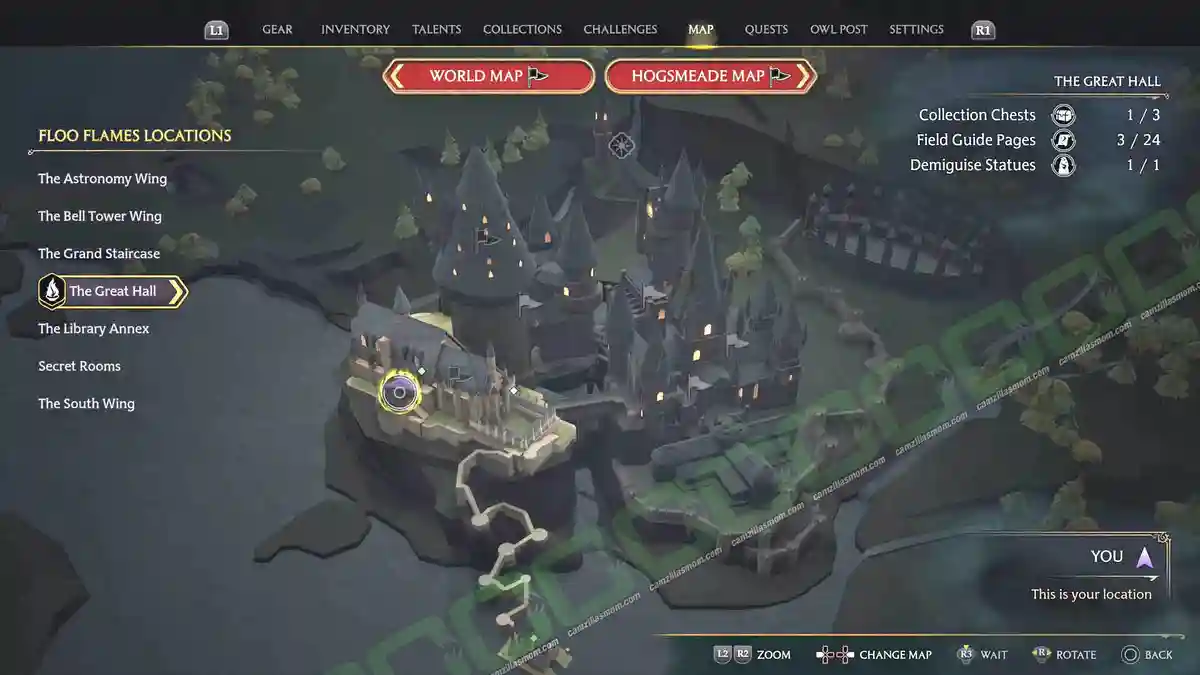
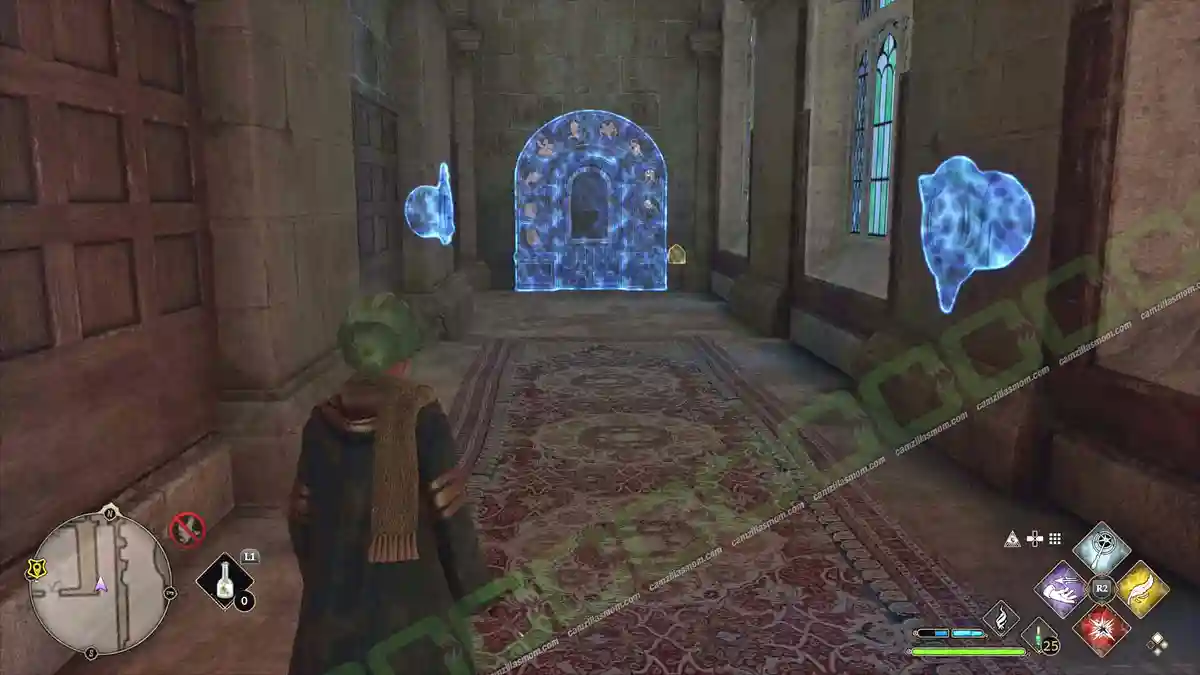
How to Solve the Great Hall Door Puzzle
Cast Revelio to reveal the two equations in the centre of the door. The top one ends in a single question mark, the bottom one in a double question mark. Those question marks match the two rotating dials nearby, and that’s where your answers go.
Before you start counting, look at the door frame. Ten creatures, ten numbers, 0 to 9, running left to right. The seal at the bottom left is 0, the unicorn is 1, the goat is 2, and so on. Whichever number you need, pick the creature sitting in that position.
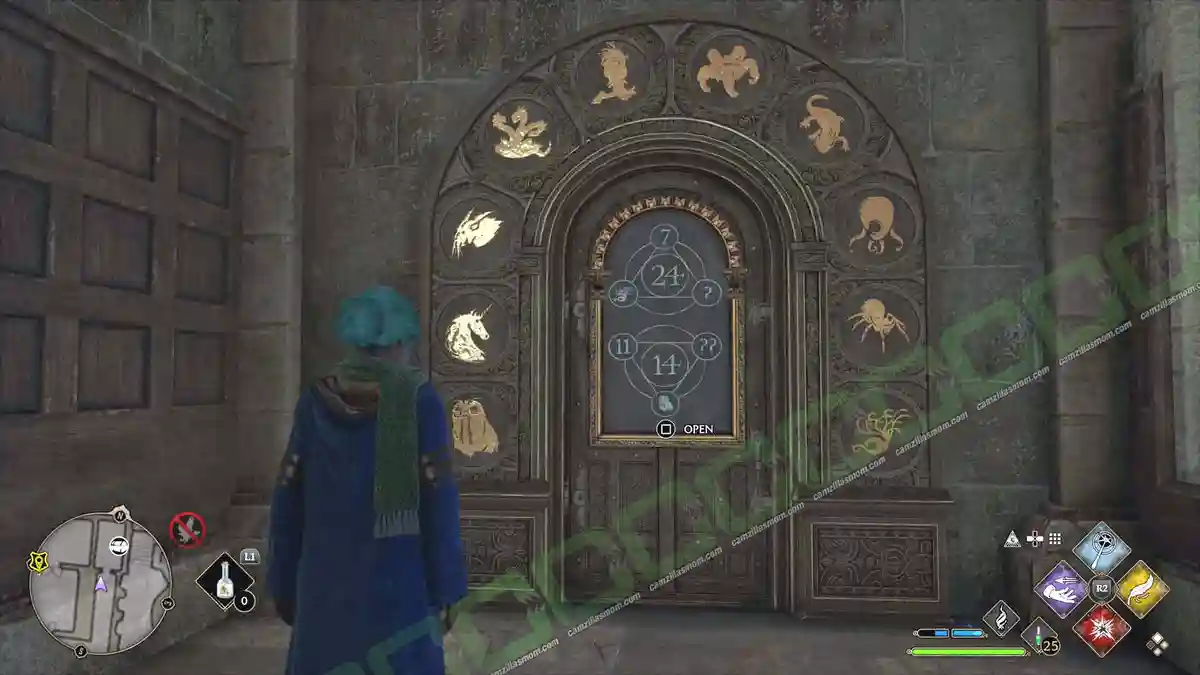
First Sum: 7 + Kraken + ? = 24
The Kraken is 9 on the door frame, so 7 + 9 = 16 and the missing number is 8.
Set the single question mark dial to the Spider, the ninth creature from the left.
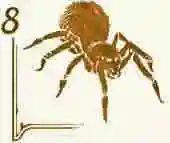
Second Sum: 11 + Seal + ?? = 14
The Seal is 0, so the missing number is 3.
Set the double question mark dial to the Hydra.
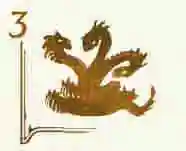
The door opens and the Collection Chest is inside.
Reward:
Conjurations – Magical Diagrams
Chest 3 – Hogwarts Kitchen
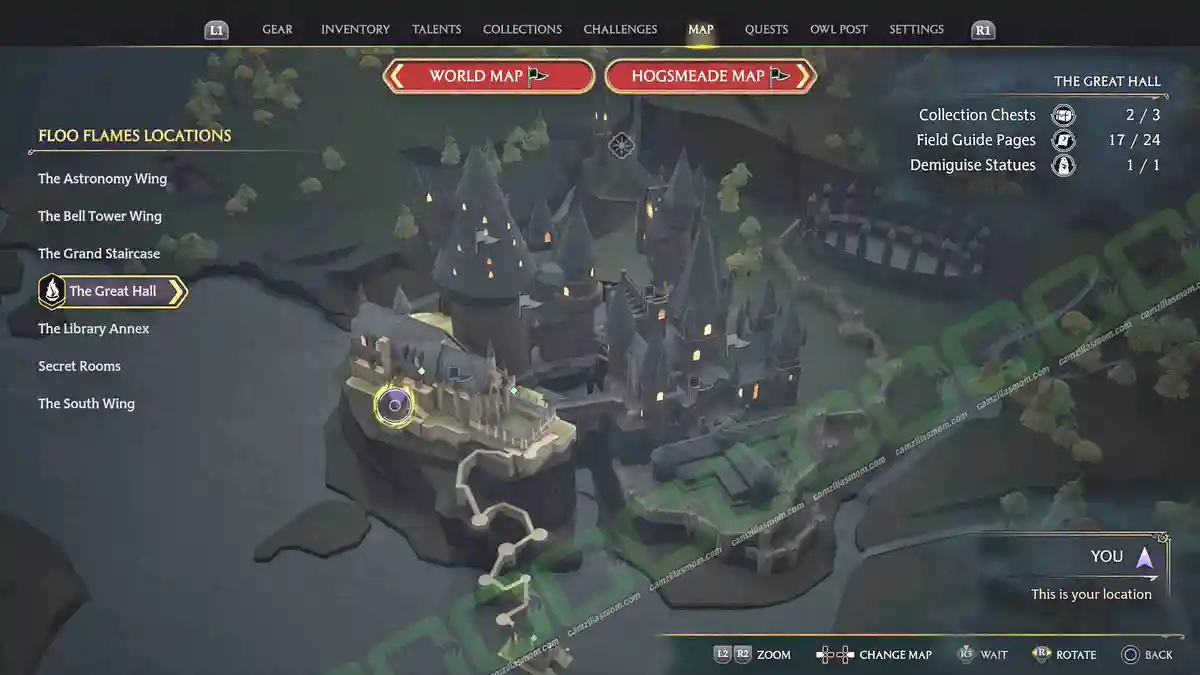
Fast travel to the Grand Staircase and take the winding staircase all the way down to the Pear Portrait. Tickle the pear long enough and the painting turns into a door into the kitchen. The chest is right at the back of this huge room.
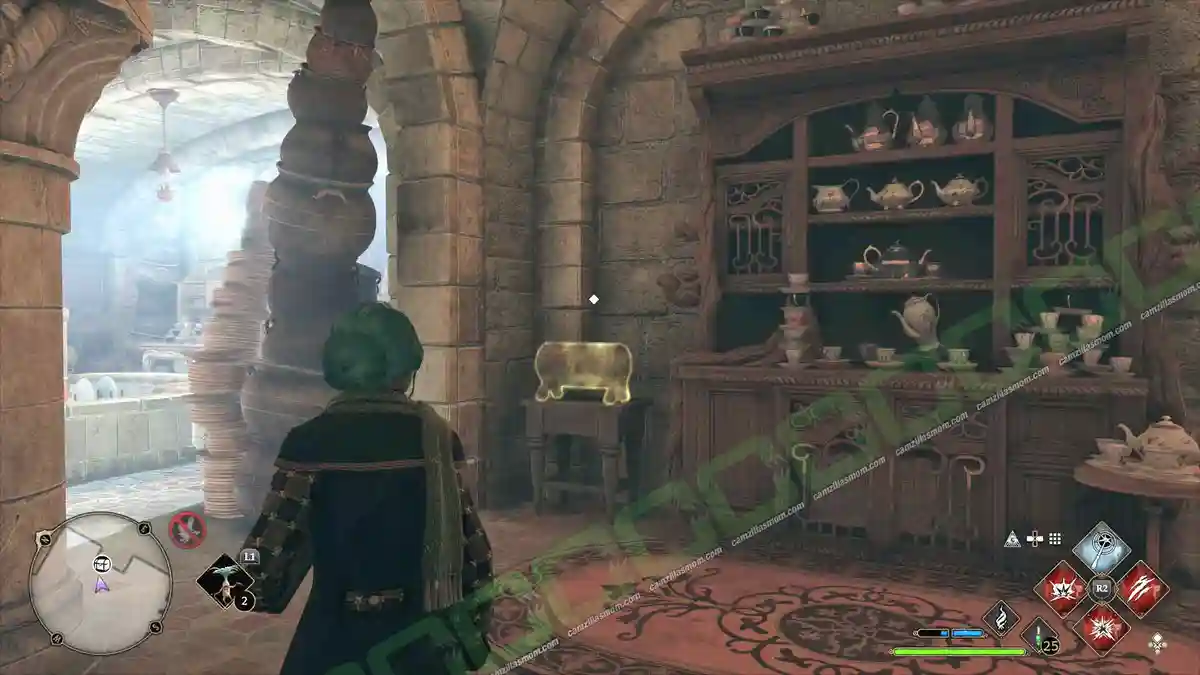
Reward:
Orbicular – Brown – Wand Handle
Great Hall Field Guide Pages (Revelio Pages) – All 24 Locations
The Great Hall has 24 field guide pages, split into two types.
Revelio pages are the collectibles that get a proper entry under Collections in the game menu. You find them by casting Revelio and interacting with whatever lights up.
Revelio Pages in The Great Hall (14)
These are listed in the same order they appear under Collections – Revelio Pages in the game menu.
1 – Black Lake
“The Black Lake or Great Lake (the sitting Headmaster vainly prefers the prior) is an expanse of fresh water south of the castle. The lake’s murky depths are home to merpeople, Grindylows, and other magical, aquatic beasts and beings, including the giant squid – a surprisingly friendly cephalopod with a fondness for toast.”
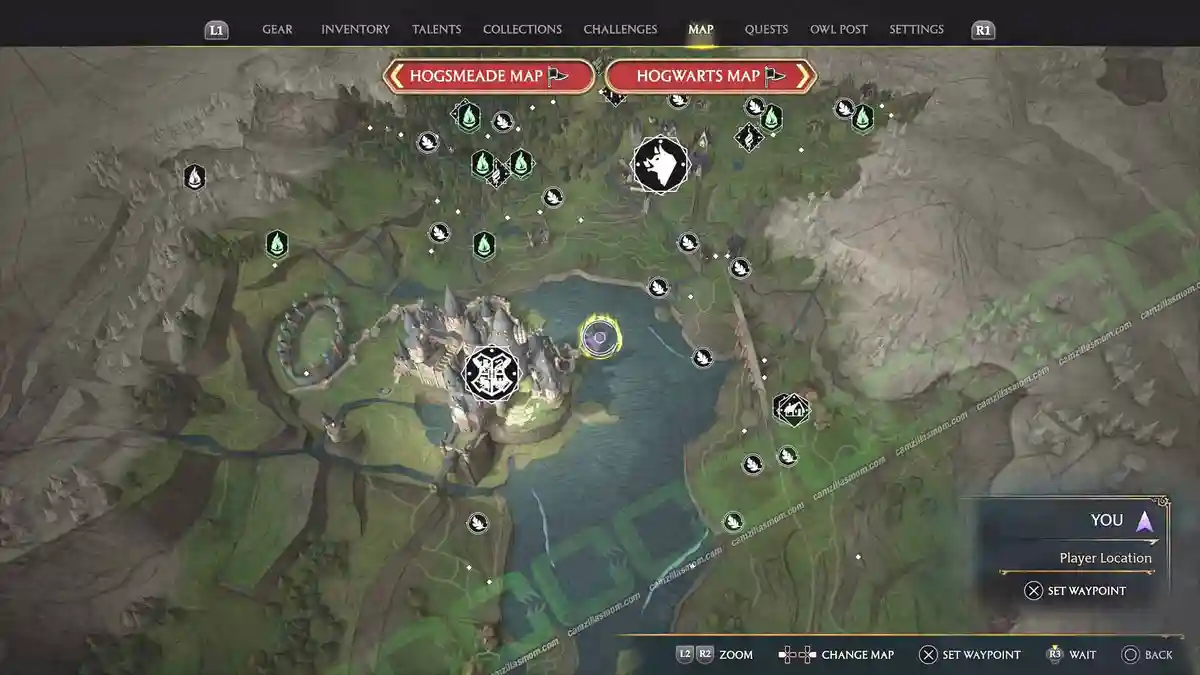
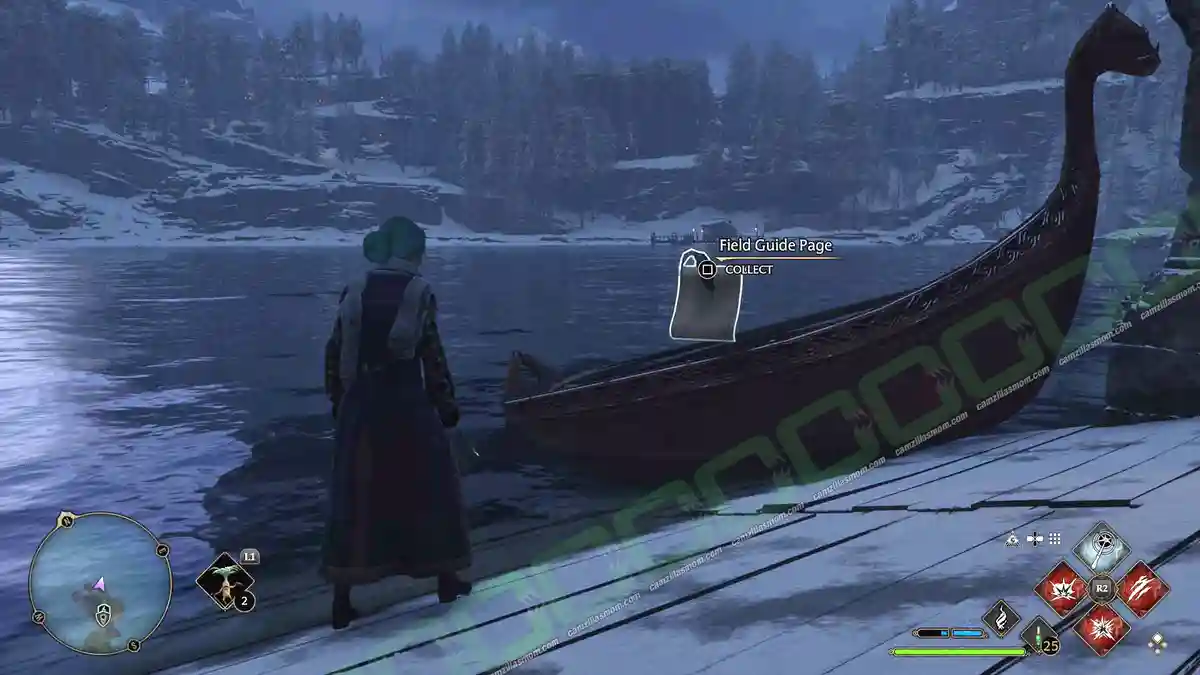
Leave The Great Hall through the main entrance and take the long staircase down to the boat house by the water. Walk to the end of the building and the page is sitting right by the boat.
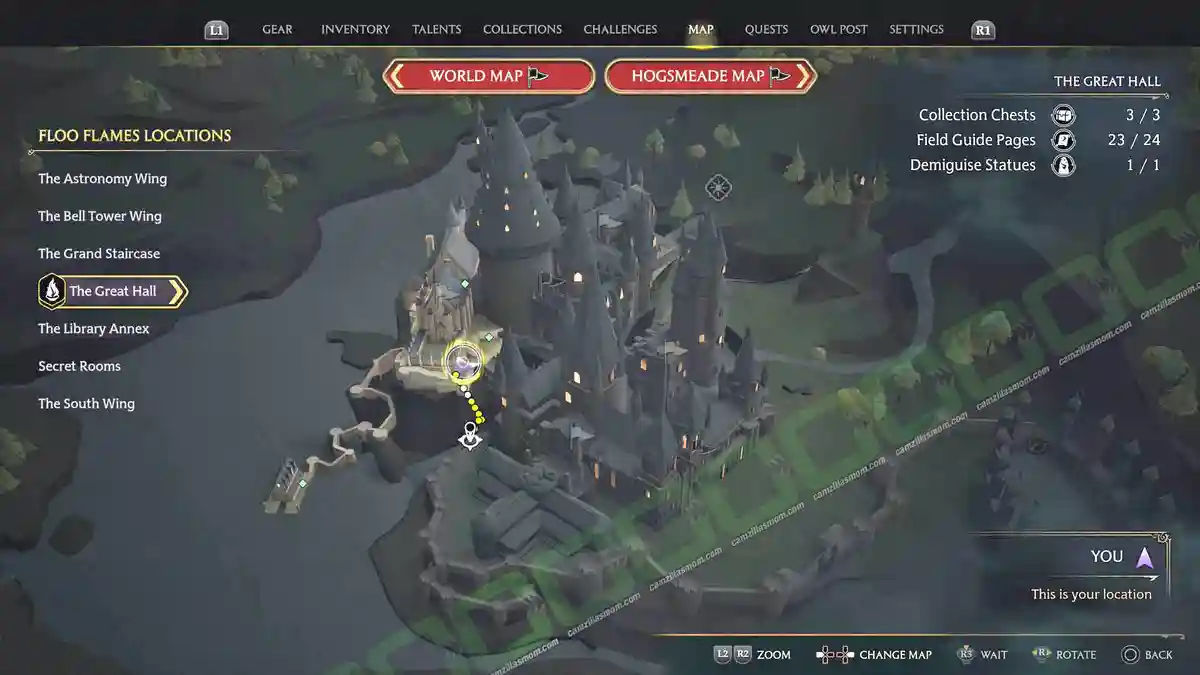
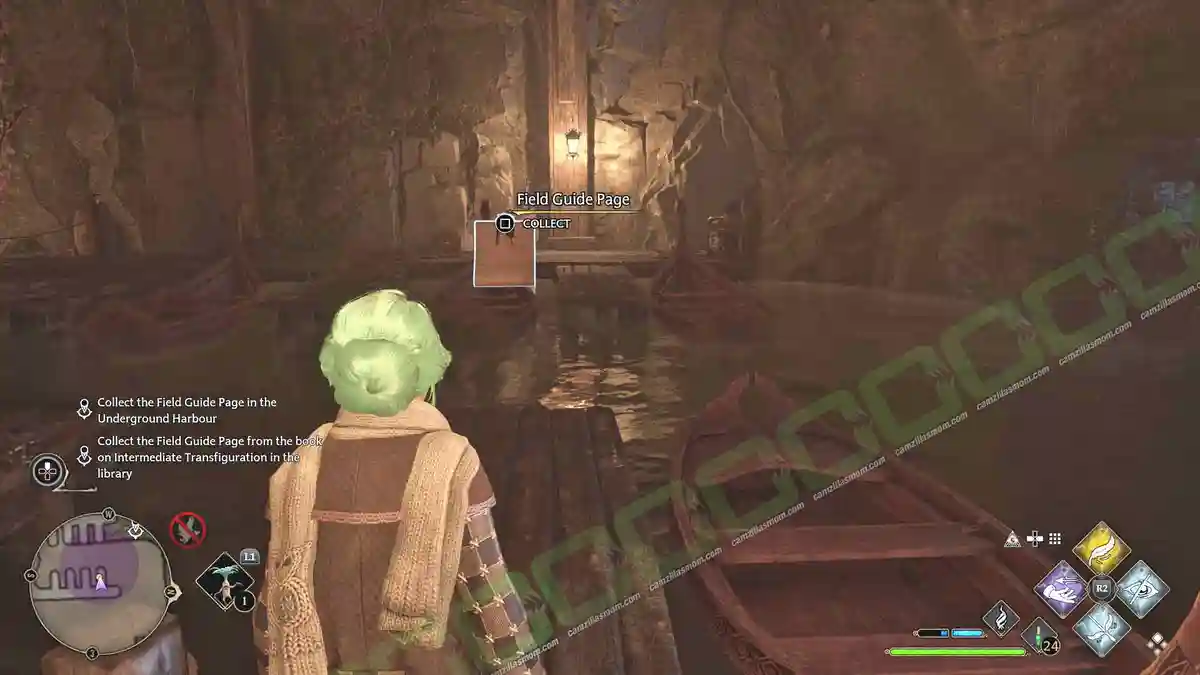
2 – Underground Harbour
“Located deep beneath the viaduct courtyard is the landing for boats delivering first-year students across the Black Lake to Hogwarts.”
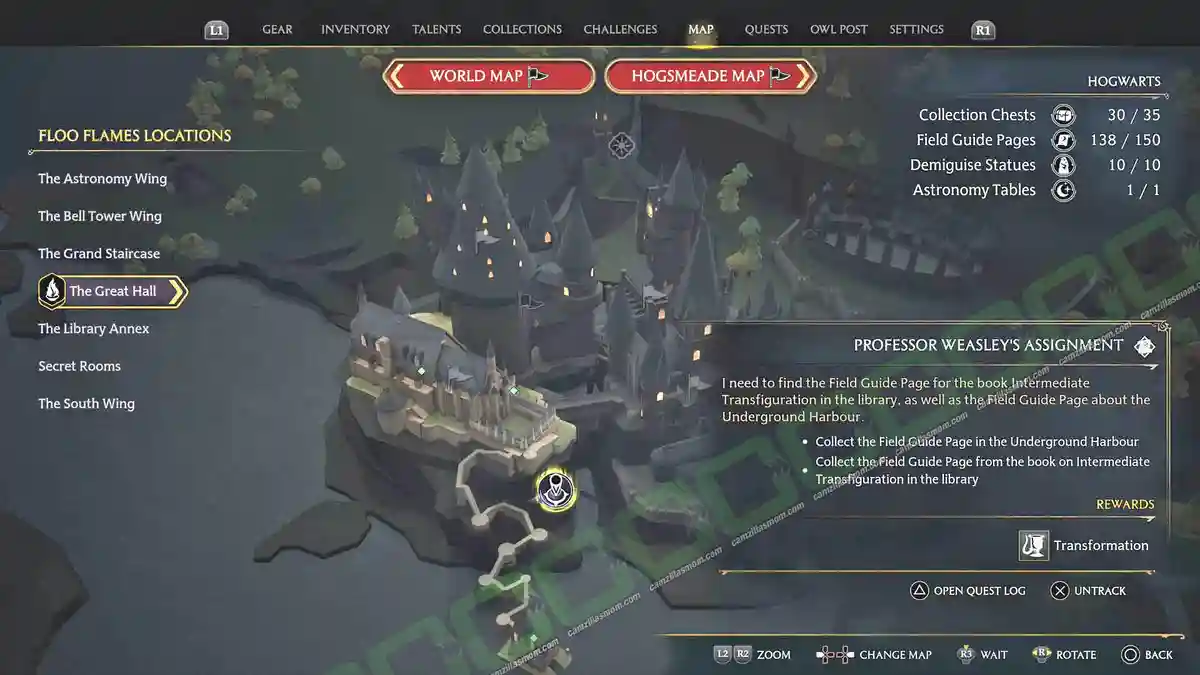
This one is gated behind one of Professor Weasley’s assignments, which sends you outside The Great Hall to an elevator down to the harbour.
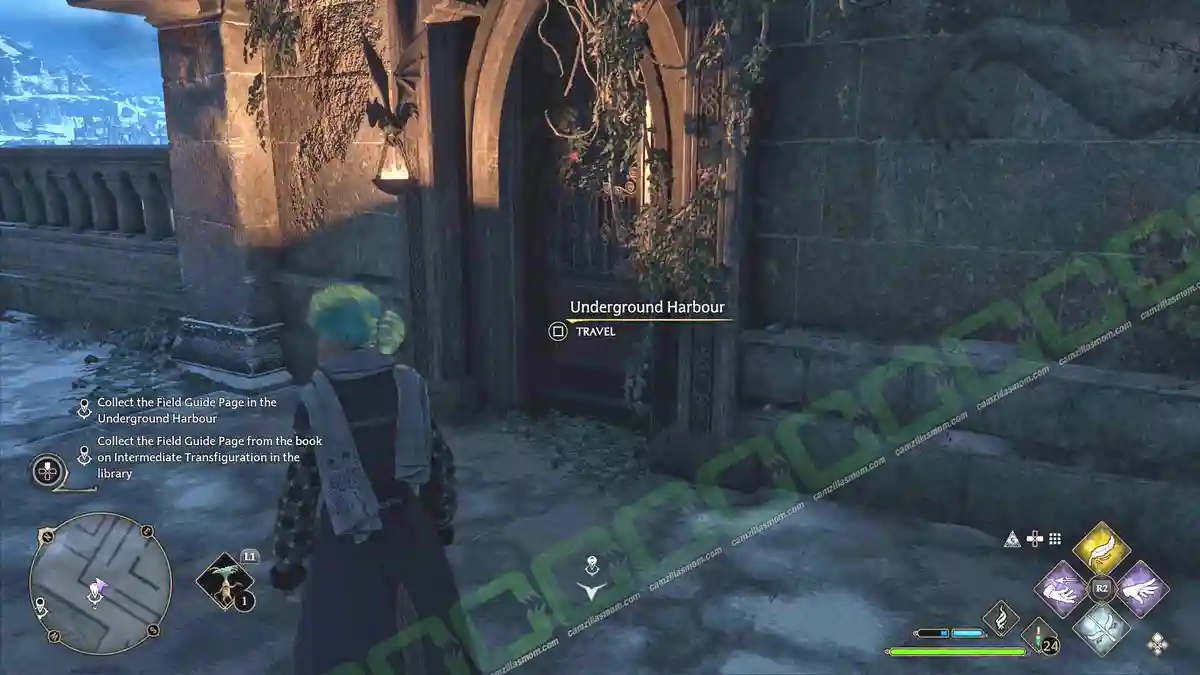
Once you’re down there, look at the boats. The page is among them.
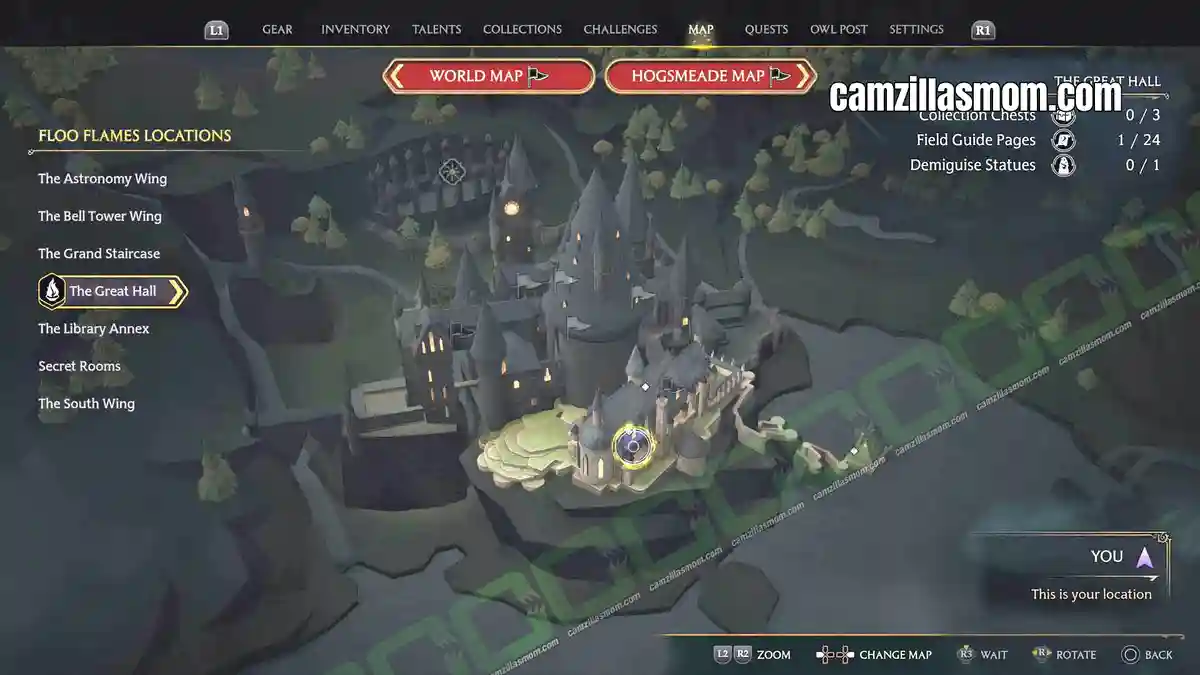
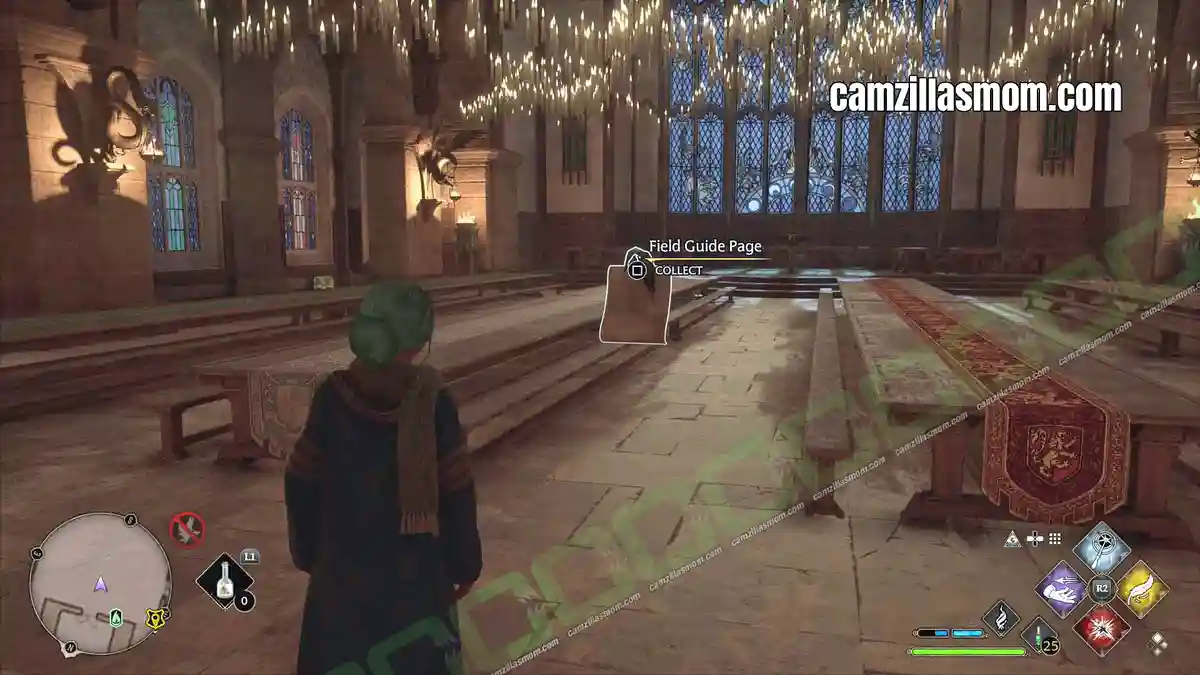
3 – The Great Hall Ceiling
“The ceiling of the Great Hall has been bewitched to mimic the sky above the castle.”
Walk into the dining hall and look up.
4 – The Yawning Gargoyle
“Although this smoke-breathing gargoyle might appear to be enchanted, it is actually the Hufflepuff common room chimney.”
Head through the dining area into the garden. The statue is out there.
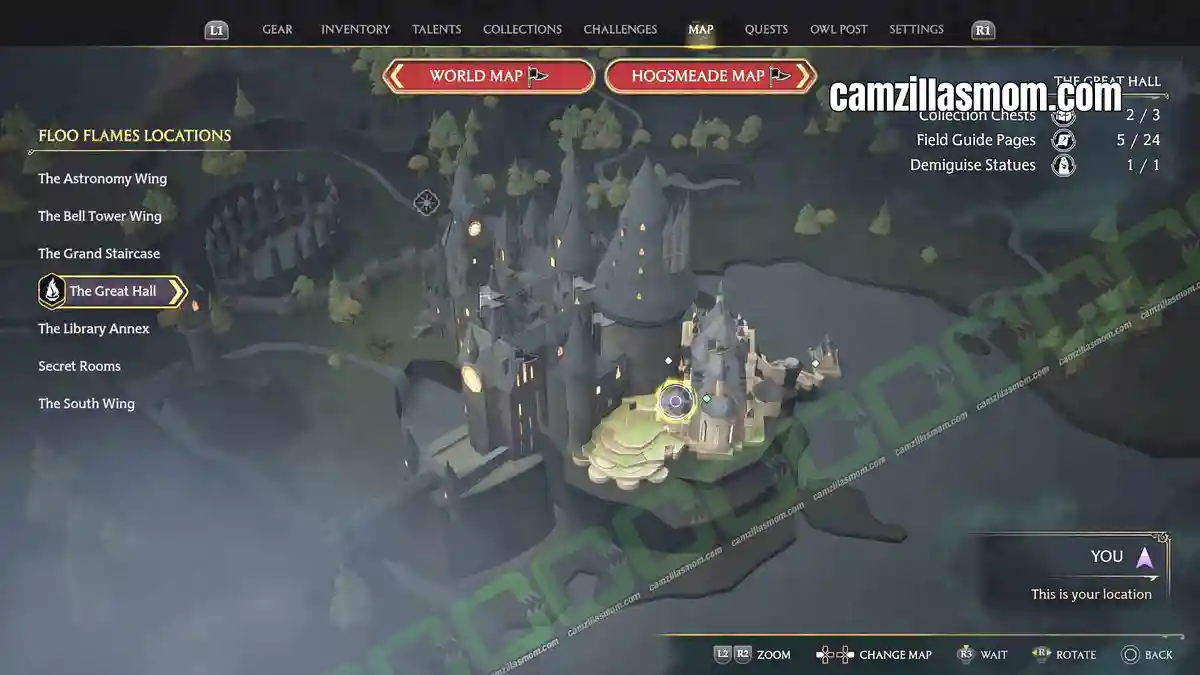
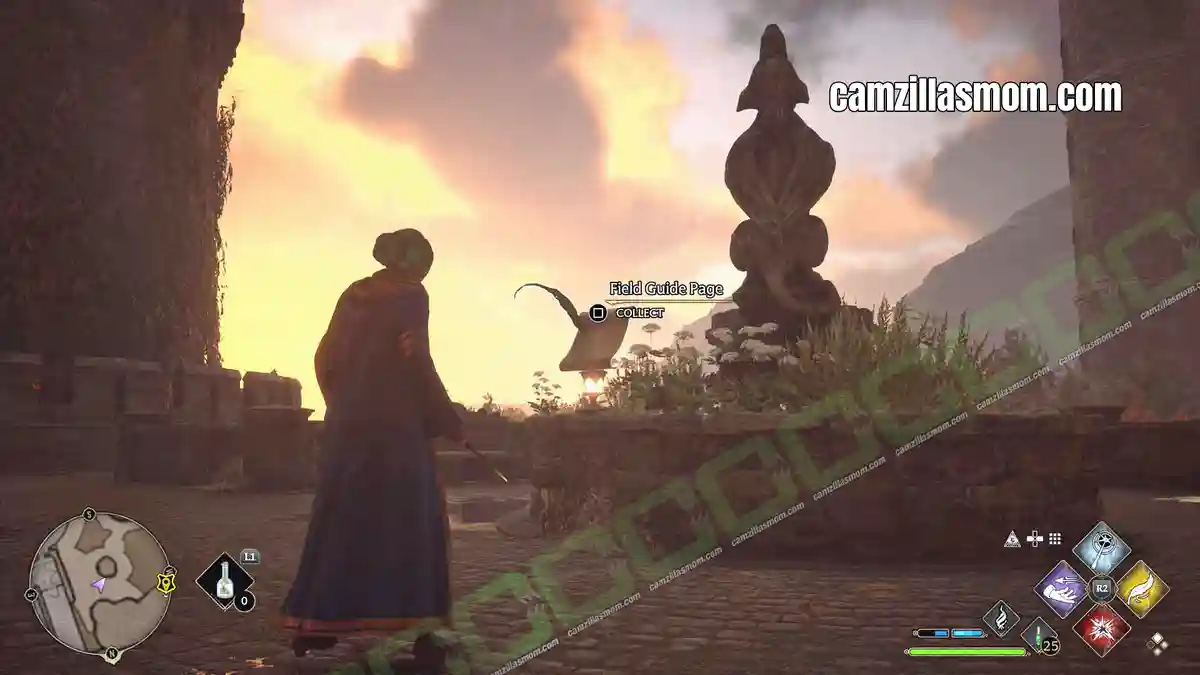
5 – Hogwarts Crest
“The Hogwarts coat of arms includes a lion, snake, eagle, and badger, representing each of the four houses, along with the school motto: ‘Draco dormiens nunquam titillandus’, which means ‘never tickle a sleeping dragon.’
Walk to the outside exit of The Great Hall. The crest is right by the doors, still on the inside.
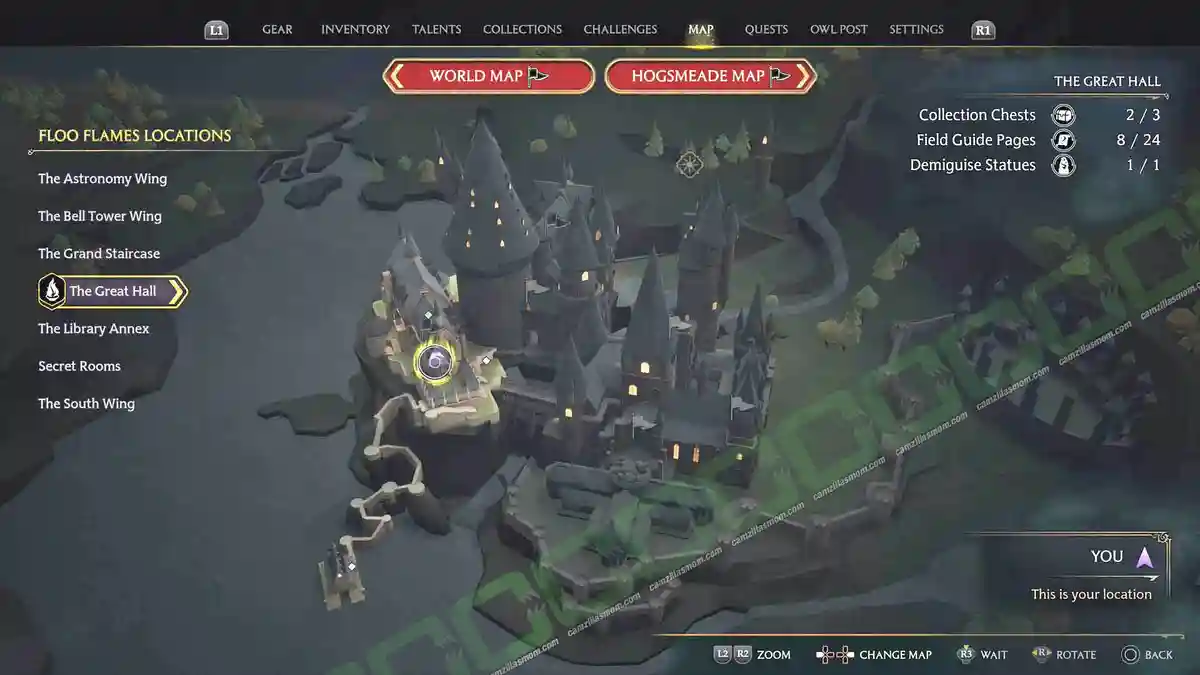
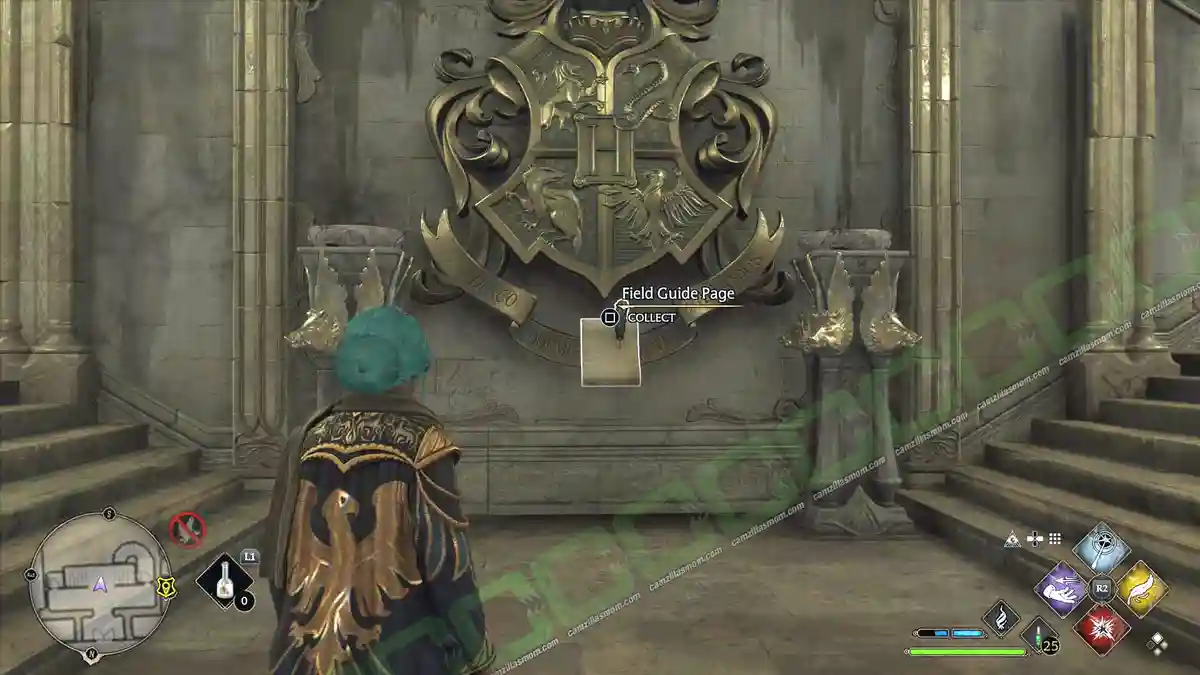
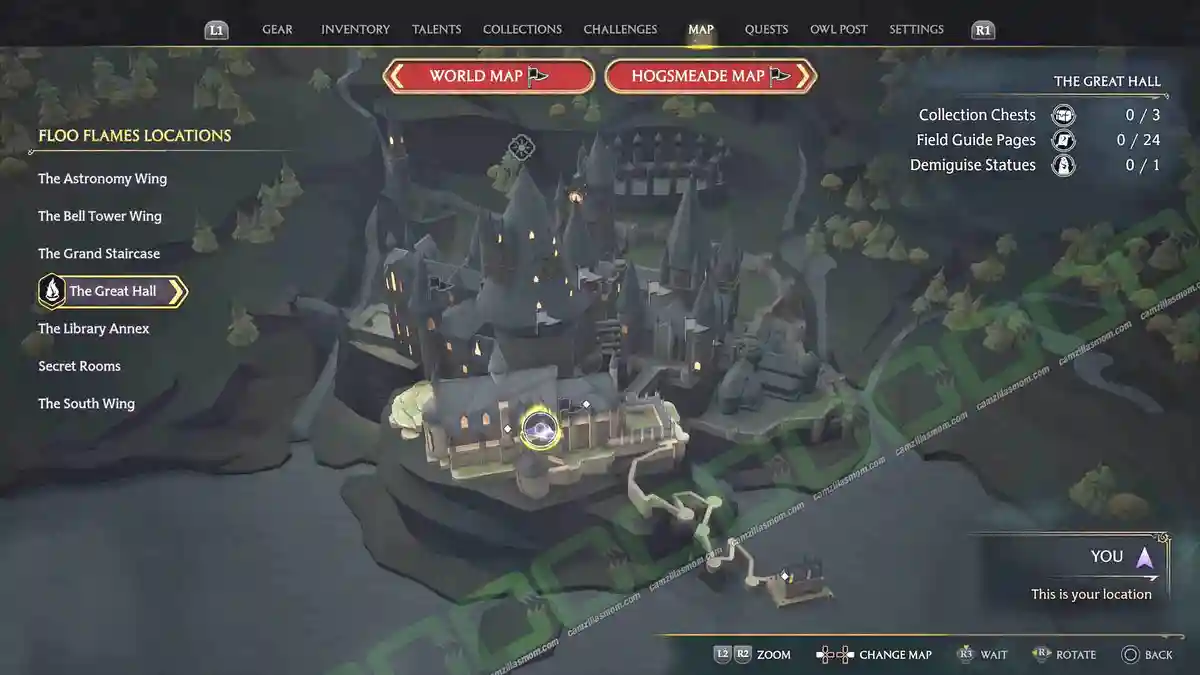
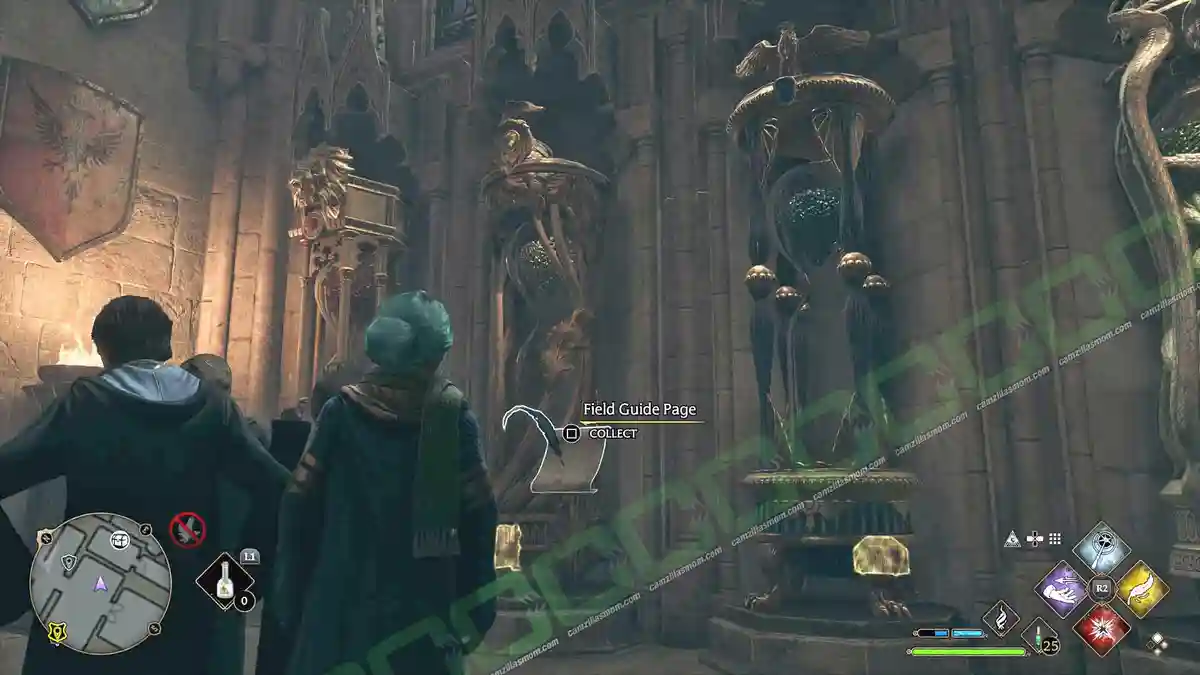
6 – House Point Hourglasses
“These large, ornate hourglasses containing rubies, diamond, sapphires, and emeralds are enchanted to keep count of house points for Gryffindor, Hufflepuff, Ravenclaw, and Slytherin, respectively.”
Before you pass through the big gates into The Great Hall, turn to the wall of hourglasses beside them.
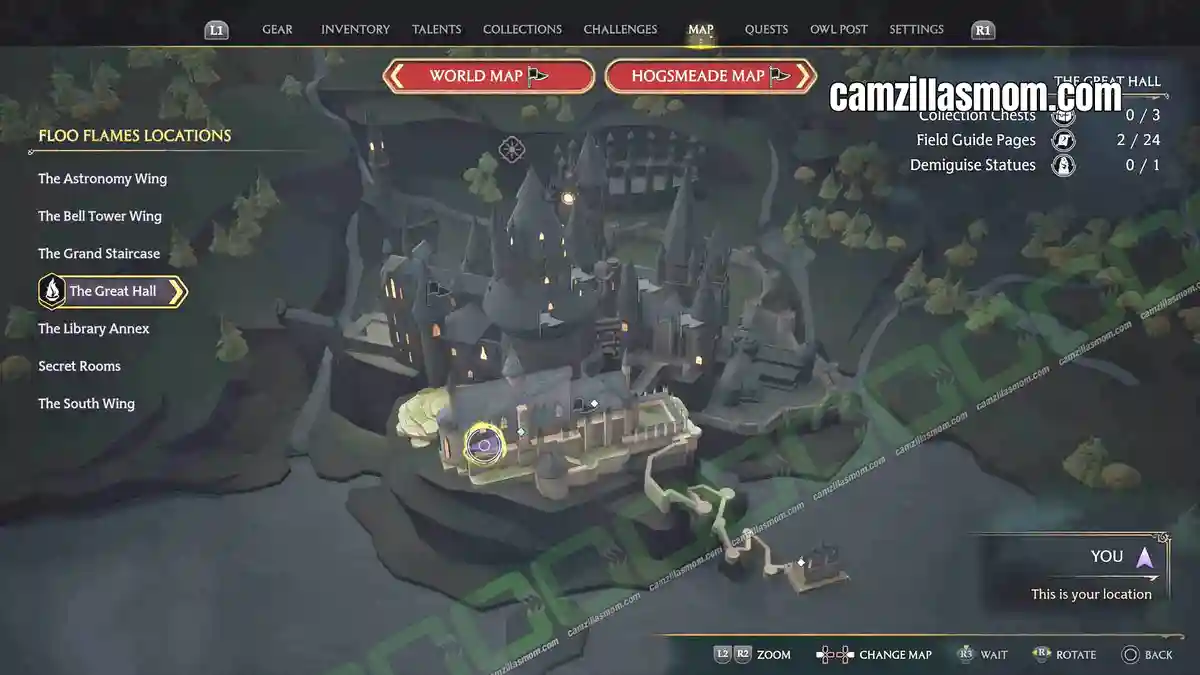
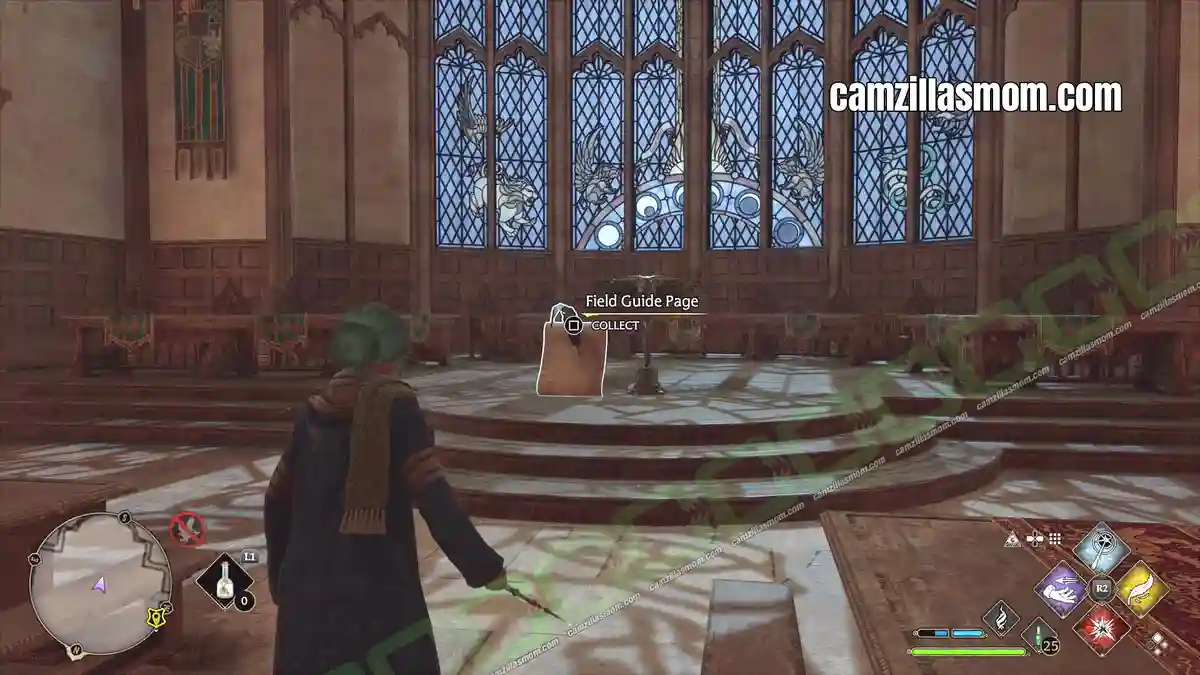
7 – Owl Lectern
“This enchanted lectern serves as the spot from which the great headmistresses and headmasters of Hogwarts – as well as Professor Black – adress the school.”
In the dining area, walk to the lectern at the back near the window.
8 – Kitchen Tables
“When Hogwarts house-elves place prepared food on these tables, it is magically transferred to the tables in the Great Hall directly above.”
Tickle the Pear Portrait (below) to open the kitchen door. The long prepared tables sit in the centre of the room, and the page is on them.
9 – Pear Portrait
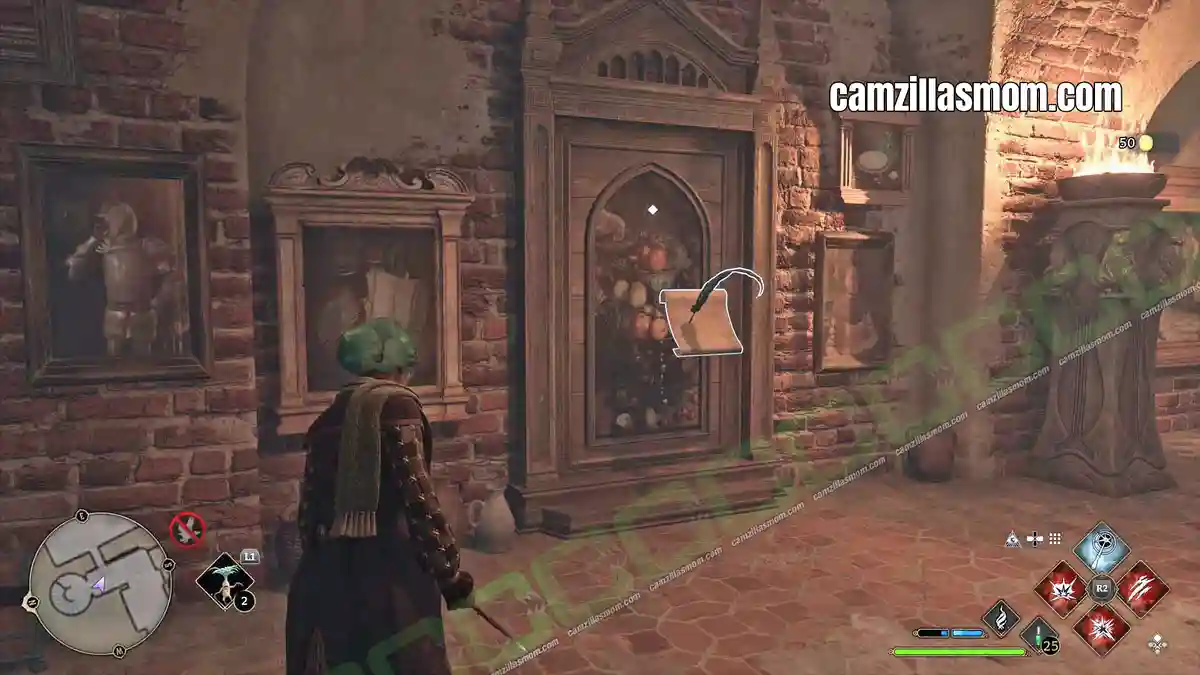
“If one tickles the pear in this still-life painting of a bowl of fruit, it will giggle before turning into a doorknow to allow entry to the Hogwarts kitchens.”
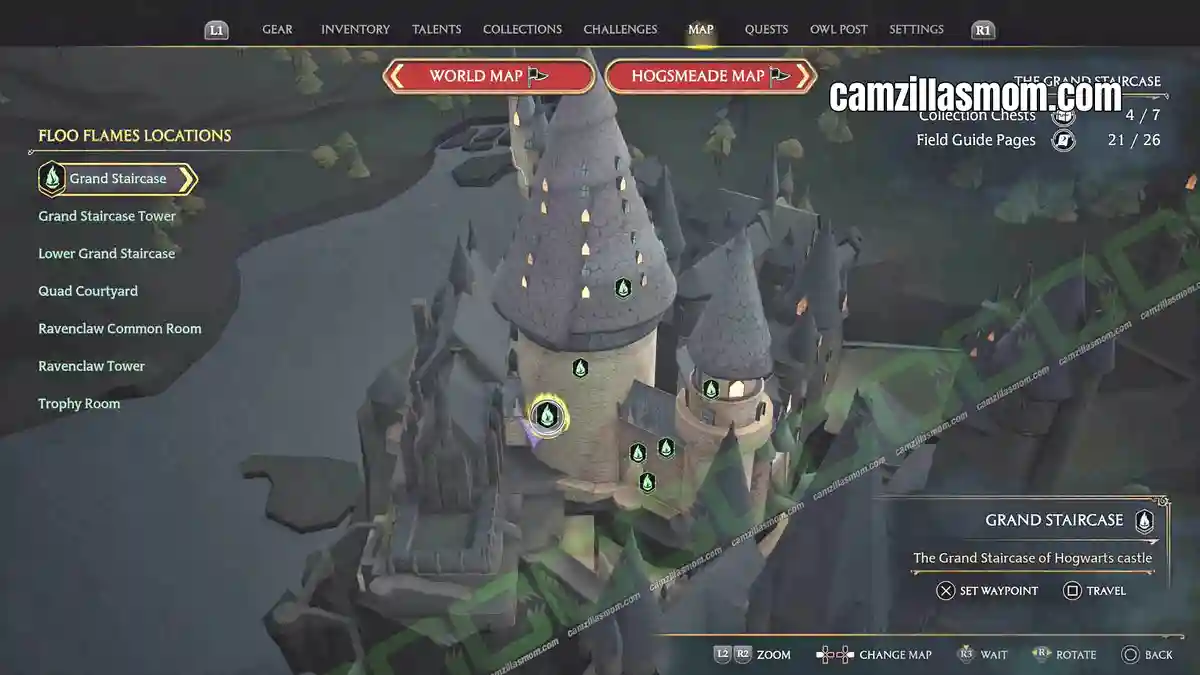
Fast travel to the Grand Staircase and take the winding staircase with the patchy brickwork down to the bottom. The fruit painting is on the wall there, and you can tickle the pear.
10 – House-Elf Quarters
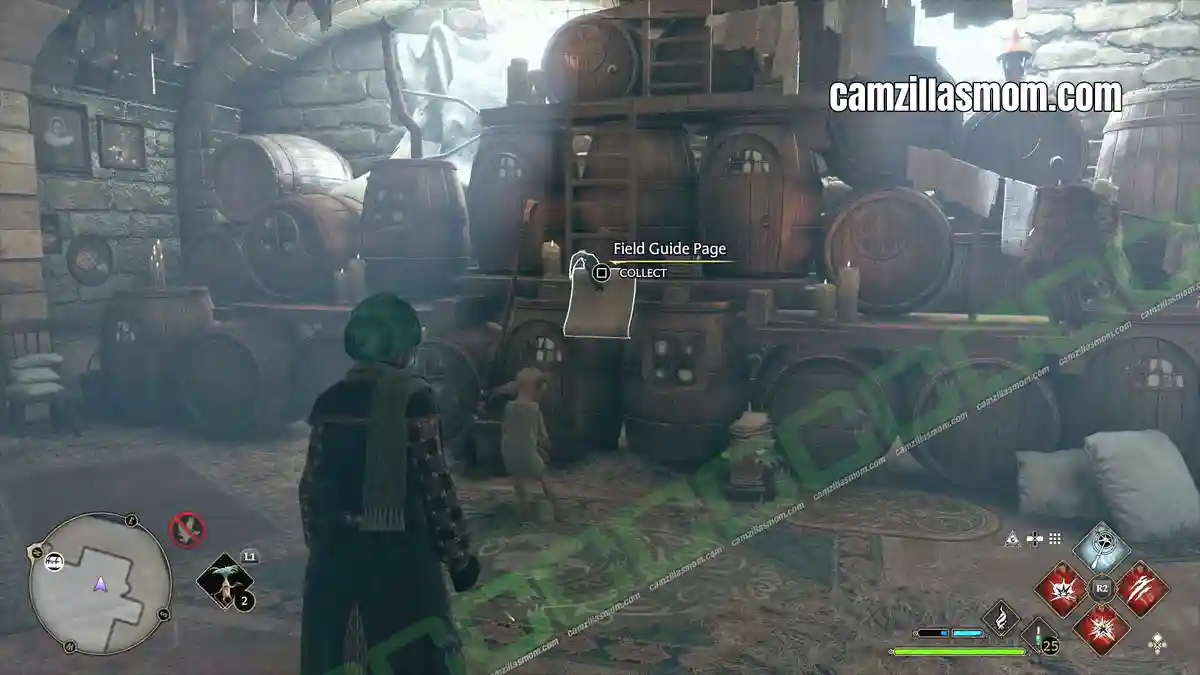
“Ever practical and creative, the Hogwarts house-elves have created a cosy village-like home for themselves among these barrels in the Hogwarts kitchens. Of course, one cannot presume to know what they’re really like inside, as house-elves have an extraordinary magic of their own.”
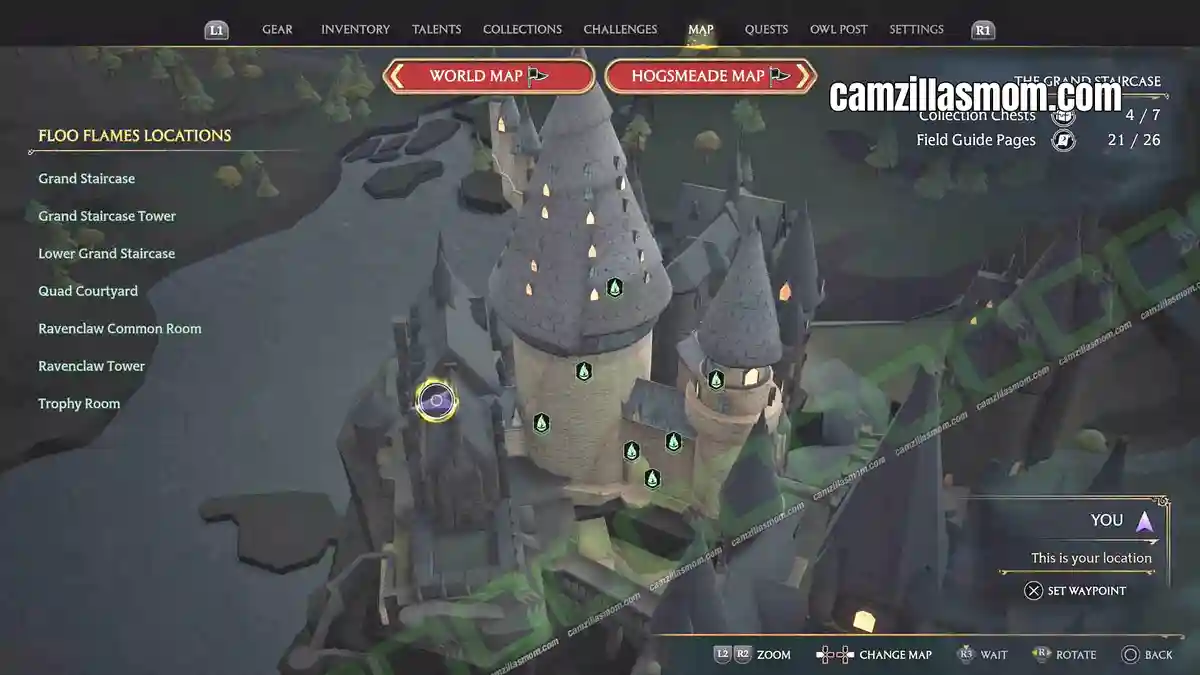
Tickle the Pear Portrait to open the kitchen. The house-elf quarters are right at the back of the room.
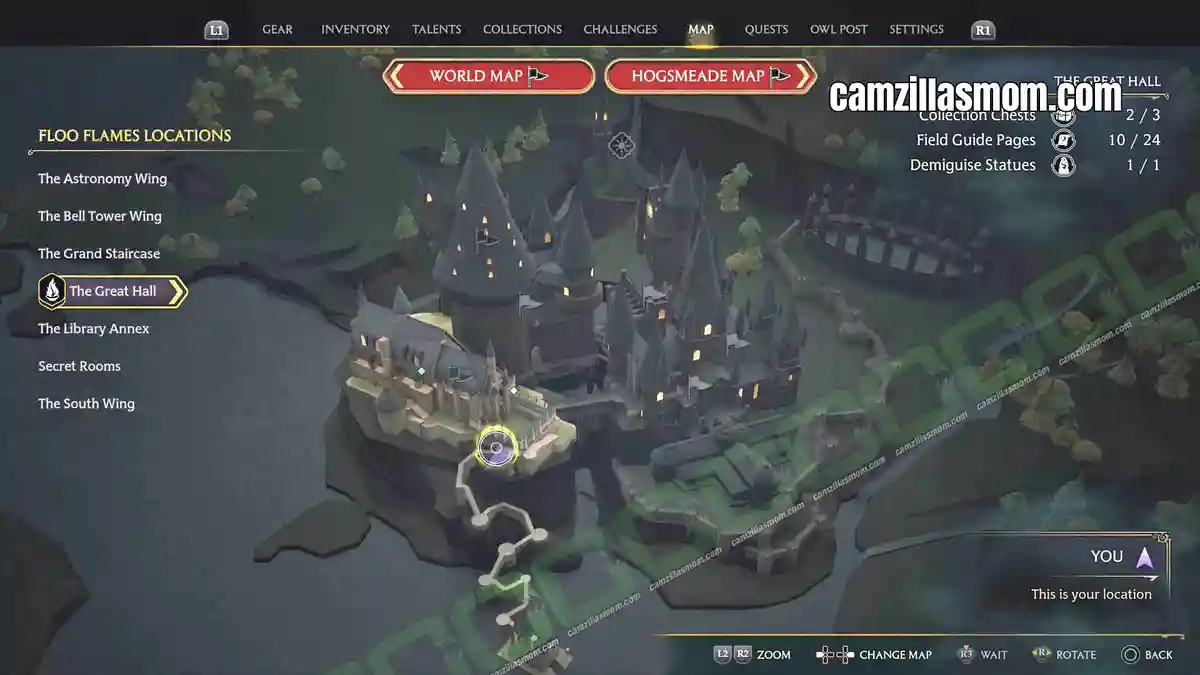
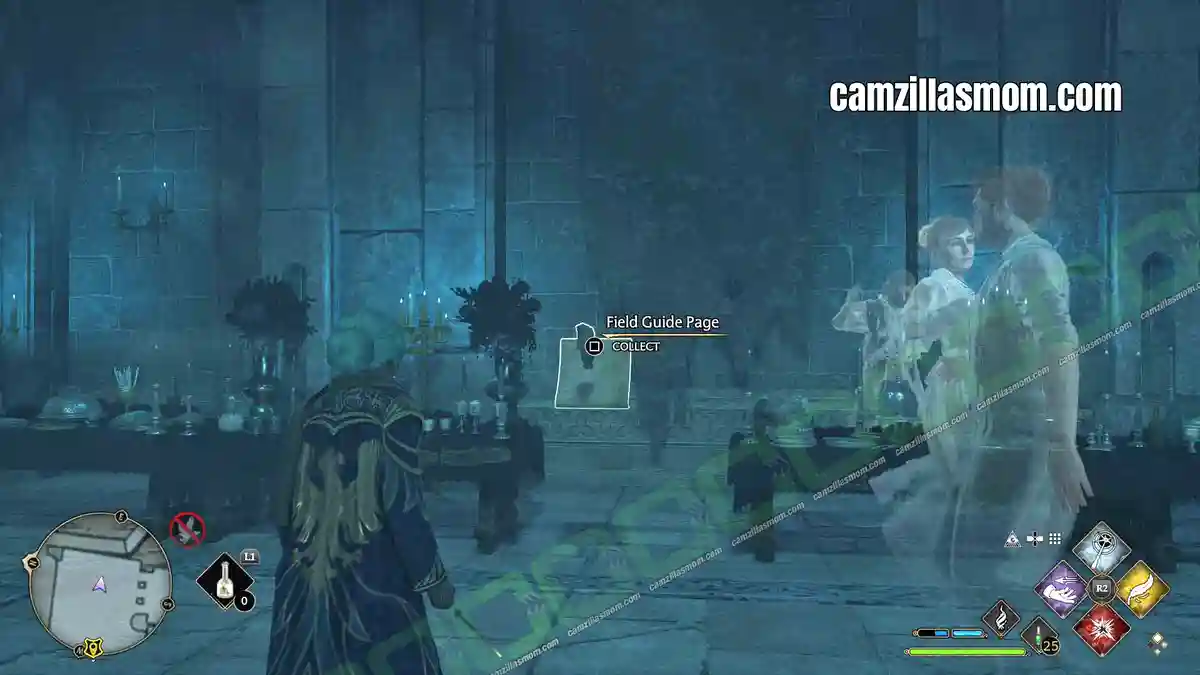
11 – Deathday Party Room
“This gloomy, spacious chamber in the lower dungeons of Hogwarts is perfect for occasional Deathday party celebrated here by the castle ghosts. Most mortals will want to avoid such festivities, as the food served is frequently rotting so the ghosts can detect its aroma.”
From the main entrance of The Great Hall, take the staircase down into the basement instead of heading out to the garden. Go left until you reach a barred passage with a blue glow, unlock it, and follow it to the end. You’ll come out in a room full of dancing ghosts.
12 – Slytherin’s Sink
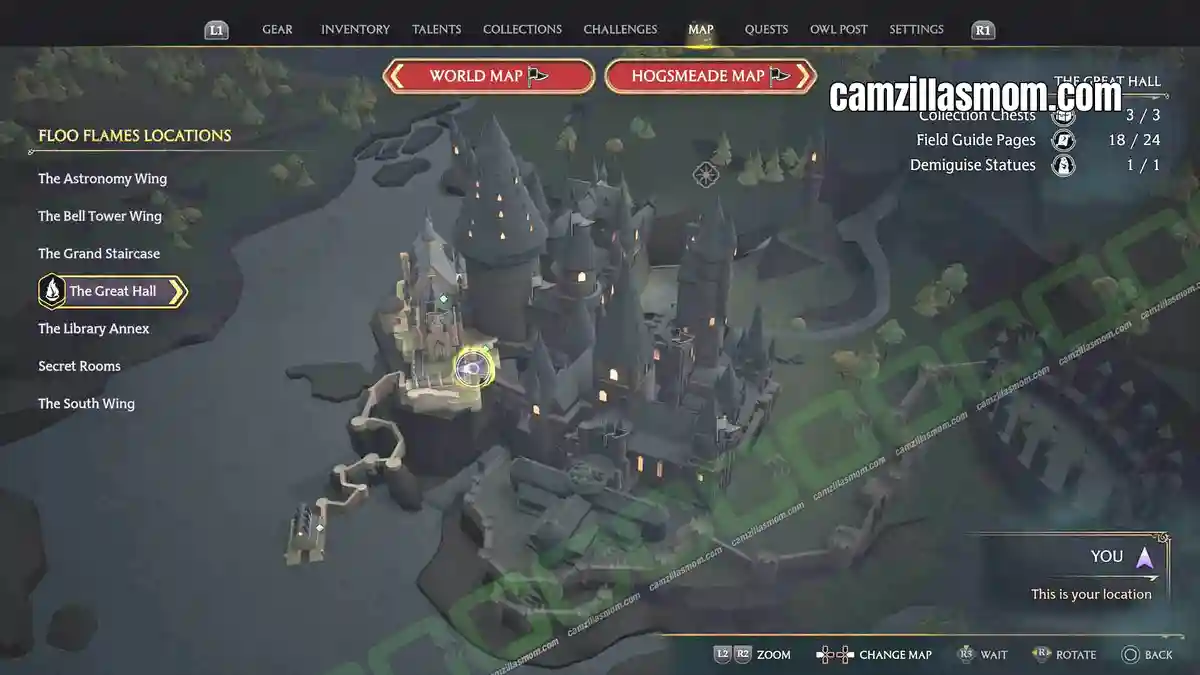
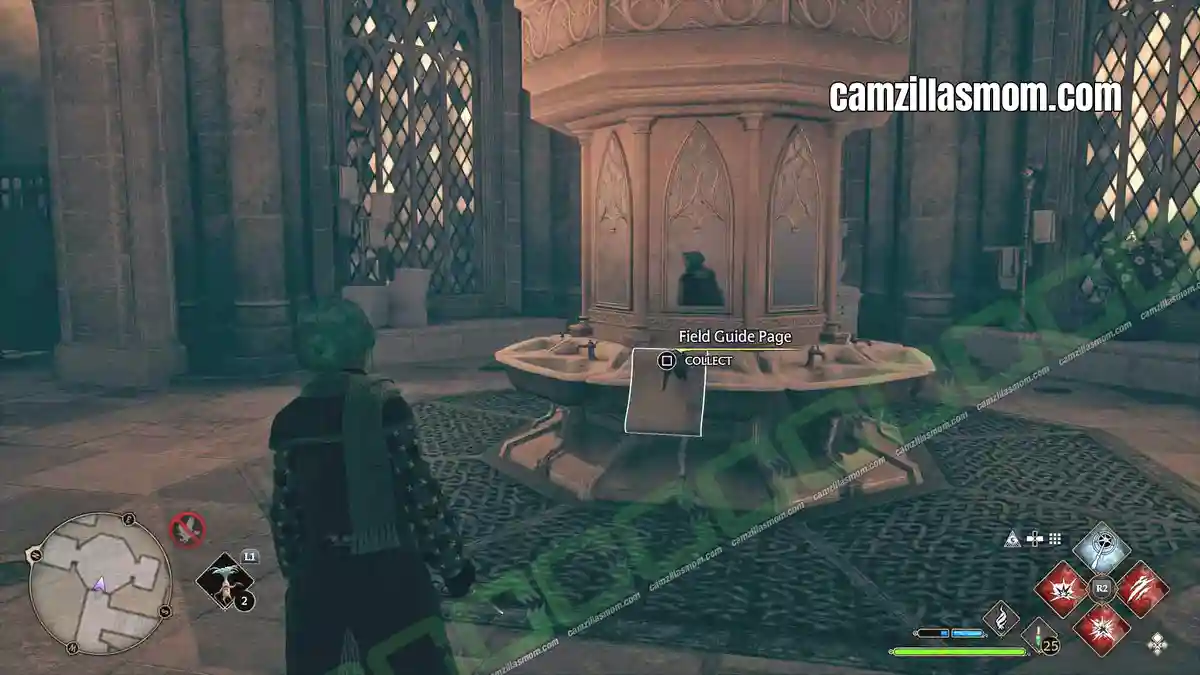
“Scratched into one of the copper taps on this seemingly ordinary sink in the girls’ toilets is a small snake. No one knows what it means.”
Fast travel to the Grand Staircase and go down to the Lower Grand Staircase. Turn left in the basement and follow it to the two toilet rooms. The page is in one of them.
13 – Detention Chamber
“This chamber allegedly served as the school’s preferred location for punishing students. Though physical torture is no longer utilised during detention, the aura of such horrific practices lingers.”
Take the basement staircase down from the main entrance of The Great Hall and head left all the way to the end. Unlock the door and you’re in the detention chamber.
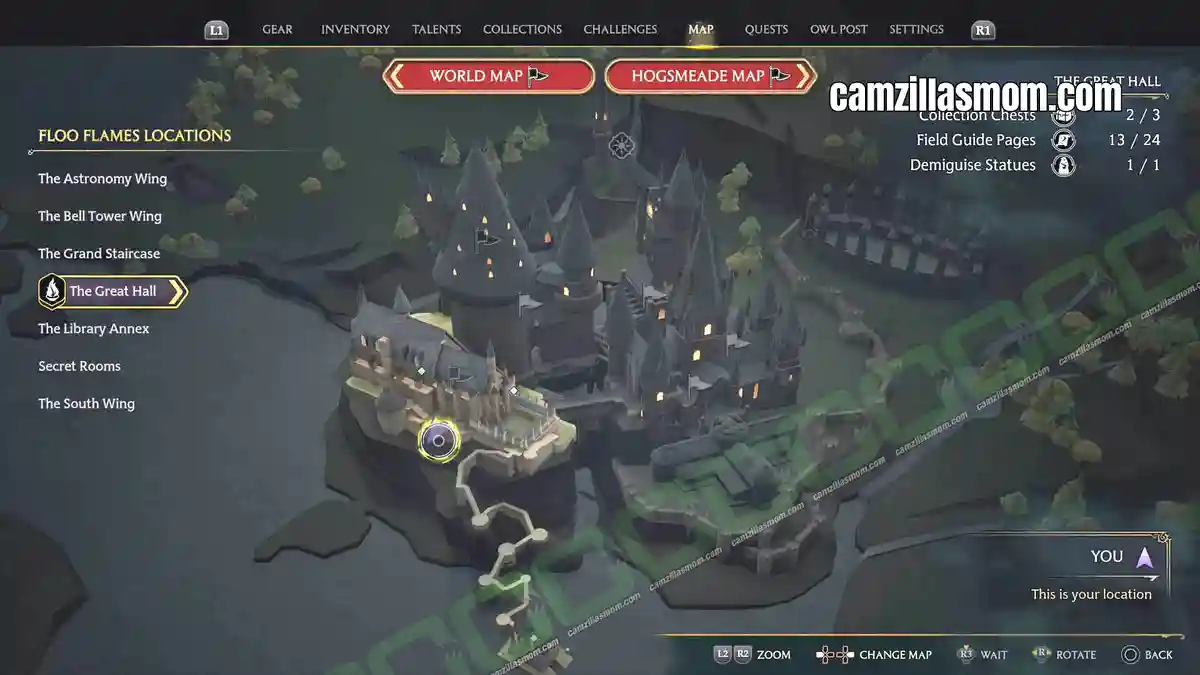
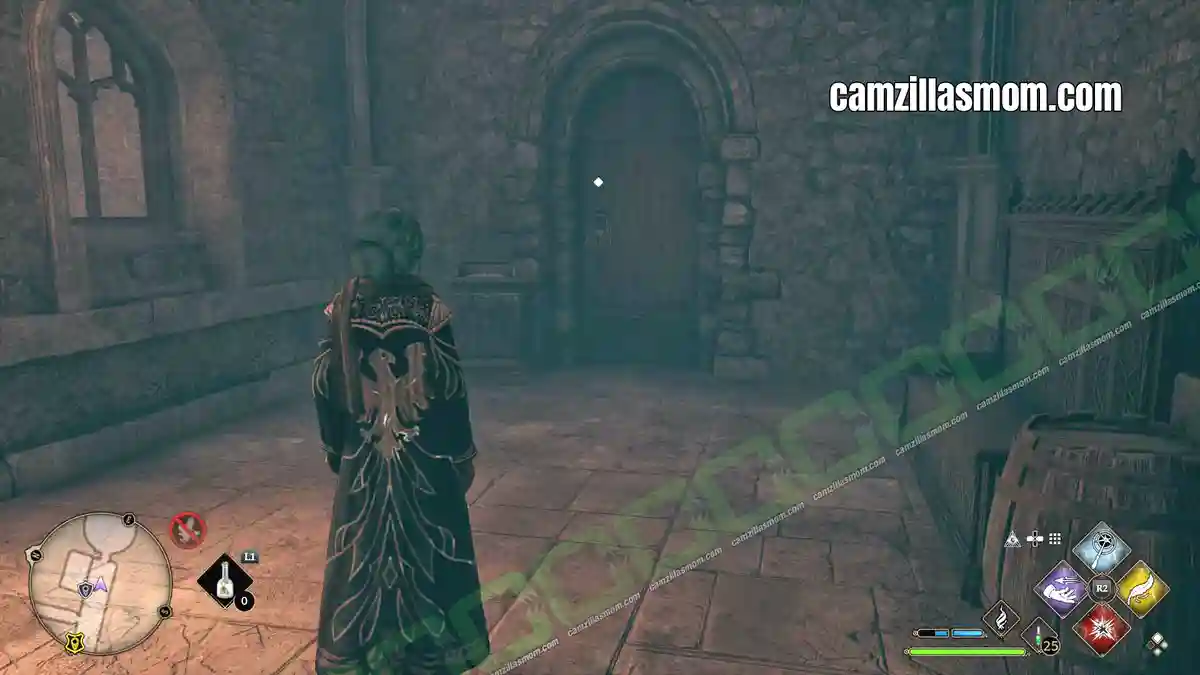
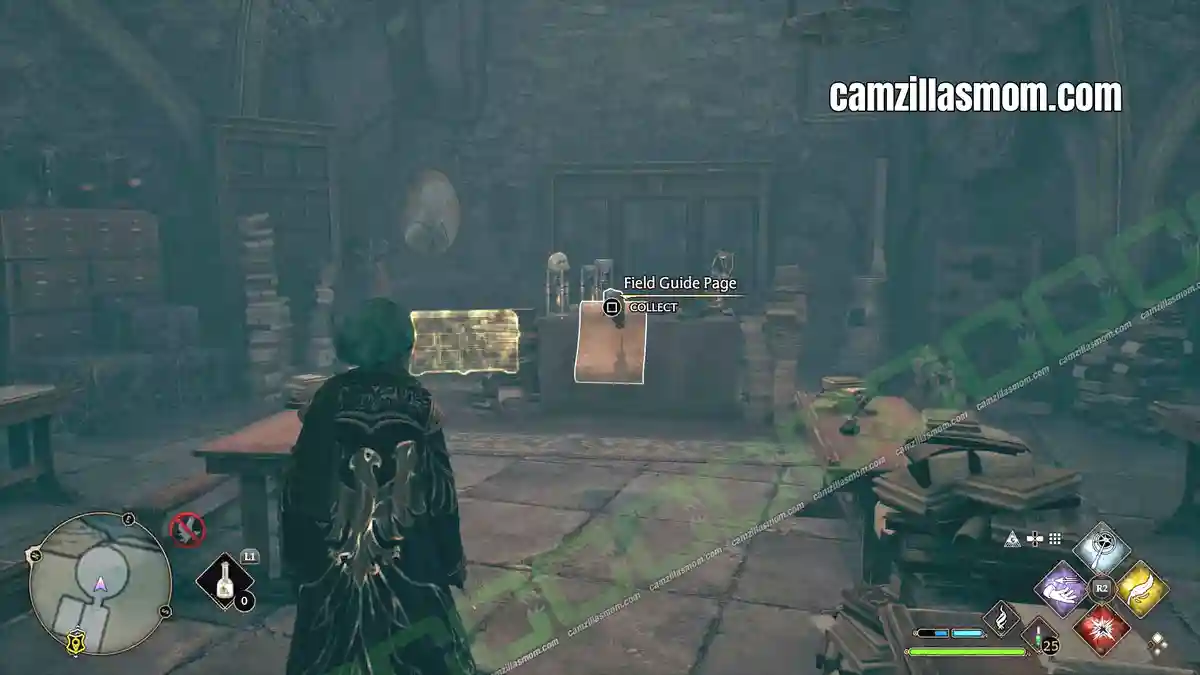
14 – Headless Hunt Tapestry
“This tapestry depicts the headless hunt, a group of headless ghosts organised by Sir Patrick Delaney-Podmore to play various headless games. They are notorious for refusing to admit Gryffindor house ghost Sir Nicholas de Mimsy-Porpington to their ranks as he is not entirely headless.”
Go back to the Deathday Party Room in the basement. Look for the ghostly instruments playing on their own. The tapestry is behind them.
Unnamed Field Guide Pages in The Great Hall (10)
These don’t appear under Collections, but they all count towards your field guide page total and area completion.
1 – Flying Pages – catch them with ACCIO
2 – Moth Mirrors (black, empty picture frames) – cast LUMOS, find the moth, carry it back
3 – Dragon Bowls – cast INCENDIO
4 – Globe Statues – cast LEVIOSO
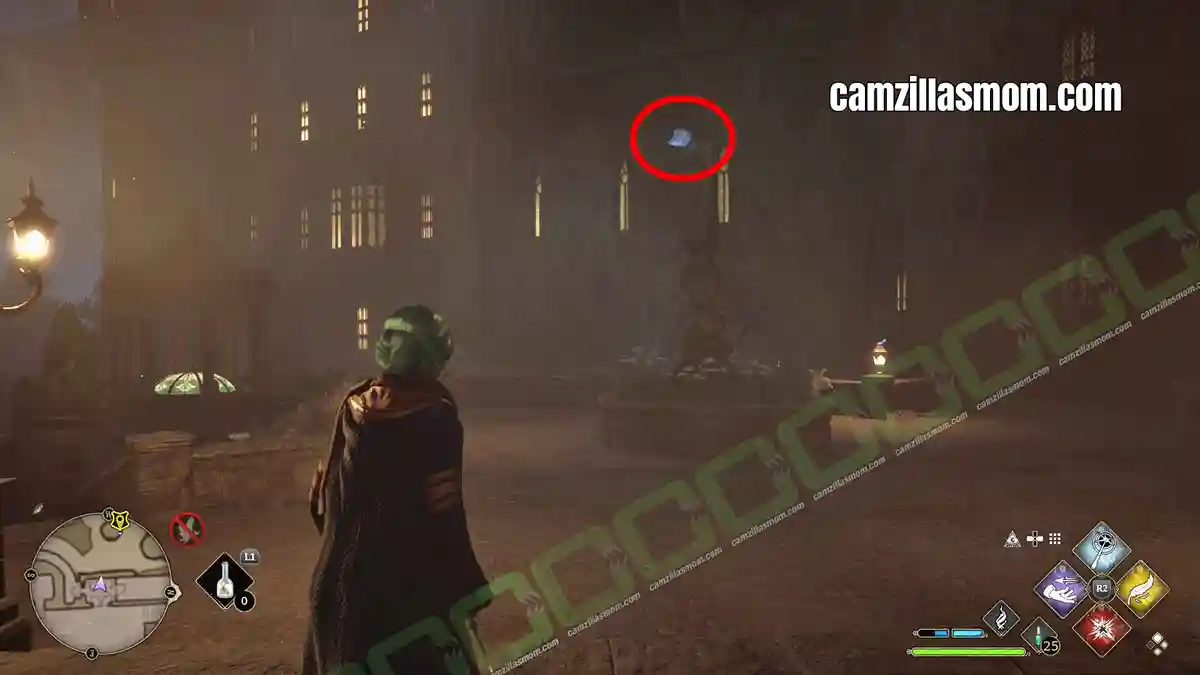
15 – Flying Page – The Great Hall Garden
Step out of the dining area through the big door into the garden. The page is circling out here. Cast Accio to pull it in.
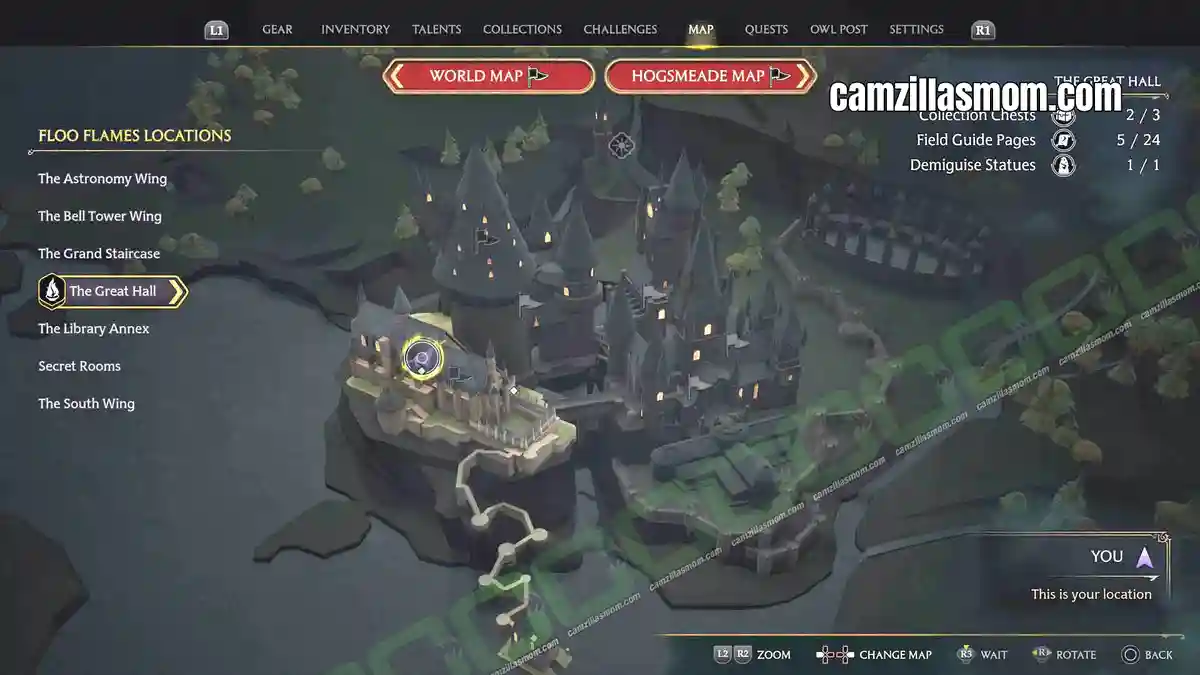
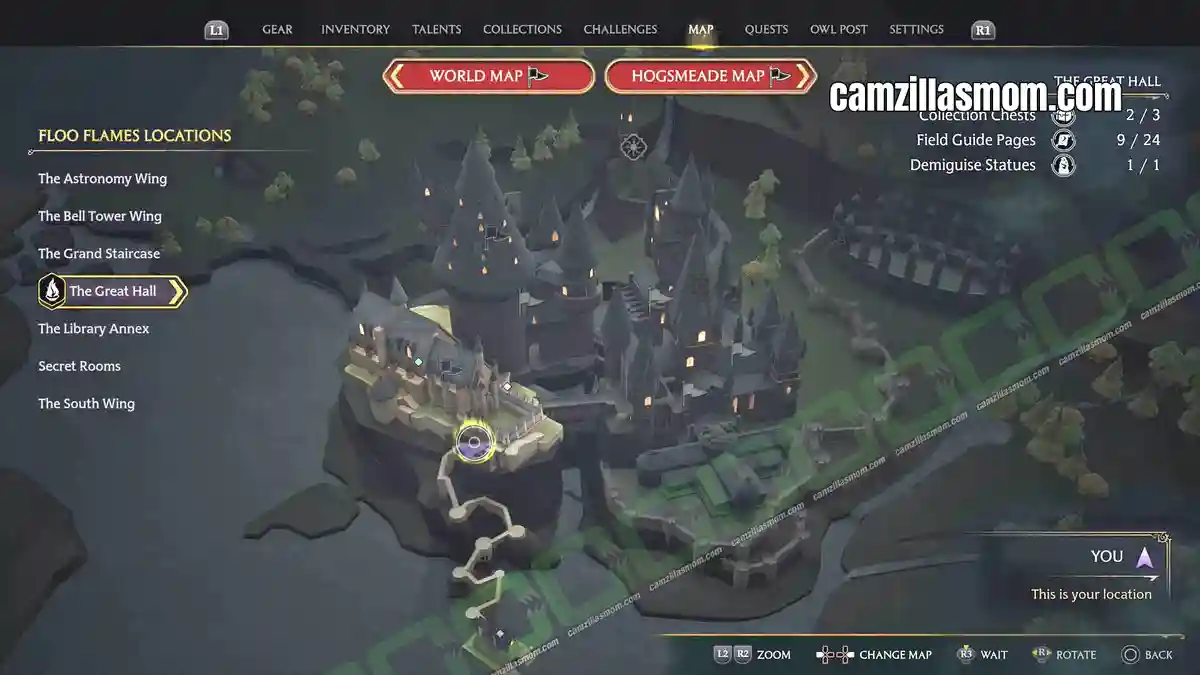
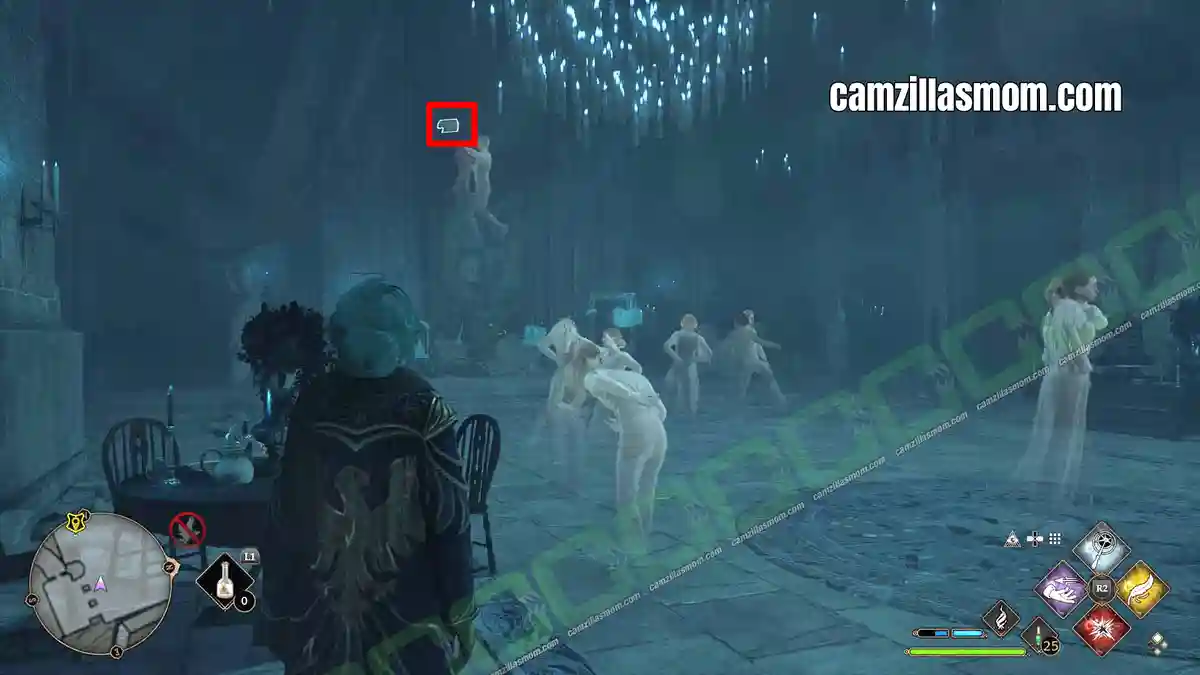
16 – Flying Page – Deathday Party Room
Same basement route as before: staircase down from the main entrance, left to the blue-glowing barred passage, unlock it and follow it through to the dancing ghosts. The page is drifting around the room.
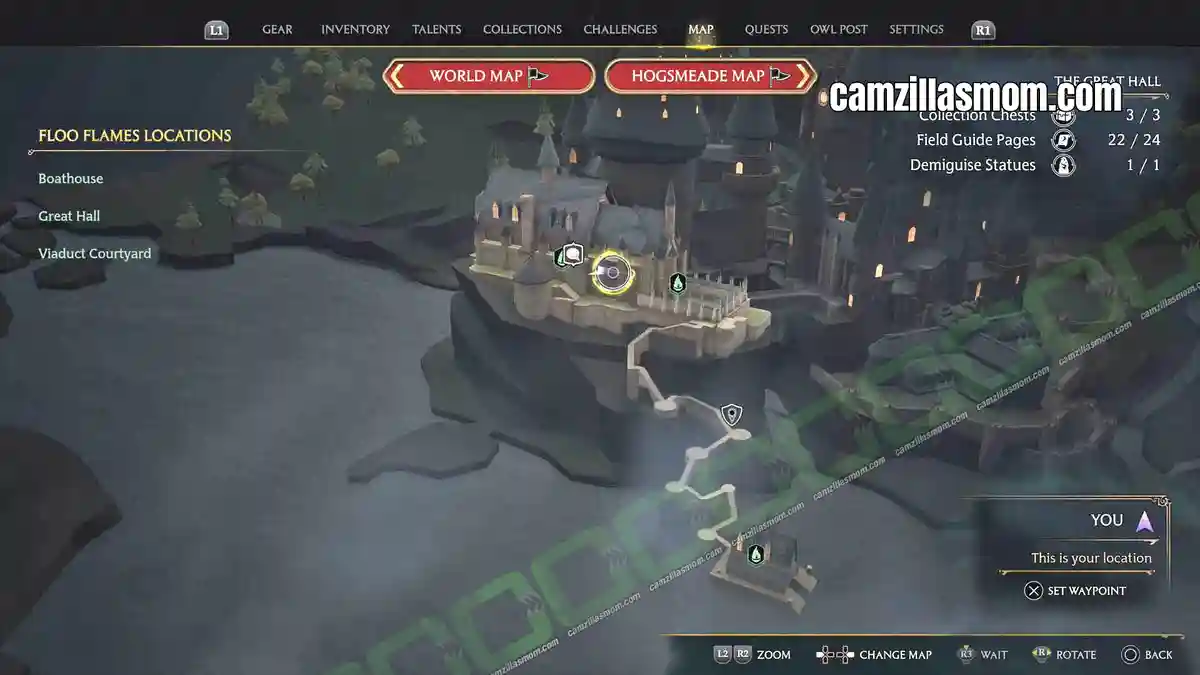
17 – Flying Page – Main Entrance Hall
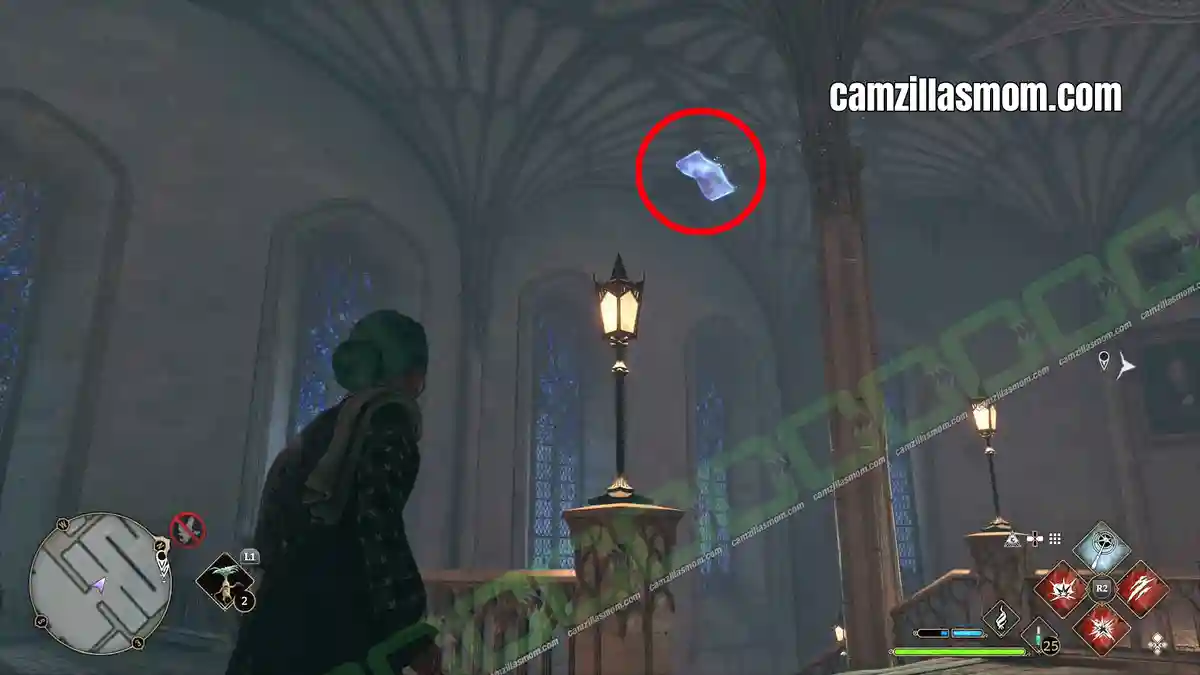
This one floats high up in the main entrance hall of The Great Hall. Look up before you cast Accio.
18 – Moth Mirror: Between the Dining Hall Doors
The moth mirror hangs between the two doors leading into the dining hall.
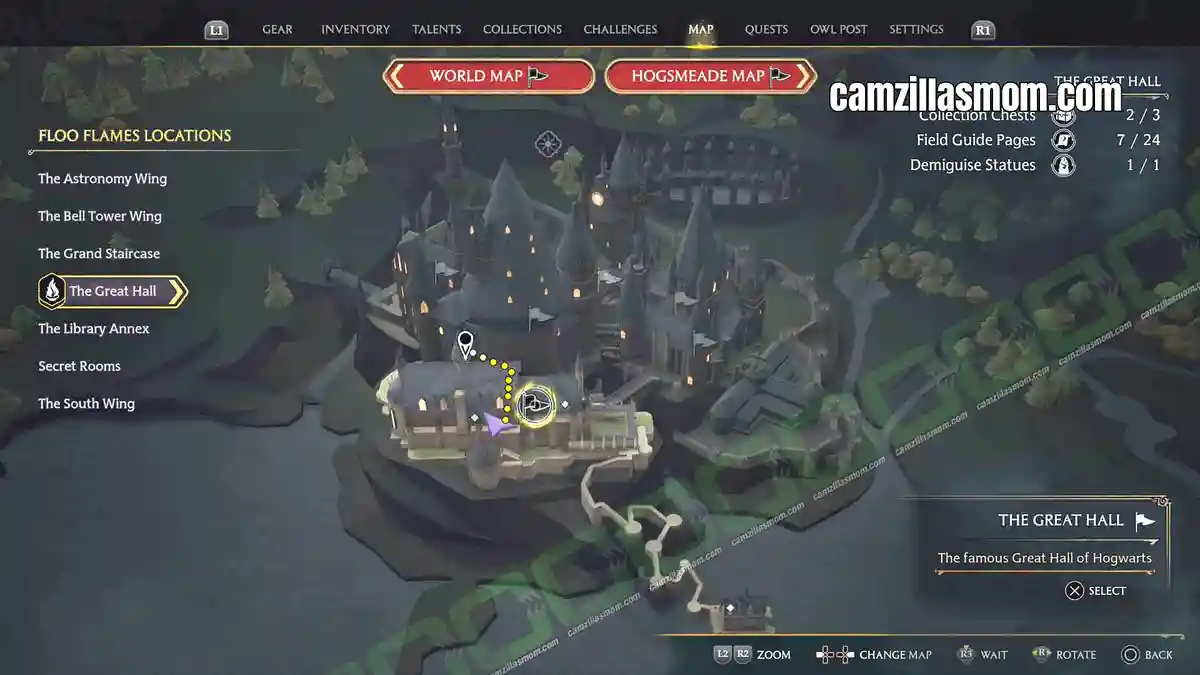
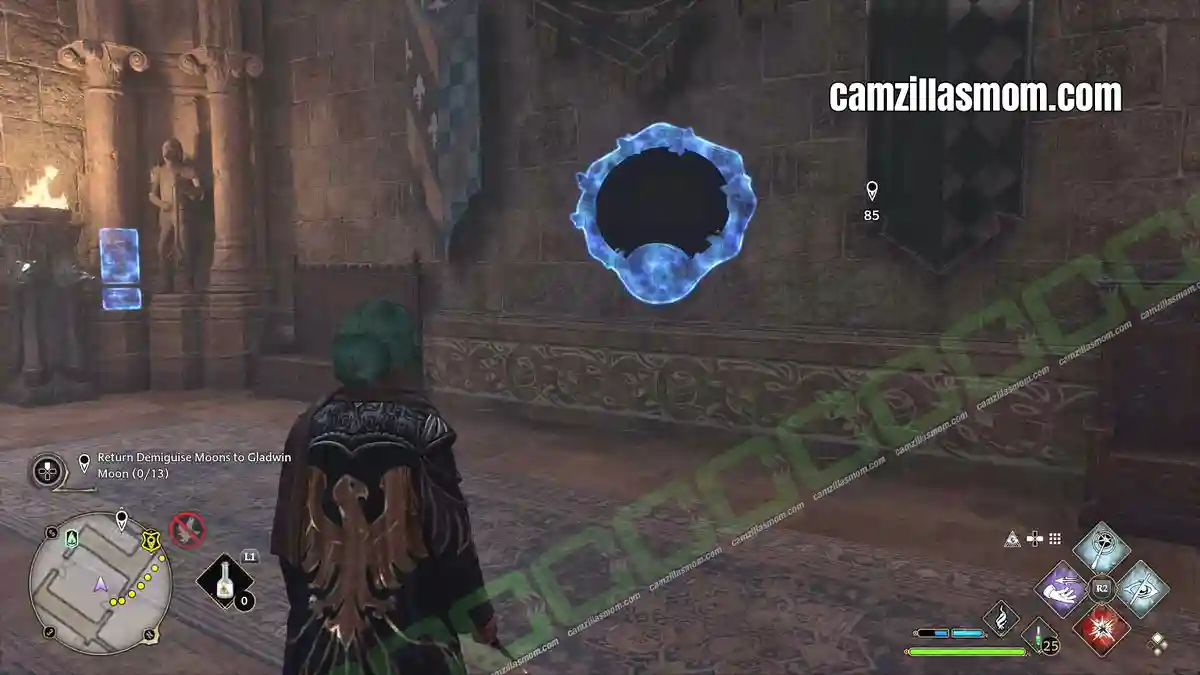
The mirror shows the Owl Lectern in the dining hall. The moth isn’t on the lectern itself, though. It’s sitting on the back window wall. Cast Lumos to draw it out and walk it back to the mirror.
19 – Moth Mirror: Below the Outside Entrance
This moth mirror is below the outside entrance to The Great Hall, and it shows a statue.
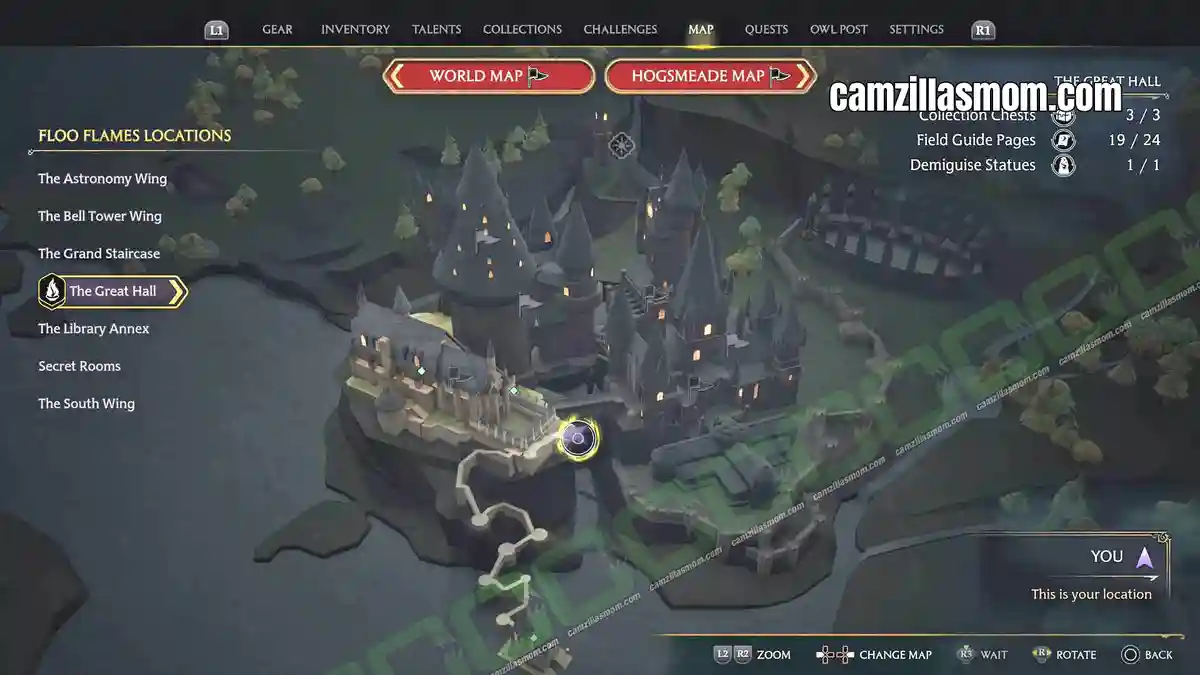
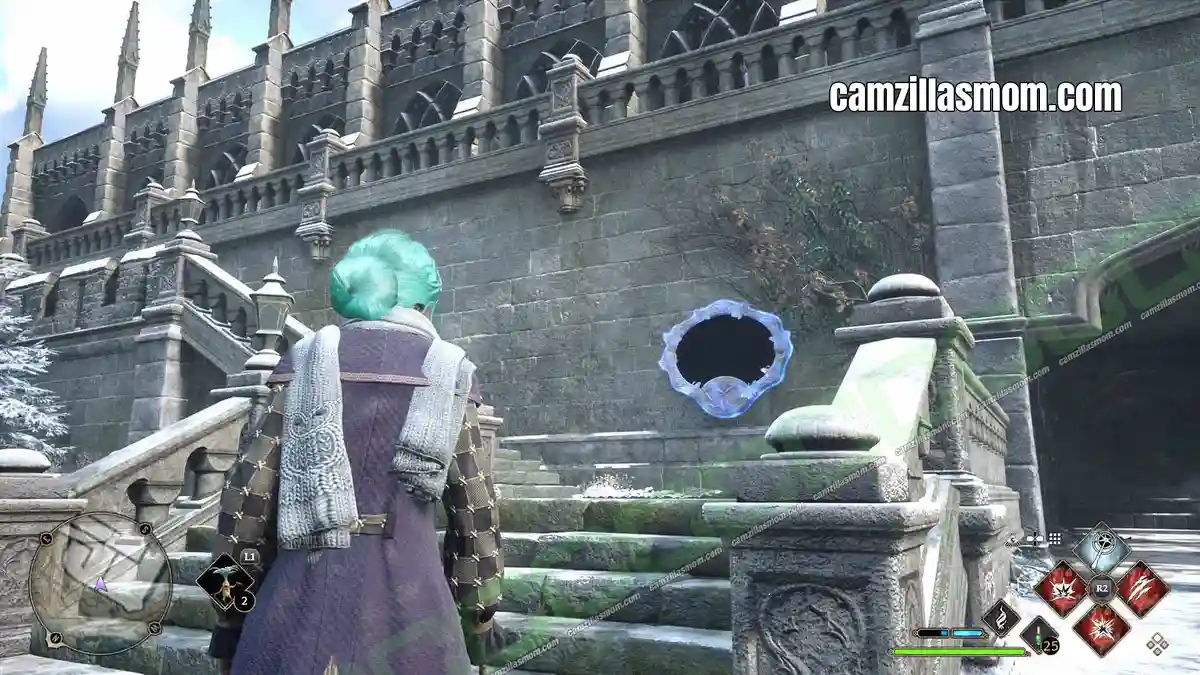
Walk back up towards the entrance. The statue with the moth is right next to the doors but still outside. Cast Lumos and lead the moth down to the mirror.
20 – Dragon Bowl – Above the Dining Hall
Go upstairs from the dining hall with the long tables. Light the bowl with Incendio or Confringo.
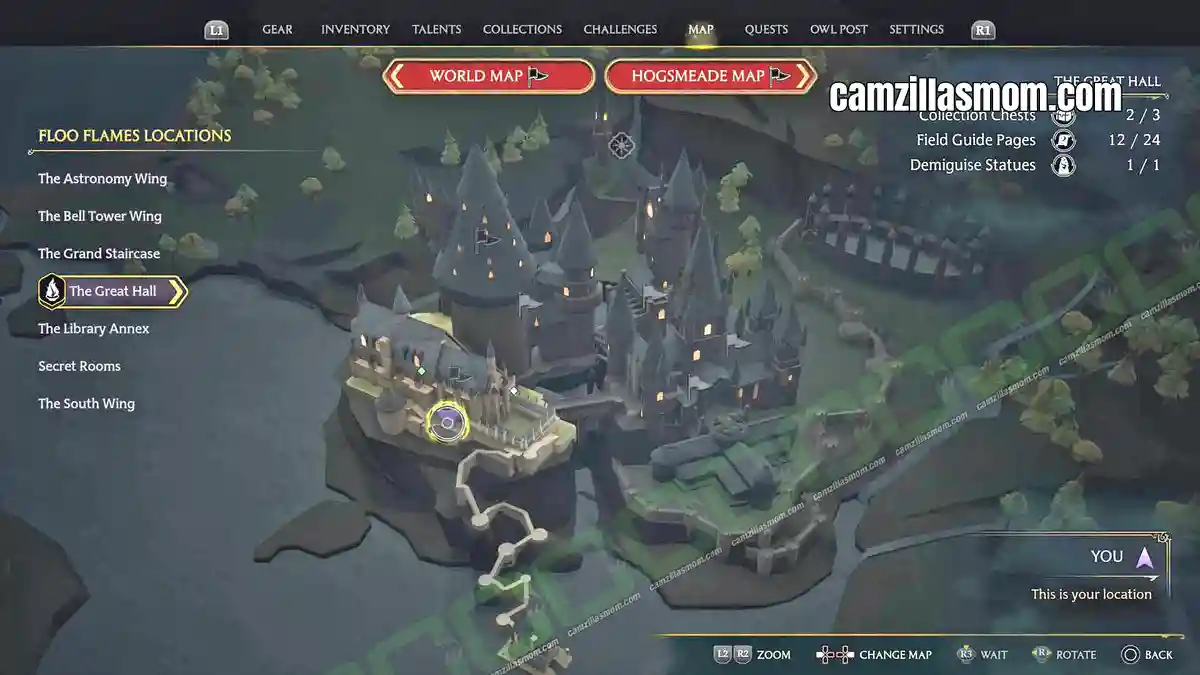
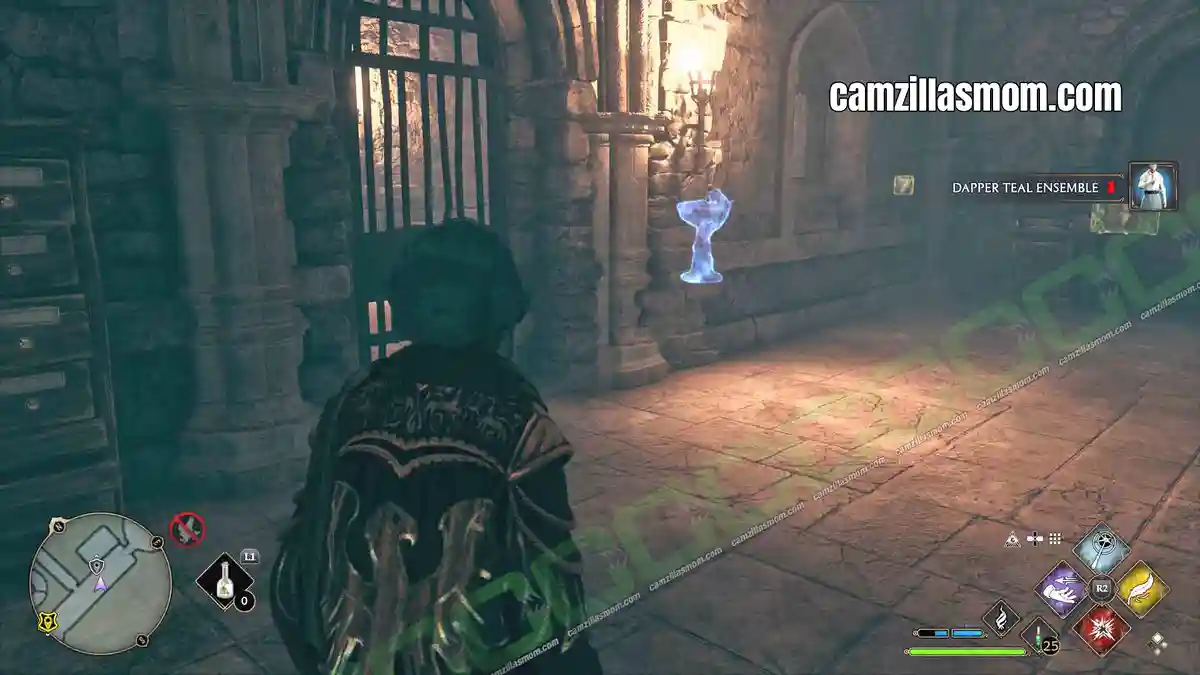
21 – Dragon Bowl – Basement
Take the staircase down from the main entrance and head left to the blue-glowing barred passage. The dragon bowl is behind the locked door next to it.
22 – Dragon Bowl – Down by the Water
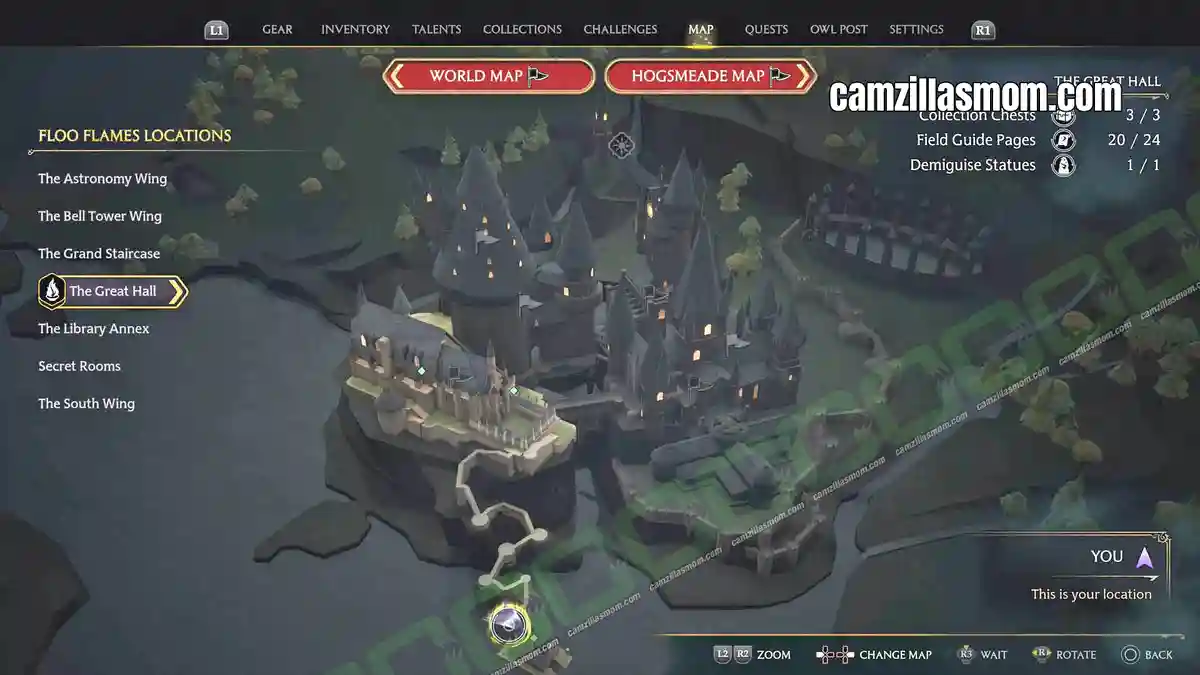
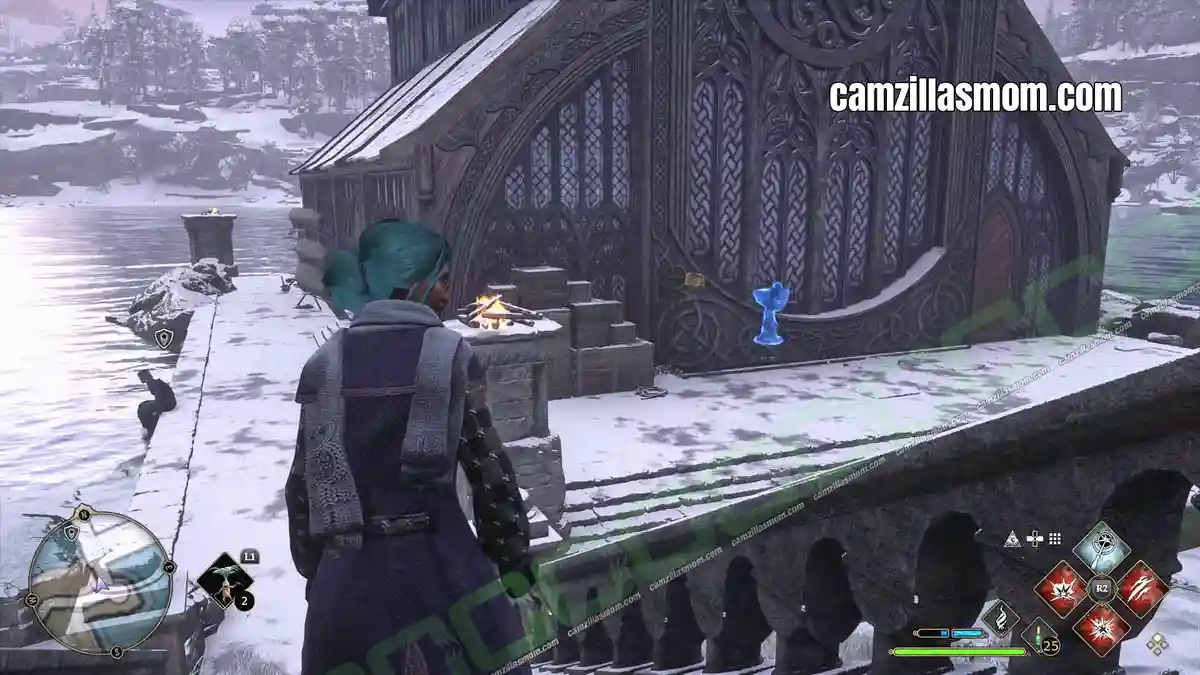
Leave through the main entrance and take the long staircase down to the water. The bowl is inside the boat house.
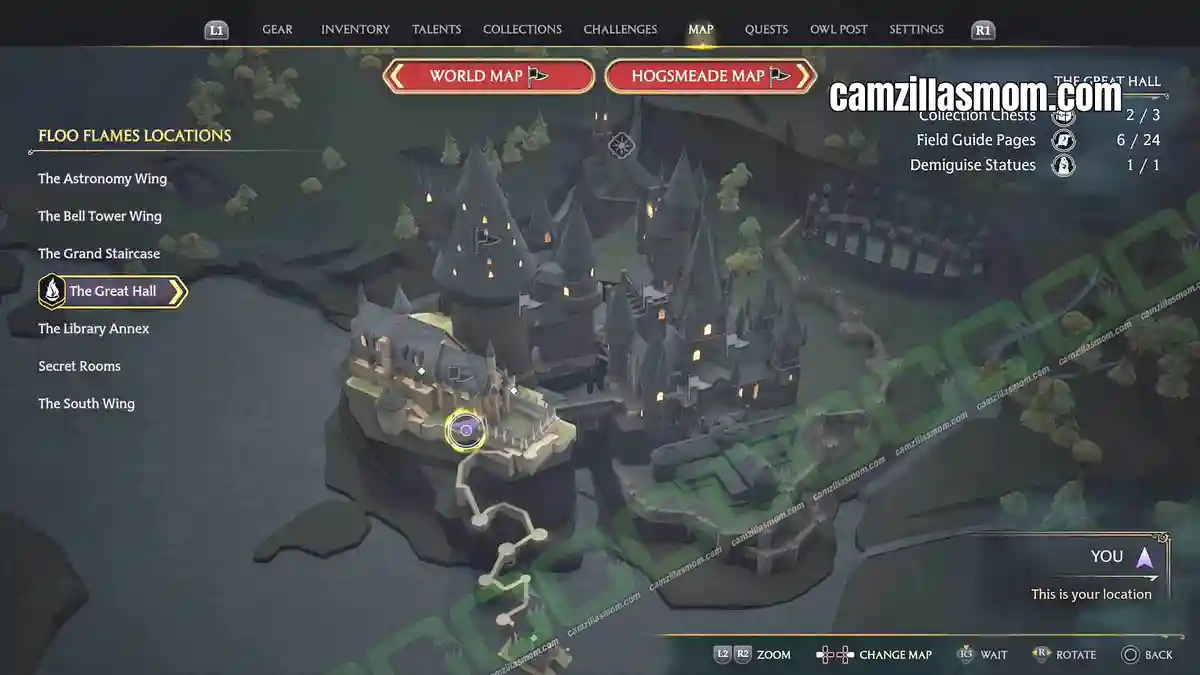
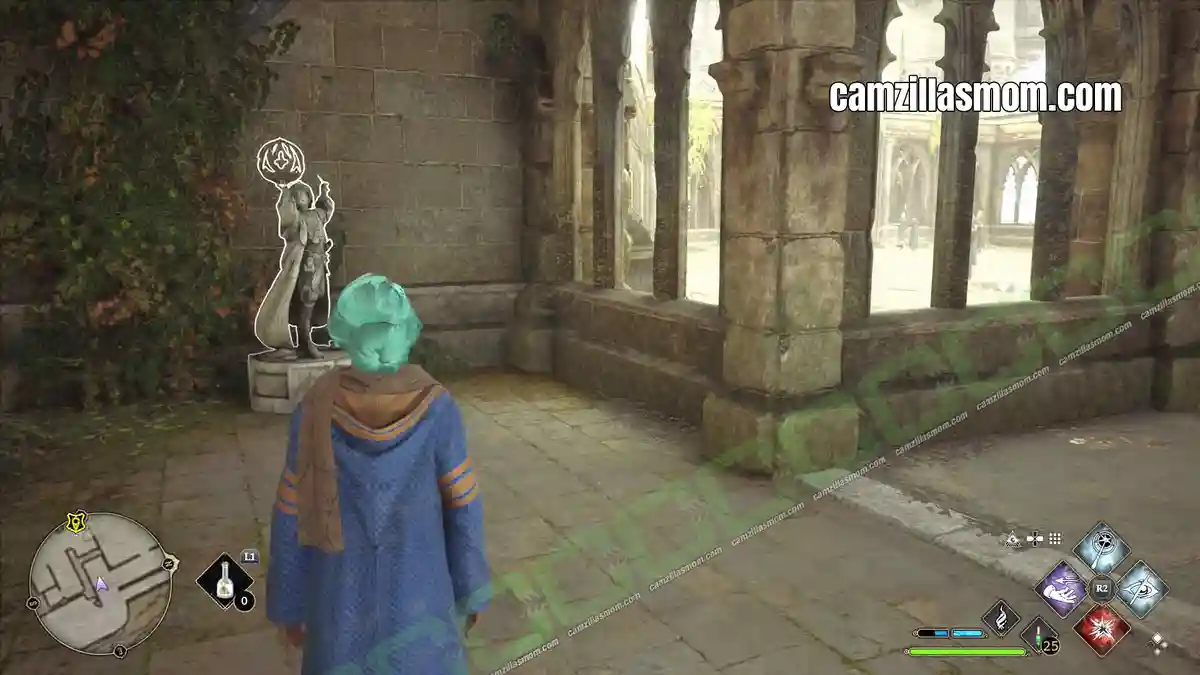
23 – Globe Statue – Outside the Entrance
This statue stands at the outside entrance to The Great Hall. Lift the globe with Levioso.
24 – Globe Statue – Inside the Entrance
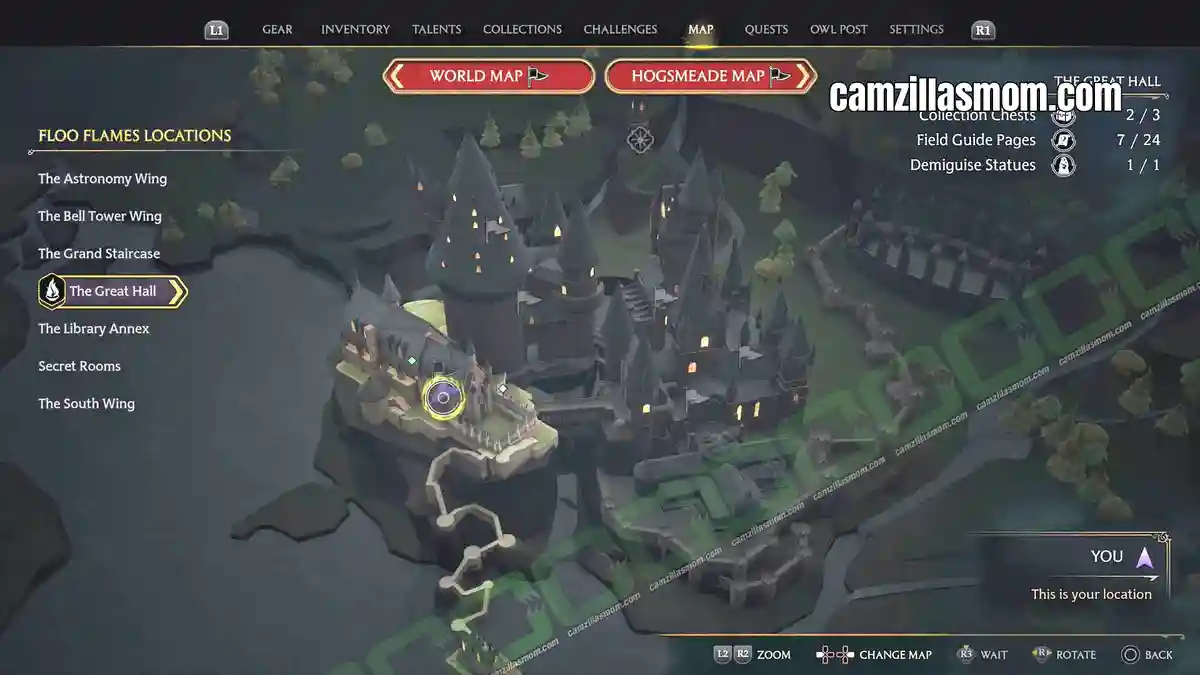
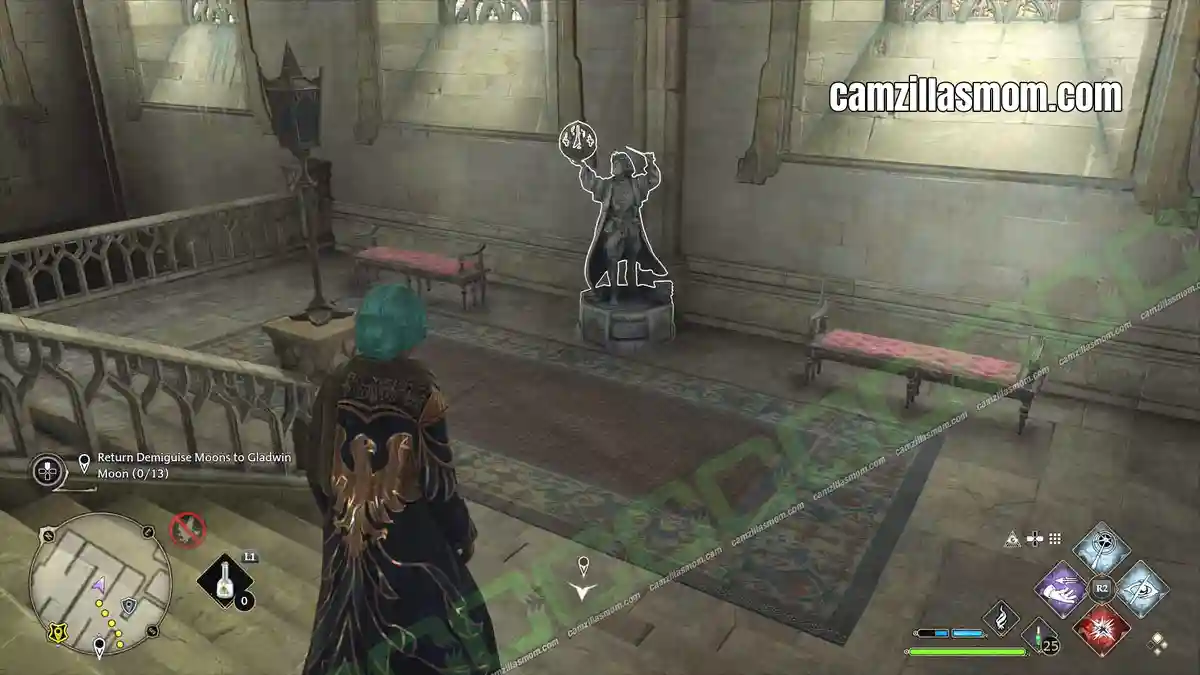
Step through the doors and there’s a second globe statue waiting right there.
Great Hall Demiguise Statue Location (Demiguise Moons)
Demiguise statues, also called Demiguise Moons, unlock with the main story quest The Caretaker’s Lunar Lament, and you can only collect them at night. The Great Hall has one.
For every Demiguise Statue in the game, see my All Demiguise Statues Guide.
Demiguise Statue – Great Hall Dining, Locked Door
Head into the dining area of The Great Hall. The Level 1 locked door on the ground floor is the same one hiding Chest 1, so if you’re here after dark you can pick up both at once. Open it with Alohomora and the statue is inside.


About Hogwarts Legacy
Release: February 10th, 2023
Developer: Avalanche Software
Publisher: Warner Bros. Interactive Entertainment
Official Website: https://www.hogwartslegacy.com/en-us