Crimson Desert: Foreboding Shadow Questline Walkthrough
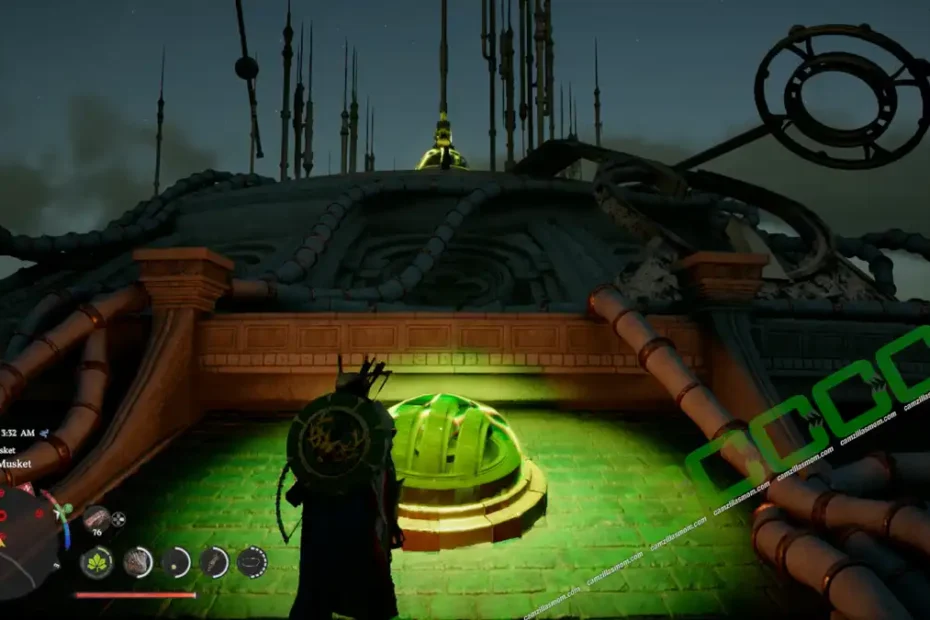
Walkthrough for the Foreboding Shadow questline in Crimson Desert. Defeat Golden Star, unlock Blackstar, and assault the Flying Fortress Orbian. Chapter 11 guide with maps.
Walkthrough for the Foreboding Shadow questline in Crimson Desert. Defeat Golden Star, unlock Blackstar, and assault the Flying Fortress Orbian. Chapter 11 guide with maps.
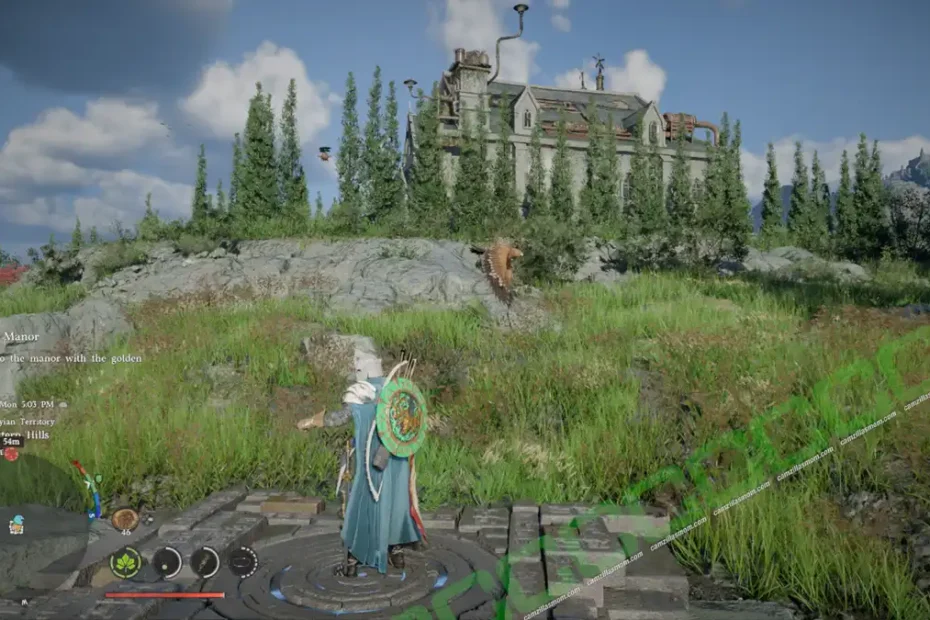
How to complete Brave New World in Crimson Desert, including how to beat Storm Crusher, Thunder Tank, and Dreadnaught to collect all three fortress keys… Read More »Crimson Desert Brave New World: Storm Crusher, Thunder Tank

Walkthrough for the Greater Firepower questline in Crimson Desert. Four Chapter 10 quests – restore power at Krall Foundry, defend against the swarm, and defeat… Read More »Crimson Desert: Greater Firepower Questline Walkthrough
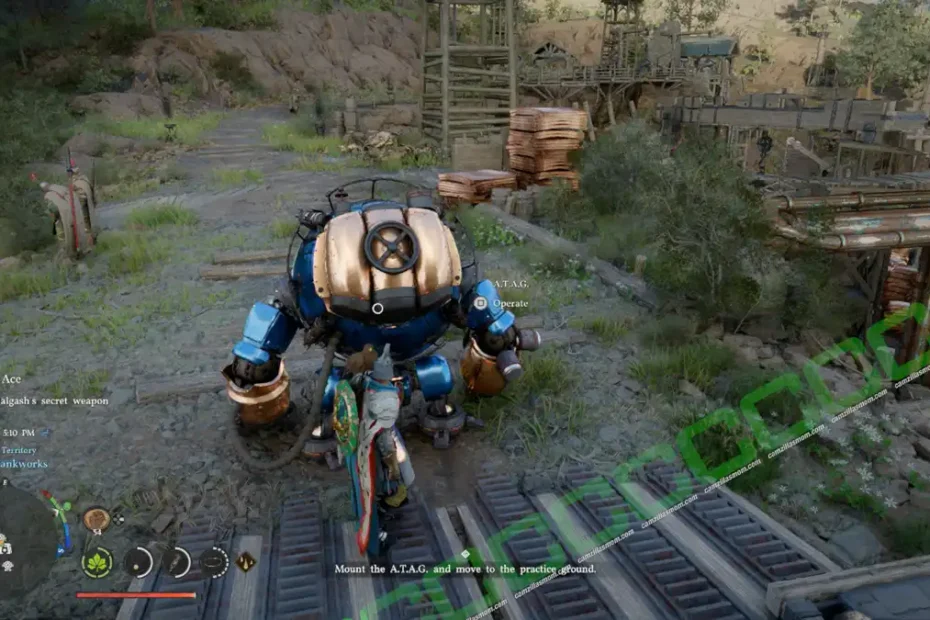
Walkthrough for the Secret Weapon questline in Crimson Desert. Five Chapter 10 quests – find Valgash at Gorthak Ironworks and use the A.T.A.G. to clear… Read More »Crimson Desert: Secret Weapon Questline Walkthrough
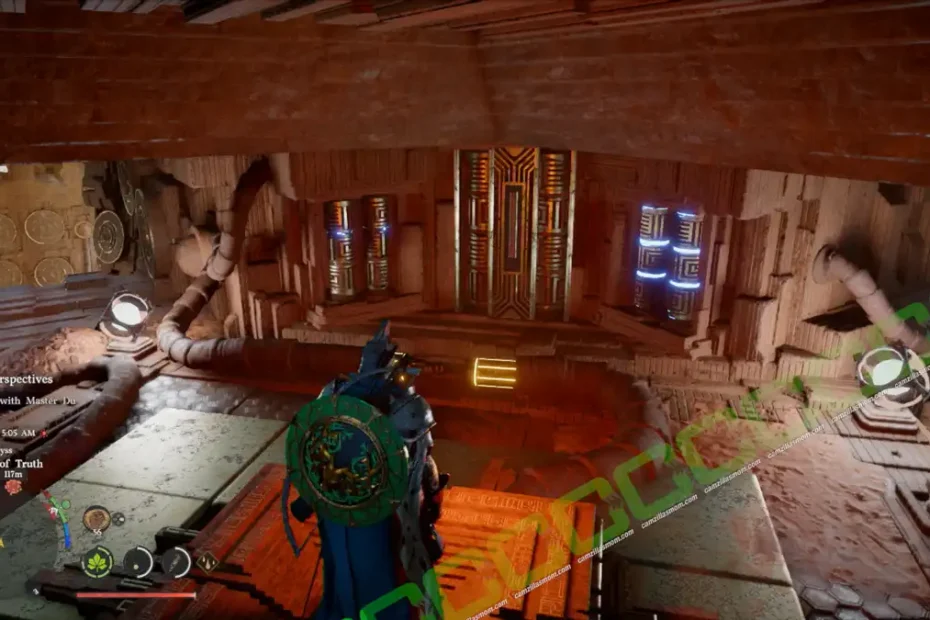
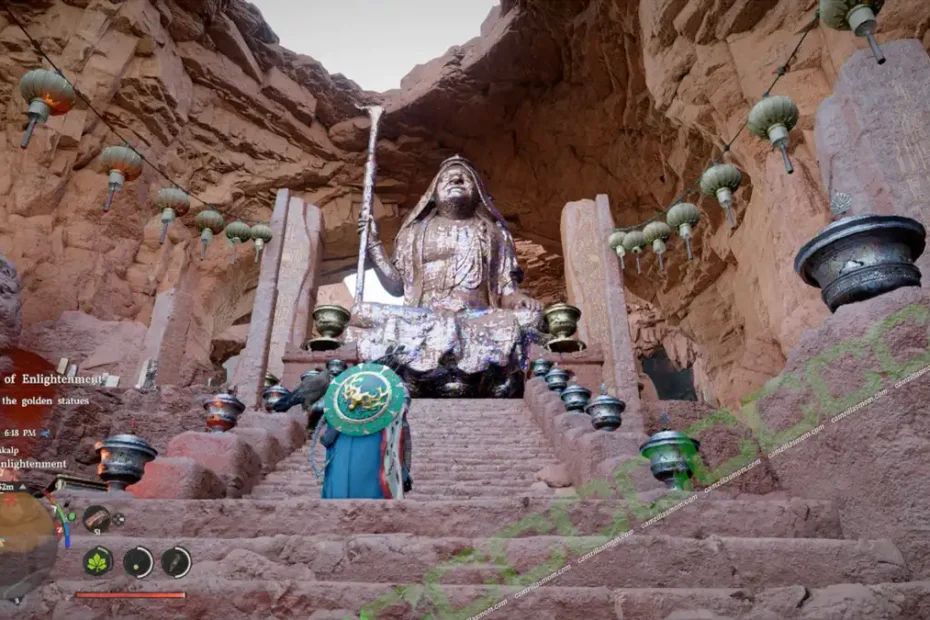
Walkthrough for the Enlightenment questline in Crimson Desert. The final Chapter 9 questline – complete the three trials, cross the Abyss skybridge, and meet Master… Read More »Crimson Desert: Enlightenment Questline Walkthrough
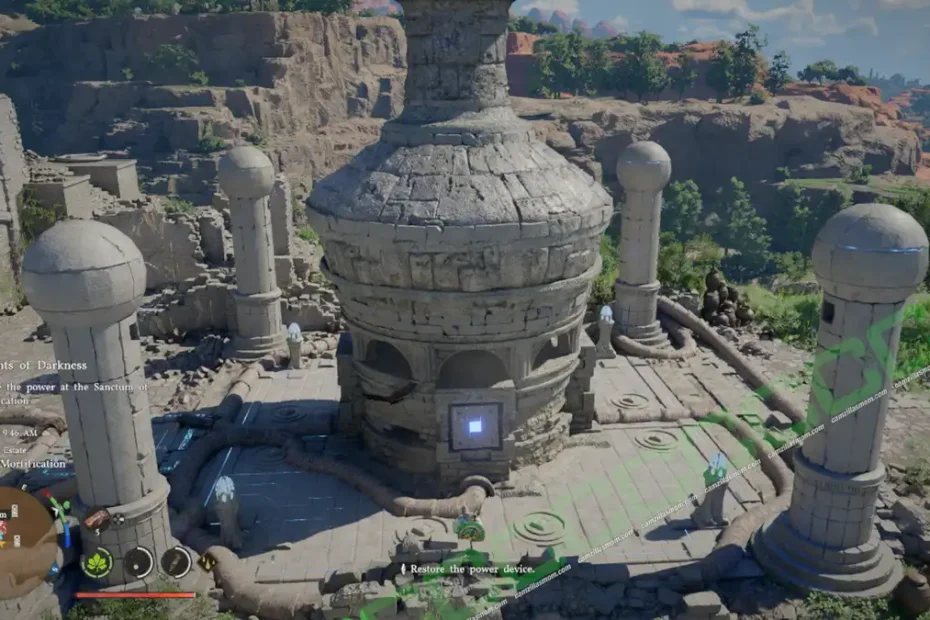
Walkthrough for the Veiled Witch questline in Crimson Desert. One of four Chapter 9 questlines – restore the Sanctum of Mortification, destroy four totems, and… Read More »Crimson Desert: Veiled Witch Questline
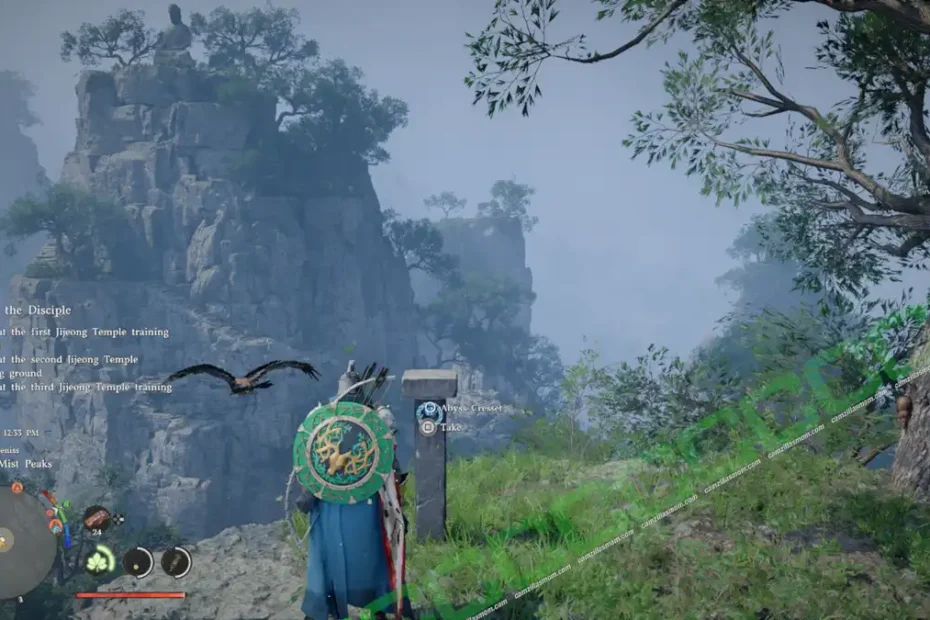
Walkthrough for Six Statues and the Beast in Crimson Desert. One of four Chapter 9 questlines – repair statues, complete training trials at Jijeong Temple,… Read More »Crimson Desert: Six Statues and the Beast Questline
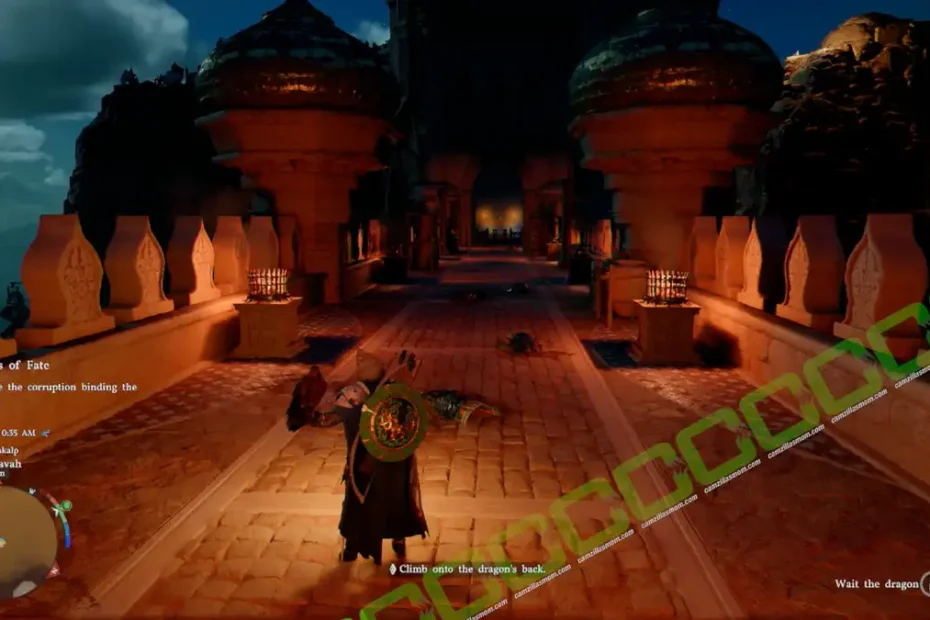
Walkthrough for the Shattered Ties questline in Crimson Desert. One of four Chapter 9 questlines – find the dragon Blackstar in Urdavah and cleanse its… Read More »Crimson Desert: Shattered Ties Questline Walkthrough
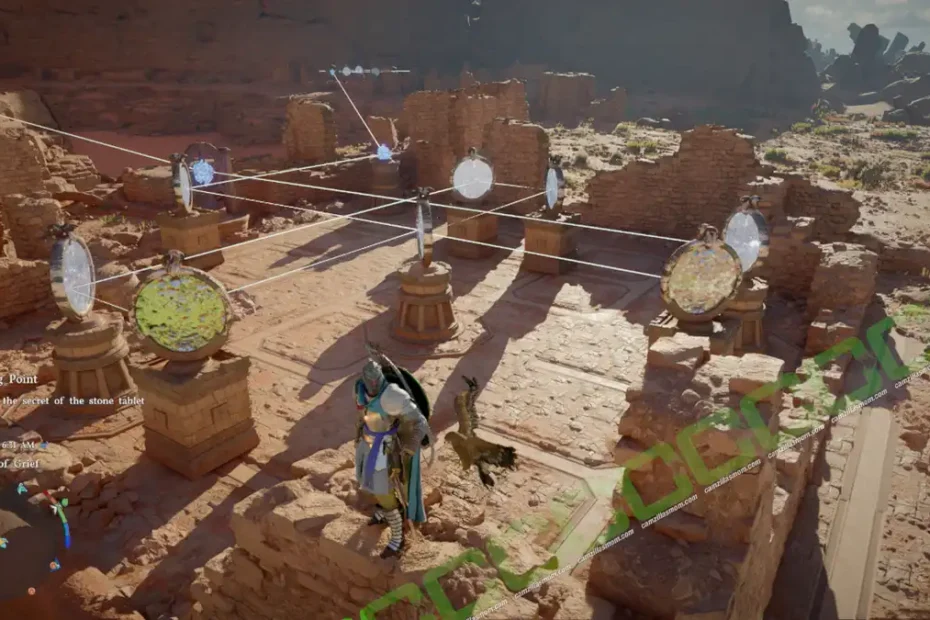
Walkthrough for the Thinning Blade questline in Crimson Desert. One of four Chapter 9 questlines – solve the mirror puzzles at the Forebearer’s Barrens and… Read More »Crimson Desert: Thinning Blade Questline Walkthrough
Walkthrough for The Calling questline in Crimson Desert. The opening Chapter 9 questline – follow the voice to a hidden temple and unlock four new… Read More »Crimson Desert: The Calling Questline Walkthrough