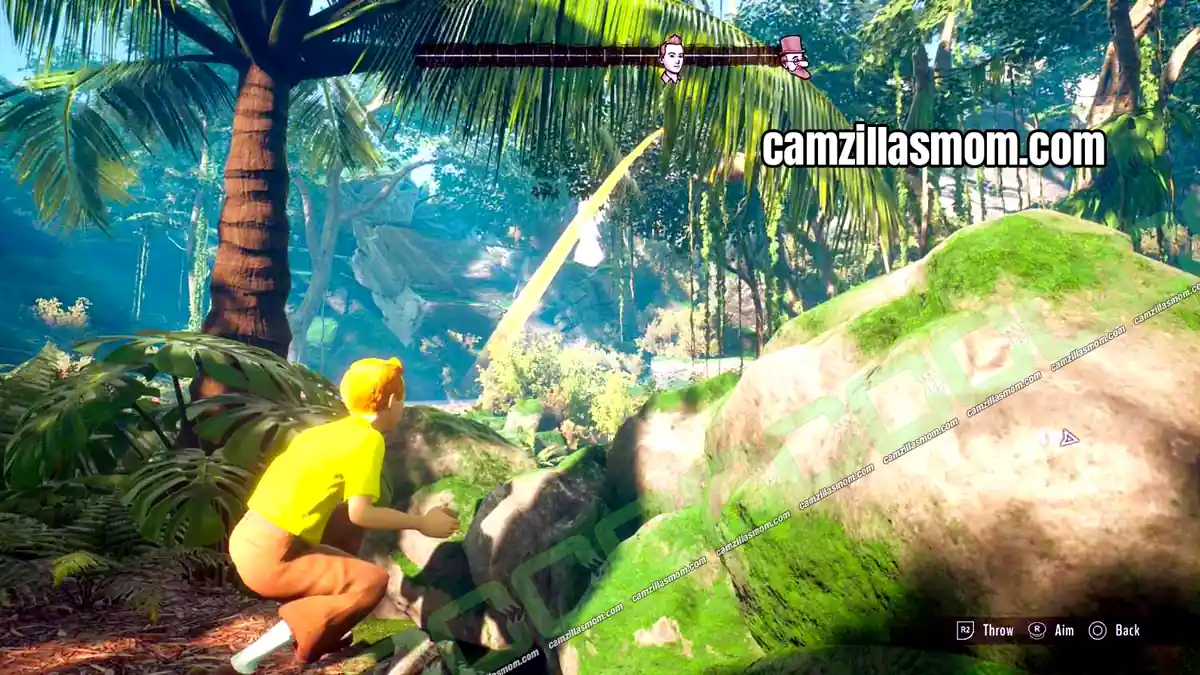
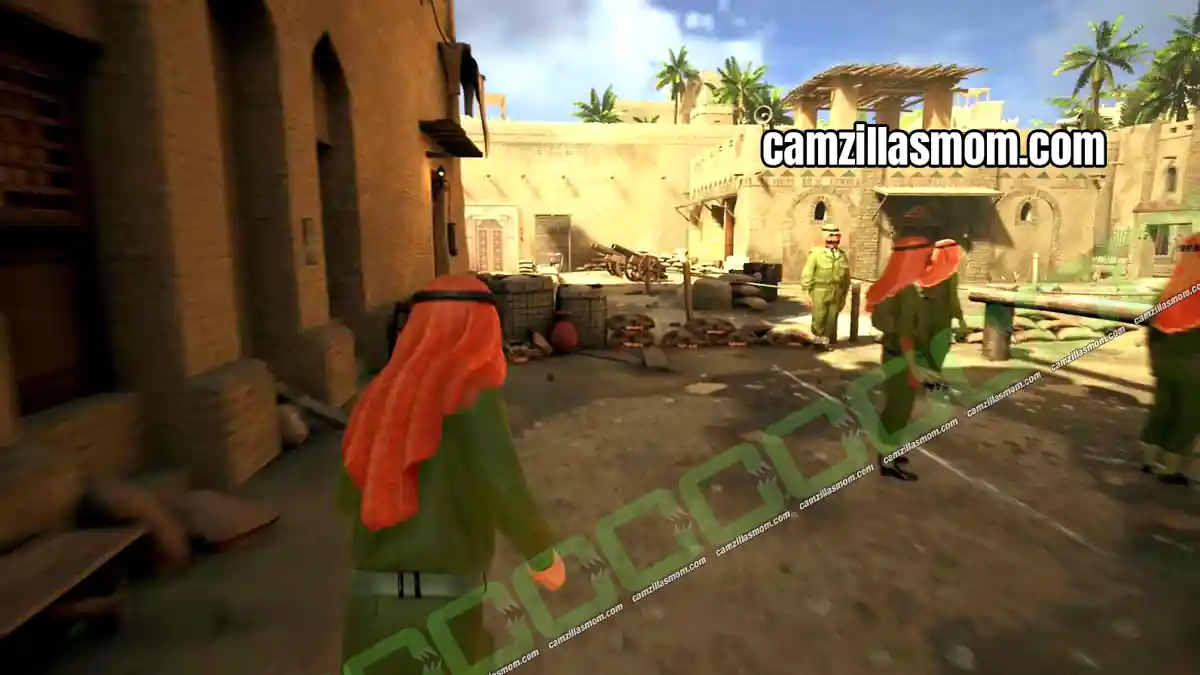
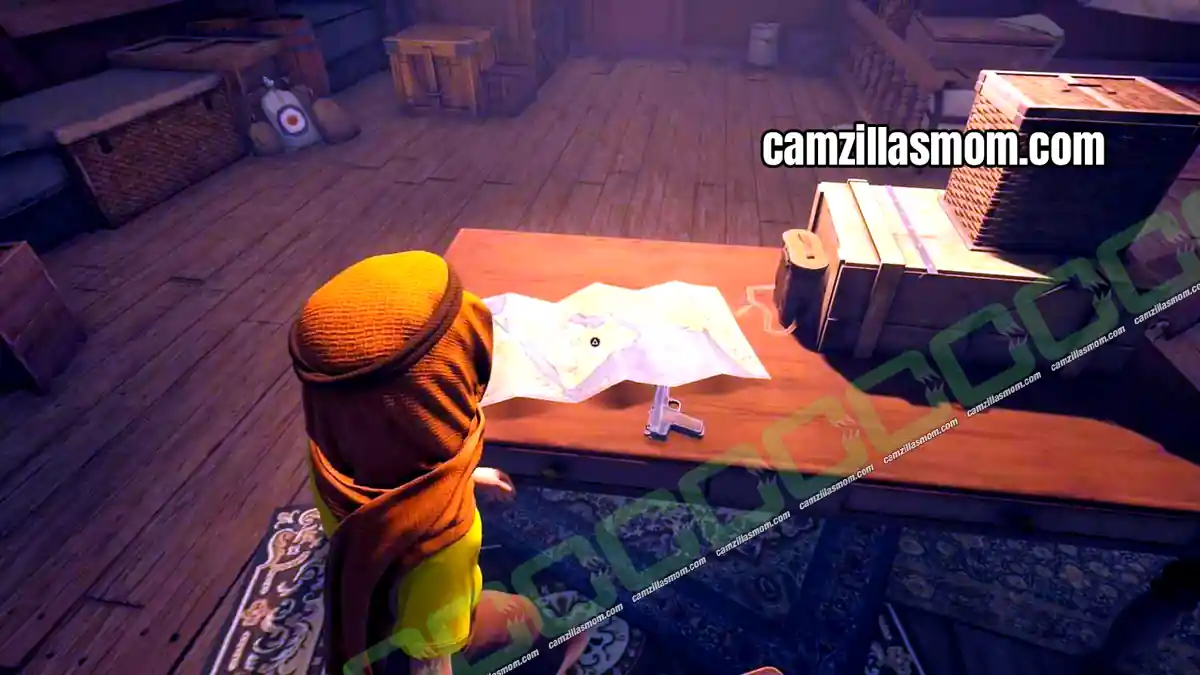
Tintin Reporter – Cigars of the Pharaoh begins aboard the MS Epomeo, where you switch between Tintin and Snowy. This Tintin Cigars of the Pharaoh Chapter 1 walkthrough covers all 11 quests in order, from the flying papyrus to Snowy’s stealth run below deck, the fuse box puzzle and the porthole escape.
Related Guides:
Chapter 2: The Tomb of Kih-Oskh Walkthrough
Chapter 3: Arabia Walkthrough
Chapter 4: Abudin Walkthrough
Chapter 5: Indian Jungle Walkthrough
Chapter 6: Gaipajama Walkthrough
Tintin Reporter – Cigars of the Pharaoh Game Guides
1 – Stop It! Catch It!
Location: MS Epomeo – Deck
Quest Step: Catch the flying papyrus
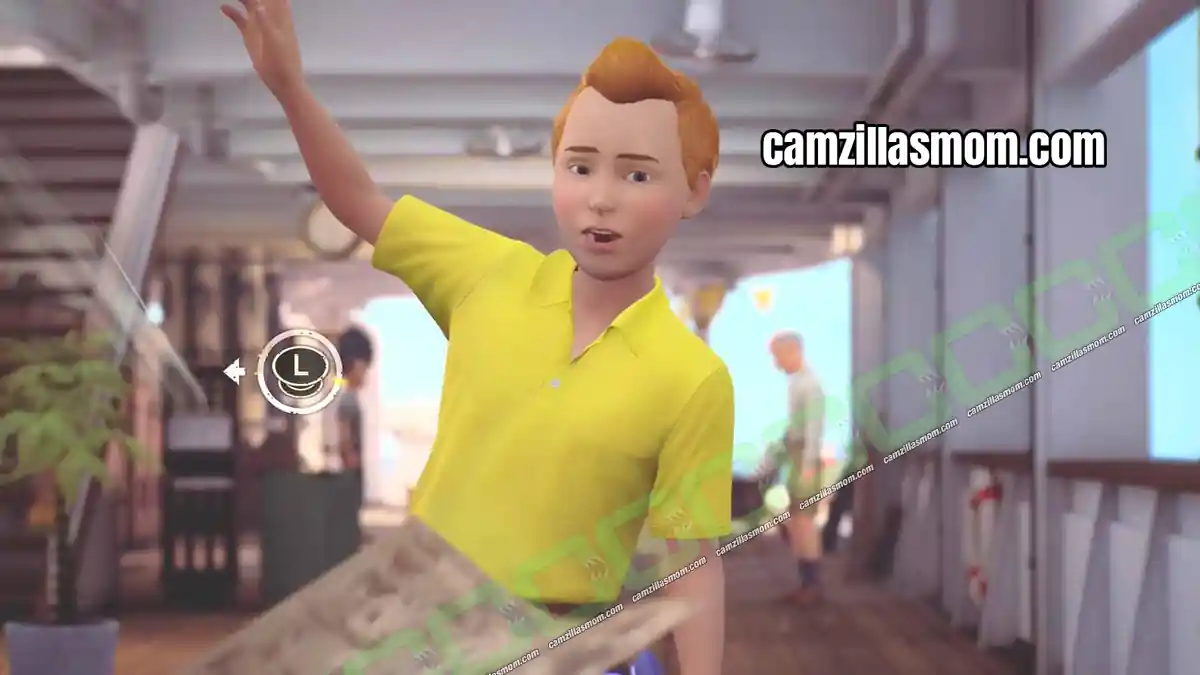
The chapter starts at full speed. Help Tintin catch Professor Sarcophagus’s flying papyrus by following the prompts on screen: press the button shown or move the left or right stick in the direction indicated. If you fail, you simply retry from the last checkpoint.
2 – Not Guilty
Location: MS Epomeo – Deck
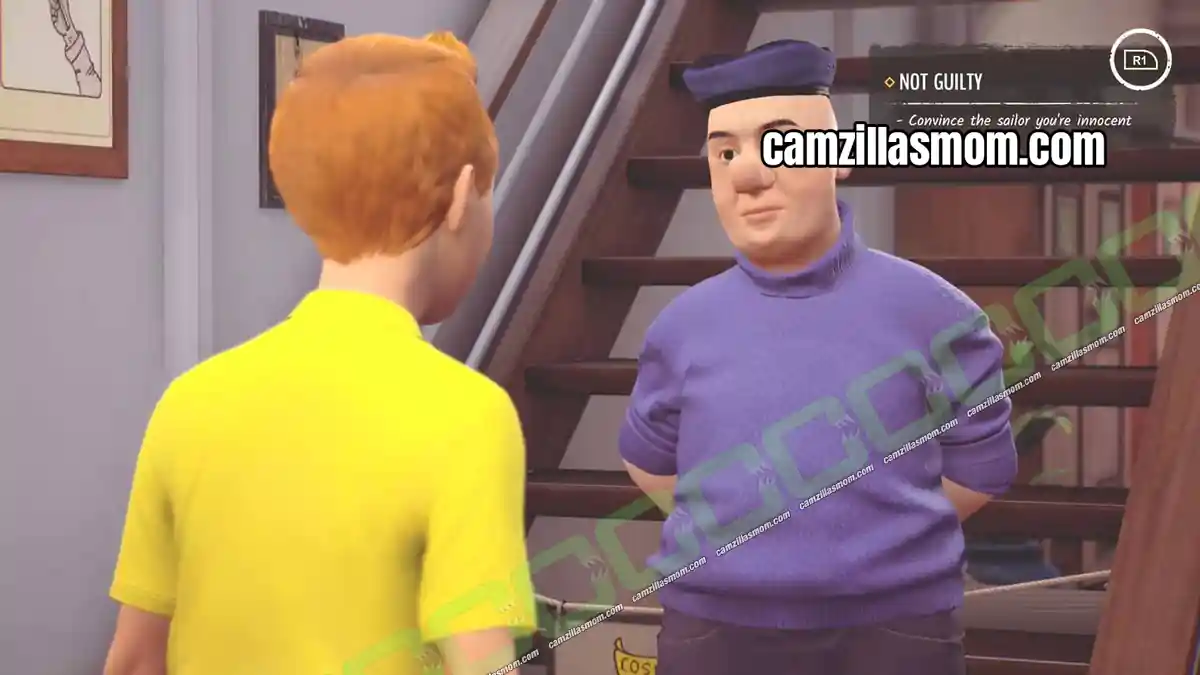
Quest Step: Convince the sailor you’re innocent
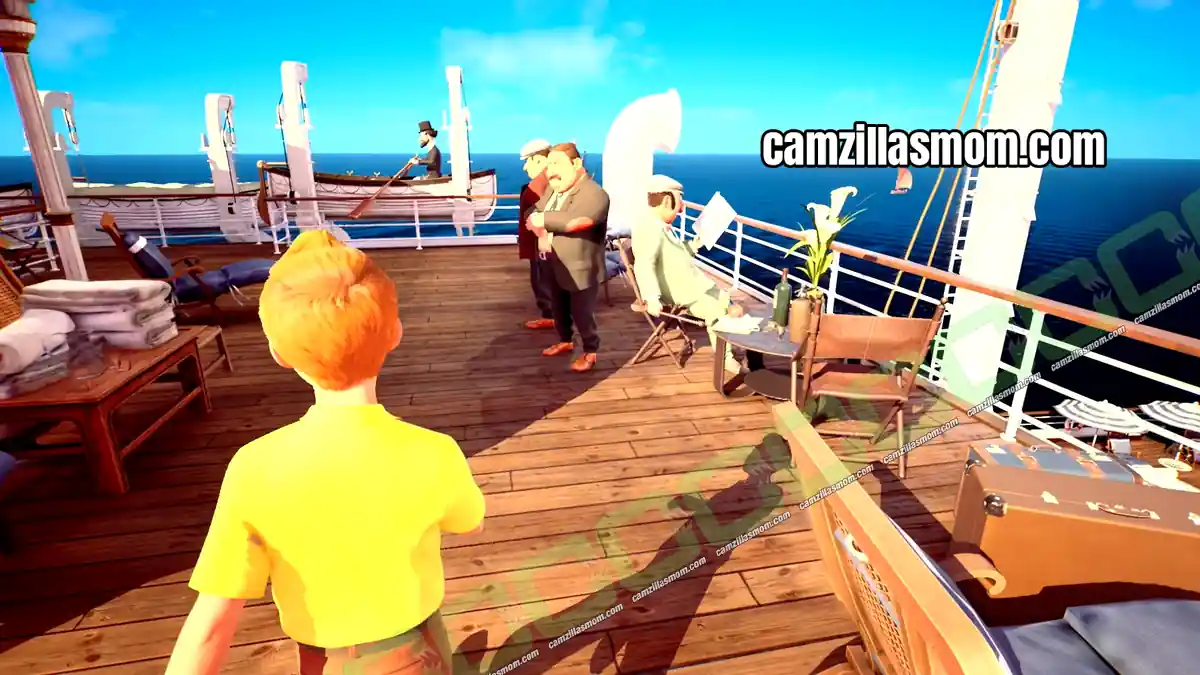
While Tintin chases the papyrus across the deck, a sailor mistakes him for a thief and grabs him. Talk to the sailor and tell him you are a reporter to convince him of your innocence. Meanwhile, Snowy and the Professor have disappeared upstairs, so it’s time to find them.
3 – Where Are They? Part 1
Location: MS Epomeo – Upper Deck
Quest Step: Find Snowy and the man in the top hat
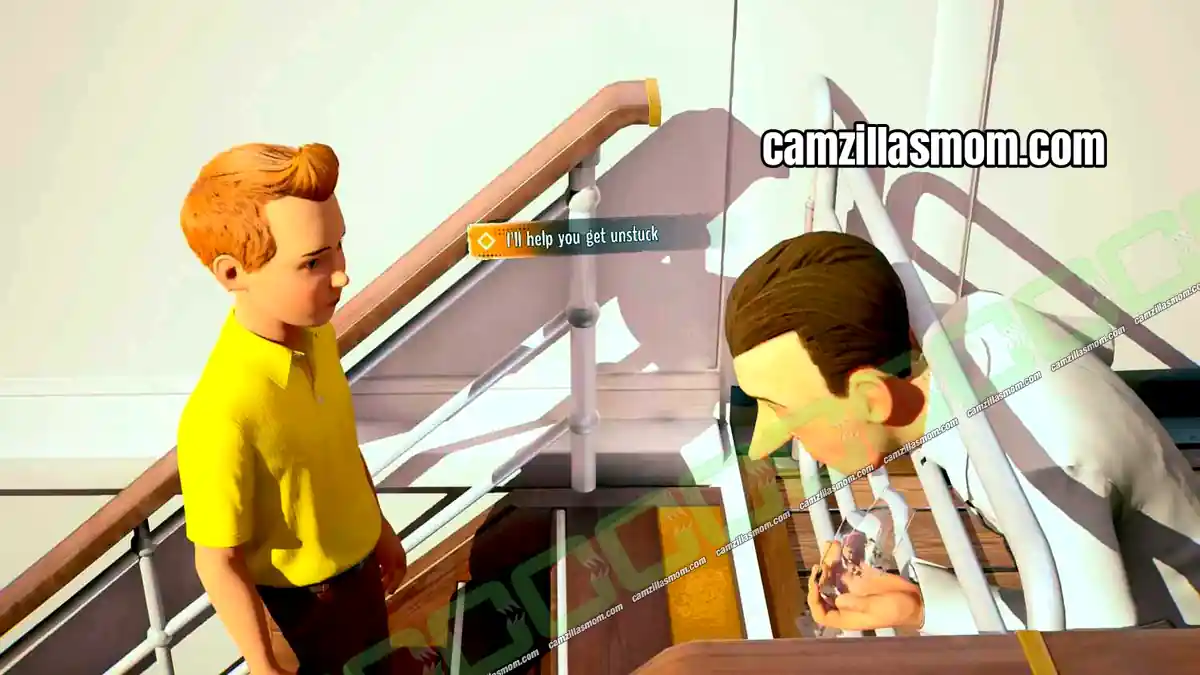
On the upper deck you can talk to a man in yellow trousers with a whip, a man on a sunbed with a script called Arabian Nights, and a waiter who is stuck in the rails of a gate with two glasses. The waiter needs those glasses delivered first, so Tintin agrees to help.
4 – Glad to Be of Service
Location: MS Epomeo – Upper Deck
Quest Step: Deliver the glasses
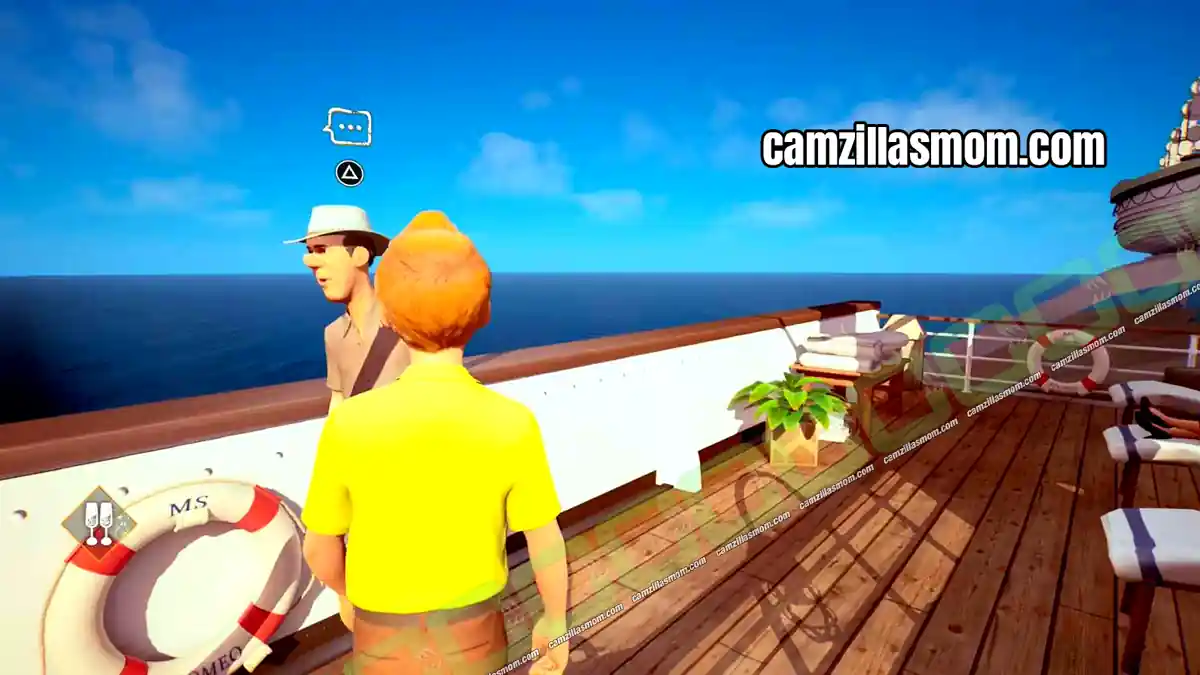
The two glasses are now in your inventory. Head back the way you came and talk to the man in the white hat, who is waiting for them and gladly takes them off your hands.
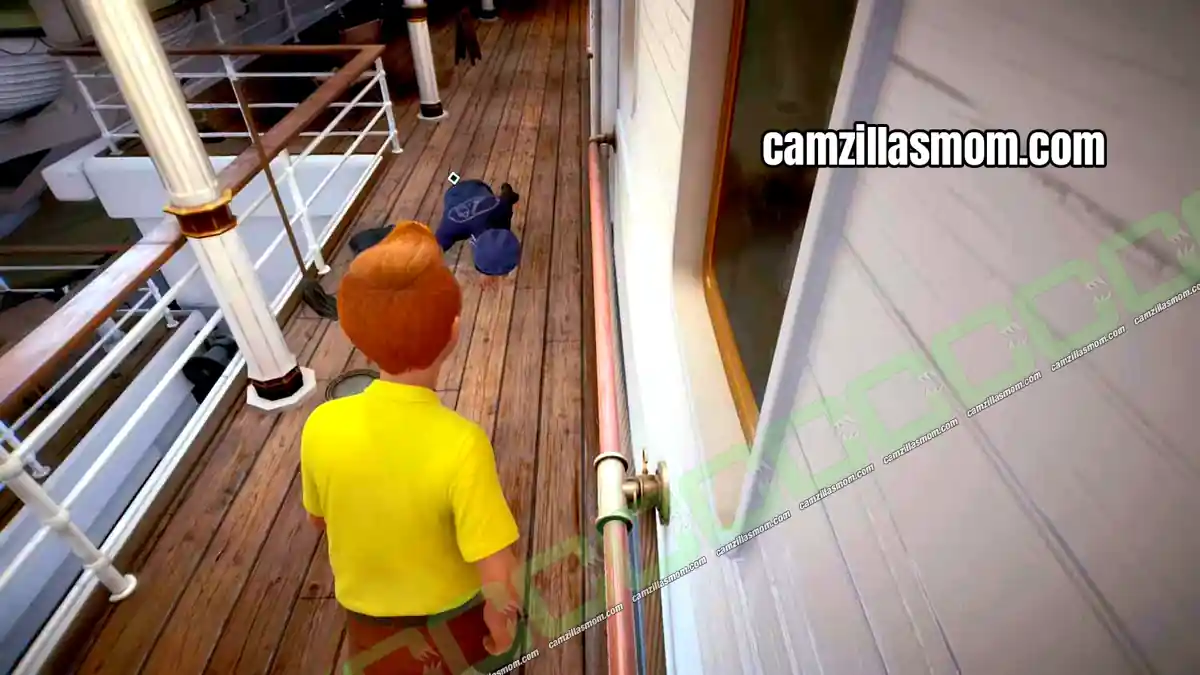
Return to the waiter. He is still stuck and needs something slippery for his neck. Go back to where you delivered the glasses: just above the man in the white hat, a sailor is on his knees cleaning the floor. Talk to him to borrow some slippery wax, then return to the waiter and free him.
5 – Where Are They? Part 2
Location: MS Epomeo – Upper Deck
Quest Step: Find Snowy and the man in the top hat
With the waiter free, go through the gate to the next deck up. A group of dangerous-looking men waits here, and one of them attacks Tintin, so dodge quickly. Professor Sarcophagus and Snowy are inside the boat at the back.
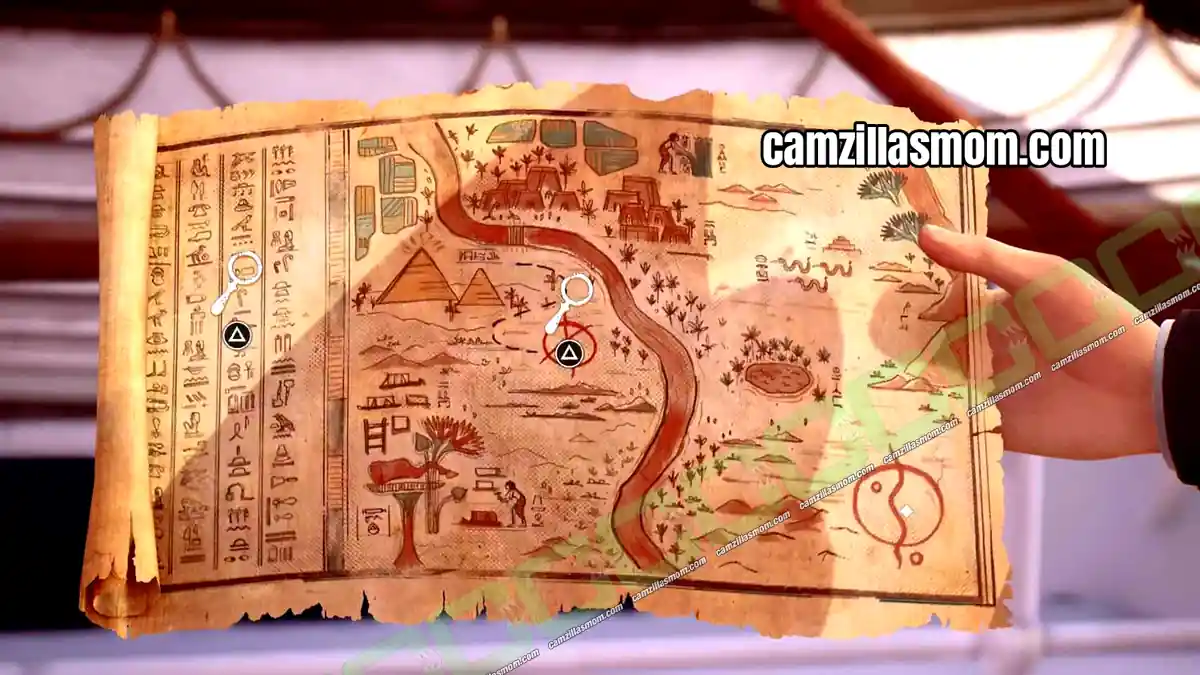
During the conversation, the Professor shows Tintin a map with three details you can examine: the hieroglyphs on the left, the X marking the spot in the centre and the symbol on the right. When the conversation ends, the dangerous men interrupt.
6 – A Lesson in Manners
Location: MS Epomeo – Upper Deck
Quest Step: Teach a couple of bodyguards how to behave
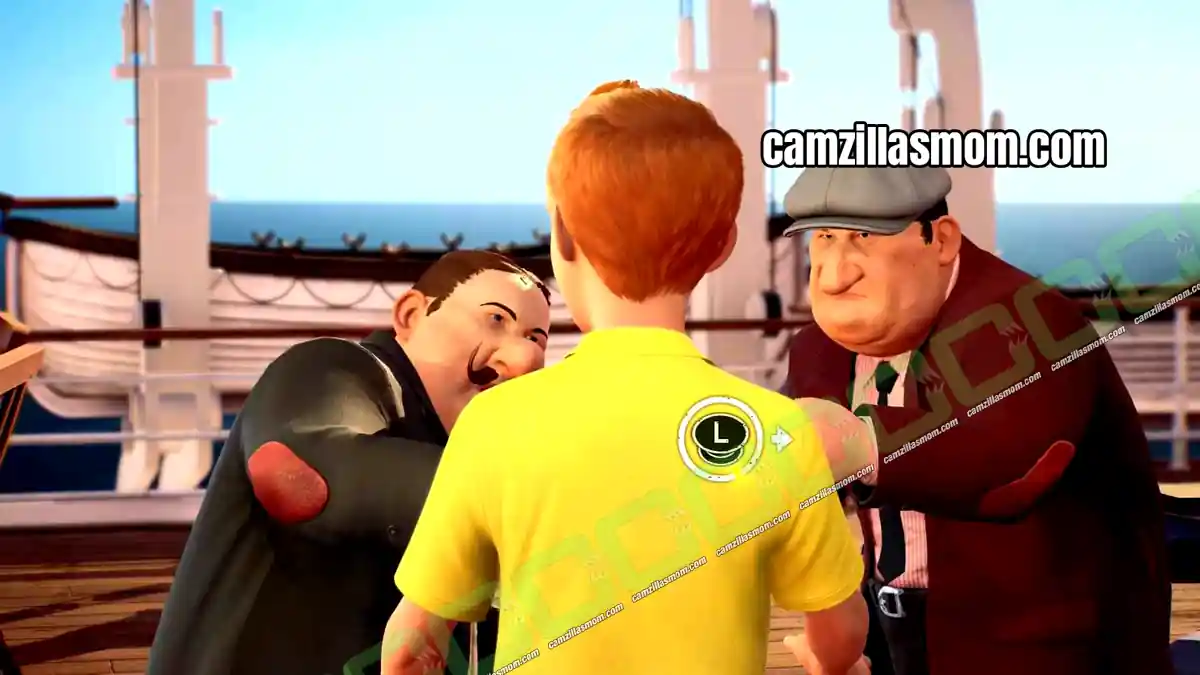
This works just like the papyrus chase at the start of the chapter. React quickly to the on-screen prompts, pressing the buttons or moving the sticks in the directions shown, to evade the bodyguards.
7 – Something Rotten
Location: MS Epomeo – Tintin’s Cabin
Quest Step: Find the source of the smell
Back in their cabin, Tintin and Snowy notice that something is not right: there is a rotten smell in the air. Playing as Snowy, find the water footprint on the floor.
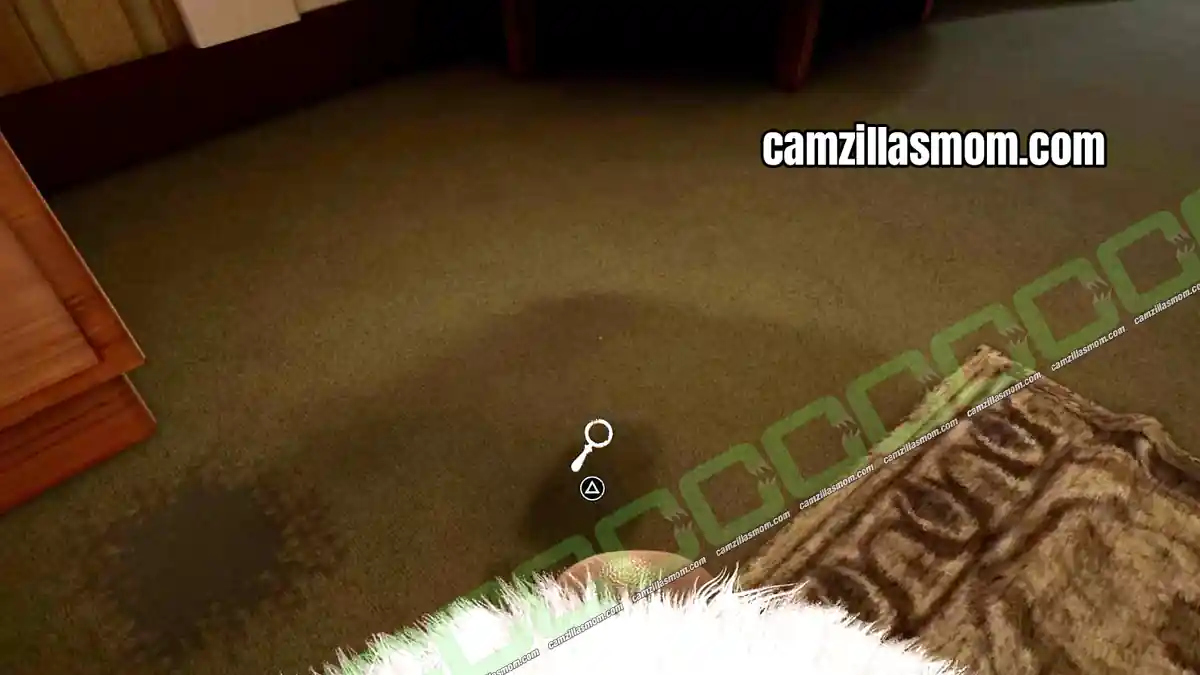
Then head into the bathroom, where you find cigar ash in the corner.
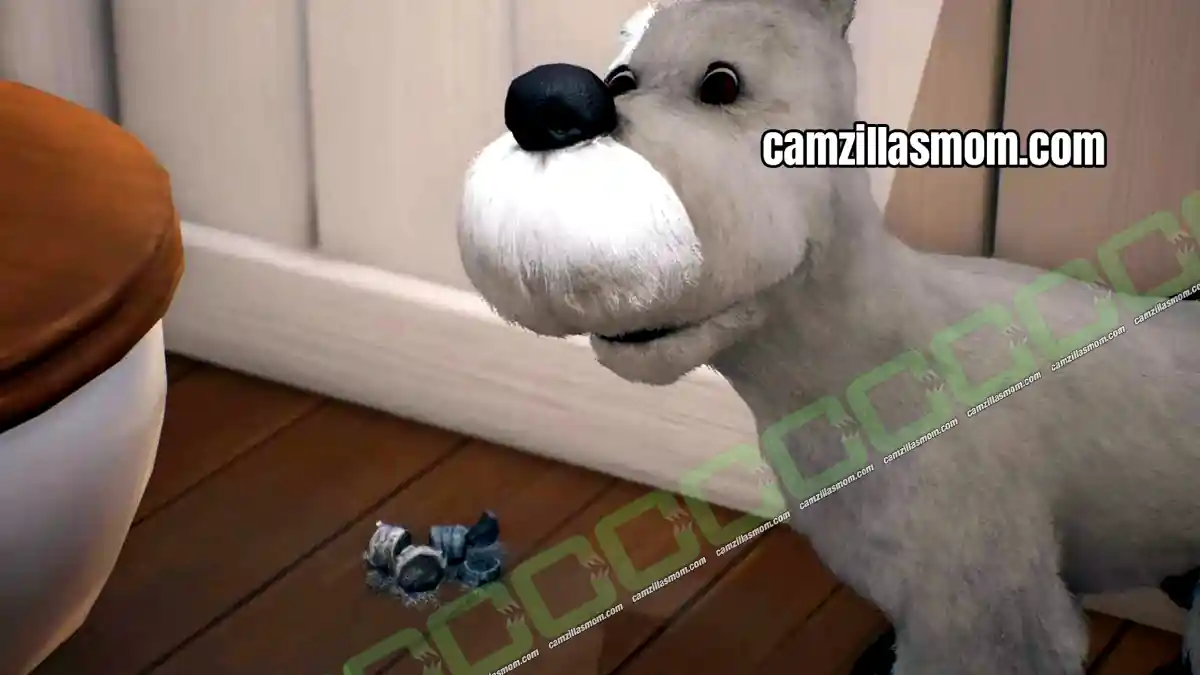
Your next goal is Search for traces of the trespasser. Interact with the water bowl just above the water footprint and pick up Tintin’s camera from the bed. Take a picture of Snowy and save it, then take a picture of the cigar ash and save it too.
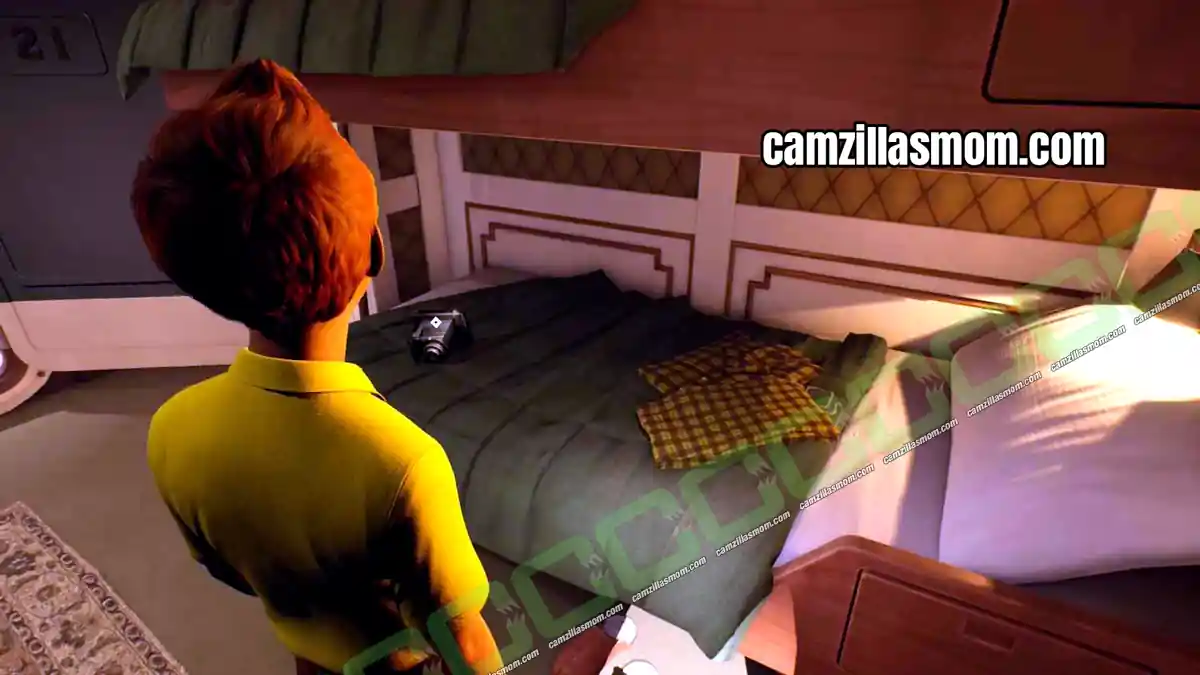
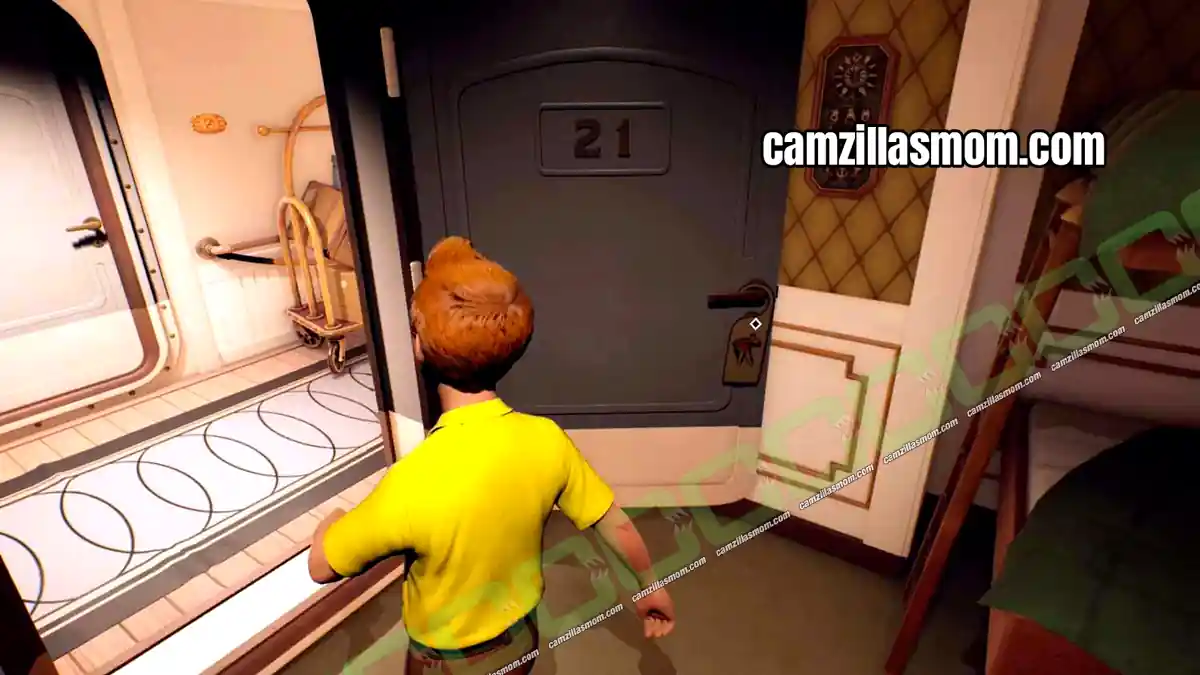
Now look at the Do not disturb tag on the door, then at the newspaper on the chair. Tintin recognises one of the dangerous men from the deck in one of the pictures. Finally, search the drawer units one after the other. Thomson and Thompson rush in and arrest Tintin, leaving Snowy behind.
8 – Furry Stowaway
Location: MS Epomeo – Below Deck
Quest Step: Reunite with Tintin
Still playing as Snowy, you now have to find Tintin without being seen. Snowy can hide unnoticed under anything with a gap underneath, like desks and cupboards. Leave the cabin and jump over the furniture to reach the next corridor.
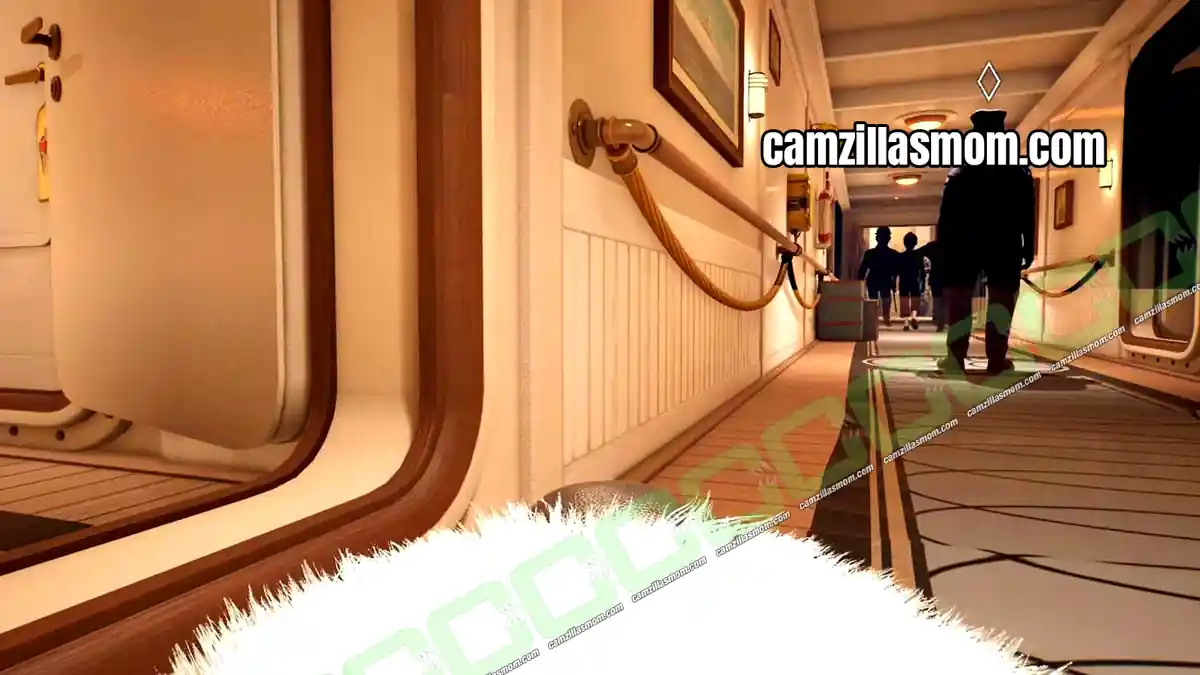
From here on, avoid everyone. Each person has a diamond above their head that works as a detection meter. While it is white, they have not noticed you and you can sneak past behind them. Careful when it fills up yellow, and once it turns red, you are caught. If that happens, you start over from the last checkpoint.
In this corridor, go straight ahead. You overhear that the woman in the next room has been told Snowy is on the run and needs to be caught. In the room with the two women, hide under the table and sneak forward whenever the patrolling woman turns back. Don’t run: it makes noise and she will detect you.
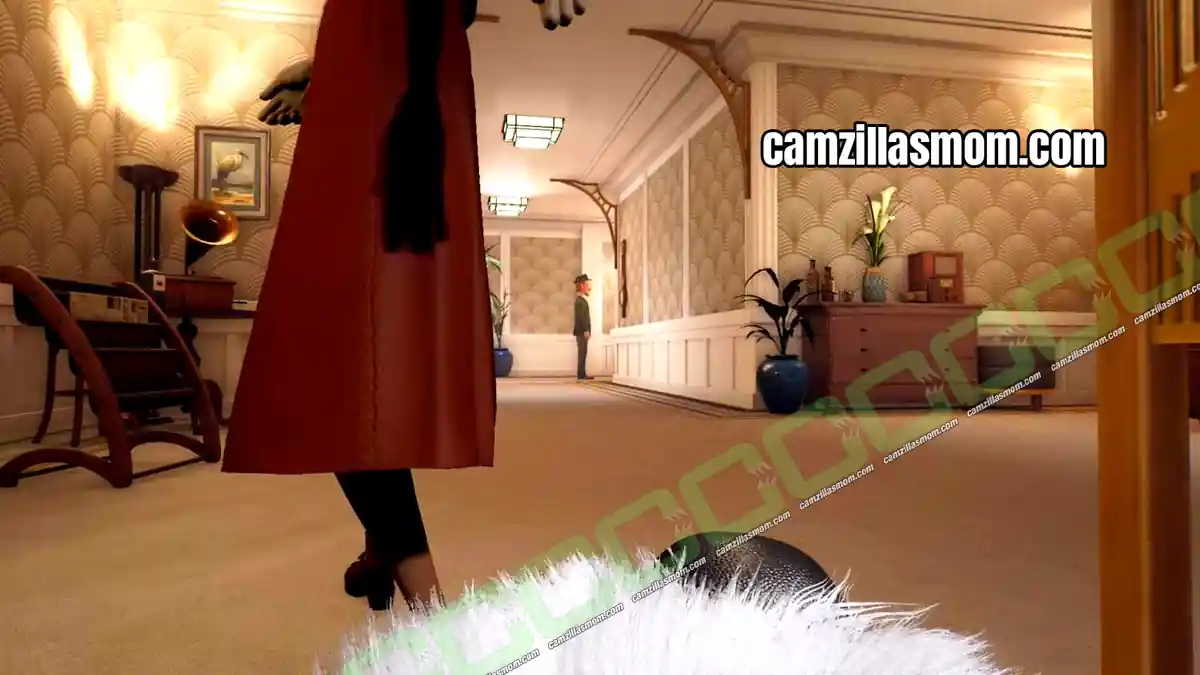
Avoid the man in the green suit in the next corridor and follow it to the end, where you reach the bar. One person patrols the front of the bar and another sits at the piano. Your goal is the trapdoor behind and above the piano. Sneak past the first person along the right side of the bar to get close to the piano. As soon as the crossed-out eye symbol appears over the piano player’s head, jump up onto the piano and a cutscene takes you to the next room.
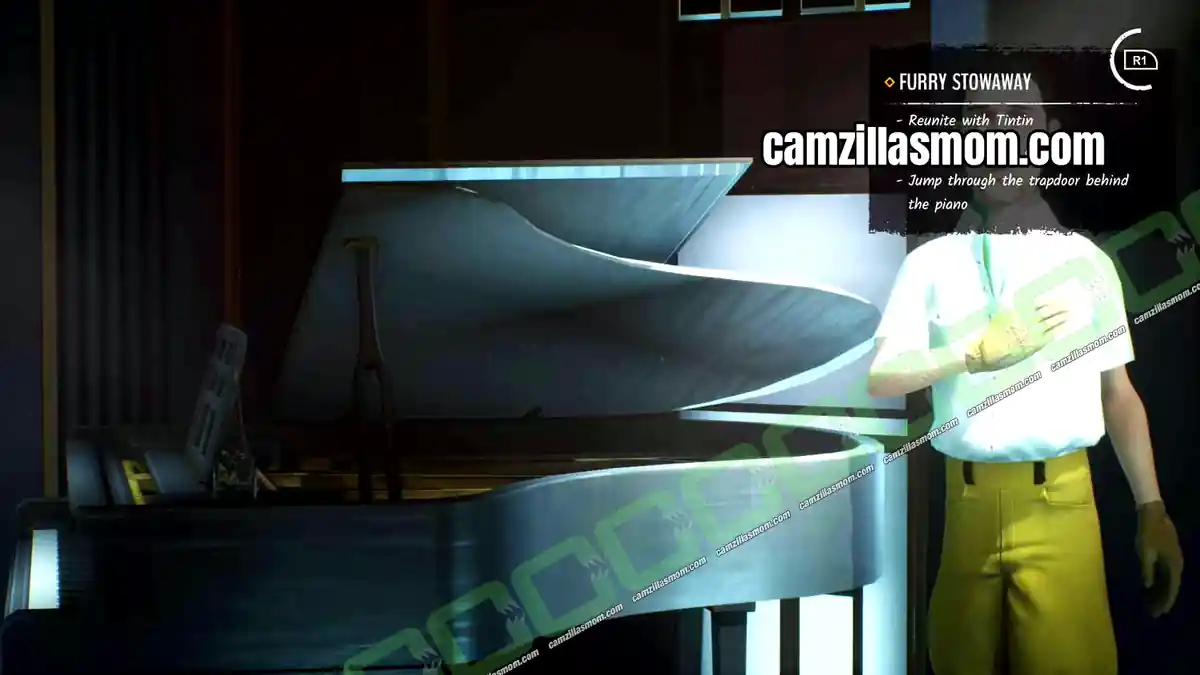
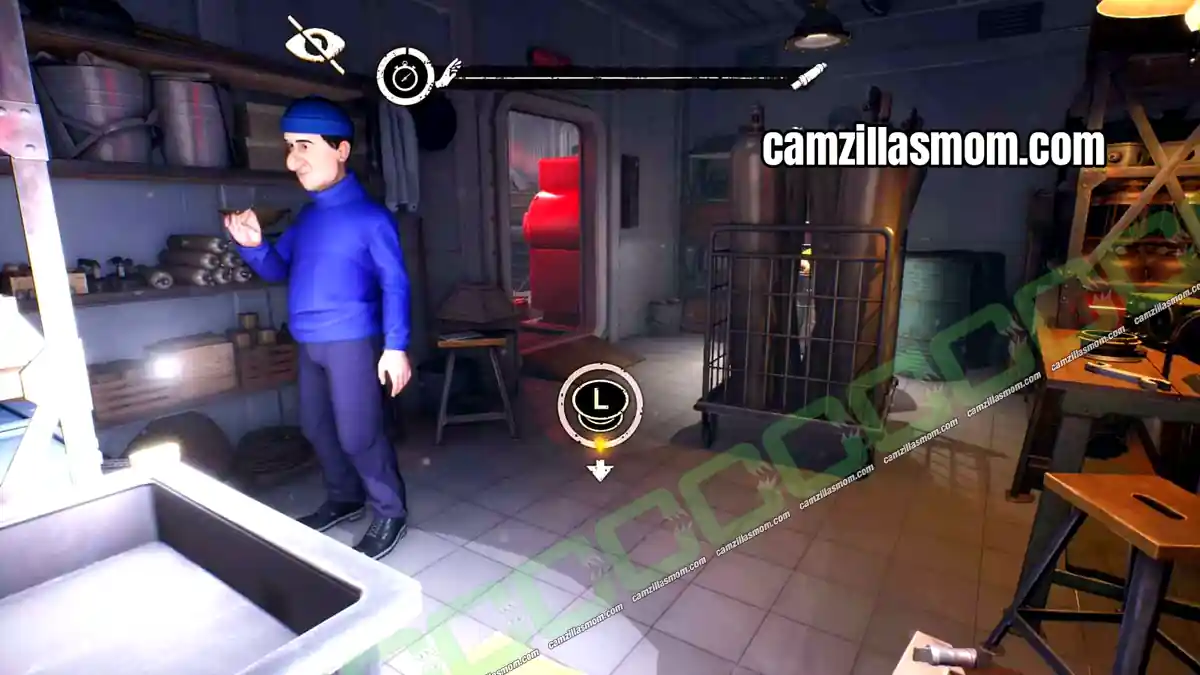
In this storage room, you can ignore the person in blue working at the centre table. Look for the room with the lockers near the doorway. This is the kitchen, with two people inside: the cook works at the table and looks up now and then, while the other one patrols.
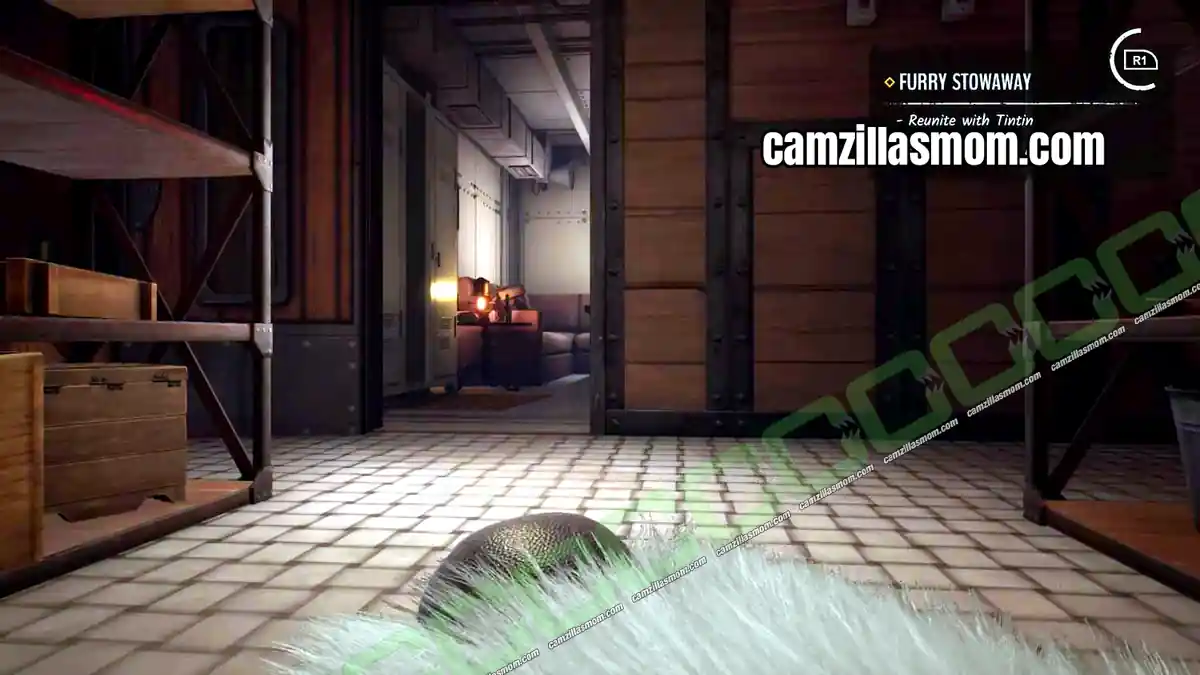
Don’t rush the kitchen. There are plenty of tables to hide under, so work your way from one to the next, sneaking and never running. Reach the corridor straight ahead, shown in the screenshot below.
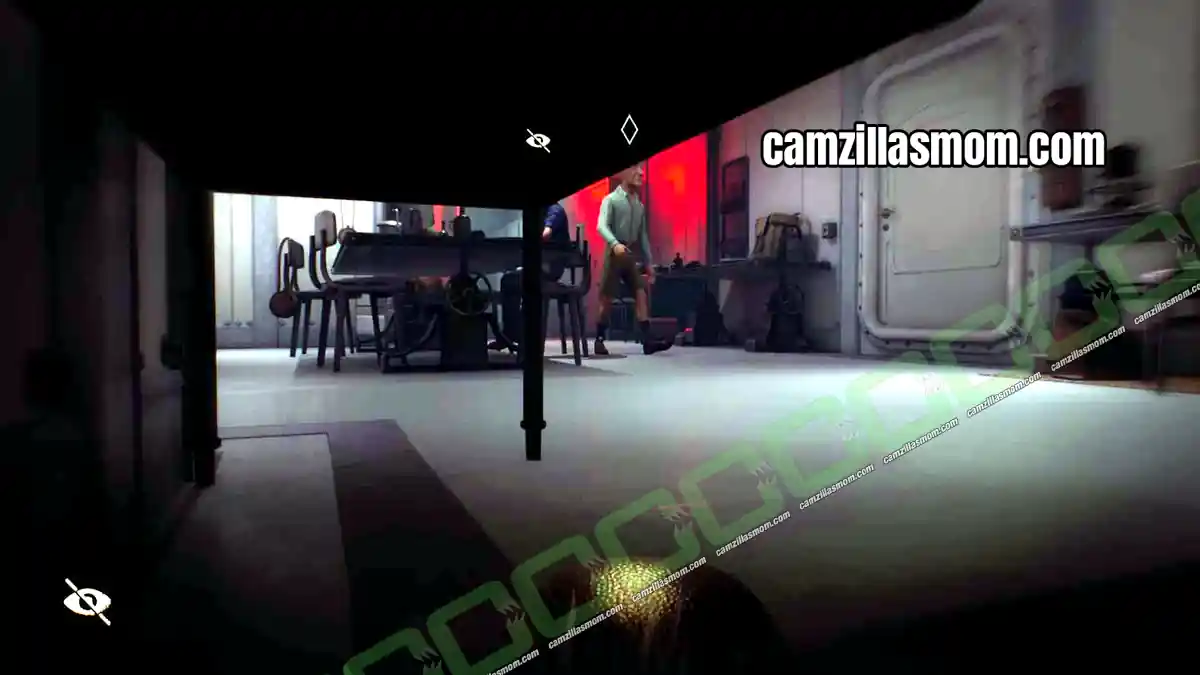
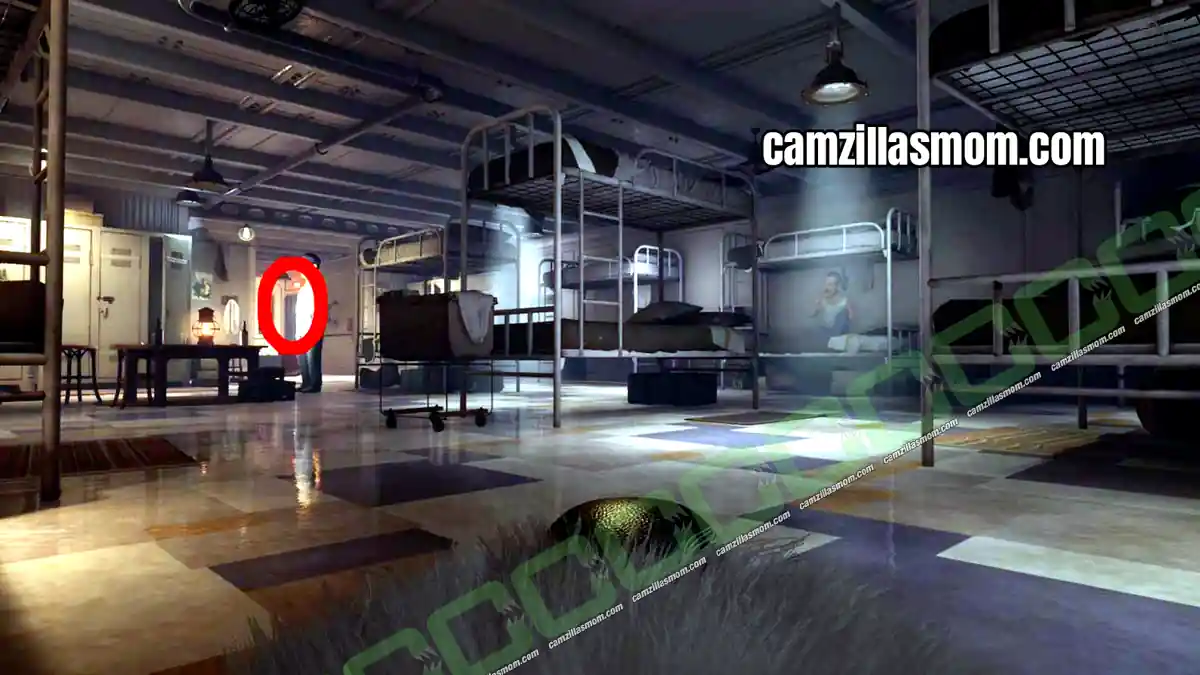
You are now in the sailors’ quarters, where Snowy can hide nicely under the bunk beds. Reach the door circled in red in the screenshot below.
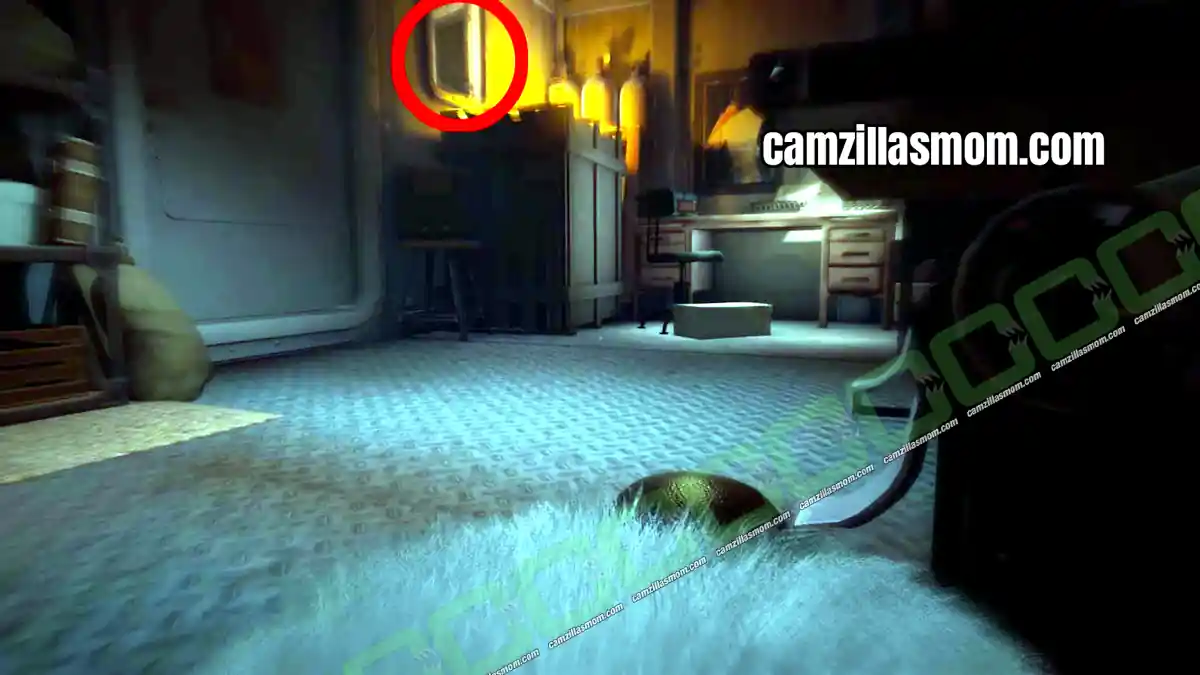
In the office, jump from the box on the floor onto the office chair, from there onto the table and then up into the open vent highlighted in the screenshot below.
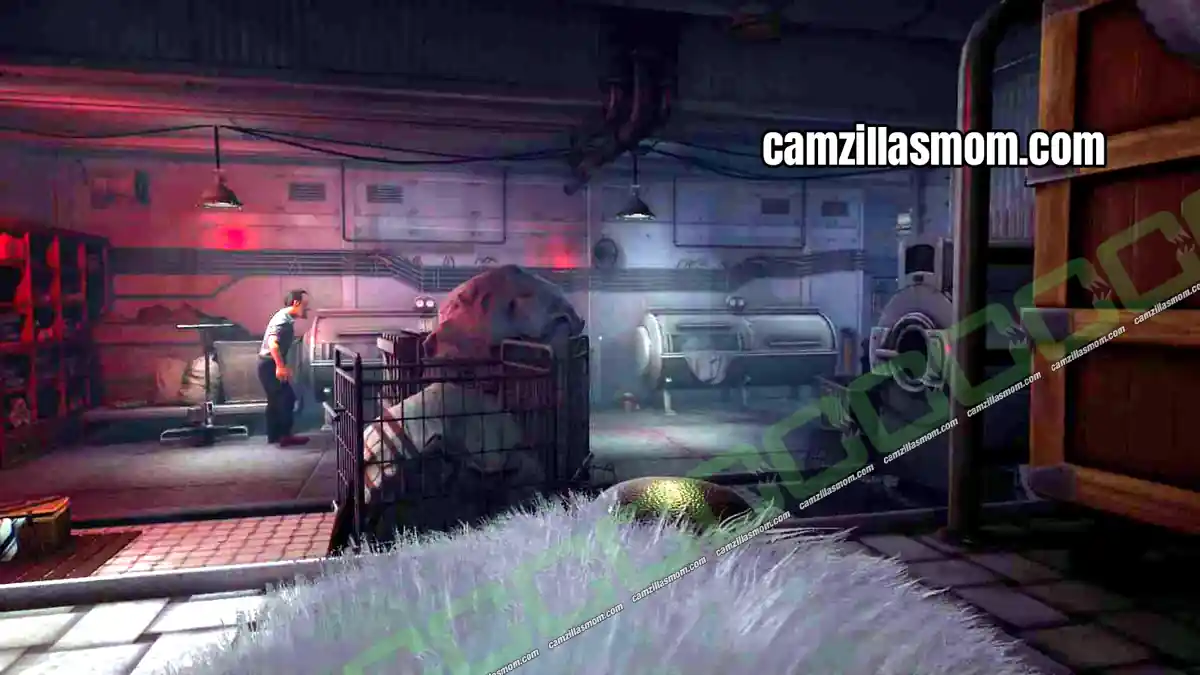
A cutscene shows Thomson and Thompson leading Tintin away through another storage room. Only one man guards this one, so it is easy to slip past him to the washing room at the back.
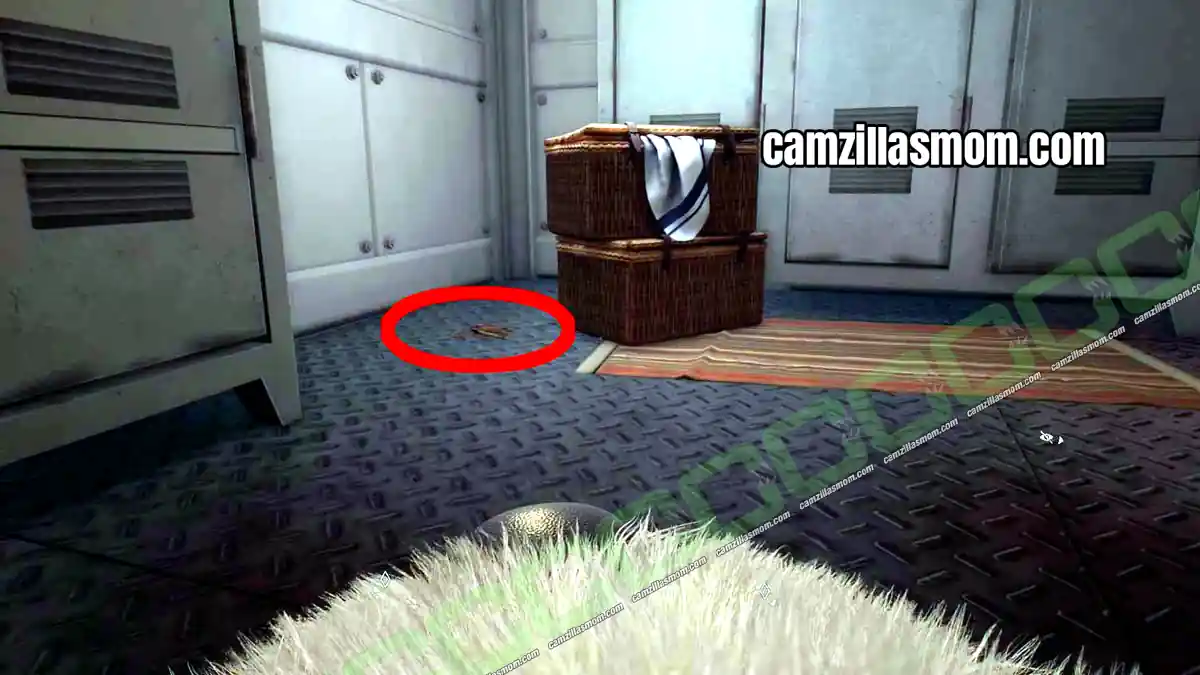
In the washing room, keep to the right. There is another room to the left that you don’t need for now. In the room on the right, Thomson and Thompson are looking for the keys to Tintin’s cell, and your goal is Use the keys to throw off the police. The keys are on the floor next to the locker: interact with them to throw them.
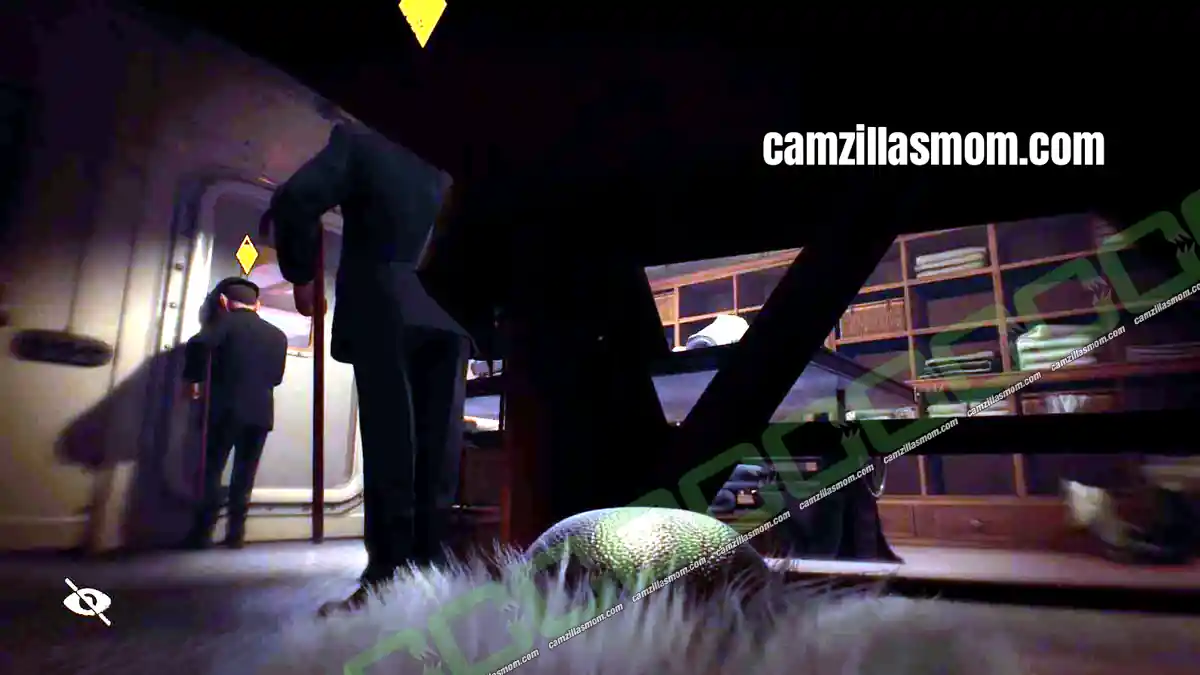
Now it’s time to reunite with Tintin. The detectives are struggling to lock the door, and there is a gap in it that Snowy can slip through, so you only need to sneak past them to reach it. Get ready in the hiding spot shown in the screenshot below. Wait for the right moment to follow one of them back towards the door behind the big table, then wait behind the table until he goes back to talk to the other one. As soon as the crossed-out eye symbol appears, go.
9 – A Way Out Part 1
Location: MS Epomeo – Tintin’s Prison
Quest Step: Check all possible ways out
This part is a bit tedious, as you have to find and interact with every possible way out. Here they all are:
1 – Interact with the elevator in the centre of the room
2 – Use the red crank wheel near the big door on the other side of the room
3 – Find the vent and look at it
4 – Look at both porthole windows
5 – Find the cart you can move, position it under each window and interact with them (this can be buggy, so keep moving the cart until it works)
6 – Check the closed door you came in through
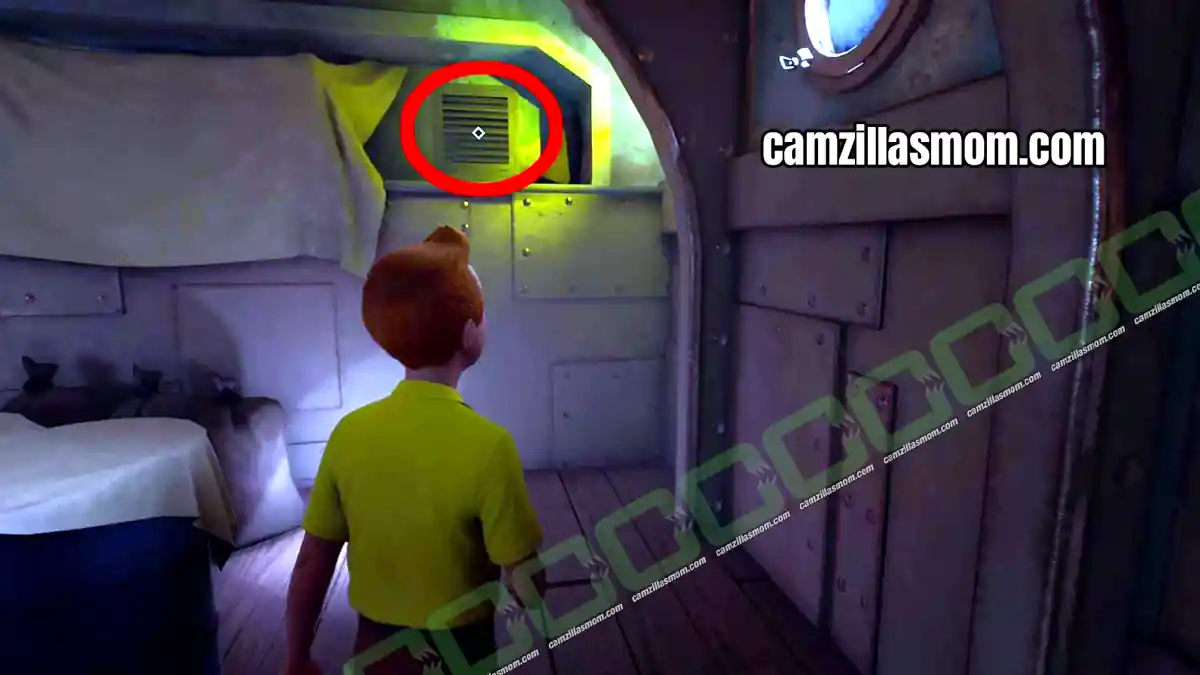
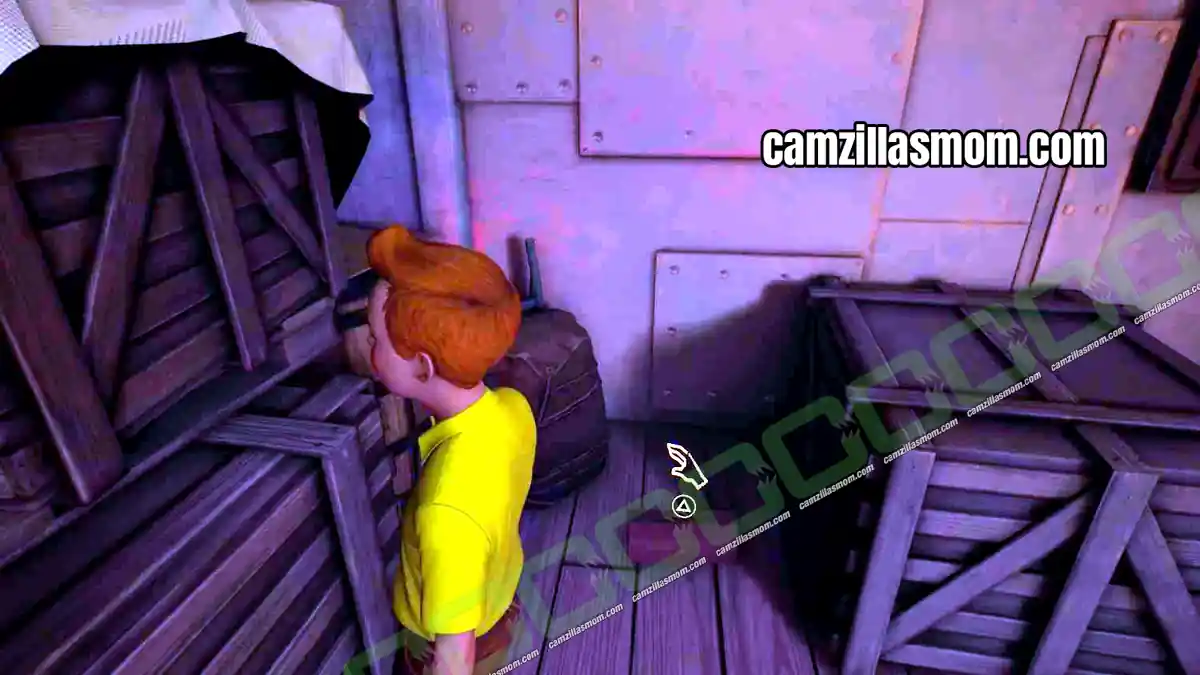
Once you have checked every option, you get three new goals: Find a fuse, Find something to tie the porthole to the cargo lift and Escape through the porthole. Go back to where you found the movable cart and take the screwdriver from the toolbox there. Then push the cart under the vent and use the vent: Tintin opens it and Snowy can climb inside.
10 – Lending a Paw
Location: MS Epomeo – Air Vents
Quest Step: Find a way out of the air vents
The vents are very confusing. Keep moving down and look for a darker, dirtier area: that is where you find the hole in the vent floor.
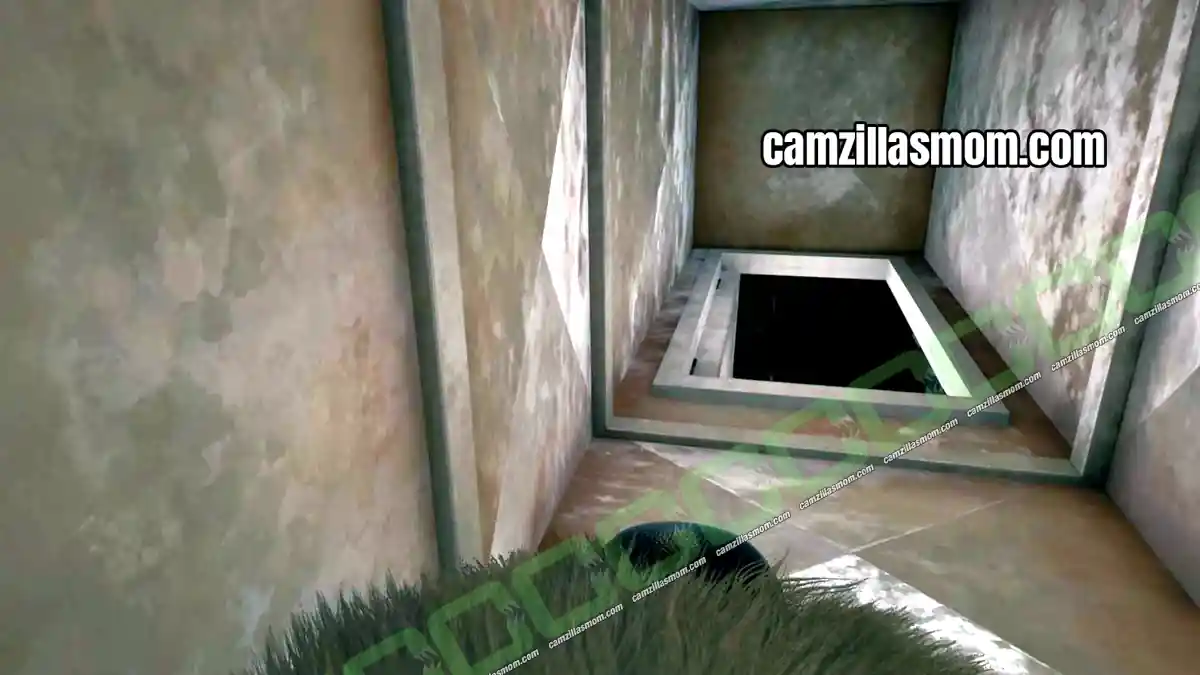
Once you are down there, leave the room, go upstairs and interact with the broomstick stuck in the door.
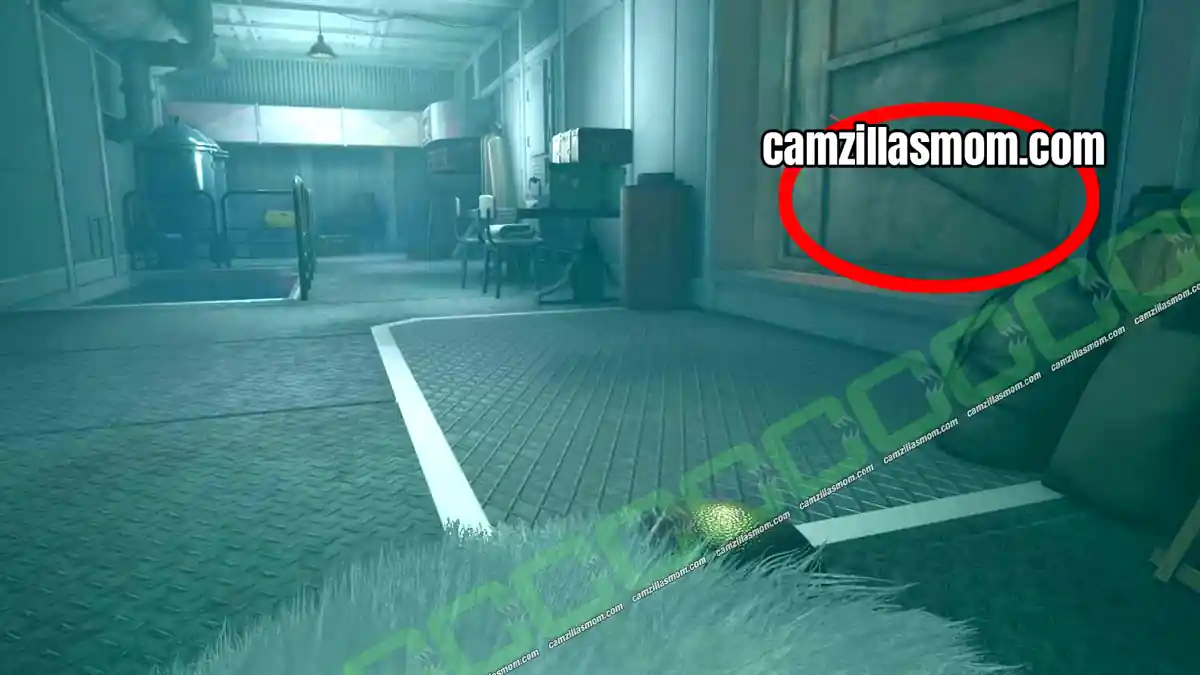
11 – A Way Out Part 2 and the Fuse Box Puzzle
Location: MS Epomeo – Below Deck
Quest Steps: Find a fuse
Find something to tie the porthole to the cargo lift
Escape through the porthole
Once you are outside and playing as Tintin again, first look at the map on the wall. Note the intercom right next to it.
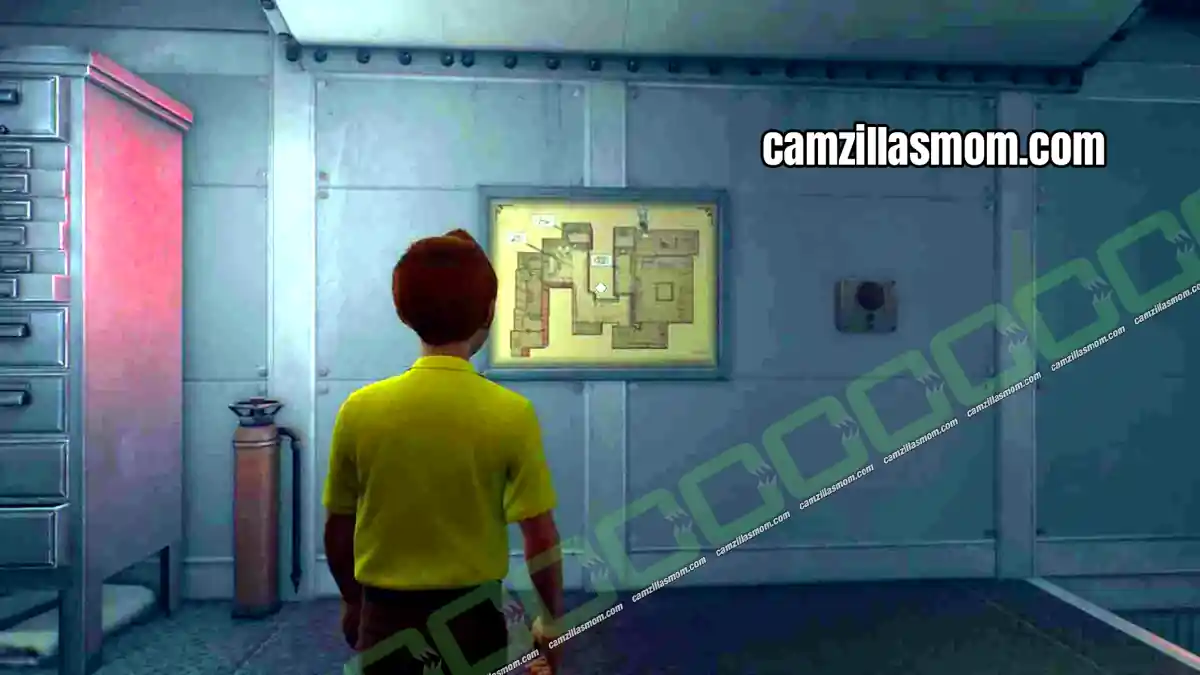
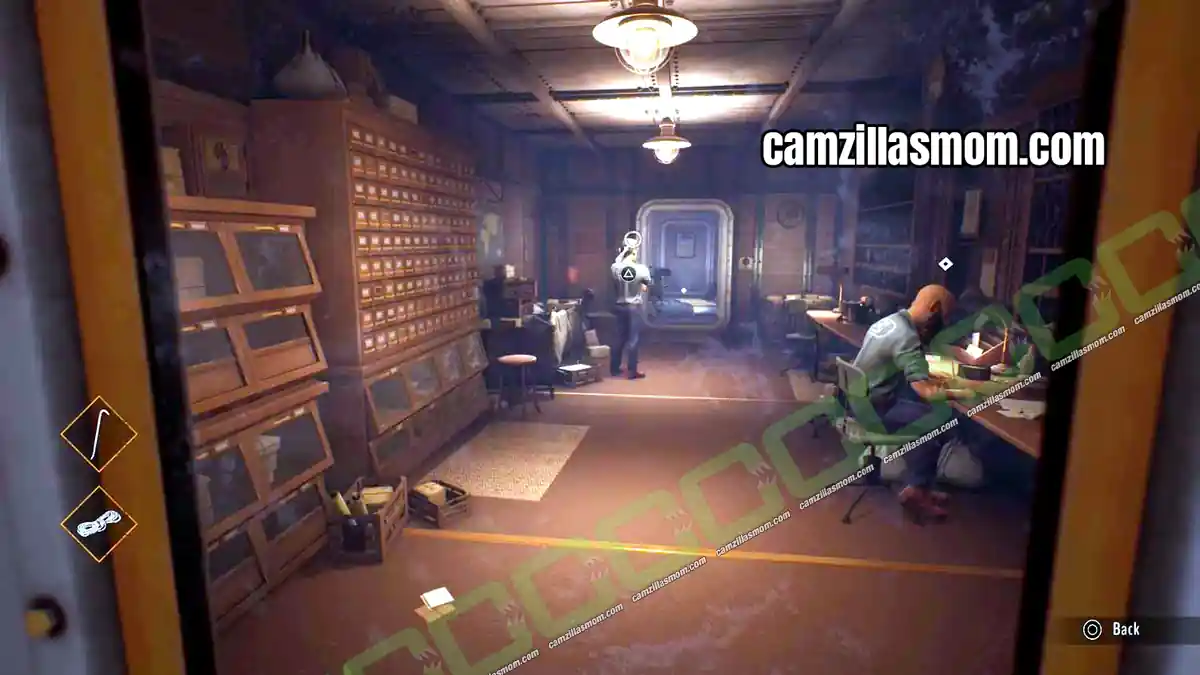
Go up to the left and use the window to look into the mail room. In this door view, interact with the working mailman, the man sitting next to the door, the intercom and the exit. You can use the intercom on the way back, but it won’t do anything yet.
Head downstairs and pick up the crowbar from the table. Then enter the room to the left of the table and take the rope from the top of the barrels. Another table in there has rolls of sticky tape: take one, then go back up and use the intercom again.
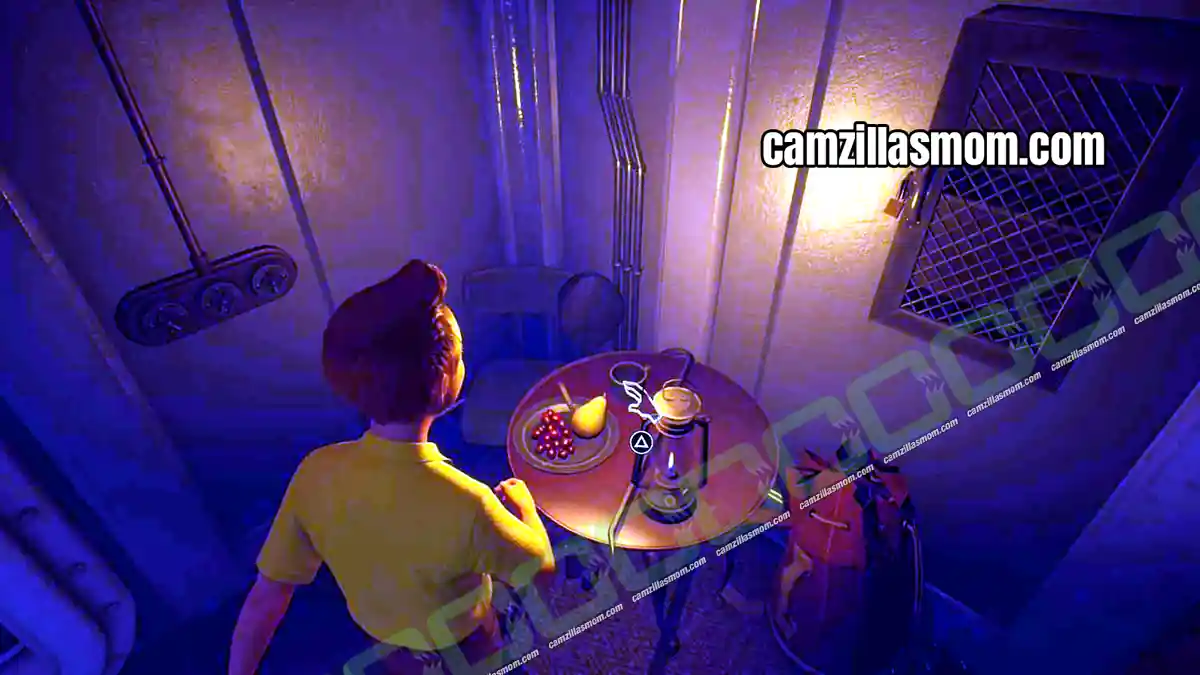
Go back to the door view. The man by the exit is now standing, and you can see the symbol on his back: he works in the washing room. Return to the intercom and use it once more. The washing room man heads back to the other room, which clears the way to sneak into the maintenance room.
Inside the maintenance room, Tintin hides behind a cart while a person works in the room. This plays like Red Light, Green Light: push the cart forward while the person shows the crossed-out eye symbol and stop as soon as it disappears. Keep going until you reach the fuse, then return to the room with the elevator.
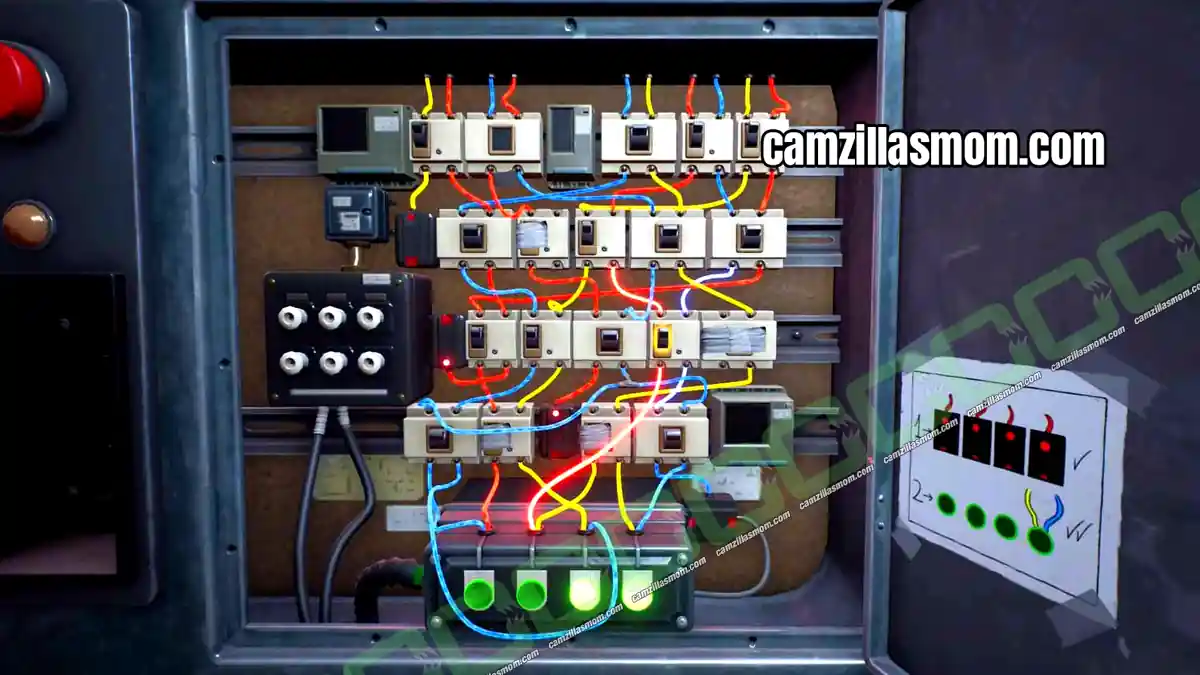
Fuse Box Puzzle: Put the fuse into the elevator. To solve the fuse box, all four green lights at the bottom must be lit, which means all four cables above the green lights need to be yellow and blue. The screenshot below shows the starting position.
Work your way from the bottom to the top: the red cables at the bottom need energy. Follow each cable up to its switches and turn on every switch along the way until its green light is energised.
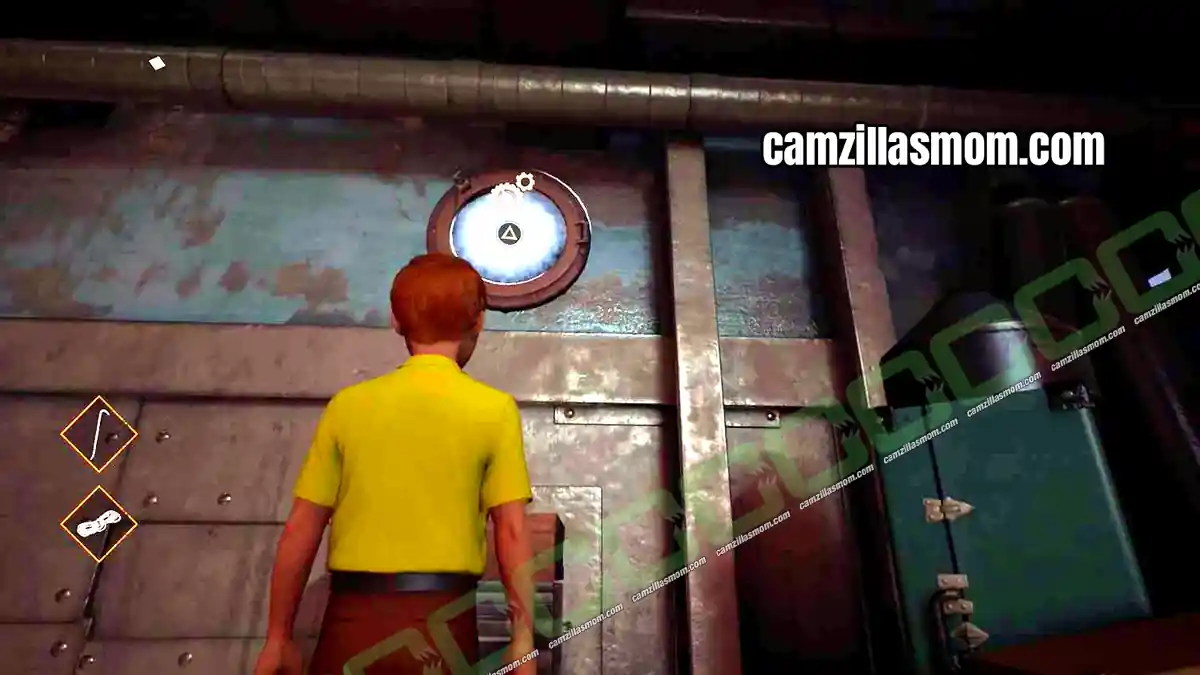
Now push the cart to the porthole nearest the elevator. Moving the cart can be tricky, so keep adjusting it until you see the interaction cogwheels on the porthole when you look up, as in the screenshot below. Interact with the window and Tintin and Snowy escape from the MS Epomeo.
Next: Chapter 2 – The Tomb of Kih-Oskh Walkthrough


About Tintin Reporter – Cigars of the Pharaoh
Based on: Cigars of the Pharaoh by Hergé
Release: November 7th, 2023 (Nintendo Switch: October 17th, 2024)
Developer: Pendulo Studios
Publisher: Microids
Official Website: https://microids.com/game-tintin-reporter-cigars-of-the-pharaoh