Chapter 4: Abudin of Tintin Reporter – Cigars of the Pharaoh drops Tintin straight into the Abudin army. This Tintin Cigars of the Pharaoh Chapter 4 Abudin walkthrough takes you through all 8 quests, solves every puzzle in Colonel Fuad’s office and gets you out of Abudin by plane.
Related Guides:
Chapter 1: MS Epomeo Walkthrough
Chapter 2: Tomb of Kih-Oskh Walkthrough
Chapter 3: Arabia Walkthrough
Chapter 5: Indian Jungle Walkthrough
Chapter 6: Gaipajama Walkthrough
Tintin Reporter – Cigars of the Pharaoh Game Guides
- 1 – Lazy Worms Brigade: Enlist and Meet Your Bunkmates
- 2 – Military Instruction: The Obstacle Course
- 3 – Covert Operation: Colonel Fuad’s Office
- 4 – Secret Hideout: Map Poster Puzzle
- 5 – Hidden Stash: Painting and Safe Code Puzzle
- 6 – Sneaking Out: Radio Puzzle and Escape
- 7 – Abudin Walk: Escape to the Airfield
- 8 – Flying Low: Cross the Canyon
1 – Lazy Worms Brigade: Enlist and Meet Your Bunkmates
Location: Abudin – Army Barracks
Quest Step: Enlist in Abudin’s forces
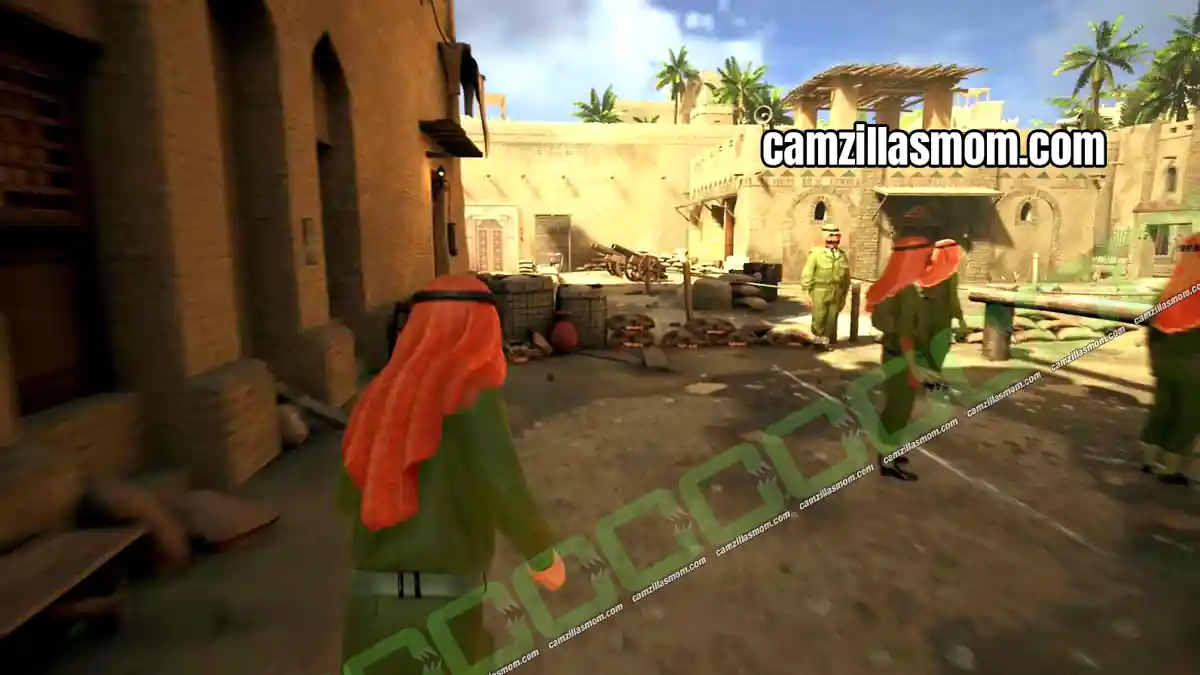
Tintin arrives in Abudin and is enlisted in the army straight away. Follow the recruit ahead of you at a safe distance. If you bump into him, you have to start over. When the Corporal gives you an order, answer with a respectful “Yes, Corporal!” and go collect your uniform. As an infantry recruit, take the uniform marked with the sign of two crossed rifles, and do the same for the boots.
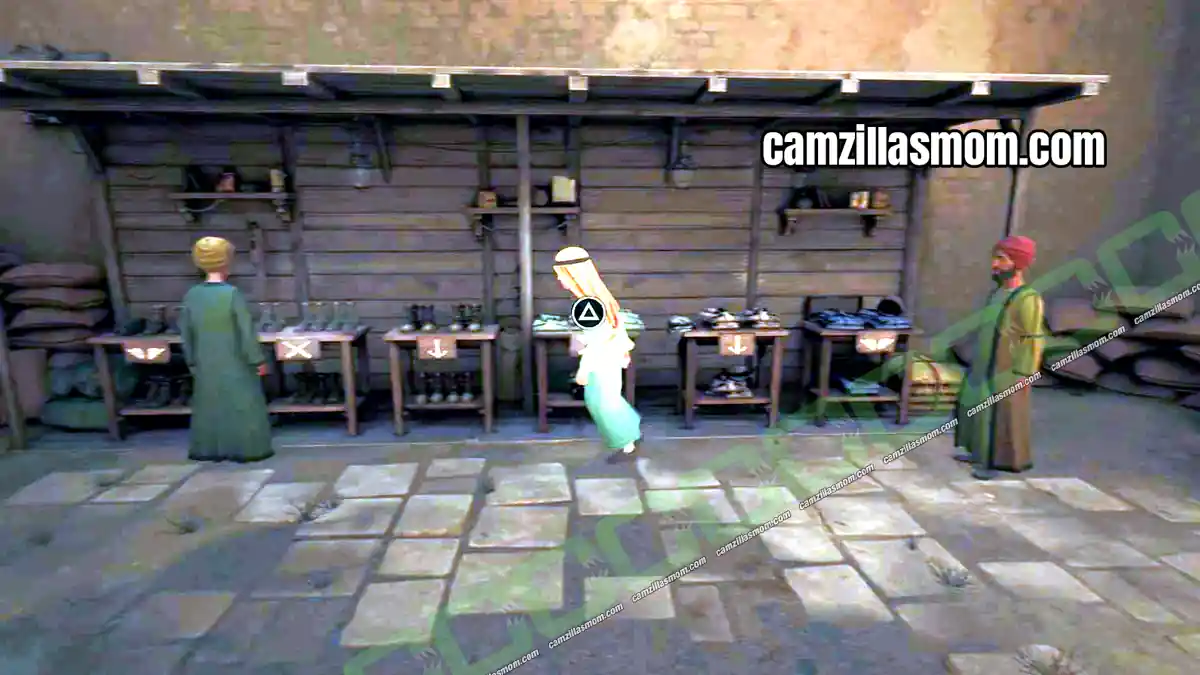
Stay behind the recruit until Tintin can ask “Permission to leave, Corporal”. You can give Tintin a name later. Next, head into the bunkhouse on your right. The soldier at the door points you to the second bed on the opposite wall, next to the open window. Interact with the bed to change into your uniform.
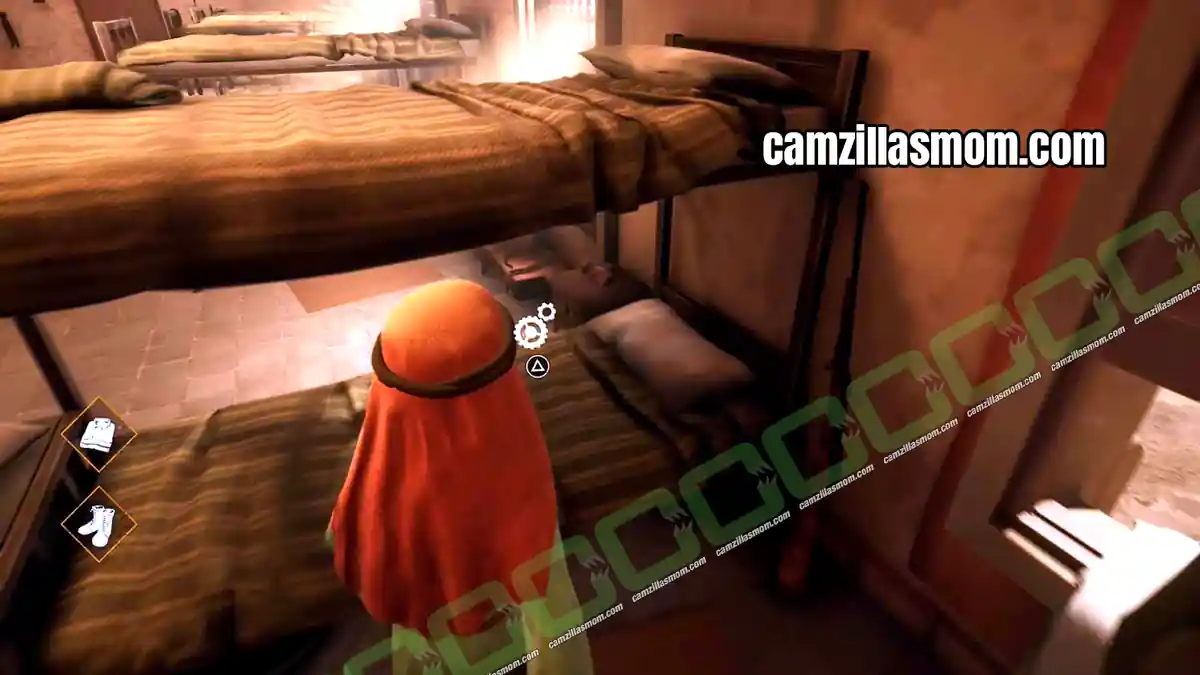
Now meet all five of your bunkmates:
Hard-of-Hearing Soldier: comes straight to you and explains that the window is always open, even though the partygoers outside are noisy
Soldier under the bed: searching for his missing sock
Exemplary Soldier: standing ready for training
Teddy Bear Soldier: in a corner, cuddling his teddy bear
Time-Obsessed Soldier: sitting on his bed, reciting his time plan over and over
Once you have met all five, a soldier opens the door and orders everyone to the instruction point.
2 – Military Instruction: The Obstacle Course
Location: Abudin – Obstacle Course
Quest Step: Complete the obstacle course
Race the other soldiers through the obstacle course by pressing the buttons or moving the controller stick when prompted. If you fail, you restart at the nearest checkpoint.
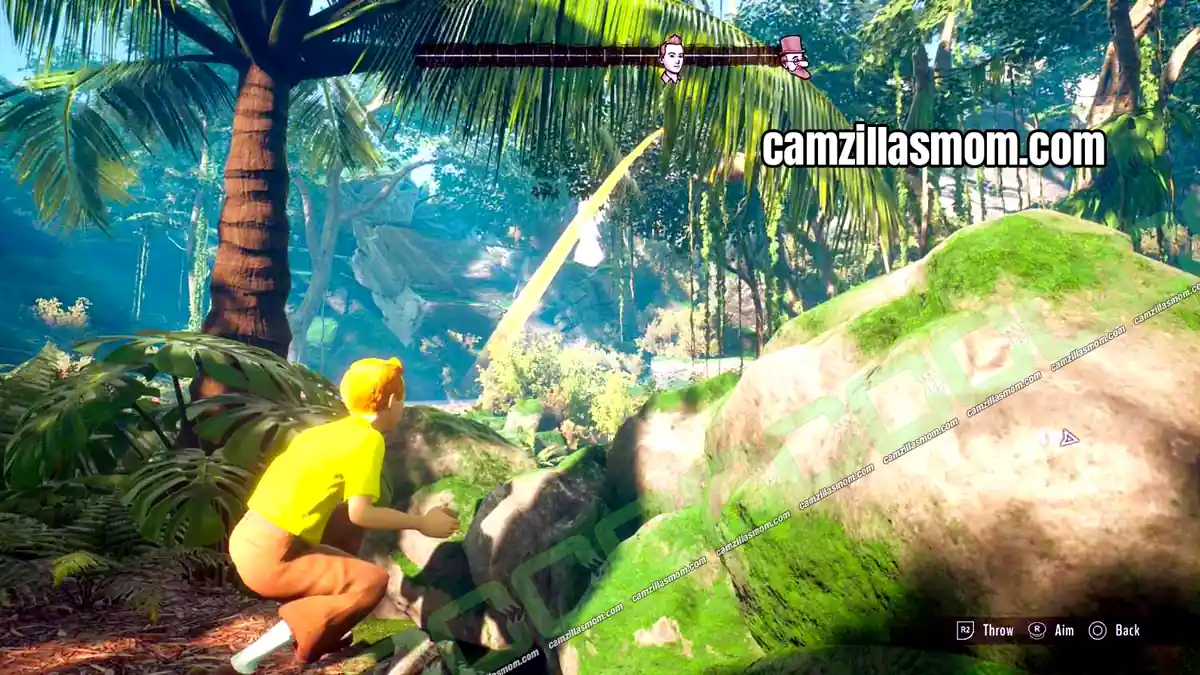
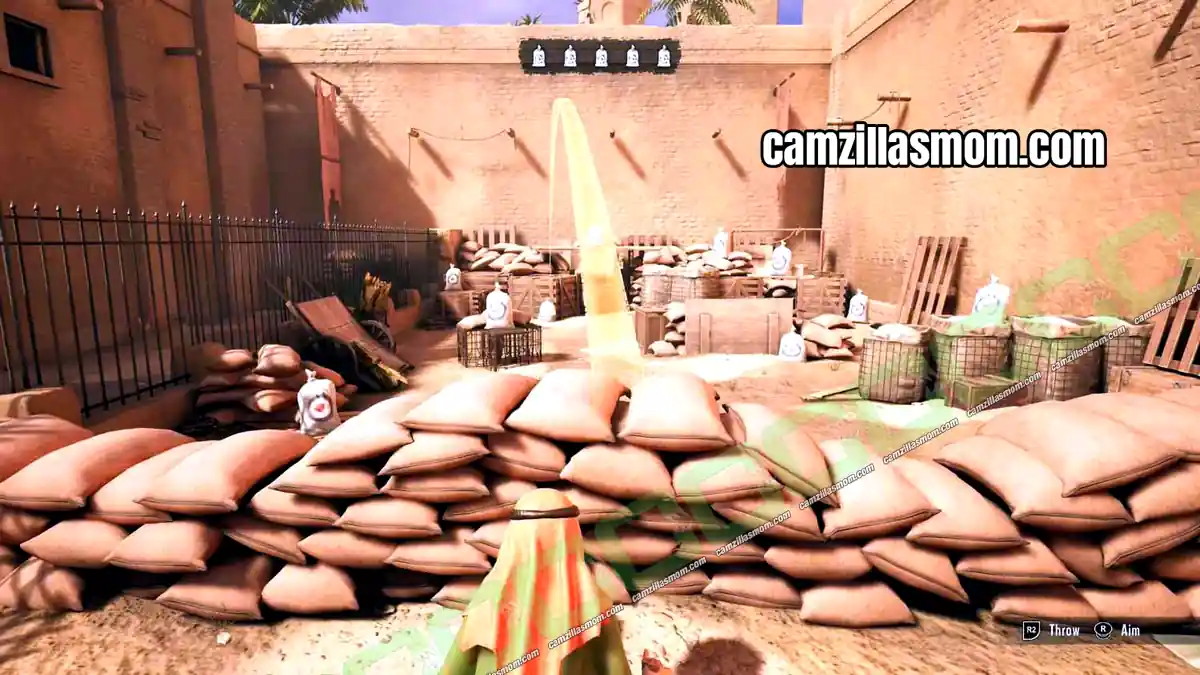
The course also includes a grenade throwing tutorial. Aim the throw arc at one of the sandbags and throw the grenade once the arc turns yellow.
Continue with the second part of the course until you reach the pole climb. At the top, Tintin hears Snowy barking: Altair is about to be hit by falling equipment. Tintin gives up the race to save Altair.
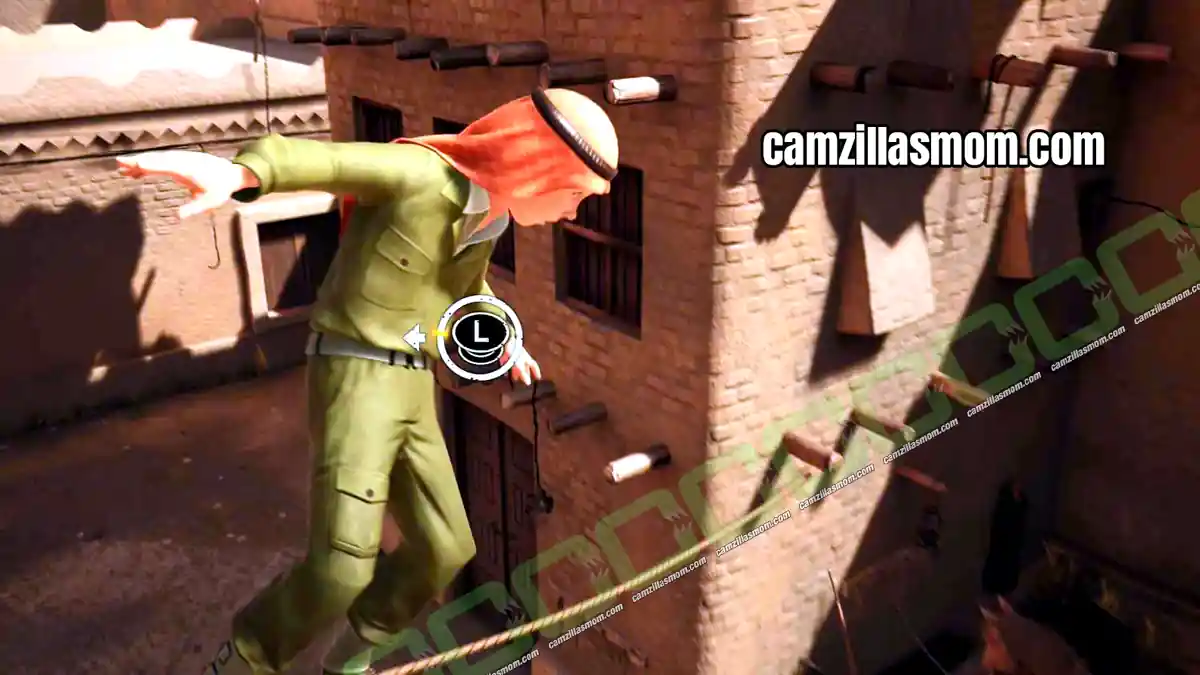
Trophy tip: Saving Altair at the end of the obstacle course unlocks a trophy. Another trophy, The Corporal’s Golden Boy, asks you to finish the obstacle race without making a single mistake.
3 – Covert Operation: Colonel Fuad’s Office
Location: Abudin – Colonel Fuad’s Office
Quest Step: Find clues that relate Colonel Fuad’s forces to Kih-Oskh
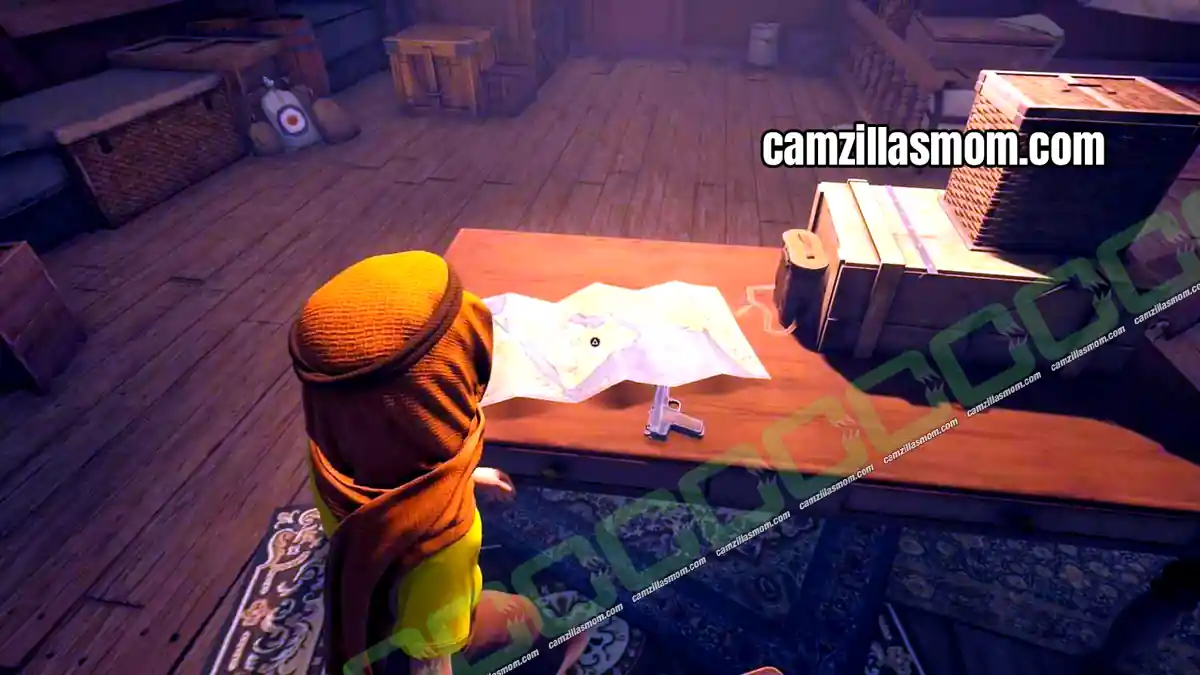
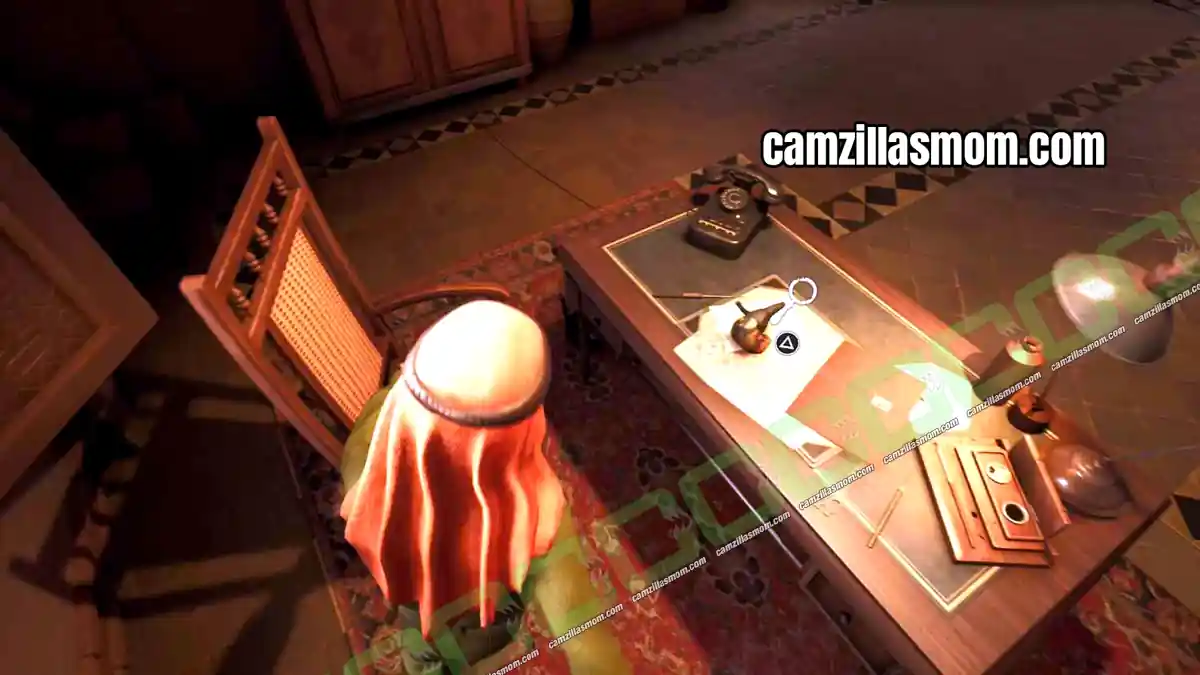
As punishment, Tintin has to sweep sand. Instead, he sneaks into Colonel Fuad’s office to look for clues. Go to the Colonel’s desk, interact with the documents and study all three of them.
4 – Secret Hideout: Map Poster Puzzle
Location: Abudin – Colonel Fuad’s Office
Quest Step: Find out where the smugglers’ ring is meeting
Head to the empty wall at the back of the room and look up. There is a poster up there that you can pull down.
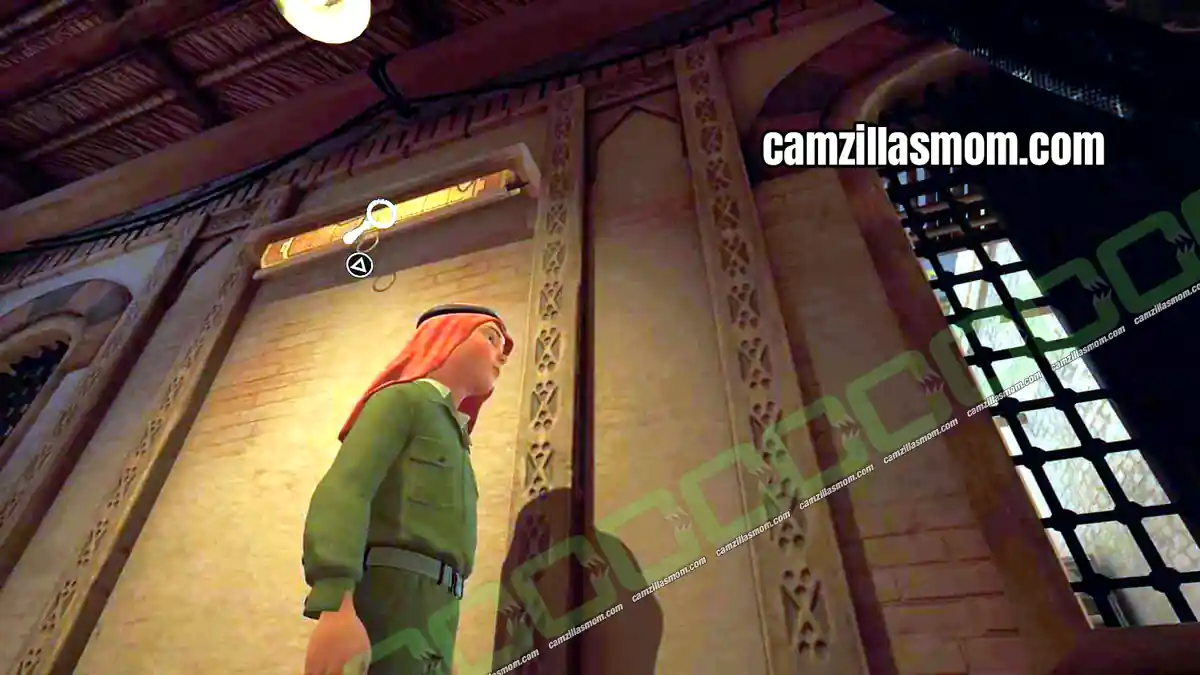
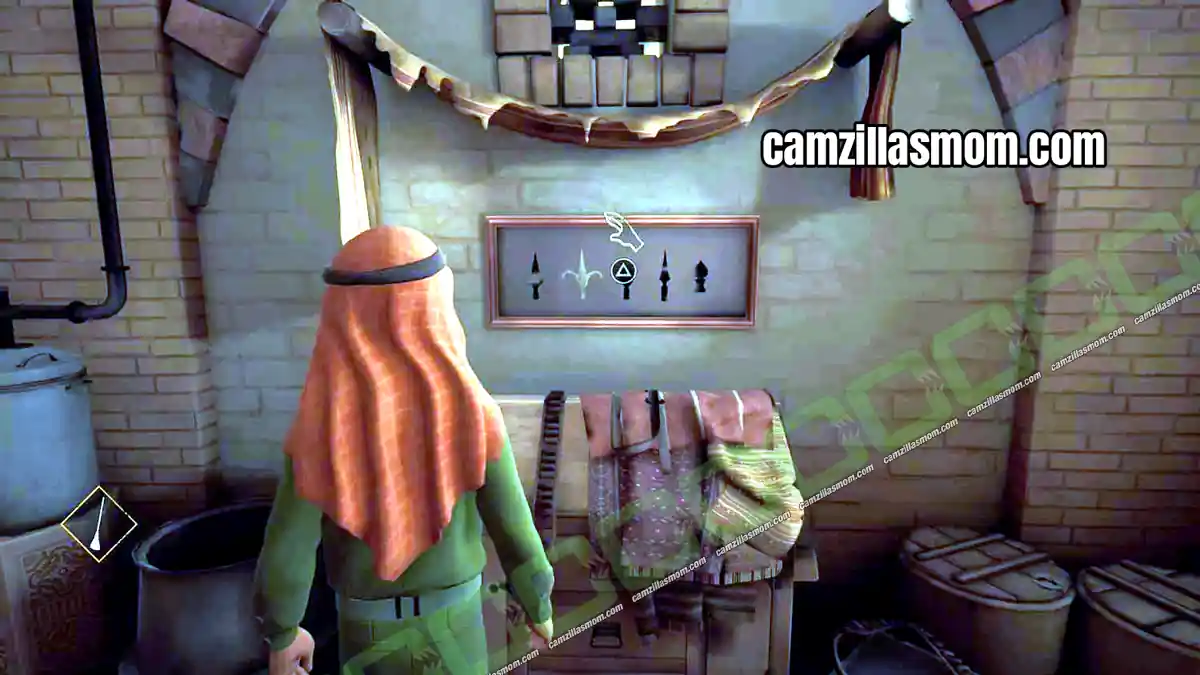
Grab the broom near the entrance and use it to reach the poster. It is still not long enough, so check the left wall for a set of framed spearheads and fit one of the spearheads onto the broomstick. Now interact with the poster to pull it down.
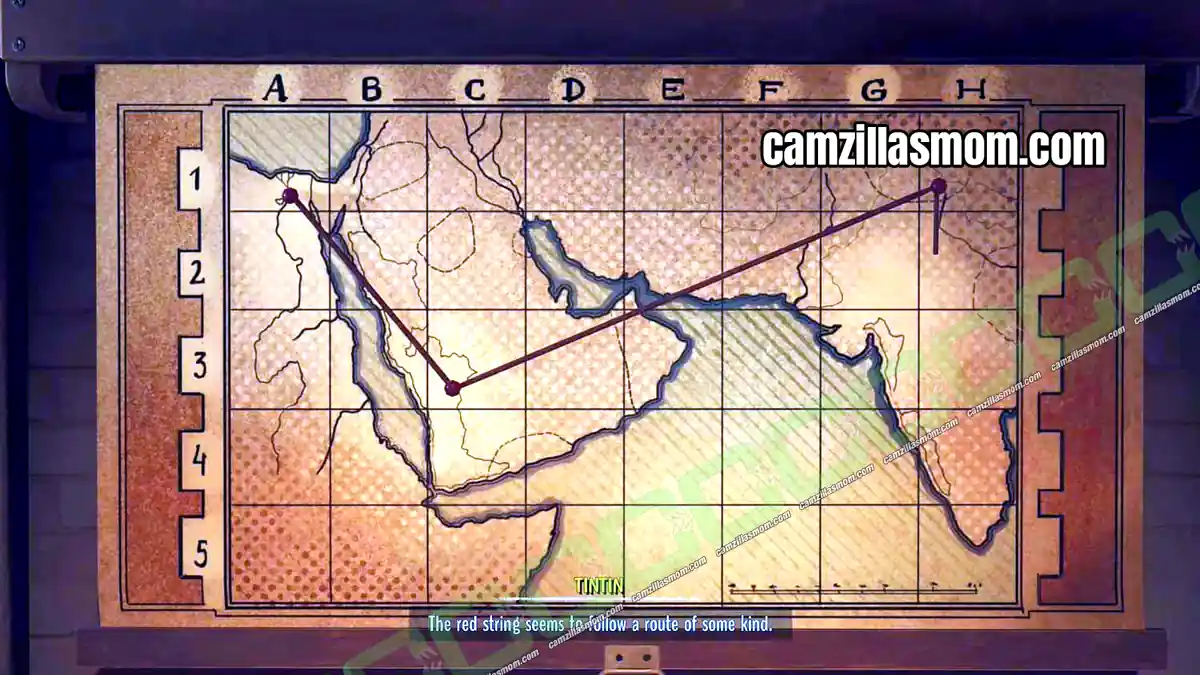
The poster is a map with a coordinate grid and three connected points: one in Egypt, one here in Abudin and one somewhere in India. Note the coordinates, because you need them for the safe in the next quest:
A1 – C3 – H1
5 – Hidden Stash: Painting and Safe Code Puzzle
Location: Abudin – Colonel Fuad’s Office
Quest Step: Find the stash of cigars
Find the painting of Fuad with his mother and take a close look at her necklace. Enter the same pattern on the bottom frame of the painting. The screenshot below shows the solution.
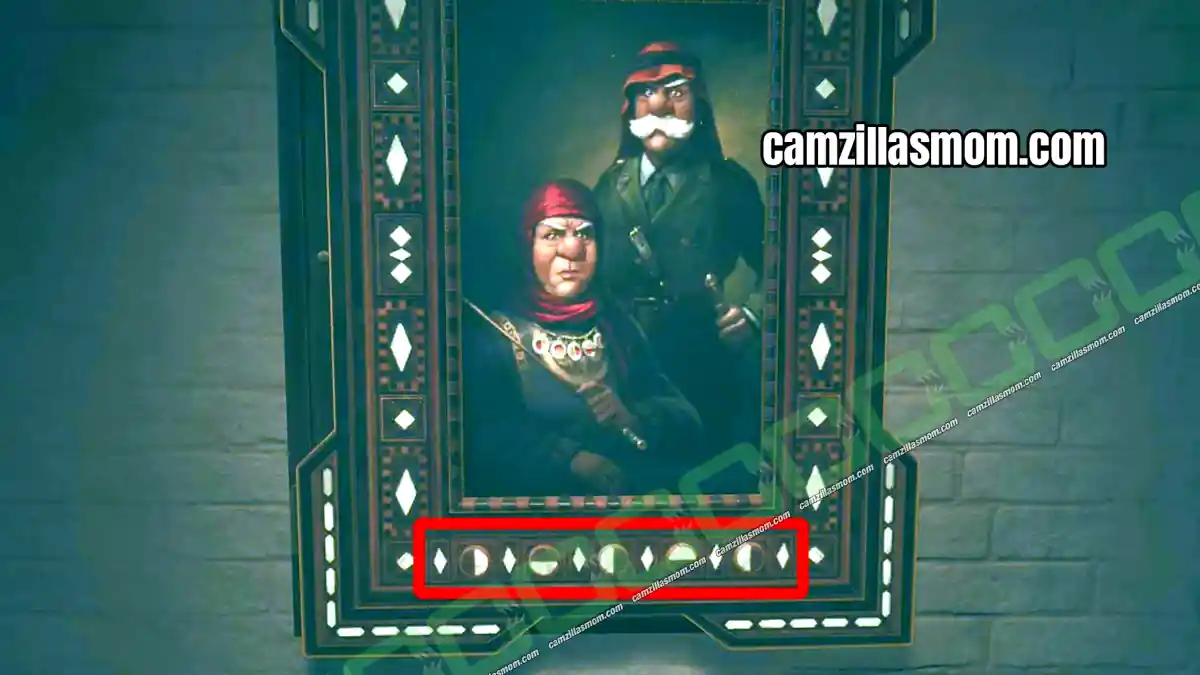
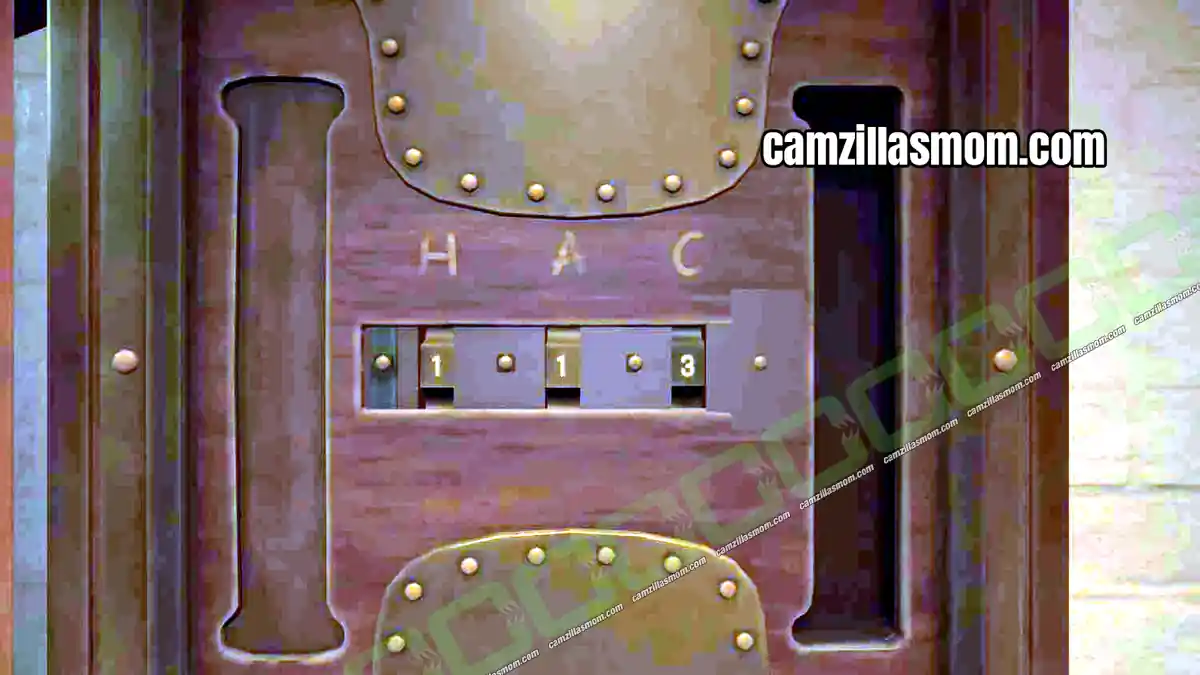
The painting hides a safe. Next to it is a clue with three letters that match the coordinates on the map poster: A1 – C3 – H1. The safe code is 1 – 1 – 3, as shown in the screenshot below. Inside, Tintin finds hollow cigars.
6 – Sneaking Out: Radio Puzzle and Escape
Location: Abudin – Army Barracks
Quest Step: Reach the main gate
Tintin is arrested and thrown in jail. To everyone’s surprise, Thomson and Thompson help him escape and tell him to meet them at the main gate. This whole quest is about stealth, and it gets dark and confusing, so here are the main passages. First, distract the guard at the jail entrance by throwing a stone at a lantern.
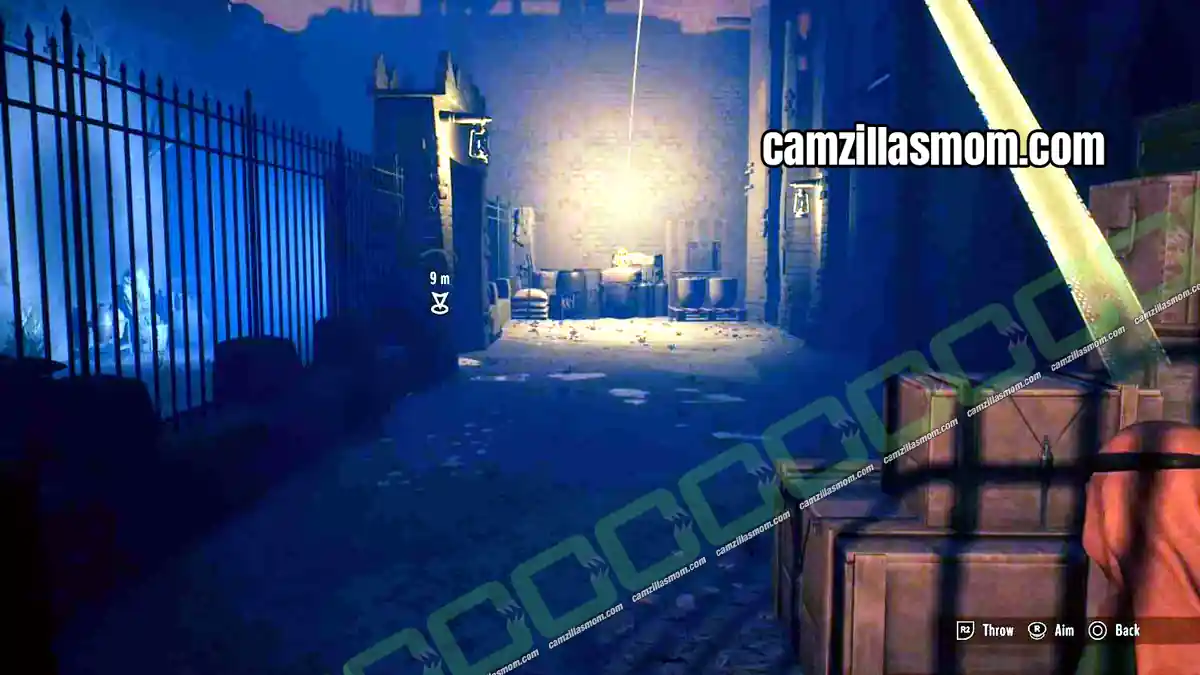
Sneak through the entrance where the guard was standing. Stay on the left and watch out for the guard patrolling on the other side of the fence. Jump over the wooden box to avoid him and reach the other side unseen.
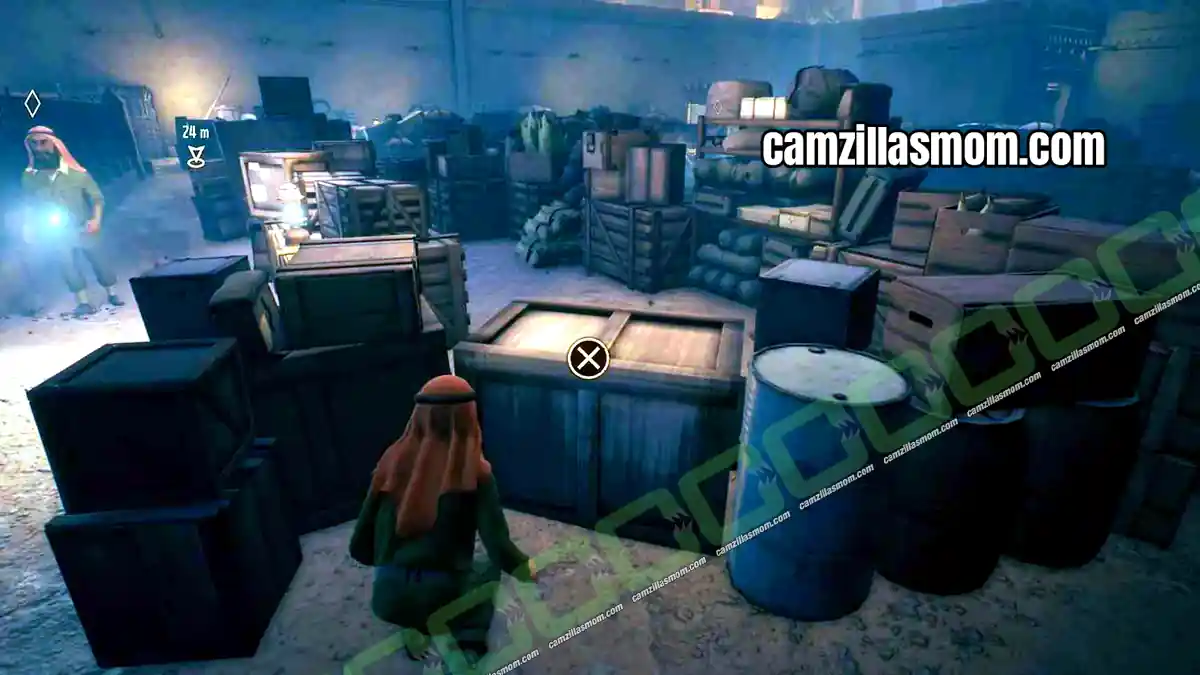
Keep going straight ahead. A short cutscene points you in the right direction. The screenshot below shows where Tintin stands after the cutscene, with an X marking where to go next.
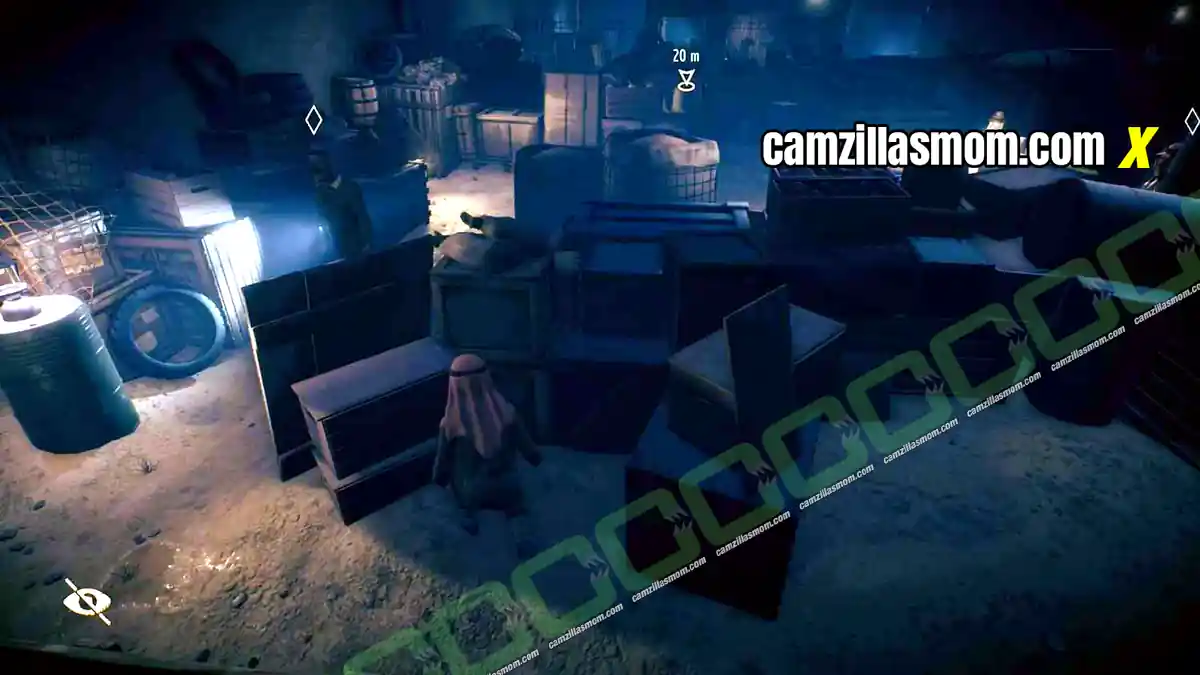
Head over to the gate, but someone has closed the doors. Climb the boxes standing against the wall to get over the fence. Two guards wait on the other side. Throw a stone at a lantern to distract them, then cross the area that looks like a cemetery.
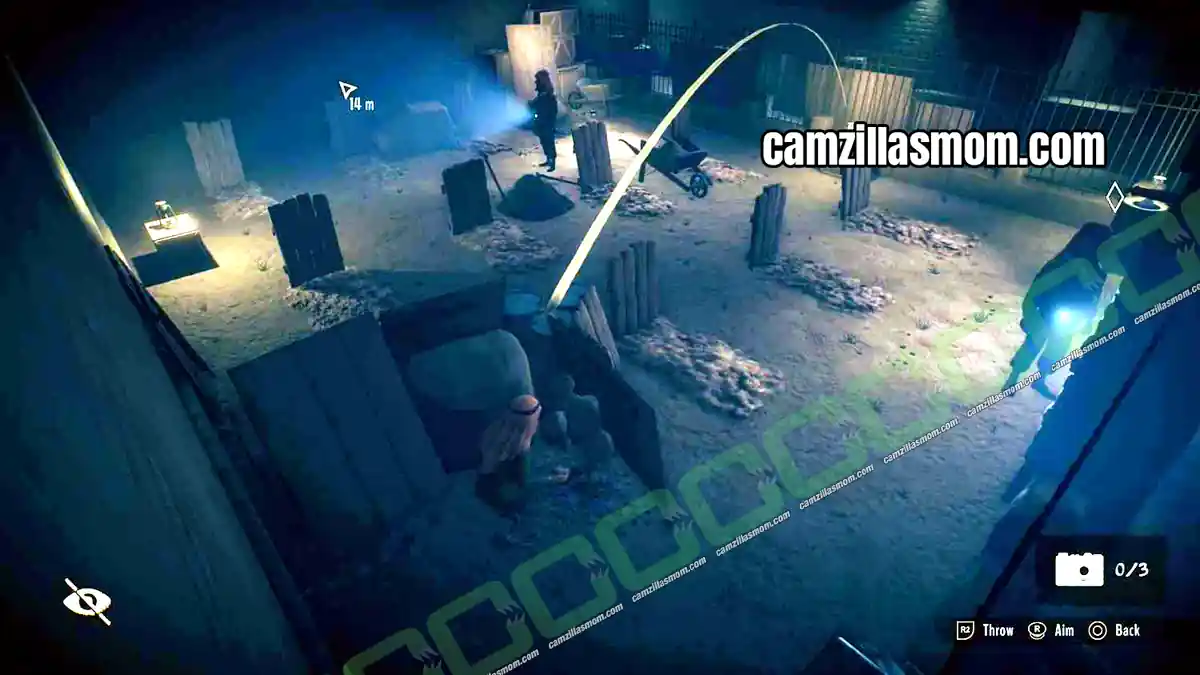
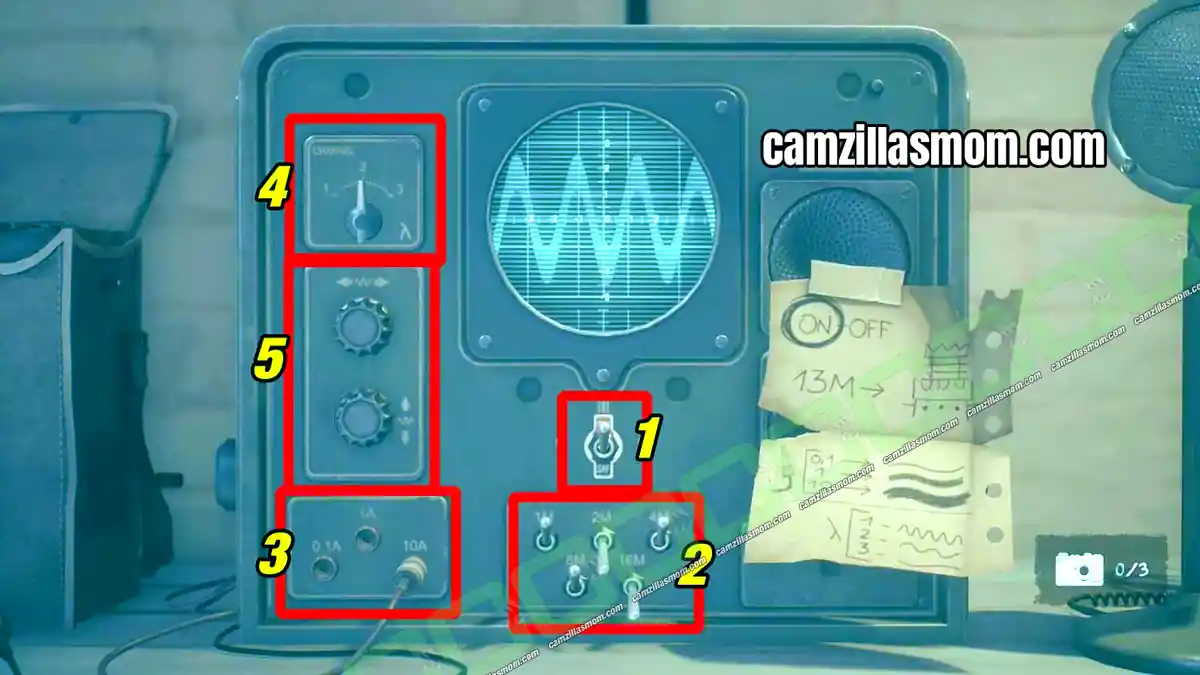
On the other side, climb into a building. Here, Tintin has to turn on and tune the radio to lure the soldier away from the other window. Interact with the radio. The instructions attached to it are confusing, so follow the steps below and use the screenshot as the solution.
Radio Puzzle Solution
1 – Turn on the radio
2 – Set the switches below the on/off switch to a total of 13, as in the screenshot
3 – At the bottom left, plug the cable into 10A
4 – At the top left, switch to Channel 2
5 – Use the knobs in the center-left to adjust height and length and finish tuning
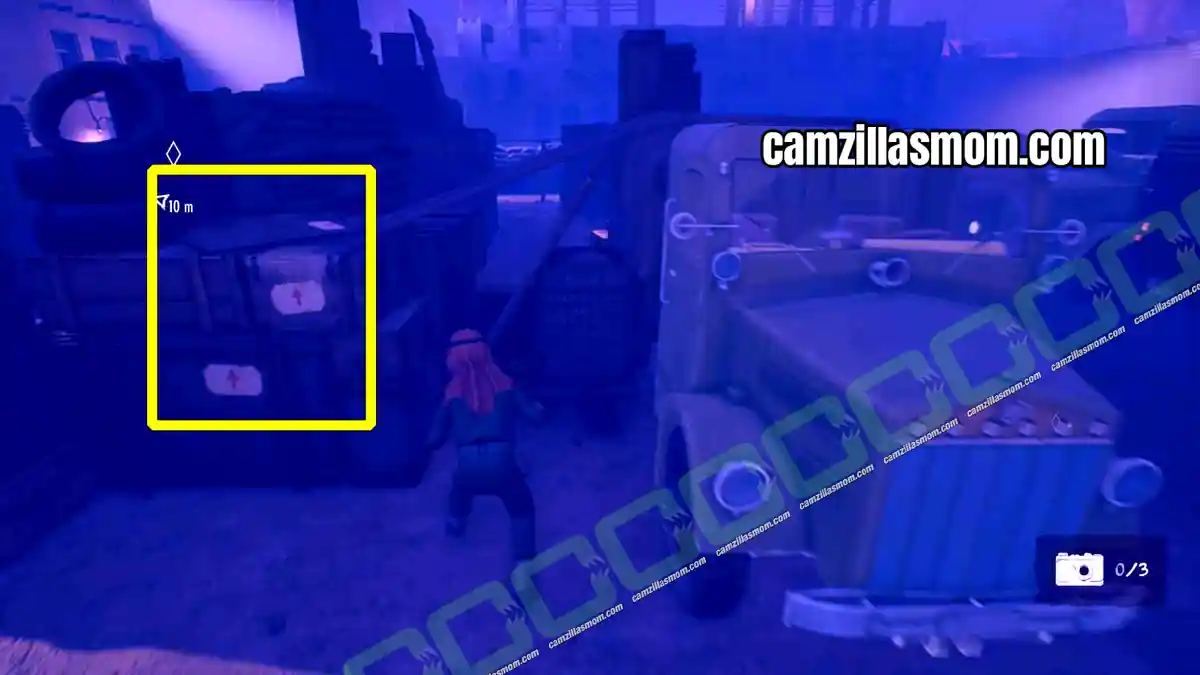
After the cutscene, climb out through the window. Next up is a spotlight you need to take out to distract the guards at the gate. Find the boxes with arrows near the truck and climb onto them, as shown below. Sneak all the way to the other side, staying out of the spotlight and away from the guards.
From there, throw a stone at the spotlight to break it. You can then sneak to the gate without trouble.
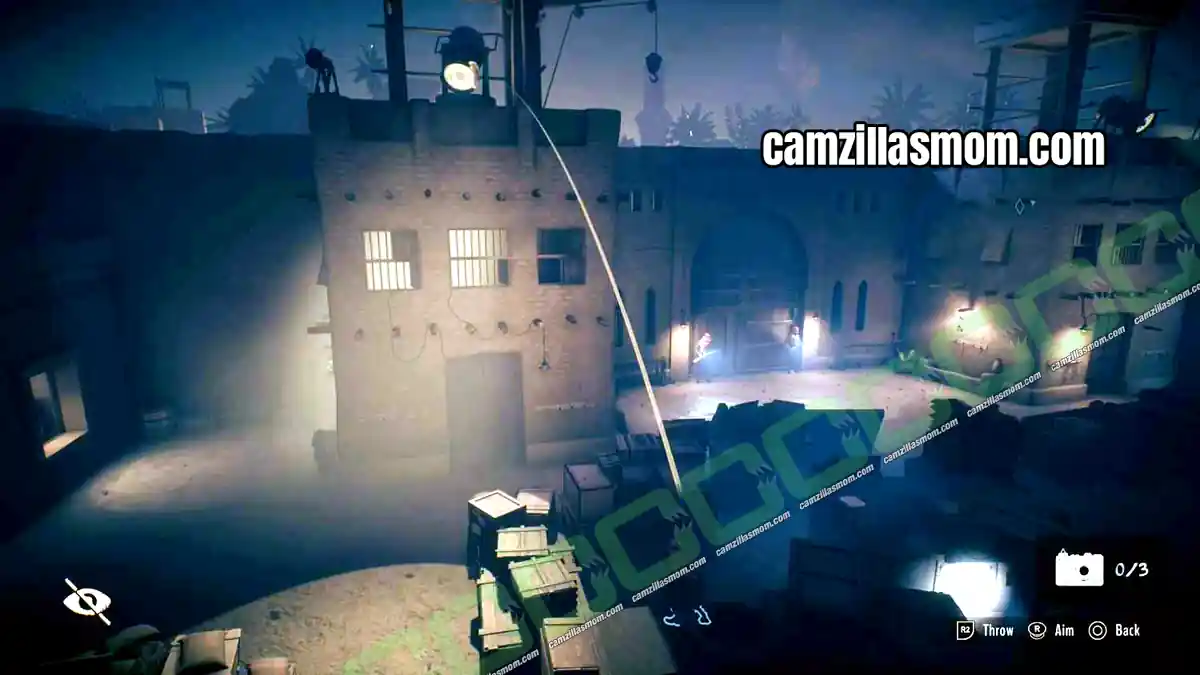
The gate is locked. Luckily, Tintin remembers the open window in the bunkroom. Take the path to the left of the gate, avoid the guards and look for a wooden box you can roll over to the other side.
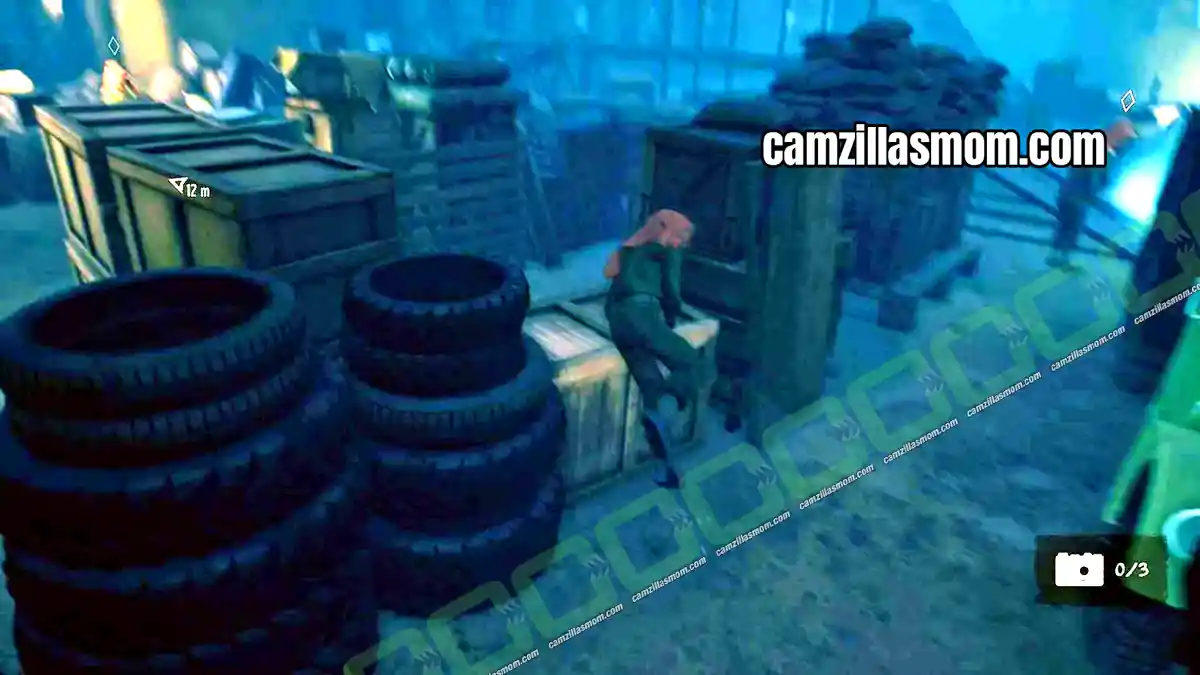
Keep going until you can climb into a warehouse.
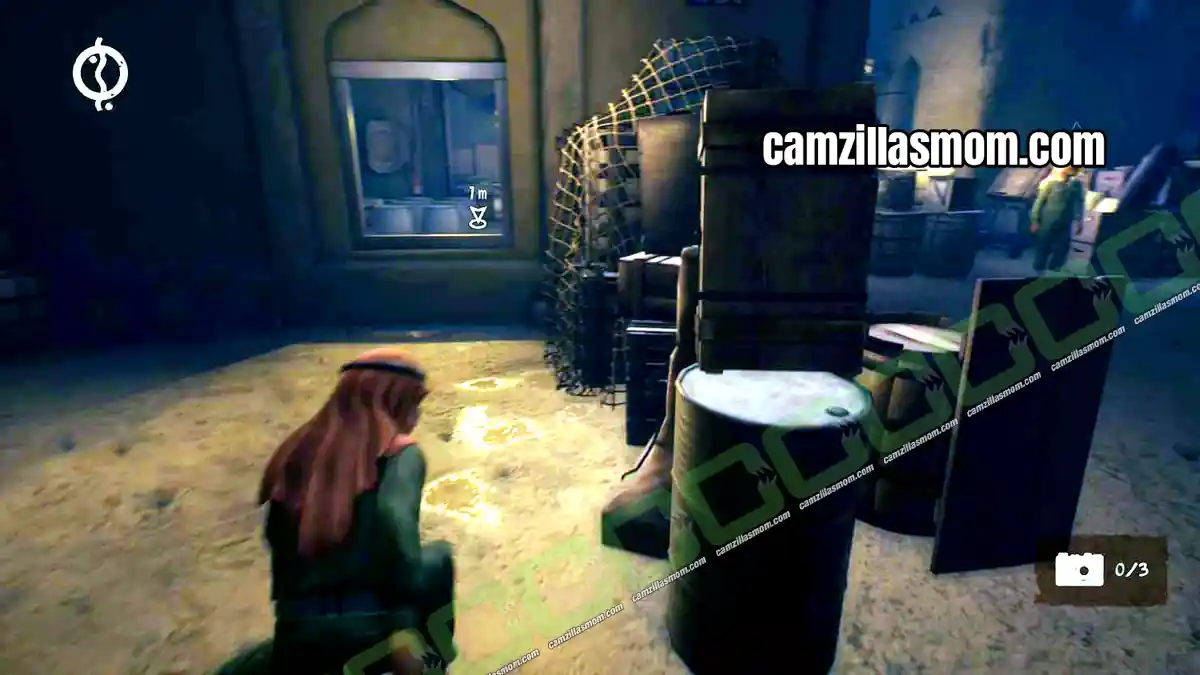
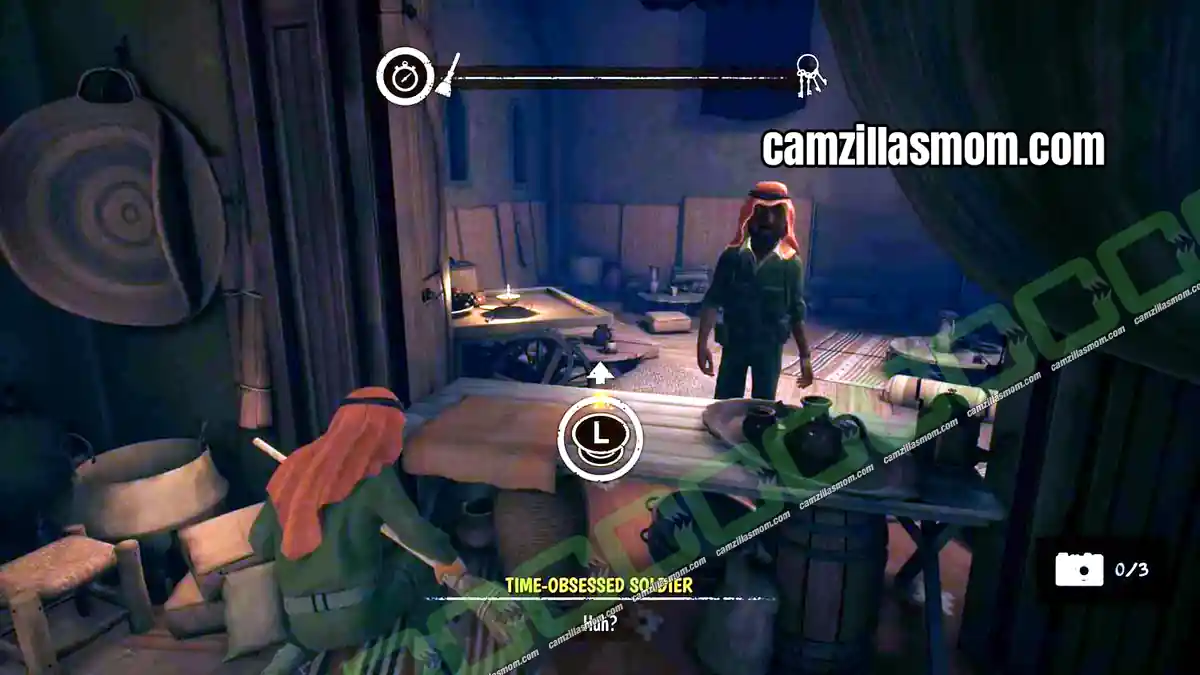
Inside is a timed puzzle: you have to get out before time runs out. The keys are on a table across the room, and you need the broom to reach them. It plays like “Red Light, Green Light”: move while the soldier is not looking and freeze while he is watching. Once you have the keys, unlock the door and cross the courtyard to the bunkroom.
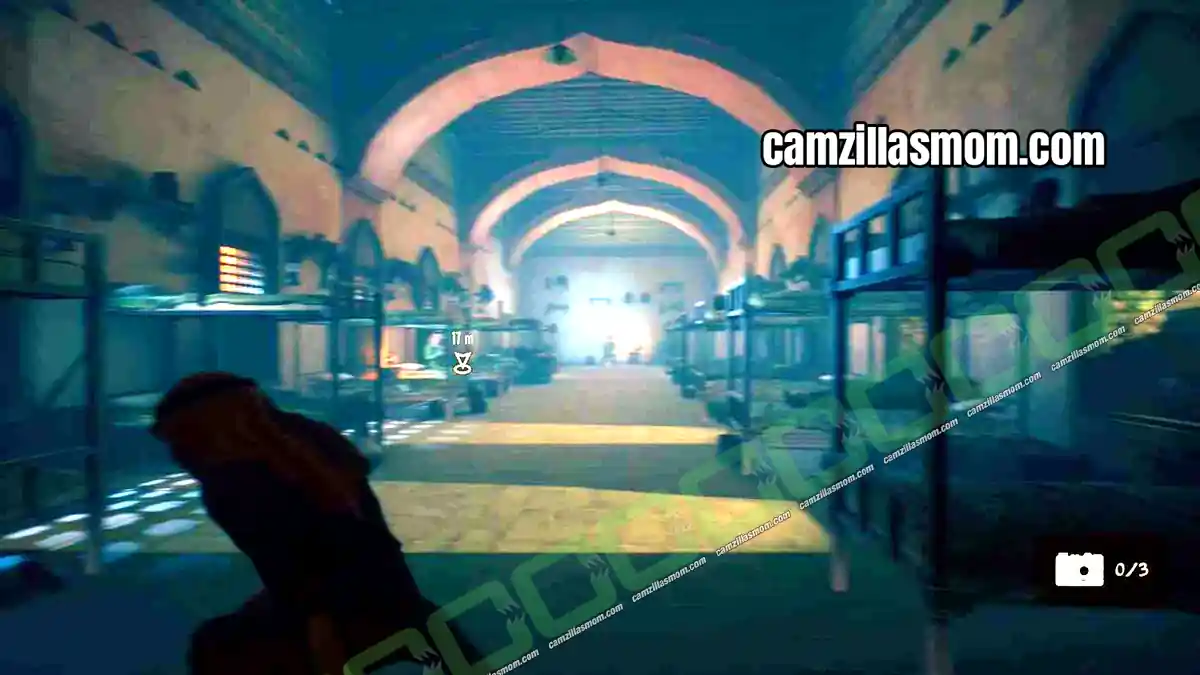
To reach the open window next to your bunk, avoid the light coming in through the windows and the soldier sitting on the left. You can get fairly close to him without being spotted, so sneak past when you see the eye sign above him.
As soon as you reach the window, the soldier with only one sock starts patrolling the hall. Keep opening the window while his back is turned and stop whenever he walks past.
7 – Abudin Walk: Escape to the Airfield
Location: Abudin – Town and Airfield
Quest Step: Escape from Abudin
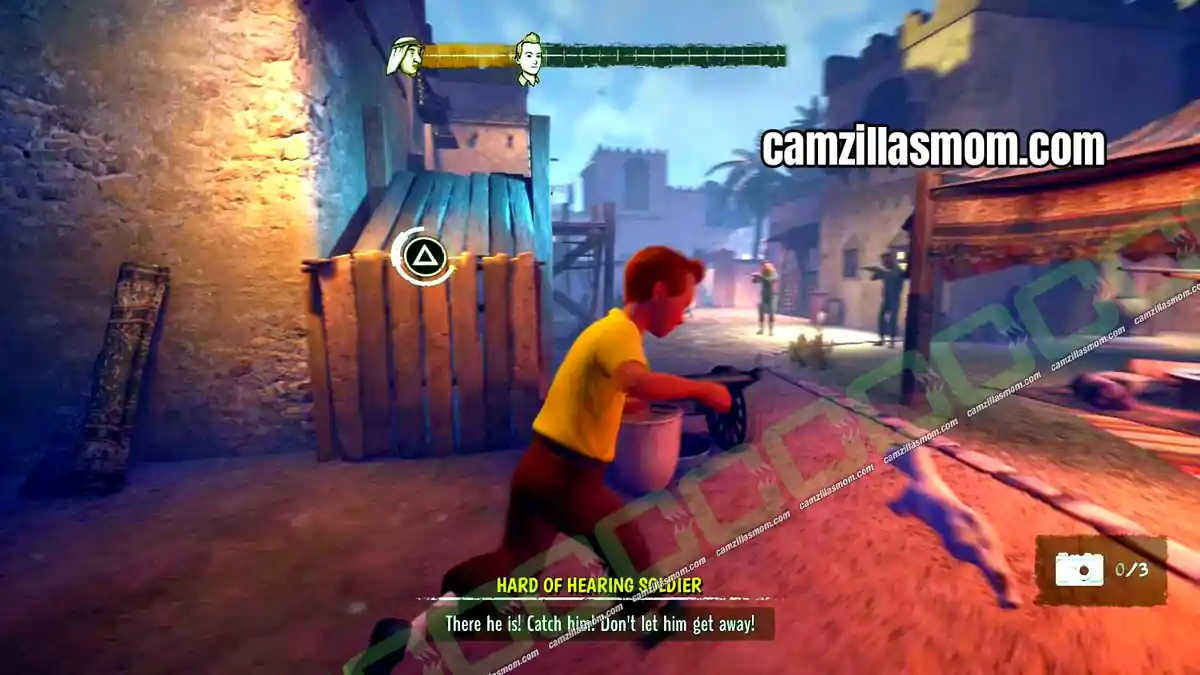
This part is a long chase through town, with all the Lazy Worms soldiers after Tintin. Whenever you are unsure where to go, look for the white paint marking the way.
Trophy tip: There is a trophy for running out of Abudin without making a single mistake.
Once you reach the airfield, tell the pilot something about a “Rabid Dog” and he runs off, leaving the plane to Tintin.
8 – Flying Low: Cross the Canyon
Location: Abudin – Canyon
Quest Step: Cross the canyon to avoid enemy shots
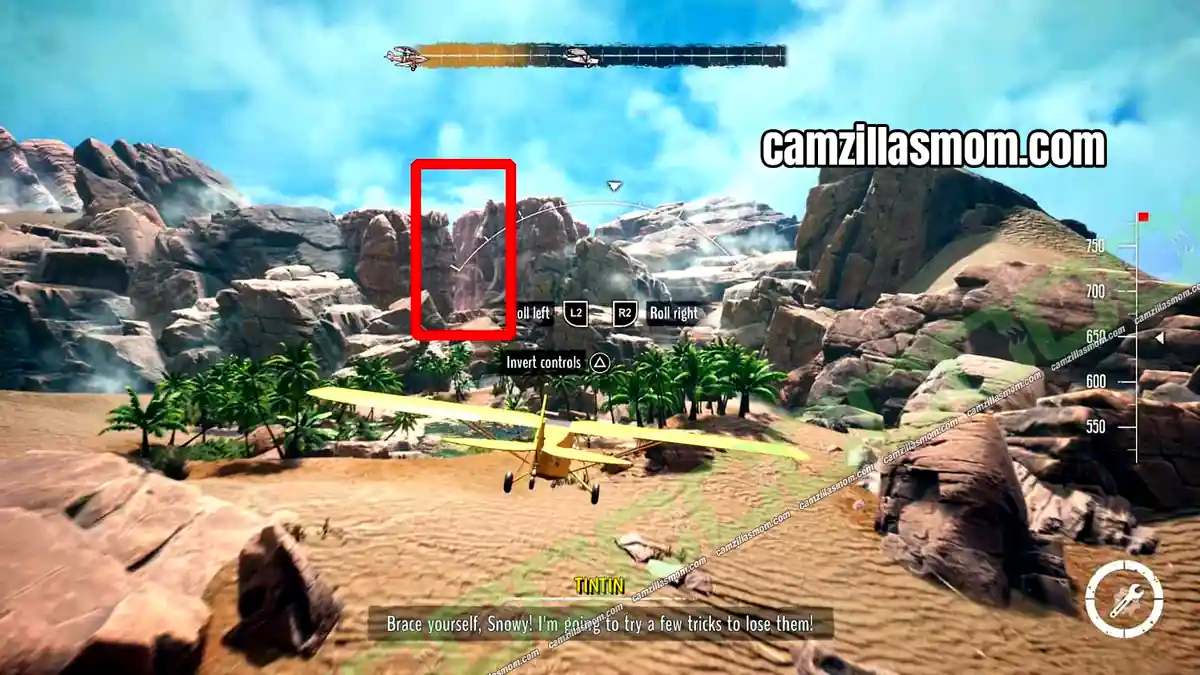
The flying part is the trickiest bit of the game so far. First you need to reach the canyon entrance, so don’t worry if you get shot down a few times before you make it. The screenshot below shows where the canyon entrance is.
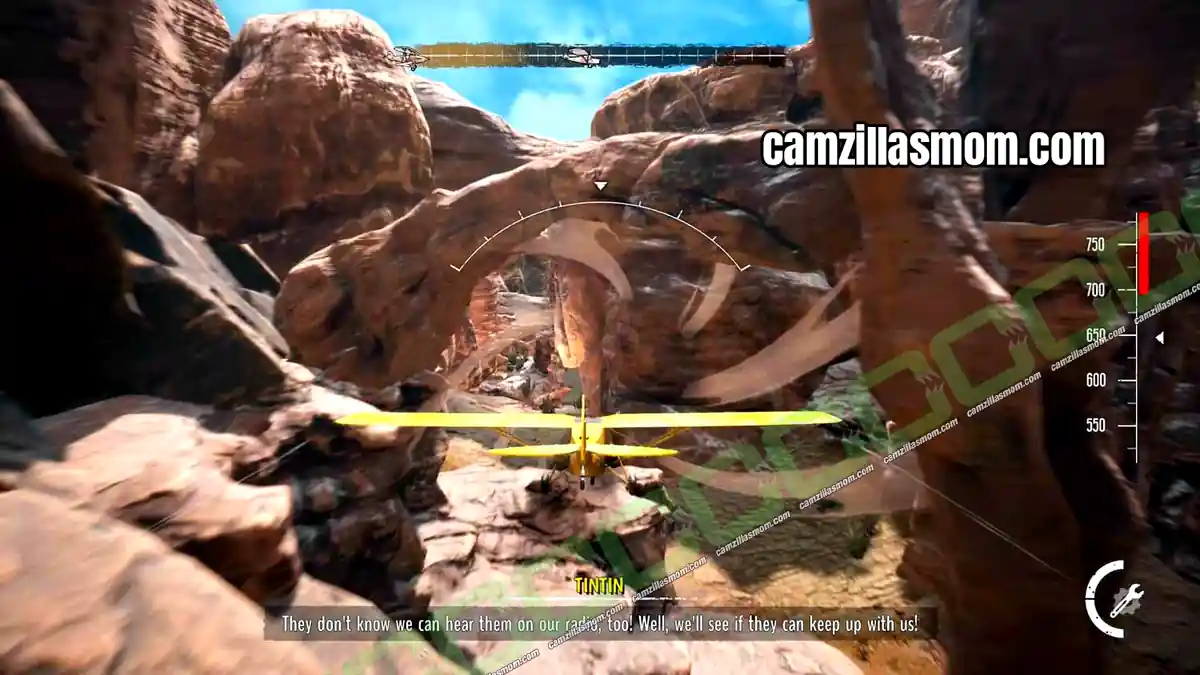
While flying through the canyon, follow the round wind swirls shown below, they show you the way. Once you escape, Tintin continues his adventure in the Indian Jungle.
Previous: Chapter 3 – Arabia Walkthrough
Next: Chapter 5 – Indian Jungle Walkthrough


About Tintin Reporter – Cigars of the Pharaoh
Based on: Cigars of the Pharaoh by Hergé
Release: November 7th, 2023 (Nintendo Switch: October 17th, 2024)
Developer: Pendulo Studios
Publisher: Microids
Official Website: https://microids.com/game-tintin-reporter-cigars-of-the-pharaoh