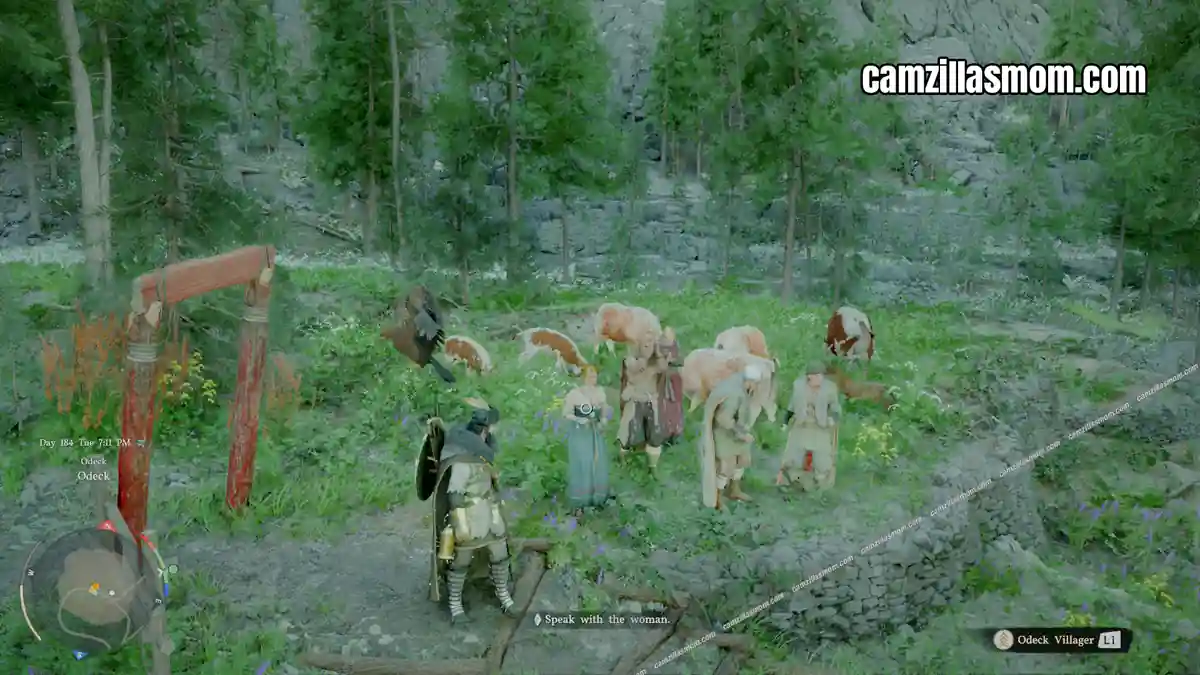
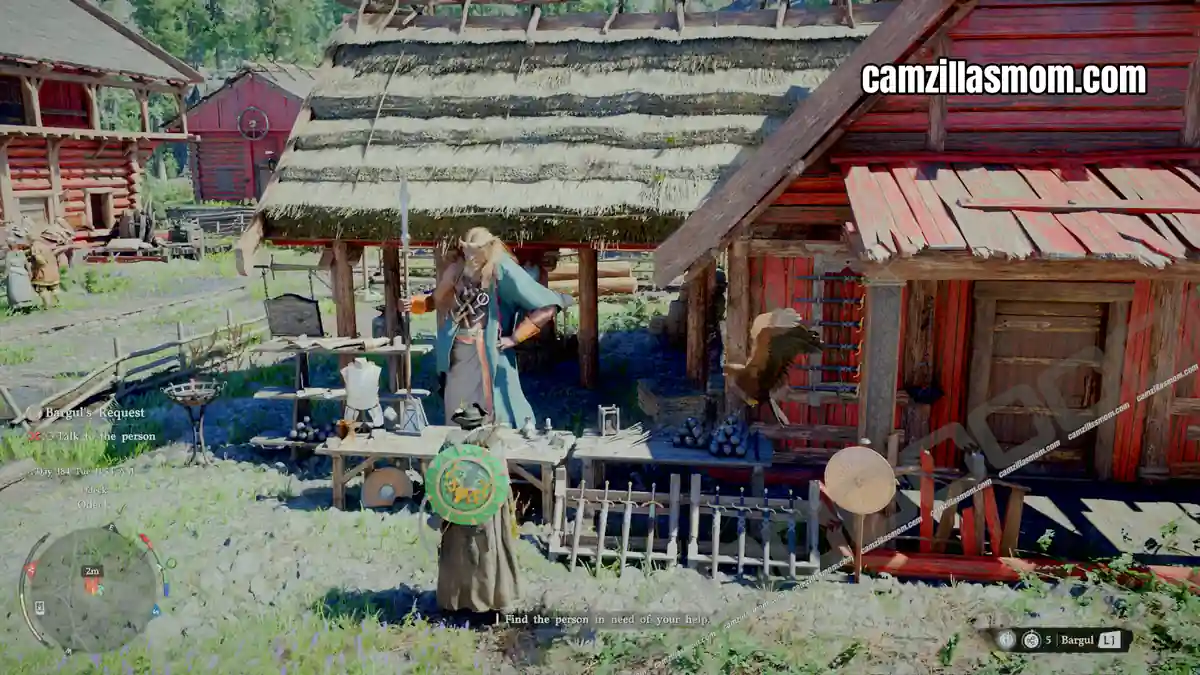
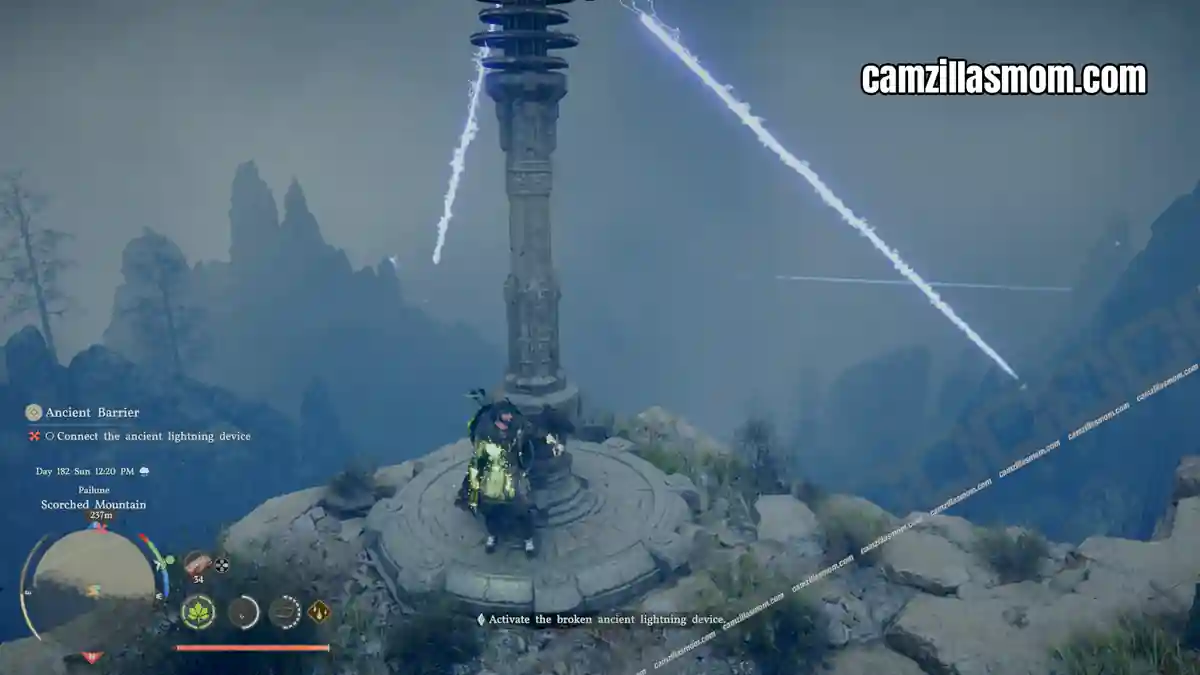
Morning Mist is the opening questline of Chapter 7: Homecoming in Crimson Desert, picking up directly after liberating Calphade in Chapter 6.
It spans five quests – Ashes of Treachery, Trust Lost, Bared Fang, Rekindled Hope, and Podium of Resolve – and takes you to the village of Beighen in the Pailune region, where you need to make contact with a secret resistance faction called the Blue Fangs. This guide covers all five quests in order, including the eavesdropping sequences, the dialogue choices needed to progress, and tips for approaching the beacon area.
Related Guides:
Unyielding Shields
Dawn
Crimson Desert – Game Guides Hub
#1 – Ashes of Treachery
Ashes of Treachery is the first quest of Chapter 7: Homecoming -> Morning Mist. It follows right after liberating Calphade in Chapter 6: Cracks in the Shield. The Morning Mist Questline has five quests.
Description:
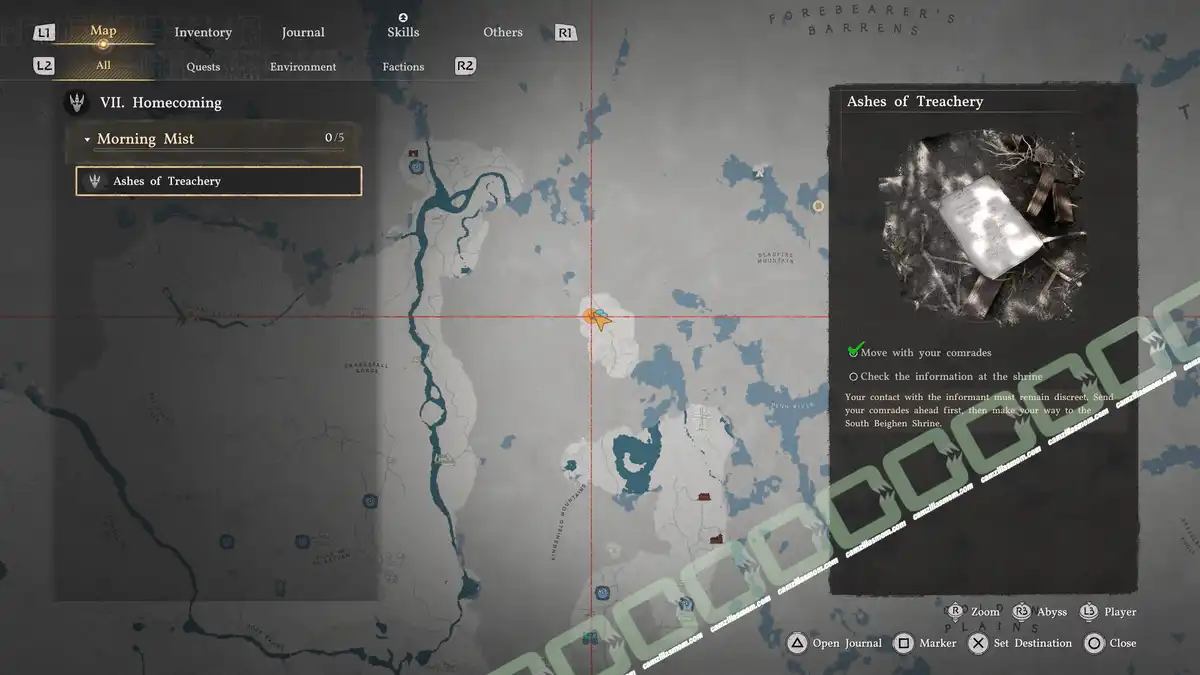
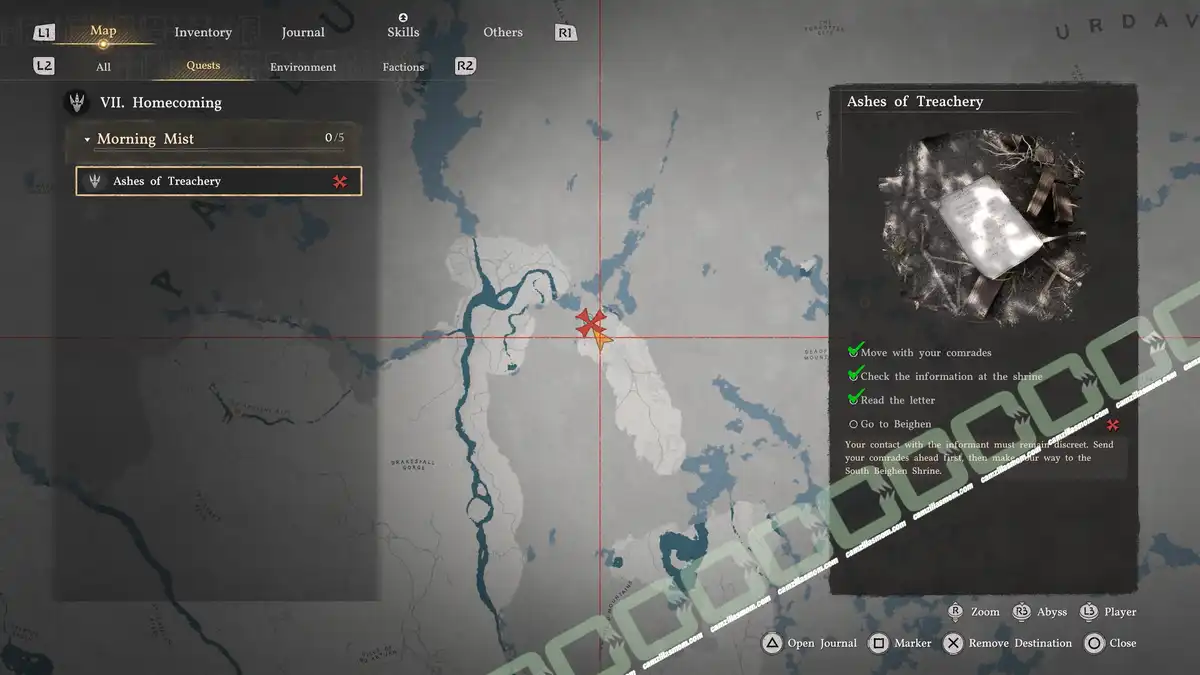
“Your contact with the informant must remain discreet. Send your comrades ahead first, then make your way to the South Beighen Shrine.”
Move with Your Comrades
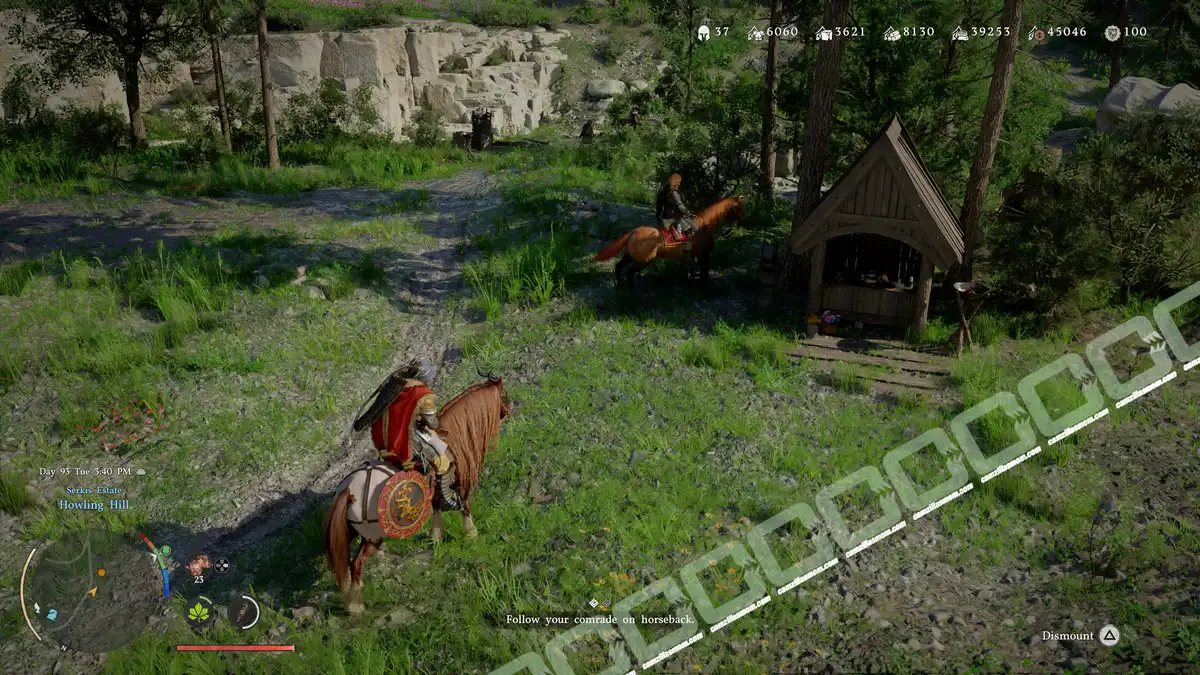
At the start of the chapter, you will ride to the exit of Howling Hill, where a Greymane awaits to ride with you to the shrine. When this activity is triggered, you can’t cook or do certain things until the trip to the shrine is complete.
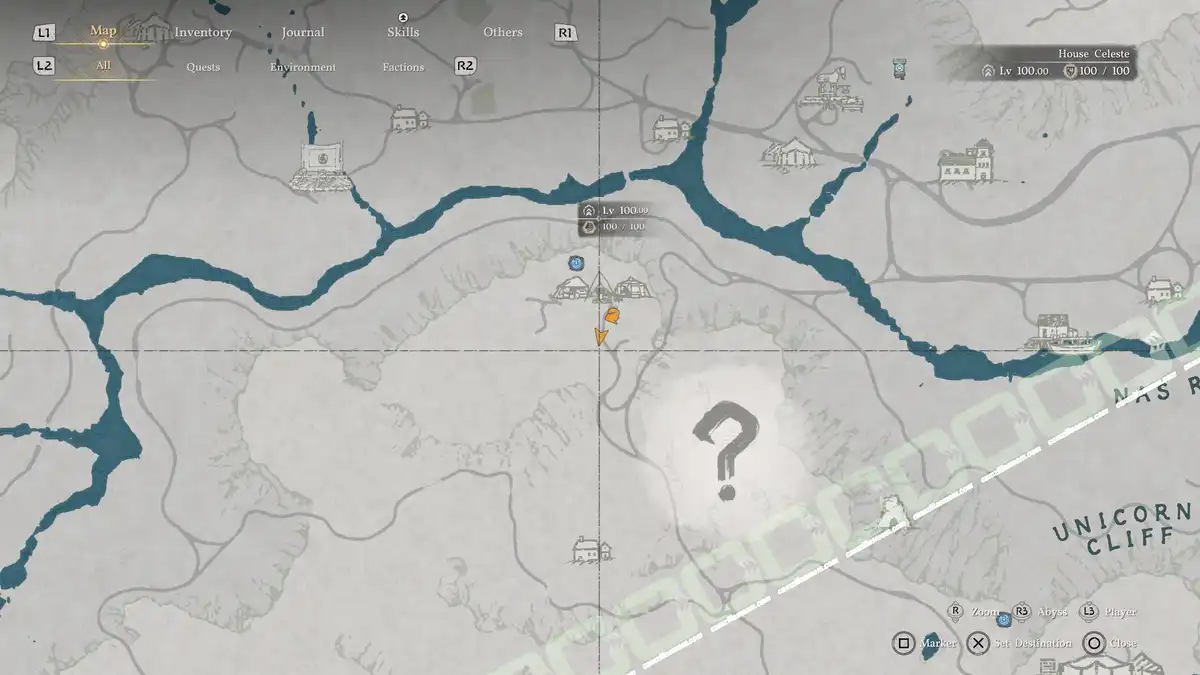
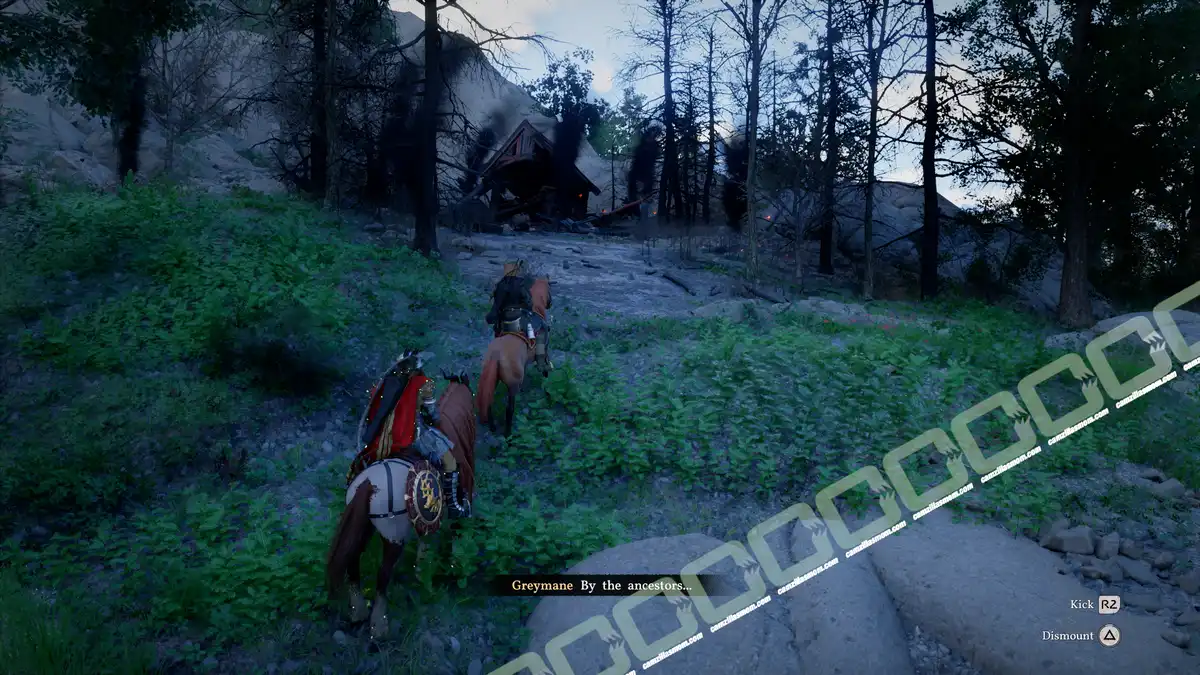
You don’t have to ride long, though. At the bottom of Howling Hill, you will be fast-traveling to a location northwest of the Spire of Soaring in Demeniss, which you had to use in Chapter 5. You will arrive at a destroyed, burning house. The Greymane will leave you there to investigate.
Check the Information at the Shrine
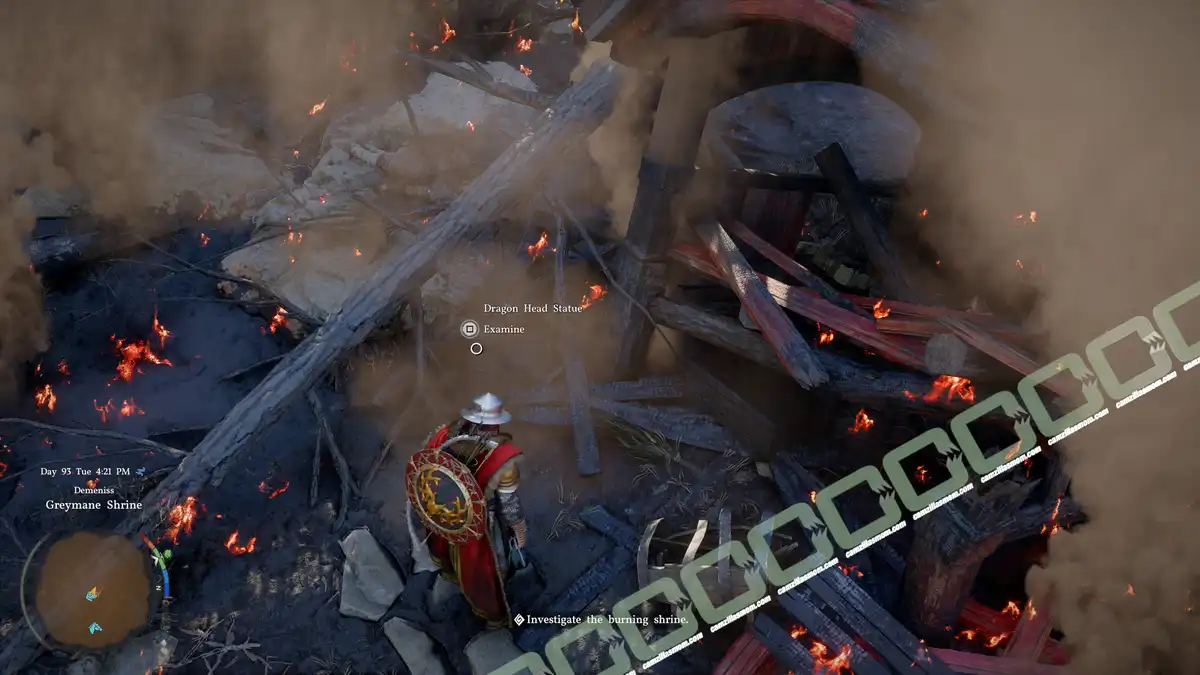
As soon as you approach the shrine, Black Bears will attack. After their defeat, examine the dragonhead mailbox and read the letter: Report on Beighen.
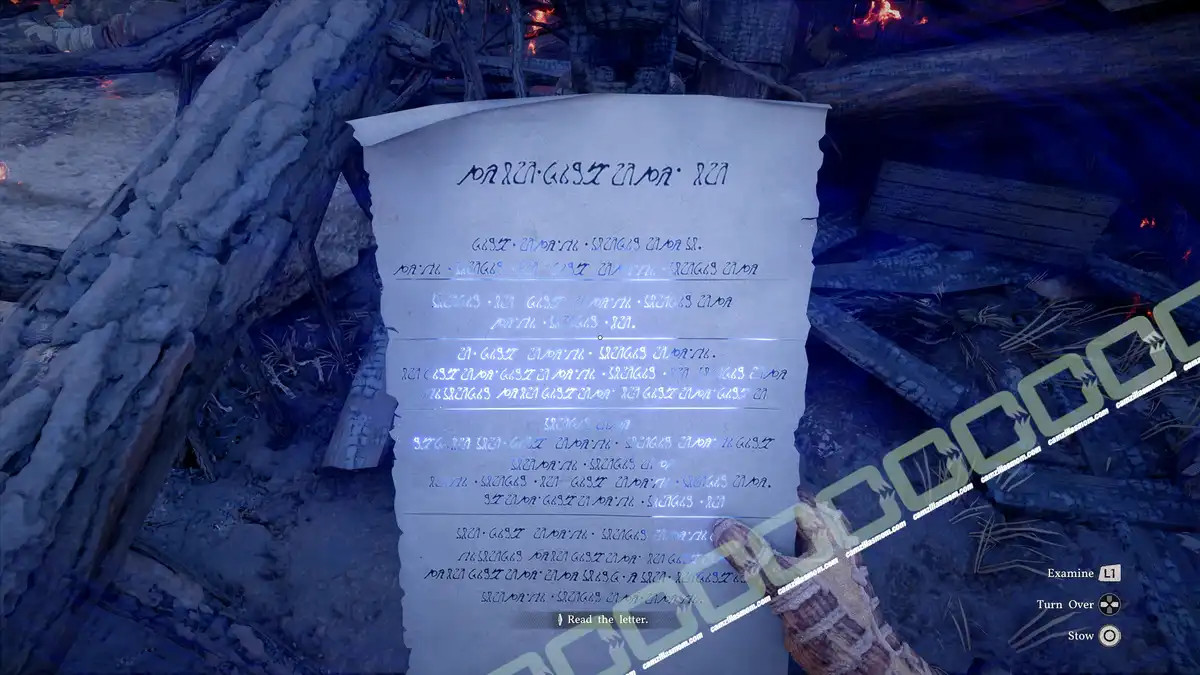
The letter says:
“Pailune Situation Report
The Jackals, under Ludvig’s command, have seized control of the Pailune region.
Intel confirms that a faction in Beighen is currently preparing a counteroffensive.
We need to establish contact with them to get an accurate read on the situation.
It is critical to note that there have been multiple reports of Pailunese residents being forcibly taken to an undisclosed location.
The area is under heavy surveillance by both the Jackals and the Black Bears.
Exercise extreme caution.”
Go to Beighen
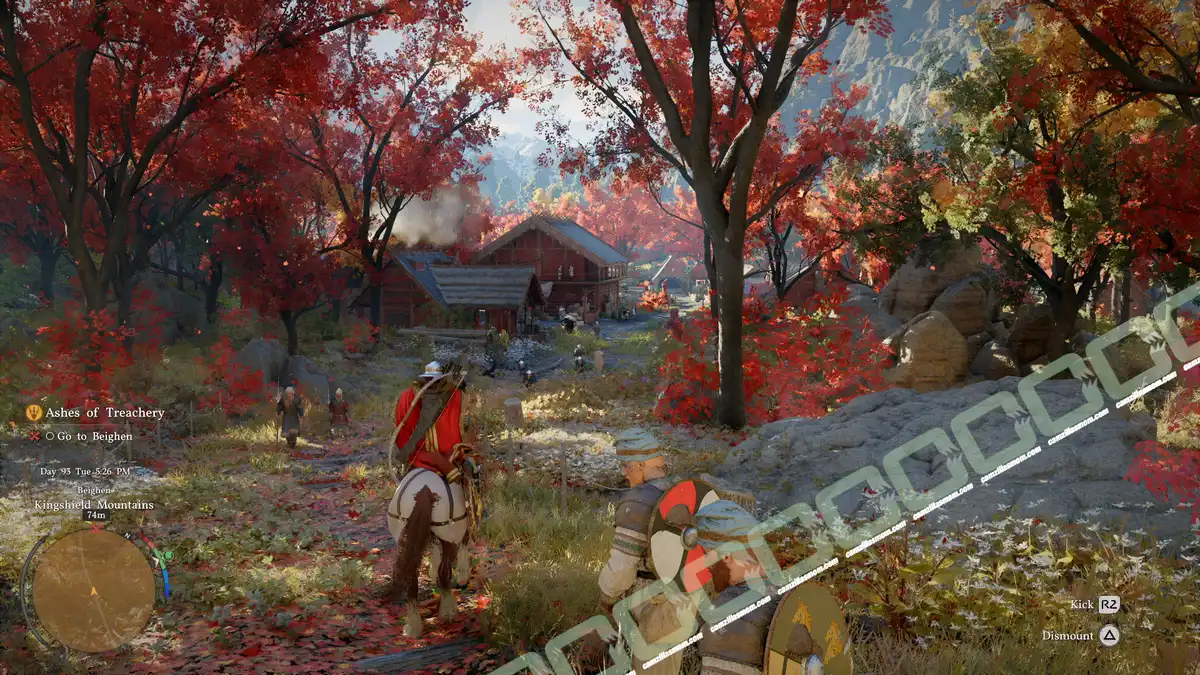
To reach Beighen, just follow the road toward the northwest. The quest is complete when you enter the village.
#2 – Trust Lost
Description:
“Shake off the shock of the incident at the shrine and head for Beighen, where your comrades are waiting. Assessing the situation there is your top priority.”
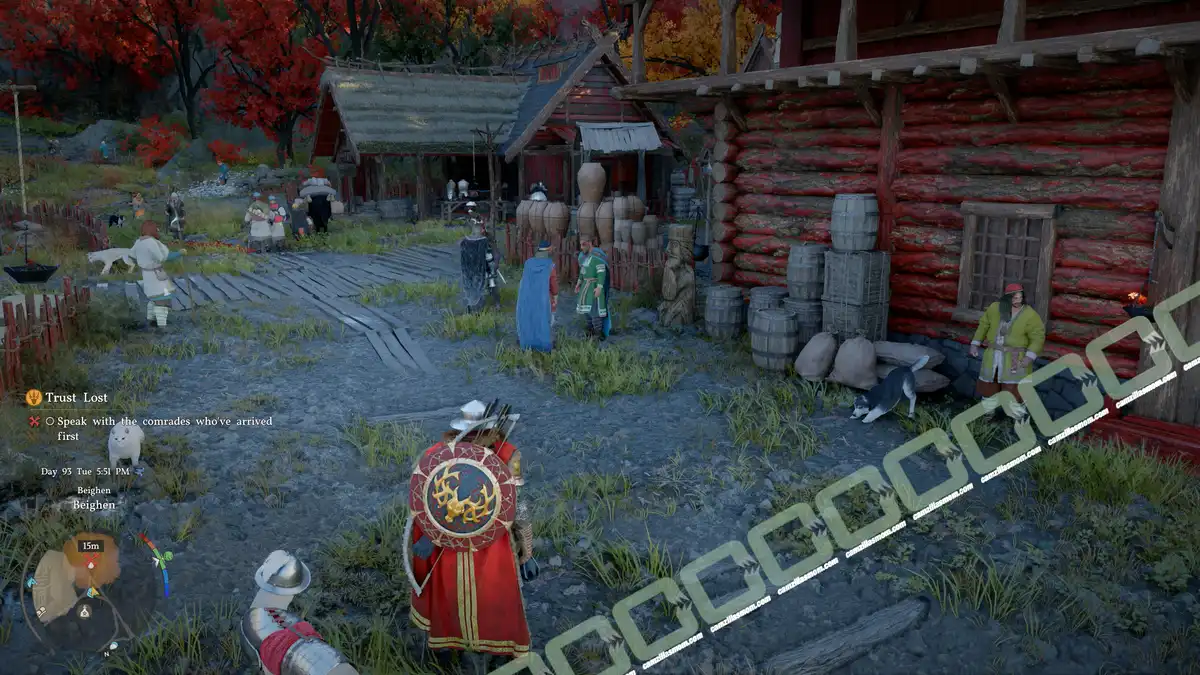
Speak with the Comrades Who’ve Arrived First
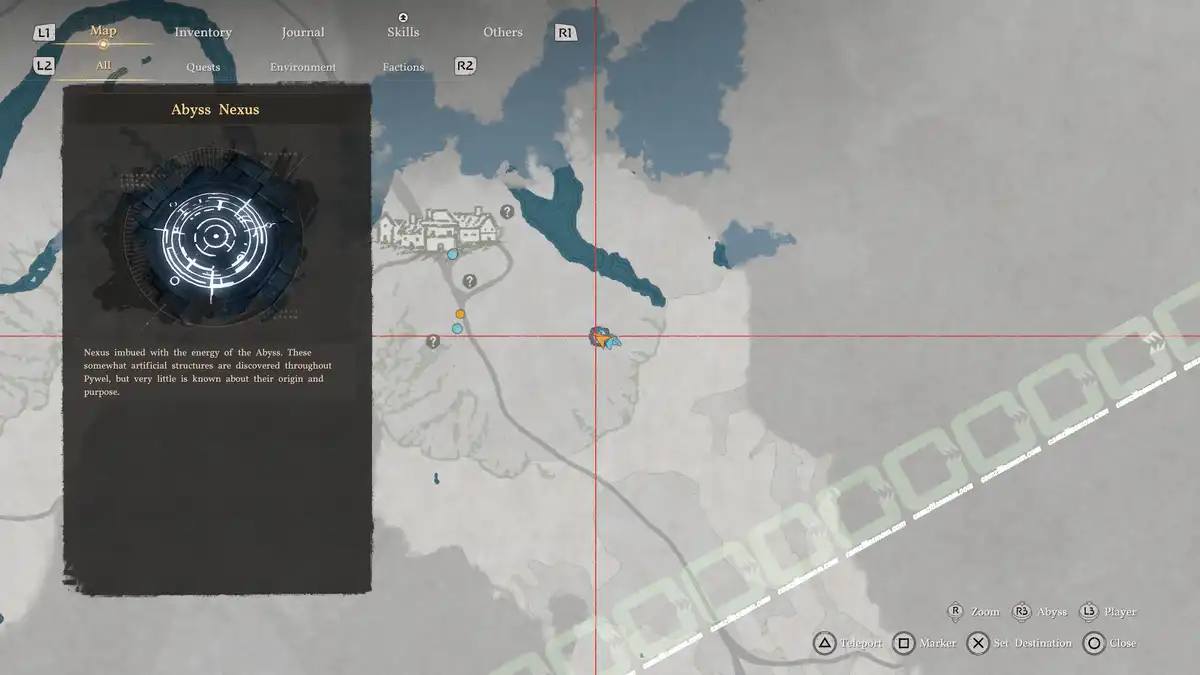
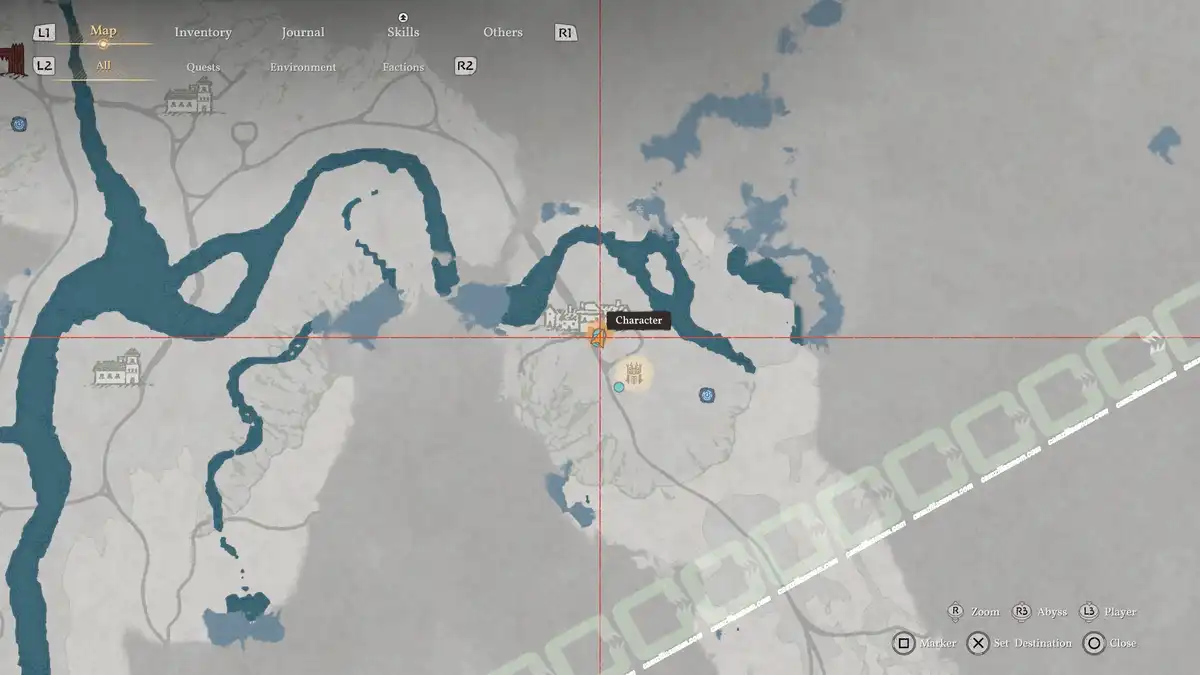
Before meeting with your comrades, why not take the time to activate the Abyss Nexus in the east of the village? You can then head to the village entrance, where Duane and Yann are waiting (blue and orange dots on the map).
Meet Naira and Andrew
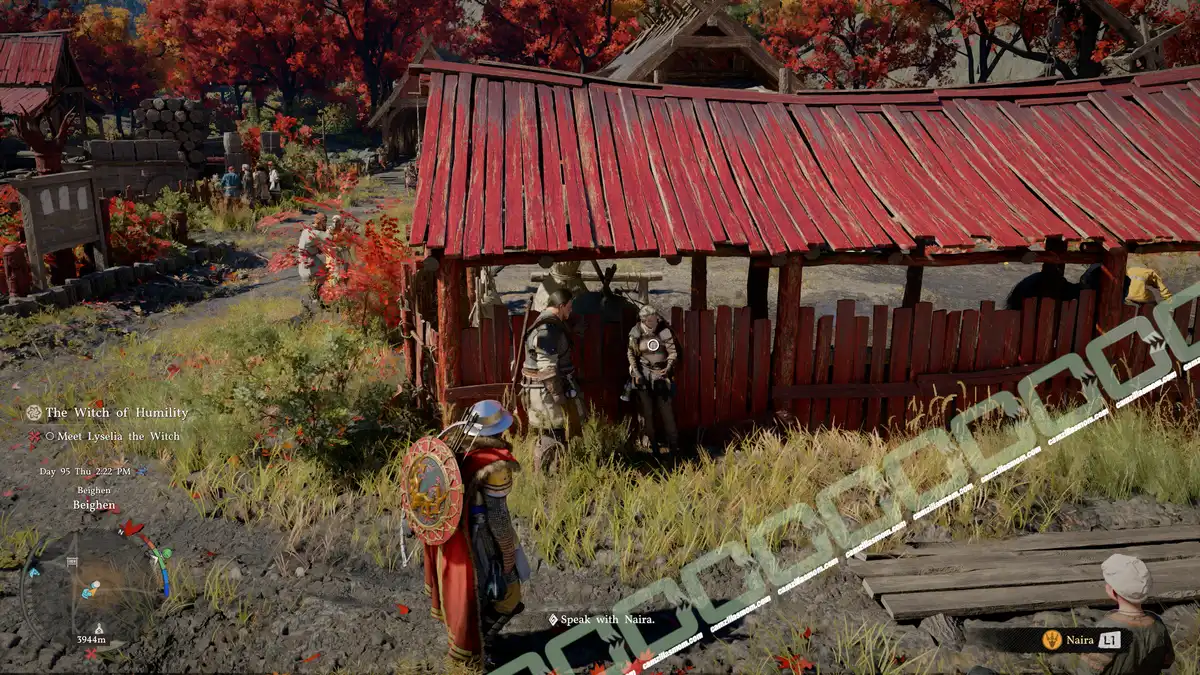
Naira and Andrew are a bit further, near the center of Beighen village. They are frustrated that the villagers resent them now.
#3 – Bared Fang
Description:
“Public sentiment in Beighen is restless and hostile, but somewhere a secret resistance movement is standing against the Jackals and Black Bears. You need to find them. Begin your inquiry into their whereabouts immediately.”
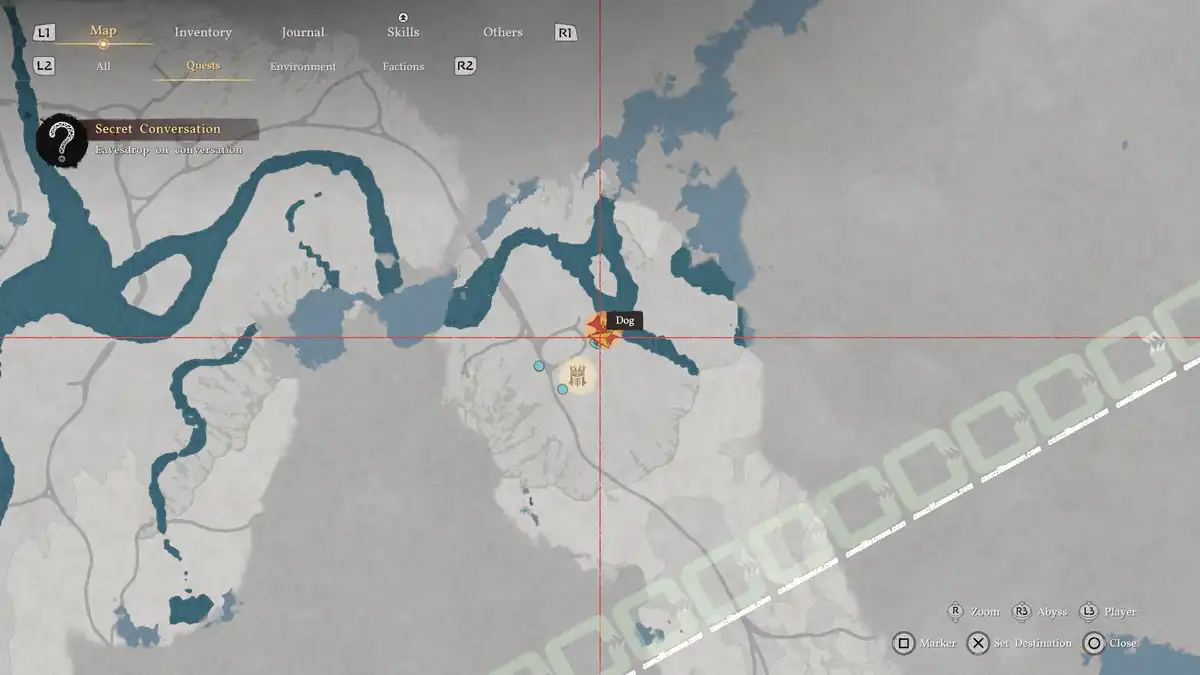
Eavesdrop on Beighen Villagers’ Conversations
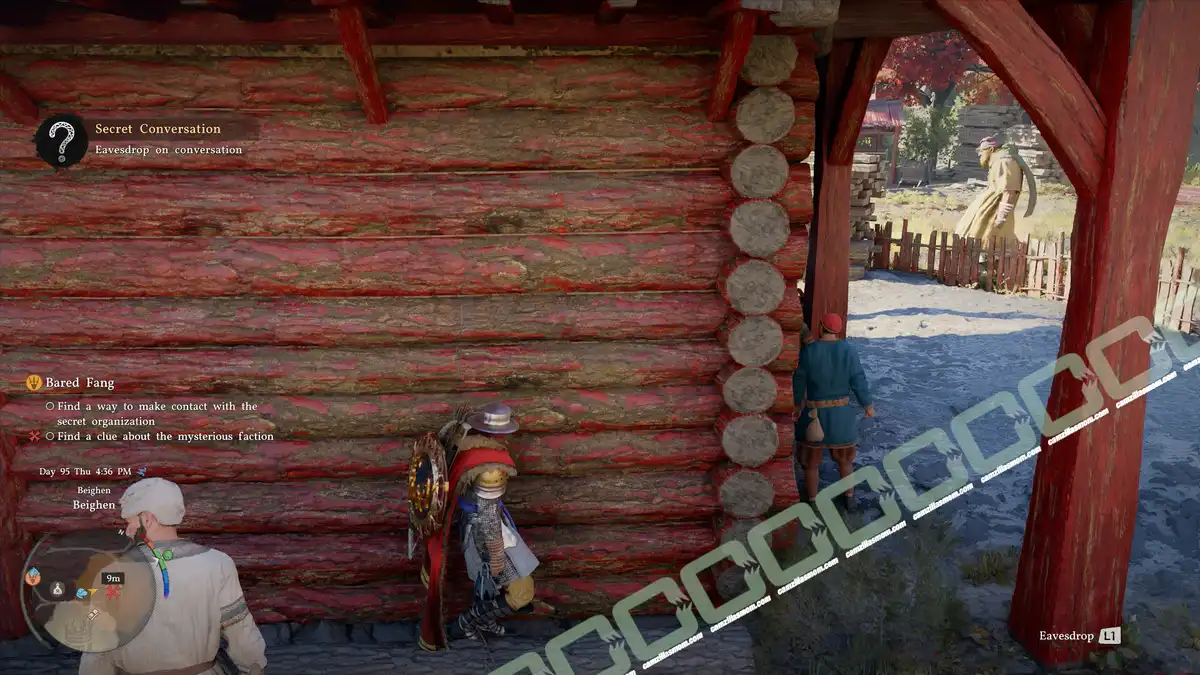
You now have to eavesdrop. The people you are targeting mustn’t be aware you’re near them. The best locations are the walls near them. An important point about eavesdropping is that it requires a button-press prompt. On the controller, it is the L1 button. When you see this prompt, press it and wait until you’ve learned all about the conversation’s content.
Location:
The eavesdropping is taking place near the furniture shop. There is a red storage building for logs. The targets are inside the building. At the back of the building, you can climb a barrel and boxes to get the eavesdrop prompt to learn about the Secret Society’s Base.
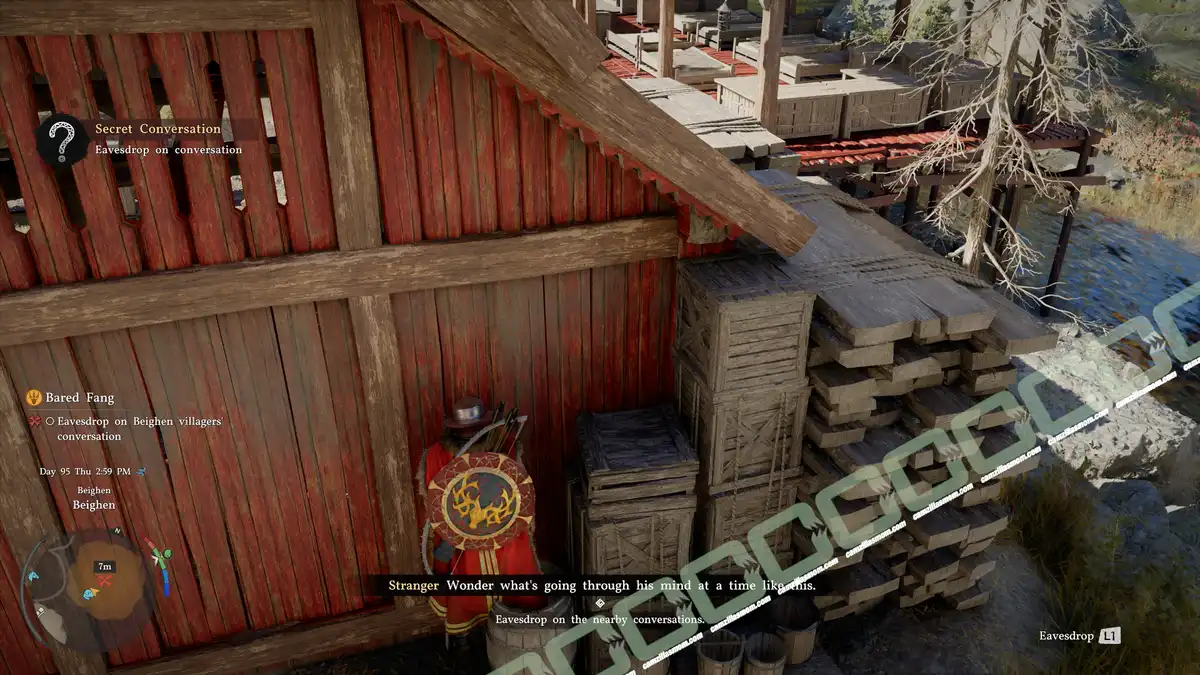
Find a Clue about the Underground Storage
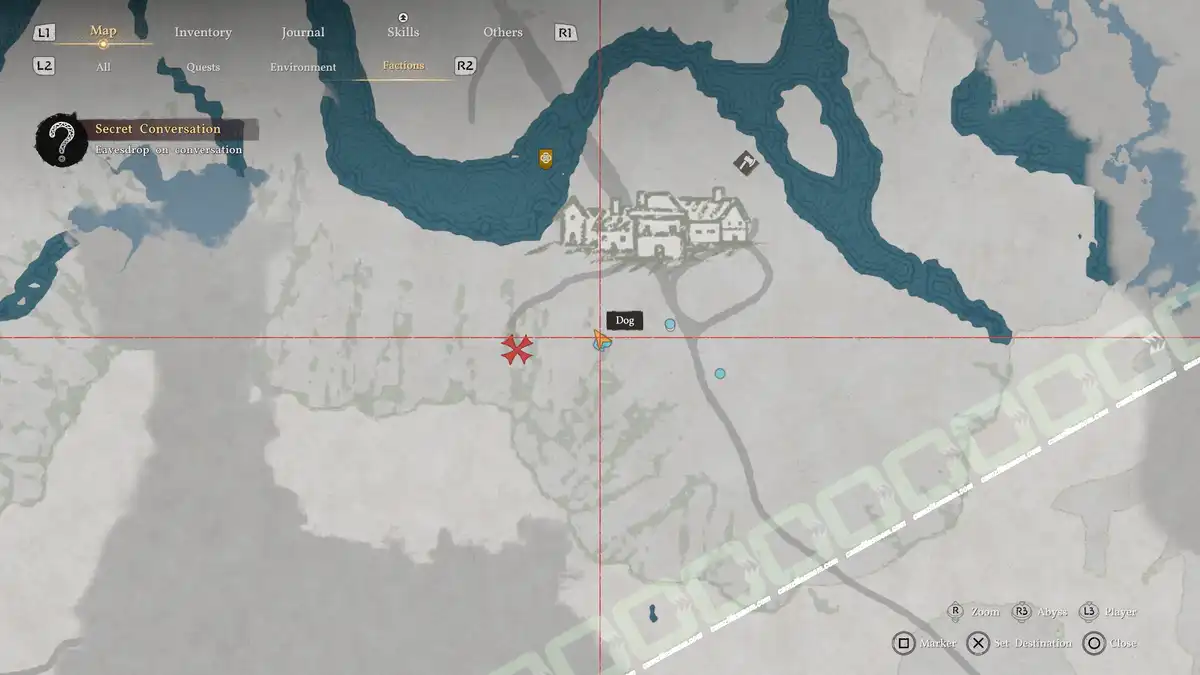
You gathered news about a Secret Society’s Base. To find it, head a short distance to the west of Beighen’s center to a logger’s camp. Talk to the “Blue Fang” in front of the house.
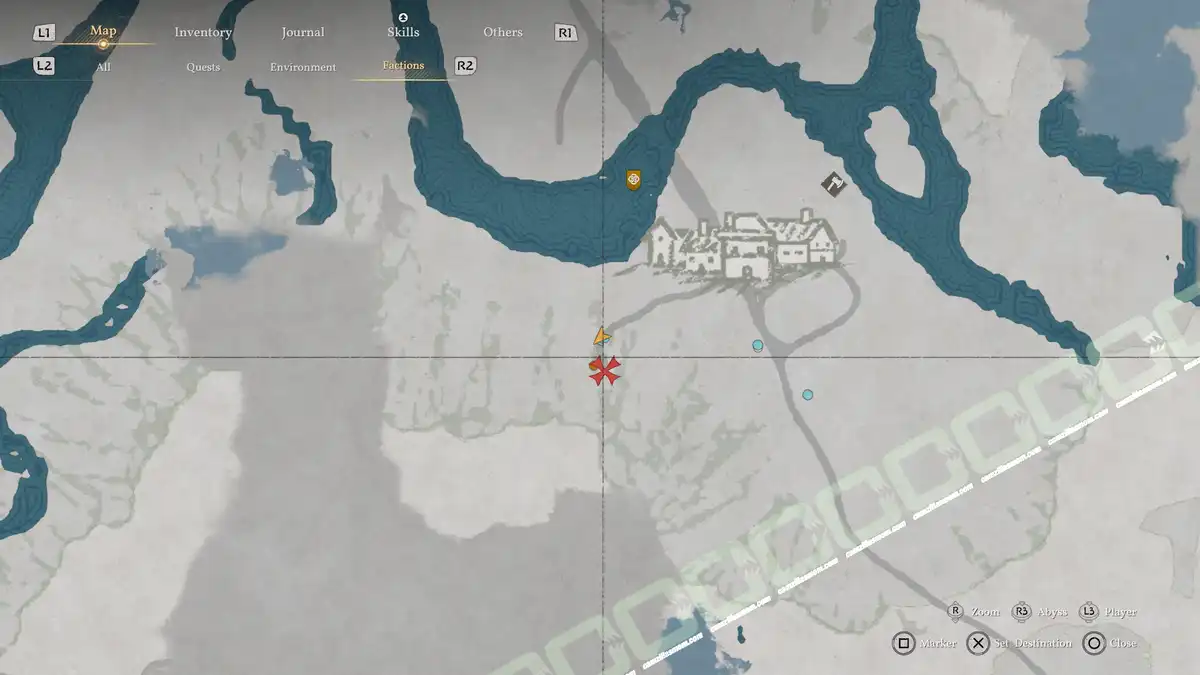
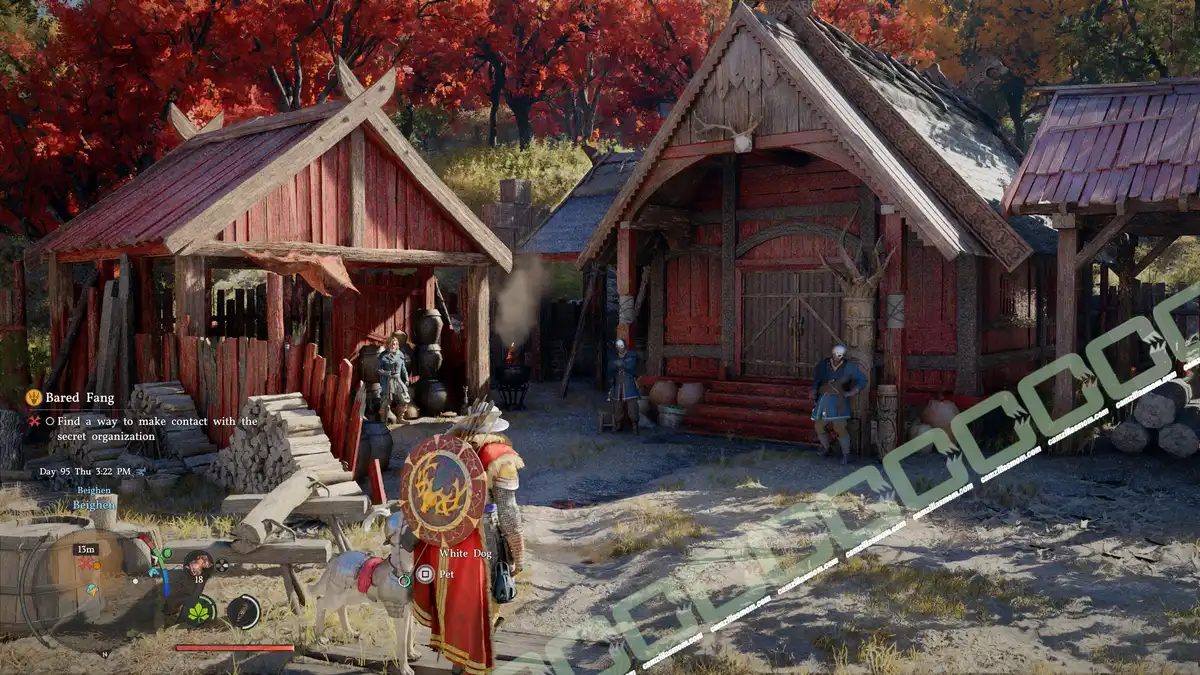
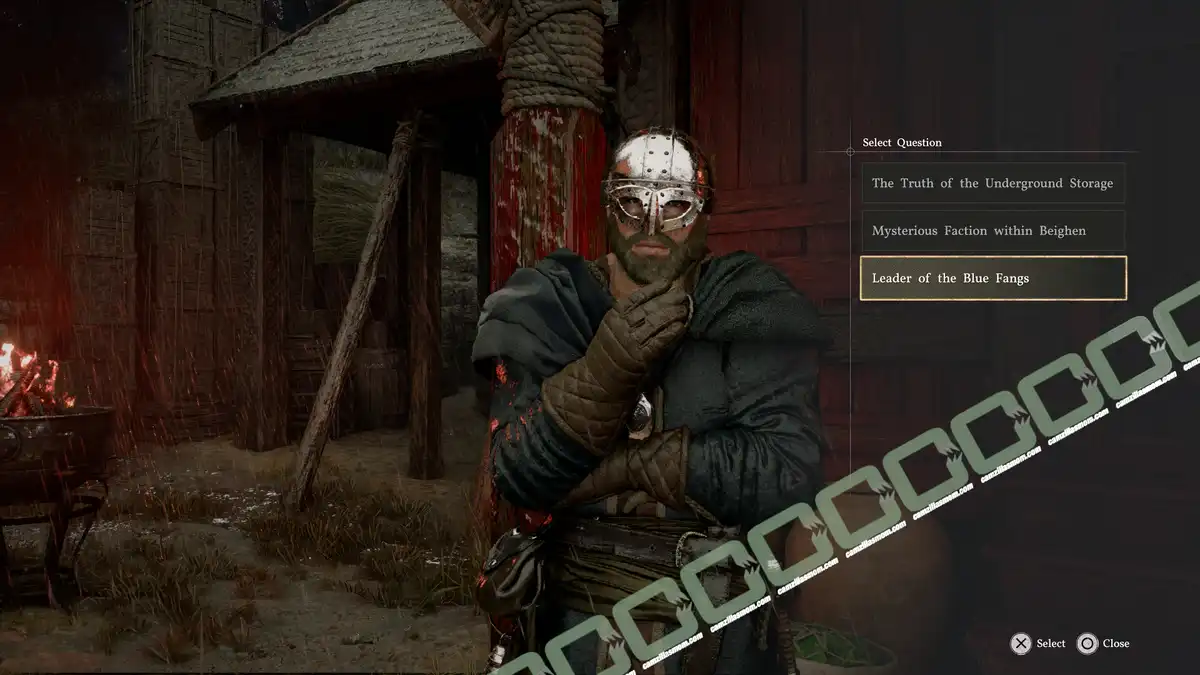
In the conversation, there are Truths and Lies you can select by pressing the prompted buttons on the screen. You will start with the “Truth”.
Answer Truth:
The Truth of the Underground Storage
The Blue Fang won’t let you in. But you can now choose “Lie” to get this answer alternatives:
Answer Lie:
1 – Secret Society’s Base
2 – Mysterious Faction within Beighen
These answers will give you the two knowledge points: Beighen Investigation Hint 1 & 2.
Find a Clue about the Mysterious Faction
The conversation won’t go any further. To find a Clue about the Mysterious Faction, return to town and look for the Street Vendor in front of a red house and fruit in boxes. Behind this house, you can eavesdrop, listening to a conversation about: Blue Fangs
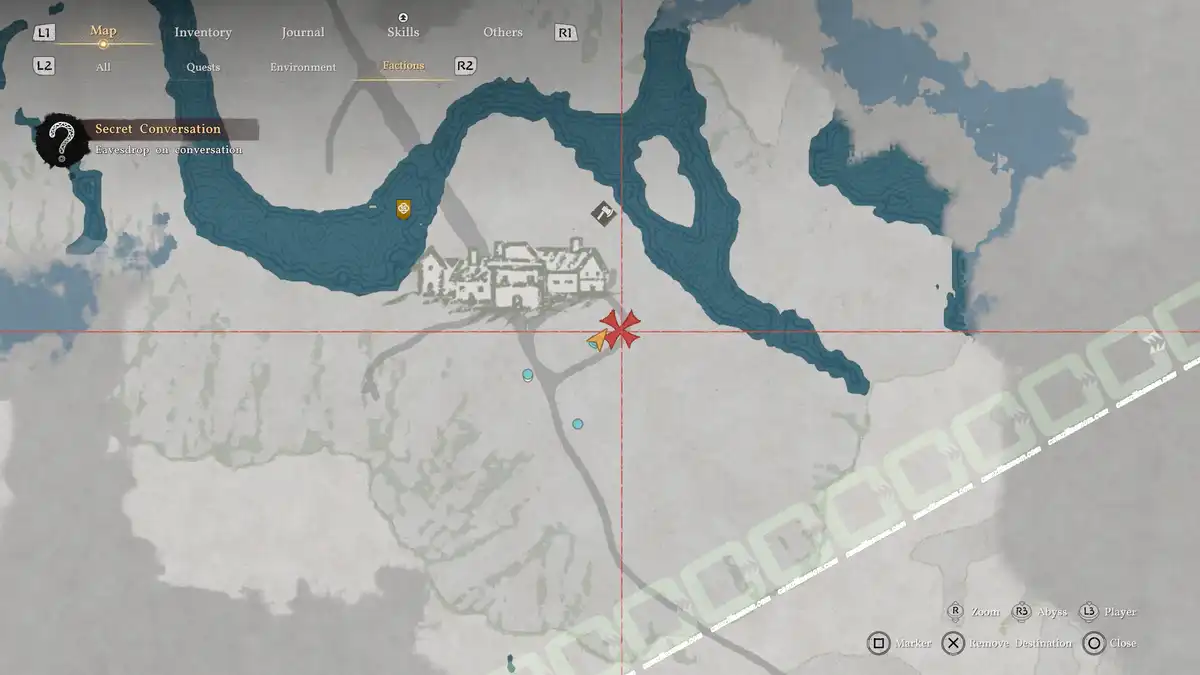
Find a Clue about the Leader of the Blue Fangs
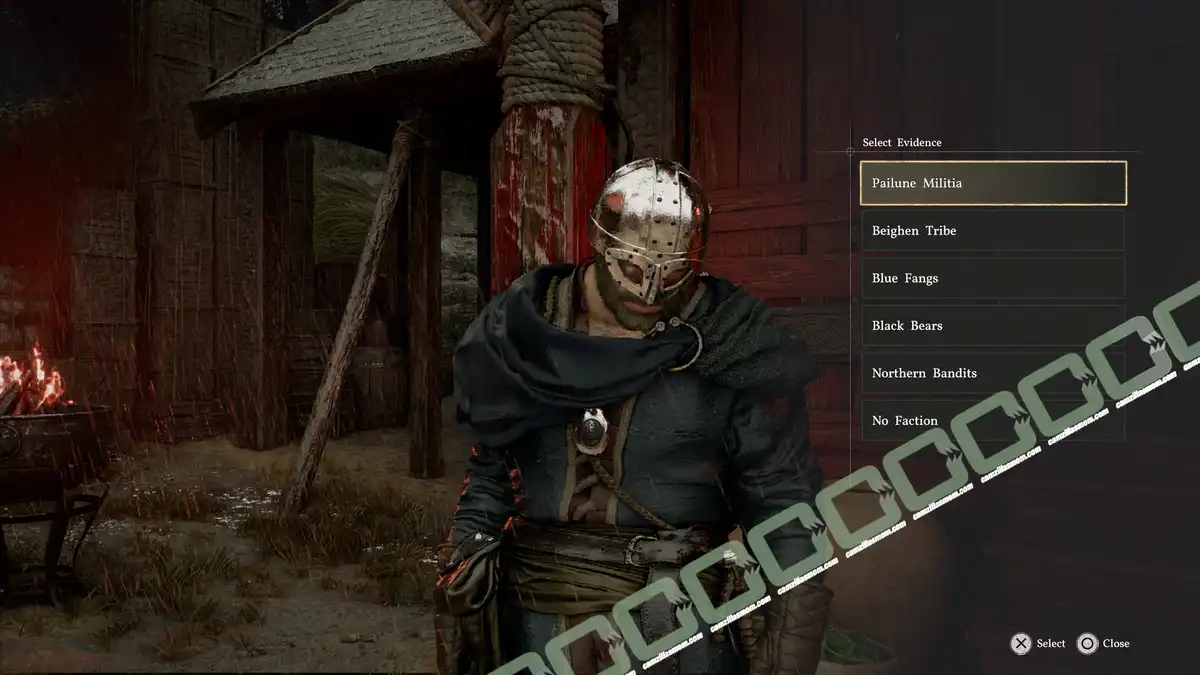
Return to the Blue Fangs. Select “Lie” and tell them “Blue Fangs” and select “Leader of the Blue Fangs”. This will give you Beighen Investigation Hint 3. In the next step, select “Lie” and pick “Torstein”.
In the conversation, there are Truths and Lies you can select by pressing the prompted buttons on the screen. You will start with the “Truth”.
Answer Truth:
The Truth of the Underground Storage
Find a Clue about the Leader of the Blue Fangs
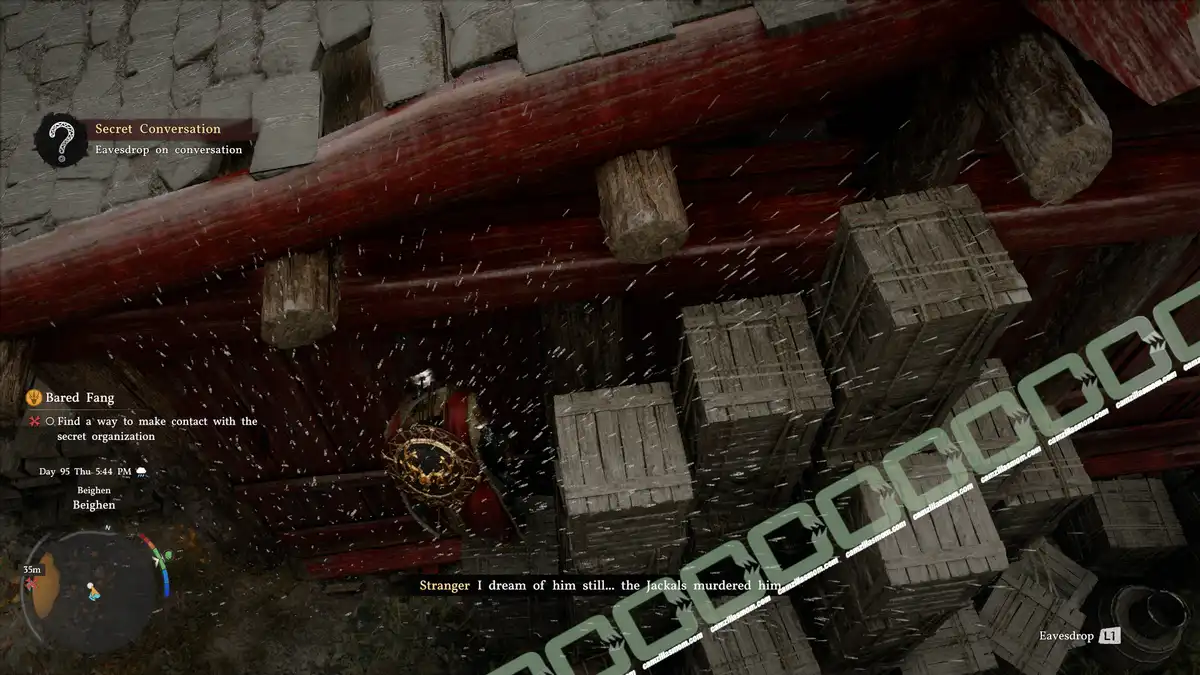
Next ot the Blue Fang’s house, outside the fence, is a building where you can hear a woman talk about someone having been murdered by the Jackals. Behind the house, you can eavesdrop: Torstein. Torstein is the leader of the Blue Fangs.
Find a Clue to make Contact
Return to the Blue Fangs. Select “Lie” and tell them “Blue Fangs” and select “Leader of the Blue Fangs”. This will give you Beighen Investigation Hint 3.
In the next step, select “Lie” and pick “Torstein”.
#4 – Rekindled Hope
Description:
“Torstein is ready to reveal how he intends to retake Pailune. Make your way down to the hideout to hear his plan.”
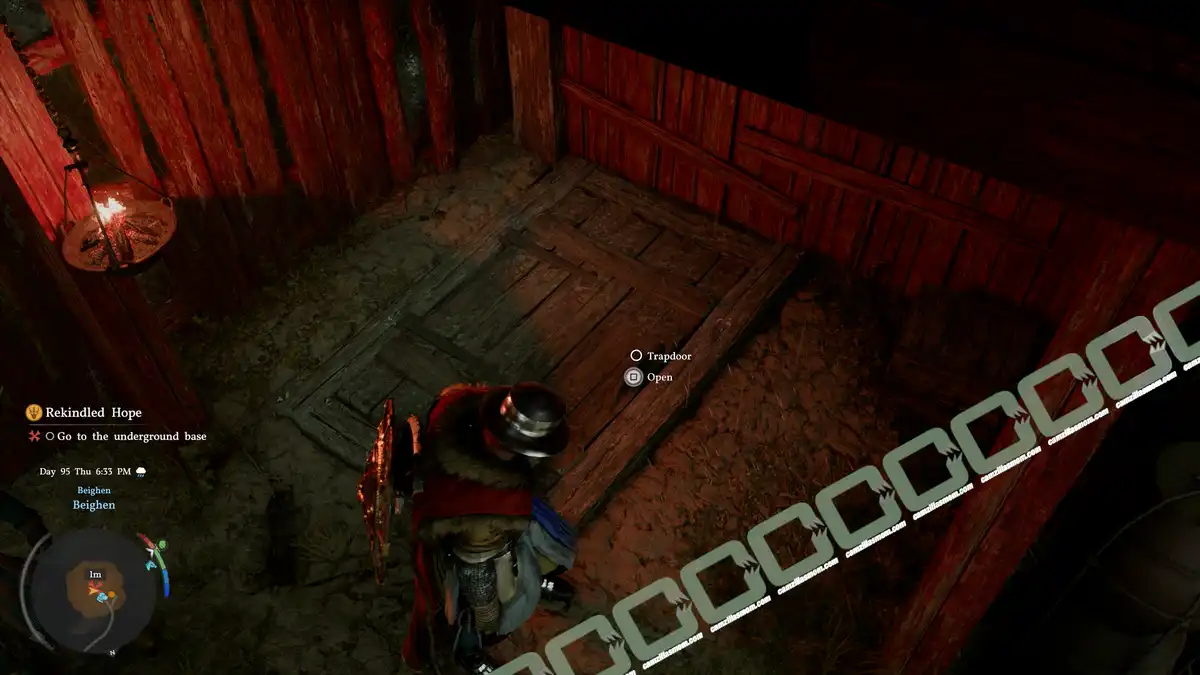
Go to the Underground Base
Enter the guarded shed, interact with the trapdoor, and climb down to the Underground Base. Torstein will welcome and update you.
Follow the Soldier
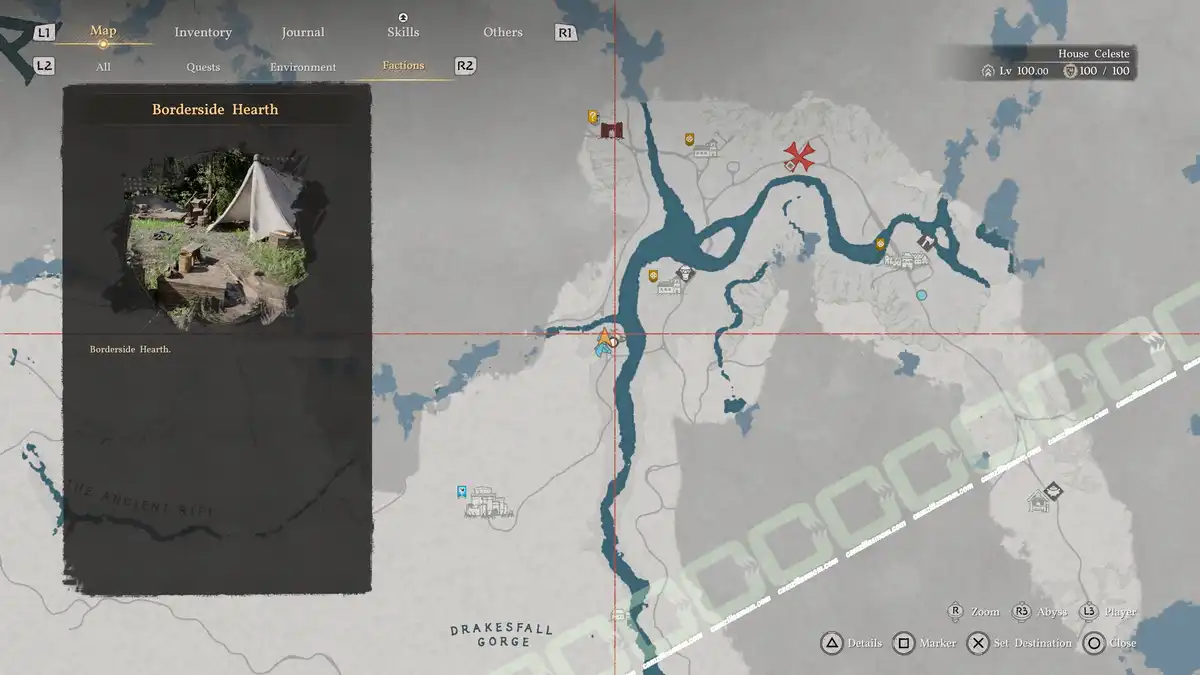
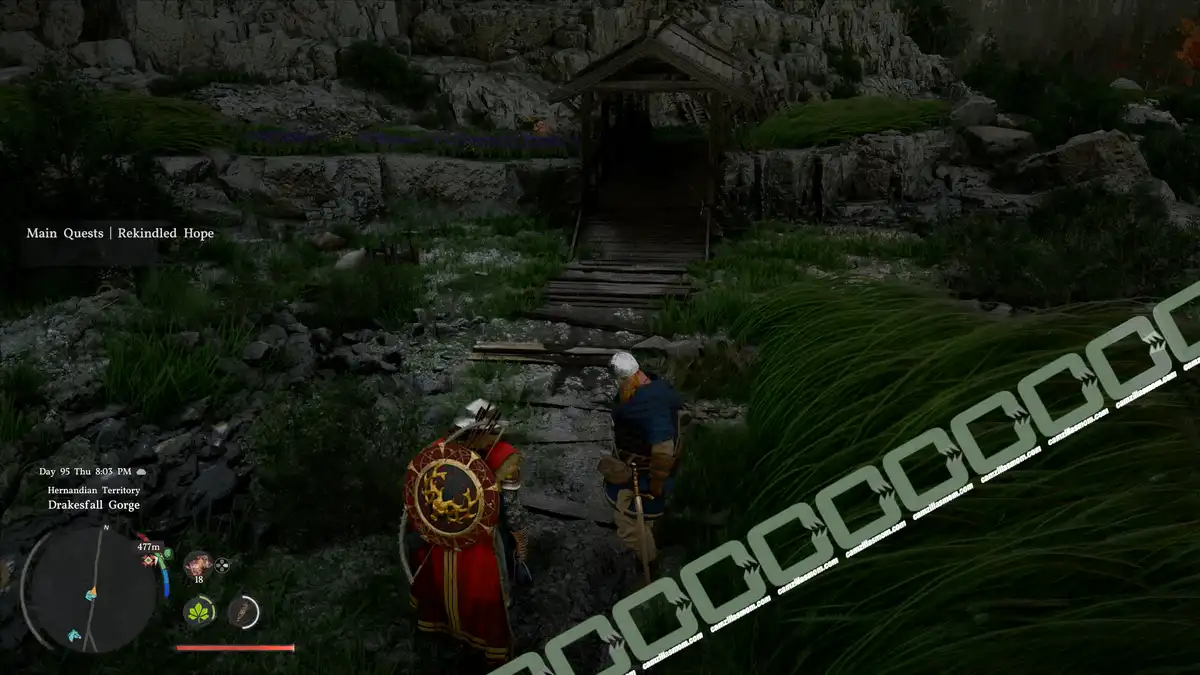
After the conversation, climb outside the way you came and follow the Blue Fang waiting for you. First by foot, then on horseback. He will lead you to a Borderside Hearth near tall grass, giving the advice that sneaking would be a good alternative to fighting for what was coming next.
Defeat the Commander Guarding the Beacon
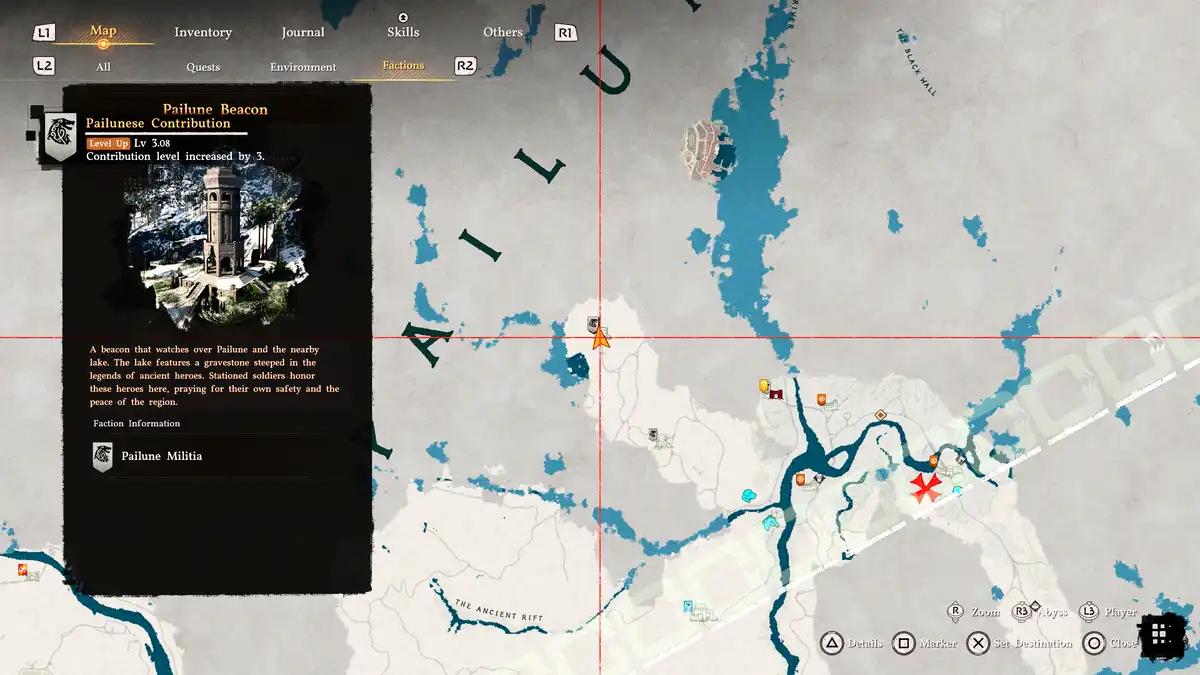
To reach the Commander at the beacon, I just walked across the land, avoiding the Jackals where I could. If you encounter them, defeat the group’s leader first. It’s the one with the star symbol on the minimap. Keep in mind that the watchtowers around the beacon are destructible. My choice is always the “Charged Shot“. If you choose to sneak, crouch, and stay in the high grass.
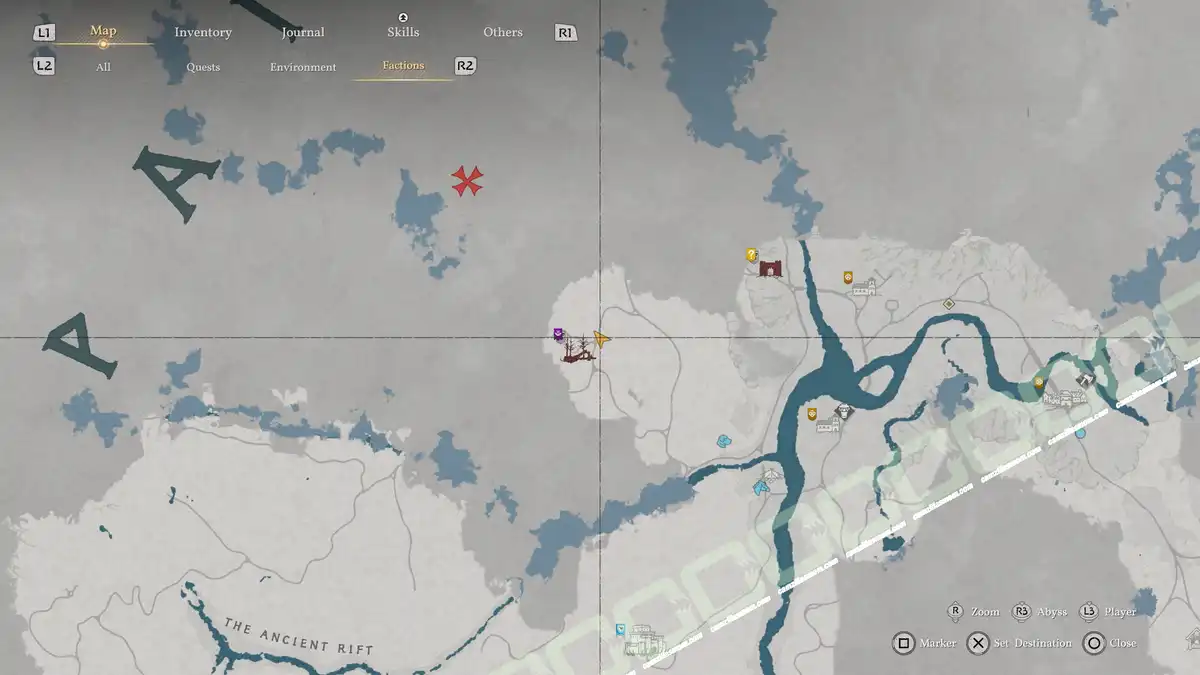
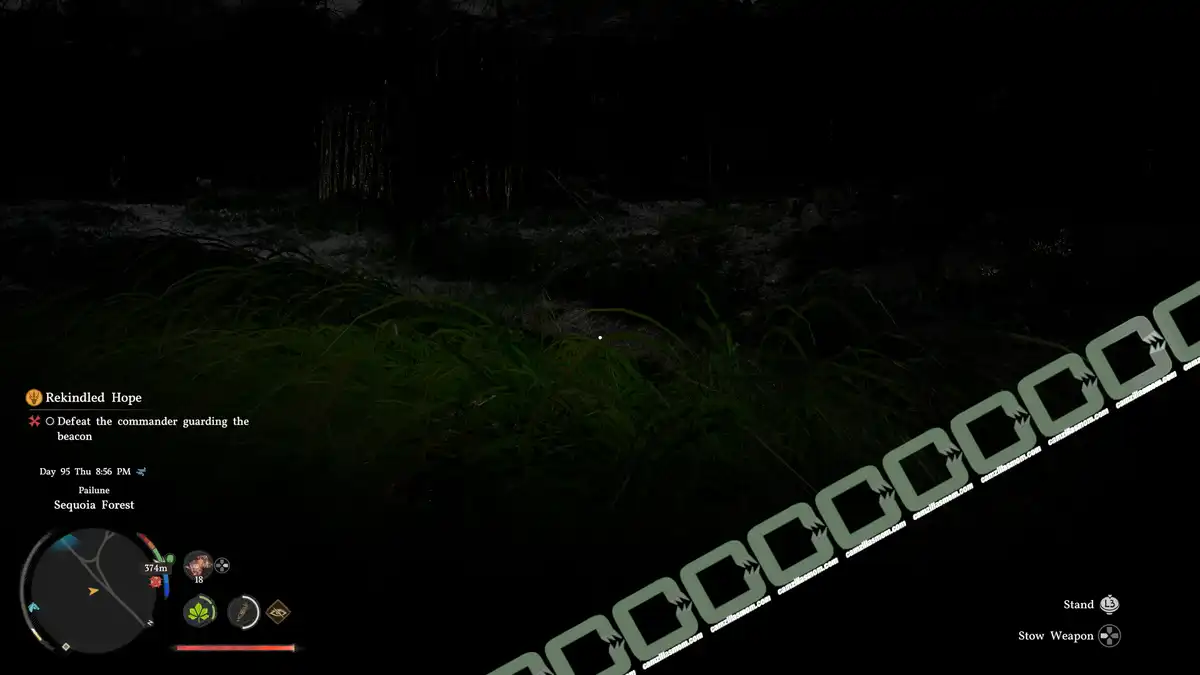
Like that, you can reach the Beacon and sneak close to the Commander to have a first hit.
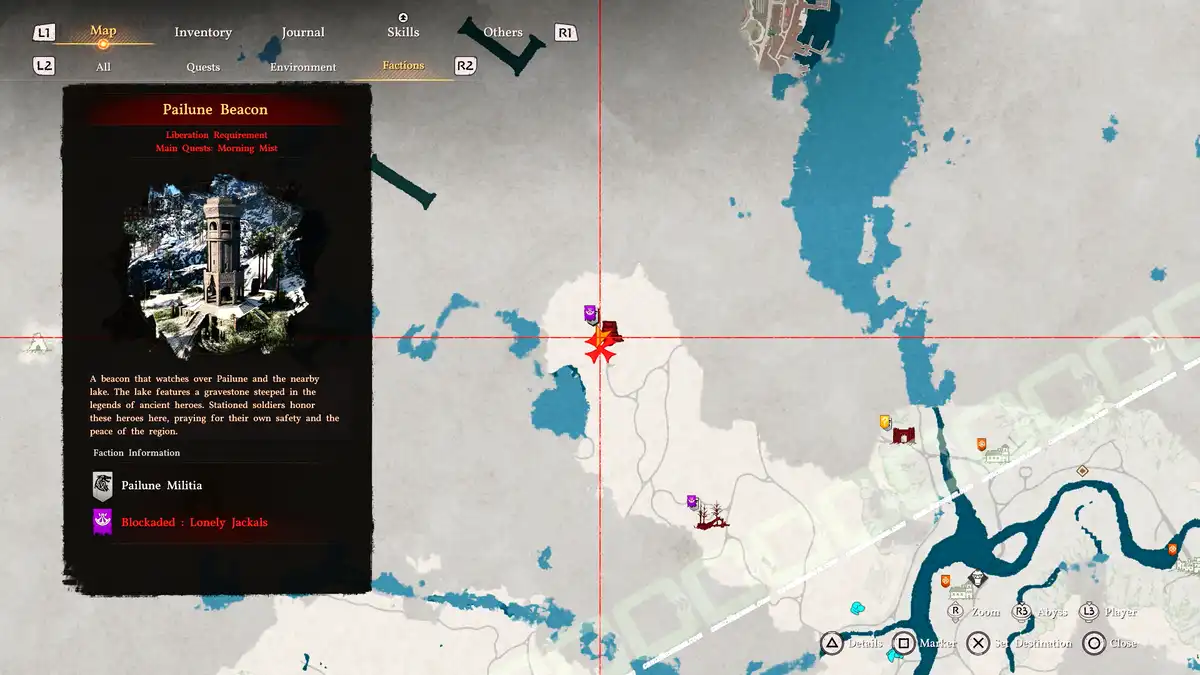
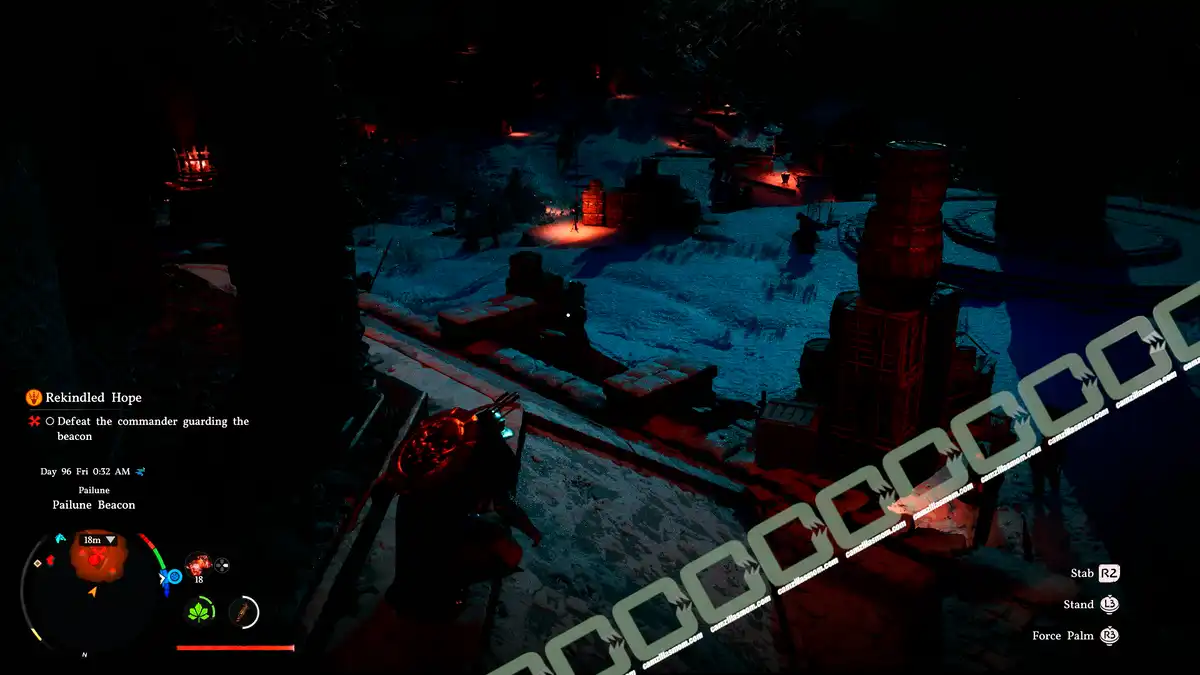
Light the Beacon
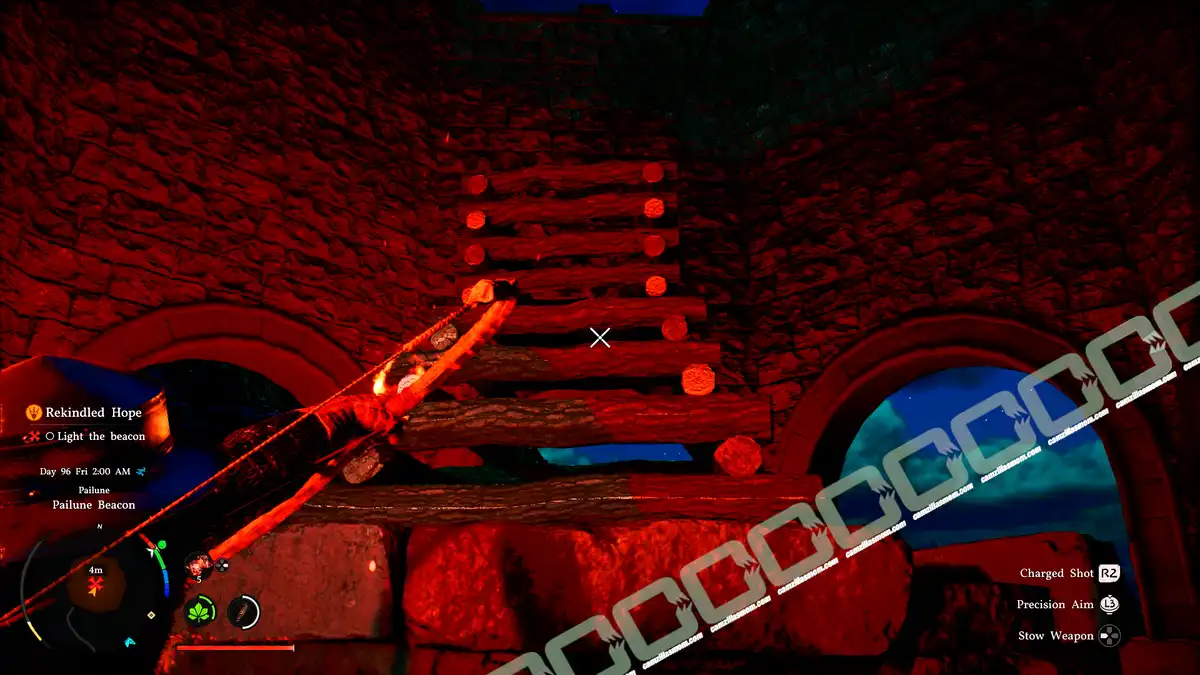
Climb the beacon’s stairs to the top, light an arrow by a torch, and shoot the arrow to light the beacon. The beacon and the locations connected to it are now liberated. With the stealth approach, the area is liberated faster with less fighting.
#5 – Podium of Resolve
Description:
“Inform Torstein that the mission was a success. It’s time to formulate the final plans for the full-scale liberation of Pailune.”
Speak with Torstein
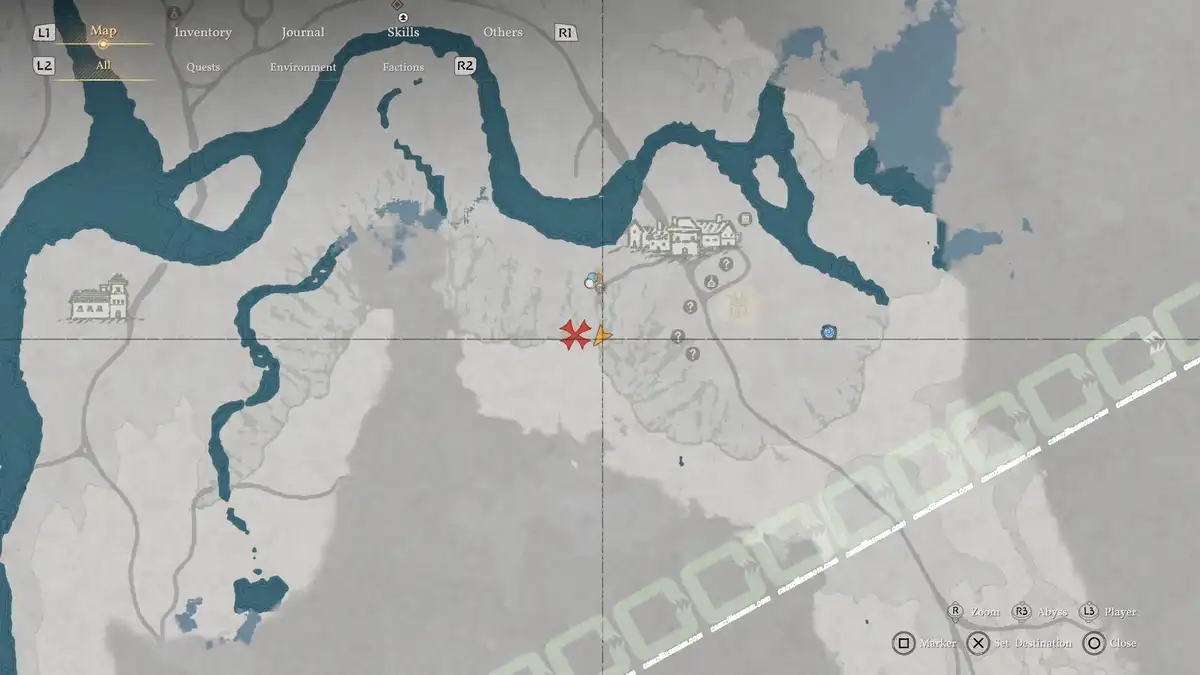
Return to the house by the Underground Base to talk to Torstein. You have to wait until evening to do so.
Go to the Underground Storage
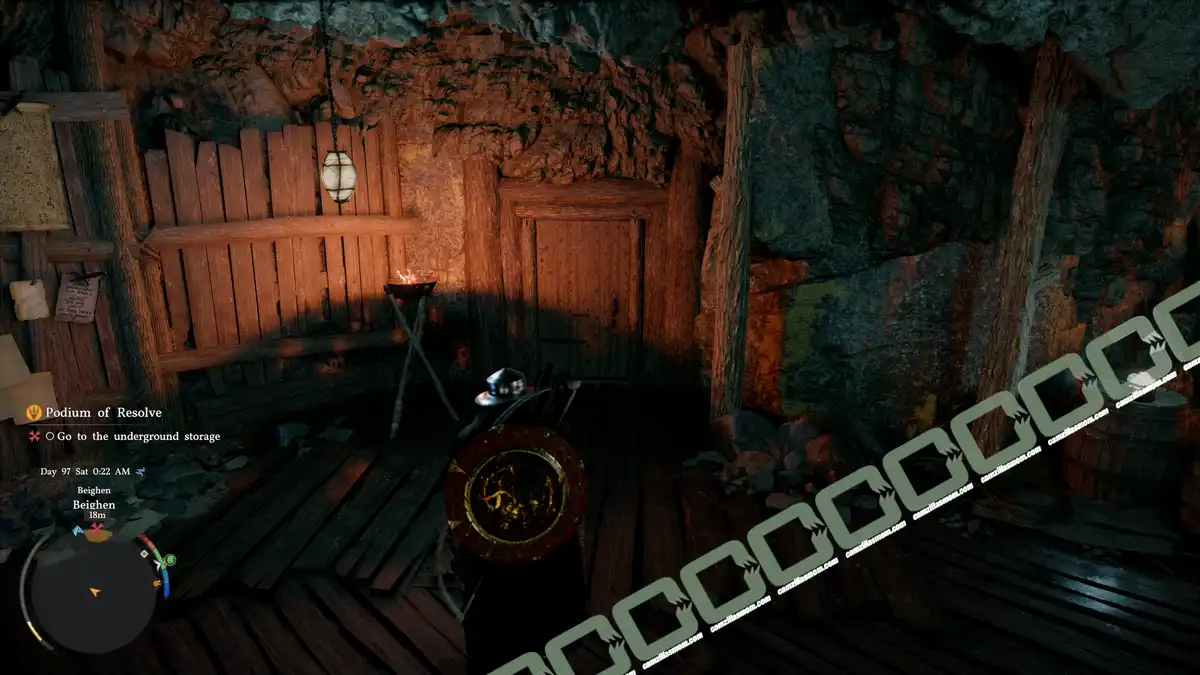
Open the trapdoor in the shed and go down to the Underground Base. There is a door that leads to the Underground Storage, where you will find the One-Handed Weapon: Wolf’s Fang.
More Crimson Desert Guides
Close Threat Quest Walkthrough – Crimson Desert
Crimson Desert Close Threat walkthrough: choose the correct evidence for each suspect, identify the …
Crimson Desert Brave New World: Storm Crusher, Thunder Tank
How to complete Brave New World in Crimson Desert, including how to beat Storm Crusher, Thunder Tank…
Crimson Desert: A Chunk of Meat Quest Walkthrough
Crimson Desert A Chunk of Meat walkthrough: buy 5 Lean Meat in Hernand and return to Naira to comple…
Crimson Desert: A Fresh Start Quest Walkthrough
Crimson Desert A Fresh Start walkthrough: complete all camp tasks including moving sacks, driving st…
Crimson Desert: A Gentle Touch Quest Walkthrough
Crimson Desert A Gentle Touch walkthrough: return to Howling Hill, check the Dragon Totem mailbox, a…
Crimson Desert: A Move on the Table Quest Walkthrough
Crimson Desert A Move on the Table walkthrough: enter the gambling den, win 3 Duo matches, and conti…


About Crimson Desert
Release: March 19, 2016
Developer: Pearl Abyss
Publisher: Pearl Abyss
Official Website: https://crimsondesert.pearlabyss.com/en-US/Main