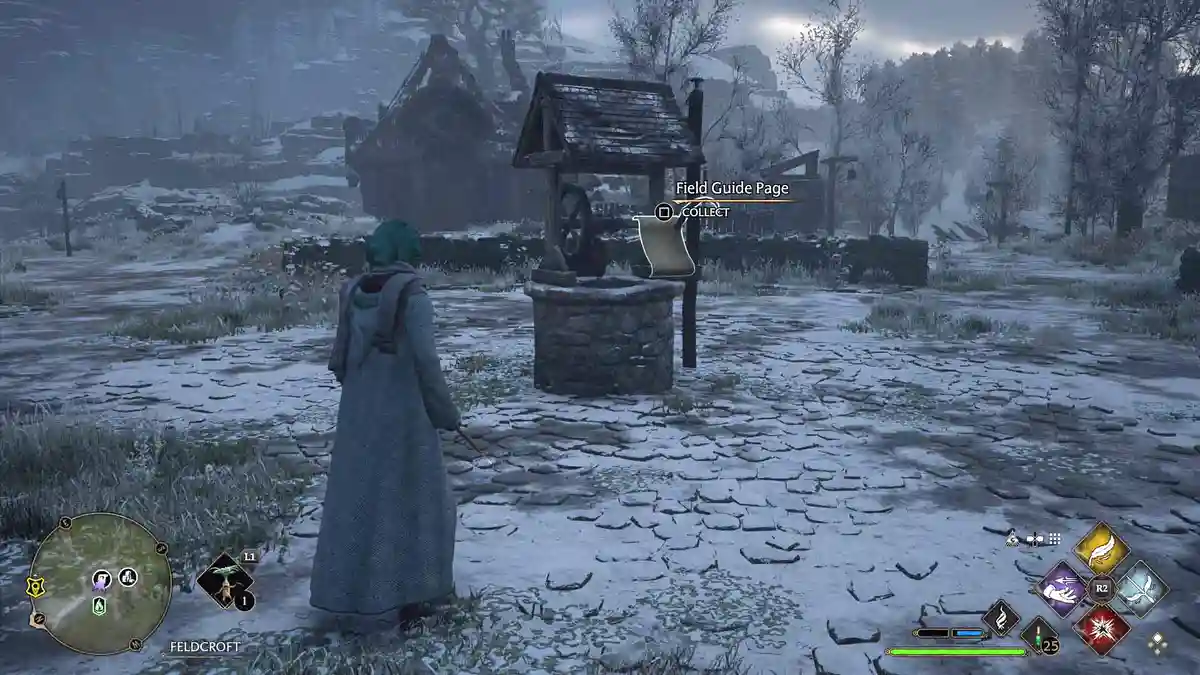
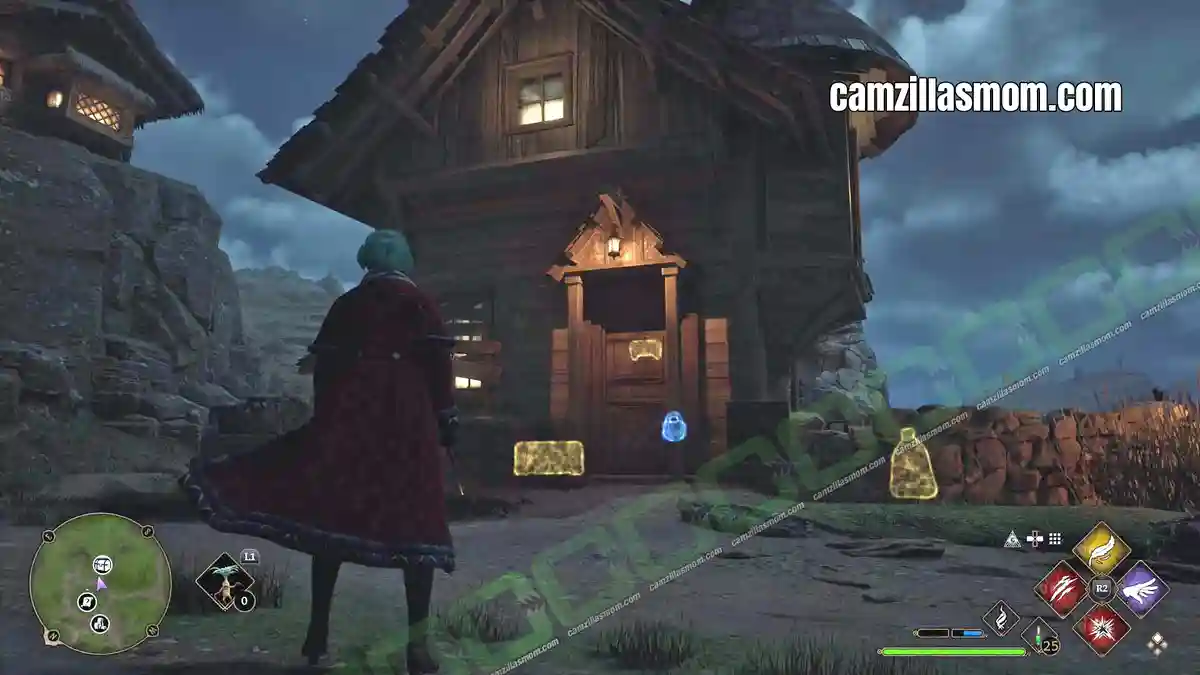
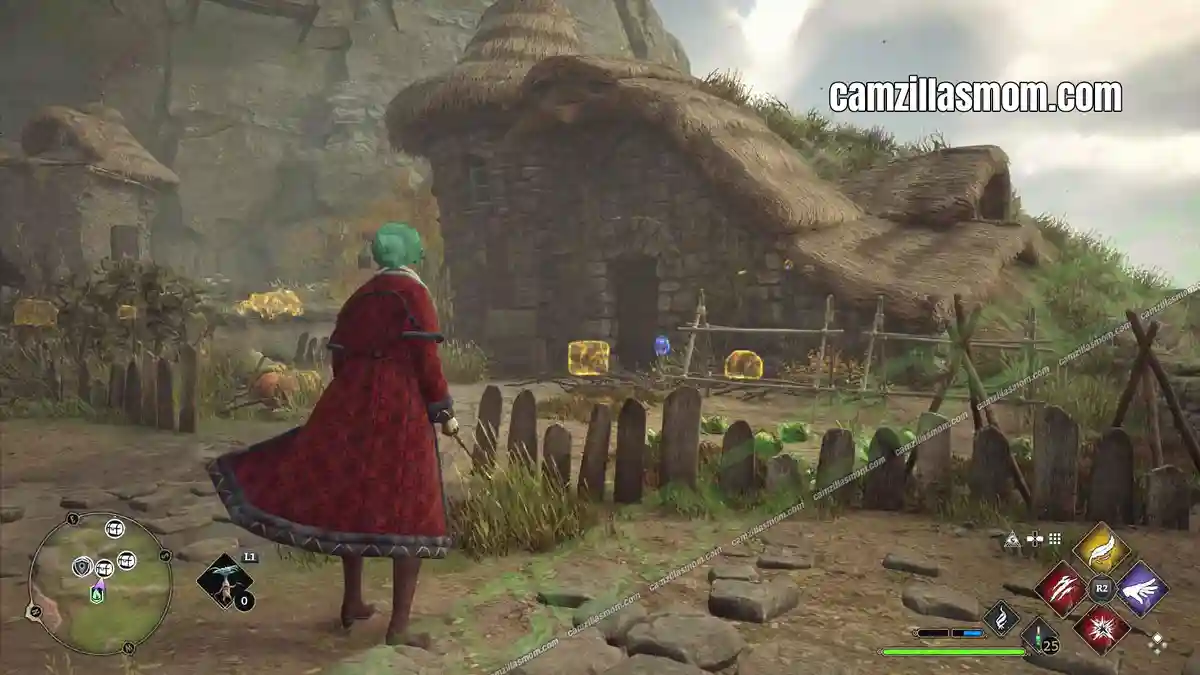
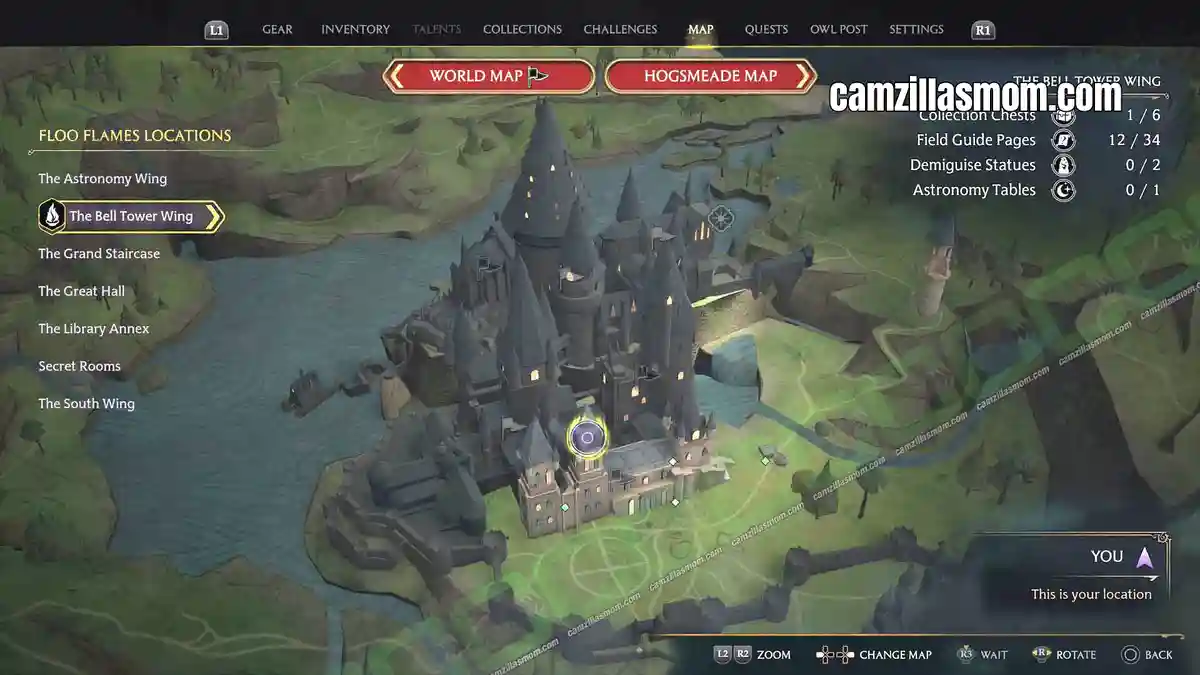
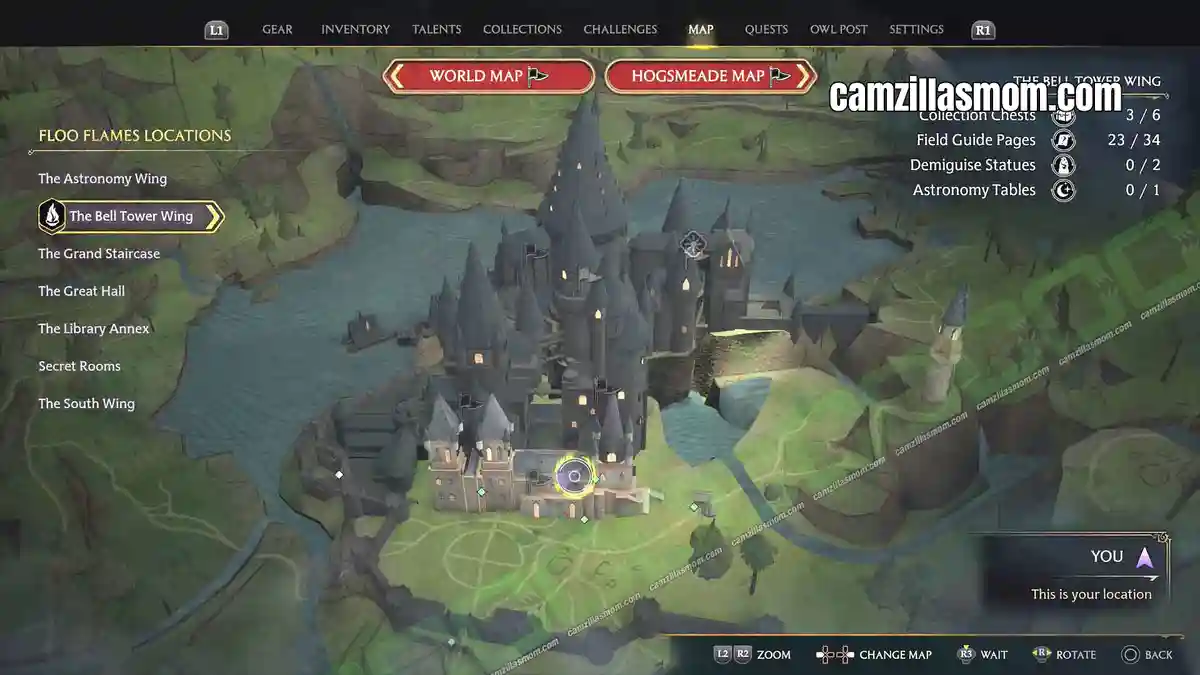
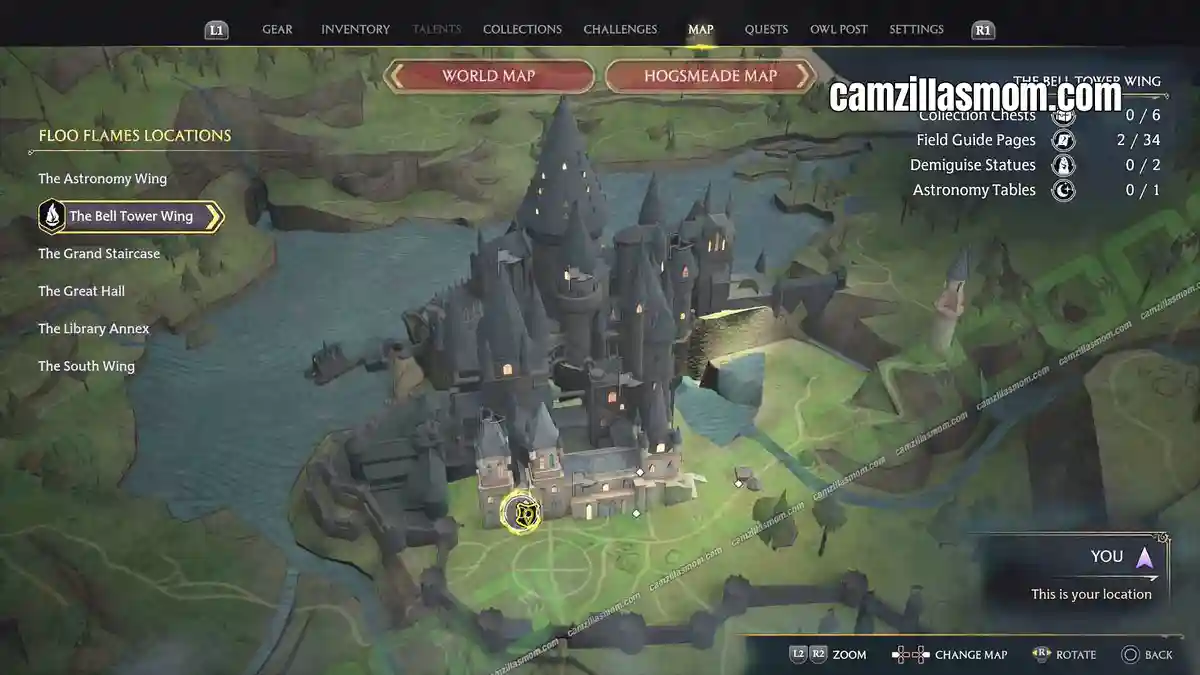
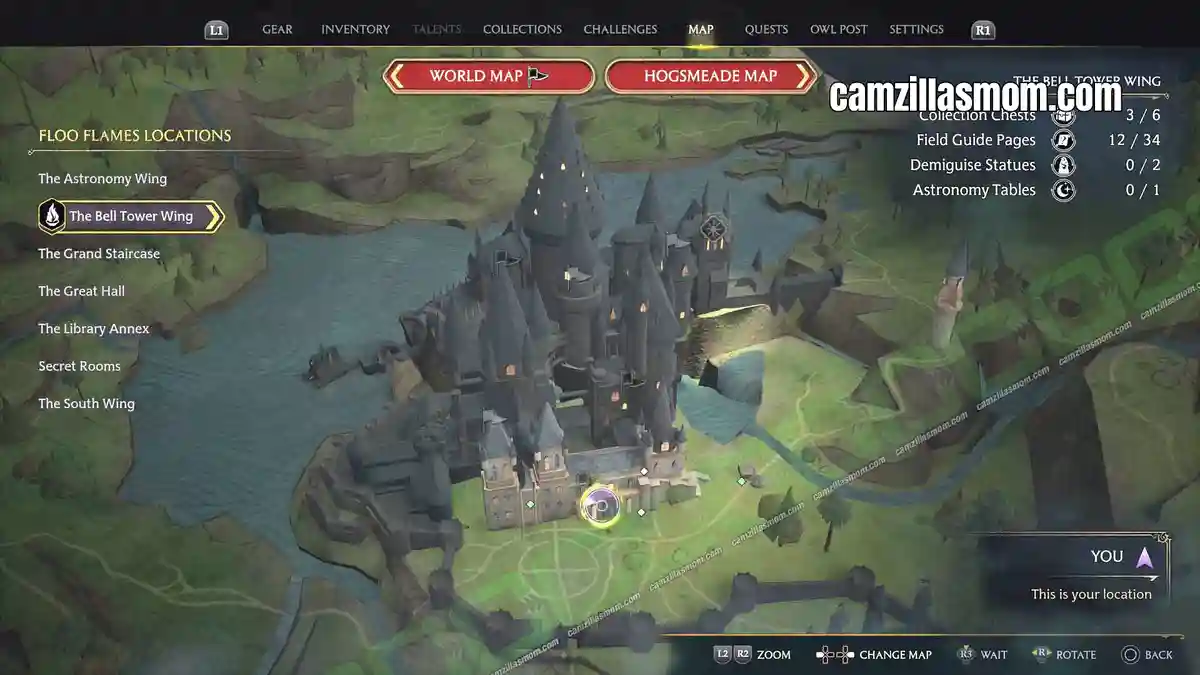
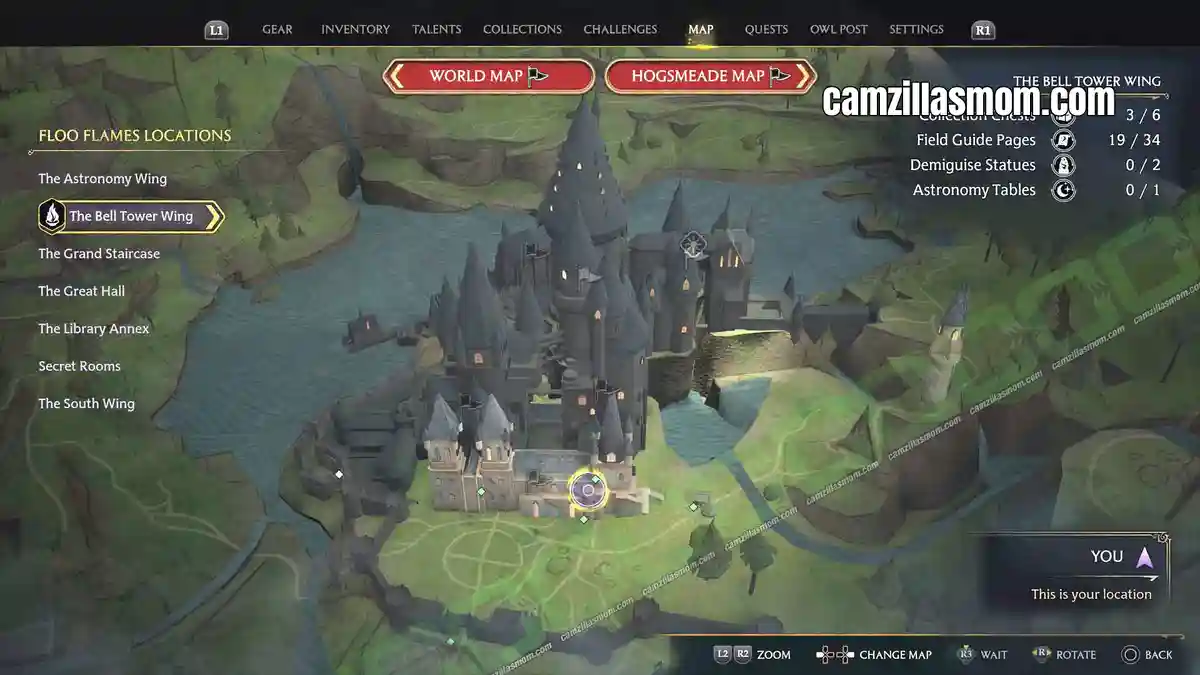
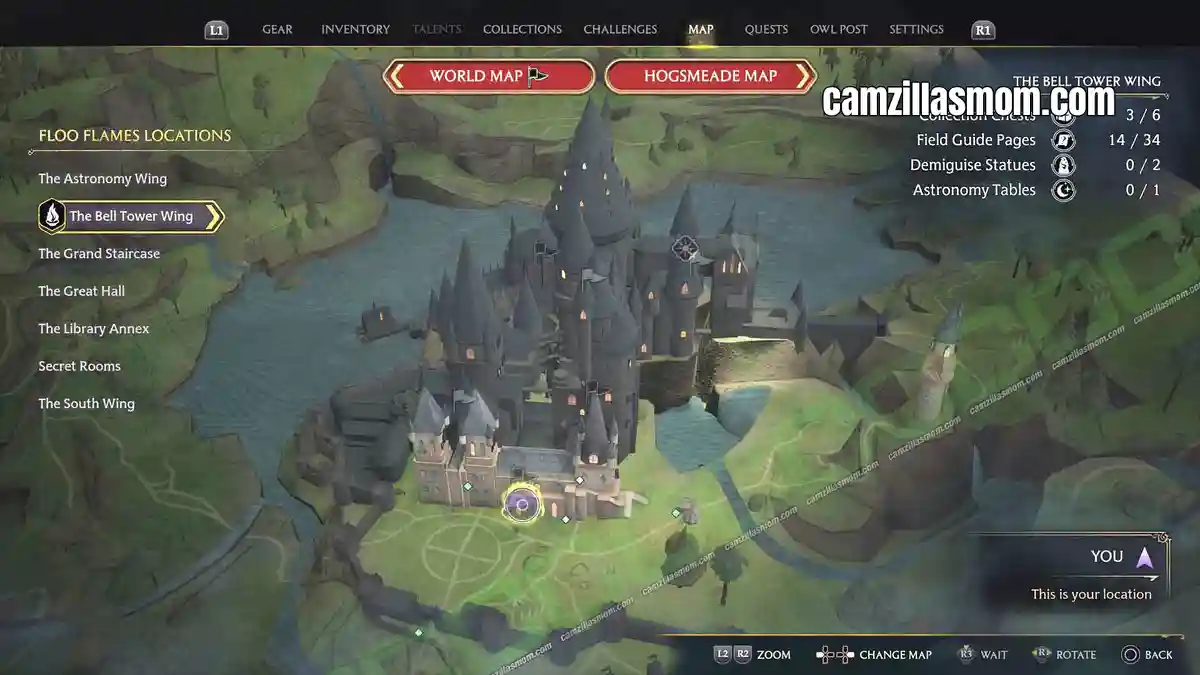
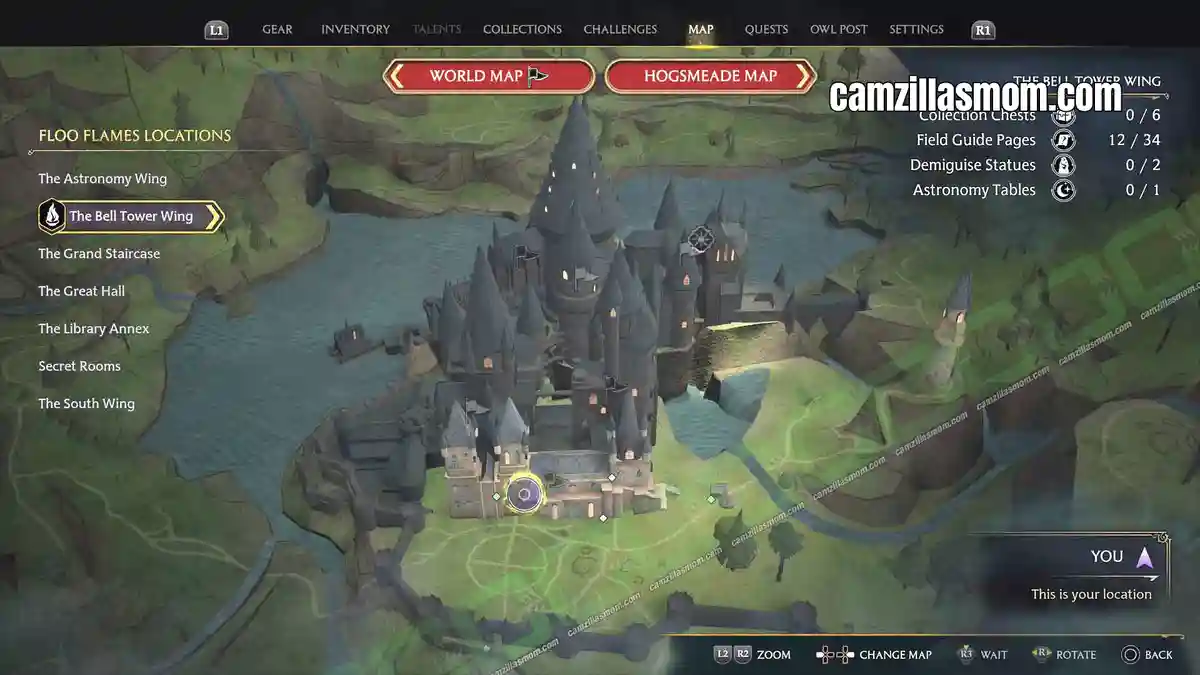
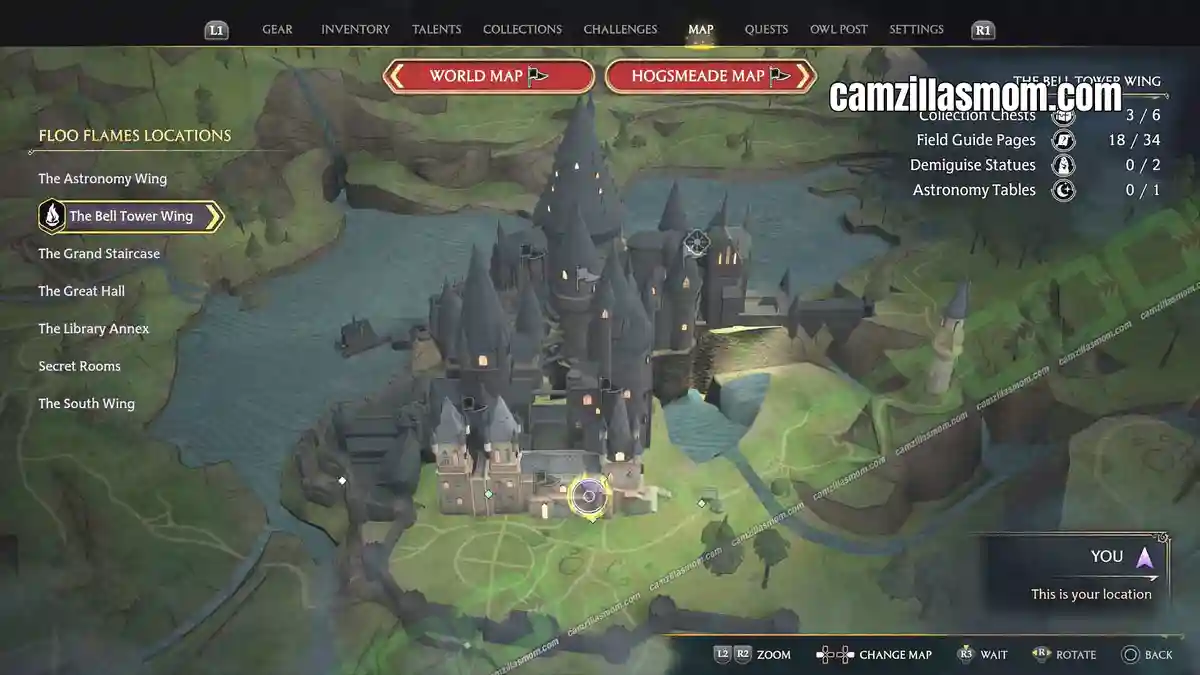
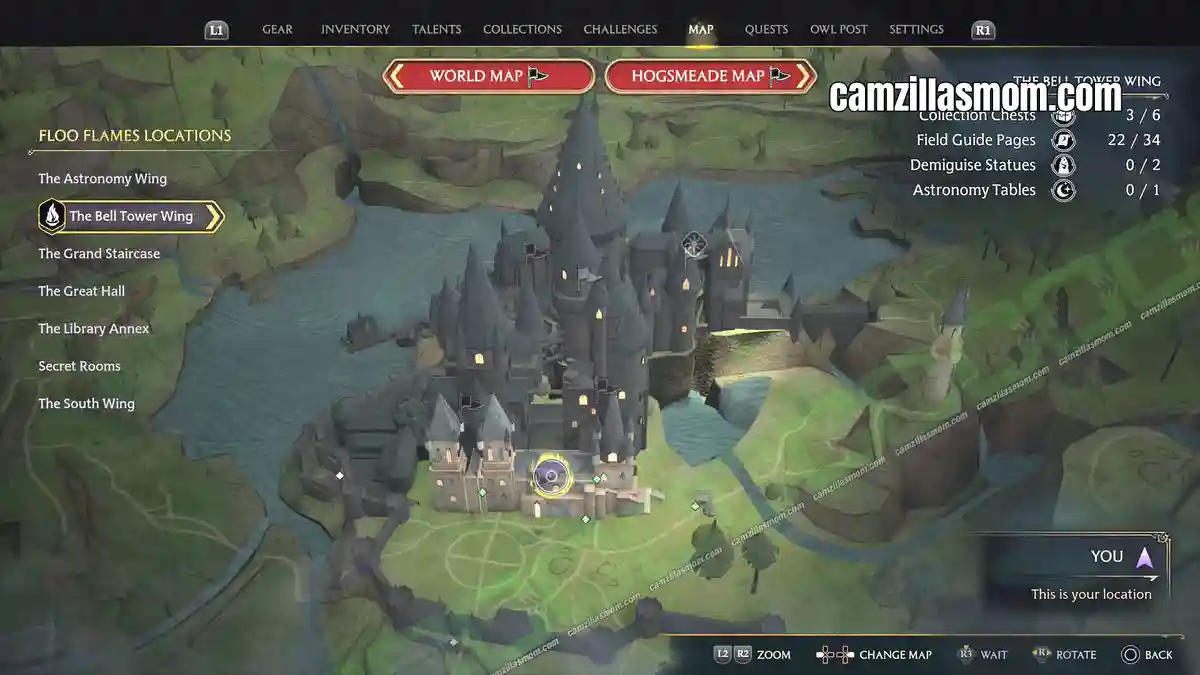
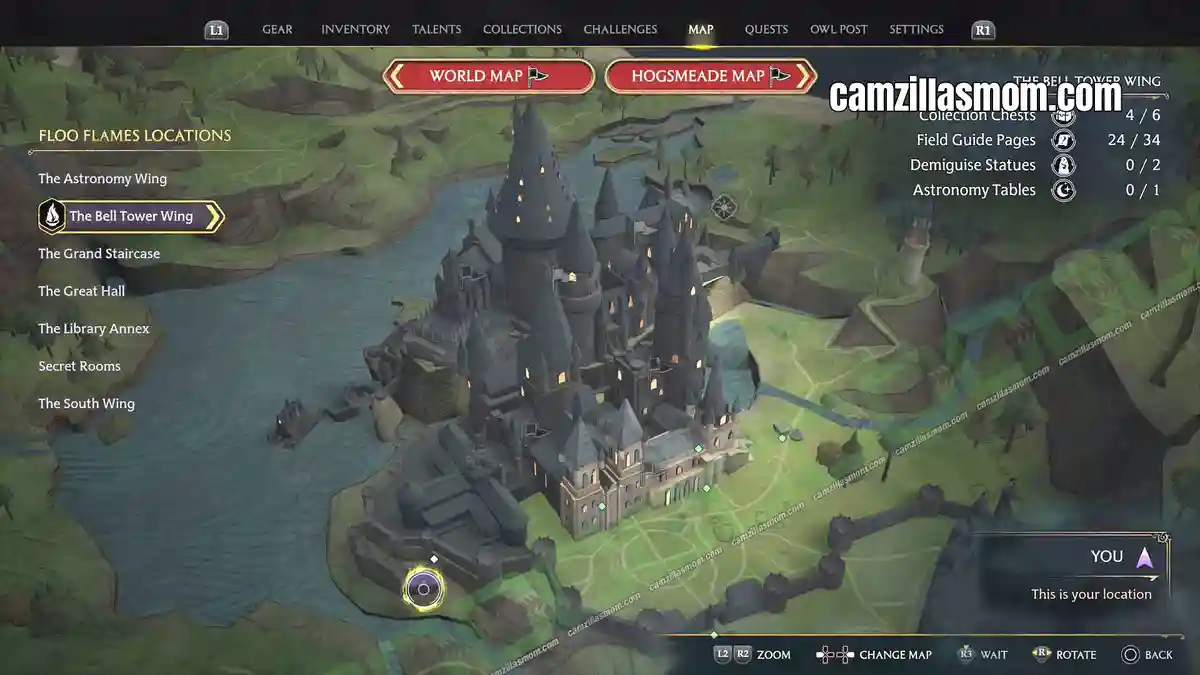
The Bell Tower Wing has a total of 43 collectibles: 6 collection chests, 34 field guide pages, 2 Demiguise statues, and 1 Astronomy Table. Here’s where to find every one of them, including the full solution for Depulso Puzzle Room 2, so you can complete the area 100%.
Related Guides:
All Demiguise Statues (Demiguise Moons) Guide
Library Annex Collection Chests & Collectibles
The Astronomy Wing
The Great Hall
The Grand Staircase
More Guides at the Hogwarts Legacy Game Guides Hub
Bell Tower Collection Chests
There are many chests at Hogwarts Legacy, but only a small amount contribute towards the “Collections” section in the game menu. There are 6 of those chests at THE BELL TOWER WING, all listed below.
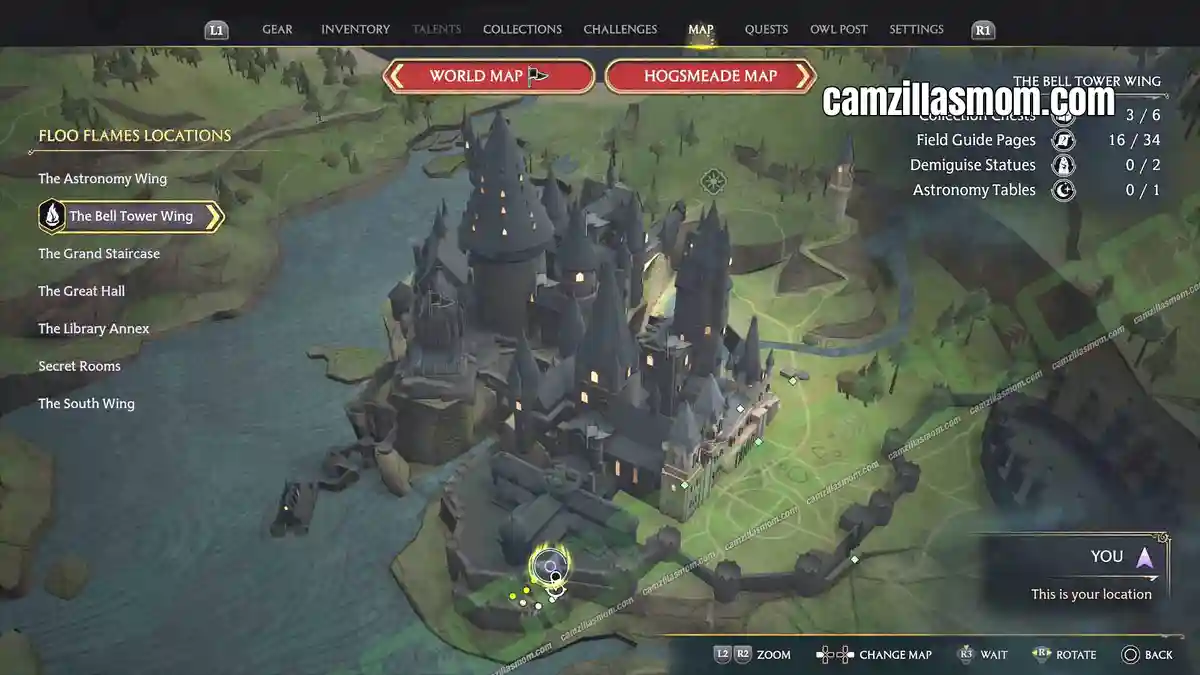
Chest 1 – Outside the Top of the Bell Tower
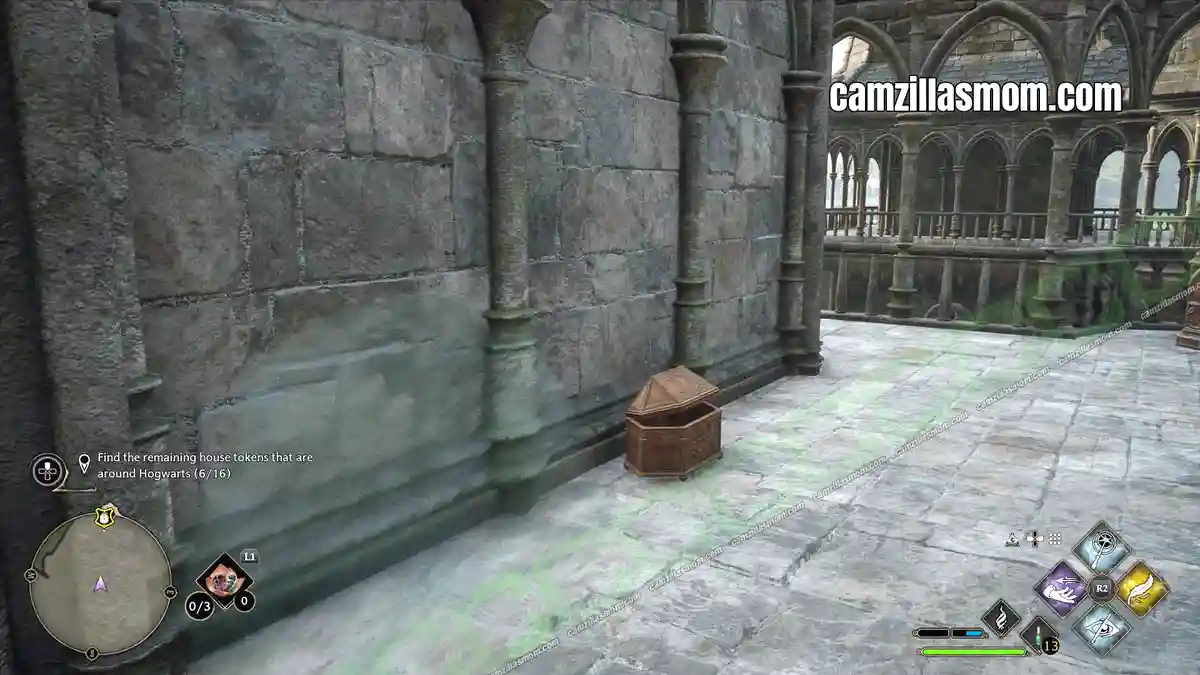
Take the staircase from the Frog Choir Music Room at THE BELL TOWER WING. It goes all the way up to the top of the bell tower. Here, outside, is a small brownish chest with the Diricawl Statue.
Chest 2 – Outside the Top of the Bell Tower
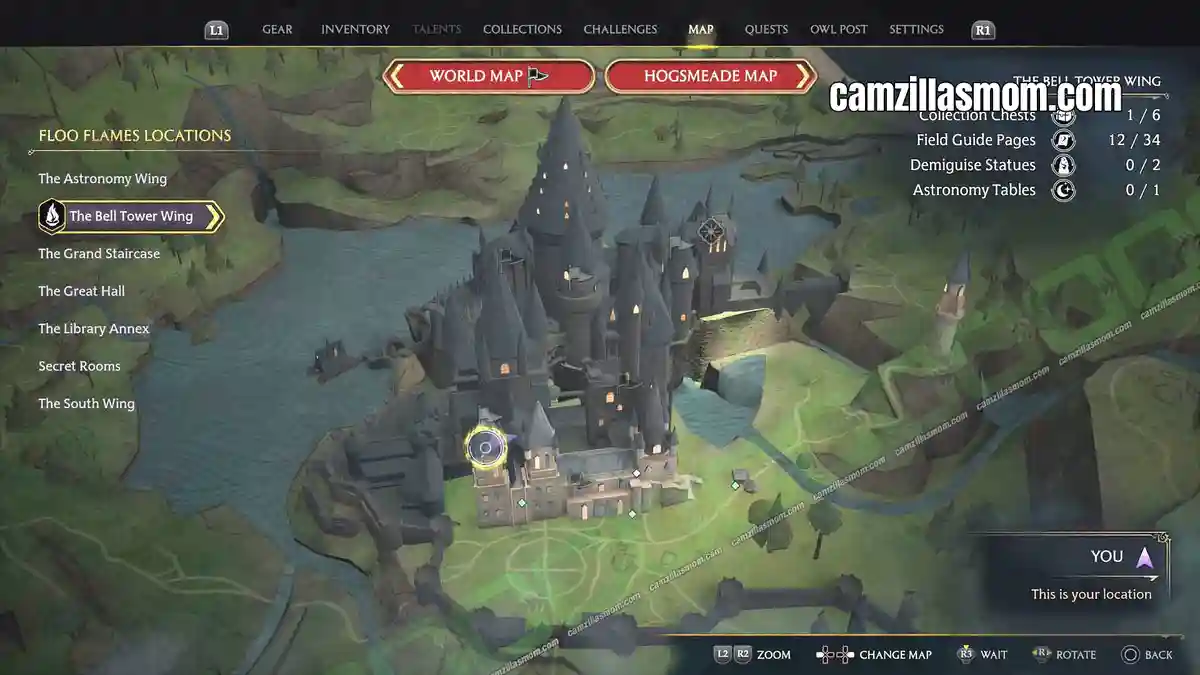
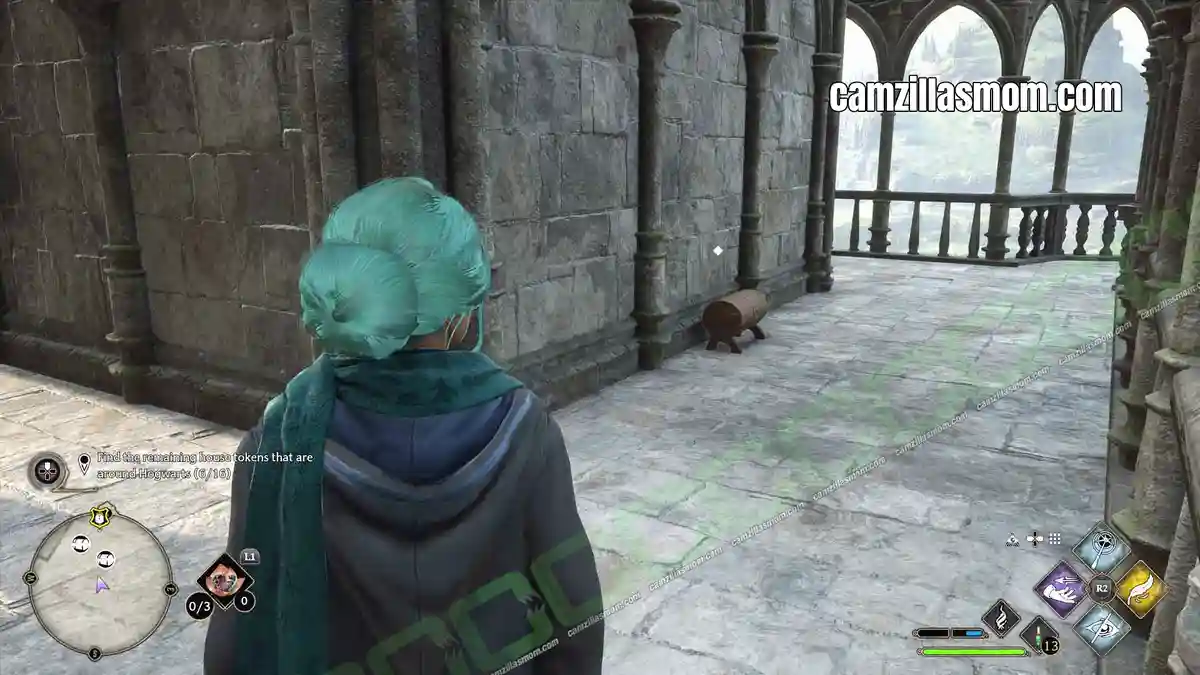
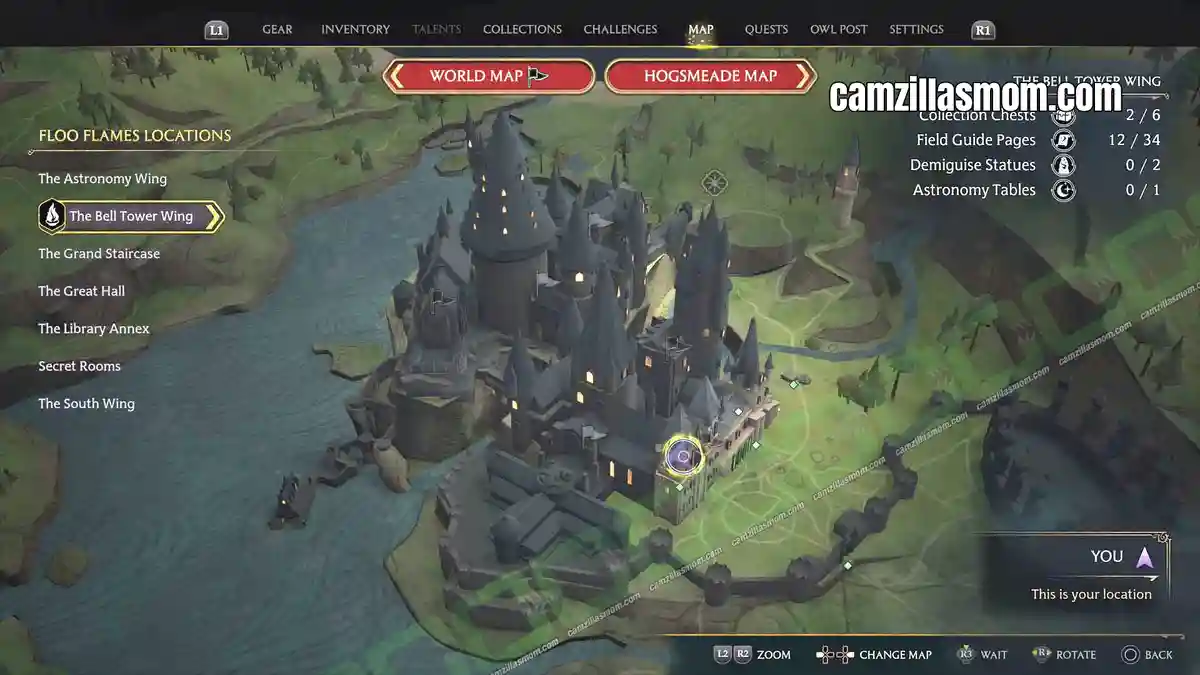
From the previous chest at the bell tower, stay up there and look for a frog statue in the corner. Interact with it and you are transported to the top of the other tower. Here’s also a chest but this time it has a Wand Handle: Celestial – Light Grey
Chest 3 – Outside the Top of the Bell Tower
Stay on the same tower top as the previous Wand Handle chest. On the other side of the balcony is another chest with the Square Shape Paintings Conjuration.
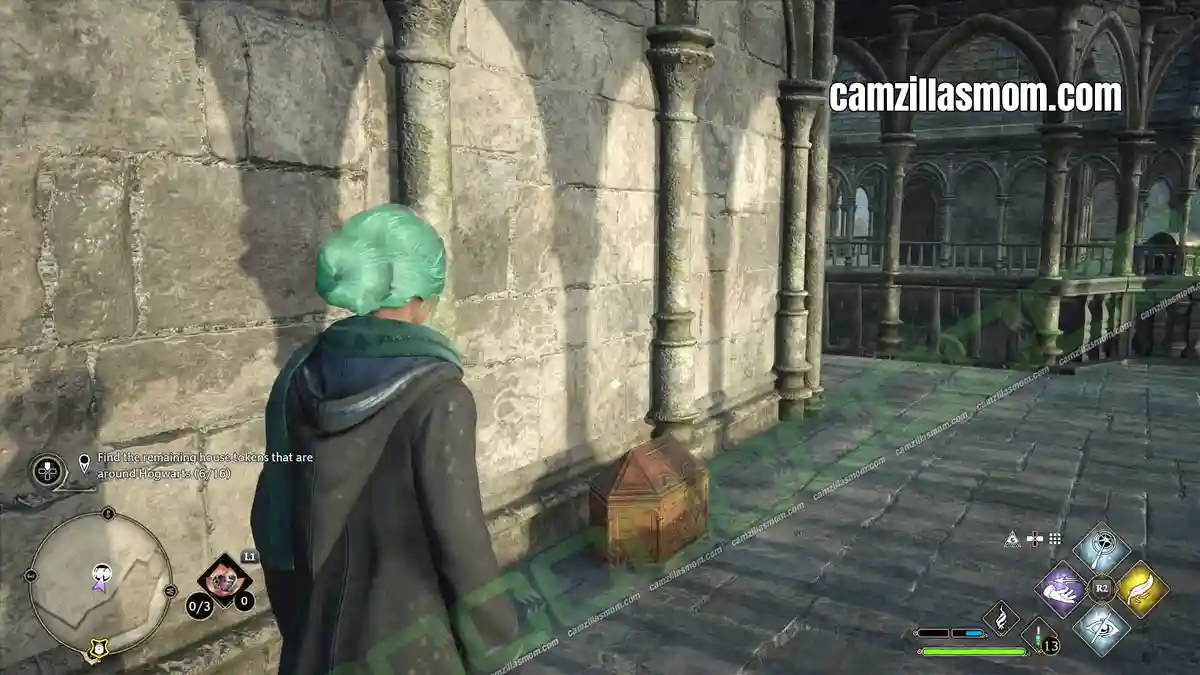
Chest 4 – Top of the Main Staircase
At the top of THE BELL TOWER WING’s main staircase is a locked door. Open it and go through. At the back of this corridor is a puzzle.
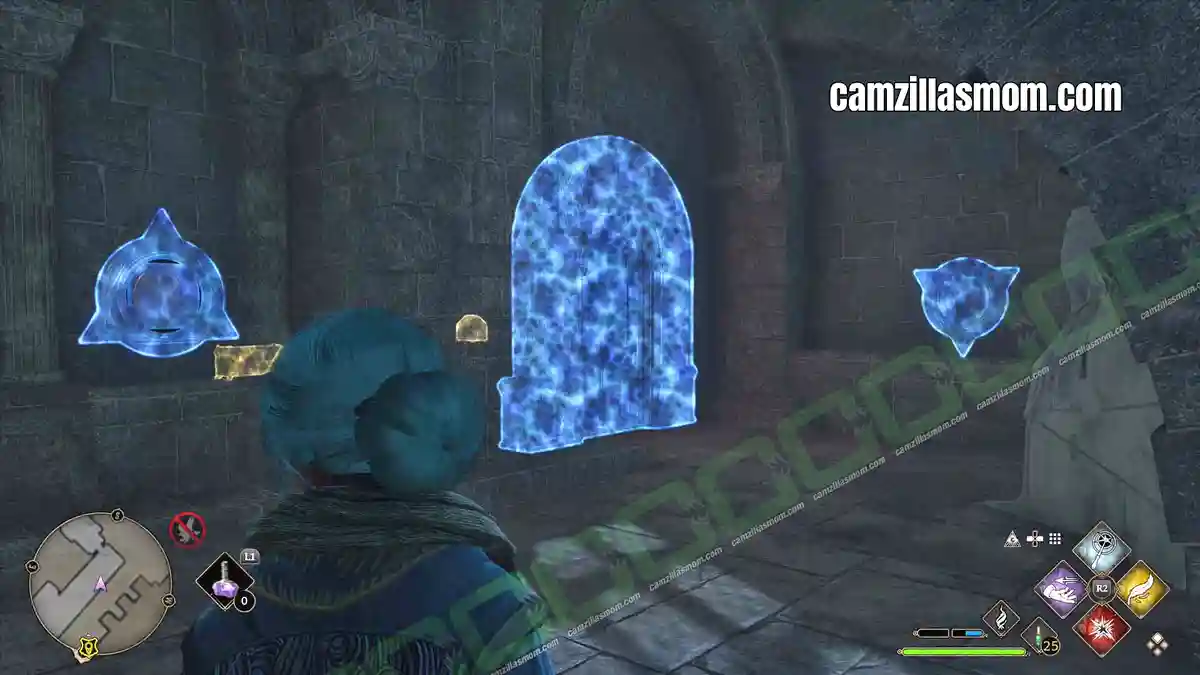
Here’s how to solve the puzzle. First of all reveal the two maths tasks in the centre of the door. The task at the top has one question mark and the one at the bottom two question marks. You should see those question marks nearby as rotatable buttons. That’s where your answer goes.
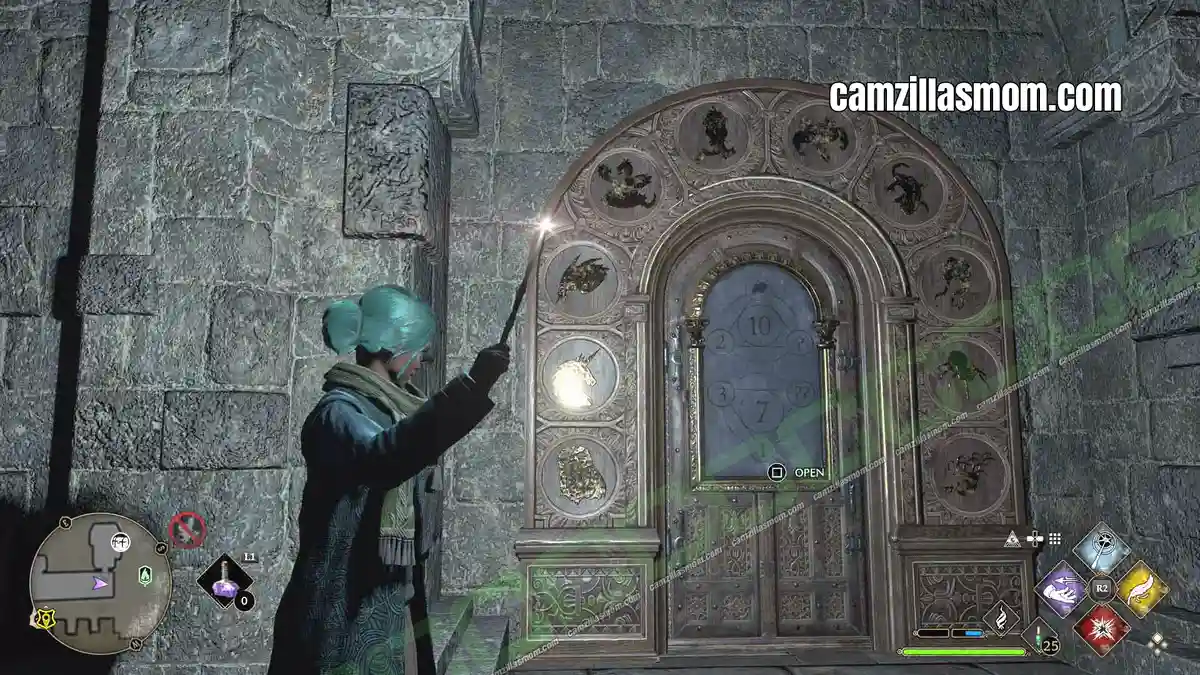
How to Solve the Top of the Main Staircase Puzzle
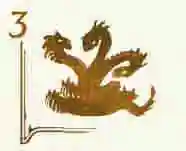
Before you start calculating, look at the door frame. Ten animals, ten numbers from 0 – 9 from left to right. So the seal at the bottom left has the Zero, then the unicorn has One, the goat has Two etc. That’s the beast you have to select in your rotating button.
First Sum: 2 + GOAT + ? = 10
The GOAT is according to door frame a 2. TWO plus TWO plus SIX = 10
Select the LIZARD as the ? – The seventh beast from the left in the door frame.
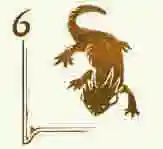
Second Sum: 3 + 1 + ?? = 7
THREE plus ONE plus THREE= 17. Select the HYDRA as ?? – The fourth beast from the left in the door frame.
The ?? button is above the door, one floor up.
The door opens and the Collection Chest is inside.
Reward:
Medium Ground Surfaces – Conjurations
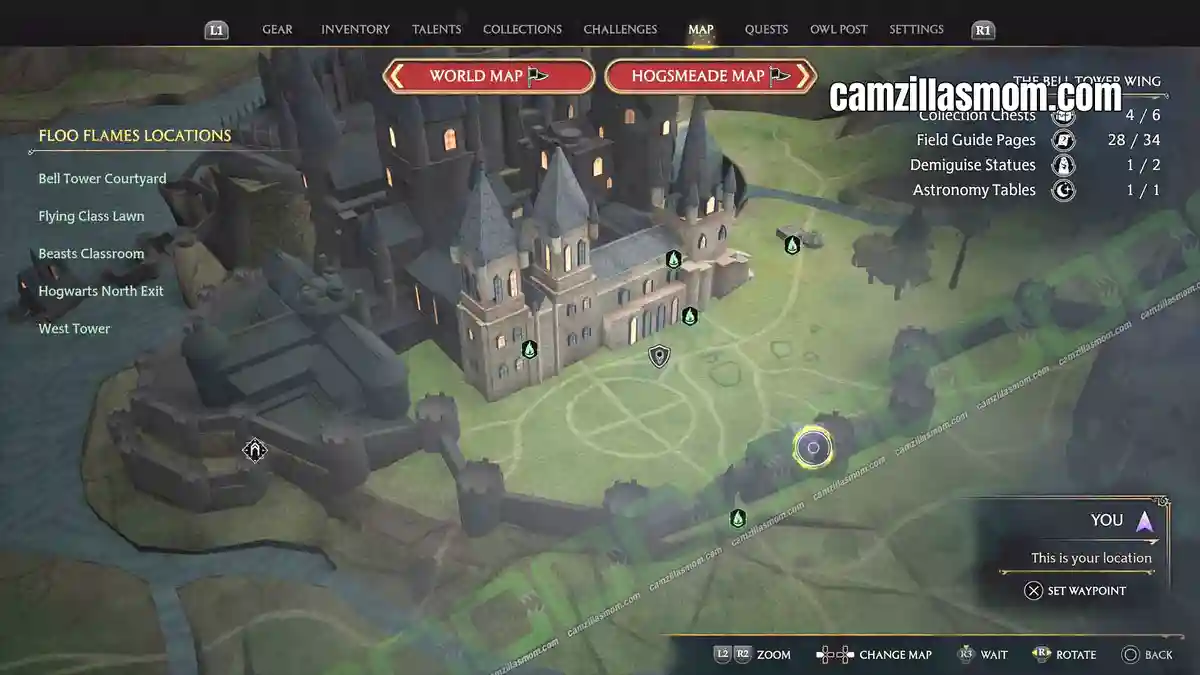
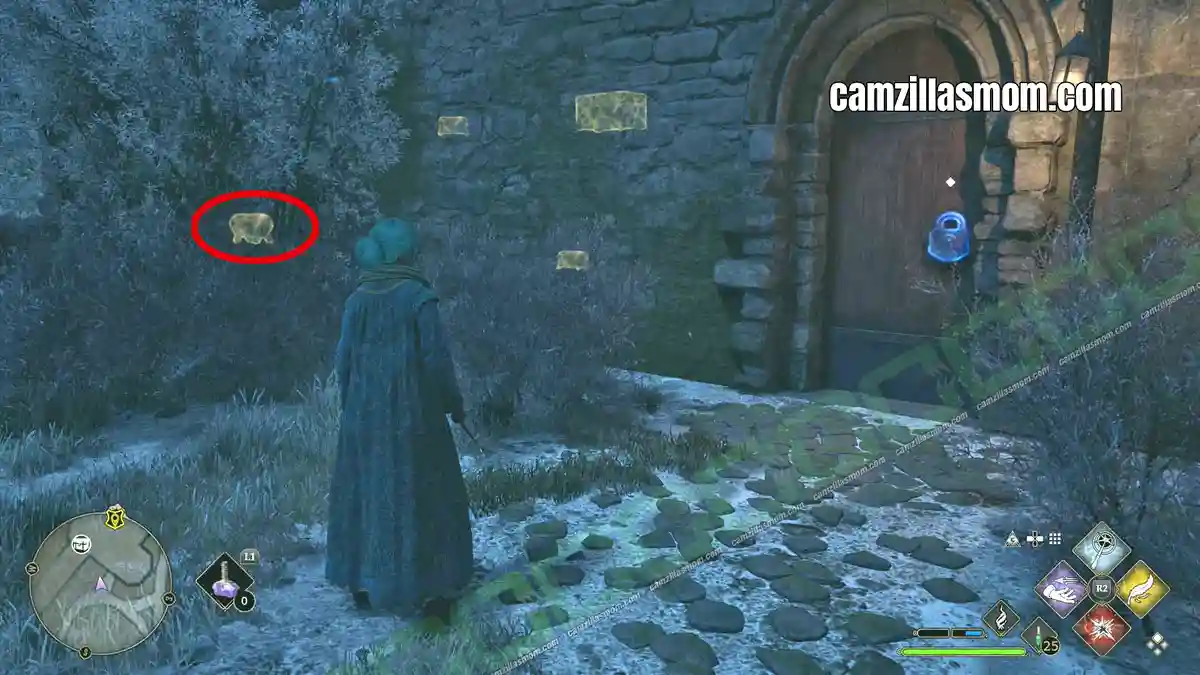
Chest 5 – Near Hogwarts North Exit (Locked Door)
Exit THE BELL TOWER WING building area and go towards Hogwarts North Exit Fast Travel Point. Here on ground floor is a locked room with the Collection Chest in it.
Reward:
Shell – Grey – WAND HANDLES
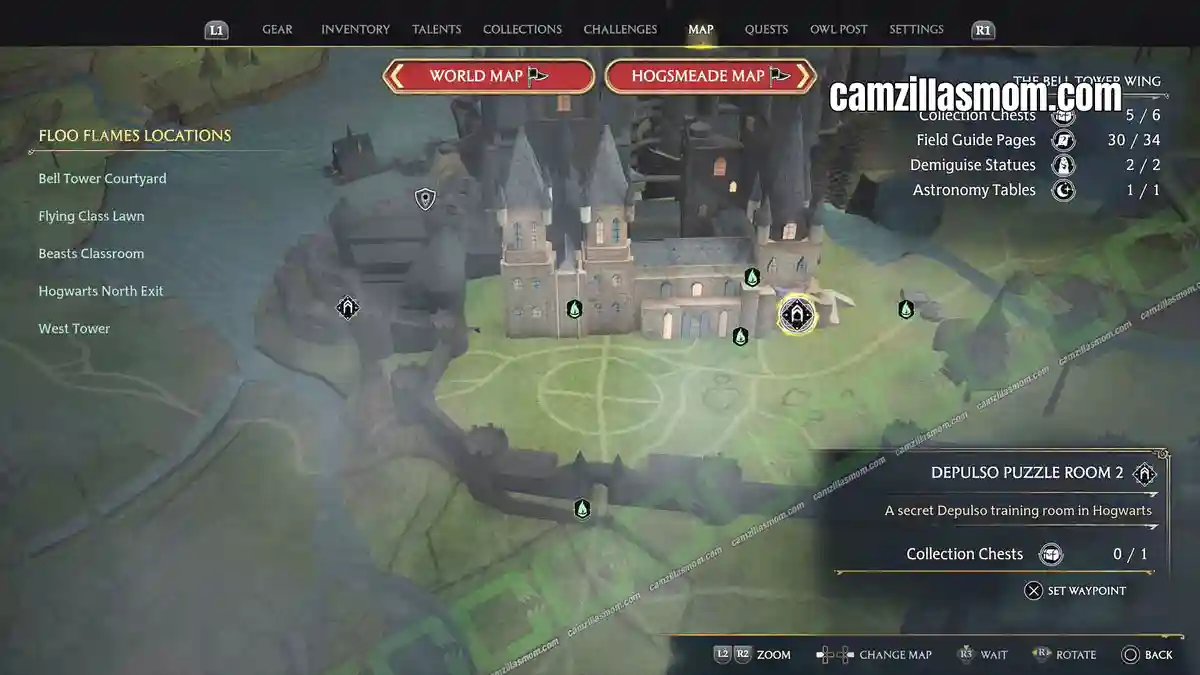
Chest 6 – Depulso Puzzle Room 2
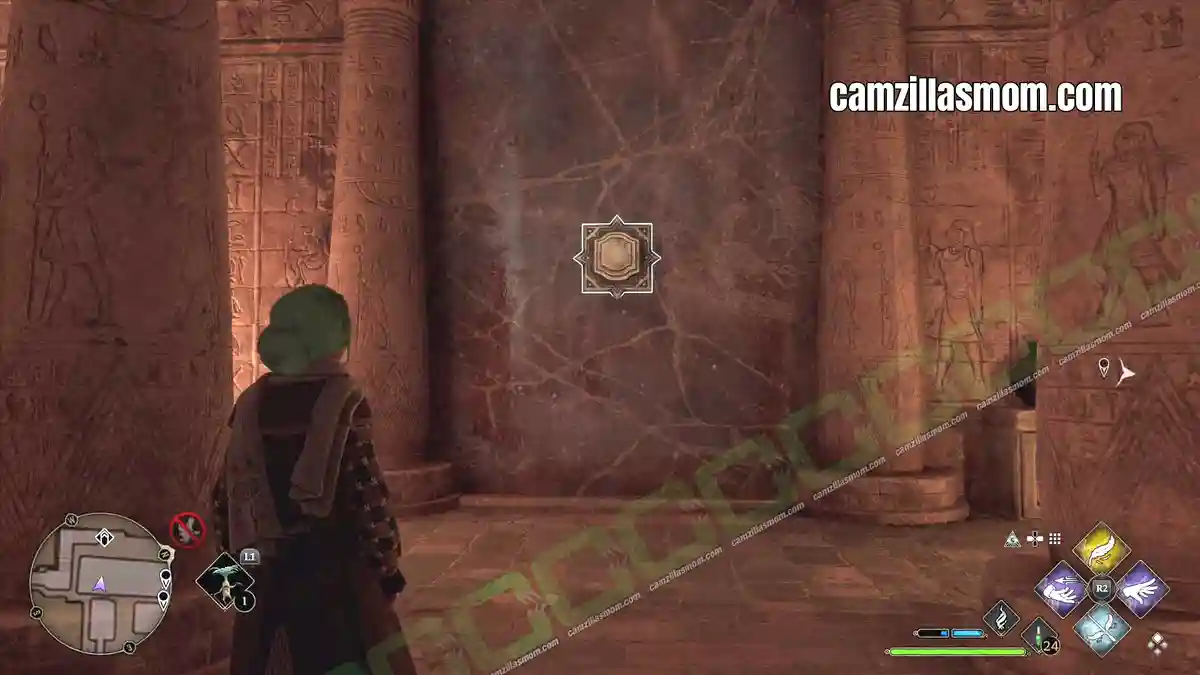
After you’ve solved the “THE HALL OF HERODIANA” Side Quest, there will be more Depulso Puzzles showing up at Hogwarts. This one called Depulso Puzzle Room 2 is at ground floor of The Bell Tower Wing. You’ll receive this chest after solving 3 puzzle in this room. To start, use “DEPULSO” on the big button on the wall. Since it is too complicated to show this in print screens, see video below.
Reward:
Quidditch Equipment Shelf – Conjurations
Bell Tower Field Guide Pages (Revelio Pages)
The Great Hall has 34 field guide pages, split into two types.
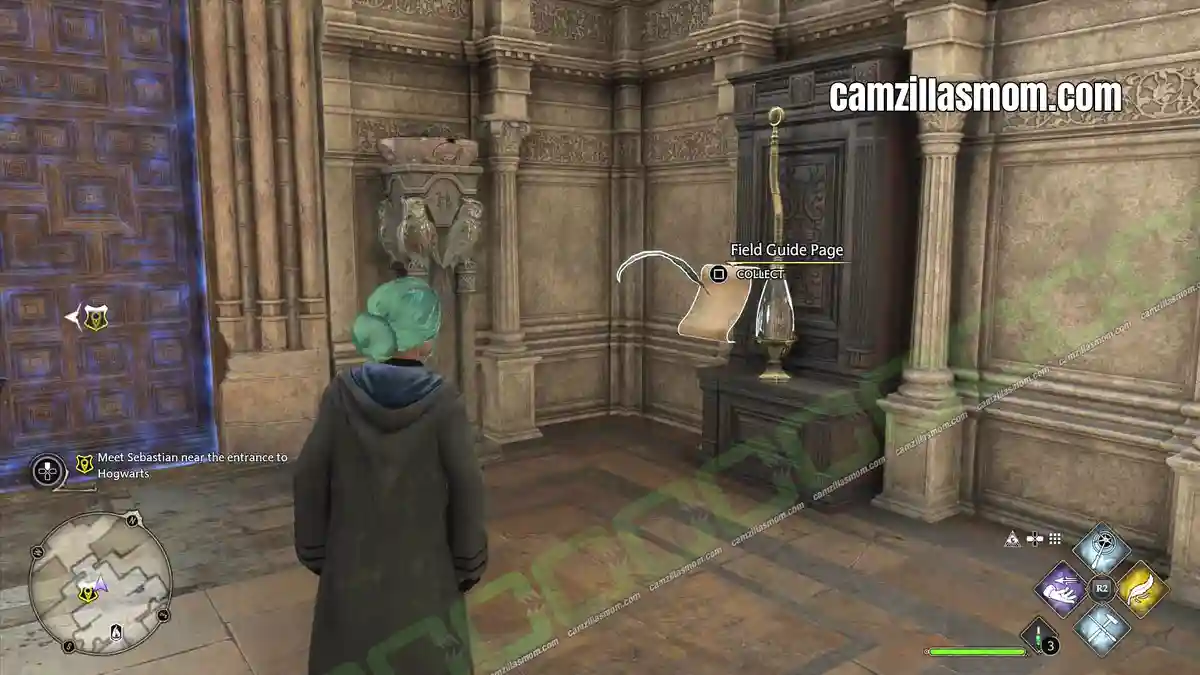
Revelio pages are the collectibles that get a proper entry under Collections in the game menu. You find them by casting Revelio and interacting with whatever lights up.
Revelio Pages at the Bell Tower
These are listed in the same order they appear under Collections – Revelio Pages in the game menu.
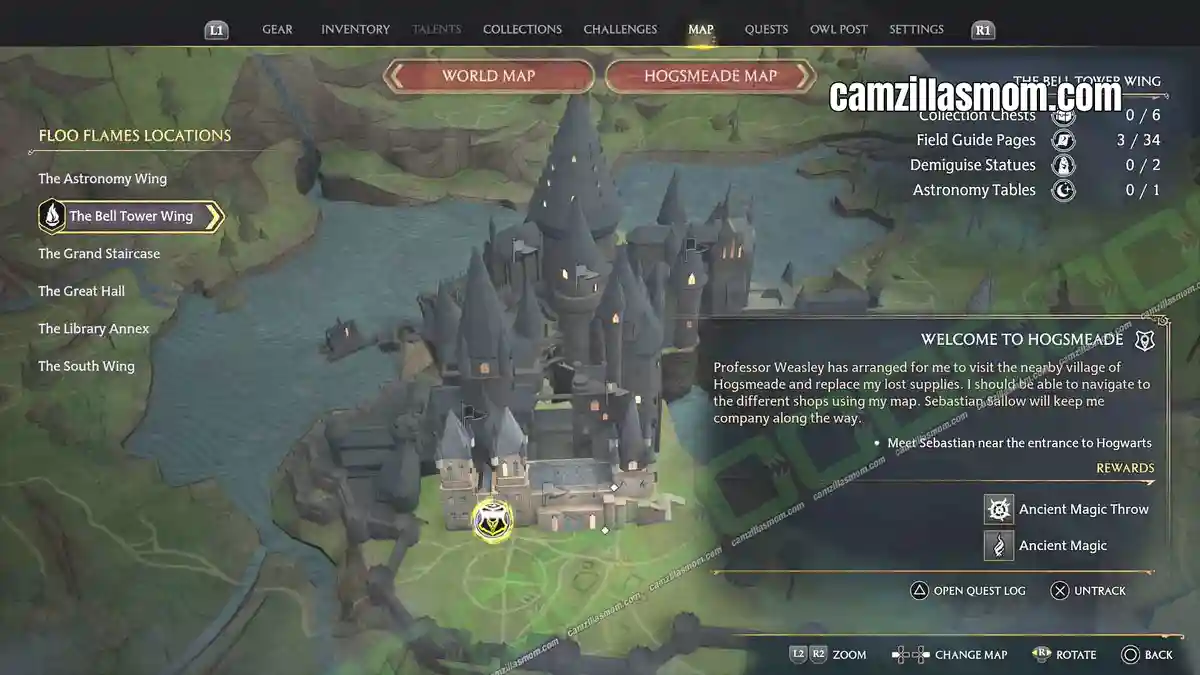
1 – Broken Broom
“This broken broom belonged to Selene Wartnaby and is rumoured to be all that remains after she insisted on demonstrating her experimental ‘Lunar Apparition Charm’ to fellow third-years
The Broken Broom is an exhibit just next to the Hogwarts’ exit at The Bell Tower Wing.
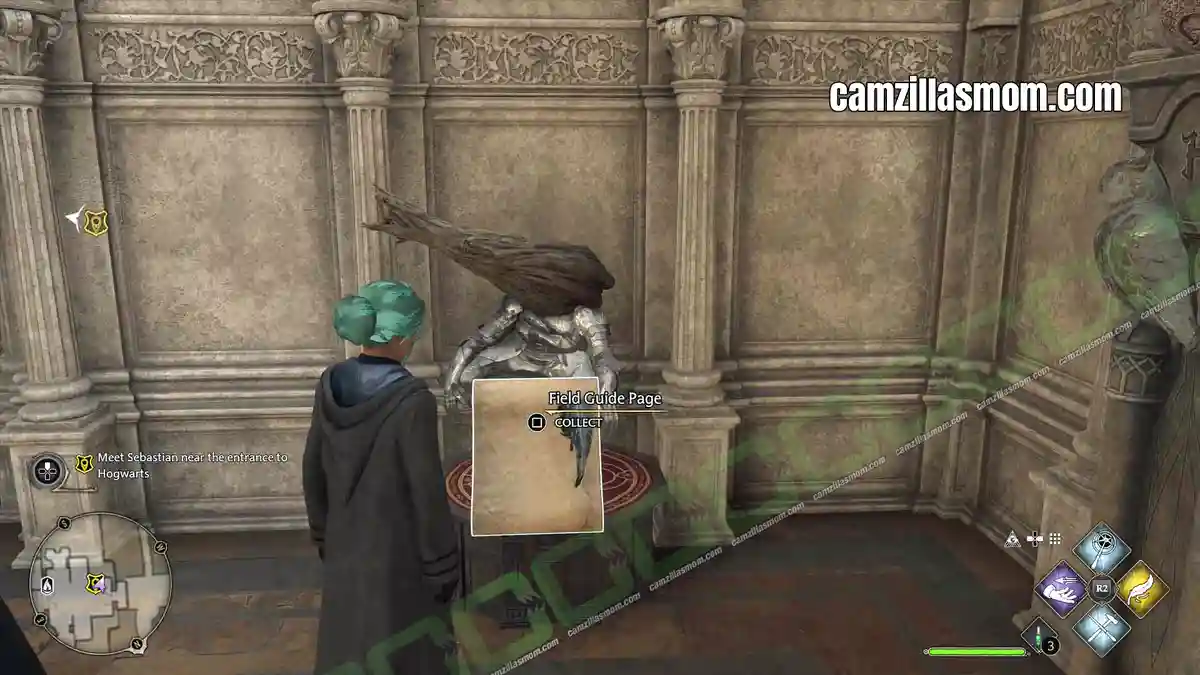
2 – Flattened Armour
“This set of armour belonged to Sir Scagglethorpe the Heedless who unwisely challenged a mountain troll to a game of musical chairs.”
Just opposite the Broken Broom next to Hogwarts’ exit at The Bell Tower Wing is the Flattened Armour.
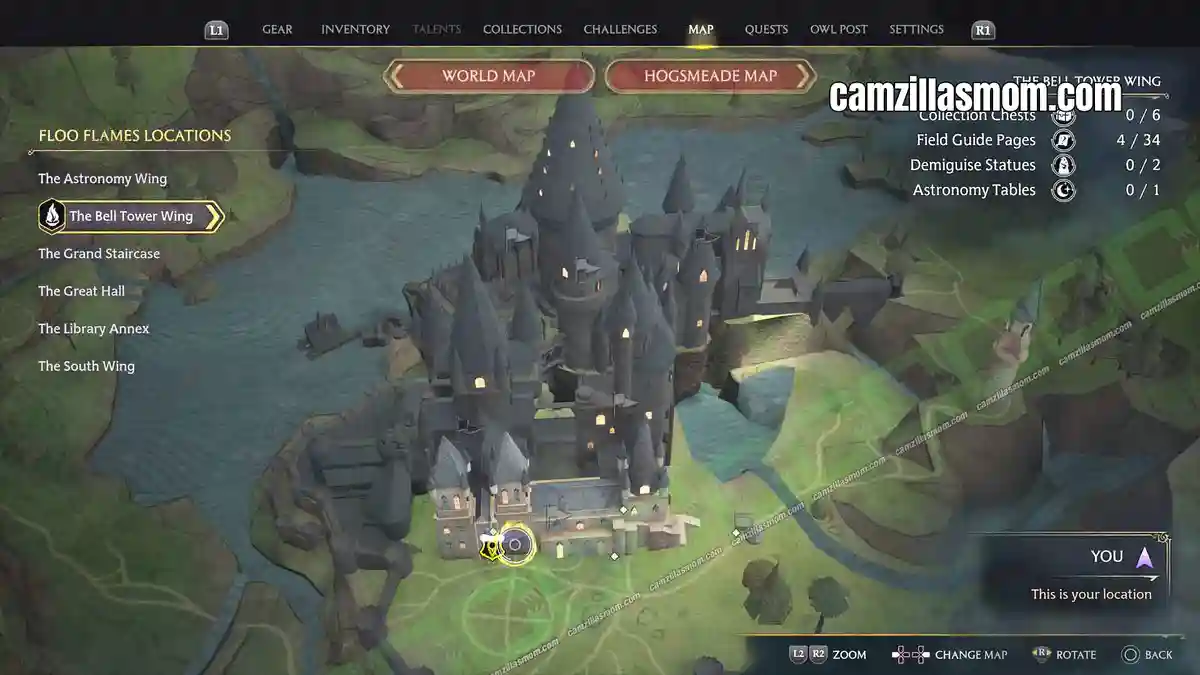
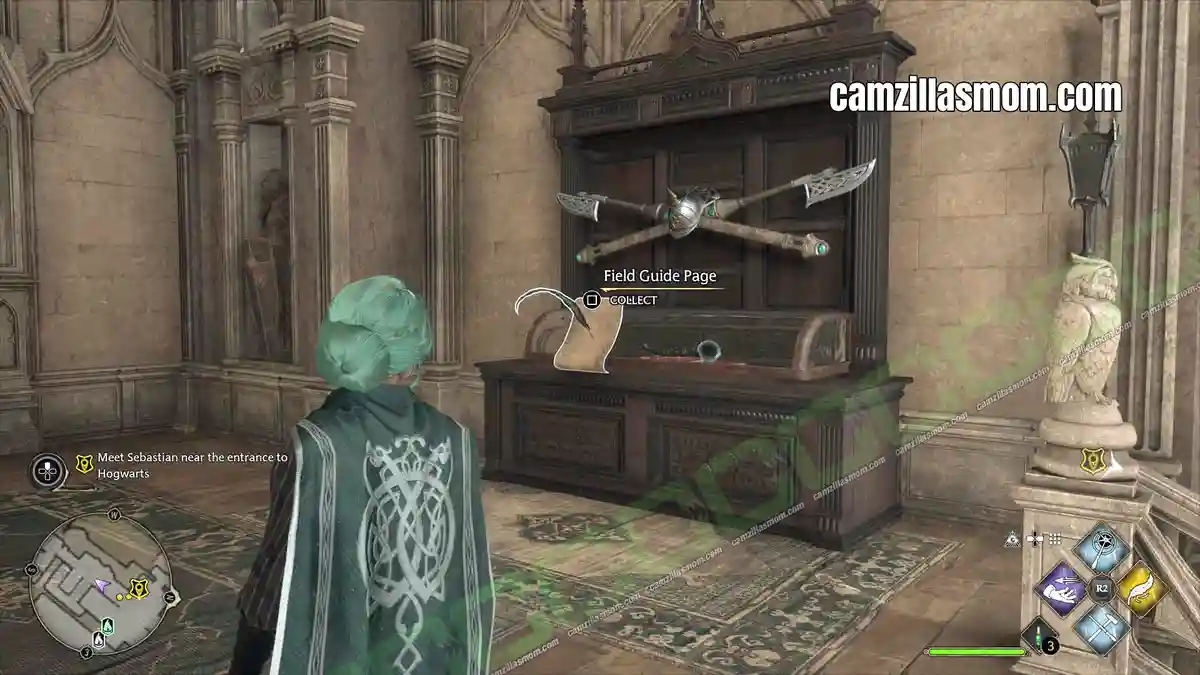
3 – Goblin Artefact
“Horns like this were used by goblins during the 1612 Goblin Rebellion to rally troops and generally annoy witches and wizards. This horn was discovered in the aftermath of the rebellion behind the Hog’s Head Inn, with a wedge of gorgonzola stuffed inside – presumably to mute it.”
Coming from Hogwarts’ entrance/exit at The Bell Tower Wing, head to the right up the stairs to get to the Goblin Artefact.
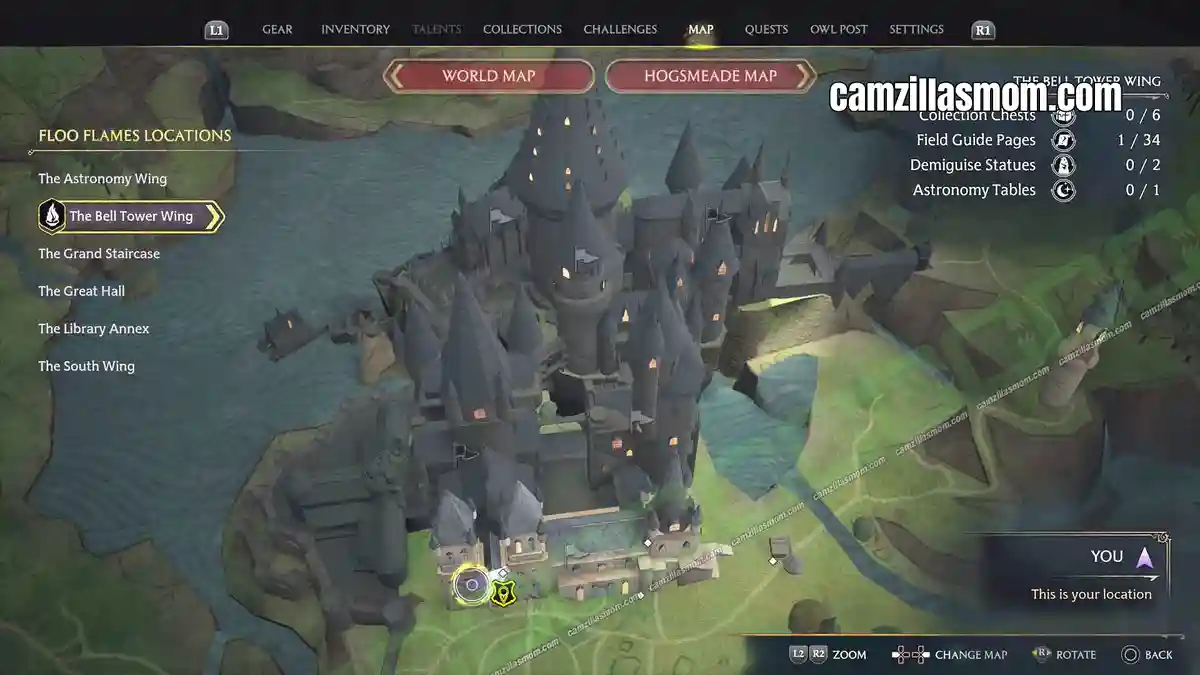
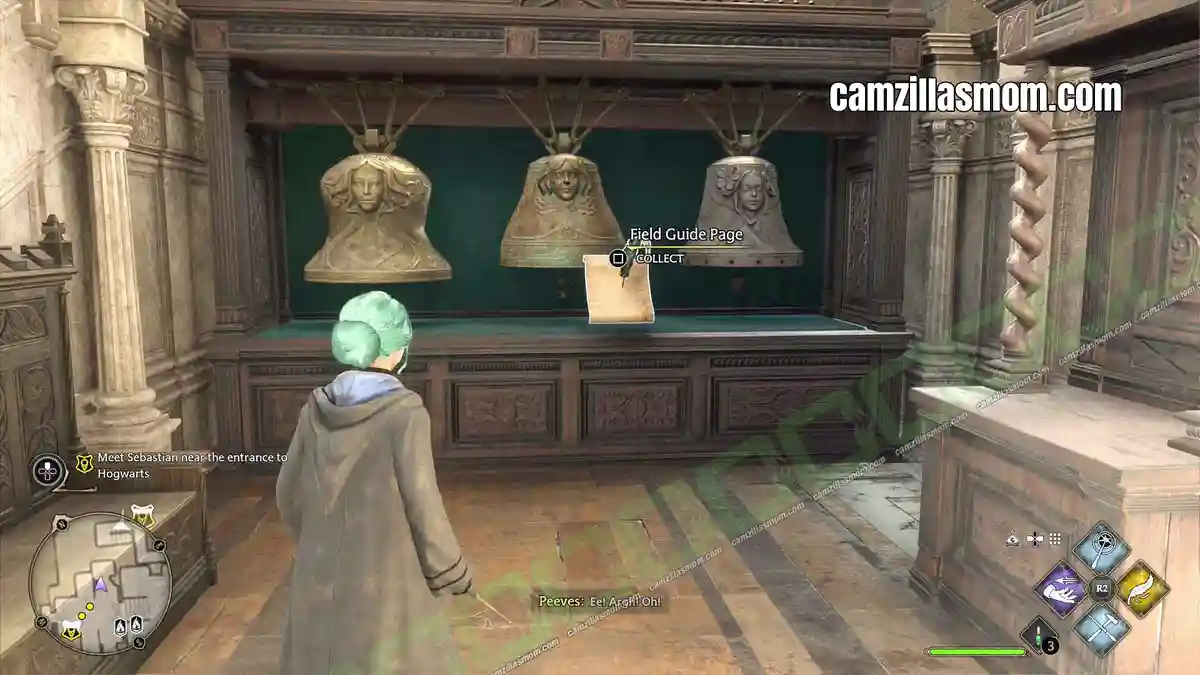
4 – Three Sisters Bells
“The Three Sisters Bells are said to be a tribute to three similarly named, beautiful steep ridges that rise majestically over a glen in Argyllshire. It is rumoured that one can hear them ring in the glen, way across the Highlands, when they are rung in the castle. Locals have been baffled by the mysterious ringing for years.”
The Three Sisters Bells are at a dead end on ground level of The Bell Tower Wing.
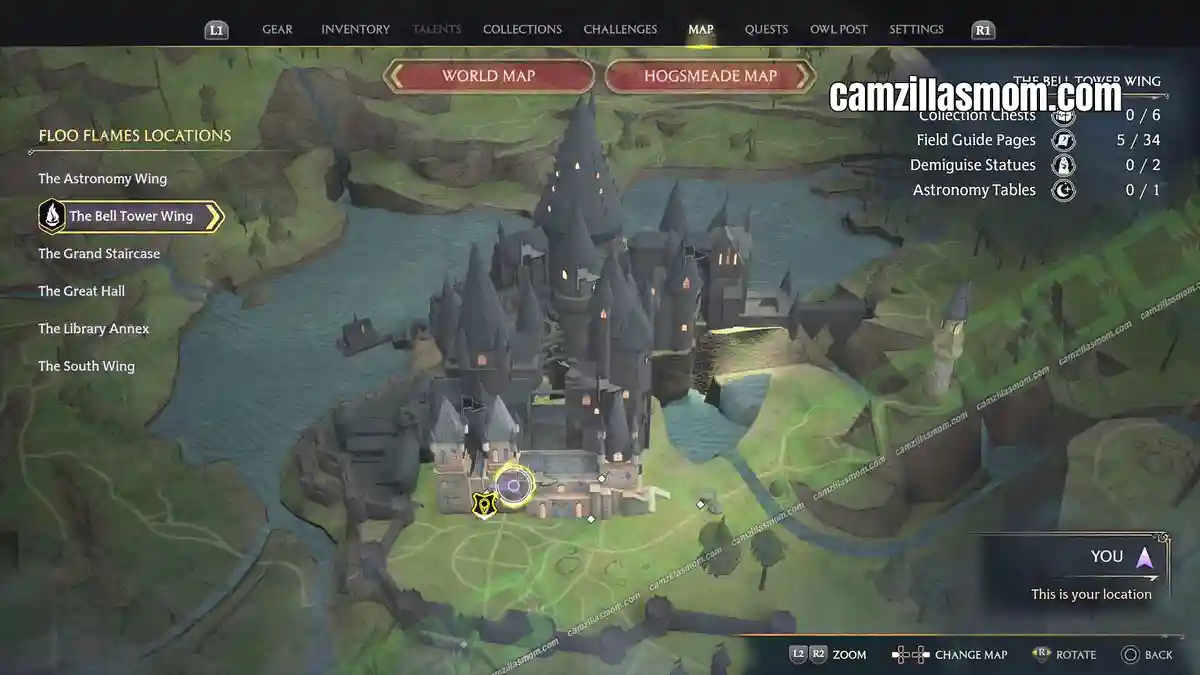
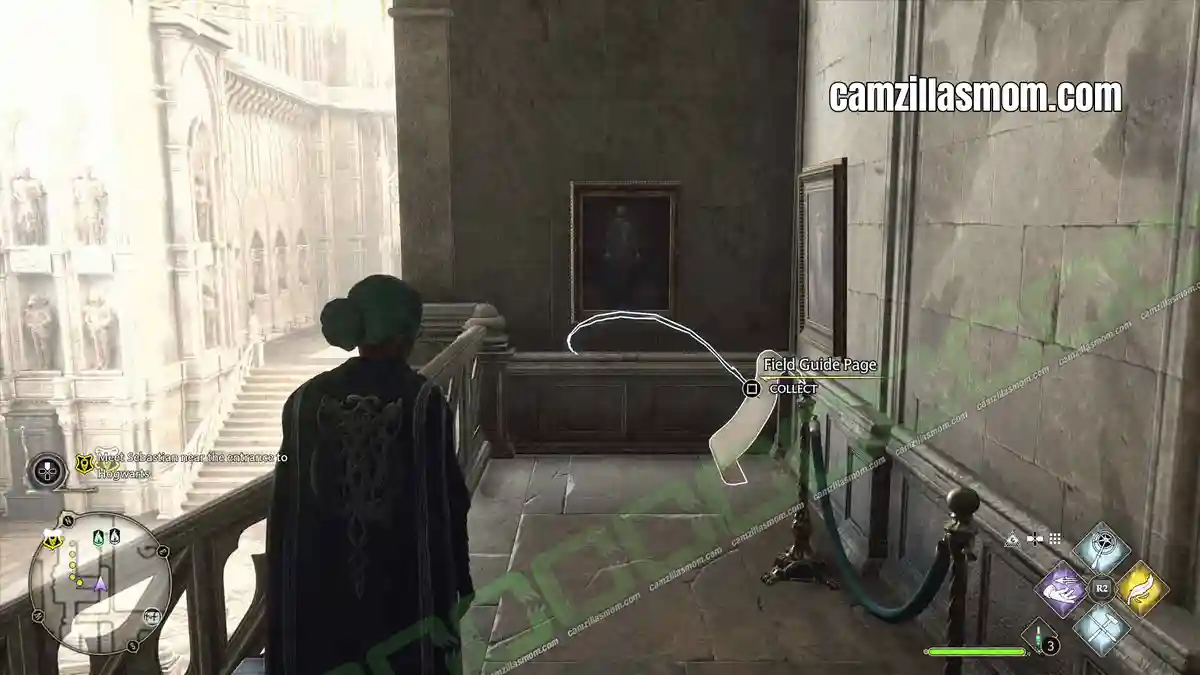
5 – Scorch Marks
“Allegedly the location of the first known instance of an arguably successful casting of Bombarda. Date unknown, caster unidentifiable.”
At The Bell Tower, head up one level. In the corridor, next to framed paintings, are scorch marks on the wall.
6 – Grimbald Weft
“This is the skull of famed tailor Grimbald Weft, whose skilled needlework repaired countless witches’ and wizards’ coats during the Goblin Rebellion of 1752 – thus preventing them from taking ill during battle.”
This Field Guide Page is connected with the Side Quest “History of Magic Class”, where you have to find this page during the quest.
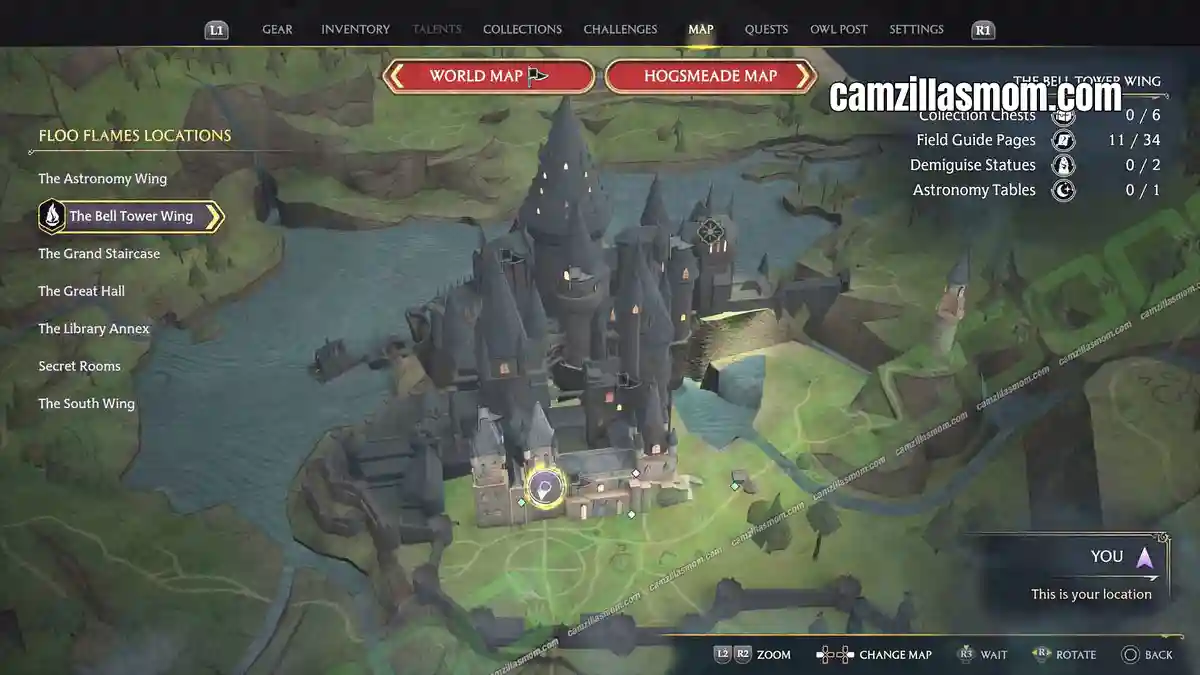
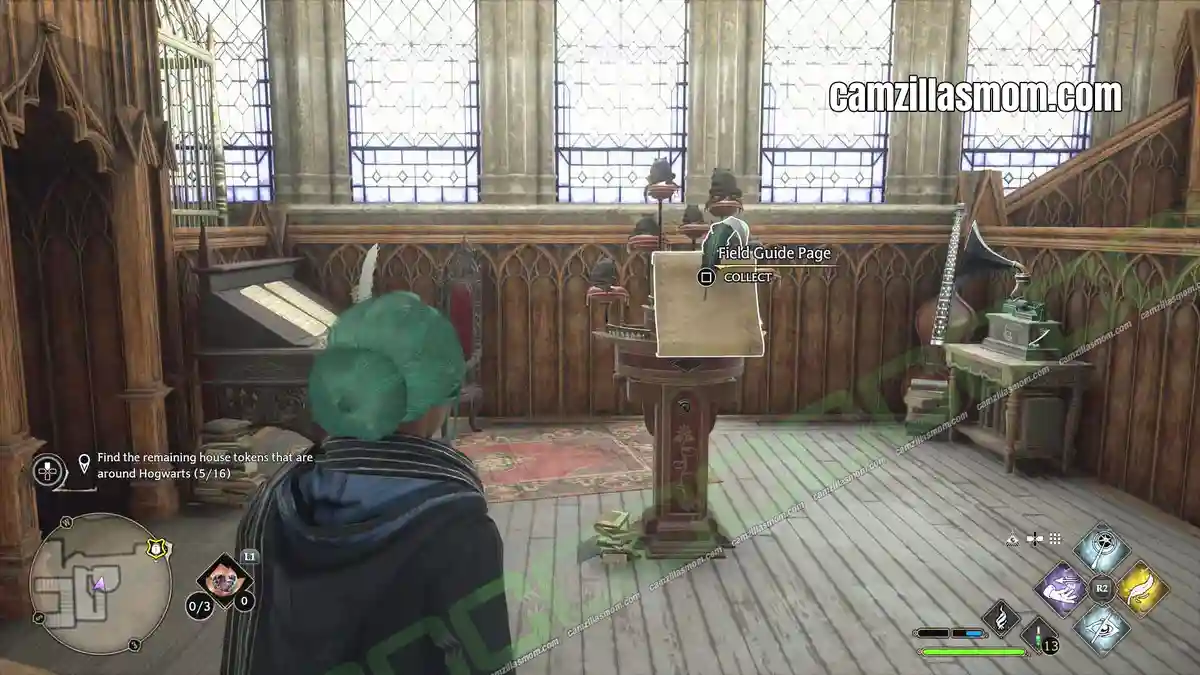
7 – Frog Choir
“Here perch the slimy yet symphonic frags that comprise the Hogwarts Frog Choir. These magical amphibians can sing in six-part harmony and hold a pitch better than most humans.”
At The Bell Tower, head up the tower from the ground floor – just past the previous Scorch Marks. Up there is a room with the Frog Choir in its centre.
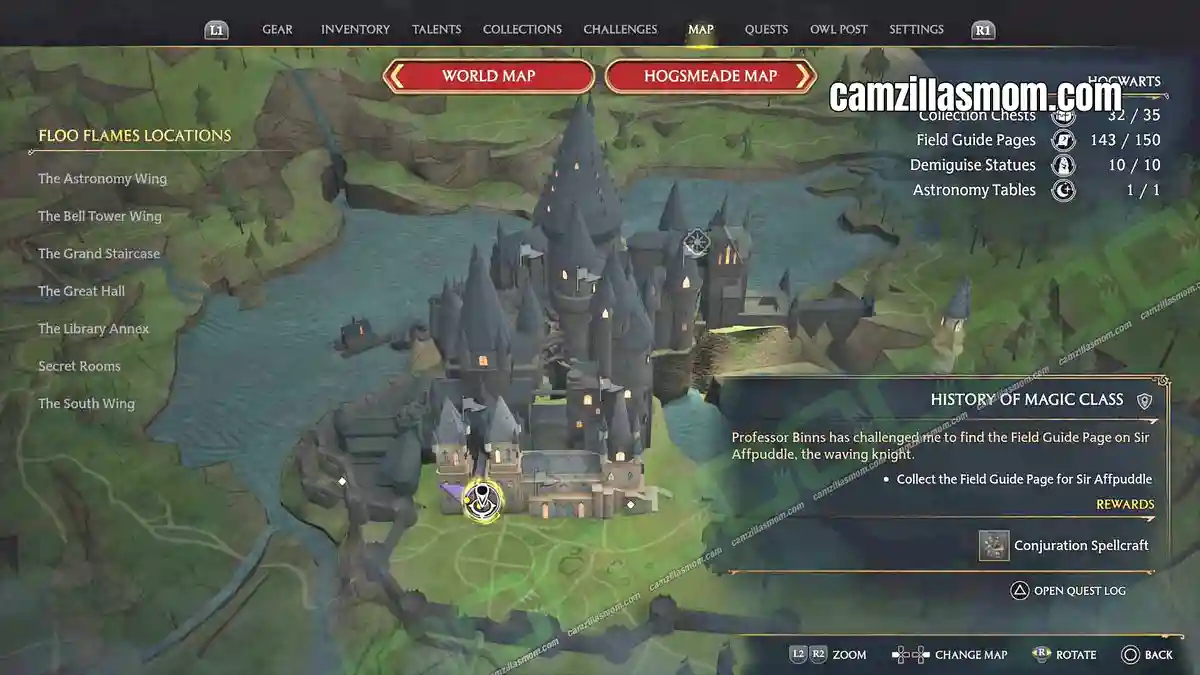
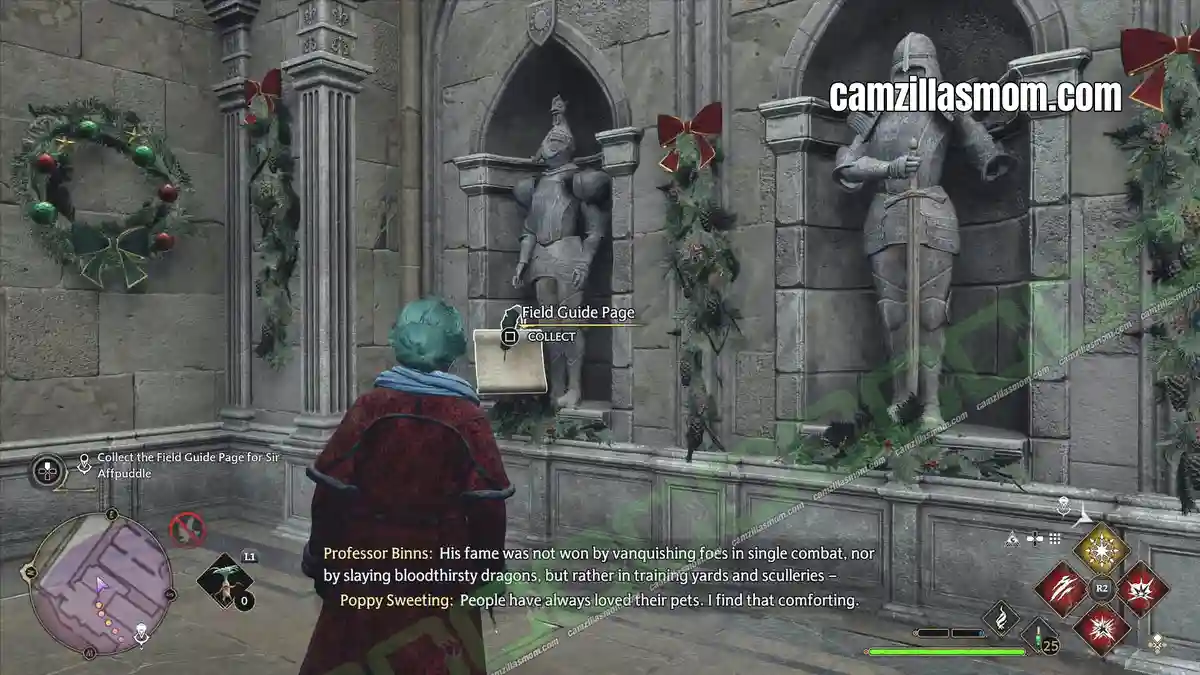
8 – Waving Knight
“This set of armour belonged to Sir Affpuddle of the Cheerful Countenance, a legendarily friendly knight who supposedly won every battle before it was fought by virtue of his amiable negotiating tactics. Some attribute his success to an overly potent Cheering Charm he cast upon himself.”
This Field Guide Page is also connected with the Side Quest “History of Magic Class”, where you have to find this page during the quest.
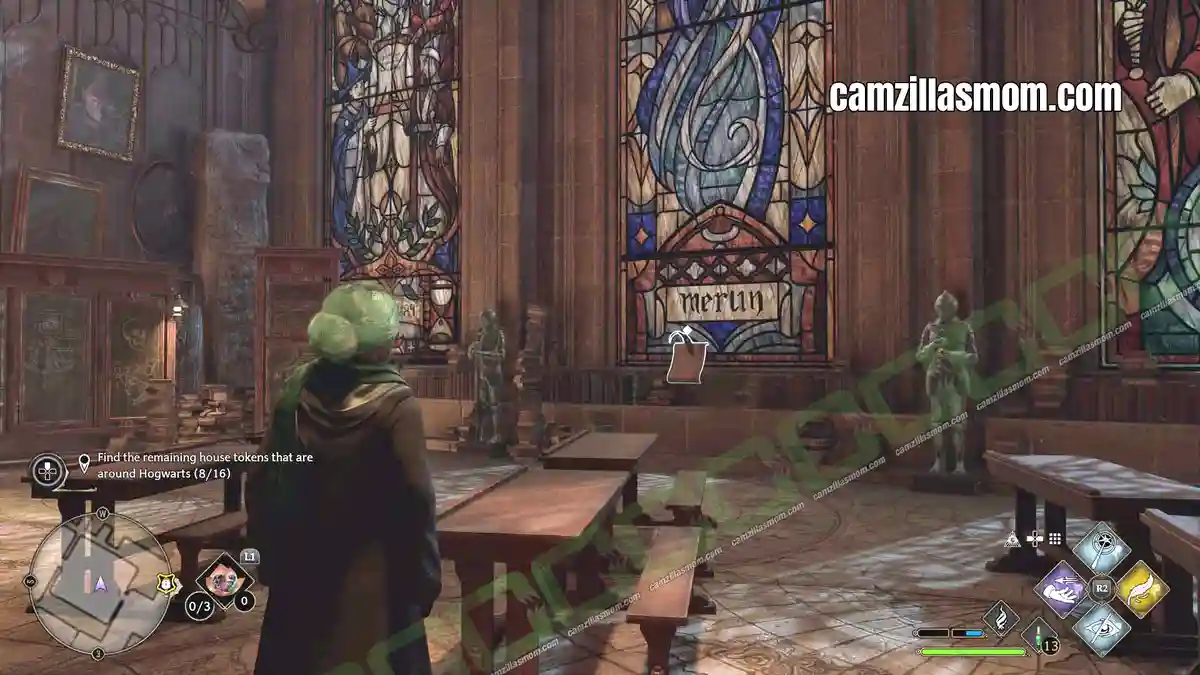
9 – History of Magic Windows
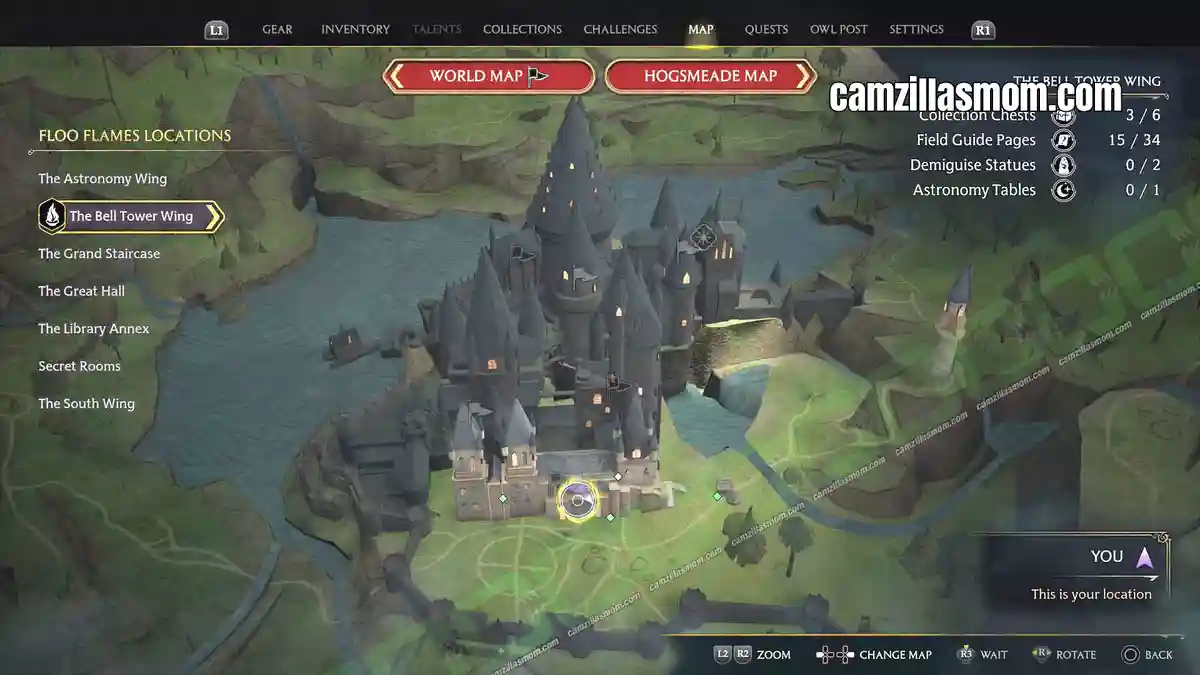
“This set of stained-glass windows features Merlin, the four Hogwarts founders, and various other witches and wizards of the ages.”
Enter THE BELL TOWER WING through the courtyard and turn left into a classroom with tall, colourful windows.
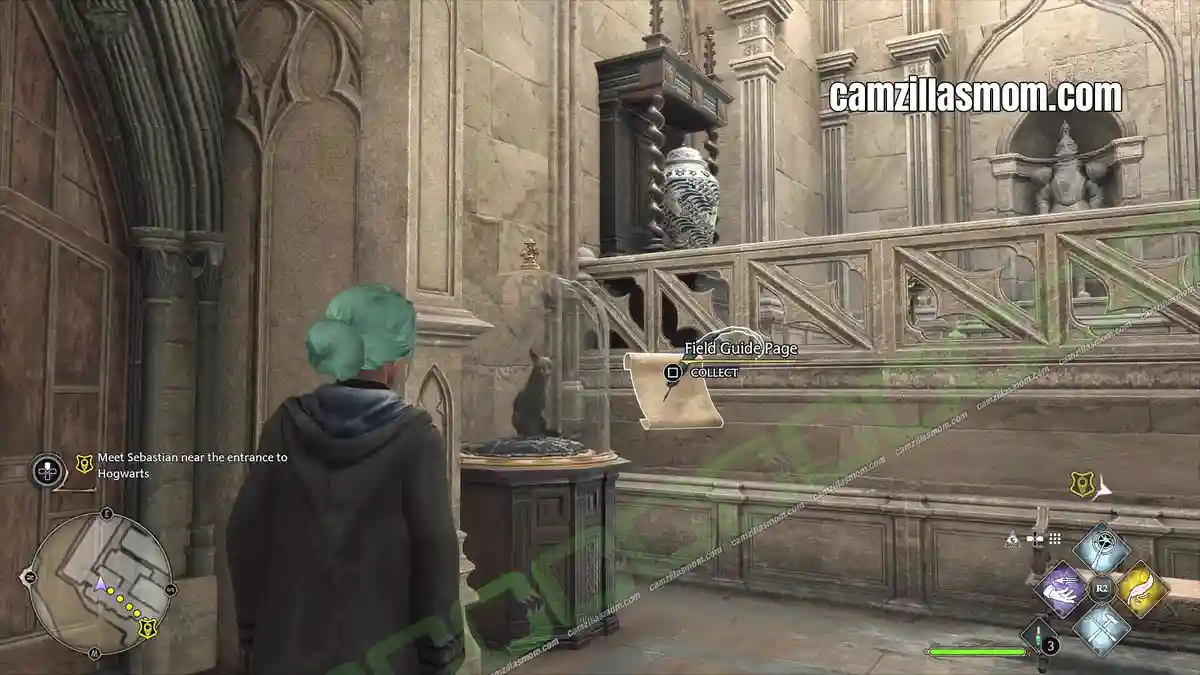
10 – Wooden Cat
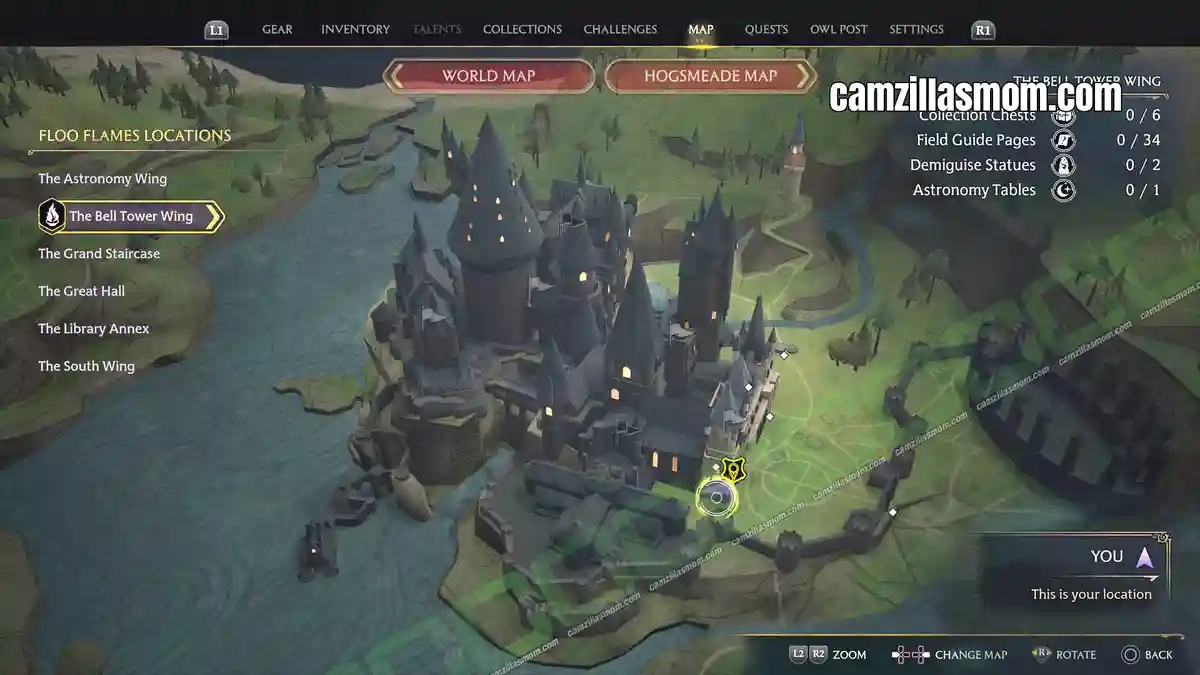
“This wooden statue bears the likeness of Pangur Donn, fearless feline mouse hunter and devoted study companion.”
The Wooden Cat is a collectible at The Bell Tower Wing. Coming from the Library Annex, it is just when you enter to the left.
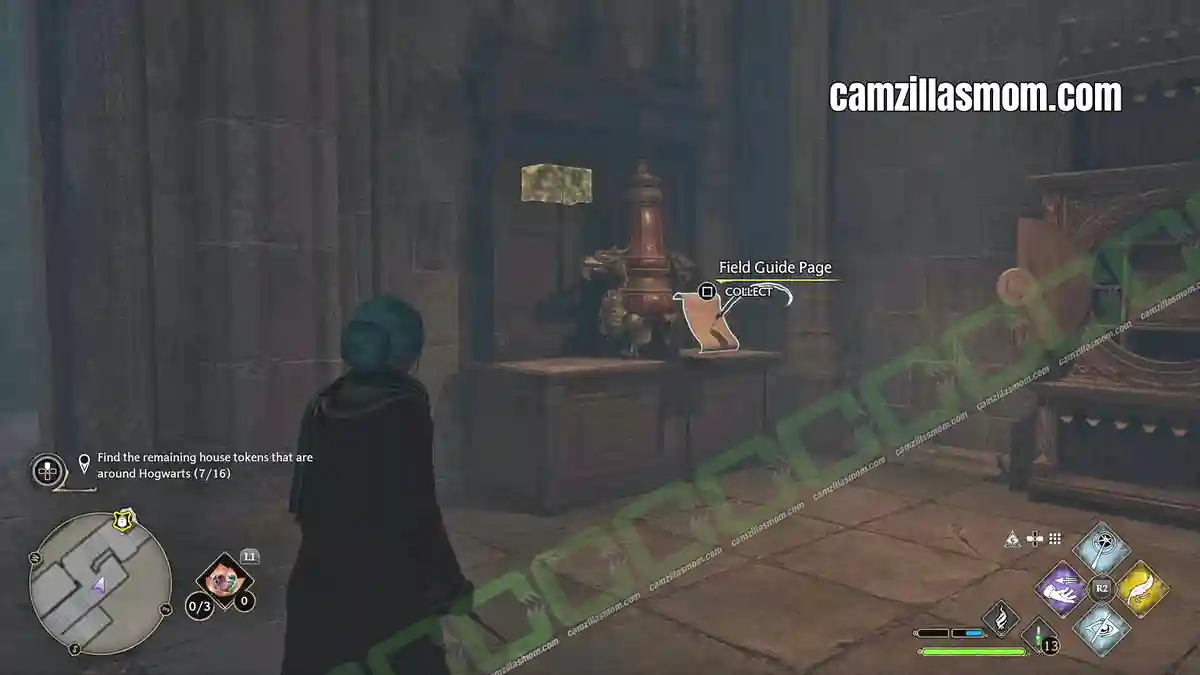
11 – Urn of Ashes
“This particular urn is rumoured to have once borne the inscription: ‘Pioneer in Dragon Taming. Should not have started with the Hungarian Horntail.”
Go to the big staircase of THE BELL TOWER WING. At the bottom of it is the door to the basement. It is here, at the top of the area where you can find the Urn of Ashes next to a cabinet.
12 – Salazar Slytherin’s Scriptorium
“A secret and well-protected room beneath Hogwarts where Salazar Slytherin appears to have spent time making various long-term plans with respect to the student population and reflecting on disagreements he had with the other founders.”
Play the story until you are able to do the “IN THE SHADOW OF THE STUDY” side quest, where you will have to discover Salazar Slytherin’s Scriptorium.
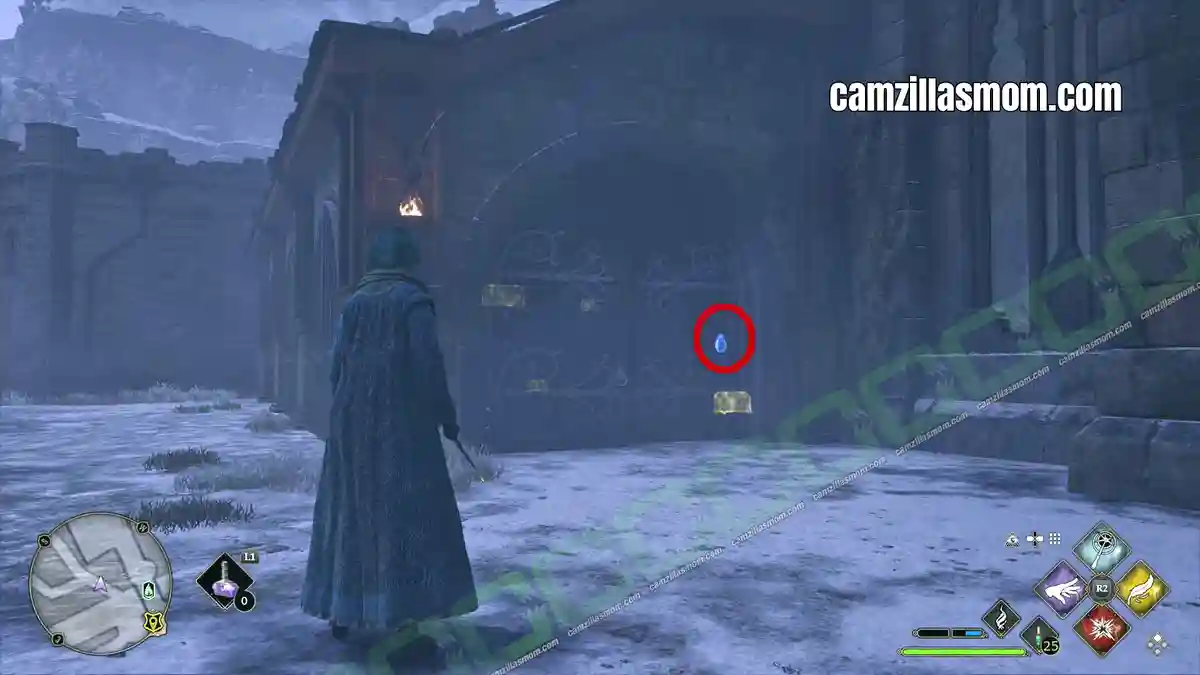
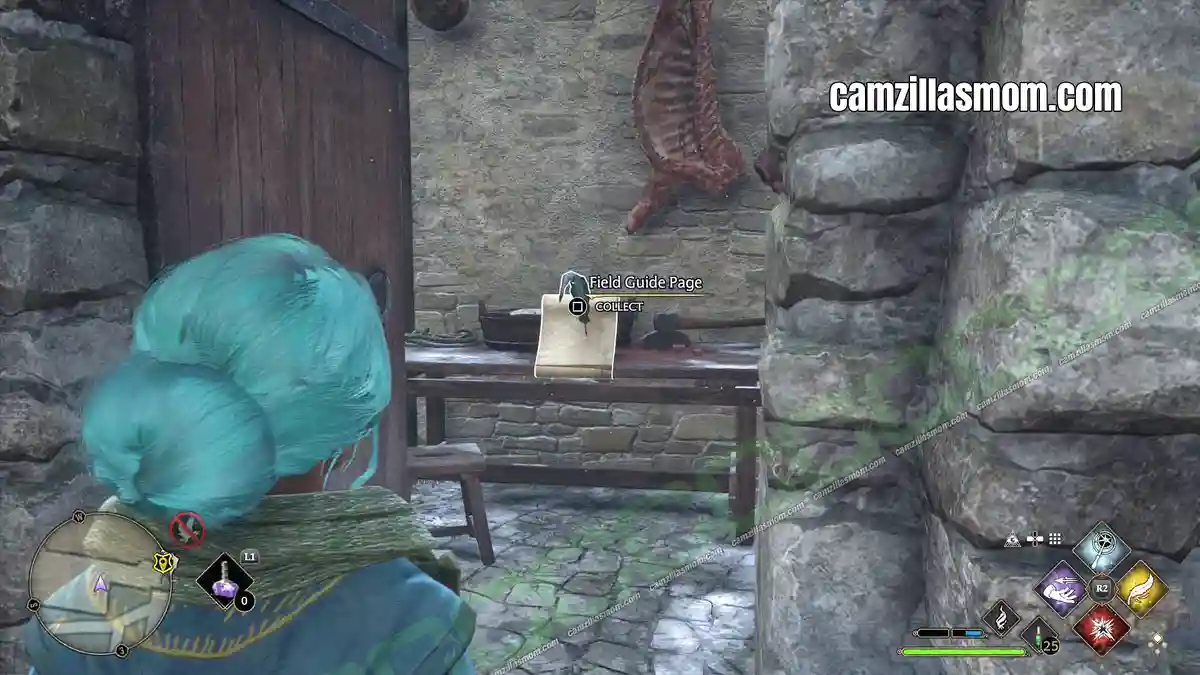
13 – Bloody Meat
“At first glance, one might be inclined to alert the authorities regarding this sight. Rest assured, however, that it is mearely bloody meat used to feed the Thestrals.”
Exit THE BELL TOWER WING and go outside towards Hogwarts North exit. Left of the exit is a big gate – the stables. It has a locked door. Open it with your lock picking spell and you’ll see where the Thestrals’ feed is coming from.
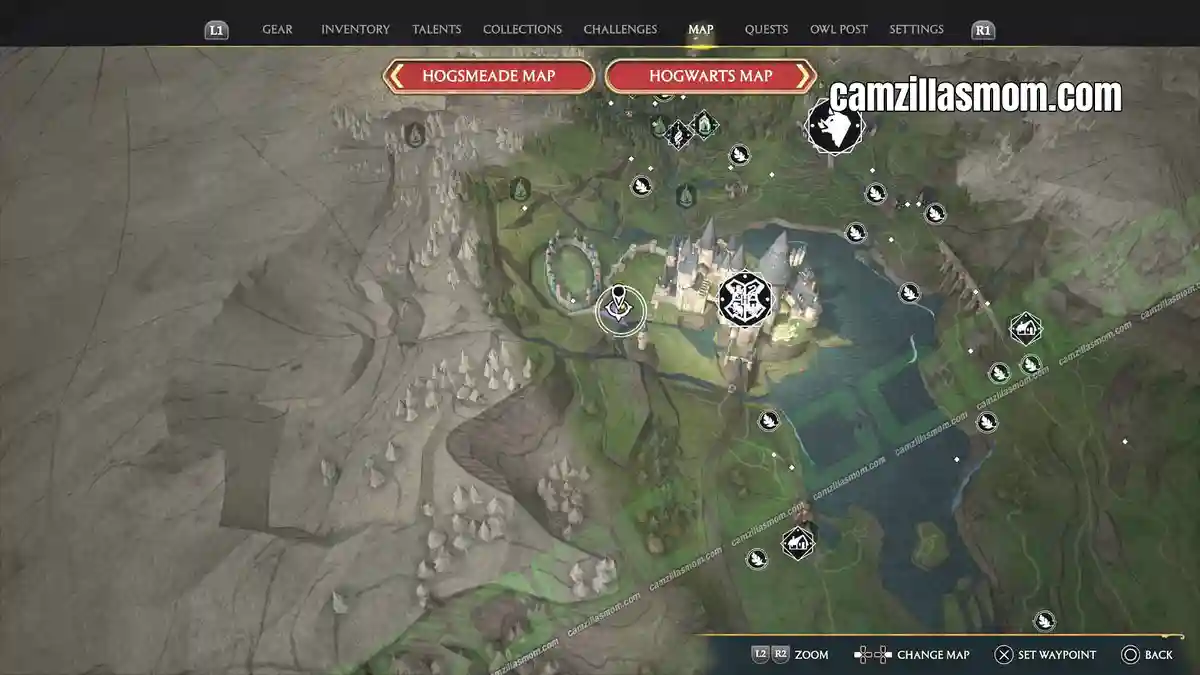
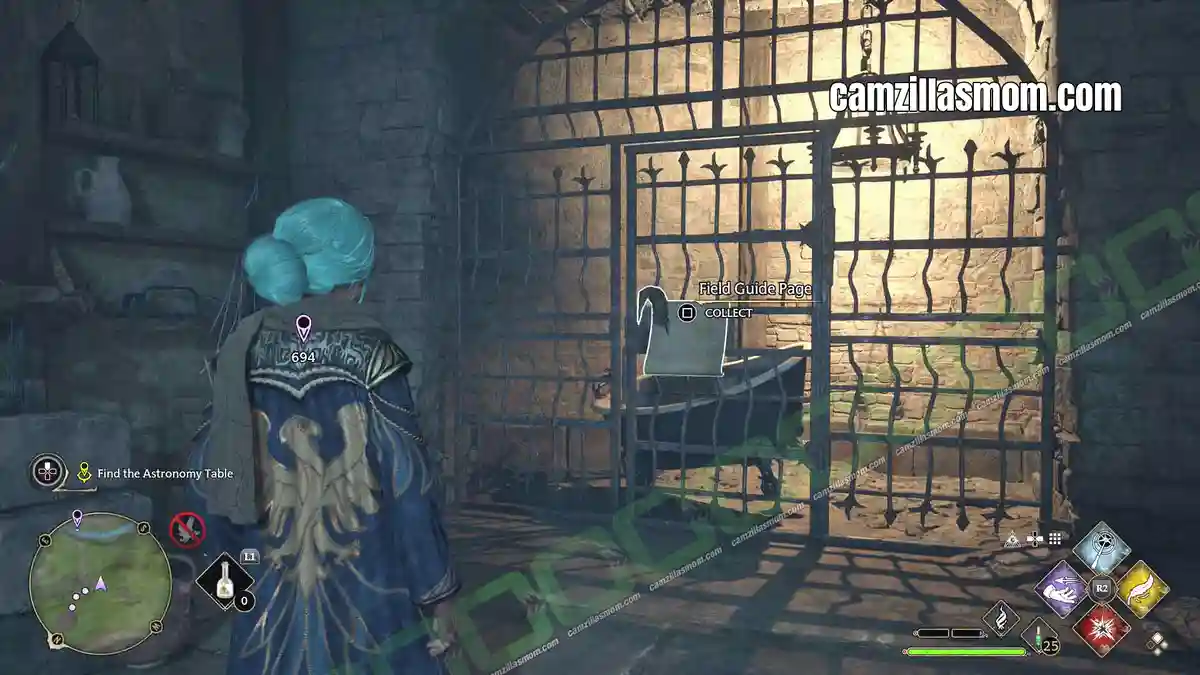
14 – Caged Bathtub
“This bathtub has been kept behind lock and key for as longs as anyone can remember. Rumour has it that the tub was enchanted to chase after students decades ago who were too obsessed with their studies to care much for personal hygiene.”
While doing the “Astronomy Class” Main Quest, you meet Amit to travel through the castle turrets to find an Astronomy Table. Inside the first ruin structure you enter, there is a caged bathtub. This Field Guide page is like most of the outside Field Guide pages counted under THE BELL TOWER WING.
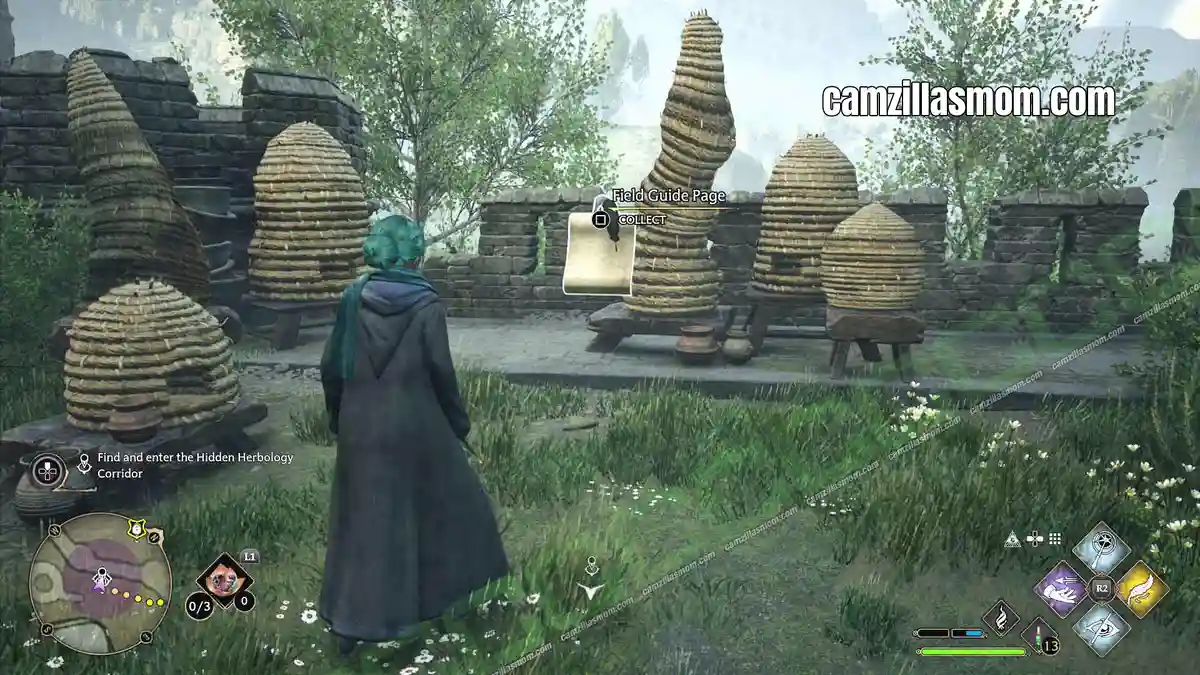
15 – Glumbumbles
“Glumbumbles are magical flying insects that produce a treacle which will cause melancholy if consumed. They feed on nettles and nest in dark and secluded places. Unfortunately, they are known to infest beehives, having a devastating effect on the honey therein.”
Have a stroll in the gardens outside the greenhouse and look at the bee / bumble hives.
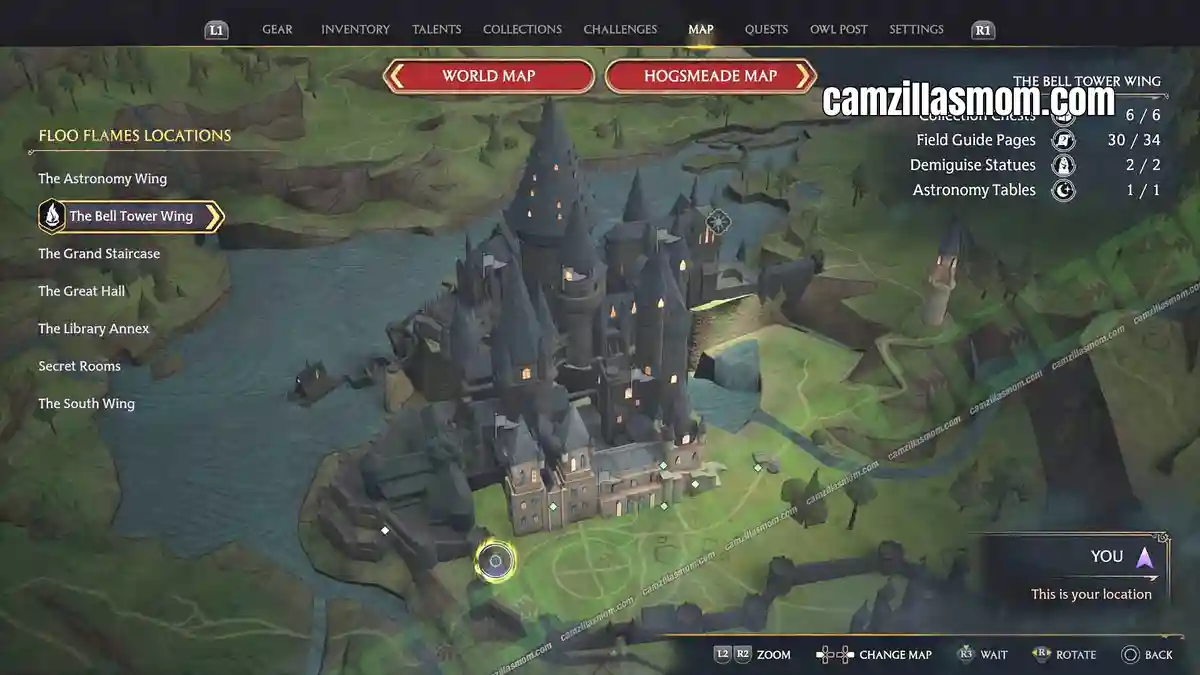
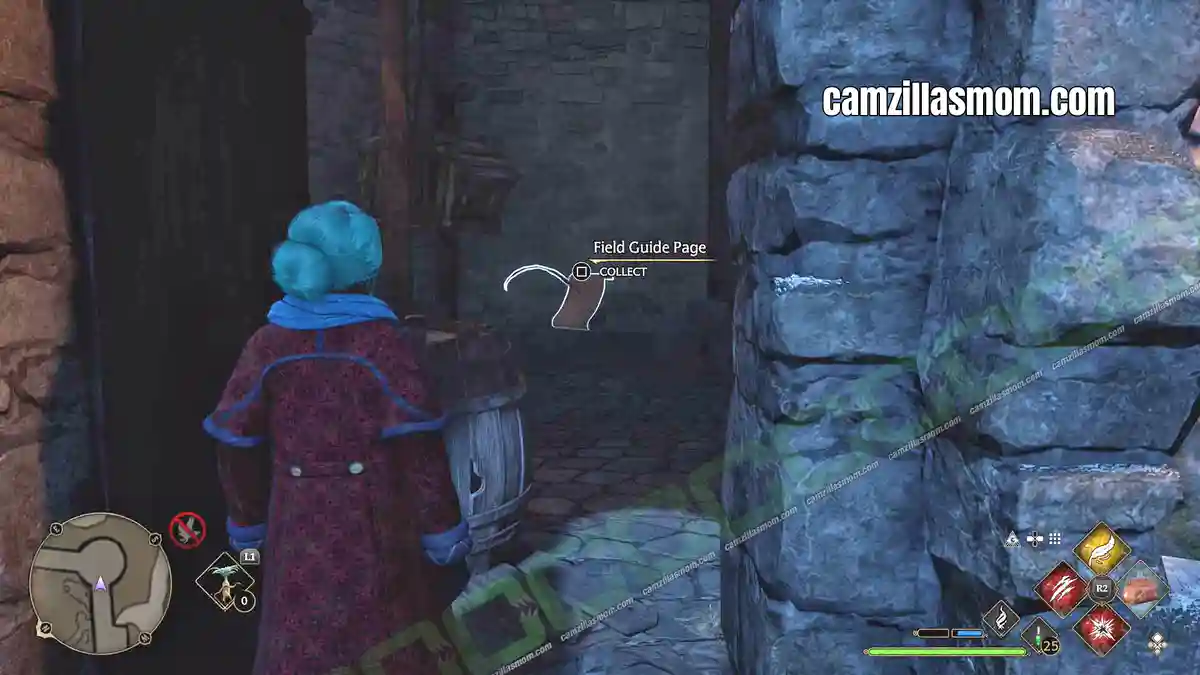
16 – Castle Ramparts
“Along with powerful protective enchantments, these defensive ramparts have safeguarded Hogwarts castle for centuries. The ancient rooms and corridors along the ramparts might be worth exploring, as they harbour mysteries of their own.”
This Field Guide Page is inside one of the towers of the outside fortifications.
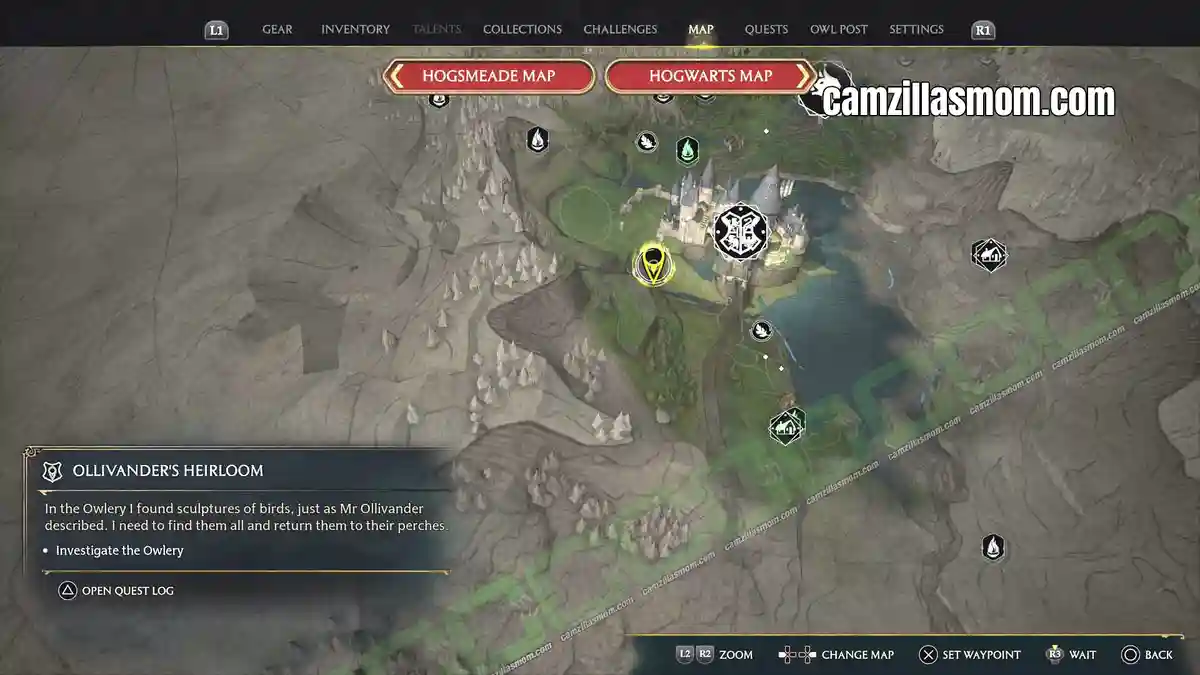
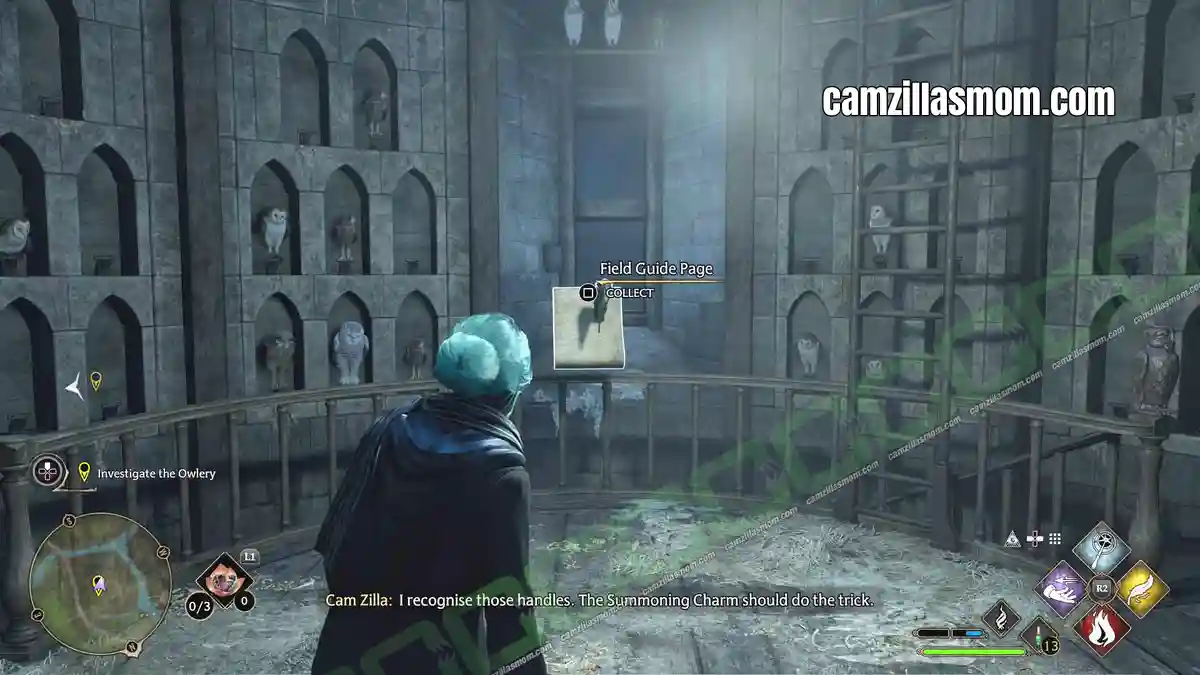
17 – Hogwarts Owls
“School owls and owls owned by students can be found in the Hogwarts Owlery. One is advised to explore carefully, keeping an eye out for owl droppings and regurgitated mouse skeletons.”
Get this Revelio Page at the top of Hogwarts Owlery outside the building.
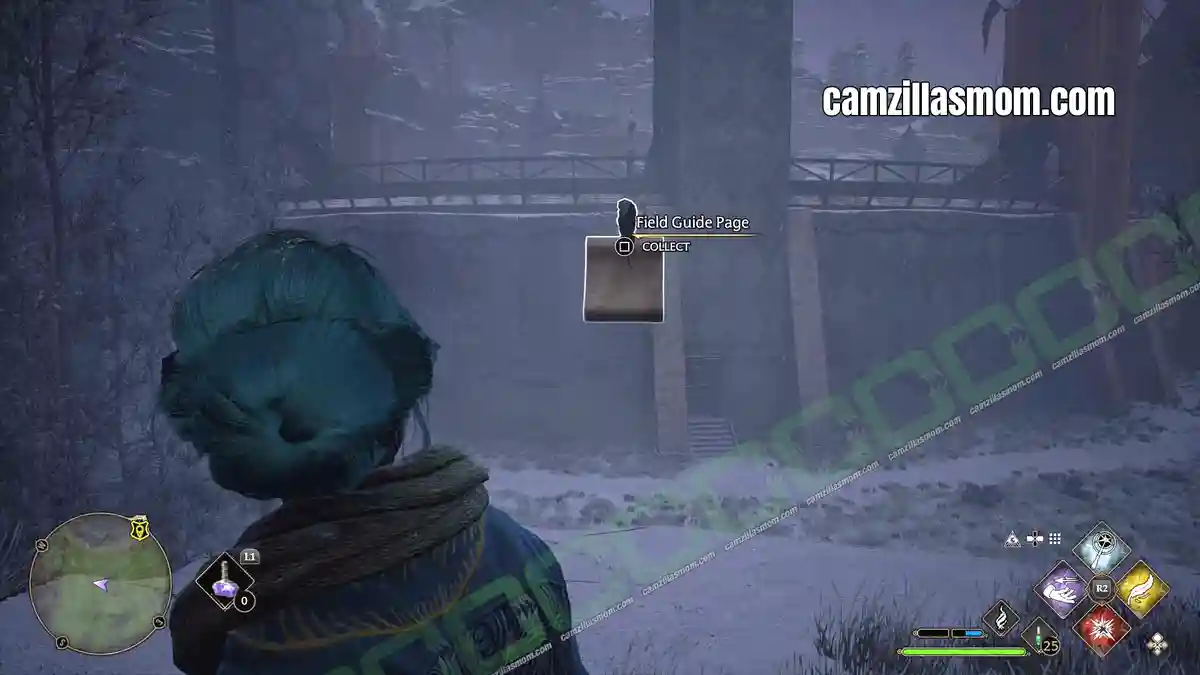
18 – Quidditch Pitch
“The Hogwarts Quidditch pitch is the site of intense house rivalries, as Chasers, Beaters, Keepers, and Seekers take to the skies in pursuit of the Quidditch Cup. That is, of course, when the favourite sport of the wizarding world has not been cancelled for the year by an exceptionally oblivious headmaster.”
From the Fortification wall outside, you can get a nice view of the Quidditch Pitch, where this Field Guide Page is.
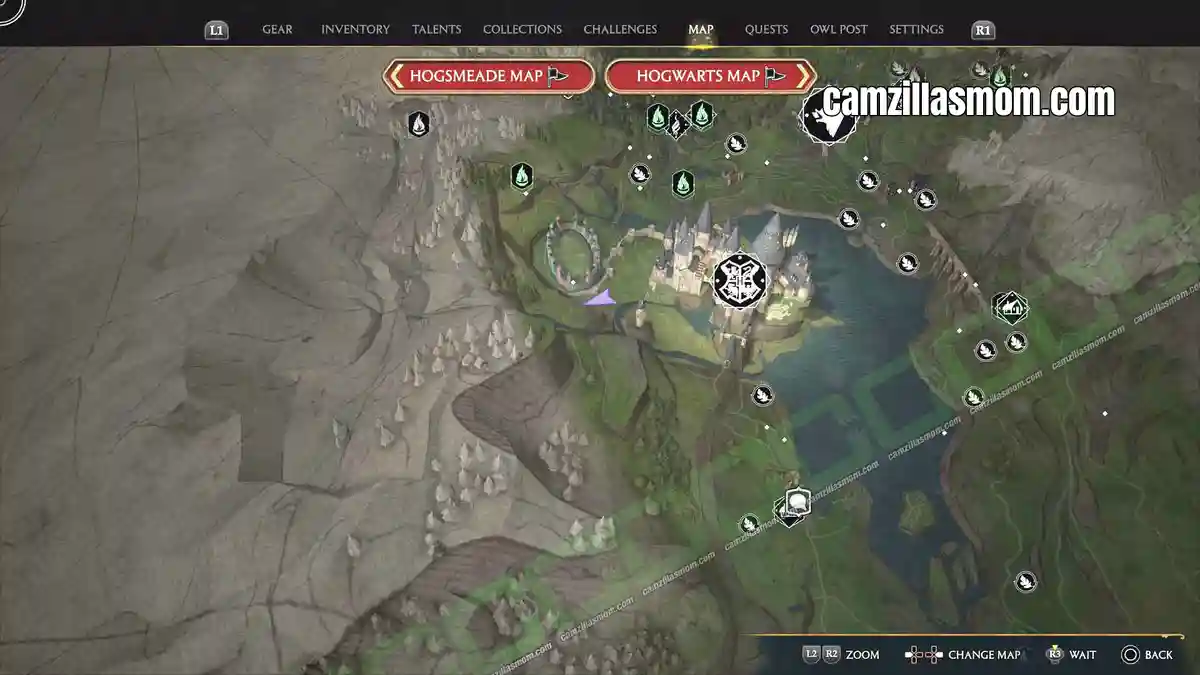
19 – Alchemy Class
“An arcane subject offered to older students on the rare occasion when demand suffices, Alchemy focuses on the four natural elements and the science of transmutation.”
Go to the big staircase of THE BELL TOWER WING down into the basement. In the corridor after the dragon statue is another locked door after the “Important Muggle Artefact” with this Field Guide Page inside.
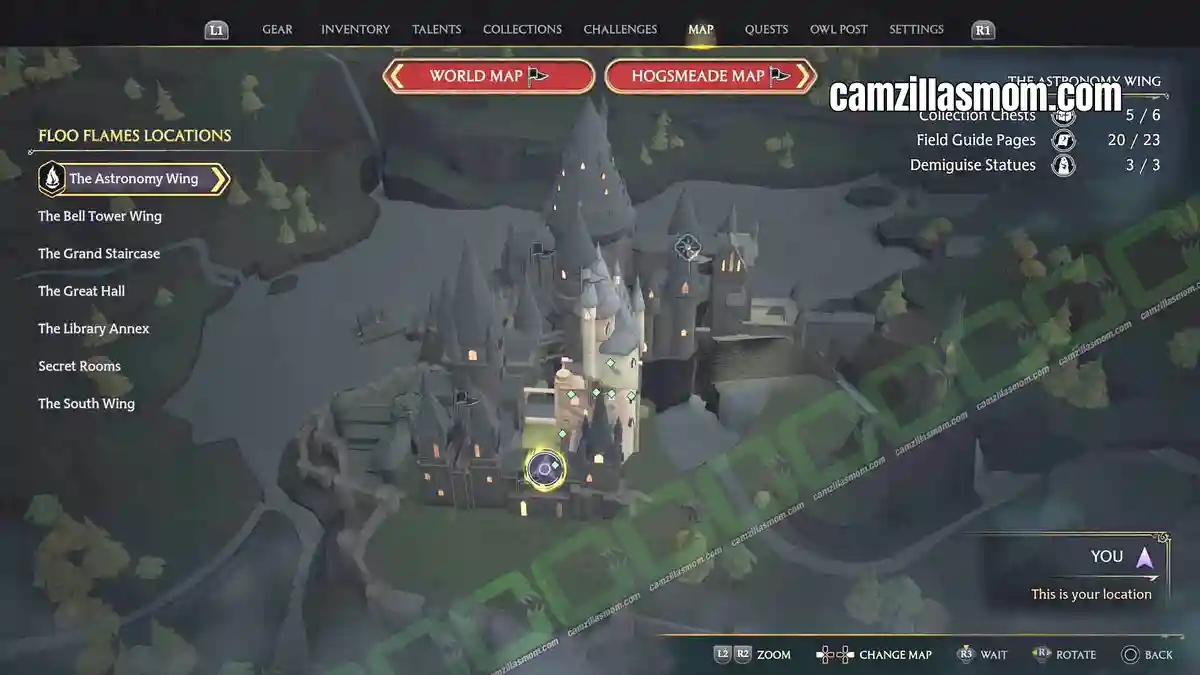
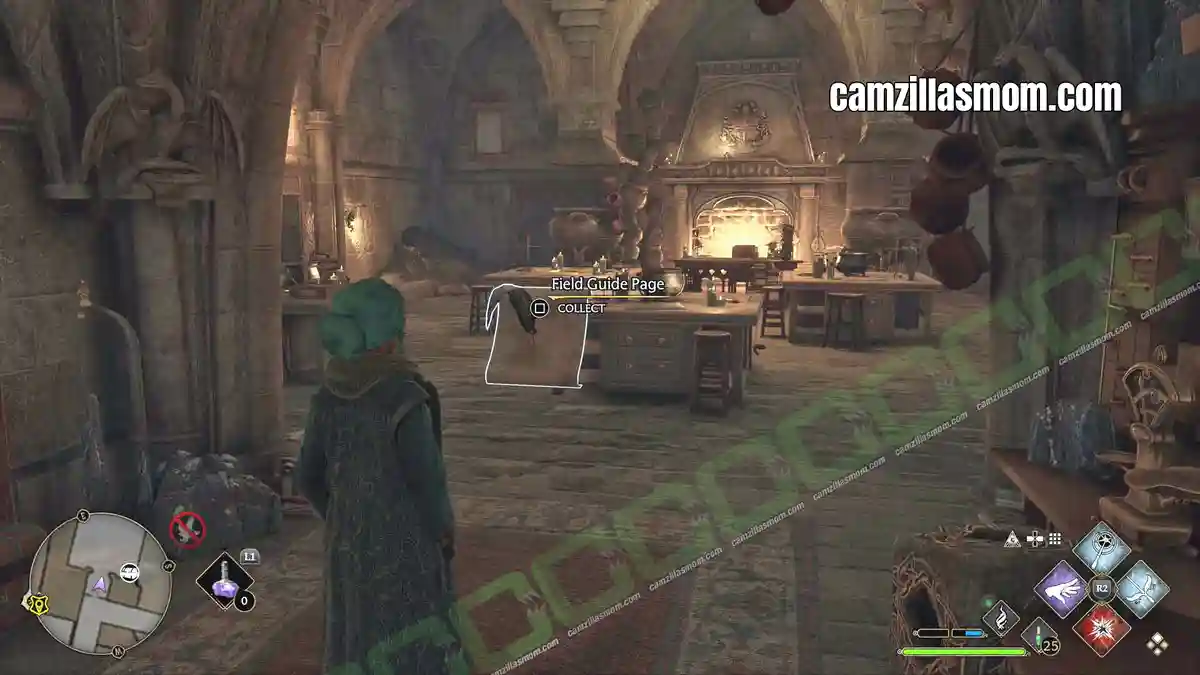
20 – Important Muggle Artefact
“This misunderstood artefact is supposedly important to Muggle warfare, though most of wizardkind find the prospect of wielding such a hefty – weapon? – utterly head-scratching.”
Go to the big staircase of THE BELL TOWER WING down into the basement. In the corridor after the dragon statue is a locked door with this Field Guide Page inside.
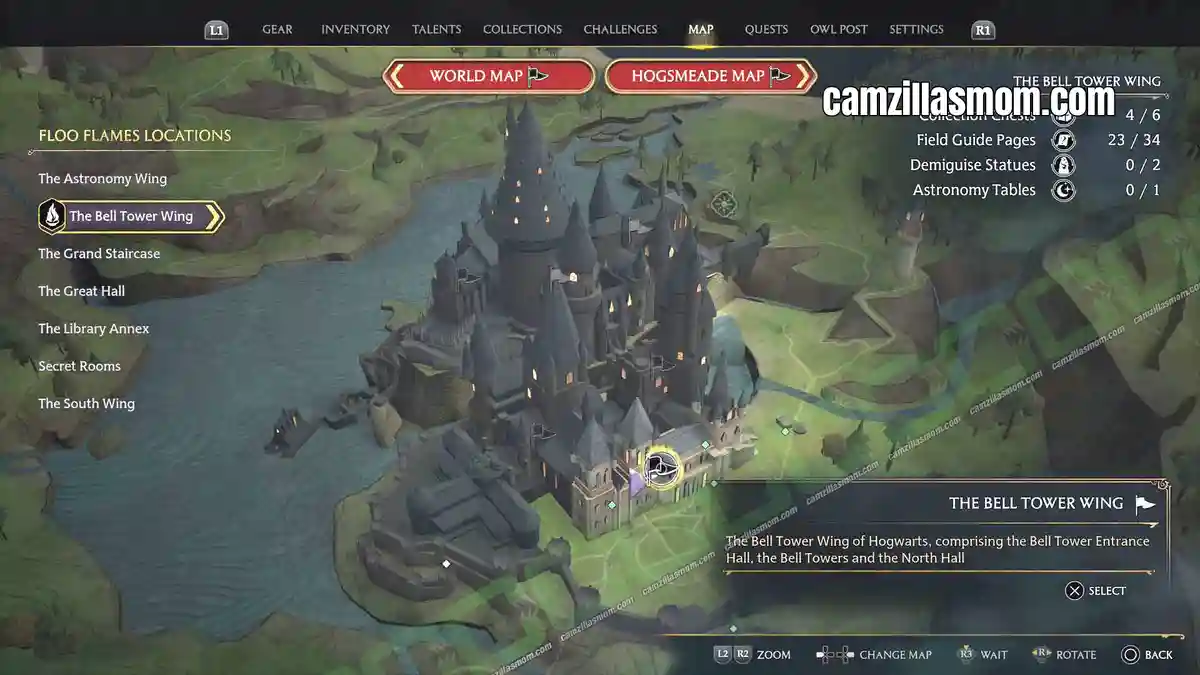
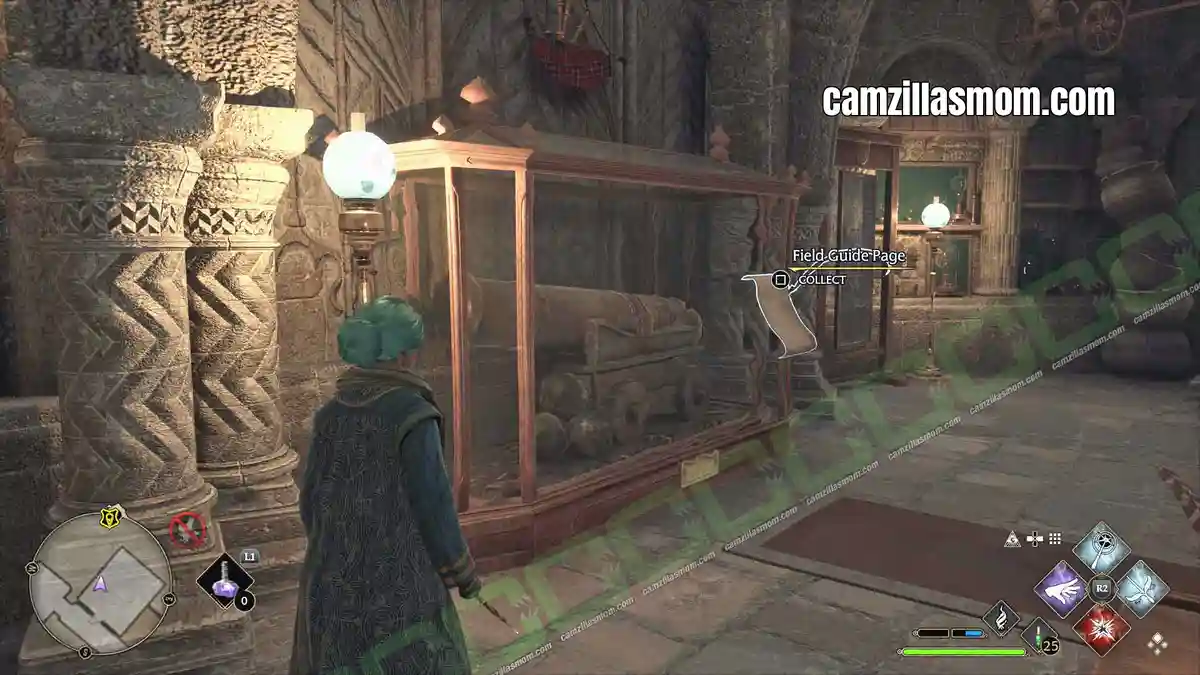
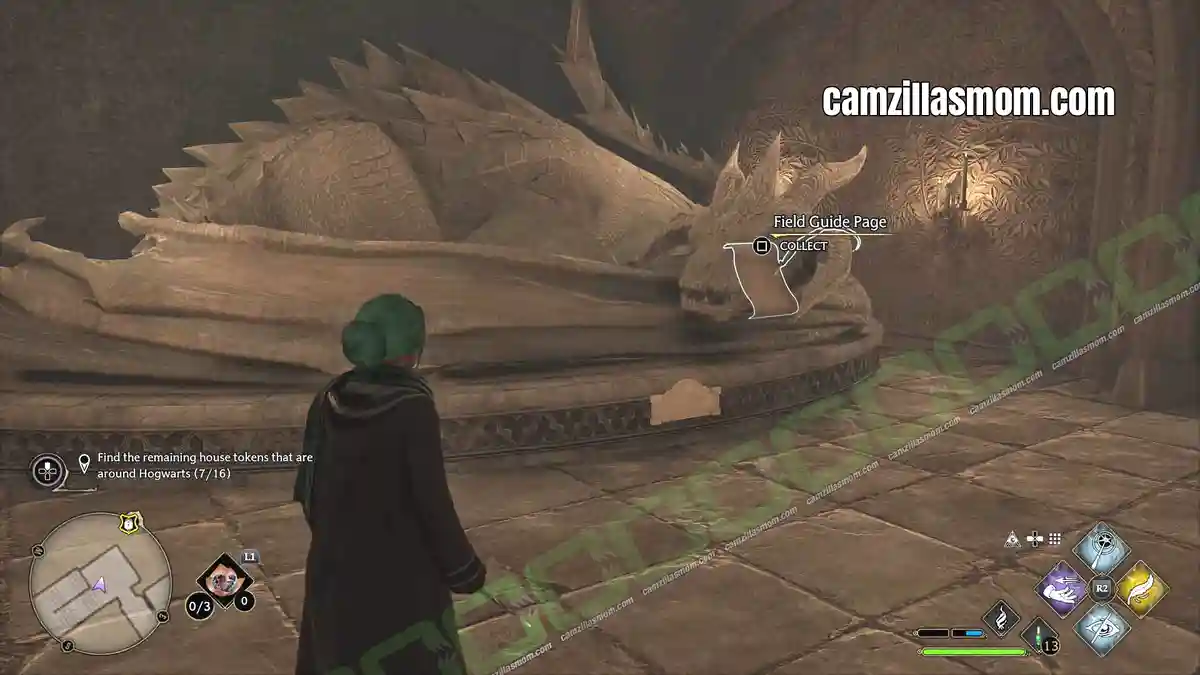
21 – Sleeping Dragon Statue
“The Hogwarts motto ‘Draco Dormiens Nunquam Titillandus’ means ‘Never Tickle a Sleeping Dragon’. Fortunately, this particular sleeping dragon is made of stone and will never awaken. It may be tickled to absolutely no effect.”
Go to the big staircase of THE BELL TOWER WING. At the bottom of it is the door to the basement. It is here, downstairs, where you can find the Sleeping Dragon Statue.
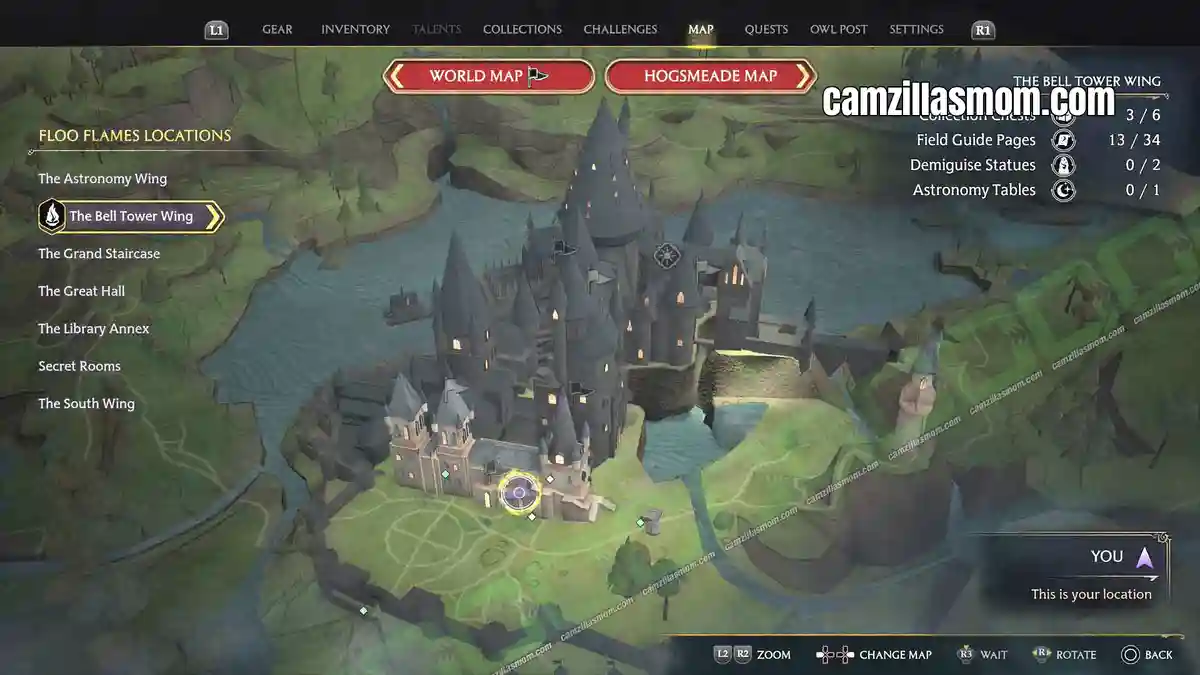
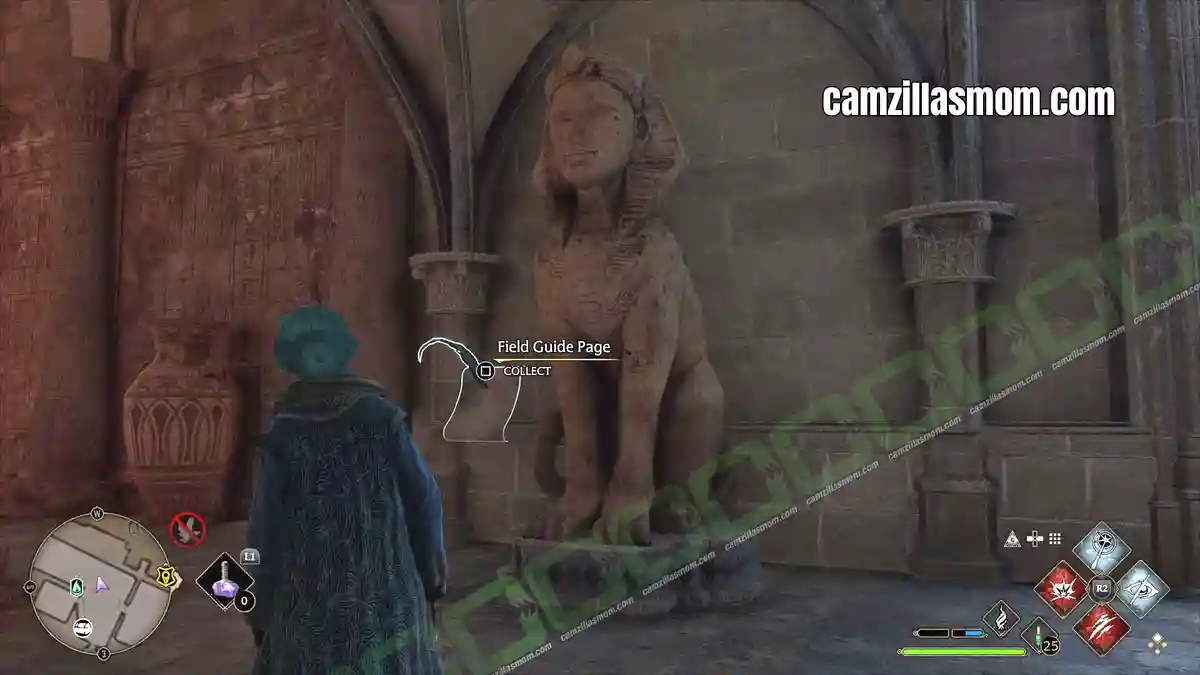
22 – Sphinx Statue
“The sphinx, a beast with a human head on a lion’s body, has been used by witches and wizards for centuries to guard valuables and secret hideaways due to its intelligence and affinity for puzzles and riddles.”
On ground floor of THE BELL TOWER WING is a locked door. It’s just next to Weasley’s office. Behind this door is the Sphinx Statue.
23 – Werewolf Saga Tapestries
This set of tapestries tells the tragic tale of a witch bitten by a werewolf. She chose to flee from her home to protect her infant daughter and husband. Rumour has it that her daughter fell asleep to the howl of a wolf for years thereafter.
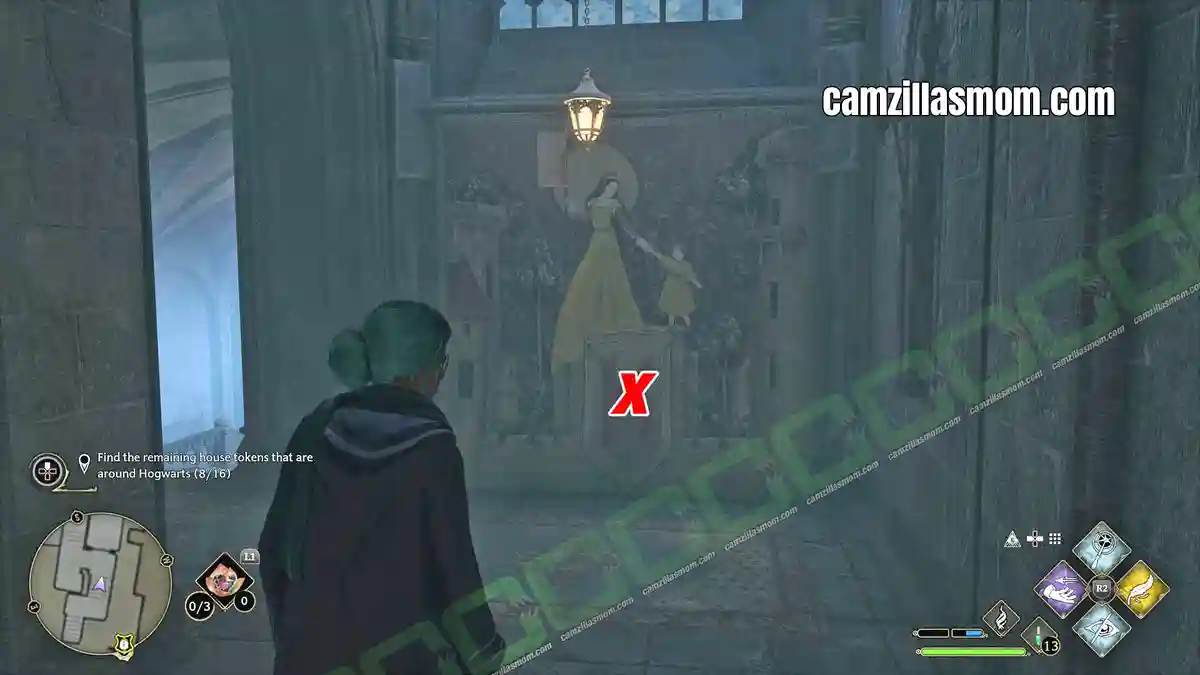
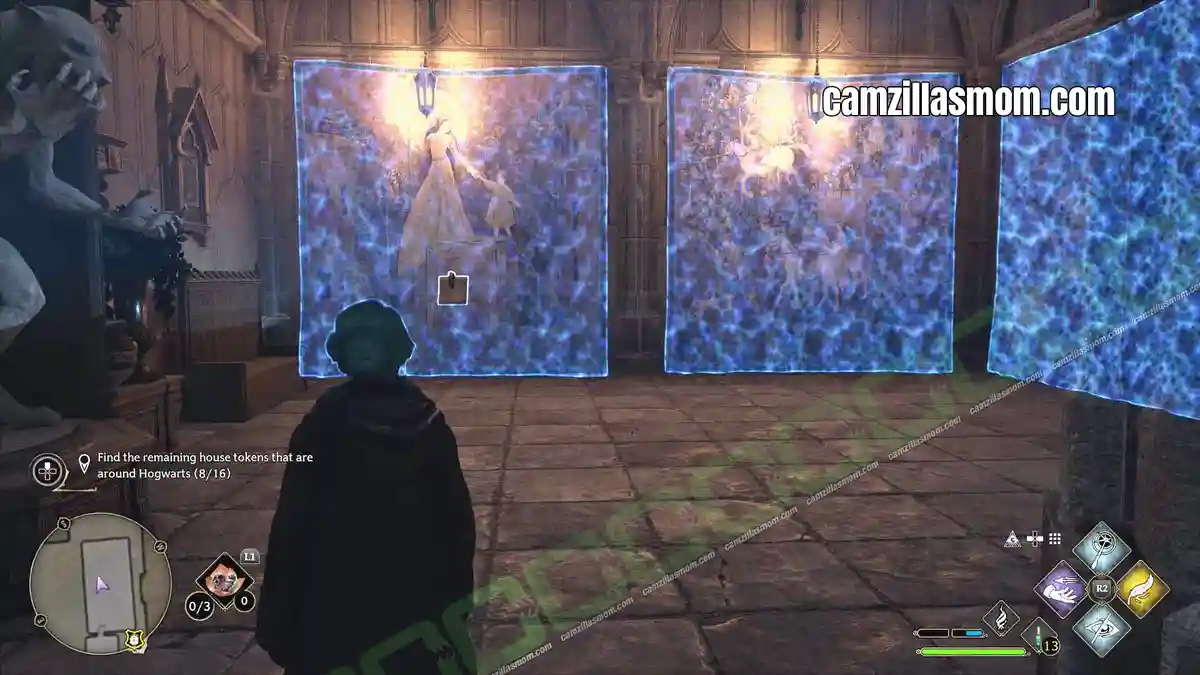
From the Dragon Statue, go back up to the top of the basement stairs and look down. There is a painting on the wall – it has a secret door. Follow the corridor behind it into the room with the Tapestries.
Unnamed Field Guide Pages at the Bell Tower
These don’t appear under Collections, but they all count towards your field guide page total and area completion.
1 – Flying Pages – catch them with ACCIO
2 – Moth Mirrors (black, empty picture frames) – cast LUMOS, find the moth, carry it back
3 – Dragon Bowls – cast INCENDIO
4 – Globe Statues – cast LEVIOSO
24 – Flying Page – Divination Classroom Floo Flame
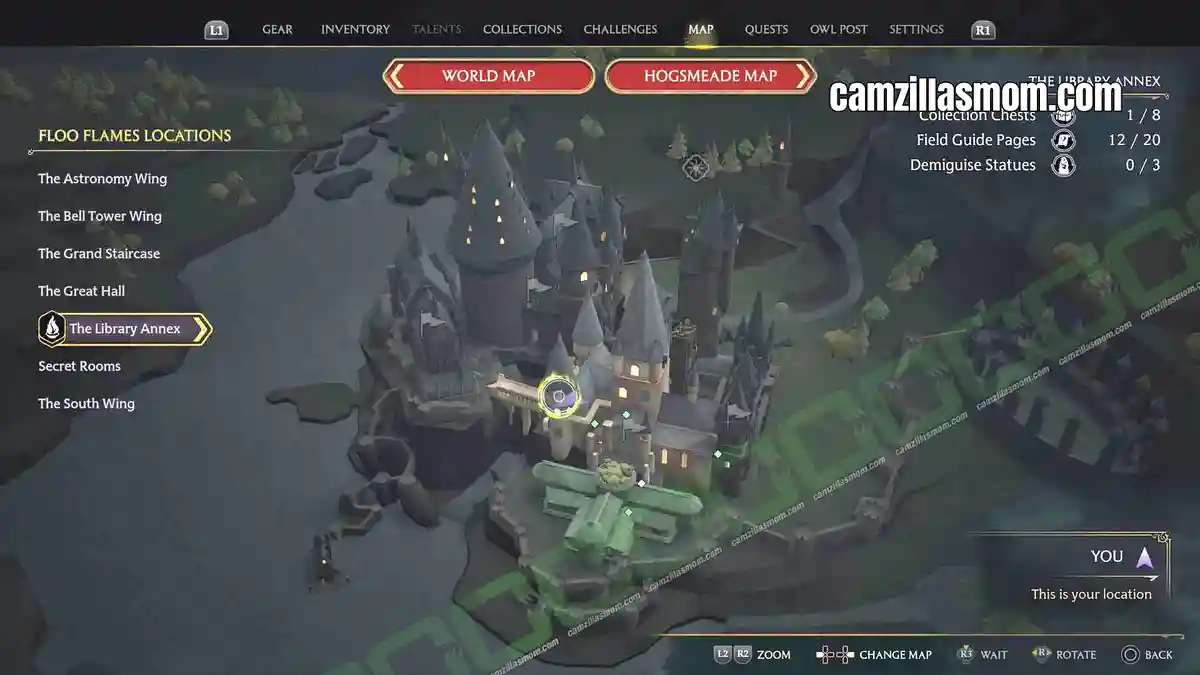
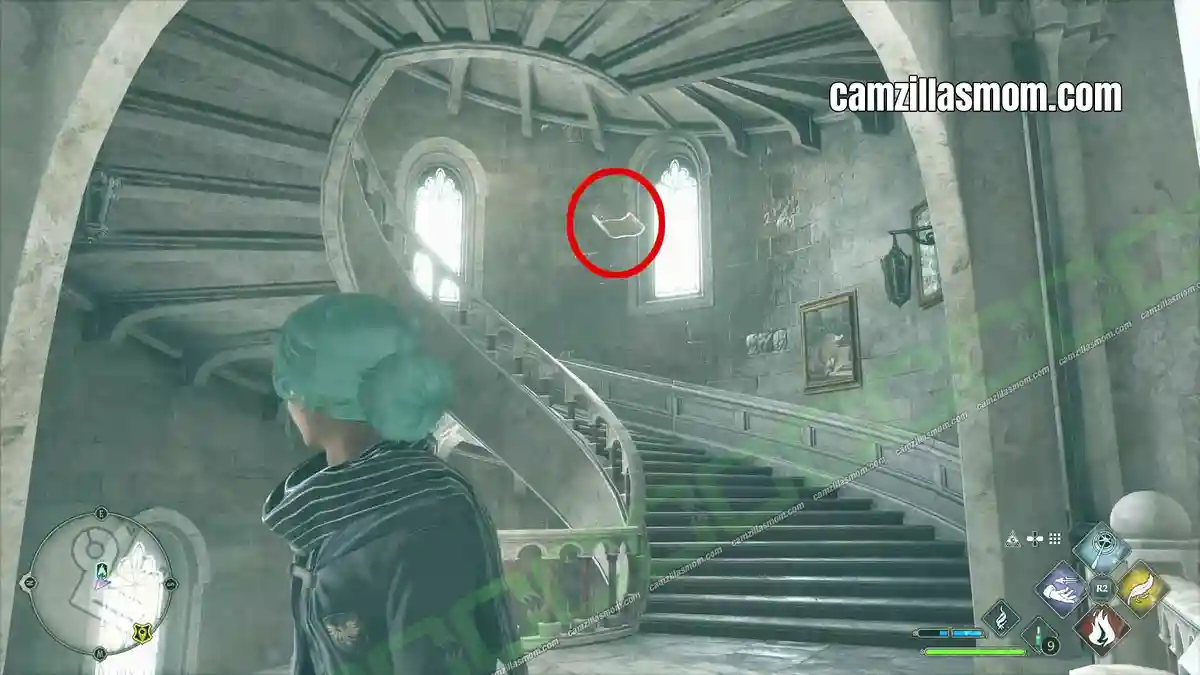
Travel to the DIVINATION CLASSROOM Fast Travel Point. And go down one level. Wait for the Flying Paper to fly down the winding staircase. Be patient. The paper has a flight time of around 23 minutes. If you miss it, you have to wait that long for it to come around again.
Even though I caught it the Flying Page in THE LIBRARY ANNEX, it seems more time to spend in THE TOWER WING. Hence it is count as Field Guide Page in THE TOWER WING.
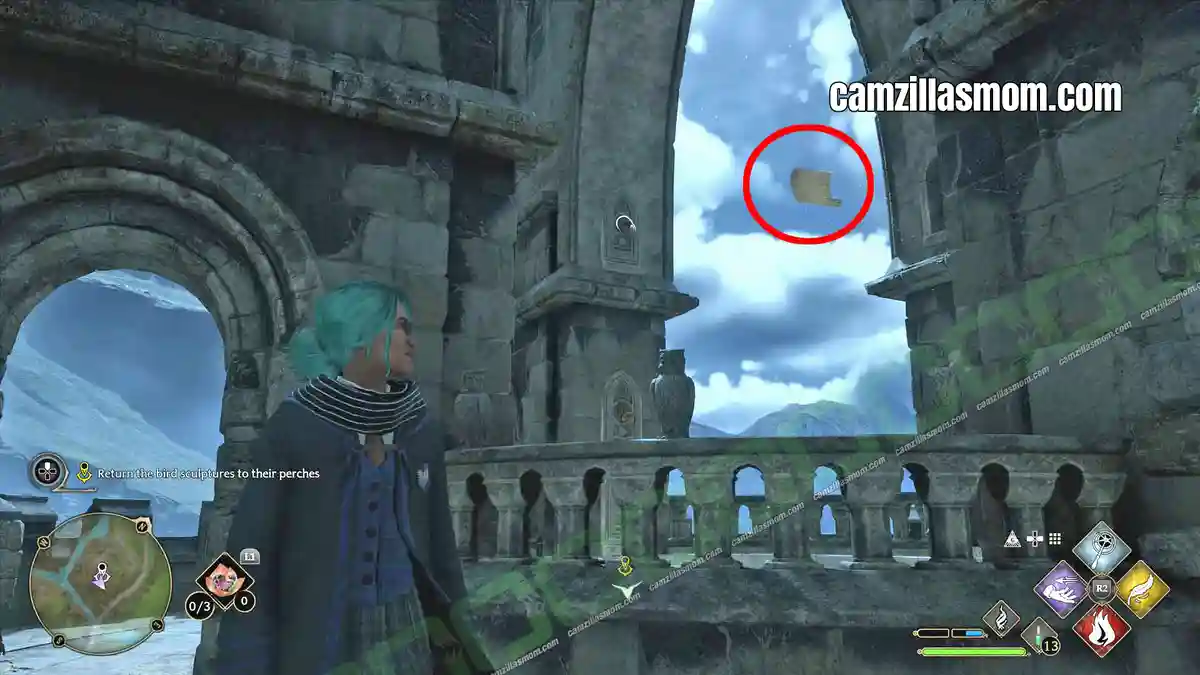
25 – Flying Page – Outside of the Owlery
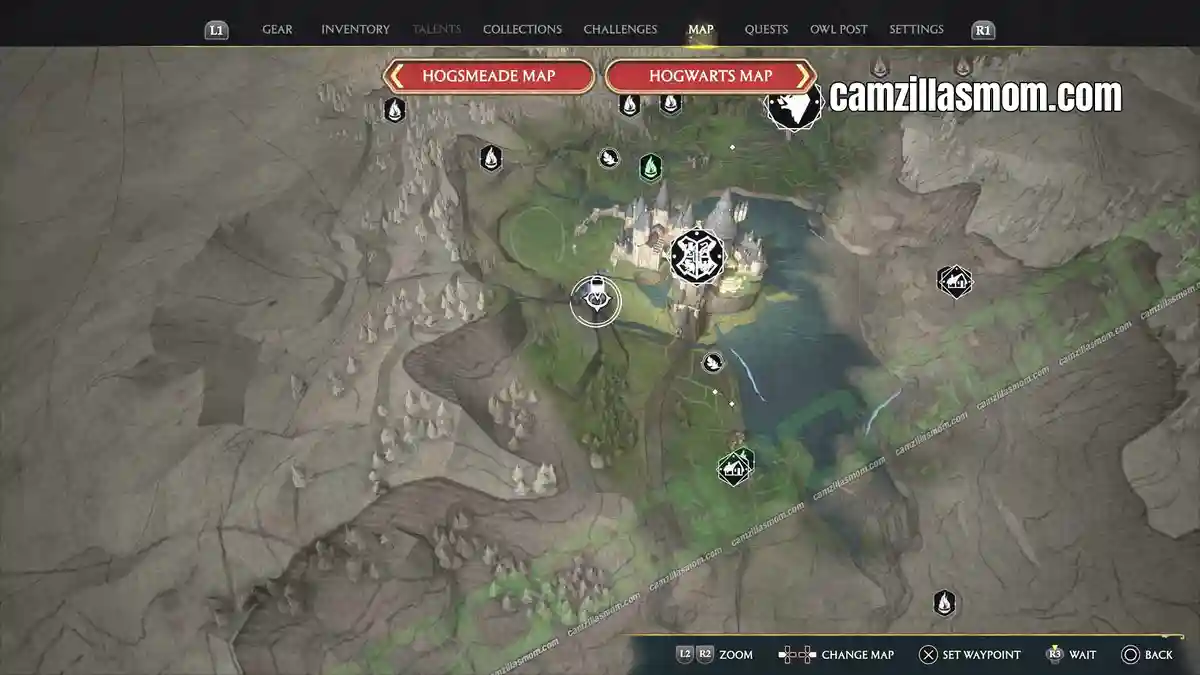
Go to the top of the Owlery and exit up to the roof. There is a paper flying here. Use “ACCIO” to catch it.
26 – Flying Page – Locked Ground Floor Door
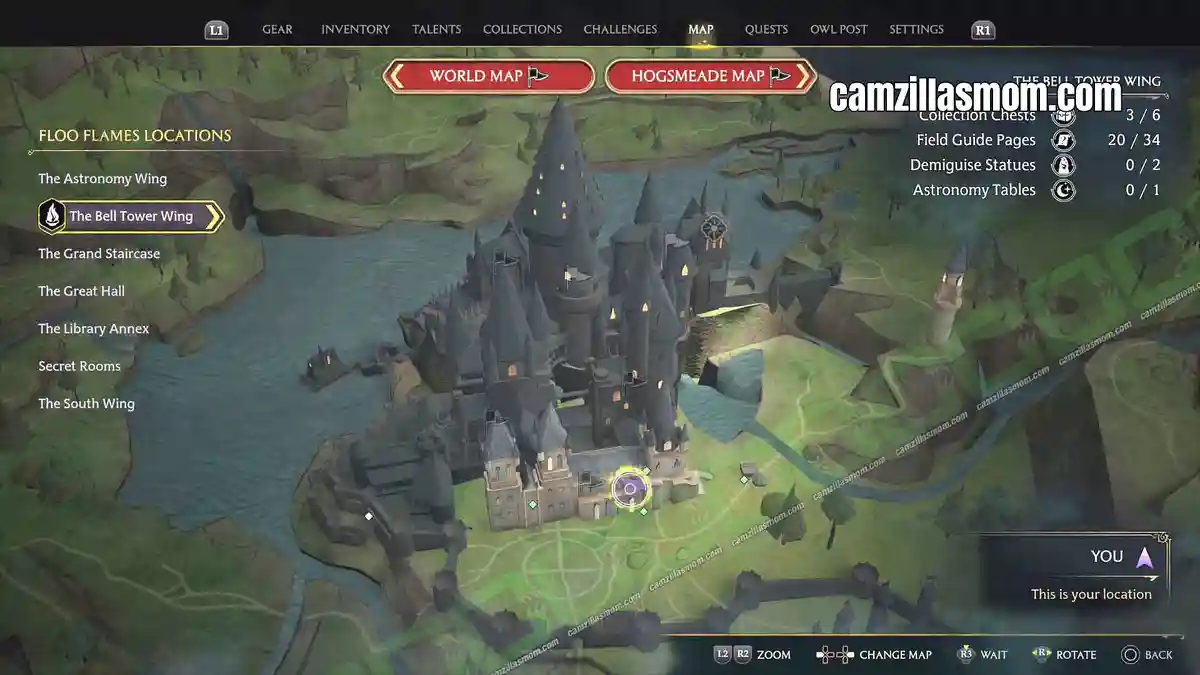
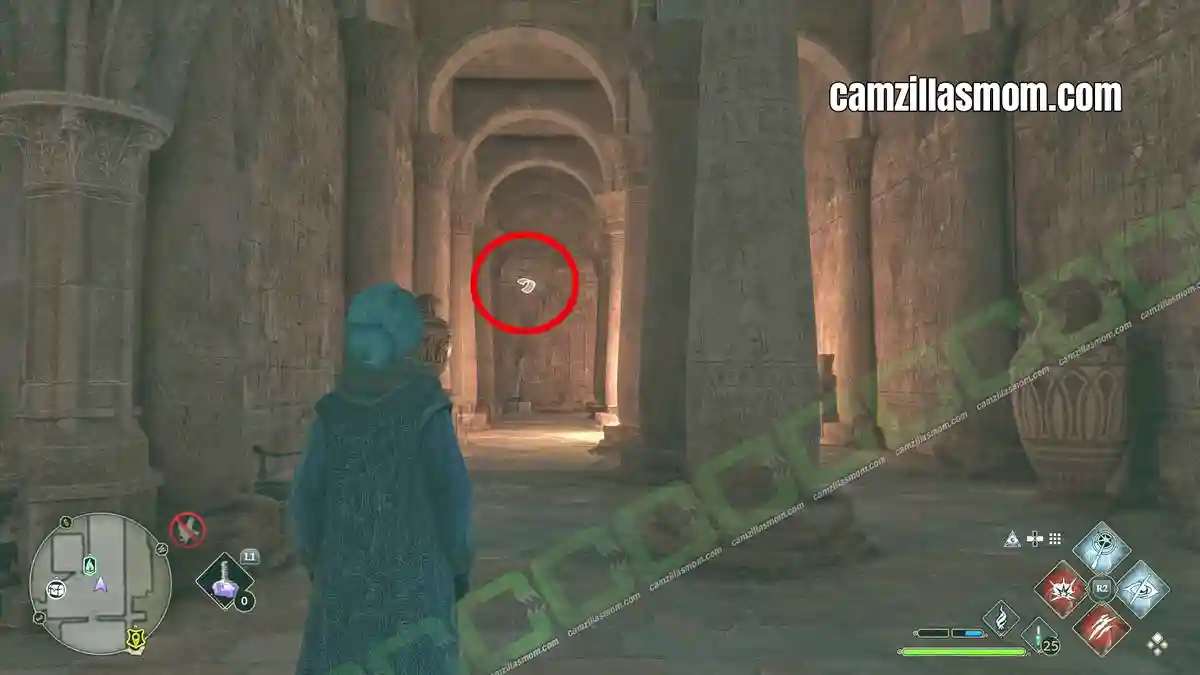
On ground floor of THE BELL TOWER WING is a locked door. It’s just next to Weasley’s office. Behind this door is the Sphinx Statue with a Flying Paper nearby.
27 – Moth Mirror: Staircase
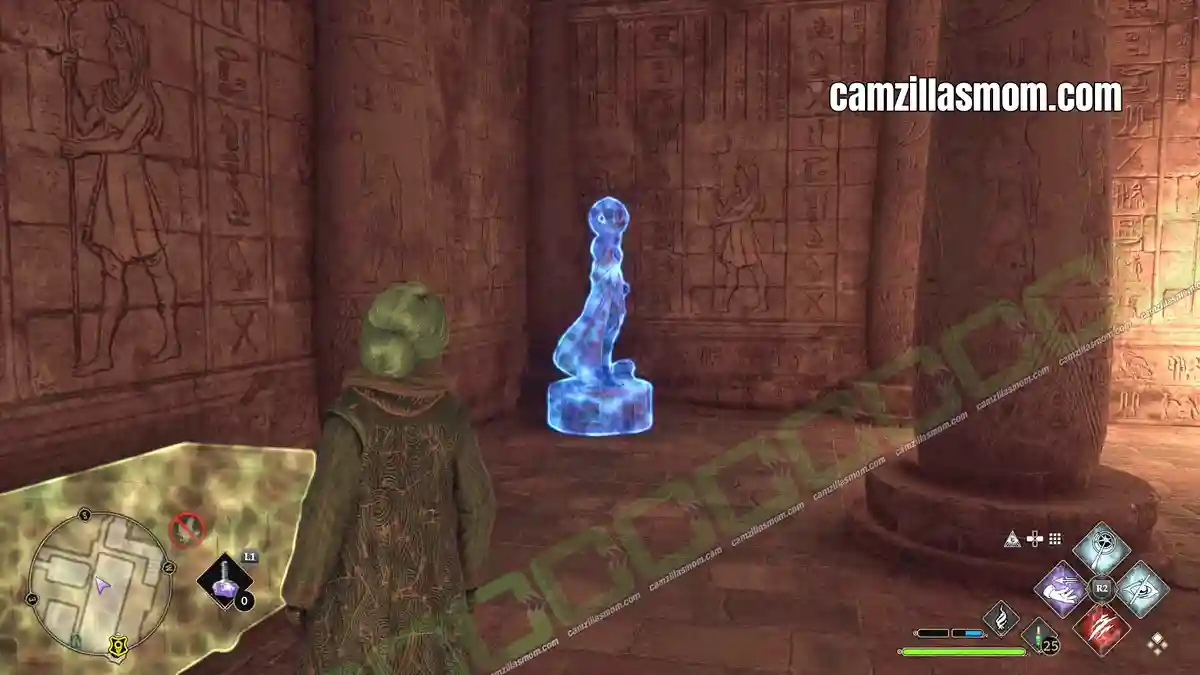
At large staircase in THE BELL TOWER WING is a black, empty painting. Use “LUMOS” to see the location of the moth inside the painting. It’s a high room with a nice glass window and an Egyptian statue.
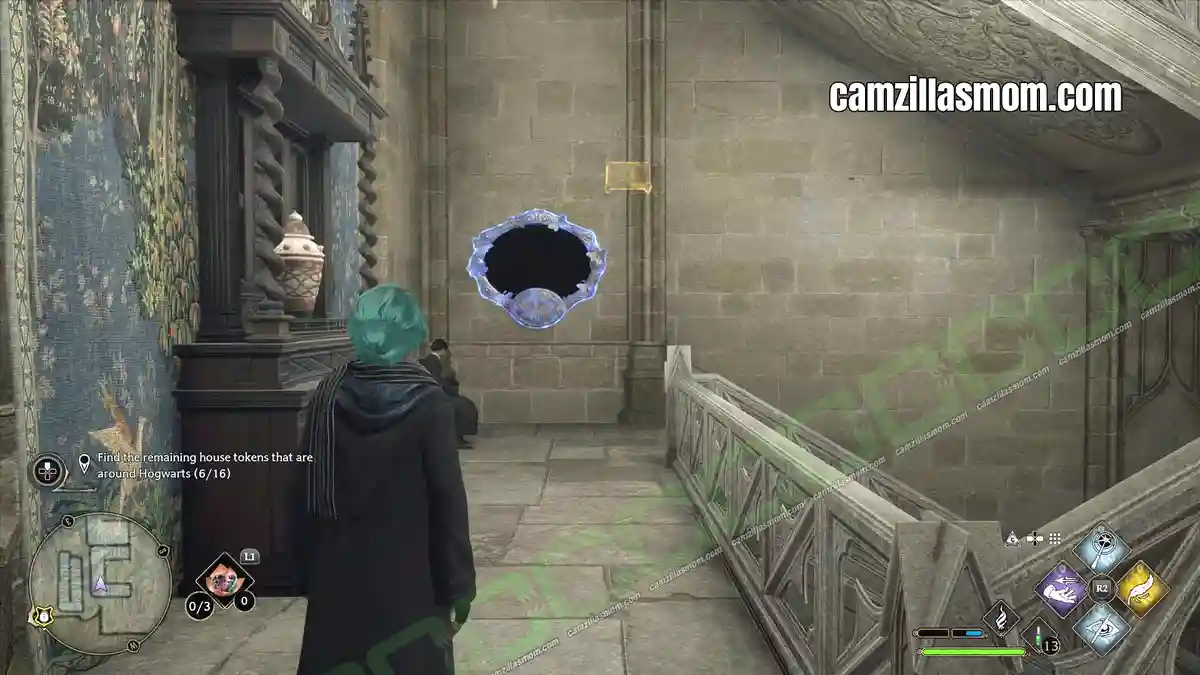
The moth is behind the locked door at ground floor of the Bell Tower. The rooms next to Weasley’s office.
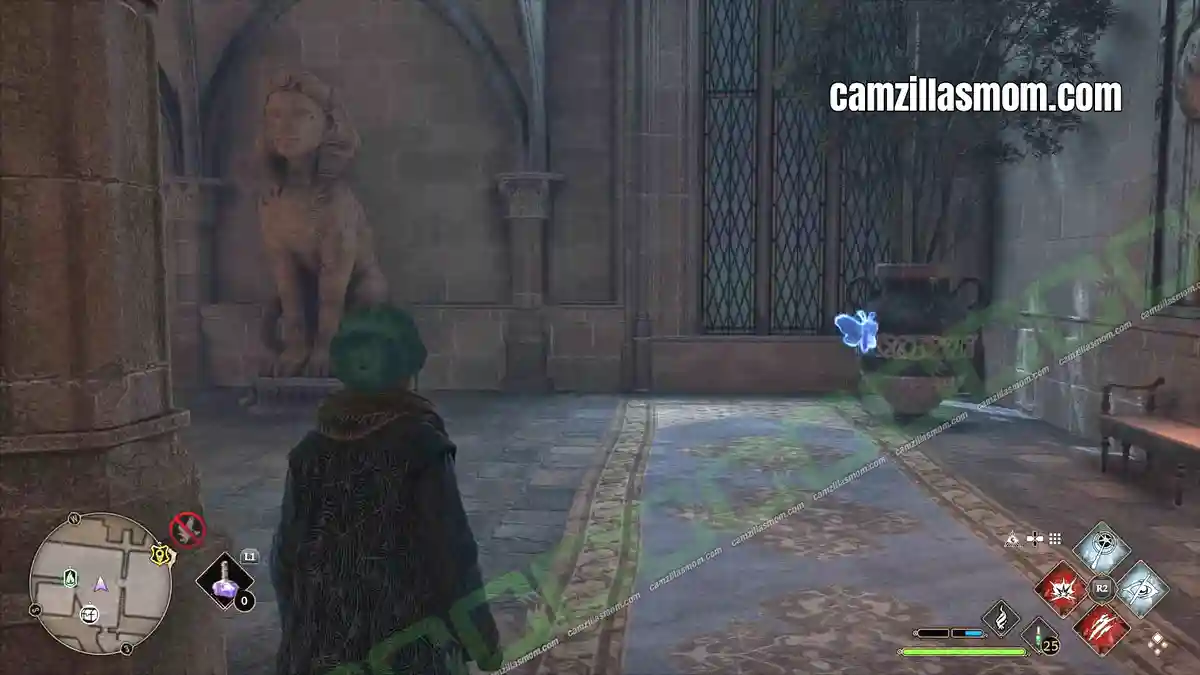
28 – Moth Mirror: Outside, near Carriage
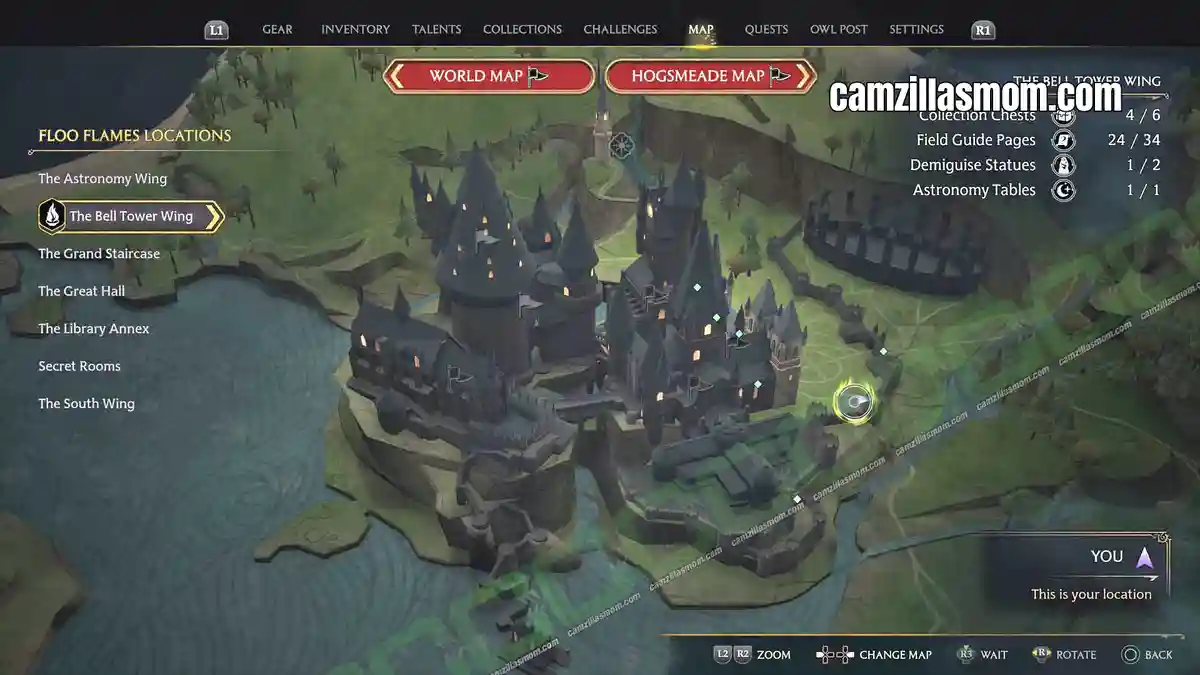
Exit the building and go towards the fortification wall near HOGWARTS NORTH EXIT Floo Flame. There is a gate that leads to a carriage, where you can also find a locked door. Open the door and you’ll find this Black Painting.
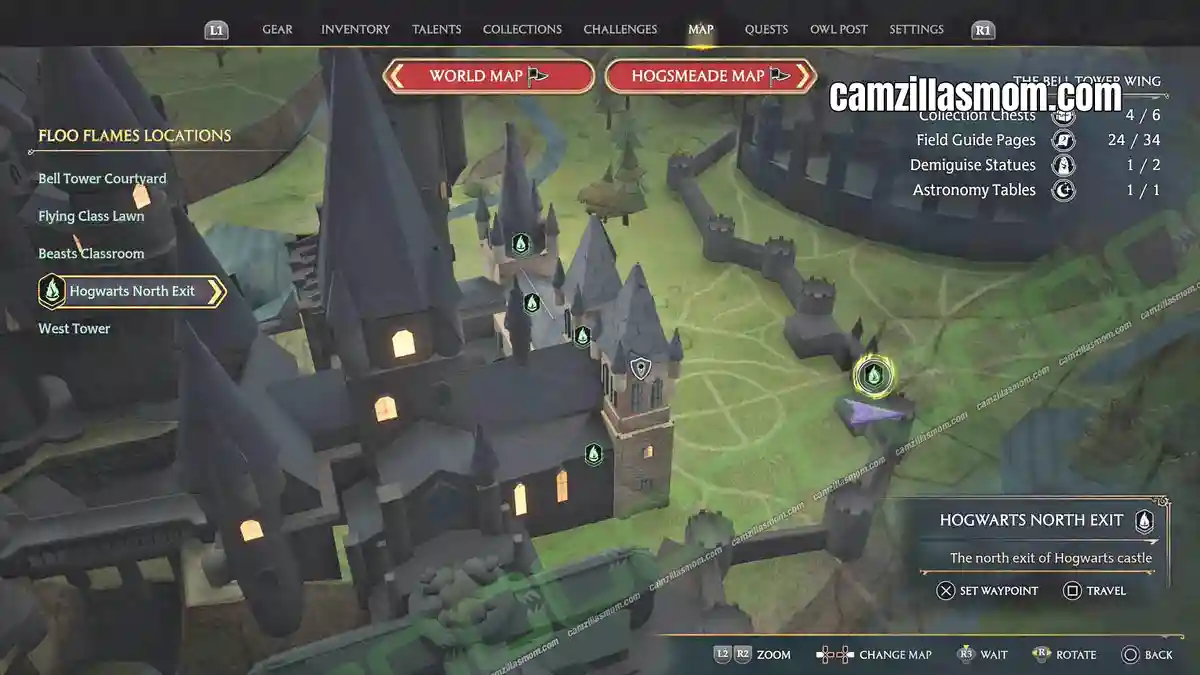
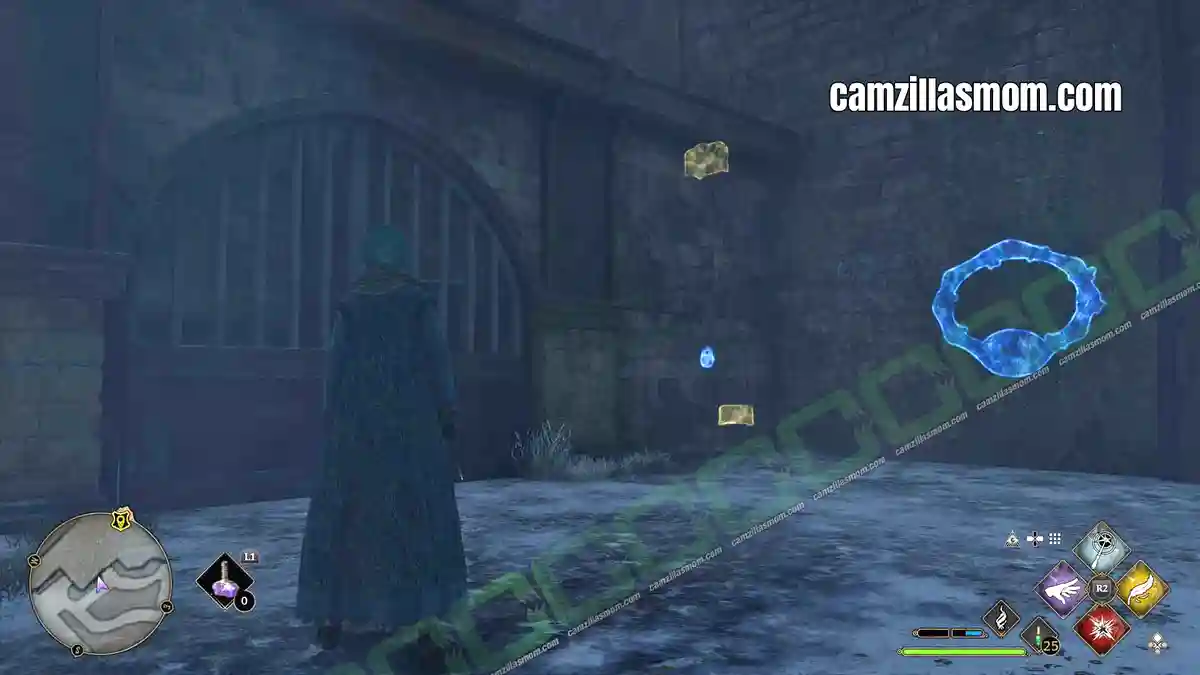
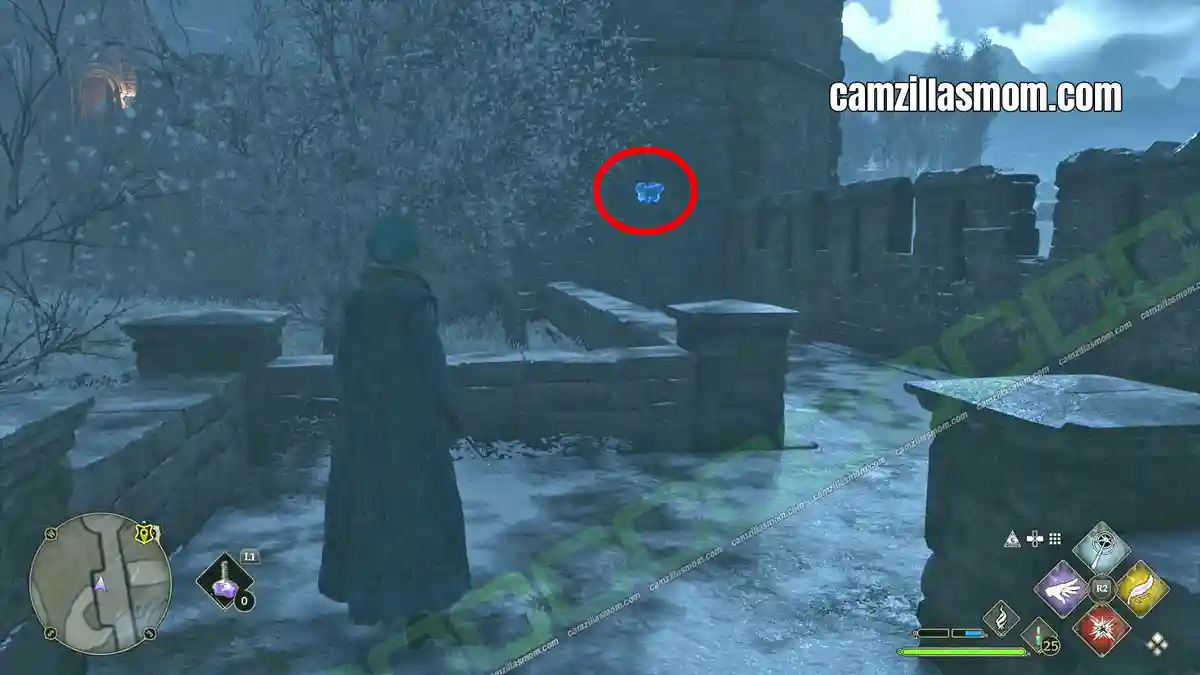
Exit the room with the black painting and also the room with the carriage. Turn left. The moth is sitting at the back of the tower you see there.
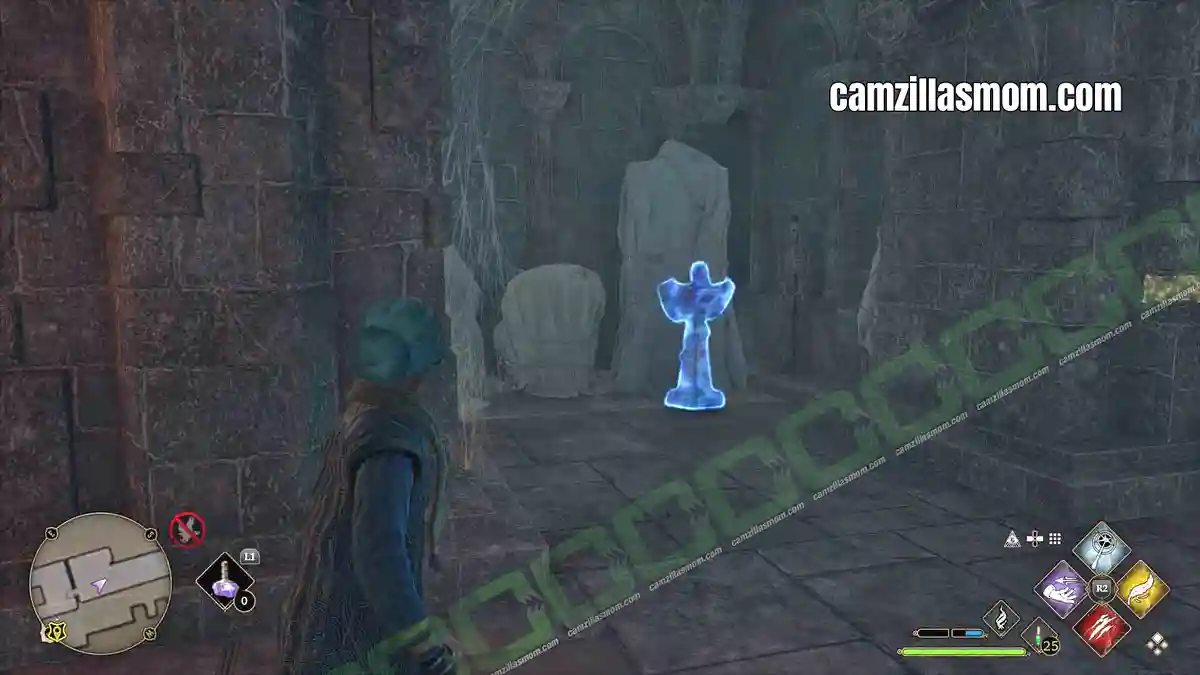
29 – Dragon Bowl – Top of the Main Staircase
At the top of THE BELL TOWER WINGS main staircase is a locked door. It leads to a dark storage area with this Dragon Bowl.
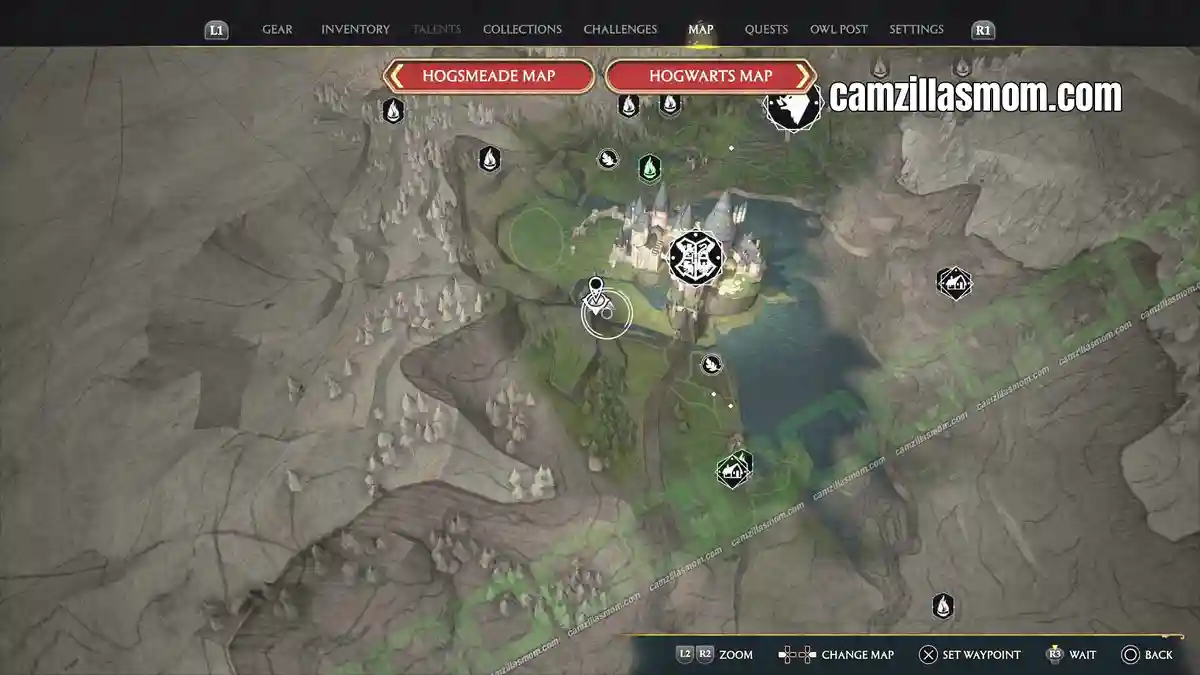
30 – Dragon Bowl – Outside, by the Fortification Wall
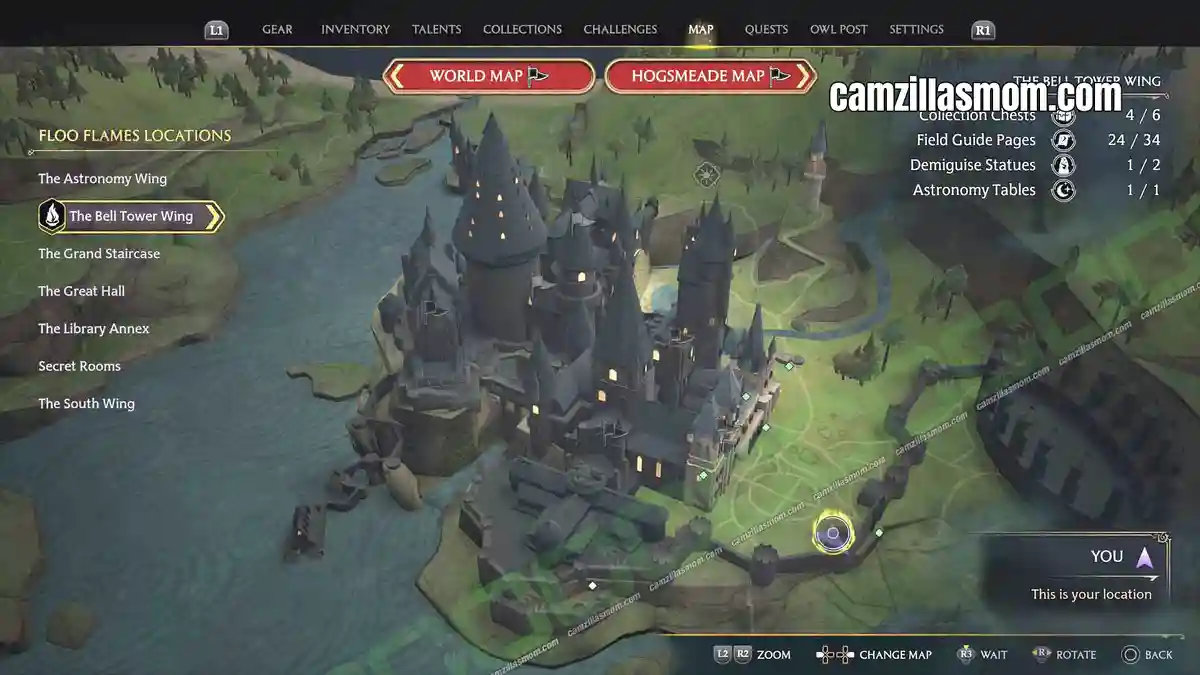
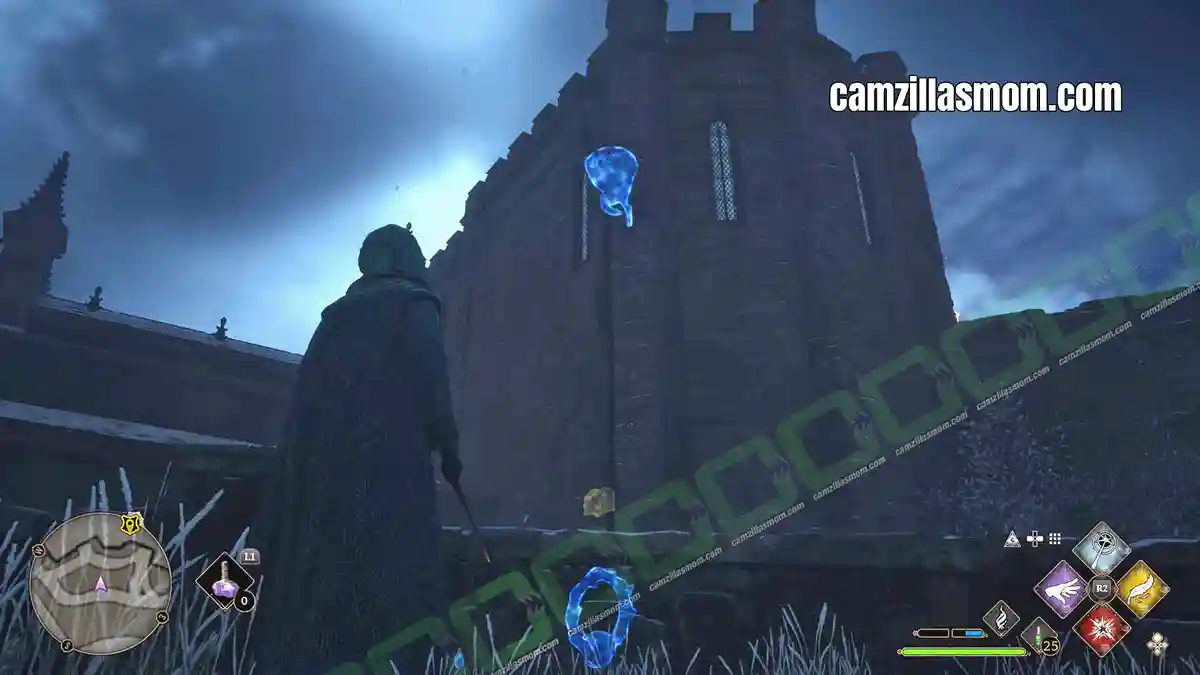
Outside near the HOGWARTS NORTH EXIT, look up to one of the towers. There is a Dragon Bowl. Use “Confringo”, then “ACCIO” to pull the paper to you.
31 – Globe Statue – Outside the Owlery
On ground floor of THE BELL TOWER WING is a locked door. It’s just next to Weasley’s office. Behind this door is the Sphinx Statue with a Globe Statue at the back.
32 – Globe Statue – Locked Ground Floor Door
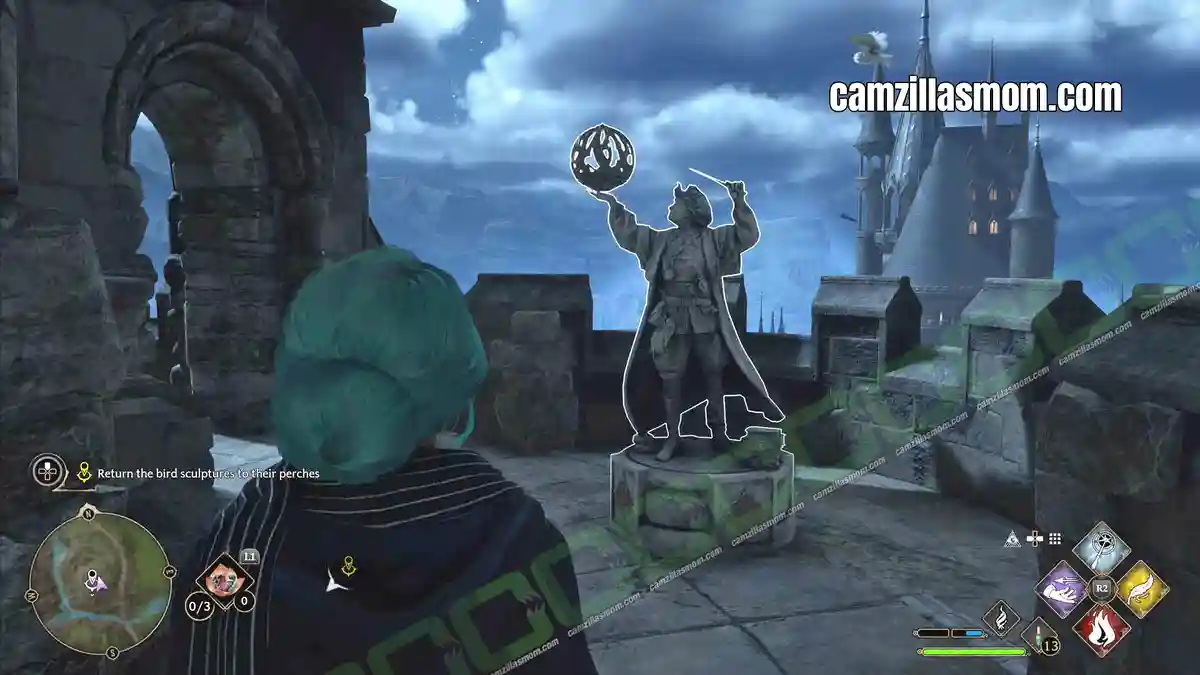
This statue stands at the outside entrance to The Great Hall. Lift the globe with Levioso.
33 – Globe Statue – Above Hogwarts Northern Exit
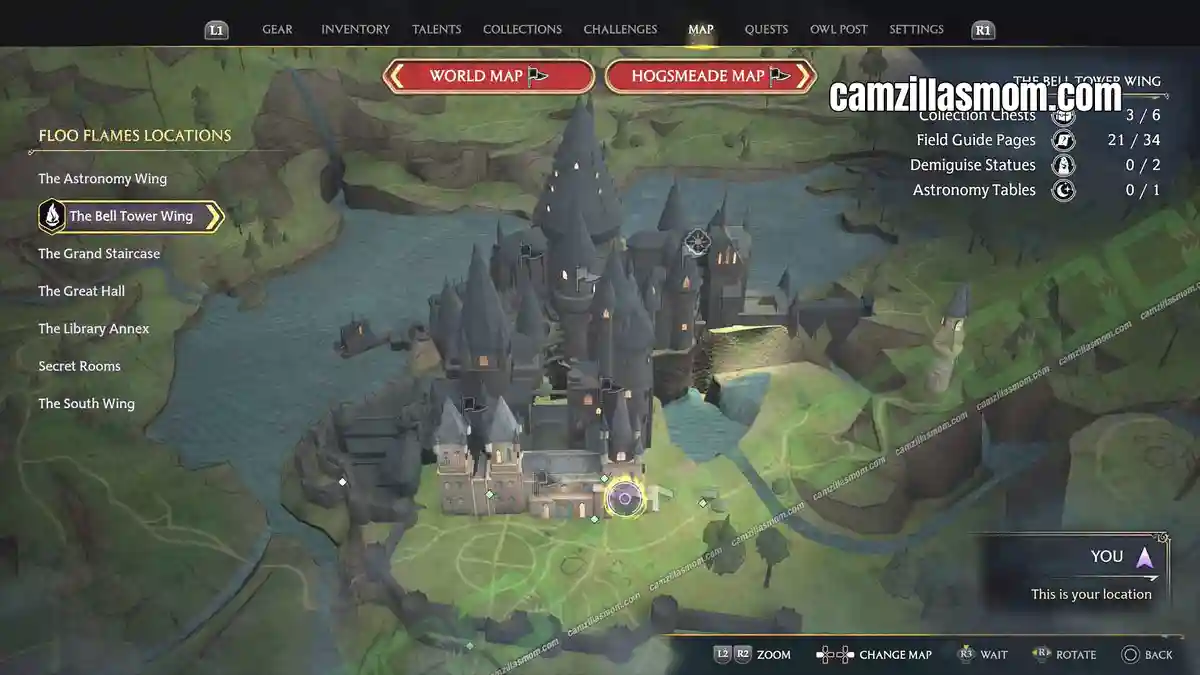
Exit the building and go towards the fortification wall near HOGWARTS NORTH EXIT Fast Travel Point. Look for the stairs up on top of the wall. Here is a door where you can get inside the fortification to open a door to reach this Globe Statue.
34 – Globe Statue – Transfiguration Courtyard
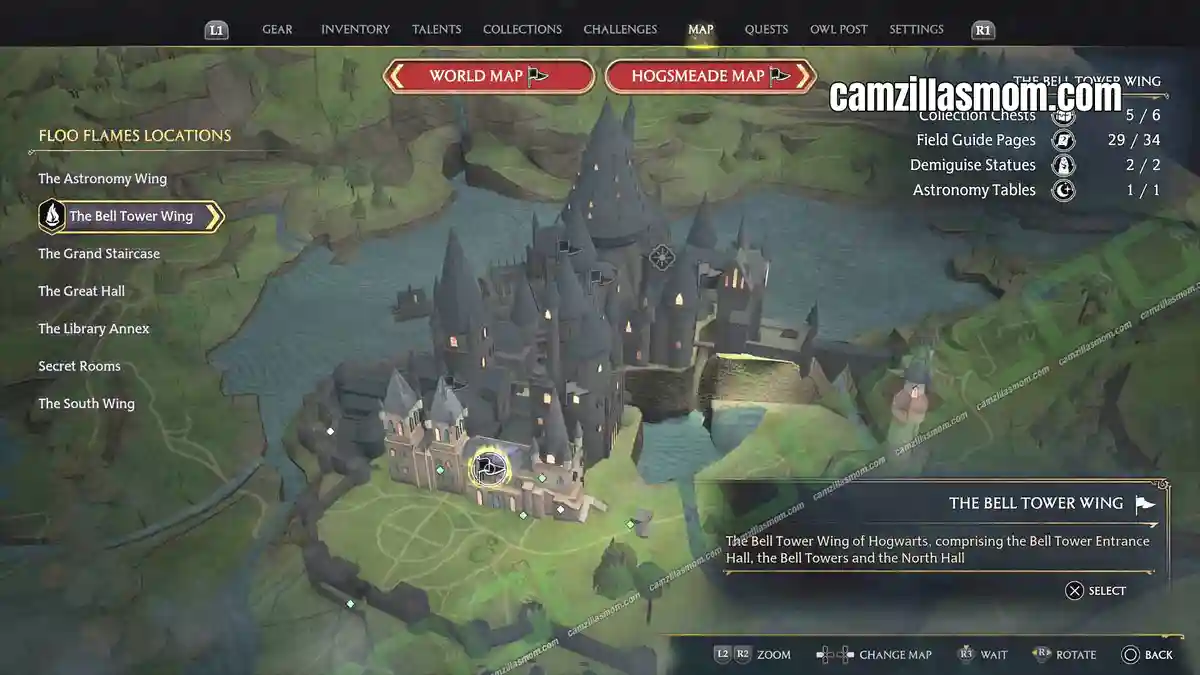
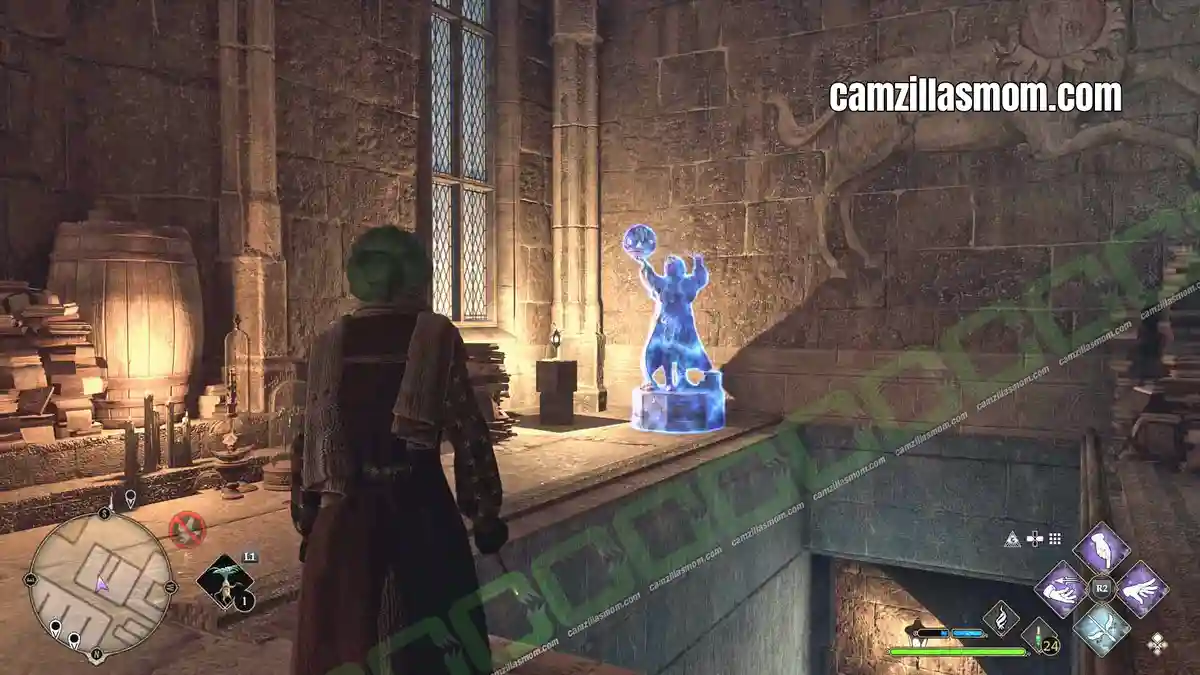
Open the Level 1 Locked Door at ground level of the Transfiguration Courtyard towards THE BELL TOWER WING. Go through the door, upstairs and turn around to see this Globe statue.
Bell Tower Demiguise Statue Locations (Demiguise Moons)
Demiguise statues, also called Demiguise Moons, unlock with the main story quest The Caretaker’s Lunar Lament, and you can only collect them at night. The Great Hall has one.
For every Demiguise Statue in the game, see my All Demiguise Statues Guide.
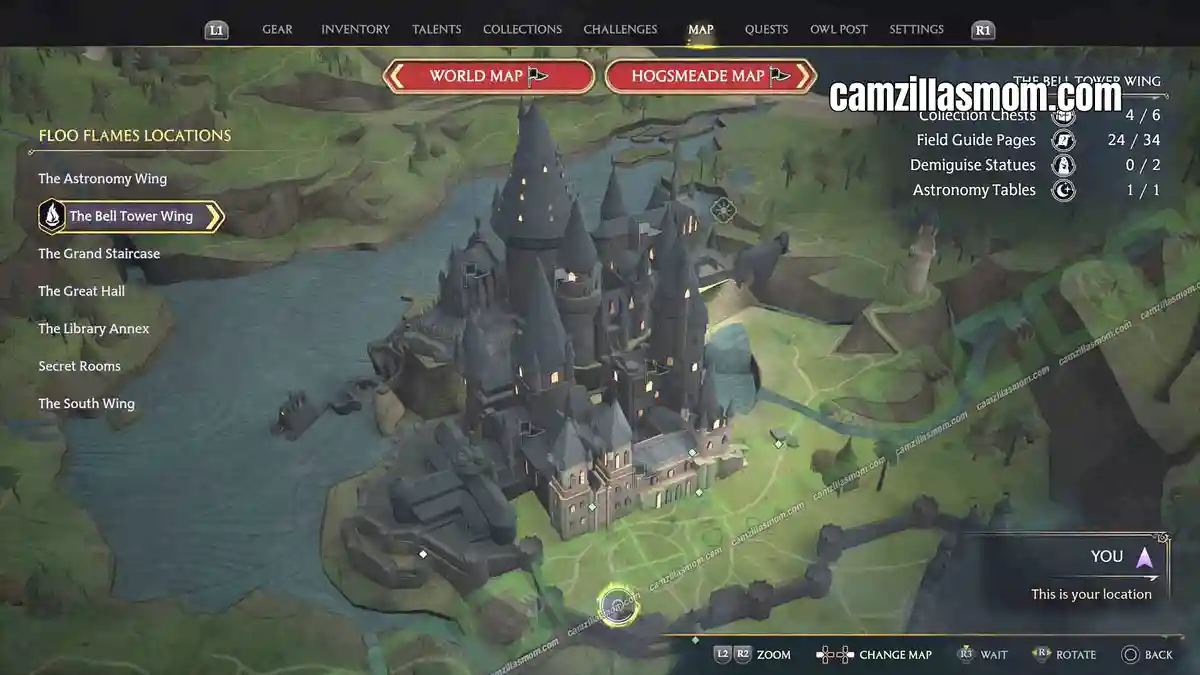
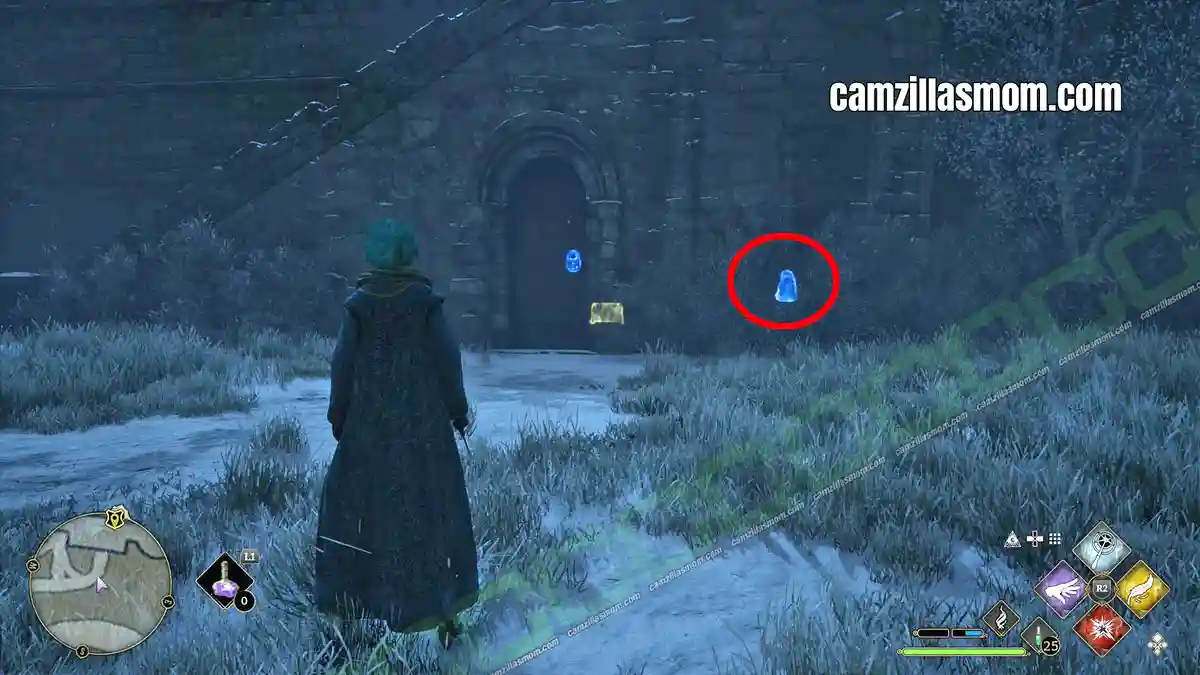
Demiguise Statue – Fortification Wall
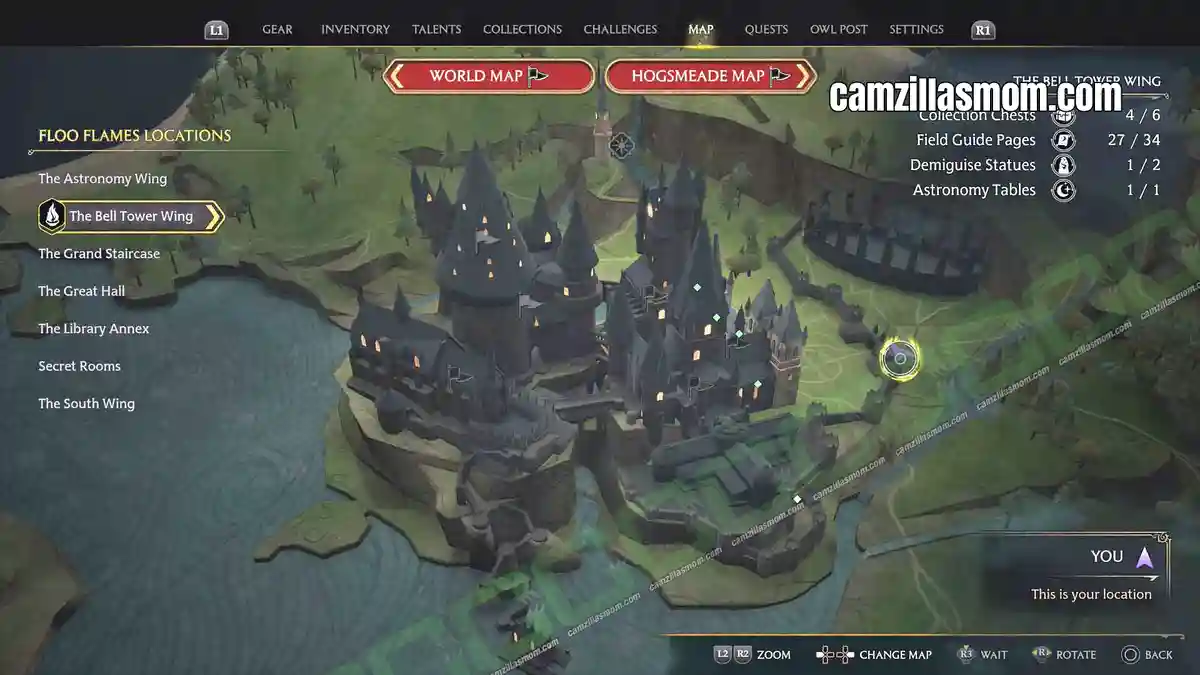
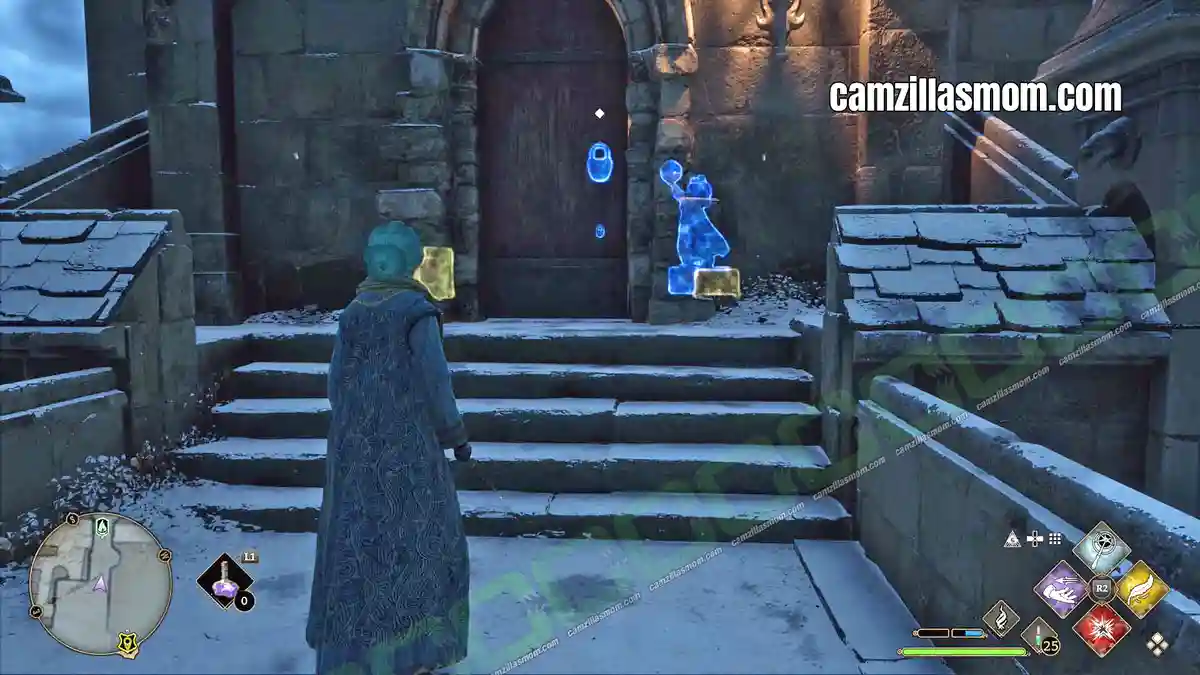
Outside, at the fortification wall is a locked door. Behind it is a Demiguise Moon.
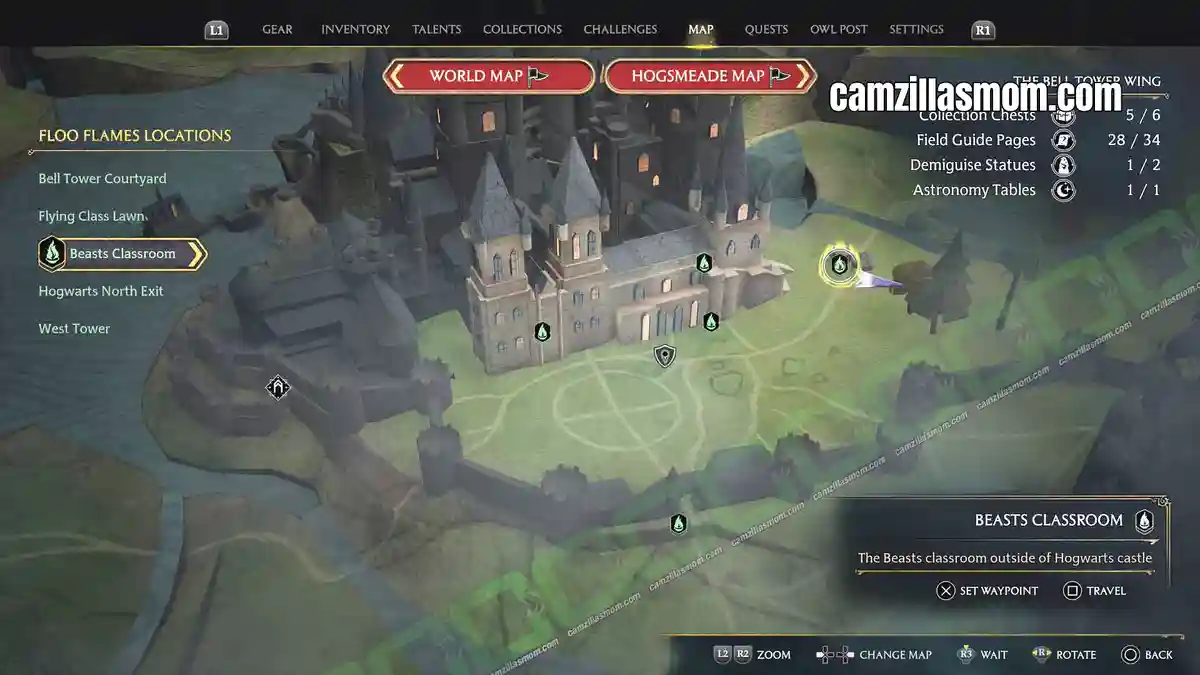
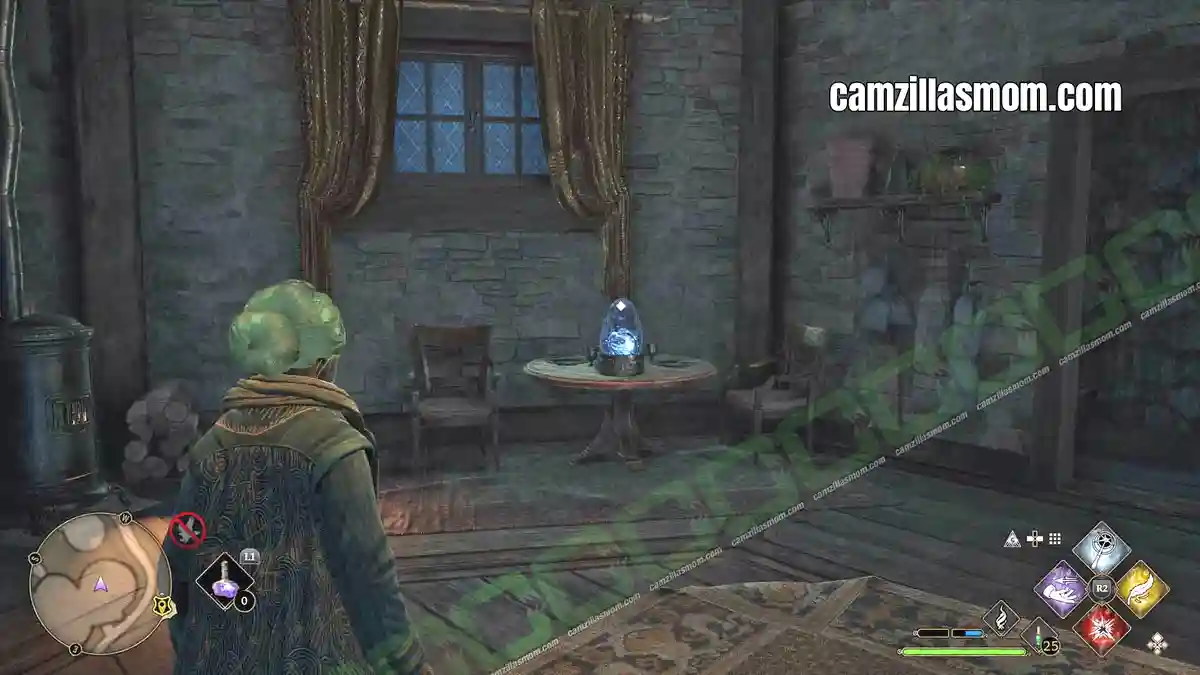
Demiguise Statue – Beasts Classroom
Head to the Beasts Classroom and open the main building. There is a Demiguise inside.
Bell Tower Astronomy Table
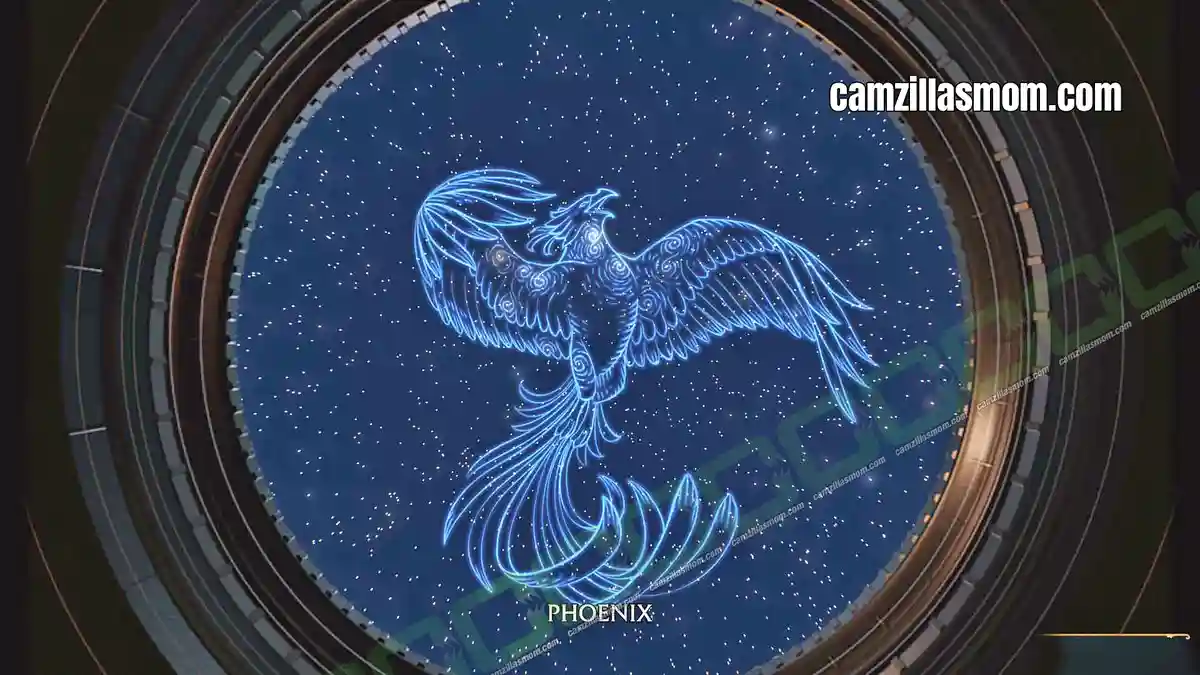
Astronomy Tables can be used after participating at Astronomy Class. You can then gaze at the stars at night. Be patient and find the constellation in the stars. You can Zoom in and out and rotate!
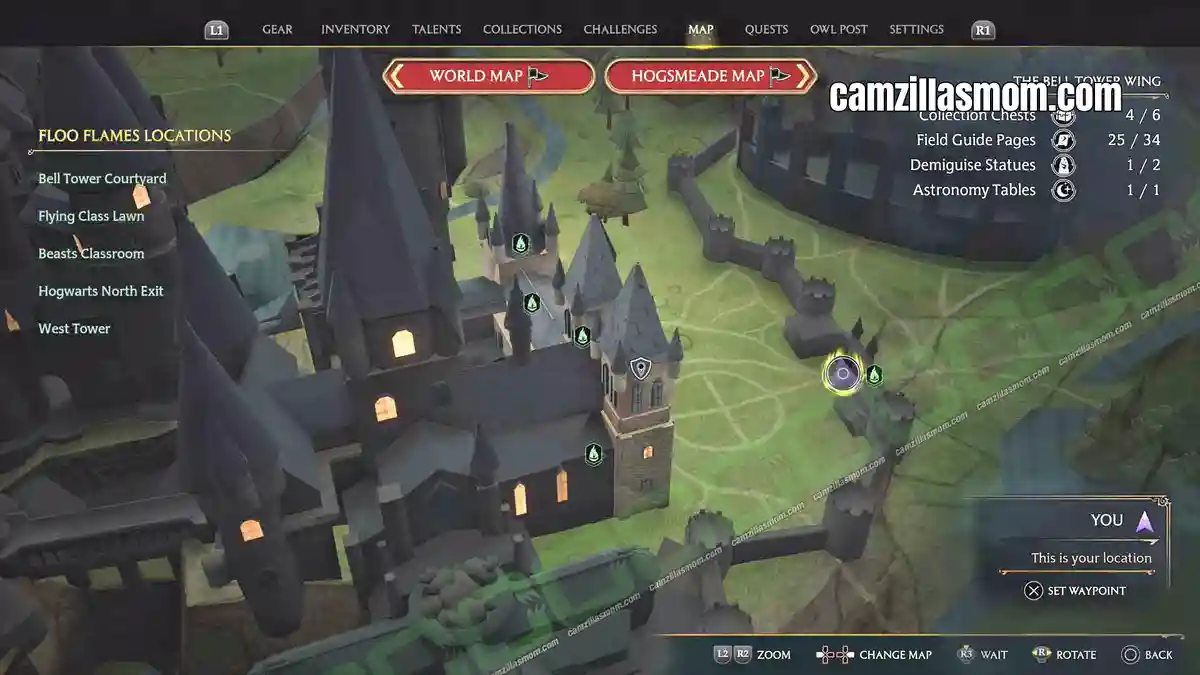
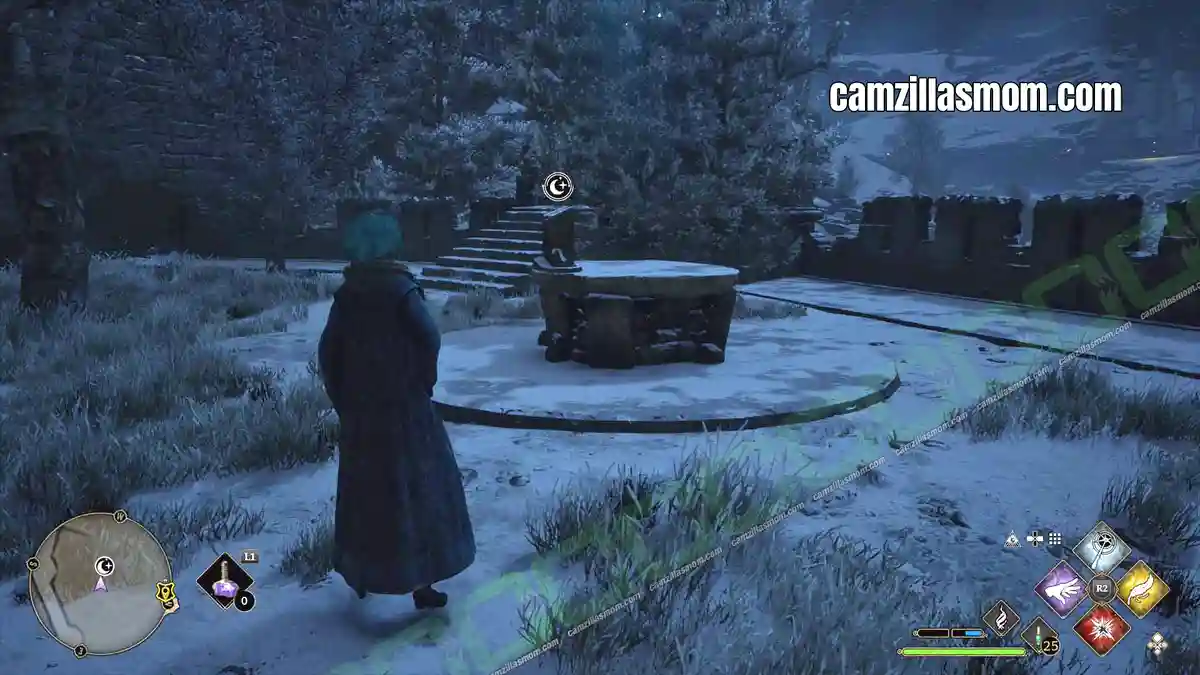
There is only one Astronomy Table at THE BELL TOWER WING. It’s outside, just below the Greenhouses.
Outside, at the fortification wall is a locked door. Behind it is a Demiguise Moon.


About Hogwarts Legacy
Release: February 10th, 2023
Developer: Avalanche Software
Publisher: Warner Bros. Interactive Entertainment
Official Website: https://www.hogwartslegacy.com/en-us