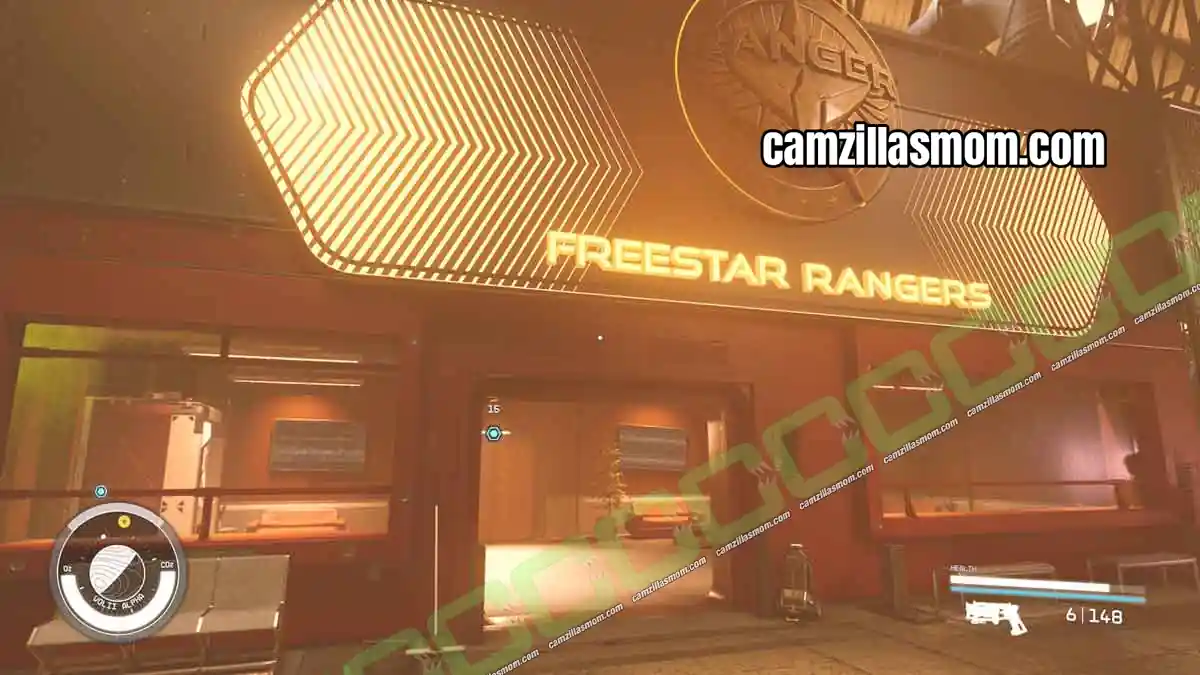
Eye of the Storm picks up straight after Absolute Power and sends you to Bannoc IV to claim Kryx’s Legacy from the wreck of the GalBank transport. Before you can get there, you need the ComSpike and the Conduction Grid Module installed on your ship, and once you reach the vault you are on a one way trip: the moment you escape the Legacy, you have to decide whether the credits go to the Crimson Fleet or to UC SysDef. Pack digipicks and a spacesuit with solid environmental resistance, then follow the steps below.
Related Guides:
Legacy’s End
Starfield Game Guides Hub
- Eye of the Storm Overview
- How to Start Eye of the Storm
- 1 – Speak to Delgado
- 2 – Install the Comspike and the Conduction Grid Module
- 3 – Report to the UC Vigilance
- 4 – Proceed to Bannoc IV
- 5 – Locate the Vault Control Center
- 6 – Locate a Transfer Module
- 7 – Access the Credtank
- 8 – Fight Your Way to the Vault
- 9 – Listen to Kryx’s Final Recording
- 10 – Reroute Ship’s Power
- 9 – Download the Legacy’s Credit Reserves
- 10 – Remove Transfer Modules and Data Core
- How to Escape the Legacy
- Should You Side With the Crimson Fleet or UC SysDef?
- Eye of the Storm Rewards
- Eye of the Storm Bug Fixes
- Starfield Eye of the Storm FAQ
Eye of the Storm Overview
Questline: Crimson Fleet, mission 7 of 8
Starts after: Absolute Power, by returning to The Key and speaking to Naeva Mora Location: Bannoc IV, in the Bannoc system
Needed before you go: ComSpike and Conduction Grid Module installed on your ship
Big decision: hand Kryx’s Legacy to Delgado (Crimson Fleet) or Commander Ikande (UC SysDef)
Rewards: 350 XP and roughly 8,400 credits, plus whatever you loot on board Next mission: Legacy’s End
How to Start Eye of the Storm
Eye of the Storm begins the moment you finish Absolute Power. Return to The Key in the Kryx system and speak to Naeva Mora on the way in. She tells you the Crimson Fleet is on high alert and that Delgado wants to see you immediately.
Before you set off, it pays to prepare. Bannoc is a high level system and the Legacy is packed with security robots and turrets behind locked doors:
– Carry plenty of digipicks and a decent rank in Security
– Wear a spacesuit with good environmental and energy resistance, the EM storm around Bannoc IV drains shields fast
– Bring a weapon that handles robots well
– Save before you board, this mission has a known progress bug later on
1 – Speak to Delgado
Mission Text:
“After bringing the Conduction Grid data back to the Key, Naeva Mora has informed me that the Crimson Fleet is on high alert and Delgado wants to see me right away.”
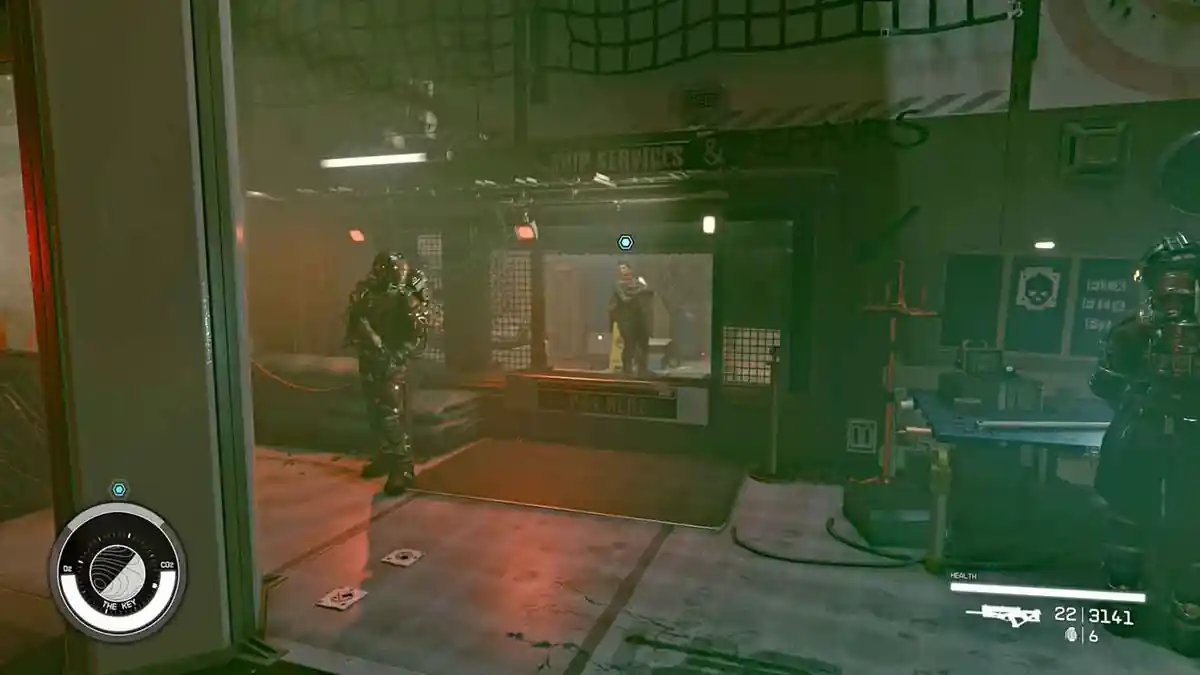
Follow the mission marker to Delgado. You will find him at Ship Services, talking to Jasmine about the incoming UC SysDef attack. Hand over the Conduction Grid data when he asks for it. Delgado explains that SysDef is massing for an attack on The Key and that the Fleet needs Kryx’s Legacy to pay for the reinforcements that will hold them off.
2 – Install the Comspike and the Conduction Grid Module
Mission Text:
“I’ve been informed that UC SysDef is massing for an attack on the Key. In order to obtain the money to secure enough reinforcements to hold SysDef off, I’m to continue to Bannoc IV and retrieve Kryx’s Legacy.”
You cannot reach Bannoc IV without both modules, so this is the step people get stuck on. Here is the exact sequence:
- Speak to Jasmine Durand at Ship Services on The Key
- Ask her to help you with your ship
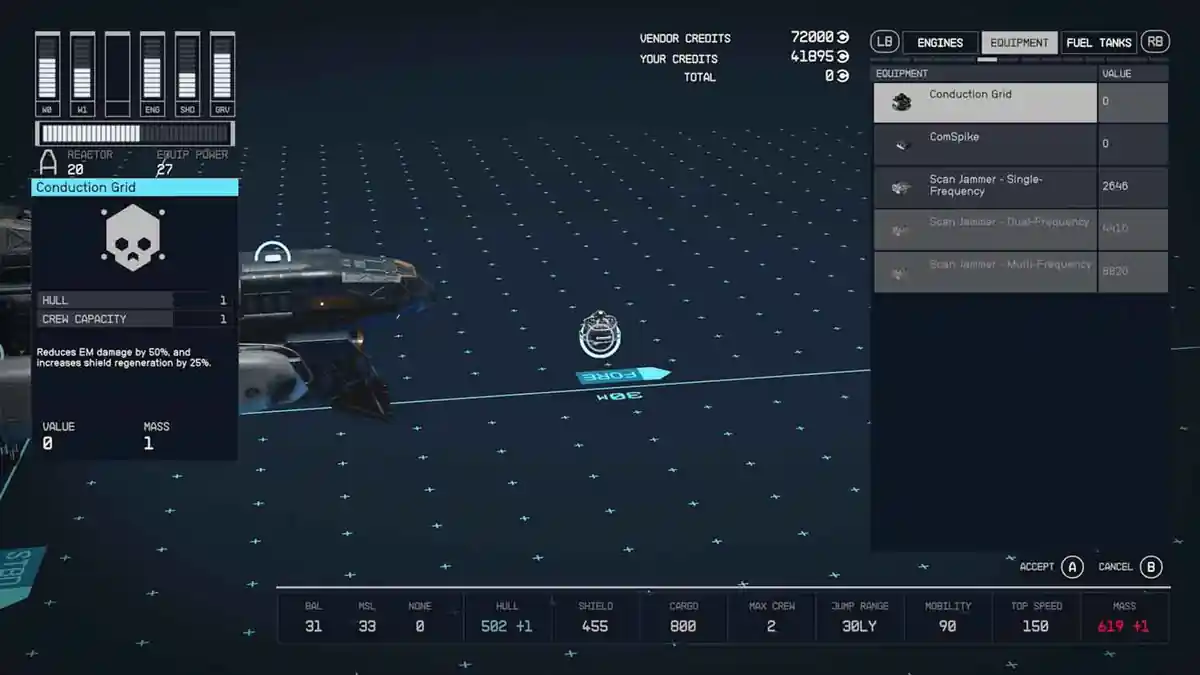
- Choose “View and modify my ships” to open the ship builder
- Open the Equipment category
- Add the ComSpike and the Conduction Grid Module to your ship
- Confirm the build and exit
Both modules cost nothing and can be placed anywhere on the hull, so pick any free attachment point. The ComSpike lets you cut through the Legacy’s defences and the Conduction Grid Module protects you from the EM field around Bannoc IV. If the ship builder refuses to save, remove one part to free up an attachment point and try again.
3 – Report to the UC Vigilance
Mission Text:
“I now have the proper modules installed on my ship to penetrate the EM field surrounding Bannoc IV. Before I proceed to Bannoc IV, I should report my progress to Commander Ikande at the Vigilance.”
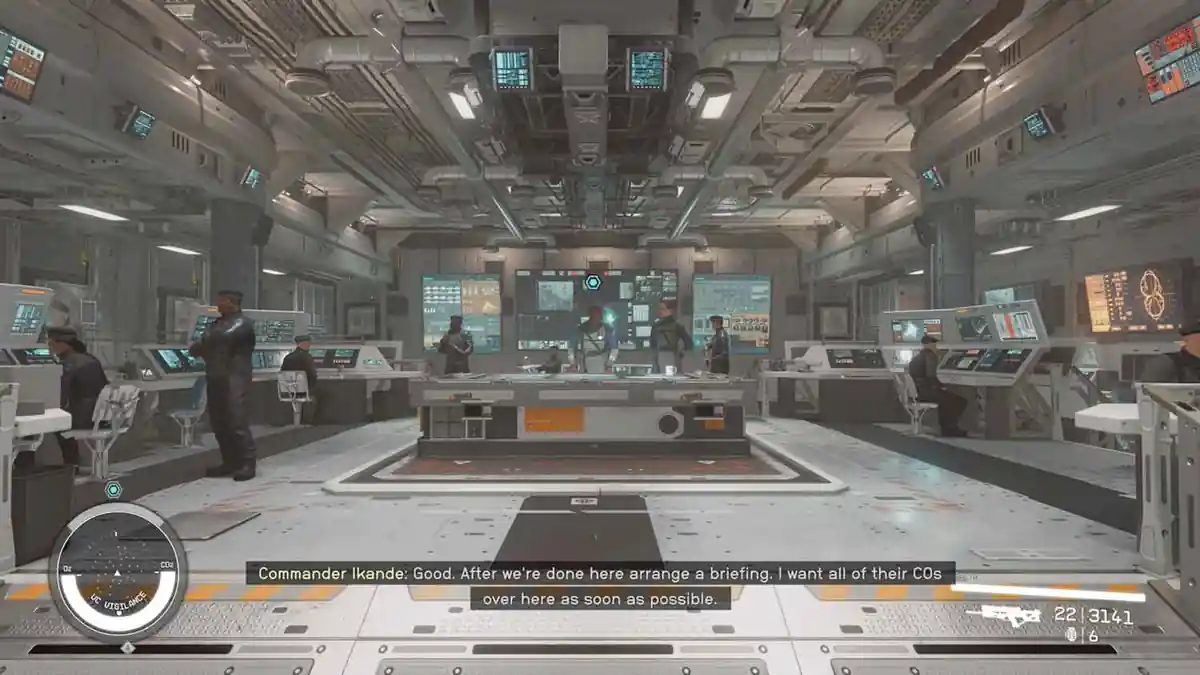
With both modules fitted, grav jump to the Sagan system and dock with the UC Vigilance, then speak to Commander Ikande. He makes it clear that Delgado must not get his hands on the credits and that the Fleet is preparing an attack on the United Colonies. Lt. Toft adds that SysDef has been monitoring Crimson Fleet chatter.
Exhaust every dialogue option here. This conversation is what keeps the UC SysDef ending open to you later, and it is worth hearing before you commit to a side.
4 – Proceed to Bannoc IV
Mission Text:
“I should now proceed to Bannoc IV, the location of the GalBank Transport “Legacy”.
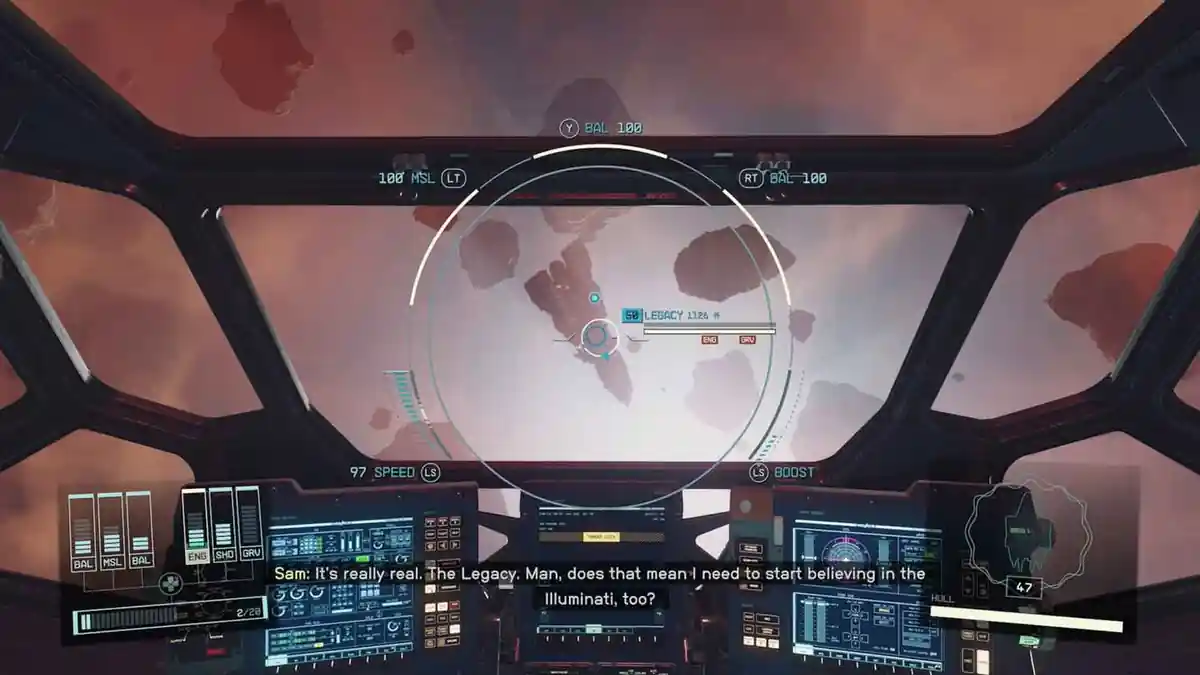
Grav jump to the Bannoc system and head for Bannoc IV. An orange EM storm and an asteroid field greet you on arrival, and the lightning strikes will chew through your shields if you linger, so fly straight for the marker rather than exploring.
Approach the GalBank Transport “Legacy” and dock. The ship has been adrift for decades and is full of wreckage, corpses and dead robots.
5 – Locate the Vault Control Center
Mission Text:
“I’ve boarded the GalBank Transport “Legacy”. My ultimate goal is to reach the Vault Control Center, from which I should be able to access all of the ship’s currency.”
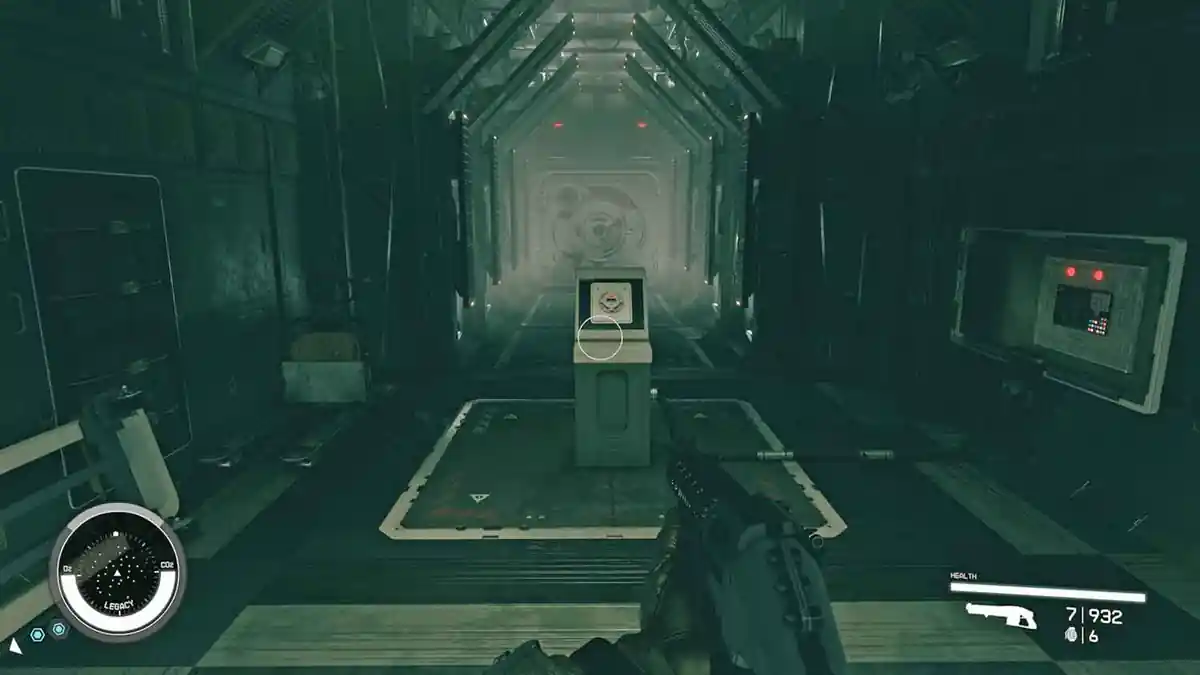
Follow the marker through the ship. Audio logs are scattered along the route and are worth picking up, they tell the story of the stranded crew and of Jasper Kryx arriving on board. The first door to the Vault Control Center is locked and needs a Transfer Module before it will open.
6 – Locate a Transfer Module
Mission Text:
“In order to access the Legacy’s Vault, I’ll need to obtain a Transfer Module. A member of the crew was likely carrying one of these devices.”
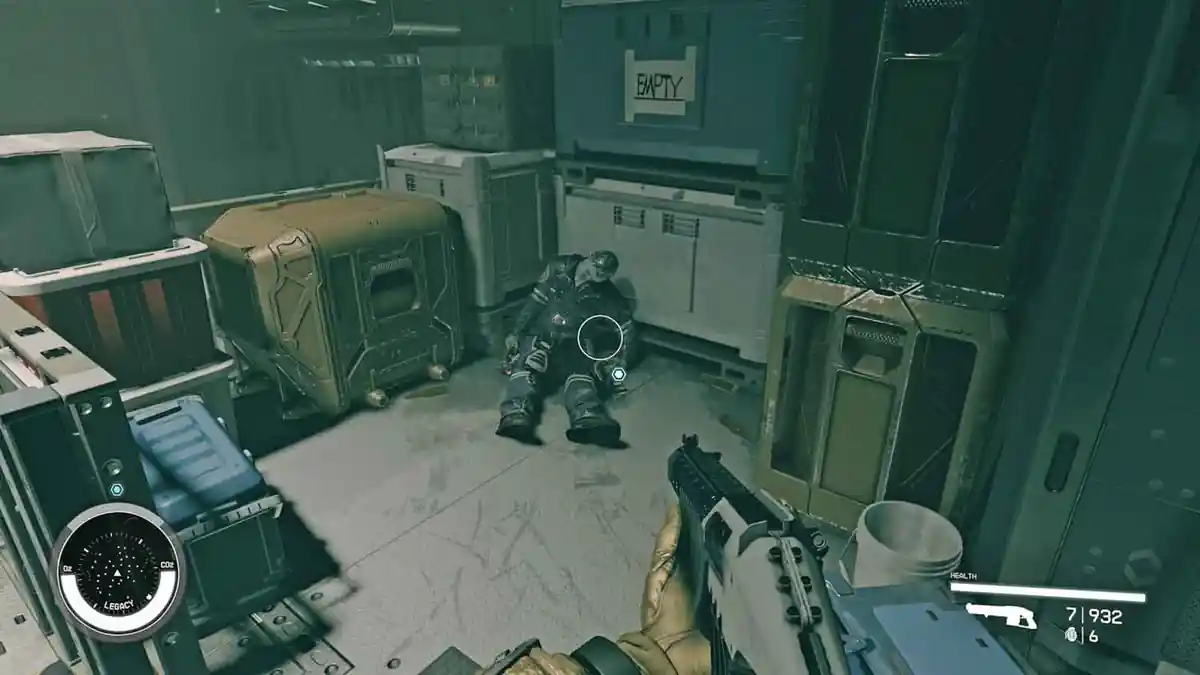
You do not need to go far. The body lying just behind you carries a Transfer Module. Loot it and use it on the panel to open the vault door.
7 – Access the Credtank
Mission Text:
“I now have access to the Legacy’s Vault.”
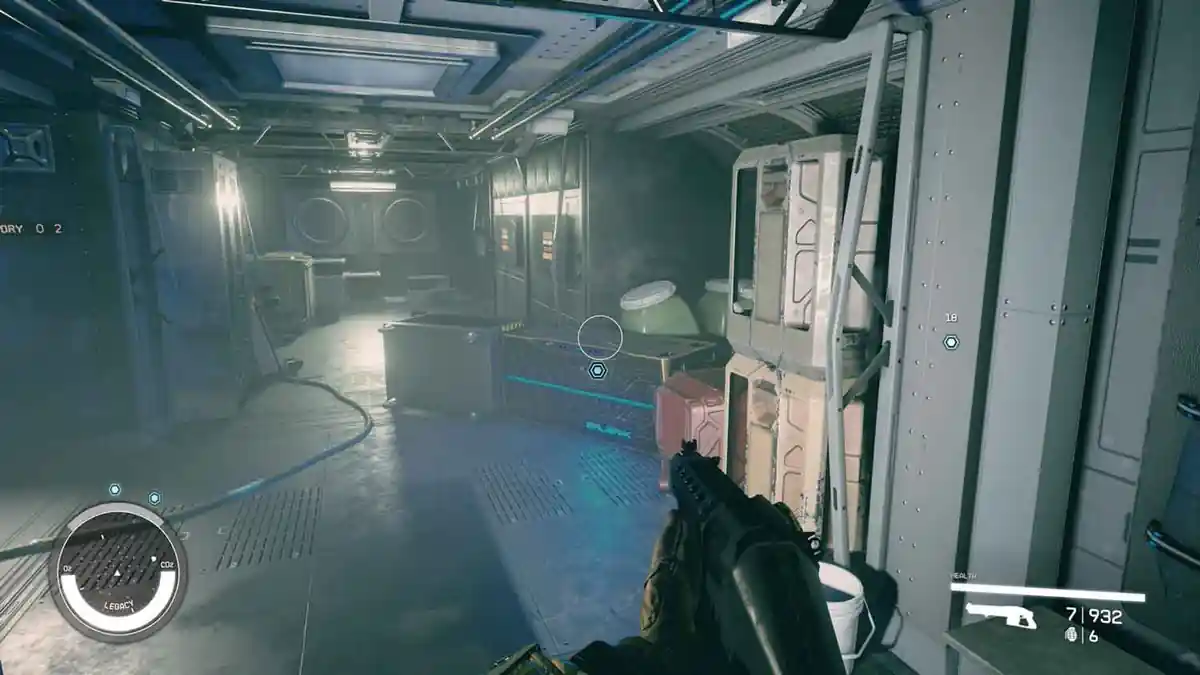
On the way through, a Credtank sits in the corridor. Interact with it to claim the credits inside. The amount varies between playthroughs, expect a few thousand. Do not walk past it, this is easy to miss on a first run.
8 – Fight Your Way to the Vault
Mission Text:
“I now have access to the Legacy’s Vault.”
Follow the mission marker towards the Vault Control Center. Opening the orange door sets off an alert and powers up the ship security systems, so expect turrets and robots in every room from here on.
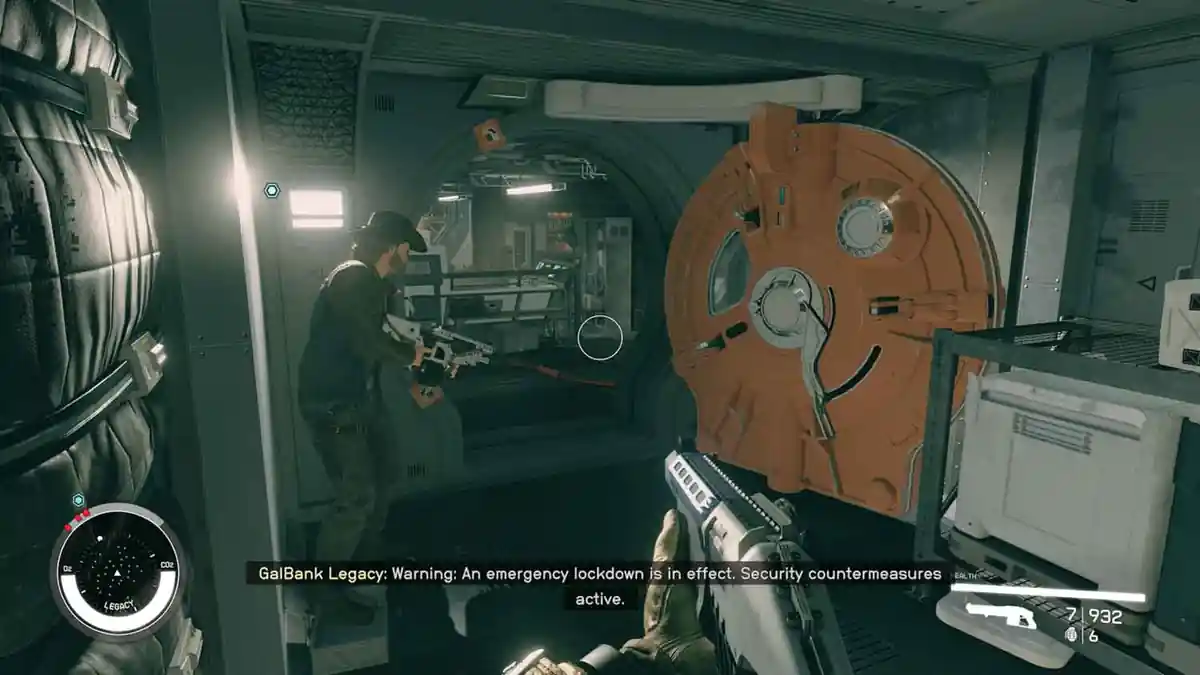
Head into the room ahead. The computer inside lets you recalibrate the turrets, which is worth doing before you move on. Then look for the door marked Hydraulics, that is the way forward. A second security computer in Hydraulics turns off the turrets and robots and shuts down the alarm.
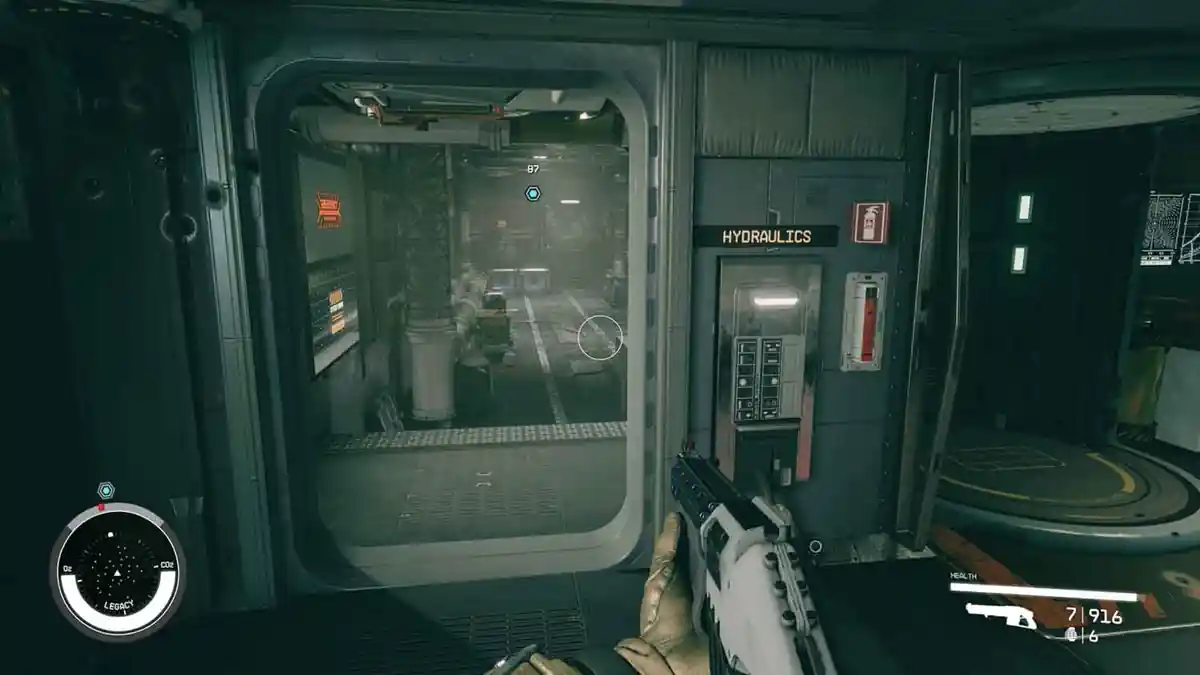
Keep following the mission marker through the corridor beyond Hydraulics.
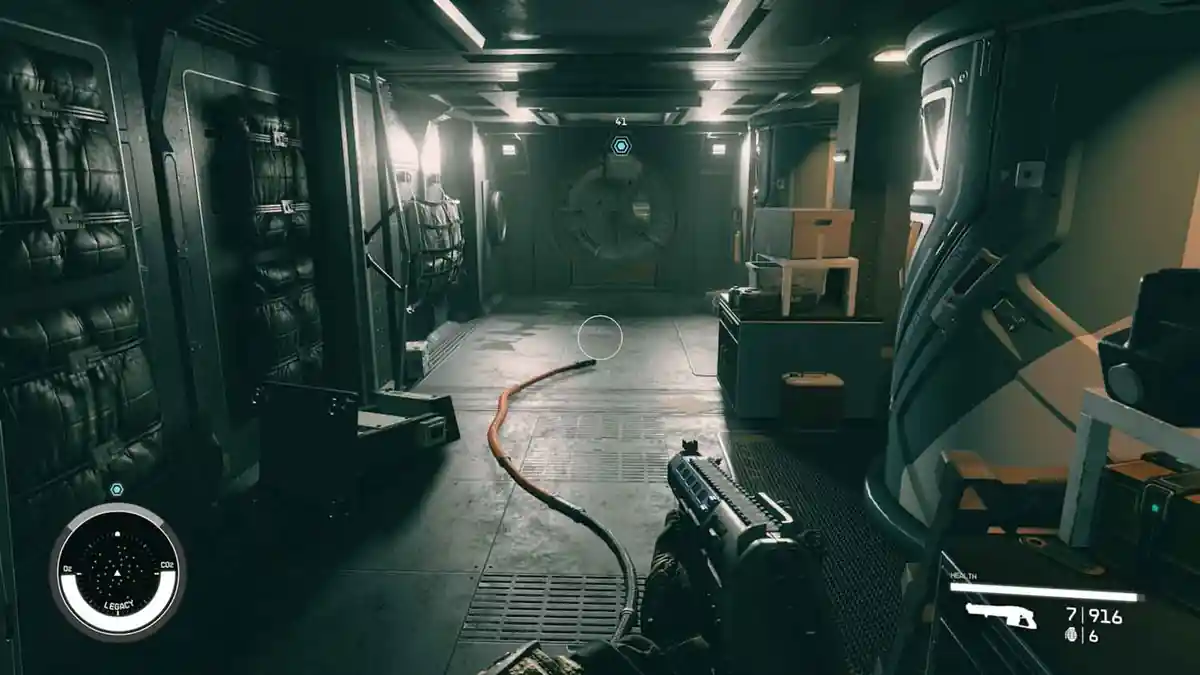
You soon reach a smaller control room called Physical Plant. The security computer here configures the security systems and also opens a nearby door. Go through it towards the Engine Room and the vault.
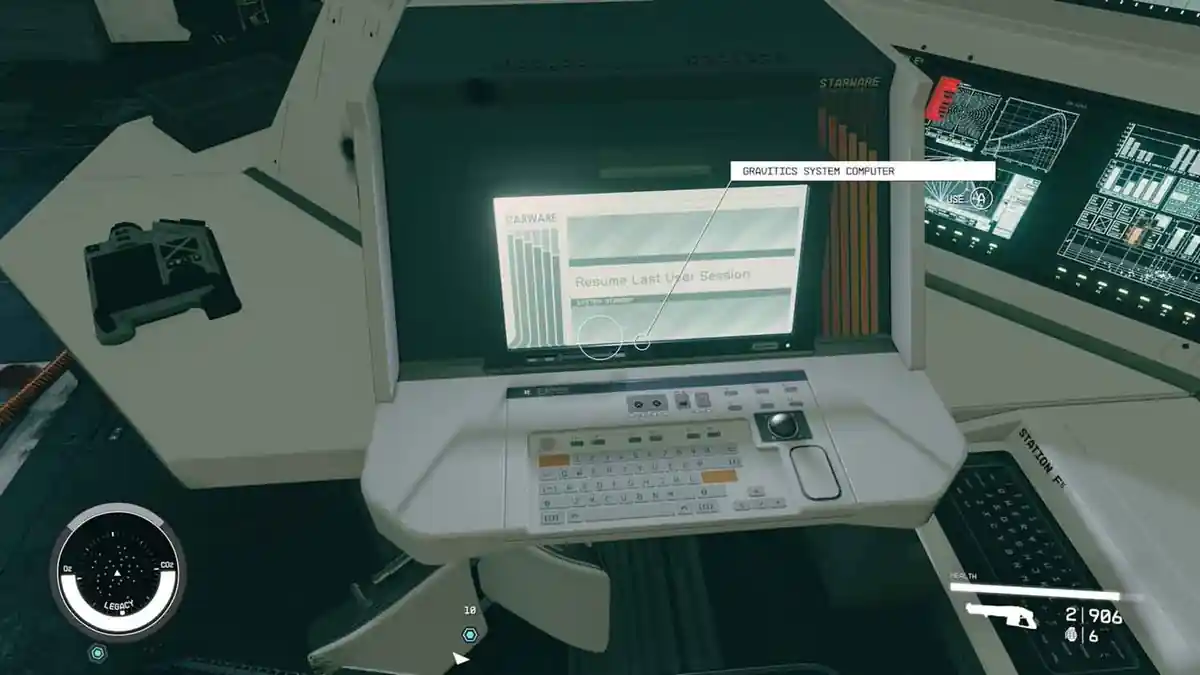
The computer on this first vault door throws an error and cannot be used. You can pick the lock on the security office next to it, but there is nothing important inside.
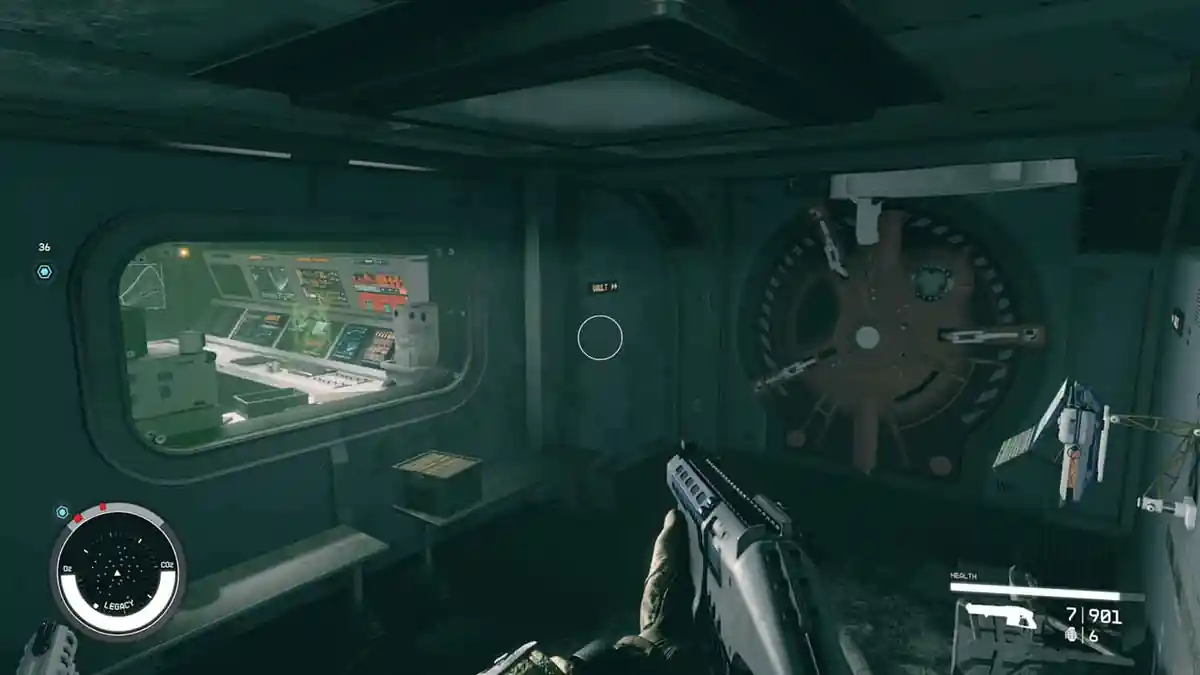
That leaves the engine room as the only route, and going through triggers another alarm. Make for the control room. The door has an advanced lock, but the terminal inside disables the security systems, and reading the files on it gives you the Osterholt safe code. The safe itself is in the same room.
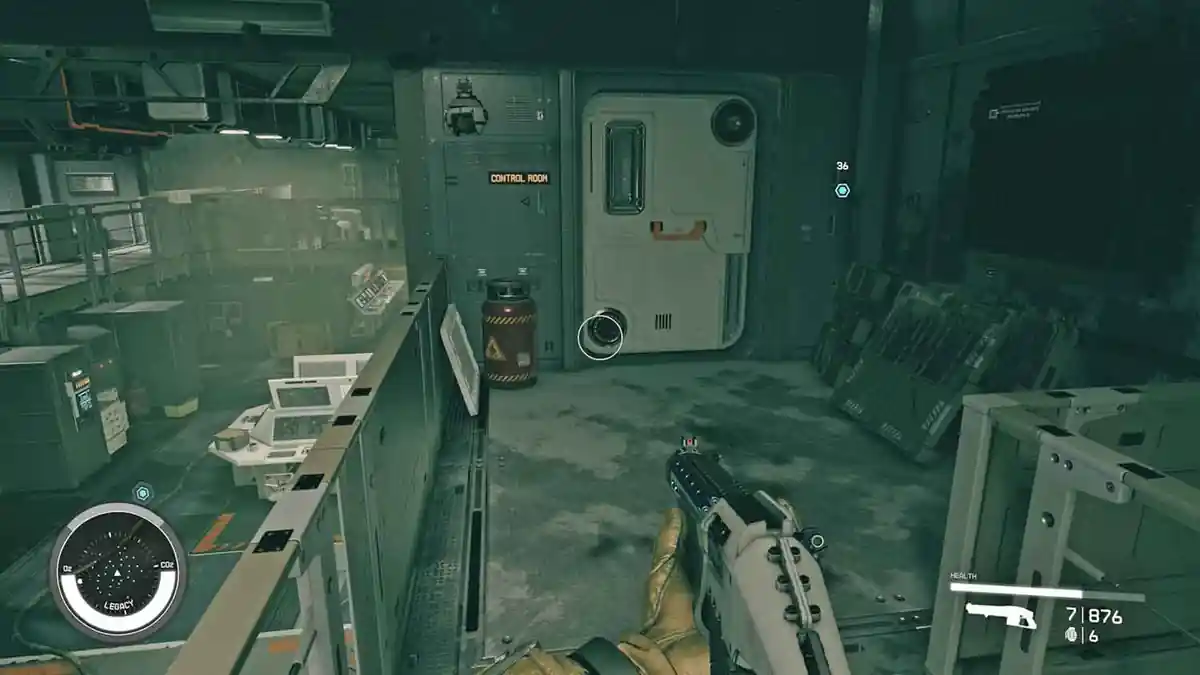
At the far end of the engine room, a door leads to a second vault door with a working computer. Open it and go through.
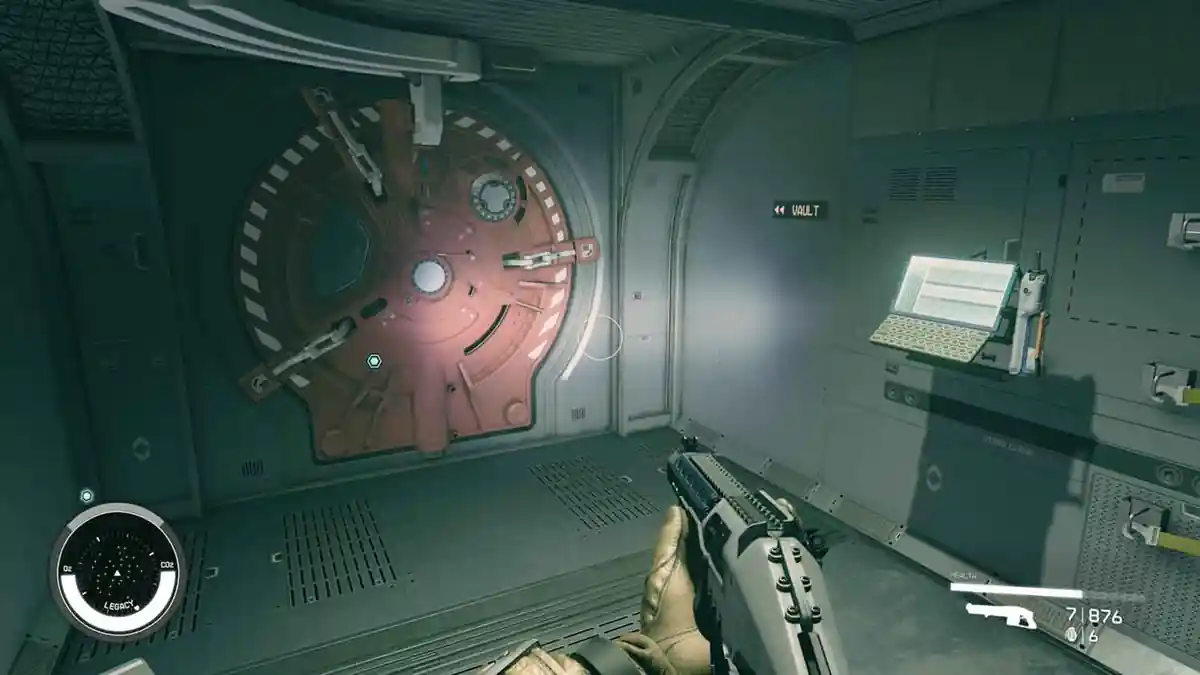
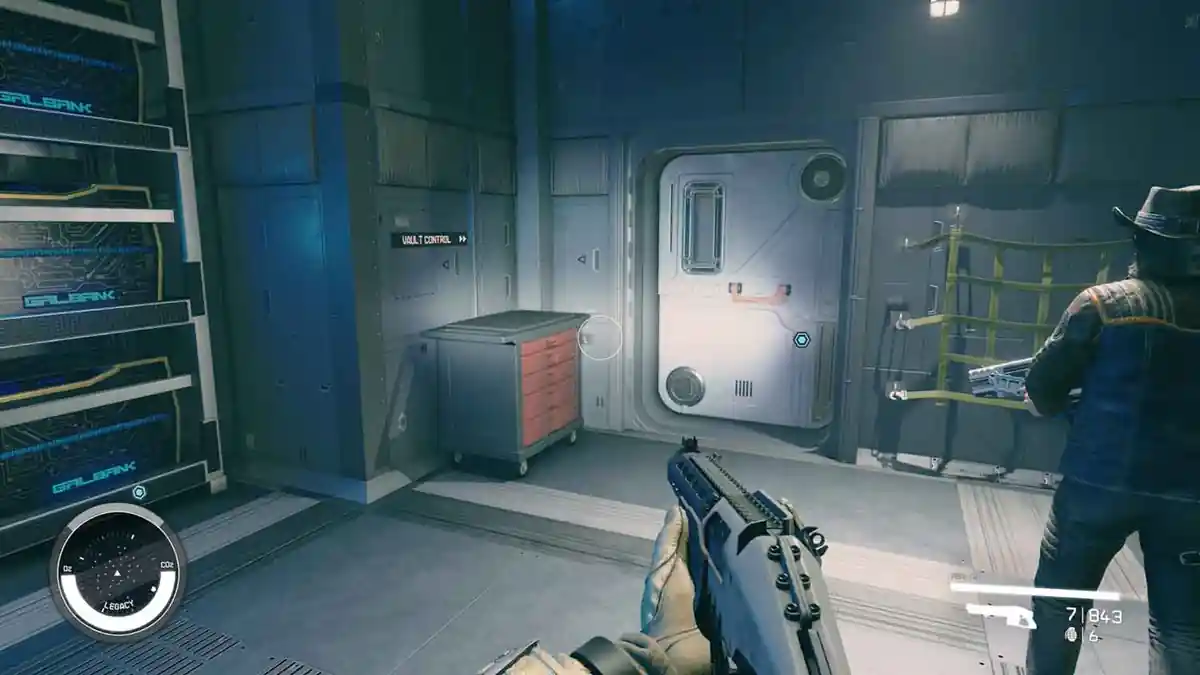
Entering the vault powers up one last security system. The Vault Control door sits at the very back.
9 – Listen to Kryx’s Final Recording
Inside Vault Control, sweep the room before you touch anything:
->Jasper Kryx’s credsticks on the floor
-> The Evidence File
->The GalBank Transfer Module
-> A slate on the centre console called “The Waiting Game”
Play the Evidence File and let it run to the end. This is Kryx’s final log and it tells you what has to happen next: the jury rigged power feeding the Legacy’s shields has to be rerouted to the vault. Skipping or interrupting the recording is one of the reported causes of the mission stalling, so let it finish before you move.
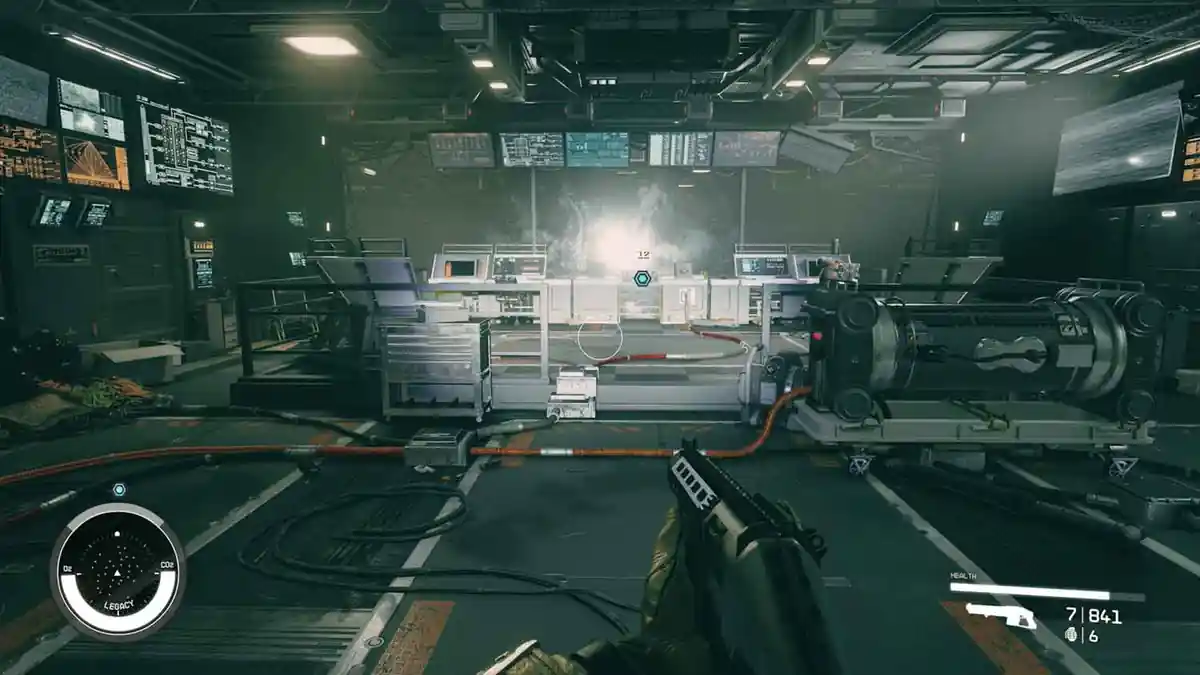
10 – Reroute Ship’s Power
Mission Text:
“After listening to Kryx’s final log, I’ve learned that I’ll need to reroute the jury-rigged power from the Legacy’s shields to the Vault in order to gain access to the ship’s currency, which will make the transport vulnerable to Bannoc IV’s EM Field.”
Point of no return. Rerouting the power drops the Legacy’s shields and starts the ship breaking apart under the EM field. Once the transfer finishes you are running for your ship, and the faction decision follows immediately. Save here, both because of what comes next and because this is where the mission is known to hang.
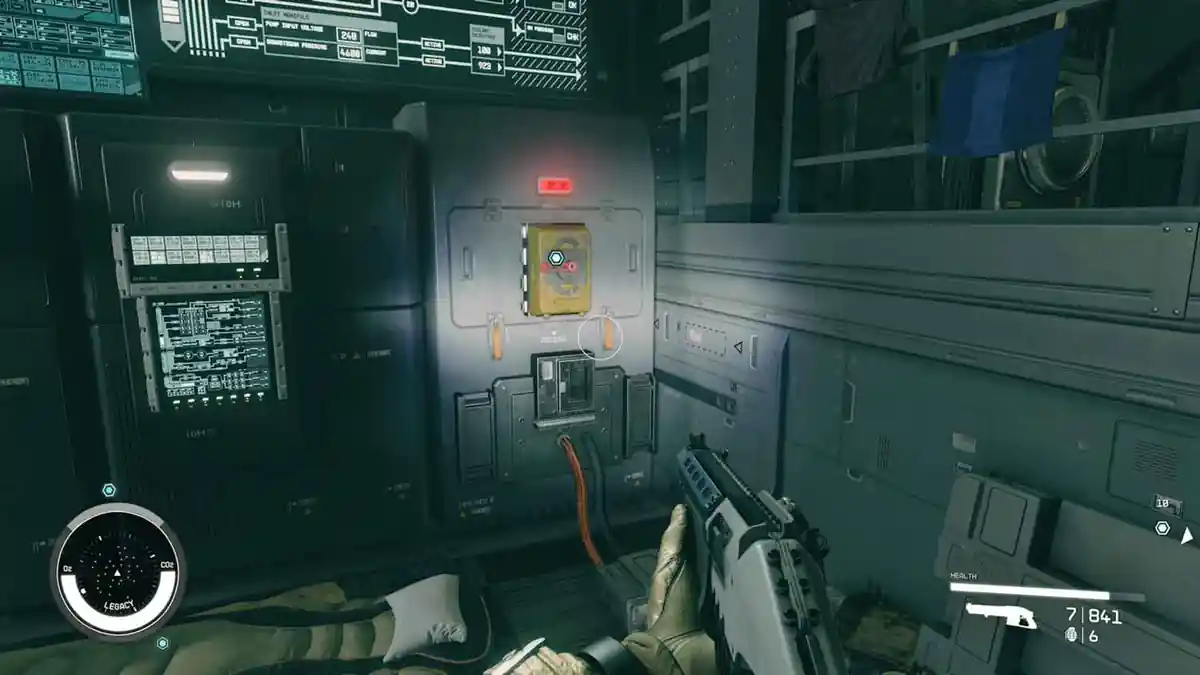
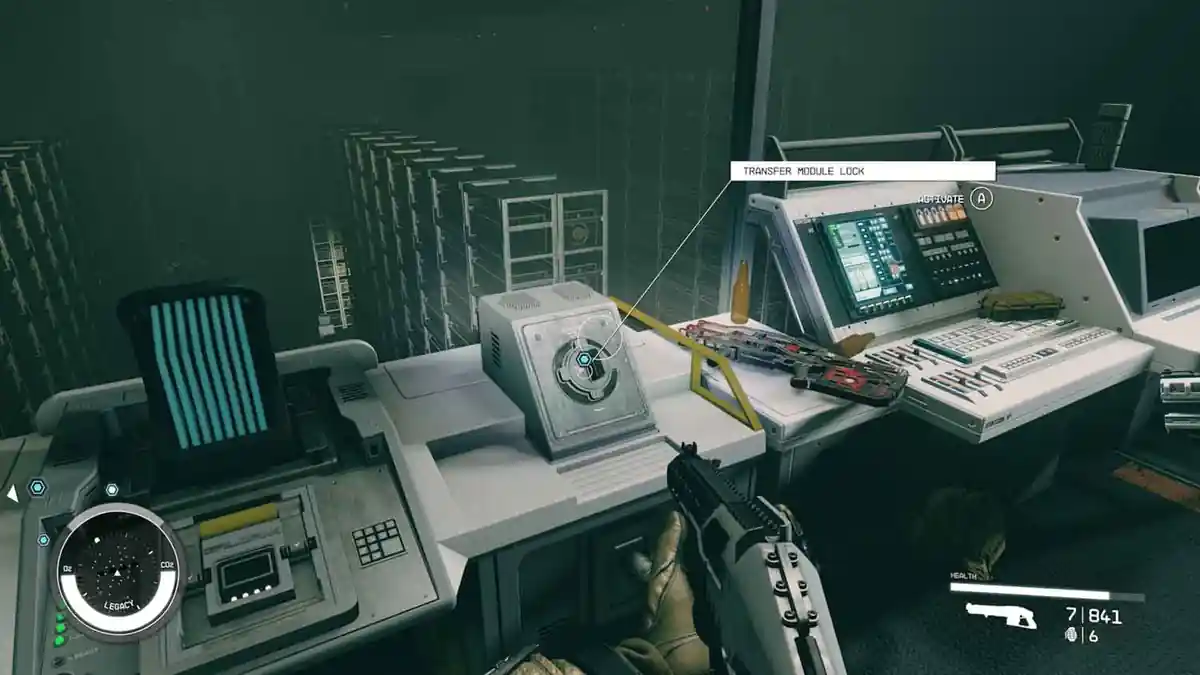
Two red switches with red lights sit on either side of Vault Control. Flip both, then interact with the centre console, insert the two Transfer Module locks and interact twice more with the centre to prepare the download.
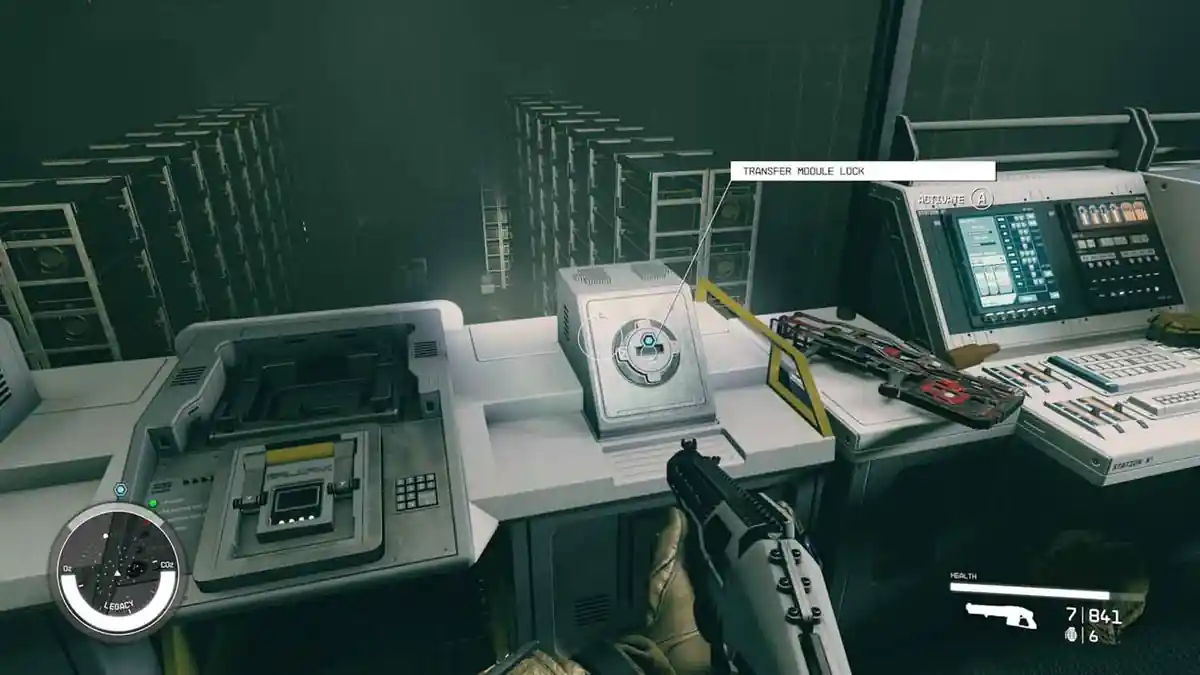
9 – Download the Legacy’s Credit Reserves
Mission Text:
“Now that the power has been rerouted, I can access and transfer the Legacy’s credit reserves.”
Use the Download Control Switch and wait for the transfer to complete. The vaults light up in sequence as it runs. If the lights stall part way and the objective never updates, you have hit the transfer bug, see the fix section further down.
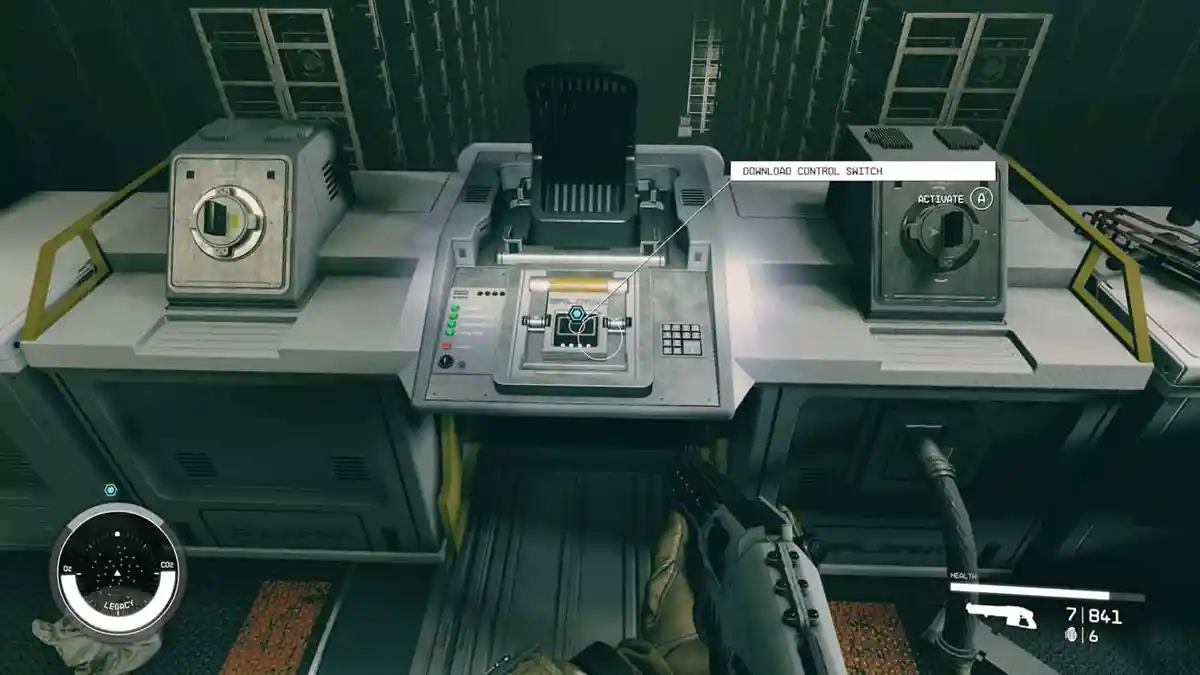
10 – Remove Transfer Modules and Data Core
Mission Text:
“I’ve successfully downloaded the currency from the Legacy’s Vault onto my Data Core. Kryx’s Legacy is mine.”
Take the two Transfer Module locks out of their slots first, then take the Data Core. Kryx’s Legacy is now in your hands.
How to Escape the Legacy
New section. This is where the mission gets genuinely tense and it is the point most people search for.
The Legacy starts tearing itself apart the moment the transfer ends, and you have to run the whole route back to your ship:
-> Retrace your steps through the vault, the engine room and the corridors, the doors you already opened stay open.
-> Do not stop to loot, anything you left behind is gone with the ship
-> Use boost pack jumps in the long corridors to save time
-> Security robots may still be active, run past them rather than fighting where you can
-> Board your ship and take off
Once you are in the pilot’s seat you have to choose a side.
Should You Side With the Crimson Fleet or UC SysDef?
Grav jumping to either destination locks in your choice and starts the final mission, Legacy’s End. There is no way back, and whichever faction you turn on becomes permanently hostile for the rest of that playthrough.
Pick this if you want a pirate playthrough. You keep the vendors at The Key and travel through pirate space unbothered, at the cost of your standing with the UC and your companions.
Pick this if you care about companion approval, want a clean reputation with the United Colonies, or are running other quests where hostile pirates get in the way.
Which is better? The payout is the same either way, so pick on access rather than credits. Choose the Fleet if you want a pirate playthrough, the vendors at The Key and quieter travel through pirate space. Choose SysDef if you care about companion approval, want a clean reputation with the UC, or are running other quests where hostile pirates matter.
Eye of the Storm Rewards
-> 350 XP Roughly 8,400 credits on completion
-> The credits from the Credtank on board, which vary by playthrough
-> Jasper Kryx’s credsticks, the Evidence File and anything you loot from the Osterholt safe
-> Access to the final Crimson Fleet mission, Legacy’s End, which pays out 250,000 credits
The huge 250,000 credit payout that gets quoted for this questline belongs to Legacy’s End, not to Eye of the Storm.
Eye of the Storm Bug Fixes
Delgado will not talk to you and the mission never starts.
Leave The Key completely, grav jump somewhere else, wait a day or two of in game time and come back. Talking to Naeva Mora again on the way in also helps trigger it.
The transfer process never completes.
This is the common one. After you flip the two power switches, the objective sticks on waiting for the transfer and the vault lights stall part way. Reload a save from before you flipped the switches, let both recordings in Vault Control play through to the end, save again on a fresh slot, then flip the switches and start the transfer. Several attempts may be needed. Restarting the game entirely between attempts has also worked for players.
You cannot dock with or board the Legacy.
Check that both the ComSpike and the Conduction Grid Module are actually fitted to your active ship rather than one sitting in your fleet, then fly out of the EM field and come back in.
The safeguard for all three is the same: save before you board, and save again before you touch the power switches.
Starfield Eye of the Storm FAQ
How do I start Eye of the Storm in Starfield?
It starts automatically after Absolute Power. Return to The Key, speak to Naeva Mora on the way in, then go and see Delgado at Ship Services.
How do I install the ComSpike and the Conduction Grid Module?
Talk to Jasmine Durand at Ship Services on The Key, choose to view and modify your ships, open the Equipment category and add both modules. Neither costs anything.
Should I side with the Crimson Fleet or UC SysDef?
The rewards are the same. Side with the Crimson Fleet to keep The Key and its vendors and to make pirates less hostile. Side with UC SysDef to keep your companions happy and stay on good terms with the United Colonies.
Can I change my mind after choosing?
No. Grav jumping to The Key or the UC Vigilance with Kryx’s Legacy locks in the choice and starts Legacy’s End.
How many credits do I get from Eye of the Storm? Around 8,400 credits and 350 XP, plus the Credtank and loot on board. The 250,000 credit payout comes at the end of Legacy’s End.
Why is my Eye of the Storm quest stuck?
The transfer process bug is the usual cause. Reload a save from before you flipped the two power switches, let the recordings finish, save again and retry.
Where is the Legacy in Starfield?
The GalBank Transport Legacy is in orbit around Bannoc IV in the Bannoc system, inside the EM storm.


About Starfield
Release: September 6th, 2023
Developer: Bethesda Game Studios
Publisher: Bethesda Softworks
Official Website: https://bethesdagamestudios.com/