
Eleera of Crimson Dawn wants Kay to slip into an Imperial fuel station in Toshara’s orbit, wipe the debt records and pin it on the Pykes. This walkthrough shows you every vent, ladder and terminal on the way to the data vault, plus the choice you face there: frame the Pykes or double-cross Crimson Dawn.
Related Guides:
5 – New Tricks: How to Get the Ion Blaster
7 – The Wreck
The Traitor – Pyke Syndicate Quest
More at the Star Wars Outlaws Guides Hub
1 – Bring the Fuel Injectors to Waka
Main Quest: False Flag (Step 1 of 8)
Location: Jaunta’s Hope Landing Zone – Toshara
Quest Text: “Kay has secured the fuel injectors needed for the Trailblazer and must go to Waka in Jaunta’s Hope to finalize the ship’s repairs. Having a functional starship will open up new opportunities for jobs.”
Once New Tricks is done, Waka is waiting at the landing pad in Jaunta’s Hope, next to the Trailblazer. Talk to him and replace the red, highlighted Propulsion part with the new fuel injectors.
Right after that, Eleera of Crimson Dawn offers Kay a job. Kay is to infiltrate an Imperial fuel station in Toshara’s orbit, erase specific data and make it look like the Pyke Syndicate did it.
Board the Trailblazer, take the pilot’s seat and fly to Toshara space.
2 – Recover the Sansanna Cargo
Main Quest: False Flag (Step 2 of 8)
Location: Toshara Orbit
Eleera sends coordinates for a cargo load of the spice Sansanna. Delivering it gives Kay a cover story for landing at the Imperial station.
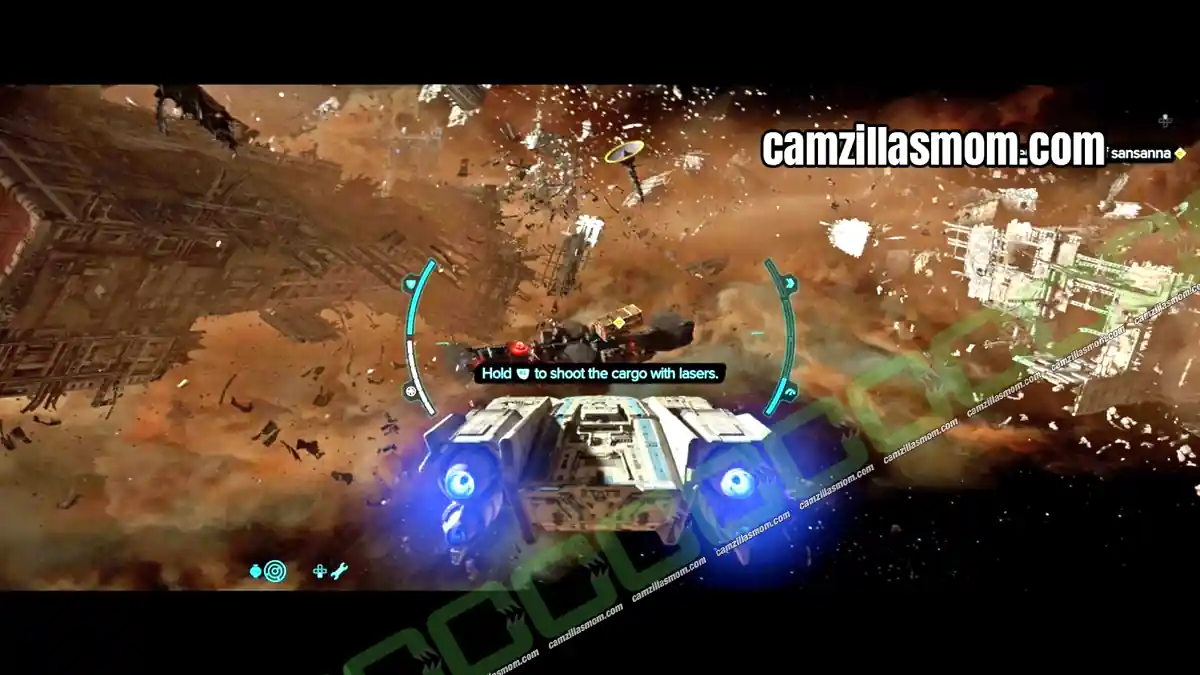
Fly to the marked cargo ship and shoot the yellow Sansanna container free. Defeat the raiders who show up, then use the tractor beam to pull the cargo aboard.
3 – Reach the Imperial Fuel Station
Main Quest: False Flag (Step 3 of 8)
Location: Fuel Station Visavi, Toshara Orbit
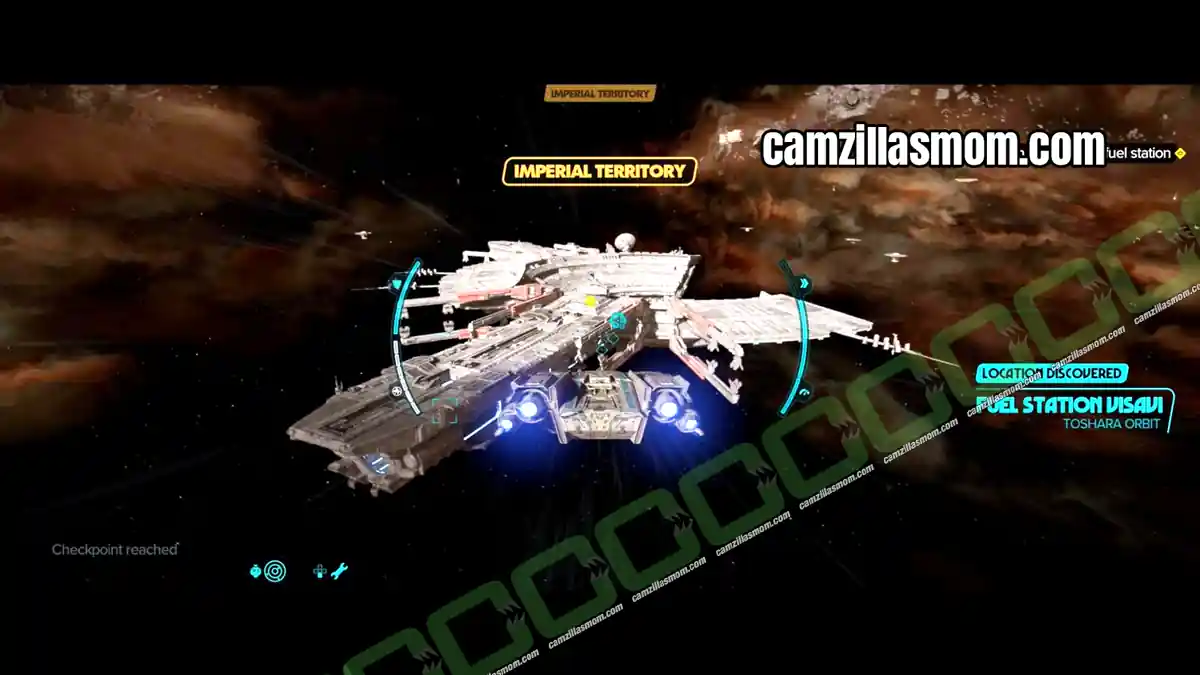
When you reach Fuel Station Visavi, you enter Imperial territory and TIE Fighters fly in close. Waka explains that their freighter had problems, which is why they switched ships, and the Imperial officer tells you to dock at bay 3 behind the TIE escort.
Follow the TIE Fighters and the Trailblazer lands at the fuel station automatically. After landing, talk to Waka at the back of the ship.
4 – Find the Data Vault
Main Quest: False Flag (Step 4 of 8)
Location: Hangar, Fuel Station Visavi
How to Leave the Trailblazer
The cargo ramp stays up after landing, so the usual way out is closed. The exit is a door in the cargo hold:
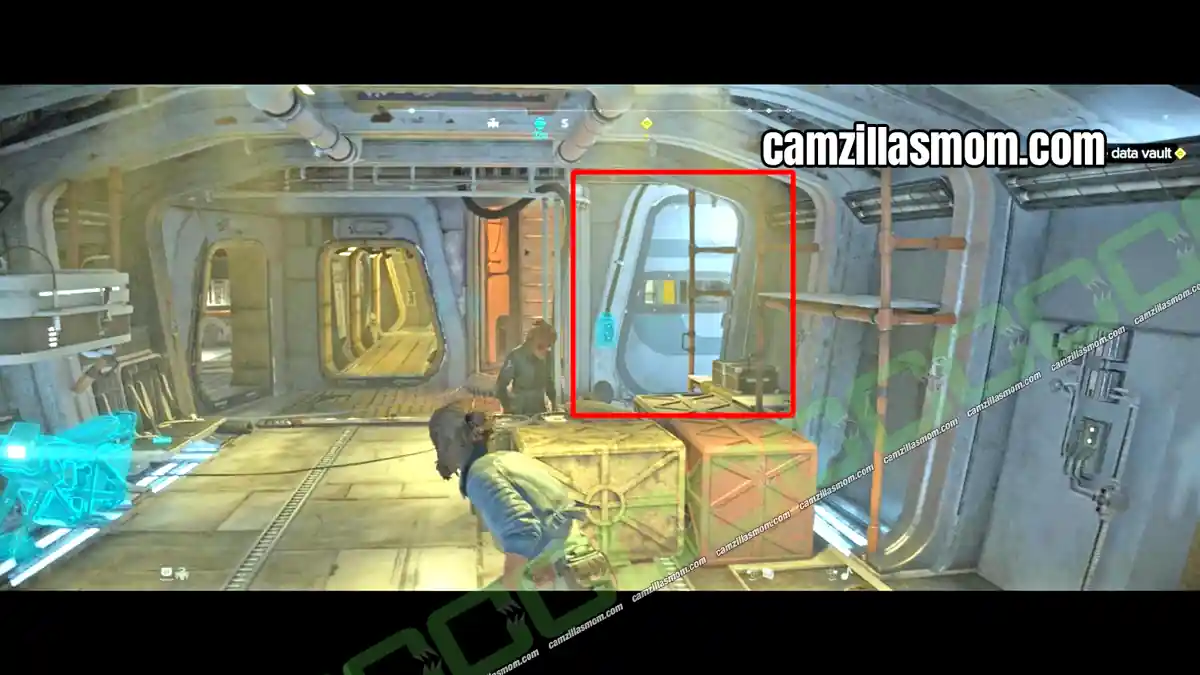
Go through the door, drop to the ground floor and get into cover. Find the flat black cargo transporter in the hangar and activate it. It floats toward the hangar exit, so use it as a shield to slip past the guards.
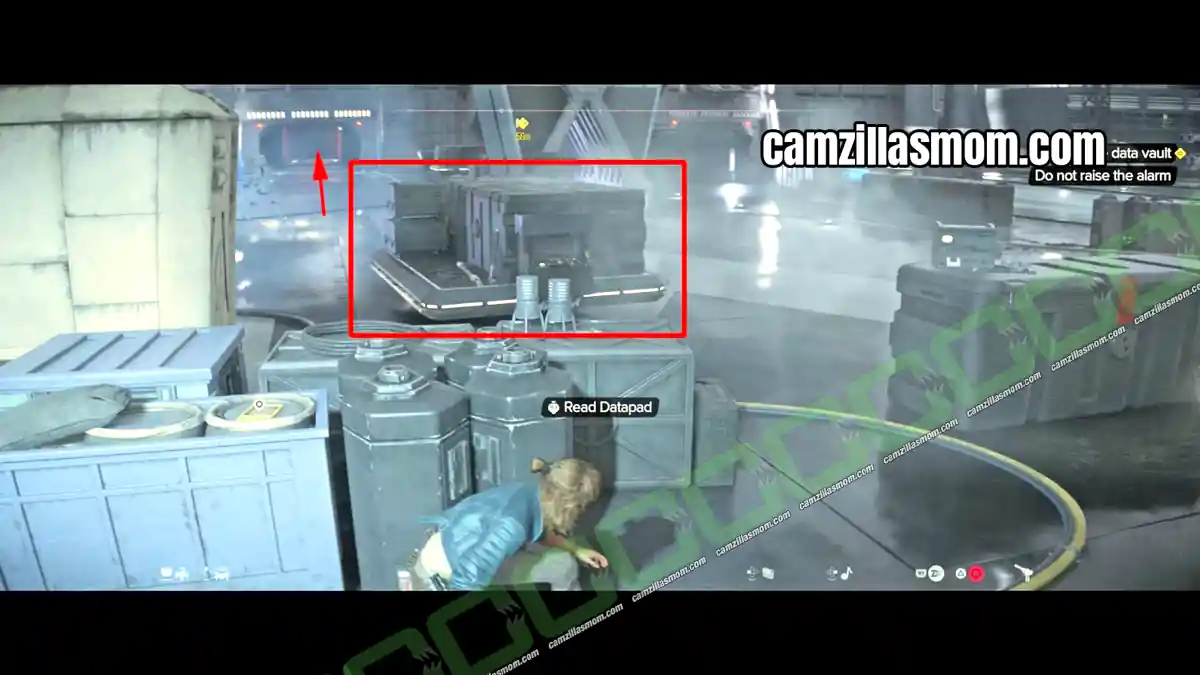
On the other side of the door, the transporter passes through a red force field that Kay cannot cross. Open the vent cover next to the force field door and crawl through. Kay confirms “We are in” and starts looking for a floor plan.
5 – Find a Terminal with Info on the Data Vault
Main Quest: False Flag (Step 5 of 8)
Location: First command center, Fuel Station Visavi
The room after the first vent has a cargo elevator, a platform with a yellow frame. Stand on it for a moment and it rises on its own. There’s a call button on it, but you don’t need it on your first trip.
On the top floor, follow the corridor to the opposite side and open the door. A short corridor leads to the main command center. Stay hidden, take out the Imperial personnel quietly and sabotage any alarm boxes you see.
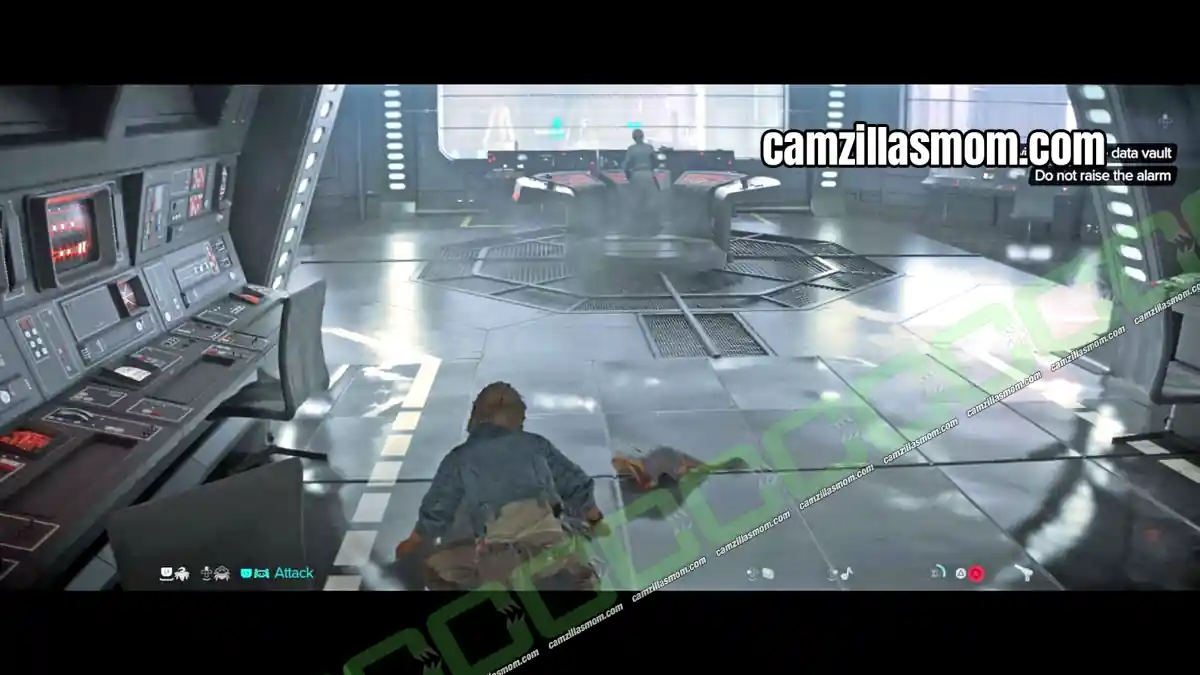
In the control room, deal with the officers and use the computer terminal just behind the round control console, by the window.
6 – Reach the Data Vault
Main Quest: False Flag (Step 6 of 8)
Location: TIE Fighter Hangar, Fuel Station Visavi
Leave through the left door and climb the ladder. On the way up, Waka suggests shifting the blame from the Pykes to Crimson Dawn instead. You make that call once you reach the vault.
At the top, follow the catwalk to a large Imperial door and pick the lock. The corridor behind it is full of Stormtroopers. Disable the alarm on the wall and deal with them. Your goal is the room on the left, which is watched by a surveillance camera.
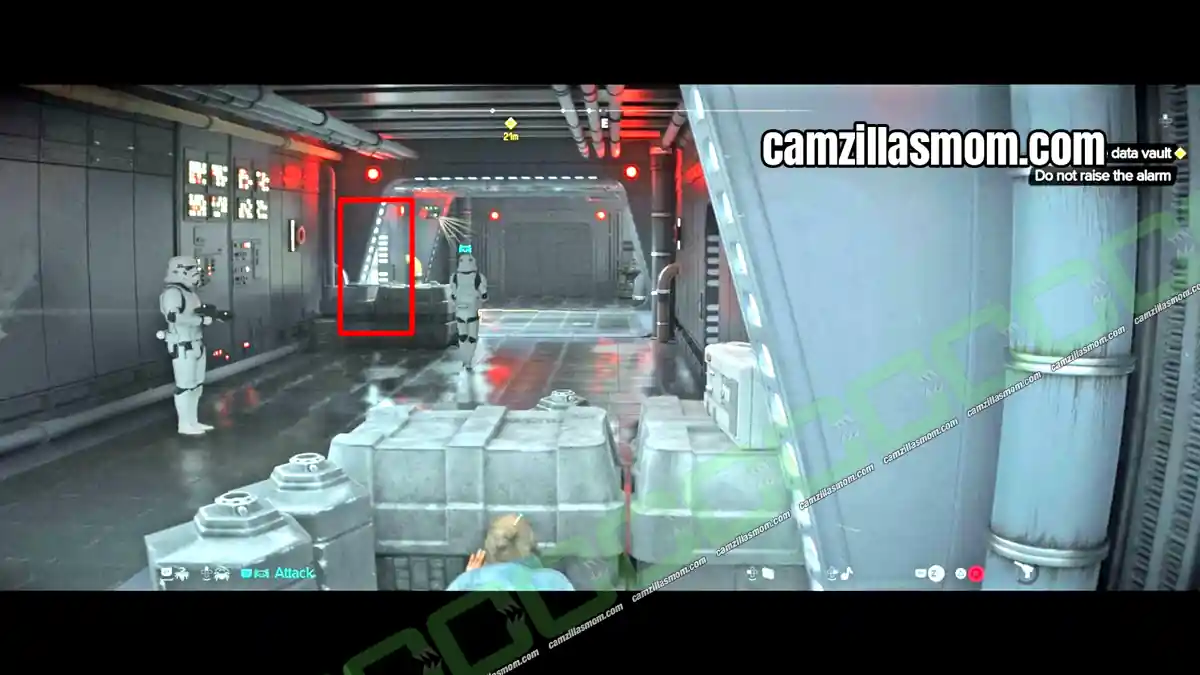
Inside the room, a narrow corridor ends in a ladder going down. Climb all the way down to a vent that takes you deeper into the station.
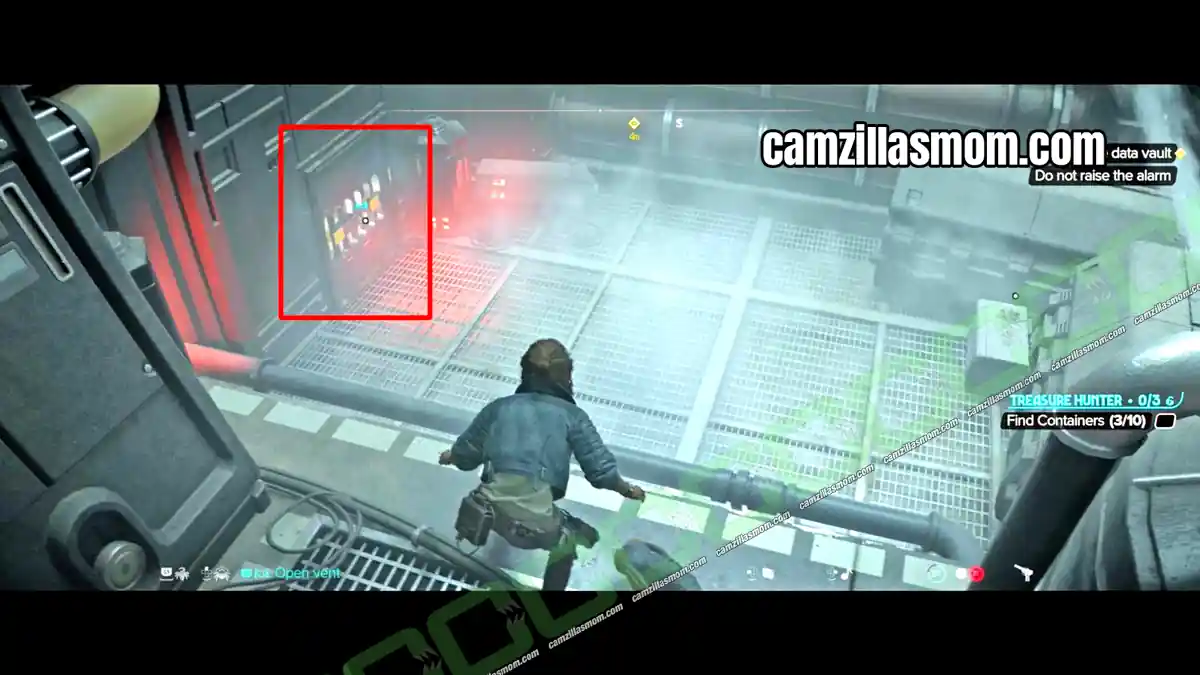
At the end of the vent is a rail system carrying two large containers, one on the left and one on the right. When you drop down, the containers move left, so follow them quickly. On the right is a passage with a red force field. Get onto the small platform, unlock the force field and go through.
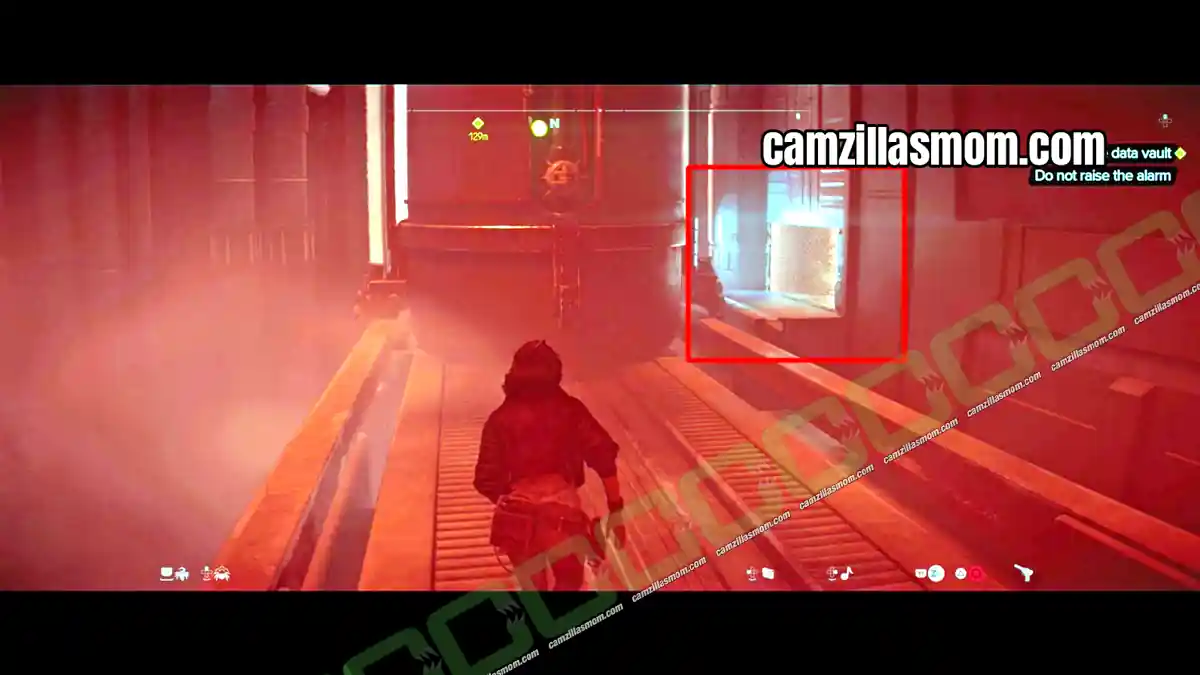
The passage leads to a ladder up into a room full of thick pipes and steam. Move left and drop onto the steamy platform, where the patrolling Stormtroopers can’t see you. Don’t fight them. Head left through the door instead, which you need to lockpick first.
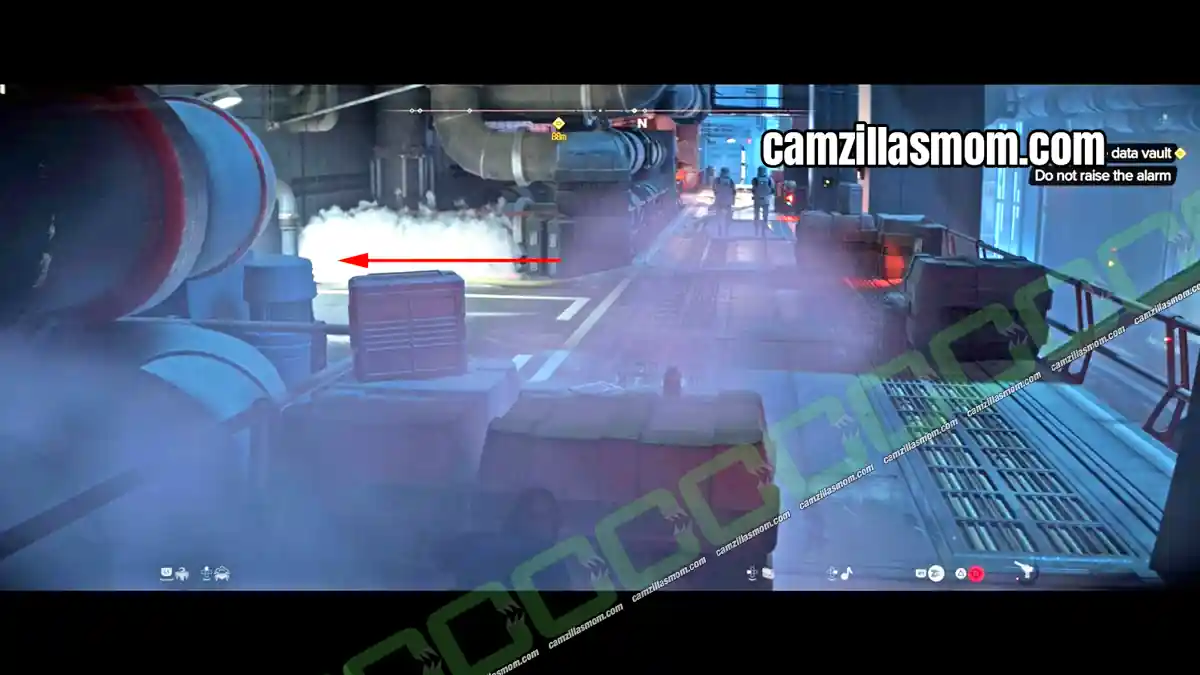
Avoid the Imperials in the next room and climb the ladder at the end. You’re now in a control room with a red force field. Send Nix to switch off the power on the right side.
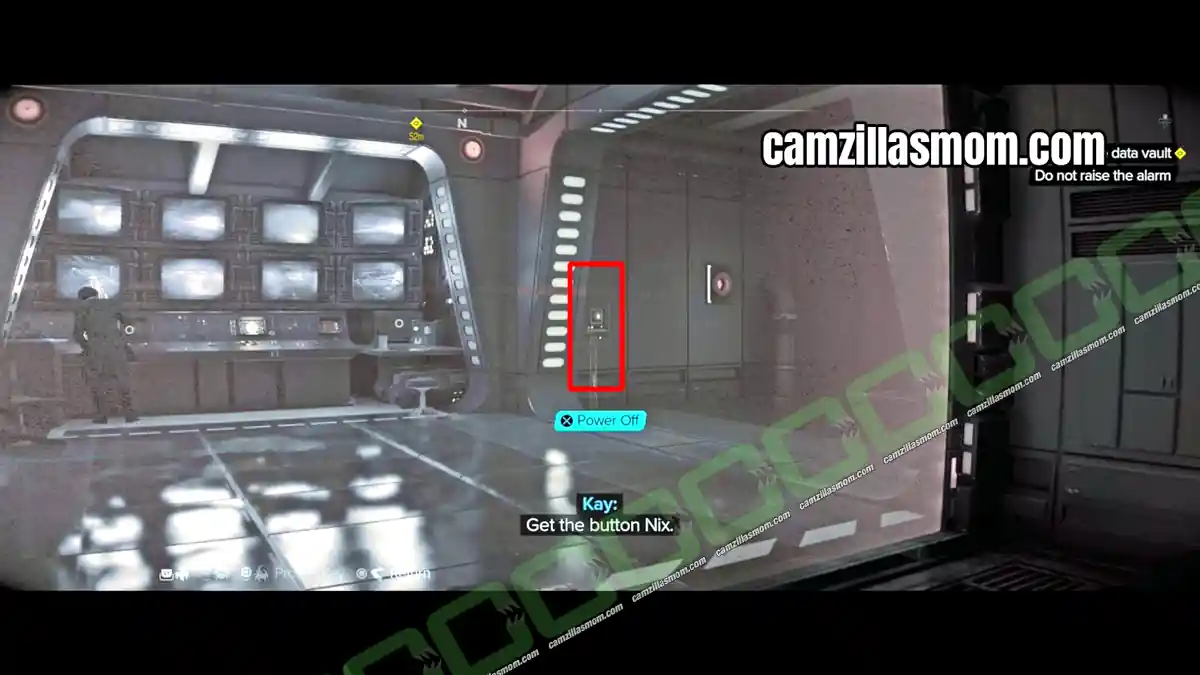
Take out the Imperial officer and slice the computer. This deactivates the security cameras and lowers the Maintenance Energy Barrier. Then leave through the only open door.
You’re now on a catwalk above the Stormtroopers from the steam room. Drop down when they look away, never right in front of them. Head straight to the door into another wide corridor, then open the door at the far end.
This area looks like a command center but has no terminal to use. It is the TIE Fighter hangar, and the data vault is here.
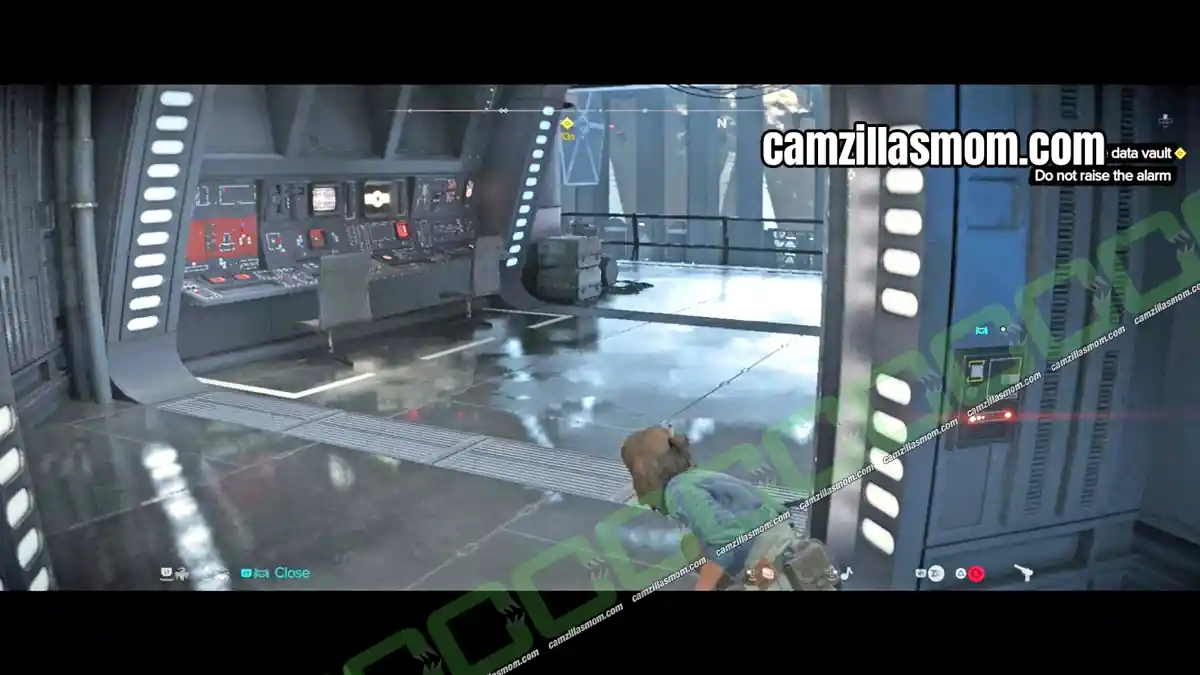
You can stay on the upper level and swing and climb to the data vault, or go down to the ground floor and sneak past the Imperial troops. To stay up, walk to the TIE Fighter next to the walkway. There’s a switch on the other side, so send Nix to press it.
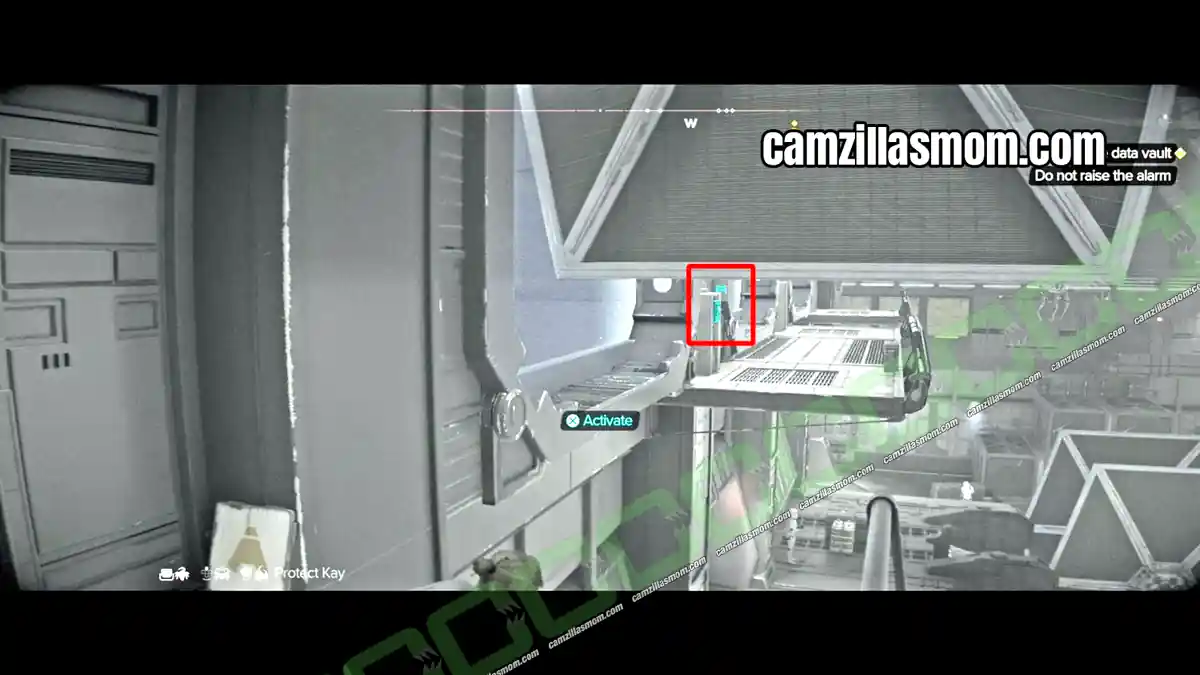
Moving the TIE Fighter clears the path ahead. Watch out for the Imperial droid scanning the area, and hide behind the platform railings whenever it looks your way. To reach the first platform, look up for the grapple point and swing across.
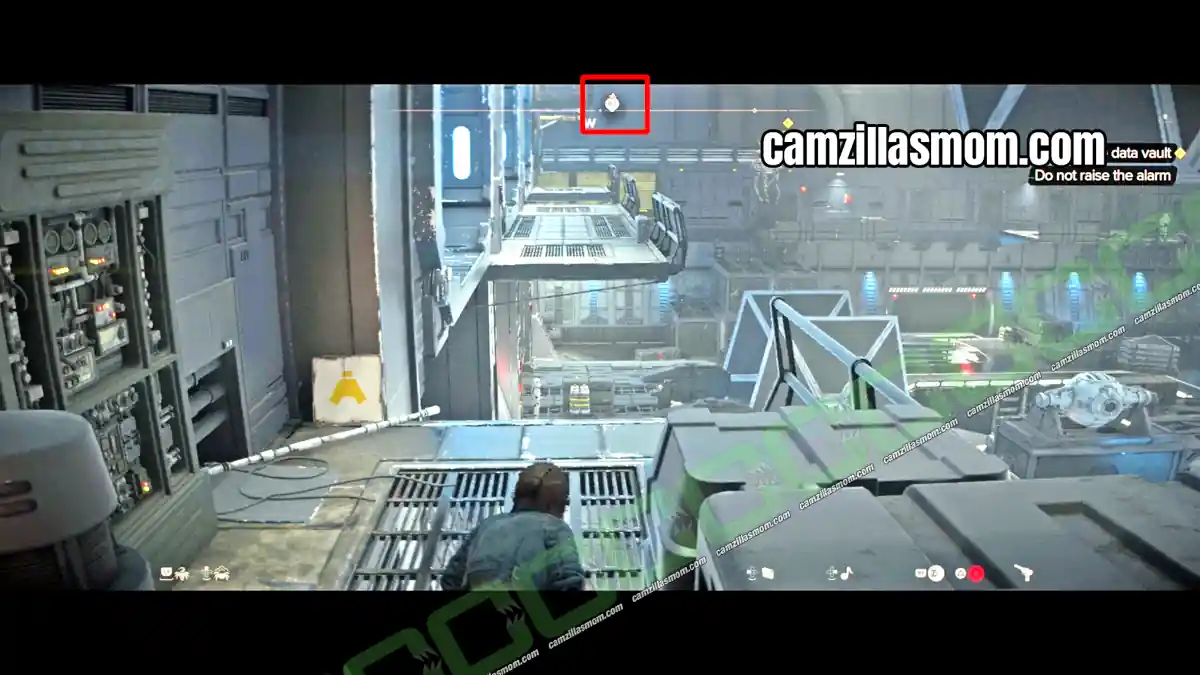
Follow the path. To reach the next platform, walk along the frame of the blocked door on the left. Then swing to the yellow grated wall on the other side and climb to the right using the yellow climb points.
One last gap separates Kay from the data vault. Deal with the Stormtrooper ahead, swing over using the overhead grapple point, and enter the vault.
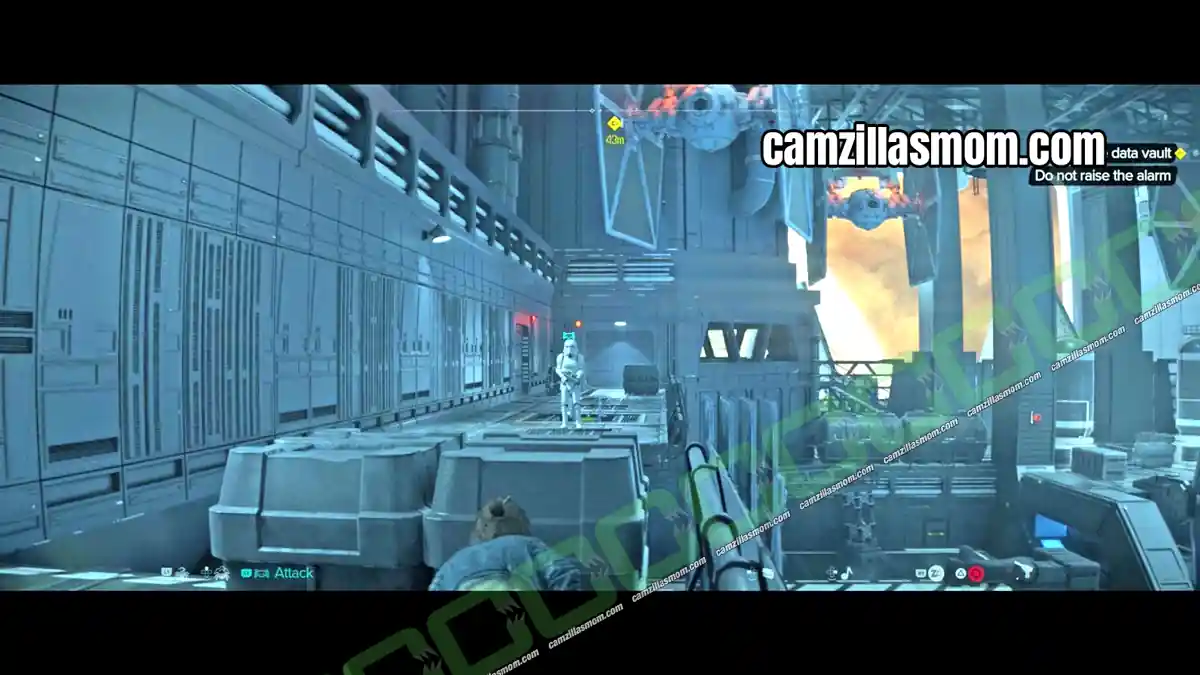
Chest contents: Blaster Recirculator (Blaster Material)
Open the chest near the vault entrance before you touch the computer. It doesn’t count as one of the Fuel Station Visavi treasures, which are hidden outside the station.
Then use the computer to start the cutscene where Kay meets the bookkeeper Bosnok.
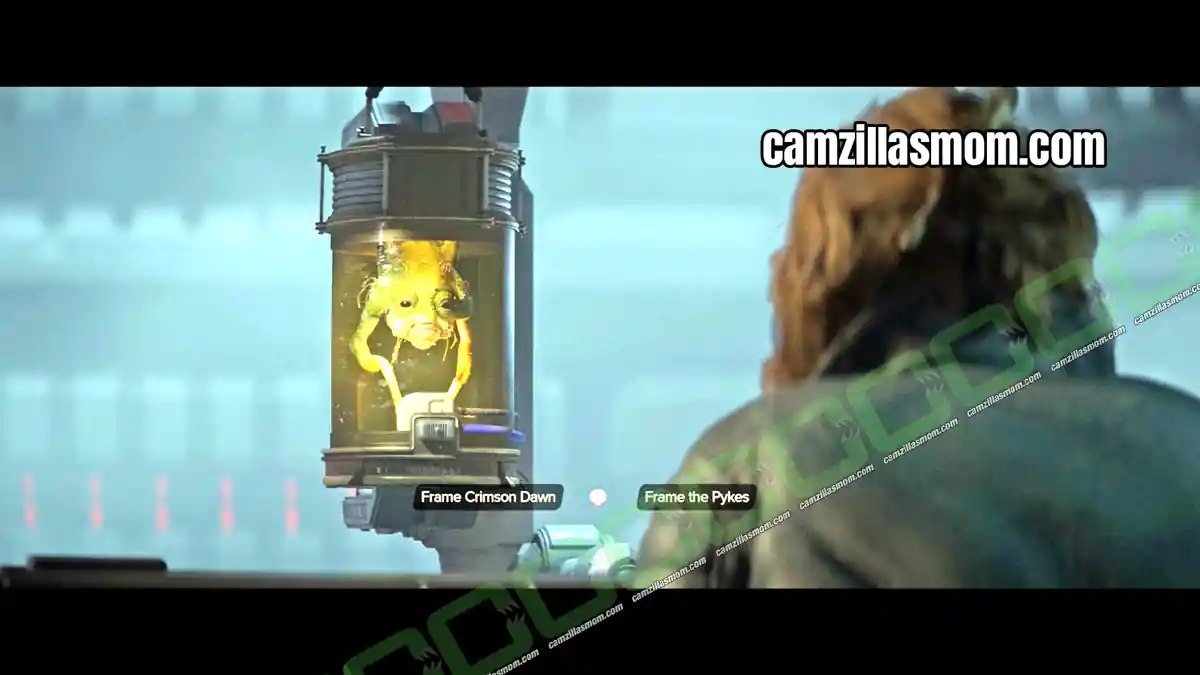
Frame the Pykes or Crimson Dawn?
At the data vault computer, you decide who takes the blame for the wiped debt records:
Frame the Pykes: you finish the job the way Eleera asked. Crimson Dawn is pleased and the Pyke Syndicate is not.
Frame Crimson Dawn: you double-cross Eleera, as Waka suggested. The Pykes come out ahead and Crimson Dawn turns against you.
The choice changes your reputation with both syndicates. If you plan to work with one of them, pick the option that favours it.
7 – Activate Bosnok’s Sled and Escort Bosnok off the Station
Main Quest: False Flag (Step 7 of 8)
Location: TIE Fighter Hangar to the Trailblazer hangar, Fuel Station Visavi
Bosnok is an Imperial prisoner, and Kay helps him escape on a sled he uses to move cargo around. Leave the data vault through the big door and go down the stairs. Take out the Stormtrooper and turn right straight away, where you can drop down to the ground floor of the TIE Fighter hangar.
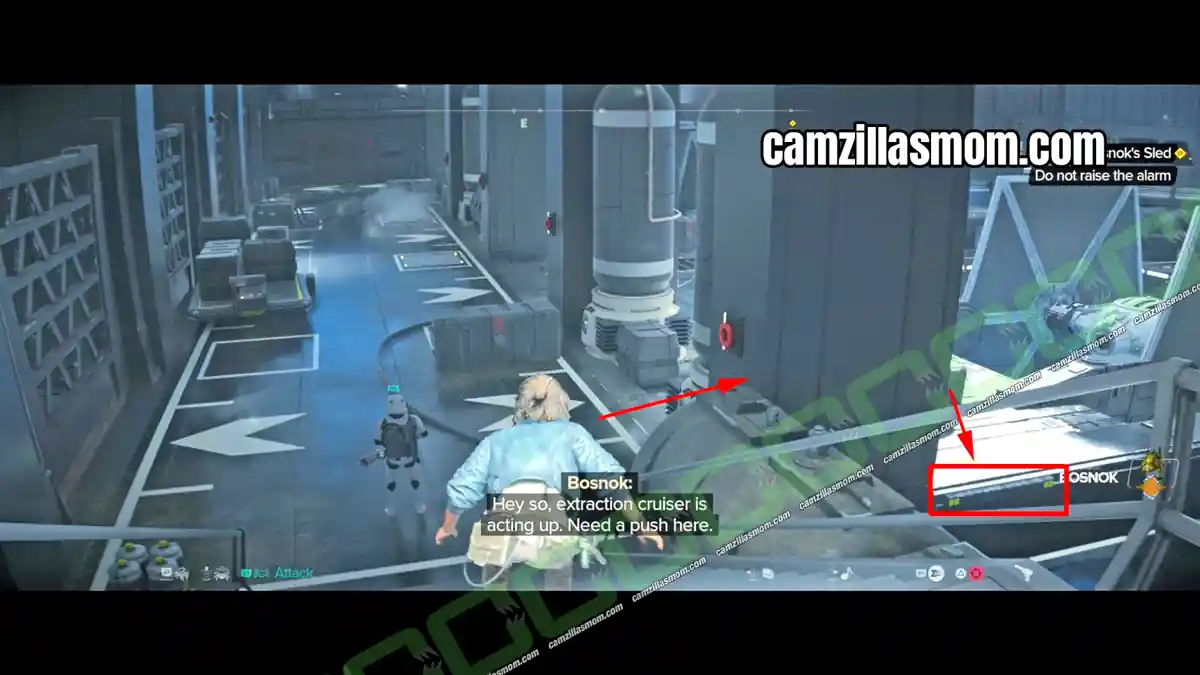
From here, sneak to Bosnok’s sled, activate it and use it as cover to reach the next power shield passage. Drop the shield at the computer terminal in the control room next to it.
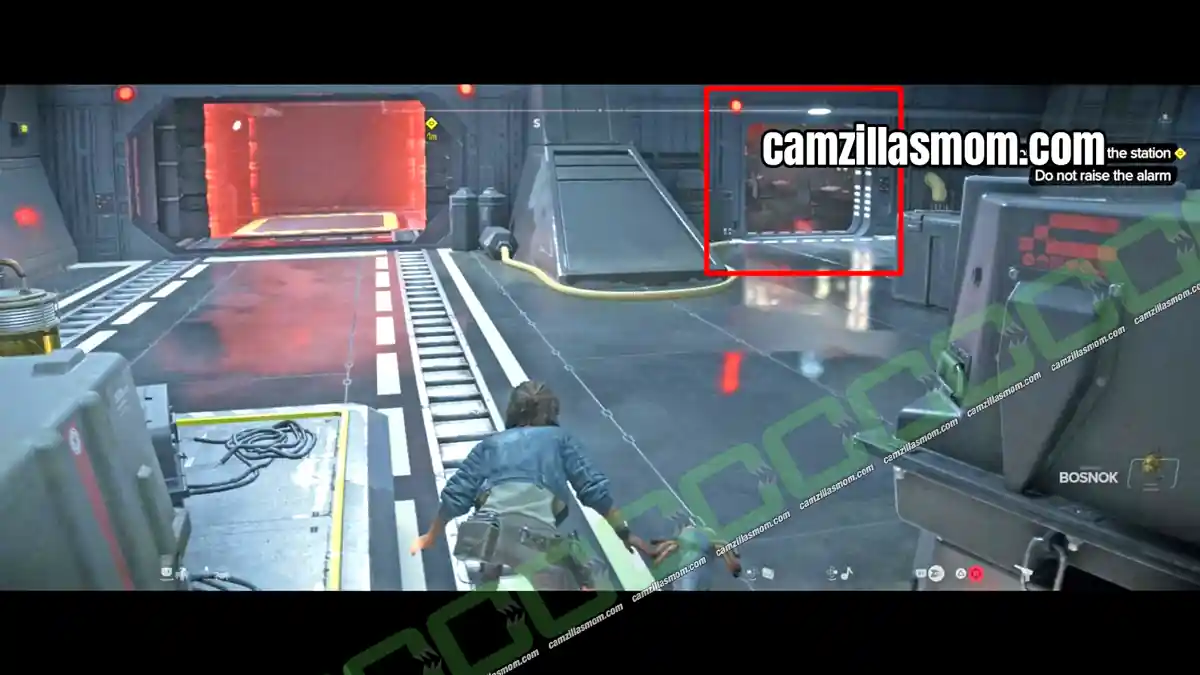
Bosnok’s sled moves on to the next section. Use it as cover to get past the Stormtroopers. The next door is shut again, and as before, the terminal is in the room next to it. Deal with the Imperial officer in front of it and use the computer. Kay presses the wrong button and sends Bosnok down on a cargo elevator.
Leave the room through the other door and find a grapple point leading down. Look up at the dark platform to spot an open ventilation shaft that takes you to Bosnok. When you arrive, Imperial troops are confronting him on his sled. Take them out quickly with your blaster before they raise the alarm.
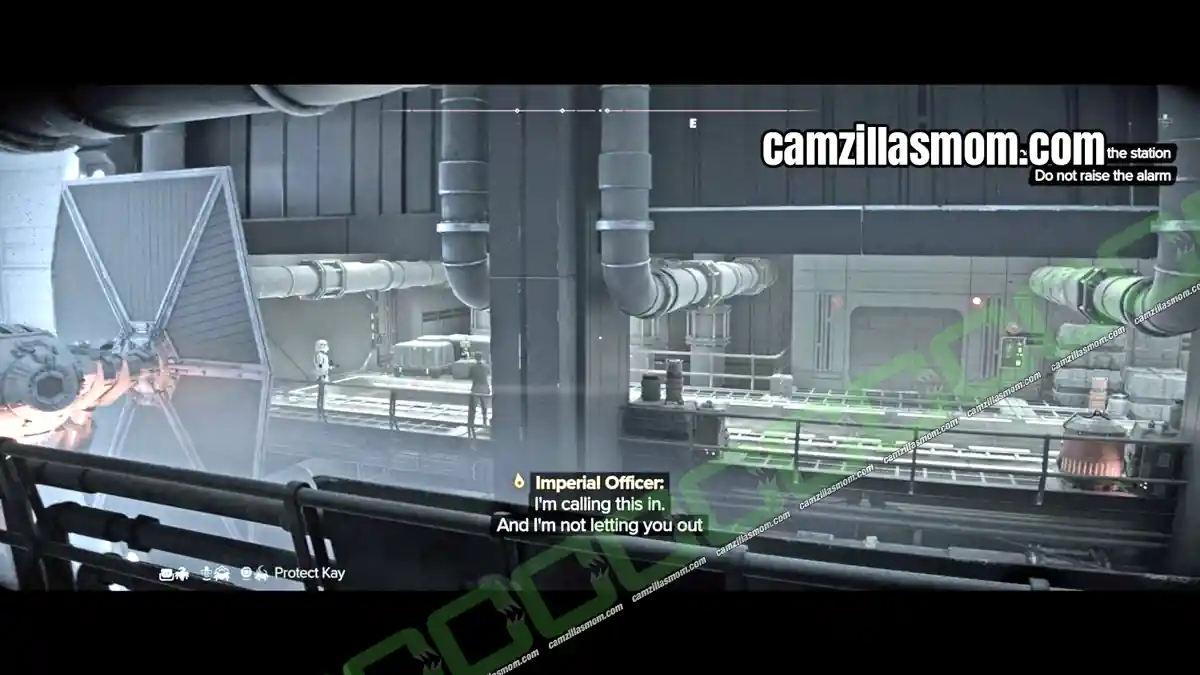
After the fight, a red power shield still blocks the way out. Find the power core and shoot it to switch off the shields.
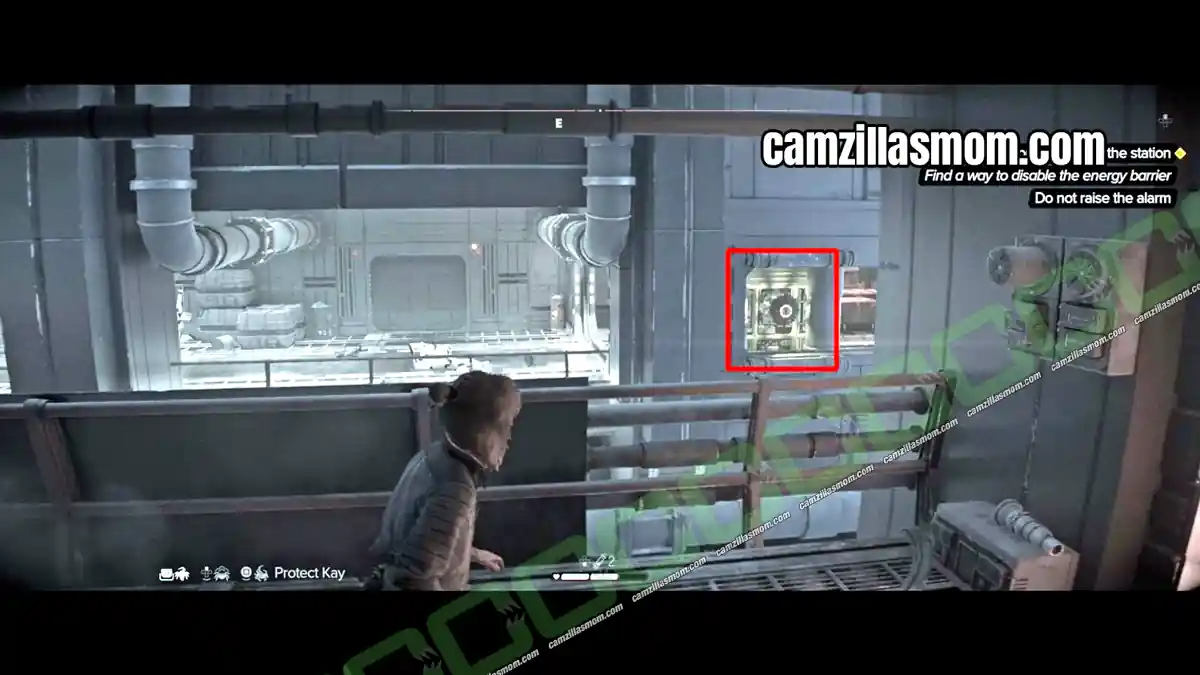
Sneak through the vent that is now open and climb a ladder to another control room. The terminal there tells you the cargo needs authorization, so Kay heads off to override it.
Go through the next door and climb a ladder into another Imperial corridor. If Stormtroopers come running toward you, hide behind the boxes and they run past. Enter the control room on the left.
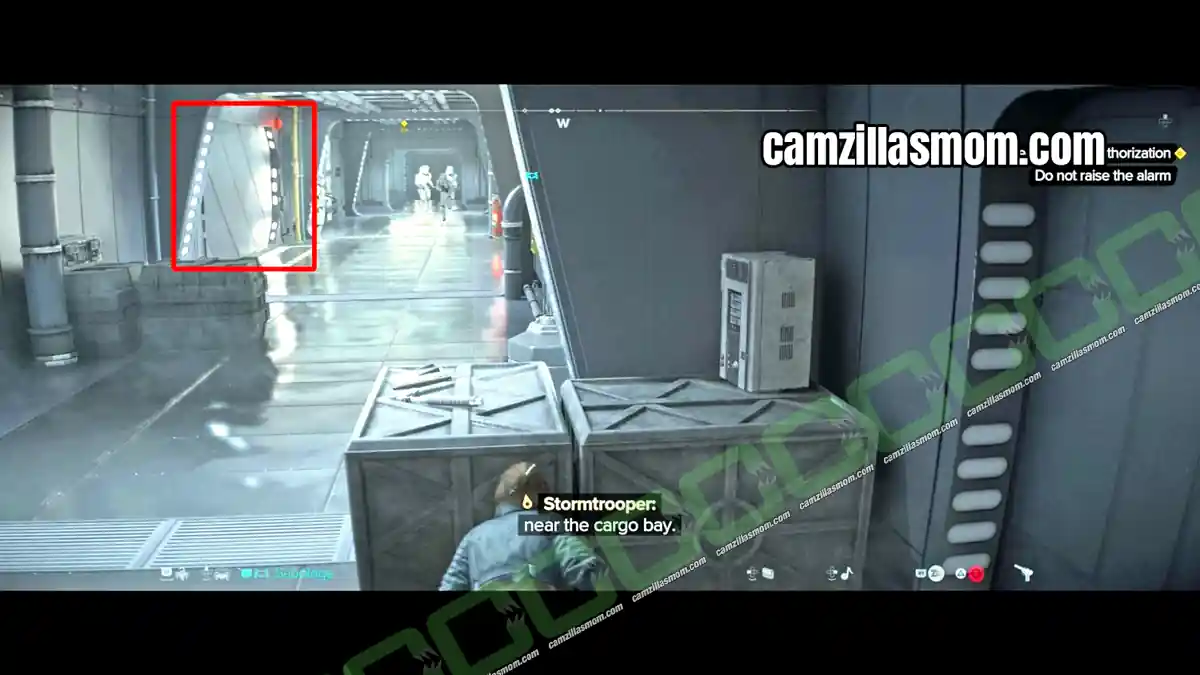
At this computer, activate the Evacuation Protocol and approve the cargo shipment. Bosnok is now on his way to the Trailblazer’s hangar.
Leave through the next door, climb down the ladder in the following room and go through another door to the hangar door. Slice it to open it. The Stormtroopers spot you as soon as it opens. Hold them off until Waka lowers the cargo ramp, then run for the ship.
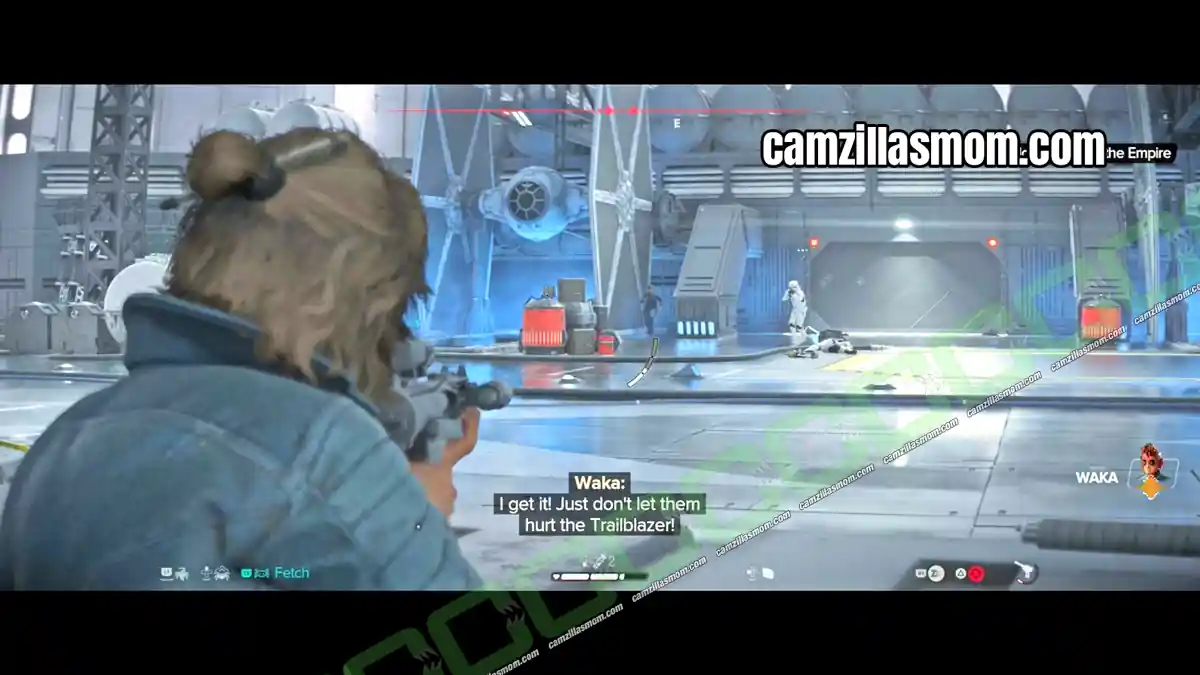
8 – Escape and Return to Toshara
Main Quest: False Flag (Step 8 of 8)
Location: Debris Field, Toshara Orbit, then Mirogana – Toshara
The Trailblazer launches into space. Fly straight to the next quest marker, the Debris Field. Shoot down the TIE Fighters chasing you, then fly to the Imperial Comms Relay to clear your wanted status.
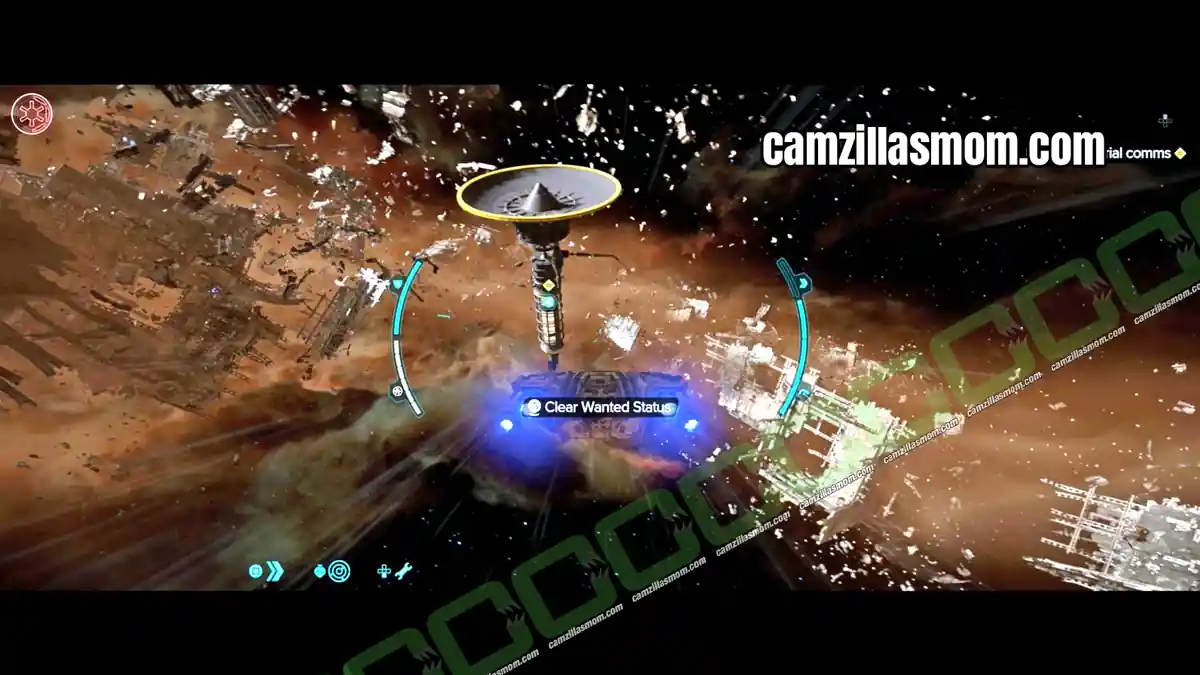
Head back to Toshara and land in Mirogana to complete False Flag. The ending conversation depends on whether you framed the Pykes or Crimson Dawn.
Next, Waka has a lead on a nav computer for the Trailblazer, which starts the main quest The Wreck. Gorak also contacts Kay about a Pyke Syndicate opportunity, which leads to The Traitor.


About Star Wars Outlaws
All guides: Star Wars Outlaws Guides Hub
Release: August 30th, 2024
Developer: Massive Entertainment
Publisher: Ubisoft
Official Website: https://www.ubisoft.com/en-gb/game/star-wars/outlaws


