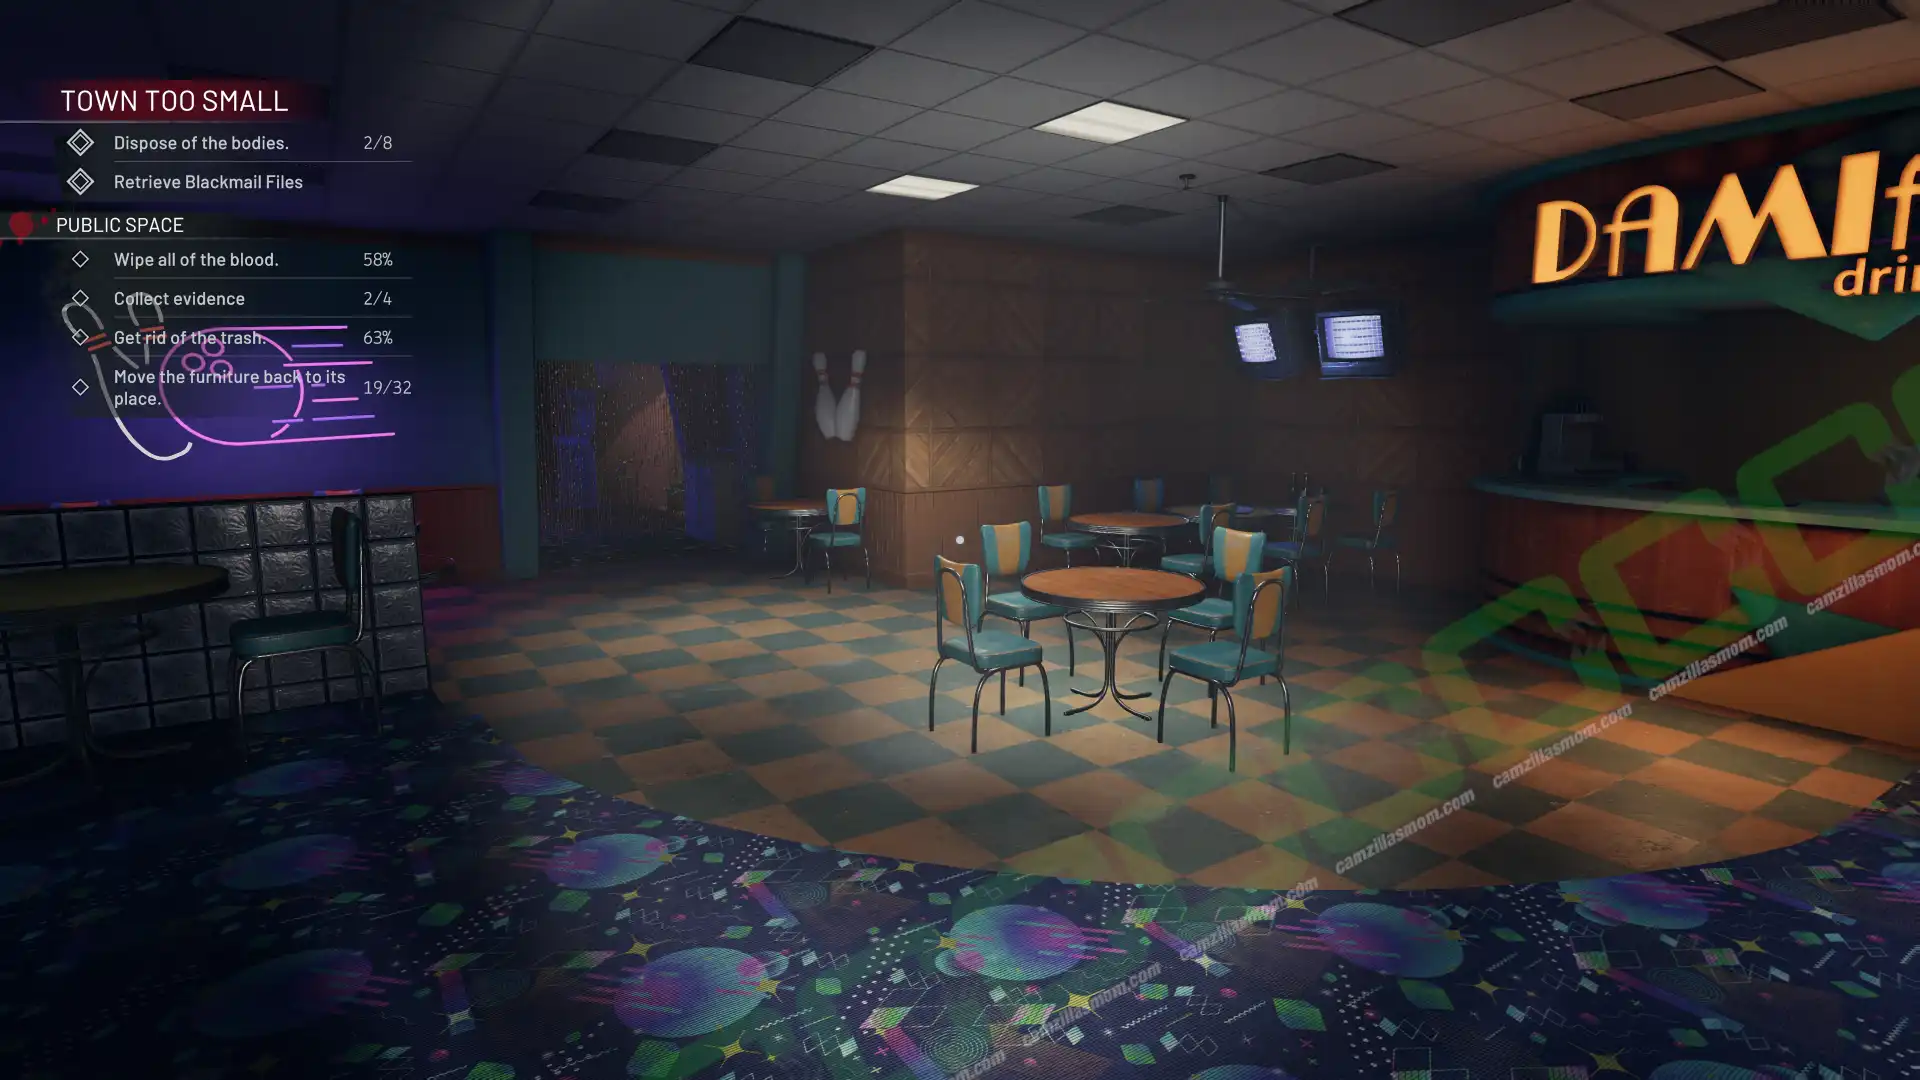
The Call In Dead mission in Crime Scene Cleaner is the final core mission and the biggest cleanup job in the game, sending you deep into Big Jim’s Warehouse. With multiple floors, locked rooms, keycards, secrets, and conveyor belt puzzles, this mission can quickly become confusing if you do not know where to go next.
In this guide, you’ll find a complete walkthrough for Call In Dead, including where to find all 13 bodies, all 12 evidence items, every keycard, cassette collectible, and secret in Big Jim’s Warehouse. Follow along floor by floor to restore power, unlock the Control Room systems, clear the Container Lot, and finish the mission with full completion.
Mission Details
“Big Jim’s warehouse workers started a rebellion and tried to take over. The place turned into a full-fledged battlefield.”
Body count: 13 – Location Size: 4
Key Mission Steps:
1 – Collect a total of 12 Evidence in Big Jim’s Warehouse
-> At the Hall Ground Floor, the Sorting Room, the Office, the Container Lot – Bottom Level, and the Container Lot – Top Level.
2 – Move Furniture back to its place.
-> At the Hall Ground Floor, the Colourful Boxes, the Workspace-Breakroom, the Workspace-Office, the Sorting Room, and the Office.
3 – Steal valuables and get rich!
-> At the Underground Parking Security Room, the Underground Staircase, the Generator Room, the Hall Ground Floor, the Colourful Boxes, the Bathroom, the Control Room, the Workspace-Breakroom, the Workspace-Office, the Sorting Room, the Office, and the Container Lot – Bottom Level,
4 – Find all Key Collectibles
-> At the Hall Ground Floor, and the Unknown Key.
5 – Find all Keycards for the Control Room
-> Conveyor Belt Keycard (Green Card),
-> Hatch Keycard (Blue Card)
-> Elevator Keycard (Orange Card)
-> Crane Keycard (Yellow Card)
6 – Find all Cassette Collectibles!
-> “Up&Down”, “Celestial Empire”, “Classical Music Collection”, “Eine Woche eine Ende”
7 – Find 5 Secrets!
-> At the Generator Room, the Mesh Door Room, the Hall Ground Floor, the Control Room, and the Sorting Room.
8 – Pick up all the garbage and mop all the floors, walls, and ceilings. Then, pack all the garbage into the truck.
9 – Still confused? – Follow the step-by-step guide at the bottom!
-> Chapter 0: Bad Call
-> Chapter 1: Trial by Blood
-> Chapter 2: Toxic Love
-> Chapter 3: Short Circuit
-> Chapter 4: Italian Job
-> Chapter 5 – Affair with Death
-> Chapter 6: Friendly Fire
-> Chapter 7: Party’s Over
-> Chapter 8: Modern Art
-> More at the Crime Scene Cleaner Hub
1. Big Jim’s Warehouse
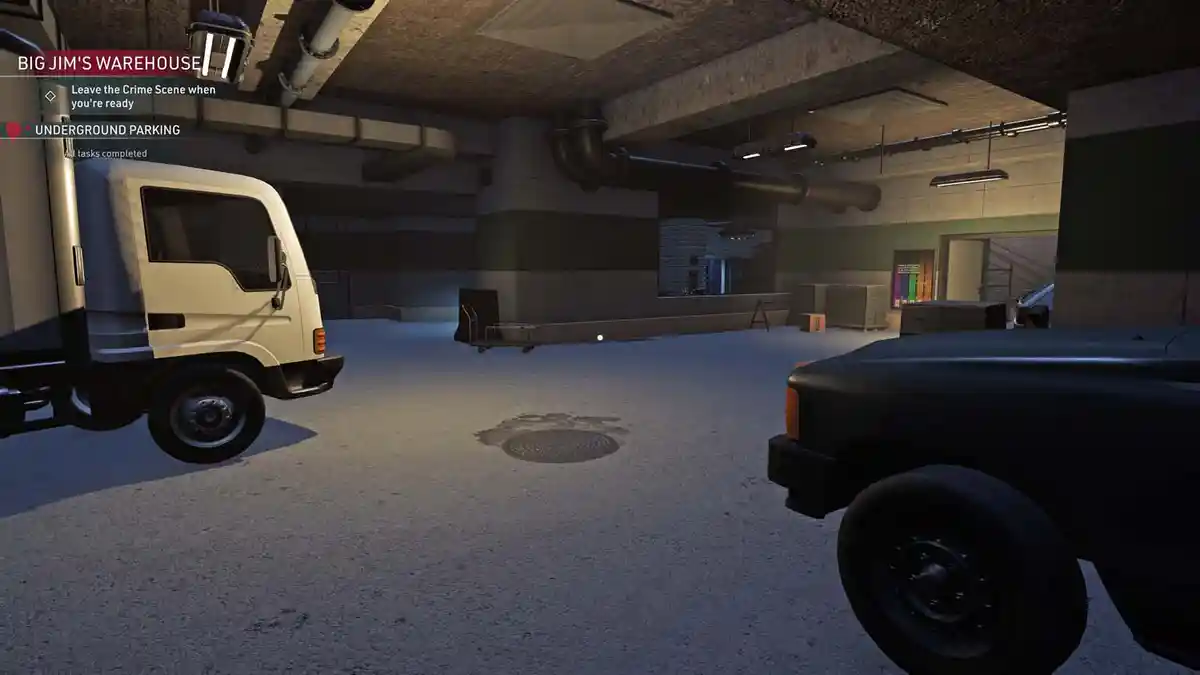
The mission starts in Big Jim’s underground parking, where the truck will be parked. The power is out and it has to be turned back on again.
Big Jim’s Warehouse has a lot of puzzles and cards to be found and can be quite confusing. This Walkthrough is sorted by Levels and their rooms. You will have to go to certain areas more than once. If you’re lost, you can find the step-by-step walkthrough at the back of this guide.
General Objectives
– Find 4 clues about what happened.
– Dispose of 13 bodies.
– Turn on the main power.
2. Floor -1
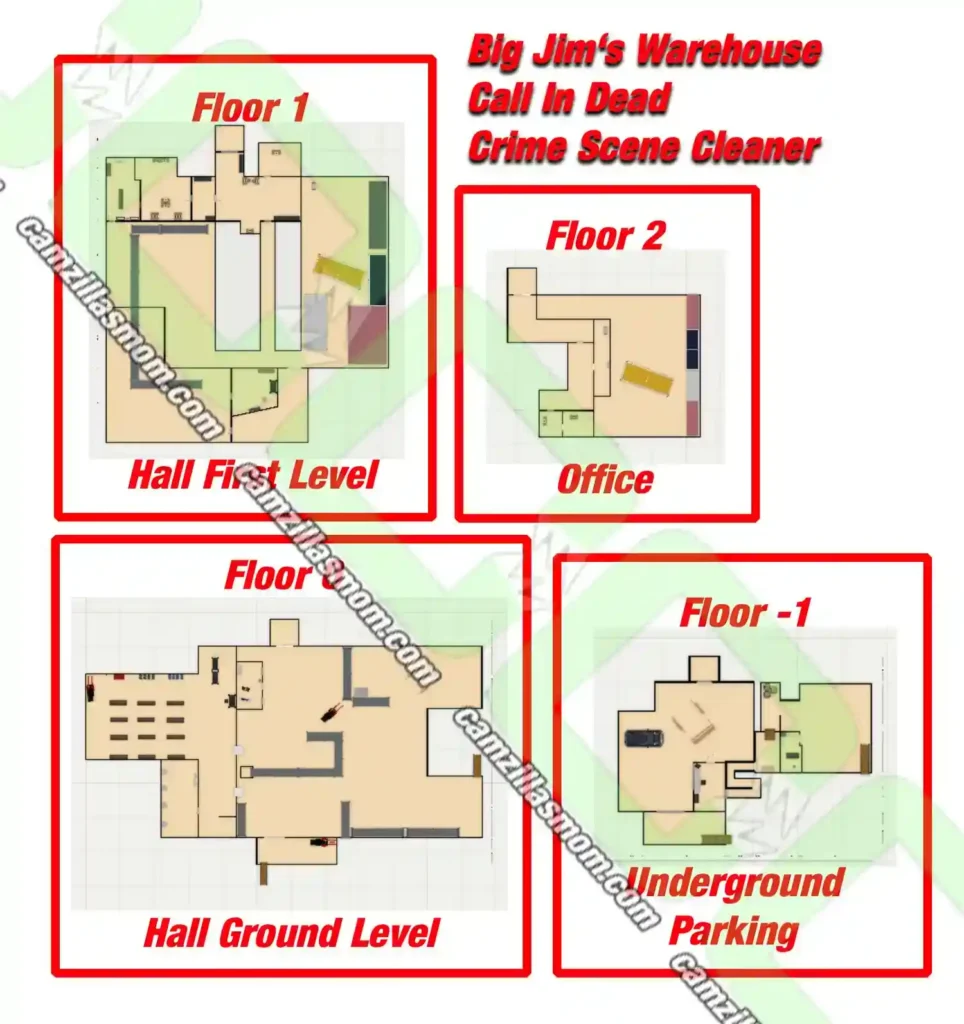
The basement level comprises the Underground Parking, Staircase, Generator Room, Mesh Door Room, and Security Room.
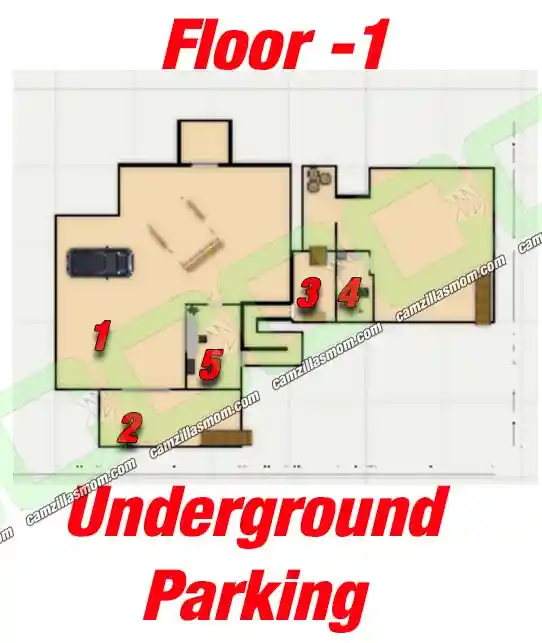
1 Underground Parking 2 Staircase 3 Generator Room 4 Mesh Door Room 5 Security Room
2.1 Underground Parking
Within the Underground Parking, you’ll find an elevator reliant on power, a double door granting access to a staircase leading to the lower floor, and a single locked door that opens to a Security Room featuring a welcoming window. Access to this Security Room is through a discreet ventilation passage within the Generator Room. Entering this Security Room is a Secret.
STEAL
2x 100$ bills – On the blue cart in the Security Room.
100$ bill – Behind the laptop on the white table in the Security Room
300$ bills – In the wooden box next to the “Sheriff” hat in the Security Room.
100$ Horse Sculpture – In the locker just by the red ladder in the Security Room.
2.2 Staircase
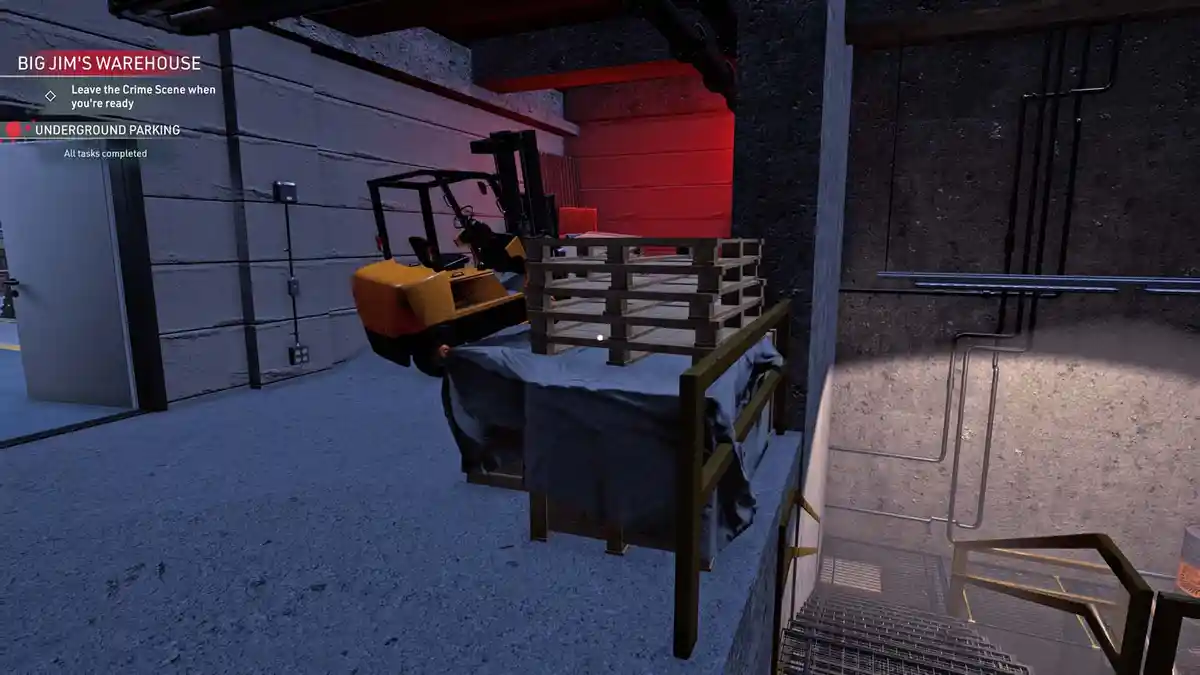
The Underground Staircase ascends from the underground parking to the Hall Ground Floor through a single flight, leading to the double doors.
STEAL
300$ Sculpture – Behind the forklift at the top of the stairs, inside a wooden box
2.3 Generator Room
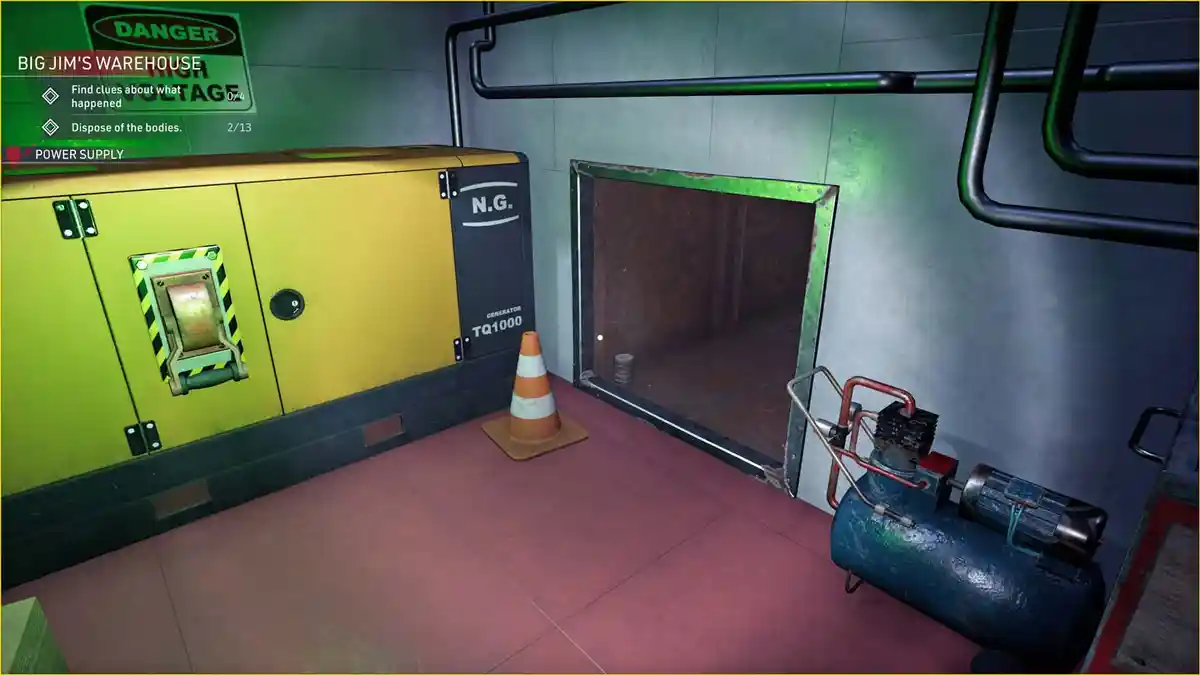
Access the Power Supply Generator Room from the Ground Floor Hall. Activate the Power Generator to restore electricity.
STEAL
100$ bill – On top of the red cart next to the generator.
100$ Fish sculpture – At the end of the vent.
300$ bills – At the end of the vent.
700$ drugs – At the end of the vent.
SECRET
Strike the vent cover near the generator several times until it breaks apart. Take out the two vent cover pieces to create space for crouching inside the vent.
Navigate to the far end of the vent by crouching until you reach another vent cover that can be punched open, granting access to the secret room – the locked Security Room in the Underground Parking. Be vigilant for valuable items within this section of the vent.
Access the Underground Parking by opening the door from this location.
2.3 Mesh Door Room
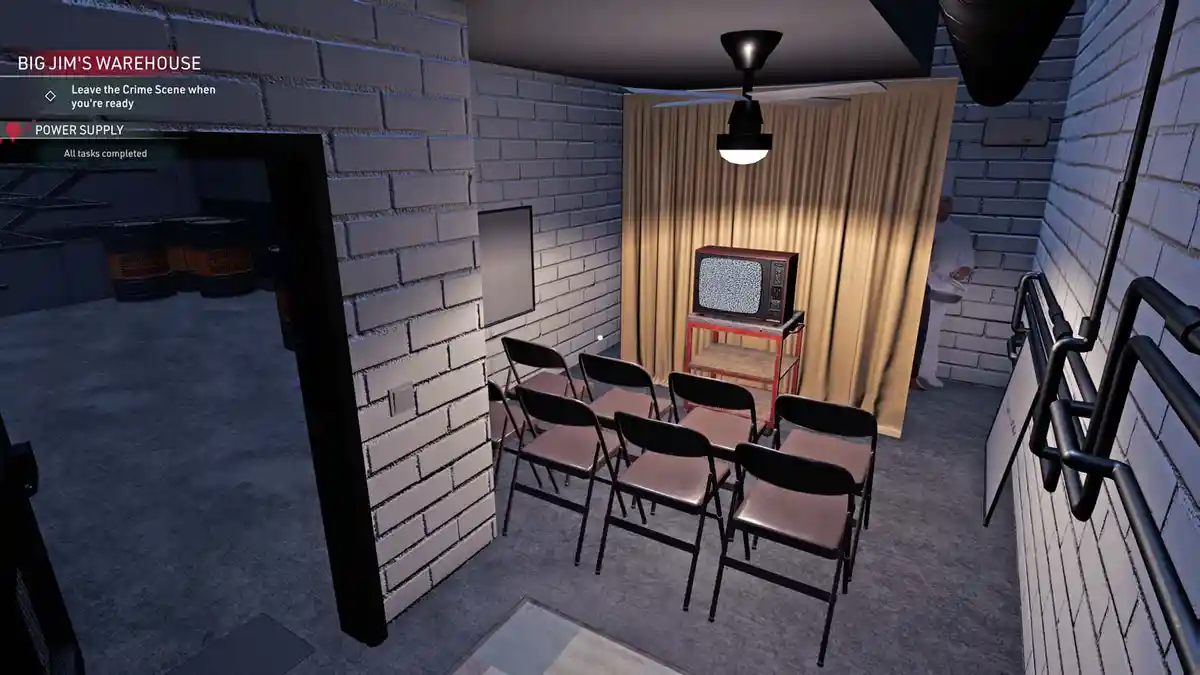
A locked wire mesh door stands next to the Power Supply Generator Room, adorned with a “Man in Black” cardboard. Access to this door requires the TV Room Key, located in the Break Room of Hall Ground Floor. Beyond lies a cozy auditorium partitioned by a vibrant yellow curtain, concealing additional cardboard figures at the rear.
CASSETTE COLLECTIBLE
“Up&Down”
On top of the lectern behind the curtain.
SECRET
Upon reaching the lectern behind the yellow curtain to retrieve the Cassette Collectible, the secret shall be revealed unto you.
3. Floor 0 – Ground Floor
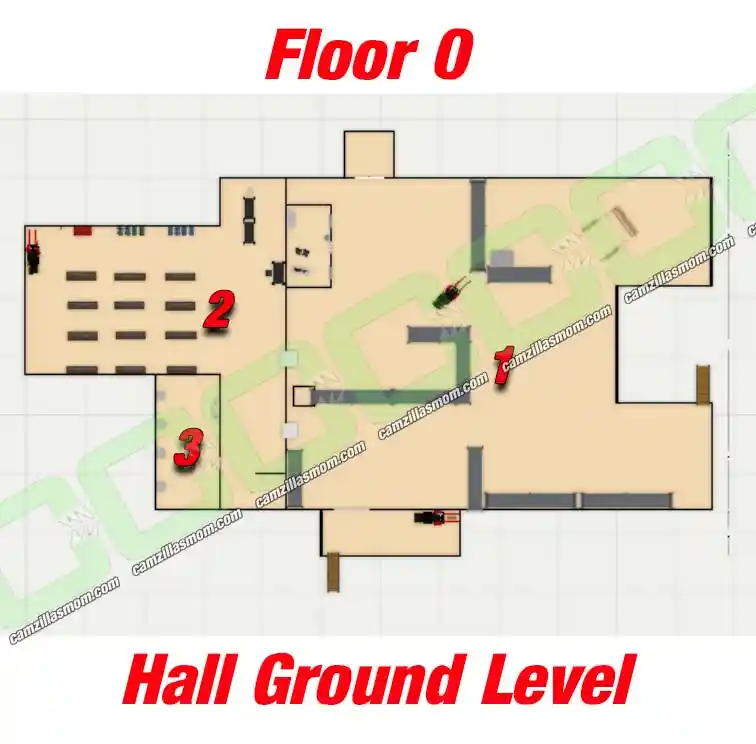
The Ground Floor, also known as Floor 0, features the Hall, Power Supply access (Generator Room and Mesh Door Room), an elevator, a bathroom with a water tap for cleaning, and the Colourful Boxes Room. This space also harbors a secret!
3.1 Hall Ground Floor
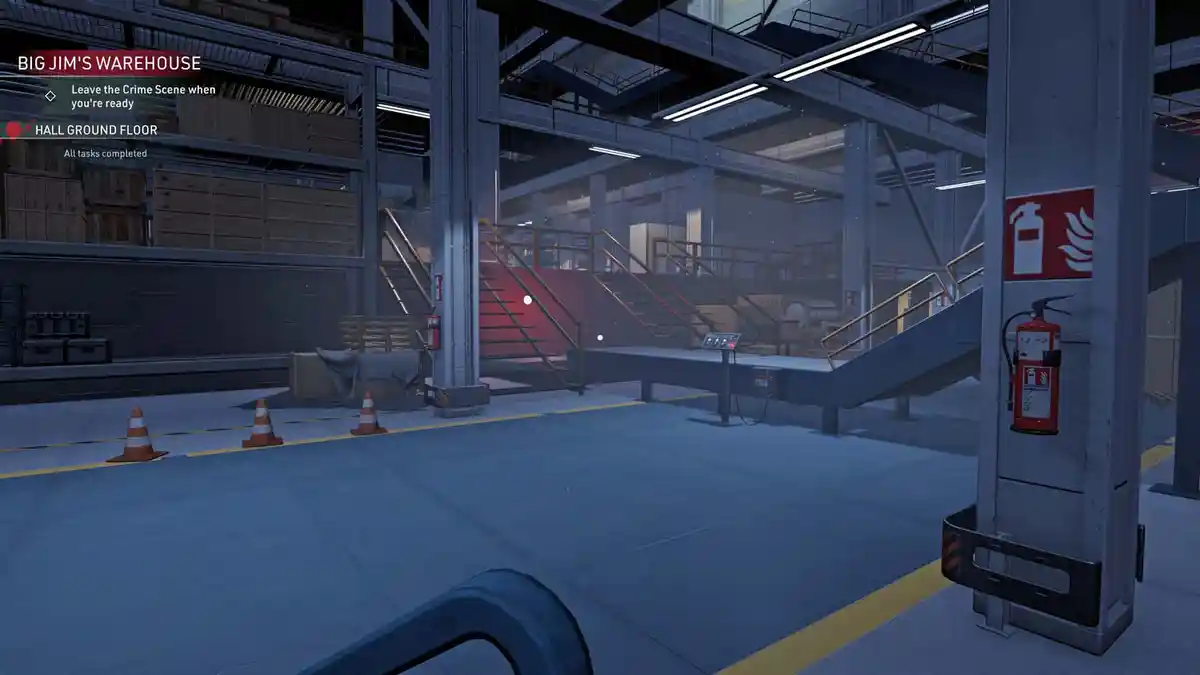
The ground floor of the hall is accessible through the Underground Parking Staircase. Upon entry, you’ll notice two objects positioned close to a conveyor belt. When the power is on, along with the conveyor belt being active and the hatches open, you can utilize the controls to transfer garbage bags and objects via the conveyor belt directly into the truck. To operate the conveyor belt, you must locate the Green Conveyor Belt Keycard and the Blue Hatch Keycard, then input them in the control room upstairs. Subsequently, activate the conveyor belt using the controls provided.
Next to the conveyor belt, a conspicuous sign reading “Power Supply” marks the location of the Generator Room and the Mesh Door Room.
There is a water tap for the cleaning bucket right next to the white truck that is standing above the Power Supply Area.
Hall Ground Floor Objectives
– Collect 2 Evidence.
– Get rid of the trash.
– Move 2 furniture back to its place.
– Wipe all of the blood.
BODIES (3)
2x – Right at the entrance from the Underground Parking Staircase.
1x – Inside the white truck standing above the Power Supply Room.
EVIDENCE
MAC-10 – On the floor next to one of the bodies.
Phone – Inside the white truck above the Power Supply Room.
MOVE FURNITURE
Table – Slides into place.
Fire Extinguisher – To the holder on one of the pillars.
STEAL
300$ Sculpture -Within a small box on the warehouse shelf, nestled at the base of the walkway amid the boxes for Secret 2.
300$ Statue – Inside a wooden box not far from the white truck, jump up a crate pile.
KEY COLLECTIBLE
TV Room Key
Behind the conveyor belt is a small green container with windows. It’s the TV Room. The key is on top of the white table.
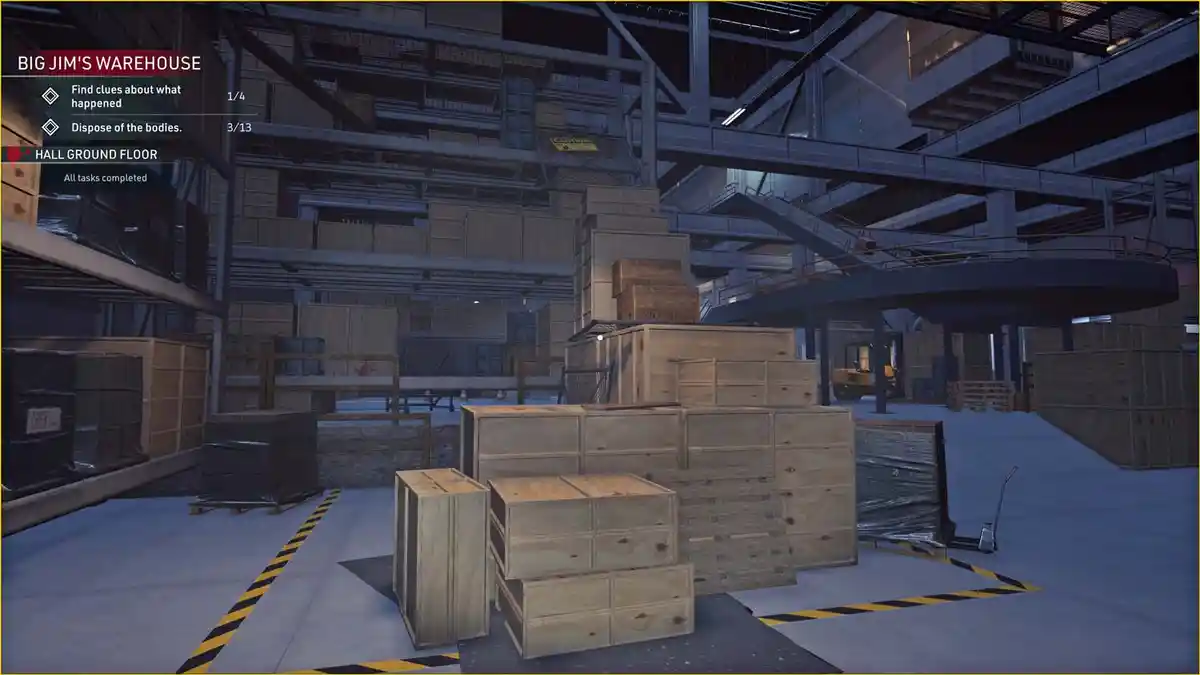
SECRET – “THE BOXES LEADING UP”
Climb the stack of boxes to reach the top. Once at the yellow “caution” sign, crouch down, then follow the clear path of wooden boards to the next level. At this point, you have two options: head toward the Hall’s Underground Garage Exit direction or move toward the Power Supply Room. After taking the statue near the path toward the Garage Exit, proceed along the path leading to the Power Supply Room. Remember to crouch. At the opposite end, you’ll find some money and a black book.
STEAL NEAR THE SECRET
300$ Statue – Inside the wooden box going towards the Garage exit.
2x 300$ bills – On top of the wooden box next to the black book.
3.2 Colourful Boxes
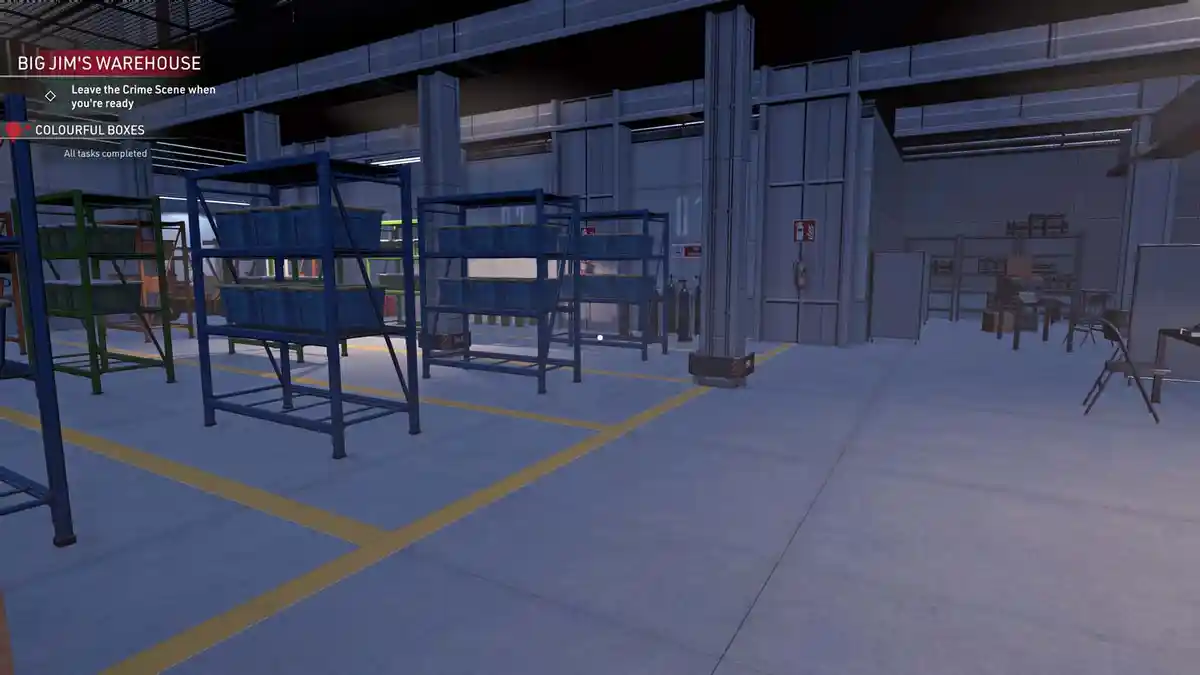
The Colorful Boxes section is situated just up the staircase on the left from the Ground Floor Hall. Tasked with rearranging 63 pieces of furniture, this area appears chaotic with its tipped-over storage shelves and scattered contents.
Colourful Boxes Objectives
– Get rid of the trash.
– Move 63 furniture back to its place.
– Wipe all of the blood.
The organization is aptly named “Colorful Boxes” – each hue aligns with its corresponding shelf: blue boxes for blue shelves, green boxes for green shelves, and red boxes for red shelves.
BODIES (2)
1 – In between the whole mess with shelves and boxes.
2 – Sitting inside the forklift at the end of the hall.
MOVE FURNITURE
3x Blue Shelf – Moves into place.
18x Blue Boxes – Into the blue shelves (one of them high up – use the mop)
3x Green Shelf – Moves into place.
19x Green Boxes – Into the green shelves.
1x Red Shelf – Moves into place.
9x Red Boxes – Into the red shelves.
4x Blue Gas Cylinder – To the Cylinder section.
4x Green Gas Cylinder – To the Cylinder section.
3x Red Gas Cylinder – To the Cylinder section
1x Fire Extinguisher – Into the socket on the wall.
Forklift – Back in to place.
STEAL
300$ Statue – Inside a wooden box. Move left just when coming up from the Hall Ground Floor, onto the storage shelf. Follow the metal stairs and the wooden board.
200$ bills – On top of grey boxes on the other side of the room.
300$ bills – On top of grey boxes on the other side of the room – near the tables.
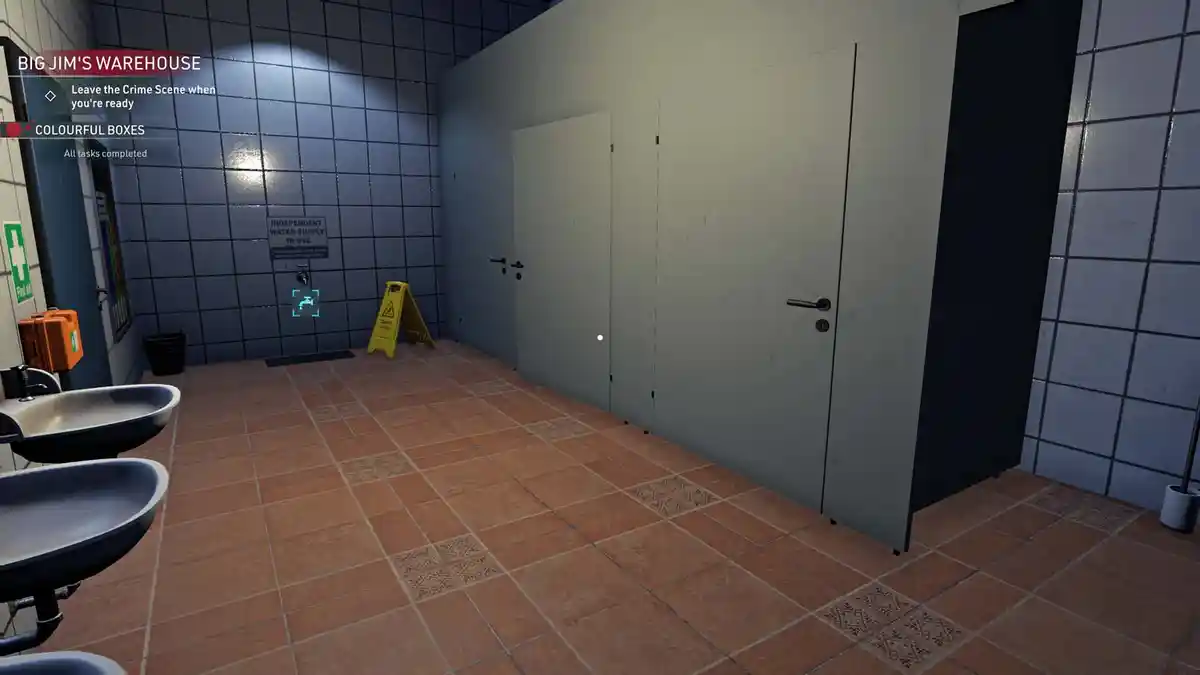
3.2 Bathroom
The bathroom is to the left when coming up from the Hall Ground Floor. It has a water tap for the cleaning bucket.
STEAL
100$ bill – On top of the toilet at the back.
4. Floor 1
On the first floor, one can find the Hall First Floor, the Control Room, the Workspace with the Breakroom and the Office, the Storage Room, and the Sorting Room.
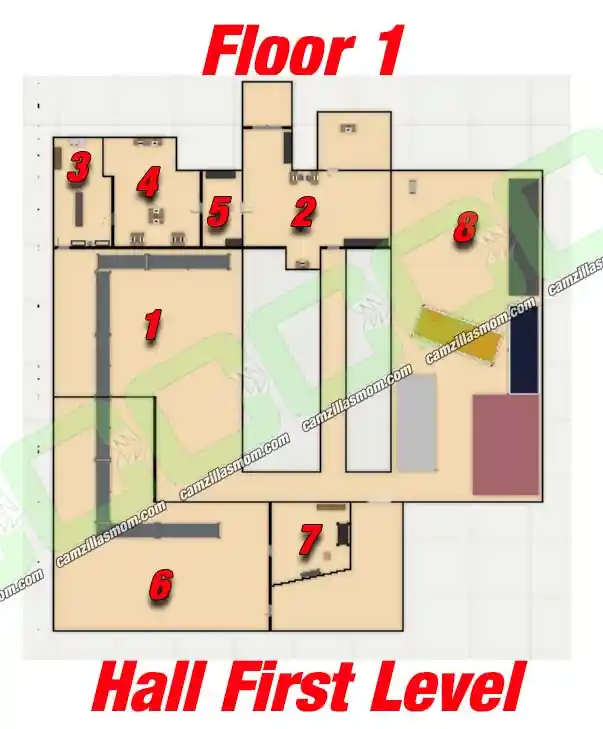
1 Hall First Floor 2 Control Room 3 Workspace Breakroom 4 Workspace Office 5 Storage Room 6 Sorting Room 7 Treasure Room 8 Container Lot see Floor2
4.1 Hall First Floor
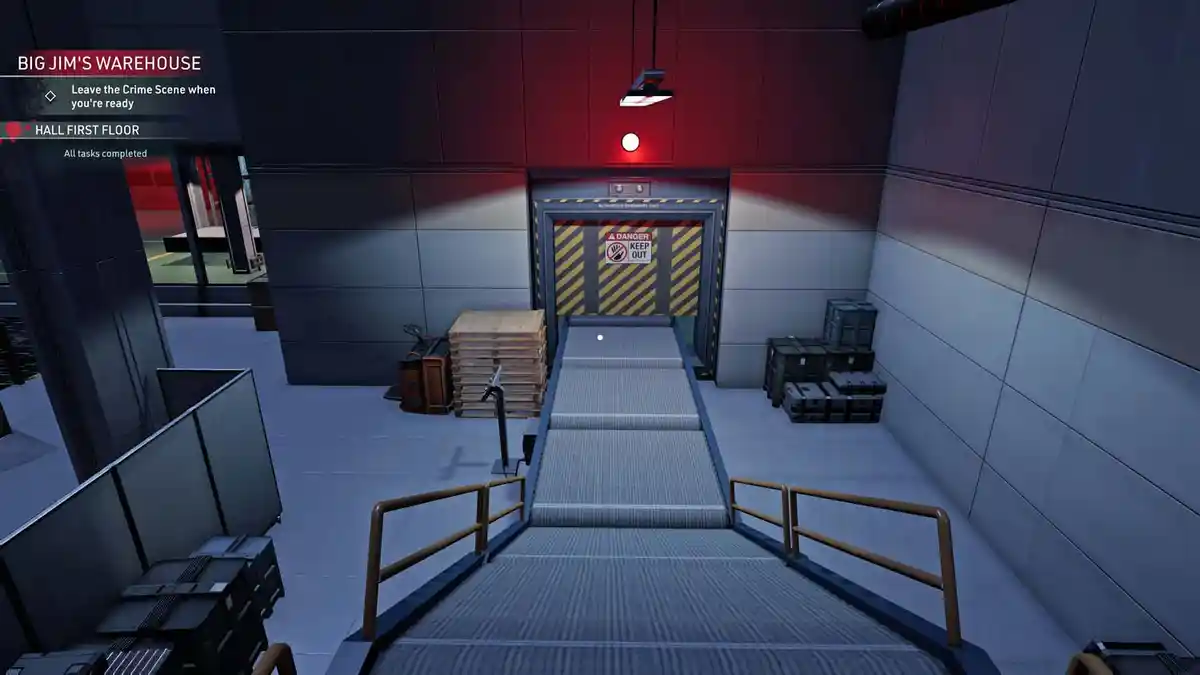
Ascend from the ground floor of the Hall using the conveyor belt to reach the first floor. Upon completing the journey on the conveyor belt, you will come across the first body on this level. The deceased individual is stuck at the conveyor belt hatch.
BODY (1)
The individual is trapped at the conveyor belt hatch junction, wedged between the First Floor Hall and the Sorting Room. Locate the Blue Hatch Keycard, and utilize it in the control room to activate and unlock the hatches. Proceed to access the body and enter the Sorting Room.
KEY COLLECTIBLE
Green Conveyor Belt Keycard
The Keycard is in the possession of the deceased near the conveyor belt. Inserting it in the Control Room will reactivate the conveyor belt.
4.2 Control Room
Visit the control room located on the Hall’s first floor. Accessible via a bridge, it features glass windows offering a view of the control panels. Look for the words “Control Room” displayed above the glass windows from the exterior.
The core of the control room comprises five power control panels, each equipped with on and off levers and requiring a card for operation. The “Light” card is currently inserted, enabling their use. Note that only three panels can be operational simultaneously; exceeding this limit will trip the fuse, shutting down the power generator.
The Control Room has two locked doors and requires a keycard for elevator access. The door to the storage room can be accessed through hacking from this side or via the Workspace Office. The other locked door grants entry to the Secret Room (refer to “Secret” below).
CONTROL ROOM KEYCARD LOCATIONS
Conveyor Belt Keycard (Green Card) – Held by the deceased jammed at the conveyor belt.
Hatch Keycard (Blue Card) – In the Storage Room.
Elevator Keycard (Orange Card) – In the Sorting Room.
Crane Keycard (Yellow Card) – At the Top Level Container Lot
STEAL
100$ – Climb on top of the lockers to go to the secret and you will see the bill in the small vent.
3x 300$ – In the safe of the Secret Room (see below)
SECRET
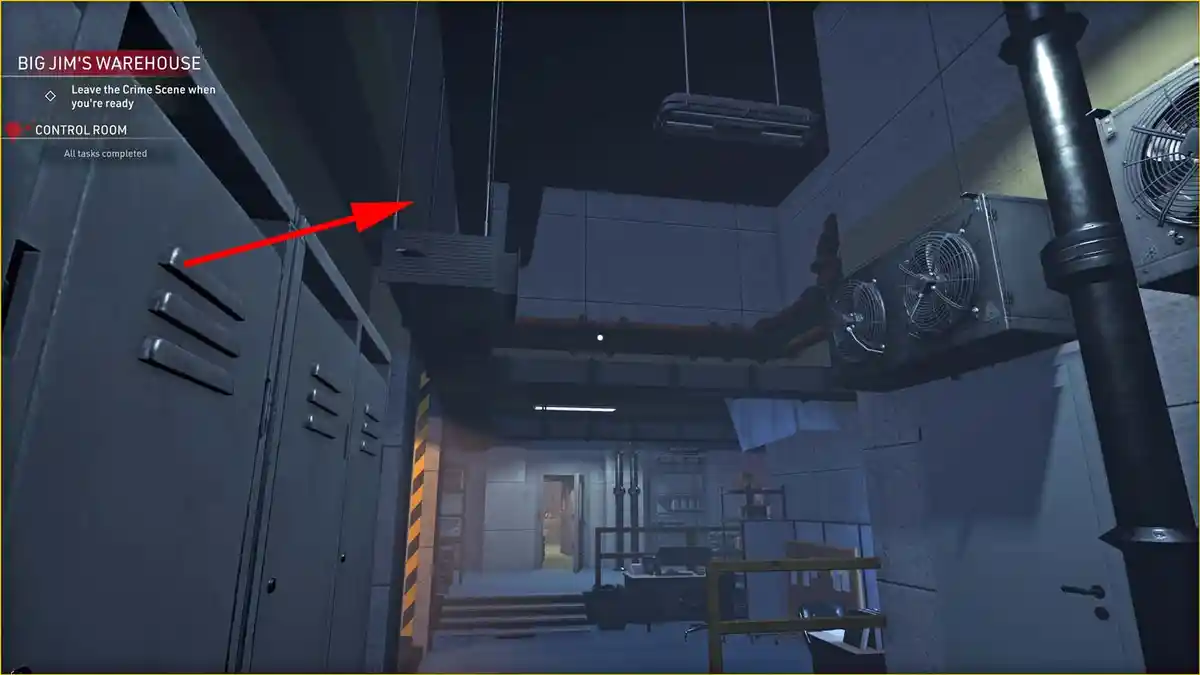
In the Control Room, climb on top of the Lockers using your ladder (Additional Tools). From there jump on top of the ventilation system and walk it until you reach the colored pipes. Jump on top of them. There is a vent cover that you can punch again like in the Generator Room. This will open a passage to a secret room. Enter it and jump down.
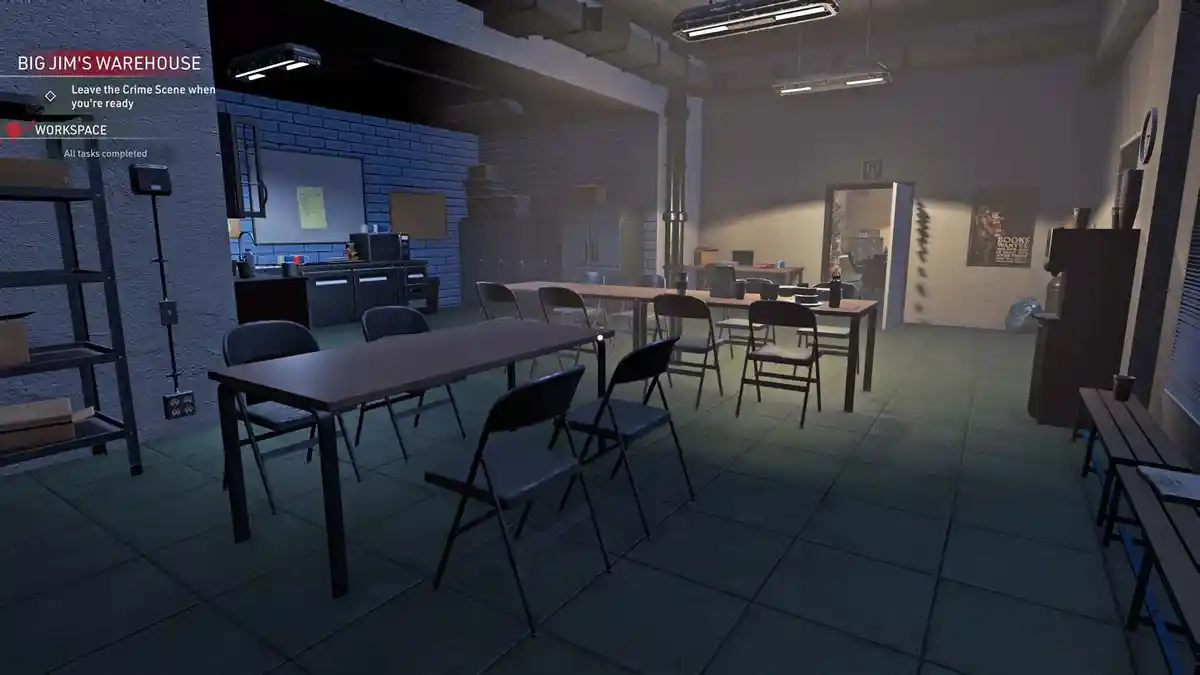
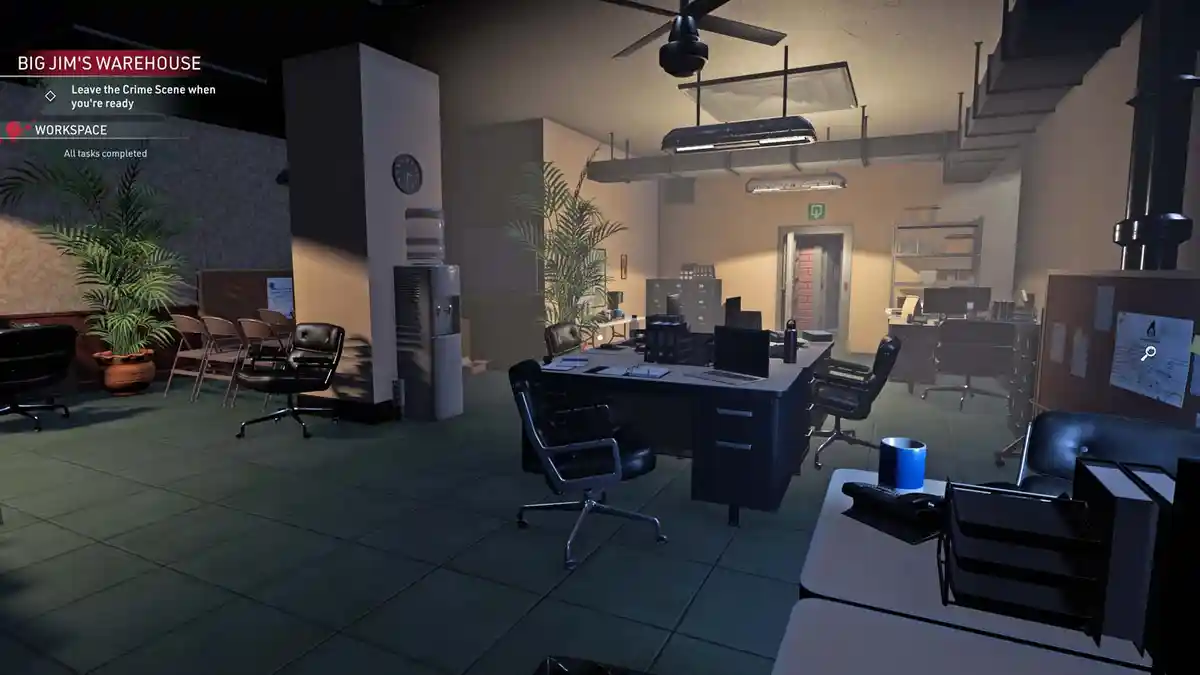
4.3 Workspace
The entrance to the Workspace is directly across from the conveyor belt and is accessible without restriction. It is a spacious, disorganized area with tables and an unfortunate deceased worker. Towards the rear lies the office area, which provides entry to the securely locked Storage Room.
Workspace Objectives
– Get rid of the trash.
– Move 16 furniture back to its place.
– Wipe all of the blood.
4.3.1 Workspace – Break Room
The Break Room is excessively untidy and requires tidying up.
BODY (1)
A laborer leaning precariously over a fallen table.
MOVE FURNITURE
2x Table – Slides into place.
9x Chair – Back to the tables.
Locker – Slides into place.
STEAL
300$ bills – Inside a white drawer.
4.3.2 Workspace – Office
The workspace features 8 desks, a cozy TV corner, and a grey door secured with a code lock leading to the storage room. Use the code panel to unlock the door.
MOVE FURNITURE
Coat Stand – Slides into place.
Water Cooler – Slides into place.
Office Chair – Behind the desk.
Filing Cabinet Drawers – Move into place.
Filing Cabinet – Moves into place.
Small Painting – On the wall next to the filing cabinet.
STEAL
3x 100$ bills – On the white table with the three chairs.
100$ bill – On top of a stack of paper on a desk.
100$ Necklace – On top of a black folder on a desk.
100$ Ring – On top of a black folder on the same desk.
100$ bill – Inside a paper holder on the wall.
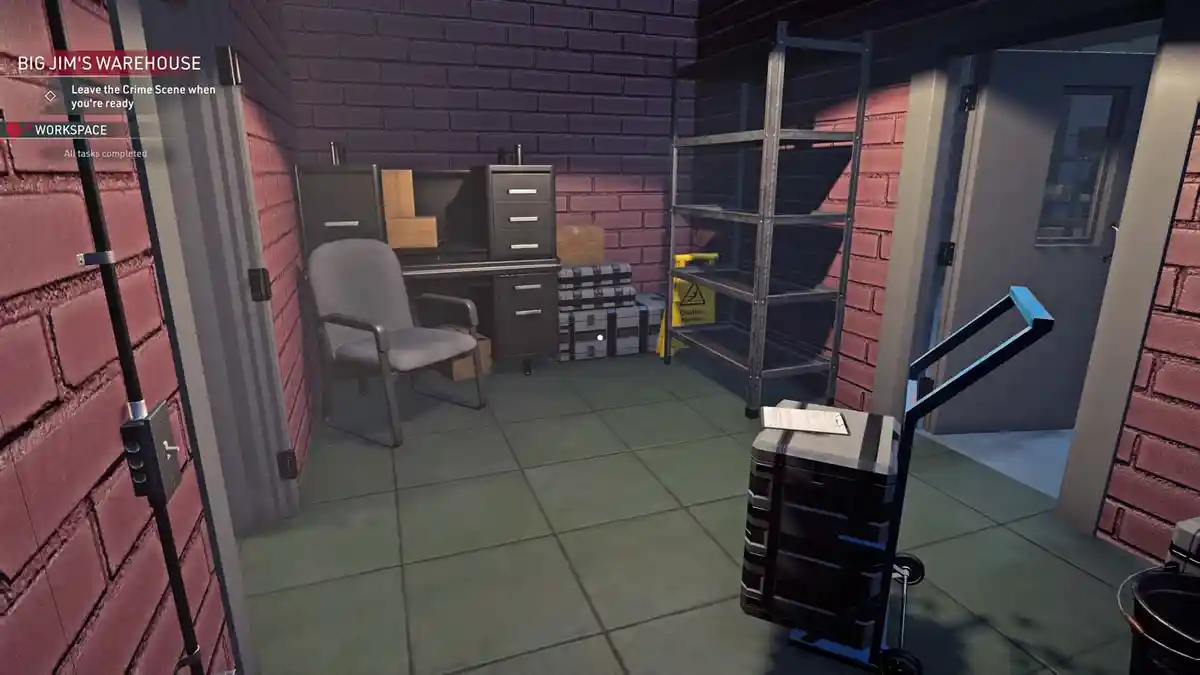
4.4 Storage Room
The storage room boasts two doors: one opening into the Workspace Office, and the other into the Control Room. Notably, each door can be accessed through hacking from the opposite side.
KEY COLLECTIBLE
Blue Hatch Keycard
On top of a grey box.
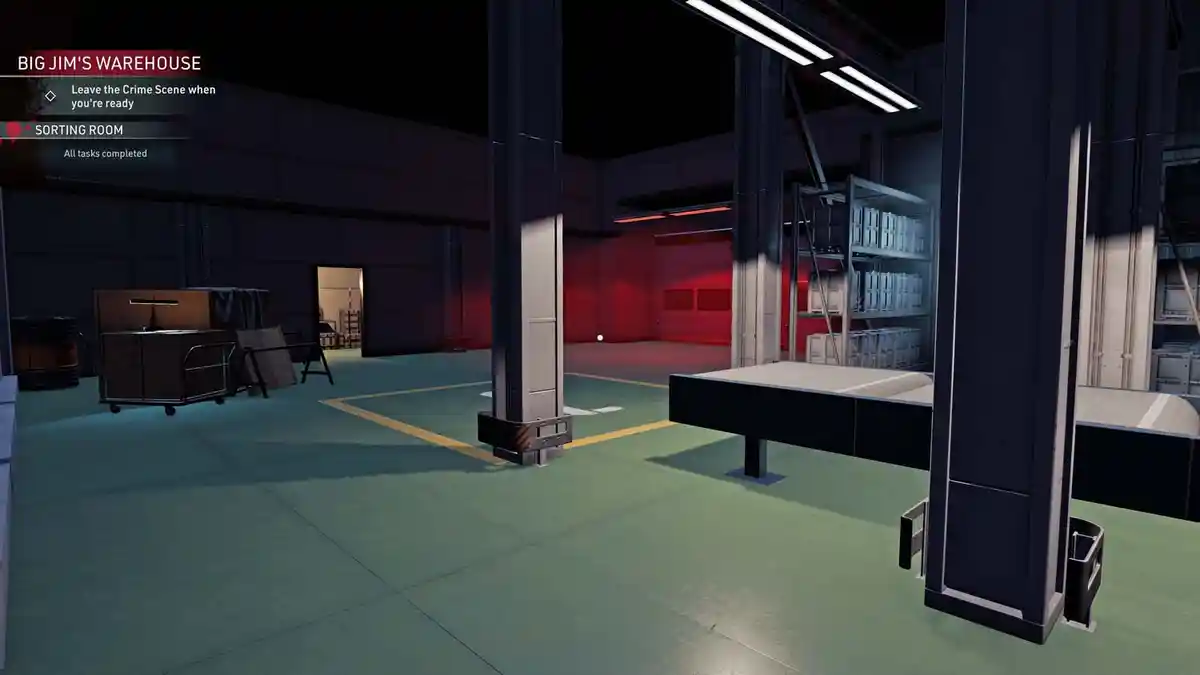
4.5 Sorting Room
Upon utilizing and activating the Blue Hatch Keycard in the Control Room, you are now able to access the Sorting Room through the newly opened conveyor belt hatch.
Sorting Room Objectives
– Collect 1 Evidence
– Get rid of the trash.
– Move 2 furniture back to its place.
– Wipe all of the blood.
BODY (1)
At the end of the room near the blocked door.
EVIDENCE
Shotgun – On the floor next to the conveyor belt.
MOVE FURNITURE
2x Grey Box on the shelf – Move them back.
KEY COLLECTIBLE
Orange Elevator Keycard
On top of the wooden box.
LOCKED TREASURE ROOM:
Opening this room is solving another Secret of the “Call in Dead” Mission. The Unknown Key to this room can be found in the Middle Level of the Container Lot.
STEAL
700$ Dragon Sculpture – On top of the wooden box.
100$ Hands Sculpture – On the shelf.
100$ Horse Sculpture – On the shelf.
300$ Lion Sculpture – Nex to the shelf.
3×300$ bills – On the table.
2x 700$ Sculpture – On the table.
300$ Sculpture – Under the table.
50$ Vase – In the darker storage area.
CASSETTE COLLECTIBLE
“Celestial Empire” – On top of a wooden box.
5. Elevator
Access the Elevator by locating and utilizing the Orange Elevator Keycard.
The Elevator has a door to the Underground Parking (-1), the Hall Ground Floor (0), the Control Room (1) and the Office (2).
Elevator Objectives
– Wipe all of the blood.
BODY (1)
Inside the Elevator.
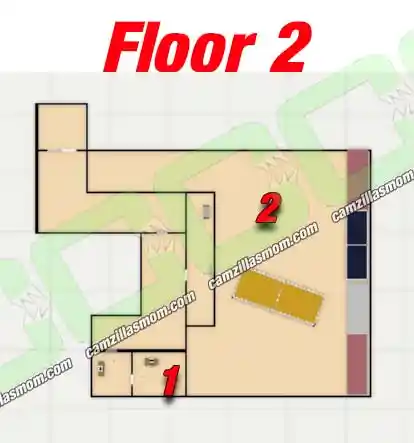
6. Floor 2
The office is on the top floor of Big Jim’s warehouse and can only be accessed with the Elevator. It leads to an area above the Container Lot. Exit through the balcony in the corridor to reach the top of the Container Lot.
Office Objectives
– Collect 2 Evidence.
– Get rid of the trash.
– Move 14 furniture back into their place.
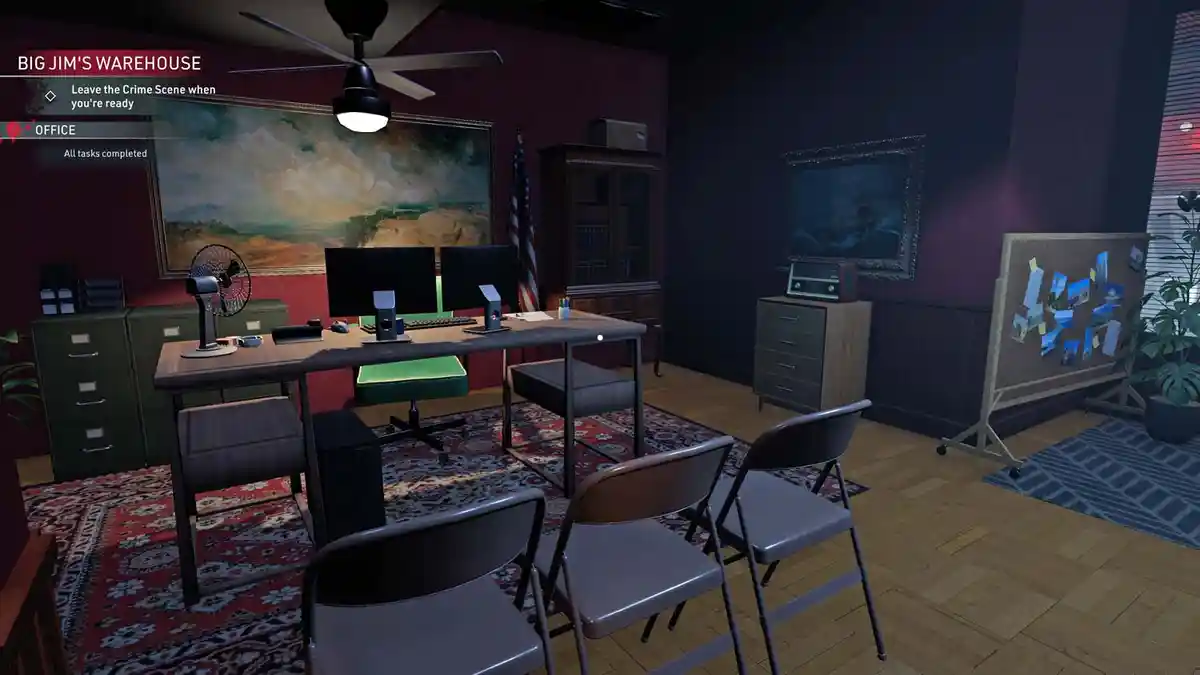
6.1 Office
This is Big Jim’s office, the designated location for depositing all evidence after thorough cleaning.
EVIDENCE
Blackmail Notes – In the paper holder attached to the desk.
Phone – On the desk.
MOVE FURNITURE
Coffee Table – Moves back to place.
Wall Shelf – Moves back to place.
3x Folding Chair – In front of the desk.
2x Monitor – On the desk.
Drawer of Drawer Unit – Slides back in.
Office Chair – Behind the desk.
Drawers of Filing Cabinets – Slide back in.
Filing Cabinet – Moves into place.
STEAL
300$ Sculpture – On top of the round table.
3x 300$ – On the desk.
CASSETTE COLLECTIBLE
“Classical Music Collection”
On the Drawer Unit in the Office.
6.2 Container Lot
Located at the far end of the Hall on the First Floor, the Container Lot brims with shipping containers. Accessible only through the Elevator (2nd Floor Office), the upper area of the Container Lot offers the convenience of completing all tasks in one seamless effort.
Container Lot Objectives
– Get rid of the trash.
– Collect 7 evidence.
– Wipe all of the blood.
6.2.1 Bottom Level
Access to the bottom level of The Container Lot is available via the Hall on the First Floor and behind the yellow container through the Office on the Second Floor. Subsequently, raising the yellow container grants unrestricted entry to the entire Bottom Level.
Upon reaching the Office area, you have two options: ascend to the Bottom Level using the yellow ladder or gather additional evidence by leaping onto the yellow container near the crane magnet to discover more clues.
At the rear of the Lower Level, there is a water spigot available for filling the cleaning bucket.
BODIES (3)
1 – Leaning on the white container.
2 & 3 – On the other side of the Yellow Container on the floor.
EVIDENCE
Pistol – Next to the victim in the white container.
SMG – Next to one of the victims.
Phone – Next to one of the victims.
Rifle – On the top of the blue container (jump down from the crane magnet to reach).
STEAL
300$ Skull – Inside the first (white) shipping container.
CASSETTE COLLECTIBLE
“Eine Woche eine Ende” – Inside the blue container next to the water tap. The one just behind the forklift.
KEY COLLECTIBLES
1 – Yellow Crane Keycard
Next to one of the victims at the back (Victim 3)
2 – Unknown Key
To acquire the key, head to the Crane Magnet on the second floor. Leap onto the yellow container’s roof near the magnet. Proceed along the wooden planks, collect an Evidence (Rifle), and continue along the plank pathway to a partially open blue container. Unlock it to find a bust to pilfer and the elusive Unknown Key.
6.2.2 Container Lot Top Level
Now with the Yellow Crane Keycard, set the Crane to active in the Control Room. Keep in mind that you have at least also the elevator active to reach the 2. Floor for the Crane Controls.
It is now time to operate the crane. Locate the controls featuring arrows for upward and downward movement, along with the prominent red button situated at the base for activating the magnet. Maneuver the magnet downwards until it reaches the yellow container. Press the magnet button and lift the container. Subsequently, you can step onto the yellow container to proceed toward the final individual in need of cleaning.
Upon completing the top level, ensure you have one remaining clue and evidence. Proceed by entering the elevated yellow container. Descend onto the blue container with wooden planks to access it. If the height is a challenge, adjust the position accordingly.
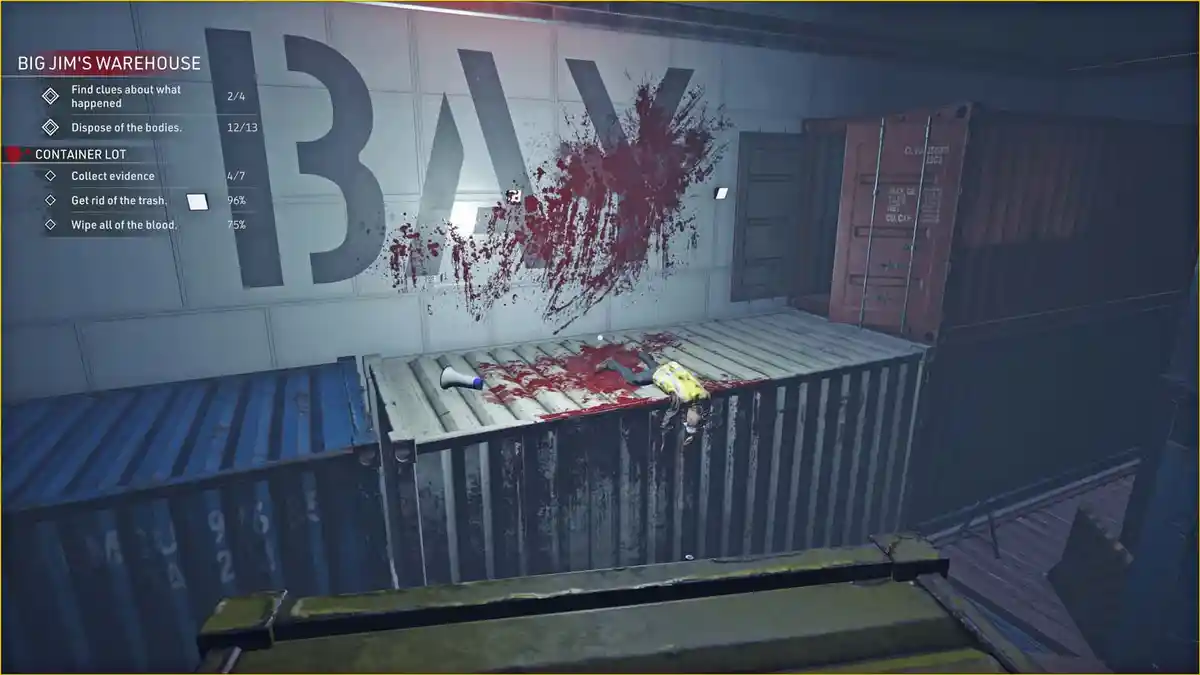
BODY (1)
On top of the top of a white container.
EVIDENCE
Megaphone – Next to the victim.
Evidences – Look at the pinboard in the red container.
Note – Inside the Yellow Container.
Now with everything clean, all the evidence and clues collected, drop everything at the Office on the second floor.
7. Step-by-Step 100% Walkthrough
Explore this comprehensive walkthrough guide designed for those feeling lost. If you’re seeking directions to solve Big Jim’s Warehouse 100%, you’ve found the perfect resource. Direct links are provided to specific sections, accompanied by overview maps and screenshots for clear navigation.
7.1 – Underground Parking
Floor -1
That’s where you start the “Call in Dead” Nightmare Mission.
Check out the above sections of this guide, which have overview maps and screenshots.
7.2 – Hall Ground Floor
Floor 0
Important Key here: TV Room Key.
Secret: Black Book
7.3 Power Supply
Floor -1
Go down to the Hall Ground Floor (Power Supply Sign)
7.4 Power Supply – Mesh Door Room
Floor -1
Next to the room with the generator. Use the TV Room Key.
Secret: Mesh Door Room
Cassette: “Up&Down”
7.5 Power Supply – Generator Room
Floor -1
Turn on the Generator.
Secret: Punch the Vent Cover next to the Generator until it breaks, Go through the vent, punch the vent cover in the other room, and exit.
7.6 Security Room
Floor -1
Exit through the door. The Underground Parking locked door is now open.
7.7 Colourful Boxes & Bathroom
Floor 0
On the other side of the Hall Ground Floor holds a Colourful Boxes Room & Bathroom. It’s the last room to sort out.
7.8 Hall First Floor
Floor 1
Follow the conveyor belt from the Hall Ground Floor to Hall First Floor.
Important Key here: Green Keycard for the Conveyor Belt.
7.9 Control Room
Floor 1
Find the Control Room on this floor.
Use: Green Keycard
Find the Secret in the Control Room
7.10 Workspace
Floor 1
Clean up the Workspace (Break Room and Office).
Hack the Storage Room Panel at the end of the Workspace office.
7.11 Storage Room
Floor 1
Important Key here: Blue Keycard for the Hatches.
7.12 Control Room
Floor 1
Use: Blue Keycard on the panel, provide it with power, and activate it.
7.13 Sorting Room
Floor 1
Enter the Sorting Room through the open conveyor belt hatch.
Important Key here: Orange Keycard for the Elevator
7.14 Control Room
Floor 1
Use: Orange Keycard on the panel, provide it with power, and activate it.
7.15 Elevator
Use the elevator in the Control Room and go to the 2nd Floor.
7.16 Second Floor
Floor 2
In the Office: Cassette – Classical Music Collection
Exit to the crane platform and use the ladder to go down to the back of the Container Lot.
Important Key here: Yellow Keycard for the Crane.
Cassette: Eine Woche Eine Ende
Before you leave, go up to the crane platform and jump down onto the yellow container from there.
Find: Unknown Key.
7.17 Elevator
Use the elevator on the second floor to go back to the first floor (Control Room).
7.18 Control Room
Floor 1
Use: Yellow Keycard on the panel, provide it with power, activate it. You also need the elevator active.
7.19 Elevator
Use the elevator in the Control Room to go back to the Second Floor.
7.20 Second Floor
Floor 2
Activate and use the crane. Cross over to the top of the Container Lot to find the last body and evidence.
7.21 Sorting Room
Floor 1
Use: Unknown Key on locked door.
Find: Cassette: Celestial Empire.
Crime Scene Cleaner
Release: August 14, 2024
Developer: President Studio
Publisher: President Studio, Playway S.A.
Crime Scene Cleaner is available on Steam
