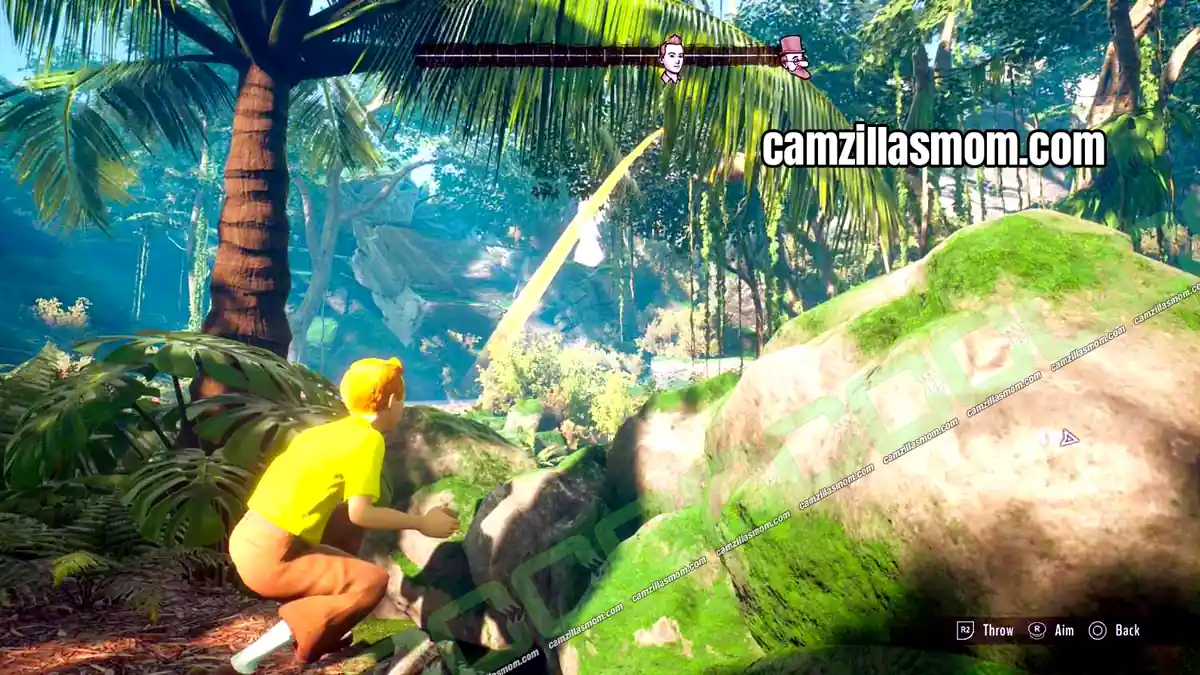
Chapter 2 of Tintin Reporter – Cigars of the Pharaoh takes Tintin and Snowy into the Tomb of Kih-Oskh after Professor Sarcophagus vanishes inside. This Tomb of Kih-Oskh walkthrough covers all 8 quests in order, with every puzzle solution from the beetle melody and statue puzzle to the Weighing of the Soul, the mirror puzzle and the crook and flail statues.
Related Guides:
Chapter 1: MS Epomeo Walkthrough
Chapter 3: Arabia Walkthrough
Chapter 4: Abudin Walkthrough
Chapter 5: Indian Jungle Walkthrough
Chapter 6: Gaipajama Walkthrough
Tintin Reporter – Cigars of the Pharaoh Game Guides
- 1 – The Curse of Kih-Oskh Part 1
- 2 – Secret Mechanisms: Snake, Sliding Block and Beetle Puzzles
- 3 – The Curse of Kih-Oskh Part 2
- 4 – The Other Side: Statue Puzzle
- 5 – The Weighing of the Soul: Feather, Heart and Scale Puzzle
- 6 – Light at the End of the Cave: Ankh, Mirror and Lever Puzzles
- 7 – Meet the Mummy: Crook and Flail Puzzle
- 8 – The Curse of Kih-Oskh Part 3
1 – The Curse of Kih-Oskh Part 1
Location: Tomb of Kih-Oskh – Entrance
Quest Step: Find the missing Egyptologists
Tintin and Snowy enter the ancient Egyptian tomb, and the main quest The Curse of Kih-Oskh begins. As Tintin, follow the corridor until you reach a room with a large beetle on the floor. Note the two Ankh signs on the left and right walls: each one hides a puzzle.
2 – Secret Mechanisms: Snake, Sliding Block and Beetle Puzzles
Location: Tomb of Kih-Oskh – Beetle Room
Quest Step: Solve the ancient enigmas
Three puzzles stand between you and the door in this room: the two Ankh puzzles on the walls and the beetle melody in the center.
Snake Puzzle: Interact with the Ankh on the left. Pieces that glow are already in the right position, so leave them alone. Use the two parking slots at the top to store pieces that don’t fit yet, then rotate the snake and move pieces from the parking slots into the empty positions until they glow. Repeat this until the whole snake glows. Solving it gives you the first stone.
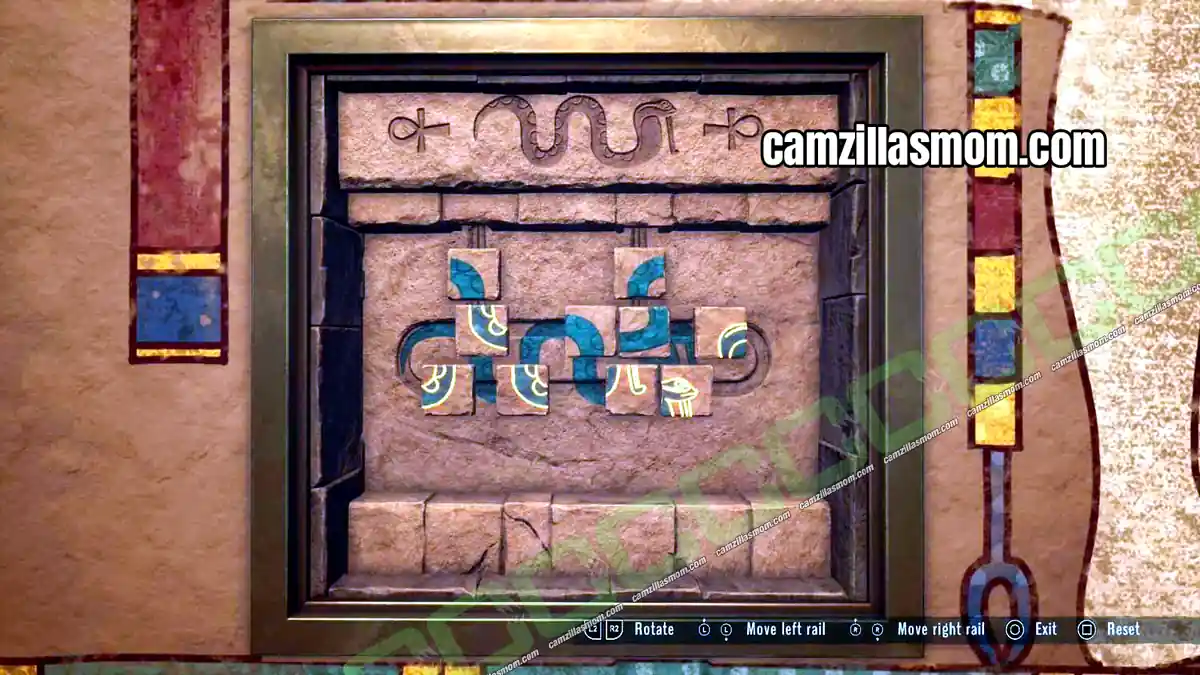
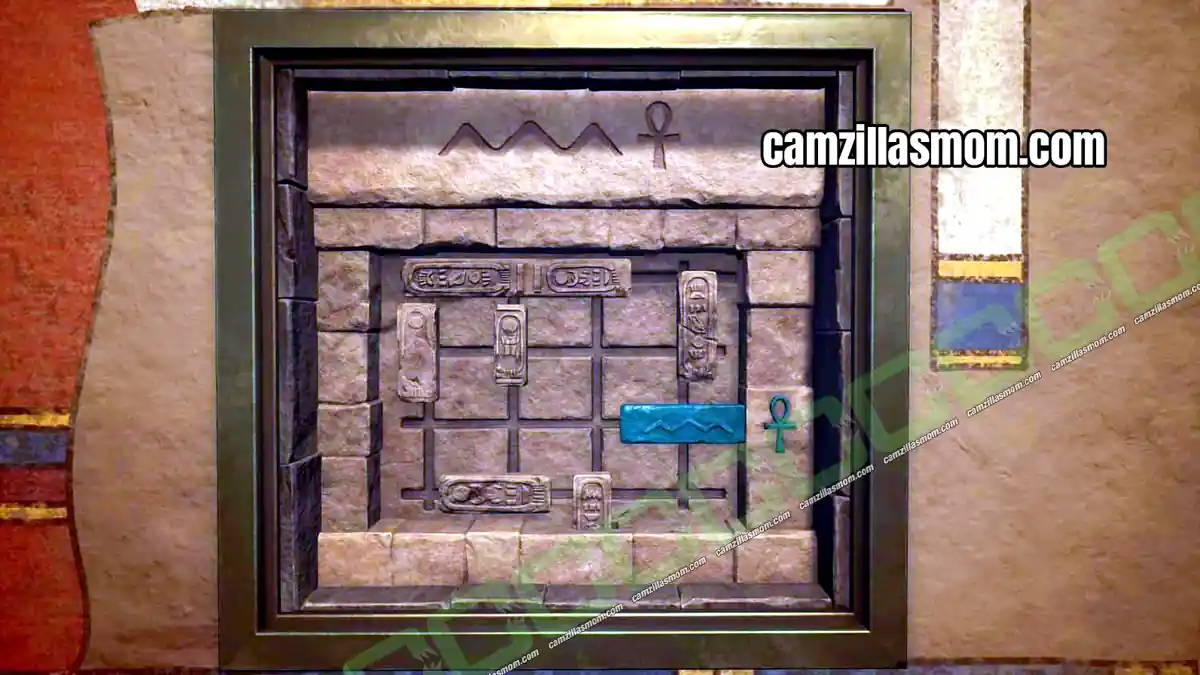
Sliding Block Puzzle: The Ankh on the opposite wall opens a sliding block puzzle that works like a parking lot game. Slide the blocks out of the way to move the long green bar into the Ankh slot, as shown below. This gives you the blue stone.
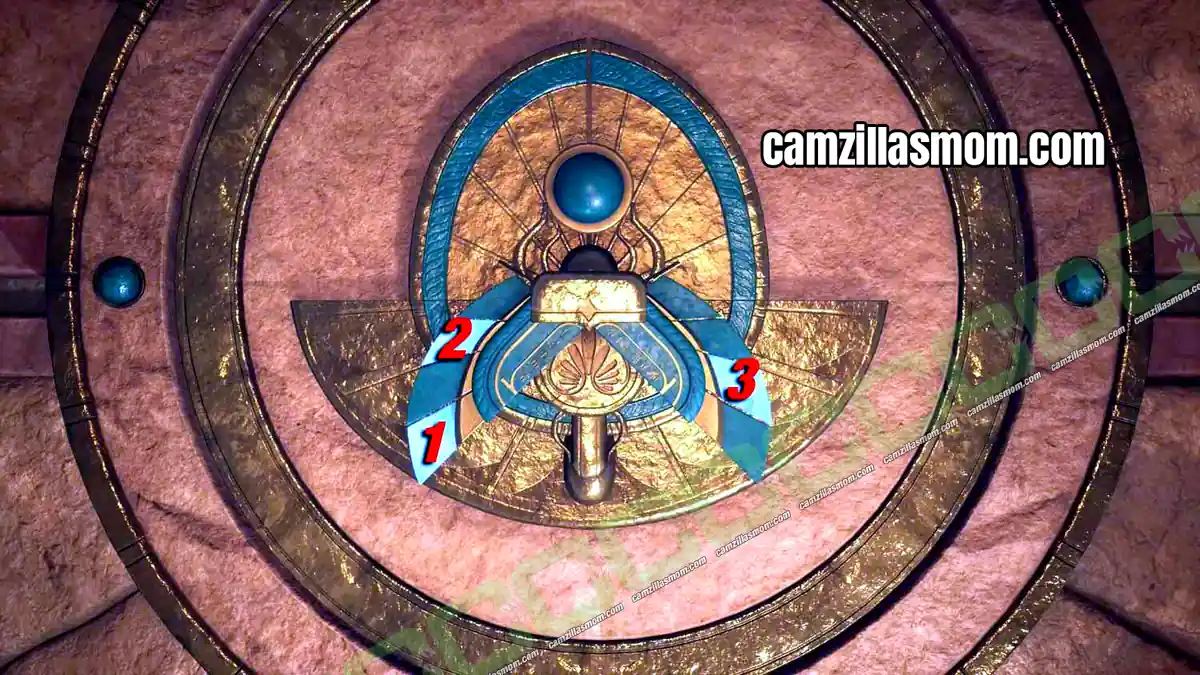
Beetle Melody Puzzle: The last puzzle is the large beetle in the center of the room. It plays a tune, and you repeat it by pressing its wings in the right order, so turn up the volume if needed. The first melody uses the wings shown below.
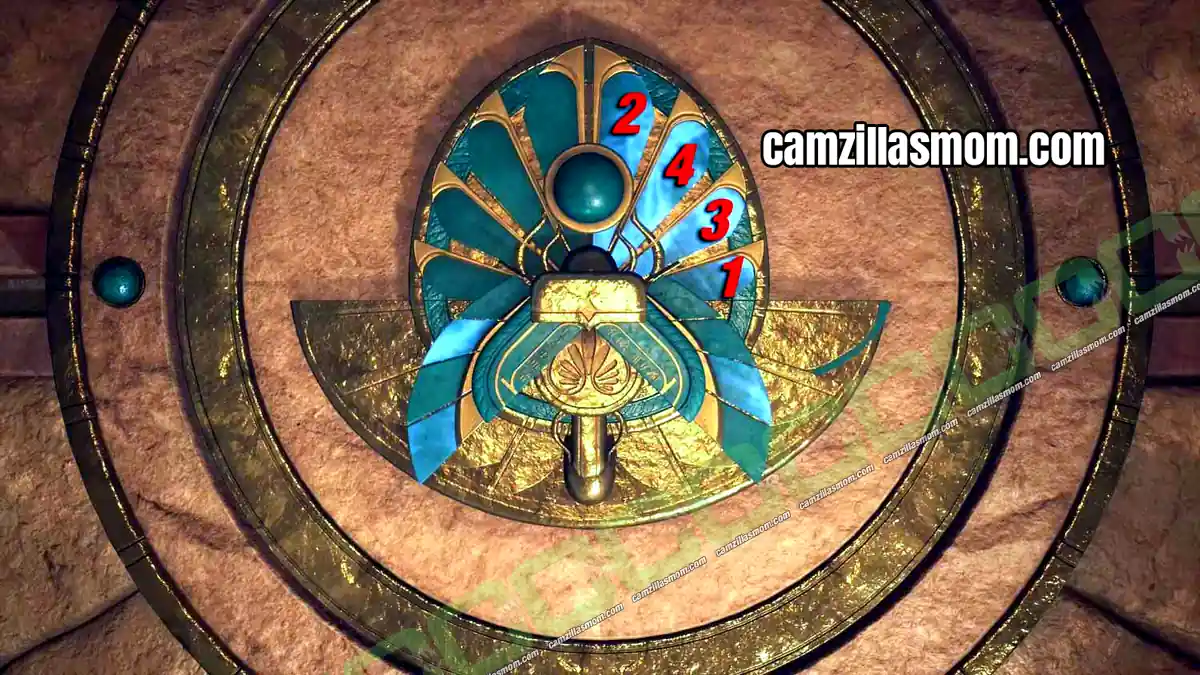
The beetle then spreads more wings and plays a second tune. Press the wings in this order:
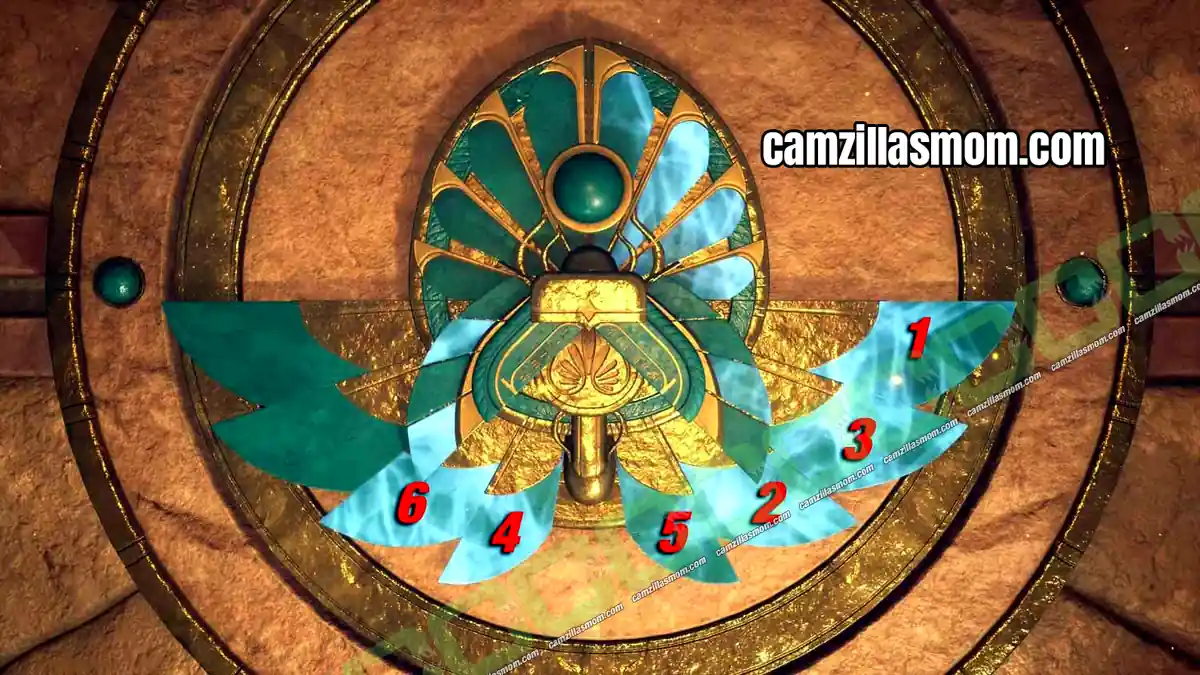
Once more the beetle unfurls new wings for the third and final melody. Press them as shown below to get the purple stone.
3 – The Curse of Kih-Oskh Part 2
Location: Tomb of Kih-Oskh – Corridors
Quest Step: Find the missing Egyptologists
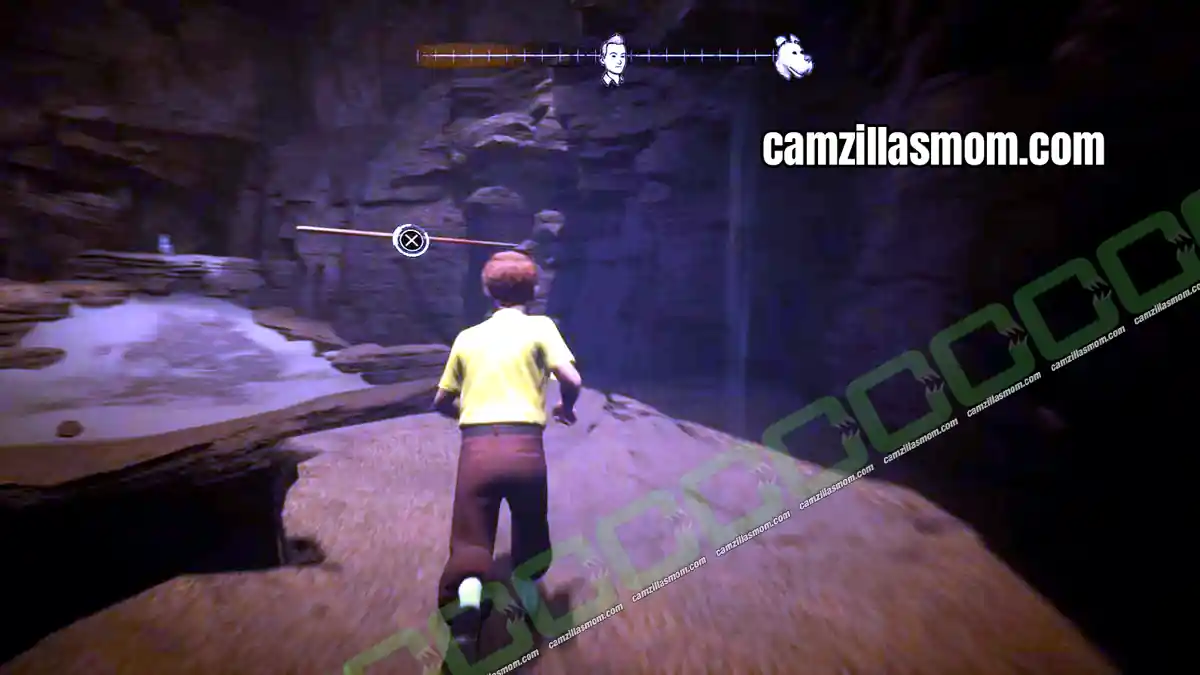
After Tintin and Snowy flee the beetle room, Snowy spots a black beetle and chases it into the tomb. Follow Snowy through the tomb until you reunite in a room with a closed door, two light beams and four statues.
4 – The Other Side: Statue Puzzle
Location: Tomb of Kih-Oskh – Statue Room
Quest Step: Open the door to the next room
The closed door shows two symbols: a round symbol and a vertical wavy symbol. Two of the statues carry these symbols on their staffs and face the door. The other two statues have no symbols and face away from it. The screenshot below shows the starting positions.
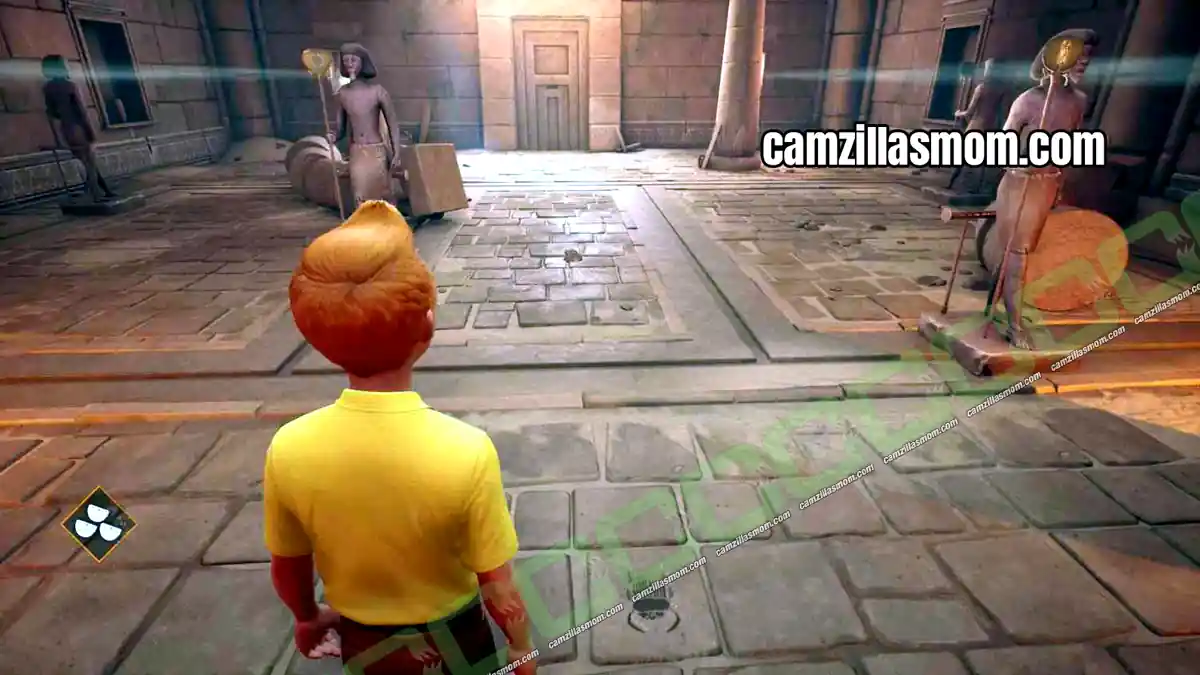
Statue Puzzle Solution: Move the statues following these three rules:
1 – Swap the sides: the two statues on the left go to the right, and the two on the right go to the left
2 – The statues without symbols go to the front, closest to the door
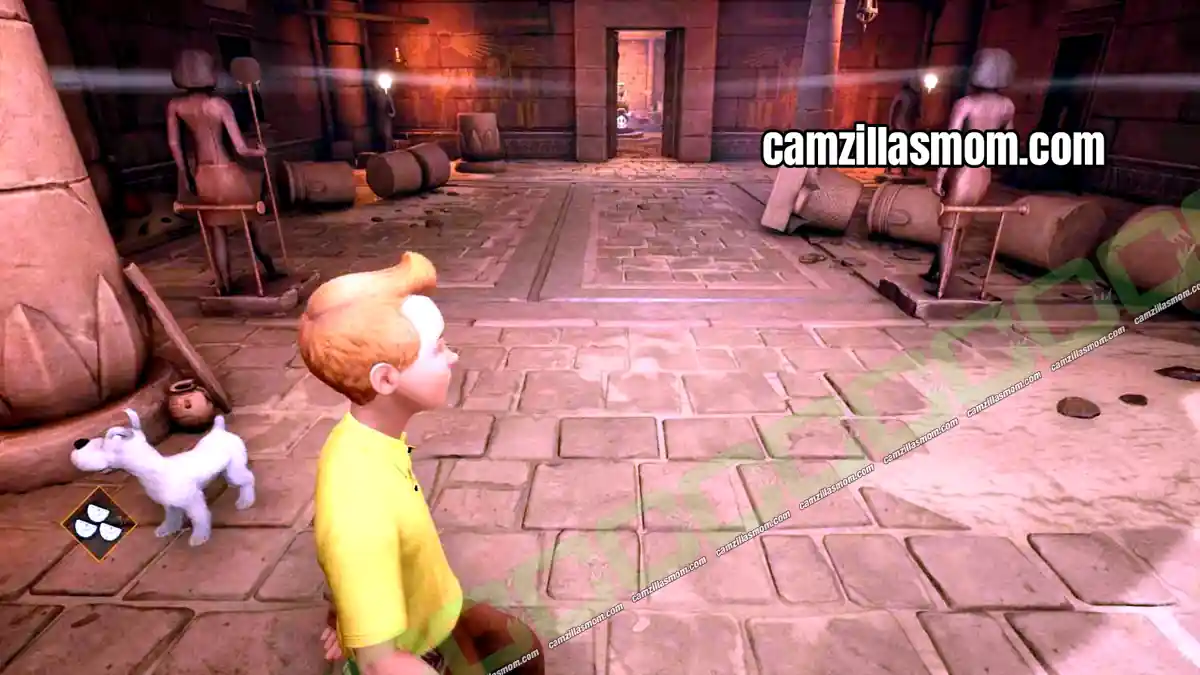
3 – The statues with symbols go to the back, away from the door. With Tintin facing the door, the round symbol stands on the left and the wavy symbol on the right
Once the statues match the screenshot below, the door opens and you can enter the next chamber.
5 – The Weighing of the Soul: Feather, Heart and Scale Puzzle
Location: Tomb of Kih-Oskh – Weighing of the Soul Chamber
Quest Step: Activate the Kih-Oskh statue
You carry three stones at this point. Before you explore the chamber, check the small statue on the left of the entrance to find the fourth stone, a white one.
In the center of the chamber stands the Kih-Oskh statue, holding scales and carrying the round symbol and the vertical wave. The explanation is on the back wall. To activate the statue, you need a feather from the blue room and a heart from the red room. Start with the blue room.
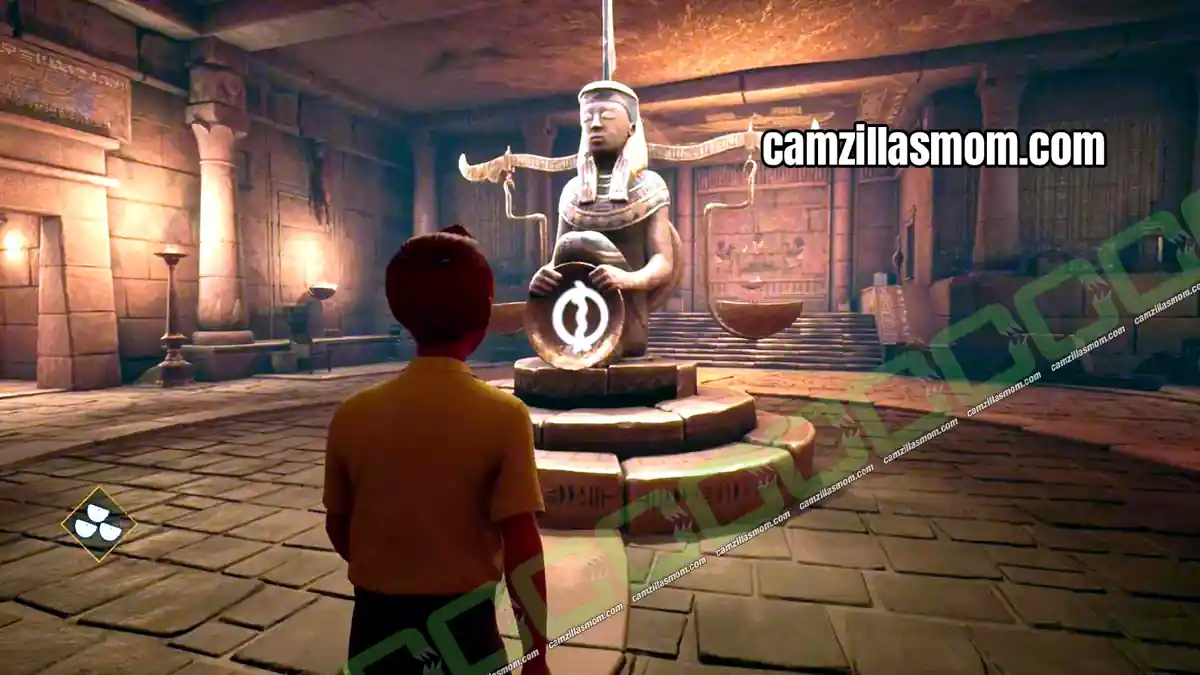
Blue Room – The Feather: The blue room has a large statue and rails on the floor. One rail piece can be moved, but it has two unusual indentations, so you need the right tools first. In the center, a piece of pillar sits on the blue rail below sand trickling from the ceiling.
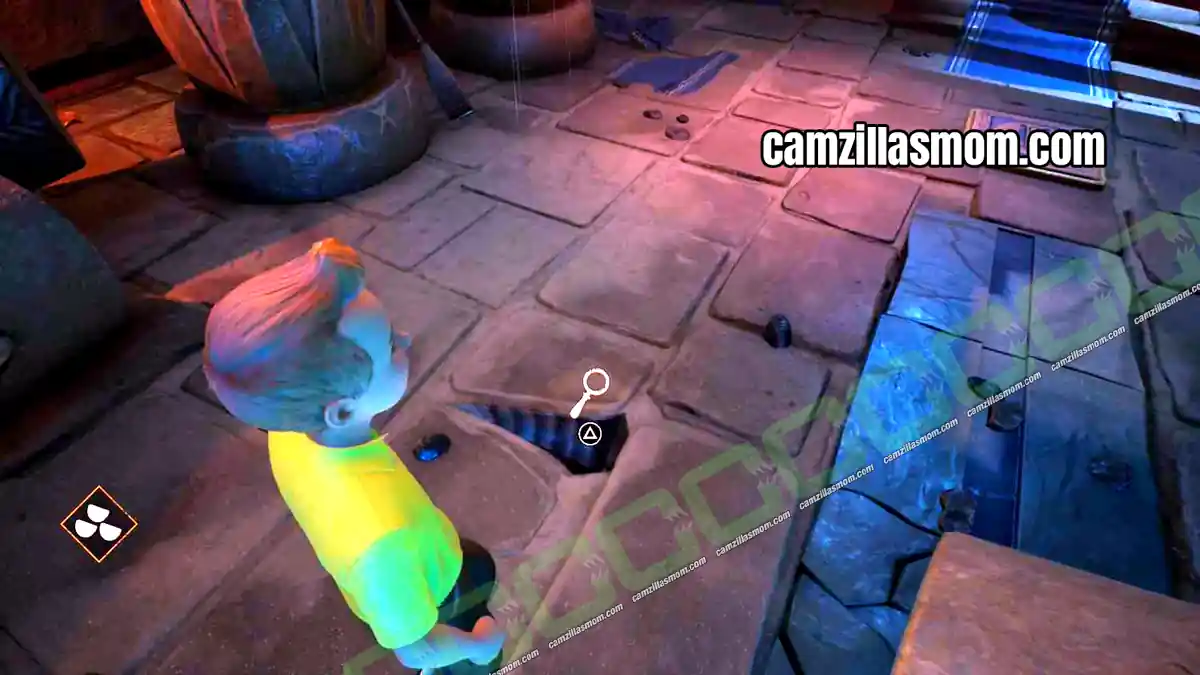
There is also an altar with an ark: a chest that opens when something is placed on the pressure plate in front of it. Look for the two oar-like tools that fit the rail piece. One lies right by the altar and the other leans against a pillar.
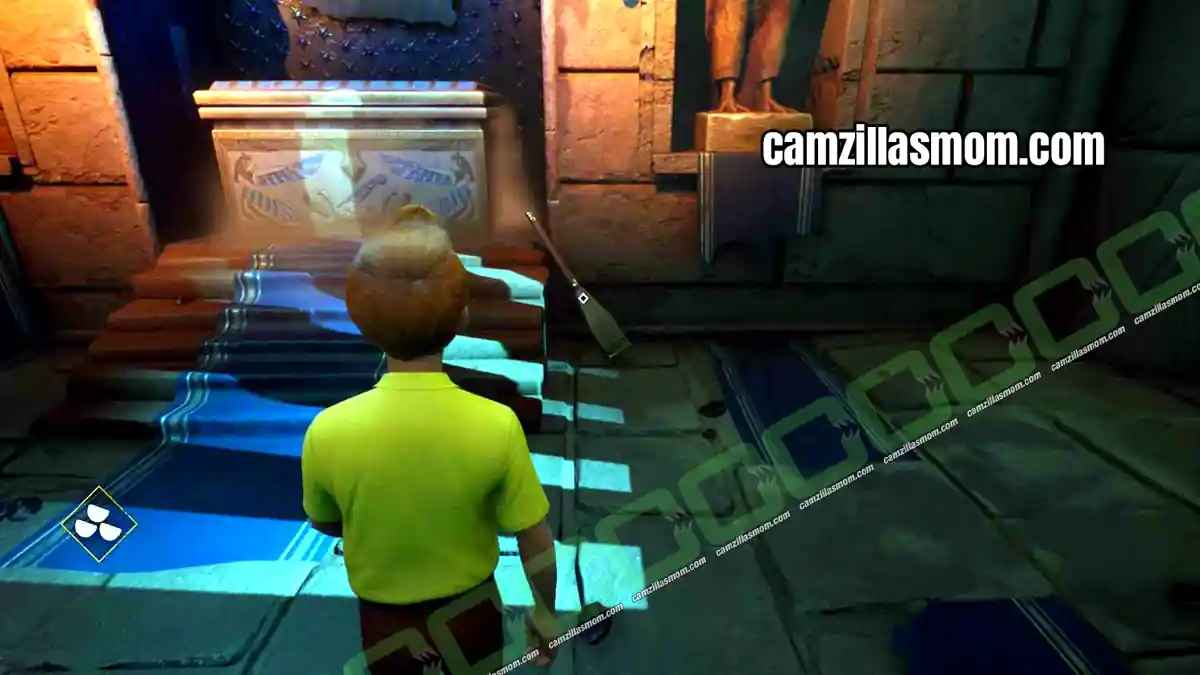
Use both oars on the rail piece to move it. The pillar piece blocks the way to the pressure plate, so move the statue to the left instead and climb up.
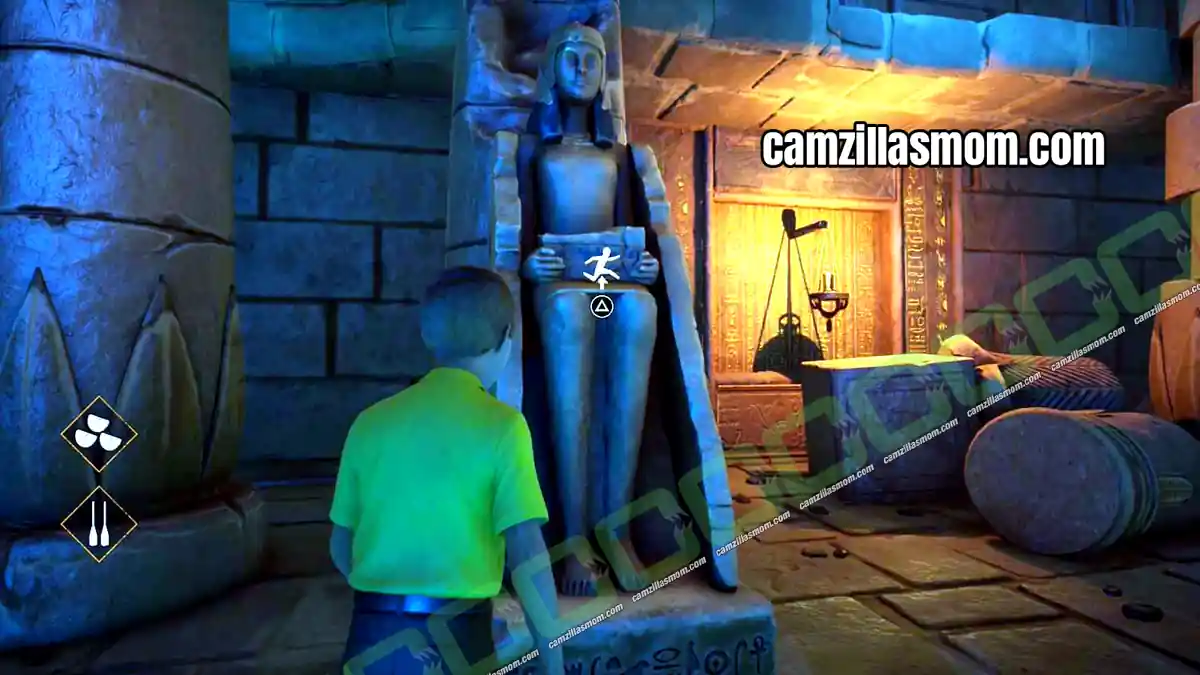
At the end of the path is an empty cart on wheels. Push it down to the level of the statue and move it under the falling sand to fill it. Then push the full cart onto the pressure plate to open the chest.
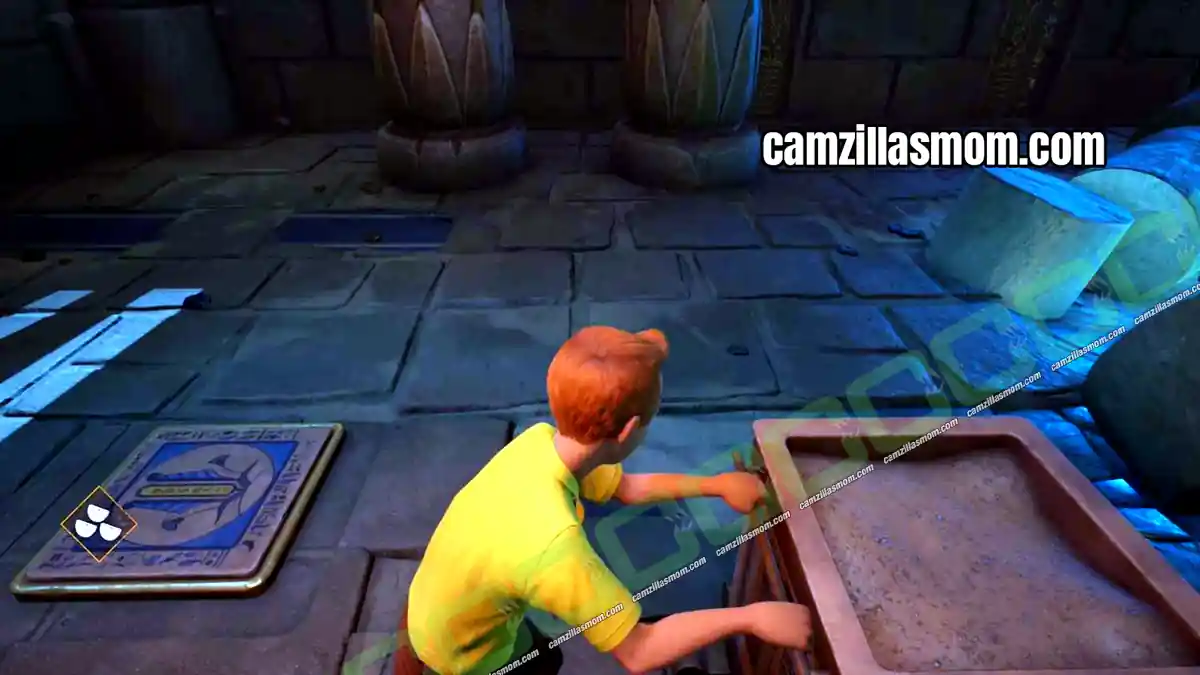
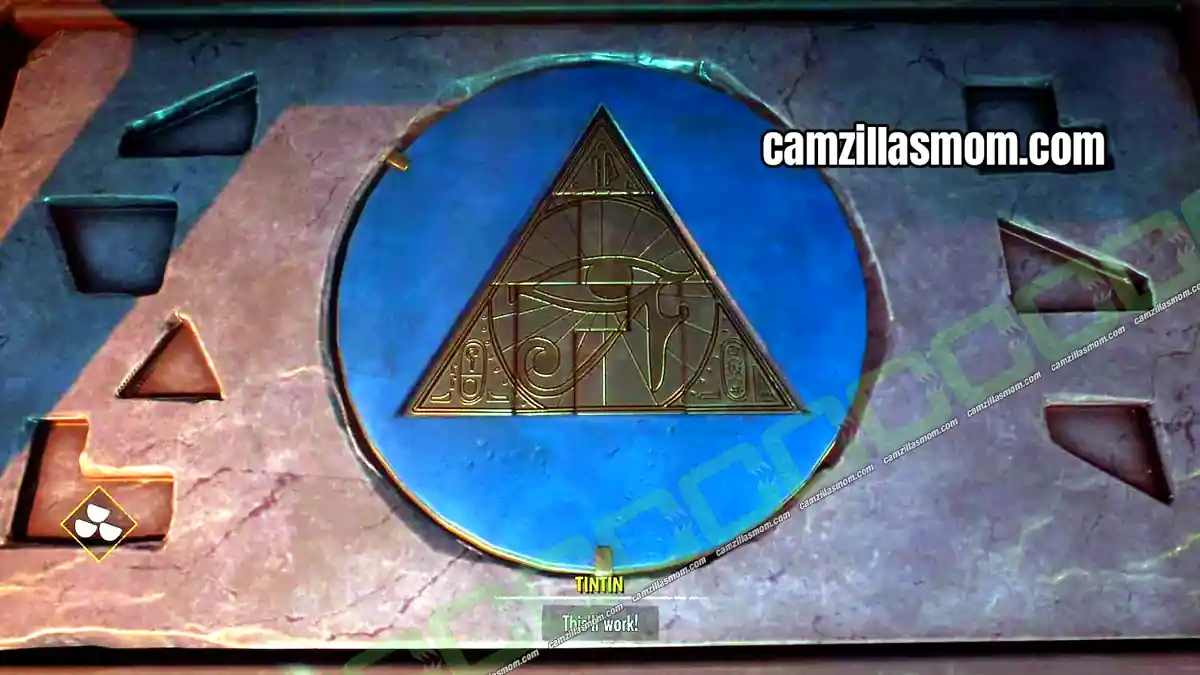
Pyramid Puzzle: Inside the chest, arrange the puzzle pieces into the shape of a pyramid. The pieces can be rotated. The solution is shown below, and solving it gives you the feather.
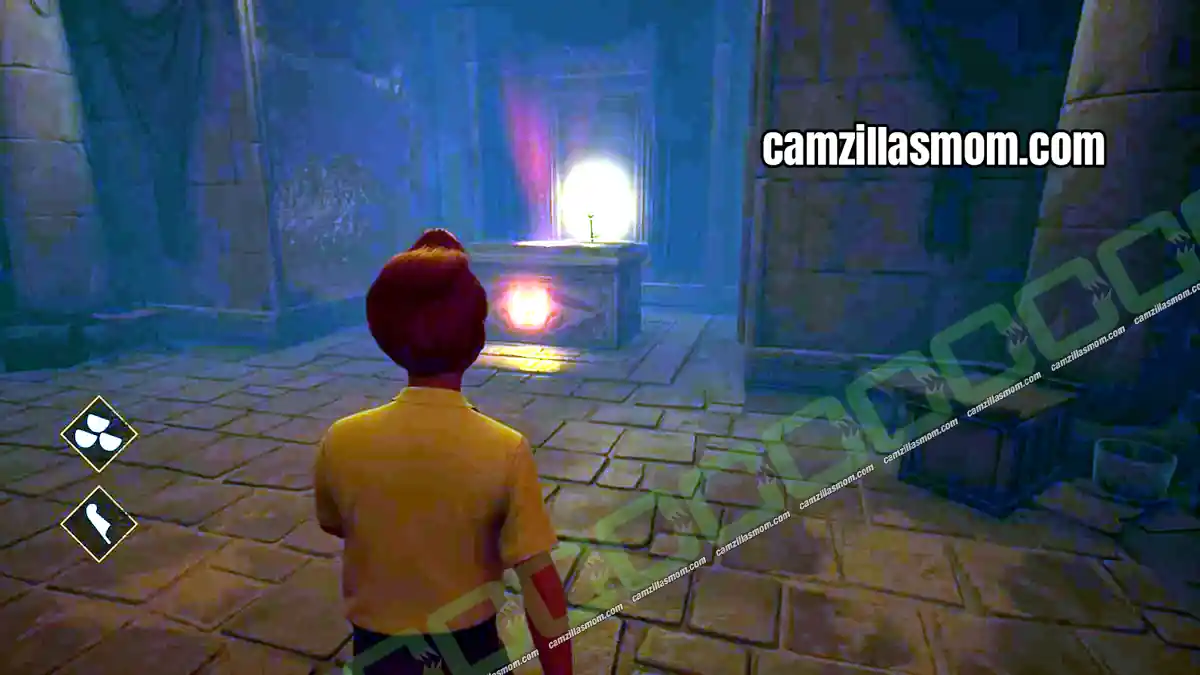
Red Room – The Heart: With the feather in hand, head to the red room for the heart. The chest here is locked and has to be opened first. Take the torch from behind the chest.
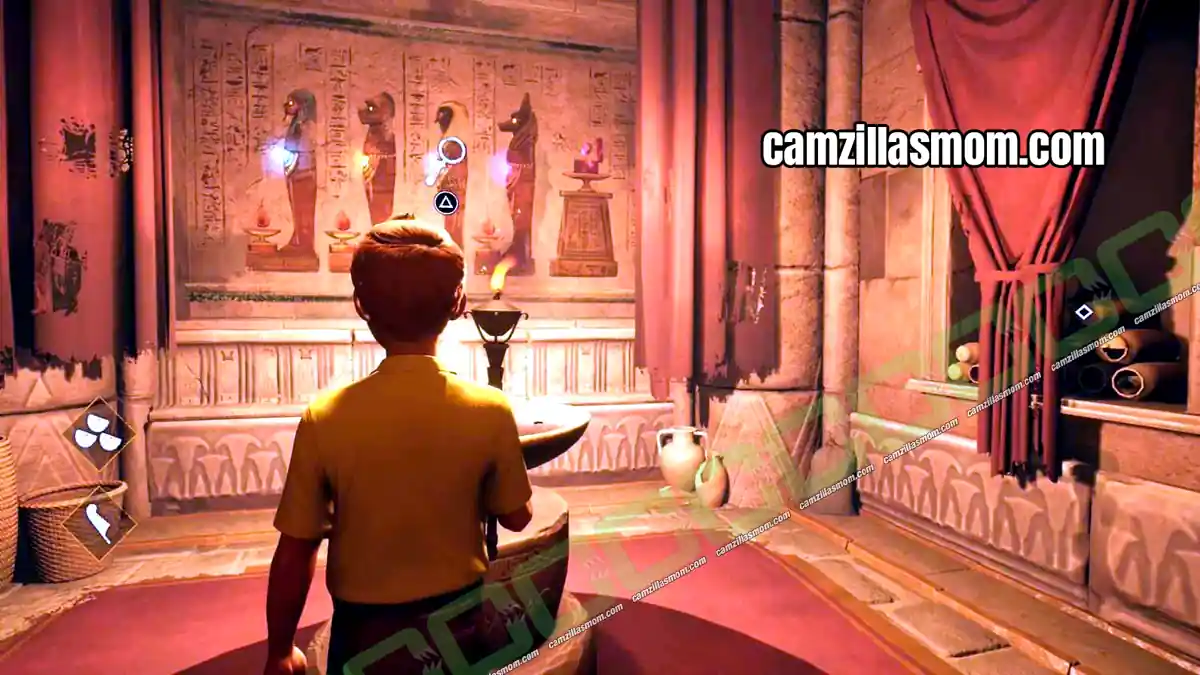
Leave the room with the torch and turn left. Light the bowl of oil with the torch and examine the mural behind it. It shows four figures with the four stones you carry, in this order: Blue, Yellow, White, Purple.
Stone and Bowl Puzzle: Back in the red room, place the stones in the statues exactly as they appear on the mural. Then light the bowls in the same order as the mural: Blue, Yellow, White, Purple. The chest opens and Tintin can take the heart. Hurry back to the Kih-Oskh statue.
Scale Puzzle: At the Kih-Oskh statue, interact with both sides of the scale to place the feather and the heart. At the back of the statue, arrange the three pieces to form the same symbol the statue holds: the outside dot goes at the bottom and the inside dot at the top. Rotate the vertical wave line if needed. A staircase leading downwards opens.
6 – Light at the End of the Cave: Ankh, Mirror and Lever Puzzles
Location: Tomb of Kih-Oskh – Cave
Quest Step: Follow the light all the way down
Your goal in this room is to reach the bottom of the cave. Take the torch from the wall and walk to the hole in the wall, where you take control of Snowy. Follow the light through the labyrinth to the other end of the cave to reunite with Tintin.
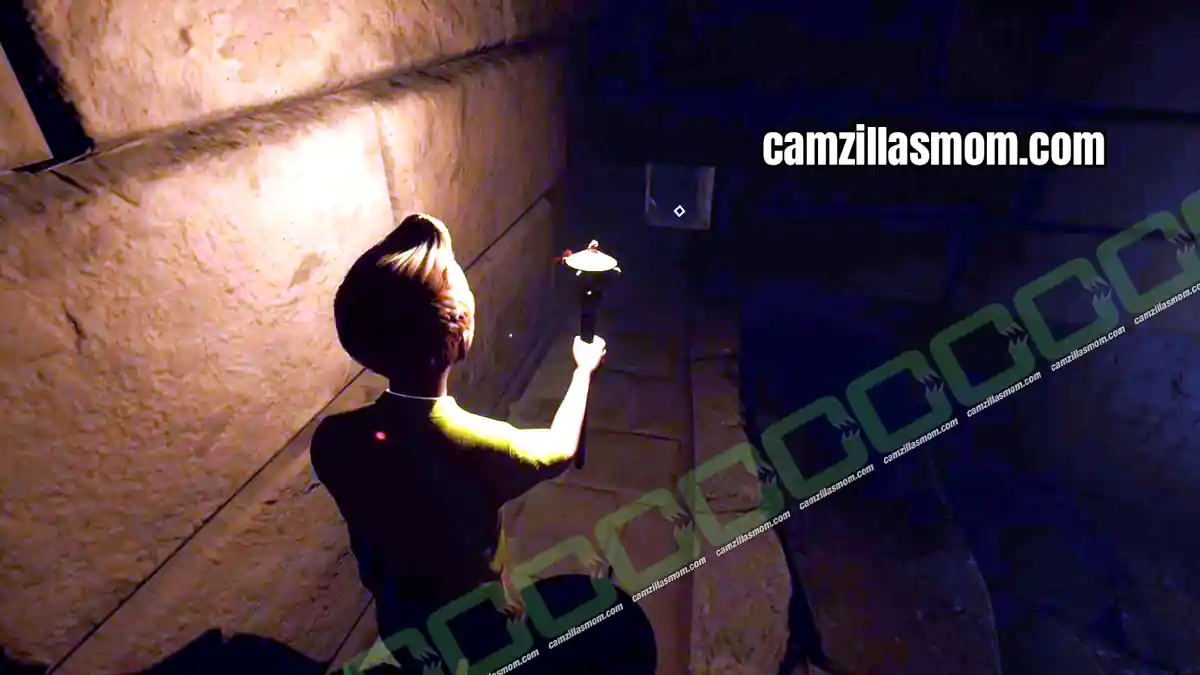
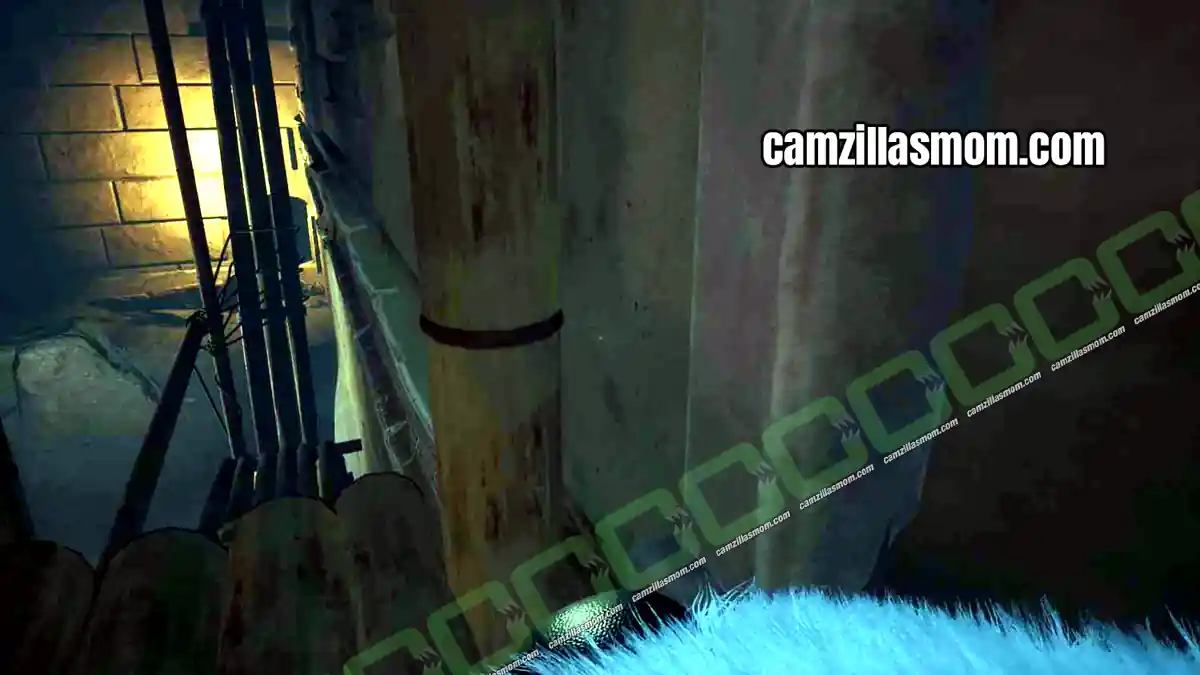
To help Tintin across, walk to the end of the platform on the other side and lower the bridge. Snowy has to run and jump now and then to get there. The screenshot below shows the bridge ahead: simply jump down onto it.
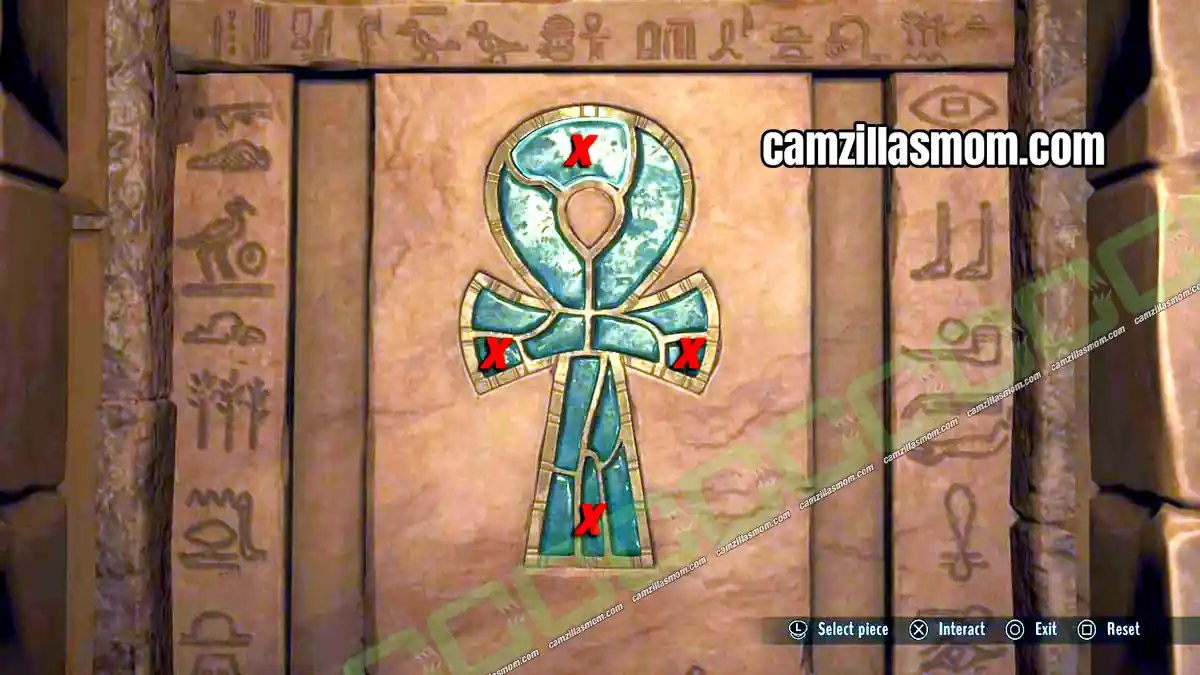
Ankh Light Puzzle: Back as Tintin, follow the path on the opposite side to the Ankh. Your task is to light it up. Clicking a piece lights it together with all its neighbouring pieces, so you only need to click the four pieces shown below to light the whole Ankh.
A door behind the Ankh opens. Follow the path down to the bottom of the cave, where your new goal is Activate the mechanism in the center of the cave.
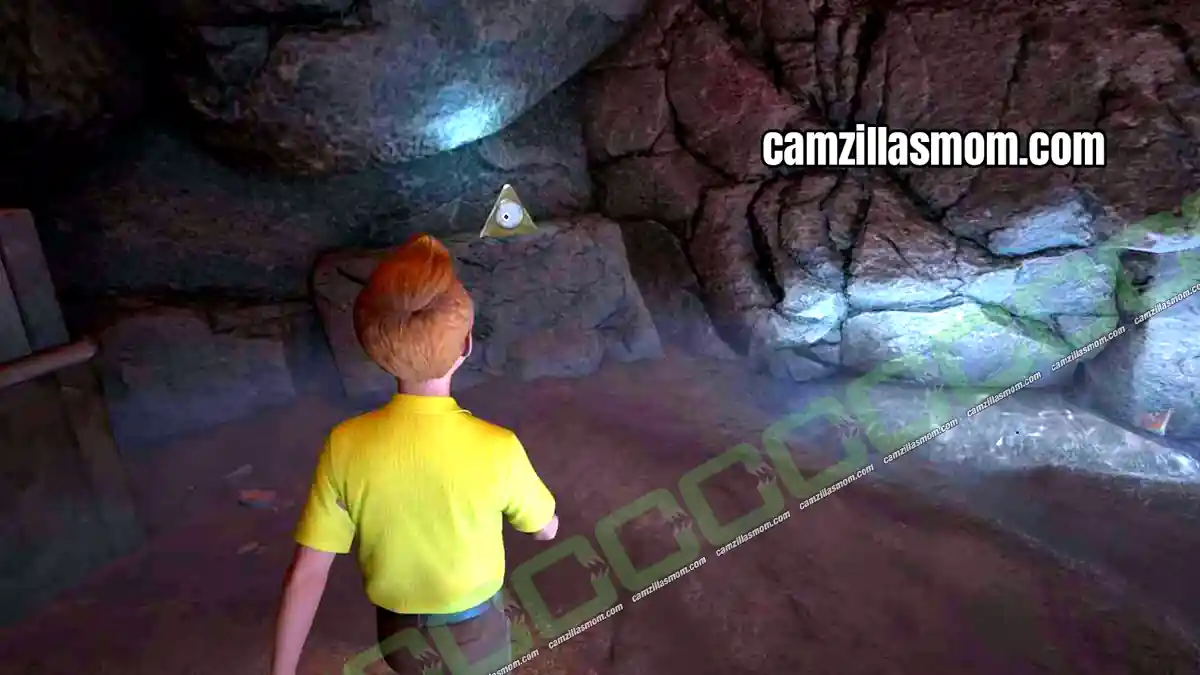
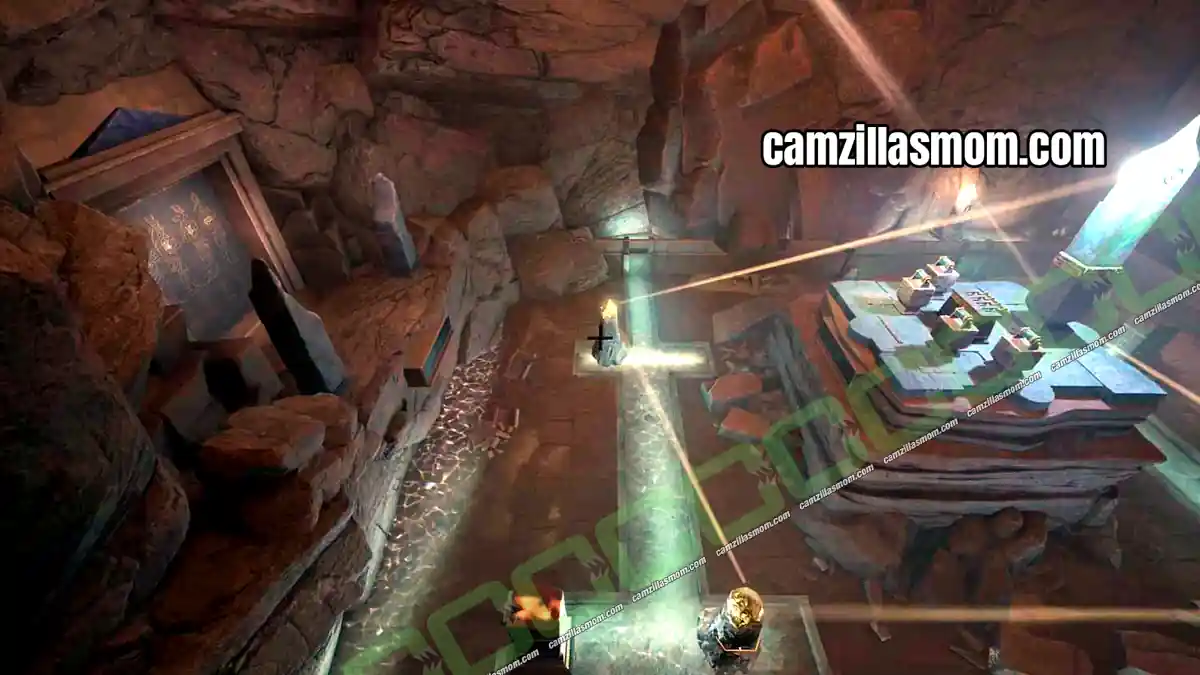
Mirror Puzzle: Before moving any pillars, find the broken pillar and examine the pieces on the floor. Then pick up the top mirror piece in the corner of the cave, shown below, and place it on top of the broken pillar to repair it.
Now move the pillars on the right side to send the light to the left, as in the screenshot below.
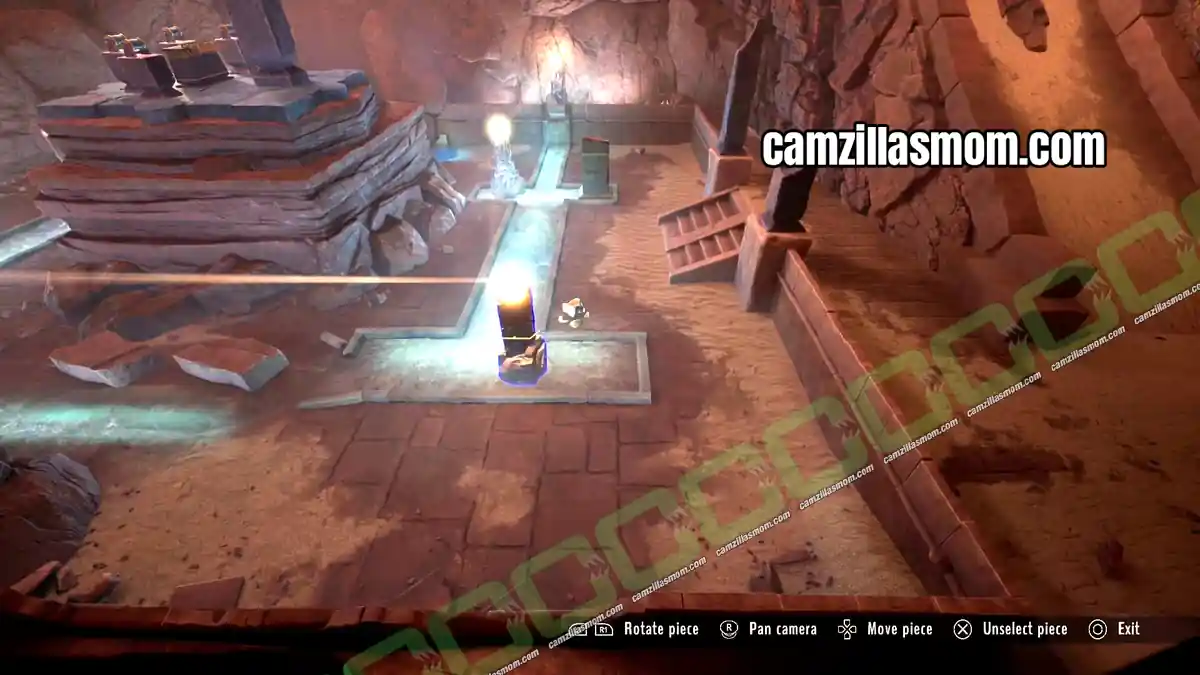
Next, move the pillars to guide the light to the center pillar. Keep in mind that only one pillar can direct the light upwards. The solution is shown below.
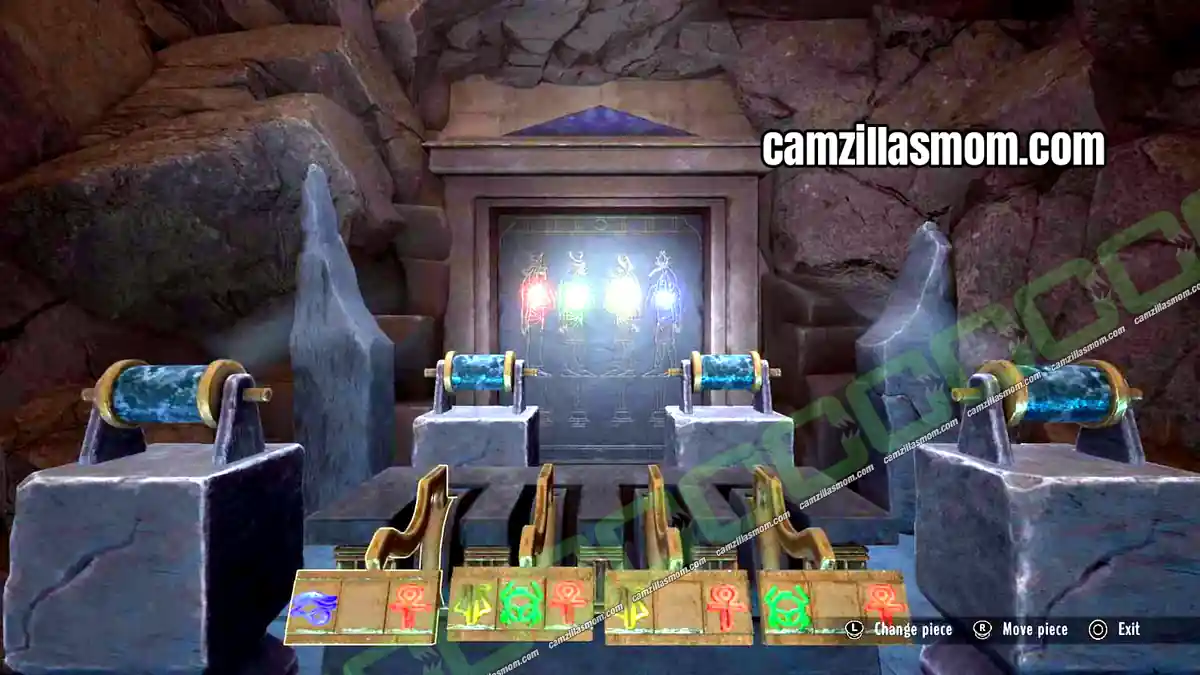
Statue Lever Puzzle: Head to the center and solve the door puzzle with four statues, each representing a different colour. You need to light the symbol of every statue at the heart position. Move the lights by pushing the levers up or down, and keep in mind there is only one blue lever:
1 – Move all four lights down to the legs
2 – Move the blue lever up to the heart position
3 – Move the second lever up. Every light except the red one now sits at the heart
4 – Move the blue lever up again
5 – Move the blue lever back down
7 – Meet the Mummy: Crook and Flail Puzzle
Location: Tomb of Kih-Oskh – Sarcophagus Room
Quest Step: Find a way out of the sarcophagus room
Tintin enters a room filled with the mummies of archaeologists who desecrated the Tomb of Kih-Oskh. Search carefully between the sarcophagi for four items: 2 Ankhs, 1 Crook and 1 Flail.
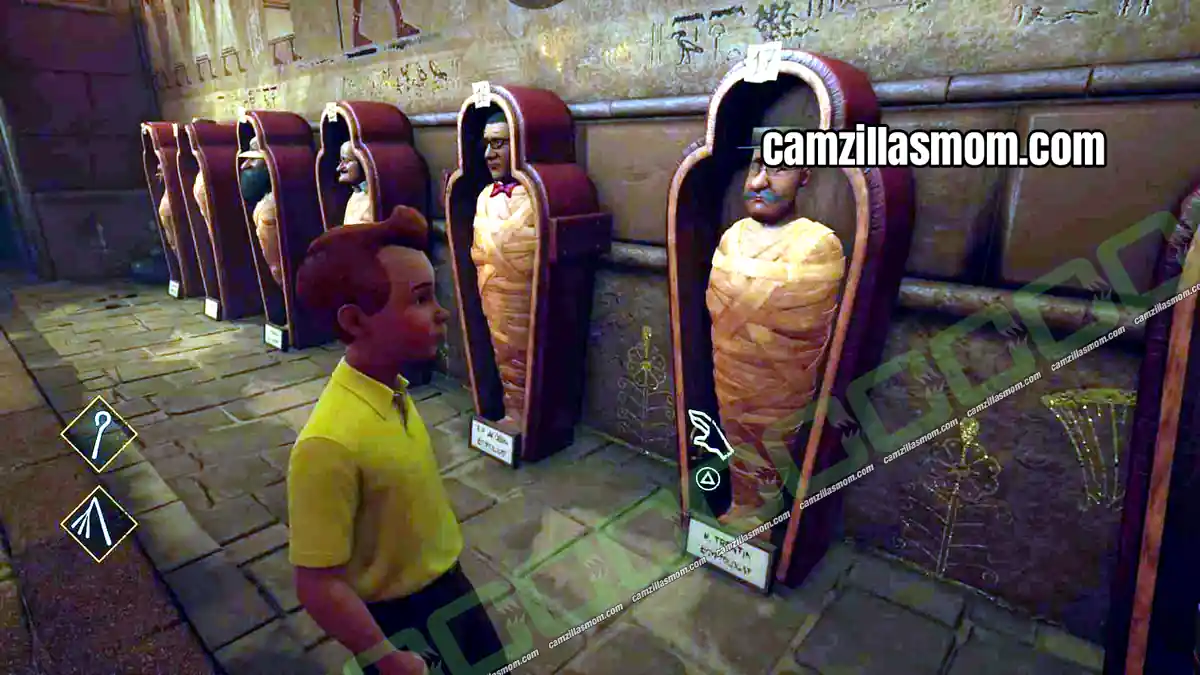
Follow the wax drippings to the mural at the end of the hall. It shows two figures holding a total of 2 Ankhs, 1 Crook and 1 Flail.
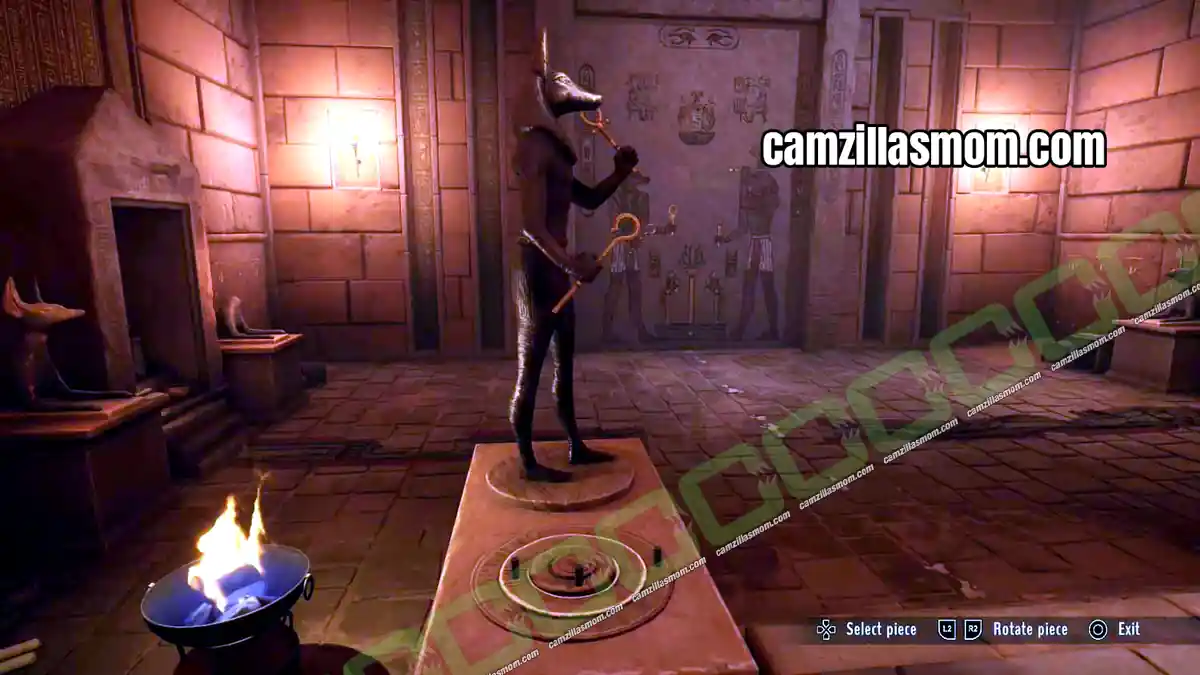
Crook and Flail Puzzle: Interact with the statues and give them the tools as shown on the mural. The left statue holds the Ankh in the left hand and the Crook in the right. The second statue holds the Ankh in the right hand and the Flail in the left. Then use the statue mechanism to move the arms into the same positions as on the mural.
8 – The Curse of Kih-Oskh Part 3
Location: Tomb of Kih-Oskh – Storage Room
Quest Step: Unveil the secret of the tomb
Tintin can now enter the storage room behind the mural. Find the wooden box and the crowbar in the room, shown below, and use the crowbar to open the box.
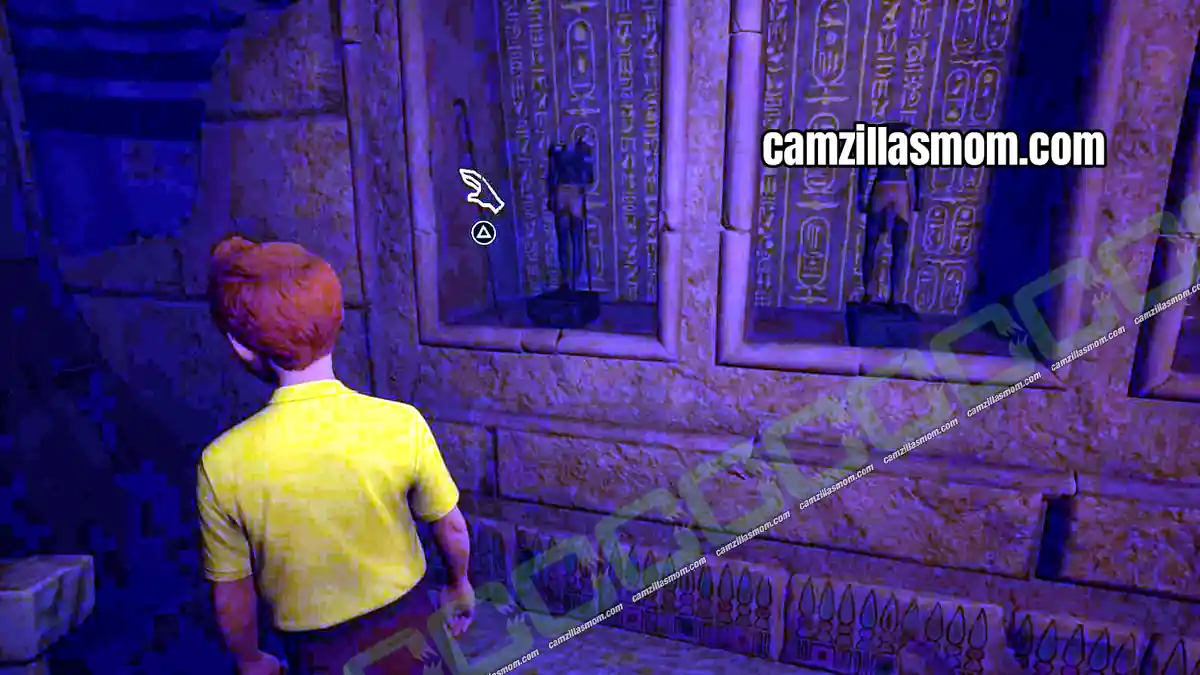
Tintin and Snowy are then put to sleep. In his dream, Tintin rides a flying beetle while chasing Snowy and suddenly finds himself somewhere new: the Red Sea and Arabia.
Next: Chapter 3 – Arabia Walkthrough


About Tintin Reporter – Cigars of the Pharaoh
Based on: Cigars of the Pharaoh by Hergé
Release: November 7th, 2023 (Nintendo Switch: October 17th, 2024)
Developer: Pendulo Studios
Publisher: Microids
Official Website: https://microids.com/game-tintin-reporter-cigars-of-the-pharaoh