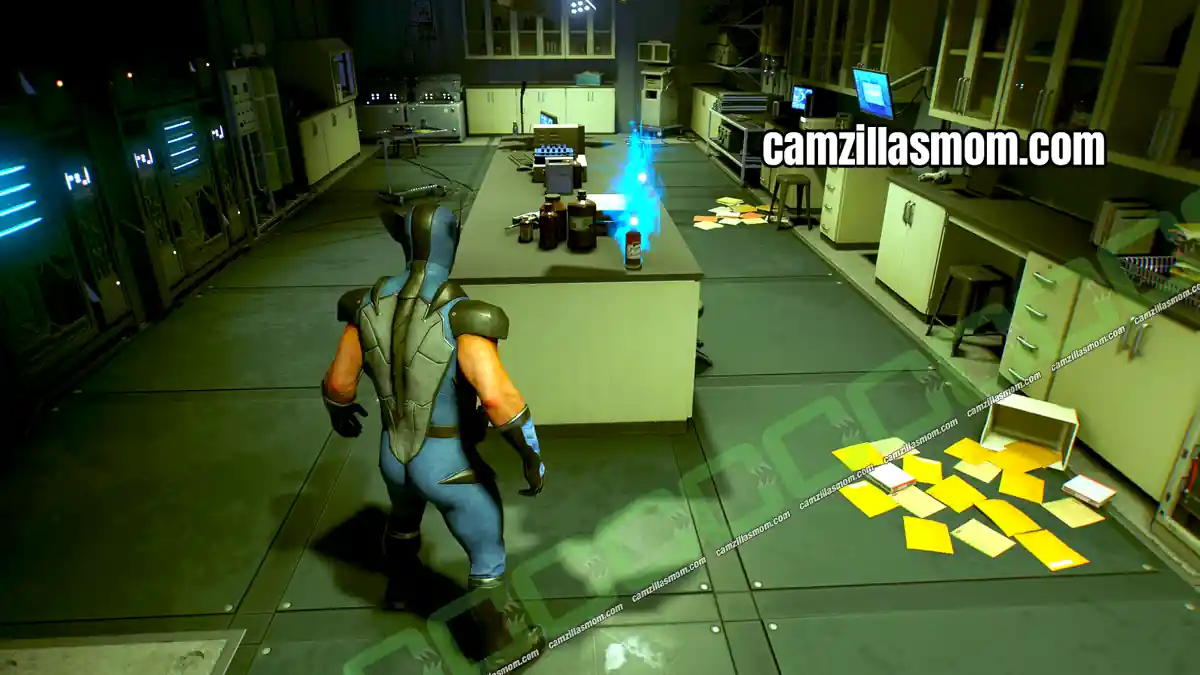
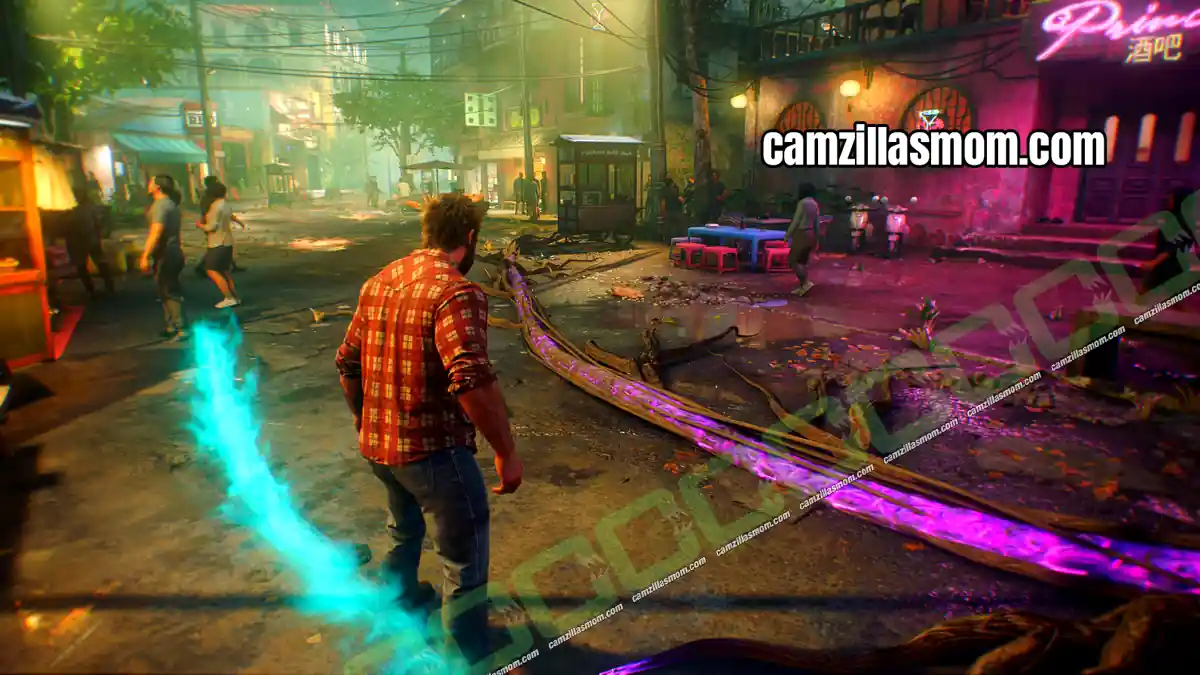
This guide covers all 68 Material Crates in Marvel’s Wolverine in the order they appear, from Chapter 1 in Canada to Chapter 20 in Madripoor. Every crate is worth 50 Materials and every chapter has at least one, so use the overview below to jump straight to the chapter you are playing.
Related Guides:
Marvel’s Wolverine Game Guides Hub
Marvel’s Wolverine Canada Collectibles
Marvel’s Wolverine Madripoor Collectibles
Marvel’s Wolverine Japan Collectibles
All 68 Material Crates by Chapter
-
Chapter 1: Homecoming – 2 crates
Canada – In the Lab, In Vic’s Room -
Chapter 2: The One That Got Away – 4 crates
Vancouver – Sawmill, Near Sewers, Near Nightmare Door, Container Crane -
Chapter 3: Raise Some Hell – 4 crates
Canada – Cliff Ledge, Ravine, Conveyor Belt Area, Open Truck -
Chapter 4: Strays – 1 crate
Yukon – Armory -
Chapter 5: Something Much Stronger – 4 crates
Canada – Cave, Island, Fishing Hut, Cabin -
Chapter 6: Knock Knock – 2 crates
Madripoor – Power Station Reception, Inside the Vent -
Chapter 7: Mutant Detected – 4 crates
Madripoor – Reception Desk, Security Area, After Bay 7 (code 0291), Propulsion Tunnel -
Chapter 8: One Last Mission – 3 crates
Madripoor – Bathrooms, Downstairs, Last Ninja Compound -
Chapter 9: Get Angry – 5 crates
Japan – Back Alley, Bar Elevator, Incense Burner Quarters, Pole Traversal, Elevator Storage Room -
Chapter 10: Bad Blood – 4 crates
Japan – Building Site, Penthouse Climb, Lower Building Site, Collapsing Platform -
Chapter 11: In the Shadows – 7 crates
Japan – grab crates 1 to 4 before the antenna detector -
Chapter 12: Death Comes to Death – 3 crates
Japan – Rooftop at the Start, After Security, After Steam Bath -
Chapter 13: We Were Wrong – 5 crates
Japan – Car Accident, Round Shop, Red Shop, Parking Space, Basement -
Chapter 14: Hell Followed With Him – 4 crates
Japan – First House, Village Range, Drum, Behind the Massive Doors -
Chapter 15: Sinister Tidings – 1 crate
Japan – Exhibition Room -
Chapter 16: Way Down Low – 4 crates
Madripoor – three checkpoint trucks, Antenna Roof -
Chapter 17: Roll the Dice – 1 crate
Madripoor – Security Room -
Chapter 18: Field Test – 2 crates
Madripoor – Alley, Market -
Chapter 19: I’m Still Here – 5 crates
Madripoor – Ruined House, Sentinel Patrol, Noodle Bar, Sentinel Area, Road End -
Chapter 20: This Was the Dream – 3 crates
Madripoor – Rope Elevator, Lab Window, Behind the Tank
Total: 68 Material Crates – 15 in Canada, 24 in Madripoor, 29 in Japan
Chapter 1: Homecoming Material Crates (Canada)
Homecoming has 2 Material Crates. Both are the supply crates Walter asks Logan to bring him, so they are part of the story.
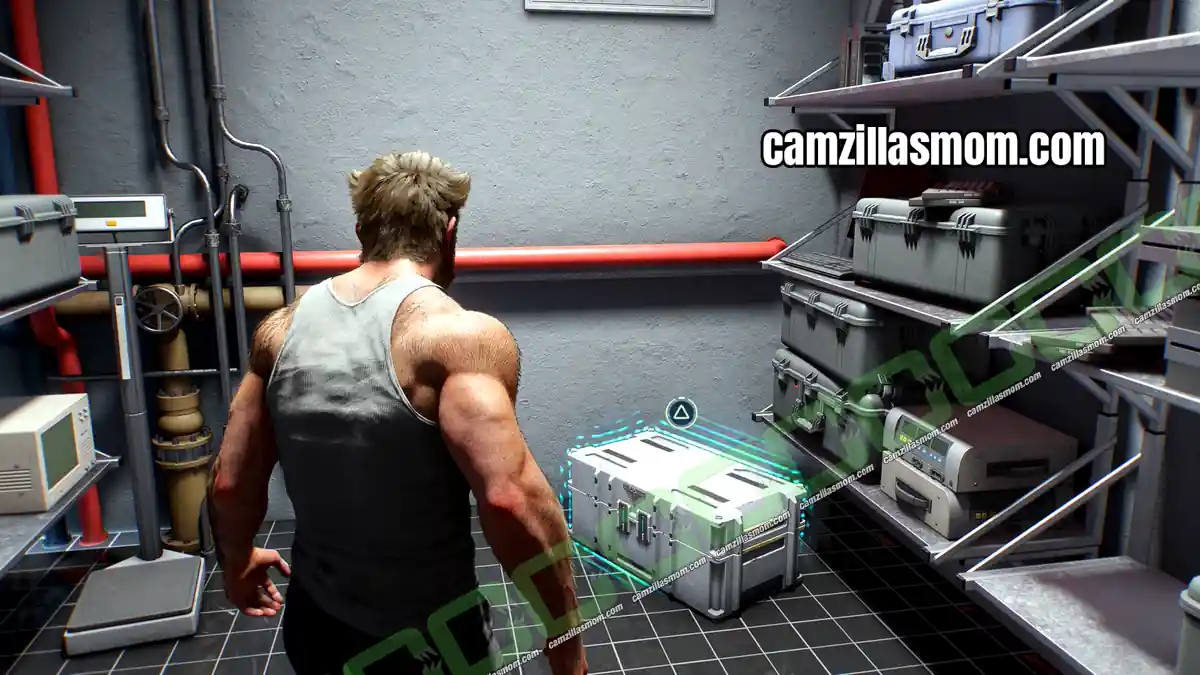
Material Crate 1 – In the Lab
Mission Step: Bring the Supply Crates to Walter
After the Nightmare Door trial, talk to Walter in his lab. The first crate is in the storage room right behind him. Interact with it to open it.
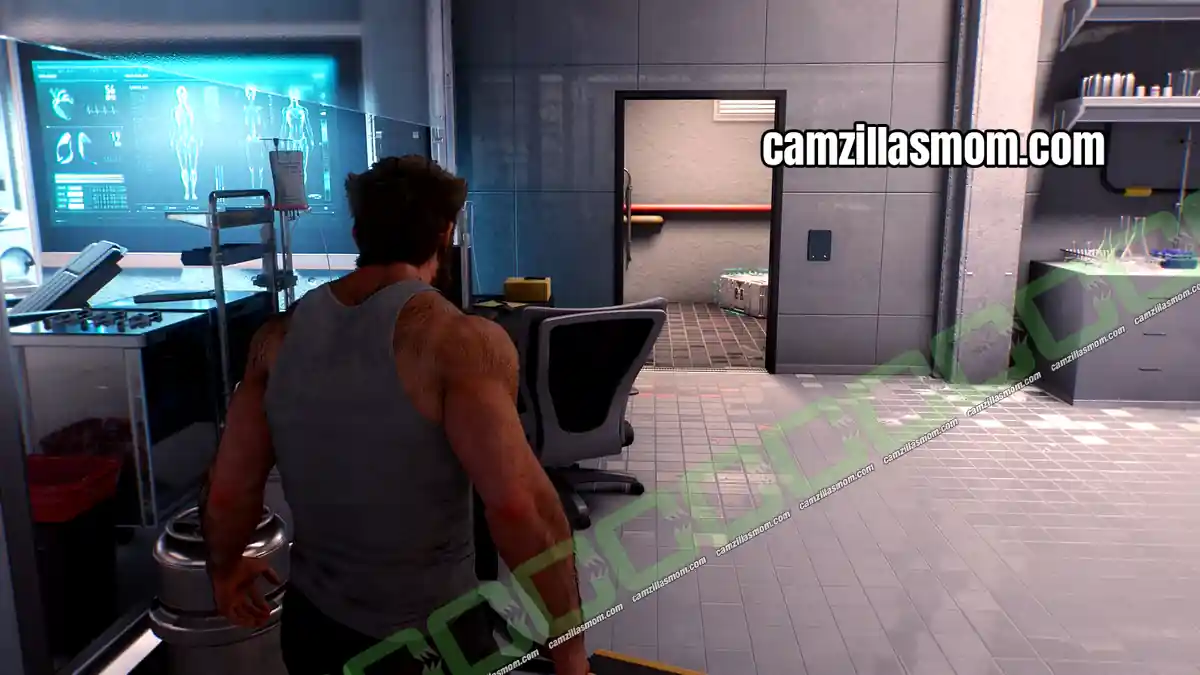
Material Crate 2 – In Vic’s Room
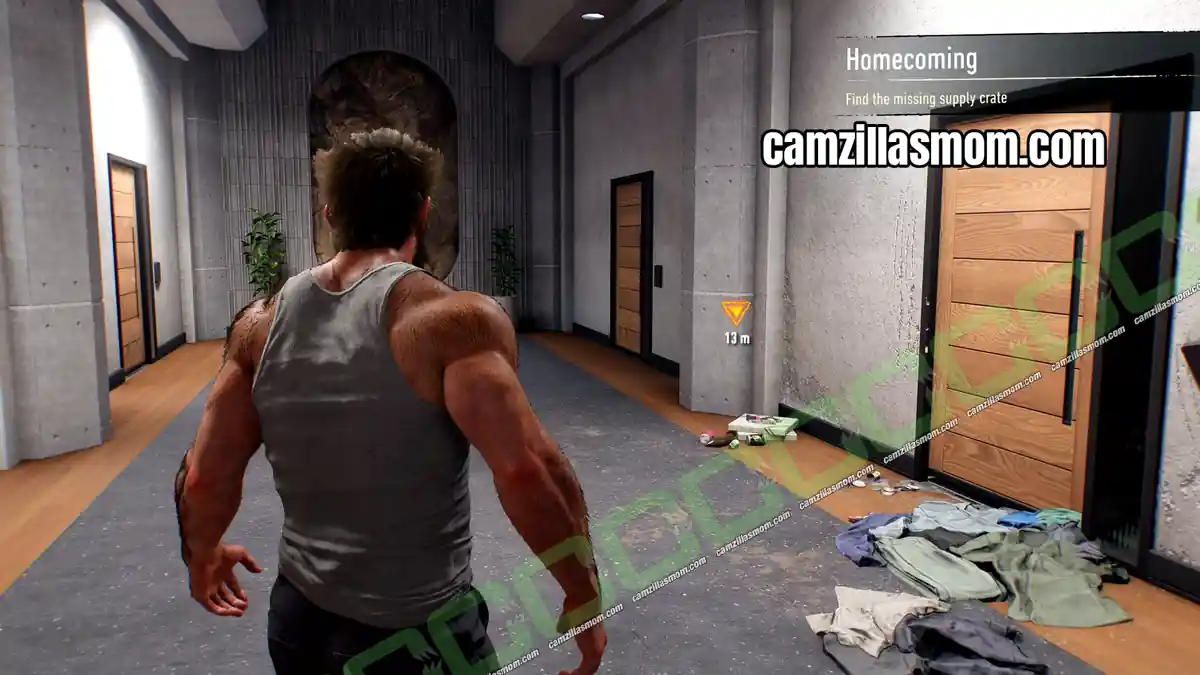
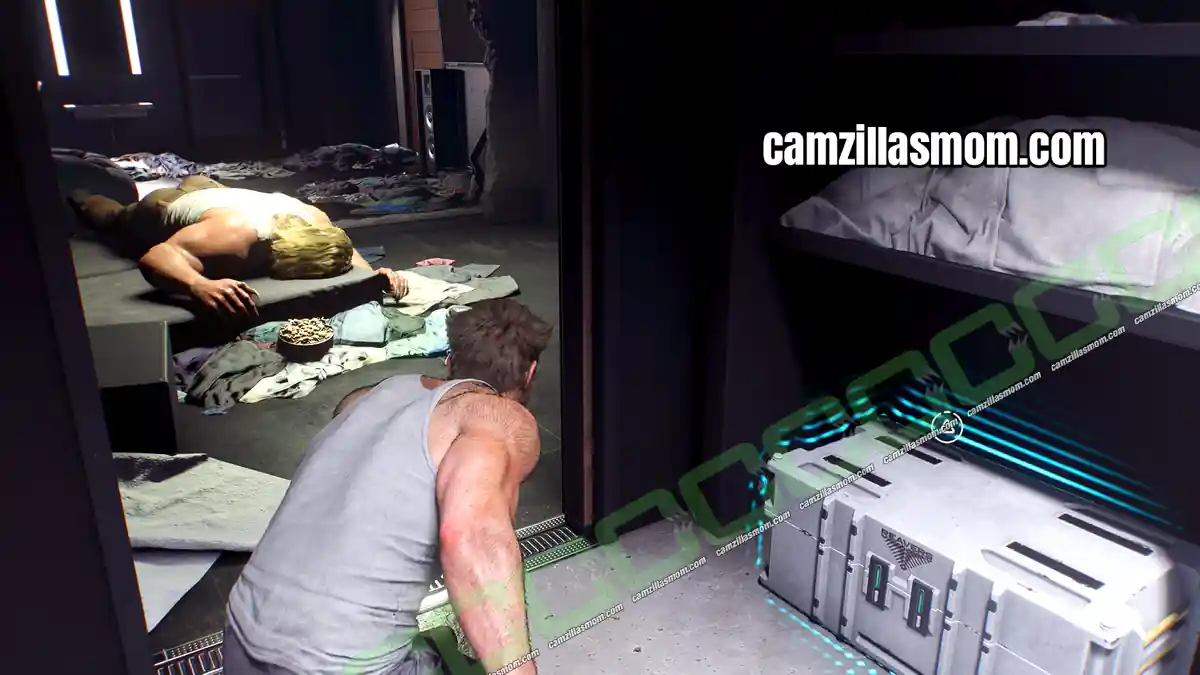
Mission Step: Find the missing Supply Crate
Walter thinks the second crate ended up in Vic’s room. Go into Sabretooth’s room, sneak past him and open the crate in the bathroom, then head back to Walter in the lab.
Chapter 2: The One That Got Away Material Crates (Vancouver)
The One That Got Away has 4 Material Crates, all found while tracking the red-haired mutant and searching the shipping yard.
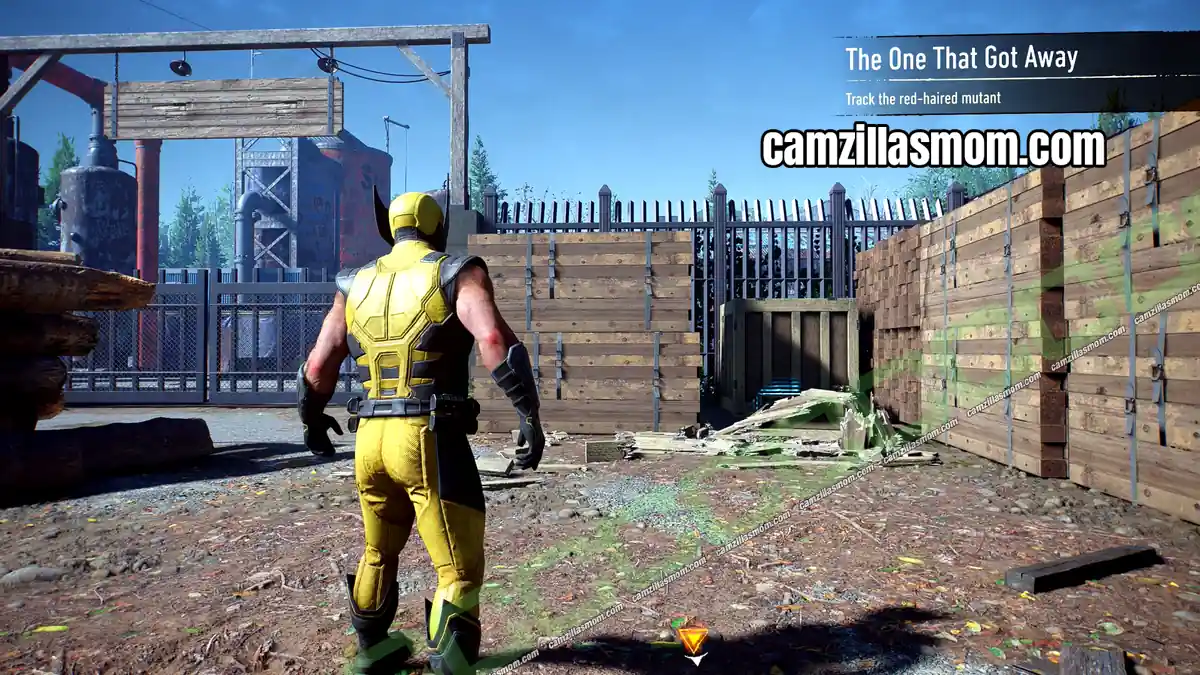
Material Crate 1 – Sawmill
Mission Step: Track the Red-Haired Mutant
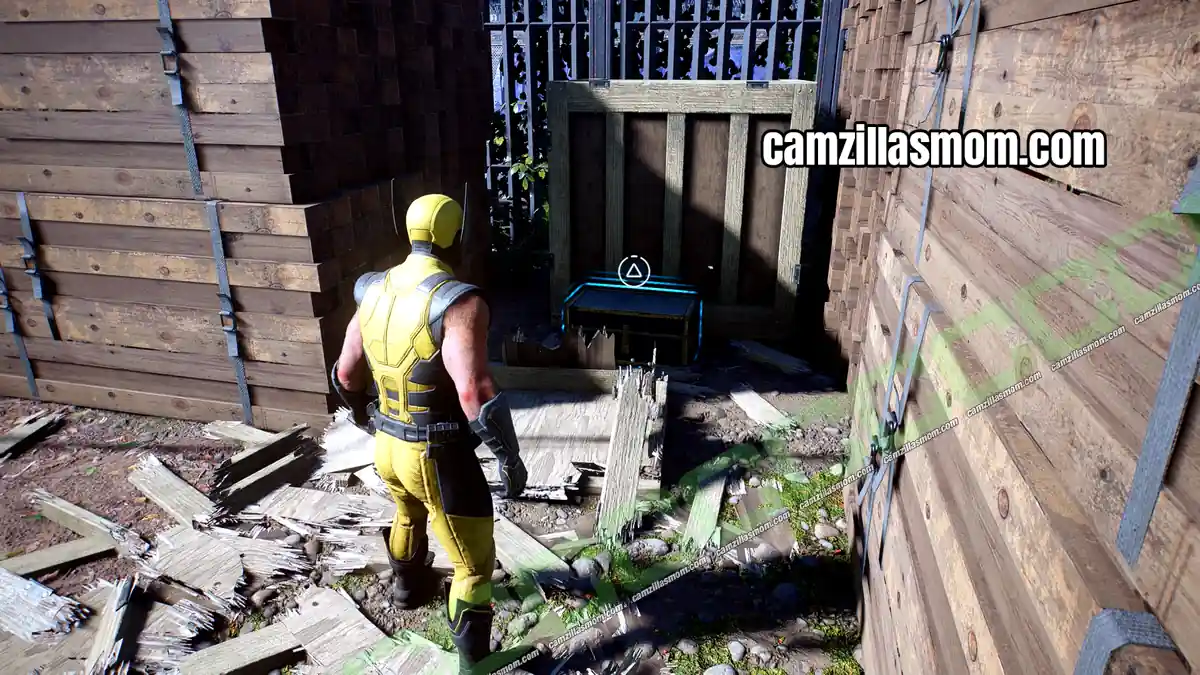
You reach the sawmill by zipline, behind a metal gate. Once the Reavers are down, check behind the destructible crate near the metal entrance gate.
Material Crate 2 – Near Sewers
Mission Step: Track the Red-Haired Mutant
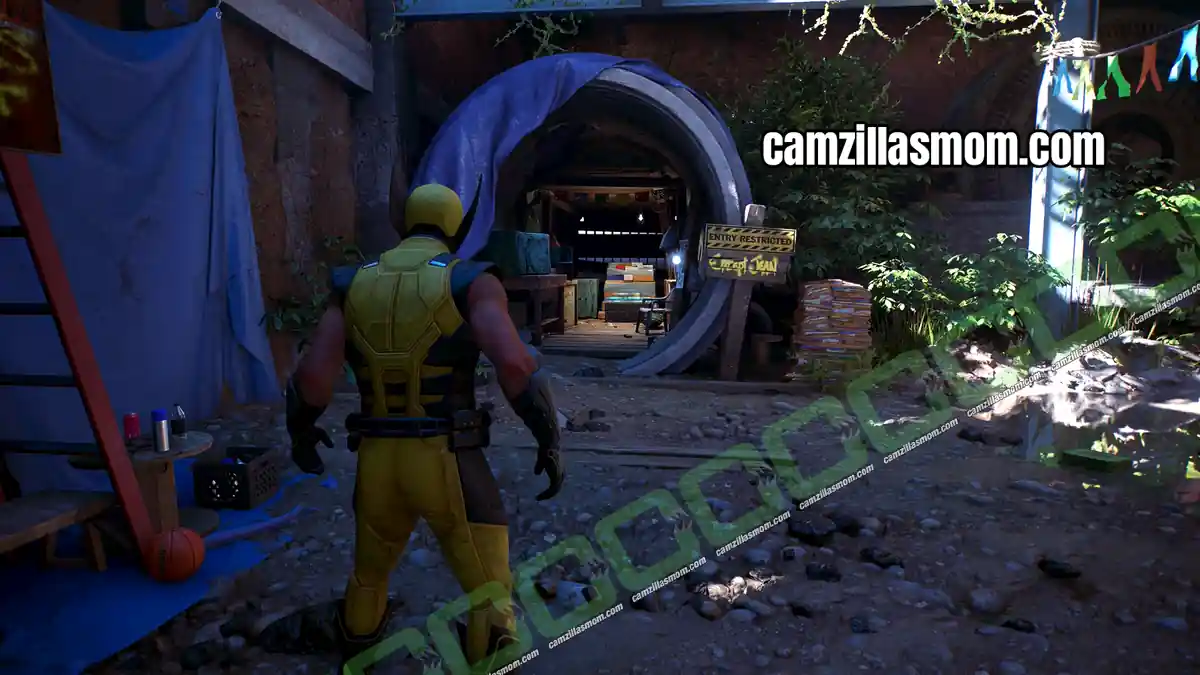
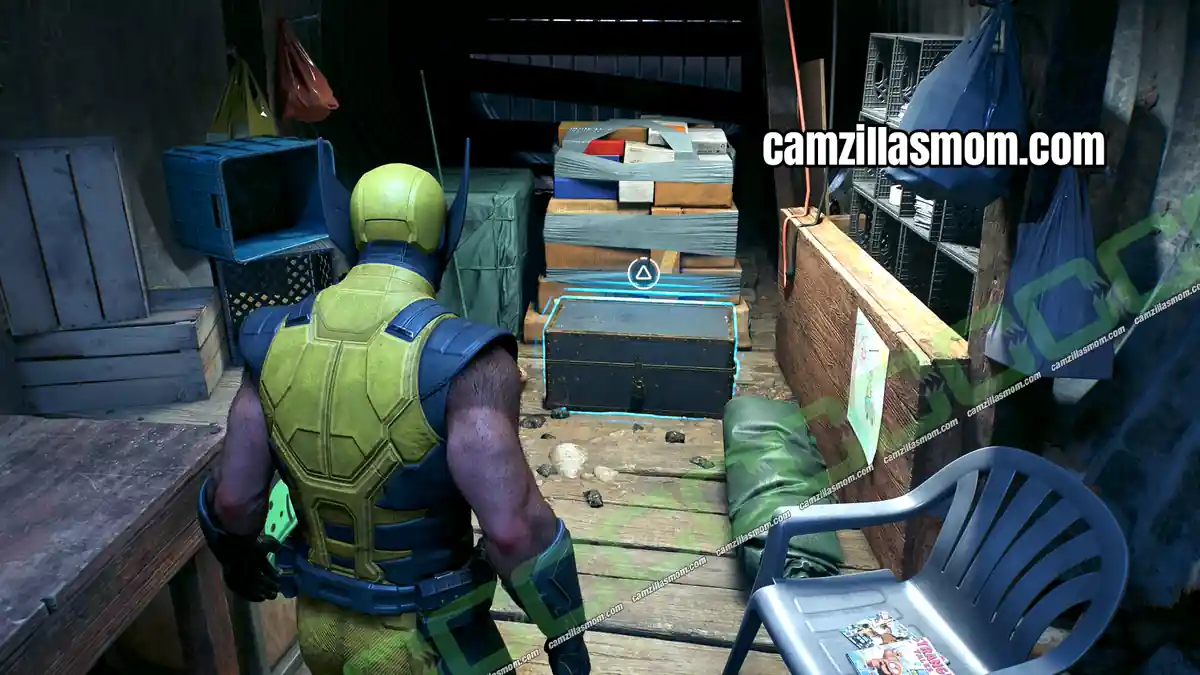
Cross the gap above the sewers to reach the ruined factory. At the bottom of the building, kids have turned a large pipe into a shelter, and the crate is at the far end of the pipe.
Material Crate 3 – Near Nightmare Door
Mission Step: Track the Red-Haired Mutant
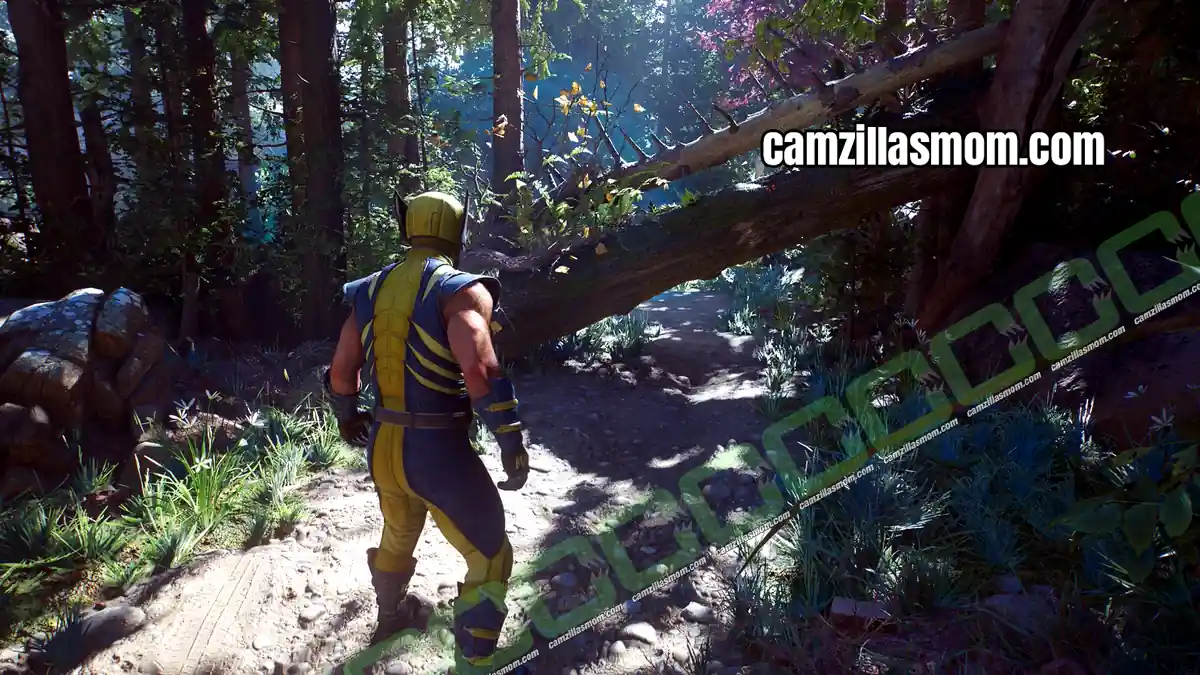
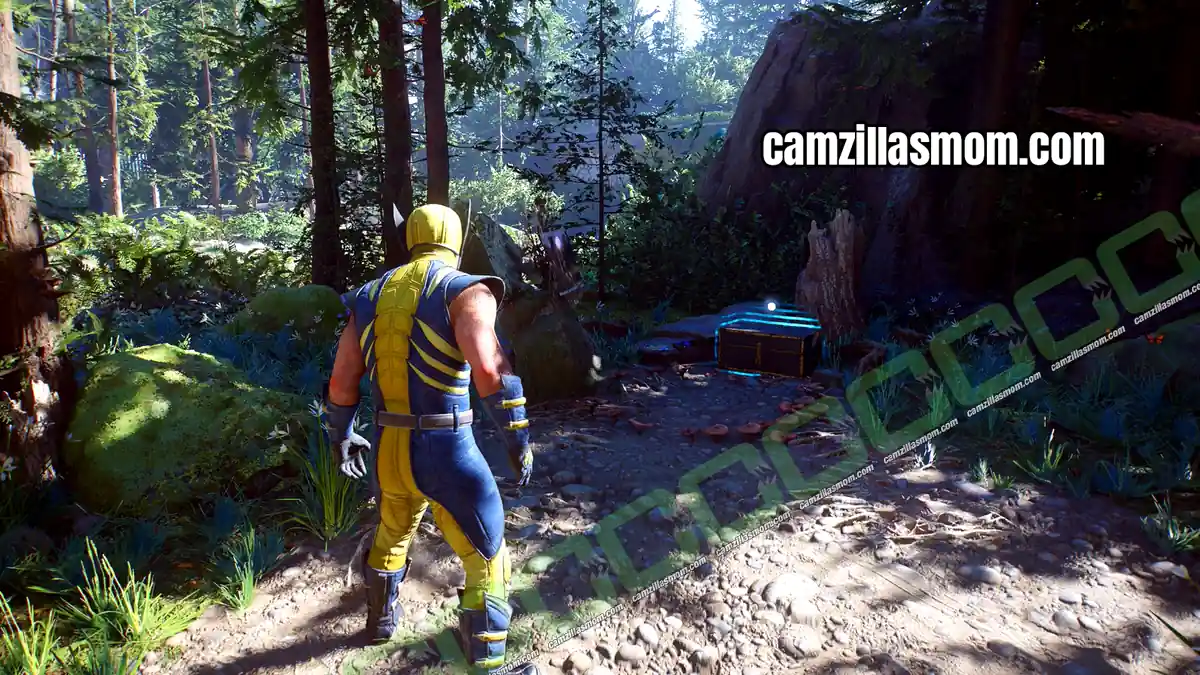
When you leave the Nightmare Door, the mutant’s trail goes left. Follow the stream uphill instead and take the small path through the woods.
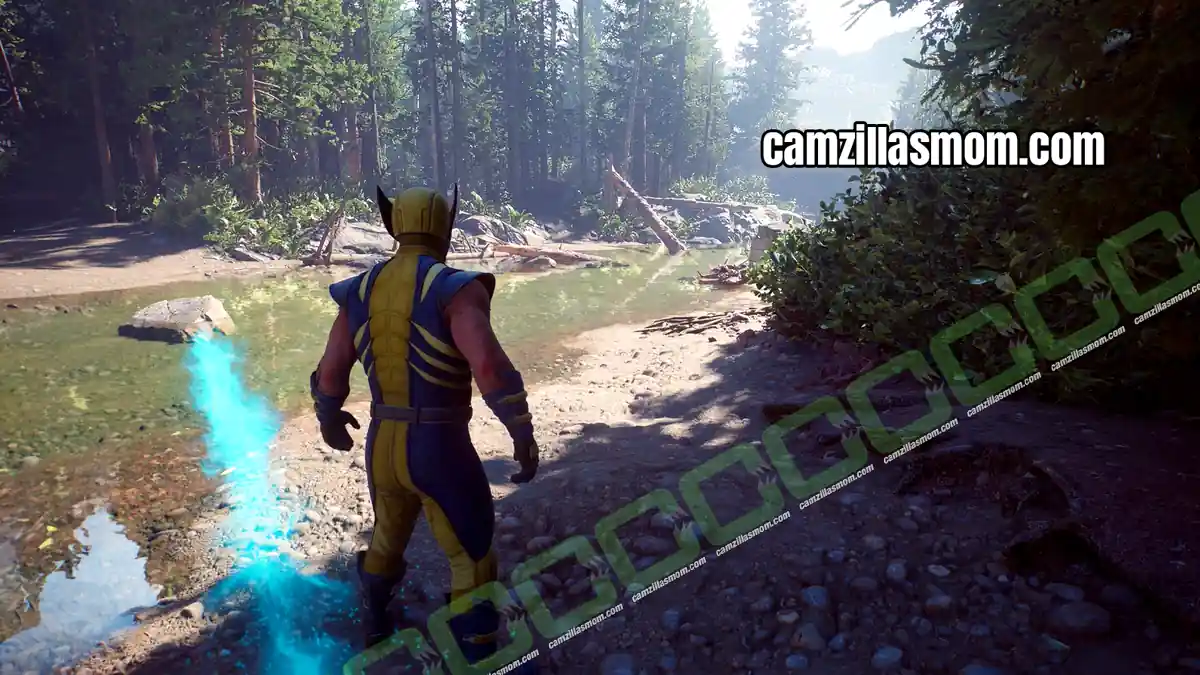
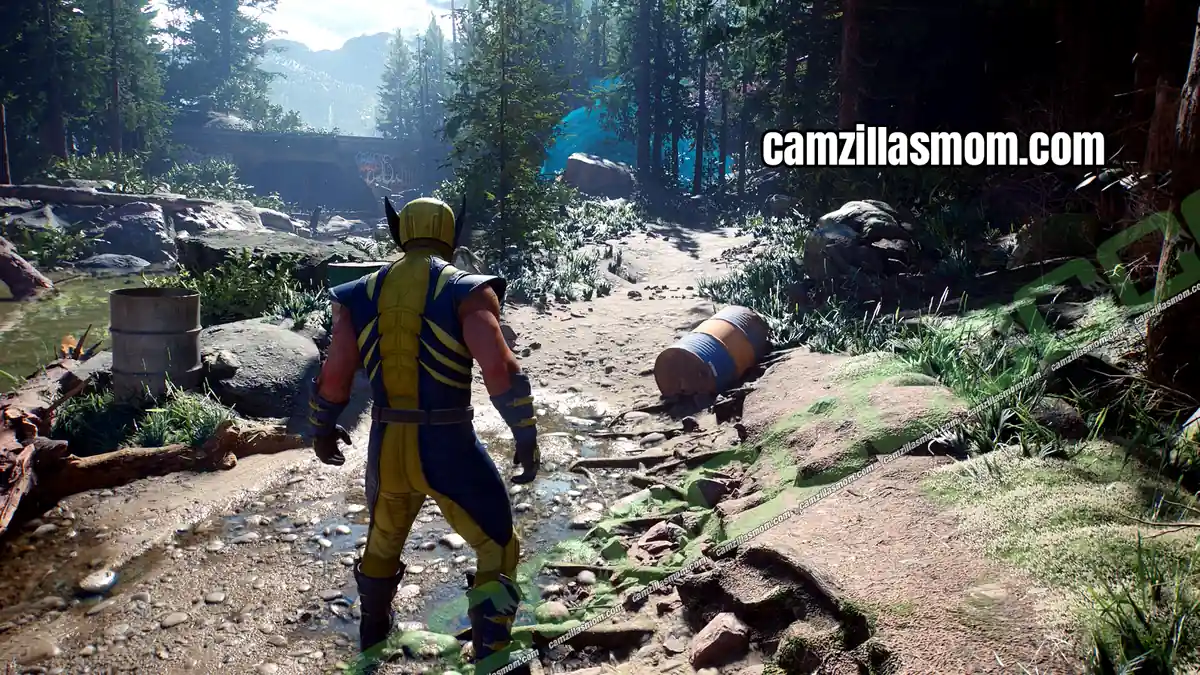
The trail ends at a collapsed log barricade. Crouch through it and the crate is on the other side.
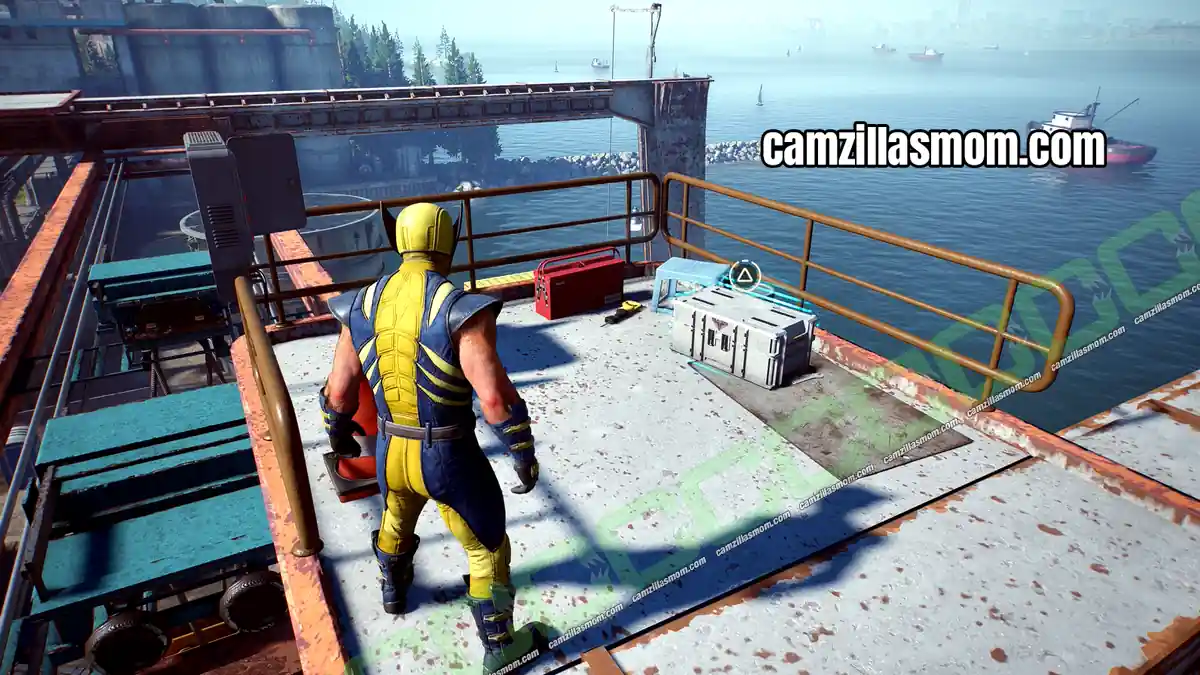
Material Crate 4 – Container Crane
Mission Step: Search the Trucks for Mutants
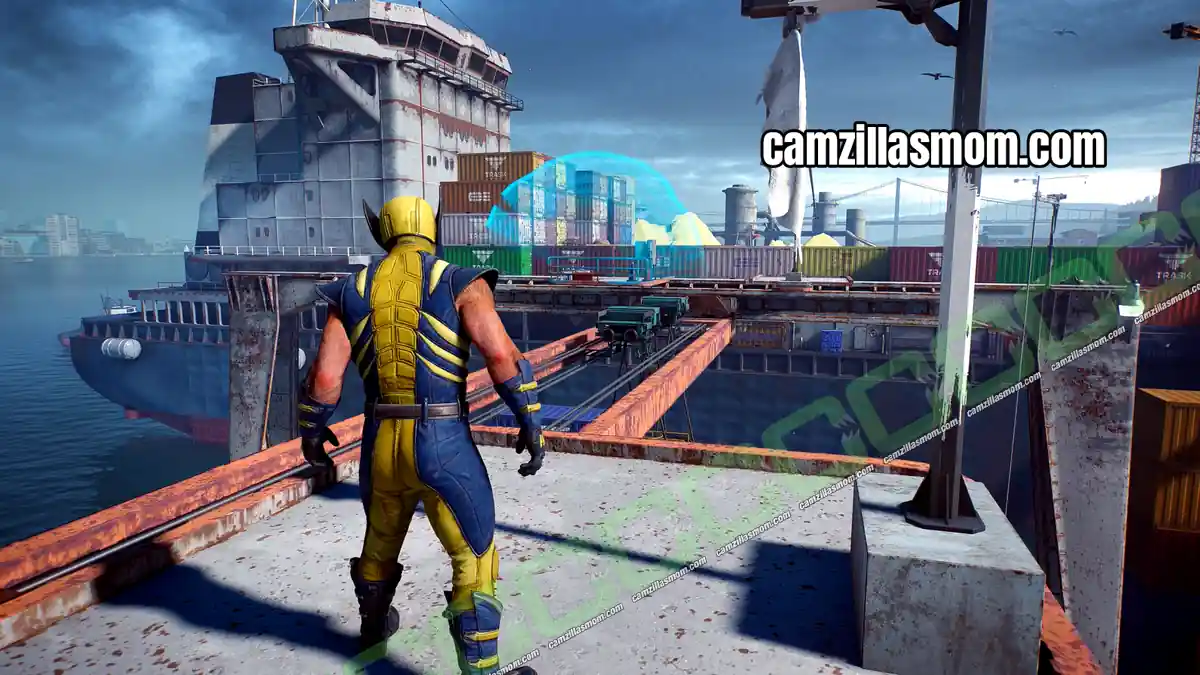
In the container shipping yard, climb one of the vertical hooks to the top of the container crane. If you have not found the hook on the far side, use the rope to cross over instead. The crate is on the other side.
Chapter 3: Raise Some Hell Material Crates (Canada)
Raise Some Hell has 4 Material Crates. Three are outside before you enter the building, and the last one is in the shipping container courtyard.
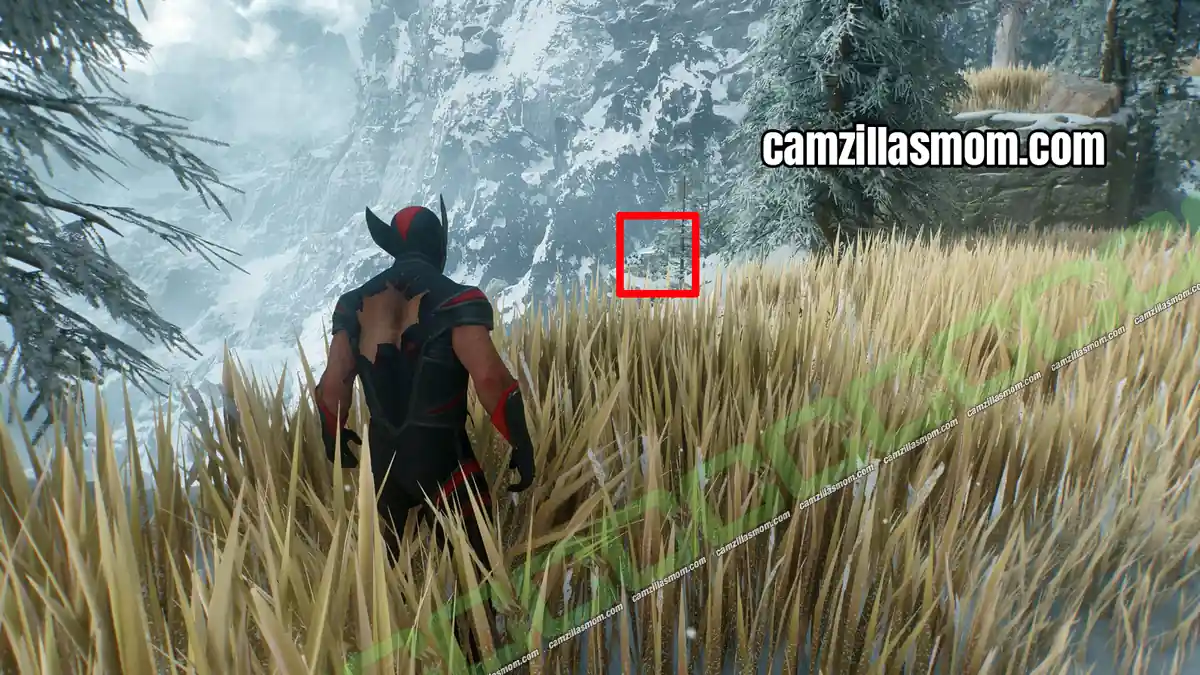
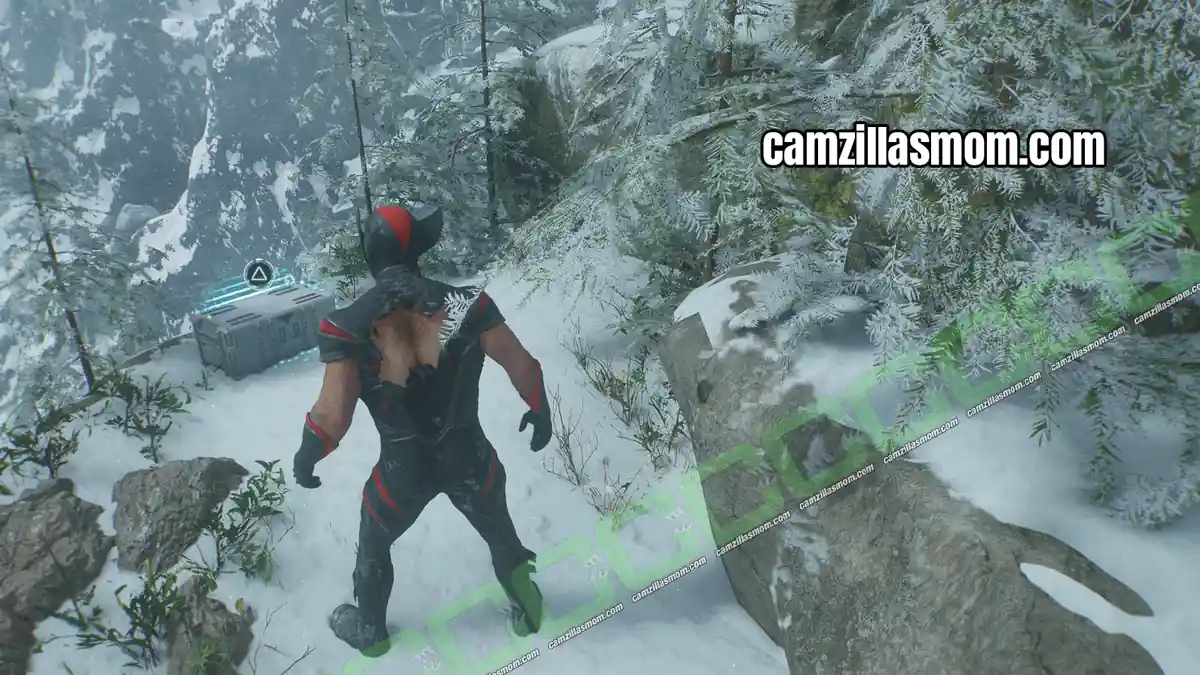
Material Crate 1 – Grass and Trees Ledge
Mission Step: Take Out the Reaver Guards
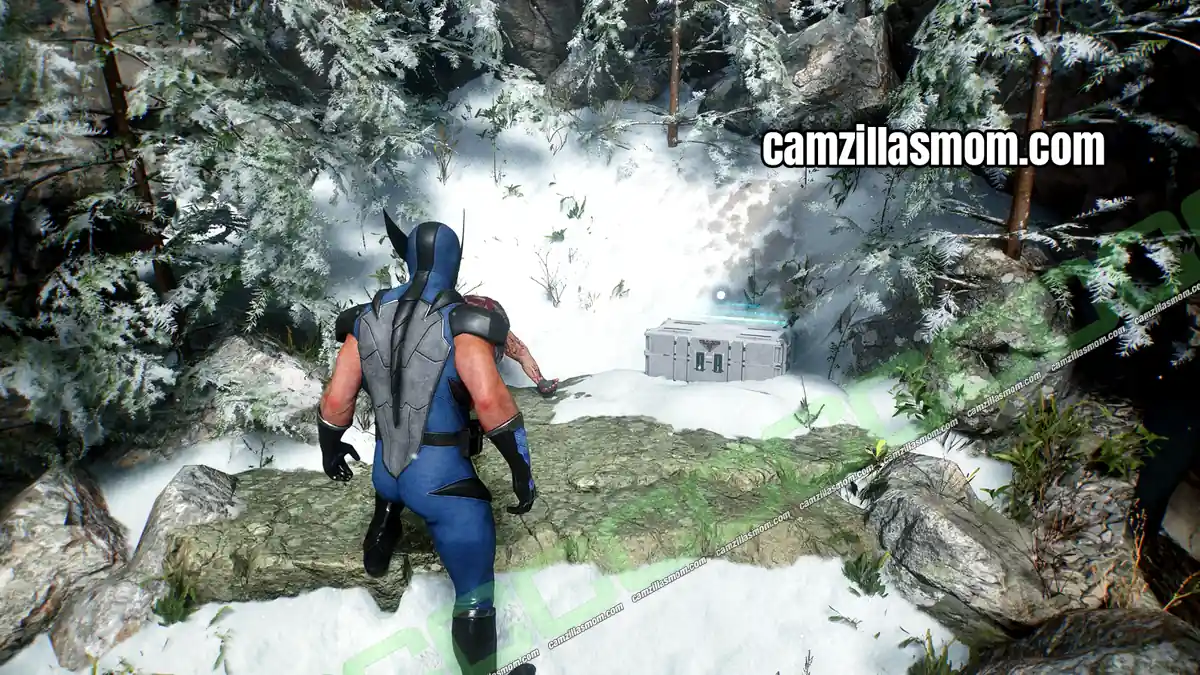
In the opening area with tall grass and climbable trees, look left along the ledge by the cliff.
Material Crate 2 – Ravine
Mission Step: Take Out the Reaver Guards
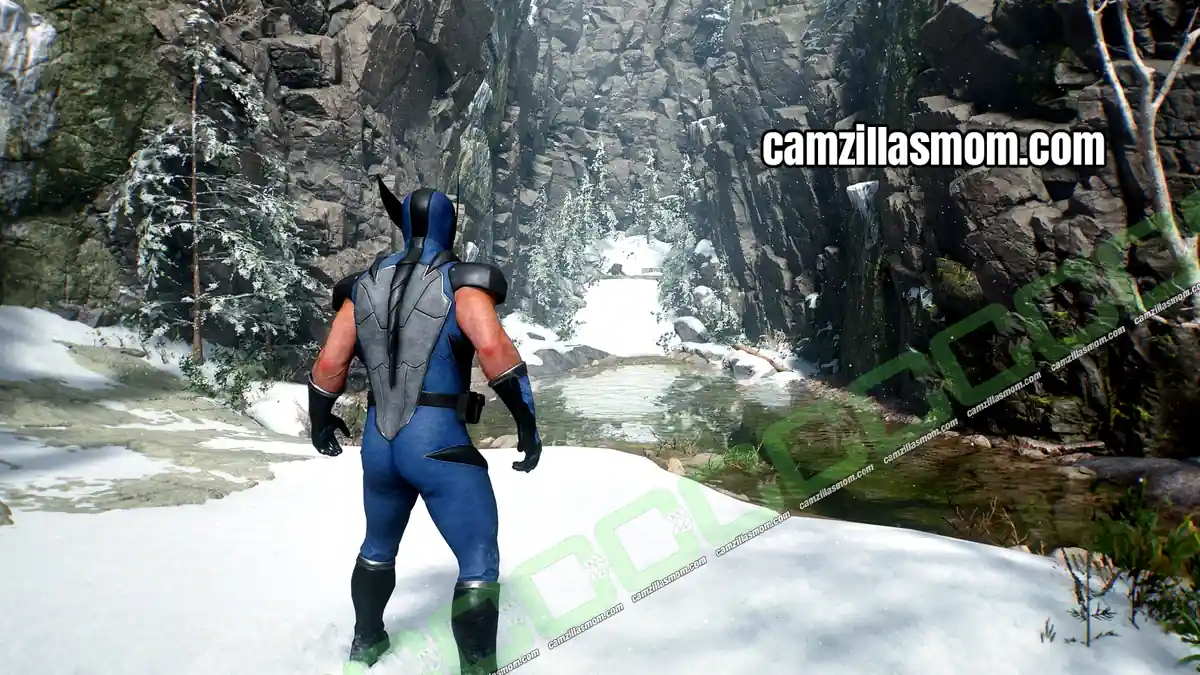
Still in the tall grass area, head to the end of the ravine for the second crate.
Material Crate 3 – Conveyor Belt Area
Mission Step: Take Out the Reaver Guards
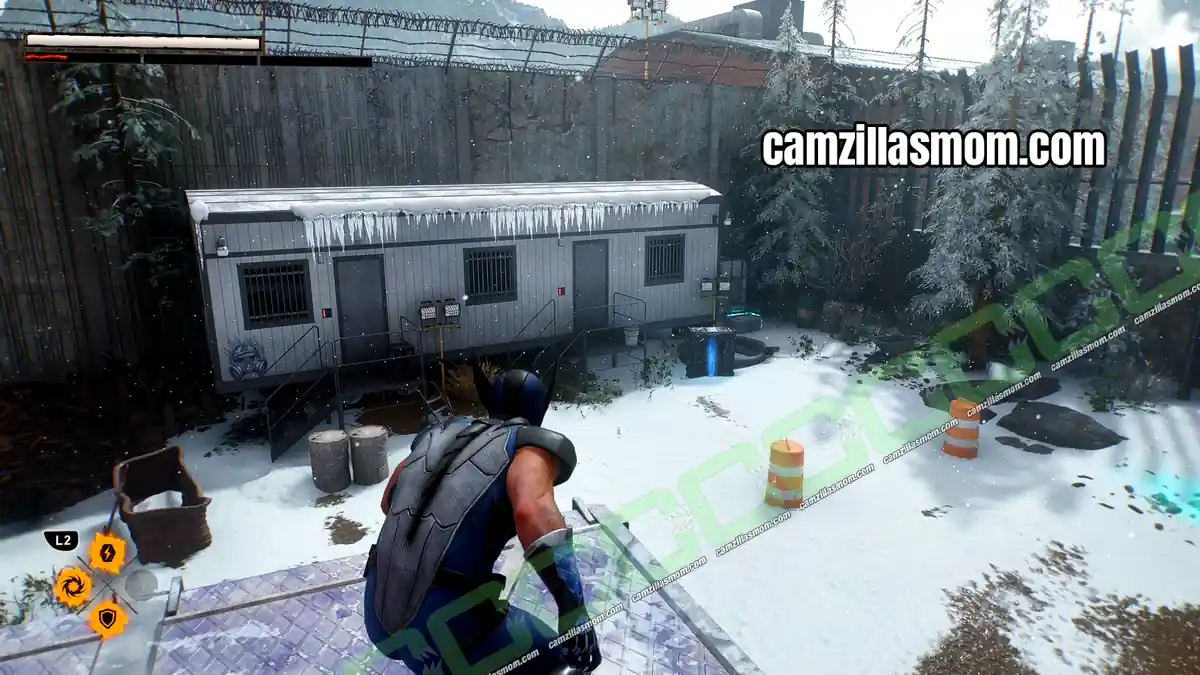
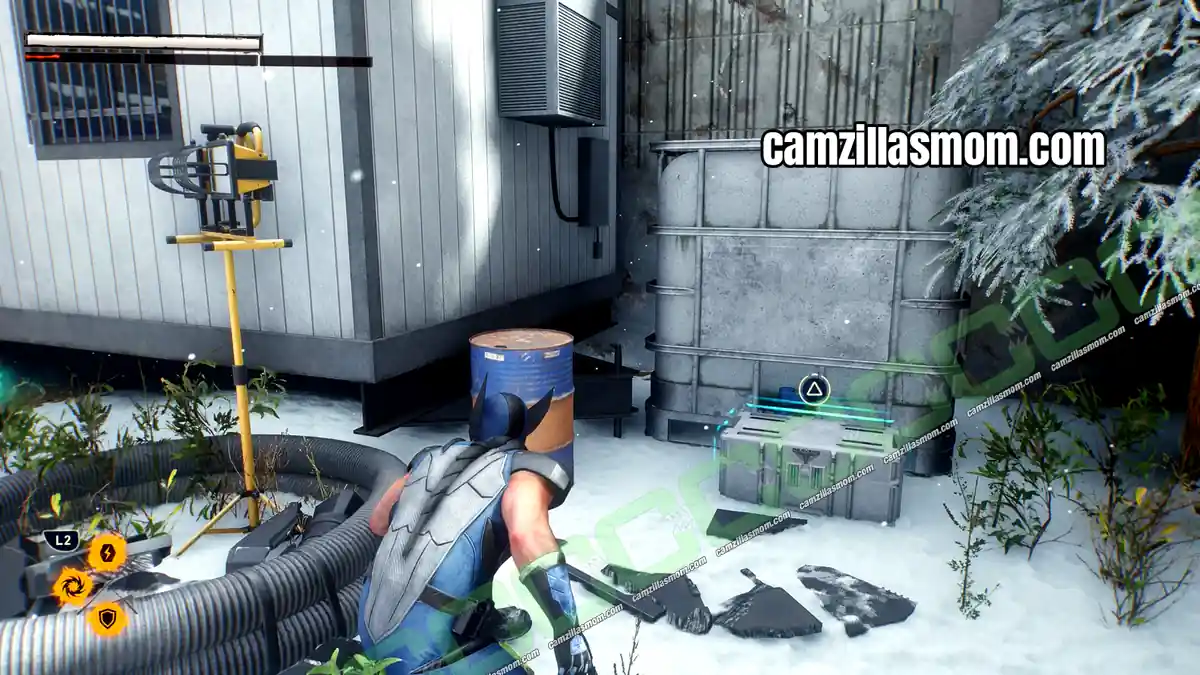
In the front courtyard, where the blue Trask truck is parked and a conveyor belt runs into the building, the crate is next to the white trailer.
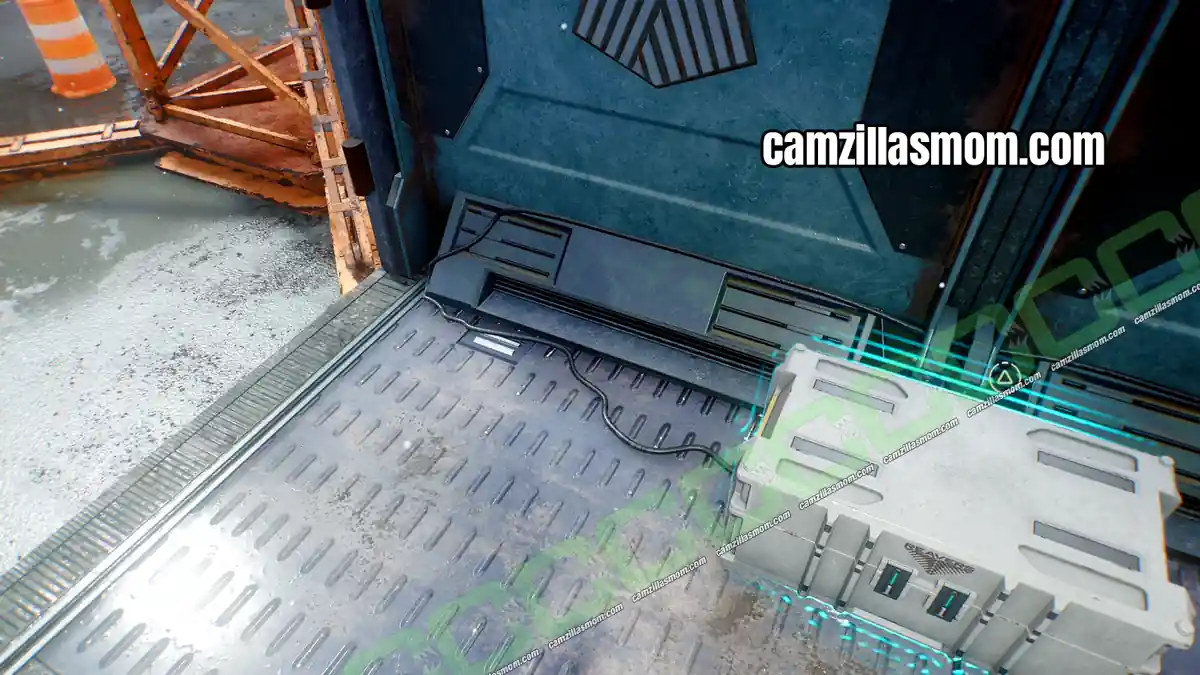
Material Crate 4 – Open Truck
Mission Step: Track the Captured Mutants
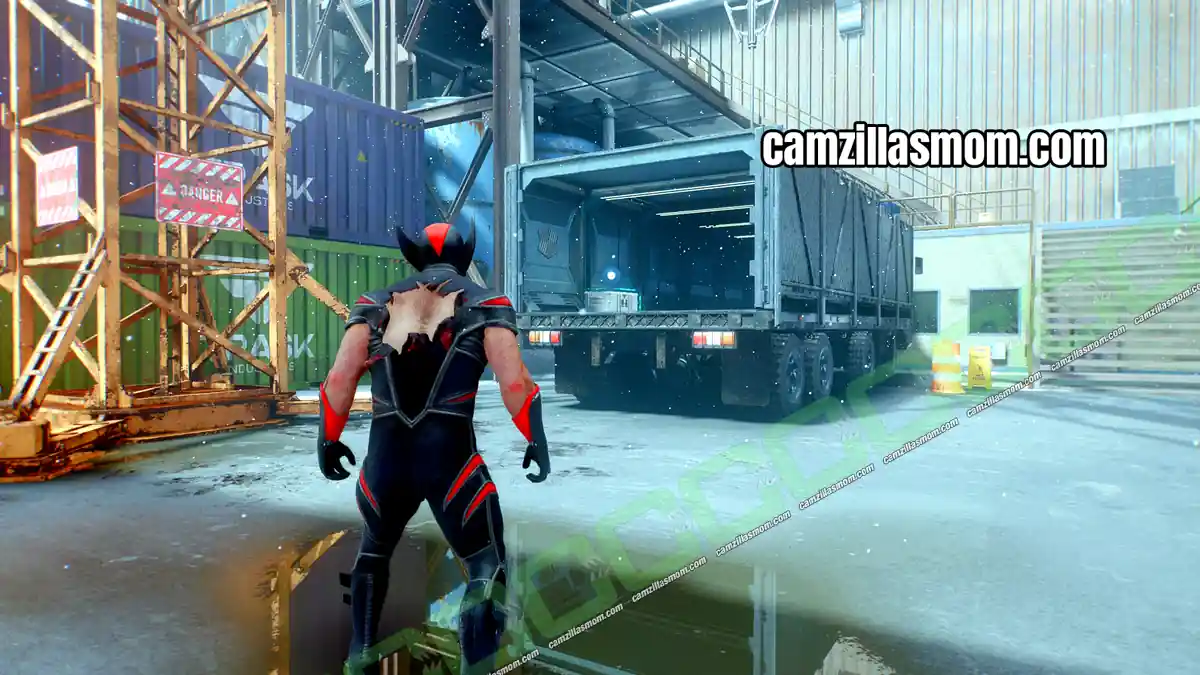
After fighting through the building you reach a courtyard full of shipping containers. One of the trucks here has an open back, and the crate is inside it.
Chapter 4: Strays Material Crate (Yukon)
Strays has only 1 Material Crate.
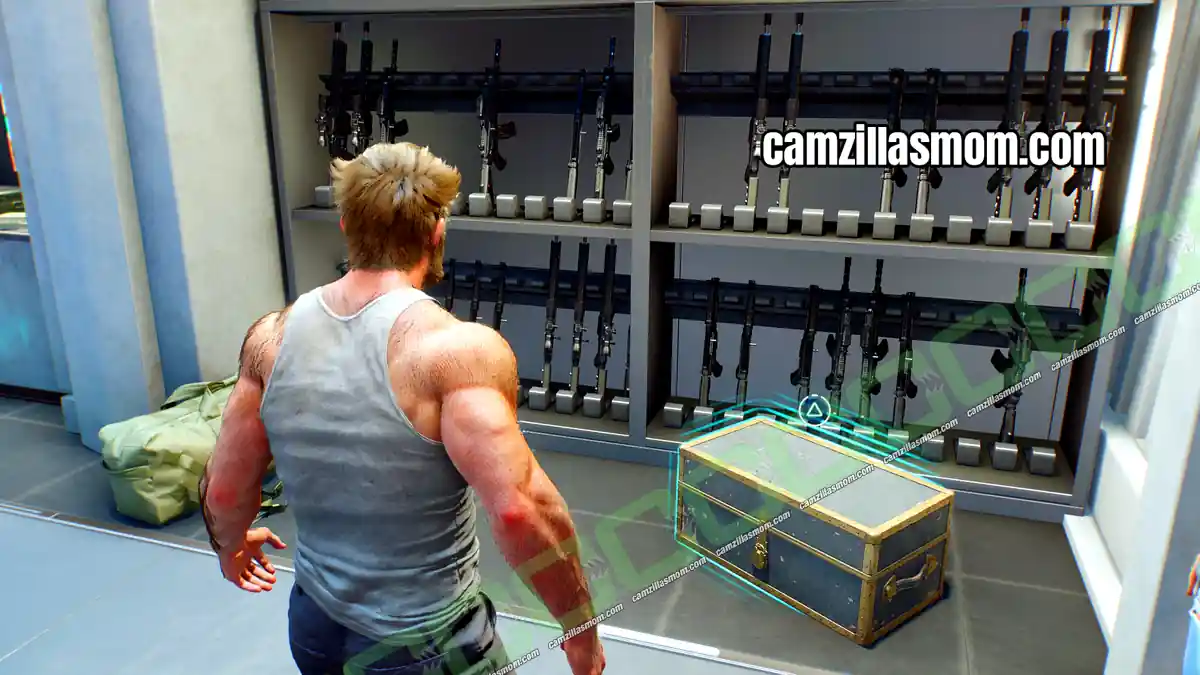
Material Crate – Armory
Mission Step: Follow Leech’s Scent to Find His Drawings
Follow the scent to the armory. The crate is right next to the entrance.
Chapter 5: Something Much Stronger Material Crates (Canada)
Something Much Stronger has 4 Material Crates, all on the way to the cabin.
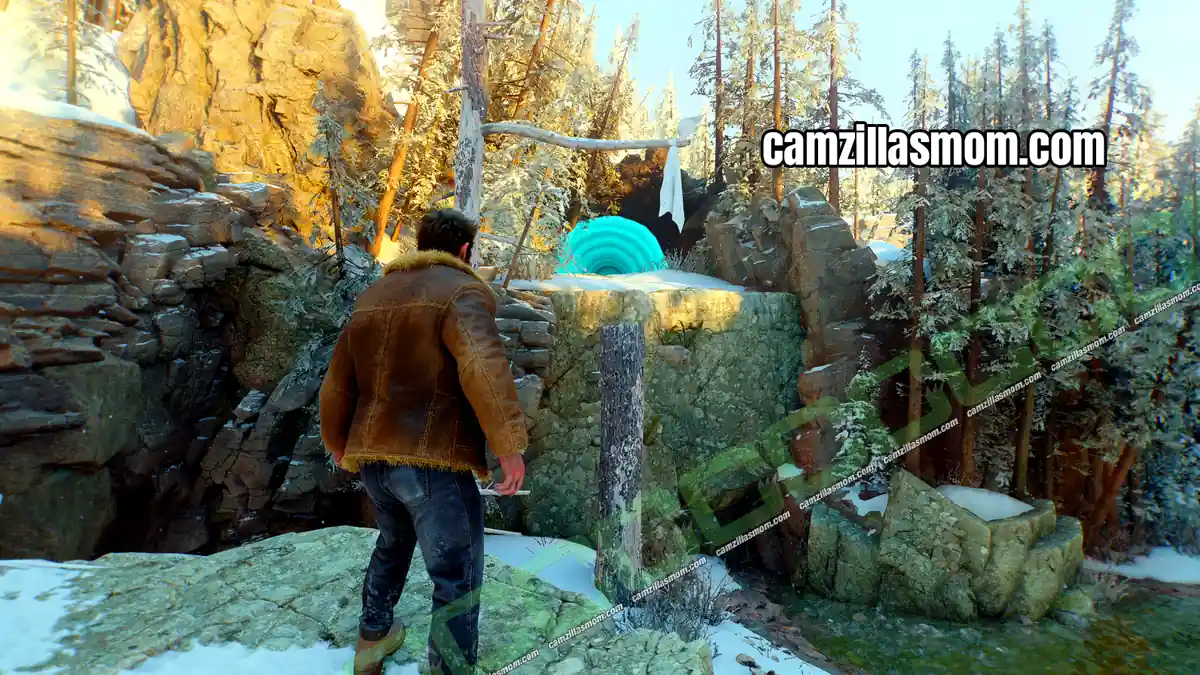
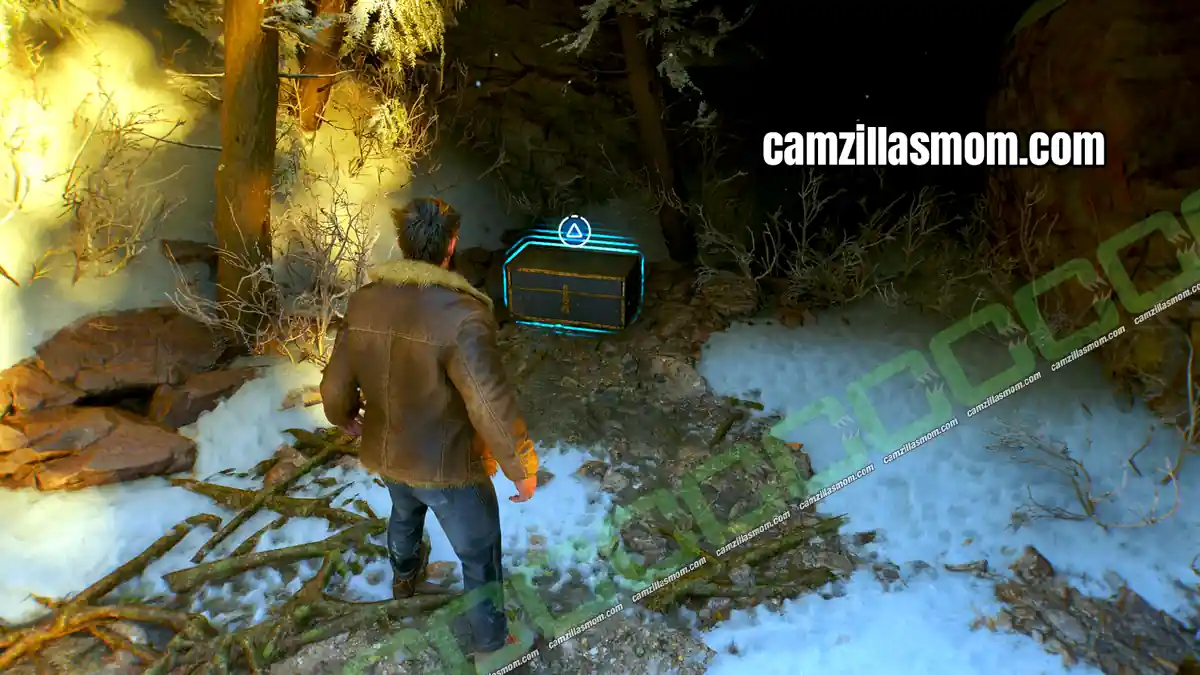
Material Crate 1 – Cave
Mission Step: Get to the Cabin
On the way to the cabin, stop at the small waterfall in the stream and look back and up. The crate is in a small cave above.
Material Crate 2 – Island
Mission Step: Get to the Cabin
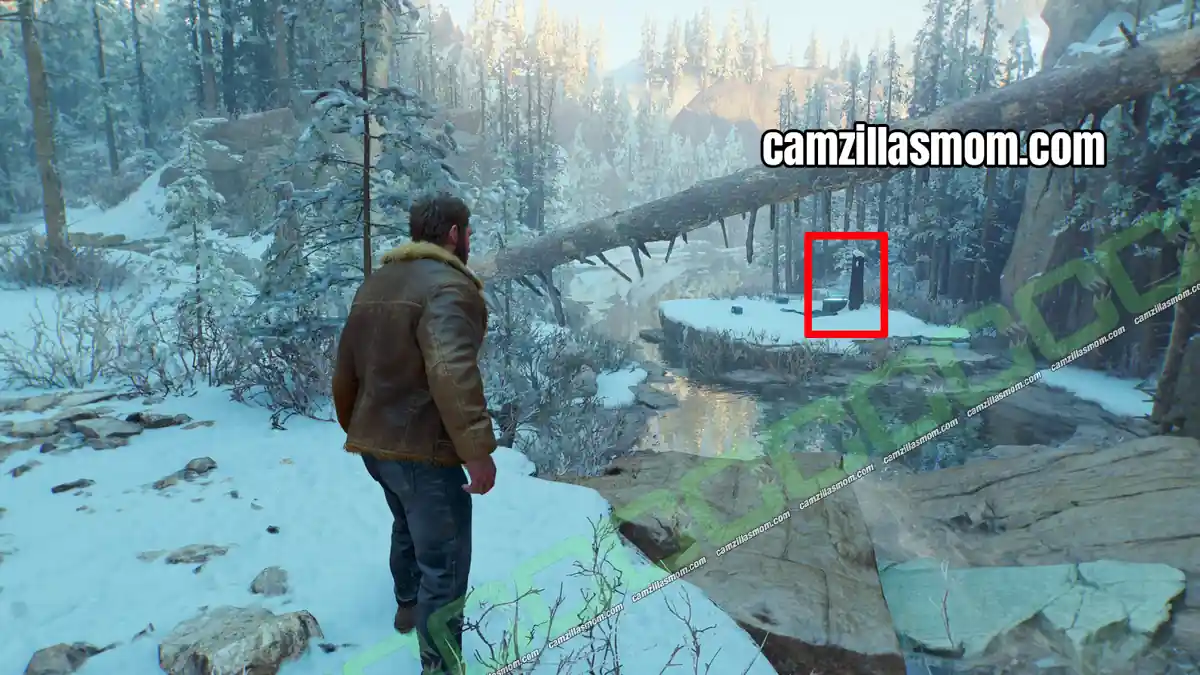
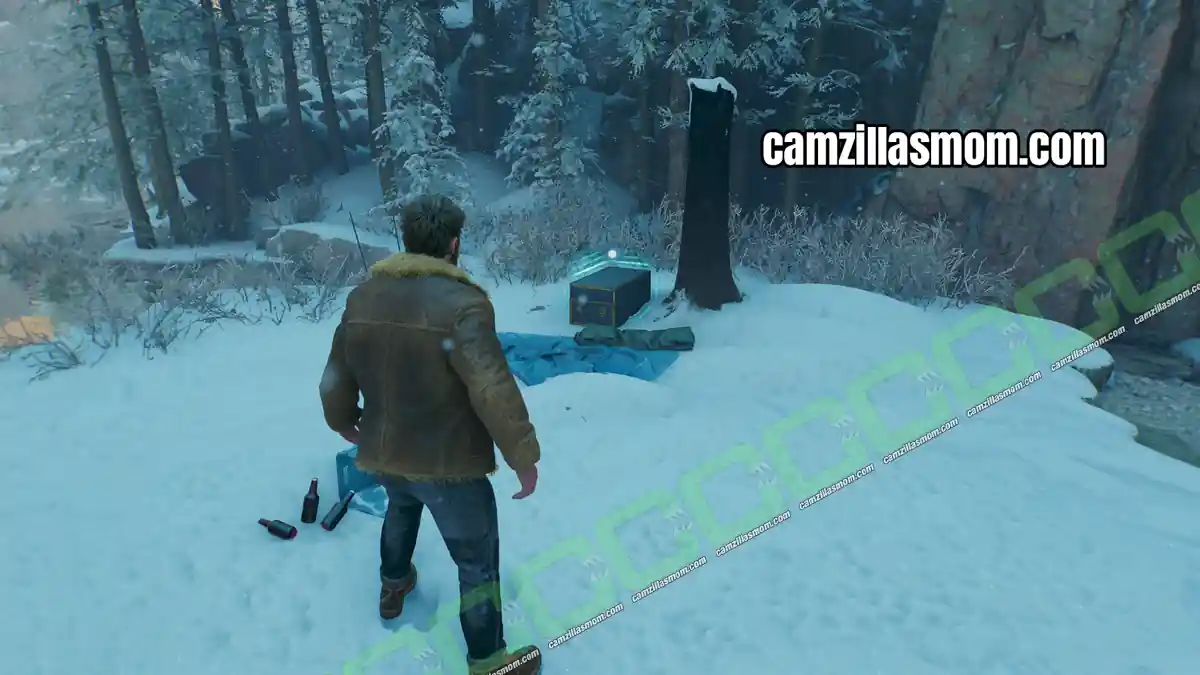
After the Nightmare Door, return to the path to the cabin. When you reach the fallen tree you are meant to cross, stop before using it. With the lake behind you, look past the tree to spot the crate on an island in the distance.
Material Crate 3 – Fishing Hut
Mission Step: Get to the Cabin
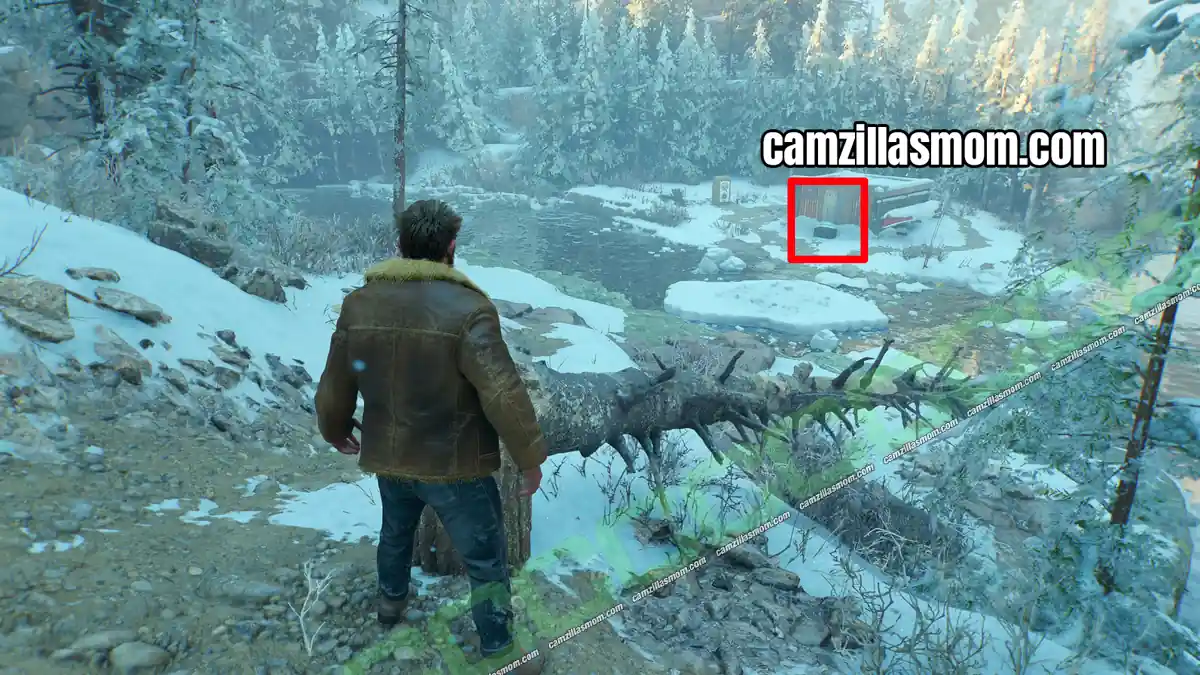
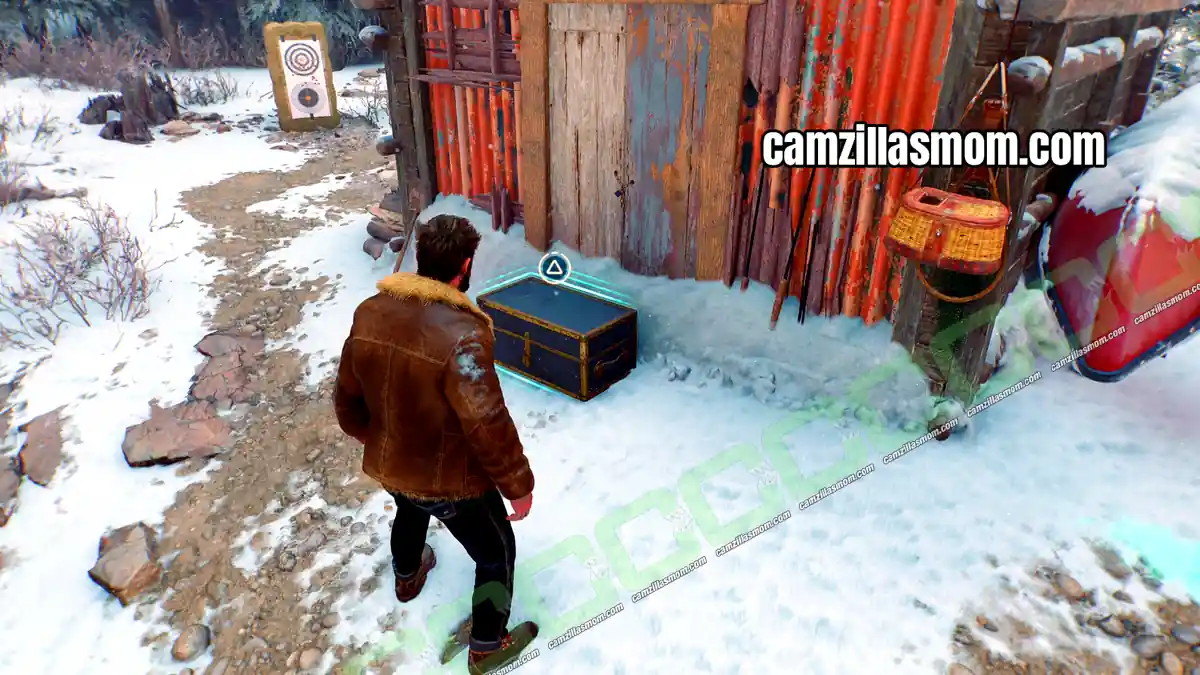
Now cross on the fallen tree. At the crossroads ahead, take the right path down to a fishing hut with the crate.
Material Crate 4 – Cabin
Mission Step: Enter the Cabin
The last crate in Canada is right next to the cabin, so open it before you go inside.
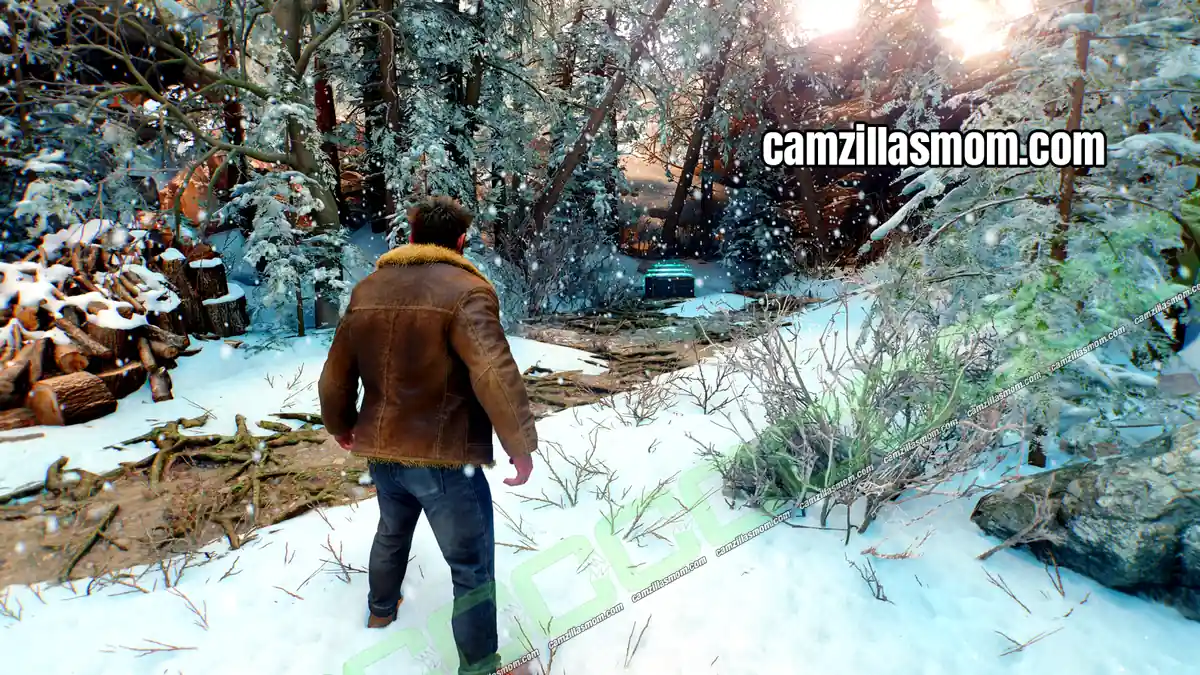
Chapter 6: Knock Knock Material Crates (Madripoor)
Knock Knock has 2 Material Crates, both inside the power station.
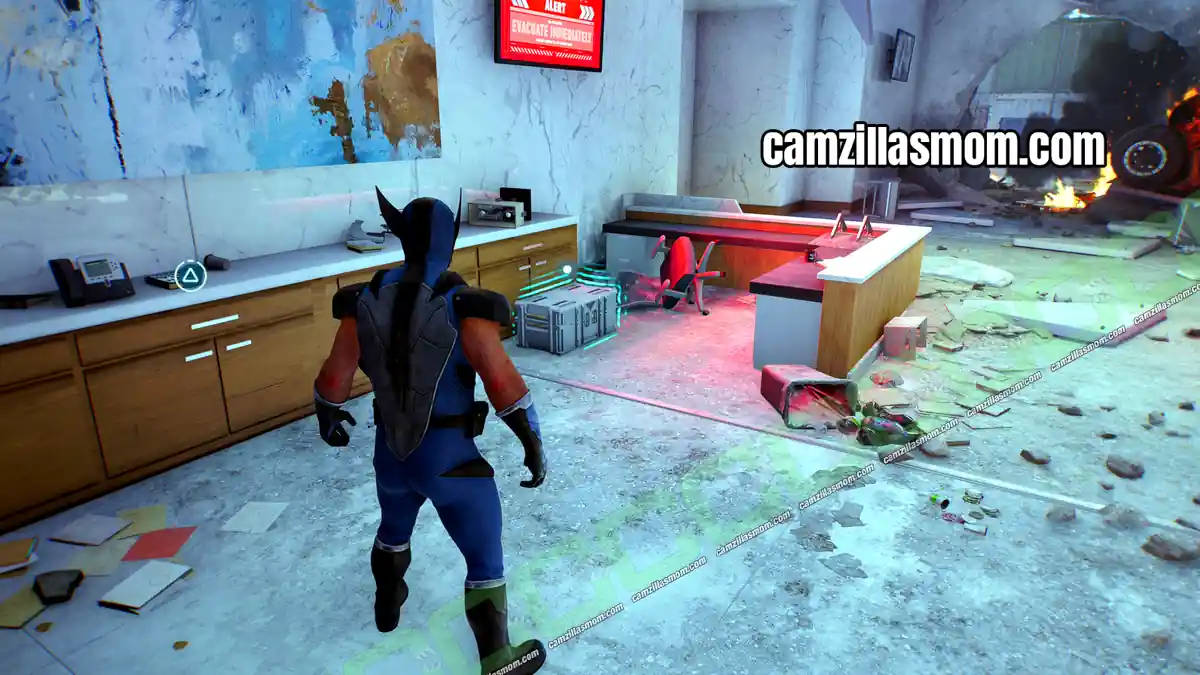
Material Crate 1 – Power Station Reception
Mission Step: Destroy the Power Station Core
Sabretooth throws the car with the turret into the power station, which opens a way into the first room. The crate is in that reception room.
Material Crate 2 – Inside the Vent
Mission Step: Destroy the Power Station Core
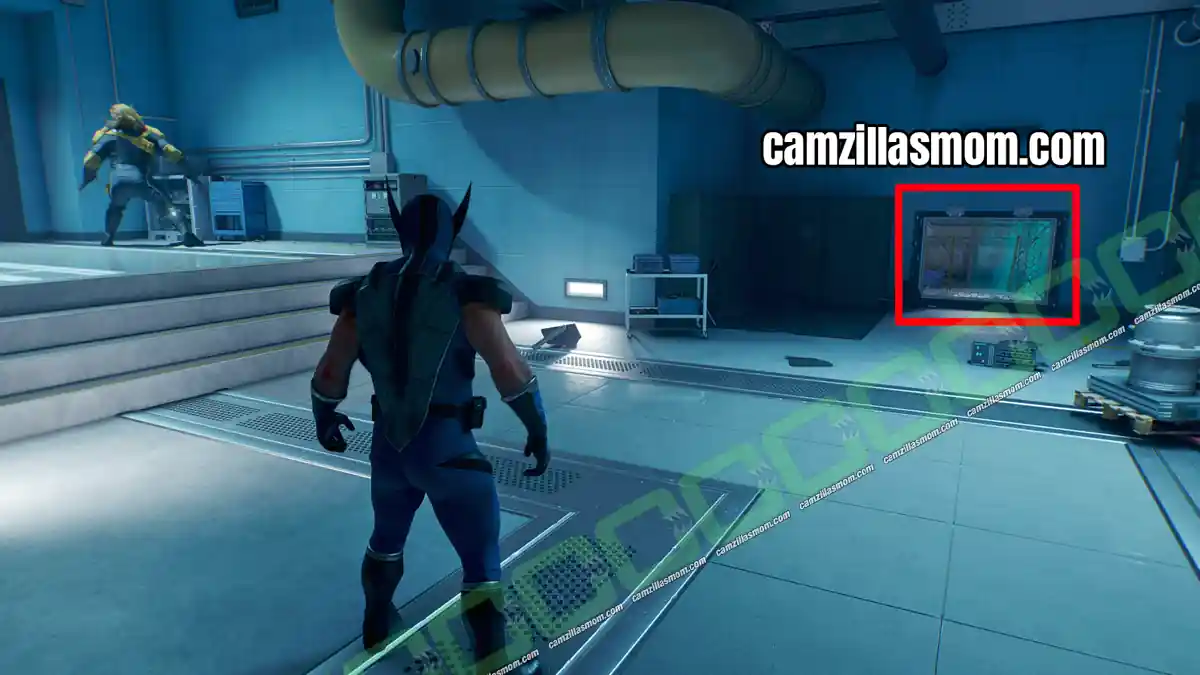
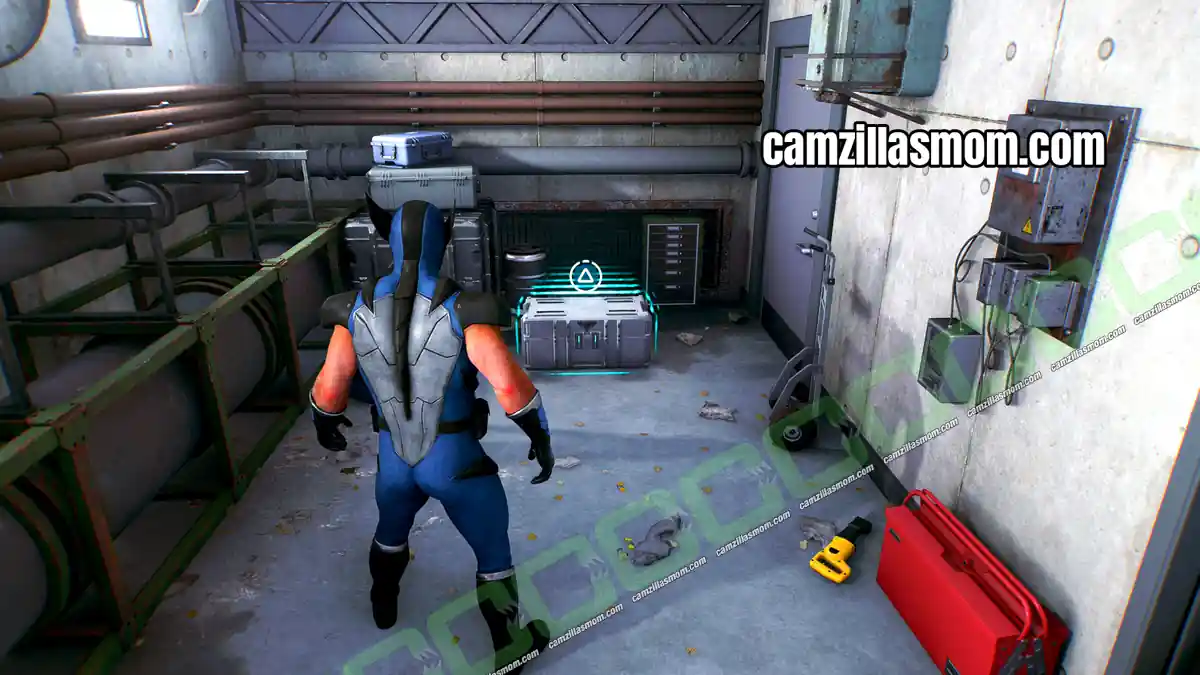
Inside the power station, look for a vent you can cut open. Sabretooth waits for you to open the door on the left, so there is time to grab the crate first.
Chapter 7: Mutant Detected Material Crates (Madripoor)
Mutant Detected has 4 Material Crates, and one of them is behind a keypad door.
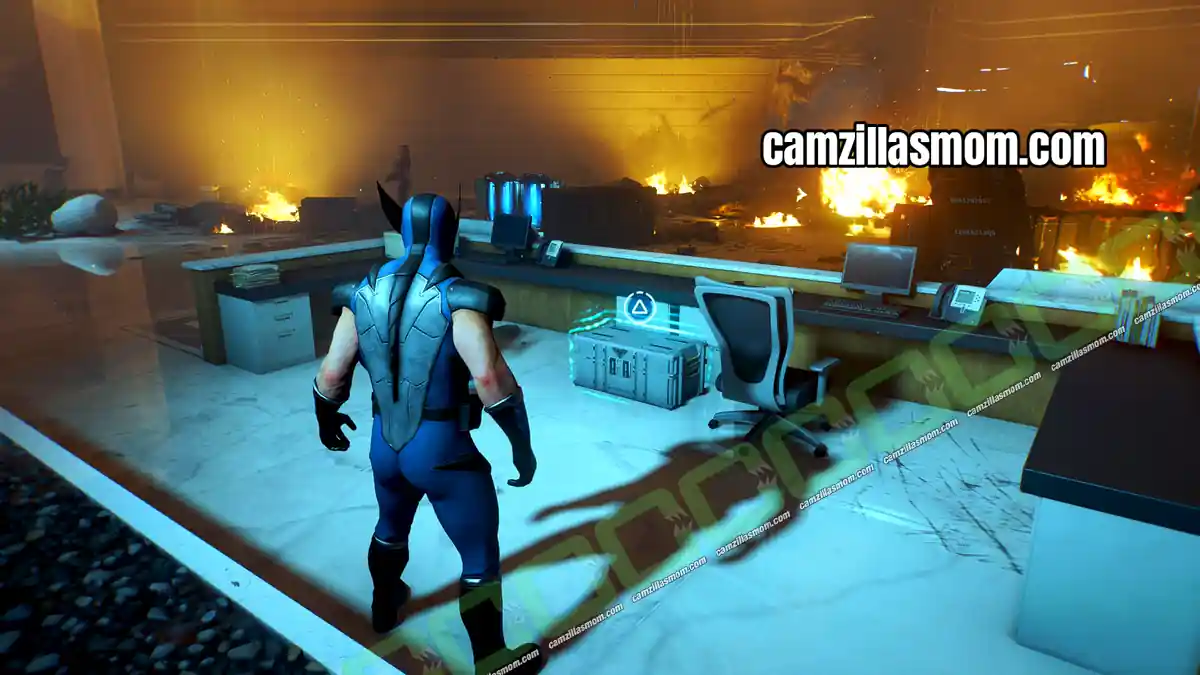
Material Crate 1 – Reception Desk
Mission Step: Find Trask’s Secret Facility
Right at the start of the chapter, check behind the reception desk.
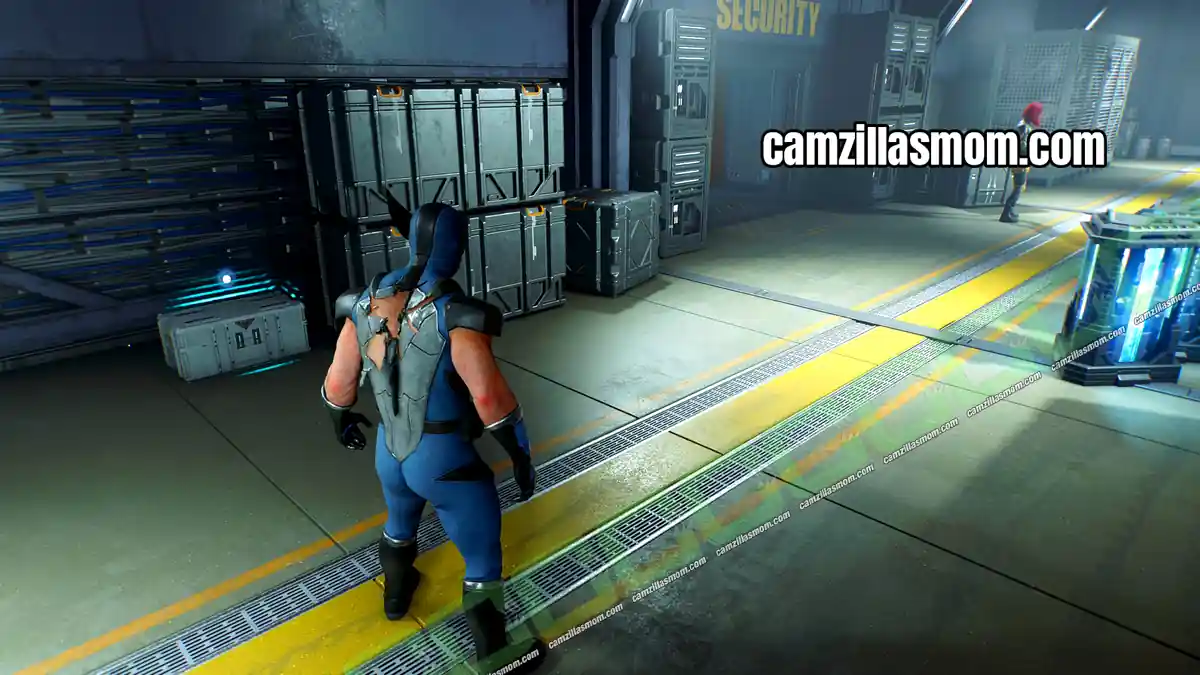
Material Crate 2 – Security Area
Mission Step: Get to the Bottom Floor to Find Bay 7
In the basement, clear the Reavers in the Security Room with Mystique, quietly or loudly. Leave the room and, before sliding down the next elevator shaft, turn right.
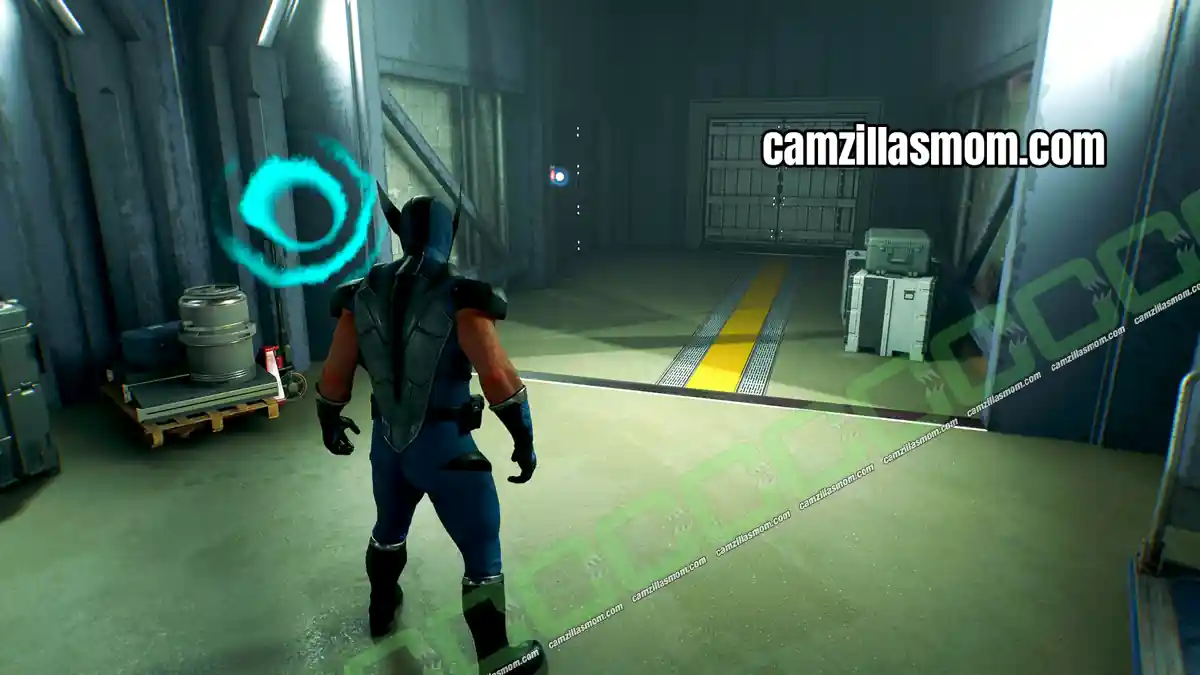
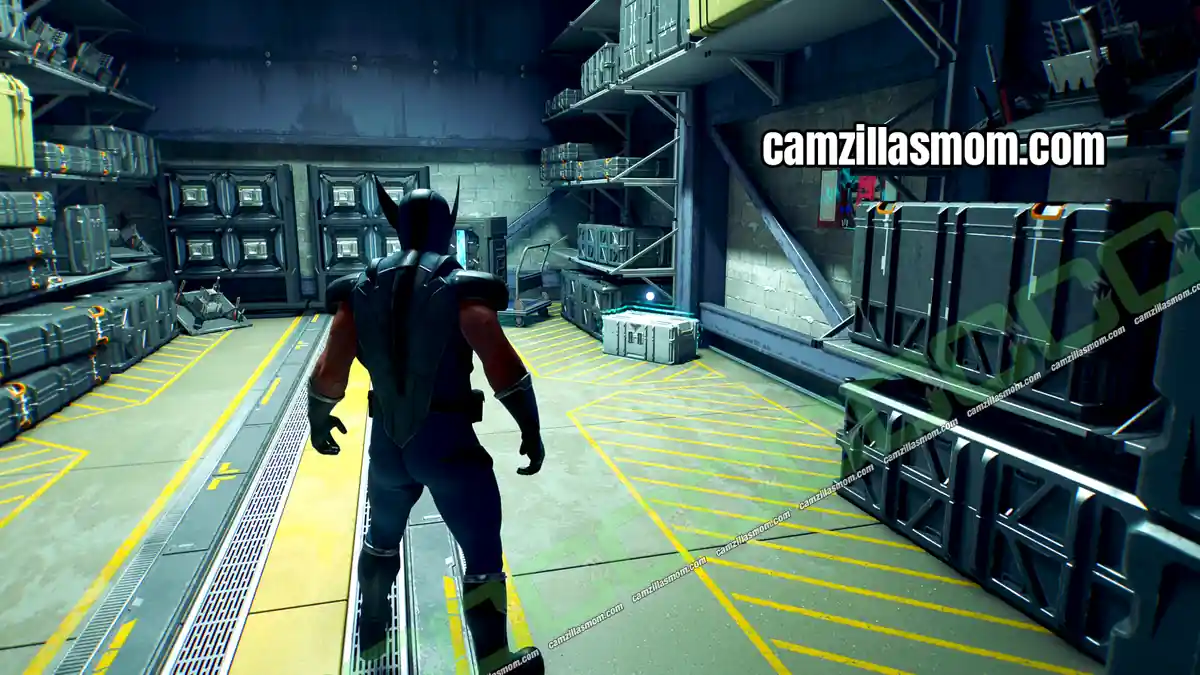
Material Crate 3 – After Bay 7
Mission Step: Find and Kill Trask
After Bay 7 you walk through a corridor with several doors, one of them keypad locked. The code is 0291 and the crate is inside.
Material Crate 4 – Propulsion Tunnel
Mission Step: Track and Kill Trask
Survive the Propulsion Tunnel and the crate is in the room right after it.
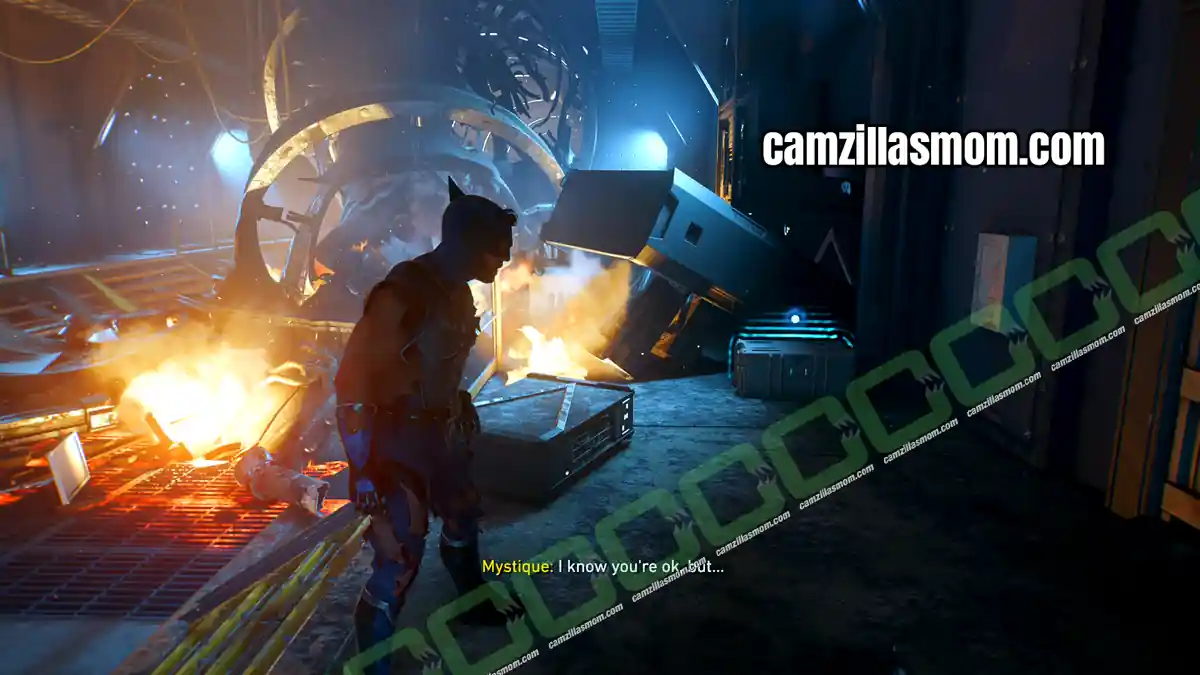
Chapter 8: One Last Mission Material Crates (Madripoor)
One Last Mission has 3 Material Crates.
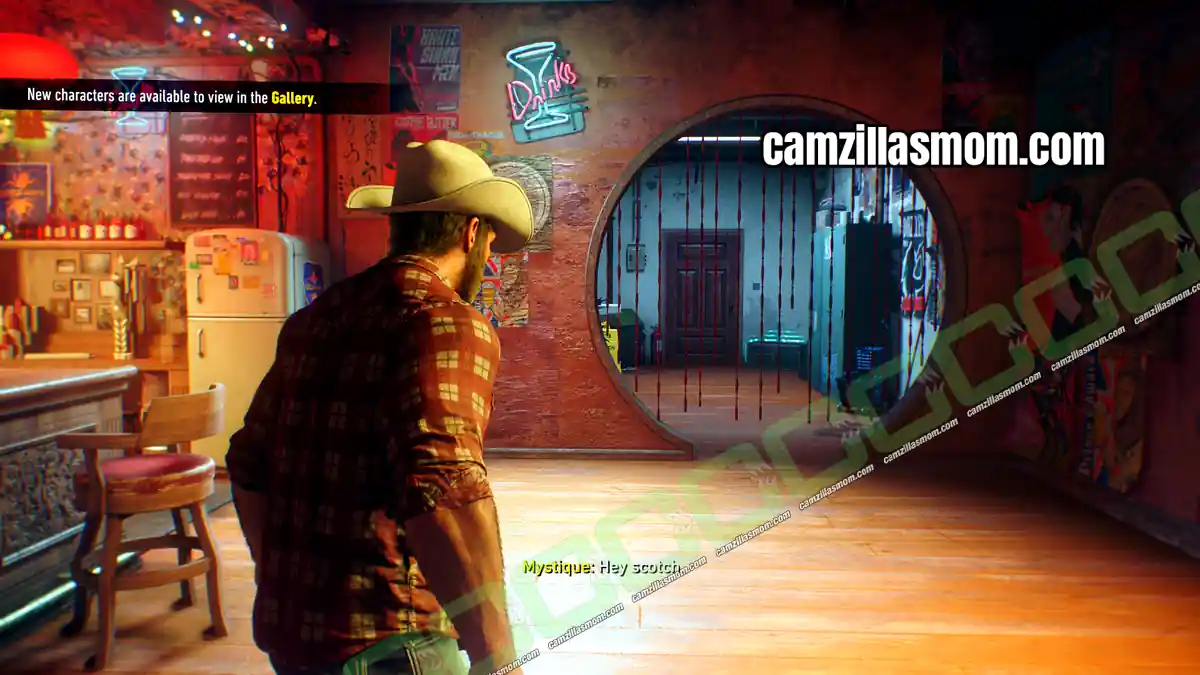
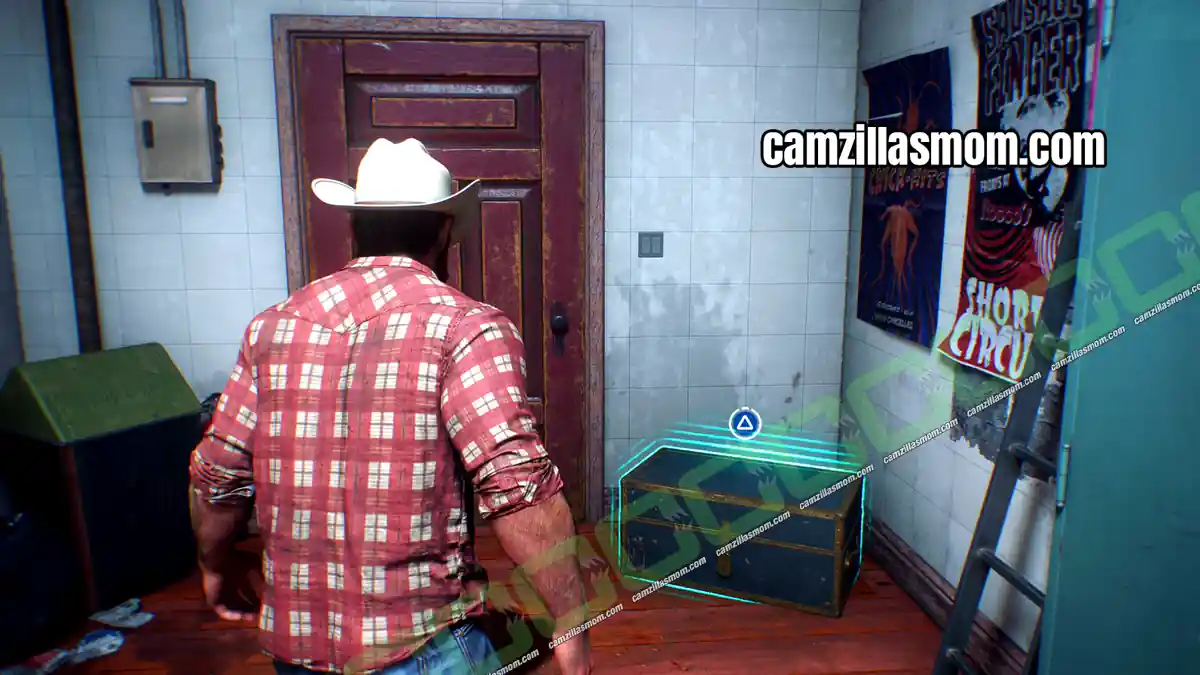
Material Crate 1 – Bathrooms
On the ground floor, go through the round door by the entrance. The crate is by the bathrooms.
Material Crate 2 – Downstairs
Mission Step: Track Down Jean
Follow Jean’s scent until it leads upstairs, then take the stairs down instead to find the crate.
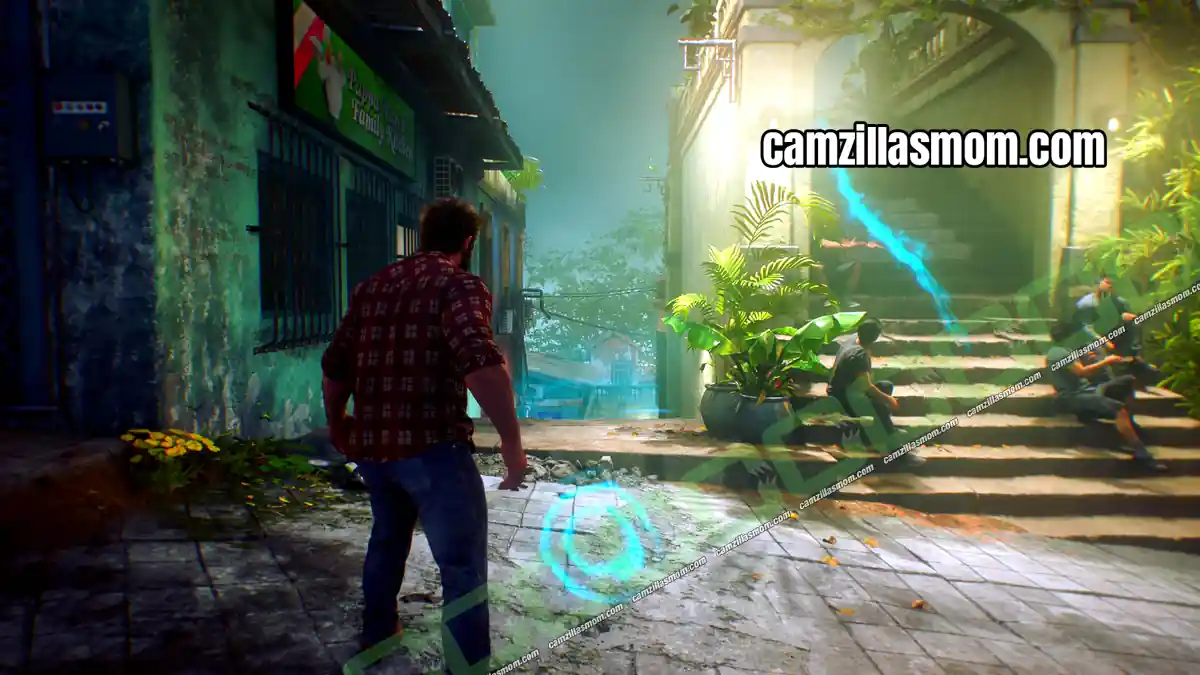
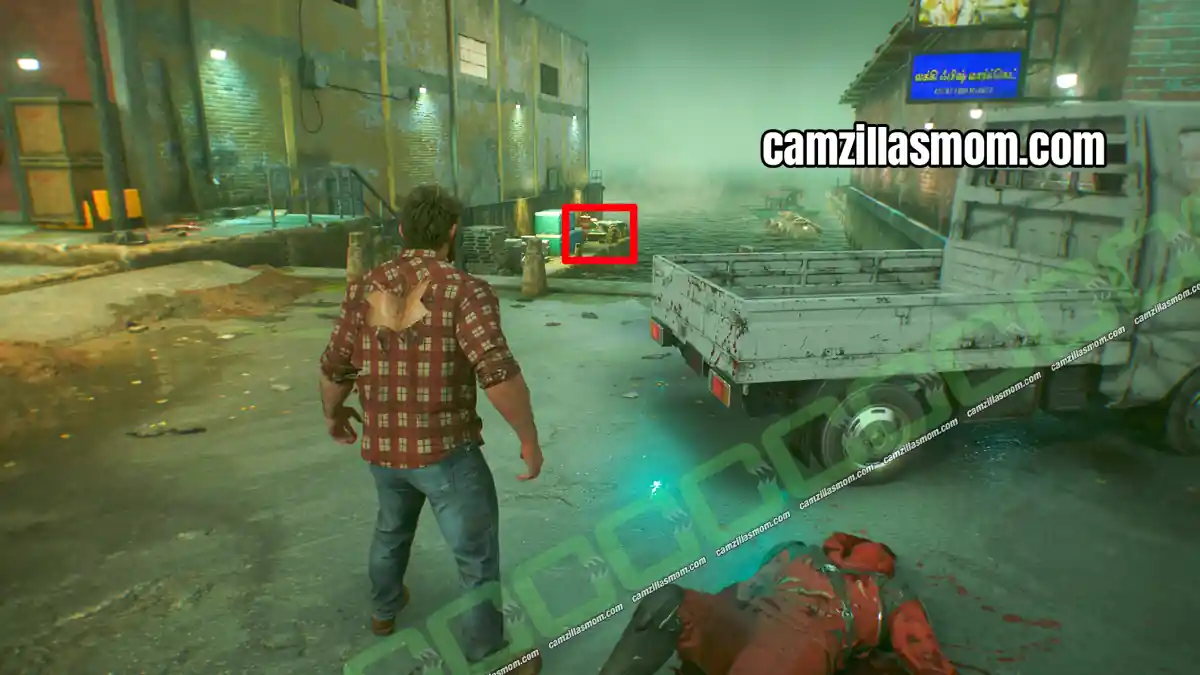
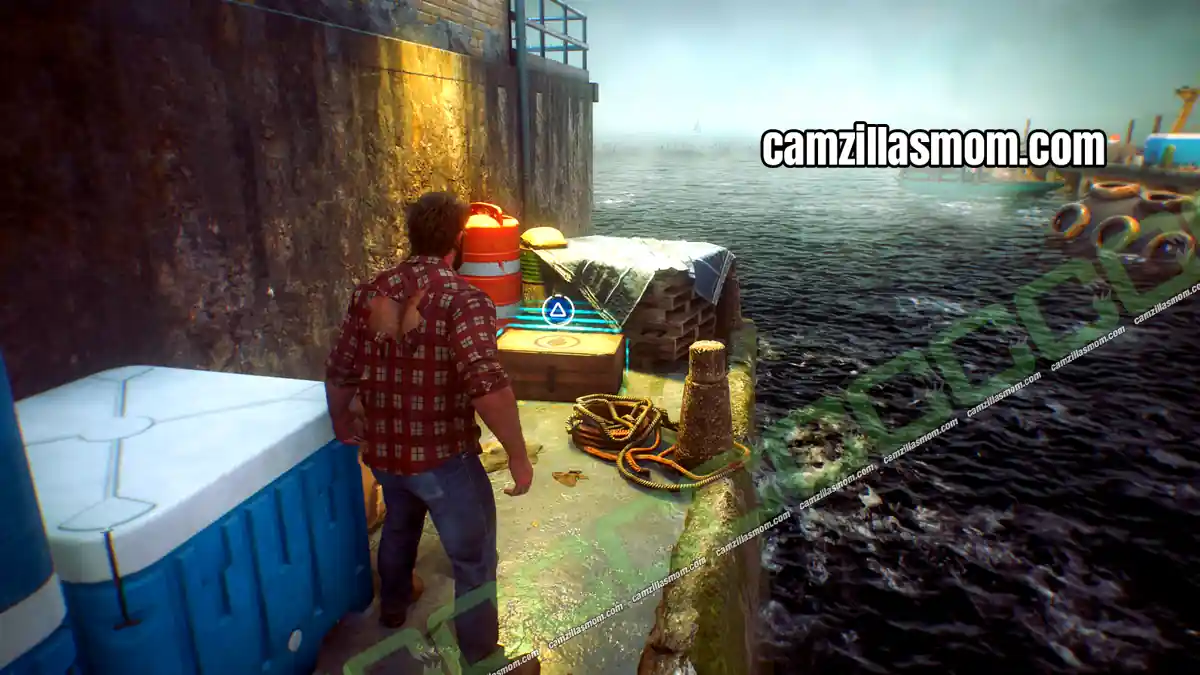
Material Crate 3 – Last Ninja Compound
Mission Step: Pick Up Walter’s Trail
At the last ninja compound, where Walter’s coat is in a shipping container, defeat the ninjas and break through the entrance gate to leave. Look down at the water to spot the crate.
Chapter 9: Get Angry Material Crates (Japan)
Get Angry has 5 Material Crates, starting in the back alleys near the arcade.
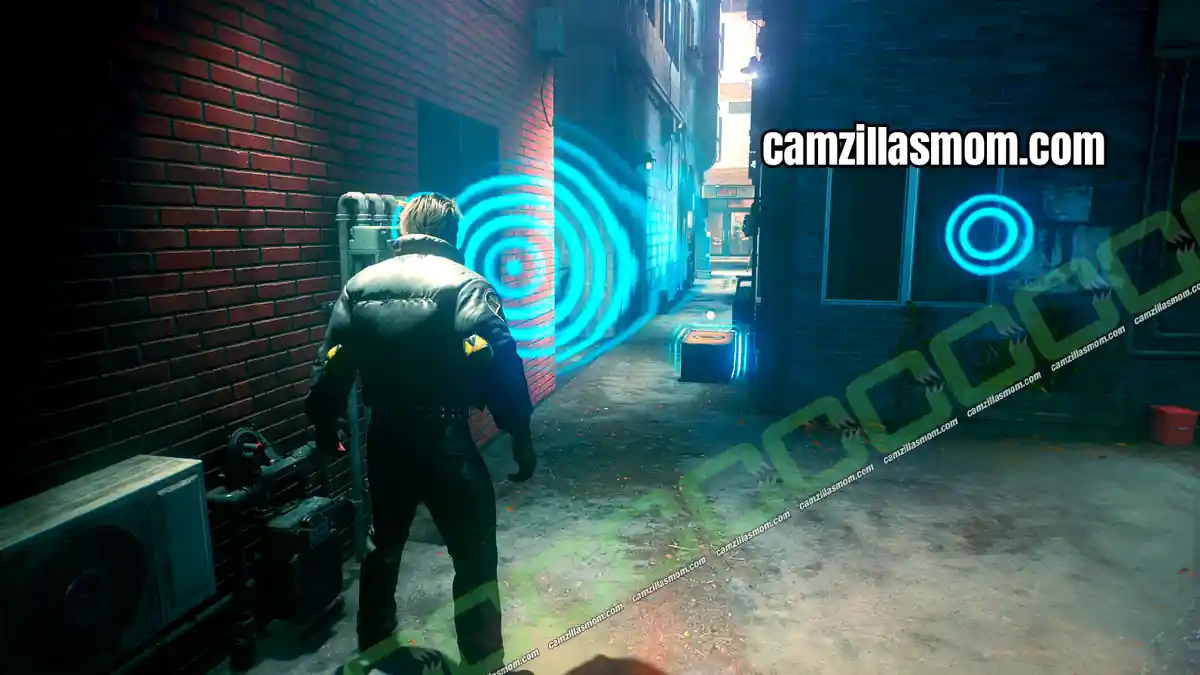
Material Crate 1 – Back Alley
Mission Step: Located the arcade where Jean previously was
While Logan searches for Jean near the arcade, check the back alley for the first crate.
Material Crate 2 – Bar with a Face Elevator
Mission Step: Explore deeper
In the Bar with the Big Face, take the elevator down. The crate is waiting at the bottom.
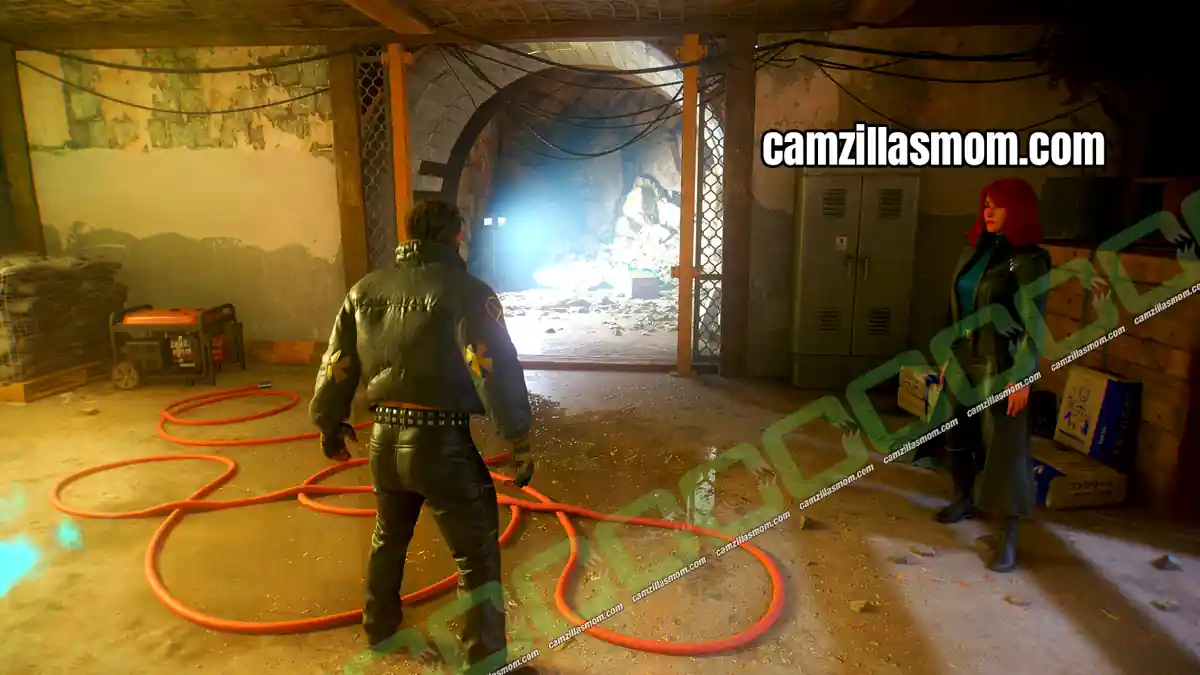
Material Crate 3 – Incense Burner Quarters
Mission Step: Find a way forward
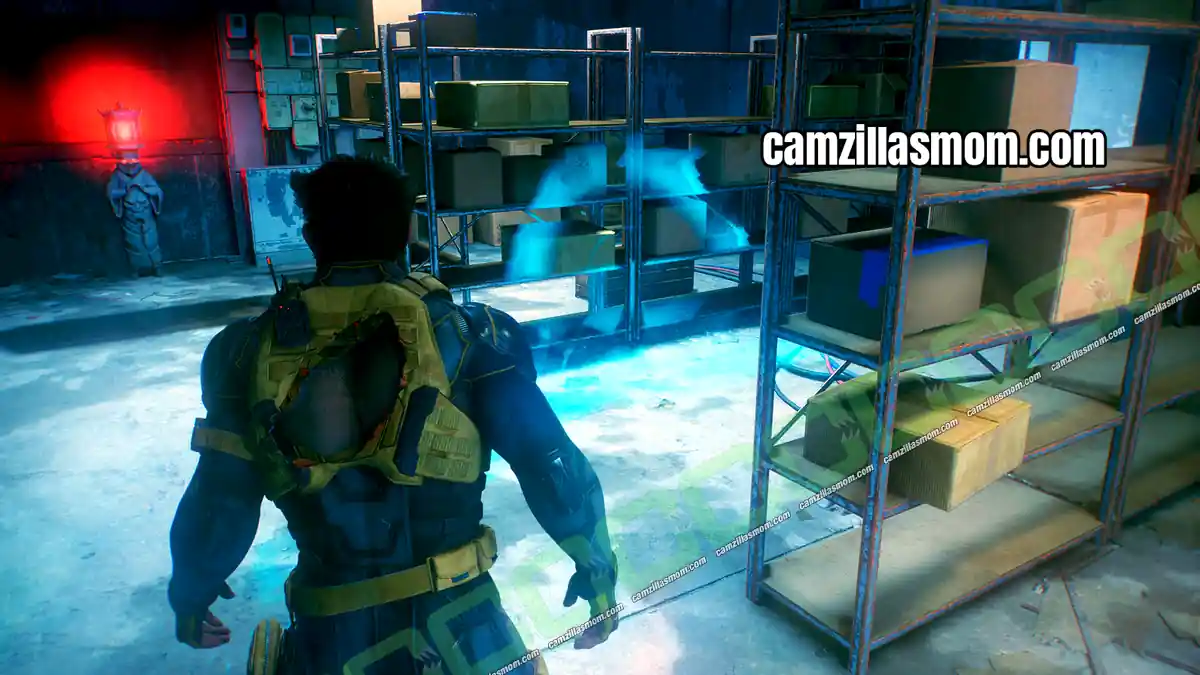
After destroying the incense burners in the bedroom with the red incense, exit into the corridor and follow it to the end. The crate is behind wooden boxes.
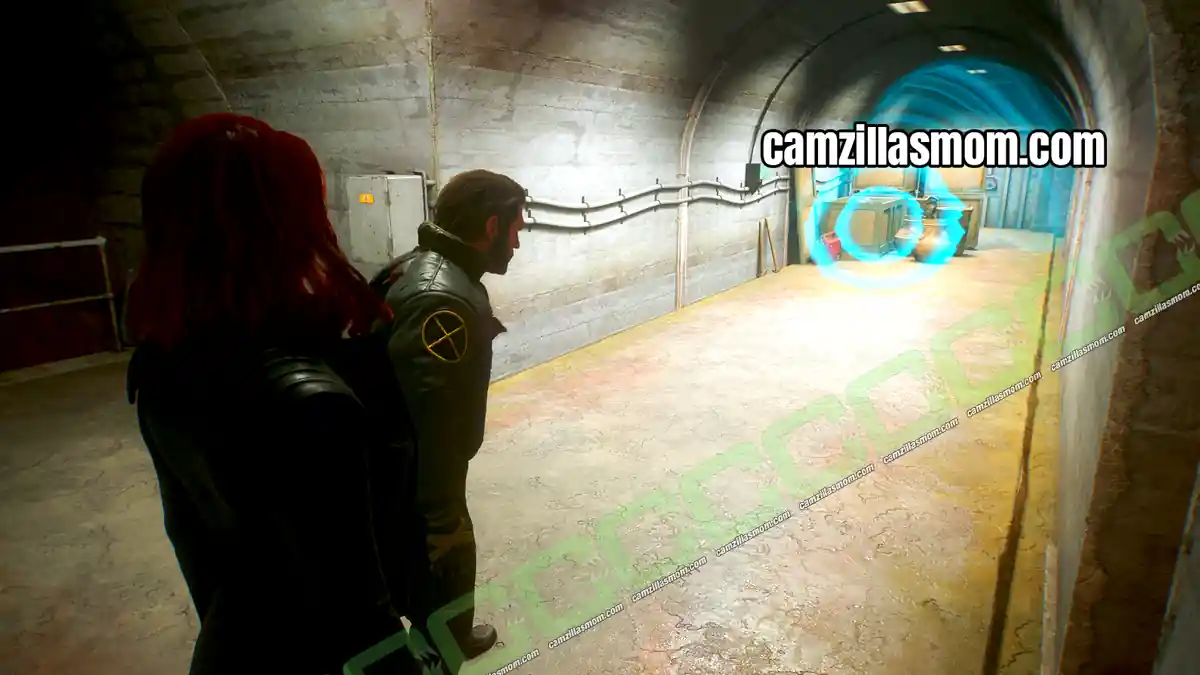
Material Crate 4 – Pole Traversal
Mission Step: Find Where The Hand is Keeping Walter
After the cutscene at the cave-in with the dead workers, Jean speeds ahead and Logan swings across a couple of poles and climbs a metal shaft. At the top, look back to the other side to spot the crate.
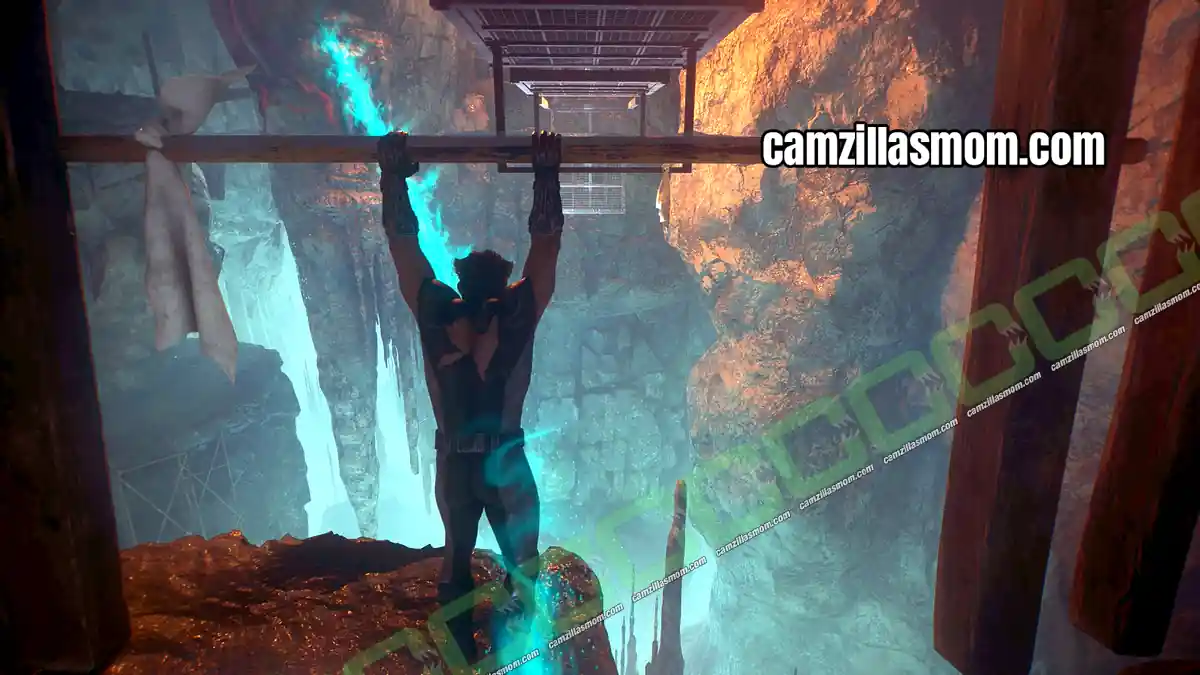
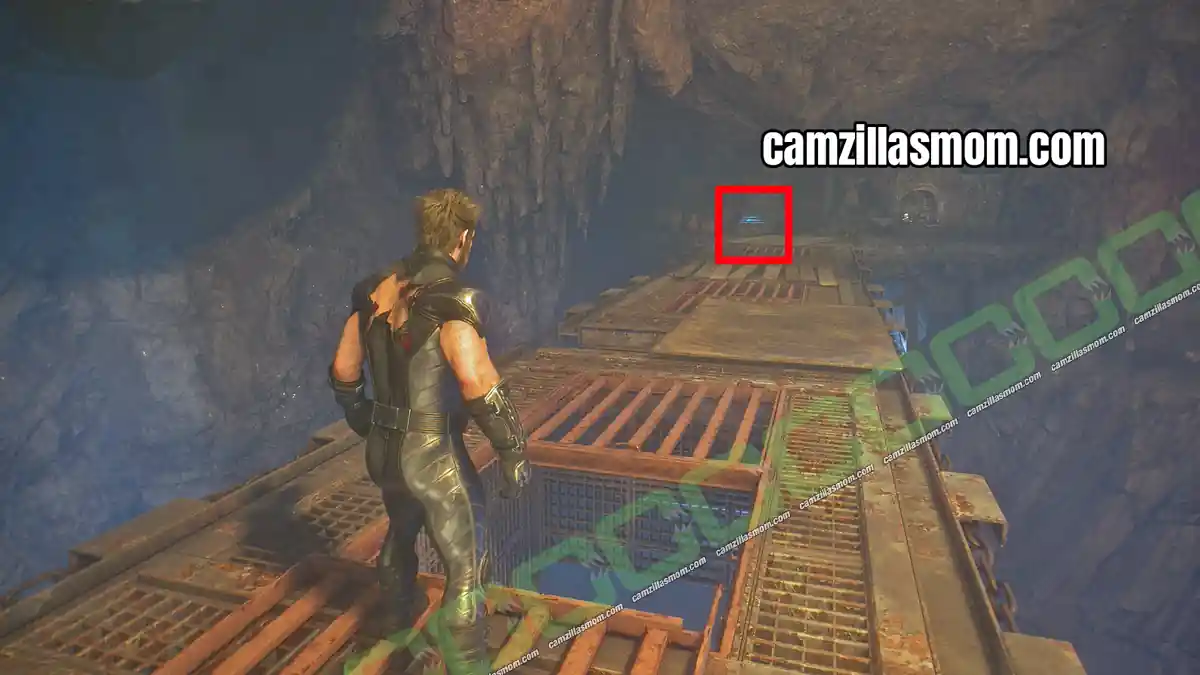
Material Crate 5 – Elevator Storage Room
Mission Step: Look for signs of Walter
After the telepath encounter, Logan and Jean take an elevator up. The crate is in the storage room at the top.
Chapter 10: Bad Blood Material Crates (Japan)
Bad Blood has 4 Material Crates, three of them during the climb to Shiro’s penthouse.
Material Crate 1 – Building Site
Mission Step: Head to Shiro’s
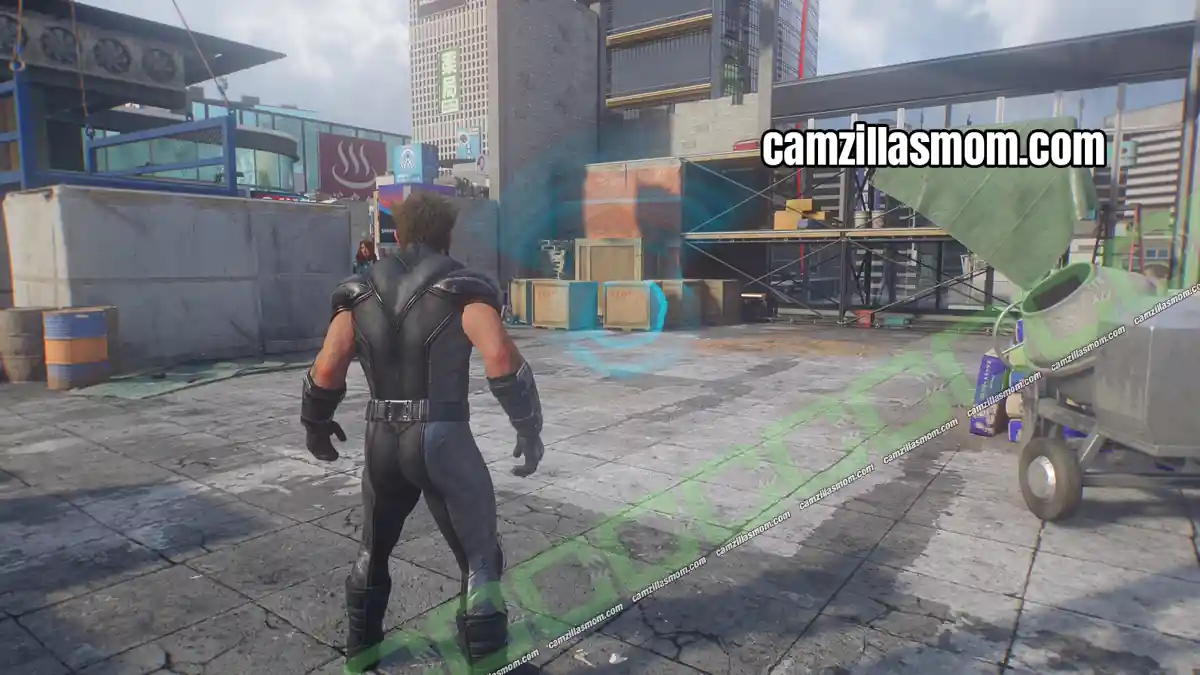
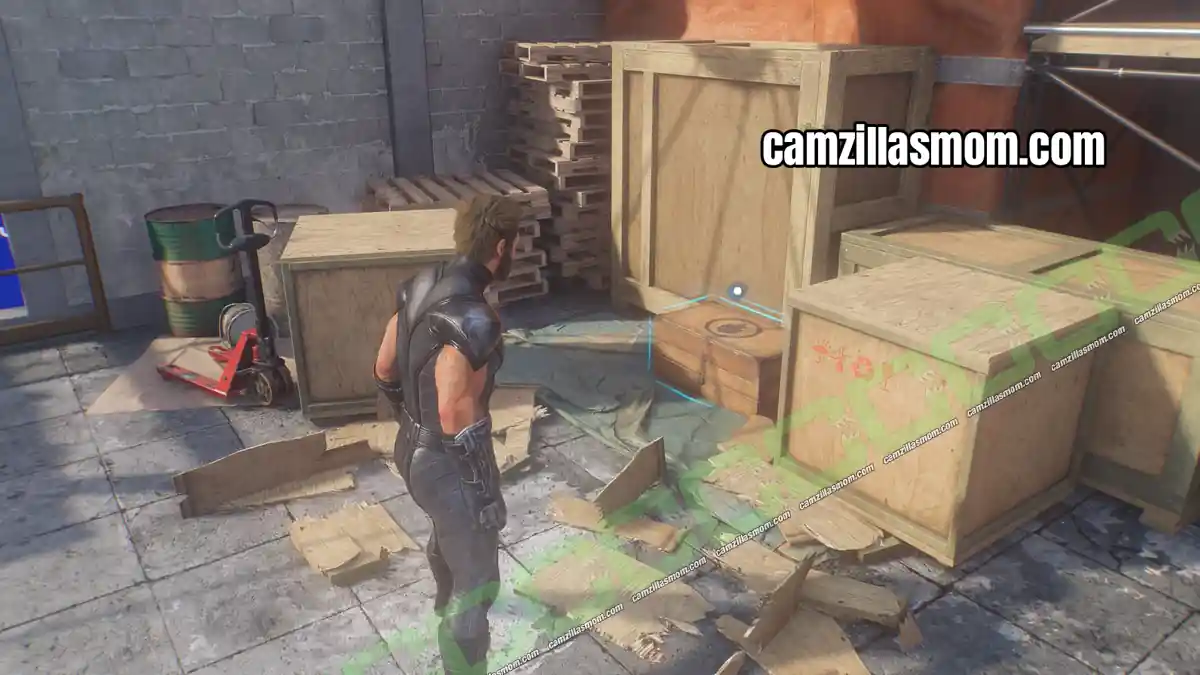
At the start of the chapter, take the rope lift to the rooftops and cross by zipline to a building site. The crate is behind wooden boxes.
Material Crate 2 – Penthouse Climb
Mission Step: Climb to Shiro’s Penthouse
The doorman will not let Logan and Jean into the penthouse building, so they climb instead. After the first climbing section, look up and across from where Jean is waiting.
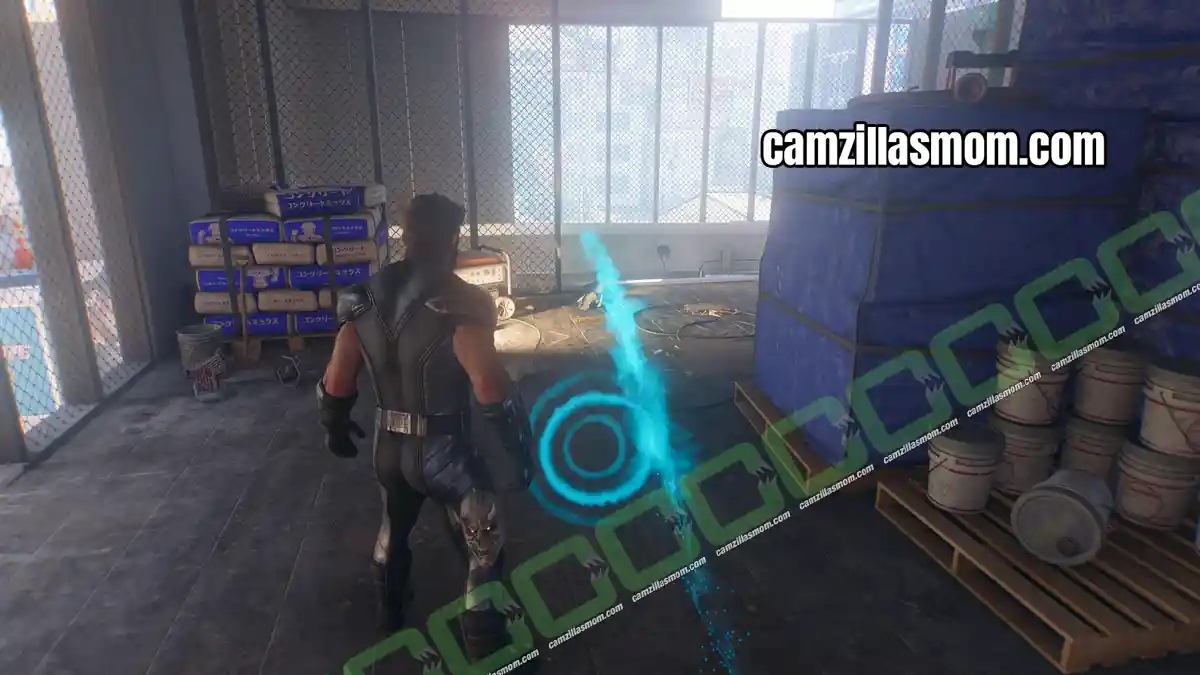
Material Crate 3 – Penthouse Climb Building Site
Mission Step: Head to Shiro’s Penthouse
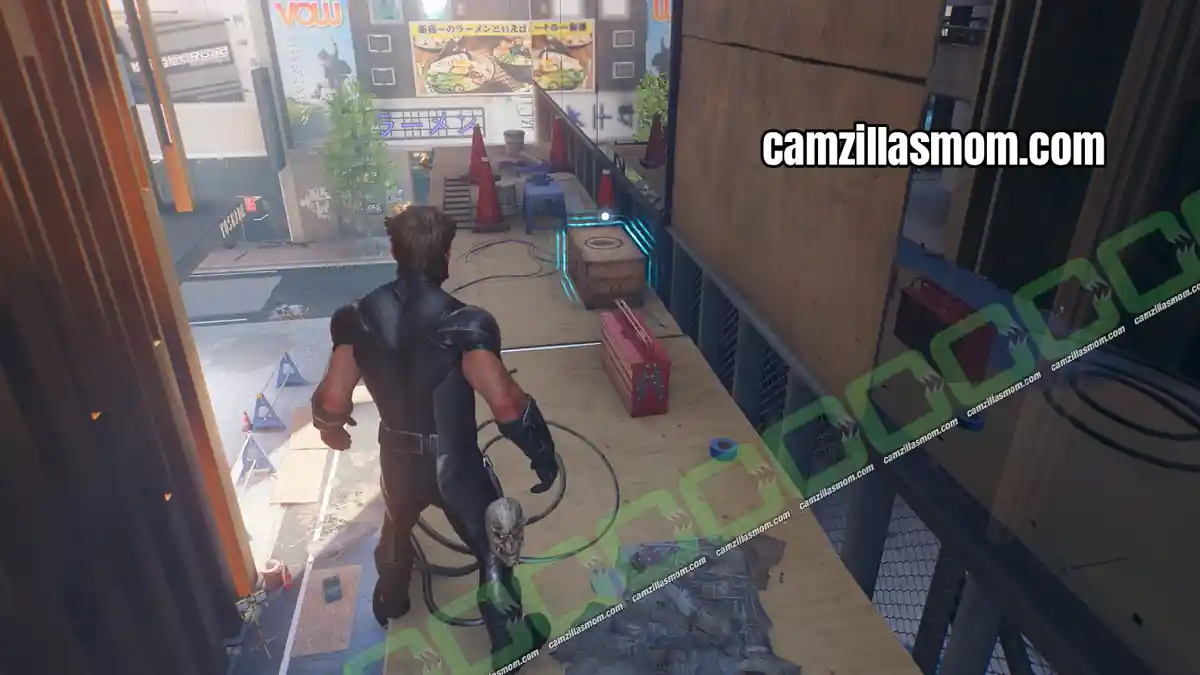
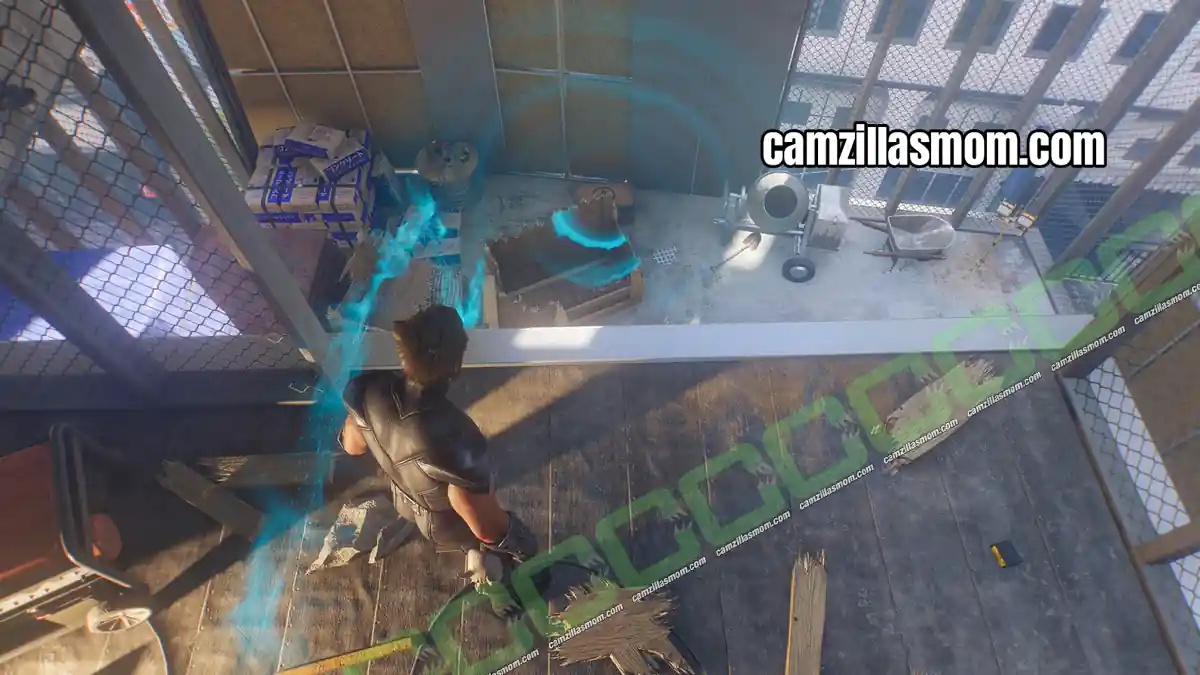
You reach a building site with the mission marker pointing outside to the left. Stay on the site, look down, and drop to the lower level to open the crate.
Material Crate 4 – Collapsing Platform
Mission Step: Head to Shiro’s Penthouse
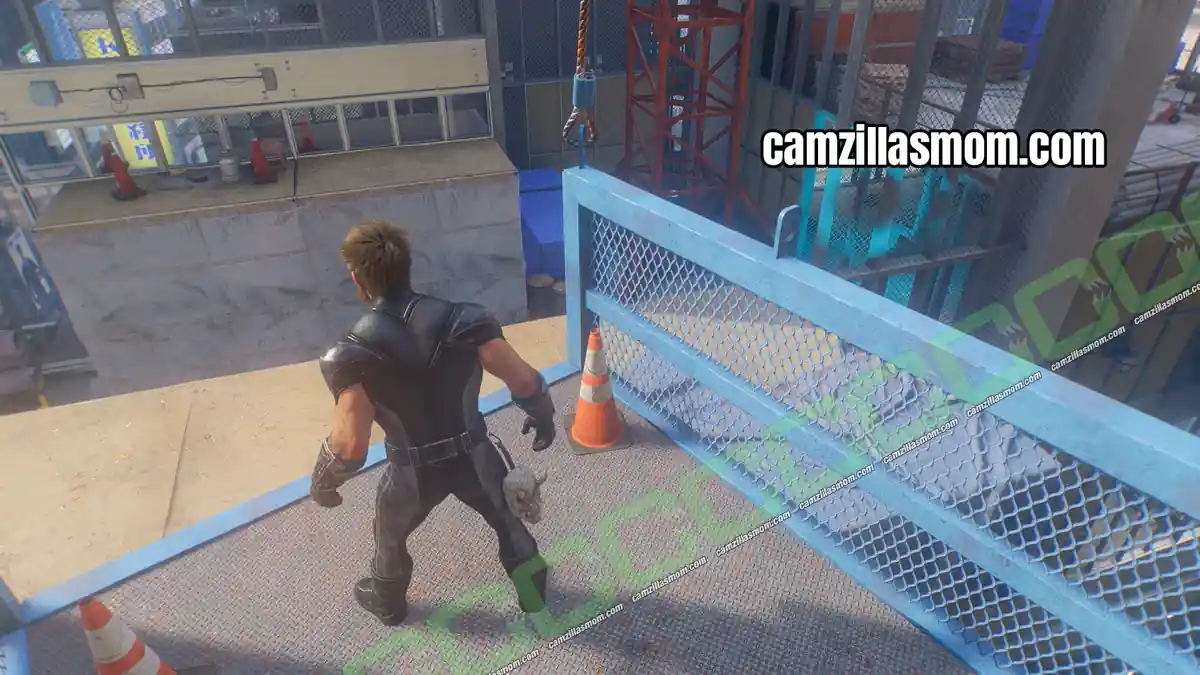
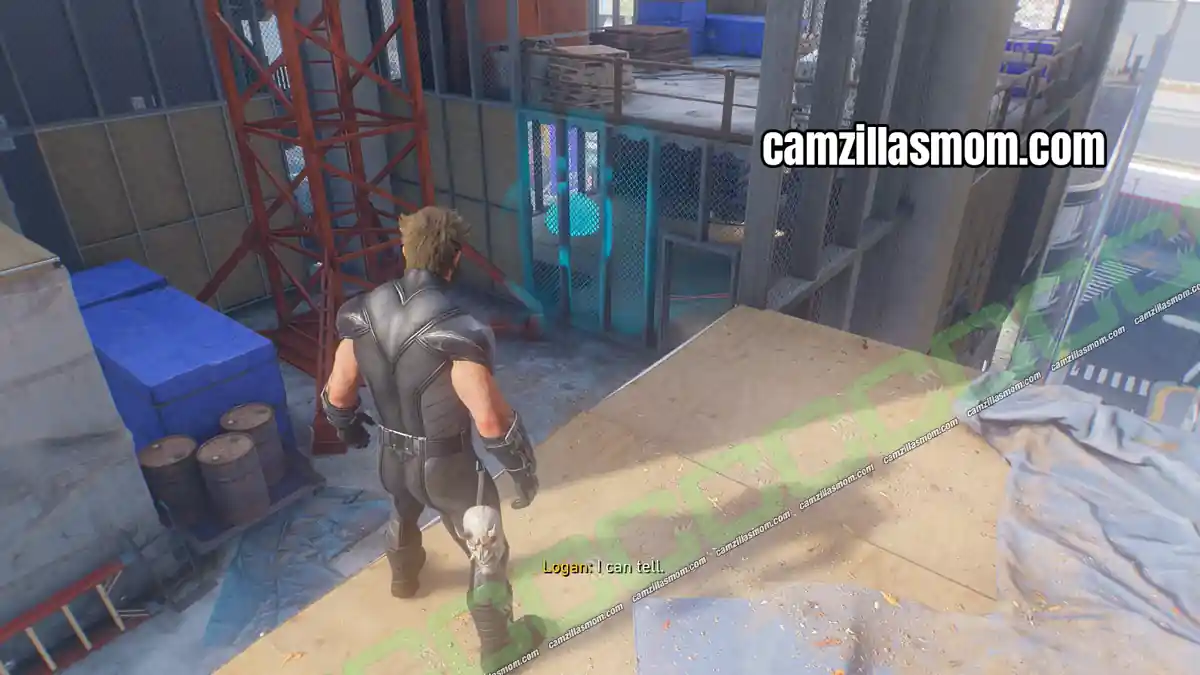
Leave the building site to the left and jump onto the platform where Jean is hovering. It partly collapses and she moves it so Logan can climb the wall. Do not climb yet. Turn around and look down at the construction site to find the crate in an unfinished room.
Chapter 11: In the Shadows Material Crates (Japan)
In the Shadows has 7 Material Crates, the most of any chapter. Crates 2 to 4 are on rooftops you lose access to once the antenna detector is destroyed, so pick them up first.
Material Crate 1 – Arcade
Mission Step: Return to the Street
After finding The Hand’s hidden room in the arcade, more ninjas arrive. Take the stairs down inside the arcade for the first crate.
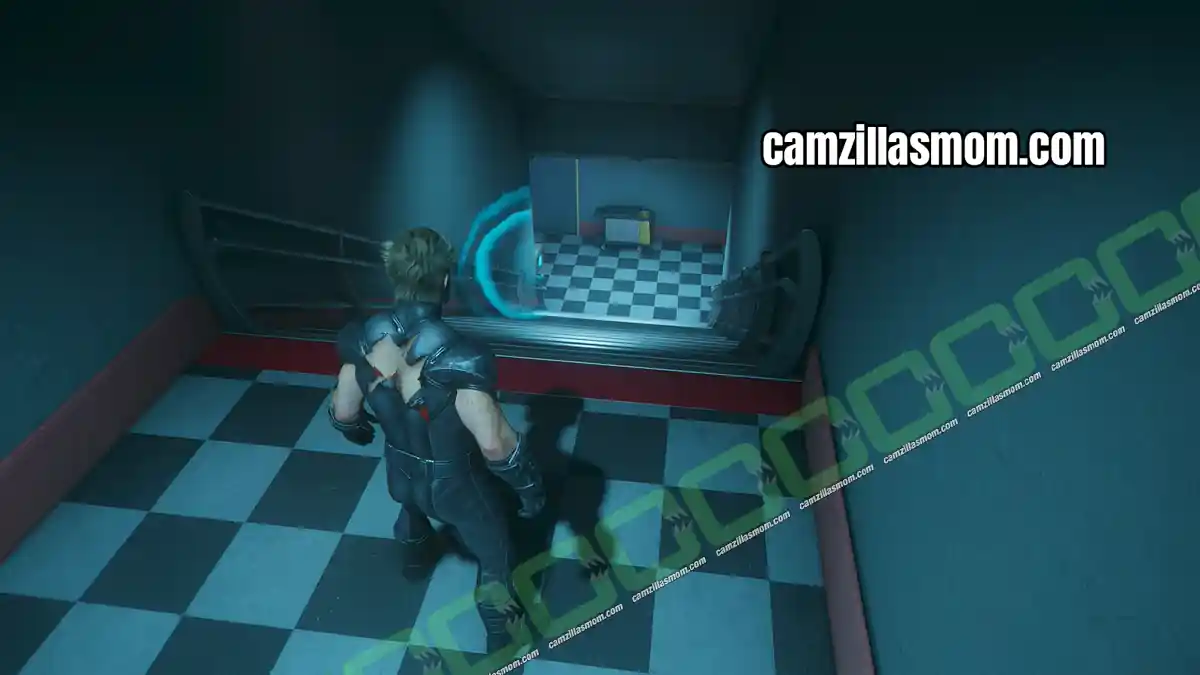
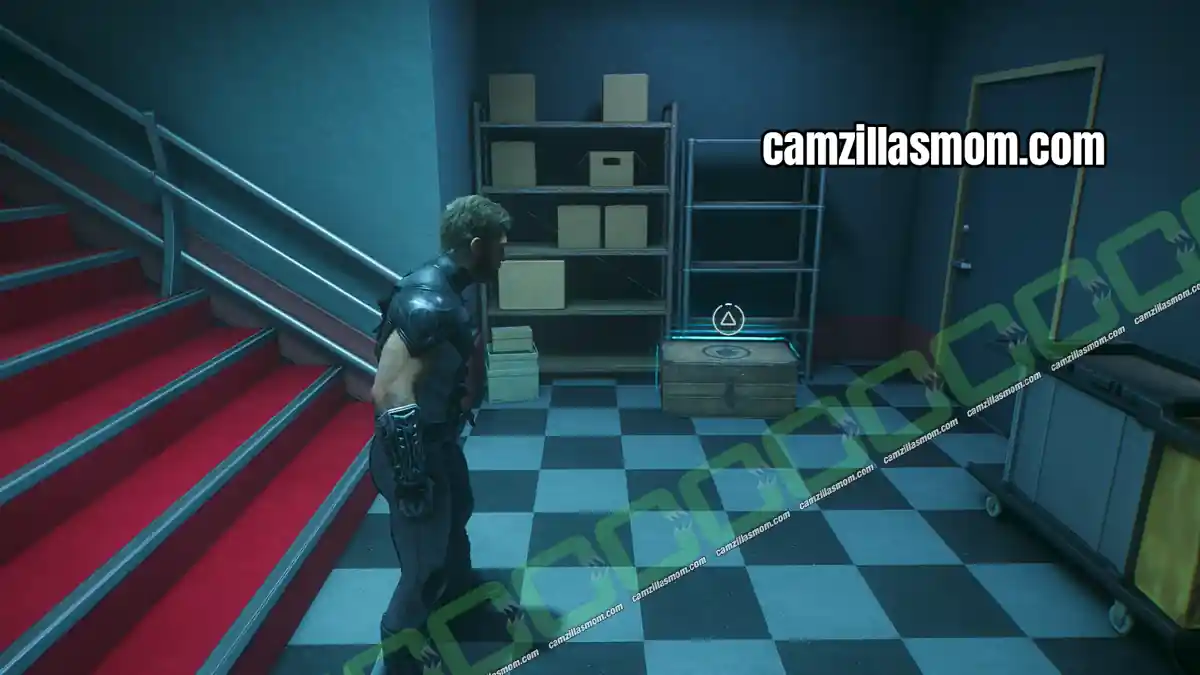
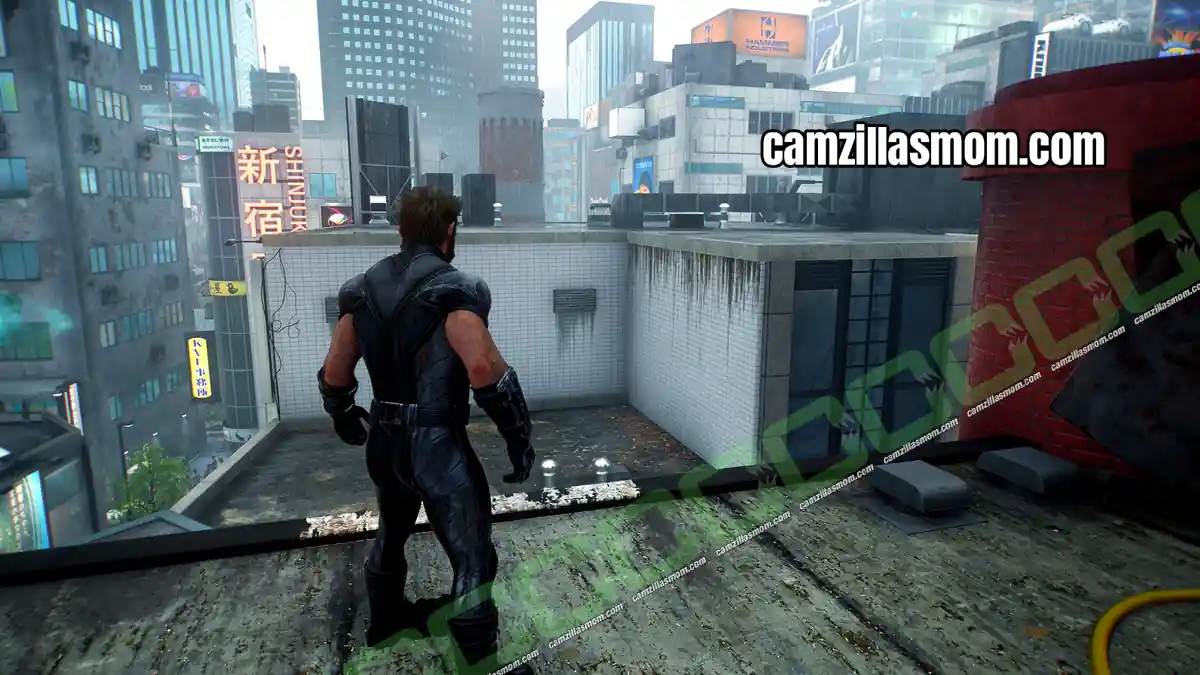
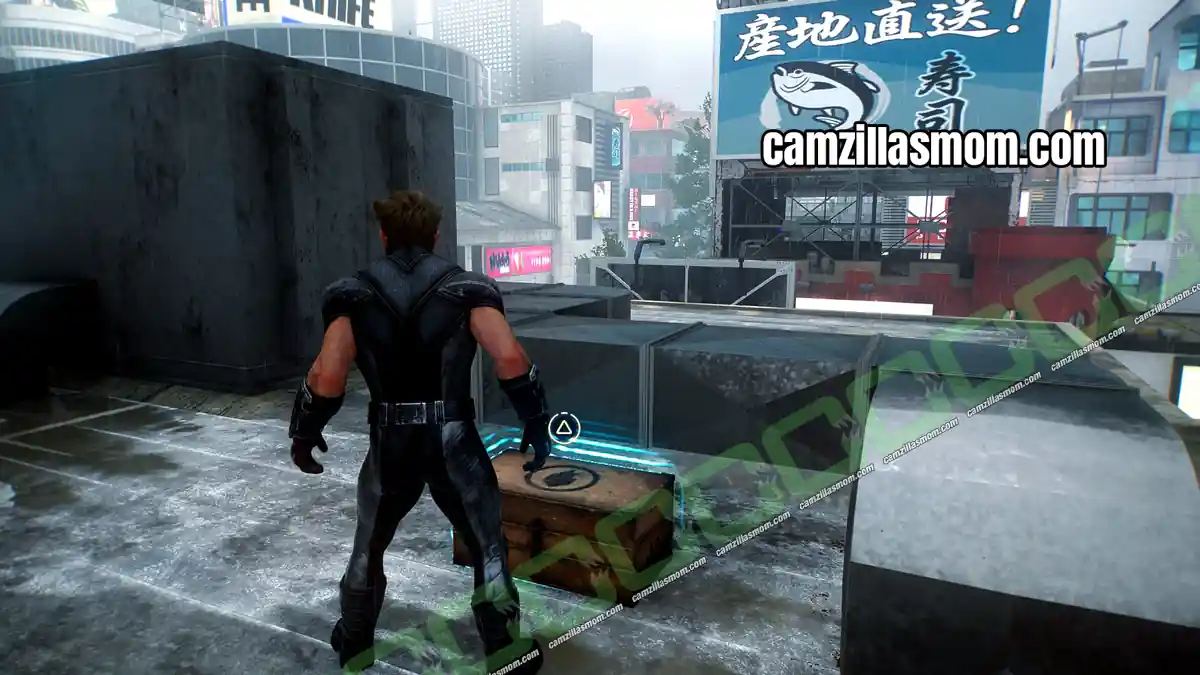
Material Crate 2 – Shutters Rope Elevator
Mission Step: Destroy more Detectors
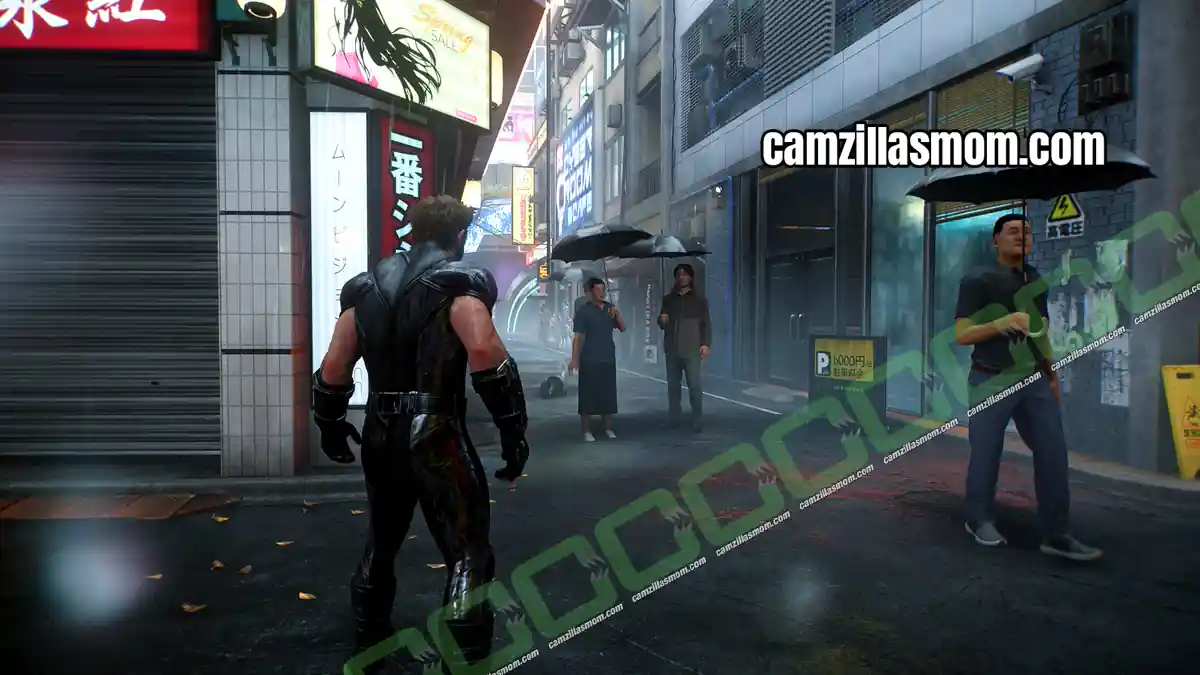
After the first detector, one of the detector power supplies turns out to be on a roof. Two rope elevators stand side by side in the alley below. Take the one by the building with the closed shutters.
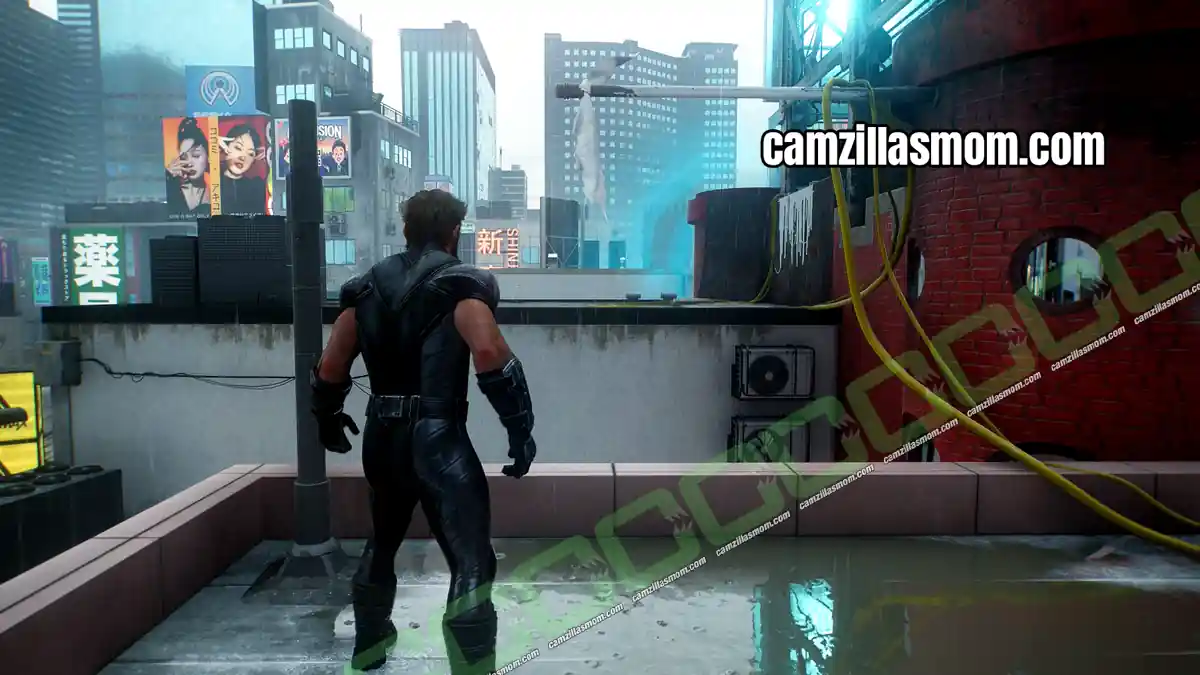
Follow the yellow cable across the roof, using the pole to swing over, and destroy the detector. You can already see the crate glowing from here: it is on top of the roof on the other side.
Material Crate 3 – Yellow Shop Roof Elevator
Mission Step: Destroy more Detectors
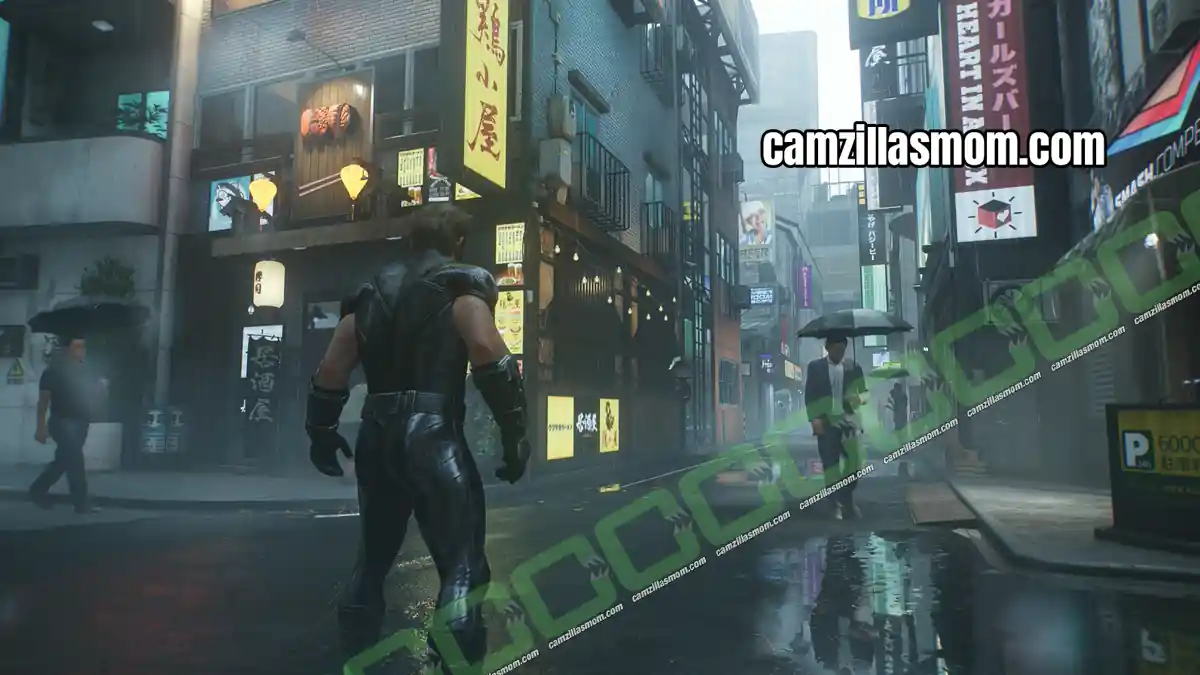
Head back down to street level and take the other rope elevator, by the shop with the yellow lights. The crate is waiting at the top.
Material Crate 4 – Antenna Building
Mission Step: Destroy more Detectors
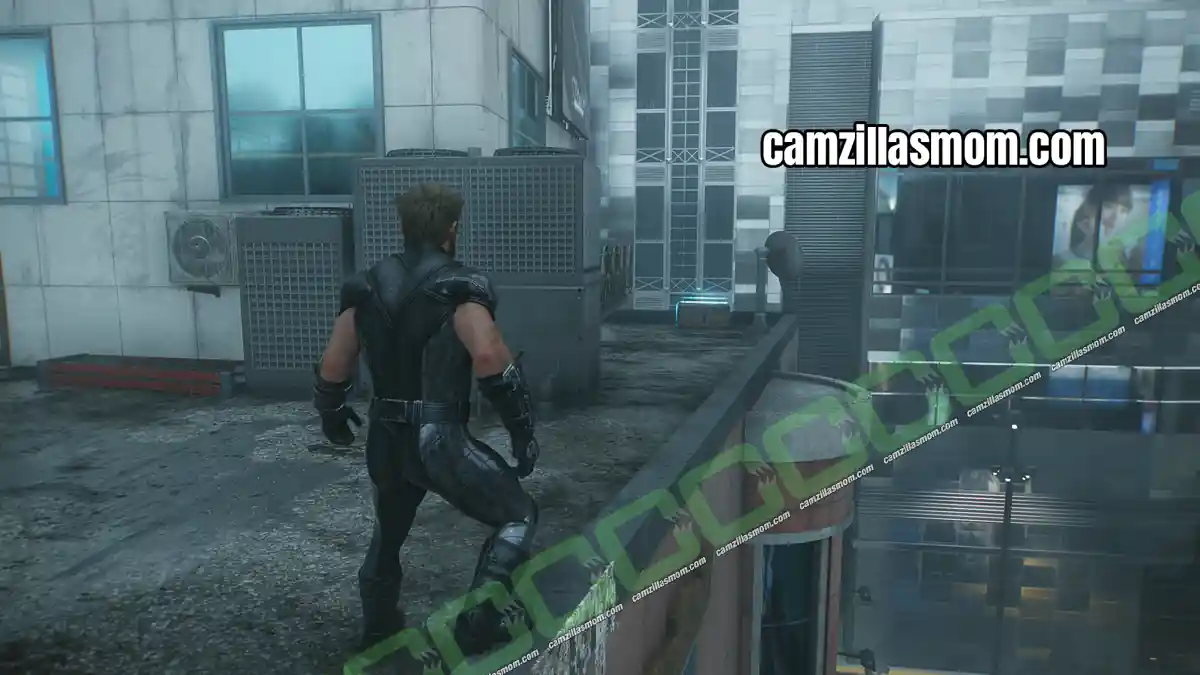
Climb to the top of the building with the whisky bottle on its terrace and jump back to the roof with Material Crate 2. Climb the white pipe, take the zipline over to the antenna building, and jump across to the other side at the top for the crate.
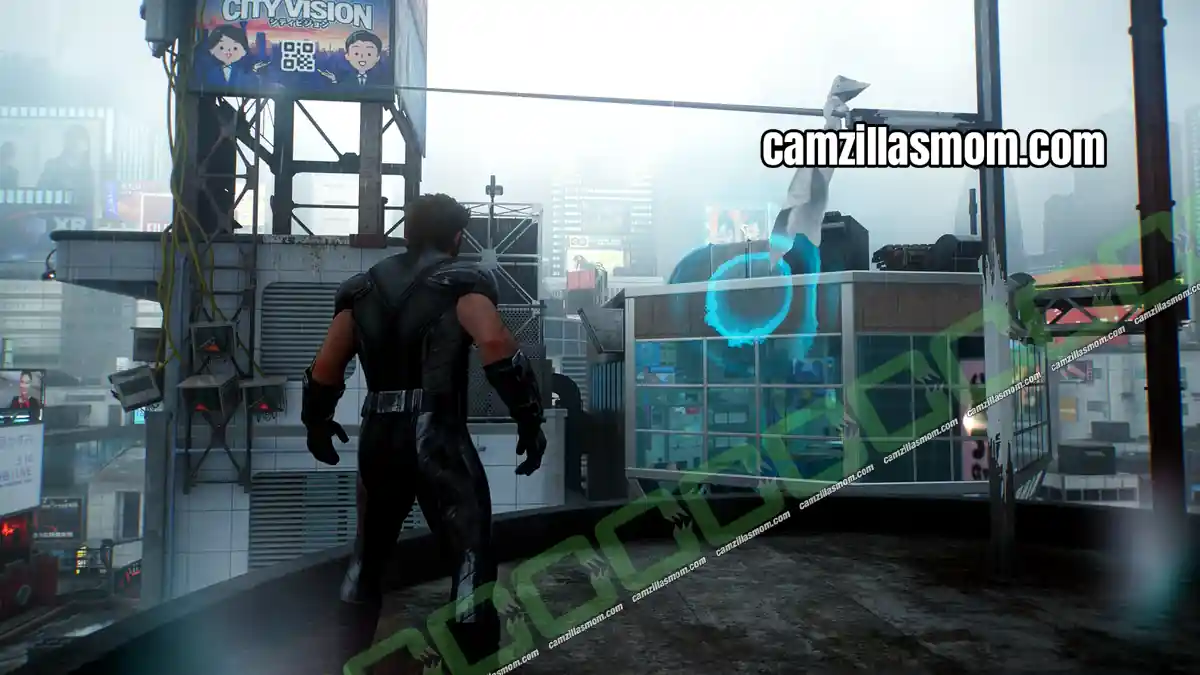
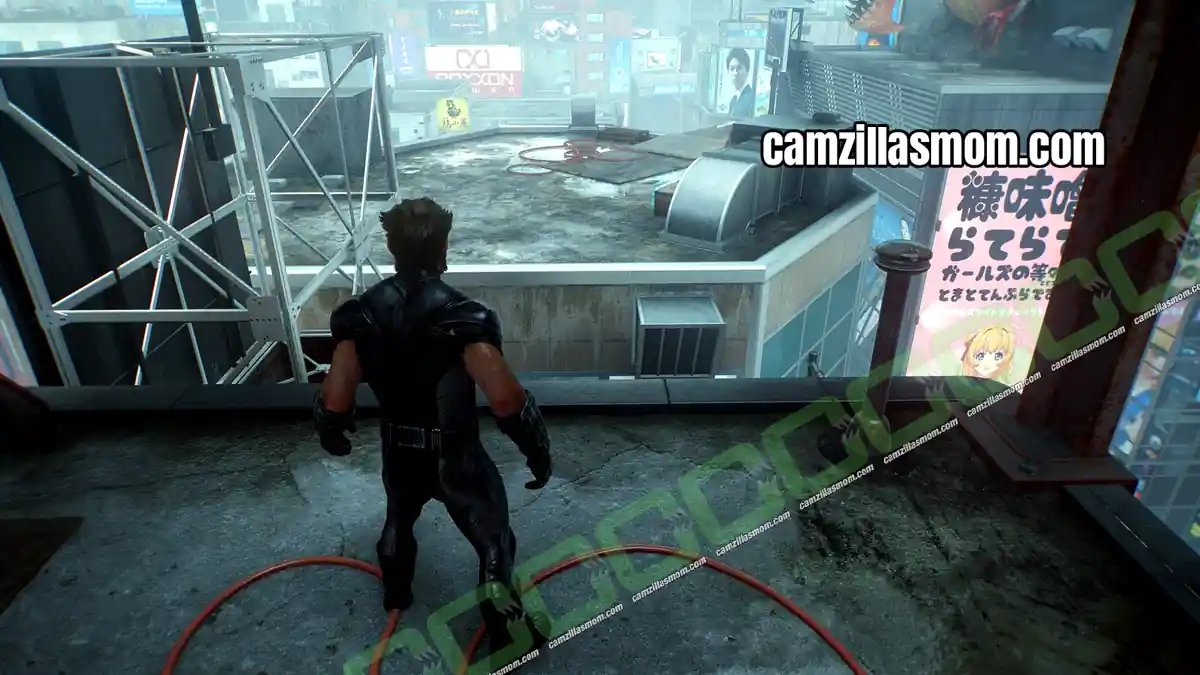
The antenna itself holds the last detector, and climbing up to destroy it moves the story on. Make sure you have Material Crates 1 to 4 before you destroy it. Once it goes down the ropes disappear and you cannot get back up to these roofs.
Material Crate 5 – Construction Site Ground Floor
Mission Step: Eliminate The Hand Defending the Hideout
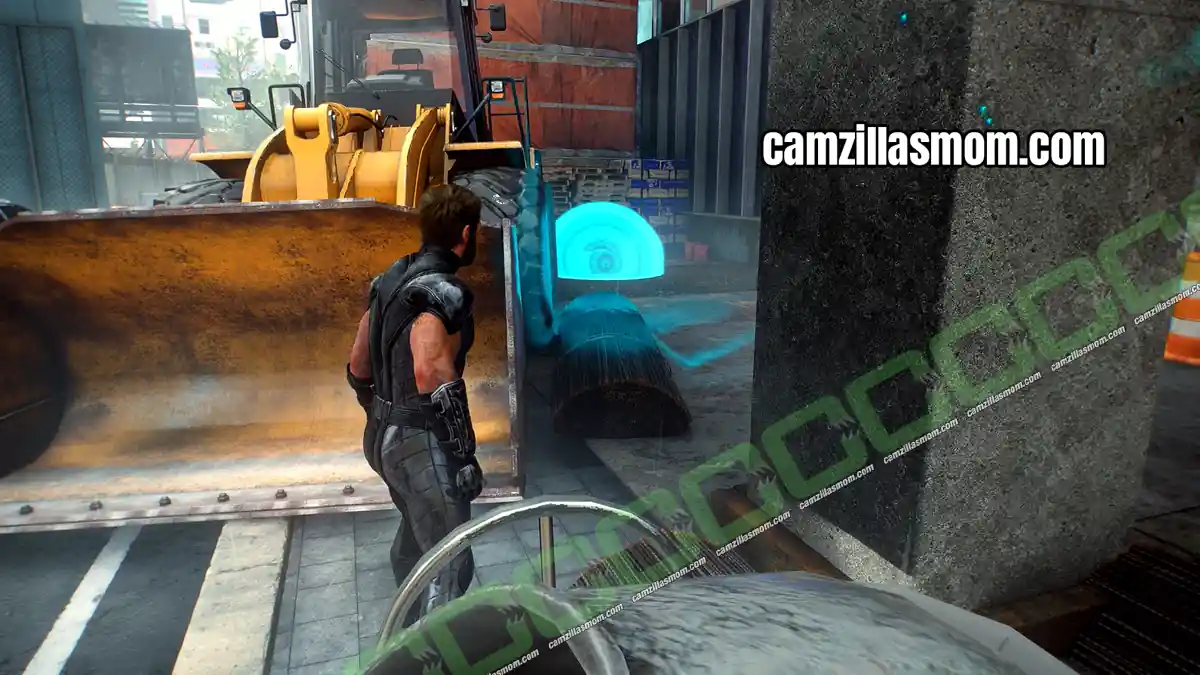
After following the attackers to the hideout, Logan has to track down the delivery driver. Head back the way you came: the crate is on the ground floor, near the road you arrived from.
Material Crate 6 – Underground Passage
Mission Step: Catch up to Walter
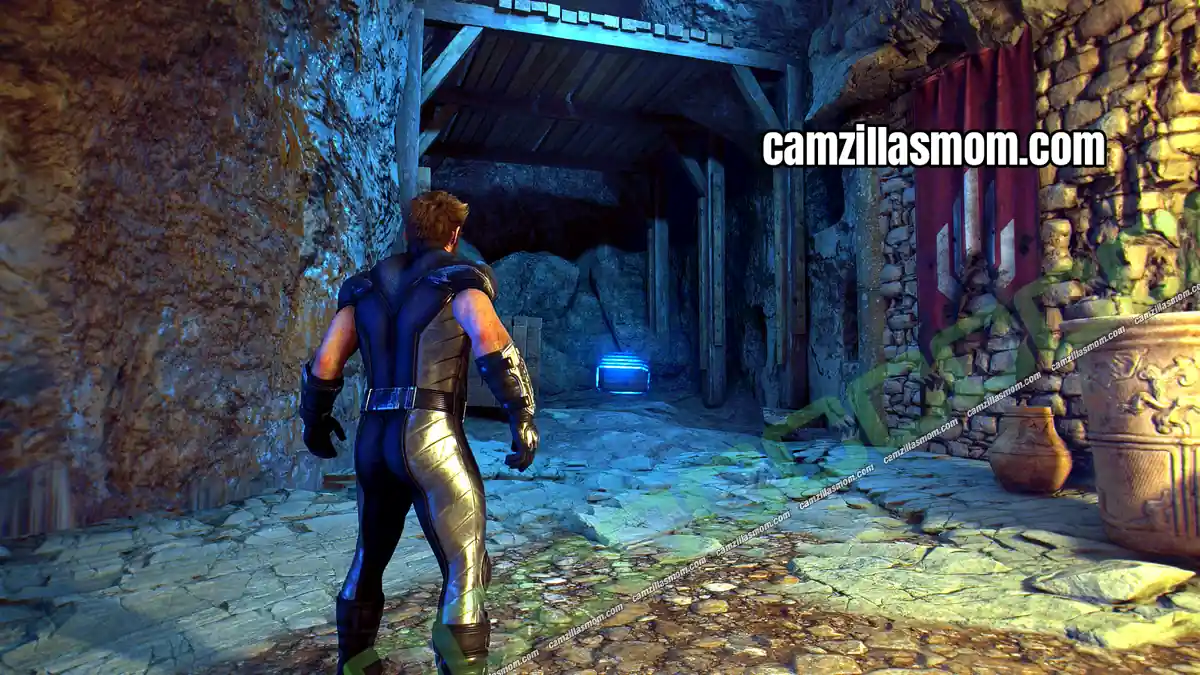
Once you have checked every clue in the lounge, Jean leads Logan to a backroom with a secret door to the basement. At the end of the basement corridor, look left.
Material Crate 7 – Zipline Jump
Mission Step: Return to Shiro’s Apartment
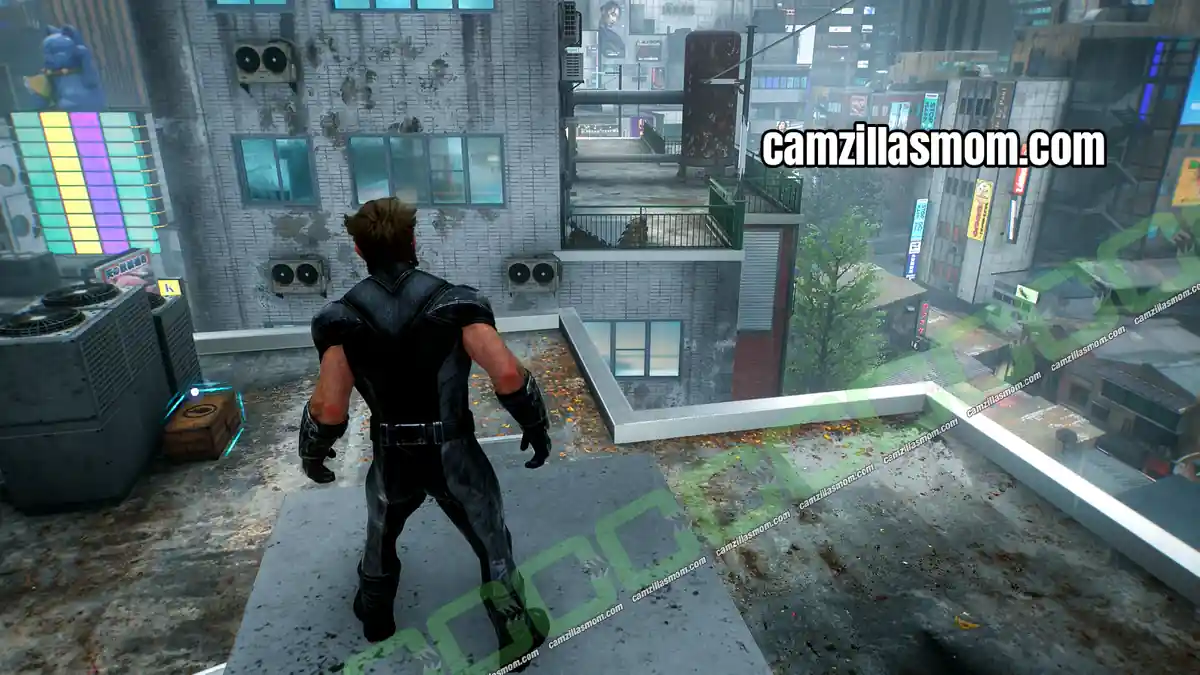
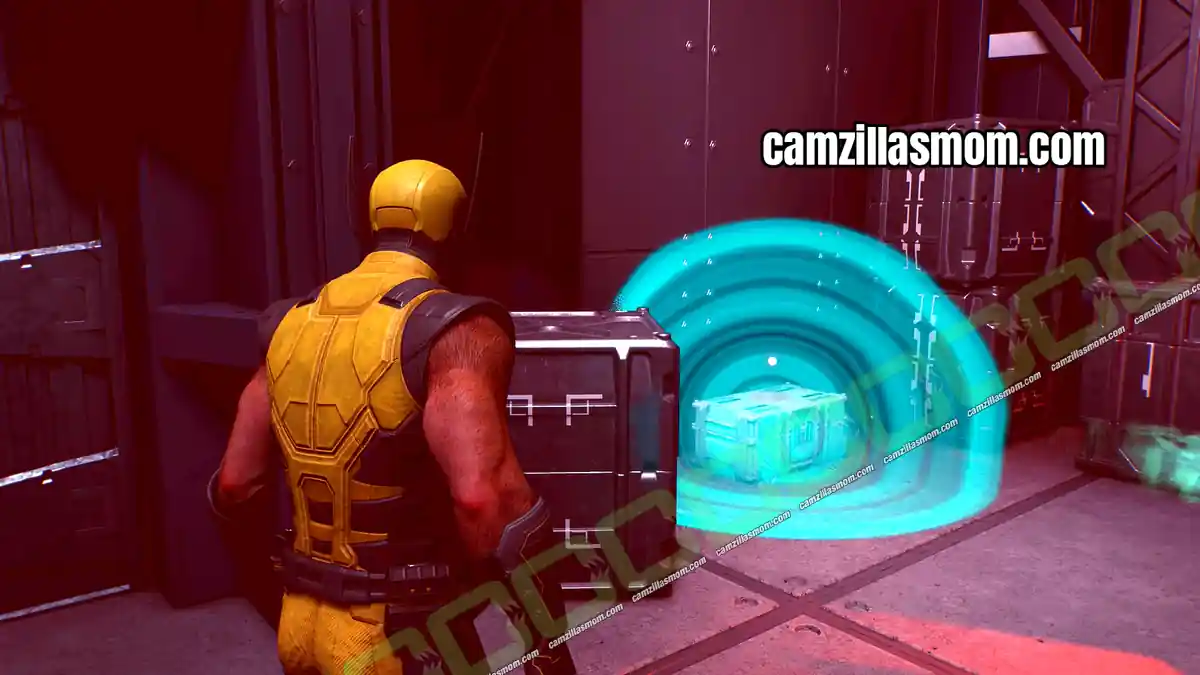
After the arena fight you are back on the rooftops, with a zipline heading towards Shiro’s apartment. Jump off halfway to land next to the crate, then get back on the zipline by jumping from the box Logan is standing on in the screenshot.
Chapter 12: Death Comes to Death Material Crates (Japan)
Death Comes to Death has 3 Material Crates.
Material Crate 1 – Rooftop at the Start
Mission Step: Get to Harada Garden Tower
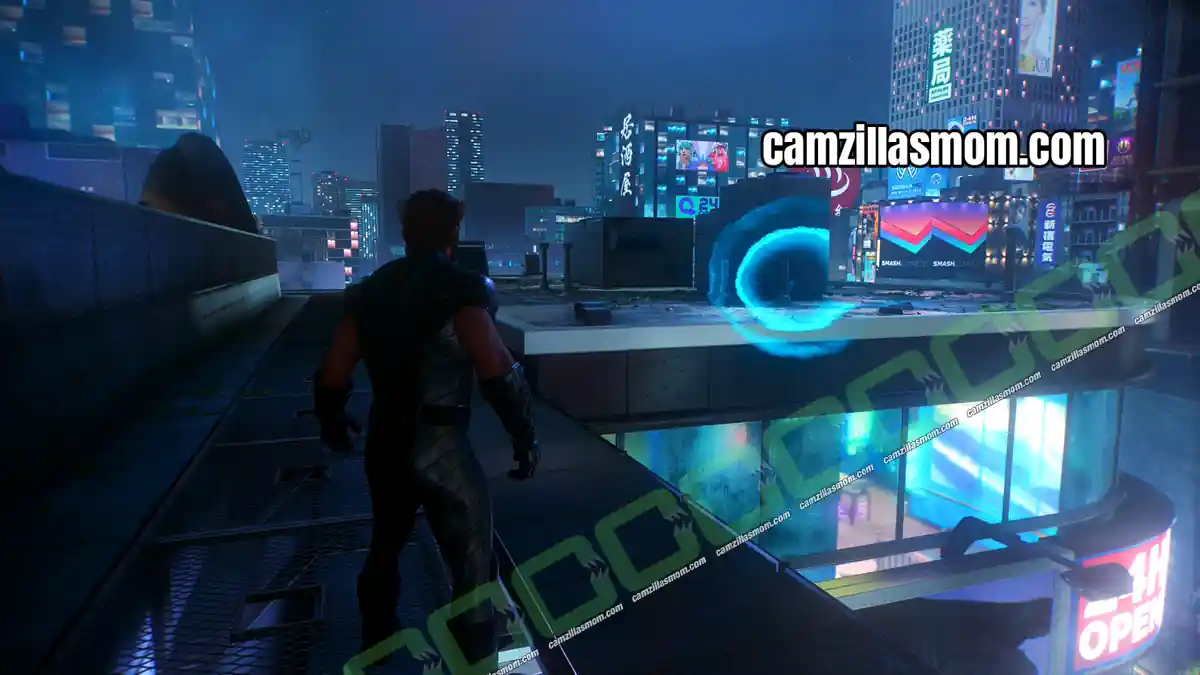
Right at the start of the chapter, check the rooftop to the left.
Material Crate 2 – After Security
Mission Step: Locate the Helix Engine
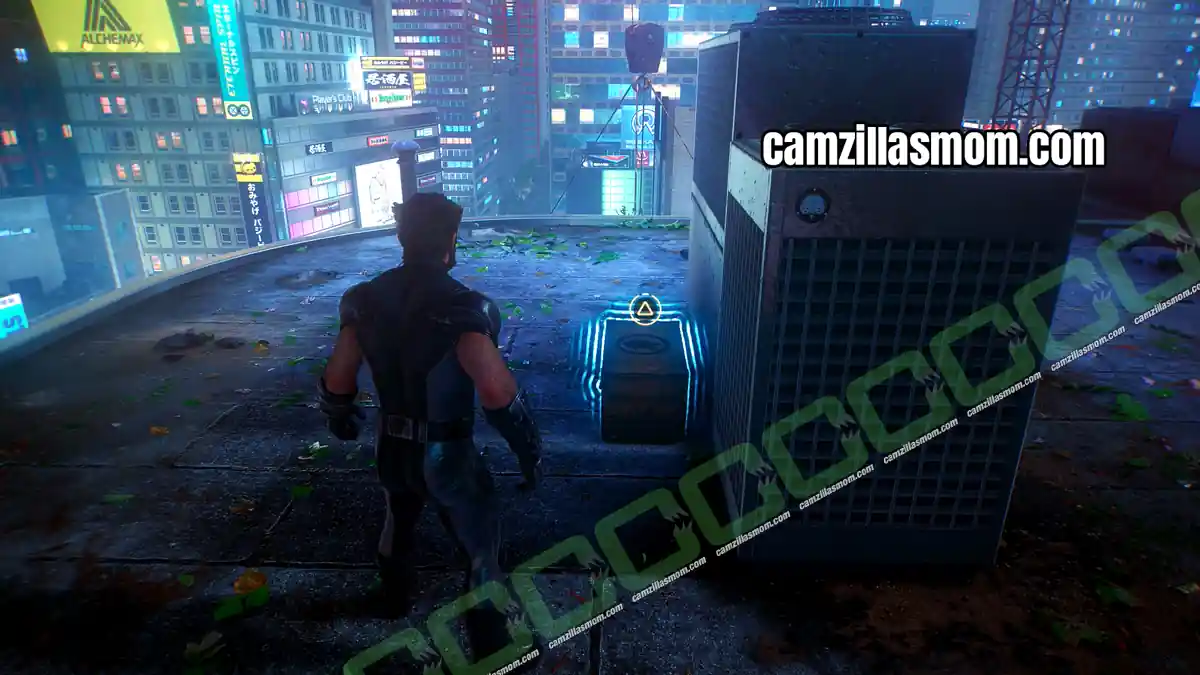
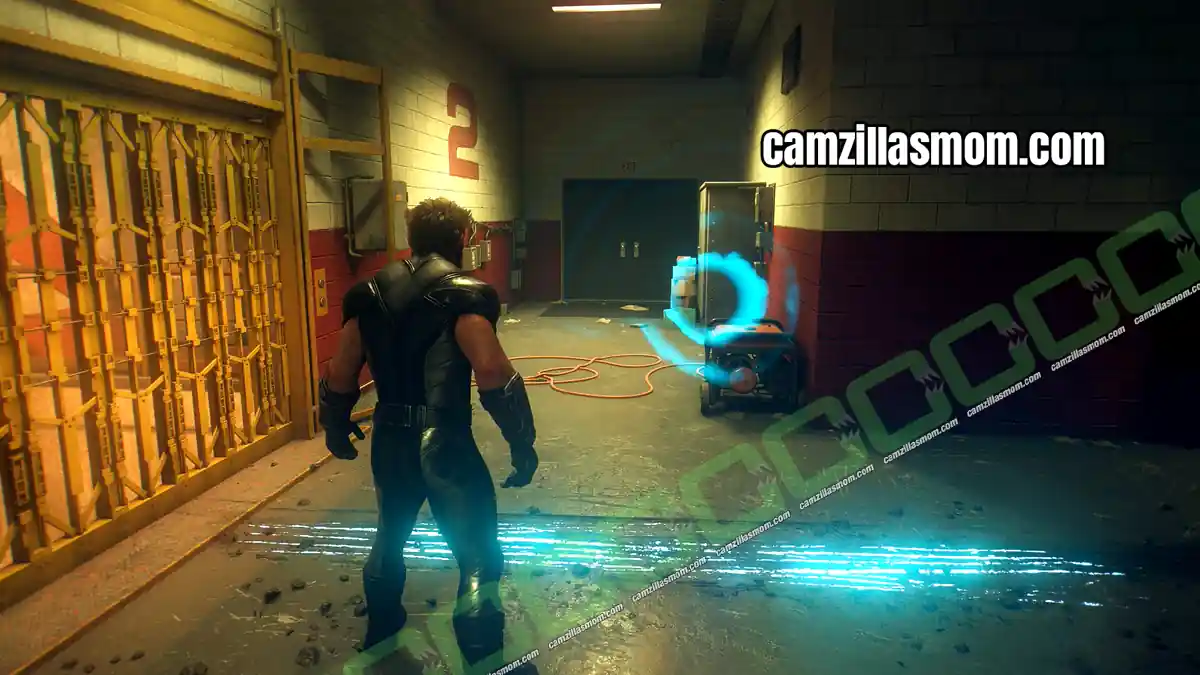
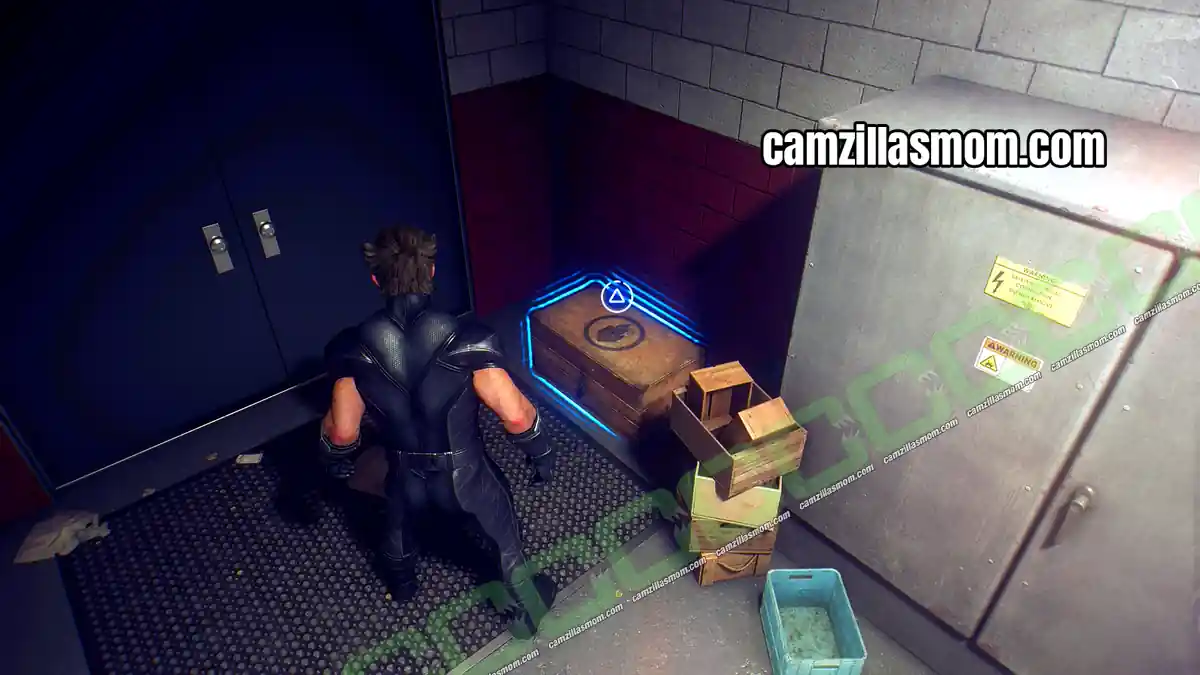
From the room above the restaurant kitchen, Logan drops down into the security room. After the footage, leave through the door and take the stairs down. Nightmare Door roots show up at the bottom, but look right first for the crate.
Material Crate 3 – After Steam Bath
Mission Step: Track Down the Helix Engine
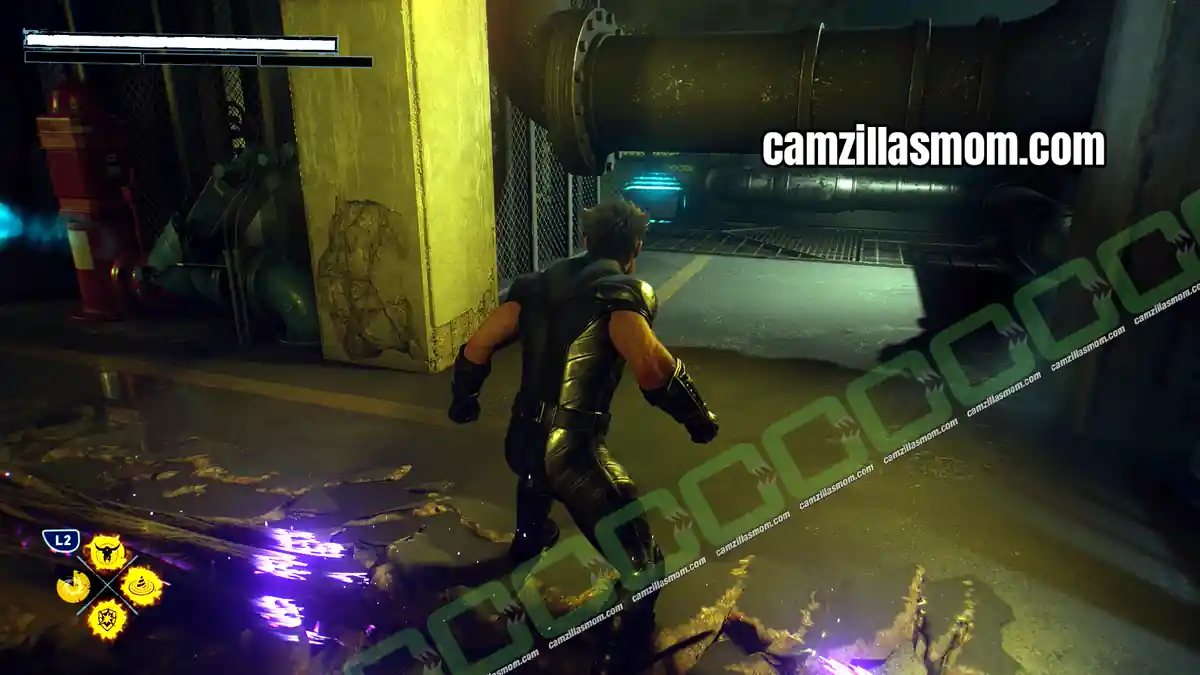
Past the steam bath, the drag marks lead to a corridor with an elevator. The crate is in the corridor to the right of the elevator.
Chapter 13: We Were Wrong Material Crates (Japan)
We Were Wrong has 5 Material Crates, several of them tucked behind trucks and wooden boxes along the Helix Engine trail.
Material Crate 1 – Car Accident
Mission Step: Track the Helix Engine
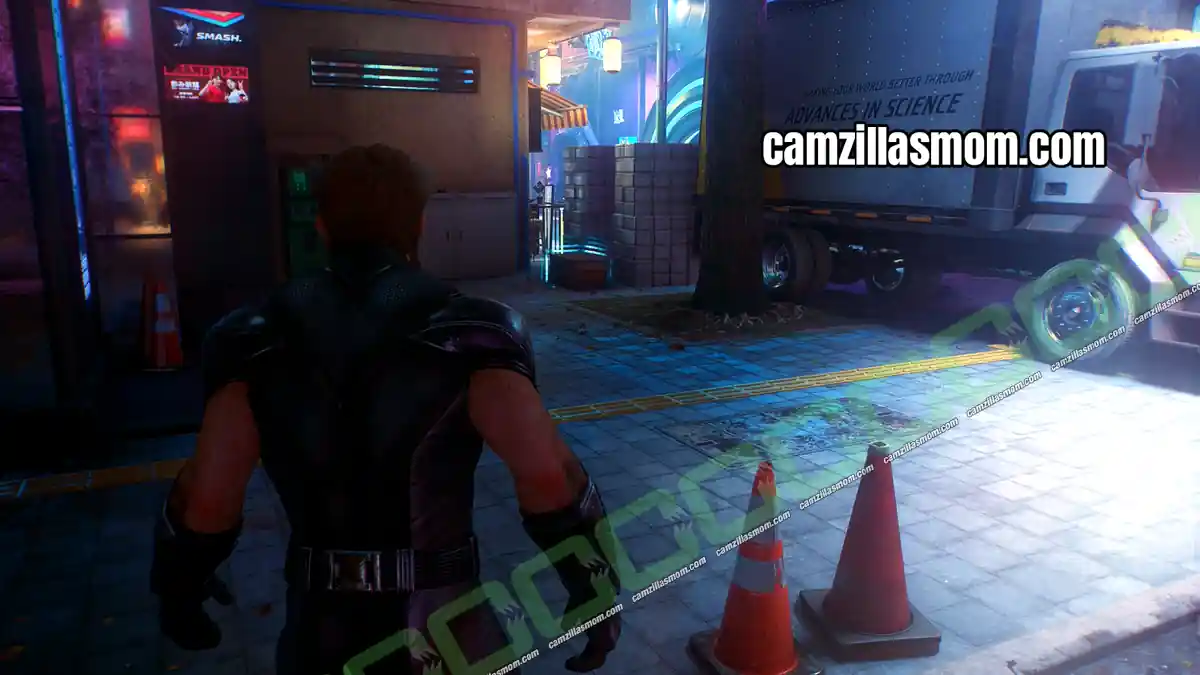
Follow Jean through the rubble. On the other side the drag marks get highlighted, and two cars are stuck in an accident next to a white truck. The crate is behind the truck, by the pillar.
Material Crate 2 – Helix Engine Room
Mission Step: Find the Helix Engine
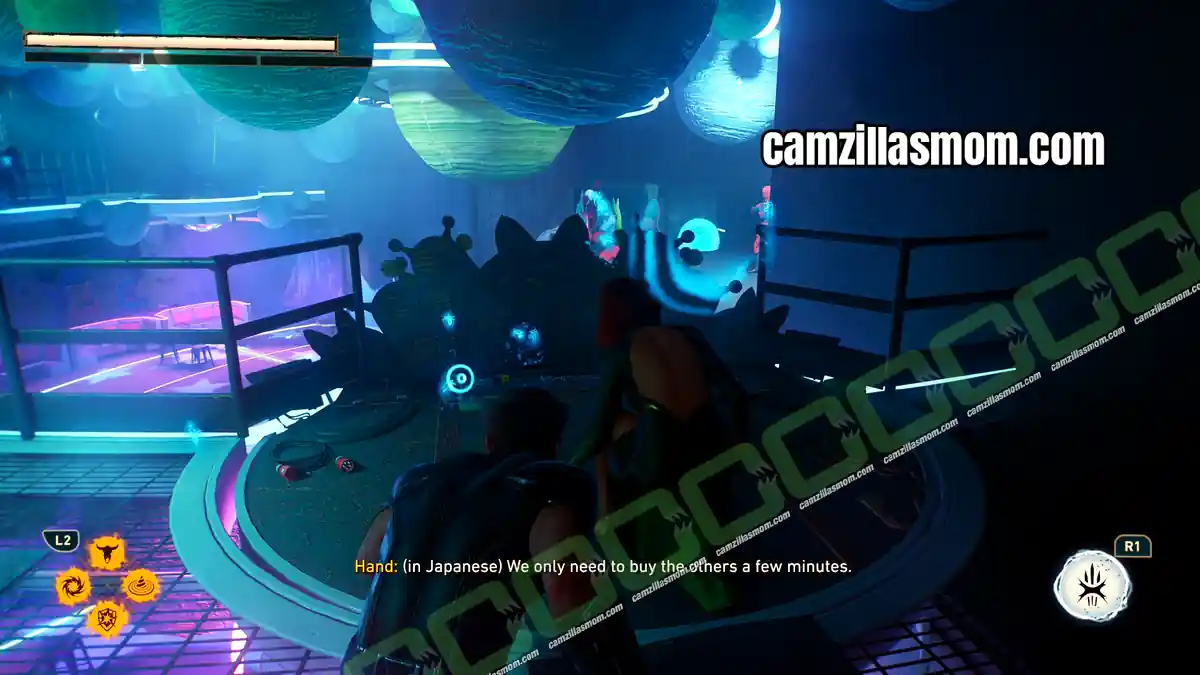
The drag marks lead into a round shop with two levels, guarded by ninjas. The crate is on the upper level.
Material Crate 3 – Red Shop, Blue Door
Mission Step: Track the Hand mutant who took the Helix Engine
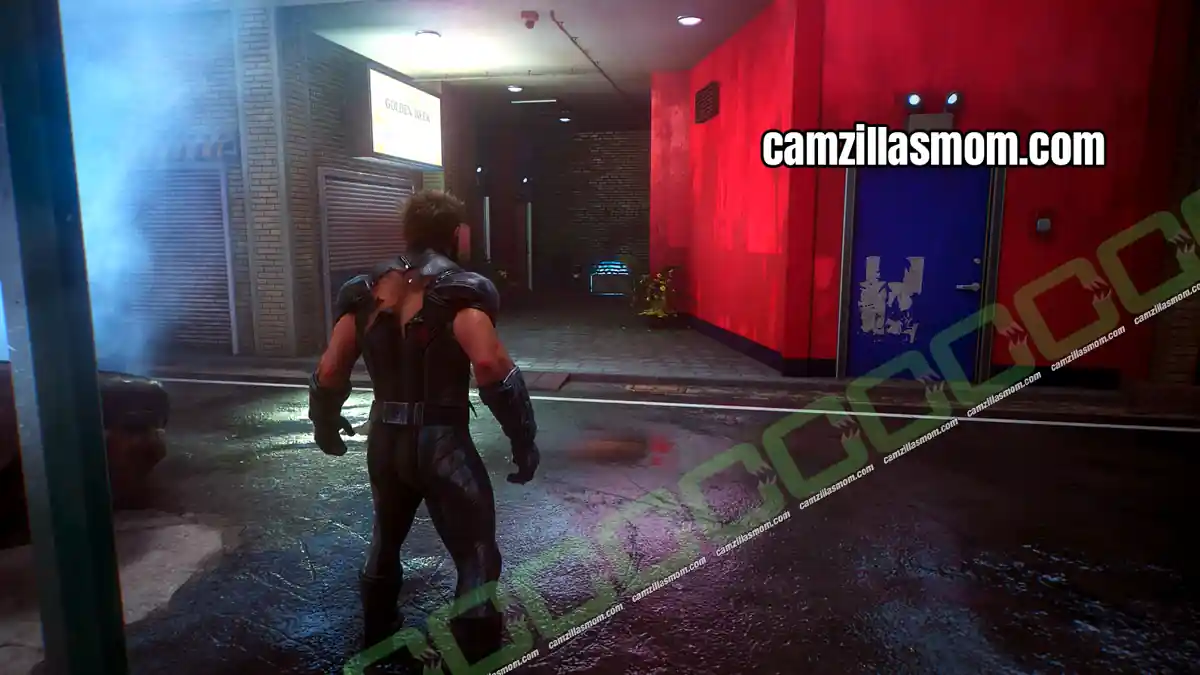
Follow the footsteps until you meet a woman talking about people without bodies, then fight off the ghost ninjas. On the next stretch of road, look left for a red shop with a blue door.
Material Crate 4 – Wooden Boxes
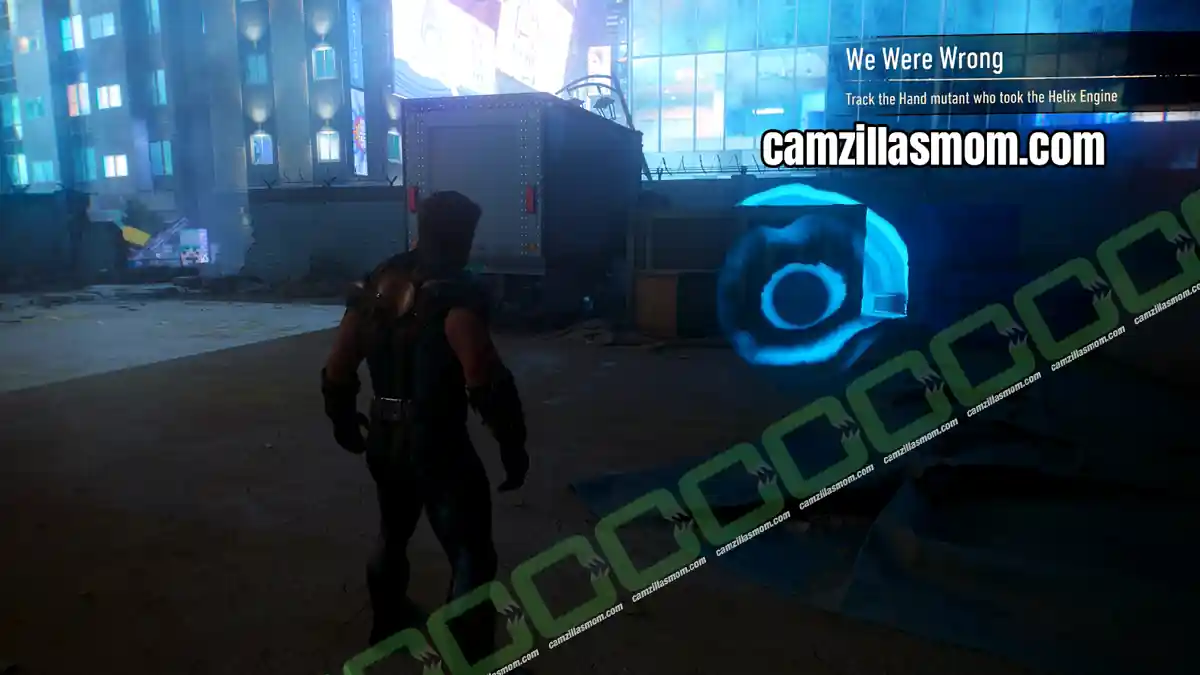
Mission Step: Track the Hand mutant who took the Helix Engine
After the big fight with the ghost ninjas, you reach a walled parking space in front of the building you are about to enter. Do not go in yet. The crate is next to another white truck, hidden behind wooden boxes.
Material Crate 5 – Helix Engine Basement
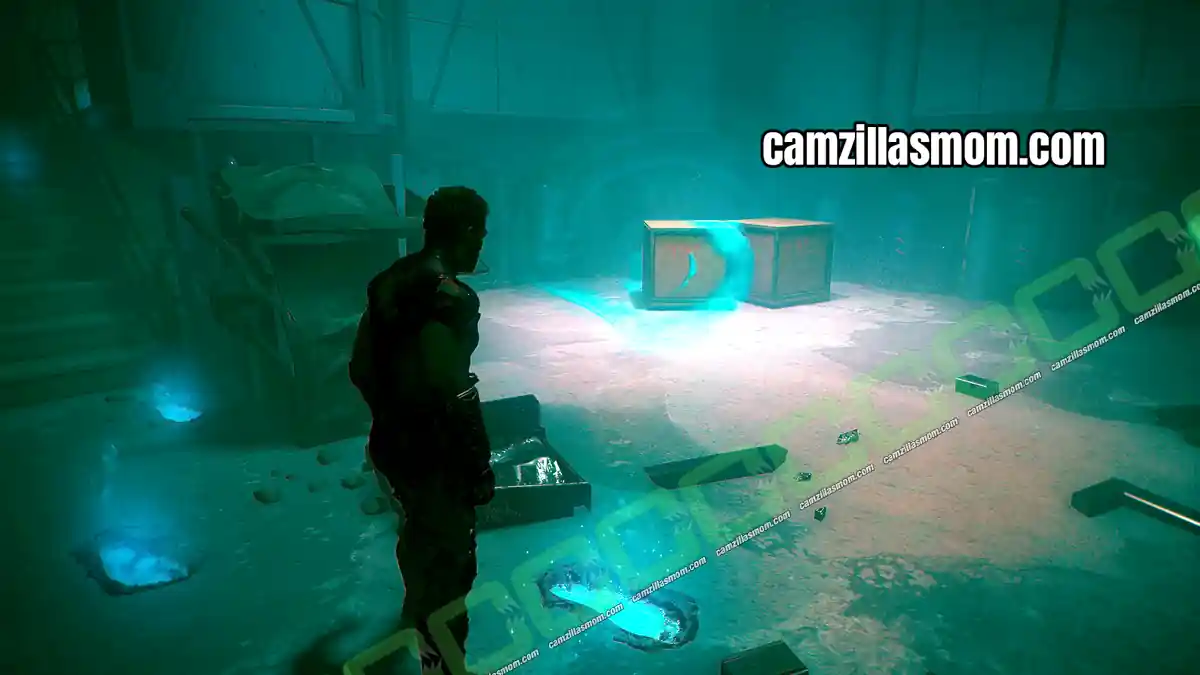
Mission Step: Recover the Helix Engine
After defeating the Chosen in the production hall, head downstairs to recover the Helix Engine. At the bottom of the stairs, look left for the crate behind wooden boxes.
Chapter 14: Hell Followed With Him Material Crates (Japan)
Hell Followed With Him has 4 Material Crates, two in the village and two on the way to the shrine.
Material Crate 1 – First House Left
Mission Step: It’s empty; look around
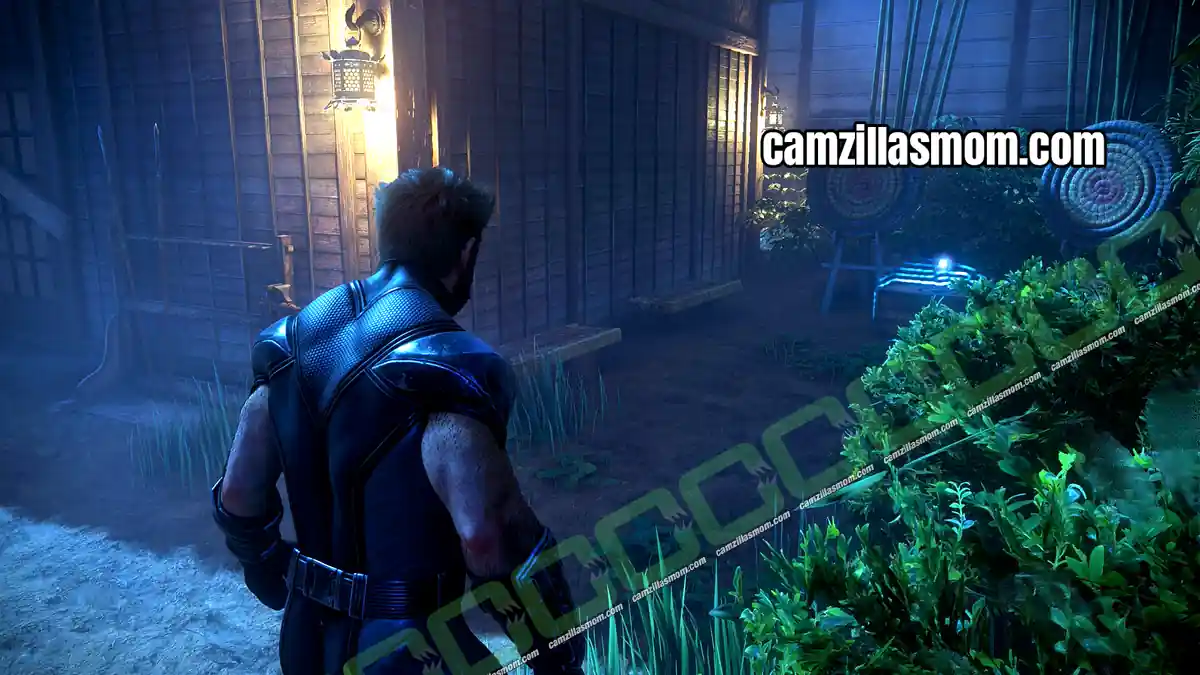
At the start of the chapter, look behind the first house on the left.
Material Crate 2 – Village Range
Mission Step: It’s empty; look around
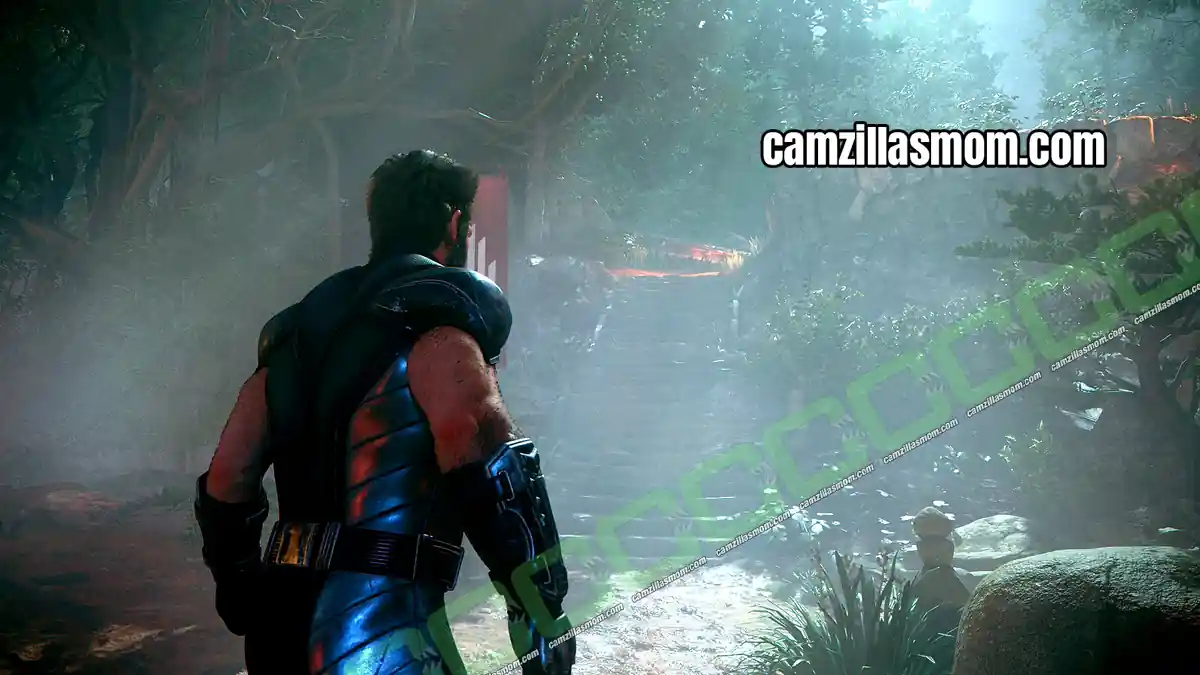
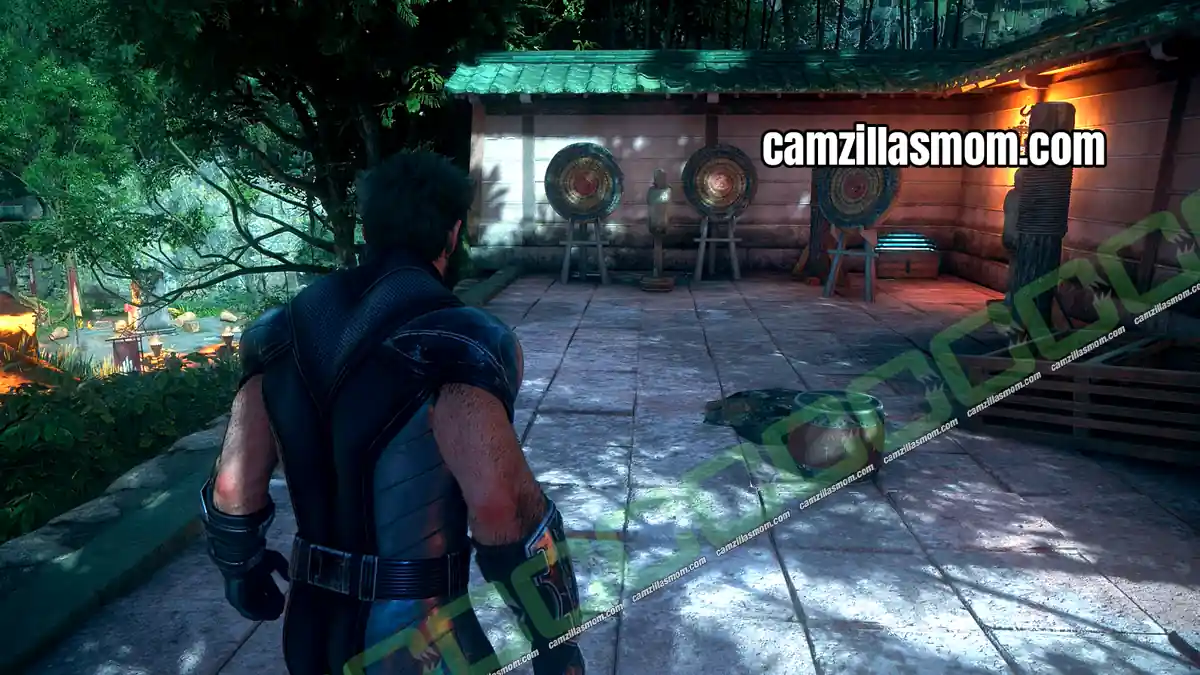
From the memorial in the centre of the village, look up to the right. Take the stairs up to the shooting range for the crate.
Material Crate 3 – Drum
Mission Step: Take Out the Hand guarding the Stronghold
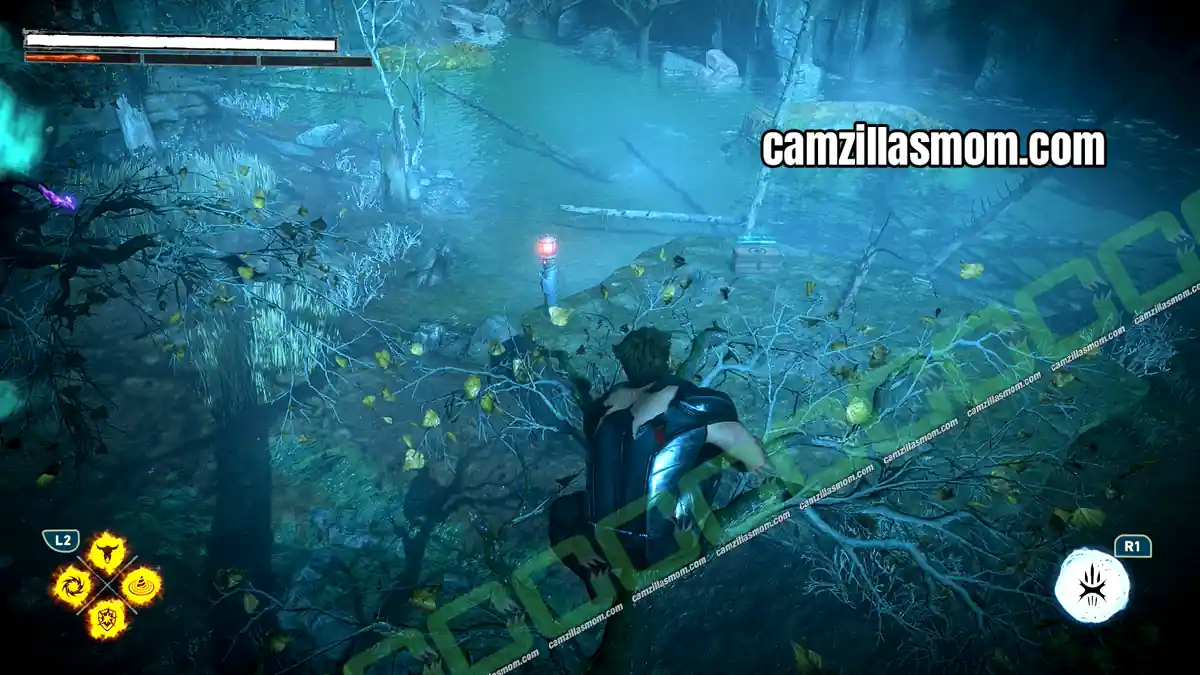
On the lower level of the grasslands, find the ninjas standing by a big drum. The crate is on a raised rock platform close by.
Material Crate 4 – Behind the Massive Doors
Mission Step: Investigate the Shrine
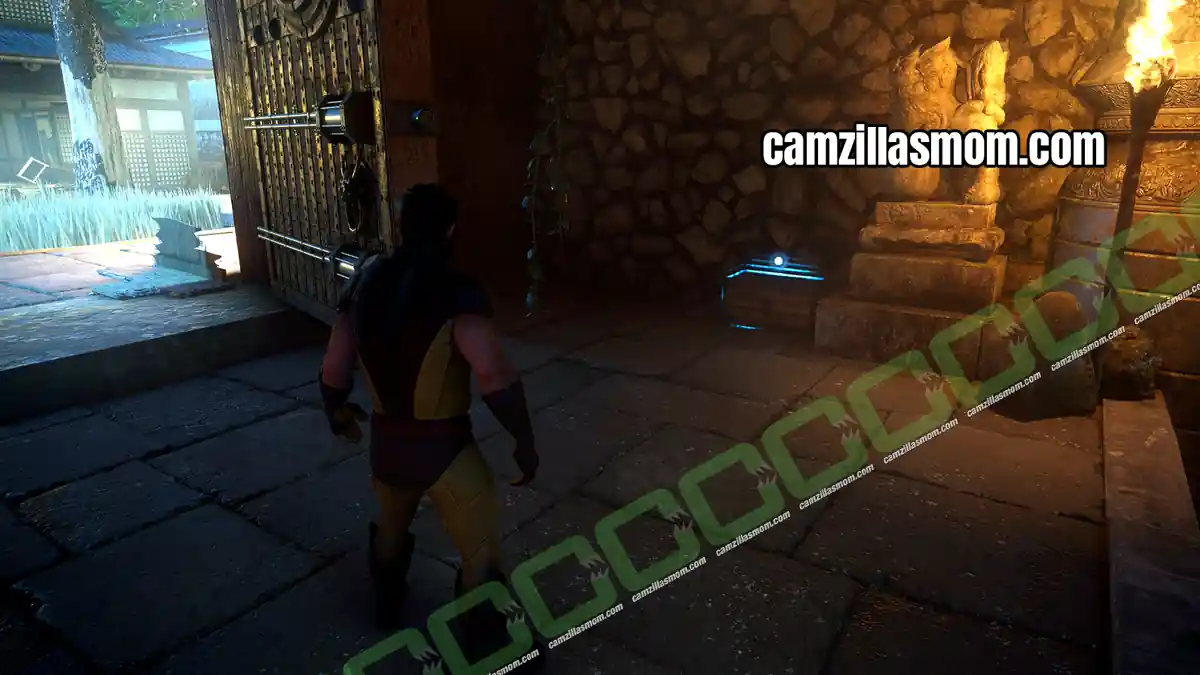
After clearing The Hand from the upper training grounds, Logan opens the massive doors to the main building. The crate is right behind them.
Chapter 15: Sinister Tidings Material Crate (Japan)
Sinister Tidings has only 1 Material Crate, the last one in Japan.
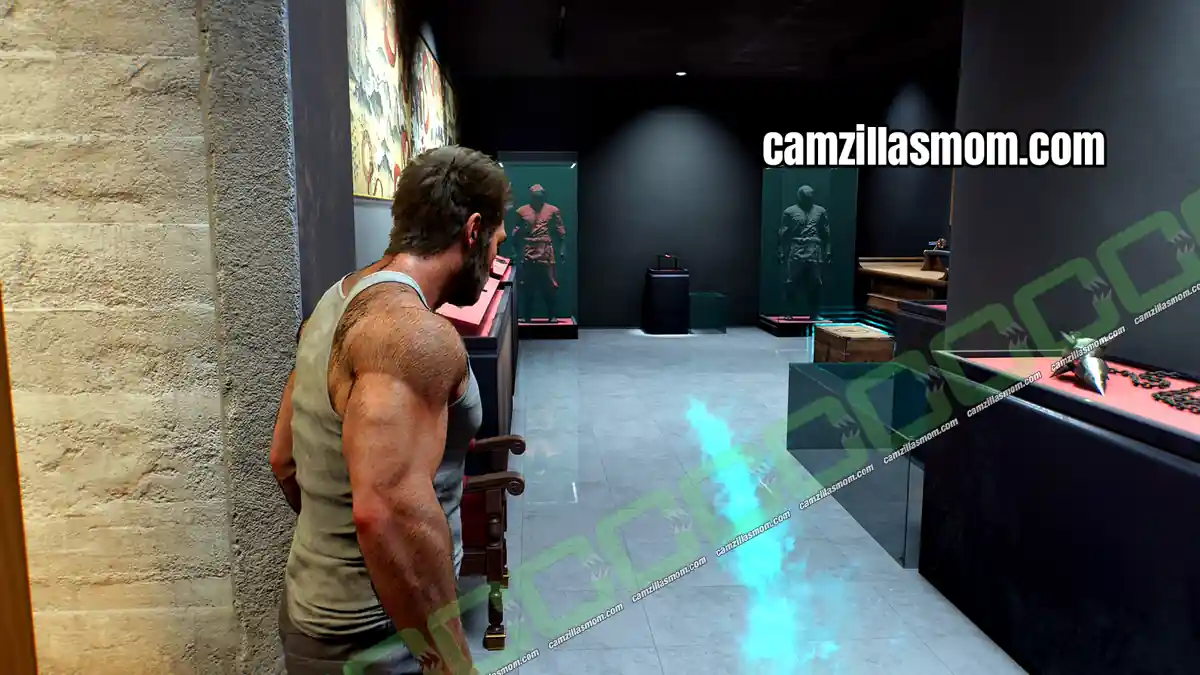
Material Crate – Exhibition Room
Mission Step: Maybe there’s something in the kitchen…
After the Deathstrike fight, Logan wakes up in Shiro’s penthouse. Check the exhibition room for the crate.
Chapter 16: Way Down Low Material Crates (Madripoor)
Way Down Low has 4 Material Crates. Three of them are inside the prisoner trucks at the Reaver checkpoints.
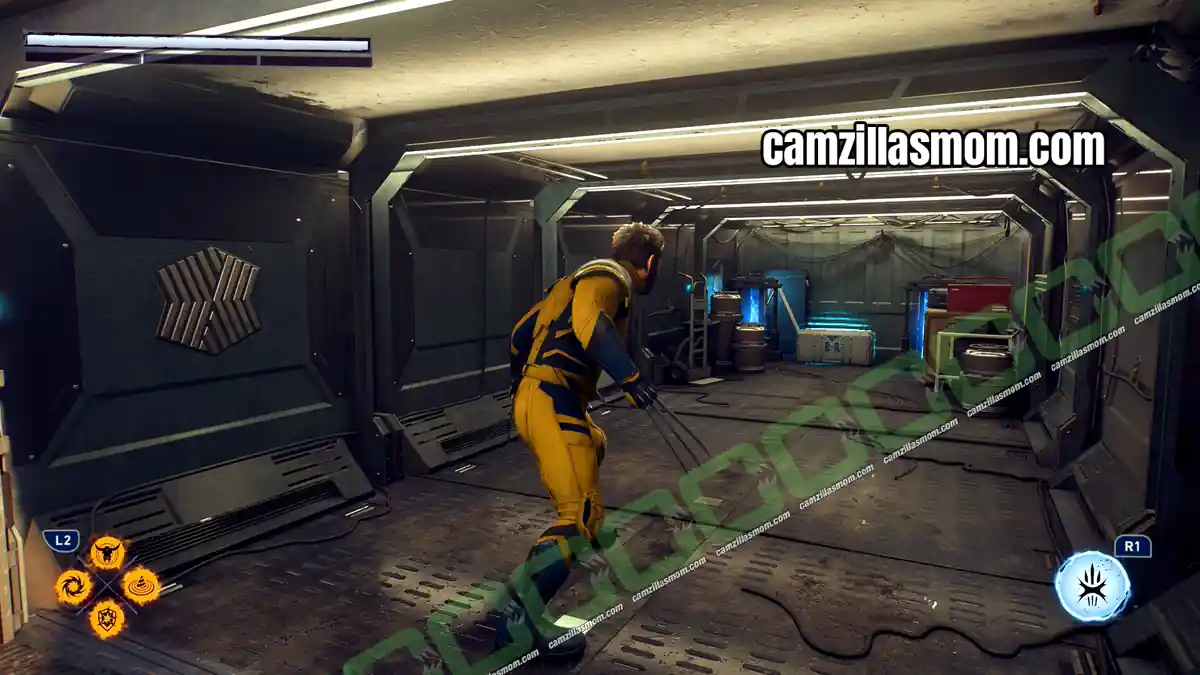
Material Crate 1 – Inside the Truck
Mission Step: Regroup with Jean
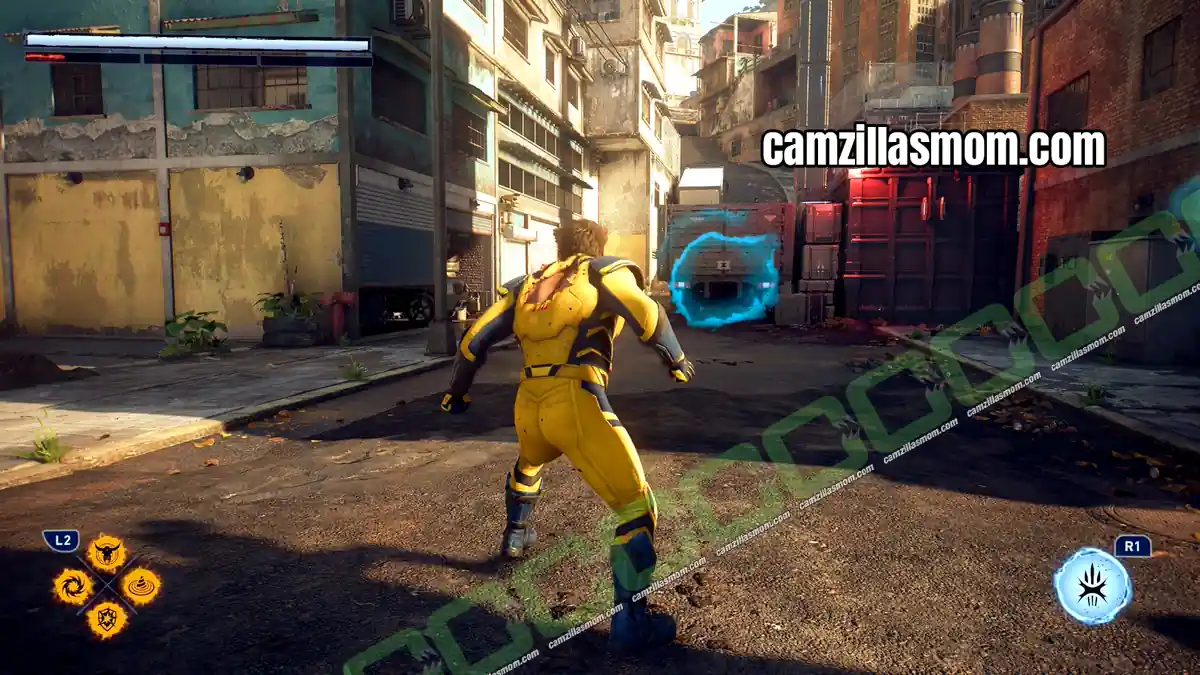
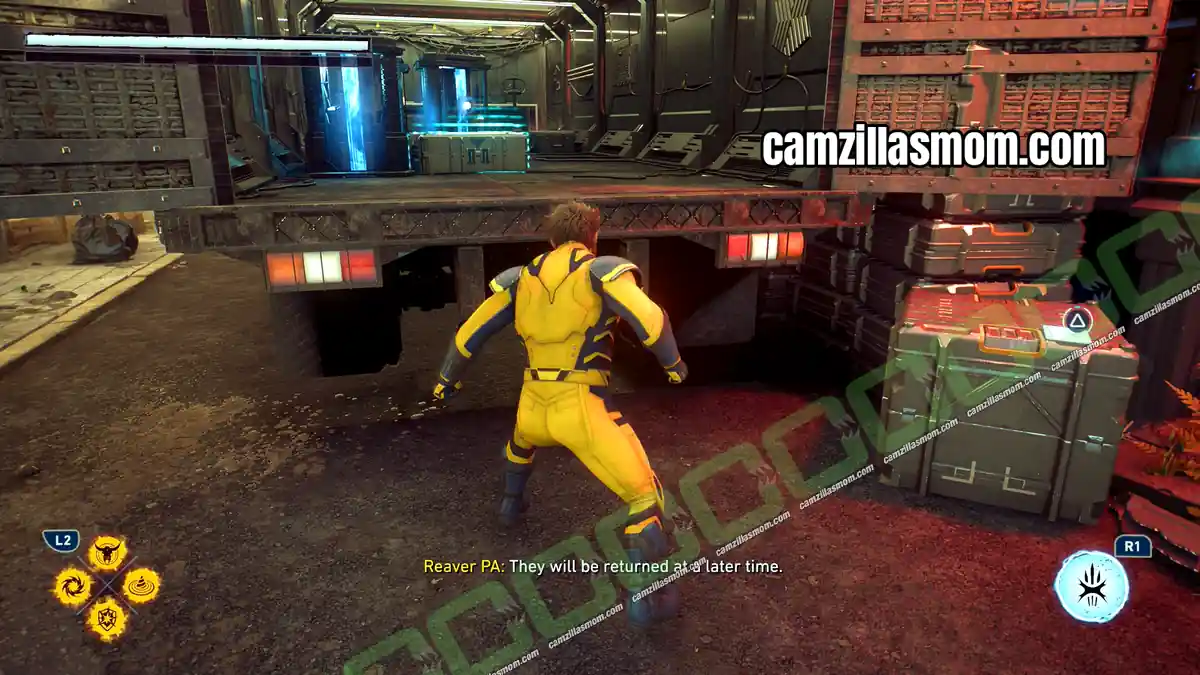
At the first Reaver checkpoint, defeat the guards, take out the turret at the back and open the truck to free the people inside. The crate is in there with them.
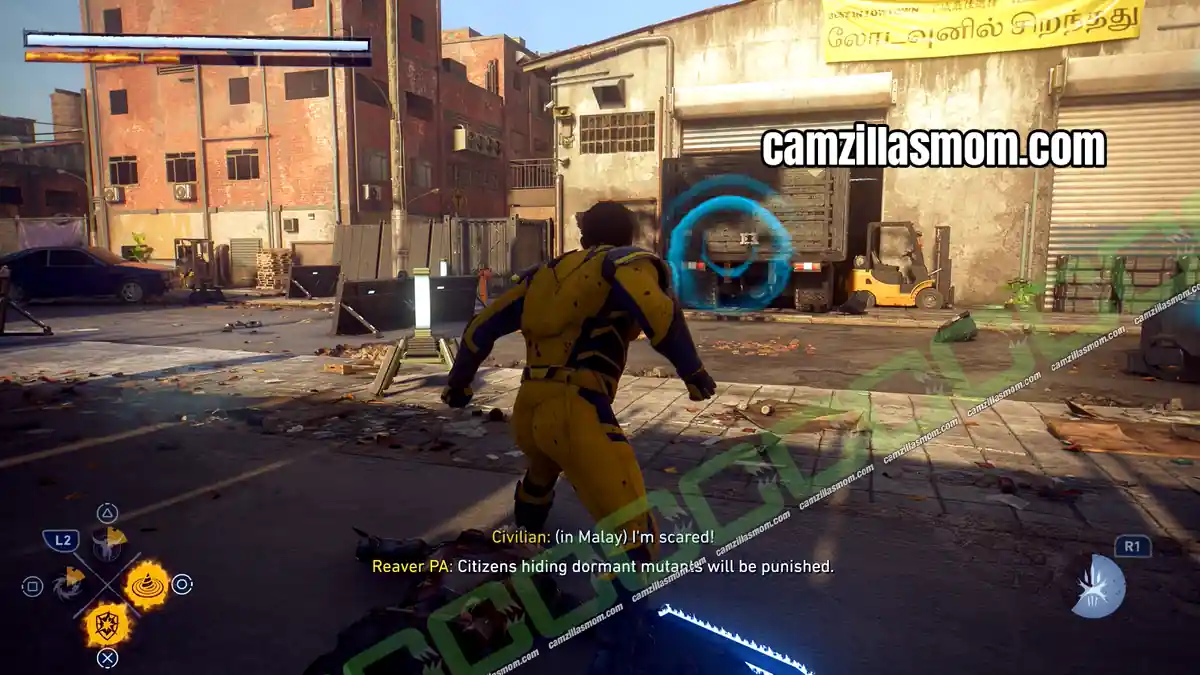
Material Crate 2 – Second Checkpoint Truck
Mission Step: Meet Jean at the clocktower
Jean tears down a wall into a bigger area with a second guarded checkpoint and another turret. Open the truck here, free the people inside and take the crate.
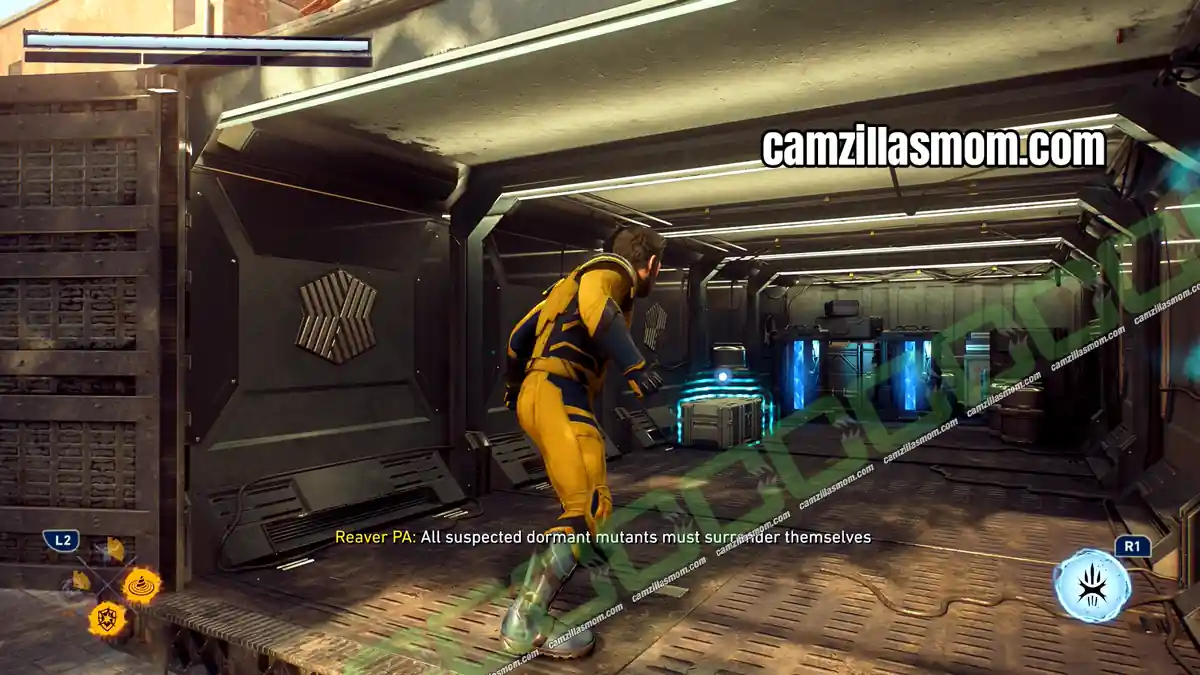
Material Crate 3 – Third Checkpoint Truck
Mission Step: Meet Jean at the clocktower
Further to the left is a smaller third checkpoint with another truck. Open it, free the prisoners and take the crate. There is also a readable note by the back door.
Material Crate 4 – Antenna Roof
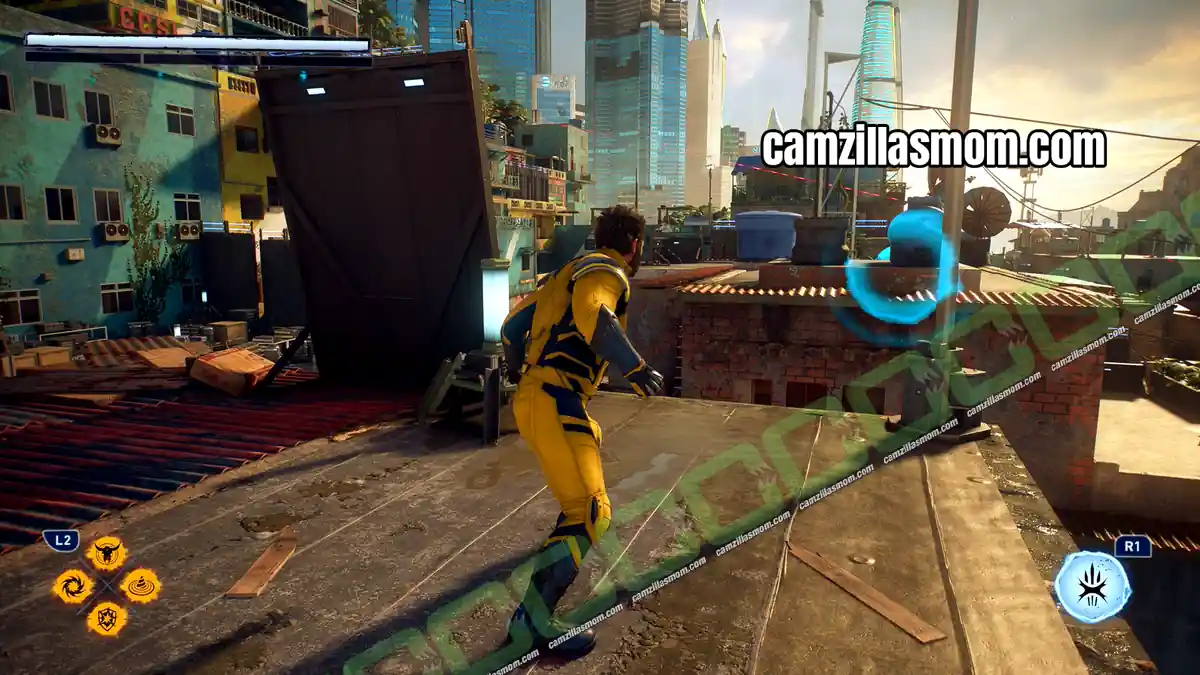
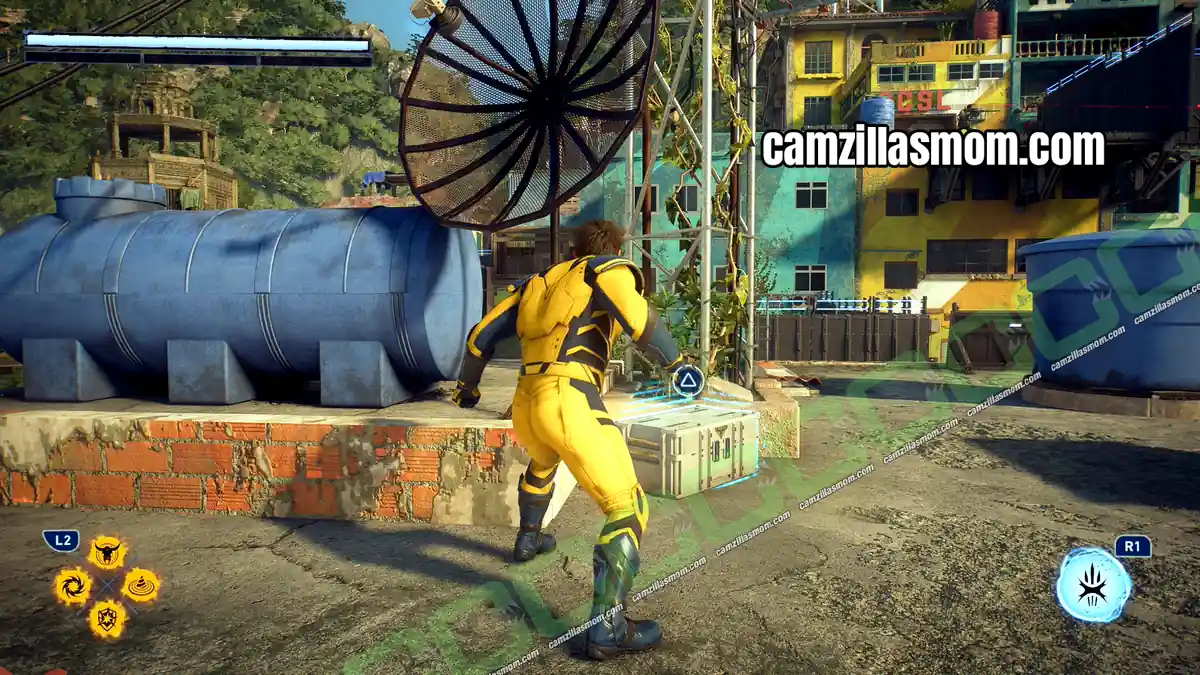
Mission Step: Eliminate the Reavers guarding the radio station.
Go back to the first sniper roof and cross over to the roof with the antenna for the last crate of the chapter.
Chapter 17: Roll the Dice Material Crate (Madripoor)
Roll the Dice has only 1 Material Crate.
Material Crate – Security Room
Mission Step: Service Elevator Going Up
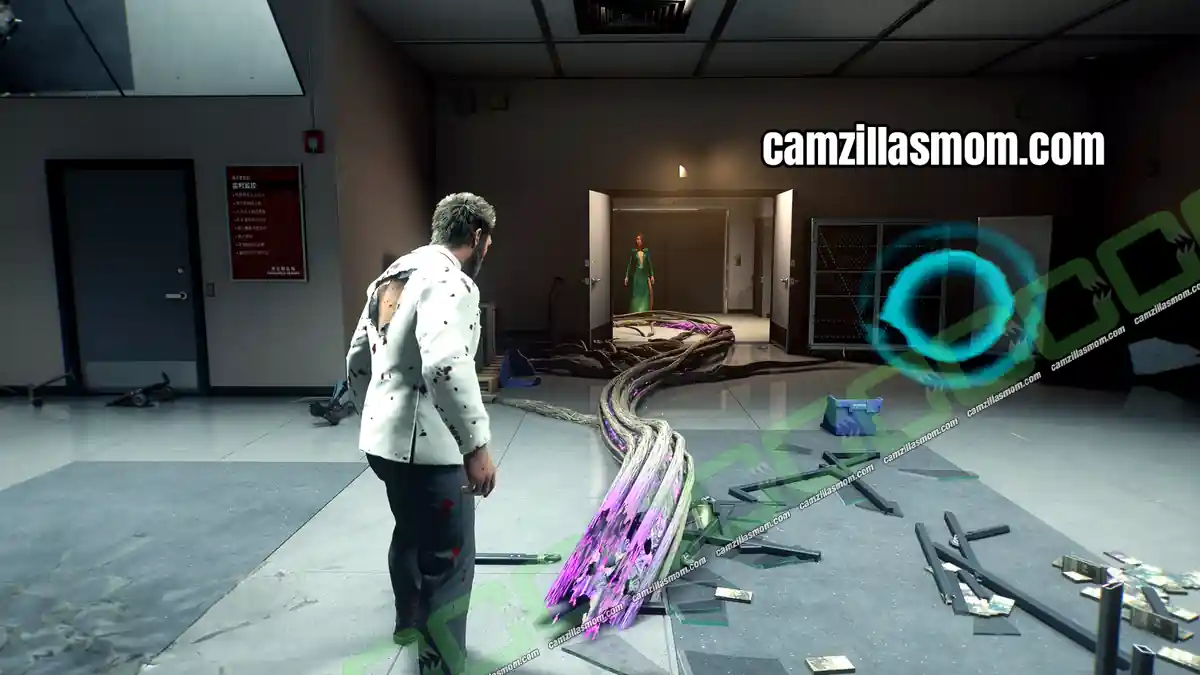
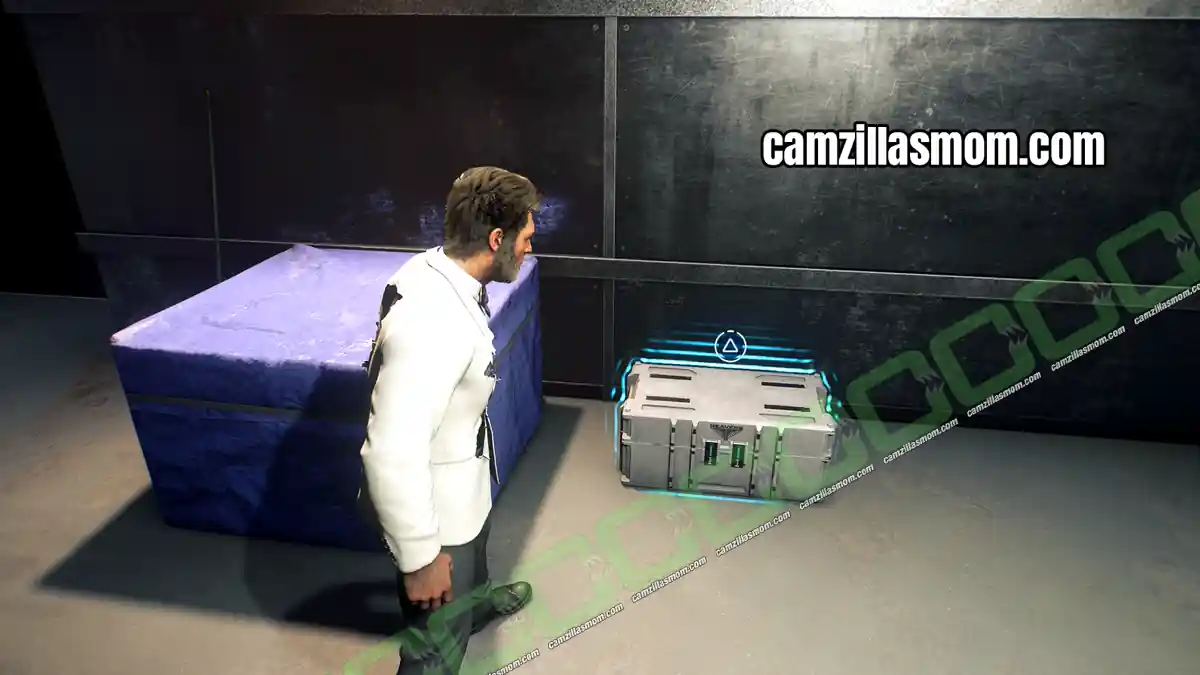
After the slots and the VIP keycard, Logan and Jean set off the alarm. During the fight, a previously locked door on the ground floor opens. Go through it and the crate is to the right of the service elevator.
Chapter 18: Field Test Material Crates (Madripoor)
Field Test has 2 Material Crates, both on the way to the Dream Street Theatre.
Material Crate 1 – Alley
Mission Step: Meet Jean at the Dream Street Theatre
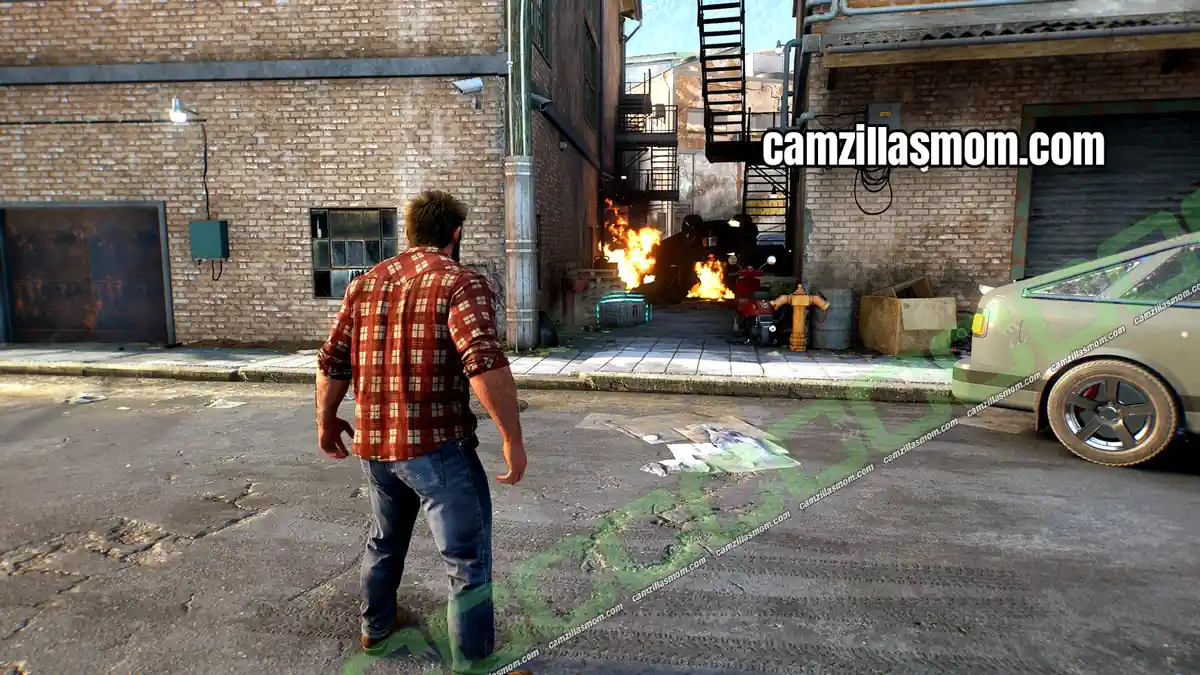
After freeing the civilians from the cage at the fish market and the Essex cutscene, look for a small alley on the left.
Material Crate 2 – Market
Mission Step: Meet Jean at the Dream Street Theatre
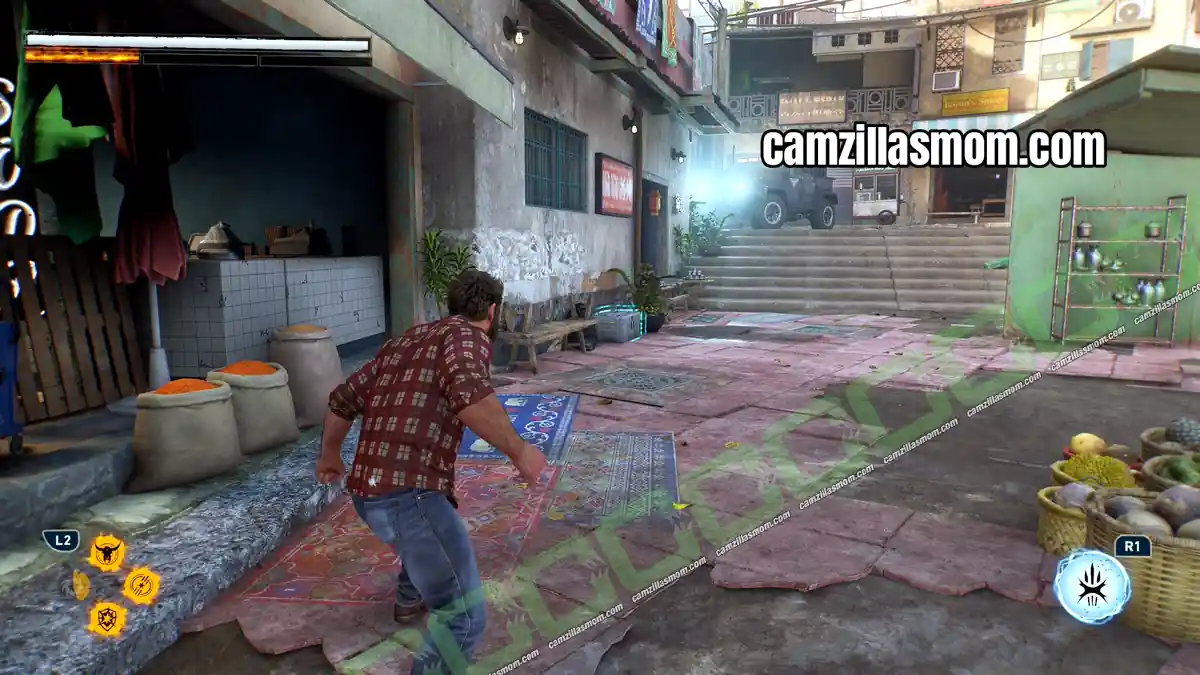
Carry on to the market. The crate is on the left side, next to the stairs.
Chapter 19: I’m Still Here Material Crates (Madripoor)
I’m Still Here has 5 Material Crates, most of them in Sentinel territory.
Material Crate 1 – Ruined House
Mission Step: Learn what happened to Jean
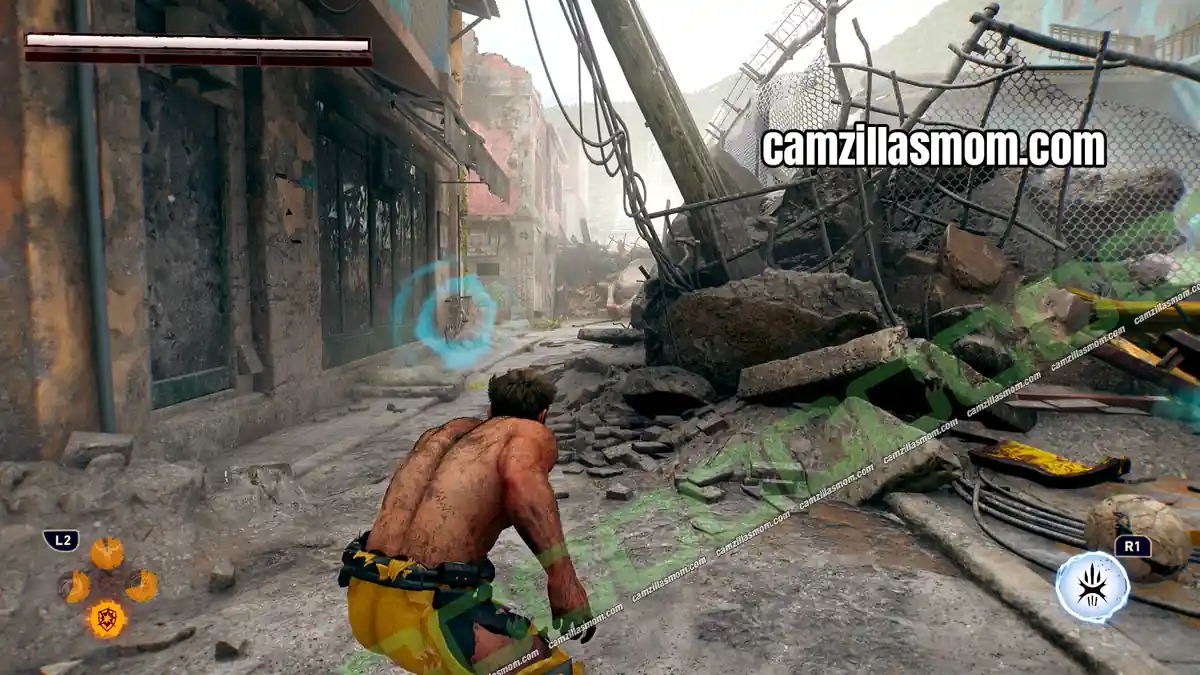
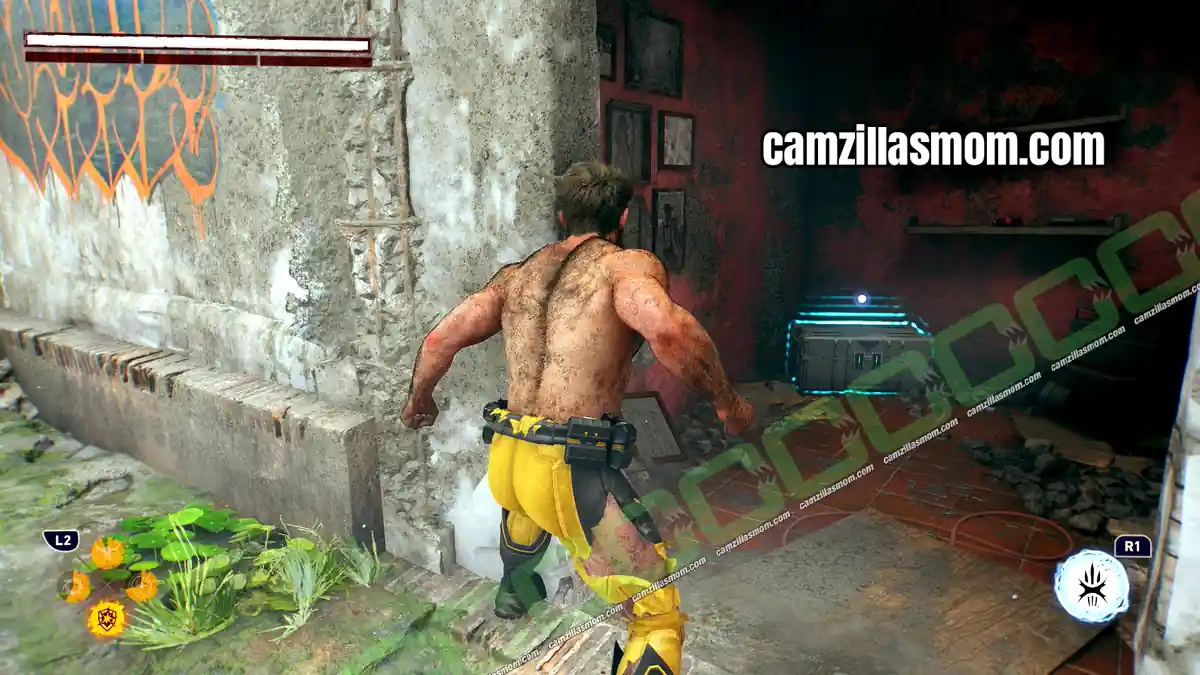
Defeat the MK2 Sentinel at the start, follow the winding path through the ruins and break through two barricades. When you reach the houses, go into the dead end house.
Material Crate 2 – Sentinel Patrol
Mission Step: Learn what happened to Jean
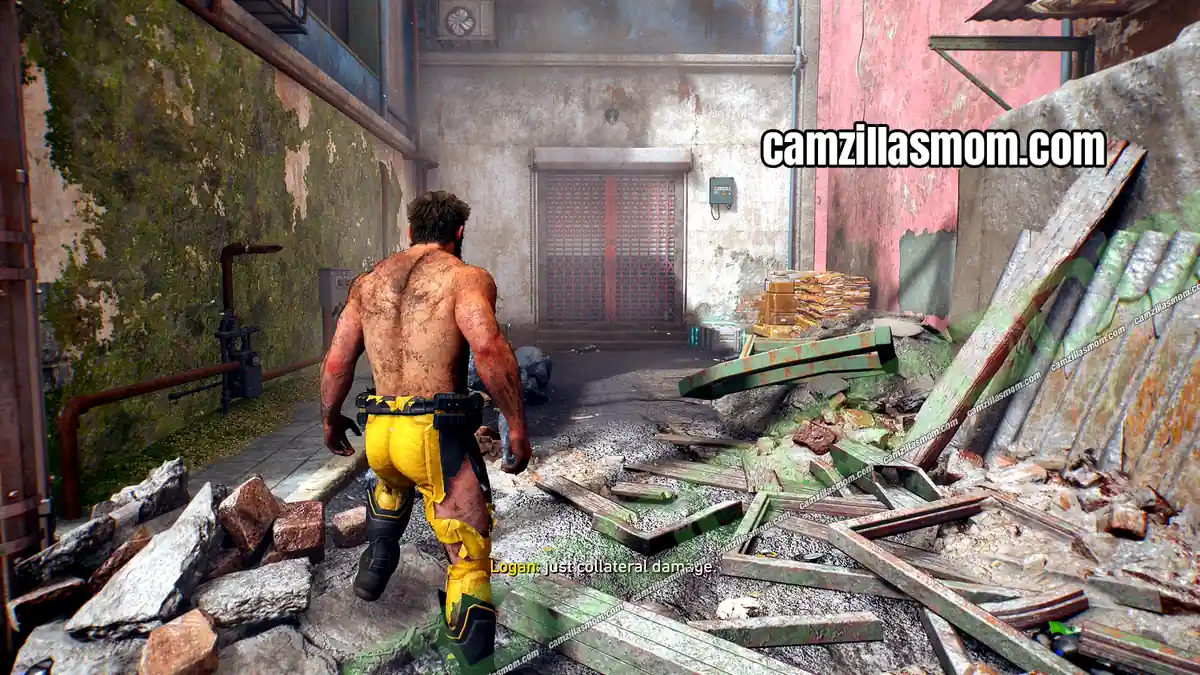
Further on, you reach the spot where a second Sentinel patrols. The crate is there, next to some burnt bodies.
Material Crate 3 – Noodle Bar
Mission Step: Look for Clues in the Noodle Bar
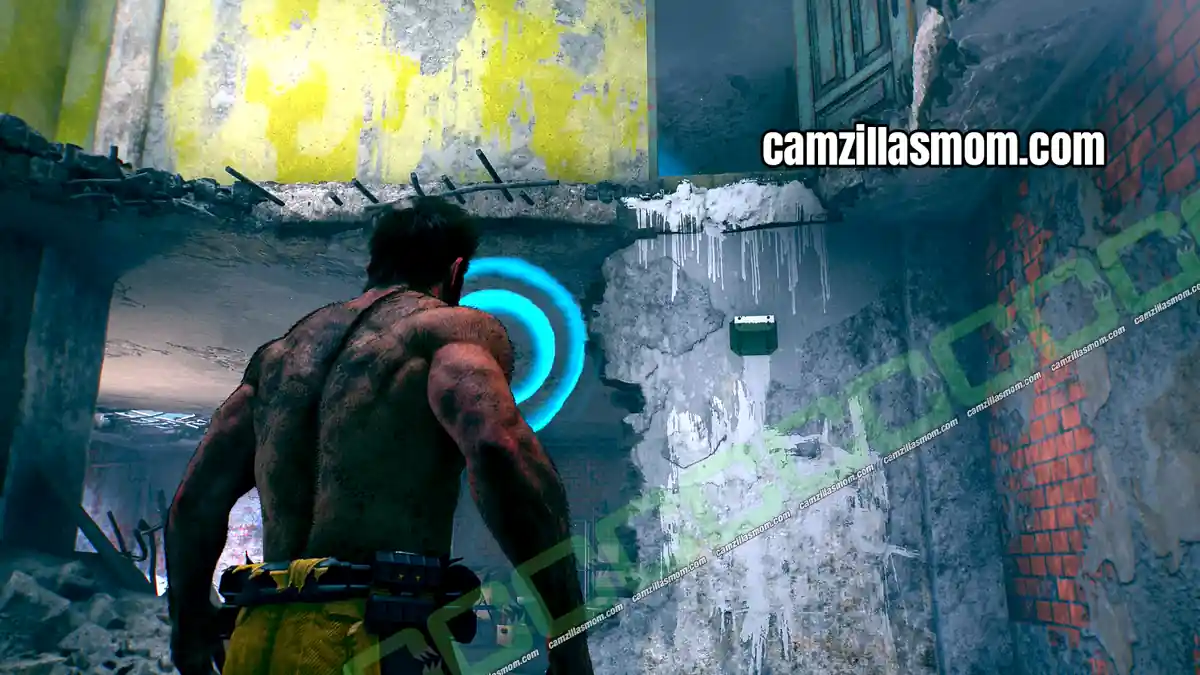
In the noodle bar, slide down to the bottom level, then climb back up one level to reach the crate.
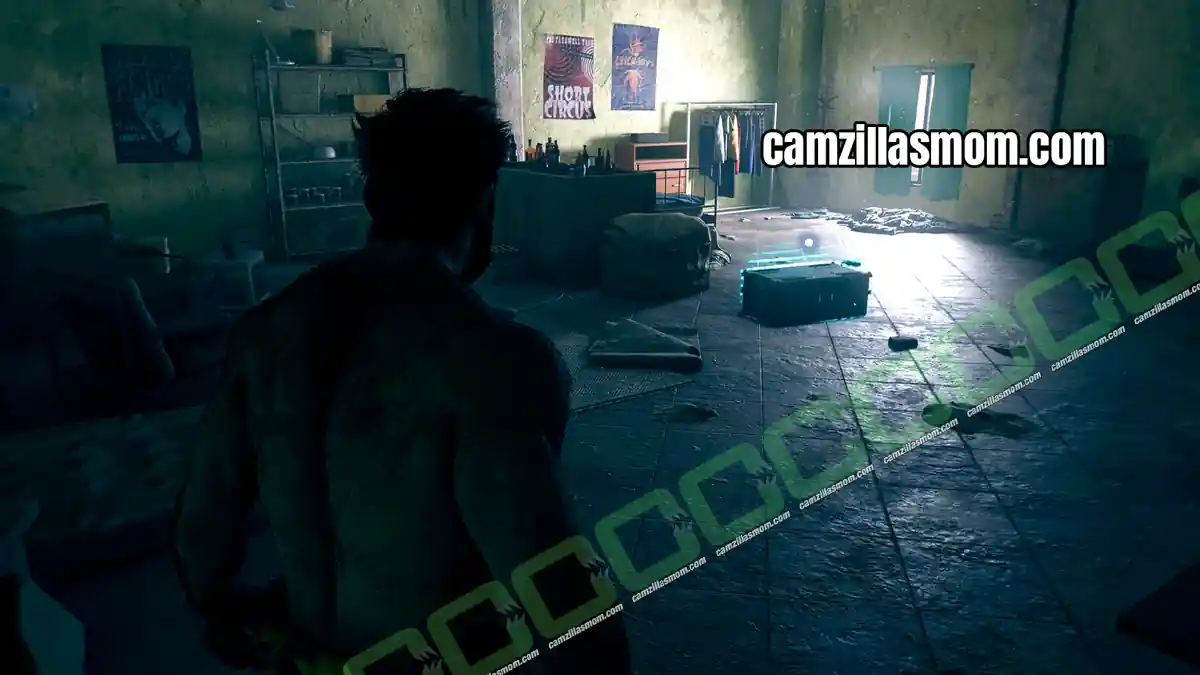
Material Crate 4 – Sentinel Area
Mission Step: Take out all the Sentinels
After meeting Mystique, Logan reaches a big area full of Sentinels. Take the zipline down and head downstairs to find the crate.
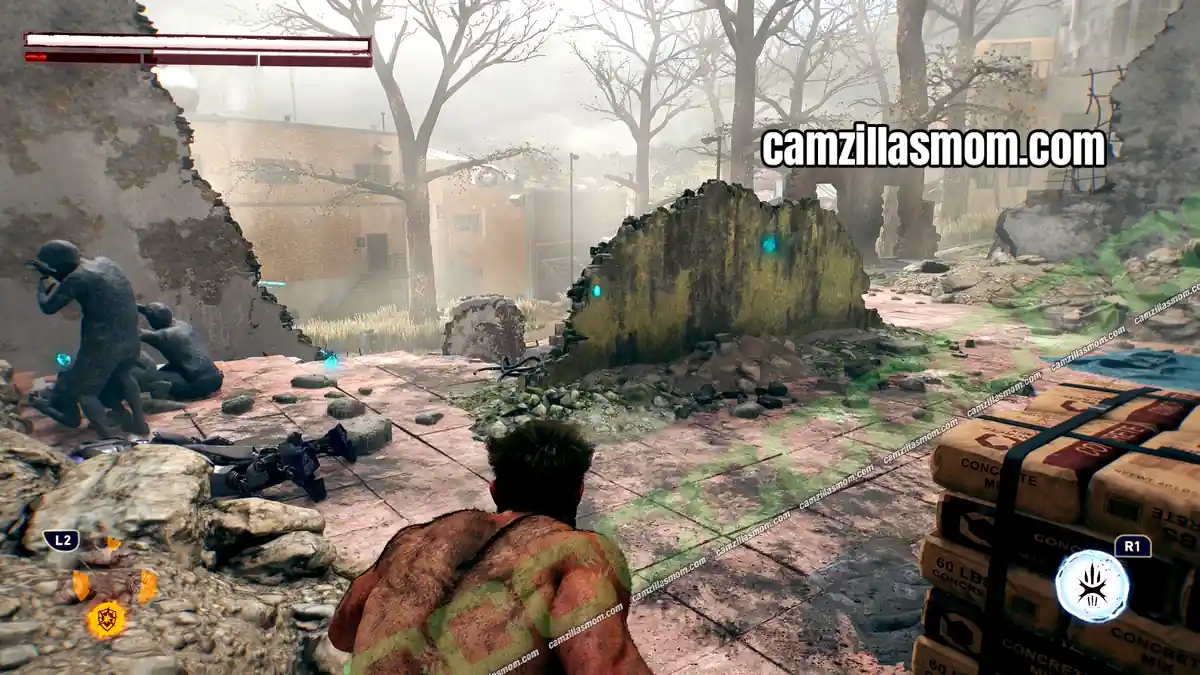
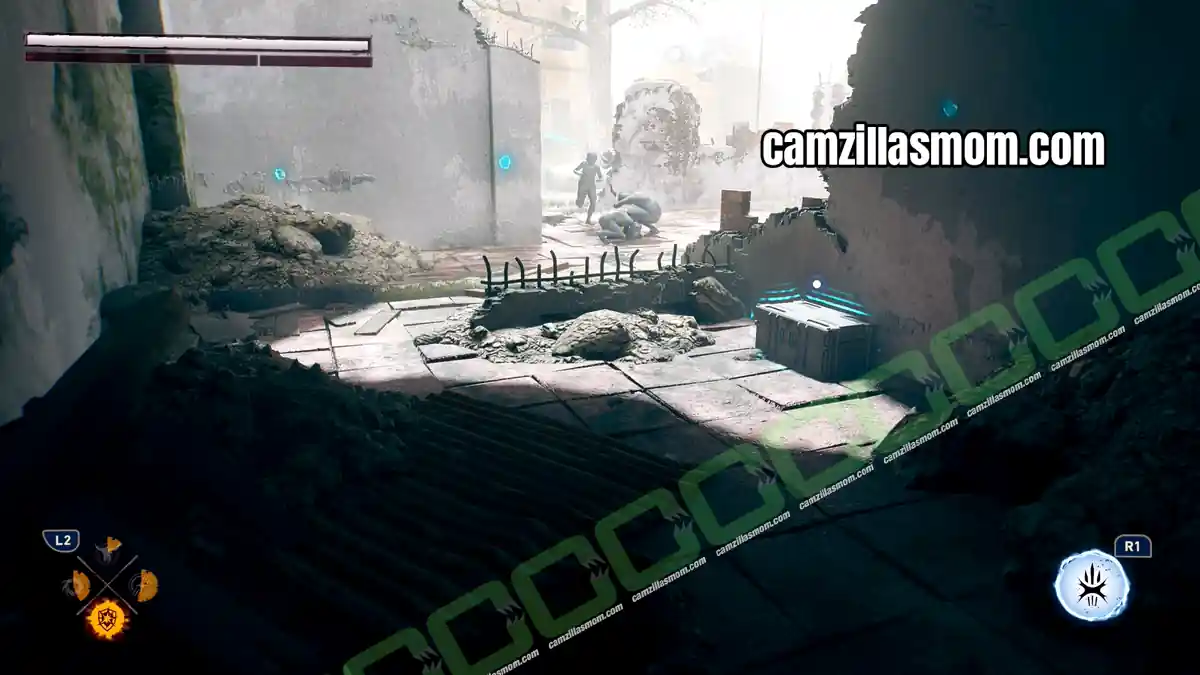
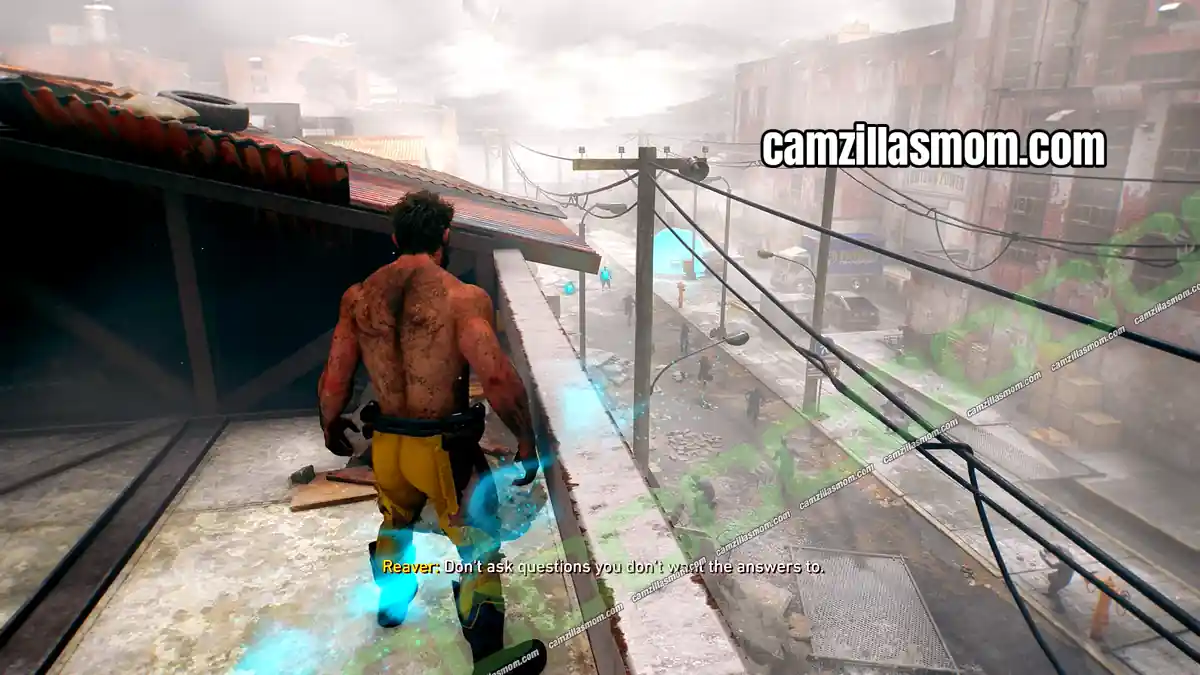
Material Crate 5 – Jean on the Roof
Mission Step: Follow Jean into the power plant
From the rooftop where Logan spots Jean, look left: the crate is at the end of the road below.
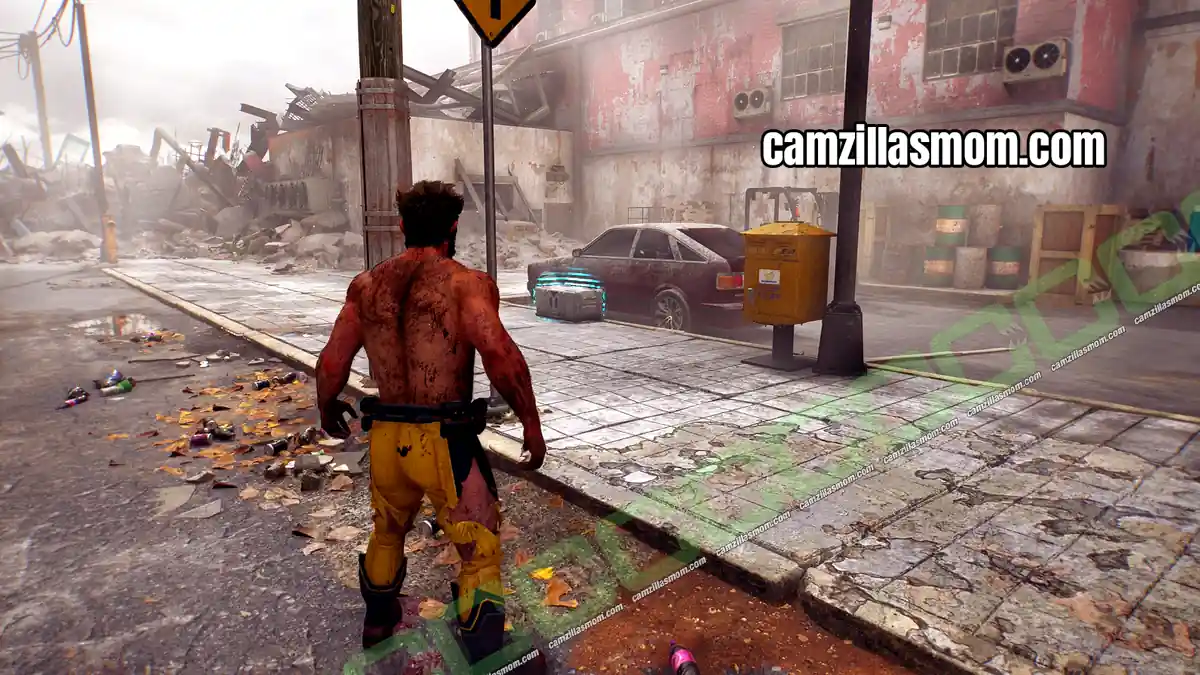
Chapter 20: This Was the Dream Material Crates (Madripoor)
This Was the Dream has 3 Material Crates, the last ones in the game.
Material Crate 1 – Rope Elevator
Mission Step: Get to the top
Leave the Nightmare Door and take the rope elevator up. The crate is on the balcony above, right after Jean rescues Logan.
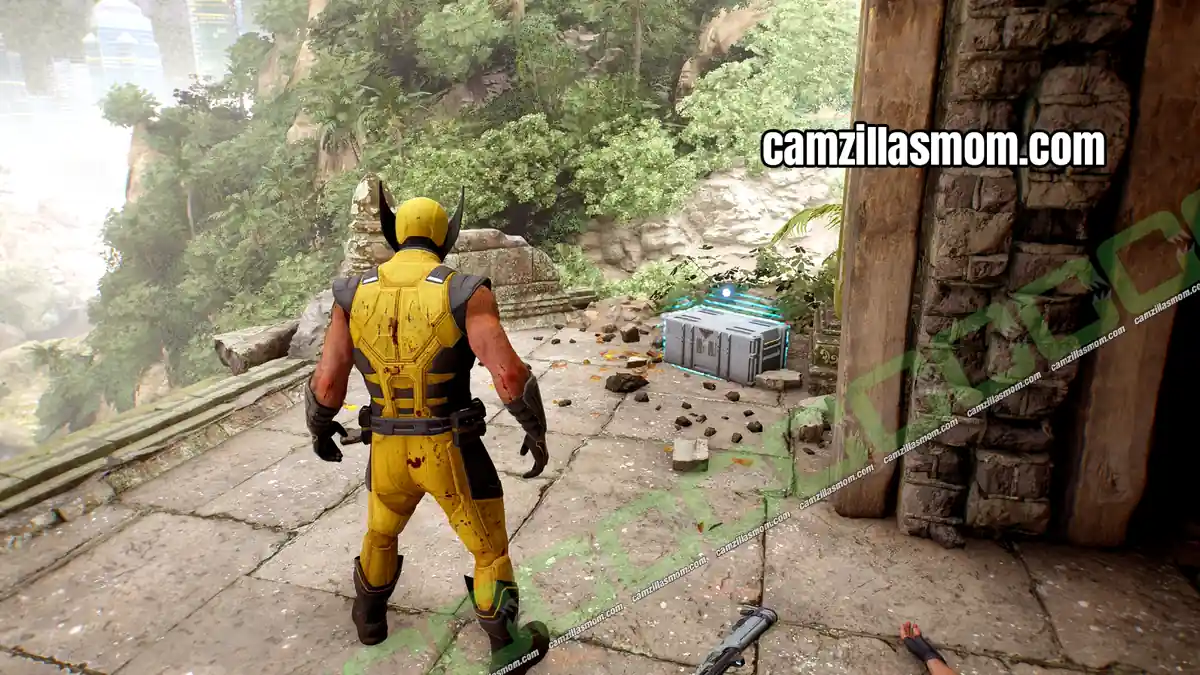
Material Crate 2 – Smash Window
Mission Step: Essex, what did you do?
After the cutscene in the Princess Bar, Jean asks Logan to smash a window. The crate is right behind it in the lab.
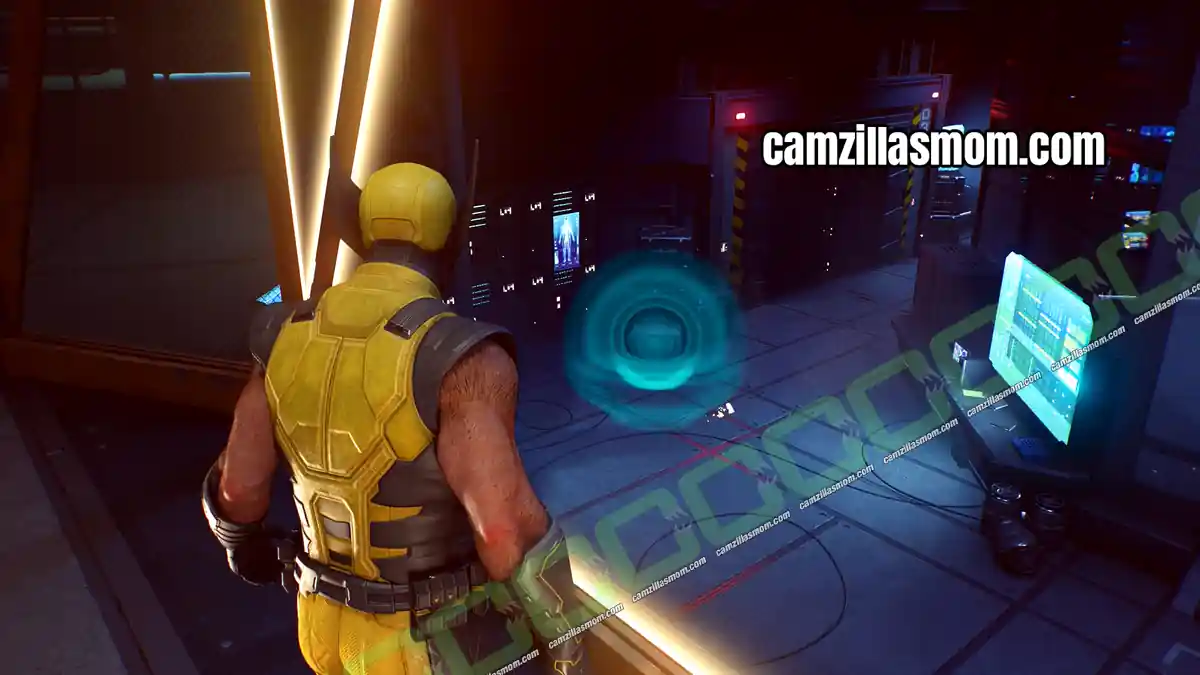
Material Crate 3 – Behind the Tank
Mission Step: What is Essex doing here?
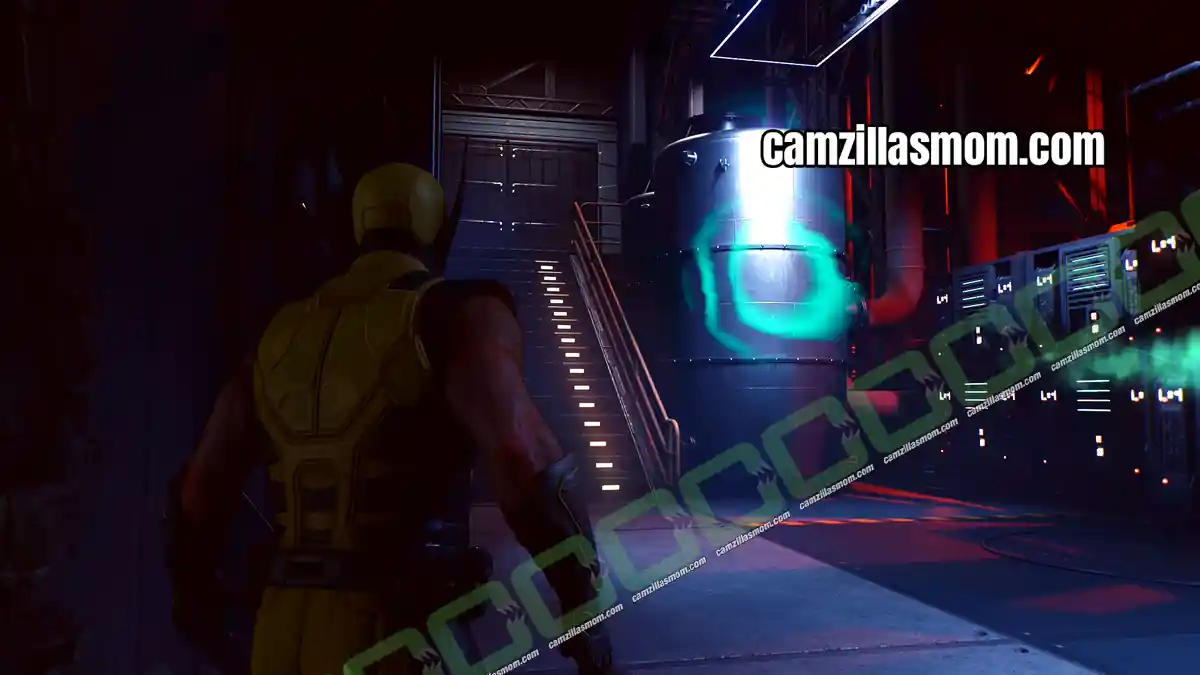
Leave the lab and look left for a big tank next to a staircase. Head up those stairs for the very last Material Crate in the game.


About Marvel’s Wolverine
Release: September 15th, 2026
Developer: Insomniac Games
Publisher: Sony Interactive Entertainment
Official Website: https://www.playstation.com/en-us/games/marvels-wolverine/