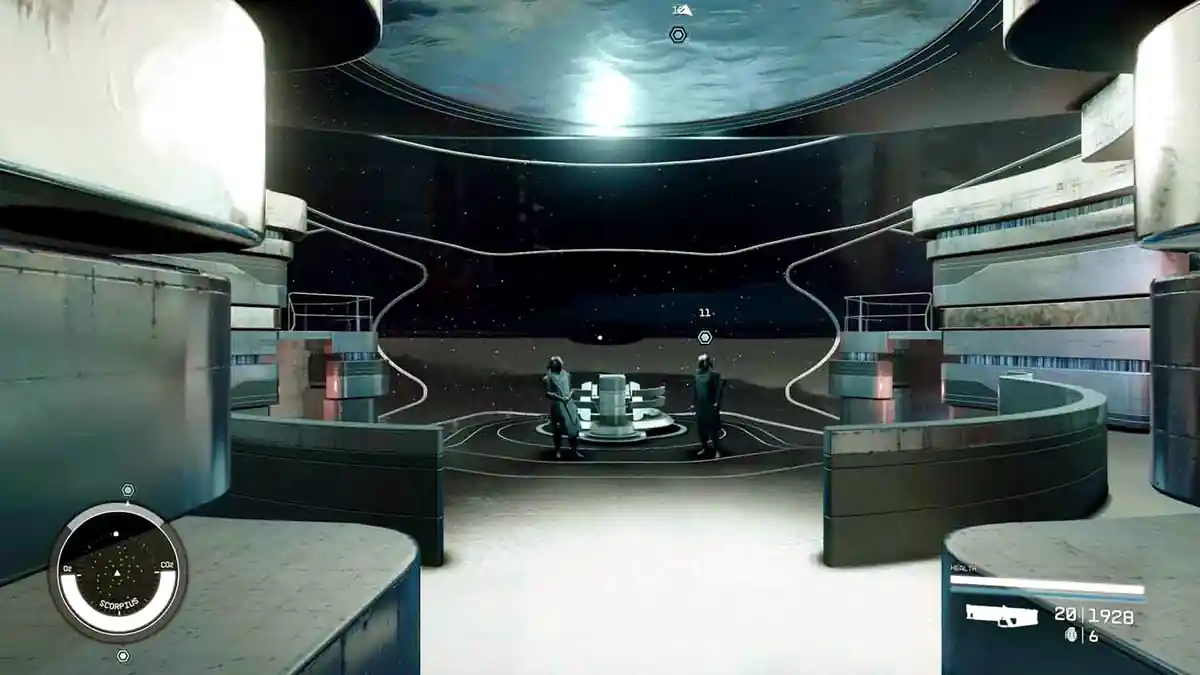
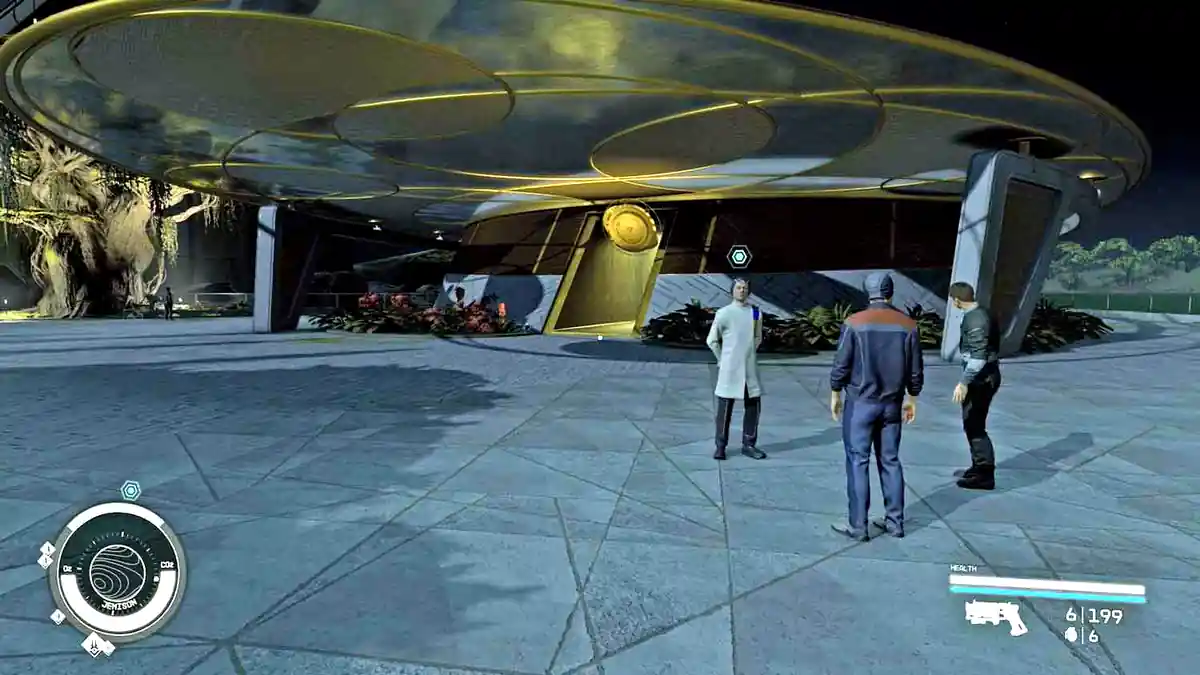
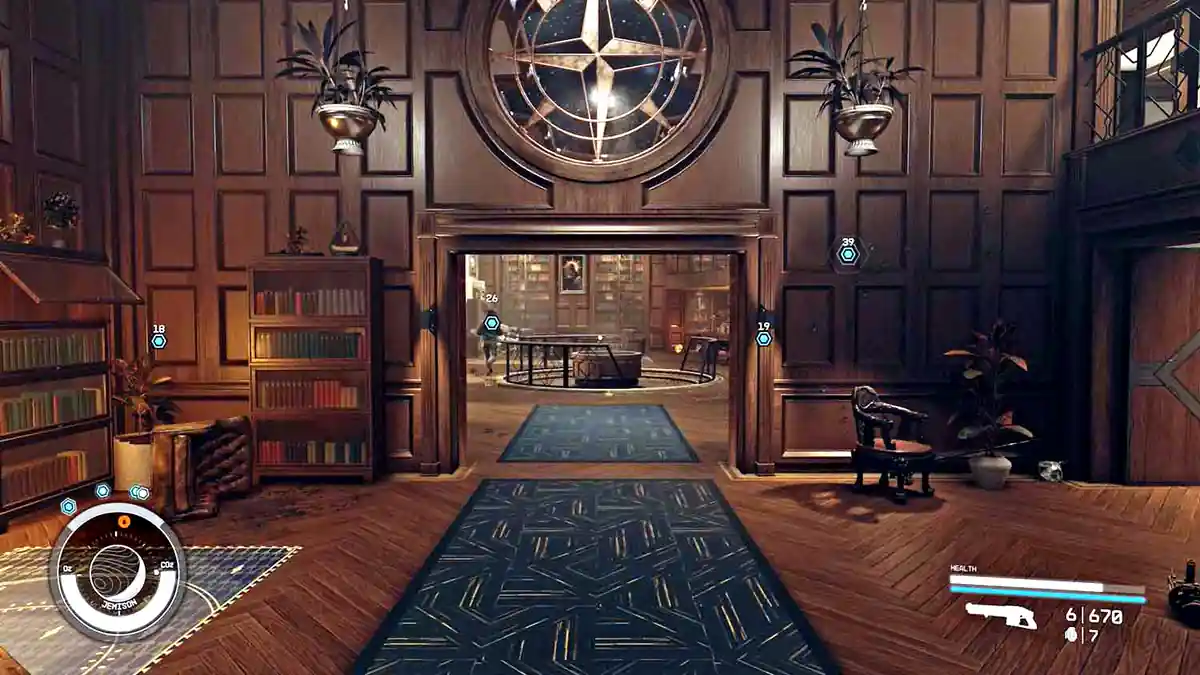
Starfield Unearthed is the Constellation mission that follows In Their Footsteps, and it is the one that finally explains what happened to Earth. The Emissary hands you a key to an abandoned research base on Luna, and the trail from there leads down into the ruins of NASA. This walkthrough covers every objective in order, all six Moon Base slates, the climb into the NASA Launch Tower, the collectibles that disappear for good once the mission ends, and the Emissary or Hunter conversation waiting outside.
Related Guides:
Final Glimpses
In Their Footsteps
Starfield Powers – All 24 Temples and Power From Beyond
Starfield Game Guides Hub
- Unearthed Mission Overview
- 1 – Go to Nova Galactic Research Station
- 2 – Investigate the Research Station
- 3 – Collect all the Slates (Optional)
- 4 – Continue to Investigate the Research Station
- 5 – Play the Recording on the Roof
- 6 – Go to NASA
- 7 – Find a Way Inside
- 8 – Enter NASA
- 9 – Find Information about NASA
- 10 – Find Information about the Martian Sample
- 11 – Find Information about the Prototype Grav Drive
- 12 – Release the Artifact
- 13 – Leave NASA
- 14 – Talk to the Emissary
- Emissary or Hunter
- What Happened to Earth in Starfield
Unearthed Mission Overview
Questline: Constellation, main mission 14
Starts after: In Their Footsteps, automatically once you leave the Scorpius
Location: Nova Galactic Research Station on Luna in the Sol system, then the NASA Launch Tower on Earth
Companion: any, and they comment on the NASA facility throughout
Objectives: go to Nova Galactic Research Station, investigate the station, optionally collect the six Moon Base slates, play the recording on the roof, go to NASA, find a way inside, enter NASA, find information about NASA, the Martian sample, the prototype Grav Drive and its side effects, release and take the artifact, leave NASA, talk to the Emissary
Rewards: roughly 4,500 XP and 10,200 credits, plus the artifact
Unlocks next: Final Glimpses, which has to be completed before Unearthed will close
Most of Unearthed is exploration rather than combat. Nothing on Luna will attack you, and the NASA facility only turns hostile on the way back out, when Starborn spawn behind you. The exceptions are a set of turrets and one robot around level 50 in the lower launch facility. Bring digipicks, because there are advanced and expert locks worth opening along the route, and bring a boost pack, because the climb into the launch tower is far easier with one.
1 – Go to Nova Galactic Research Station
Mission Text:
“The Emissary has given me a key to a base on Luna, Earth’s Moon, saying I’ll learn more about the Artifacts if I investigate.”
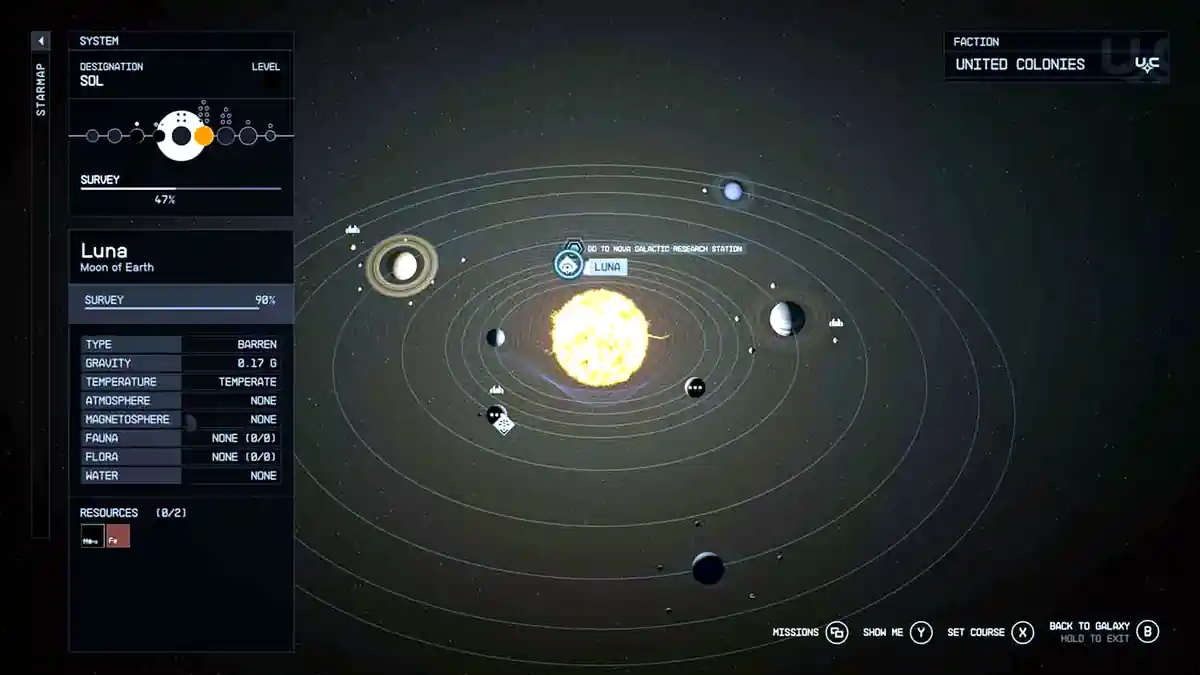
Grav jump to the Sol system and travel to Luna, the moon orbiting Earth. There is a landing site marked Nova Galactic Research Station. Land there and walk up to the base. Nothing here is hostile, so take your time.
If you are playing New Game Plus and you are already Starborn, your dialogue during In Their Footsteps may have earned you the NASA Access Code directly instead of the Moon Base Key. If that happened, the game skips the first three objectives entirely and starts you at “Go to NASA” on Earth. Jump ahead to step 6 below.
2 – Investigate the Research Station
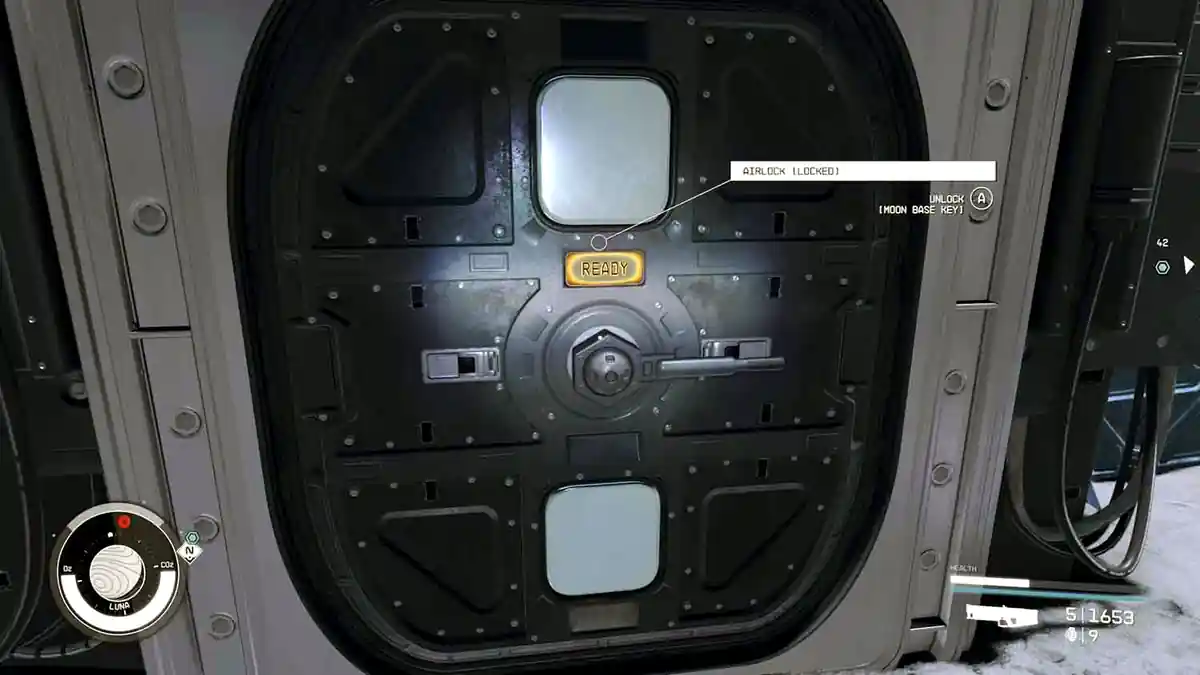
Use the Moon Base Key the Emissary gave you to open the airlock and step inside.
3 – Collect all the Slates (Optional)
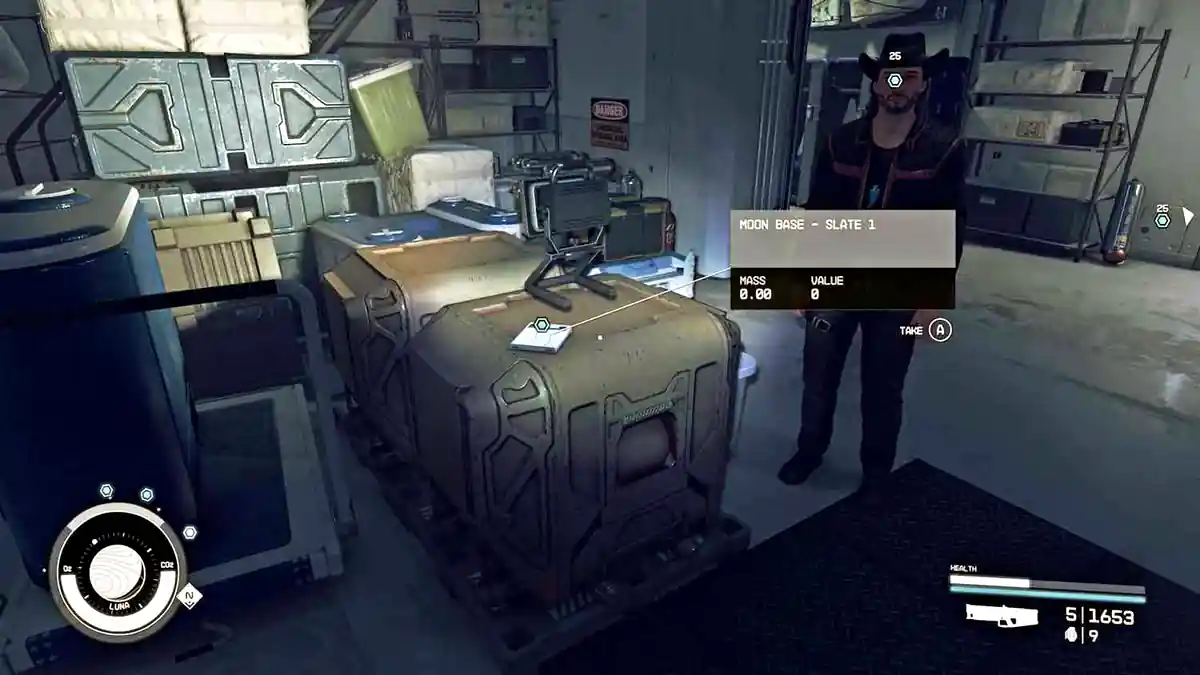
Picking up the first slate triggers an optional objective to find the rest. There are six, all inside the main building. Here they are by number:
Slate 1 is just in the first room when you enter the base. It’s on top of a beige box.
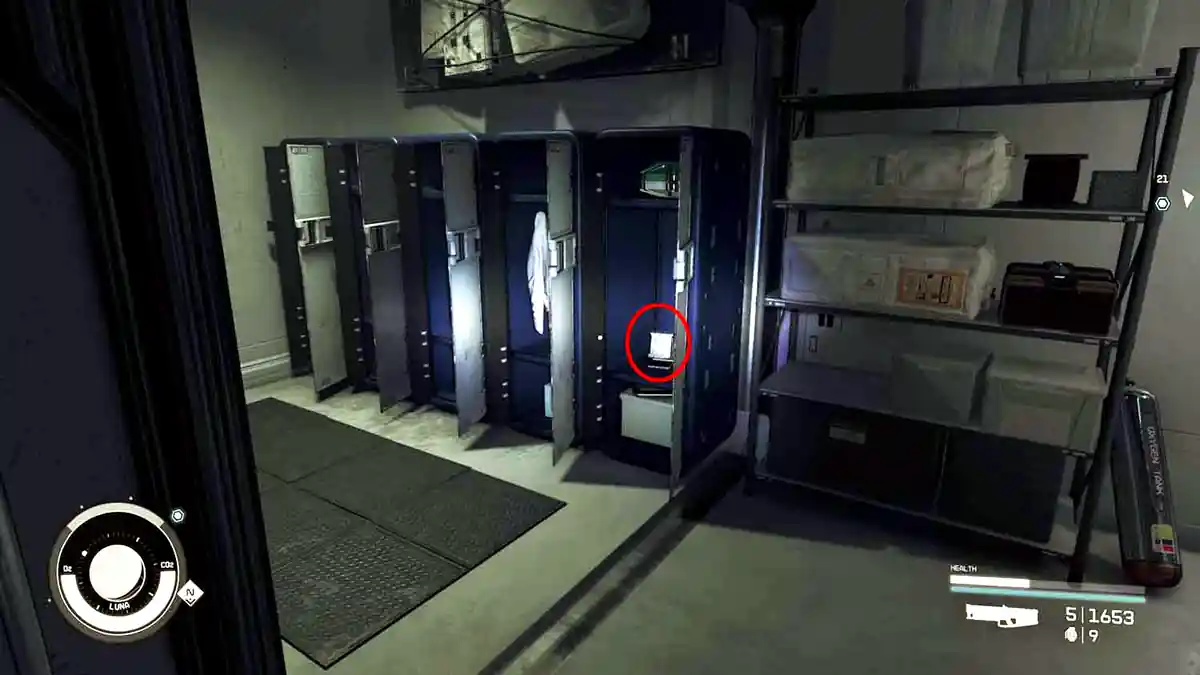
Behind the previous beige box is a locker room. Open them all. Moon Base Slate 3 is in one of them.
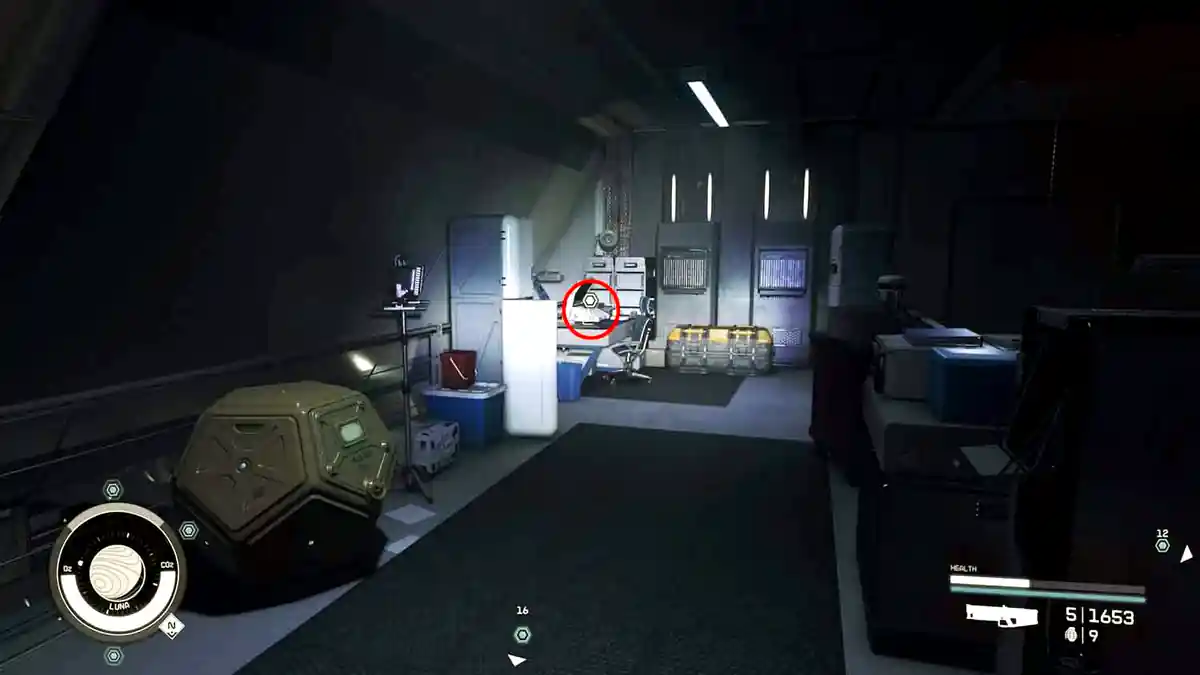
From Slate 3 you can go upstairs and enter the next room from there. Just at the back is a desk with Slate 6.
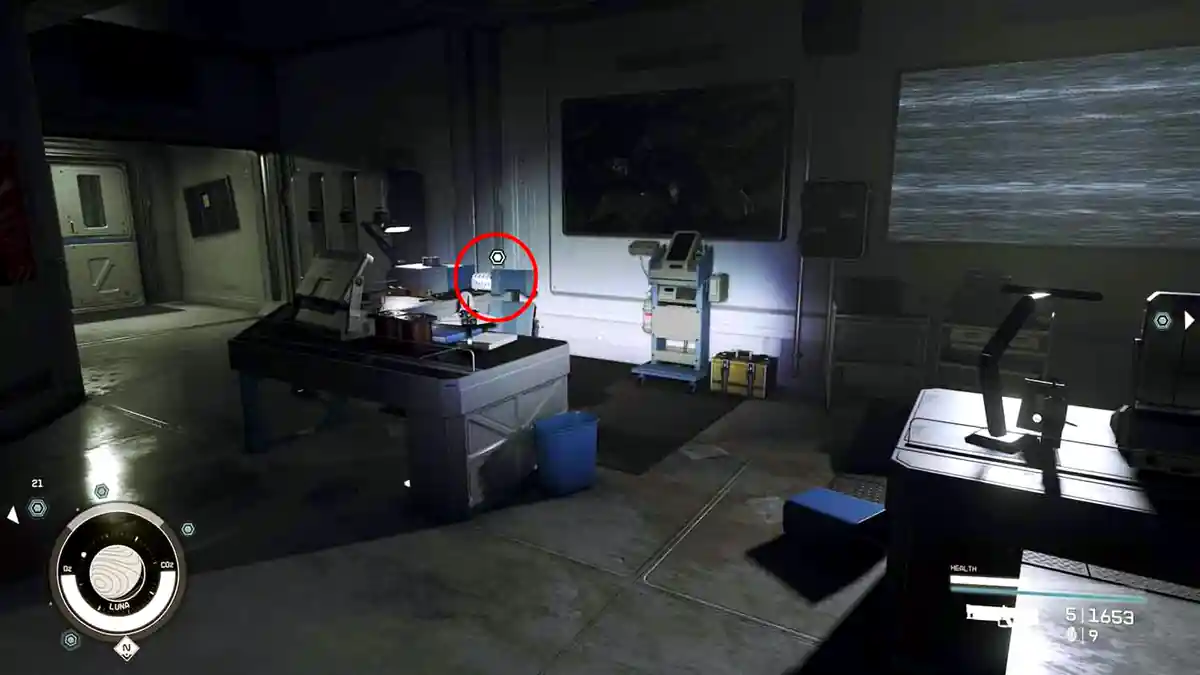
Now go downstairs. On the desk next to the broken wall TV is a slate holder with Slate 2 in it.
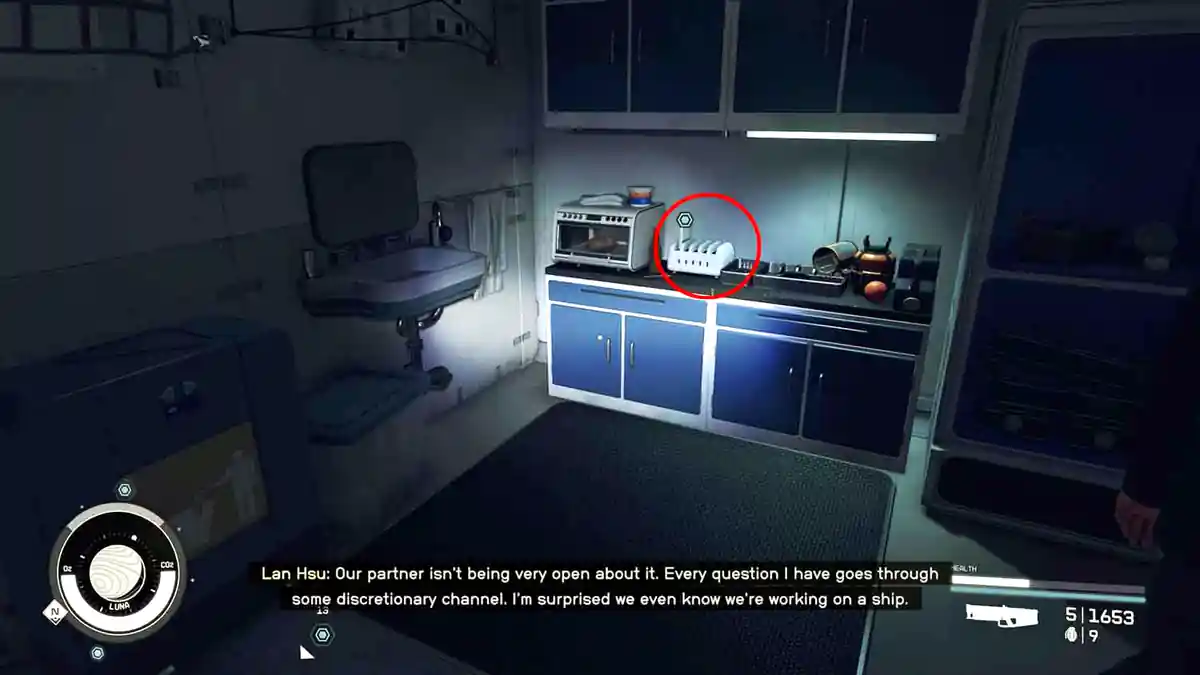
Go to the other room on ground floor with the training equipment and the kitchenette. There’s a slate holder with Slate 5 in it.
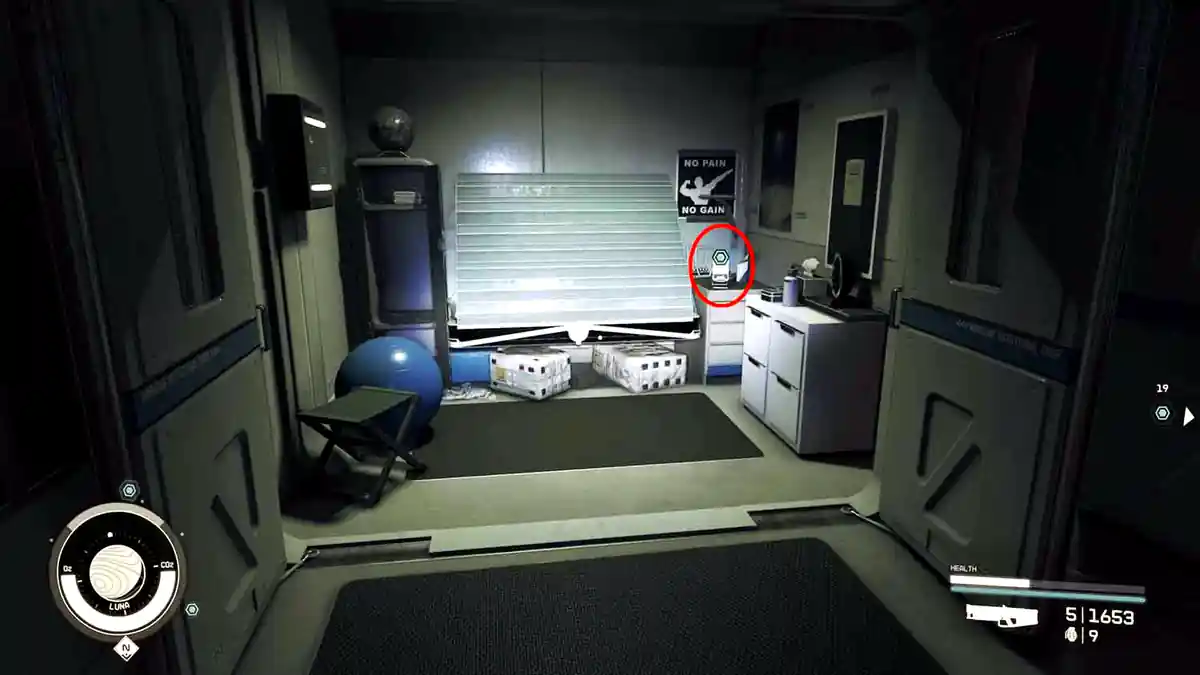
Go over to the other side of the room with the training equipment. There is a small bedroom with Slate 4
4 – Continue to Investigate the Research Station
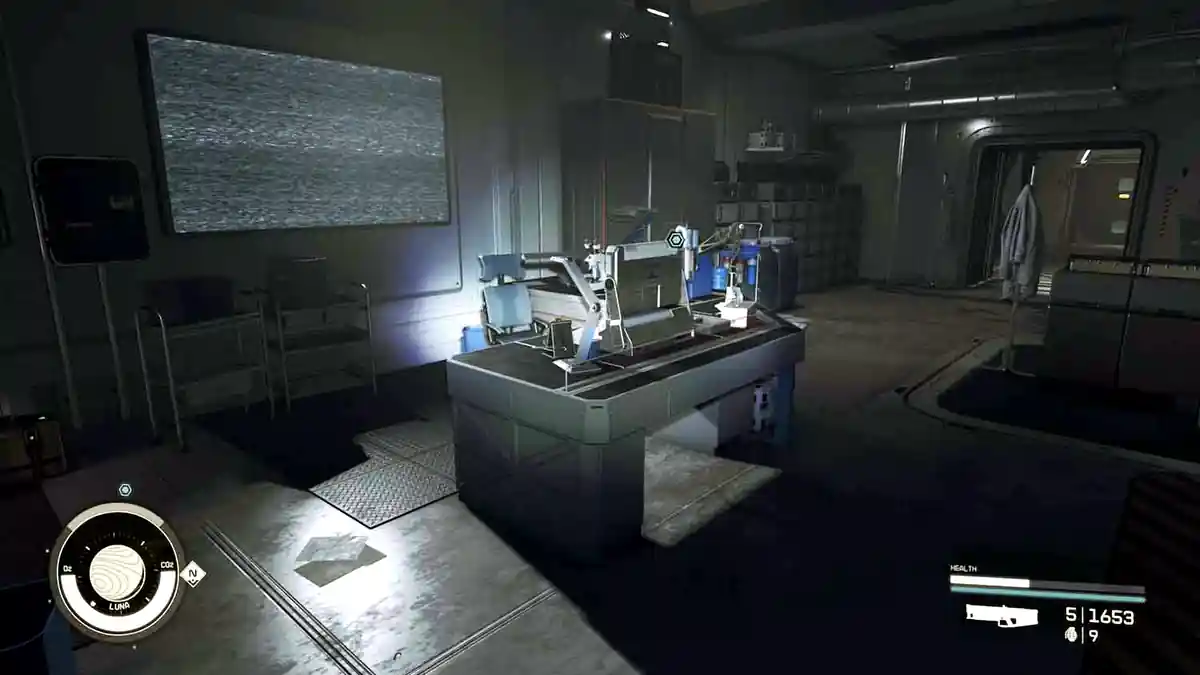
After collecting the slates, go back to the ground floor computer station and interact with it. Read the file “Project Prism Launch”. It confirms this base ran the first ship-mounted Grav Drive test, which is the thread the rest of the mission pulls on.
5 – Play the Recording on the Roof
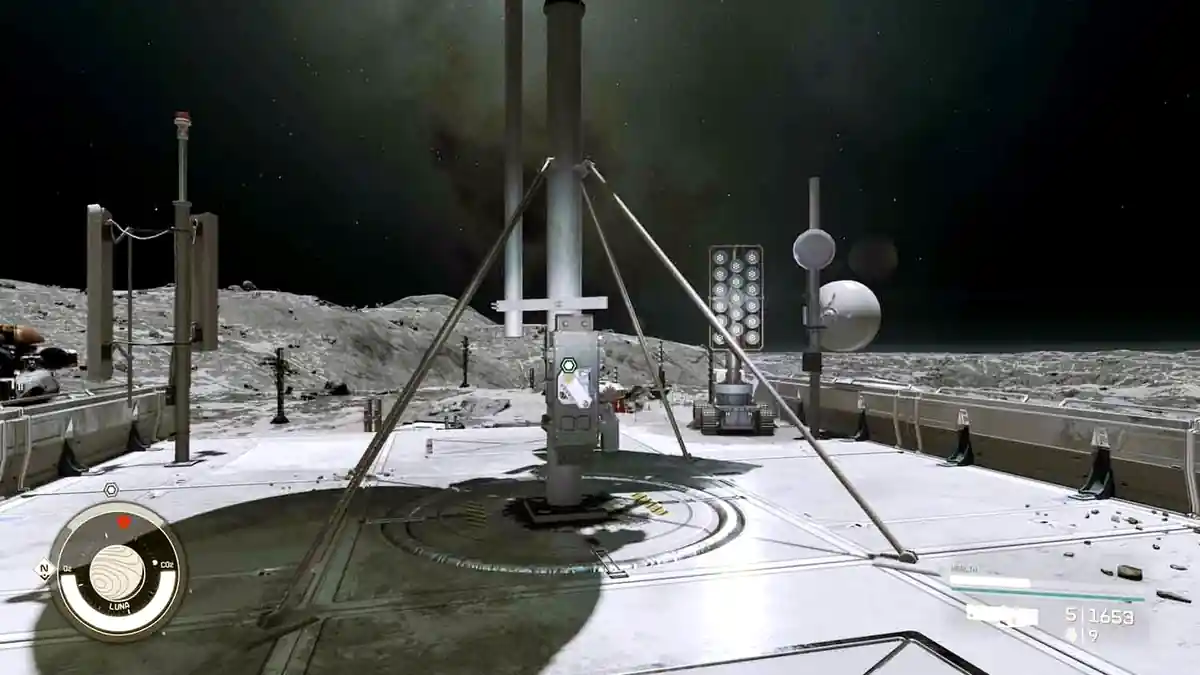
Get back outside and up onto the roof of the building. Lunar gravity plus a boost pack makes this a single jump. Play the recording at the antenna and listen to it all the way through.
Finishing this recording is what gives you the NASA Access Code. If you skip out early or leave Luna before it ends, you will reach the locked door at the launch tower with no way through, so let it run.
6 – Go to NASA
Mission Text:
“The first Grav Drive was developed with the help of NASA, on Earth. I need to find out how this is connected with the Artifacts.”
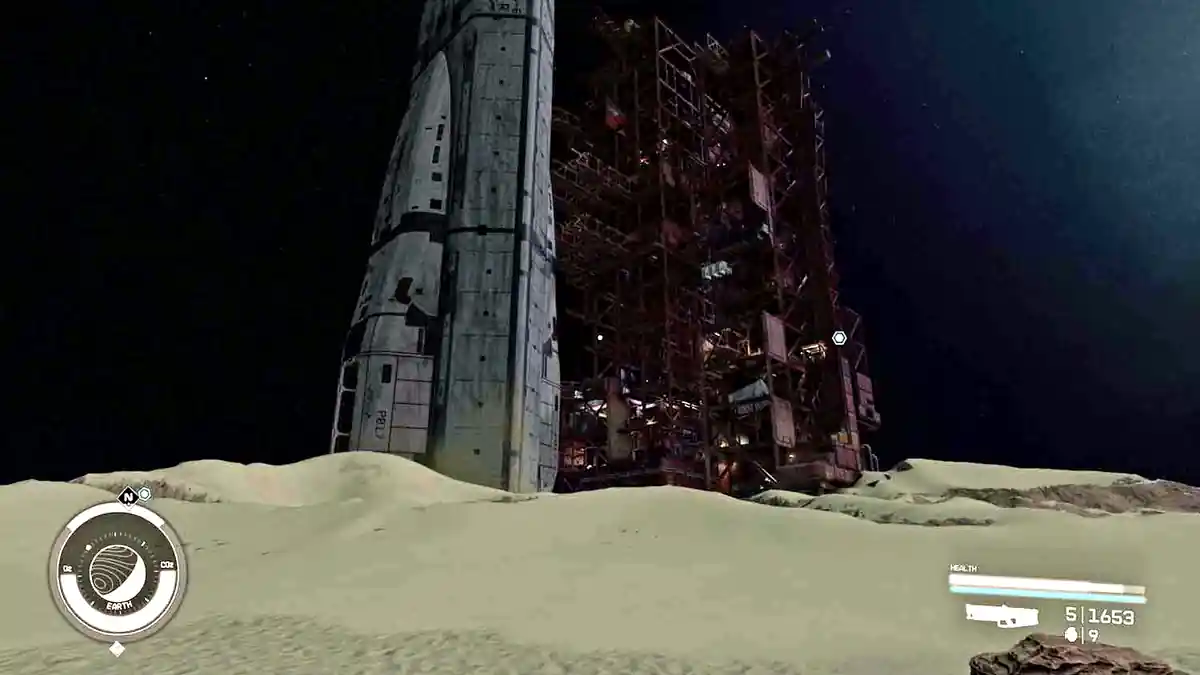
Travel to Earth. There is a landing site called “NASA Launch Tower”. Earth is a barren desert now, with nothing else on the surface for miles, so the tower is impossible to miss.
7 – Find a Way Inside
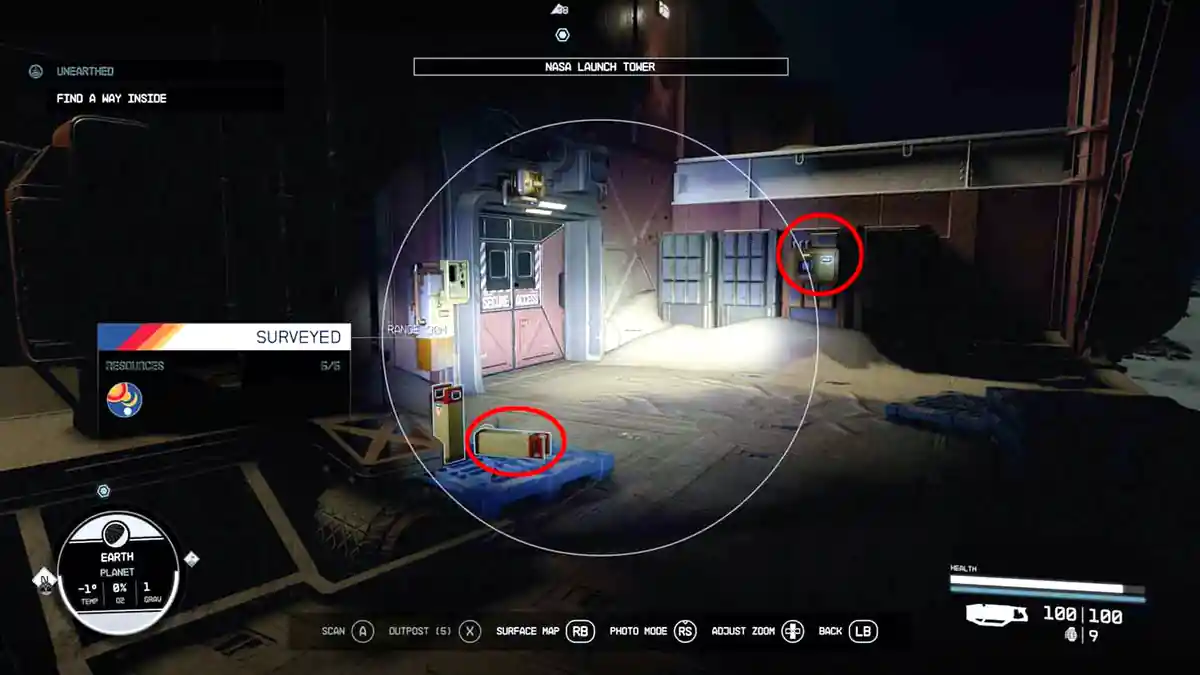
Head towards the blue mission marker. There is a locked security door at ground level. You can restore it by picking up one of the yellow Emergency Power Cells from the floor and slotting it into the empty Power Receptacle on the wall, but that is not the route in. Climb up where the Power Receptacle sits instead.
Take every spare Emergency Power Cell you find on the way up. You will need at least two more later, and backtracking for them is the single most annoying part of this mission.
You can climb further up there.
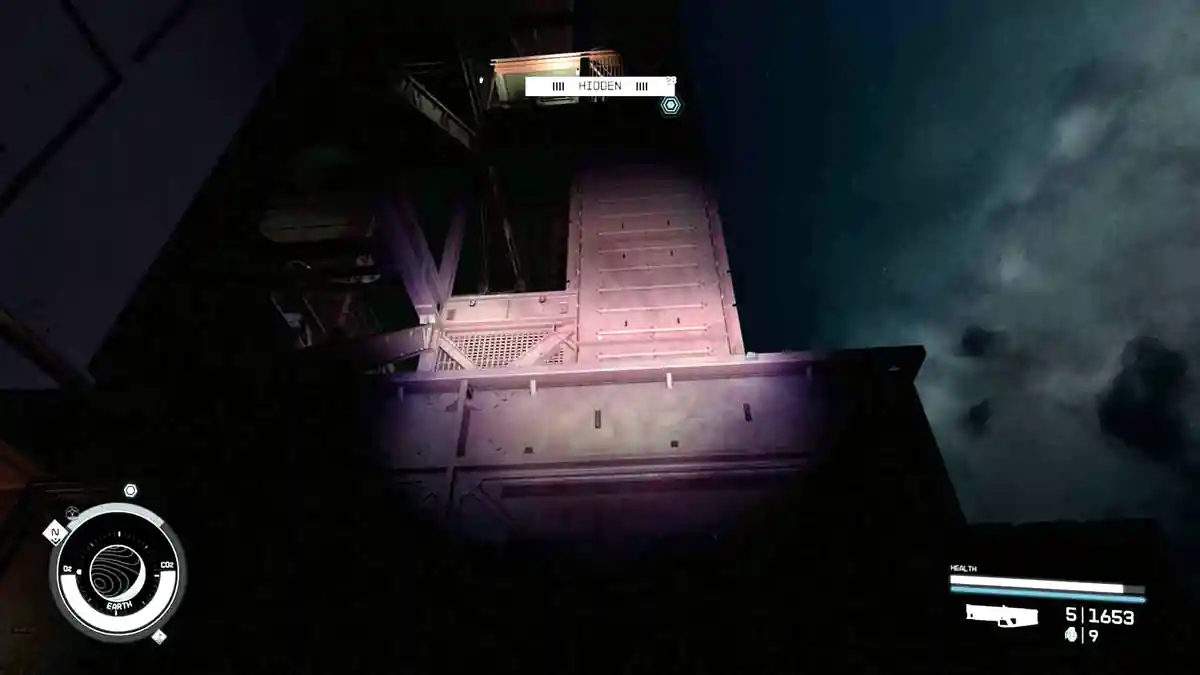
You get to the first ruined floor.
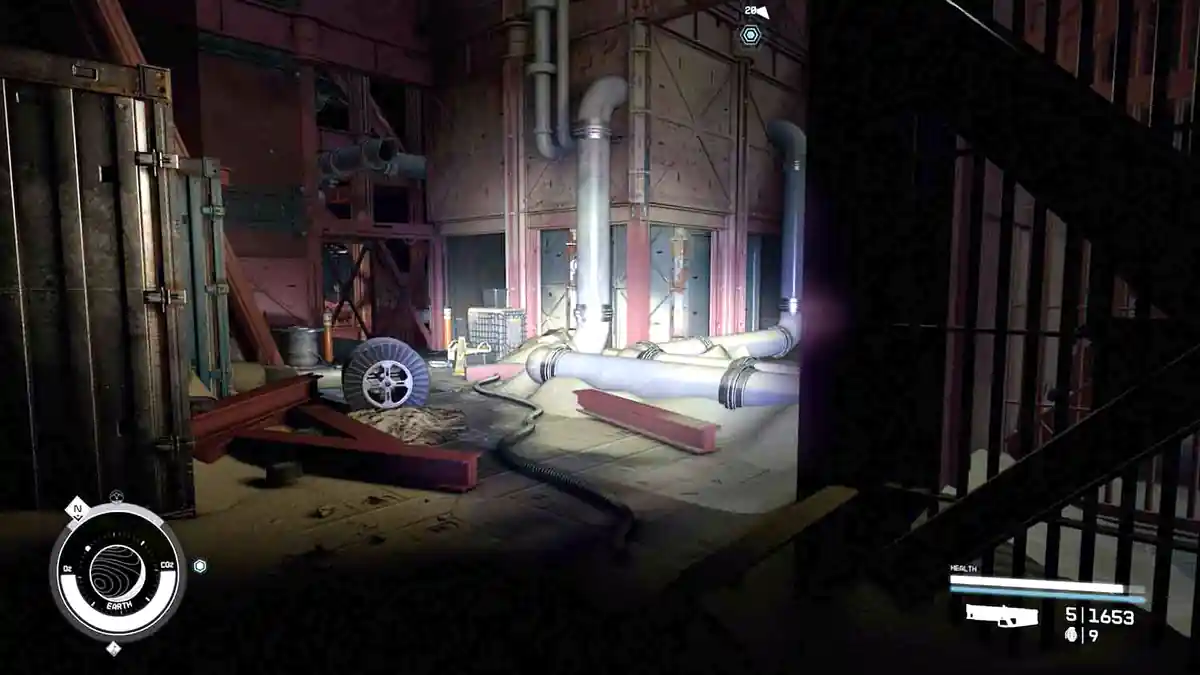
At the back is a small staircase you can use to get higher. Follow it as far as it goes, jumping the gaps in the floor as you reach them.
If you want the tower snow globe, ignore the mission marker at this point and keep climbing to the absolute top of the launch tower. It is sitting on a box near the summit, it has no quest marker, and it is easy to miss on the way past.
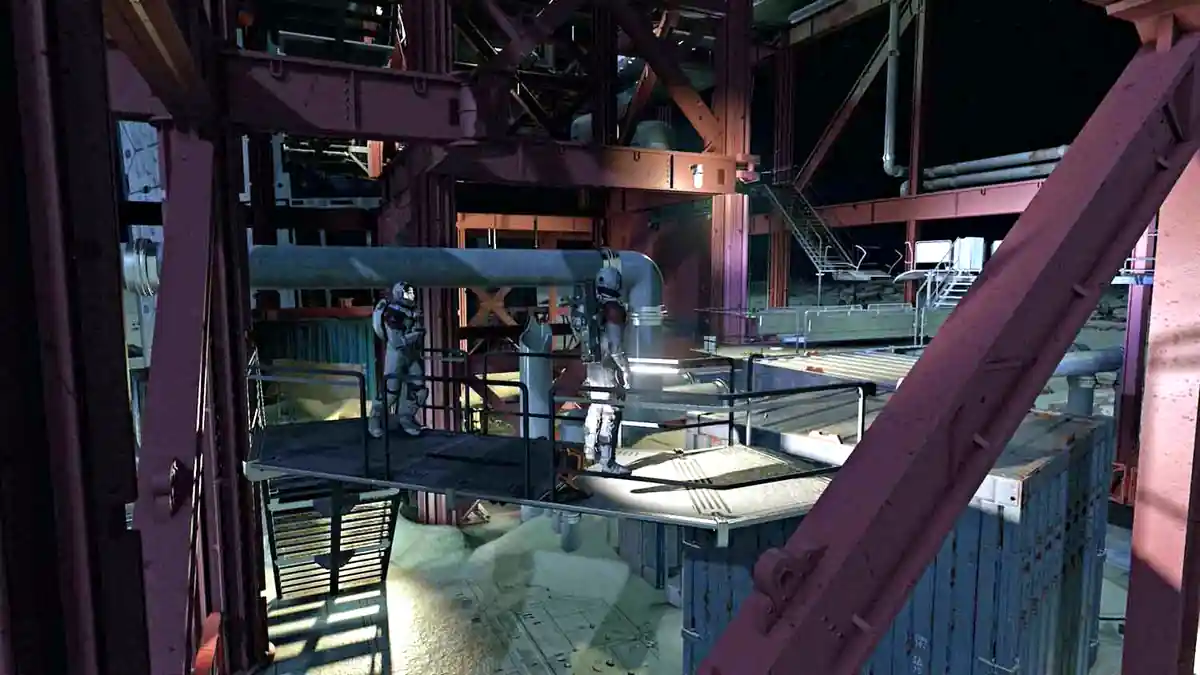
You will reach a higher ruined area with the first room you can actually enter.
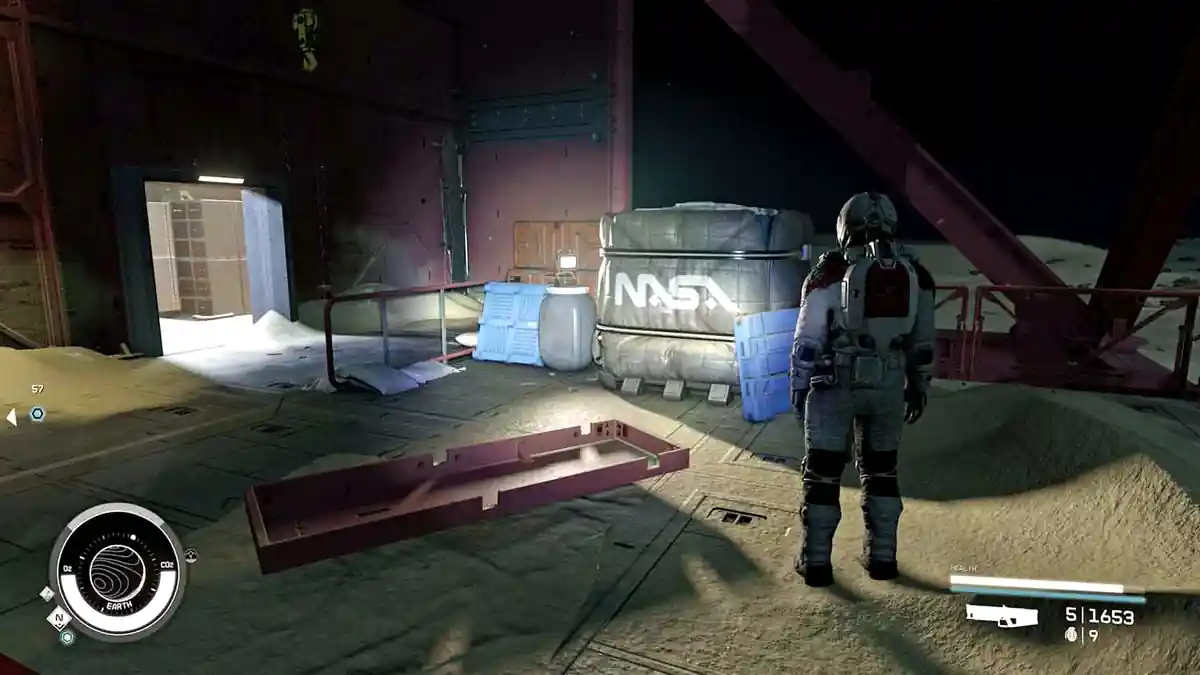
8 – Enter NASA
Exit this room on the other side. There are two exits you can take. You can now reach an elevator, but it has no power.
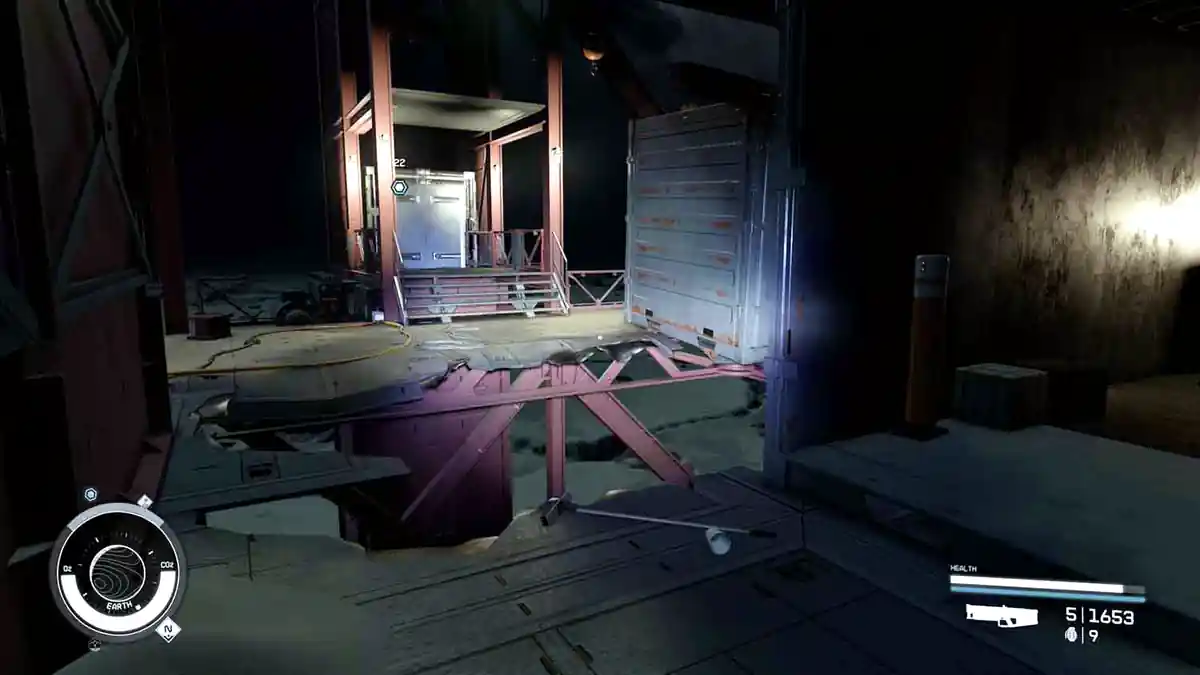
Follow the cables on the floor to a locked room and open it with the NASA Access Code you picked up from the roof recording on Luna.
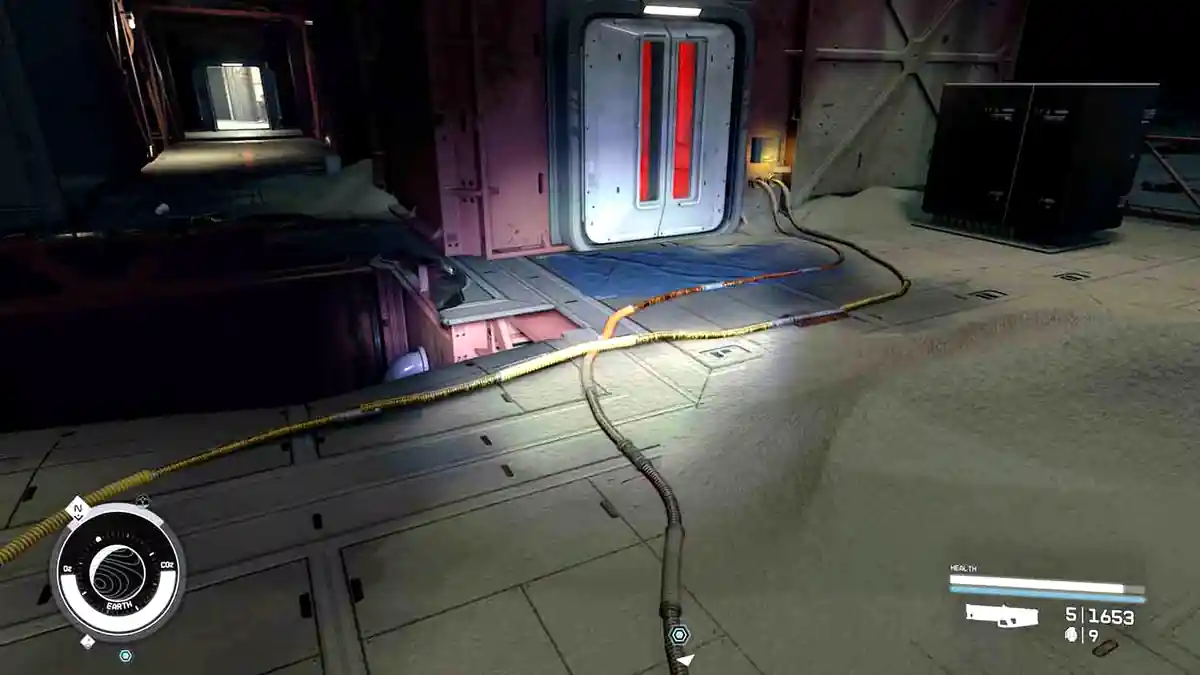
Here you have to insert another Emergency Power Cell. Either you kept a spare from the ground floor or there are more lying around this room. Put one in the wall slot, then take the elevator up to the NASA Launch Facility.
Before you get in the lift, check the Storage Crate in this room. It holds a Tau Grade Rheostat, a manufactured component that is a nuisance to source anywhere else and sells for a decent amount. There is also a NASA snow globe on the desk beside the power receptacle in this section.
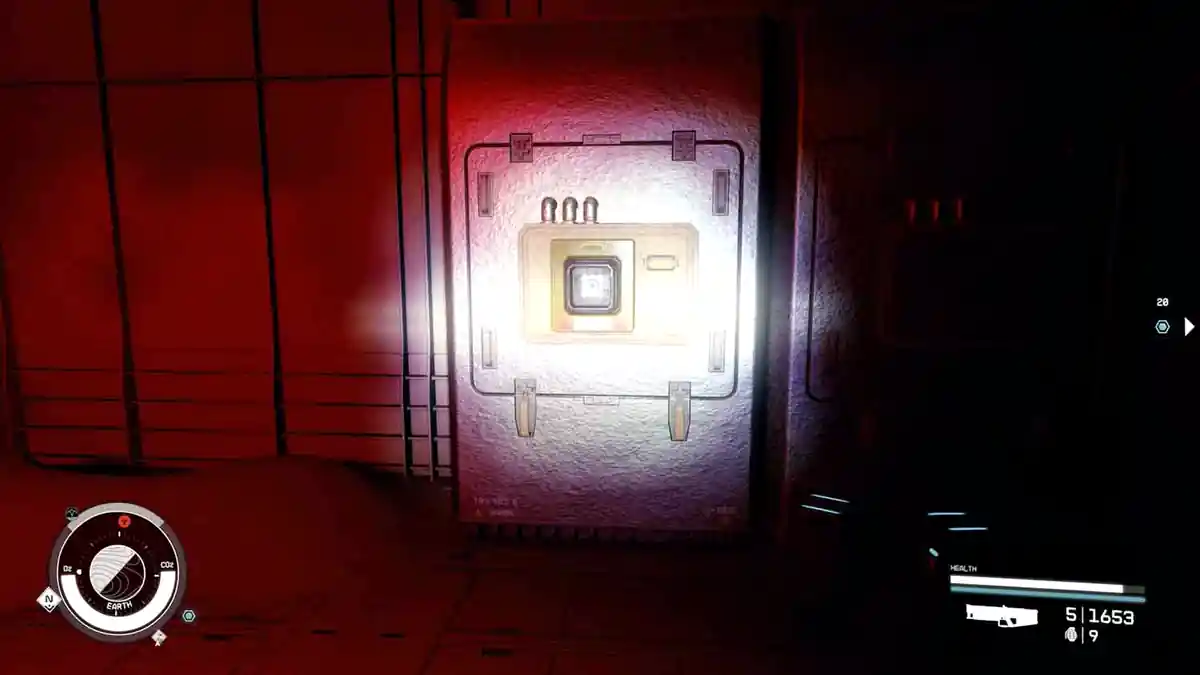
9 – Find Information about NASA
Go to the mission marker and use the computer to read the “Delivery from Mars” folder.
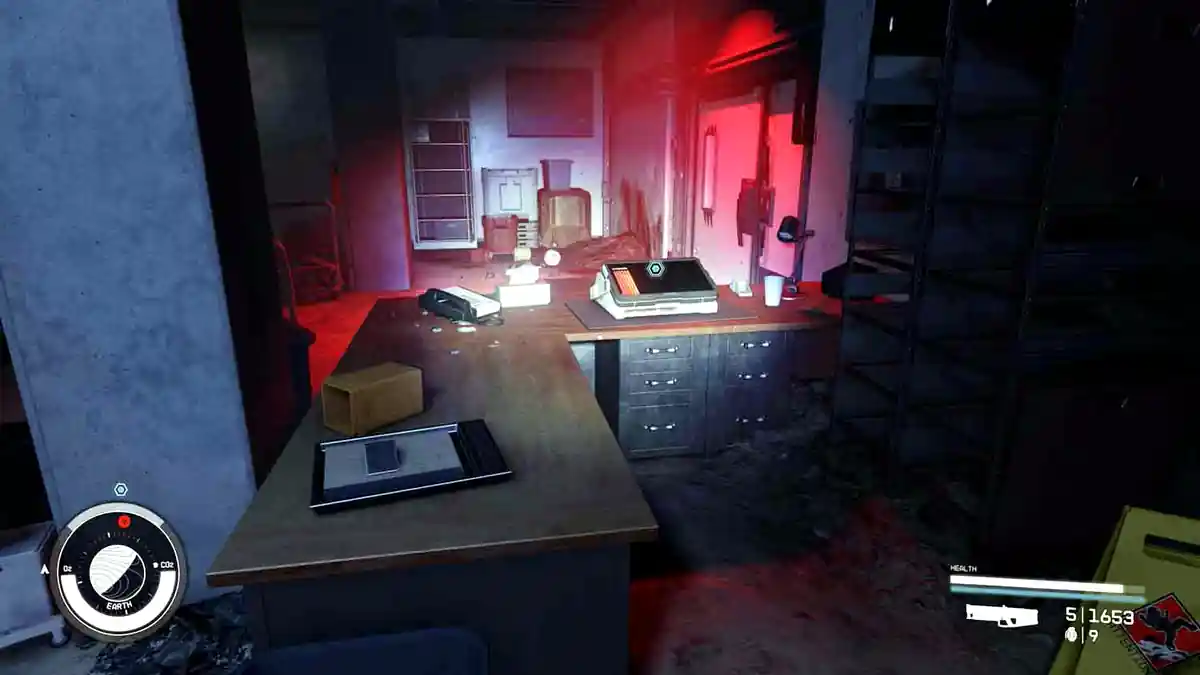
10 – Find Information about the Martian Sample
Exit the room through the door into the cave section. Head down into the cave. There is another room on the far side to enter.
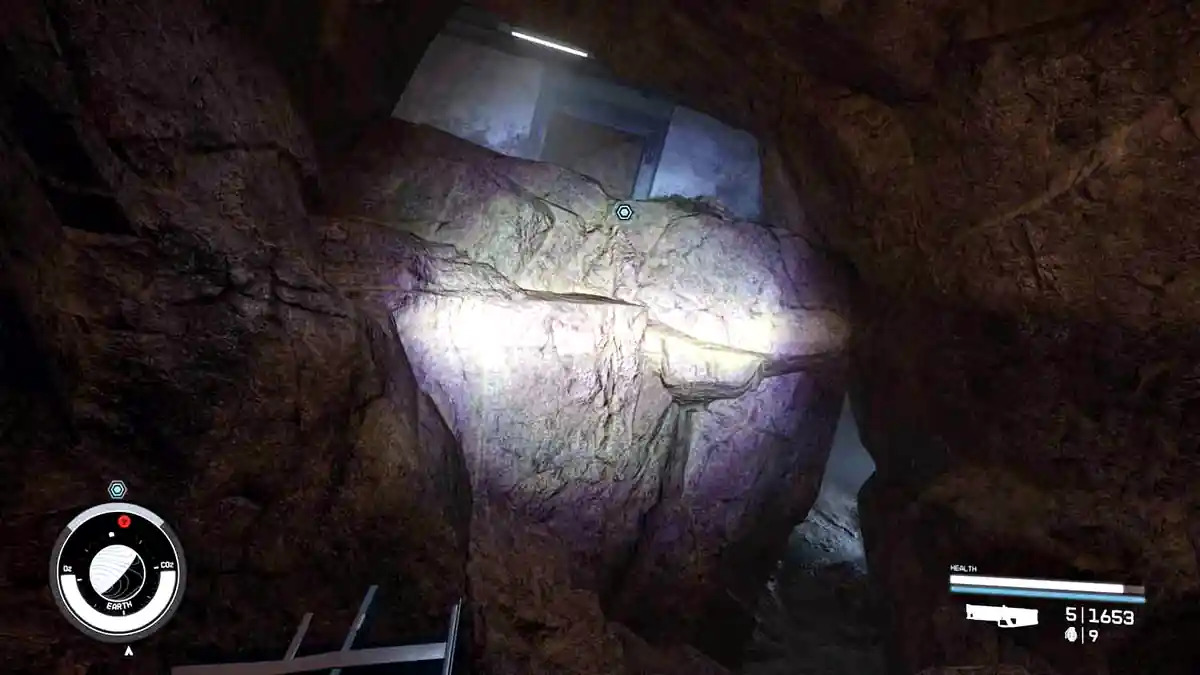
You have reached the NASA visitor center.
This is the exhibit hall, and it is the part of the facility that becomes unreachable once Unearthed is finished. Read the Mars Exploration Rovers display before you move on. It unlocks the Opportunity Rover landmark and the snow globe that goes with it, and there is no second chance. There is another snow globe on top of the International Space Station model here, and one on the row of white seats beside the door marked WC.
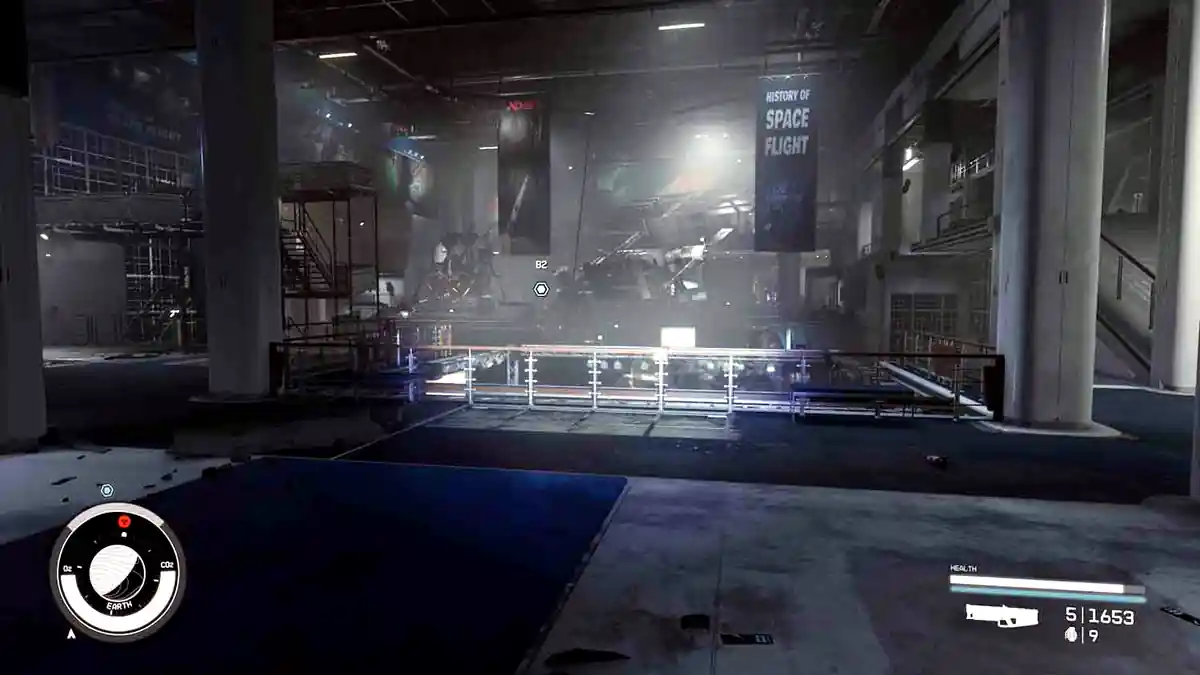
Cross the whole room. On the far side is a bathroom holding the information you need: Judith – Personal Recording.
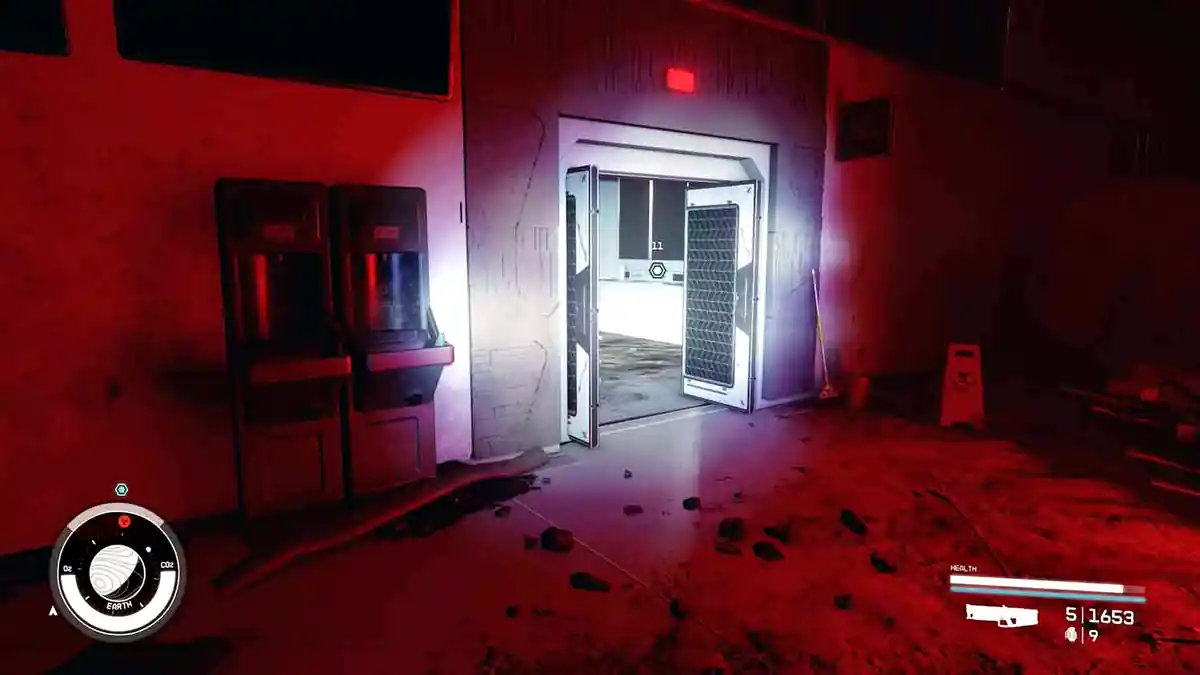
11 – Find Information about the Prototype Grav Drive
The bathroom opens partly into the cave. Follow the cave path down towards the mission marker, then follow the corridor at the bottom all the way back to a door into a new area.
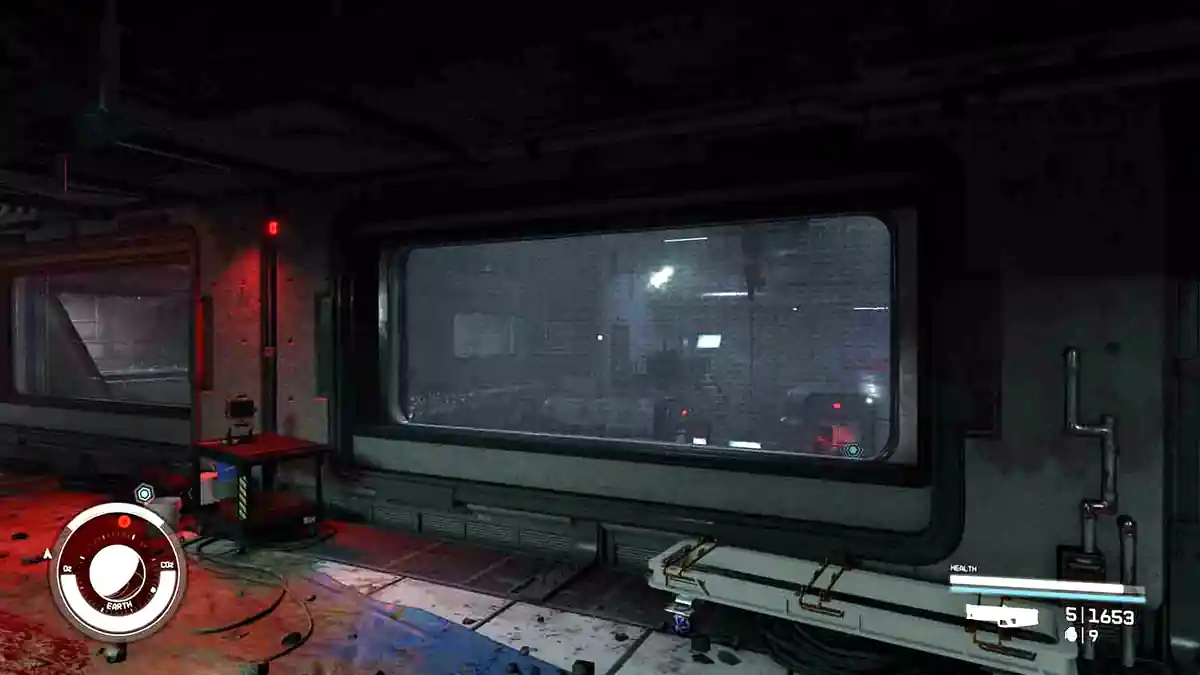
Every exit here looks blocked except a door one level up. Go through it.
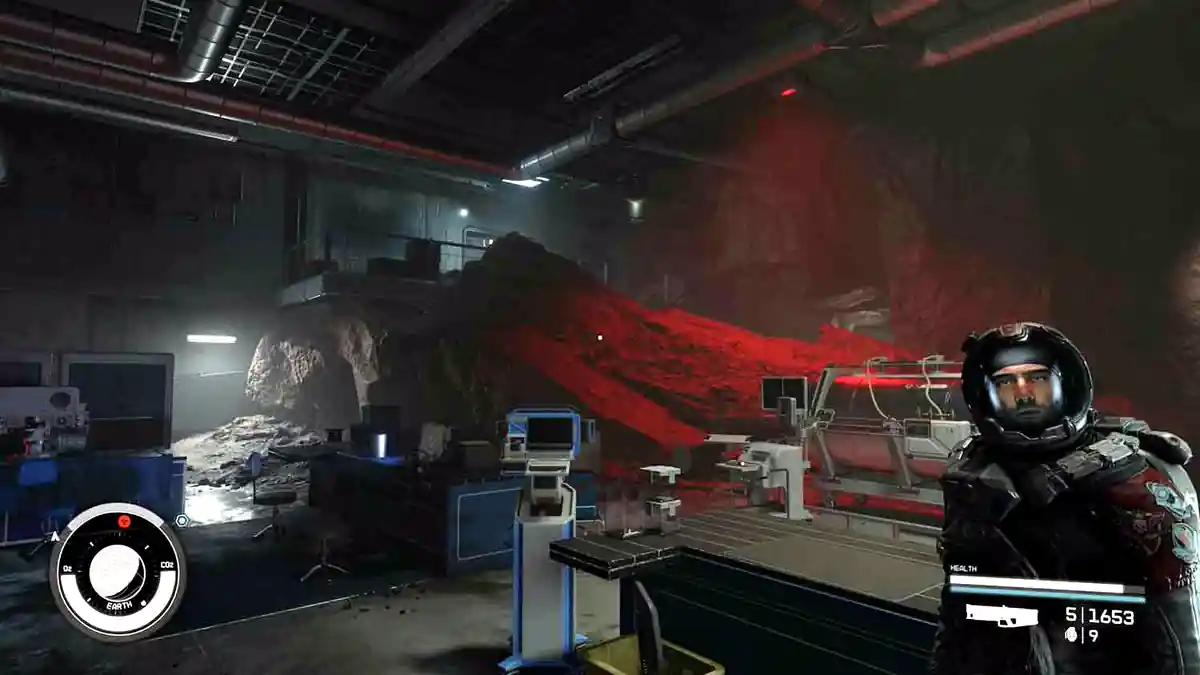
Follow the corridor down to a security door with a panel that needs power. Open the door next to it and flip the power switch inside.
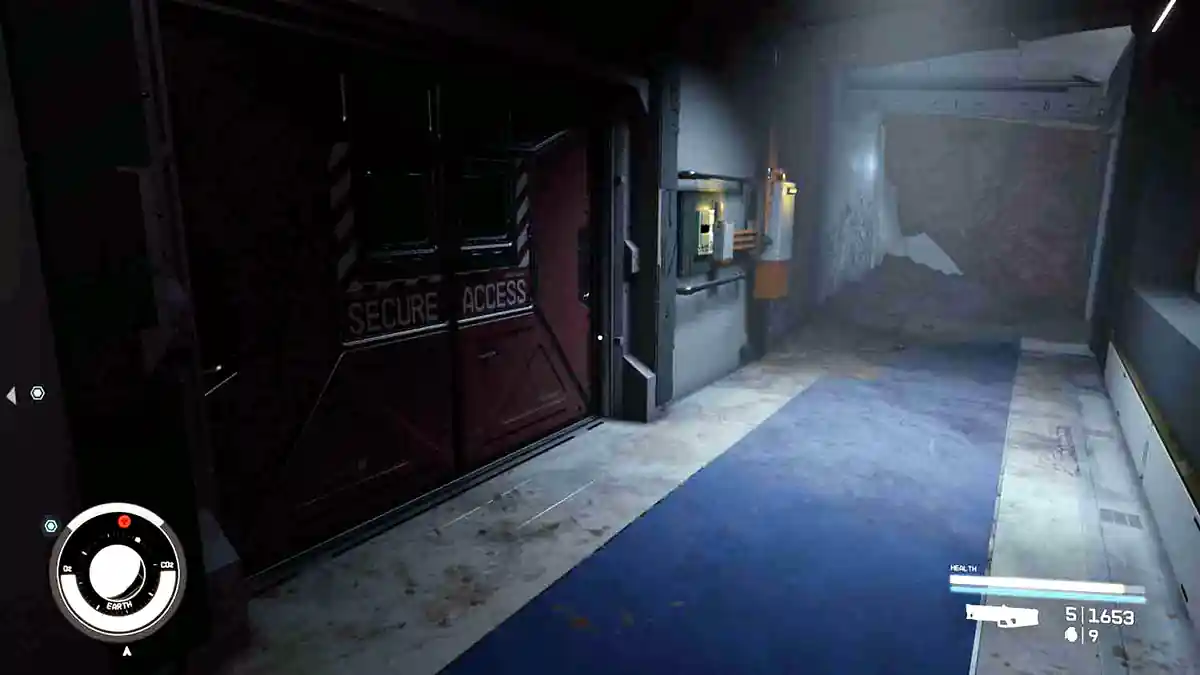
Open the security door and follow the corridor down into the next area. There are a couple of locks worth picking here. Inside the second room, the one behind the advanced lock, is the NASA Maintenance Key, plus another Emergency Power Cell in a locker.
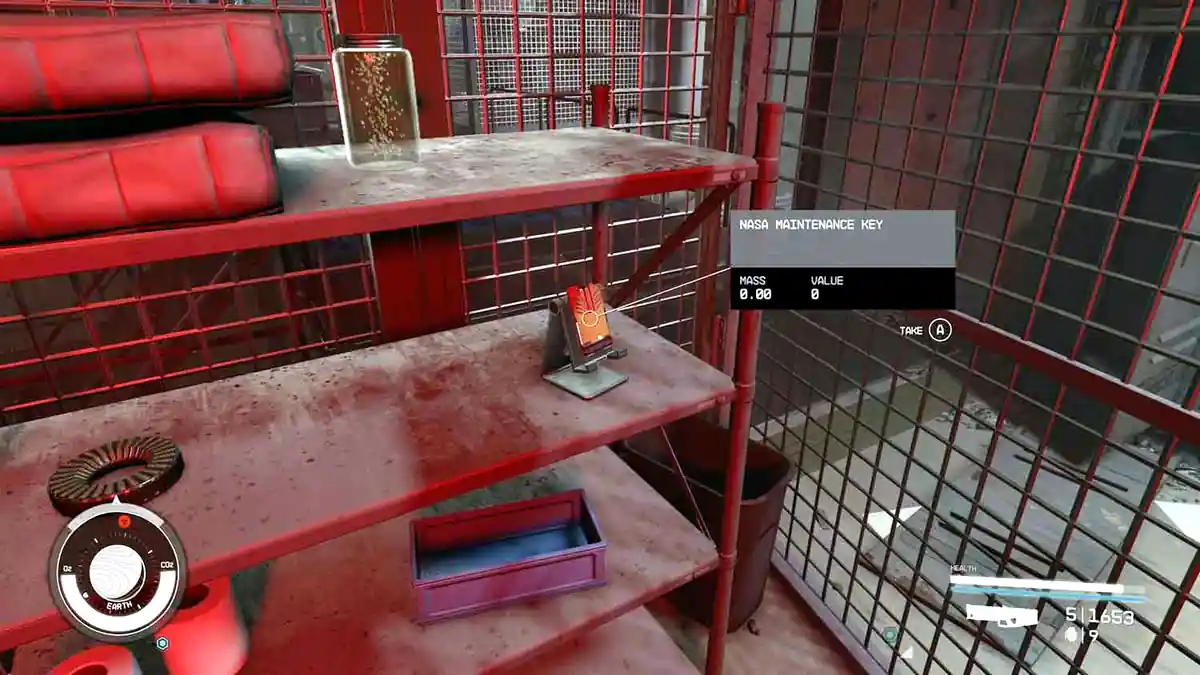
Now go downstairs. There is a red security door that needs an Emergency Power Cell slotted in round the back, as shown in the screenshot. If you are out, there is another cell on the floor of this level. Power the door and go through.
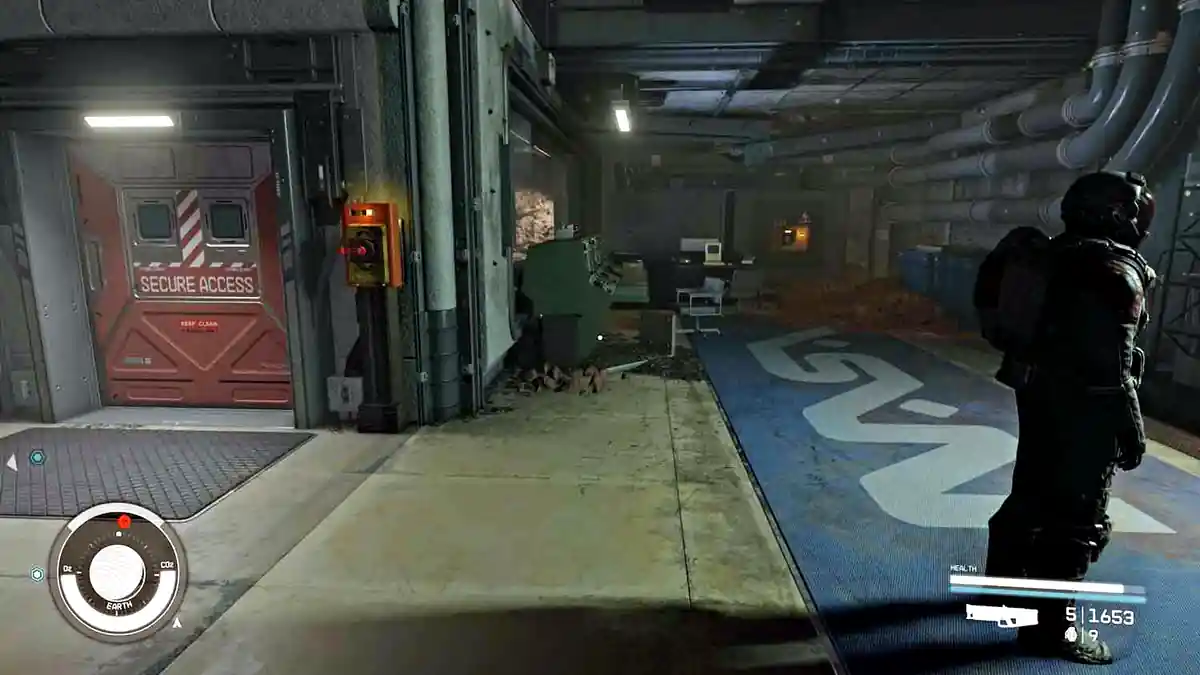
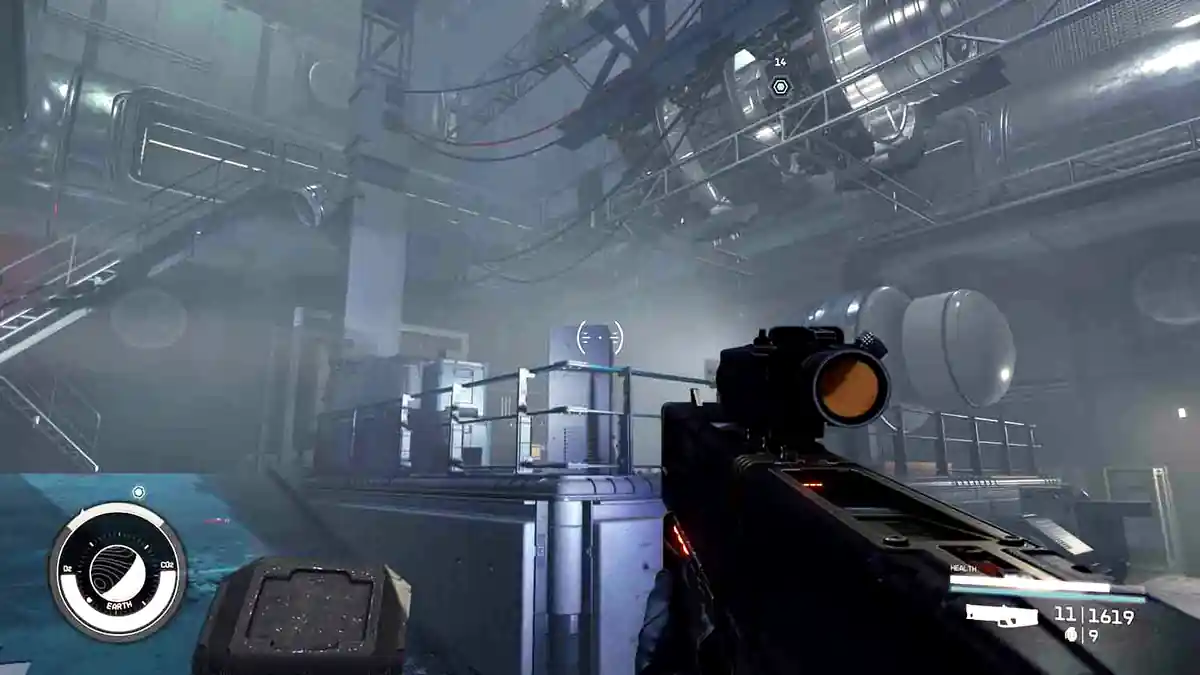
Follow the corridor and take the staircase up one floor into the large room you saw earlier. There are several turrets here and a robot around level 50. Behind them is another door that needs power.
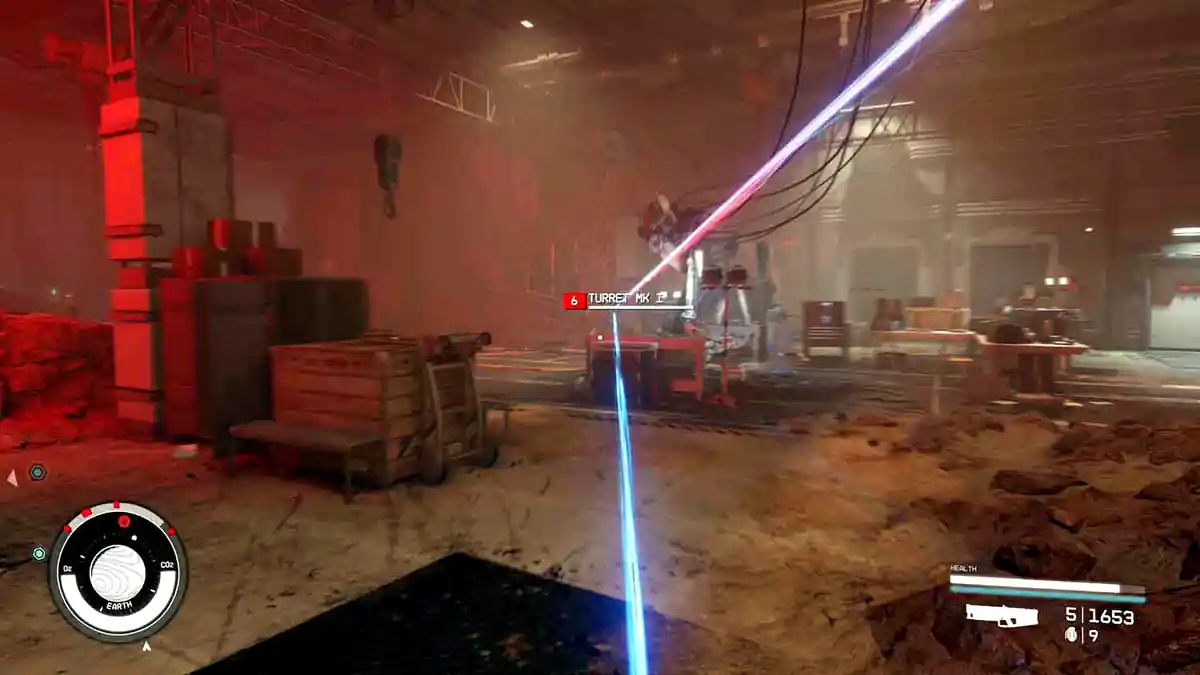
Follow the cables from that switch to a power box on the wall. The switch itself is on the far side. You can pick the lock on the nearby door, or if lockpicking is not an option, go through the door next to the one that needs power and follow the thick disconnected cable.
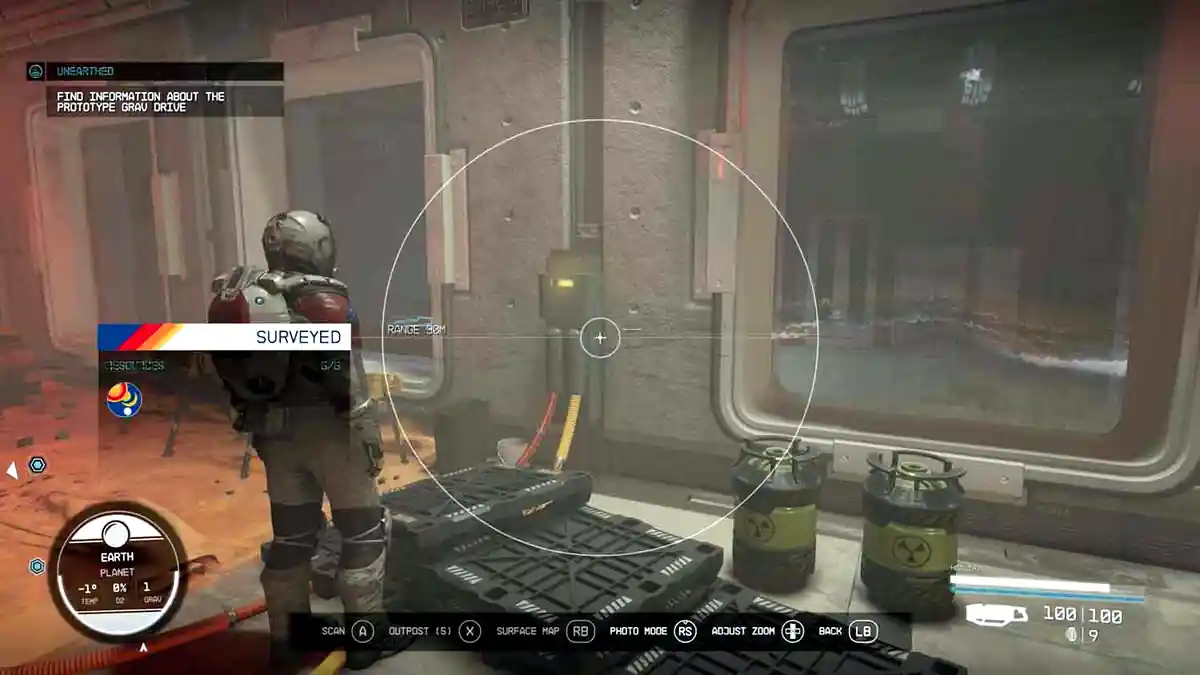
Turn the power on at the switch. The door is now live and you can go through the big gate further down.
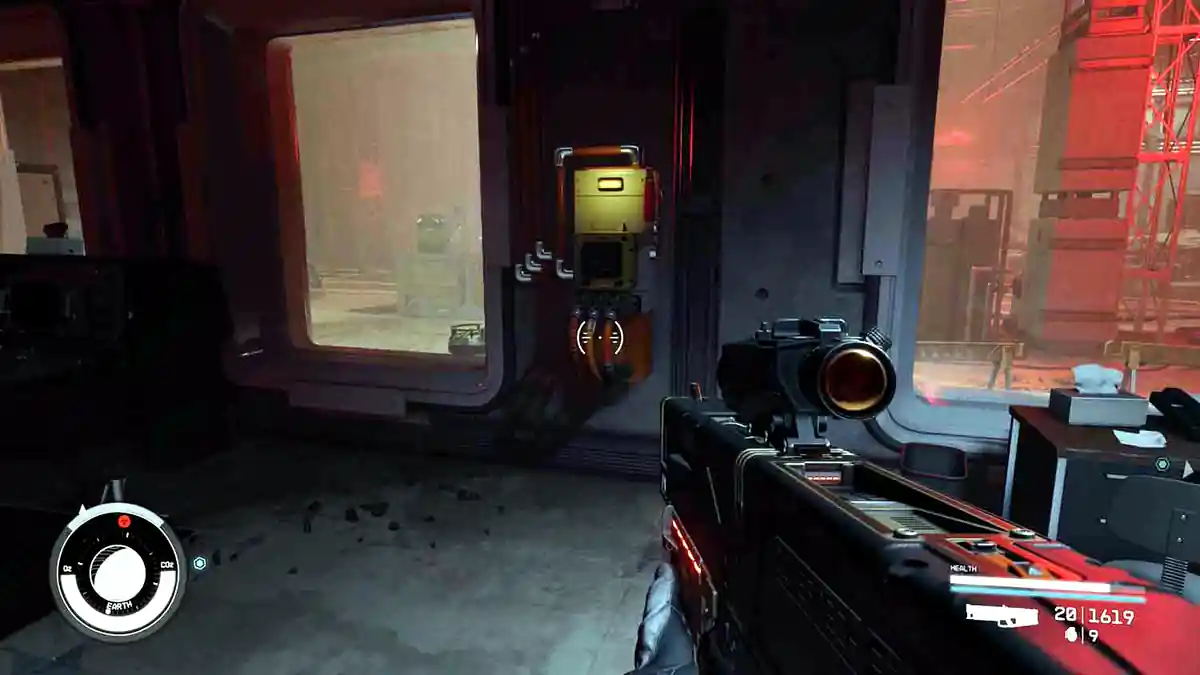
In the next room, use the computer on the table and open the Access Station Logs. The entry you need is 8 September 2160, and reading it gives you the Prototype Access Code.
The logs also spell out the side effects the test crews were seeing, which is the point where the mission stops being about hardware. Read the whole entry rather than skimming for the code, because it sets up everything the Emissary says to you outside.
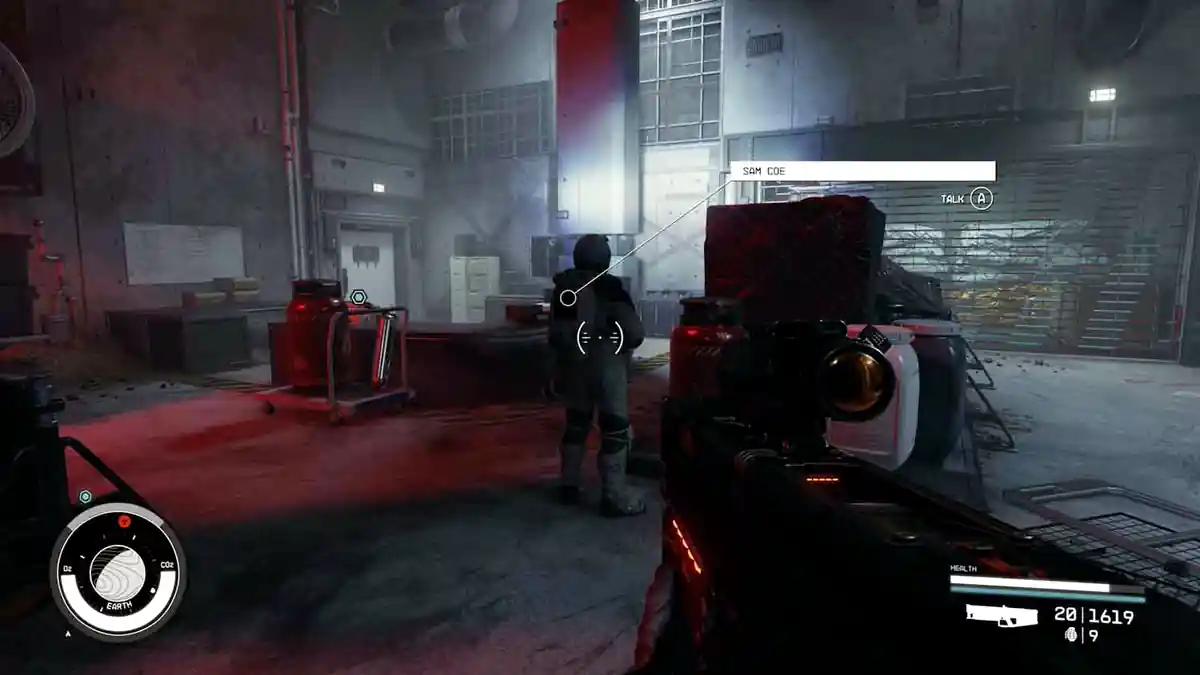
Continue through either of the two doors. They both lead to an area called B1. There is a door with an expert lock and a staircase down. The locked office has an emergency door with pins you can cut for a shortcut, but the staircase works fine.
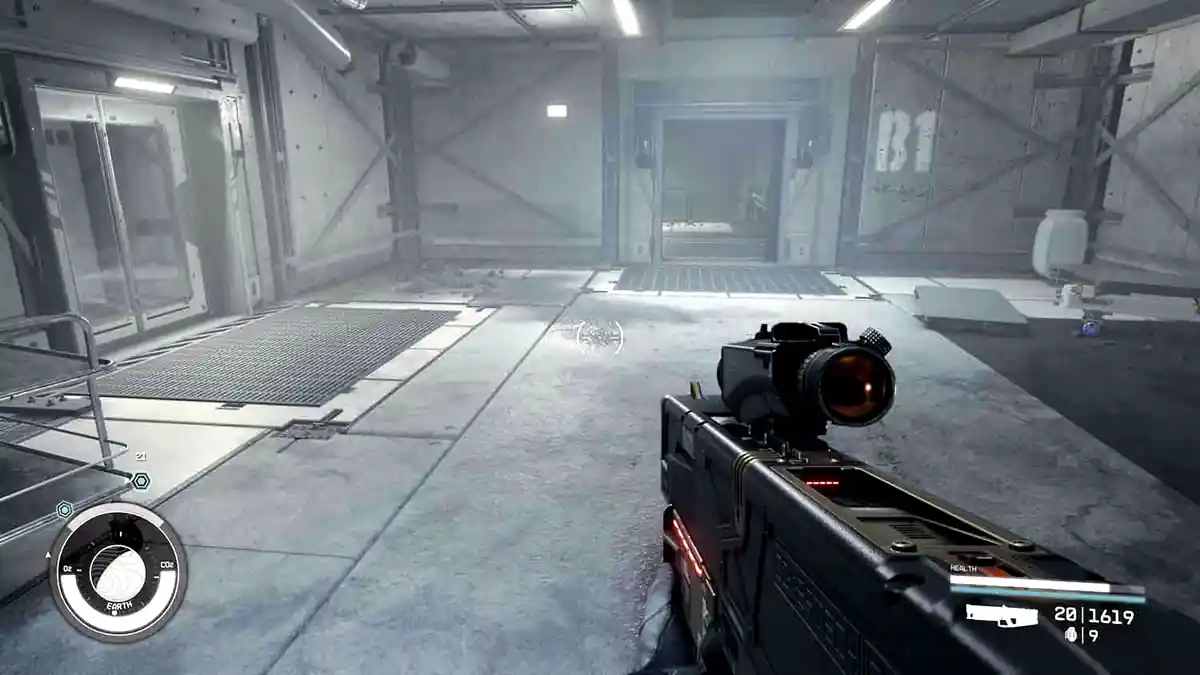
As soon as you start down you will begin to float. Follow the mission marker to a red door with a switch at the bottom and go through.
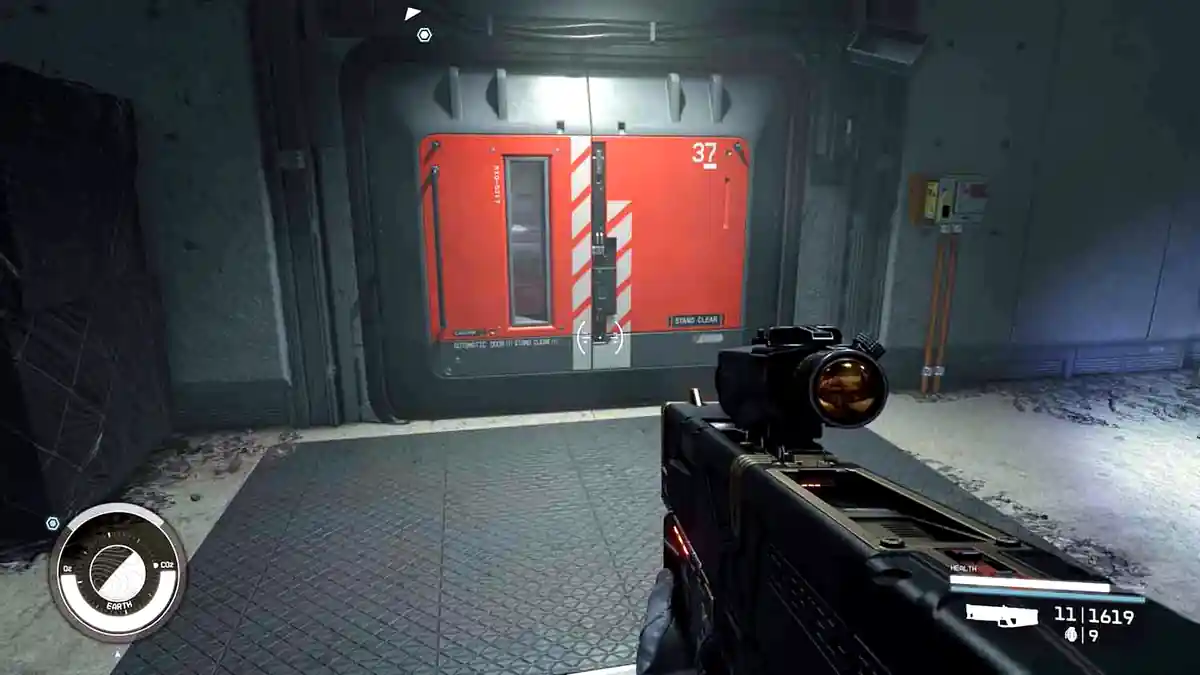
Here you can use the NASA Maintenance Key on one of the doors. If you did not pick it up earlier, go to the nearby elevator shaft and float up one level instead.
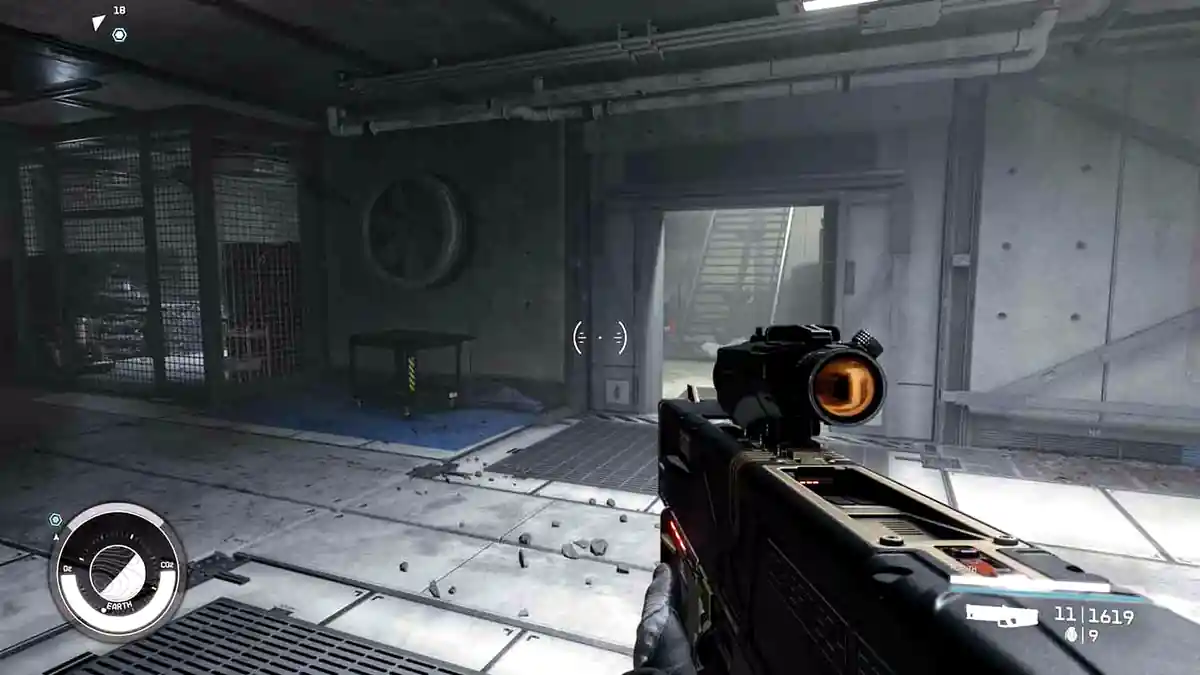
One level up, use the computer at the mission marker. There is another Maintenance Key on the same desk if you still need one. Read everything on the prototype drive and the access logs.
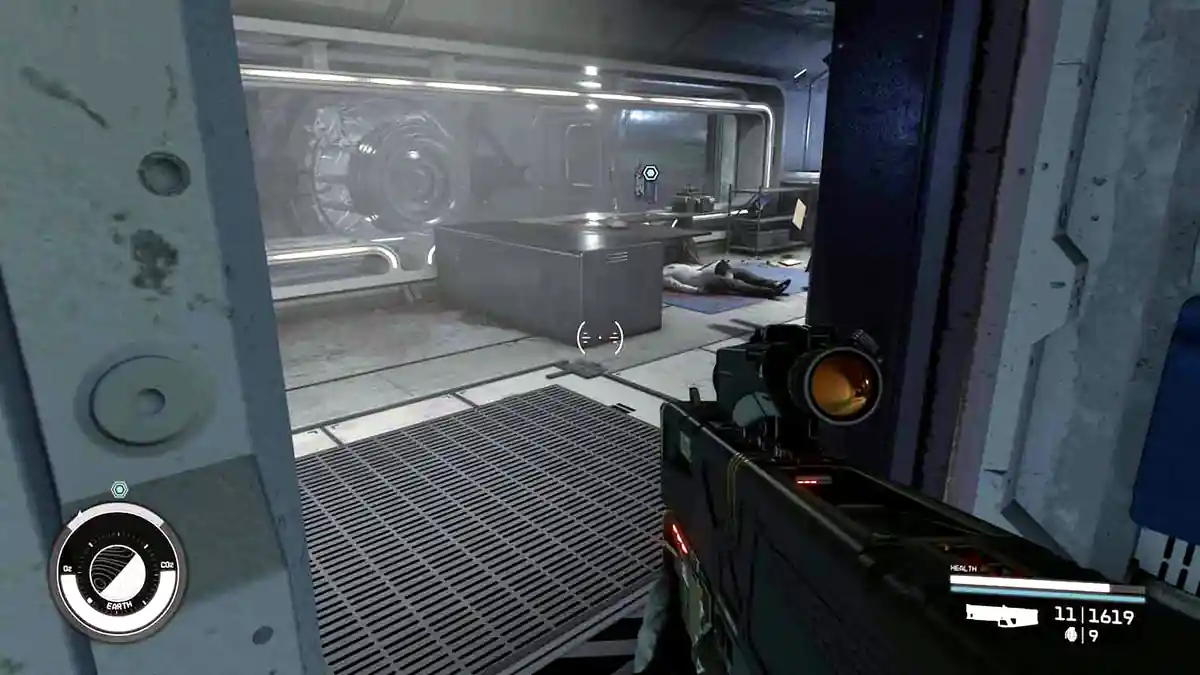
12 – Release the Artifact
Mission Text:
“The original Grav Drive was based around an Artifact. The Artifact is still here, connected to the prototype Grav Drive.”
Press the button on the device next to the computer to release the artifact.
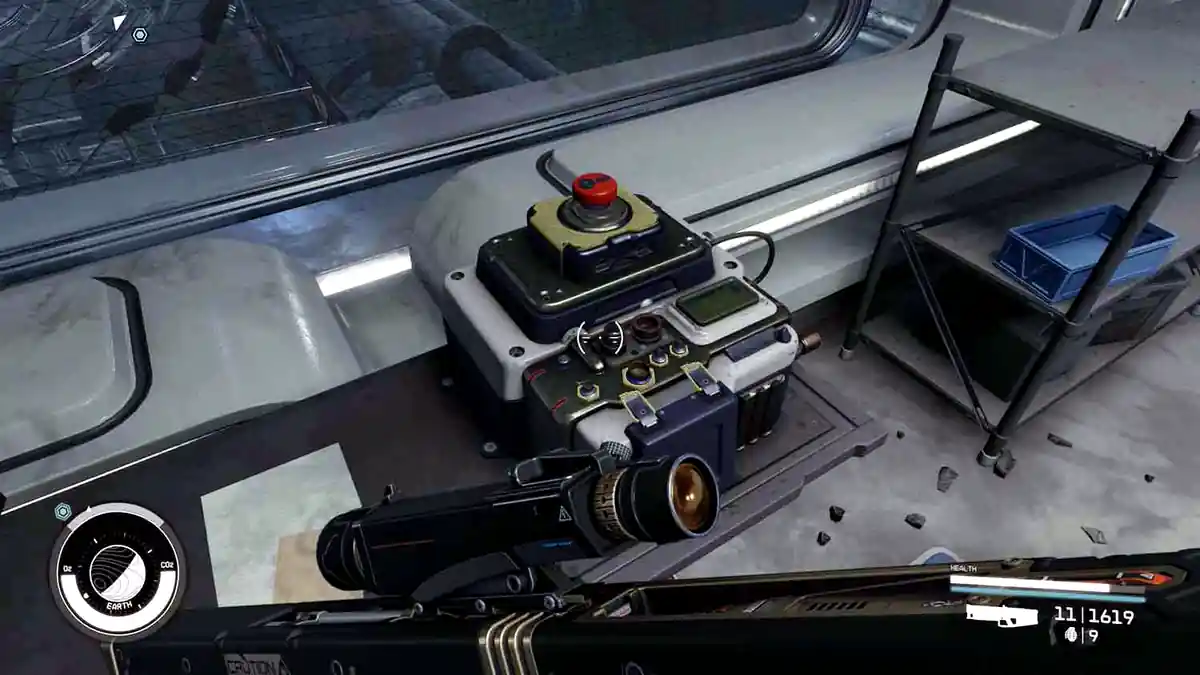
Gravity comes back on the moment you do, so you now need a normal route down. This is what the Maintenance Key was for: open the door and take the staircase. Go to the artifact and take it.
13 – Leave NASA
Mission Text:
“I have the Artifact from Earth, but the Emissary and Hunter have arrived on the surface and want to talk.”
Starborn spawn behind you as soon as the artifact is in your hands, and they will keep coming the whole way out.
At one point you will reach a room with yet another door that needs power. Follow the cables to the Power Receptacle input box. The cell you need is on the floor right beside it. Slot it in to power the door.
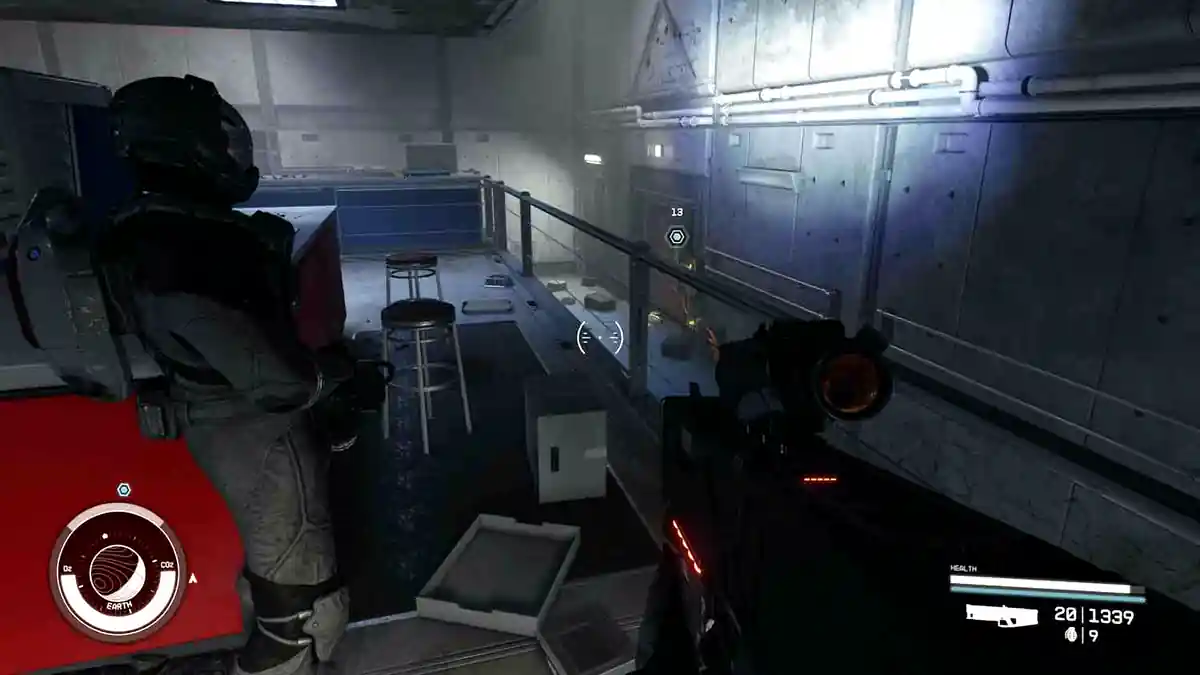
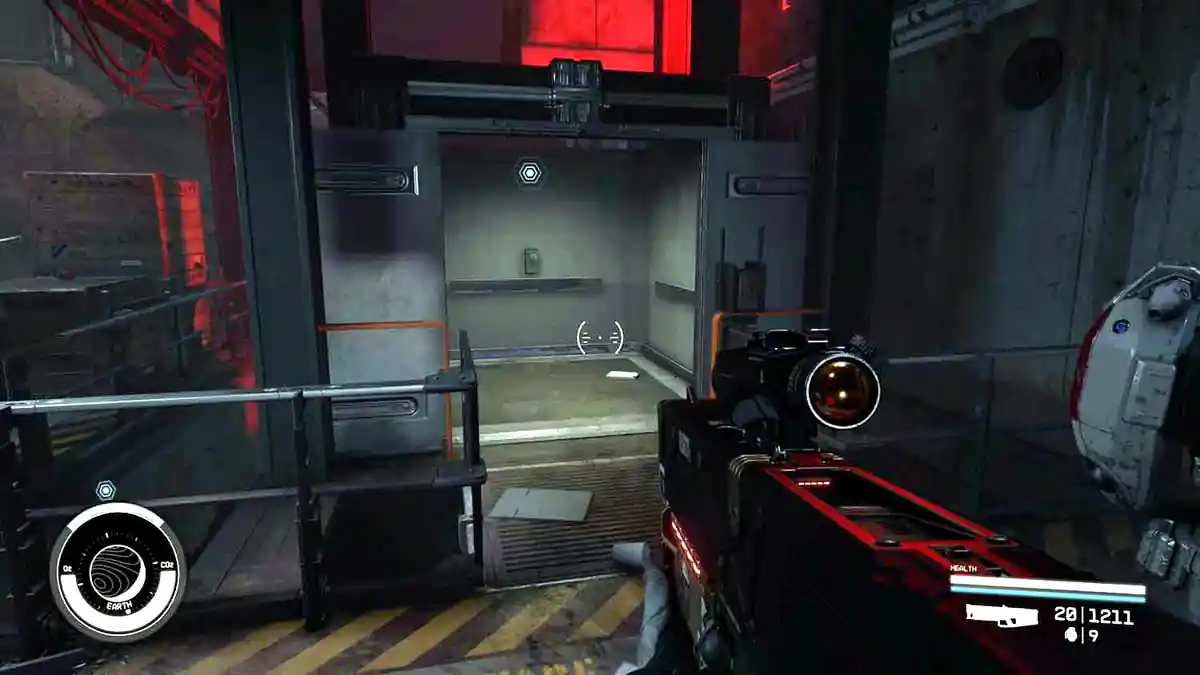
Follow the mission marker to the elevator and ride it back up to the NASA Launch Tower.
14 – Talk to the Emissary
Mission Text:
“The original Grav Drive was based around an Artifact. The Artifact is still here, connected to the prototype Grav Drive.”
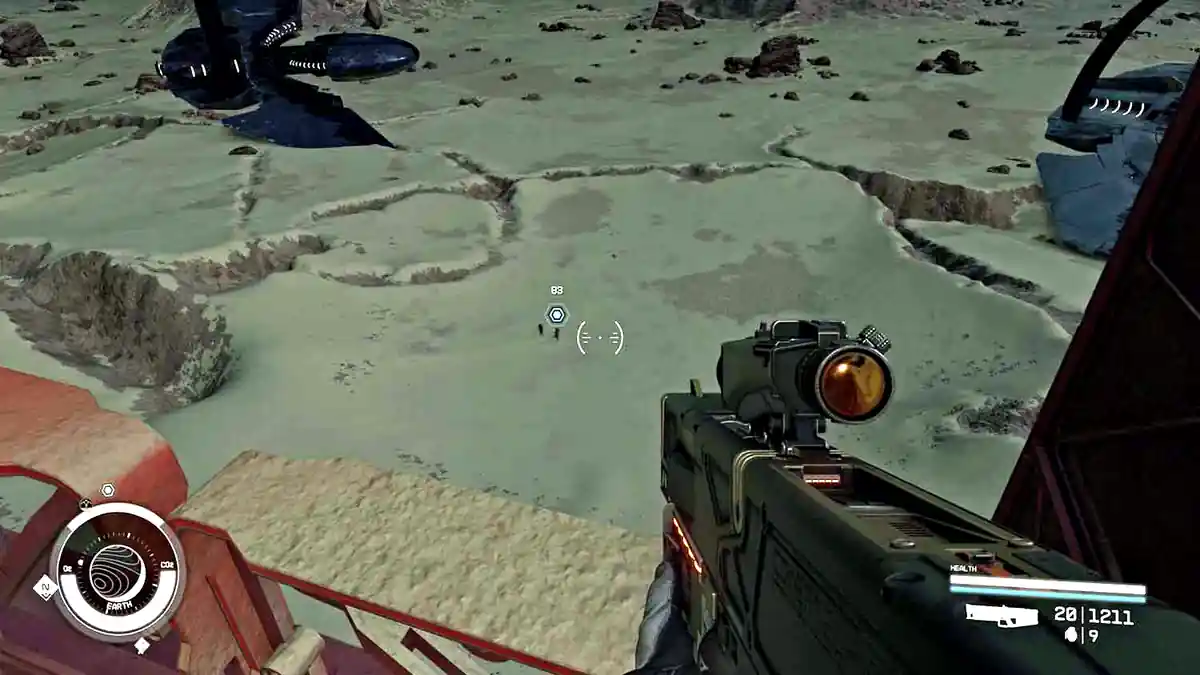
Talk to the Emissary at the base of the tower. If you are Starborn, the conversation opens differently, with the Emissary asking how it feels to retrace Earth’s destruction a second time. This ends the walkthrough portion of Unearthed, but the mission itself will not close until you have also finished Final Glimpses.
Emissary or Hunter
The conversation outside NASA sets up the choice, but you do not have to commit here. The decision is locked in during Final Glimpses, and you have three options rather than two: side with the Emissary, side with the Hunter, or refuse both and go it alone.
Siding with the Emissary means gathering the remaining artifacts carefully and treating the Unity as something to be understood. The Hunter wants them taken by force, quickly, and does not care what it costs. Choosing neither keeps both of them as enemies and is the hardest route through the endgame.
Whichever you pick, the artifacts still end up in your hands and the ending you reach is the same shape. What changes is who fights beside you at the temple, who fights against you, and the tone of the last conversations. If you want the full breakdown of how each option plays out, that is covered in the Final Glimpses guide.
What Happened to Earth in Starfield
The logs in the NASA facility are the answer the whole mission has been building towards. Earth was not hit by a war or an asteroid. It was killed by the Grav Drive.
The prototype drive tested at the Nova Galactic base on Luna and refined at NASA was built around an artifact, and running it had a side effect nobody caught in time. The technology that let humanity reach the stars stripped Earth of its magnetosphere, and without that shield the atmosphere bled away over roughly fifty years. NASA saw it coming with enough warning to organise an evacuation, which is why the Sol system was emptied rather than wiped out, and why the same species that ruined one planet was the one that got to leave it.
That is why the facility is buried, why the exhibits are still standing in the dark, and why the Emissary and the Hunter are both waiting outside when you walk back out with the artifact.


About Starfield
Release: September 6th, 2023
Developer: Bethesda Game Studios
Publisher: Bethesda Softworks
Official Website: https://bethesdagamestudios.com/