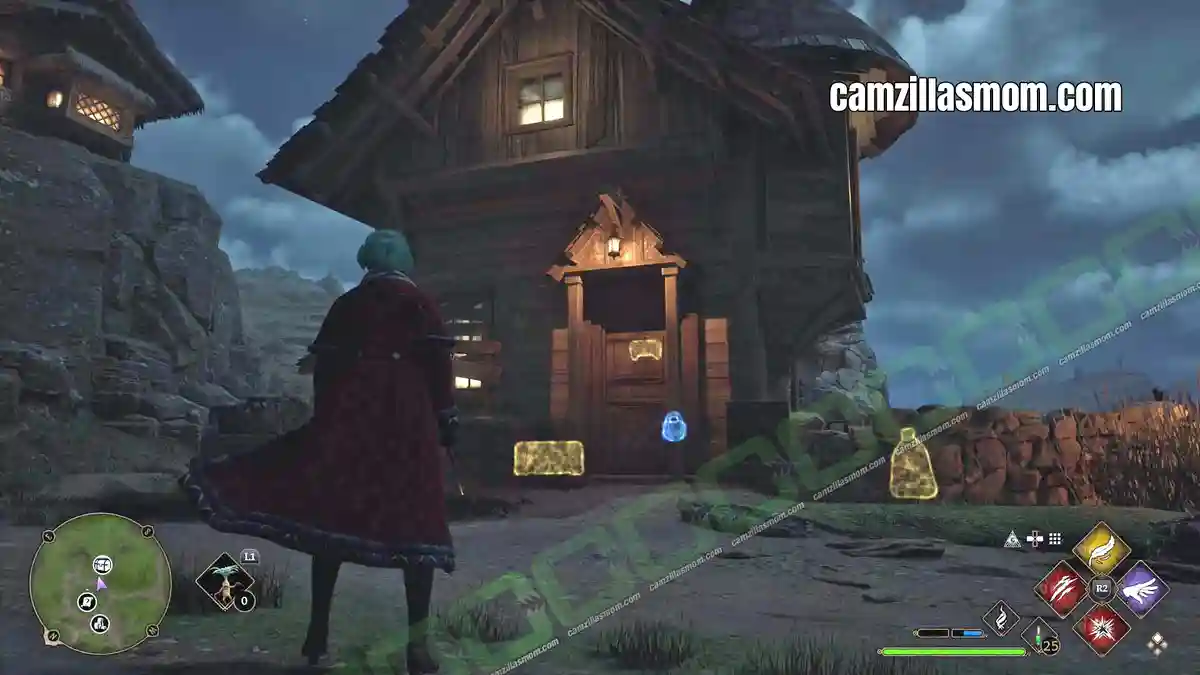
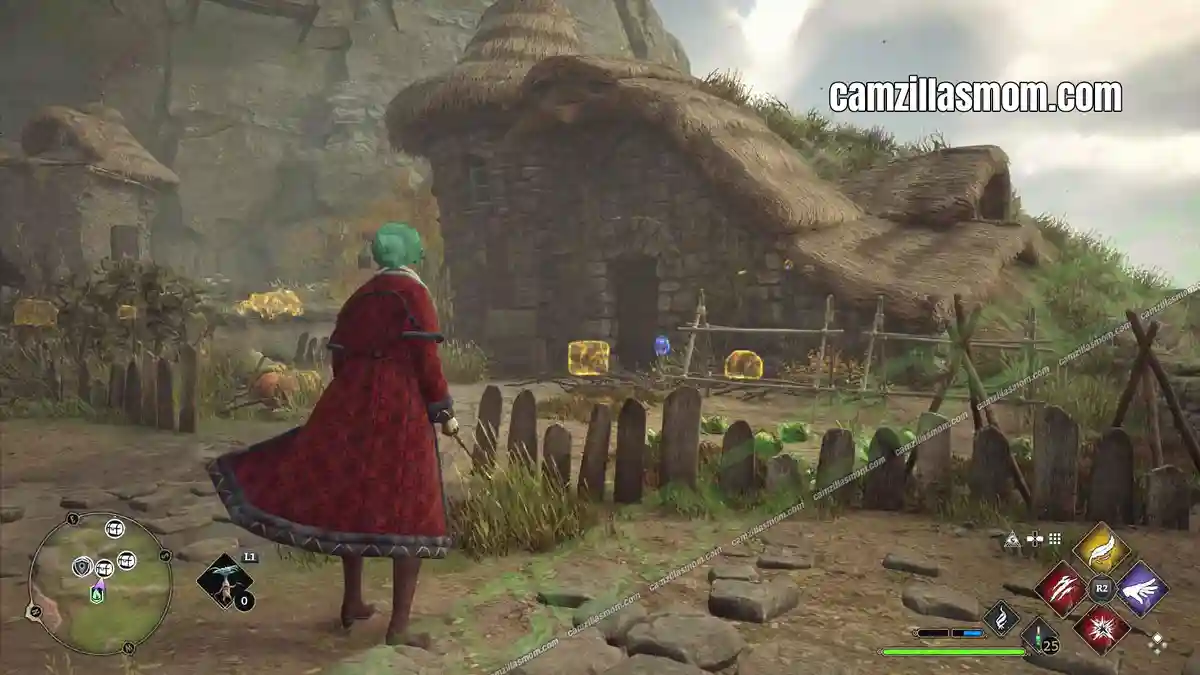
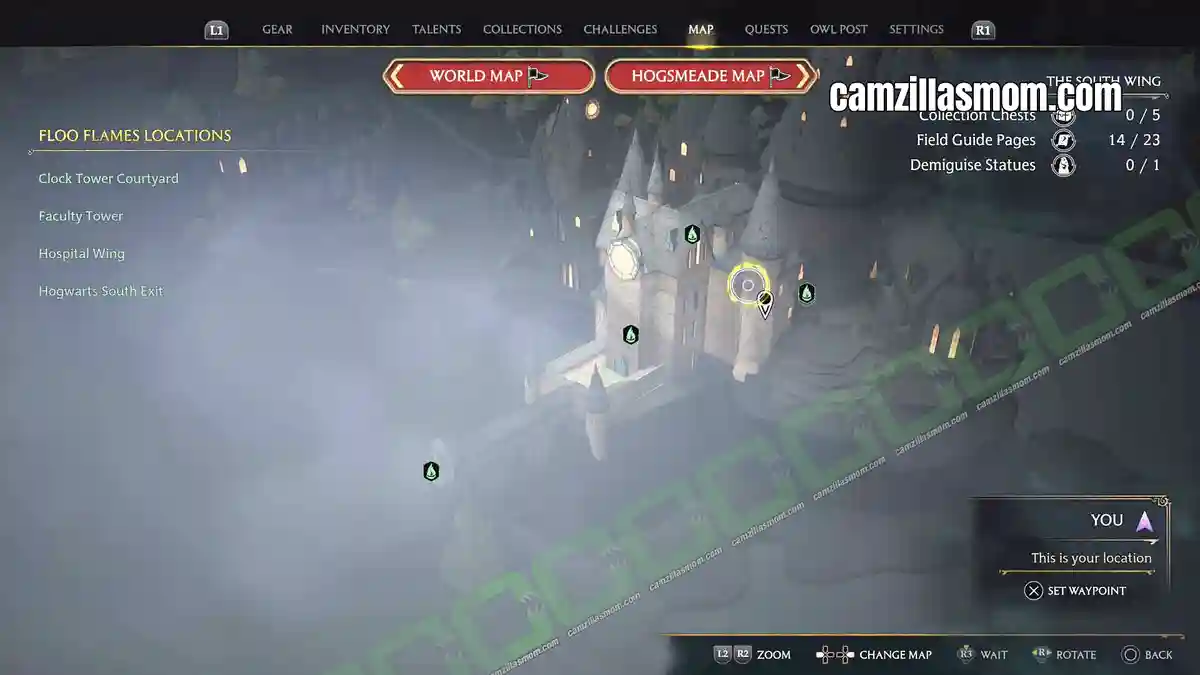
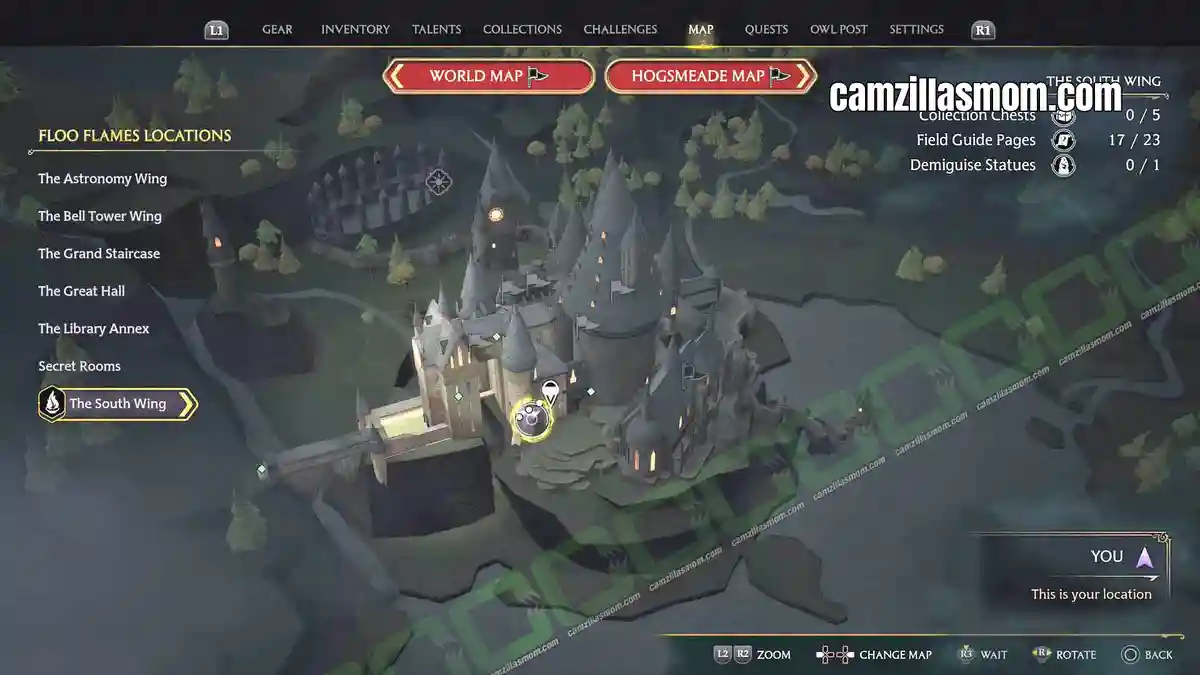
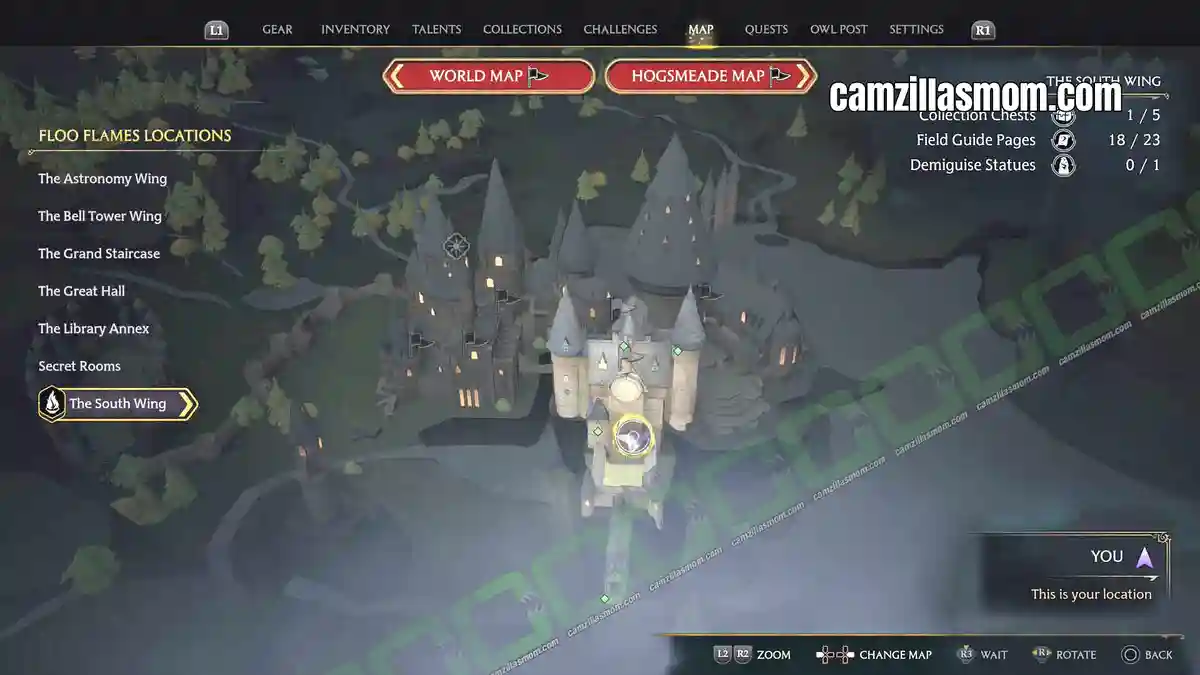
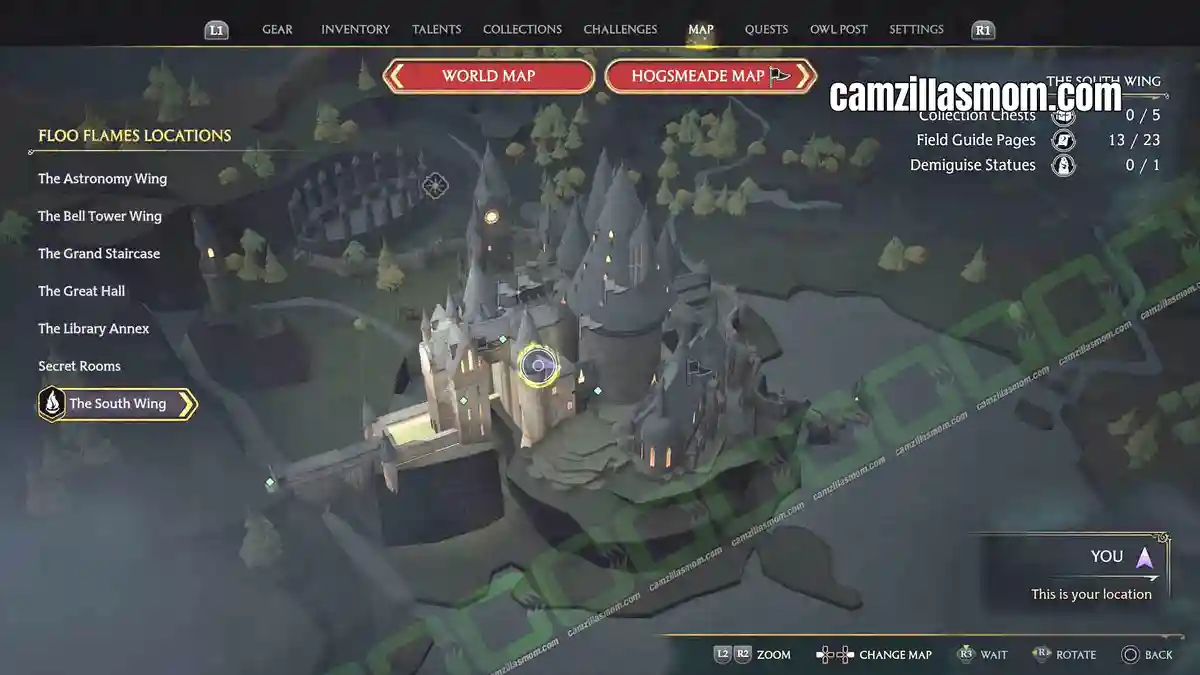
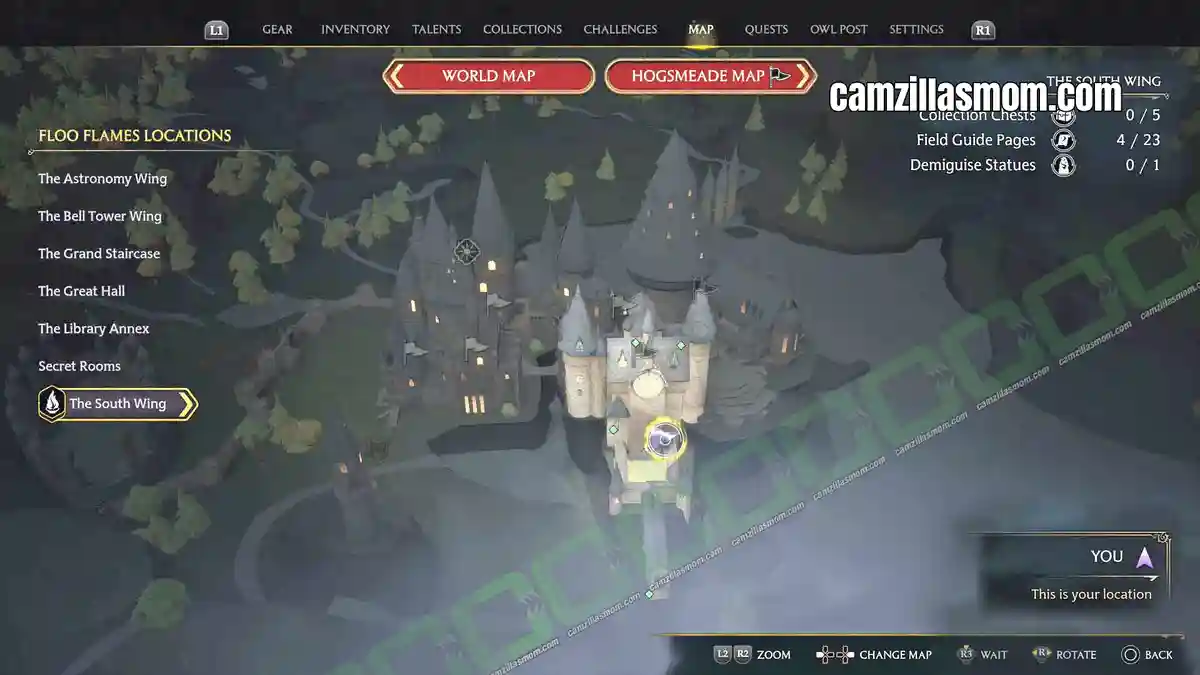
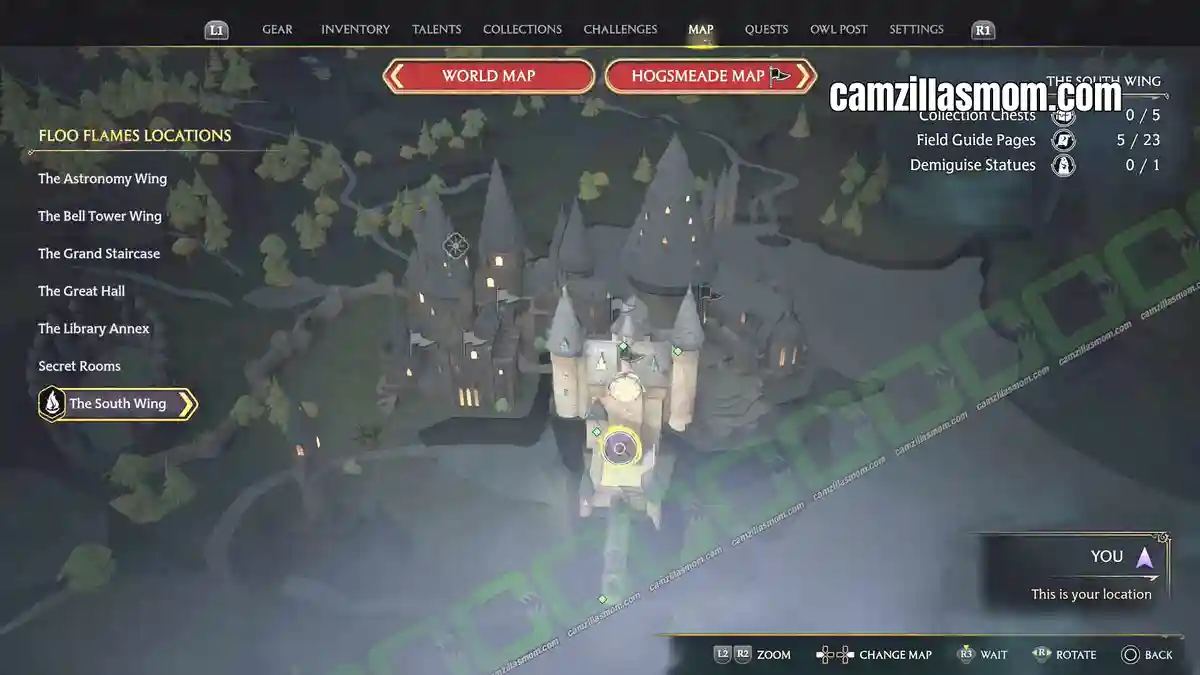
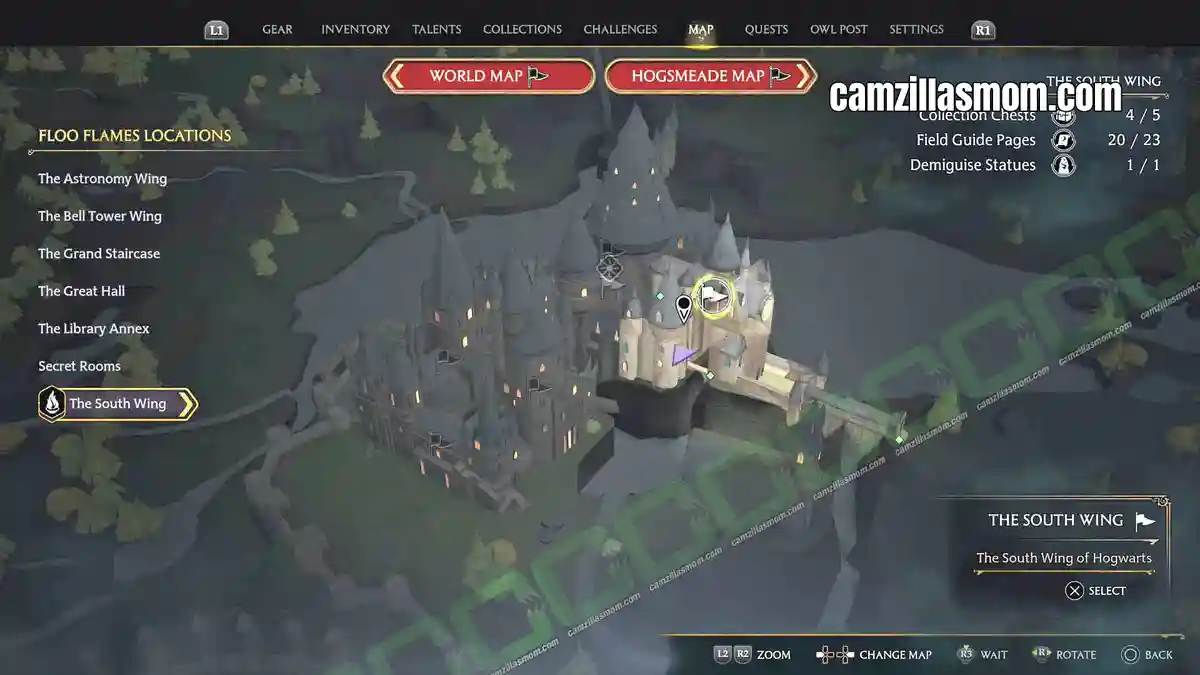
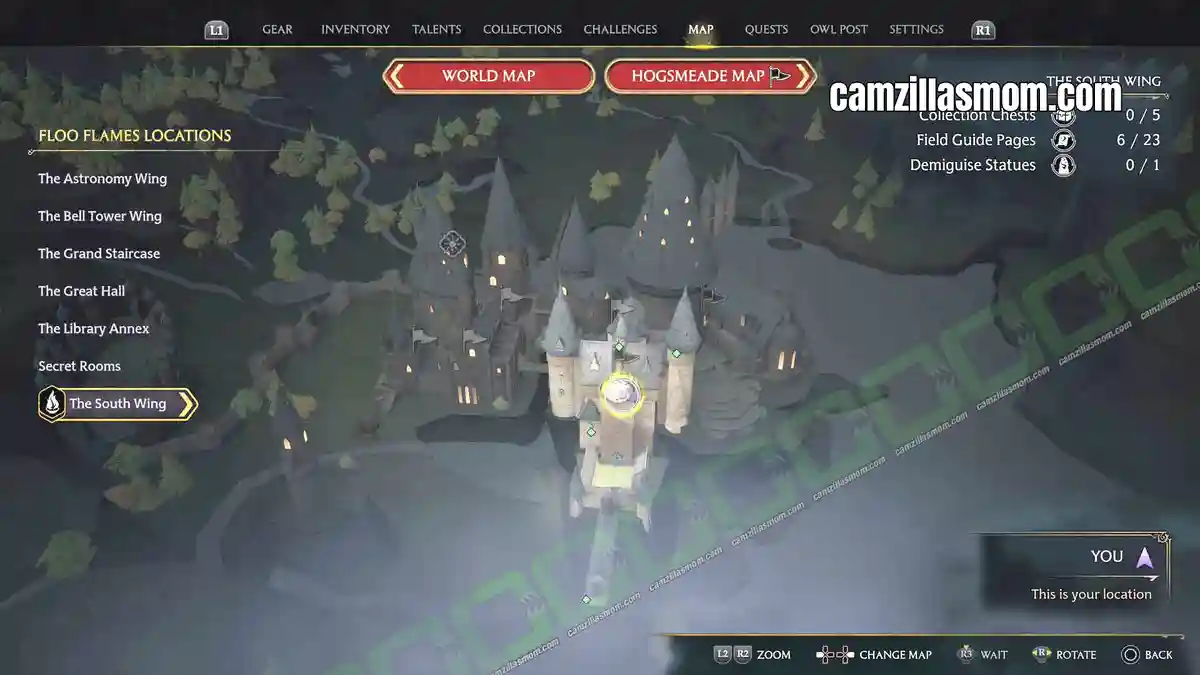
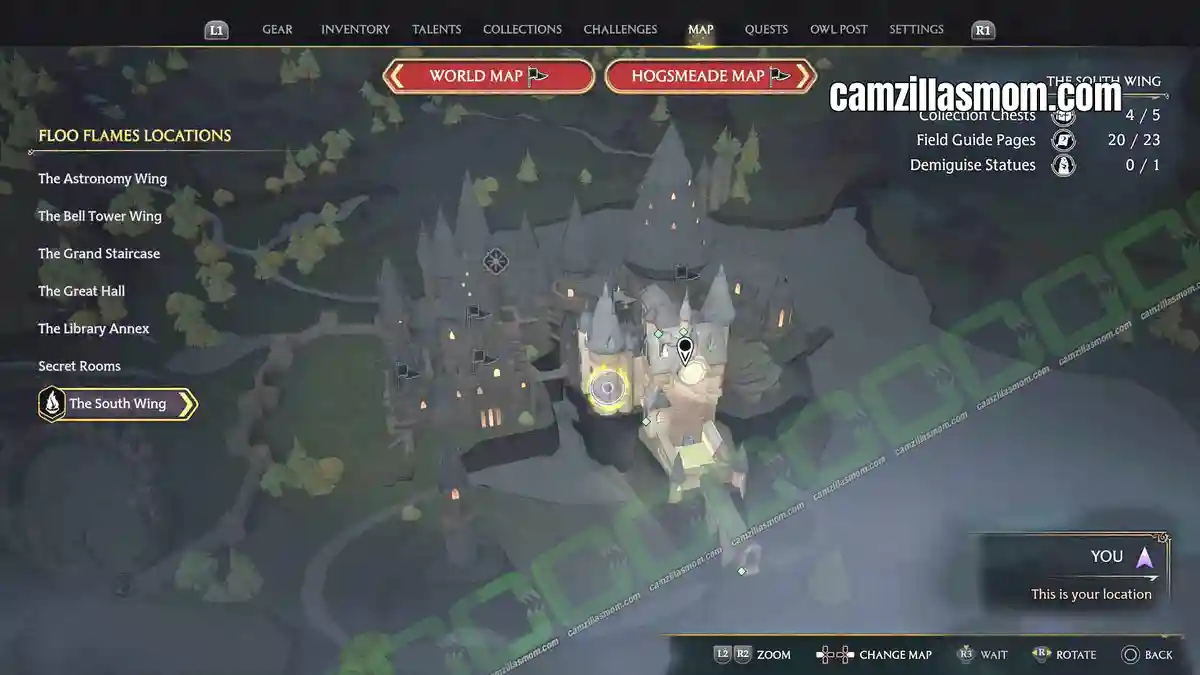
The South Wing has a total of 29 collectibles – 5 Chests, 23 Field Guides, and 1 Demiguise Statue (the one locals call Gladwin Moon). Here’s where they are so you can complete the area 100%.
Related Guides:
All Demiguise Statues (Demiguise Moons) Guide
Library Annex Collection Chests & Collectibles
The Astronomy Wing
The Bell Tower Wing
The Great Hall
The Grand Staircase
More Guides at the Hogwarts Legacy Game Guides Hub
South Wing Collection Chests
You can find a lot of chests in the game. Some with money, others with gear. The special ones – the Collection Chests, have items that you can find in the “Collections” sections of the game menu.
Chest 1 – Arithmancy Puzzle Door Hospital Wing
Below the Hospital Wing at the South Wing is a puzzle door. Just go down the staircases to get to it.
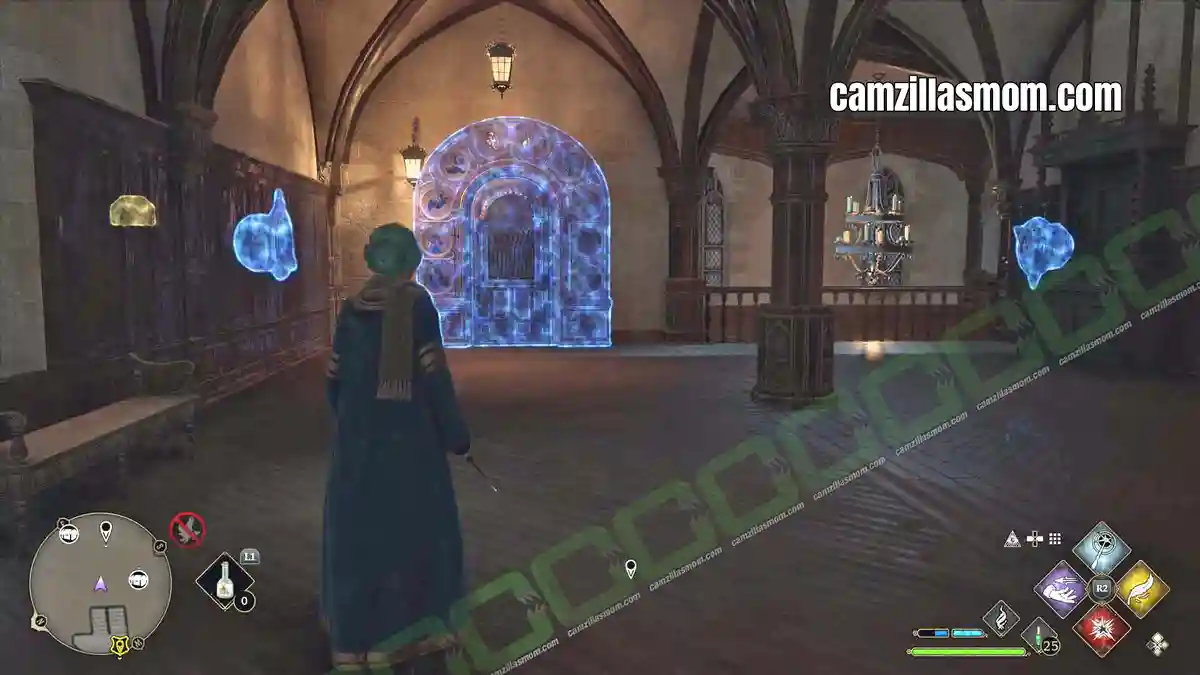
Here’s how to solve the puzzle. First of all reveal the two maths tasks in the centre of the door. The task at the top has one question mark and the one at the bottom two question marks. You should see those question marks nearby as rotatable buttons. That’s where your answer goes.
Before you start calculating, look at the door frame. Ten animals, ten numbers from 0 – 9 from left to right. So the seal at the bottom left has the Zero, then the unicorn has One, the goat has Two etc. That’s the beast you have to select in your rotating button.
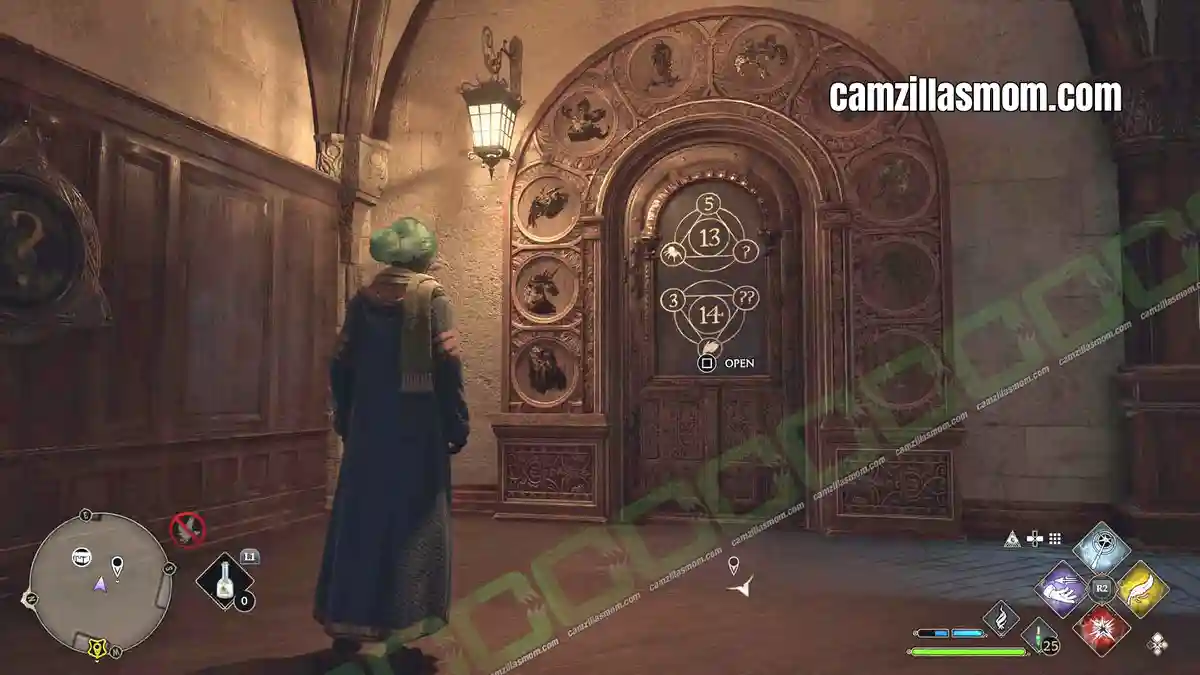
How to Solve the Top of the Main Staircase Puzzle
Before you start calculating, look at the door frame. Ten animals, ten numbers from 0 – 9 from left to right. So the seal at the bottom left has the Zero, then the unicorn has One, the goat has Two etc. That’s the beast you have to select in your rotating button.
First Sum: 5 + Spider + ? = 13
The Spider is according to door frame an 8. FIFE plus EIGHT (the Spider ) plus ZERO = 23
Select the SEAL as the ? – The first animal from the left in the door frame.
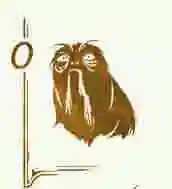
Second Sum: 3 + GOAT + ?? = 14
The GOAT is according to door frame a 2. THREE plus TWO (Goat) plus NINE = 14
Select the Tree with many arms? as ??
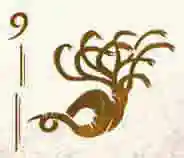
The door opens and the Collection Chest is inside.
Chest 2 – Teleport Frog
Enter the South Wing from the GRAND STAIRCASE. Go through the broad corridor that leads to the Hospital Wing but also a winding staircase up and down at the end. Take the staircase down. At its bottom is a “Teleportation Frog”.
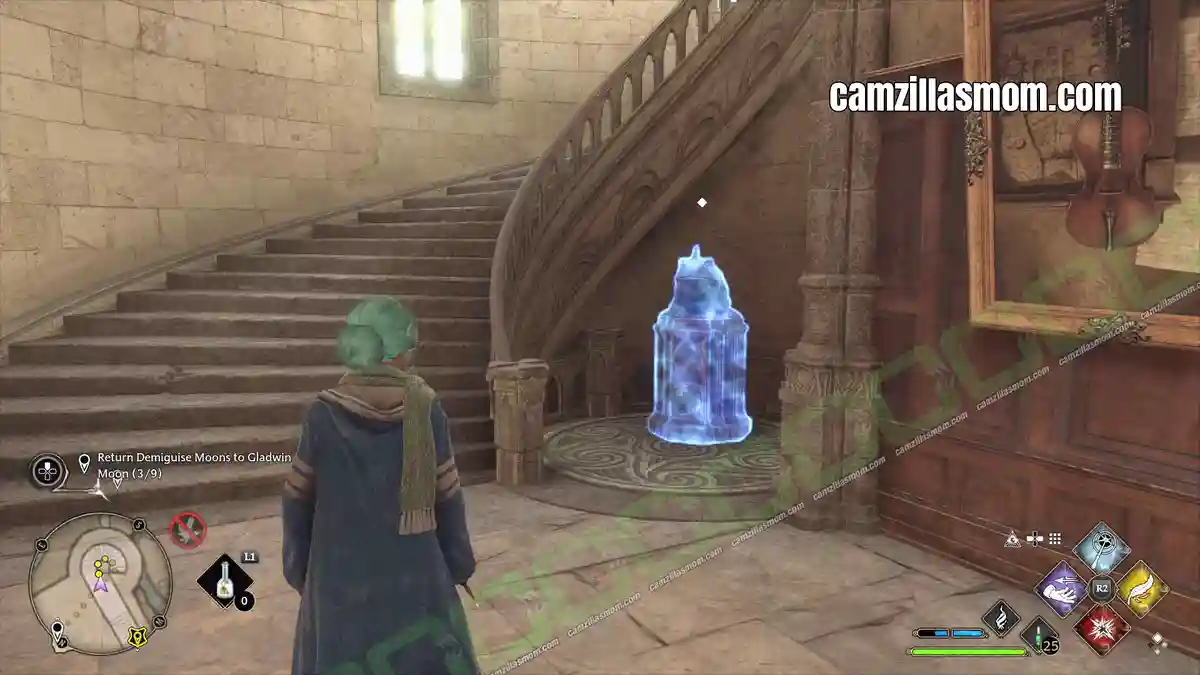
Interact with the frog ad it will transport you to a dark room with the chest.
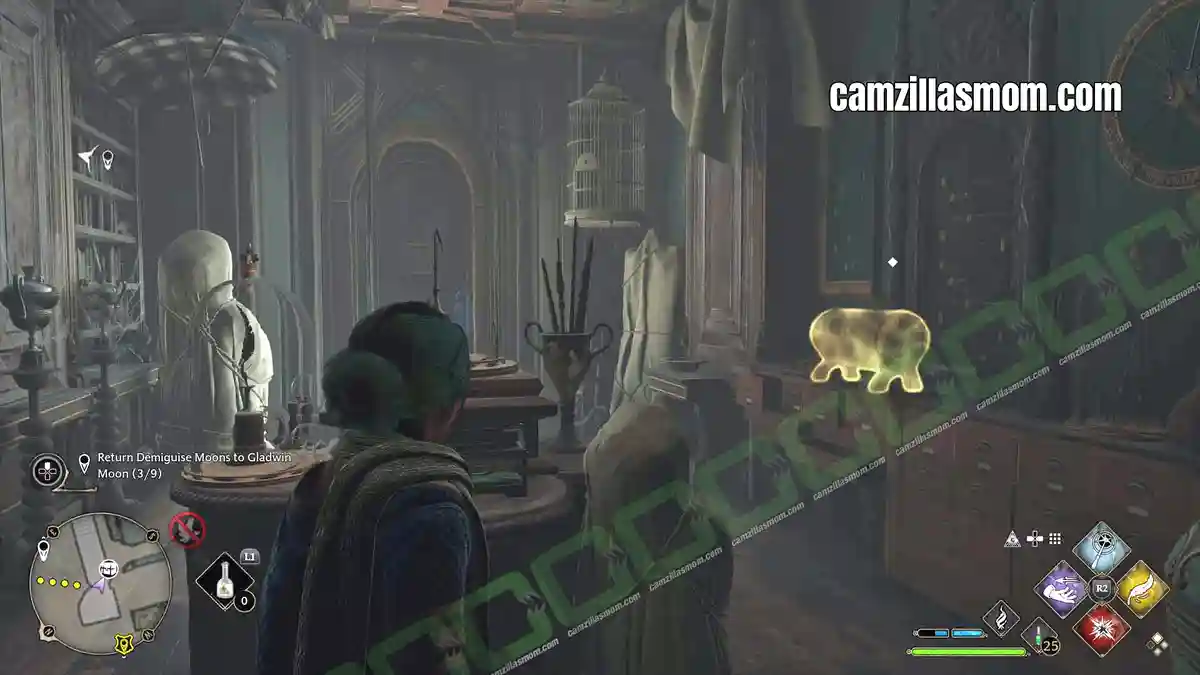
Chest 3 – Horse Door
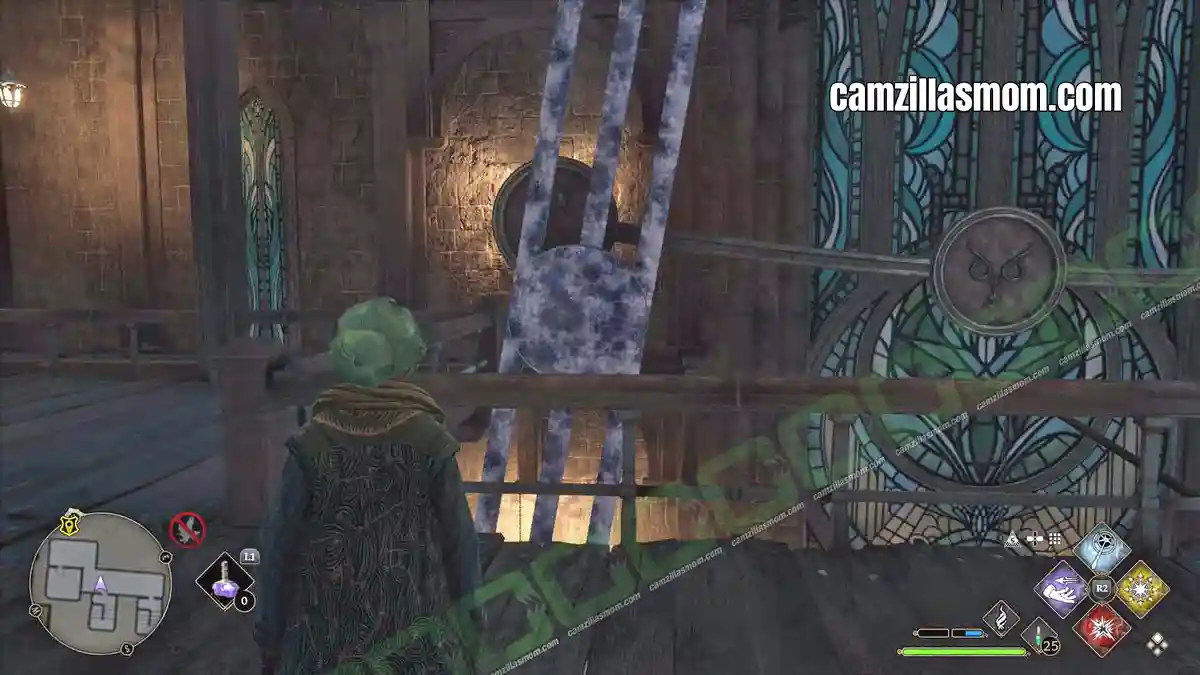
Go to the southern exit at the SOUTH WING, where the duelling is taking place. Here, at ground floor is a shut door with a horse picture on it. Now unlock the nearby door to go up one level. Here, freeze the pendulum (“GLACIUS”) just when it reaches the horse picture.
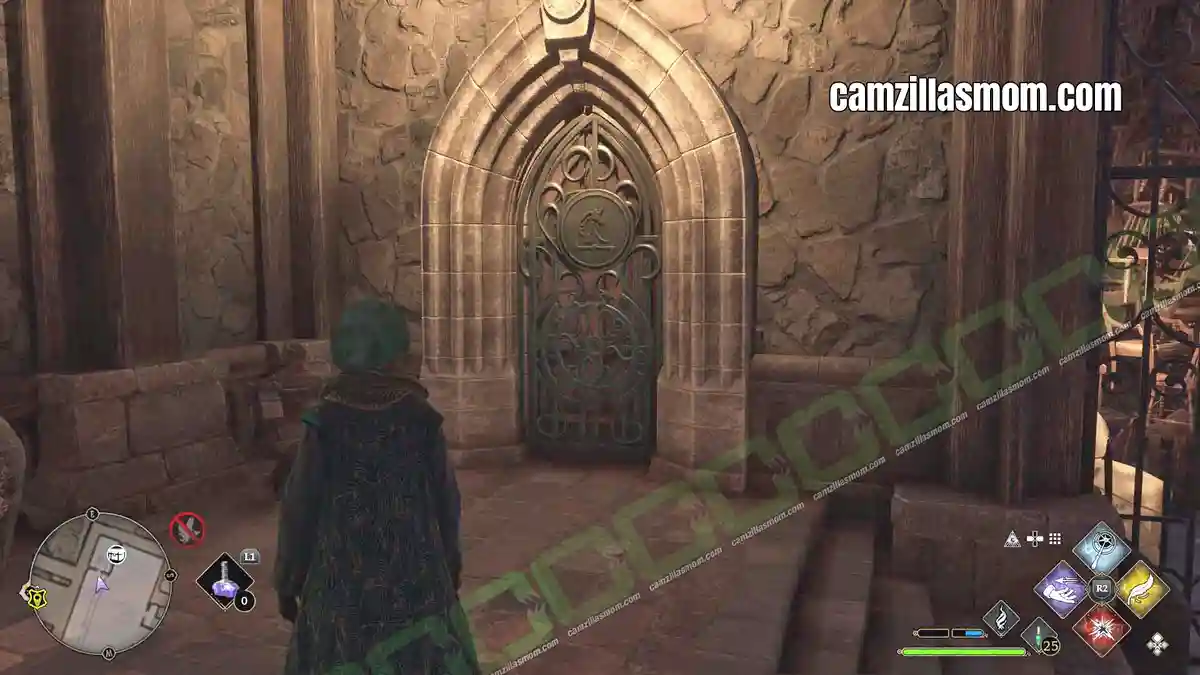
The pendulum unfreezes after a while or you can cast a fire spell. But the doors keep open. Open all 4 doors in this area and you solve a “Hogwarts Secret”.
Reward:
Ruined Stairway – Conjurations
Chest 4 – Sea Horses Door, Third Floor
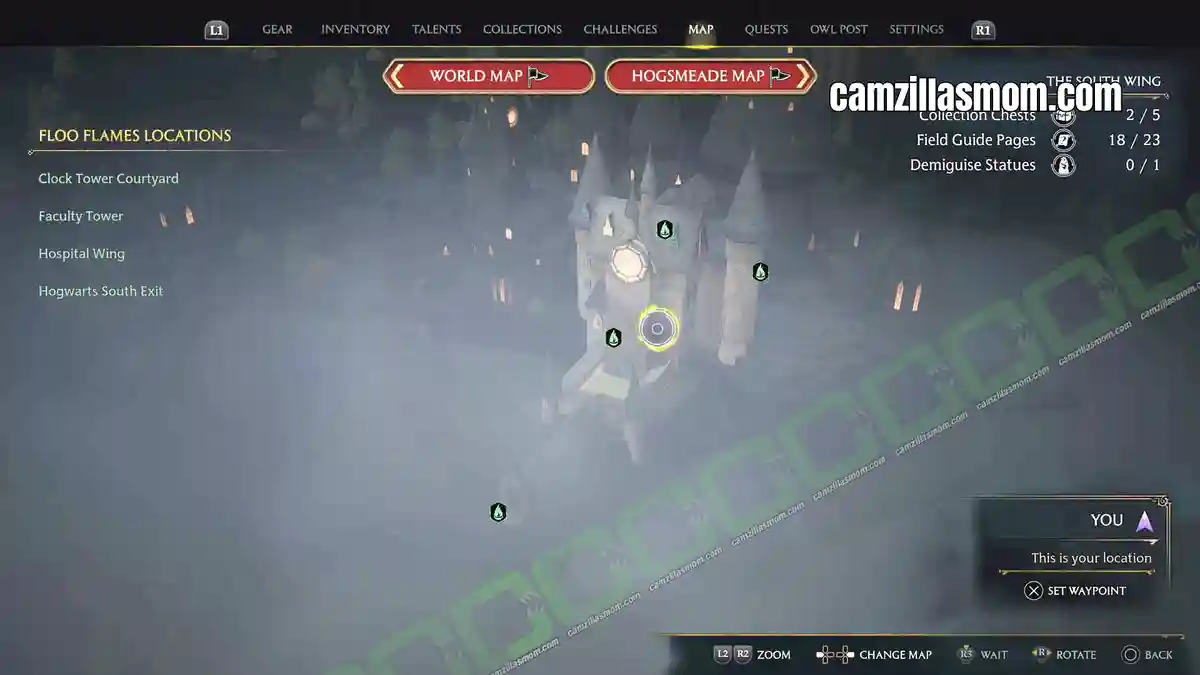
From the previous door, go two doors up. High above the Horse door is another door that keeps a chest safe. The picture on it looks like as if two sea horses are looking at each other. Freeze the pendulum at this sign to get inside. Remember: You can aim your freeze spell so you don’t end up freezing the rails!
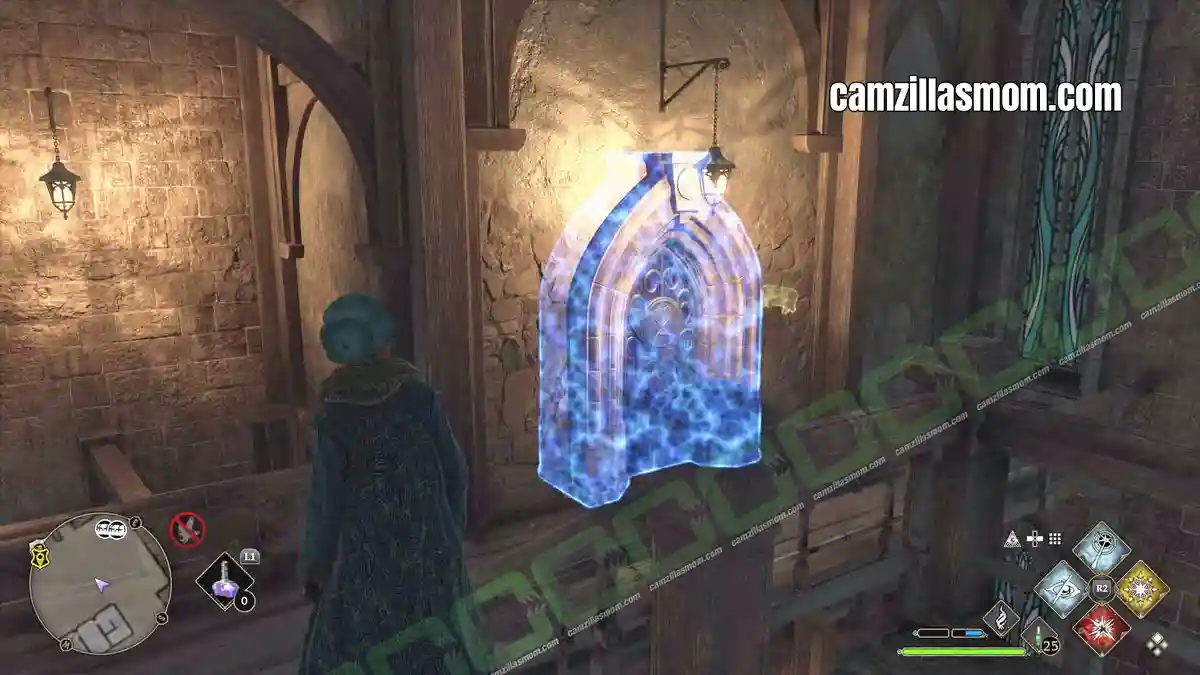
The pendulum unfreezes after a while or you can cast a fire spell. But the doors keep open. Open all 4 doors in this area and you solve a “Hogwarts Secret”.
Reward:
Imperial – Brown and Gold – WAND HANDLES
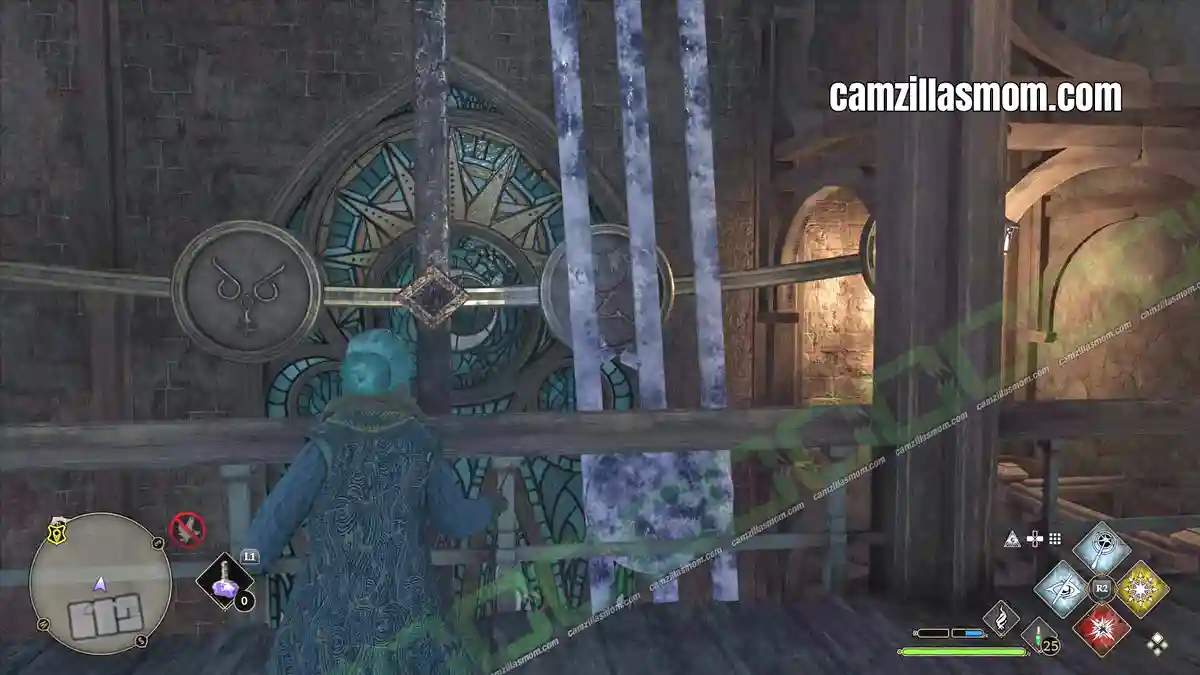
Chest 5 – Below Hospital Wing, Level 3 Door
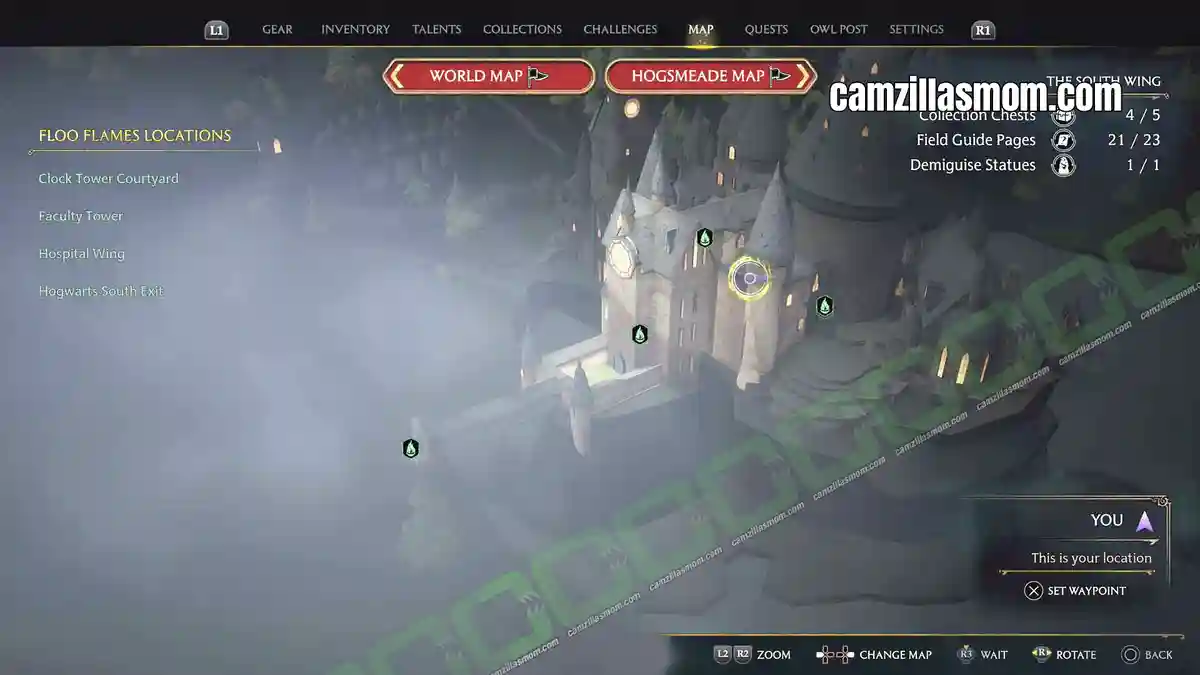
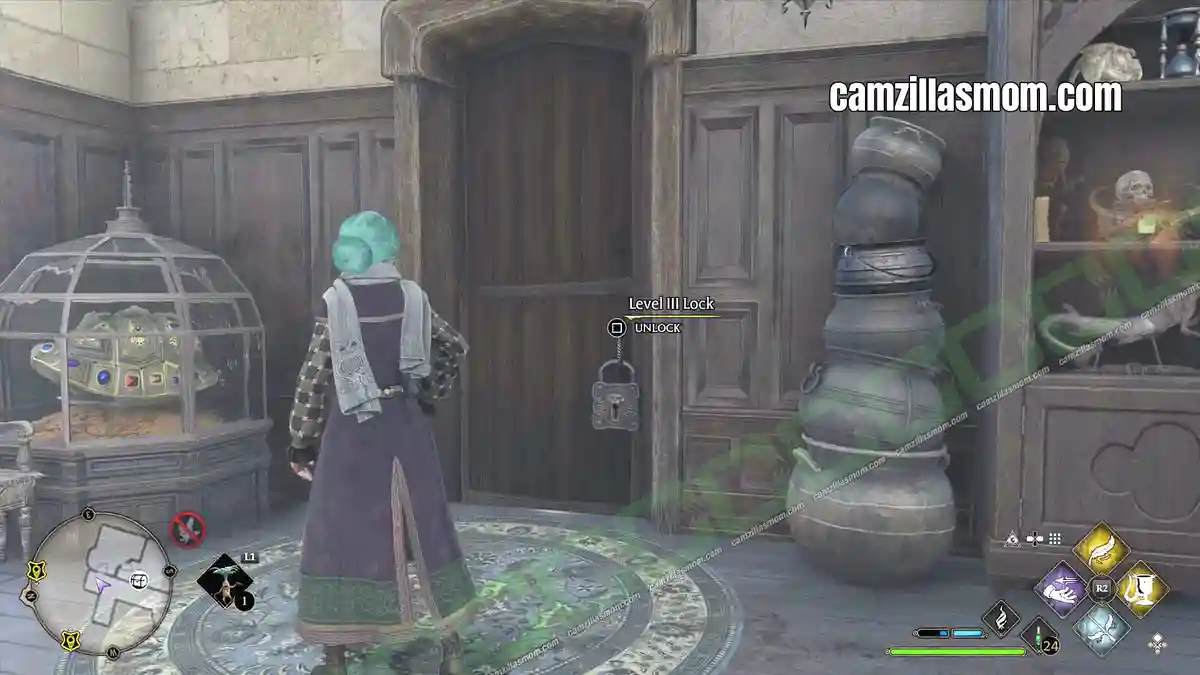
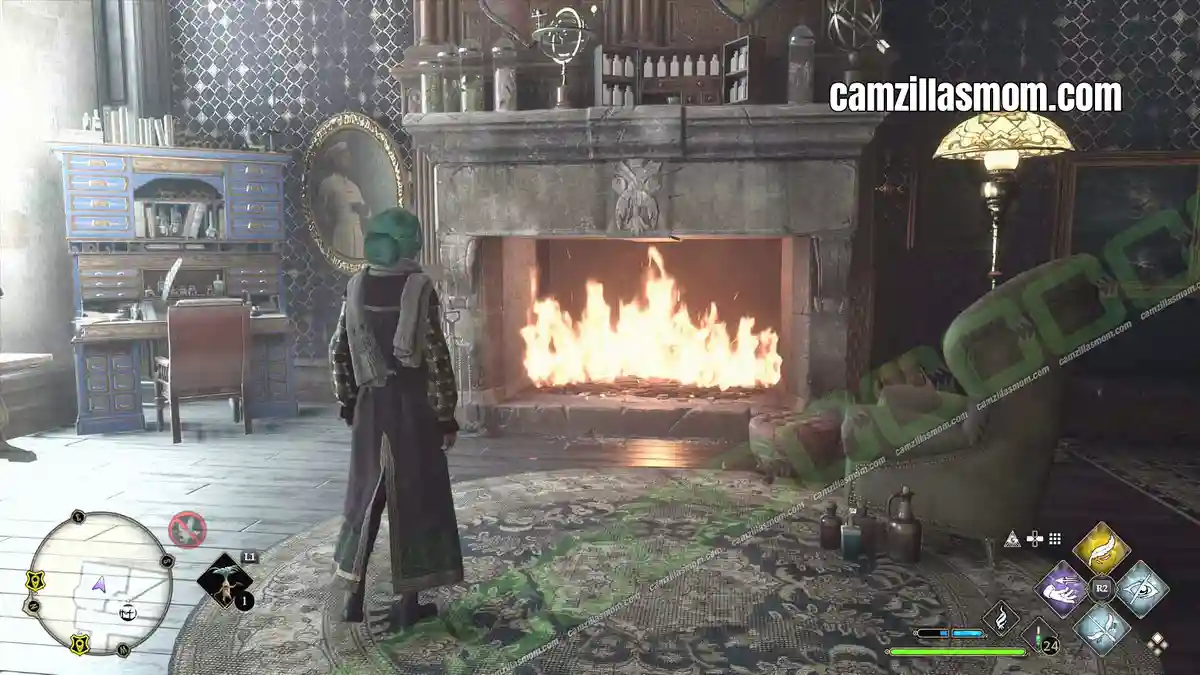
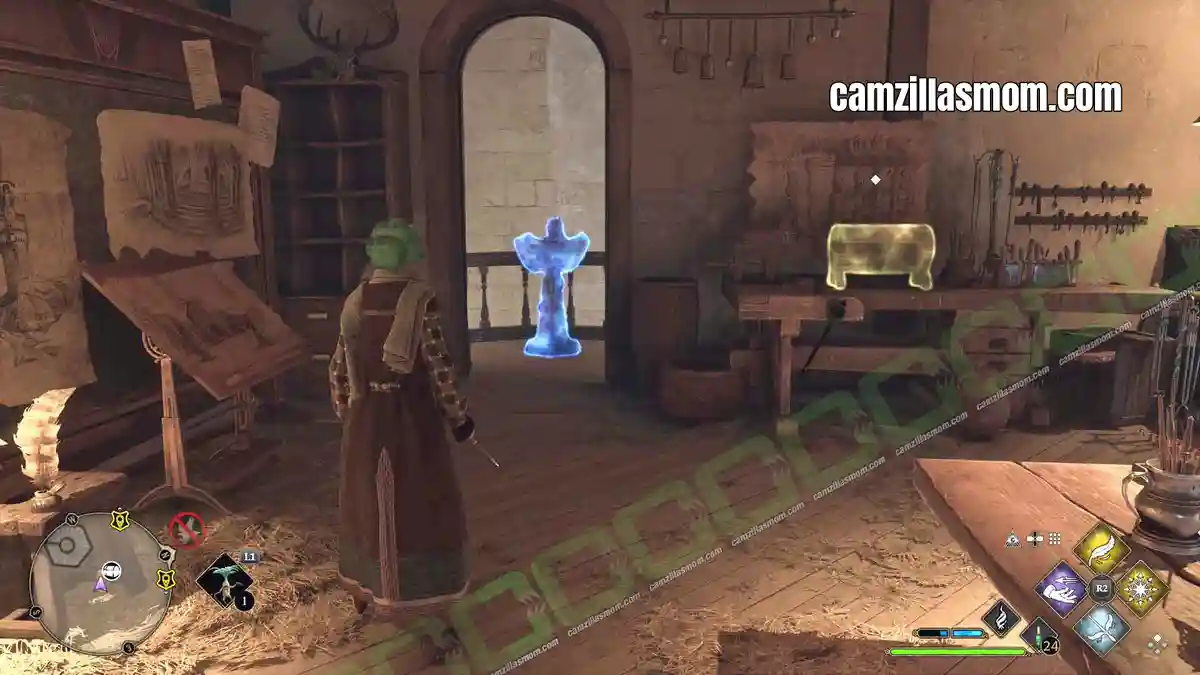
From the hospital at the top, take the staircase down until you get to the Level 3 locked door. Open and enter the room. Inside is a burning fireplace. Extinguish the fire with “GLACIUS” and go through. There is a staircase at the other side. Go up and you will see the chest in this small room with a balcony.
Reward:
Checkerboard – Teal – WAND HANDLES
South Wing Field Guide Pages (Revelio Pages)
There are two types of Field Guides. Some have to be discovered – those would be the collectible Revelio Pages – and the “Flying Pages” that need to be caught with the “ACCIO” spell and are not documented anywhere else but counted against the FIELD GUIDE PAGES challenge. Below those two pages will be listed under “Revelio Pages” and “Flying Pages”.
Revelio Pages at the South Wing
Revelio pages are the collectibles that get a proper entry under Collections in the game menu. You find them by casting Revelio and interacting with whatever lights up.
These are listed in the same order they appear under Collections – Revelio Pages in the game menu.
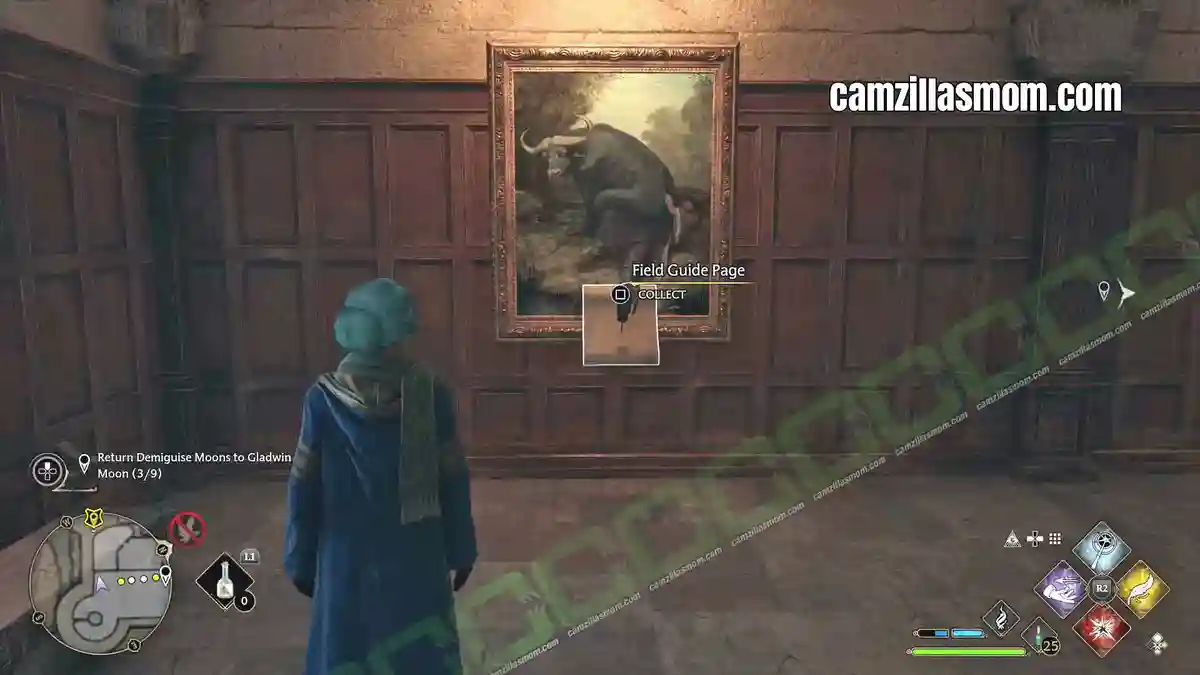
1 – Portrait of Baruffio
“This portrait depicts the wizard Baruffio, famed for his Brain Elixir and as an example of what happens when incantations are improperly spoken: he once said ‘s’ instead of ‘f’ and found himself on the floor with a buffalo on his chest.”
This painting is in the broad corridor that leads to THE GRAND STAIRCASE and the Hospital Wing.
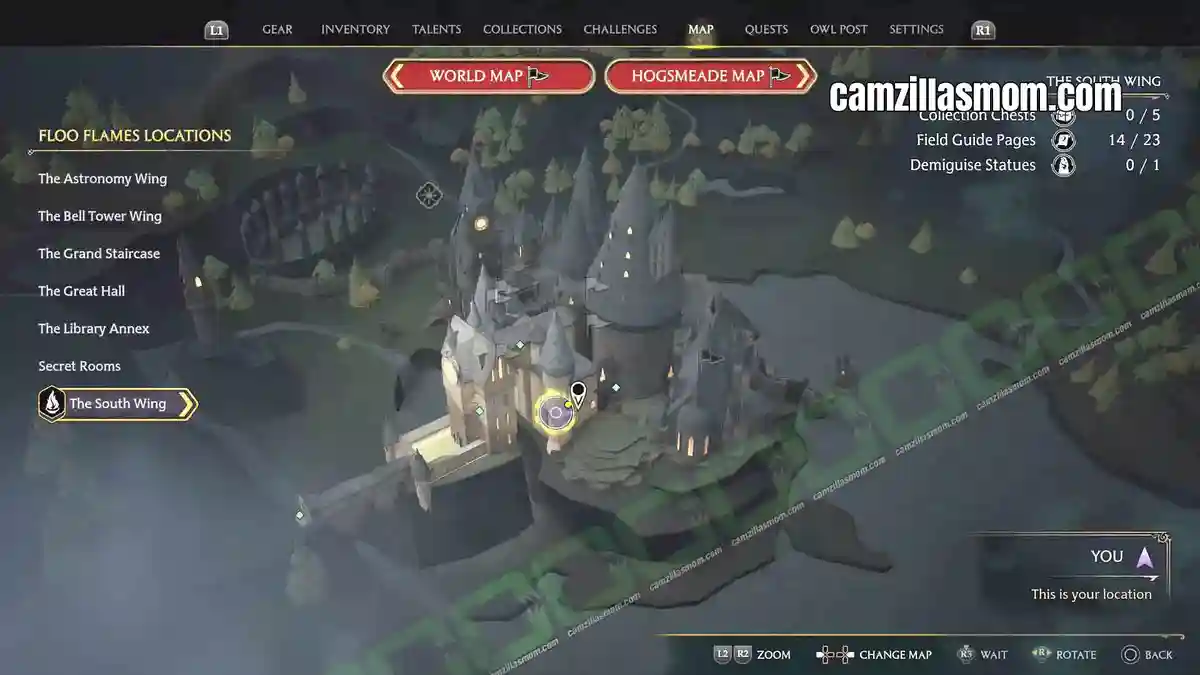
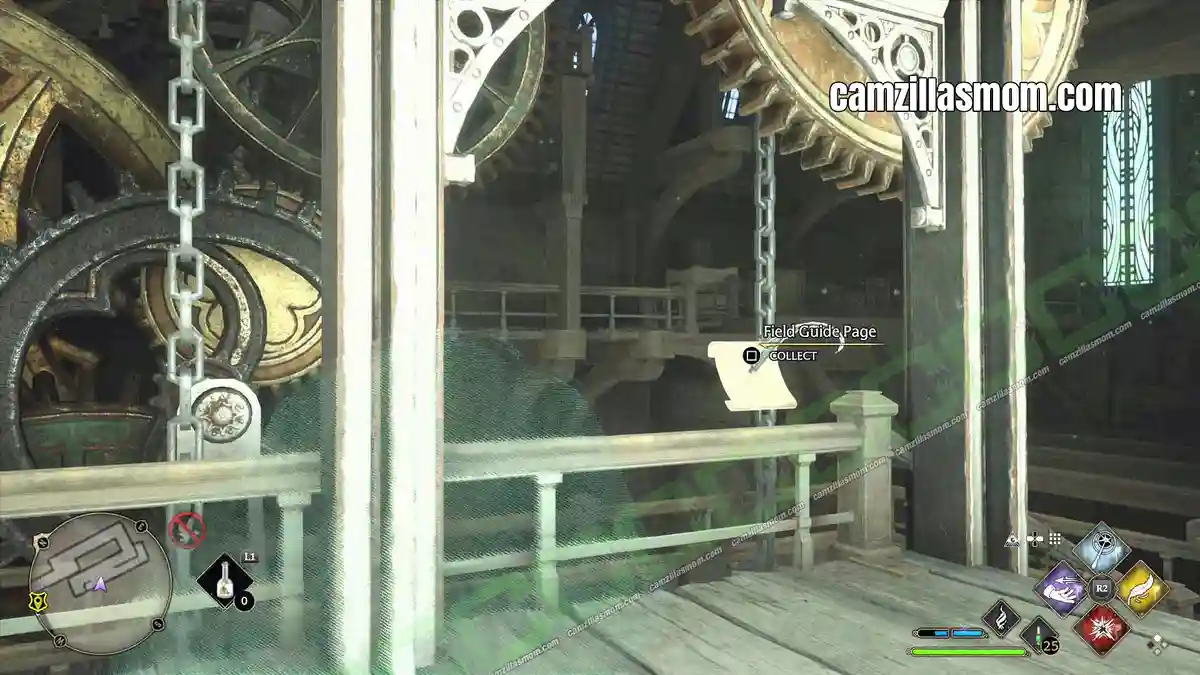
2 – Clock Mechanics
“While the moving gears of the clock tower’s inner mechanics serve as a deterrent to many, others find the privacy offered by the cogs and wheels appealing.”
Go to the southern exit at the SOUTH WING, where the duelling is taking place. Here, you can lock pick the door to the right to get up to the clockworks.
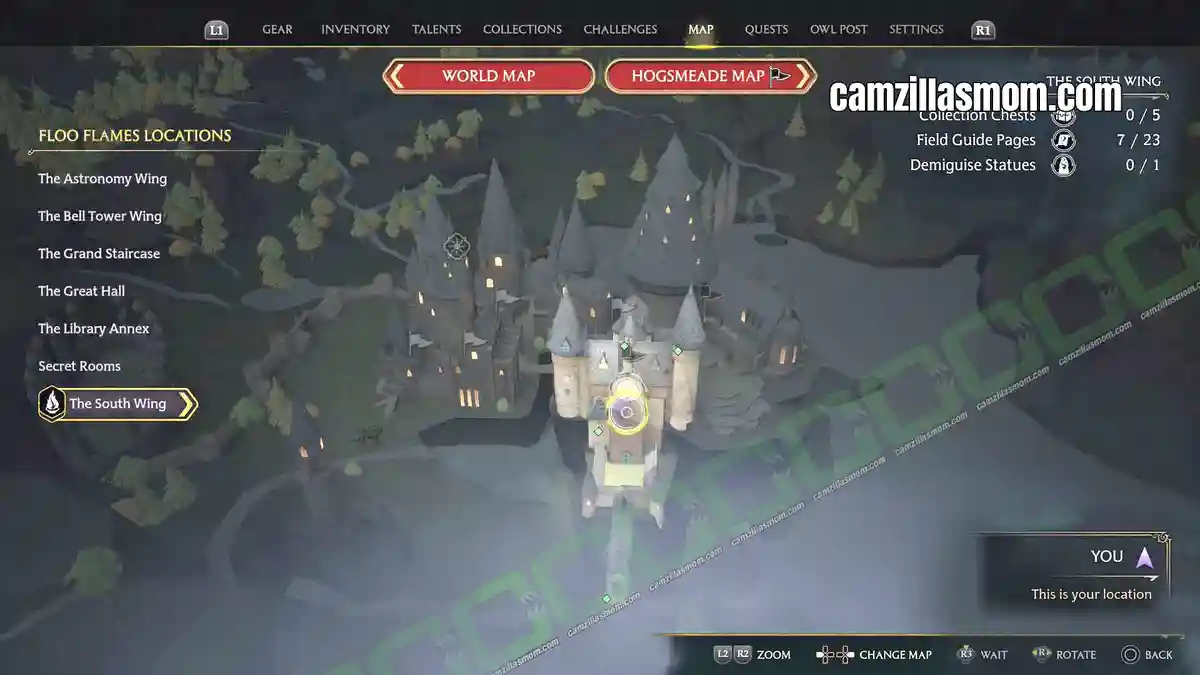
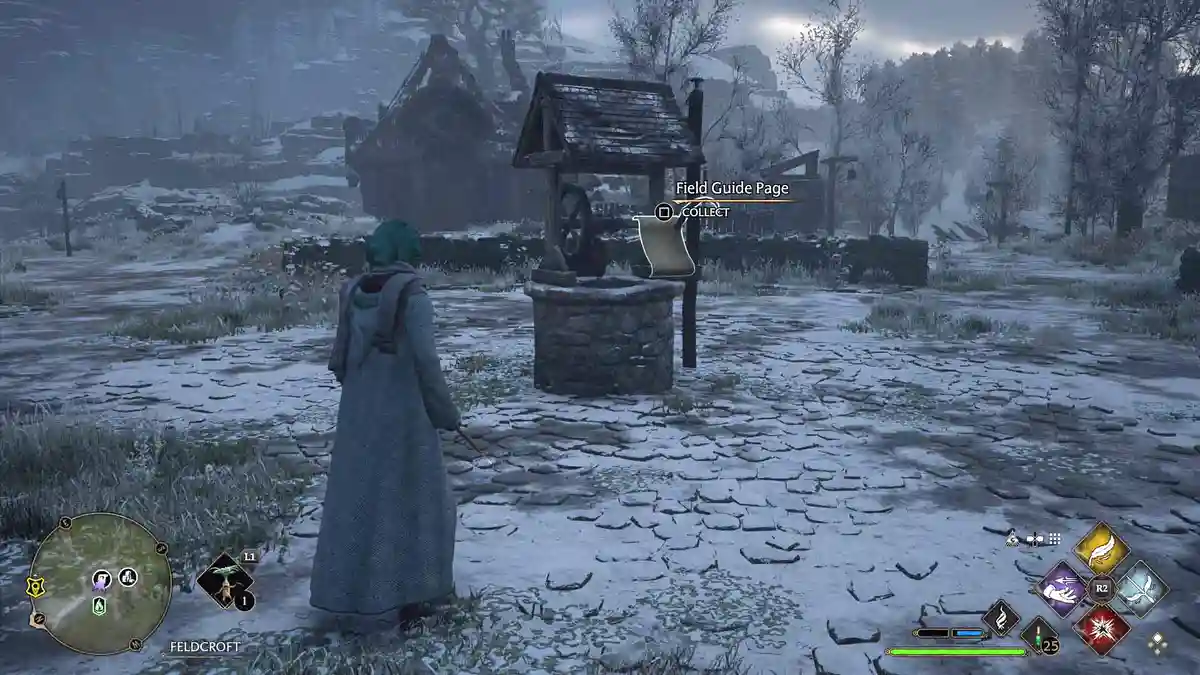
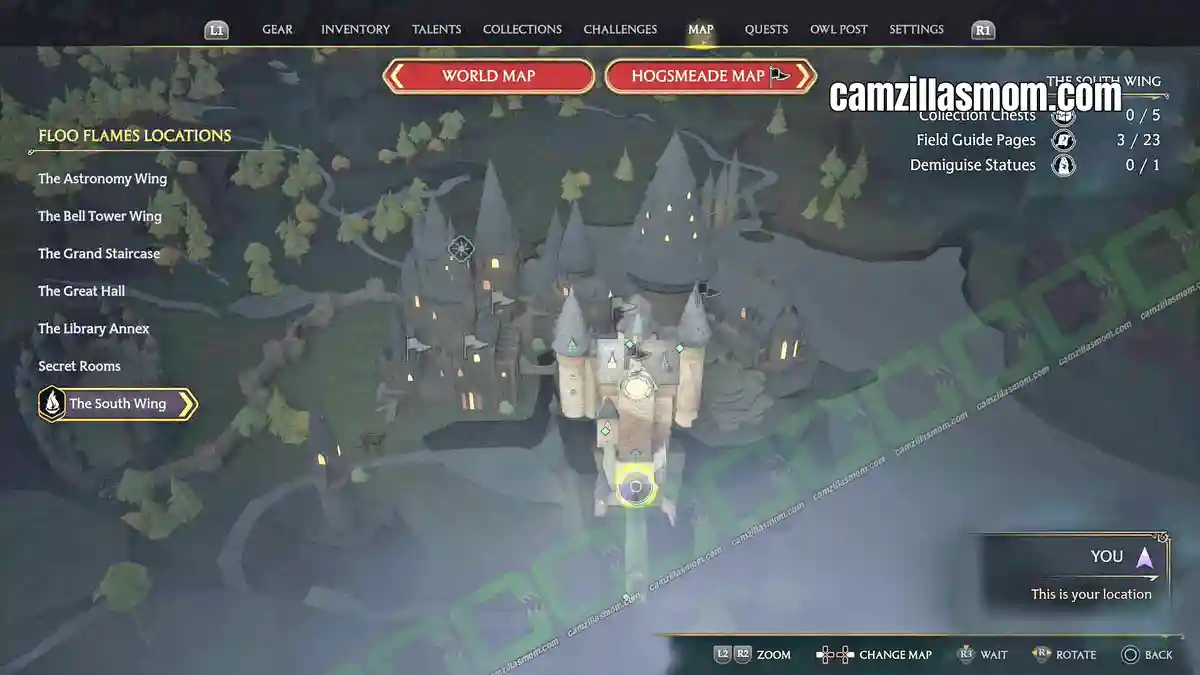
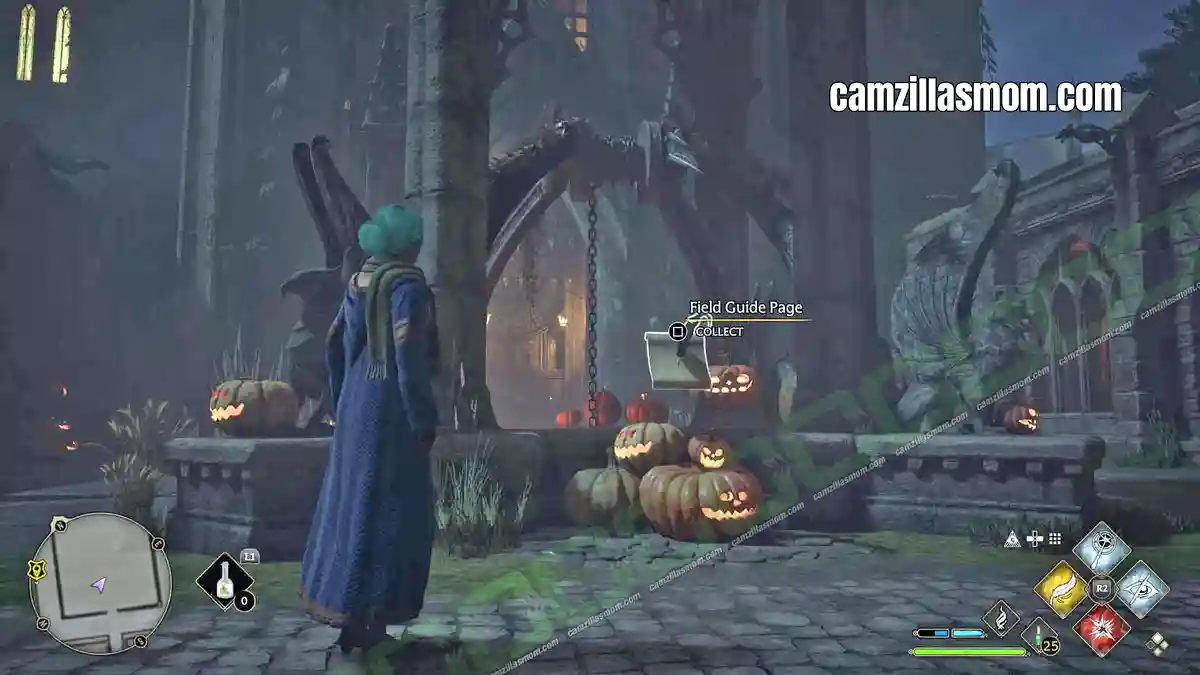
3 – The Well of Four Beasts
“Some students believe that a wish made over the Well of Four Beasts – whether near the Thestral, griffin, Chimaera, or Hippogriff – will come true for one who has gained the trust of any of the four.”
The Well of Four Beasts is just outside the southern, main entrance to the South Wing.
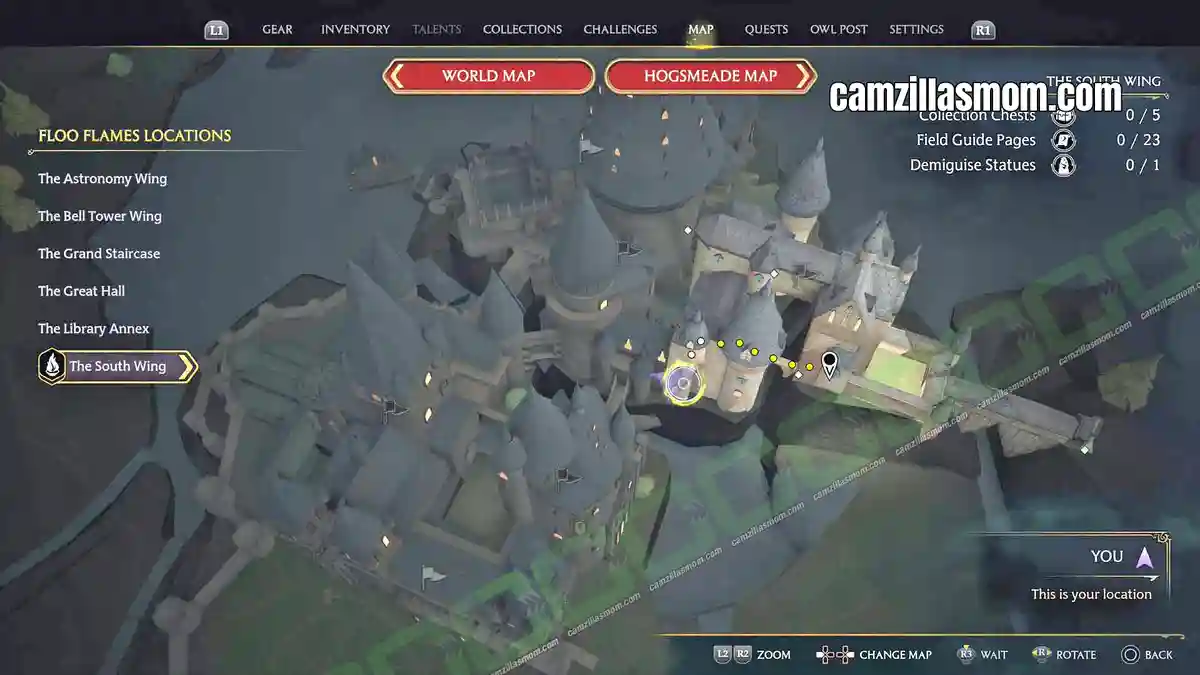
4 – Haunted Toilets
“Unless in dire straits, it is probably best to avoid this particular toilet as it is allegedly one of Peeves’s favourite pranking spots.”
In a corridor at ground floor of THE SOUTH WING is the locked Hauted Toilet door.
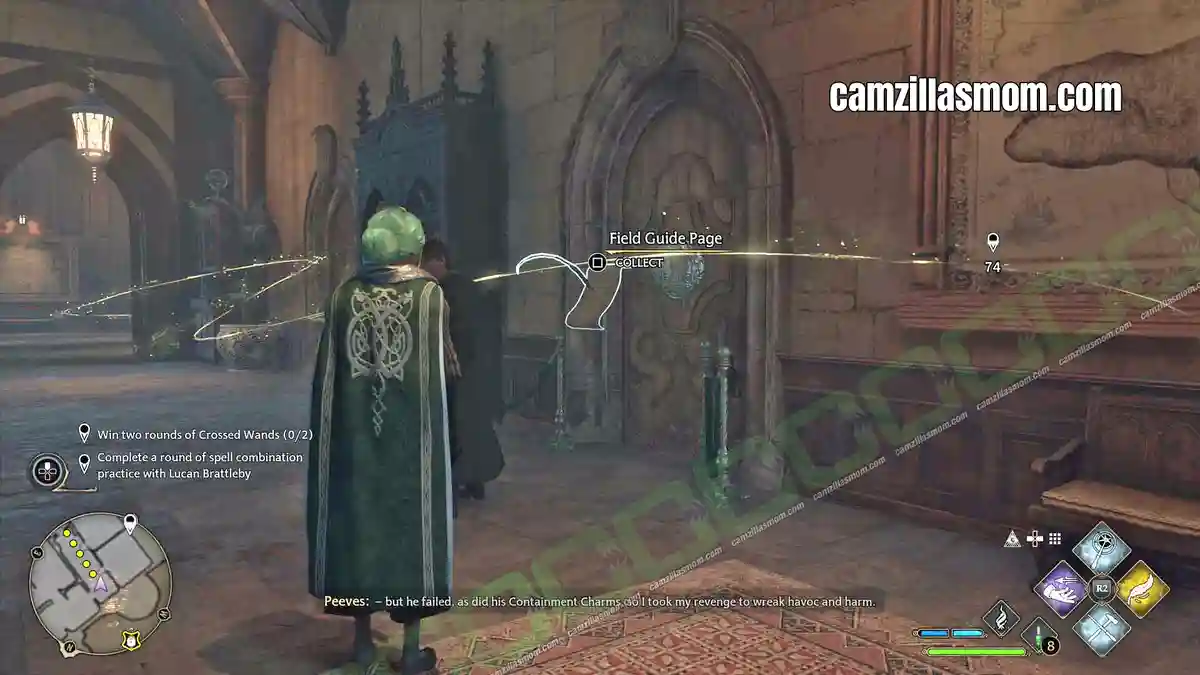
5 – Map of Argyllshire
“This map depicts Argyllshire, a region in Scotland which contains the Hebrides – native home of the Hebridean Black dragon.”
Take the staircase up from the “Lachlan the Lanky” statue on ground floor at THE SOUTH WING to get to this map.
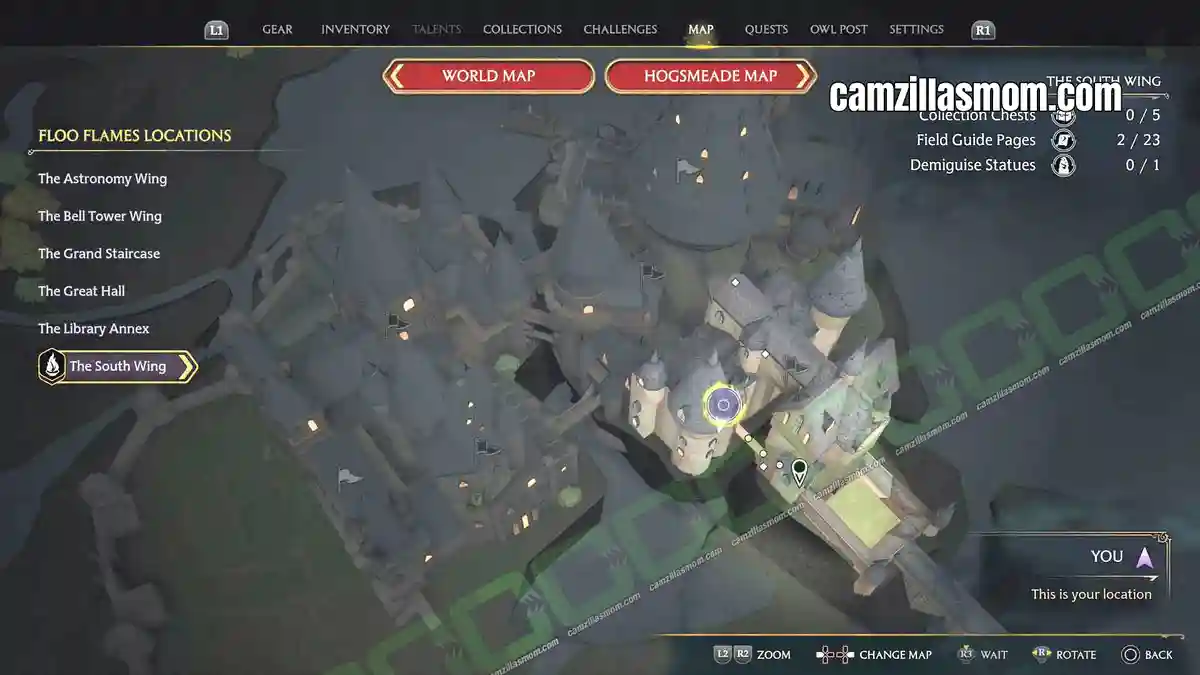
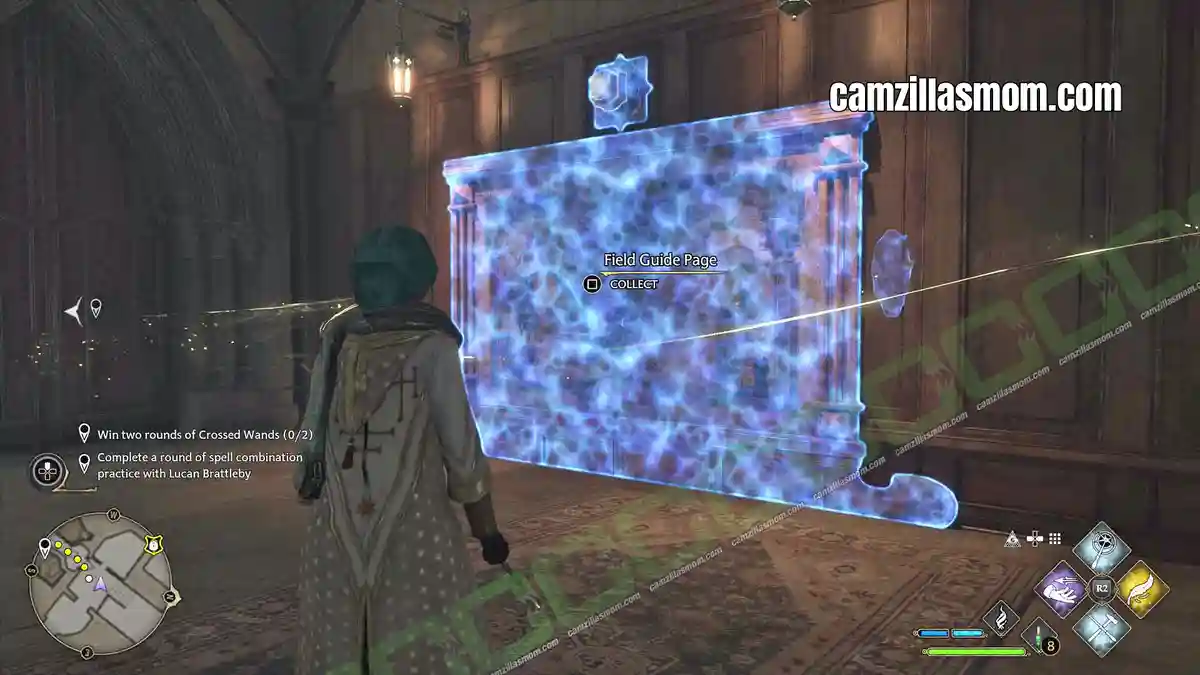
6 – Boris the Bewildered
“This statue of a lost-looking wizard known as Boris the Bewildered has perplexed students for ages. Is he coming or going? Is he at the beginning of a journey or the end? Perhaps we shall never know.”
Boris is just below the Hospital in the South Wing.
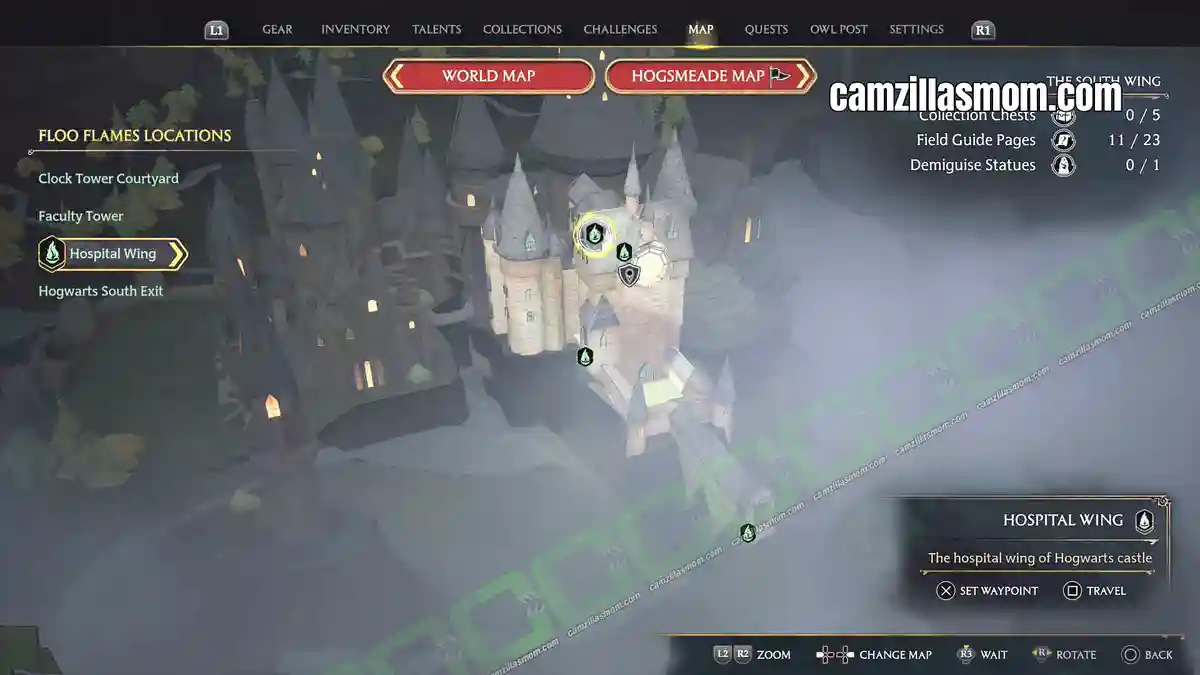
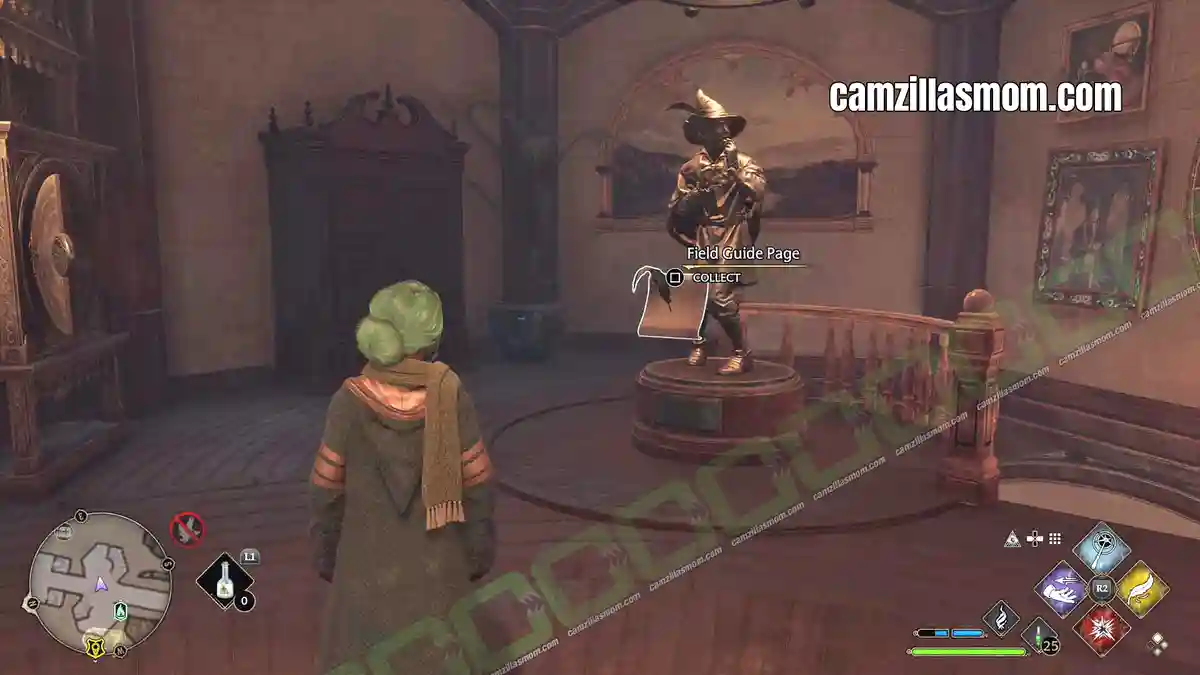
7 – Lachlan the Lanky
“This statue depicts the wizard Lachlan the Lanky – a tall, slender wizard who appears quite proud of himself. For what precisely, no one knows.”
Find this statue at the ground floor of THE SOUTH WING.
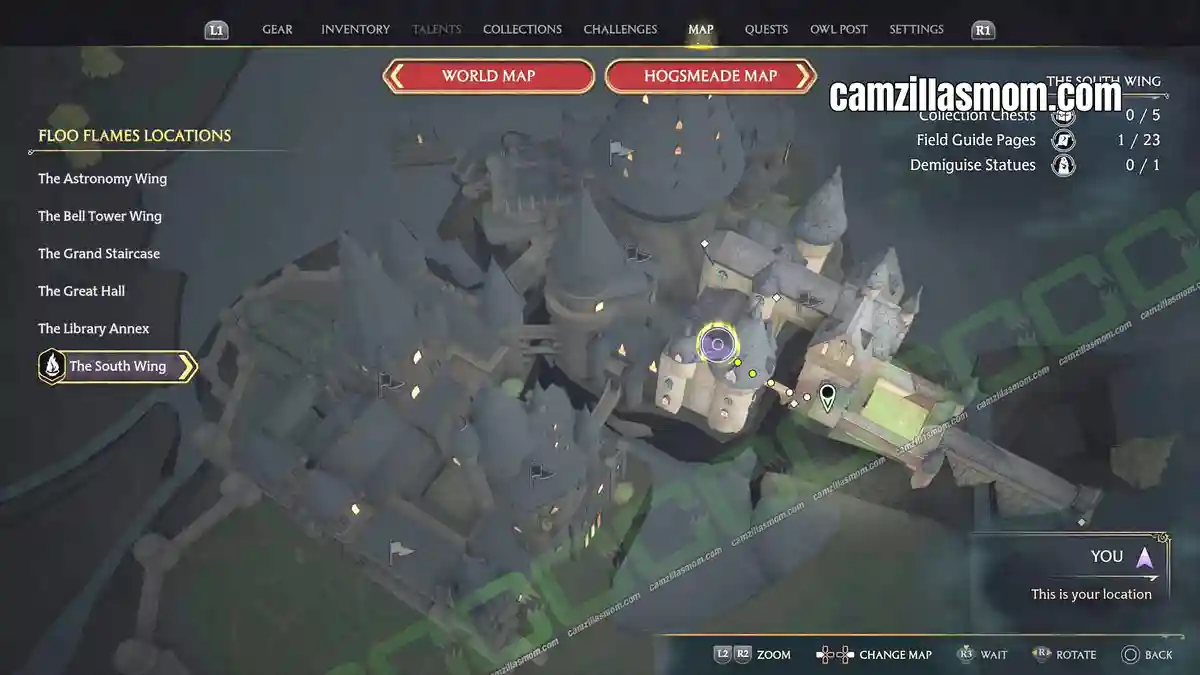
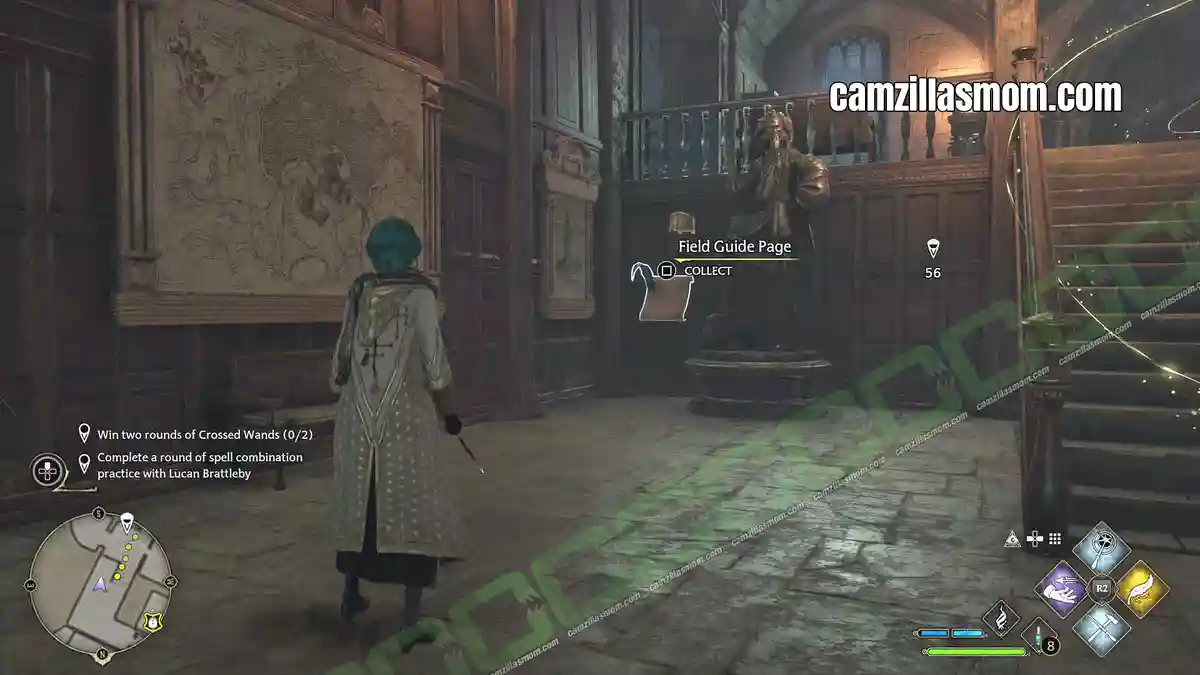
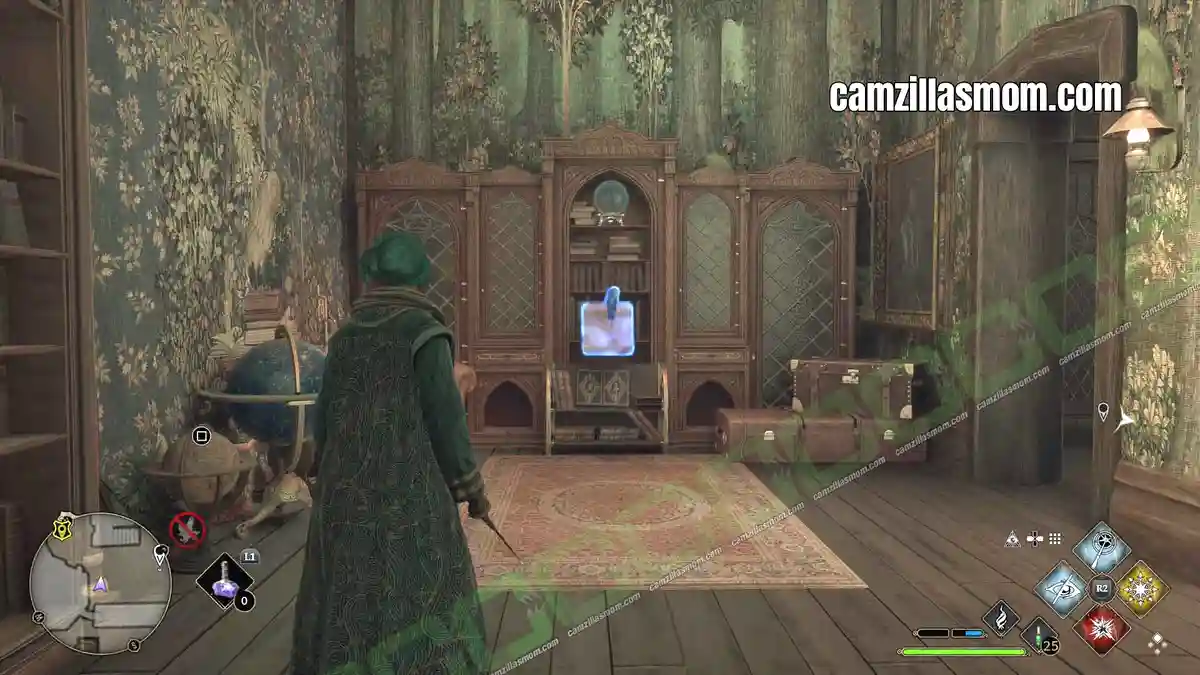
8 – Adventure Novel Set
“Sketched inside the cover of this old, slightly worn set of serialised adventure novels is what looks like a gazelle. Perhaps the novels were a givt to Professor Onai or her daughter Natsai.”
Remember the restricted area you had to enter to pick up your first Demiguise for Gladwin Moon in the SOUTH WING? Here, just behind the barrier, up the stairs close to the puzzle door, is a room with a Level 2 Lock. Inside is this Field Guide Page.
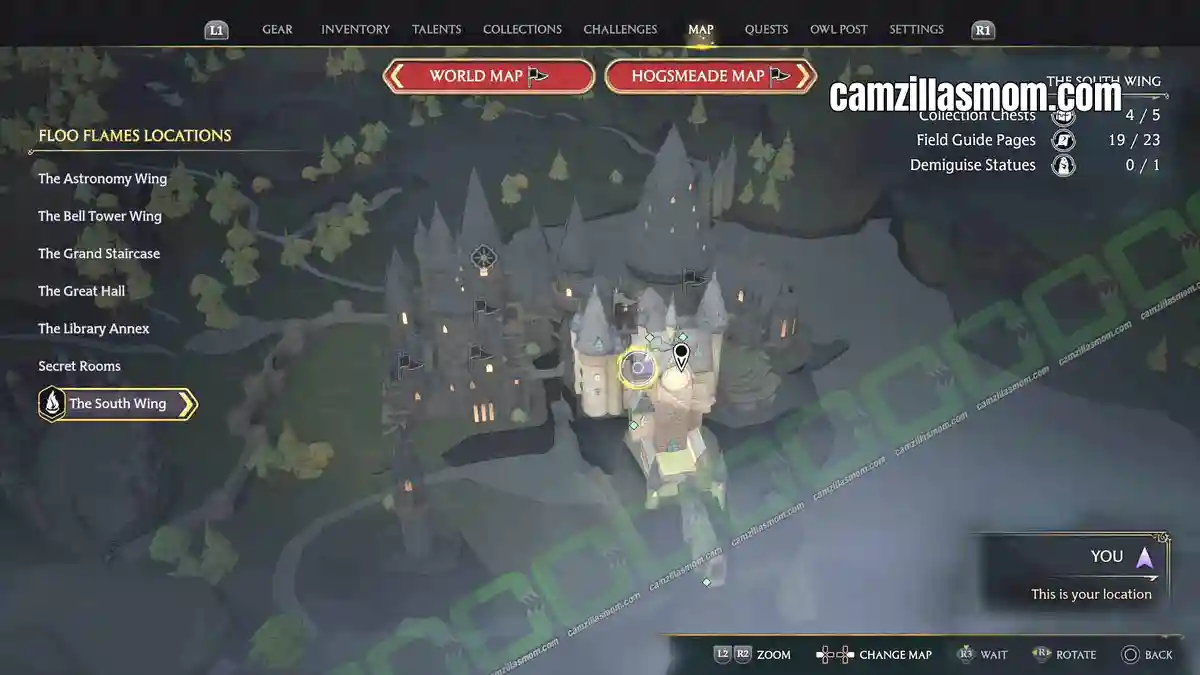
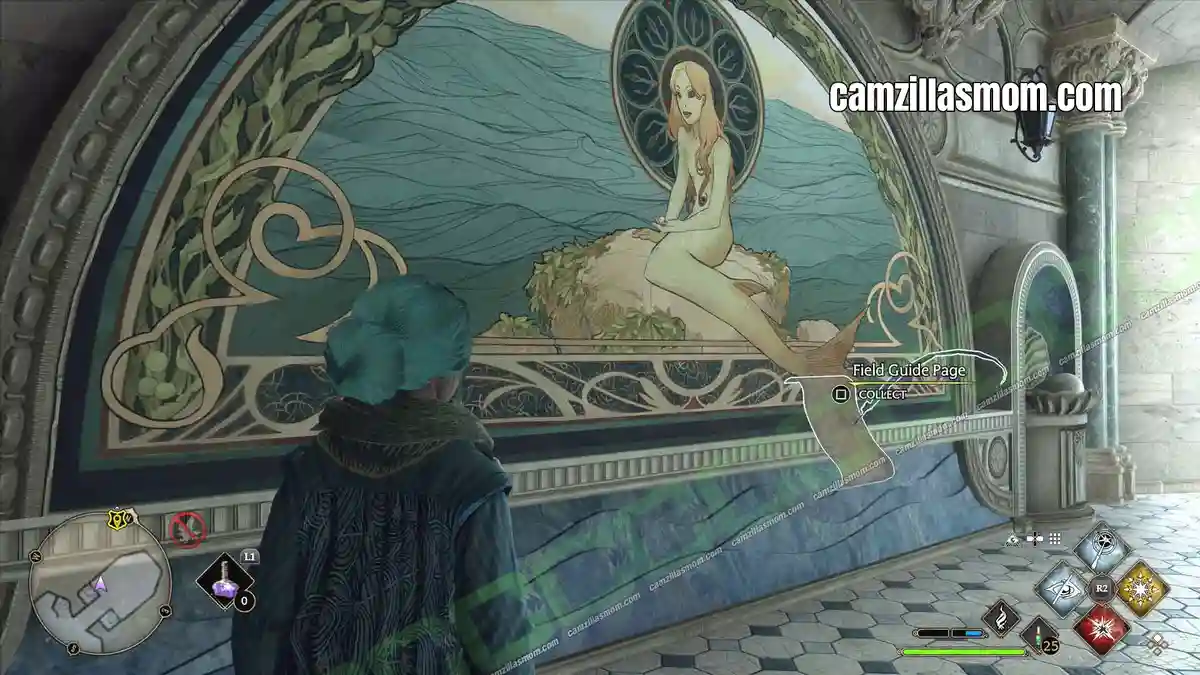
9 – Prefects’ Bathroom
“The Prefects’ bathroom features a swimming-pool-sized bathtub that can be filled with enchanted soap and colourful bubbles, as well as a beautiful painted mural depicting a mermaid.”
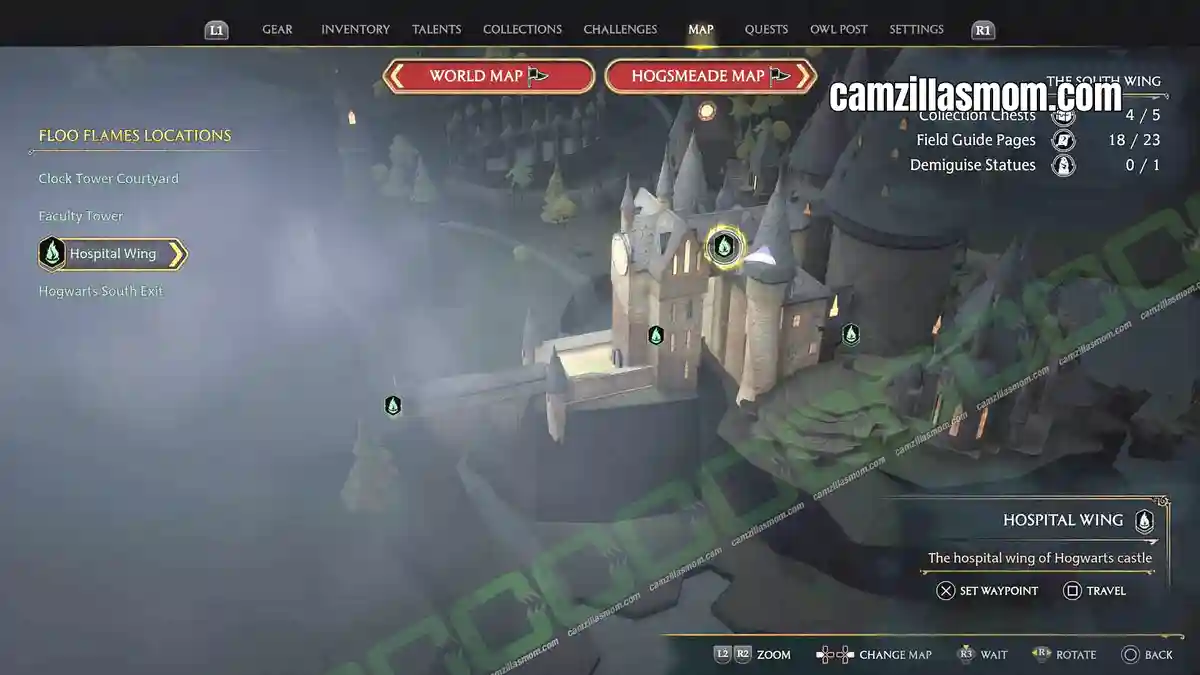
Just below the Hospital at the Hospital Wing of THE SOUTH WING is a pool area. Here is a nice painting of a mermaid.
10 – Jewel-encrusted Tortoise Shell
“Many assume this to be the shell of a Fire Crab, native to Fiji. However, those in the know swear it’s bejewelled tortoise shell created by a mad wizard near Versailles. When his chateau was overrun by Nifflers, the dazzling shell was carried off to be discovered years later by a Hogwarts professor on holiday in the Ardennes.”
Below the Hospital Wing is this exhibit next to a Level 3 locked door.
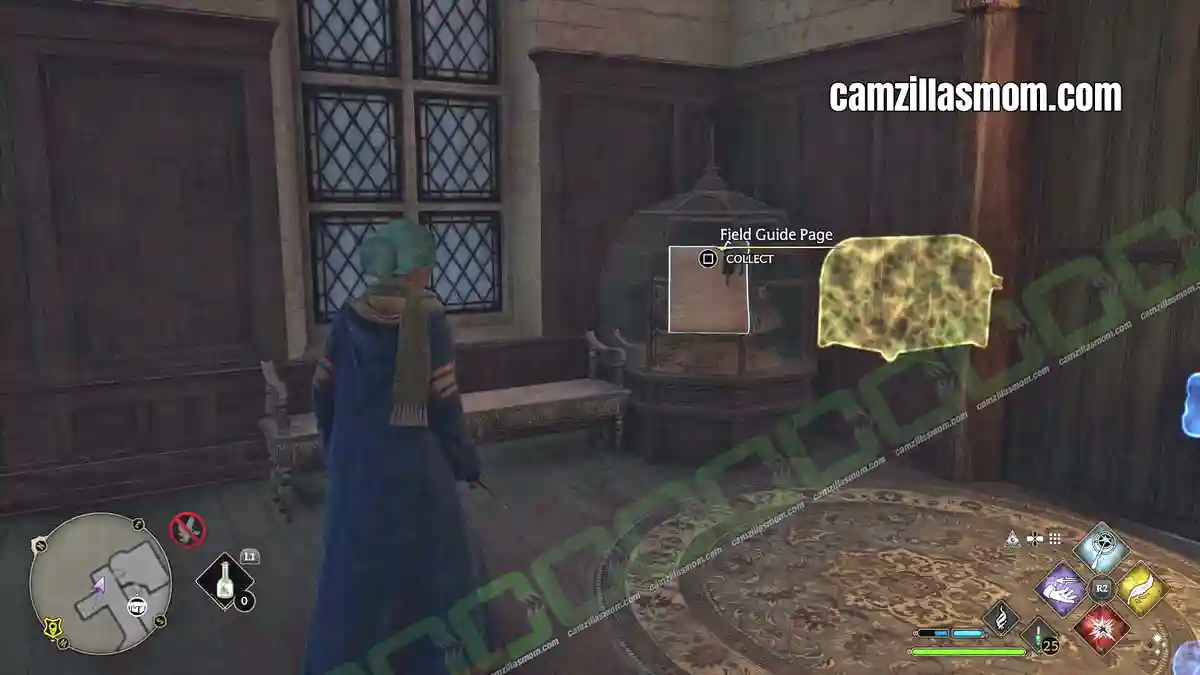
11 – Unicorn Fountain
“The majestic unicorn fountain gives an air of serenity and calm to the hospital wing at Hogwarts.”
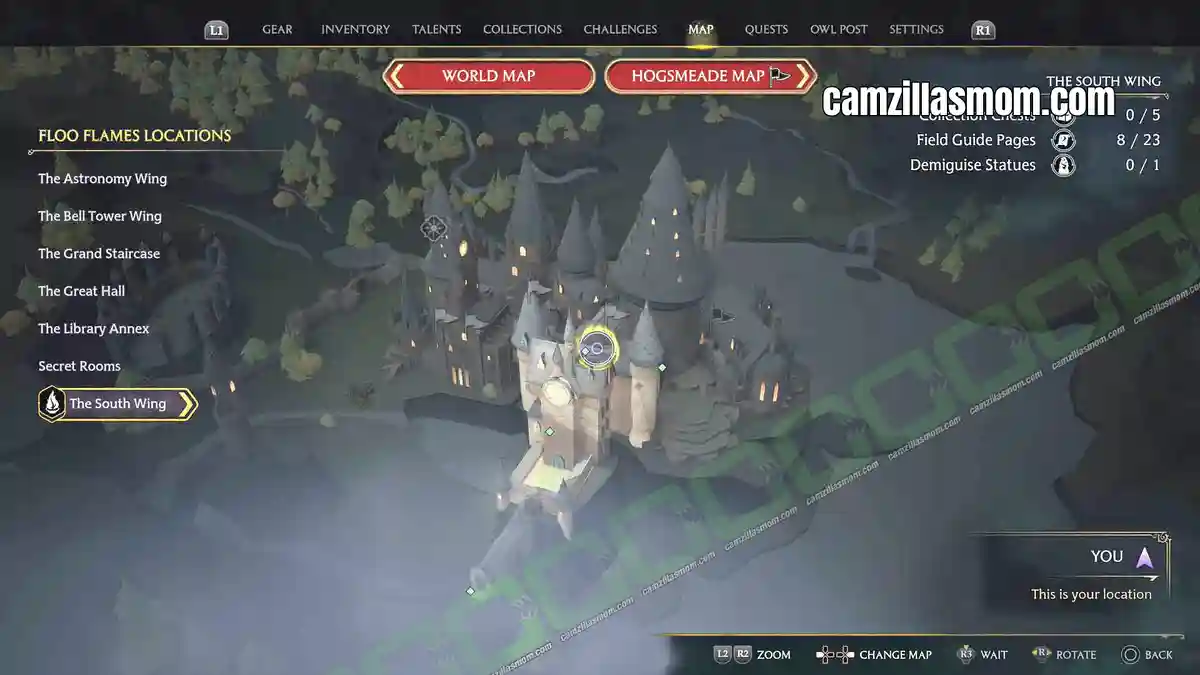
The Unicorn Fountain is high up in the clocktower of the South Wing. To get there, go to the South Wing exit – where the duelling’s take place. There is a locked door to the right. Open it with lock picking. From here, you can go all the way up to the clocktower. At the top, cross over to the roof part, where the Unicorn Fountain is.
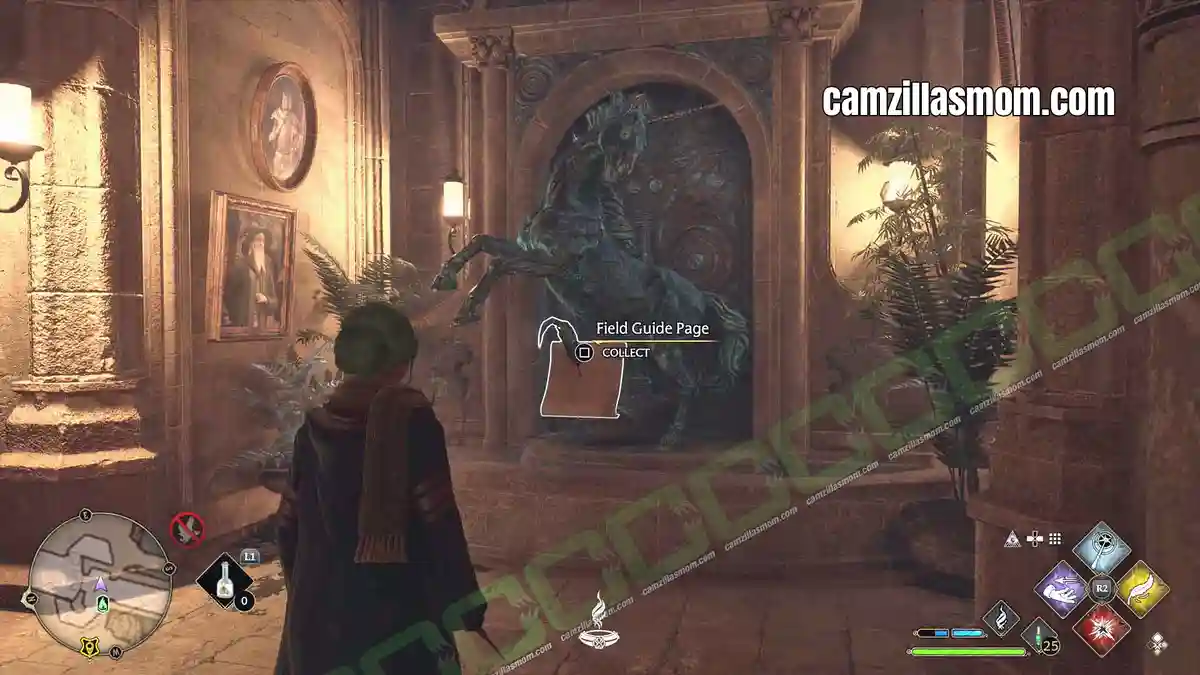
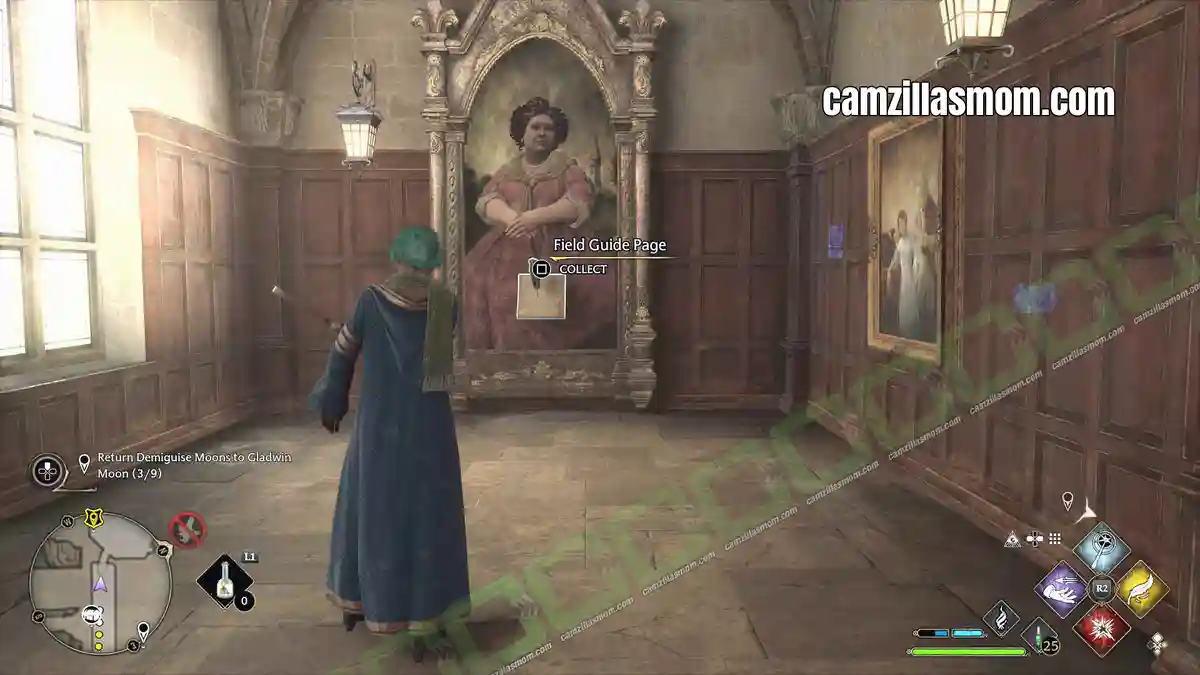
12 – Fat Lady Portrait
“This portrait guards the Gryffindor common room, requiring a password from any who wish to enter. She and her friend Violet are known to wander among the other portraits, periodically helping themselves to vats of wine therein.”
Take the top broad corridor from the Grand Staircase towards THE SOUTH WING. At the back of this corridor is a winding staircase up or down. Take it up. At the end of a corridor is this painting.
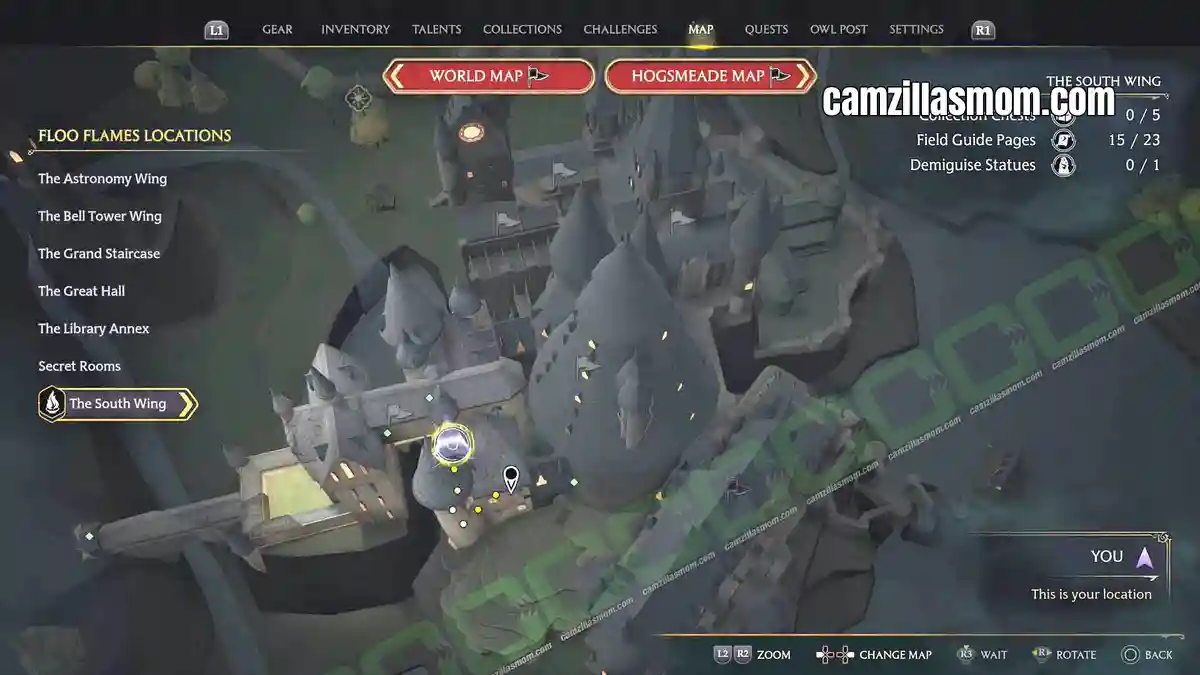
Unnamed Field Guide Pages at the Bell Tower
These don’t appear under Collections, but they all count towards your field guide page total and area completion.
1 – Flying Pages – catch them with ACCIO
2 – Moth Mirrors (black, empty picture frames) – cast LUMOS, find the moth, carry it back
3 – Dragon Bowls – cast INCENDIO
4 – Globe Statues – cast LEVIOSO
13 – Flying Page – Southern Entrance (Duelling)
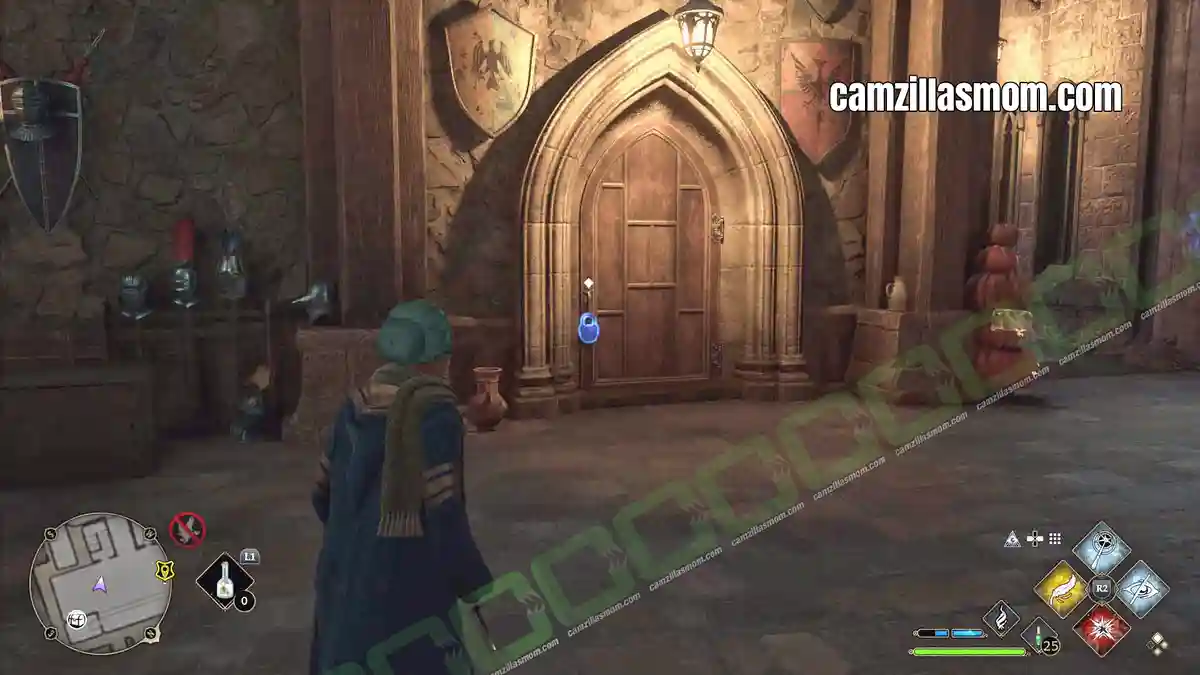
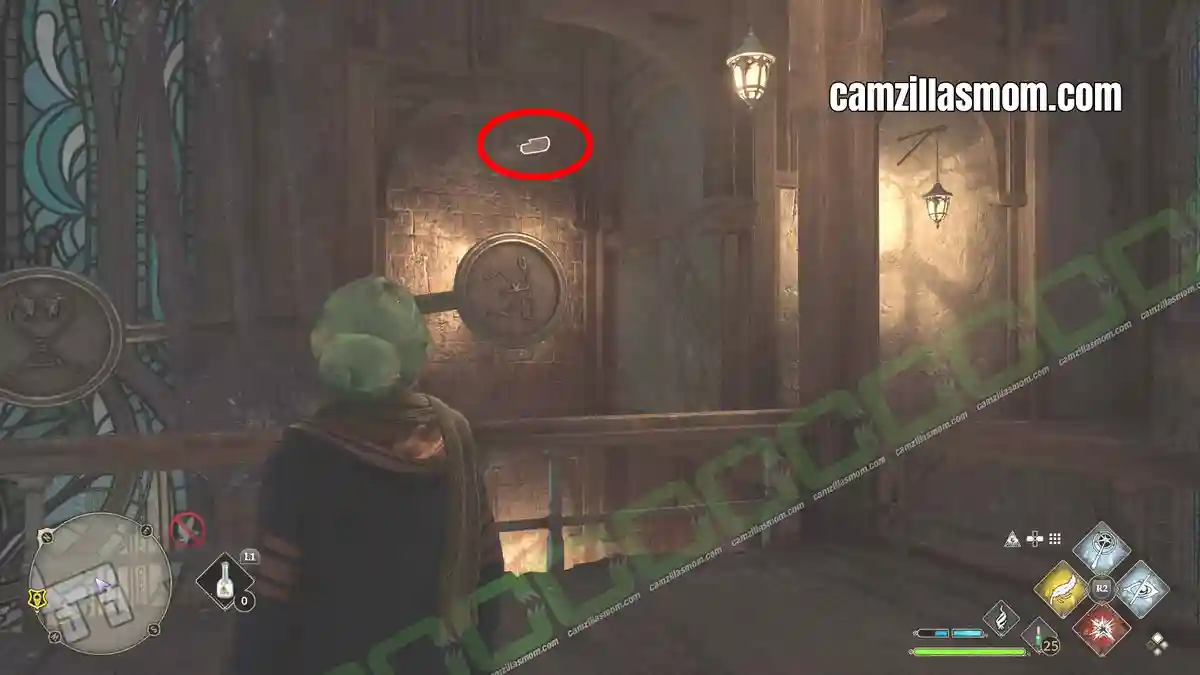
In the southern entrance / exit area of the South Wing, where the duelling takes place, is a locked door to the left. Learn lock picking in one of the Main Quests and go through this door. On the first deck upstairs, you can catch a Flying Paper.
14 – Flying Page – Hospital Wing
Go all the way up from the previous Flying Paper and you’ll end up in the Hospital Wing, where a paper is peacefully flying around.
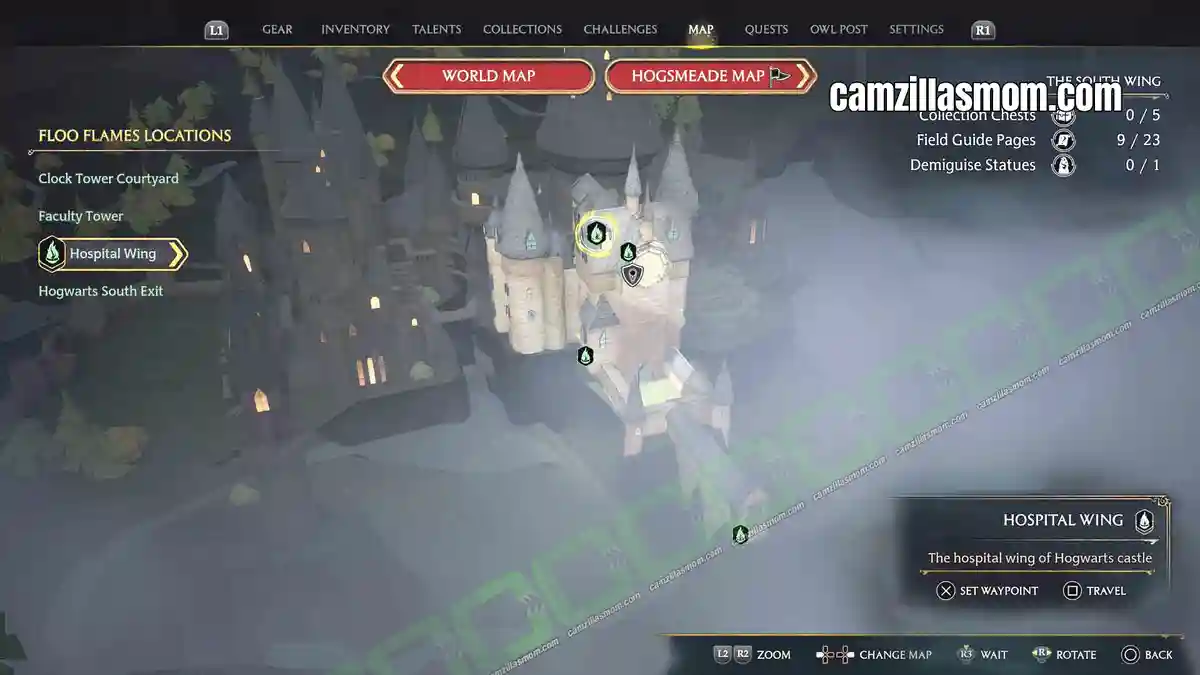
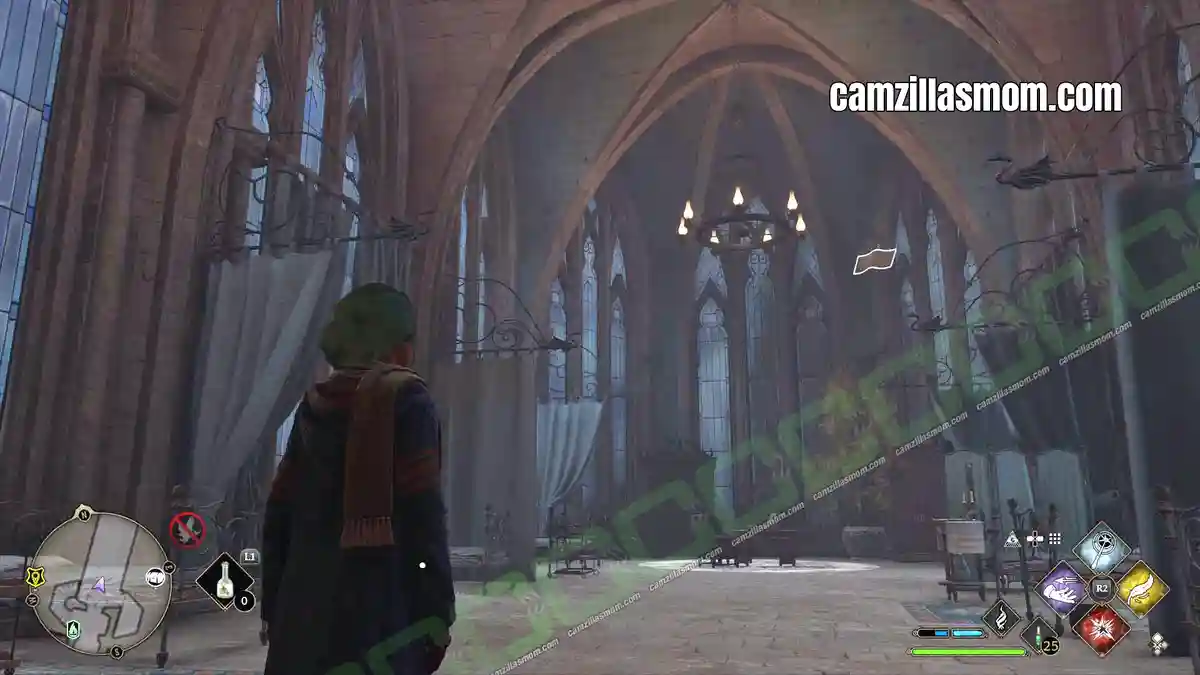
15 – Flying Page – Below Hospital Wing
Take the staircases down from the Hospital Wing and you will meet this paper circling in the corridor.
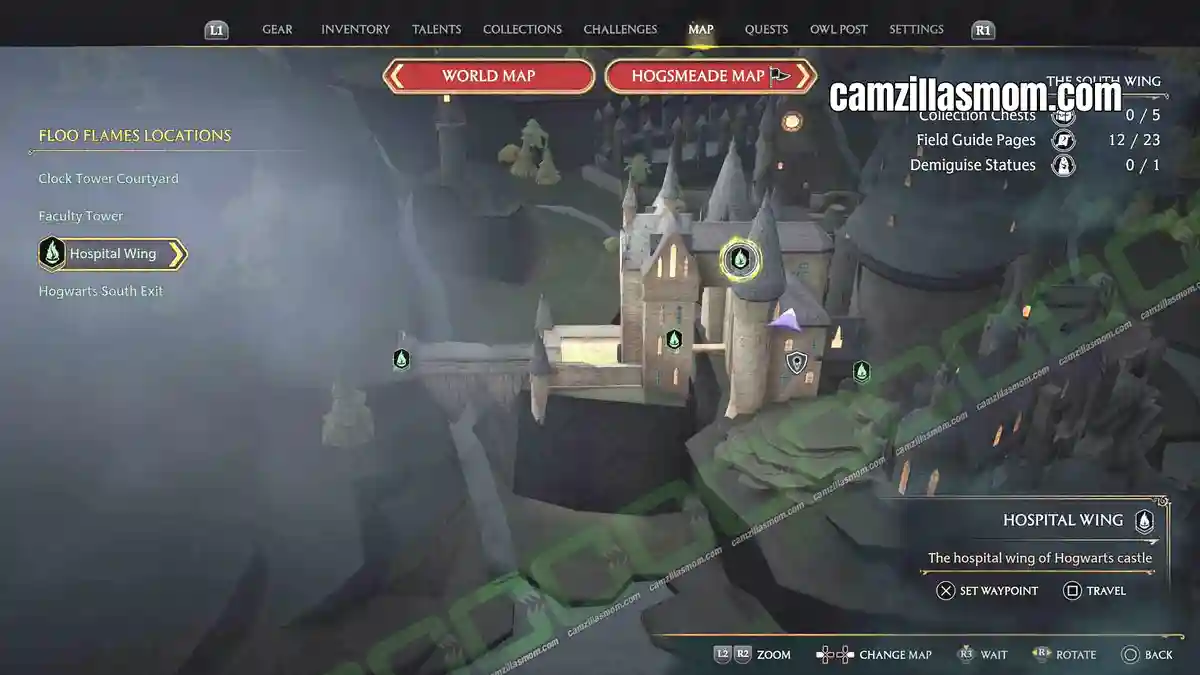
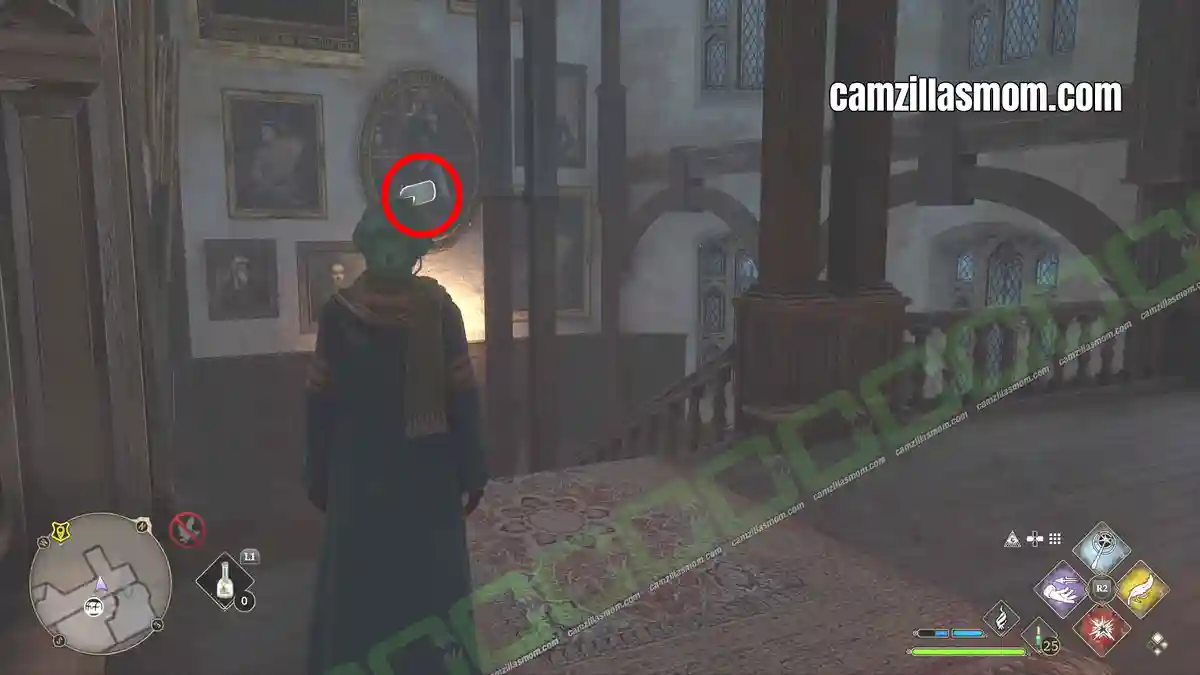
16 – Moth Mirror: Southern Entrance (Duelling)
In the southern entrance / exit area of the South Wing, where the duelling takes place, is a locked door to the right. Learn lock picking in one of the Main Quests and go through this door. There is a black painting inside.
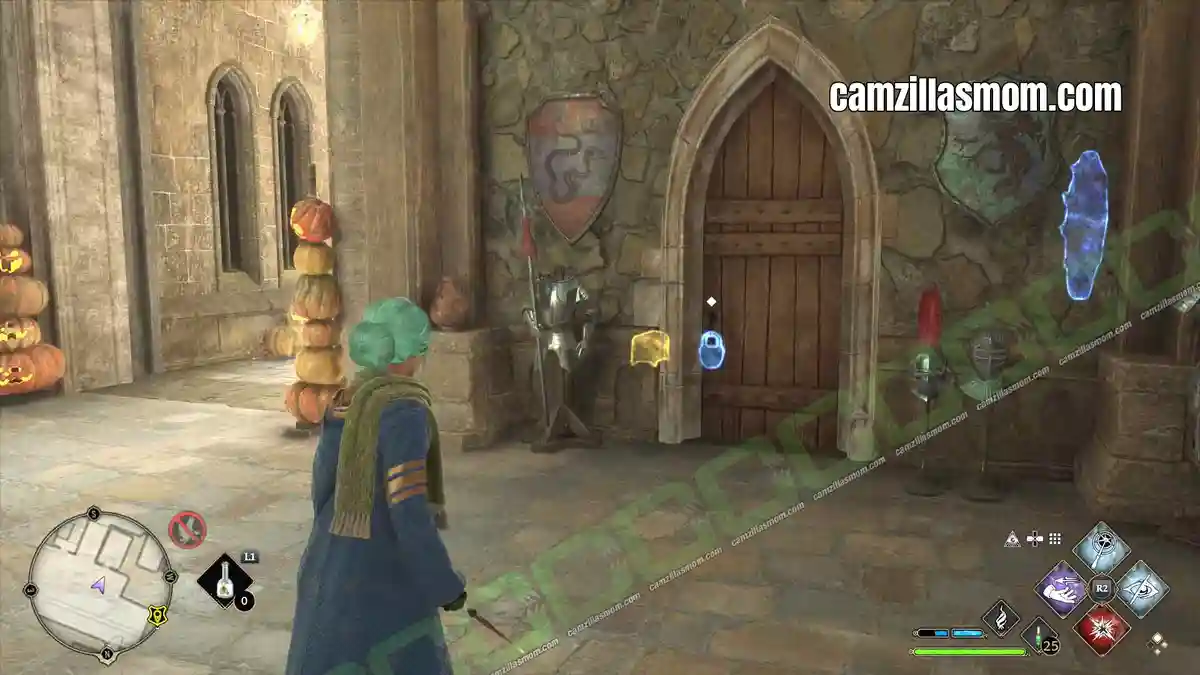
Exit the building through the nearby south entrance. In the courtyard with the fountain and the decorative walls, turn right. The moth is sitting there. Just carry it back for the Field Guide Page.
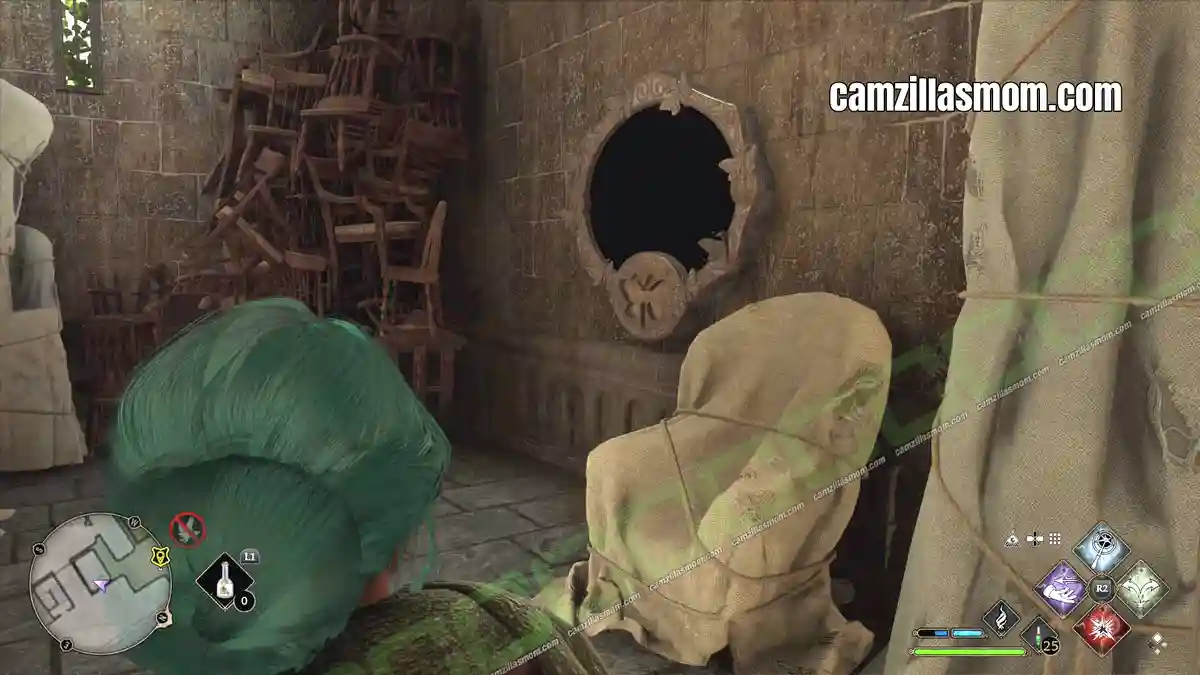
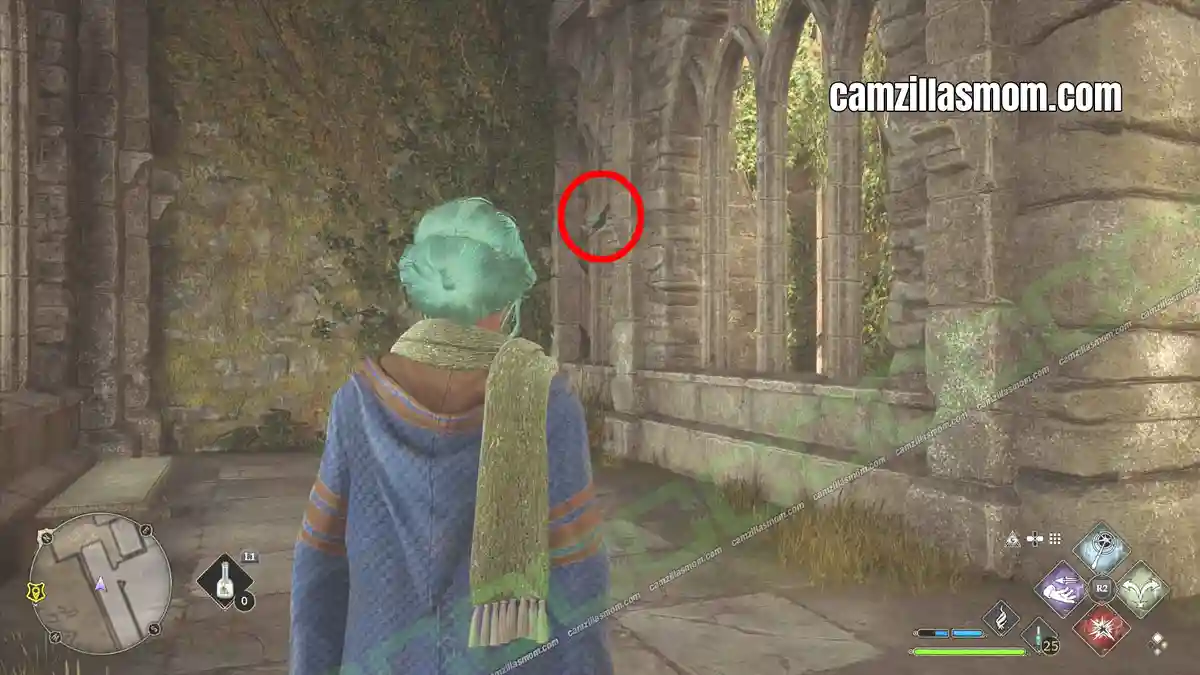
17 – Moth Mirror: Map of Argyllshire
Did you notice how the “Map of Argyllshire” Field Guide Page location just above the Haunted Toilets keeps glowing even after picking the page up? There is a big button at the top of the map. Cast “DEPULSO” on it and a secret door will open. Inside this room is a Black Painting. It shows the corridor of the “Haunted Toilets” downstairs.
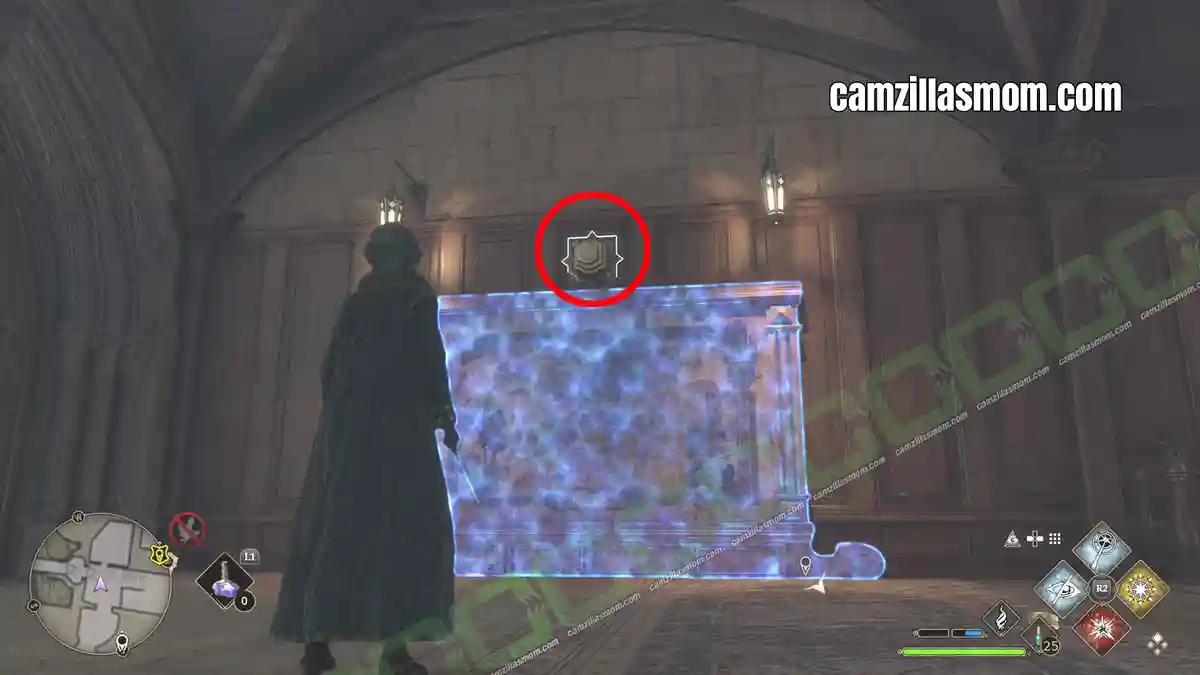
The moth is inside the open toilets.
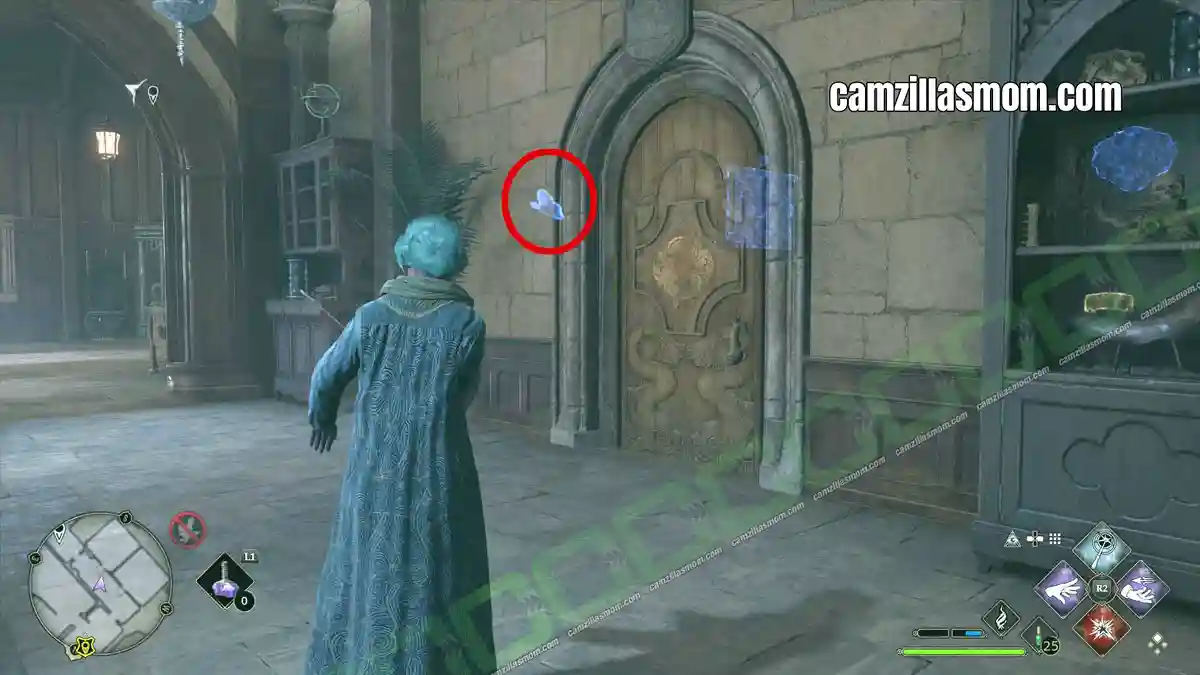
18 – Dragon Bowl – Clockworks
Now the left door at the Southern Entrance, where the duelling is, is unlocked and you can go up to the clockwork. Here, high up on a wall is a Dragon Bowl. Use “CONFRINGO” (Fire) and then pull the paper to you with “ACCIO”.
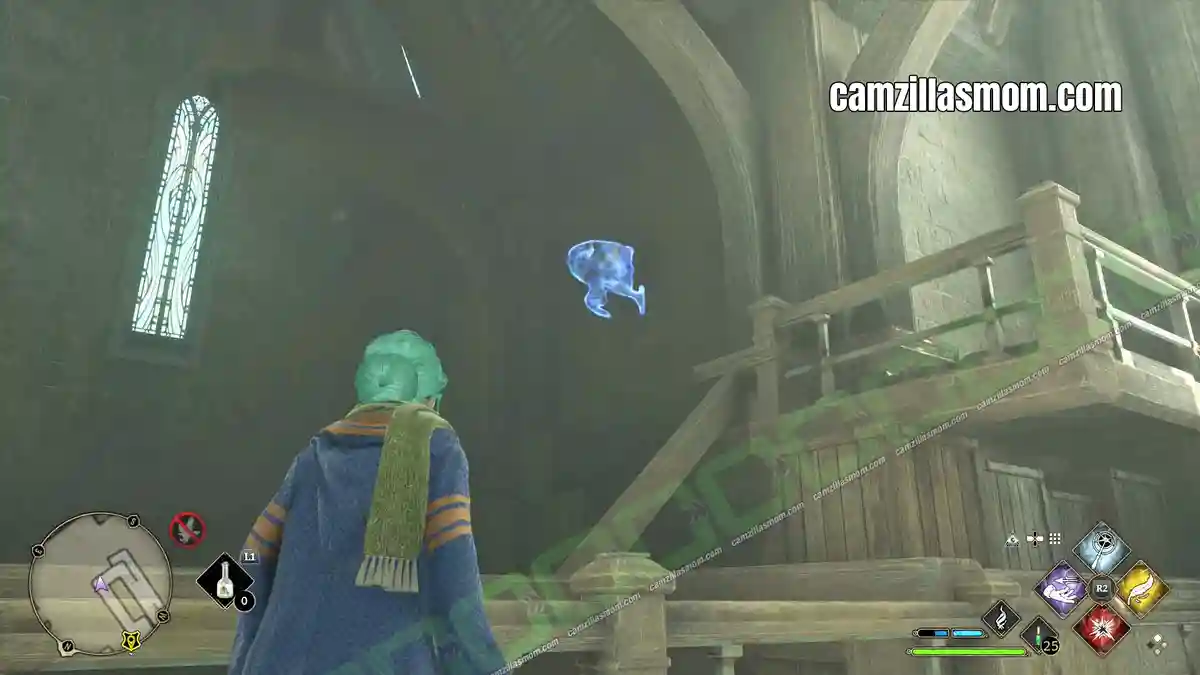
19 – Dragon Bowl – Ground Floor
On the ground floor of The South Wing, in the same corridor, where the Haunted Toilets are, is a Dragon Bowl. Cast a fire spell on it.
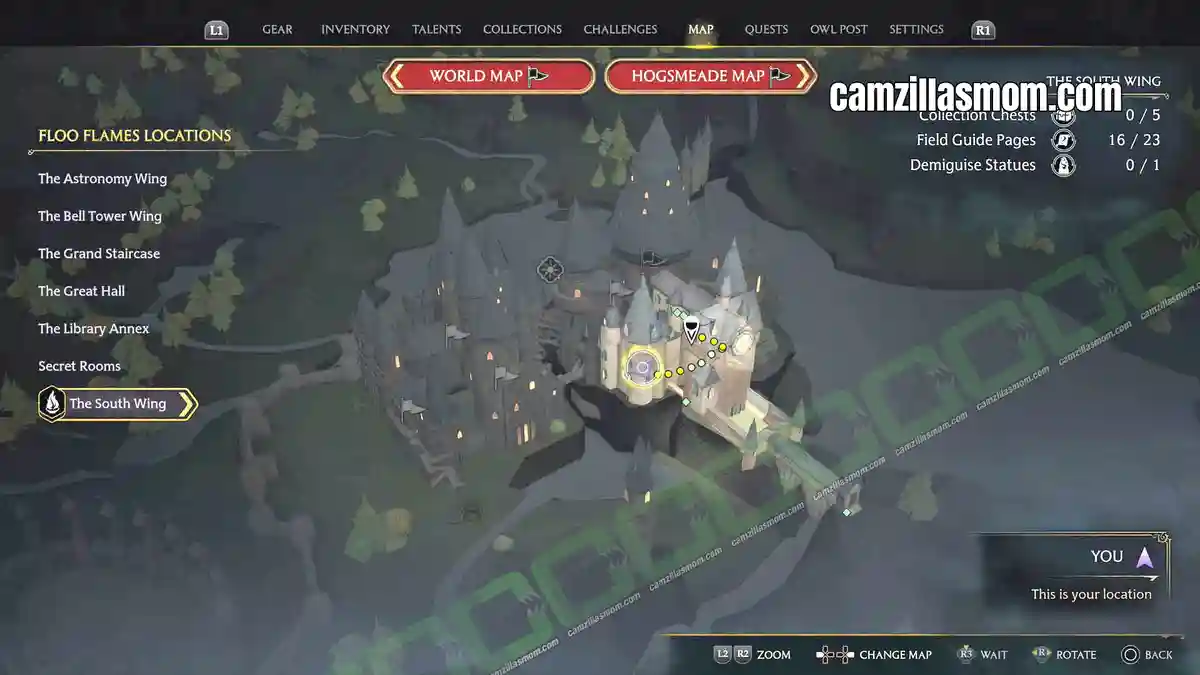
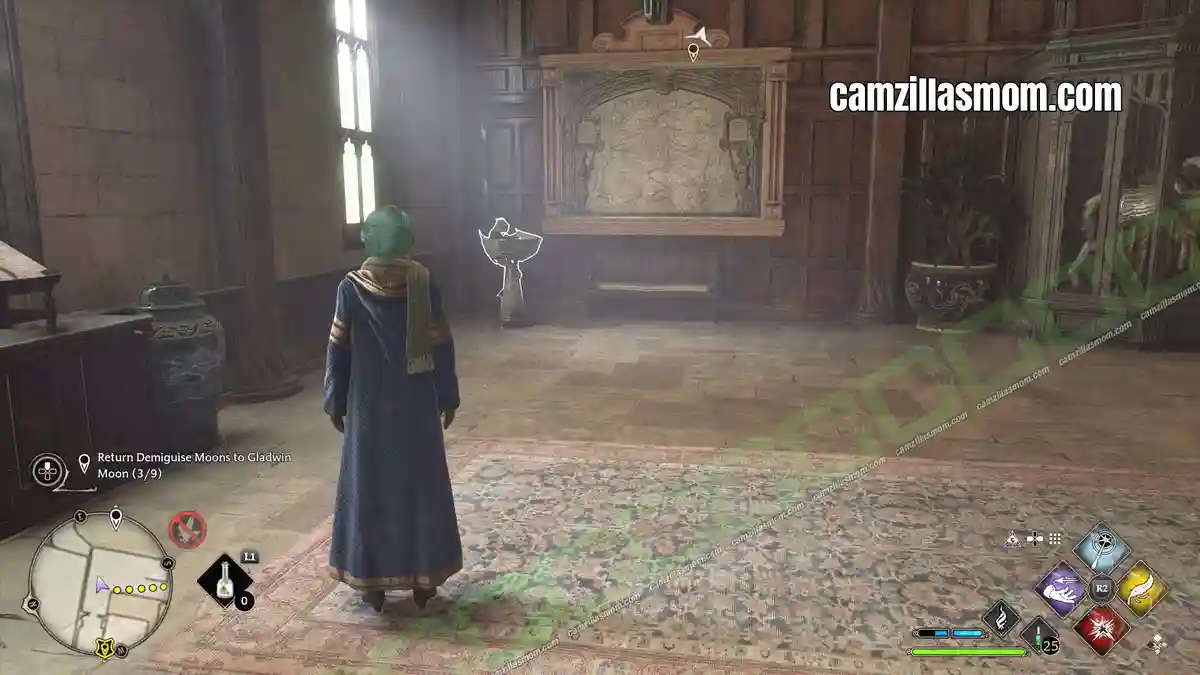
20 – Dragon Bowl – Level 3 Locked Door Hospital Wing
From the hospital at the top, take the staircase down until you get to the Level 3 locked door. Open and enter the room. Inside is a burning fireplace. Extinguish the fire with “GLACIUS” and go through. There is a staircase at the other side. Go up and you will see the Dragon Bowl on the balcony.
21 – Globe Statue – Hospital Wing
Take the winding staircase down from the hospital and you will see this globe holding statue. Cast “LEVIOSO”
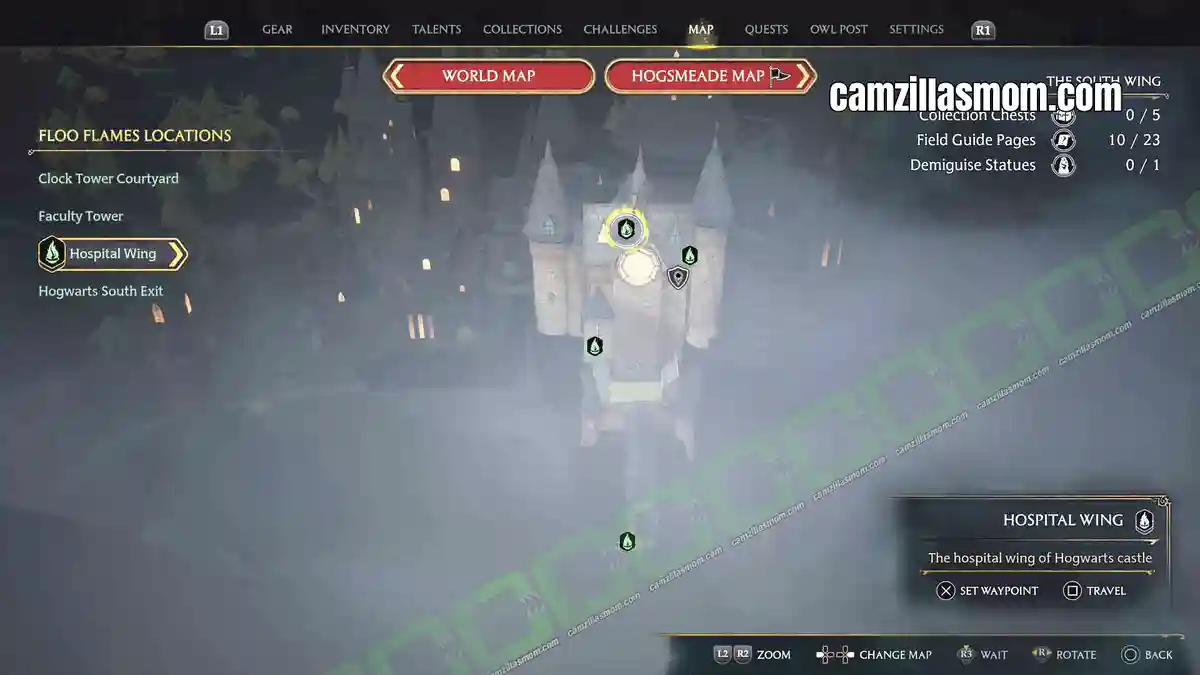
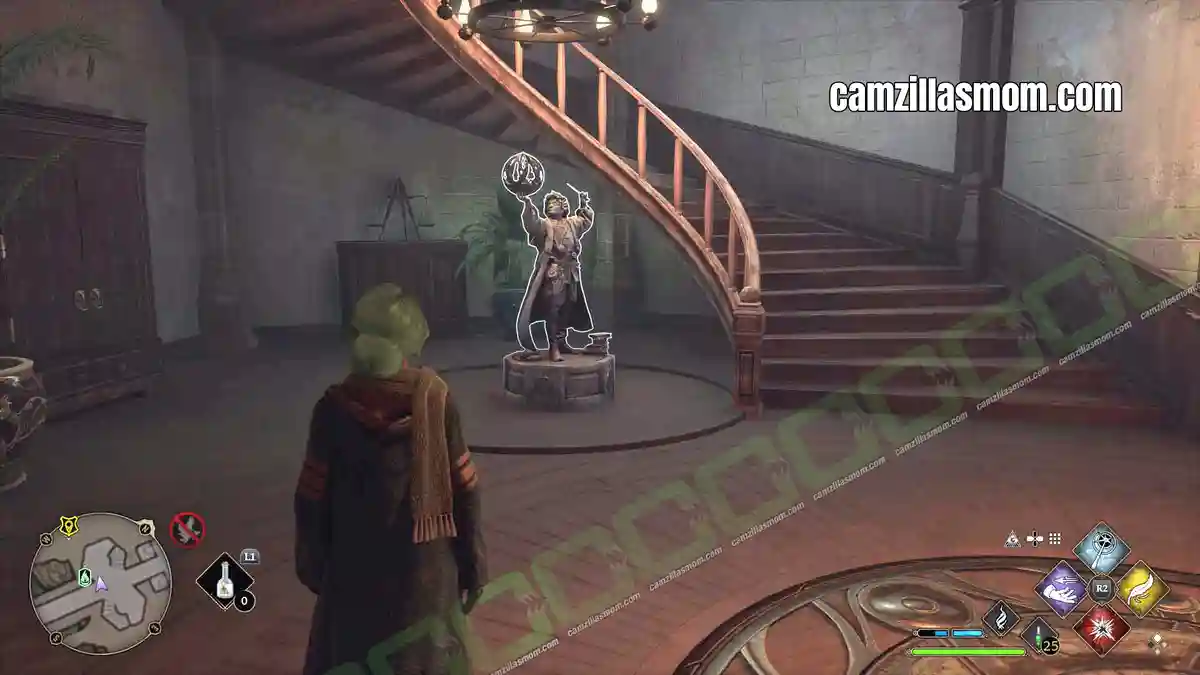
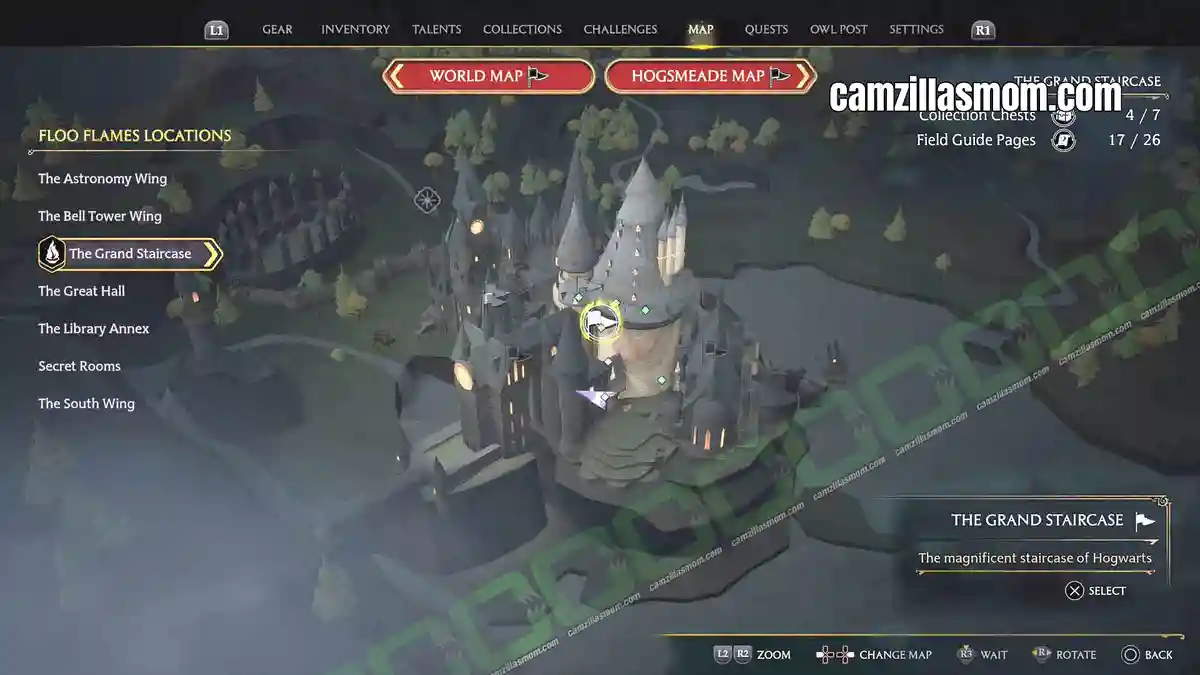
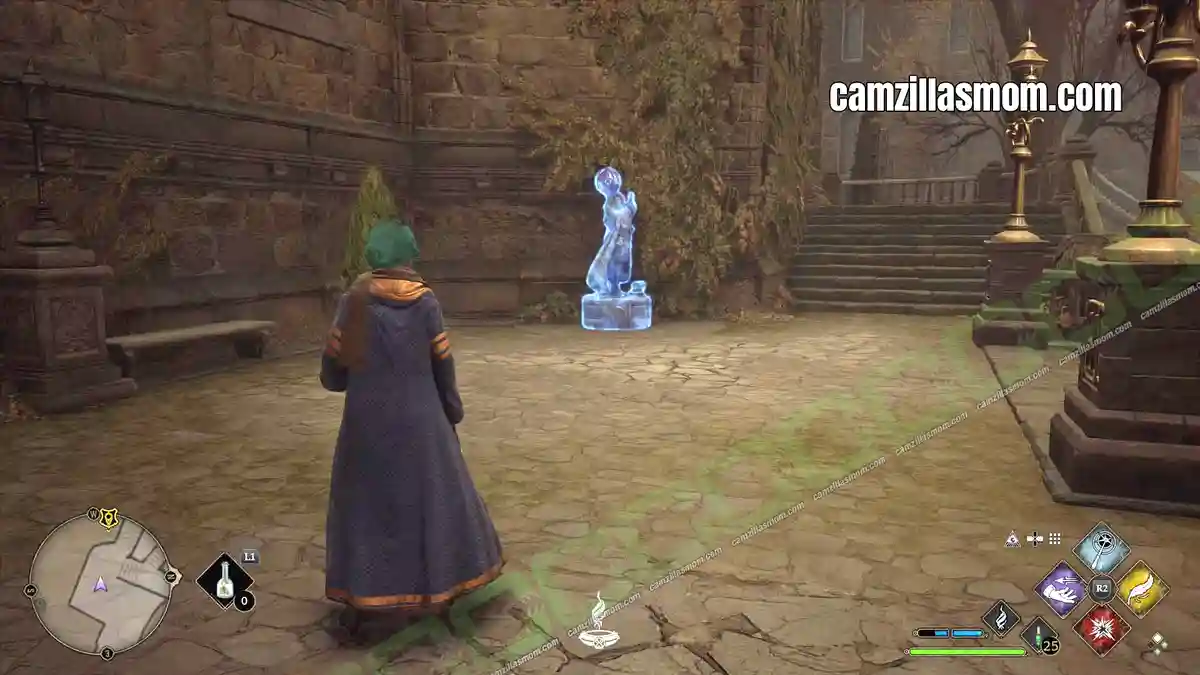
22 – Globe Statue – Garden
There is a Globe Holding Statue in the garden. The same garden is shared with THE GRAND STAIRCASE but this Field Guide Page counts towards THE SOUTH WING.
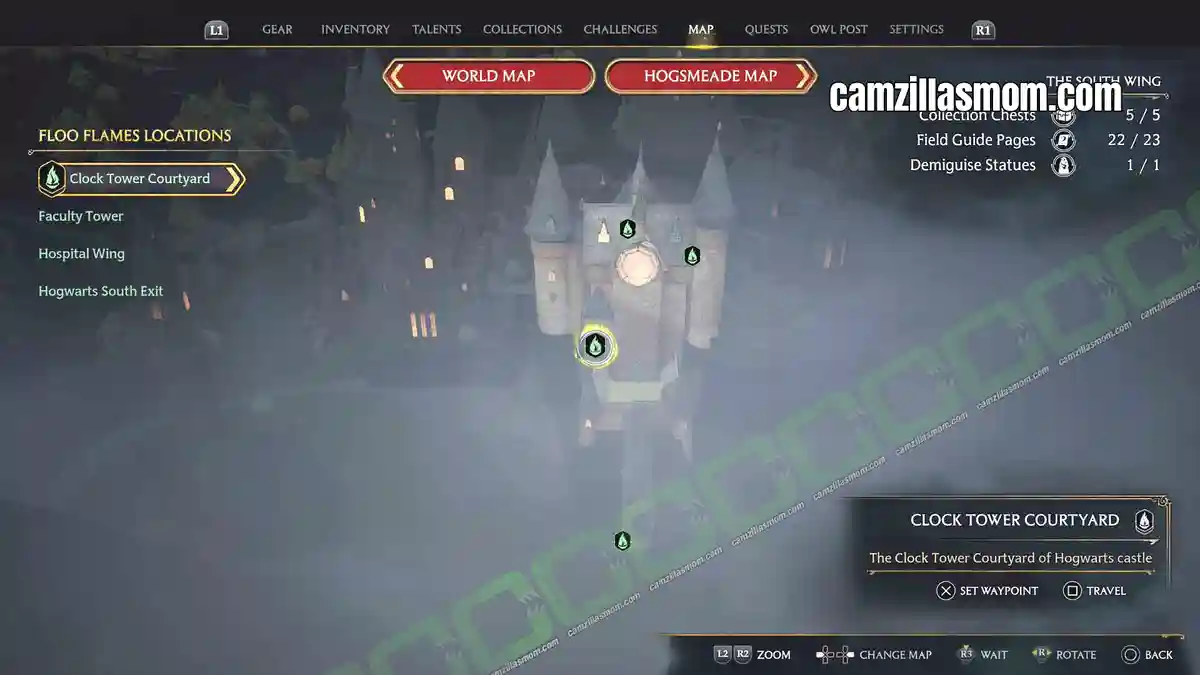
23 – Globe Statue – Clock Tower Courtyard
Just by the Clock Tower Courtyard Floo Flame is a Globe Statue.
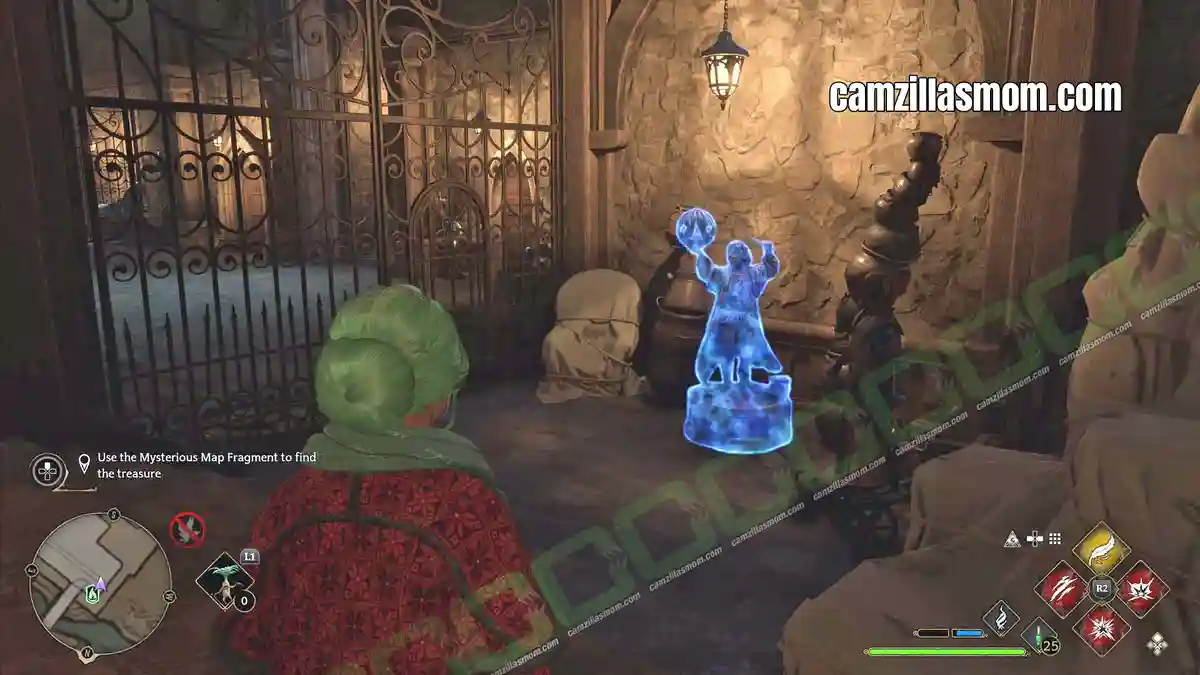
South Wing Demiguise Statue Locations (Demiguise Moons)
Demiguise statues, also called Demiguise Moons, unlock with the main story quest The Caretaker’s Lunar Lament, where Hogwarts caretaker Gladwin Moon sends you looking for them, and you can only collect them at night. The Great Hall has one.
For every Demiguise Statue in the game, see my All Demiguise Statues Guide.
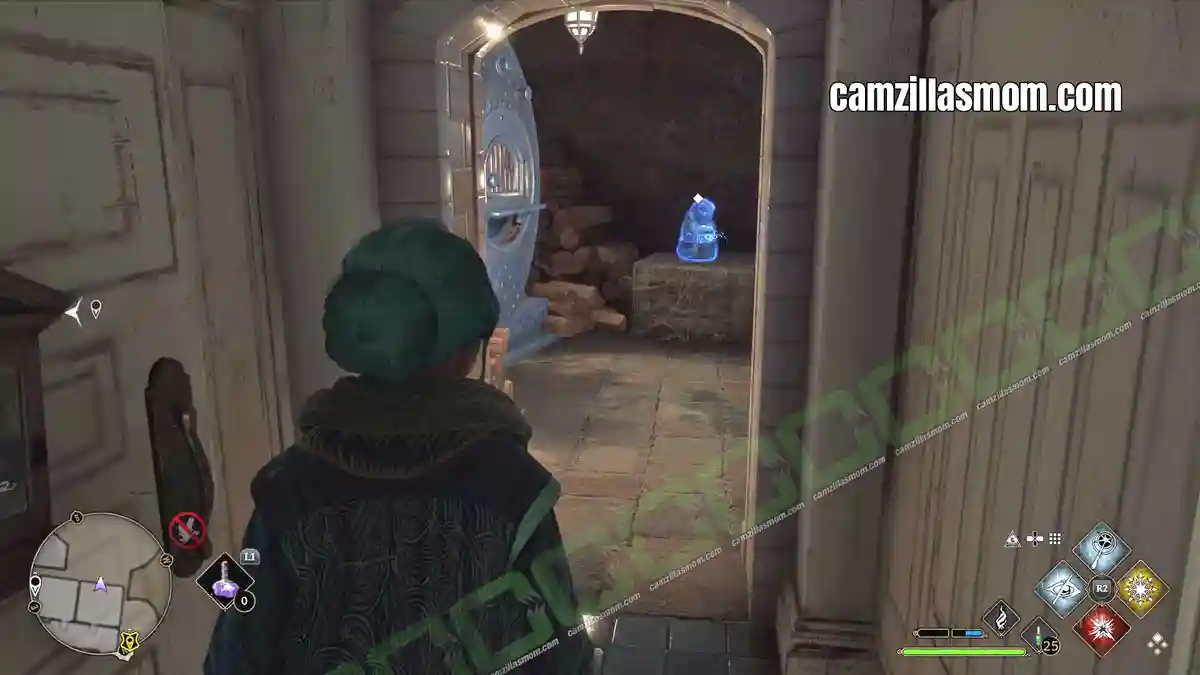
Demiguise Statue – Haunted Toilets
Pick the lock of the Haunted Toilets on the ground floor corridor. The Demiguise is hiding in one of the stalls.


About Hogwarts Legacy
Release: February 10th, 2023
Developer: Avalanche Software
Publisher: Warner Bros. Interactive Entertainment
Official Website: https://www.hogwartslegacy.com/en-us