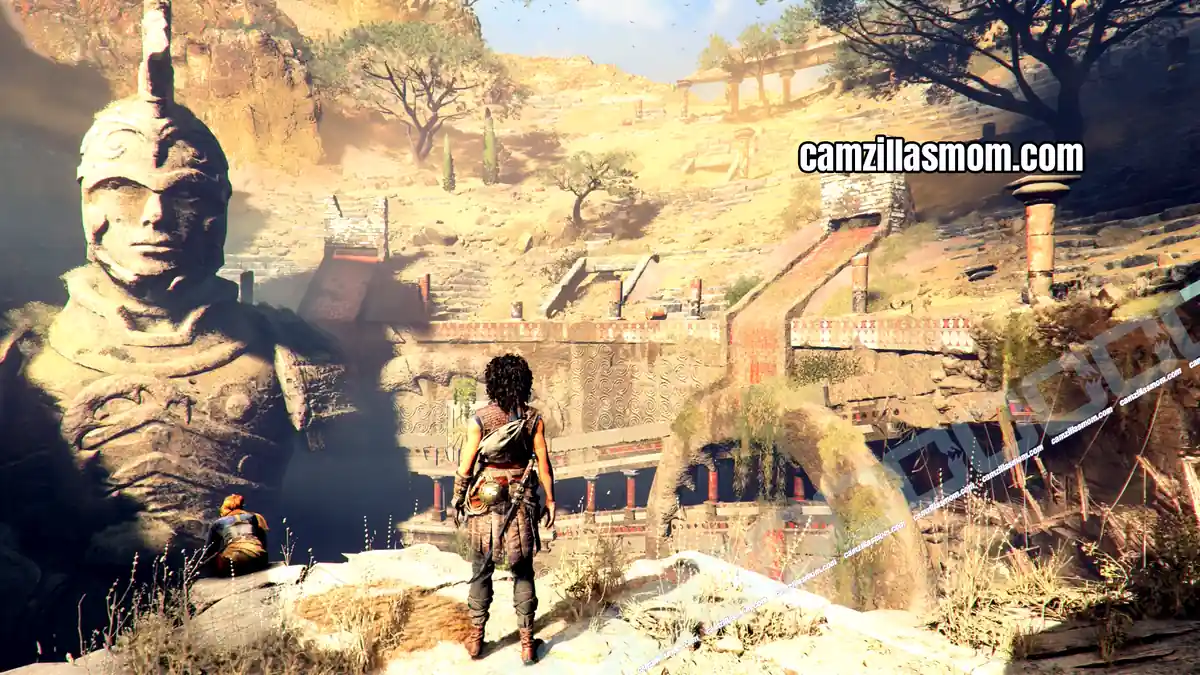
Sophia and Leni finally reach the island, and Chapter 3 turns into a pure exploration chapter with no combat at all. This Chapter 3 Those Before Us walkthrough for Resonance: A Plague Tale Legacy covers all five sub-chapters with screenshots at every step, plus all six Artefacts, all four Charms, all nine Resonance Points, the Sea You Later trophy and both mirror puzzle solutions.
Related Guides:
Chapter 1 Blood Ties Walkthrough
Chapter 2 Felons Walkthrough
Chapter 4 From Hell It Rose Walkthrough
Chapter 3 Overview
Sub-Chapters:
Paradise, Vestiges, The Village of Heroes, In the Pretenders’ Wake, The Start of the Trials
Collectibles:
6 Artefacts (Conch Shell, Play Onyx, Golden Cup, Heroic Plaque, Strategy Game, Minoan King), 4 Charms (Beads, Arm Bands, Bracelets, Seals), 9 Resonance Points. There are no Blades in this chapter.
Missables:
Artefacts and Charms can all be picked up later through chapter select.
No combat:
Chapter 3 has no fights at all, so you can take your time and sweep every room without pressure.
What you learn:
Reading Sophia’s book for environmental clues, the grapnel for climbing, pulling down wooden barriers with the grapnel, scouting through the mysterious ring, and the mirror and lens light puzzles.
Achievements:
Sea You Later at the starting beach, and Those Before Us on completing the chapter.
Chapter 3 Collectibles Checklist
Everything in this chapter, in the order you reach it. Jump straight to any of them:
Artefacts are numbered as they appear in the in-game collection menu, so Relics of the Present and Relics of the Past each have their own count.
1 – Paradise: Trophy – Sea You Later
1 – Paradise: Resonance Point – Shipwreck
1 – Paradise: Artefact 4 (Present) – Conch Shell
1 – Paradise: Artefact 1 – Play Onyx
1 – Paradise: Resonance Point – After the Cave Slide
1 – Paradise: Artefact 2 – Golden Cup
1 – Paradise: Artefact 3 – Heroic Plaque
1 – Paradise: Resonance Point – Village Ruins Pillar
1 – Paradise: Resonance Point – Watchtower
1 – Paradise: Resonance Point – Hideout
2 – Vestiges: Resonance Point – Temple Ruins Platform
2 – Vestiges: Charm – Beads
2 – Vestiges: Resonance Point – Ruins Basement
2 – Vestiges: Artefact 4 (Past) – Strategy Game
2 – Vestiges: Charm – Arm Bands
2 – Vestiges: Resonance Point – Basket by the Slide
3 – The Village of Heroes: Charm – Bracelets
3 – The Village of Heroes: Artefact 5 – Minoan King
4 – In the Pretenders’ Wake: Charm – Seals
5 – The Start of the Trials: Resonance Point – Broken Statue Head
1 – Paradise
“Sophia narrowly succeeds in stealing the island’s key-but when she returns to the den, it’s to find the army has beat them to it too. Determined to keep secrets from the enemy, she retrieves the book. Seeing her take it, Faro suspects her of betrayal and turns on her, consumed by paranoia. There is nothing Sophia can do but flee her home with her friend Leni, with her book and the island’s key by her side.”
Chapter step: Follow the Plunderer’s Tracks
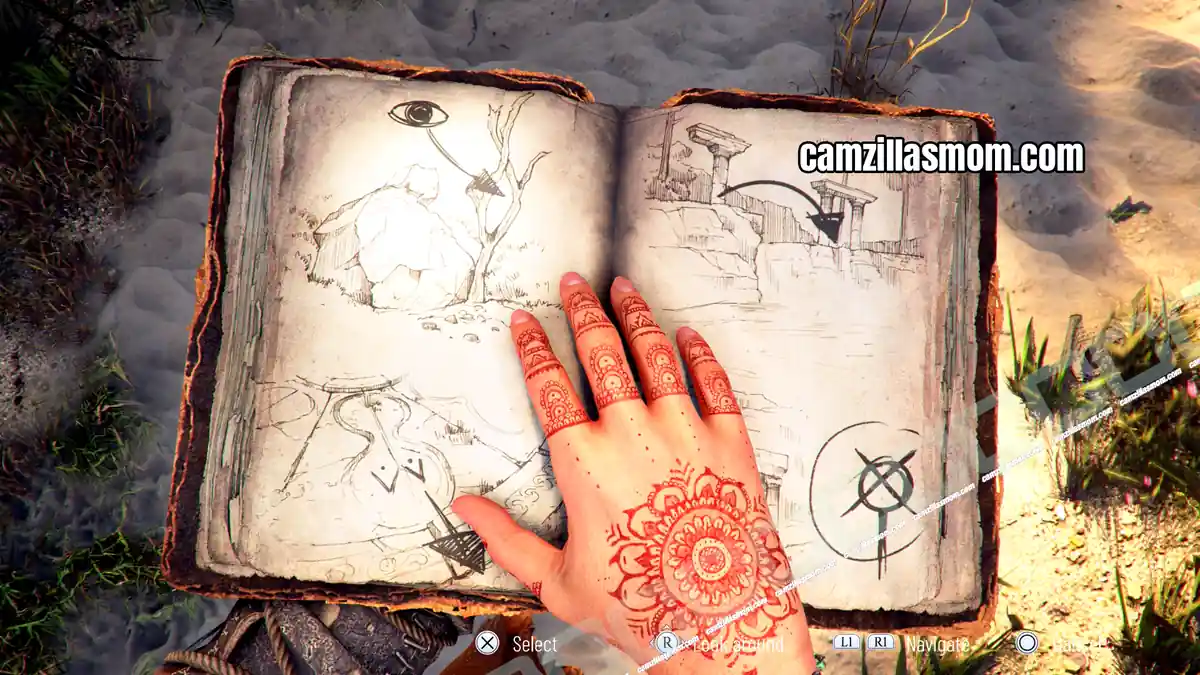
Chapter 3 starts with Sophia and Leni hiding in a cave, looking through Sophia’s old drawings book. Where they spot combinations for the device Sopha found in Chapter 2. Sophia manages to open it, releasing a gas and a round object, what causes her to have another vision. Leni encourages her to find out what is happening to Sophia.
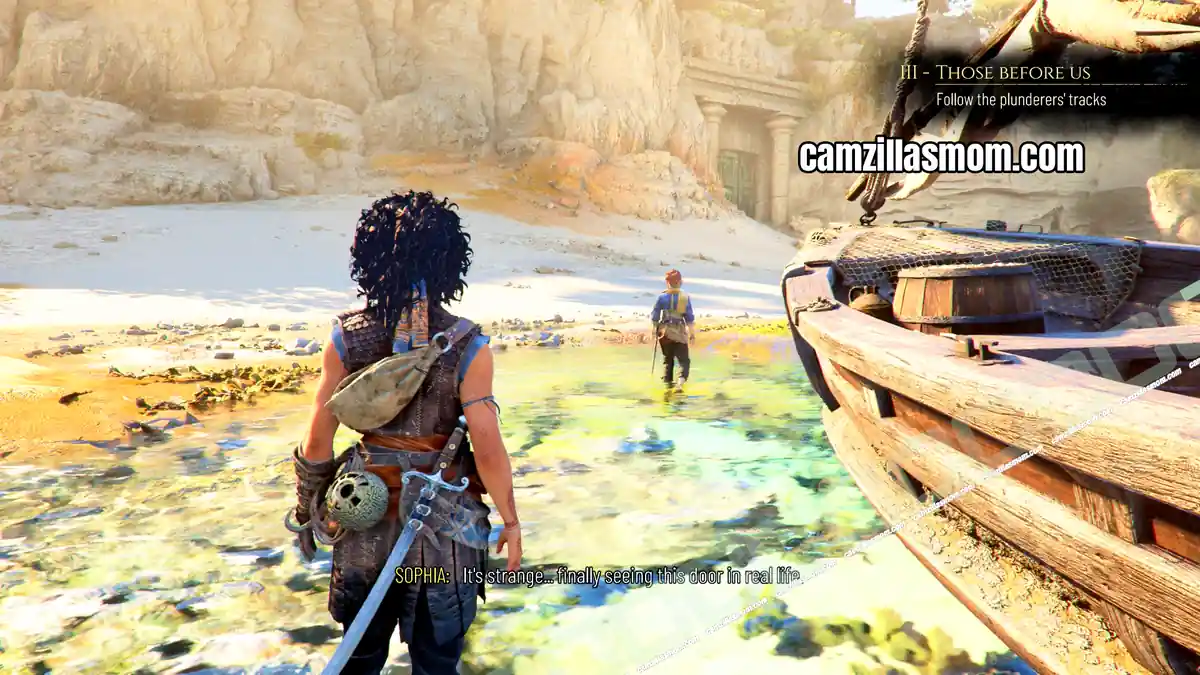
Once on the island, they are landing on the beach with a green door.
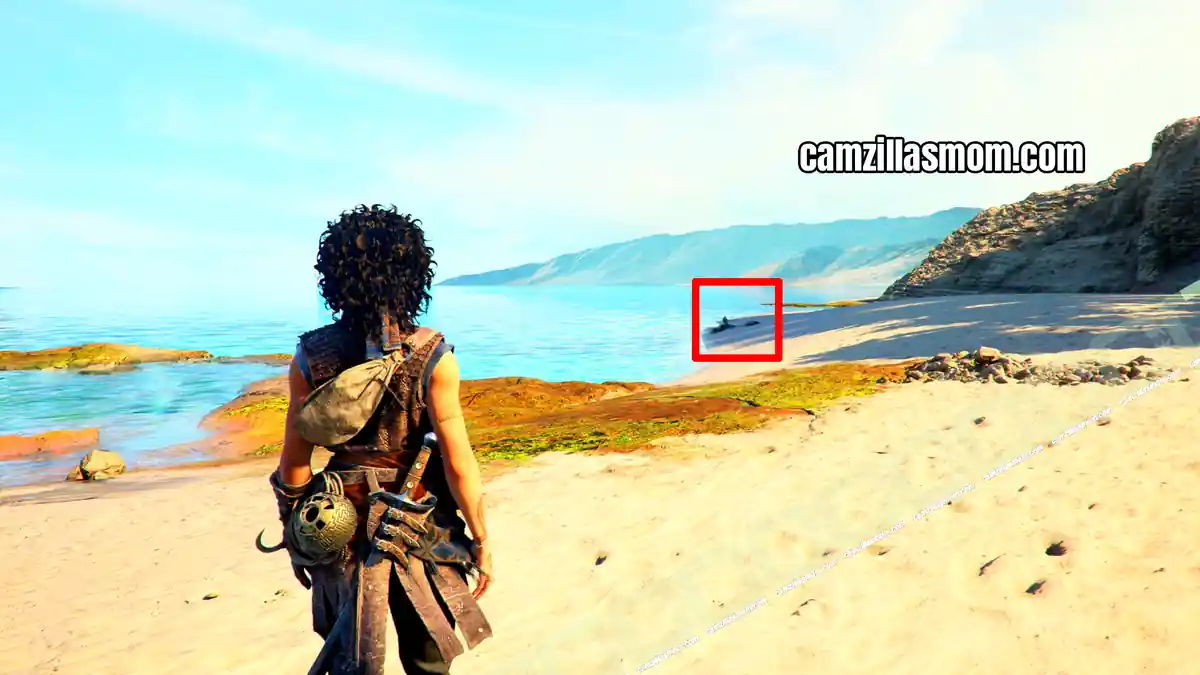
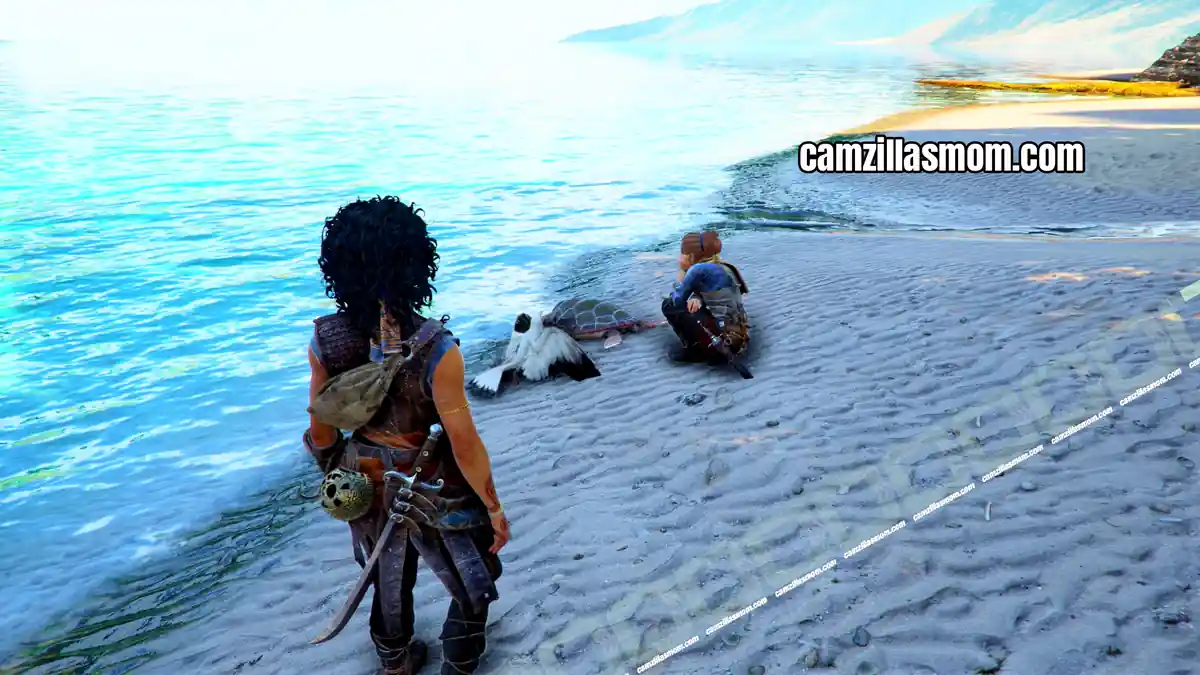
Trophy: Sea You Later
Chapter step: Follow the Plunderer’s Tracks
After arriving at the beach, follow it to the left and you will find a turtle. Save it from the Gulls and look at it when prompted.
Resonance Point
Chapter step: Follow the Plunderer’s Tracks
Near the door at the beach is also a shipwreck on a small island with a resonance point inside.
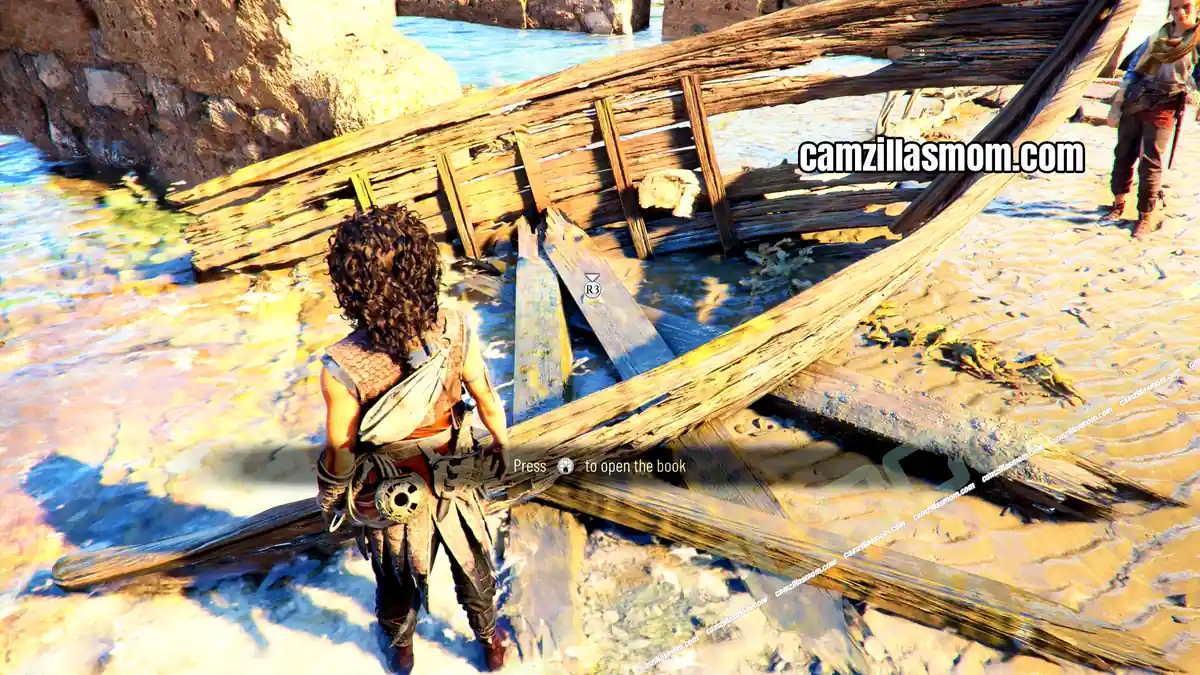
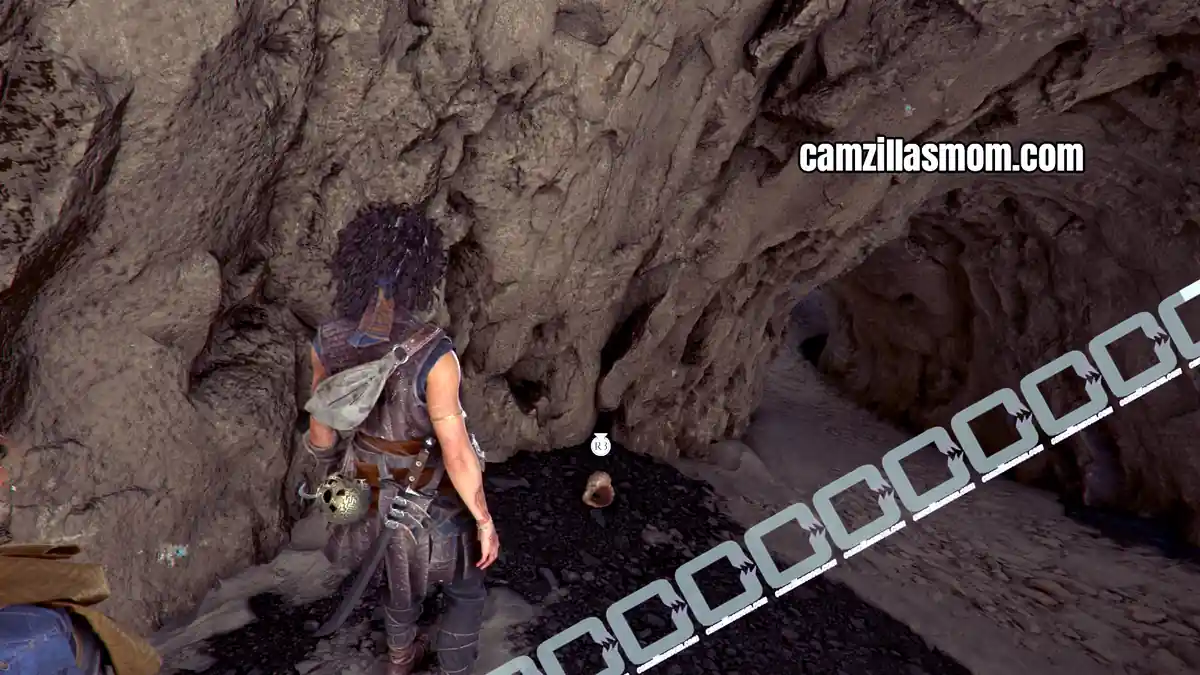
Artefact 4 – Relic of the Present: Conch Shell
Chapter step: Follow the Plunderer’s Tracks
Description:
“I used to press my ear to the seashells my father gave me and pretend that the sounds inside actually did come from the island. I wanted to be there with him so much.”
Head to the door. To the right of it, before going across to the cliff, there is a small opening into a cave. Inside is this conch shell.
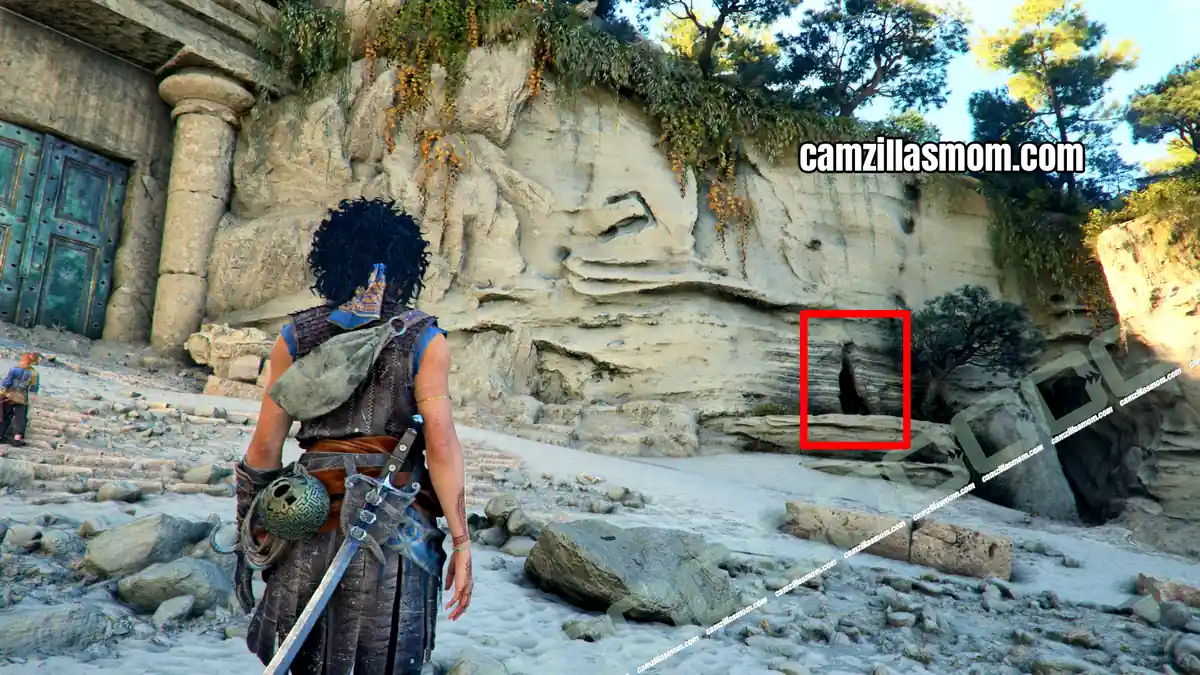
Pass the wreck to your right and the door to the left. There are two tunnels on the path that are also drawn in the book.
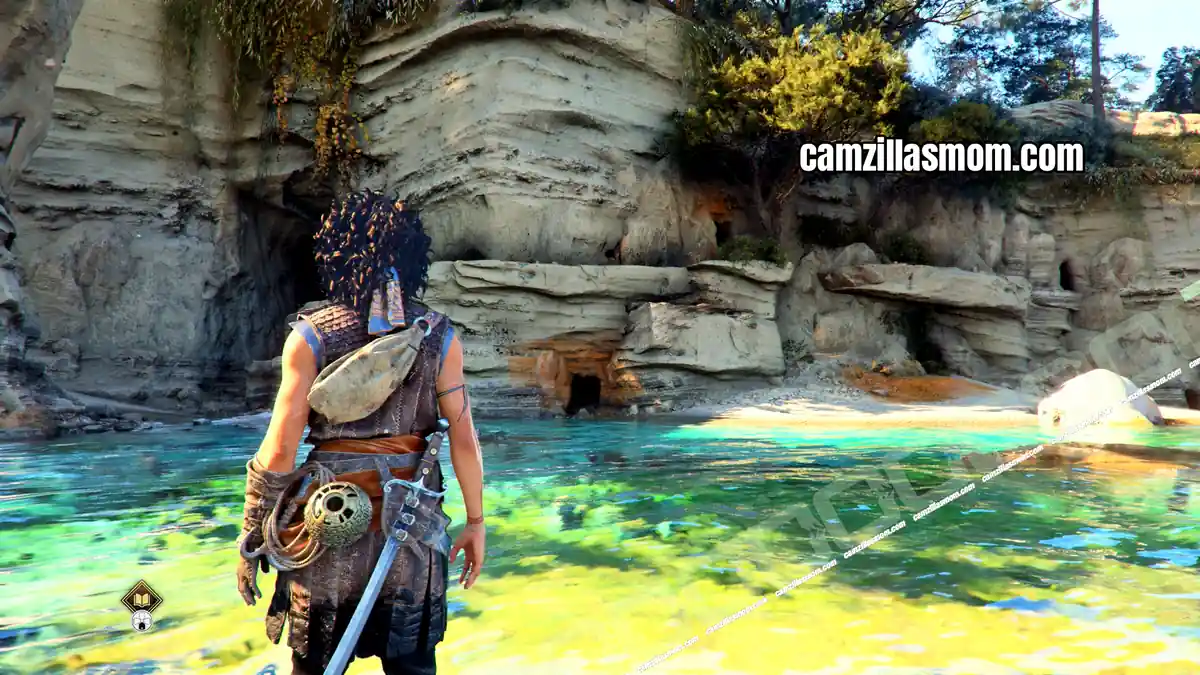
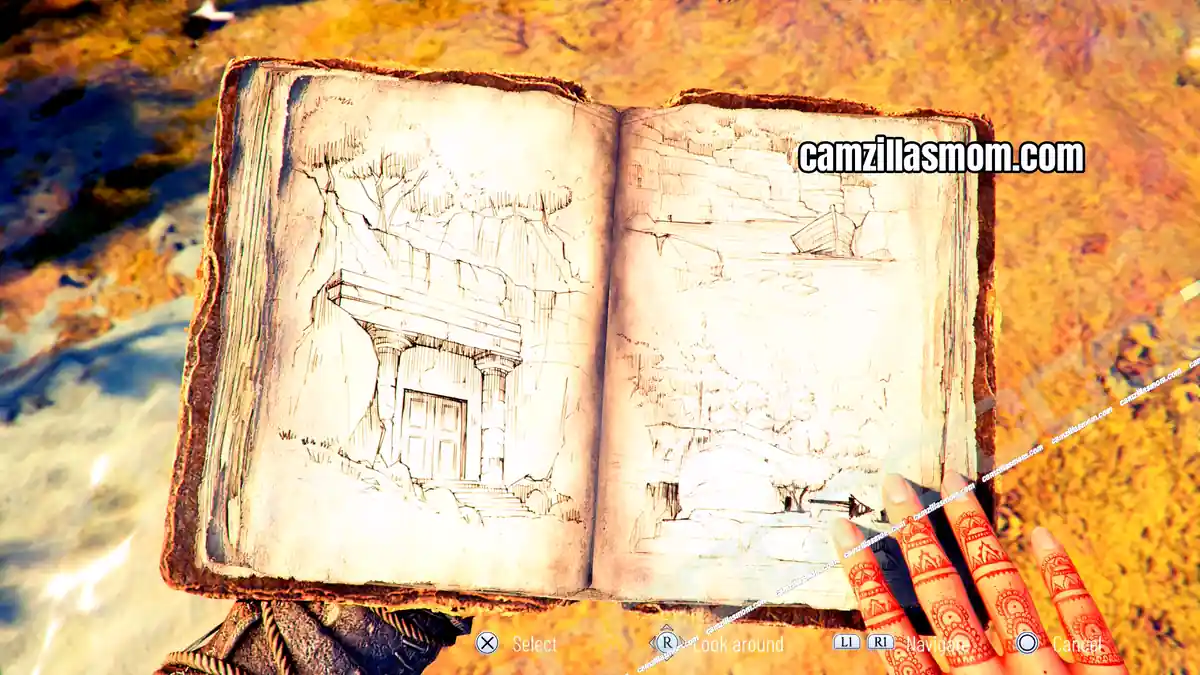
Climb the cliff above the tunnels to reach a cave entrance at the end of a narrow ledge.
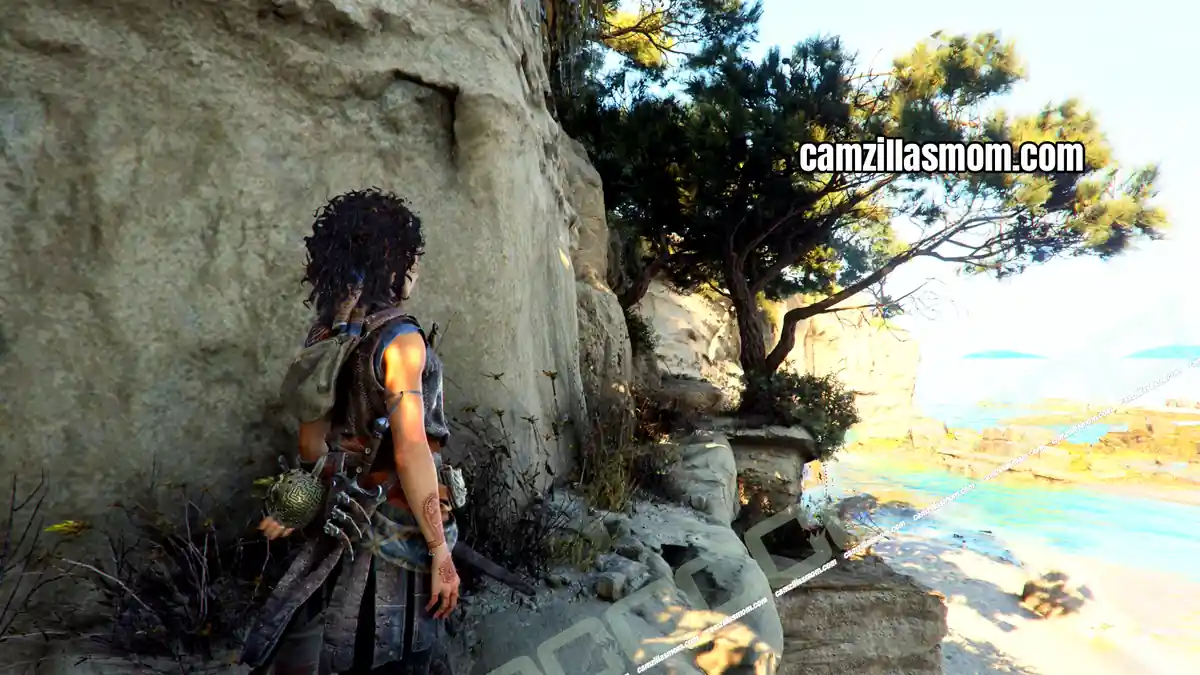
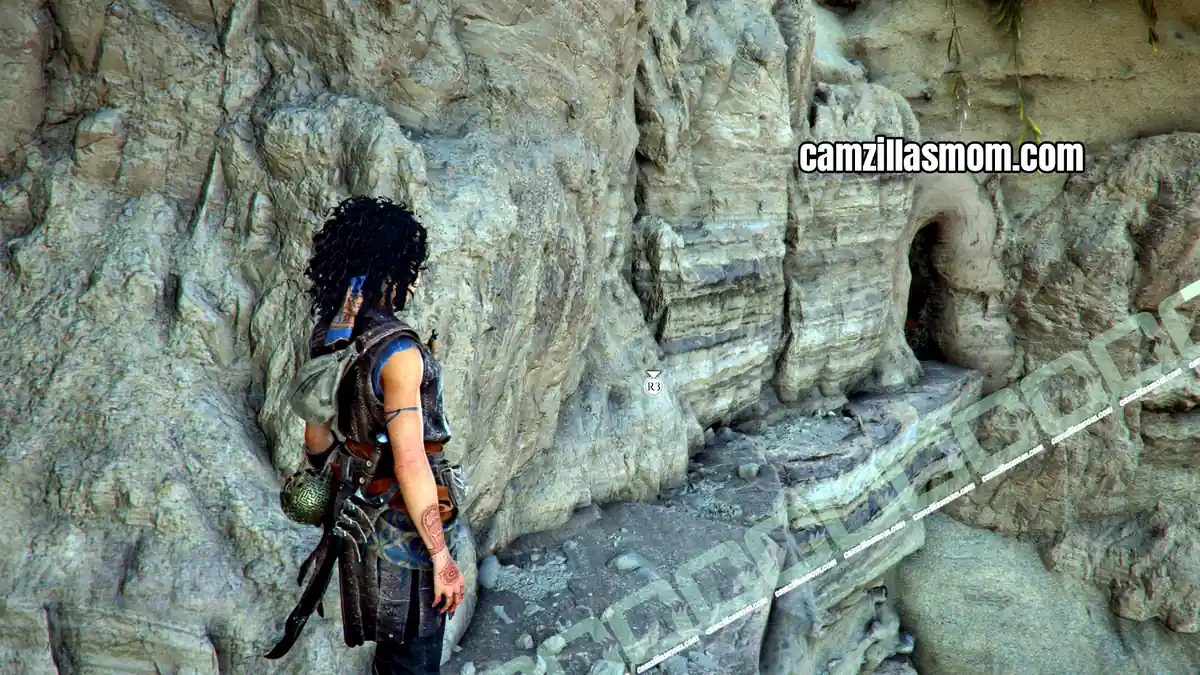
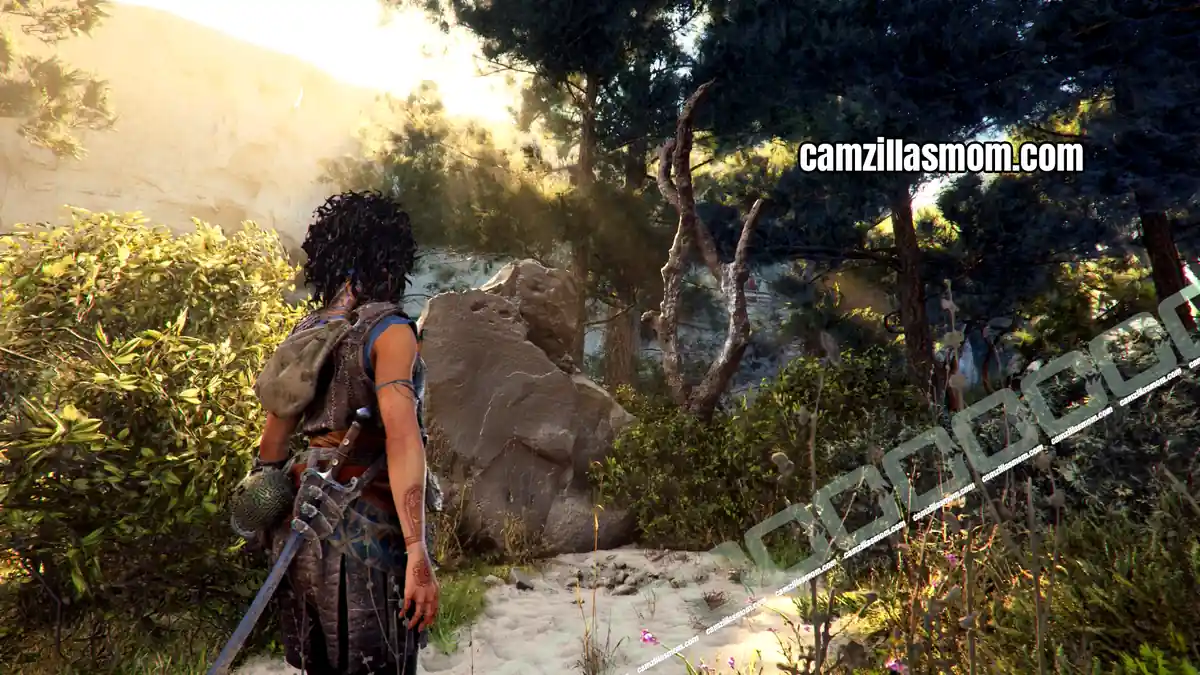
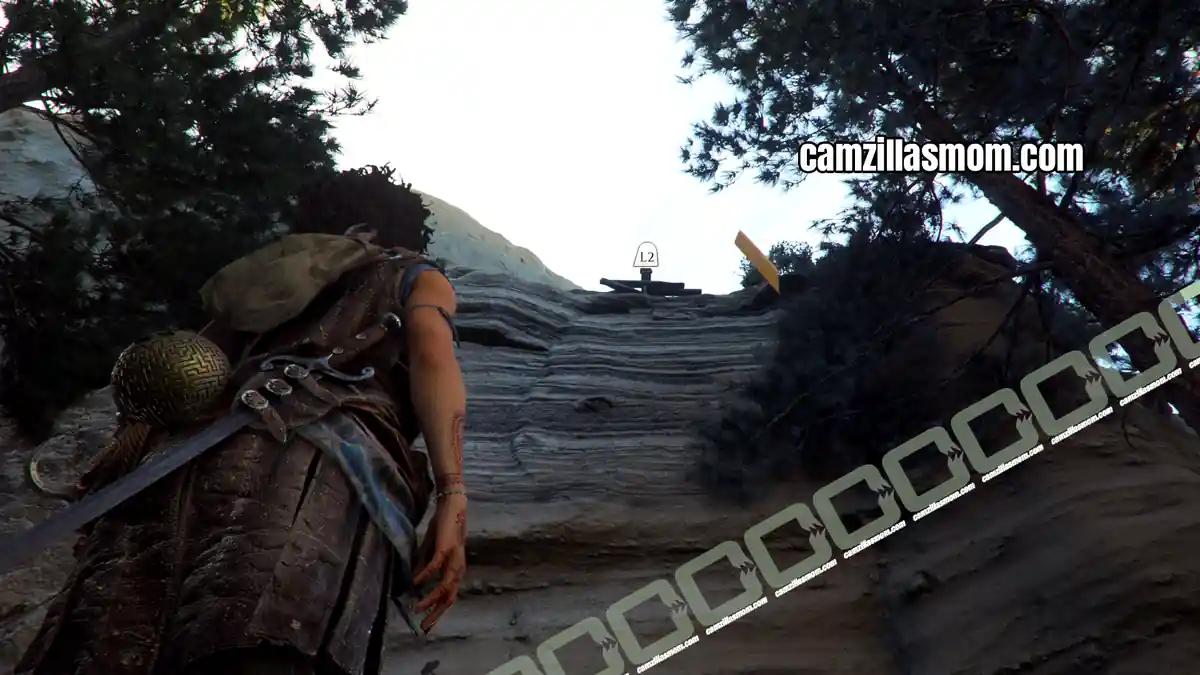
On the other side, follow the canyon path to an open area with trees. Here, you will find the “oddly shaped tree” from the book. Interact with the tree to see something on the cliff: A grapple point. Leni will mention that they will have to climb.
Artefact 1 – Relic of the Past: Play Onyx
Chapter step: Follow the Plunderer’s Tracks
Description:
“We have… we had the fighting pit back at the den. But bull-leaping is so much more exciting! I’d pay good coin to see a fight between a bull and those runts from the neighboring gangs.”
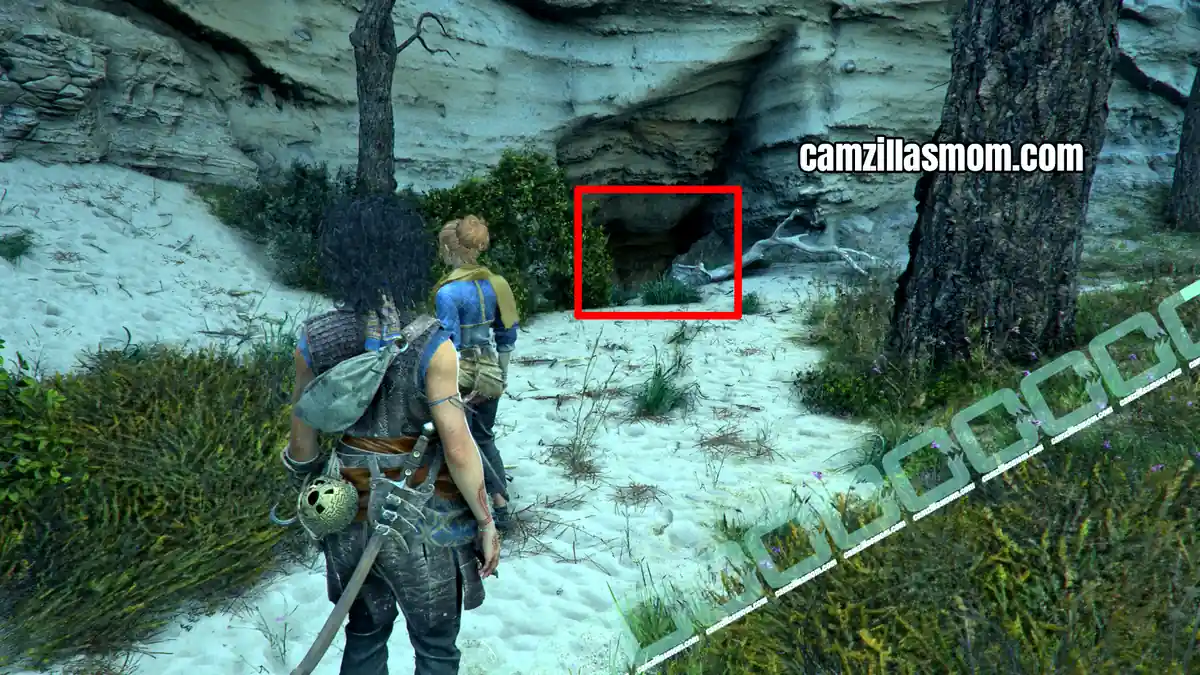
Don’t climb the cliff yet. Instead, look for a small cave with a group of crabs hiding a Relic of the Past.
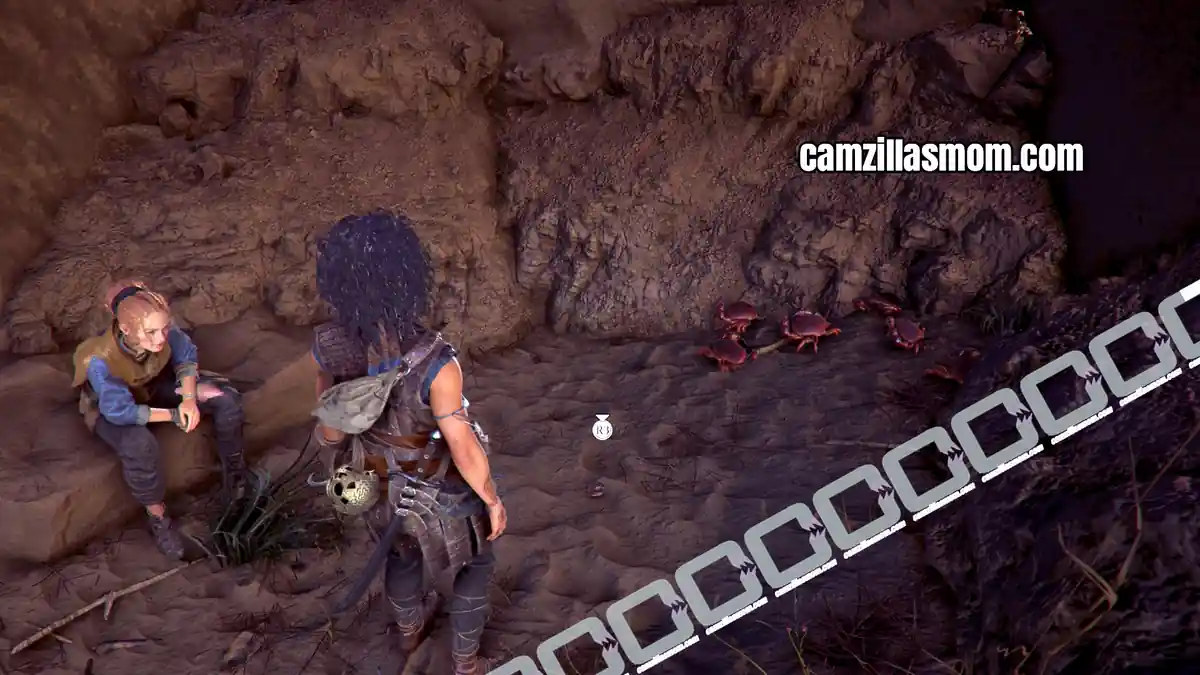
Now you can climb out of here using the grapple point earlier.
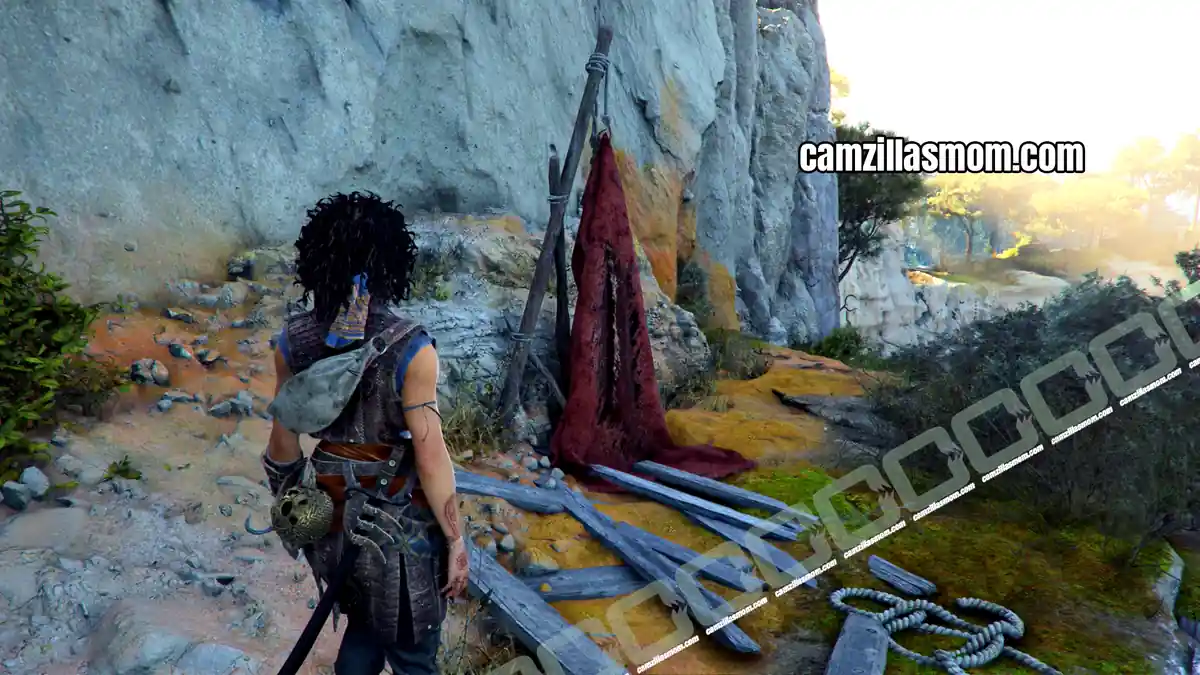
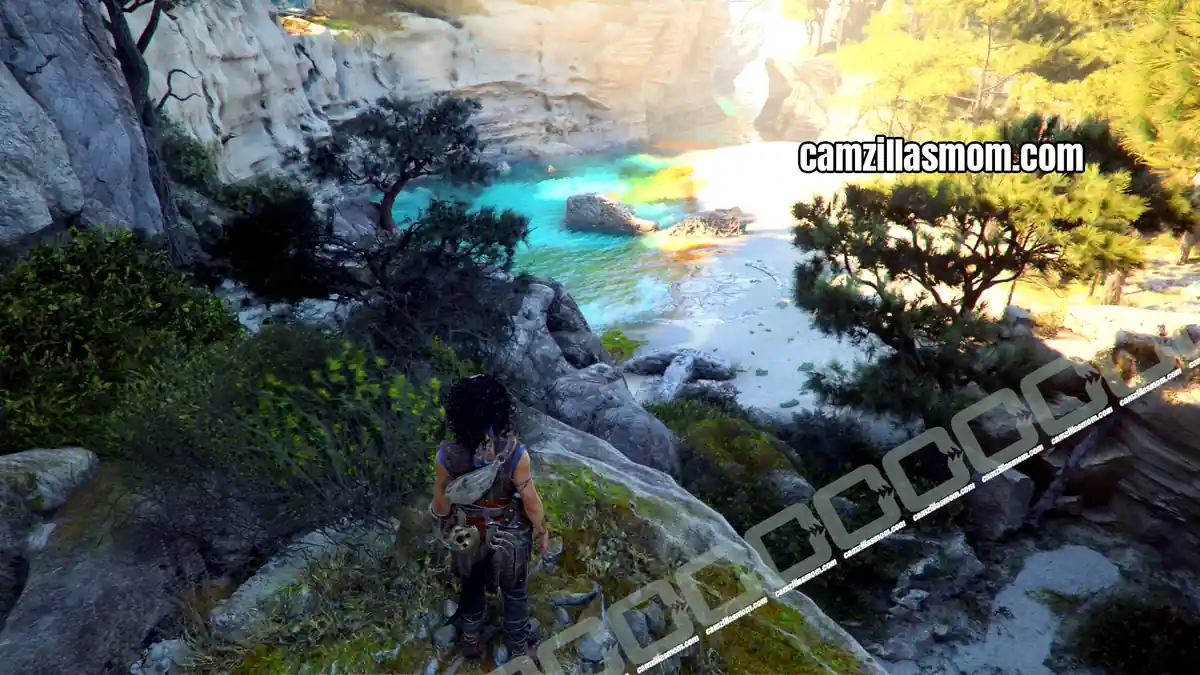
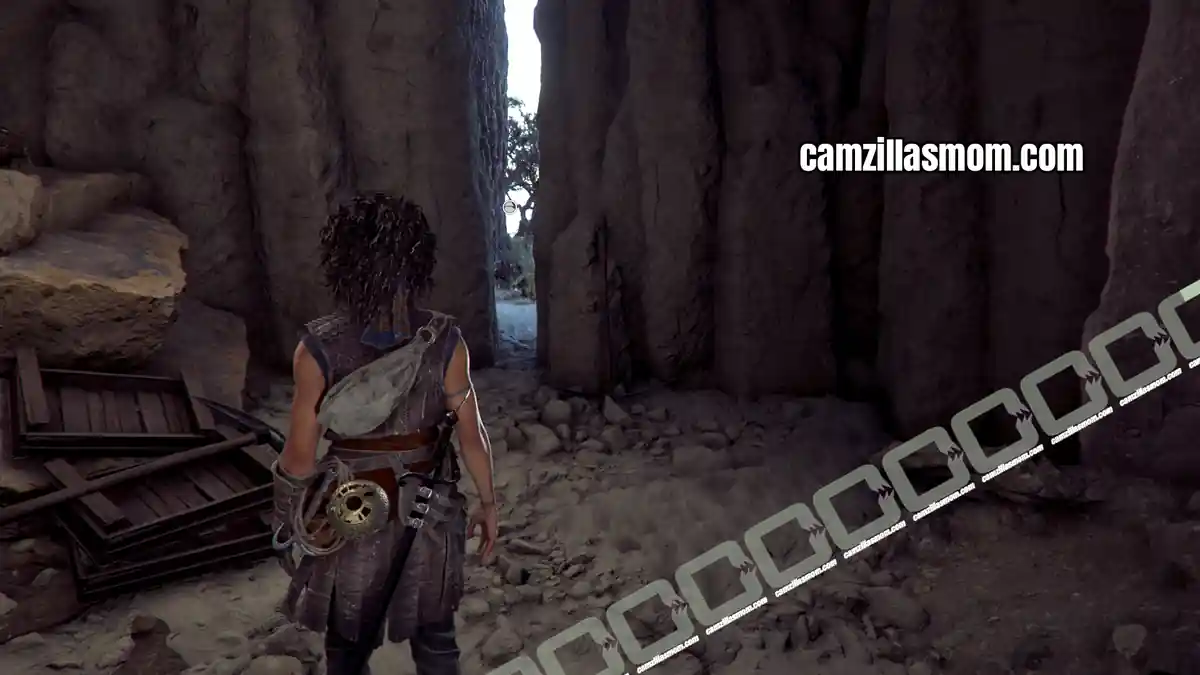
Follow the path down, where Sophia will see some ruins. Enter the nearby cave and follow the path down to a gap in the cave wall, where you can squeeze through to get out.
Resonance Point
Chapter step: Follow the Plunderer’s Tracks
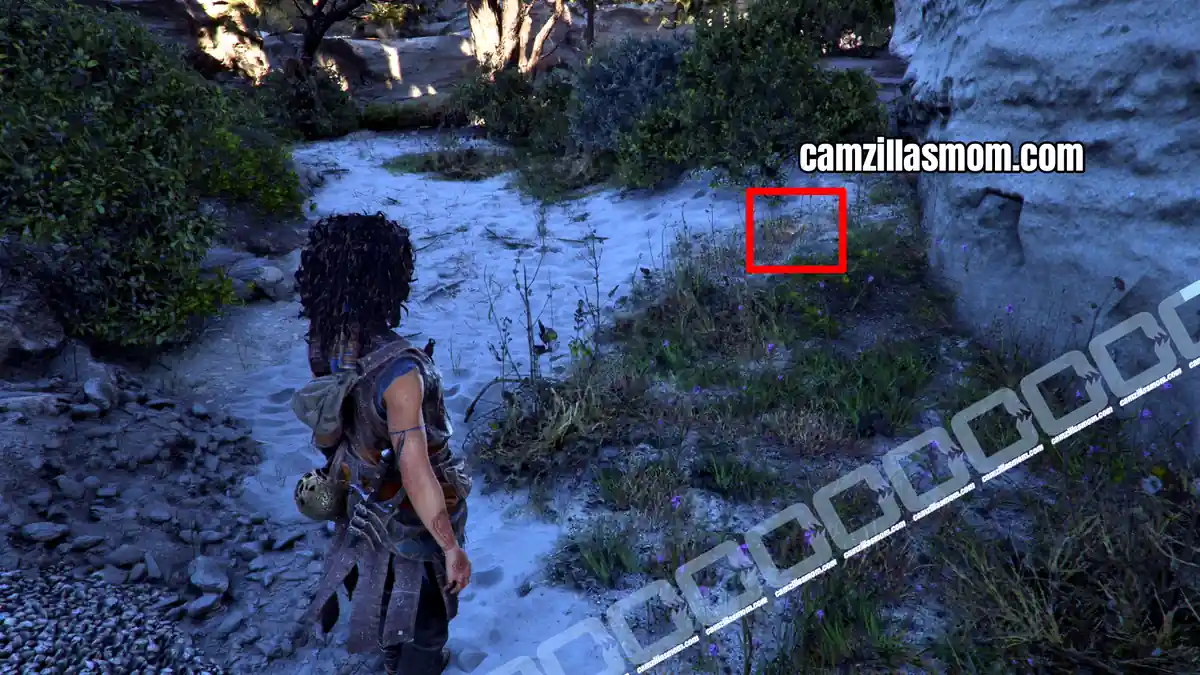
After the cave, Sophia will have to slide down a gravel slide. At the end of this slide is a Resonance Point hidden on the floor.
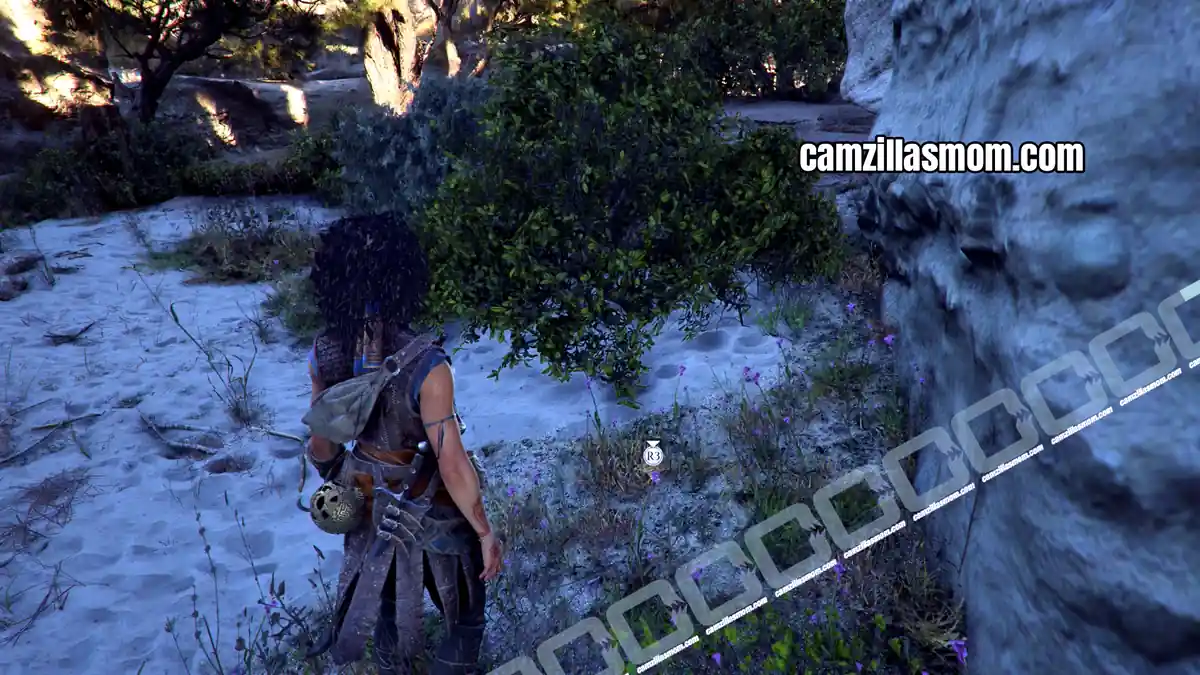
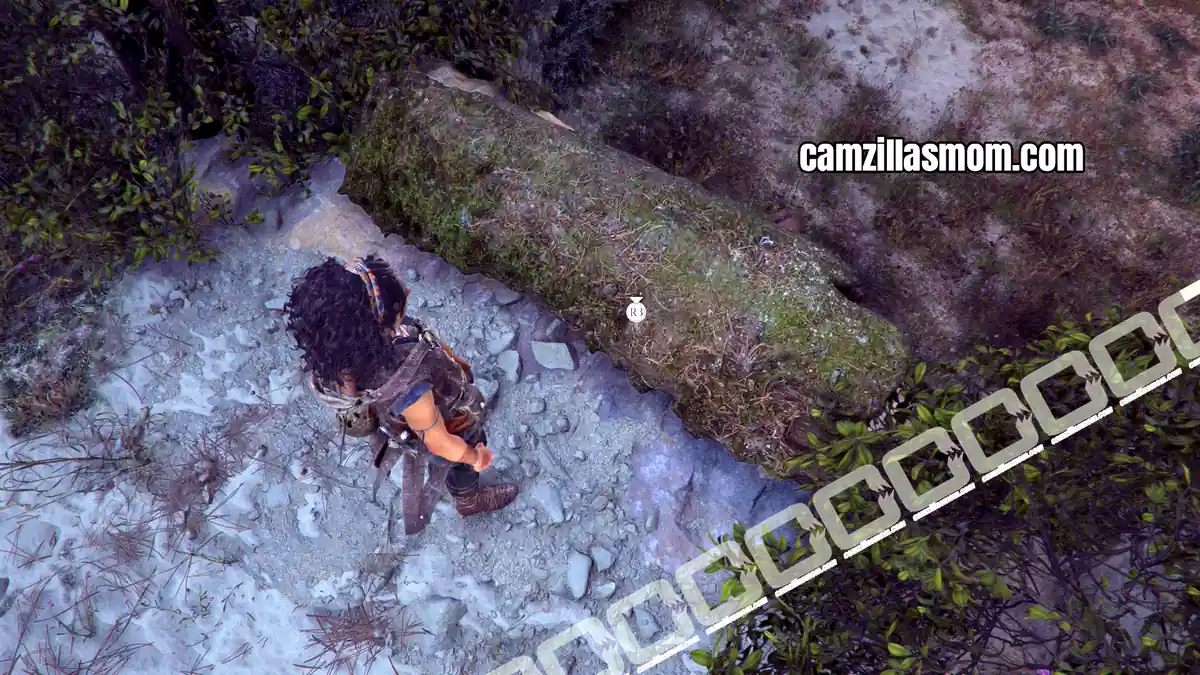
Then, help Leni up before heading to the ruins. Sophia will move a log out of the way so she can pull up Leni so they can move away a dead tree log that blocks the way to the ruins.
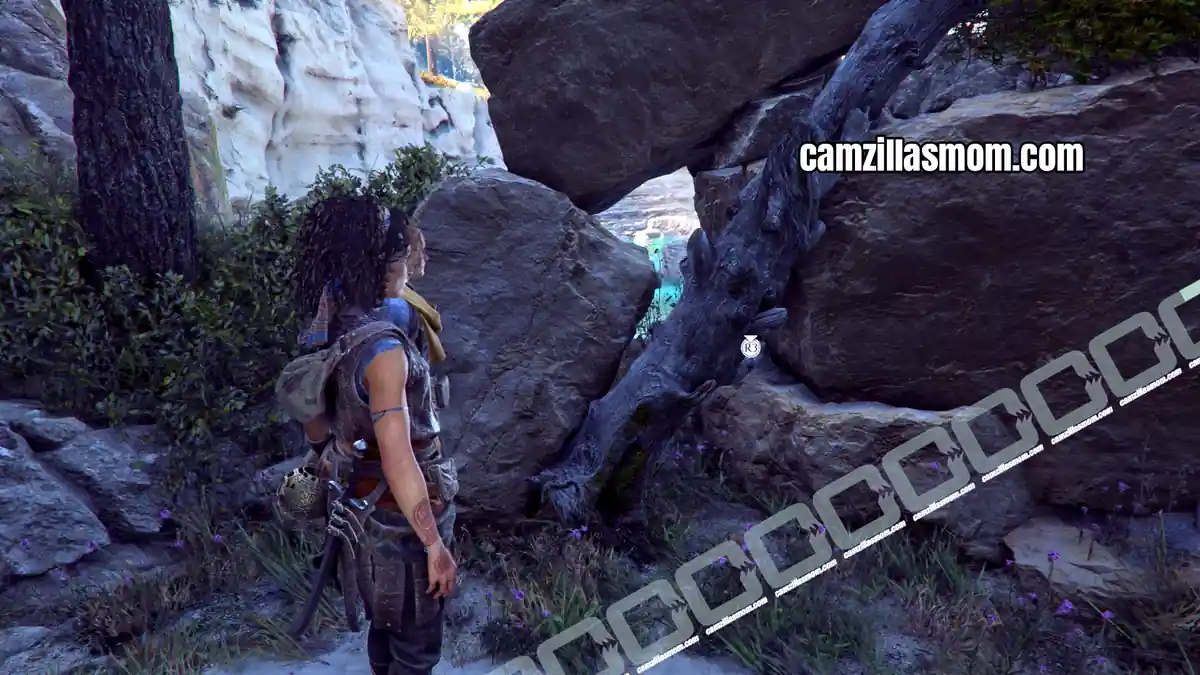
Compare the picture of the stone slab with the book. There are two arrows engraved into the slab, showing the direction.
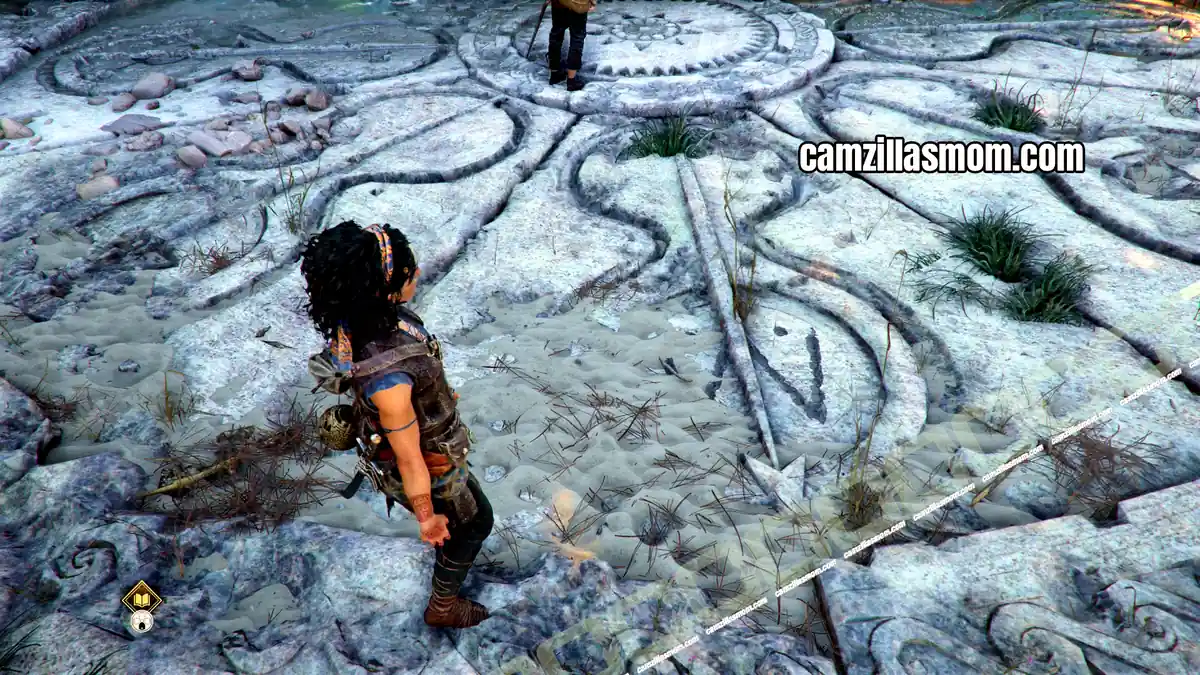
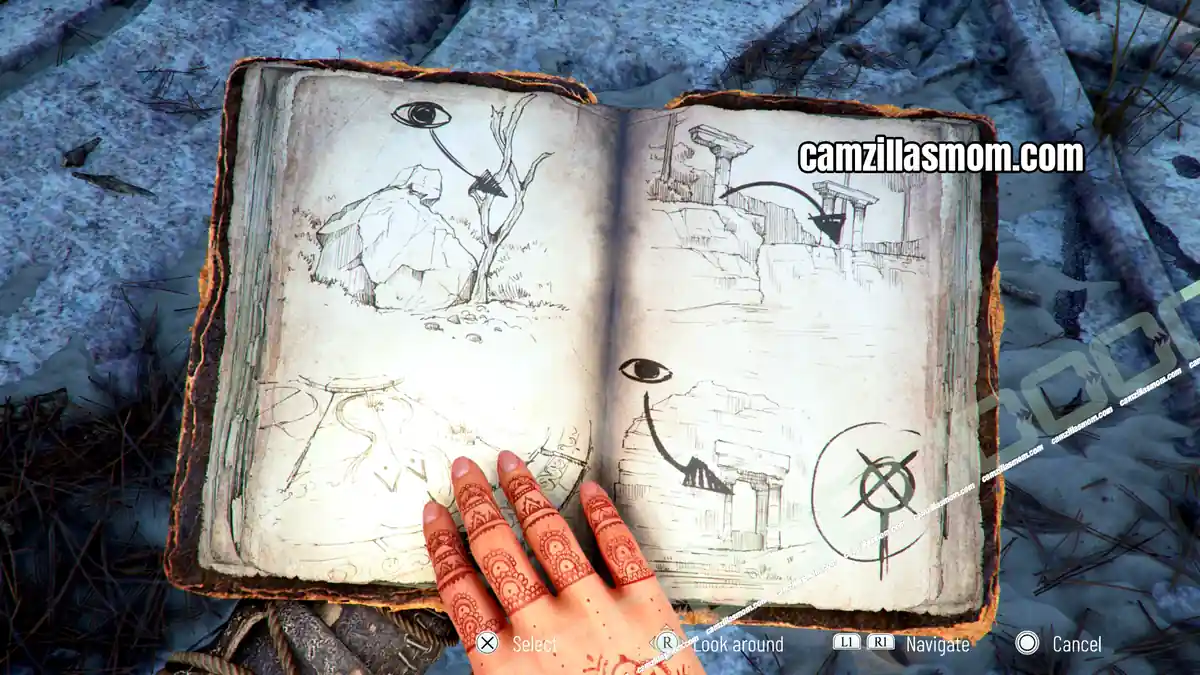
Before leaving in the direction of these arrows, have a look around. There is a spot where Sophia can admire the flamingos.
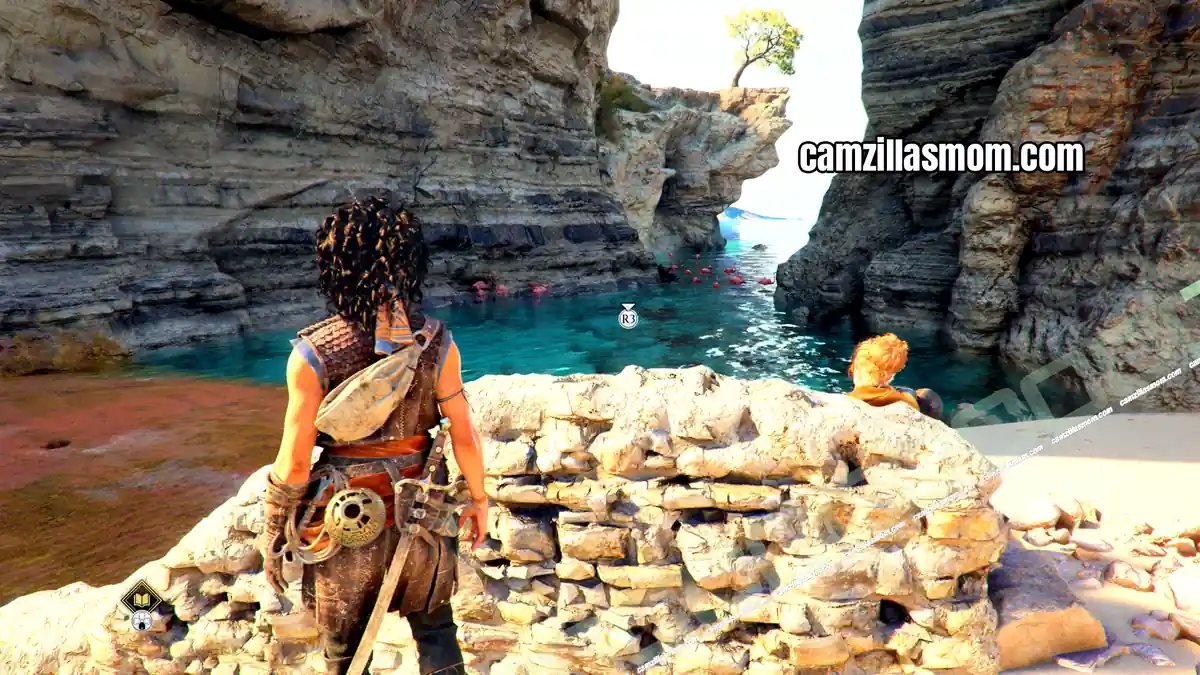
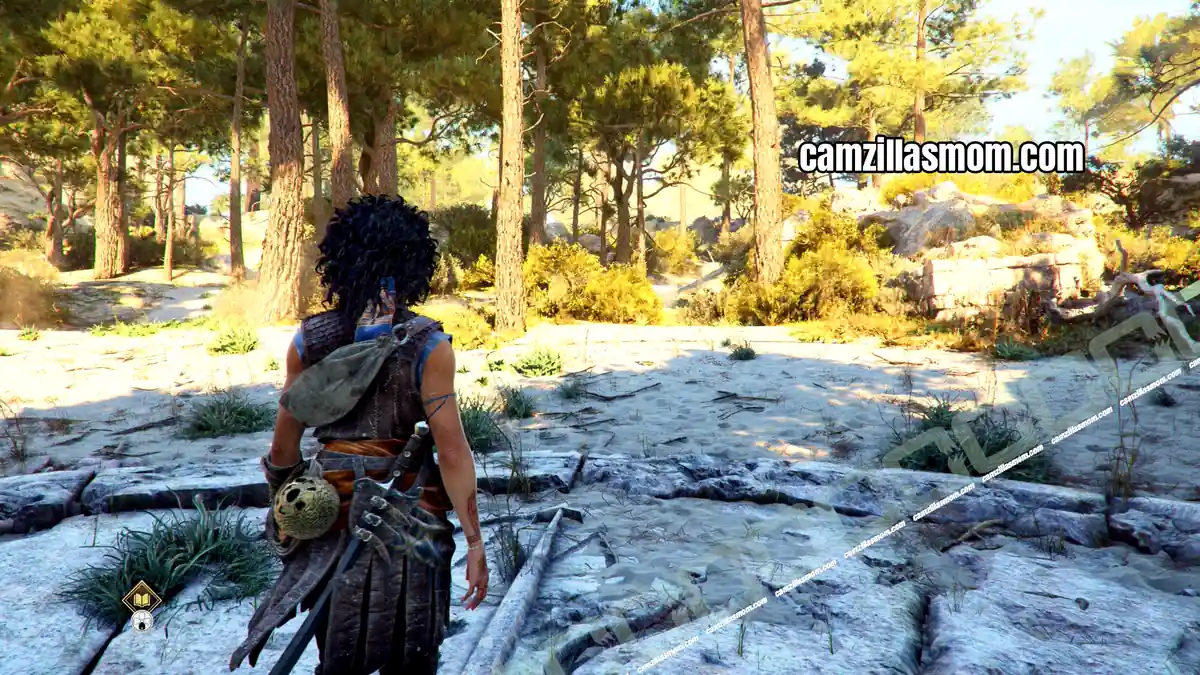
The path leads to an upper area with more ruins with a climb spot to reach them.
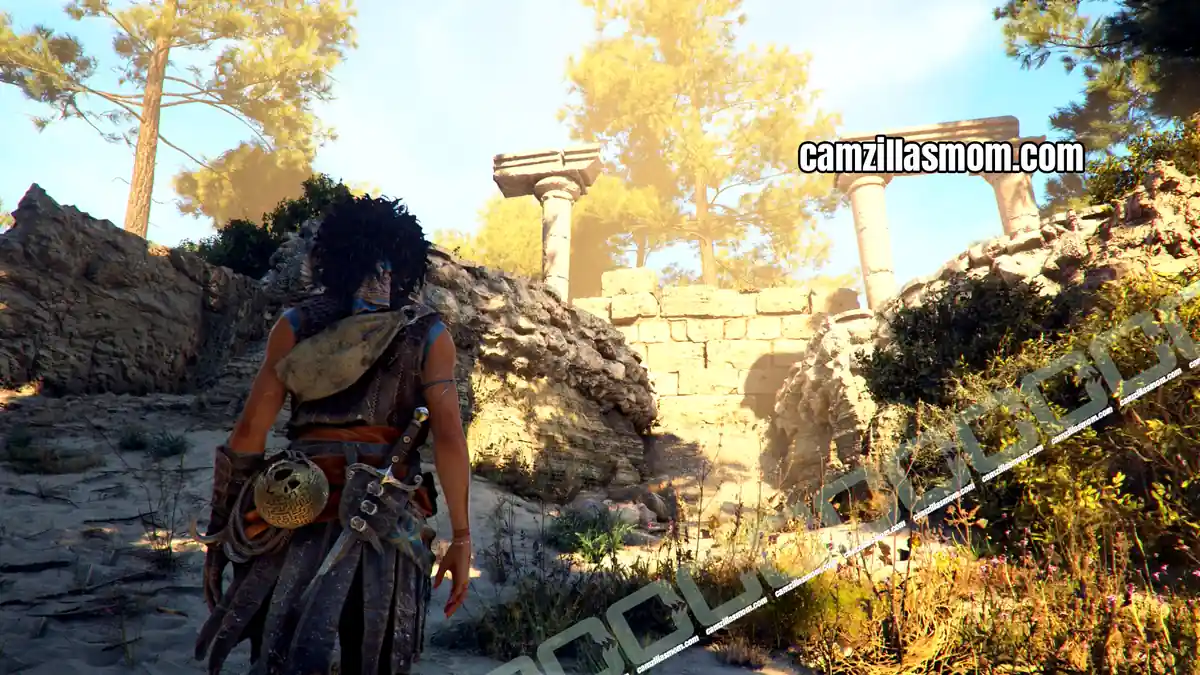
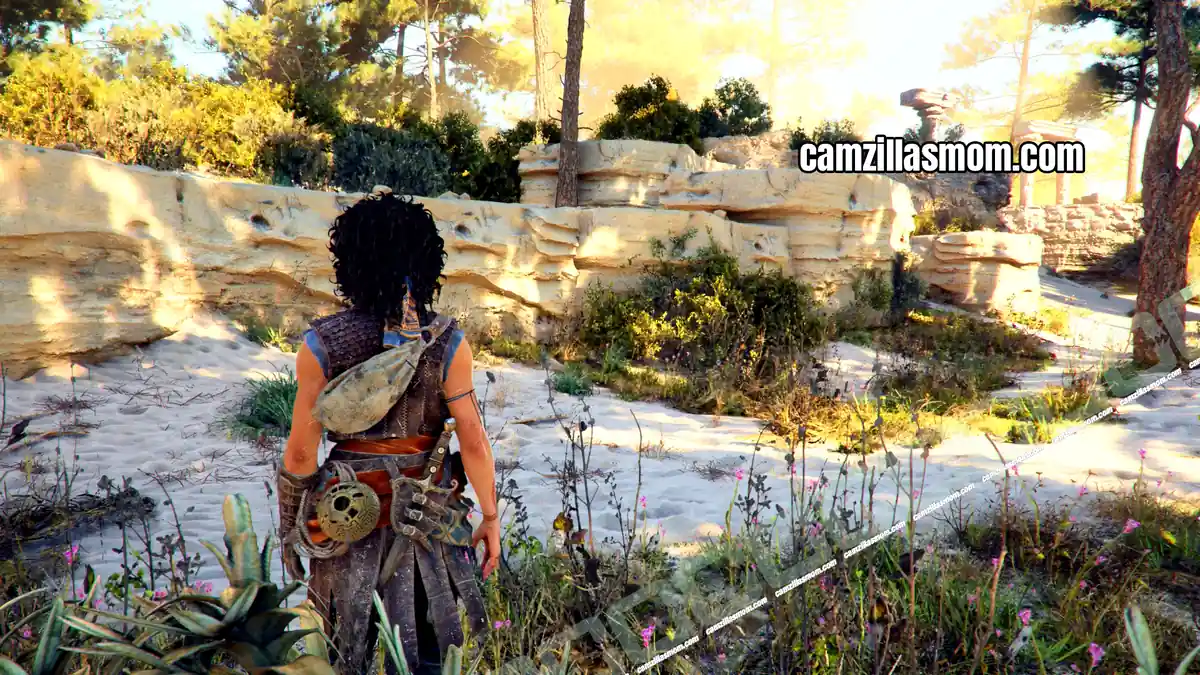
Artefact 2 – Relic of the Past: Golden Cup
Chapter step: Follow the Plunderer’s Tracks
Description:
“For a plunderer to leave such easy gold behind, then they must have dropped it in a hurry. I wonder what happened.”
Make sure to have a thorough look around in the ruins before continue on the story path. There is a darker corridor behind the ruins. At its end is Artefact 2, the Golden Cup.
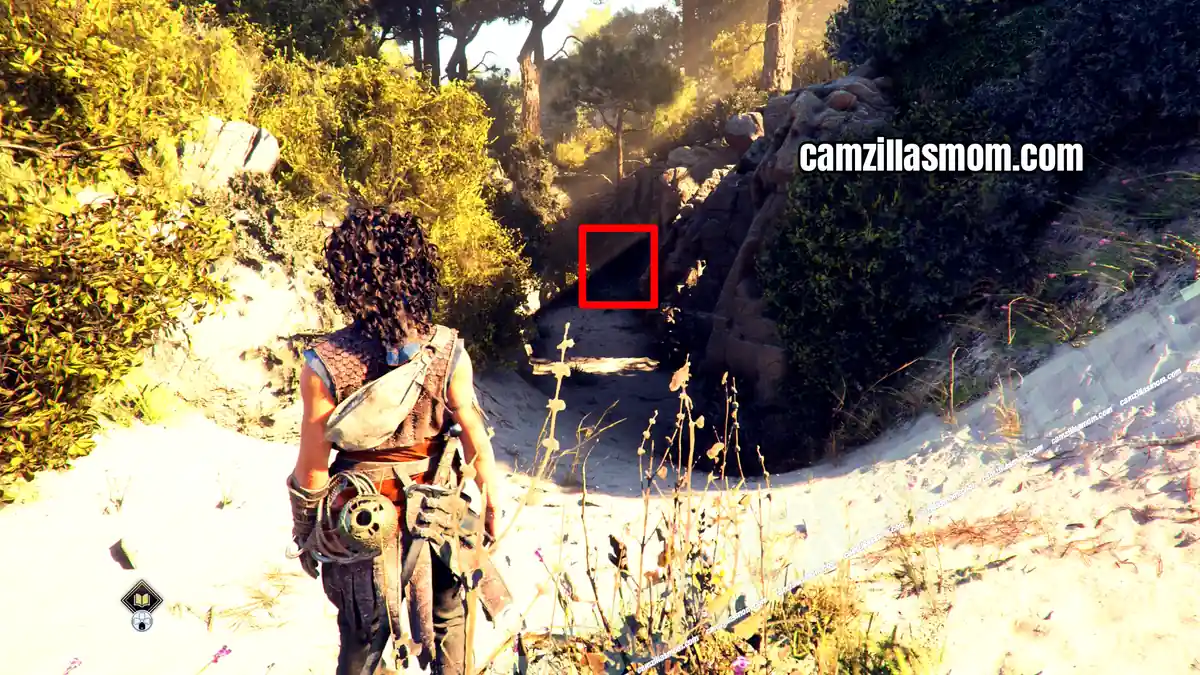
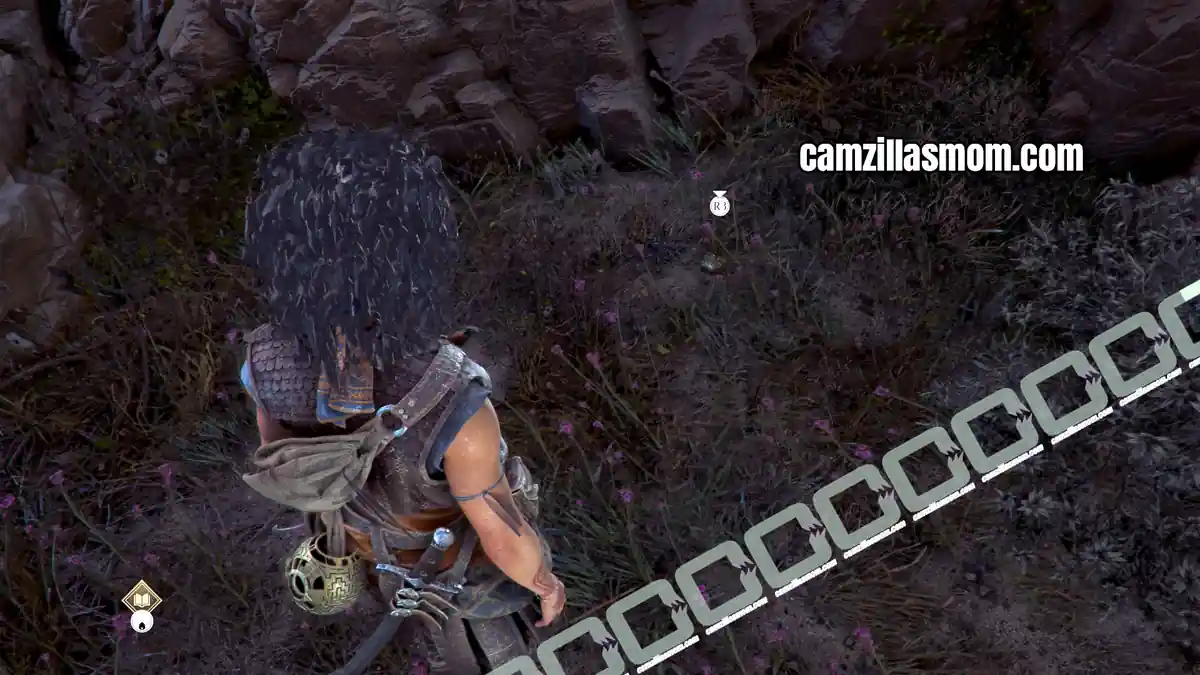
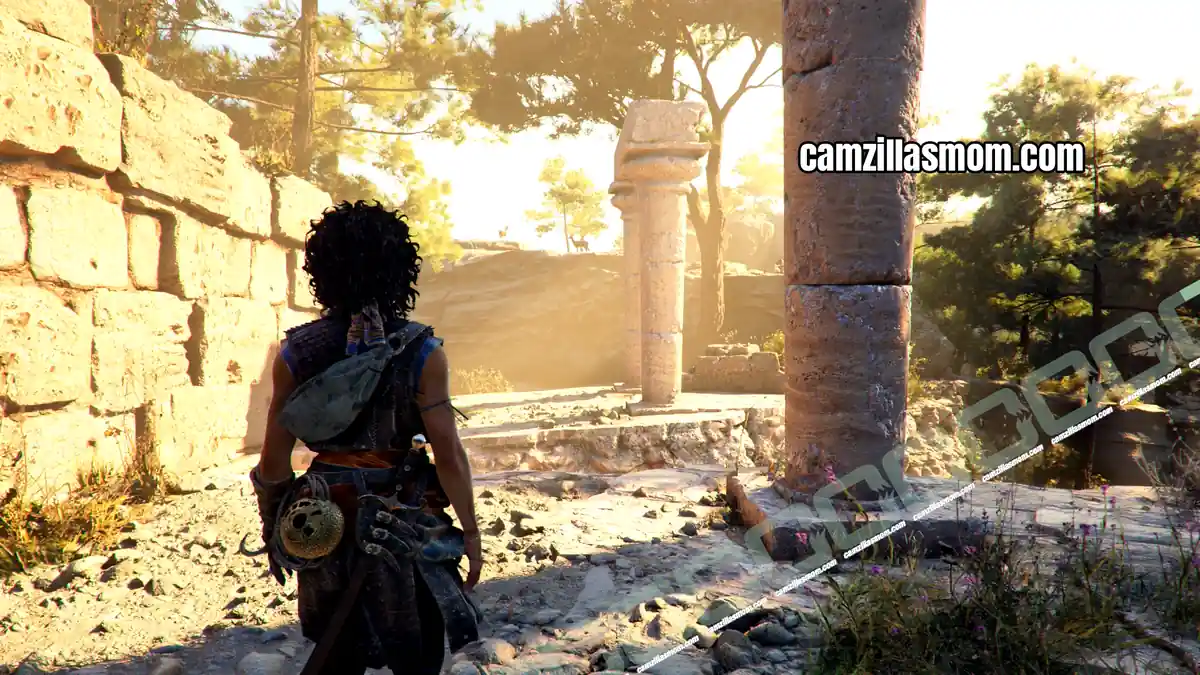
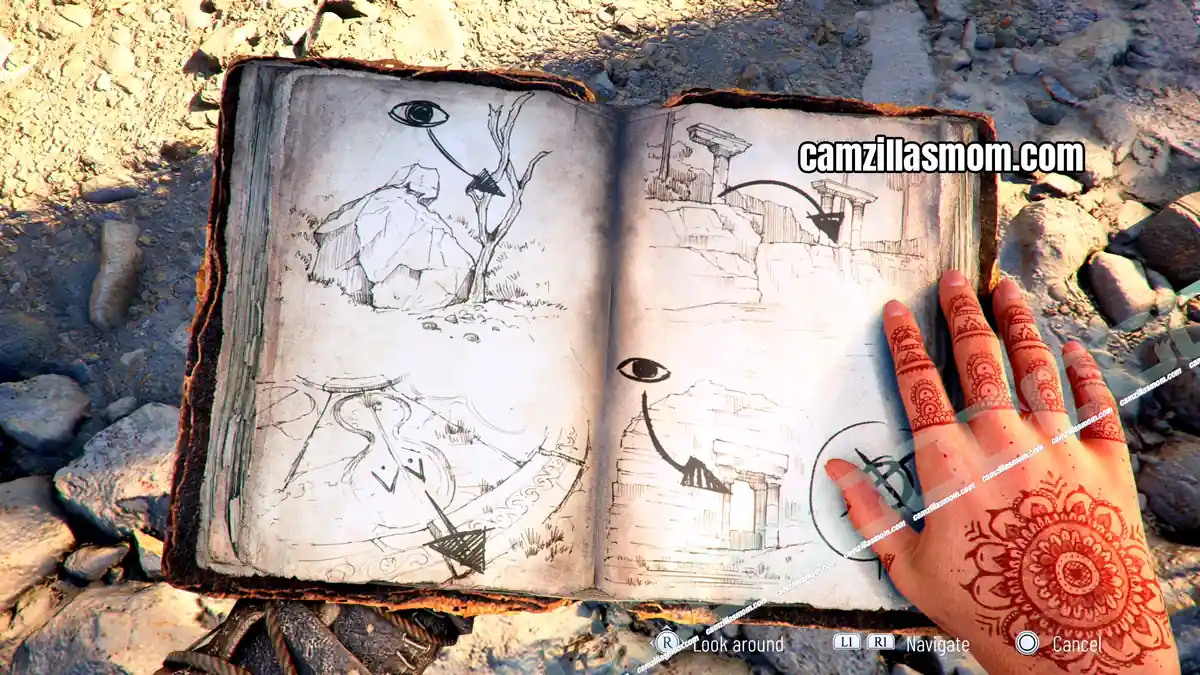
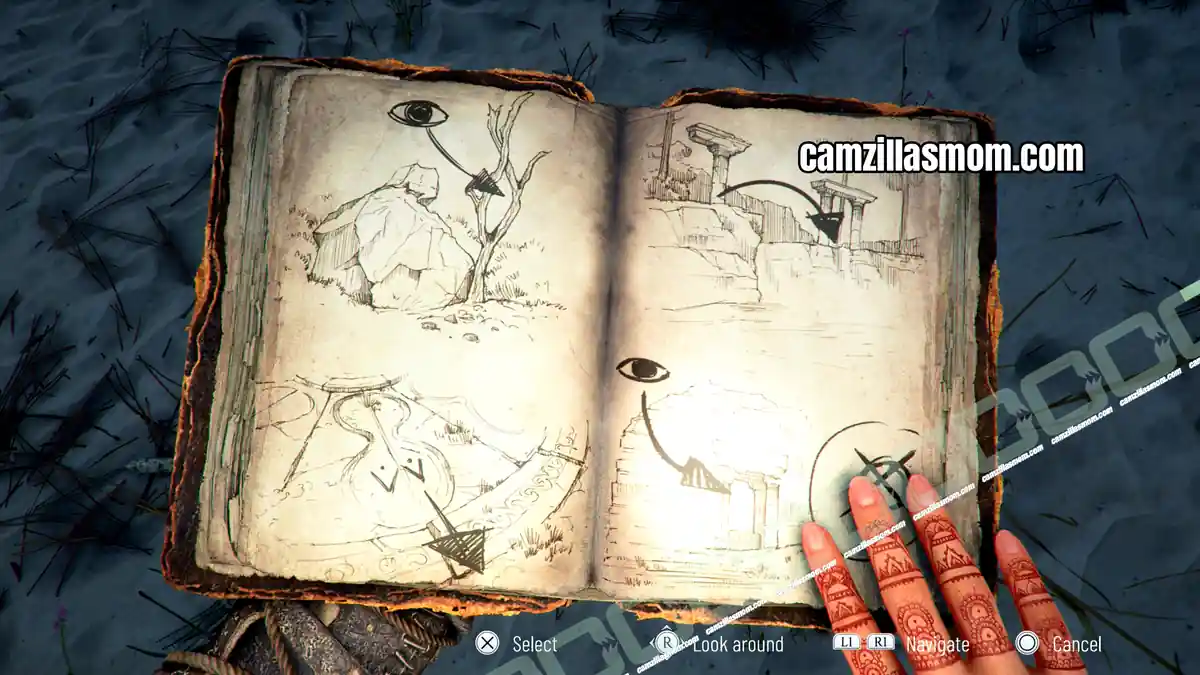
Now head to the ruins. There is another clue in the book. It says to jump across the gap where the ruins’ pillars are.
Artefact 3 – Relic of the Past: Heroic Plaque
Chapter step: Follow the Plunderer’s Tracks
Description:
“It feels like I could almost reach through the bronze and touch that soldier. But all of this happened centuries and centuries ago… The history here feels so distant, yet so close to me.”
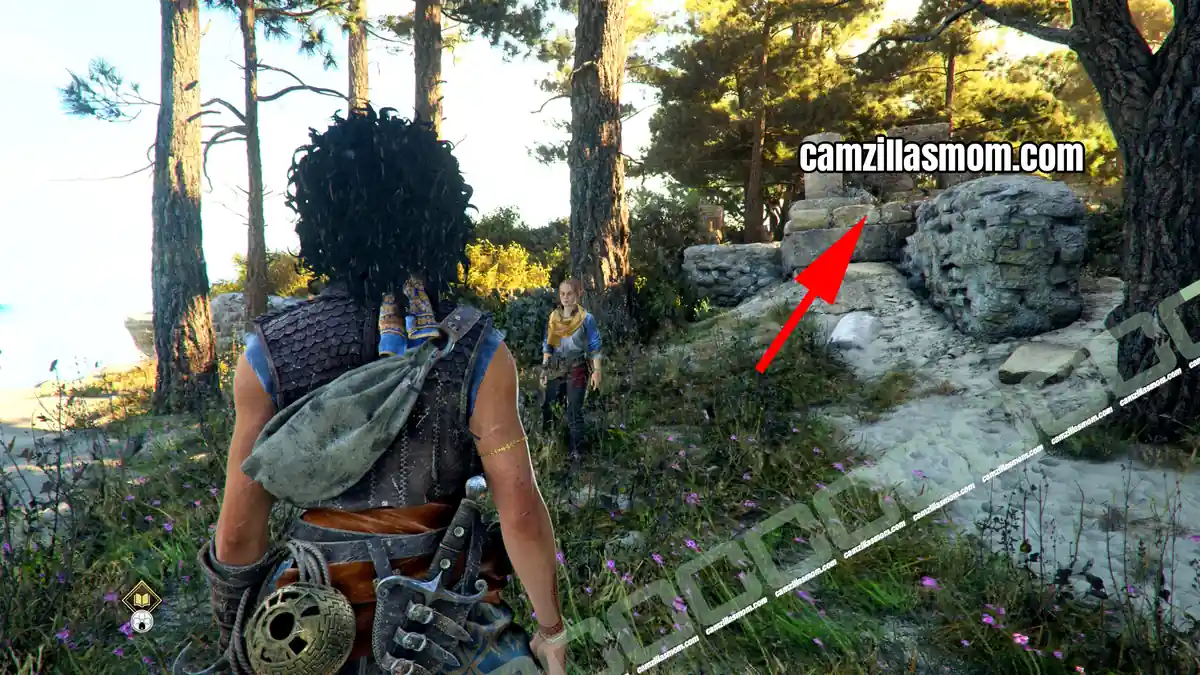
In the Abandoned Village, head down to the cliff and look up. There is a tiny remnant of a house with a piece of a pillar and a small window. Here is this artefact.
Resonance Point
Chapter step: Follow the Plunderer’s Tracks
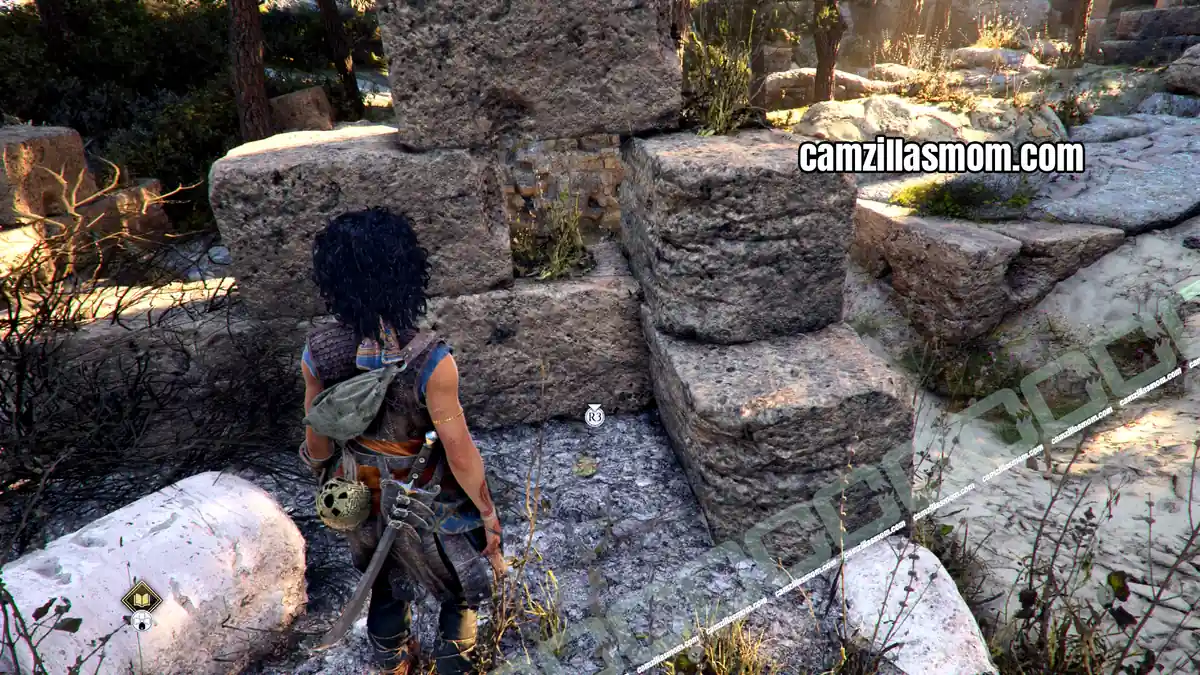
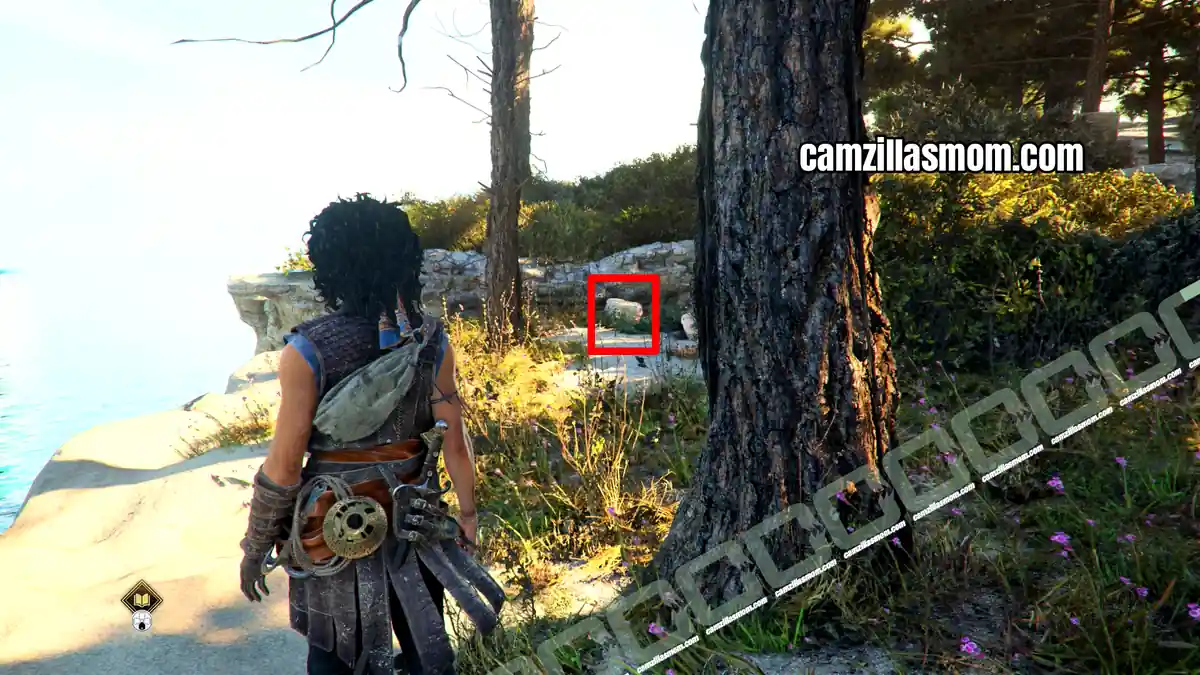
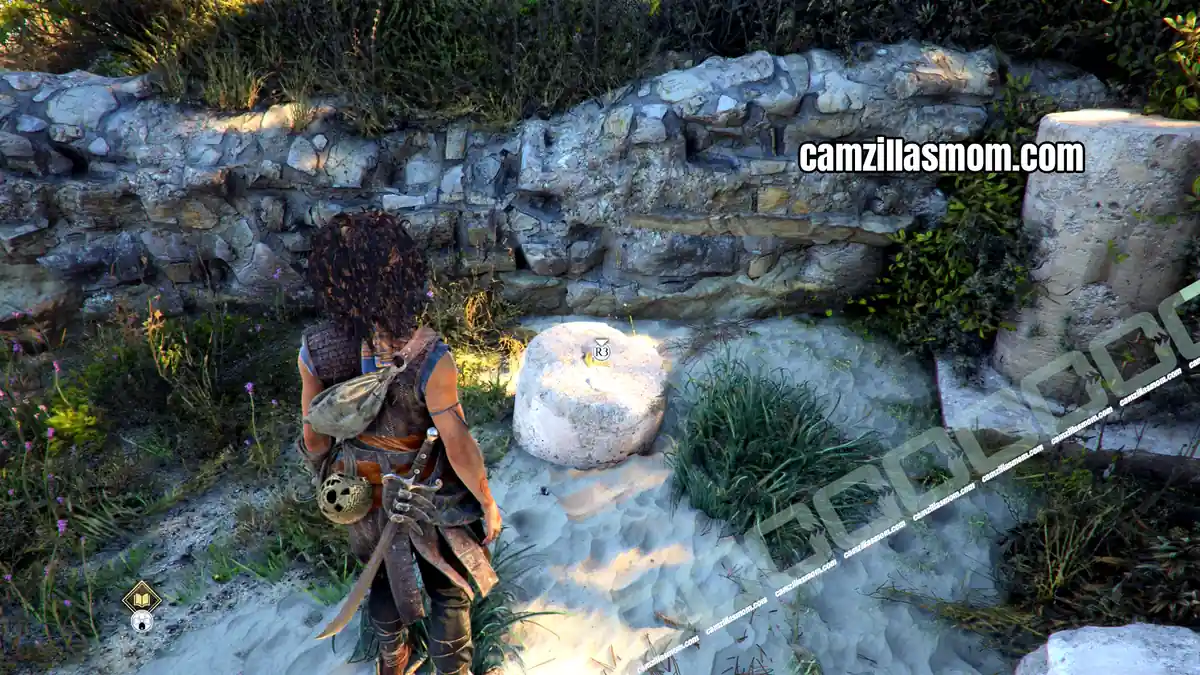
Return to the cliff, almost there where I stood for the screenshot above. Follow the cliff to the back. Here on top of a piece of a pillar is a Resonance Point.
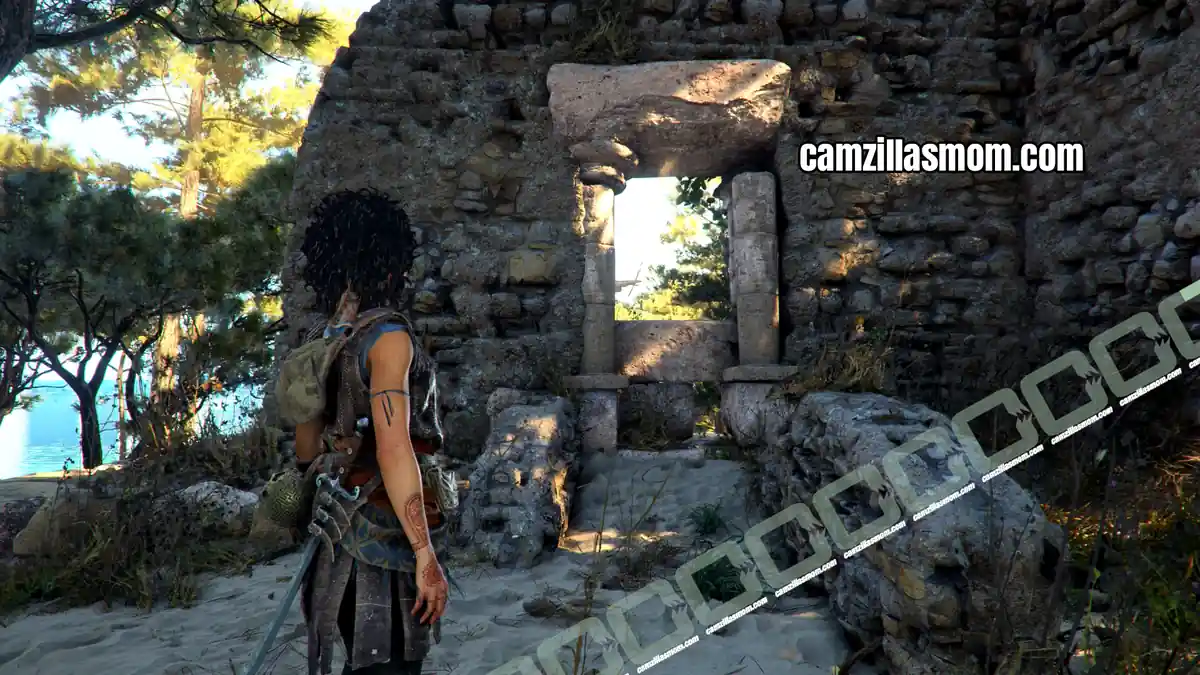
Then, find the only intact window in the ruins “like the inside of the house” and interact with it. It is also in the book.
Resonance Point
Chapter step: Follow the Plunderer’s Tracks
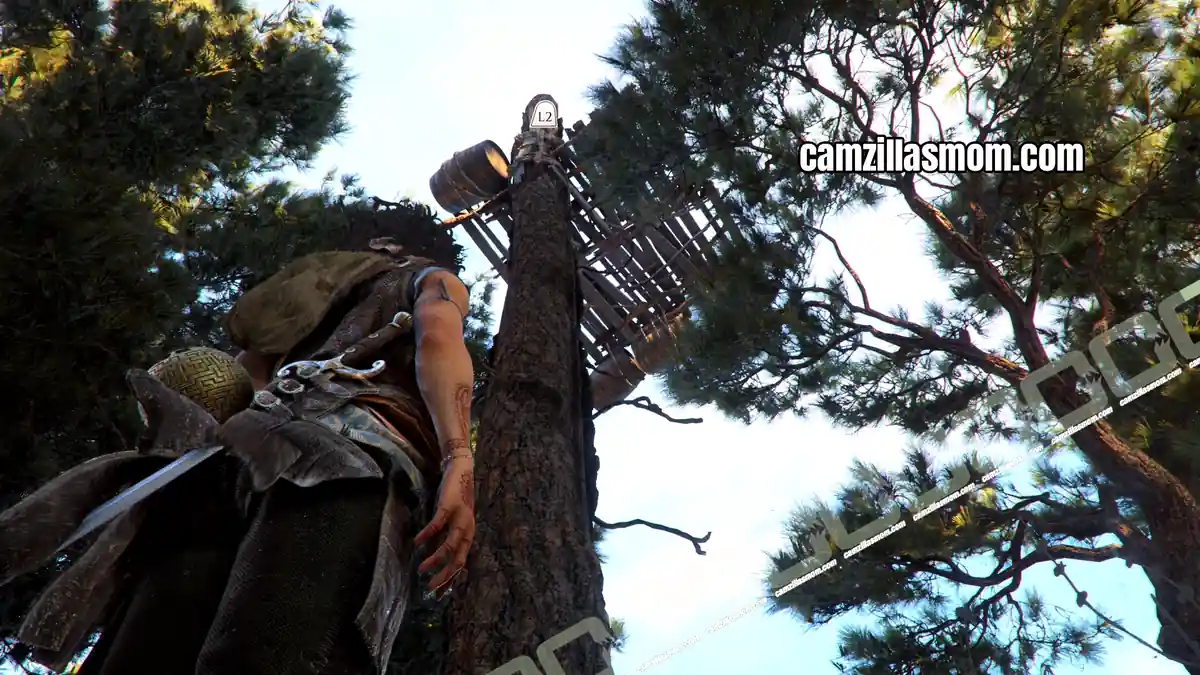
You will spot a watchtower. Use the grapnel to reach the top. There is a Resonance Point up there on the platform.
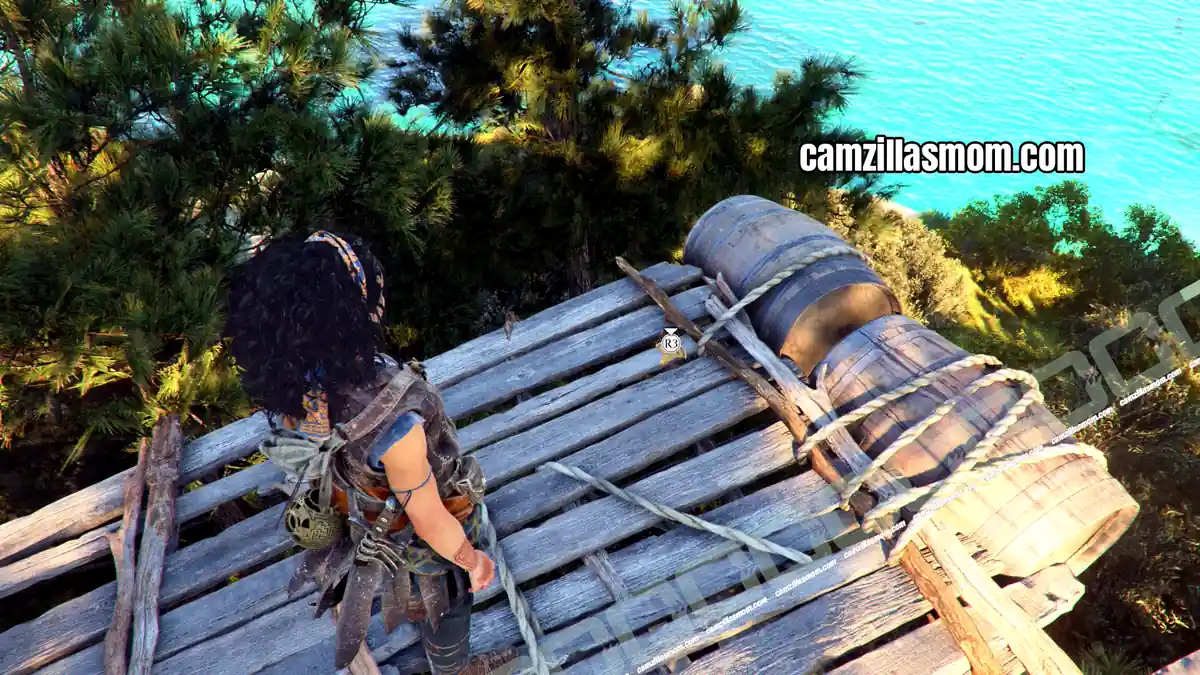
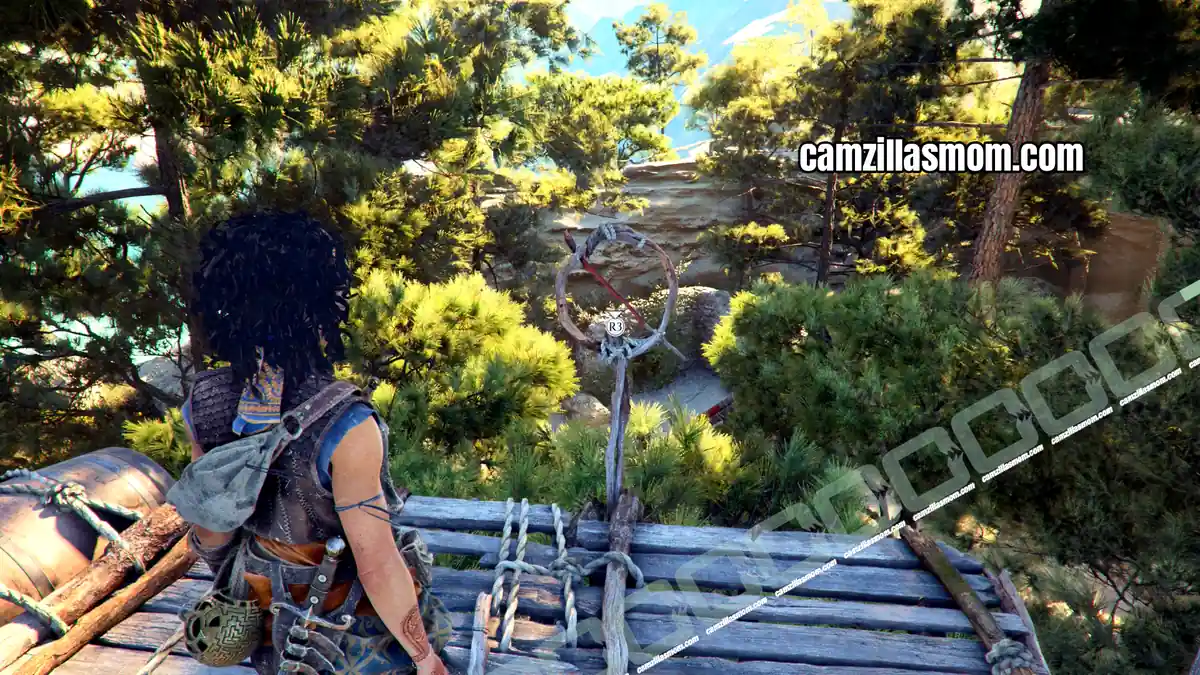
On the same platform, look through the mysterious ring to the red mast. The X marks the spot.
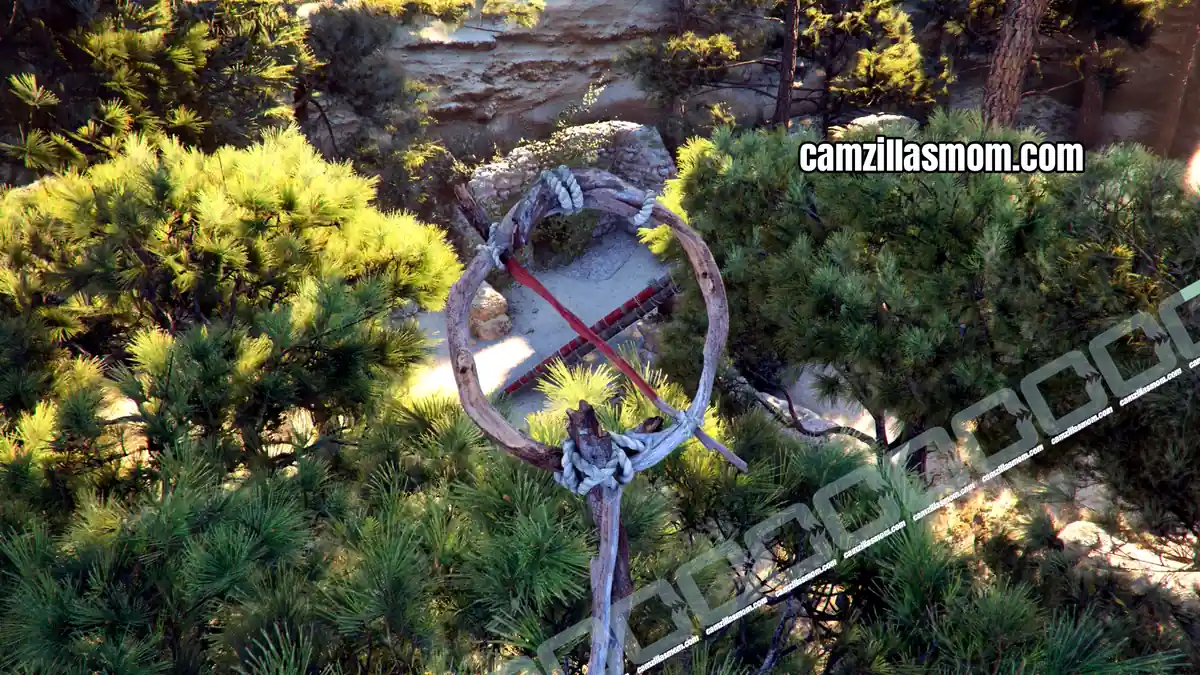
Trap Door at the Red Mast
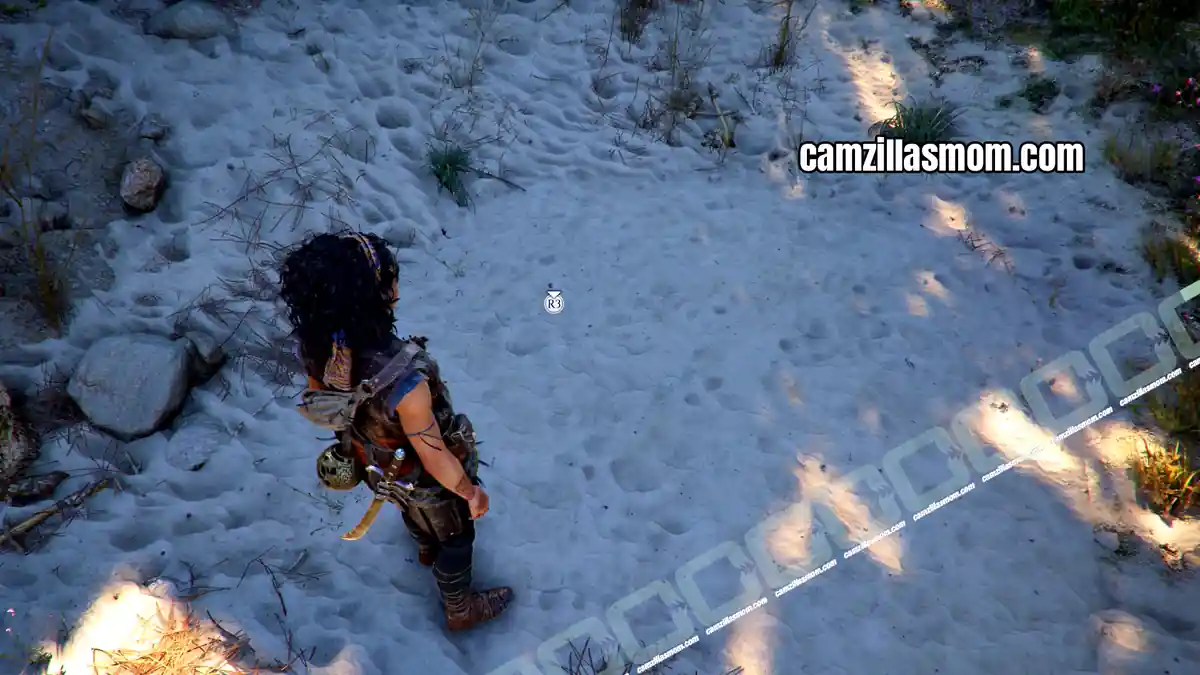
Climb down and head to the red mast. You can now interact with the sand at the mast’s base to reveal a trap door. This part is a bit buggy with Leni disappearing and the trapdoor not showing, but it is there. Interact with the sand a second time to drop down. If nothing seems to happen after the first interaction, do not walk off looking for another route. Stand on the same spot and interact again.
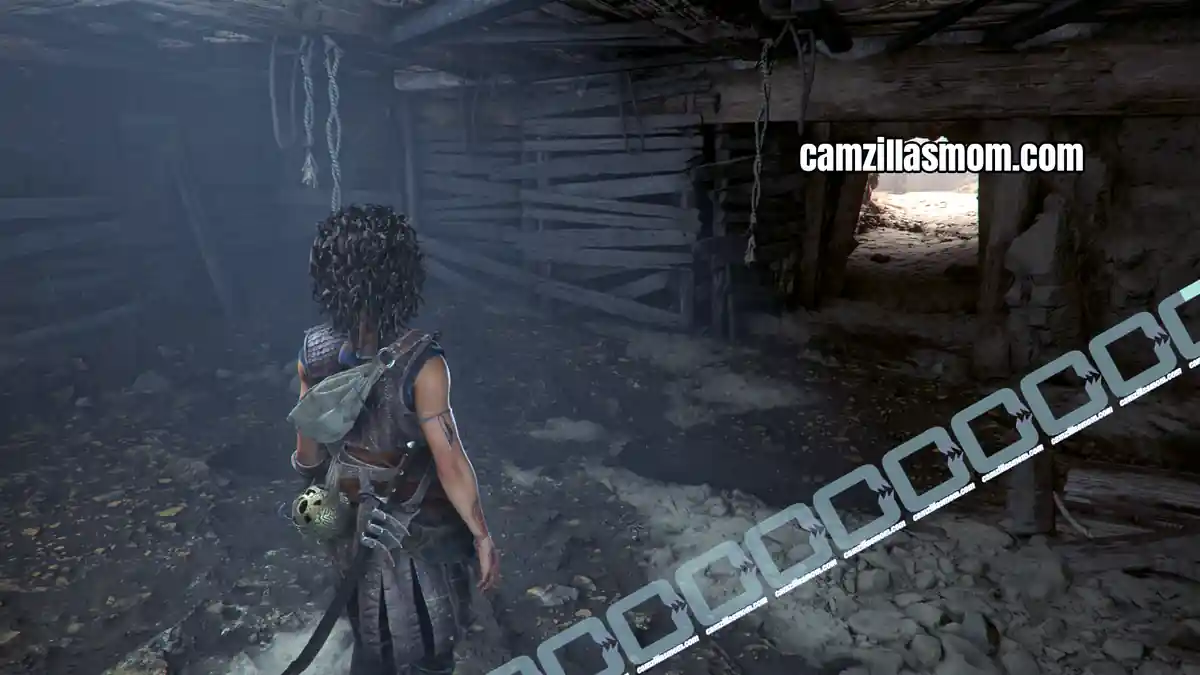
Follow the underground path and climb the ladder at the other end to exit back outside.
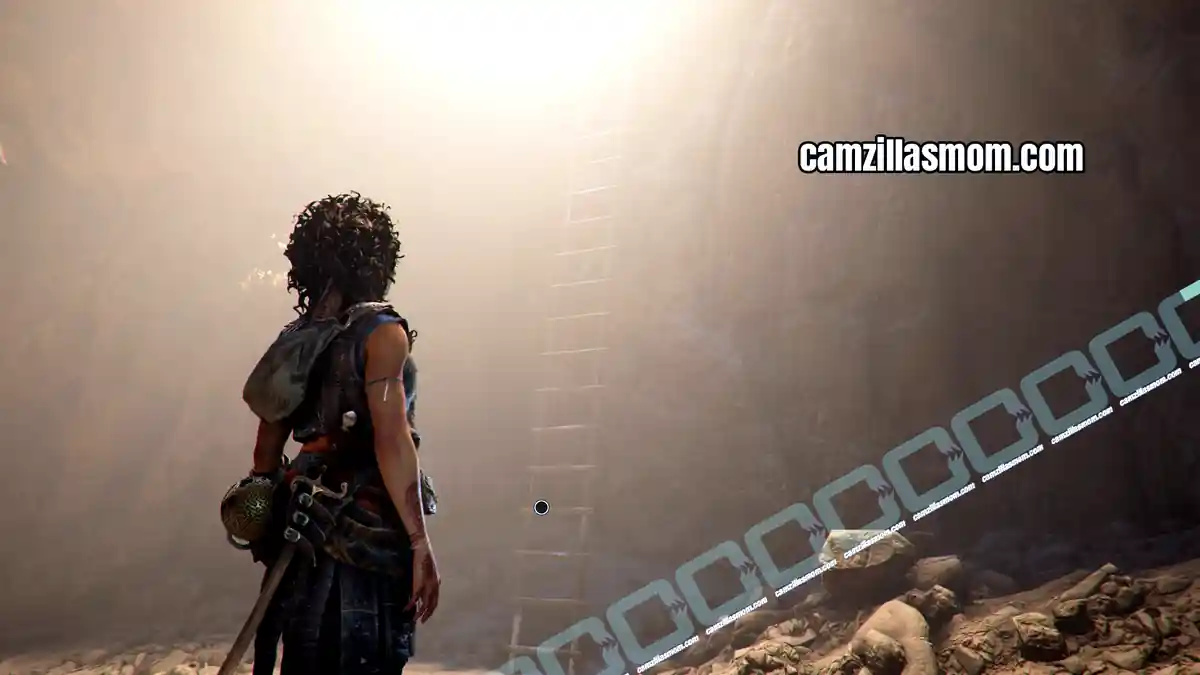
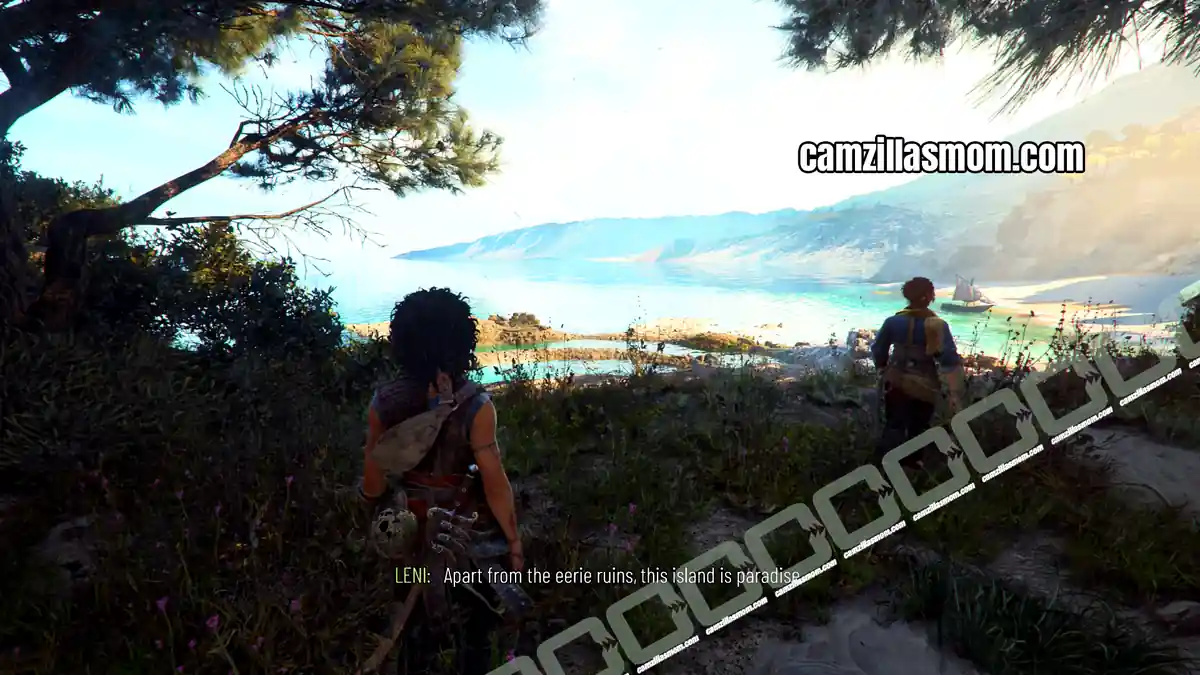
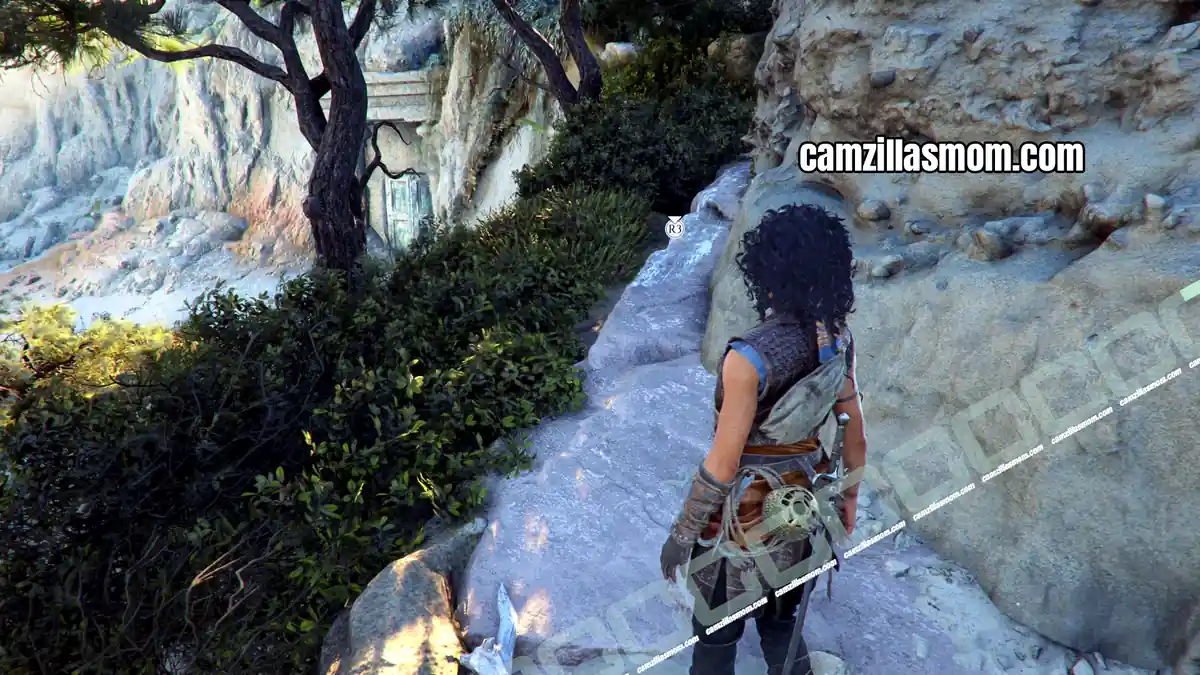
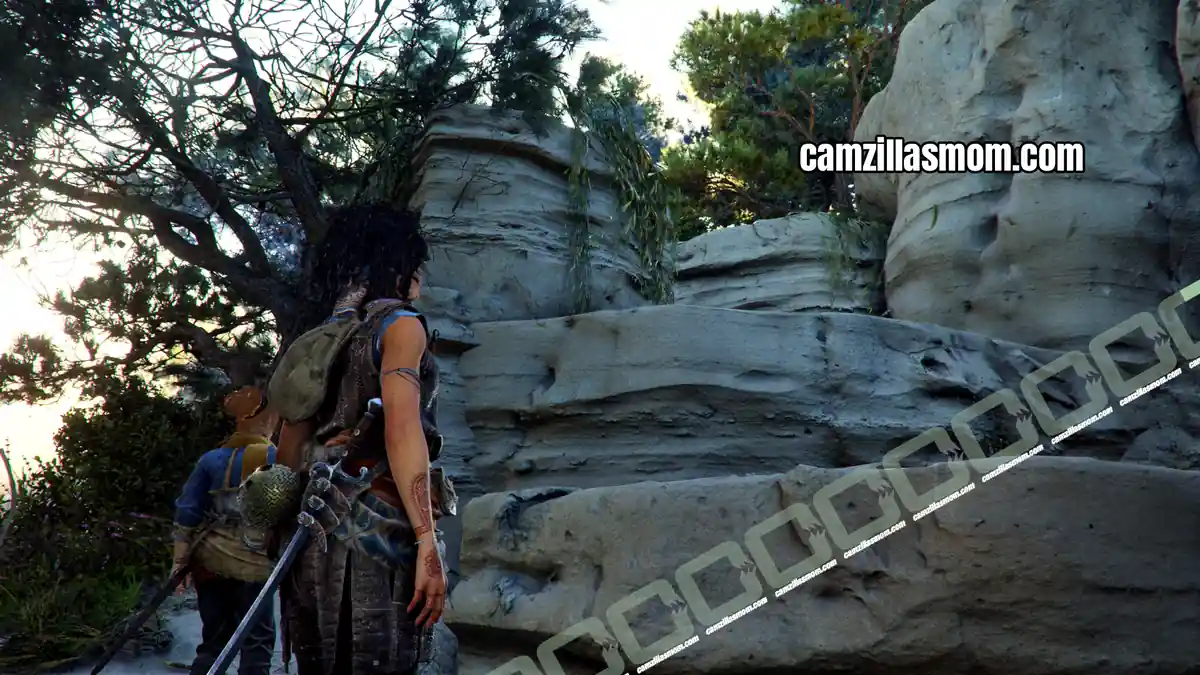
Keep following the path up here to a ledge where you can see the green door again in the distance. Move along to the other side of the ledge, where you can climb higher to a gap where the two can squeeze through. This will start a cutscene where they will see the army arriving.
Resonance Point
Chapter step: Follow the Plunderer’s Tracks
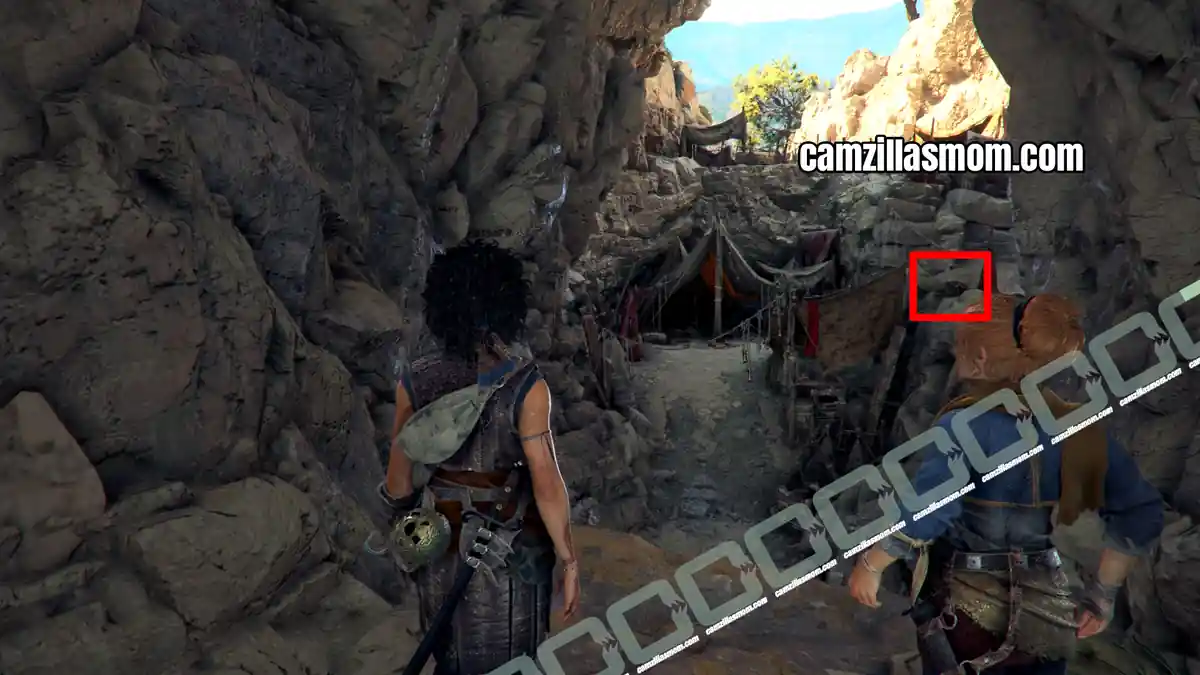
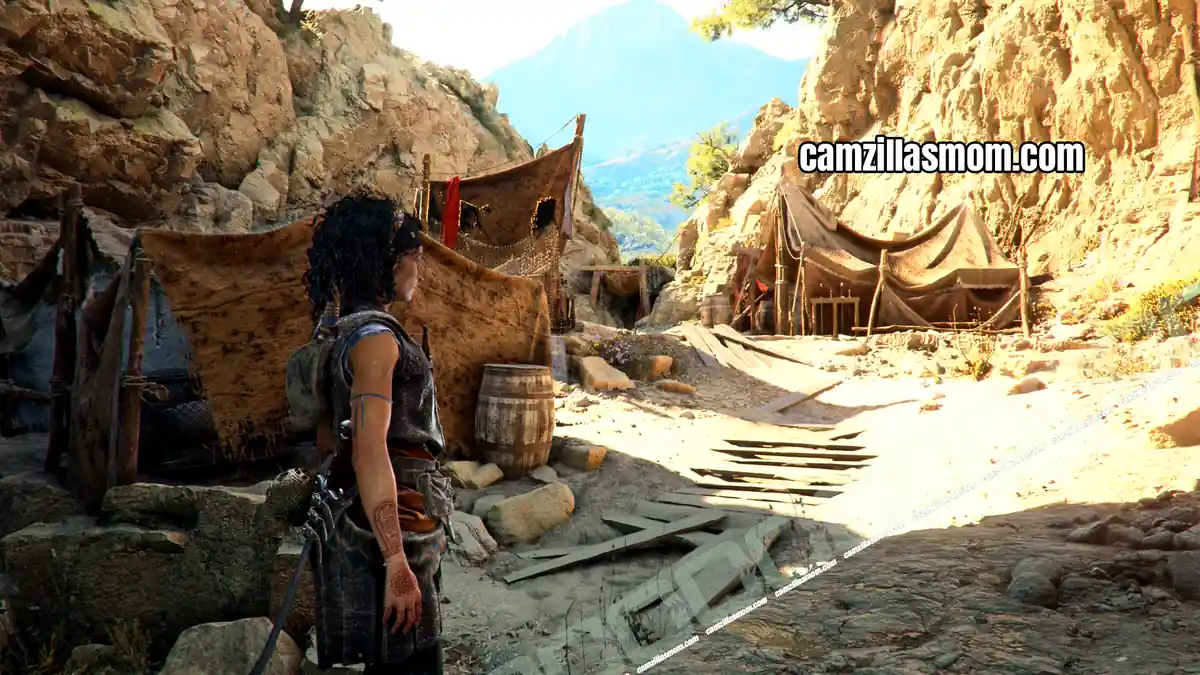
After the cutscene, follow the path up to the hideout. Up here, after the first tent and before you climb the ladder is another Resonance Point.
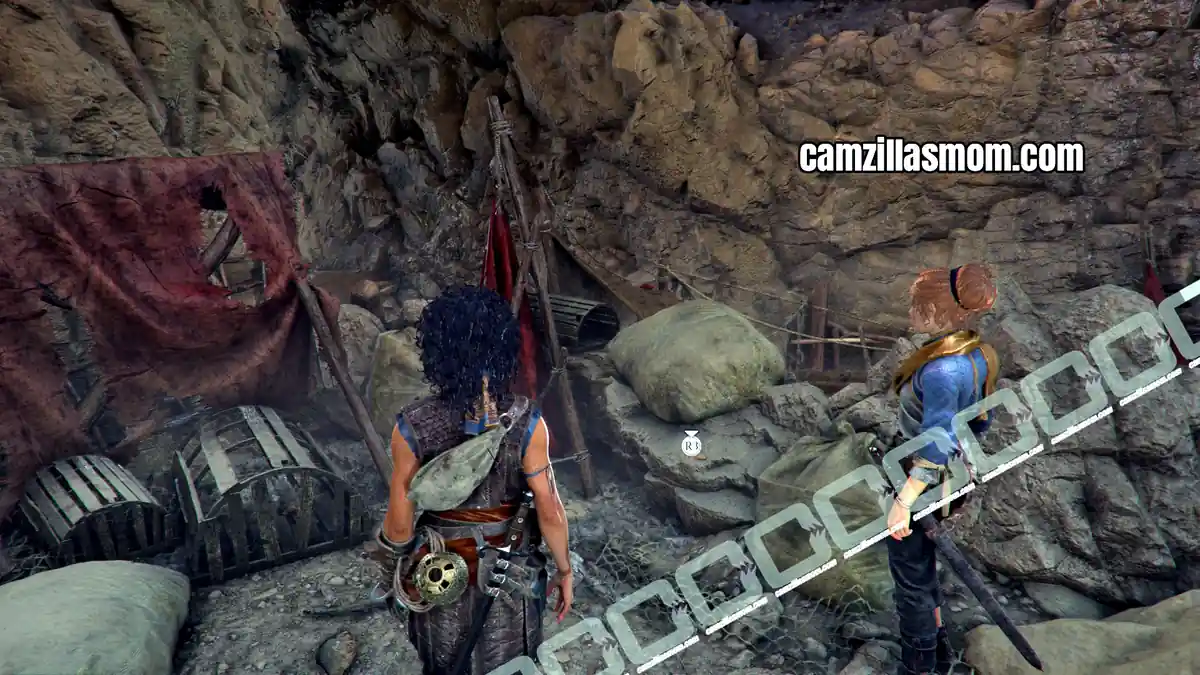
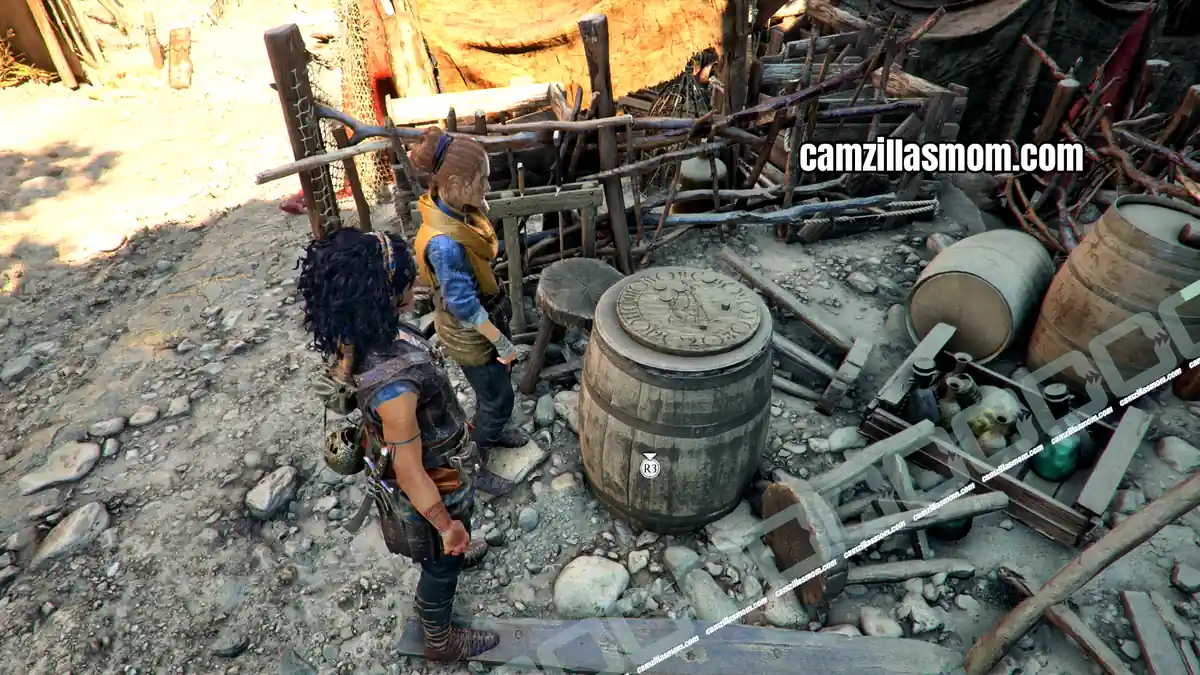
Climb the nearby ladder to the next level of the hideout. Here, Leni will point out an odd looking barrel. It’s the boat’s game Sophia used to play with Ezra.
2 – Vestiges
Resonance Point
Chapter step: Reach the Statue
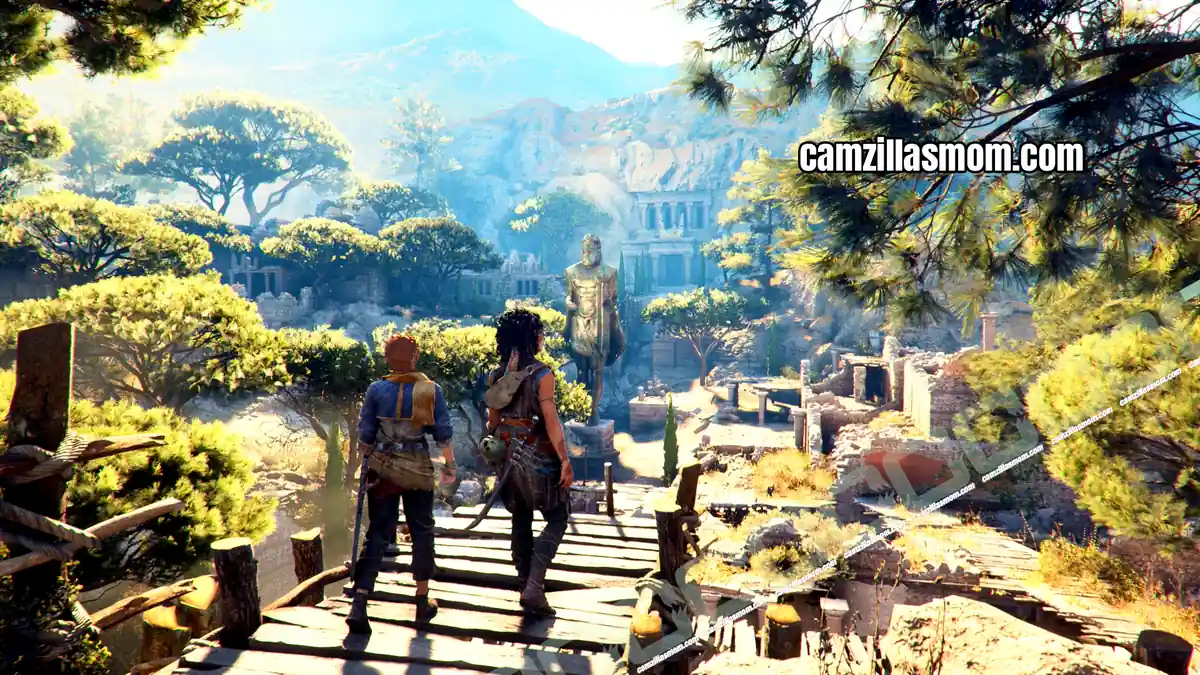
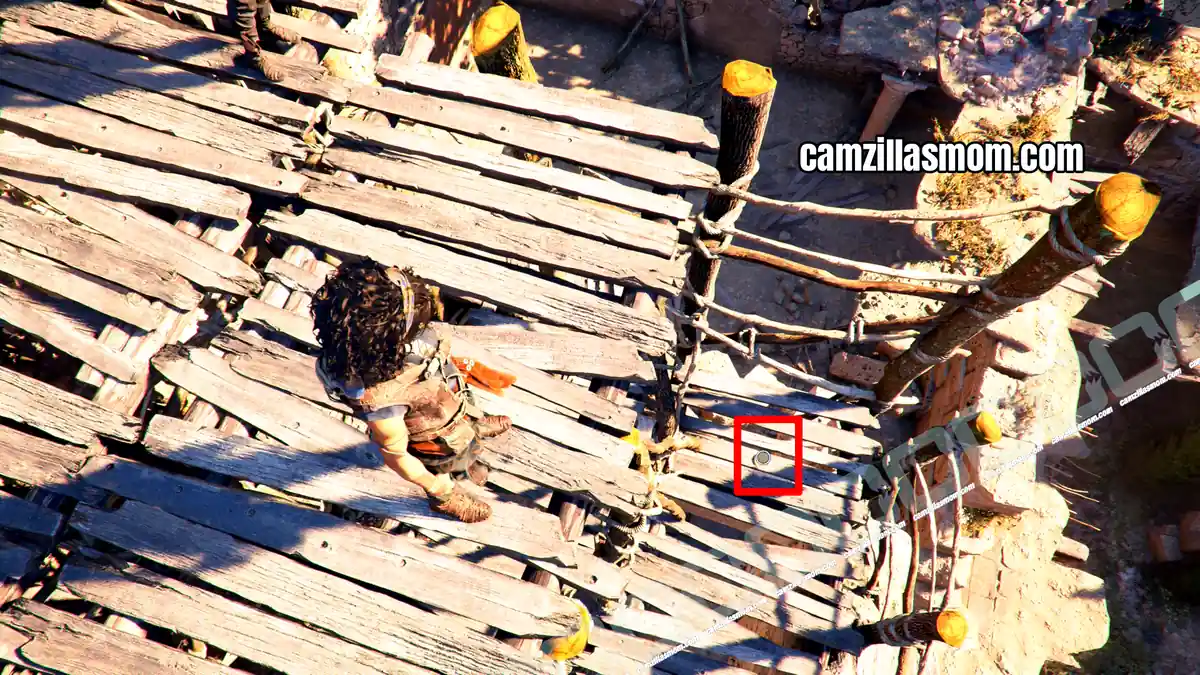
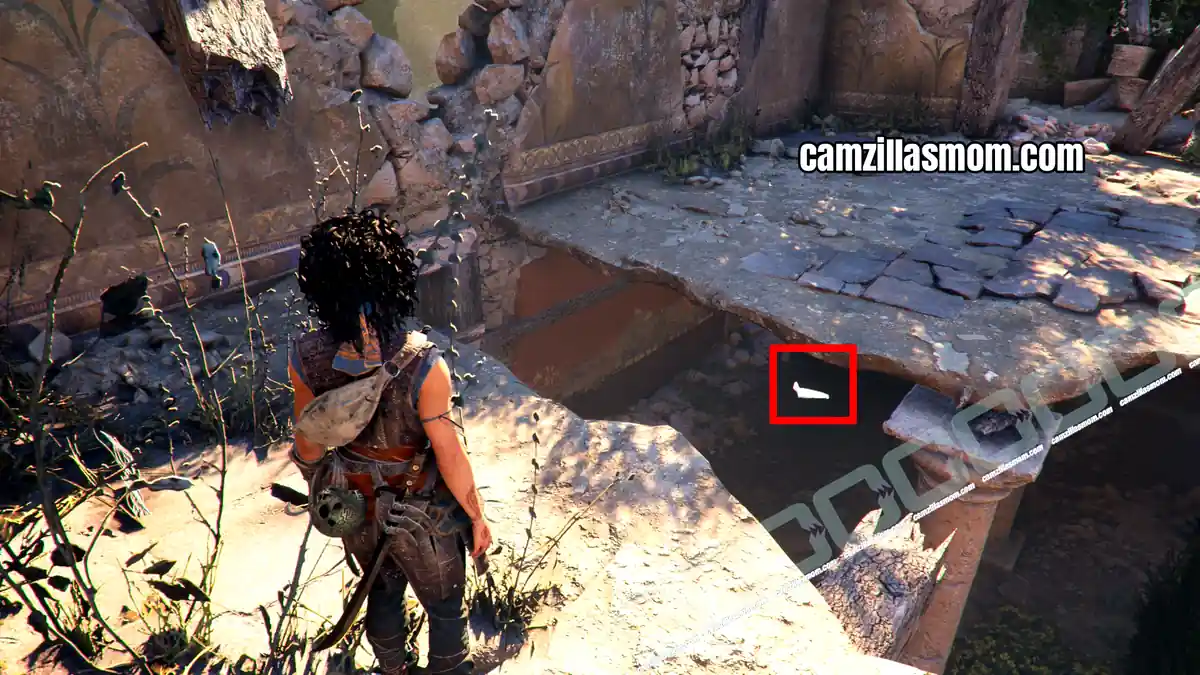
Leave the hideout by squeezing through a gap at the upper back. This will take the two to the temple ruins with a massive statue in the center. Climb down the ladder and look down the platform to find another Resonance Point.
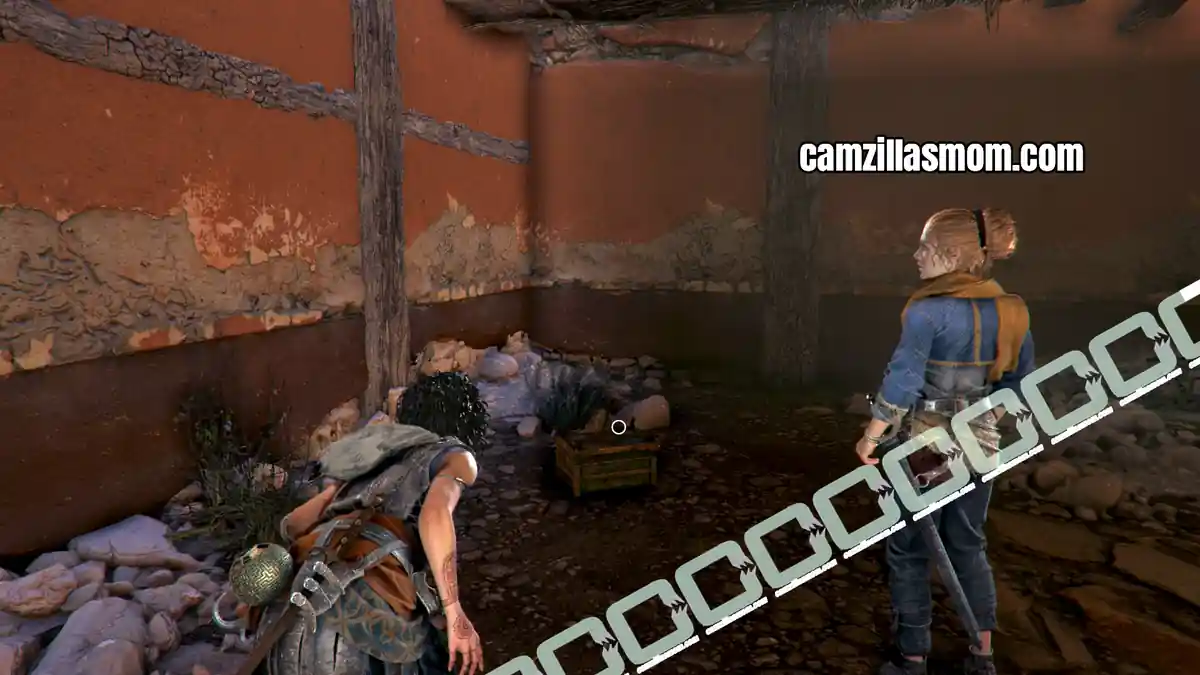
Charm: Beads
Chapter step: Reach the Statue
Slide down to the ruins. At the first houses, you can look down to the lower level to spot a box with this charm.
Description: “Every bead I have serves to remind me that death can come from anywhere.”
Effect: Low Chance that an archer’s arrow misses you.
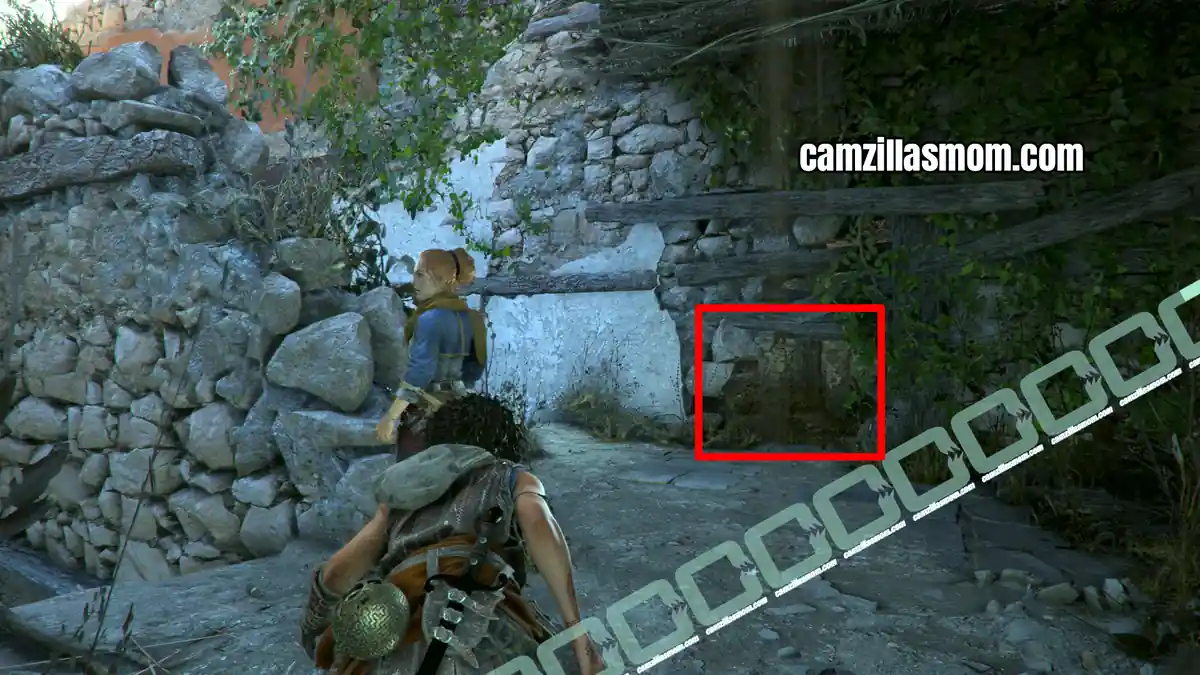
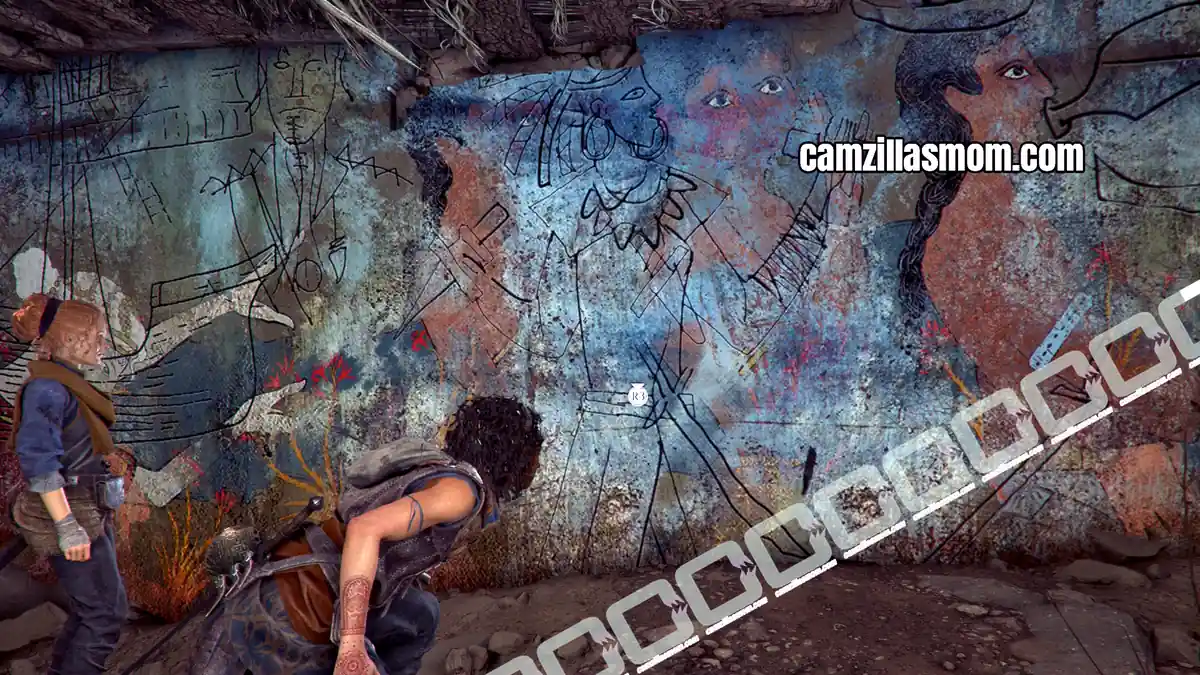
Return to the upper level of the structures and keep to the right. Here you can find a crawlspace. Head inside to read this painting of Faro and Irene.
Resonance Point
Chapter step: Reach the Statue
Exit to the right and drop down to the basement from there. Here on a stone bench is the next Resonance Point.
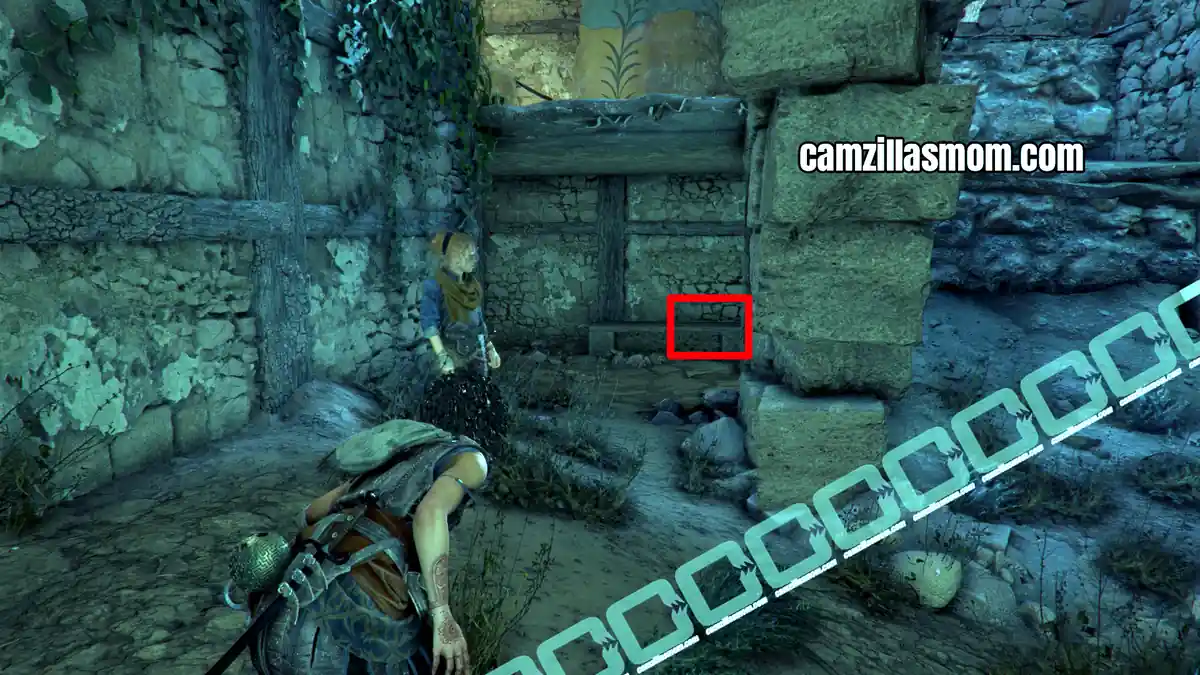
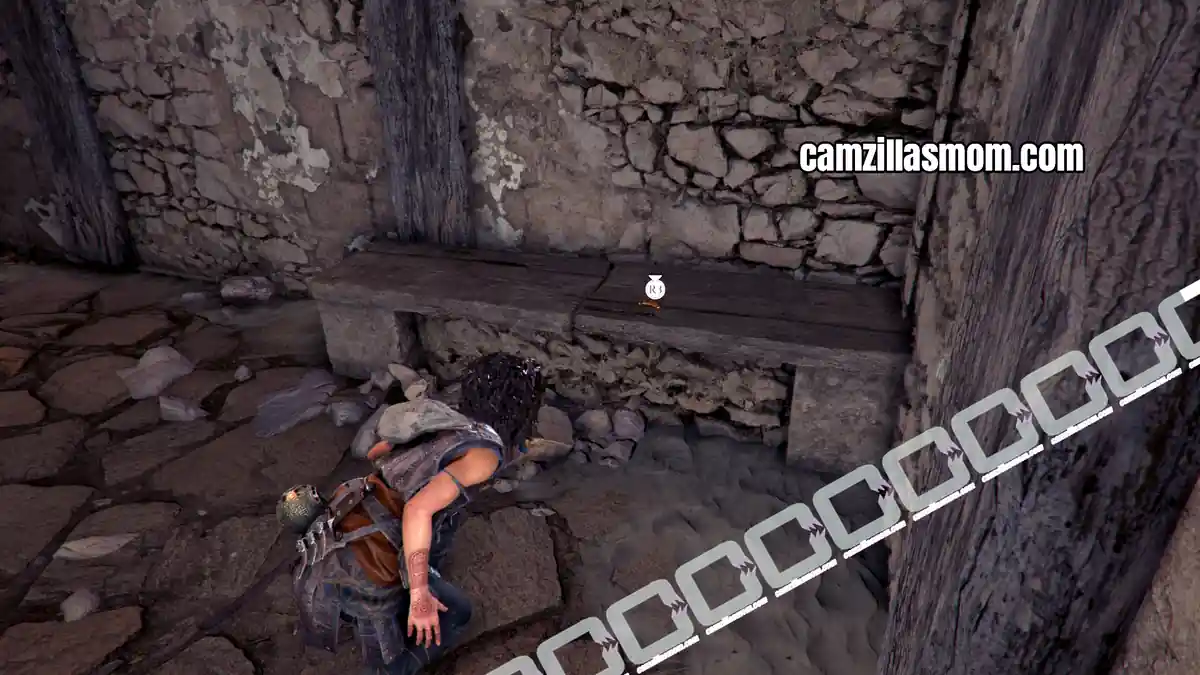
Climb back up to where you dropped down from the Faro and Irene Painting and squeeze through a gap there to find the painting of the coronation shown in Sophia’s book.
In the next room you’ll learn how to pull open barriers with the grapnel on PS5 use L2 as you would with any other enemy and pull to destroy the barrier ahead.
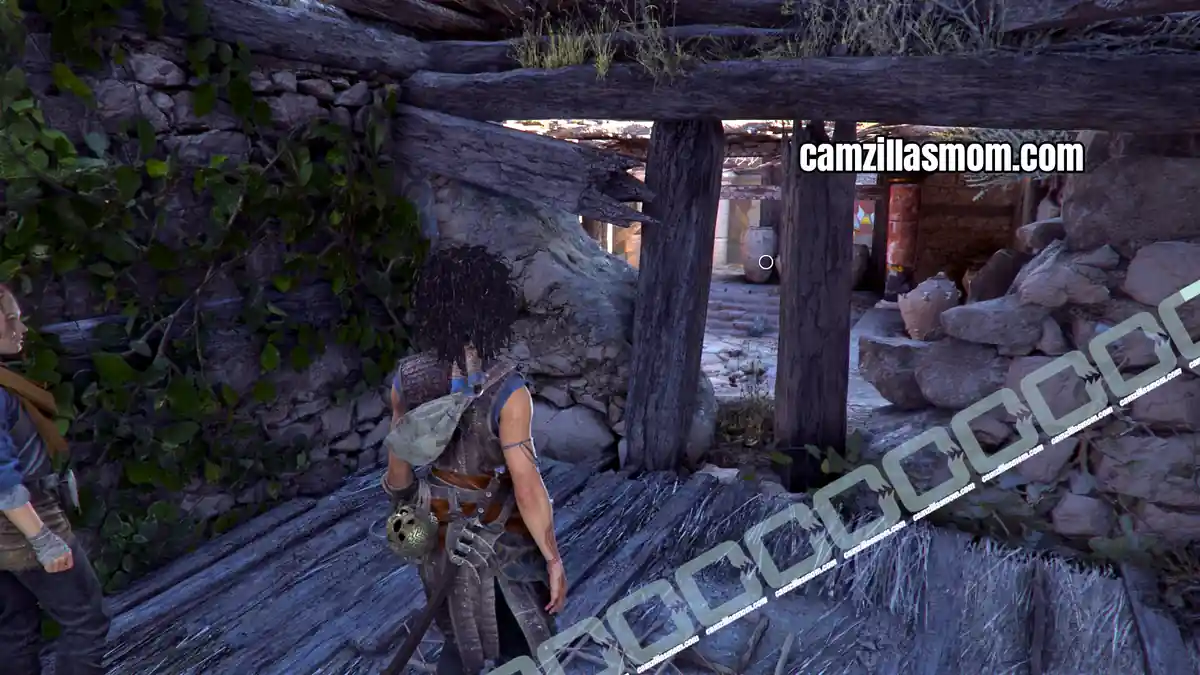
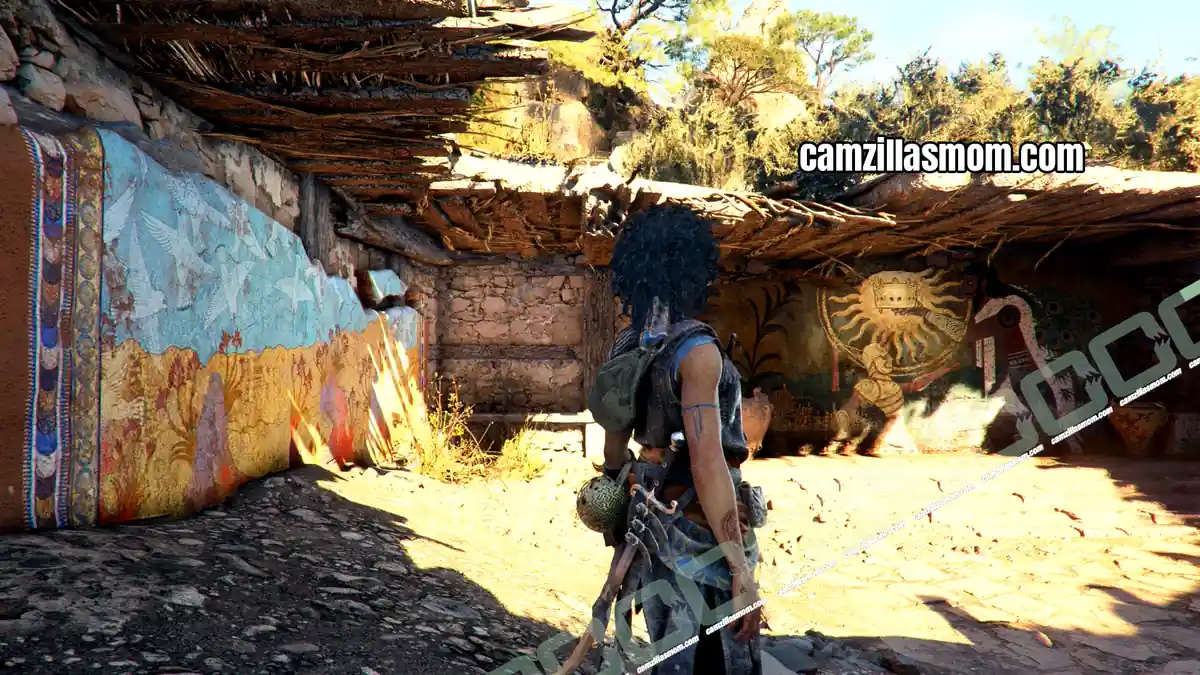
Chapter step: Find a way to get above the city’s ruins.
Head through the unblocked passage to reach the statue that you’ve seen before from the distance.
Artefact 4 – Relic of the Past: Strategy Game
Chapter step: Find a way to get above the city’s ruins.
Description:
“Leni has always beaten me at games. Says it’s because I’m too easy to read… too loyal to stab a friend in the back. Me, I think she’s just too gifted a liar for her own good.”
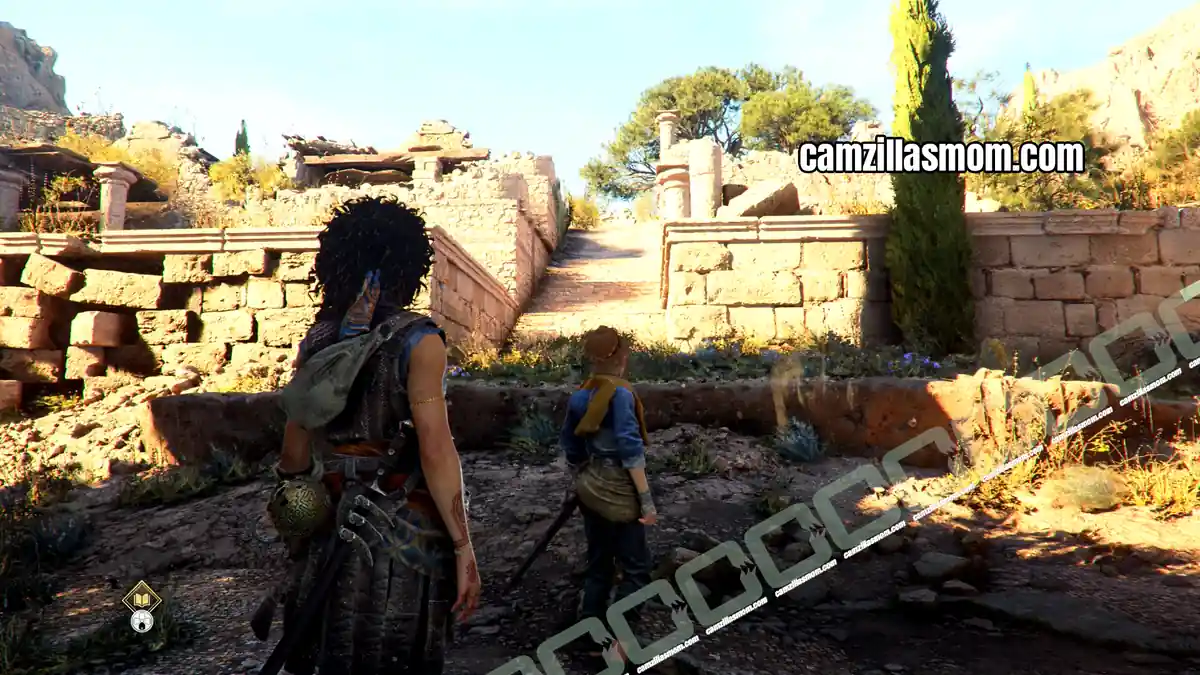
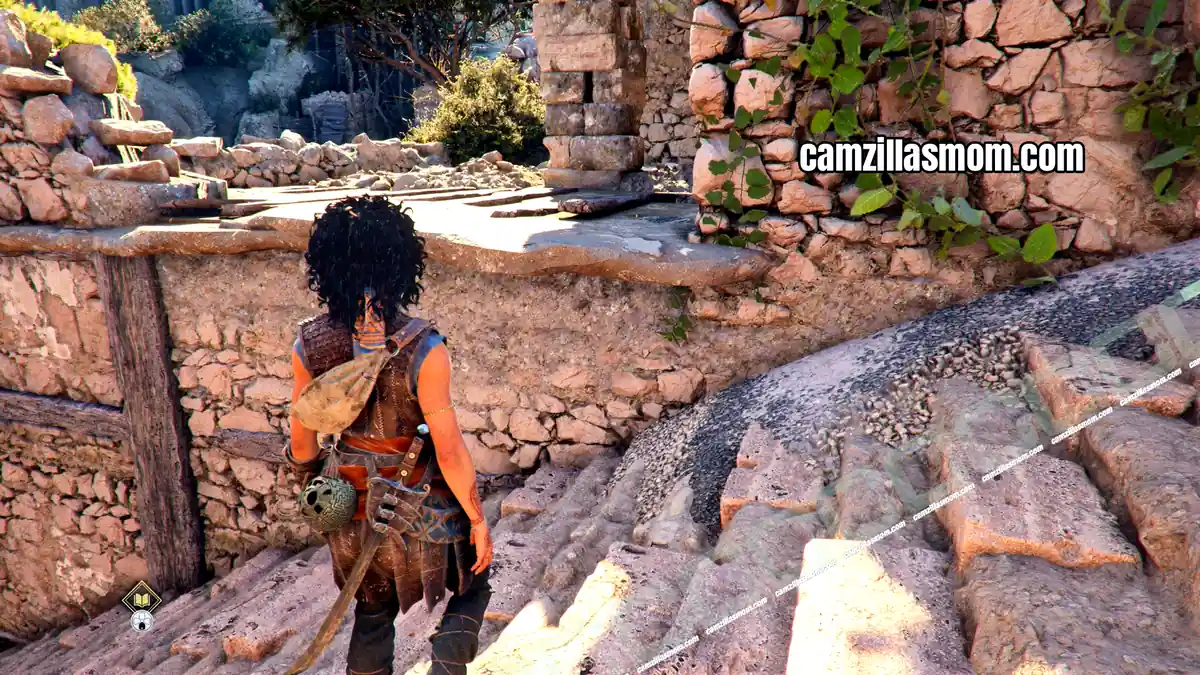
Head up the long stairs to the right of the tall statue. Here you can jump onto the roof of the building.
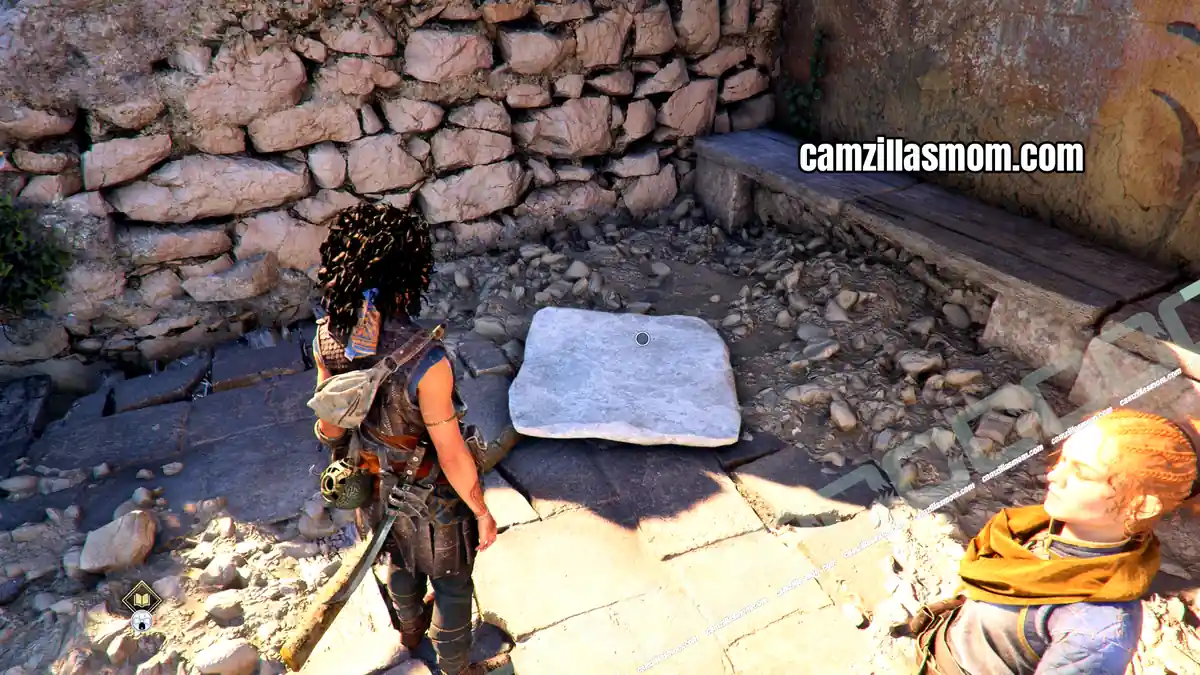
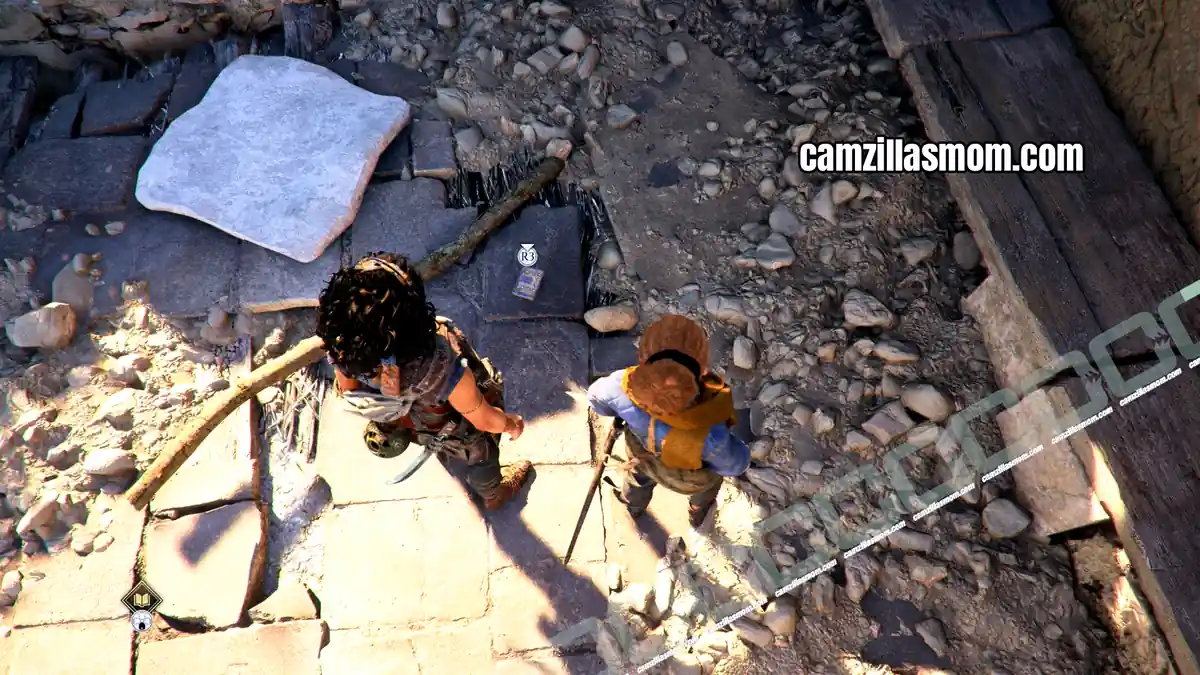
Move the white stone slab by interacting with it to discover the Artefact below it.
Charm: Arm Bands
Chapter step: Find a way to get above the city’s ruins
This is the same building as the Strategy Game above. Drop through the hole in the floor to reach it.
Description: “Wearing jewelry makes me more alert. I fight better when I’ve got more to lose.”
Effect: Slight Chance to increase the Parry window.
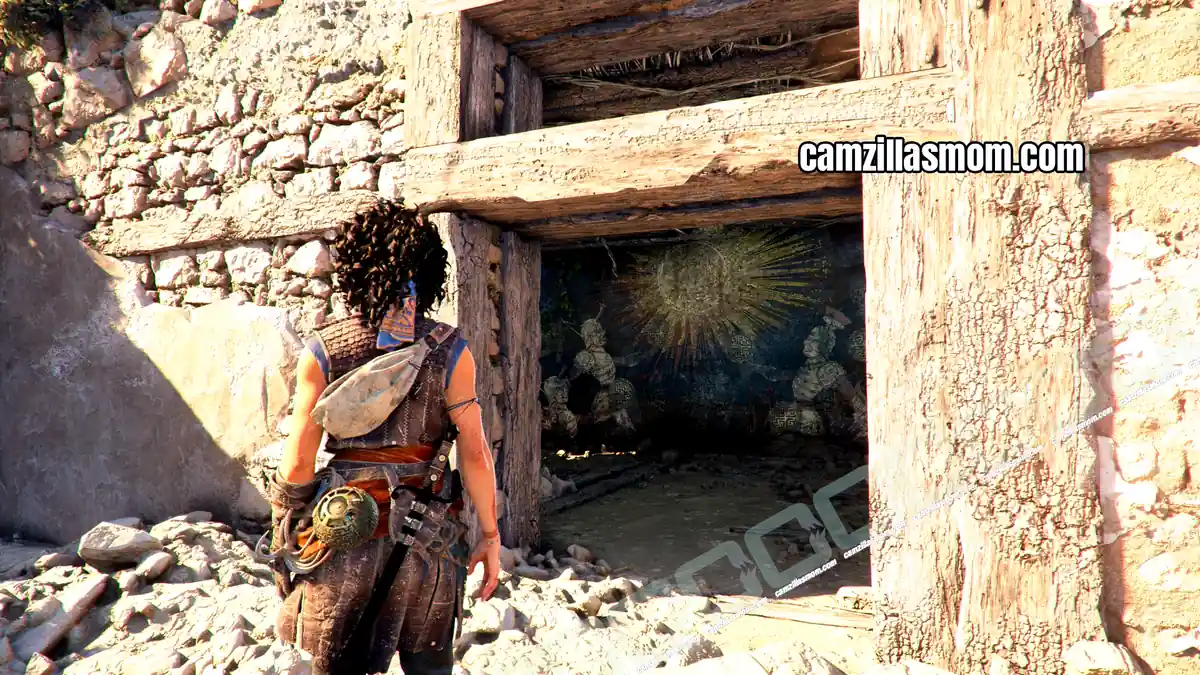
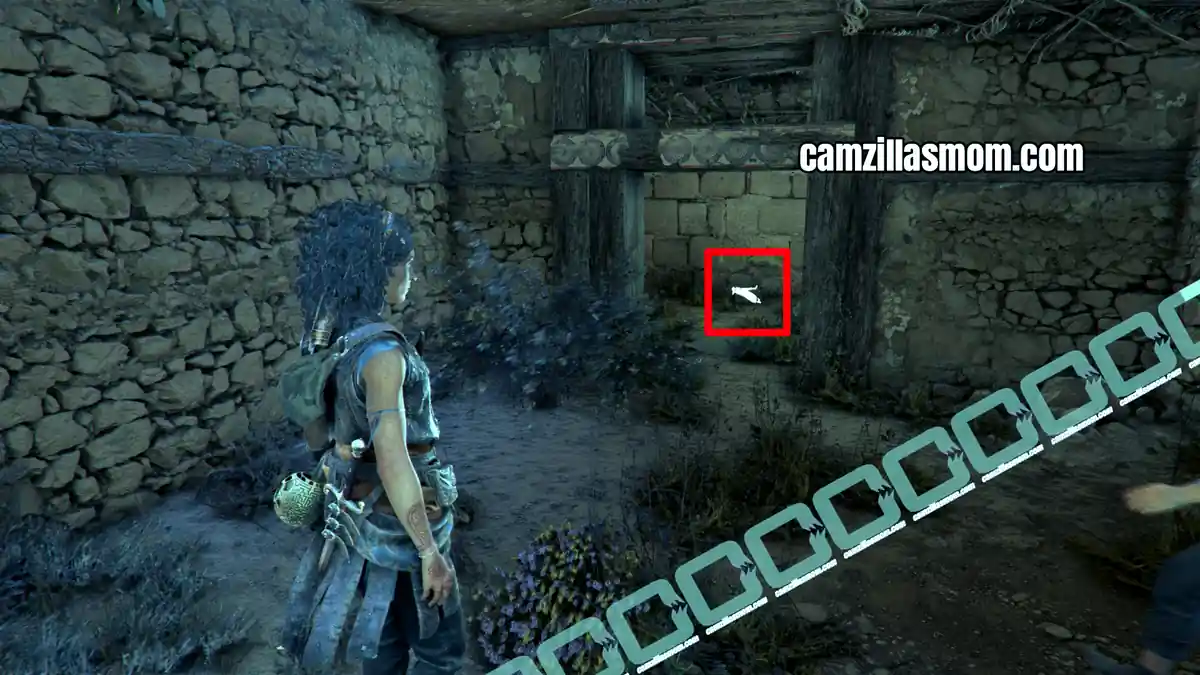
Leave the tall statue towards the uphill settlement. There is a ladder you can use to get higher up.
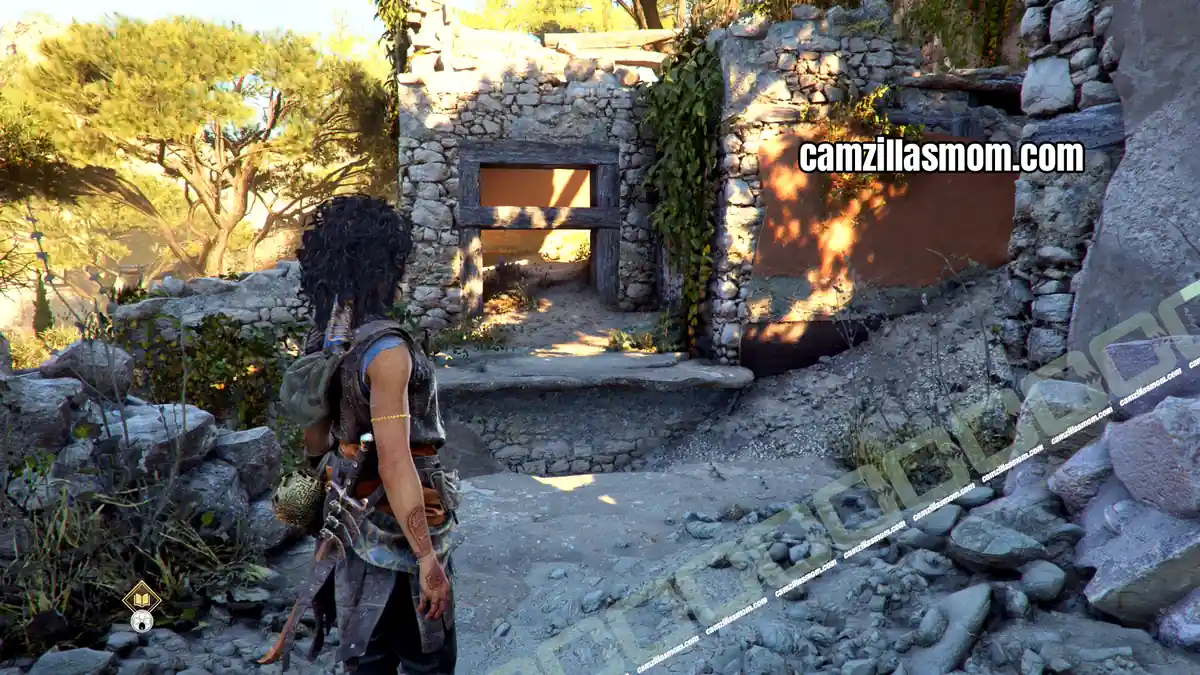
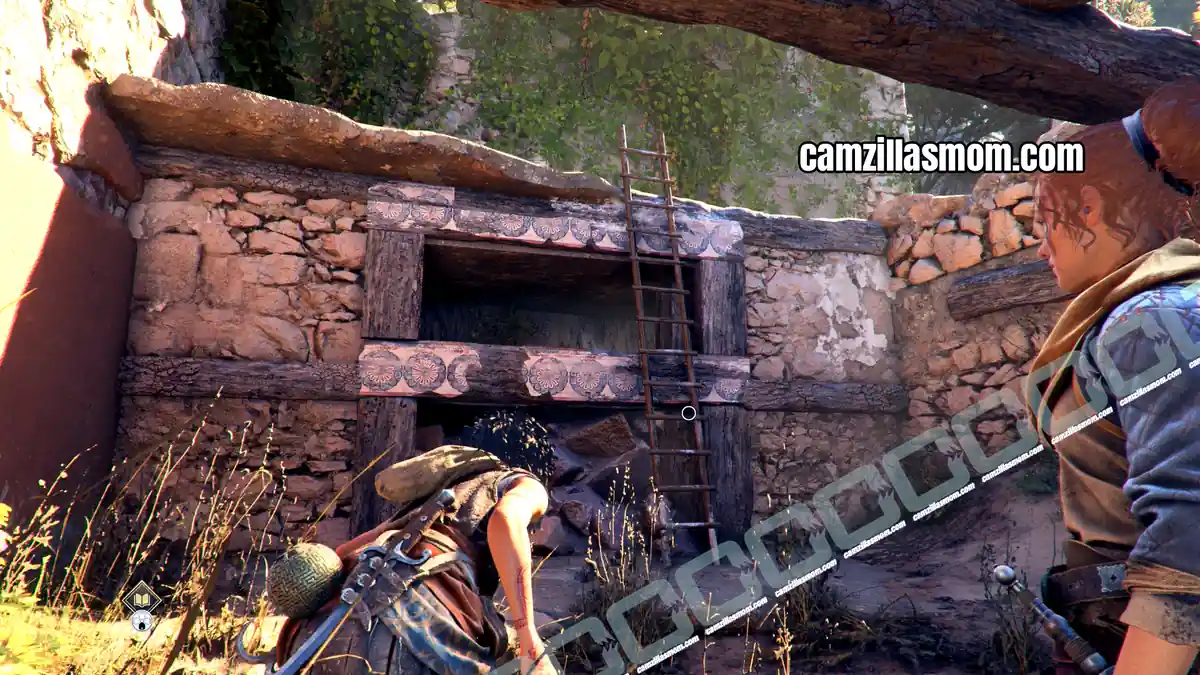
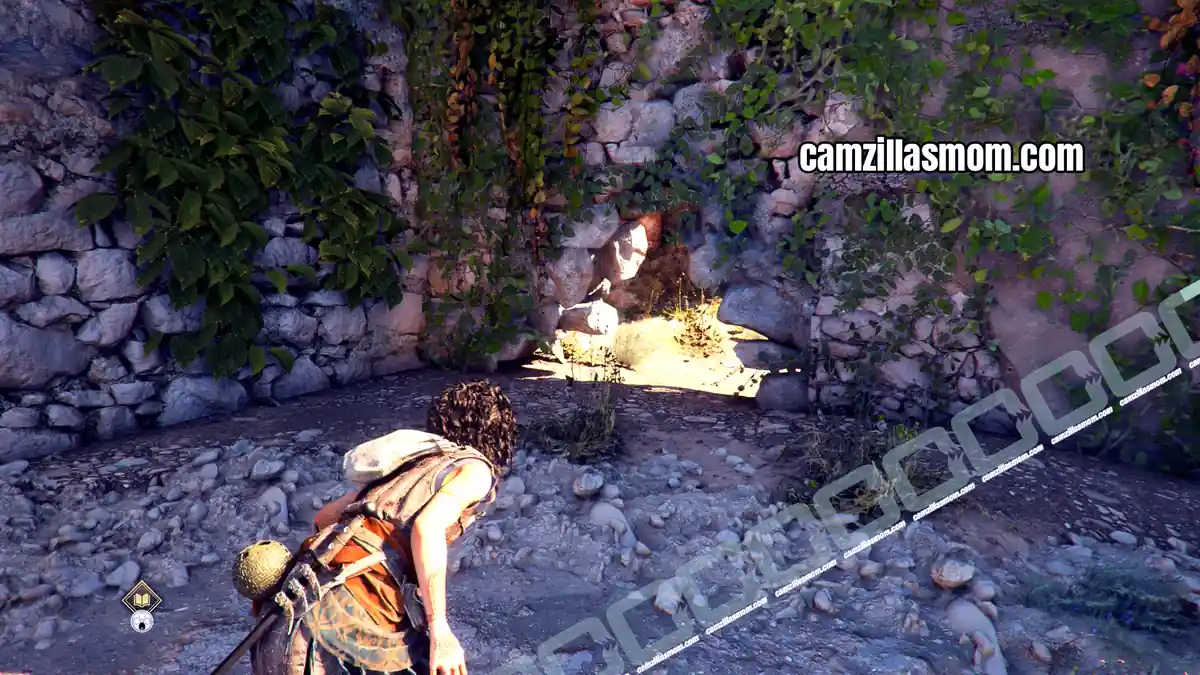
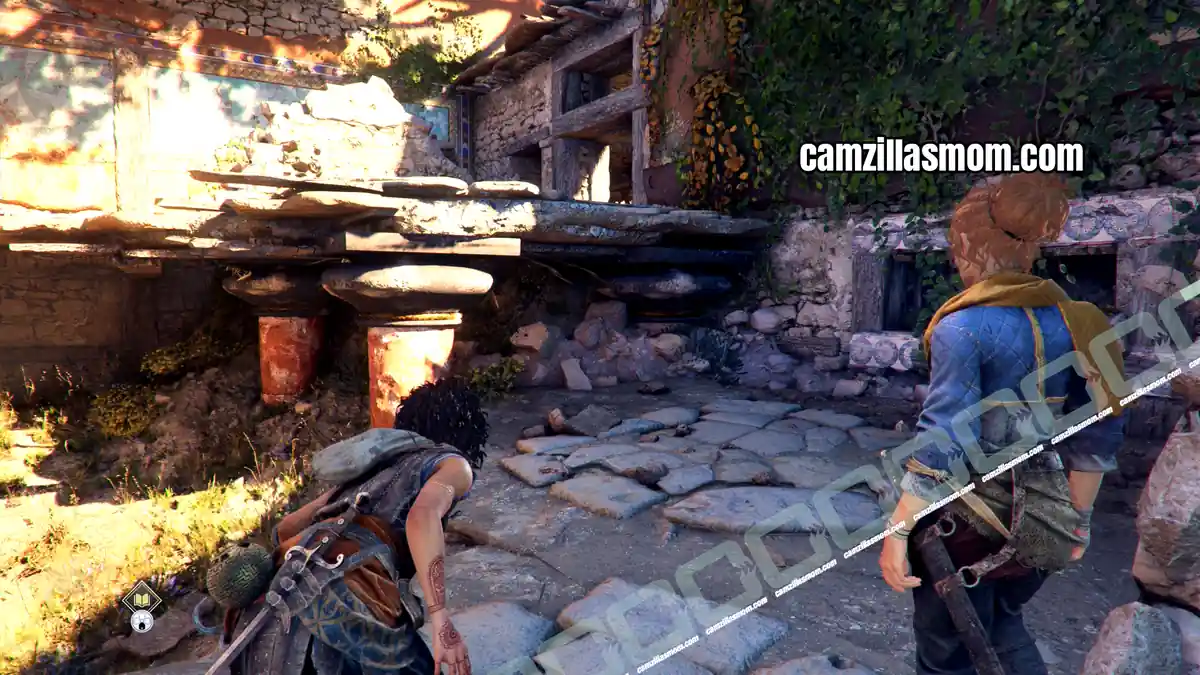
At the top, go through the crawlspace and climb the building there. The two will hear a loud noise, signalling that the army has landed.
Resonance Point
Chapter step: Find a way to get above the city’s ruins
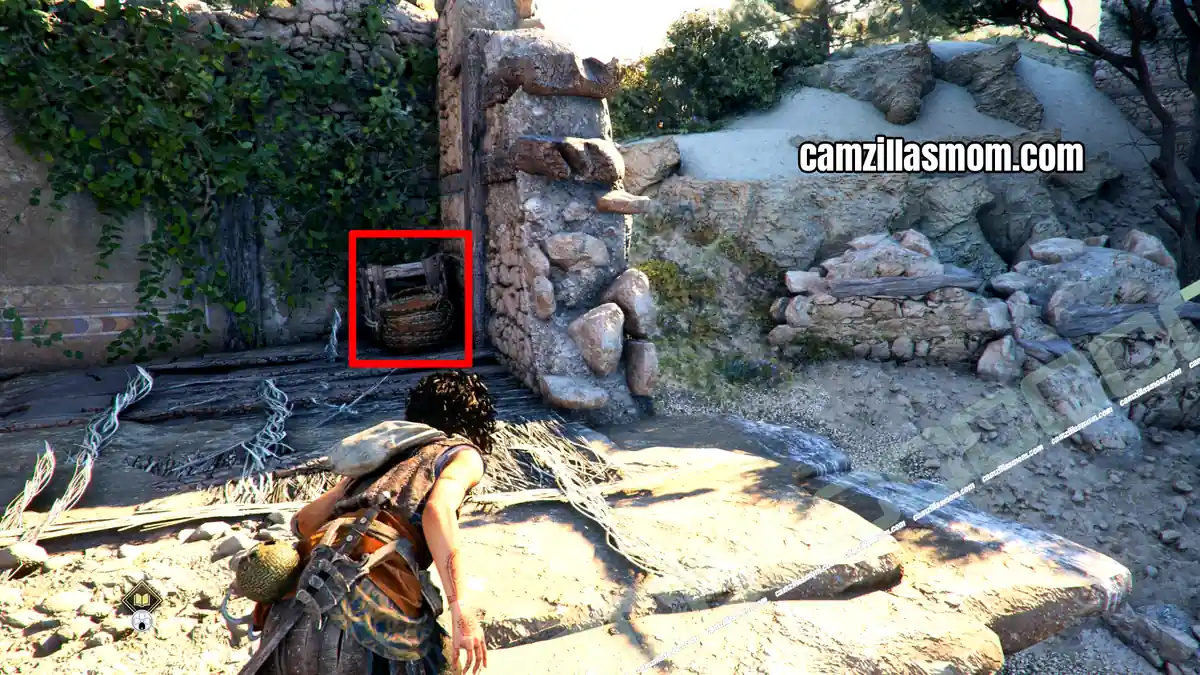
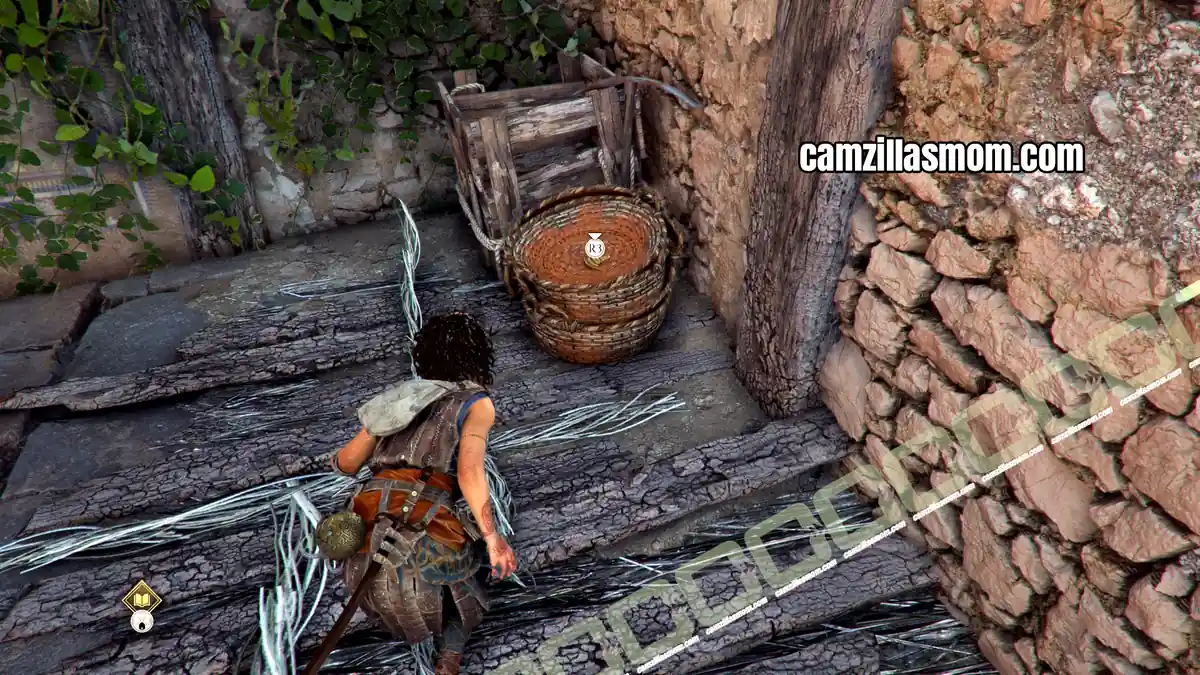
Go through the door visible in the previous screenshot and turn right towards the big center slide that divides the houses. Here, in a basket, is a Resonance Point.
3 – The Village of Heroes
Charm: Bracelets
Chapter step: Find a way to get above the city’s ruins
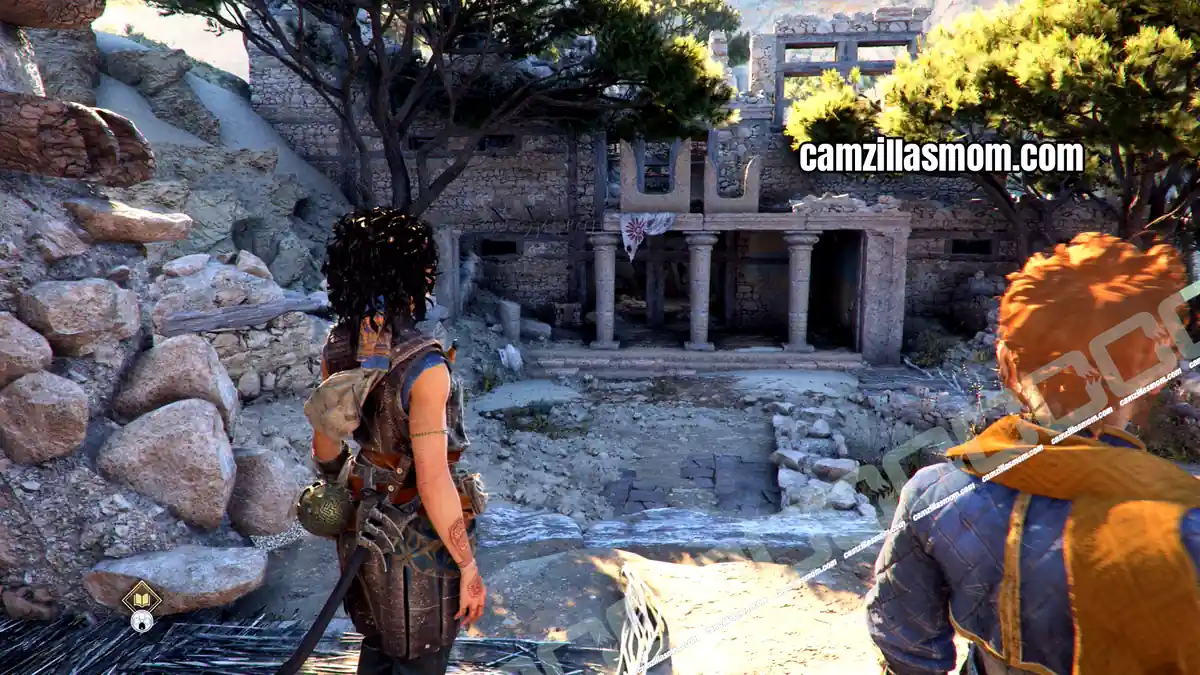
From there look over, across the slide to see a white cloth that you had to follow in Chapter 2 Felons. Jump across and enter the building. Inside, Leni tells you to help her to lift some debris so they can go through. Ignore her and enter the room to the left to find a box with this charm.
Description: “The heavier the hand, the stronger the strikes. That’s an old gang proverb.”
Effect: Low Chance to deal more damage with a Critical Strike.
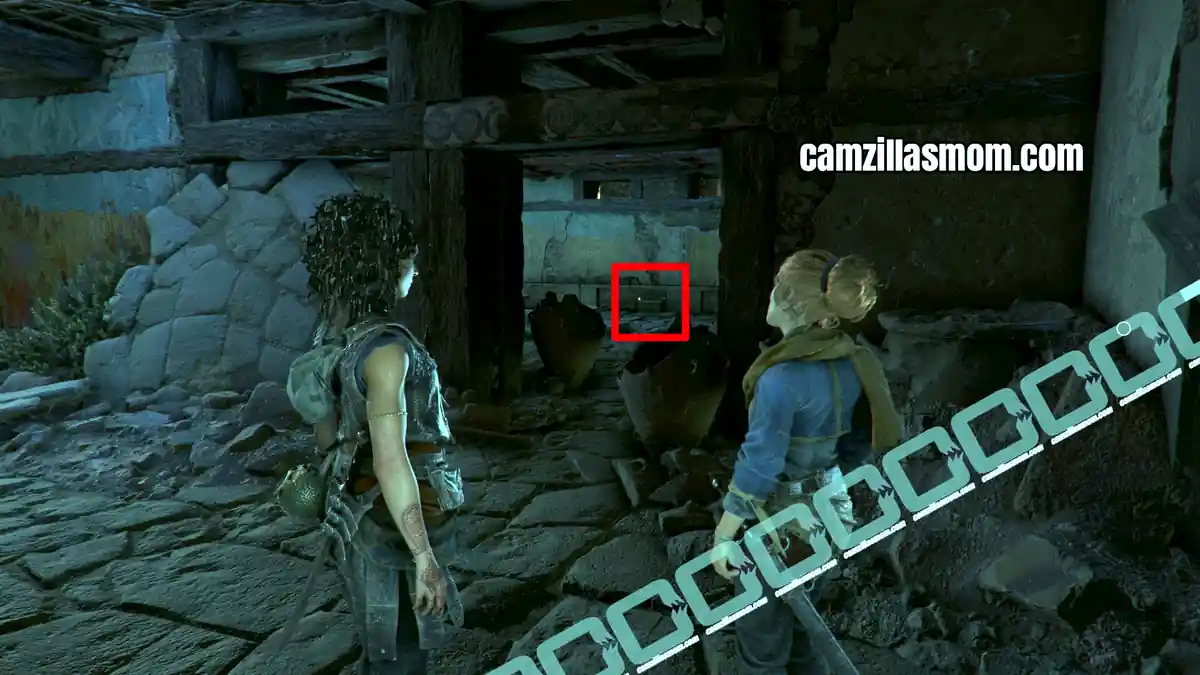
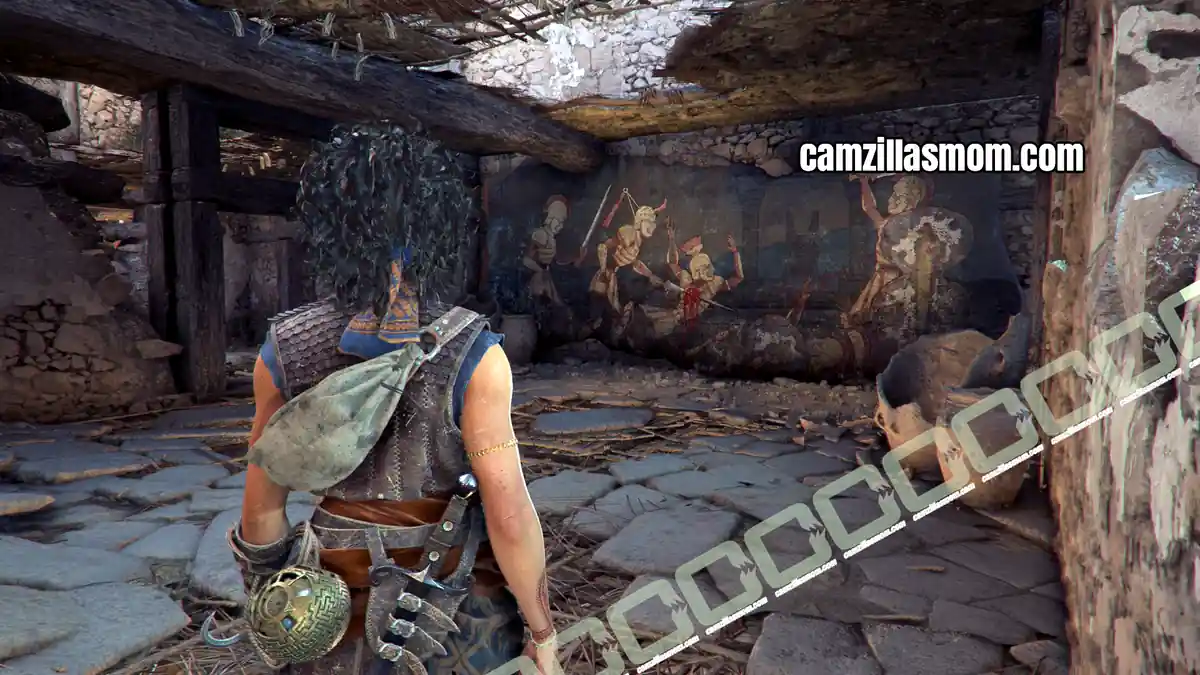
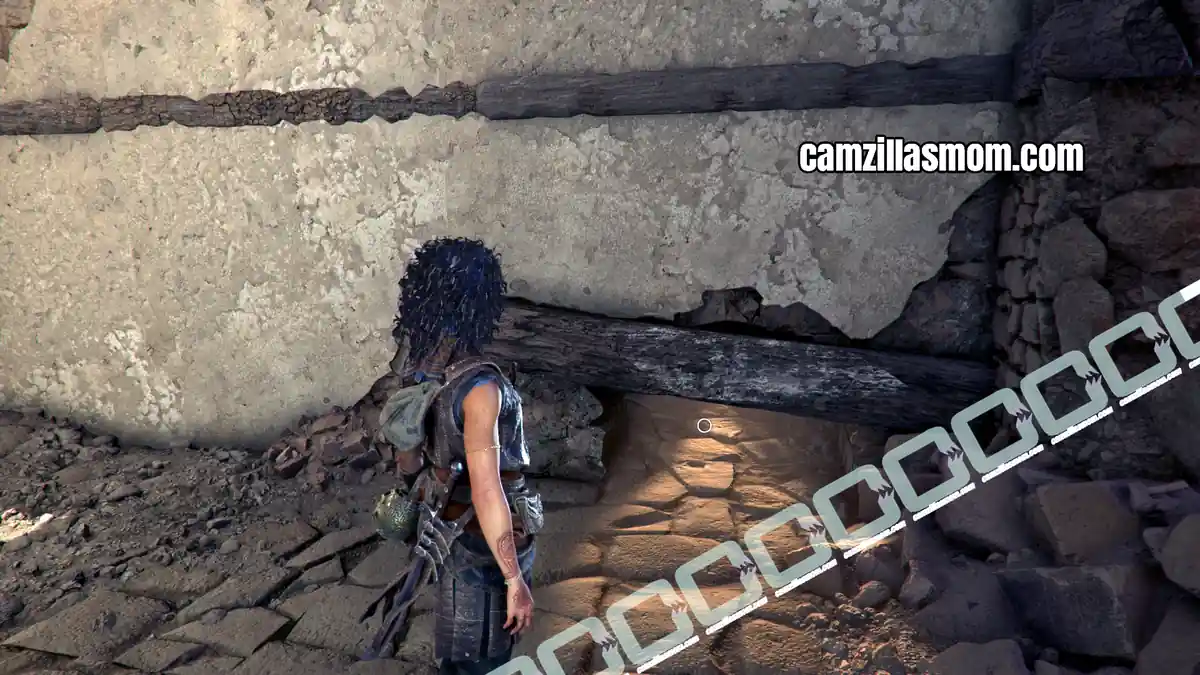
Continue on the story path and remove the door debris together with Leni. You will be separated, but the camera will move to the path ahead. A space you can climb up to a higher level of the building where Sophia discovers a fresco with fighting soldiers.
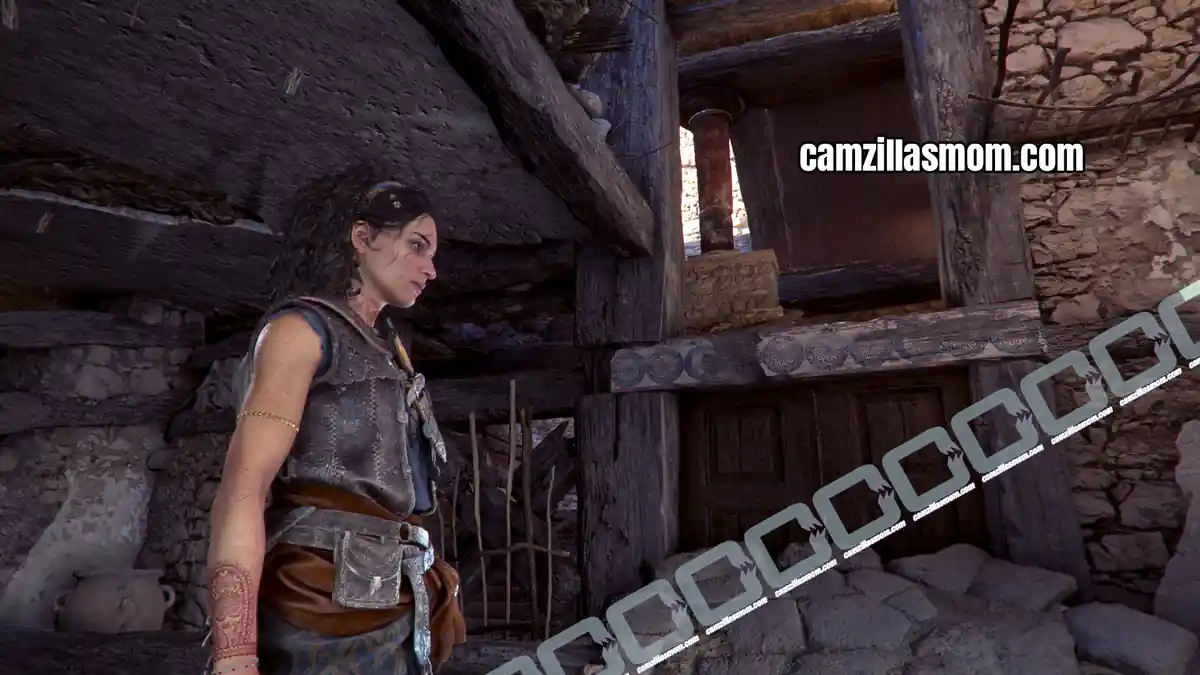
Leave the room and follow the only available path. You are now above the corridor where Leni and Sophia got separated. Jump across the gap and enter the only room possible, where you can climb higher and squeeze through a gap to the next section.
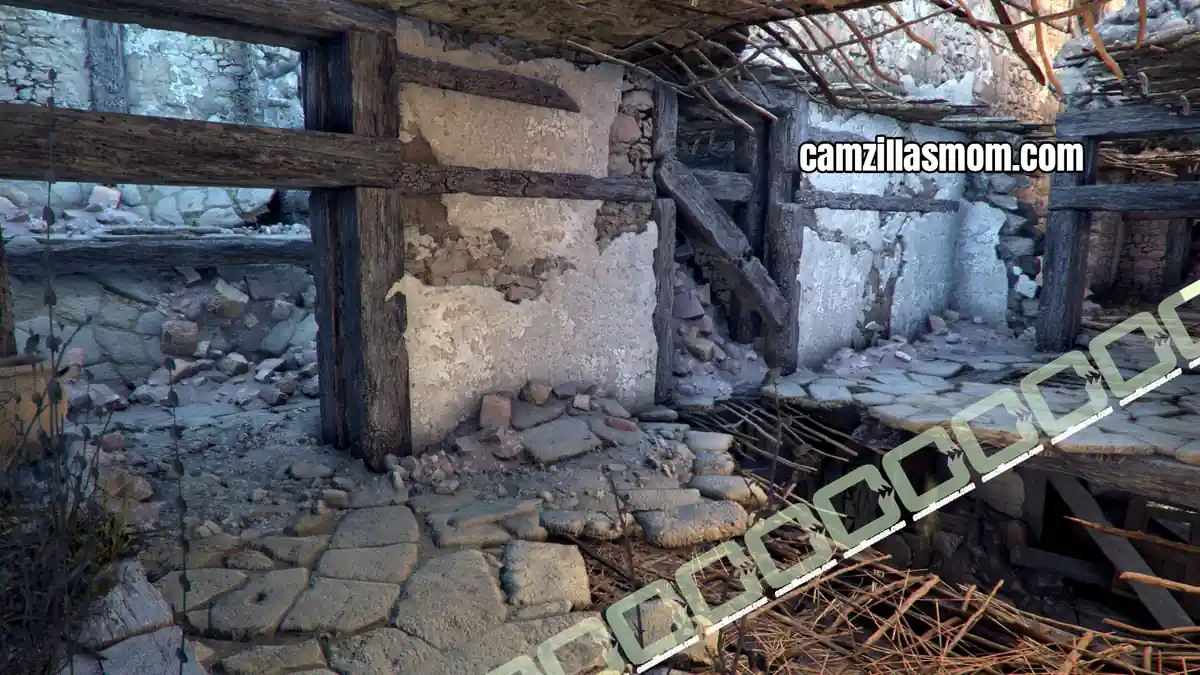
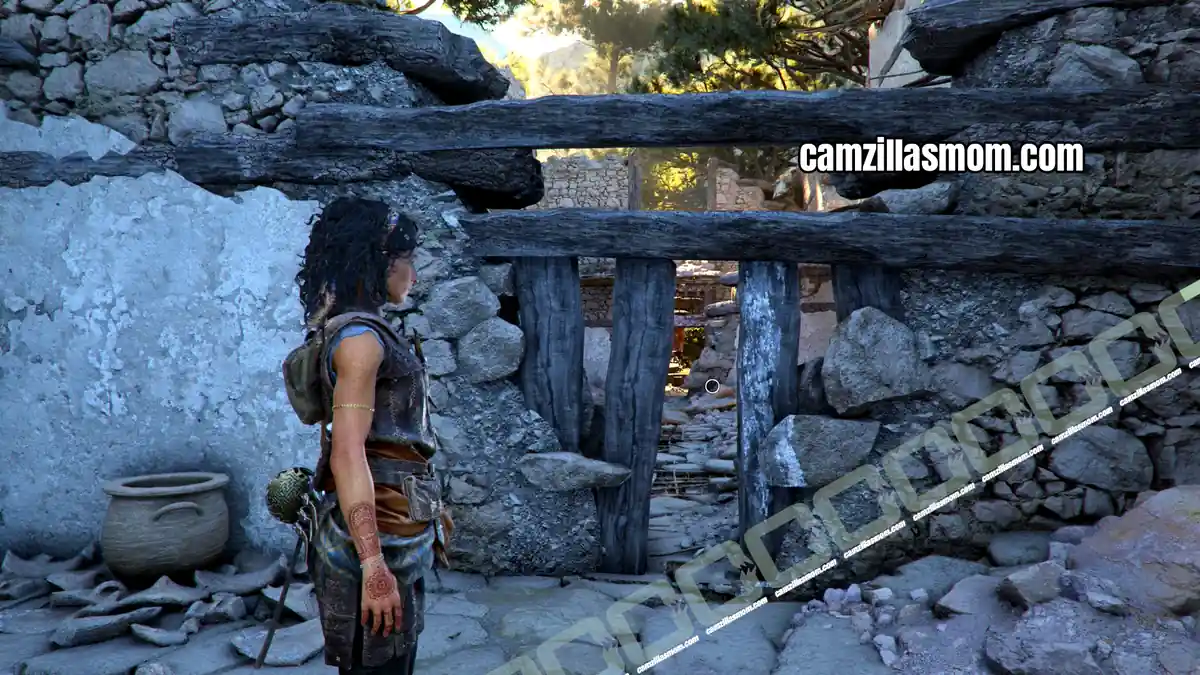
Cross the room to a staircase with red pillars, where you can descend to meet Leni.
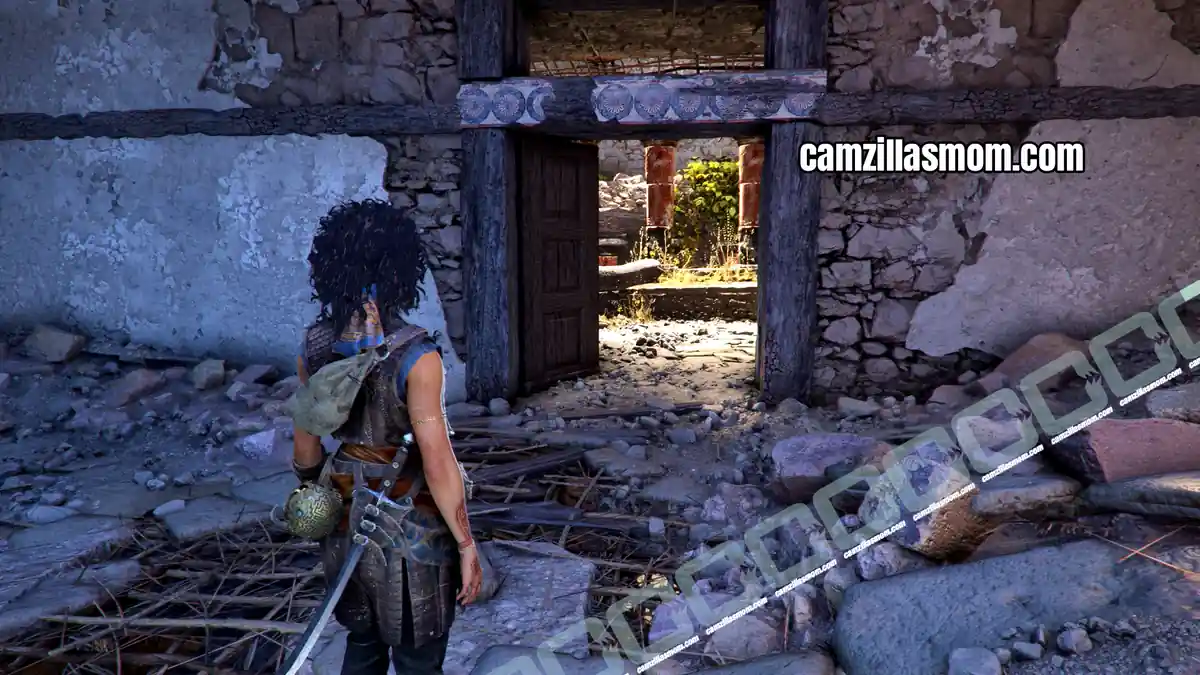
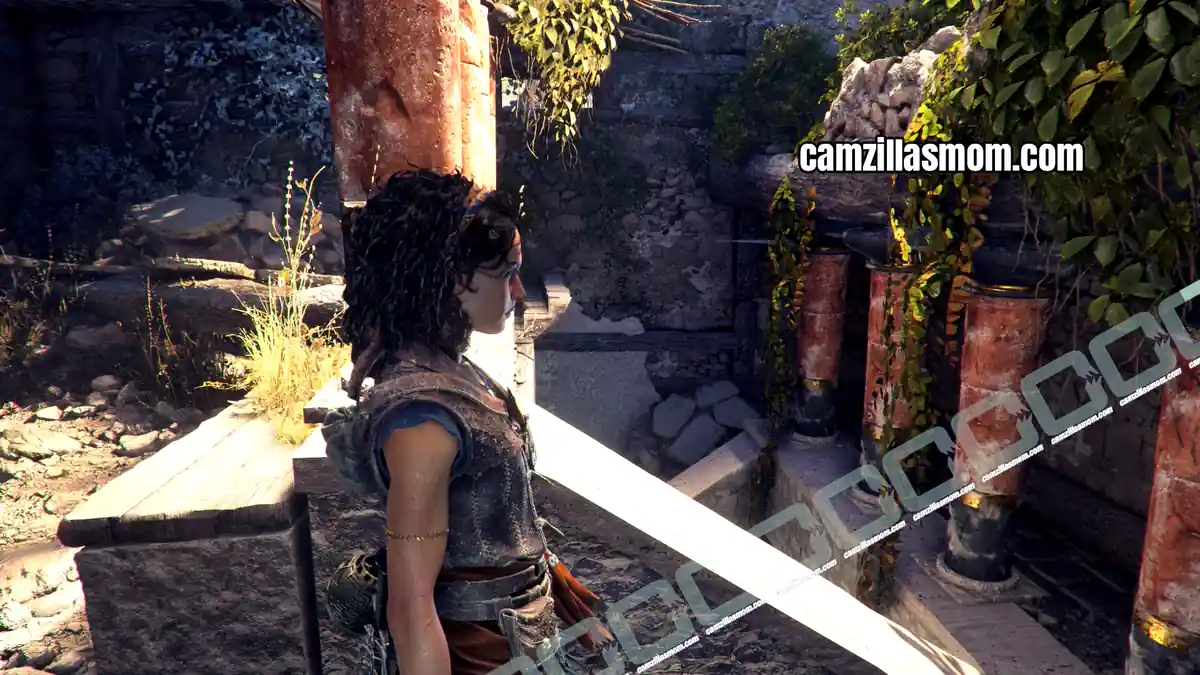
Leni will lift a beam so Sophia can reach a crawlspace. At its end is an open room with another fresco.
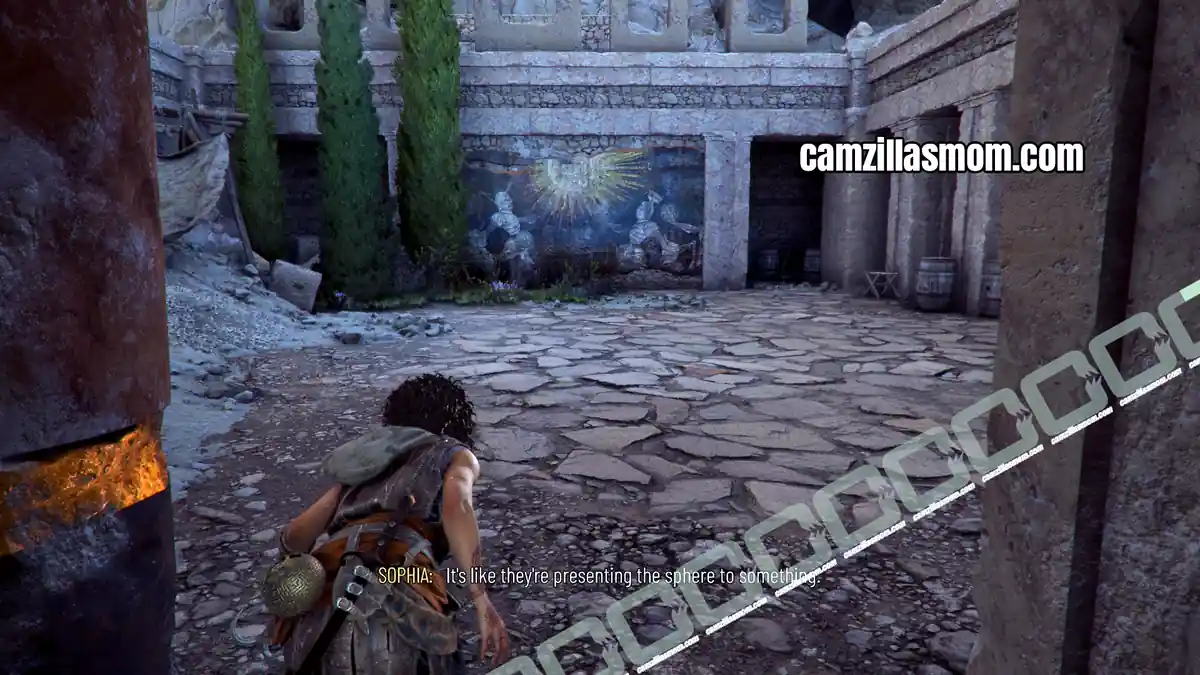
Artefact 5 – Relic of the Past: Minoan King
Chapter step: Find a way to get above the city’s ruins
Description:
“Every figurine Faro brought from the expeditions represented women. This one is the first male one I’ve seen. Well that’s droll! And it’s clearly not as well made as the female ones.”
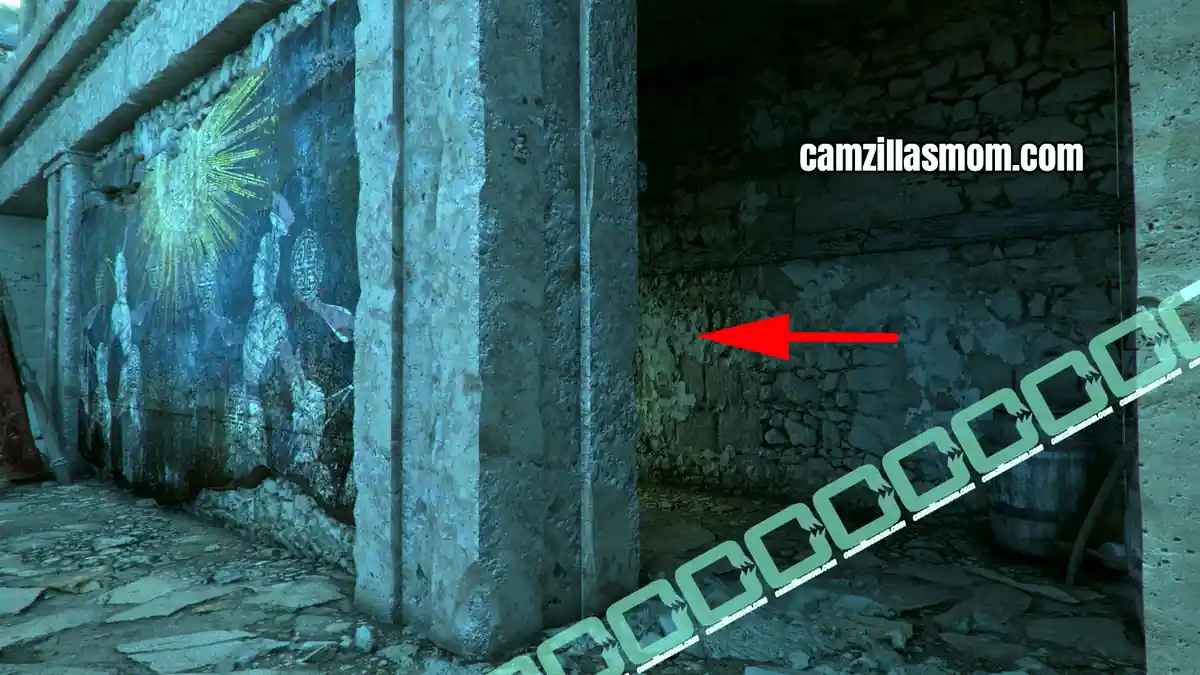
Look in the corridor behind this fresco to find Artifact 5 – Relics of the Past: Minoan King.
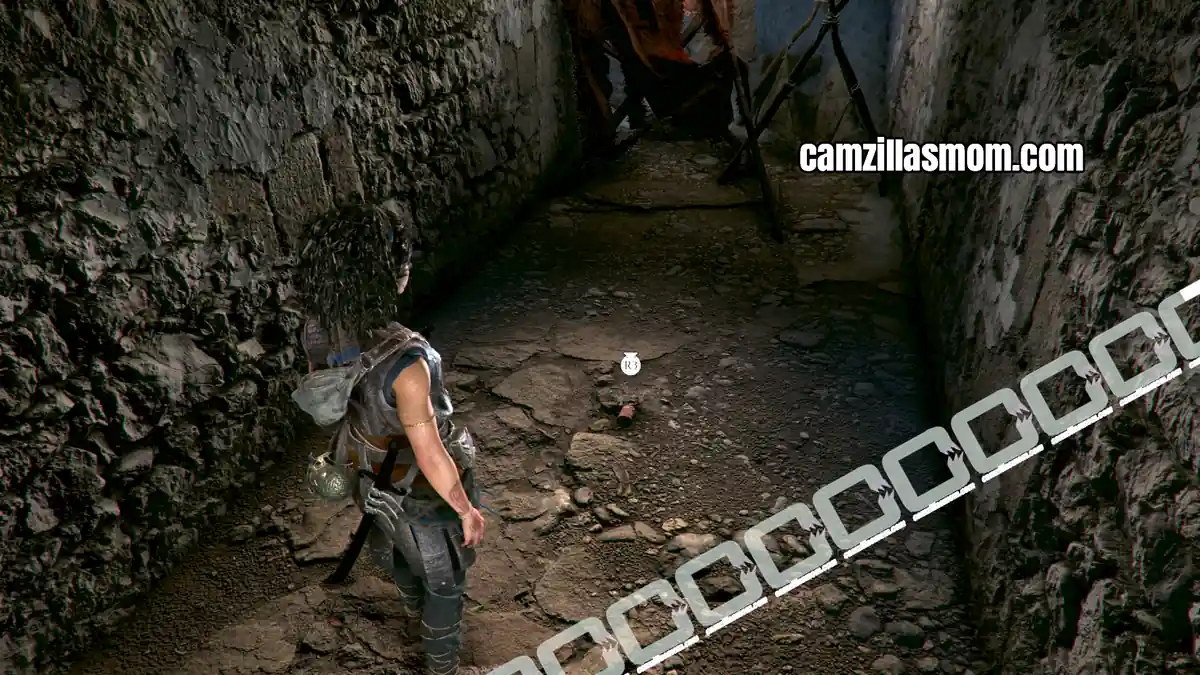
Leave the fresco room and look for Leni. Slide down to the basement below where Leni stands. Then, climb up to reunite with her.
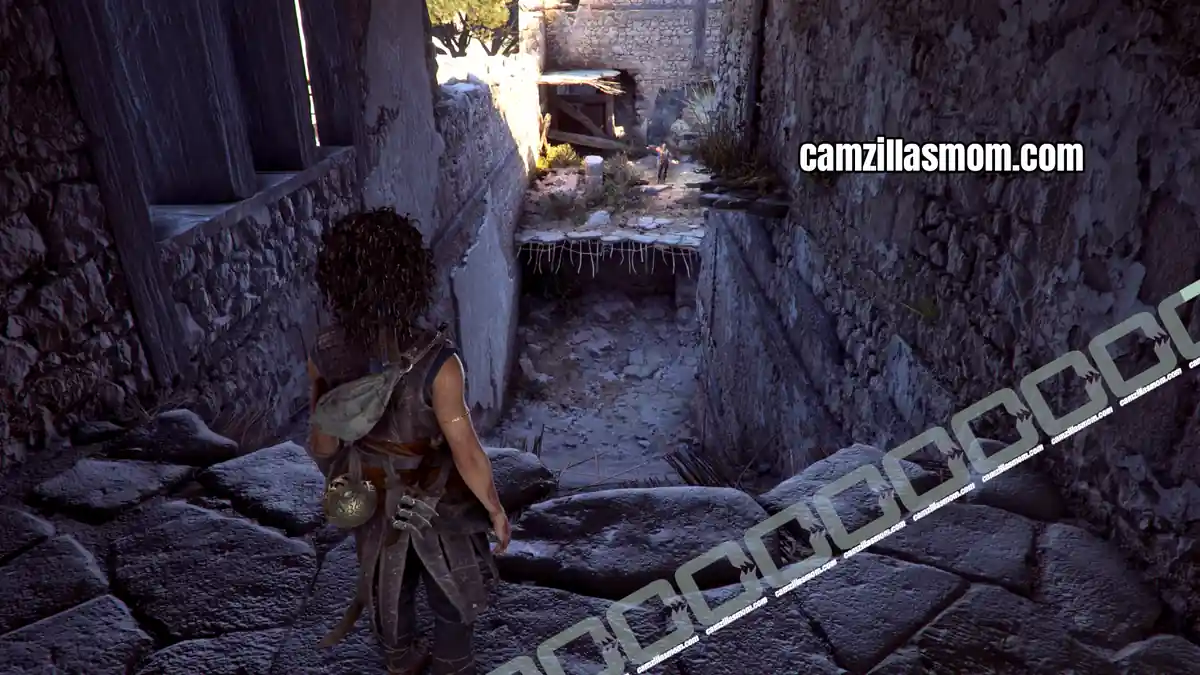
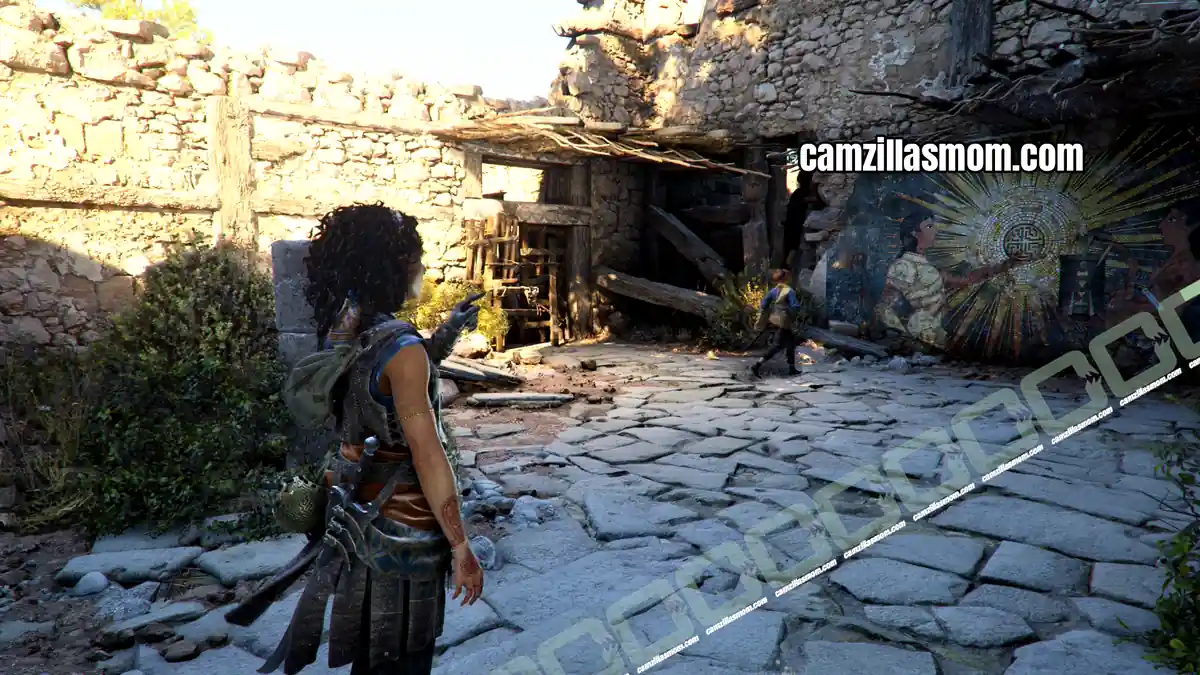
4 – In the Pretenders’ Wake
Charm: Seals
Chapter step: Find a way to get above the city’s ruins.
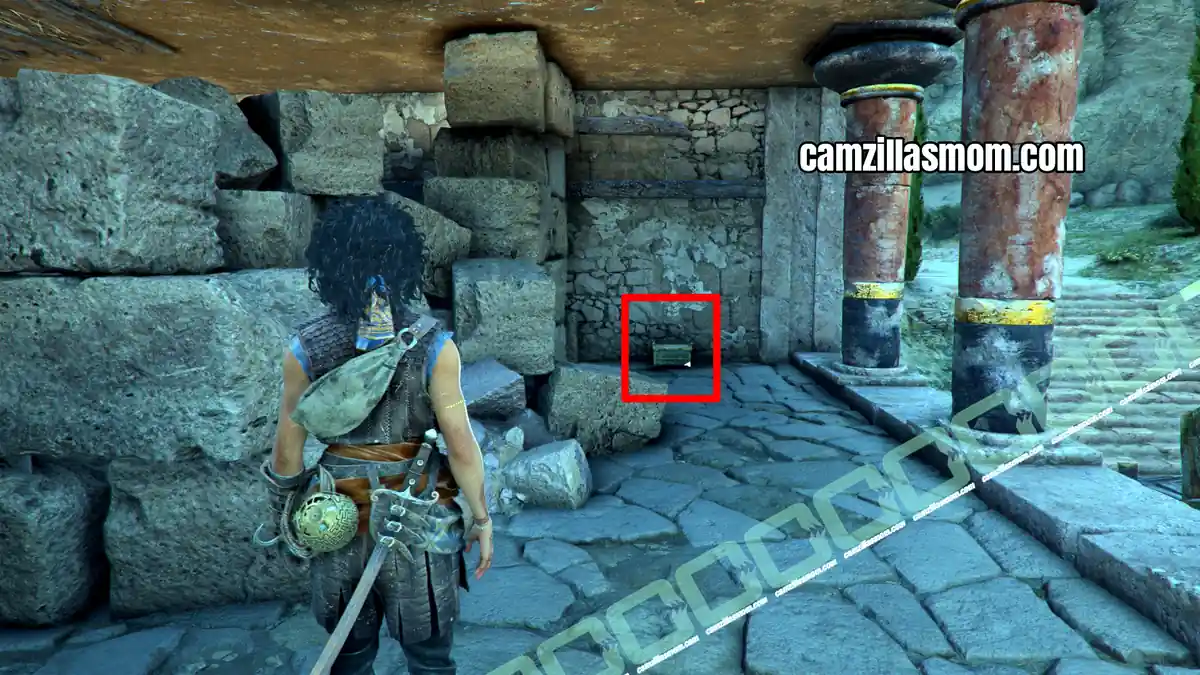
Destroy the barrier in this area and continue on to find another charms box at the end of the corridor.
Description: “The gang elders think sealstones bring good luck. I’ll take them up on that.”
Effect: Slight Chance that a throwable falls from a killed enemy.
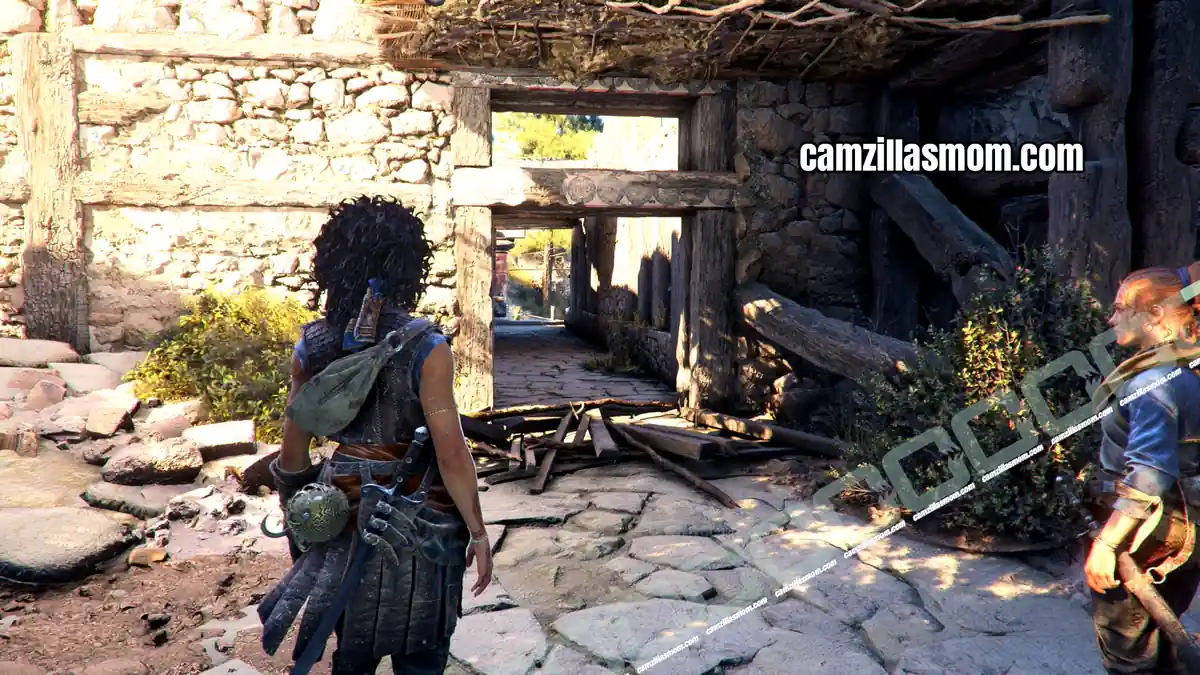
Chapter step: Explore the high temple
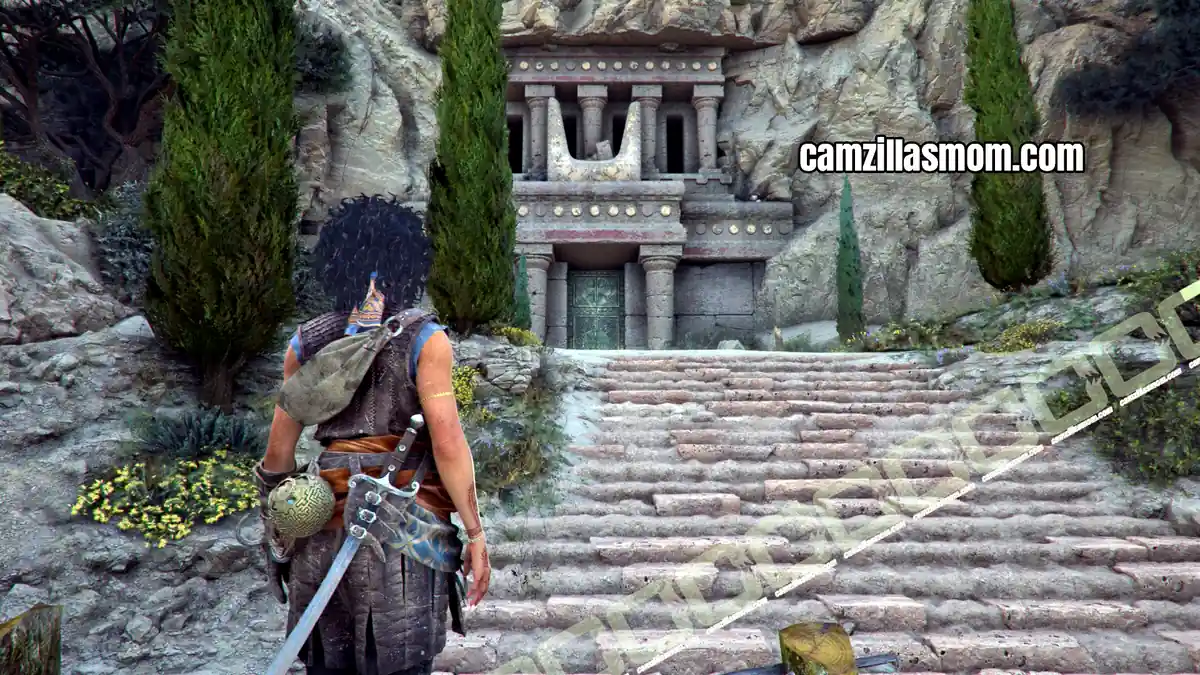
You’ve now reached the scaffolding behind the tall statue that Sophia and Leni couldn’t reach because it had collapsed. Head to the bronze door and interact with it. After the cutscene, you are in a dark room with strange, blue glowing dust.
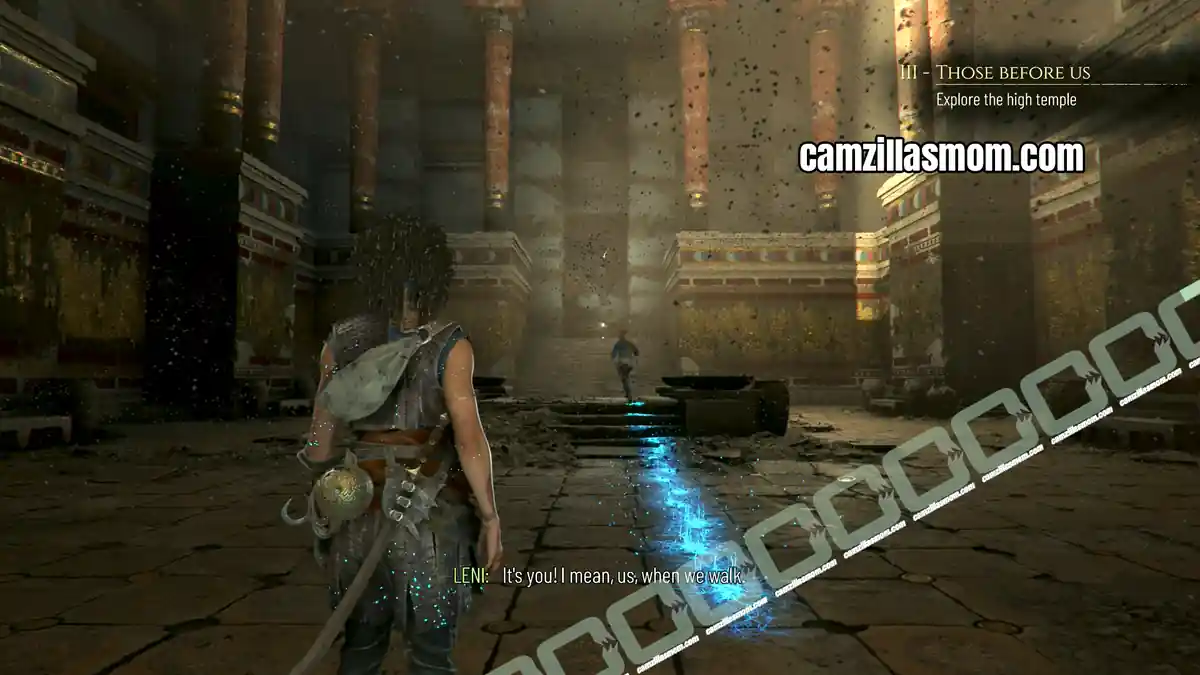
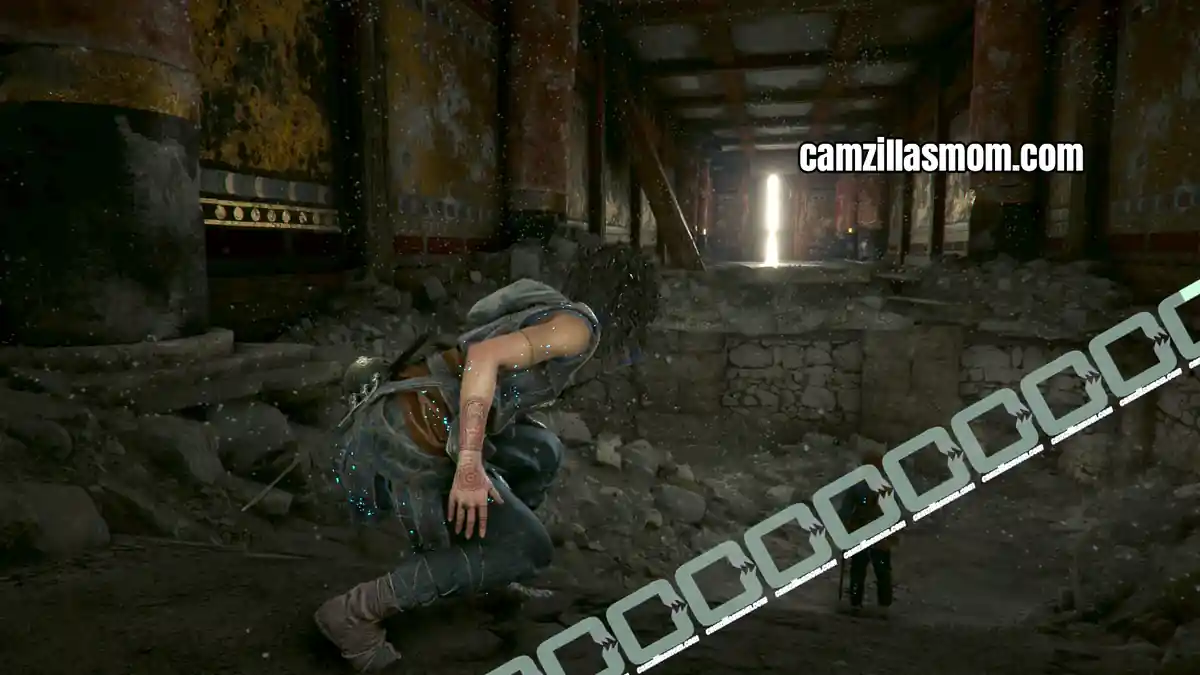
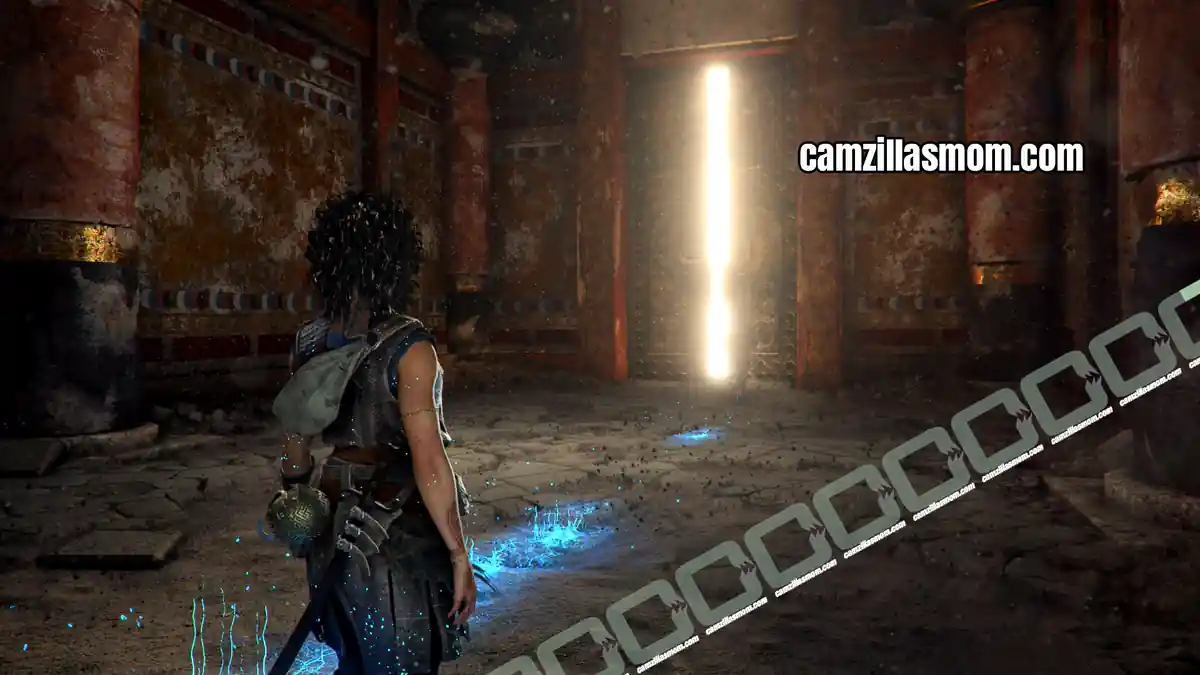
Head upstairs and crawl through to the other side, where you just have to cross the room. Sophia will then have a vision of being one of the soldiers on the frescoes.
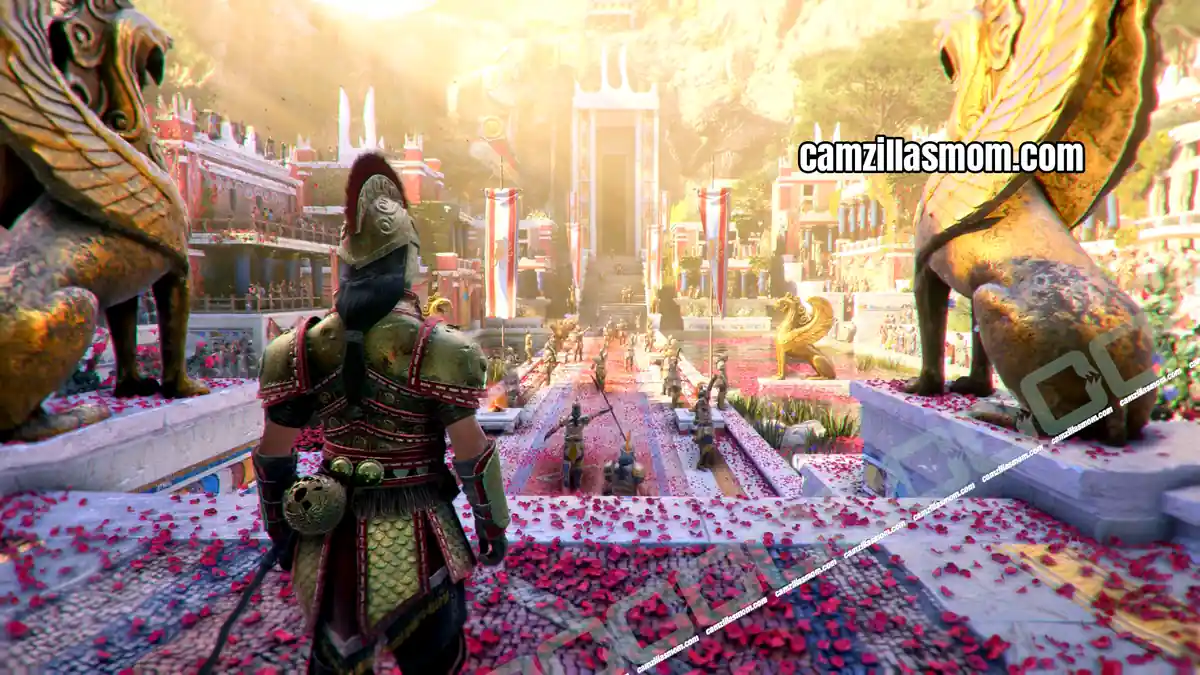
Chapter step: Join the parade with the other warriors
Playing as a Minoan, walk to the other side, only to be woken up to the present with the same, but not so glorious passage in the distance.
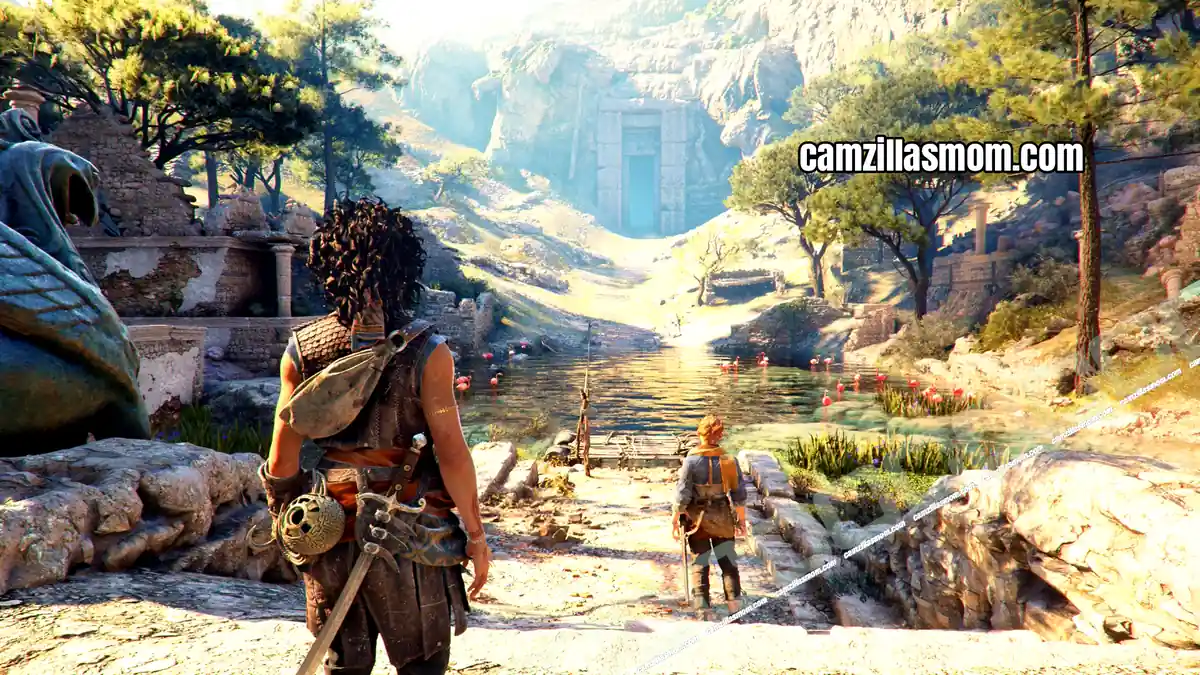
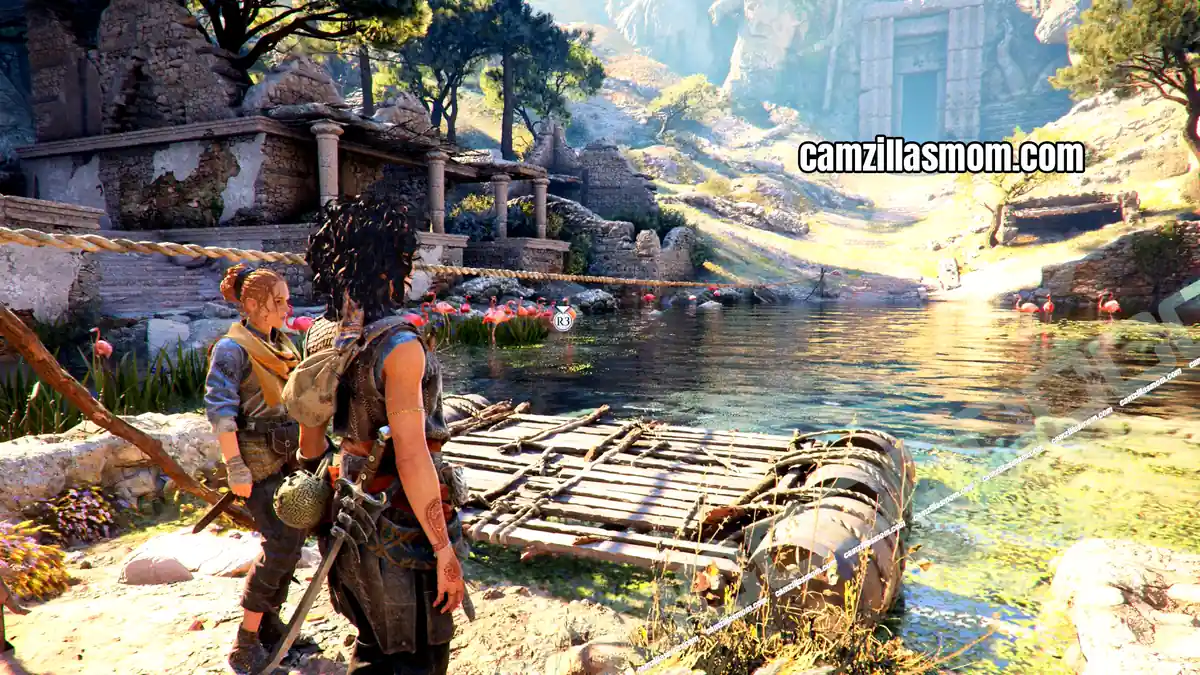
Chapter step: Reach the entrance to the mountain
Board the ferry and cross over to the other side and go through the gate.
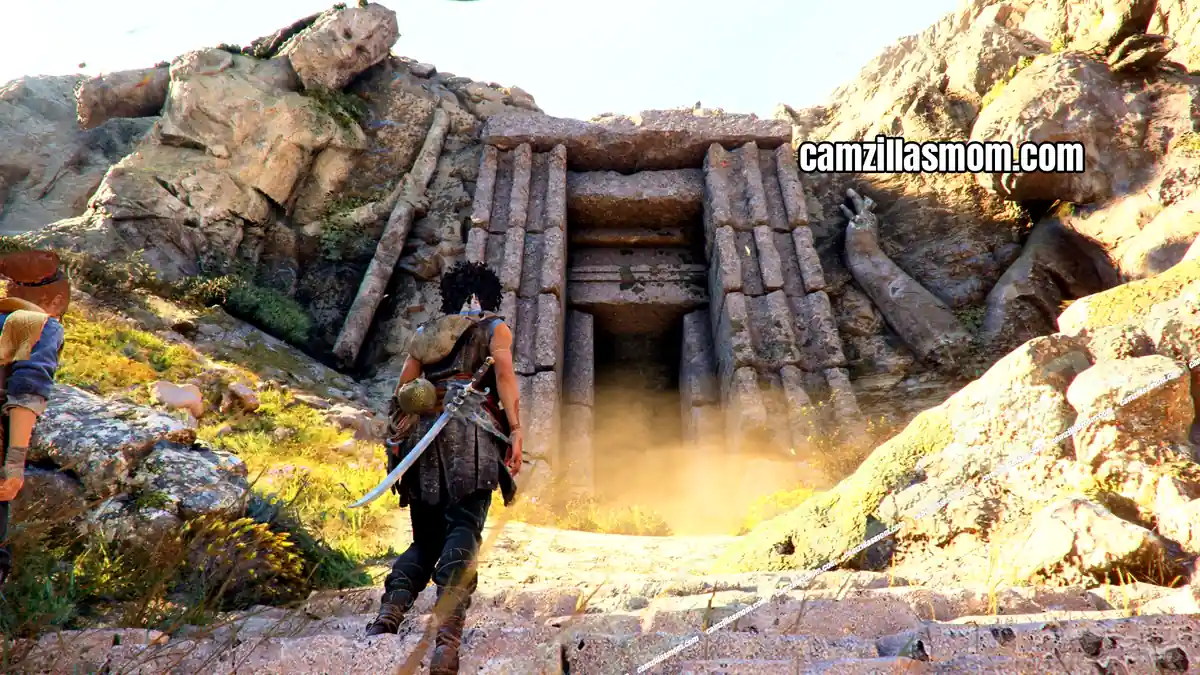
5 – The Start of the Trials
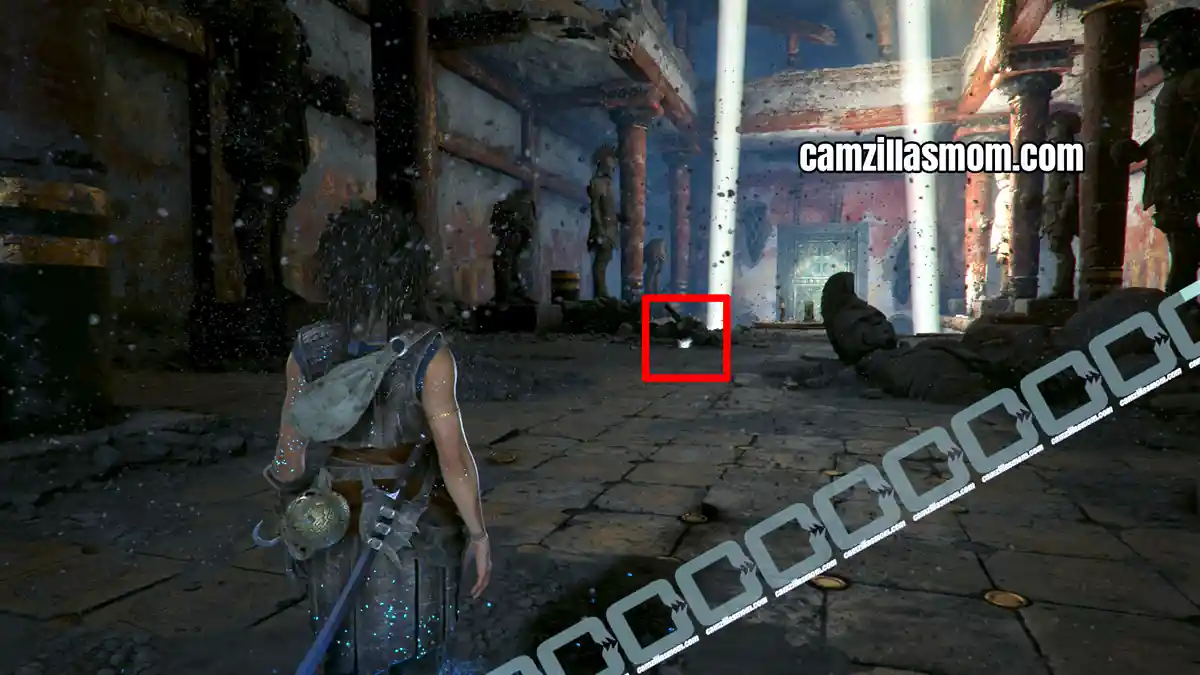
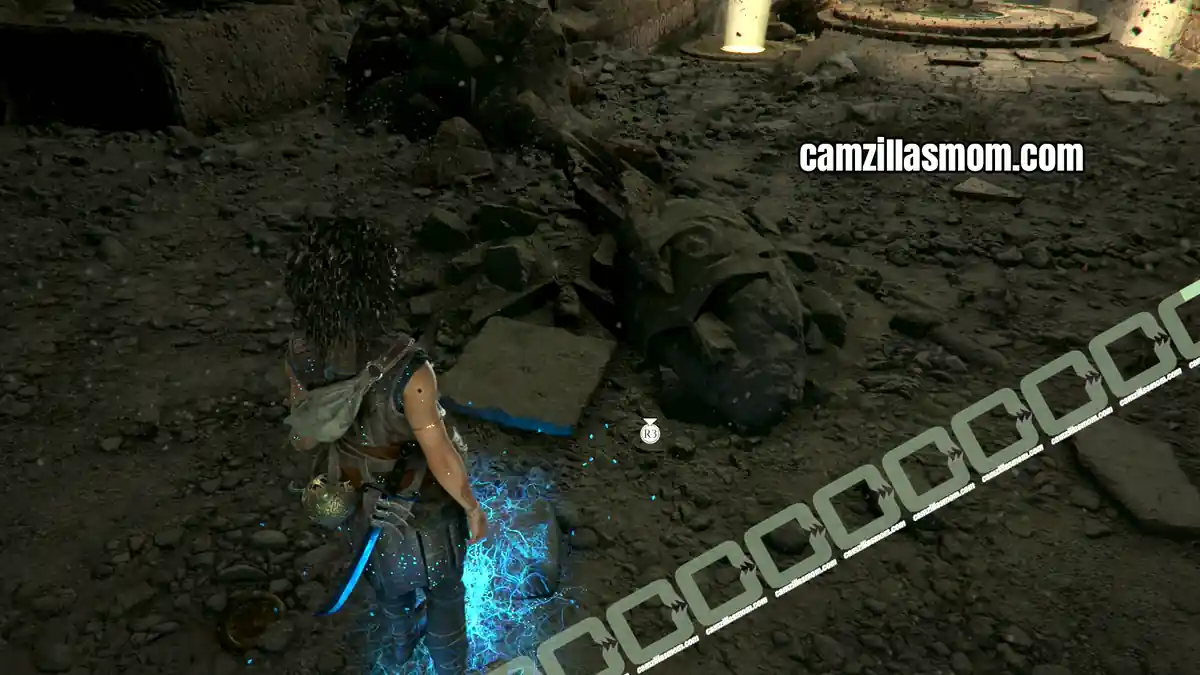
Resonance Point
Chapter step: Reach the entrance to the mountain
Slide down into the next temple section, where the dust is glowing again. Here is also a Resonance point next to a broken off statue’s head.
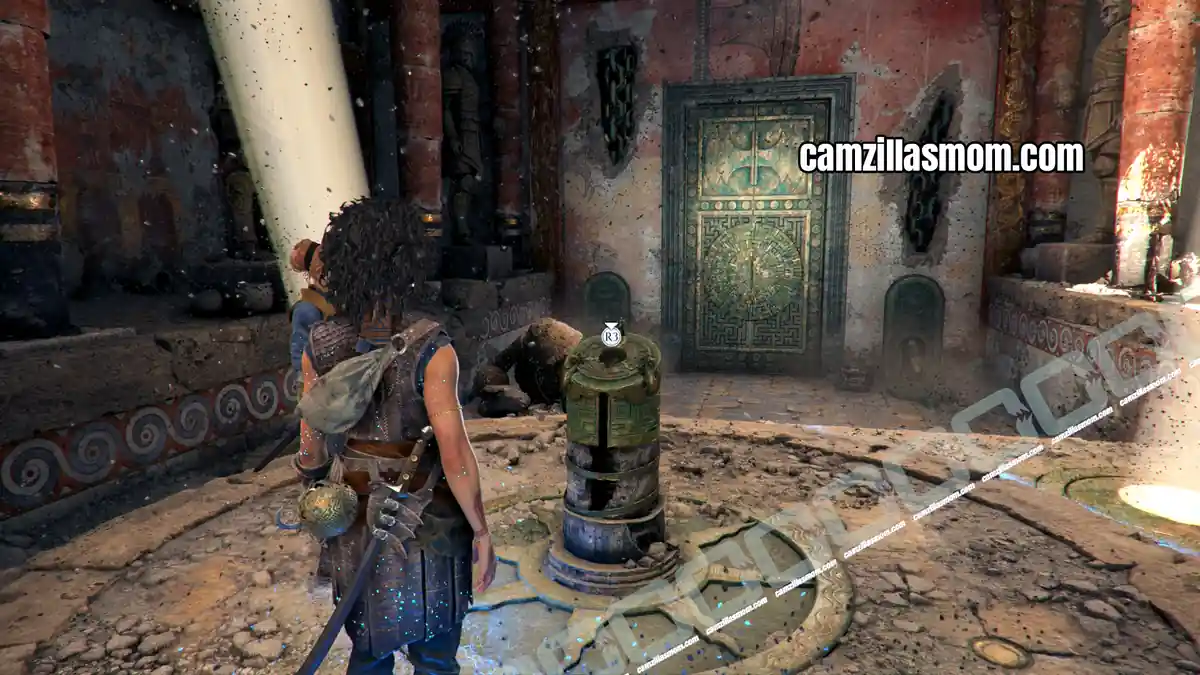
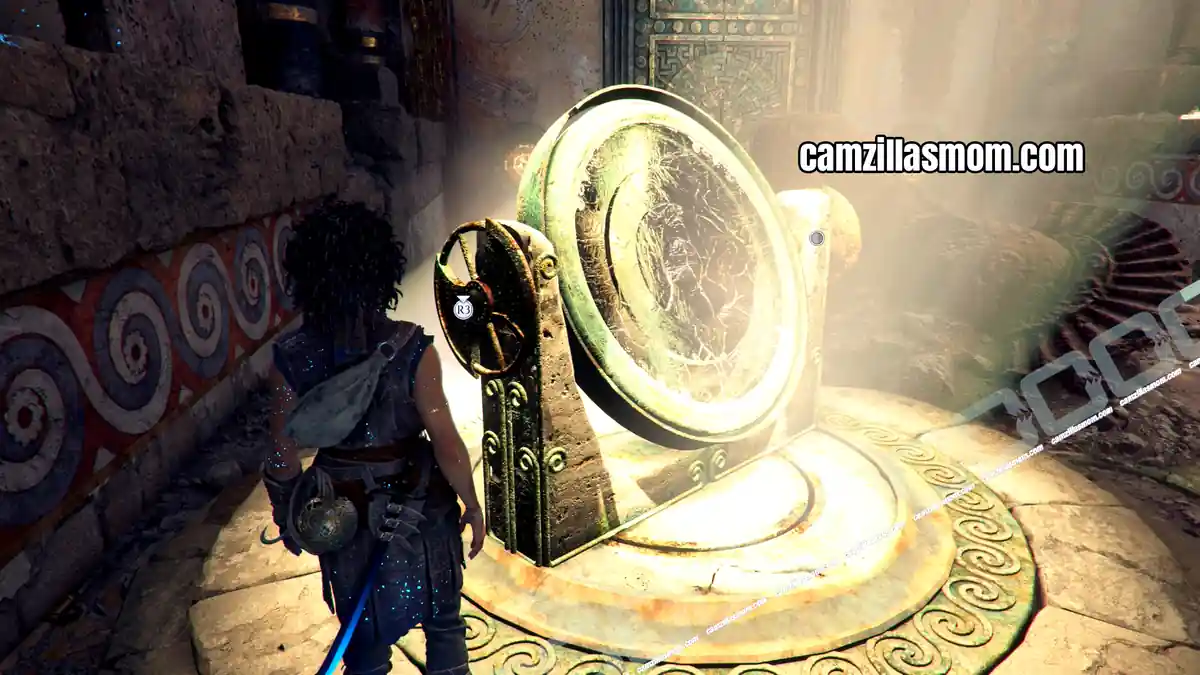
Now you can place the round key on the center pillar to start the puzzle.
Mirror and Lens Puzzle Solution
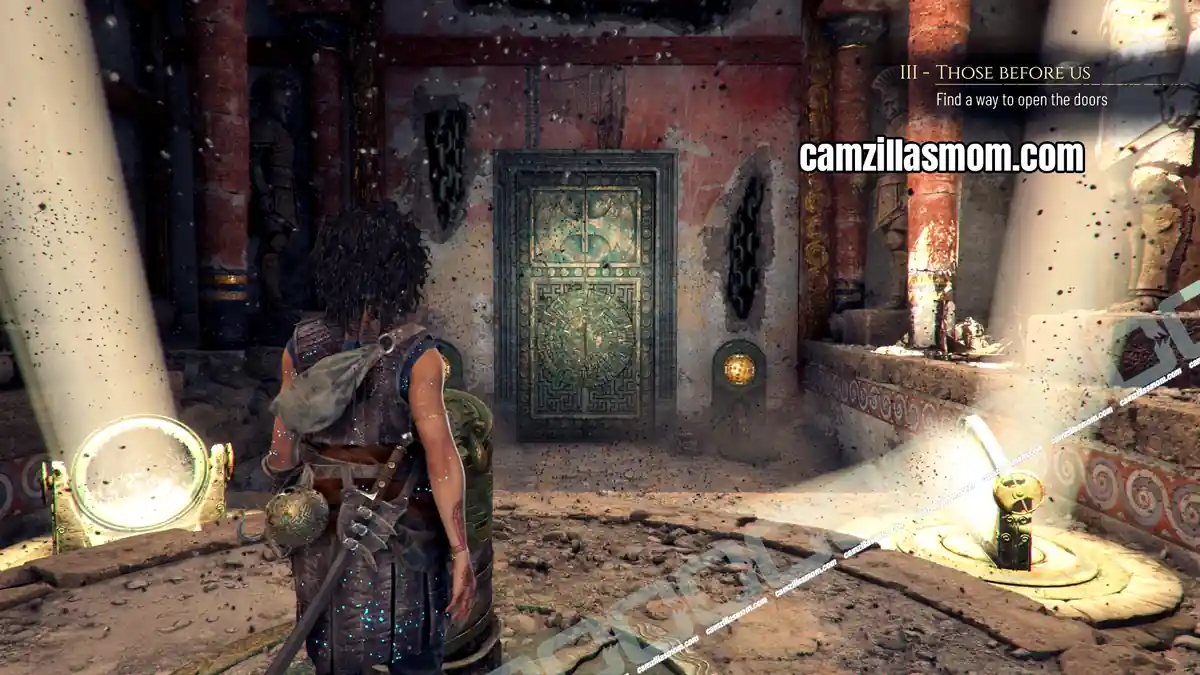
Chapter step: Find a way to open the doors.
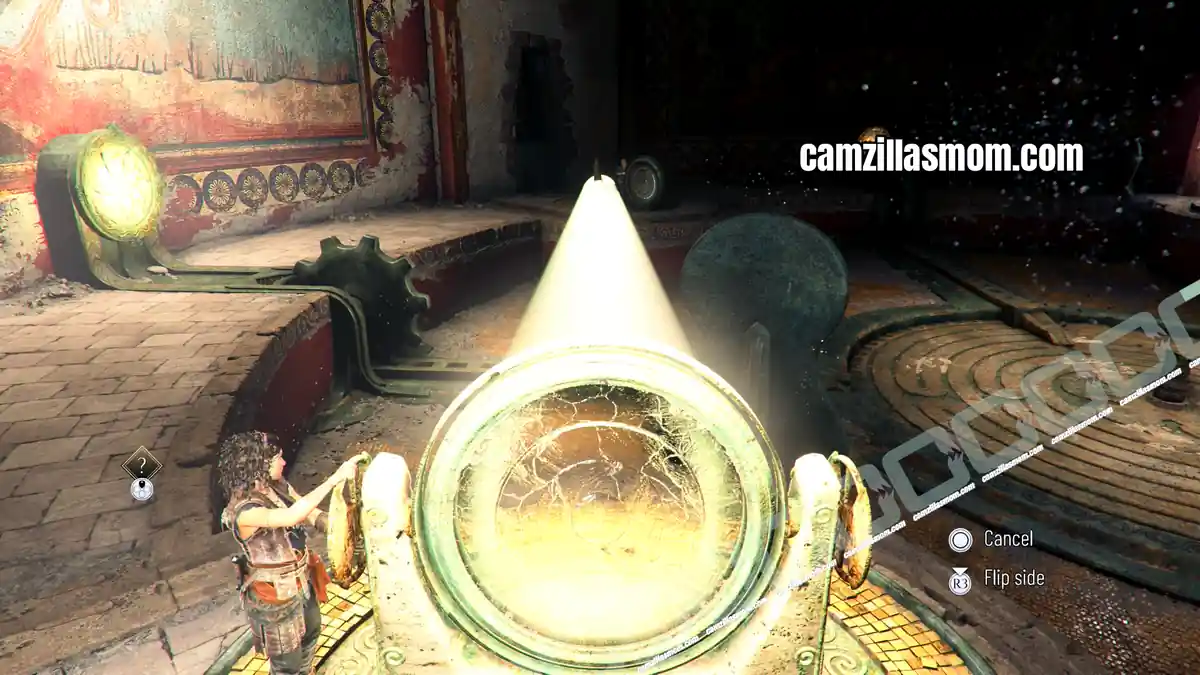
Direct both mirrors so they hit the round, golden plates next to the door.
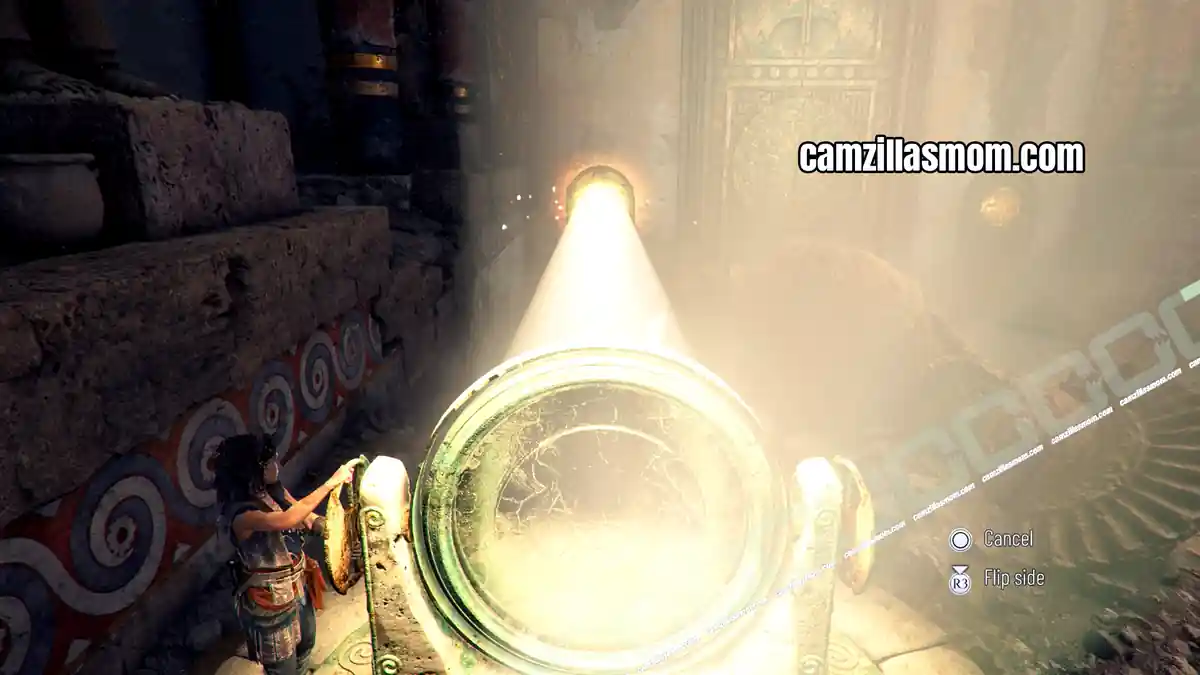
Enter the open room and interact with the center pillar again.
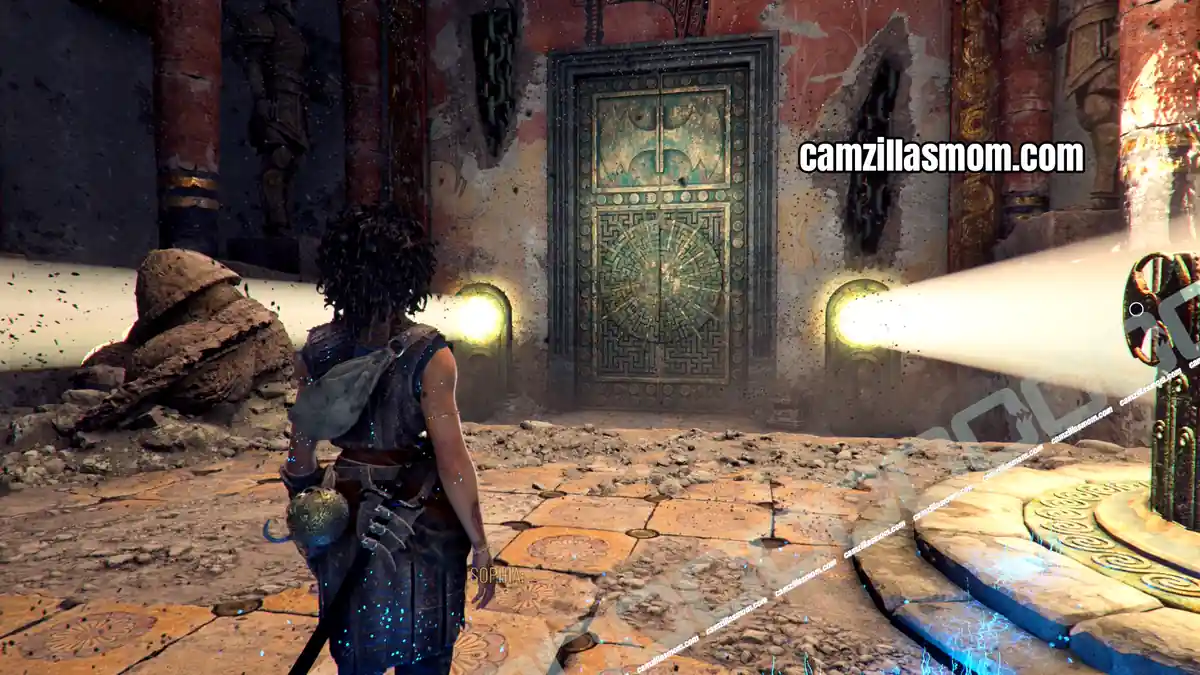
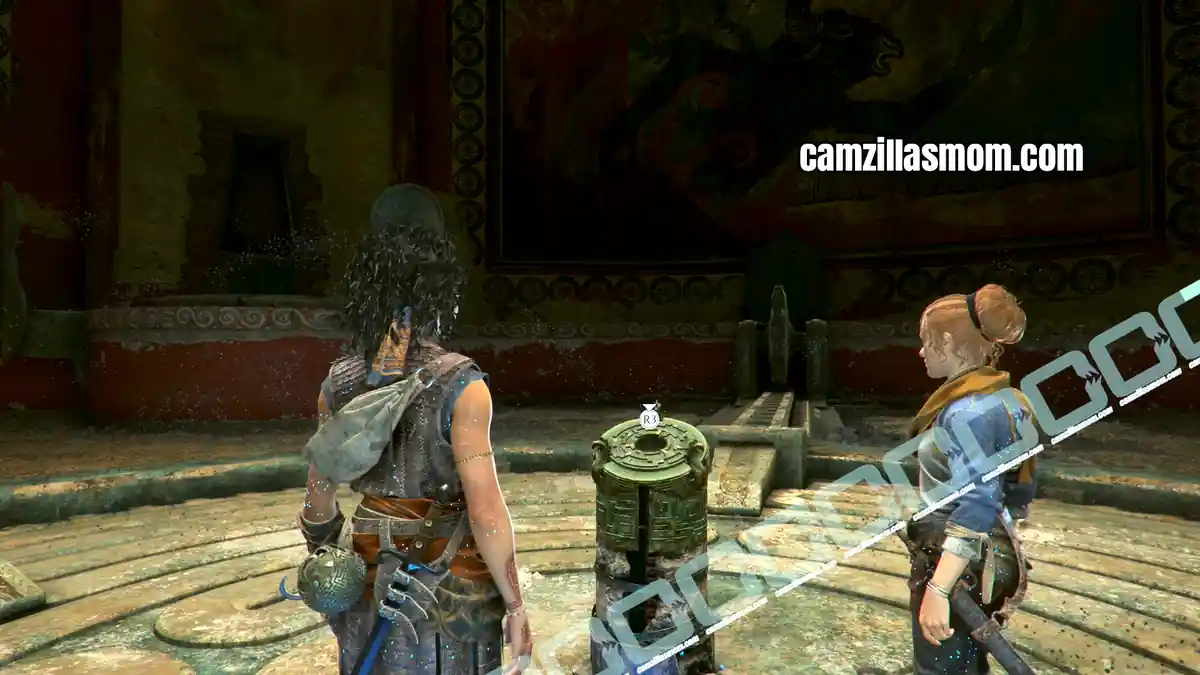
Chapter step: Find a way to unlock the platform
To lower the elevator platform, you have to solve this second mirror puzzle. There are three intact lenses and a broken one with two golden plates where the light has to be directed to.
First, move the lit lens by the entrance to the golden plate to the right.
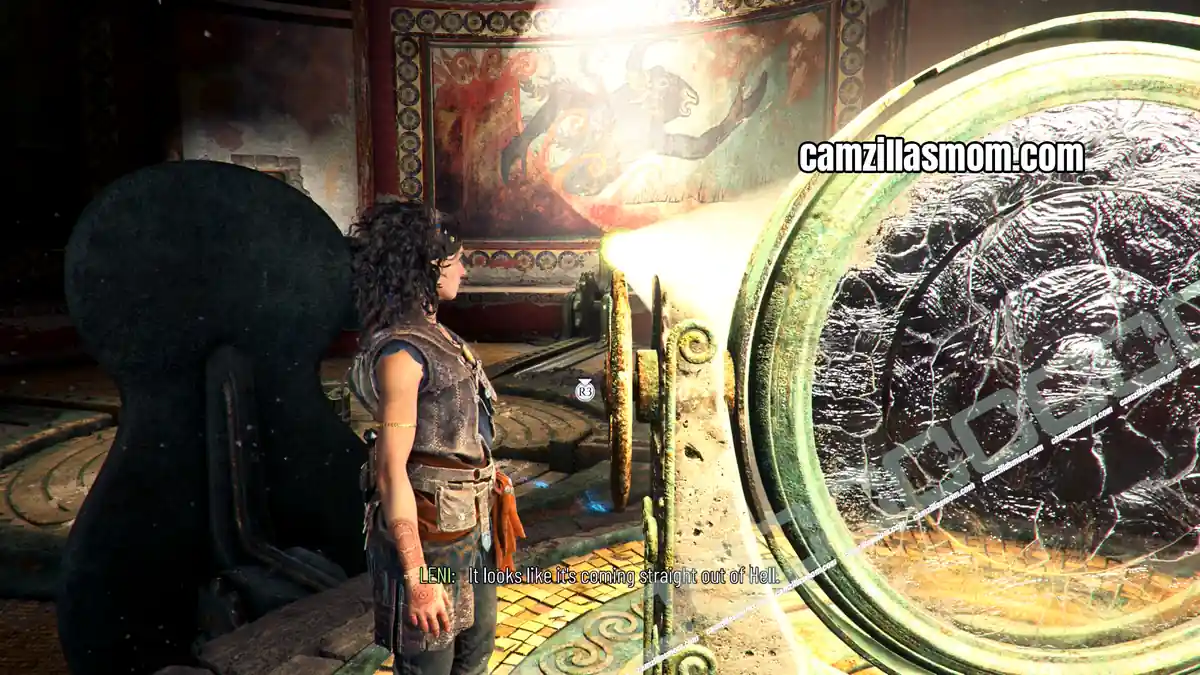
Interact with the same lens and direct the light to the lens without light. Move over to move this redirected light to the second golden plate to light up a second fresco.
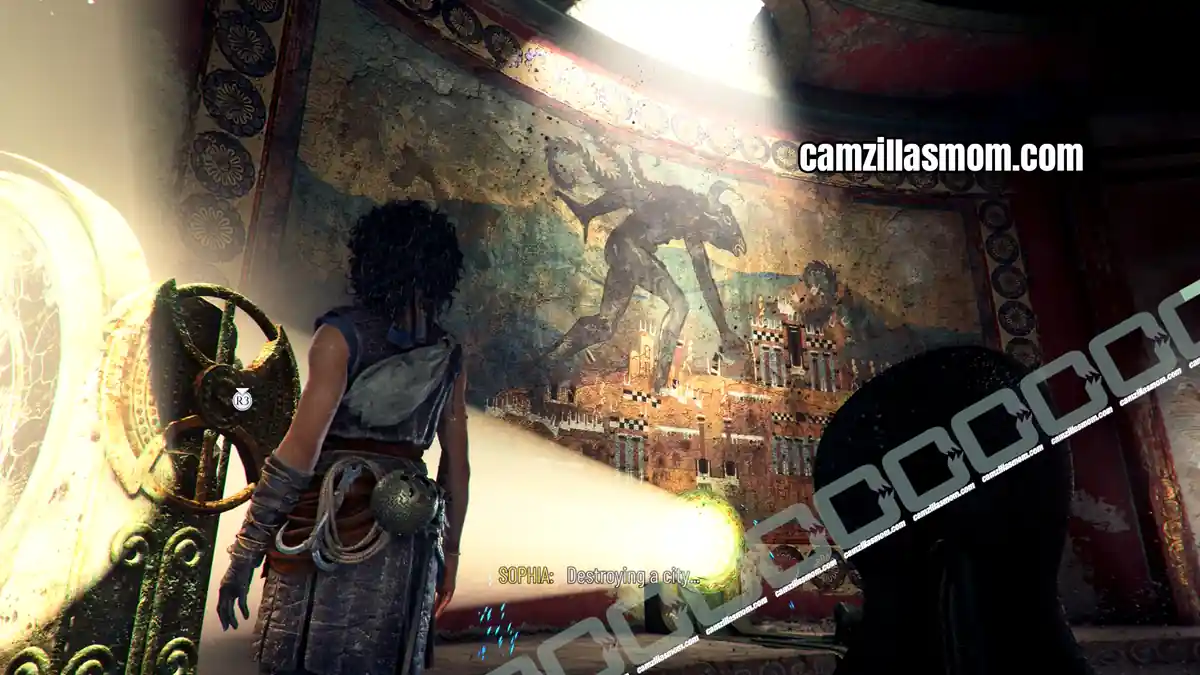
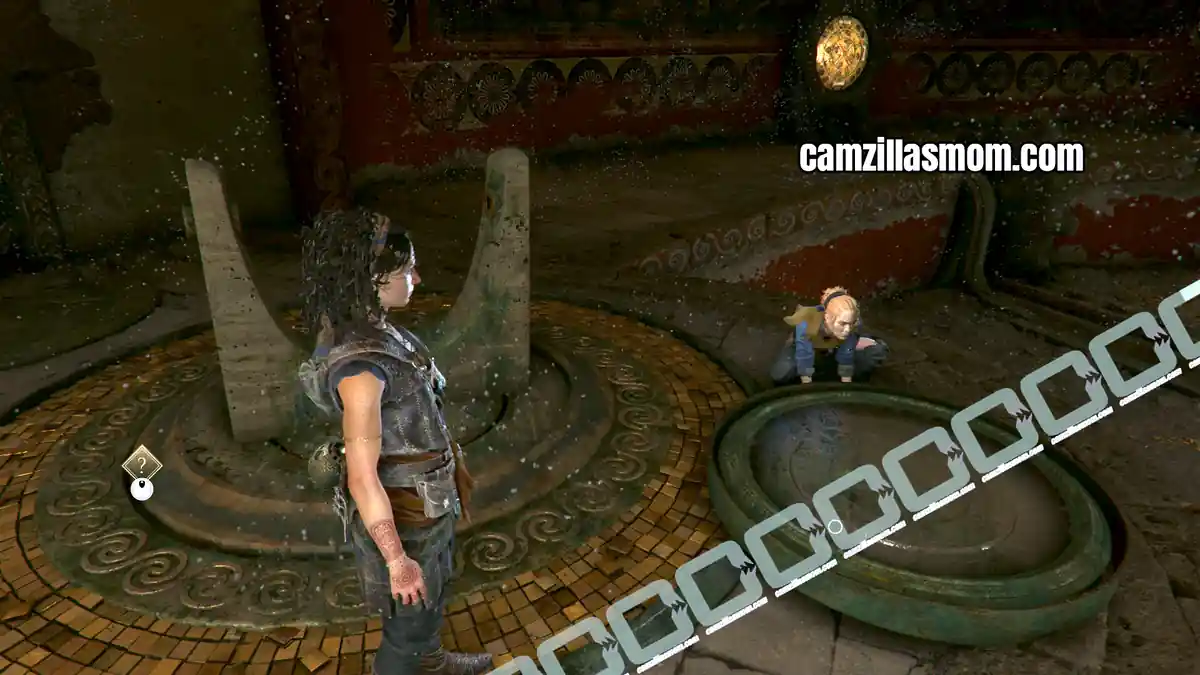
Move to the broken lens and fix it with Leni’s help. She will hold the lens and Sophia can move the center back lens’ light over through Leni’s lens to light up the third golden plate. Return to the center pillar of the platform and interact with it to lower it. Interact with the door at the bottom of the elevator to start Chapter 4.
Next up: Chapter 4 From Hell It Rose


About Resonance: A Plague Tale Legacy
Release: August 27th, 2026
Developer: Asobo Studio
Publisher: Focus Entertainment
Official Website: https://www.focus-entmt.com/en/games/resonance-a-plague-tale-legacy