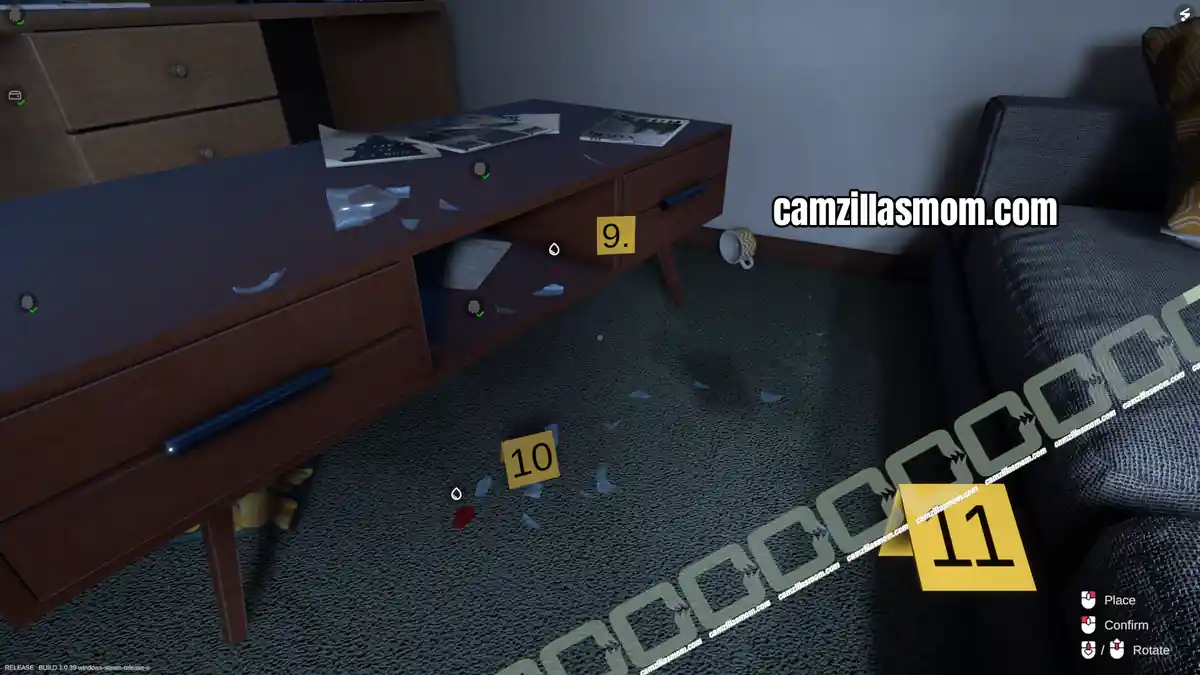
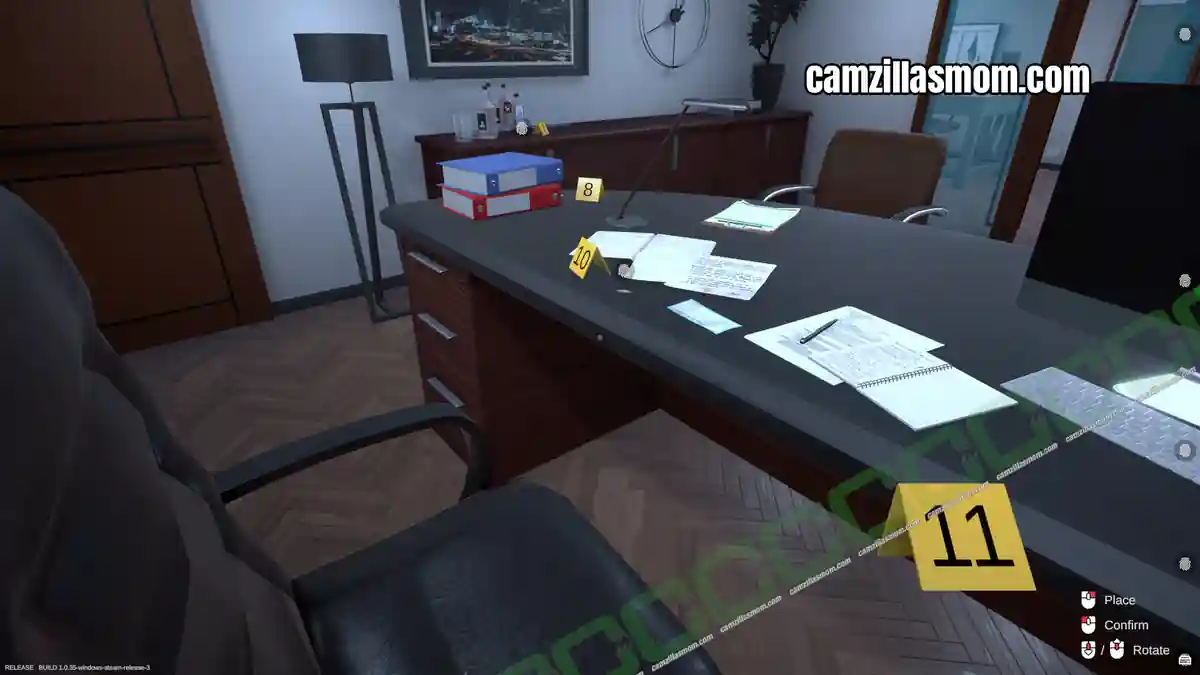
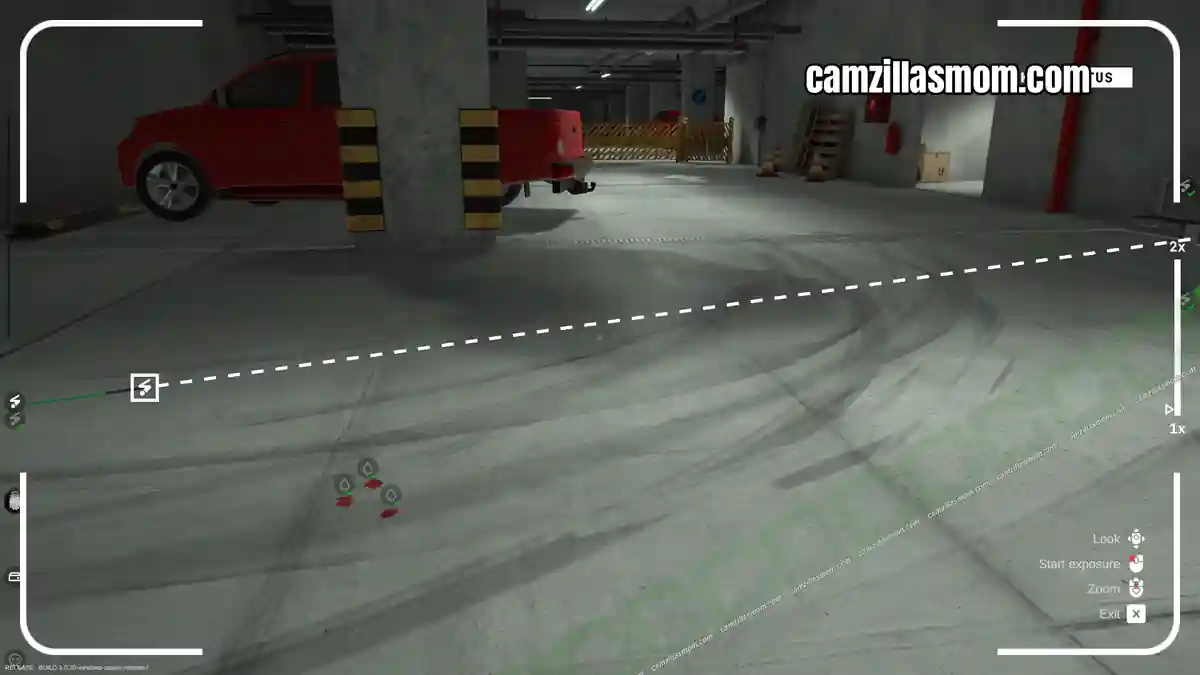
Another Robbery in Forensics: Crime Scene Detective sends you to a hotel room to collect fingerprints left behind during a break-in. This walkthrough covers documenting every fingerprint at the scene, lifting the print from the coffee mug with Cyanoacrylate Fuming, and comparing all evidence against the two arrested suspects to determine who’s actually responsible.
Related Guides:
Tutorial 1
Tutorial 2
Tutorial 3
Tutorial 4
Cold Storage
Another Robbery Evidence Overview
Provided Evidence:
1 – Fingerprint (Florian Hochland)
2 – Fingerprint (Heiko Schmidt)
3 – Fingerprint (Karsten Ferdinand)
4 – Fingerprint (Maria Ferdinand)
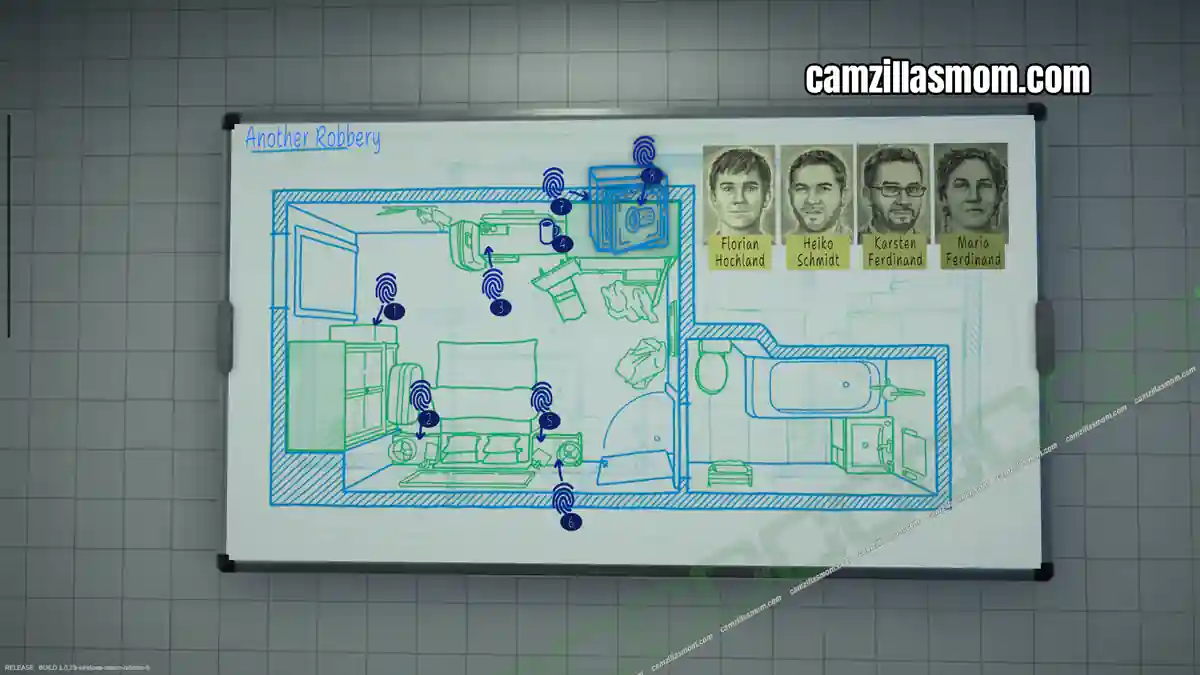
Photos, Evidence and Fingerprints at the Crime Scene:
1 – Fingerprint (Unknown)
2 – Fingerprint (Unknown)
3 – Fingerprint (Unknown)
4 – General Coffee Cup
5 – Fingerprint (Unknown)
6 – Fingerprint (Unknown)
7 – Fingerprint (Unknown)
8 – Fingerprint (Unknown)
Web of Evidence Whiteboard Overview
Evidence for Digital Analysis in the Lab:
32x Fingerprint Analysis Results.
Briefing
A breaking and entering was reportedin the hotel Best Eastern in Weststr. 61. Two suspects have already been arrested: Heiko Schmidt and Florian Hochland. Both have prior convictions for this type of crime and were seen in the area. Their fingerprints are attached for comparison. Around 3 a.m., a hotel employee saw a single person leaving the floor. This suggests that only one of them could have committed the crime. Proceed to the crime scene and collect all necessary fingerprints to determine which suspect is responsible.
Travel to the Crime Scene
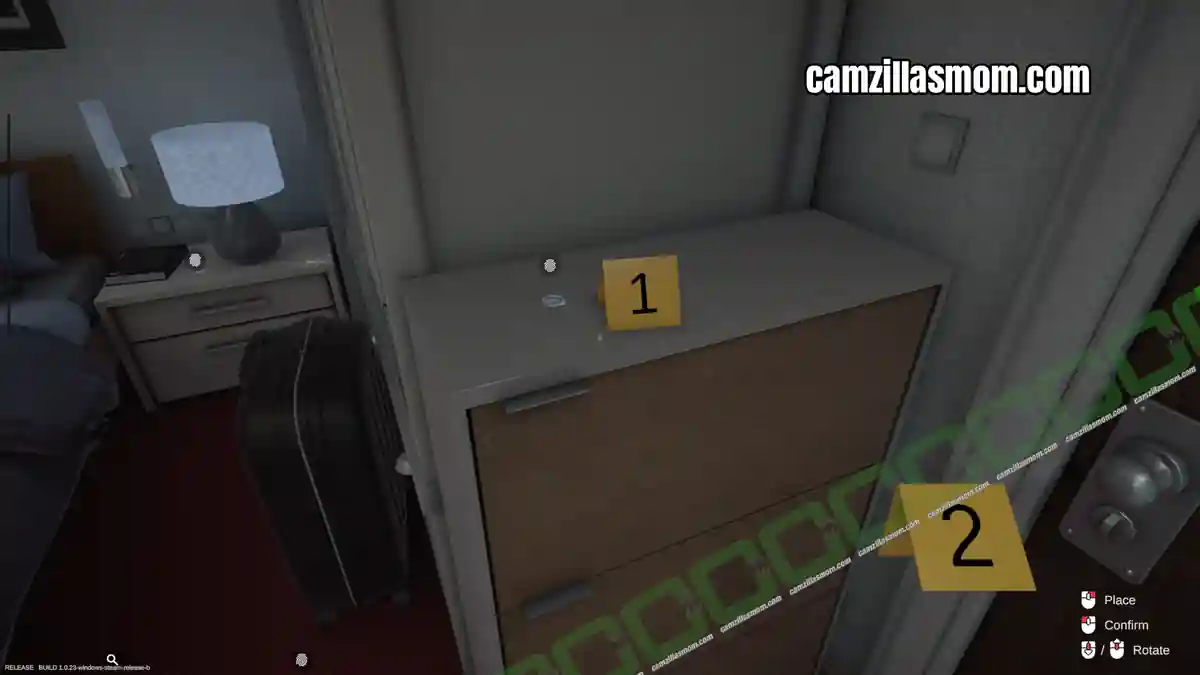
The crime scene is a hotel room with a bathroom. Pick up the UV light and look for these fingerprints. Take the evidence markers, mark the fingerprints and take photographs at those locations: On the drawer unit by the entrance, and on the bedside table.
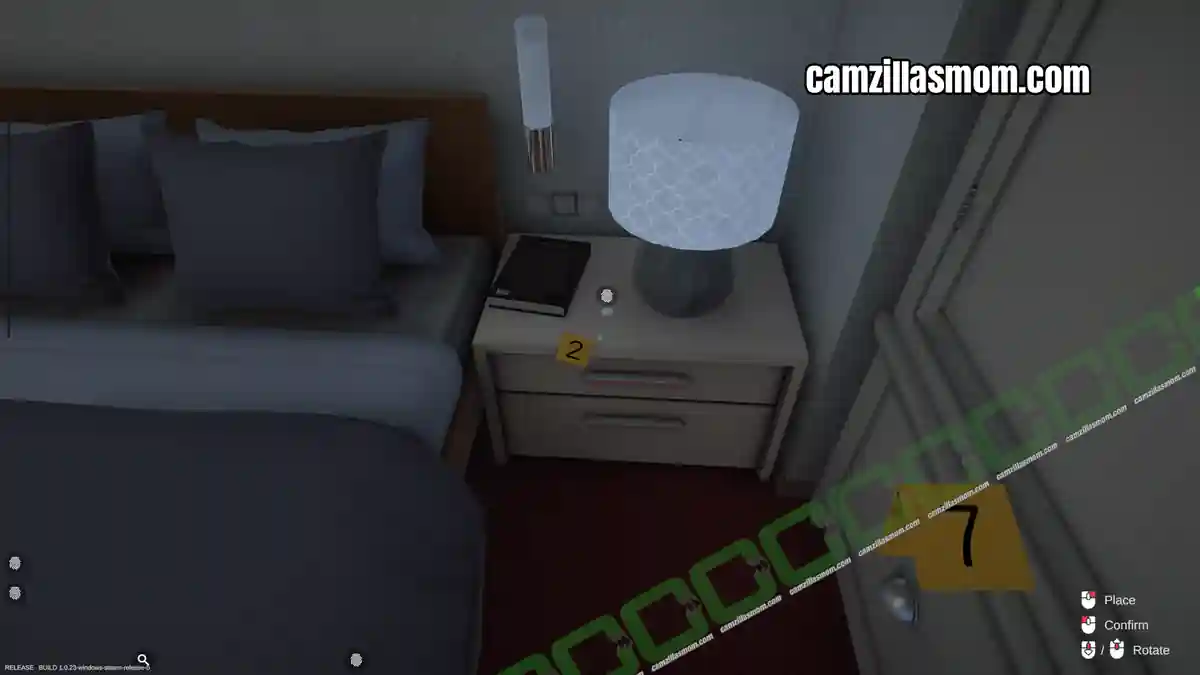
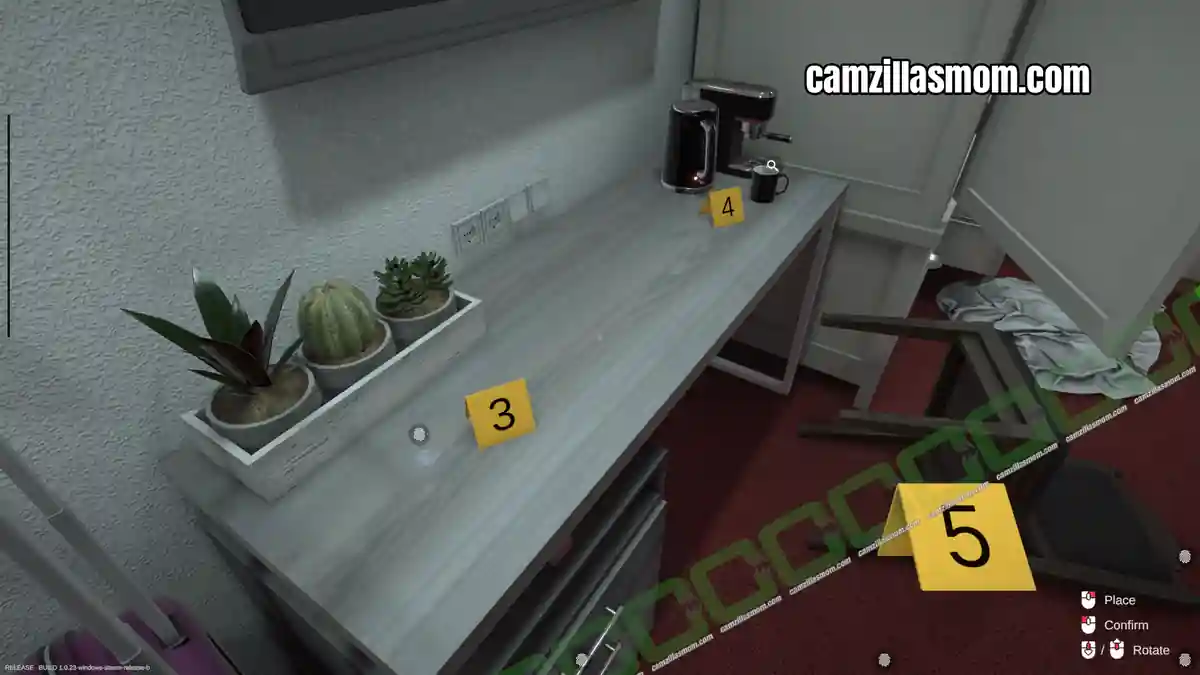
There is a fingerprint on the table below the TV and a coffee mug. There are also two more fingerprints on the other bedside table.
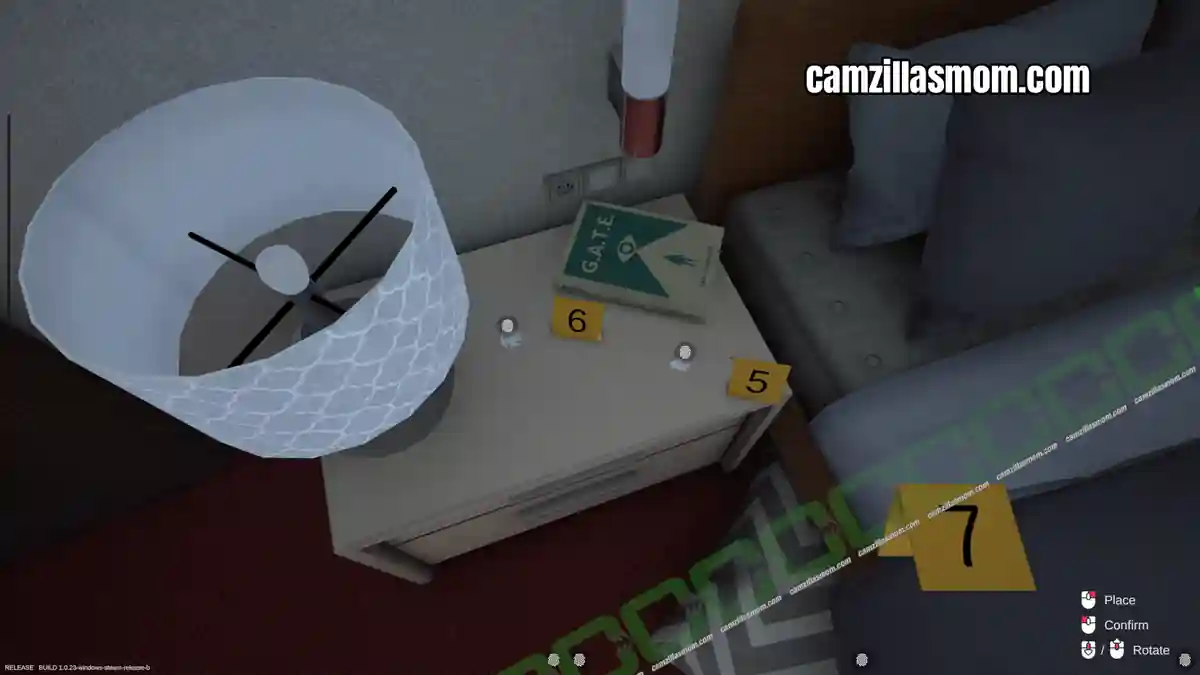
Last location is the safe with two fingerprints.
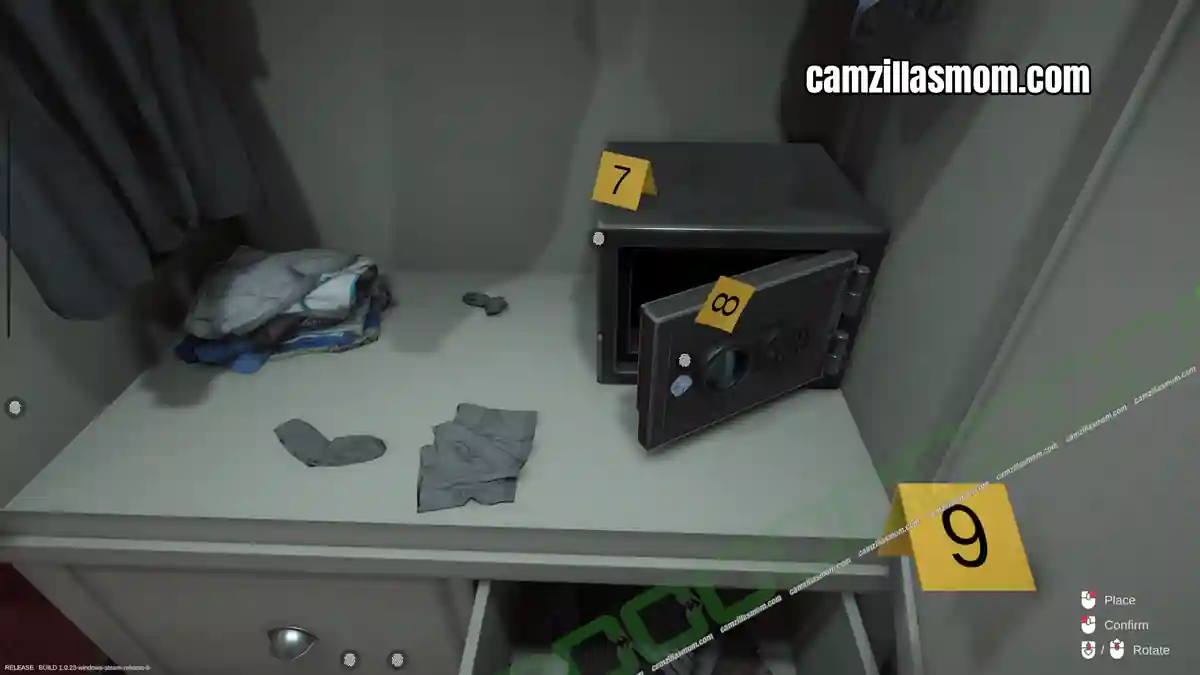
First take the photographs of all eight items, then pick up the coffee mug.
Evidence:
4 – General Coffee Cup
Now take the fingerprint kit and use it on all seven fingerprints as learned in Tutorial 2.
Evidence:
1 – Fingerprint (Unknown)
2 – Fingerprint (Unknown)
3 – Fingerprint (Unknown)
5 – Fingerprint (Unknown)
6 – Fingerprint (Unknown)
7 – Fingerprint (Unknown)
8 – Fingerprint (Unknown)
Analyzing the Evidence
Return to the lab and start analysing the coffee mug first, by using the Cyanoacrylate Fuming workstation. This will extract the fingerprint on the coffee mug.
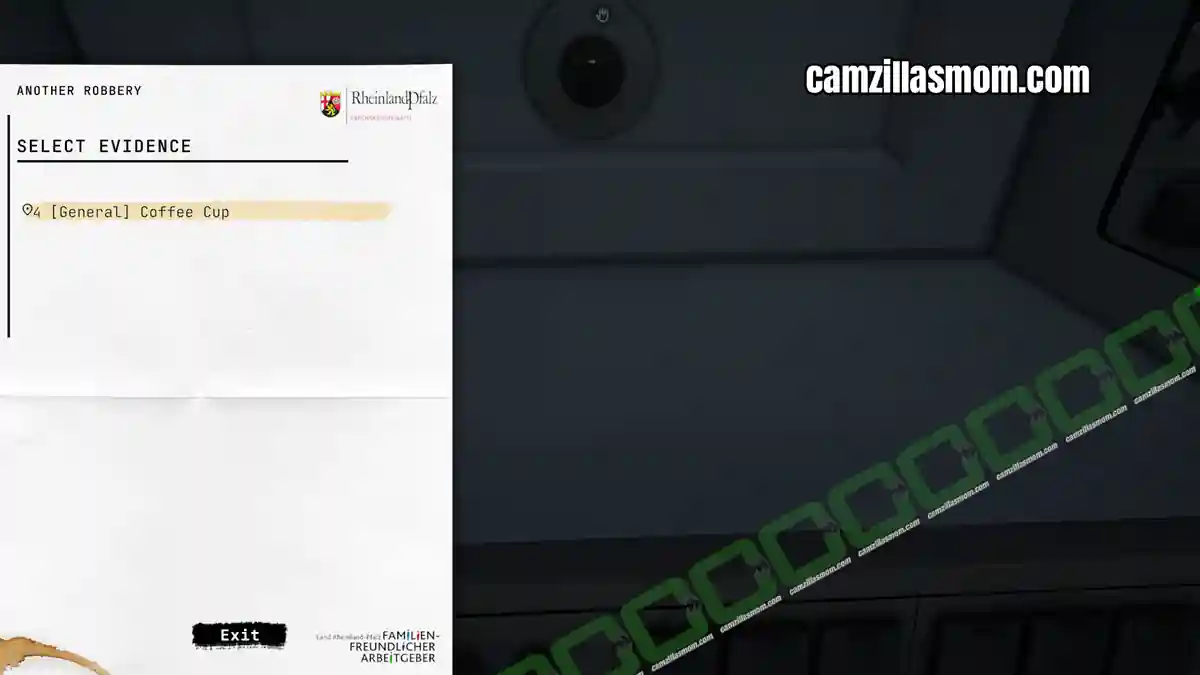
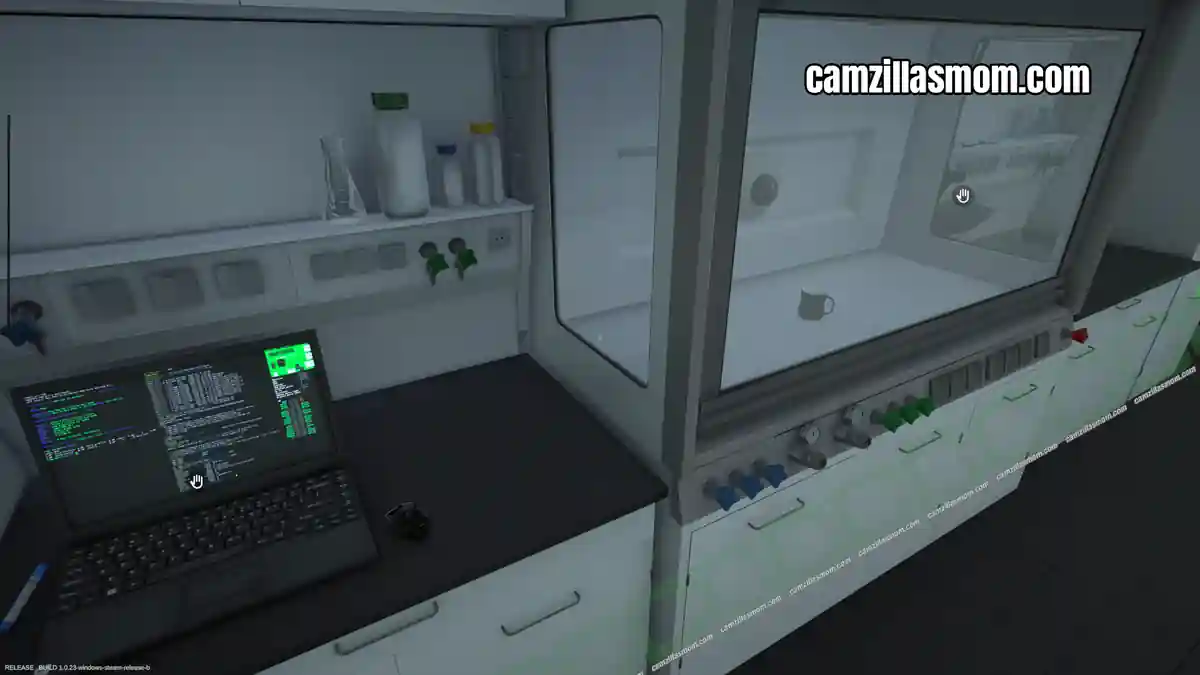
Evidence:
Fingerprint (Unknown) – Source coffee mug
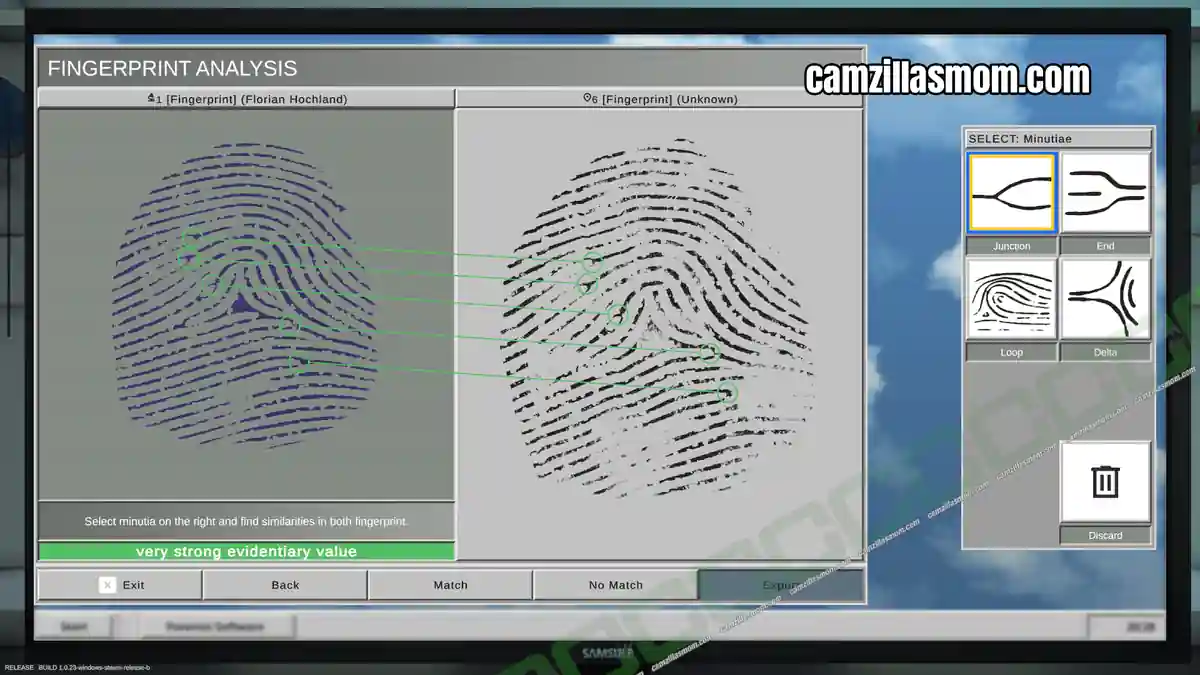
Now you have to compare all four fingerprints of the suspects with the fingerprints on the crime scene. Every single one has to be marked and exported – giving you 32 results. Make sure to always achieve the “very strong evidentiary value” for maximum results. Also mark the non matching prints for best results.
General advice: Some prints can be extremely smudged. Work with the obvious ones like endings or junctions!


Forensics: Crime Scene Detective
Release: July 13th, 2016
Developer: Binary Impact, Alchemical Works
Publisher: Aerosoft GmbH
Official Website: https://store.steampowered.com/app/3765010/Forensics_Crime_Scene_Detective/