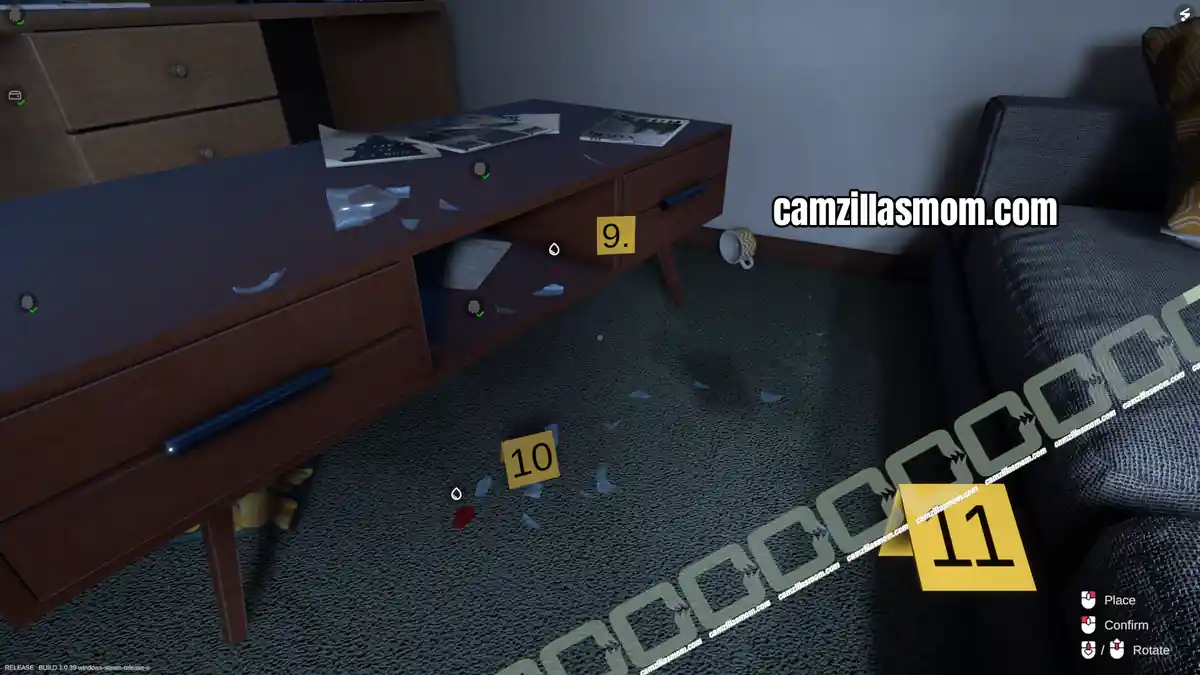
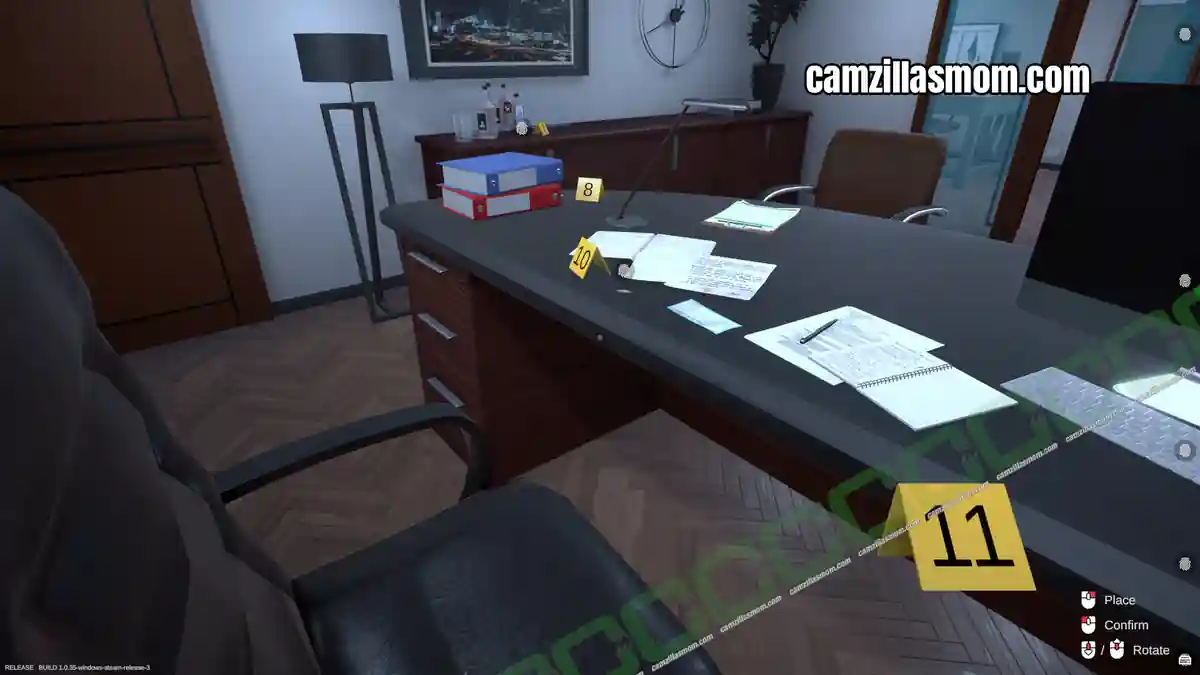
This walkthrough covers Tutorial 1 of Forensics: Crime Scene Detective, the first case in Aerosoft’s realistic crime lab simulator. Follow along to photograph and collect every piece of evidence in the apartment crime scene, then head to the lab to de-solder the damaged phone chips and run the digital evidence analysis needed to close the case.
Note: This case was initially named Tutorial 1 but was renamed to Training 1 later on.
Related Guides:
Training 2
Cold Storage Case
Training 1 Evidence Overview
Evidence to photograph and collect in the apartment:
1 – Password: “Sn00py*42”
2 – Digital Device Smartphone – Orcha
3 – Digital Device Smartphone – Korellia
4 – Digital Device Smartphone – Novaris
Evidence for De-Soldering in the Lab:
1 – Digital Device Smartphone – Korellia
2 – Digital Device Smartphone – Novaris
Evidence for Digital Analysis in the Lab:
1 – Digital Device Smartphone – Orcha (with password)
2 – Digital Device Smartphone – Korellia (chip)
3 – Digital Device Smartphone – Novaris (chip)
Witness Statement Jacob Doe
“A drug dealer has been caught. All digital devices that he may have used to communicate with this clients must be collected from his apartment. Locate, photograph, collect and analyze the devices.”
Travel to the Apartment Crime Scene
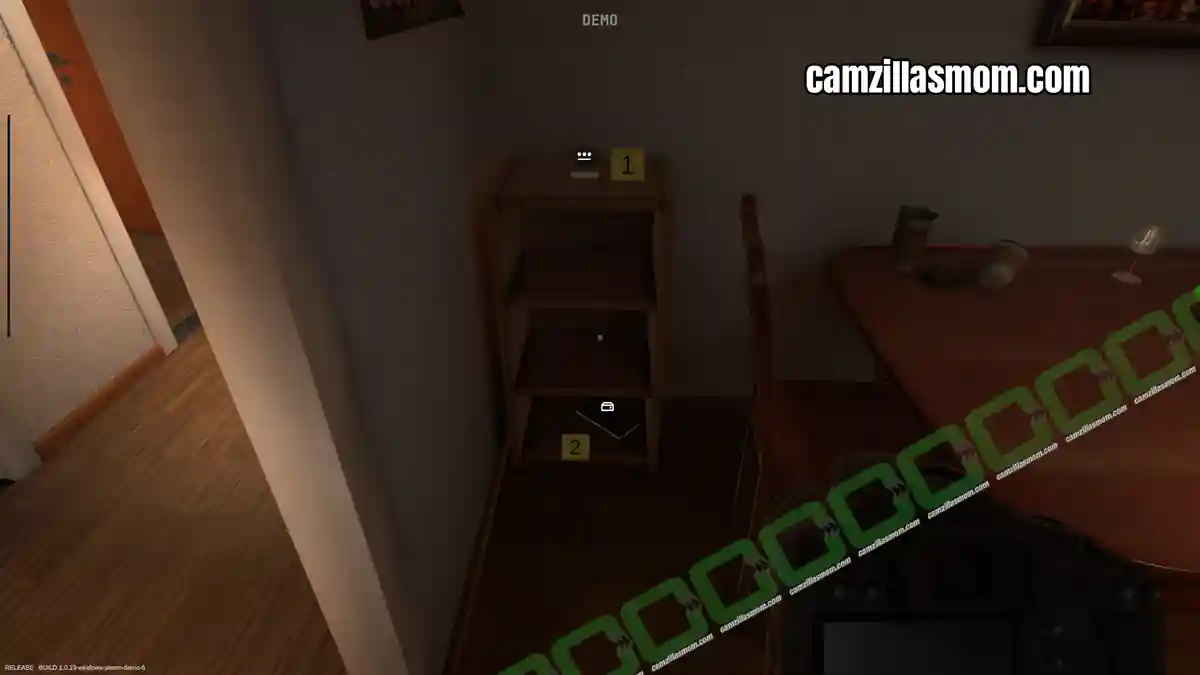
Enter the apartment and read the crouching tutorial, then the camera and evidence marker tutorial. Then, place two evidence markers on the two highlighted pieces of evidence in the kitchen.
Return the evidence markers and pick up the camera to take the photos. If the markers are overlapping with the evidence, you will have to discard the marker and place a new one before taking the pictures.
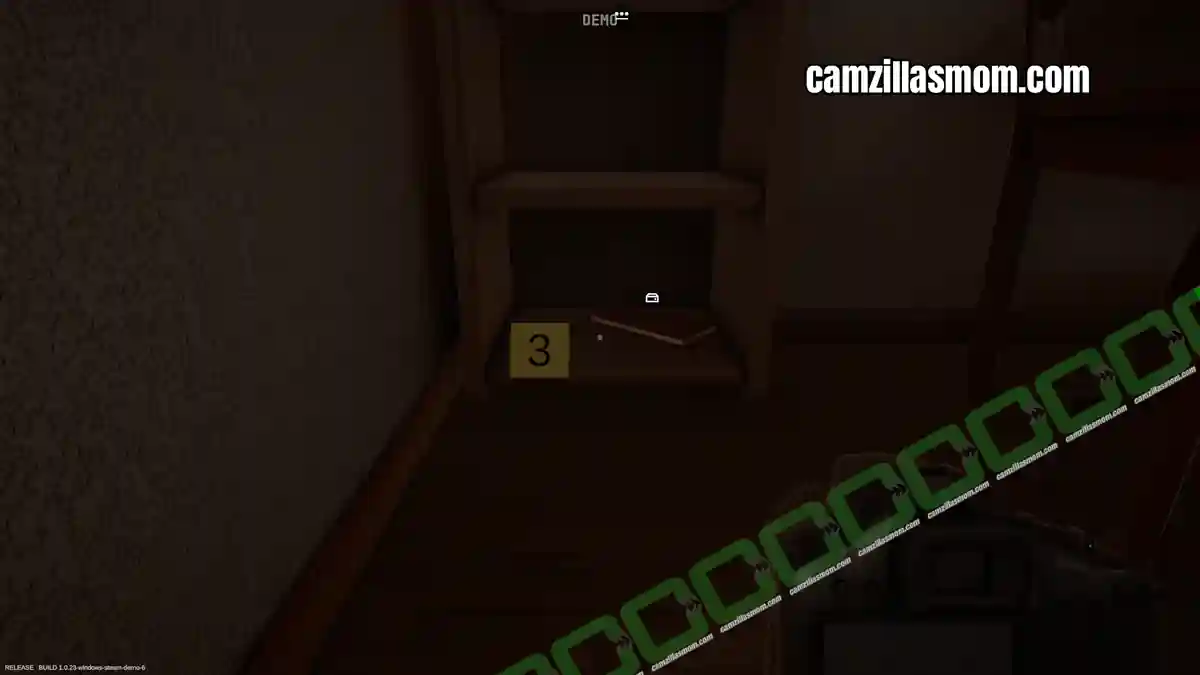
Evidence:
Password “Sn00py*42”
Digital Device Smartphone – Orcha
Enter the bedroom and place a marker next to the broken phone on the drawer unit. Take a photo and collect the evidence.
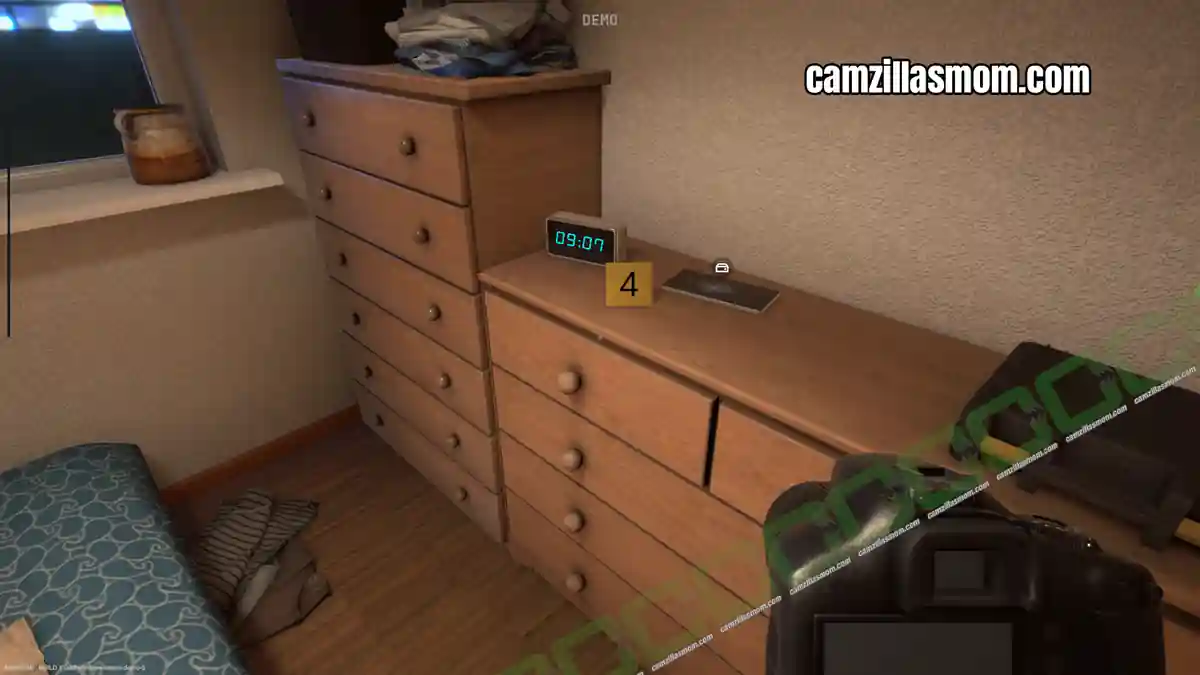
Evidence:
Digital Device Smartphone – Novaris (Damaged)
Go to the lounge. There is another broken smartphone at the bottom of the bookshelf, next to the while chair.
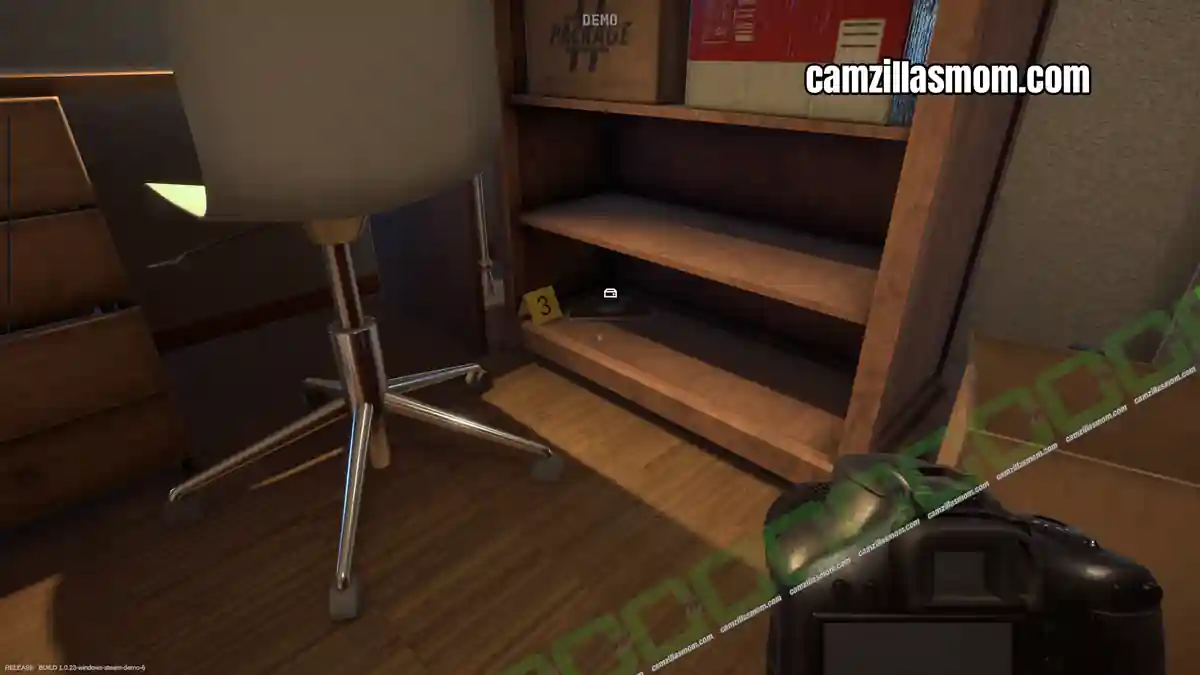
Evidence:
Digital Device Smartphone – Korellia (Damaged)
Analyzing the Evidence
Return to the lab and read the email on your computer. The next step is to analyze the evidence. Go to the whiteboard first. It will show the “Web of Evidence” – where the evidence was found with the corresponding numbers. You can interact directly with the whiteboard to access the marked piece of evidence.
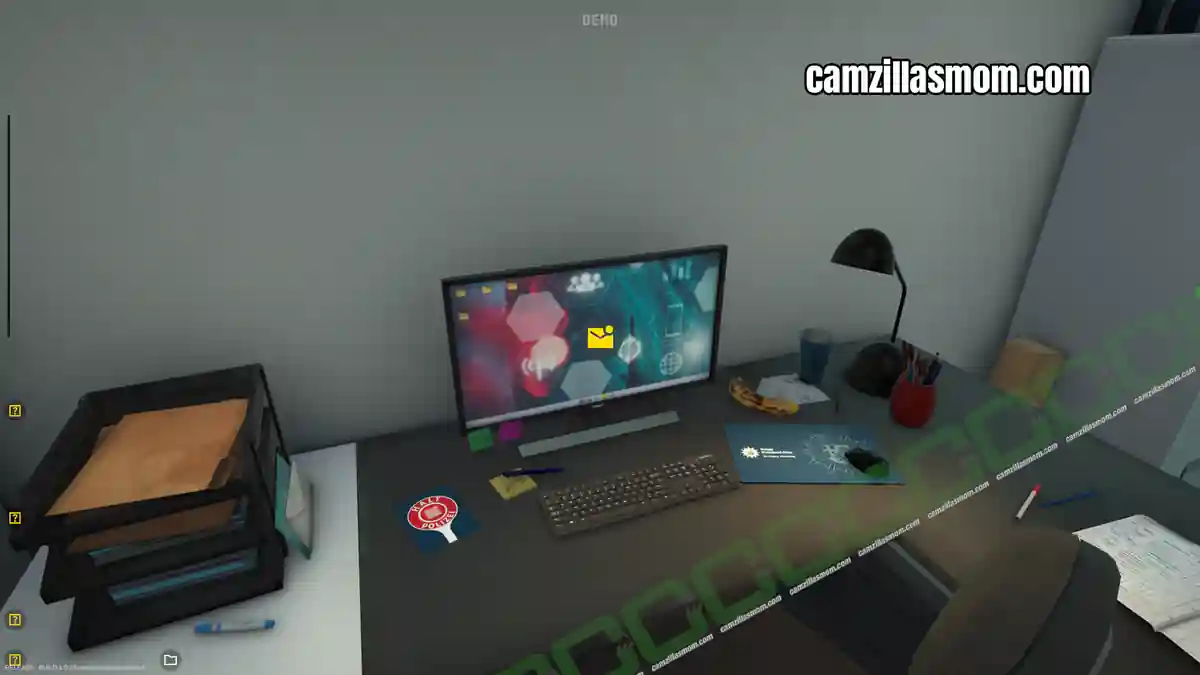
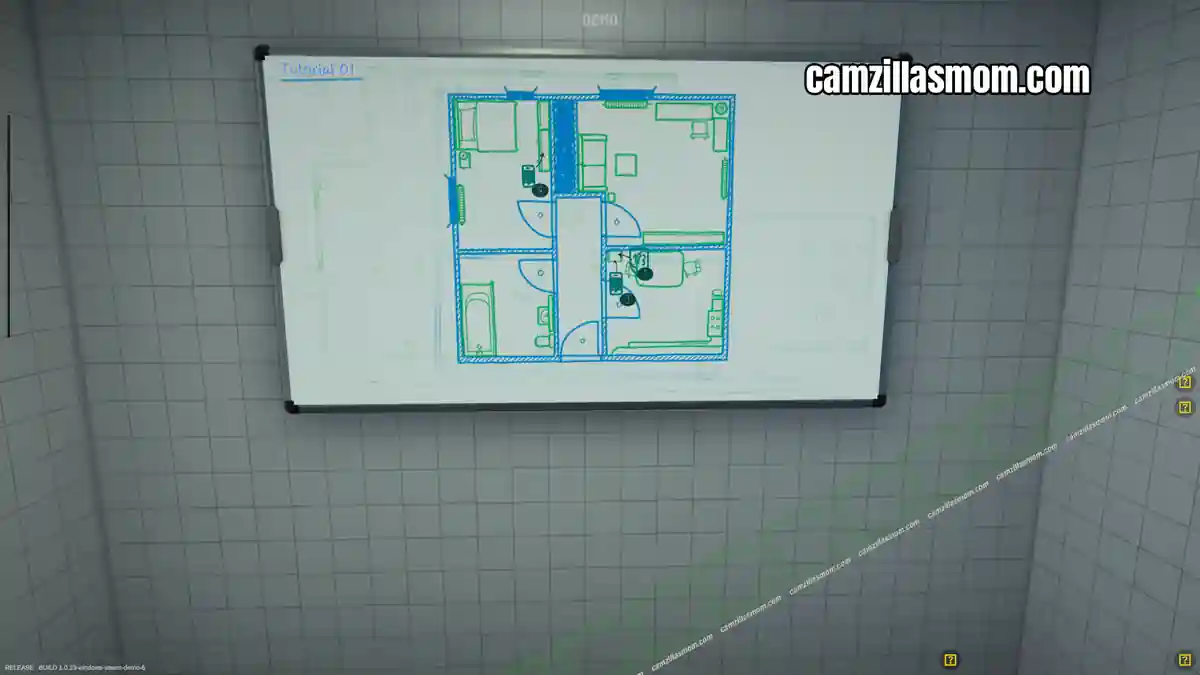
Then, go to the back to get the tutorials for the Digital Evidence Analysis and the De-soldering Digital Evidence.
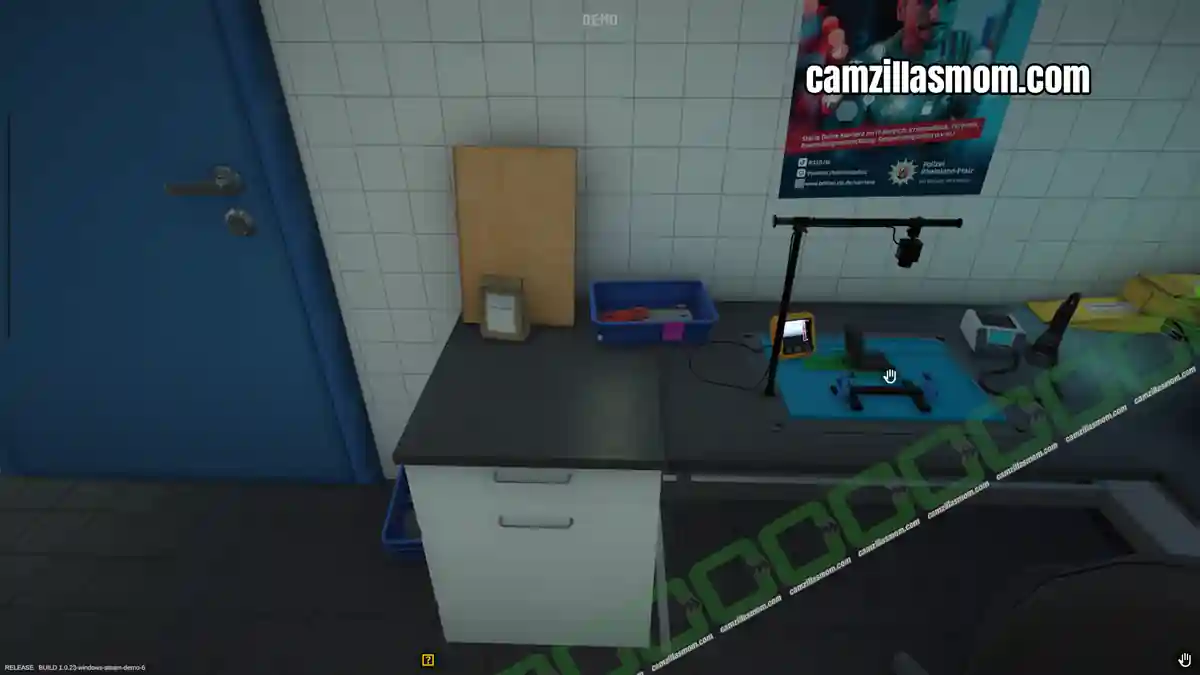
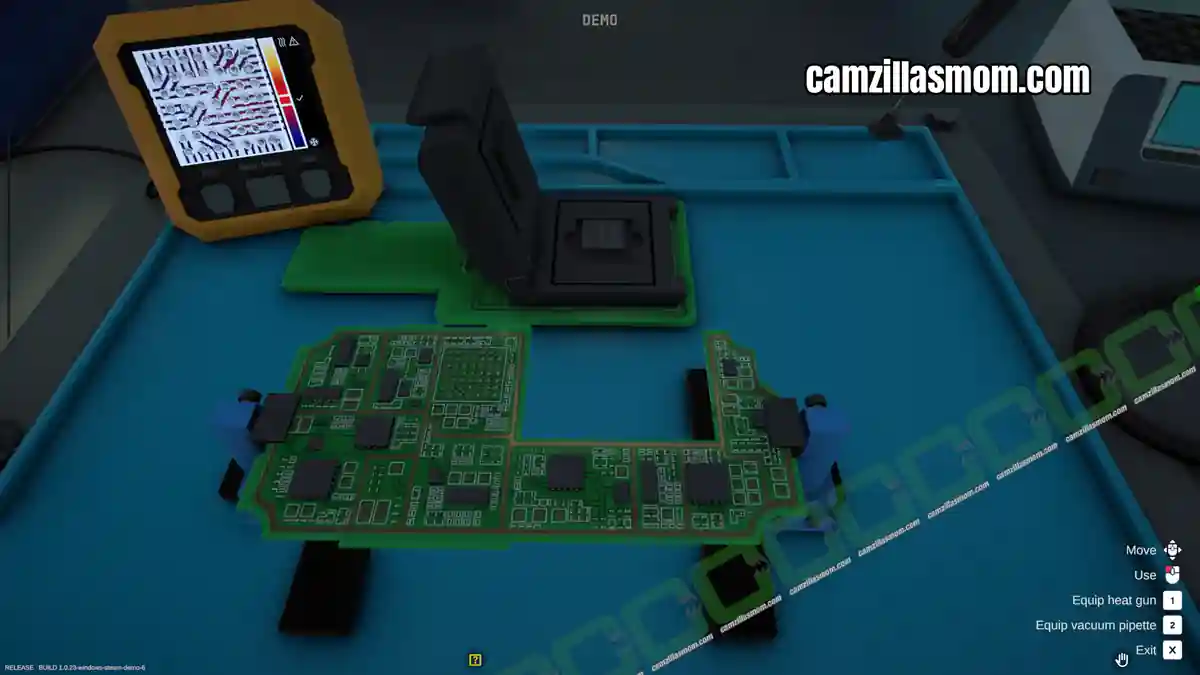
It doesn’t matter with which station you start. I did the De-soldering first. Interact with the workstation and evenly heat up the computer chip of the damaged smartphone to loosen it and place it on the black box. You can see the heat signature in the small monitor to the left. Make sure to heat up everything evenly, also the edges. You will get a popup notification, when the chip is loose and can be moved with the pipette.
Exit de-soldering and pick up the chip in the box. Repeat this with the other broken phone.
Evidence:
Digital Device Memory chip – Novaris
Digital Device Memory chip – Korellia
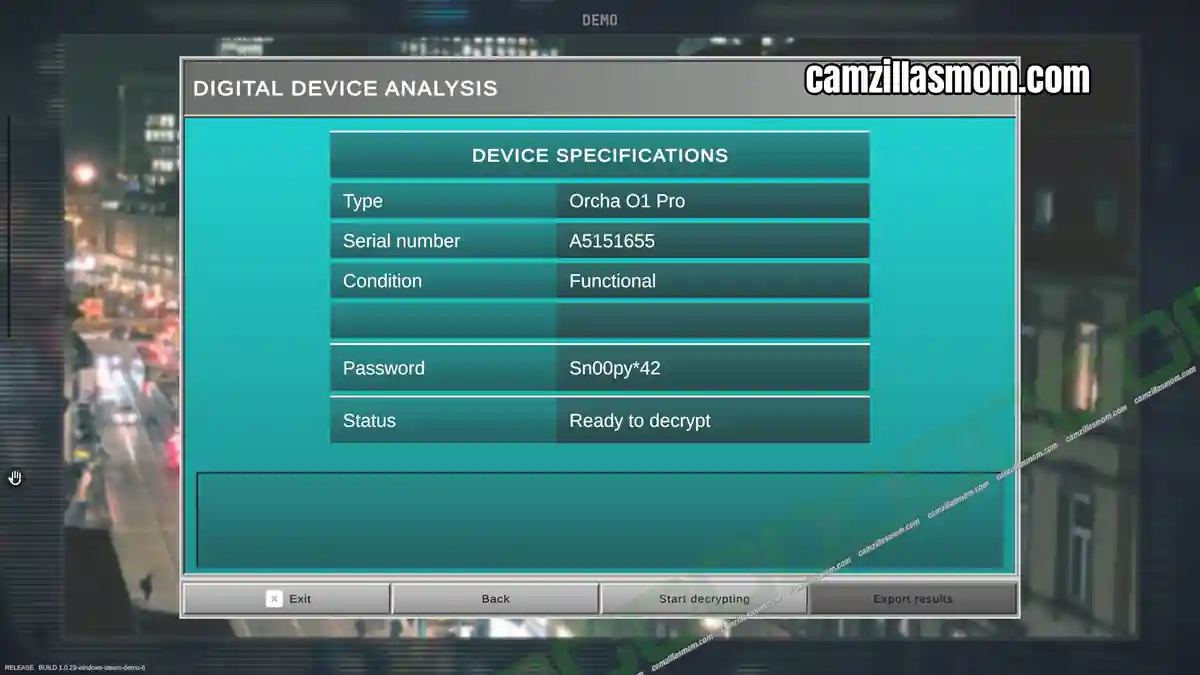
Continue with the Digital Evidence Analysis station. I started with Smartphone – Orcha. You automatically get to select the password you collected as evidence. Start decrypting and wait for it to finish. Then, export the results. Do the same for the two chips you de-soldered previously.
The password won’t work for the chip. This only means that decryption will take longer. Exit the workstation when all three analysis are done and pick up the folder with the results.
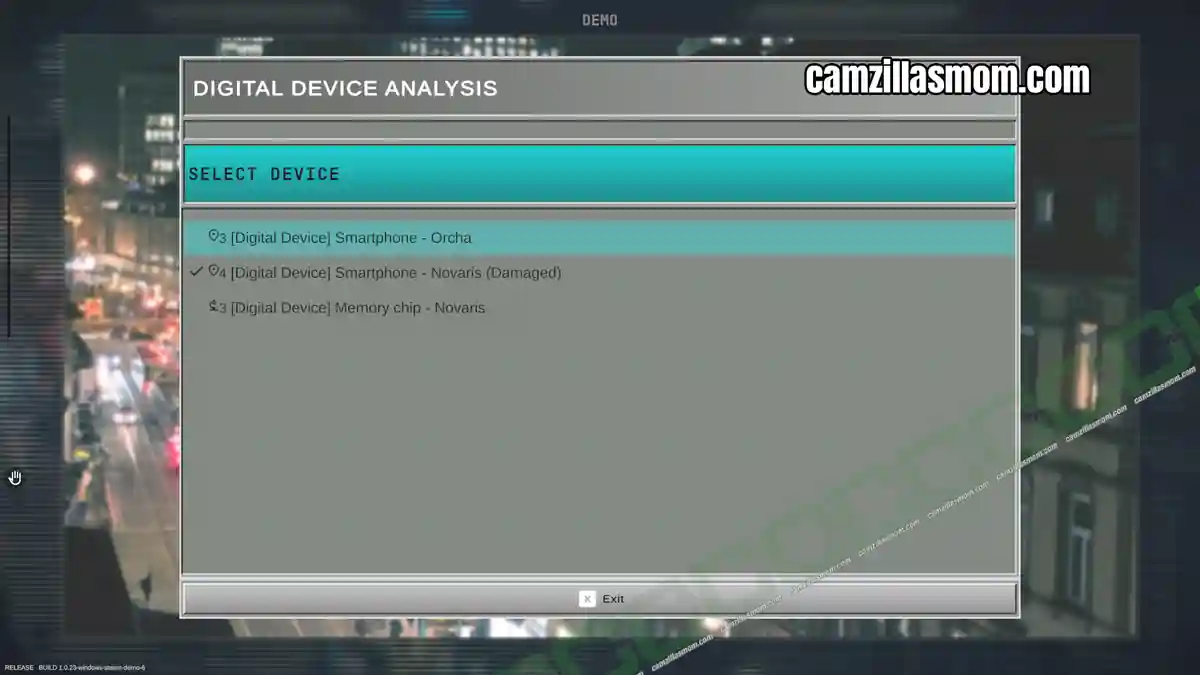
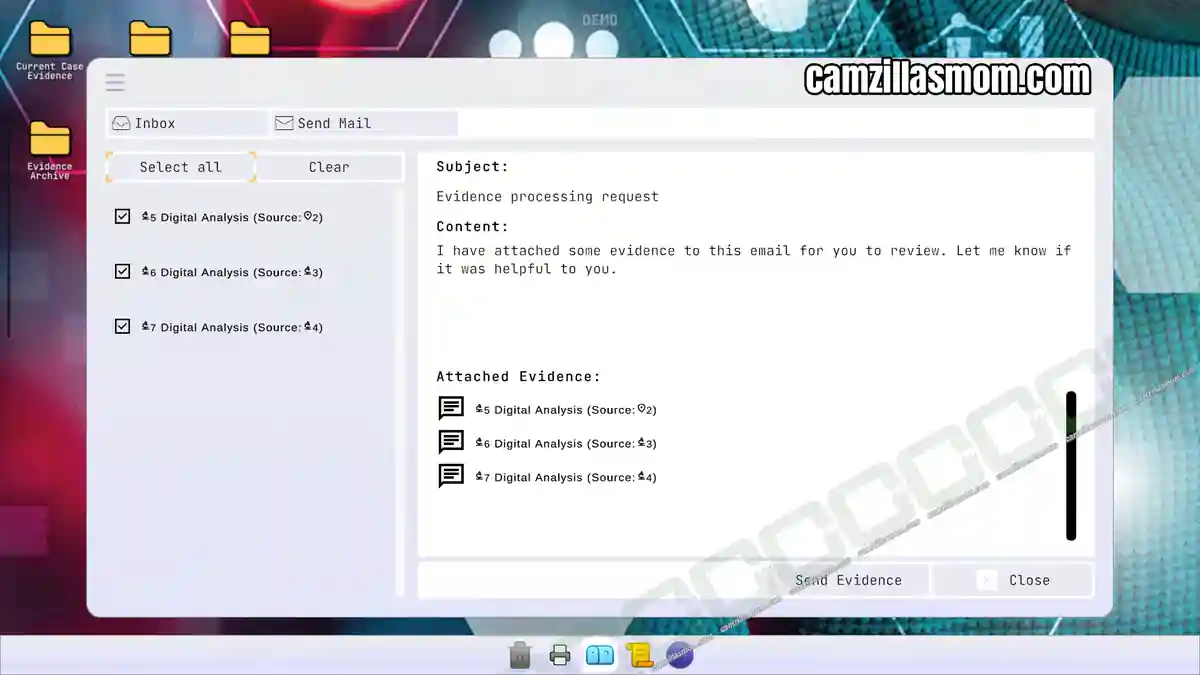
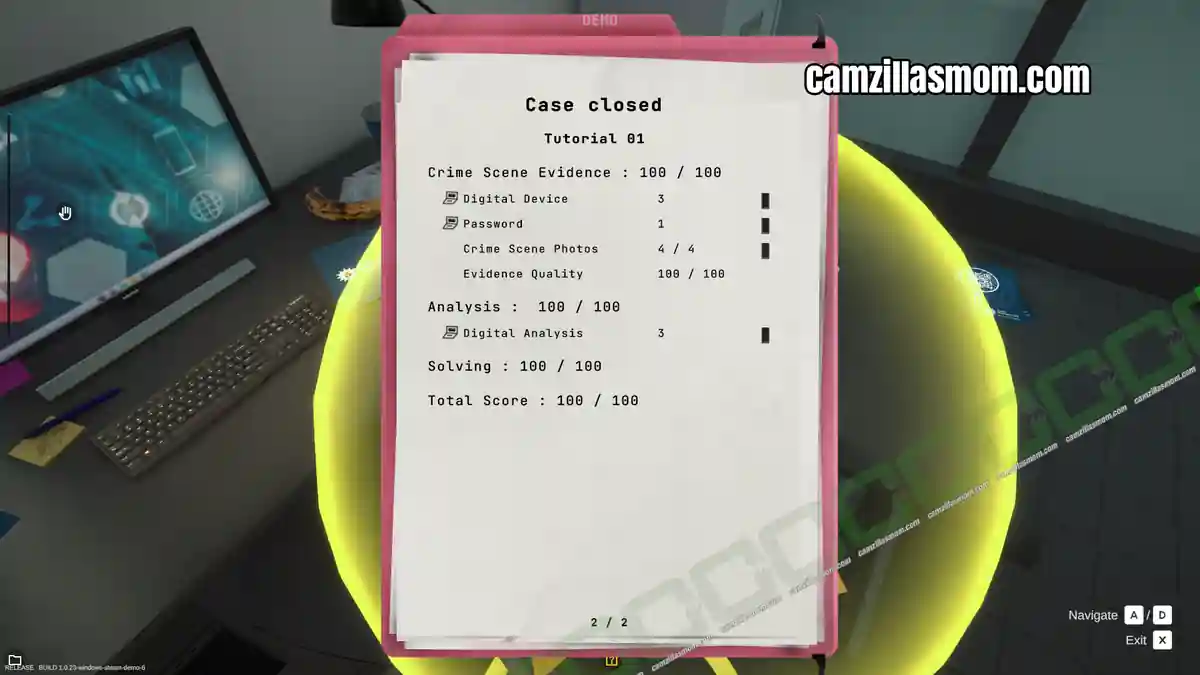
Then, return to the e-mail computer and send all three digital analysis files. You can now close the case.


Forensics: Crime Scene Detective
Release: July 13th, 2016
Developer: Binary Impact, Alchemical Works
Publisher: Aerosoft GmbH
Official Website: https://store.steampowered.com/app/3765010/Forensics_Crime_Scene_Detective/