Embark on the “Pilgrim’s Path” quest in Dying Light 2: Stay Human with this step-by-step walkthrough. From parkour tutorials to crafting essentials and navigating through challenges, this guide ensures you stay on track and make the most of your journey.
- Pilgrim’s Path Quest Walkthrough
- 1 – Climb to the Ledge
- 2 – Follow Spike
- 3 – Collect Honey and Chamomile
- 4 – Craft Healing Medicine
- 5 – Follow Spike
- 6 – Search the House
- 7 – Explore the Garden
- 8 – Join Spike on the Terrace
- 9 – Get to the Radio Antenna
- 10 – Search for a Safe Place to Sleep
- 11 – Turn on the Power in the Building
- 12 – Wait until Morning
- 13 – Meet the Contact in the Metro Tunnels
- 14 – Find Spike’s Contact
- 15 – Eliminate the Masked Thugs
- 16 – Check on the Contact / Eliminate the Thugs
- 17 – Escape with the Contact / Escape from Waltz
- Walkthrough Video
Pilgrim’s Path Quest Walkthrough
Note: The map is not available in the Pilgrim’s Path Quest.
1 – Climb to the Ledge
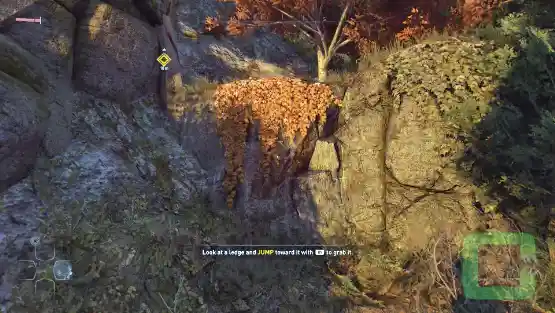
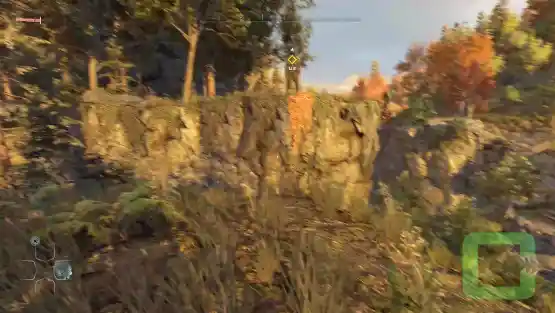
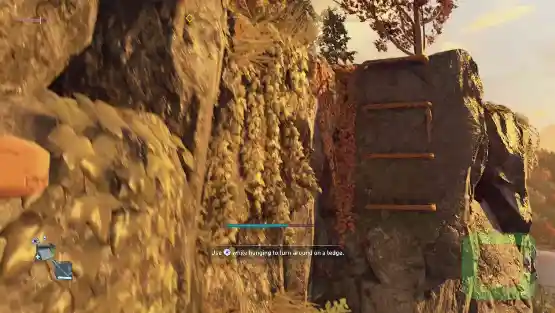
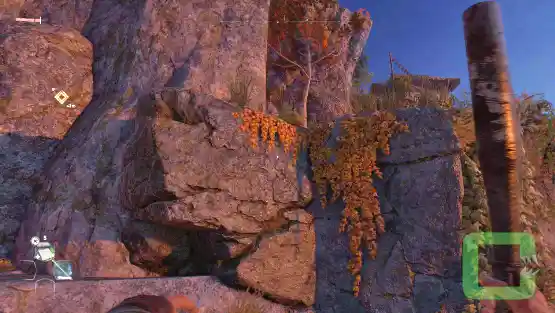
Begin with a brief parkour and jumping tutorial, making your way up to the ledge where Spike is waiting. Follow the path marked by orange foliage draping from the rocks as you ascend. Once at the top, leap toward Spike – he’ll assist you with the final stretch.
2 – Follow Spike
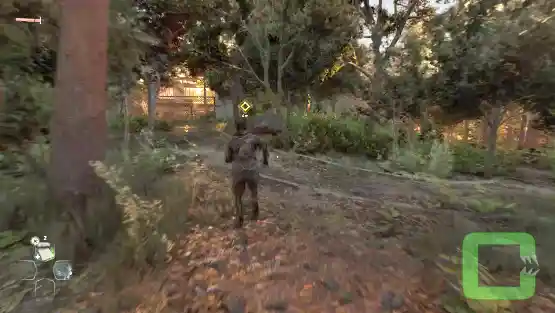
Follow Spike through the forest until he stops, while having a conversation.
3 – Collect Honey and Chamomile
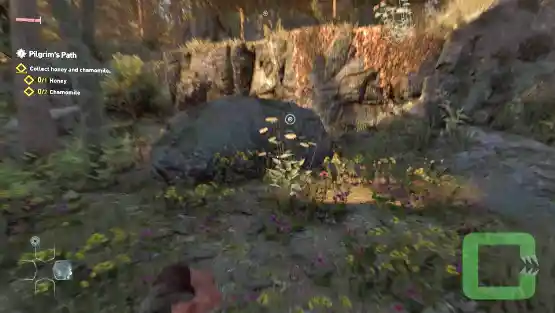
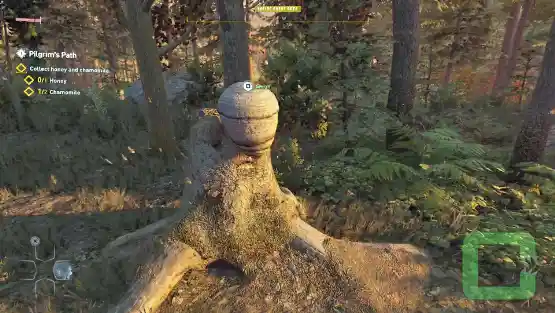
Gather honey and chamomile as specified, keeping a close watch on your surroundings. You’ll find chamomile growing uphill, while the two beehives are located directly ahead.
4 – Craft Healing Medicine
Open the crafting menu, where you learn how to craft medicine from honey and chamomile.
5 – Follow Spike
Follow Spike again until you reach the house.
6 – Search the House
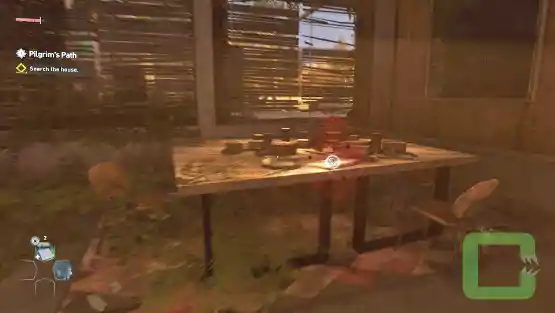
Spike will instruct you to enter the house from the opposite side. Inside, on the kitchen table, you’ll find a collectible titled Newspaper Article – October 11th, 2020. Once you open the back door to the kitchen, Spike will engage in another conversation with Aiden, and the story will progress from there.
7 – Explore the Garden
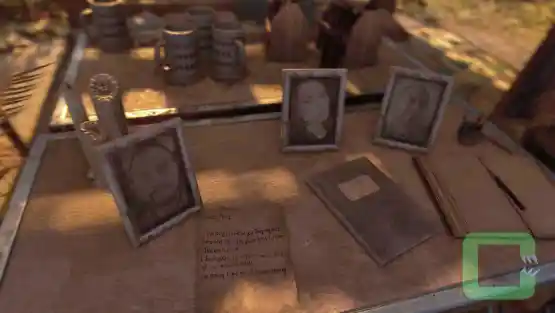
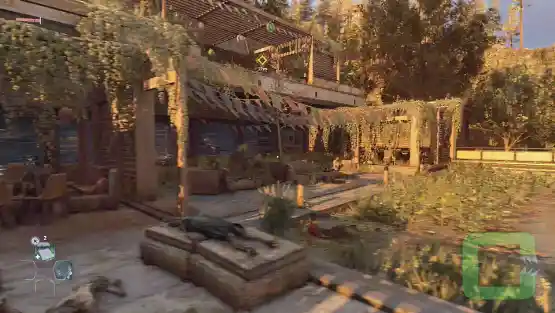
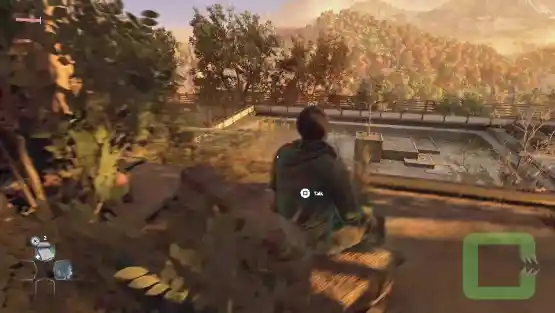
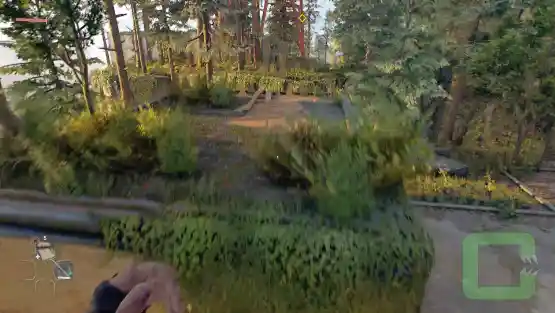
In the garden area, you’ll find another collectible waiting to be discovered. Head to the far-right corner near the pool, where a table holds three picture frames and a letter. This collectible, titled Letter – Goodbye Letter, is ready to be added to your collection.
8 – Join Spike on the Terrace
Climb up to the terrace and talk to Spike.
9 – Get to the Radio Antenna
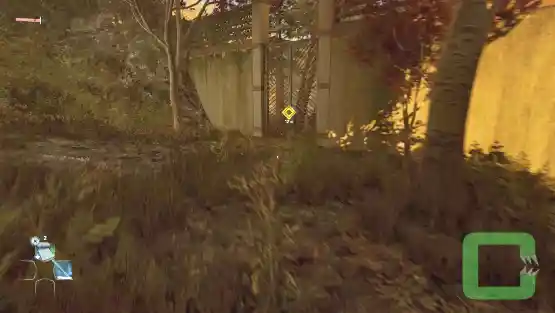
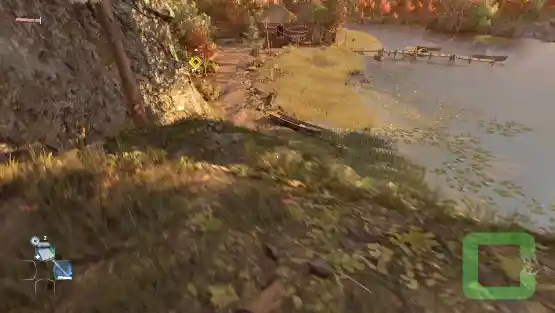
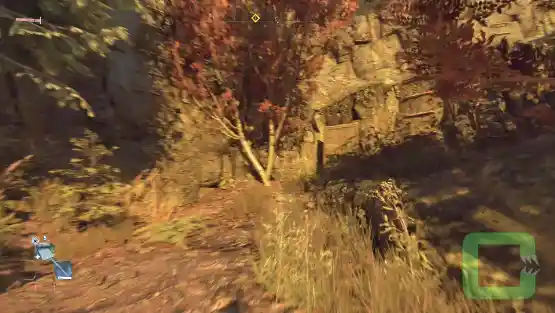
Exit the building at the bottom-left corner of the terrace and head through the garden gate. Follow the path leading down to the water, where you’ll find a small house. While you can loot the house if you wish, be aware that it contains no Collectables, so it’s not essential.
Take the narrow path that winds past the house and leads uphill to the city bus. Enter the bus and climb through its interior, where a cloth fluttering in the wind marks the entry point. Once at the top, proceed toward the tunnel.
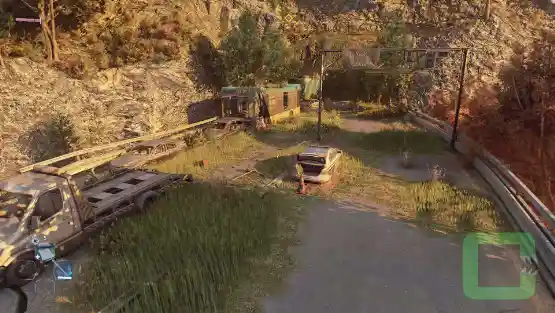
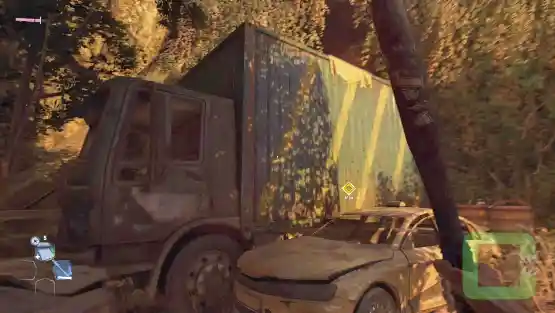
At the tunnel entrance, climb onto the truck and make your way across the tunnel, skillfully avoiding the zombies by moving above them.
Once you’ve made it through the tunnel, climb the metal bars at the exit. Along the way, you’ll encounter a series of parkour challenges leading up to a zipline. When you reach it, take the ride!
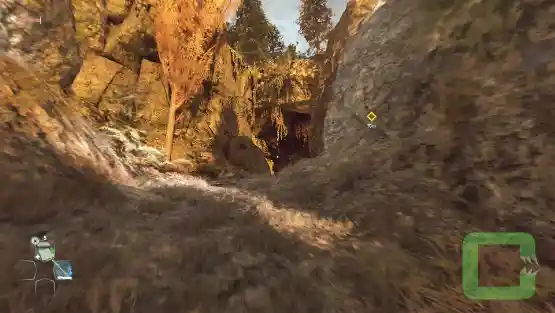
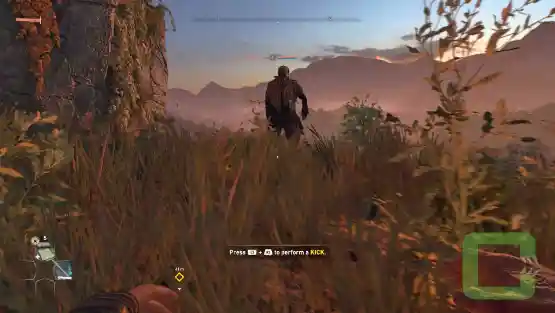
At the other end, cross a small cave and learn how to kick-attack someone.
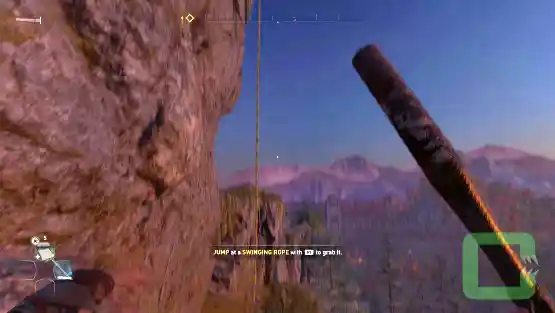
Keep climbing – and master the art of using a swinging rope along the way.
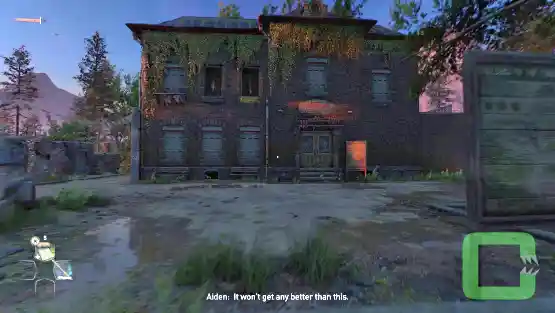
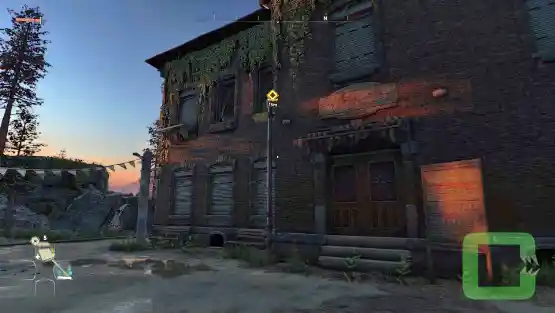
Upon leveling up, you unlock the ability to jump higher, allowing you to scale the taller metal bars with ease. As darkness begins to fall, you finally arrive at a house, marking the next stage of your journey.
10 – Search for a Safe Place to Sleep
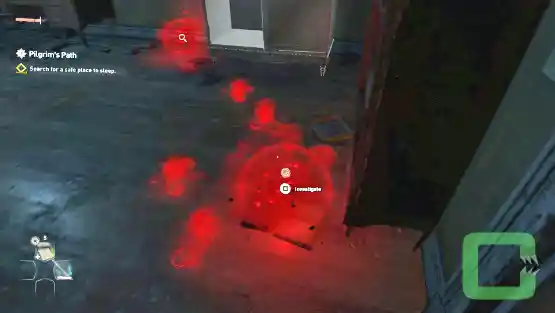
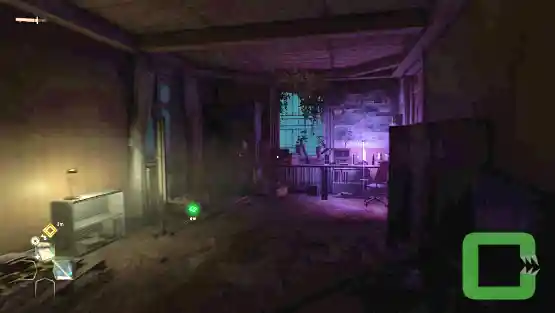
Climb the house’s drain pipes to gain entry. Once inside, follow the red tracks on the floor – they will guide you to a piece of movable furniture. Shift it aside to uncover the entrance to the radio room, also known as the safe room.
11 – Turn on the Power in the Building
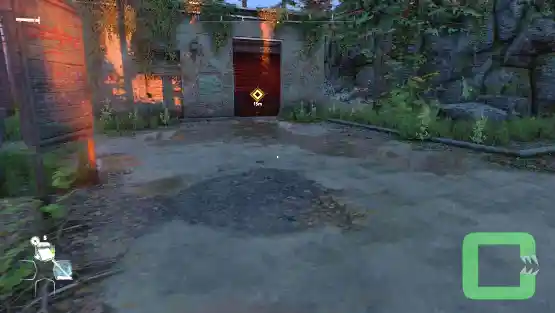
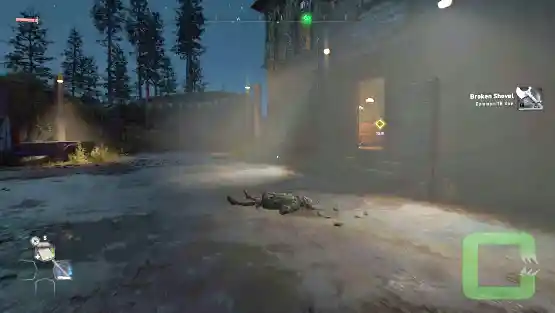
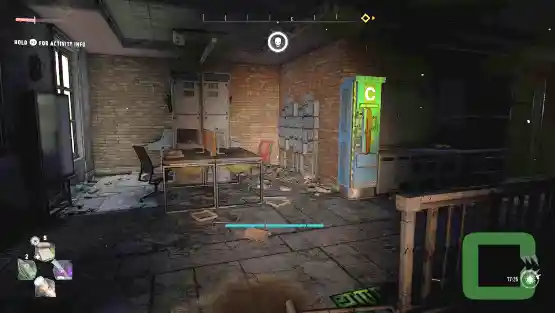
Step outside once more and head to the smaller building with the big red door. As you approach, a special zombie and its minions will ambush you, providing the perfect opportunity to learn how to dodge effectively. Once the fight is over, interact with the red door again to activate the power.
12 – Wait until Morning
Return to the building and rest in the Safe House. When morning comes, tune the radio to channel 140.200.
13 – Meet the Contact in the Metro Tunnels
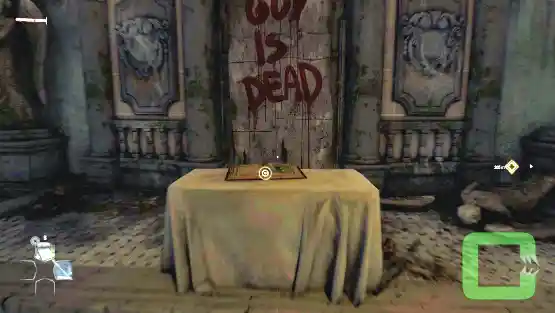
Head toward the radio tower and take the zipline at the end. Once you reach the church, go inside and collect the item on the altar – Paradise Lost, Book IV. Afterward, exit the church and follow the path leading south. Look for a mattress marked with a blue X and jump down onto it. From there, leap into the water below and swim across the river to continue your journey.
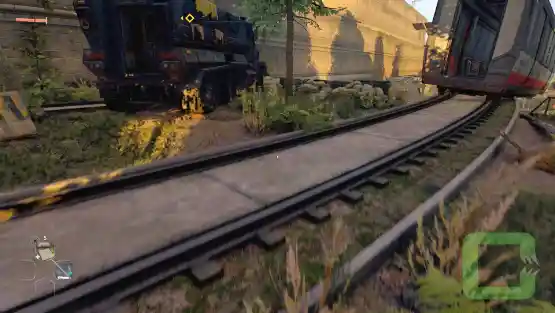
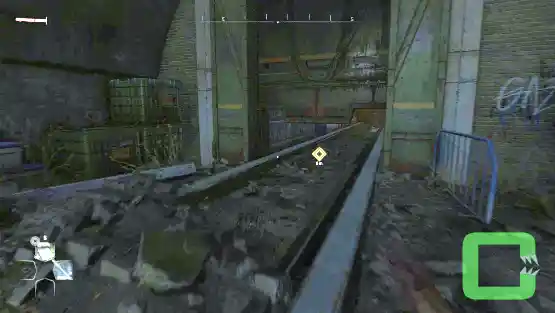
Head along the shoreline on the opposite side to reach the tunnel entrance. Once there, climb onto the blue truck and use the rope to swing over the fence guarding the tunnel entrance.
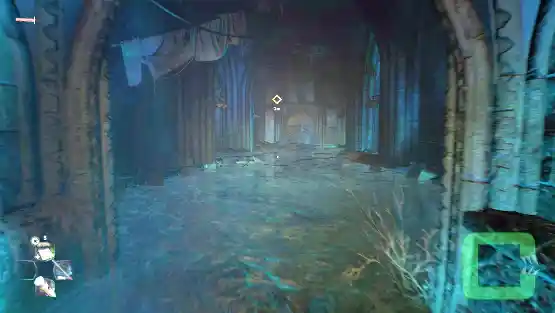
Enter the tunnel and follow the red paint.
14 – Find Spike’s Contact
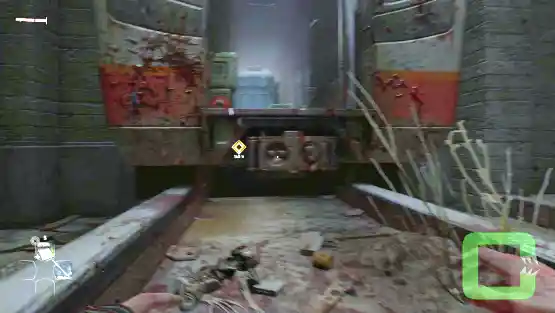
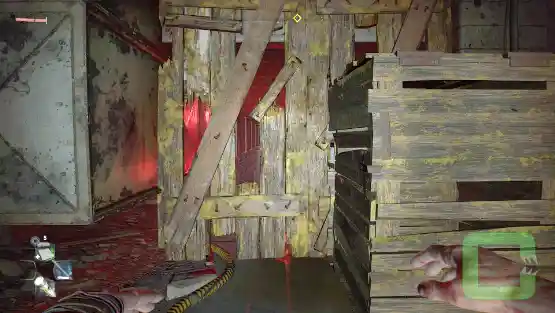
Follow the yellow marker as it guides you through the corridors. Feel free to turn on your flashlight – don’t worry, it won’t alert any zombies or enemies. Your first obstacle will be a barricade, which you’ll need to break through with a melee attack to proceed. After that, prepare to navigate across the monkey bars to continue your journey.
The door leading to the contact is locked, but there’s a ventilation shaft you can crawl through to reach them. Along the way, you’ll have the opportunity to master the “Perfect Block” technique.
15 – Eliminate the Masked Thugs
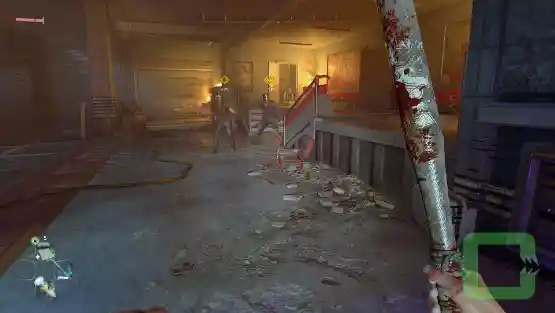
Following the Perfect Block tutorial, you engage in combat with a group of thugs. Once the fight concludes, you move on to learning a new skill: the “Vault Kick.”
16 – Check on the Contact / Eliminate the Thugs
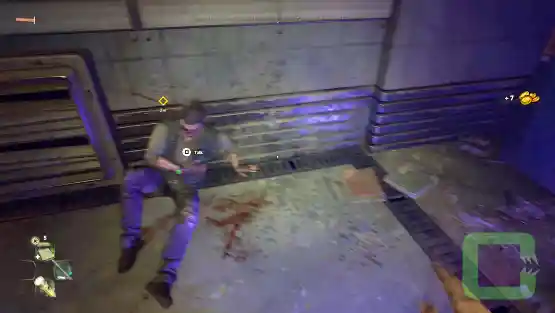
Connect with your contact and take down the thugs using dynamic Parkour Combat.
17 – Escape with the Contact / Escape from Waltz
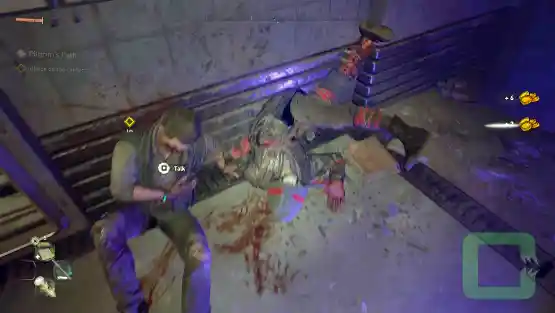
Speak with your contact once more. Following the cutscene, head towards the quest marker and dive to safety.
Walkthrough Video
1 – Climb to the Ledge – 00:00
2 – Follow Spike – 02:13
3 – Collect Honey and Chamomile – 03:06
4 – Craft Healing Medicine – 04:40
5 – Follow Spike – 05:03
6 – Search the House – 05:57
7 – Explore the Garden – 11:37
8 – Join Spike on the Terrace – 13:25
9 – Get to the Radio Antenna – 18:30
10 – Search for a Safe Place to Sleep – 30:46
11 – Turn on the Power in the Building – 33:00
12 – Wait until morning. – 35:33
13 – Meet the contact in the Metro tunnels. – 41:55
14 – Find Spike’s contact. – 51:03
15 – Eliminate the masked thugs. – 54:32
16 – Check on the Contact / Eliminate the thugs – 55:27
17 – Escape with the Contact / Escape from Waltz – 57:16
Dying Light 2: Stay Human
Release: February 4th, 2022
Developer: Techland
Publisher: Techland, Square Enix
Official Website: https://dyinglightgame.com/
