Welcome to my guide for finding all 15 chest collectible locations at the Roggs Mountains in Blades of Fire. This walkthrough provides clear directions and visuals to help you uncover every hidden chest, ensuring you don’t miss out on valuable items along the way.
-> More Guides at the Blades of Fire HUB
- The Roggs Moutains Overview Map
- 1 – Troll Cave 1
- 2 – Troll Cave 2
- 3 – Light Rune – Chasm of Despair
- 4 – Hurmuz Daurel
- 5 – Morlock’s Abyss
- 6 – King Narameth Cave
- 7 – Morlocks Place
- 8 – Koko’s Hollow
- 9 – Koko’s Hollow Pit
- 10 – Koko’s Hollow Pit 2
- 11 – Broken Bridge and Zipline to The Forgotten Rift
- 12 – South of Koko’s Hollow
- 13 – Northern Karamuth
- 14 – Crusader’s Grotto – Eastern Karamuth
- 15 – Templar Passage
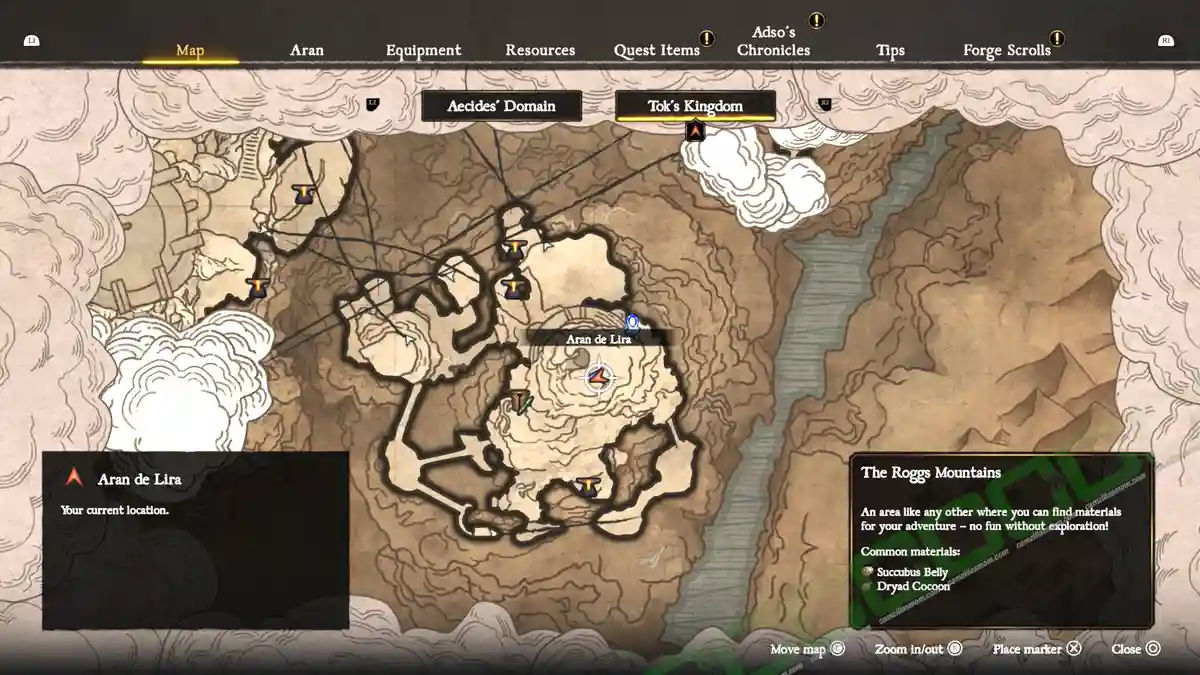
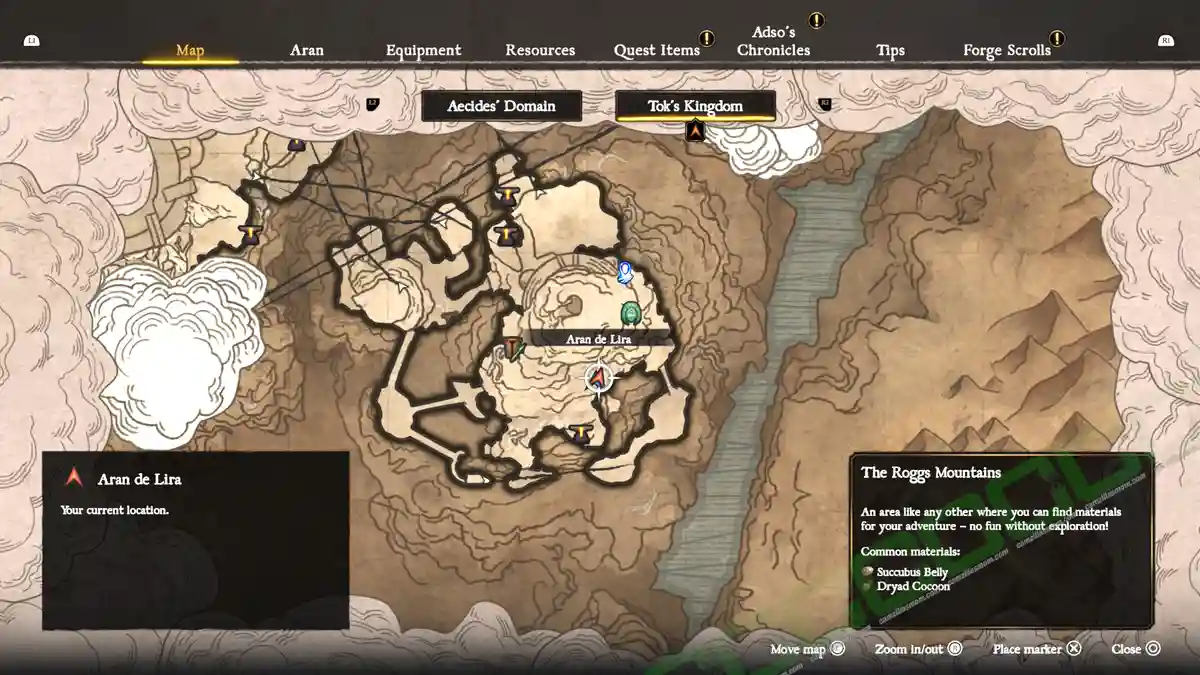
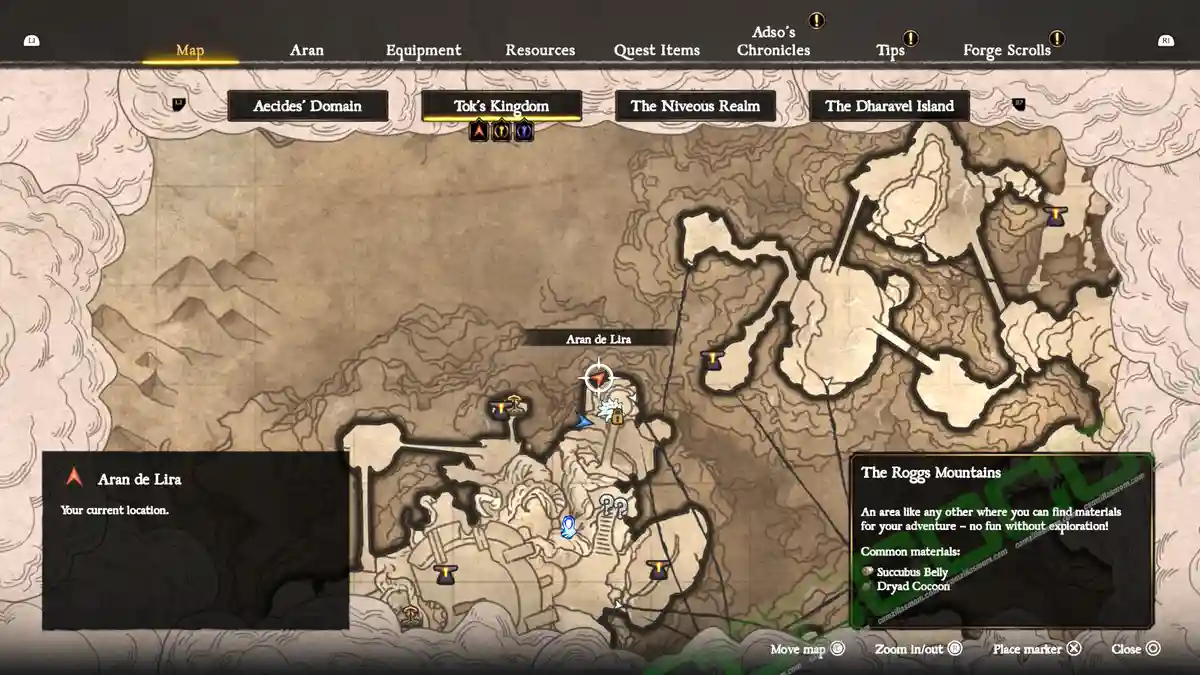
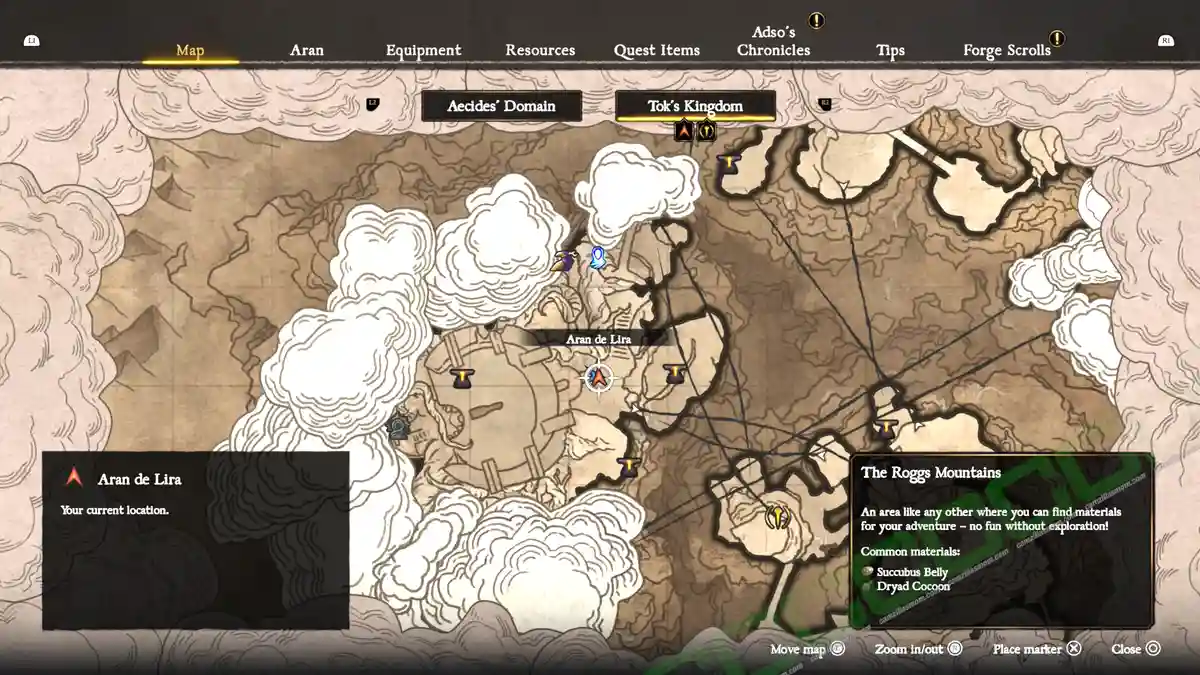
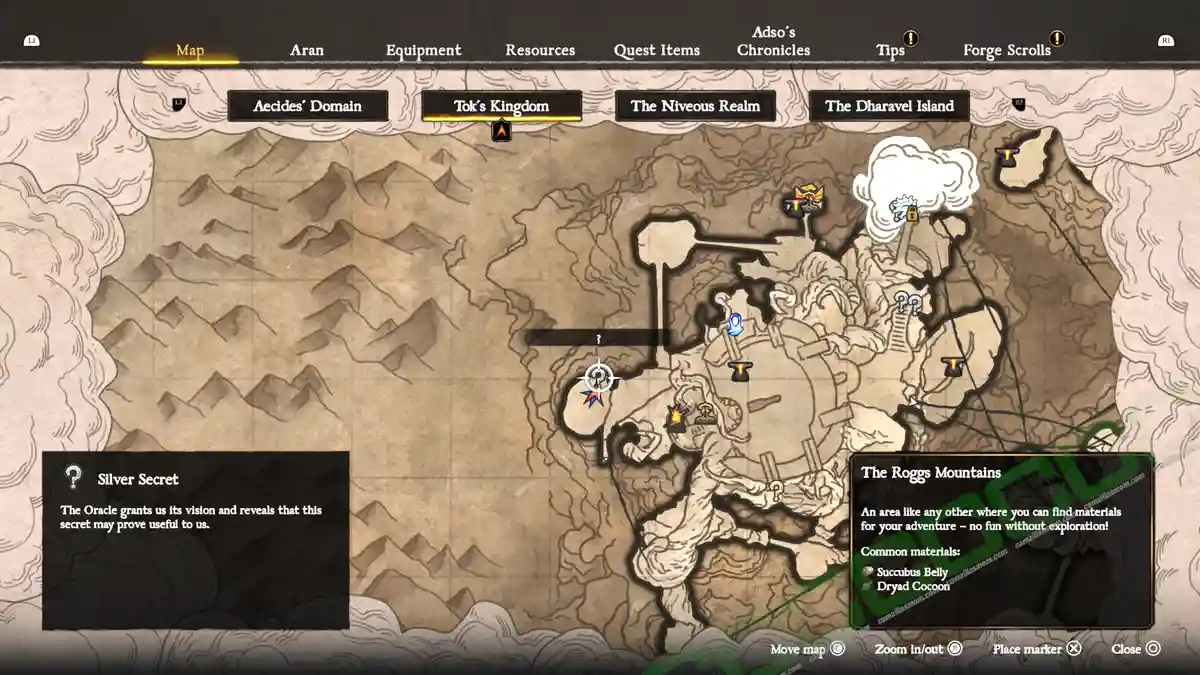
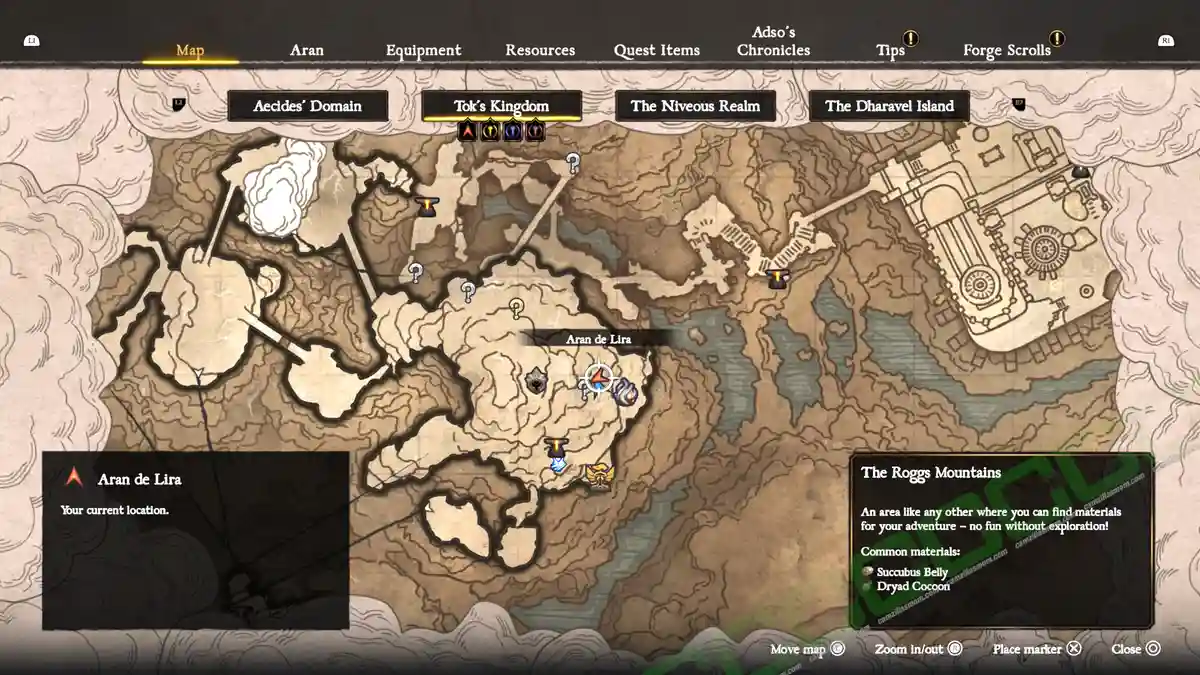
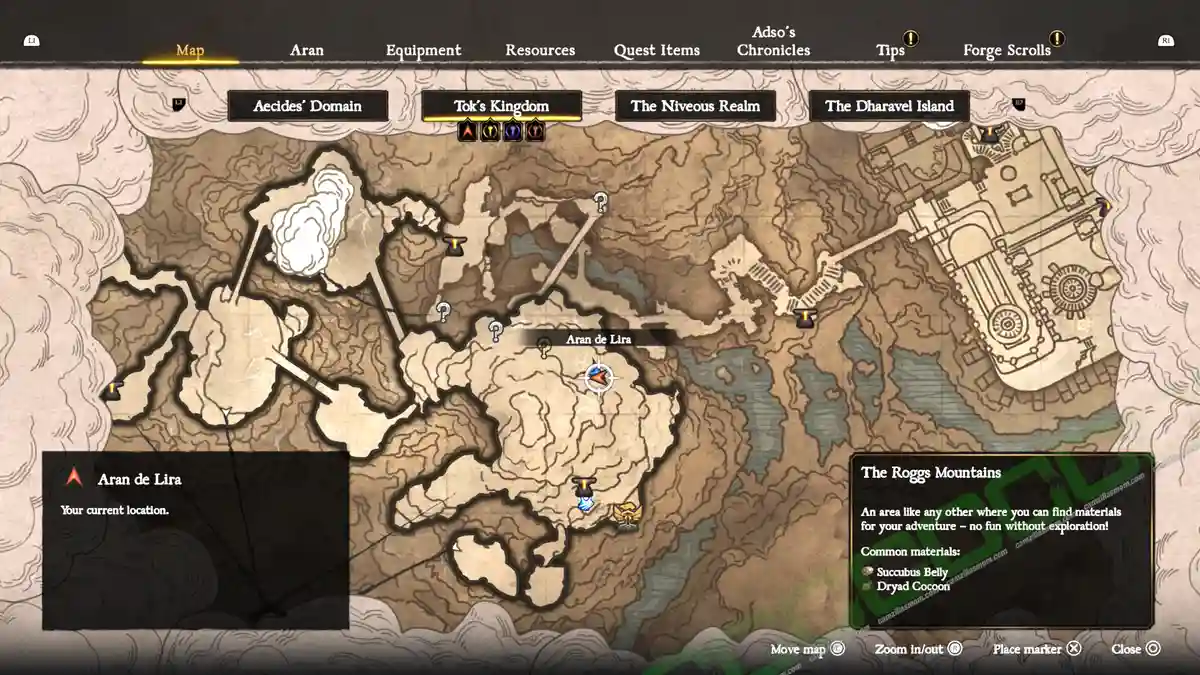
The Roggs Moutains Overview Map
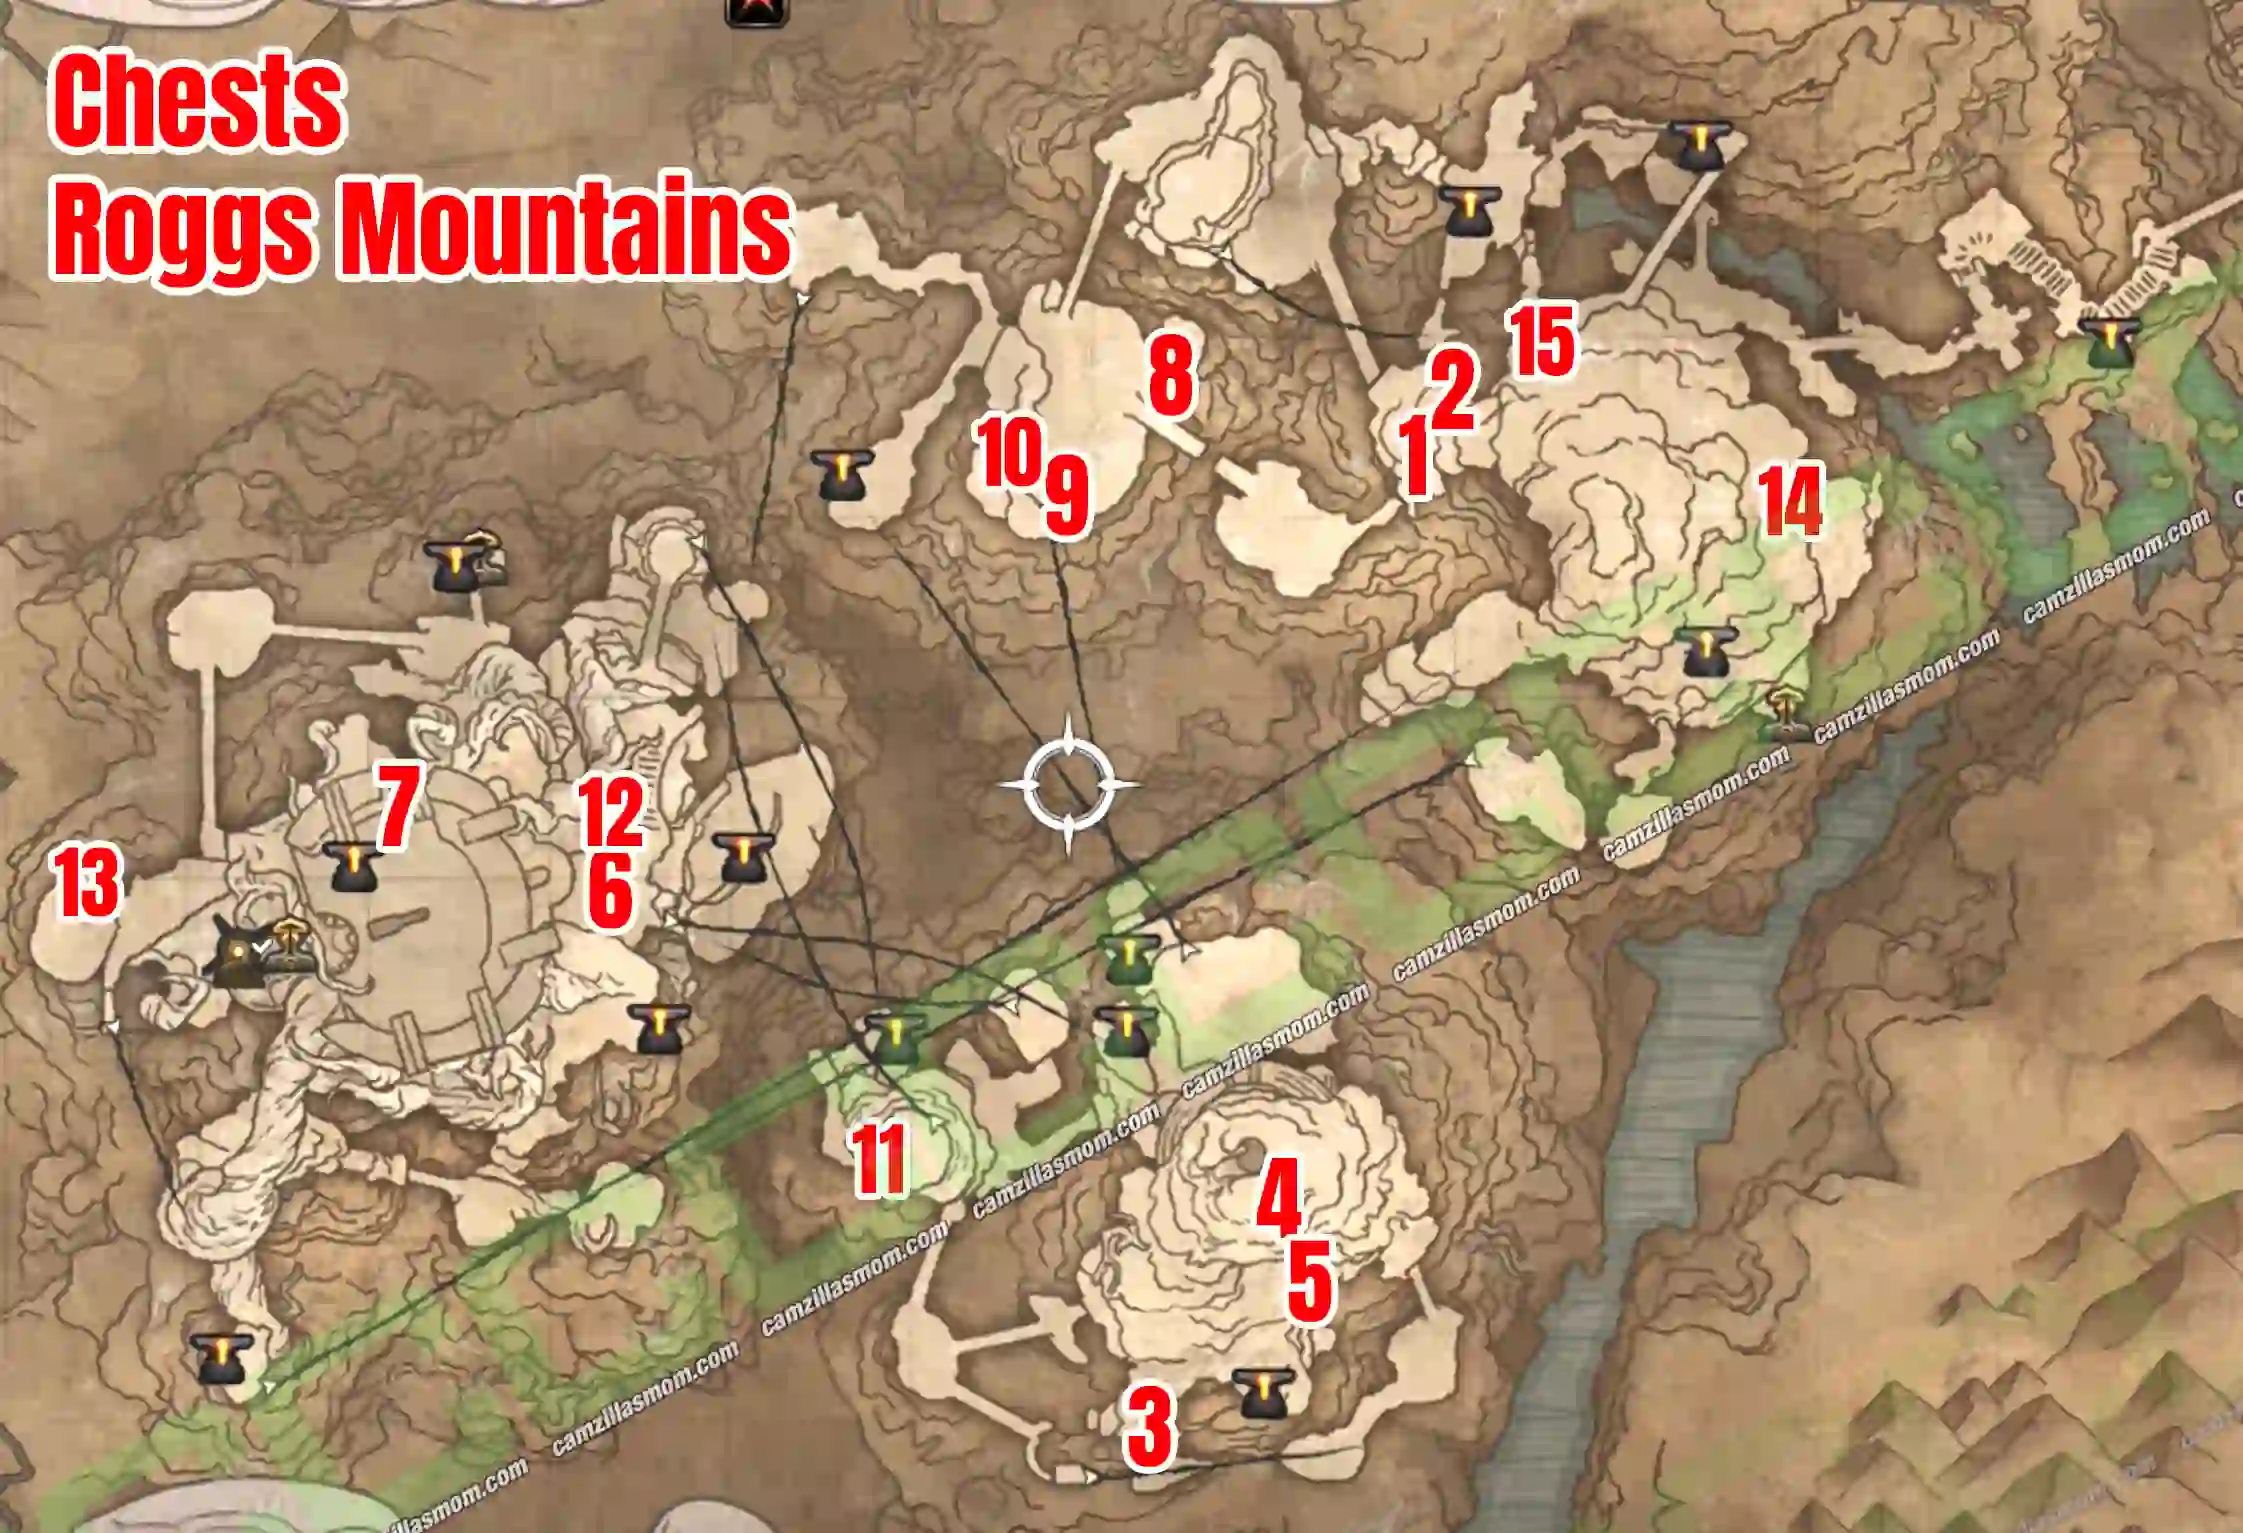
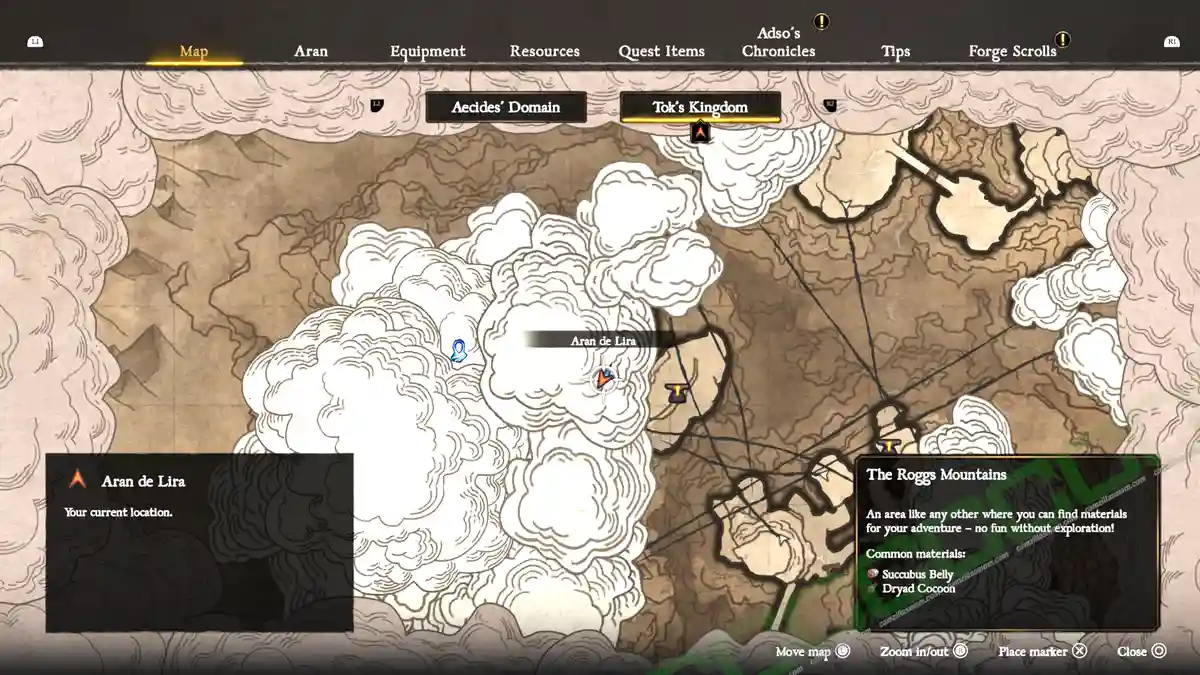
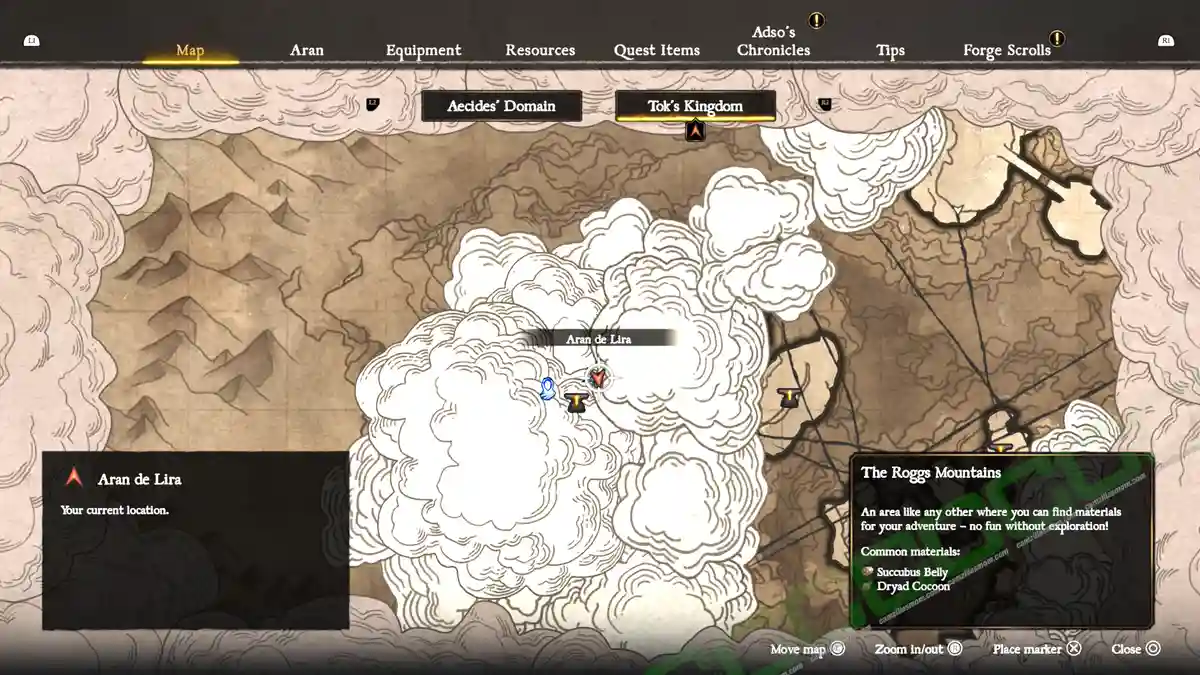
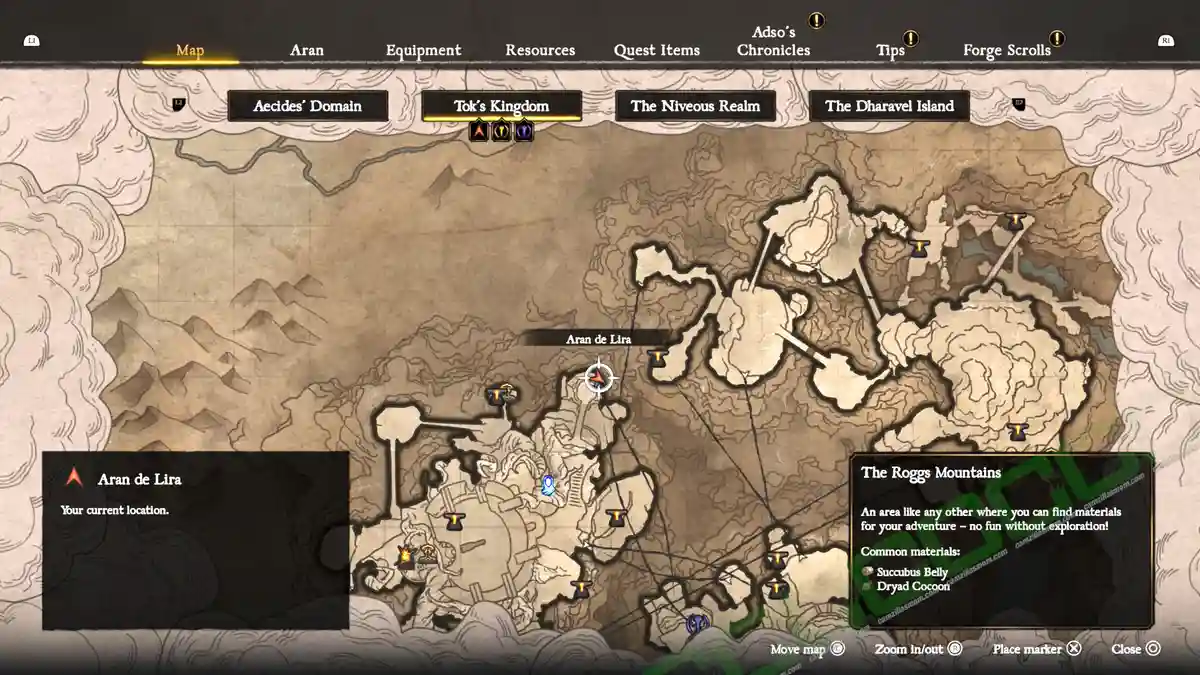
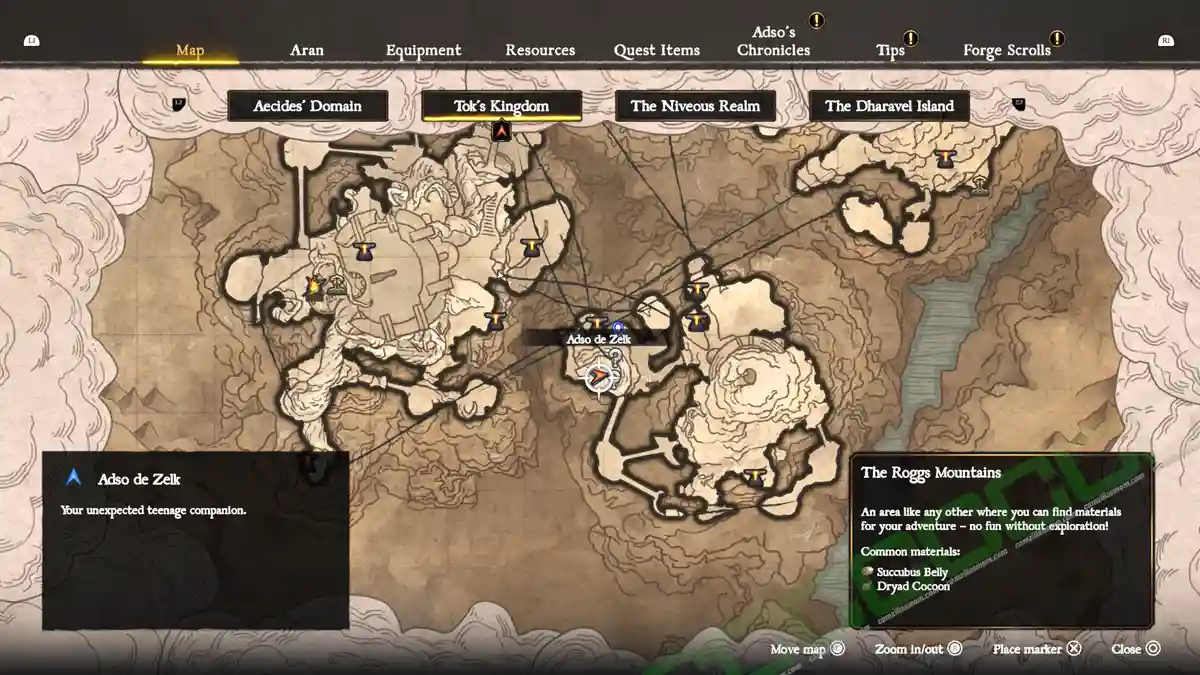
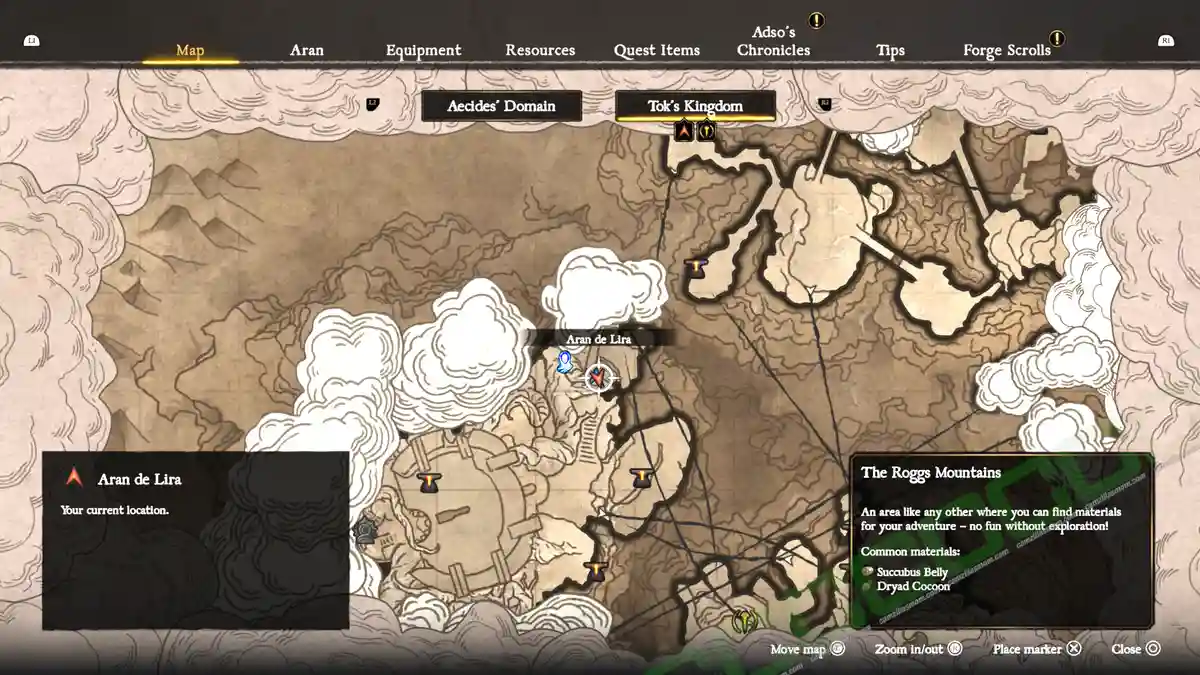
Below you will find the overview map of The Roggs Mountains with the collectible chests highlighted.
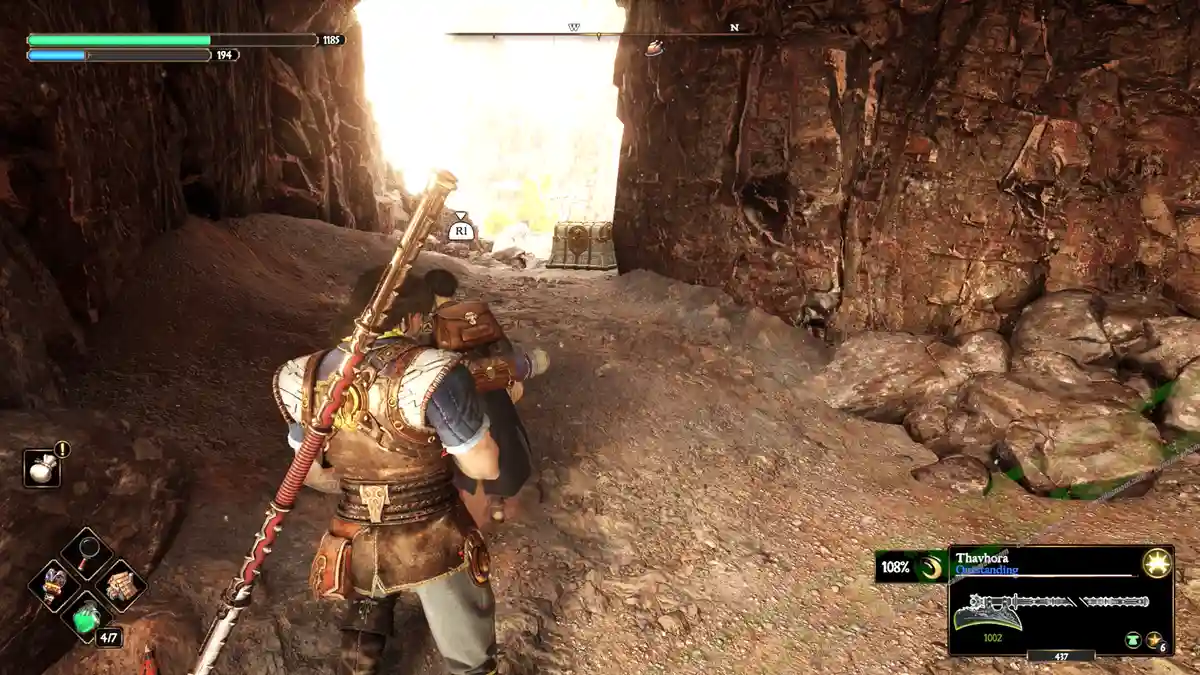
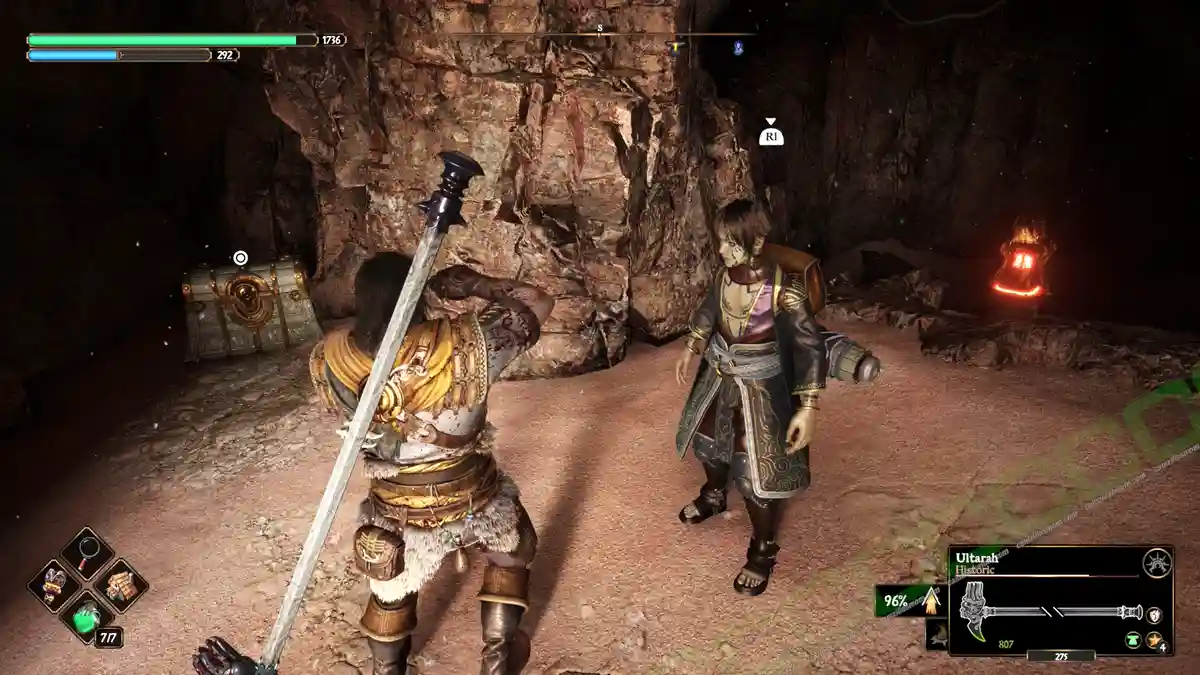
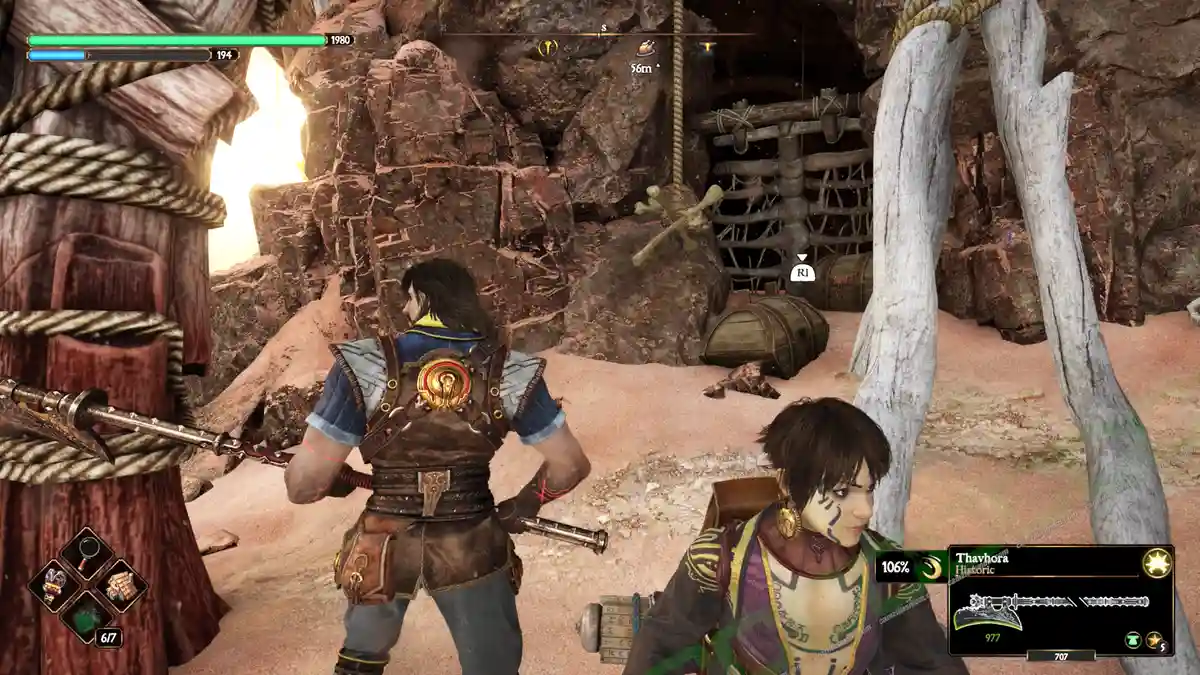
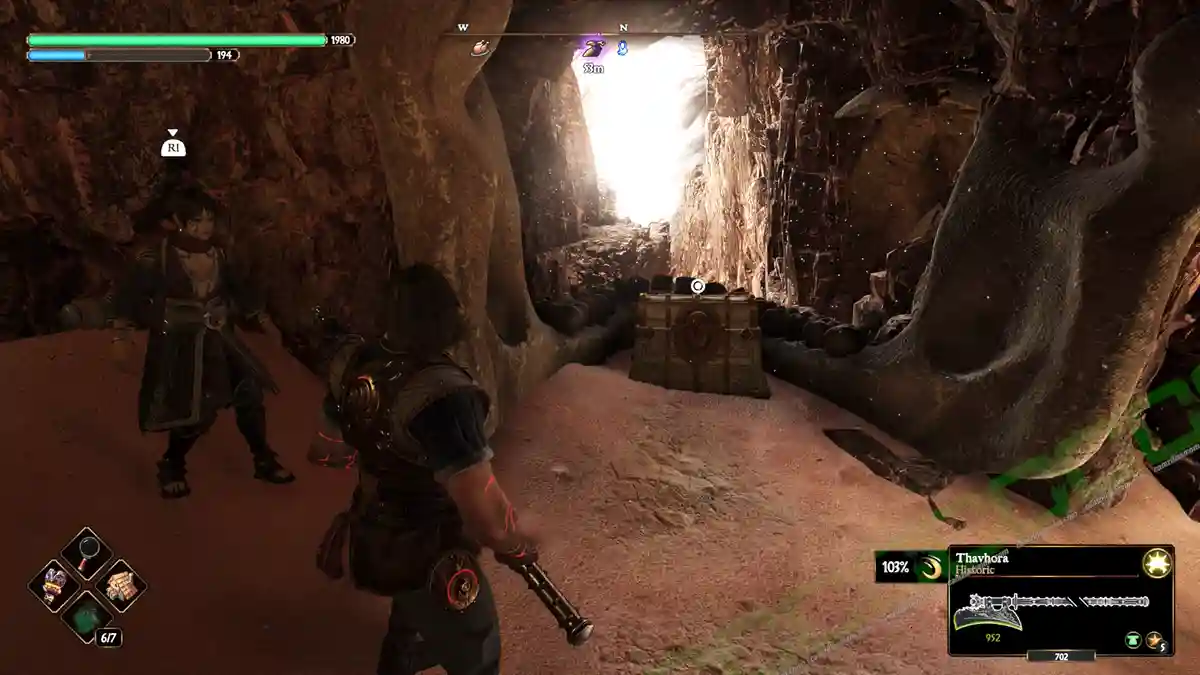
1 – Troll Cave 1
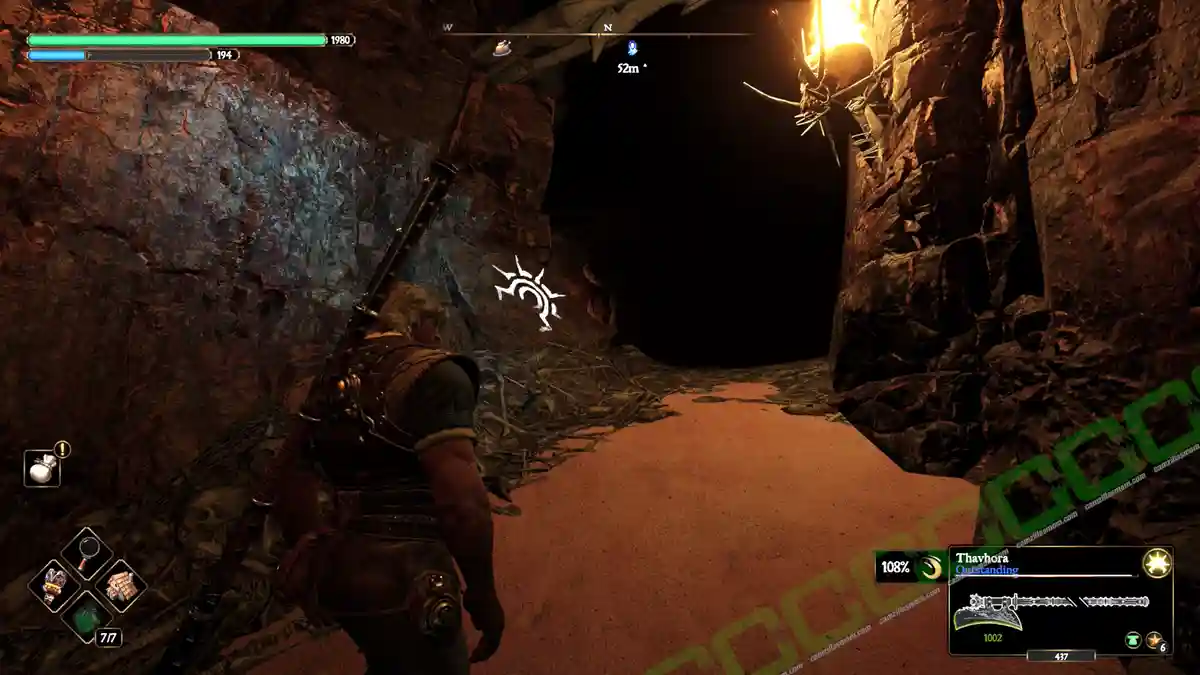
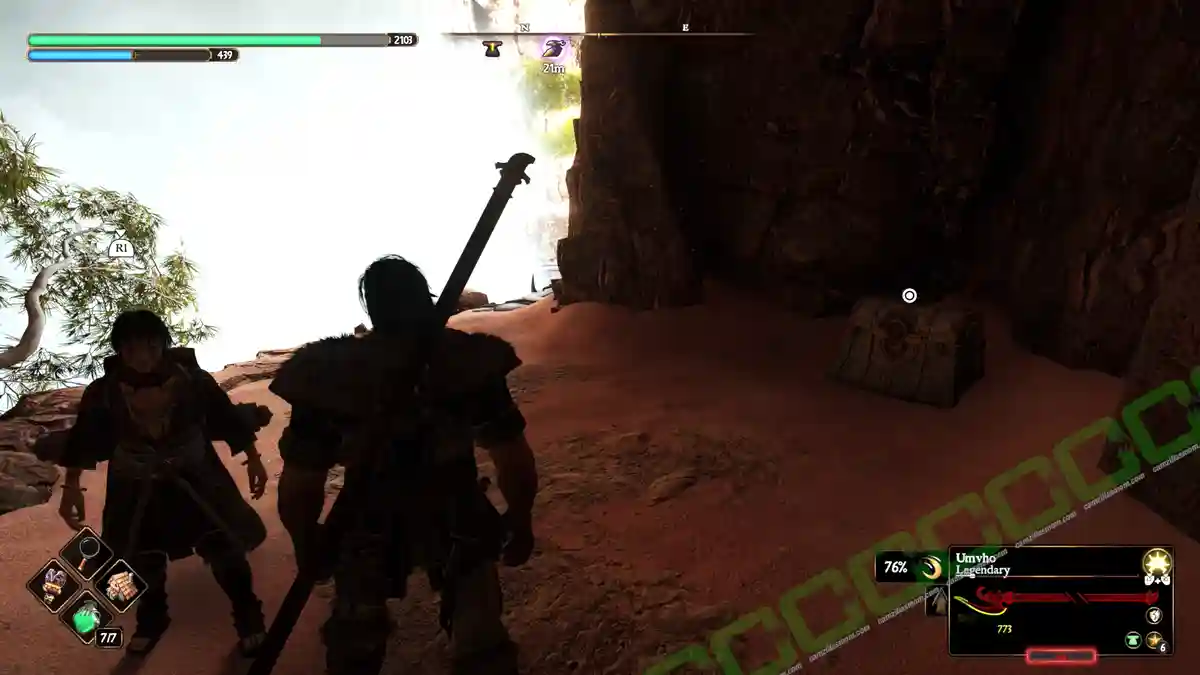
From the Roggs Watch Anvil, follow the story path until you get to defeat a Troll in its cave. In here is this chest.
Content: Health Gem
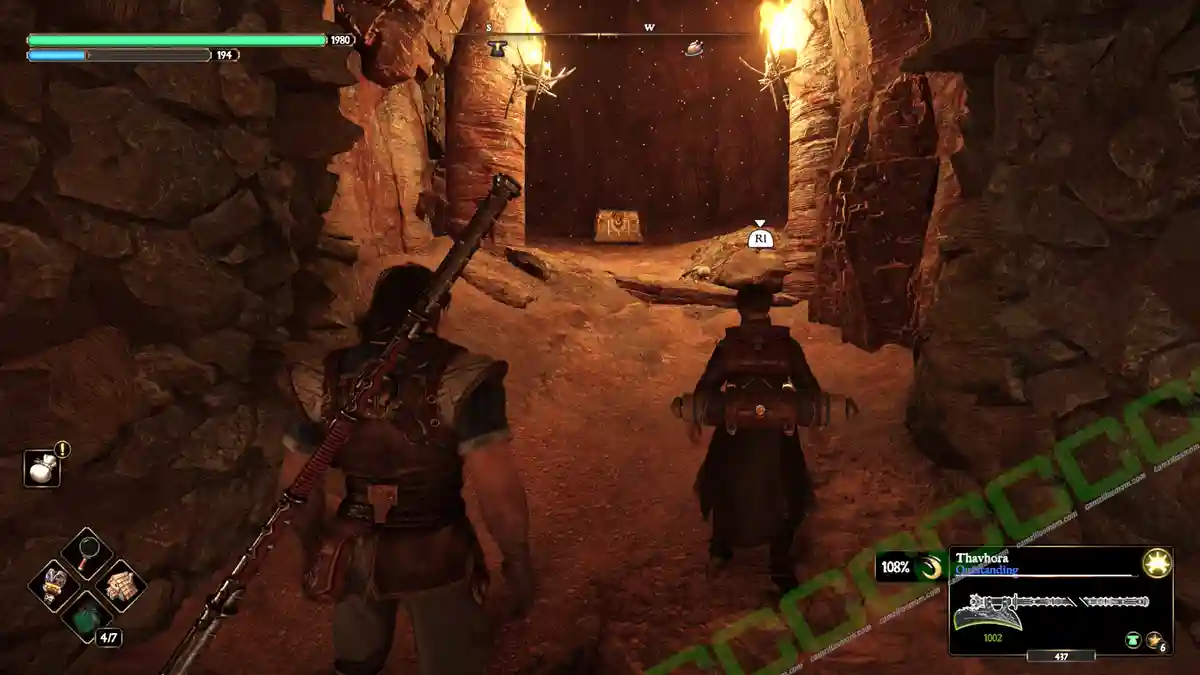
3 – Light Rune – Chasm of Despair
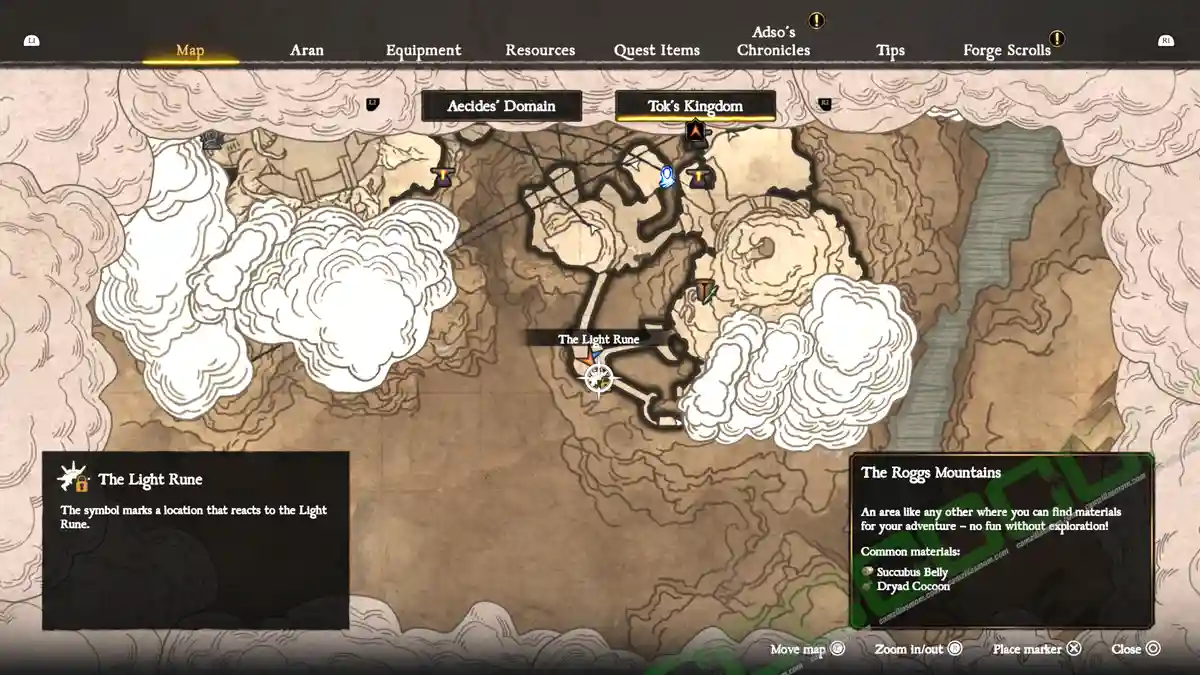
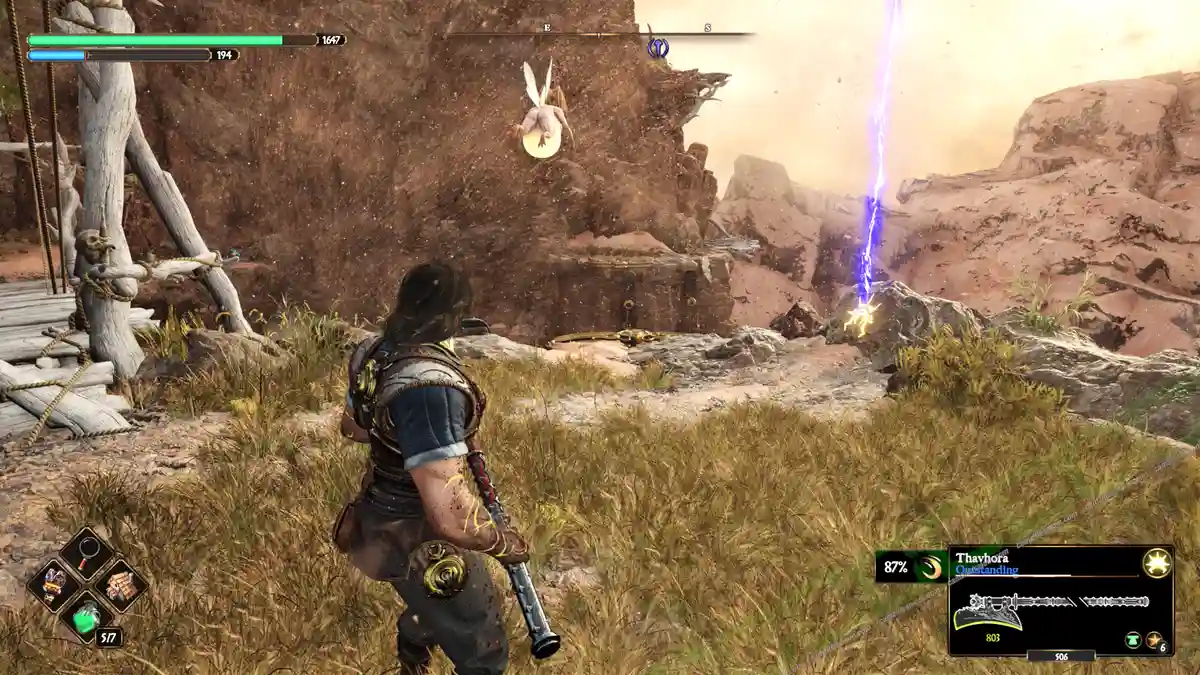
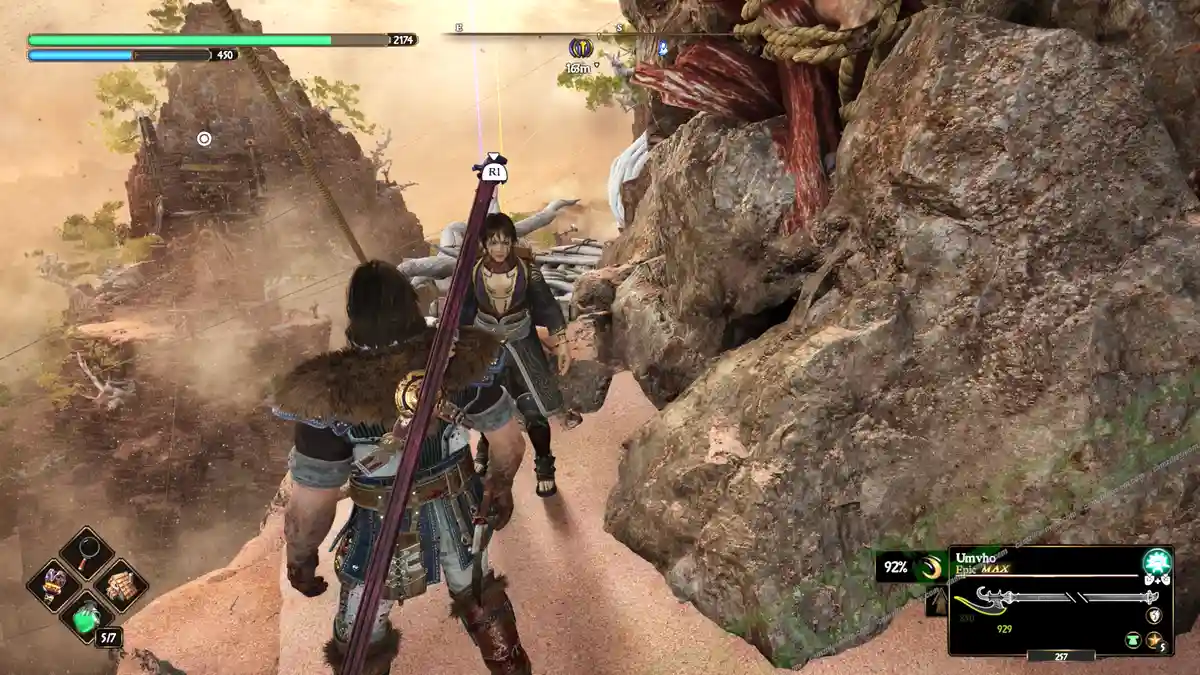
South of the Chasm of Despair anvil, you’ll find a Light Rune. To reach it, cross the cave with the sand elementals and activate the rune using a weapon imbued with Light Rune power. This will create a light bridge you can cross. On the other side, climb up the rope and use the zipline to reach another area. There, you’ll find a cave with water.
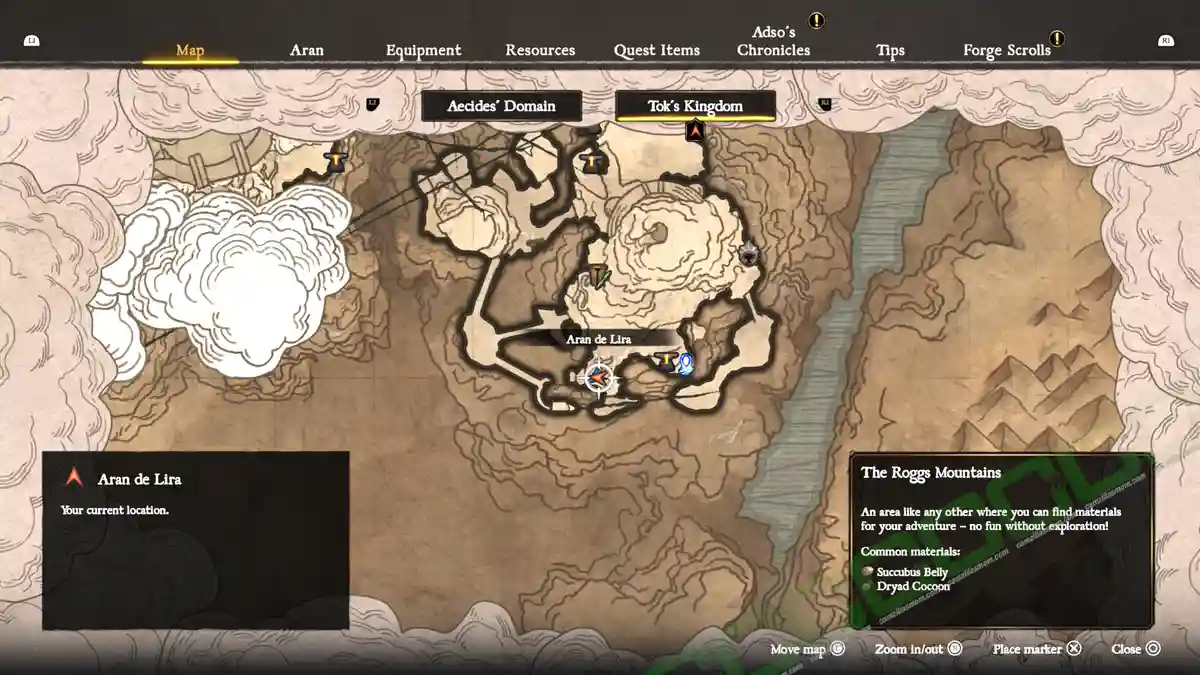
Inside this cave, you’ll find a Hurmuz Daurel statue that needs a charged amulet. Nearby, there are three Forger Sentinels you’ll need to defeat. There’s also a Nerea’s Tears statue, though it’s submerged. Follow the southern path to reach the Morlock’s Abyss anvil, but don’t go down yet. Instead, head west to find three Forger Sentinels. Defeat them, and you’ll find the chest in the same room. Note: You can open a passage to the elementals’ cave from here.
Content: Health Gem
5 – Morlock’s Abyss
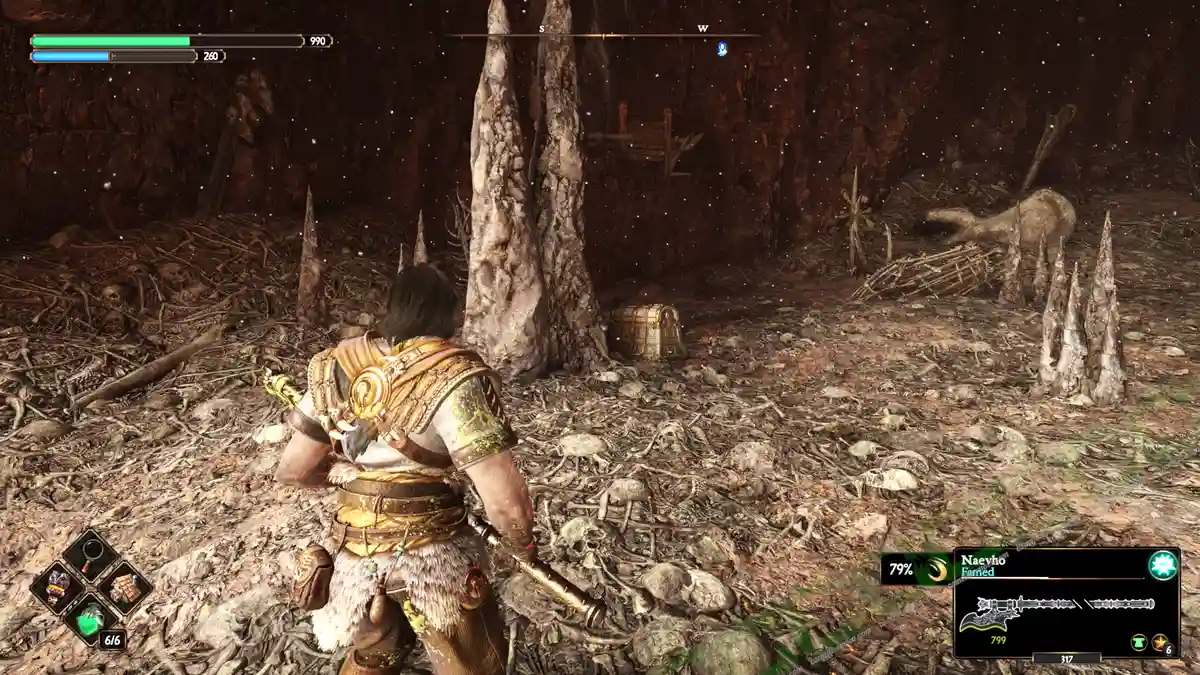
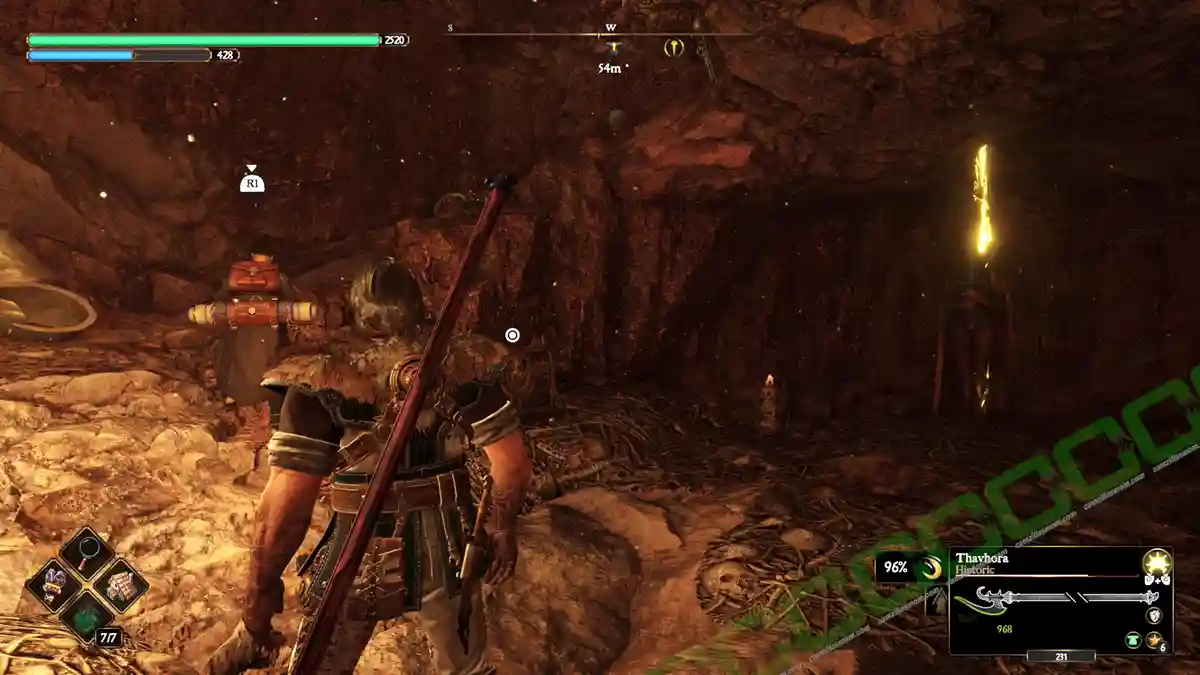
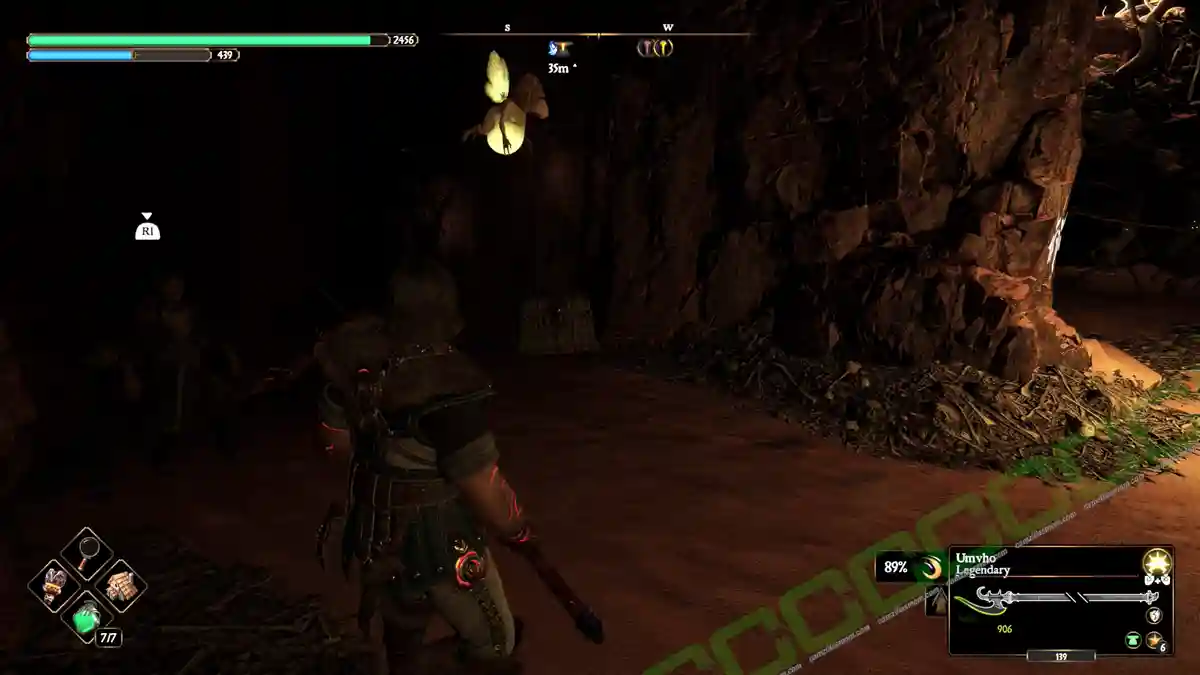
At the Morlock’s Abyss Anvil, use the Troll head to summon the elevator and ride it down into the abyss. Once at the bottom, go through the crawlspace to enter the dark cave where the Morlocks are. Head left across the cave to find the chest.
Content: Stamina Gem
6 – King Narameth Cave
This chest is in the same cave as King Narameth, one of the 3 Legendary Kings that need to be defeated for the Double Krisses Dagger. The cave is west of the Celestial Cave Anvil.
Content: Health Gem
7 – Morlocks Place
At the Morlocks’ Place anvil, use a Light Rune weapon and cross the dark room with the Morlocks and go to the left exit. Up here is this chest.
Content: Stamina Gem
8 – Koko’s Hollow
Cross the dark cave of the Morlocks and exit to the right. Take the elevator up and find yourself at the Dhyrias’ Forge anvil, where Aran has to find Dhyrias’ Hammer. Take the zipline down to the Lava Temple, the location of the hammer. From the Lava Temple, take the zipline towards the northeast to Koko’s Hollow anvil. Inside Koko’s Hollow, on the upper level, there is a chest in one of the chambers. It’s the Forgers Steel Ingot for the Karamuth repair.
Content: Forgers Steel Ingot
9 – Koko’s Hollow Pit
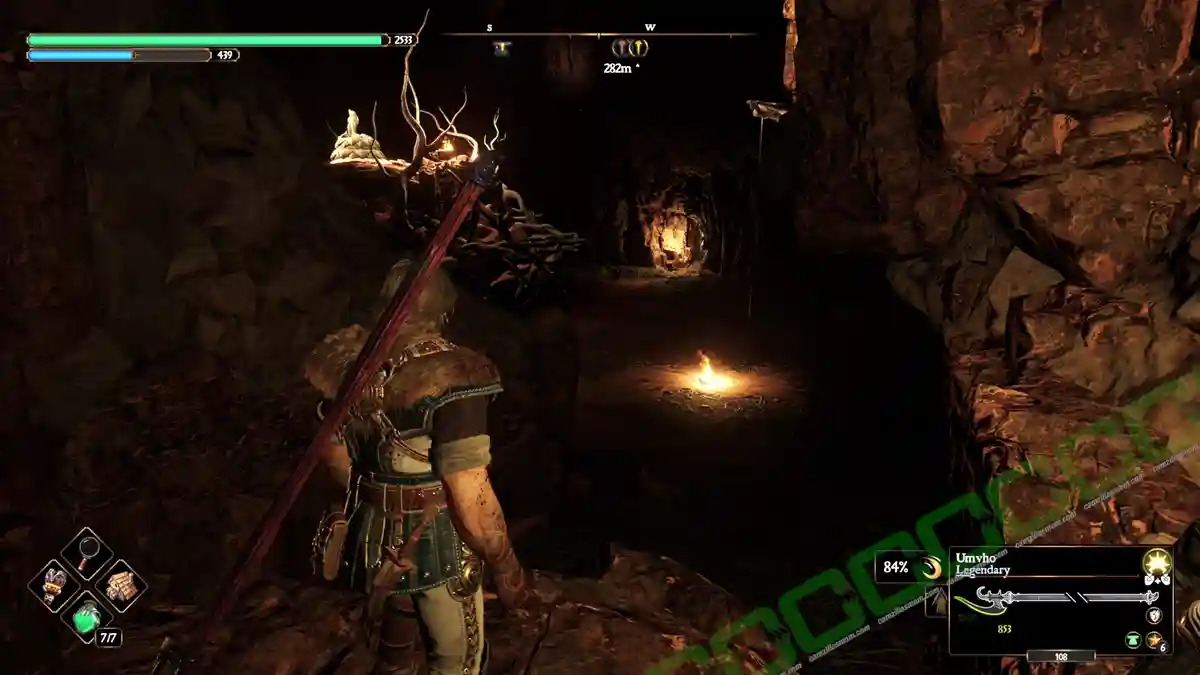
Climb into the Pit, where Koko the Orc fell in after their defeat. It is a Morlock pit, so use a weapon with a light rune. Keep right and follow the wall, where you can soon see a fire and a crack in the wall. Get through to find this chest inside a room. There is also a Seneschal here.
Content: Forge Cryptex
10 – Koko’s Hollow Pit 2
Exit the cave with the previous chest. Where the fire is in this cave, look down. There is a hole in the floor. Drop down to reach the second level of the Morlock cave. Before you move, look for the exit, just across the pit. You can drop down from the starting point and make your way across, where you can ascend with a rope, then use a ladder to reach the treasure.
Content: Edric’s Crown
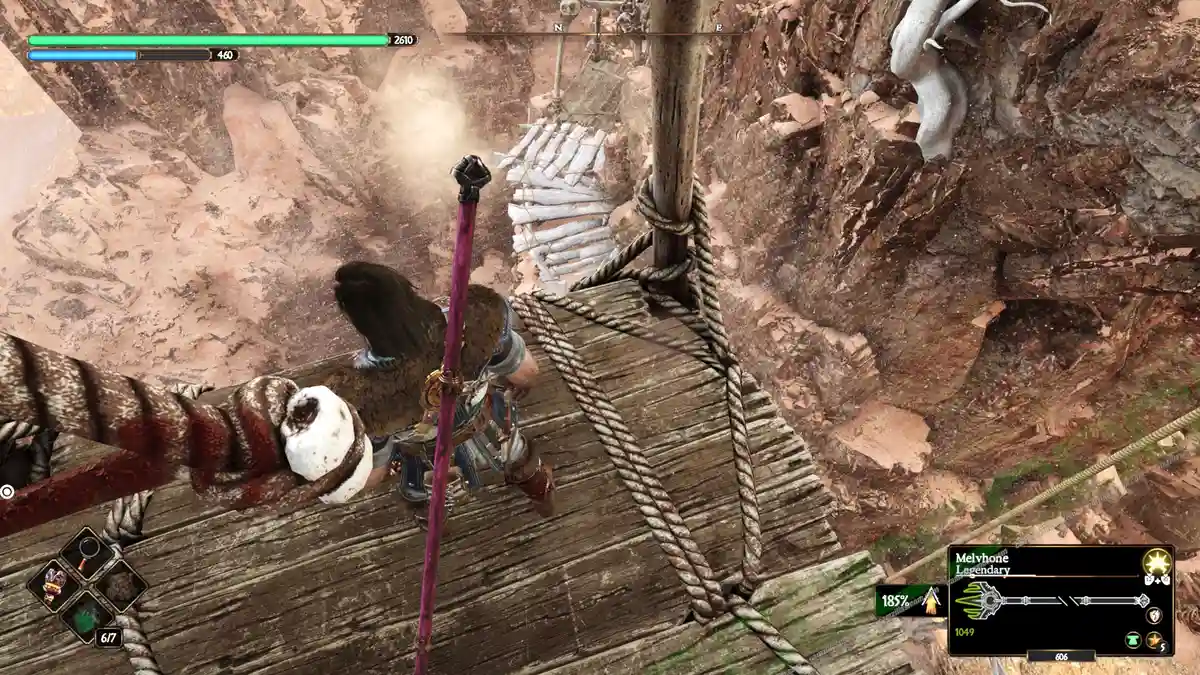
11 – Broken Bridge and Zipline to The Forgotten Rift
Start by heading to Koko’s Hollow Anvil. This is where Aran freed Arwen and discovered the Forgers Steel Ingot used to repair Karamuth, the Golem Bird.
From there, head to the top of the mountain and take the zipline to the south, where you can take an elevator up, and then call another elevator that is going up again. About in the middle of the way, while standing on the second elevator, you have to exit to the north to a path that leads to another elevator.
Follow the path all the way up to the top, where you can repair the bridge and complete the Templars Crow puzzle on the other side. To reach the Forgotten Rift anvil with this chest, climb one rope back down where you can take the zipline to the Forgotten Rift anvil.
At the other end of the zipline, you can activate the Forgotten Rift Anvil and take the elevator up to the top to find this chest.
Content: Health Gem
12 – South of Koko’s Hollow
Return to Koko’s Hollow anvil and take the zipline to the south, where you can take an elevator up, and then call another elevator that is going up again. From there, you can reach the peak.
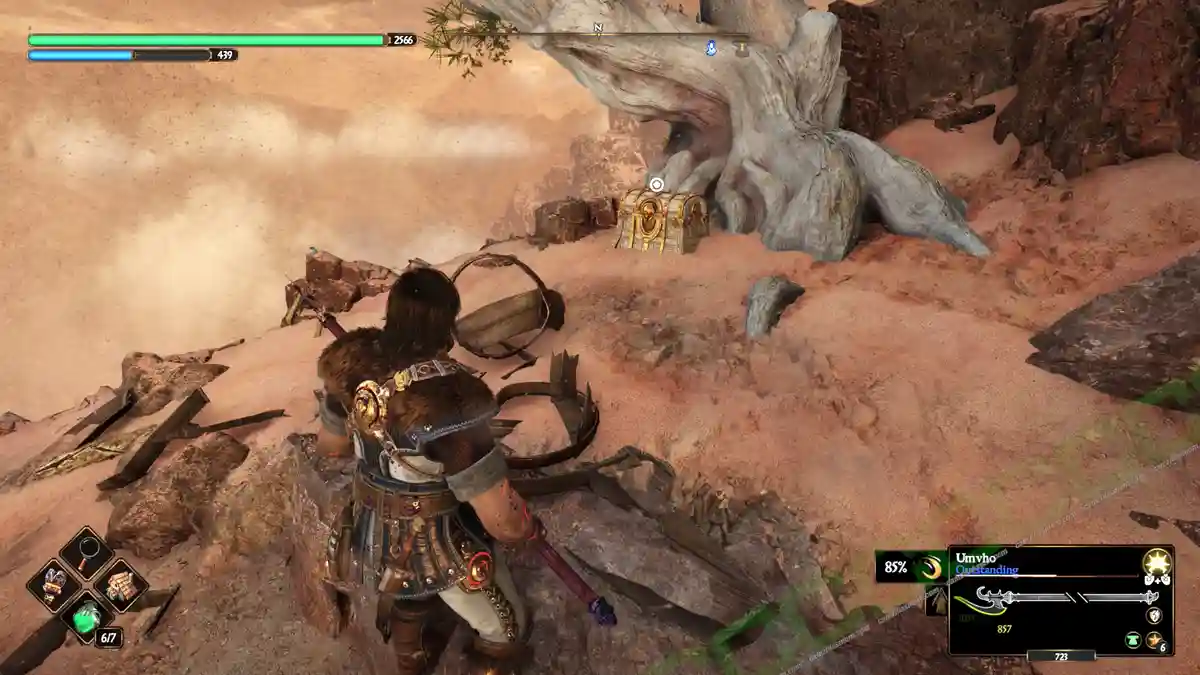
Cross the cave here by destroying the door handle to remove the barricade blocking the way. There are two templars in the cave that need a crow to be woken up (what you can do now since you’ve repaired the wooden bridge during the hunt for the previous chest). On the other side, walk a narrow path to the left and re-enter the cave from this side, where you can find a chest to the right.
Content: Health Gem
13 – Northern Karamuth
Make sure to unlock the Karamuth at the end of the game. Now you can use one of the Karamuth landing spots on the map to fly north of the Dhyrias’ Forge anvil, where you can activate the Karamuth’s Aerie anvil. Cross the bridge and pass through a cave with two trolls. On the other side is the chest.
Content: Twilight Dye
14 – Crusader’s Grotto – Eastern Karamuth
Fly to the Eastern Karamuth point at the Roggs Mountains and activate the Crusader’s Grotto anvil. At the end of a wooden bridge is a Hurmuz Statue, below is a Murlock dark cave. Head down and stick to your right to find a lit exit. Here, in the dark to the right, is a chest.
Content: Thicket Dye
15 – Templar Passage
From the previous chest, head up the path to the left, and jump down back into the Murlock dark cave, where you can find a rope in the lit center area, just below the blown-up Hurmuz statue. The rope will lead to the Templar. Now, find the crow. It sits near the Karamuth and the anvil. It will fly to a ledge below the Hurmuz statue, then to the east side of the cave, where the Sentinels were. From there, it will ignore the Templar and fly across to the west side of the Murlock cave, where another lit passage is.
Destroy the bone weight of the barricade there so it opens, and squeeze through the crack at the other side. Here you will find a second chest.
Content: Health Gem
MORE BLADES OF FIRE GUIDES
Blades of Fire
Release: May 22, 2025
Developer: MercurySteam
Publisher: 505 Games
Official Website: https://bladesoffire.com/
