
Welcome to my guide for finding all 12 Seneschal Statues at The Roggs Mountains, Tok’s Kingdom, in Blades of Fire. This walkthrough provides clear directions and visuals to help you uncover every statue, ensuring you don’t miss out on weapon parts along the way.
Seneschal statues are wooden figures of a warrior holding a specific type of weapon. To get a weapon part, interact with a Seneschal statue while holding the same type of weapon. There are 7 weapon types: Daggers, Twins, Sabers, Swords, Greatswords, Polearms, and Spears. Each type includes 5 weapons, and each weapon can be upgraded a limited number of times. You can check the available upgrades in the “Forge Scrolls” section of the in-game menu. The parts you’ve collected will be shown under the weapon with a Seneschal symbol. Once you’ve collected all the parts for a weapon, it will turn bronze and can no longer be presented to a Seneschal statue.
-> More Guides at the Blades of Fire HUB
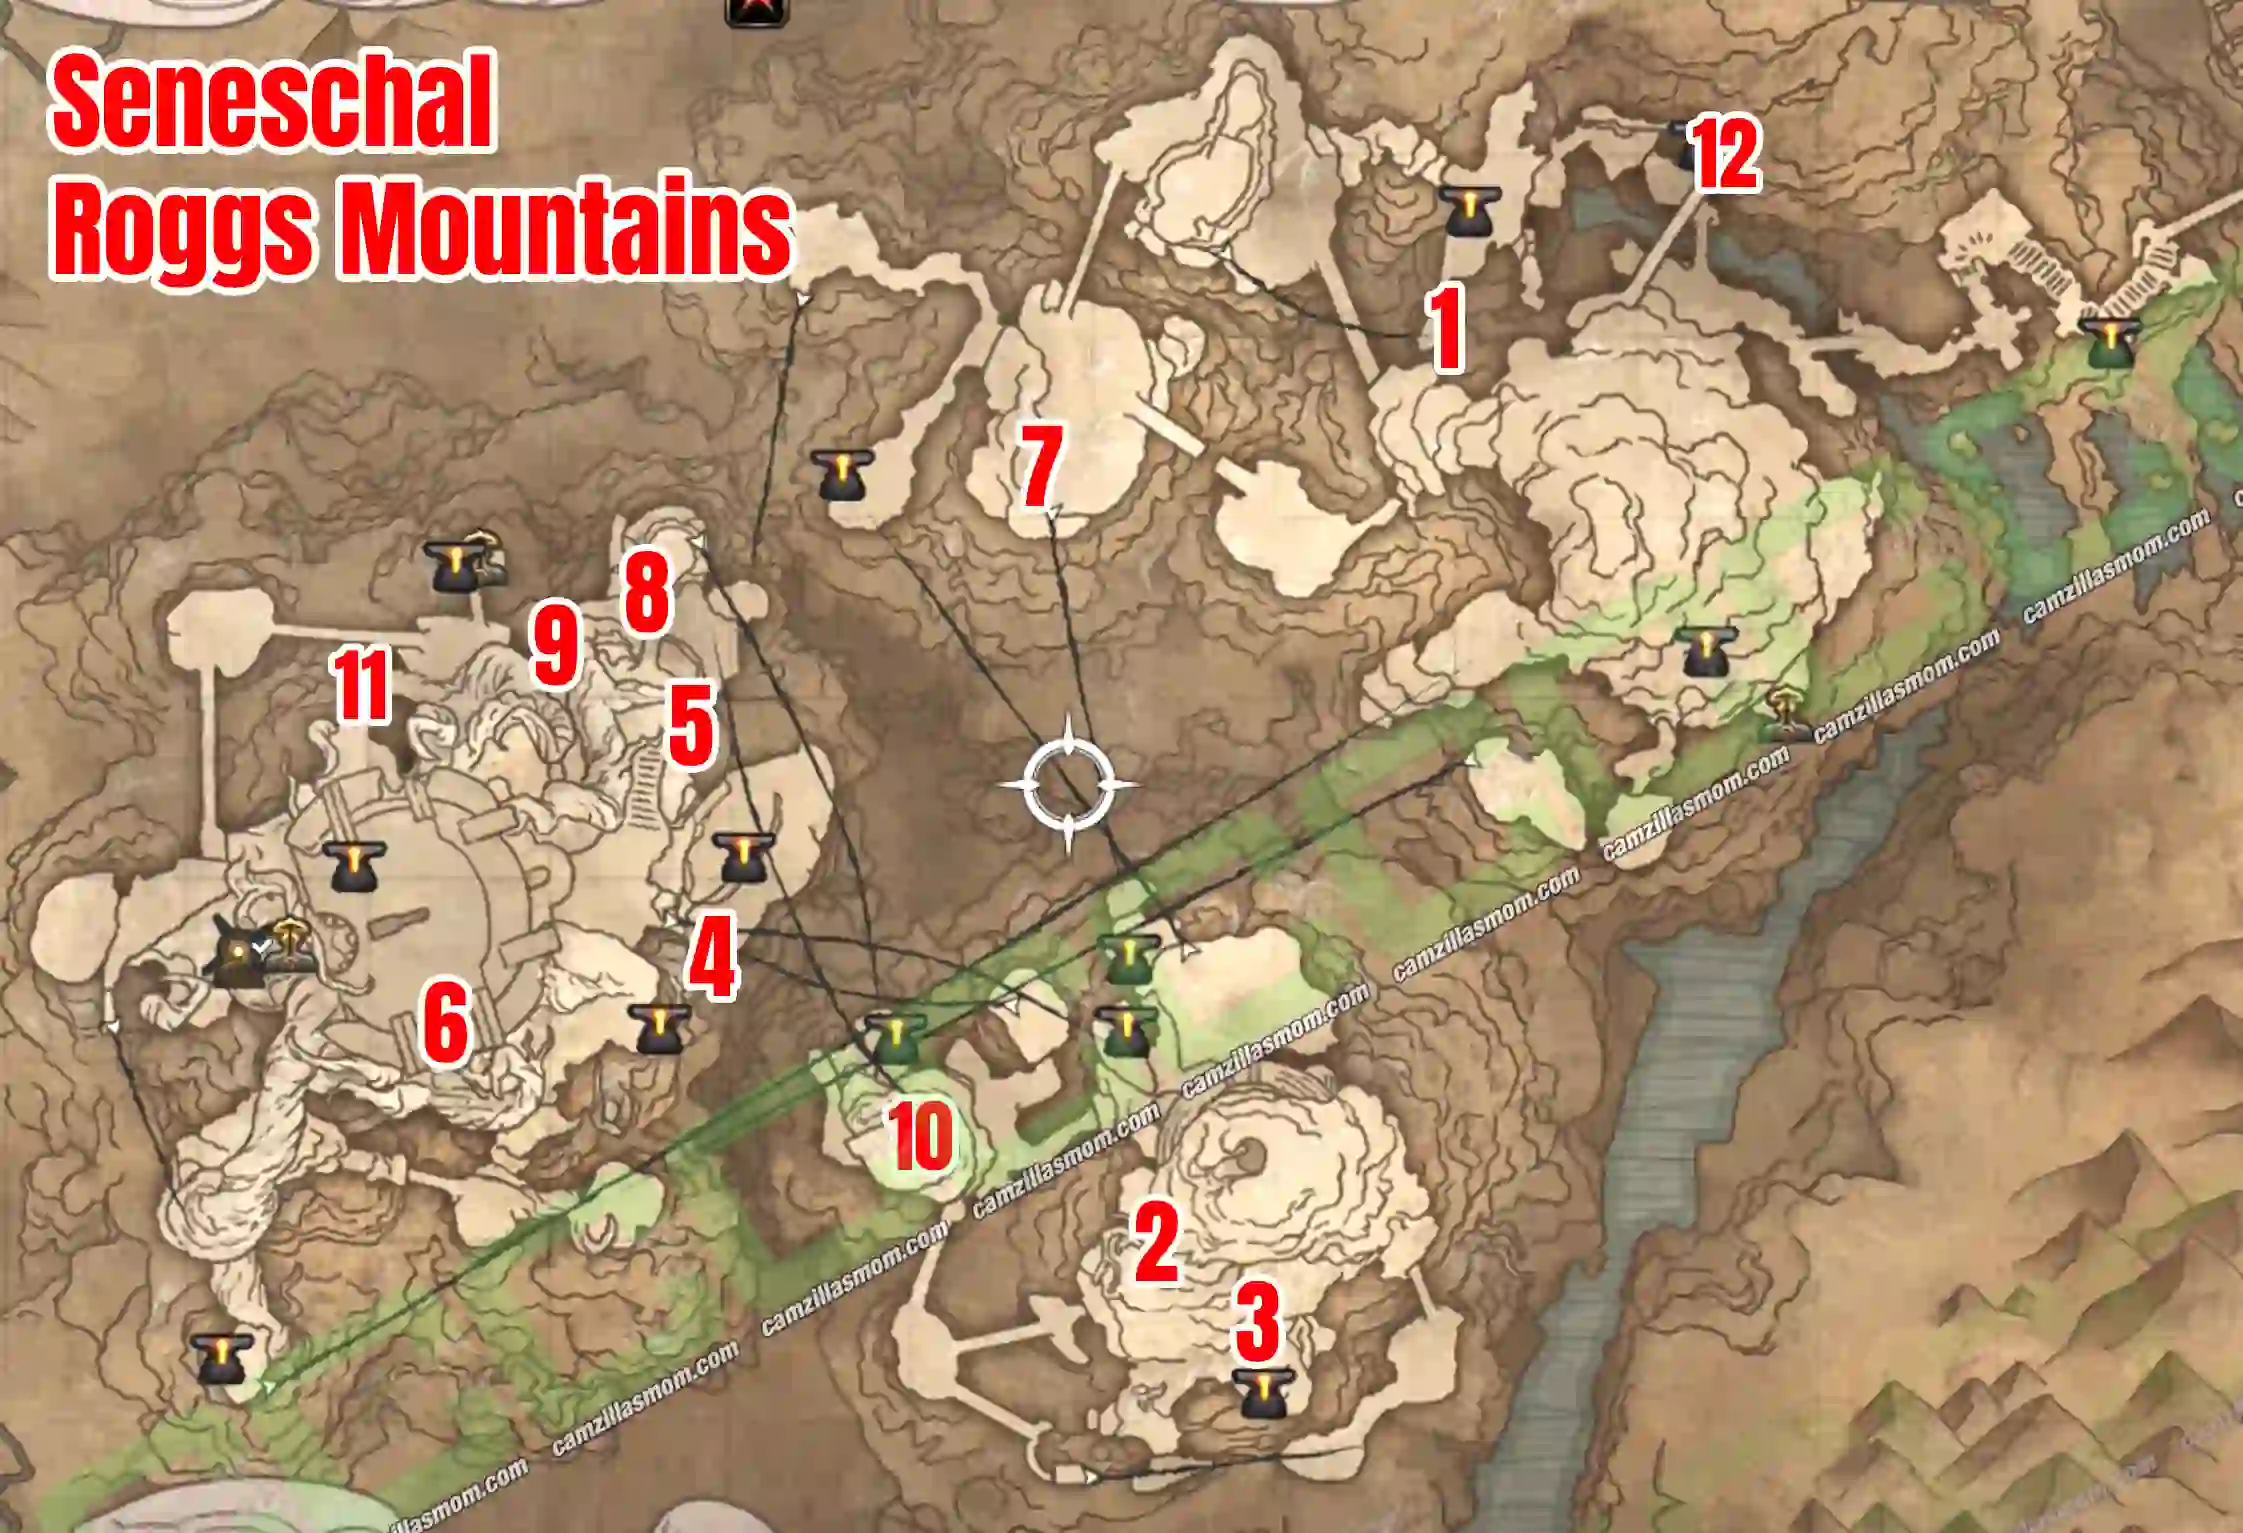
The Roggs Mountains Overview Map
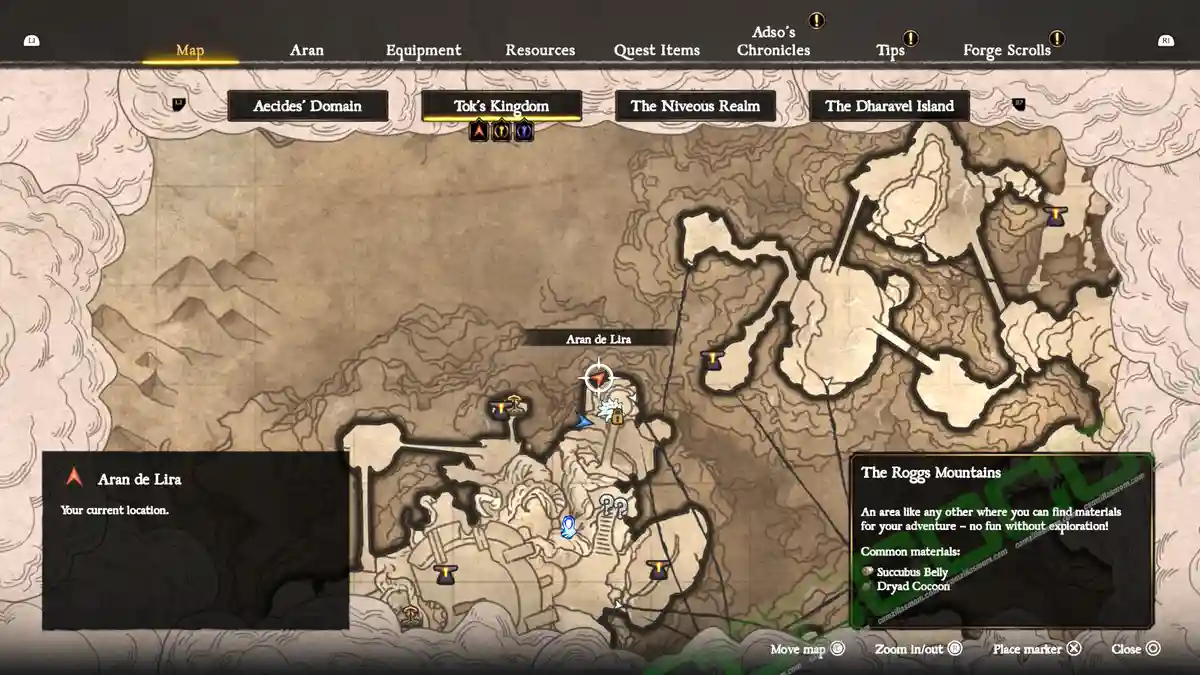
Below you will find the overview map of the Roggs Mountains with the Seneschal highlighted.
1 – Twins Seneschal
West of the Roggs Watch anvil, there are two wooden bridges. Take the bridge that is further west than the other one. On the bridge, look for a white wooden platform attached to the mountains. You can cross over here to reach a rope that leads up.

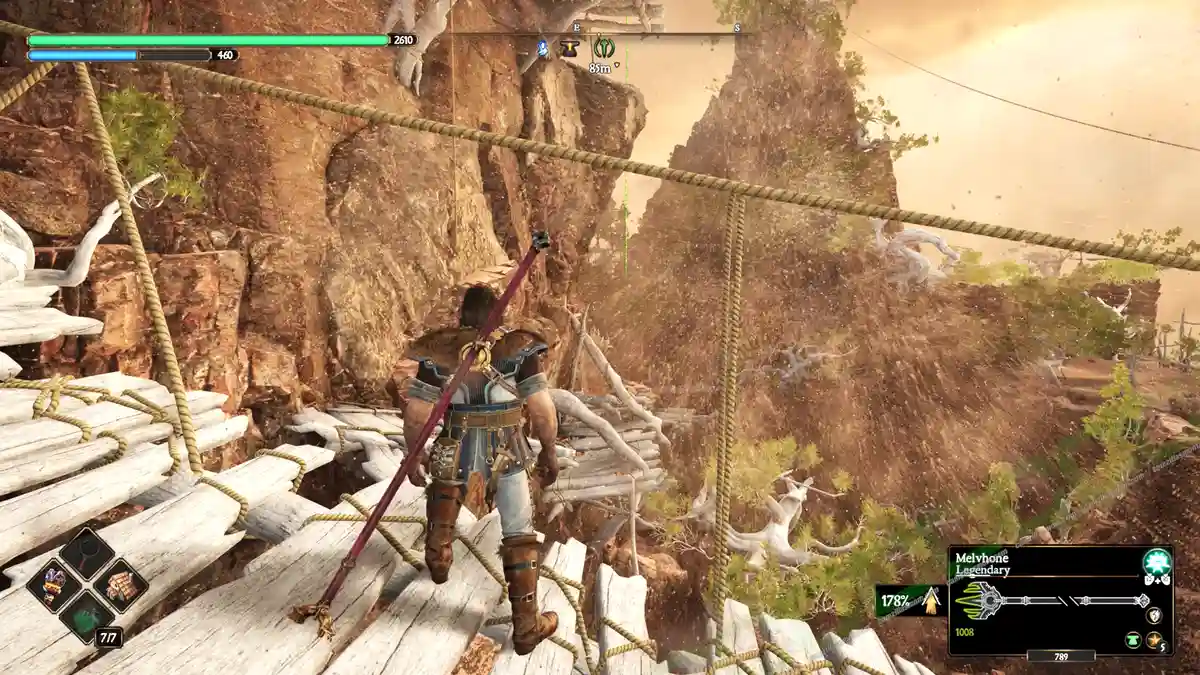
At the top, use the zipline that takes you directly to the Twins Seneschal.
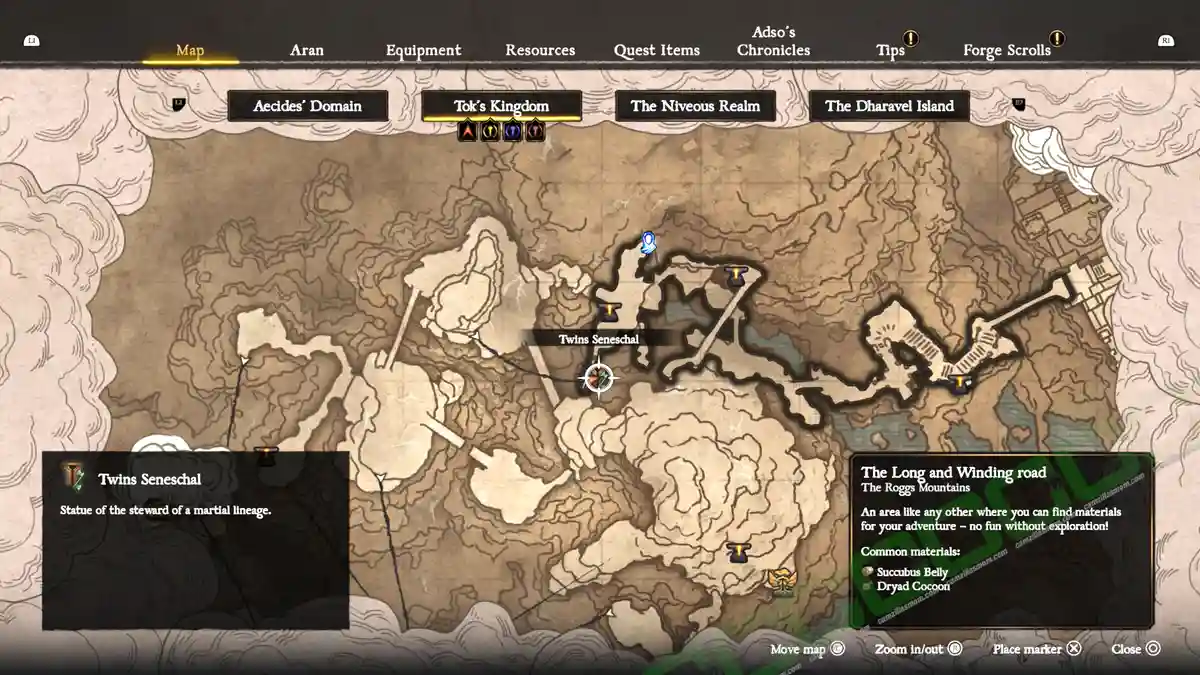

2 – Daggers Seneschal
South of the Chasm of Despair Anvil is a cave with sand elementals. In here is the Daggers Seneschal.

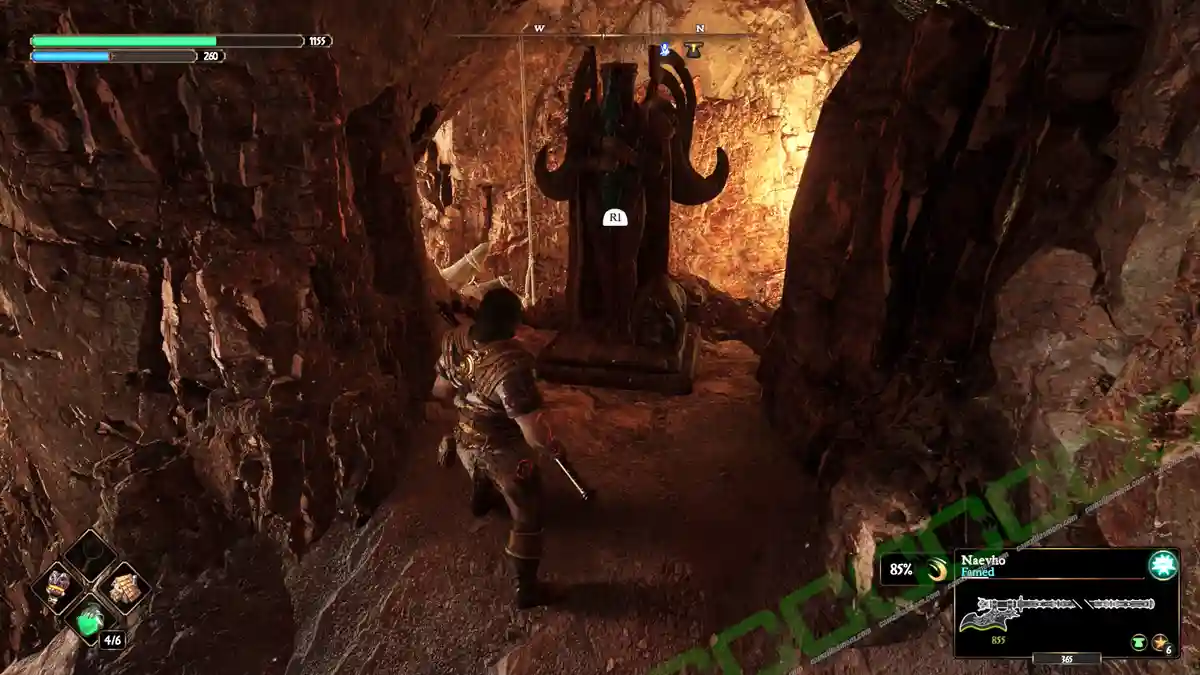
3 – Twins Seneschal
South of the Chasm of Despair anvil, you’ll find a Light Rune. To reach it, cross the cave with the sand elementals and activate the rune using a weapon imbued with Light Rune power. This will create a light bridge you can cross. On the other side, climb up the rope and use the zipline to reach another area. There, you’ll find a cave with water.
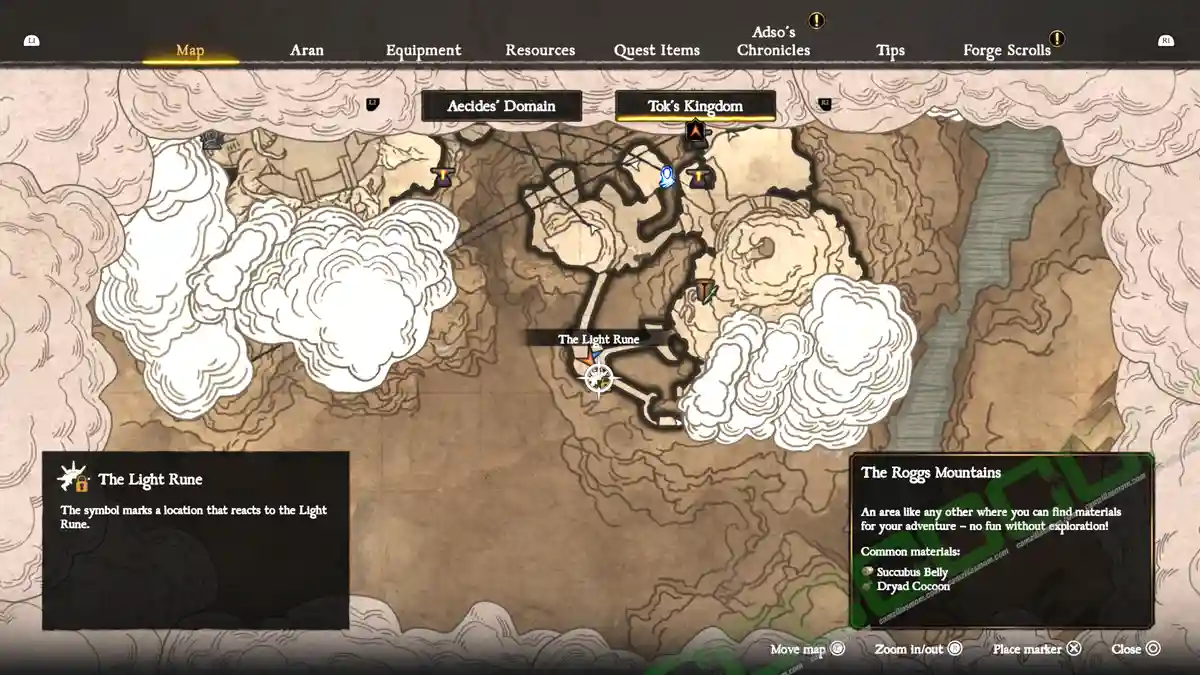
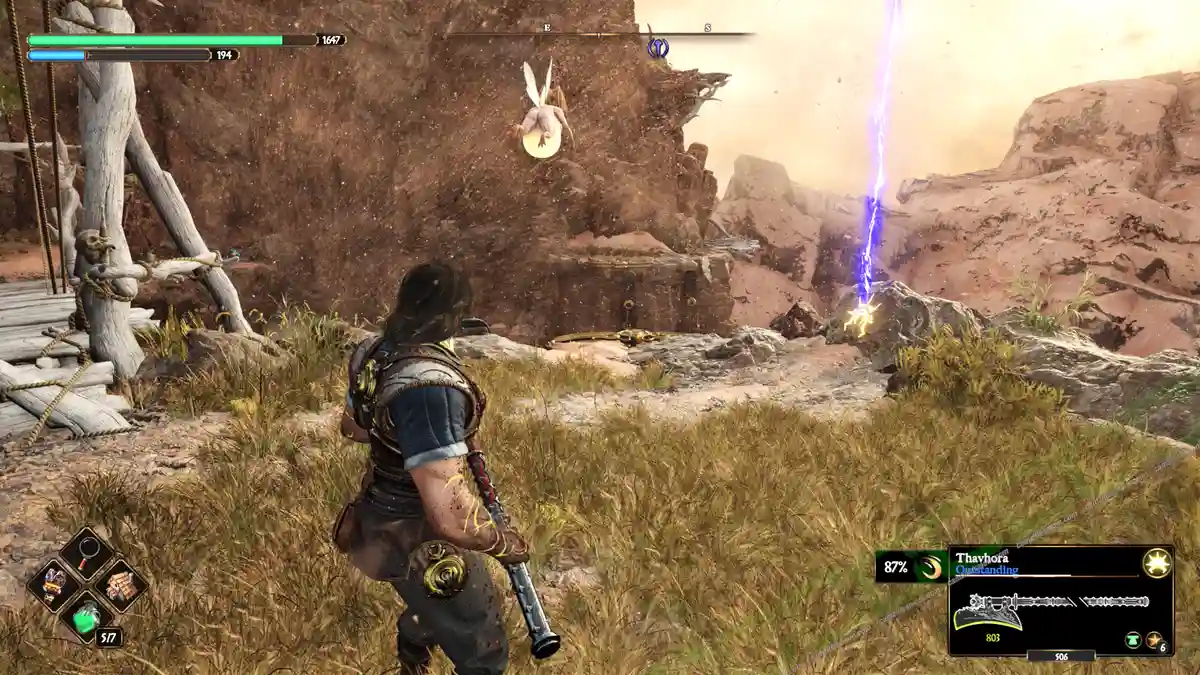
Inside this cave, you’ll find a Hurmuz Daurel statue that needs a charged amulet. There’s also a Nerea’s Tears statue, though it’s submerged. Follow the southern path to reach the Morlock’s Abyss anvil, where you can find this Seneschal.


4 – Spears Seneschal
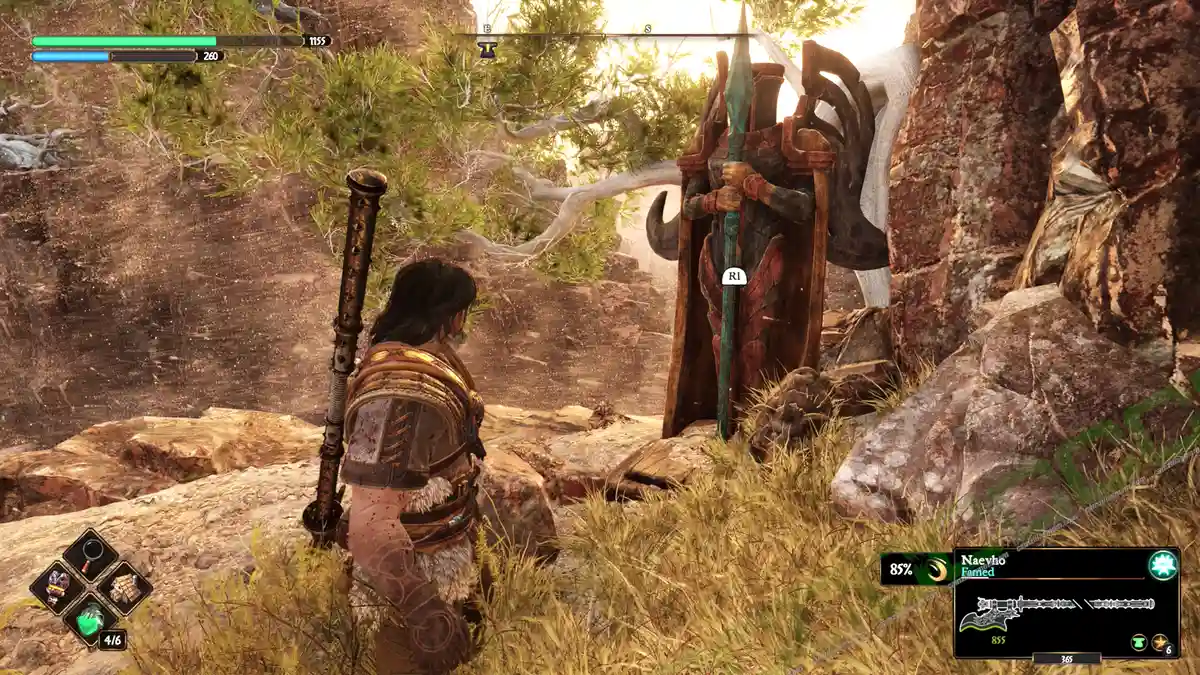
After the previous Seneschal, exit the cave and look for an elevator up. At the top of the elevator, you can use a zipline with a Roggs Skull. At the bottom of this zipline is this Spears Seneschal.

5 – Daggers Seneschal
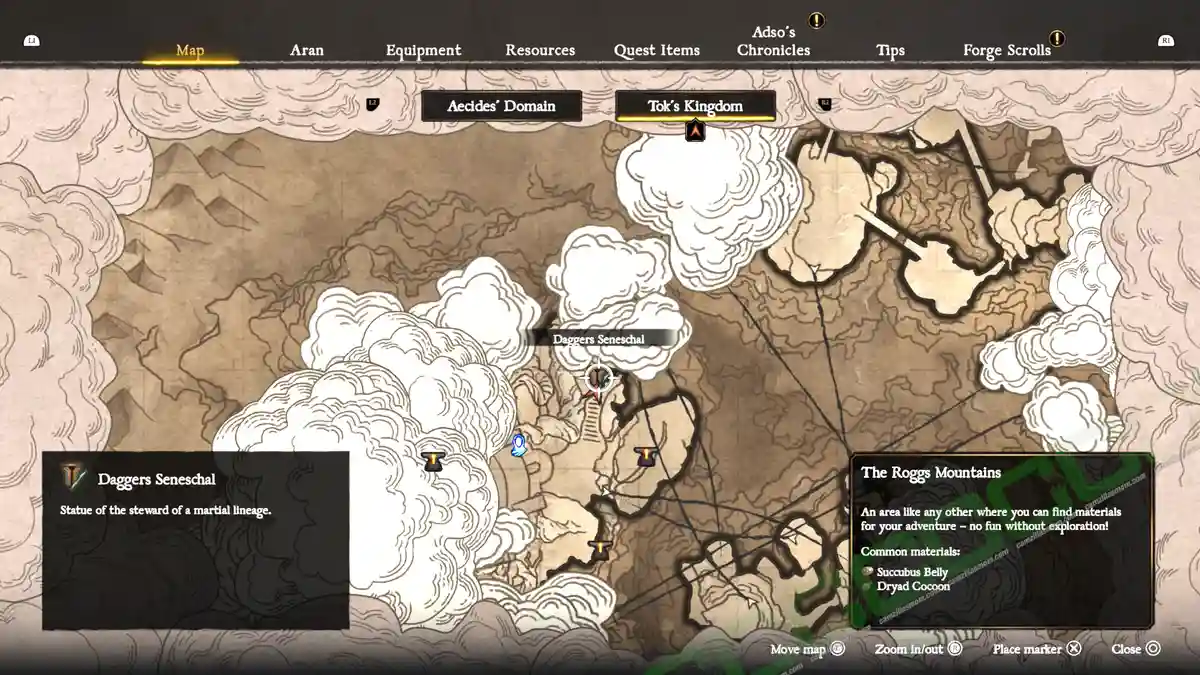
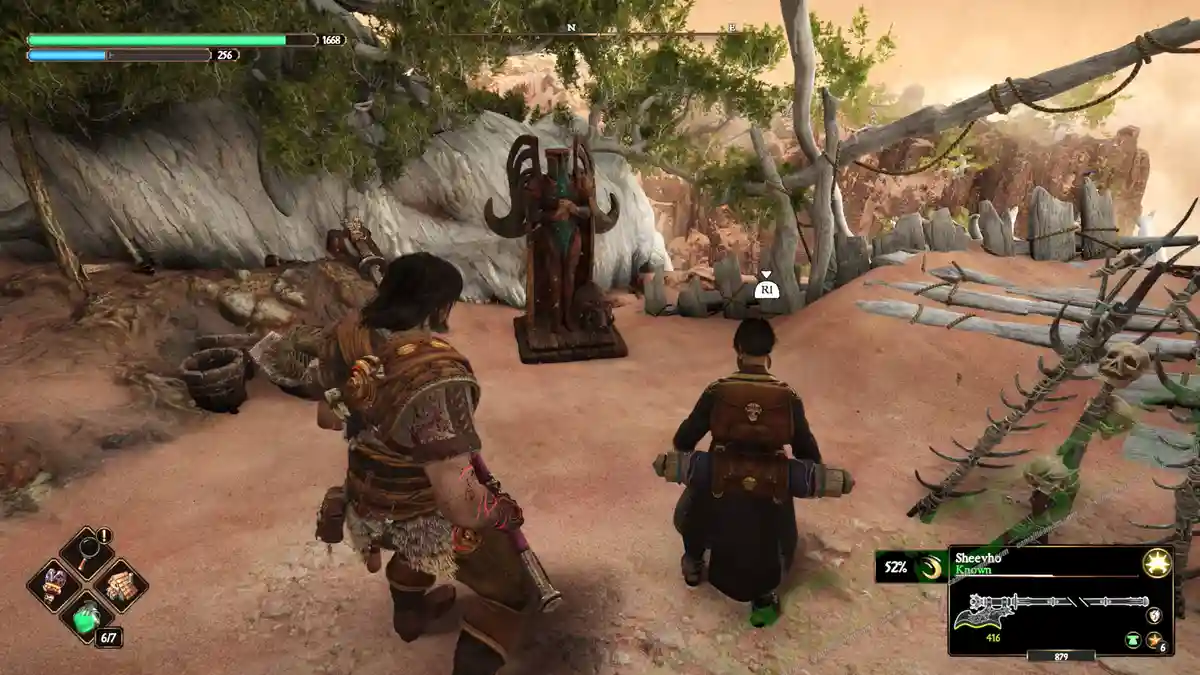
Continue with the story path until you find the Dhyrias’ Forge Anvil with the Dhyrias statue missing a hammer. From there, go down to the elevator and turn right, where a couple of Roggs come sliding down the zipline to attack. After the fight, head straight to the north to find the Daggers Seneschal.
6 – Sabers Seneschal
Find Dhyrias Hammer and return it to the statue. This will open a passage to a round hall with a Thaumaturgist Abomination. The Sabers Seneschal is upstairs.


7 – Swords Seneschal
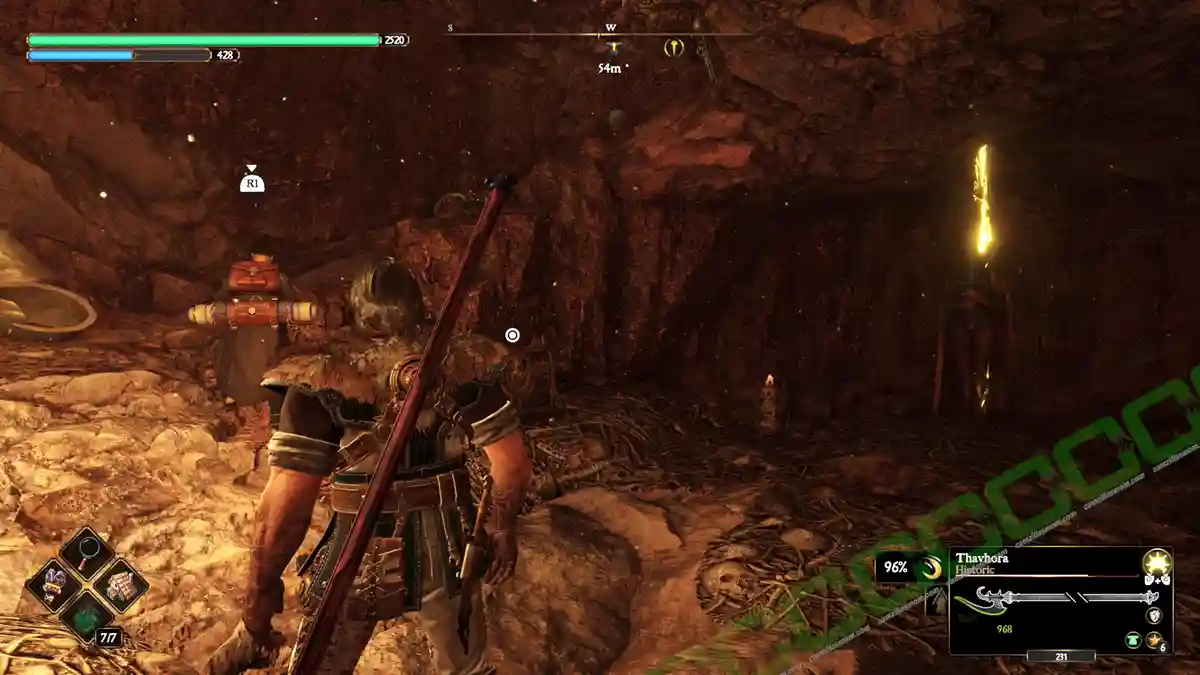
Travel to Koko’s Hollow Anvil and climb into the Pit, where Koko the Orc fell in after their defeat. It is a Morlock pit, so use a weapon with a light rune. Keep right and follow the wall, where you can soon see a fire and a crack in the wall. Get through to find this chest inside a room. There is also a chest here.

8 – Sabers Seneschal
Find your way to Koko’s Hollow Anvil and use the zipline north of the anvil. On the other side, use the two elevators. Here, to the left is the Sabers Seneschal.

9 – Swords Seneschal
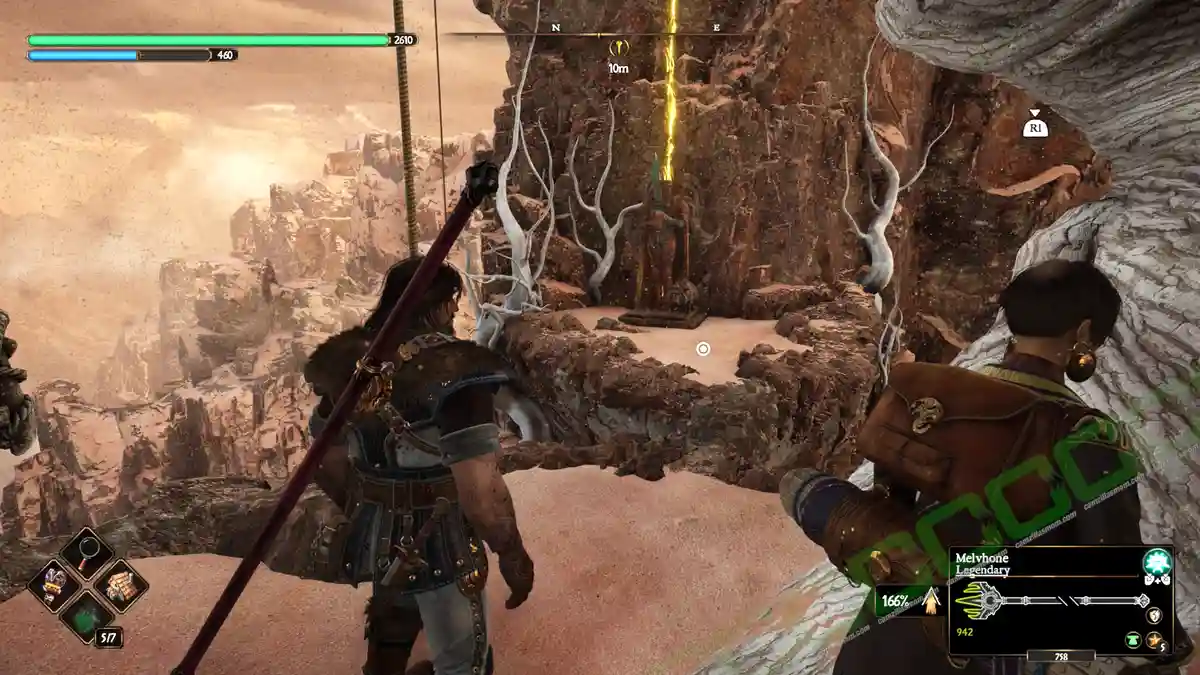
Continue your path by climbing a ladder to get to the top of the mountain. Up here is a broken bridge and two templars inside a cave that need a crow to be woken. The Seneschal is right next to the crow’s starting point. Hit one of the templars to show the crow on your HUD.


10 – Greatswords Seneschal
Return to the second elevator you took from Koko’s Hollow to reach the previous Seneschal. From its top, you can see a pathway to the north. Jump off the elevator to reach this path and take the other elevator on the other side.
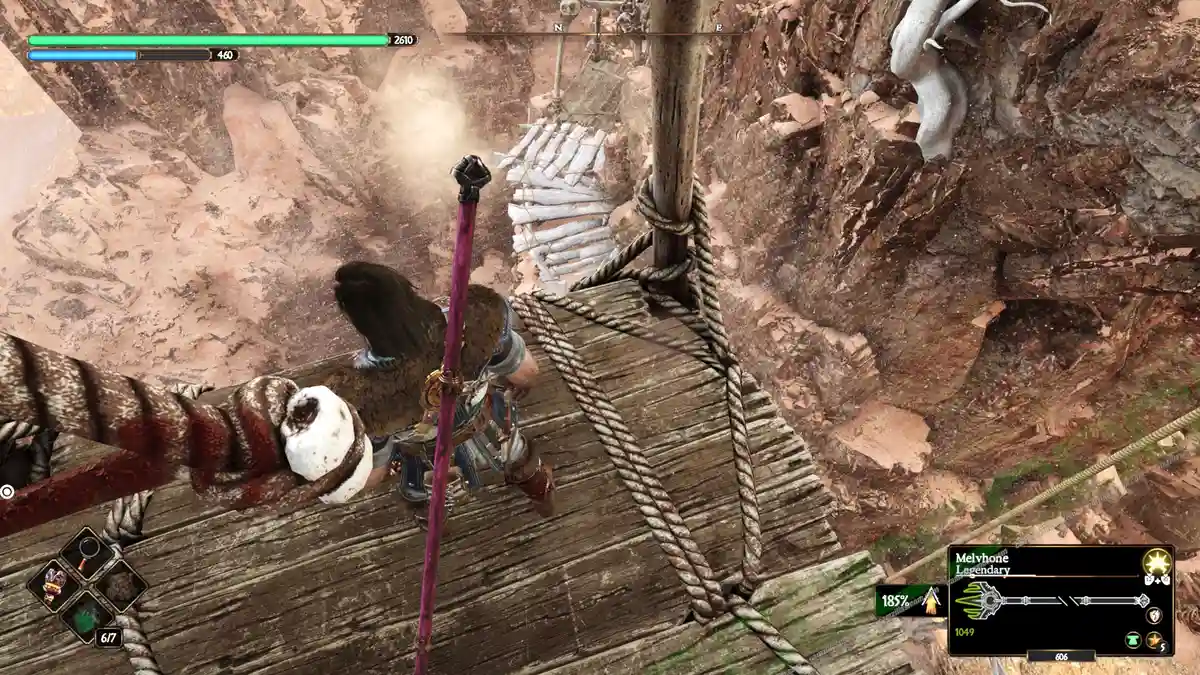
Follow the path all the way up to the top, where you can repair the bridge and complete the Templars Crow puzzle on the other side. To reach the Forgotten Rift anvil for this Greatswords Seneschal, climb one rope back down where you came from. Here, you can take the zipline to the Forgotten Rift anvil.
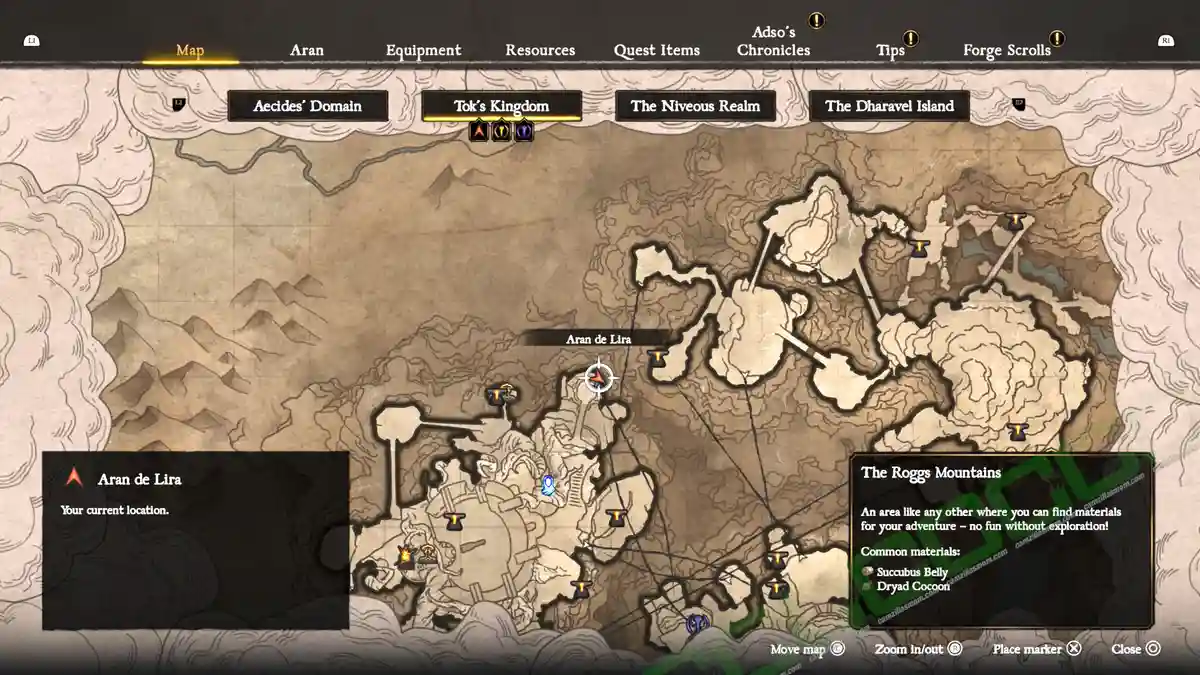
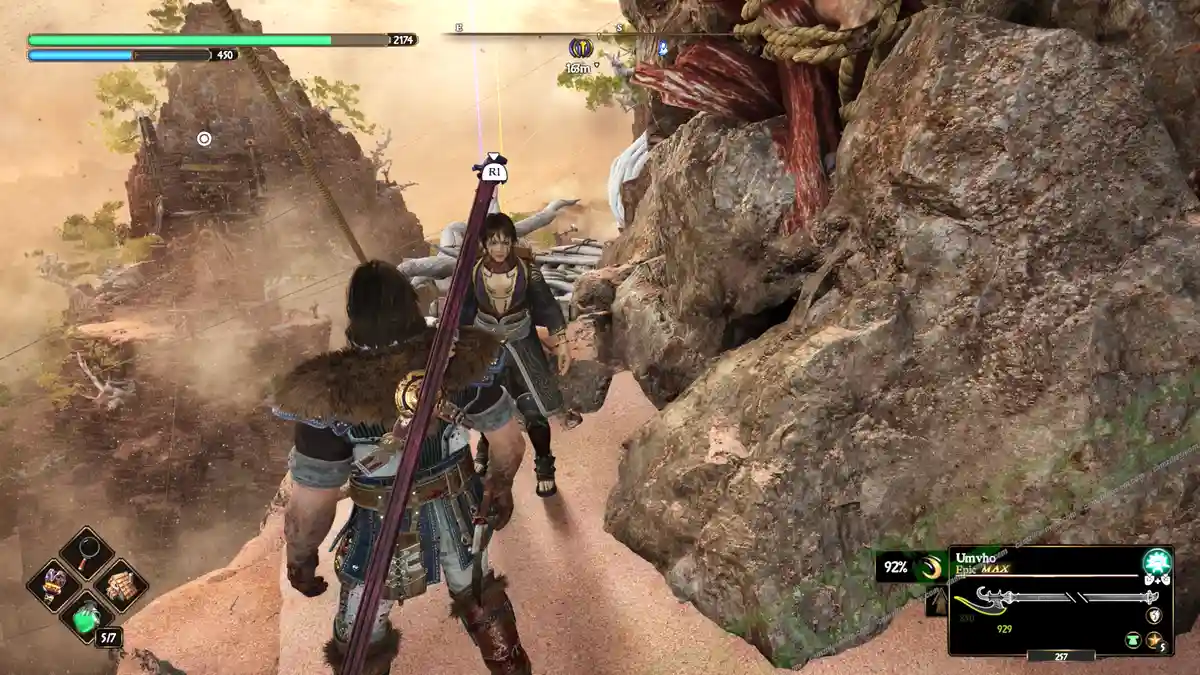
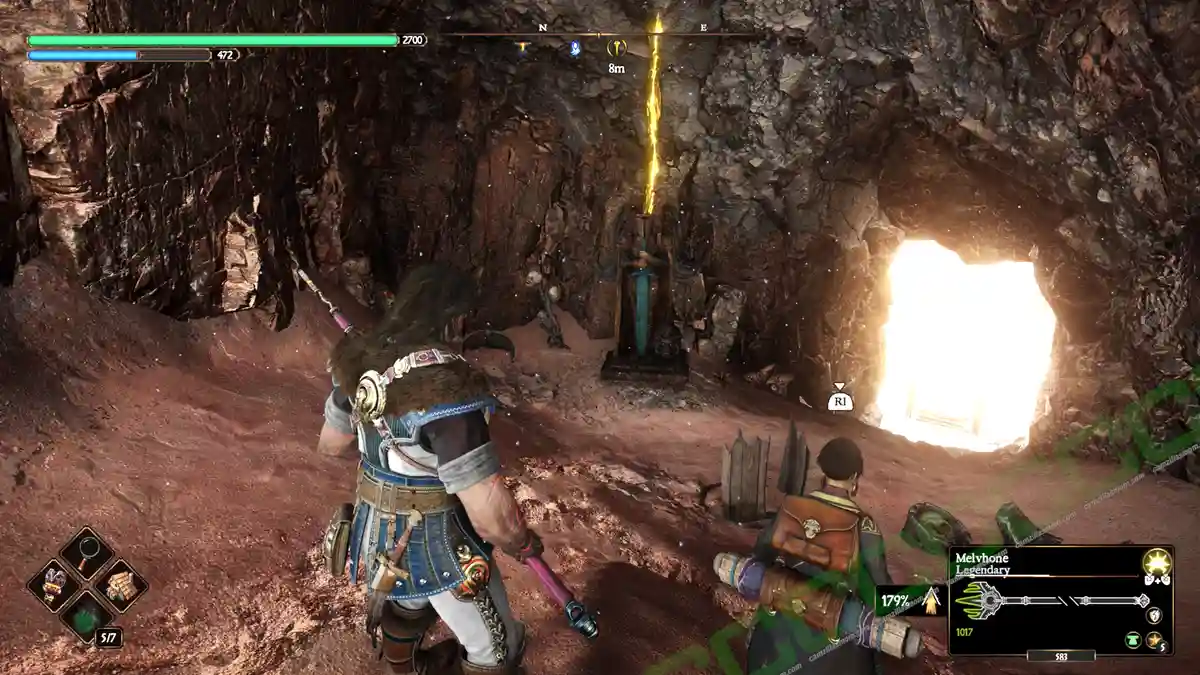
At the other end of the zipline, you can activate the Forgotten Rift Anvil and take the elevator up to the top to find a chest. Instead of going to the top, jump off the elevator halfway again to reach this cave and the Greatswords Seneschal.

11 – Spears Seneschal
Make sure to unlock the Karamuth at the end of the game. Now you can use one of the Karamuth landing spots on the map to fly north of the Dhyrias’ Forge anvil, where you can activate the Karamuth’s Aerie anvil. Instead of crossing the bridge to the west, go down a narrow path below it to find the Spears Seneschal.


12 – Greatswords Seneschal
Fly to the Eastern Karamuth point at the Roggs Mountains and activate the Crusader’s Grotto anvil. At the end of a wooden bridge is a Hurmuz Statue, below is a Murlock dark cave. Head down and stick to your right to find a lit exit. Here, in the dark to the right, is a chest.
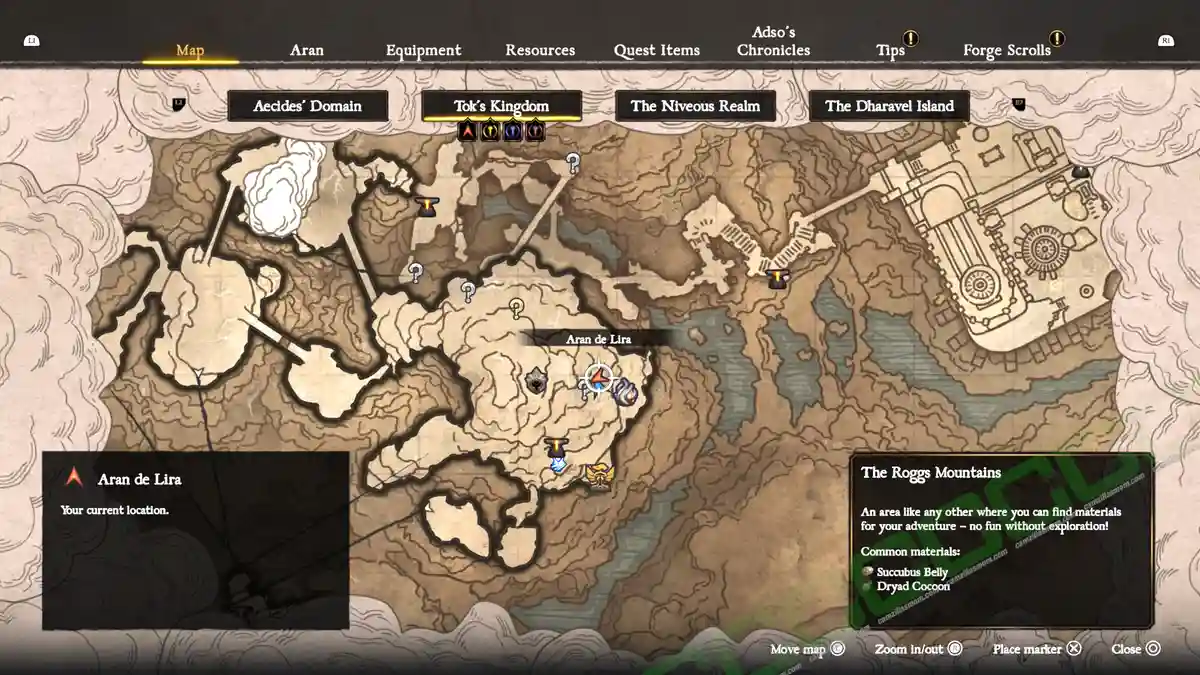
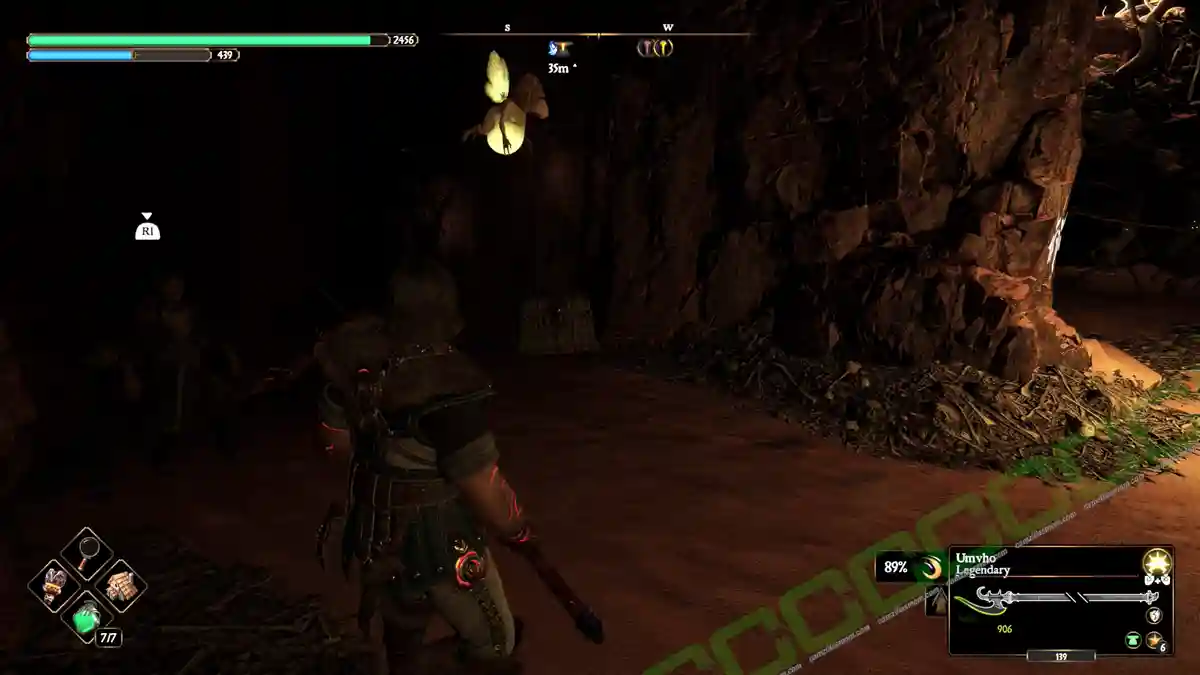
From the previous chest, head up the path to the left, and jump down back into the Murlock dark cave, where you can find a rope in the lit center area, just below the blown-up Hurmuz statue. The rope will lead to the Templar. Now, find the crow. It sits near the Karamuth and the anvil. It will fly to a ledge below the Hurmuz statue, then to the east side of the cave, where the Sentinels were. From there, it will ignore the Templar and fly across to the west side of the Murlock cave, where another lit passage is.
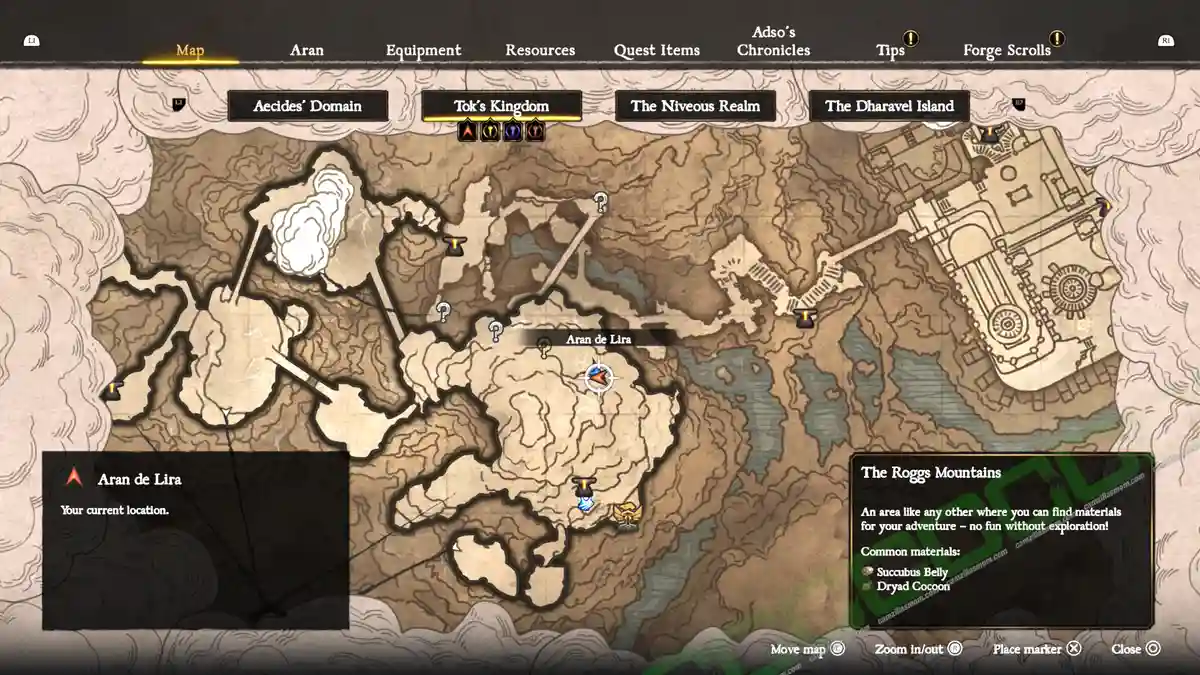
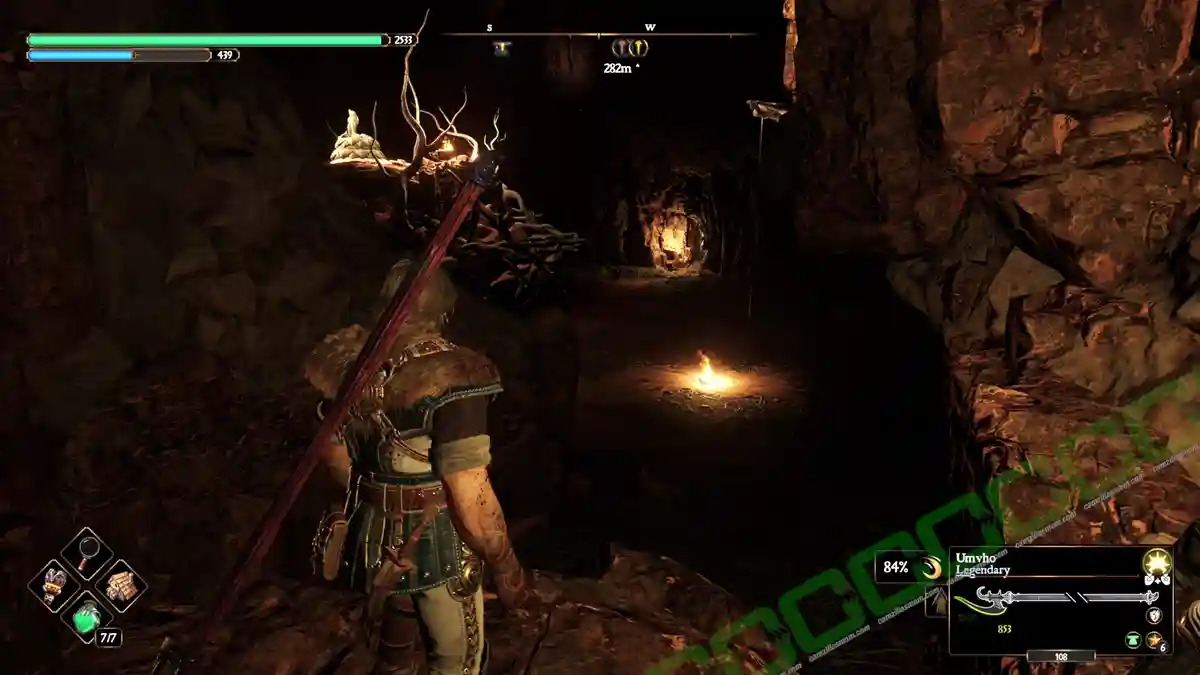
Destroy the bone weight of the barricade there so it opens, and squeeze through the crack at the other side. Here you will find a second chest.

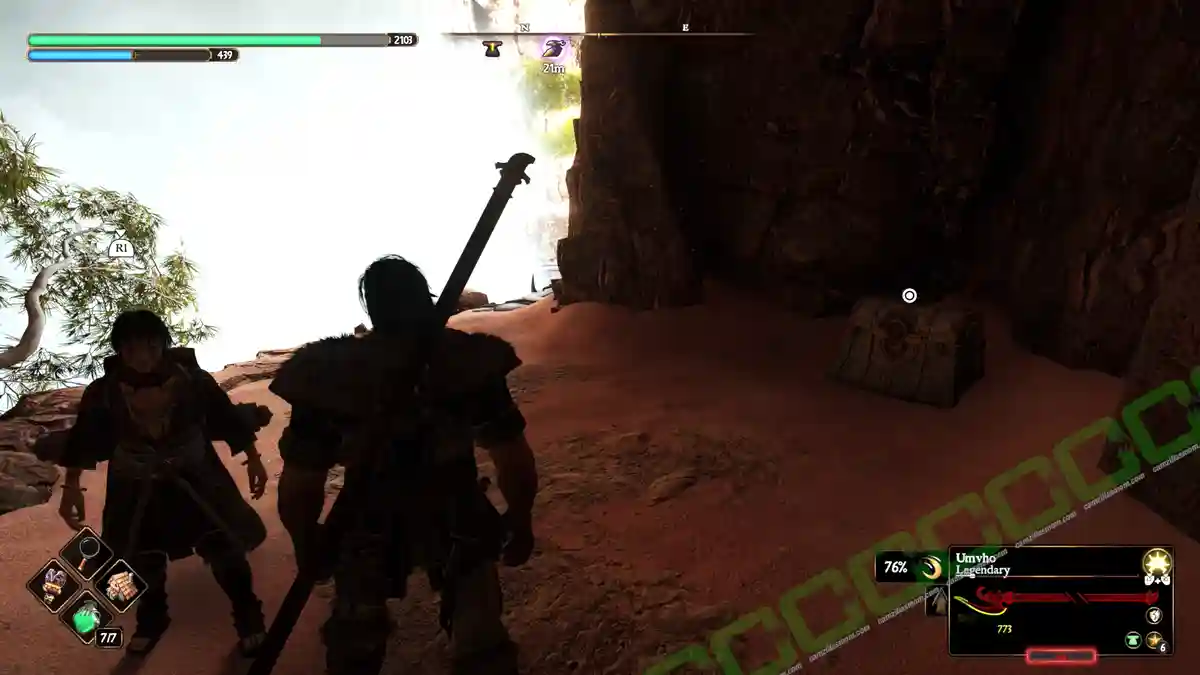
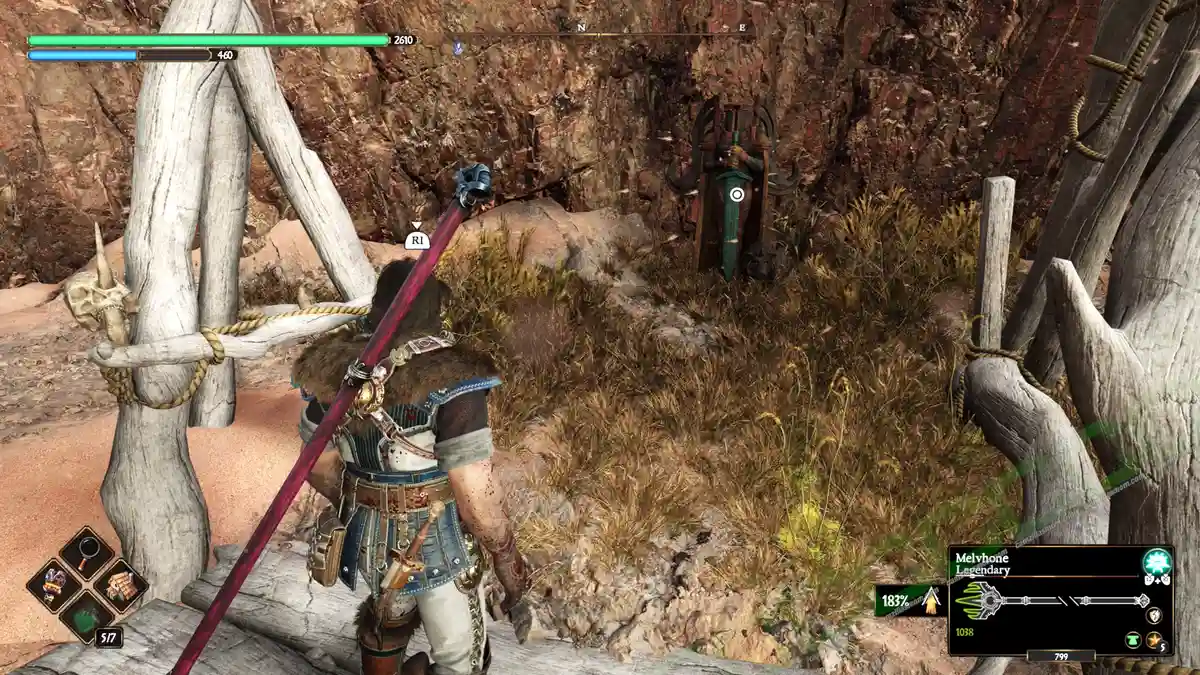
From there, cross a narrow path to the north and cross the wooden bridge to find the Greatswords Seneschal.

MORE BLADES OF FIRE GUIDES


Blades of Fire
Release: May 22, 2025
Developer: MercurySteam
Publisher: 505 Games
Official Website: https://bladesoffire.com/


