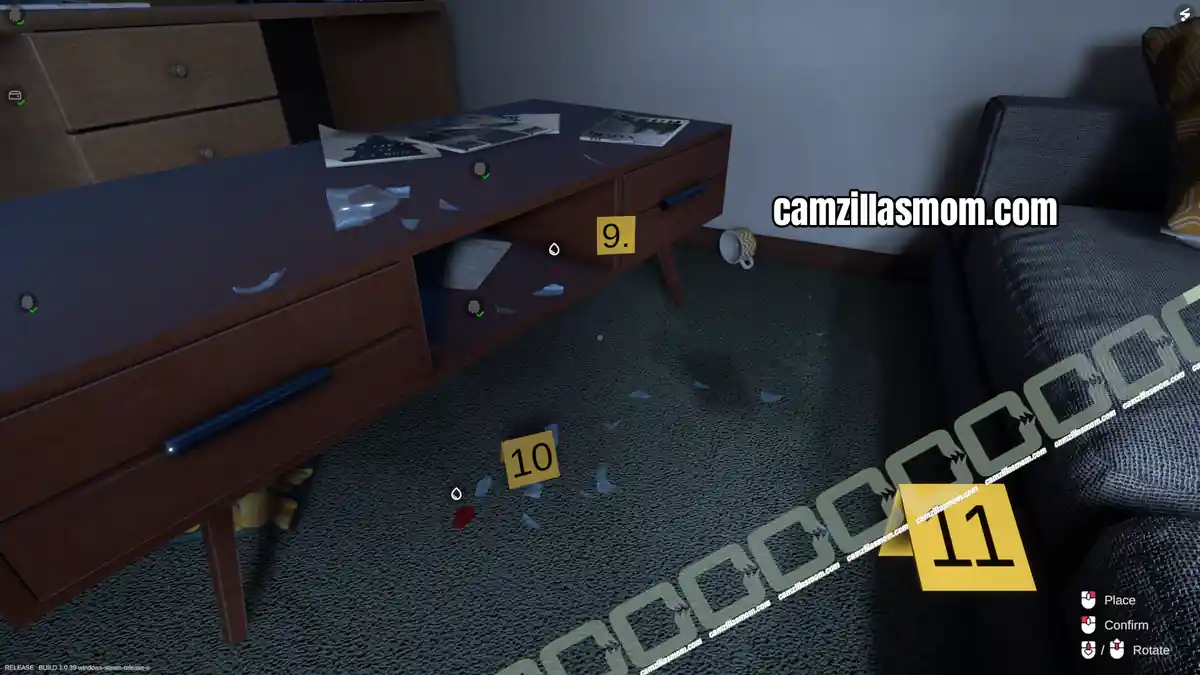
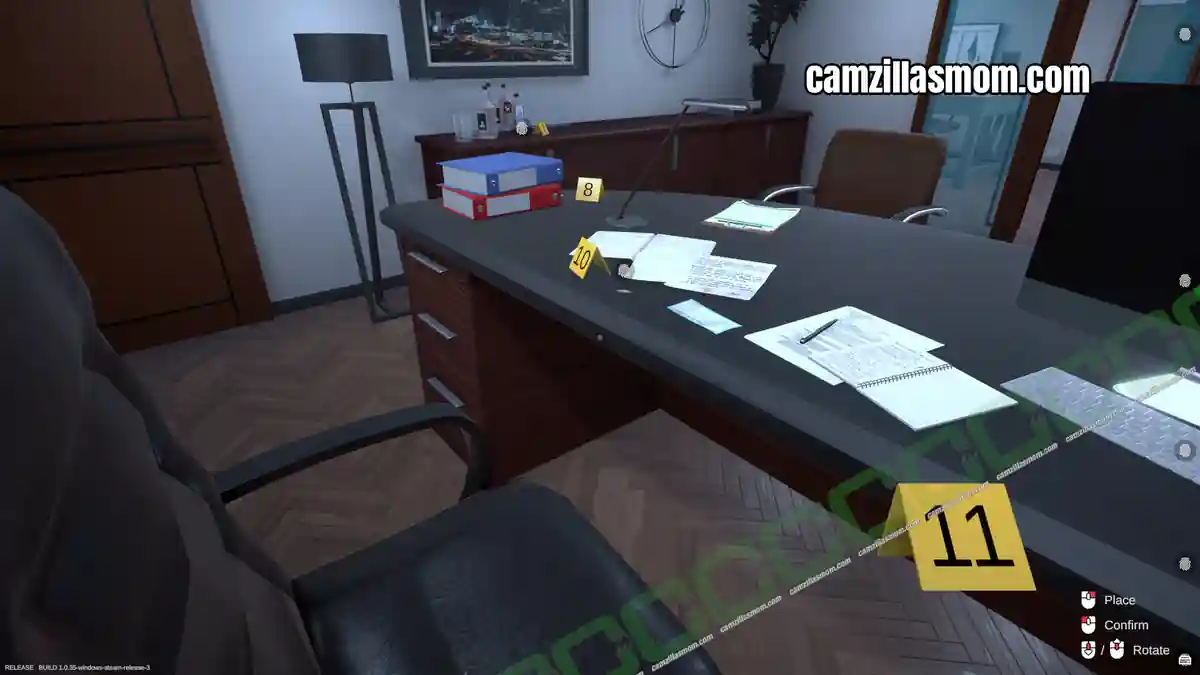
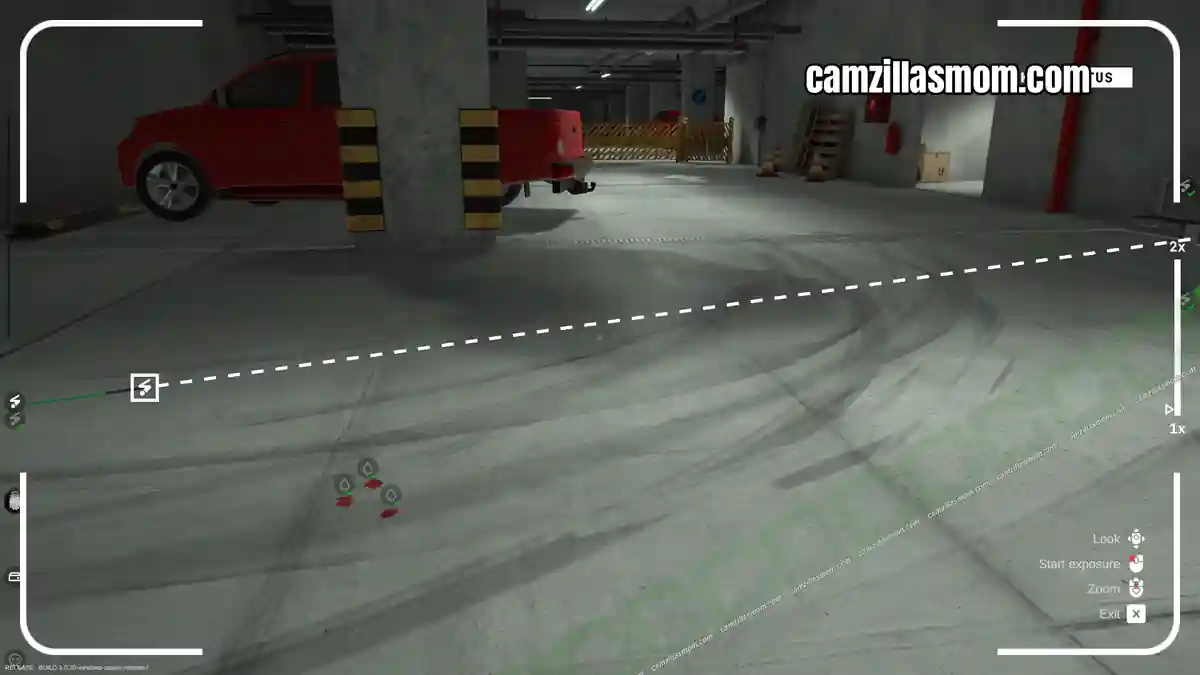
Tutorial 3 of Forensics: Crime Scene Detective focuses on collecting a biological sample from the crime scene and running it through DNA analysis in the lab. This walkthrough covers documenting the sample, creating DNA profiles with the Bio Evidence Analysis station, and matching the results using the DNA Comparison station.
Note: This case was initially named Tutorial 3 but was renamed to Training 3 later on.
Related Guides:
Training 2
Training 4
Cold Storage Case
Breaking and Entering
Training 3 Evidence Overview
Photos and Evidence in the apartment:
Biological Sample (Unknown)
Evidence for Digital Analysis in the Lab:
DNA Analysis
Briefing
This tutorial teaches you about collecting and analysing biological samples.
Witness Statement Jacob Doe:
“Someone injured themselves and left behind a biological sample.”
Travel to the Crime Scene
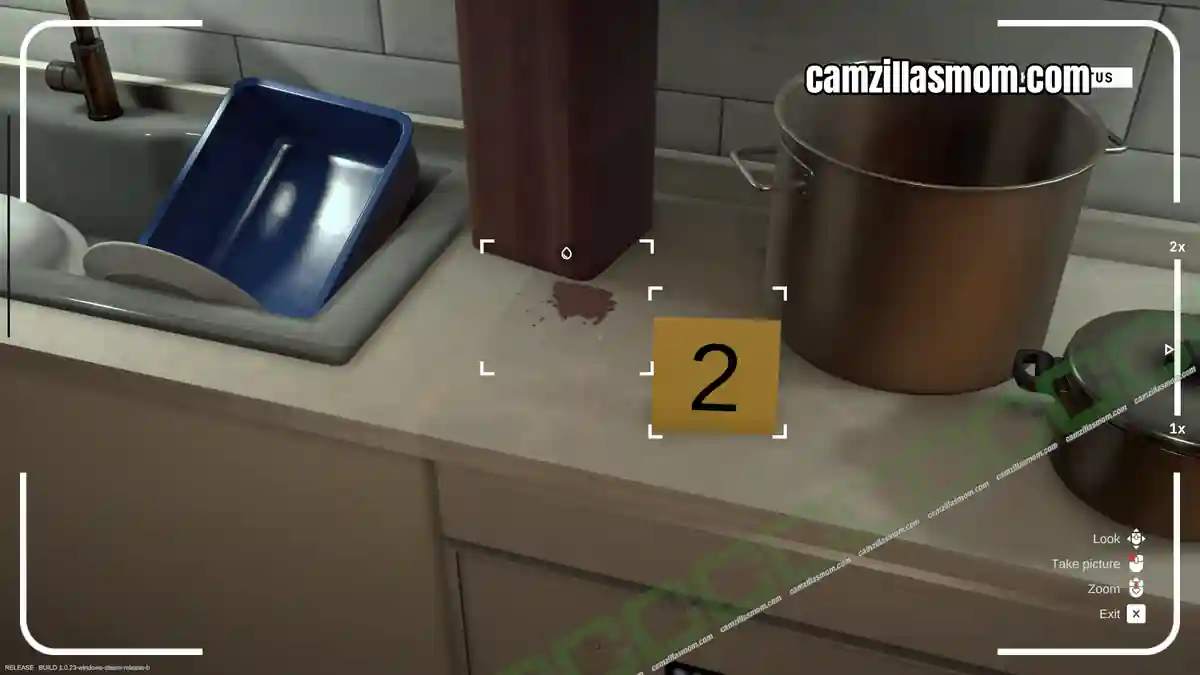
First, take the number markers and put one next to the smudge on the kitchen counter. Then, switch to the camera to take a photo. In my case, I had too much of an overlap and had to re-place the marker.
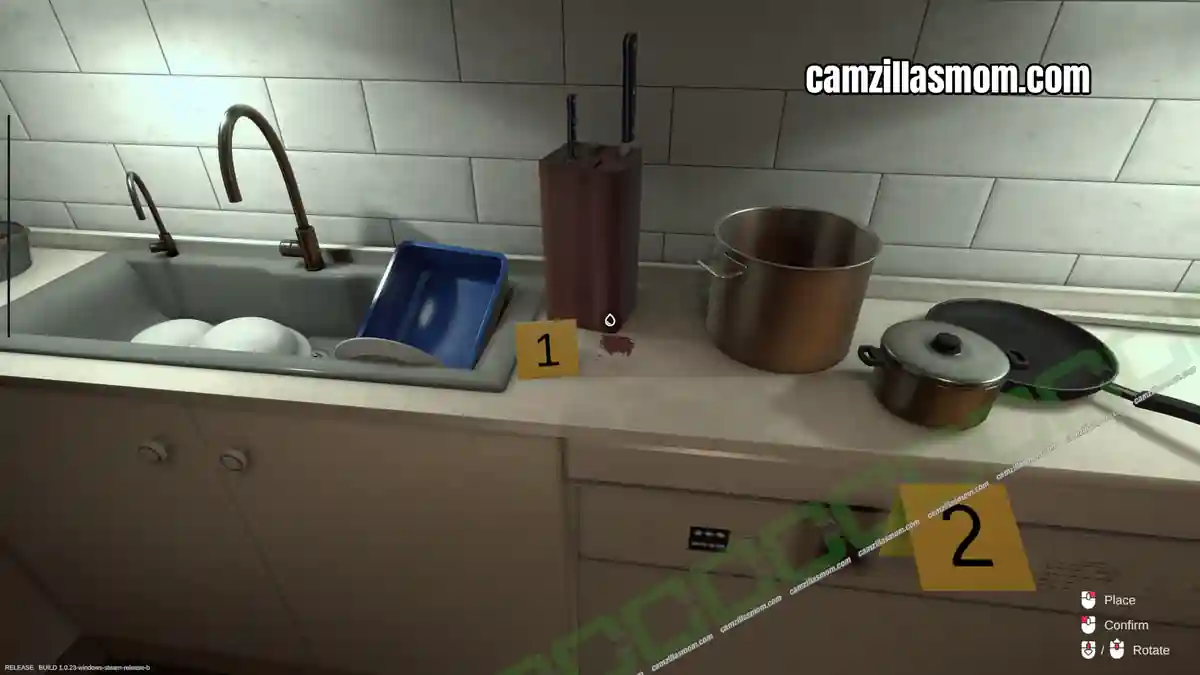
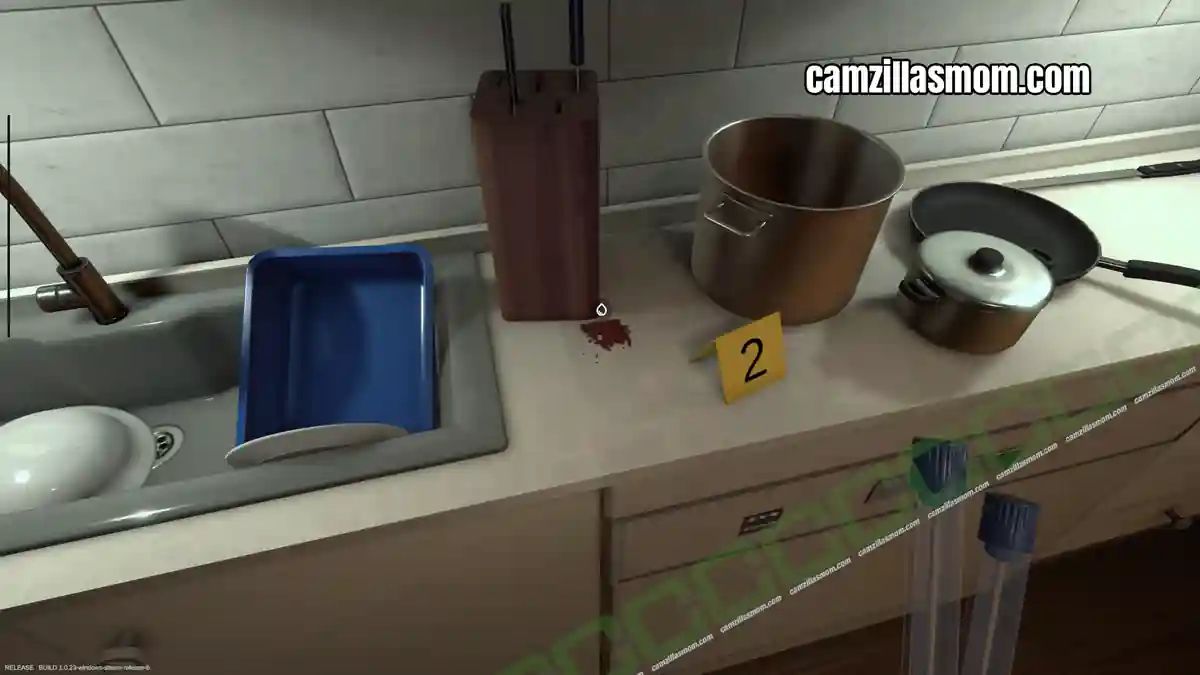
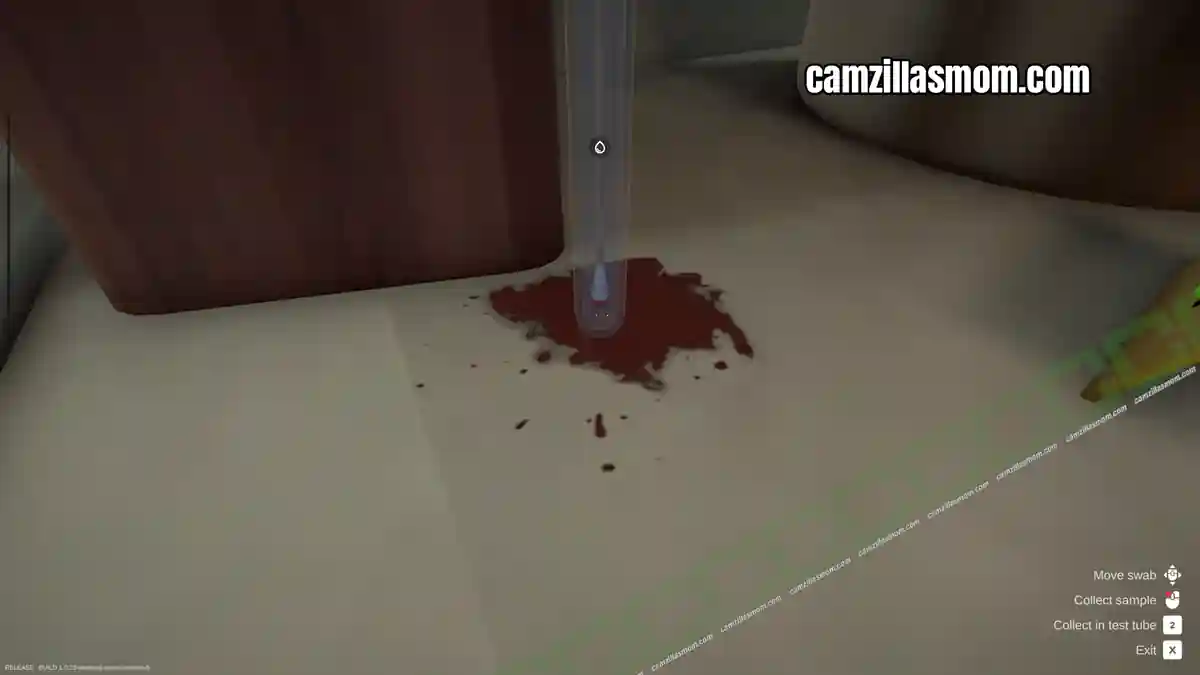
Put the camera back and take the Bio Material Kit. Move it around in the smudge and put it into the test tube.
Evidence:
Biological Sample (Unknown)
Analyzing the Evidence
Return to the lab and read the email on your computer. The next step is to analyze the DNA sample from the crime scene to create a DNA profile.
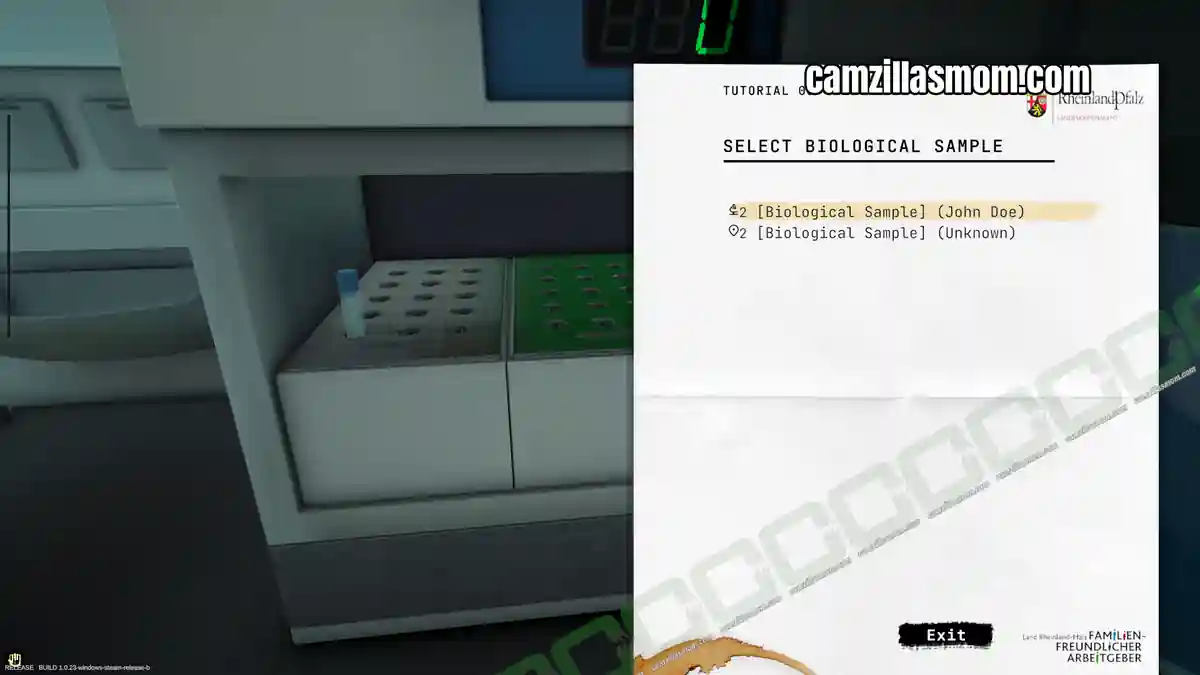
In the lab are now two stations unlocked: The Bio Evidence Analysis and the DNA Comparison. Let’s start with the Bio Evidence Analysis to create a DNA profile first. You have two samples: One from John Doe and an Unknown one. You need to create a DNA profile of both samples. Put both tubes into the machine and start the analysis. Wait until both samples are complete and pick up the report.
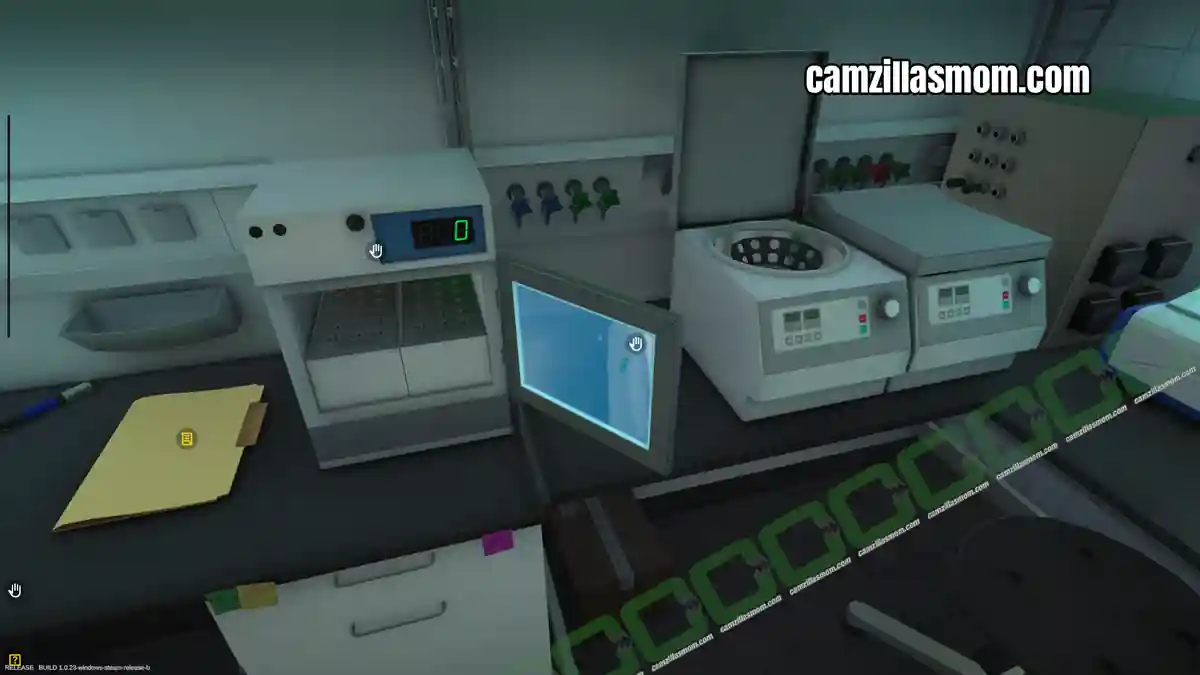
Evidence:
DNA Profile (John Doe)
DNA Profile (Unknown)
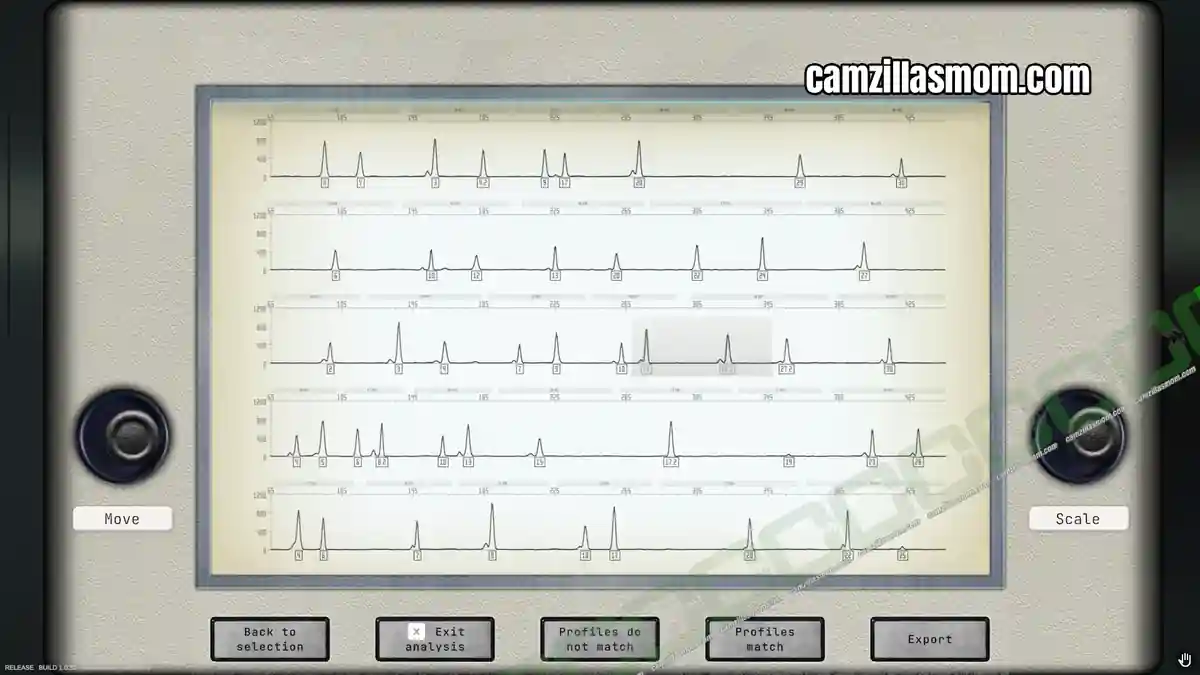
Now, go over to the DNA Comparison station and place the two samples. Use the control knobs to scale and align the profiles. Accuracy is important here! Decide if they match or not, export the results and pick them up.
The sample matches the pattern in the center row from 13 to 22.2.
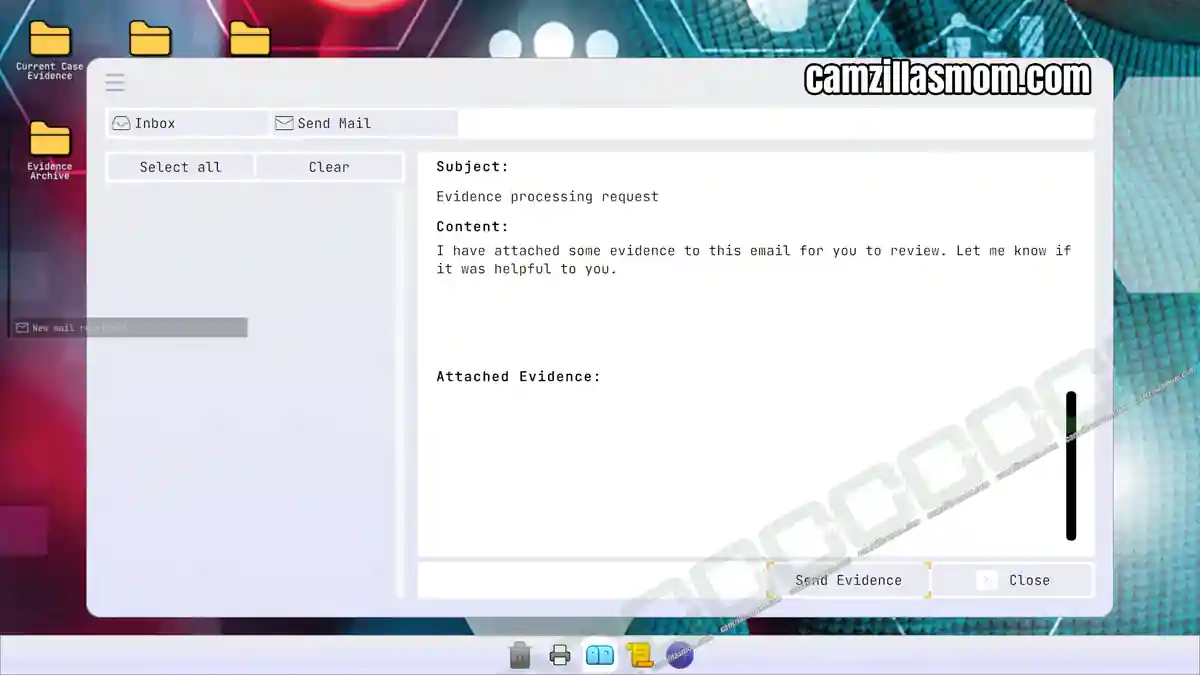
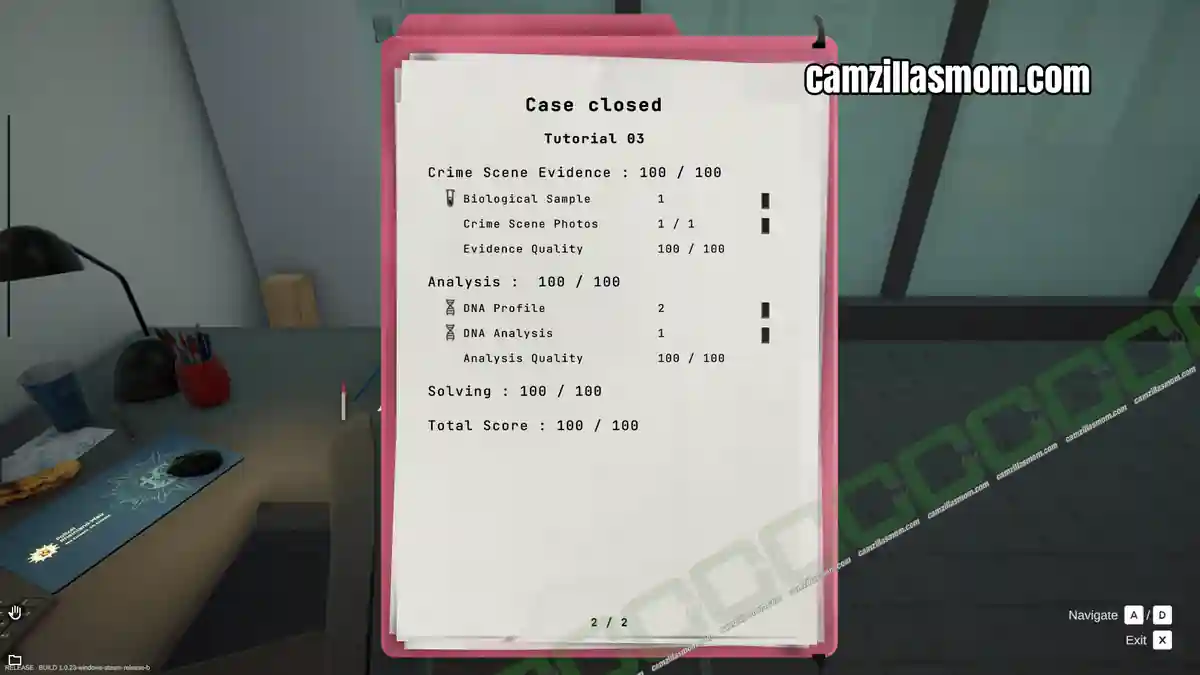
Interact with the e-mail computer to send off your evidence.


Forensics: Crime Scene Detective
Release: July 13th, 2016
Developer: Binary Impact, Alchemical Works
Publisher: Aerosoft GmbH
Official Website: https://store.steampowered.com/app/3765010/Forensics_Crime_Scene_Detective/