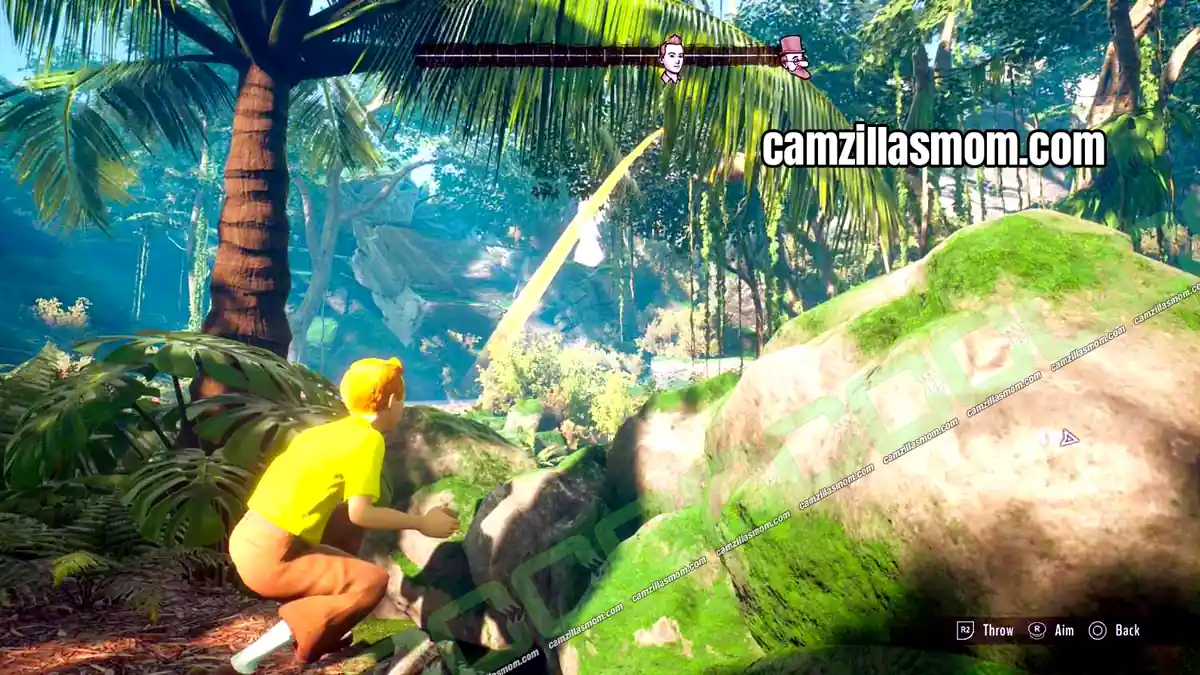
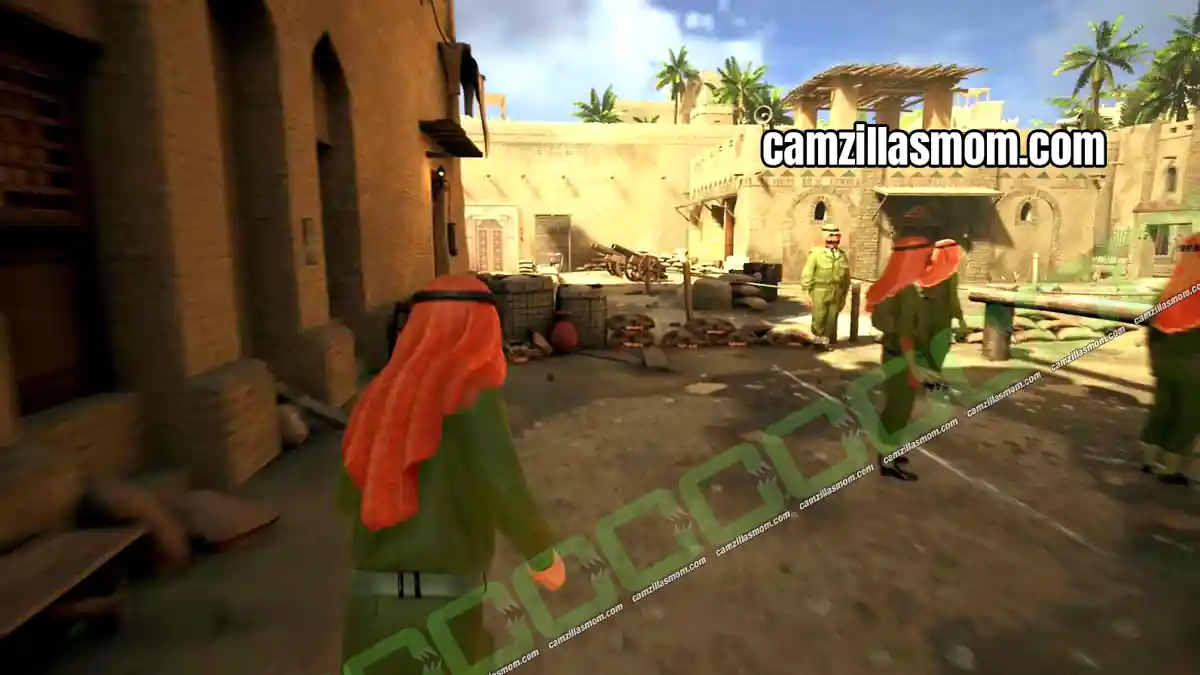
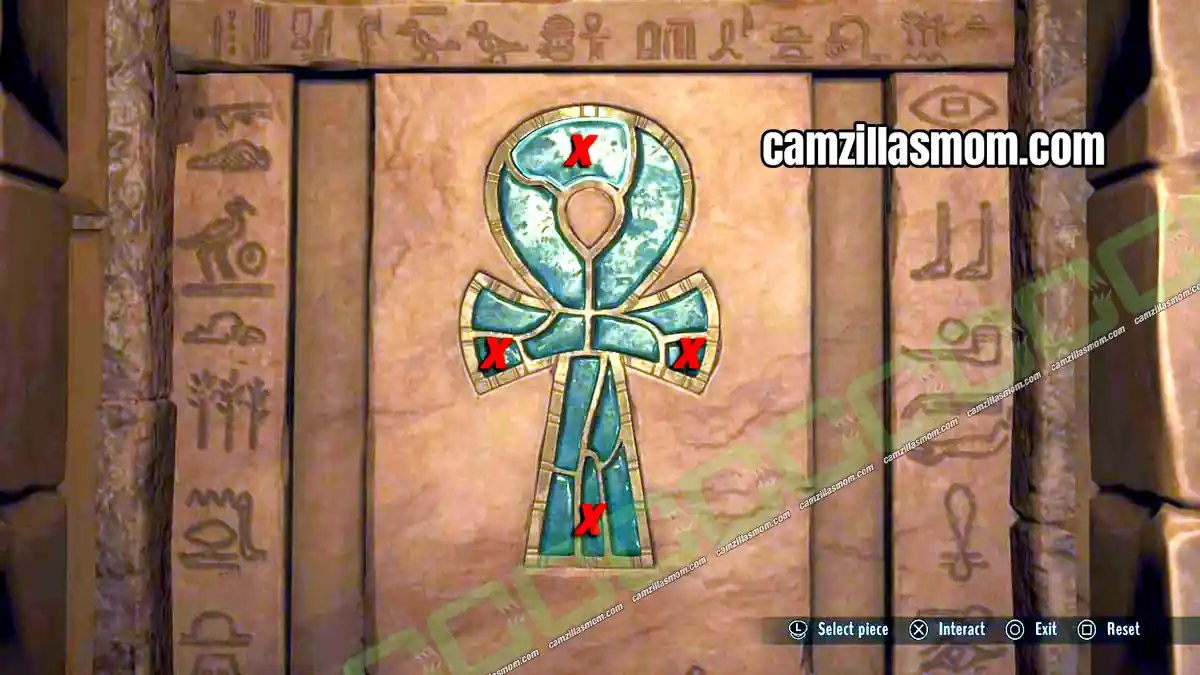
Chapter 3: Arabia of Tintin Reporter – Cigars of the Pharaoh starts with Tintin waking up on a gunrunner’s ship in the Red Sea. This Tintin Cigars of the Pharaoh Chapter 3 Arabia walkthrough takes you through all 10 quests, from the autographed portrait for Sheikh Patrash Pasha to defusing the dynamite barrels.
Related Guides:
Chapter 1: MS Epomeo Walkthrough
Chapter 2: Tomb of Kih-Oskh Walkthrough
Chapter 4: Abudin Walkthrough
Chapter 5: Indian Jungle Walkthrough
Chapter 6: Gaipajama Walkthrough
Tintin Reporter – Cigars of the Pharaoh Game Guides
- 1 – Autographed Portrait Part 1
- 2 – Back to Work! End the Coconut Game
- 3 – Autographed Portrait Part 2: Paper and Pencil
- 4 – The Road to Abudin Part 1: The Cargo Hold
- 5 – An Explosive Situation: TNT Stick and Ropes
- 6 – A Way Down Below: Bilge Trapdoor and Lanterns
- 7 – The Oldest Rivalry: Catch the Cat as Snowy
- 8 – The Road to Abudin Part 2: The Map
- 9 – Cornered by the Law: Shoot the Lamp
- 10 – Ticking Clock: Defuse the Barrels
1 – Autographed Portrait Part 1
Location: Ship to Arabia – Deck
Quest Step: Find someone who’s good at drawing
Tintin wakes up on a ship heading for Arabia, next to the friendly Sheikh Patrash Pasha. To uncover the mystery behind the cigars, Tintin needs to reach Abudin, and that means crossing the desert. The Sheikh offers you his horse, Altair, in exchange for an autographed portrait of Tintin and Snowy.
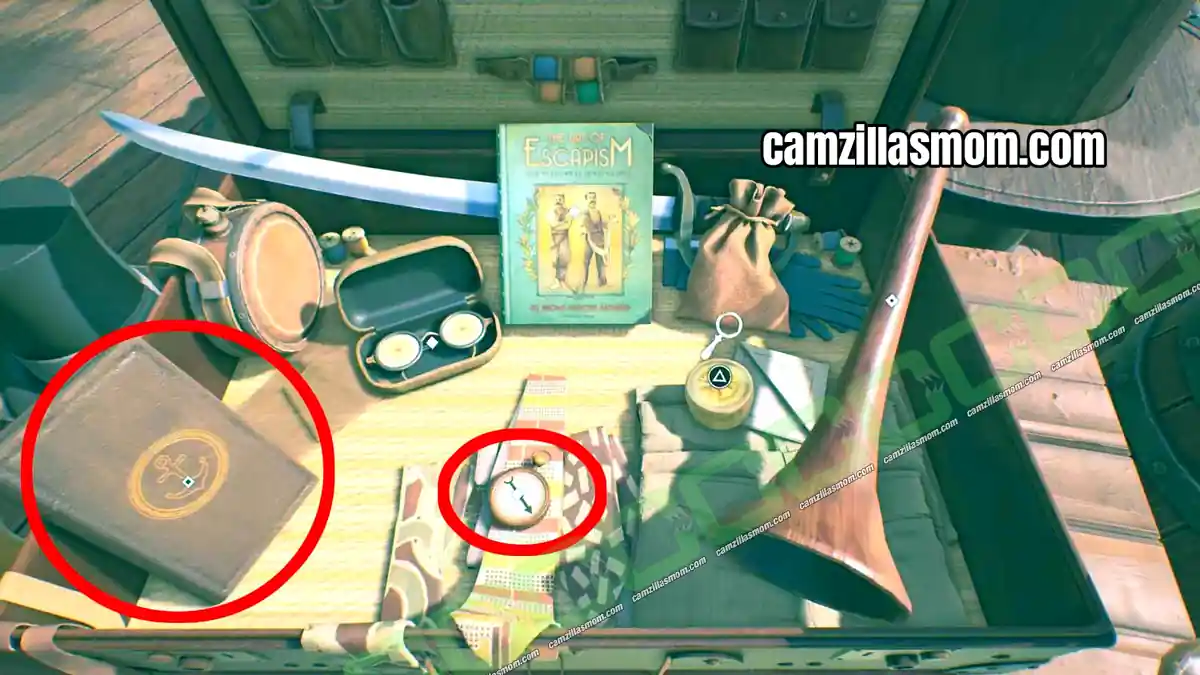
The ship has two decks you can access: the upper deck with the Sheikh and the man at the rudder, and the lower deck. Go down to the lower deck and talk to the merchant, Oliveira da Figueira. He has two items you need later: the logbook and the compass. Leave him for now.
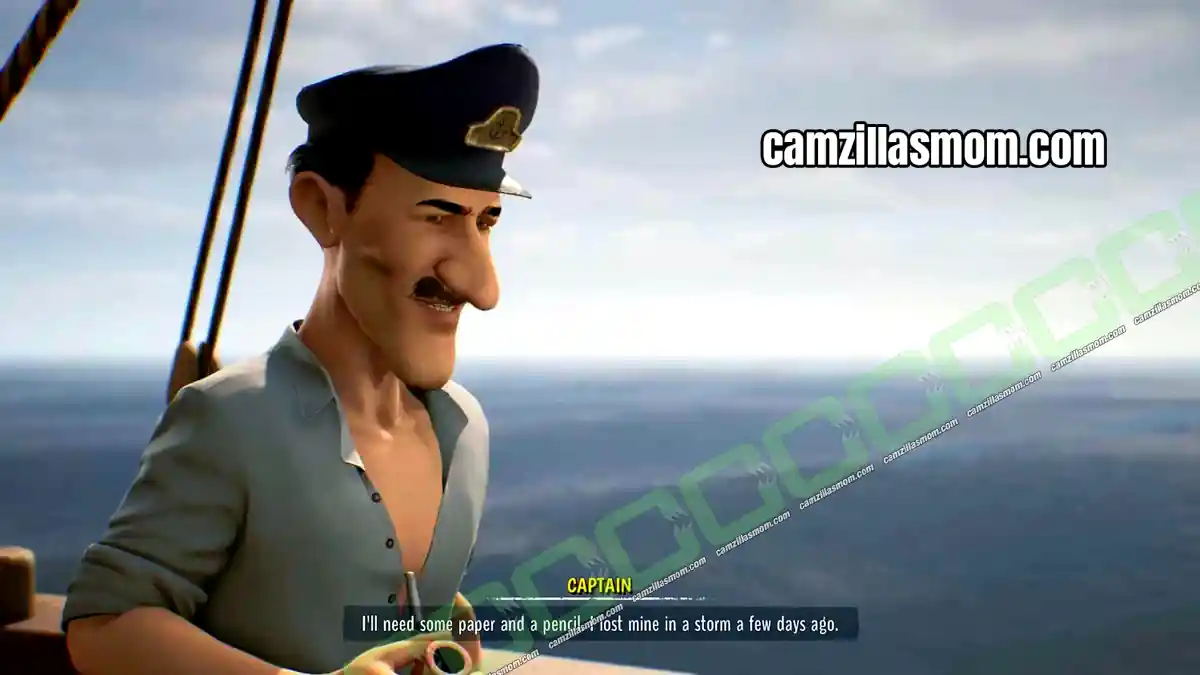
Keep exploring the deck. You find a cook, a cat and, at the front of the ship, the Captain. Talk to him to learn that he can sketch your portrait, but he lost his paper and pencil in a recent storm, so you need to find replacements. The cook and the sailor then start a strange game with a coconut.
2 – Back to Work! End the Coconut Game
Location: Ship to Arabia – Deck
Quest Step: Put an end to the coconut game
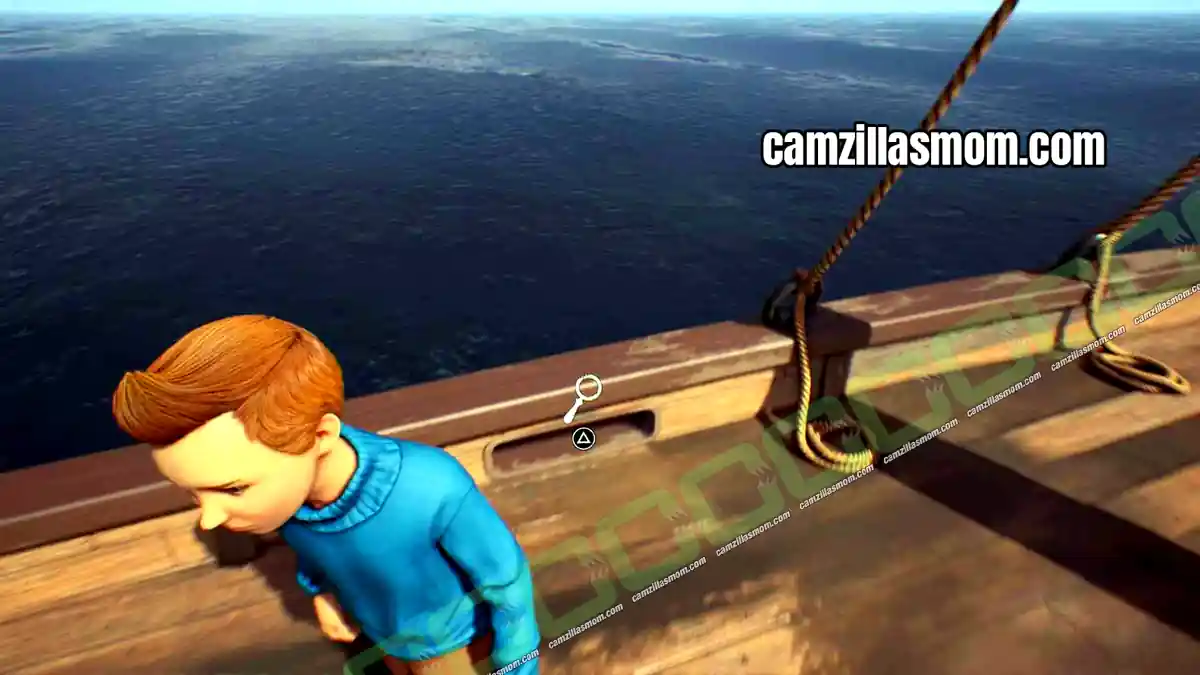
According to the Captain, this is the only coconut on board, so you need to get rid of it. The cook and the sailor have closed all the scuppers, the openings in the deck where water drains out, except one. The open scupper is on the left, right by the stairs. If the ship leans a little, the coconut could roll out through it.
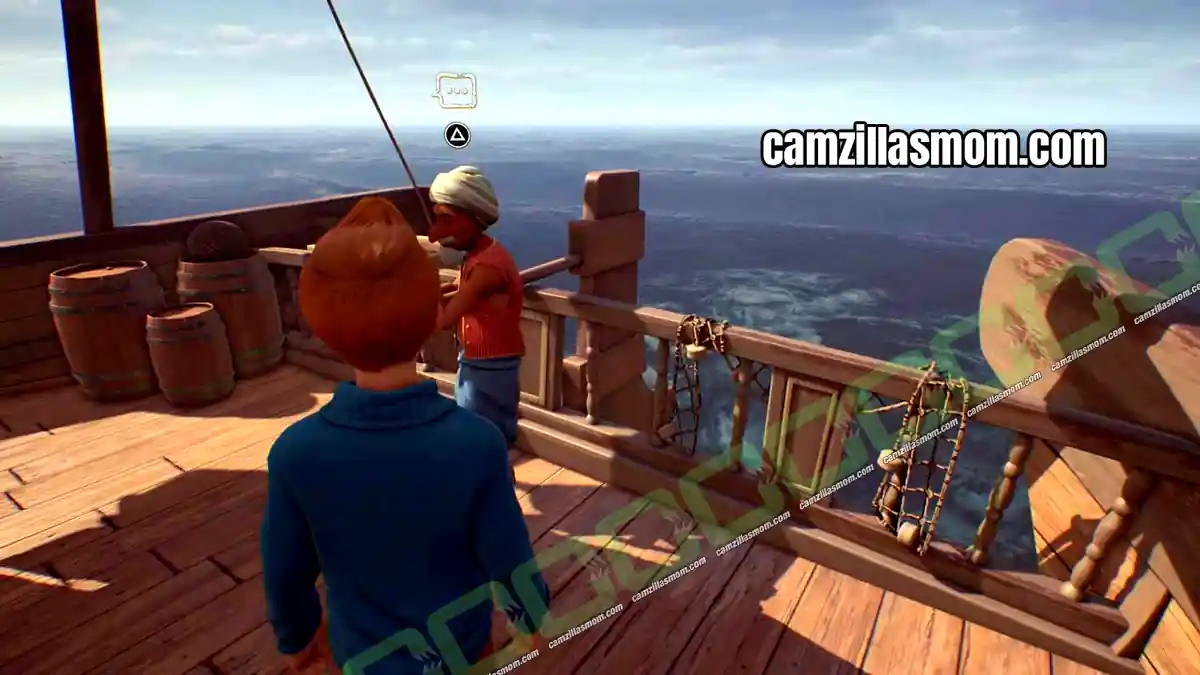
Oliveira da Figueira has a compass with reverse polarity in his collection, but he won’t give it away for free. Go up the stairs to the upper deck and pour a cup of tea from the table next to the Sheikh. Give the tea to Oliveira da Figueira, and in return he offers you one of his items for free. The logbook is too precious to him for now, so take the compass and show it to the man at the rudder on the upper deck. In the following cutscene, the coconut falls into the sea.
3 – Autographed Portrait Part 2: Paper and Pencil
Location: Ship to Arabia – Lower Deck
Quest Step: Find paper and pencil
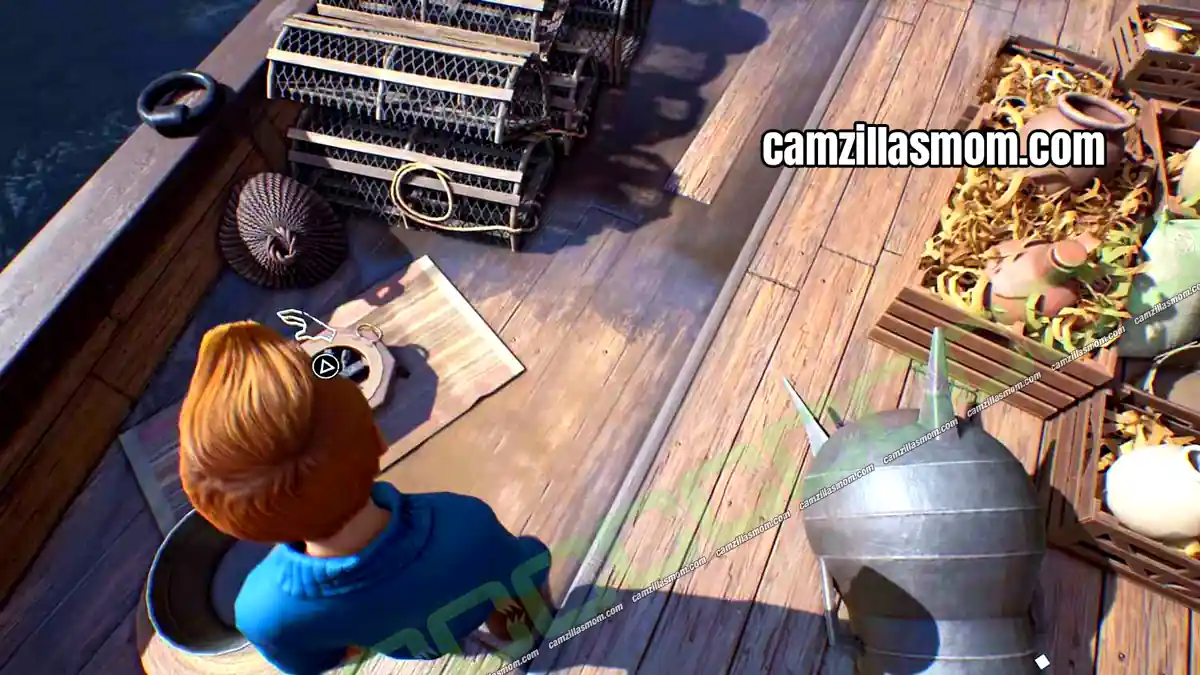
With the coconut game over, go to the lower deck and pick up the umbrella the sailor left behind. Give the umbrella to Oliveira da Figueira to get the logbook in exchange.
Now go back to the cook and his pot. The pot has fallen over and trapped the cook inside, so you can grab a piece of coal from where the fire used to be. Return to the Captain and give him the logbook and the coal, and he draws the portrait.
The next part is not a quest. Tintin rides Altair across the land and interrupts a film set, where he talks to Roberto Rastapopoulos. He finds out that Abudin is too dangerous at the moment and that he needs a map to get there, so he heads back to the ship to ask for directions.
4 – The Road to Abudin Part 1: The Cargo Hold
Location: Ship to Arabia – Cargo Hold
Quest Step: Find a map leading to Abudin
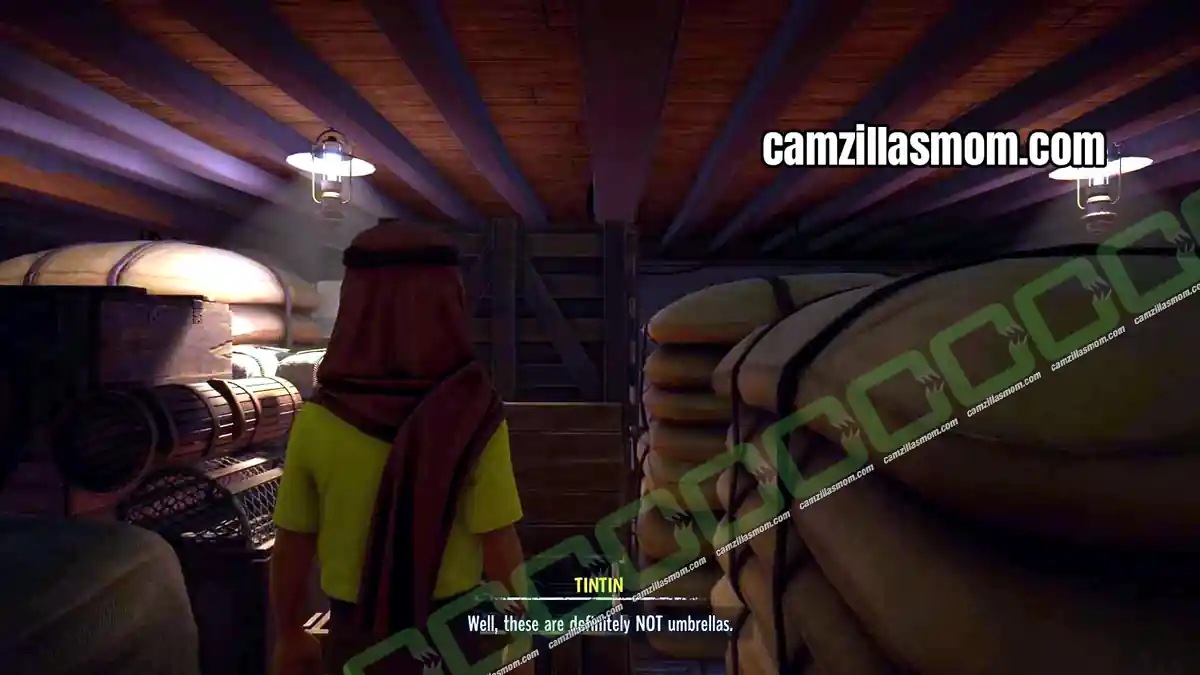
Back at the ship, Tintin finds it empty. The door to the cargo hold is open, and Snowy spots the cat rushing down into the hold. Follow it inside and open all the boxes: they hold not only coconuts but also weapons. The Captain is smuggling arms.
5 – An Explosive Situation: TNT Stick and Ropes
Location: Ship to Arabia – Cargo Hold
Quest Step: Defuse the TNT stick, Free Tintin from his ropes
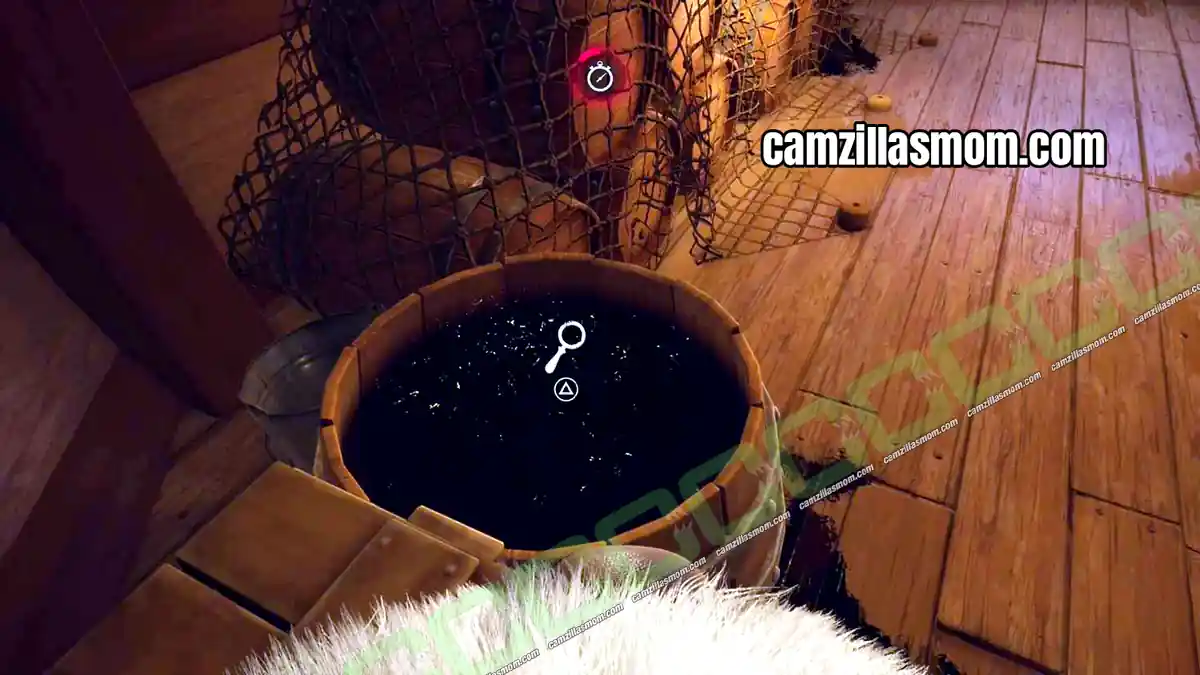
The Captain captures Tintin and ties him up. With the coast guard approaching, he decides to destroy the ship with dynamite, but the sailor misunderstands the order and throws a stick of dynamite into the cargo hold. Tintin can’t move, so you now play as Snowy. Quickly find the TNT stick, bring it to Tintin and drop it into the water barrel. Follow the white markings on the boxes next to Tintin to climb up to the water barrel.
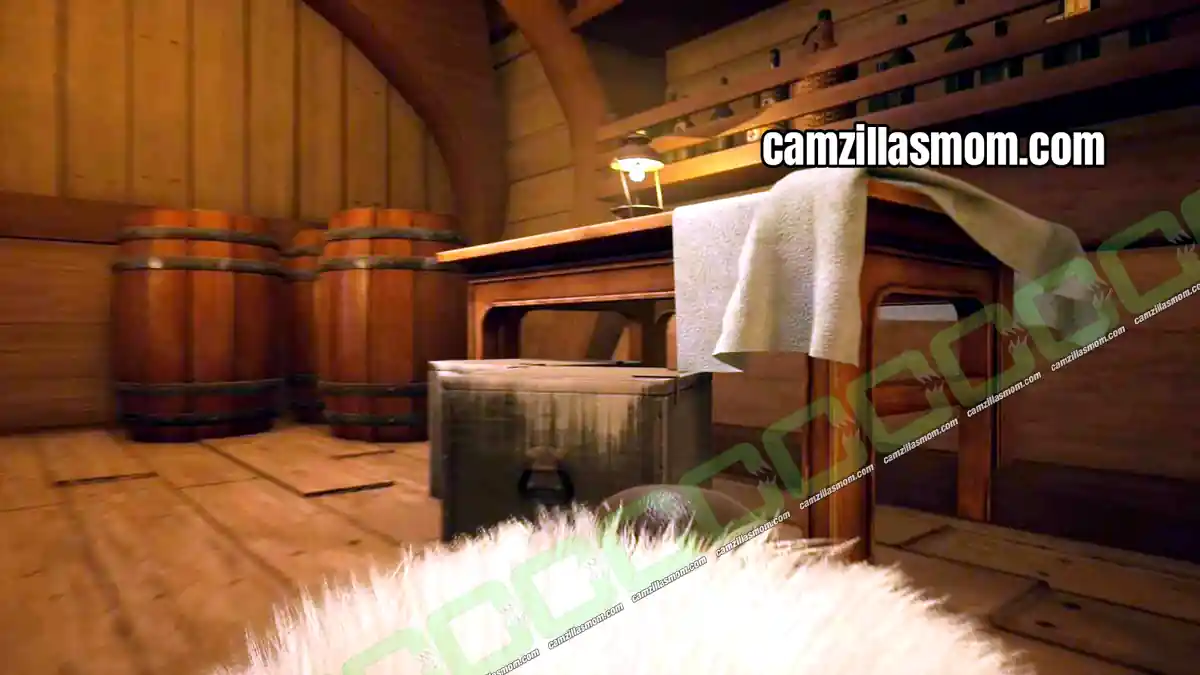
To free Tintin from his ropes, pick up the harpoon on top of the table and carry it to him. Then move the controller sticks as prompted to cut Tintin free.
6 – A Way Down Below: Bilge Trapdoor and Lanterns
Location: Ship to Arabia – Bilge
Quest Step: Unblock the bilge’s trapdoor
Tintin is free but still needs a map to Abudin, and he is trapped in the cargo hold. The only way out is the bilge trapdoor in the center of the room. Interact with it and Tintin moves away the cargo that blocks it.
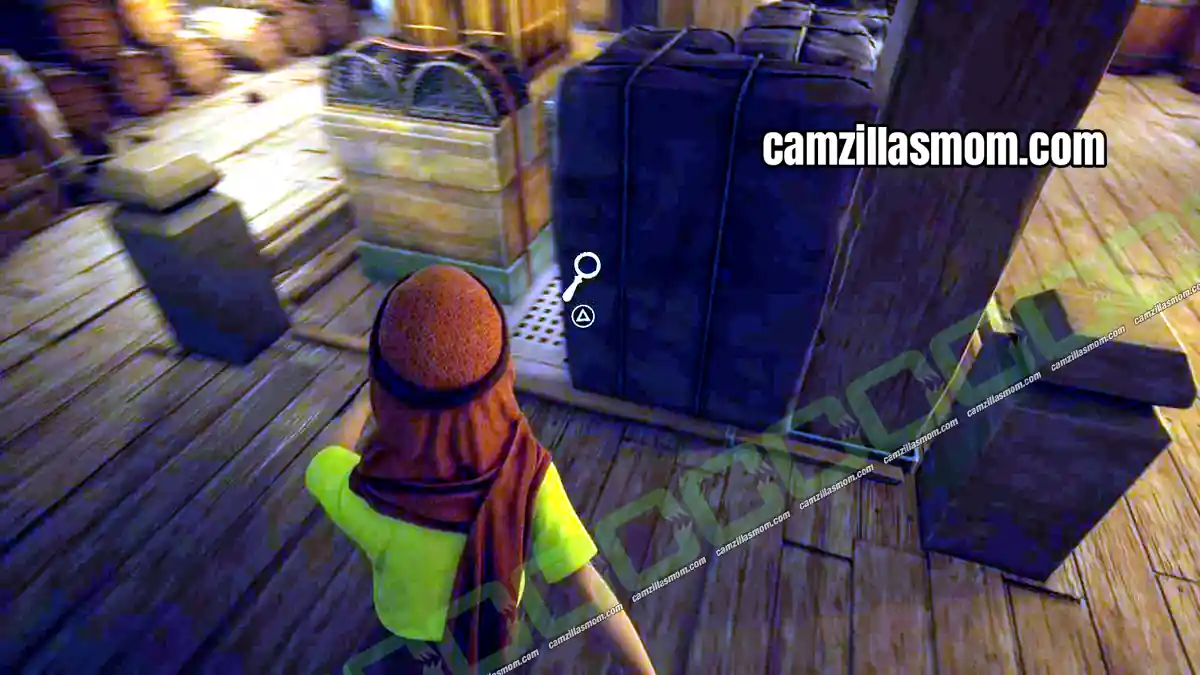
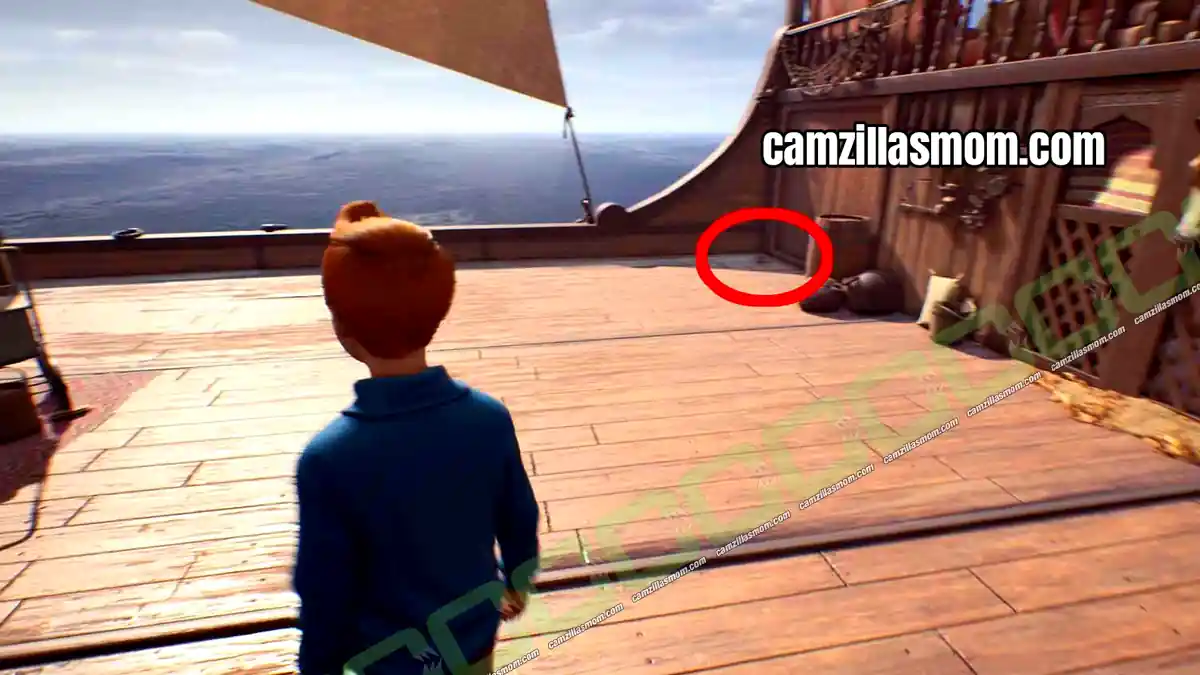
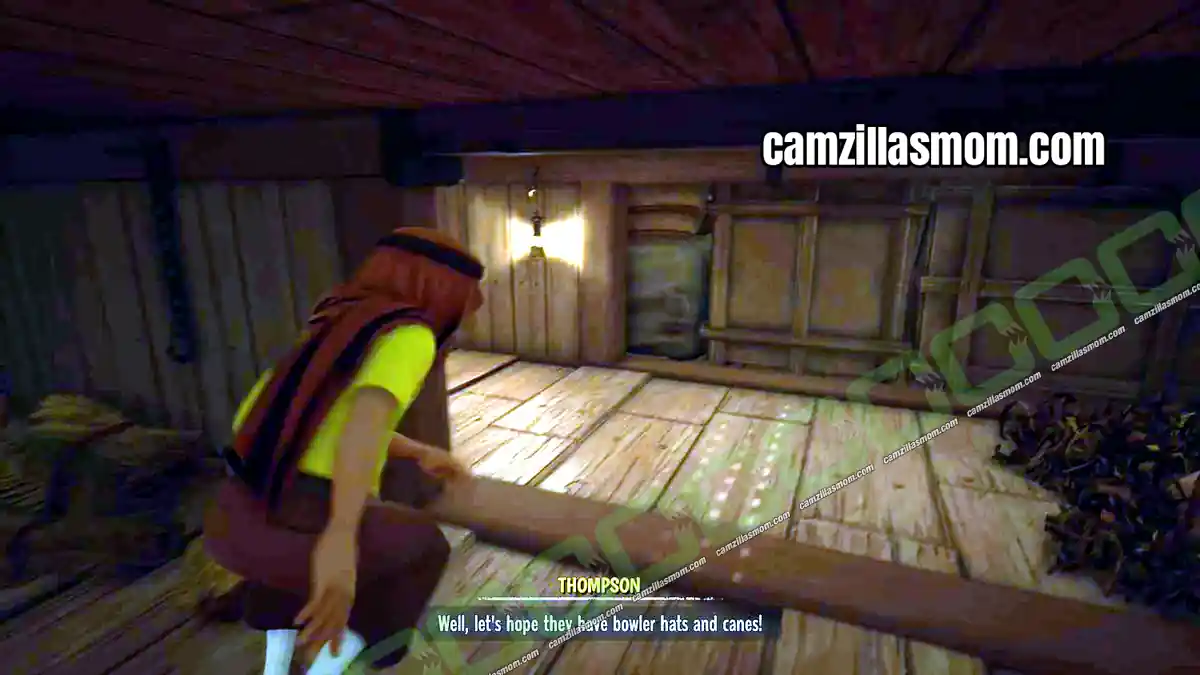
Tintin is now deeper inside the ship, and Thomson and Thompson have come aboard. They search for him with lanterns, so stay out of the light. Carefully make your way around the moving light to reach the corridor at the end. Wait until the lantern light is in the position shown in the screenshot below, towards the end of the path, then walk straight ahead into the next area without stopping.
Follow the path to a door in the ceiling. It is jammed, but Snowy can climb up through a broken floorboard.
7 – The Oldest Rivalry: Catch the Cat as Snowy
Location: Ship to Arabia – Below Deck
Quest Step: Pounce on the cook’s cat
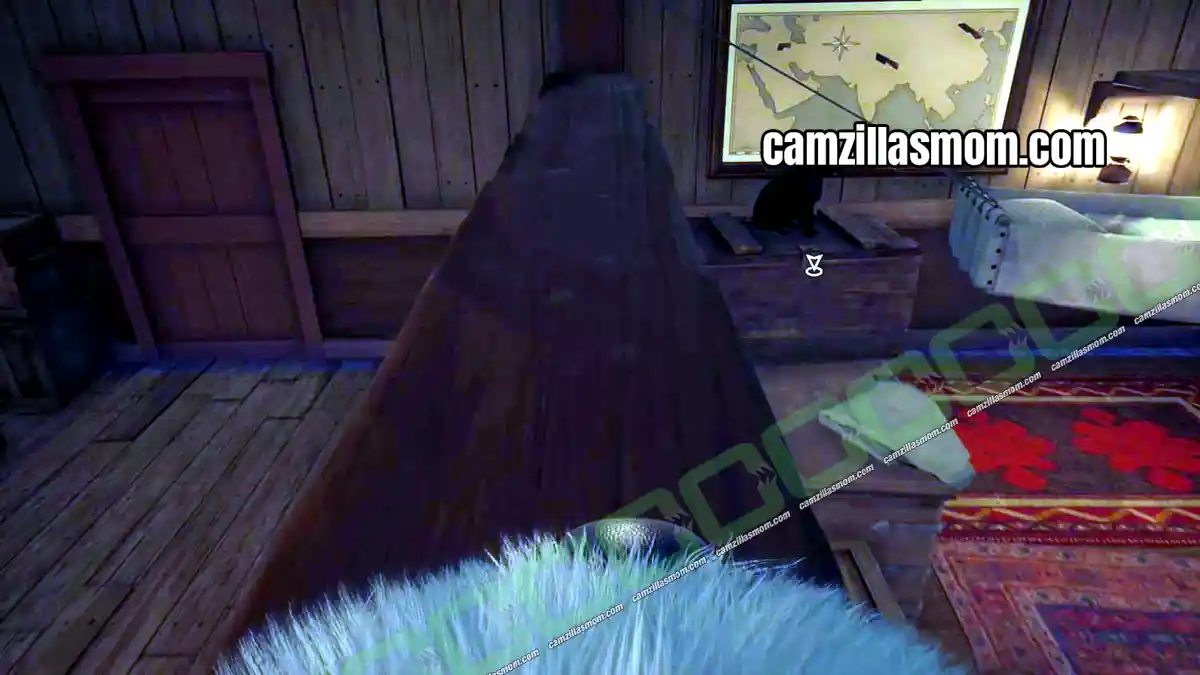
As Snowy, your goal is to catch the cat. The trick is to approach it from the right angle, so it follows a set path back to the door where Tintin is trapped. The cat starts on the table. Jump up and chase it onto the boxes on the far left.
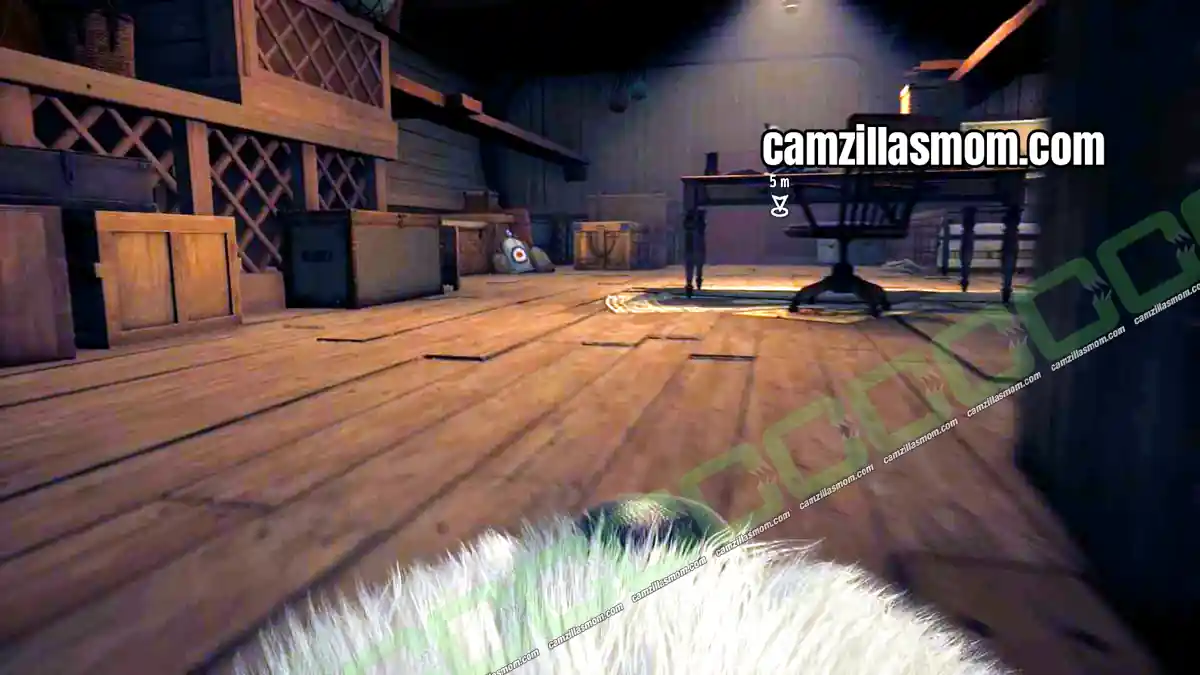
Now stop the cat from escaping. If you approach it head on, it flees across the wooden board and back onto the table. Instead, take the path just below the overhead board and approach the cat from behind, as shown below.
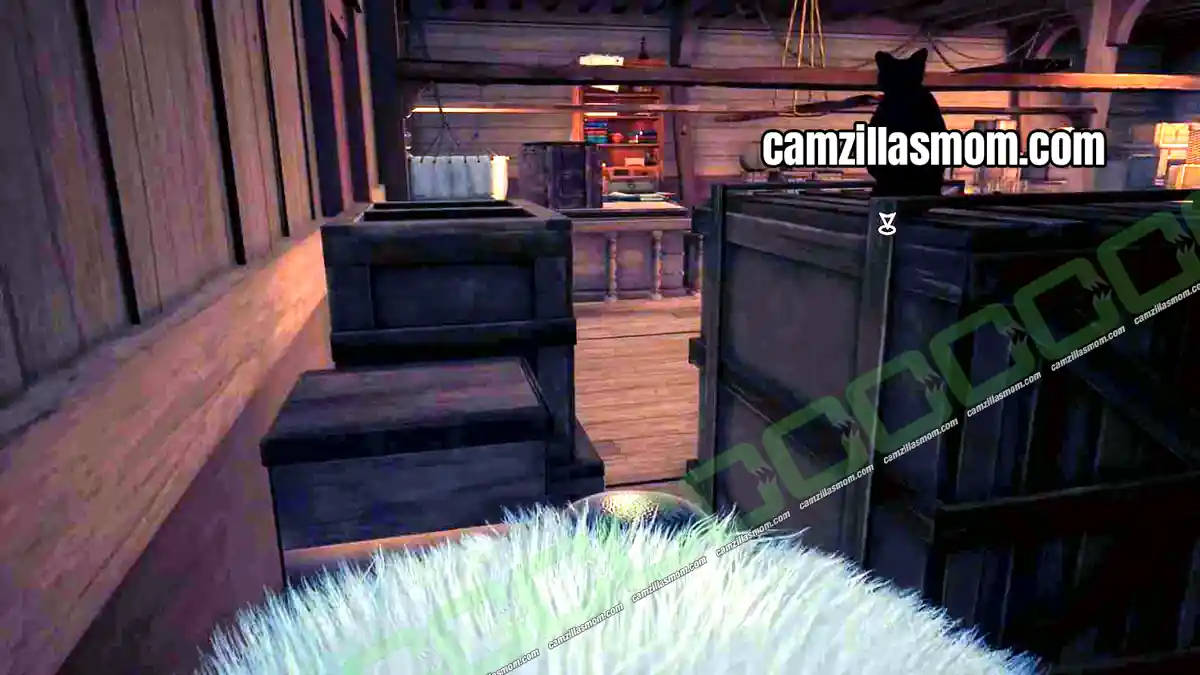
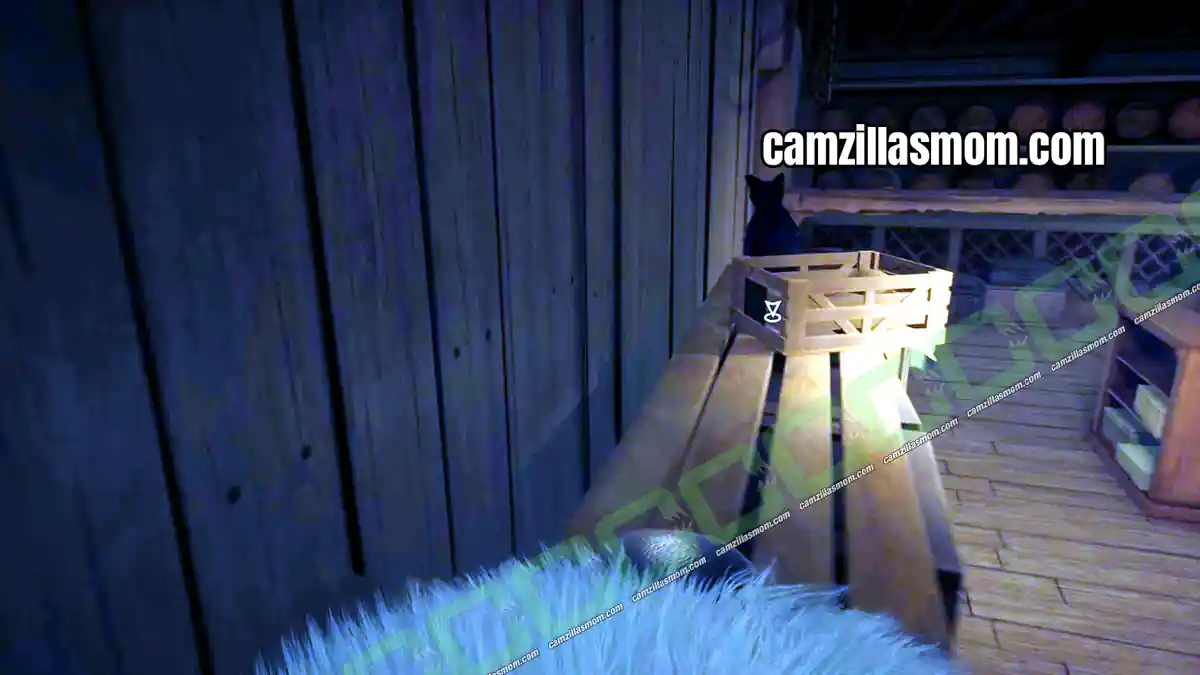
The cat now runs to the boxes on the other side instead of back to the table. Move up to the overhead wooden board and attack from above, as shown below. The cat then runs towards Tintin.
Continue to the shelf with the crate of coconuts. Knock the crate down to release Tintin.
8 – The Road to Abudin Part 2: The Map
Location: Ship to Arabia – Below Deck
Quest Step: Find a map leading to Abudin
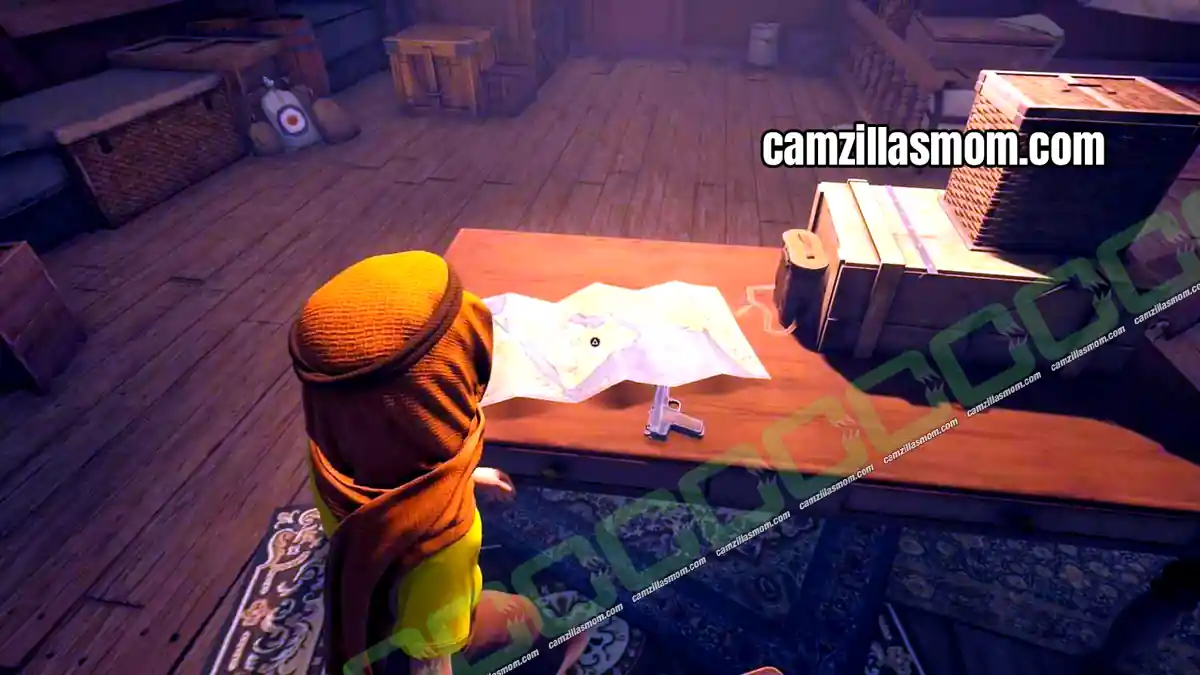
Back as Tintin, pick up the map from the Captain’s desk, where the cat was just sitting.
9 – Cornered by the Law: Shoot the Lamp
Location: Ship to Arabia – Below Deck
Quest Step: Escape from Thomson and Thompson
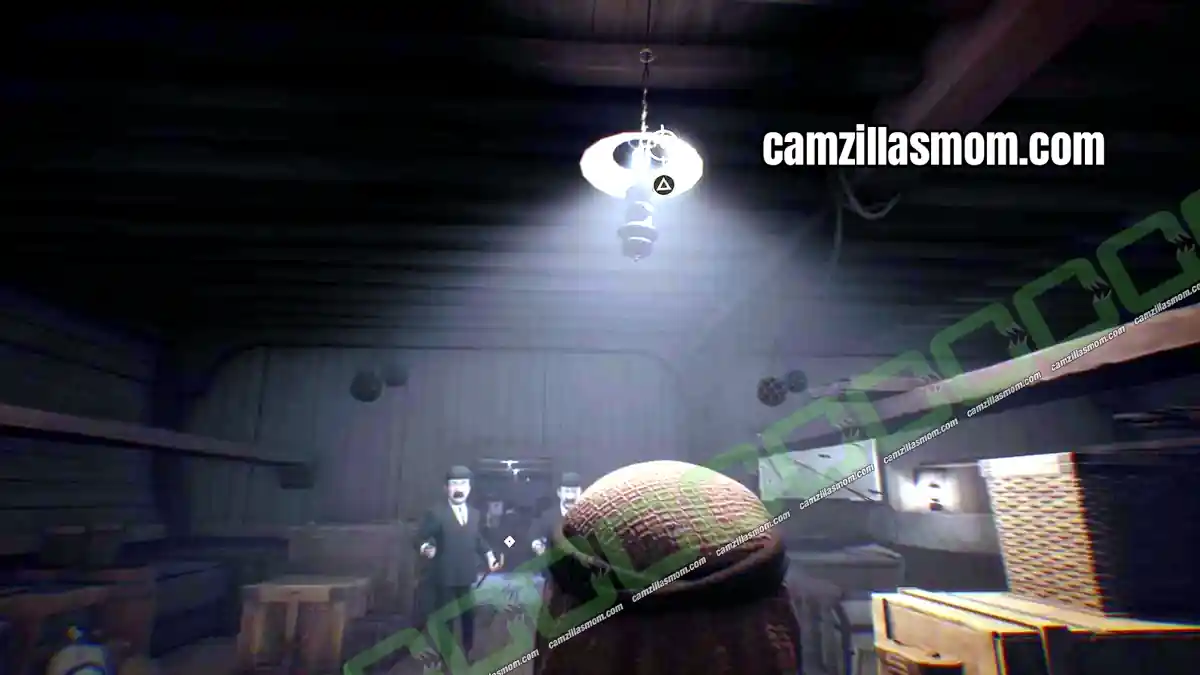
The cat, still chased by Snowy, accidentally opens the door, and Thomson and Thompson storm inside. In the next sequence, shoot the lamp above you to escape.
10 – Ticking Clock: Defuse the Barrels
Location: Ship to Arabia
Quest Step: Defuse the barrels before they explode
The sailor has set up four barrels of explosives to blow up the ship, and you have to defuse all of them before time runs out. The screenshot below shows one route to all four barrels, numbered in order. You can take any route, as long as you defuse every barrel and avoid Thomson and Thompson. Jumping across the boxes also helps you get past them.
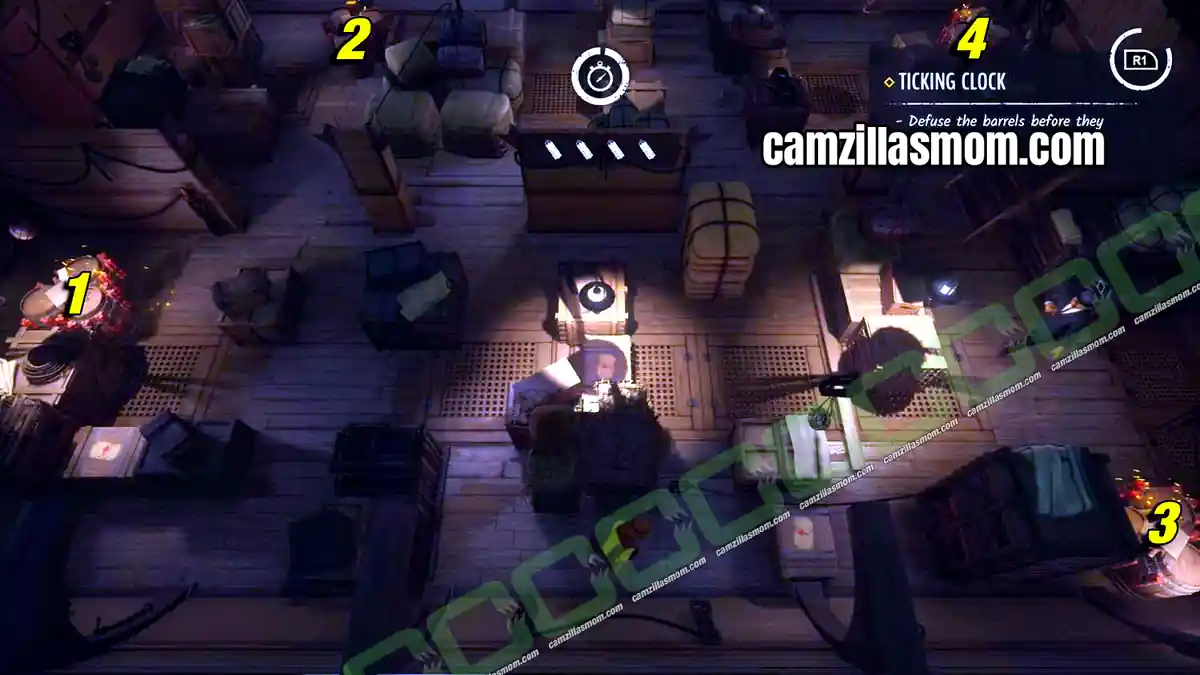
Once all four barrels are defused, Tintin escapes and makes his way to Abudin.
Next: Chapter 4 – Abudin Walkthrough


About Tintin Reporter – Cigars of the Pharaoh
Based on: Cigars of the Pharaoh by Hergé
Release: November 7th, 2023 (Nintendo Switch: October 17th, 2024)
Developer: Pendulo Studios
Publisher: Microids
Official Website: https://microids.com/game-tintin-reporter-cigars-of-the-pharaoh