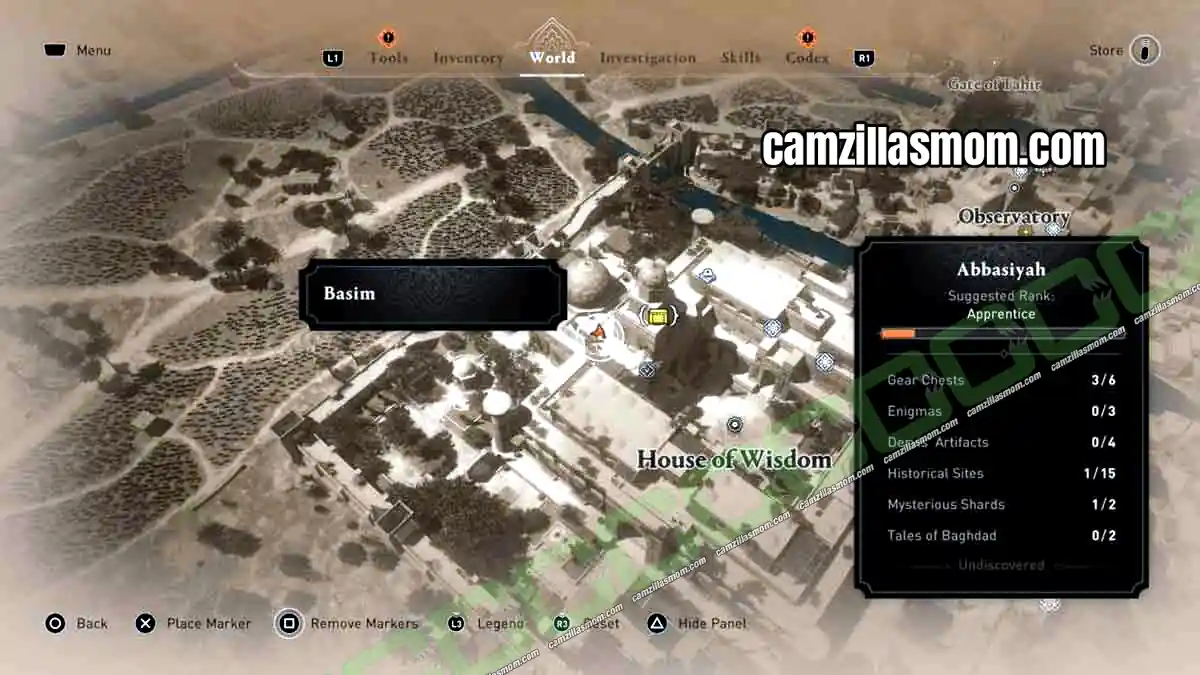
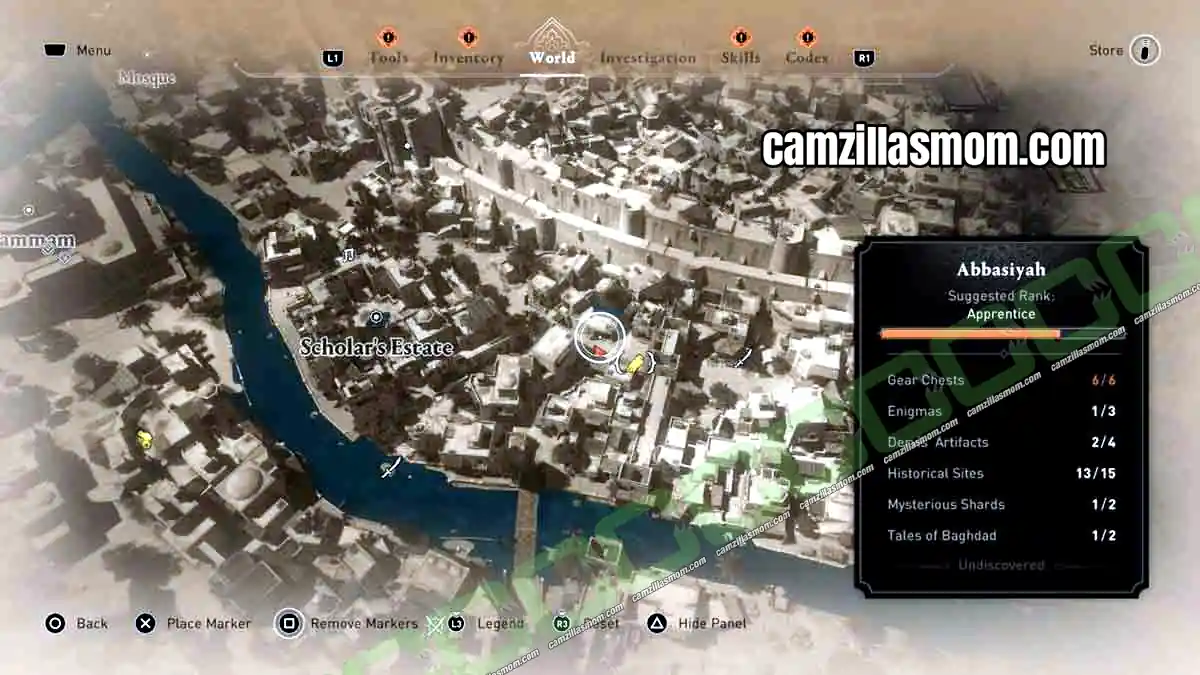
Abbasiyah holds 33 collectibles in Assassin’s Creed Mirage, and you need all of them for 100% completion of the district. Every Gear Chest, the Lost Book, all three Enigma solutions, the Dervis’ Artifacts, Historical Sites, Mysterious Shards and both Tales of Baghdad are on numbered maps below, including the key puzzles for the House of Wisdom and Four Markets Gear Chests.
Related Guides:
Harbiyah All Collectibles
Reach the Abbasiyah Bureau
Ahmad ibn Musa Investigation
The Book Burner Investigation
Assassin’s Creed Mirage Game Guides Hub
All 33 Collectibles in Abbasiyah
- Gear Chests – 6 collectibles
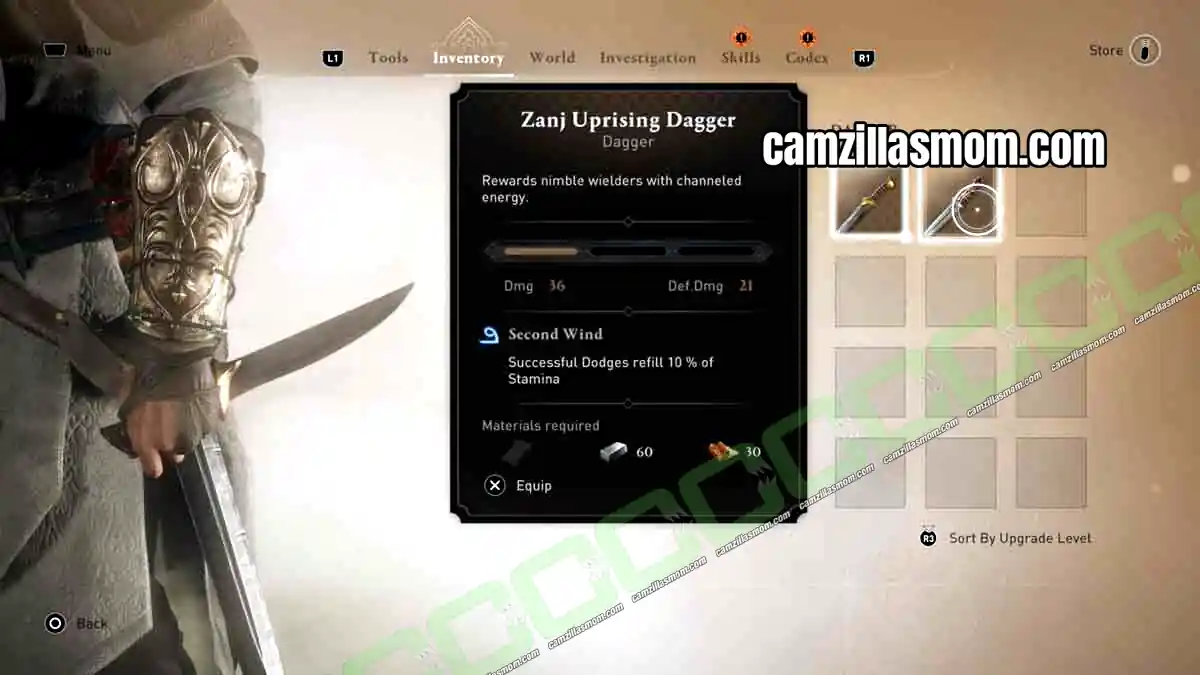
Zanj Uprising Dagger, 2 Dagger Schematics, Abbasid Knight Sword, 2 Sword Schematics - Lost Book – 1 collectible
Al-Kwarizmi: Al-Jabr - Enigmas – 3 collectibles
Delight by the Dome, The Gift, A Challenge - Dervis’ Artifacts – 4 collectibles
Small Chinese Box, Round Moon Plaque, Tang Censer, Olibanum - Historical Sites – 15 collectibles
Glowing orbs with Codex entries, from the House of Wisdom to the Great Bimaristan - Mysterious Shards – 2 collectibles
Scriptorium, Scholar’s Estate - Tales of Baghdad – 2 collectibles
A Life’s Work, Blade in the Crowd, Tool in the Shed
Total: 33 collectibles – 6 Gear Chests, 1 Lost Book, 3 Enigmas, 4 Dervis’ Artifacts, 15 Historical Sites, 2 Mysterious Shards, 2 Tales of Baghdad
Abbasiyah Gear Chests – 6
Abbasiyah has six Gear Chests: the Zanj Uprising Dagger and the Abbasid Knight Sword, plus two upgrade schematics for each. Only the Scriptorium chest is a simple grab. The others are locked behind barred doors, shelf puzzles, keys or destructible walls.
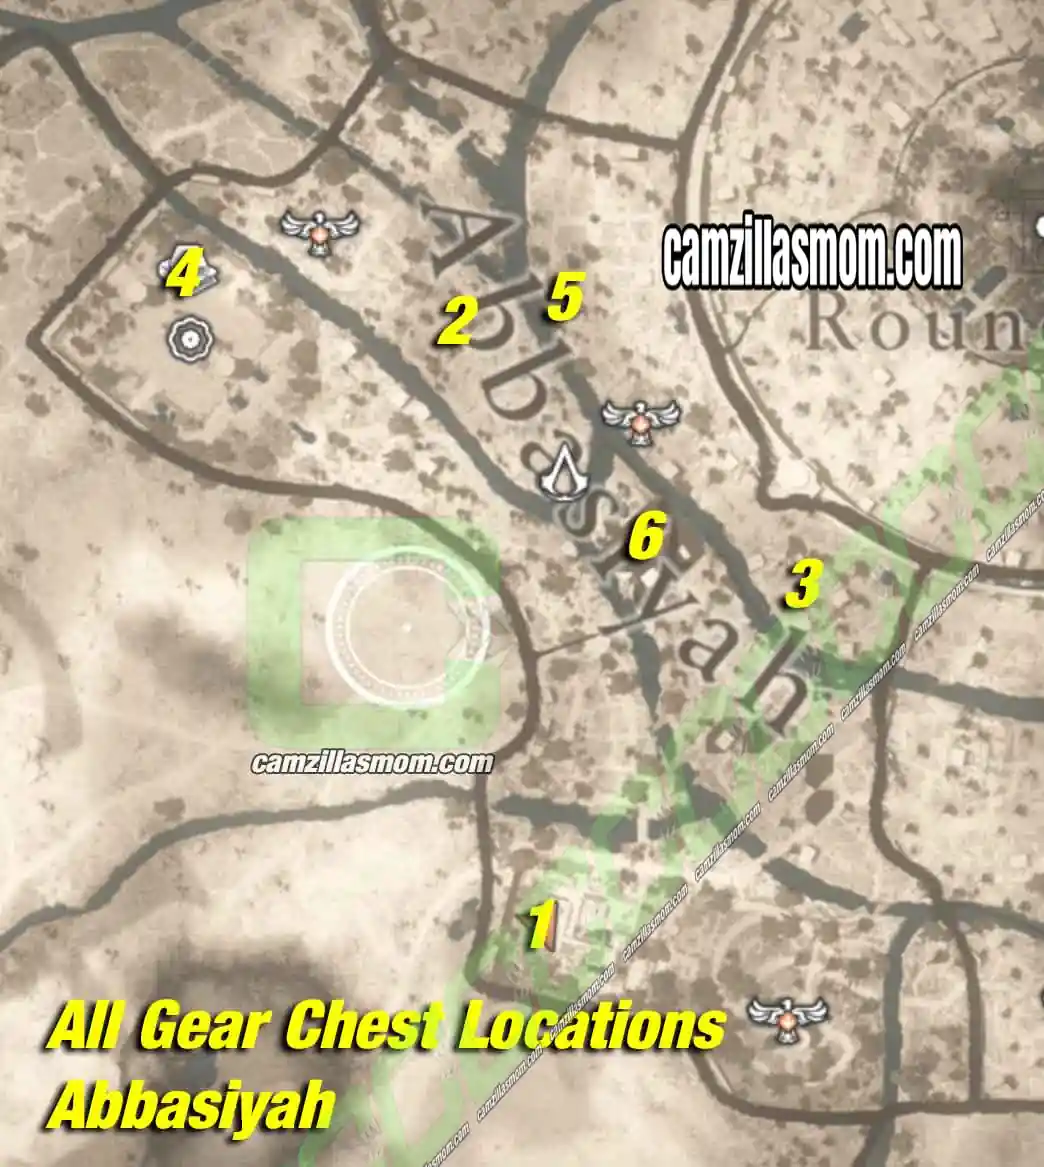
1 – Great Bimaristan Gear Chest (Zanj Uprising Dagger)
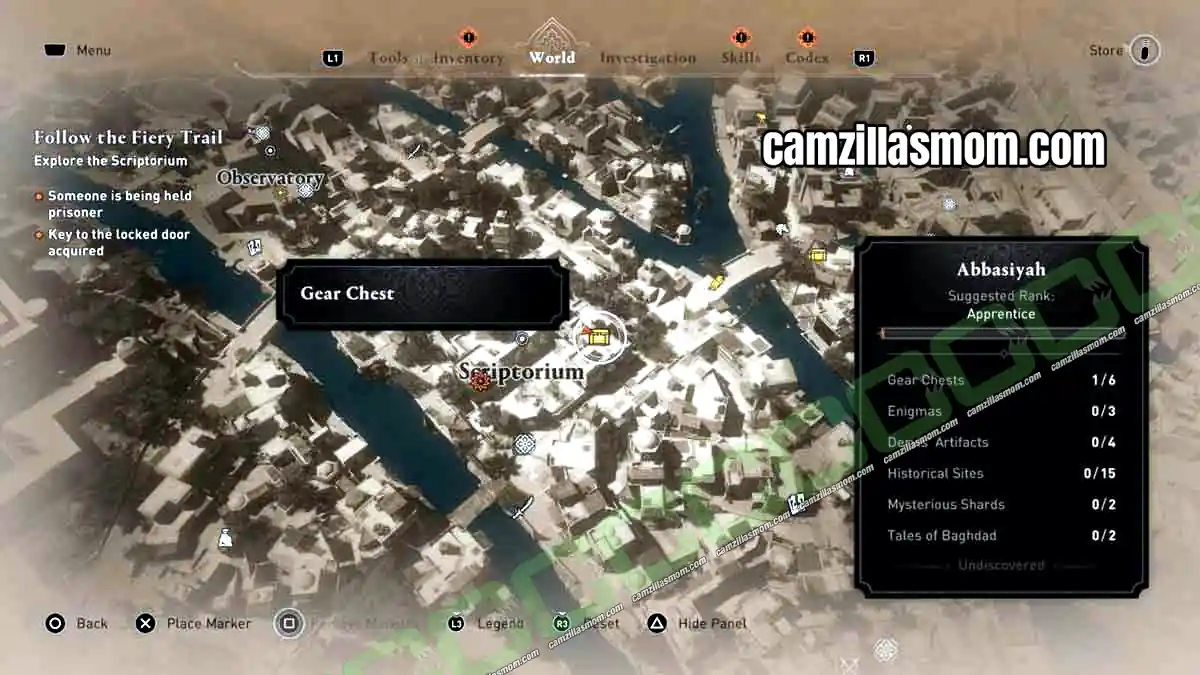
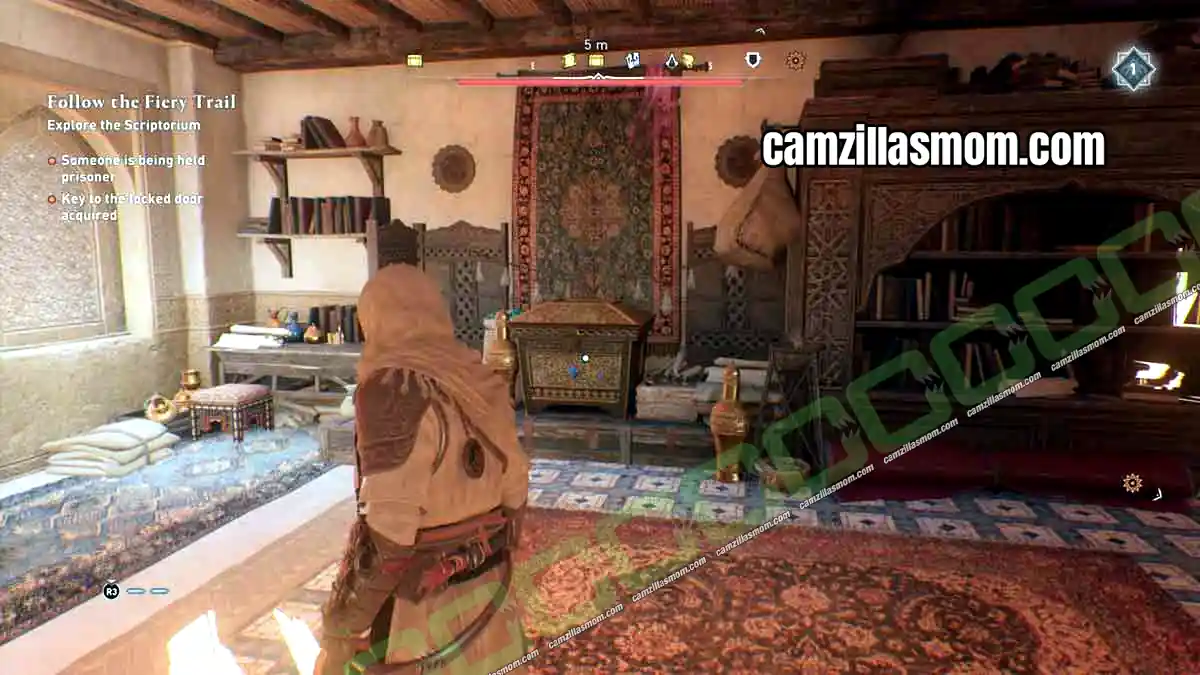
2 – Scriptorium Gear Chest (Abbasid Knight Sword)
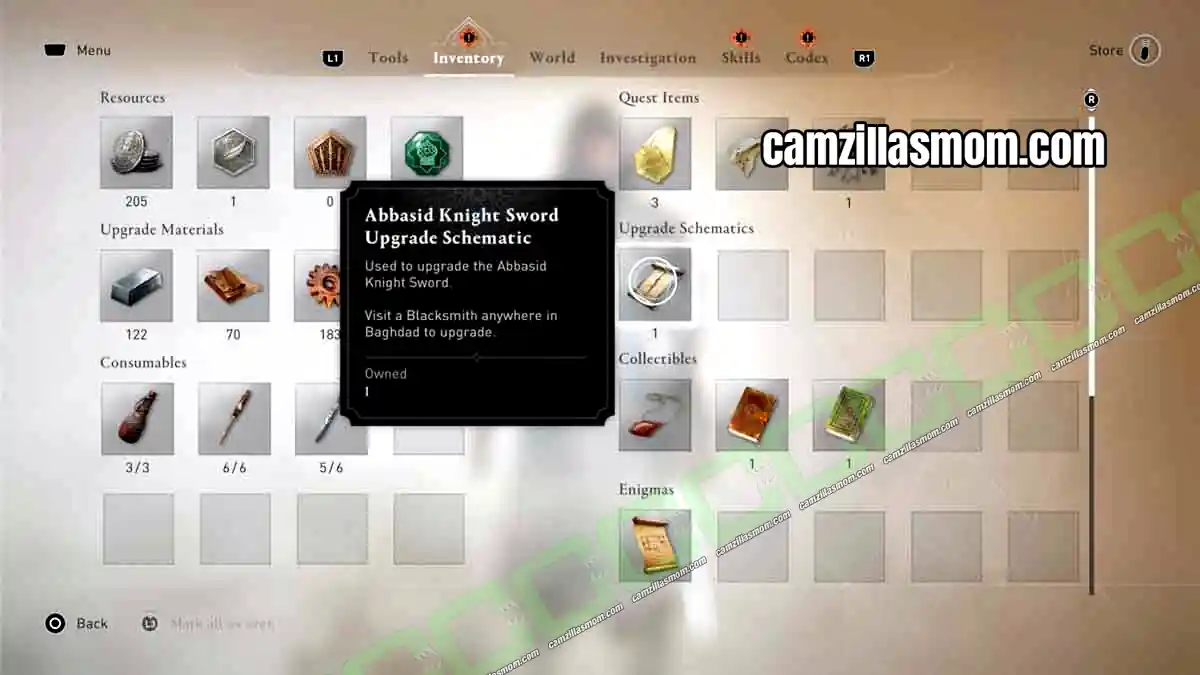
3 – Scholar’s Estate Gear Chest (Abbasid Knight Sword Schematic)
4 – House of Wisdom Gear Chest (Abbasid Knight Sword Schematic)
5 – Four Markets Gear Chest (Zanj Uprising Dagger Schematic)
6 – Hammam Gear Chest (Zanj Uprising Dagger Schematic)
1 – Great Bimaristan Gear Chest (Zanj Uprising Dagger)
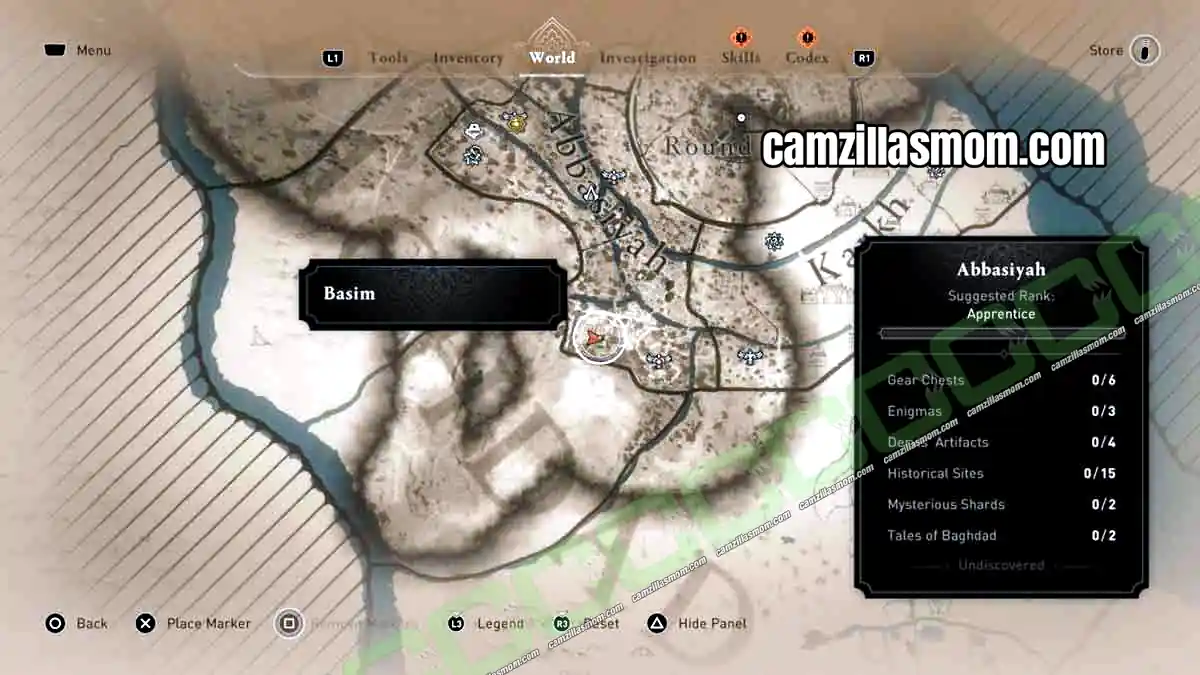
Location: Dome room on the roof of the Great Bimaristan, in the south
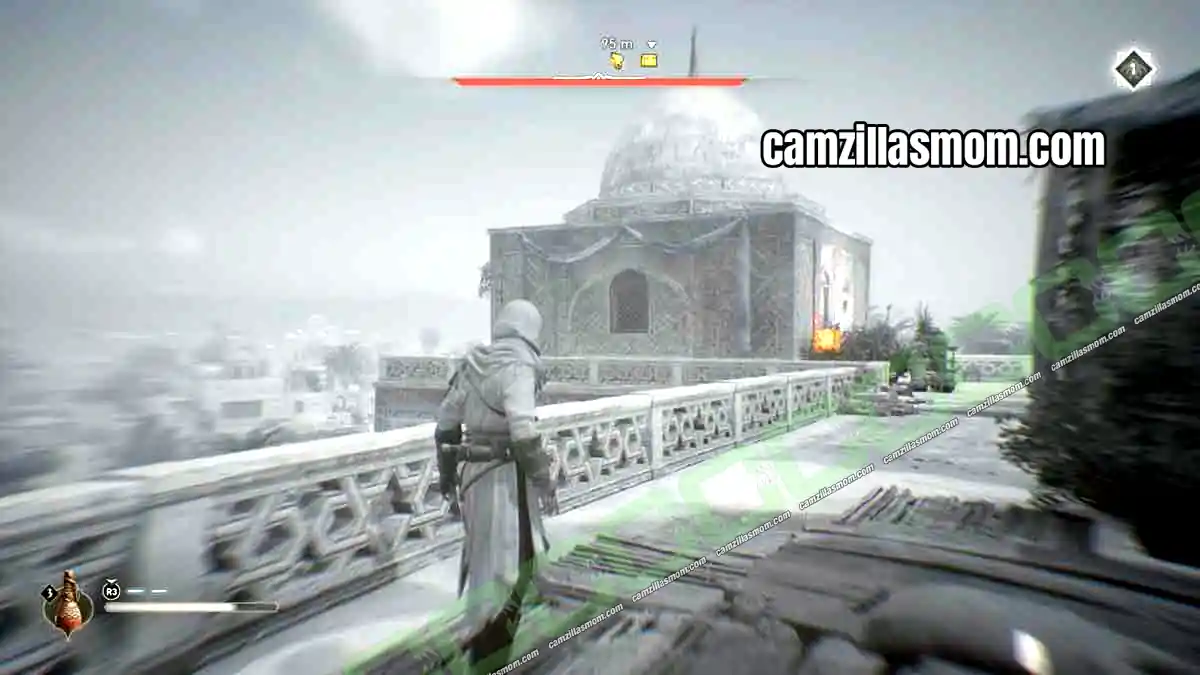
Climb up to the roof of the Great Bimaristan, the hospital in the south of Abbasiyah. The roof has two domes. You can use one of them to climb up, and the Gear Chest is inside the other one.
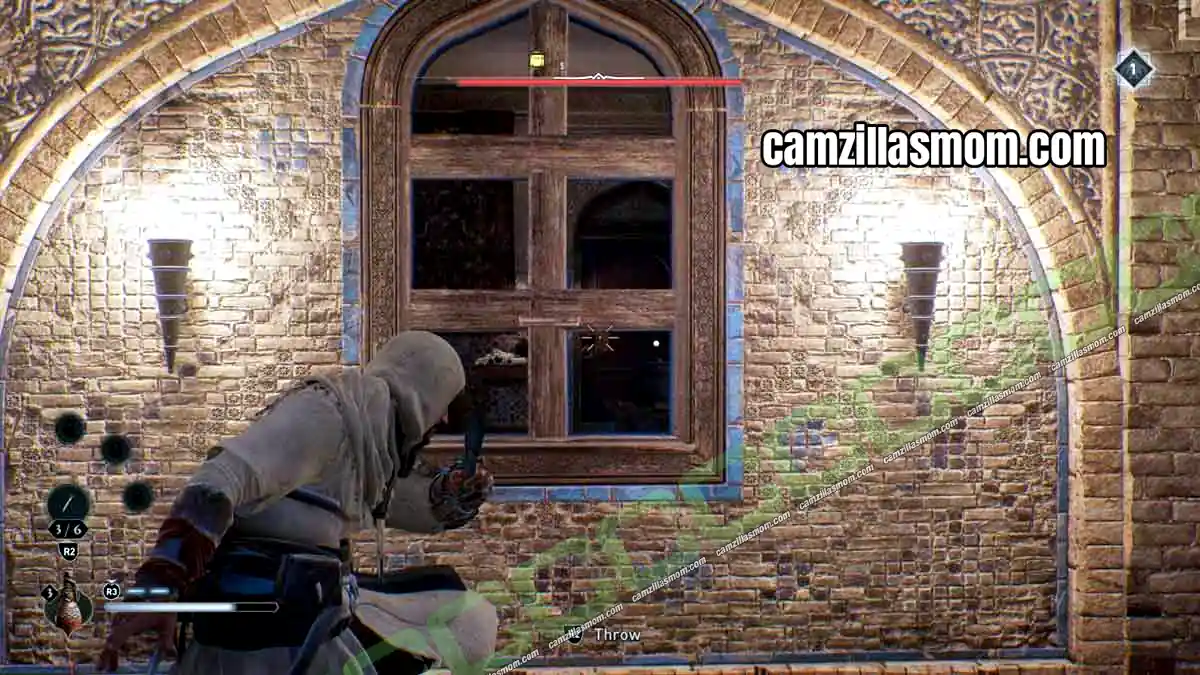
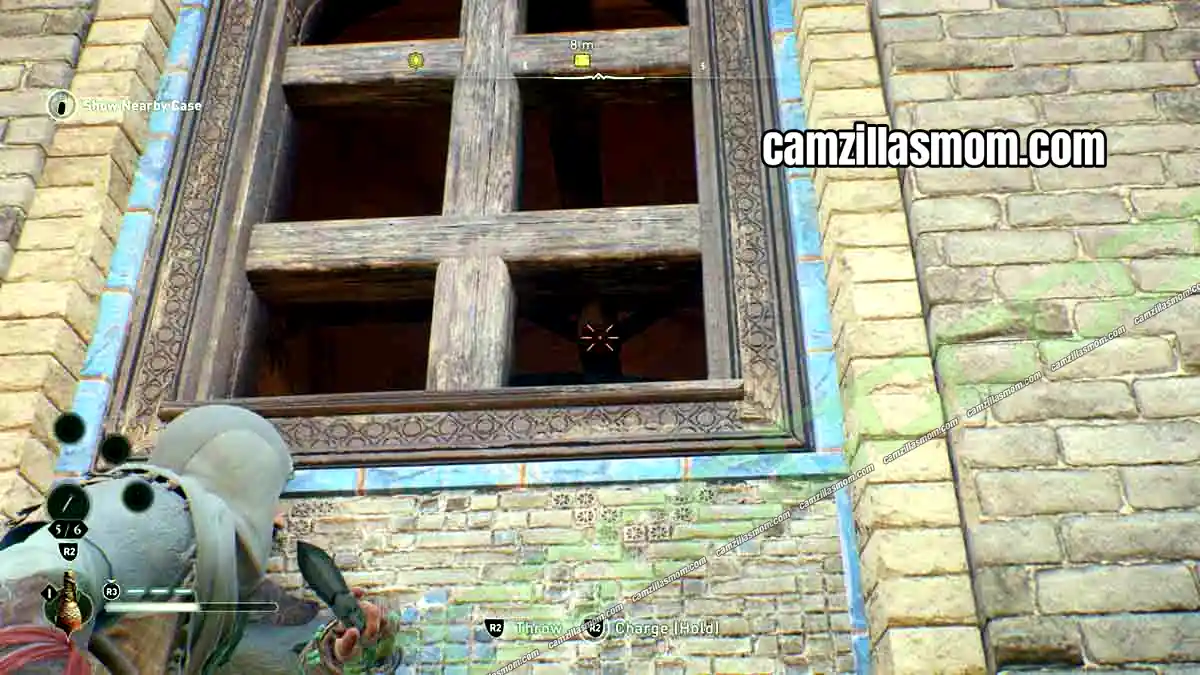
The door to the dome room is barred. Go around to the other side and throw a knife through the window to open it. You have to sit on the rail first, otherwise you can’t reach the window. Inside the dome room, the chest is hidden behind a bookshelf. Grab it and pull it all the way back to reach the chest.
2 – Scriptorium Gear Chest (Abbasid Knight Sword)
Location: Second floor of the Scriptorium
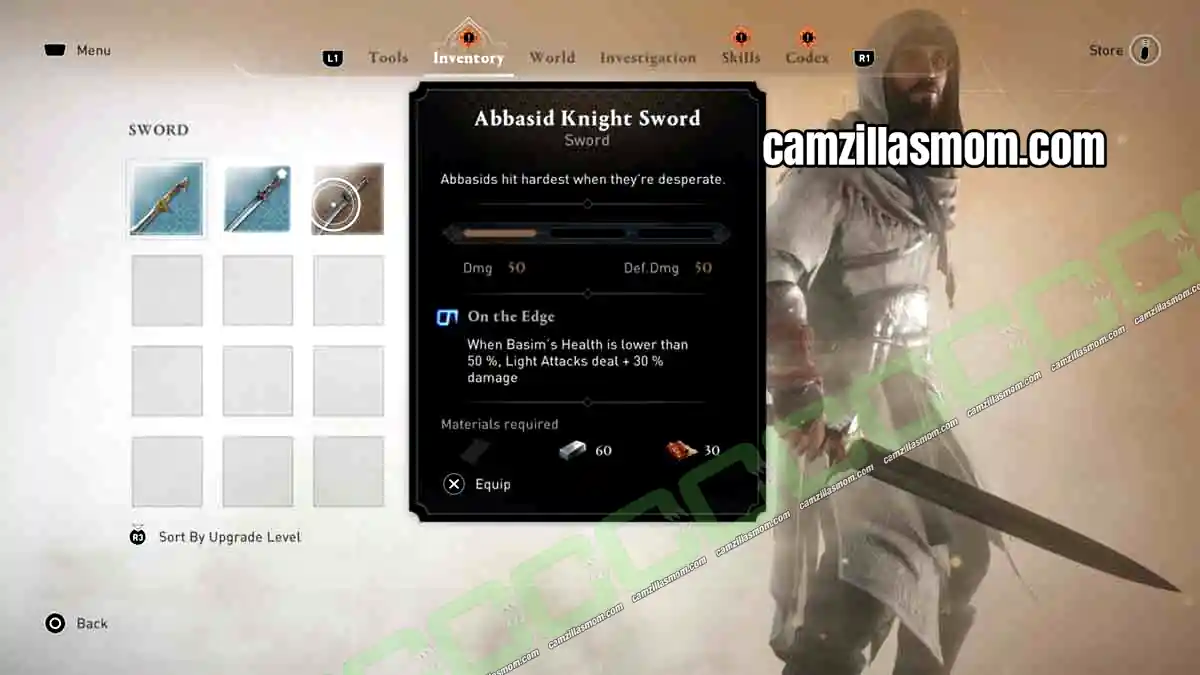
This is the easiest Gear Chest in Abbasiyah. It is in the Scriptorium building on the second floor, and an open window lets you climb straight in.
3 – Scholar’s Estate Gear Chest (Abbasid Knight Sword Schematic)
Location: Two-level building at the Scholar’s Estate, in the east
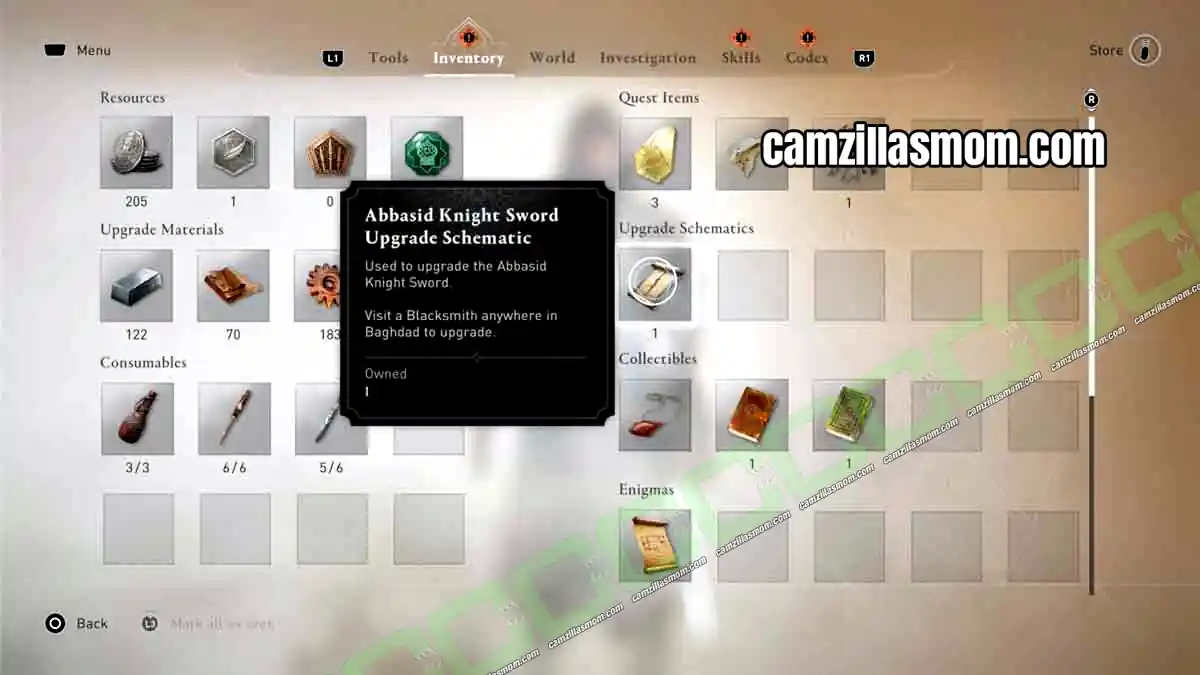
The chest is in the two-level building at the Scholar’s Estate. The entrance is barred, but the window on the second floor has a destructible barrier. Break it and climb in.
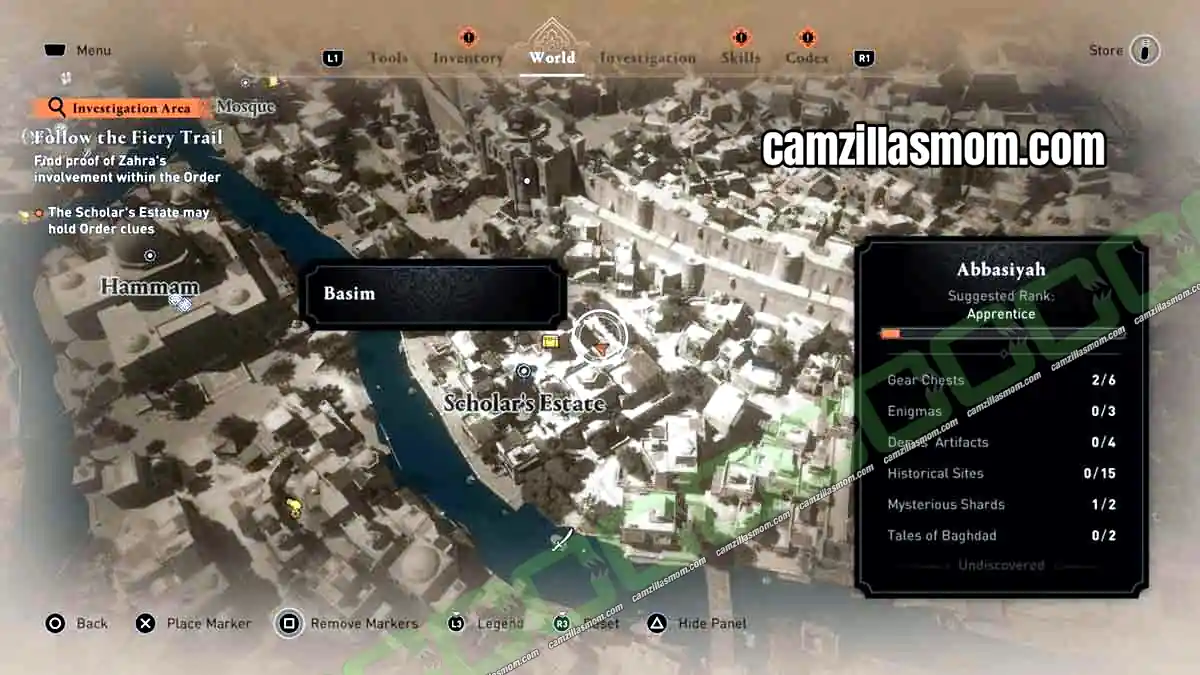
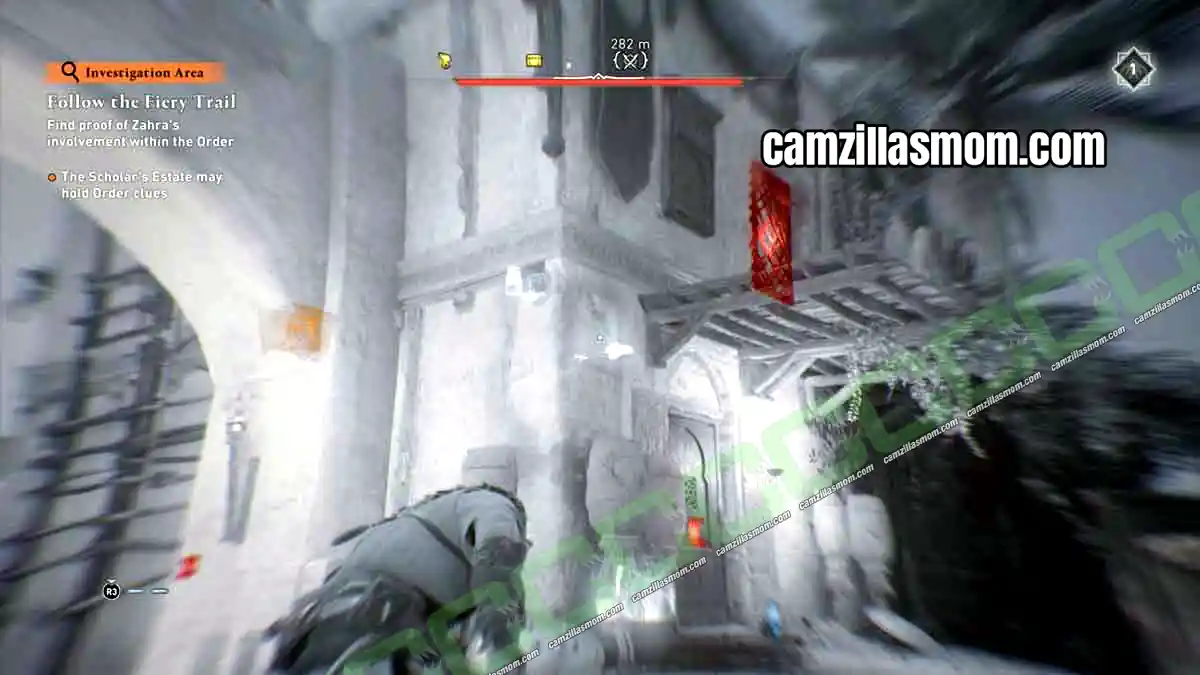
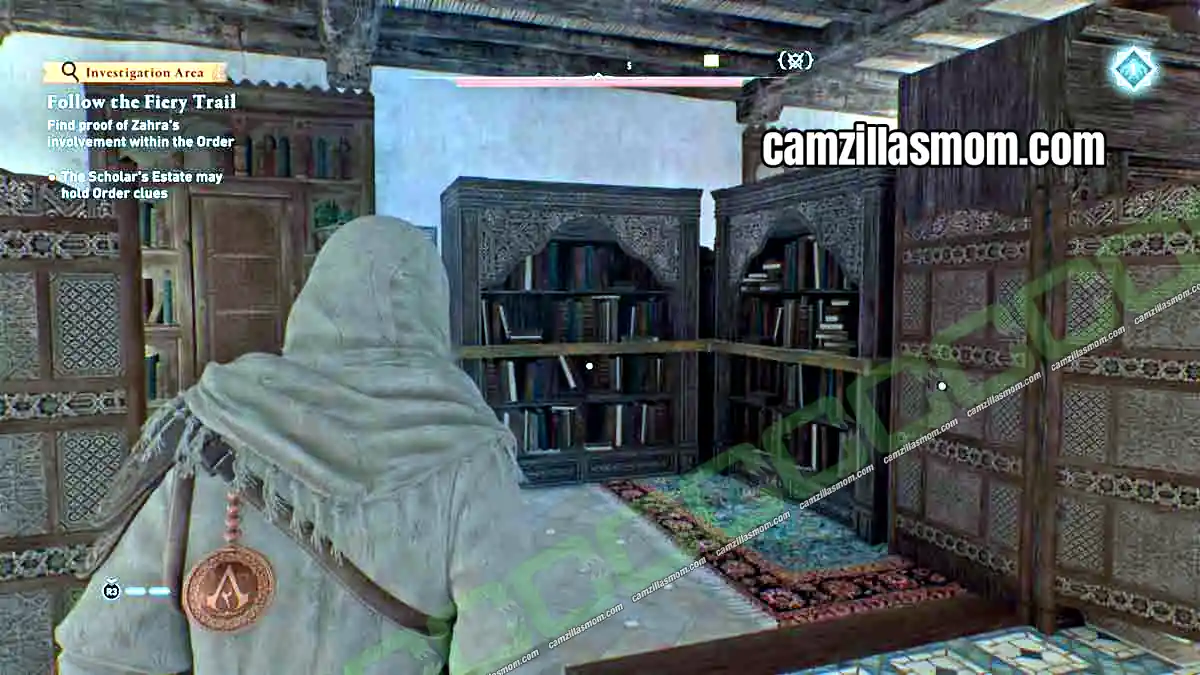
Inside, the Gear Chest is hidden behind movable bookshelves. Move the first shelf to the left, then pull the other shelf out to reach the chest.
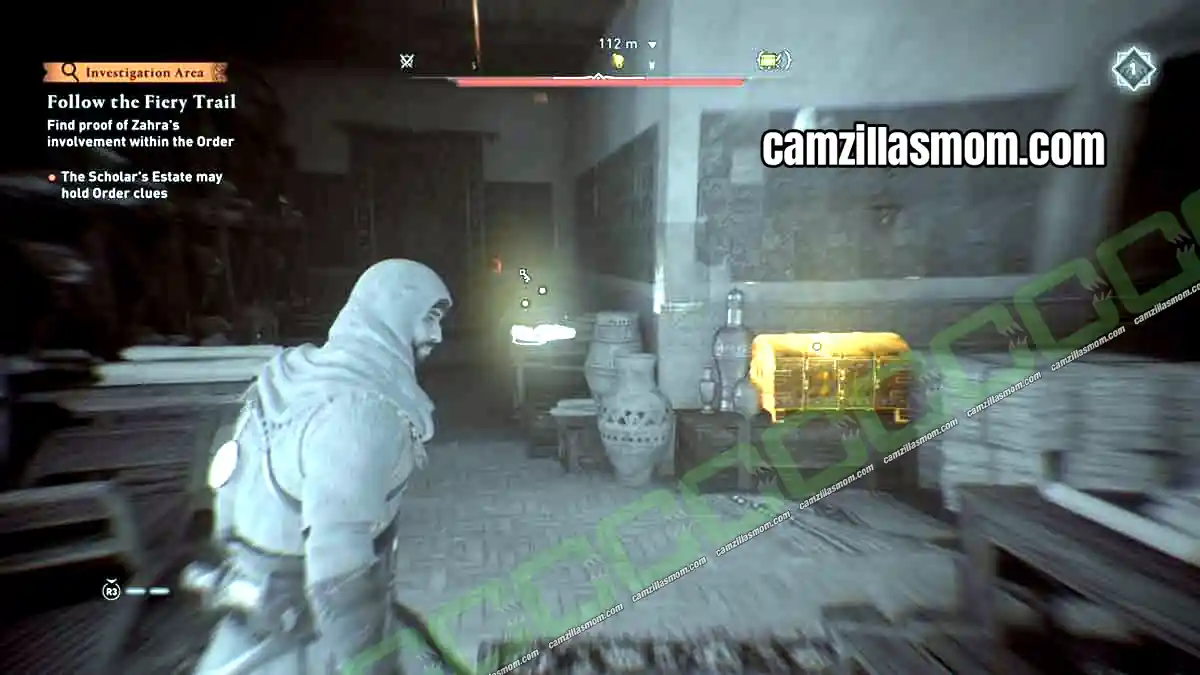
The chest is locked and needs a key. The nearby note says the key is most likely in the storage room. Leave the building and head upstairs while scanning with Assassin Focus. The storage room door is barred, so go around the building to the open door on the other side. The key is inside.
4 – House of Wisdom Gear Chest (Abbasid Knight Sword Schematic)
Location: Top of the big tower at the House of Wisdom
First, get up to the roof of the House of Wisdom. There are several ways to climb up.
From the roof, climb up the big tower.
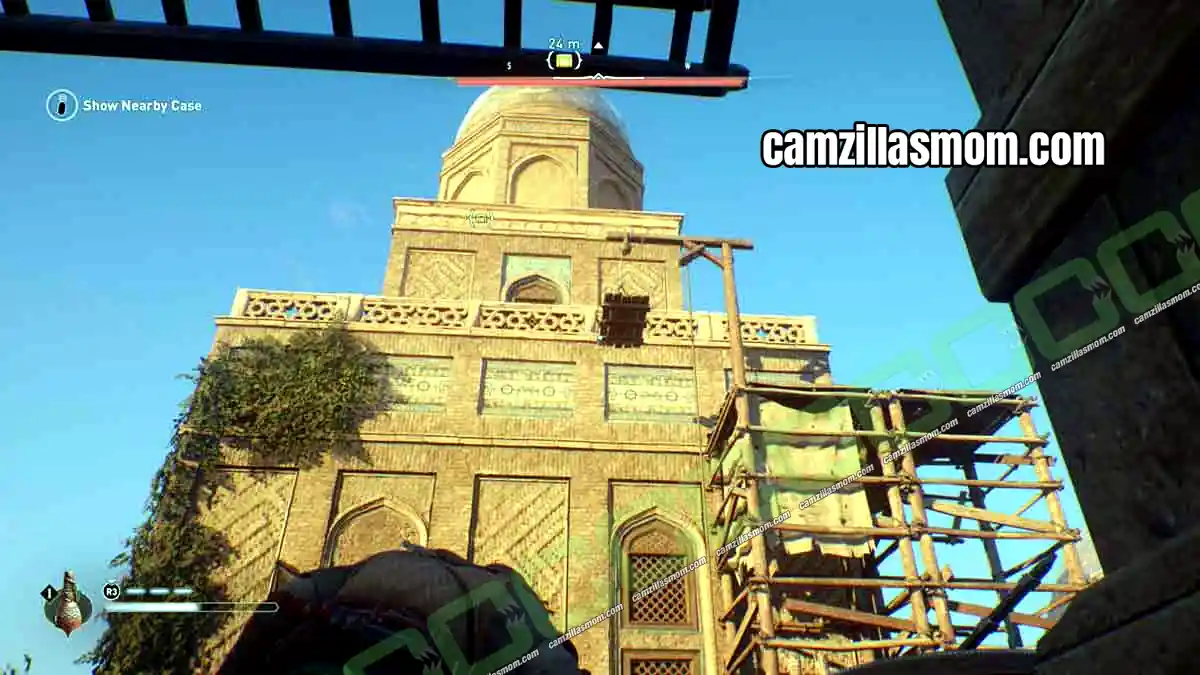
At the top, look for the open window and shoot down the chandelier inside with a throwing knife. If you have none left, there are some at the nearby rail. The chandelier crashes down to the floor.
Enter the tower. The door to the Gear Chest is locked, so you need the House of Wisdom key. Send up your eagle to find the person carrying the key and pickpocket it from him. Then go back into the tower and climb all the way to the top, where the chest is.
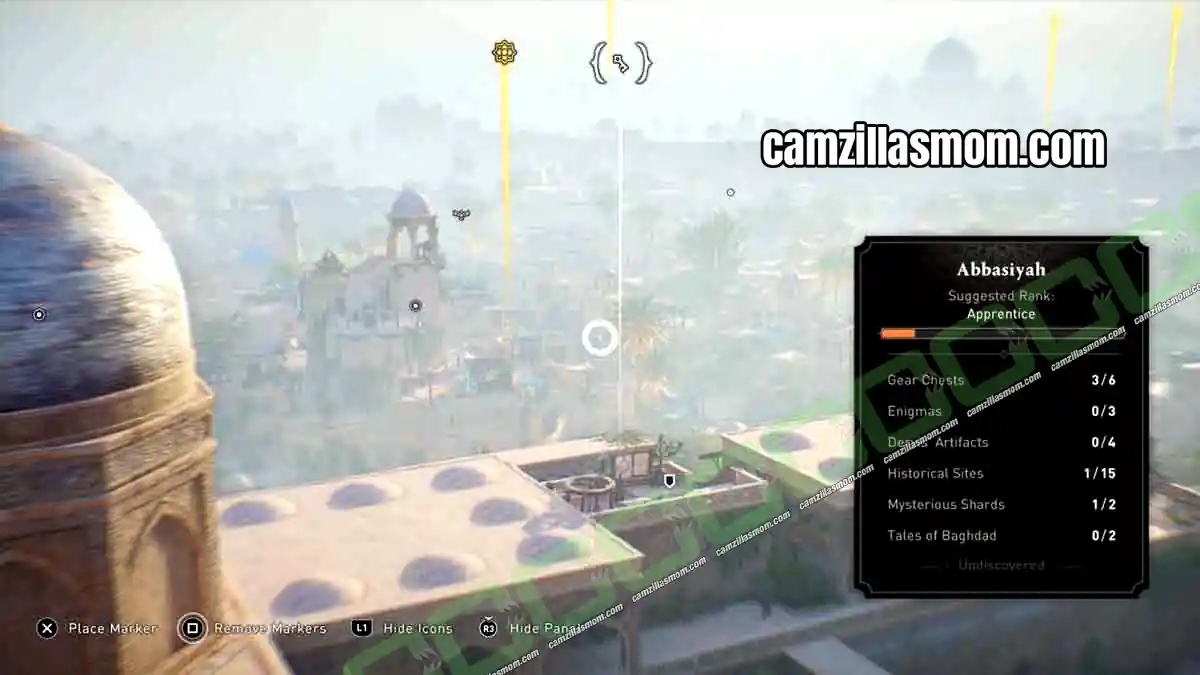
5 – Four Markets Gear Chest (Zanj Uprising Dagger Schematic)
Location: Second level of a building south of the Four Markets
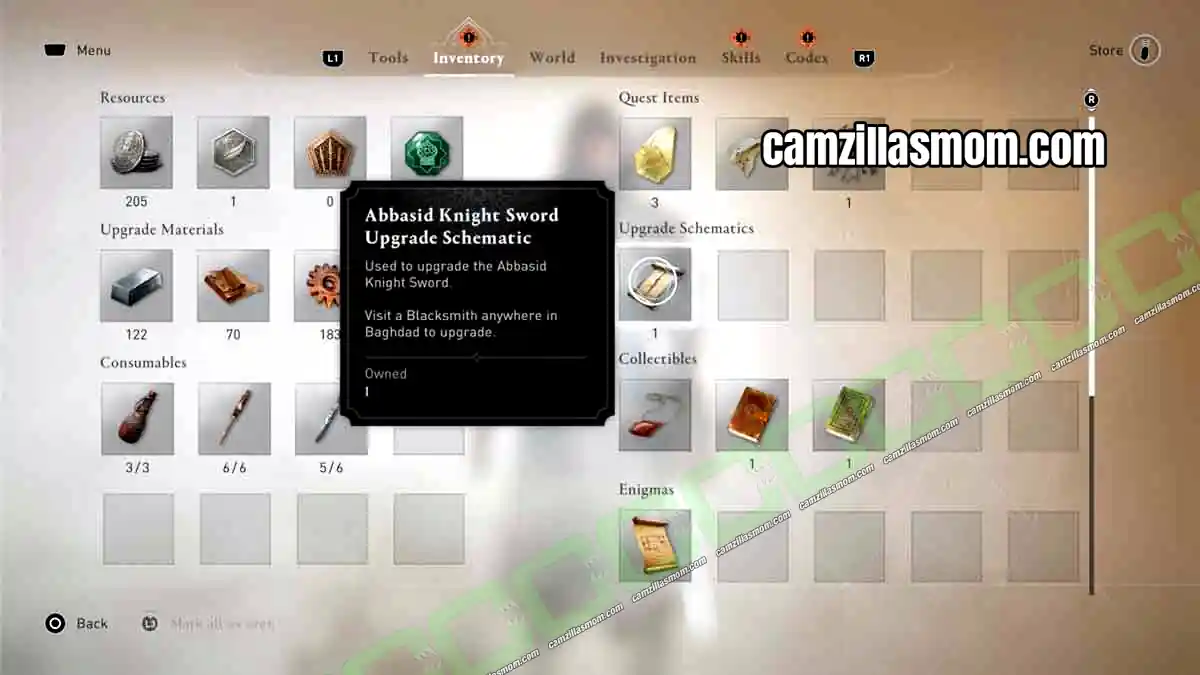
This chest takes a few steps. It is on the second level of a building south of the Four Markets, and the building has a destructible wall on the ground floor.
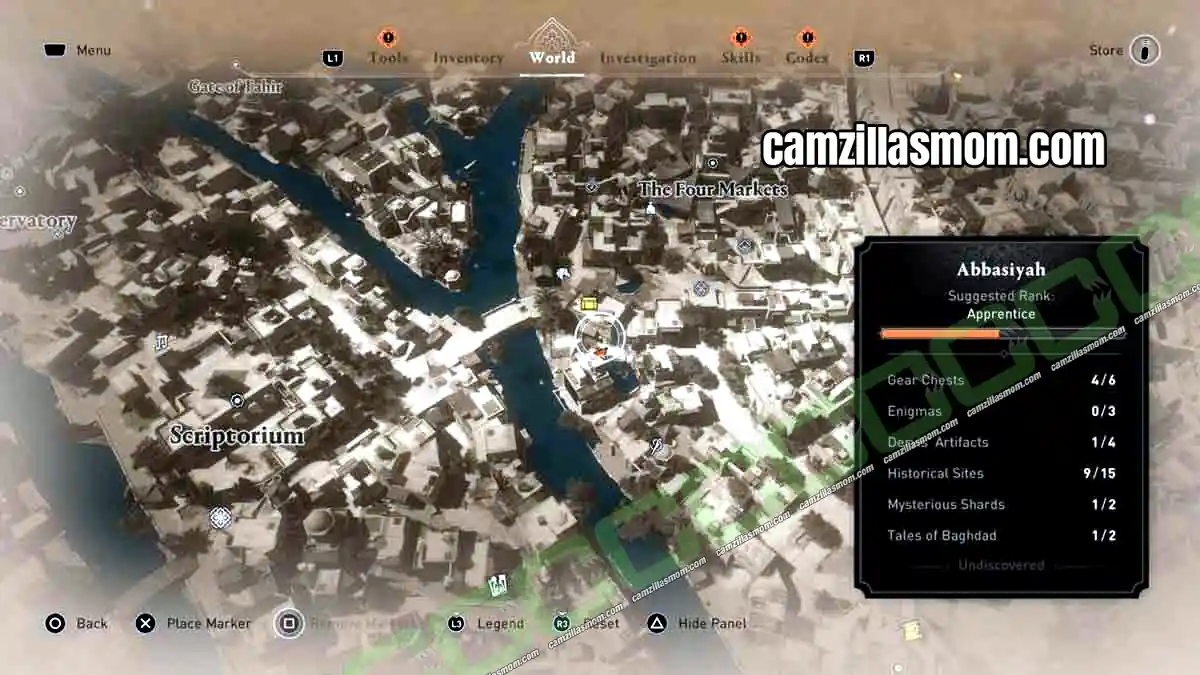
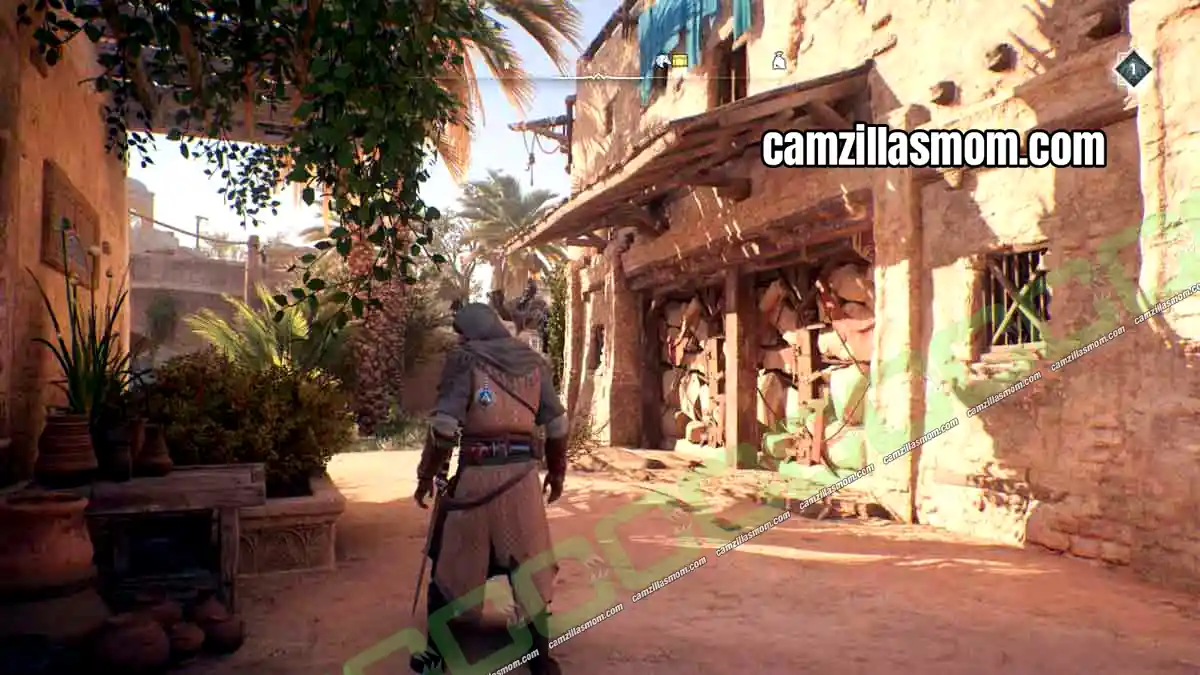
To break the wall, you need an oil flask. Scan the area and you find oil flasks in the building next door, but they are behind a barred door. The door on the other side is locked, so you need a key.
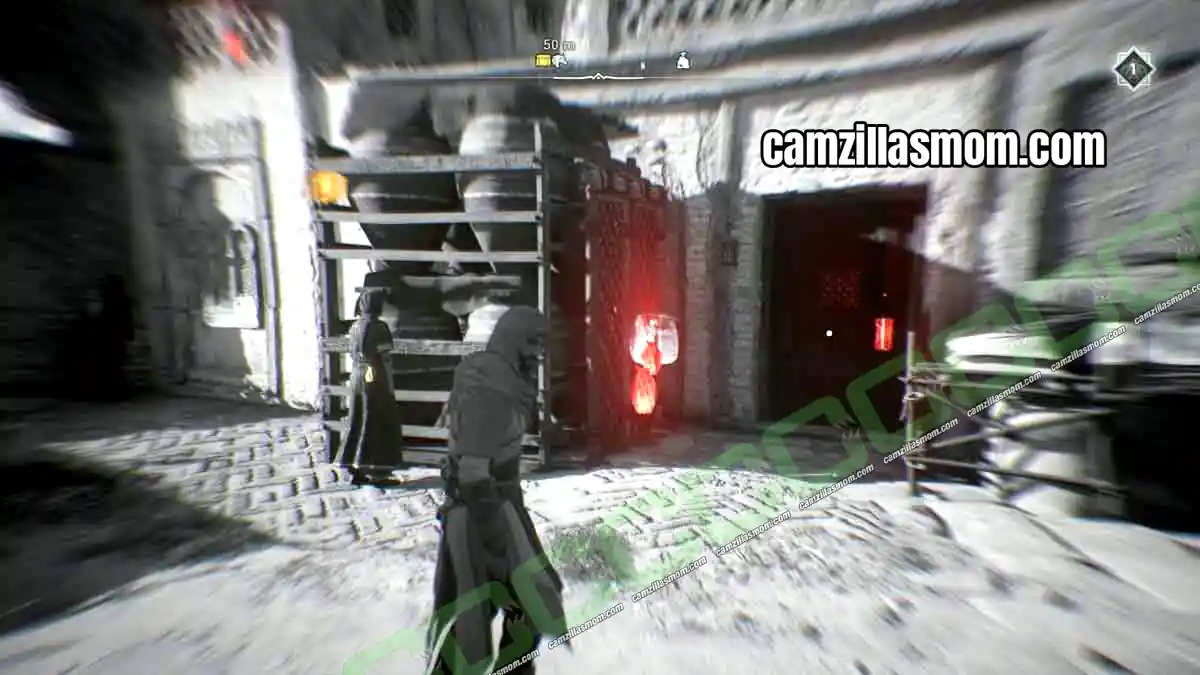
Send up your eagle to look for the key. There are two keys nearby: a man standing near the market carries the Four Markets Door Key, and someone inside an unlocked house has the Four Markets Storage Key. You need the Storage Key.
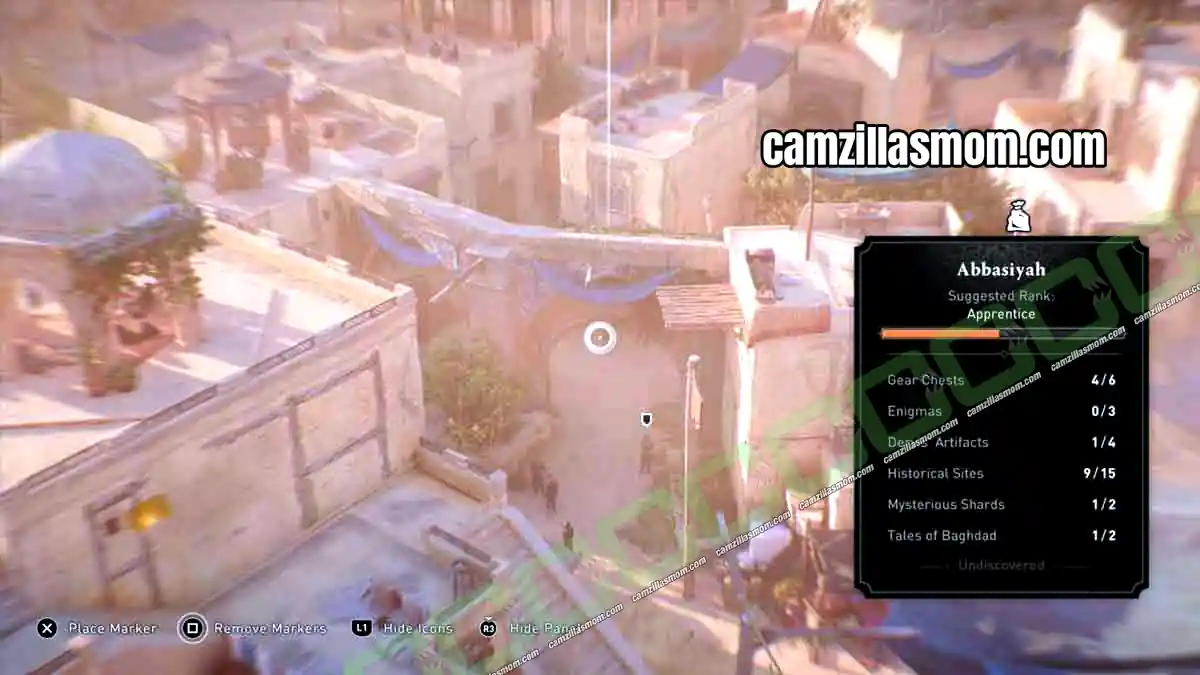
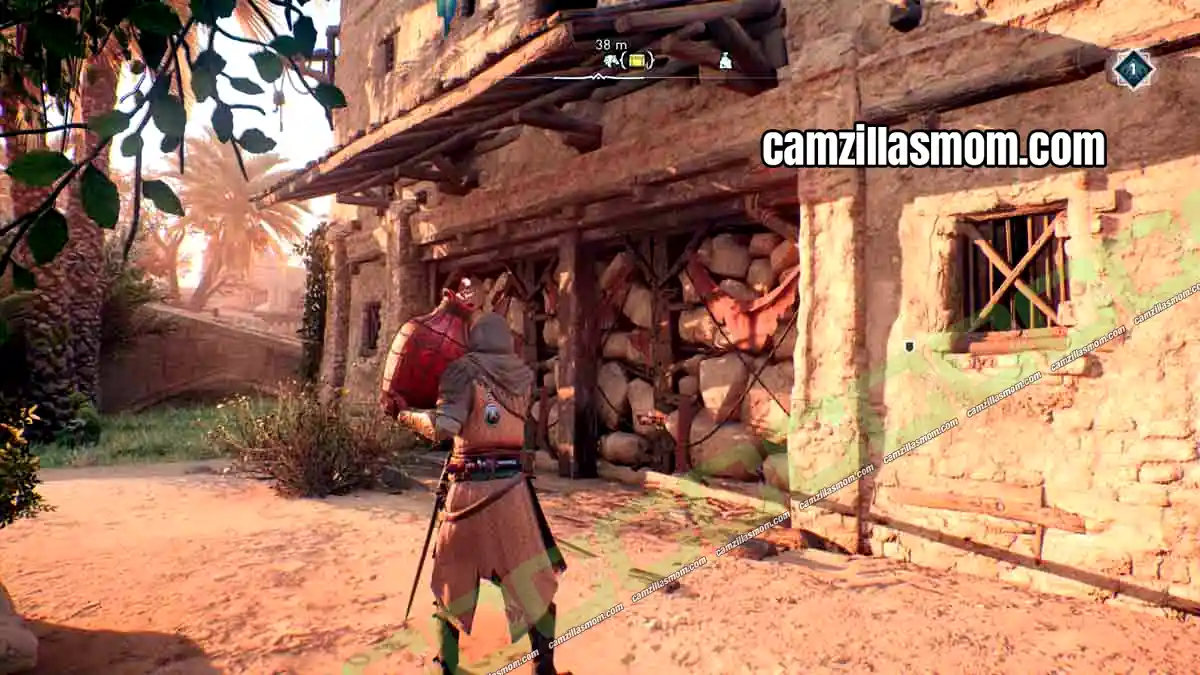
Once you have stolen the Storage Key, return to the storage building, unlock the door and unbar the other door as well. Now you can carry an oil flask to the destructible wall and throw it at the wall.
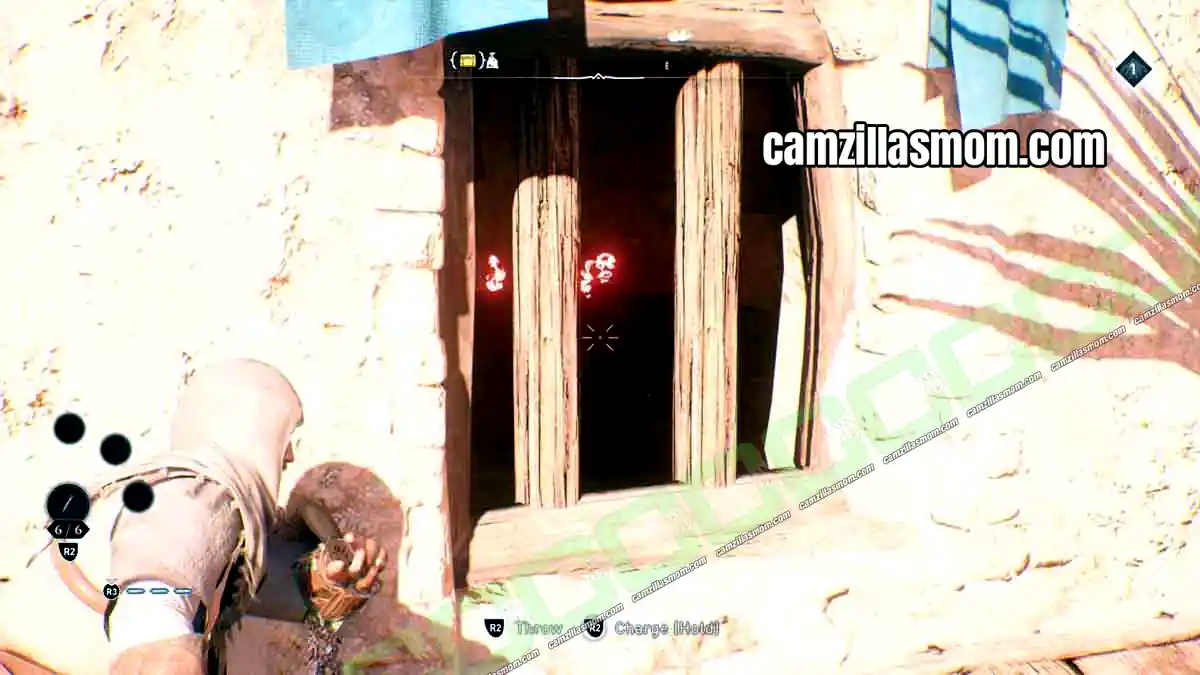
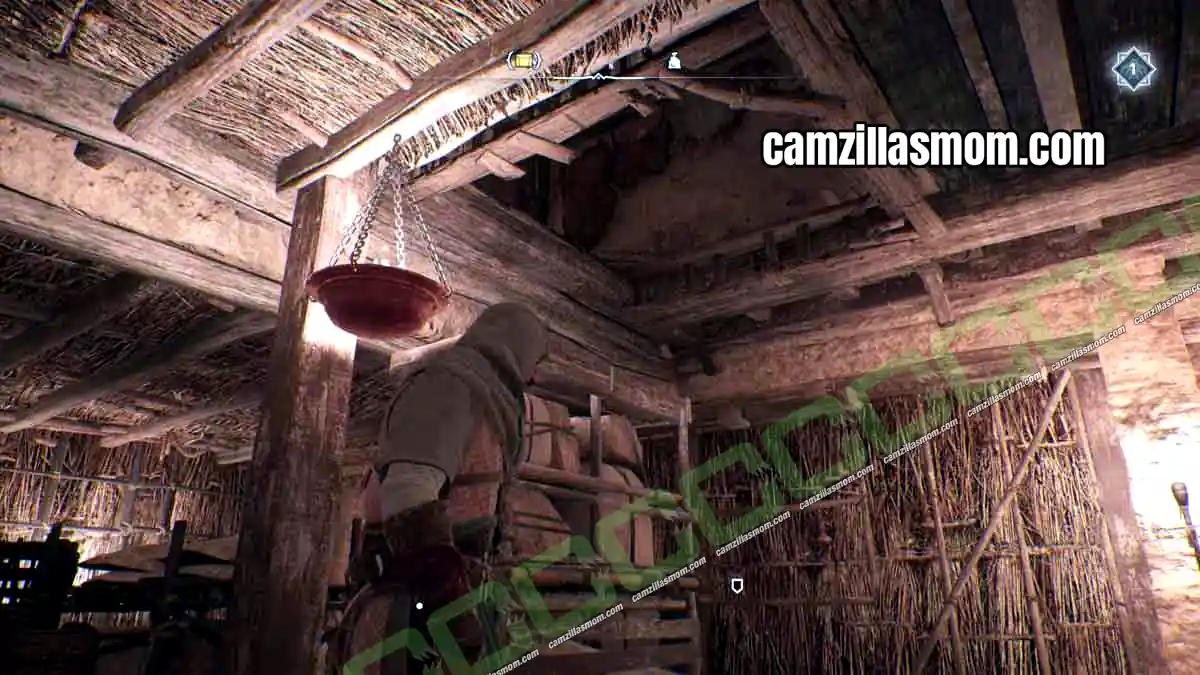
Before you go inside, climb up to the roof above the destructible wall and throw a knife through the window at the oil flasks. The explosion blows a hole into the ceiling of the ground floor.
Enter the building on the ground level and move the nearby shelf so you can climb it up through the hole to the second floor. The Gear Chest is now in reach.
6 – Hammam Gear Chest (Zanj Uprising Dagger Schematic)
Location: Behind the destructible wall at the side of the Hammam, in the south
The last Gear Chest is at the Hammam in the south. There is a destructible wall at the side of the building.
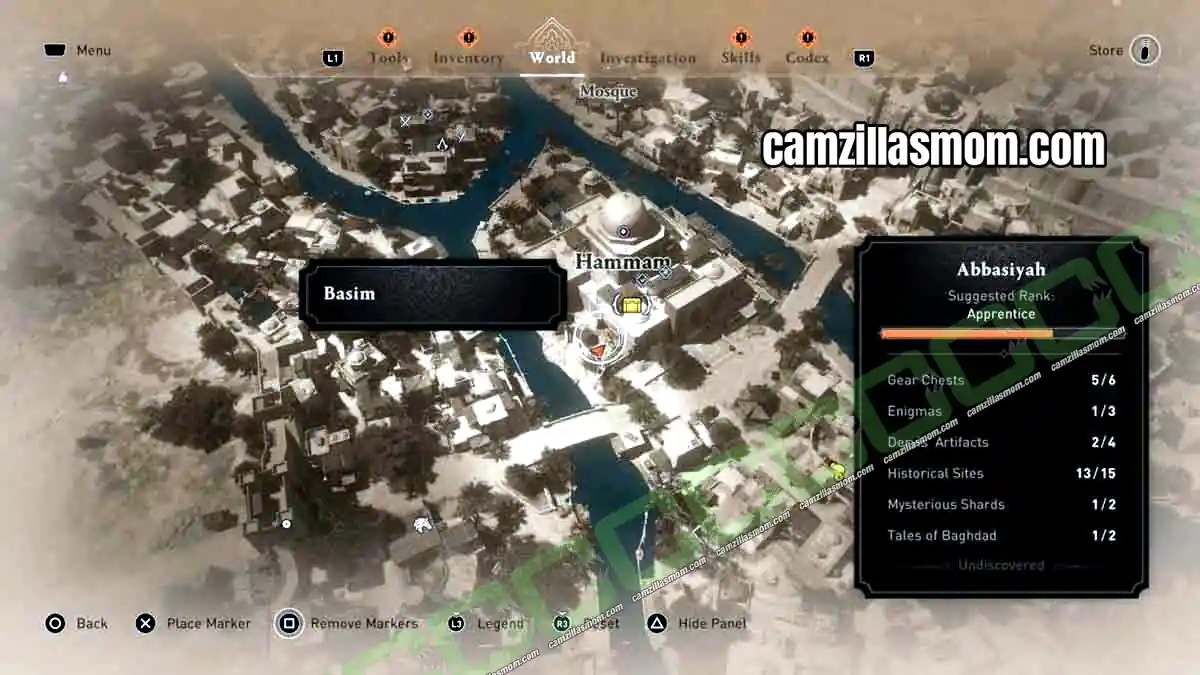
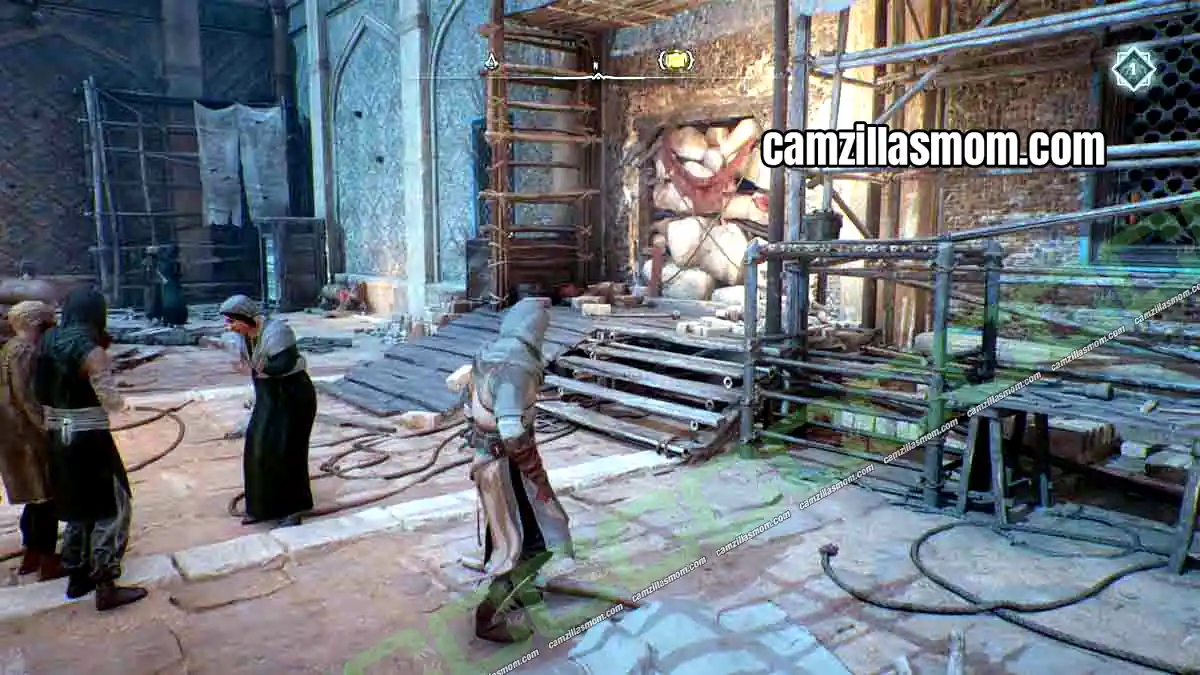
You need an oil jar to break it. Scan the area to find a small oil storage nearby. Its entrance is blocked by a movable shelf, but the window next to the entrance is destructible. Break it and climb in.
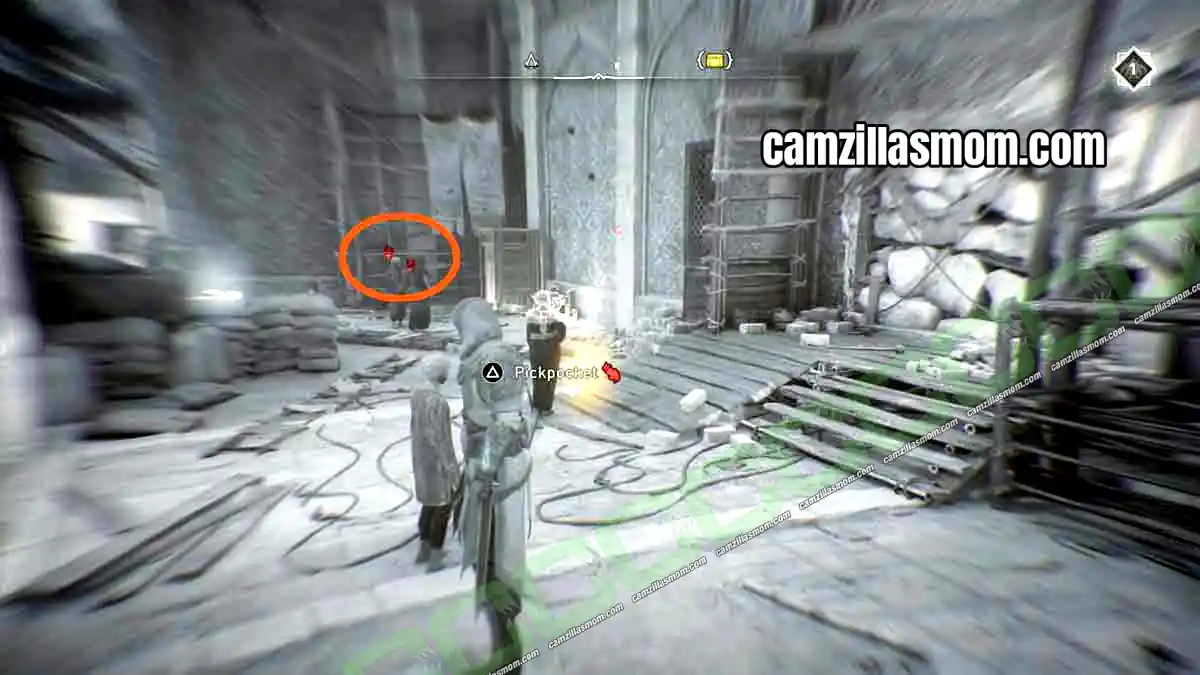
The shelf inside can only be moved once you destroy all the terracotta pots around it. Melee them all, push the shelf to the side, then pick up an oil jar, carry it to the destructible wall and throw it.
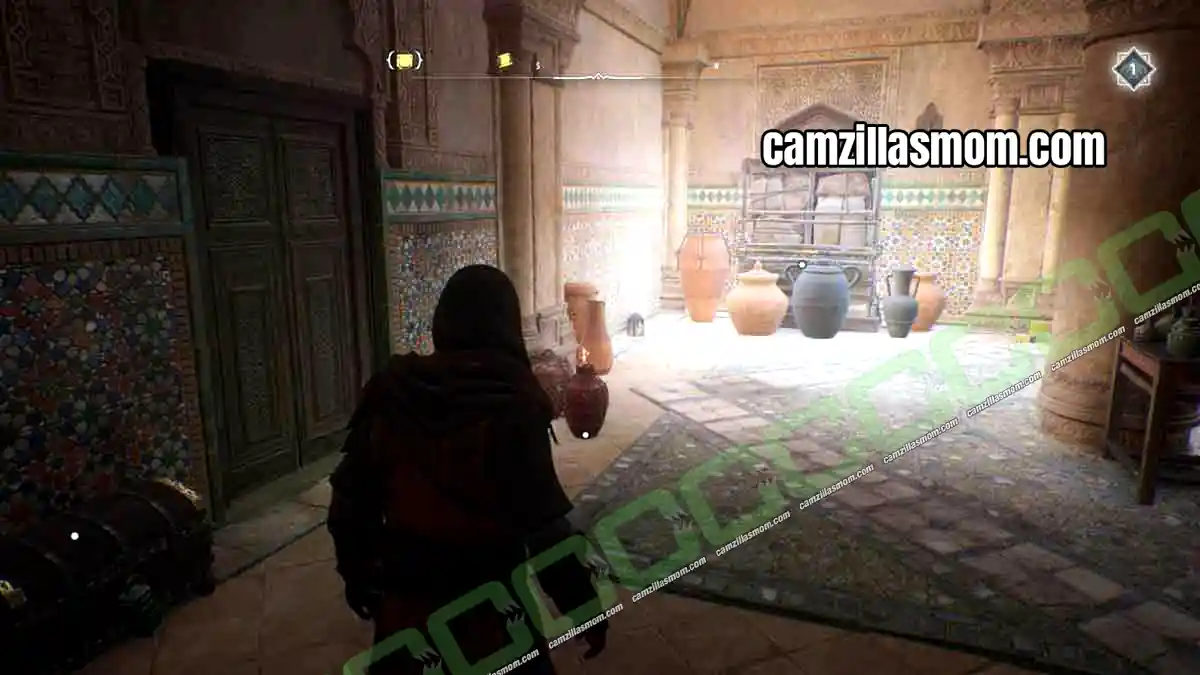
Now you can enter the Hammam and loot the Gear Chest.
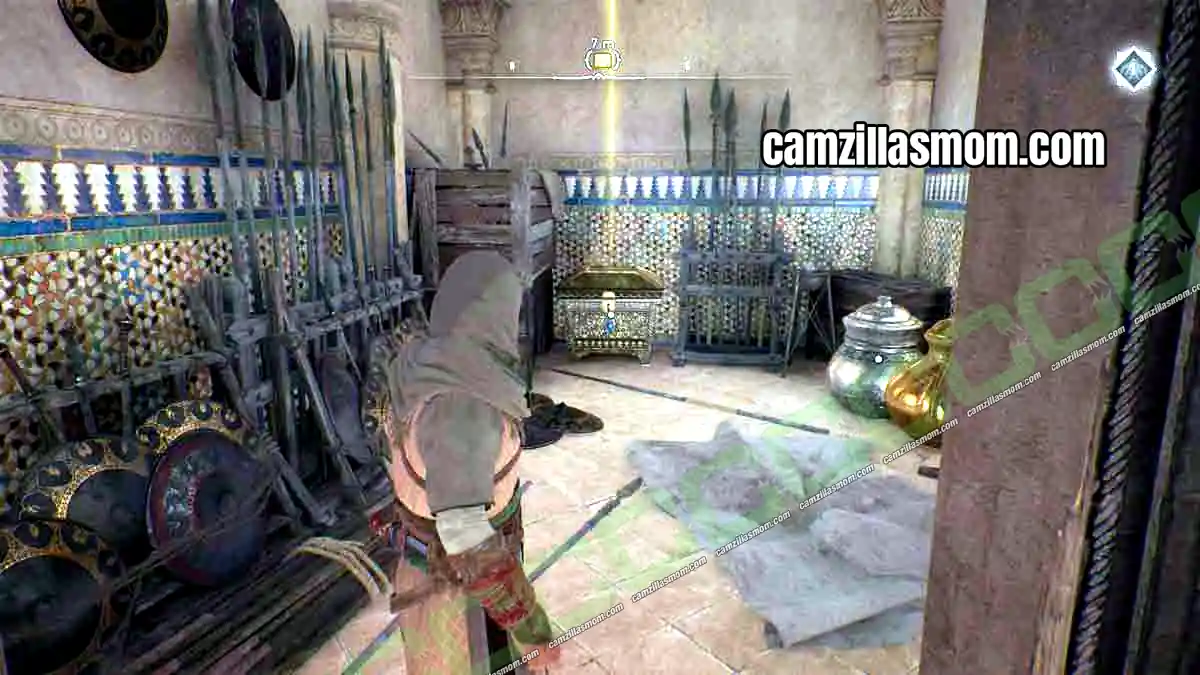
Abbasiyah Lost Book – 1
There is only one Lost Book in Abbasiyah: Al-Kwarizmi: Al-Jabr. It is hidden in the far west of the district, right by the river.
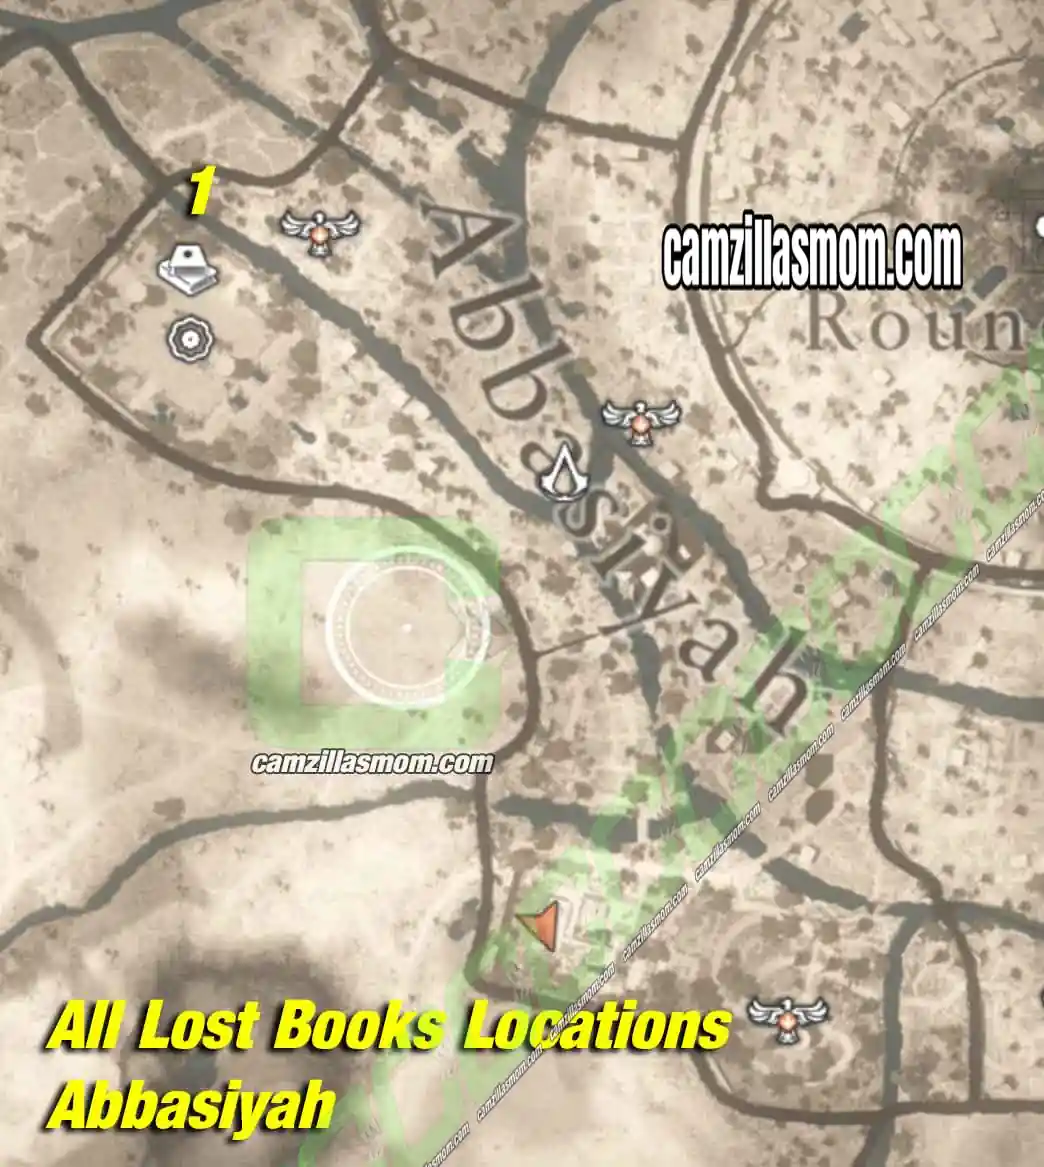
1 – Al-Kwarizmi: Al-Jabr
Location: Building in the far west of the district, by the river
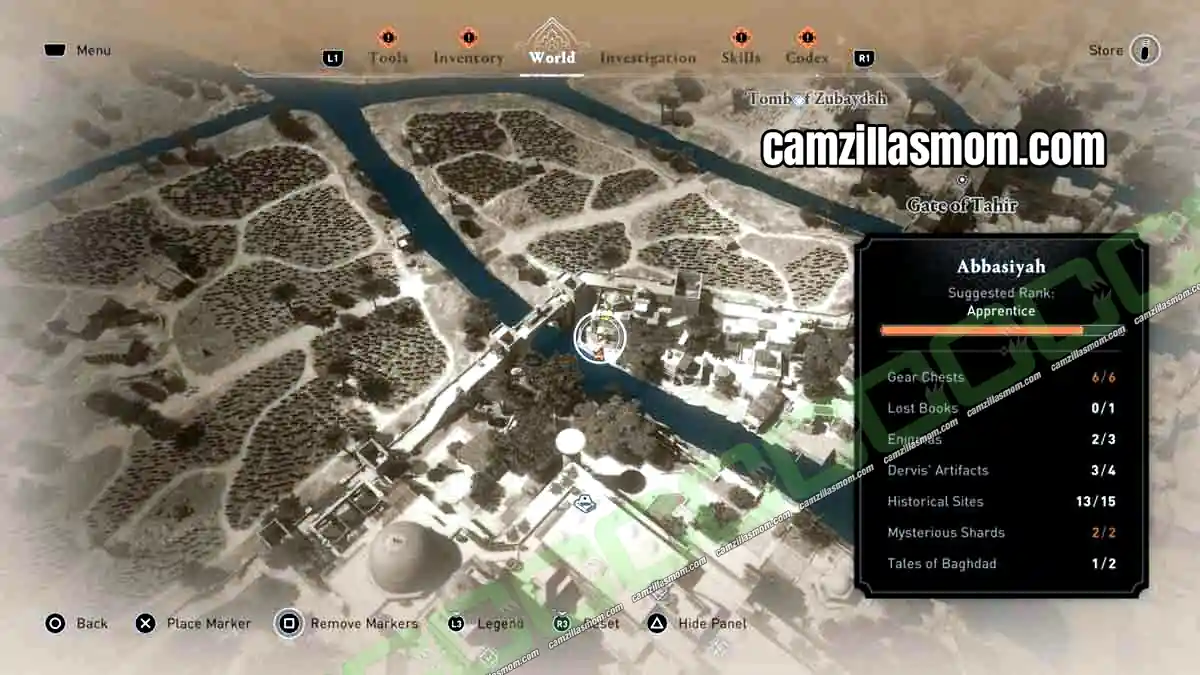
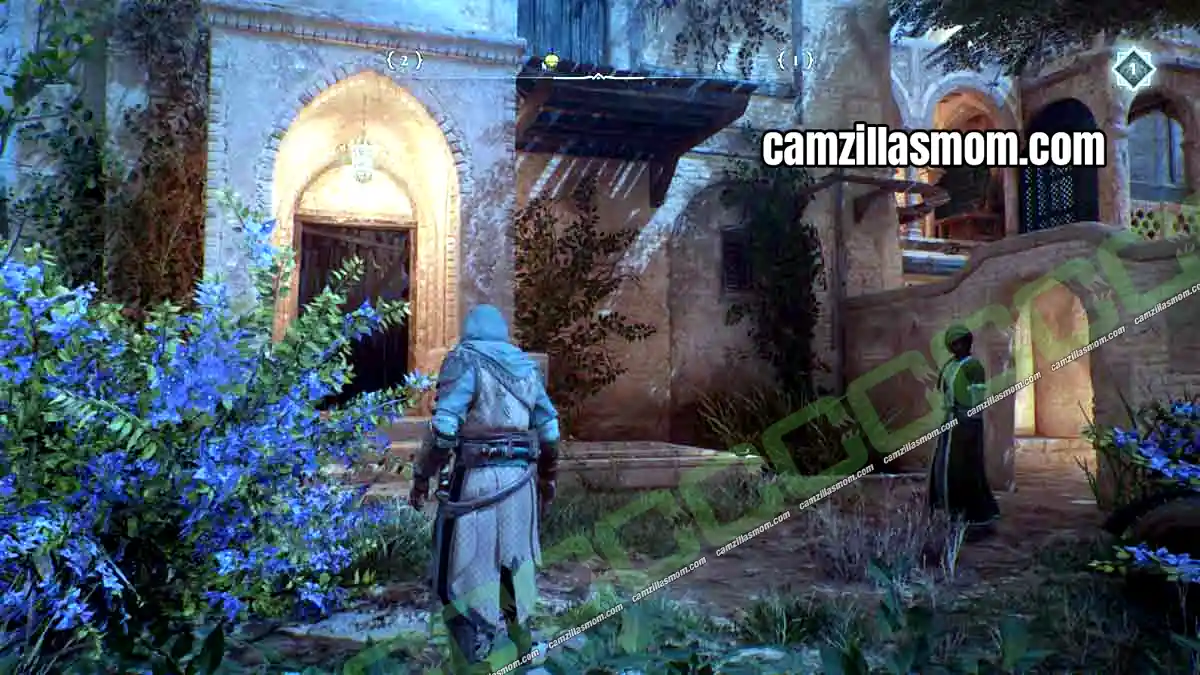
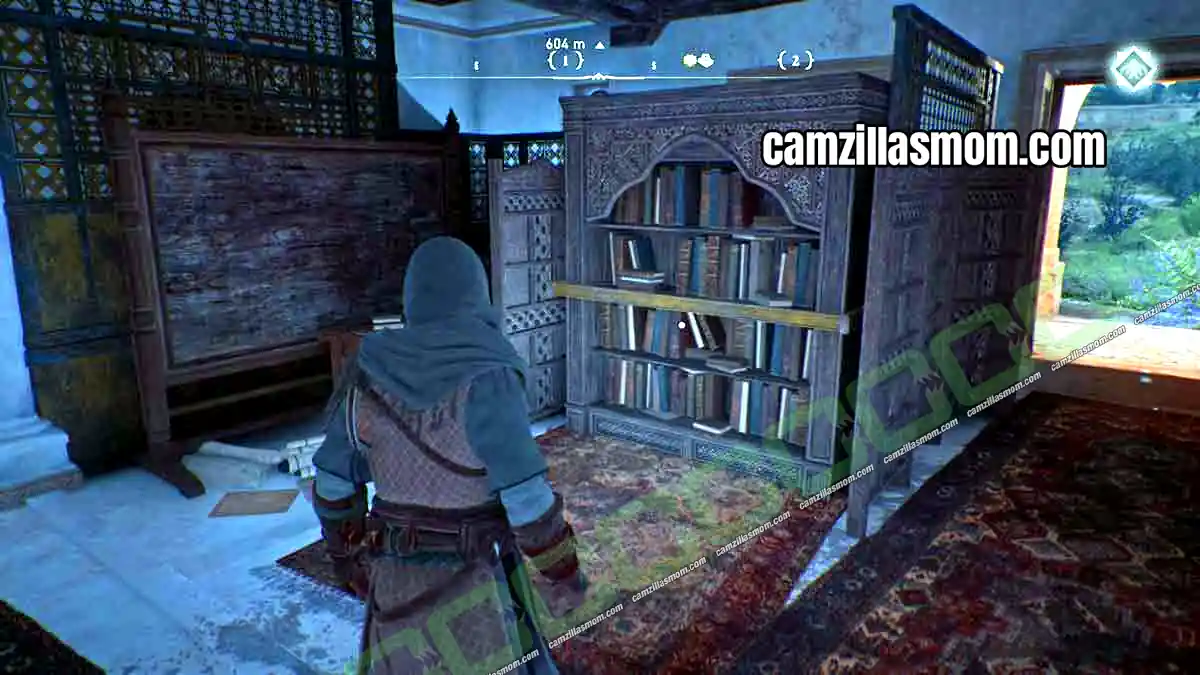
Both the entrance door and the balcony door at the top are destructible. If you go in on the ground floor, pull the bookshelf away to reveal the staircase. The book is upstairs on the table.
Abbasiyah Enigma Solutions – 3
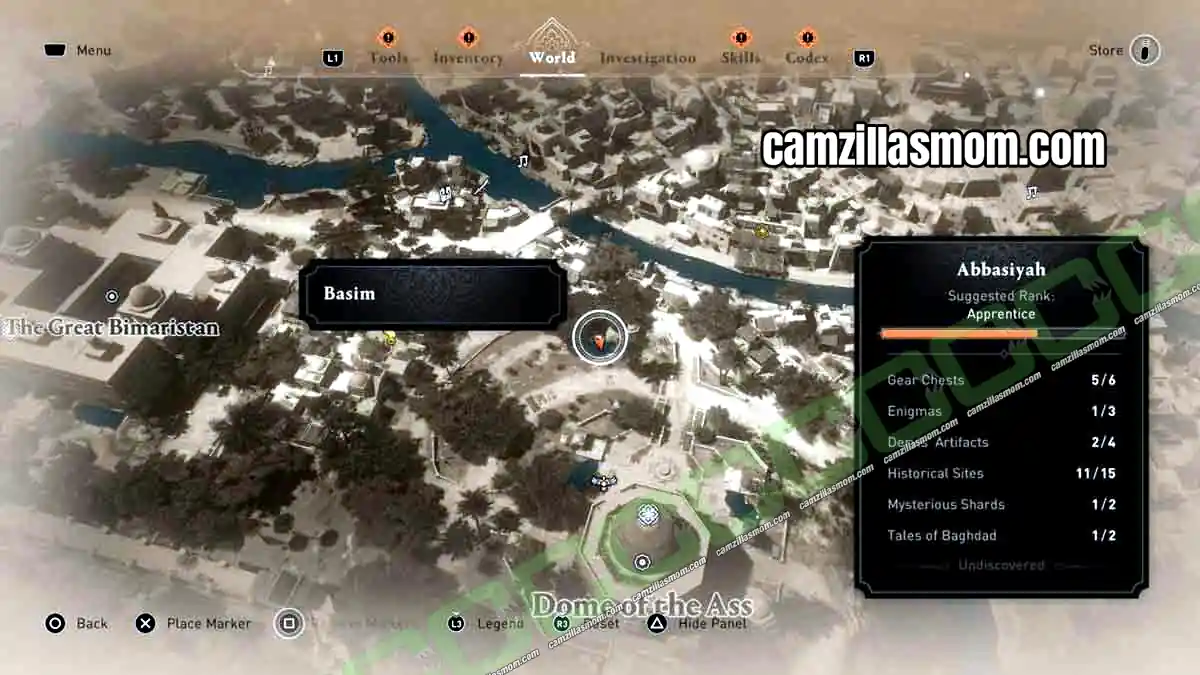
Abbasiyah has three Enigma scrolls. Each one is a drawing or a text that leads you to a hidden treasure. Picking up the scroll counts for the collectible, and solving it gets you the reward. On the overview map, the scroll locations are yellow and the treasure locations are red.
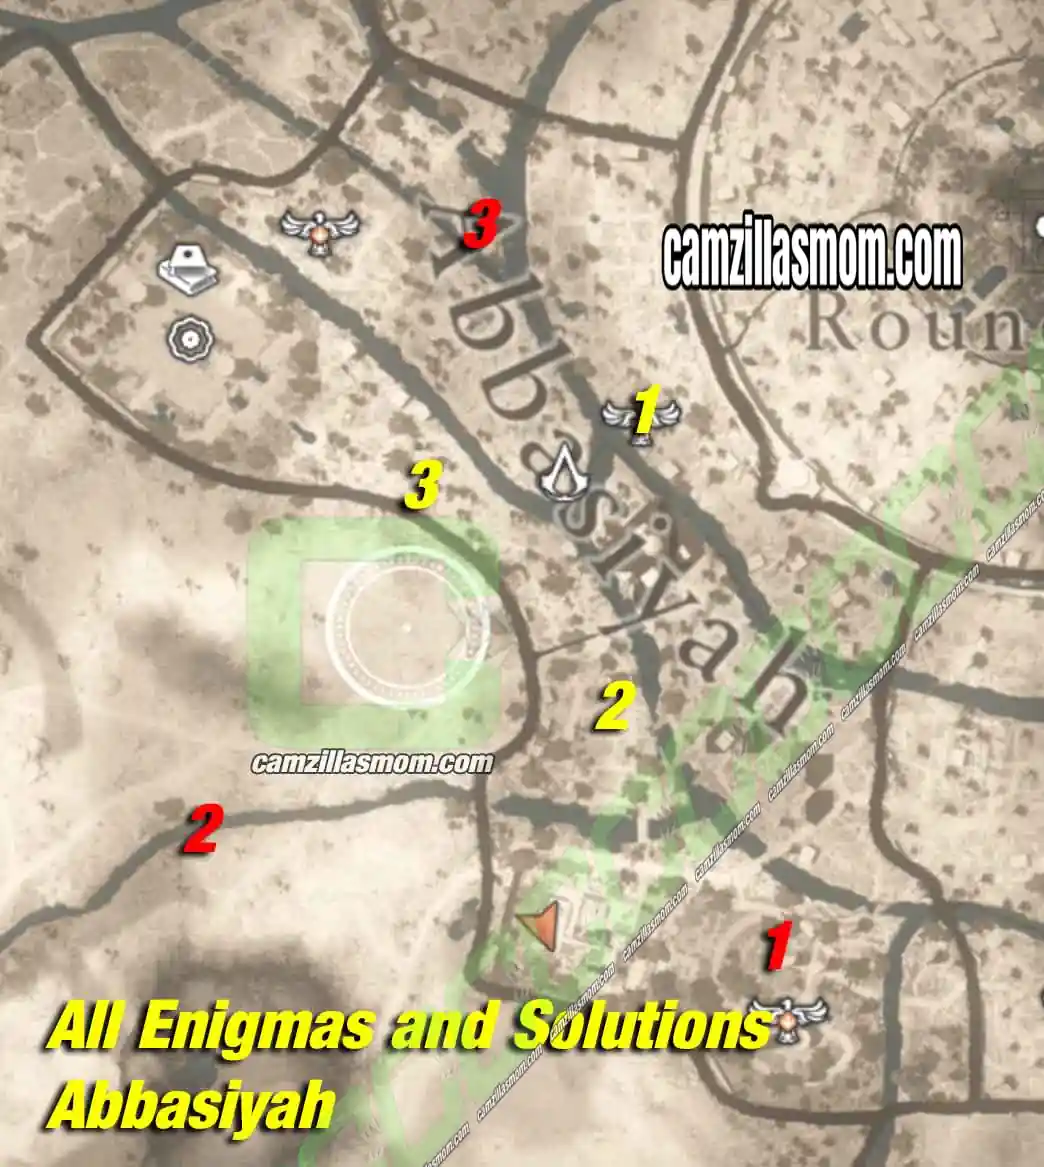
1 – Delight by the Dome
2 – The Gift
3 – A Challenge
1 – Delight by the Dome Enigma Solution
Enigma scroll: On a small shelf outside the Mosque entrance
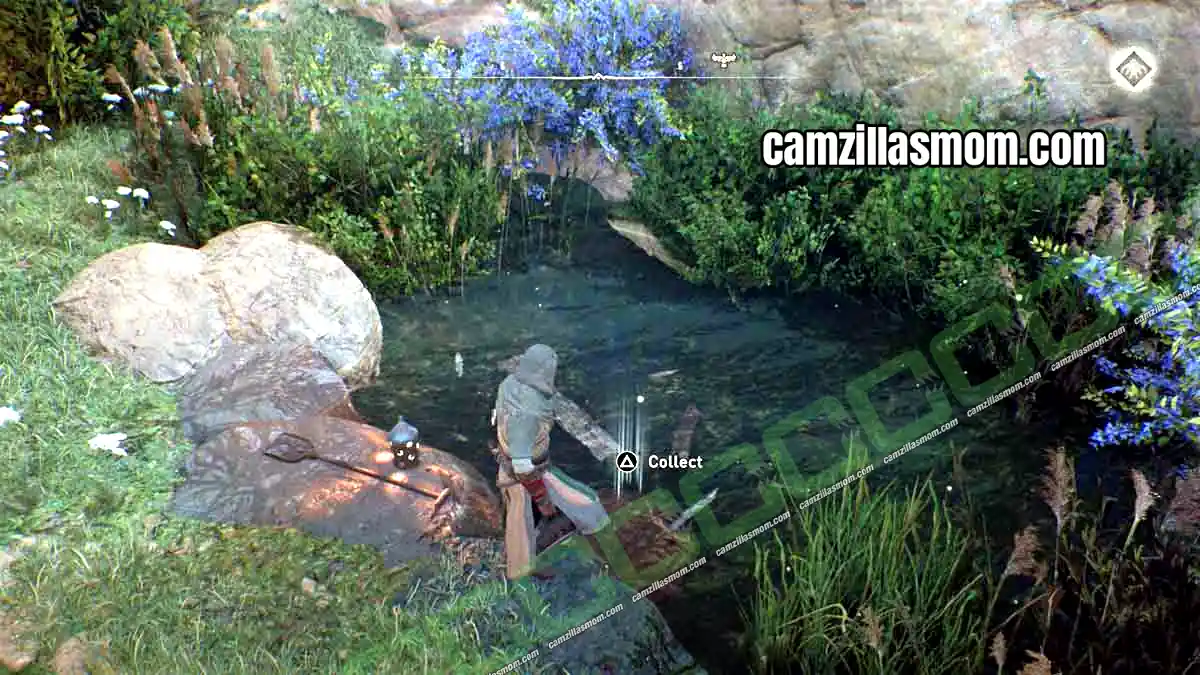
Treasure: Small pond at the foot of the Dome of the Ass, in the south
Reward: Mysterious Talisman
The scroll is freely accessible on top of a small shelf outside the Mosque entrance.
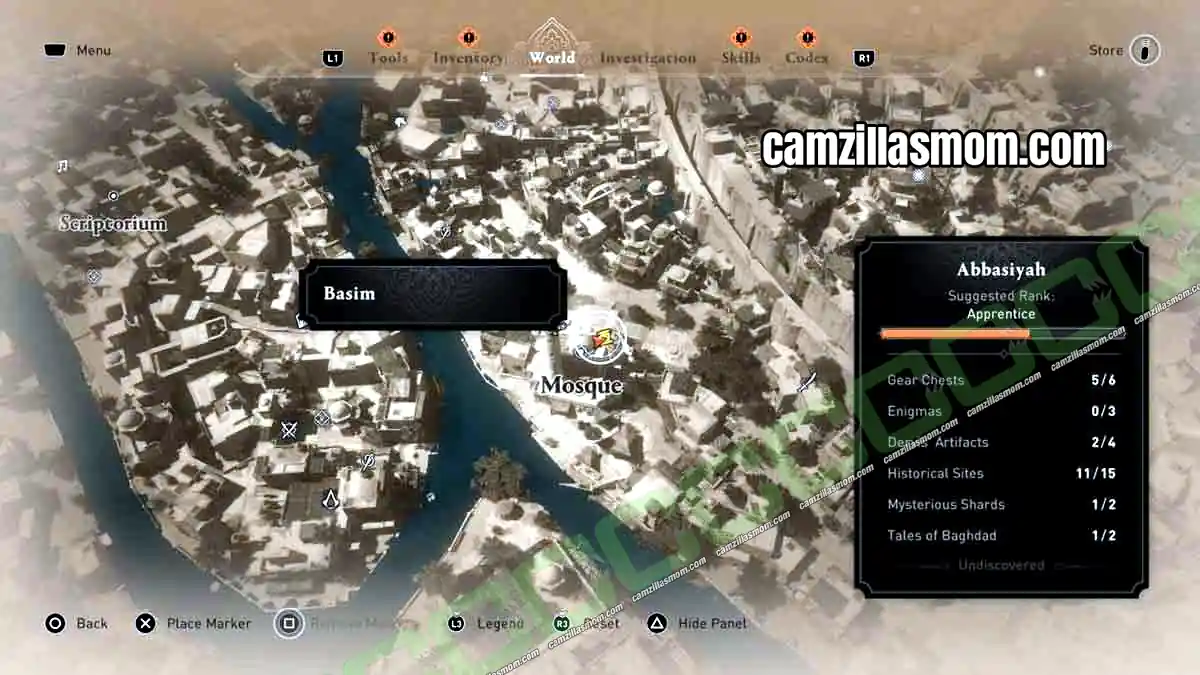
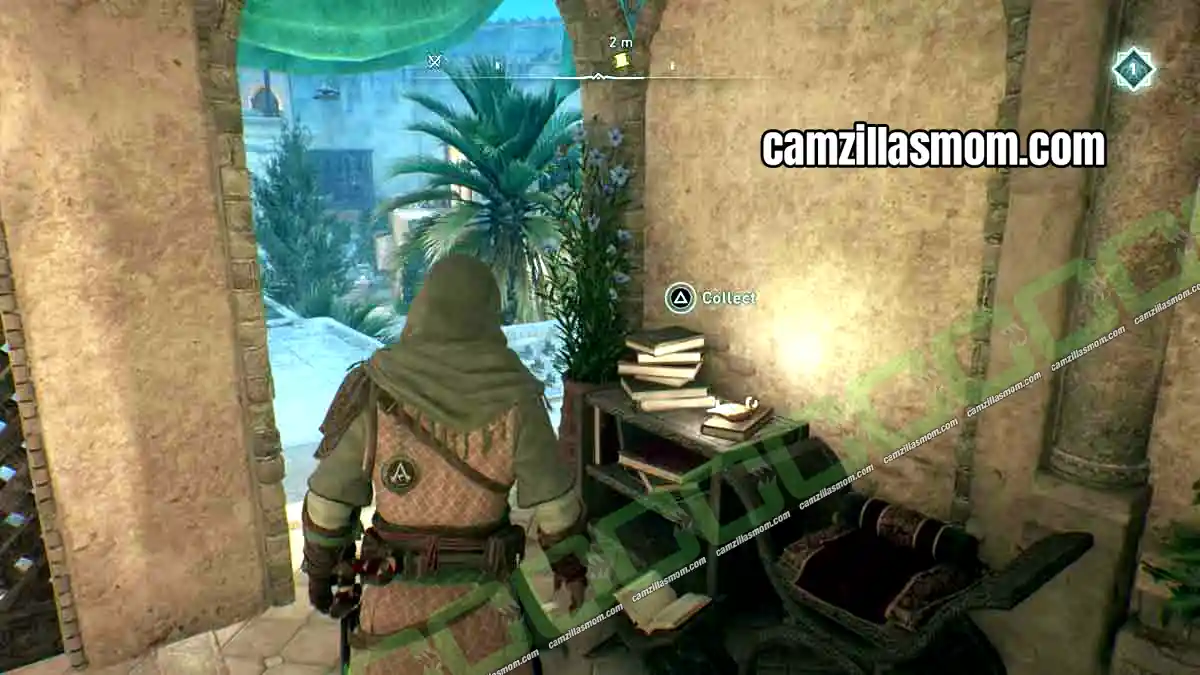
Open the scroll in your bag inventory under Enigmas. Delight by the Dome is a nicely drawn picture of a domed building with an X marking the spot.
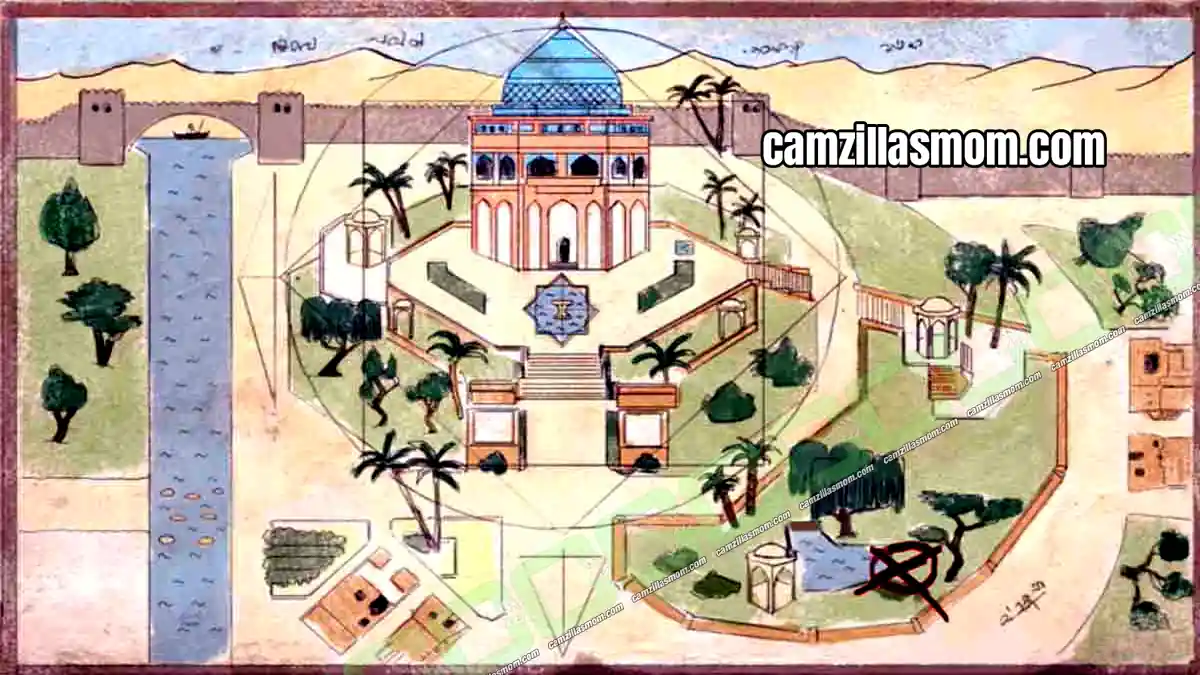
Solution: It is tempting to think the drawing shows the Mosque, but it is the Dome of the Ass in the south of the district. Travel there and use the fountain as a point of orientation. The treasure is in the little, lonely pond at the foot of the Dome.
2 – The Gift Enigma Solution
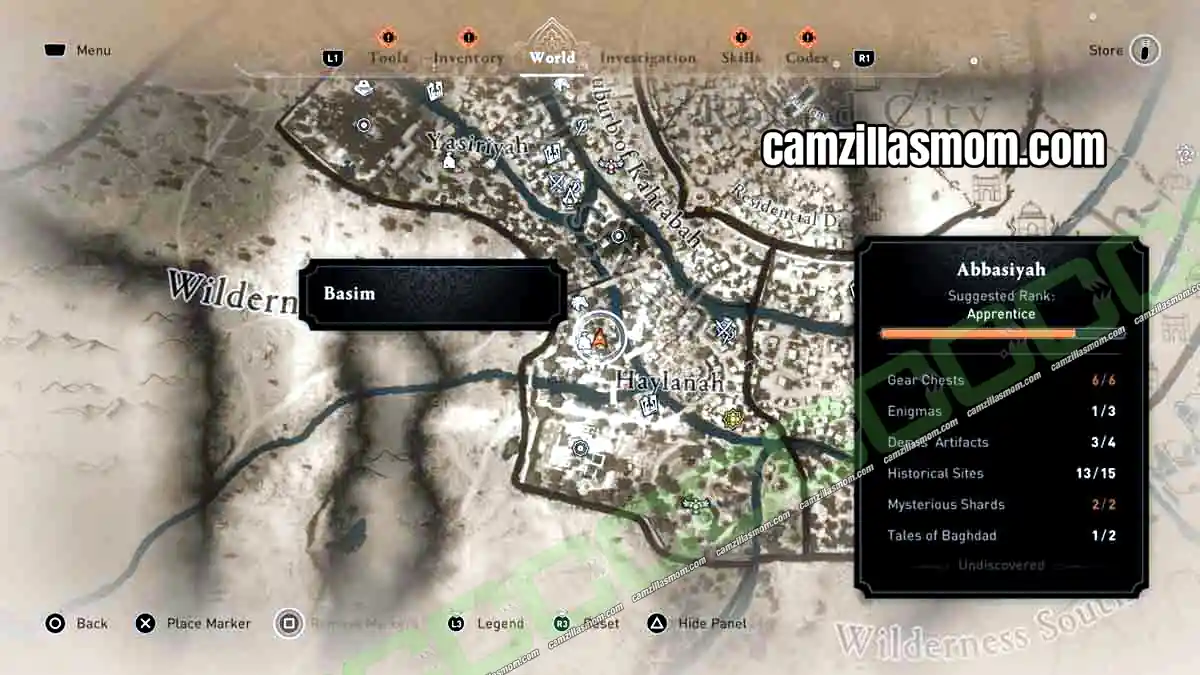
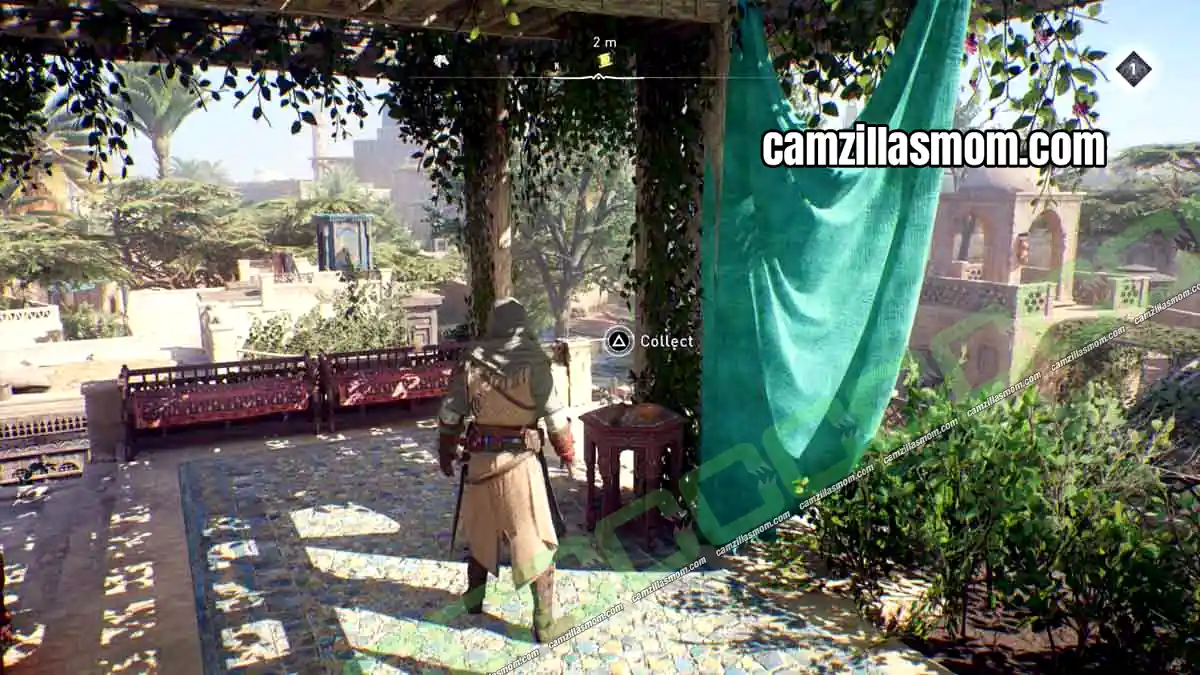
Enigma scroll: On top of a building west of the Pharmacy of Haylanah
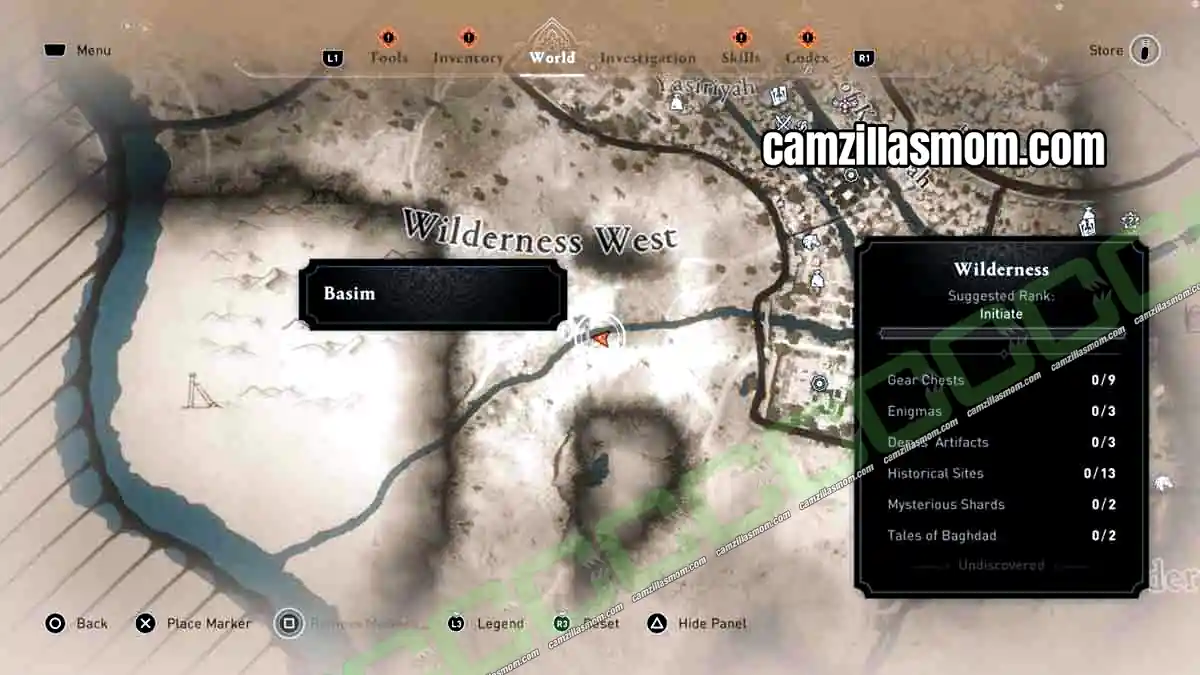
Treasure: On the shore by the first bridge of the river near the Muhawwal Gate
Reward: Knight’s Talisman
The scroll lies on top of a building west of the Pharmacy of Haylanah.
Open the scroll in your bag inventory under Enigmas. The Gift is a text:
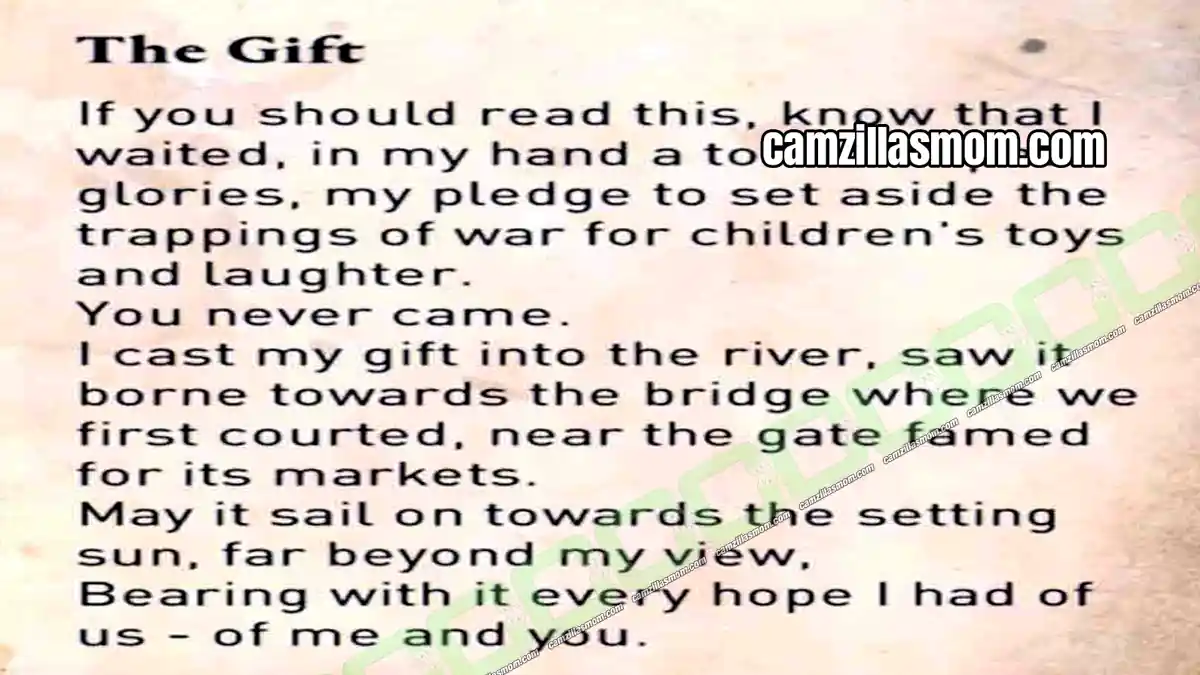
Solution: The writer saw the item float towards the bridge where they first courted. There are two bridges near the Four Markets Gate, but only one river flows straight west, towards the setting sun: the river by the Muhawwal Gate, south of the Four Markets Gate. Follow this river to the first bridge. The treasure is a little bit up on the shore.
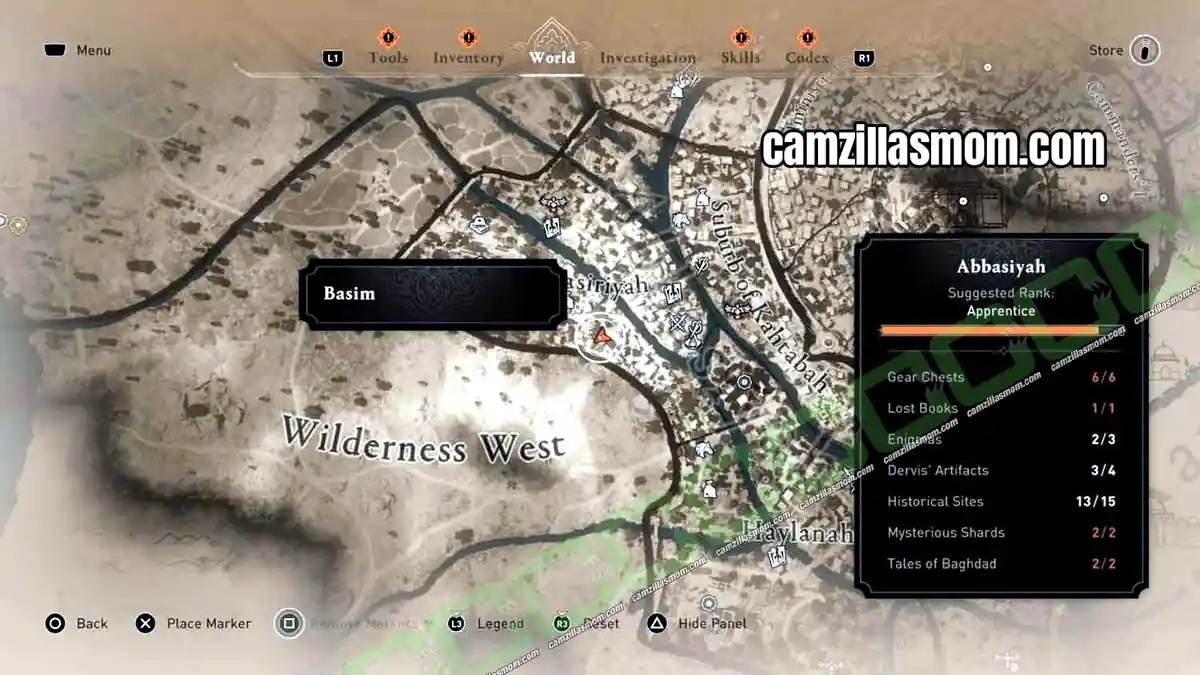
3 – A Challenge Enigma Solution
Enigma scroll: Second floor balcony across the river, south of the Scriptorium
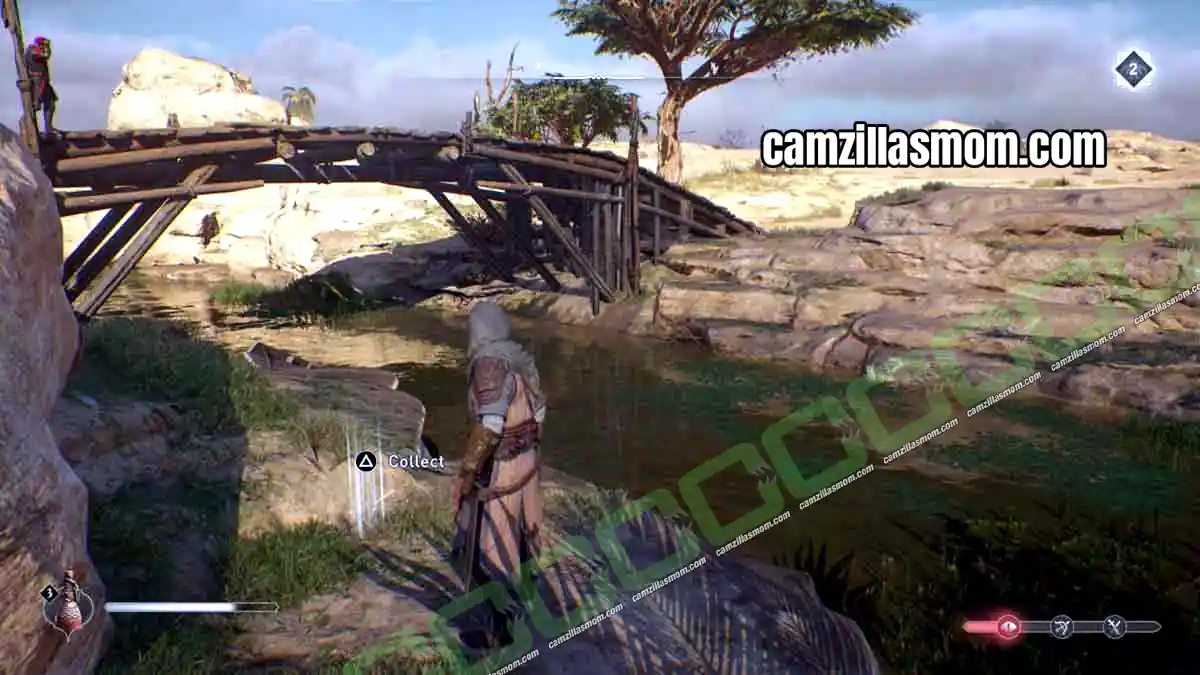
Treasure: Inside the Watermill east of the Observatory
Reward: Black Rostam Outfit Dye
The scroll is up on a second floor balcony across the river, south of the Scriptorium.
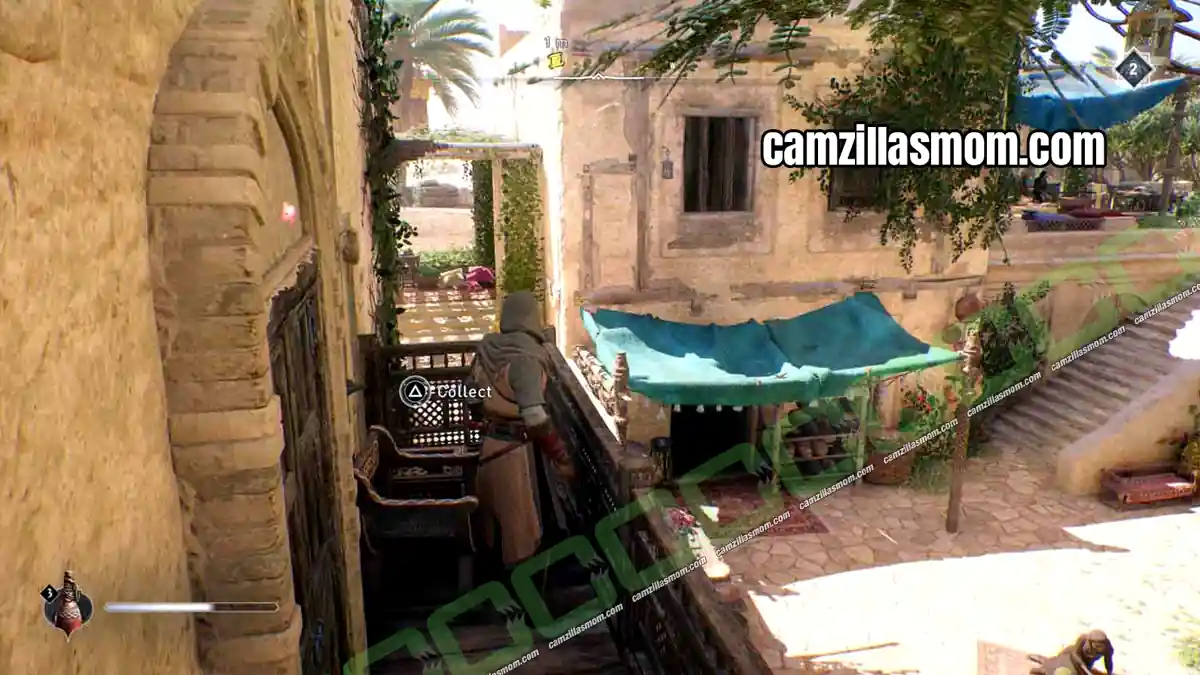
Open the scroll in your bag inventory under Enigmas. A Challenge is a text:
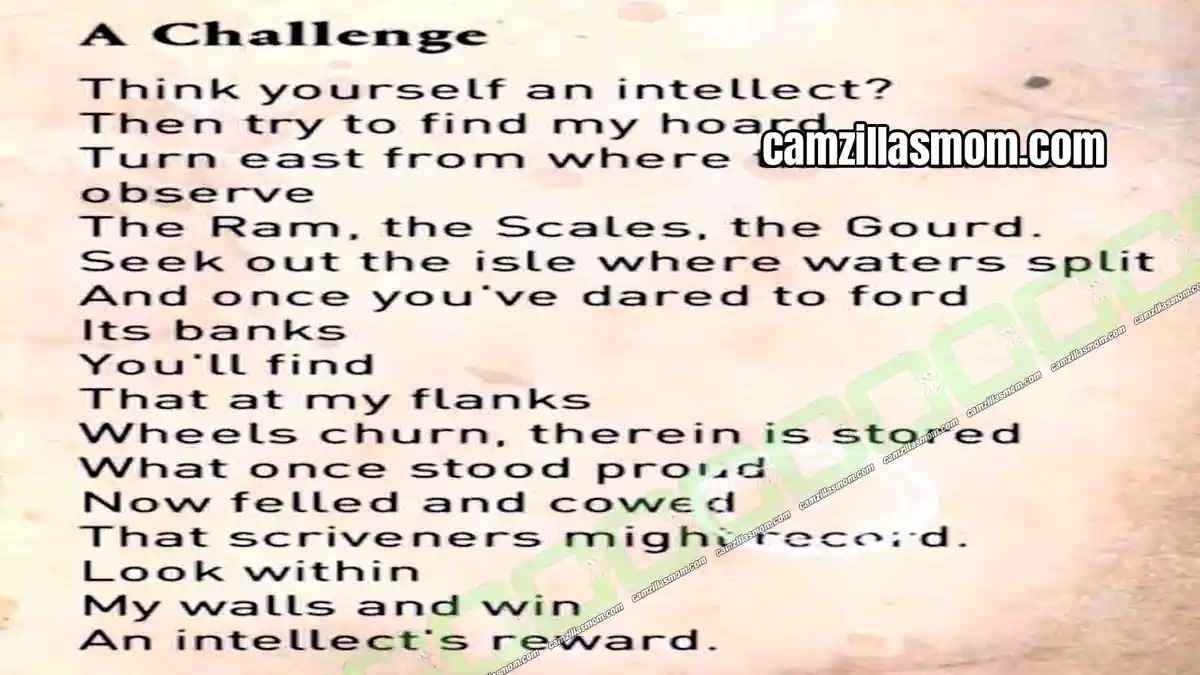
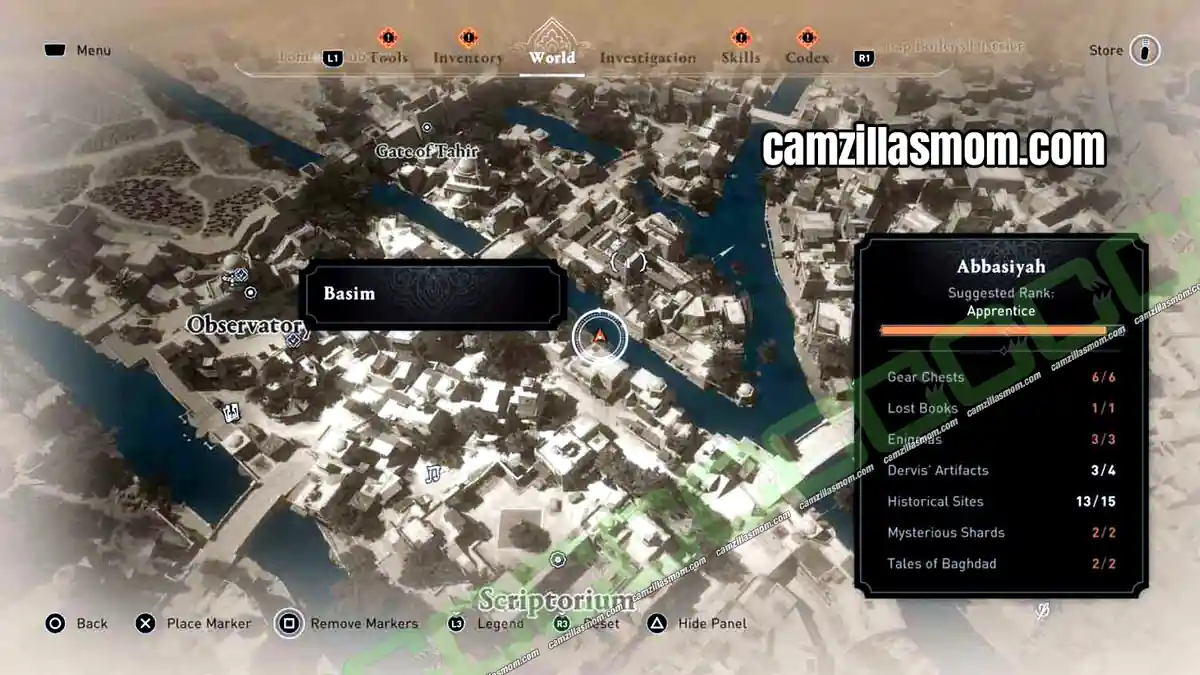
Solution: The text tells you to turn east from where the learned observe, which is the Observatory. Then you seek out the isle where the waters split and the wheels churn. That is the Watermill at this location:
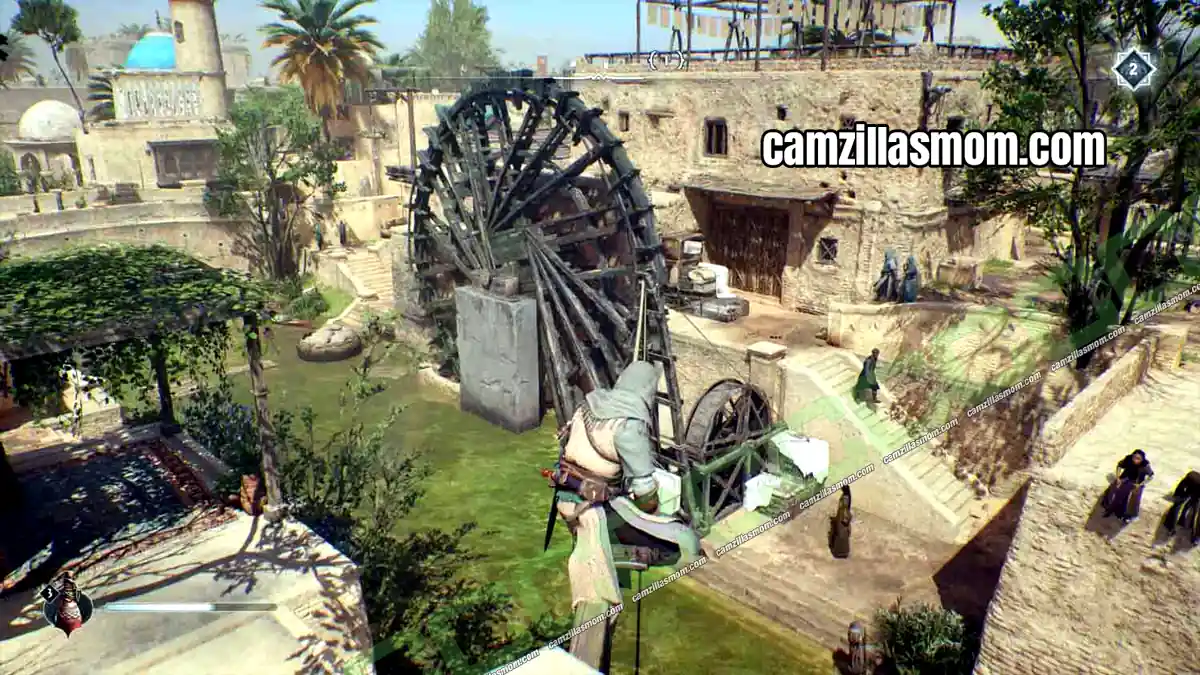
The note tells you to go inside, but the entrance door is barred. Look through the window next to the door: there is a barred window on the other side of the room. Destroy its barricade with a throwing knife.
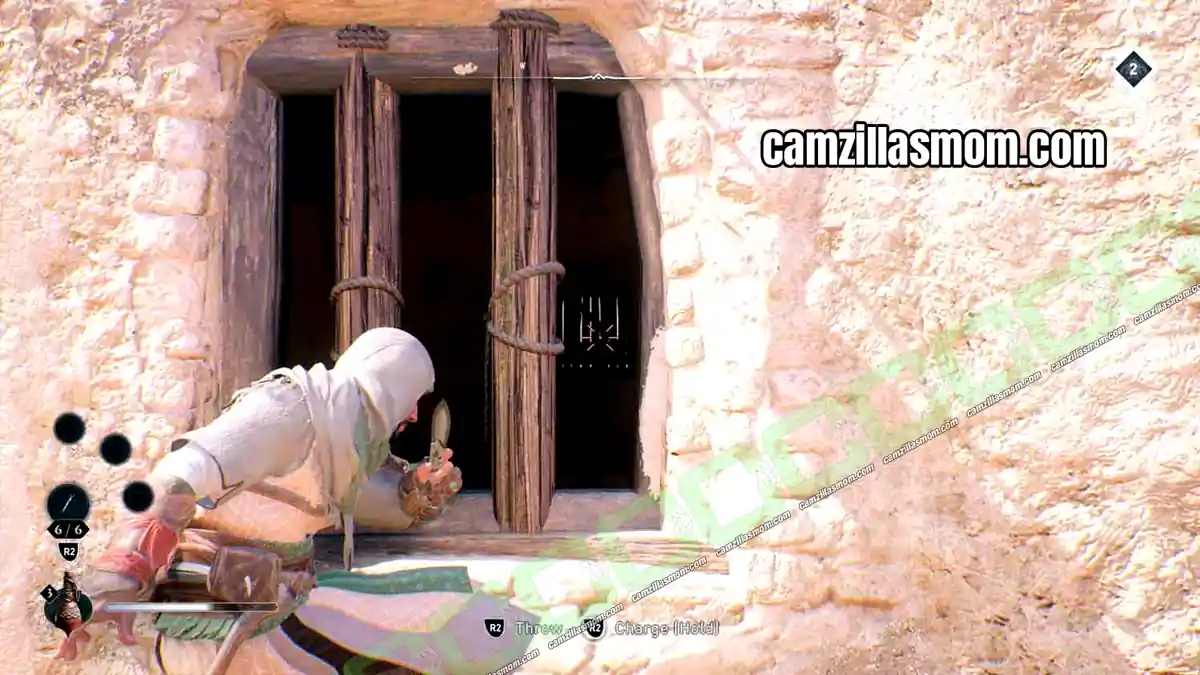
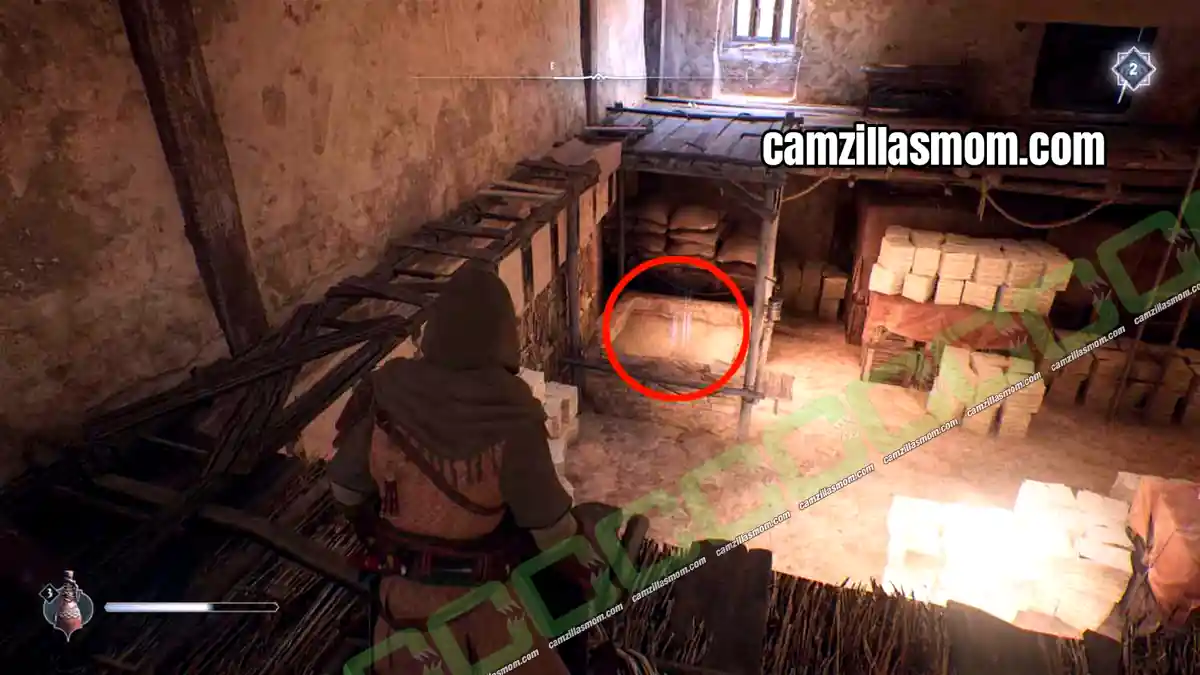
Now go around to the other side and climb in through exactly this window. You can already see the glow of the treasure as you climb in. Interact with the glowing pile to pick it up.
Abbasiyah Dervis’ Artifacts – 4
There are four Dervis’ Artifacts in Abbasiyah. Each one has to be pickpocketed from the person carrying it. Some carriers stay in one spot and others walk around, so scan the area to find the exact position.
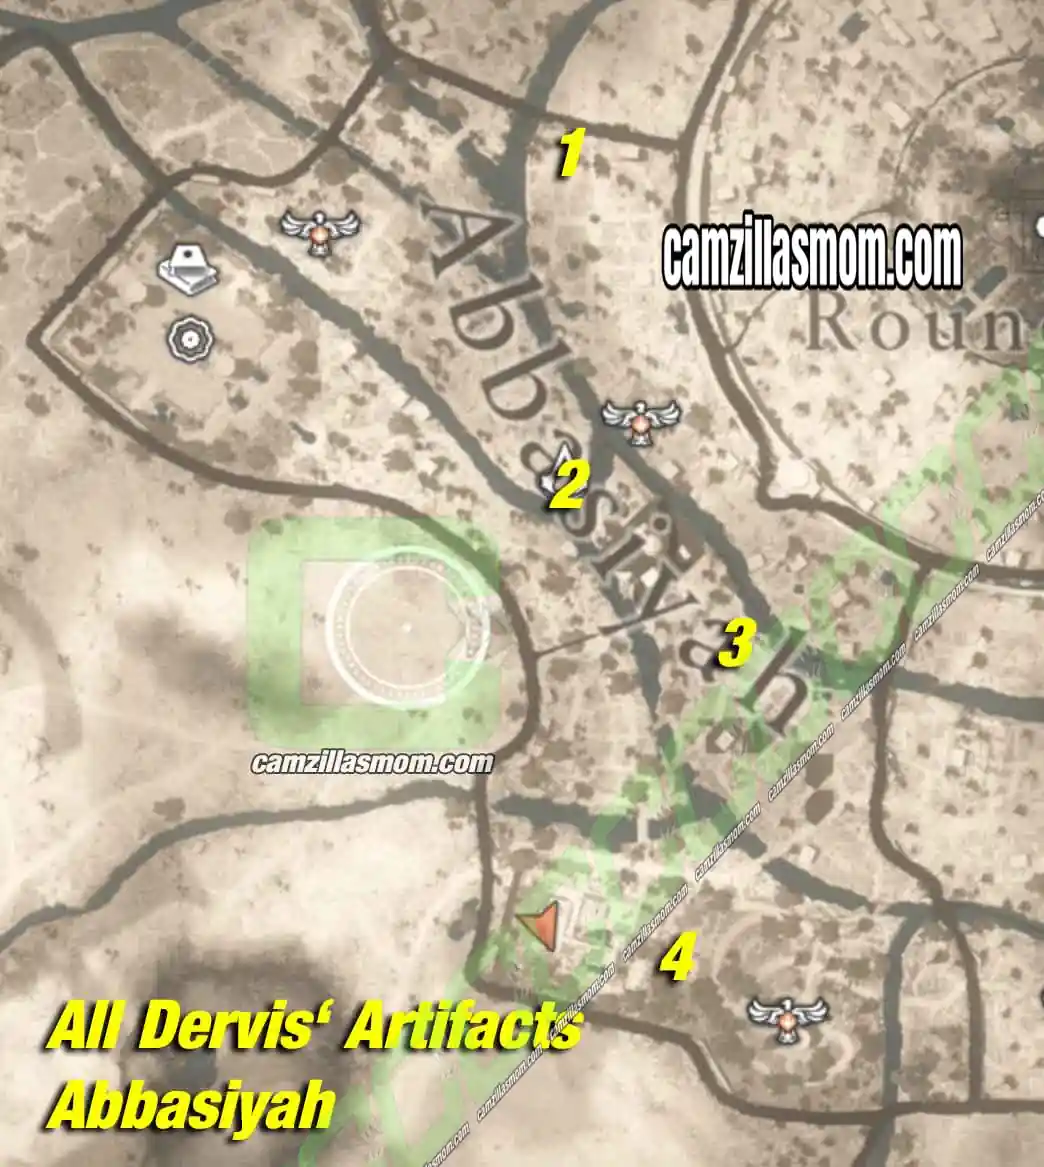
1 – Small Chinese Box
2 – Round Moon Plaque
3 – Tang Censer
4 – Olibanum
1 – Small Chinese Box
Location: Walking around the Four Markets, in the north
A woman walking around the Four Markets in the north of Abbasiyah carries the Small Chinese Box. Pickpocket it from her.
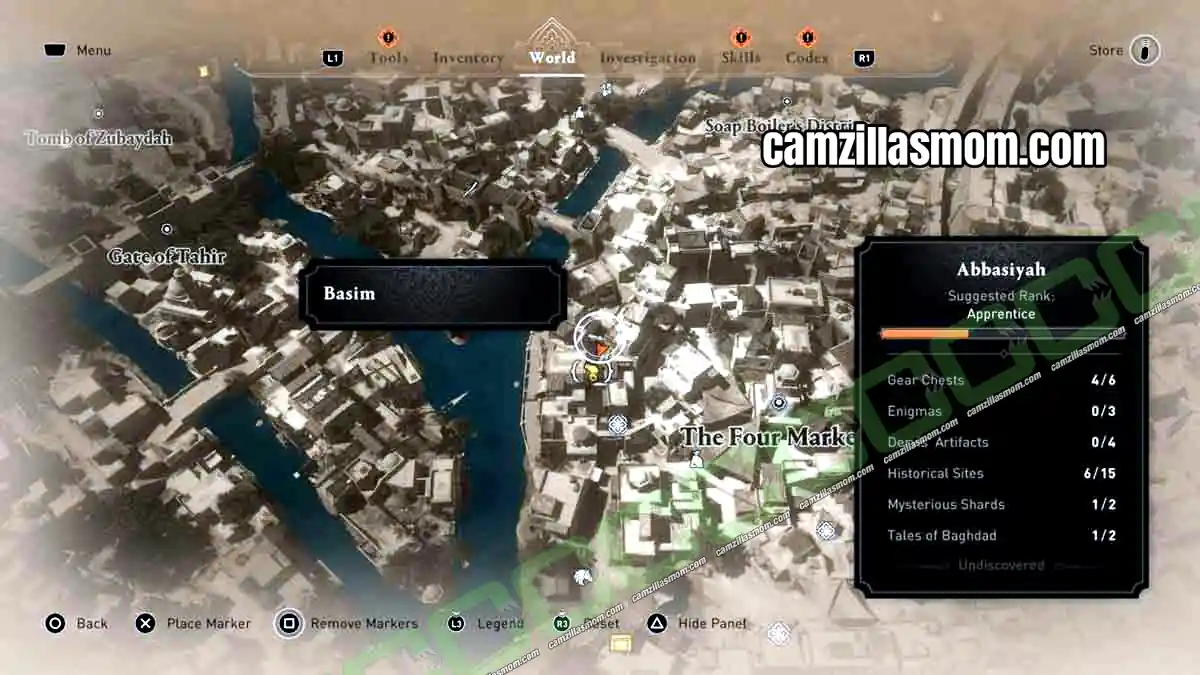
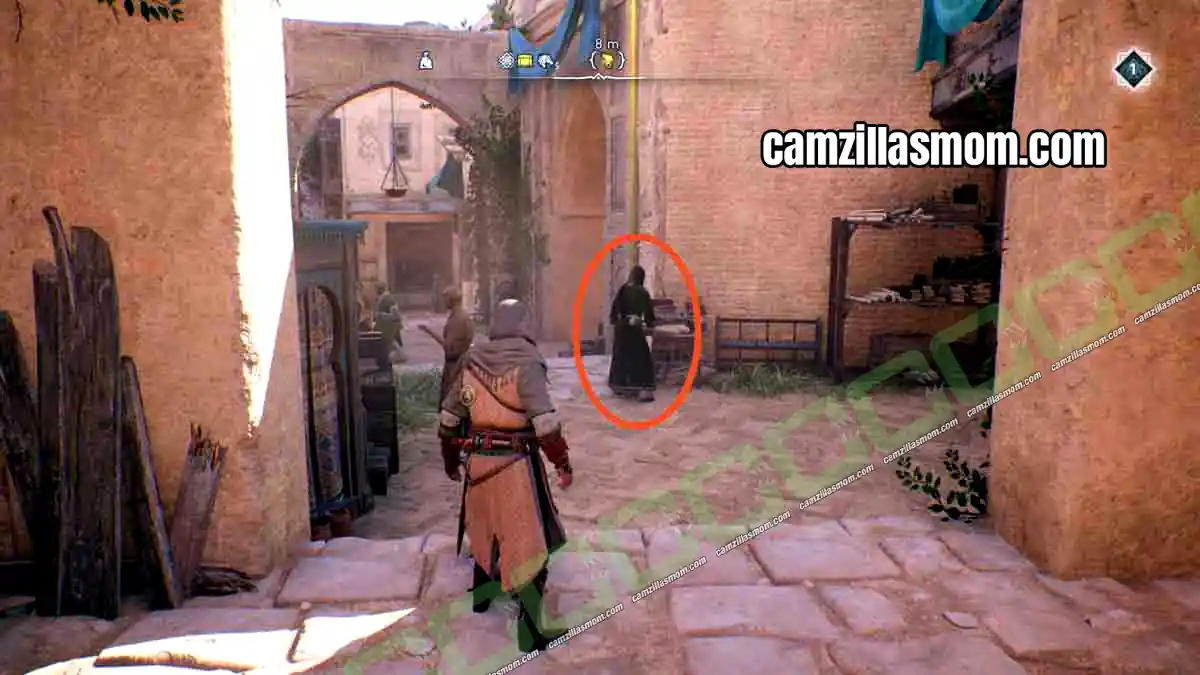
2 – Round Moon Plaque
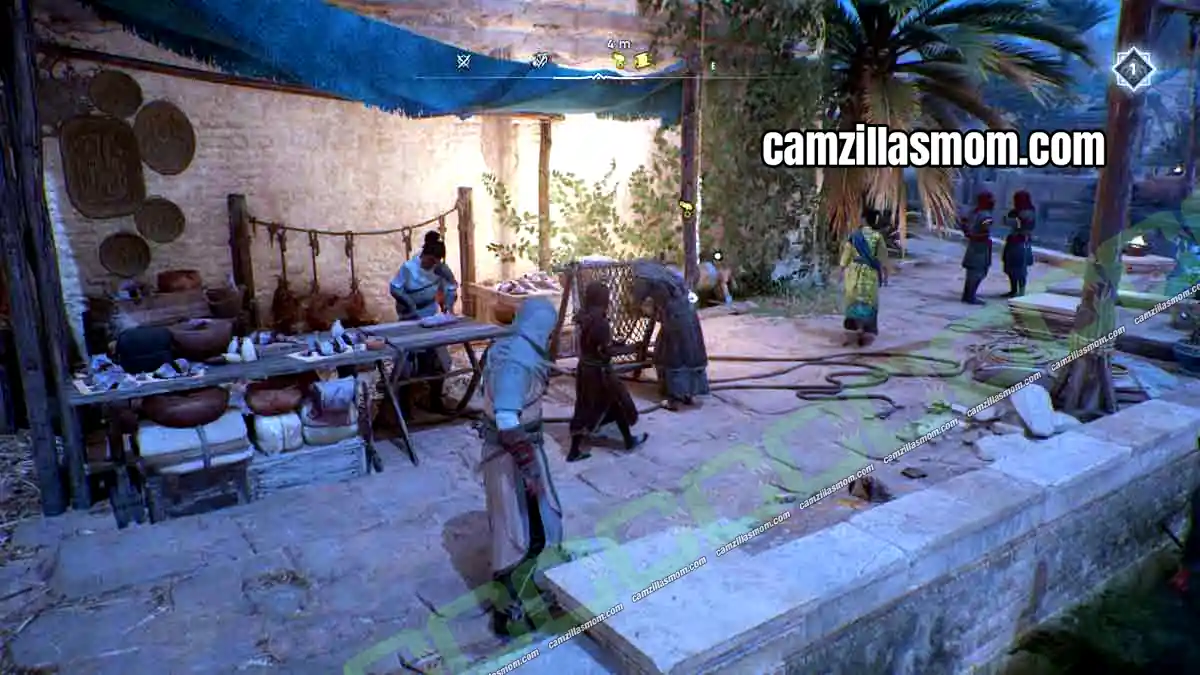
Location: By the water south of the Abbasiyah Bureau
A woman is working by the water south of the Abbasiyah Bureau. Pickpocket the artifact from her.
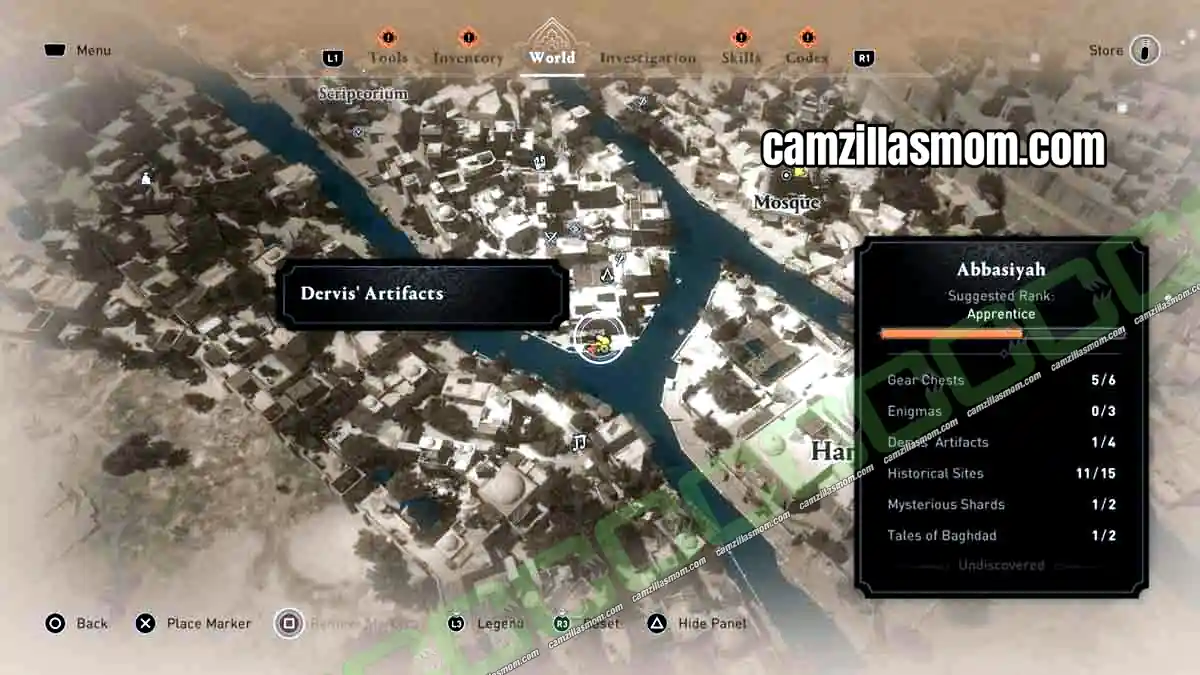
3 – Tang Censer
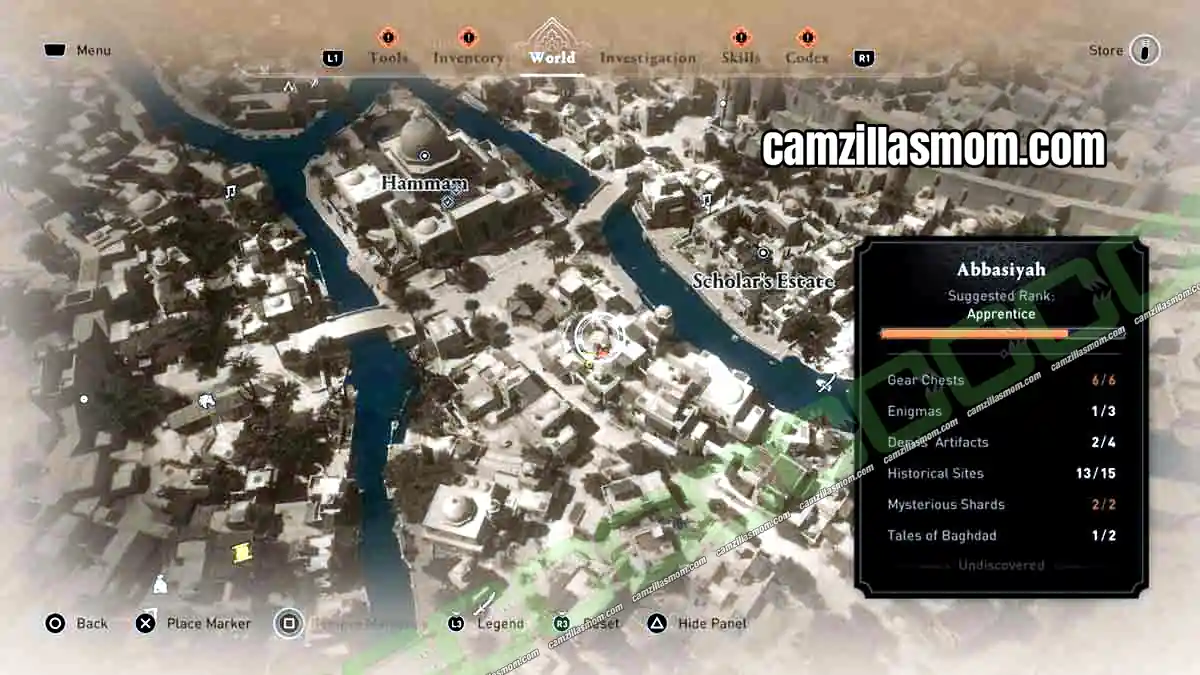
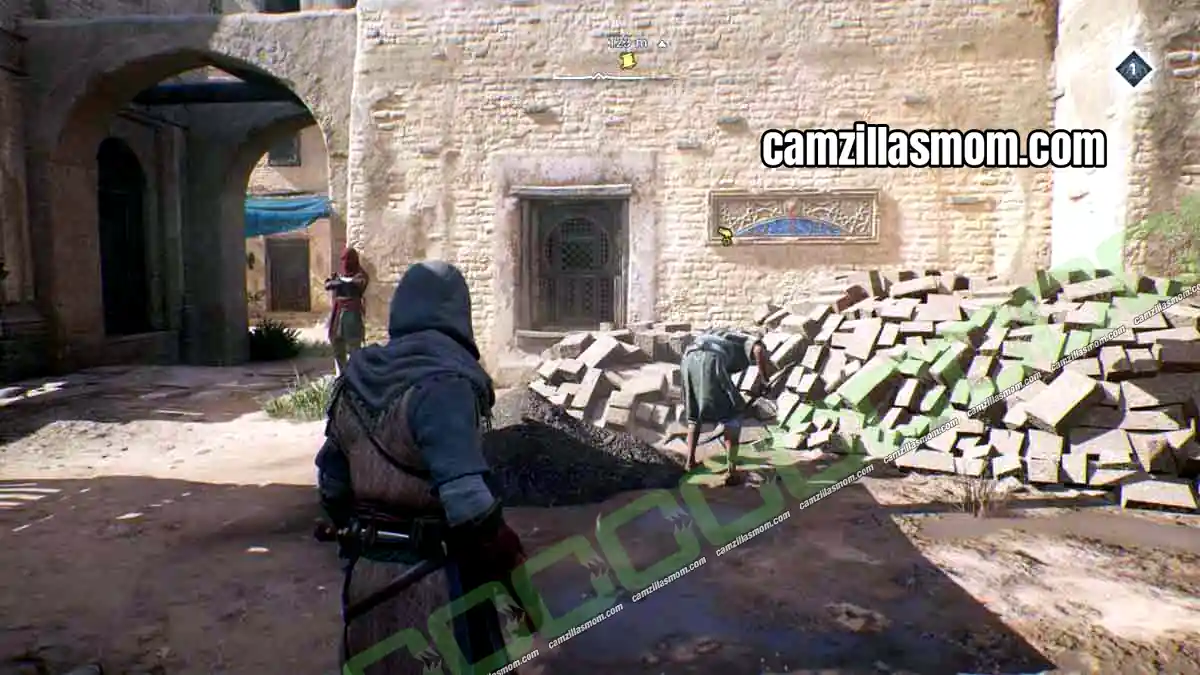
Location: Southeast of the Hammam
A man is working southeast of the Hammam. Pickpocket the artifact from him.
4 – Olibanum
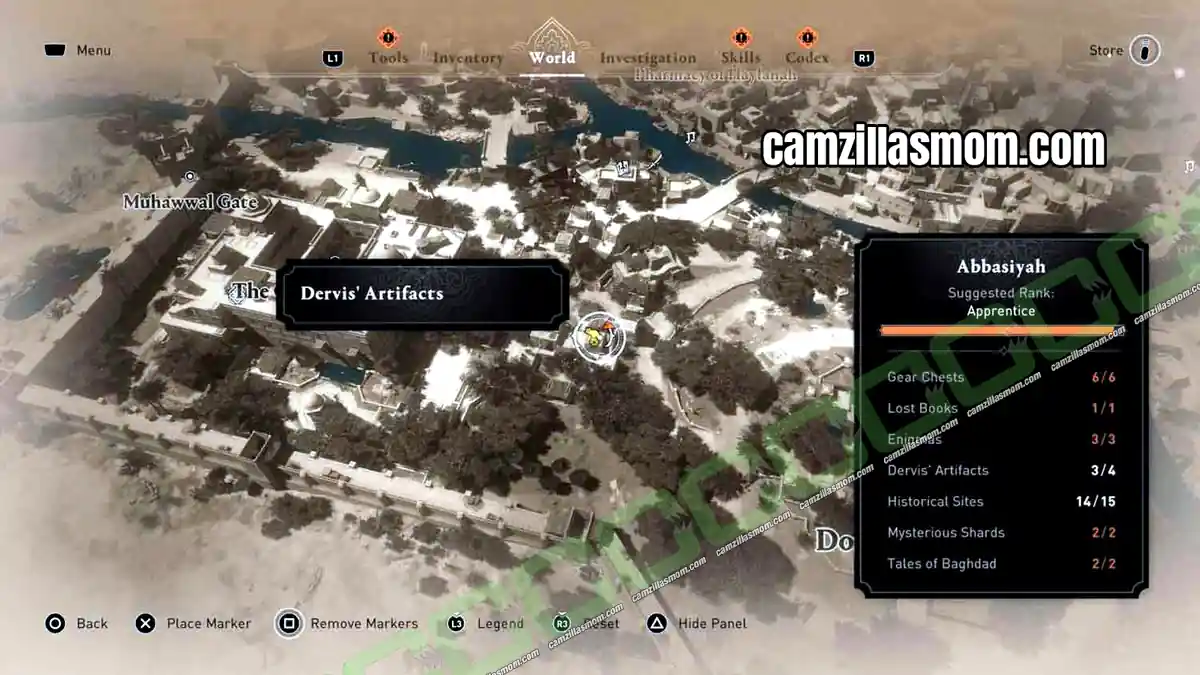
Location: Between the Great Bimaristan and the Dome of the Ass
The carrier walks around between the Great Bimaristan and the Dome of the Ass. Follow them until you can pickpocket the artifact.
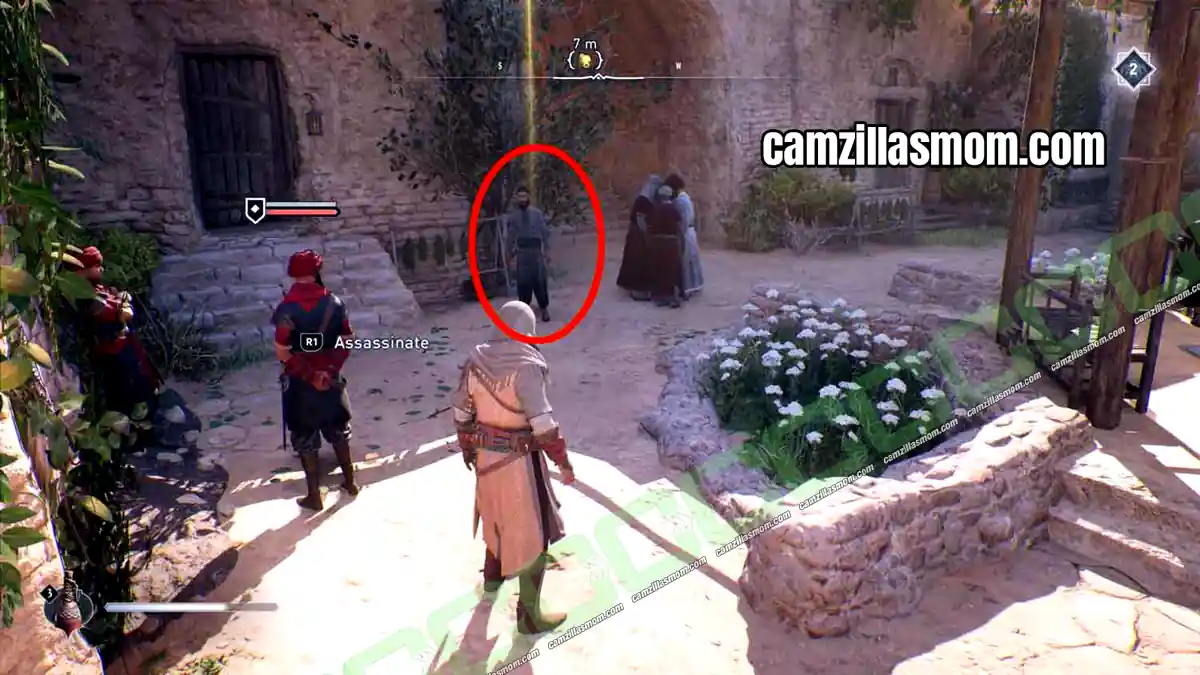
Abbasiyah Historical Sites – 15
Abbasiyah has 15 Historical Sites, and each one is marked by a bright glowing orb. Interact with the orb to unlock the background information in your Codex.
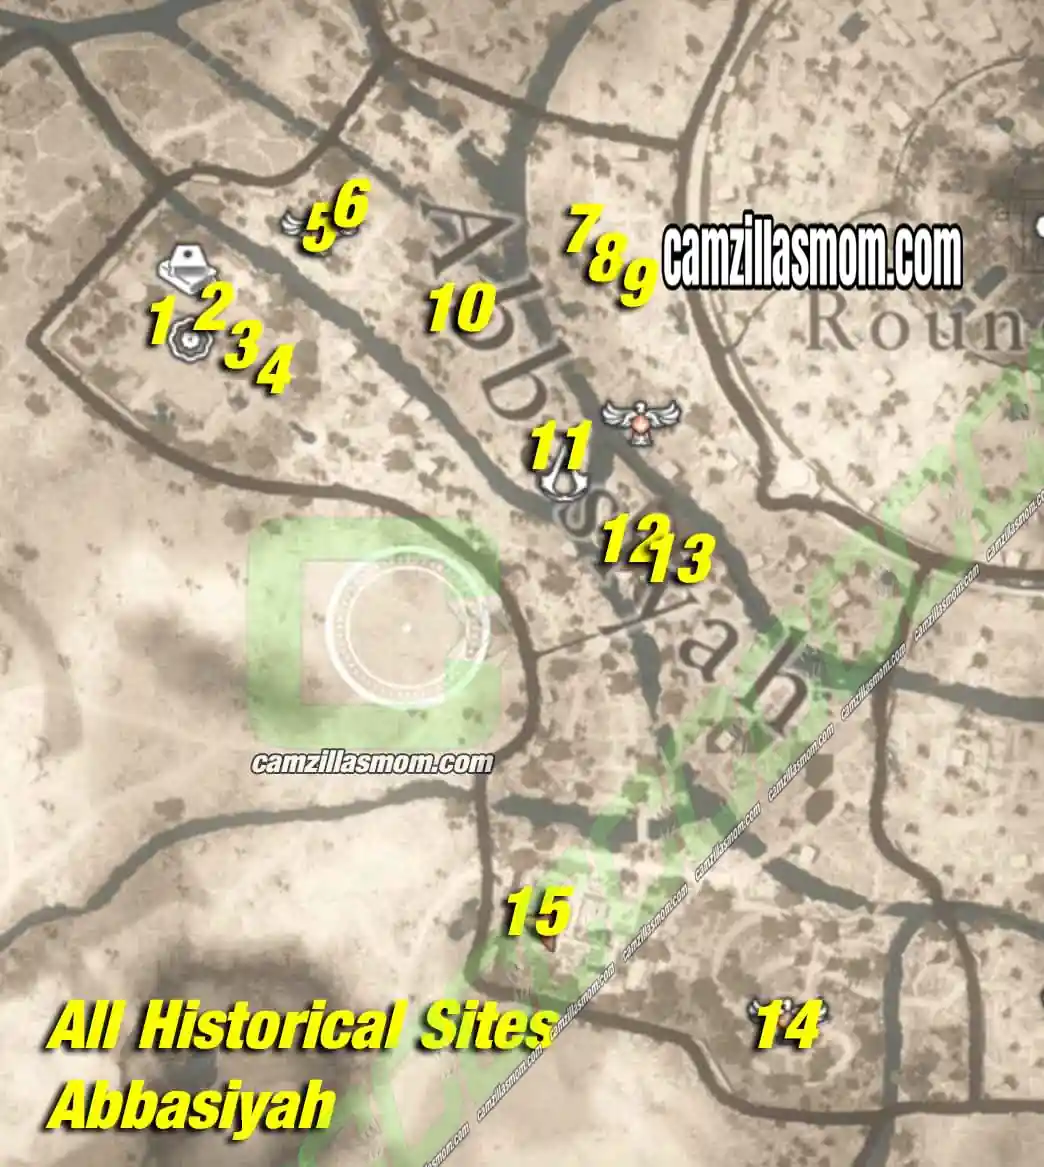
1 – Calculating the Earth’s Circumference
2 – Majlis (Intellectual Salon)
3 – Scientific Method
4 – House of Wisdom
5 – Astronomical Instruments
6 – Astronomy and Astrology
7 – Papermaking
8 – Slavery
9 – Muhtasib (Market Inspector)
10 – Translation Movement
11 – Arabic as a Cultural Unifier
12 – Hammam
13 – Abbasid Style
14 – Dome of the Ass (Donkey)
15 – Healthcare
1 – Calculating the Earth’s Circumference
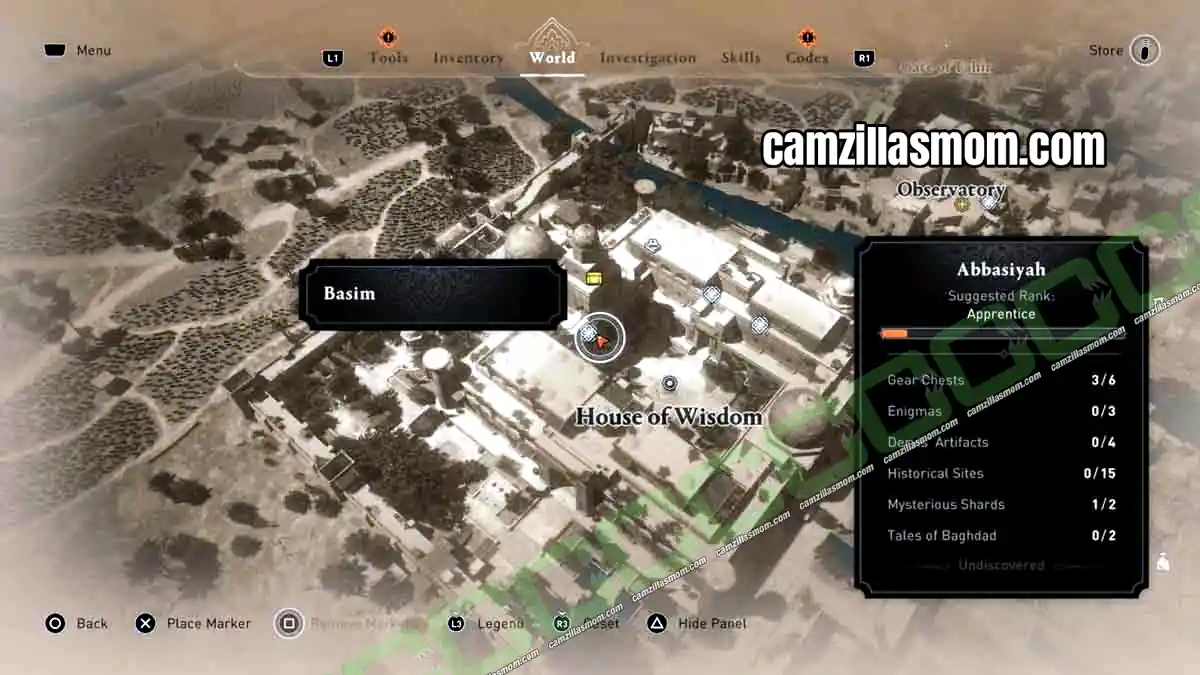
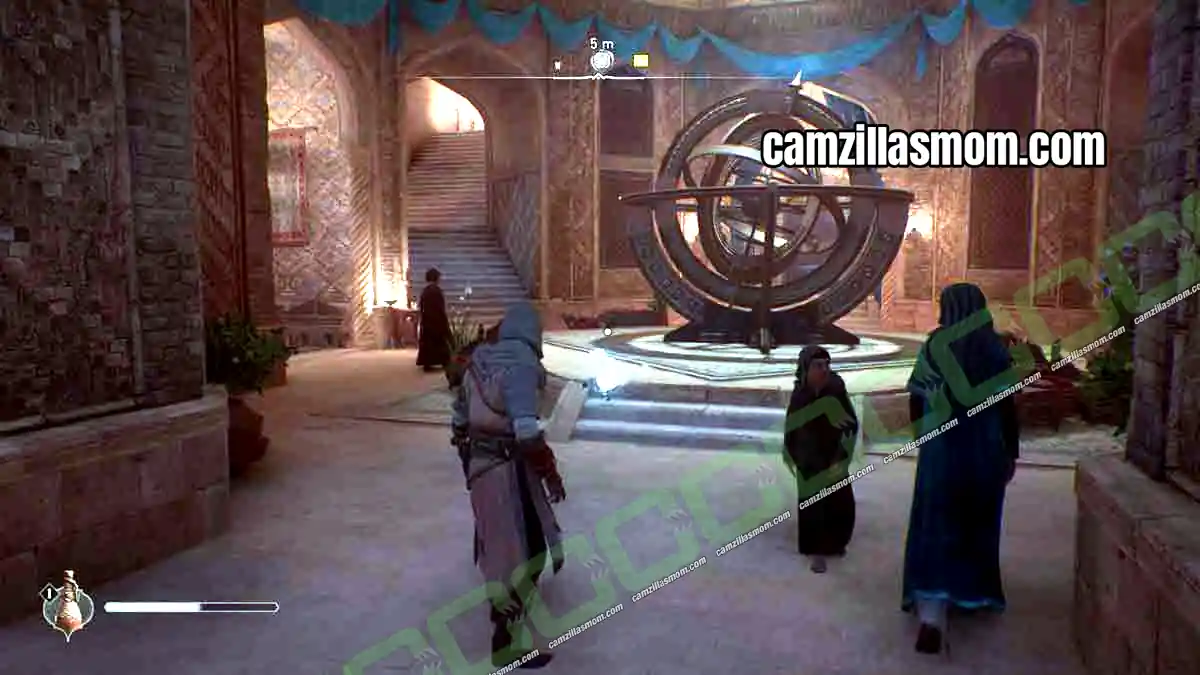
Location: Astronomy room at the House of Wisdom
At the House of Wisdom, there is an astronomy room you can reach from the central courtyard. The orb is inside.
2 – Majlis (Intellectual Salon)
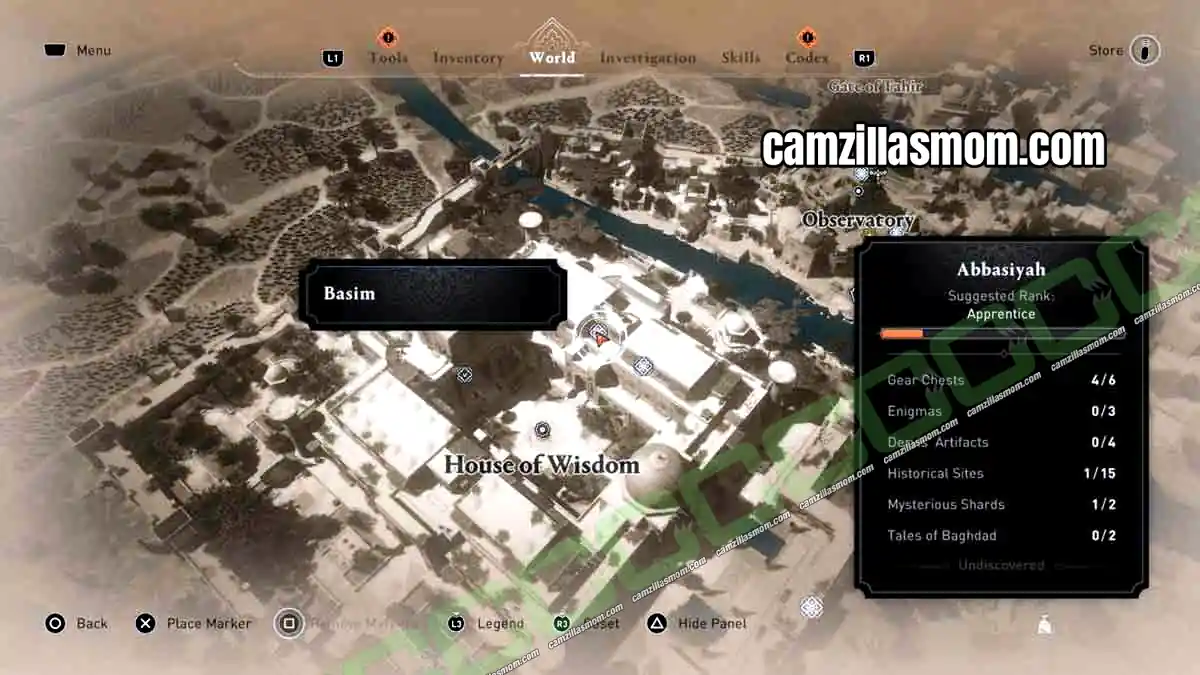
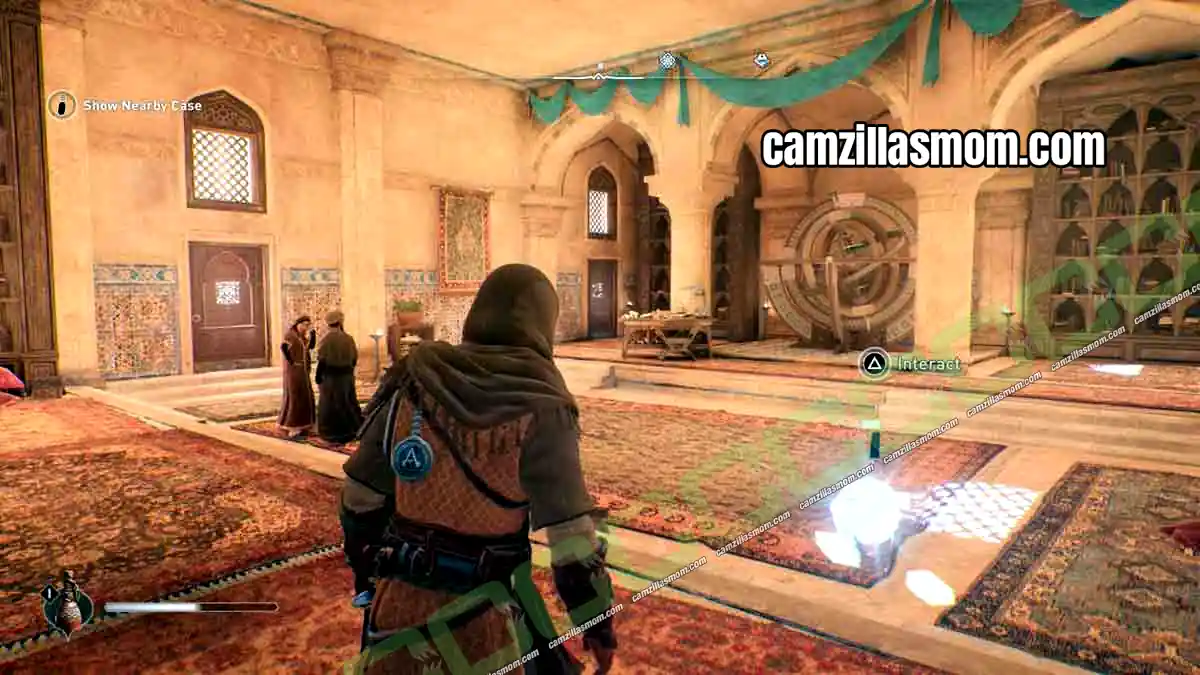
Location: Meeting room on the ground level of the House of Wisdom
The big meeting room on the ground level of the House of Wisdom holds this orb.
3 – Scientific Method
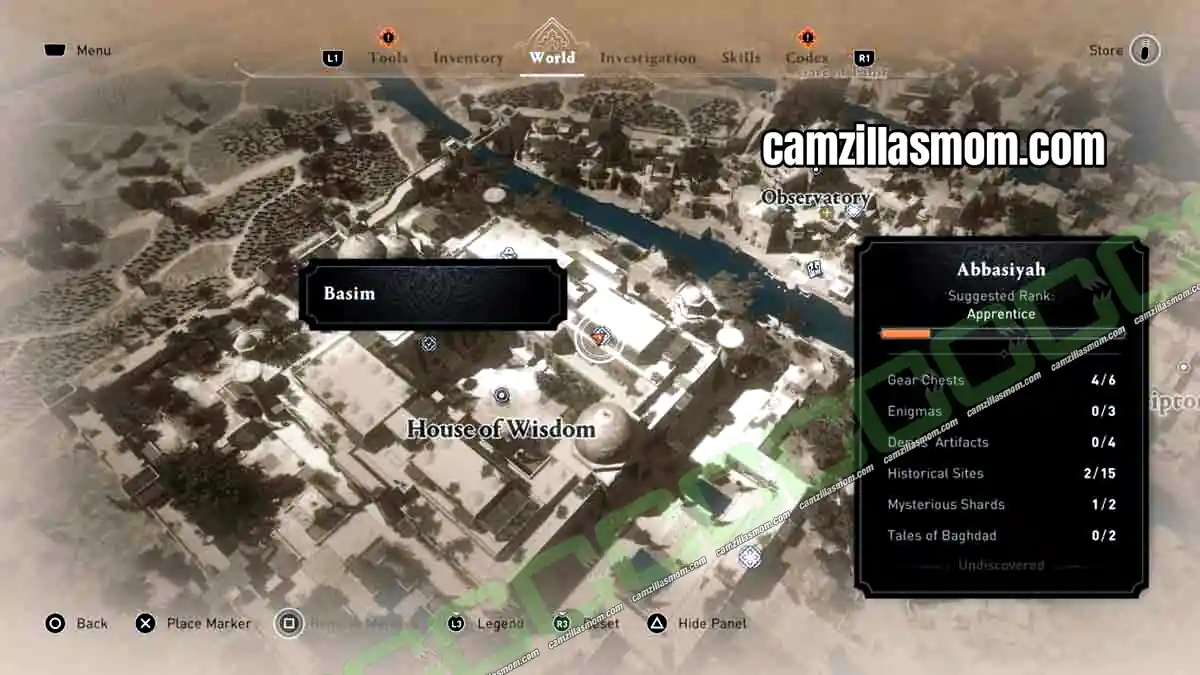
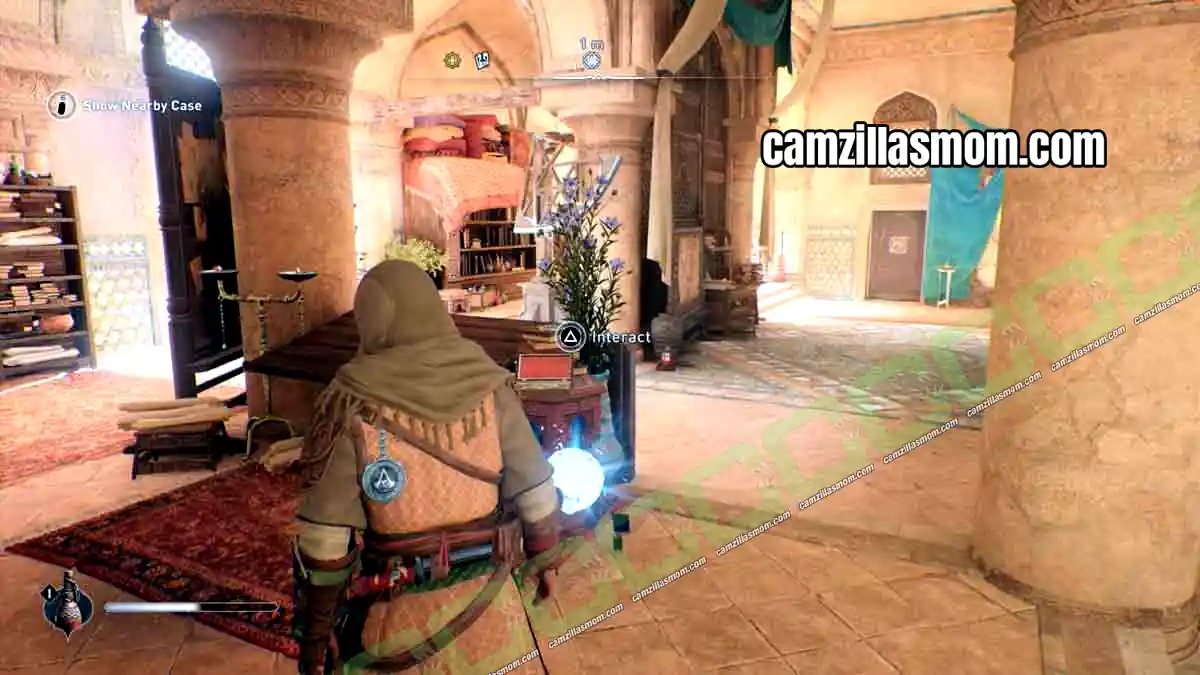
Location: Ahmad ibn Musa’s workshop on the ground level of the House of Wisdom
Also on the ground level of the House of Wisdom is the workshop of Ahmad ibn Musa. The orb is inside.
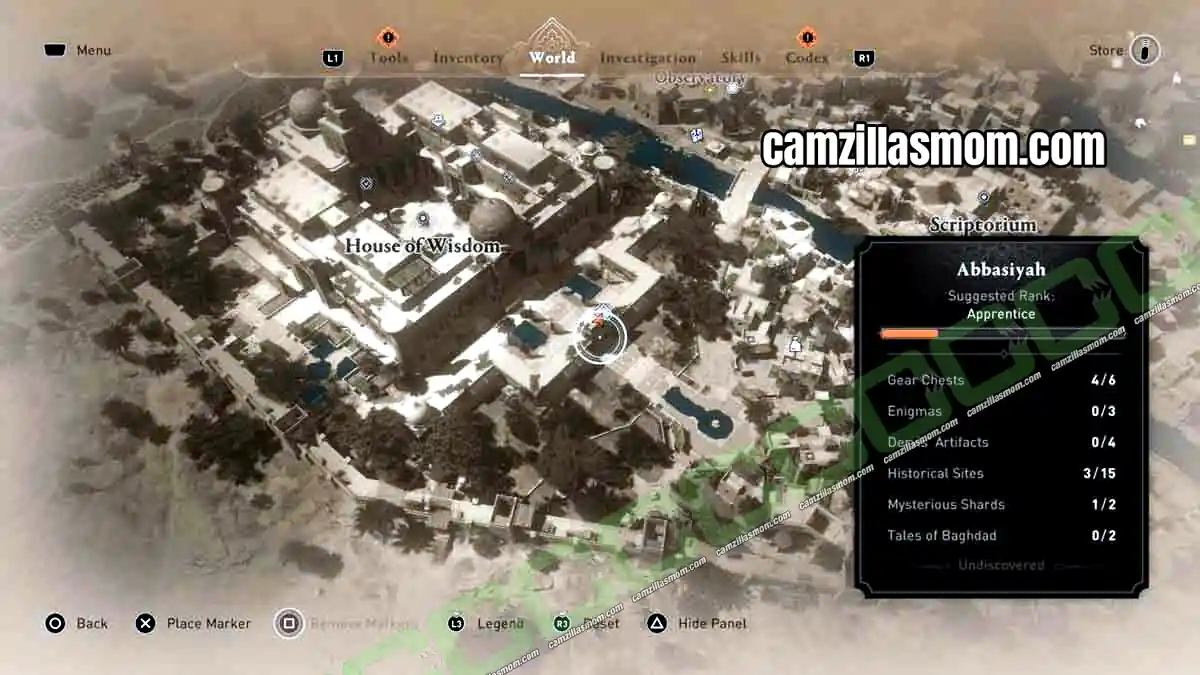
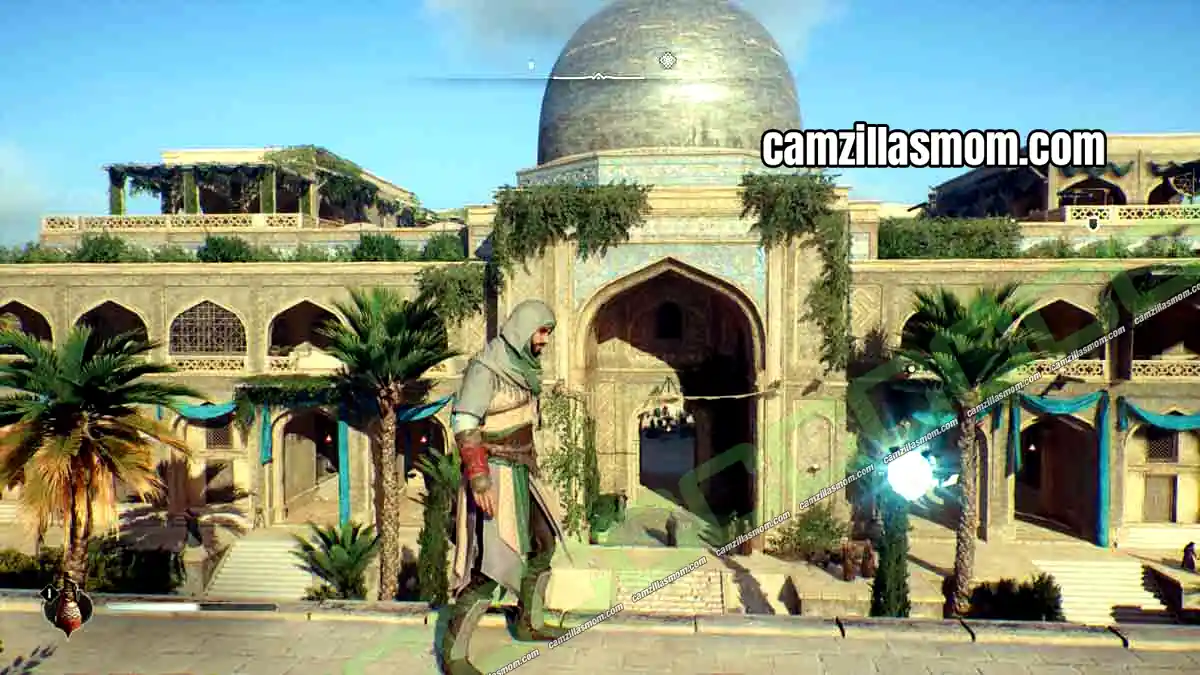
4 – House of Wisdom
Location: Top of the outer entrance gate of the House of Wisdom
Climb to the top of the outer entrance gate of the House of Wisdom.
5 – Astronomical Instruments
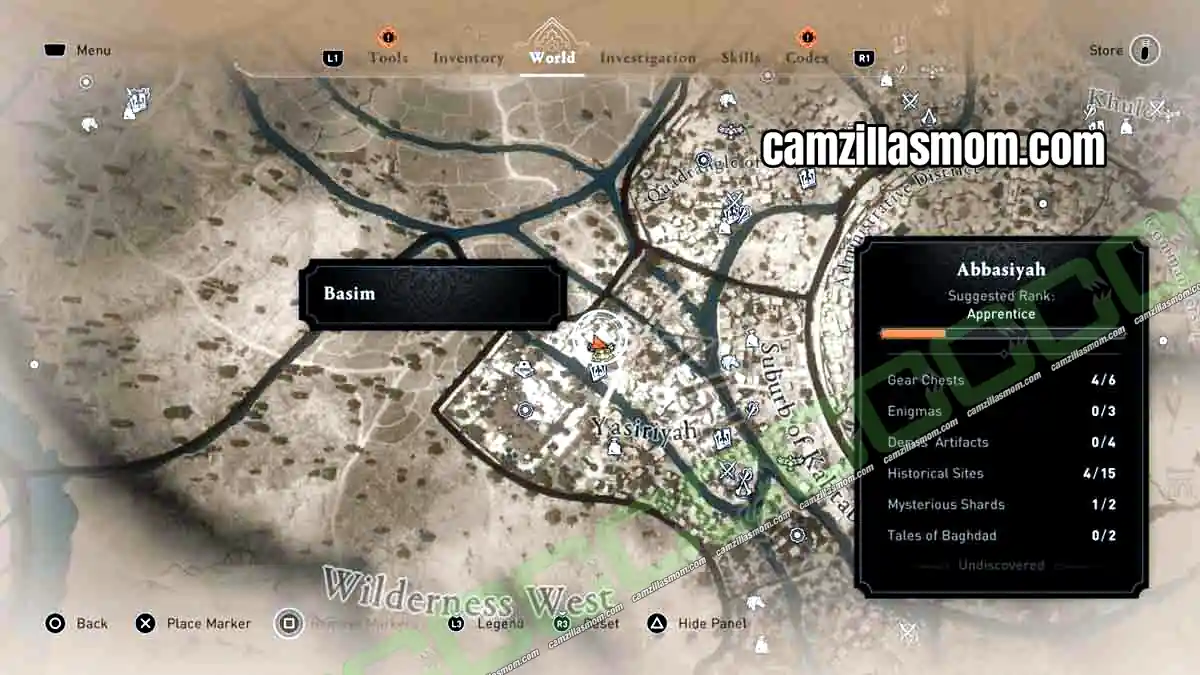
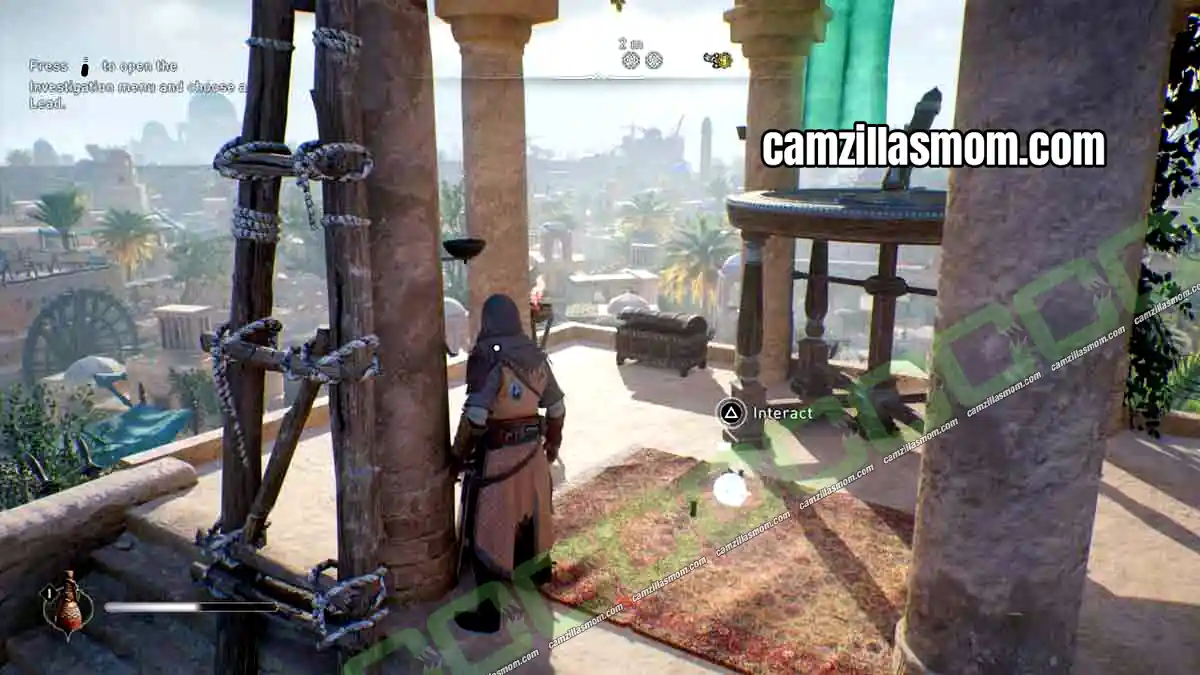
Location: Roof of the Observatory
Climb to the top of the Observatory. The roof is well protected, so the climb can be tricky. Work your way around it until you find the opening: push a shelf against a wall, climb the shelf and you can reach the roof.
6 – Astronomy and Astrology
Location: Message board at the base of the Observatory
At the base of the Observatory is a message board. Interact with it to unlock the Historical Site entry.
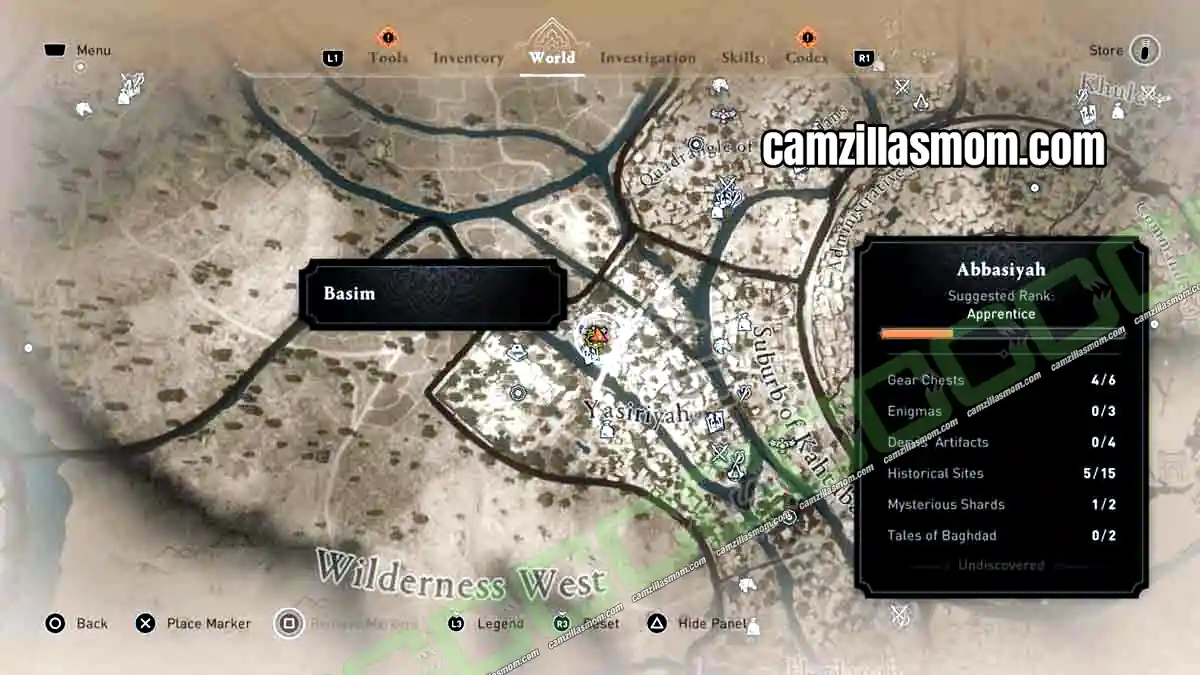
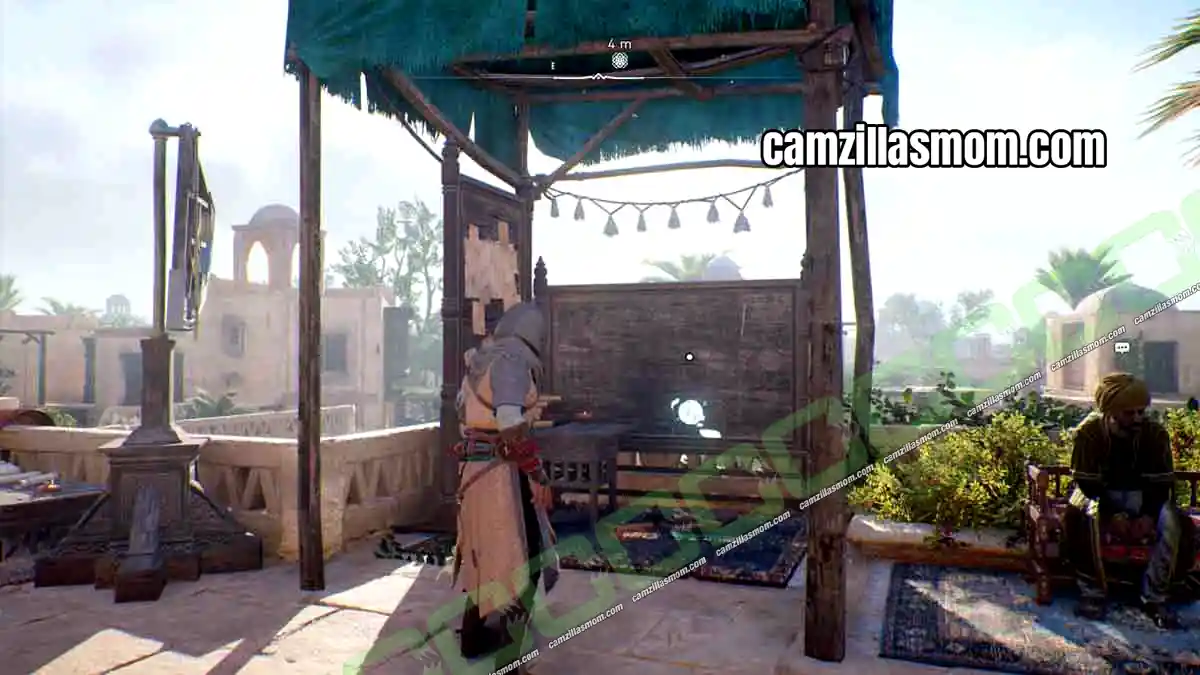
7 – Papermaking
Location: West of the Four Markets
Just west of the Four Markets, the orb sits next to a pile of books.
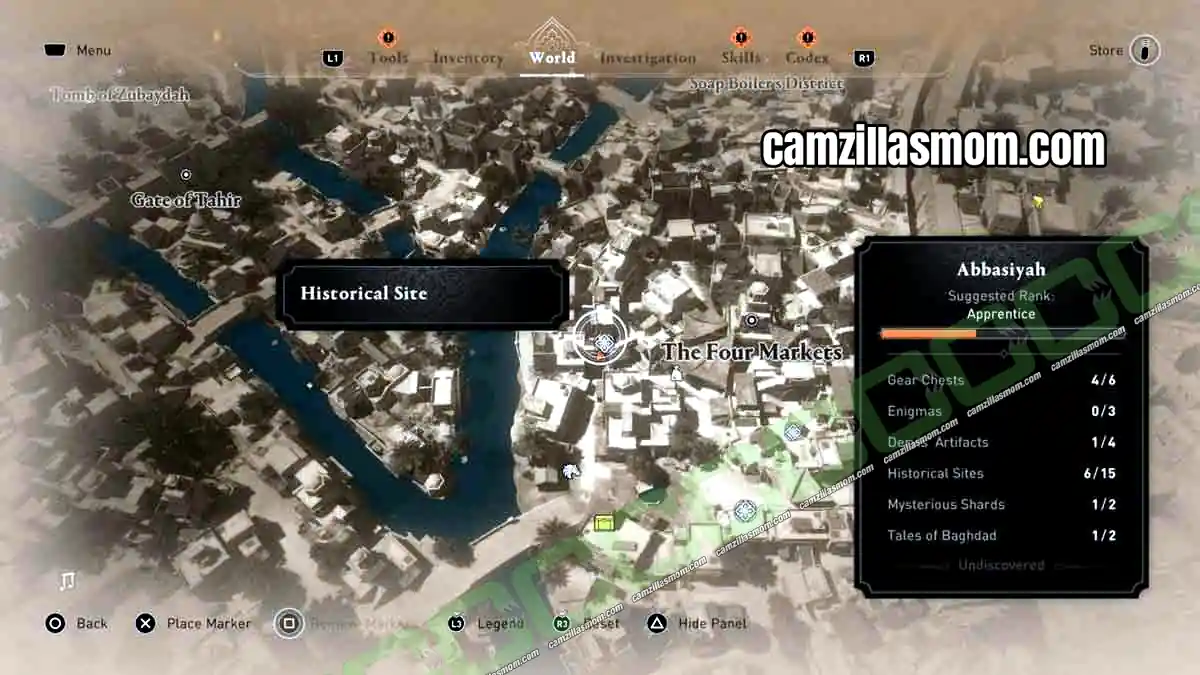
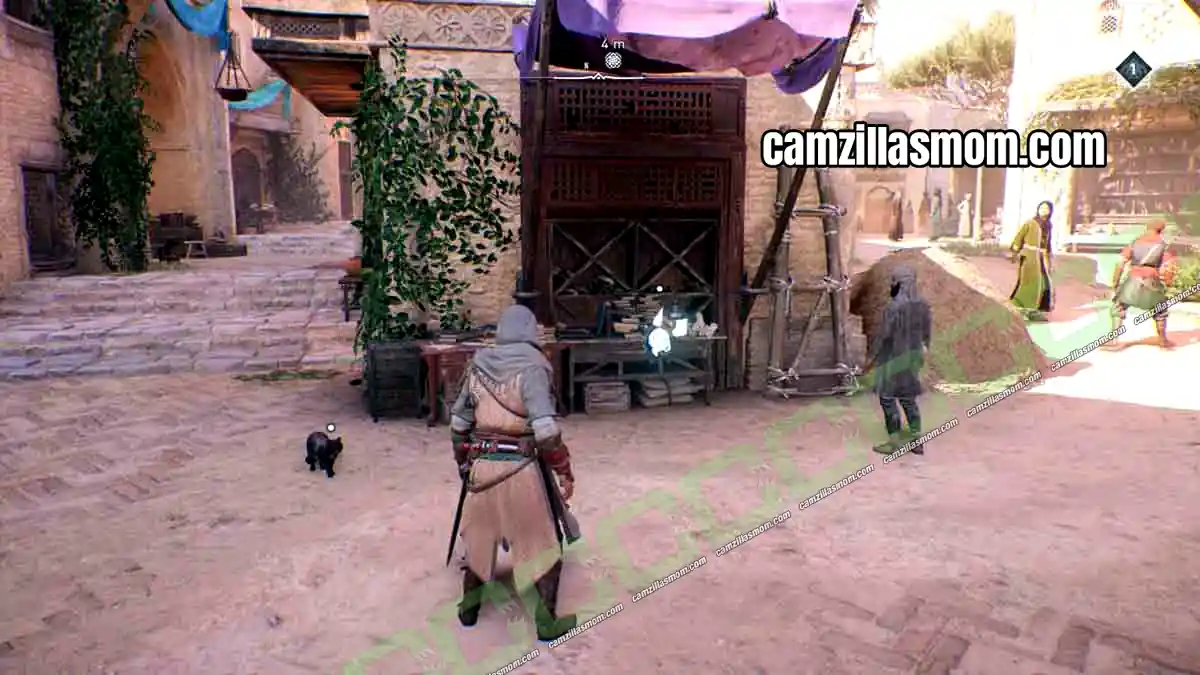
8 – Slavery
Location: South of the Four Markets
South of the Four Markets is a well guarded round place with straw and chains. The orb is there.
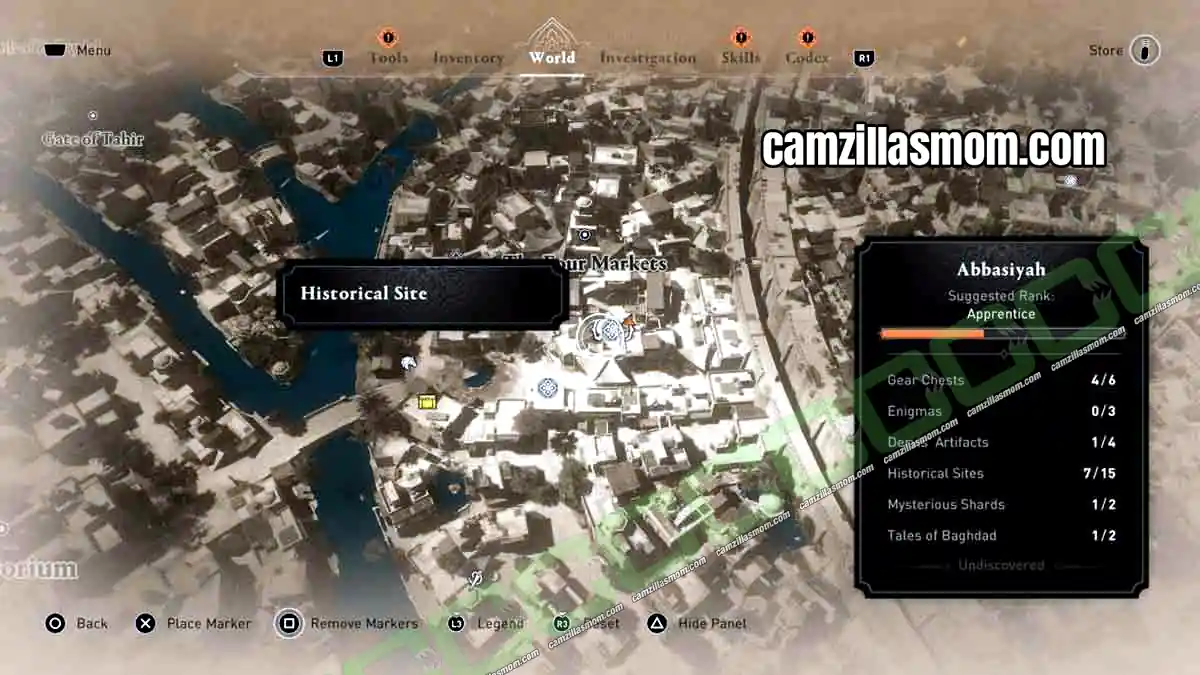
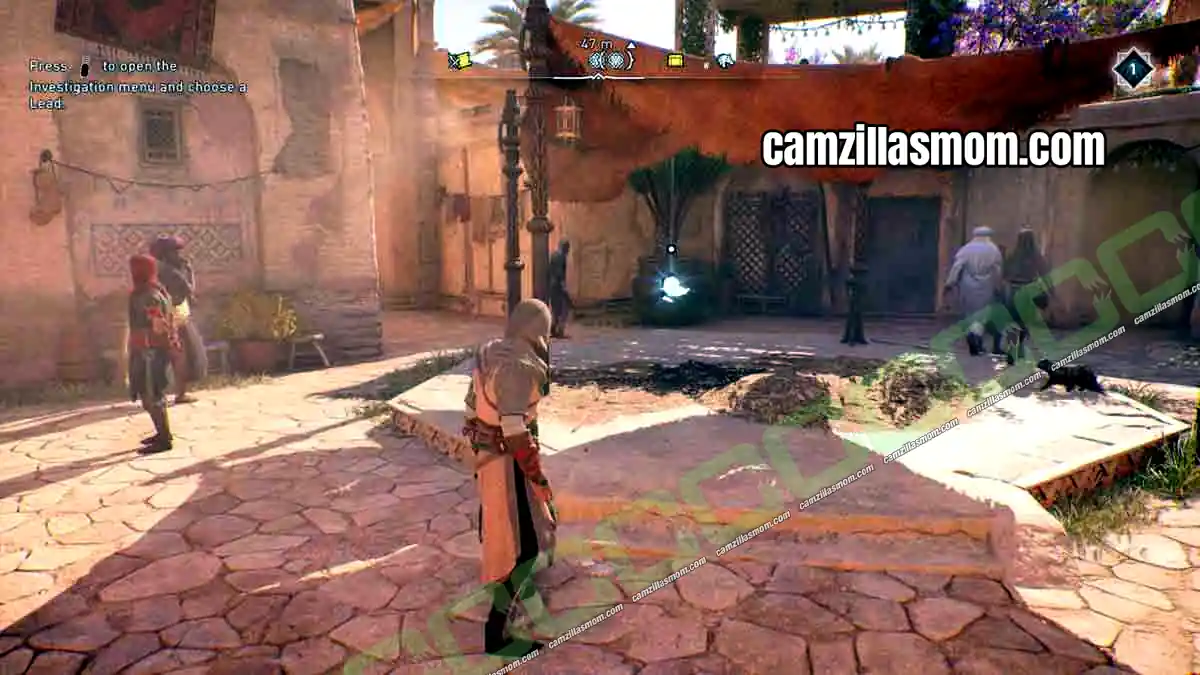
9 – Muhtasib (Market Inspector)
Location: Rooftop overlooking the Four Markets
Not far from the Slavery orb, this one sits on a rooftop overlooking the Four Markets.
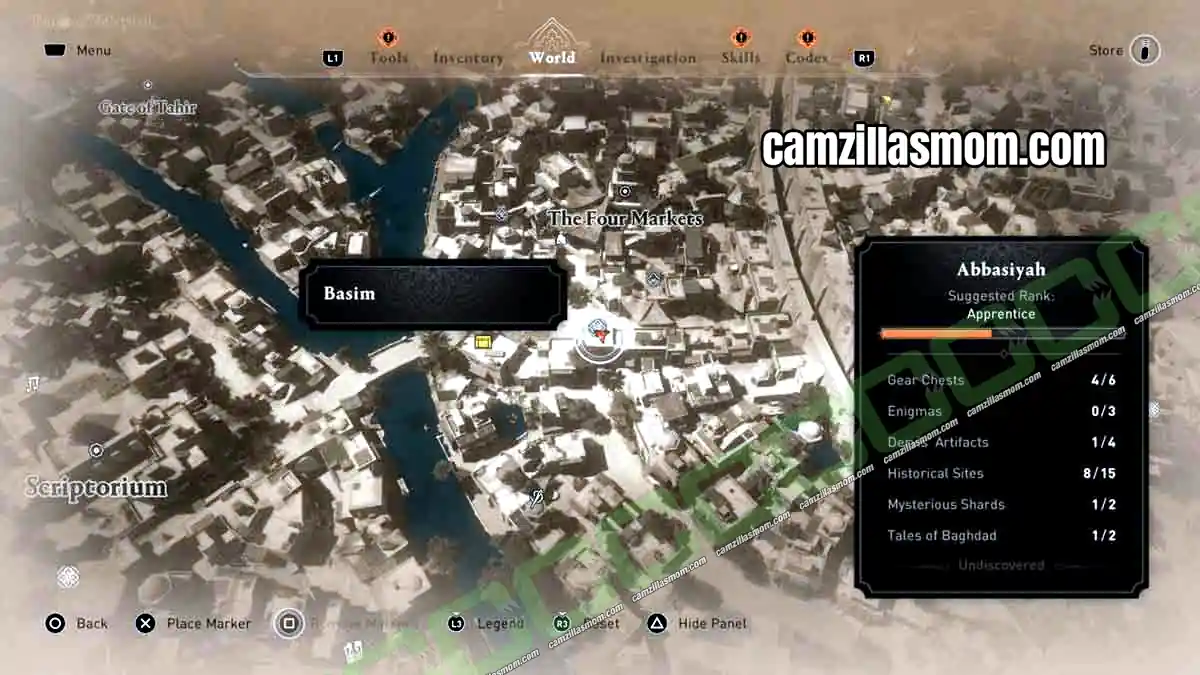
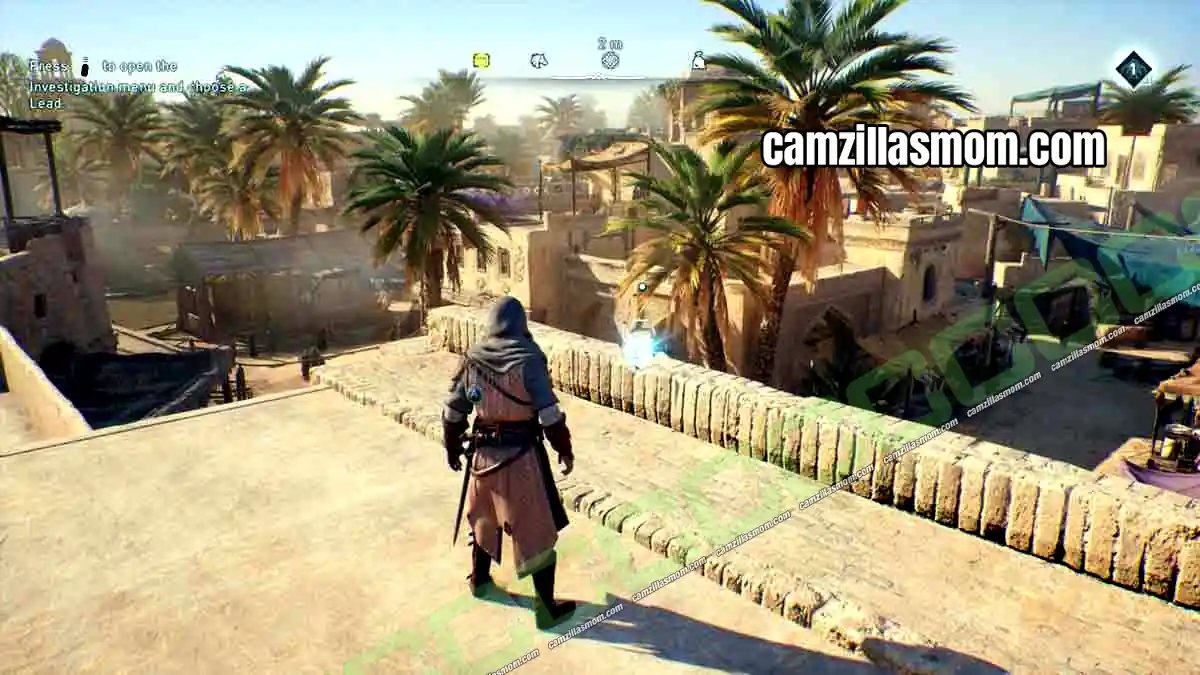
10 – Translation Movement
Location: Entrance of the Scriptorium
This orb is right at the entrance of the Scriptorium.
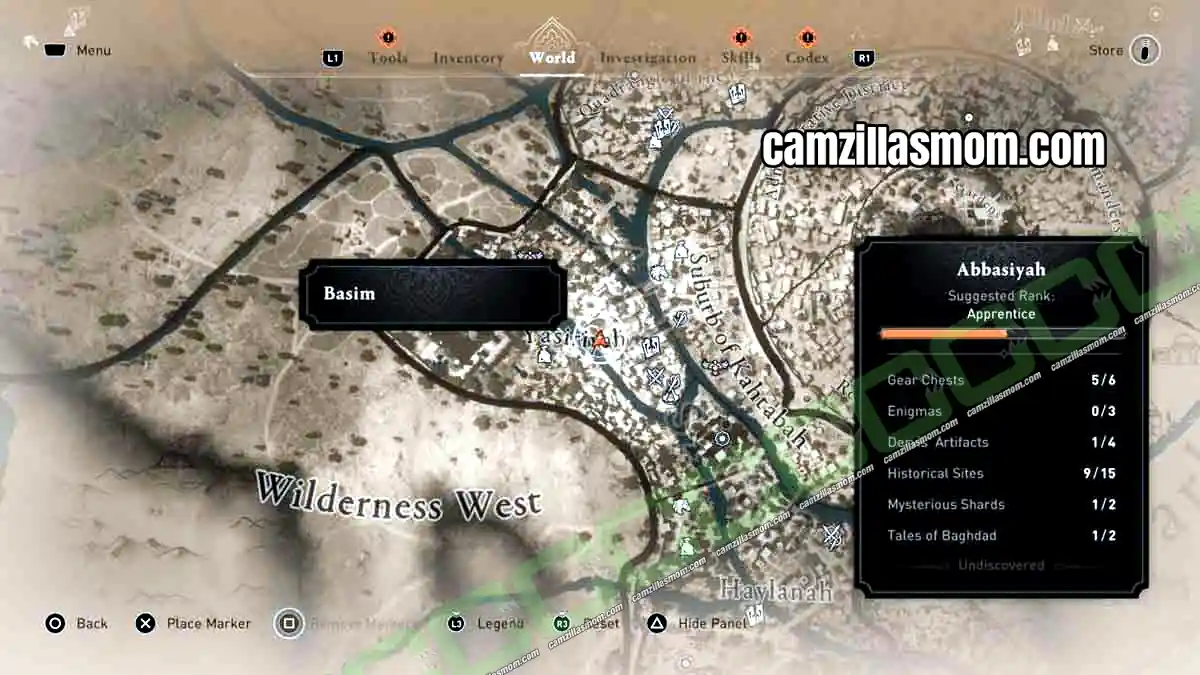
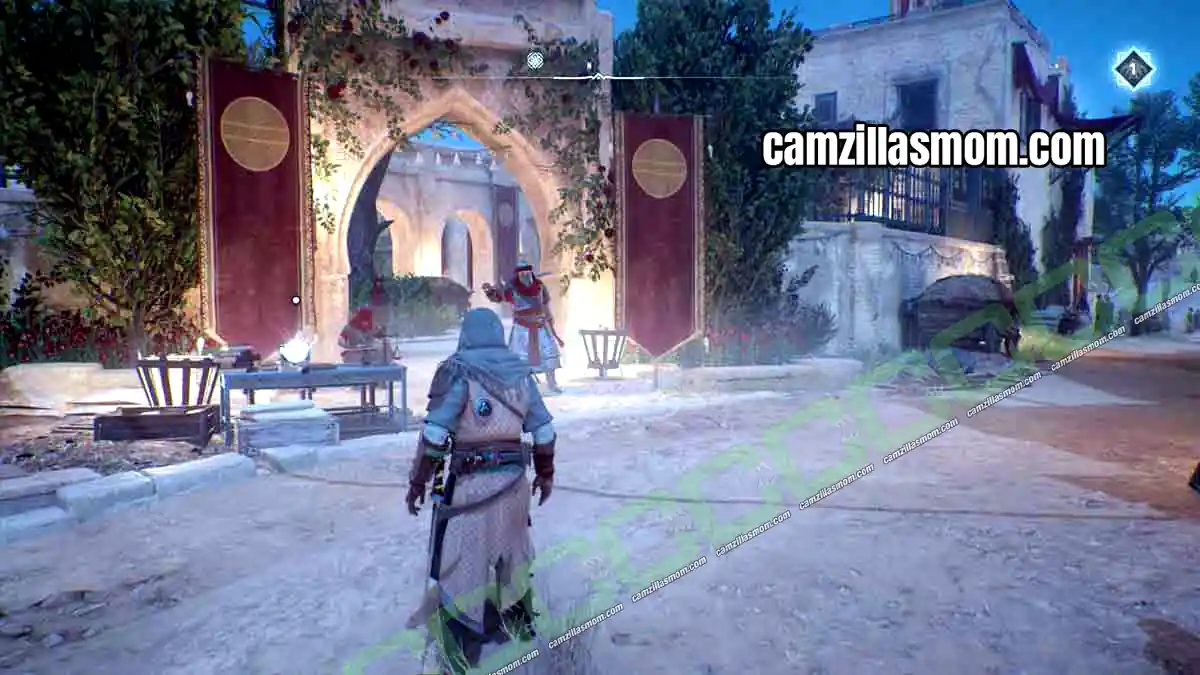
11 – Arabic as a Cultural Unifier
Location: Market north of the Abbasiyah Bureau
North of the Abbasiyah Bureau is a market with this Historical Site orb.
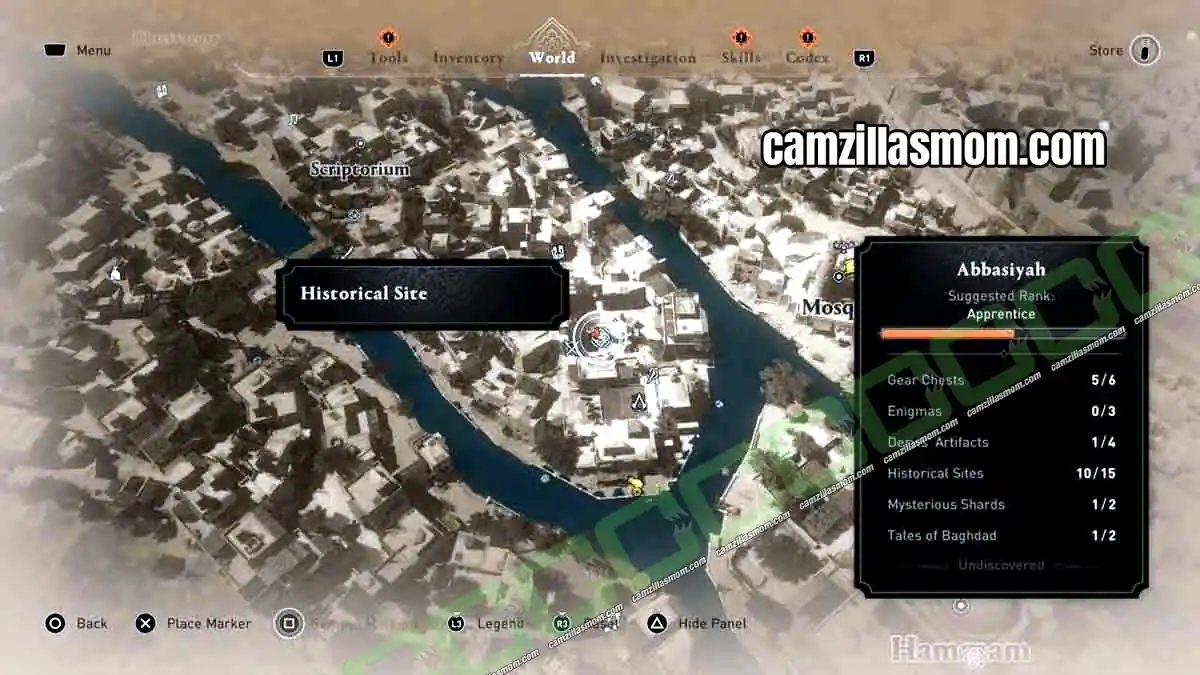
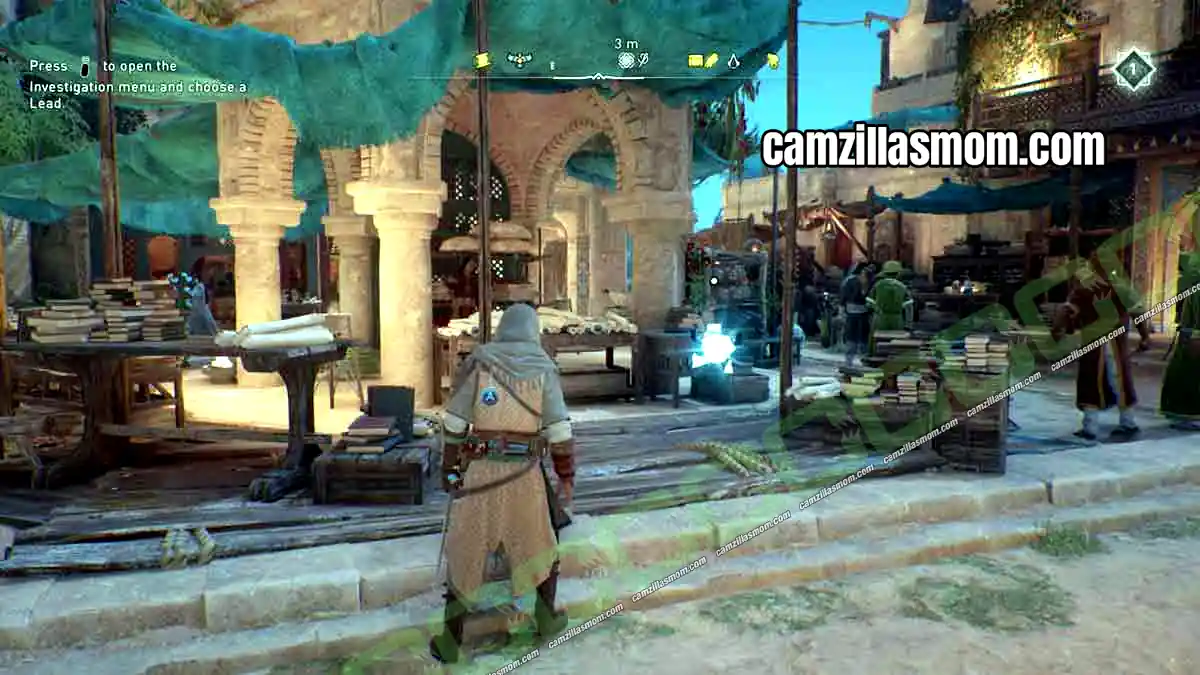
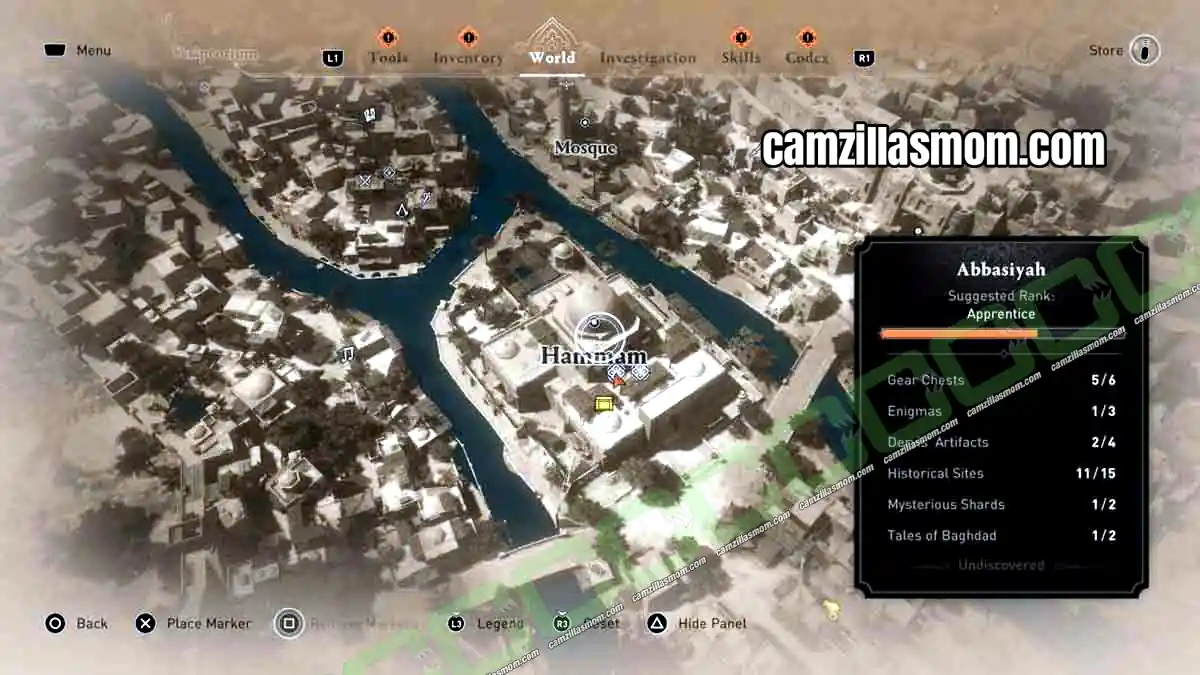
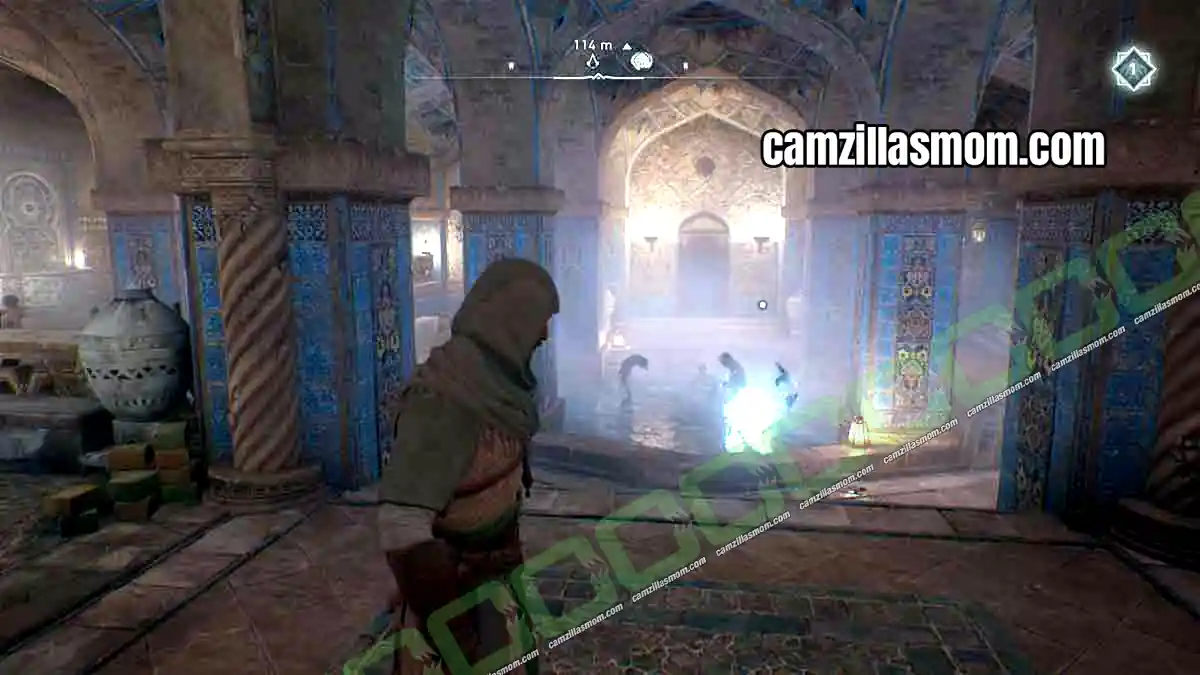
12 – Hammam
Location: Inside the Hammam, in the south
Travel to the Hammam in the south and go inside to find this orb.
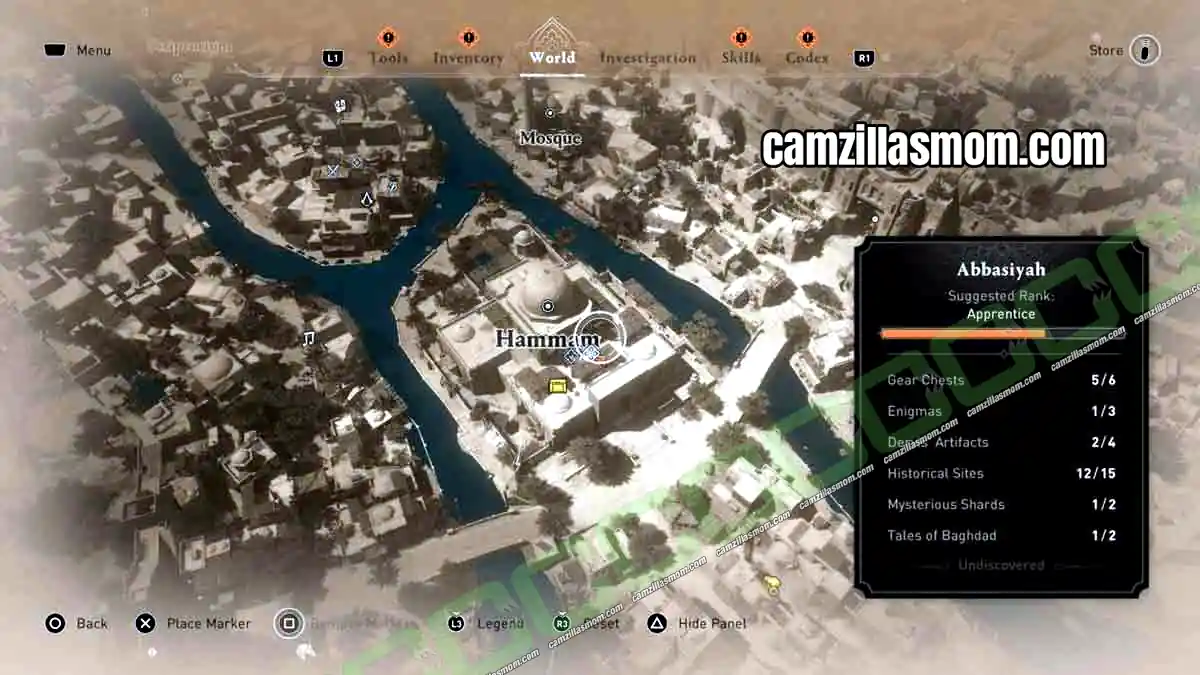
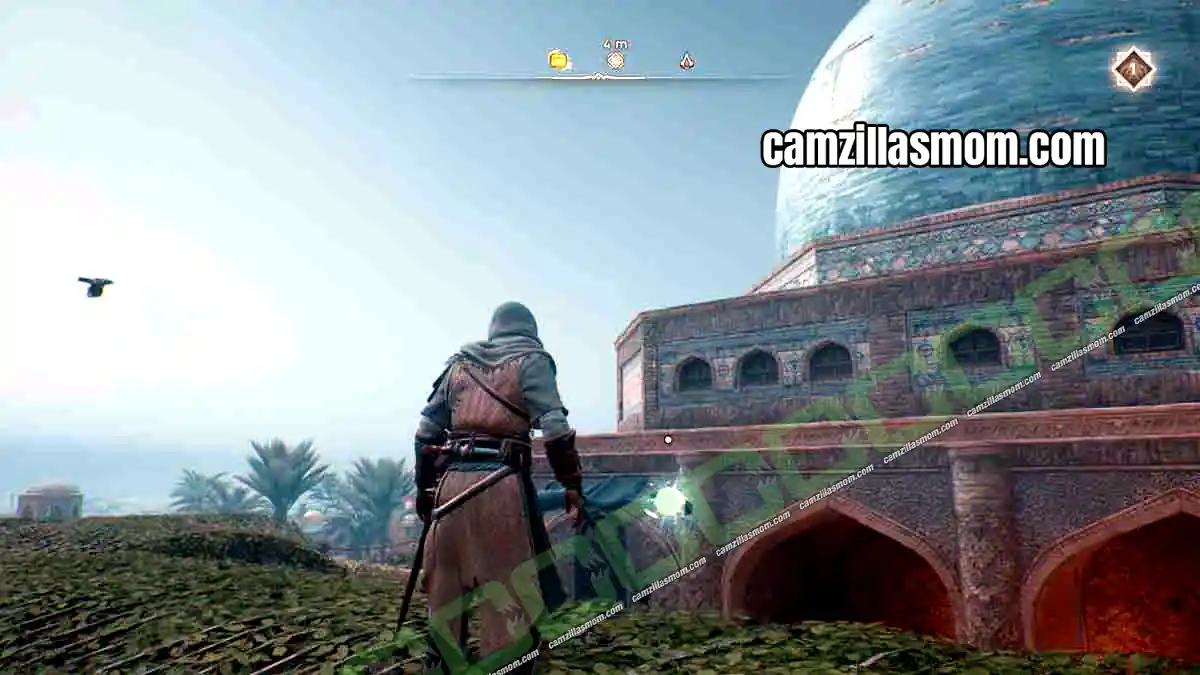
13 – Abbasid Style
Location: Roof of the Hammam
Climb up to the roof of the Hammam, where the steam domes are. The windows make the climb easy.
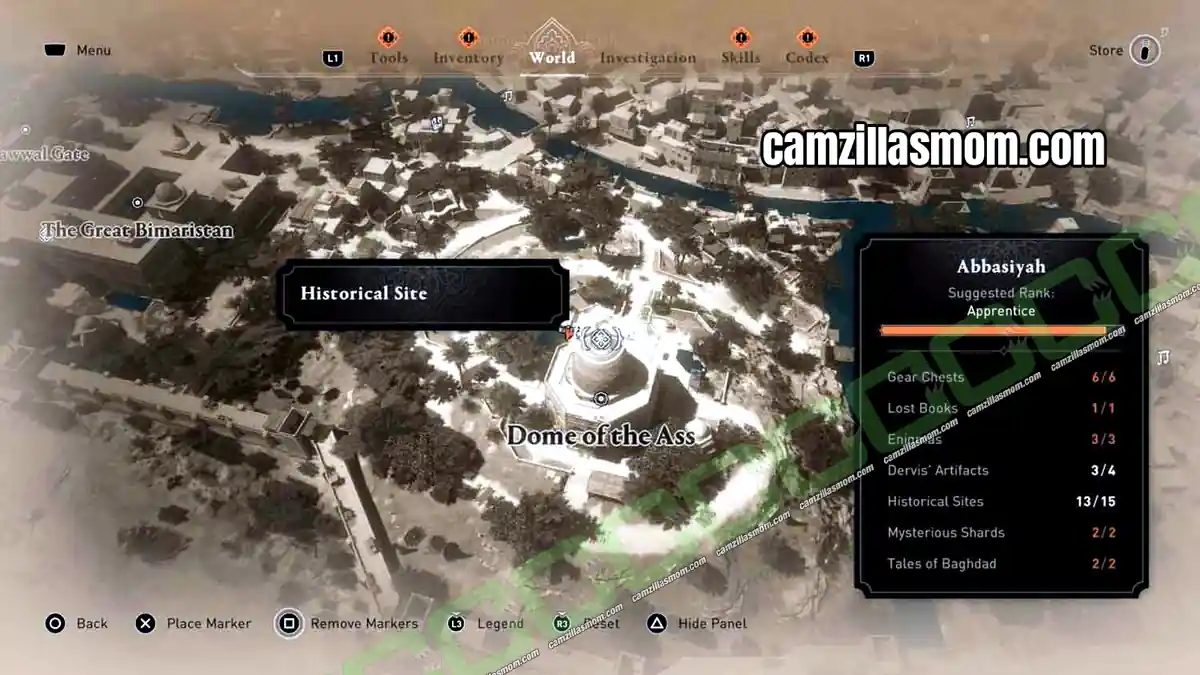
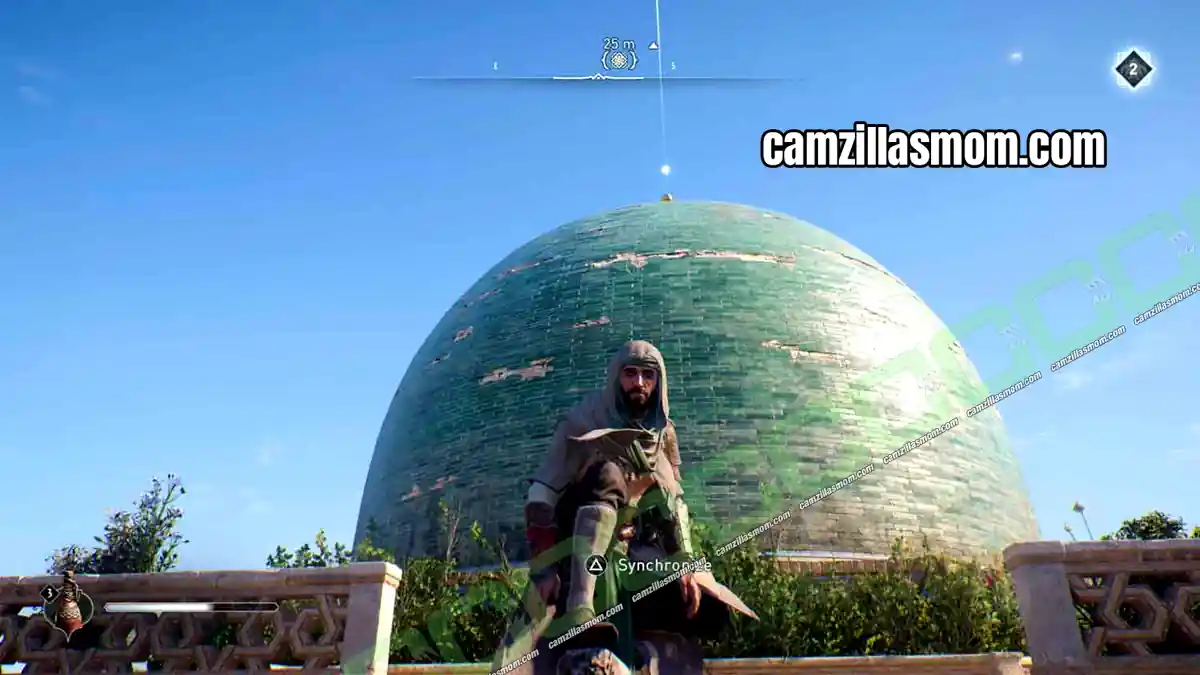
14 – Dome of the Ass (Donkey)
Location: Very top of the Dome of the Ass
Climb to the very top of the Dome of the Ass. The orb is a tiny bit higher up than the synchronisation point.
15 – Healthcare
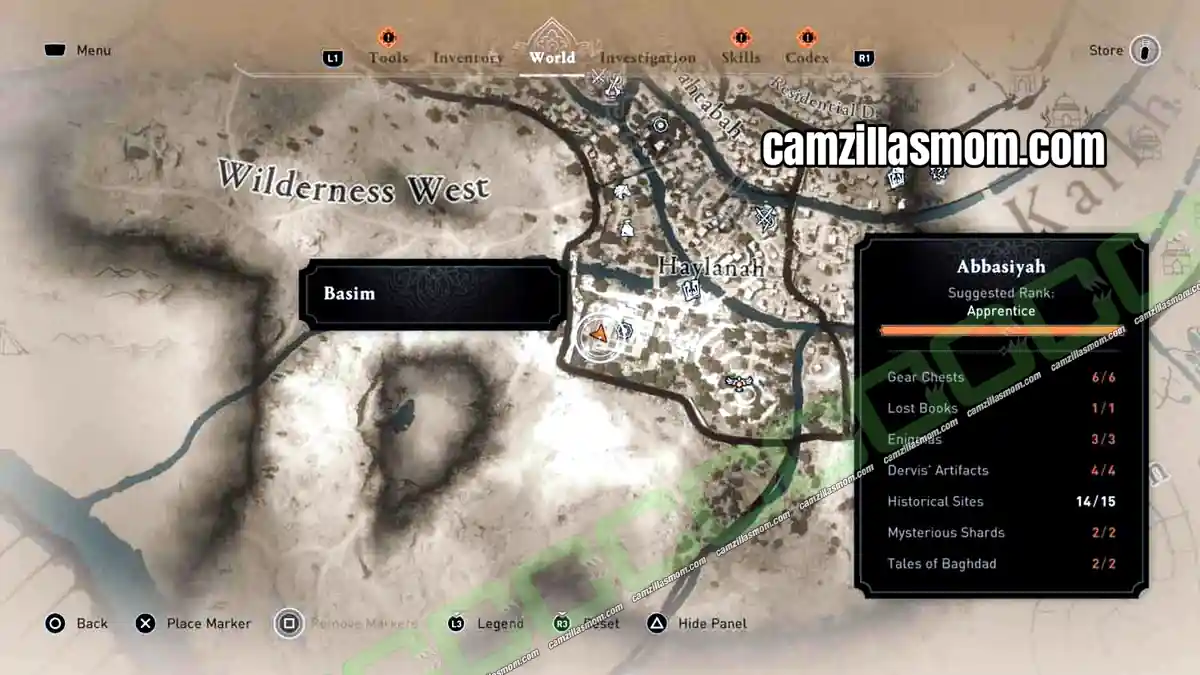
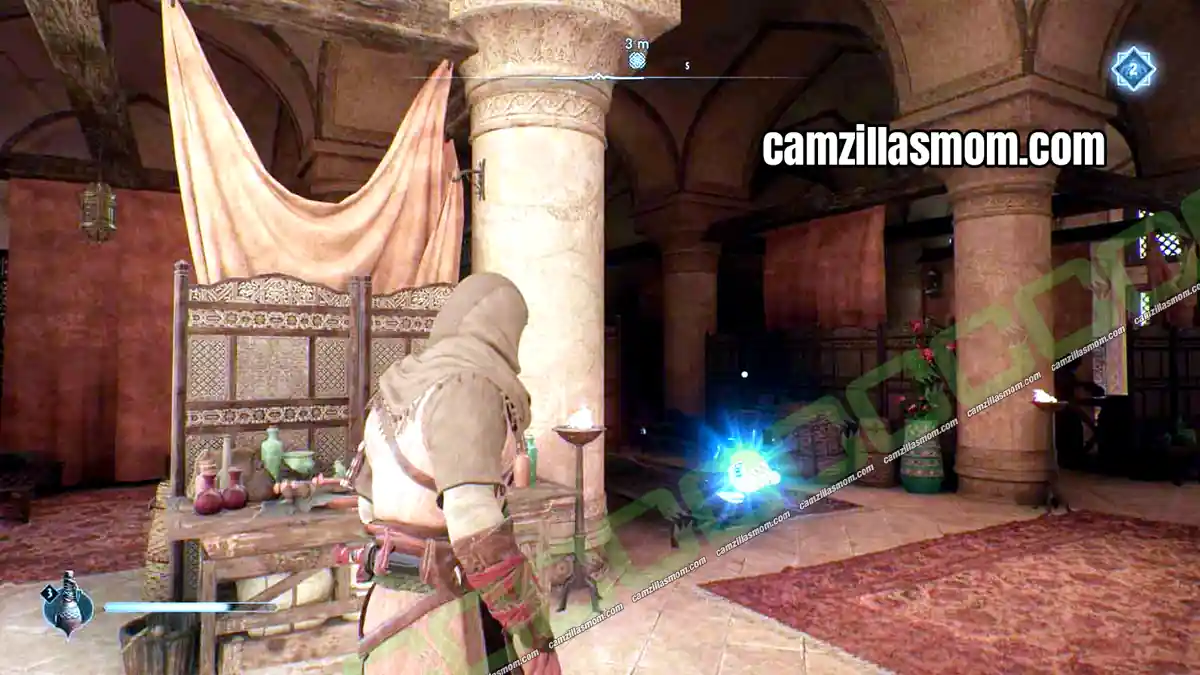
Location: Patient ward on the ground level of the Great Bimaristan
Go to the ground level of the Great Bimaristan, the hospital in the south, and look for the patient ward with the rooms and beds.
Abbasiyah Mysterious Shards – 2
Mysterious Shards are carried by members of the Order, who walk around specific areas of the city with guards. The shard symbol only shows up on the map after a certain point in the story, but you can still run into a carrier by chance before that. The map shows the rough area where each carrier walks. You can pickpocket the shard, or put the carrier to sleep and take it.
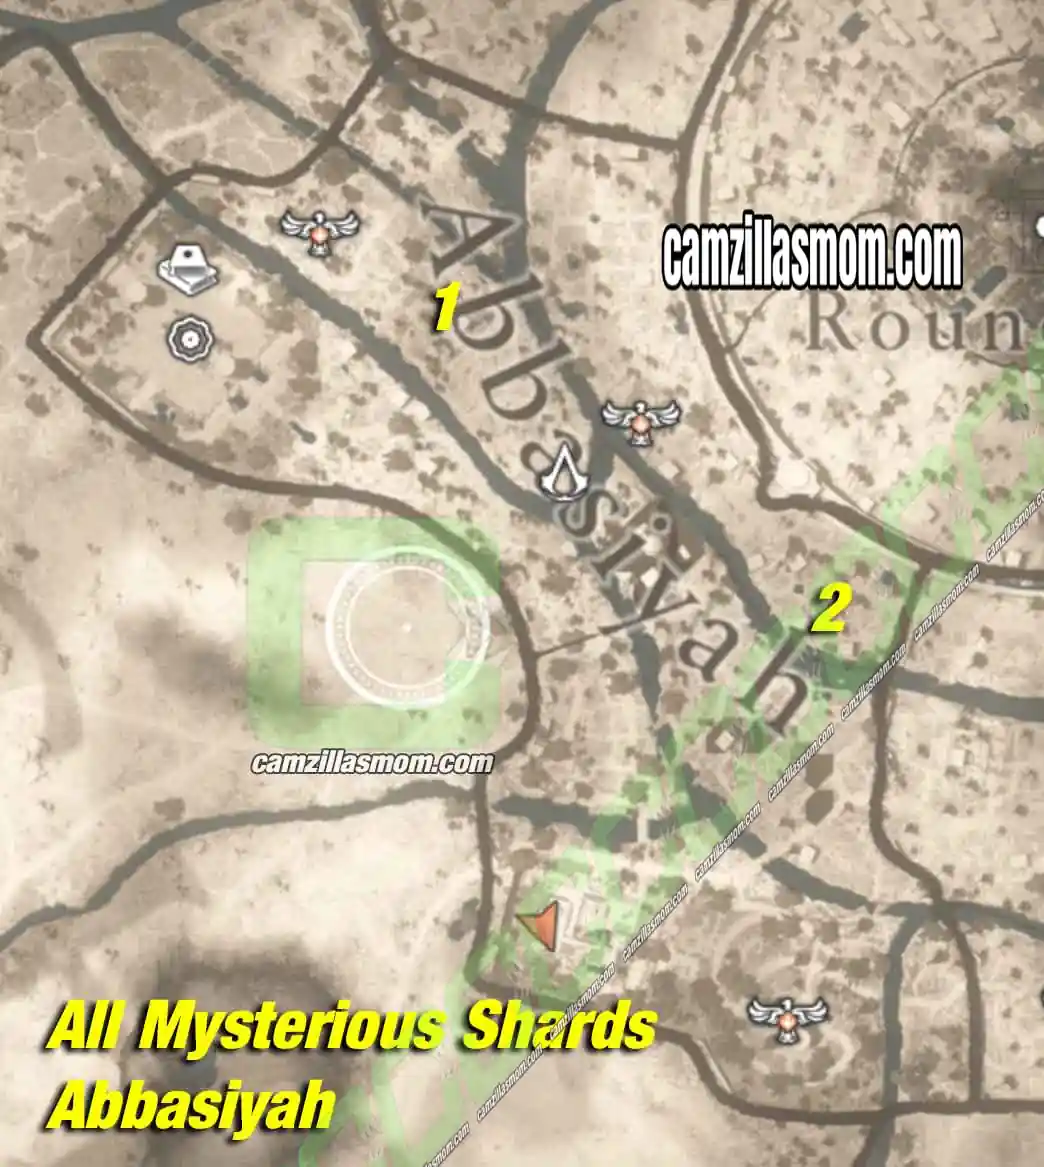
1 – Scriptorium Shard
2 – Scholar’s Estate Shard
1 – Scriptorium Shard
Location: Walking around the Scriptorium
An Order member walks around the Scriptorium. Pickpocket the shard from her.
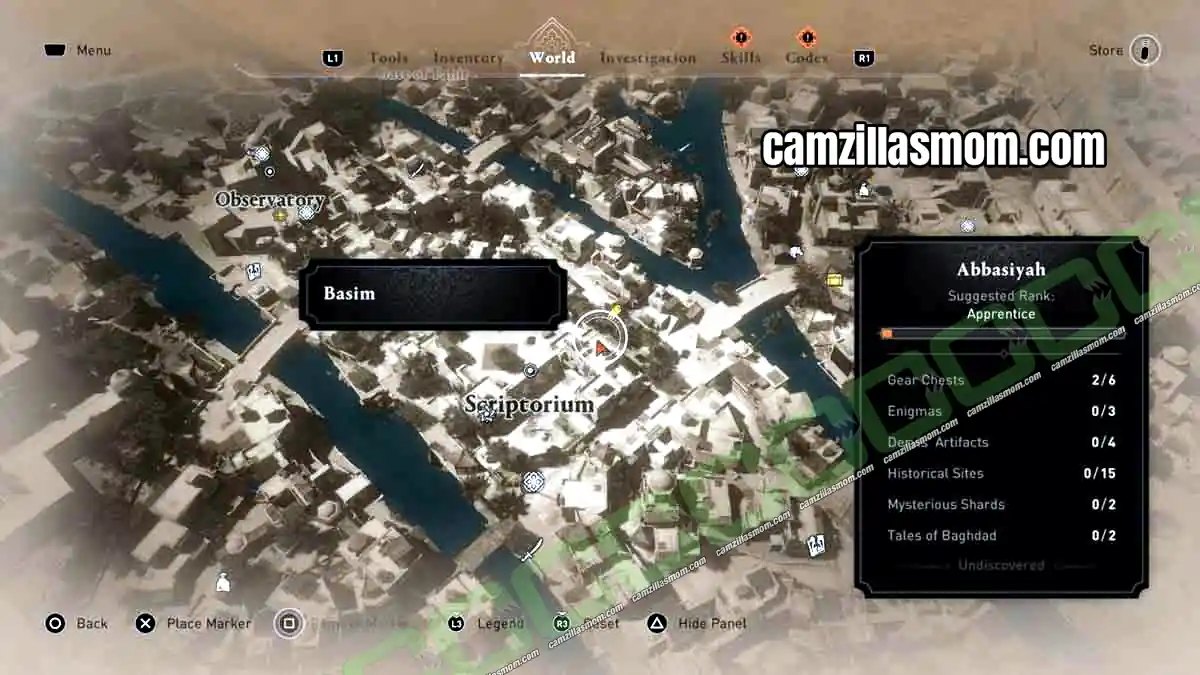
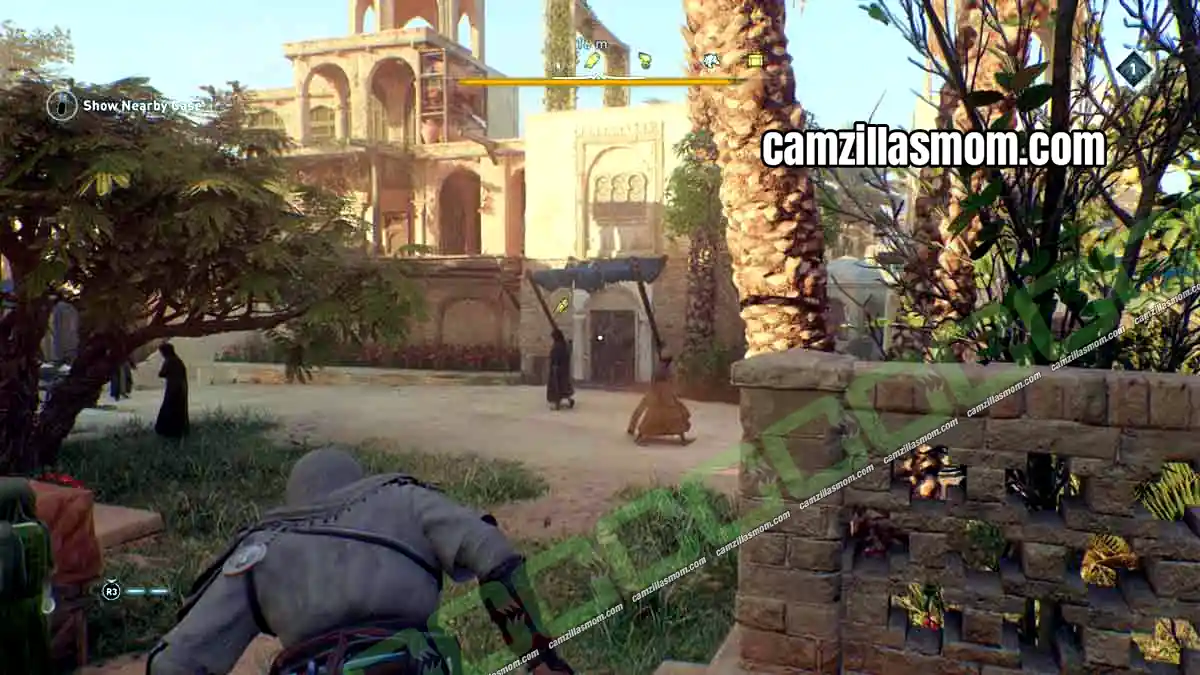
2 – Scholar’s Estate Shard
Location: Near the Scholar’s Estate
A woman with a guard walks around near the Scholar’s Estate. Pickpocket the shard from her.
Abbasiyah Tales of Baghdad – 2
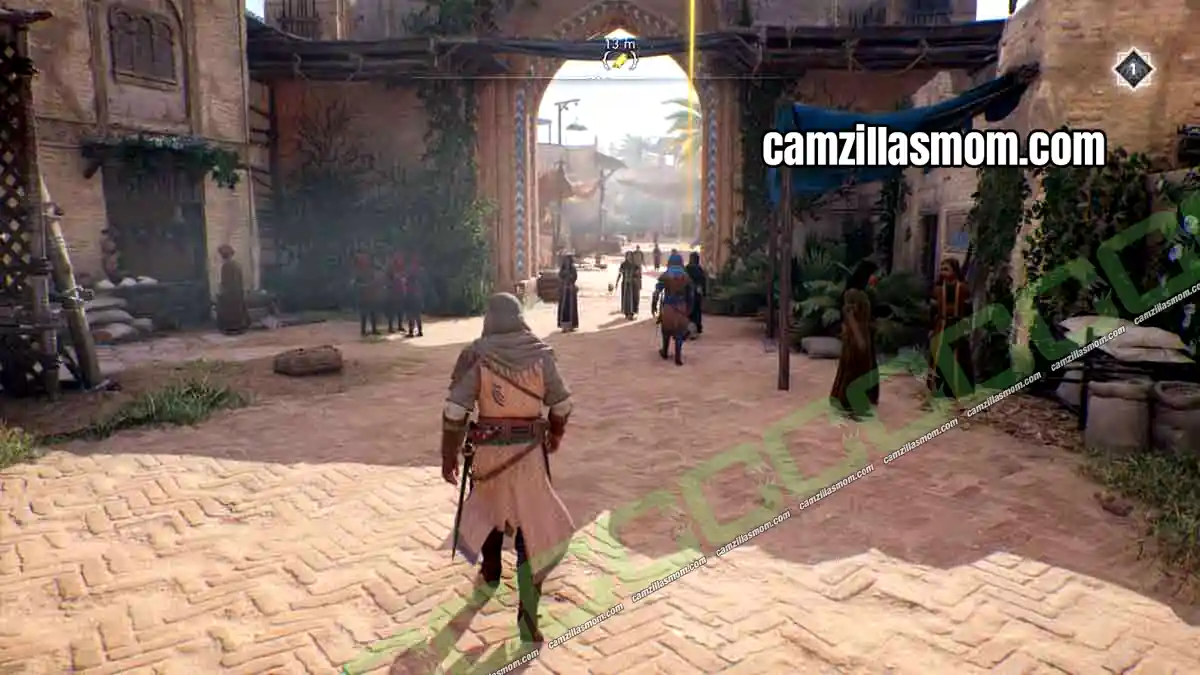
Abbasiyah has two Tales of Baghdad. A Life’s Work at the Observatory sends you after three lost pages, and Blade in the Crowd, Tool in the Shed in the south is a short fight.
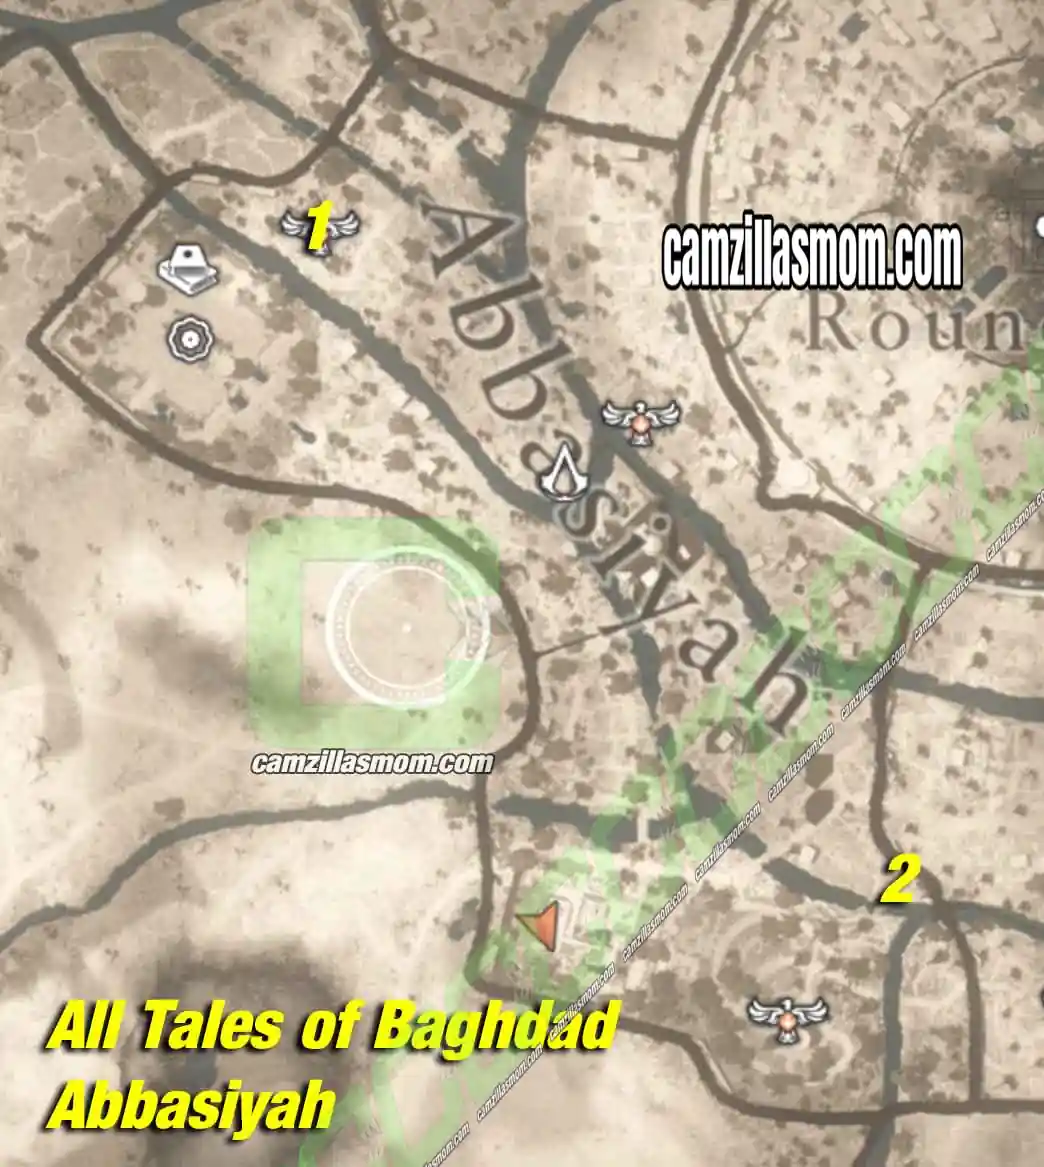
1 – A Life’s Work
2 – Blade in the Crowd, Tool in the Shed
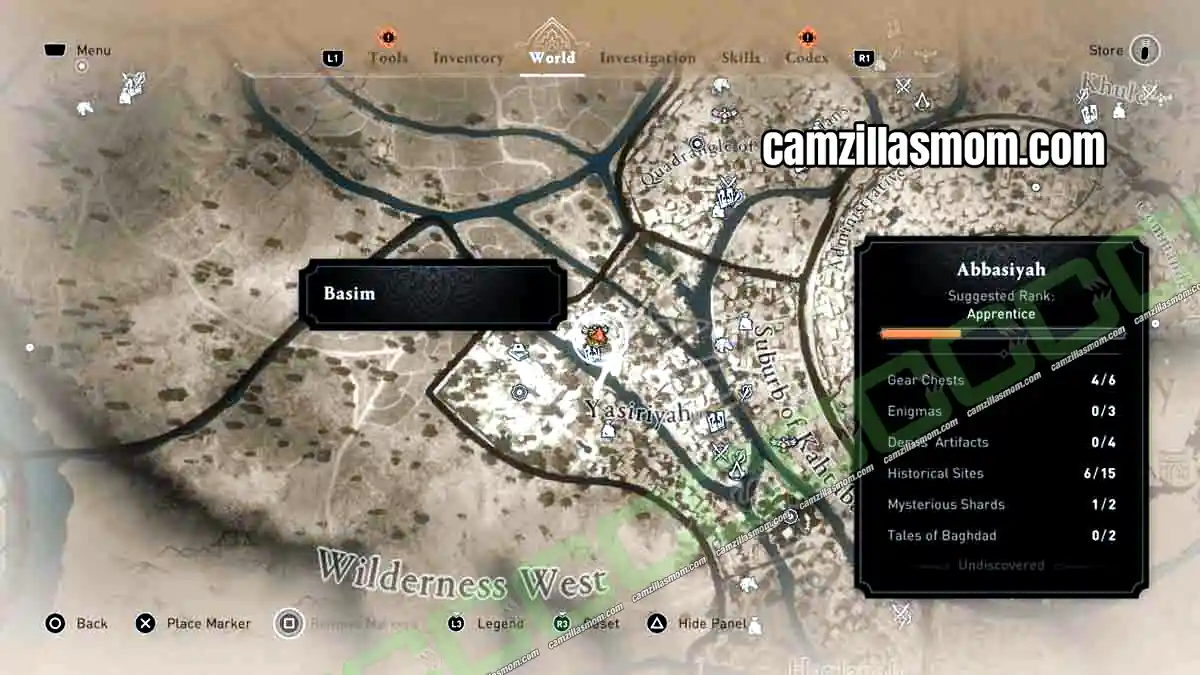
1 – A Life’s Work Tale of Baghdad (3 Pages at the Observatory)
Location: Base of the Observatory, in the north
At the base of the Observatory, a man is sitting and suffering. Talk to him to start the tale.
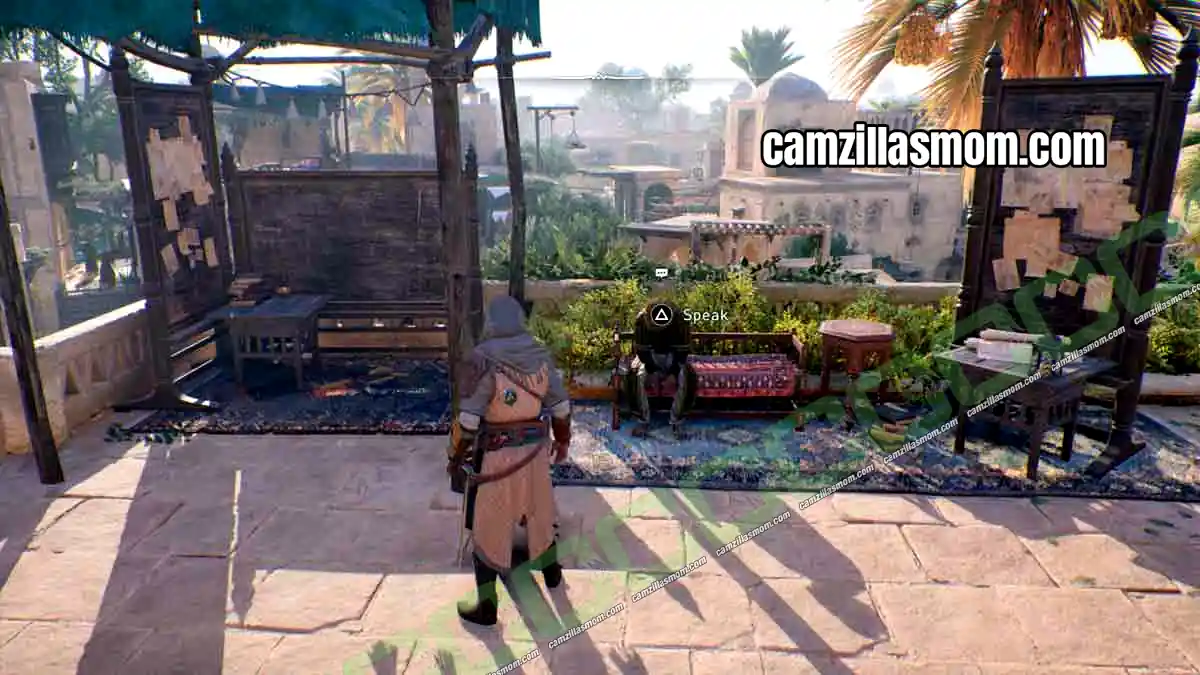
Follow the man and help him by interacting with him whenever he suffers. You have to find three pages for him.
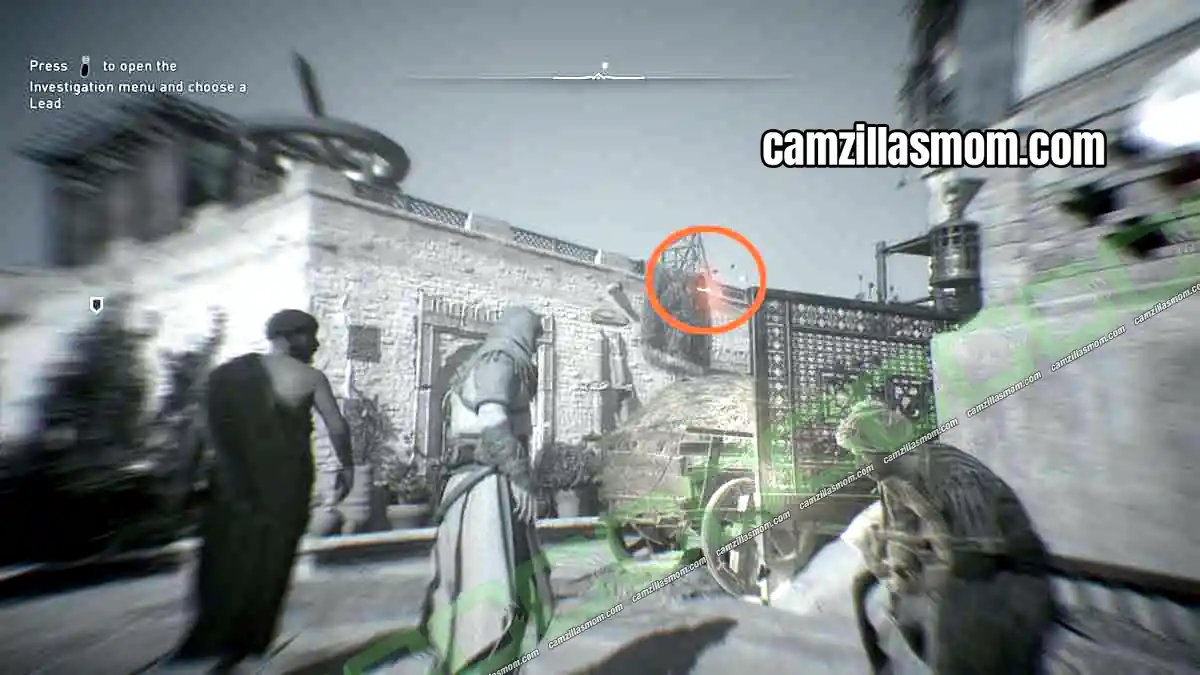
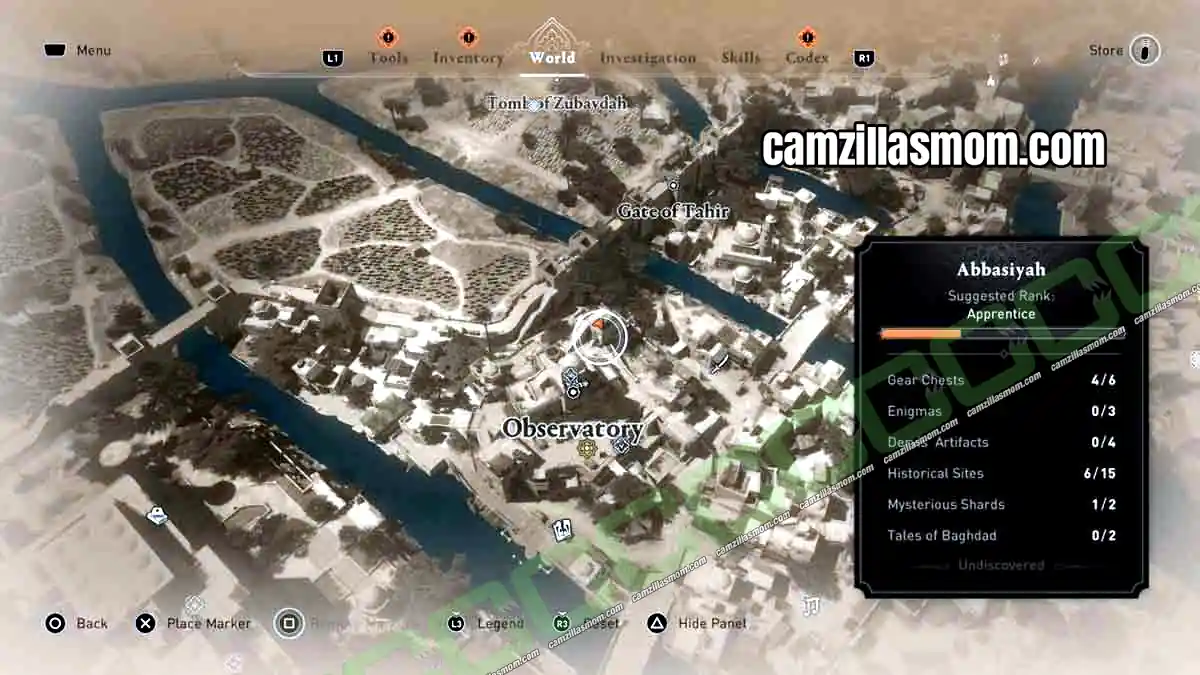
Page 1 is on the roof of the small building nearby. It is a flying page, so you have to follow it until you can catch it.
This is where the flying page ends up on the map:
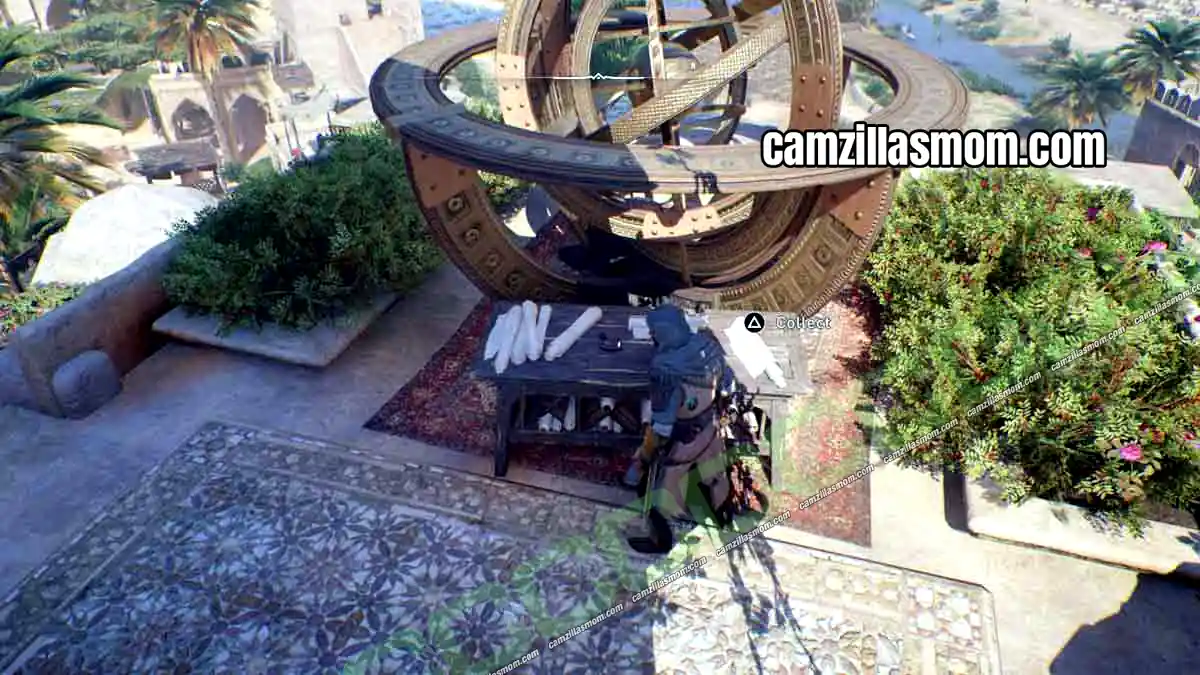
Page 2 is on the table on the roof of the Observatory. It is not highlighted by Assassin Focus, so look for it yourself.
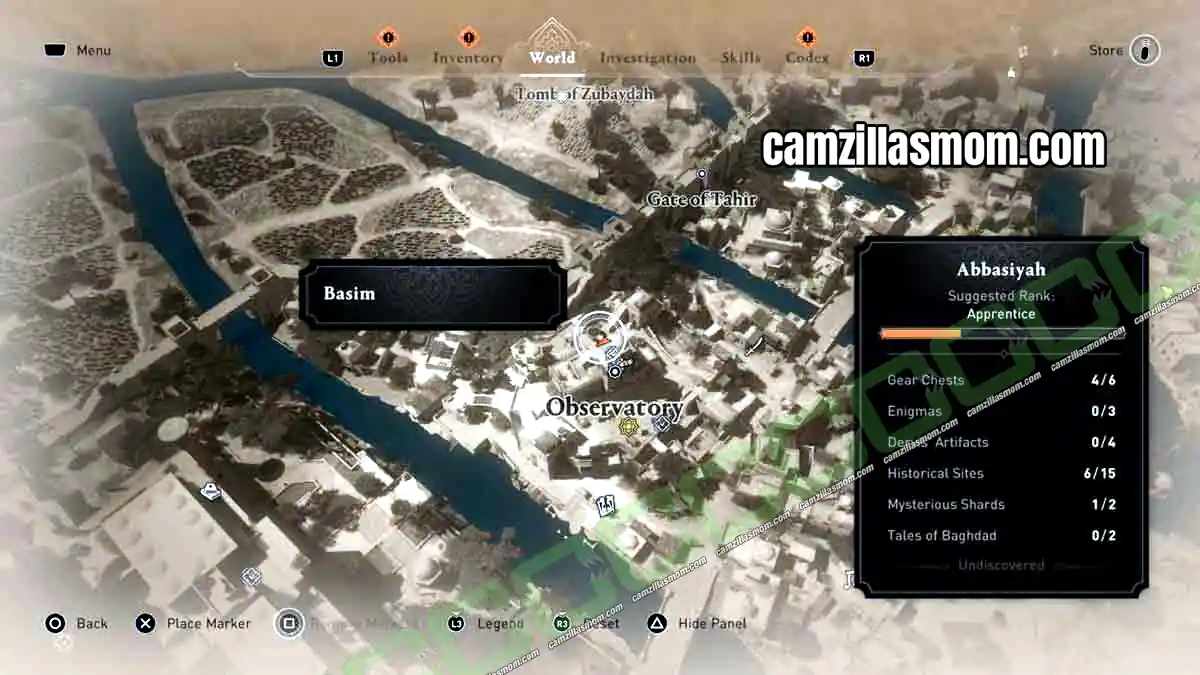
Page 3 is inside the Observatory. Go back down to the ground level, where the door is barred. At the back of the Observatory is an open window you could throw a knife through to destroy the barricade, but it is too high up. Move the movable shelf on the left closer to the window, climb it and throw the knife from there.
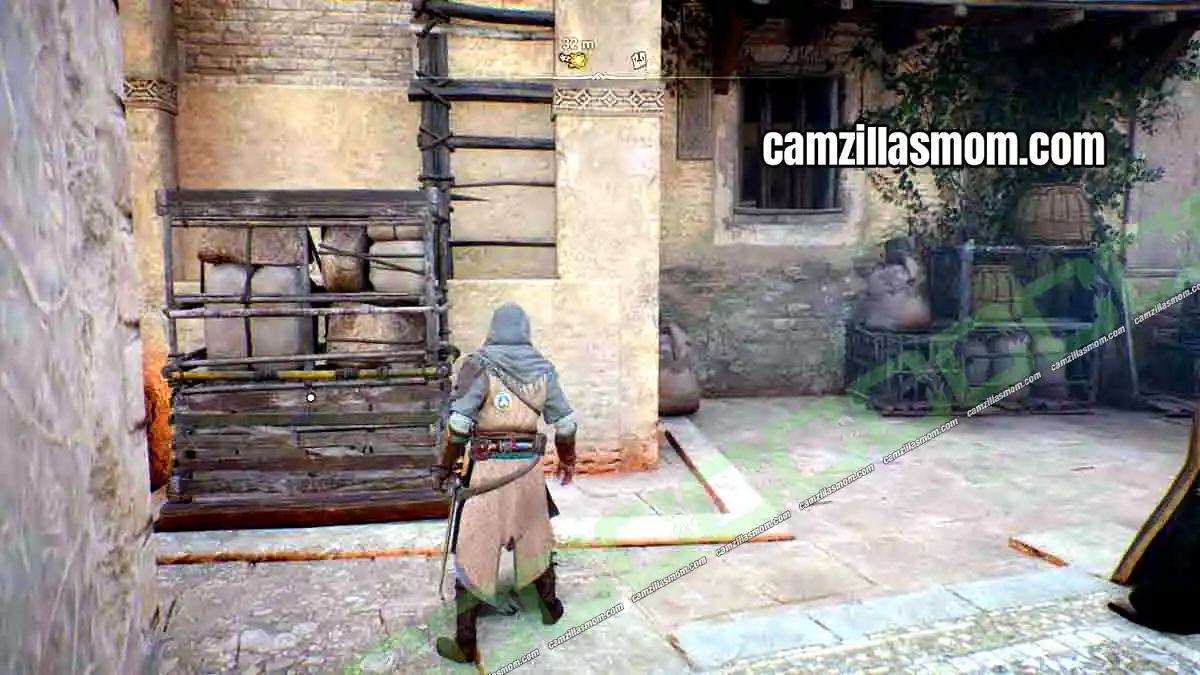
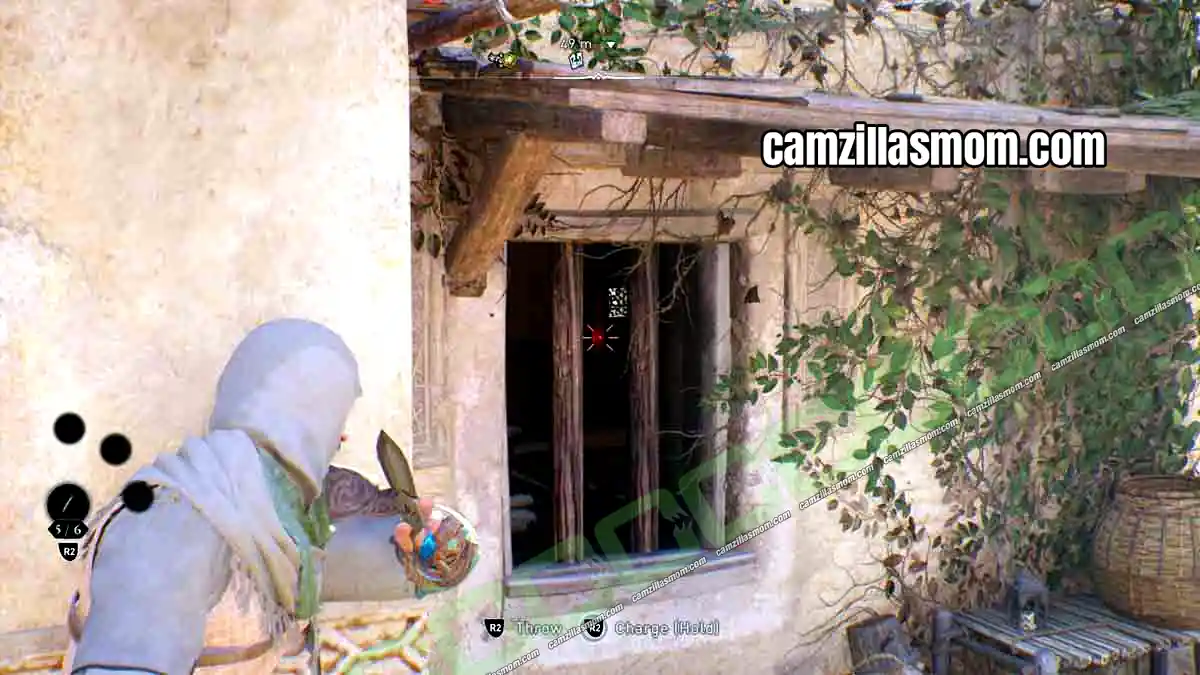
Enter the Observatory and pick up the page on the second floor.
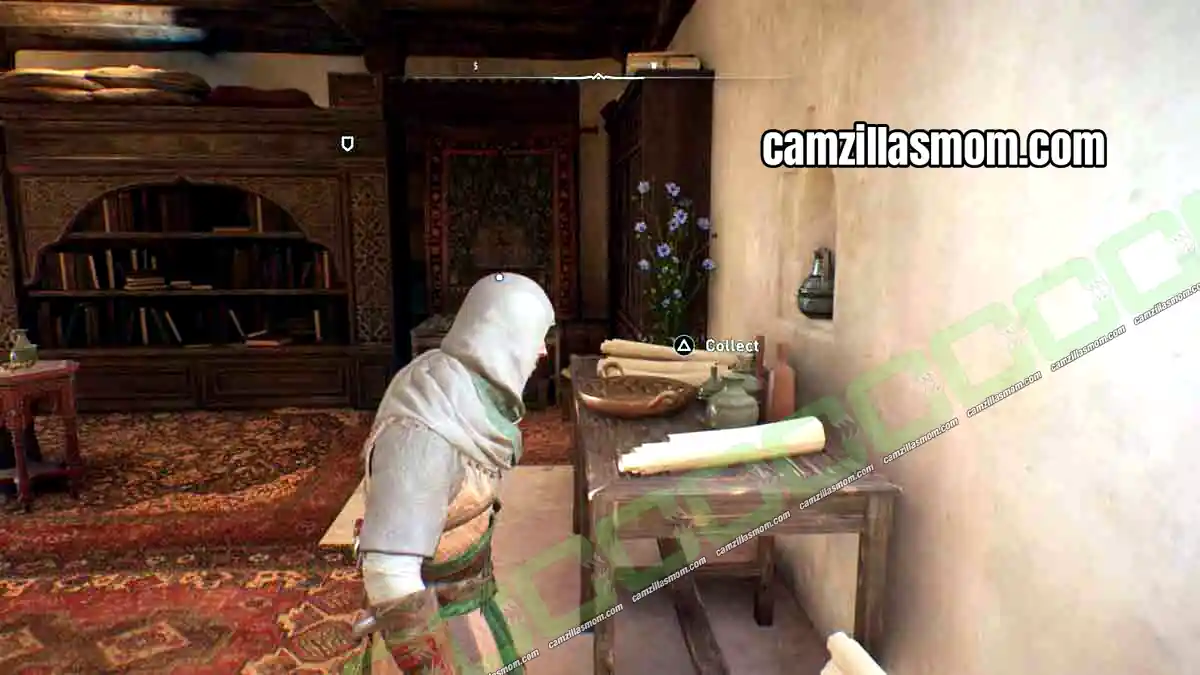
When you come back, the astronomer has passed away and his son is by his side. Talk to him to finish the tale.
2 – Blade in the Crowd, Tool in the Shed Tale of Baghdad
Location: South of the district
In the south of Abbasiyah, another assassin needs your help.
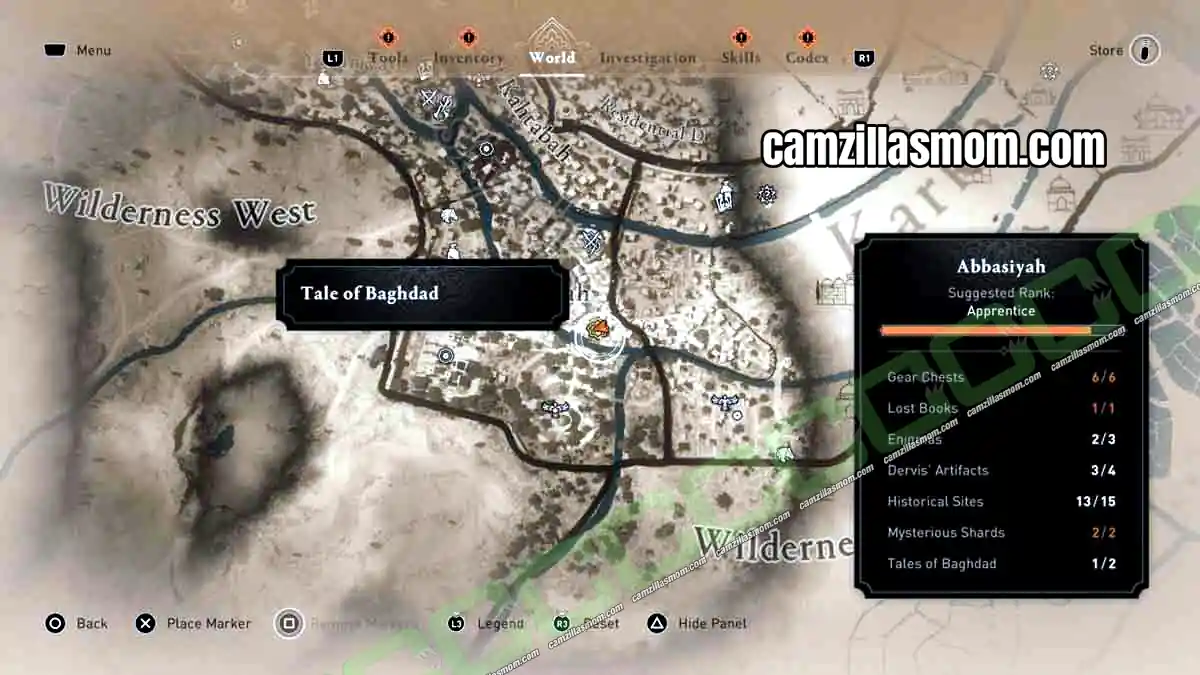
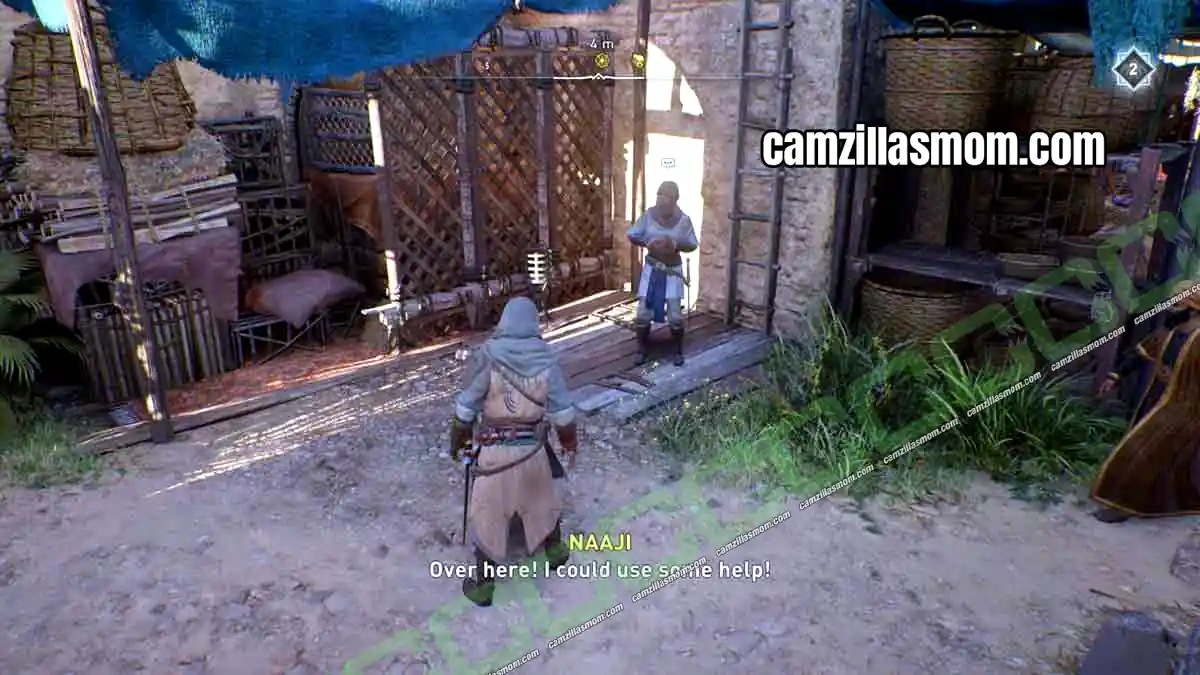
Follow them and kill the corrupt guards. That already completes the tale.


About Assassin’s Creed Mirage
Release: October 5th, 2023
Developer: Ubisoft Bordeaux
Publisher: Ubisoft
Official Website: https://www.ubisoft.com/en-gb/game/assassins-creed/mirage