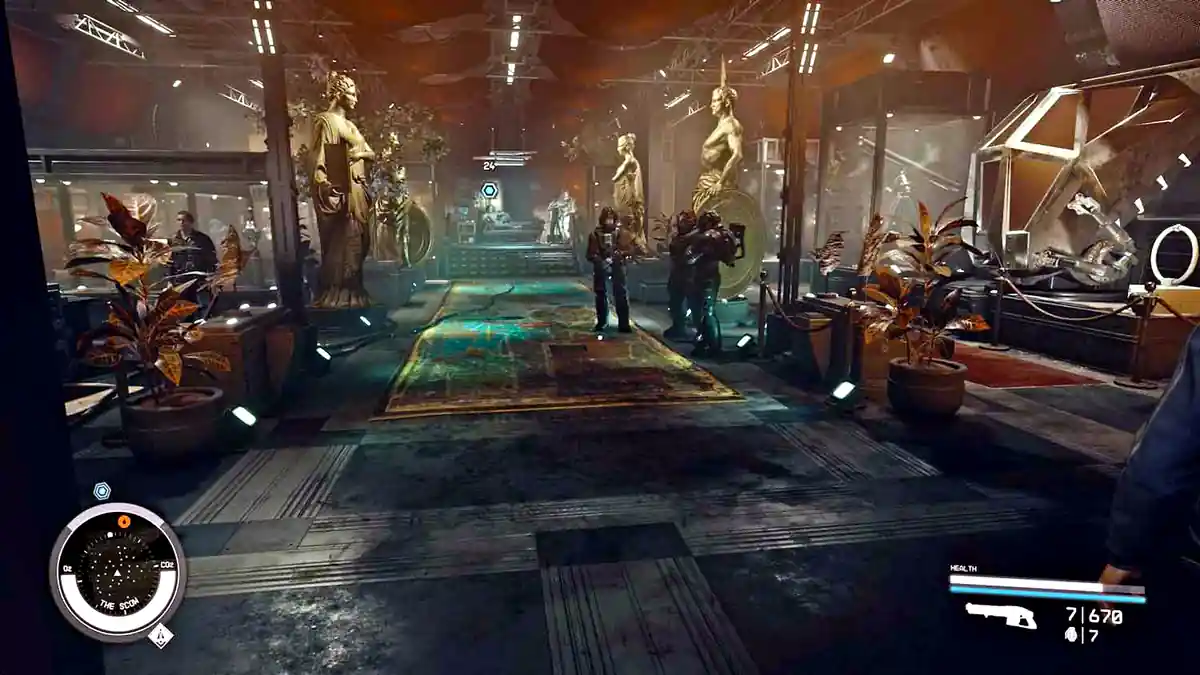
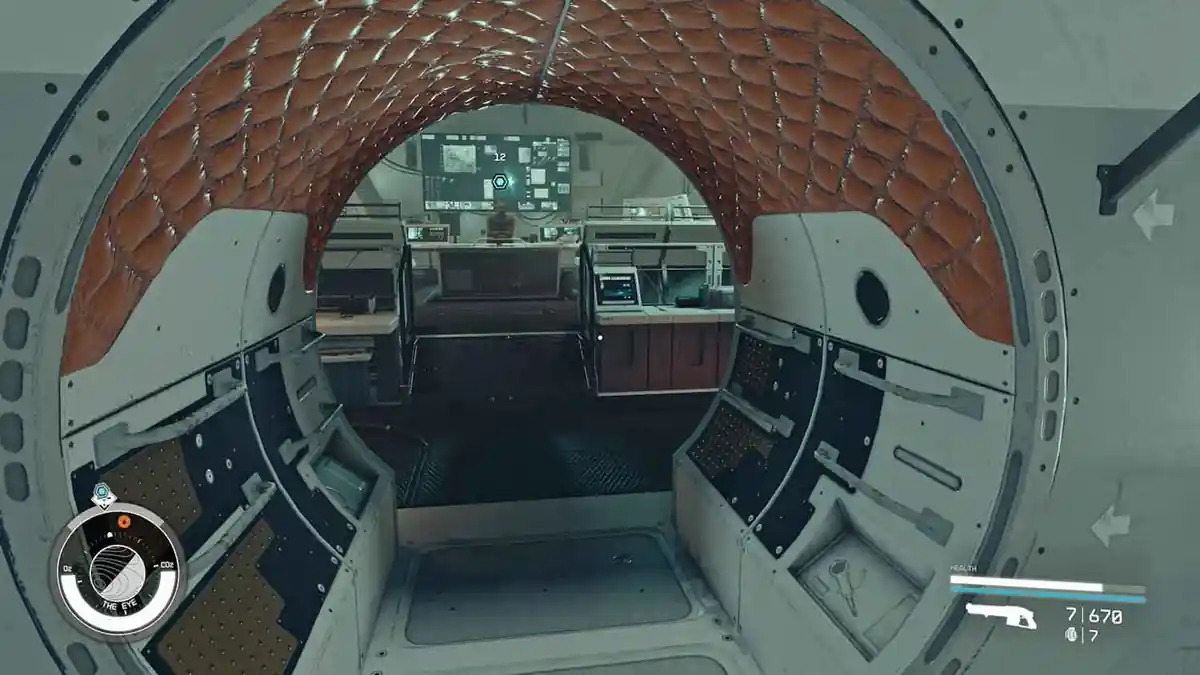
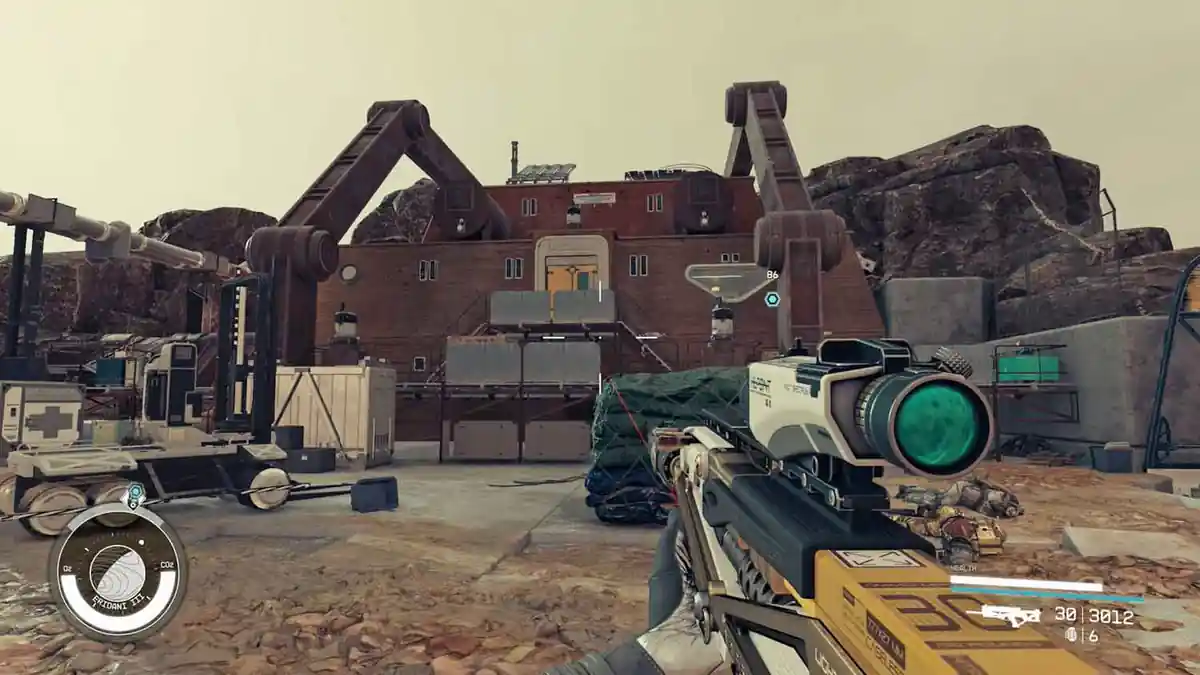
High Price to Pay is the eleventh Constellation mission in Starfield, and it starts the moment you drop the Artifact from No Sudden Moves at the Lodge. The Eye goes dark, the Hunter is on his way, and you have to choose between staying to defend the Lodge and flying up to check on the crew. Whichever you leave behind, one companion does not survive it. Save manually before you talk to Noel.
Spoiler warning: this guide names the companions who can die and explains how the game picks them. If you only want the decision without the details, the short version is this: go to the location where your favourite companion is standing, because the game kills someone at the location you do not pick.
Related Guides:
Short Sighted
No Sudden Moves
Unity
Further Into the Unknown
Starfield Powers – All 24 Temples and Power From Beyond
Starfield Game Guides Hub
- High Price to Pay Overview
- Defend the Lodge or Go to the Eye
- Who Dies in High Price To Pay
- Can You Save Everyone?
- 1 – Talk to Noel
- 2 – Go to the Eye
- 3 – Go to the Lodge/Find Everyone
- 4 – Find Noel
- 5 – Escape to the Ship
- 6 – Initiate Takeoff
- 7 – Go to the Eye
- 8 – Build the Armillary on Your Ship/Outpost
- 9 – Return to the Lodge & Talk to Matteo
- Collect Your Companion Gear
- High Price to Pay Bugs and Fixes
High Price to Pay Overview
Questline: Constellation, main mission 11
Starts after: No Sudden Moves, automatically when you add the Artifact to the collection at the Lodge
Location: the Lodge in New Atlantis on Jemison, and the Eye in orbit
Companions: your four Constellation companions are split between the Lodge and the Eye, and the split was decided back in Short Sighted
Objectives: talk to Noel, choose the Lodge or the Eye, escape through the Well, reach your ship, build the Armillary, return to the Lodge
Rewards: XP, credits and the High Price to Pay achievement
Unlocks next: Unity
Once you place the Artifact you cannot leave the Lodge, so finish any business in New Atlantis first. Make a manual save before you speak to Noel, because the autosave will not give you a way back once the choice is made.
Defend the Lodge or Go to the Eye
This is the only real decision in the mission, and it decides which companion you lose.
Stay and defend the Lodge:
you fight the Hunter inside the Lodge, and the highest-affinity companion who was assigned to the Eye during Short Sighted dies.
Go to the Eye:
everyone aboard the Eye survives, injured but alive, and the companion who stayed behind at the Lodge dies instead.
The rule that holds in both cases is simple. The game kills a companion at whichever location you do not go to. So go to the location where the companion you want to keep is standing.
Who is where was decided in Short Sighted. In most playthroughs the companion you have the strongest relationship with ends up on the Eye, and the companion who came with you to the Scow during No Sudden Moves stays at the Lodge. Placement is not fully predictable, so check who is standing in the Lodge before you commit.
Only four companions can die here:
Sarah Morgan, Sam Coe, Andreja and Barrett. If you are romancing Sam and he is on the Eye, going to the Eye saves him and Sarah dies at the Lodge. Defending the Lodge in the same setup kills Sam on the Eye.
If you have no preference, going to the Eye is the shorter path, because defending the Lodge adds a full fight against the Hunter before the escape.
Who Dies in High Price To Pay
One of your four romanceable companions always dies. It is Sarah Morgan, Sam Coe, Andreja or Barrett, and it is never Vasco, Noel, Matteo, Walter or Vladimir. Vasco can be badly damaged and drops out of your crew for a while, but he is not killed.
The death is not random. It is driven by affinity, which is why two players making the same choice can lose different people. Your highest-affinity companion is the one placed on the Eye, so defending the Lodge is the choice most likely to kill the companion you like best.
If you want to protect a specific companion, the safest approach is to sort it out before the mission starts. Lower your affinity with the companion you want to keep alive during Short Sighted, so the game does not place them in harm’s way, and then pick the location they end up in.
Can You Save Everyone?
Not on a first playthrough. One of the four always dies, and there is no dialogue option, no speed run and no bug that avoids it.
In New Game Plus it works differently. When you reach the Lodge you can tell Constellation straight away that you already know about the Artifacts and what they do. That skips the sequence entirely, so nobody is ever put at the Lodge or the Eye and nobody dies.
There is also a Starborn detail worth knowing if you plan to keep going: the Emissary you meet later is the companion who died, from another universe.
1 – Talk to Noel
Mission Text:
“Something has gone wrong onboard The Eye. I need to see if Noel has been in contact with Vladimir.”
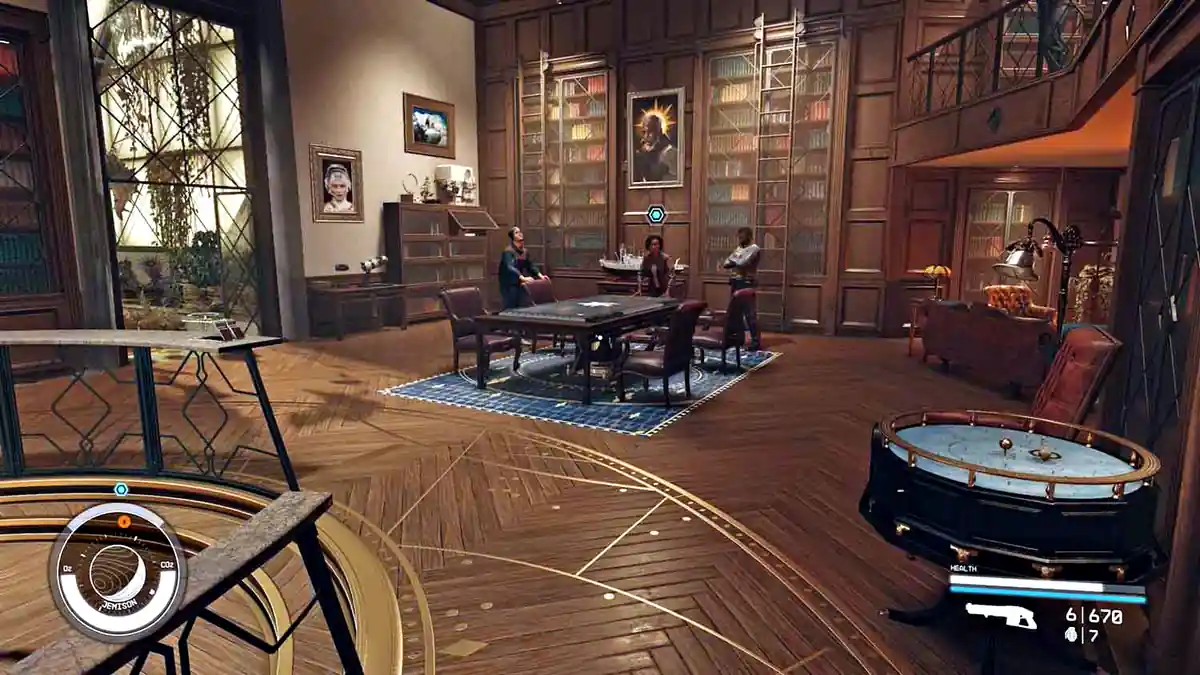
Talk to Noel in the main hall of the Lodge. She tells you the Eye has gone completely dark. Vladimir calls in shortly after, reporting that a Starborn came out of nowhere, attacked the Eye and is now heading for the Lodge. This is where the choice appears.
2 – Go to the Eye
Mission Text:
“A Starborn known as the Hunter has attacked the Eye and is coming to the Lodge.”
This walkthrough follows the Eye route. Board your ship, travel to the Eye and dock. Everyone aboard is hurt but alive. If you pick the Lodge instead, you stay put, check on Walter upstairs, then hold off the Hunter before escaping through the basement, and the rest of the walkthrough rejoins at step 4.
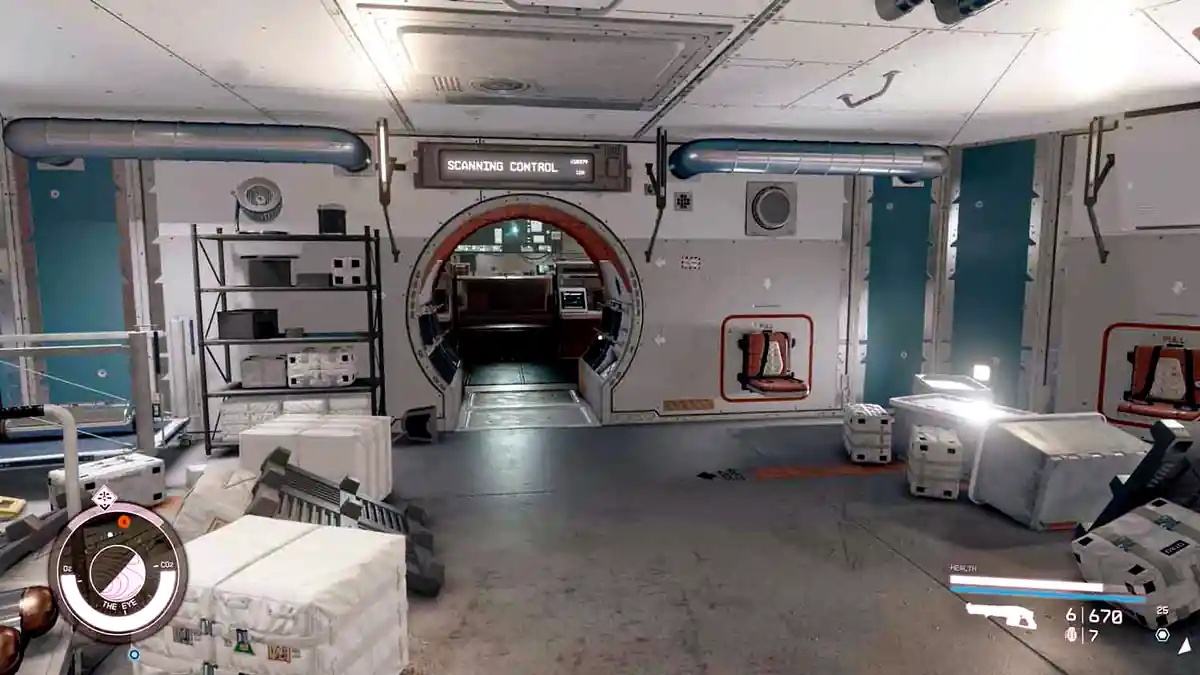
3 – Go to the Lodge/Find Everyone
Mission Text:
“I’ve rescued everyone onboard the Eye. I need to head back to the Lodge. Hopefully I’m not too late to stop the Hunter.”
Fly back down to New Atlantis and return to the Lodge. Talk to everyone you find. This is where you learn who did not make it.
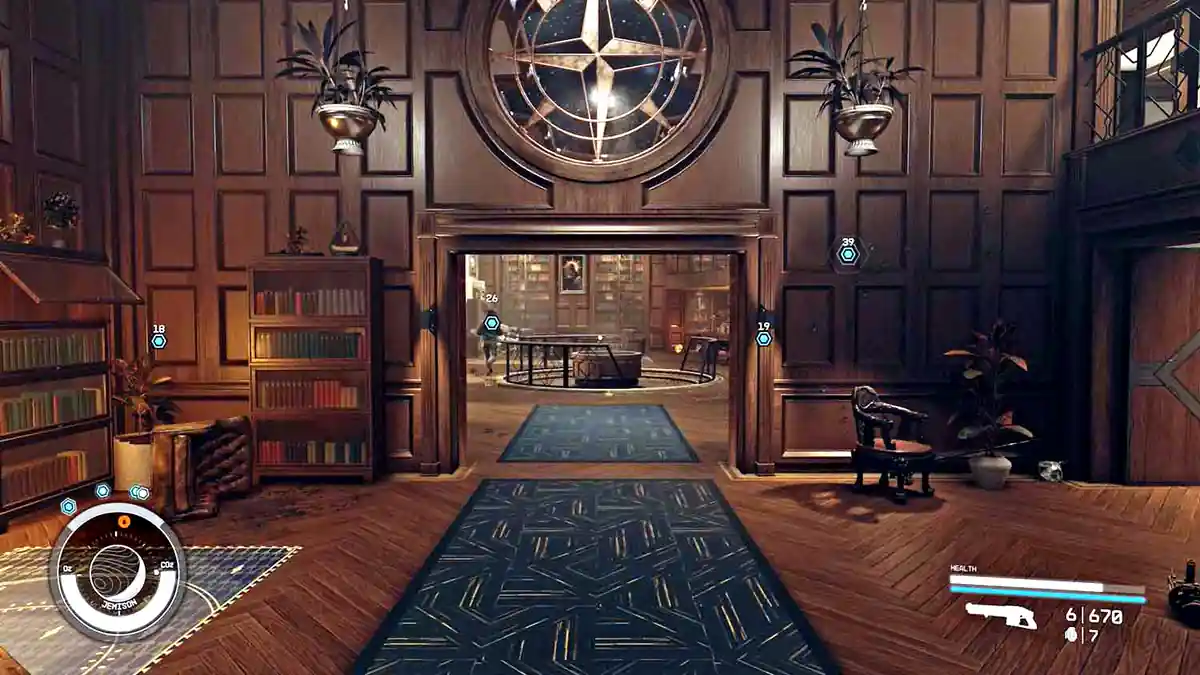
4 – Find Noel
Mission Text:
“I need to find Noel. She escaped through a secret door in the Lodge’s basement.”
Head down to the basement where the crafting stations are. At the back is a door leading into the Well, the service level beneath New Atlantis.
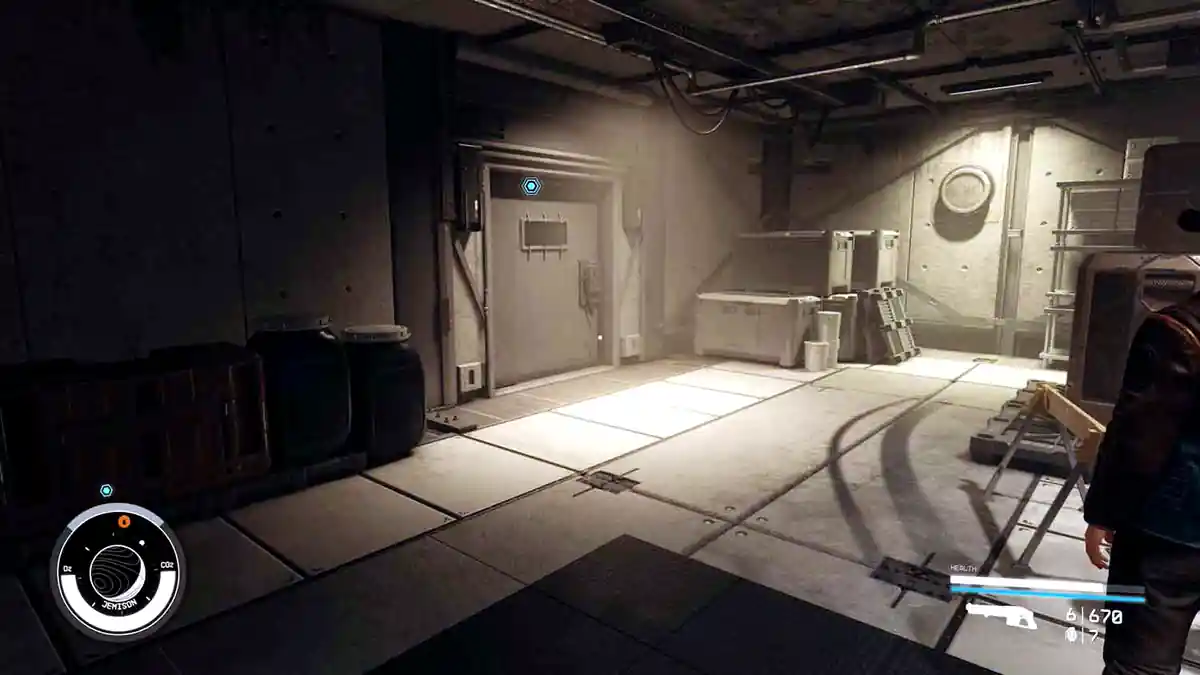
Go through and follow the tunnel. Noel is not far in. The moment you reach her and speak, the Hunter attacks.
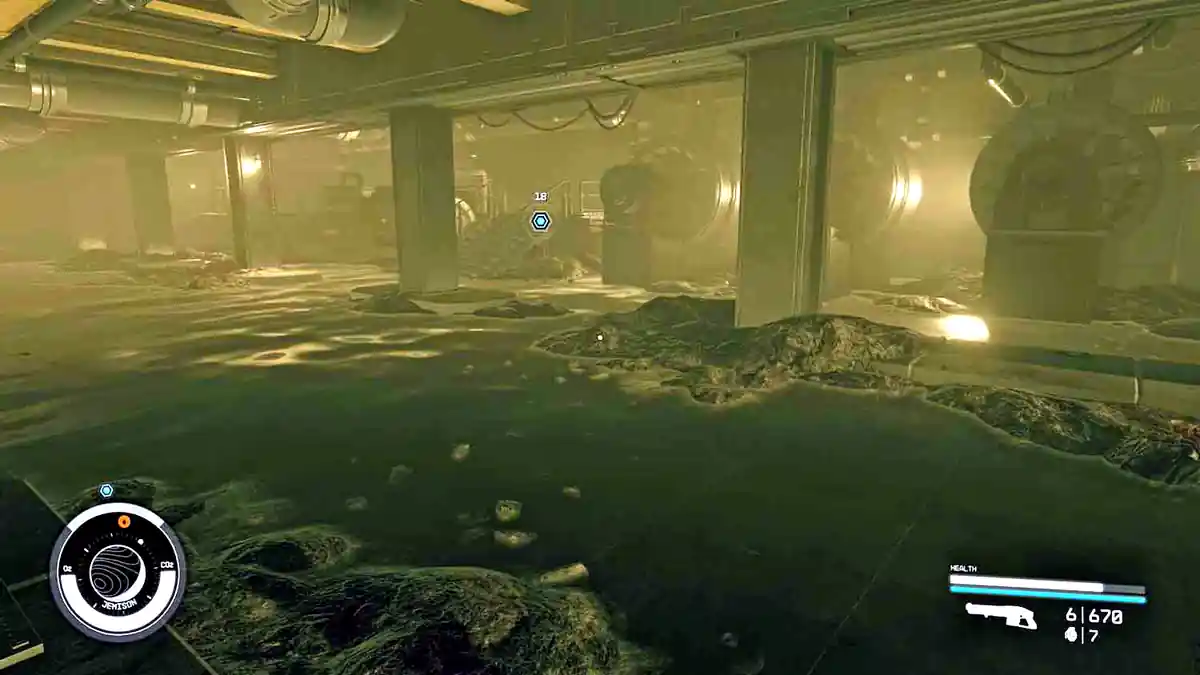
5 – Escape to the Ship
Mission Text:
“The Hunter has found us! I have to get Noel, and the Artifacts, to my ship so we can escape.”
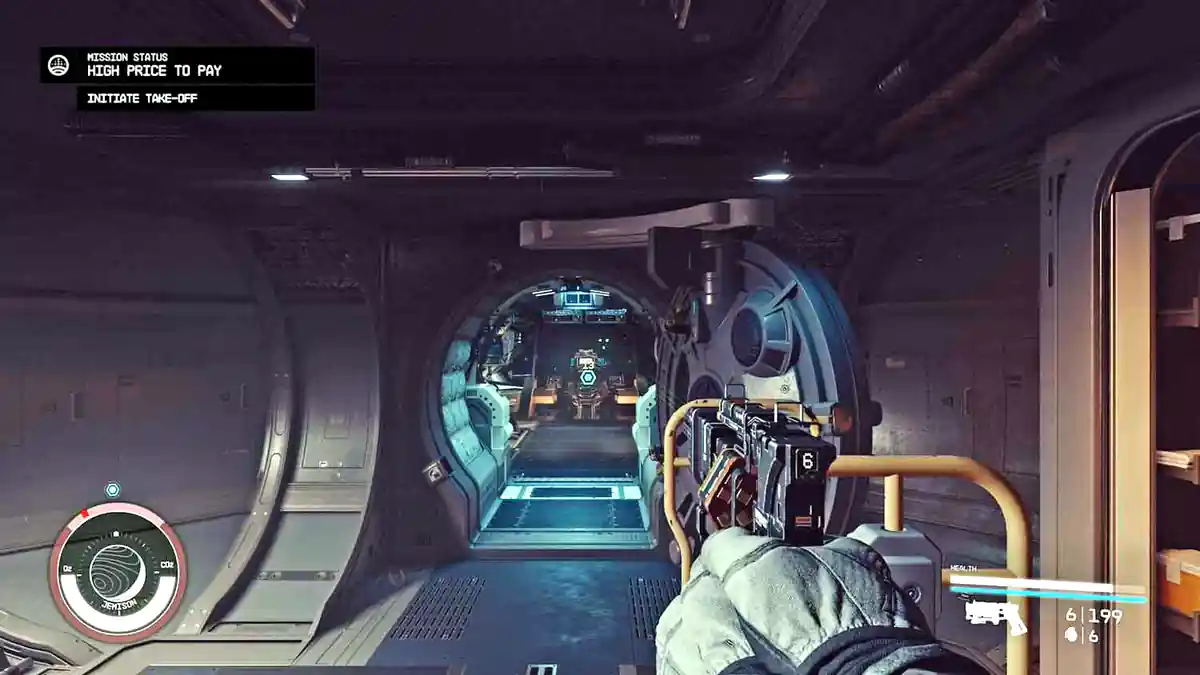
The goal is distance, not damage. Follow Noel through the Well, take the elevator at the end of the alleyway, and head up into the New Atlantis Spaceport. More Hunters spawn along the way and shooting them only slows you down.
6 – Initiate Takeoff
Mission Text:
“The Hunter has found us! I have to get Noel, and the Artifacts, to my ship so we can escape.”
Board your ship, take the pilot seat and take off. Once you are in orbit the Hunter contacts you from his own ship. You do not have to fight him in space.
7 – Go to the Eye
Mission Text:
“The Hunter has found us! I have to get Noel, and the Artifacts, to my ship so we can escape.”
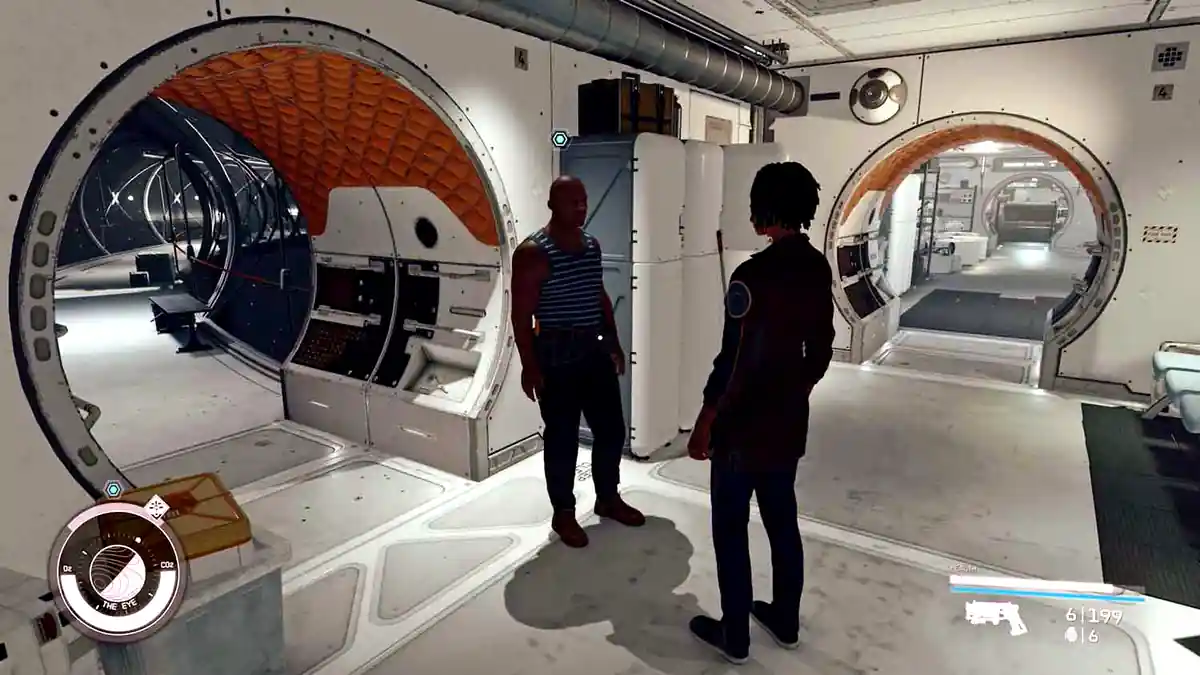
Head back to the Eye and dock. Talk to Vladimir. This is where Constellation agrees the Lodge and the Eye are both compromised and hands the Artifacts back to you.
8 – Build the Armillary on Your Ship/Outpost
Mission Text:
“The Artifacts aren’t safe at the Lodge anymore. I could place the Armillary on my ship. Or I could land on a planet and build a defensible outpost, and place the Armillary there.”
You have to pick one before the mission will move on. Wherever it goes, the Starborn will come for it.
On your ship:
free, and much faster. Board your ship but do not go straight to the cockpit. Look for the panel marked by the objective marker, on the right side of the cockpit entrance on the default Frontier. Activate the Armillary Screen and select Build Armillary. The cost is that Starborn ships start ambushing you far more often in space.
At an outpost:
costs 3 Neodymium and 5 Titanium, and you need somewhere to put it. Land anywhere you can build, open the scanner, place an Outpost Beacon on a valid spot, then cycle to the Quest category and place the Armillary the same way. The cost is that your outpost gets attacked instead, although you can defend it with turrets.
Which to pick:
build it on the ship unless you already run outposts and enjoy defending them. It costs nothing, it is always with you, and the final mission One Giant Leap needs the Artifacts aboard your ship anyway.
There is a third option that only appears after you build it. Once the Armillary exists you can pull the Artifacts back out and carry them yourself. They have no mass, so they cost you nothing in carry weight, but attacks then follow you everywhere rather than staying at one location.
9 – Return to the Lodge & Talk to Matteo
Mission Text:
“I found a new home for the Artifacts. I should head back to the Lodge.”
Return to the Lodge and talk to Matteo. That closes out High Price to Pay and starts Unity.
Collect Your Companion Gear
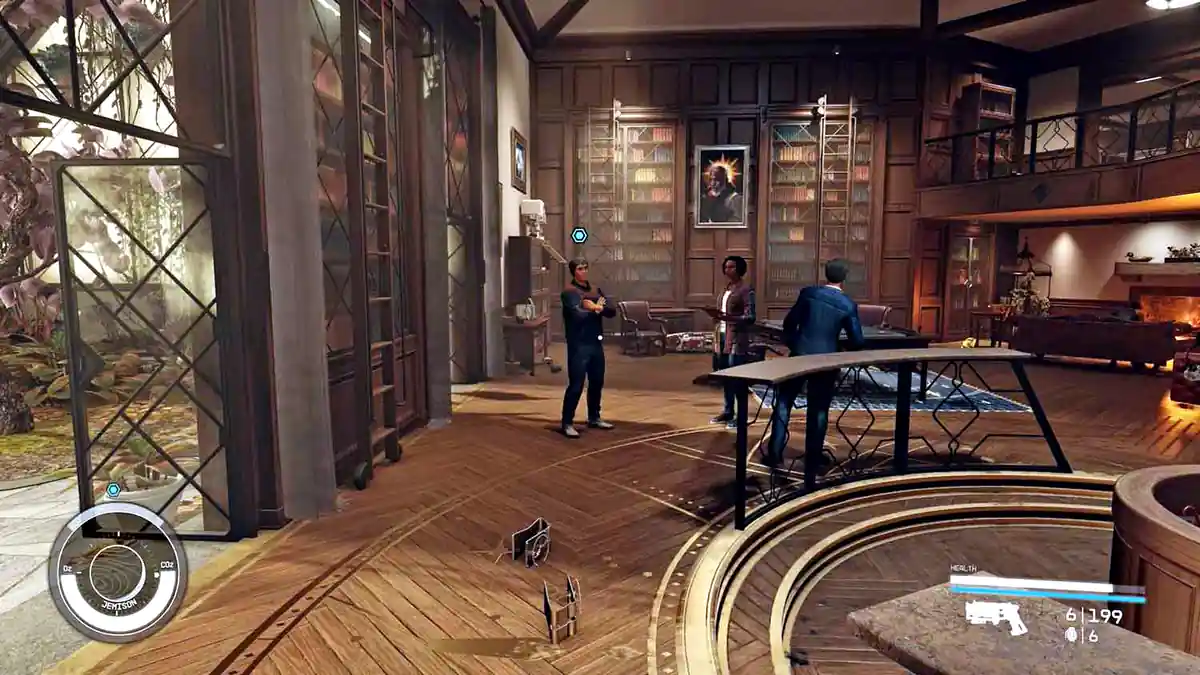
Once the mission is over, go down to the Lodge basement. Your fallen companion’s equipment is left there and you can take all of it. Sarah’s, Sam’s, Andreja’s and Barrett’s kit are all worth picking up rather than leaving behind.
High Price to Pay Bugs and Fixes
This mission breaks more often than the ones around it, usually around travel and NPC placement.
Cannot land on Jemison, or “not cleared for landing”:
the most common one, and it hits when you try to return to the Lodge. Land at the New Atlantis Spaceport and walk instead of fast travelling to the Lodge directly.
Vladimir is not on the Eye:
dock, leave, wait 24 in-game hours and dock again, or reload a save from before you left orbit.
Noel will not talk or will not move:
back out of the area, wait, then return. If she is stuck in the Well, reload an earlier manual save rather than pushing on.
Fast travel is disabled during the escape:
this is intended for part of the sequence. Continue on foot to the elevator and the Spaceport.
Elevator will not activate in the Well:
step away and return, or reload. This is why the manual save before the mission matters.


About Starfield
Release: September 6th, 2023
Developer: Bethesda Game Studios
Publisher: Bethesda Softworks
Official Website: https://bethesdagamestudios.com/