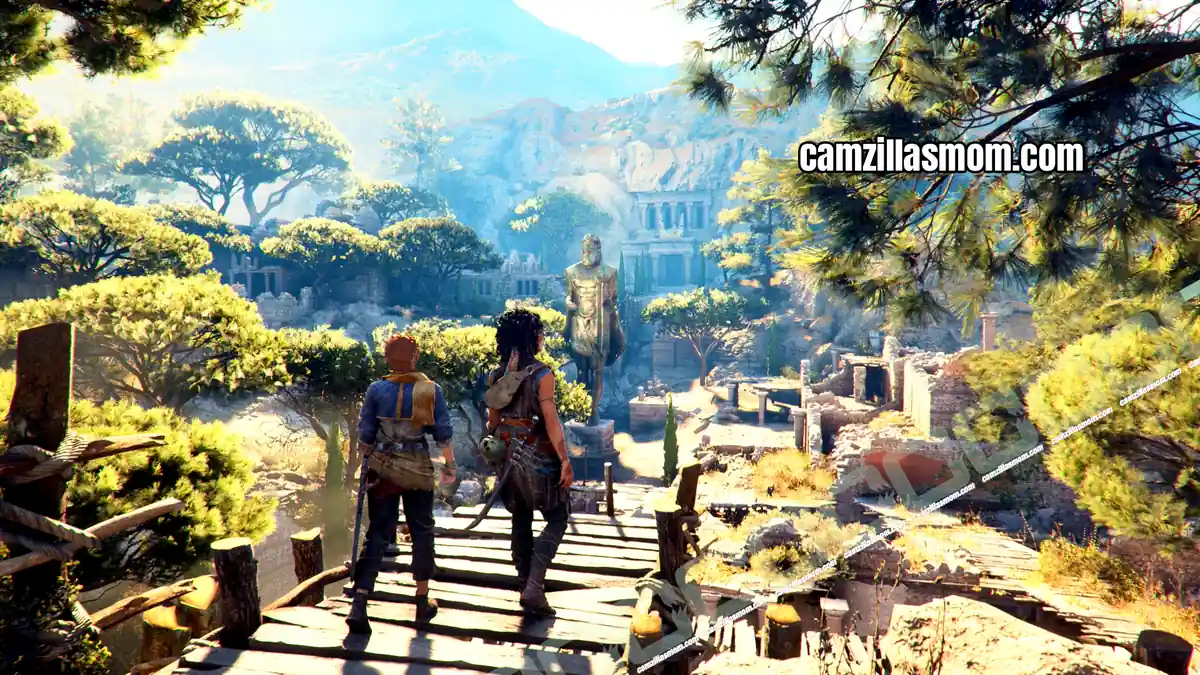
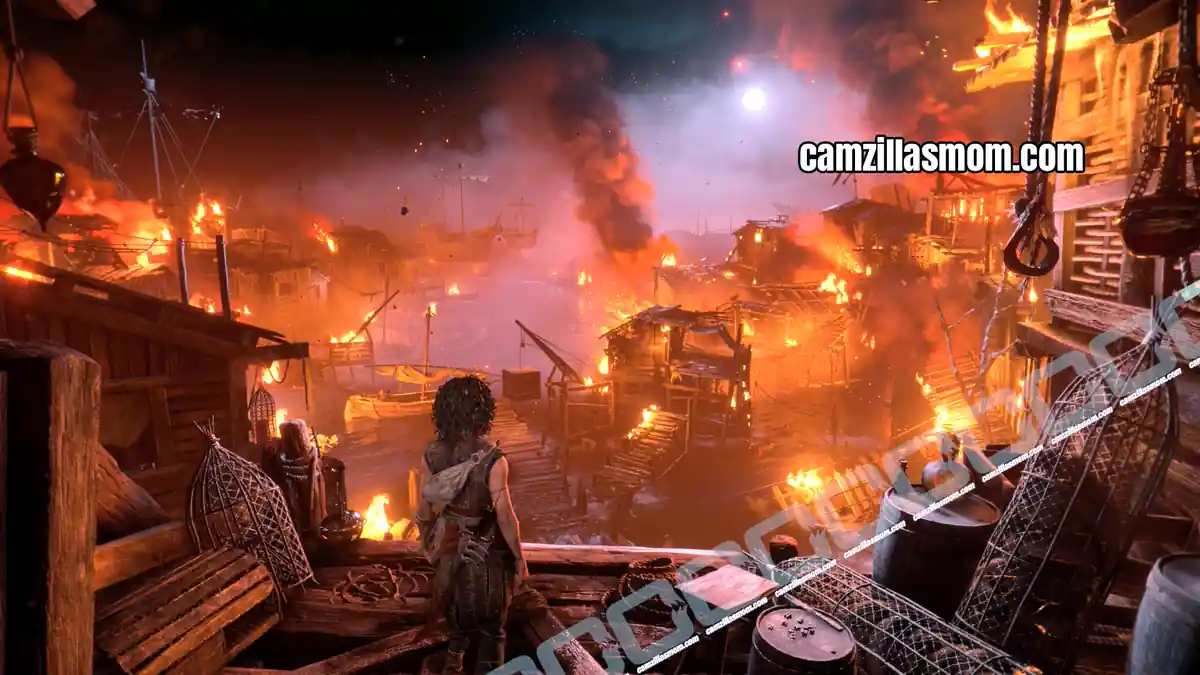
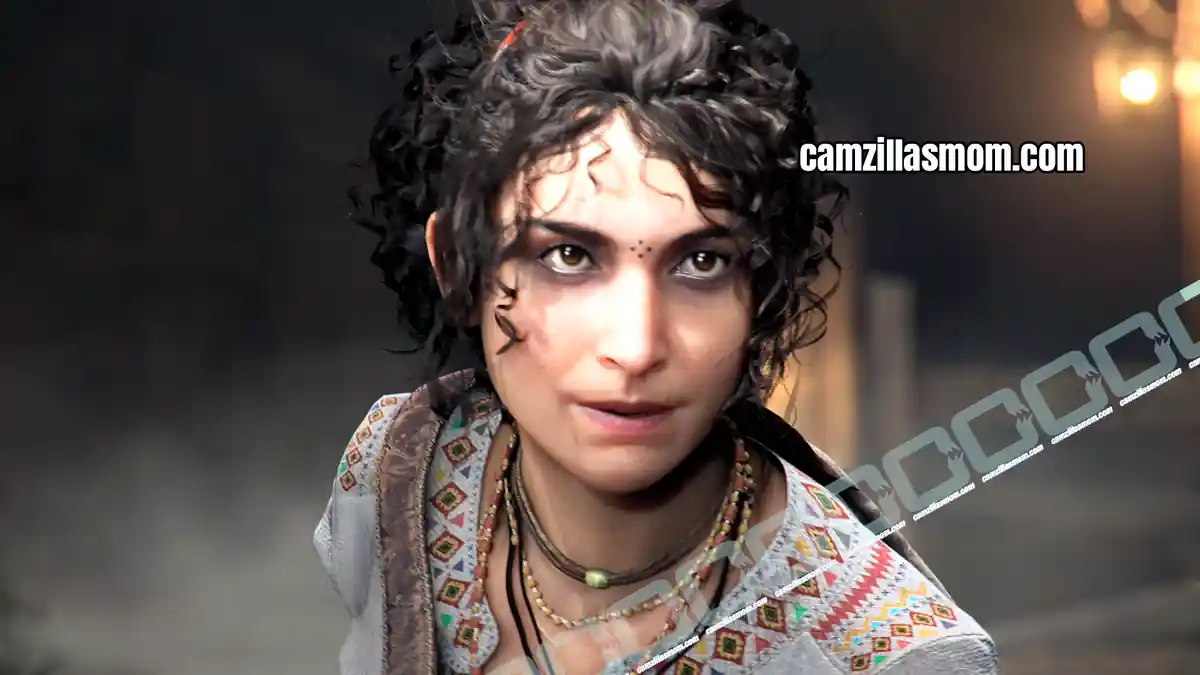
Sophia and Leni reach the first trial, and Chapter 4 is where Resonance stops being pure exploration. This Chapter 4 From Hell It Rose walkthrough for Resonance: A Plague Tale Legacy covers all five sub-chapters with screenshots at every step, plus all three Artefacts, both Charms, the Kopis Blade, all 17 Resonance Points, the Returning the Favor and From Hell It Rose trophies, and every puzzle solution from the three-symbol pedestals to the Minotaur mirrors. Returning the Favor is the earliest chance in the whole game to grab that trophy, so it is worth doing here rather than waiting.
Related Guides:
Chapter 1 Blood Ties Walkthrough
Chapter 2 Felons Walkthrough
Chapter 3 Those Before Us
Chapter 4 Overview
Sub-Chapters:
A Familiar Threat, Down the Abyss, Puzzles and Traps, At the Bottom, Theseus
Collectibles:
3 Artefacts (Polished Cornicello, Horned Rhyton, Grand Mosaic), 2 Charms (Arm Bands, Trinkets), 1 Blade (Kopis), 17 Resonance Points.
Missables:
Artefacts, Charms and the Blade can all be picked up later through chapter select.
Combat:
Unlike Chapter 3, this chapter has several fights. Four of them hand out Resonance Points automatically, so those points cannot be missed.
What you learn:
Light Reveal with the modified round key, following light paths to wall symbols, the reflector and mirror puzzles, reading safe routes through spike traps, and Theseus’ Focus attack.
Achievements:
Returning the Favor in At the Bottom, which is the earliest spot in the whole game to get it, and From Hell It Rose on completing the chapter.
This guide reflects Patch 1.02. The patch moved several Resonance Points out of the world and into combat rewards.
Chapter 4 Collectibles Checklist
Everything in this chapter, in the order you reach it. Jump straight to any of them:
Artefacts are numbered as they appear in the in-game collection menu, so Relics of the Present and Relics of the Past each have their own count.
1 – A Familiar Threat: Resonance Point – Staircase Statue
1 – A Familiar Threat: 2 Resonance Points – Trial Door Fight
1 – A Familiar Threat: Resonance Point – Trial Entrance
2 – Down the Abyss: Charm – Arm Band #2
2 – Down the Abyss: Resonance Point – Camp Above the Abyss
2 – Down the Abyss: Artefact 5 – Polished Cornicello
2 – Down the Abyss: Resonance Point – Second Puzzle Room
2 – Down the Abyss: 2 Resonance Points – After the Third Puzzle
2 – Down the Abyss: Resonance Point – Golden Holes Room
2 – Down the Abyss: Resonance Point – Across the Gap
2 – Down the Abyss: Resonance Point – By the Ledge
3 – Puzzles and Traps: Artefact 6 – Horned Rhyton
3 – Puzzles and Traps: Resonance Point – Puzzle Four Door
3 – Puzzles and Traps: Blade – Kopis
4 – At the Bottom: Artefact 7 – Grand Mosaic
4 – At the Bottom: 2 Resonance Points & Trophy – Returning the Favor
4 – At the Bottom: Charm – Trinkets
5 – Theseus: 3 Resonance Points – Minotaur Puzzle Room
5 – Theseus: Trophy – From Hell It Rose
1 – A Familiar Threat
“With the key in hand and the book containing the island’s secrets, the two plunderers set sail for the island. Ruins of a forgotten civilization welcome them. Surrounded by strange, blue dust, Sophia has her strongest vision yet: through the eyes of an ancient warrior, she sees the start of trials organized millennia ago by the king of the isle whose goal was to find an heir in the victor. Sophia and Leni set off for the first of those trials.”
Chapter step: Reach the Trial’s Entrance
After opening the mysterious puzzle door with the round key found in the chest, Sophia and Leni head out to face the first trial.
Resonance Point
Chapter step: Reach the Trial’s Entrance
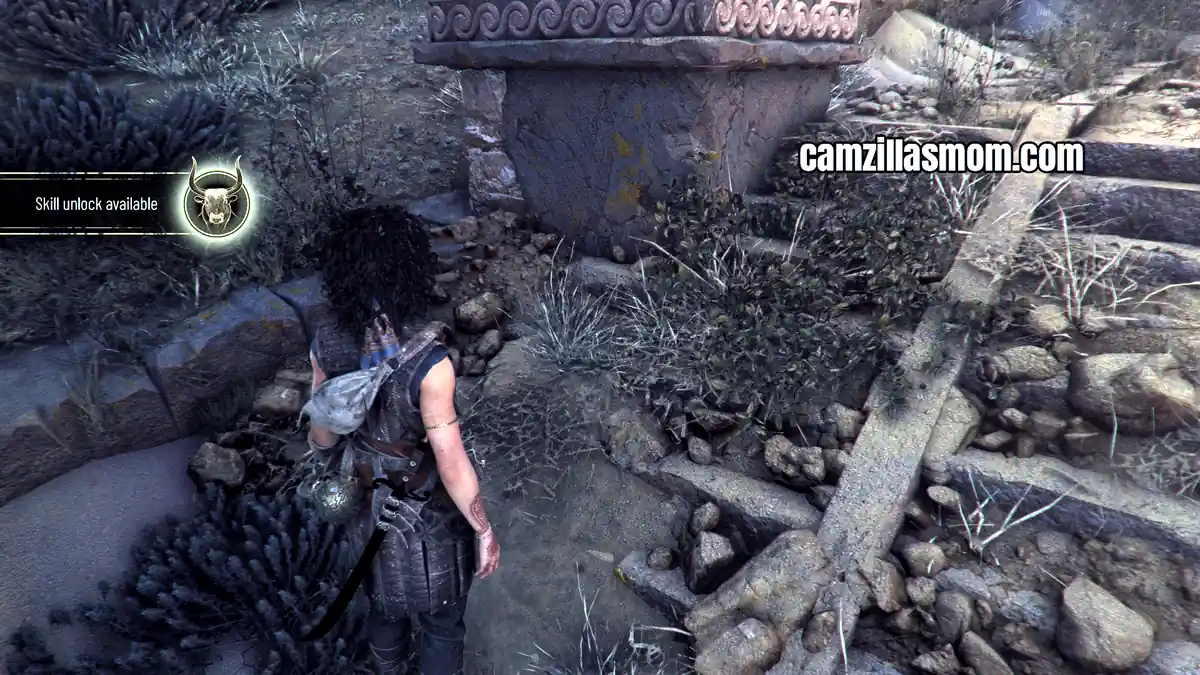
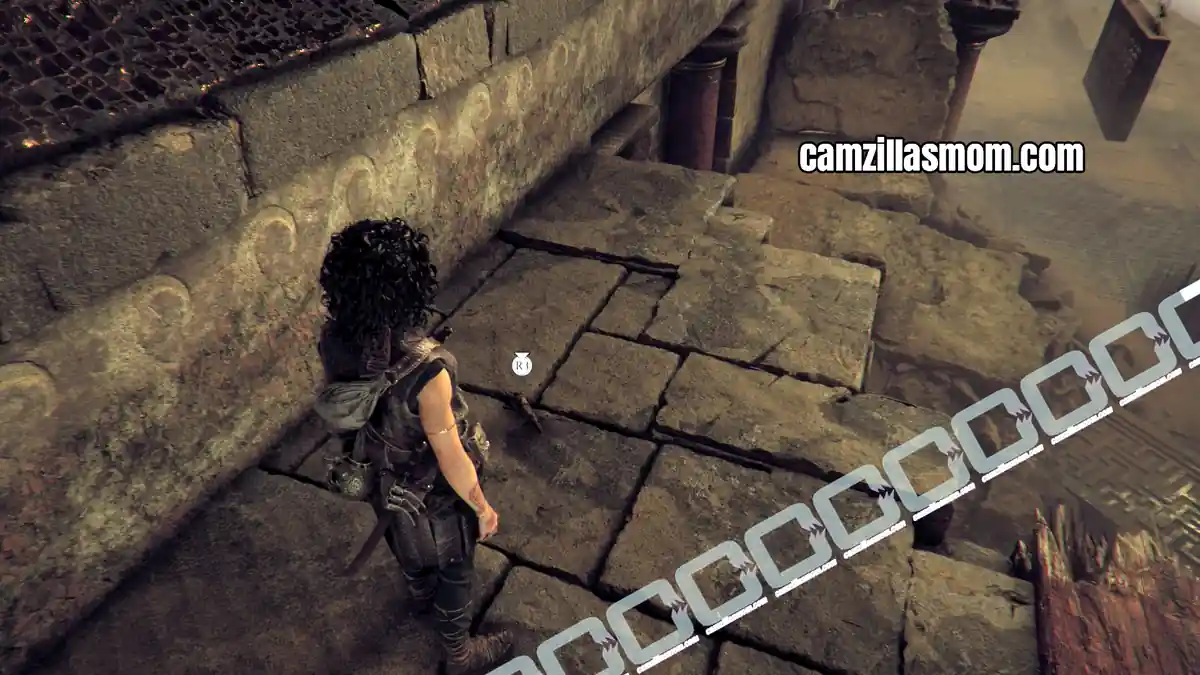
At the start of Chapter 4, Sophia and Leni arrive at the top of a long staircase. Head back to where they came from and look back up the staircase. You will see something shiny at the base of one of the staircase statues.
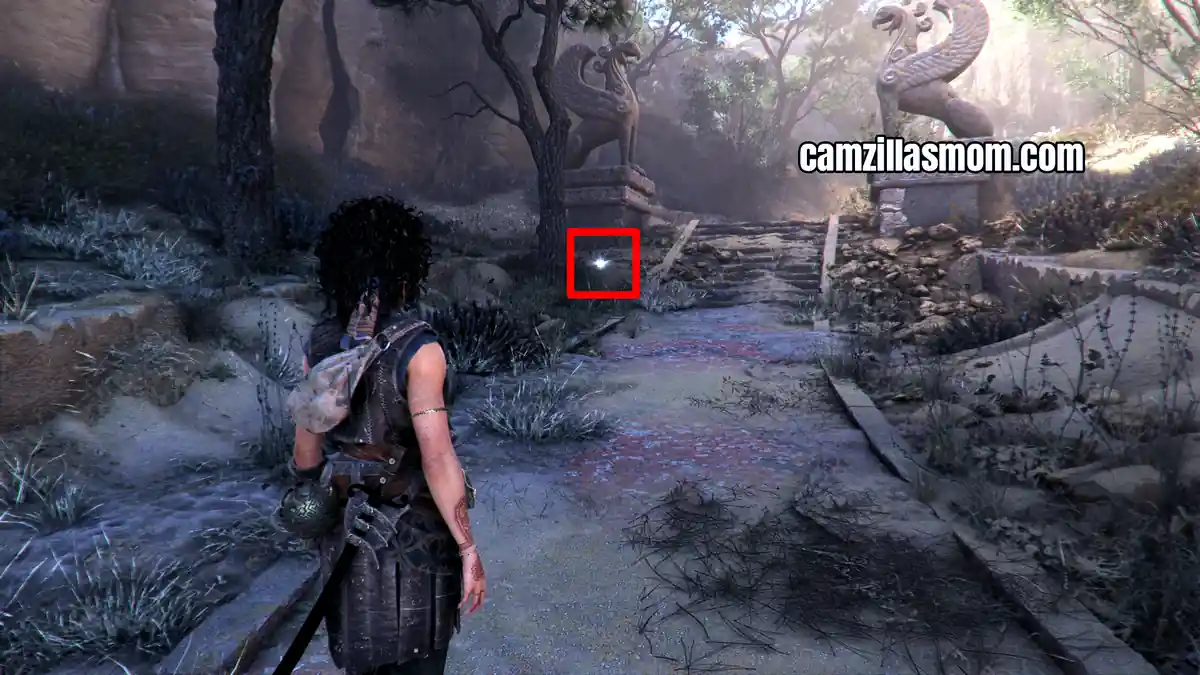
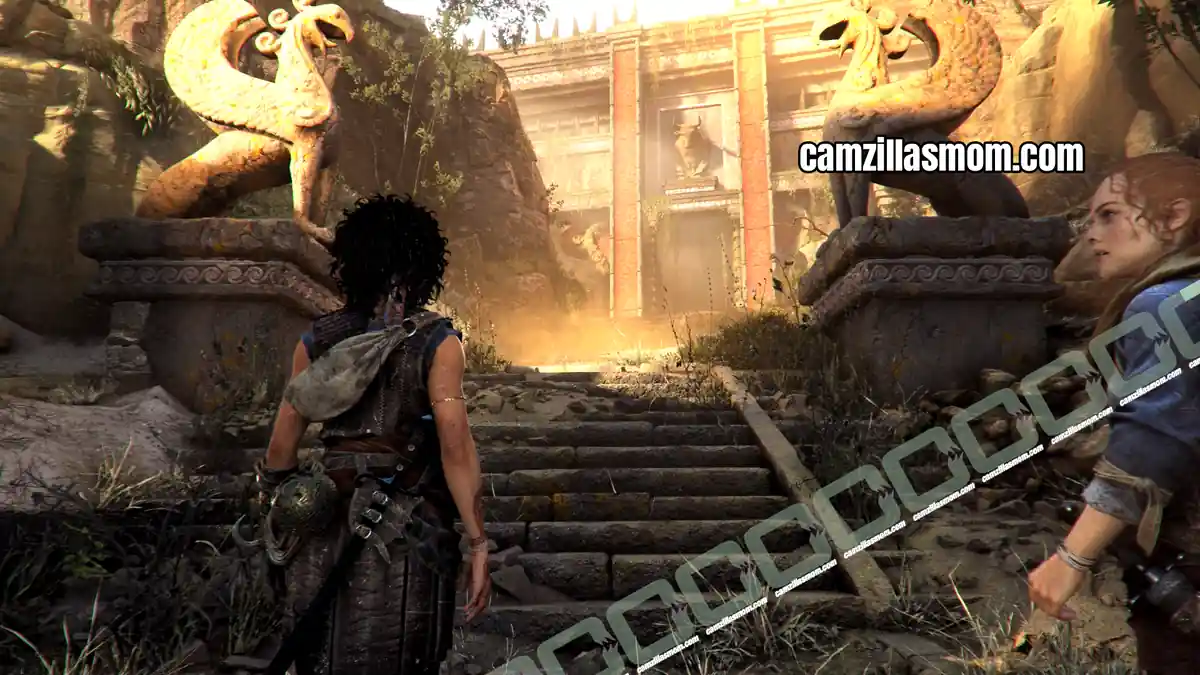
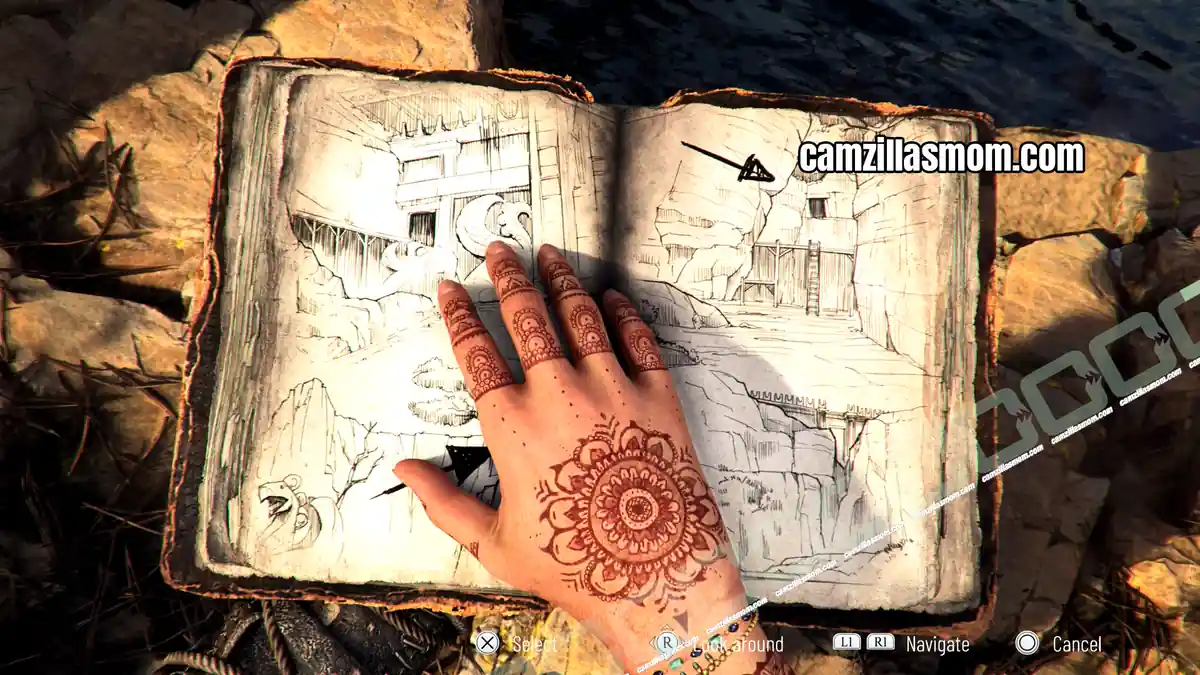
Follow the steps to the top where they are blocked by a gap filled with water. Leni will point out a side entrance. Consult Sophia’s book and look at the image in the top left.
Look up the hill to the left so see one of the white cloths leading the way. Walk back a bit and you will be able to climb the hill.
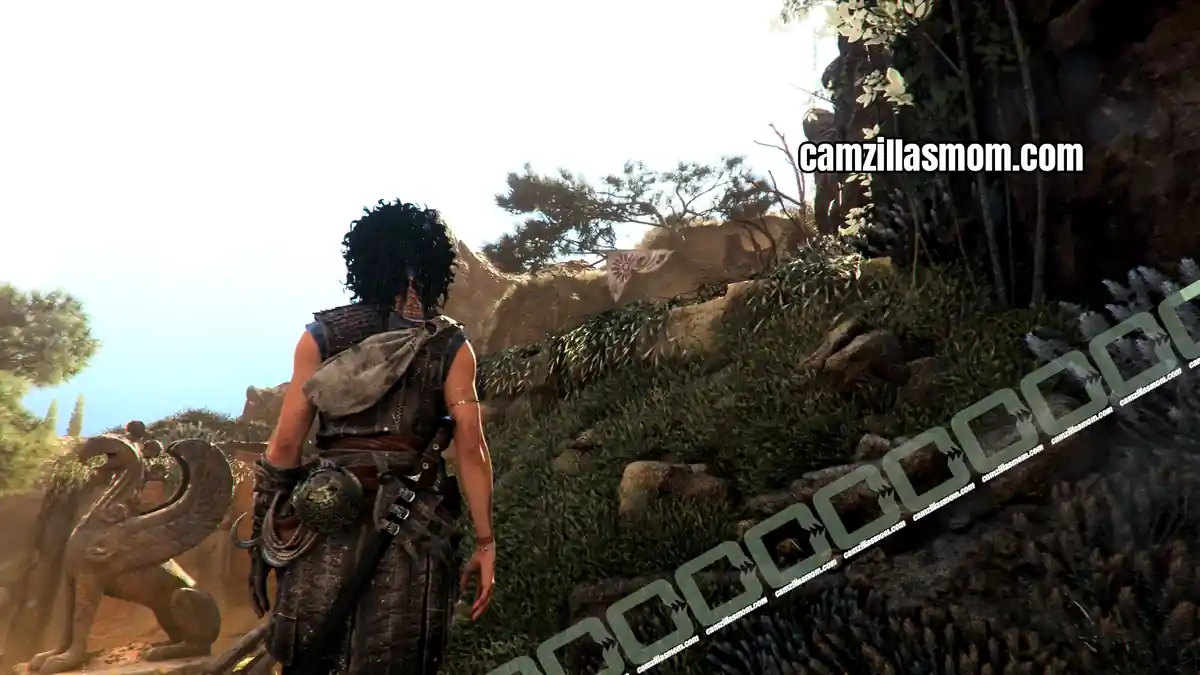
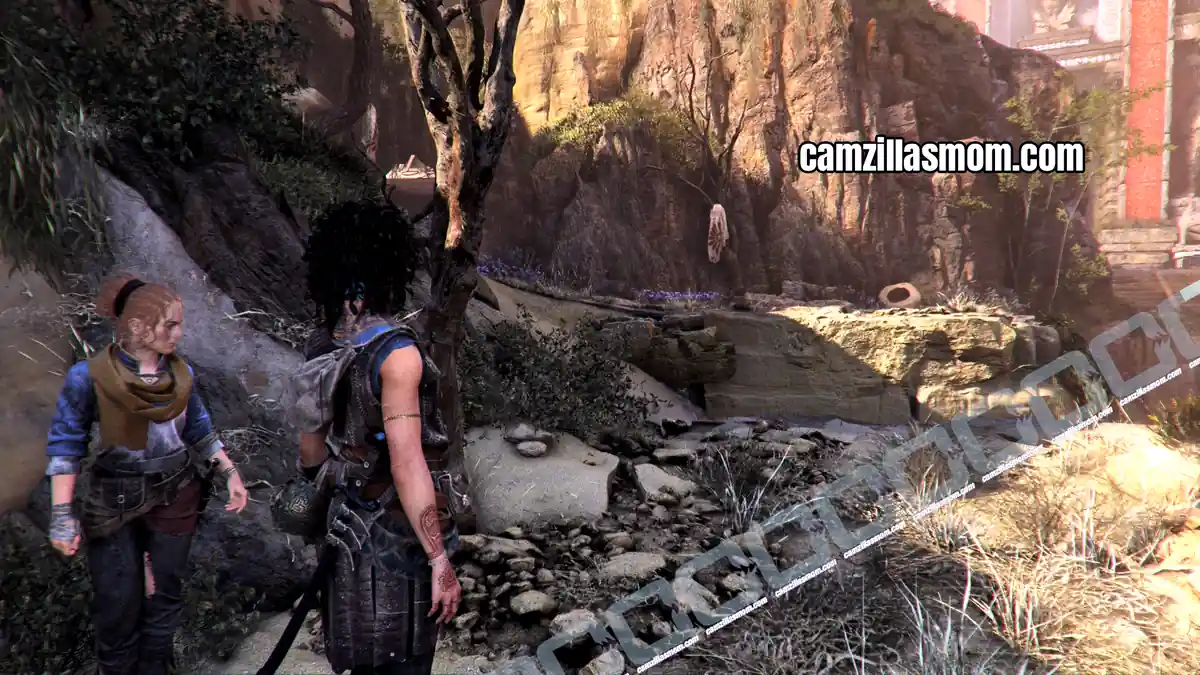
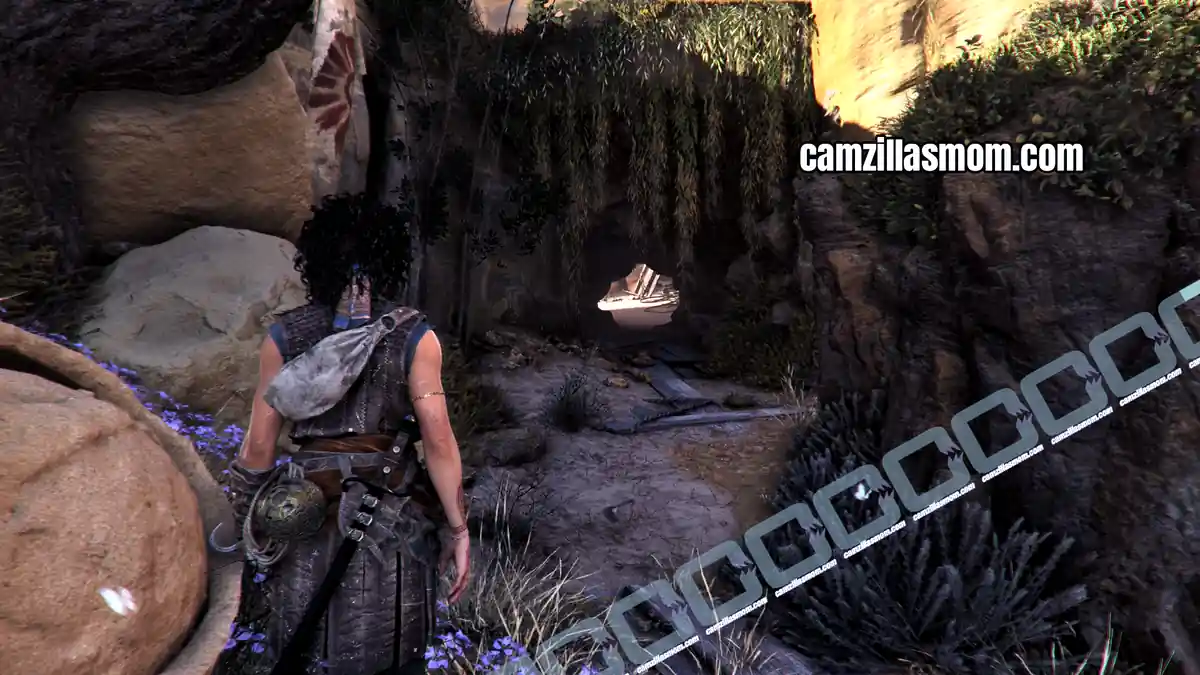
Follow the white cloth’s direction to a crawlspace. On the other side, where you can see that the soldiers have already landed.
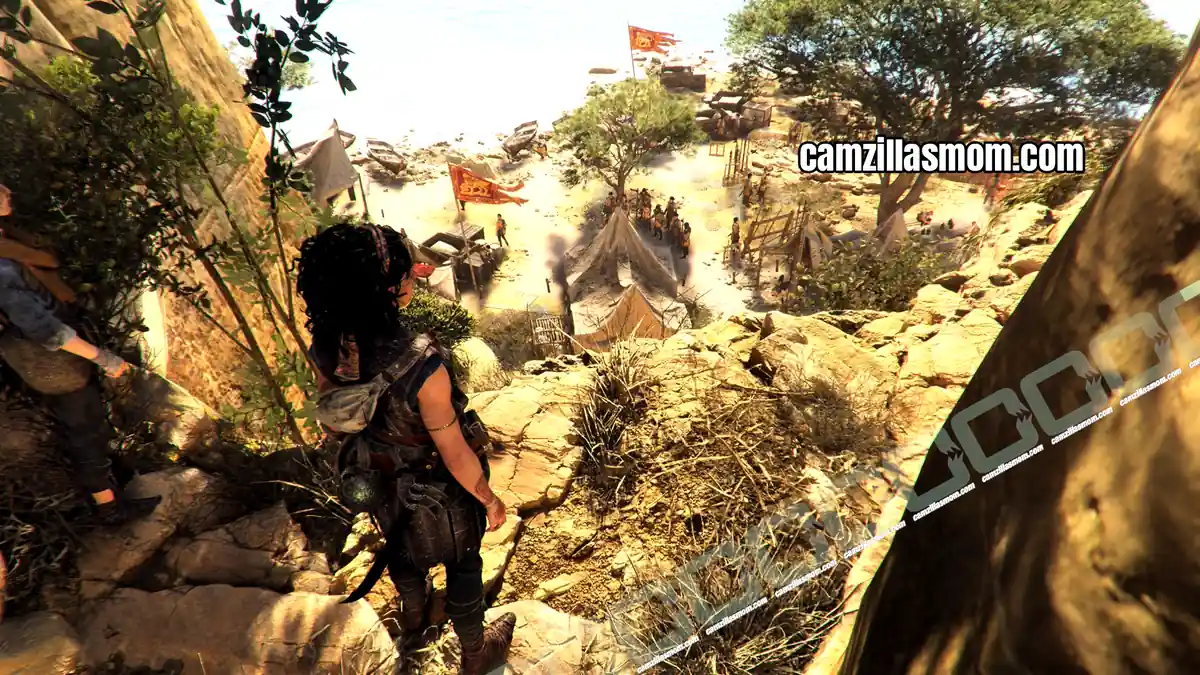
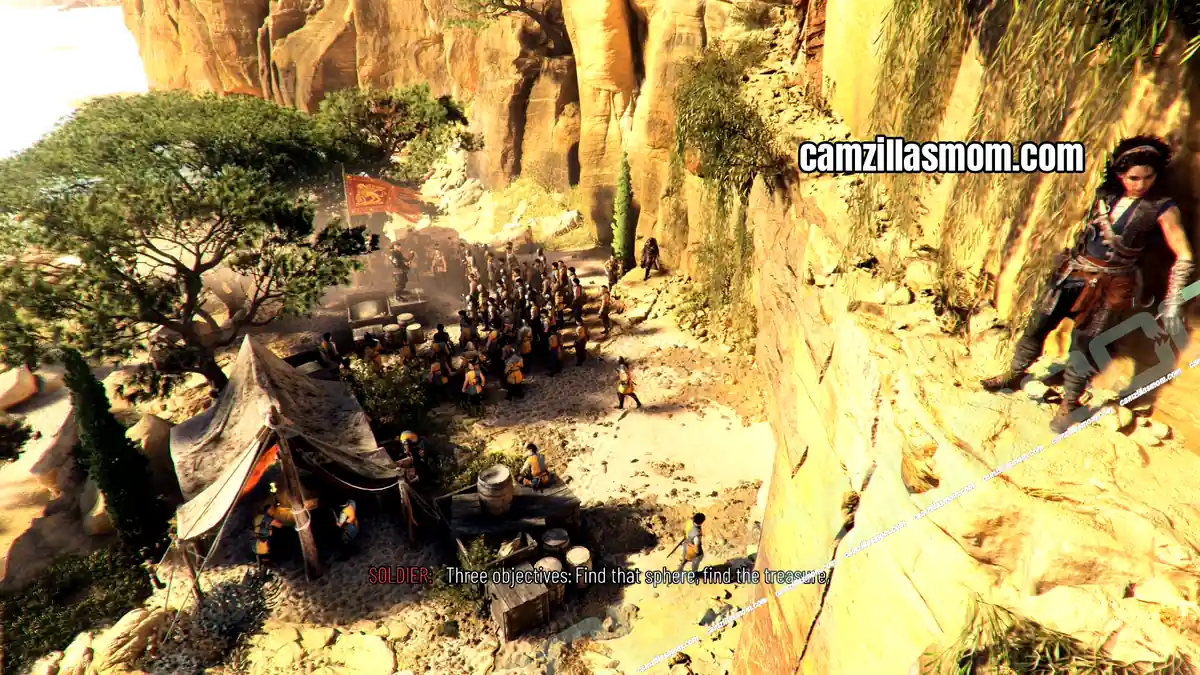
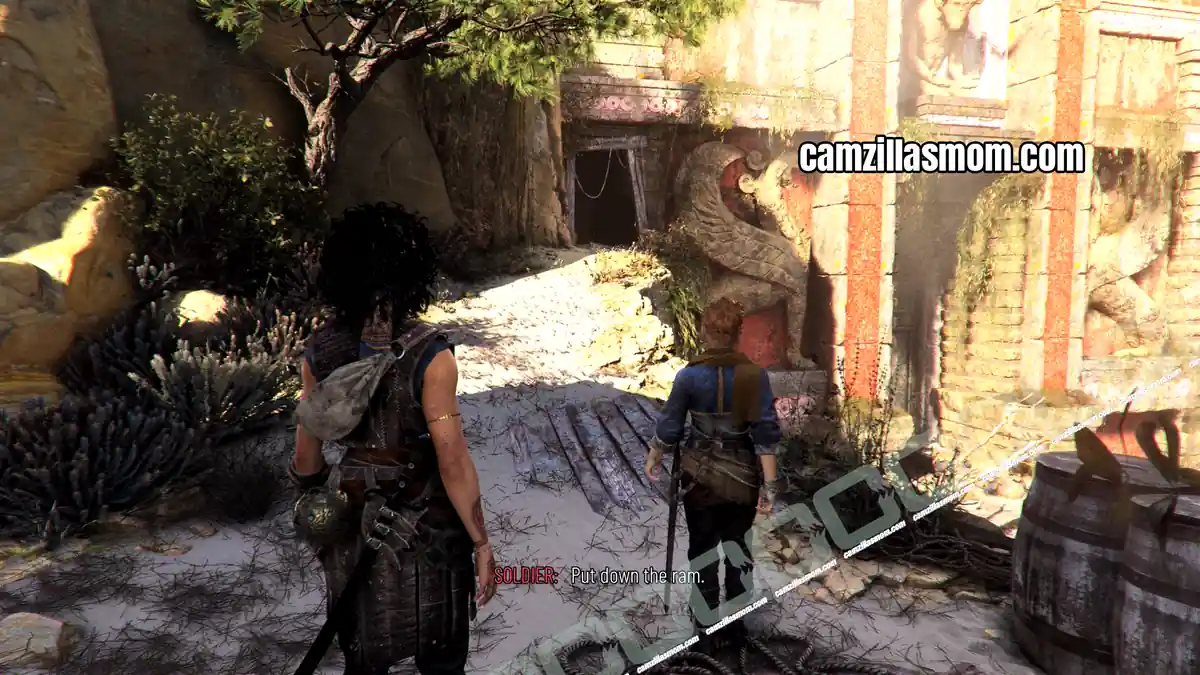
Cross over the camp by interacting with the ledge. On the other side, follow the path to the side entrance, while the soldiers below are trying to open the gates with brute force.
2x Resonance Points
Chapter step: Reach the Trial’s Entrance
There is a plank that leads to the side entrance and it will collapse when you’re trying to get across. Sophia will slide down and you have to quickly use grapple-swing using the overhead branch when prompted, otherwise Sophia dies. Defeat the soldiers below and you will receive two Resonance Points.
Resonance Point
Chapter step: Explore the Trial’s Entrance
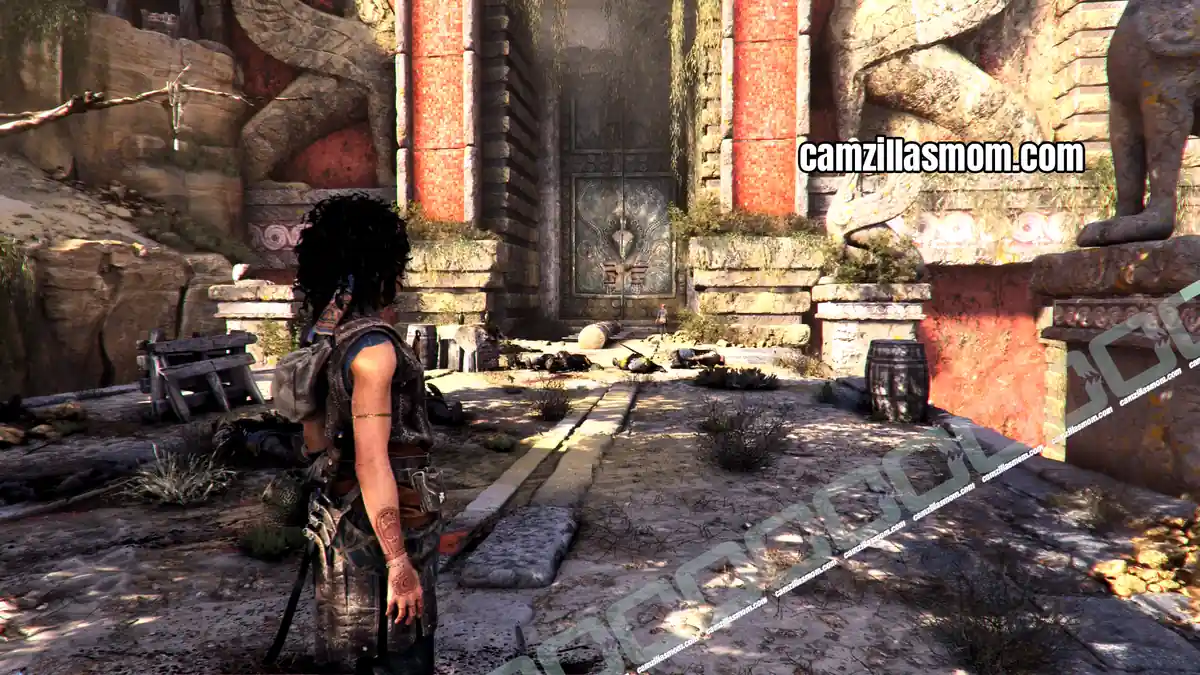
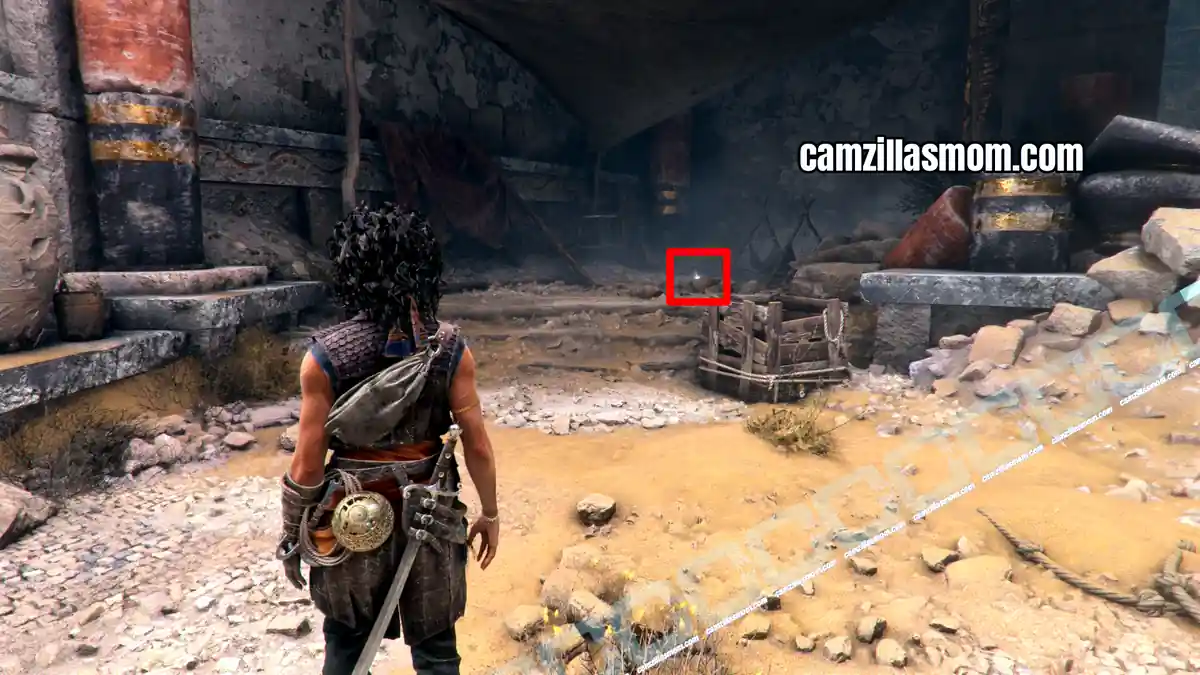
Fortunately, the soldiers have damaged the door already and it will open when interacting with it. Inside, walk past the socket for the key and you will find a Resonance Point shining on the floor.
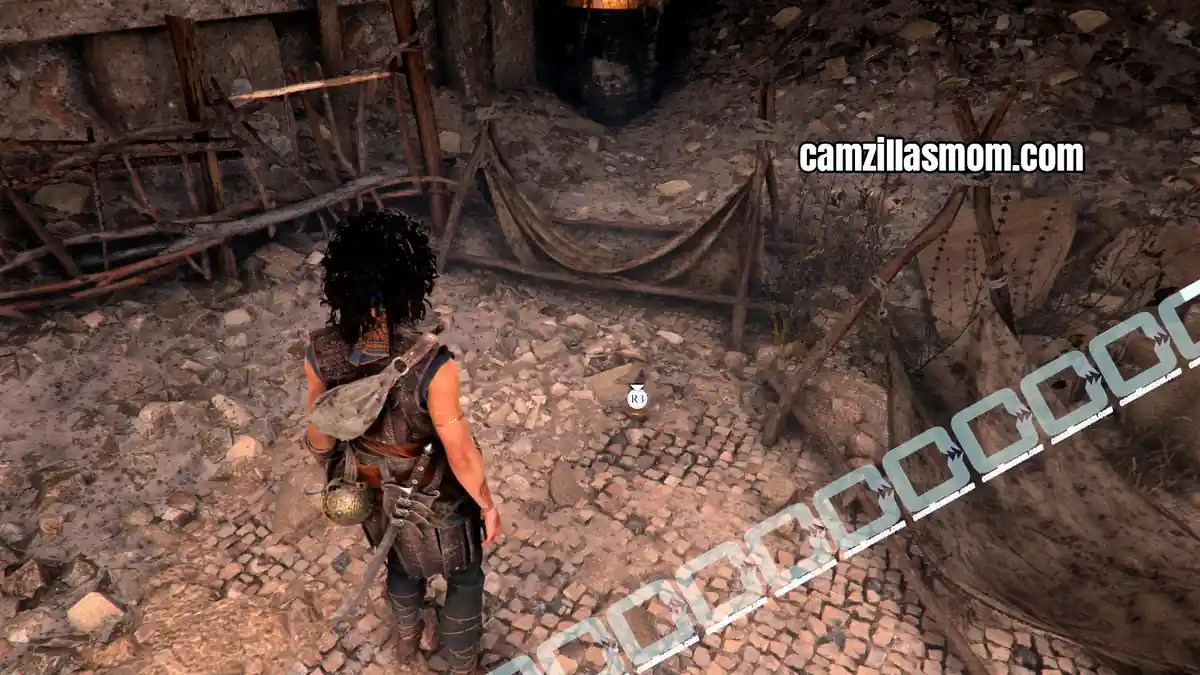
Use the round key on the socket. In the following cutscene, the key will be modified and three more sockets for the key will appear. Then, you will learn about Light Reveal right after.
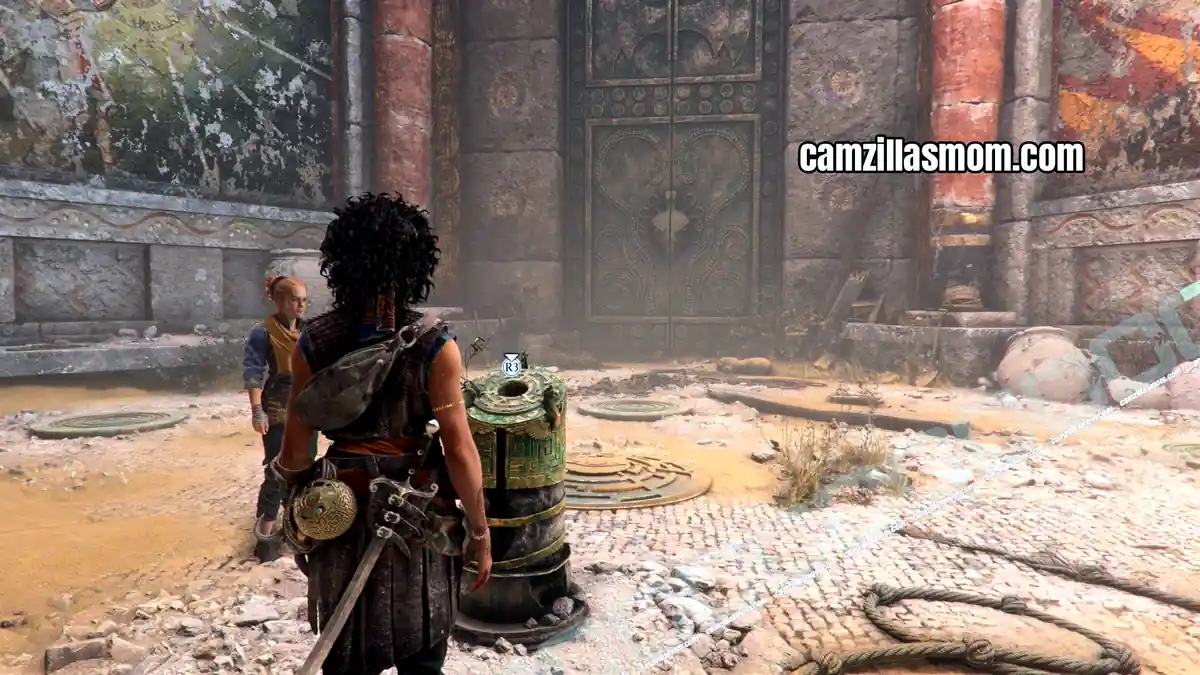
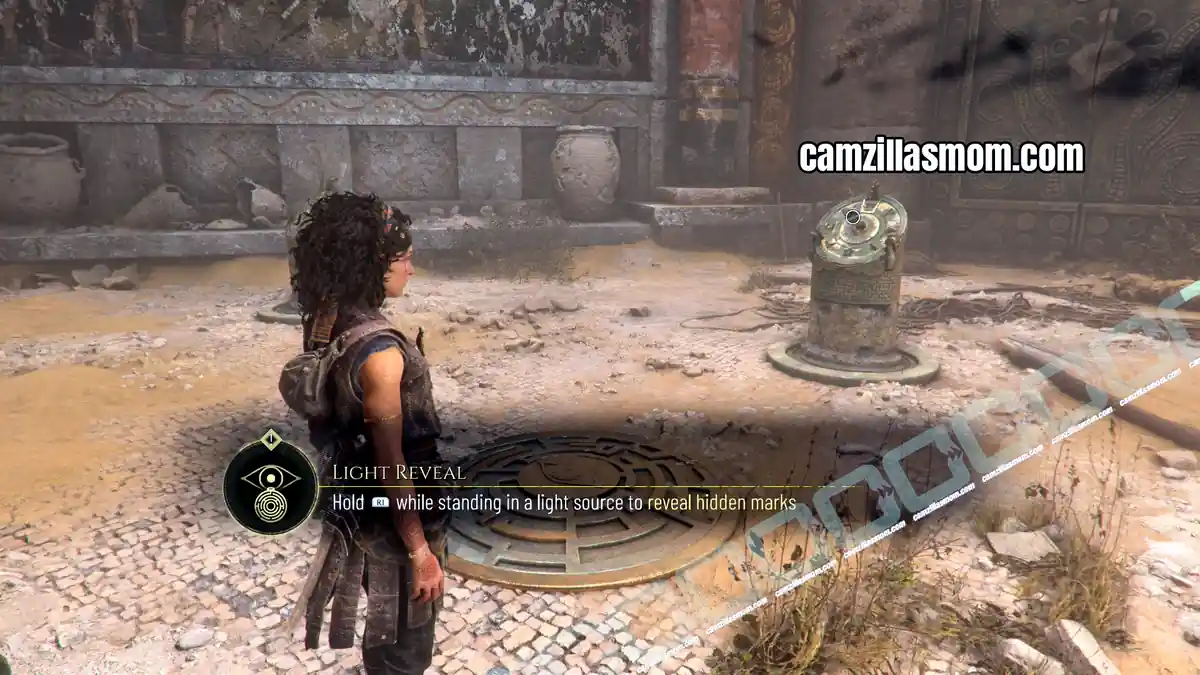
First Trial Entrance Puzzle Solution
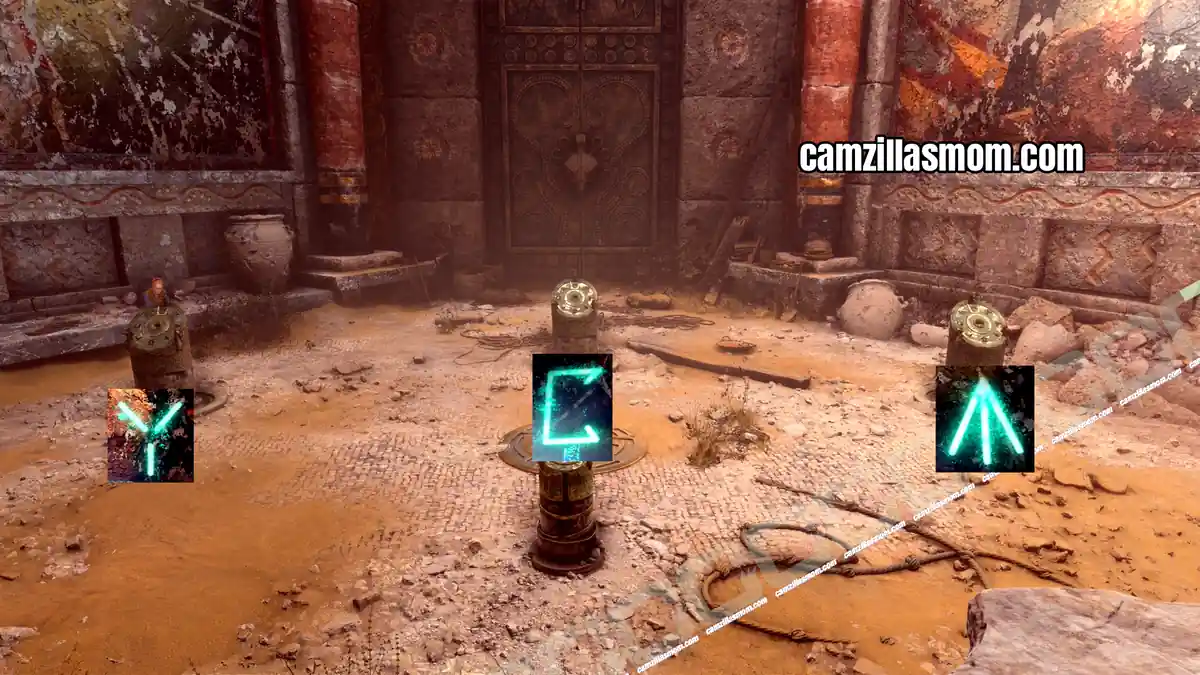
Hold R1 on PS5 to reveal energy pathways from the three new sockets to the two frescos to the left and right of the room. The fresco to the left shows two symbols and the fresco to the left one symbol when you use the Light Reveal feature.
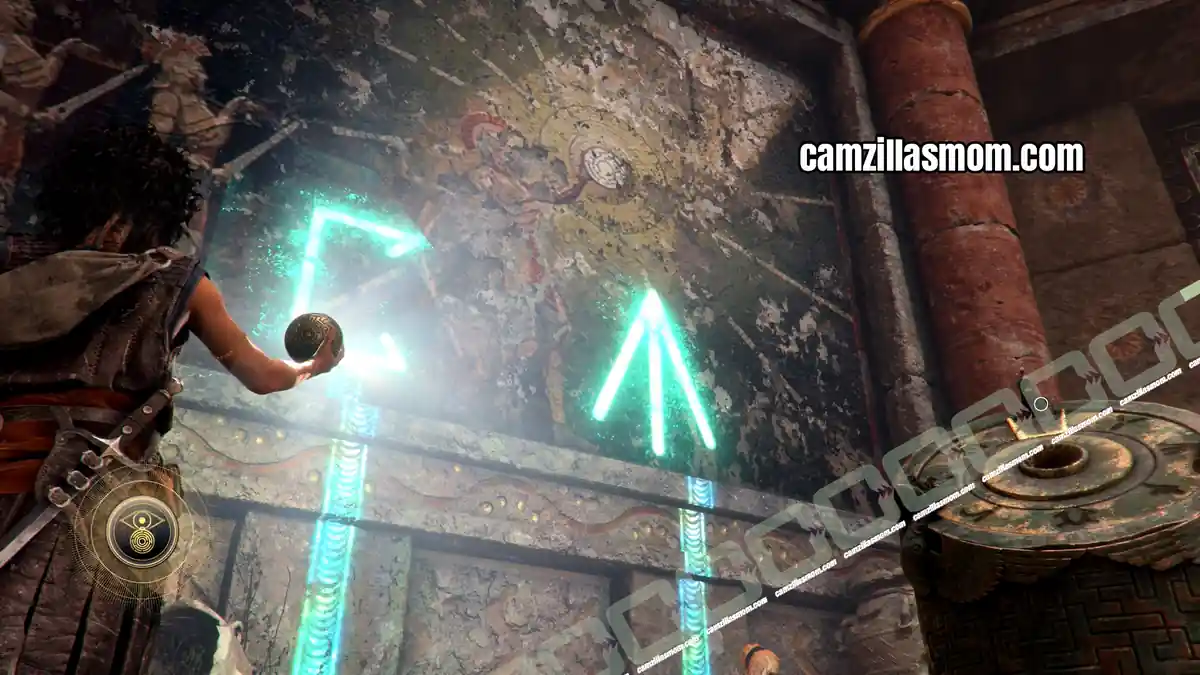
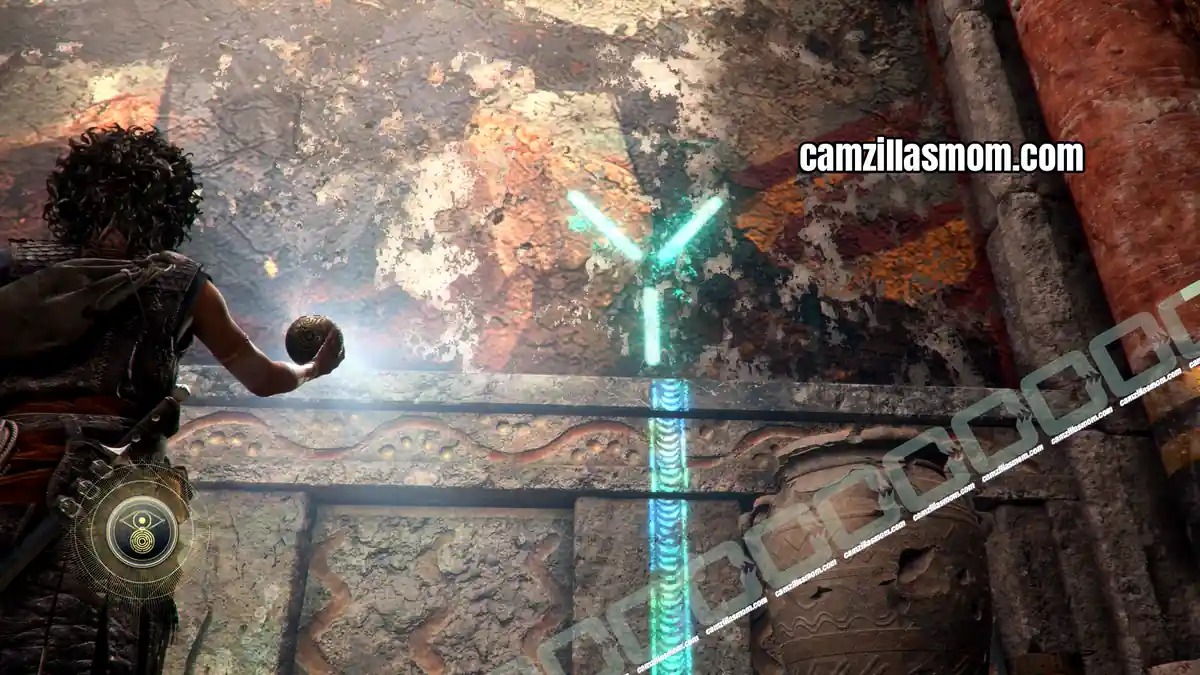
All you need to do now is follow the light path of these symbols to the correct socket. Interact with the socket and select this symbol. From left to right, enter the symbols: Y – C – A
Chapter step: Progress Through the Trial
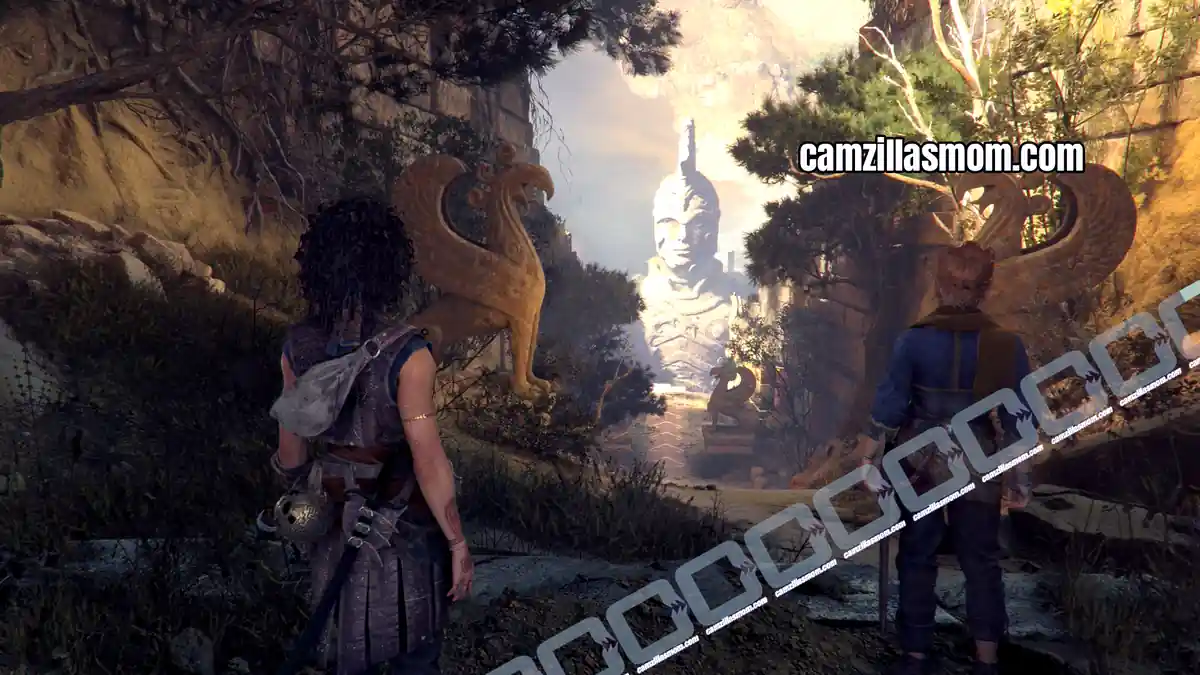
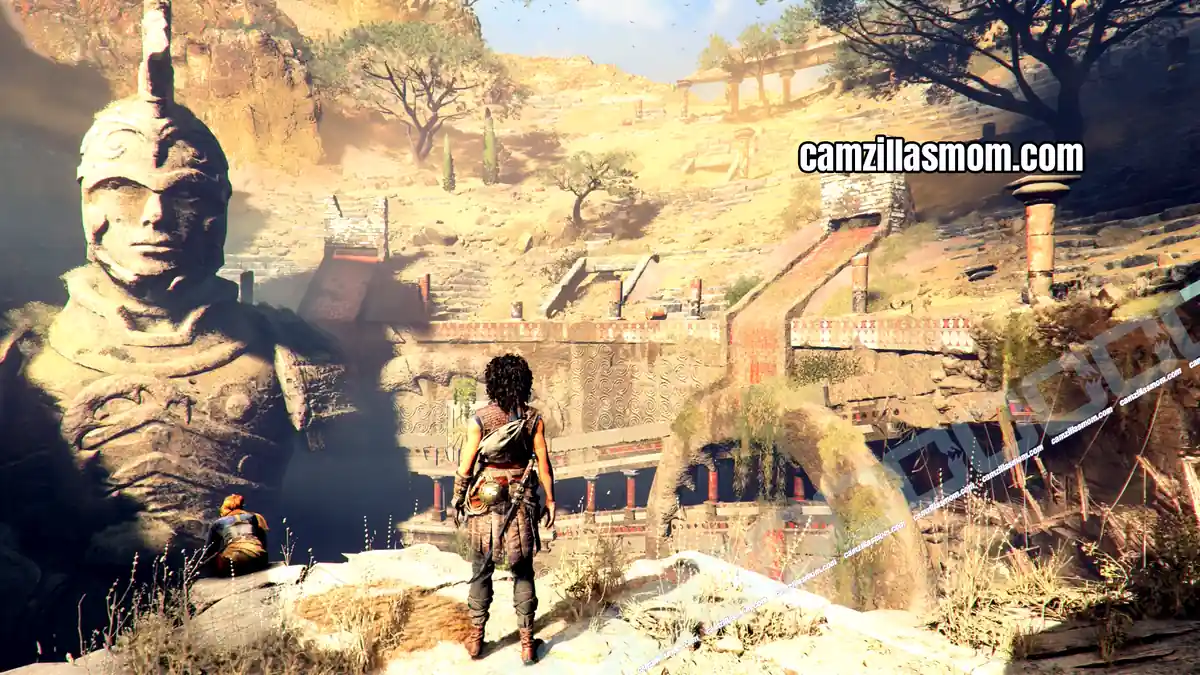
The door will open and you can reach the next area with a massive stone statue in the center of a massive arena.
2 – Down the Abyss
Chapter step: Progress Through the Trial
The door will open and you can reach the next area with a massive stone statue in the center of a massive arena.
Charm: Arm Band #2
Chapter step: Progress Through the Trial
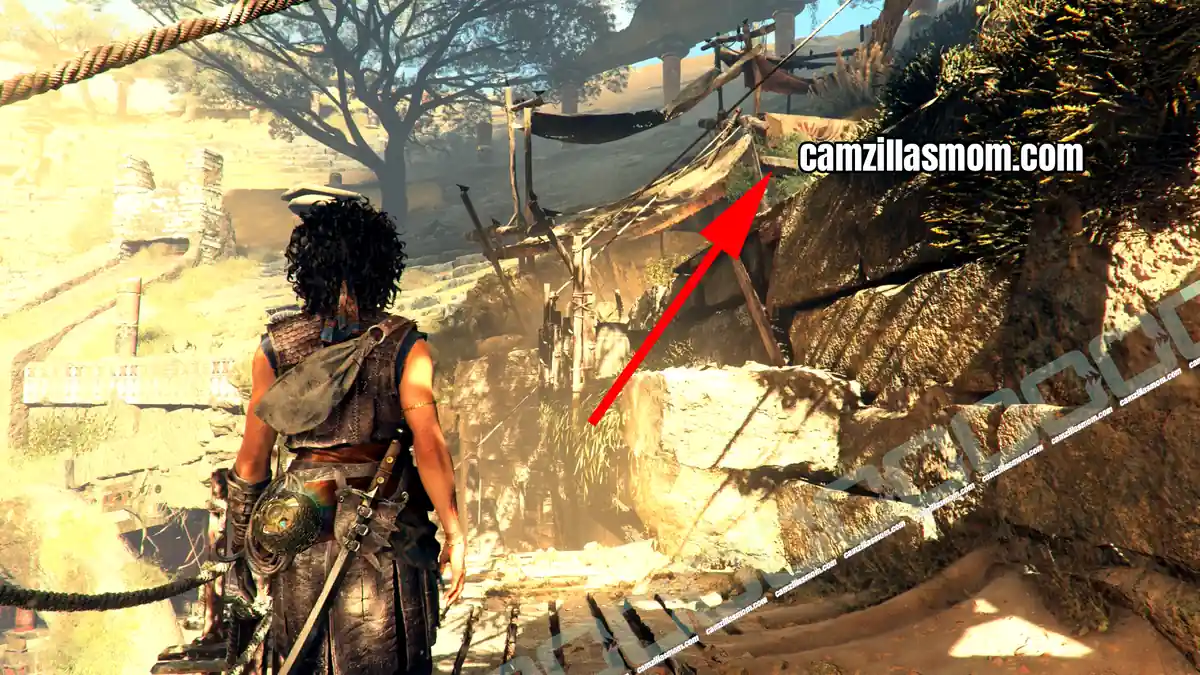
Turn to the right and take a few steps on the wooden platform. If you look up, you will see a white cloth. Climb up the stone on the side of the wooden platform to find a champ with a charm box.
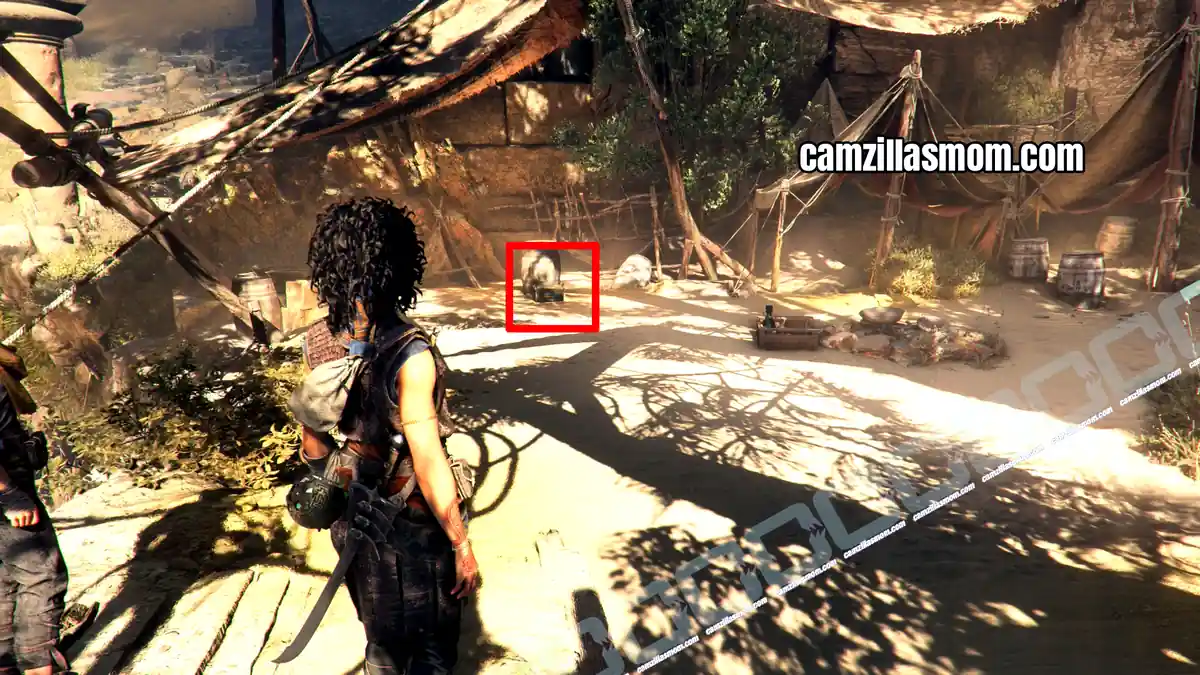
Resonance Point
Chapter step: Progress Through the Trial
Stay in the camp and you can find a Resonance Point amongst some crates.
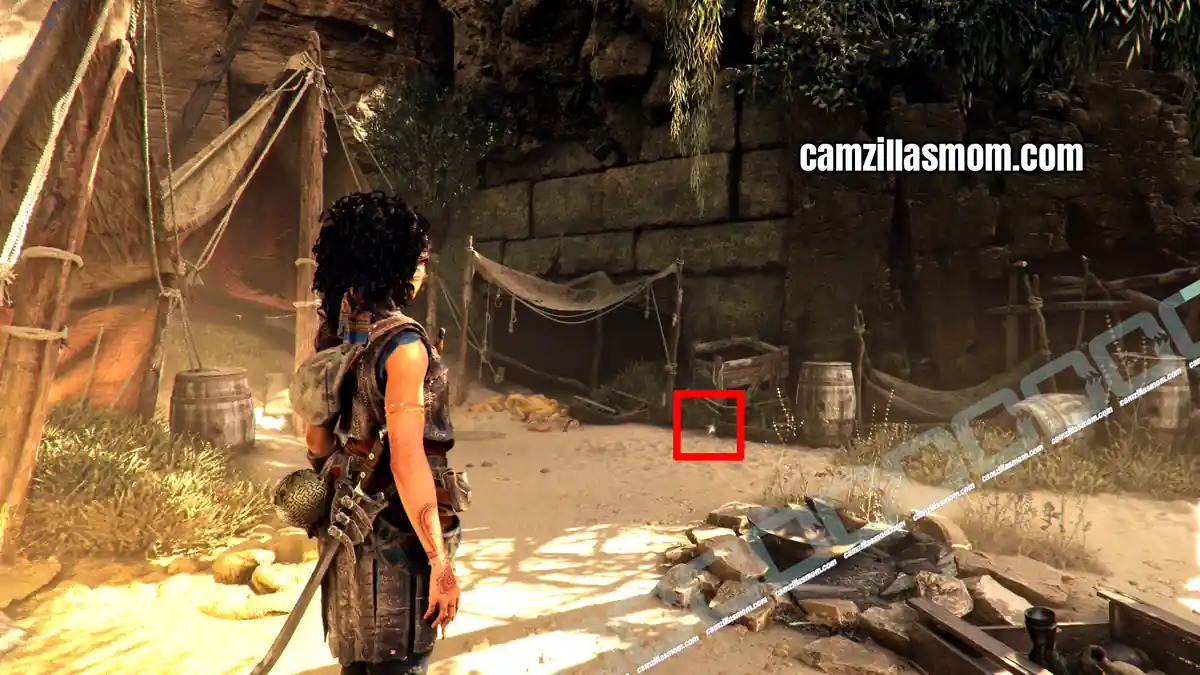
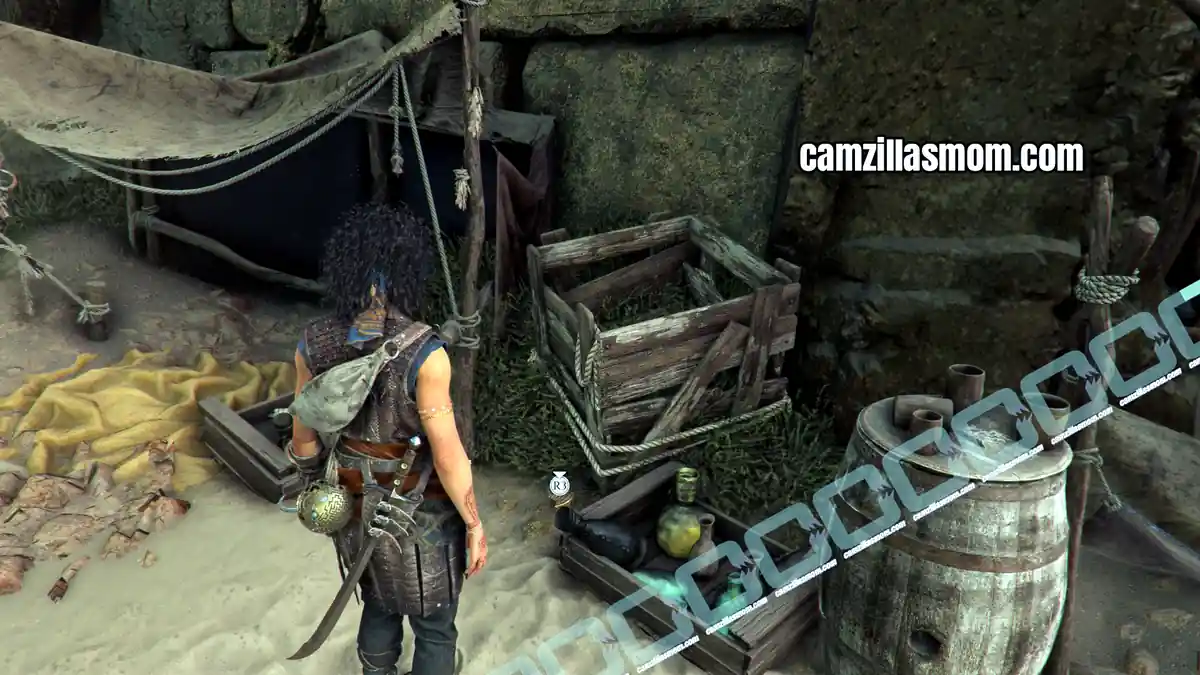
Artefact 5 – Relic of the Present: Polished Cornicello
Chapter step: Progress Through the Trial
Description:
“Between the set-up at the arsenal, the destruction of our den and the expeditions on this island… We plunderers have lost enough. I hope whoever wore you is still alive, little pepper.”
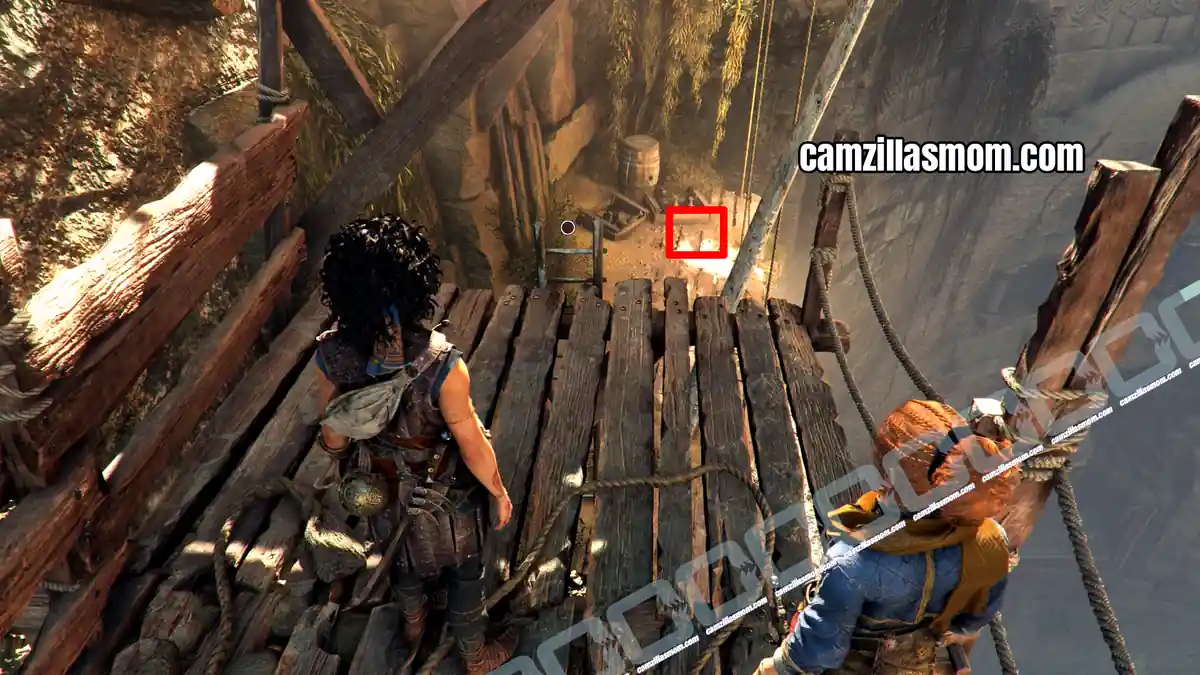
Follow the wooden platform to the right. Right after you dropped down the first time, look back to see a ladder leading to a small area below. Here is the first Artefact of the chapter.
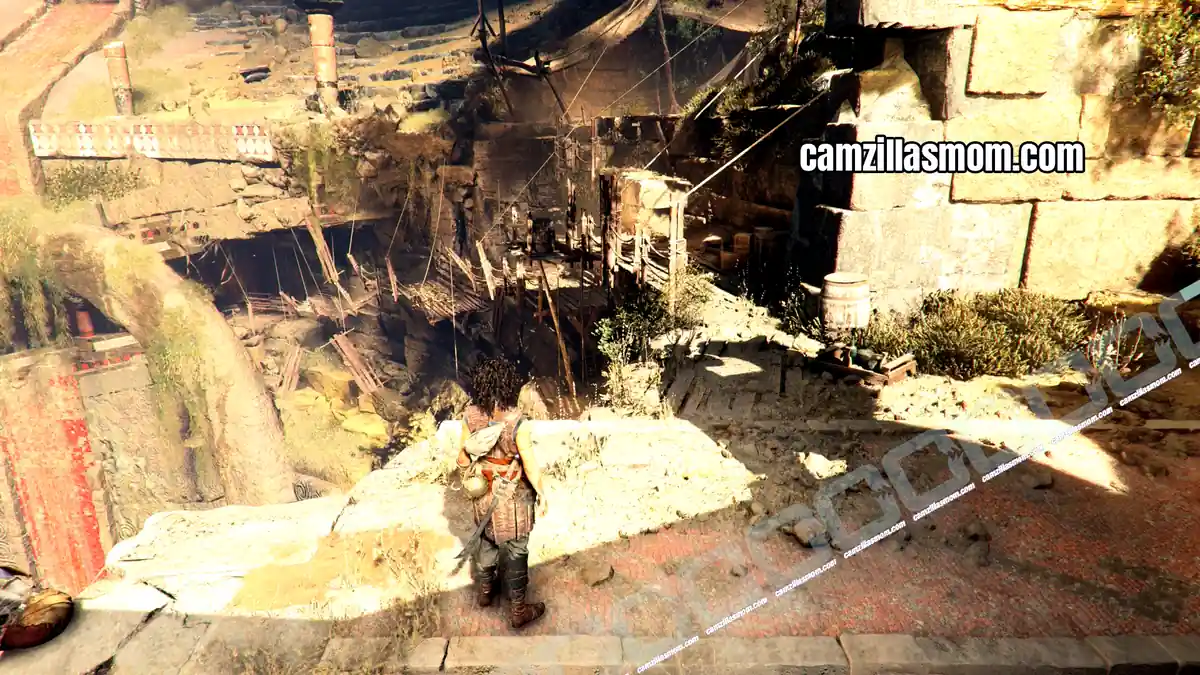
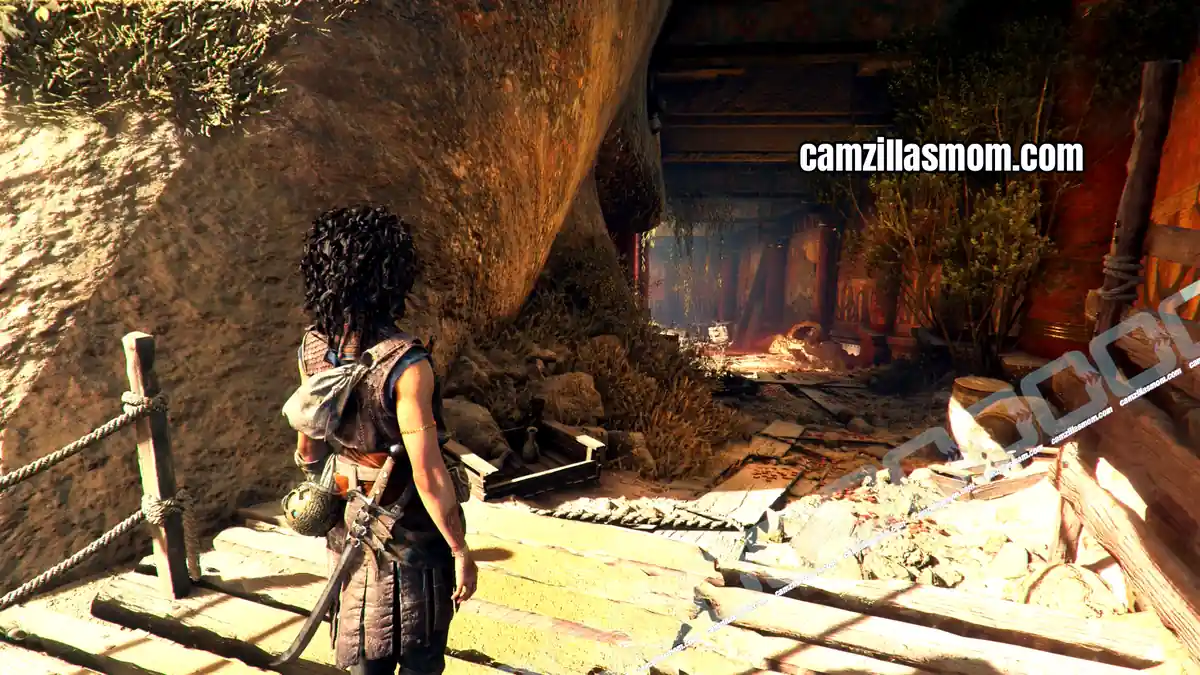
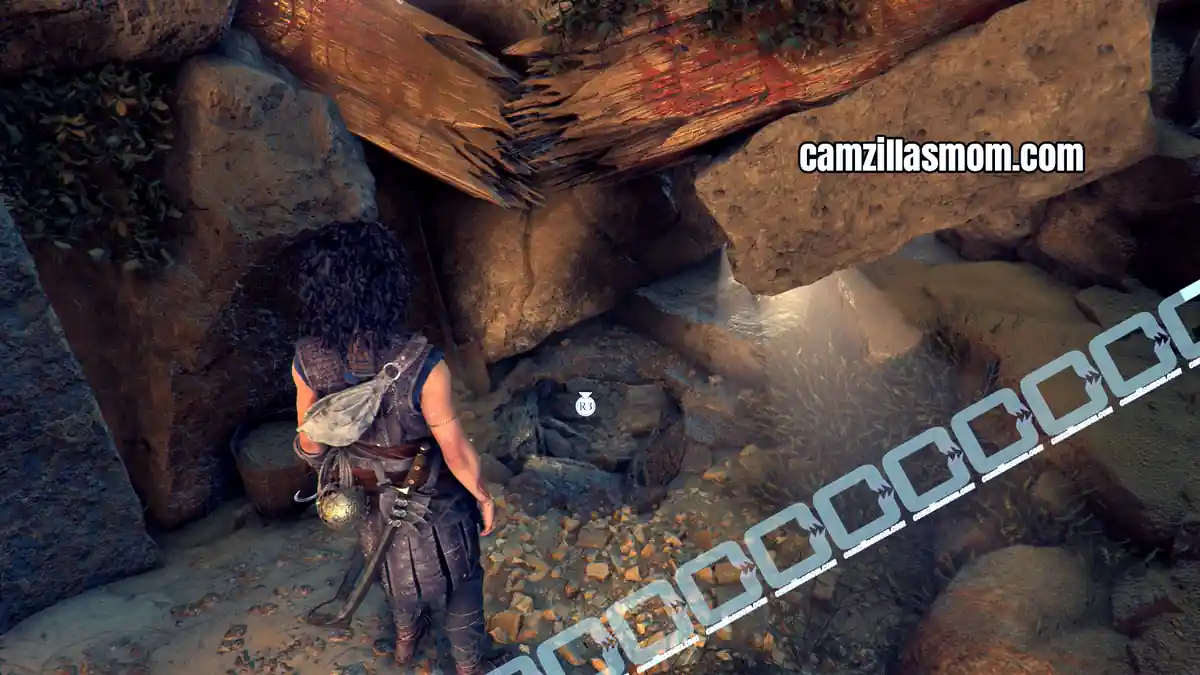
Climb the ladder back up and follow the wooden path down. You will have to jump down onto the next sections until you reach the corridor. At the bottom of it is a crawlspace to the right to advance to the next section.
Resonance Point
Chapter step: Progress Through the Trial
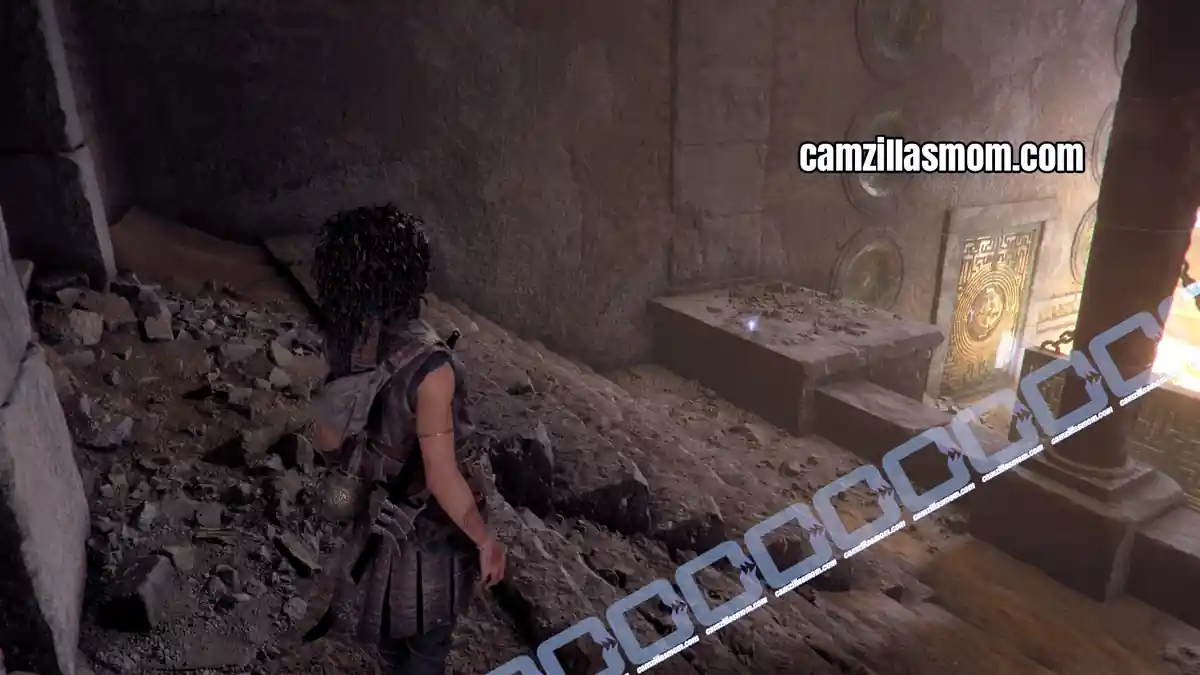
You will enter the next puzzle room. It’s another mirror puzzle. Before solving it, climb the spectator rows to the left. At the end, next to the door, is another Resonance Point on top of the massive pillar.
Second Puzzle Solution
Chapter step: Progress Through the Trial
Head up the small staircase and stand on the pressure plate to activate the light for the mirrors. This will trigger Leni standing on it while Sophia is solving the puzzle. There are a couple of barriers that won’t let the light through. The beam from the mirrors have to reach the plate in the center of the door.
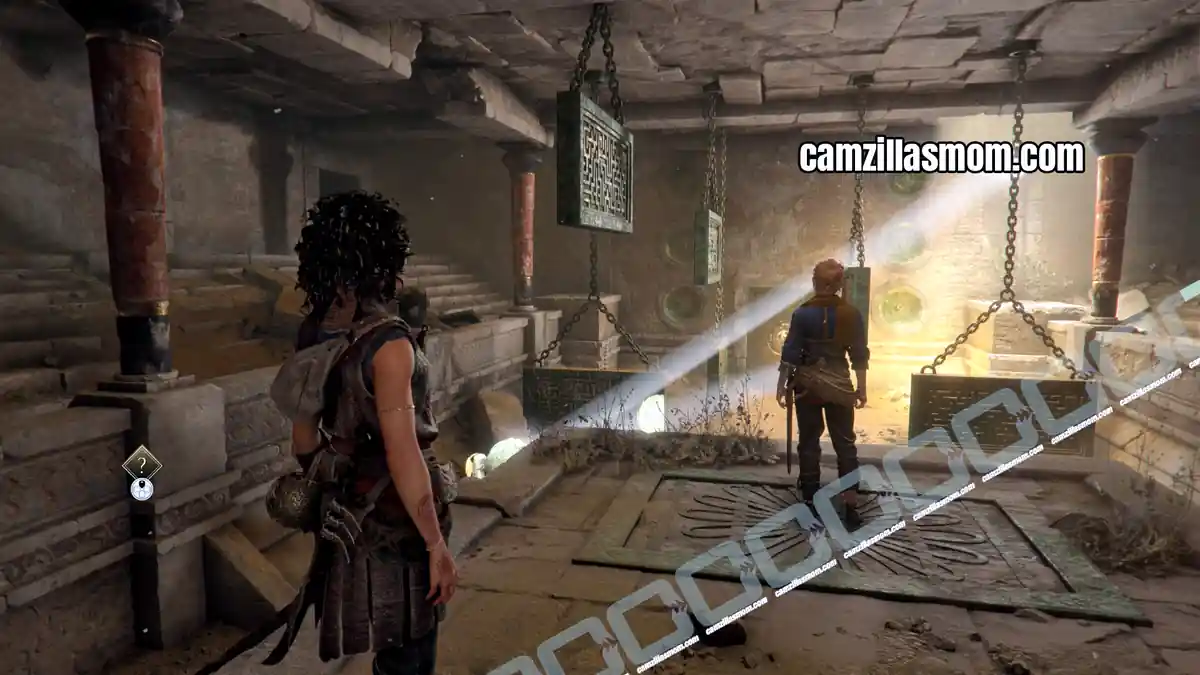
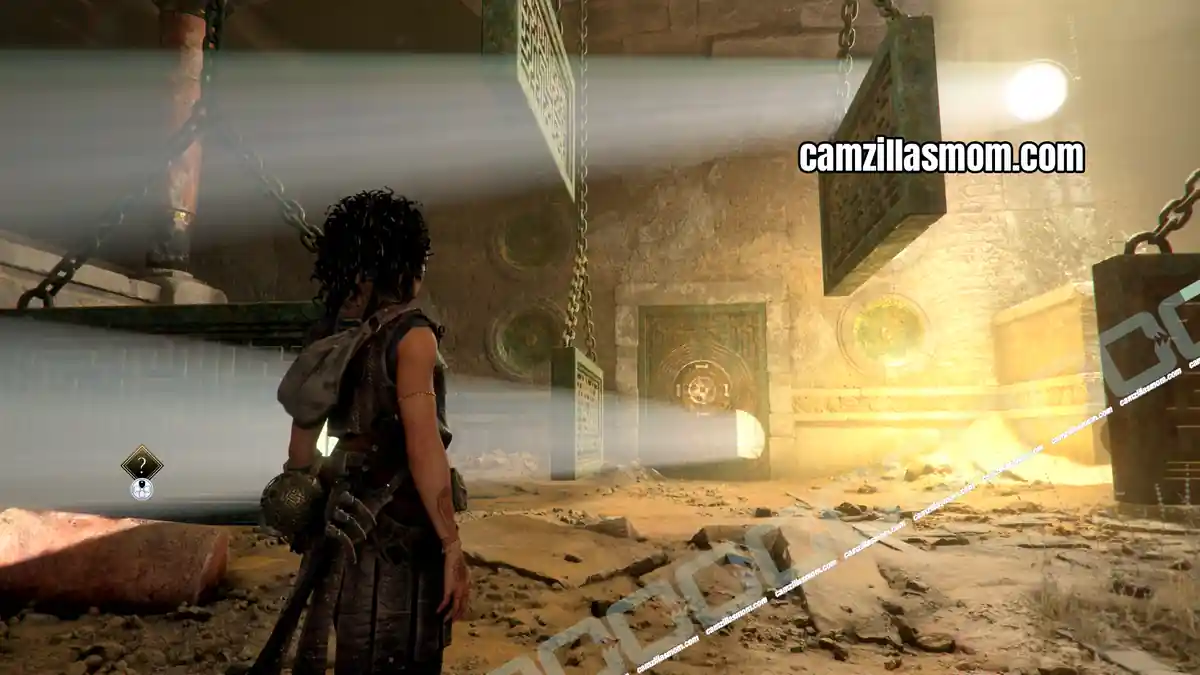
Move the first mirror to the mirror on the other side. Then, point the beam to the mirror diagonally ahead and direct this one to the mirror on the other side.
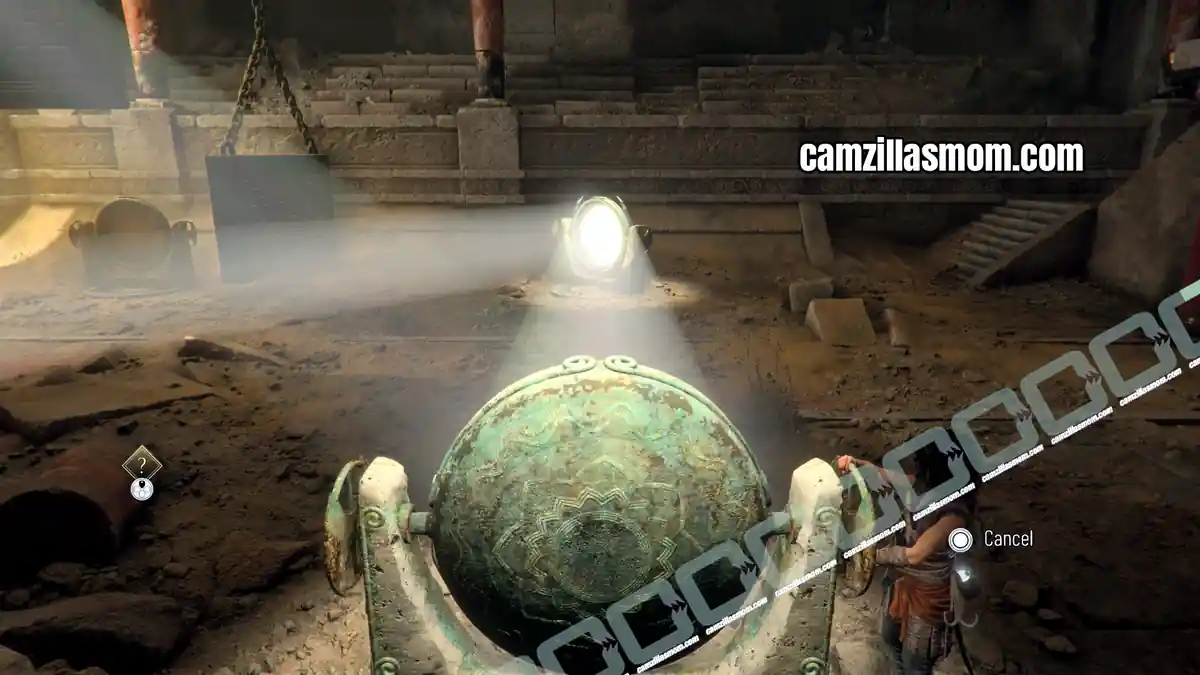
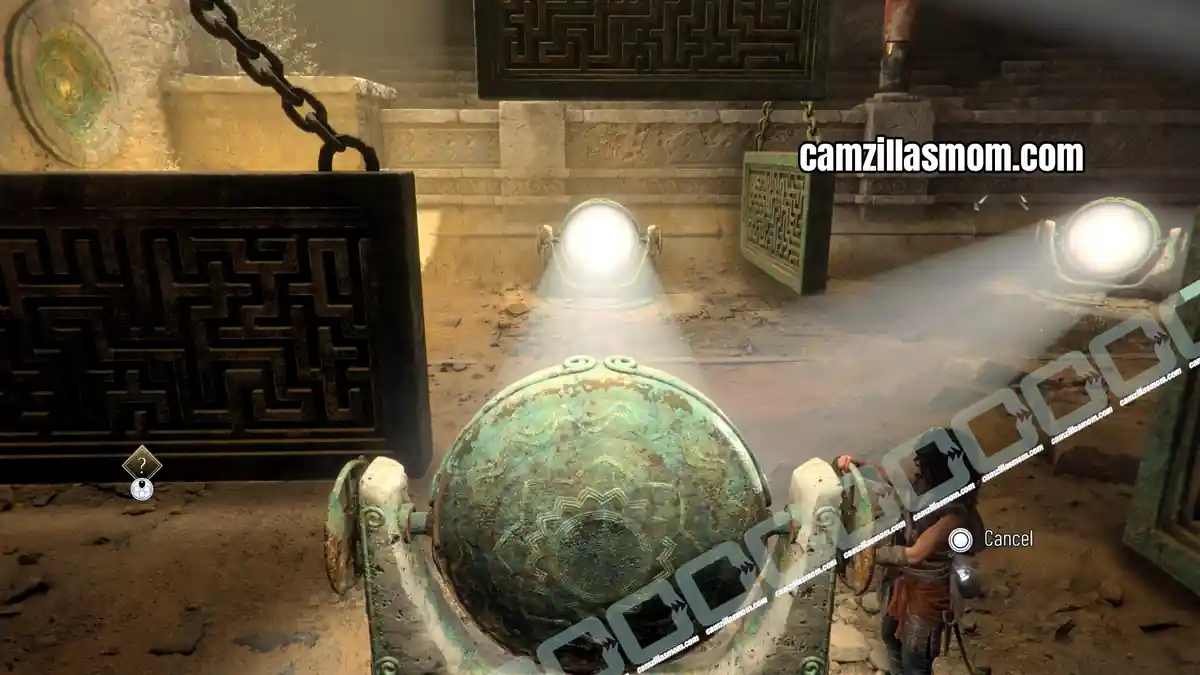
The fourth mirror has to be directed to the door to open it.
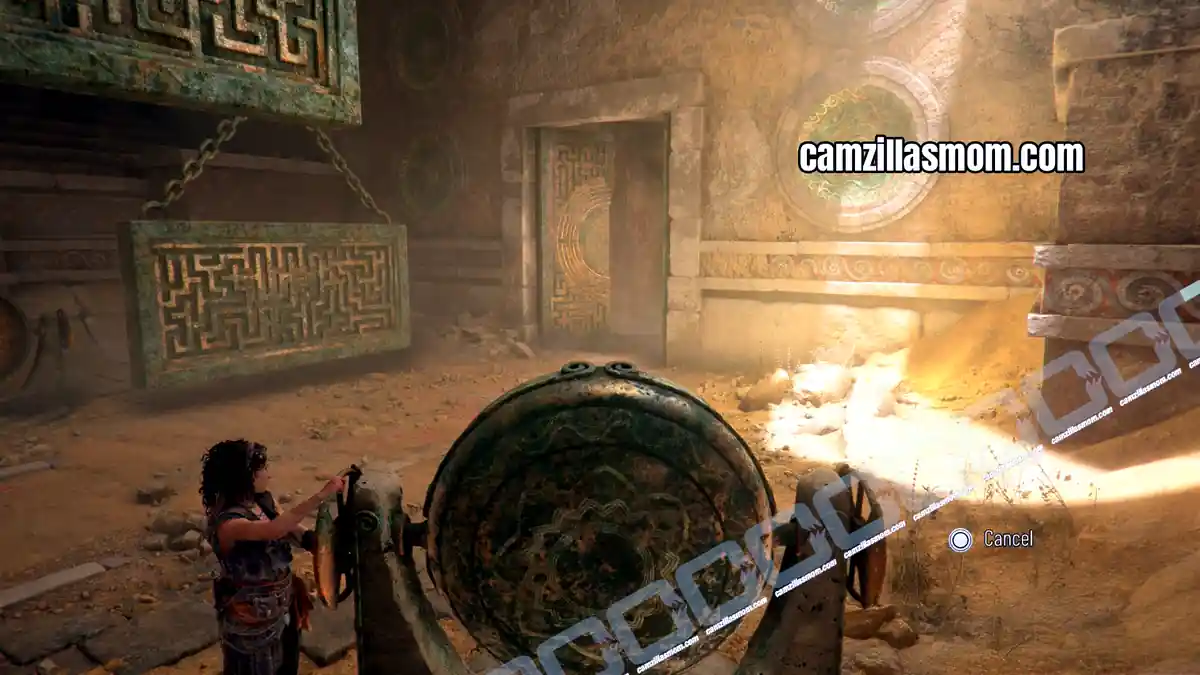
Go through the door and find the next passage underneath the rubble at the end of the corridor. The soldiers have already reached the other side and are moving downwards through the corridors.
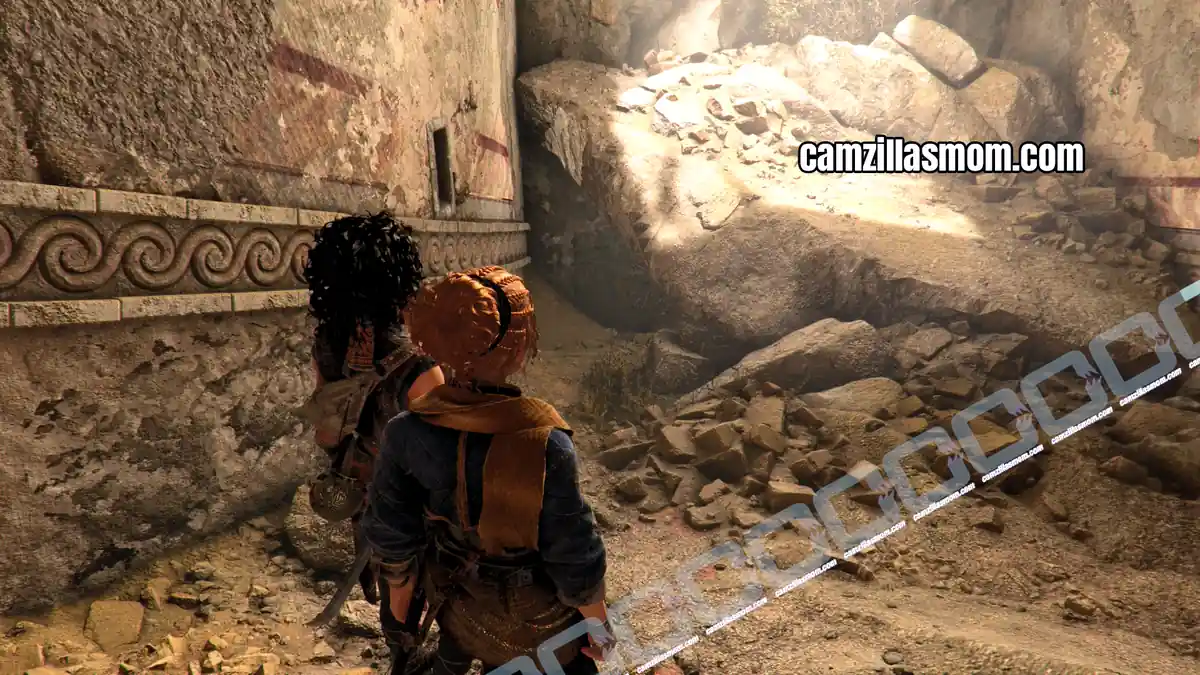
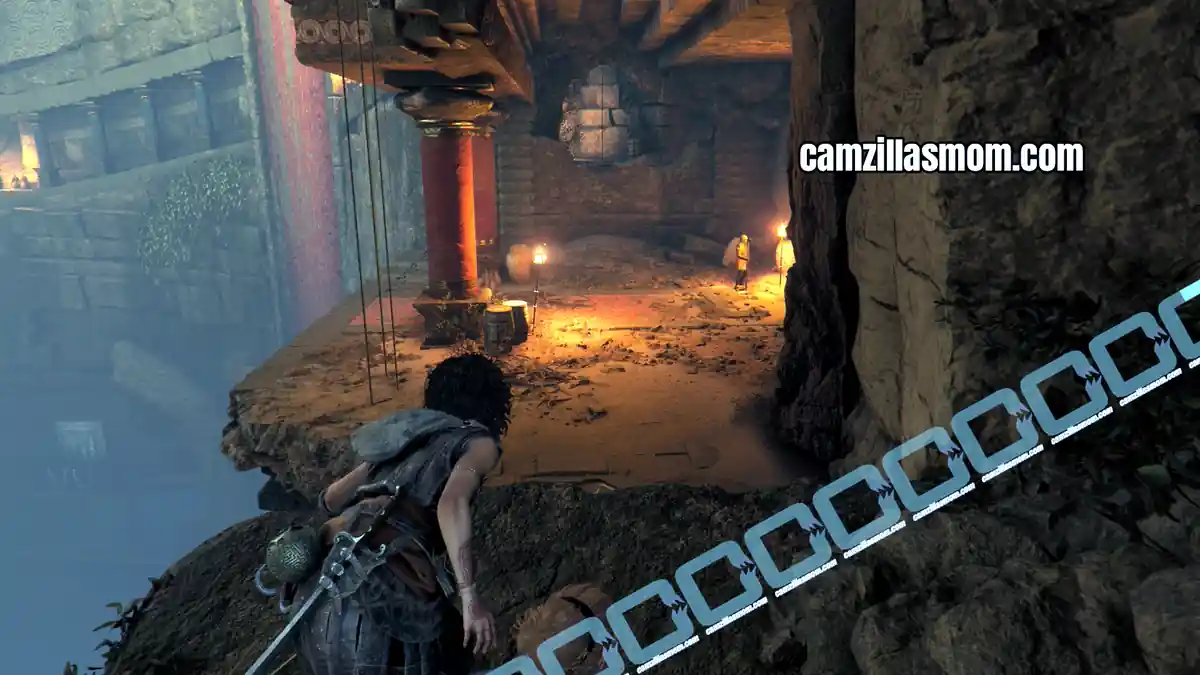
Defeat the soldiers here and interact with the door to open it.
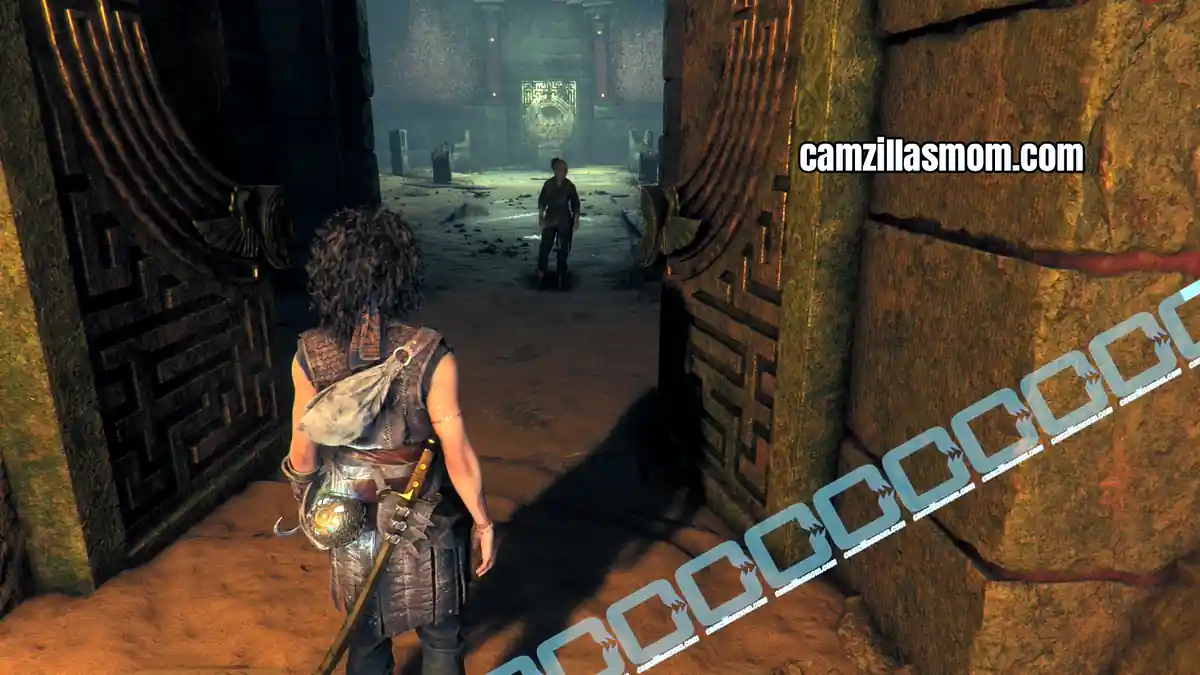
Third Puzzle Solution
Chapter step: Progress Through the Trial
This is another “Light Reveal” Puzzle. Press the R1 Button on PS5 to see the light paths, showing a maze.
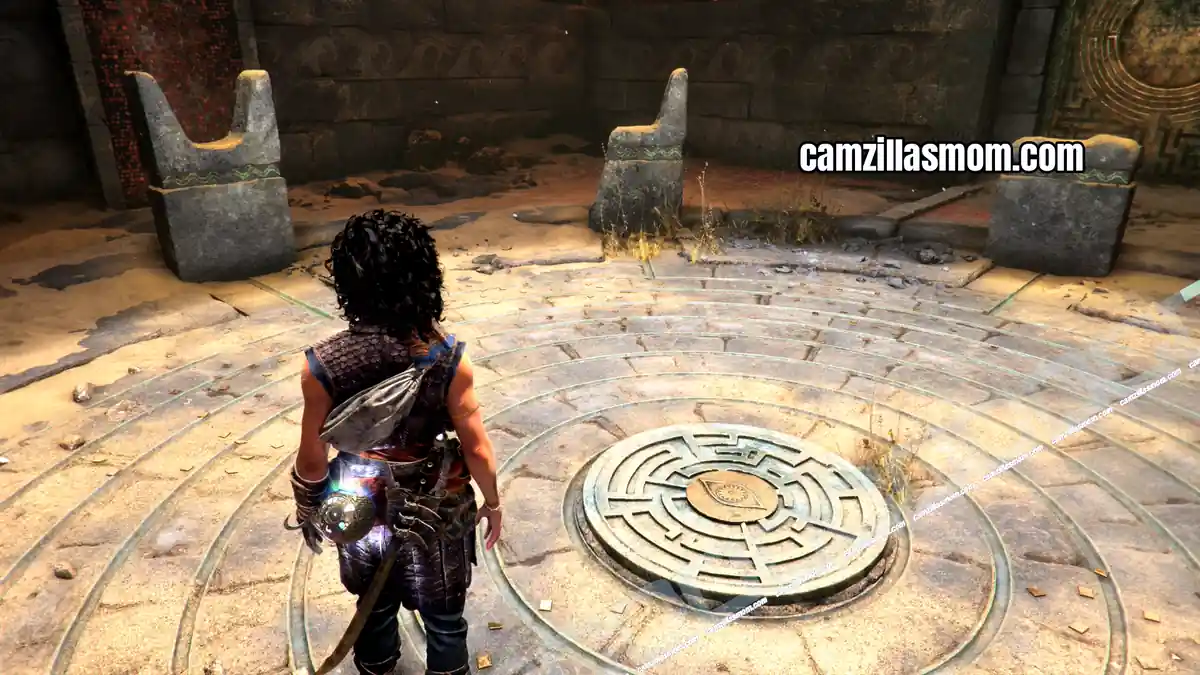
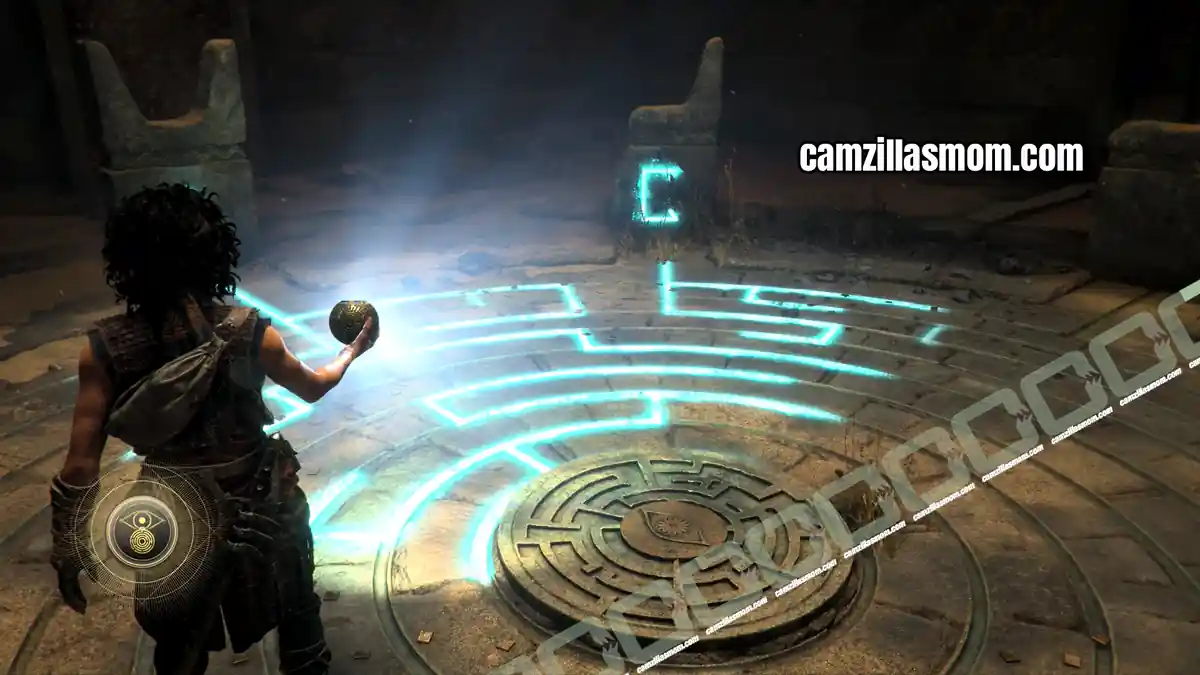
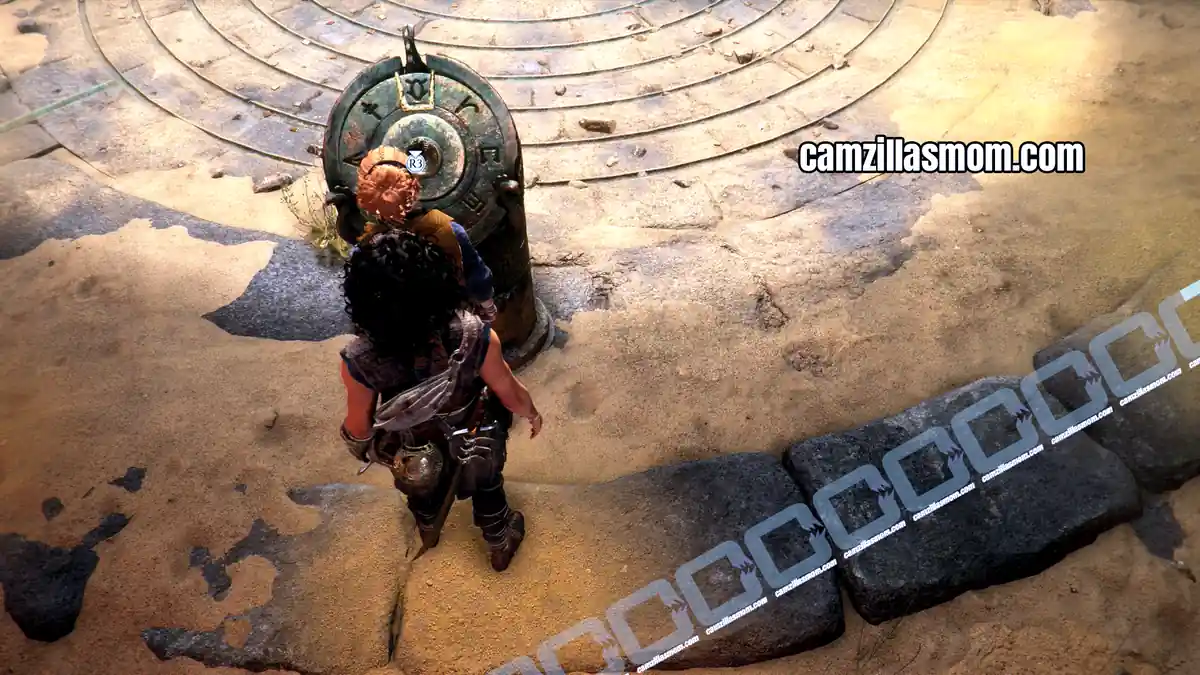
The left pedestal has to be set to “O” and the right pedestal to “t” to open the door.
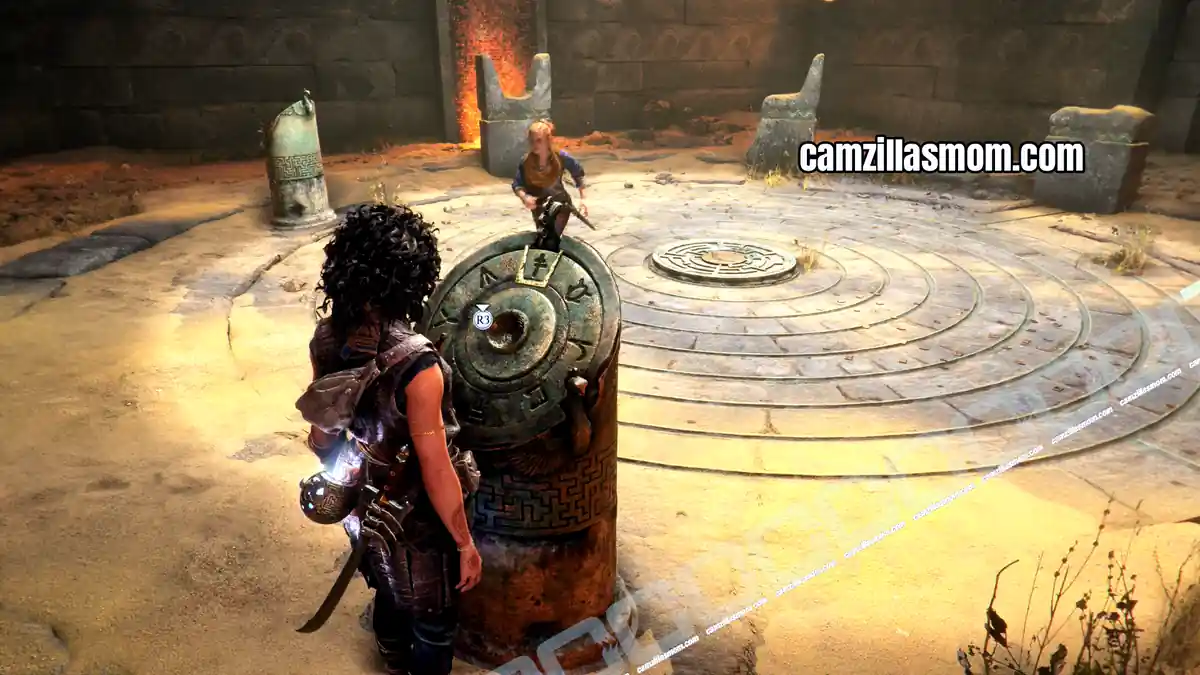
2 Resonance Points
Chapter step: Progress Through the Trial
As you try to get through the now open door, soldiers will attack. Defeat them to receive 2 Resonance Points.
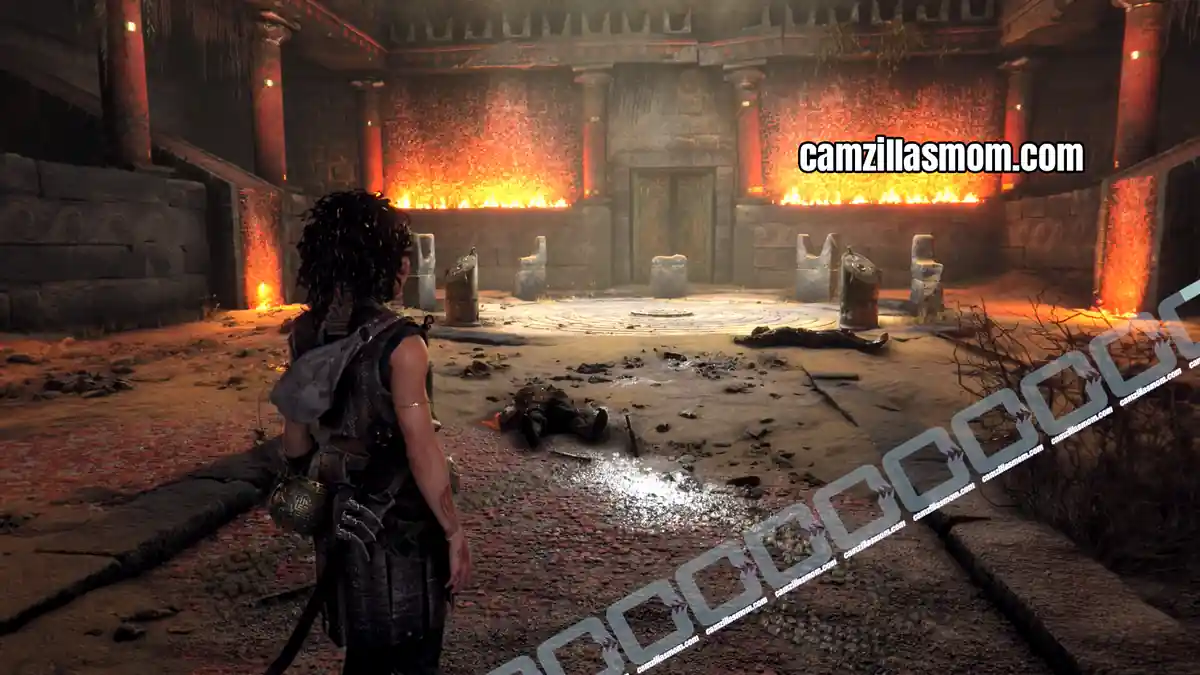
Now Sophia can pass through the open door to the next, cave like area. Follow the path down into a dark cave at the bottom.
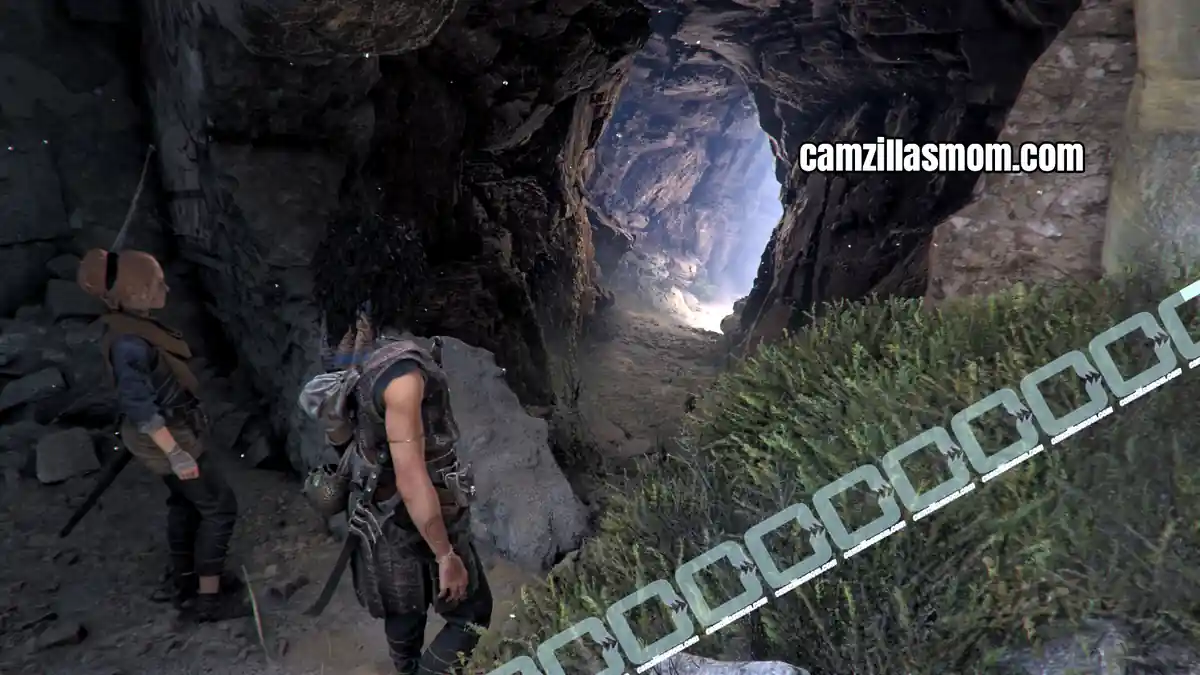
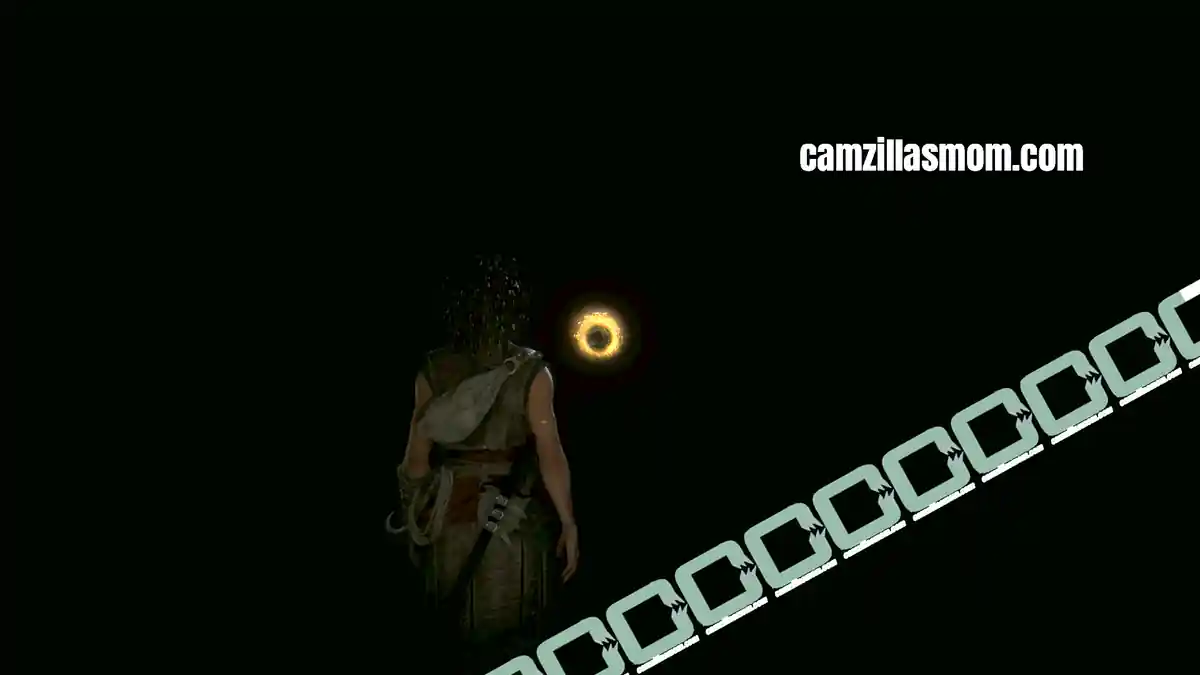
Resonance Point
Chapter step: Progress Through the Trial
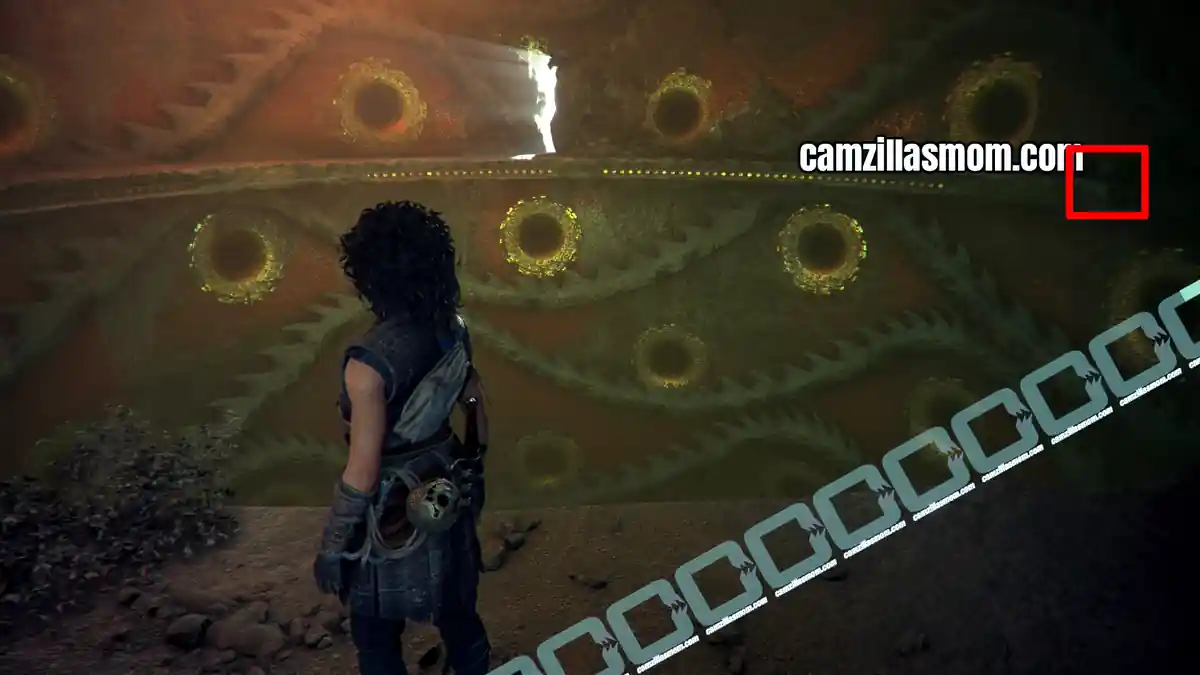
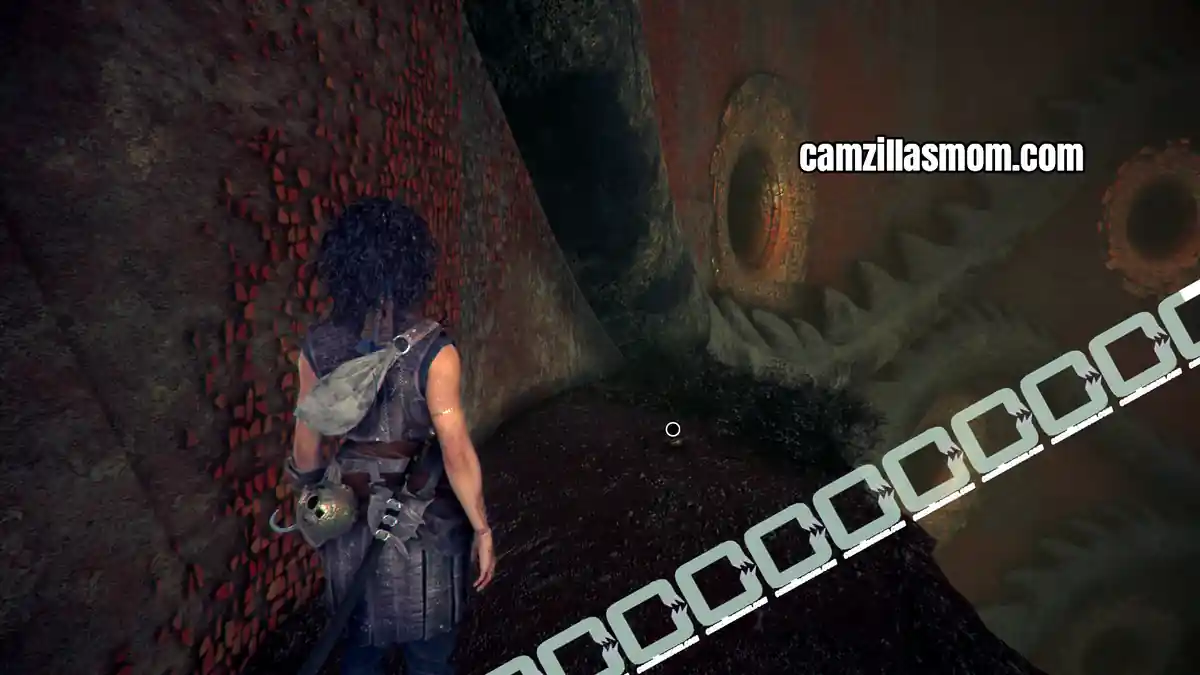
Follow the light, the scary golden hole feature from Sophia’s nightmares. Leni will pull her out of it, after arriving in a round room filled with these golden holes. Follow the path to the left to the very end, past the gap that leads outside, and you will find a resonance point.
Resonance Point
Chapter step: Progress Through the Trial
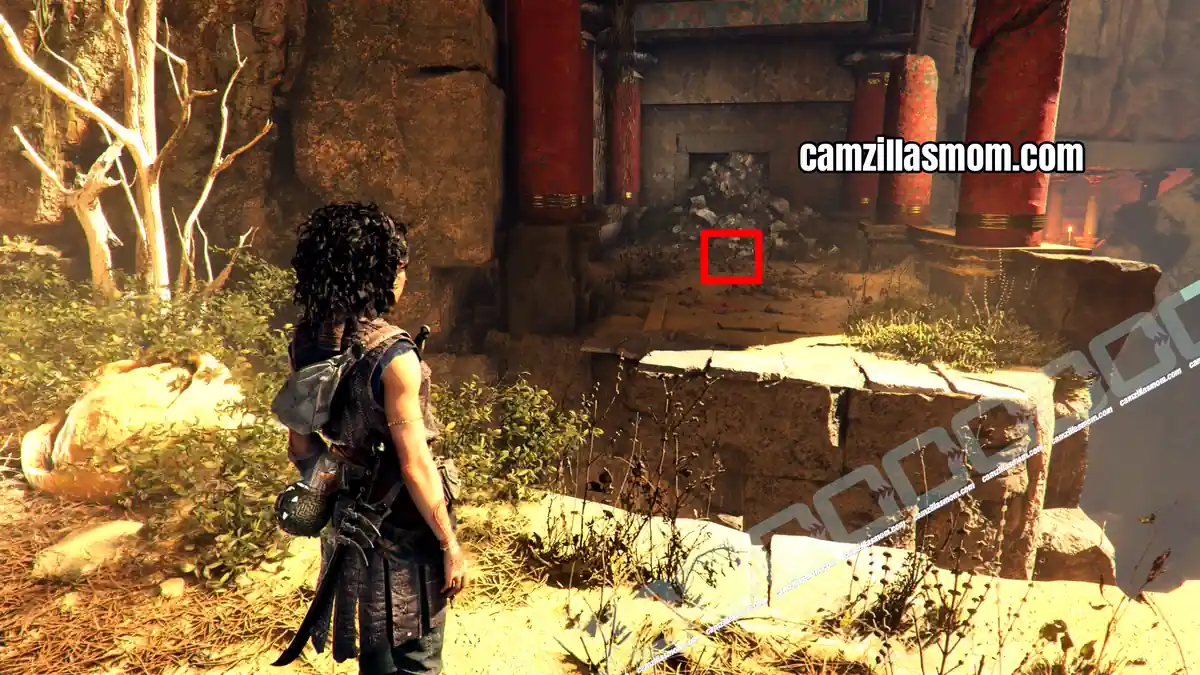
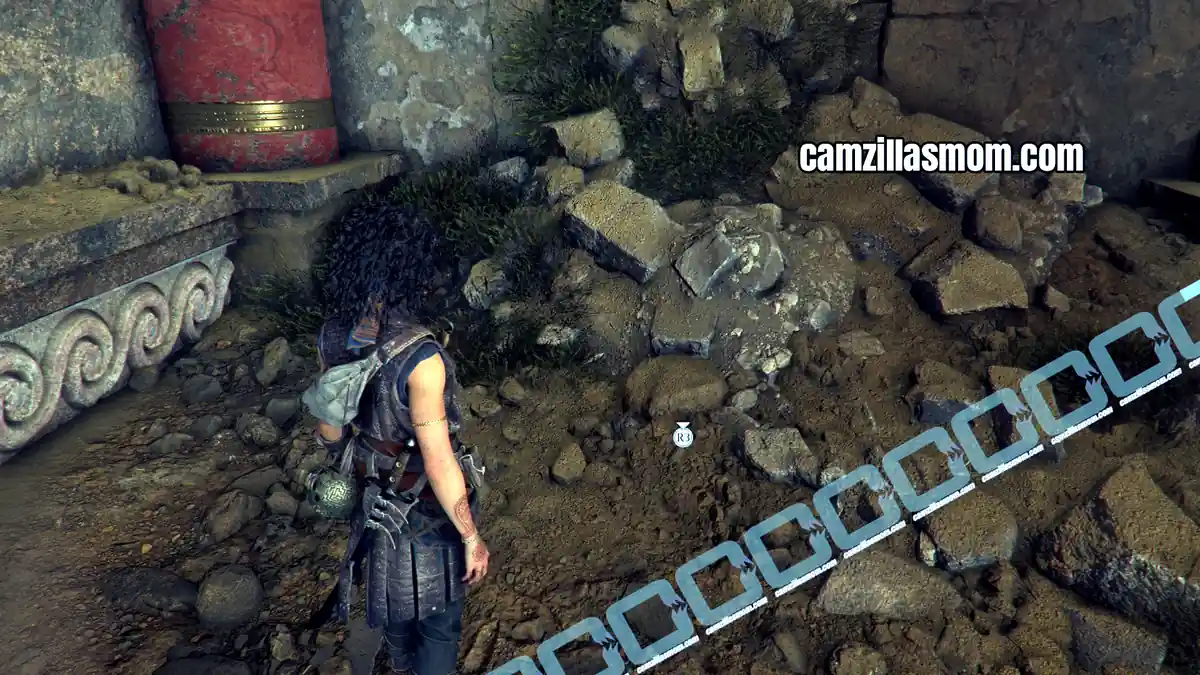
Exit the room through the lit gap, turn left and jump across the gap. The Resonance Point is at the end, amongst the rubble.
Resonance Point
Chapter step: Progress Through the Trial
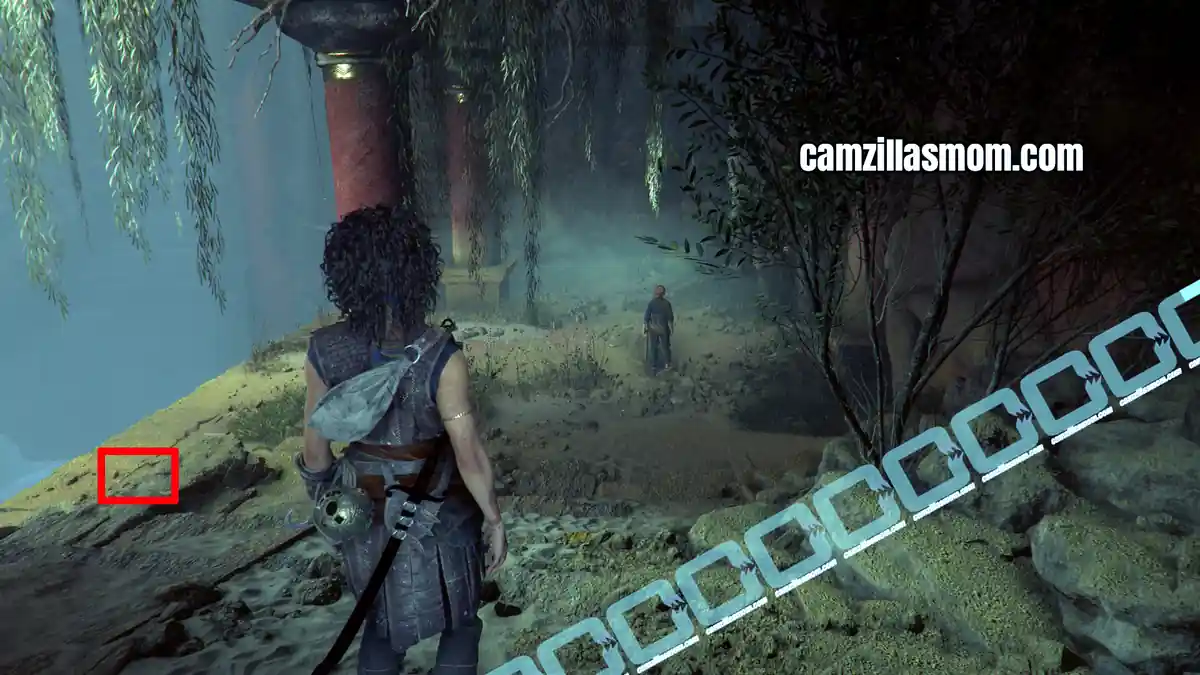
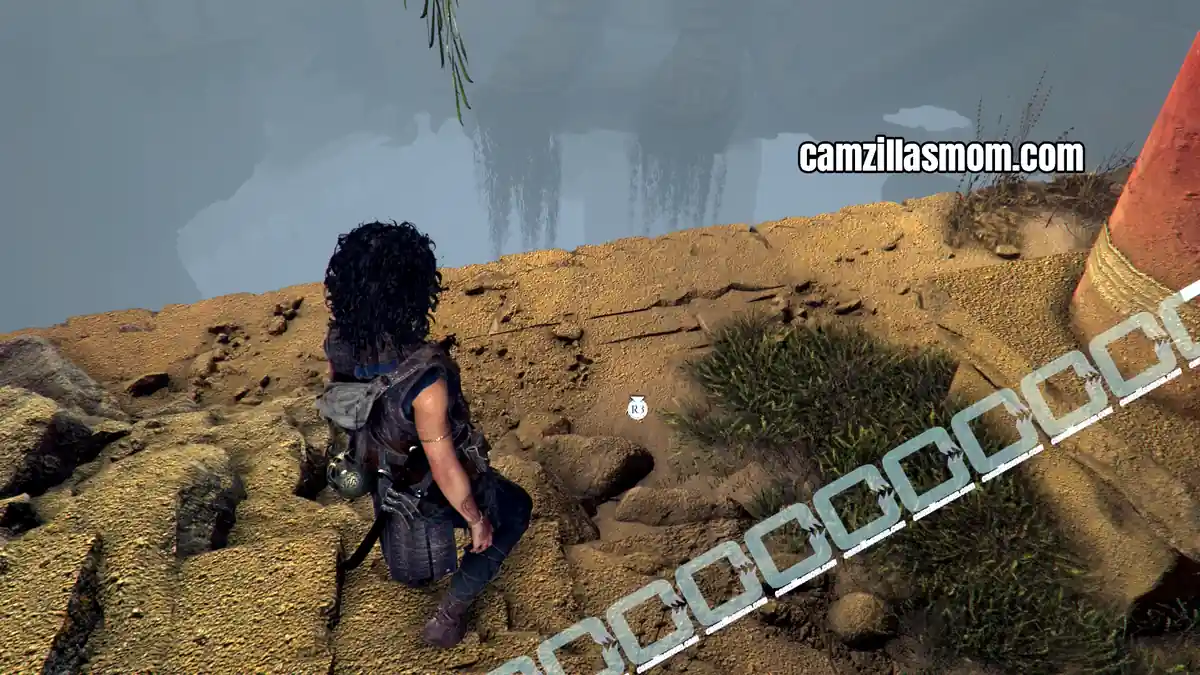
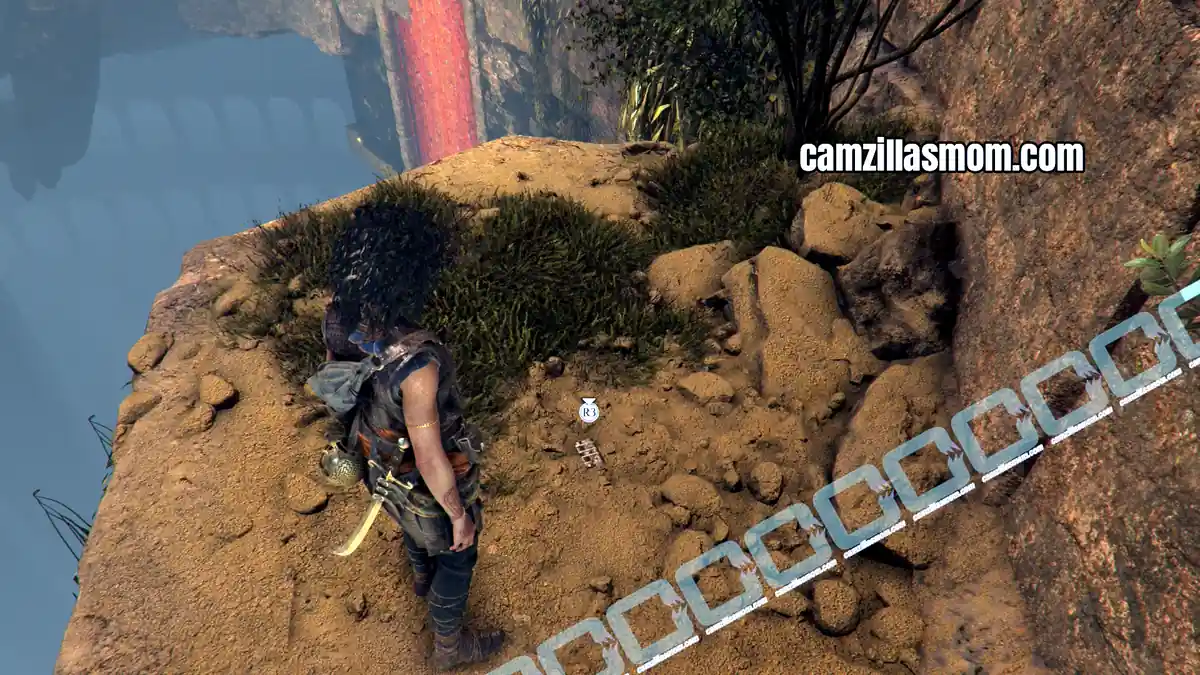
Return to the other side and follow the path down. There is another Resonance point at the bottom, by the ledge.
3 – Puzzles and Traps
Chapter step: Progress Through the Trial
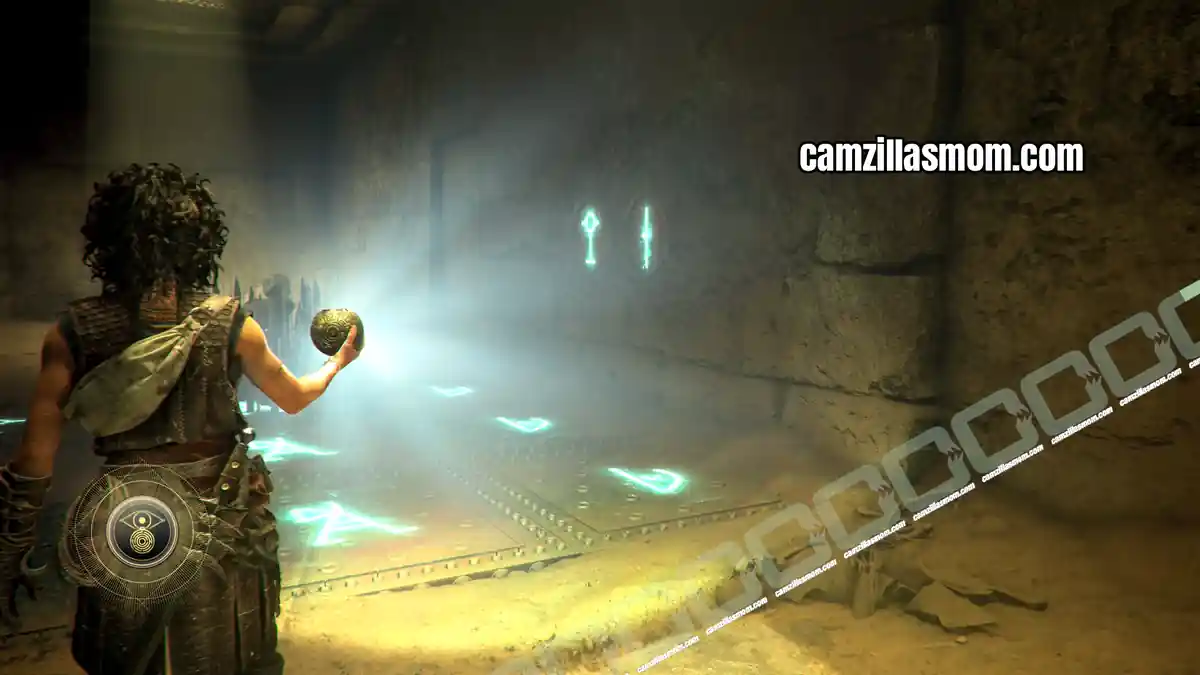
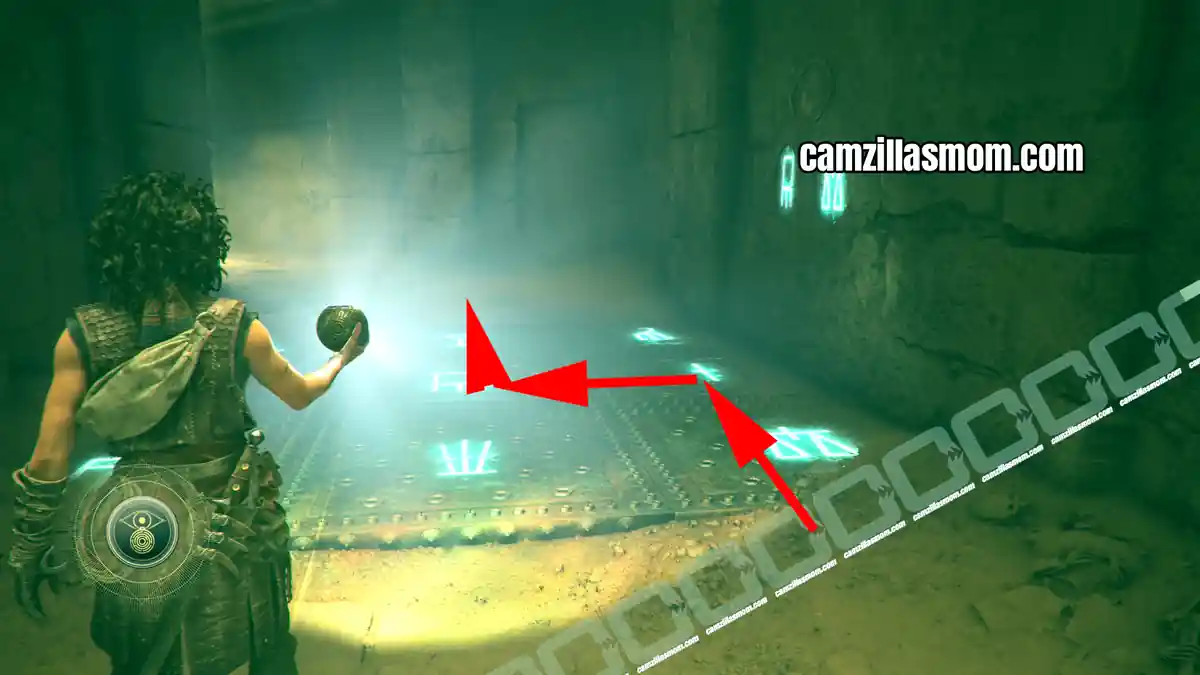
Open the nearby door to the next puzzle, spike trap platforms in the floor. Use the “Light Reveal” feature by pressing R1 on PS5 and look at the walls and the spike traps. There is only one symbol on the walls that is also on the floor. Follow this symbol. It’s the path to the left.
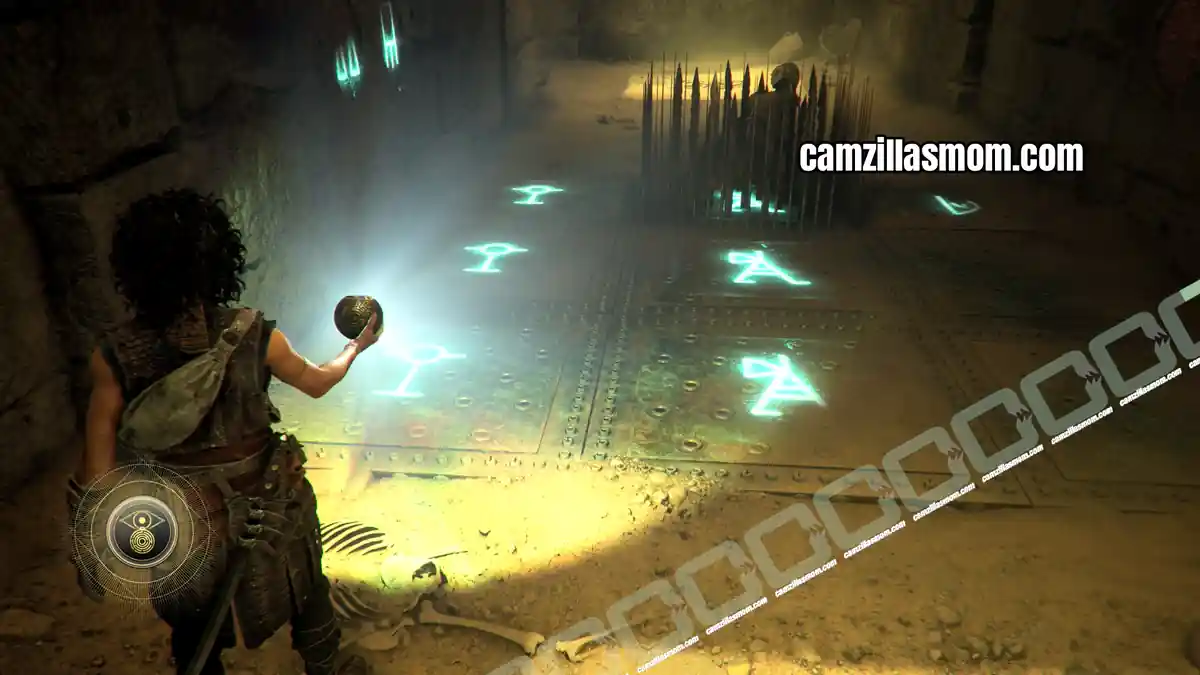
For the next spike trap section, scan the walls again. Those symbols are safe. Here’s the path to take:
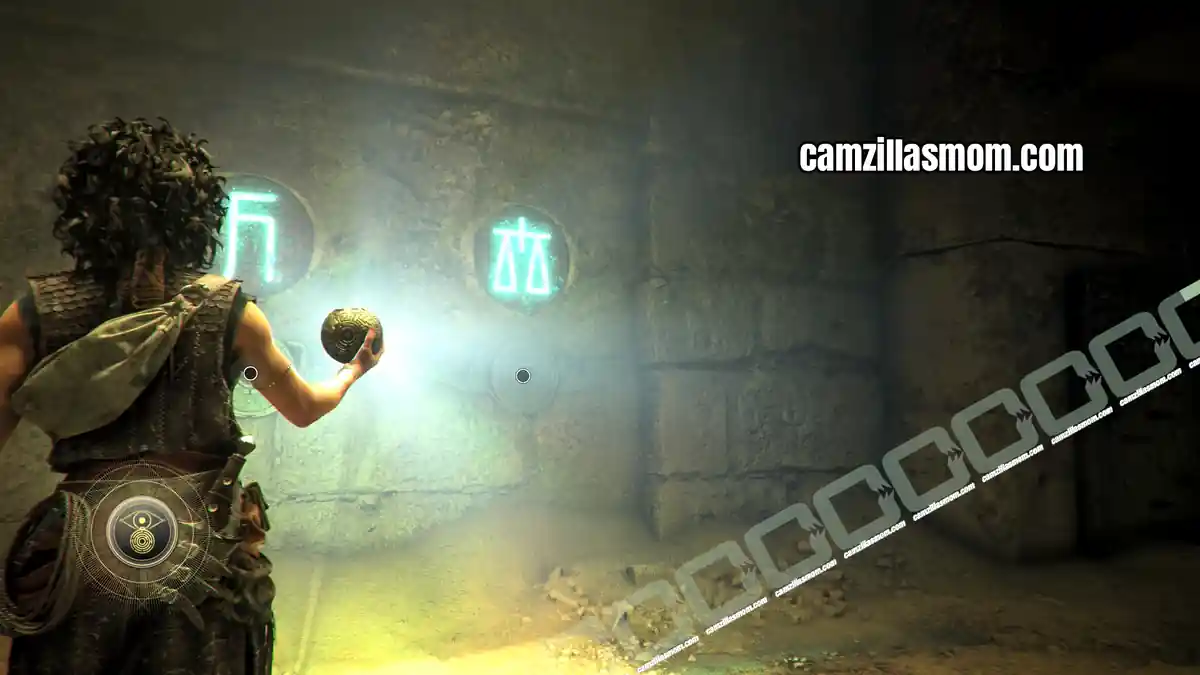
The third trap is through a corridor that is blocked by spikes coming from the walls. Use Light Reveal to see the symbols on the walls. There is only one symbol that you know is safe from the previous traps: The Scales. Interact with this slot and the trap will be disabled.
Artefact 6 – Relic of the Past: Horned Rhyton
Chapter step: Progress Through the Trial
Description:
“Imagine being spoiled enough to drink from that sort of goblet… I don’t want to think I like the taste of gold as much as other plunderers. But I do lie to myself a lot!”
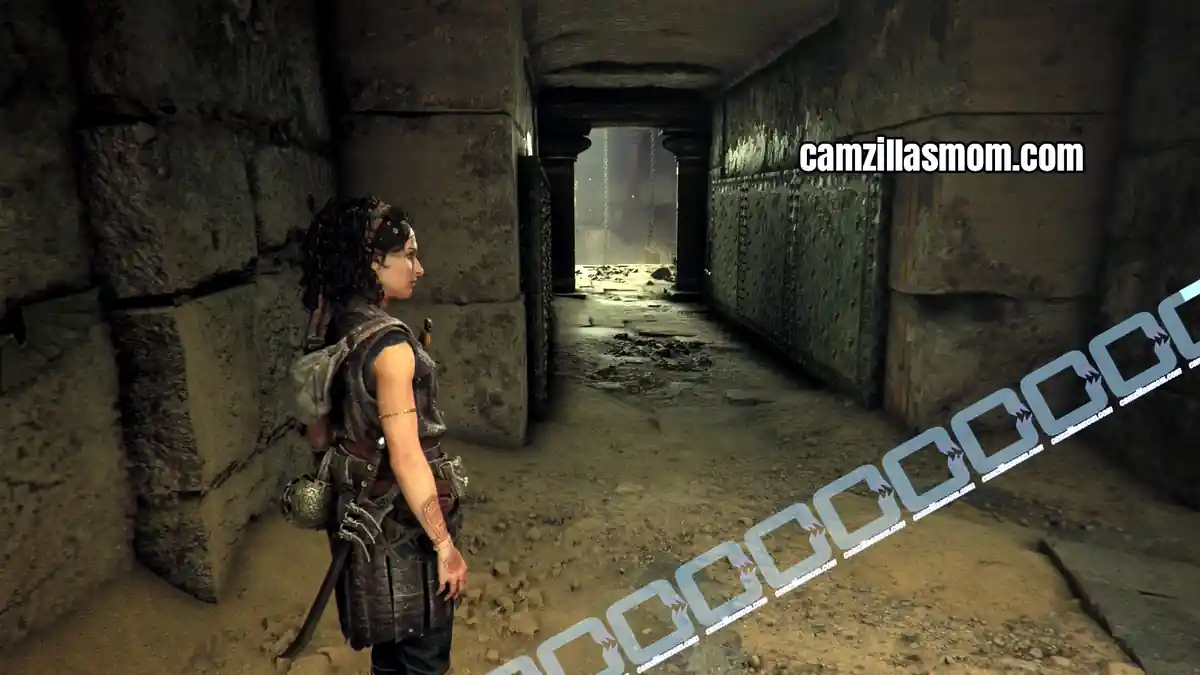
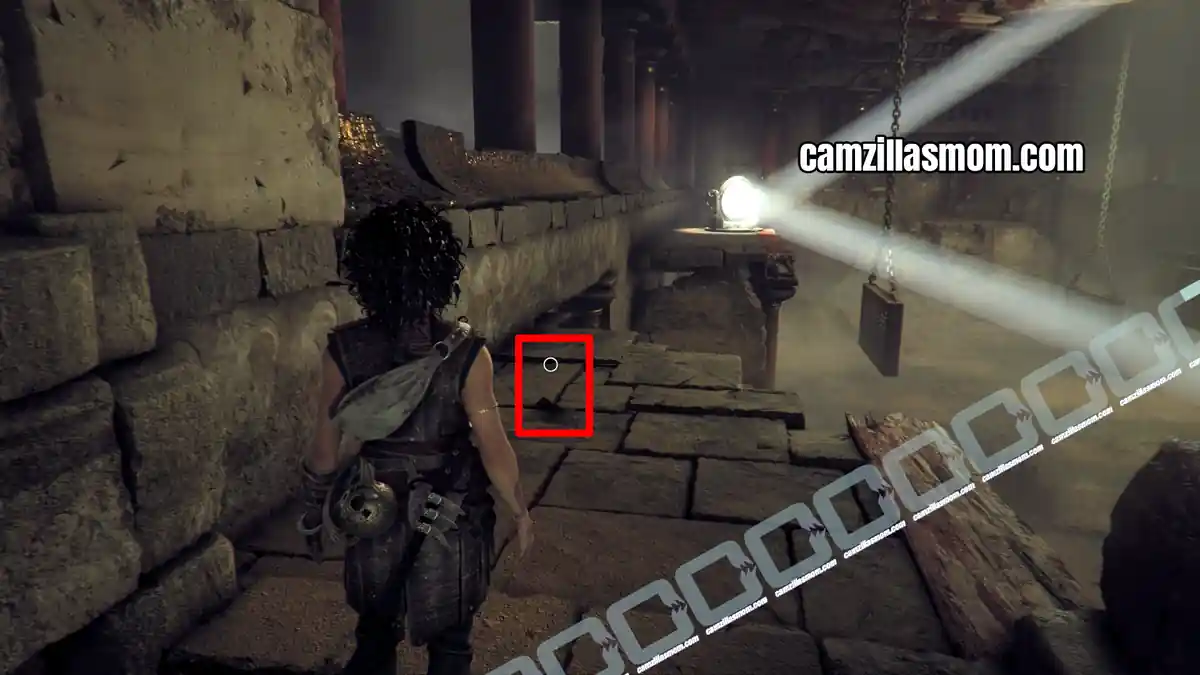
The next room has a massive spike trap and mirror puzzle. Before starting it, follow the path from the entrance to the left to find this artefact on the floor.
Mirrors & Traps Puzzle Solution
Chapter step: Progress Through the Trial
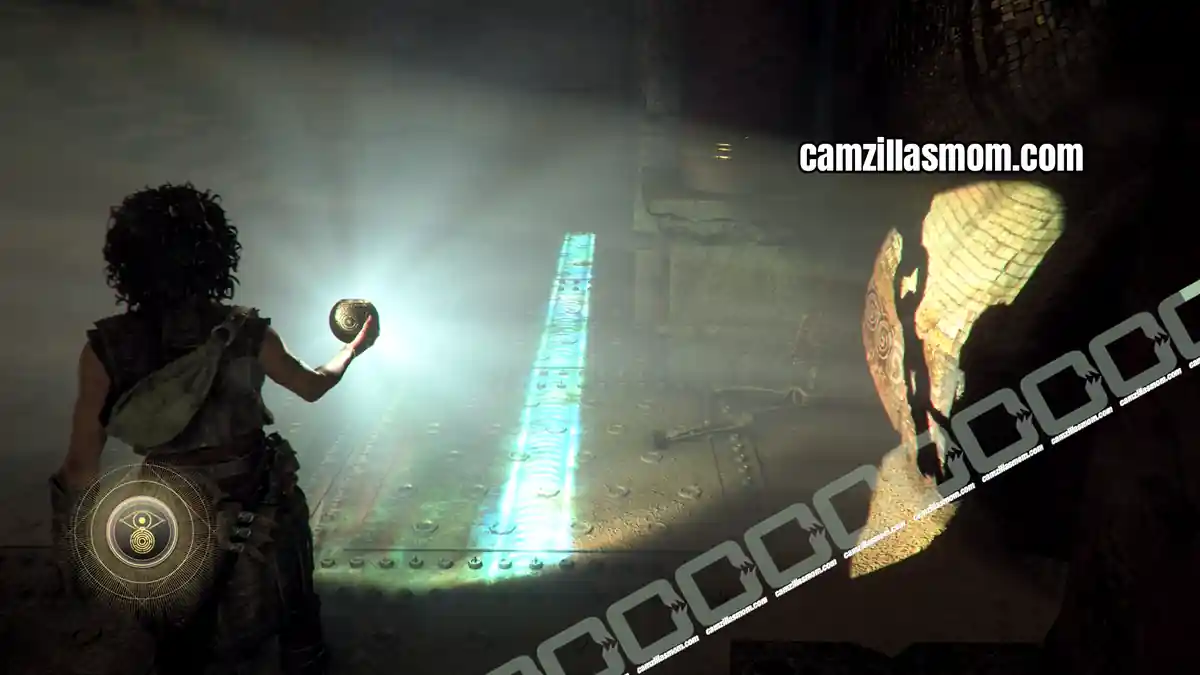
Stand in the mirror light and use Light Reveal. The correct path will be lit, but only when the mirror light is near. Help Leni climb up to the mirror so she can operate it.
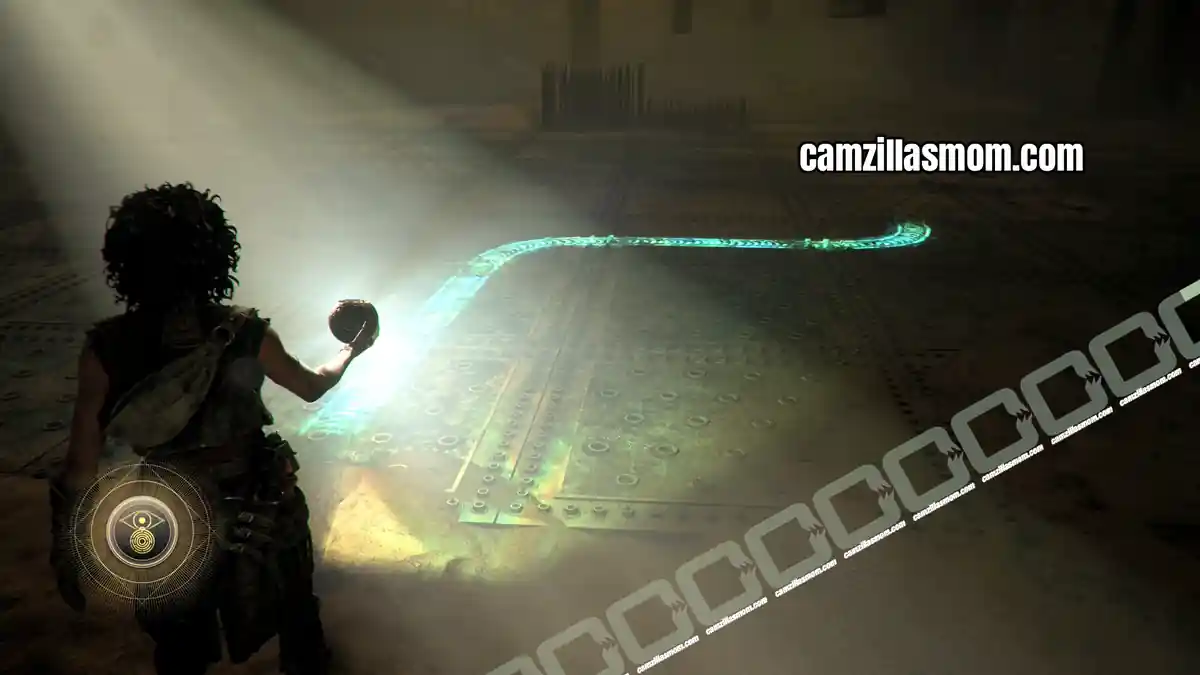
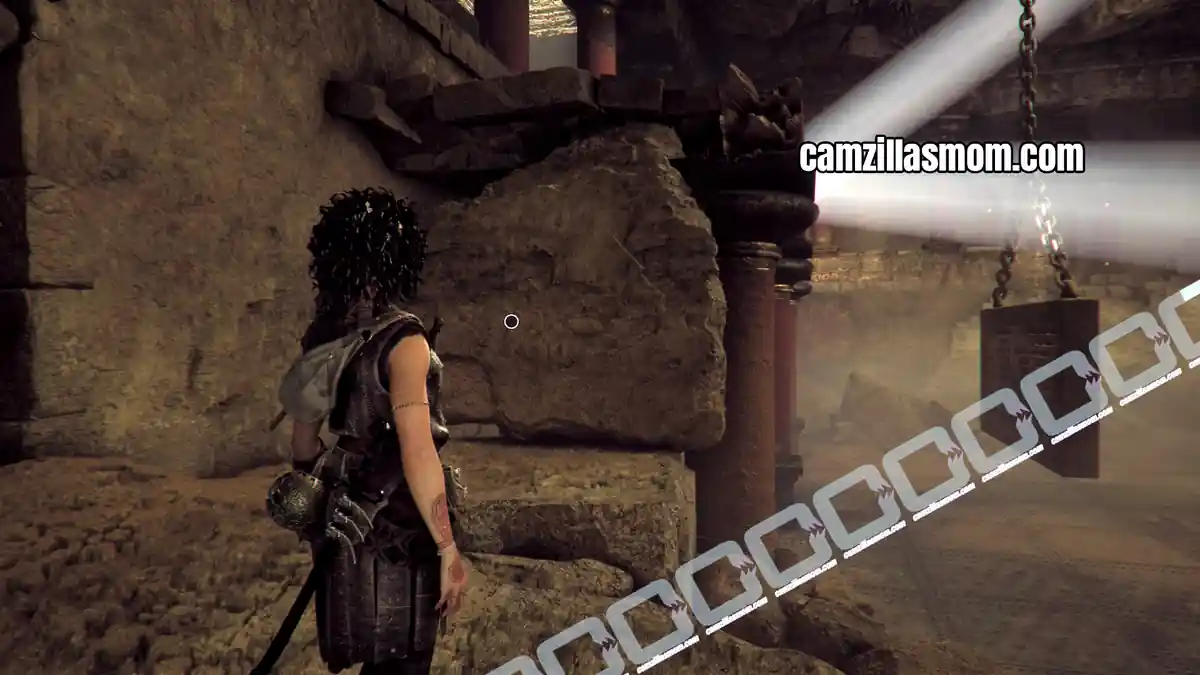
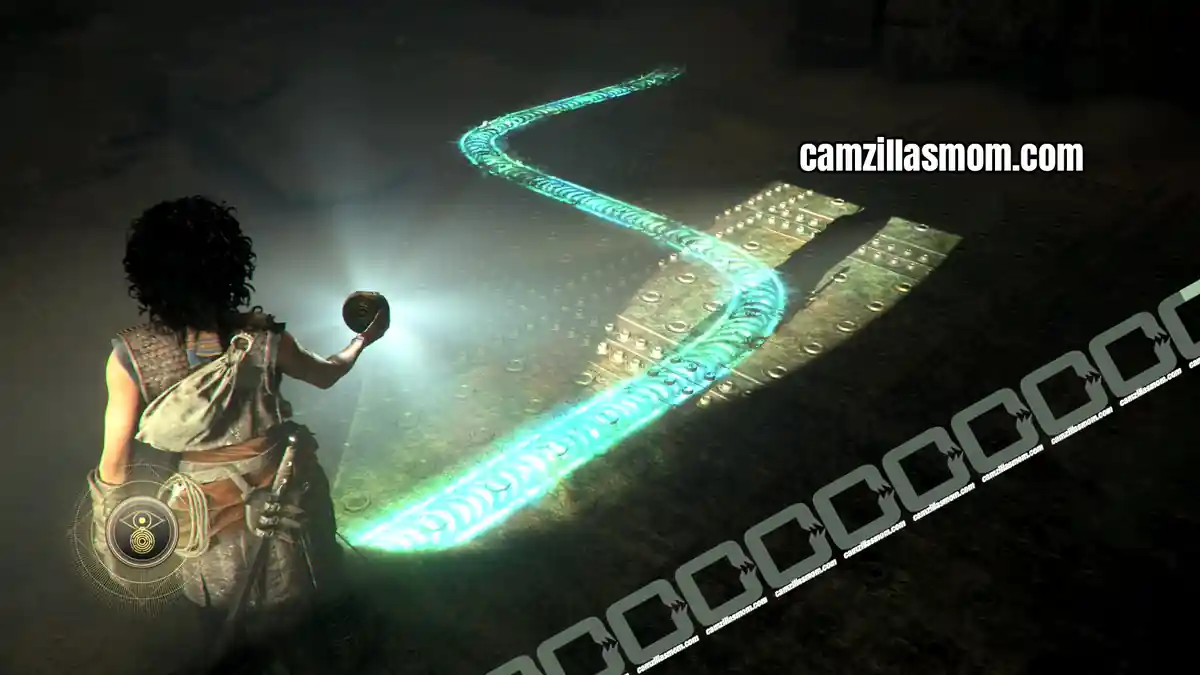
Return to the mirror light and use Light Reveal once again to see where you have to walk. Leni will move the mirror with your movements. When the wall is hiding the light, just move around the corpse on the floor and head straight away.
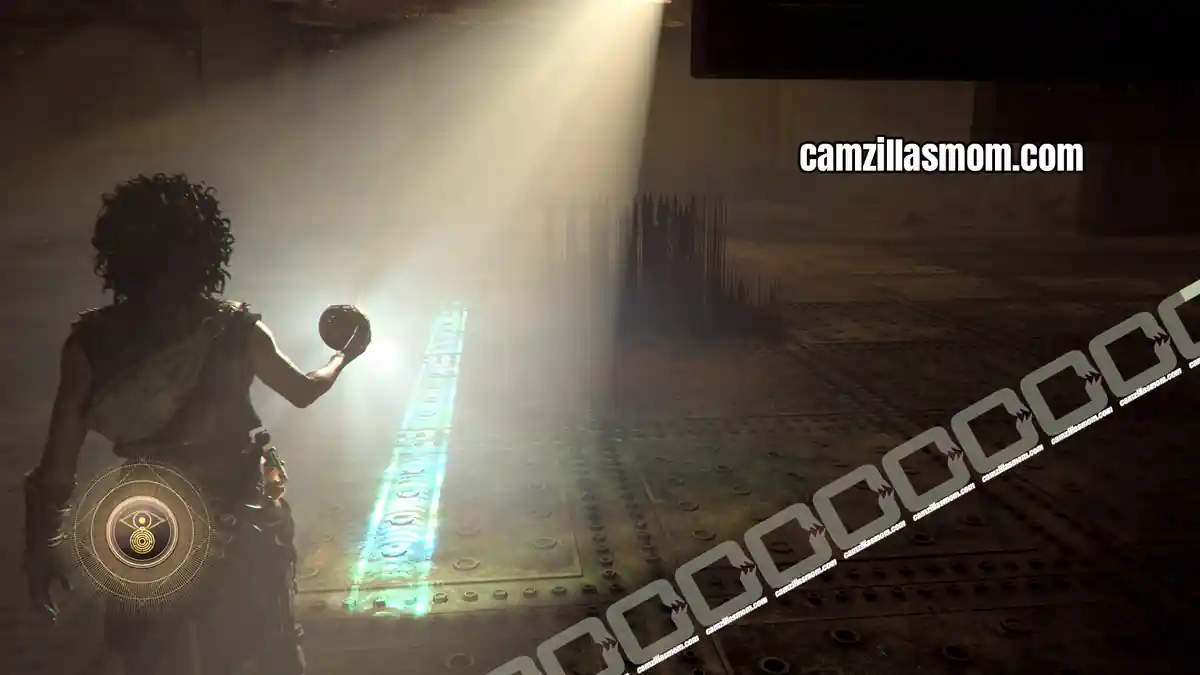
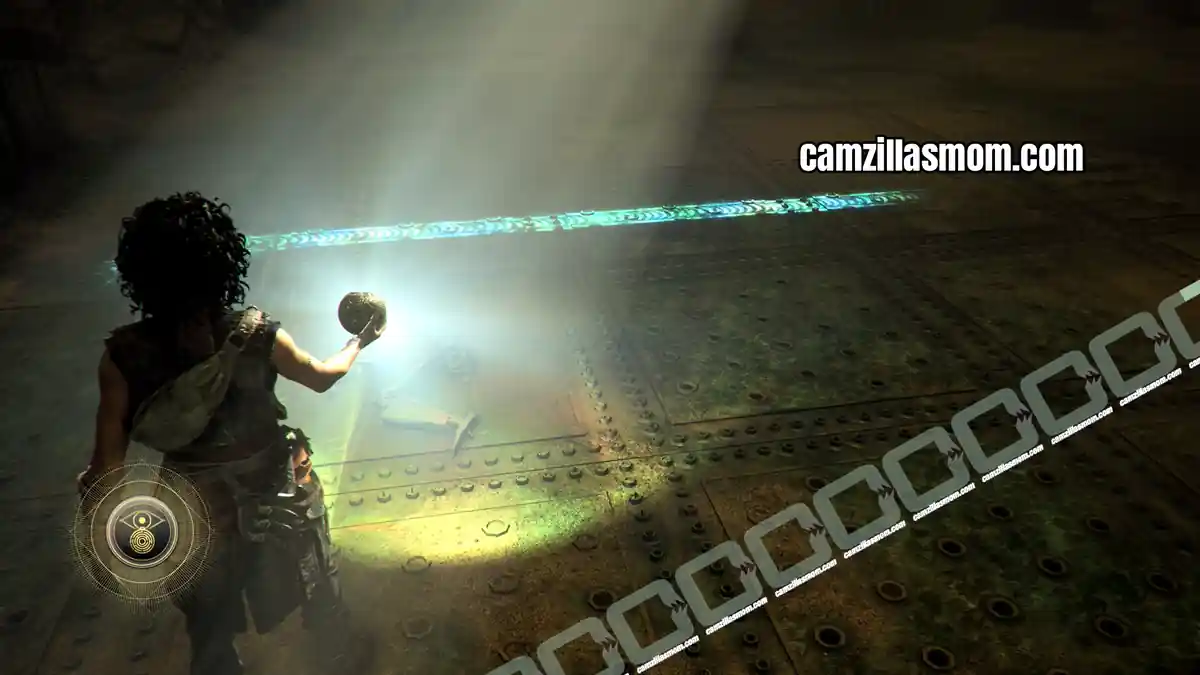
When the next wall blocks the light, head left just after the rubble on the floor.
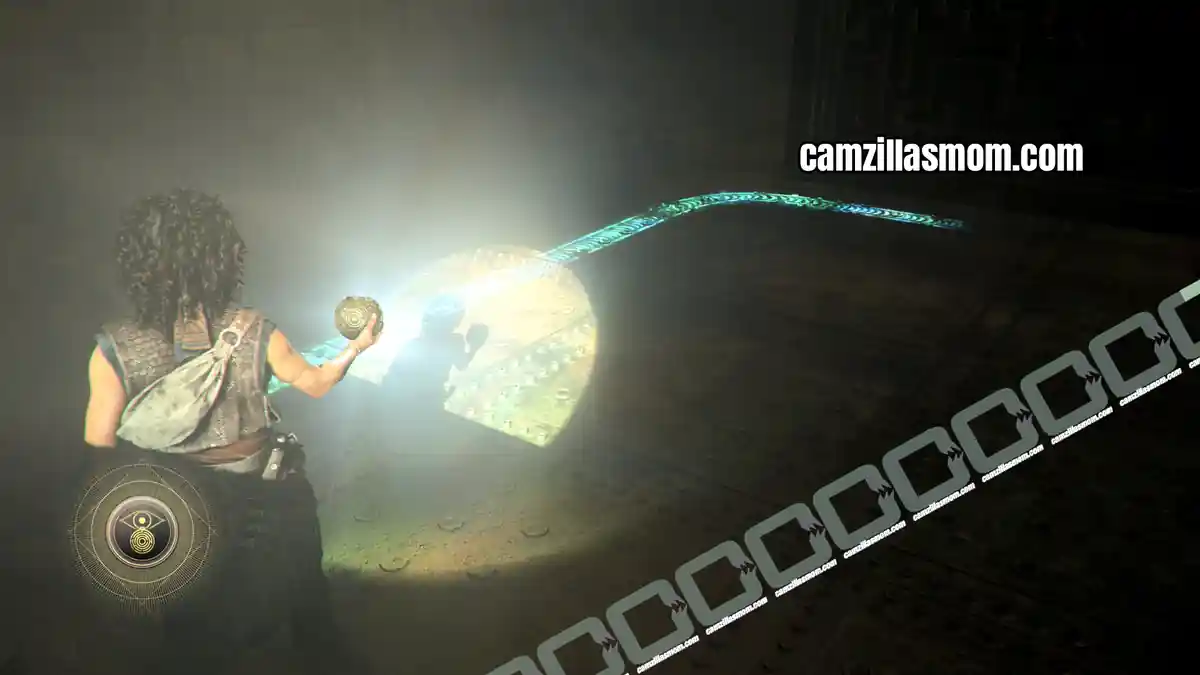
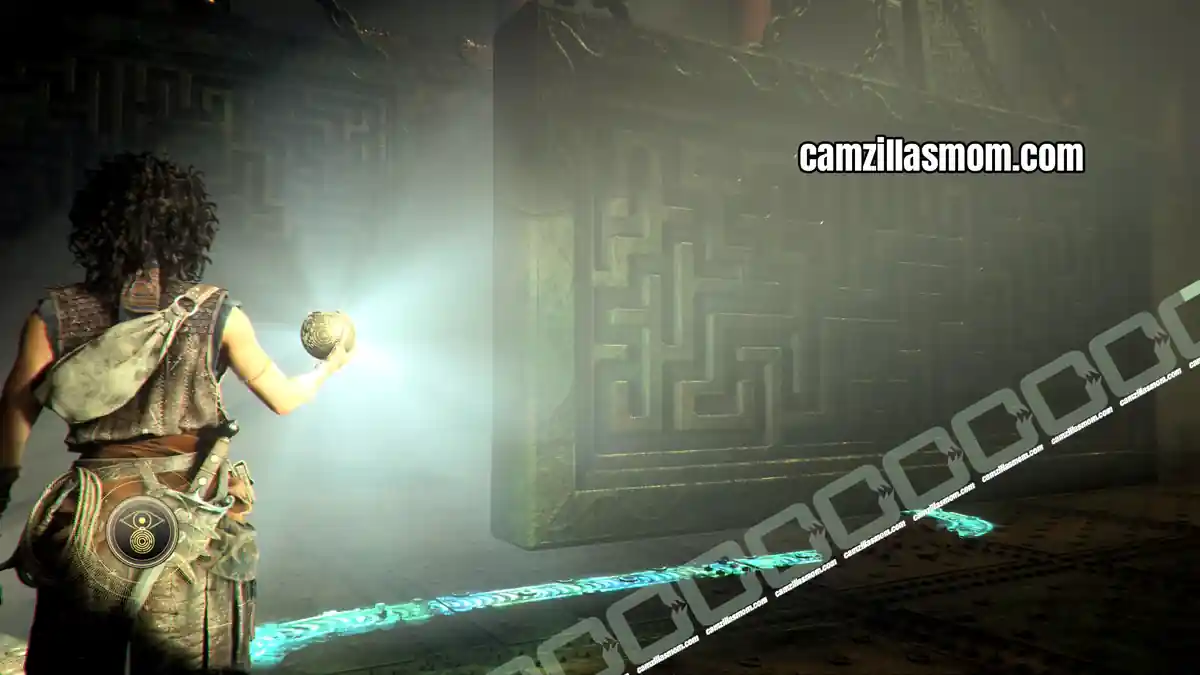
This will lead you safely to the other side.
Resonance Point
Chapter step: Progress Through the Trial
Head upstairs and turn right at the door. At the end of this small corridor is a Resonance Point.
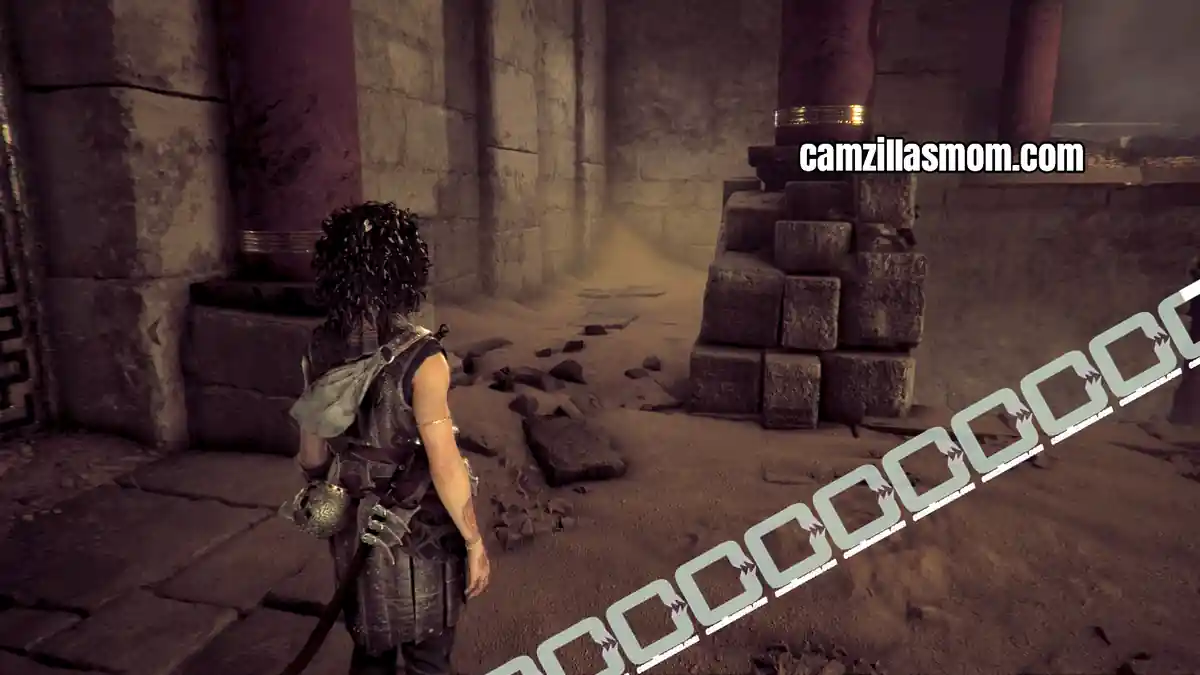
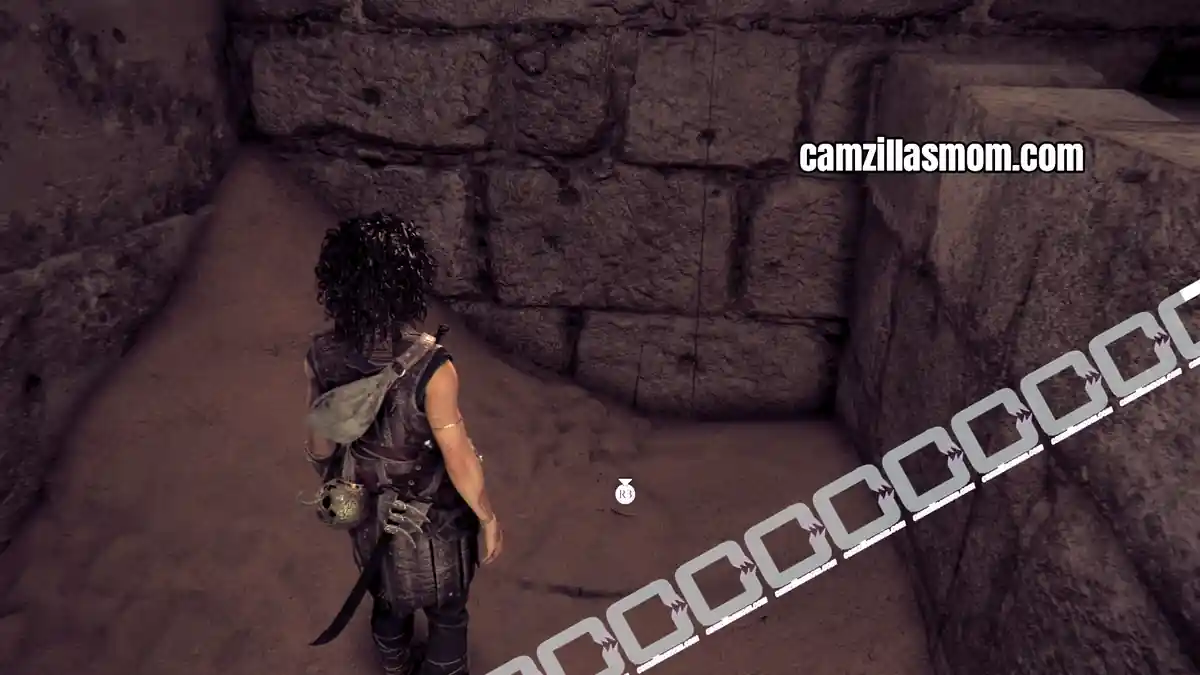
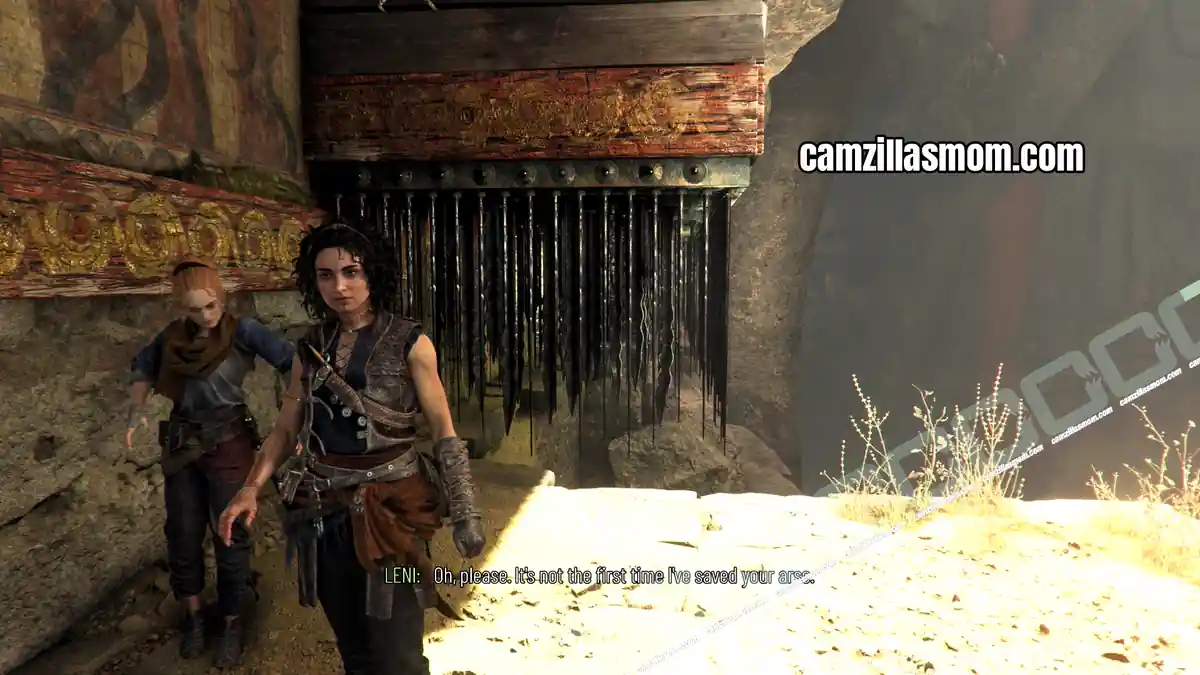
Pass through the door and corridor to reach the outside again. Run here to avoid the ceiling spike trap coming down.
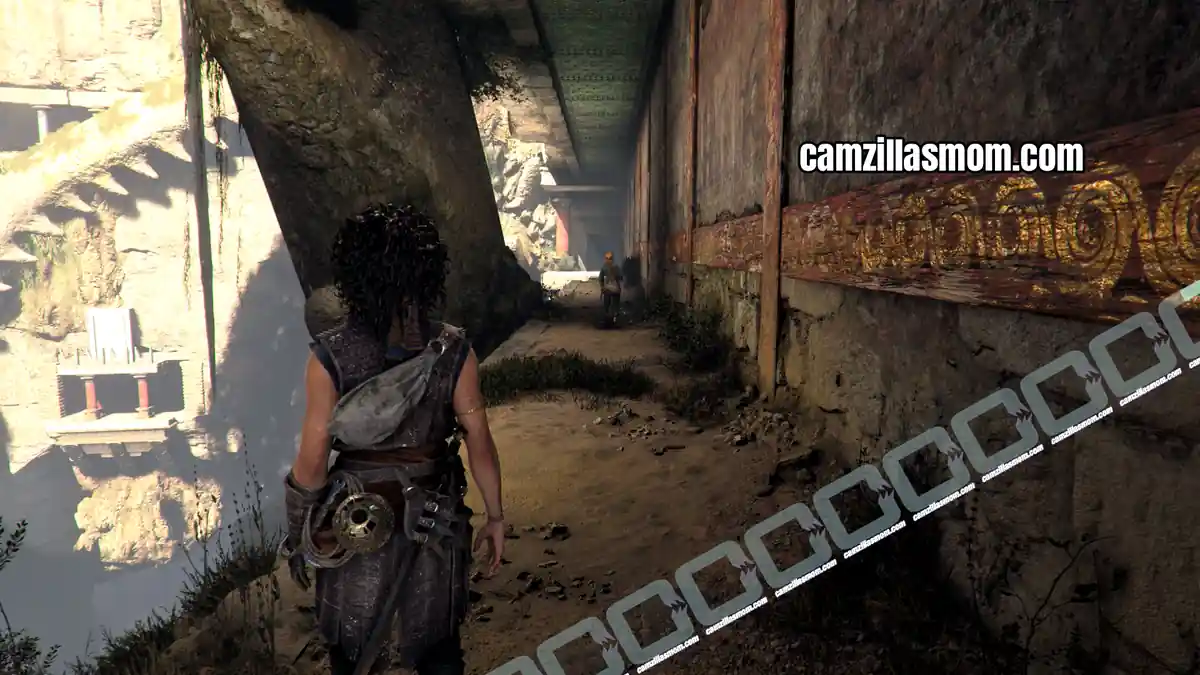
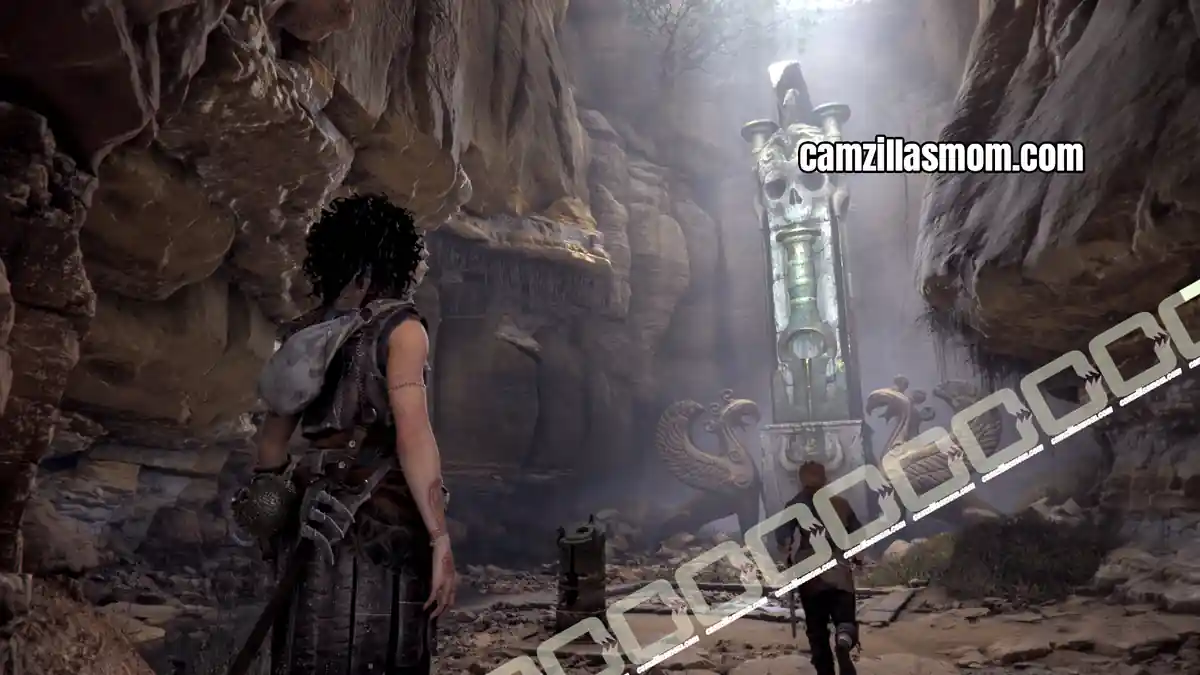
Squeeze through the gap in the small corridor ahead to reach puzzle five with a skull statue. Interact with the pedestal for the stone hatch to open with a staircase to a tomb.
Blade: Kopis
Chapter step: Progress Through the Trial
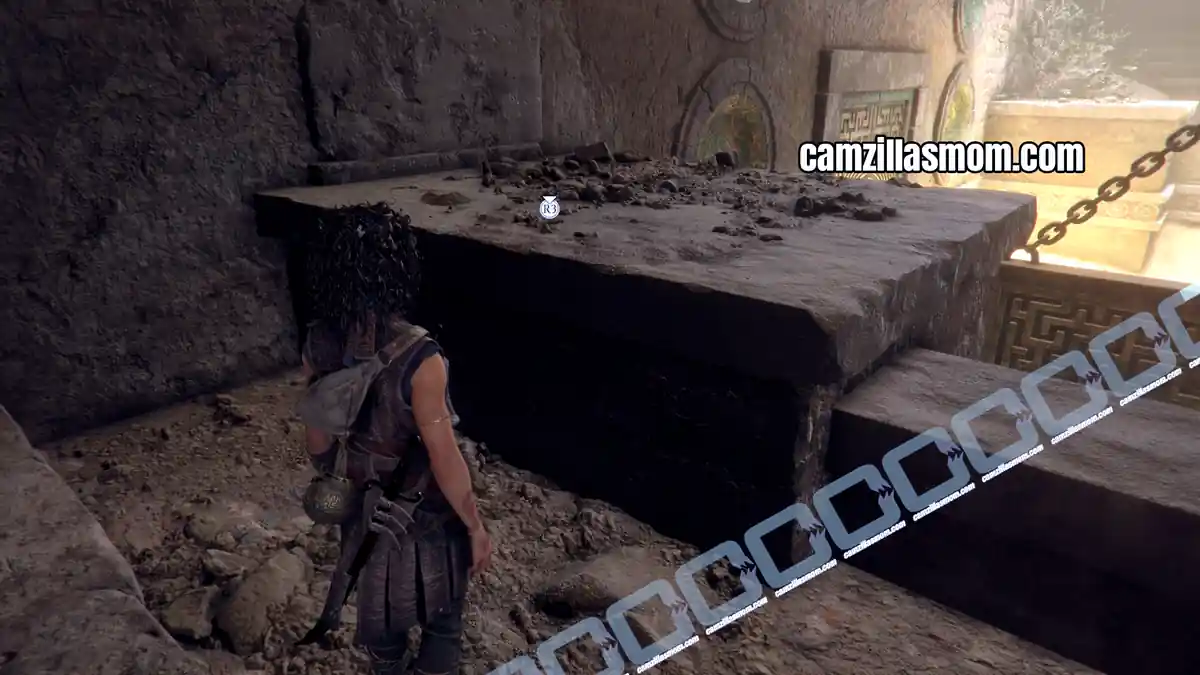
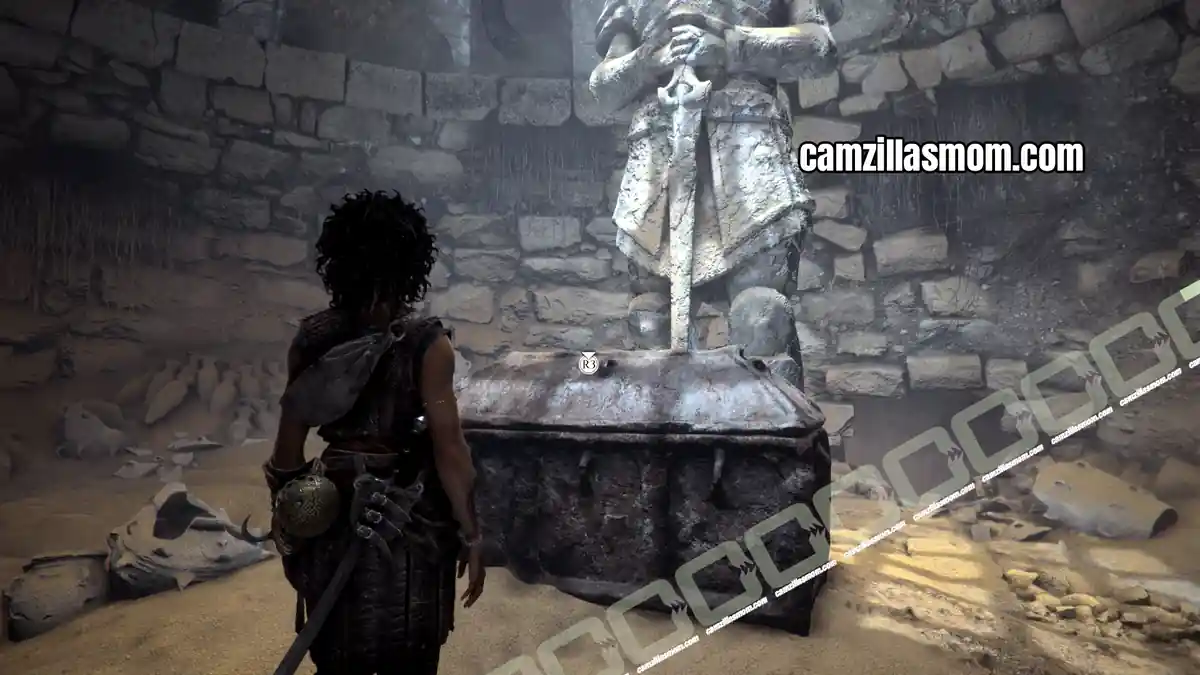
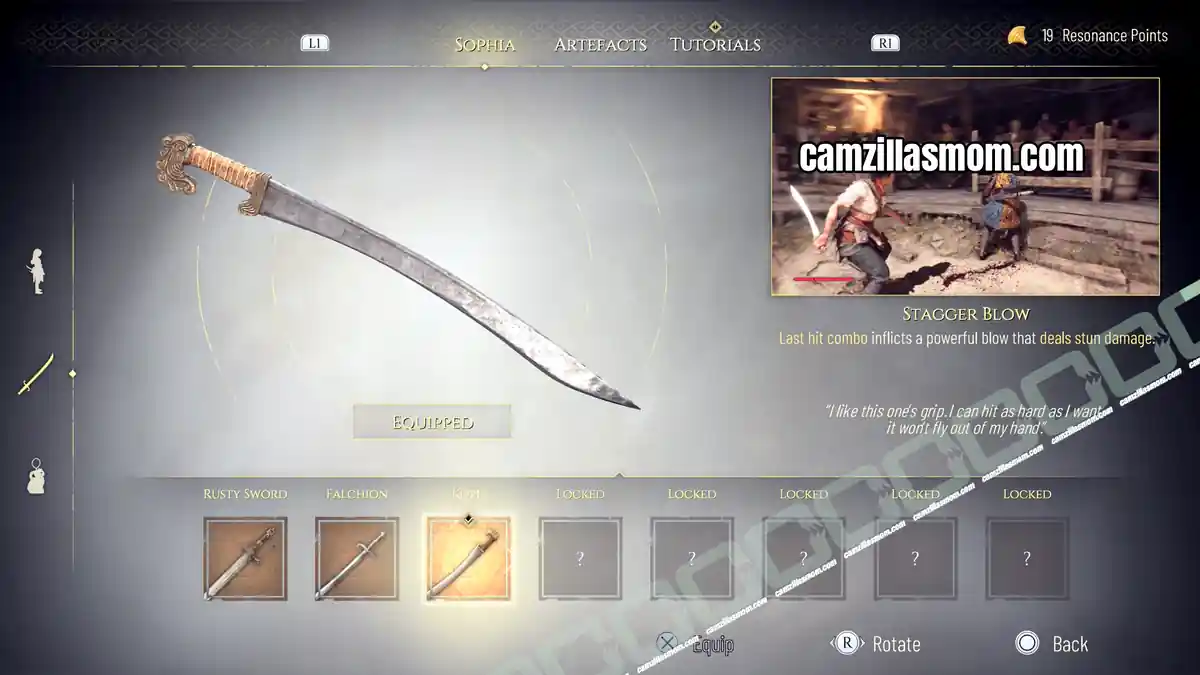
Descend into the tomb and plunder the sarcophagus for the Blade: Kopis.
Effect:
Last hit combo inflicts a powerful blow that deals stun damage.
Description:
“I like this one’s grip. I can hit as hard as I want, it won’t fly out of my hand.”
4 – At the Bottom
Chapter step: Progress Through the Trial
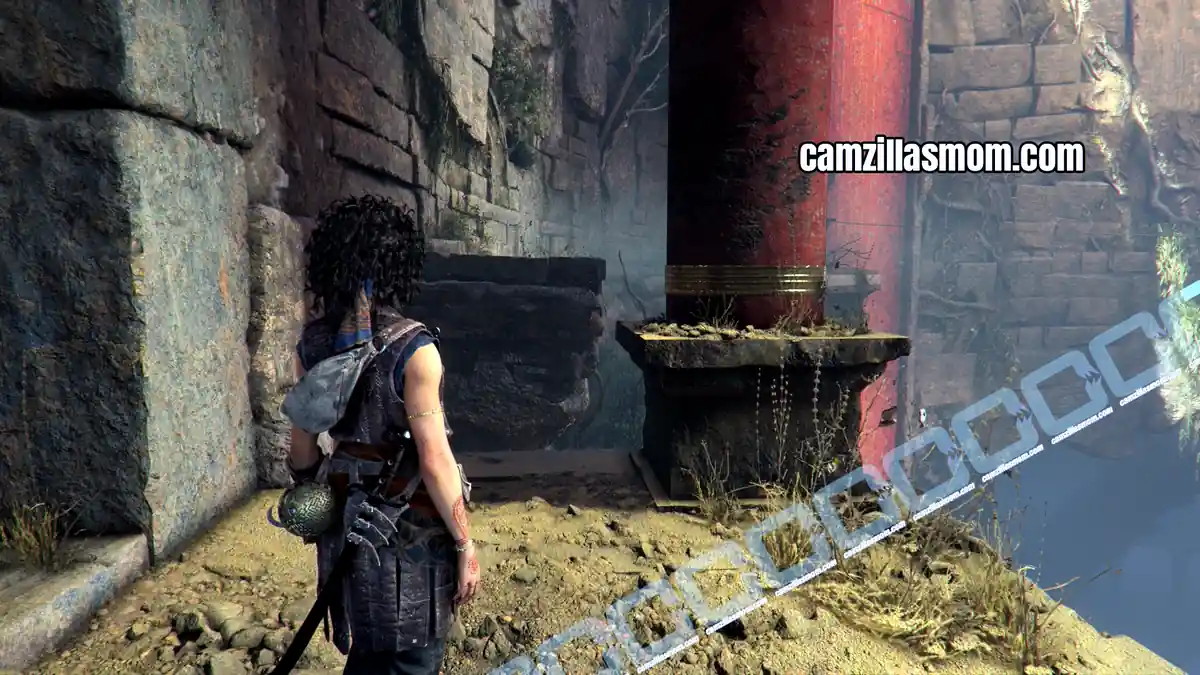
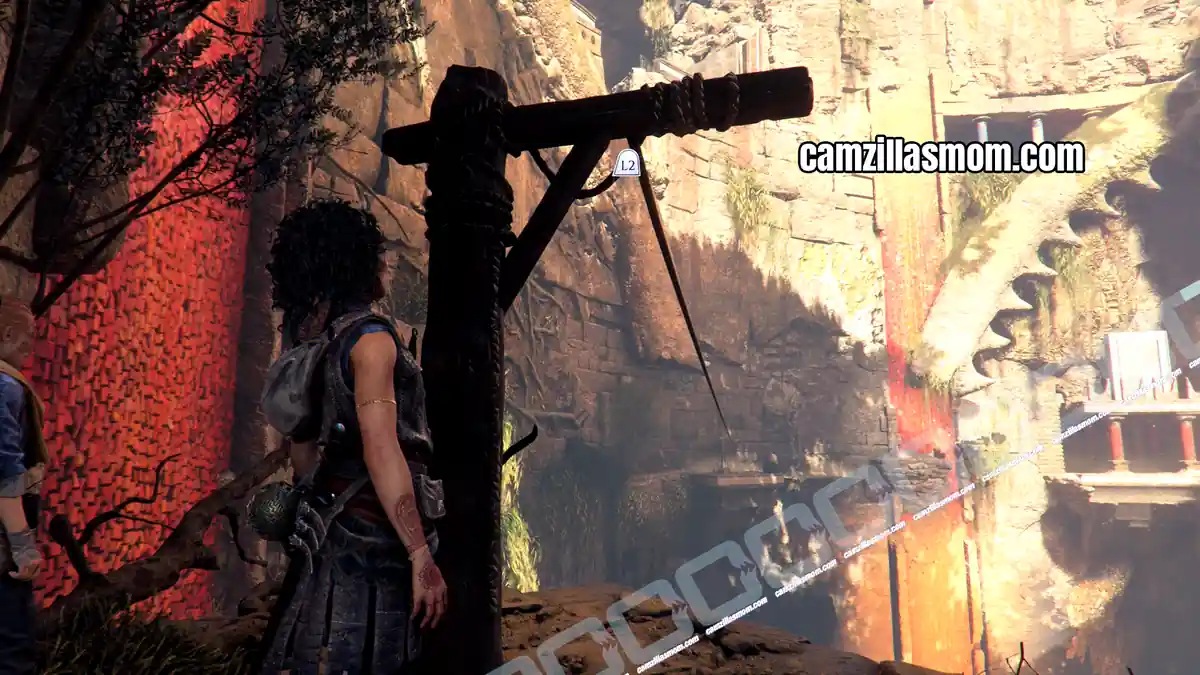
Leave the tomb through the crawlspace a the back. Once outside again, turn left and cross over onto a stone path platform. Follow the path over a ledge to reach a zipline to the other side.
Artefact 7 – Relic of the Past: Grand Mosaic
Chapter step: Progress Through the Trial
Description:
“I’ve drawn this place in my book when I was a kid, but my own version of it was… grayer. Darker. Damn it, I can’t tell Leni this. She’s worried enough as it is.”
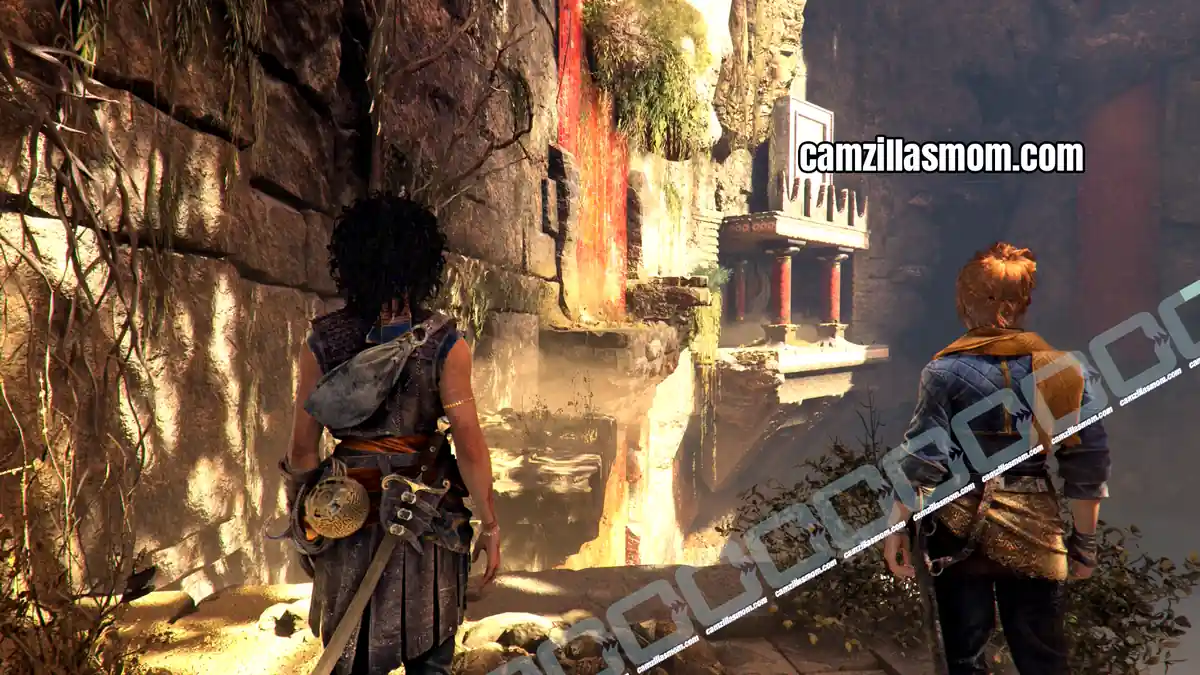
After the zipline turn around and cross over to a small island to find the Grand Mosaic Artefact.
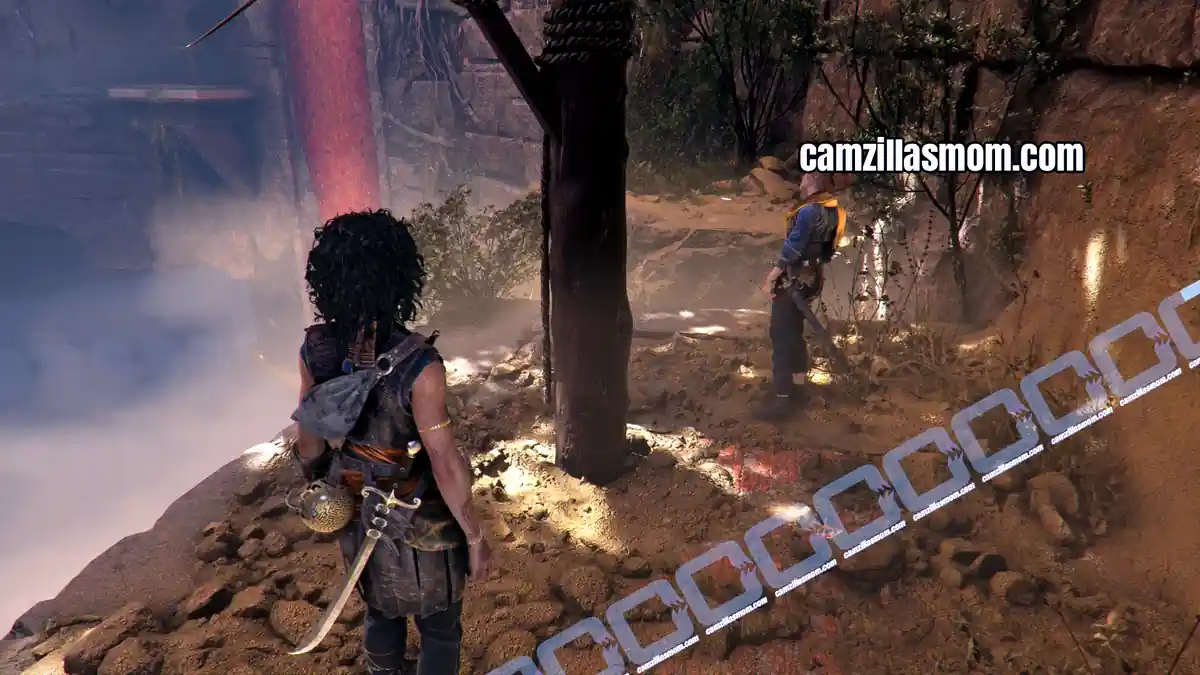
Continue on to the next door and open it.
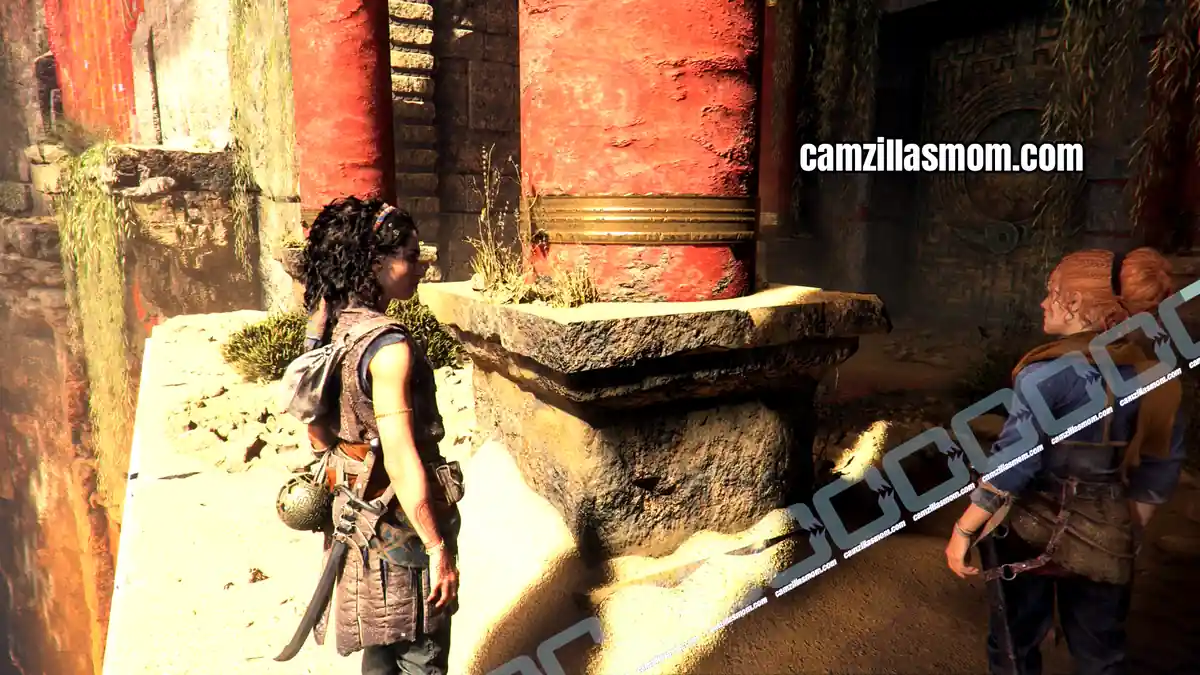
2 Resonance Points & Trophy: Returning the Favor
Chapter step: Progress Through the Trial
Follow the path down to the next puzzle. Use the lever and let Leni cross. Soldiers will attack. Defeat them and receive 2 Resonance Points. For the Trophy: Returning the Favor, throw one of the knives (there is one at each side) at an archer.
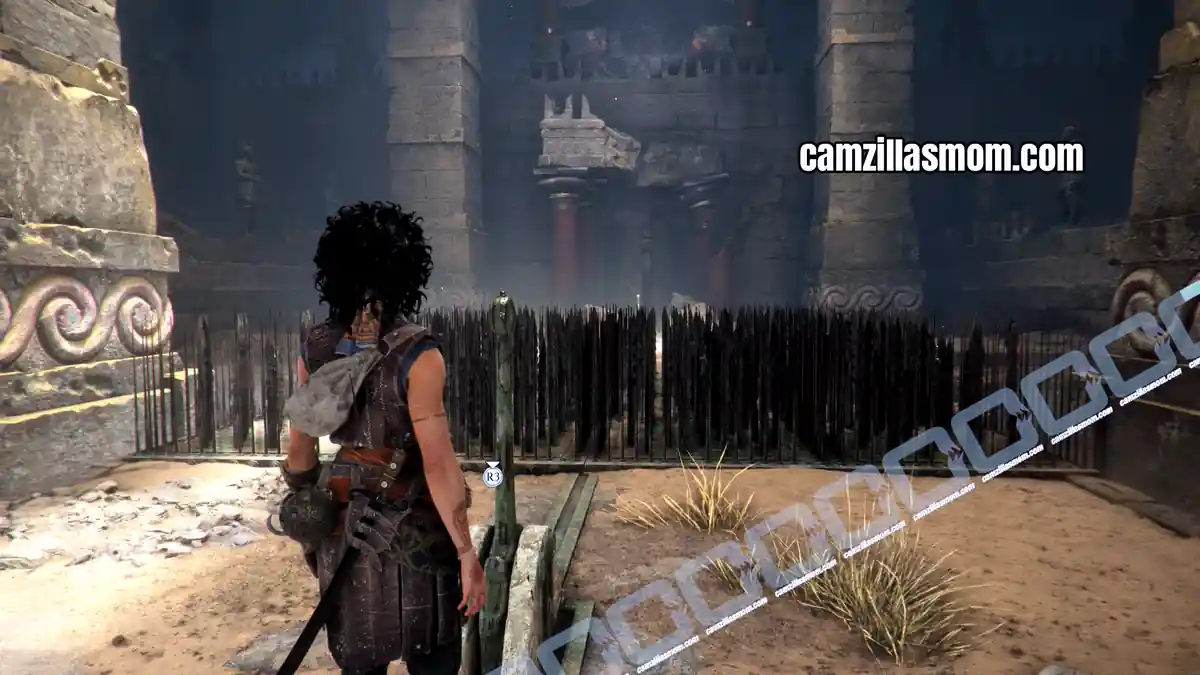
Charm: Trinkets
Chapter step: Progress Through the Trial
Effect:
Slight Chance for Sophia not to die upon suffering a lethal hit.
Description:
“All plunderers know that if you believe it hard enough, any bauble can be armor.”
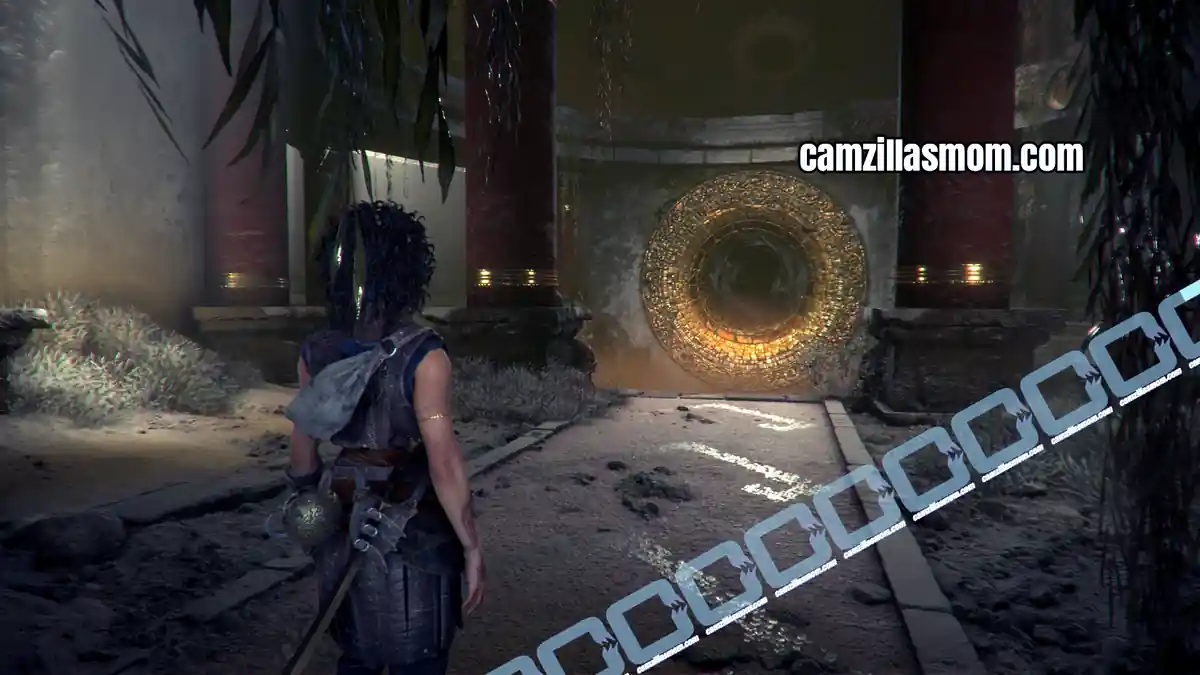
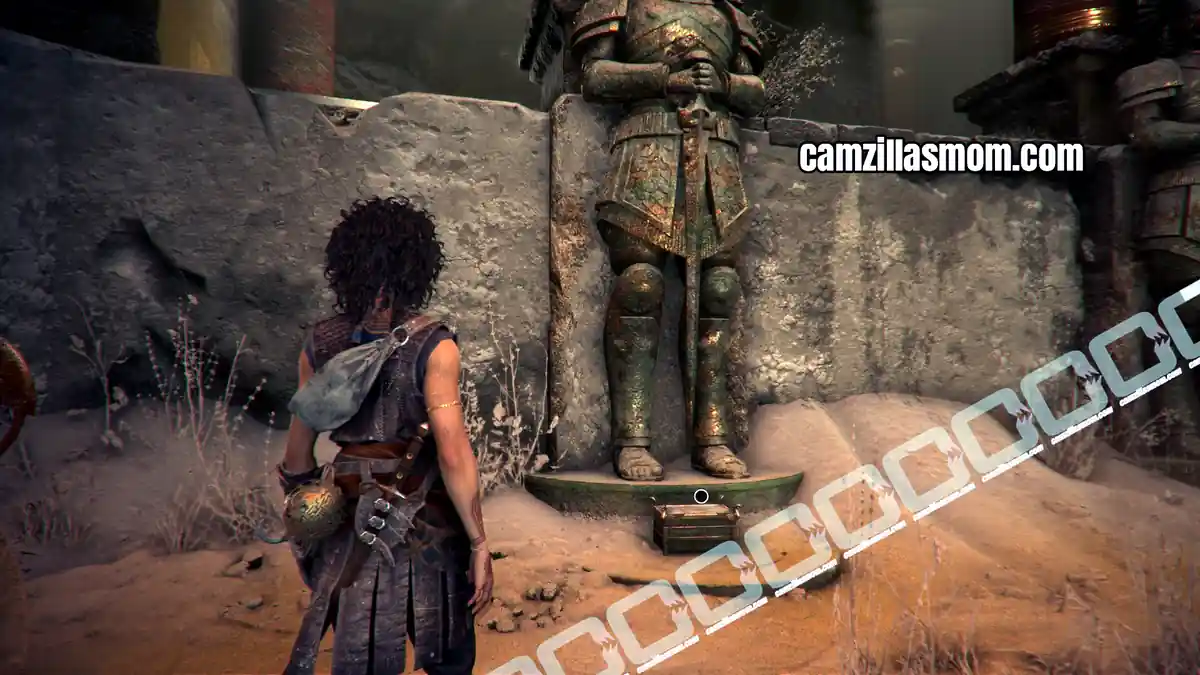
Leni will pull her lever and Sophia can cross the traps. Leave on the other side to enter a room with a giant nightmare hole. Here, on the feet of one of the statues is a charms box.
Chapter step: Take your Place in the Arena
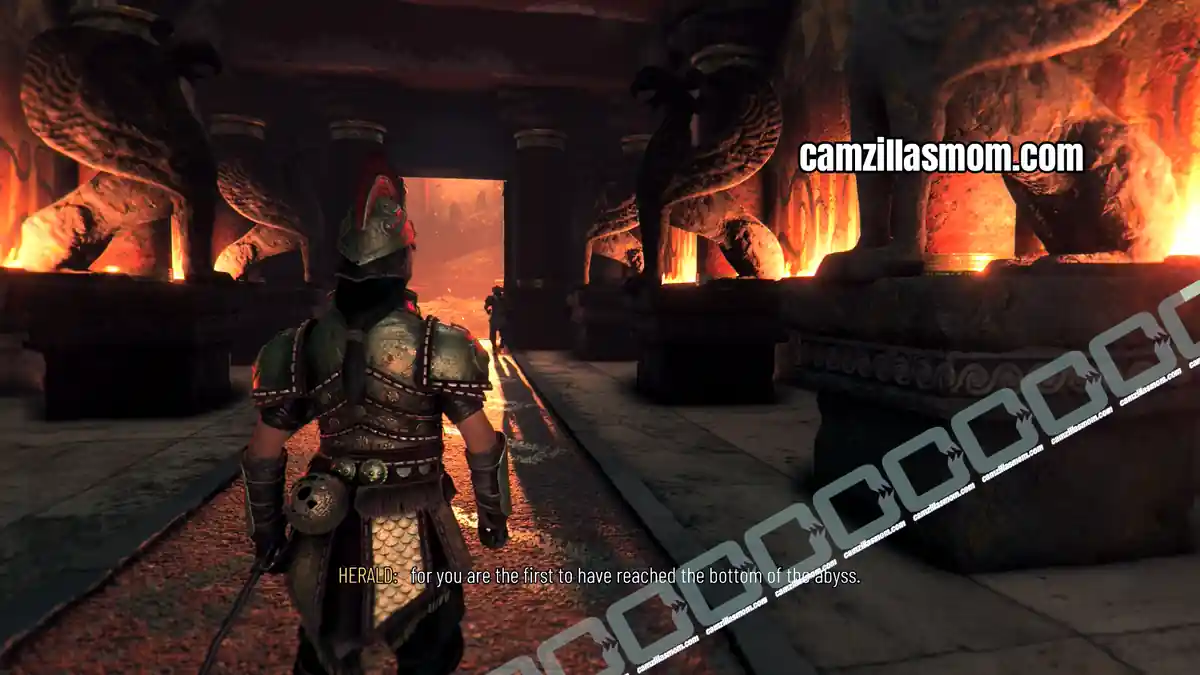
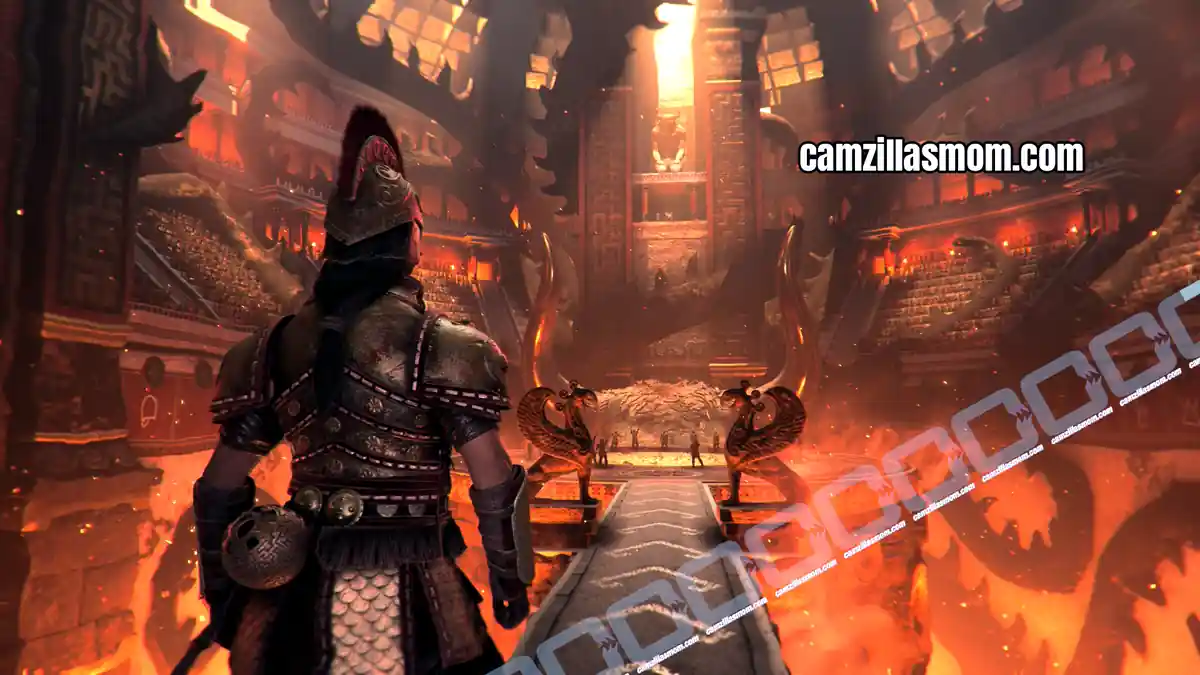
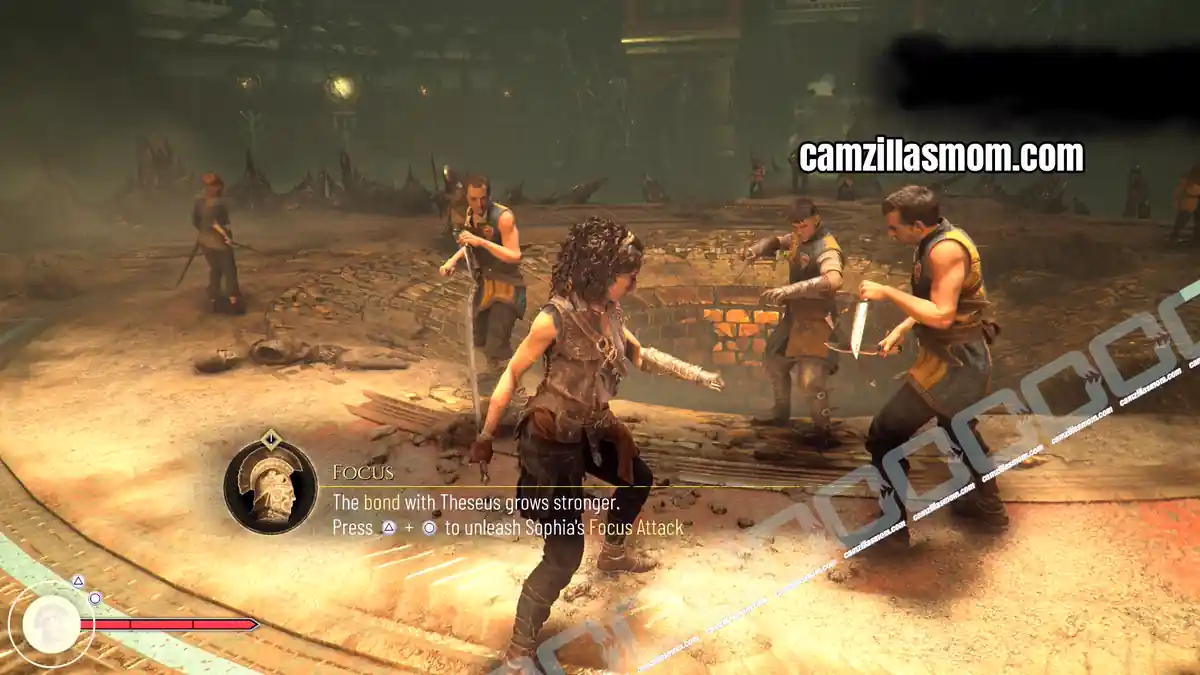
Interact with the pillar in this room and the round platform will lower like an elevator into a cave with Sophia having another vision of the arena – the bottom of the Abyss. Sophia is playing as Theseus. In the arena, a mass-fight will erupt with Theseus learning a new blow with circle + square on PS5.
Defeat enough warriors for Sophia to snap out of it.
5 – Theseus
Chapter step: Complete the Trial
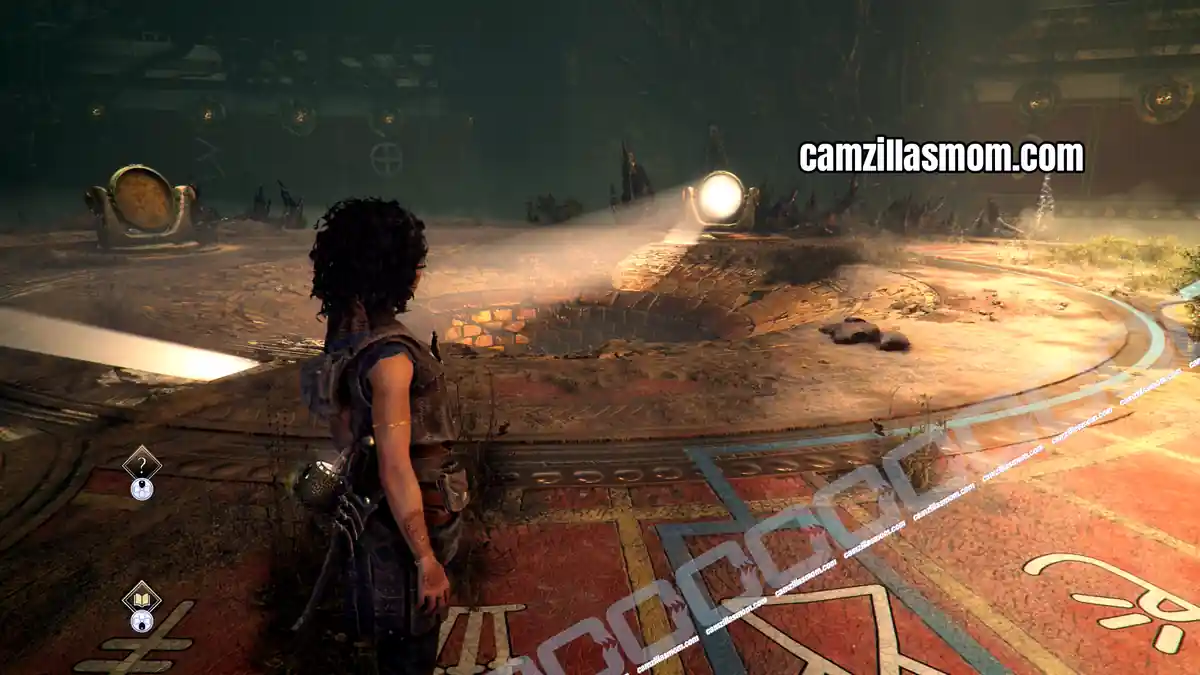
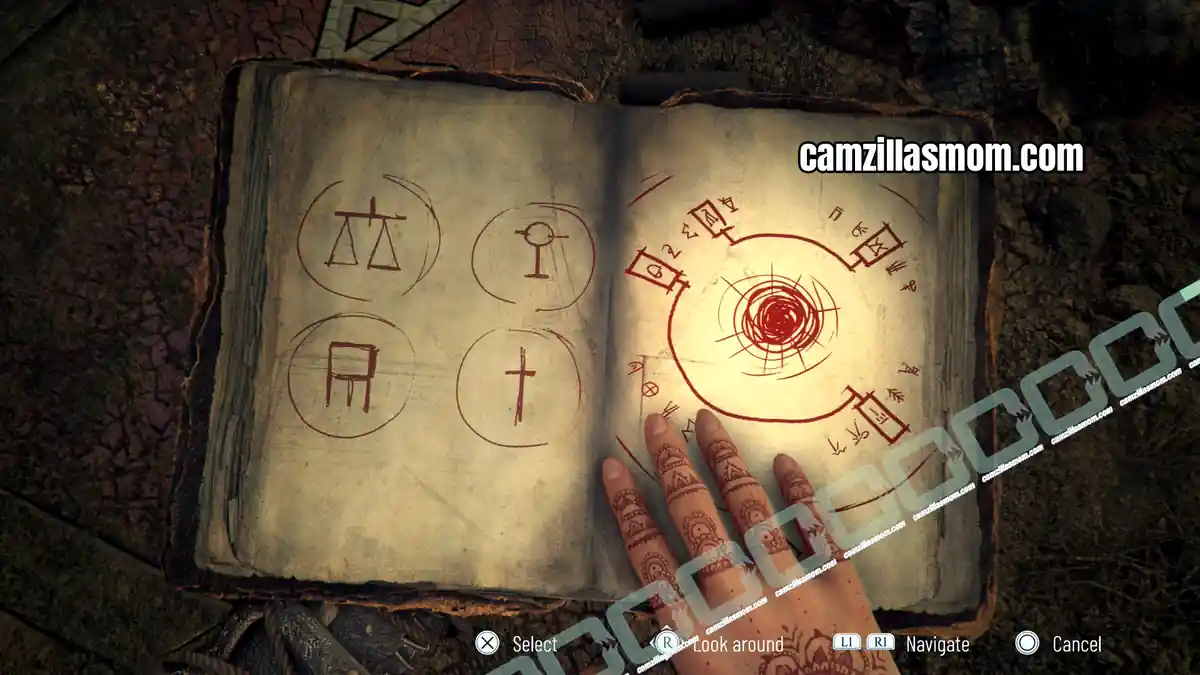
Once you’ve reached the center of this room with Sophia, she will write down the symbols we already know from the trap puzzles. The one’s that were considered safe. But also four other symbols hat are highlighted in blue on the floor.
Solving the Mirror Puzzle
Chapter step: Complete the Trial
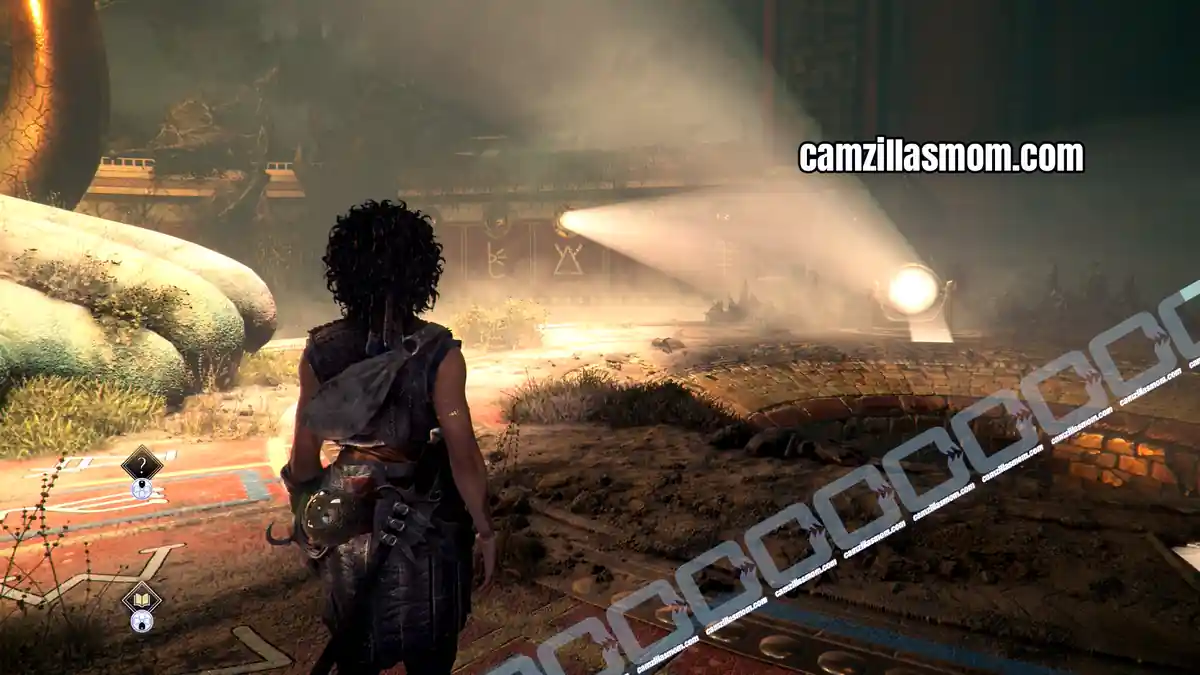
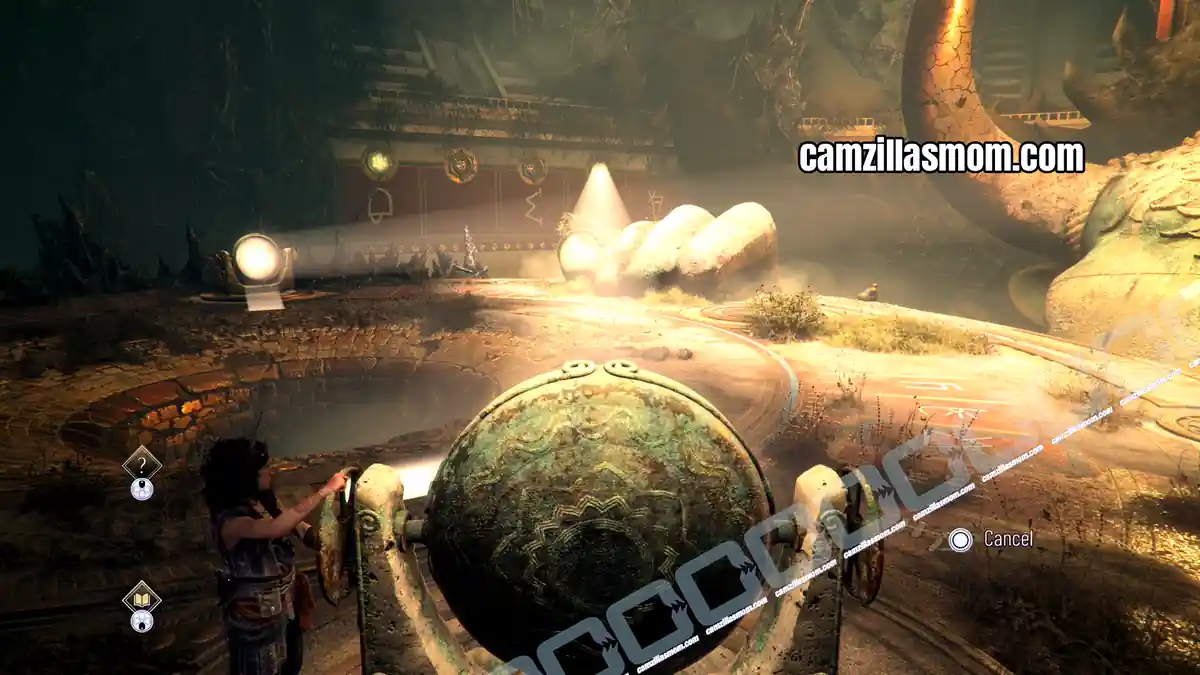
There are three mirrors, four highlighted symbols on the floor and golden plates with symbols on the outer walls of this room.
On the floor, the bell symbol and the fork symbol are connected. Use the two mirrors that have light to connect them by moving one mirror to the bell symbol at the back wall and the other mirror to the fork symbol.
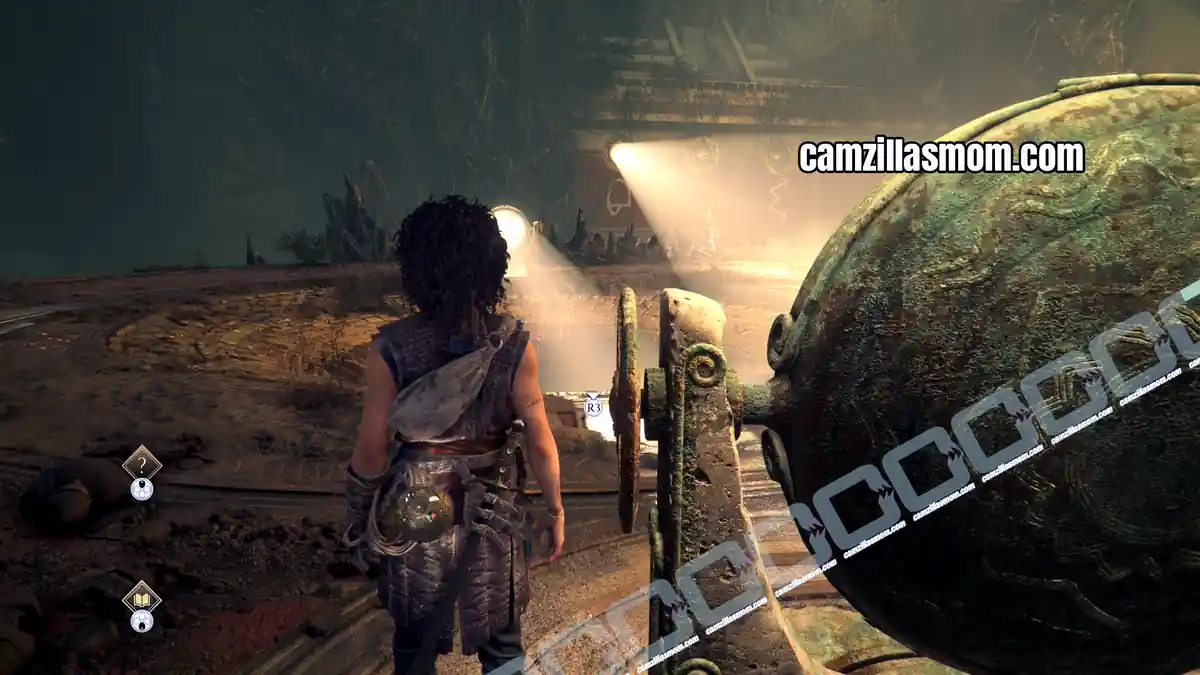
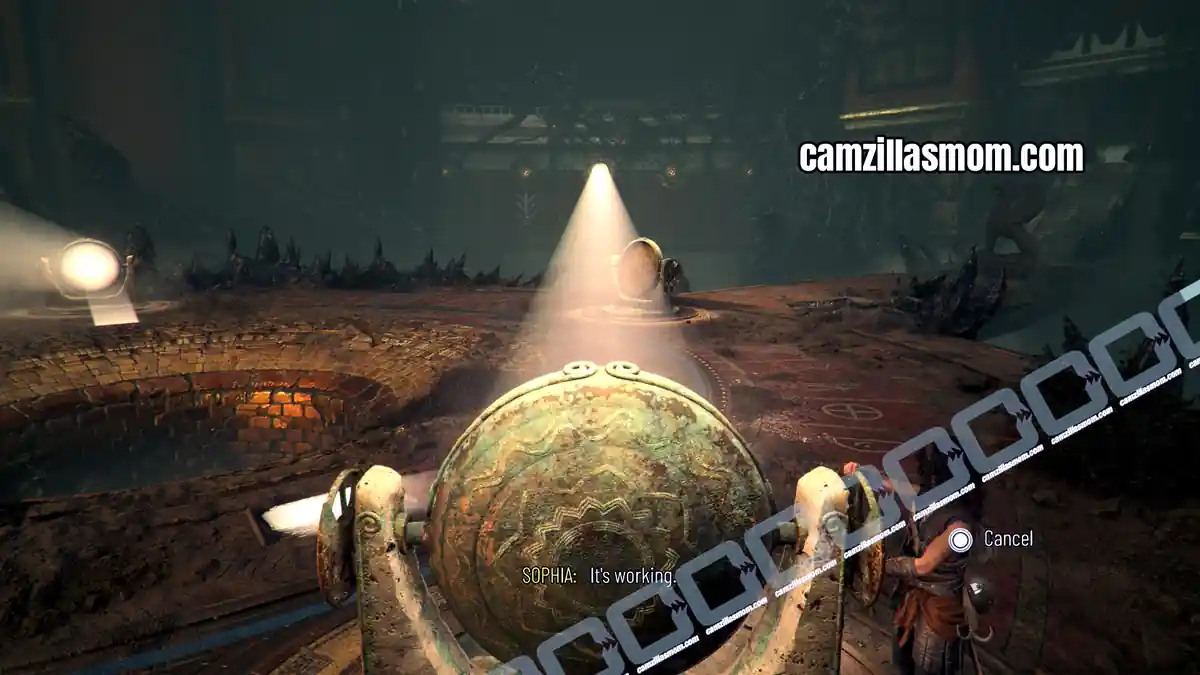
The Minotaur will move his hand onto the platform. Now, move the mirrors again. This time highlight the other two symbols.
The symbol with the three legs is not written on the back wall, but you can tell from the symbols on the floor where it should be: between the “E” and the cocktail glass – in the same row as the previous bell.
This will move the second hand up to the platform.
The Minotaur has a ring on each hand. Scan those rings with Light Reveal (R1 on PS5).
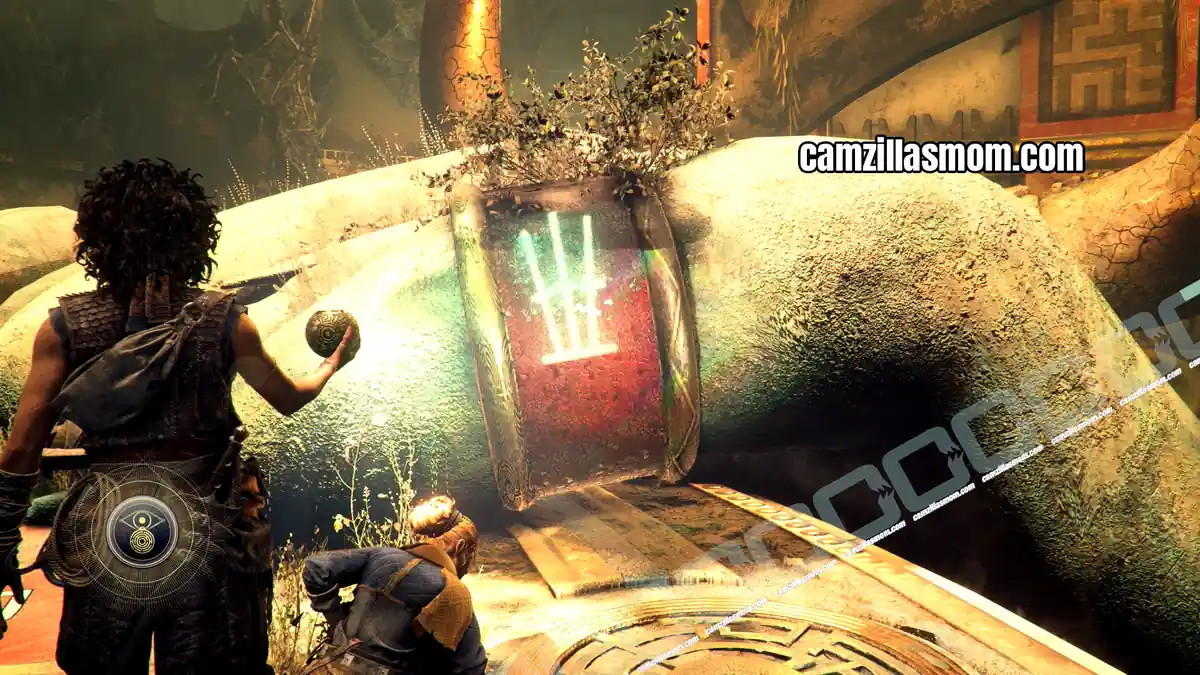
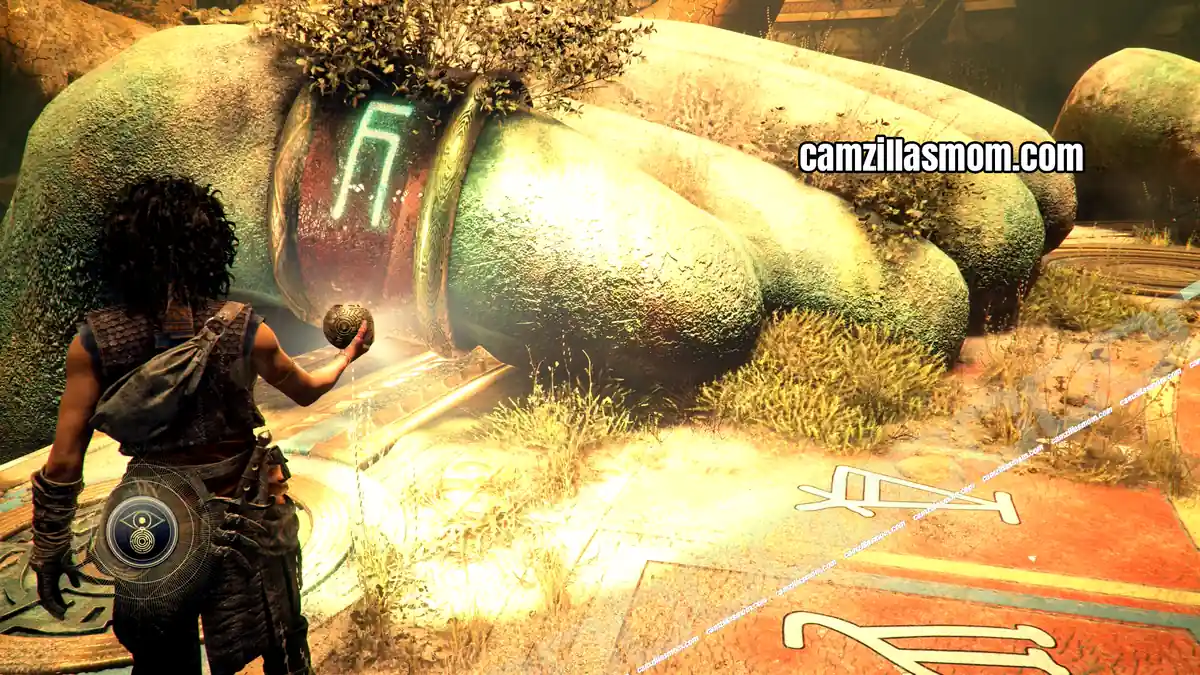
Move the mirrors one last time to those two symbols. The three swords, not painted on the outside wall, is right next to the triangle from the first round and the “h” is in the same row to the left. You have to use the third mirror to light up one of those.
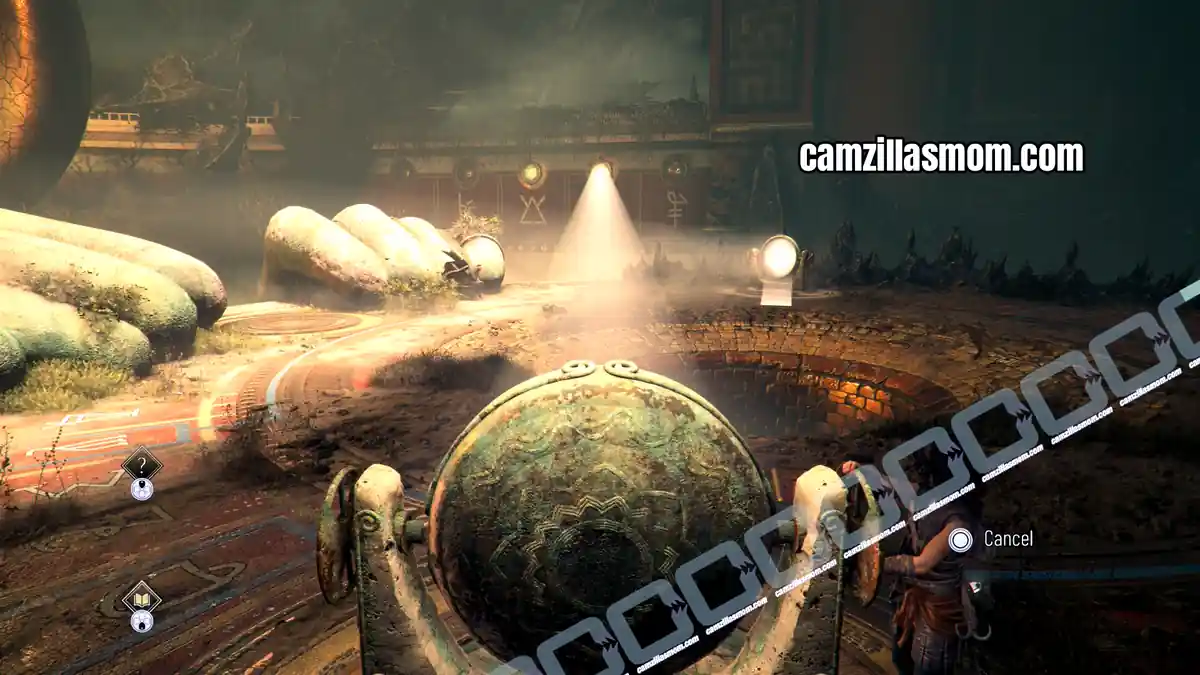
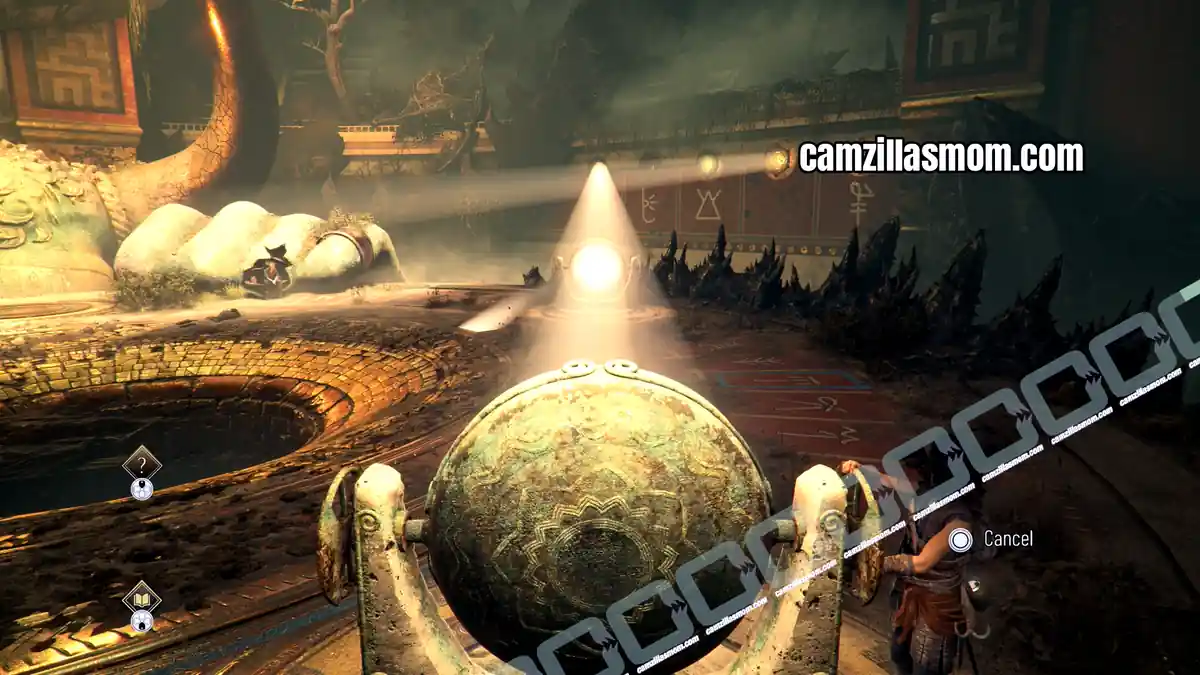
This will move the Minotaur upwards, revealing another socket for the round key. Sophia can now use Theseus’ Focus attack (triangle+circle on PS5).
3 Resonance Points
Chapter step: Progress Through the Trial
This will move the Minotaur upwards, revealing another socket for the round key. Sophia can now use Theseus’ Focus attack (triangle+circle on PS5).
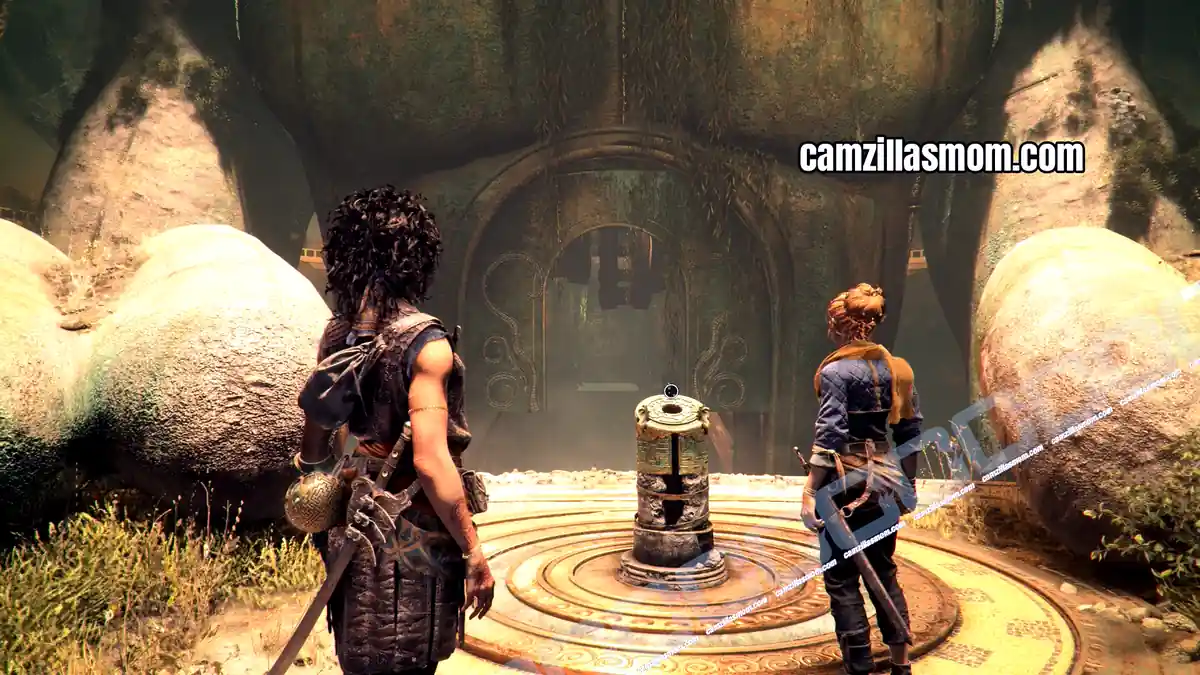
Use the socket again to raise a bridge to reach the inside of the Minotaur and interact with the big door at the end, opening up to an area with a boat. Get on board and travel to the other side to interact with an orb on the floor.
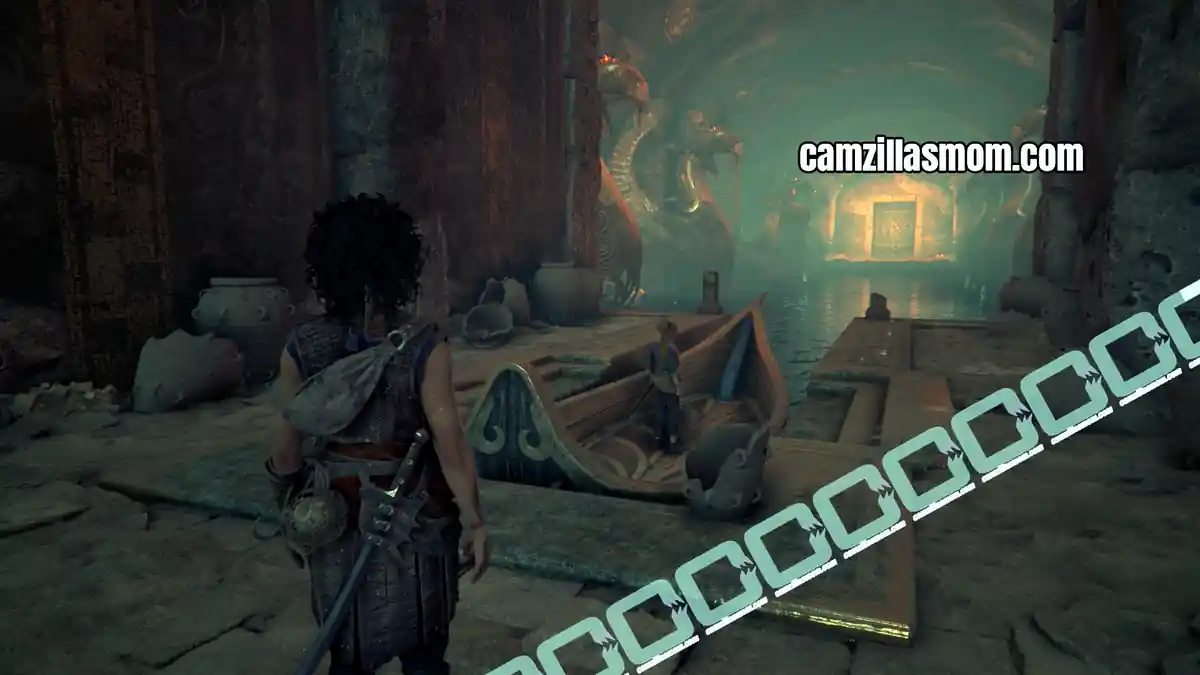
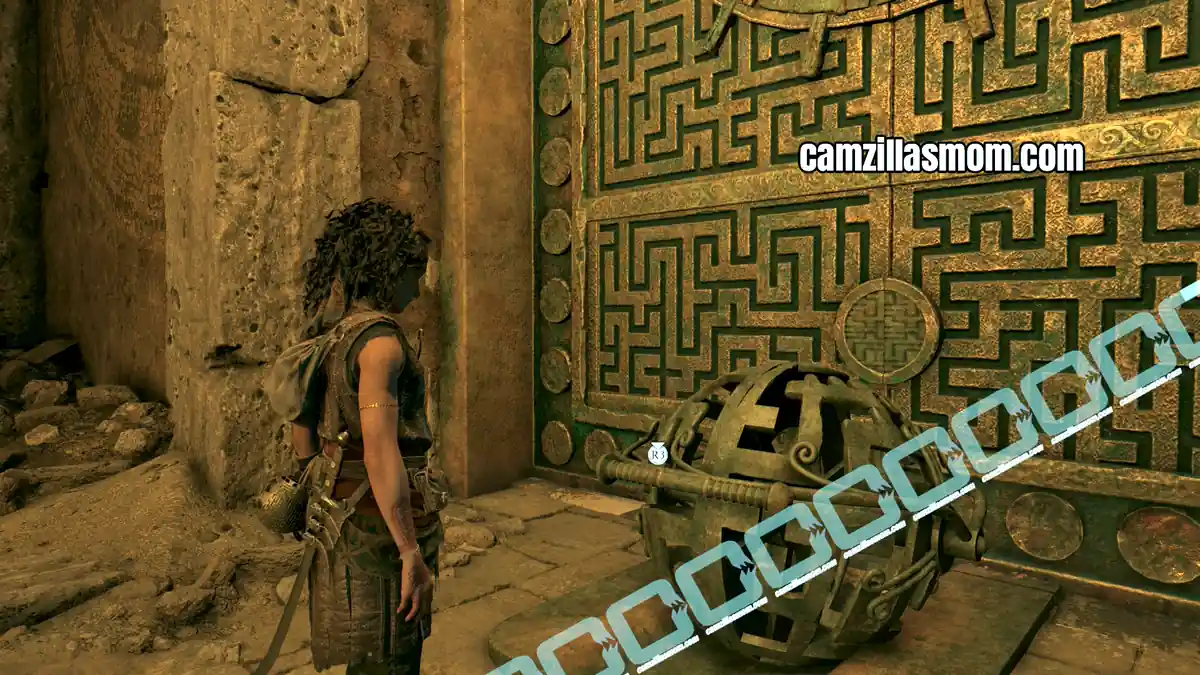
Push the orb into the room, all the way to the end. This will lower the platform. Open the door there.
Trophy: From Hell It Rose
Trophy reward for finishing the chapter.
Next up: Chapter 5 Desolation It Wrought


About Resonance: A Plague Tale Legacy
Release: August 27th, 2026
Developer: Asobo Studio
Publisher: Focus Entertainment
Official Website: https://www.focus-entmt.com/en/games/resonance-a-plague-tale-legacy