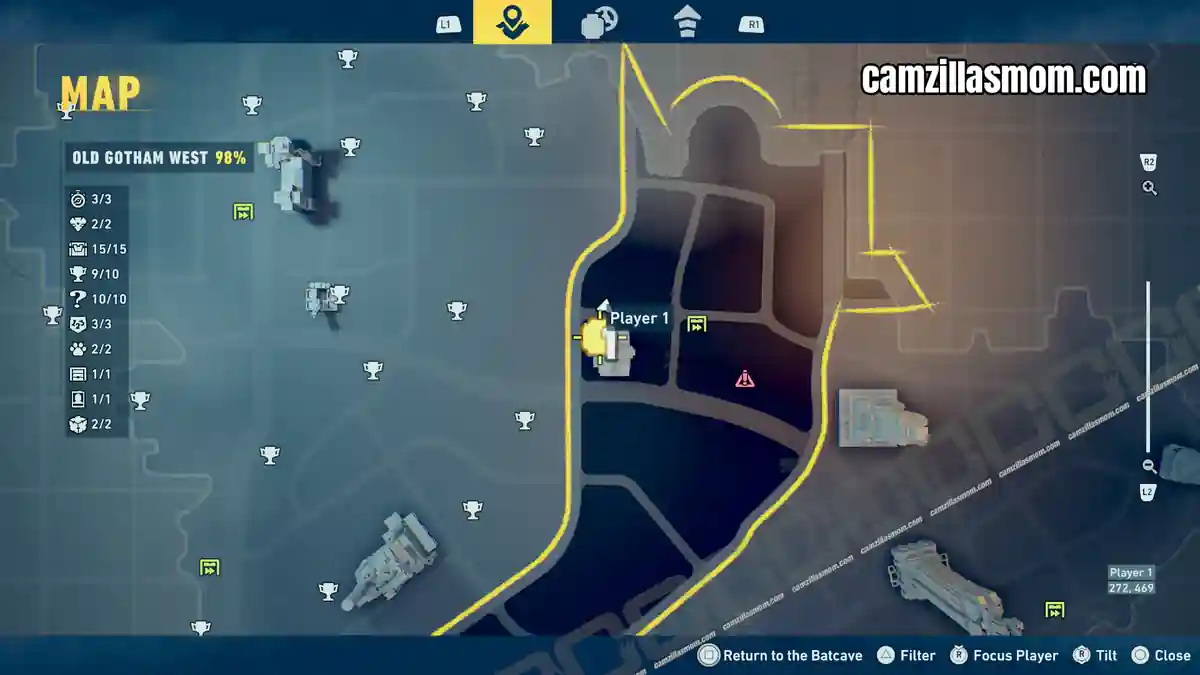
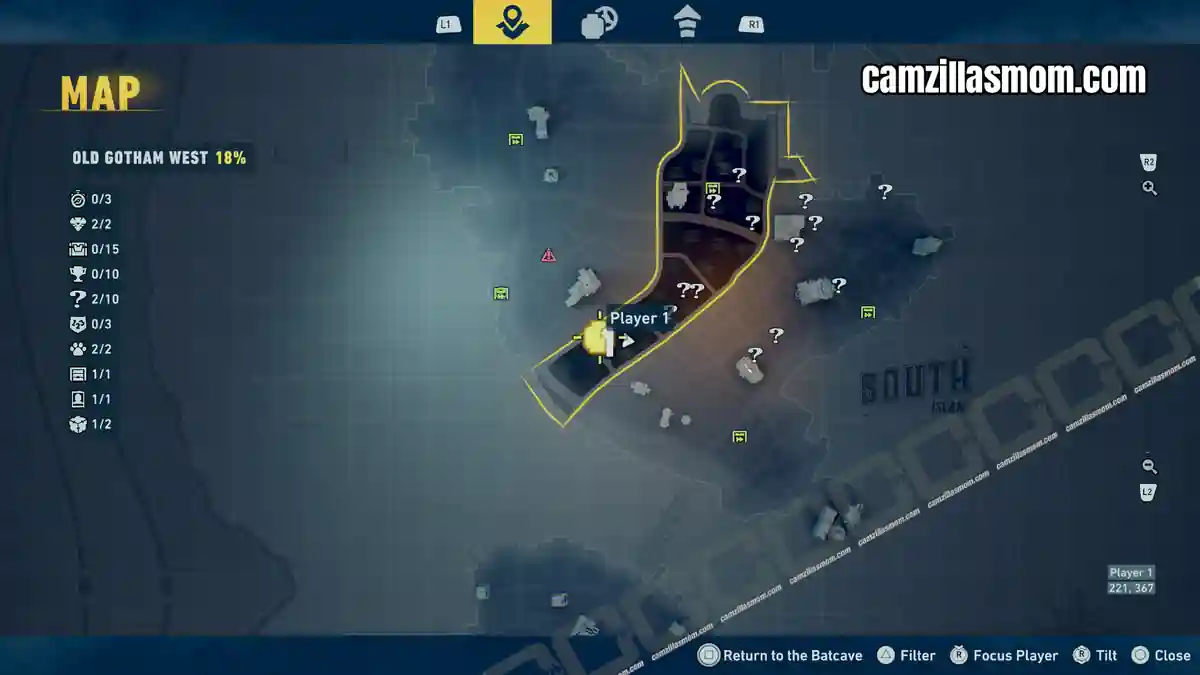
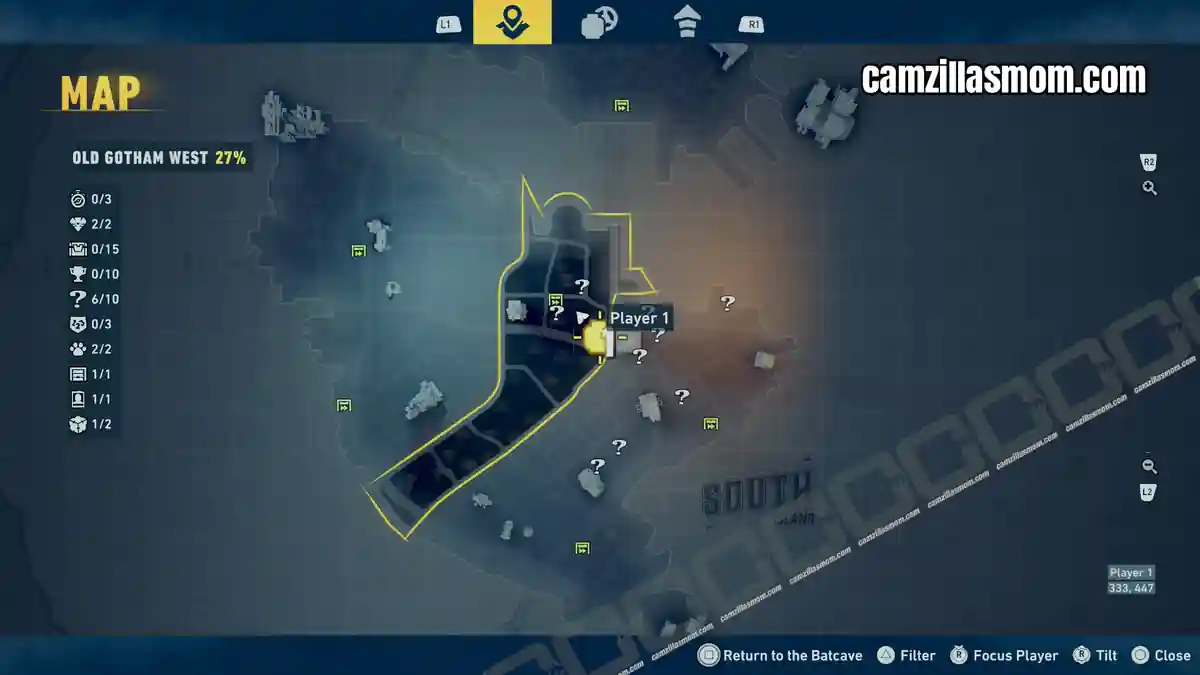
Old Gotham West is one of the most collectible-dense districts in LEGO Batman: Legacy of the Dark Knight. Rooftops, alleyways, a museum underground car park and a tangle of monorail-level platforms hide an enormous range of activities. This guide covers every single one: all 10 Riddler Puzzles, 3 Cluemaster Puzzles, 15 WayneTech Caches, 2 Falcone Fortune Heists, 10 Batcave Trophy pieces for the Court Statues, 3 Trials, 2 Escaped Zoo Animals, the Subwayne, the Wanted Poster and 10 Studs Caches. Coordinates, overview maps and full step-by-step solutions are included throughout.
Related Guides:
All 14 Falcone Fortune Heists
All 9 Tower Locations
All 21 Escaped Zoo Animals Locations
100% Old Gotham North Collectibles Guide
100% Old Gotham South Collectibles Guide
100% Tricorner Collectibles Guide
All 9 Subwayne Locations
LEGO Batman: Legacy of the Dark Knight Hub
- Trials – 3 (Driving, Compat & Traversal)
- The Falcone Fortune Heists – 2
- WayneTech Cache Locations – 15
- Batcave Trophy Pieces – Court Statues (10)
- Riddler Puzzle Locations & Solutions – 10
- Cluemaster Puzzle Locations & Solutions – 3
- Escaped Zoo Animal Locations – 2
- Subwayne Location & Solution
- Wanted Poster Location & Solution
- Studs Cache Locations
- More LEGO Batman: Legacy of the Dark Knight Guides
Trials – 3 (Driving, Compat & Traversal)
Old Gotham West contains three Trials in LEGO Batman: Legacy of the Dark Knight – one for each of the game’s core challenge types. Complete all three to push the district closer to 100%.
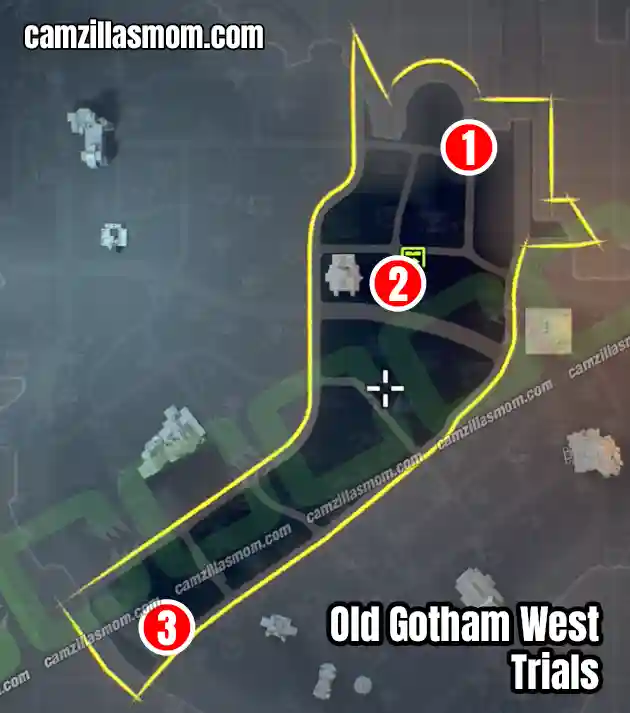
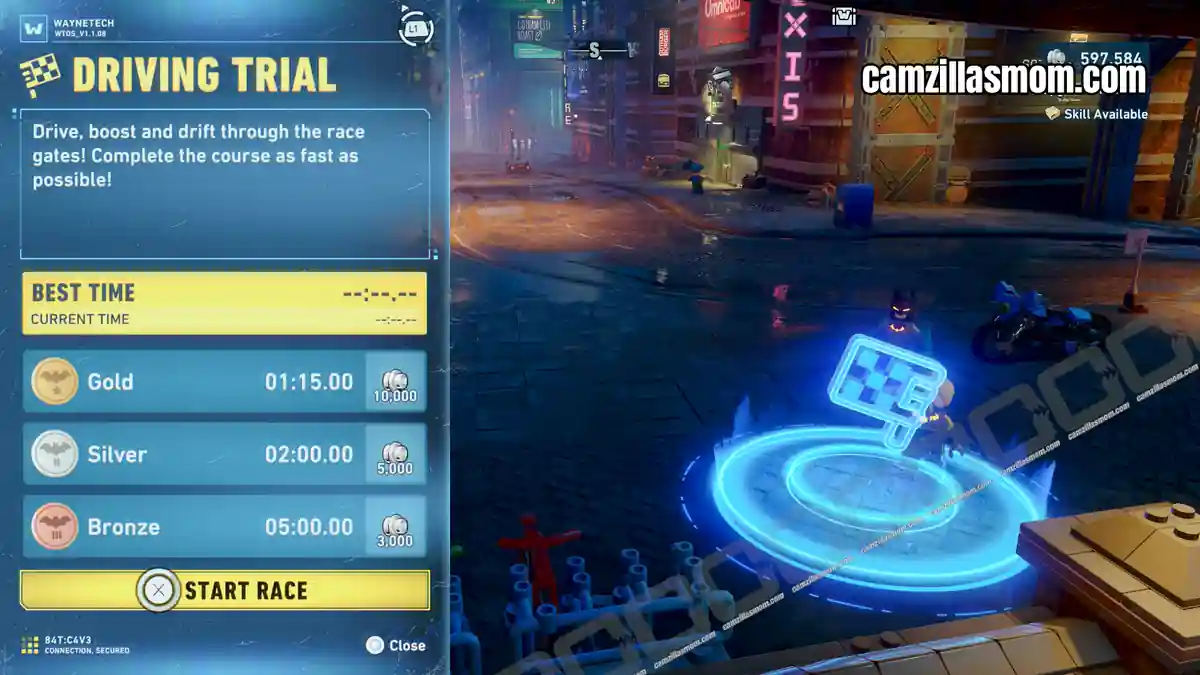
1 – Driving Trial
Coordinates: 325, 515
The Driving Trial is in the north of Old Gotham West, near the top edge of the district map.
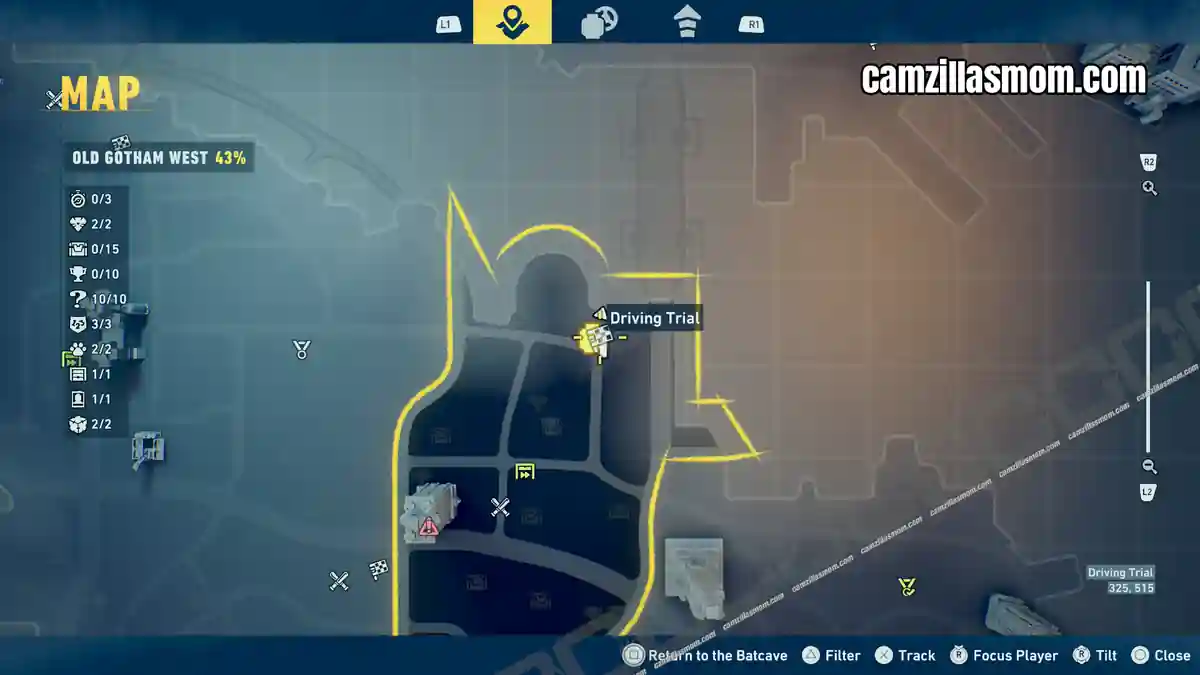
2 – Combat Trial
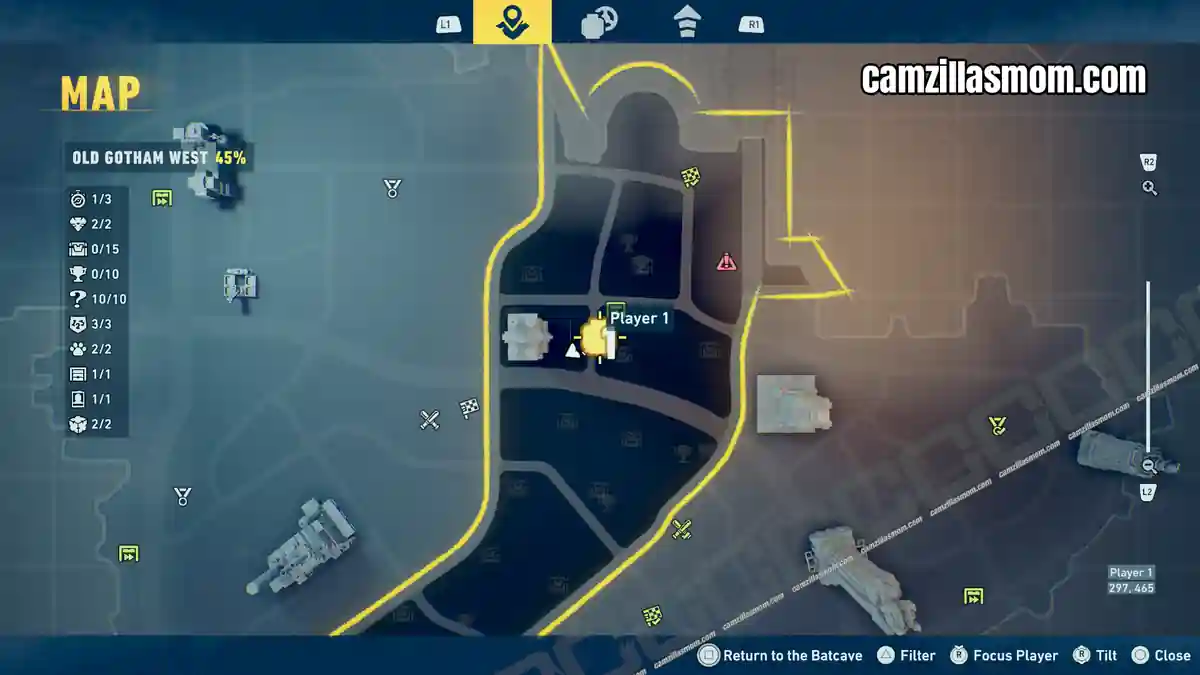
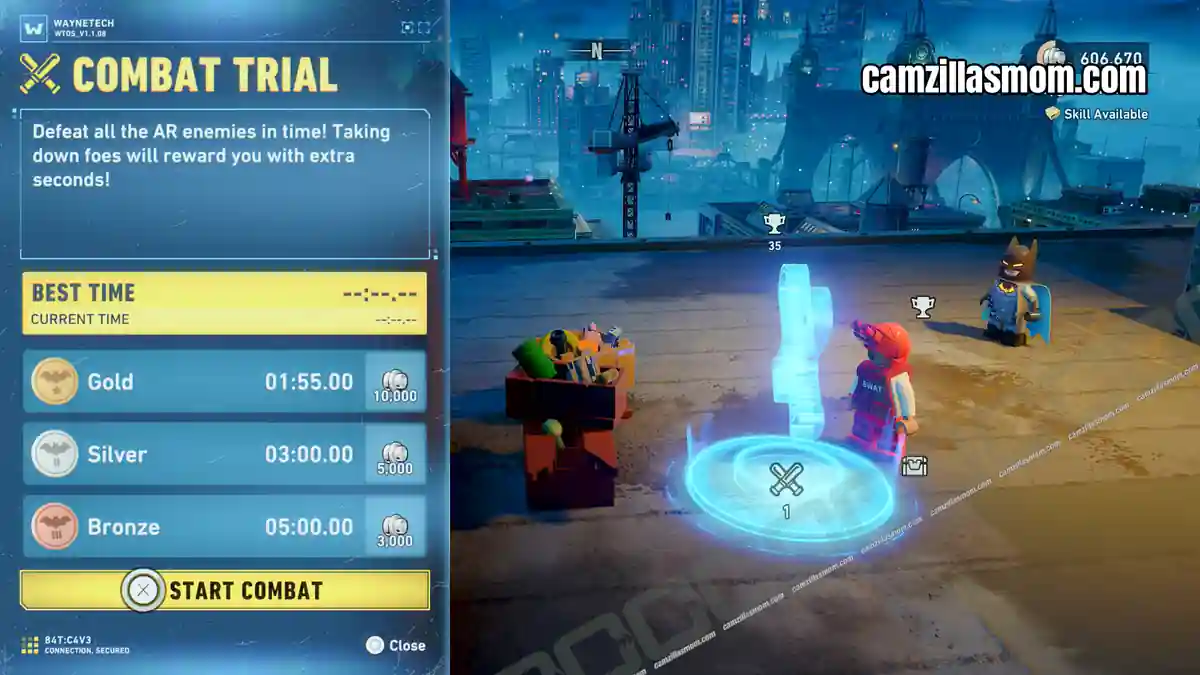
Coordinates: 294, 462
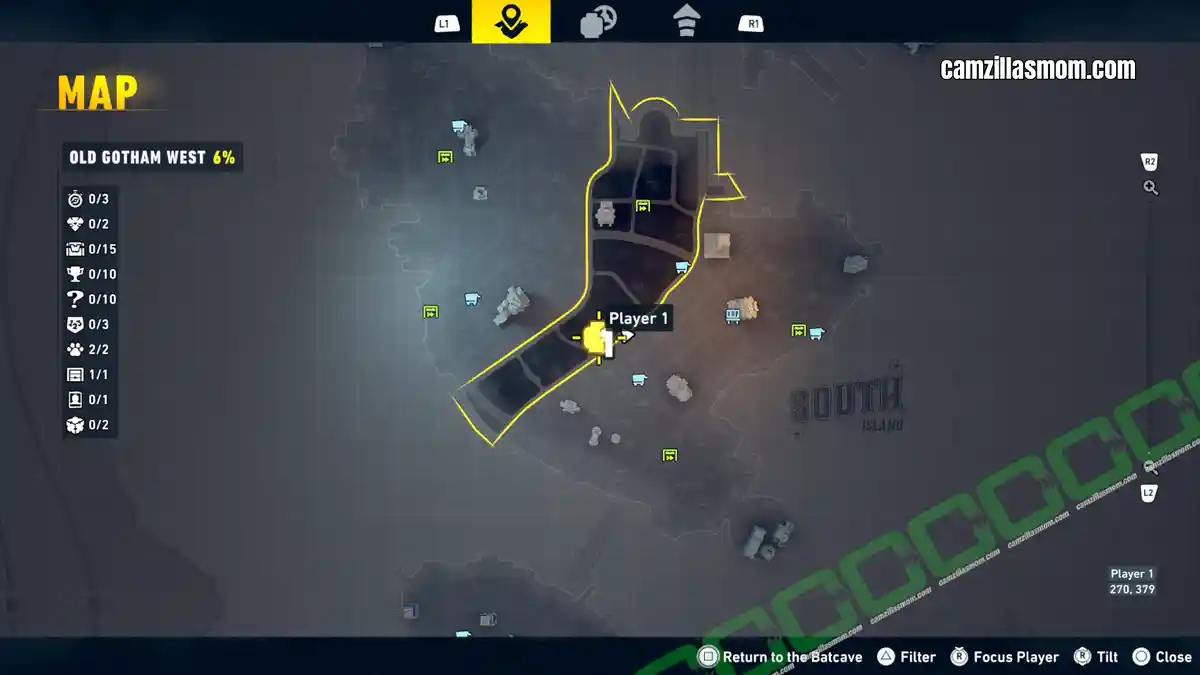
The Combat Trial sits southwest of the Subwayne, right next to the district Tower.
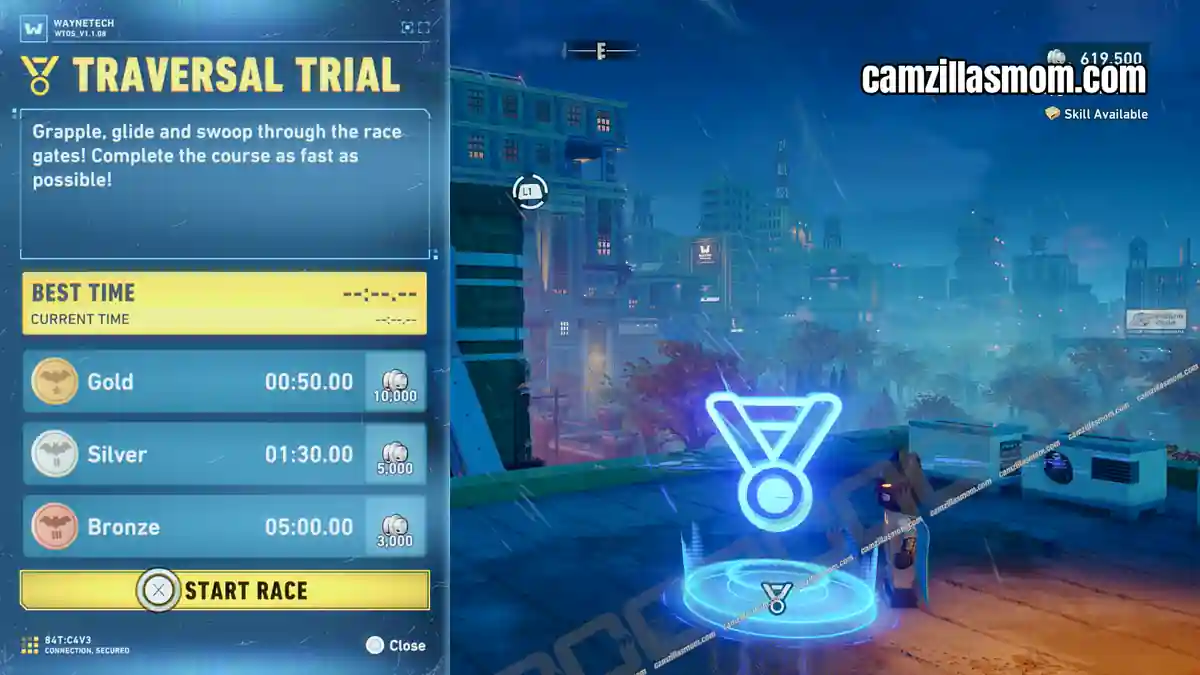
3 – Traversal Trial
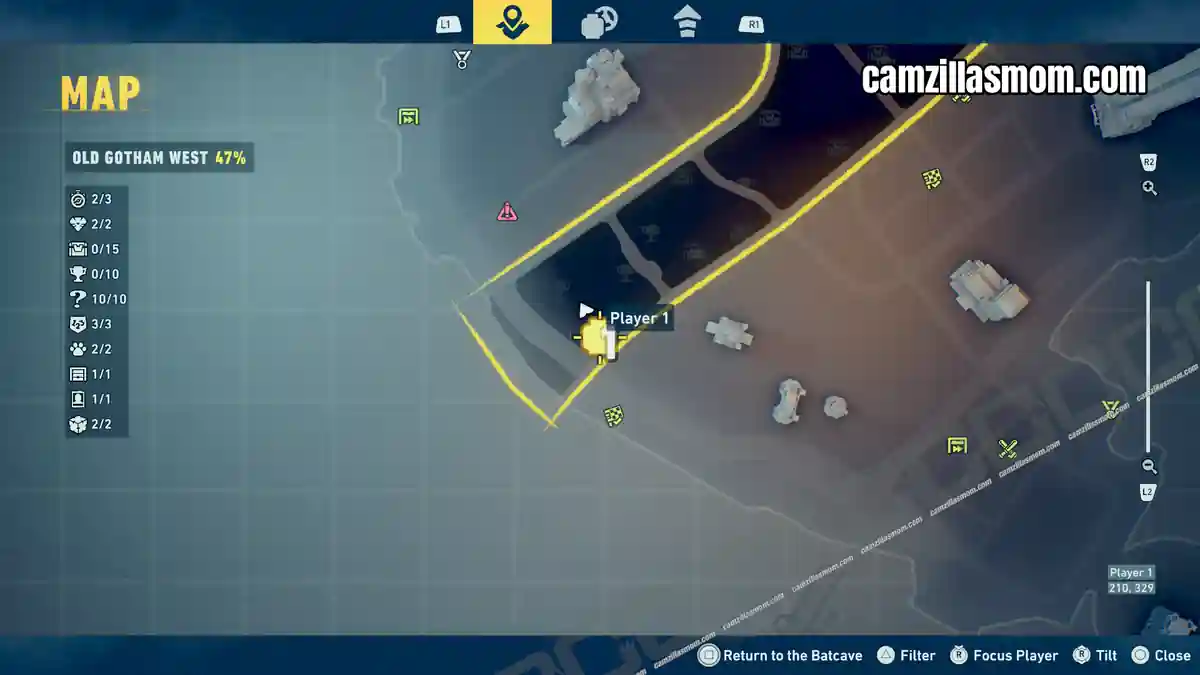
Coordinates: 210, 331
The Traversal Trial is in the south of the district, close to the border with Old Gotham South.
The Falcone Fortune Heists – 2
Old Gotham West holds two of the Falcone Fortune Heists in LEGO Batman: Legacy of the Dark Knight. Both require Catwoman to enter and the puzzle solutions are among the more involved in the game.
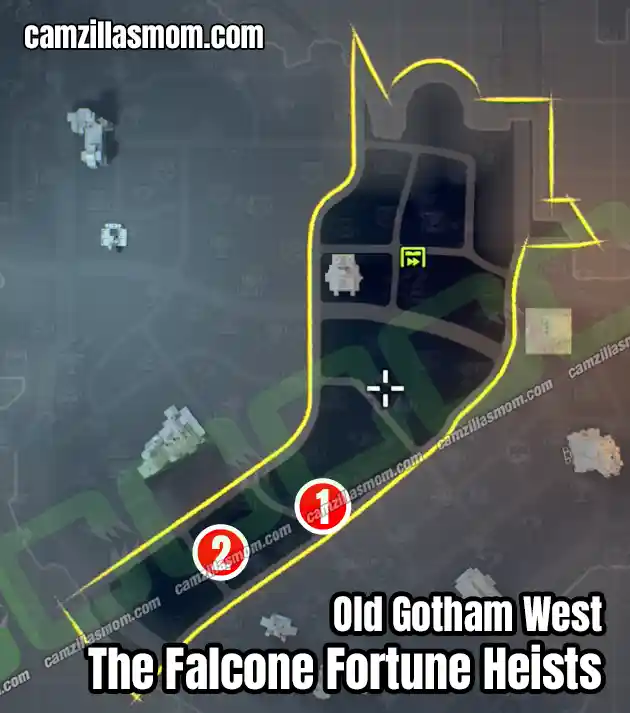
Coordinates in the brackets
1 – The Heist Must Go On (274, 381)
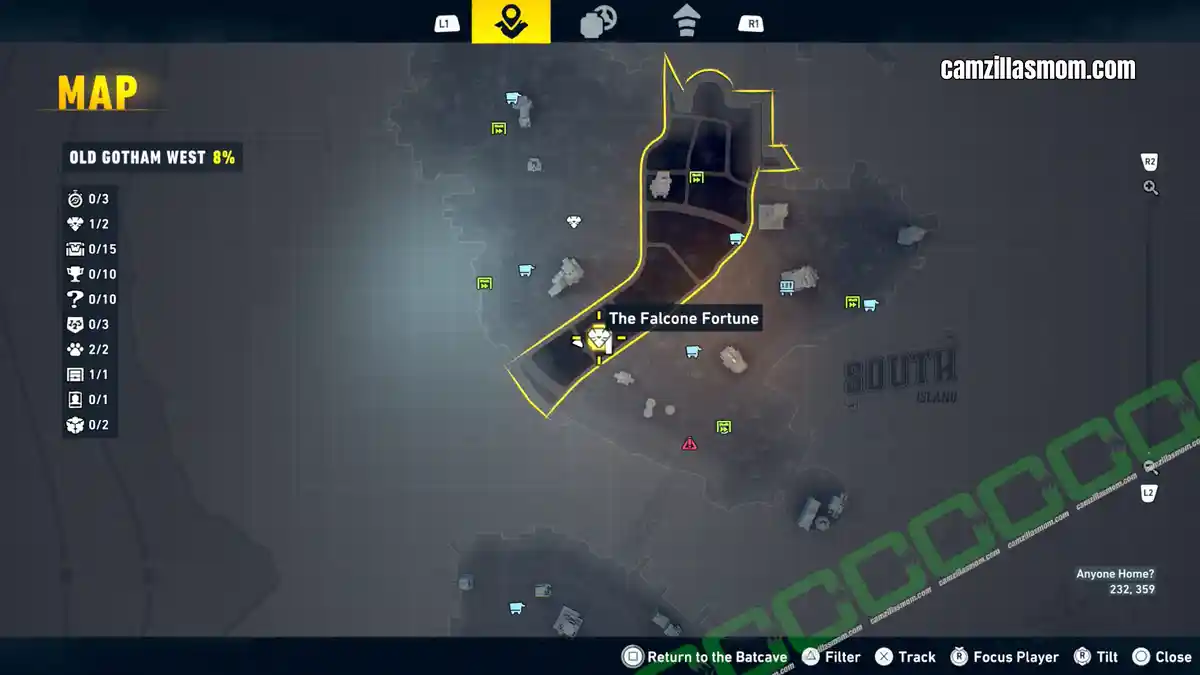
2 – Anyone Home? (232, 359)
The Heist Must Go On
Coordinates: 274, 381
The Heist Must Go On is part of the third Heist batch, unlocking alongside Pure and Symbol and No Heist Too Tough after you complete the two heists in the second batch (Safe and Sound and High Ground).
The entrance is a rooftop office in the centre of Old Gotham West, guarded by two hostiles.
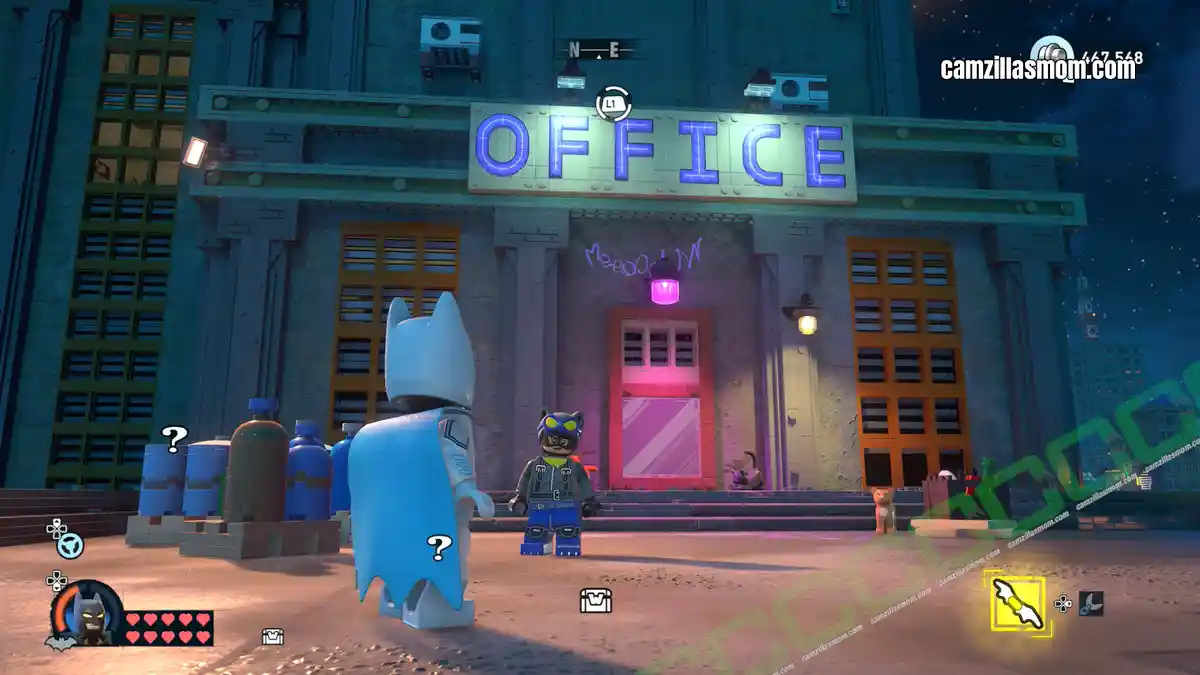
Cut the pink glass with Catwoman and enter to start. Inside is a grand hall with three levels – you enter on the top level. A guard patrols the safe door on the middle level, which requires two access cards.
Deal with the guards first. The guard by the door is carrying the first access card.
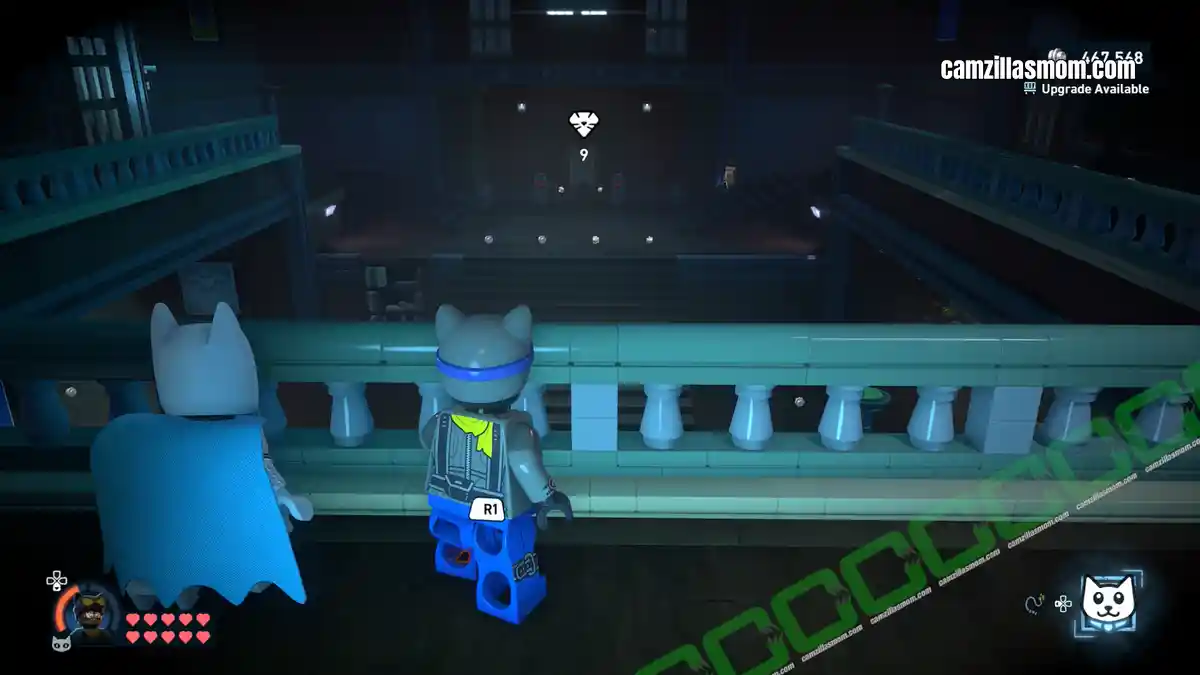
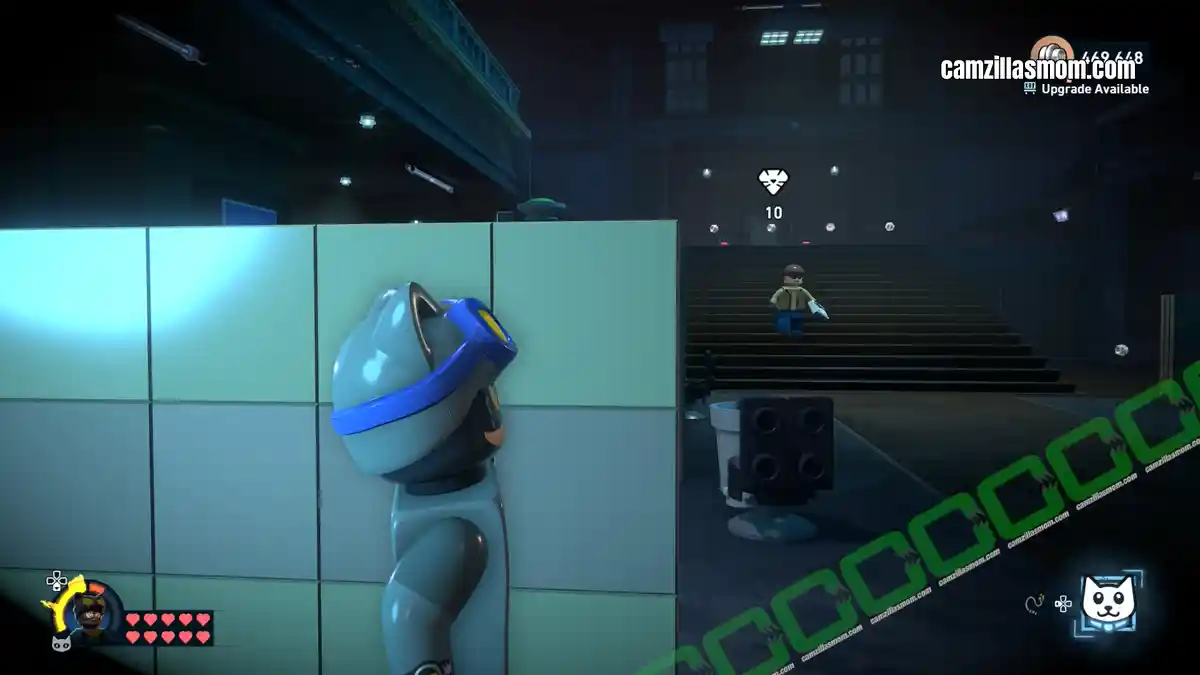
The room also contains three glass displays that Catwoman can rob for bonus studs — worth doing before you move on.
For the second access card, there are two routes into the locked boss’s office. Fight through the guarded room and press the red button, or take the stealthy approach: move a bookshelf in the Grand Hall to reveal a Kitty vent, then summon a kitty to open the door from inside.
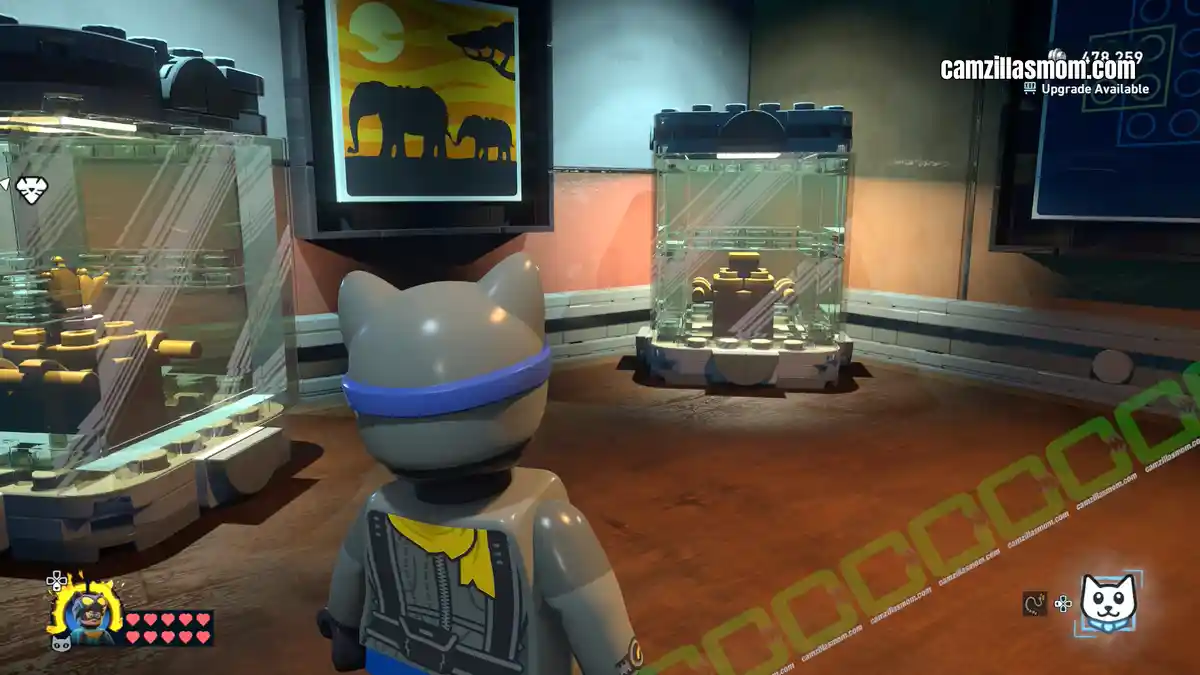
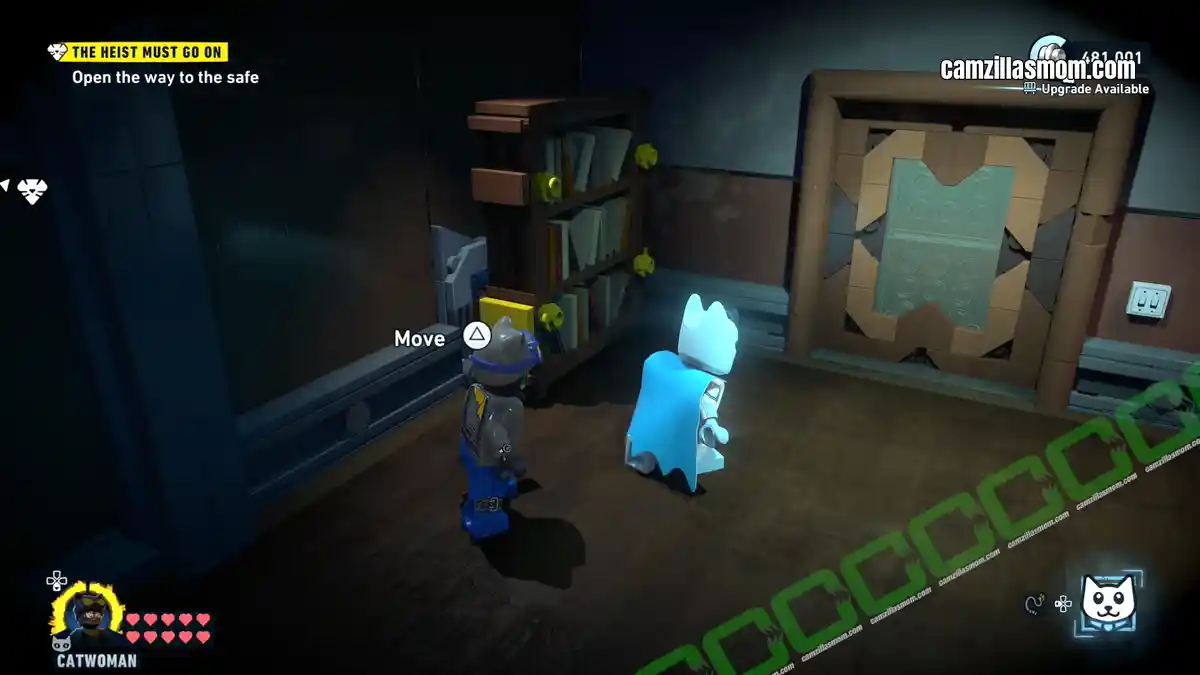
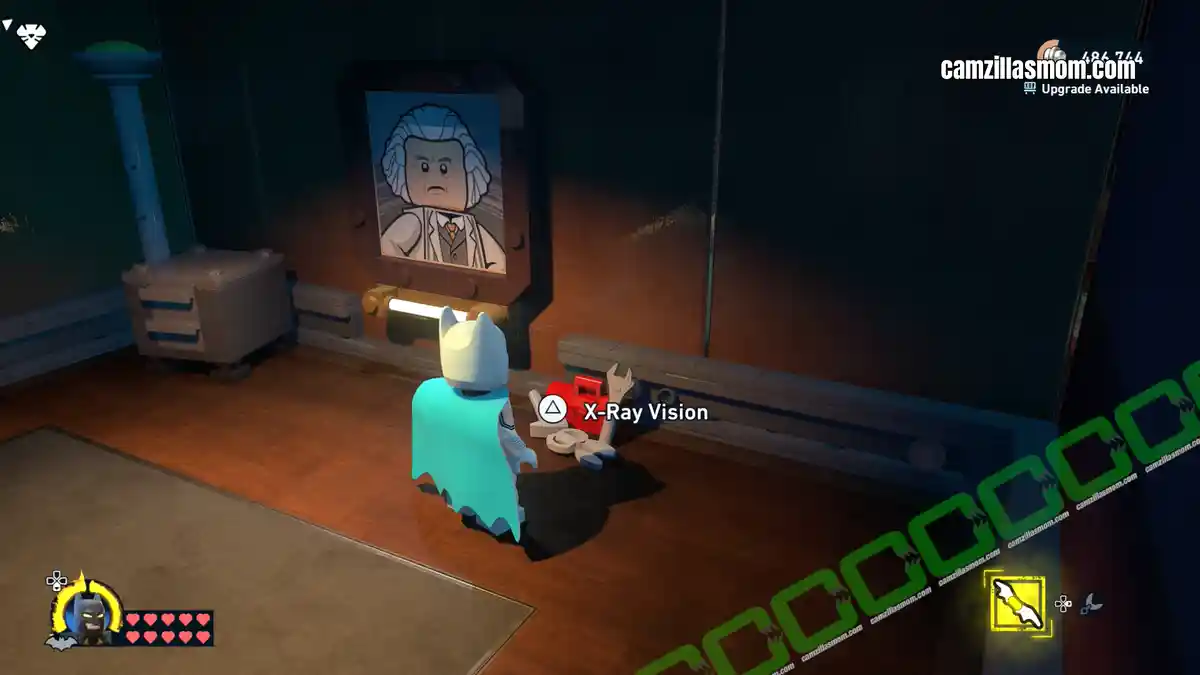
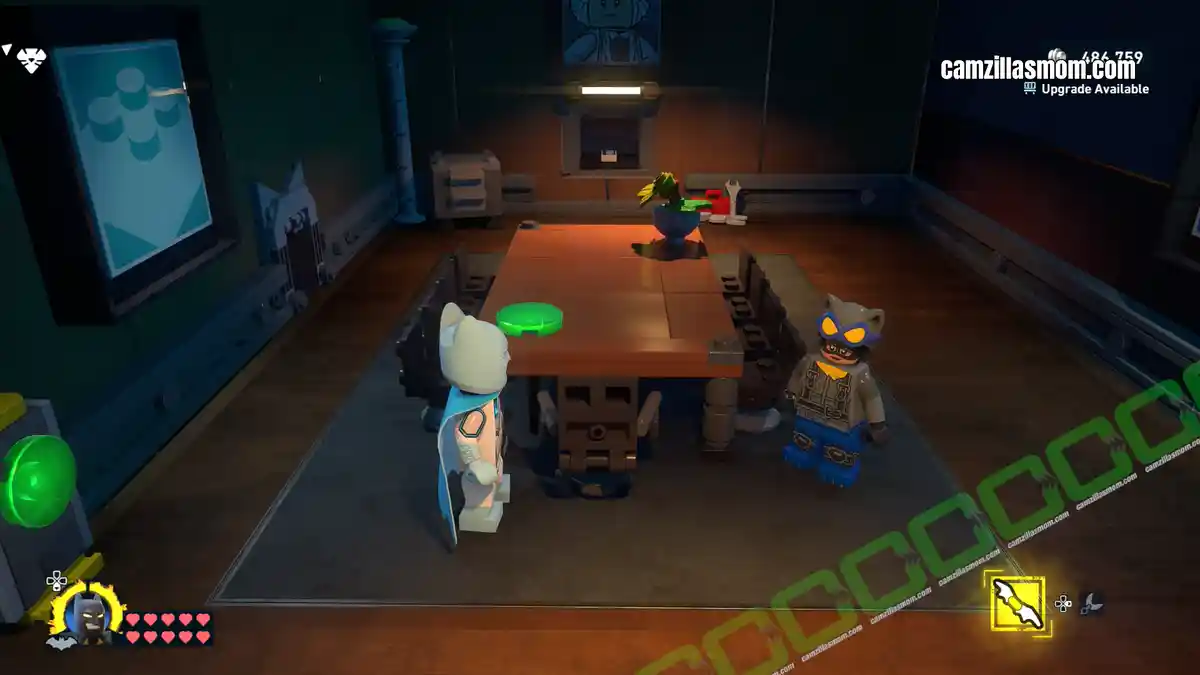
Inside the boss’s office, use Batman’s X-Ray Vision on the toolbox next to the boss’s picture. Follow the glowing cable to a plant pot on the table – pressing it causes the picture to slide up and reveal the second access card. Use it on the safe door, crack the safe with Catwoman, collect the money and exit to complete the heist.
Anyone Home?
Coordinates: 232, 359
Anyone Home? is part of the fourth Heist batch, releasing alongside Storage Doors, Cut Glass in Case of Heist and Stealing Office Supplies, after completing the third batch.
Find the glass apartment window in the south of Old Gotham West. Cut it with Catwoman and climb in.
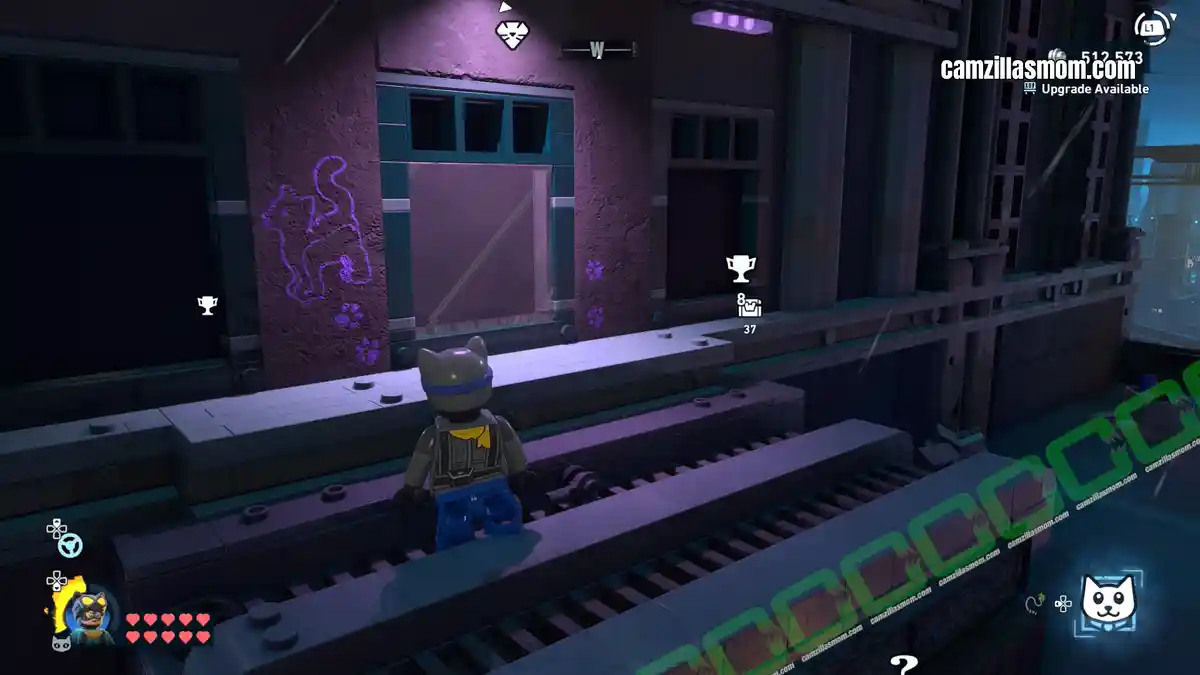
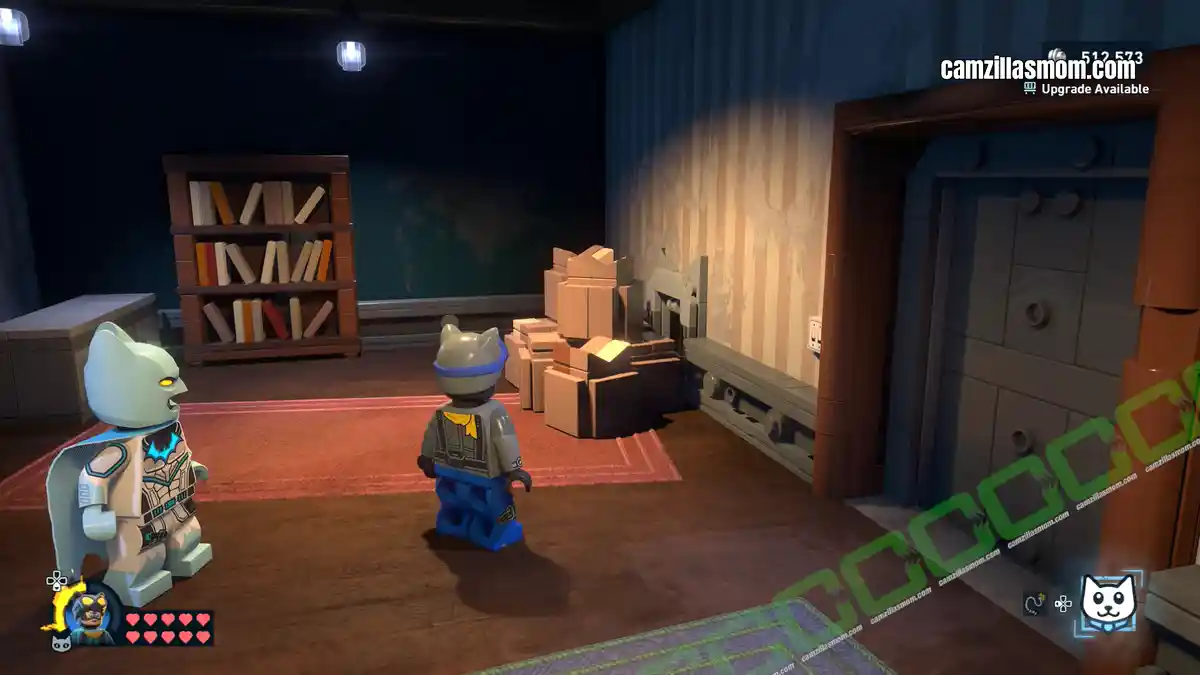
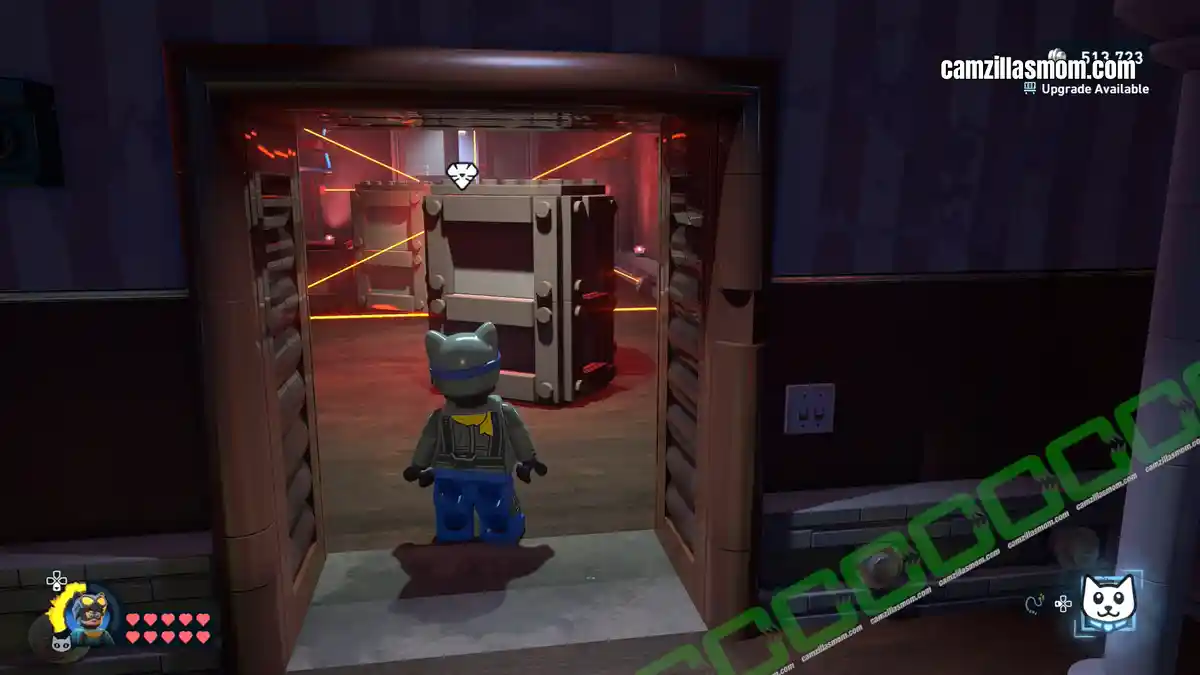
The window opens into a bedroom with a closed door. Destroy the boxes blocking a Kitty vent, summon a kitty and send it through. On the other side, a green power cable runs between the two locked doors. Look for a second Kitty vent to reach the room behind door two.
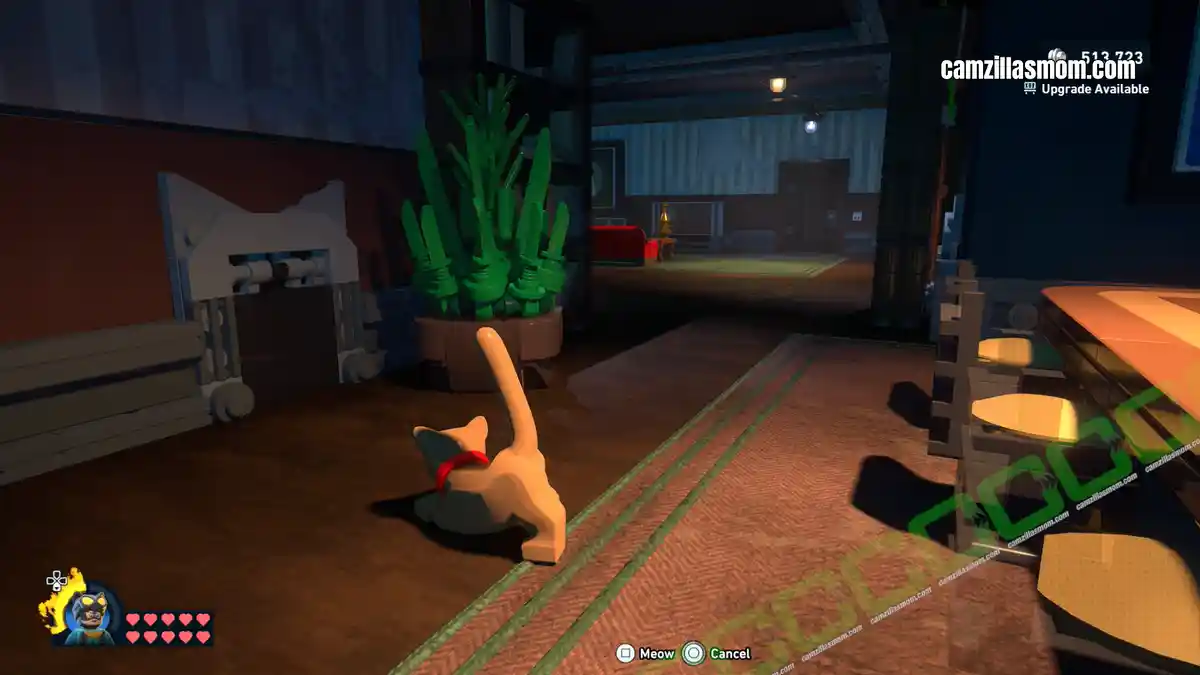
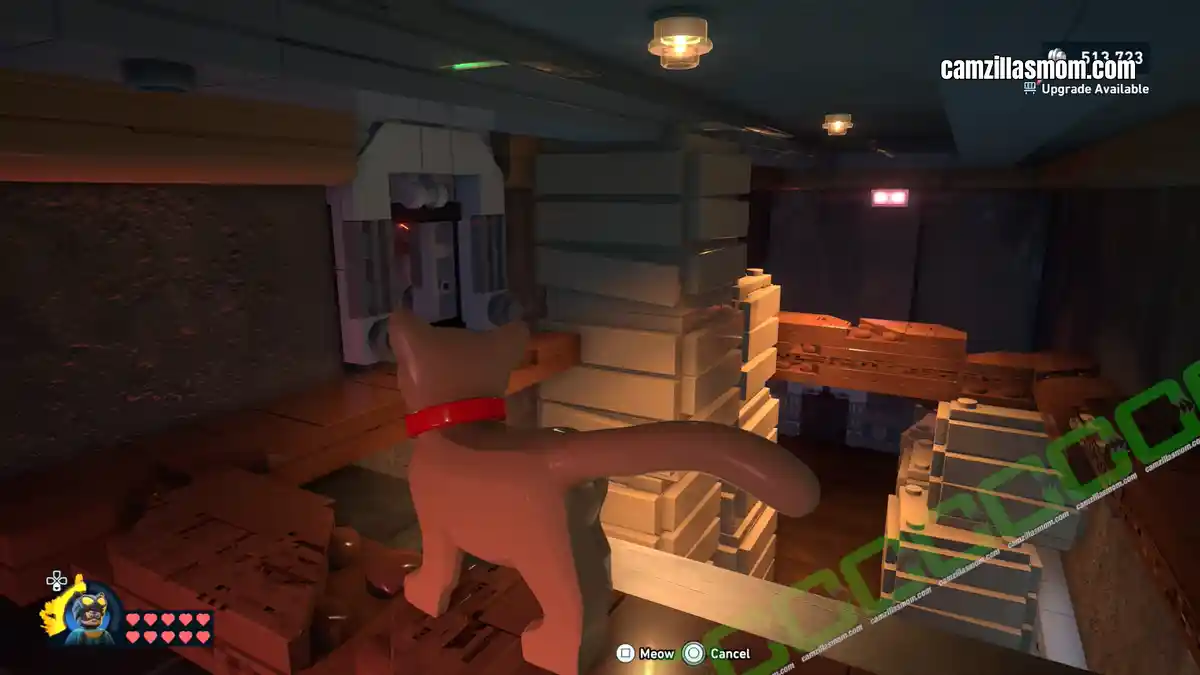
That vent leads into a kitty playroom – climb up inside to find a third Kitty vent opening into a laser-trapped corridor. Dodge the lasers and press the red button at the end to open both doors.
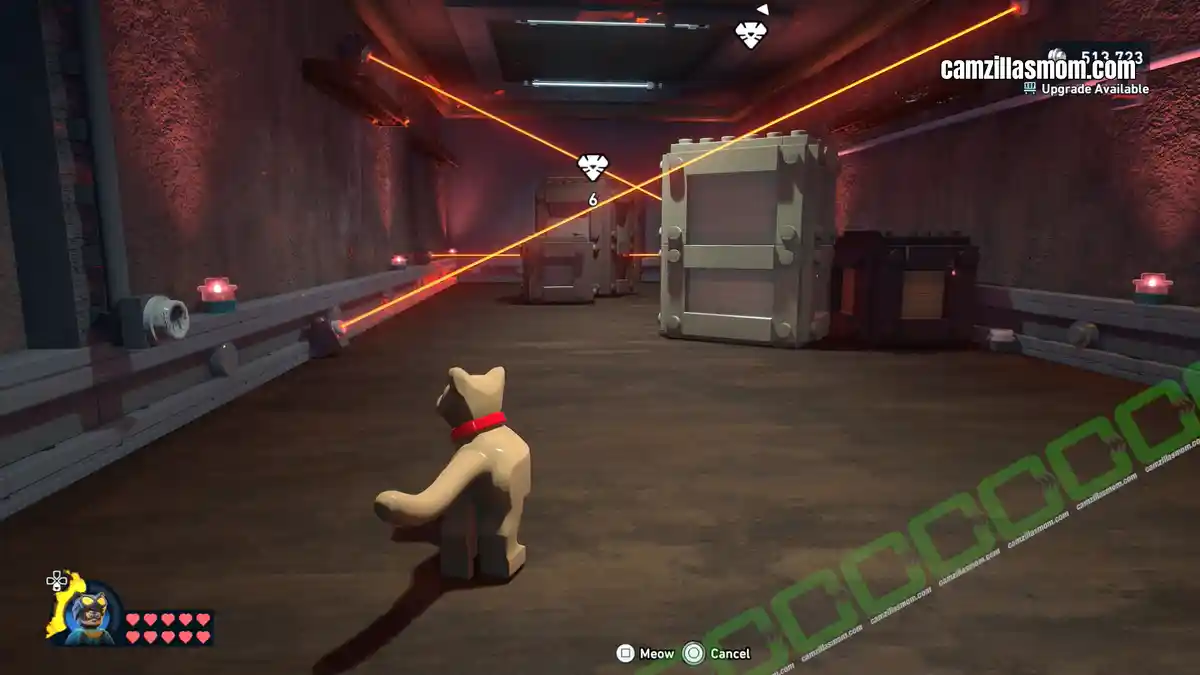
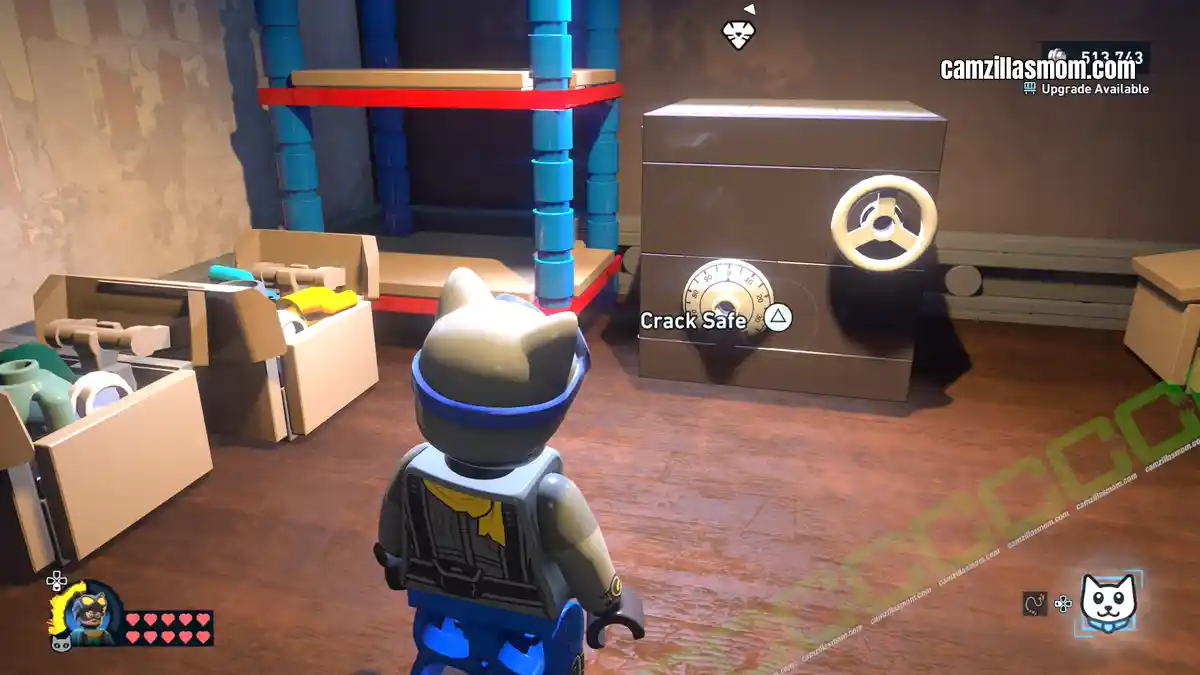
Return to Catwoman and bring her through the same laser corridor to the safe. Crack it, take the money and leave the apartment to finish this Falcone Fortune Heist.
WayneTech Cache Locations – 15
There are 15 WayneTech Caches hidden across Old Gotham West in LEGO Batman: Legacy of the Dark Knight – the highest concentration of any collectible type in the district. Most are straightforward grabs; caches 7 and 8 require puzzle-solving to restore power.
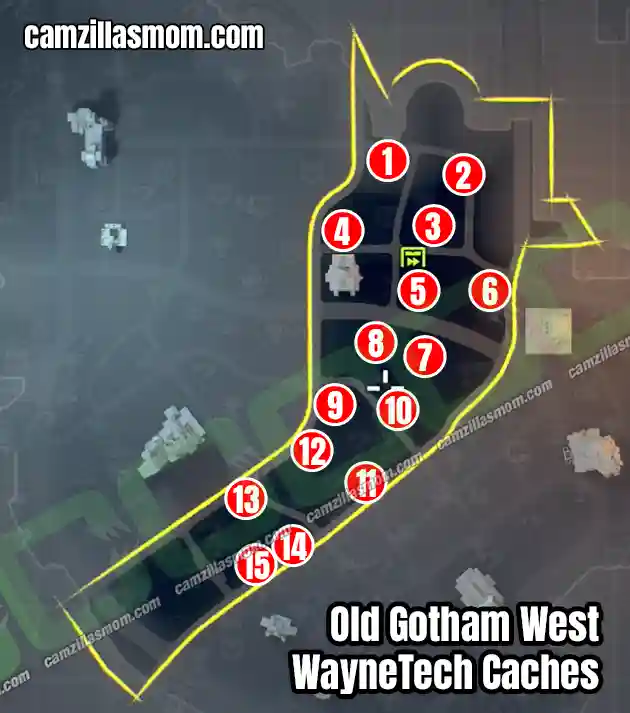
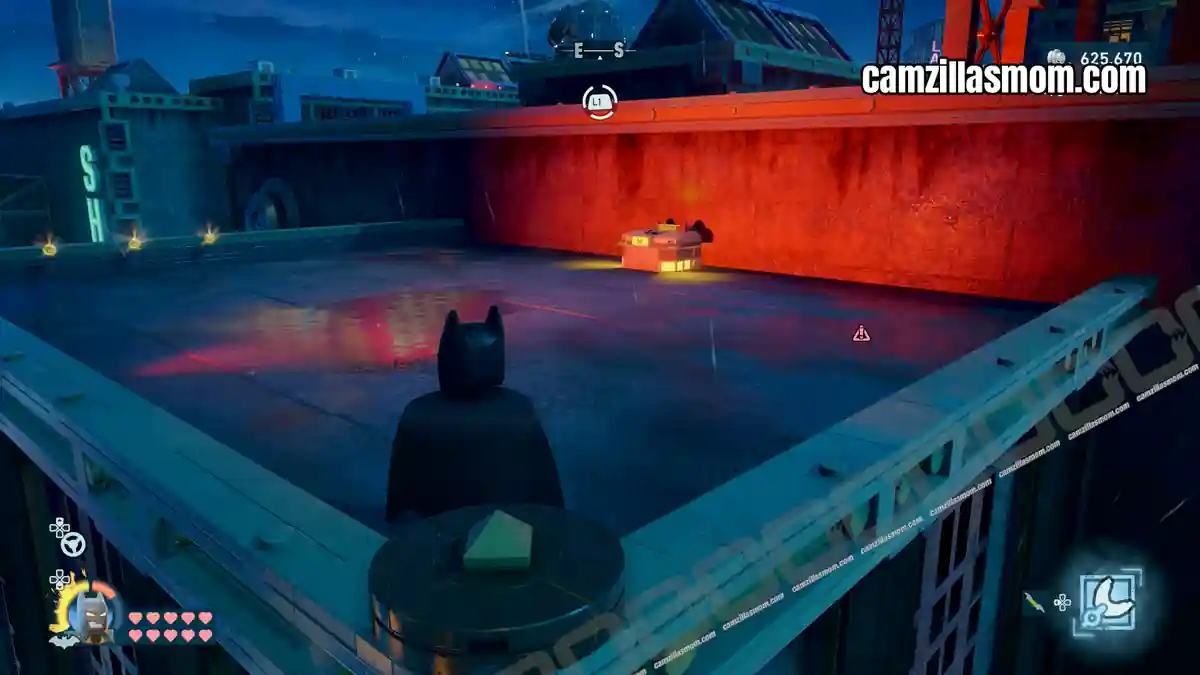
1
Coordinates: 292, 510
The first WayneTech Cache is in the north of the district, close to the northern boundary.
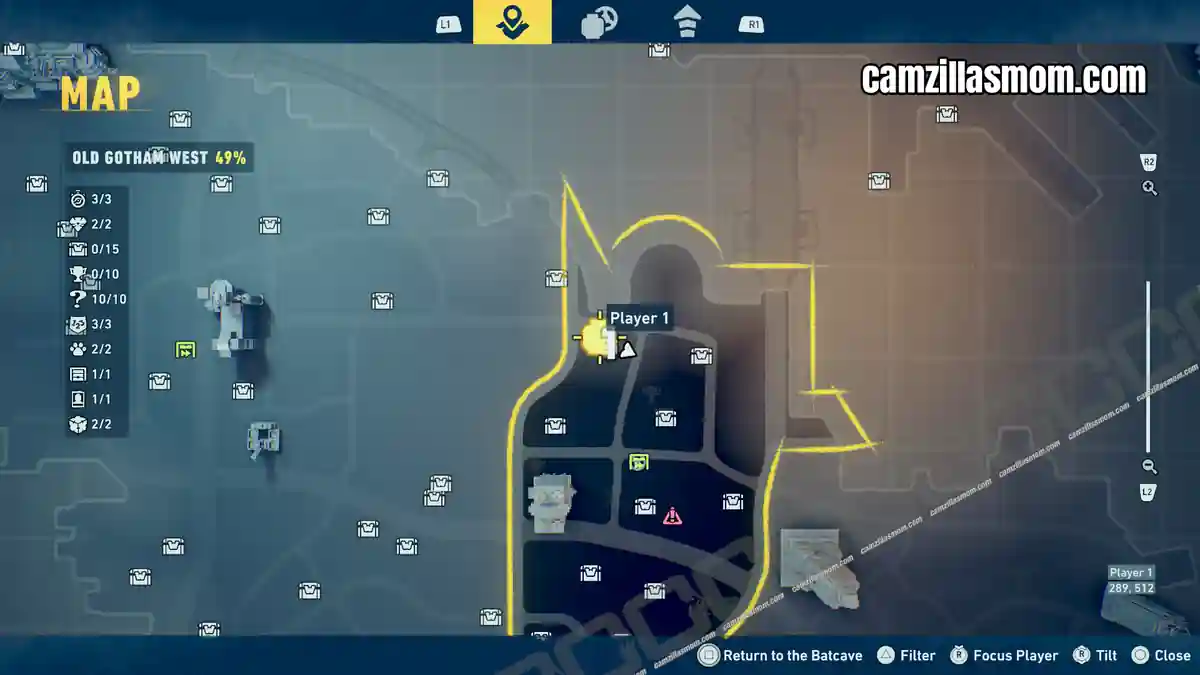
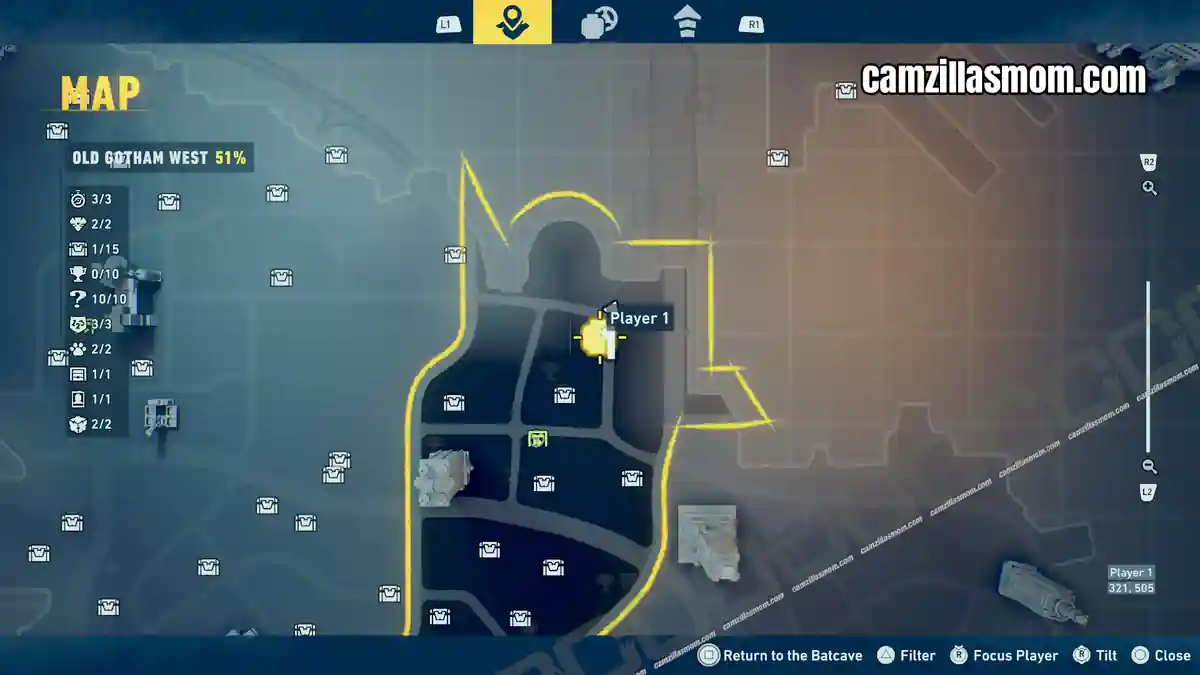
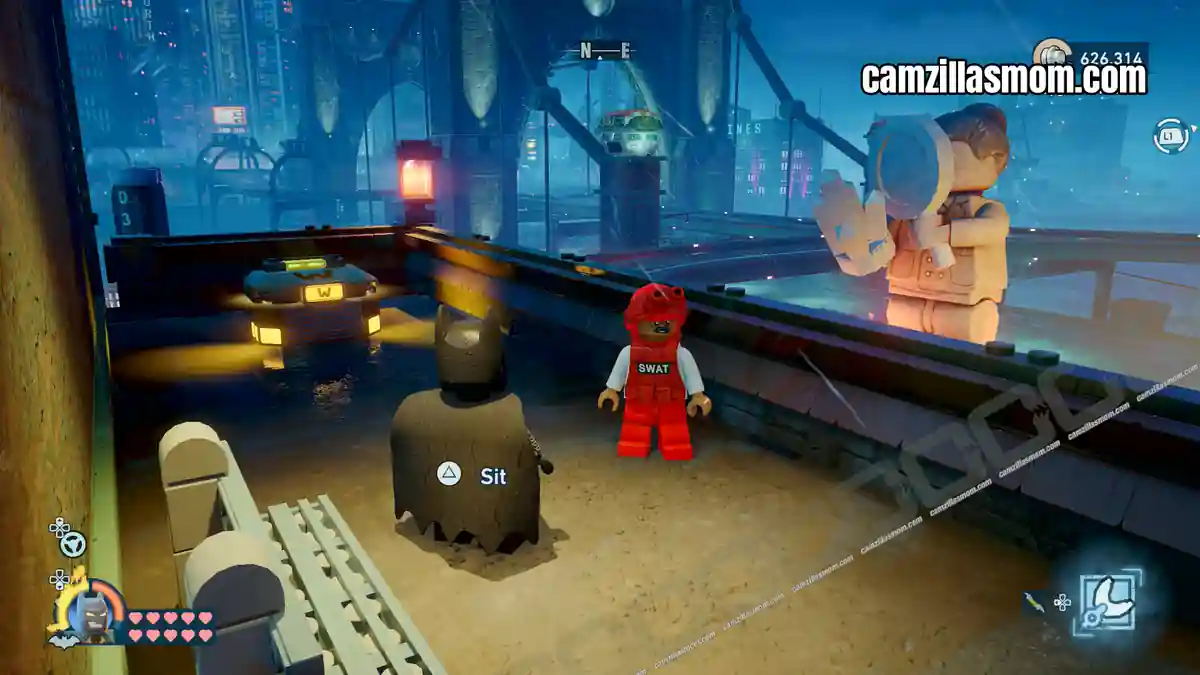
2
Coordinates: 321, 507
On a balcony with a view towards the northern bridge.
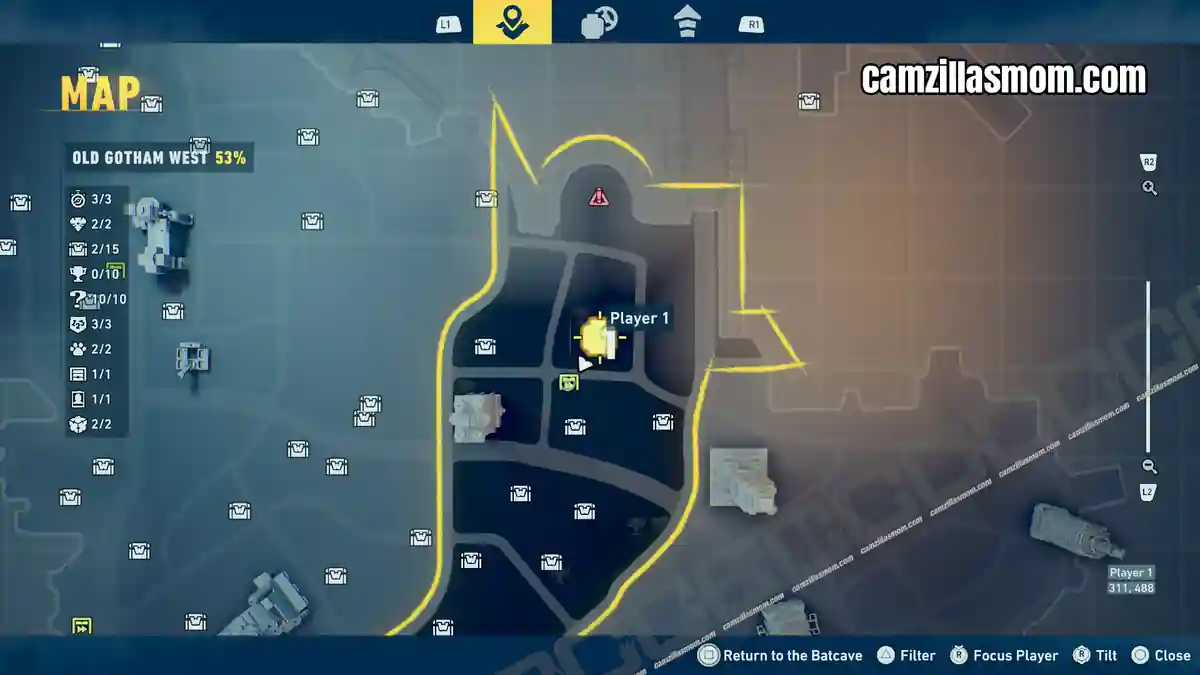
3
Coordinates: 310, 487
Northeast of the Subwayne, high up on a skyscraper terrace.
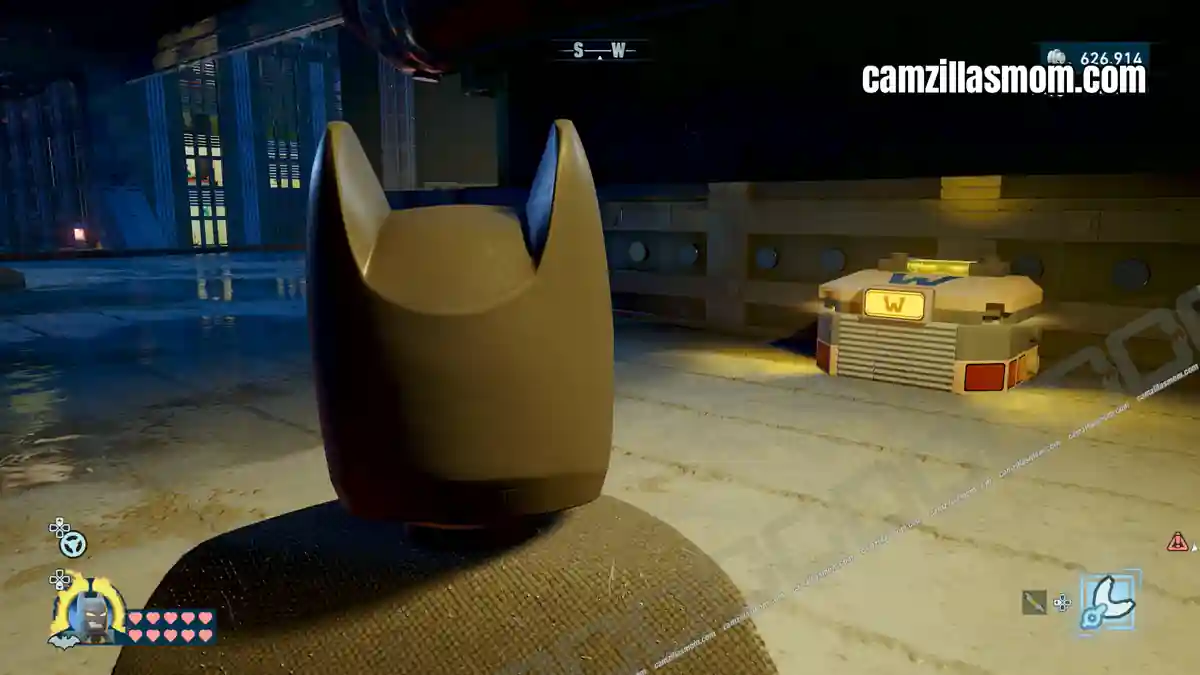
4
Coordinates: 276, 485
Also on a terrace – just north of the GCPD building.
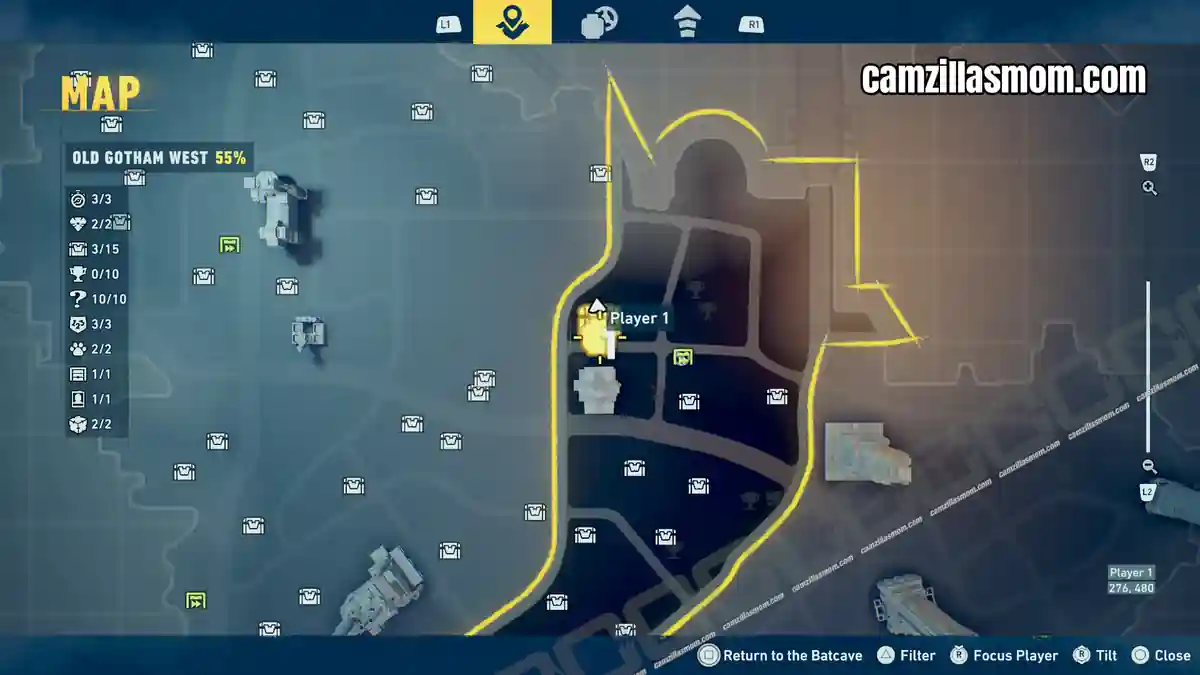
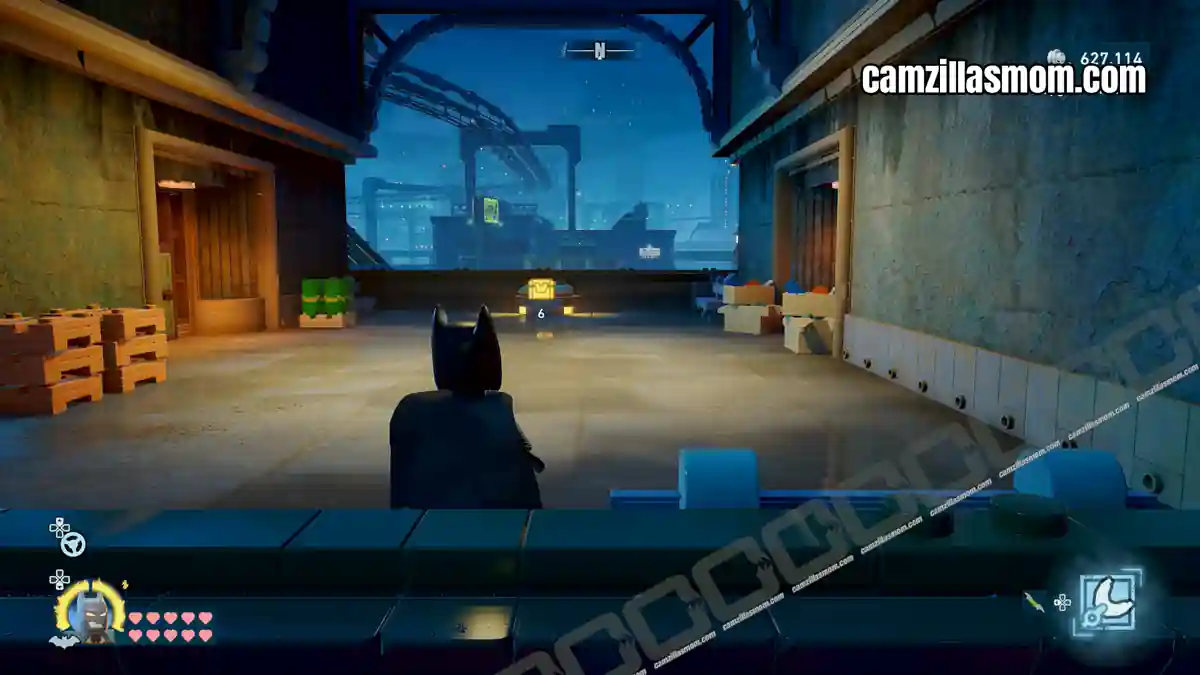
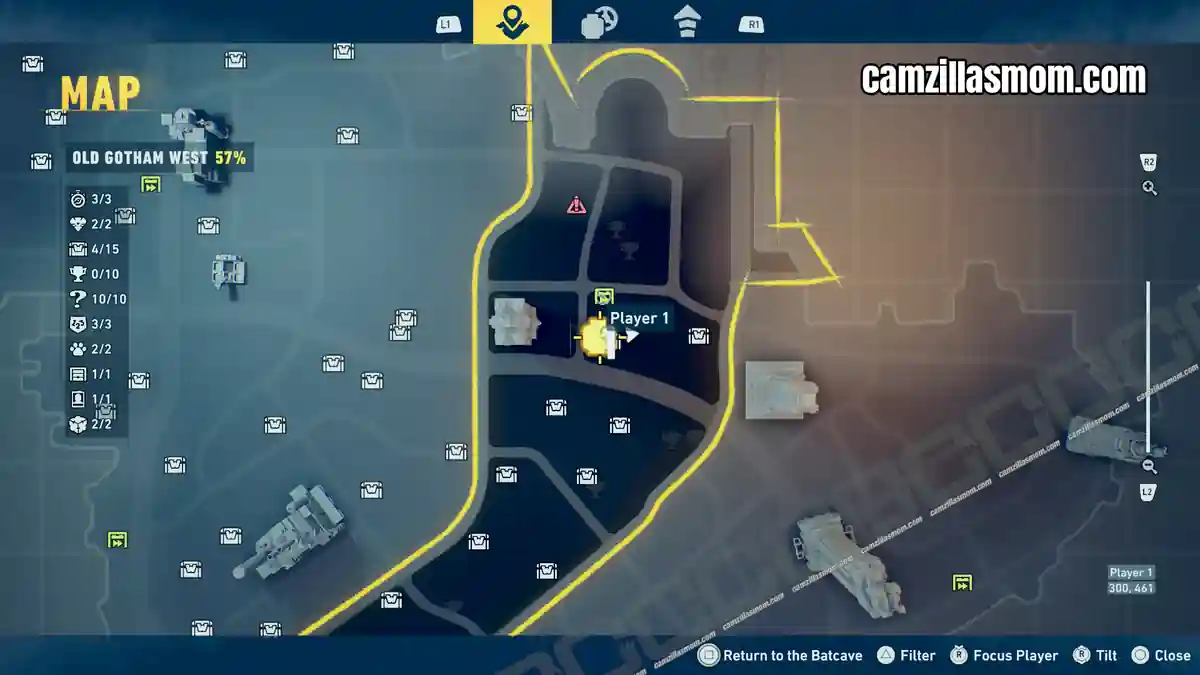
5
Coordinates: 304, 460
East of the Subwayne, underneath a skyscraper support platform.
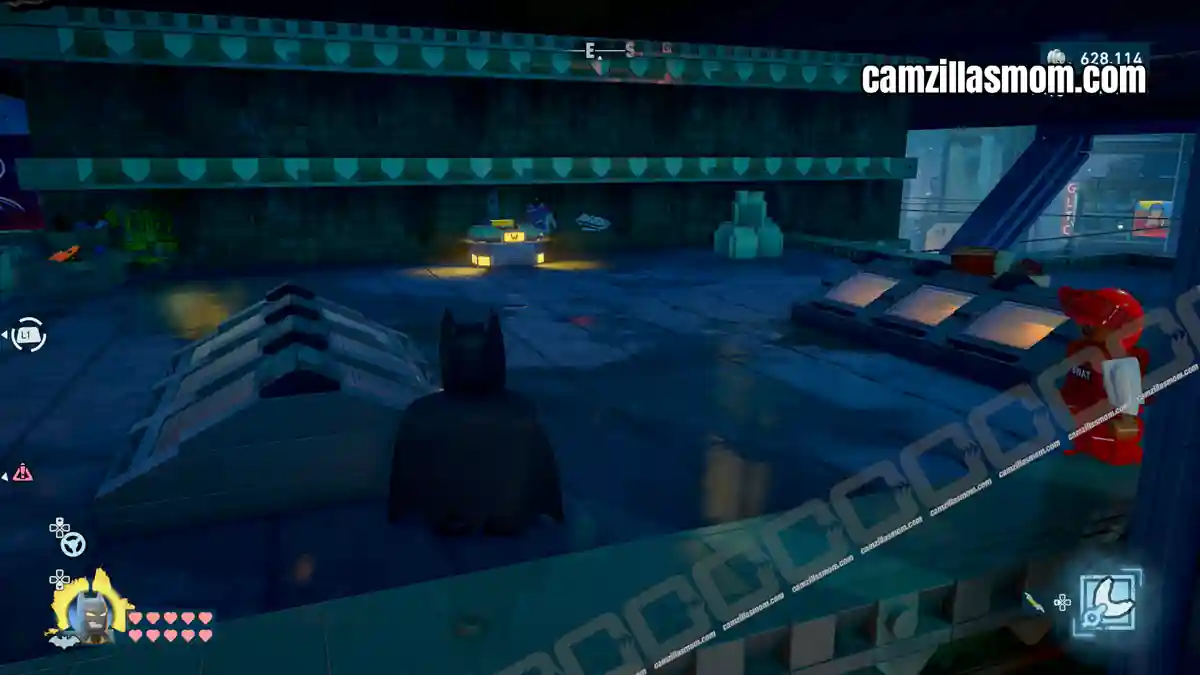
6
Coordinates: 331, 461
East of the Subwayne, on top of a staircase. Guarded by Henchmen – defeat them first.
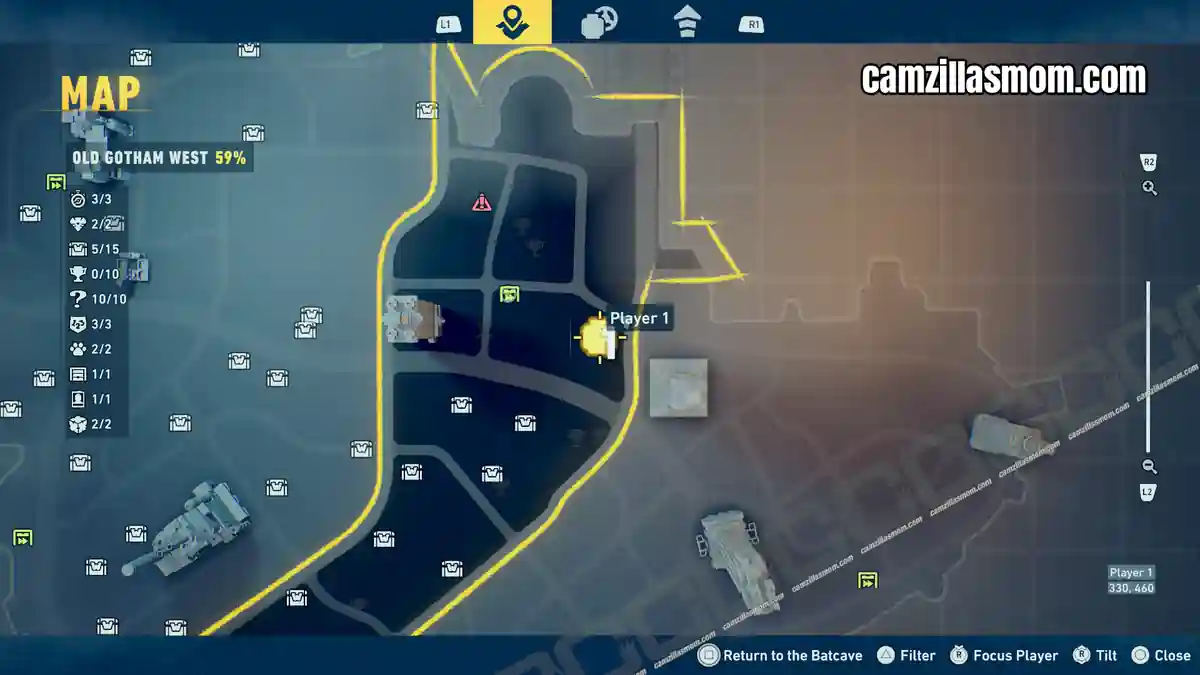
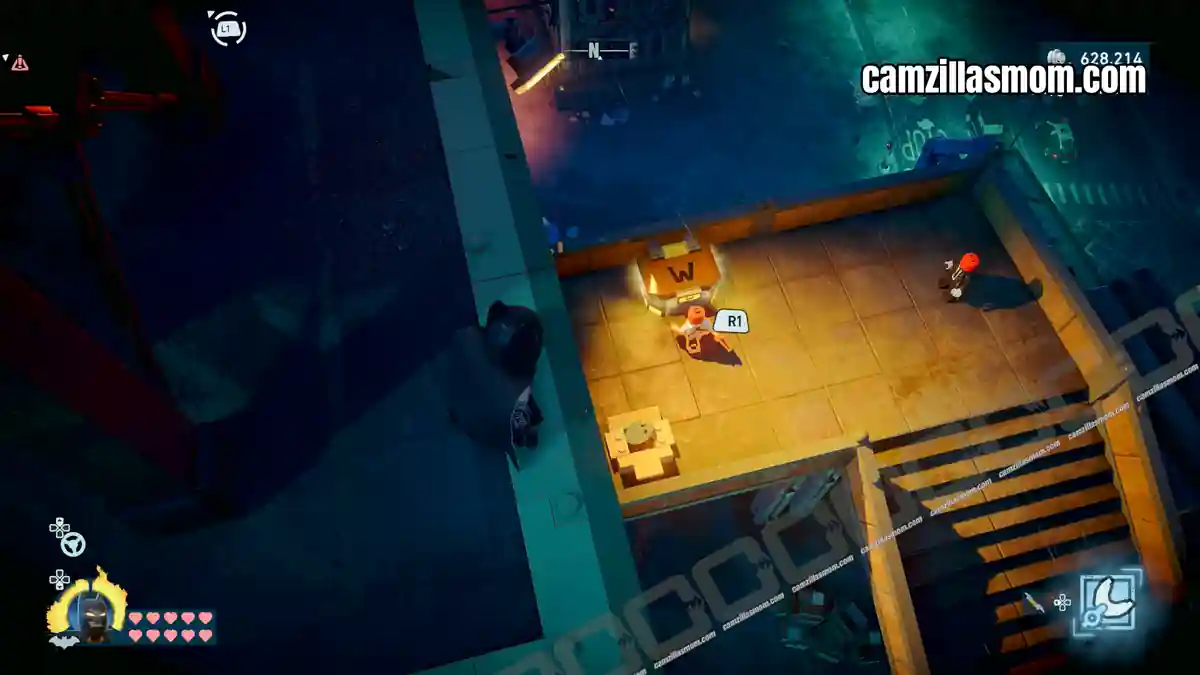
7
Coordinates: 306, 434
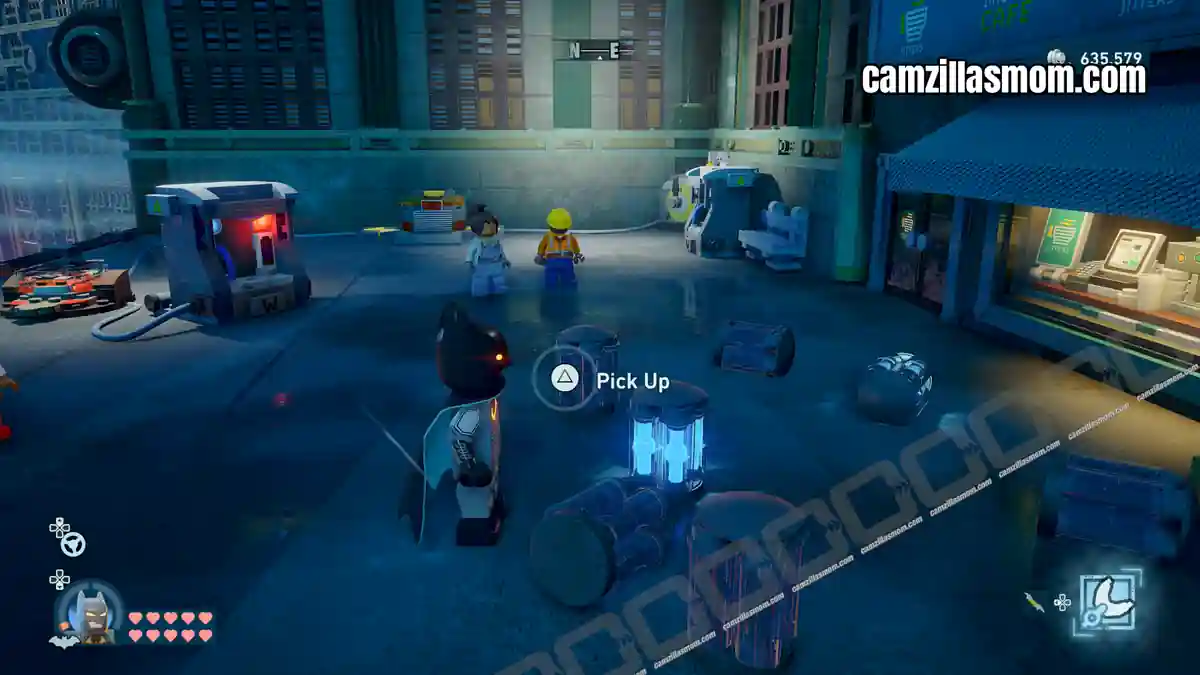
South of the Subwayne, on a terrace above a magnifying-glass statue. This WayneTech Cache is inactive.
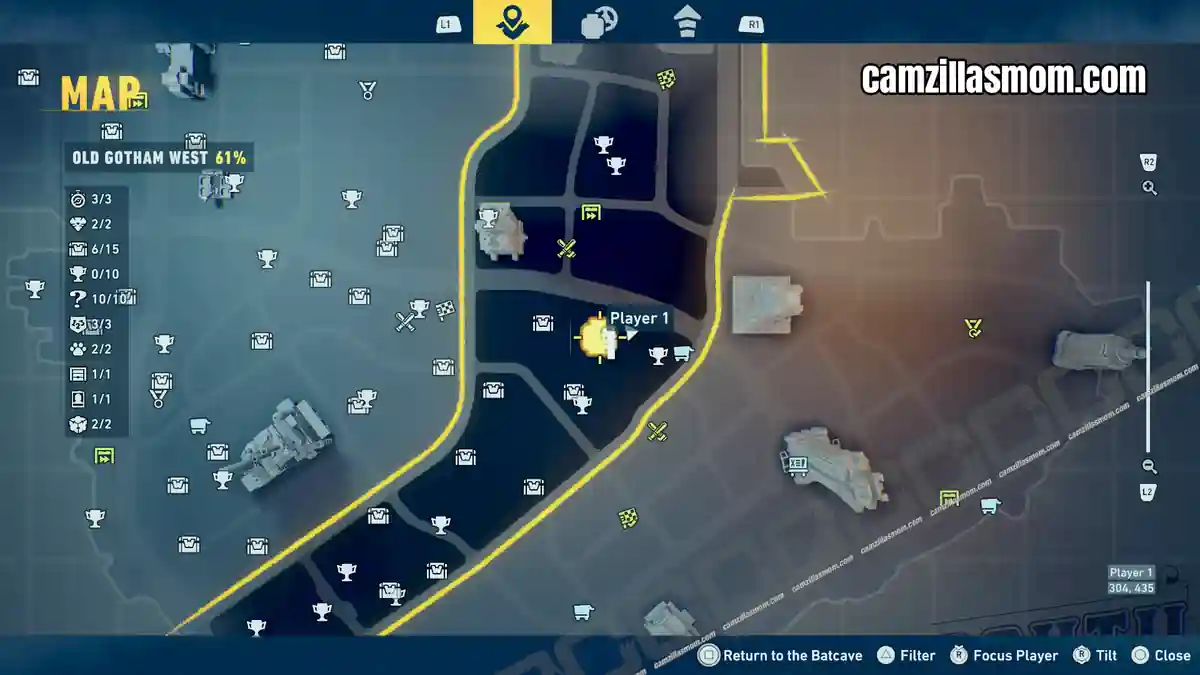
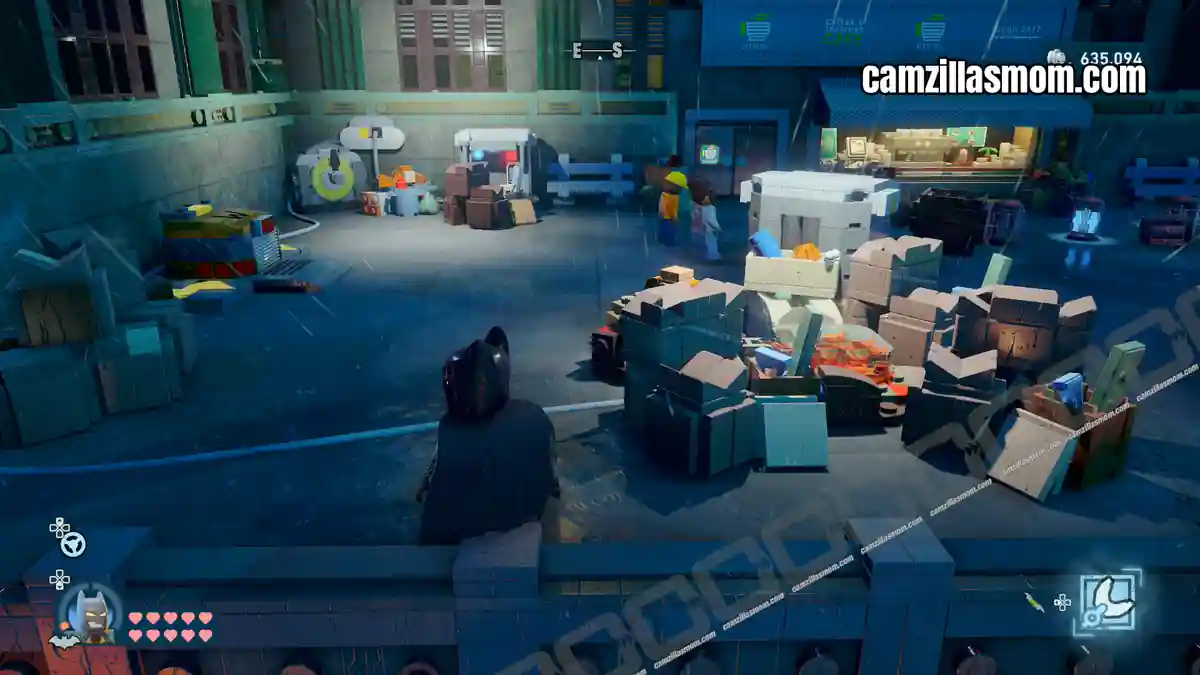
Destroy everything to find two battery slots and two loose batteries. Insert both to power a button and a timer. Switch to Batgirl, stand on the button, then hack the switch above the timer to open the cache.
8
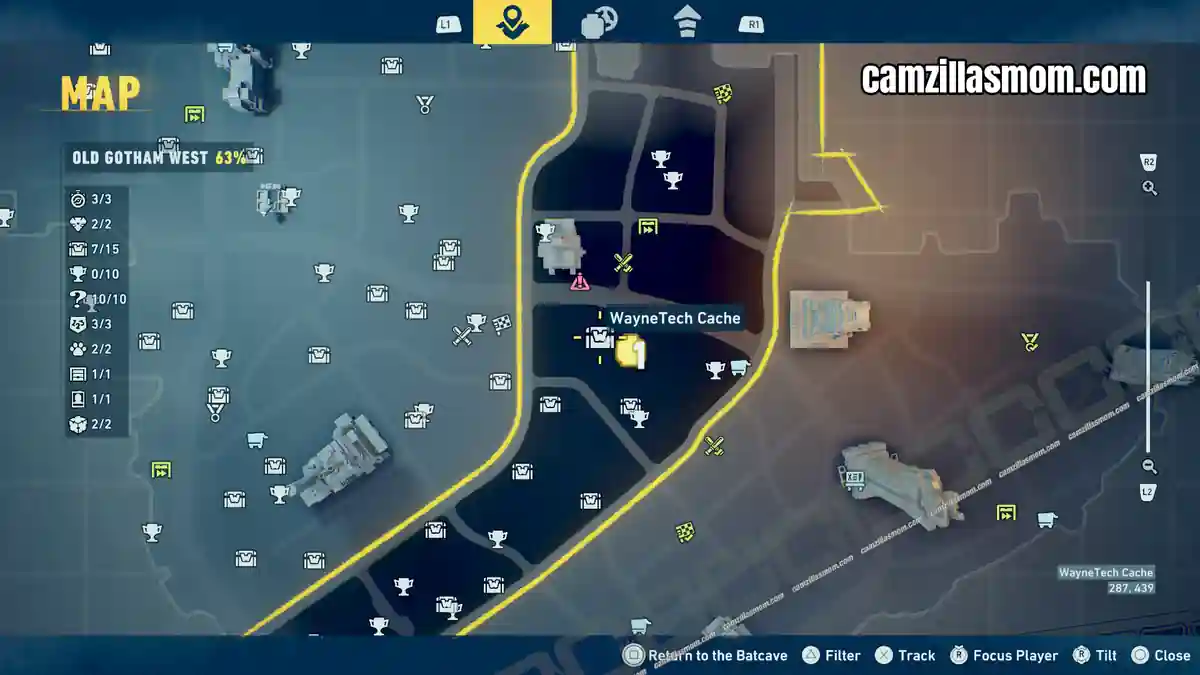
Coordinates: 287, 439
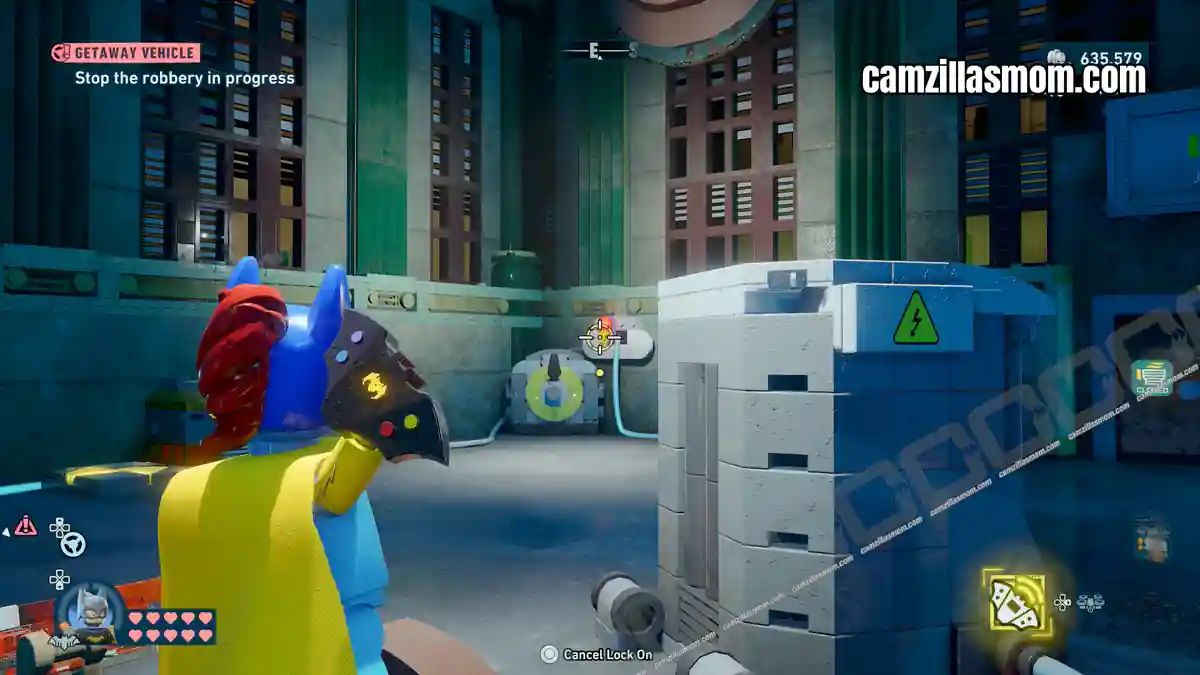
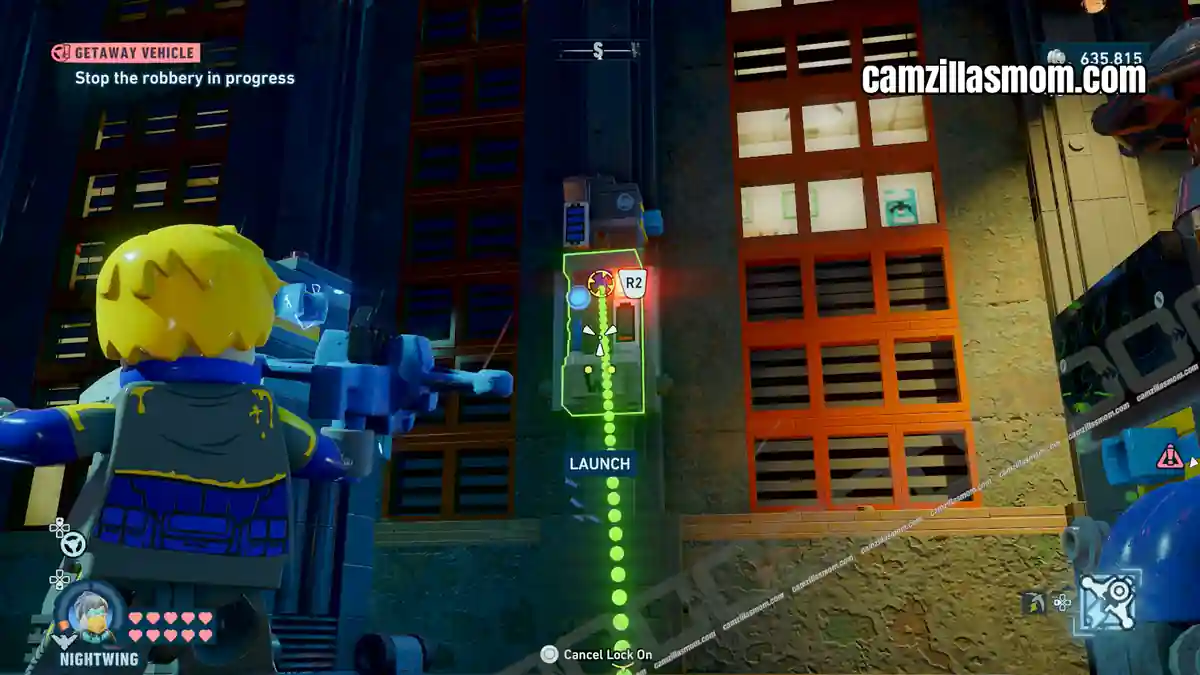
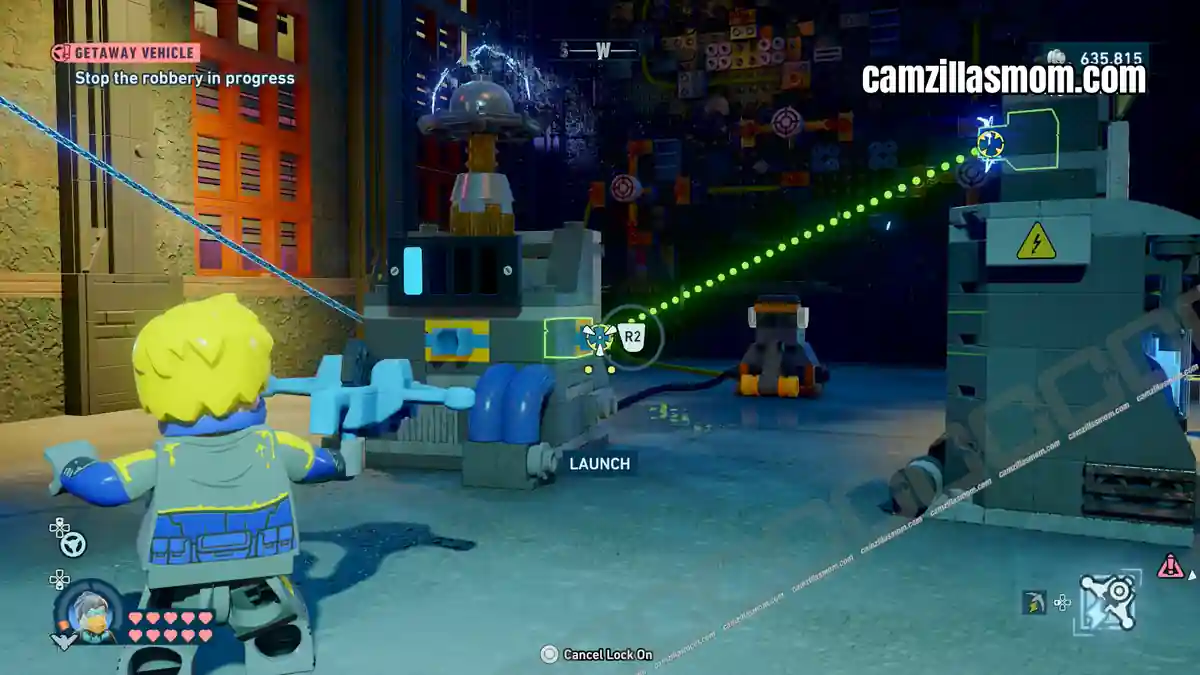
West of cache 7 – another inactive WayneTech Cache in LEGO Batman: Legacy of the Dark Knight.
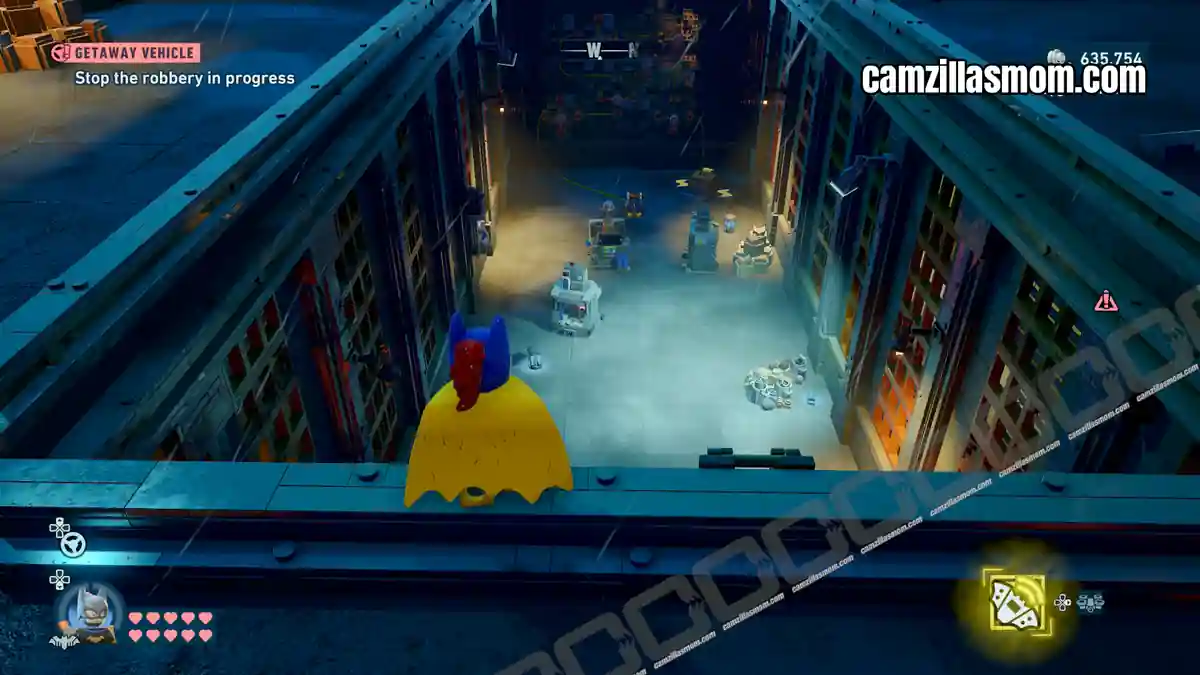
Find the small battery nearby. Switch to Nightwing and carry it to the wall-mounted generator. Use the Cable Launcher to connect the battery, then link the generator to the centre relay. Pull the lever and shoot the directional targets to route power through to the cache.
9
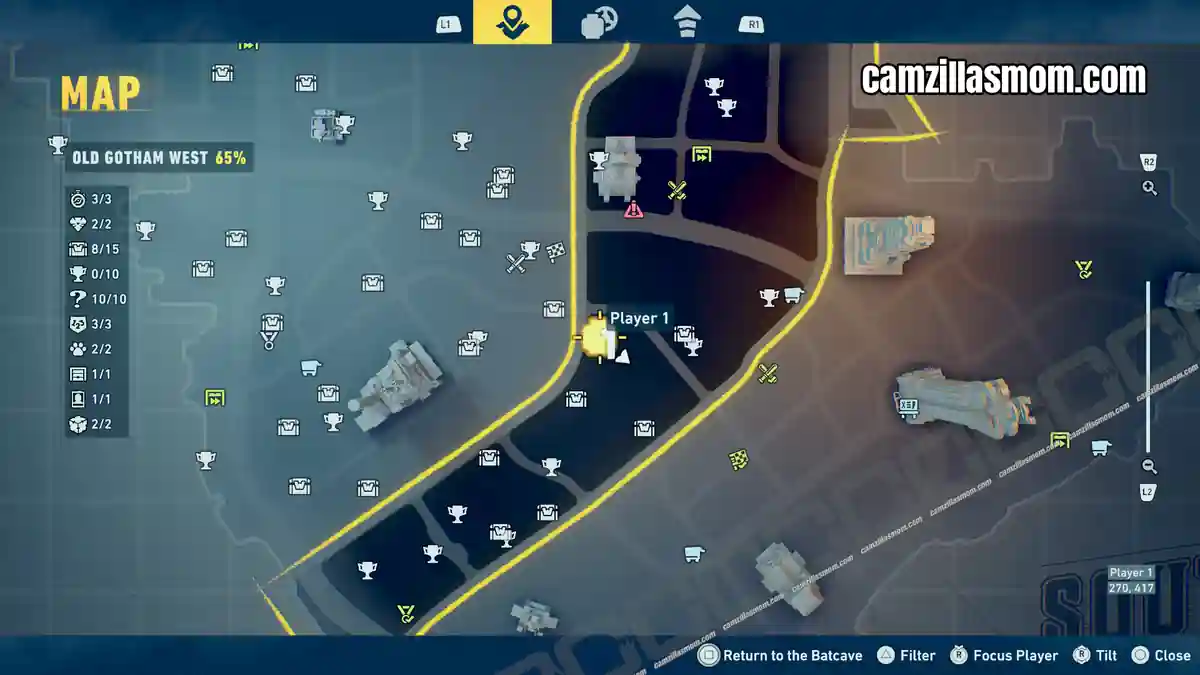
Coordinates: 271, 418
Southwest of cache 8, on a rooftop guarded by Henchmen.
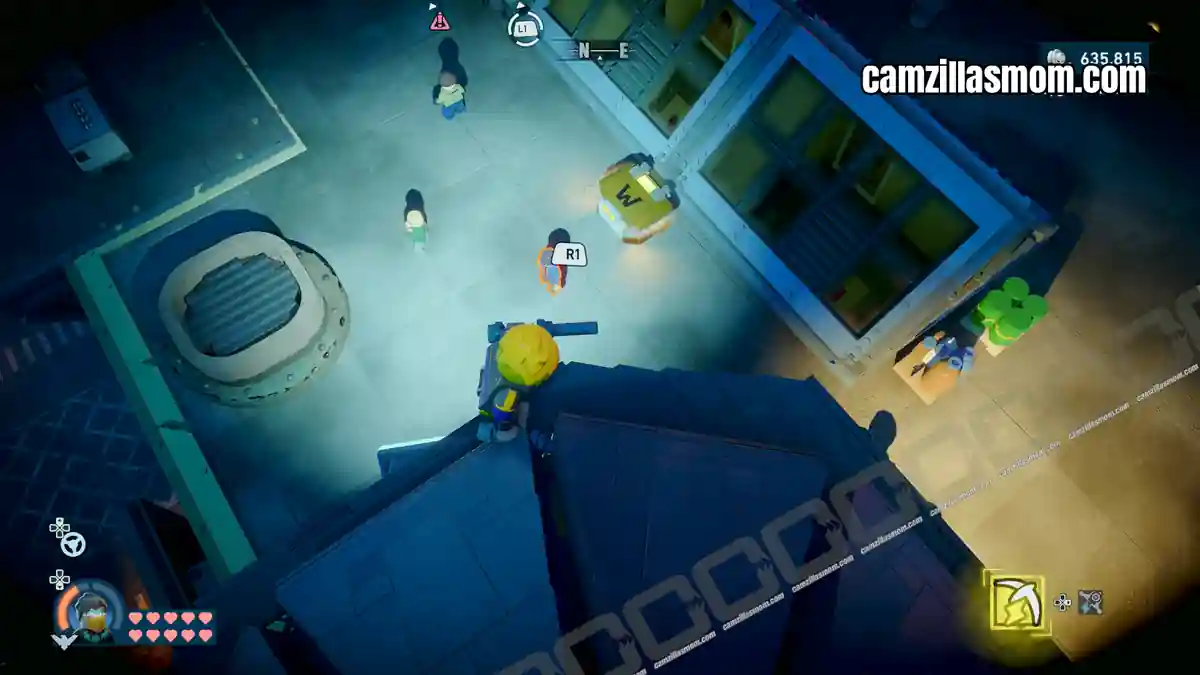
10
Coordinates: 296, 418
East of cache 9, at the top of a skyscraper’s first lower section.
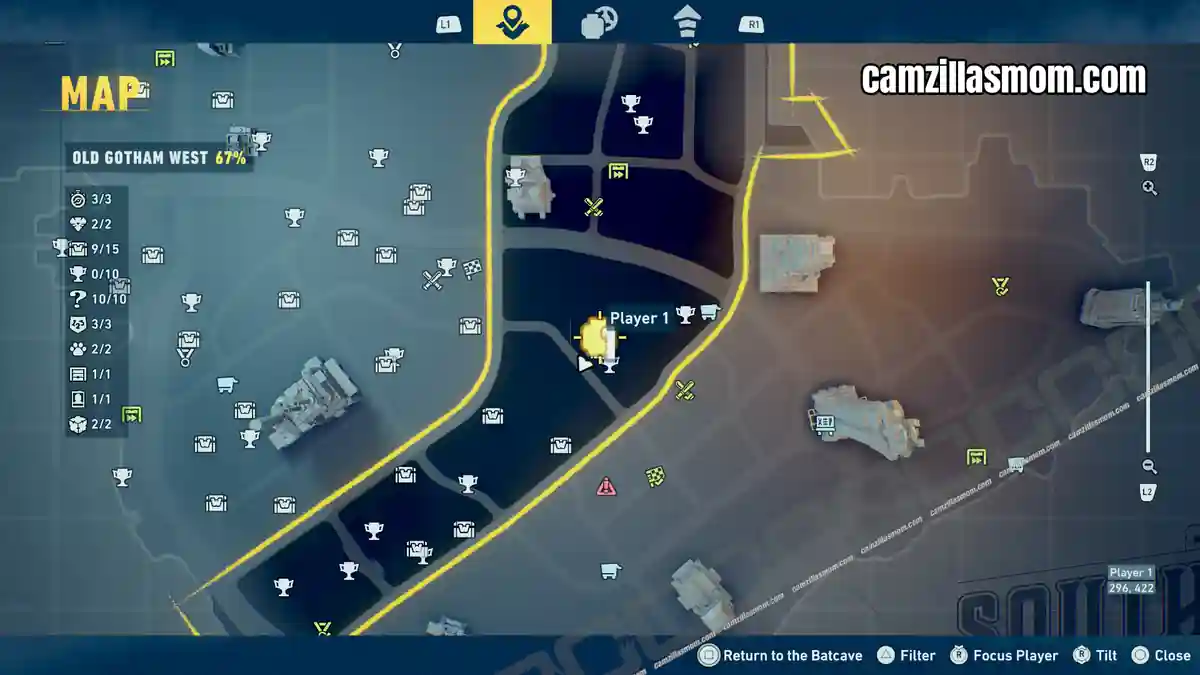
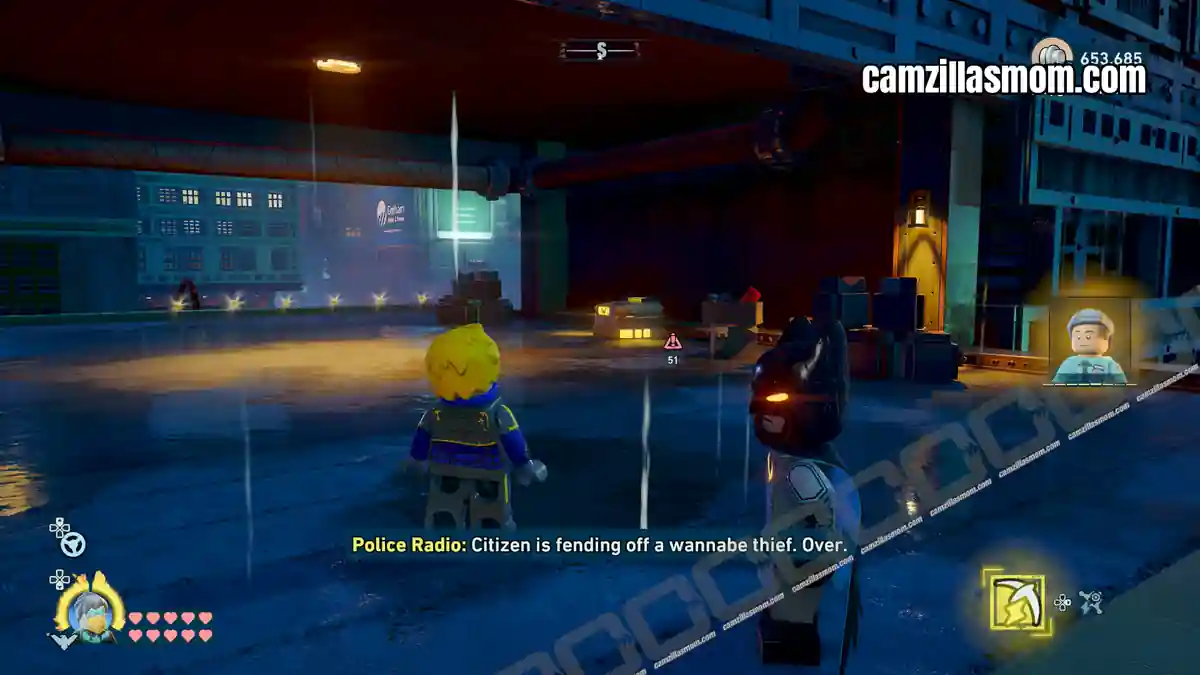
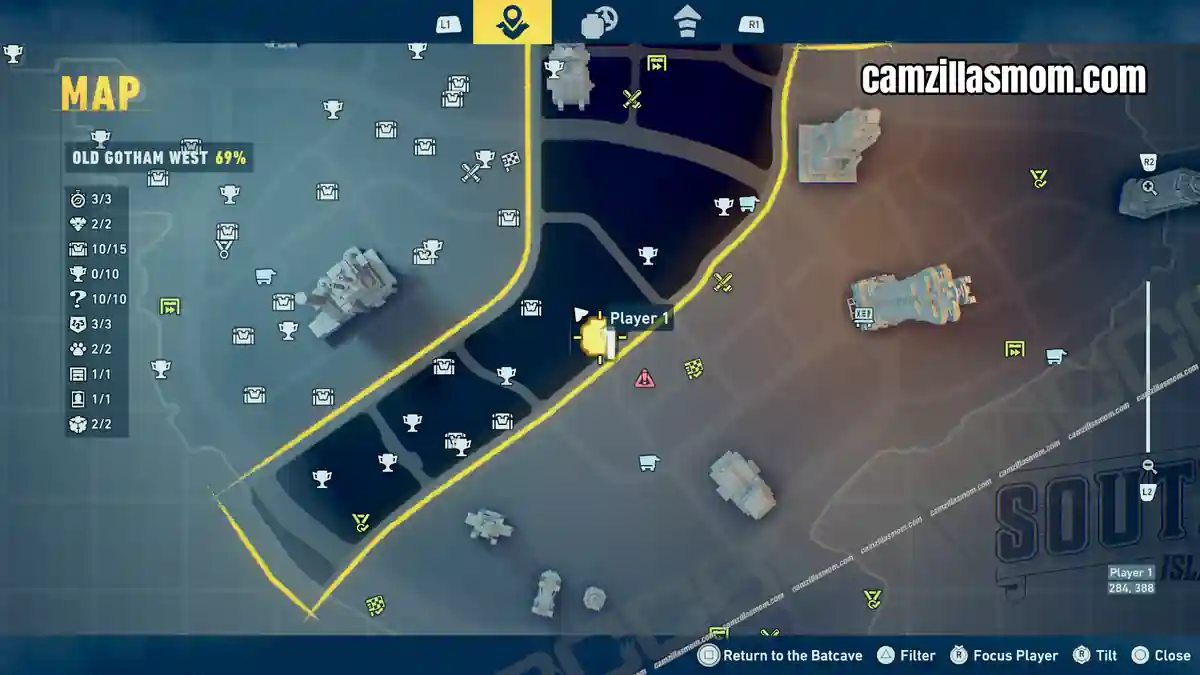
11
Coordinates: 284, 388
On the roof of the Marin Hotel, near the border with Old Gotham North.
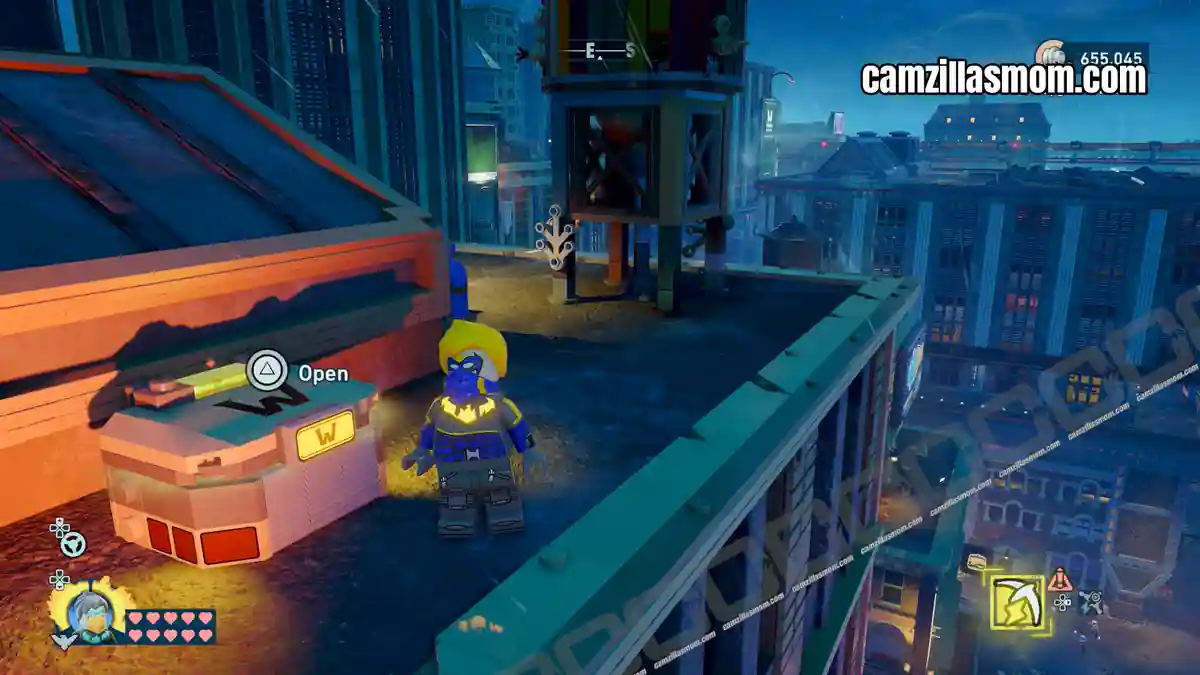
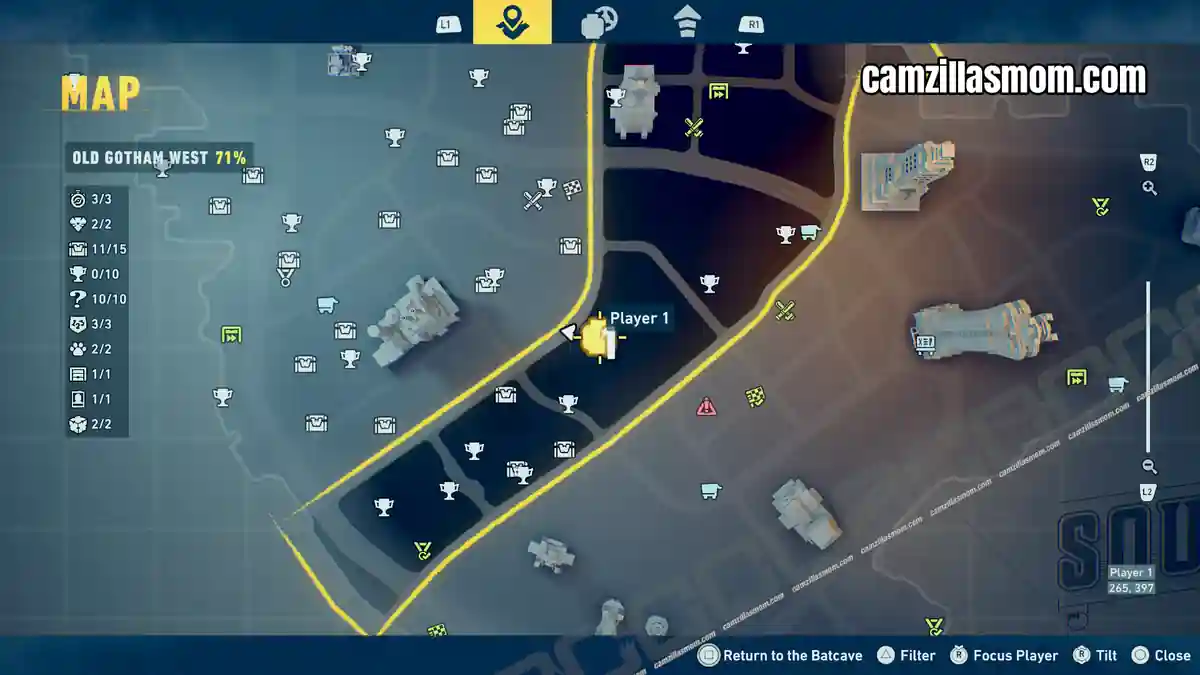
12
Coordinates: 263, 397
On a roof above the train tracks in the west of the district.
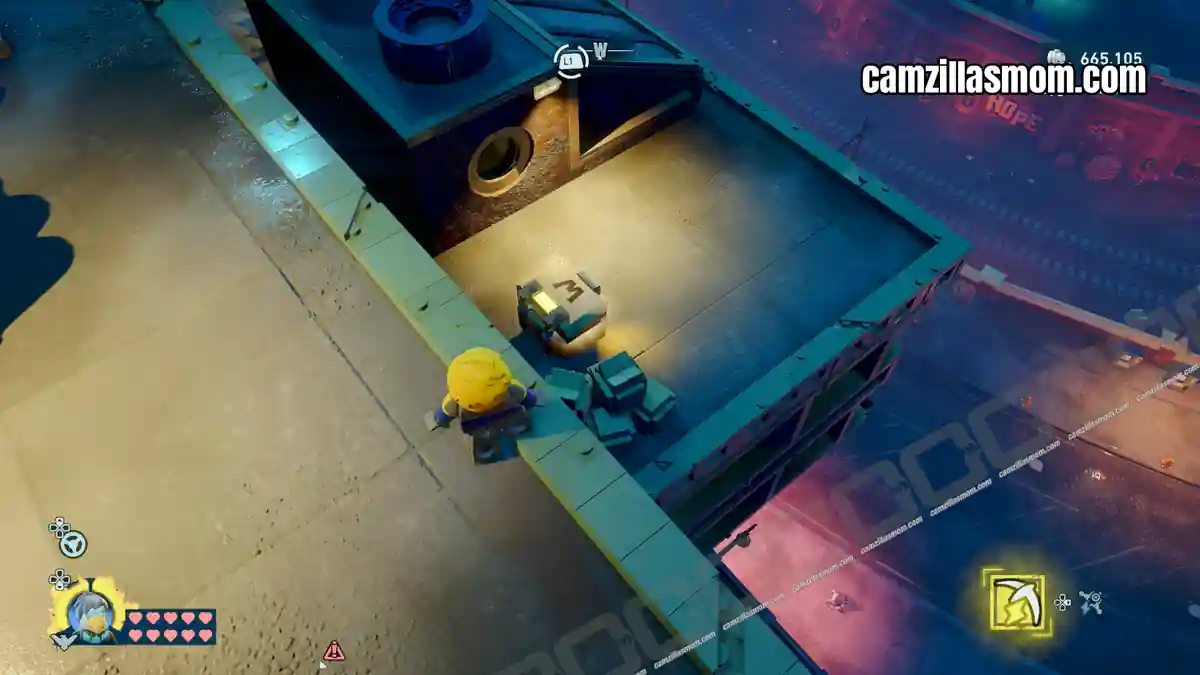
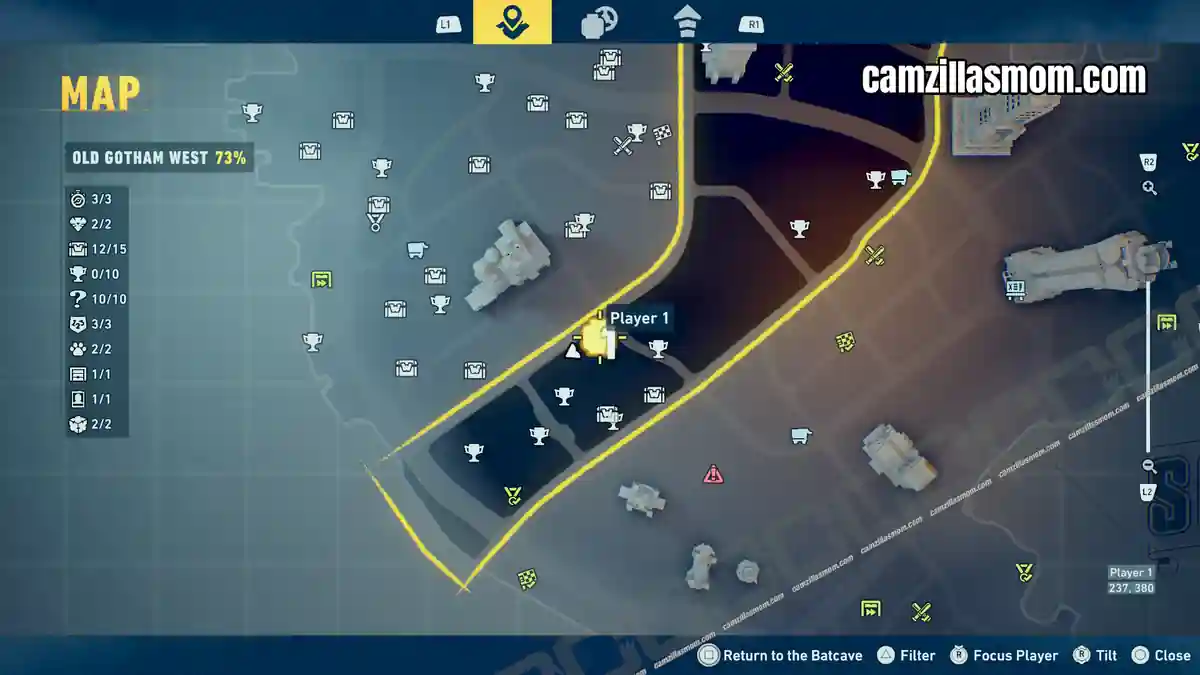
13
Coordinates: 235, 379
A balcony cache overlooking the monorail tracks, near the border with Cauldron South.
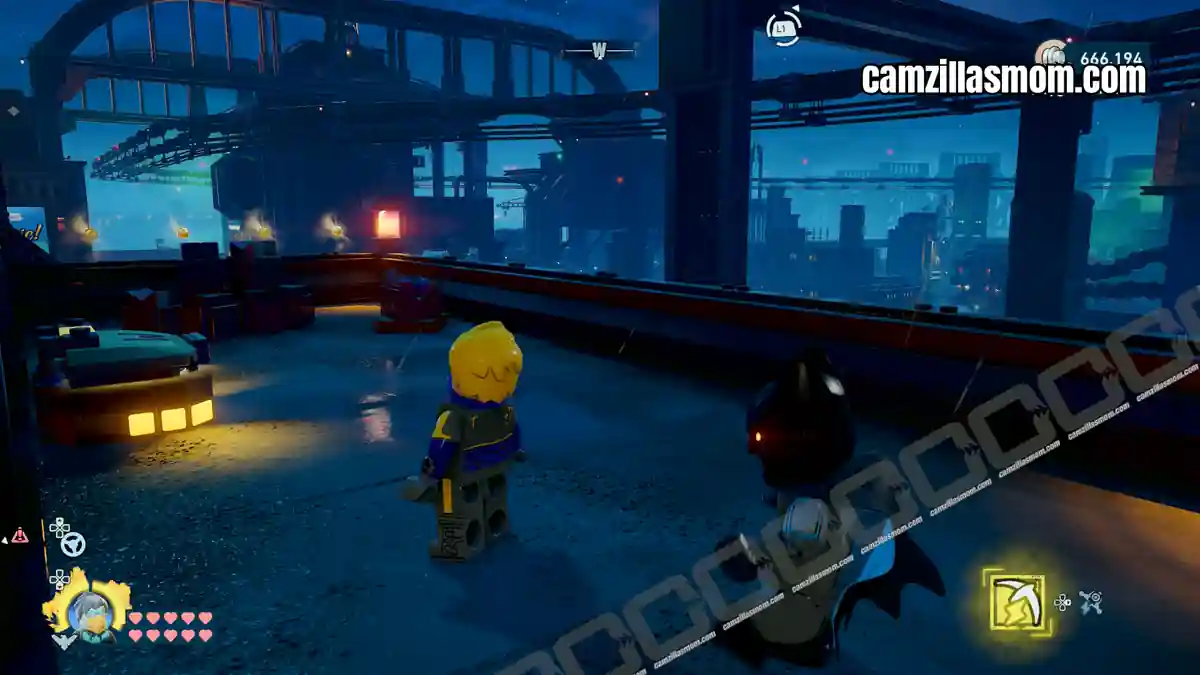
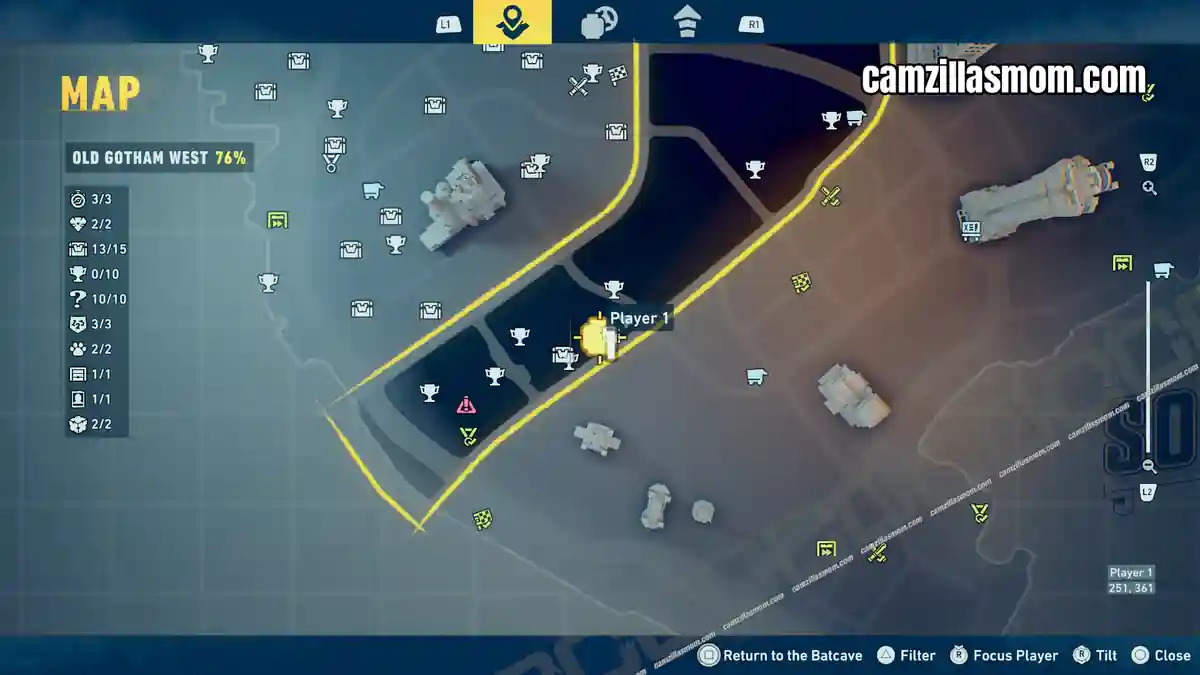
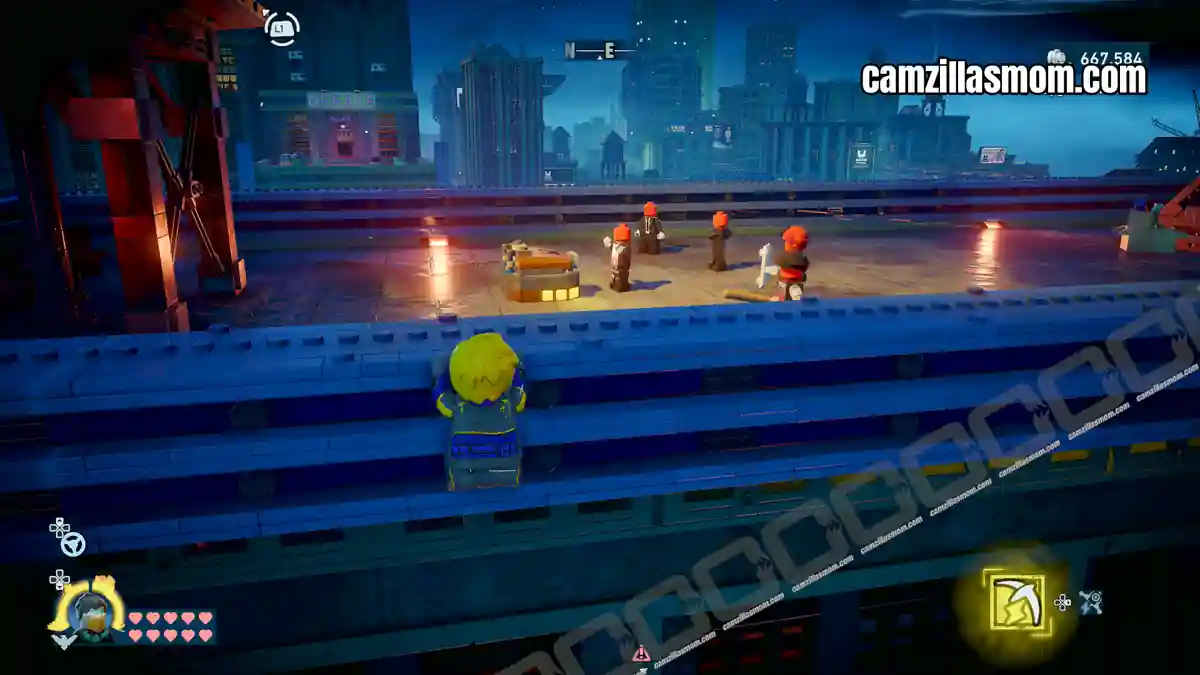
14
Coordinates: 254, 362
Near the Old Gotham South border, guarded by Henchmen – also close to The Heist Must Go On office location.
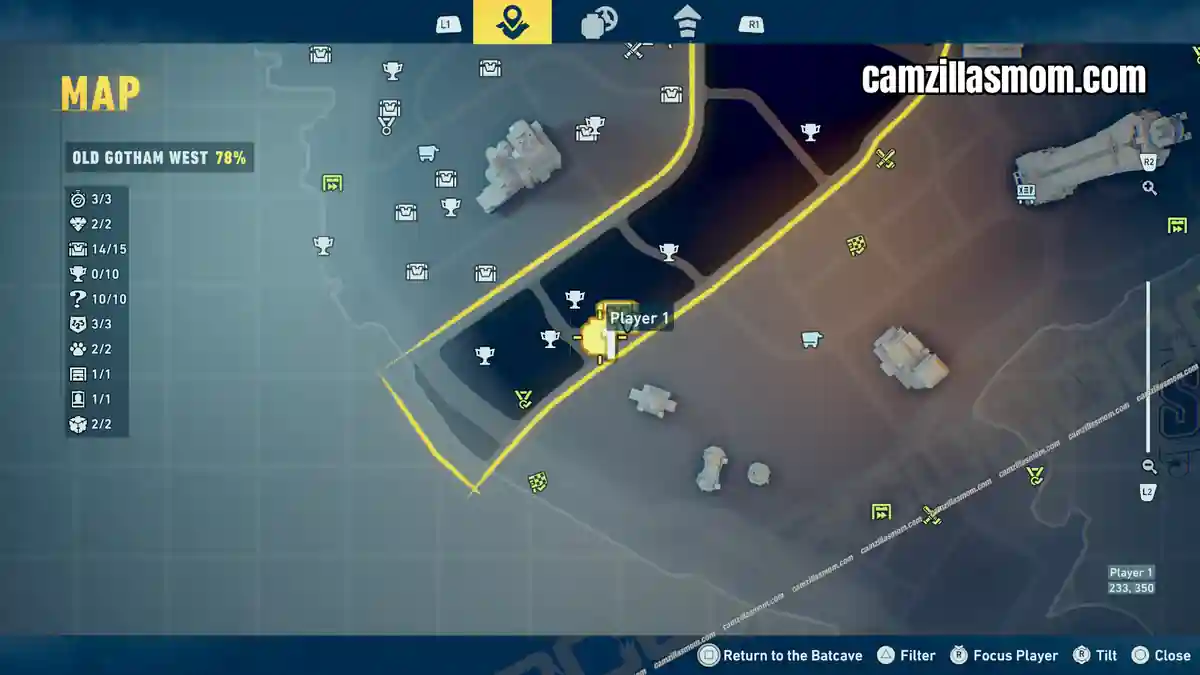
15
Coordinates: 239, 356
The southernmost WayneTech Cache in the district, on a distinctive round balcony of a tall skyscraper.
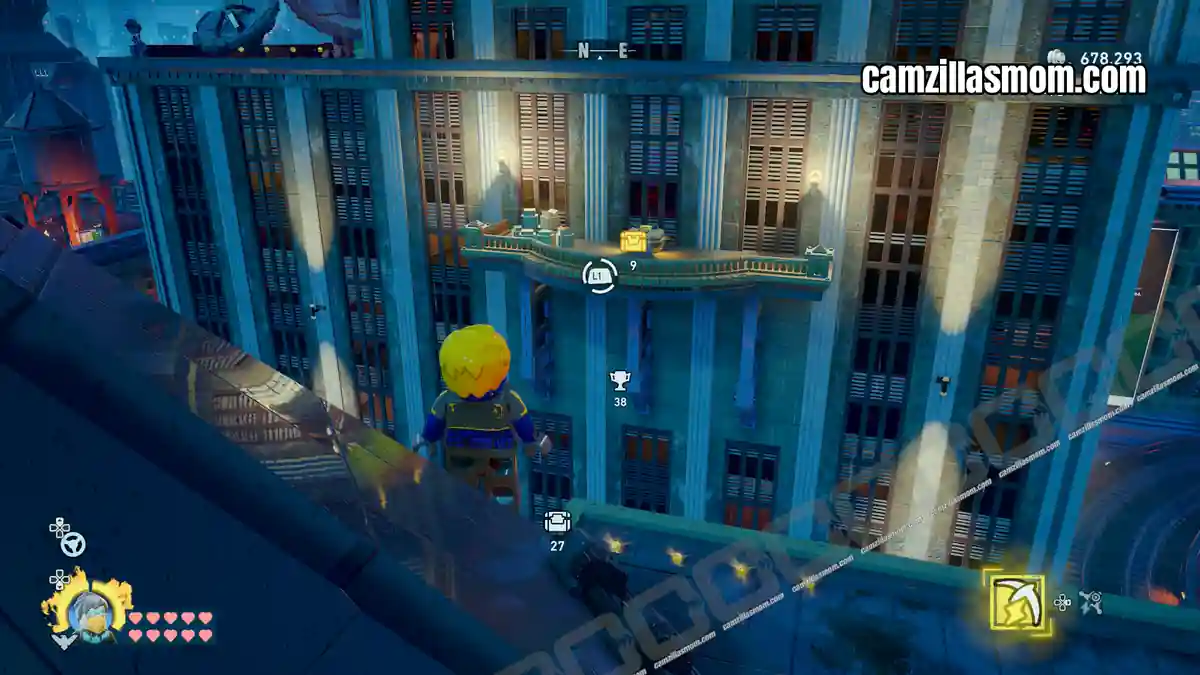
Batcave Trophy Pieces – Court Statues (10)
The Batcave Trophy in Old Gotham West is built from 10 Court Statues scattered across the district. Collecting all 10 in LEGO Batman: Legacy of the Dark Knight completes the trophy for this area.
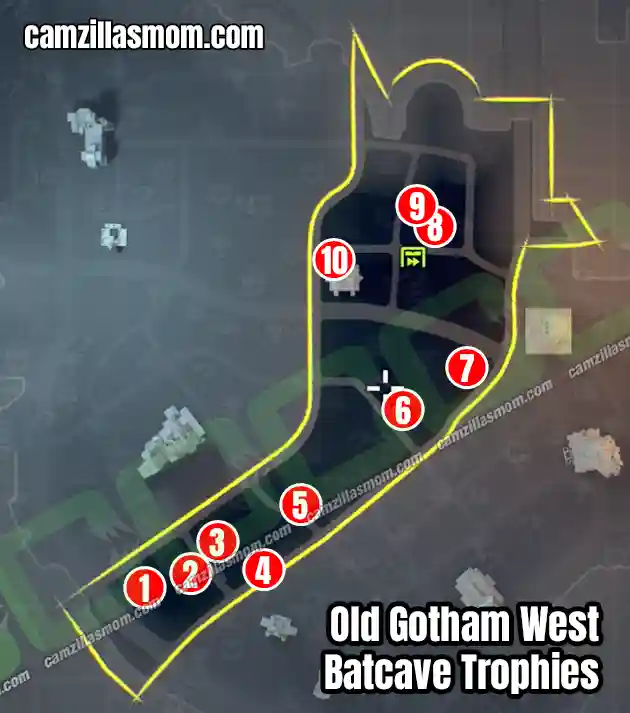
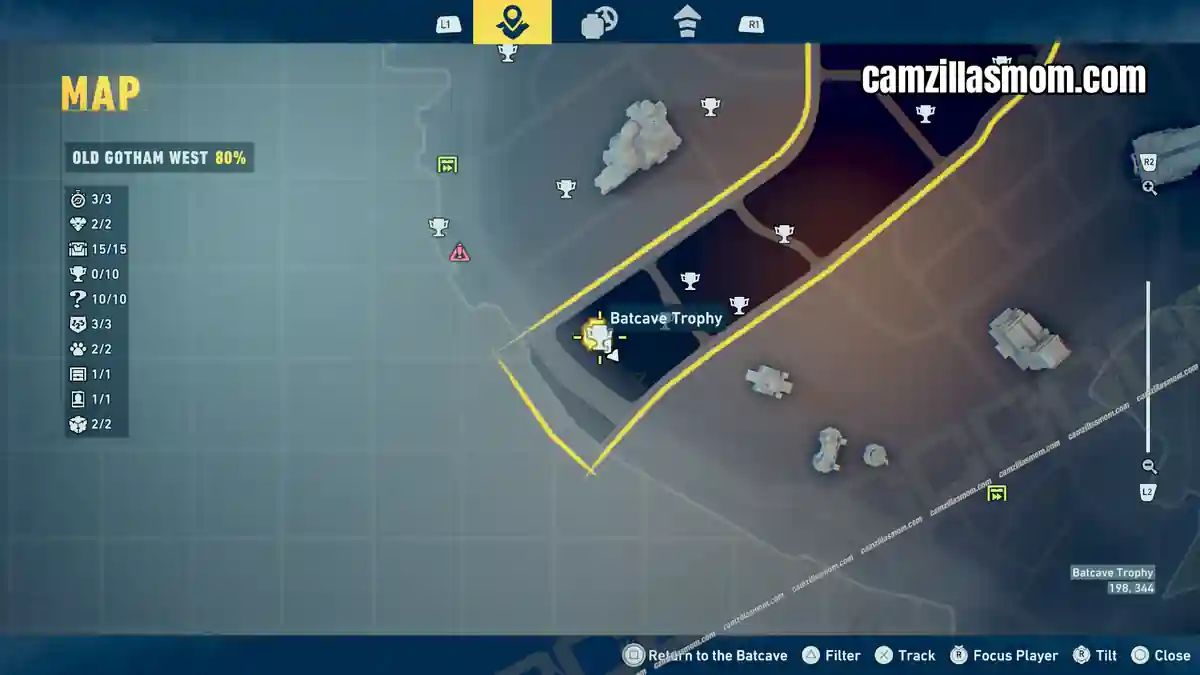
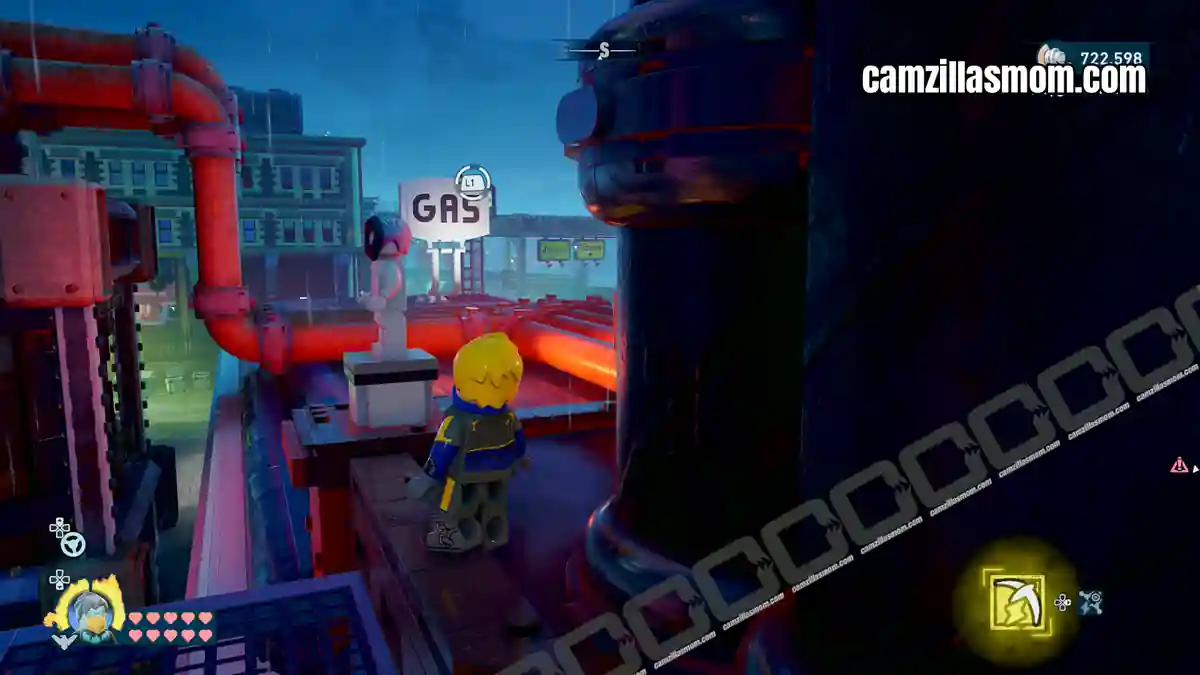
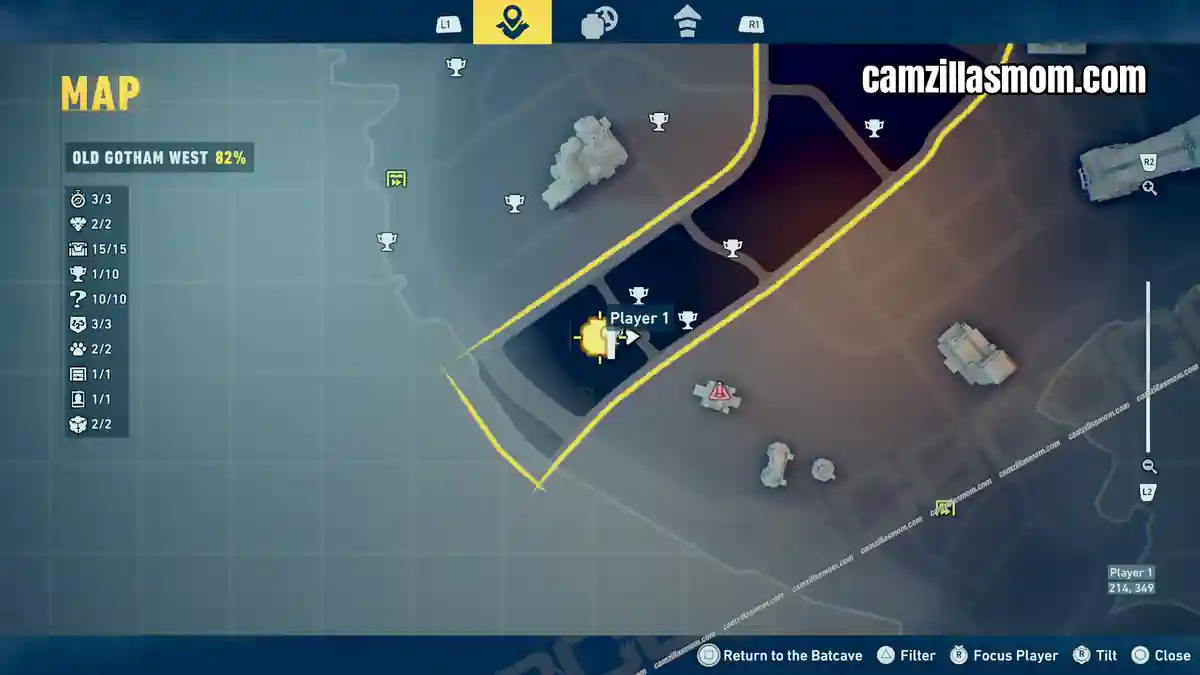
1
Coordinates: 198, 344
Southwestern corner near the gas station. The statue stands on a rooftop.
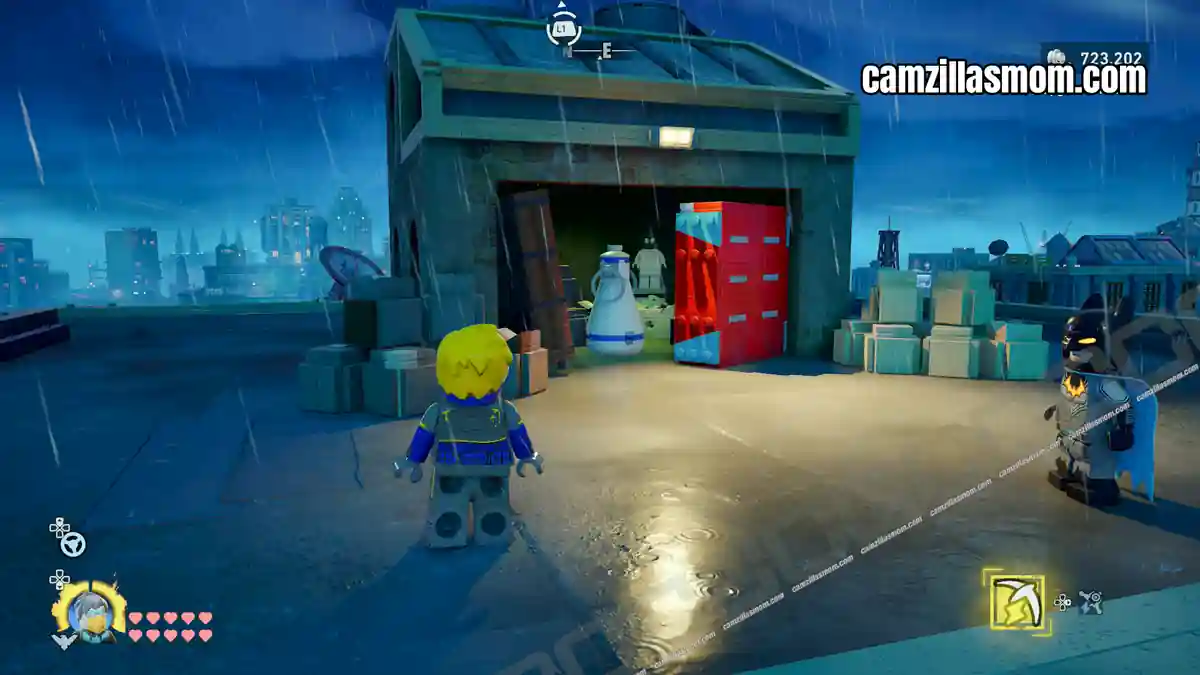
2
Coordinates: 218, 349
East of statue 1, at the top of a skyscraper in a room with a red door.
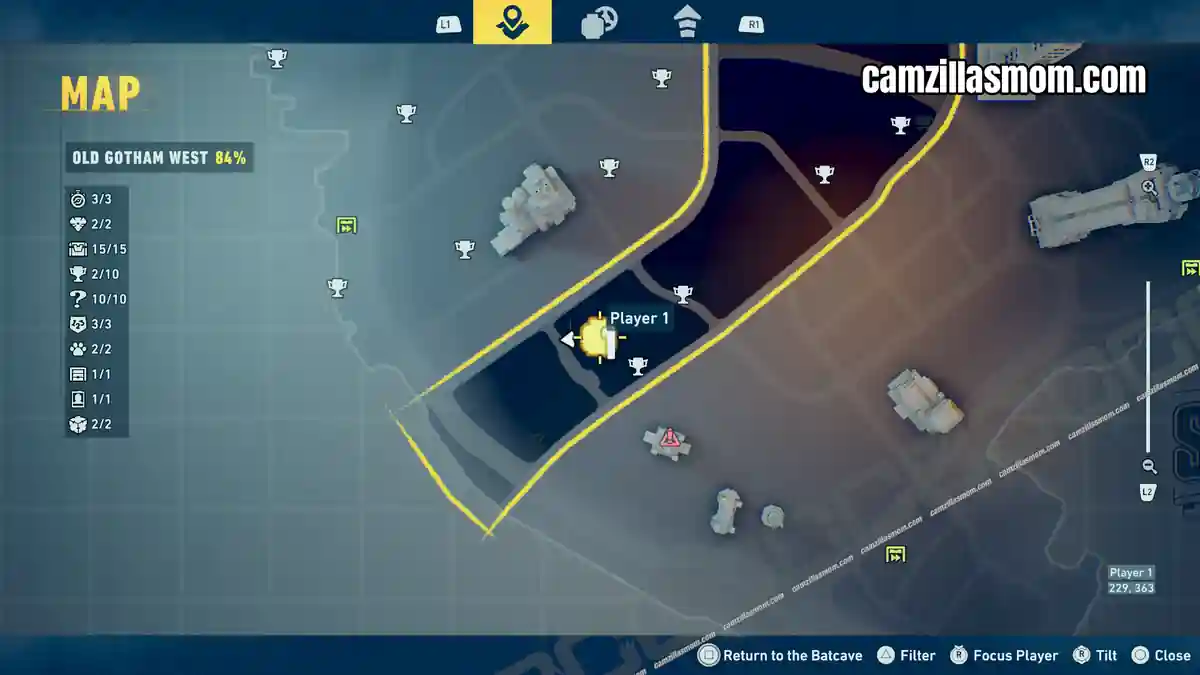
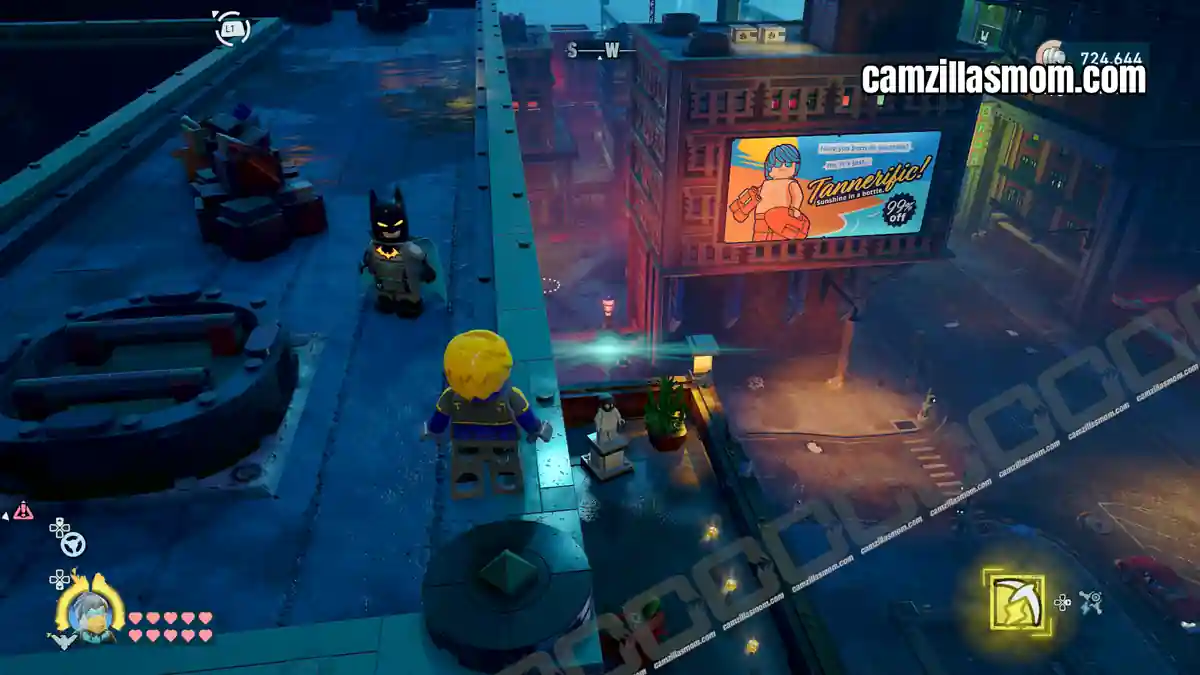
3
Coordinates: 226, 362
Very close – on a balcony near the “Tanneriffic” billboard.
4
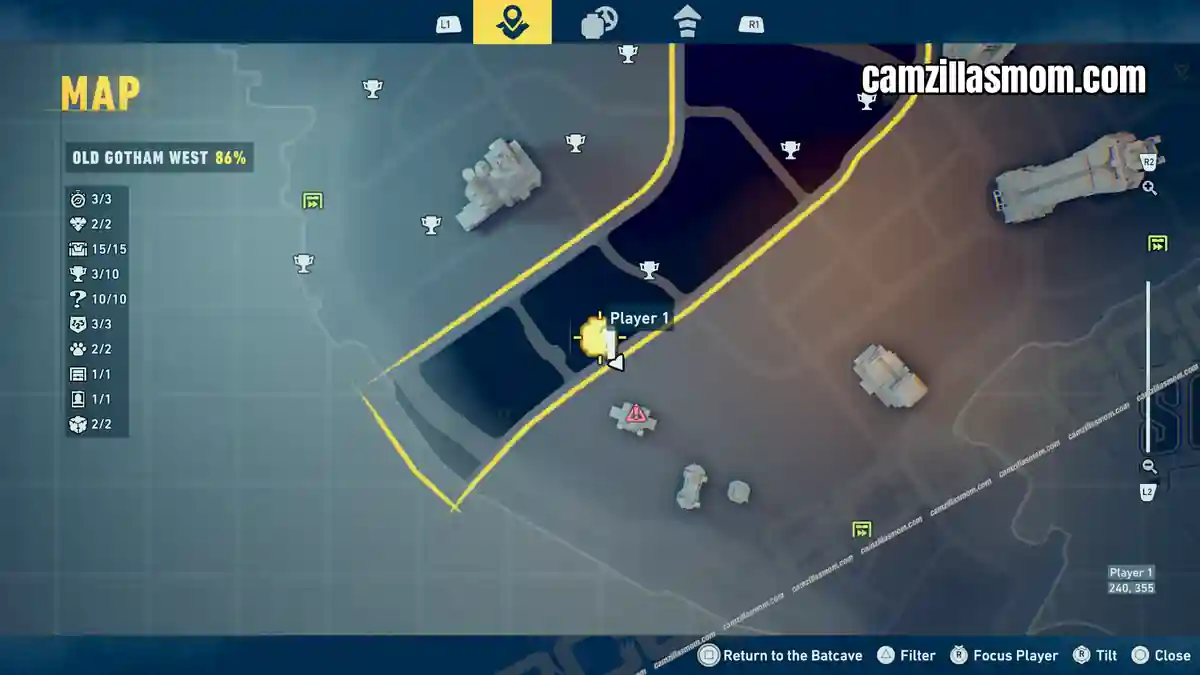
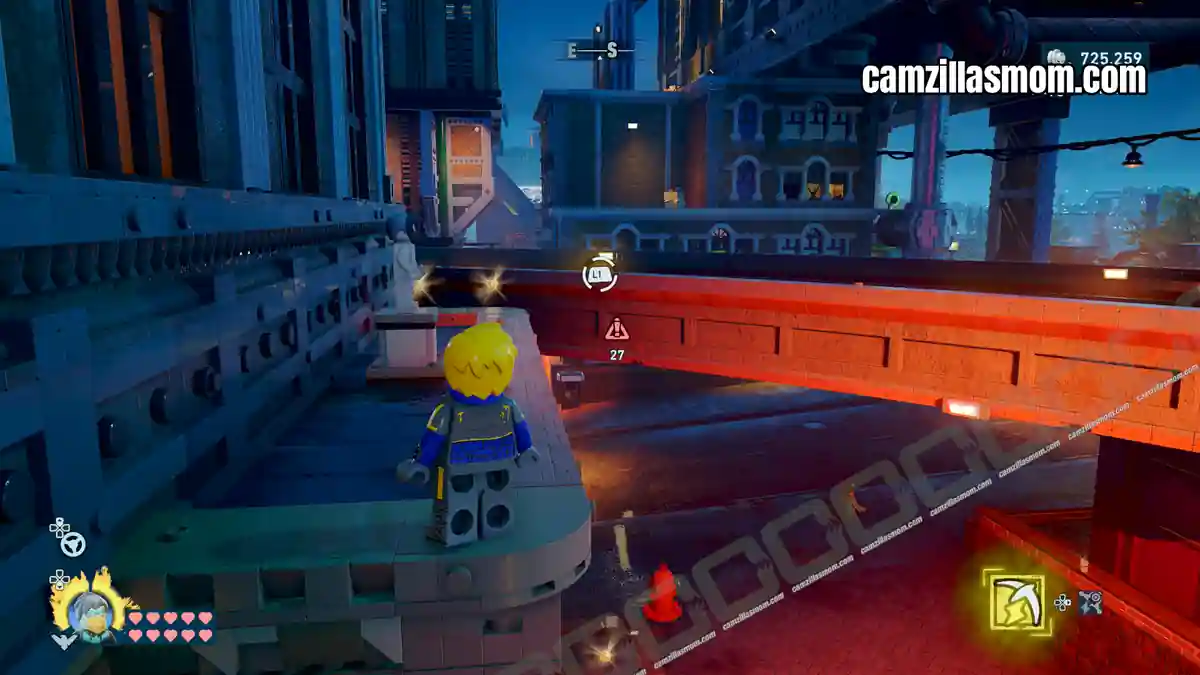
Coordinates: 241, 354
East of statue 3, on a narrow ledge just above ground level beside the train tracks.
5
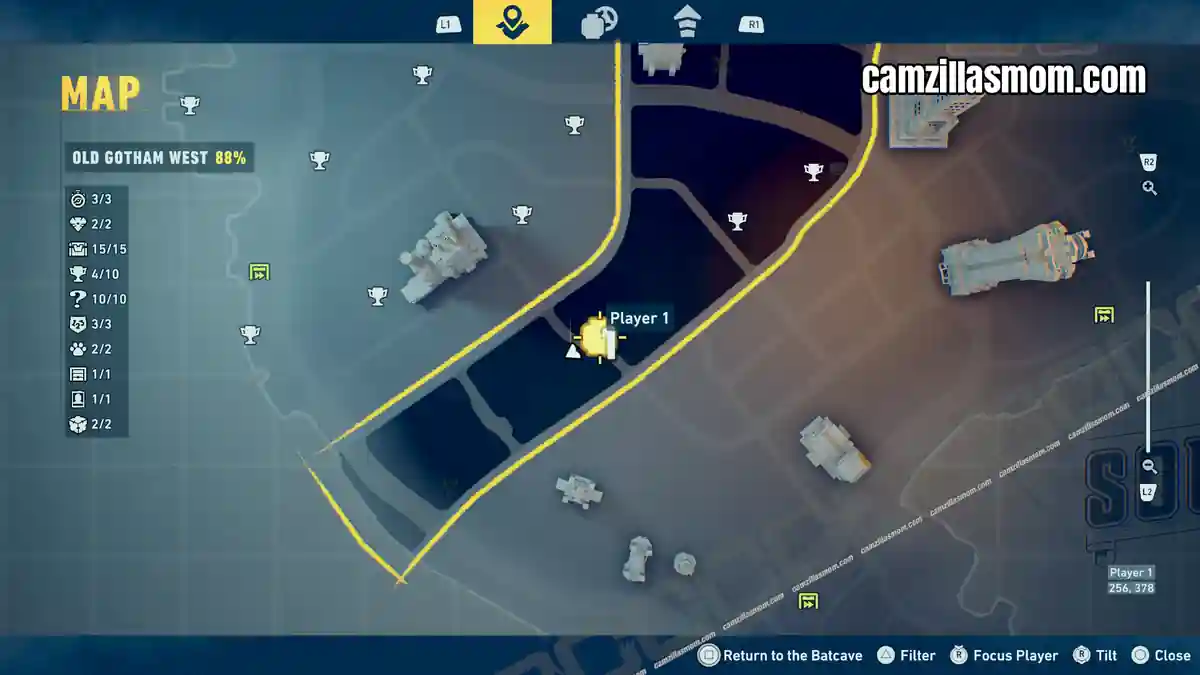
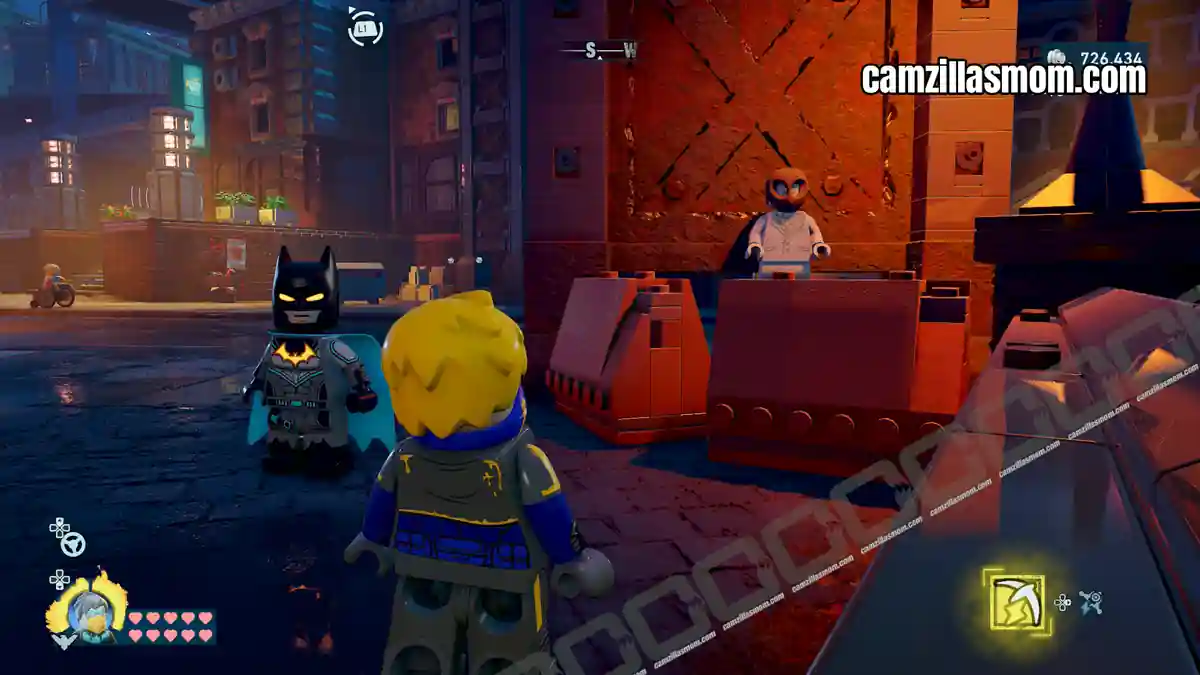
Coordinates: 255, 376
The first four cluster in the south. Statue 5 is further north, standing on the ground floor by the road.
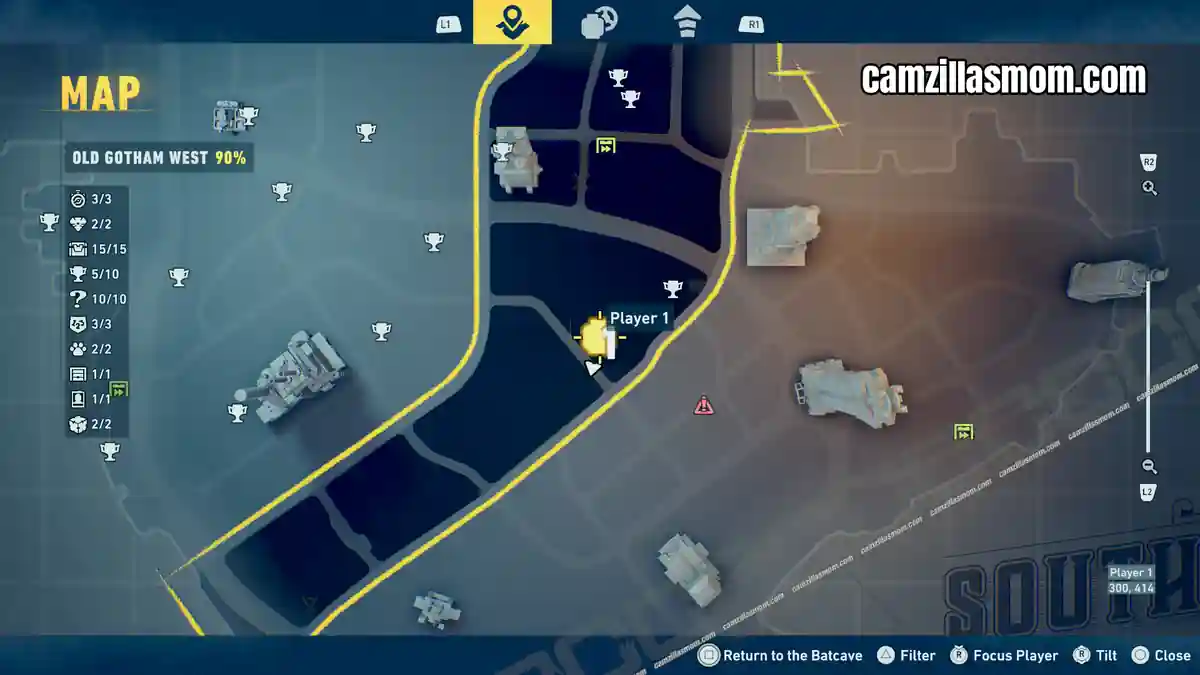
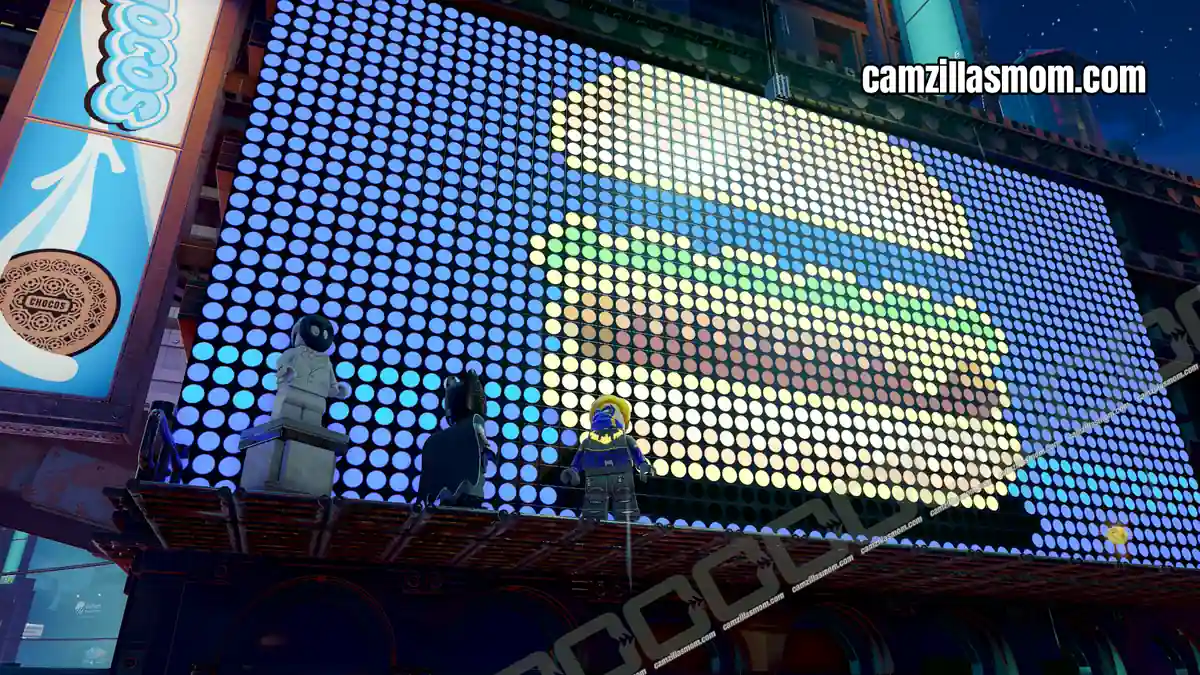
6
Coordinates: 299, 414
Northeast at the next road junction, beside the Gotham Burger billboard.
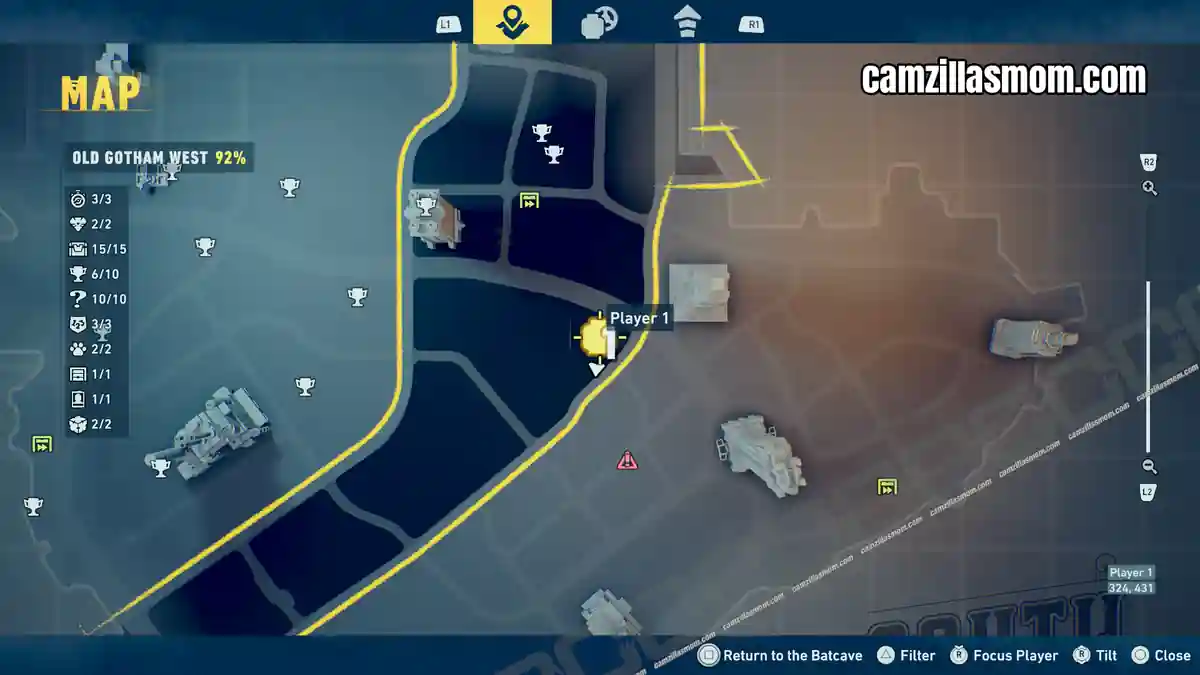
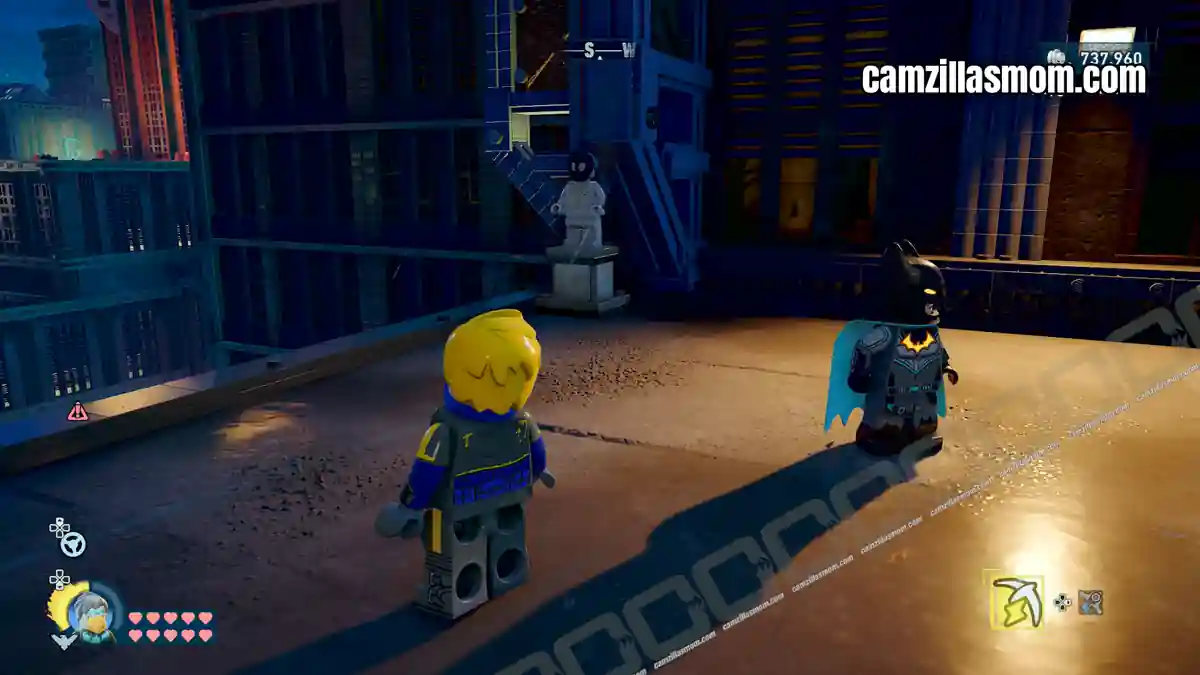
7
Coordinates: 323, 429
East, near the border with Old Gotham North. Faces the GCPD Building from a rooftop.
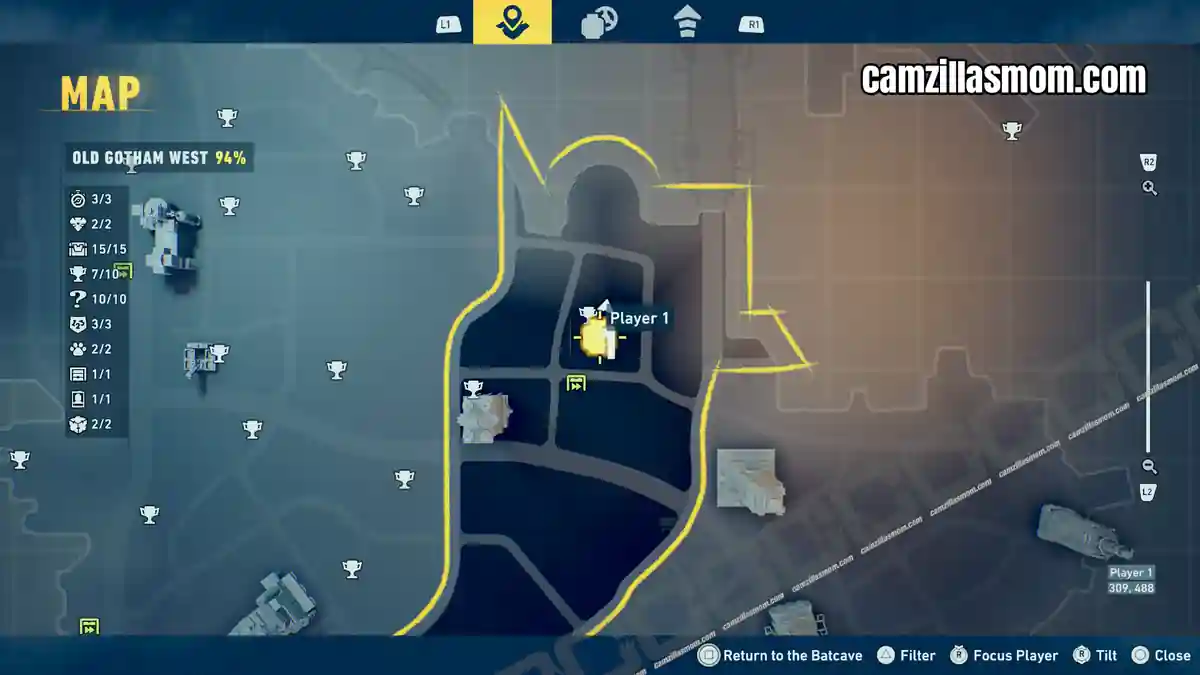
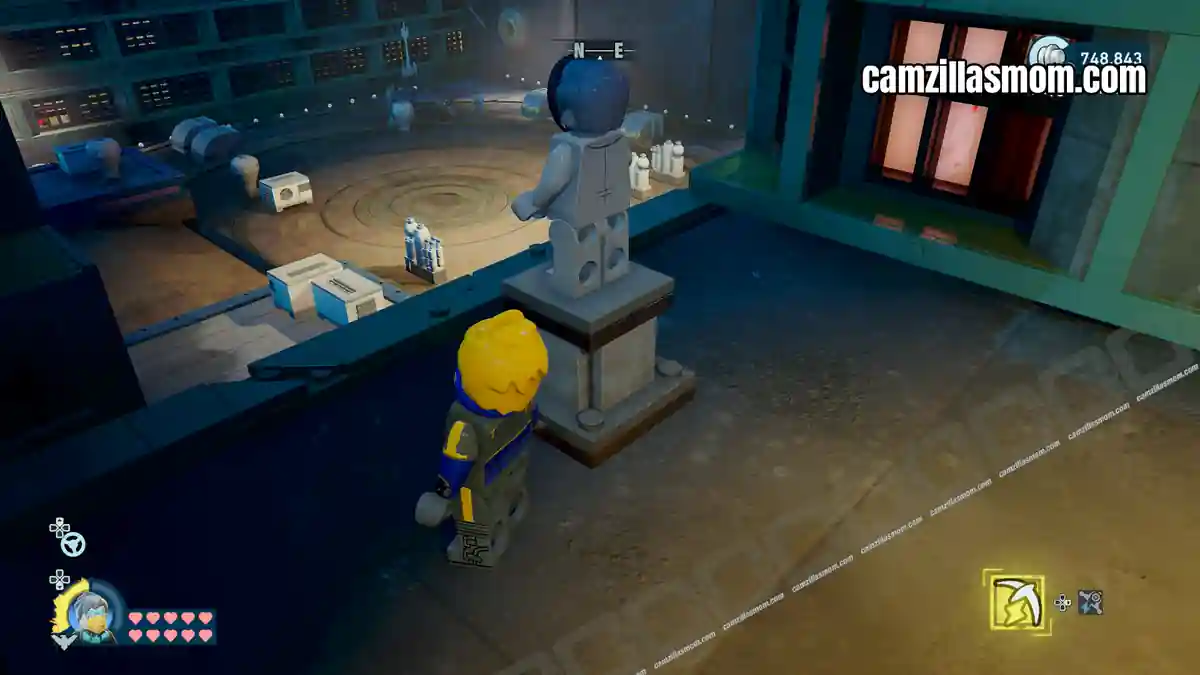
8
Coordinates: 309, 488
North of the Subwayne – this Court Statue looks down into a round courtyard.
9
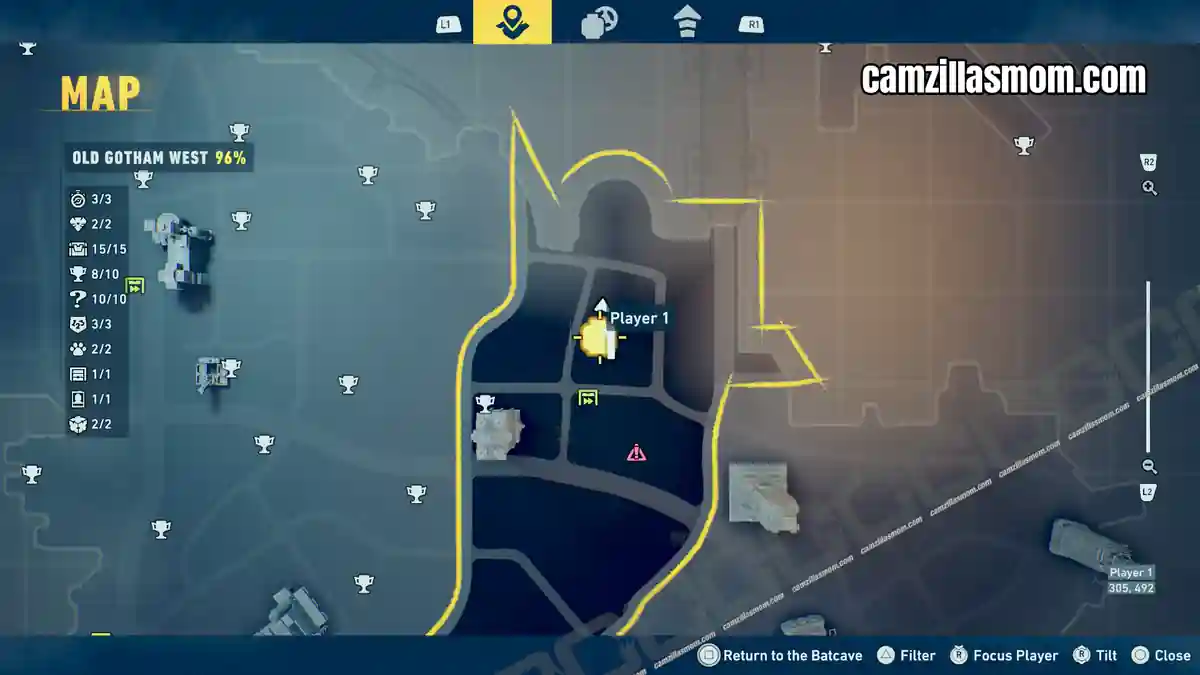
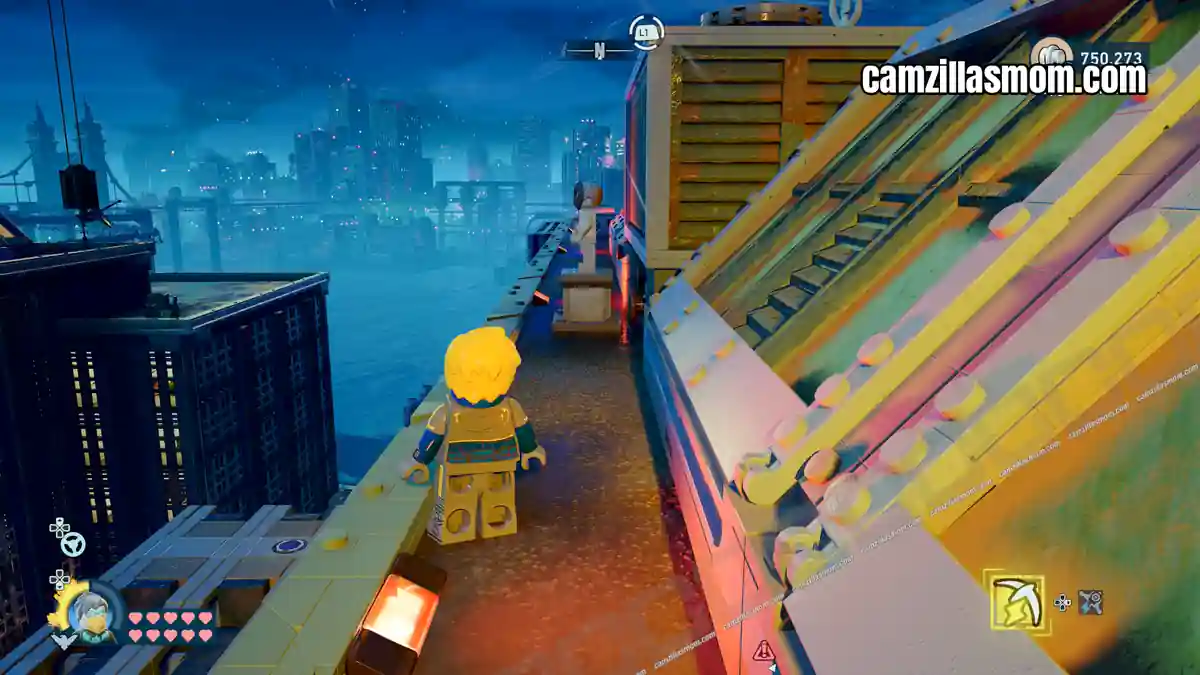
Coordinates: 306, 495
Directly above statue 8, on the roof of the same building, facing west.
10
Coordinates: 270, 472
The final Batcave Trophy piece in LEGO Batman: Legacy of the Dark Knight’s Old Gotham West is in the underground car park beneath the Flugelheim building, northwestern corner.
Riddler Puzzle Locations & Solutions – 10
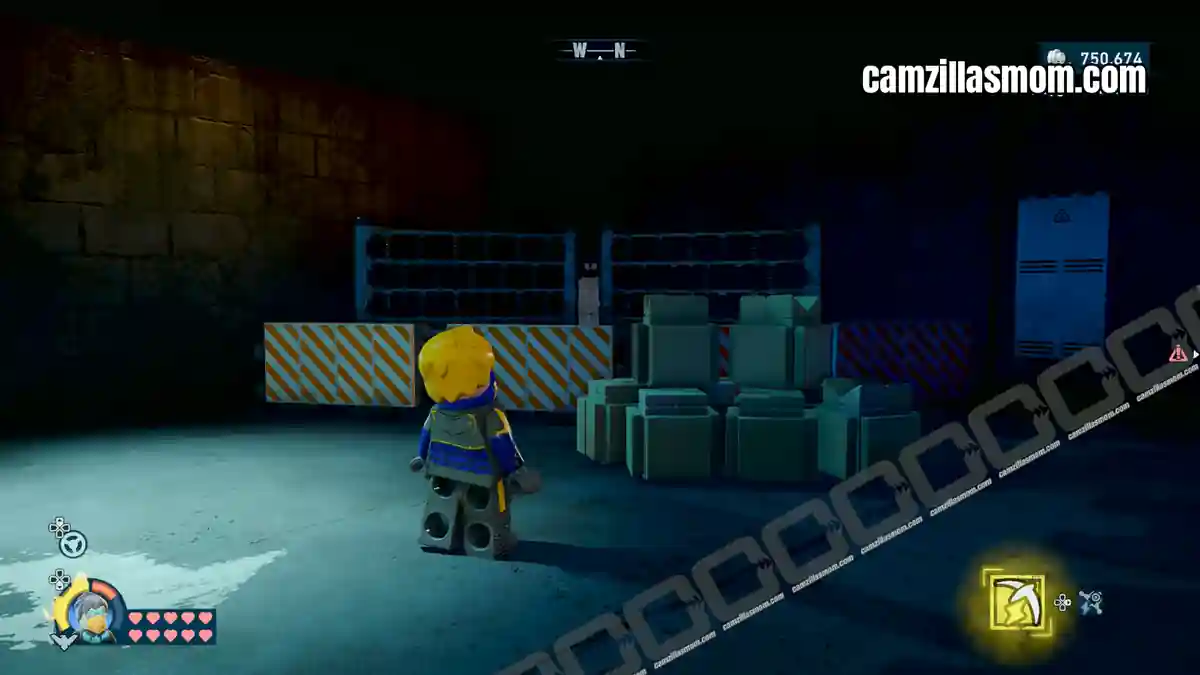
All 10 Riddler Puzzles in Old Gotham West are listed below with coordinates and full solutions. Riddle by Riddle and Riddler vs Cluemaster are Puzzle Rooms – indoor challenges in LEGO Batman: Legacy of the Dark Knight that unlock progressively as you clear open-world puzzles.
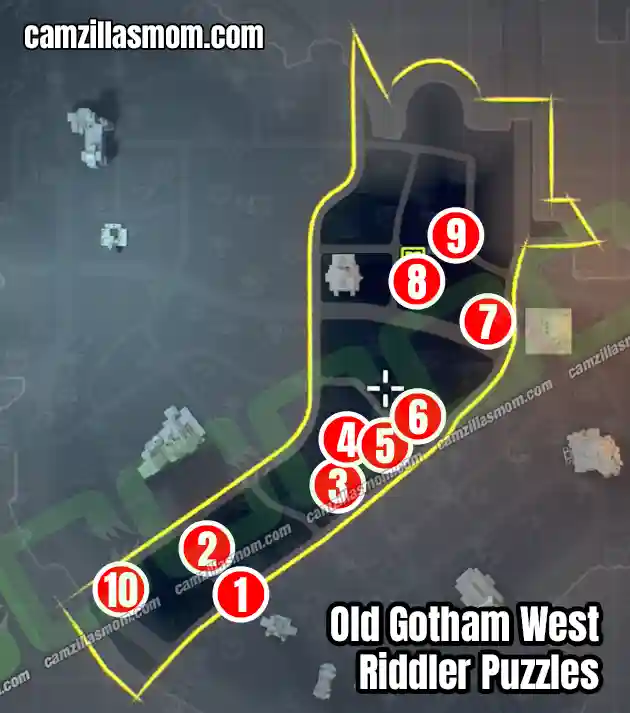
Coordinates in the brackets
1 – Slots of Fun
2 – Unstill as a Statue
3 – Denying Gravity
4 – Under Pressured
5 – Bridge, But Not Too Far
6 – Riddle by Riddle
7 – The Fault in Our Statues
8 – In the Spotlight
9 – Crane Supreme
10 – Riddler vs Cluemaster
1 – Slots of Fun
Coordinates: 241, 339
Southeast, at the border with Old Gotham South.
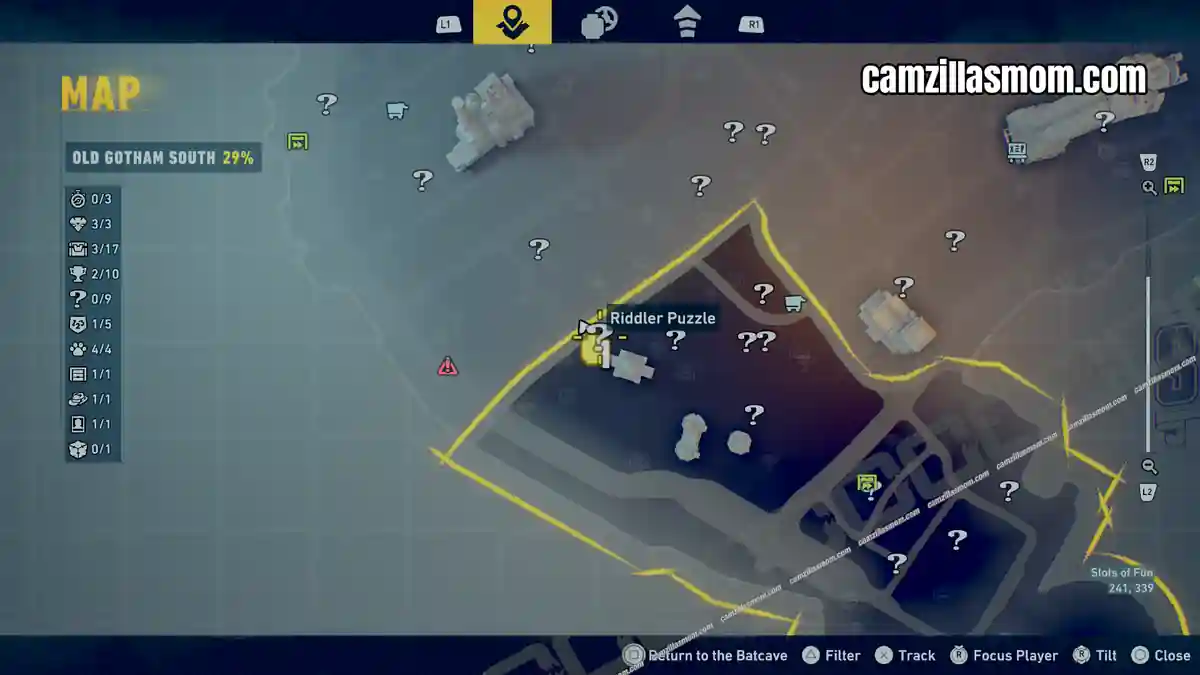
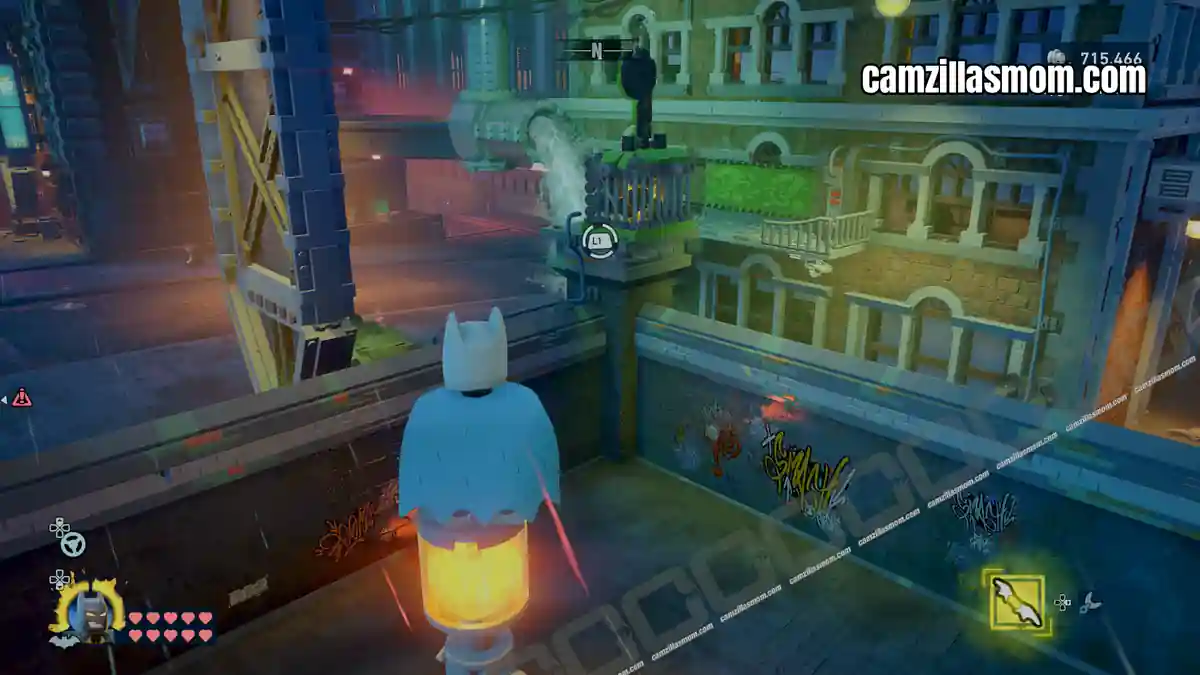
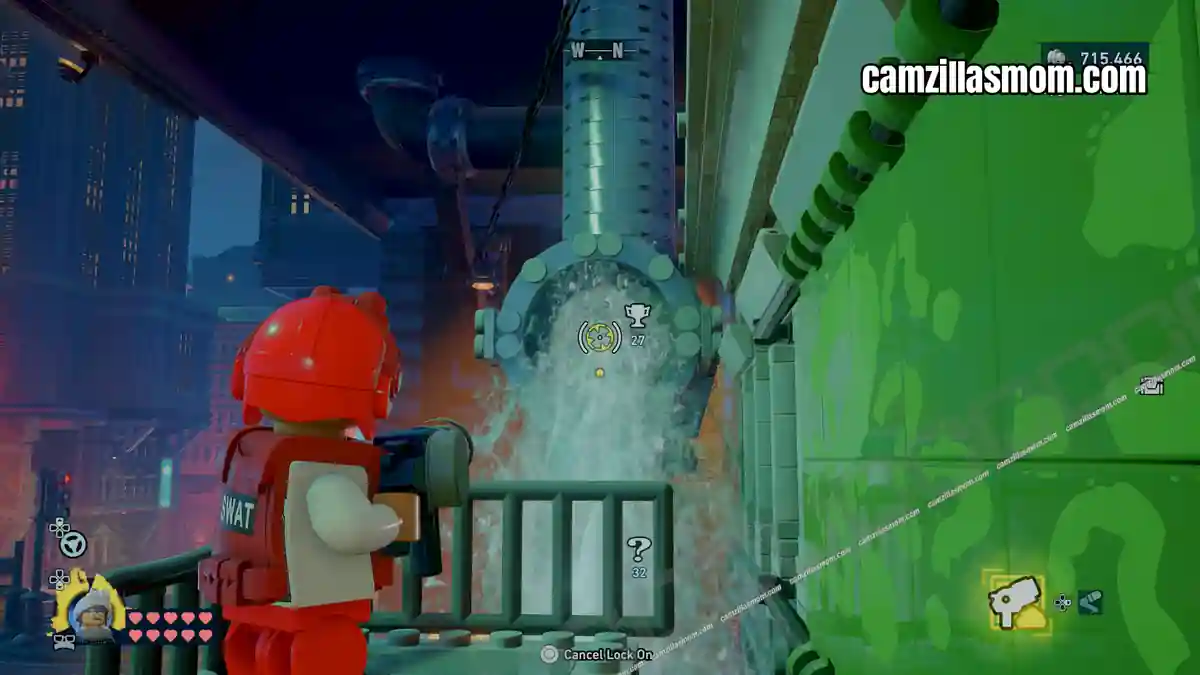
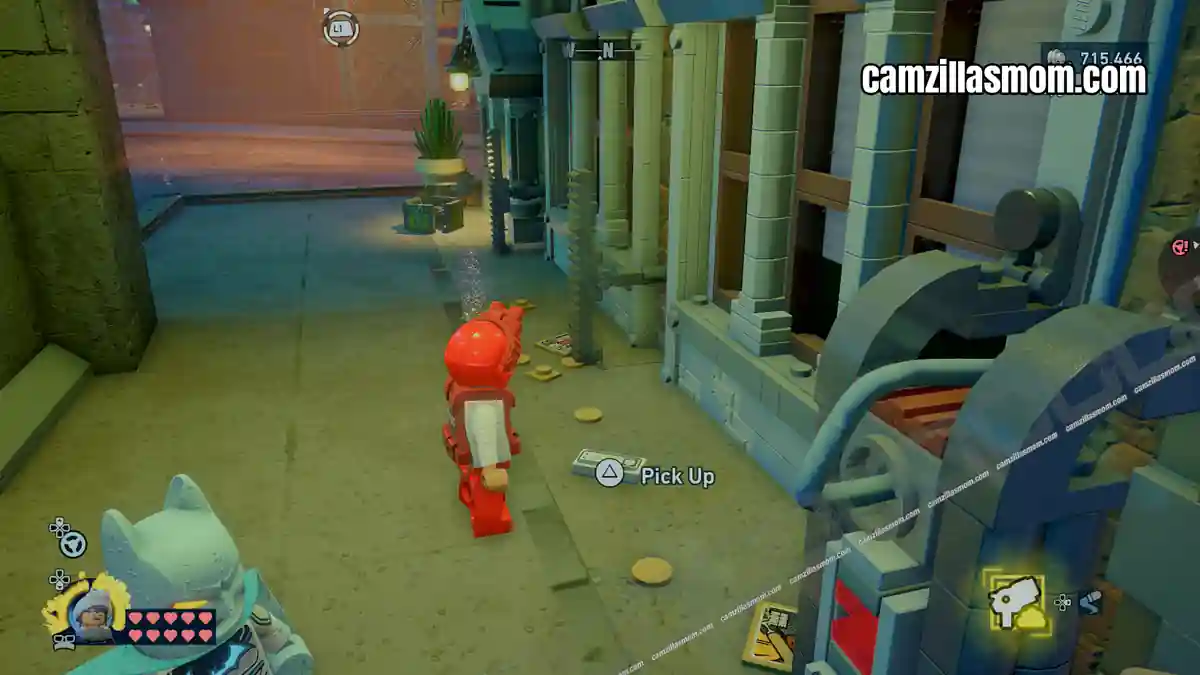
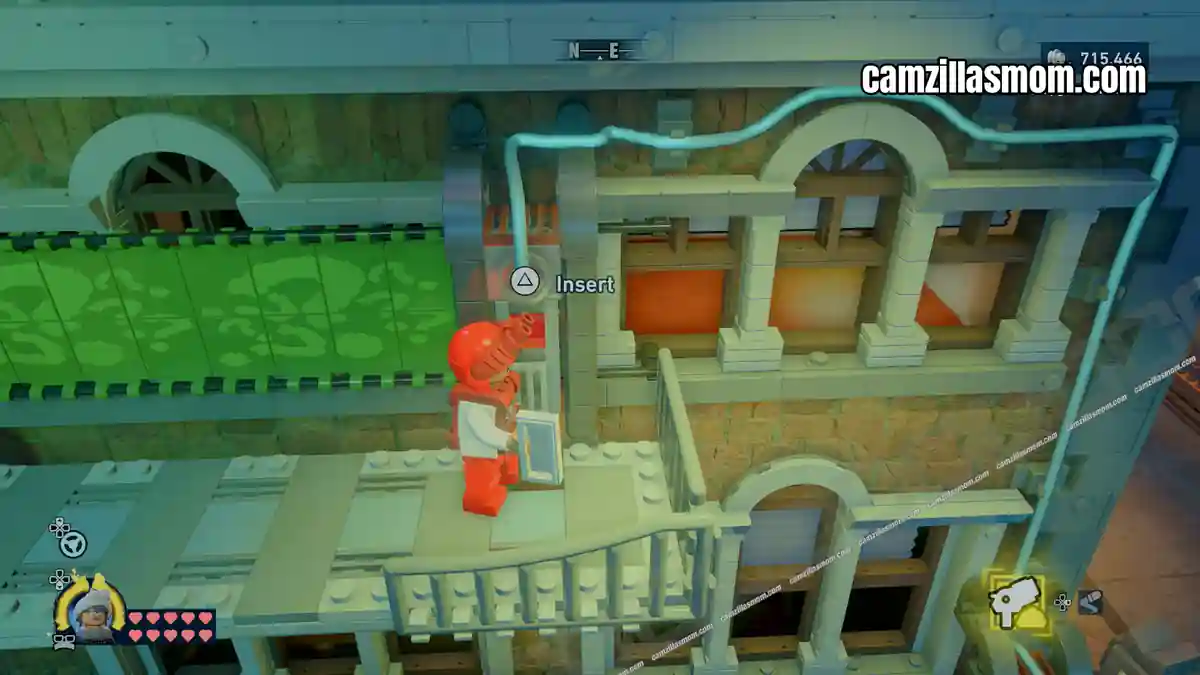
Switch to Jim Gordon and use the Foam Sprayer to plug the leaking water pipe. Pick up the access card from the floor, insert it into the ground-floor slot, then retrieve it and use it again in the upper-floor slot – this opens the green shutters to reveal the first symbol.
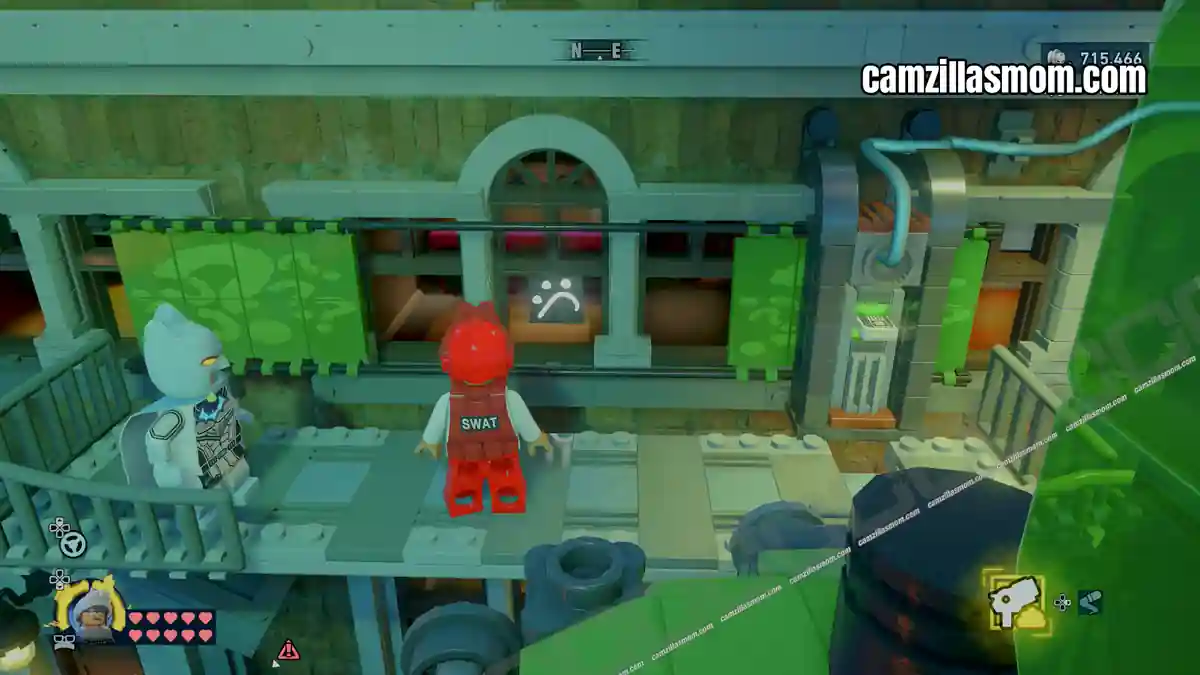
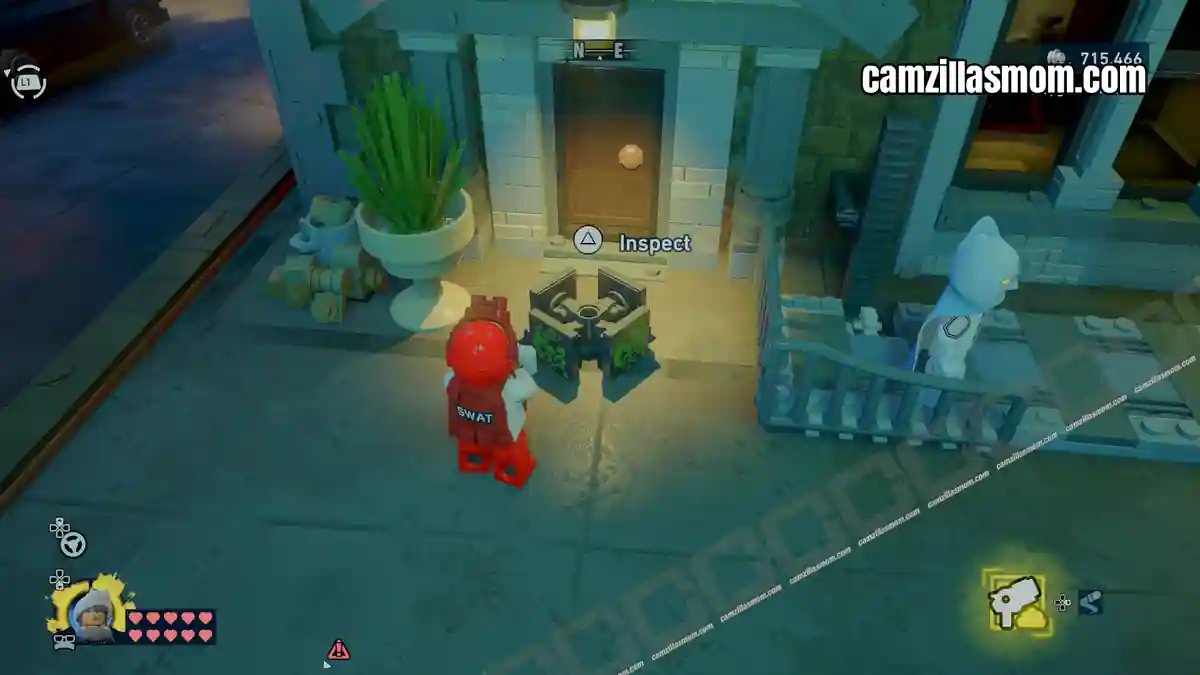
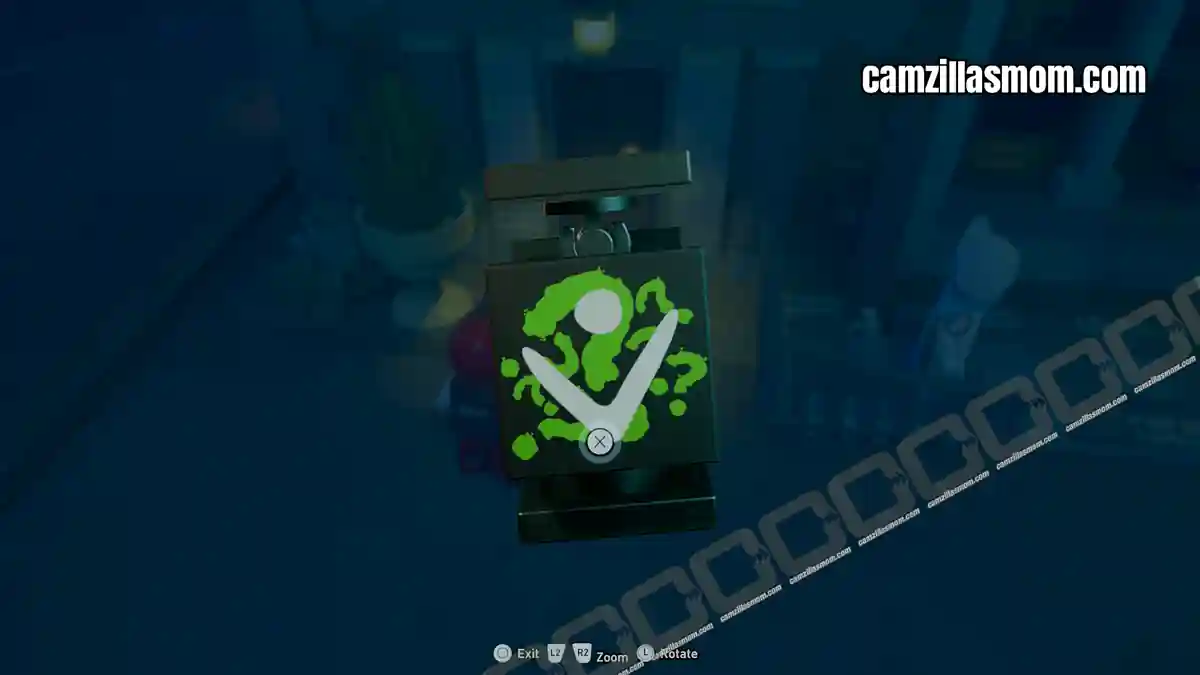
Near where the pipe leaked, interact with the rotating puzzle device and spin it to find the second symbol.
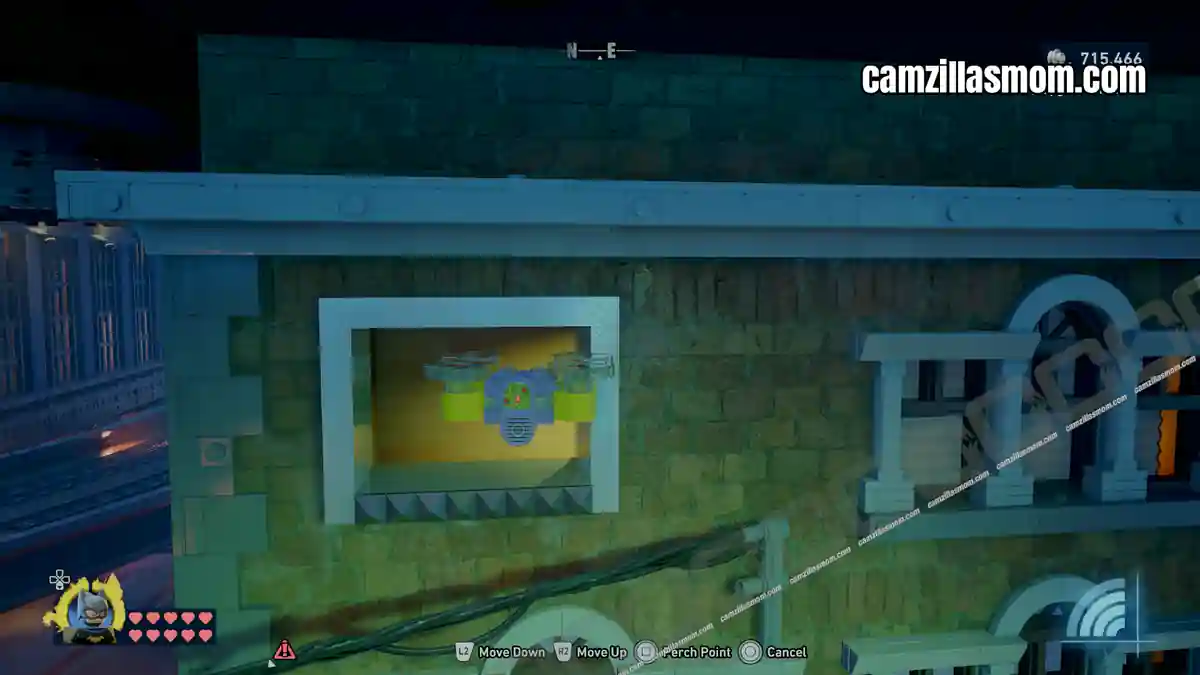
Switch to Batgirl, deploy a drone and fly it through the small window above the device to find the third symbol in the room beyond.
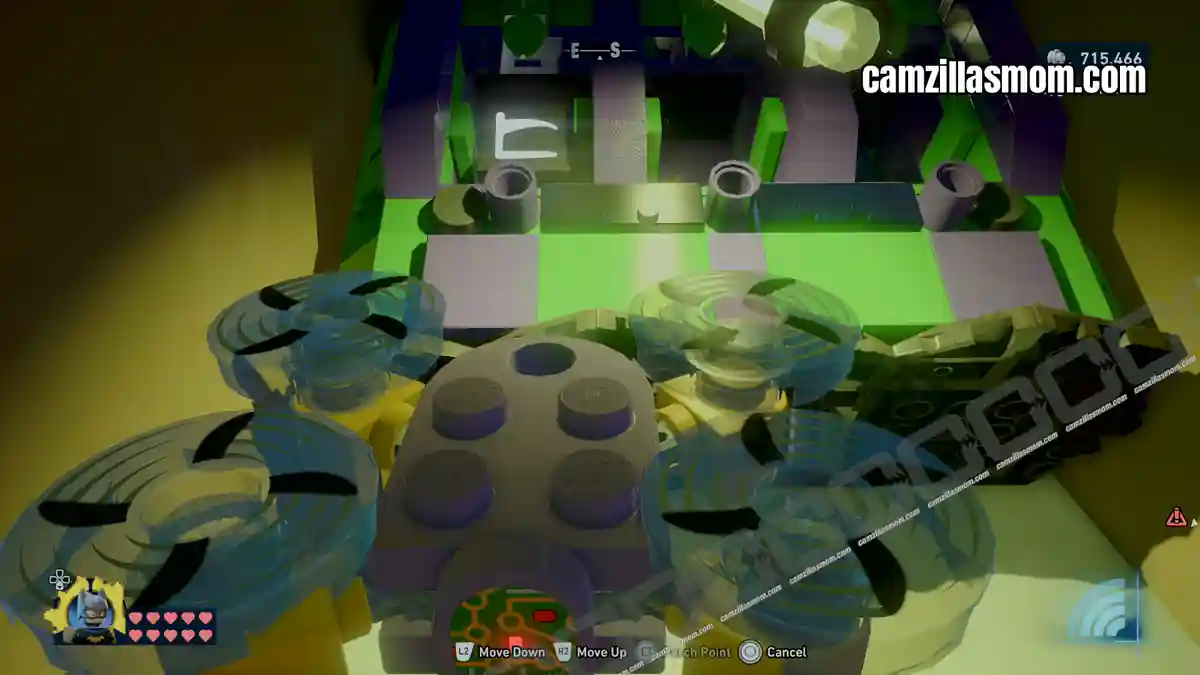
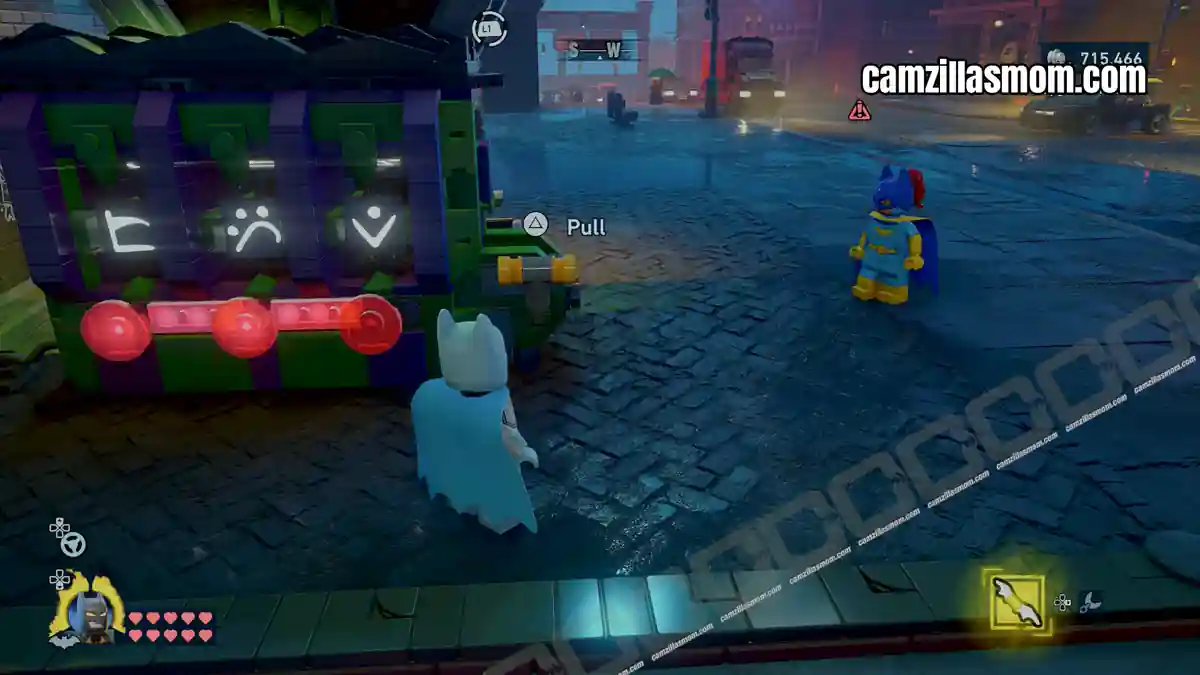
Return to the puzzle device, enter all three symbols and pull the lever.
2 – Unstill as a Statue
Coordinates: 223, 366
South of the district, at the base of a large statue.
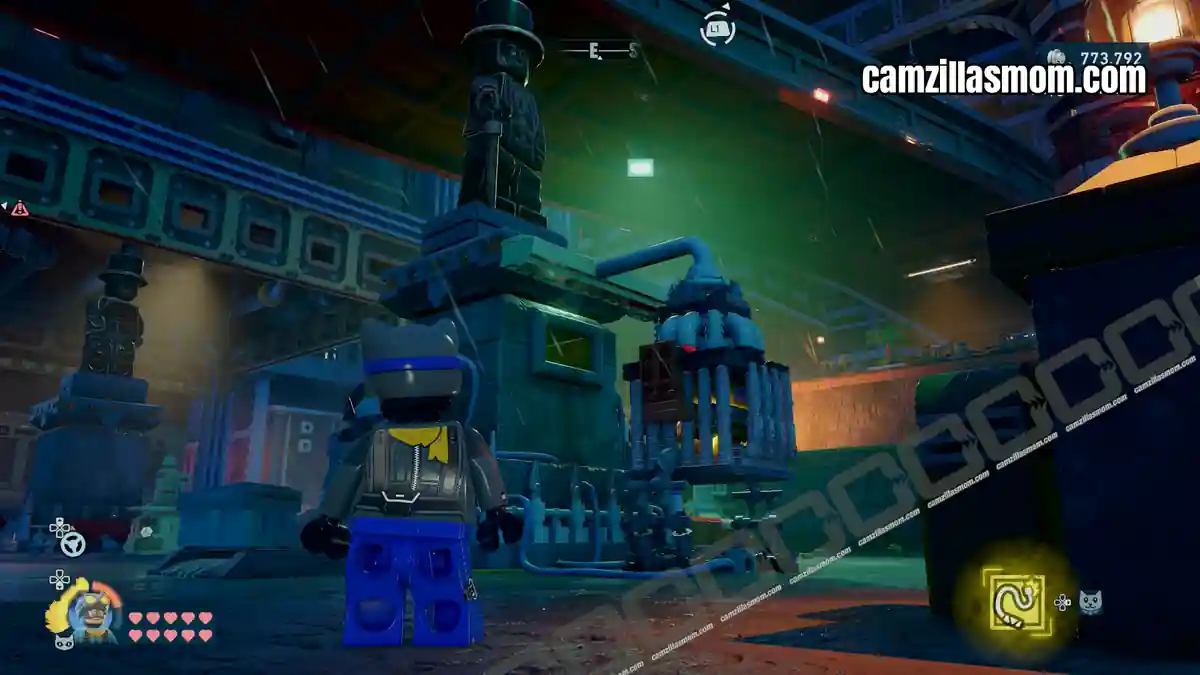
Three smaller statues need moving back into position – destroy any debris in their way.
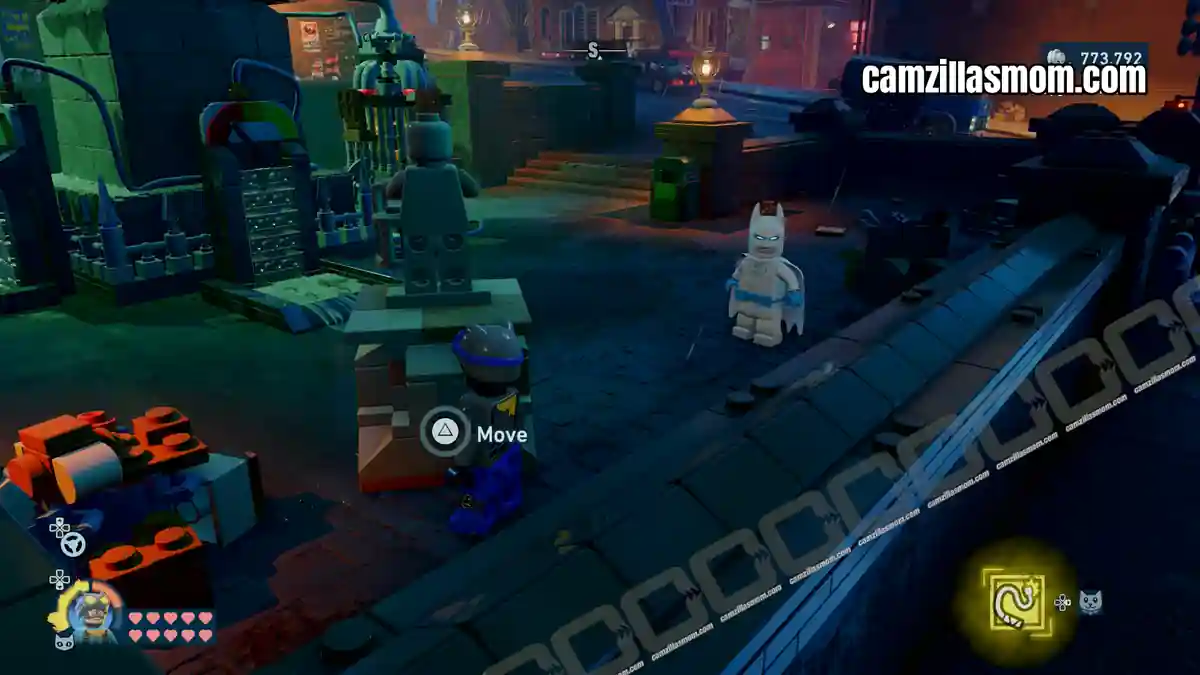
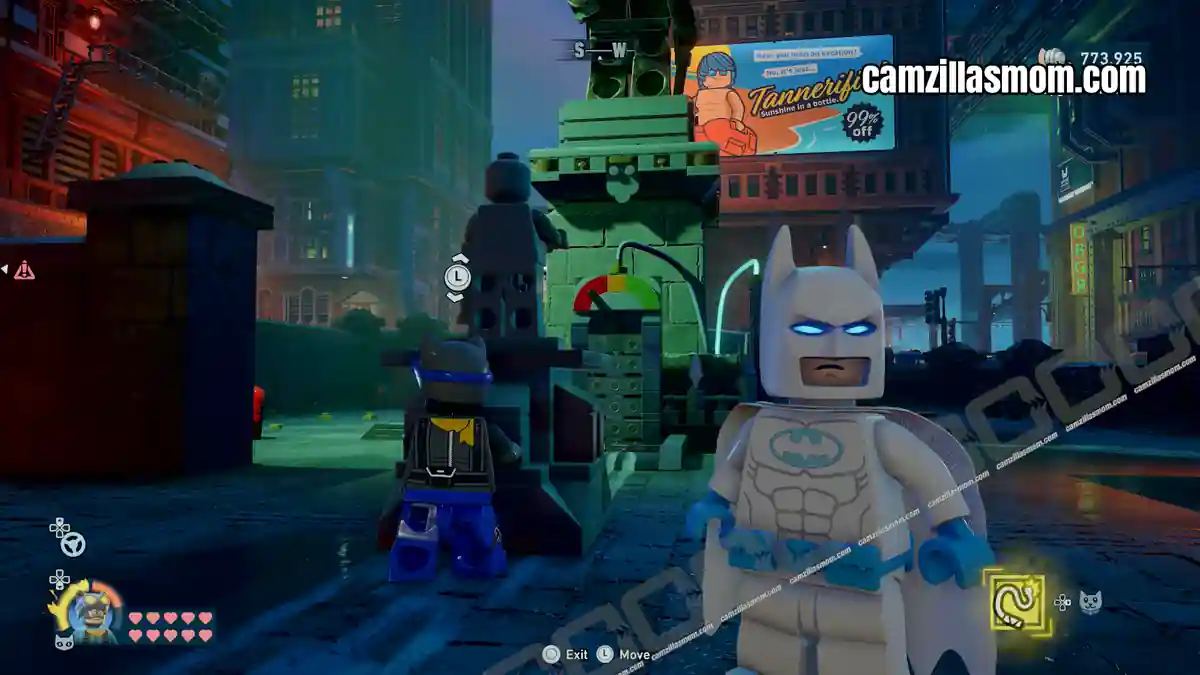
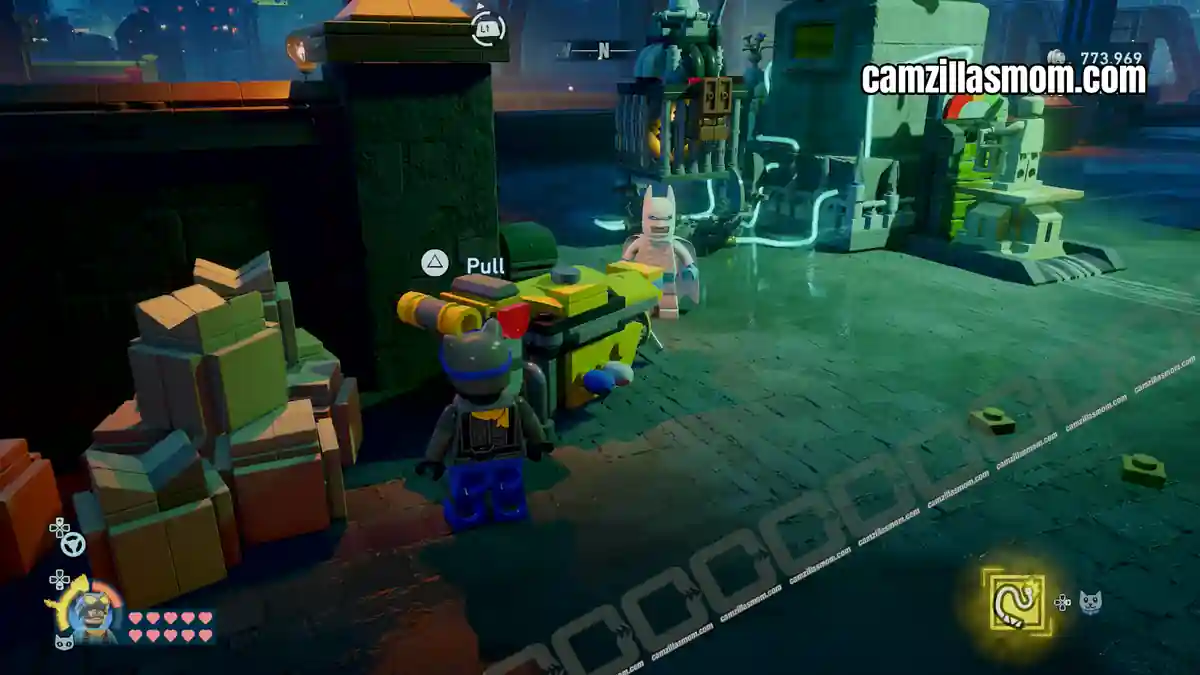
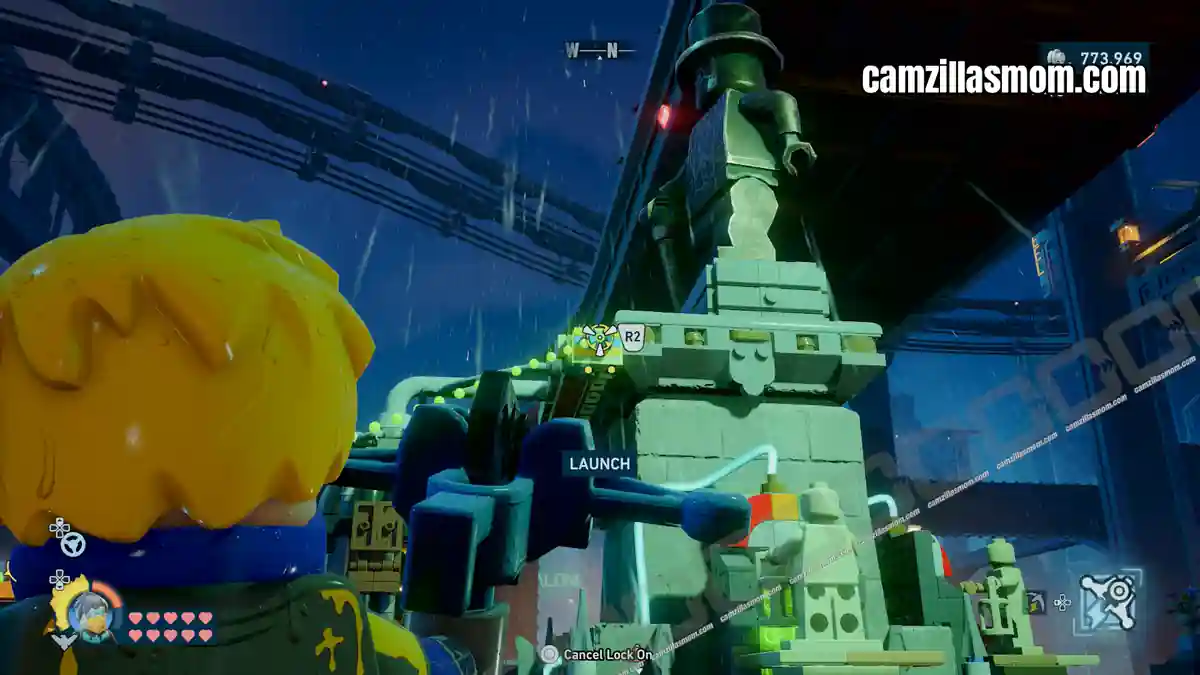
Once all three are placed, turn on the generator and use Nightwing’s Cable Launcher to connect power to the plug on the main statue. The cage drops and the Puzzle Box is yours.
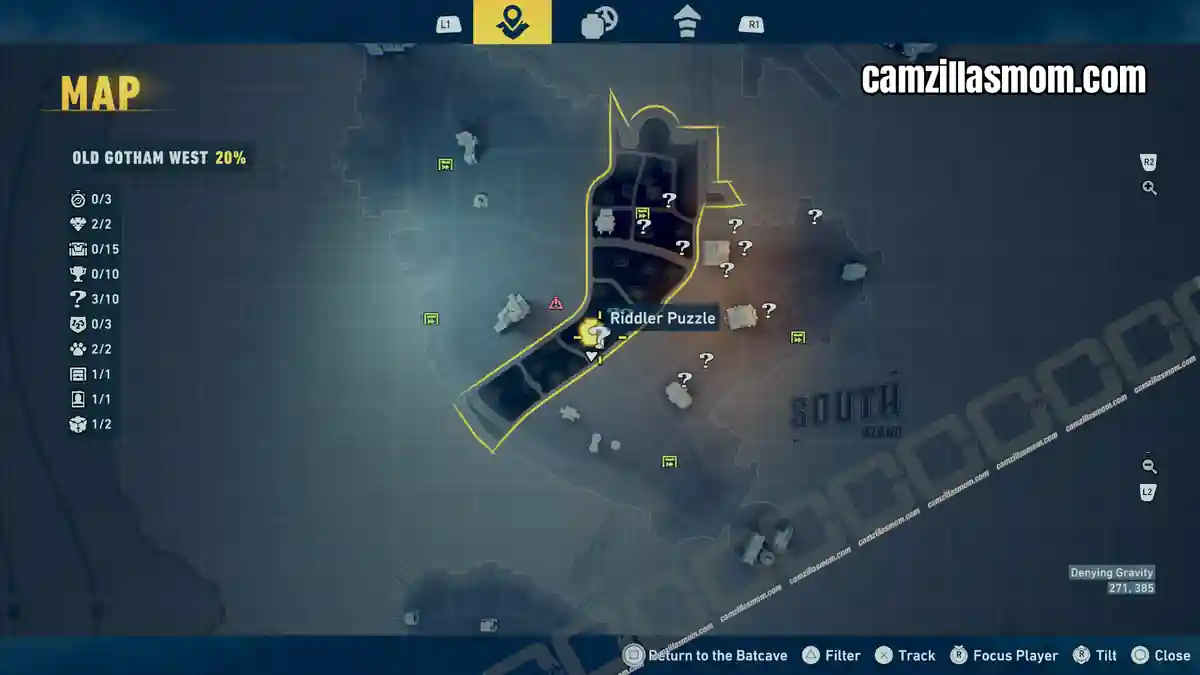
3 – Denying Gravity
Coordinates: 271, 385
Centre of Old Gotham West, at the end of a large broken pipe.
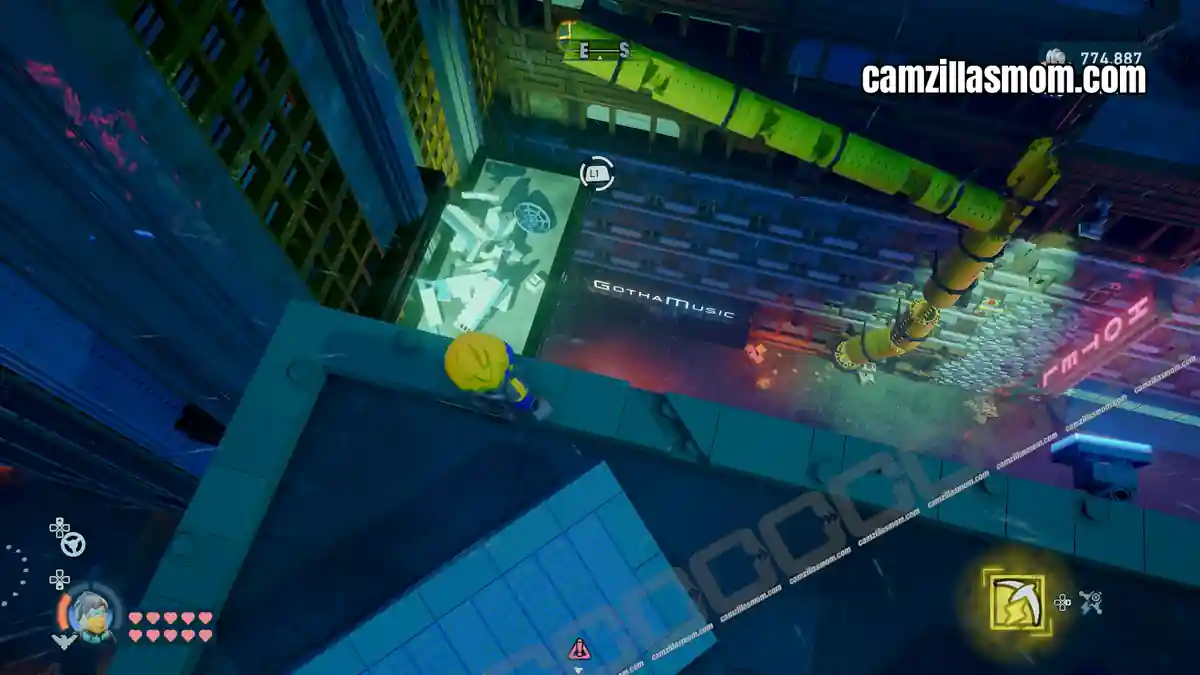
Destroy the boxes near the Puzzle Box to find buildable pieces. Construct the vent to blow the Puzzle Box down the pipe.
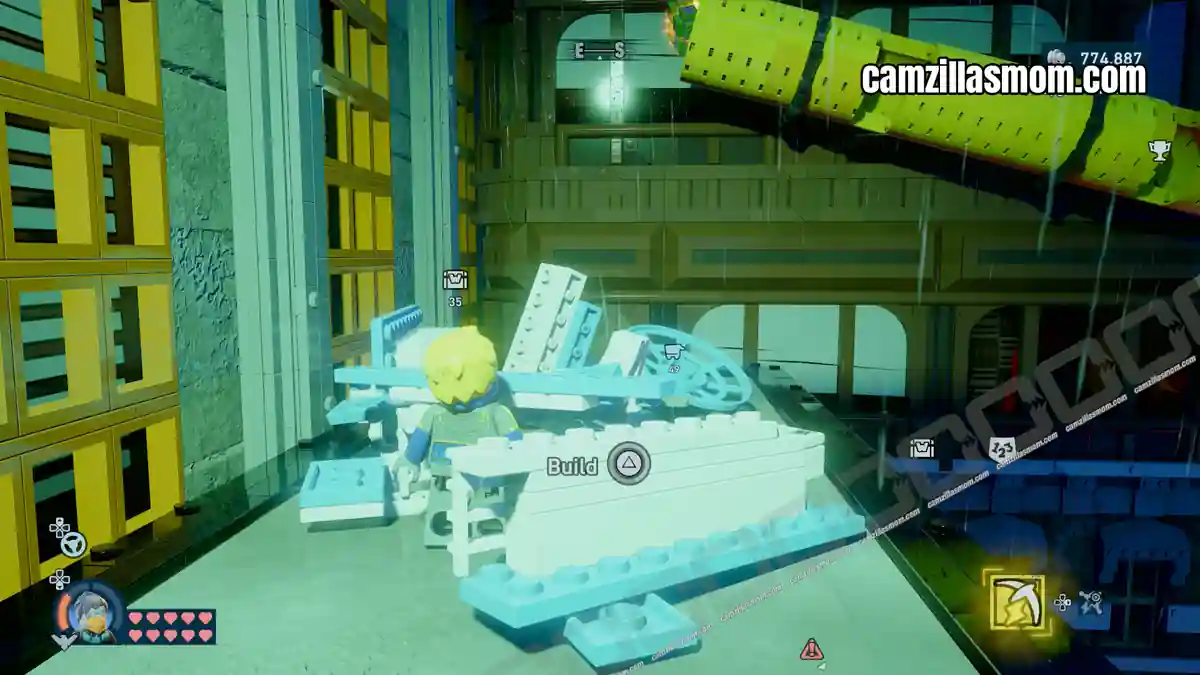
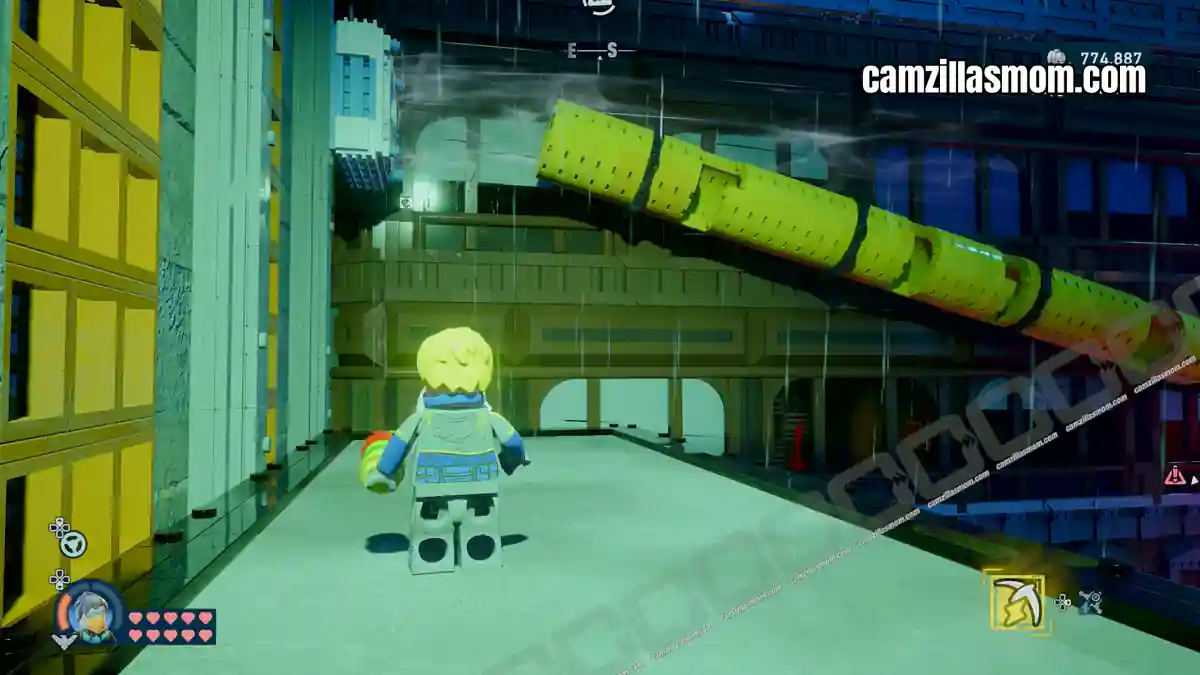
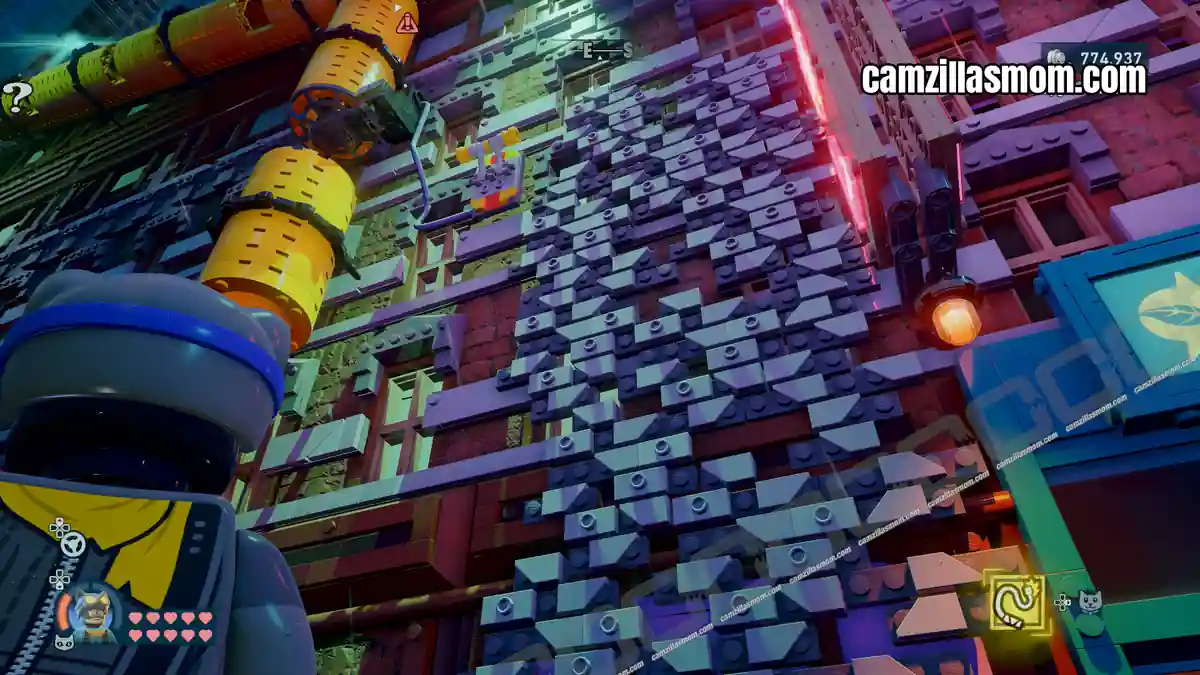
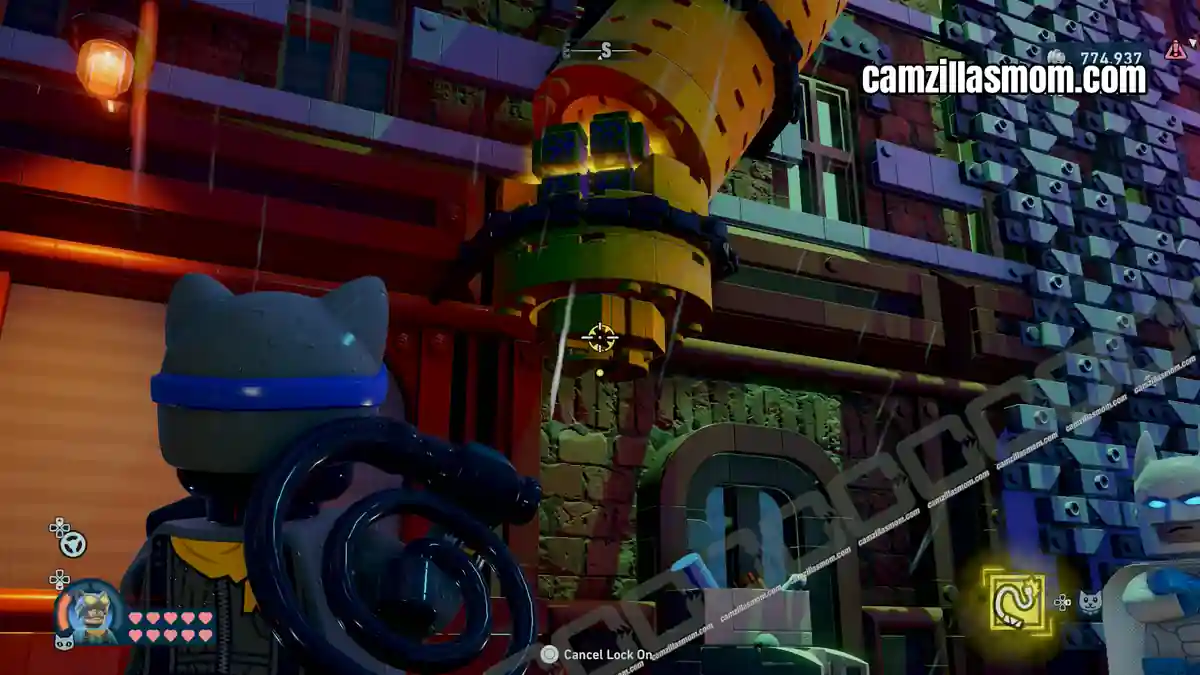
Follow the pipe down, then switch to Catwoman – climb the wall, pull the lever at the top, then use the Whip to unscrew the bolt at the pipe’s base to free the box.
4 – Under Pressured
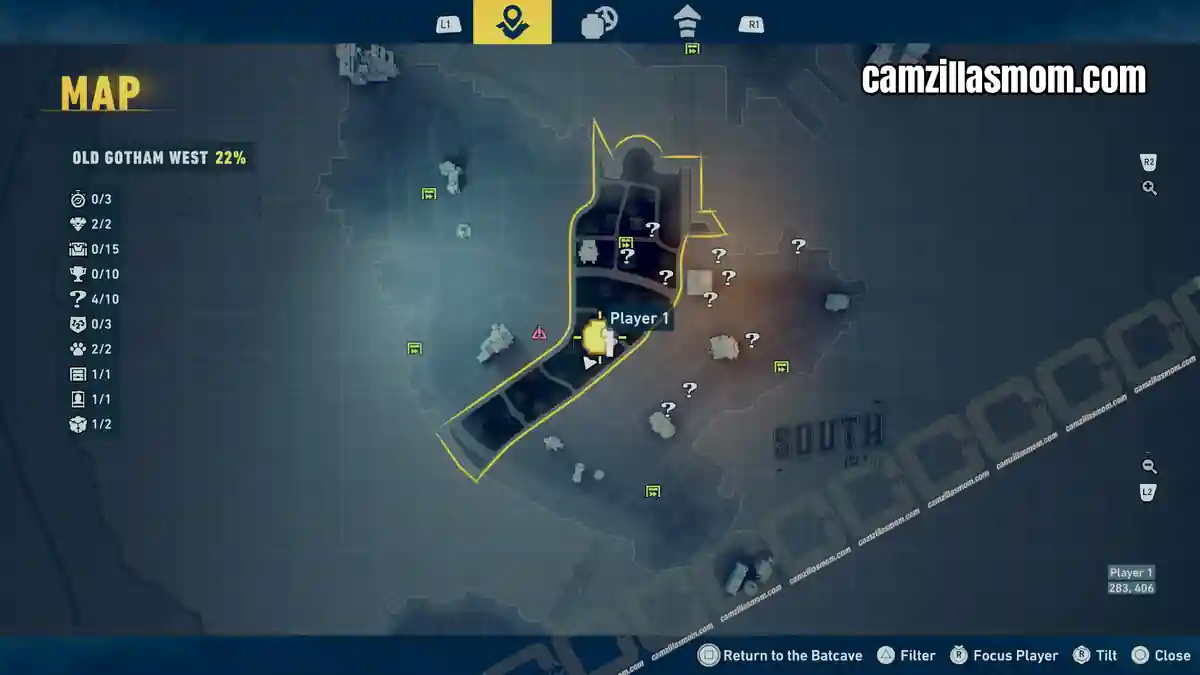
Coordinates: 281, 401
North of Denying Gravity, on a rooftop.
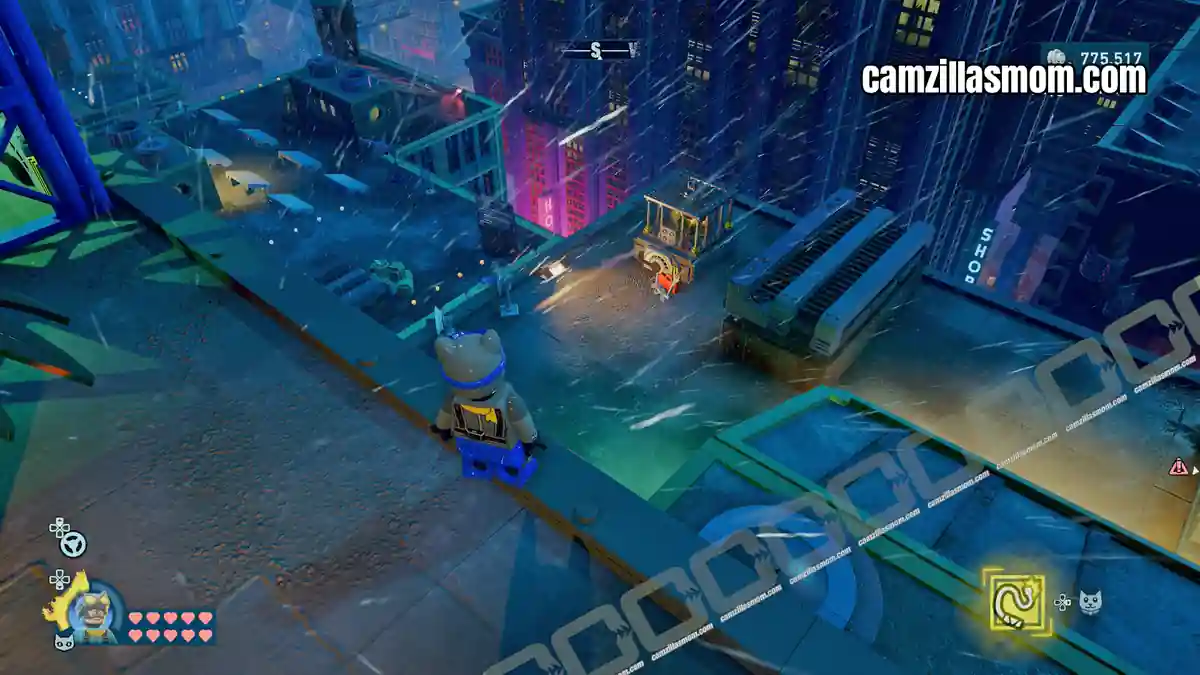
Use Batman’s X-Ray Vision on the toolbox at the Puzzle Box base, follow the cables to the red one leading to a blue cage above.
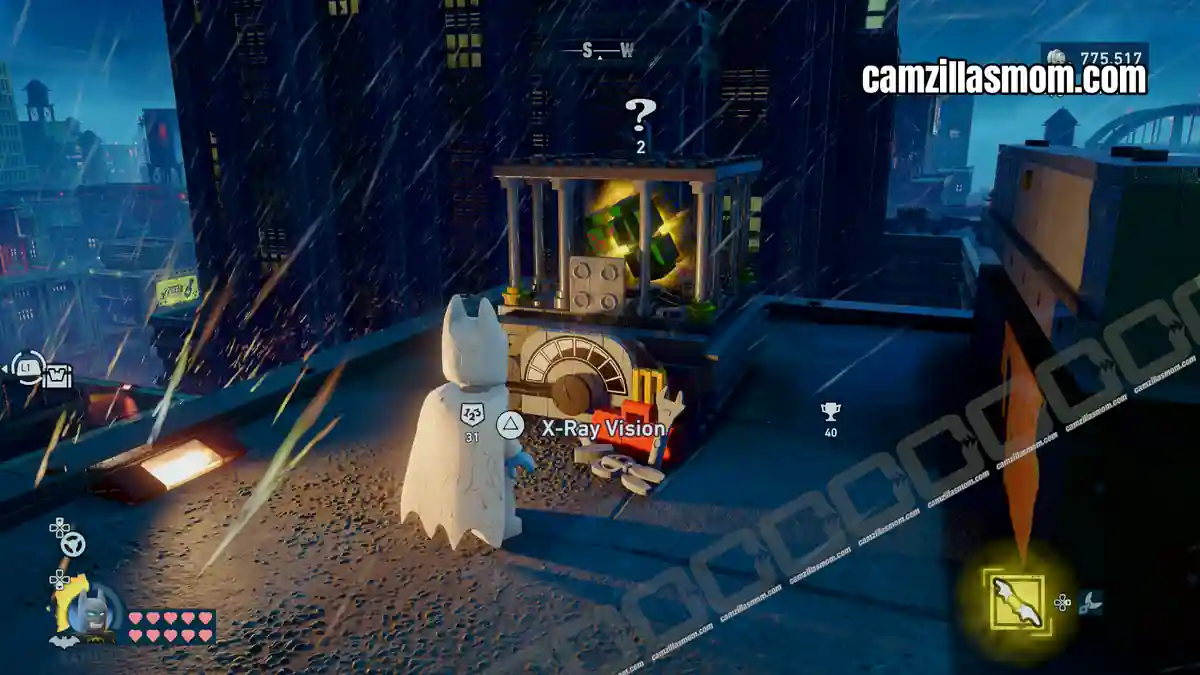
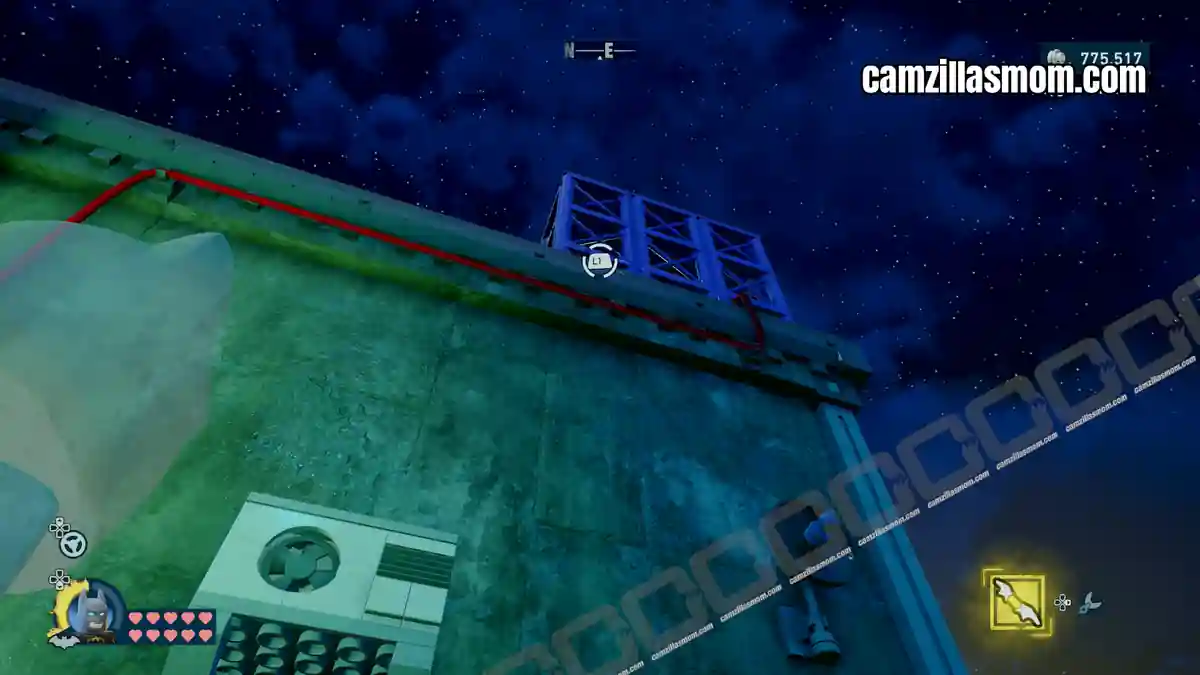
Head up, use Talia’s Ninja Dash to enter the cage, then turn the yellow control wheel to raise the pressure and release the box.
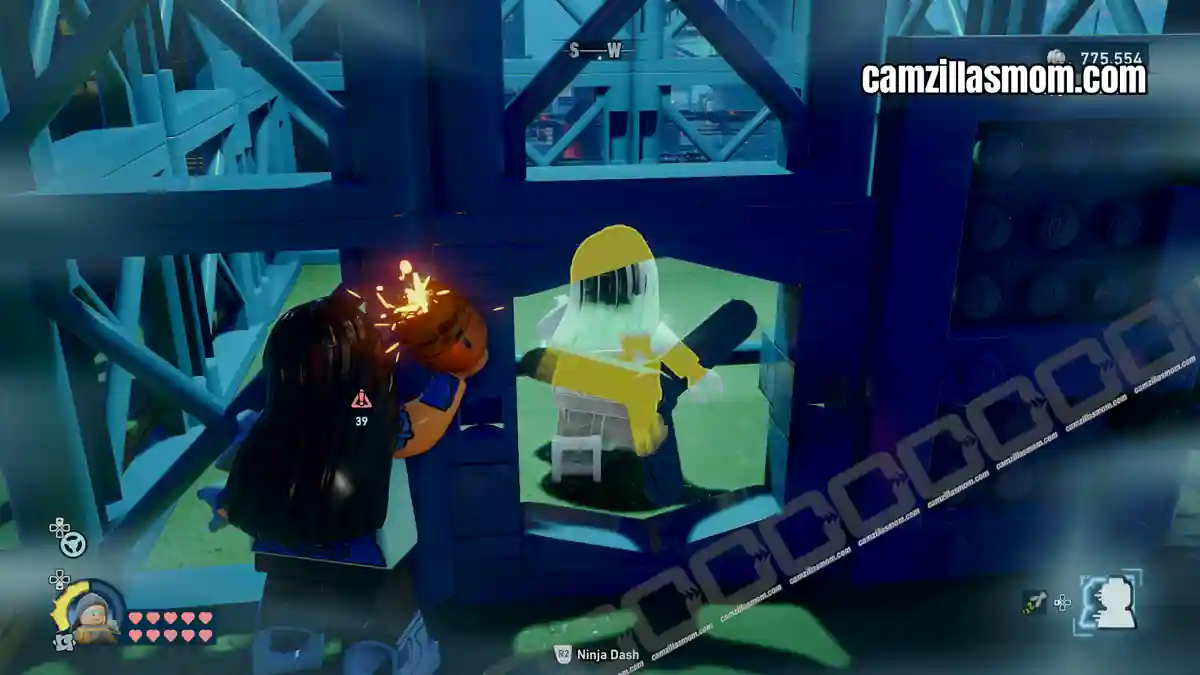
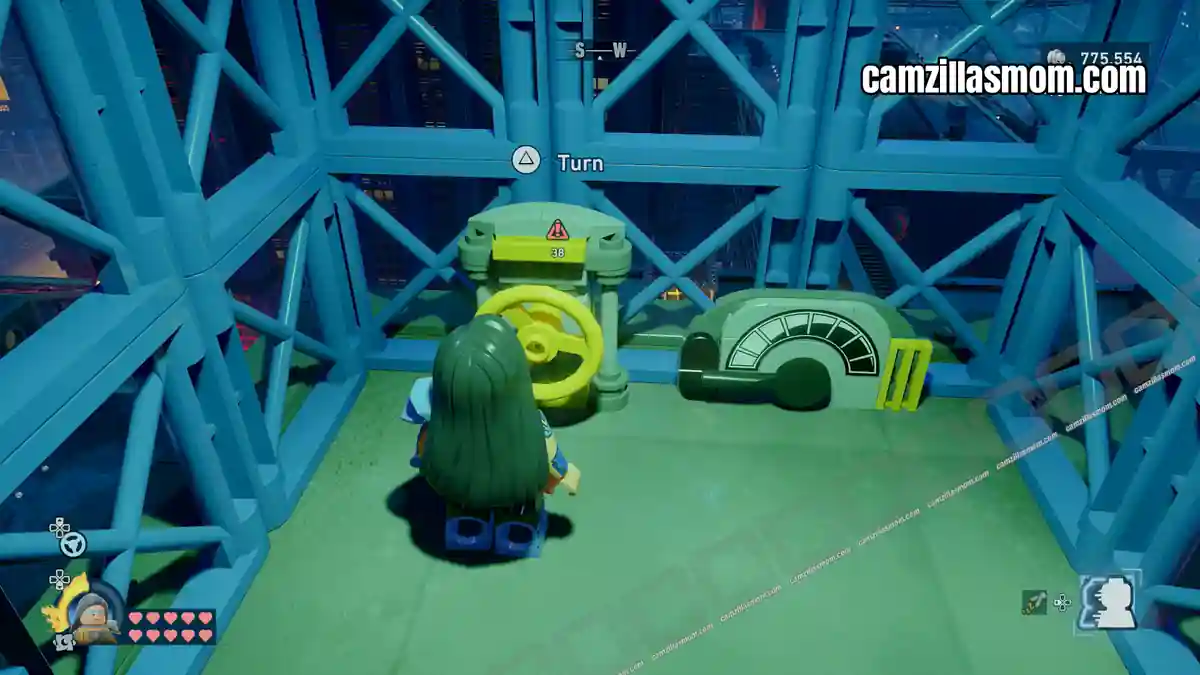
5 – Bridge, But Not Too Far
Coordinates: 291, 400
East of Under Pressured, beside an overpass bridge.
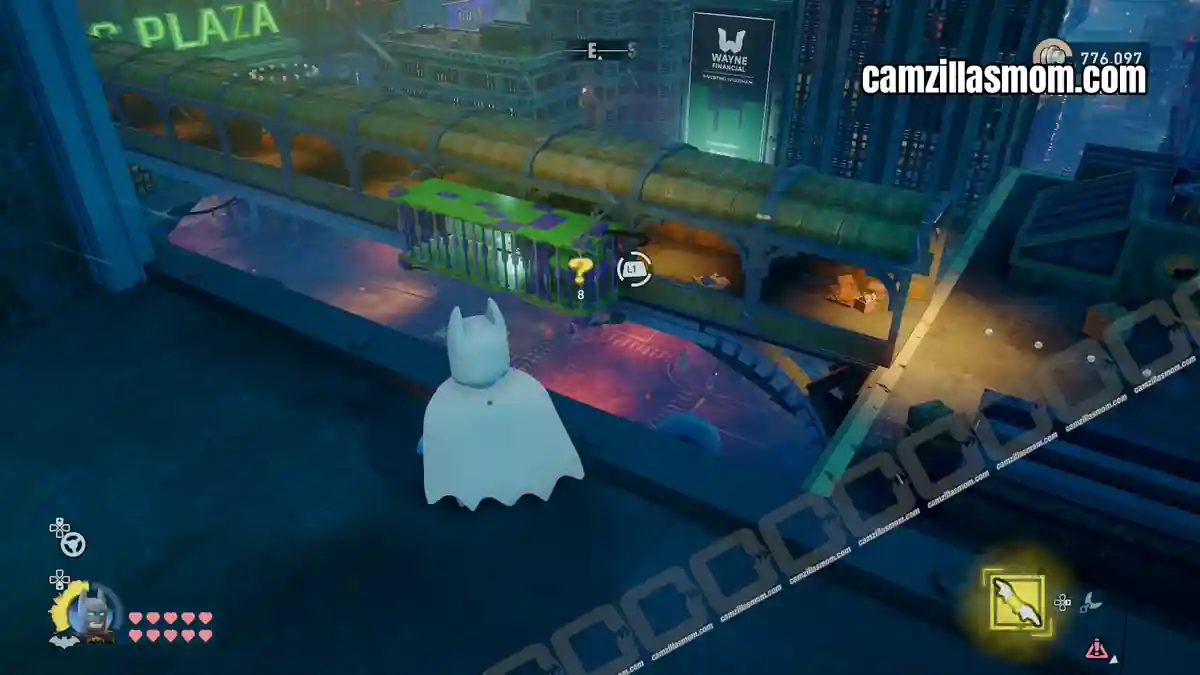
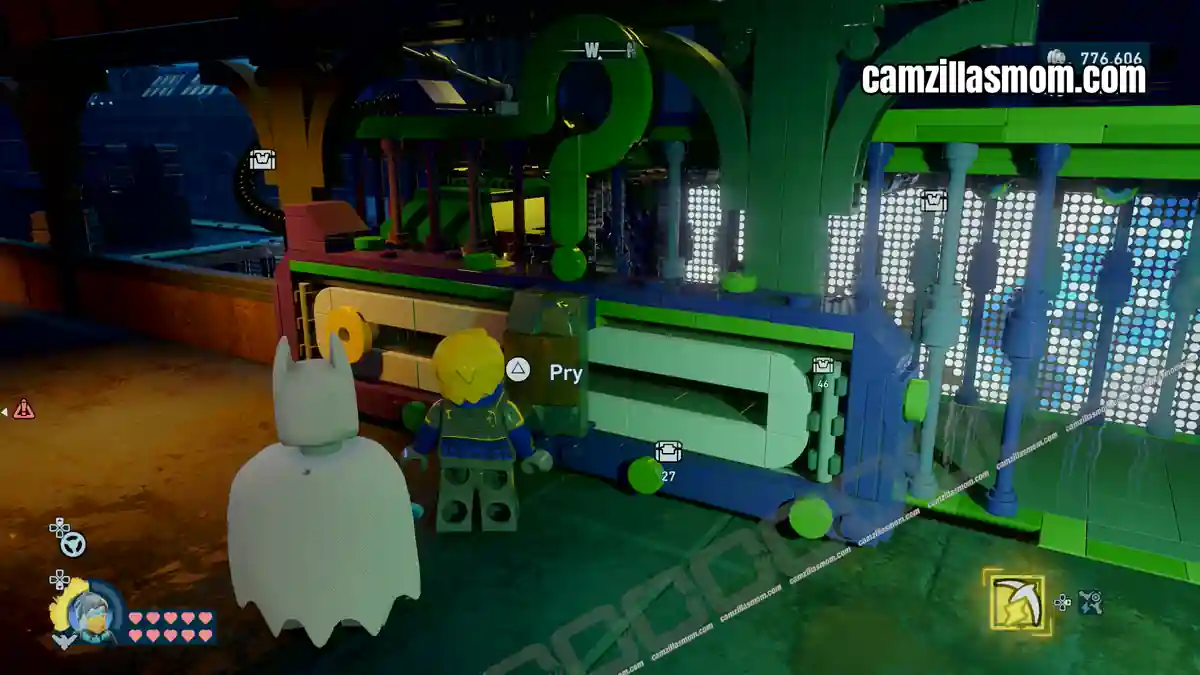
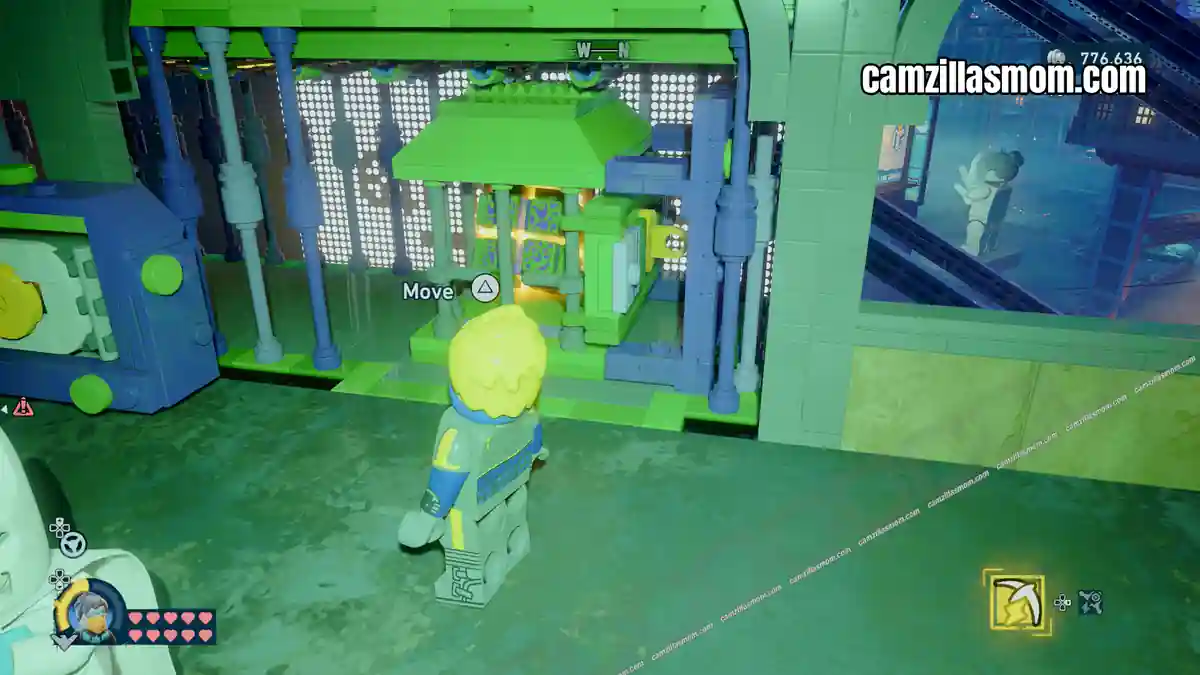
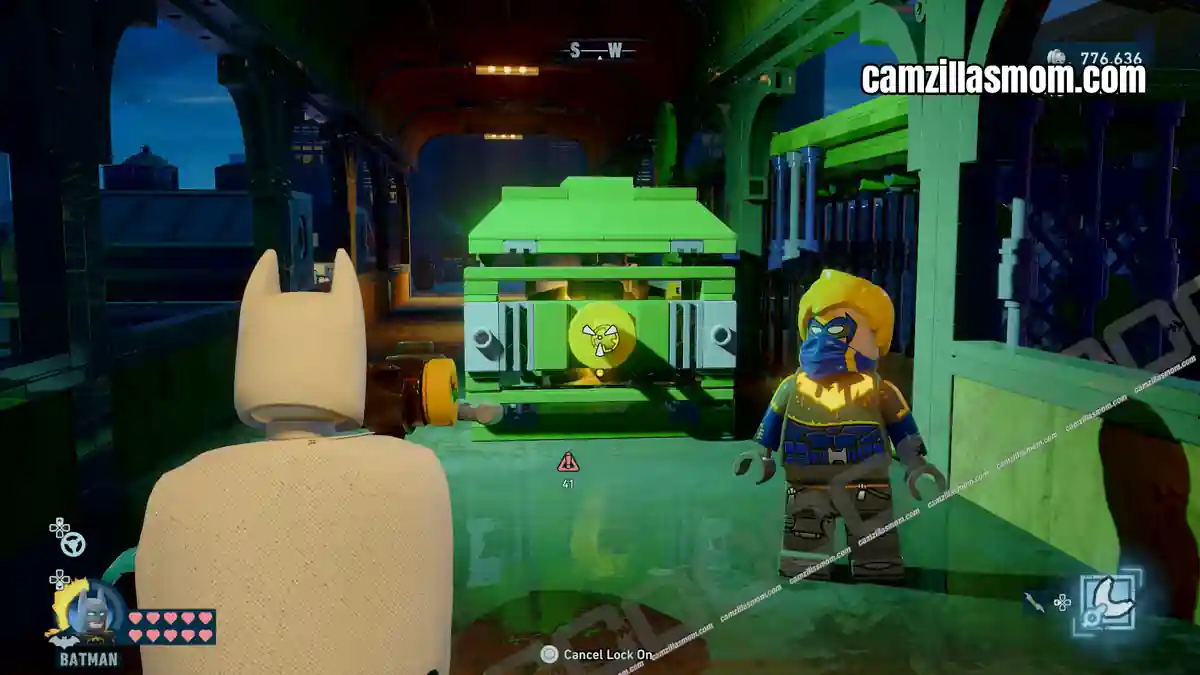
Inside the overpass, Nightwing or Robin can pry the blocked staff lever open and use the staff to push the Puzzle Box to the right.
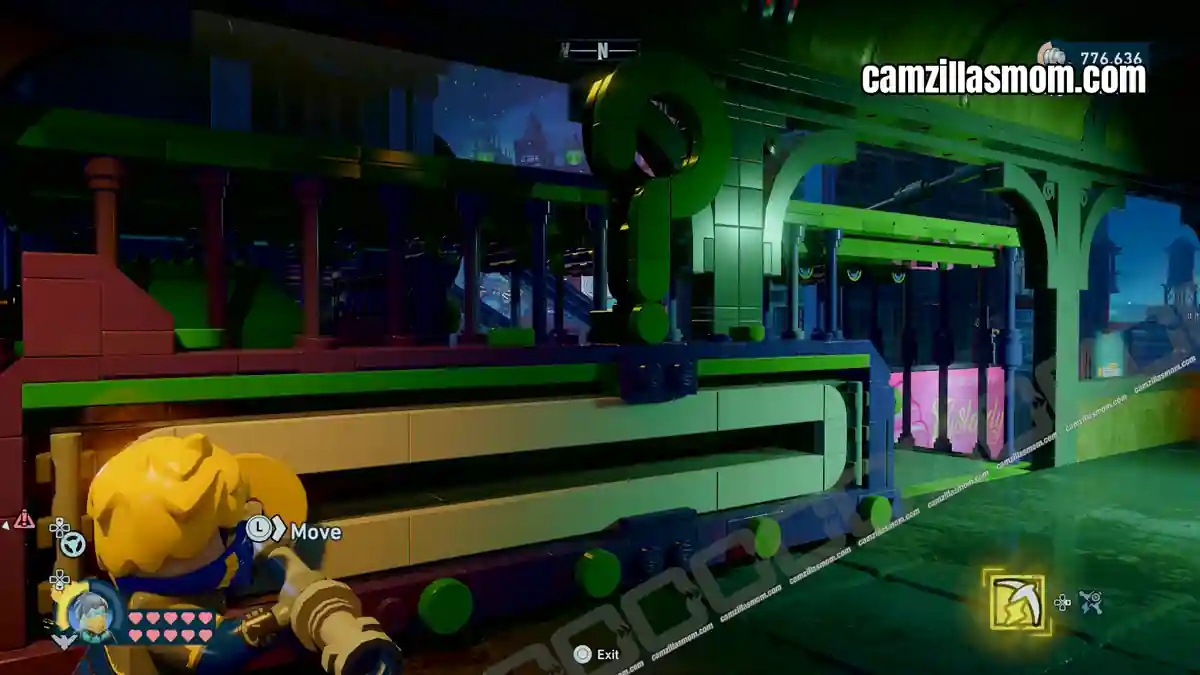
Pull it out onto the overpass and open with Batman’s Bat Claw.
6 – Riddle by Riddle
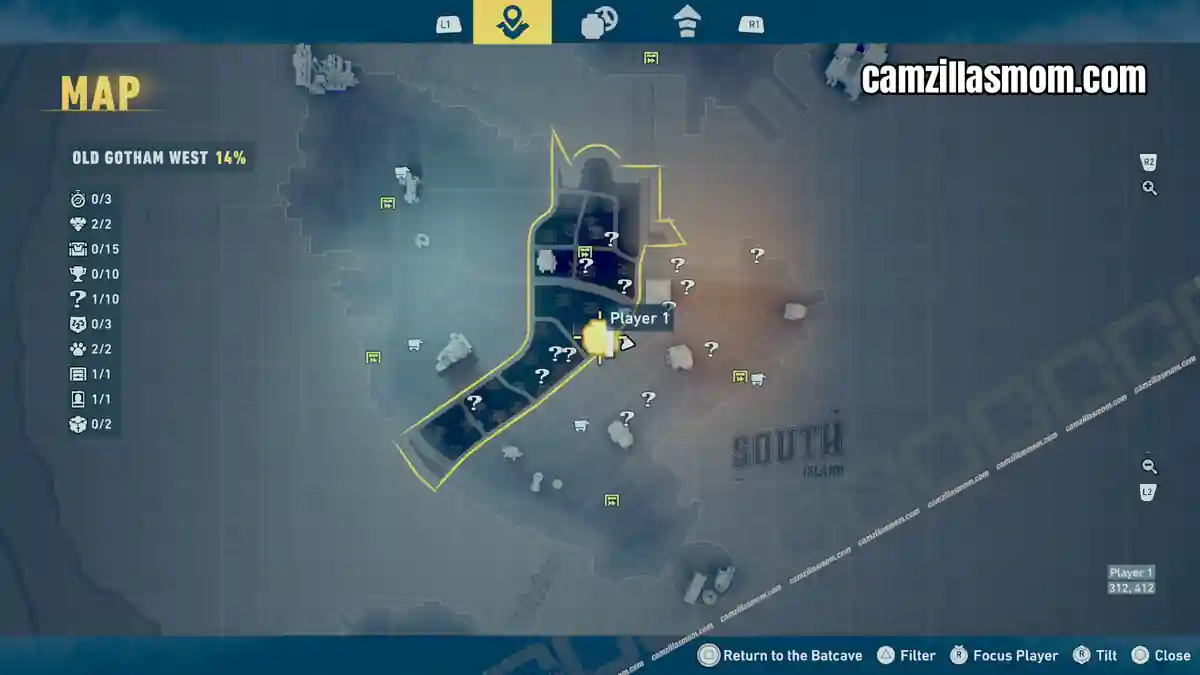
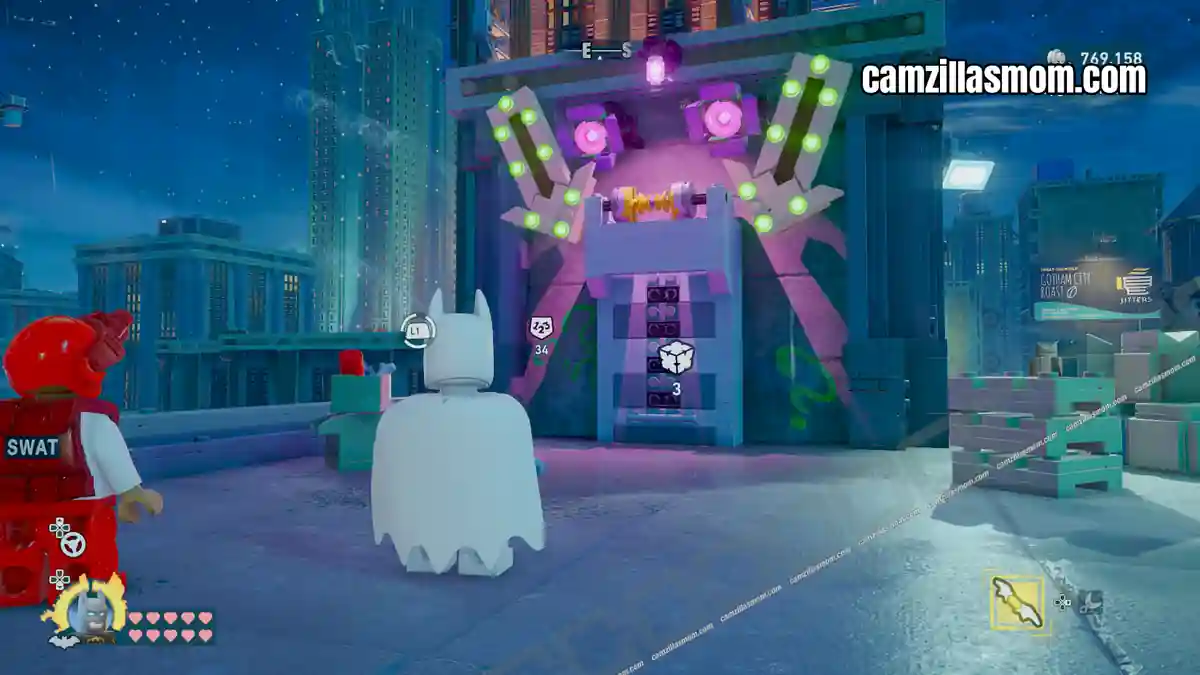
Coordinates: 314, 411
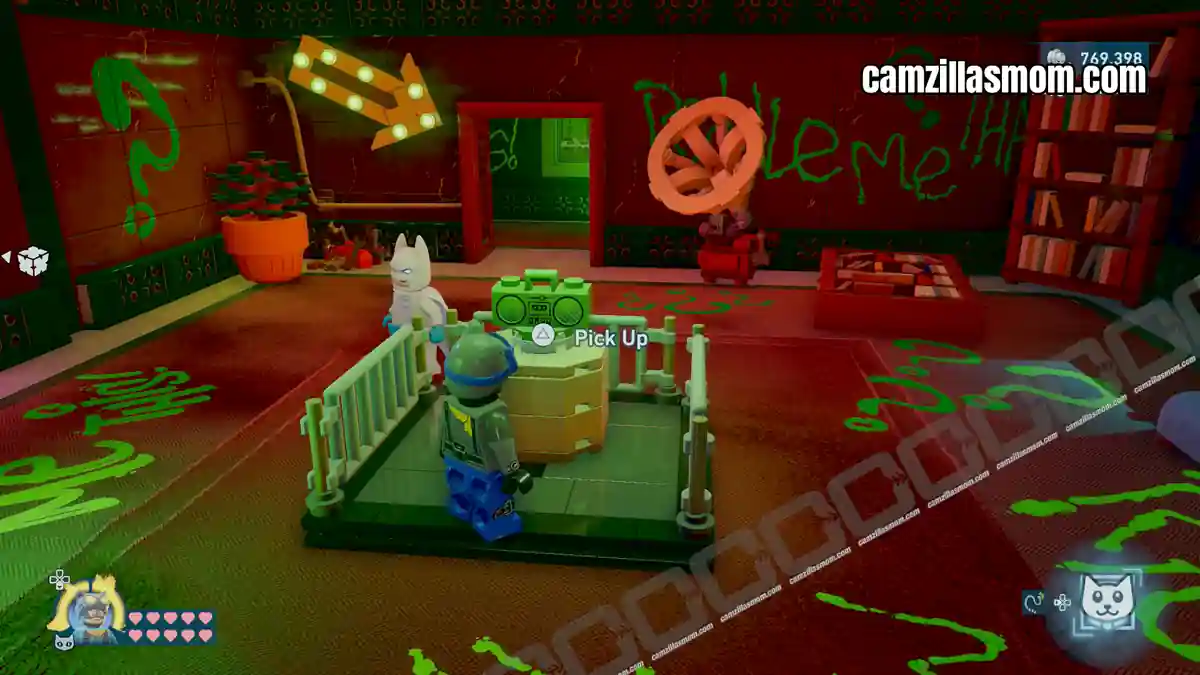
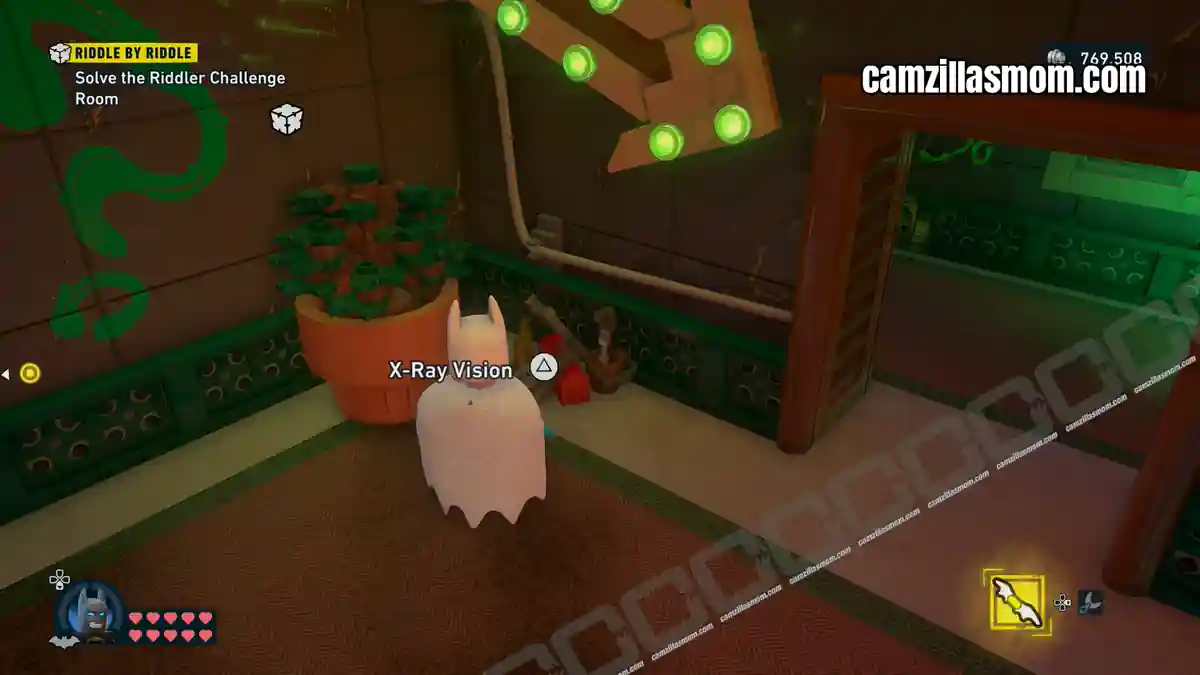
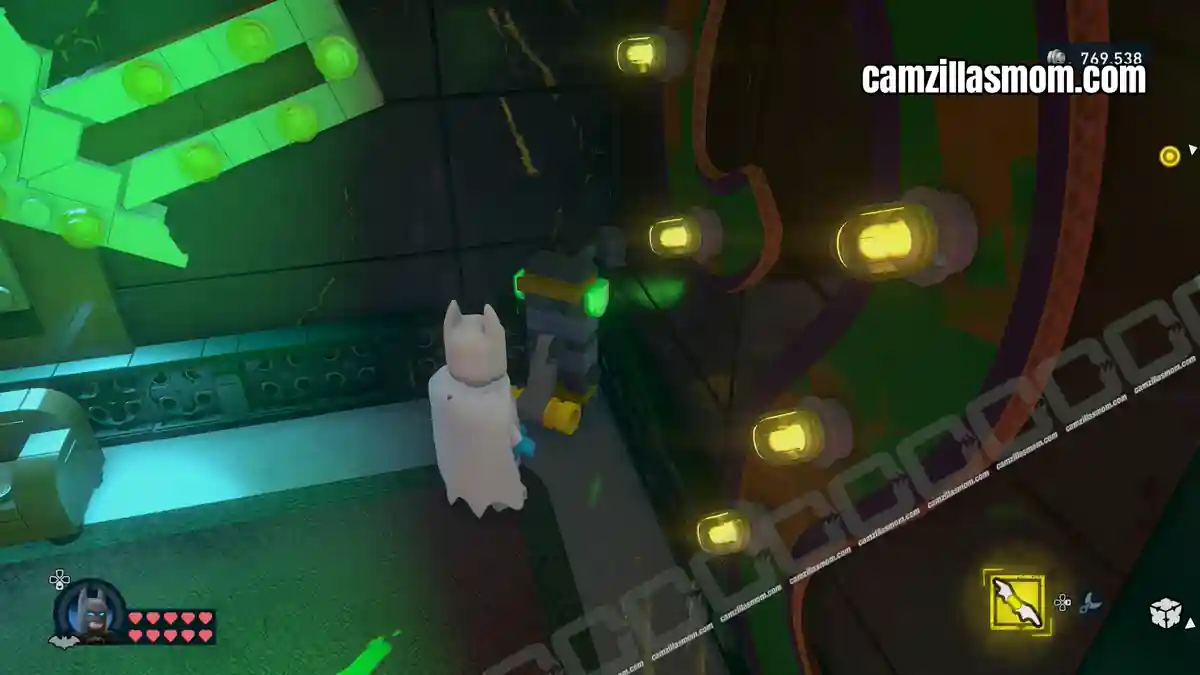
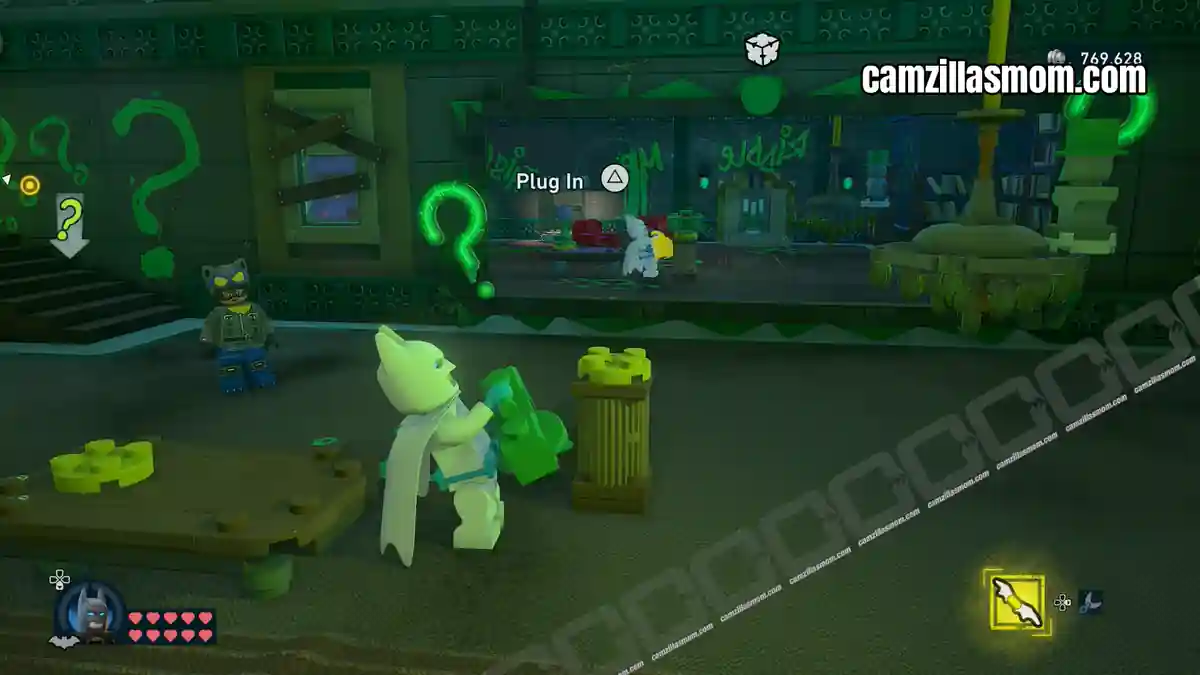
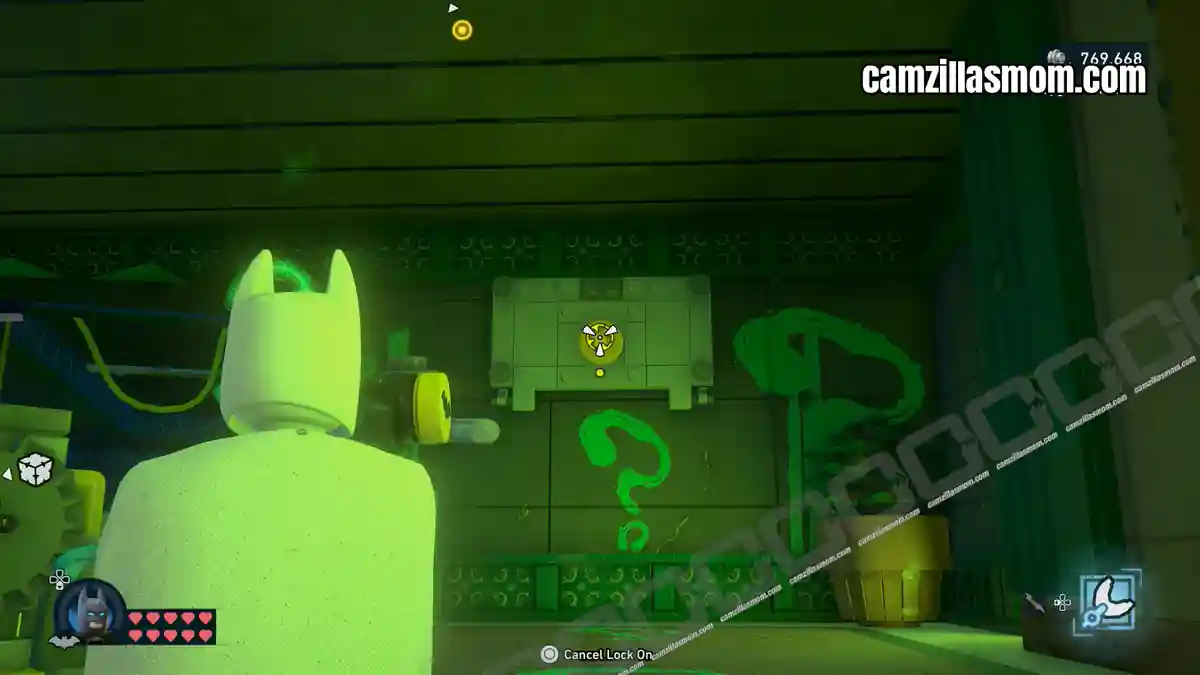
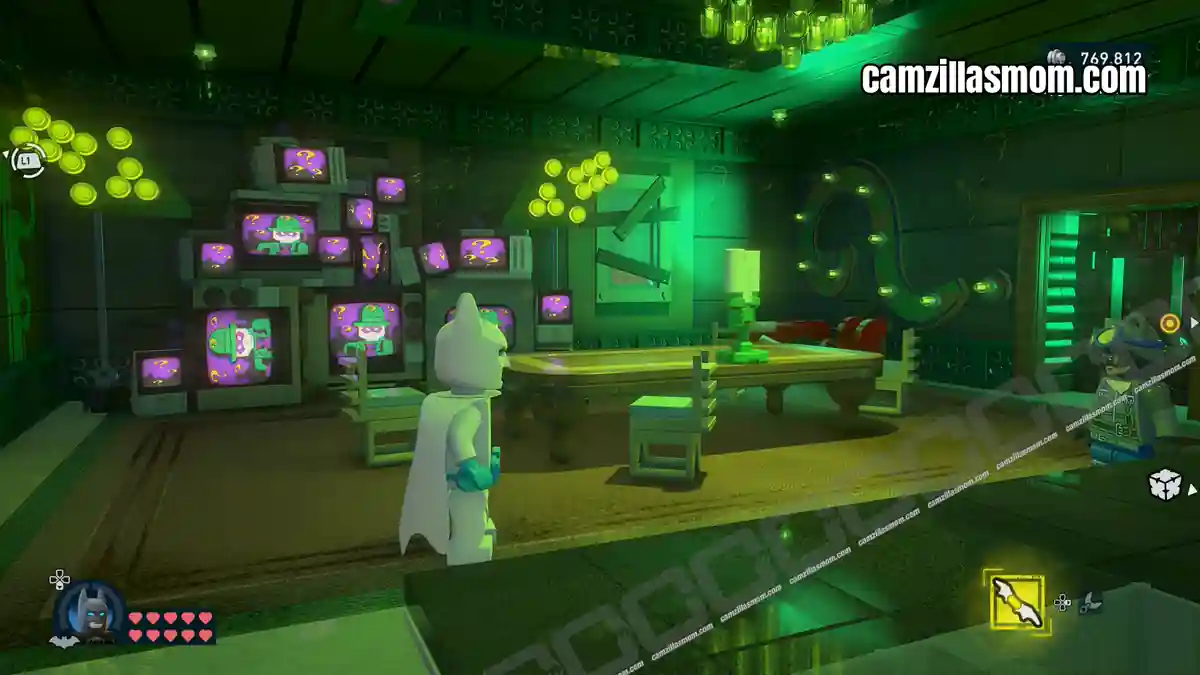
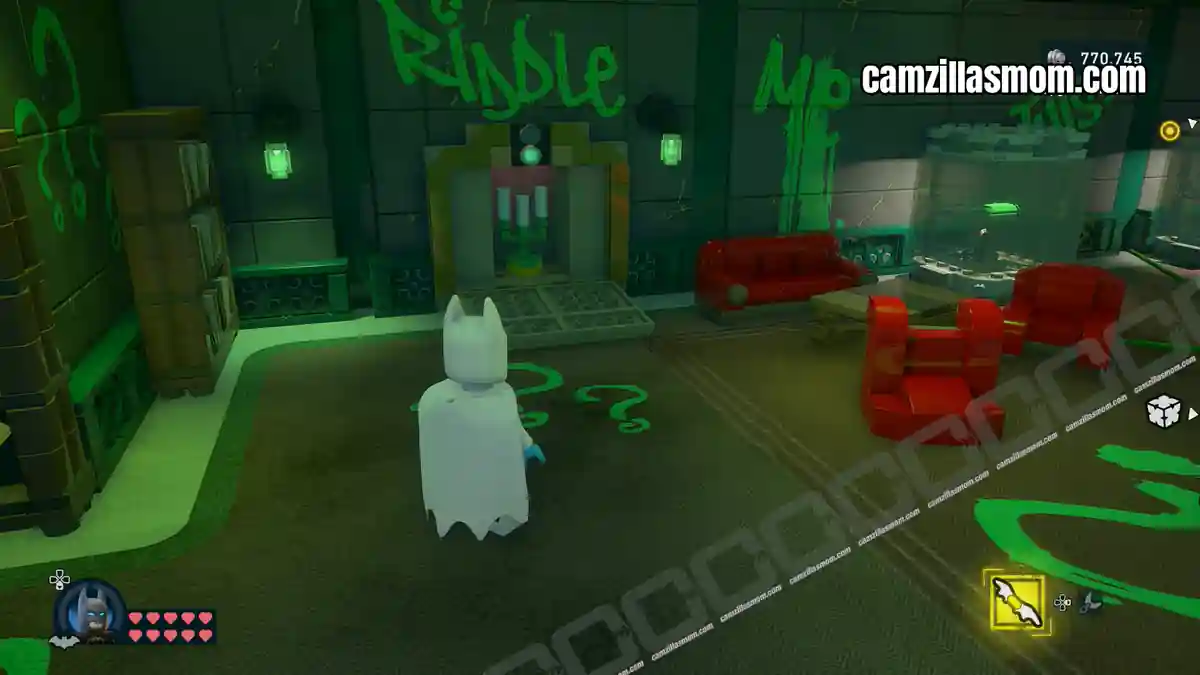
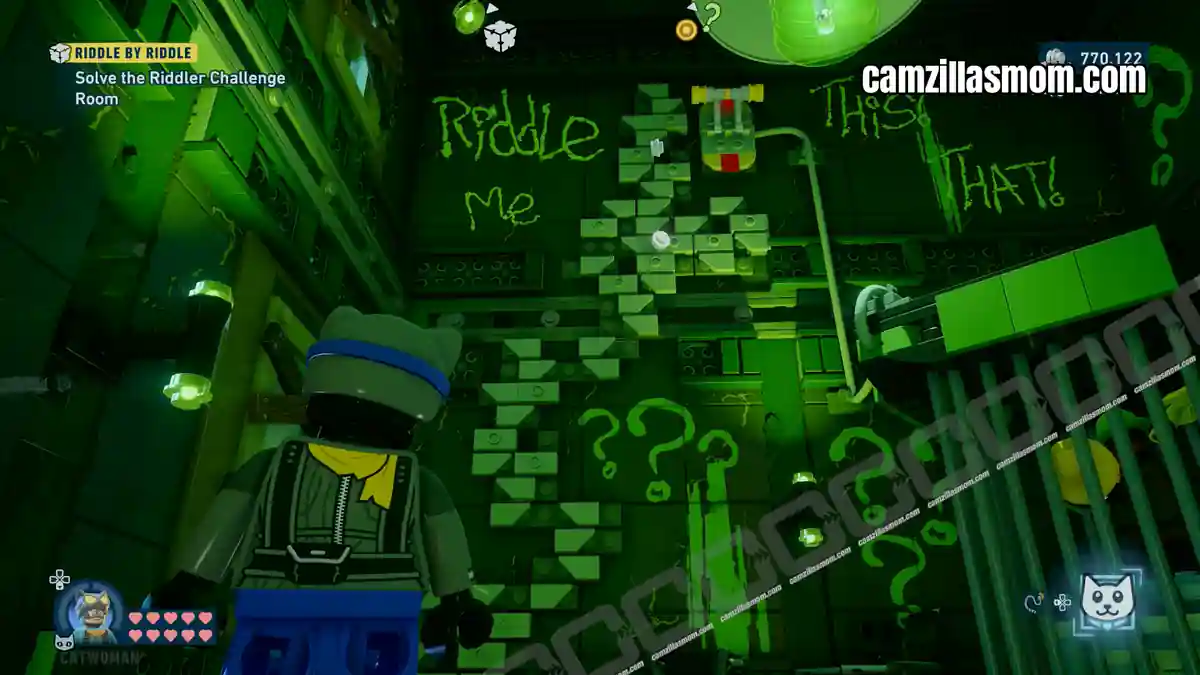
A Puzzle Room on a rooftop in the centre-east of the district. Entrance: green arrows and pink lights. Use Catwoman’s Whip on the mechanism above the door.
Radio:
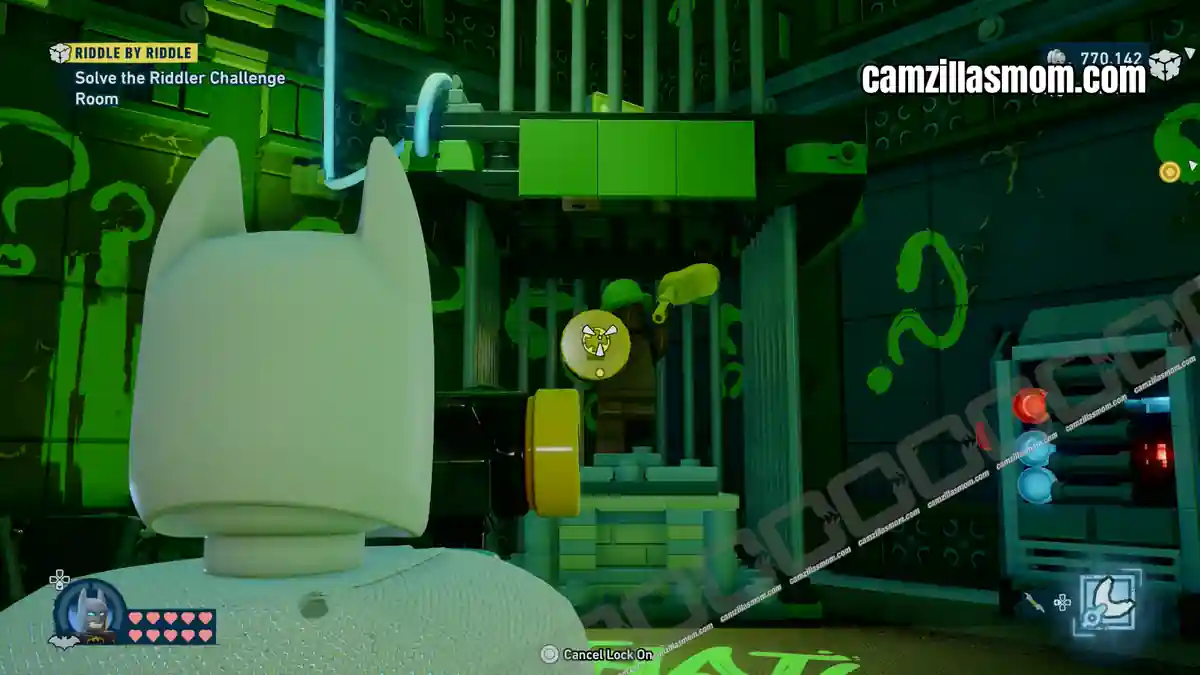
Upstairs – picking it up closes the door. First, use Batman’s X-Ray Vision on the corner toolbox, follow the cable to the lever behind the bookshelf and pull it. Now carry the radio to the centre pedestal downstairs.
Candlestick:
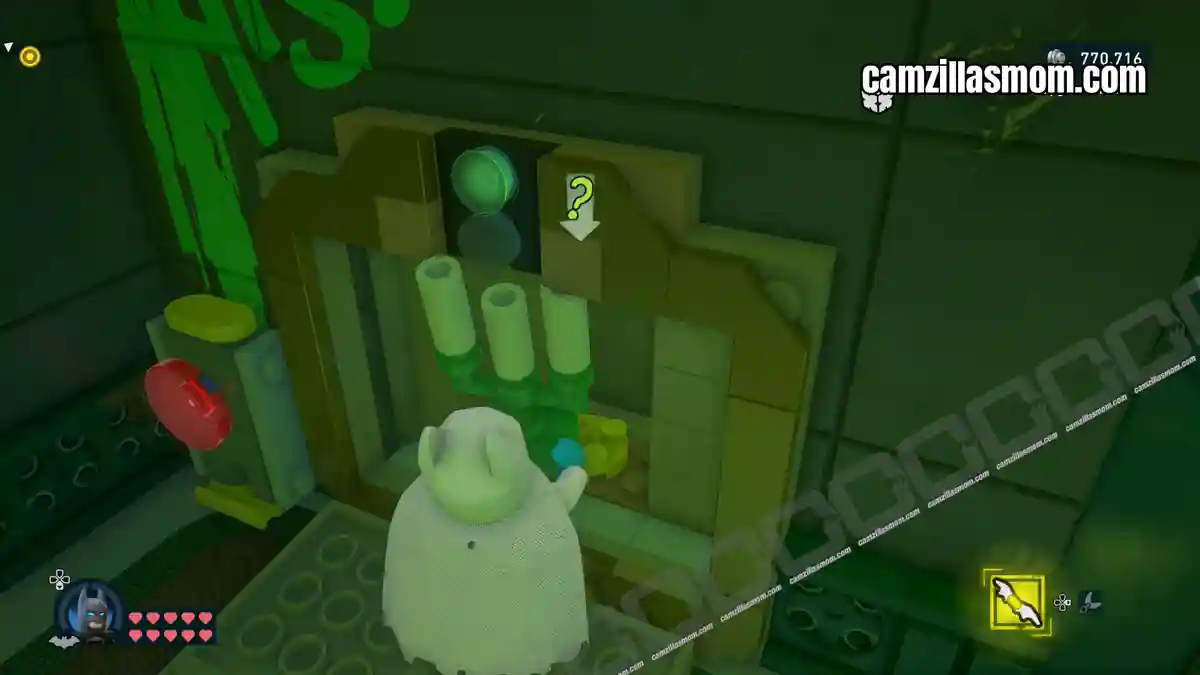
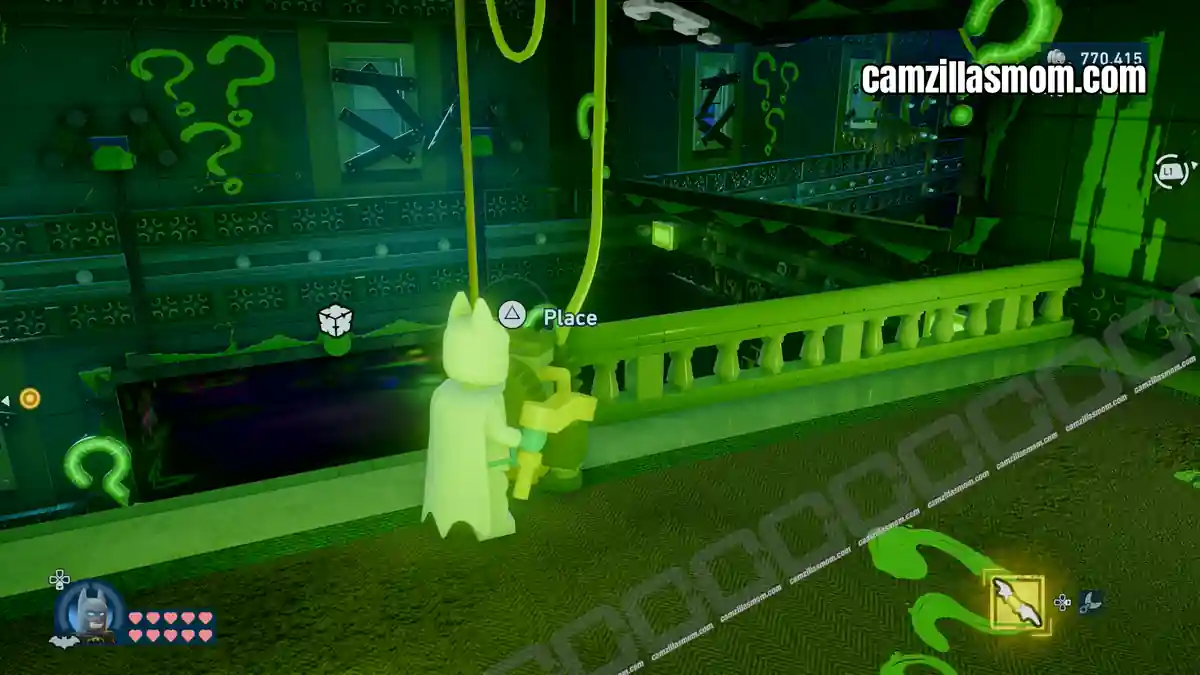
Use Batman’s Bat Claw on the upstairs yellow grapple hook to open a crawlspace vent. Through it, place the candlestick into the room’s elevator and press the red button to lower it to the mirror.
Lamp:
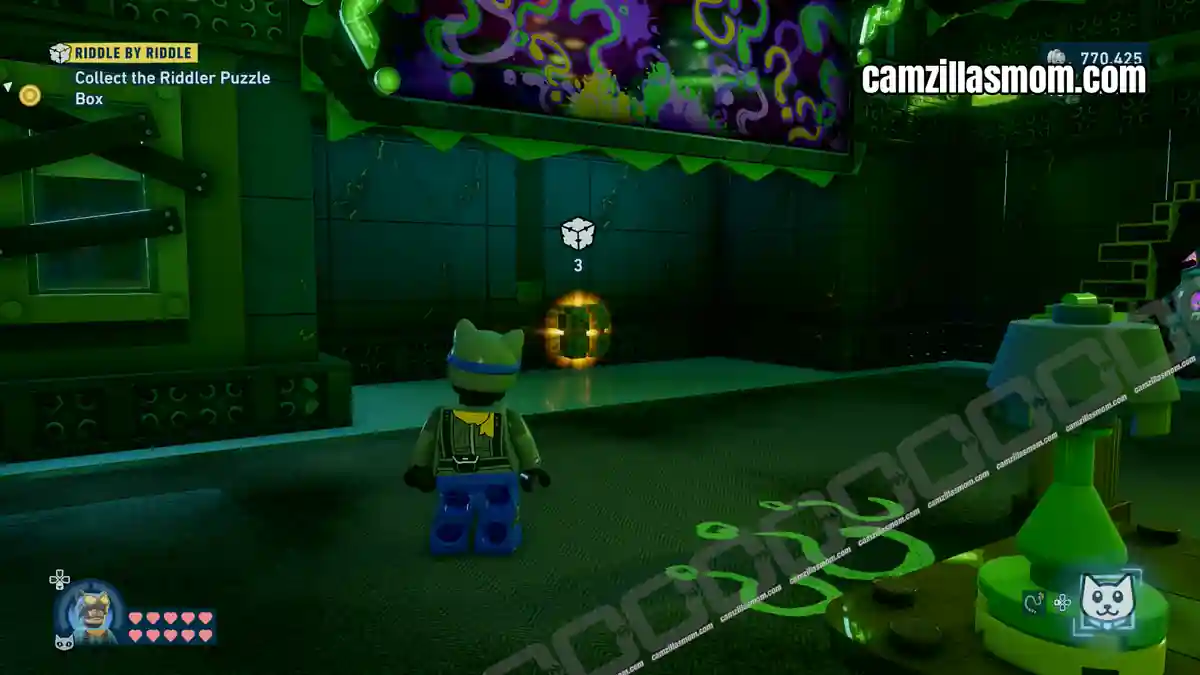
Cut the glass display with Catwoman and place the lamp on the leftmost pedestal.
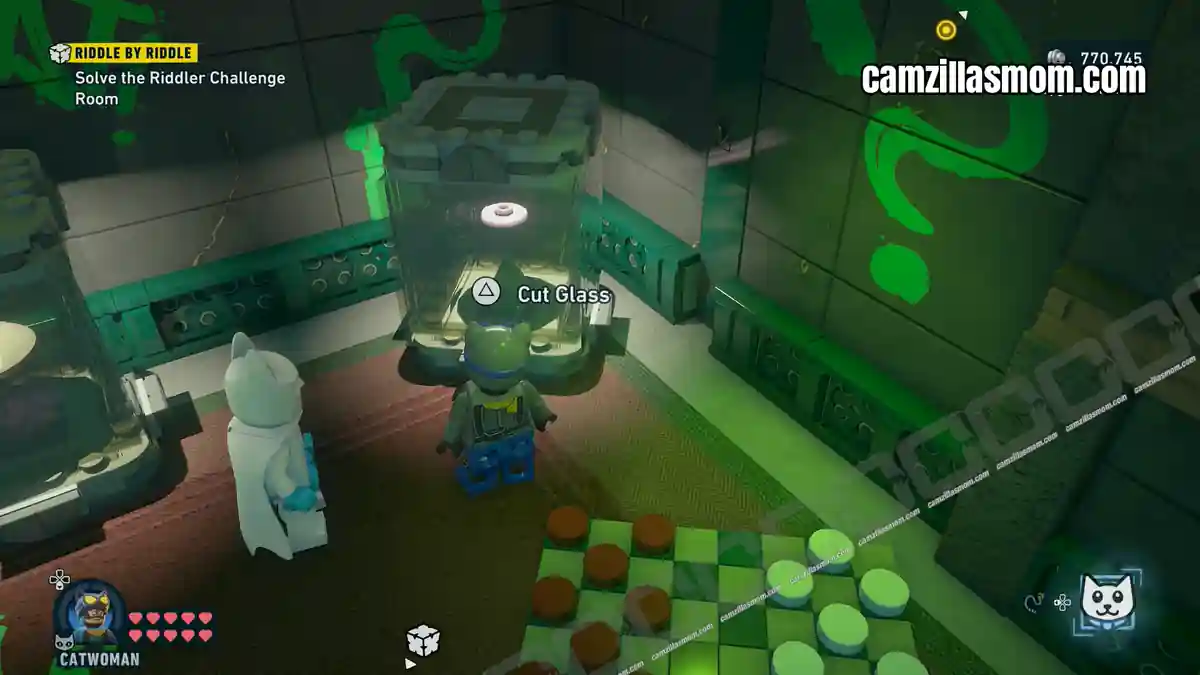
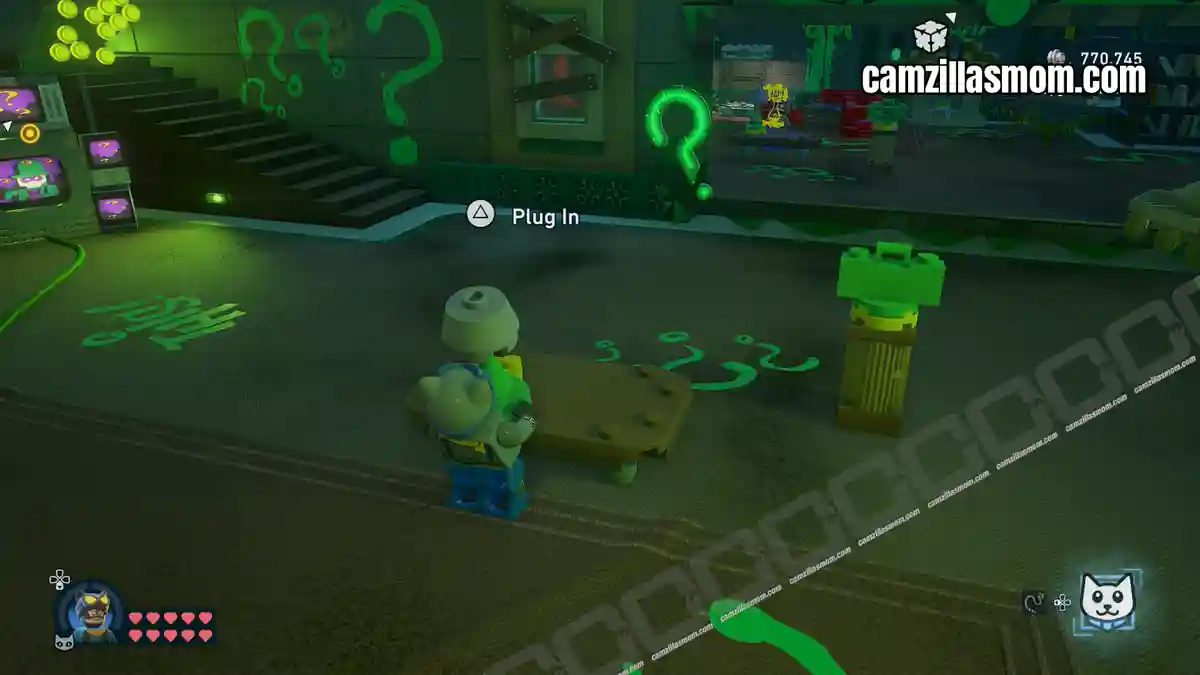
Bust:
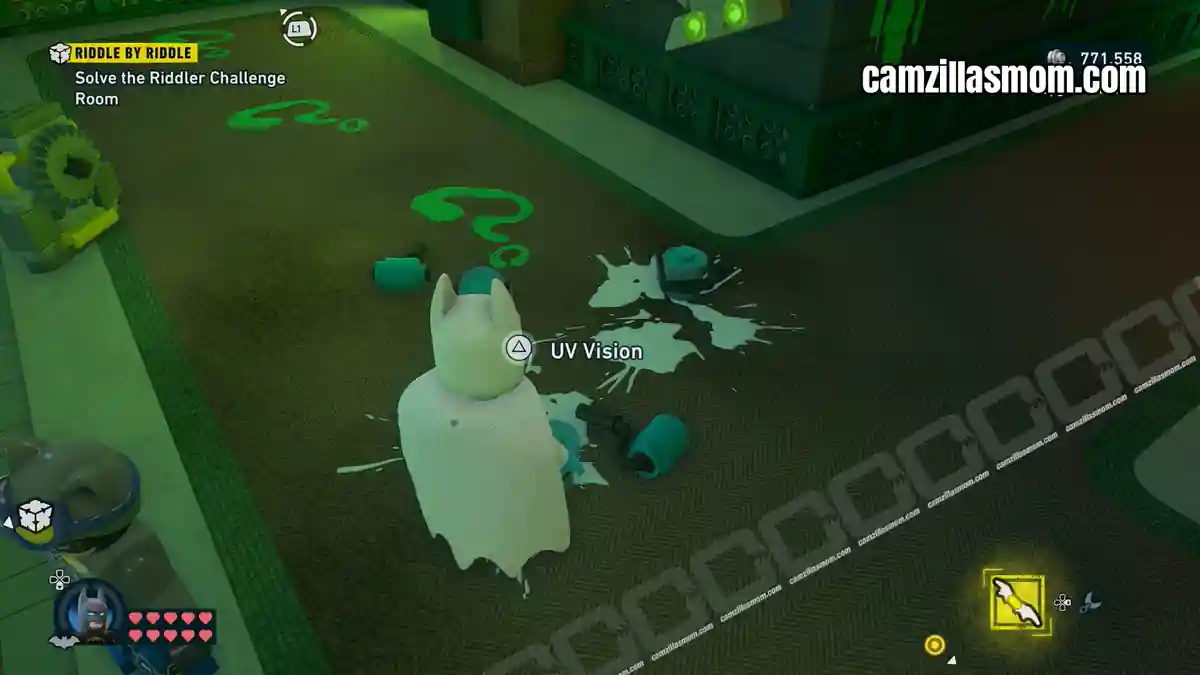
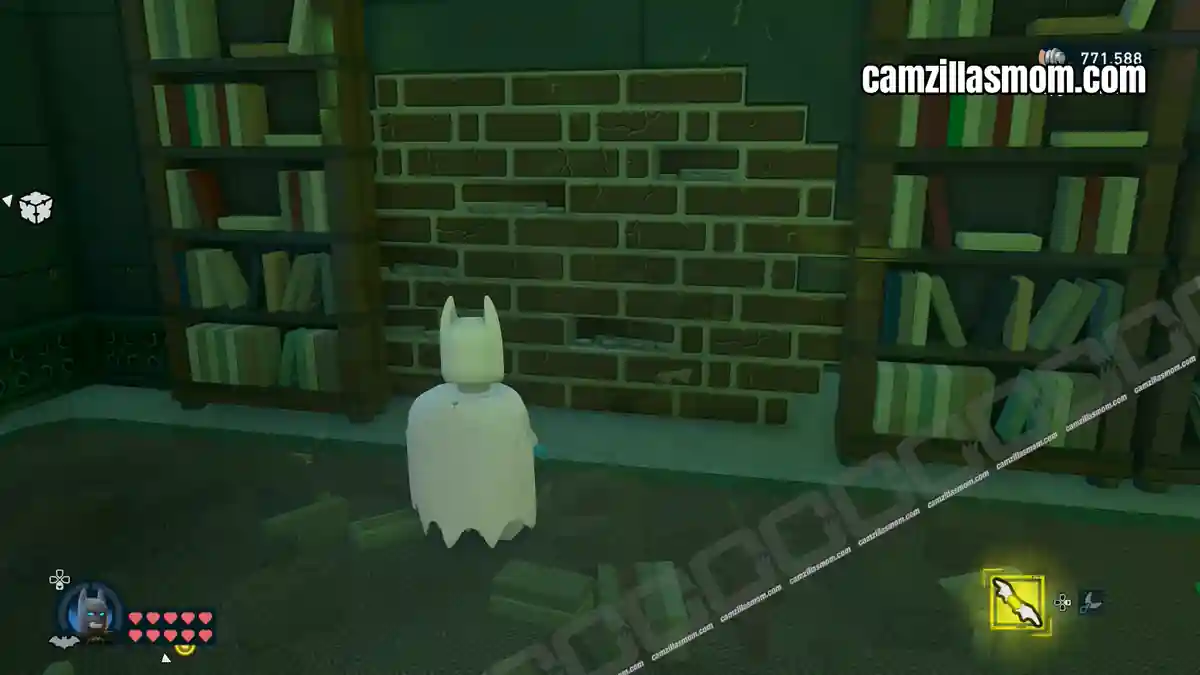
Use Batman’s UV Vision to follow the paint trail to a bookshelf that hides a destructible wall – blow it with Explosive Spray. Inside, Catwoman climbs the wall and pulls the lever to open a cage. Use Batman’s Bat Claw on the statue’s grapple hook, take the handle and slot it into the upstairs mechanism to lift everything into position. The mirrors open and the Puzzle Box is reachable.
7 – The Fault in Our Statues
Coordinates: 330, 449
Southeast of the Subwayne, in a courtyard where a large statue holds the Puzzle Box.
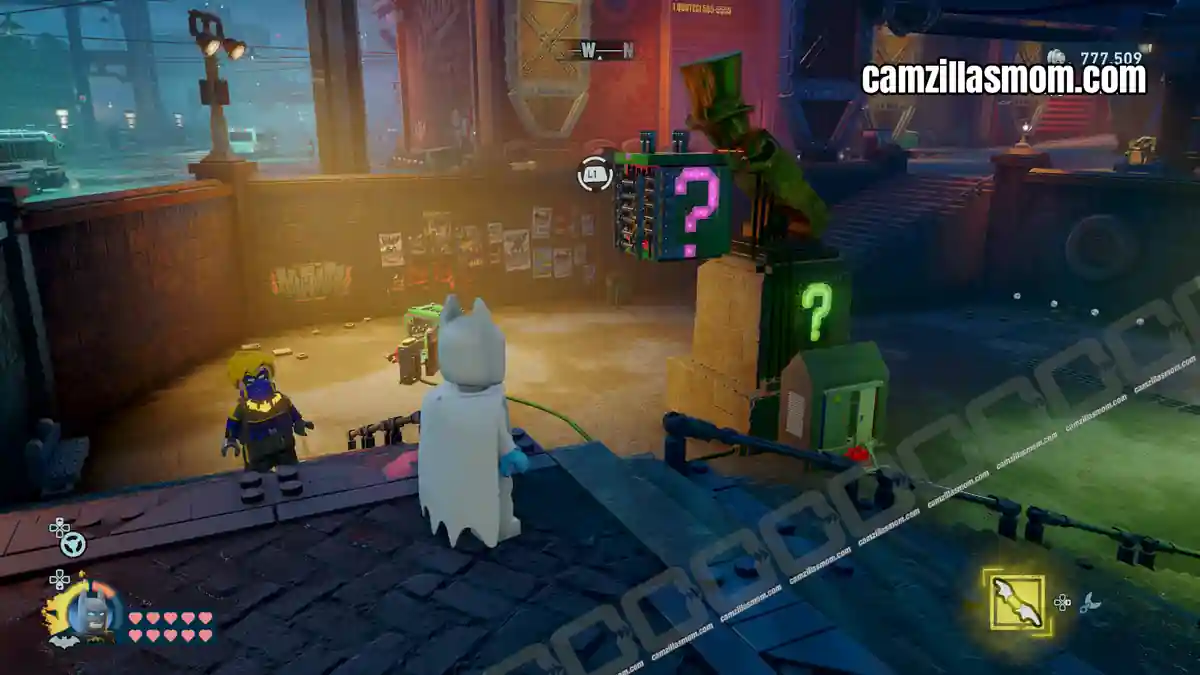
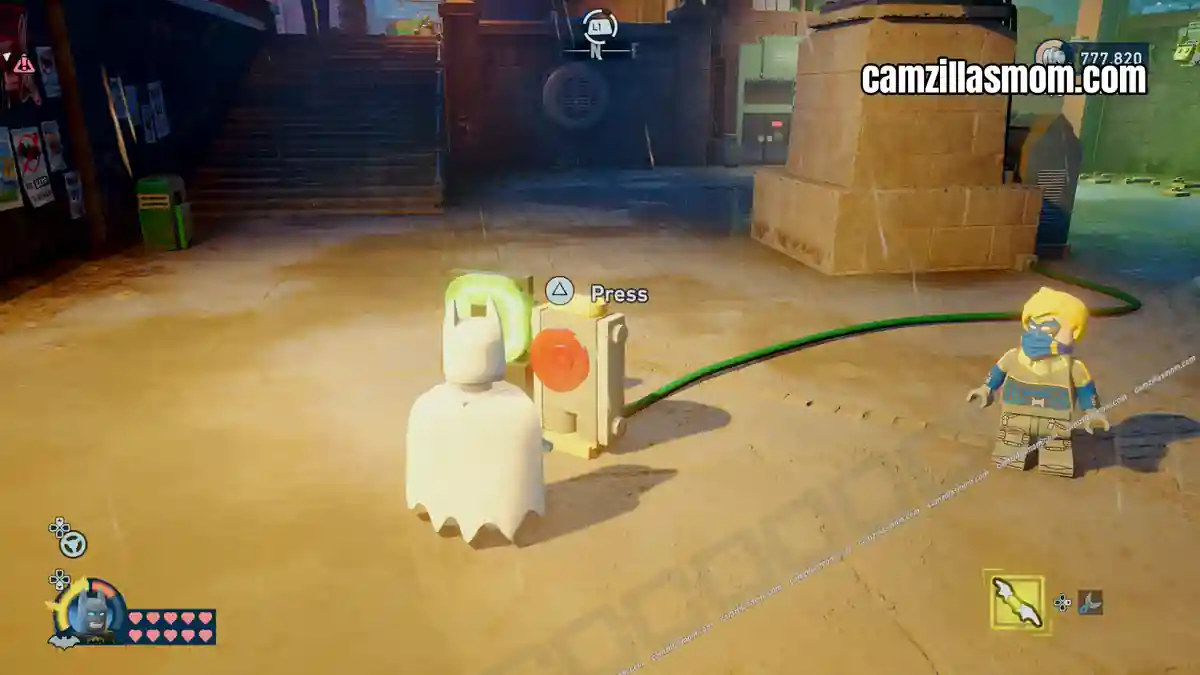
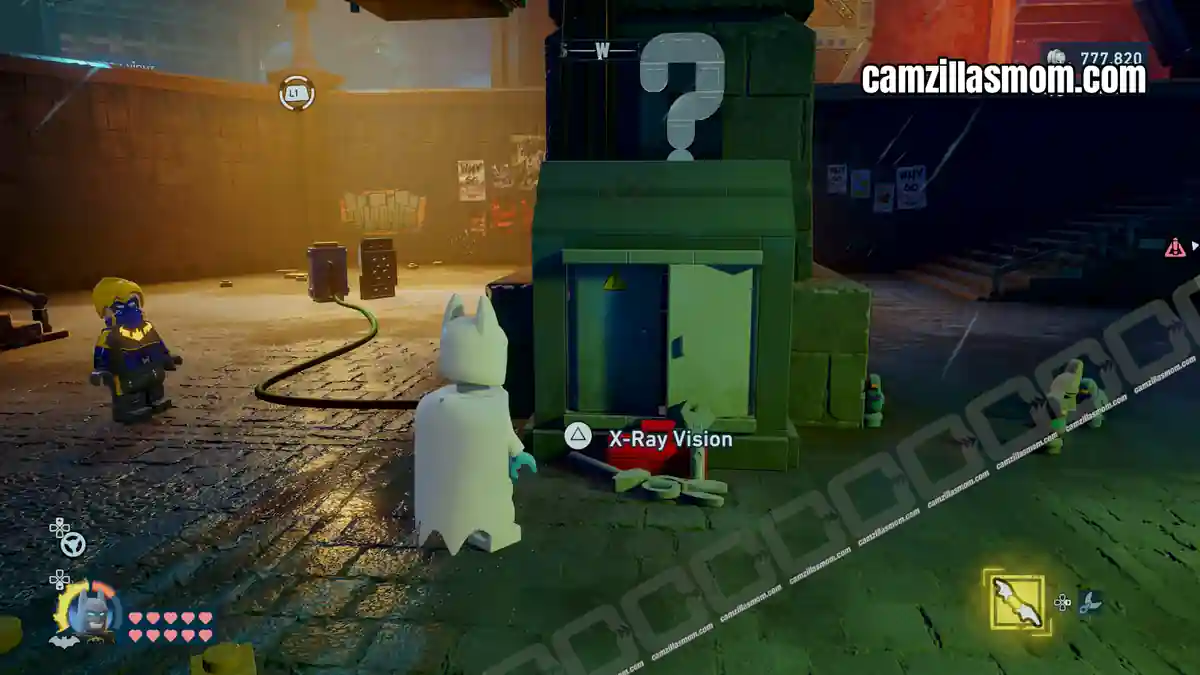
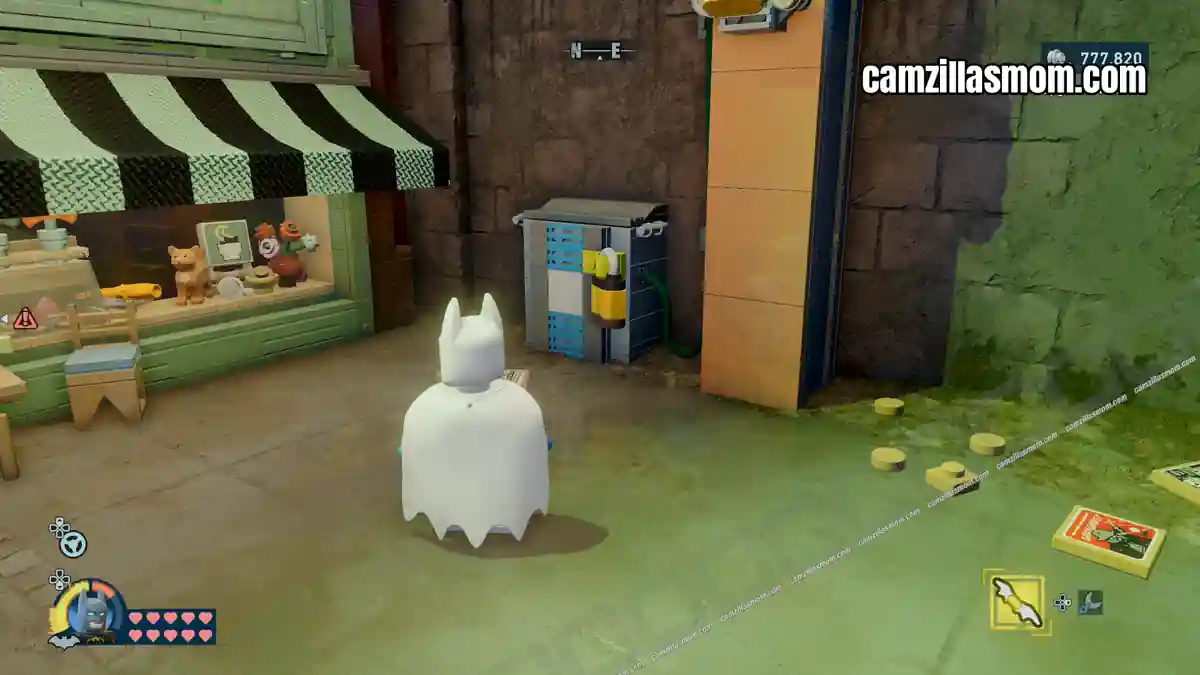
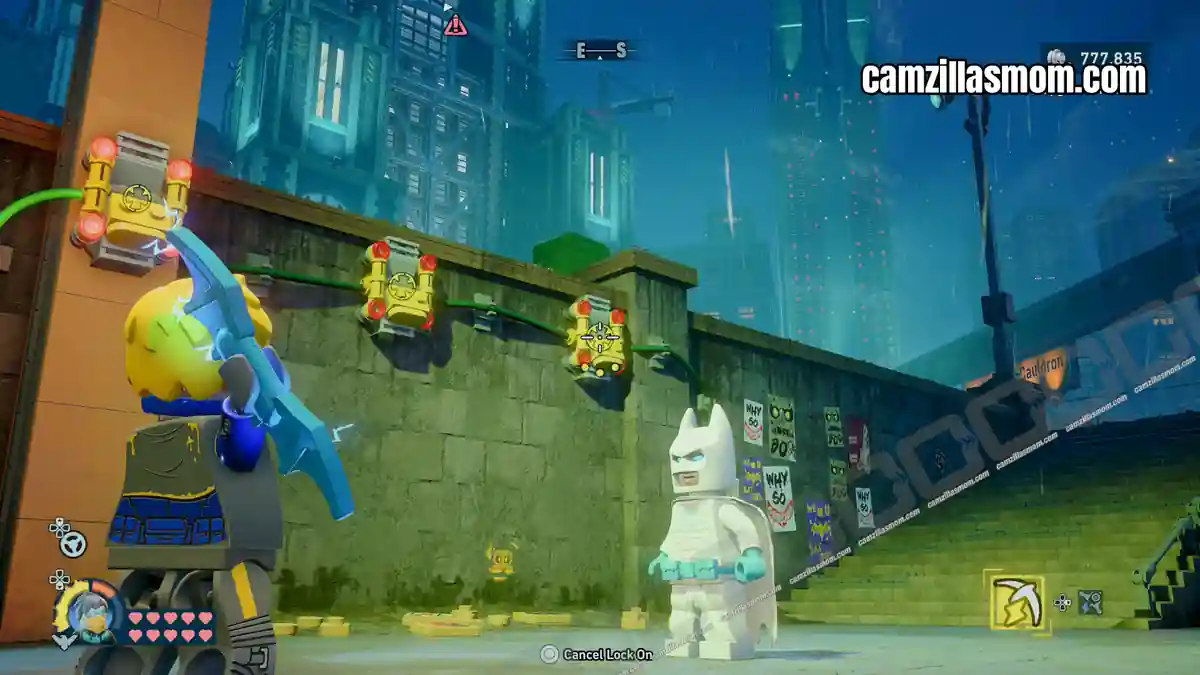
Press the red button to see the effect, then use Batman’s X-Ray Vision on the toolbox. Follow the cable to a padlocked box – break it. Switch to Nightwing or Robin, press the second red button and shoot the three wall switches left to right within the timer. Press the first red button again to free the Puzzle Box.
8 – In the Spotlight
Coordinates: 303, 464
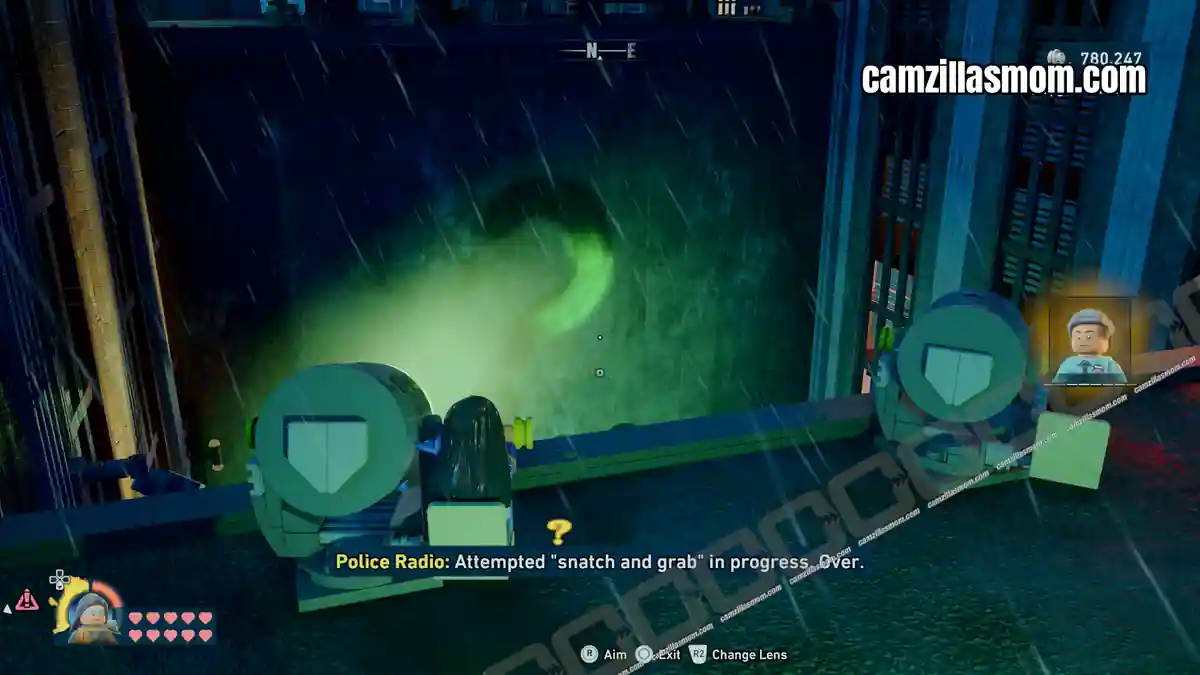
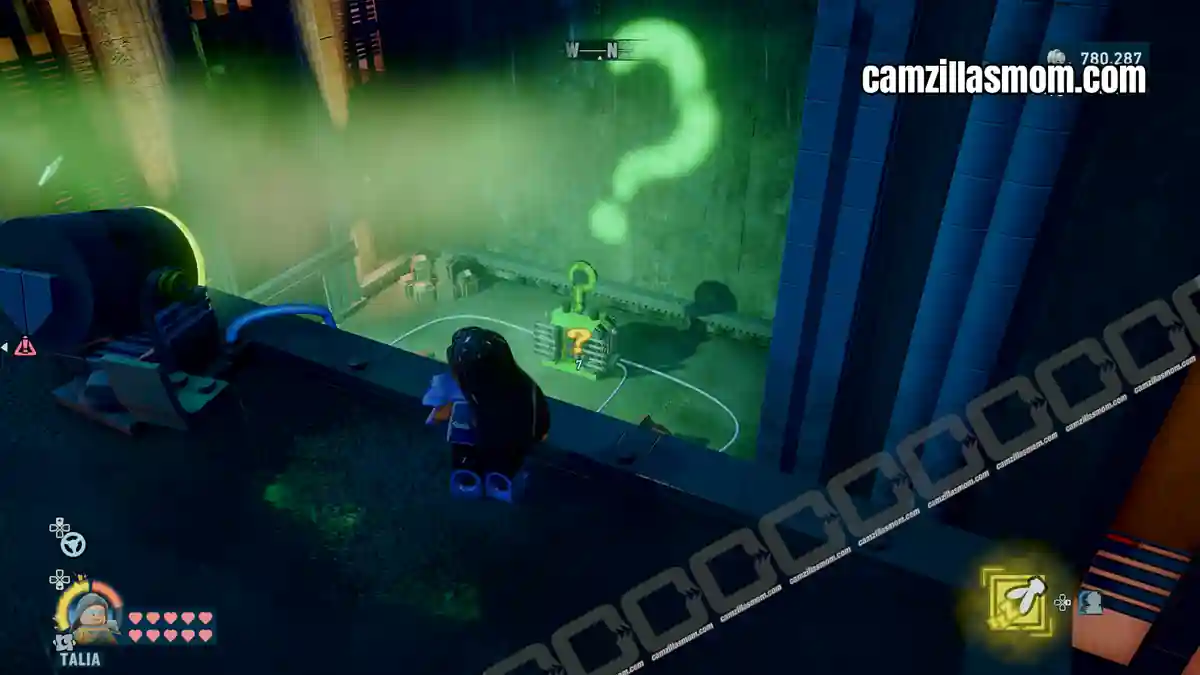
Just south of the Subwayne, in a courtyard with three overhead spotlights.
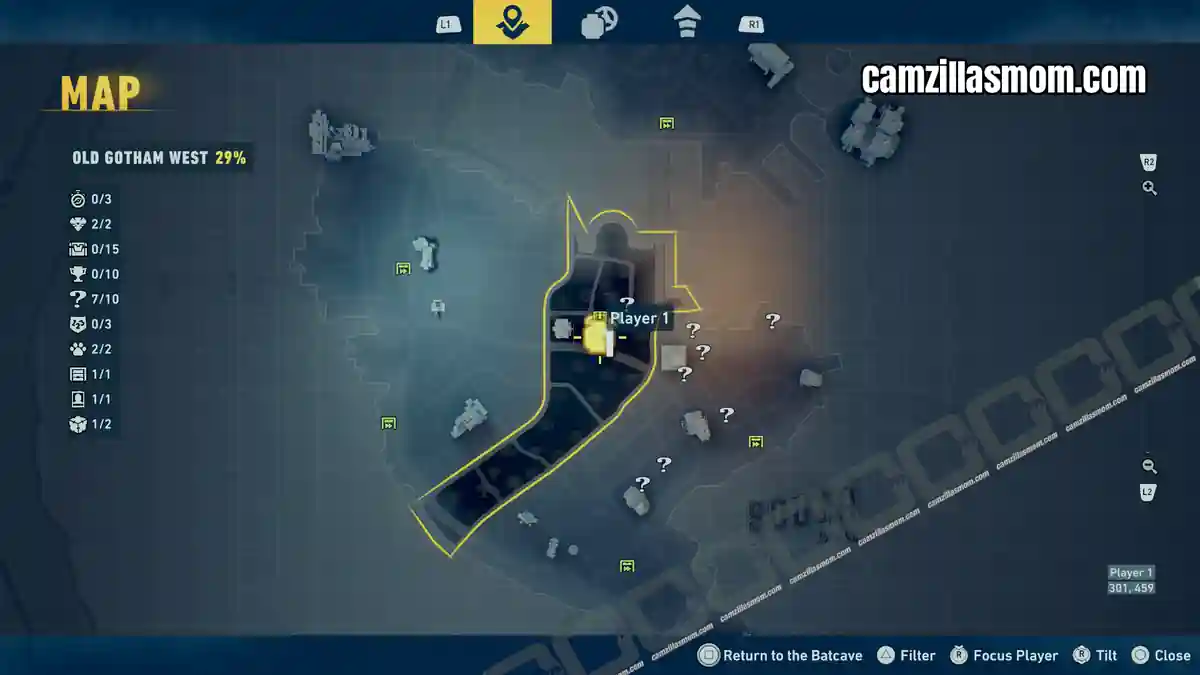
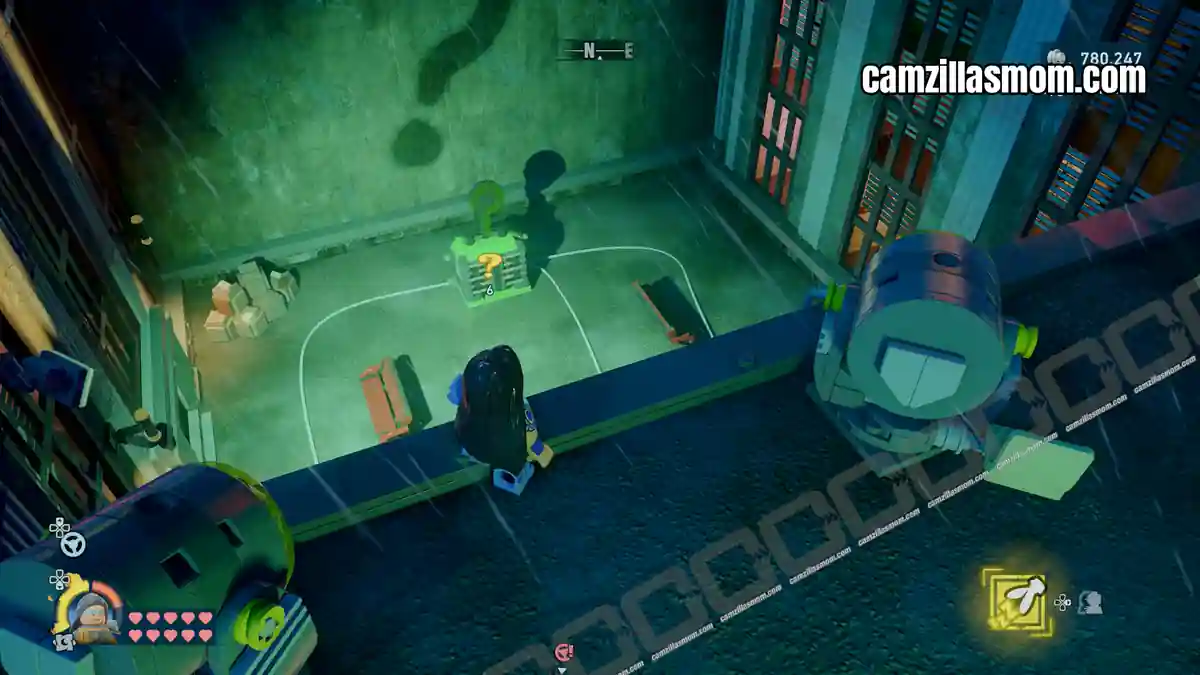
Adjust the spotlights – switching lenses as needed – until they combine to project a question mark on the back wall. The Puzzle Box opens automatically.
9 – Crane Supreme
Coordinates: 321, 483
Northeast of the Subwayne, where a cable car travels between two rooftops.
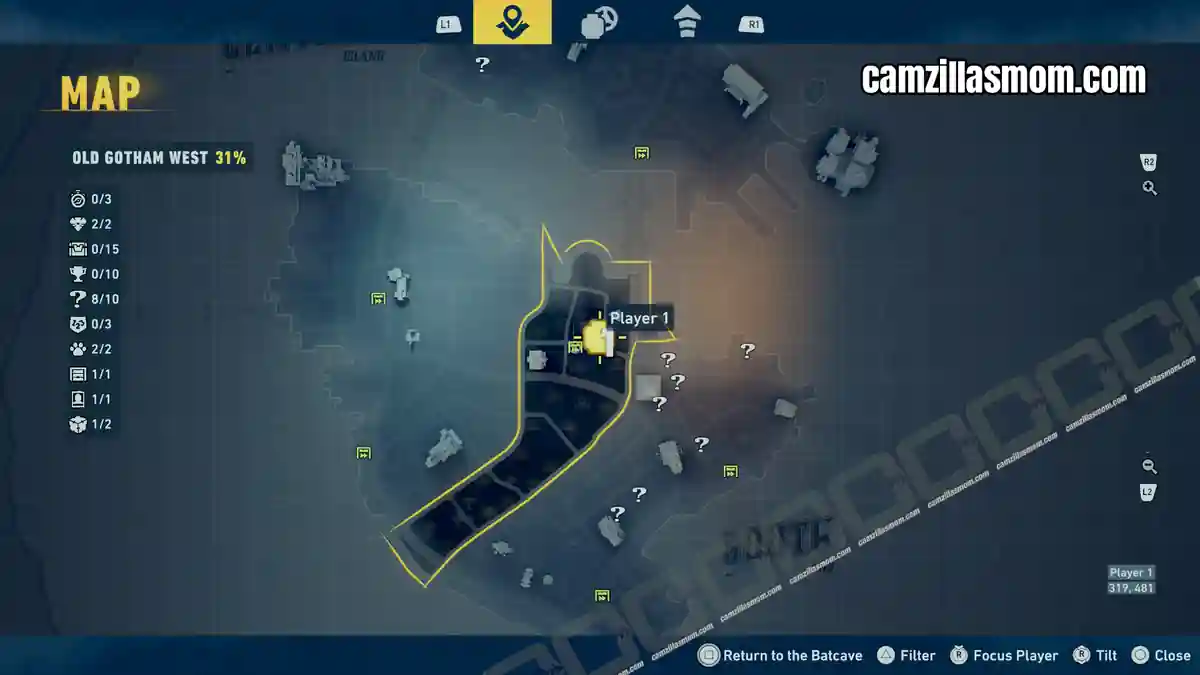
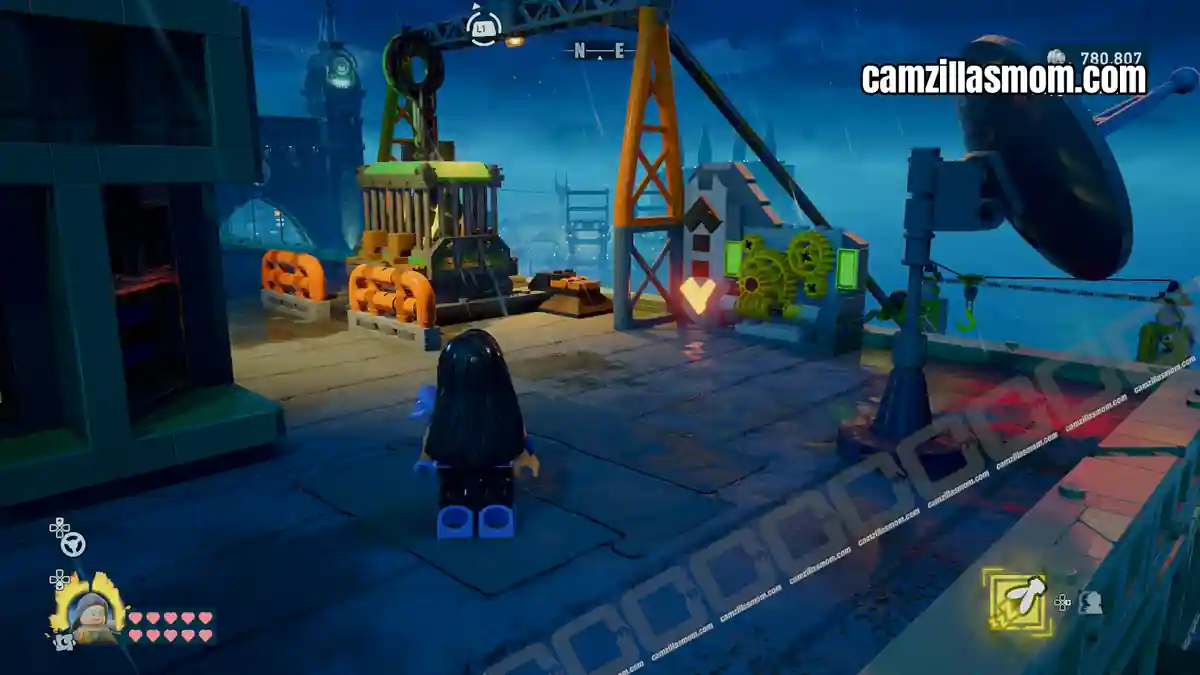
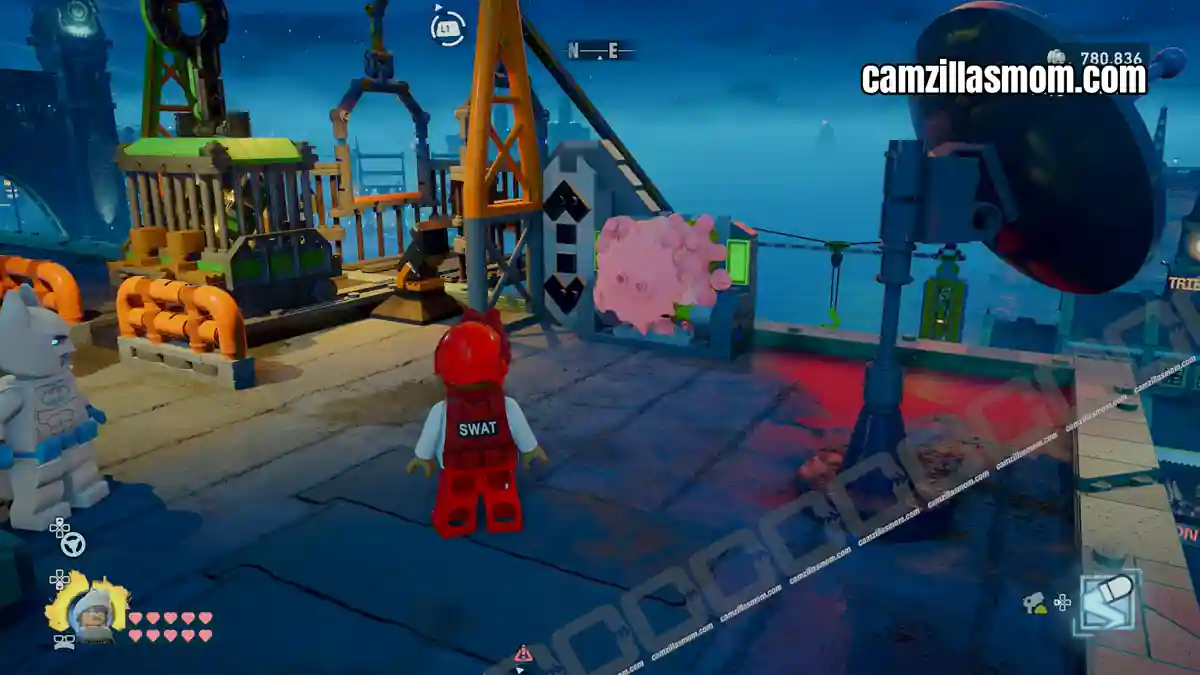
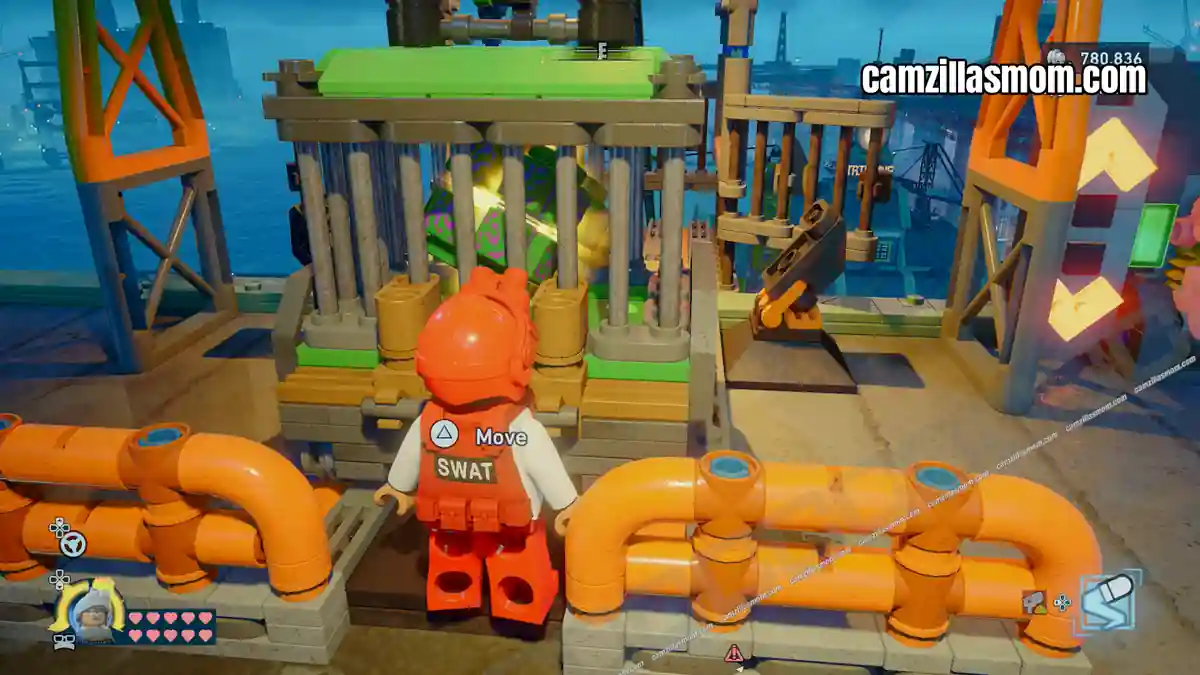
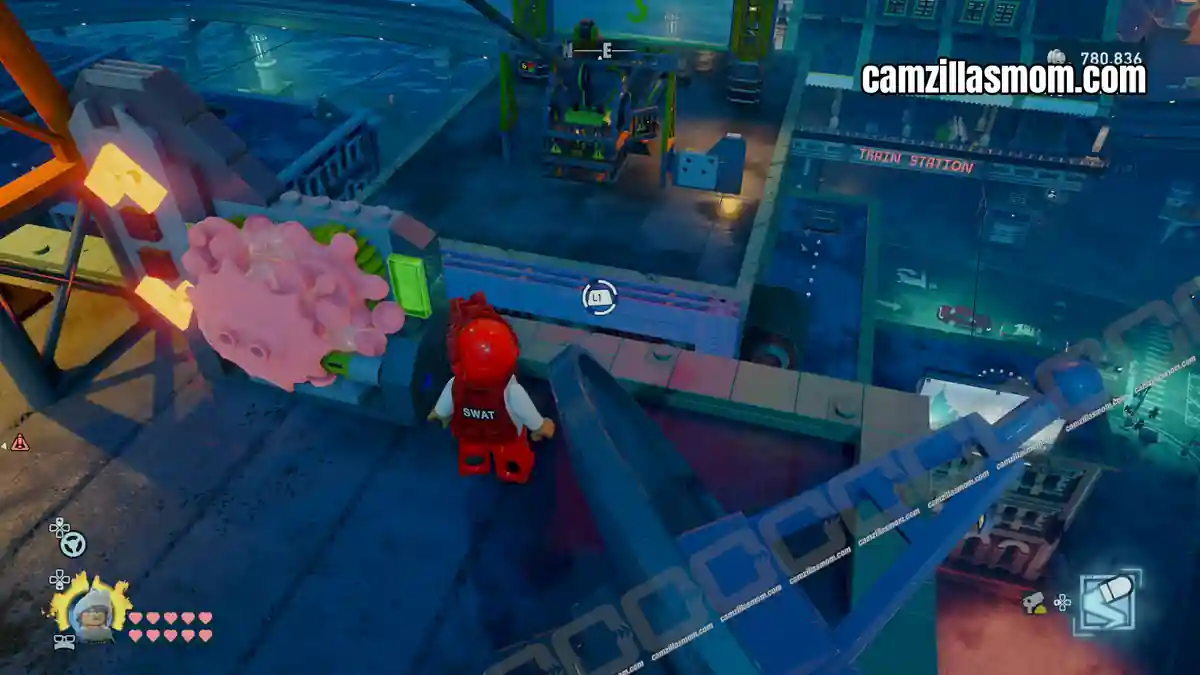
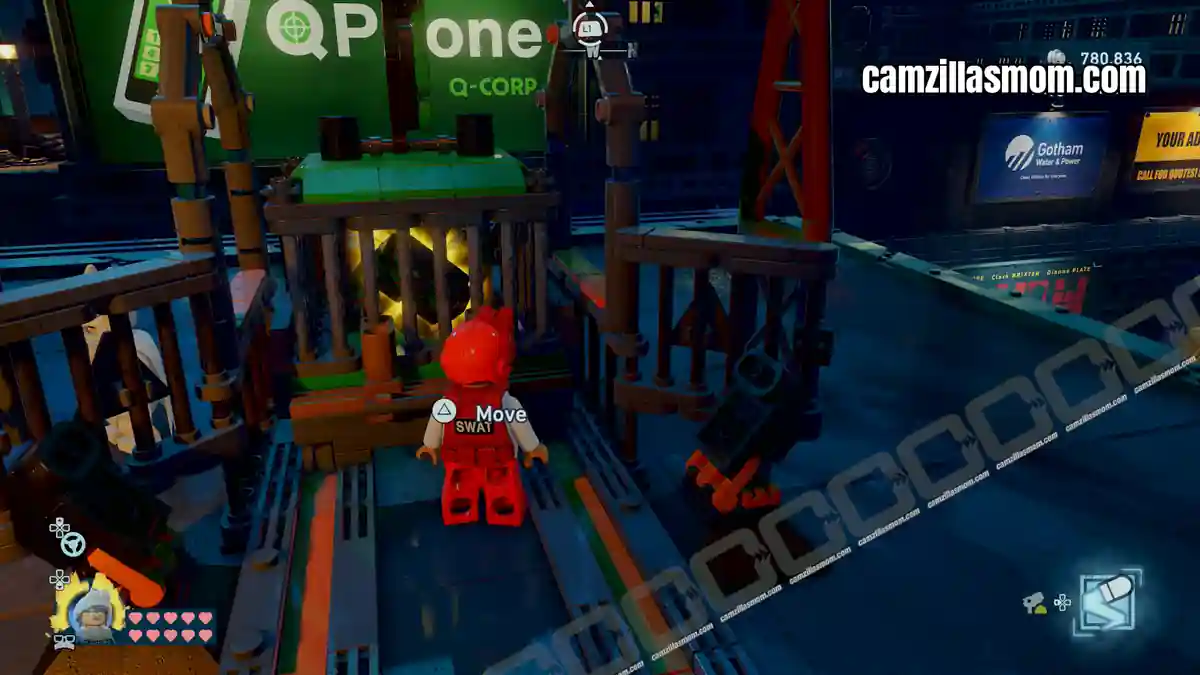
Jim Gordon’s Foam Sprayer stops the car at the top. Move the Puzzle Box onto it, destroy the foam so the car descends, then freeze it again at the bottom. Pull the car to the crane, switch to Batgirl and hack the crane to rip the cage’s top off.
10 – Riddler vs Cluemaster
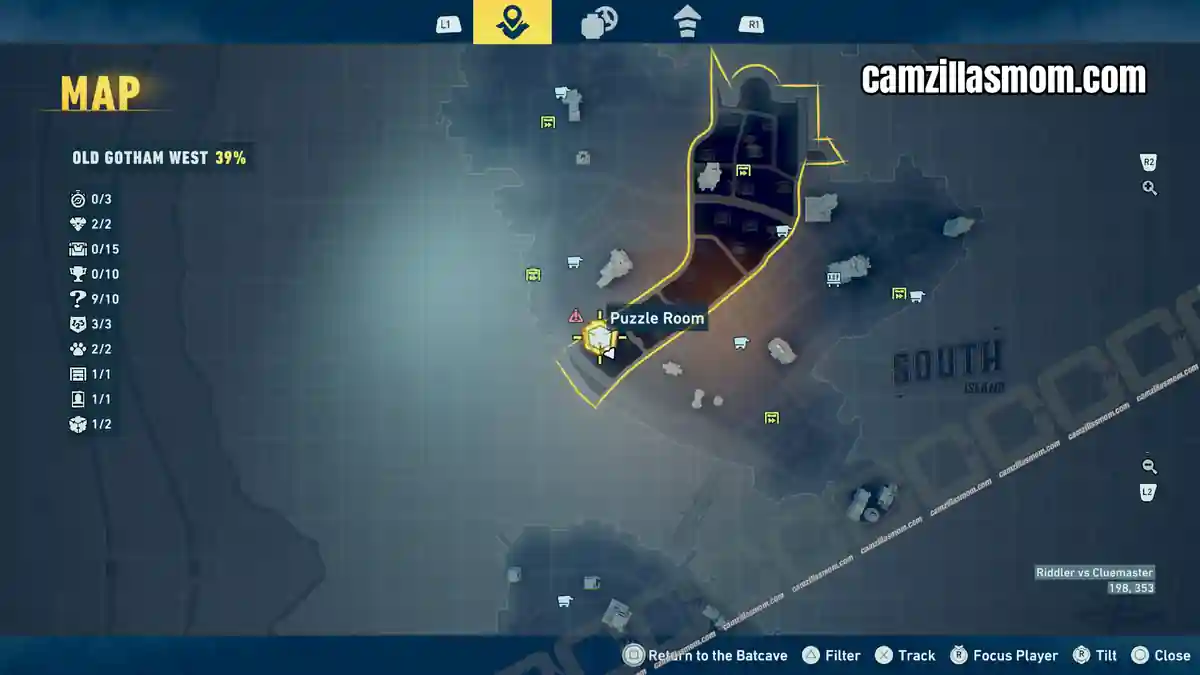
Coordinates: 198, 353
Unlocks only after finishing all Cluemaster Puzzles and all available Riddler Puzzles and Puzzle Rooms in Old Gotham West.
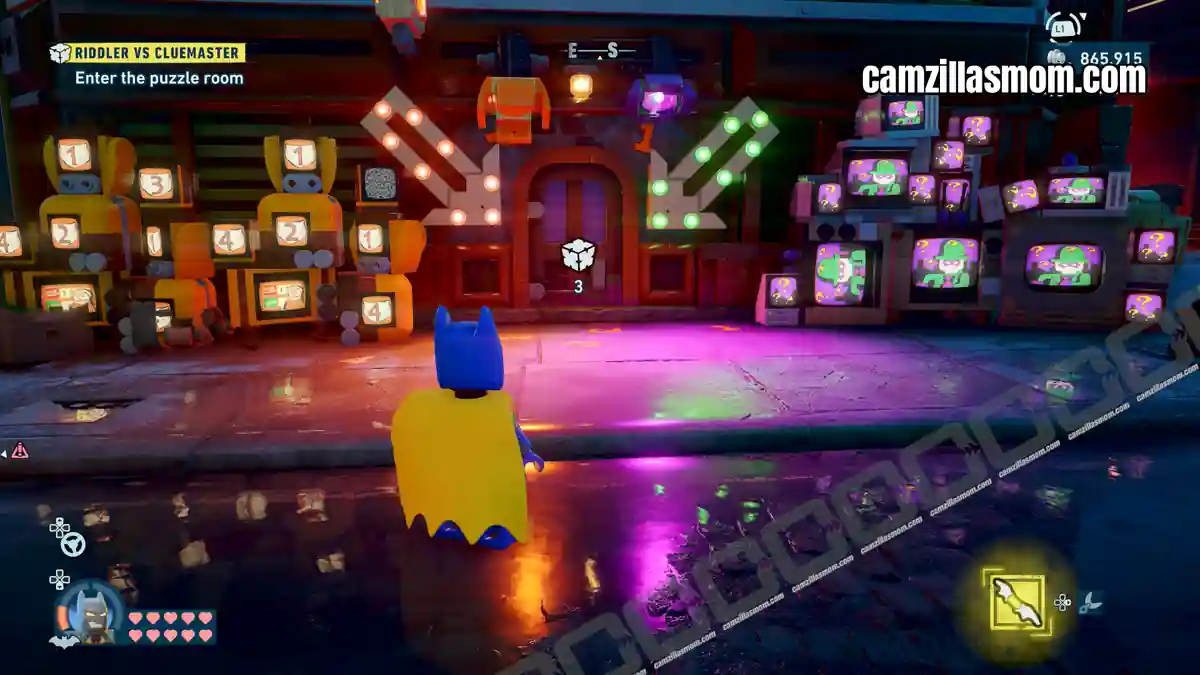
Room 1:
Three electrified tiles are visible in the mirror — avoid them. Use Jim Gordon’s Foam Sprayer for three extra directional tiles. Place the candlestick, teddy and helmet bust on safe tiles. Robot solution: W-W-N-N-N-E. Hit the button, then place the helmet bust after the robot arrives.
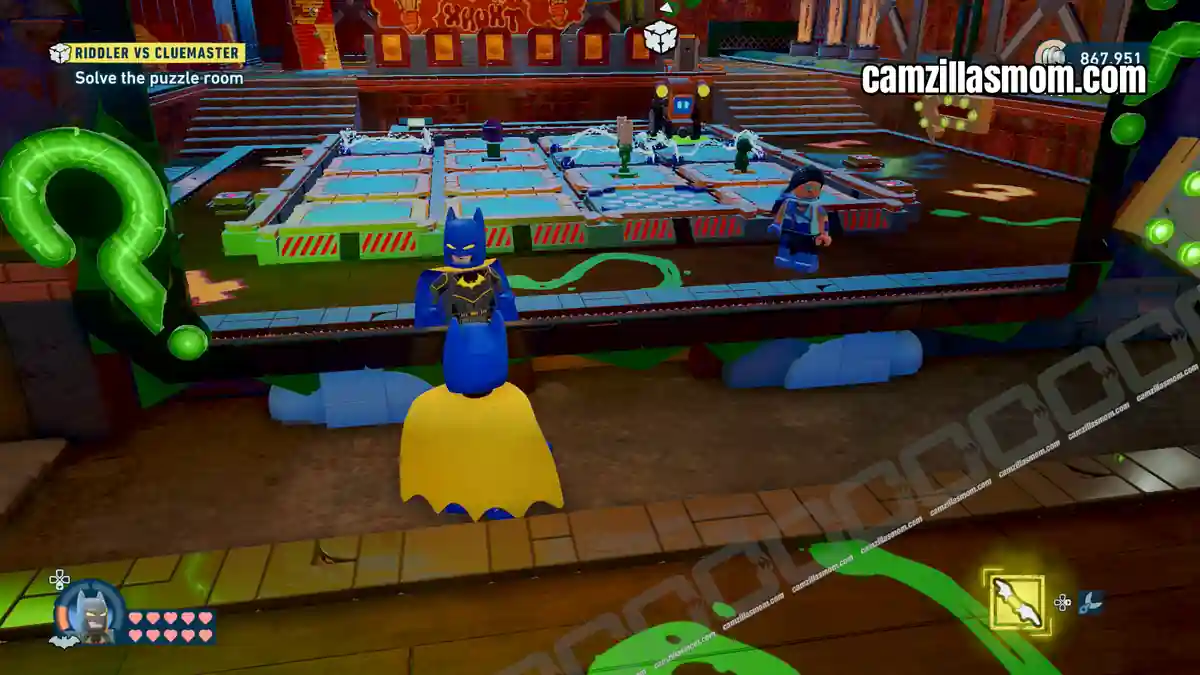
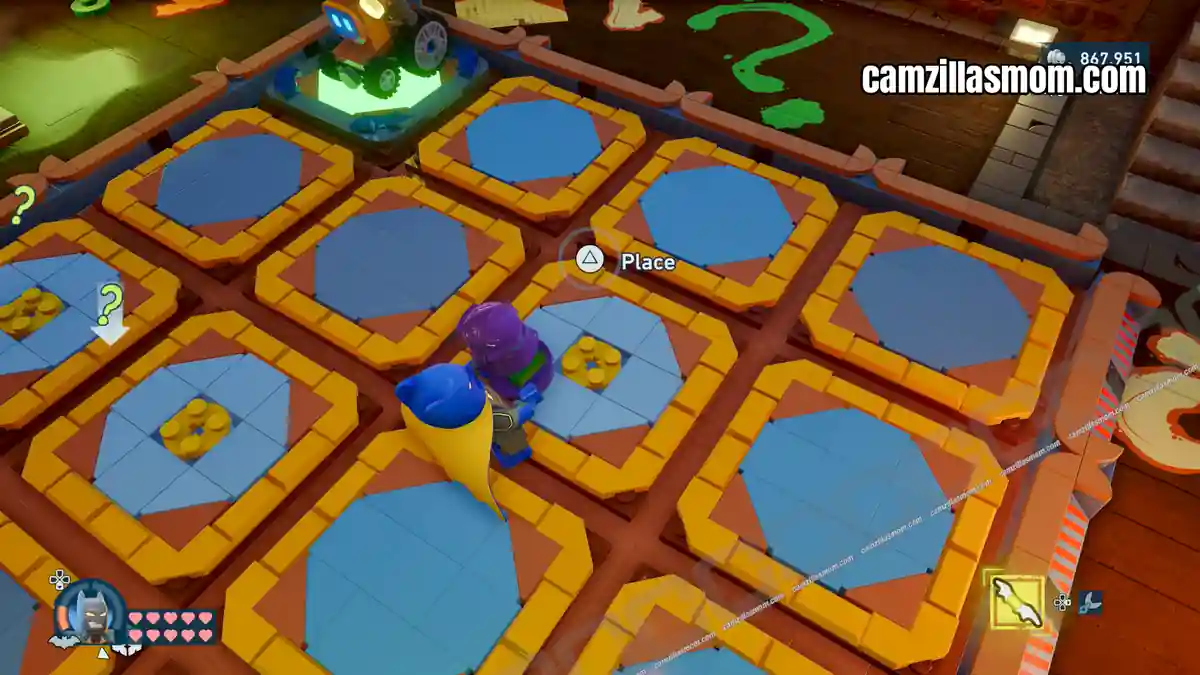
Room 2: Solve the cryptex first — code is 2143 (visible in the left mirror). Left robot (teddy and candlestick, two green tiles): N(double)-N-W(double)-S; candlestick between robot and mirror, teddy top right. Right robot (two reward-tube busts): block the second vent with Foam Sprayer, use Cable Launcher on both connectors to bridge the gap.
Solution: S(double)-W(double)-W-N(double). Place both busts to open the exit. Pull the corridor door with Batman’s Bat Claw.
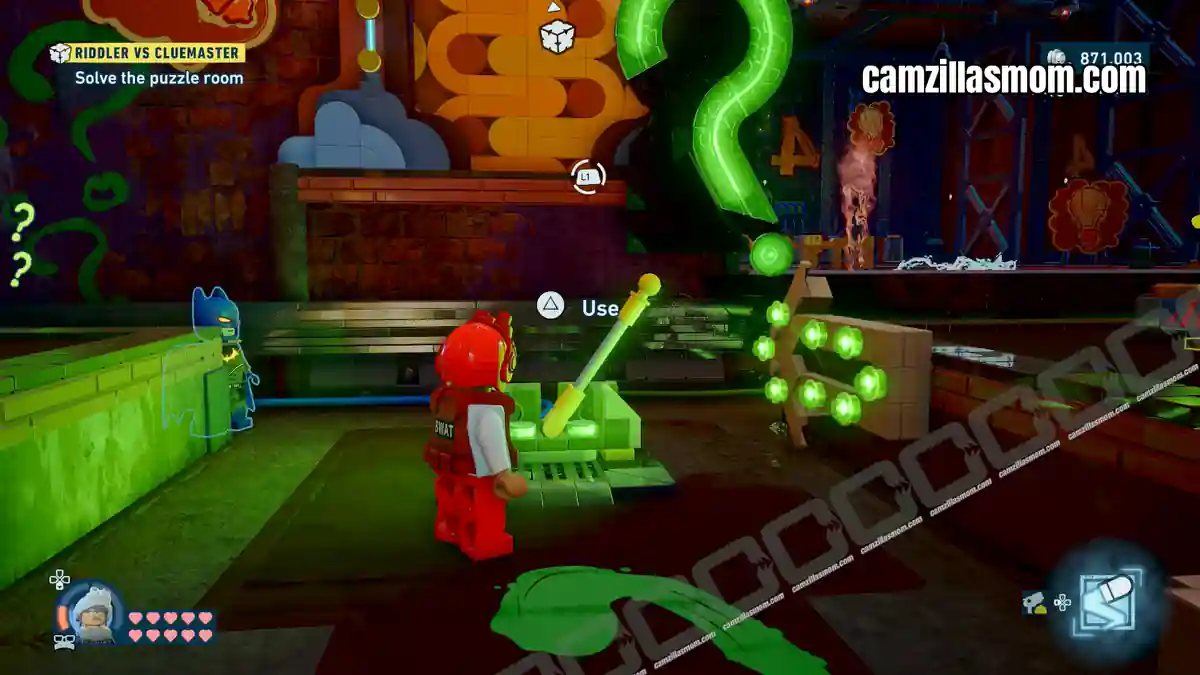
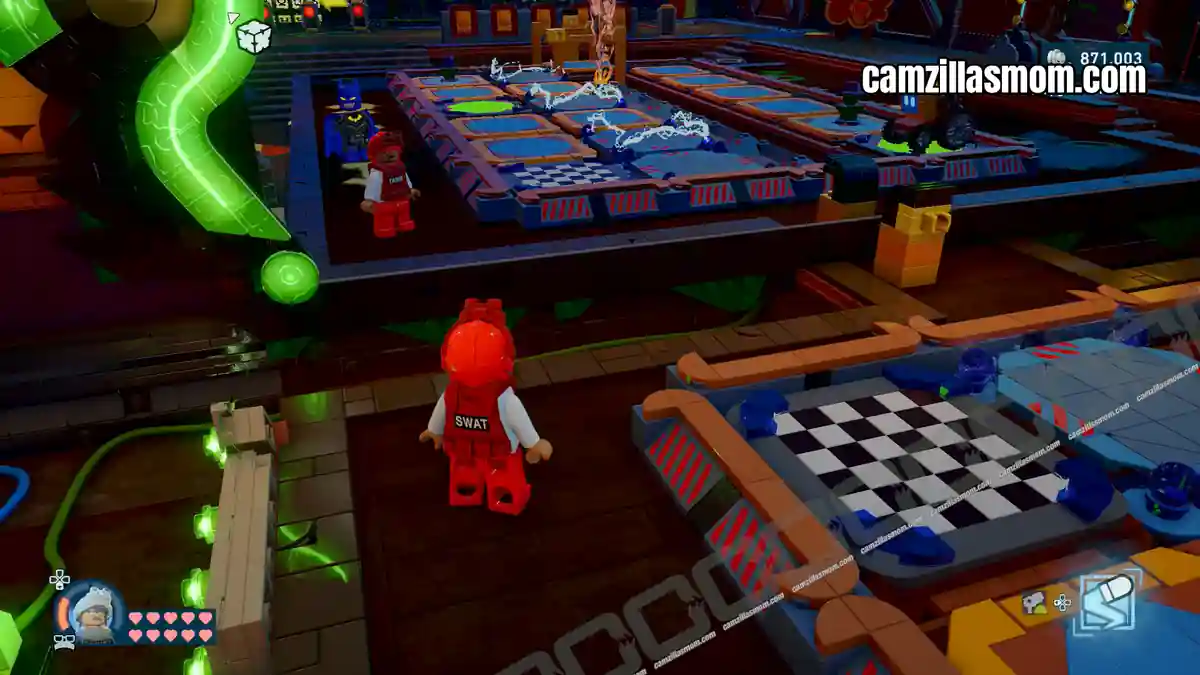
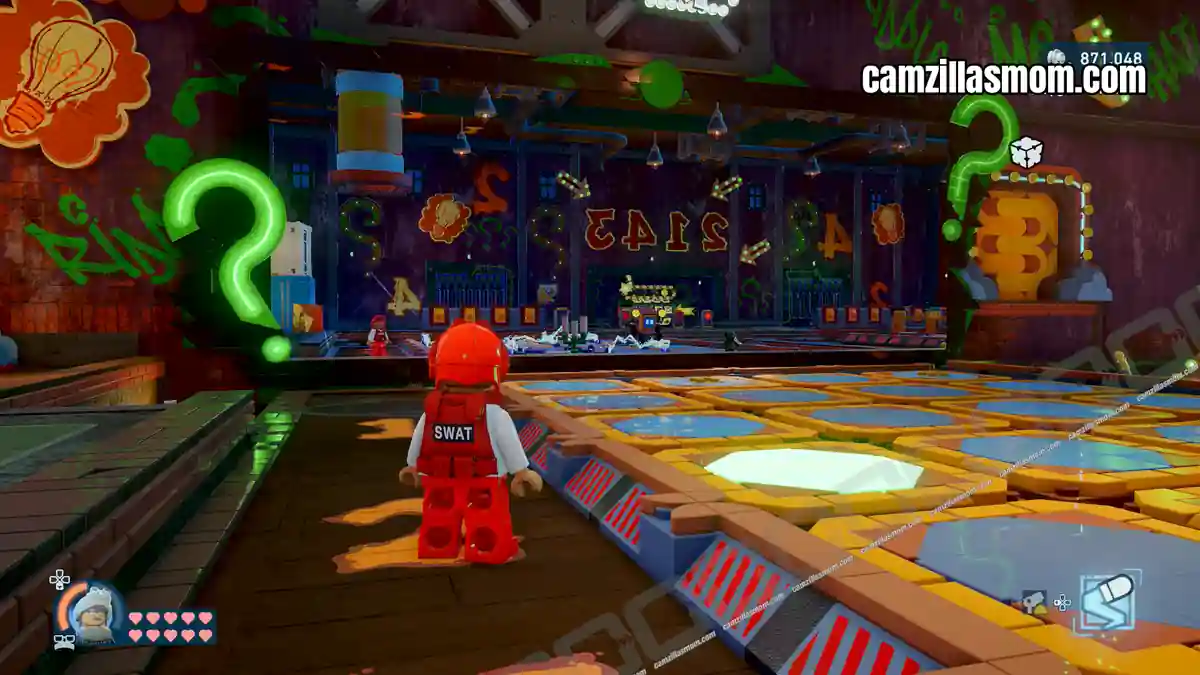
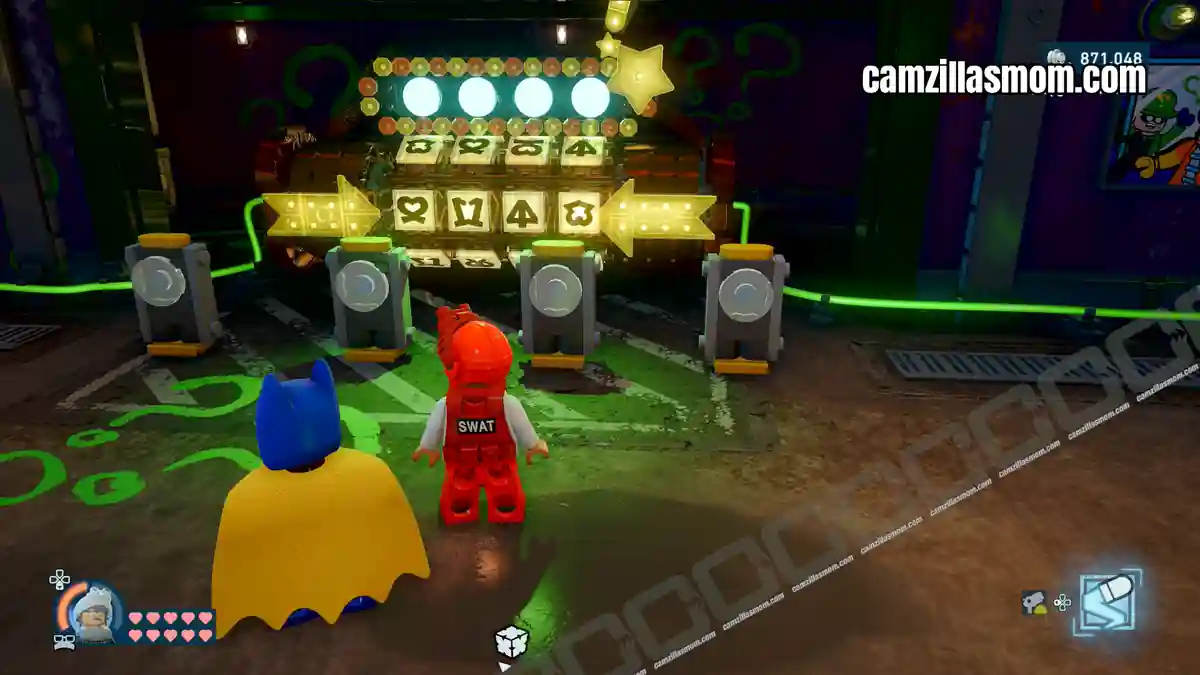
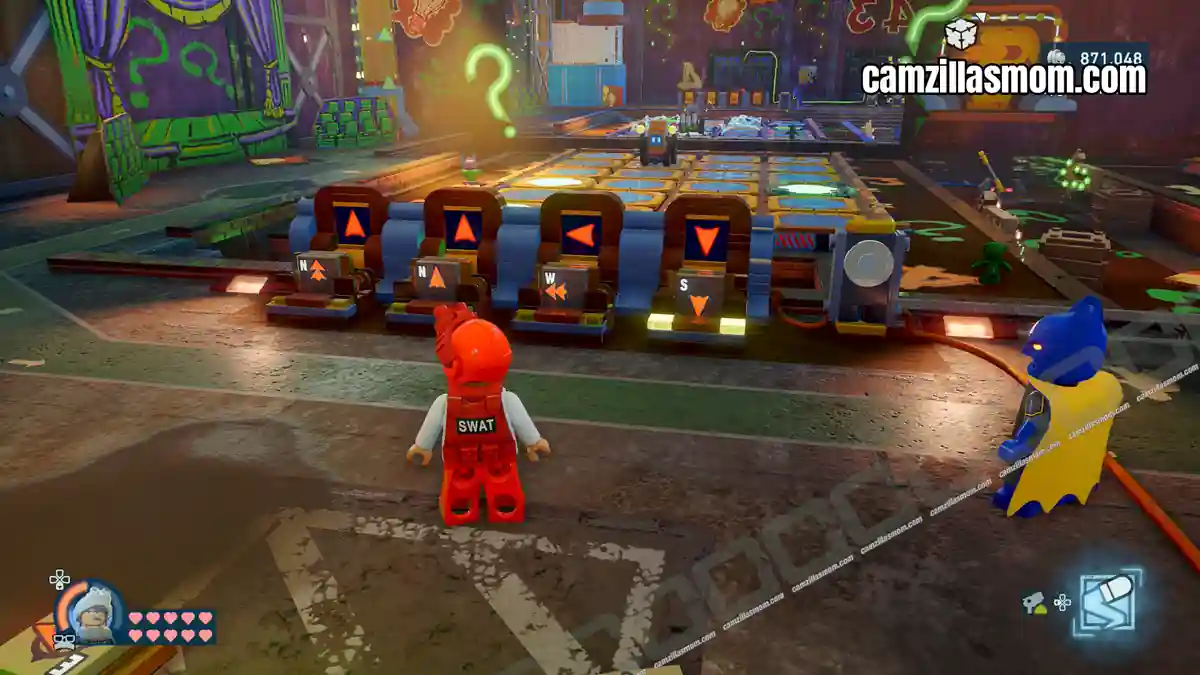
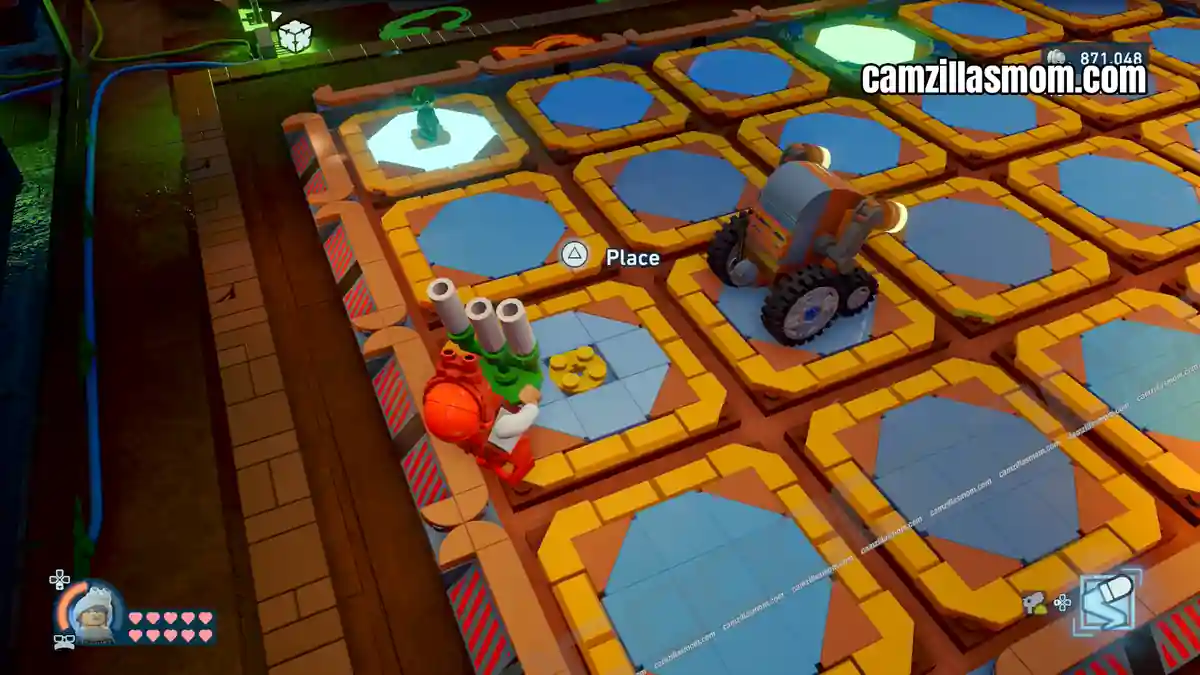
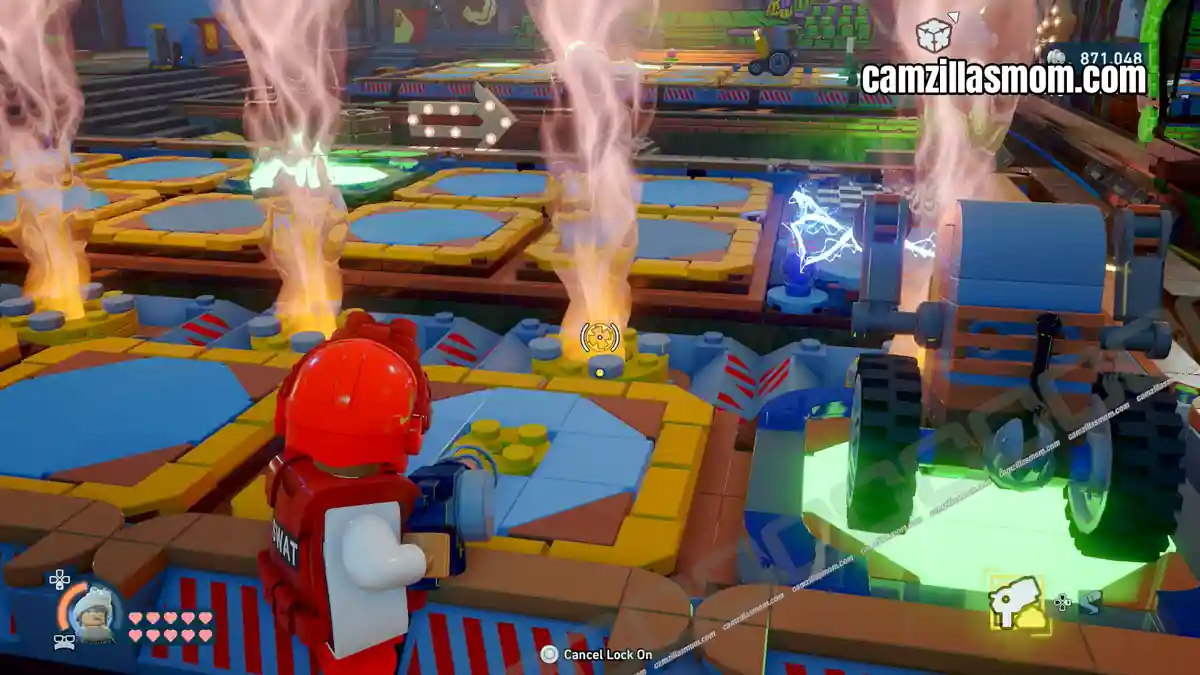
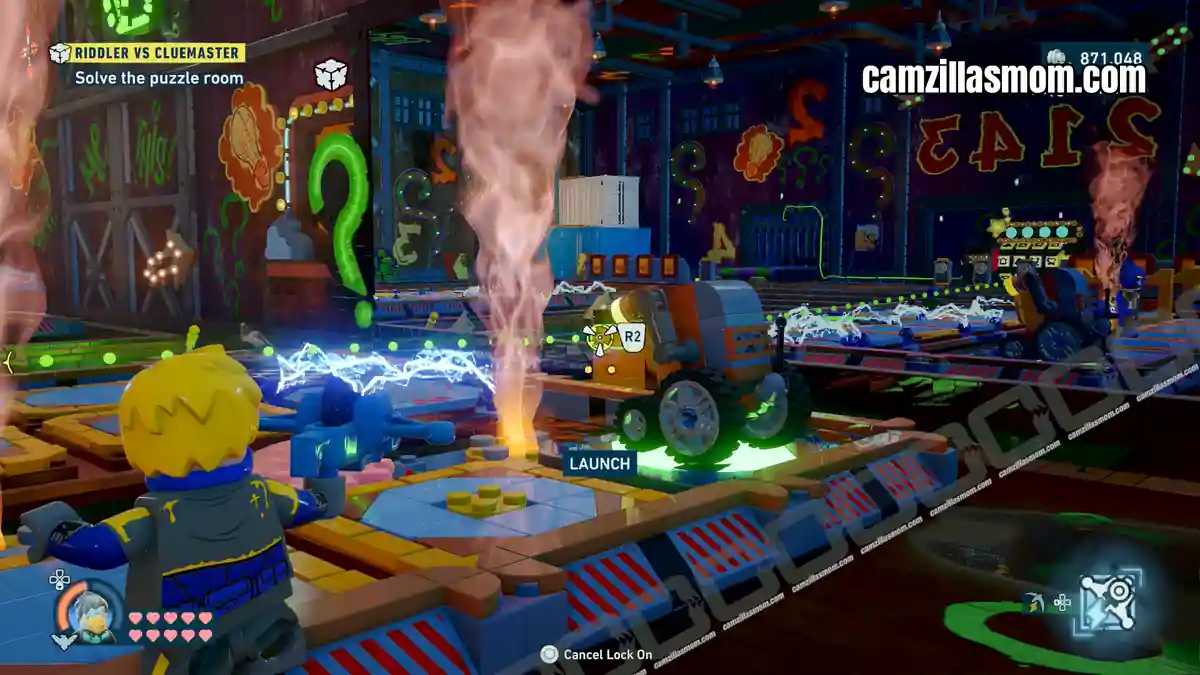
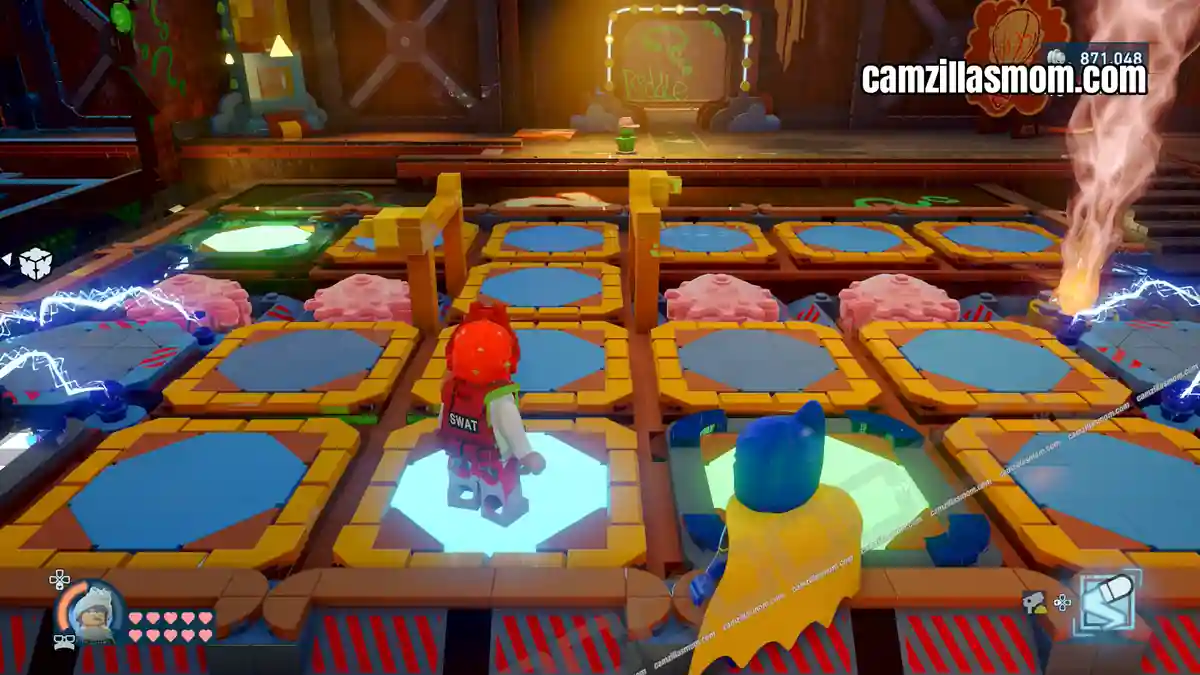
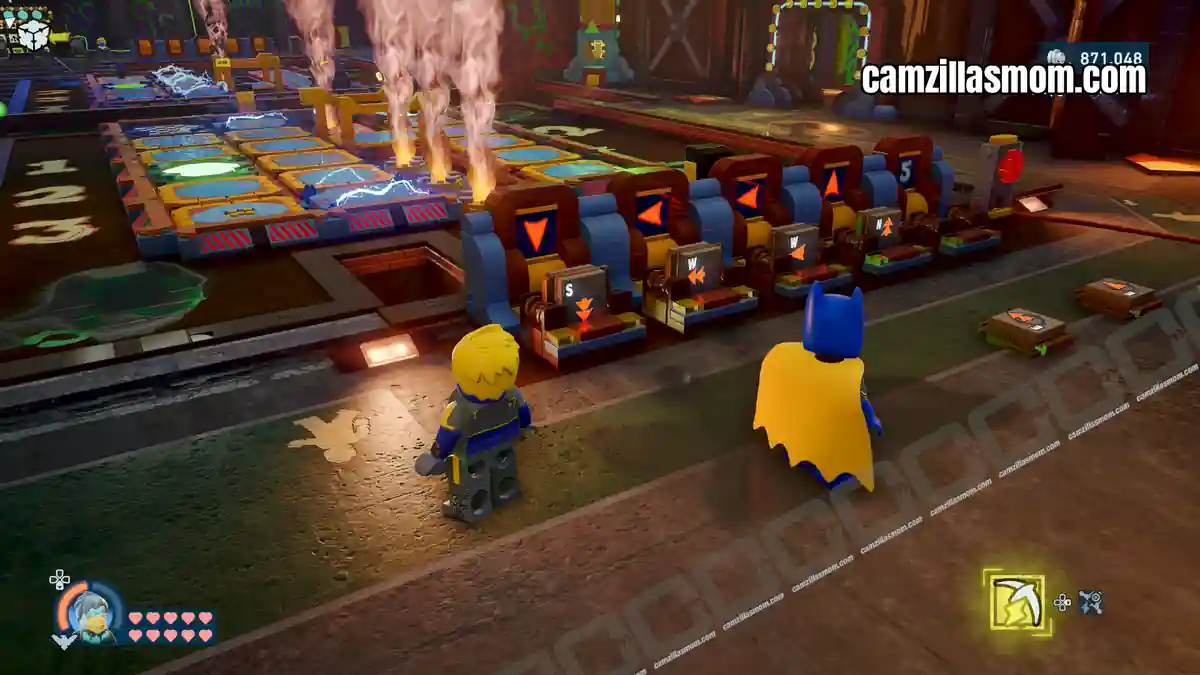
Place the two busts to open the exit. In the corridor, pull open the door with Batman’s Bat Claw.
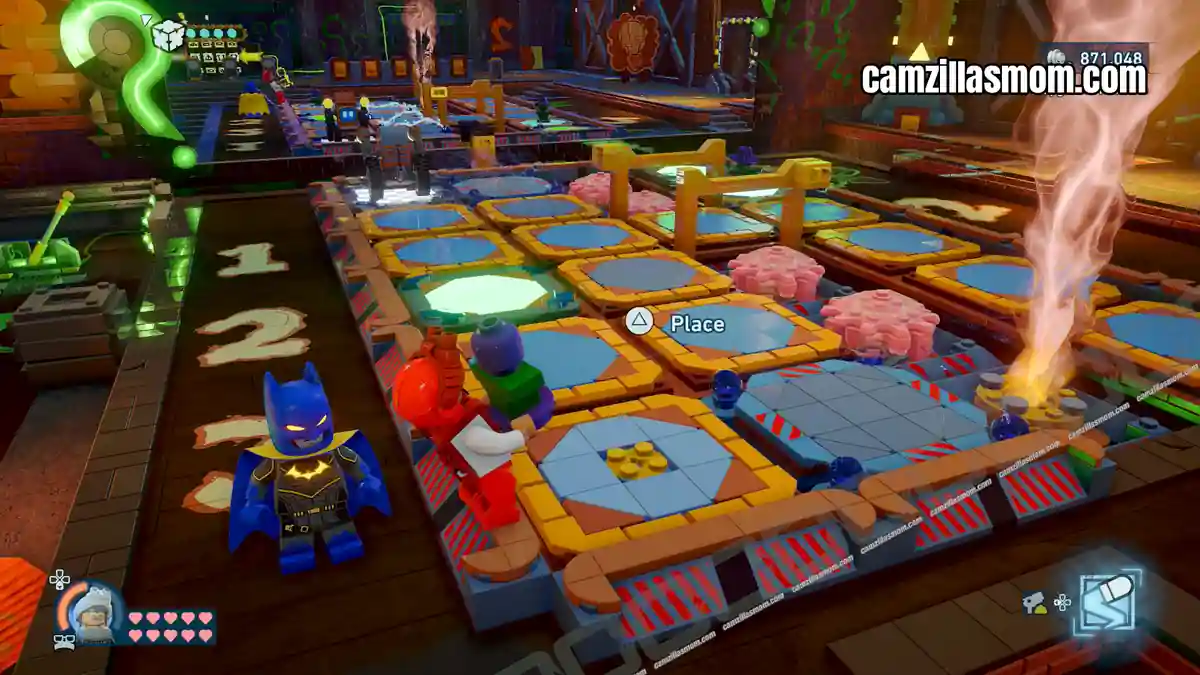
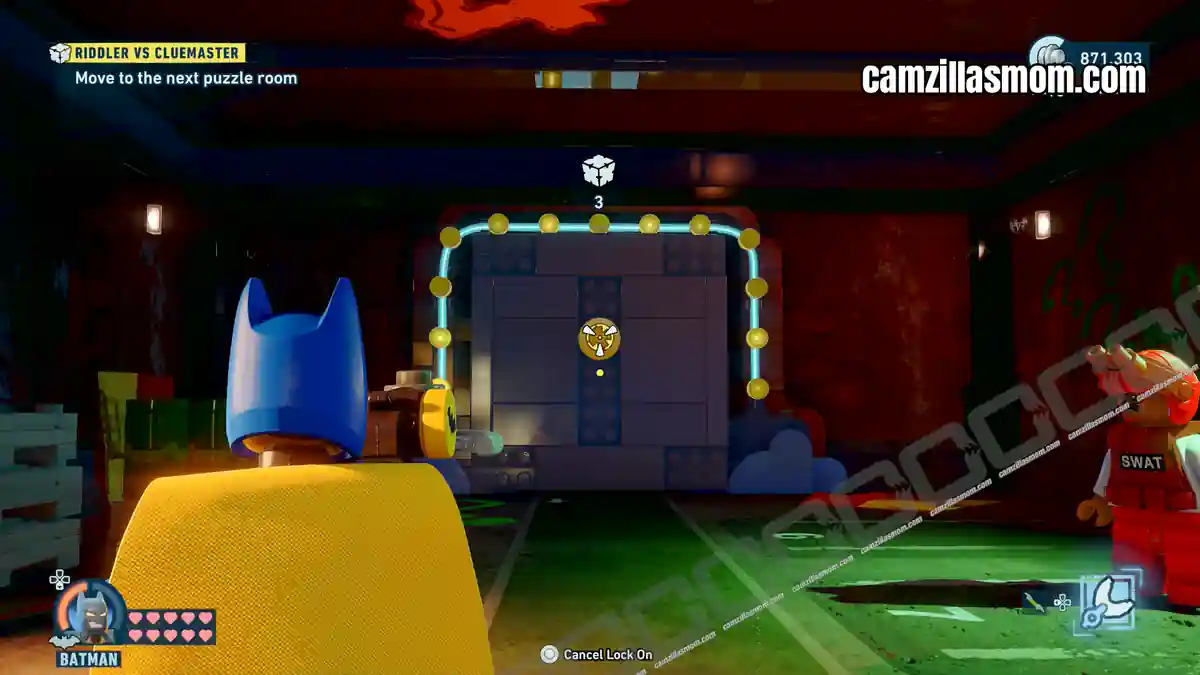
Room 3: Riddler and Cluemaster stand on the field. Insert all N tiles into the slots and press the button.
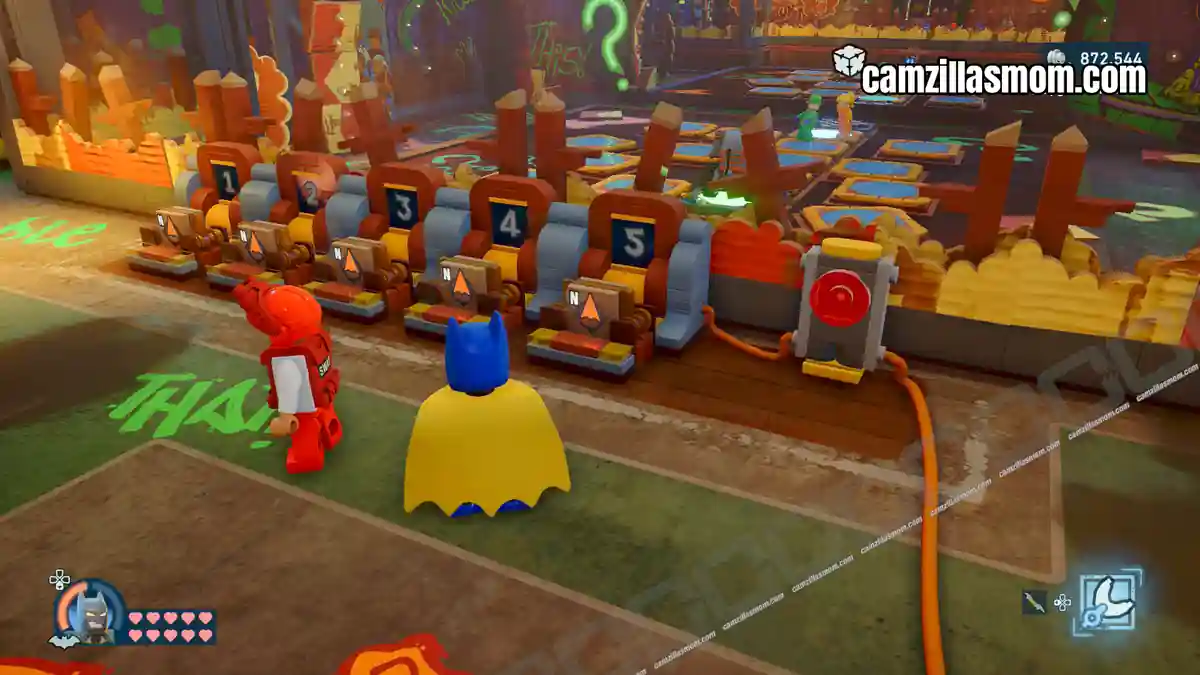
Cluemaster Puzzle Locations & Solutions – 3
The three Cluemaster Puzzles in Old Gotham West must all be solved to unlock the final Riddler Puzzle Room in LEGO Batman: Legacy of the Dark Knight.
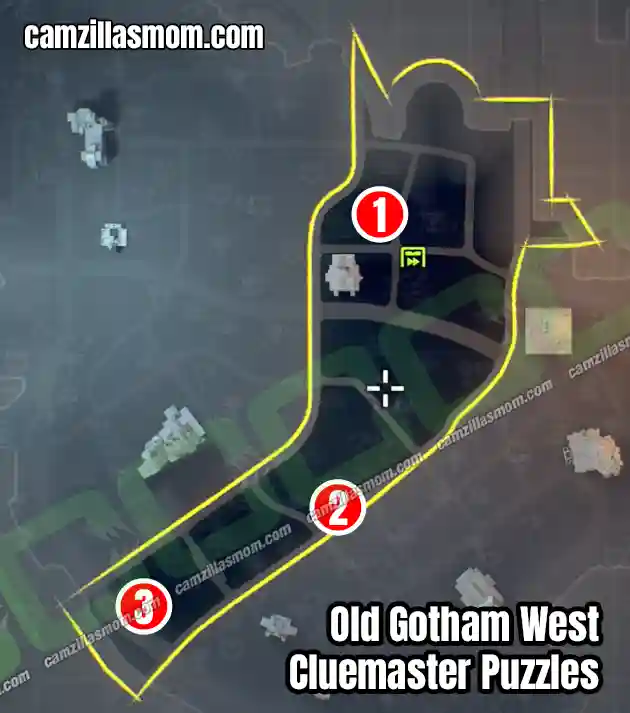
1 – Target Platform
2 – Power Up
3 – Clue & Me
1 – Target Platform
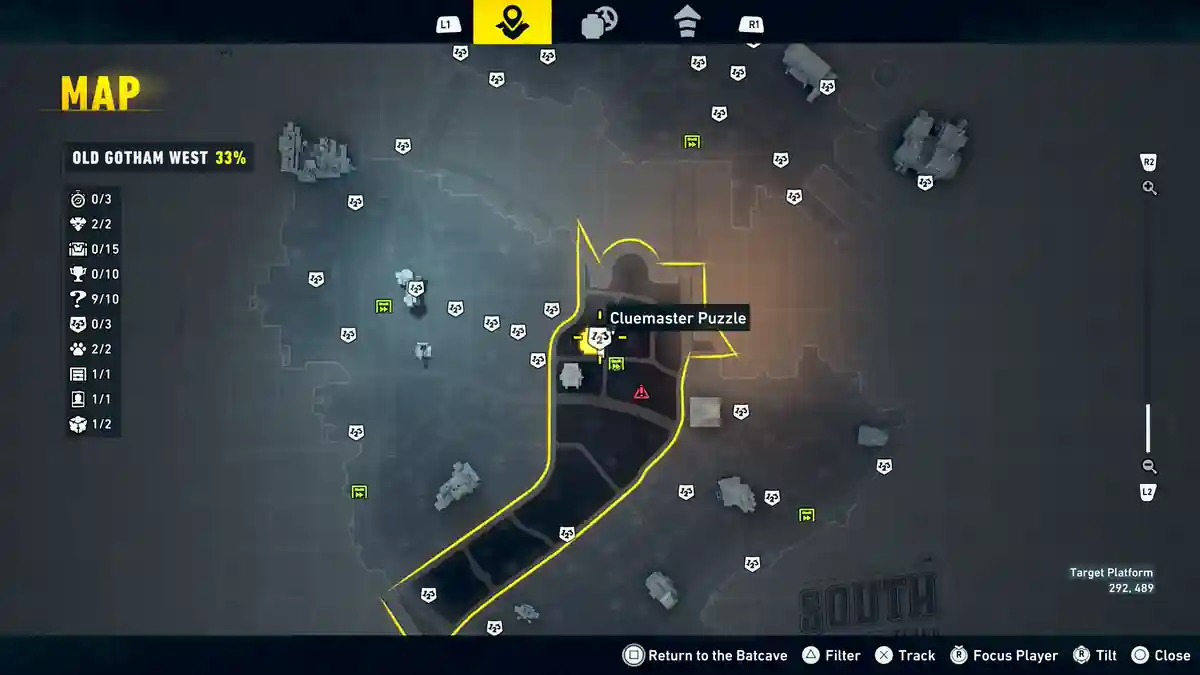
Coordinates: 292, 489
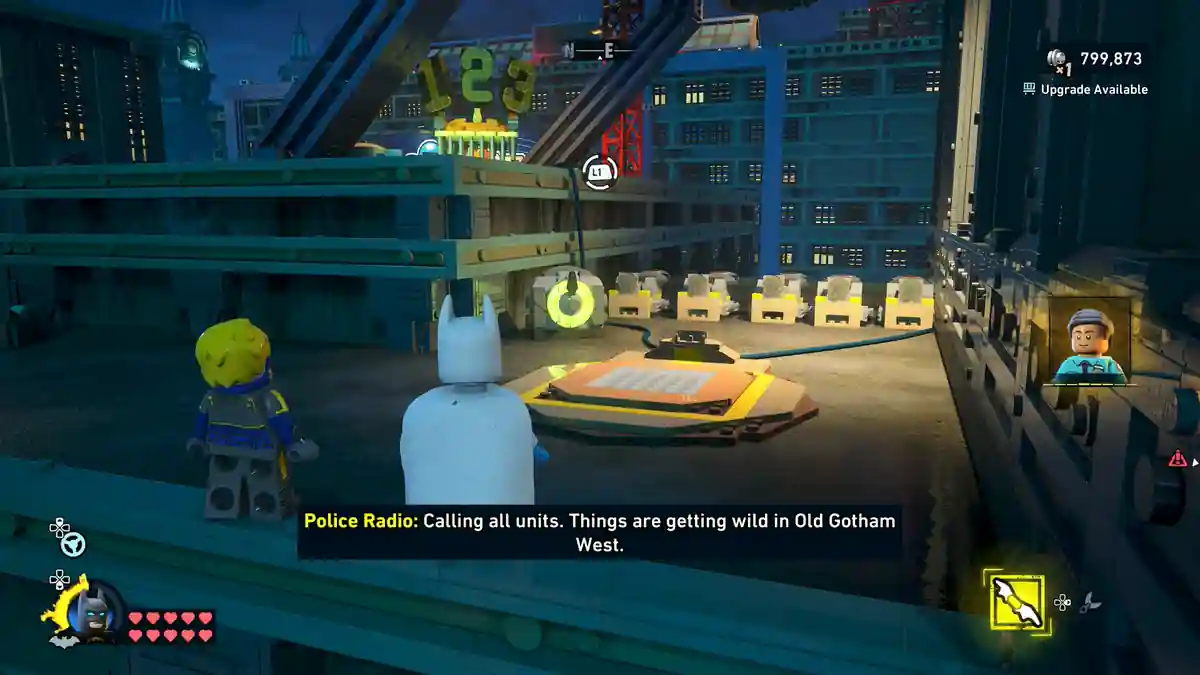
North of Old Gotham West, on a rooftop near the Subwayne. Stand on the platform to begin. Shoot only the green-lit targets before the timer expires – repeat three times to claim the Puzzle Box.
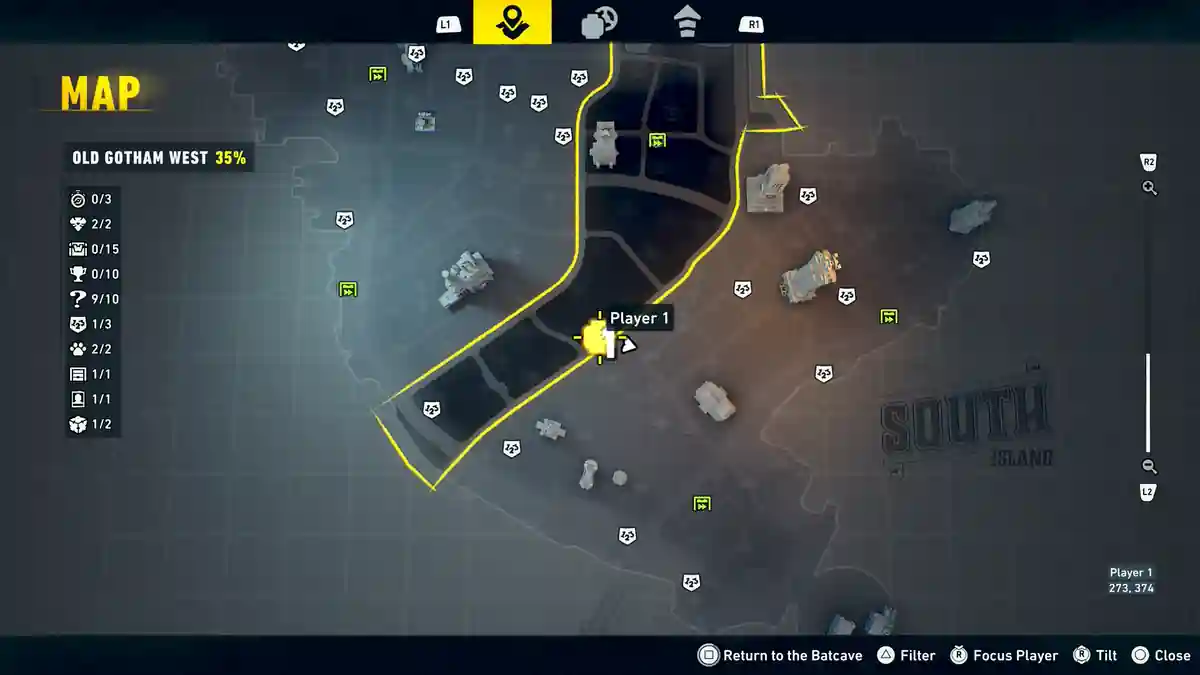
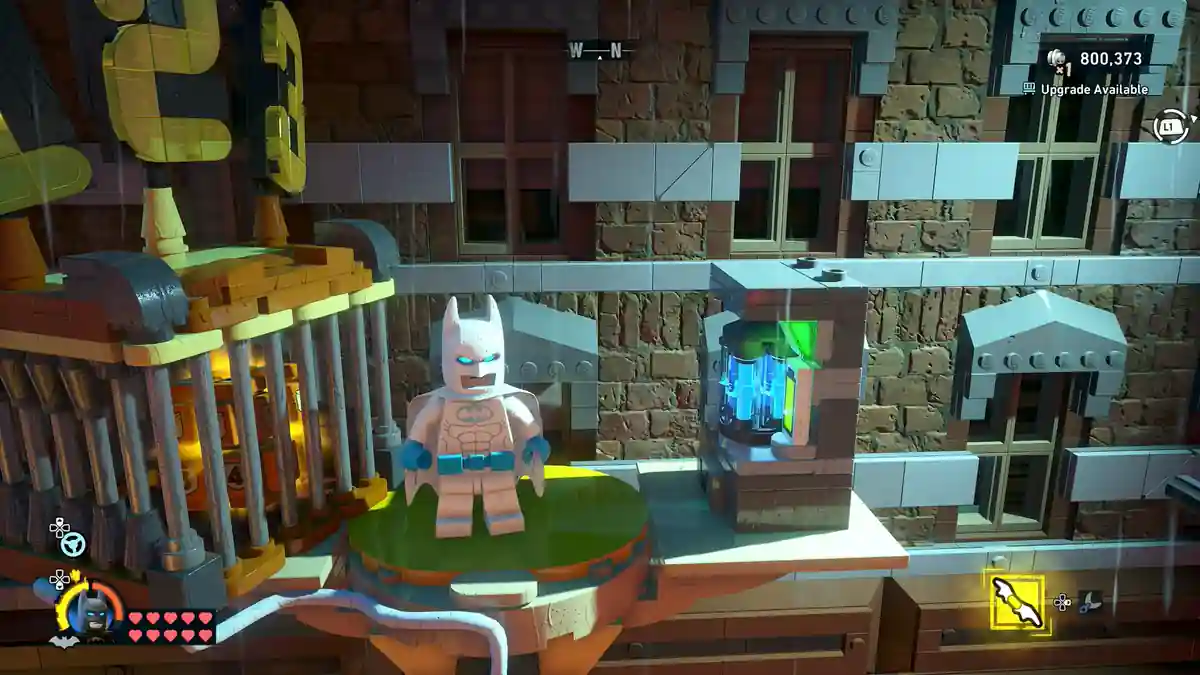
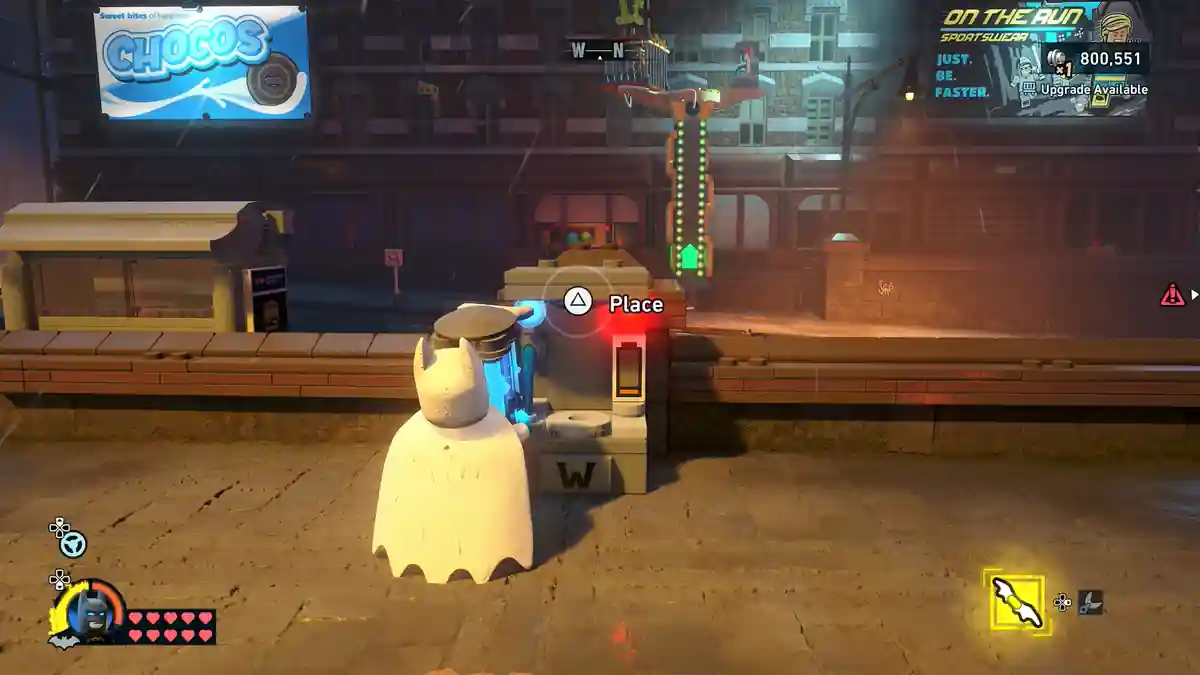
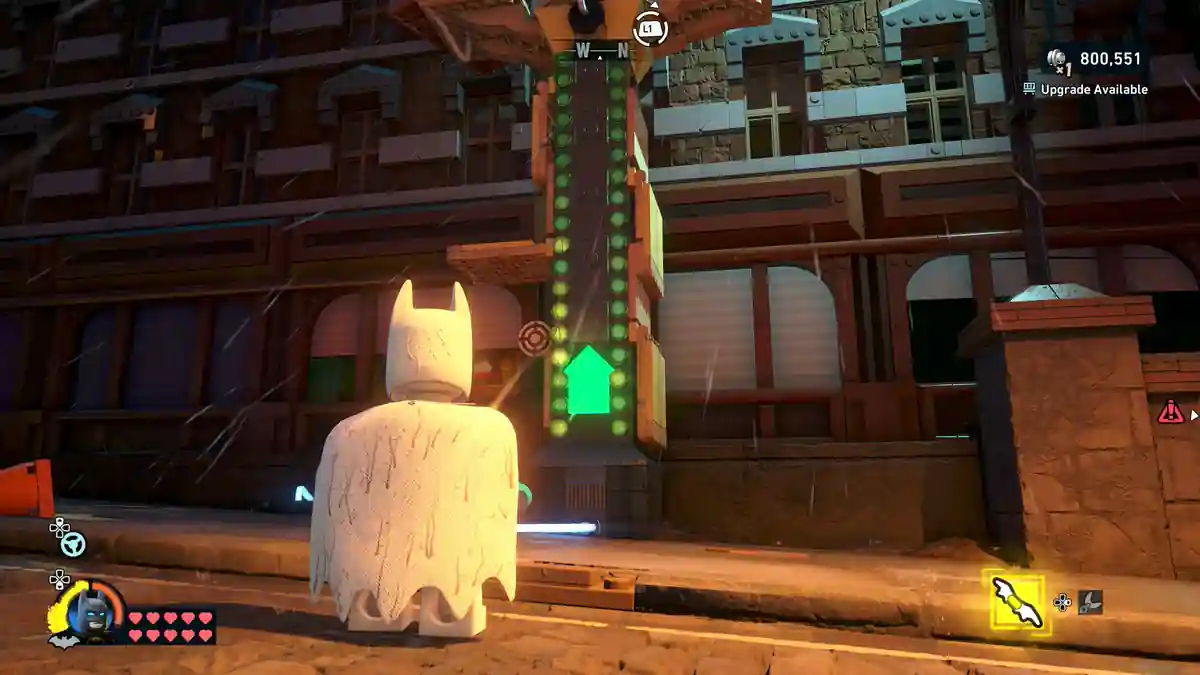
2 – Power Up
Coordinates: 273, 374
South of the district near the Old Gotham South border, beside a battery-powered tower. Carry the battery across the road to the opposite generator. This starts the tower launching targets — shoot 6 to solve the puzzle.
3 – Clue & Me
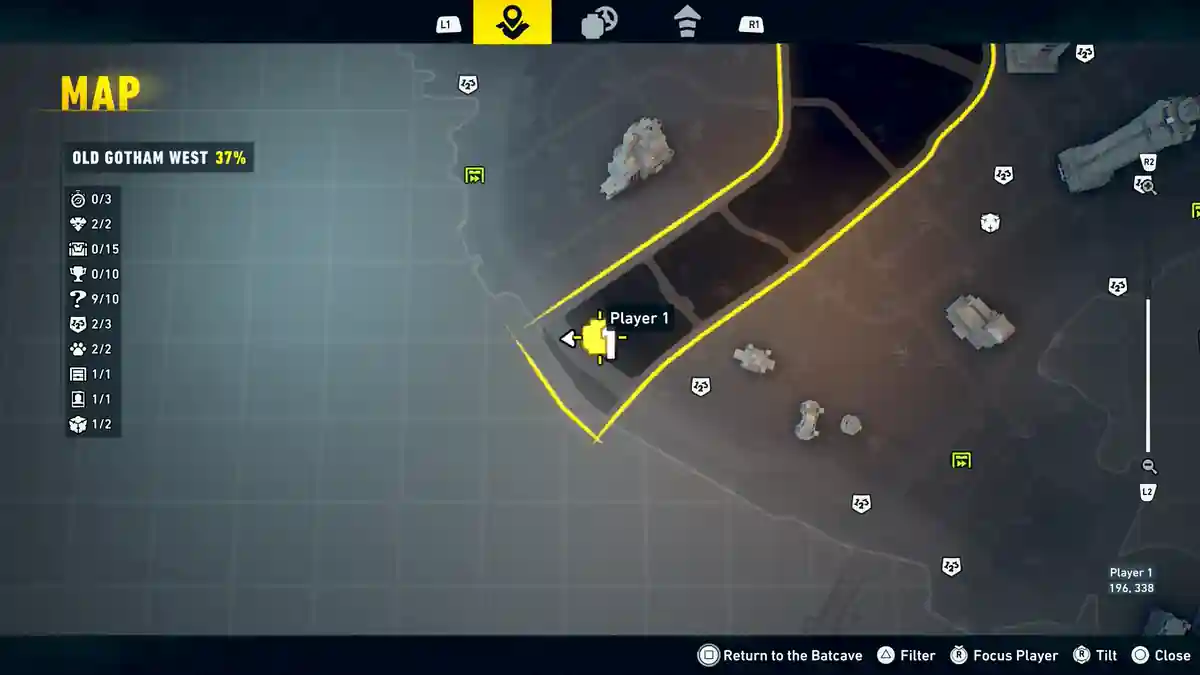
Coordinates: 193, 340
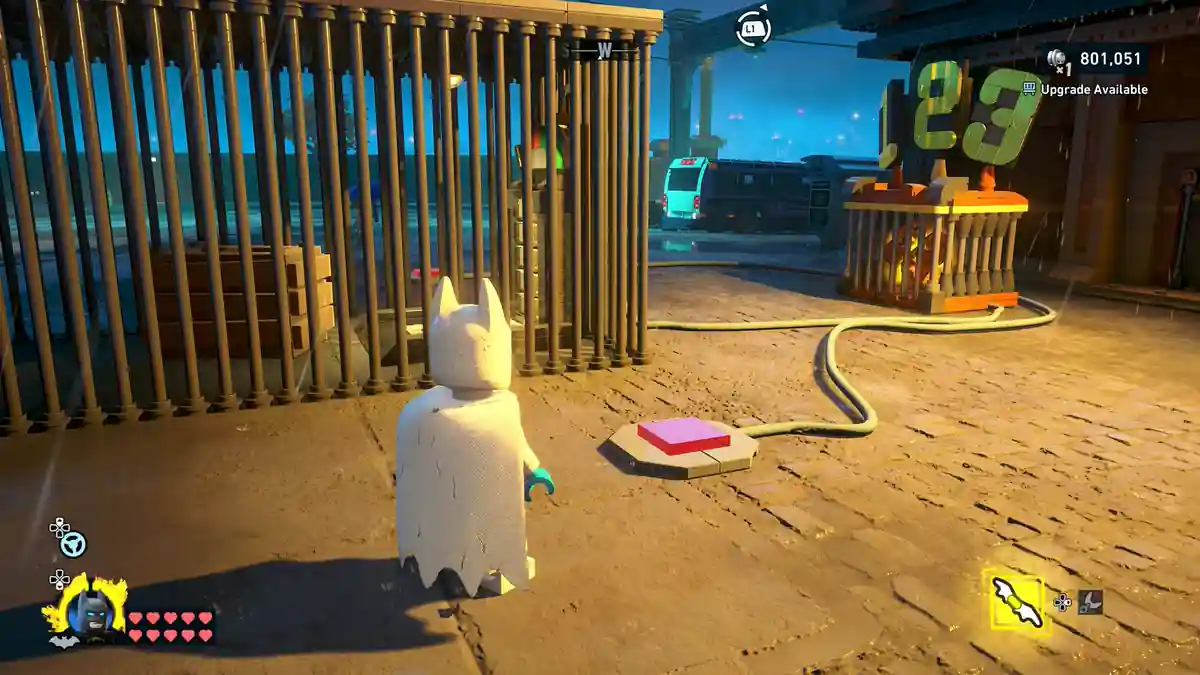
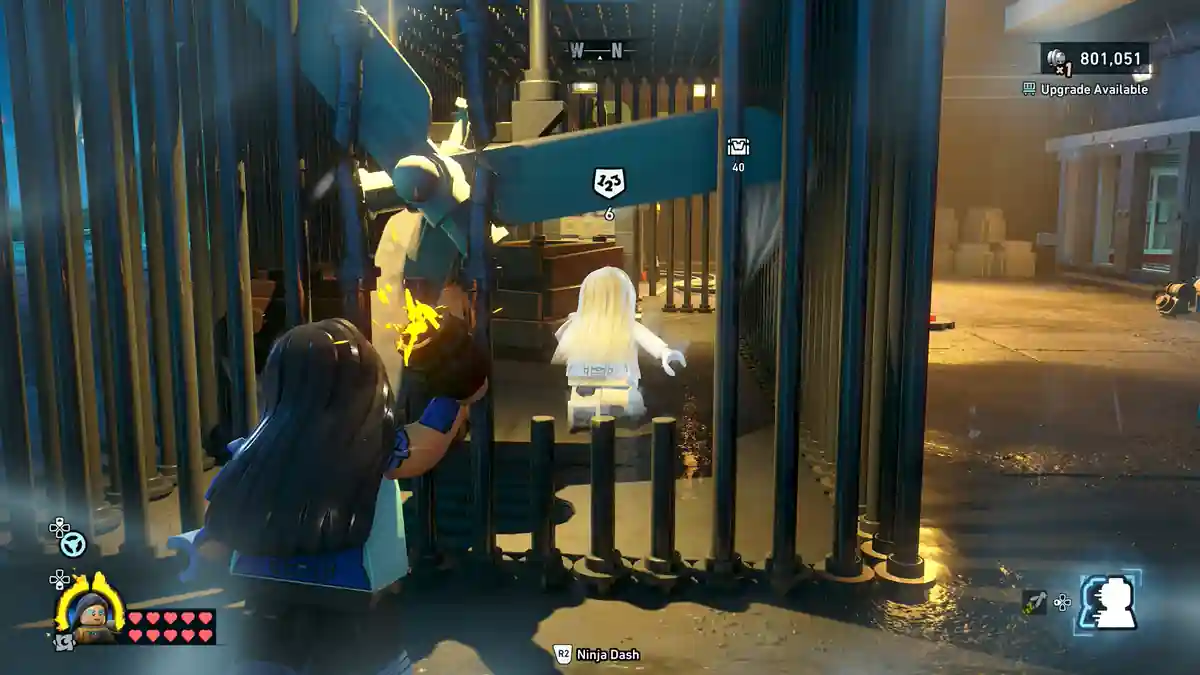
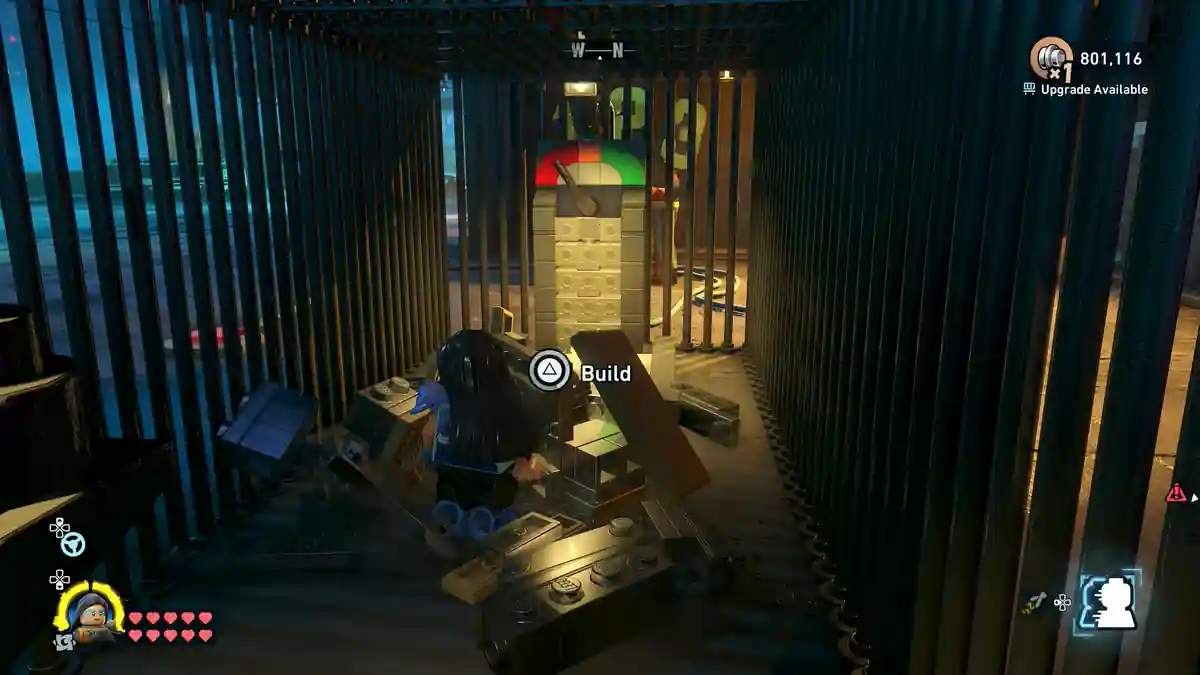
Southwest tip of Old Gotham West. Two red pressure buttons and a ventilated cage. Switch to Talia and Ninja Dash inside the cage, destroy the boxes, build and move the puzzle box onto the internal pressure plate, exit, then stand on one red button while Batman stands on the other.
Escaped Zoo Animal Locations – 2
Two of the 21 Escaped Zoo Animals in LEGO Batman: Legacy of the Dark Knight are found in Old Gotham West. Both are easy to tag once you’re in range.
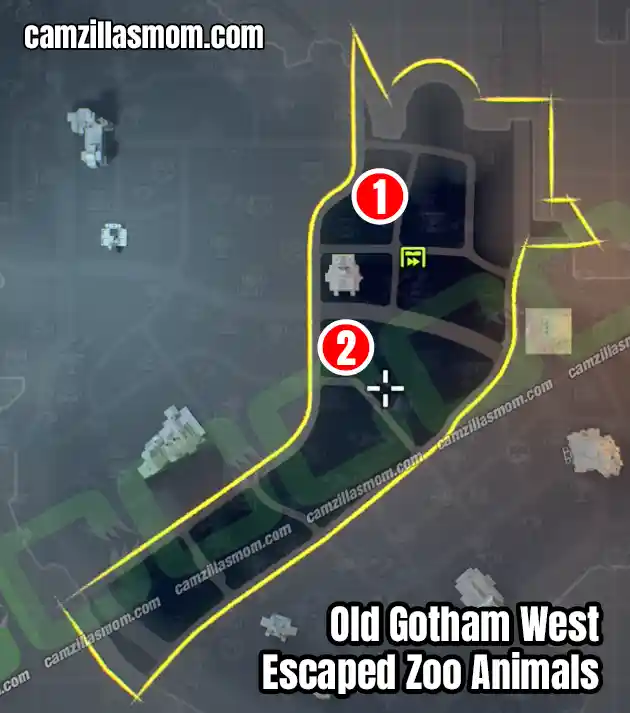
Coordinates in the brackets
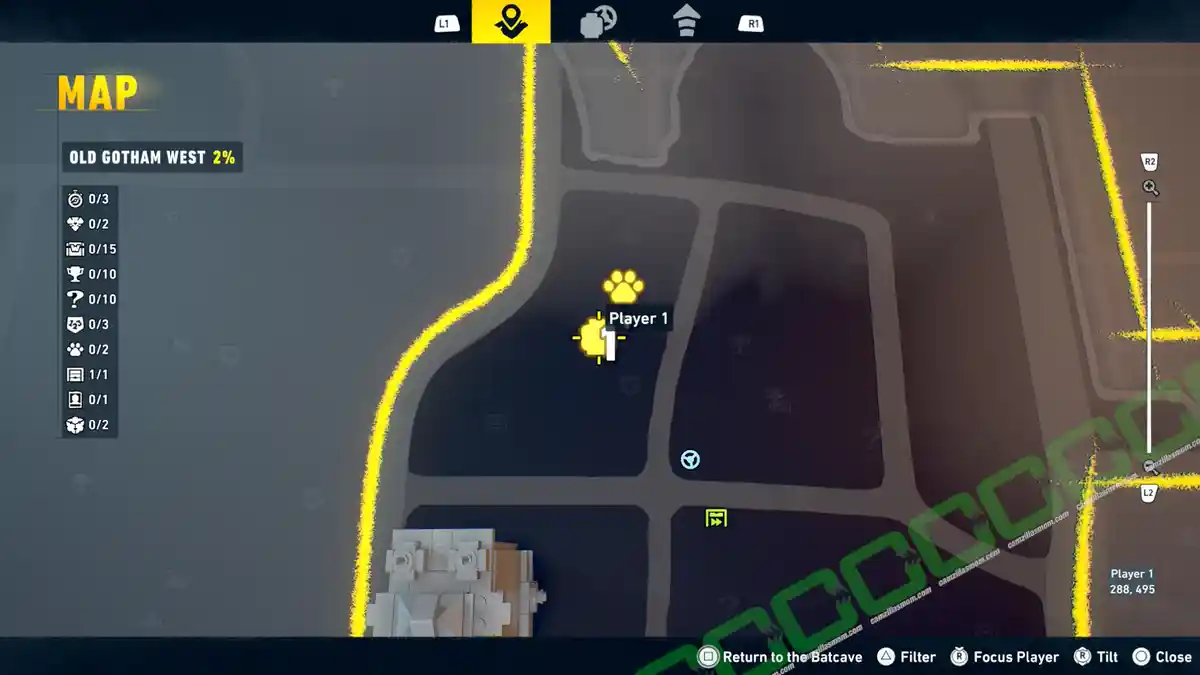
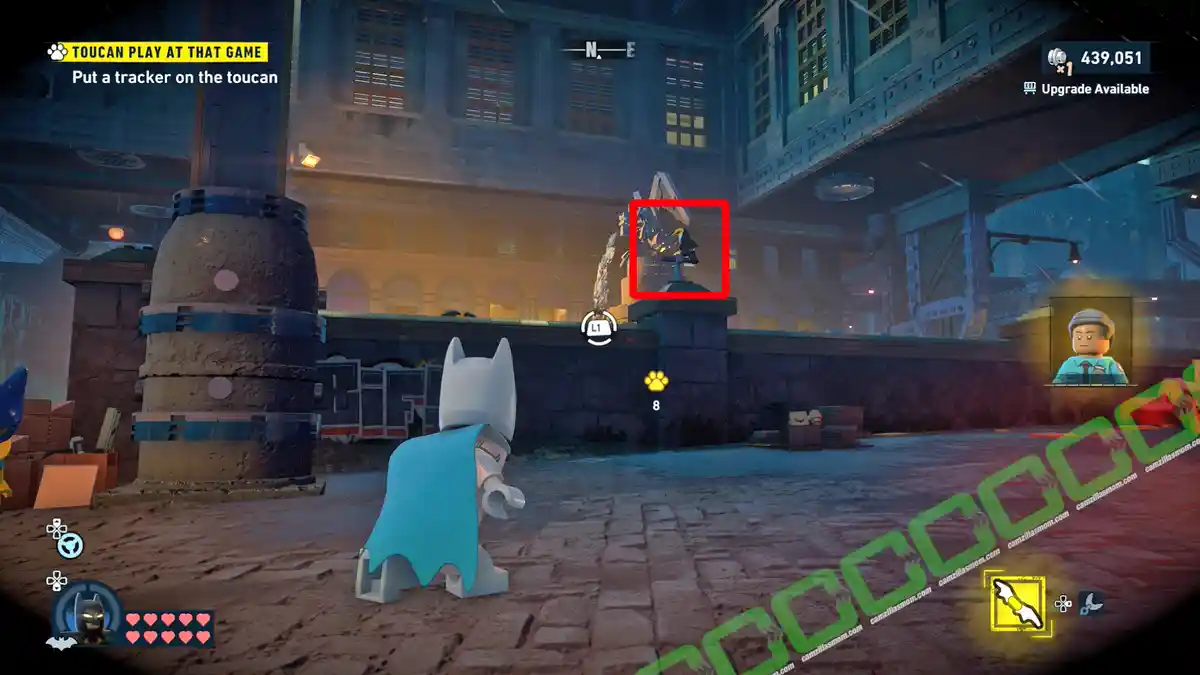
1 – Toucan Play At That Game (291, 502)
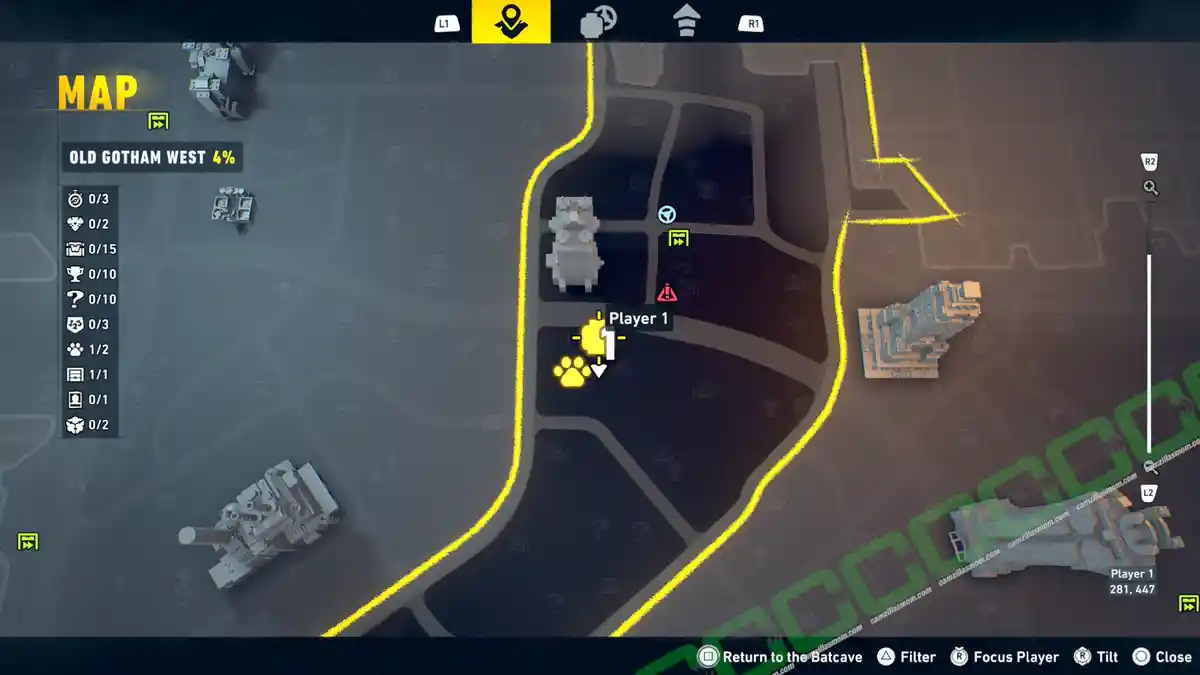
2 – Yes. YES. The Tiger is Out (274, 438)
Toucan Play At That Game
Coordinates: 291, 502
North of Old Gotham West, on the ground level. One toucan to tag.
Yes. YES. The Tiger is Out.
Coordinates: 274, 438
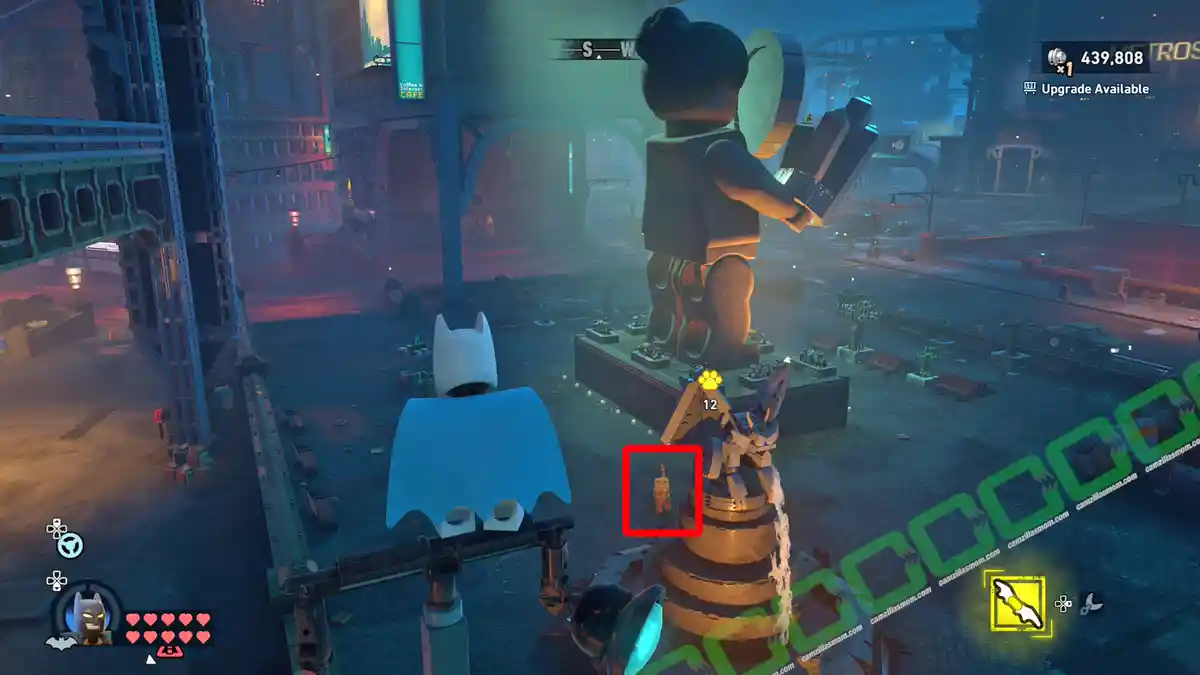
Centre of the district at the base of the large magnifying-glass statue. The tiger circles the statue – approach and tag it.
Subwayne Location & Solution
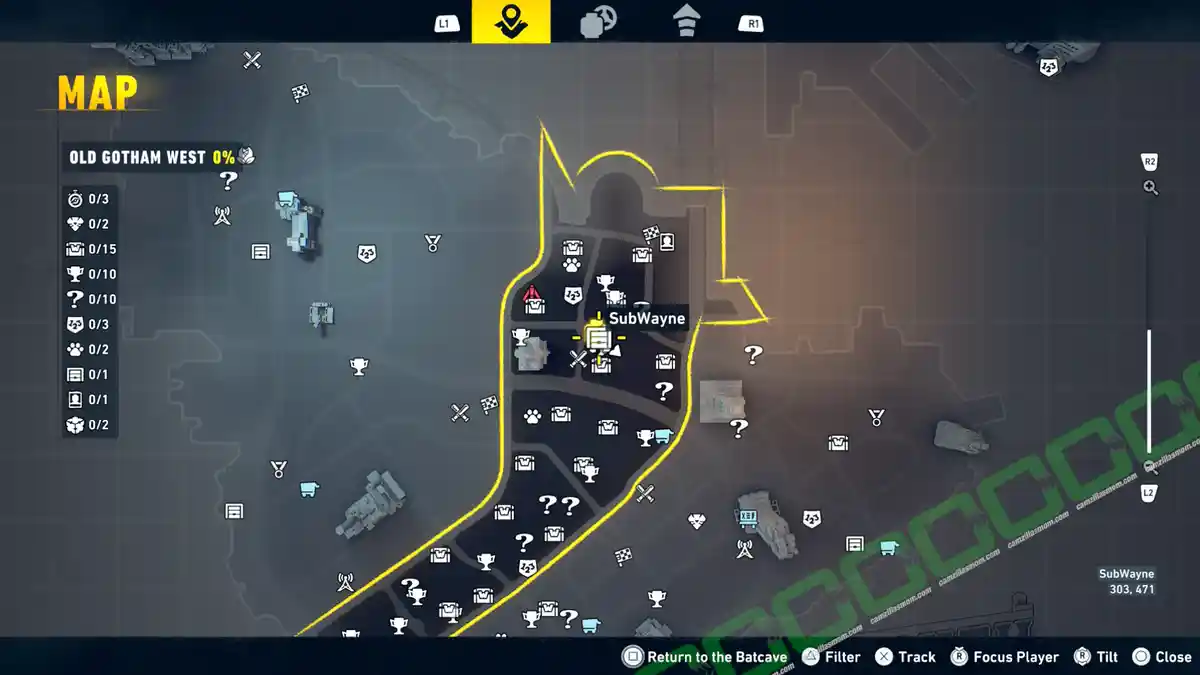
Coordinates: 303, 471
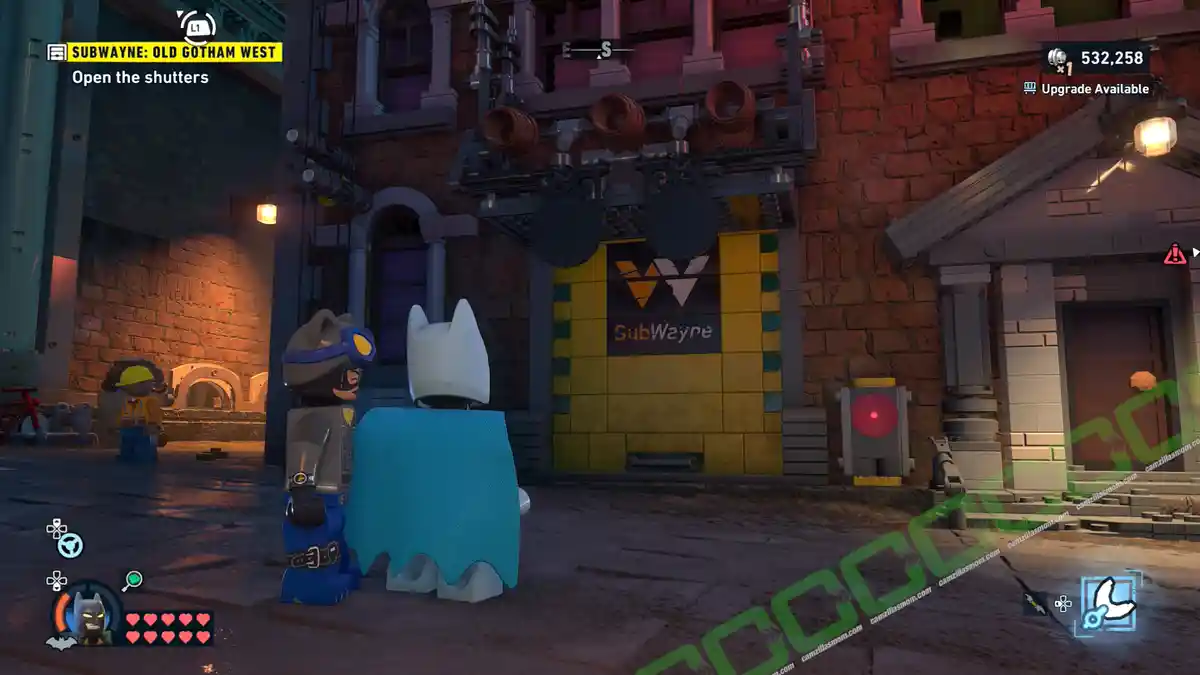
The Old Gotham West Subwayne is in the north of the district. Three graffiti artists block the entrance. Speak to the cleaner in the yellow helmet nearby for context.
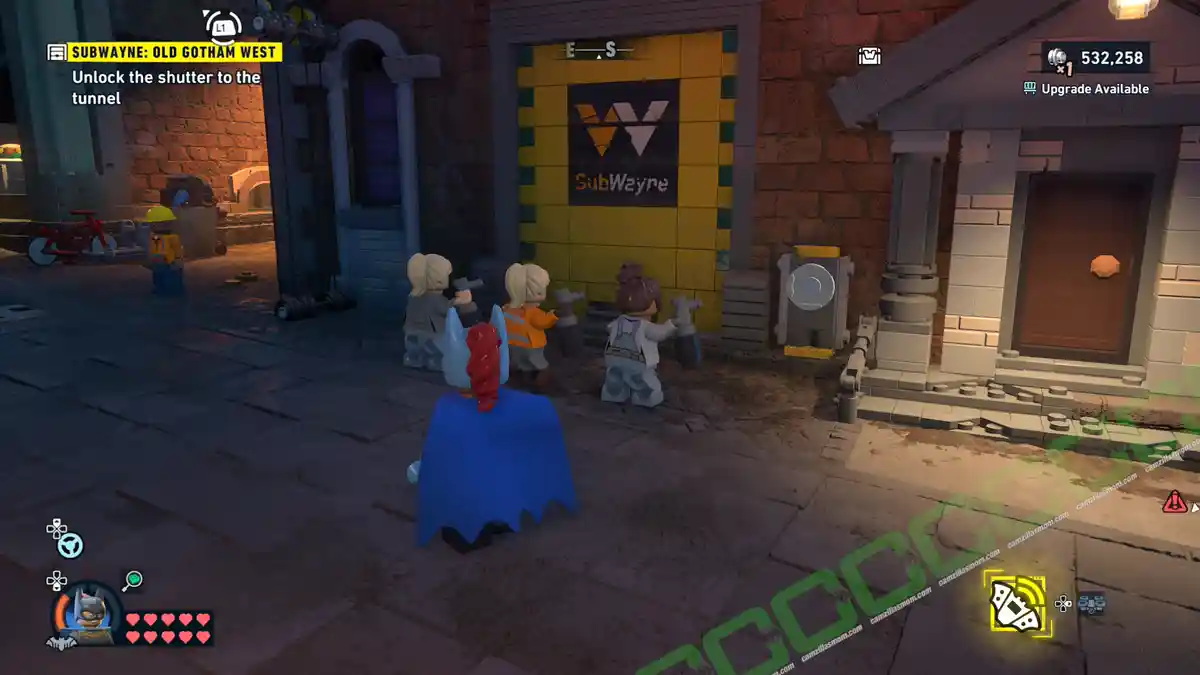
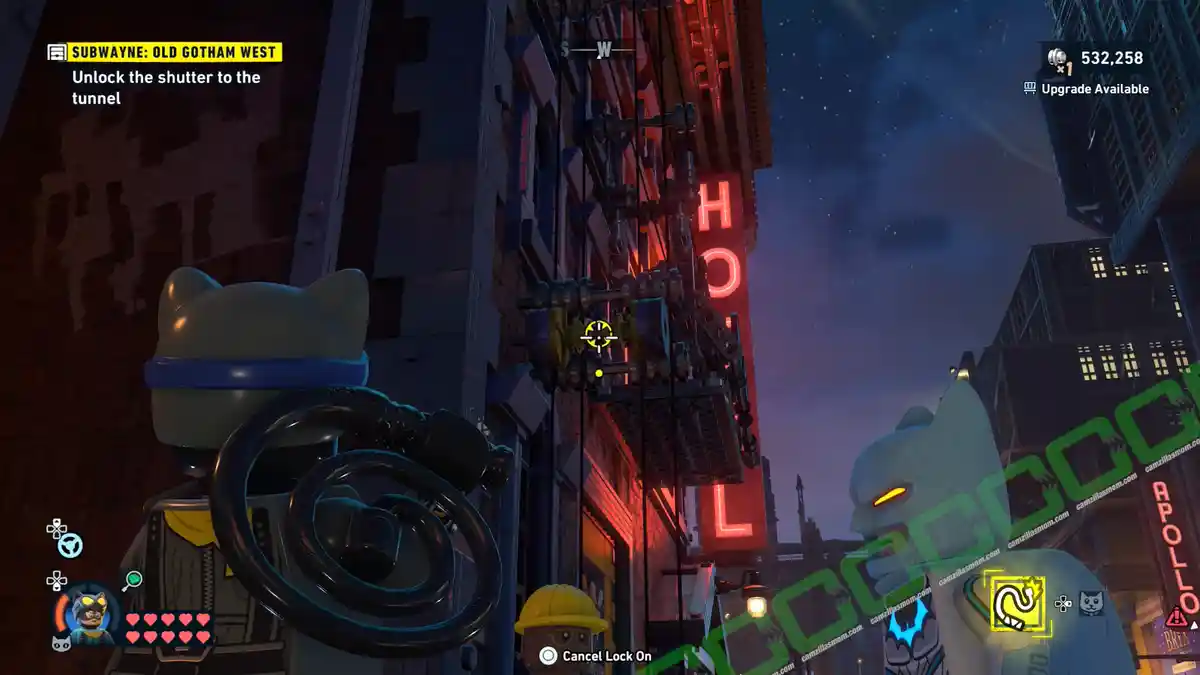
Switch to Catwoman and use the Whip on the wire mechanism beside the entrance. This lowers a platform with three buckets and two targets. Shoot both targets to tip the water onto the sprayers below, then press the button. The Subwayne is open.
Wanted Poster Location & Solution
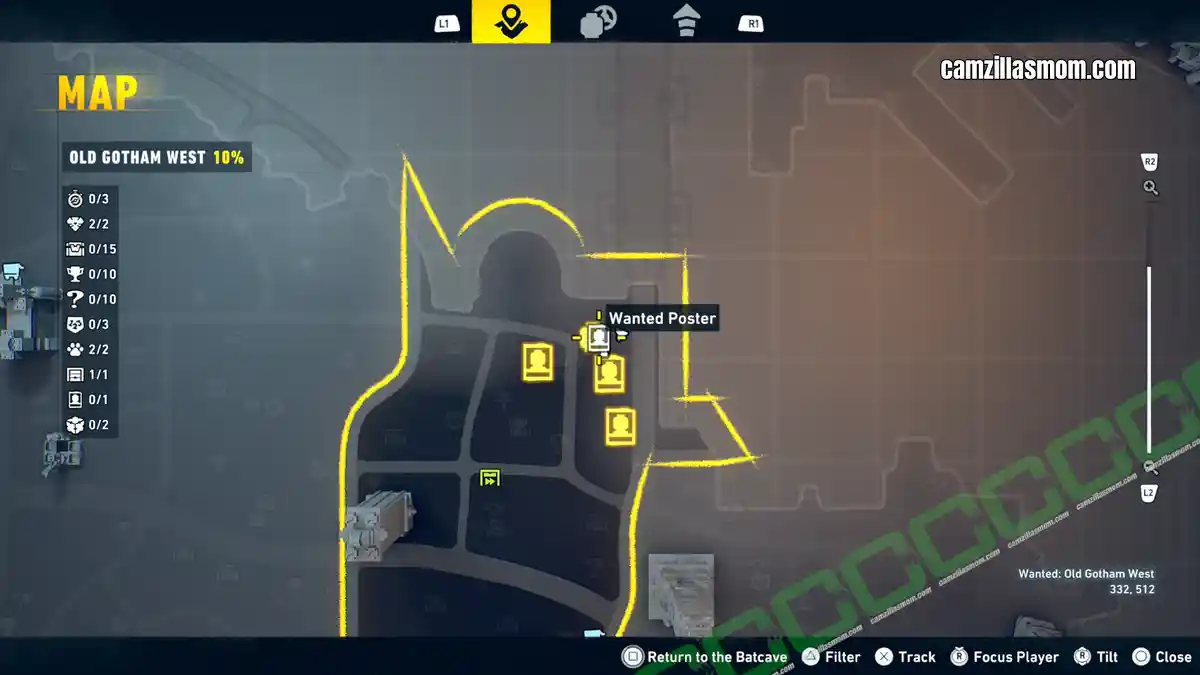
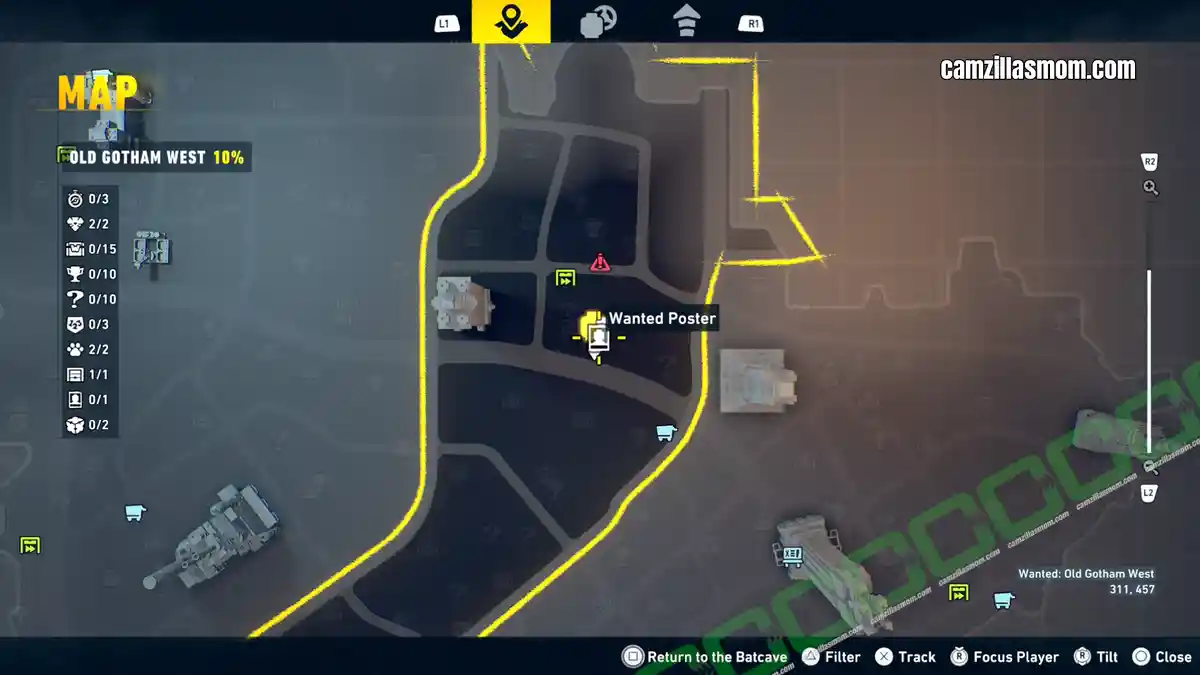
Coordinates: 332, 512
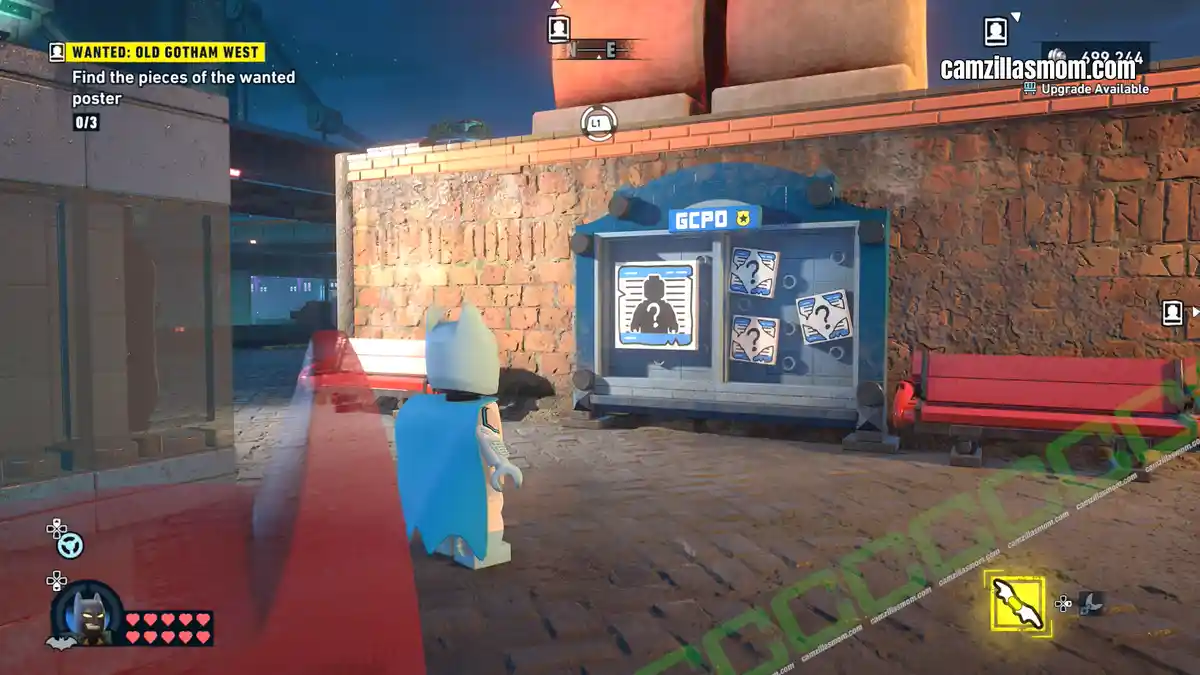
The single Wanted Poster activity in Old Gotham West – Wanted: Old Gotham West – has its pinboard at the base of the large minifigure statue with a magnifying glass in the north of the district.
Piece 1 (315, 506):
Rooftop cage with a leaking pipe. Break the padlock, use Jim Gordon’s Foam Sprayer on the pipe and collect the piece inside.
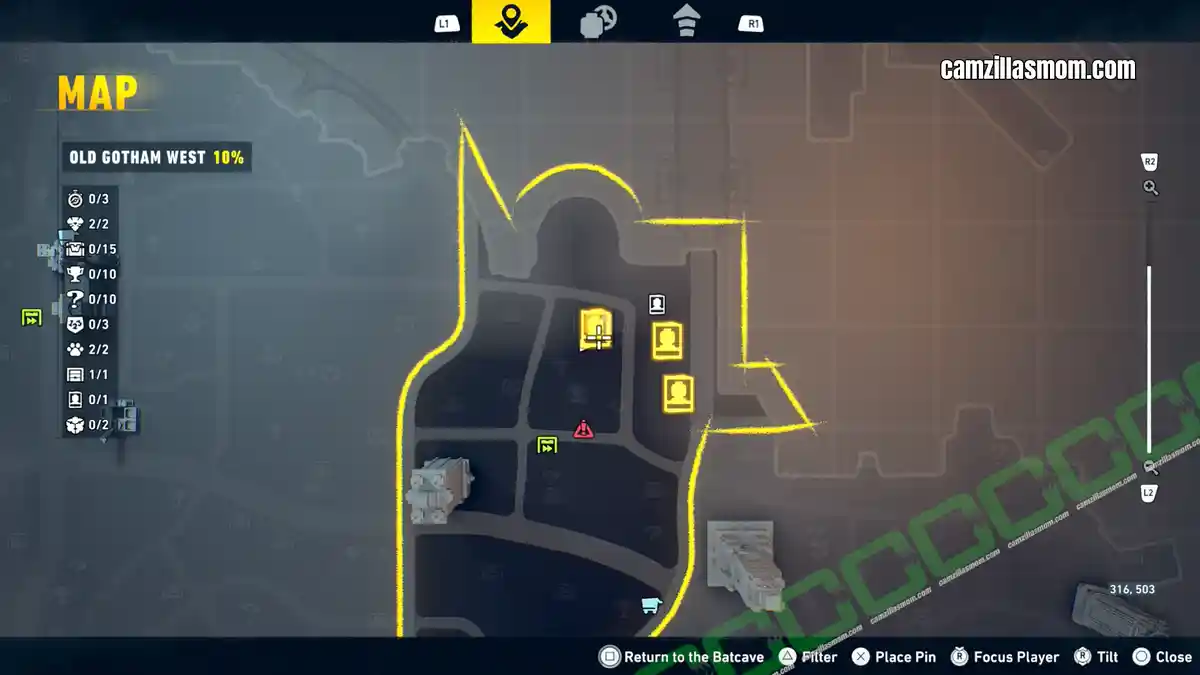
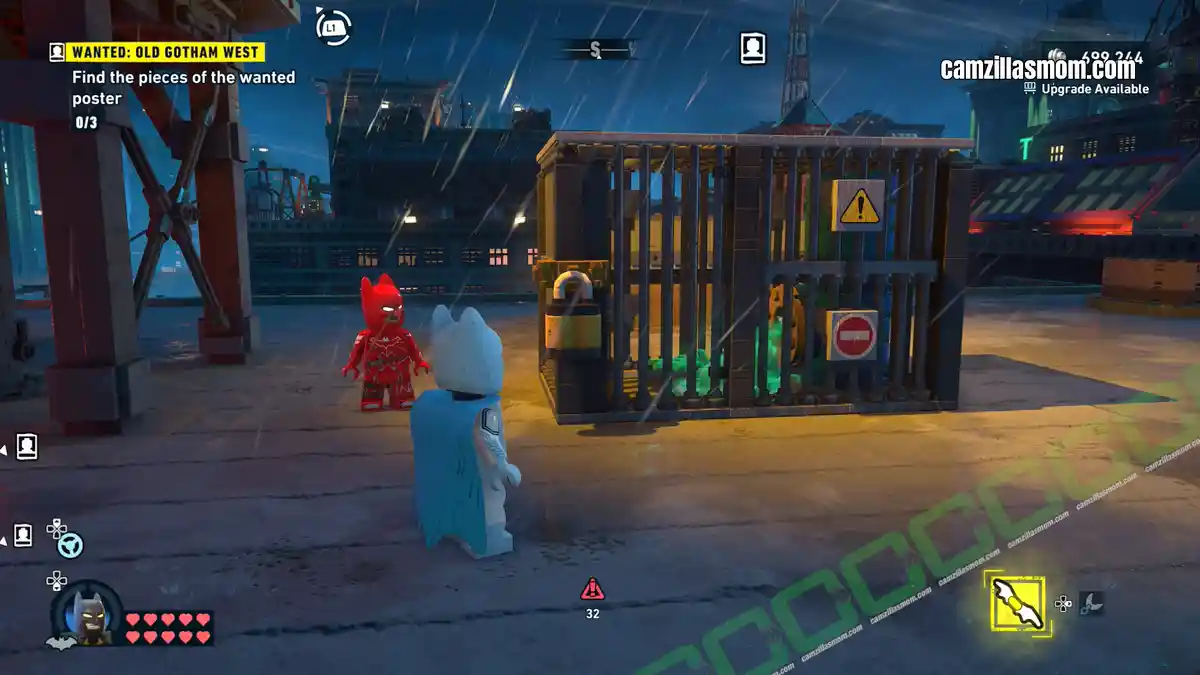
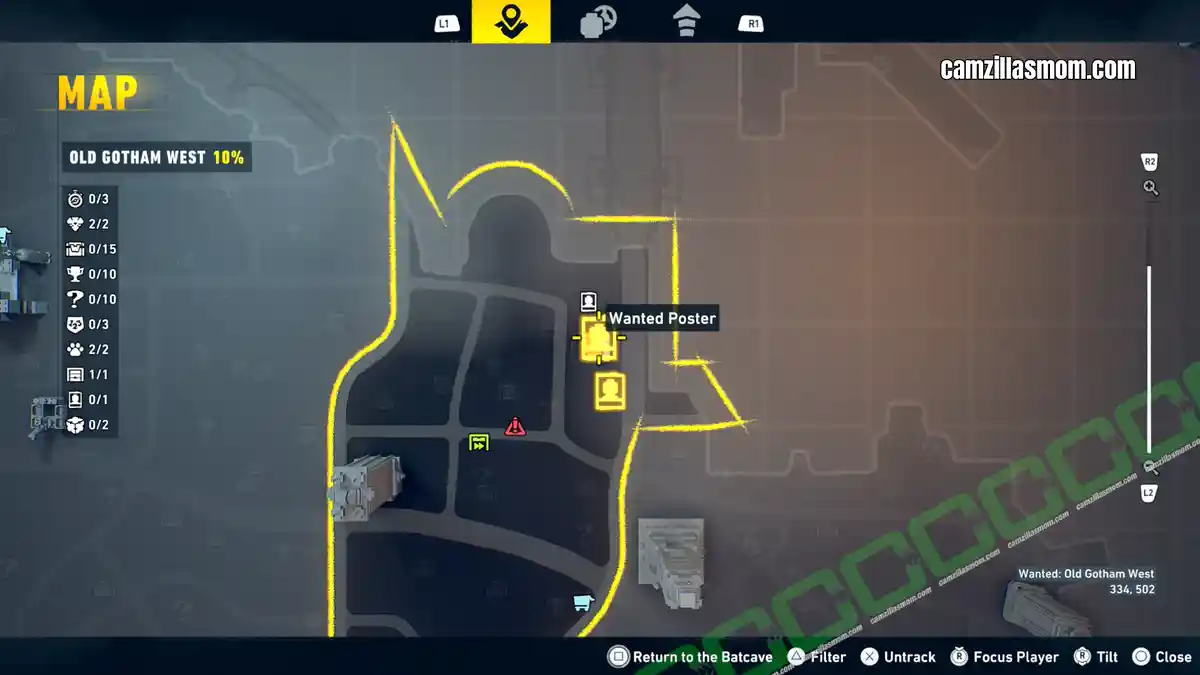
Piece 2 (334, 502):
On the water tower. Build an updraft from the rooftop boxes or grapple directly up. The piece circles the top of the water tower — grab it mid-circuit.
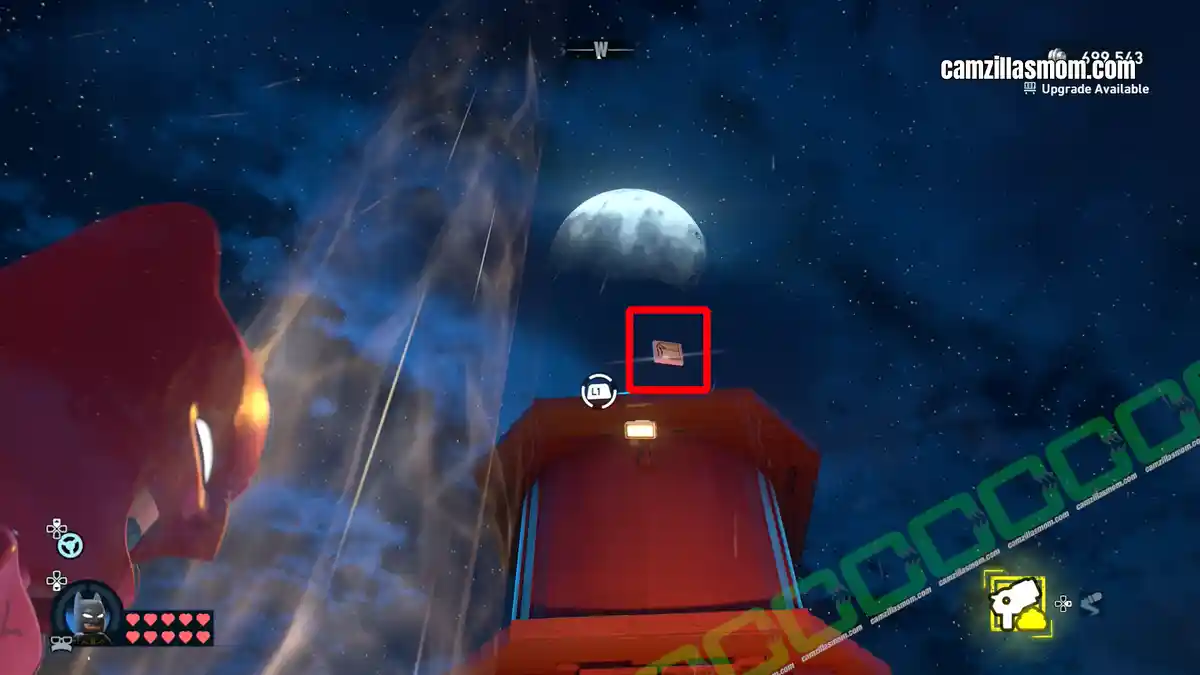
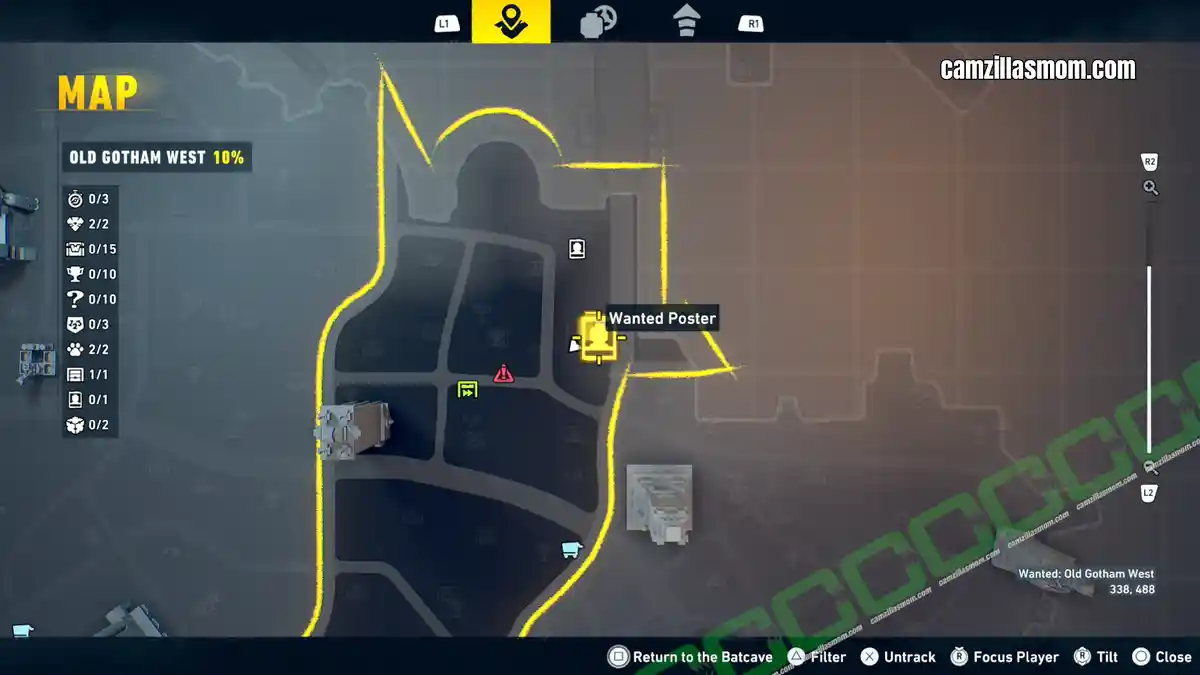
Piece 3 (338, 488):
Inside a mechanical rooftop claw. Switch to Nightwing or Robin and target all three power connectors from right to left in order. Shoot when all three are highlighted to activate the claw.
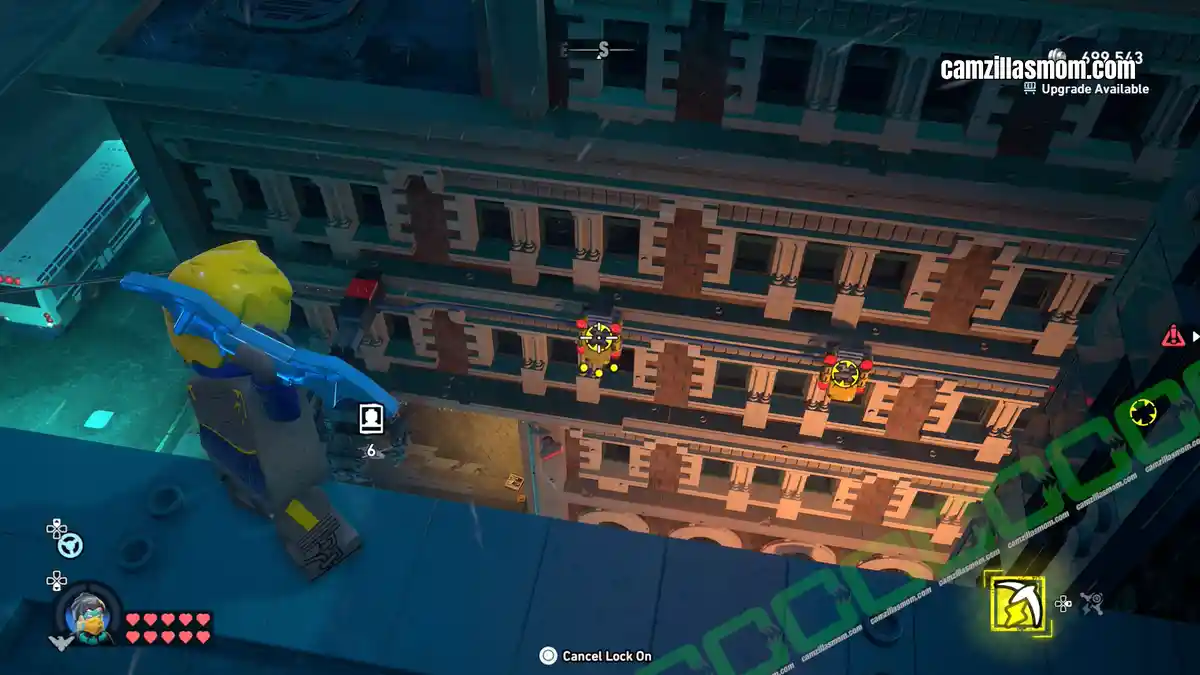
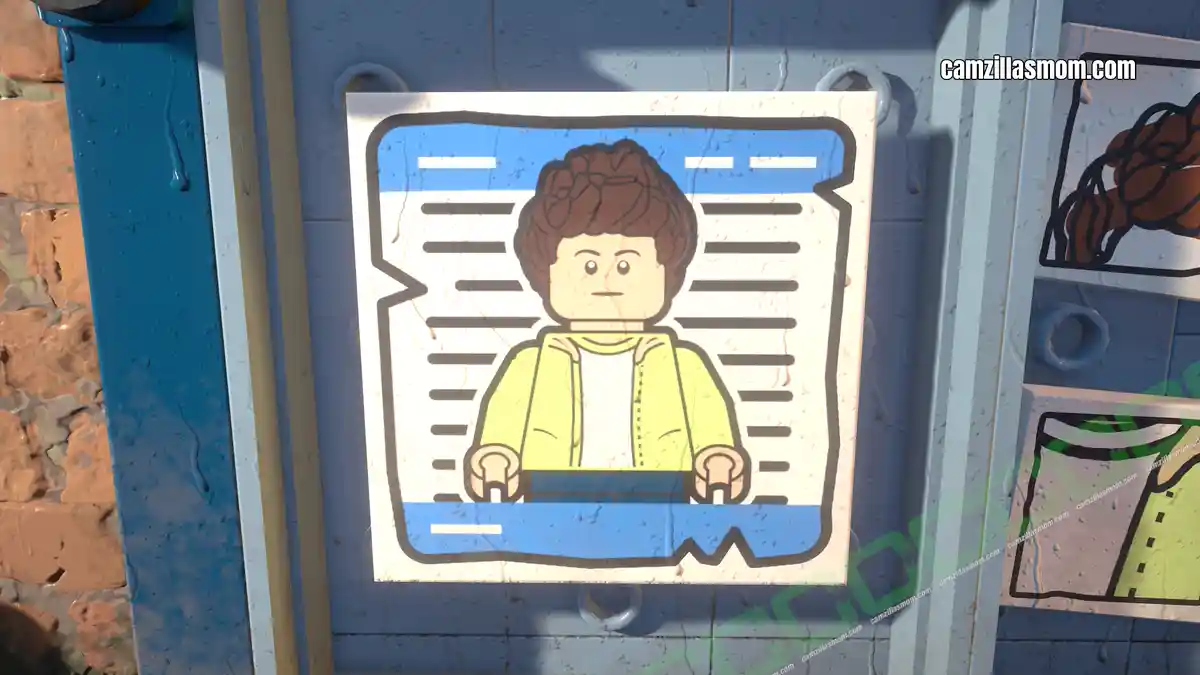
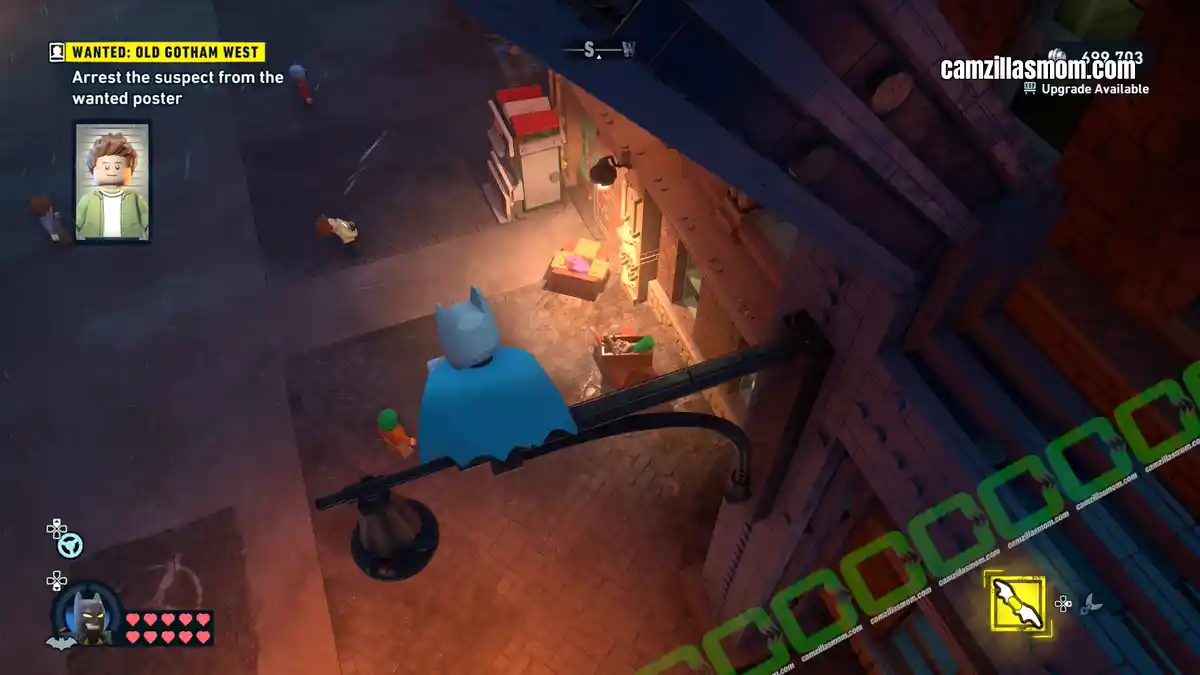
Return to the pinboard with all three pieces to assemble the Wanted Poster, then head to coordinates 311, 457 in the centre of Old Gotham West to find and arrest the suspect.
Studs Cache Locations
Eleven Studs Caches are spread across Old Gotham West in LEGO Batman: Legacy of the Dark Knight – most at or near ground level.
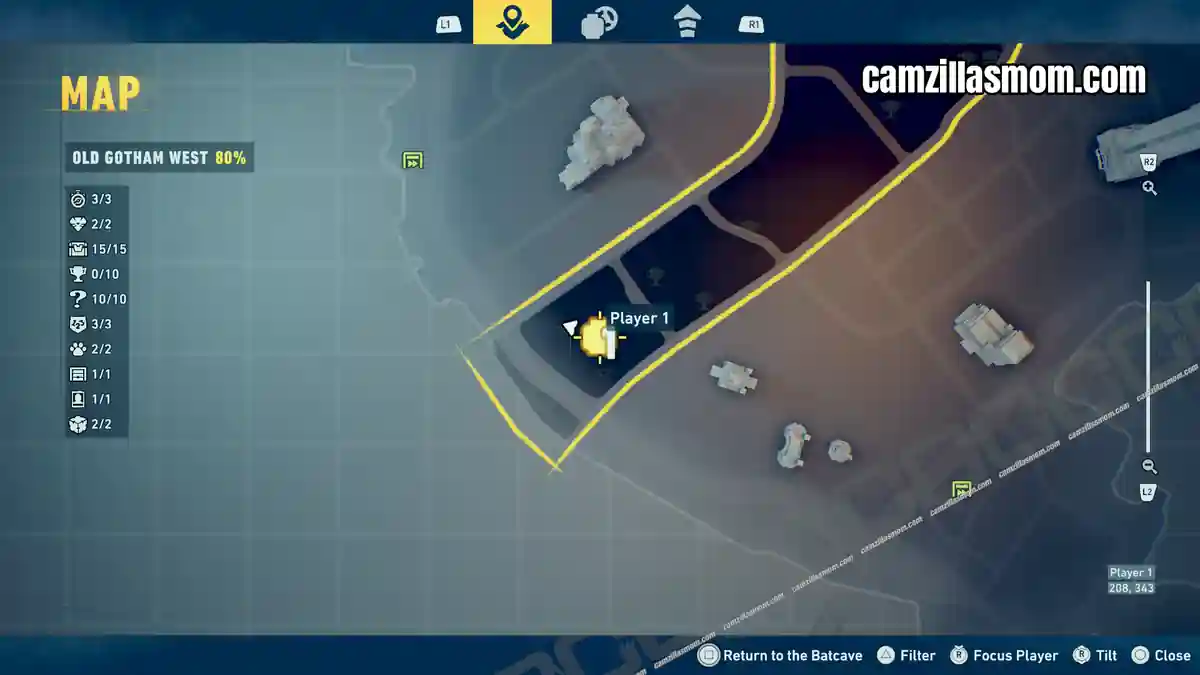
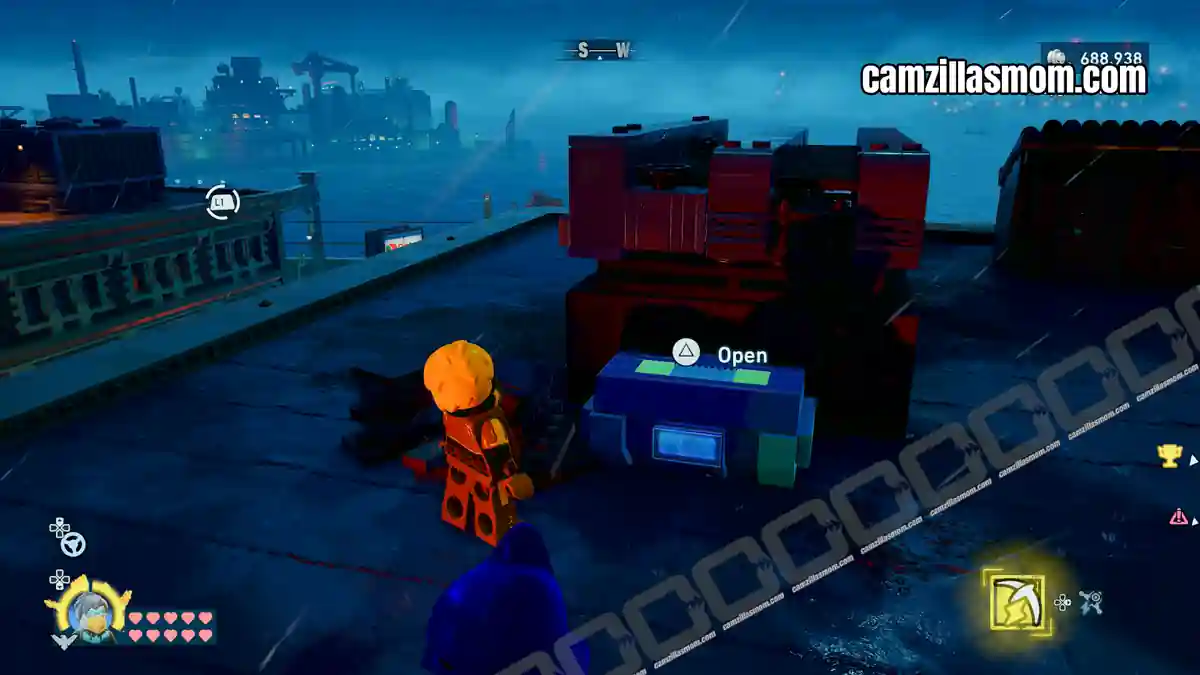
1
Coordinates: 208, 343
Rooftop, southwestern tip of the district.
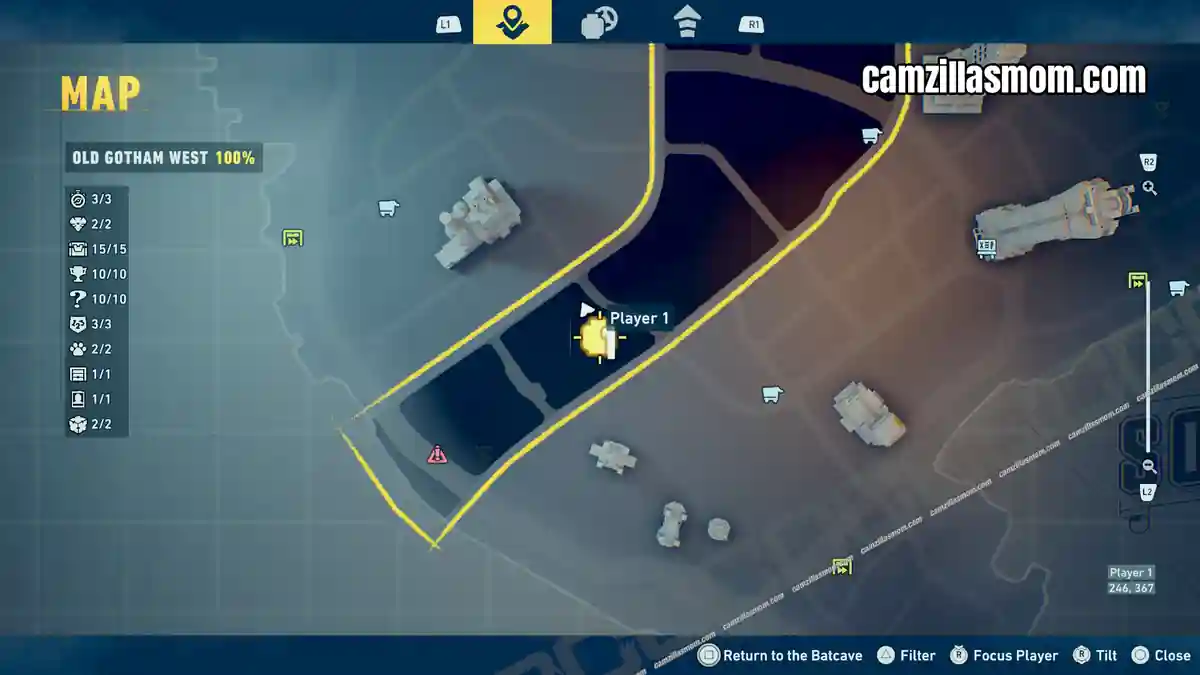
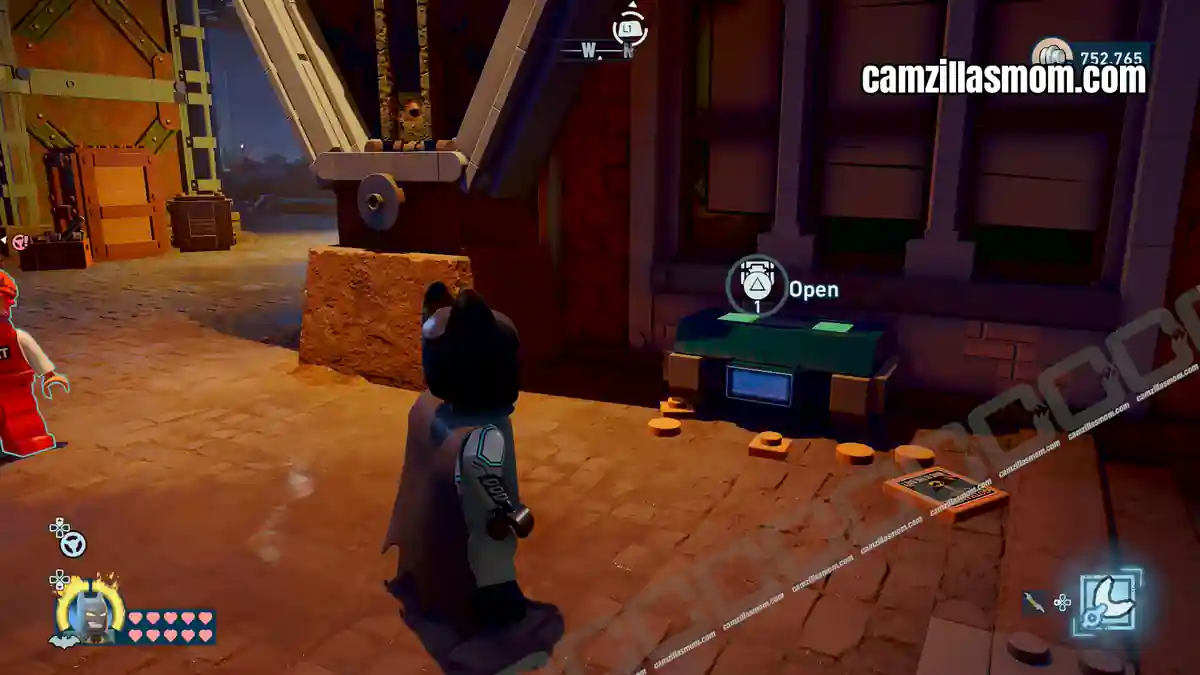
2
Coordinates: 246, 367
Ground floor alleyway, next block north.
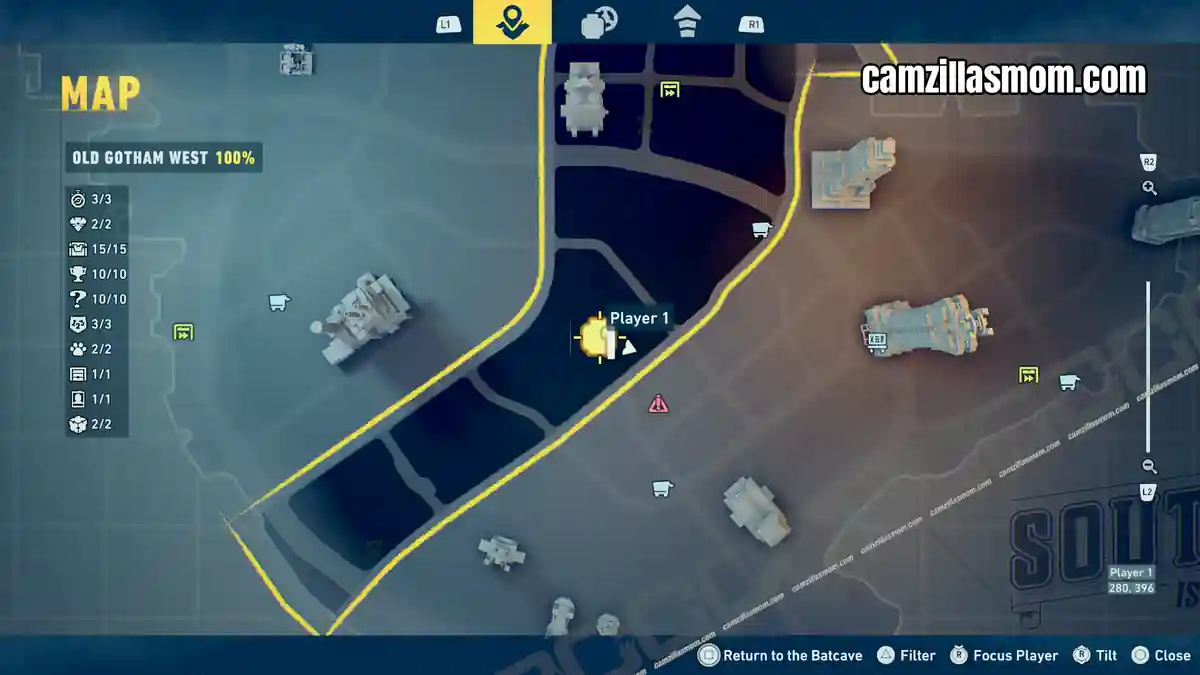
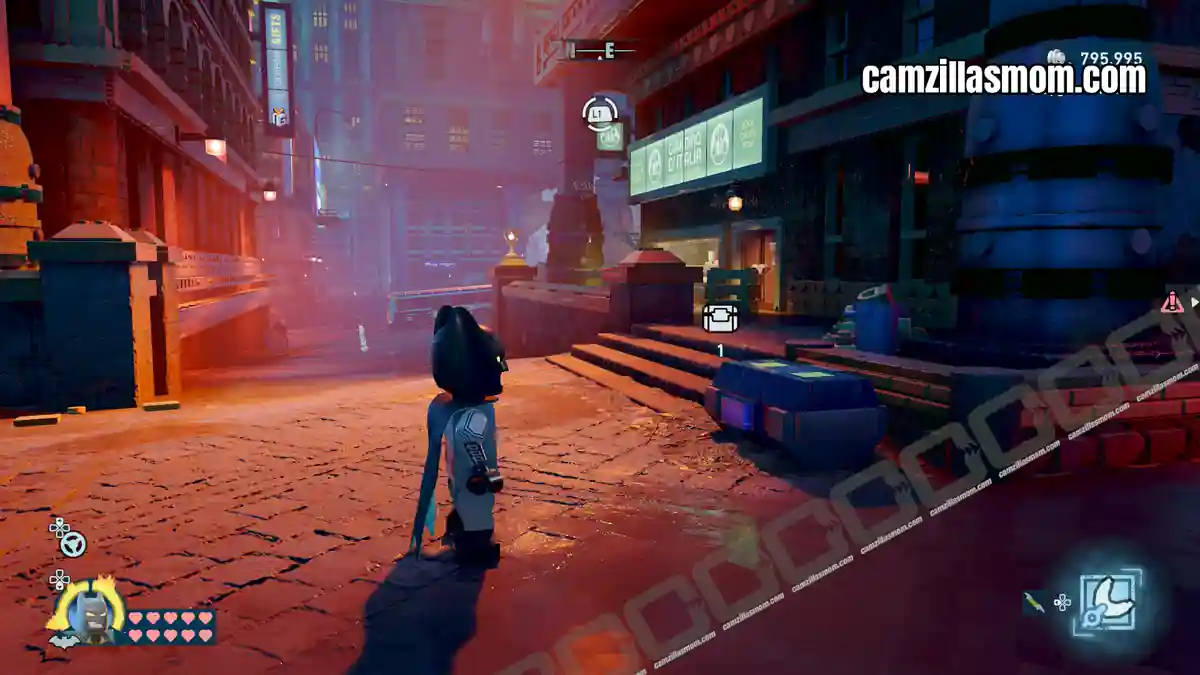
3
Coordinates: 280, 396
Ground floor beside an Italian restaurant.
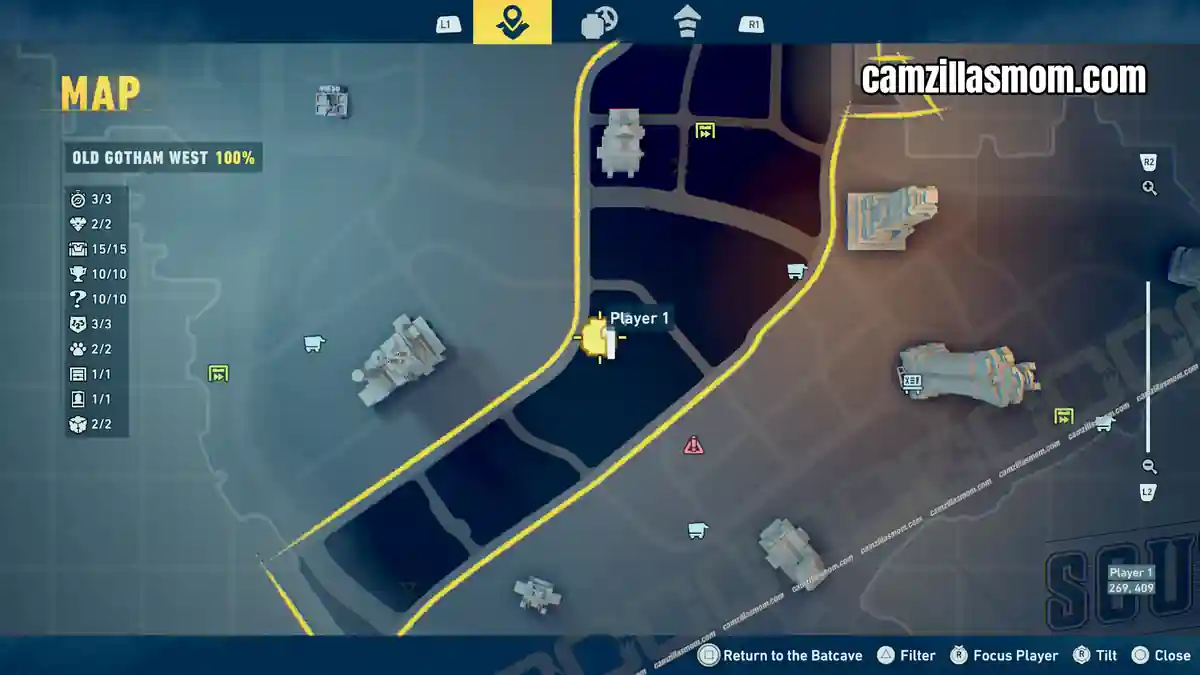
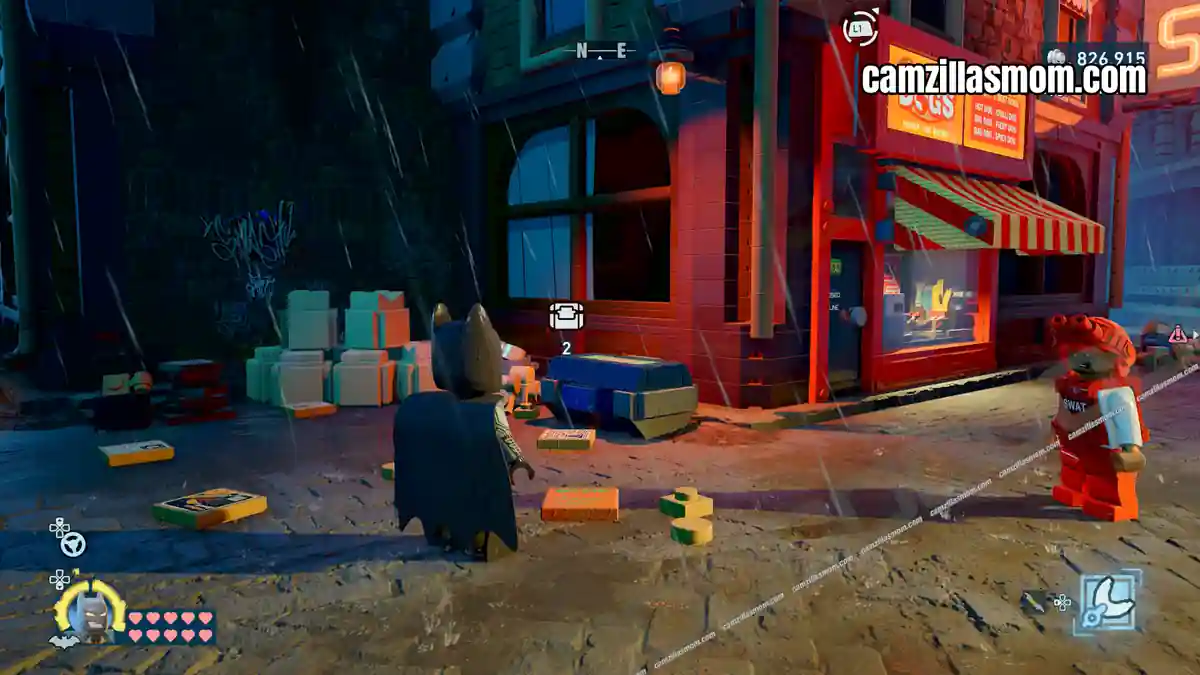
4
Coordinates: 269, 409
Main road ground floor, next to a pet store.
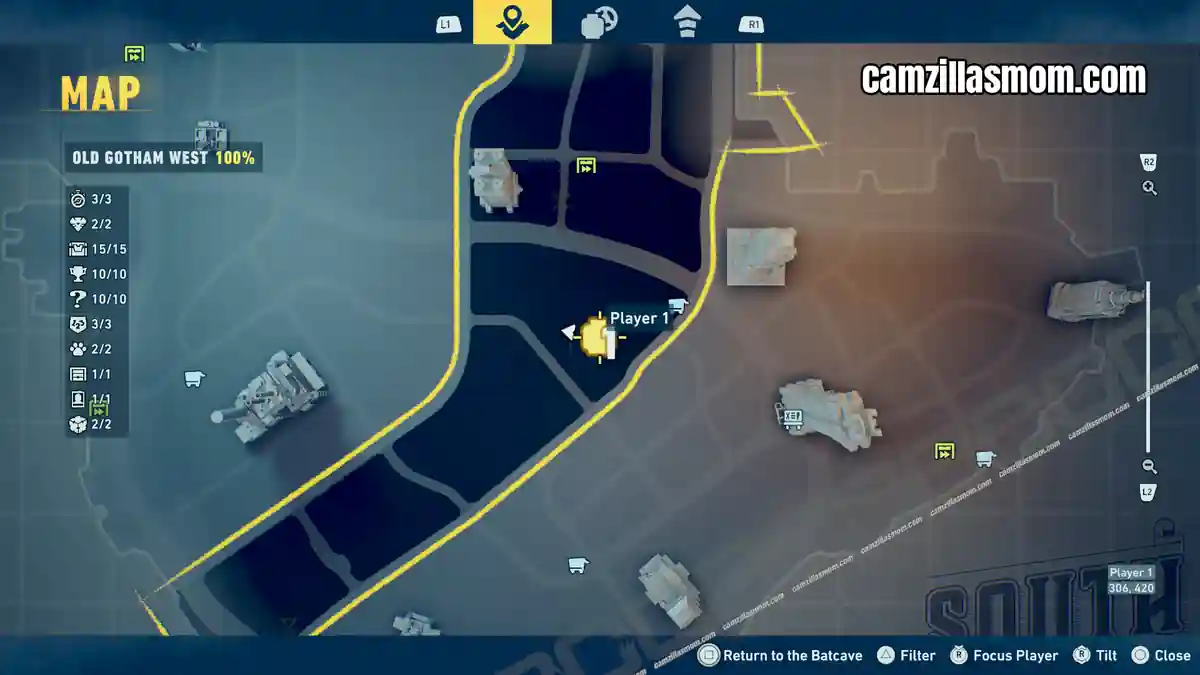
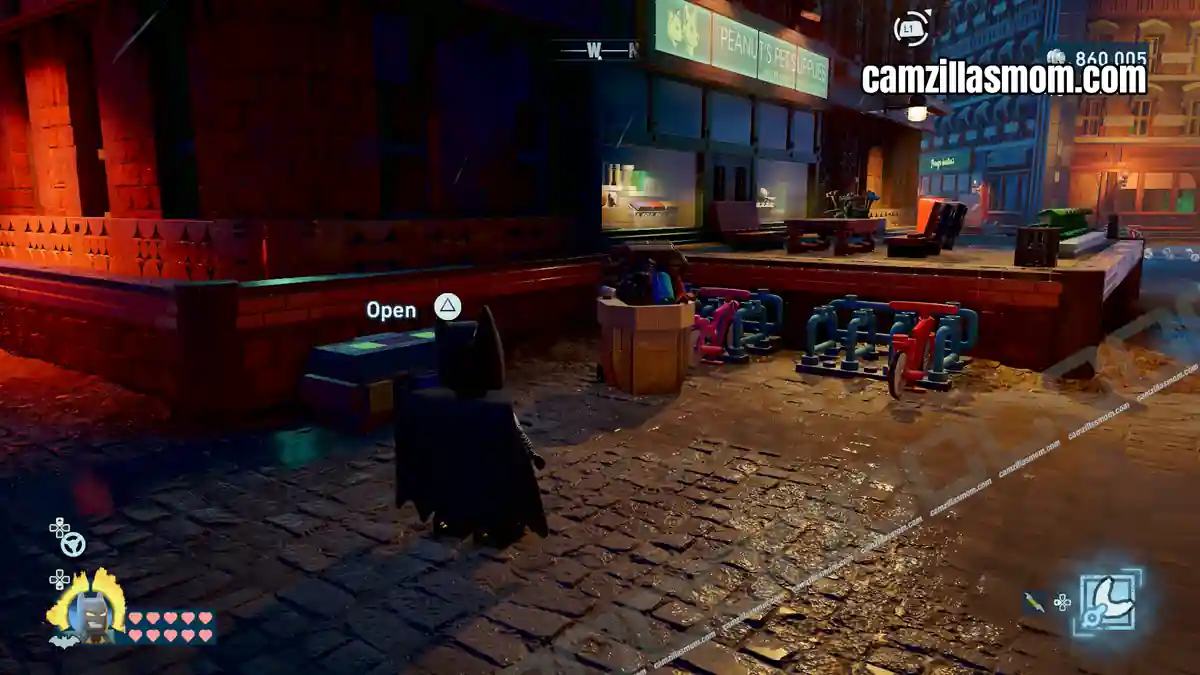
5
Coordinates: 306, 420
Centre housing block ground floor, beside another pet shop.
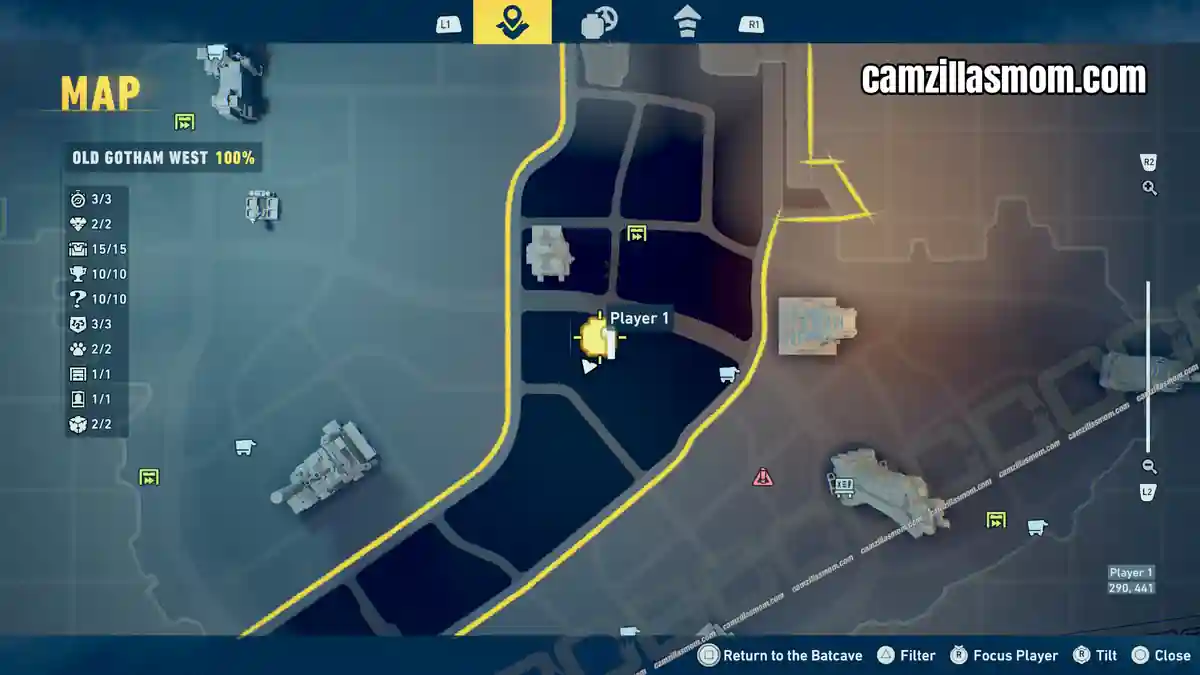
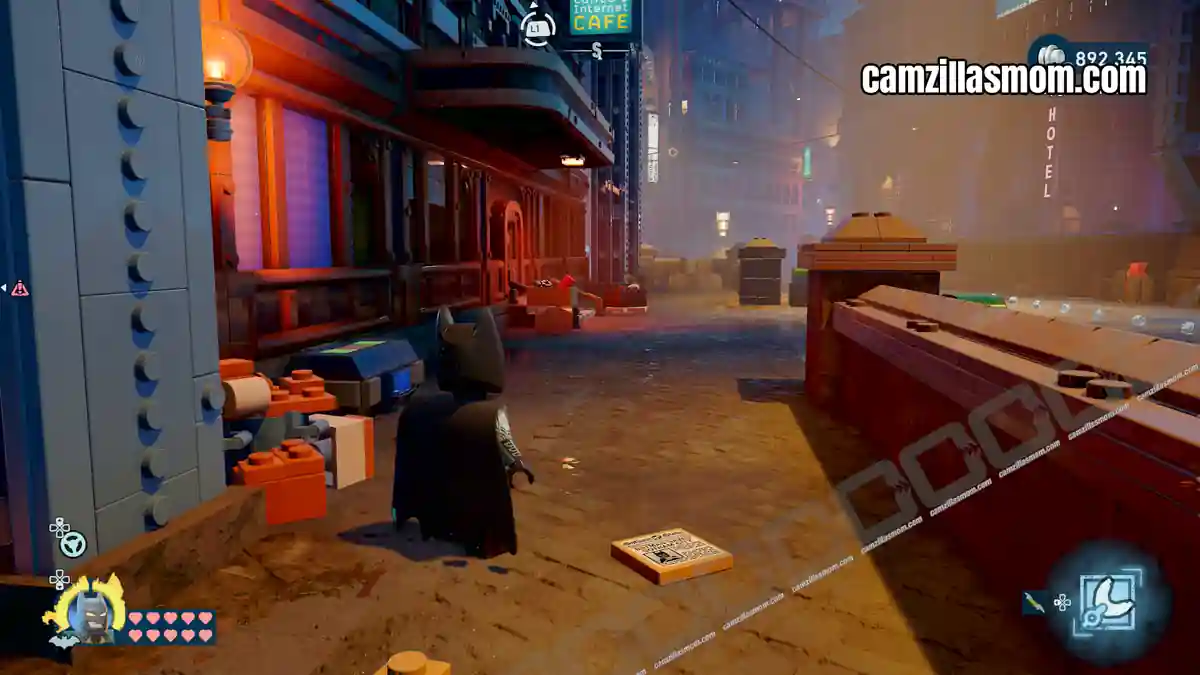
6
Coordinates: 290, 441
Main road ground floor, next to an internet café.
7
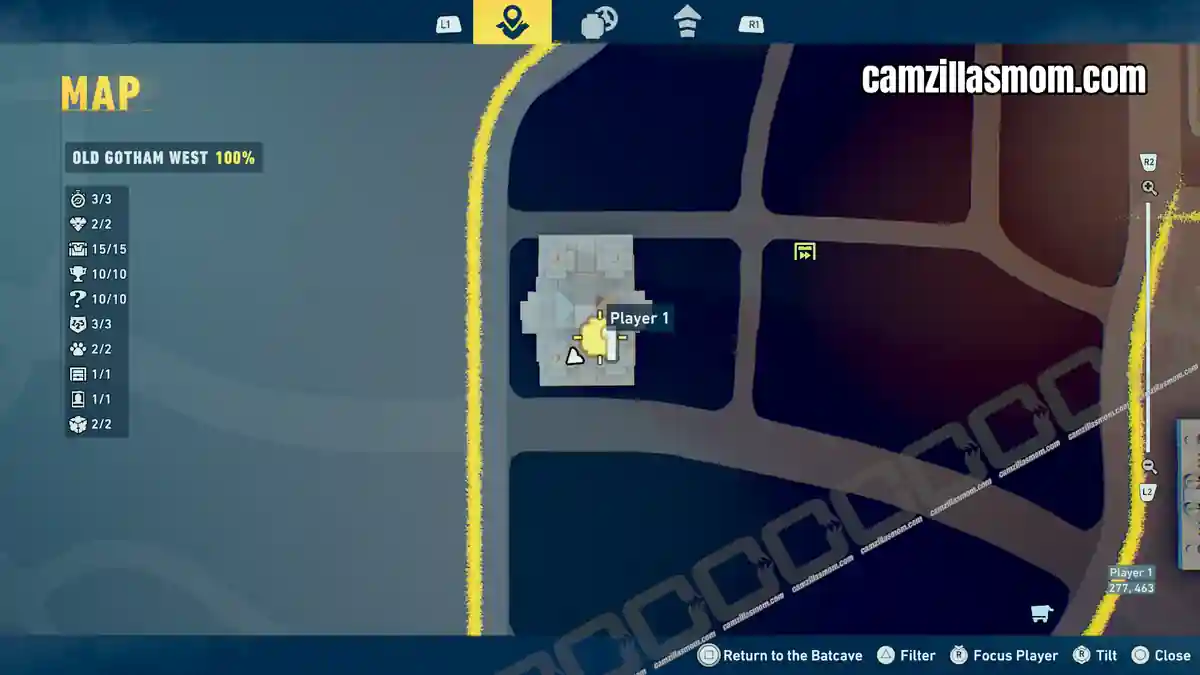
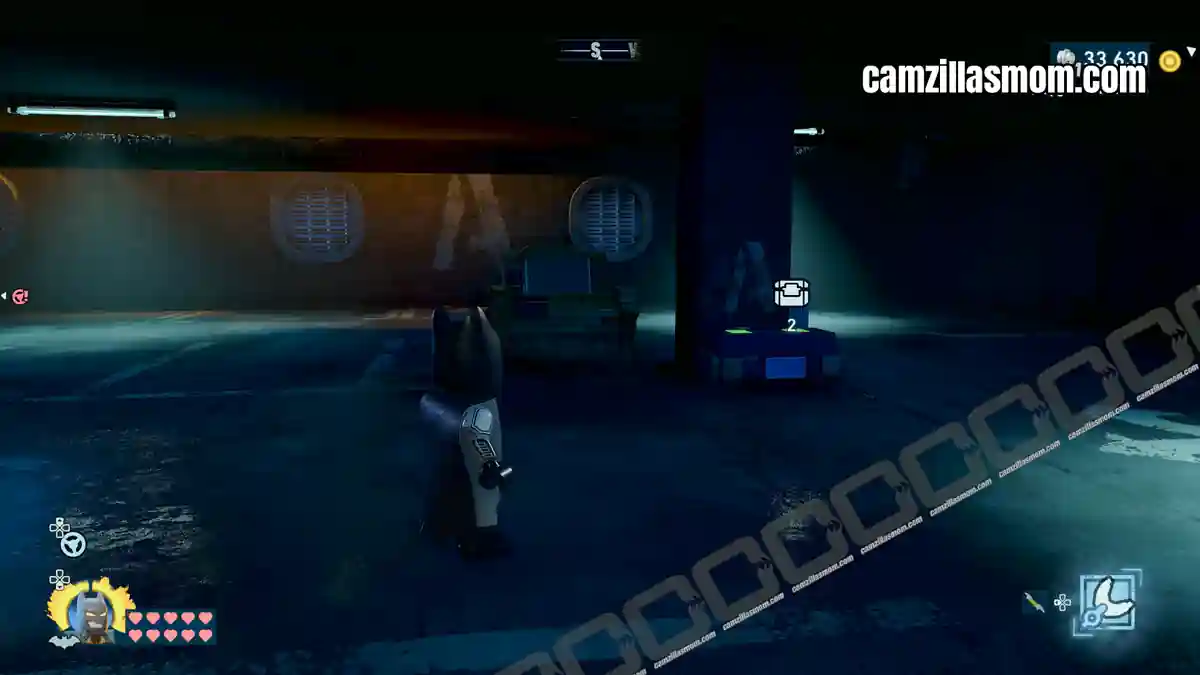
Coordinates: 277, 463
Flugelheim building underground car park.
8
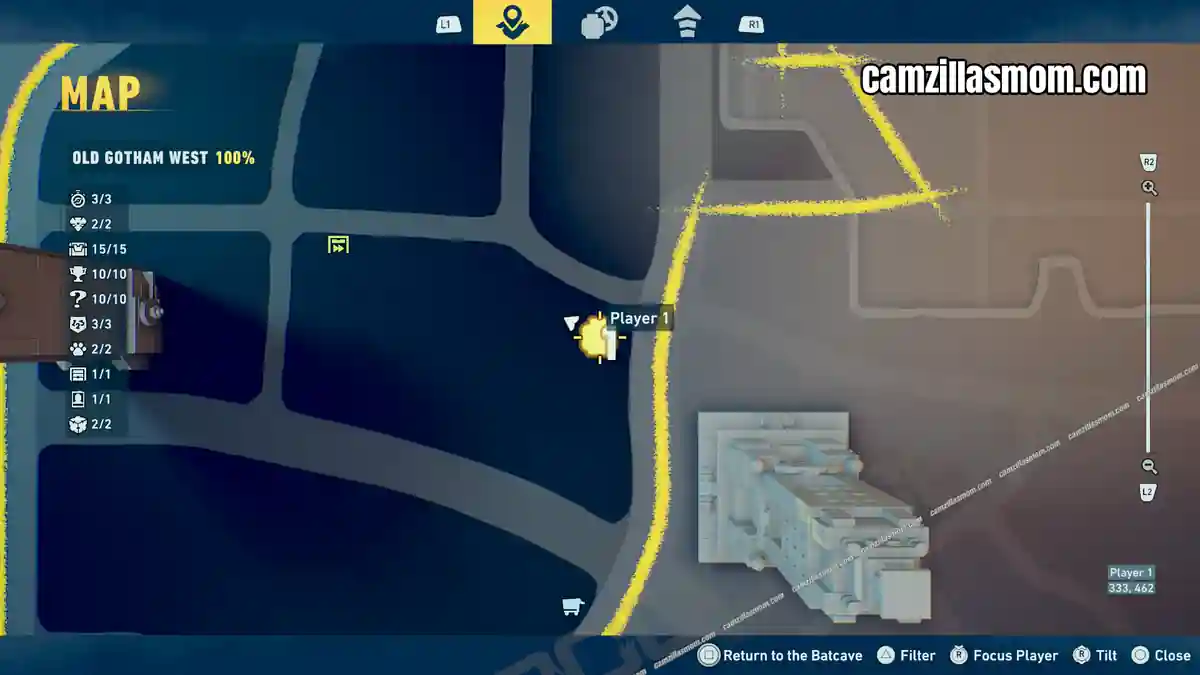
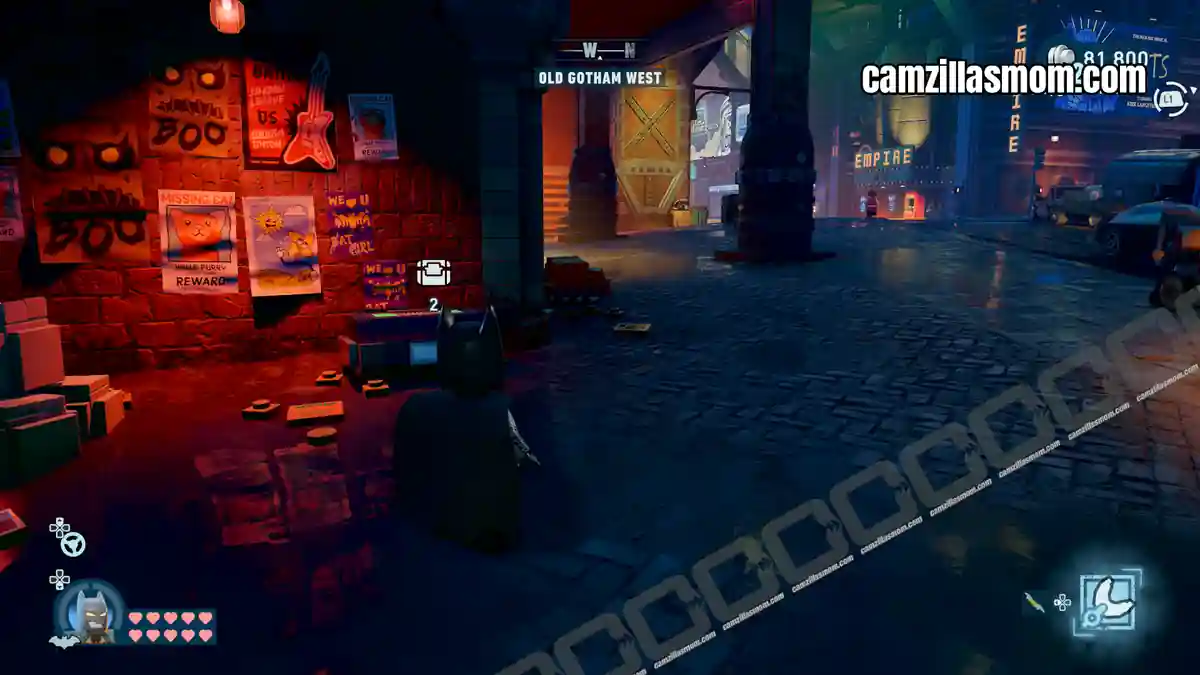
Coordinates: 333, 462
Corner of the two main roads, east of the Subwayne.
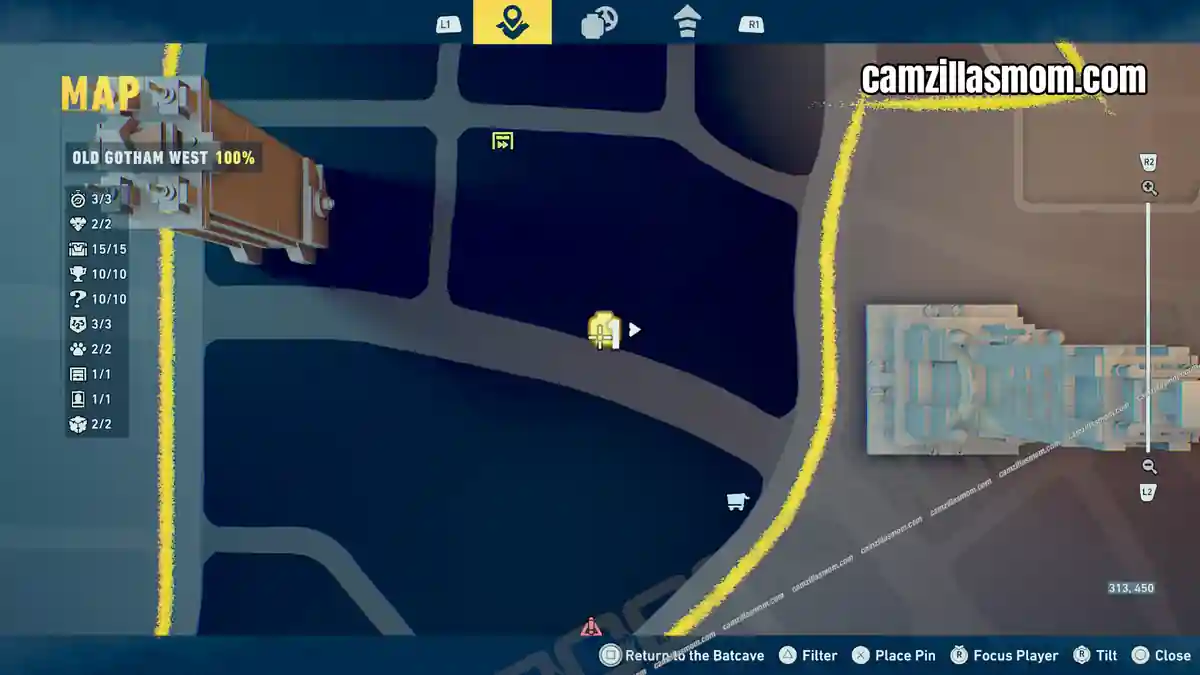
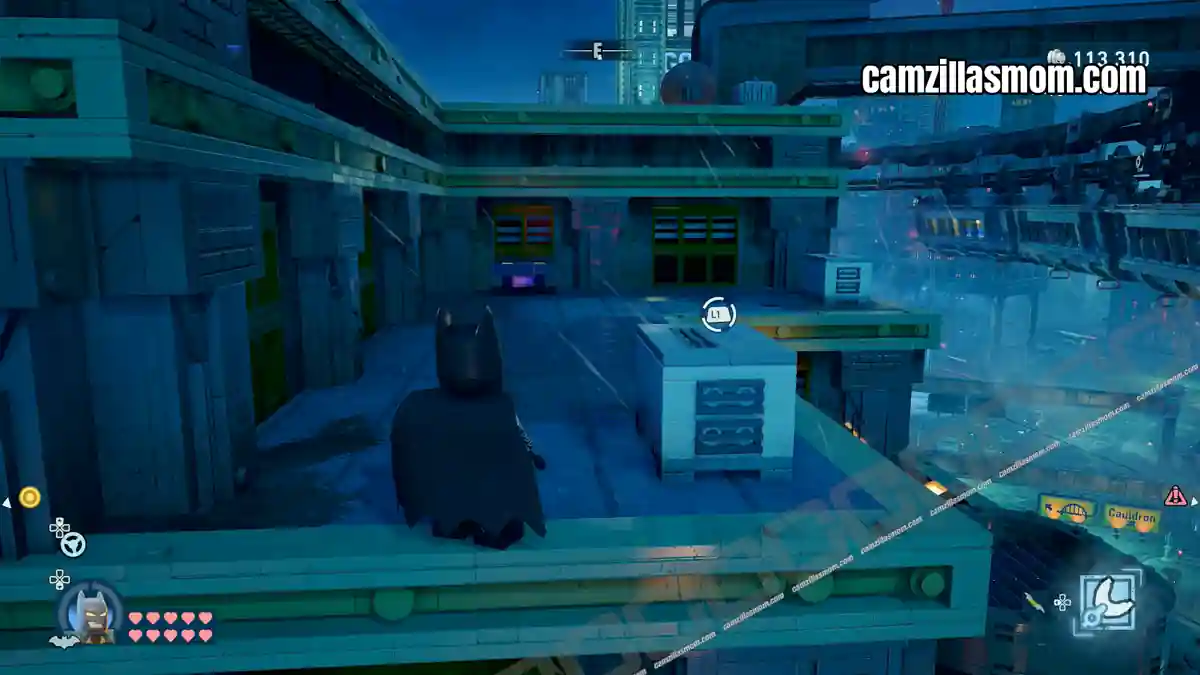
9
Coordinates: 313, 450
Smaller rooftop on the monorail-adjacent building.
10
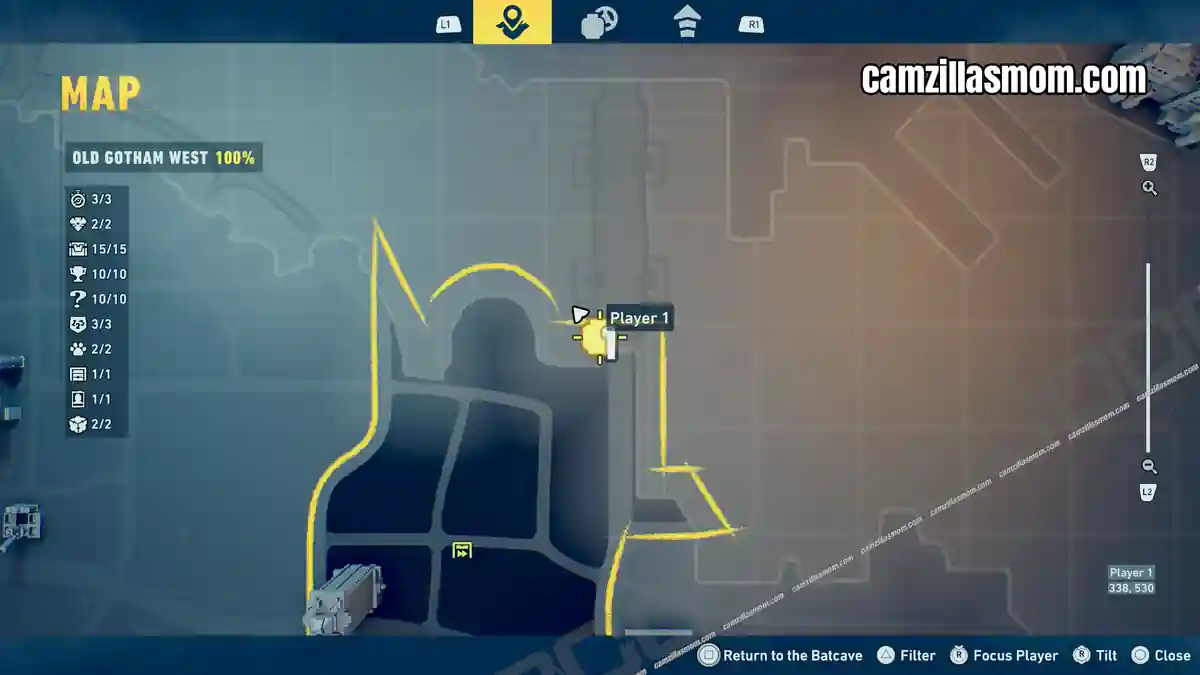
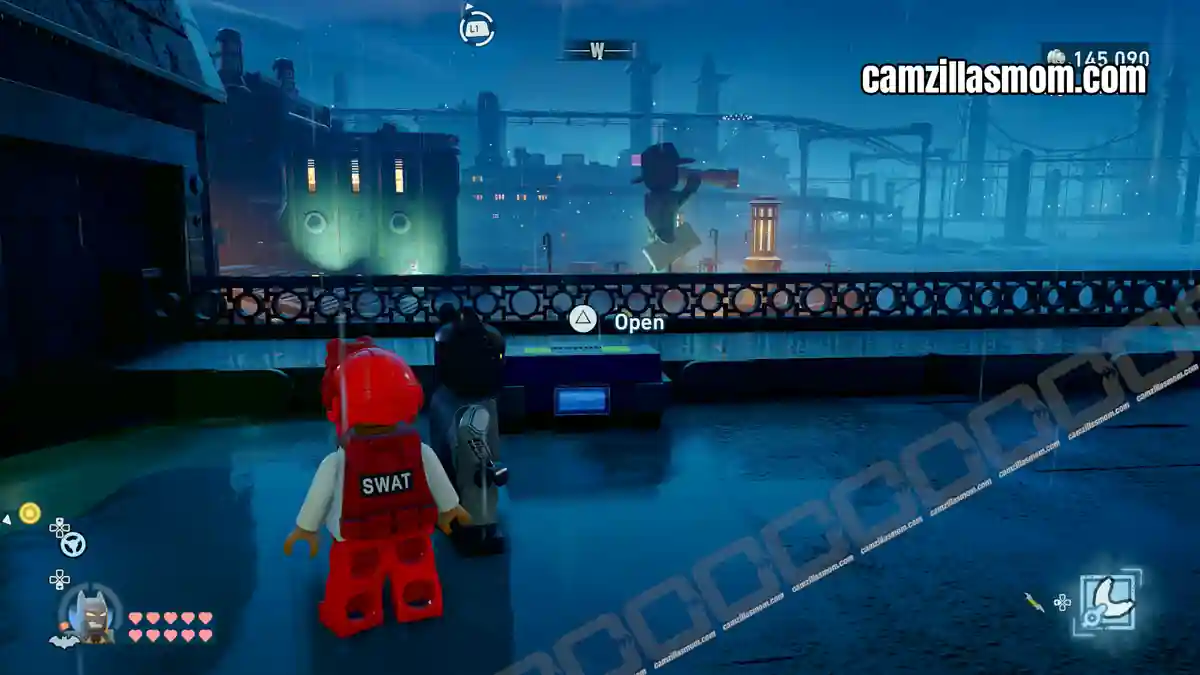
Coordinates: 338, 530
Northern bridge approach.
11
Coordinates: 312, 539
Centre of the round plaza in the far north of Old Gotham West.
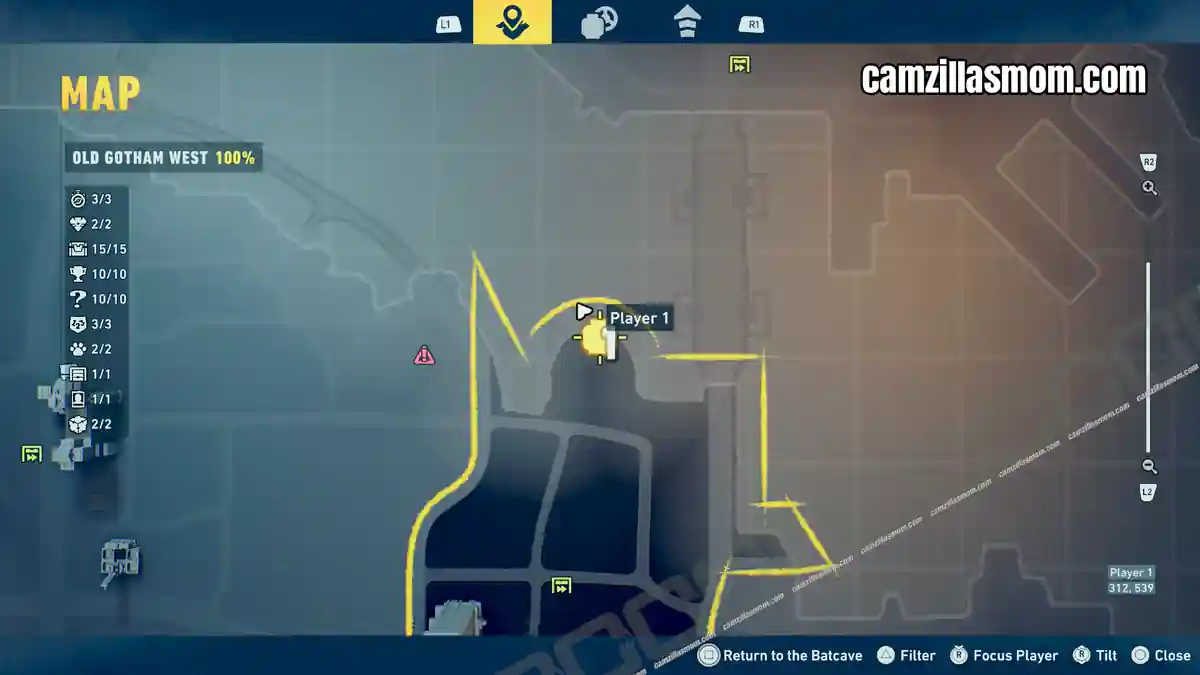
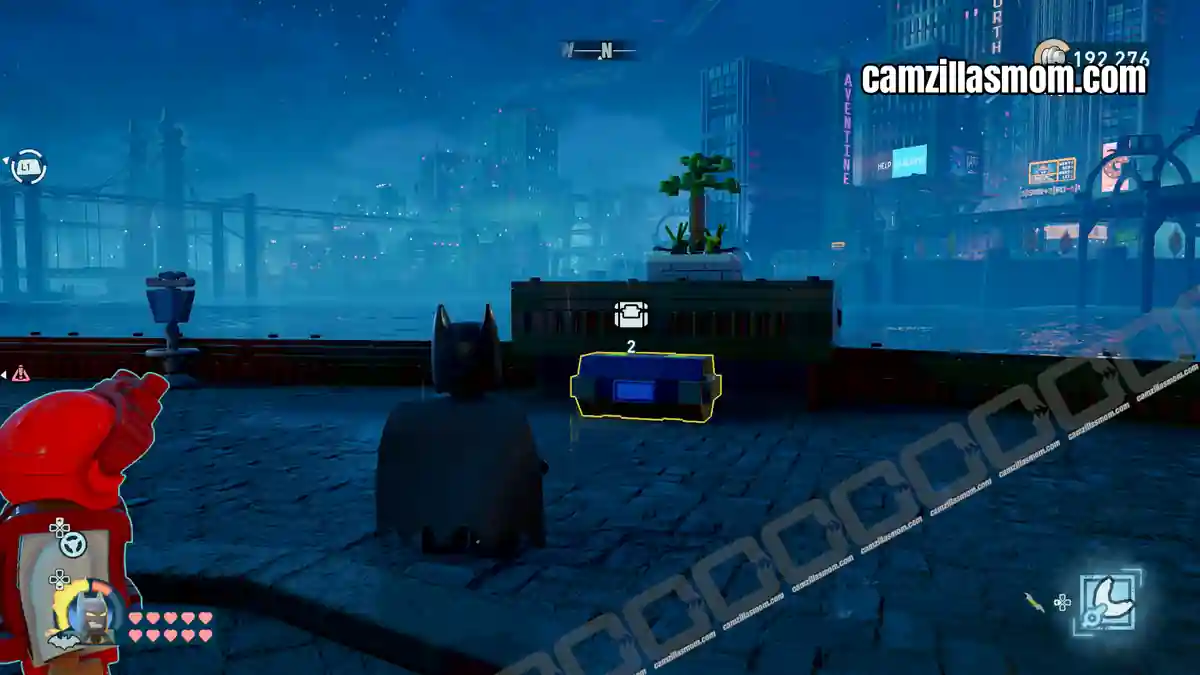
That’s every collectible and activity in the Old Gotham West district of LEGO Batman: Legacy of the Dark Knight covered to 100%.
More LEGO Batman: Legacy of the Dark Knight Guides
LEGO Batman Legacy Mission 3 New Beginnings Walkthrough – All Collectibles, Surfboards & Red Brick
Step-by-step walkthrough for Mission 3: New Beginnings in LEGO Batman: Legacy of the Dark Knight. In…
LEGO Batman Legacy Tricorner – 100% Collectibles Guide
Complete guide to all activities and collectibles in the Tricorner district of LEGO Batman: Legacy o…
LEGO Batman Legacy: All 14 Falcone Fortune Heists
Complete guide to all 14 Falcone Fortune Heist locations and solutions in LEGO Batman: Legacy of the…
LEGO Batman Legacy: All 15 Puzzle Room Locations and Solutions
Find all 15 Puzzle Room locations and solutions in LEGO Batman: Legacy of the Dark Knight. Covers al…
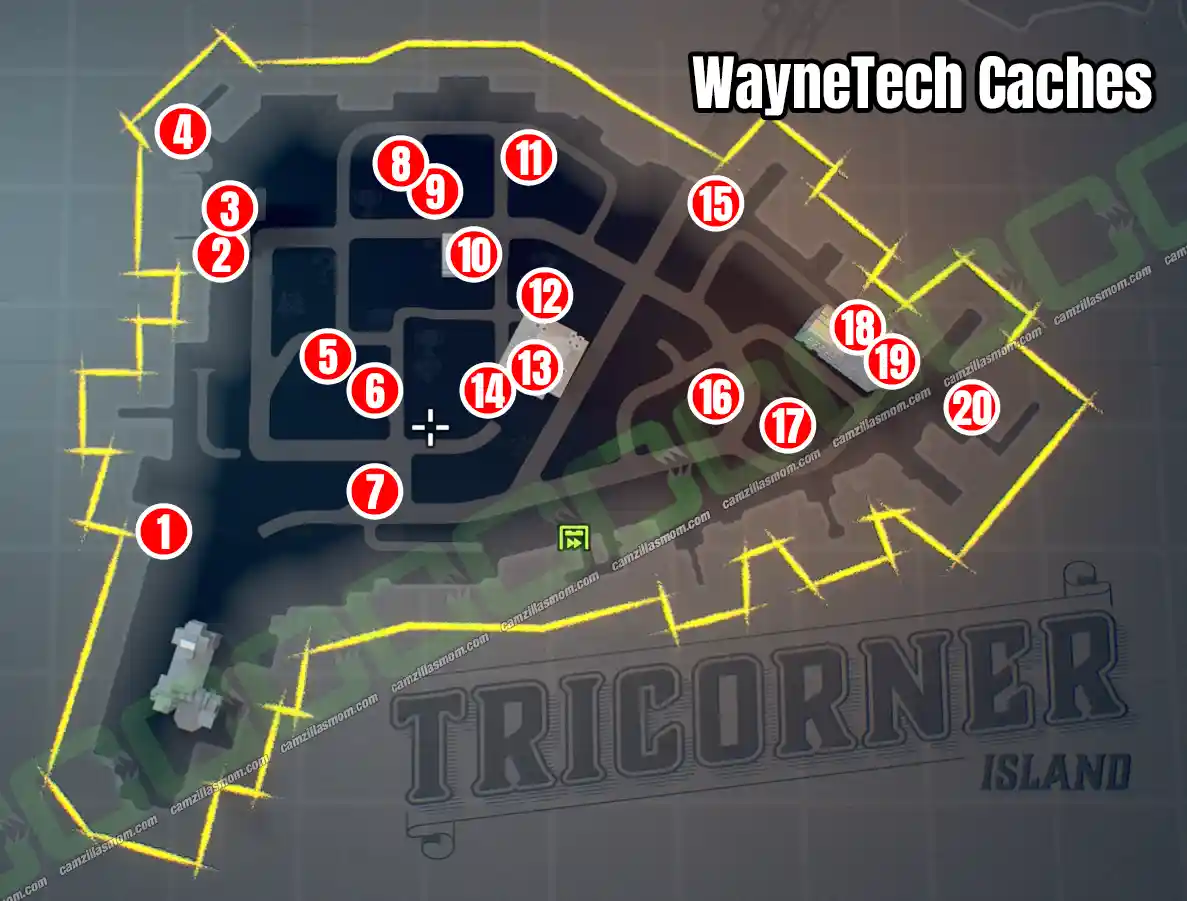
LEGO Batman Legacy: All 20 WayneTech Caches in Tricorner
All 20 WayneTech Cache locations in Tricorner with coordinates, overview map and puzzle solutions – …
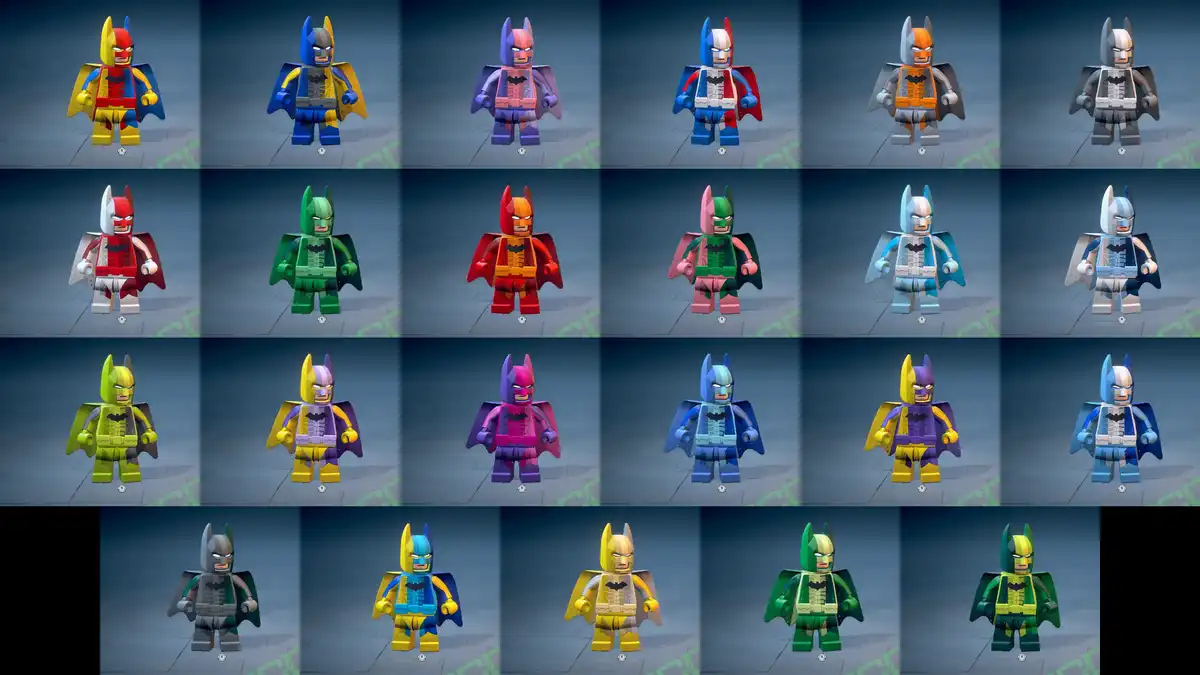
LEGO Batman Legacy: All 23 Red Bricks – Locations and Looks
Complete guide to all 23 Red Bricks in LEGO Batman: Legacy of the Dark Knight. Find all Story Missio…


About LEGO Batman: Legacy of the Dark Knight
Release: May 22nd, 2026
Developer: TT Games
Publisher: Warner Bros. Games
Official Website: https://legobatmangame.com/