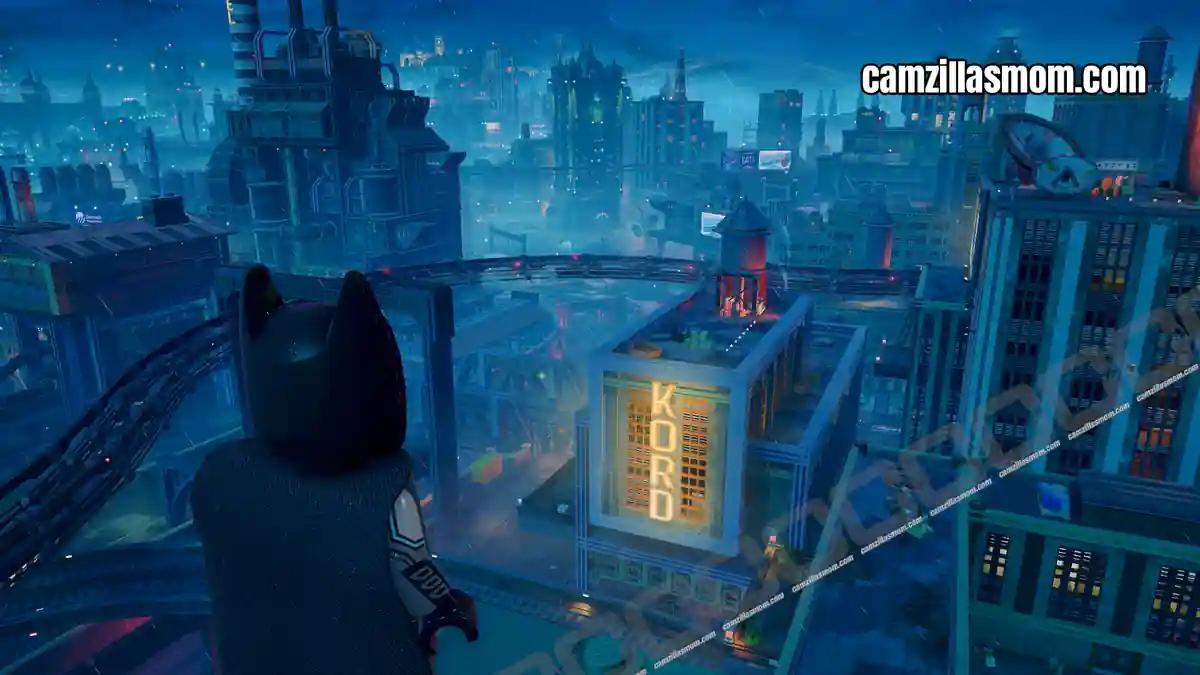
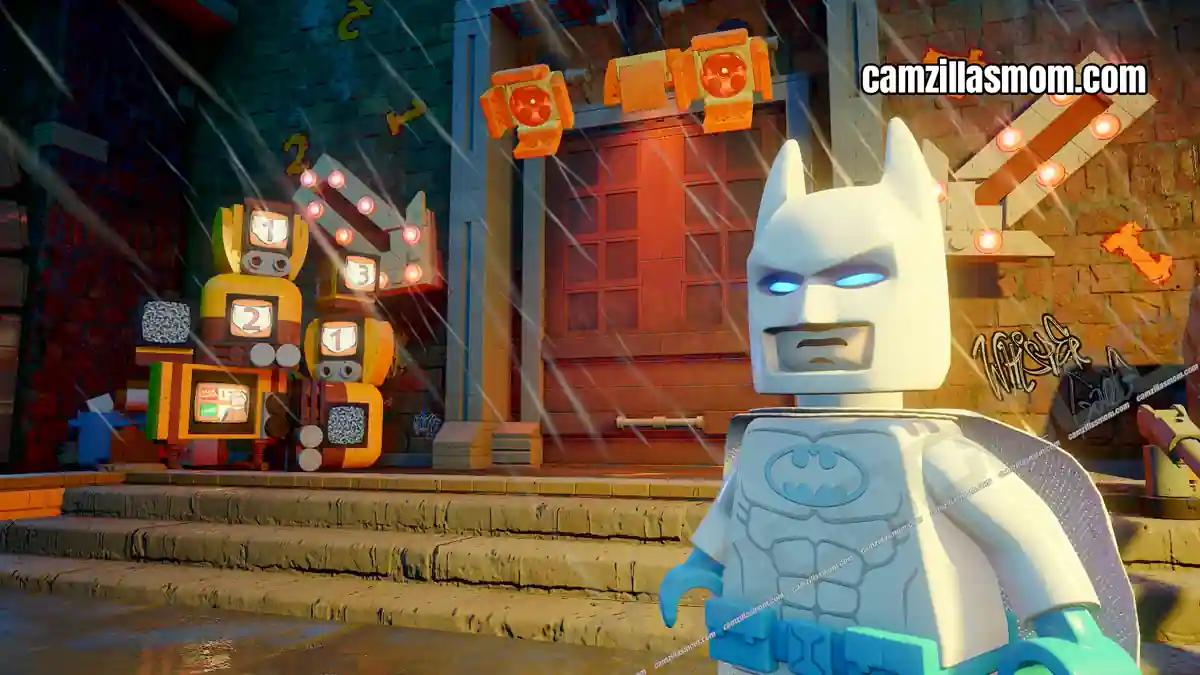
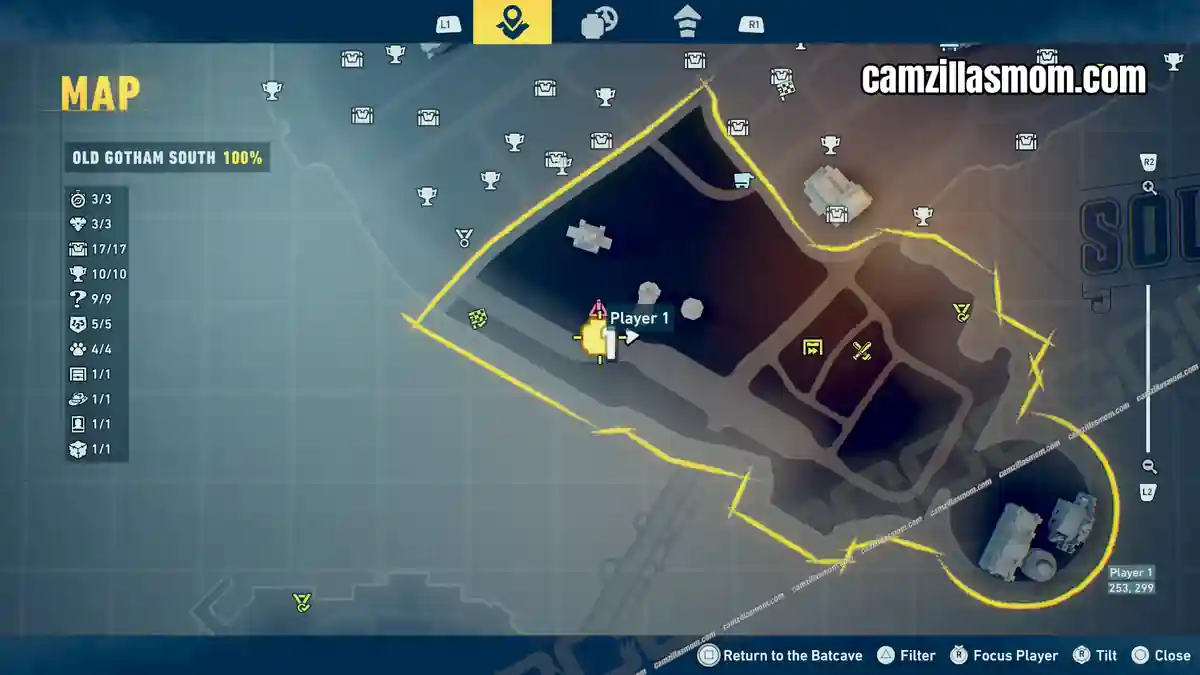
Old Gotham South is one of the largest districts in LEGO Batman: Legacy of the Dark Knight, packed with activities across multiple vertical levels. This guide covers every collectible and activity in the district: 3 Trials, 3 Falcone Fortune Heists, 17 WayneTech Caches, 10 Batcave Trophy Dice, 9 Riddler Puzzles, 5 Cluemaster Puzzles, 4 Escaped Zoo Animals, 1 Subwayne, the Tipping the Scales Waylon case, and 1 Wanted Poster.
Related Guides:
All 14 Falcone Fortune Heists
All 9 Tower Locations
All 21 Escaped Zoo Animals Locations
100% Tricorner Collectibles Guide
All 9 Subwayne Locations
LEGO Batman: Legacy of the Dark Knight Hub
Trials – 3
Old Gotham South has three Trials spread across the district, covering all three challenge types. Complete each one to work toward 100% completion in the district.
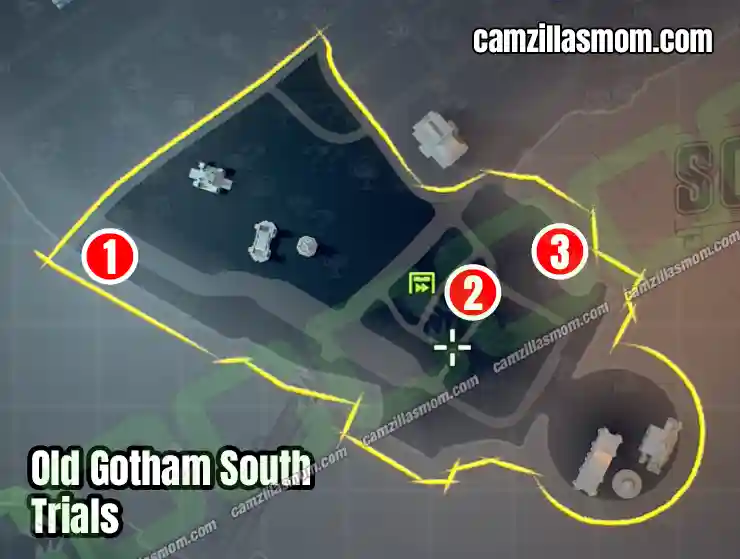
1 – Driving Trial
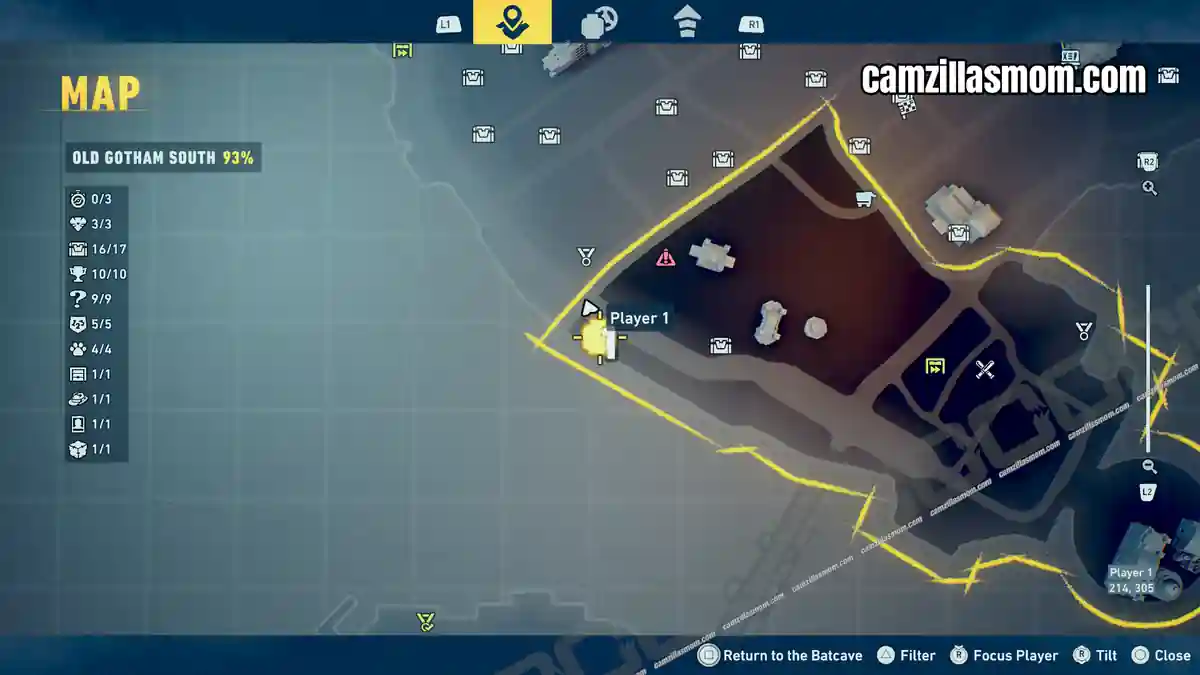
Coordinates: 214, 305
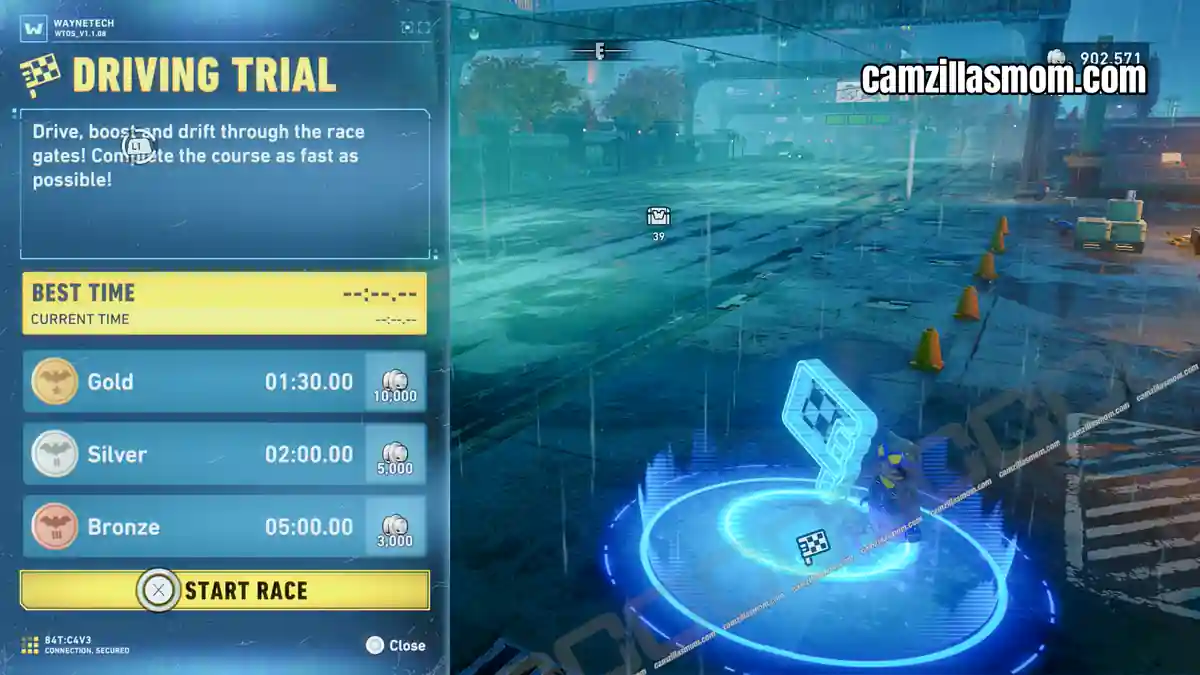
The Driving Trial is in the westernmost corner of the Old Gotham South district, on a waterfront parking lot.
2 – Combat Trial
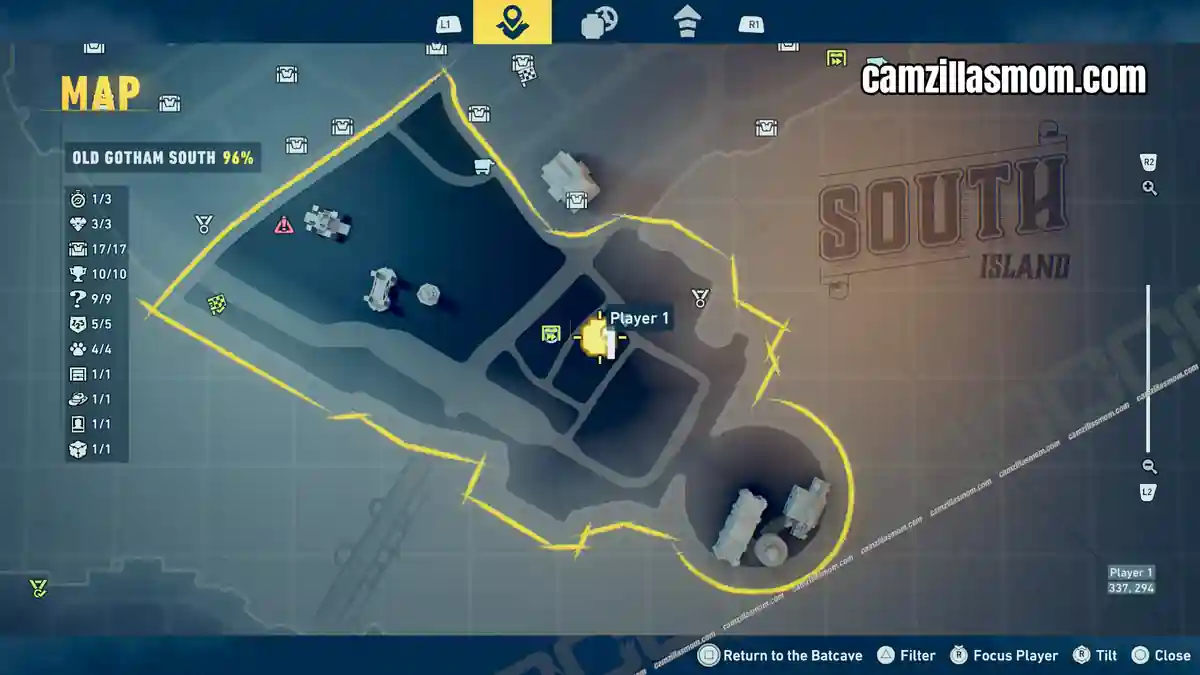
Coordinates: 337, 295
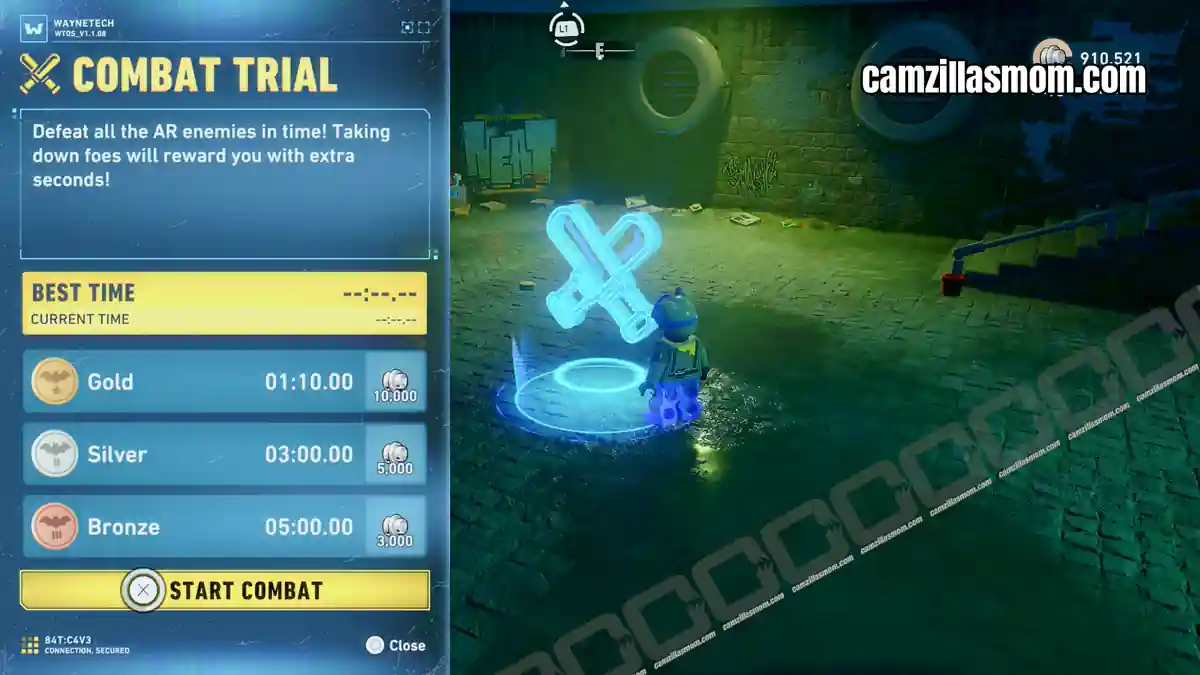
The Combat Trial is east of the Subwayne.
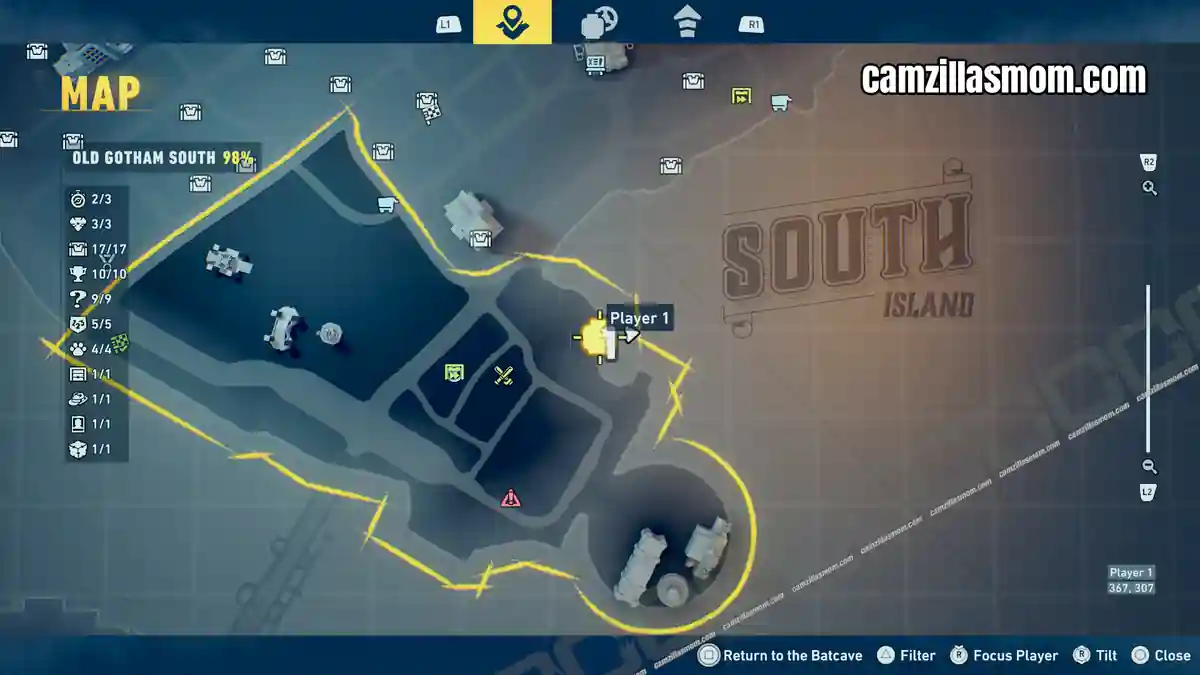
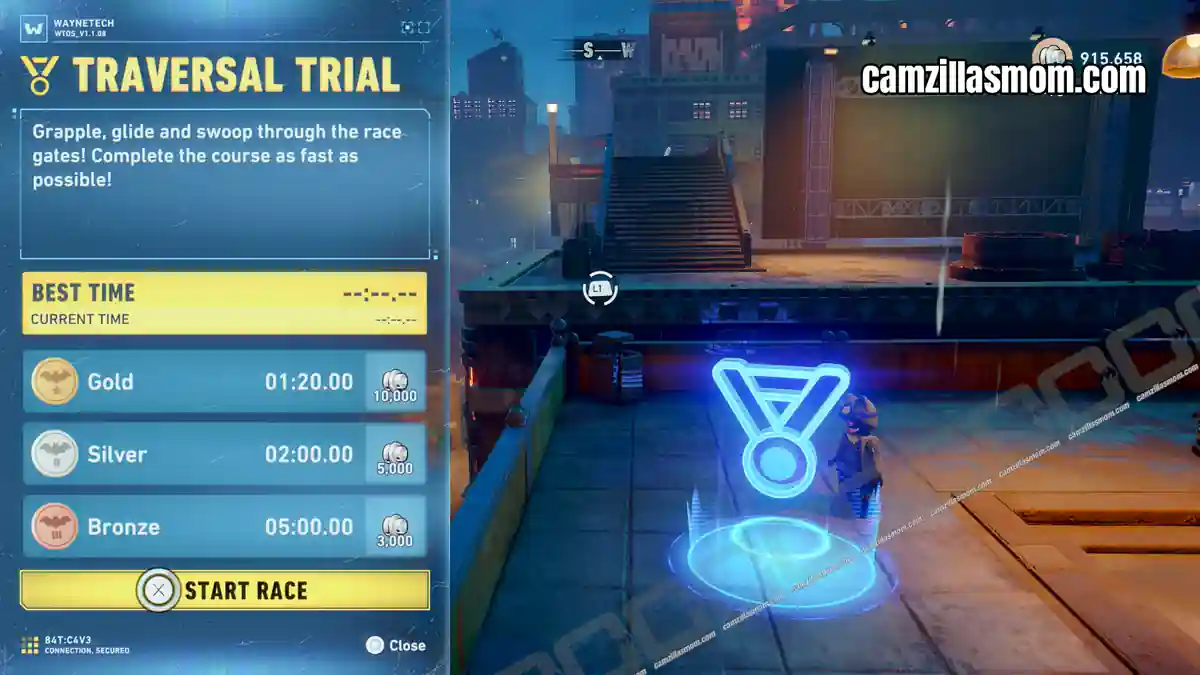
3 – Traversal Trial
Coordinates: 369, 307
The Traversal Trial is at the northern waterfront.
The Falcone Fortune – 3
Old Gotham South contains three Falcone Fortune Heists, unlocked progressively as you complete heists across Gotham. Each one tasks Batman and Catwoman with breaking into a secured location and cracking a safe.
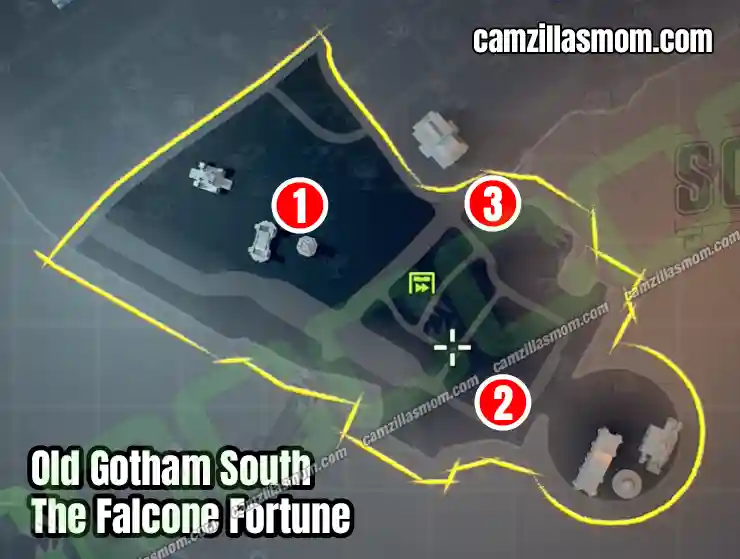
Hush, There’s Money
Coordinates: 279, 322
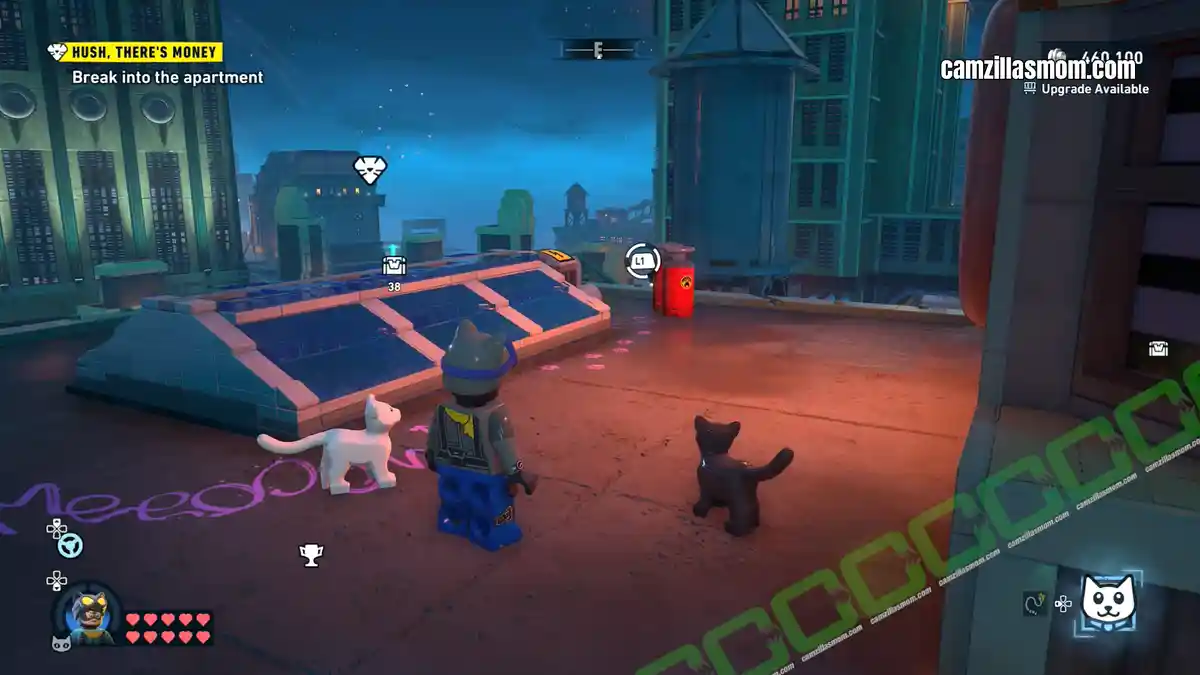
This is my fourth Heist. New Heists unlock after this one. The location is a glass roof in the northwest of Old Gotham South. There are explosive tanks next to them. Destroy those to reveal a spindle for Catwoman’s Whip. Use it to open the glass window.
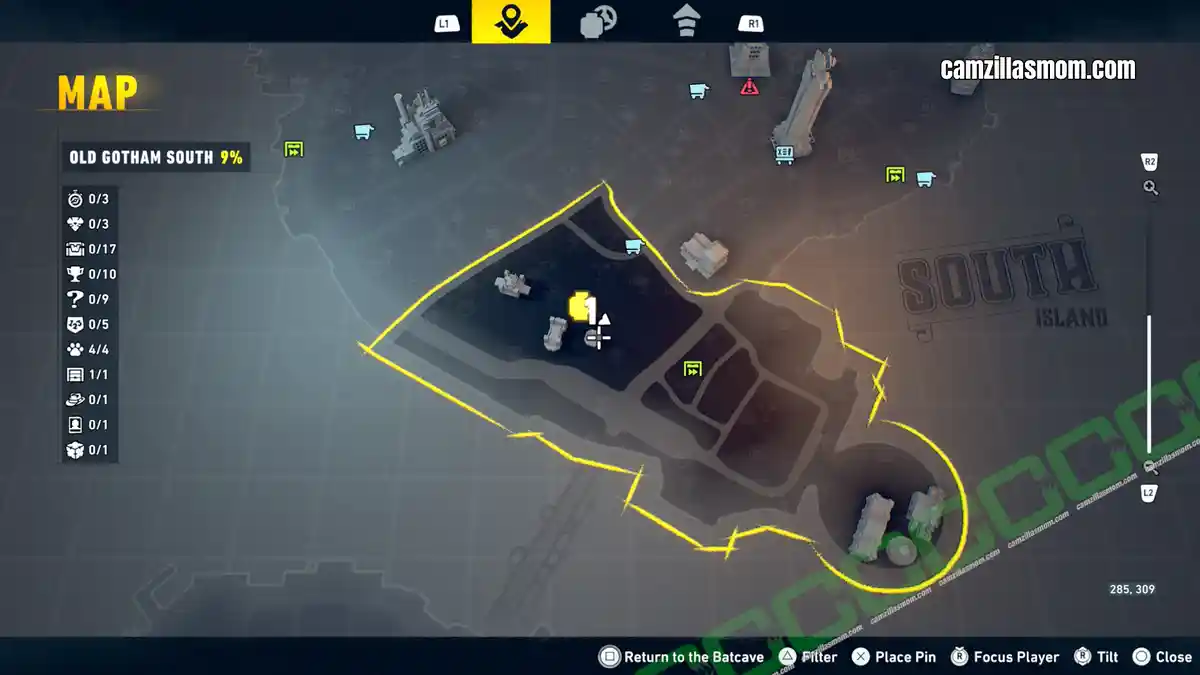
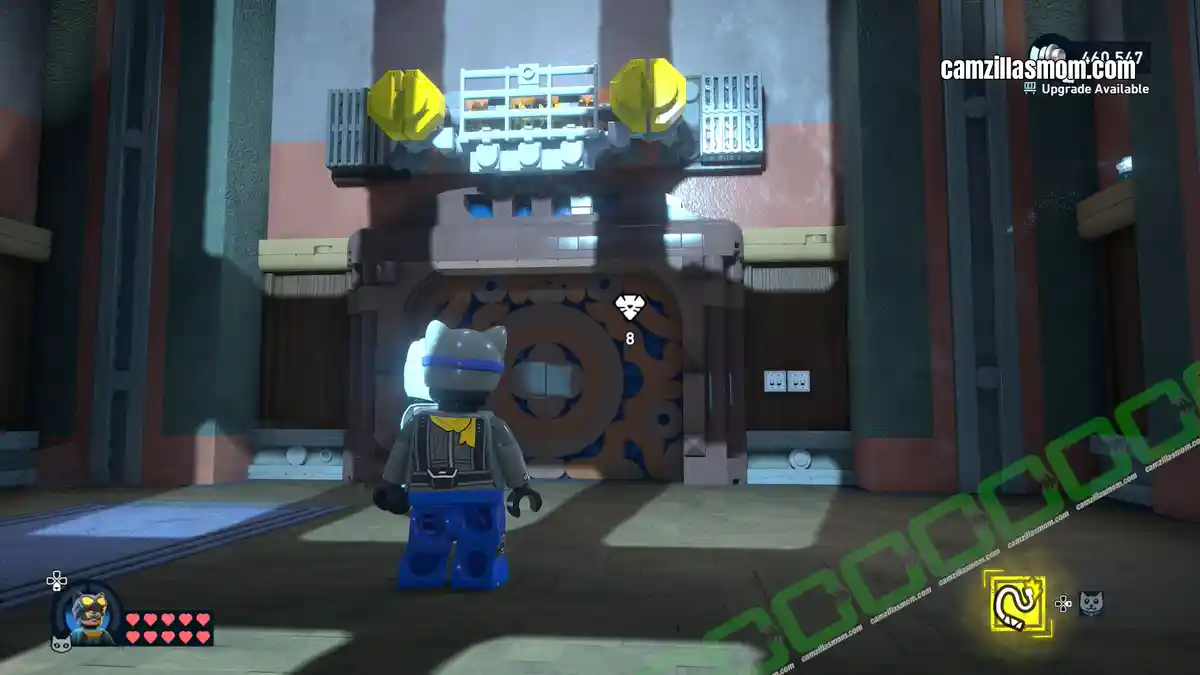
The team grapples down to a room with a closed door. Above the door are two screws that can be loosened with Catwoman’s Whip, revealing a spindle behind it. Use the Whip again, but this time on the spindle to open the door.
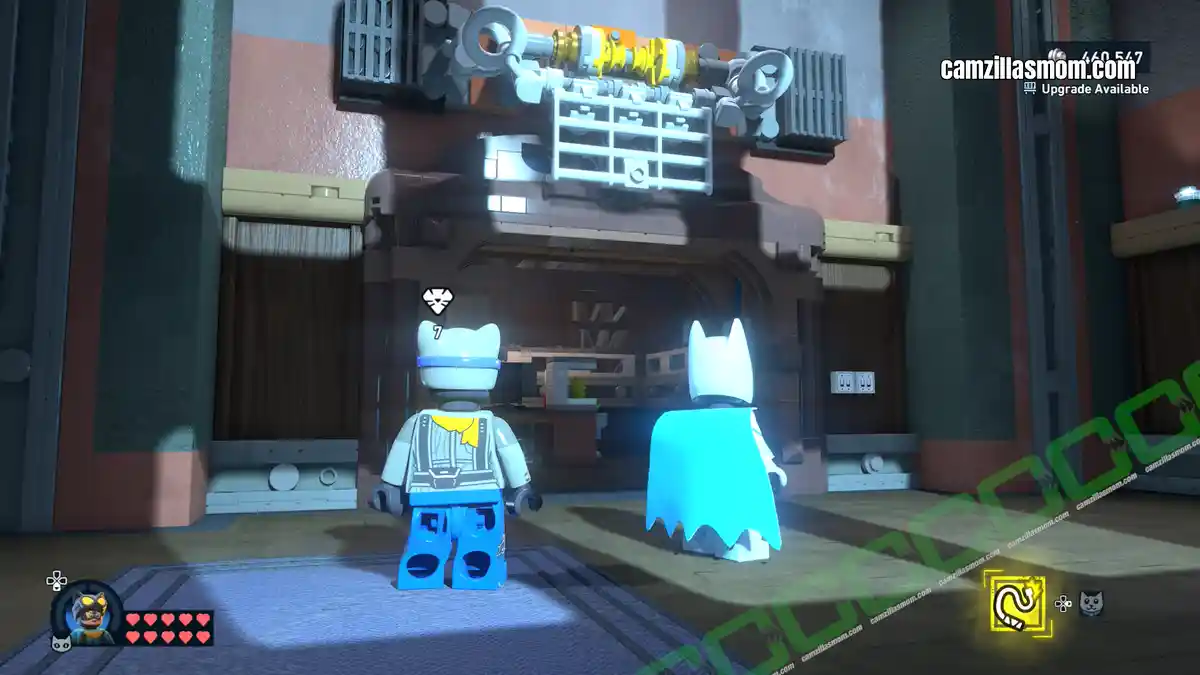
Enter the next room and head upstairs to the back to find a room with paintings. One of them is a painting of a safe. This is where to go. Switch to Batman and use UV Vision on the hammer on the floor in front of the painting. In the scan, follow the glowing cable to the left. There is a button behind the owl painting.
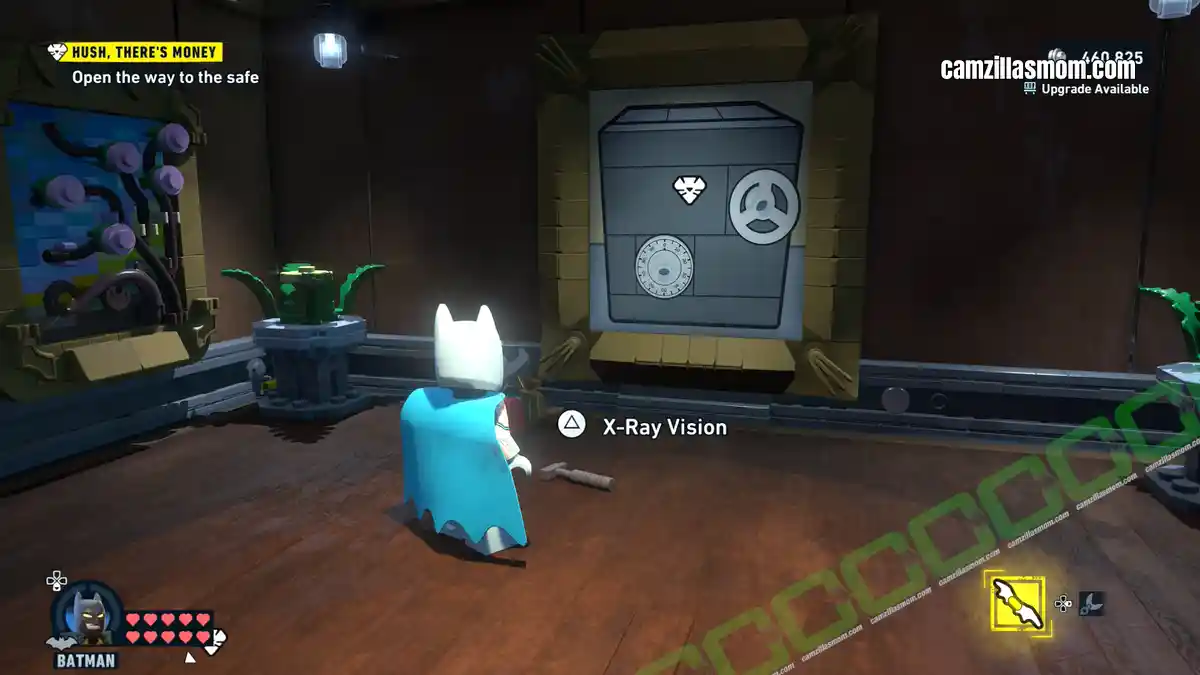
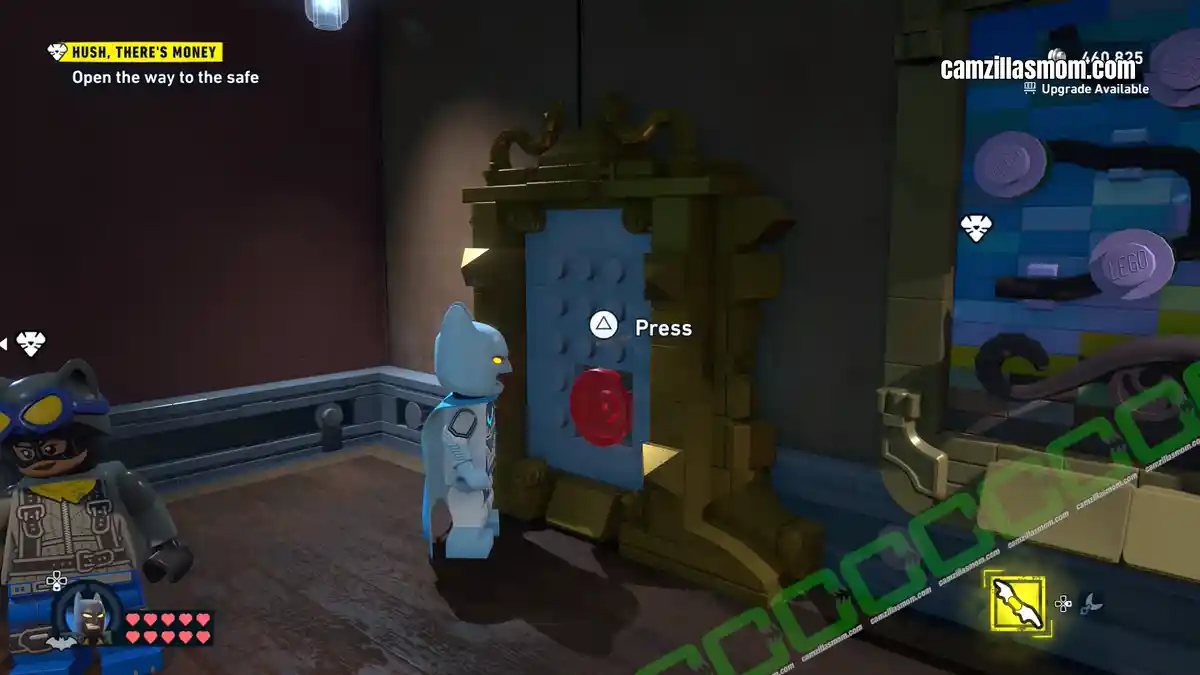
Before entering the next room, destroy everything to find a yellow lever. Pick it up and take it to the next room, where you can put it in the missing lever slot.
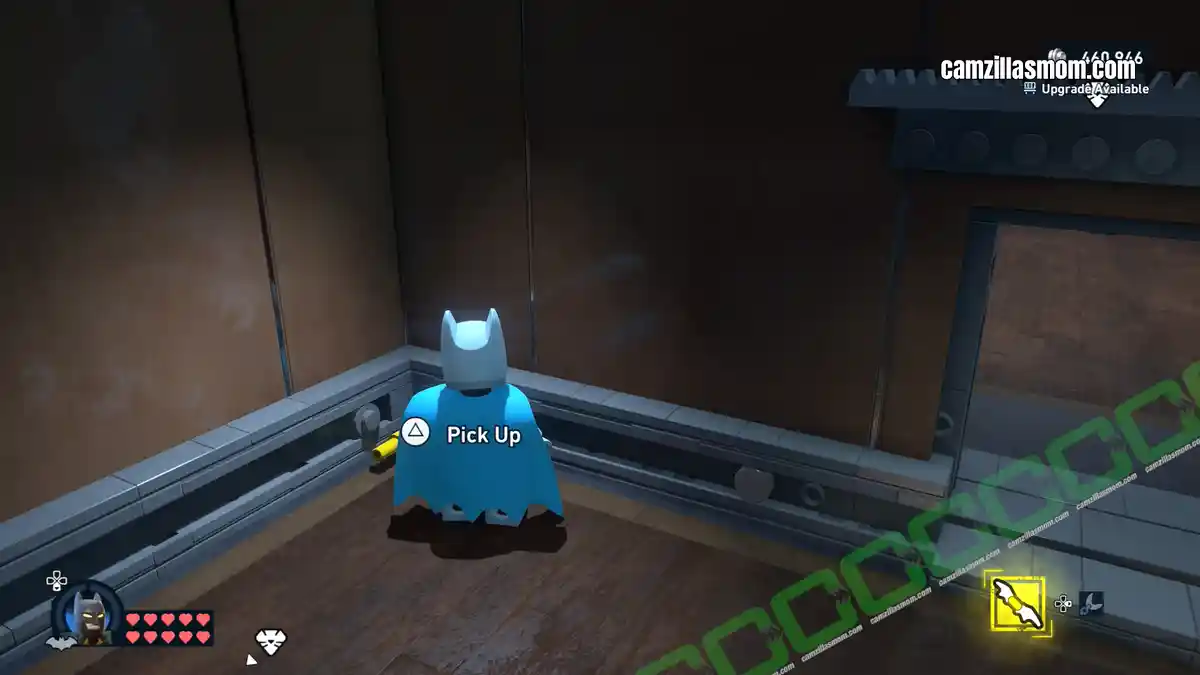
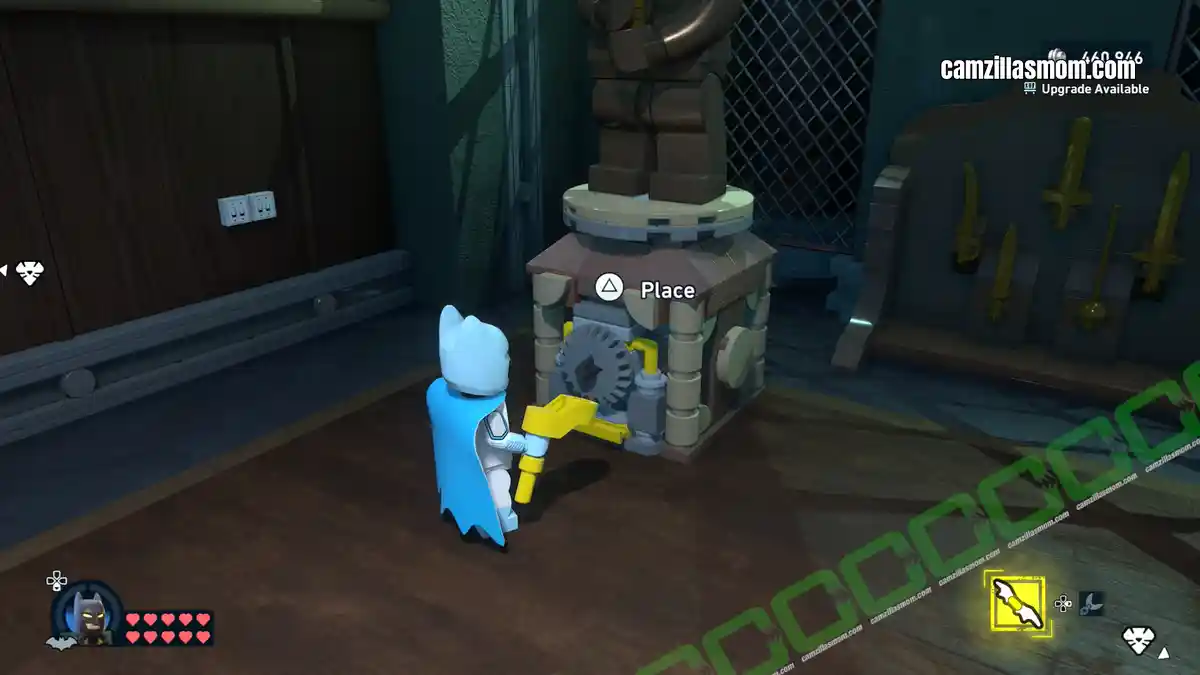
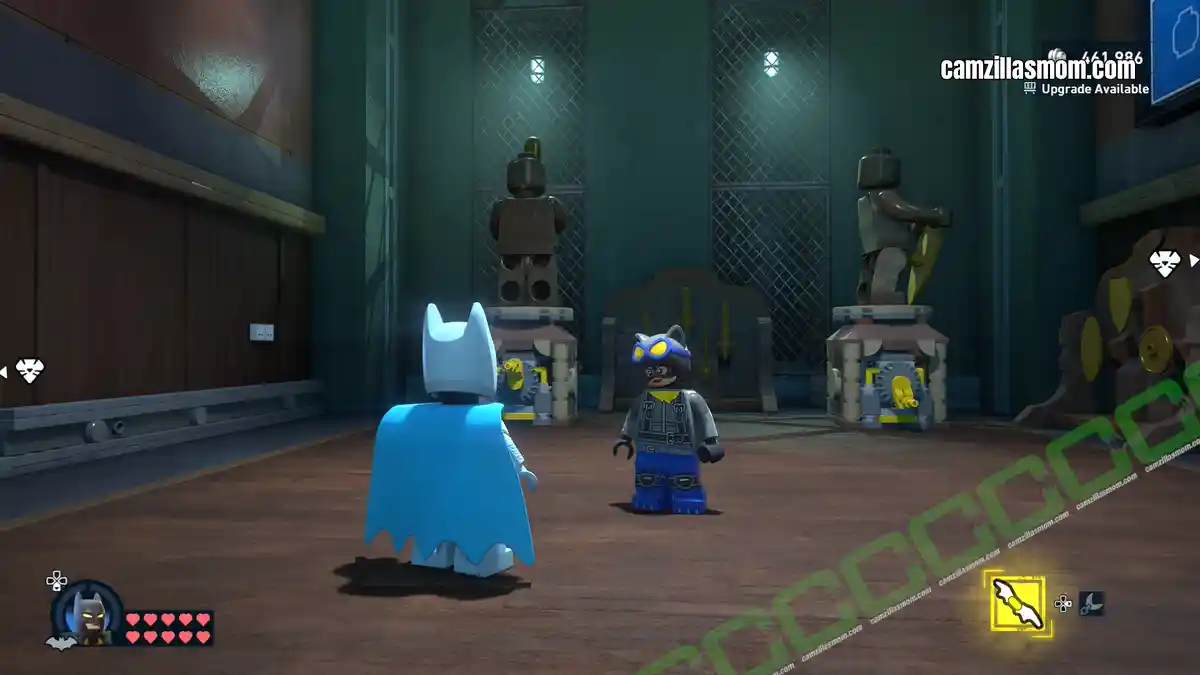
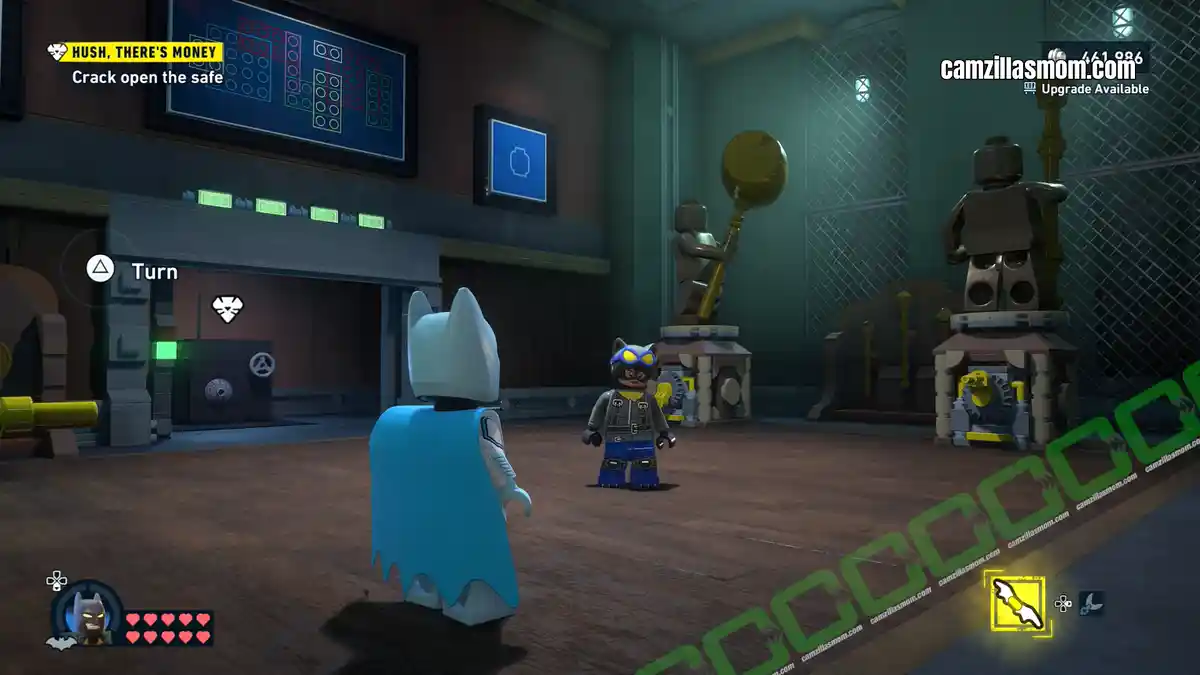
Now you can solve the puzzle in this room to open the safe. The room has four statues, each holding either a weapon or a shield. The locked door has four lights above the entrance; the second one is set to green. This means one of the statues is in the correct position. It’s the one with the shield. It is facing the shield with its shield.
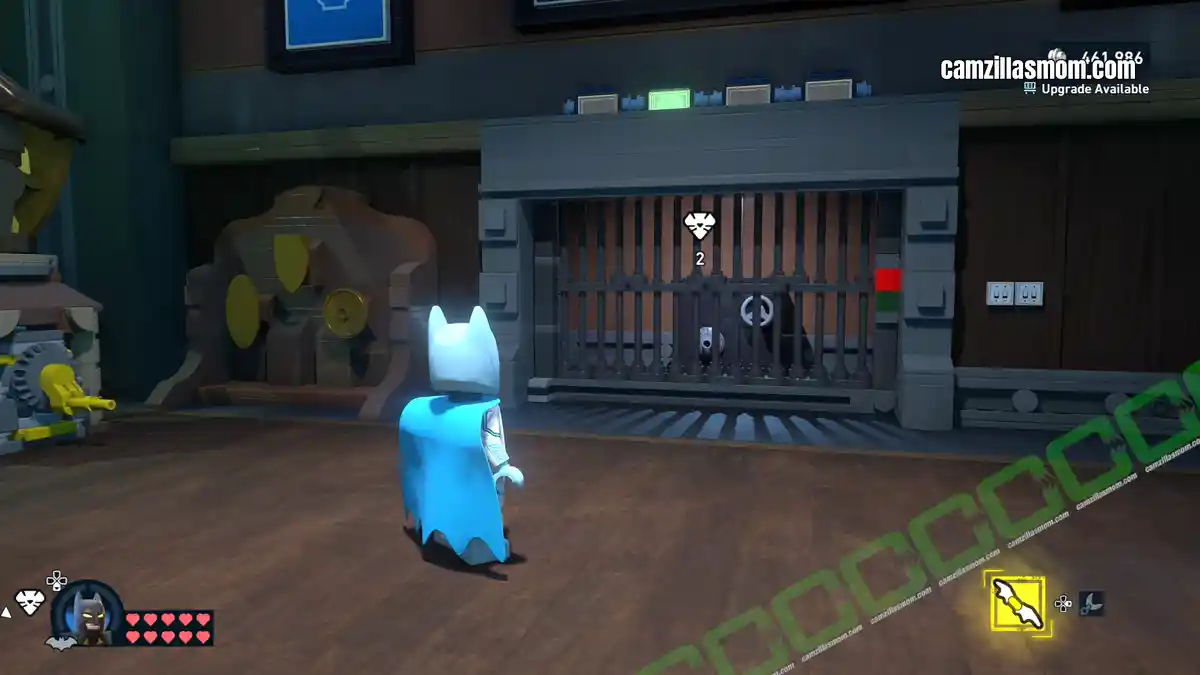
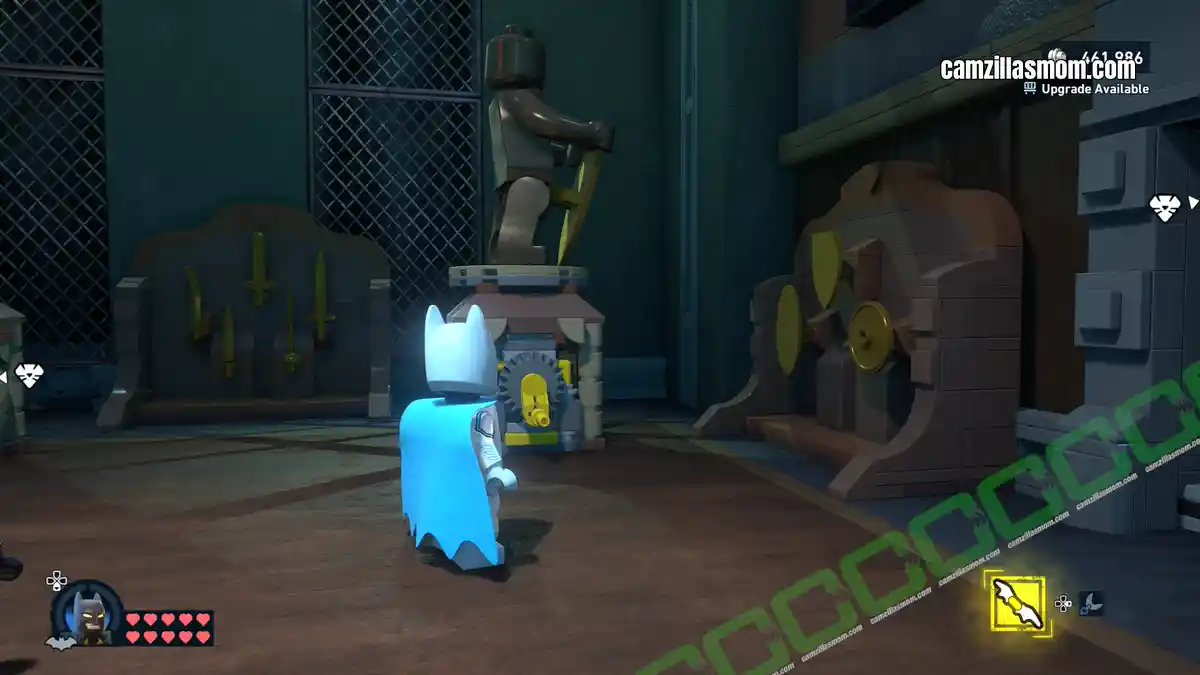
Turn the other statues so they face their weapon in the weapon rack. The sword statue faces the left wall, the mace statue faces the right wall, and the hammer statue faces the entrance wall. The gate will open, and Catwoman can crack the safe. Swipe the money inside and leave the apartment.
Safe and Sound
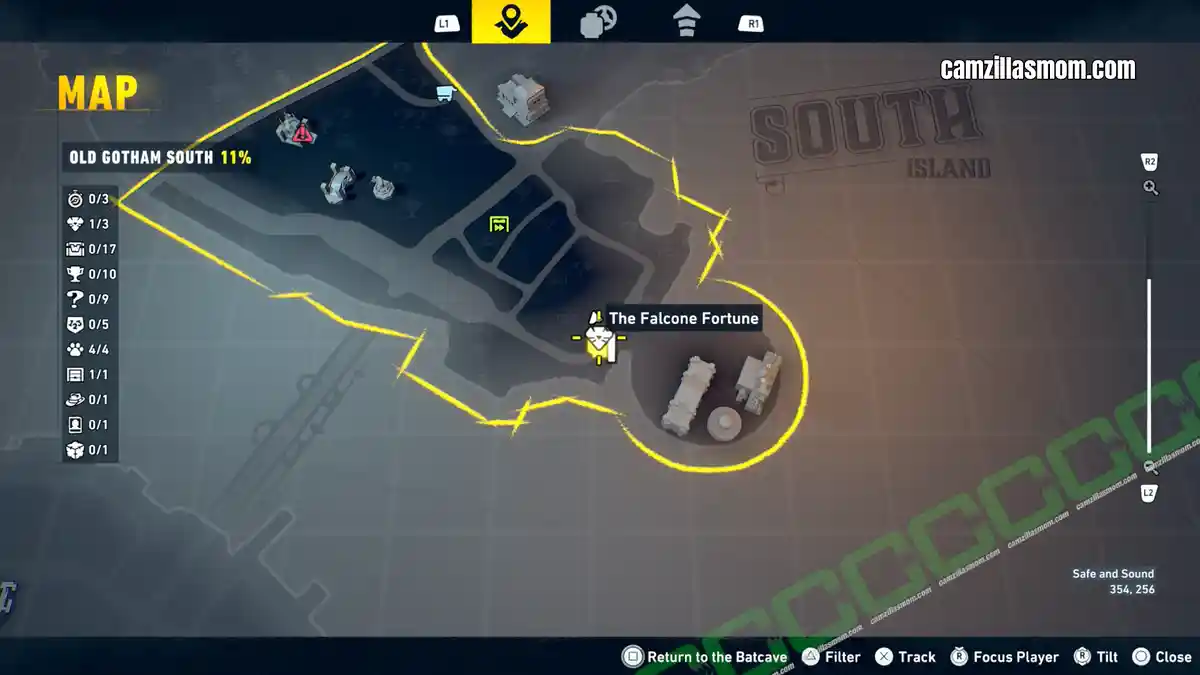
Coordinates: 354, 256
Safe and Sound is part of the second batch of Heists released (together with High Ground) after completing 4 initial heists.
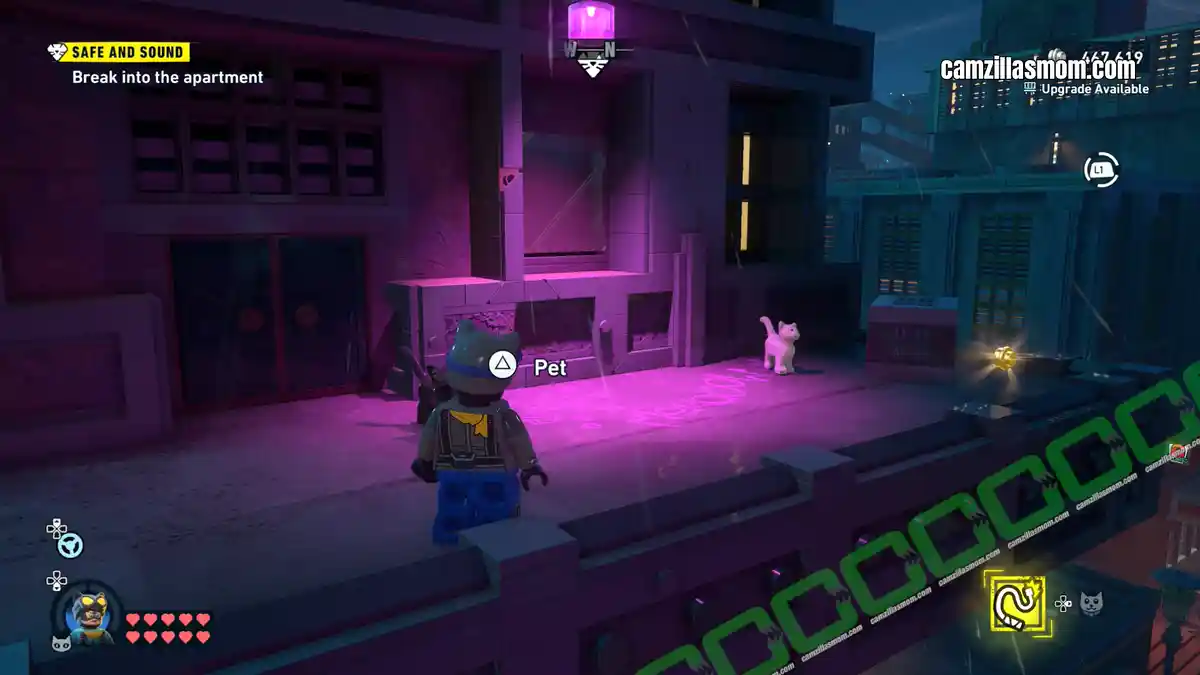
This location is in the southeast, on the other side of the road from Gotham Zoo. Switch to Catwoman, cut the pink glass, and enter the apartment.
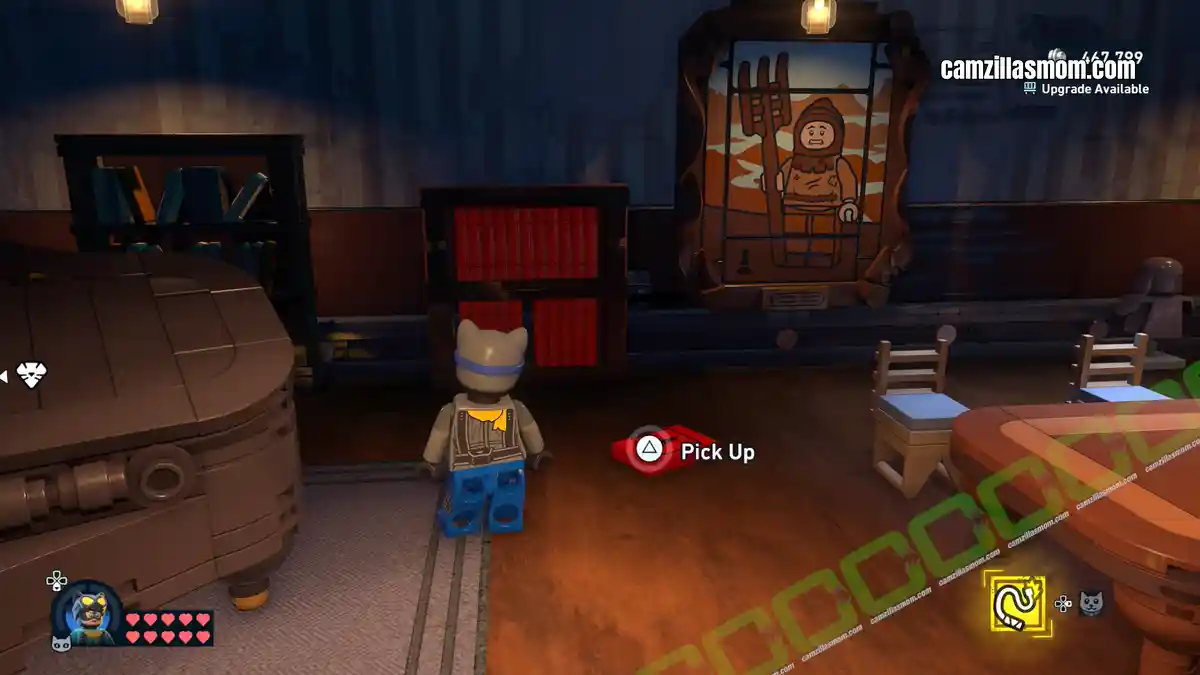
Inside the apartment, a bookshelf holds red books next to a painting of a pawn. One book has a chess pawn on its cover. Pick up the pawn book right in front of the bookshelf and put it into the empty slot. This will open a passage to the room behind the painting. Inside this room is the queen book.
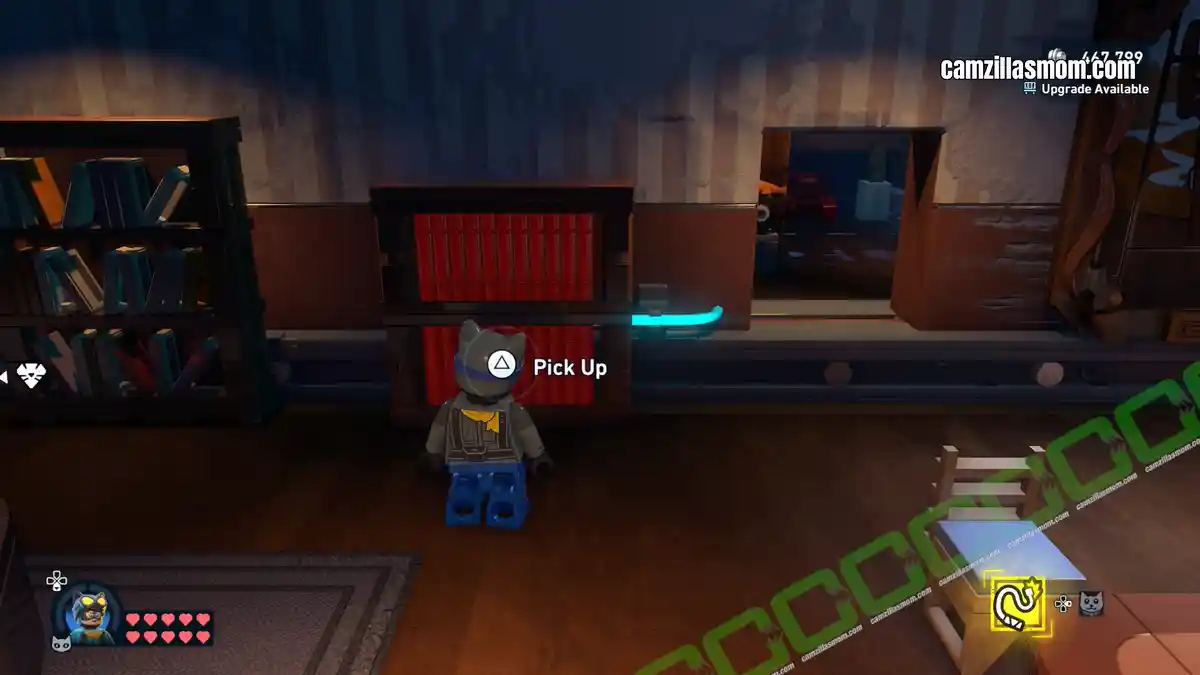
Back in the room with the bookshelf, there is a yellow grapple plug on one of the bookshelves. Use Batman’s Bat Claw to pull this bookshelf to reveal a Kitty vent. Summon a kitty with Catwoman and pass through the vent. In the next room is another Kitty vent to go through.
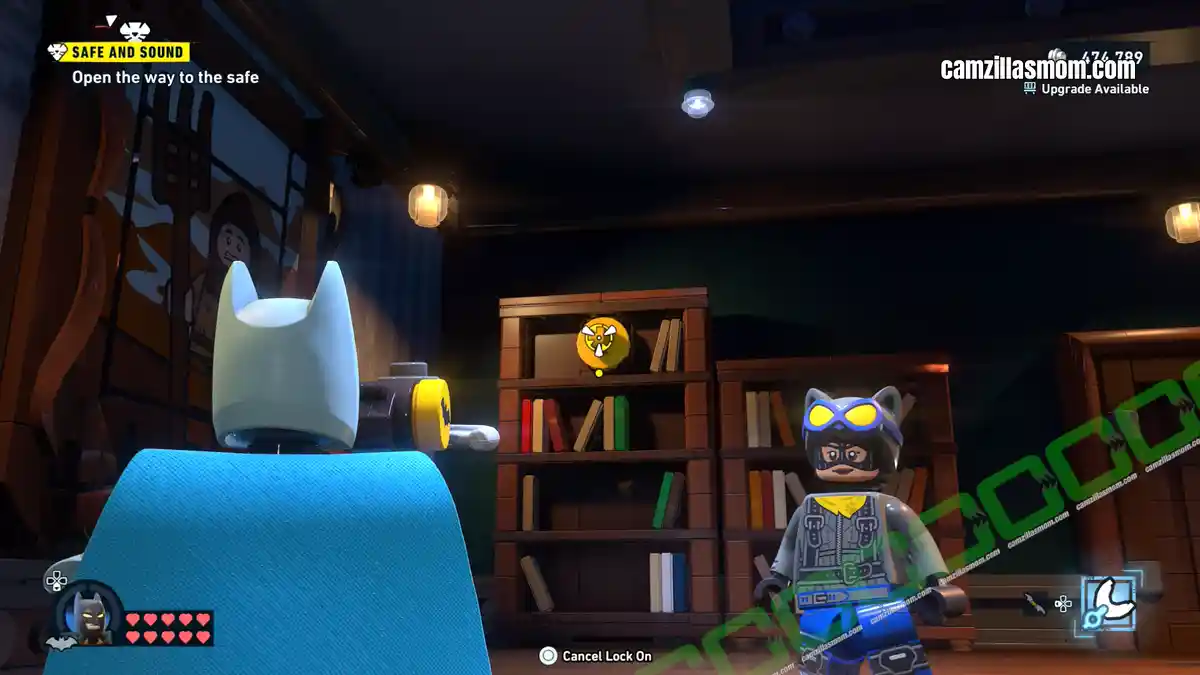
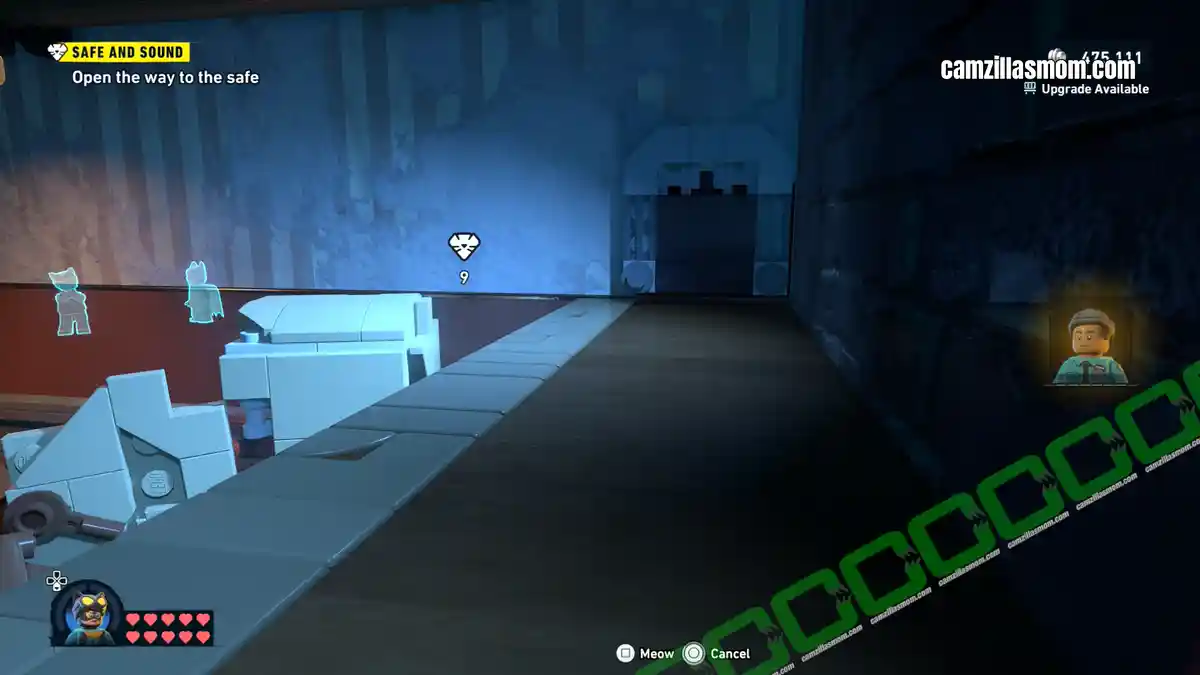
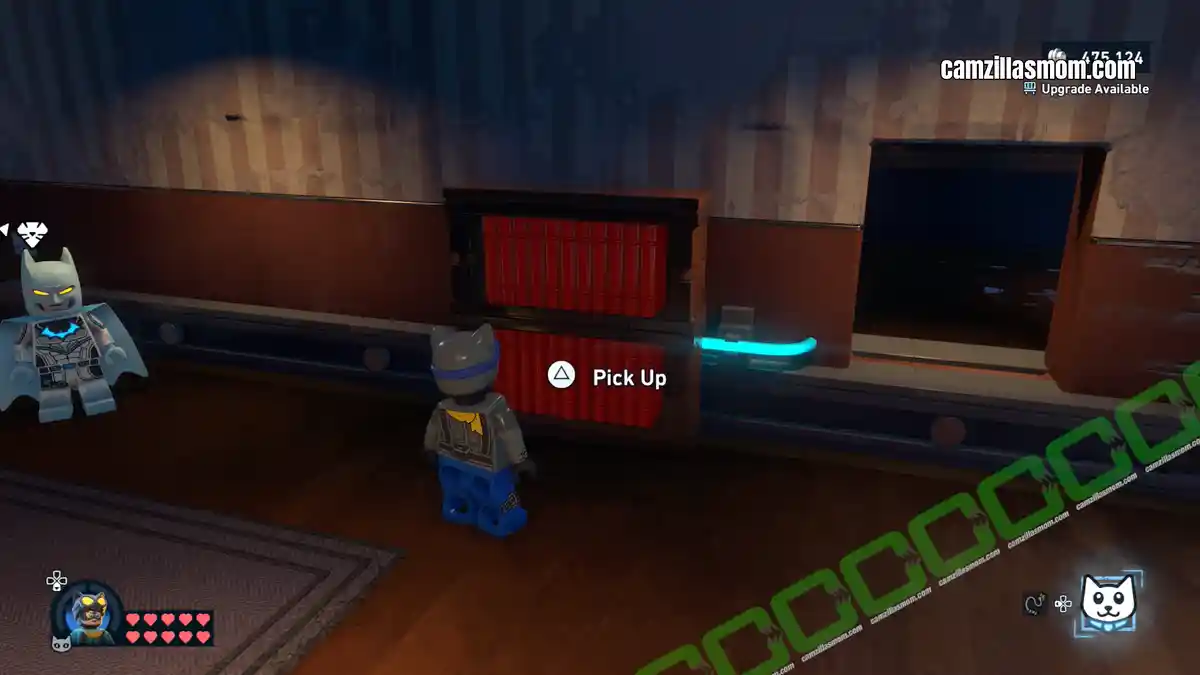
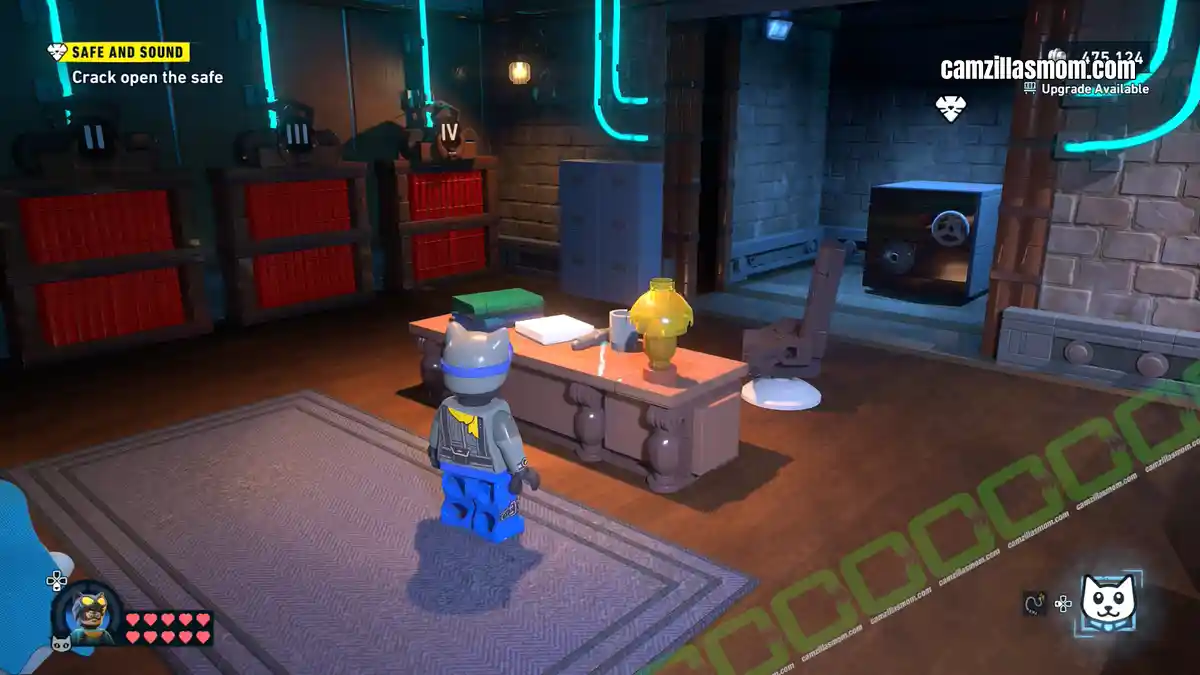
This vent leads to the main library with four bookshelves. Press the red button to open the door. Now you can pick up the queen book from the pawn room and place it in bookshelf number 4 (the queen is the chess piece with the highest value).
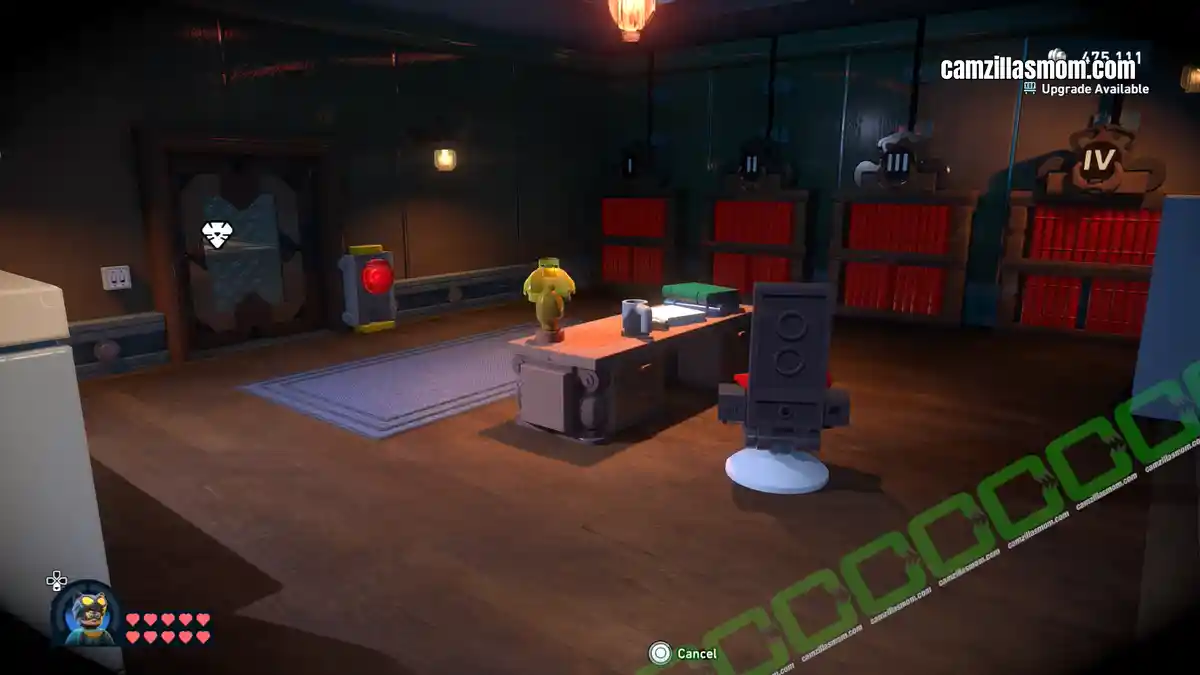
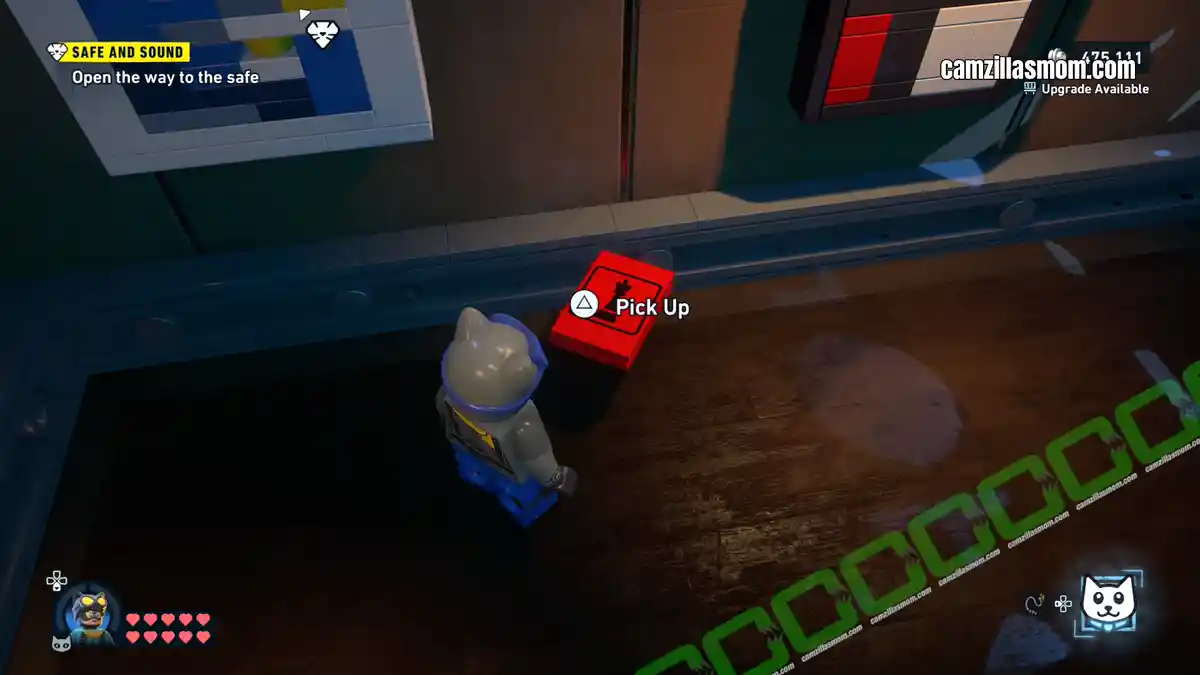
Pick up the castle book from the chair in the library and put it in the third bookshelf (the fortress is less important than the queen). Pick up the Knight Book from the entrance hall and put it into the second bookshelf (The Knight is important, but not as important as the castle).
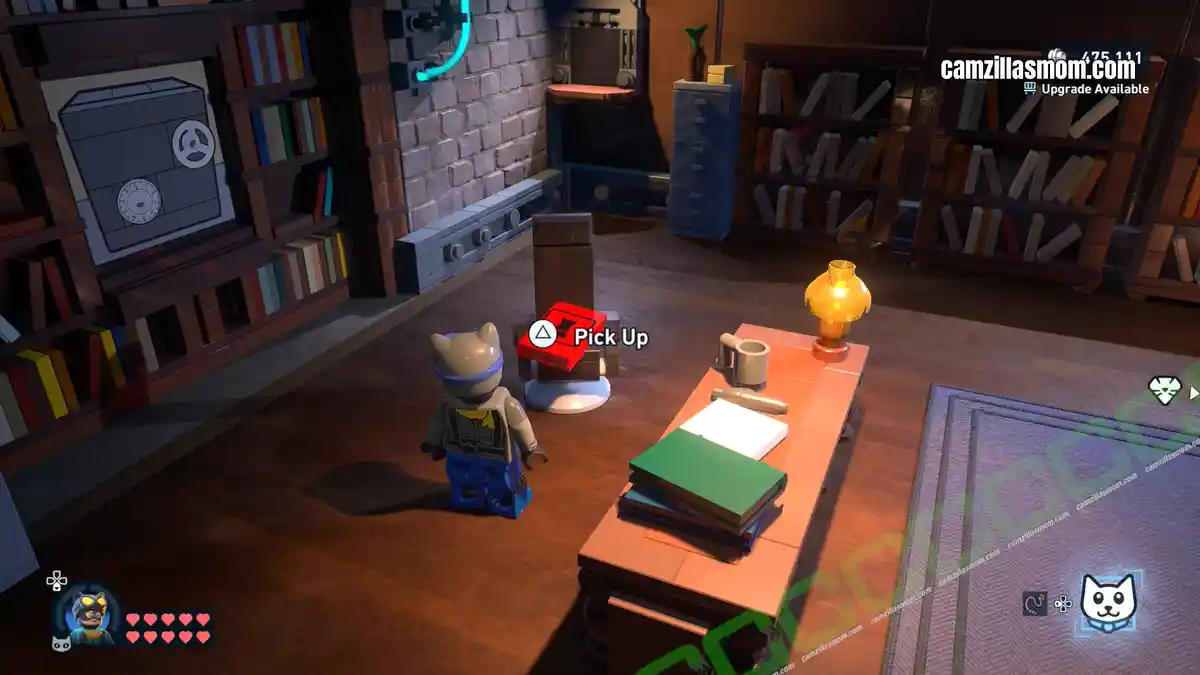
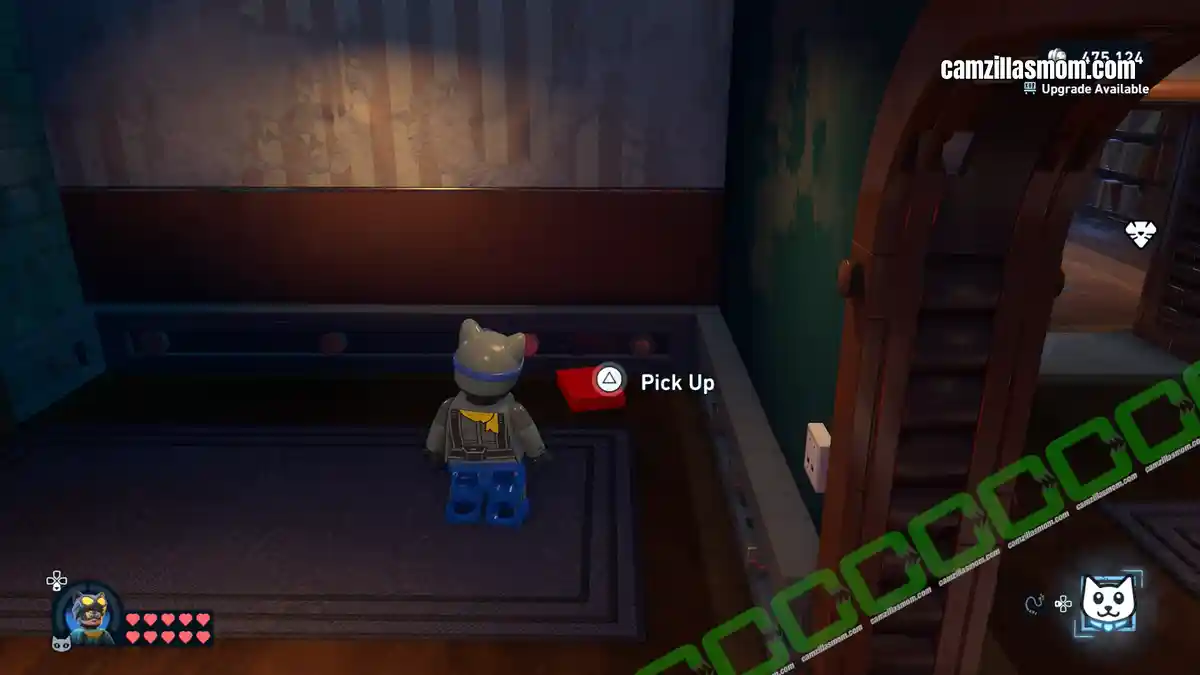
Remove the Pawn book from the small bookshelf and place it in the first bookshelf in the library to open access to the safe. Switch to Catwoman to crack the safe and swipe the money inside it. Leave the apartment to complete the heist.
No Heist Too Tough
Coordinates: 350, 320
No Heist Too Tough is part of the third batch of Heists released (together with Pure and Symbol & The Heist Must Go On) after completing the two from the second batch (Safe and Sound & High Ground).
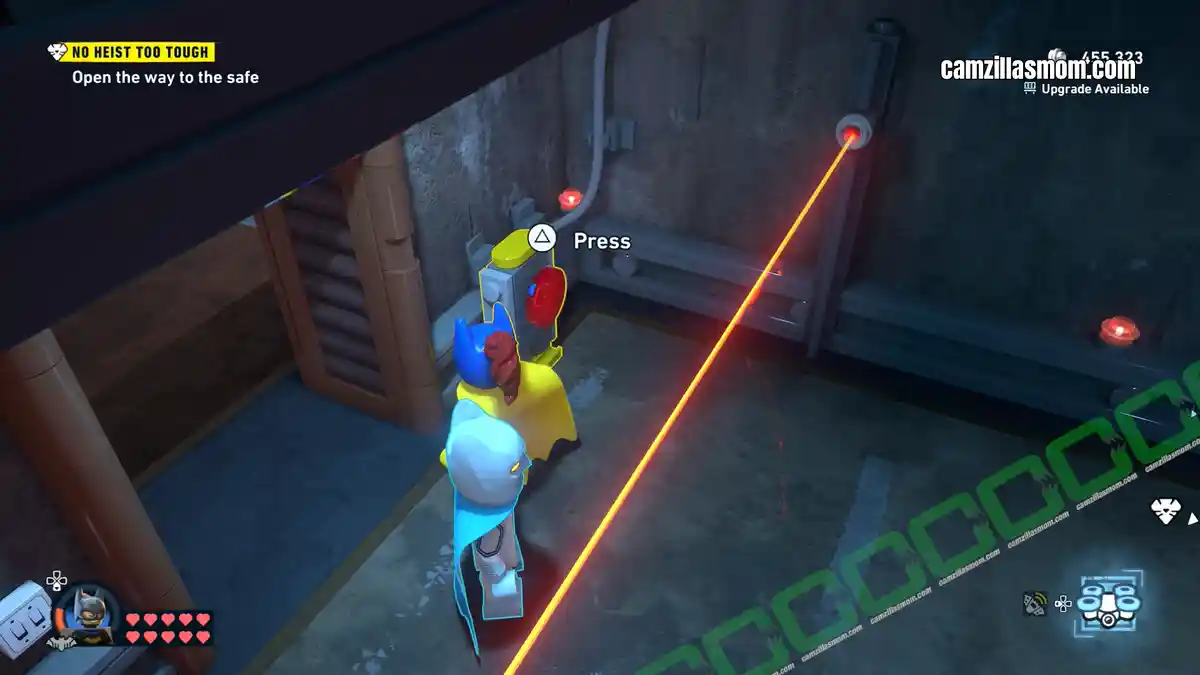
North of Old Gotham South is a door on the roof that needs to be hacked by Batgirl. Use a Hackarang to open it.
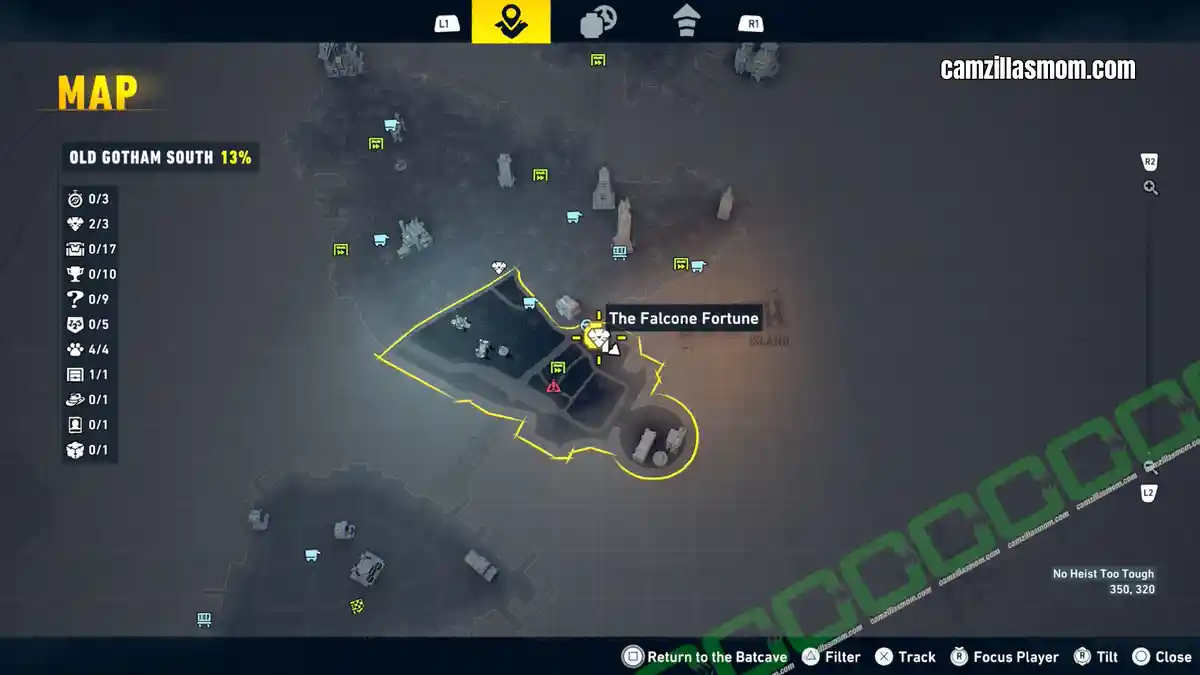
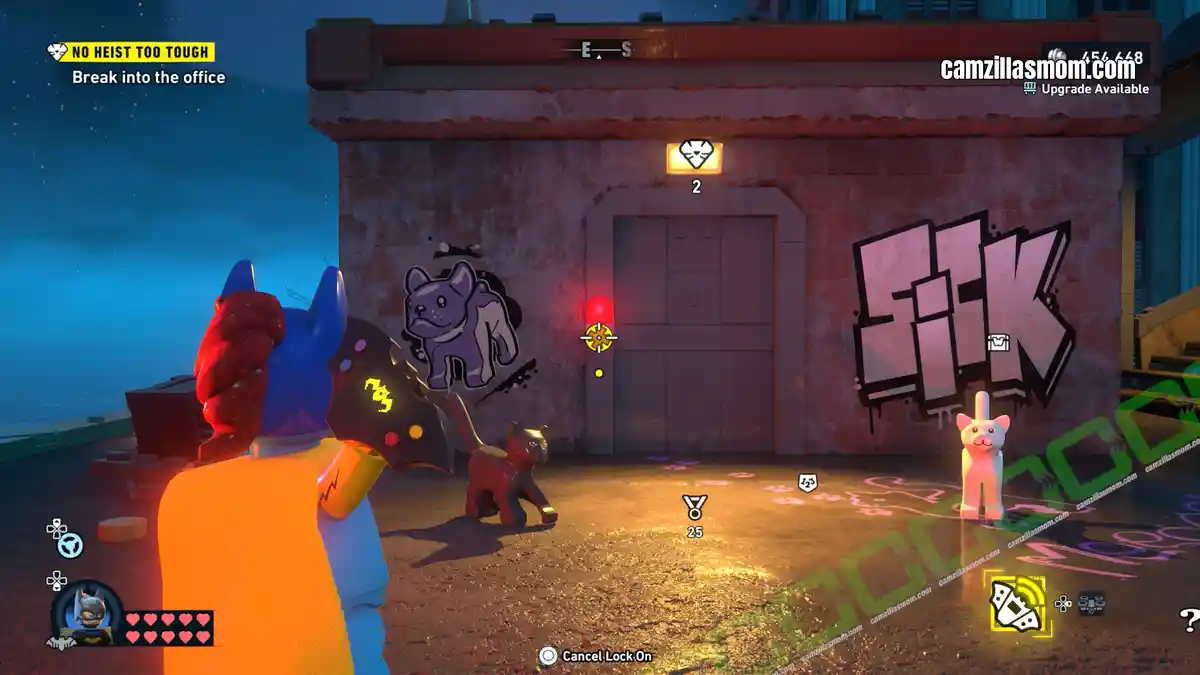
The inside is an office patrolled by two drones. Use the Hackarang to disable them. You probably have to run around a bit to avoid them and access the hacking point at their backs. Once the drones are dealt with, cut the glass to the server room.
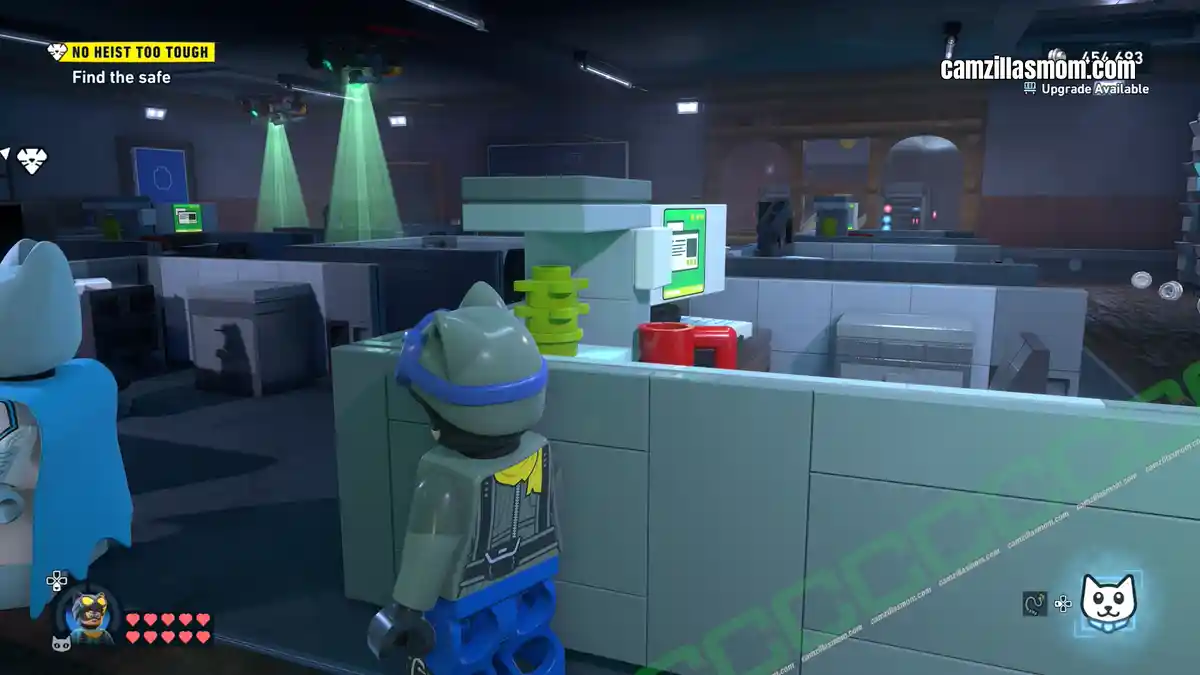
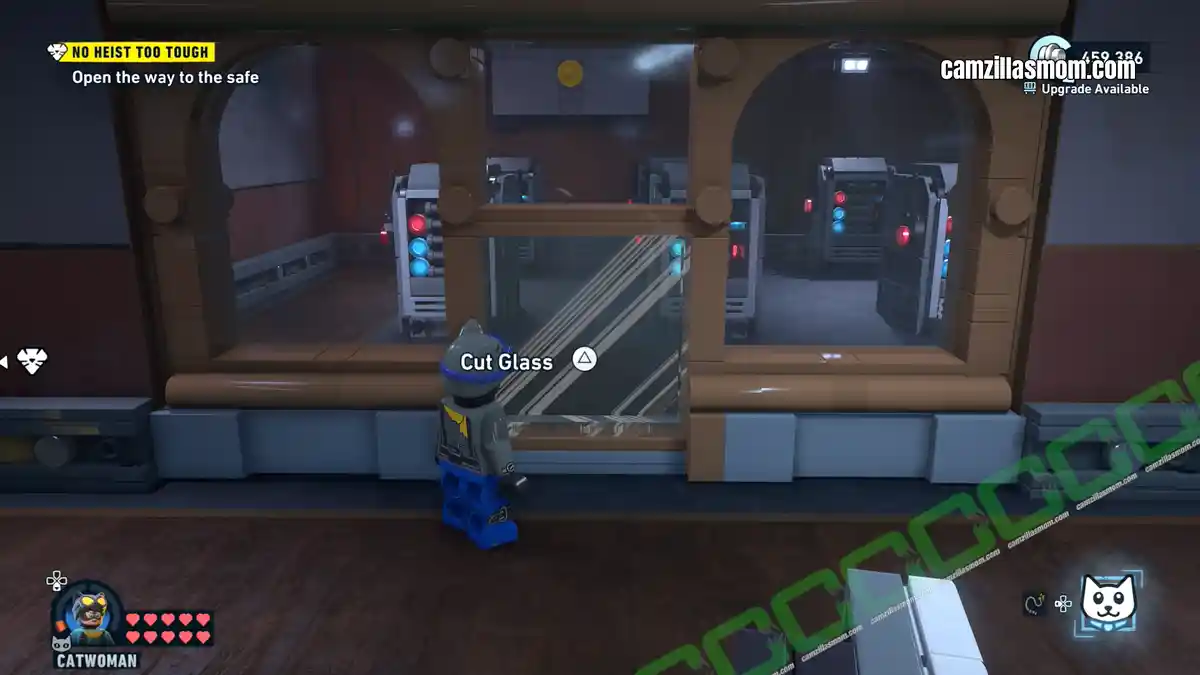
Inside is a yellow grapple plug for Batman’s Bat Claw. Pull this panel to create an opening for Batgirl’s drone to fly into a corridor with security lasers. Avoid them and fly to the other side of the corridor. Here you can enter an office.
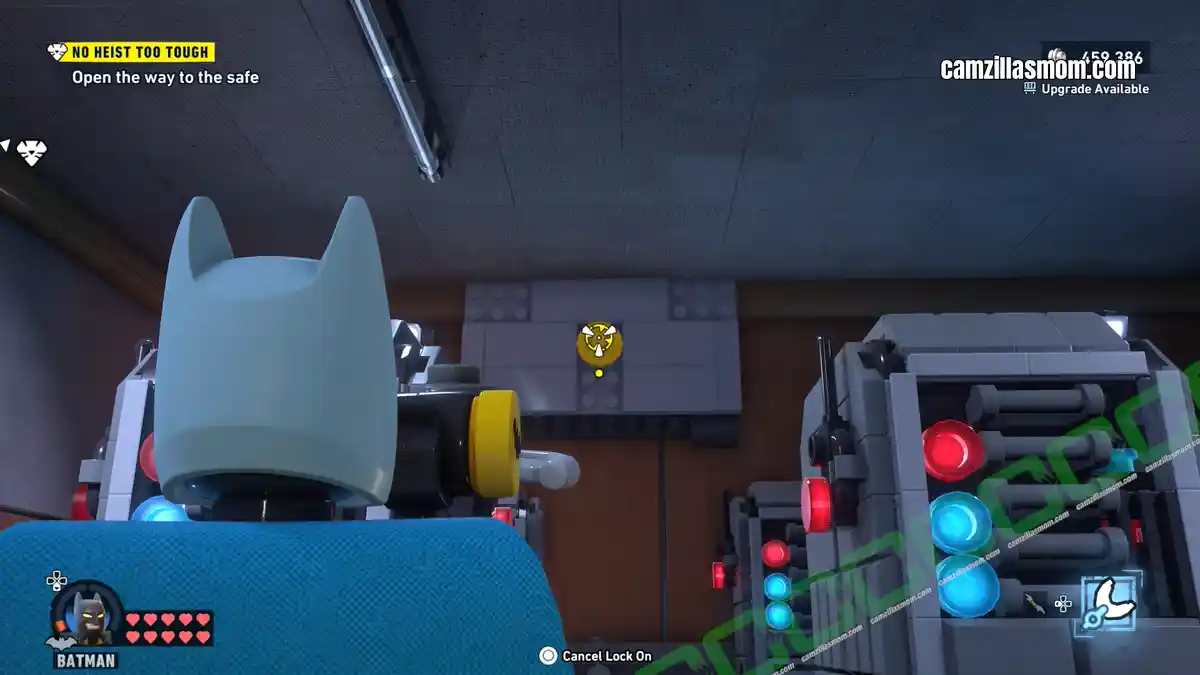
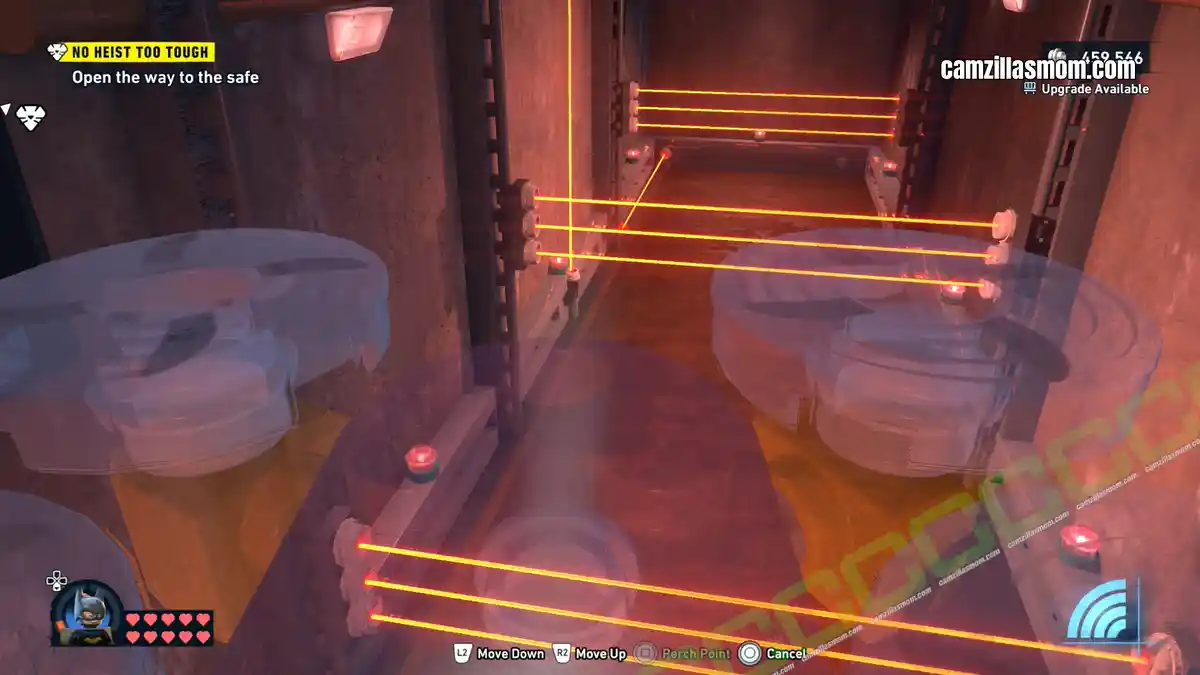
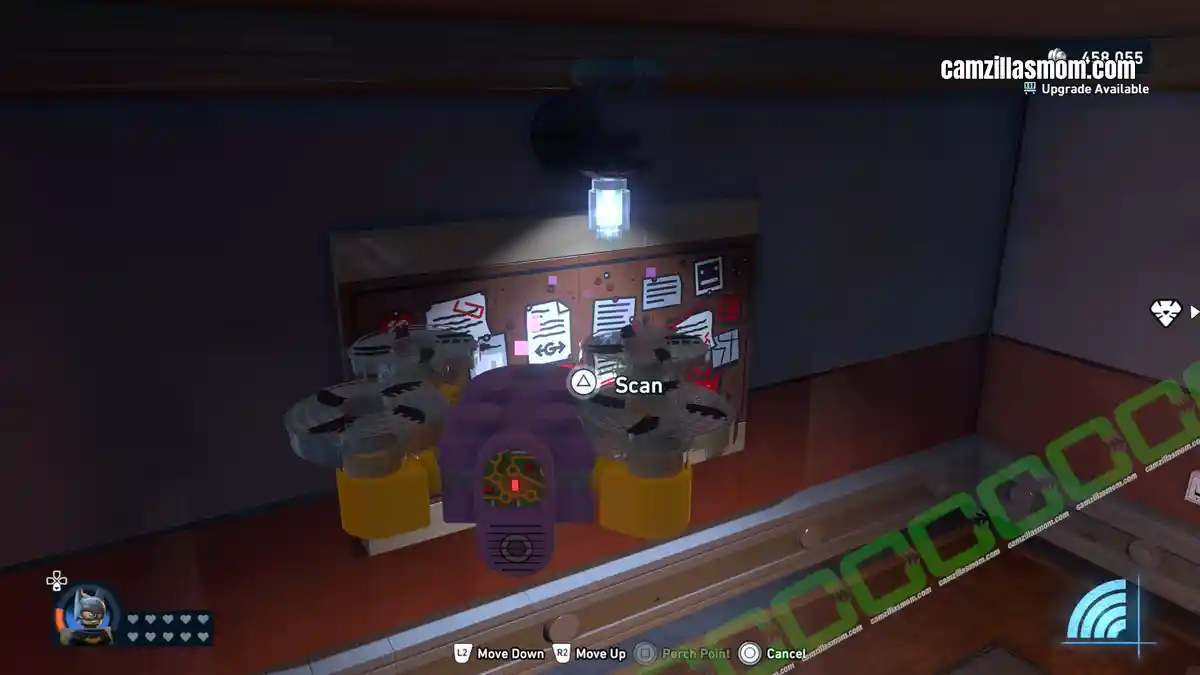
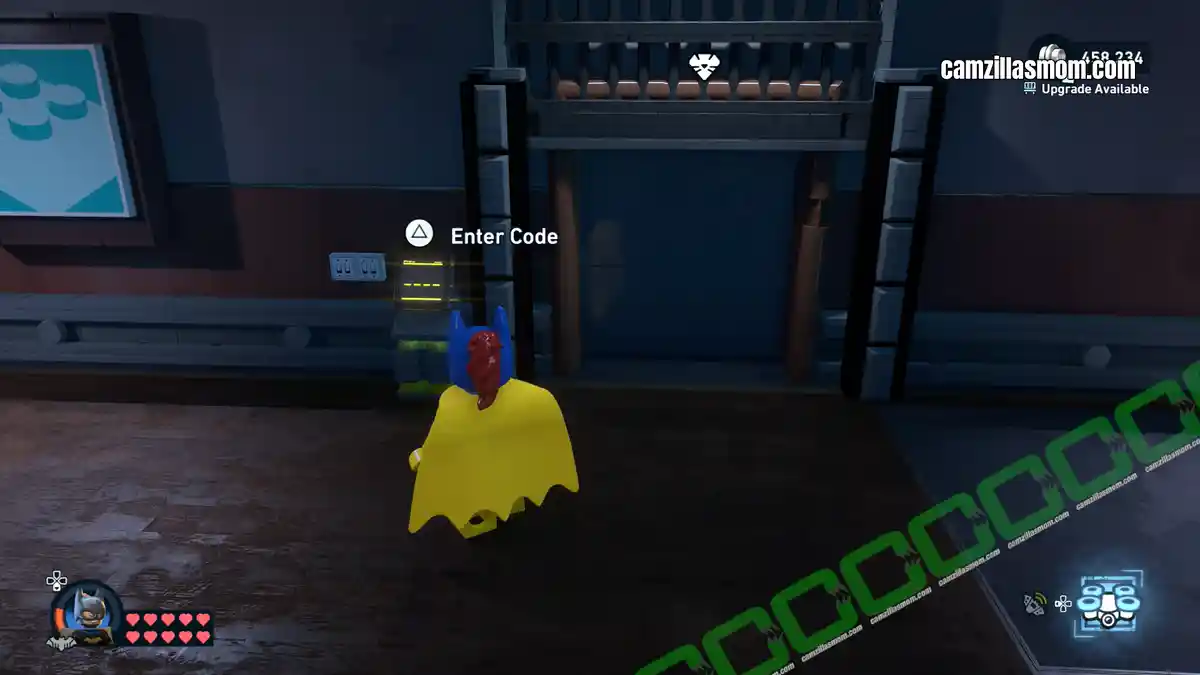
Scan the pinboard in this office for the code, then switch back to Batgirl to enter it at the office door.
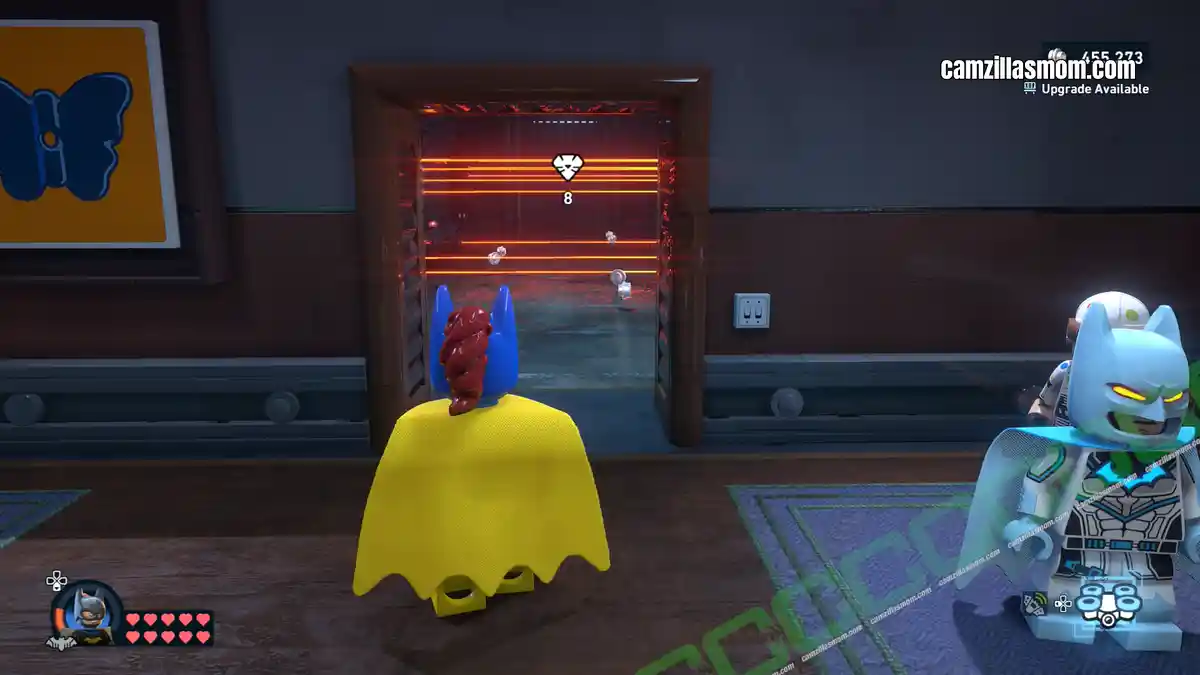
The passage to the safe is also laser-protected. Before going through, press the button to open the door to the safe at the other end of the corridor. Avoid the lasers, crack the safe as Catwoman, swipe the money, and exit the apartment.
WayneTech Caches – 17
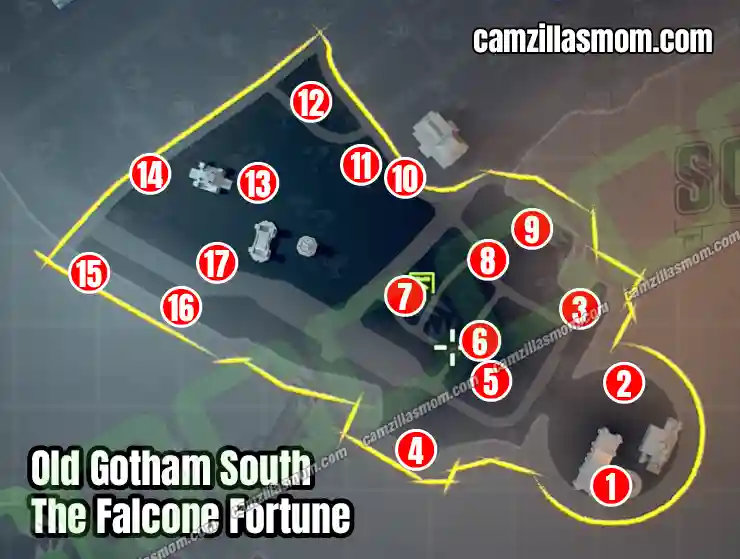
Old Gotham South has the highest WayneTech Cache count of any district, with 17 scattered across its rooftops, underpasses, and lower levels. Several require puzzle-solving to power up before they can be opened.
1
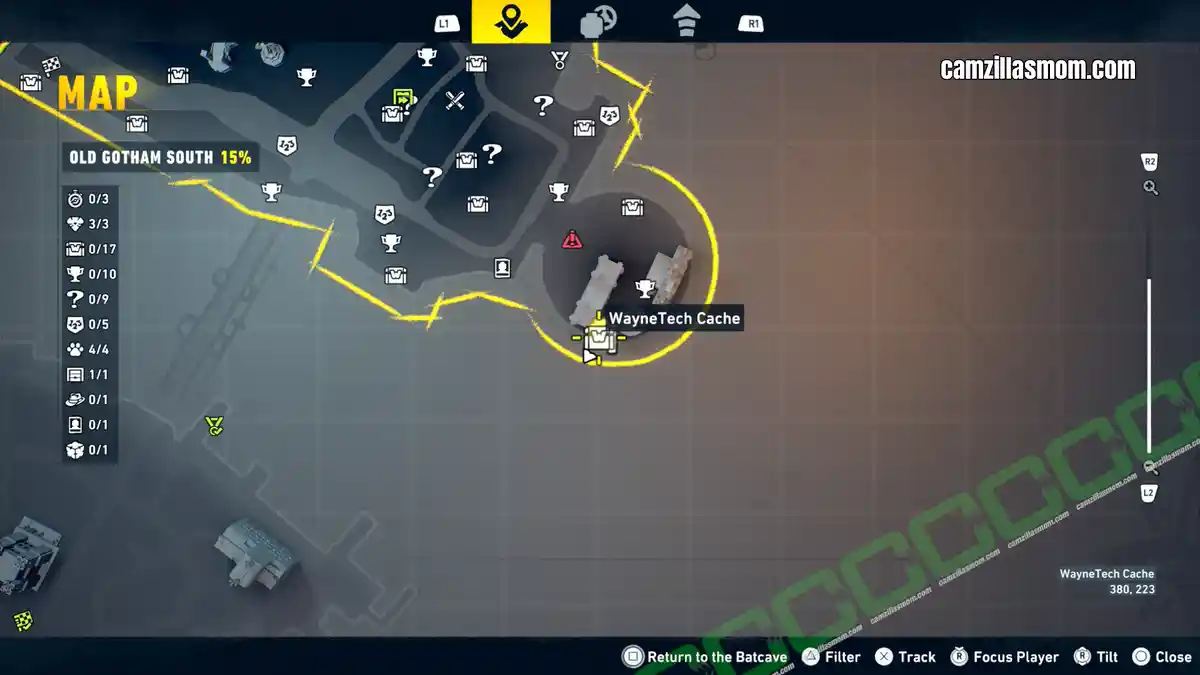
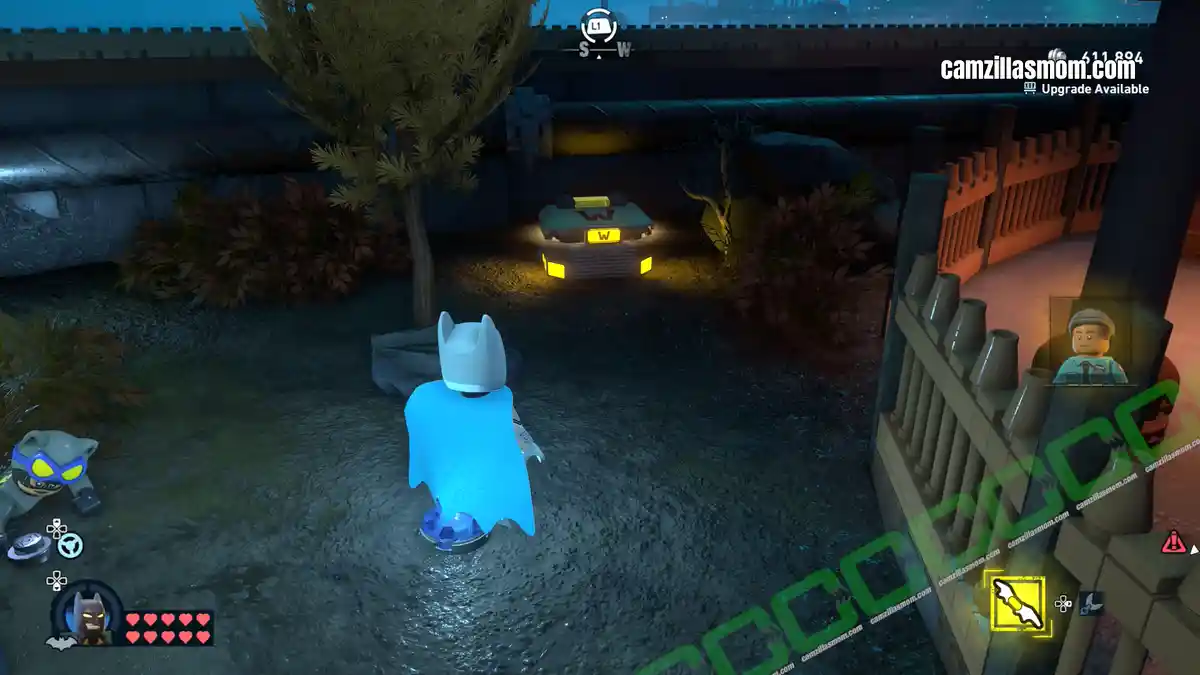
Coordinates: 380, 223
This WayneTech Zoo is south, behind the fence, where you have to catch the Escaped Polar Bear in Mission 7: Penguin for the Escaped Zoo Animals introduction.
2
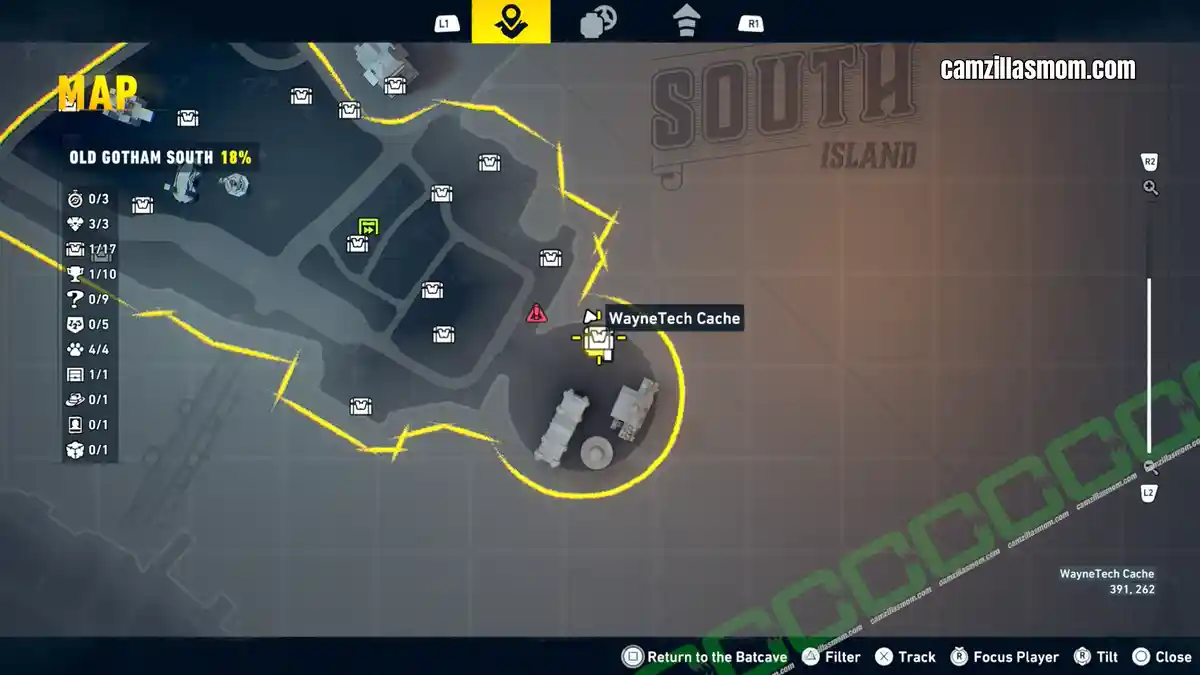
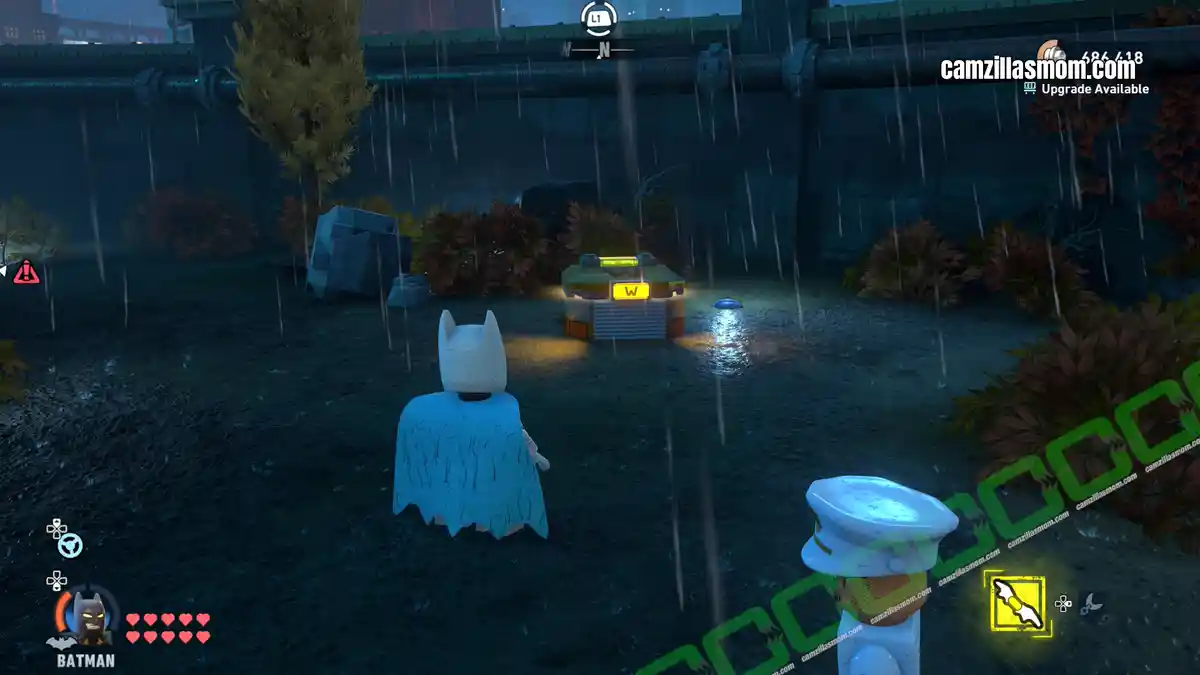
Coordinates: 391, 262
The second WayneTech Cache at Gotham Zoo is in the north, guarded by thugs.
3
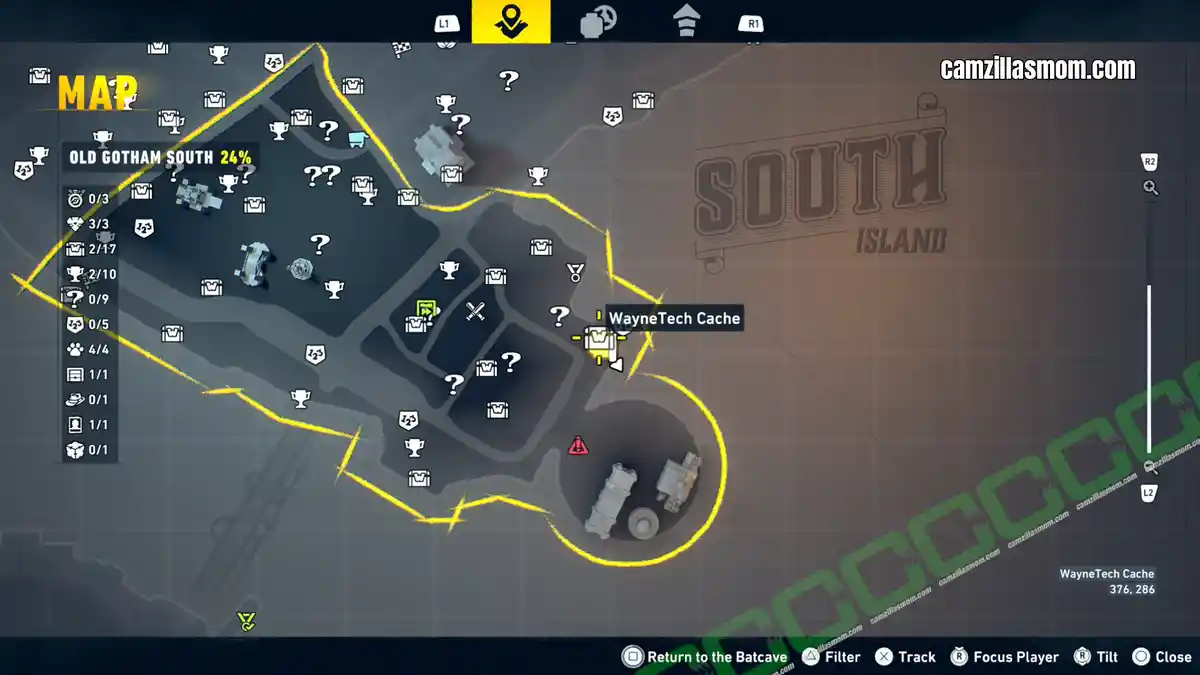
Coordinates: 376, 286
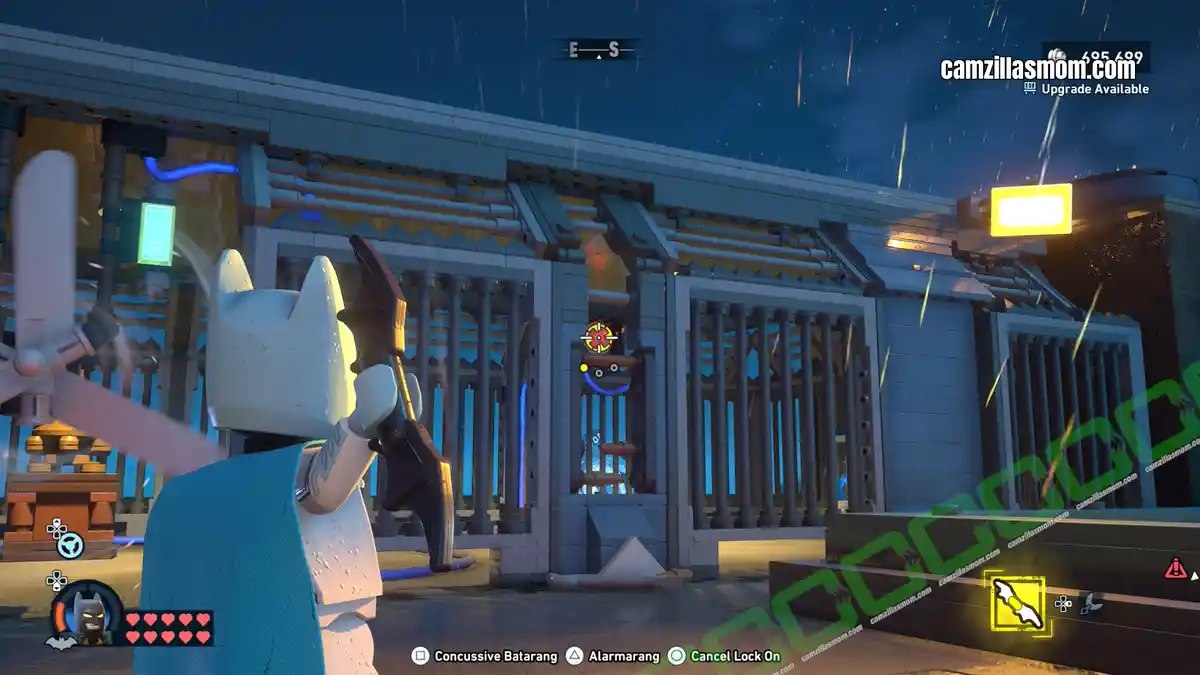
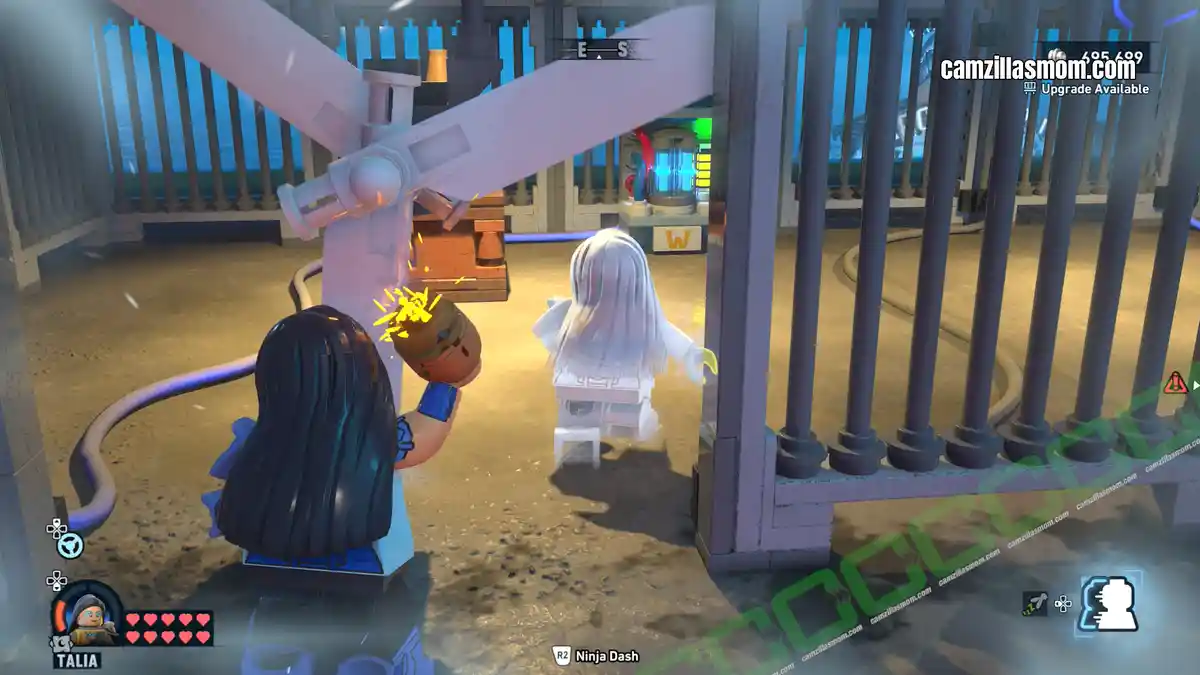
The Kozy Korner is in the east of Old Gotham South, just north of the zoo. On its roof is an inactive WayneTech Cache. To power it up, you need to get past the nearby running ventilator to fetch two batteries. Look for a gap in the ventilator cage, where you can throw a batarang at a padlock inside the cage.
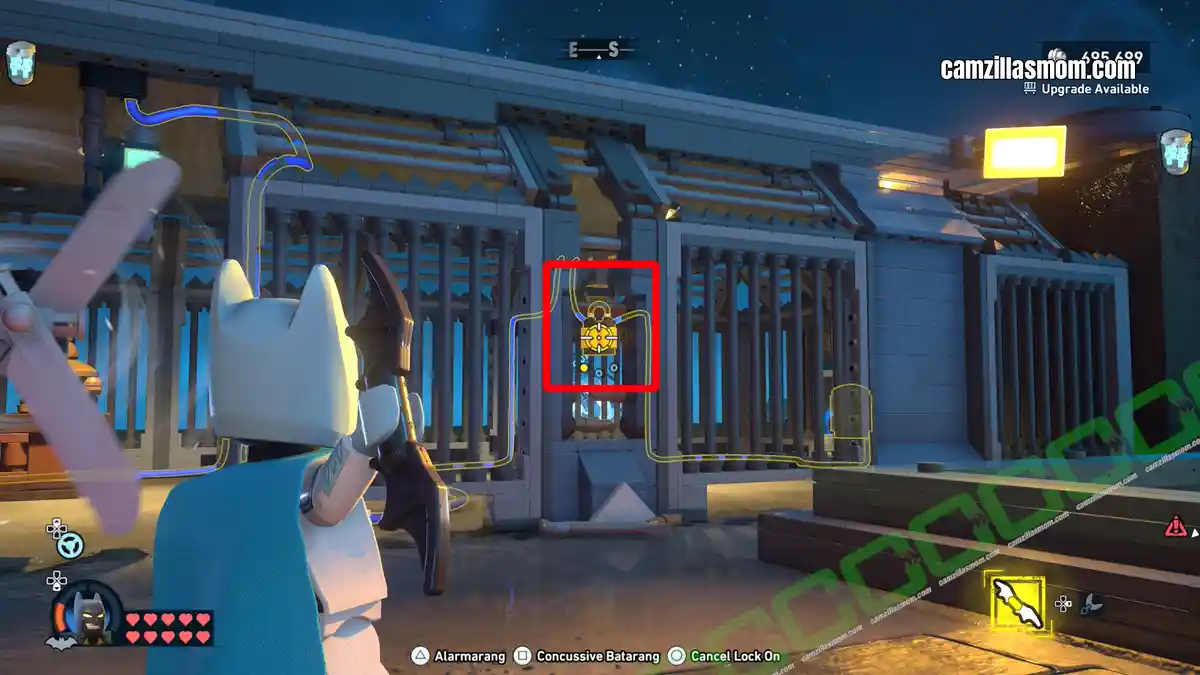
This will cause a target to appear at the same location. Shot it to turn one battery off, slowing down the ventilator. Switch to Talia and use Ninja Dash to enter the cage behind the ventilator. Now you can remove the two batteries, put them into the slots of the WayneTech Cache, and open the cache.
4
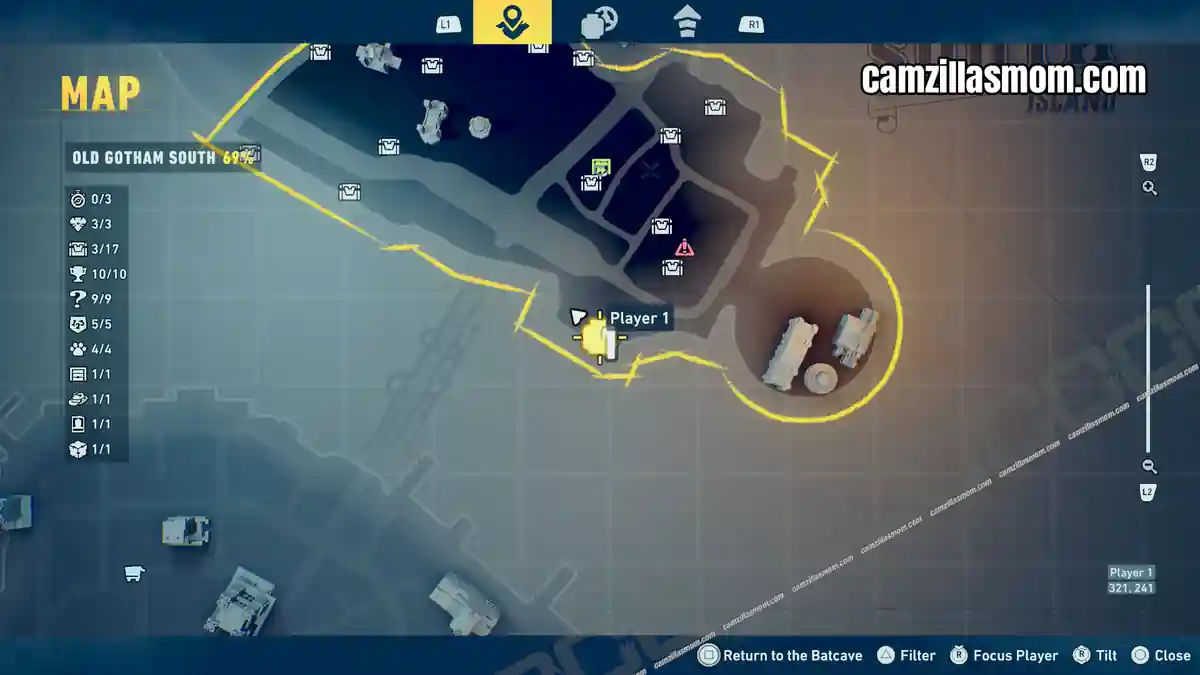
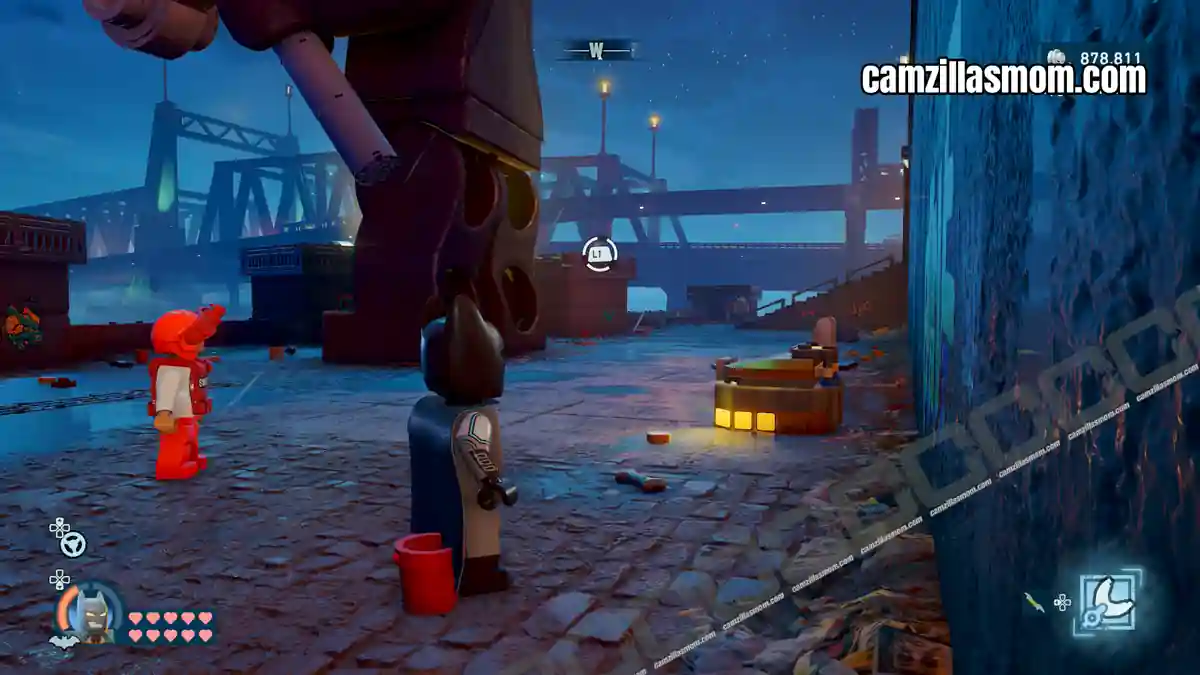
Coordinates: 319, 241
This one is at the south by the waterfront, behind a big LEGO statue, guarded by henchmen.
5
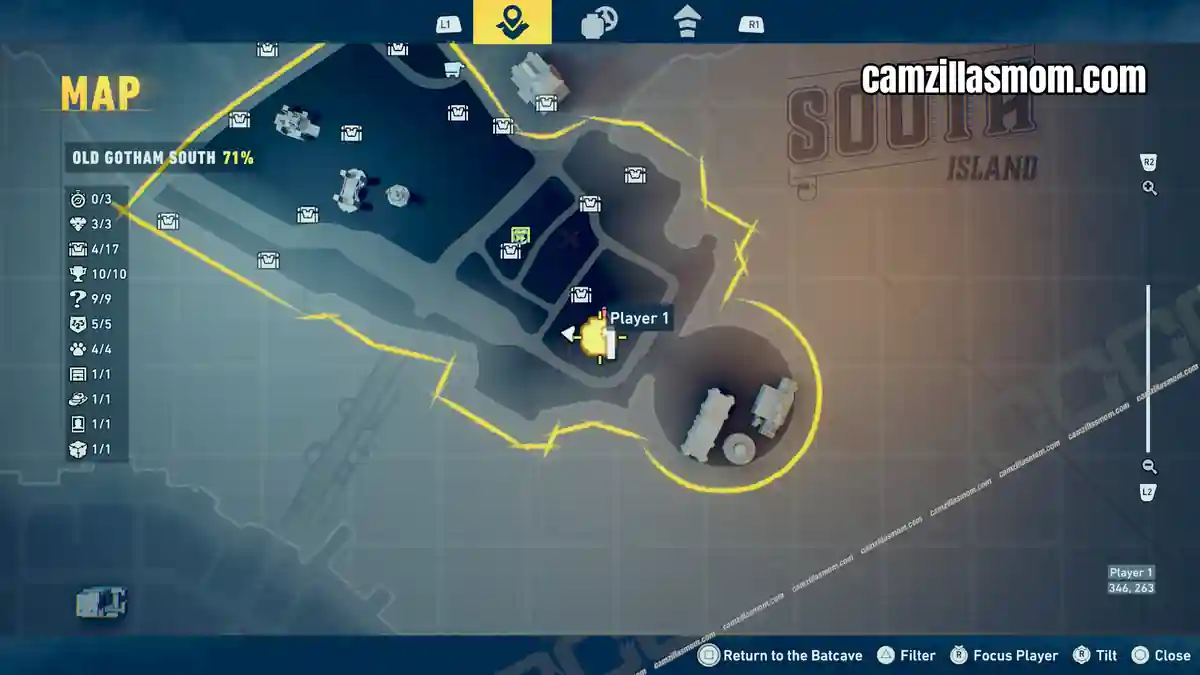
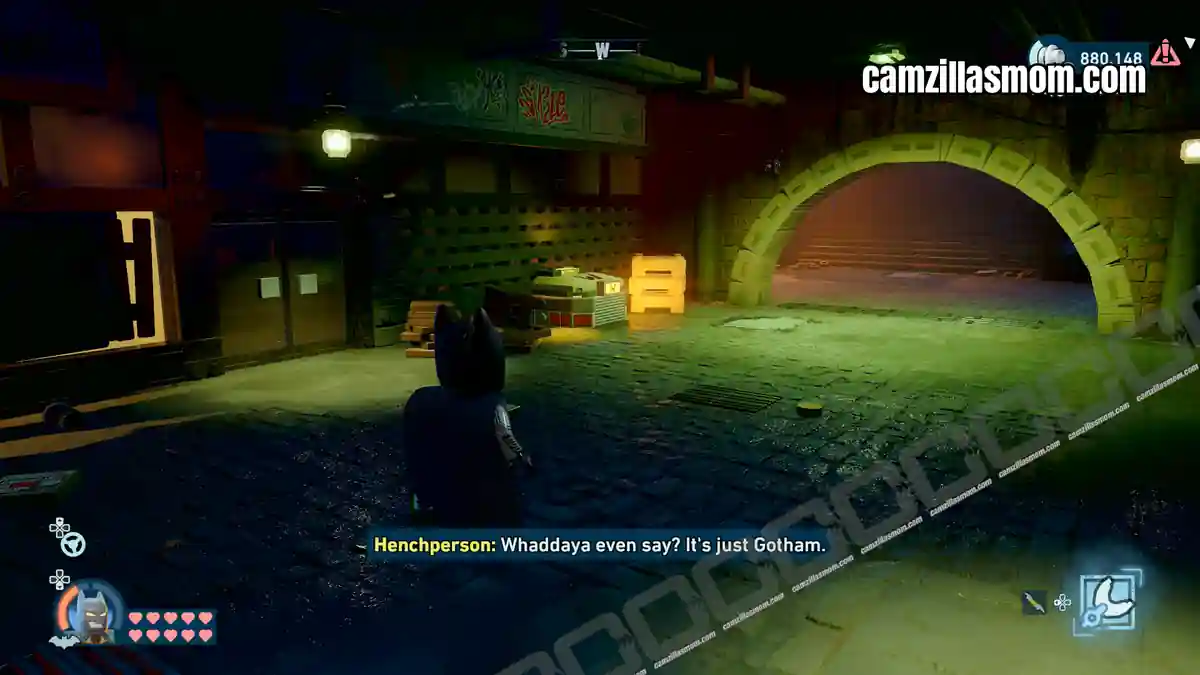
Coordinates: 344, 263
North of the previous WayneTech cache is an underpass on the bottom level of the map with another cache.
6
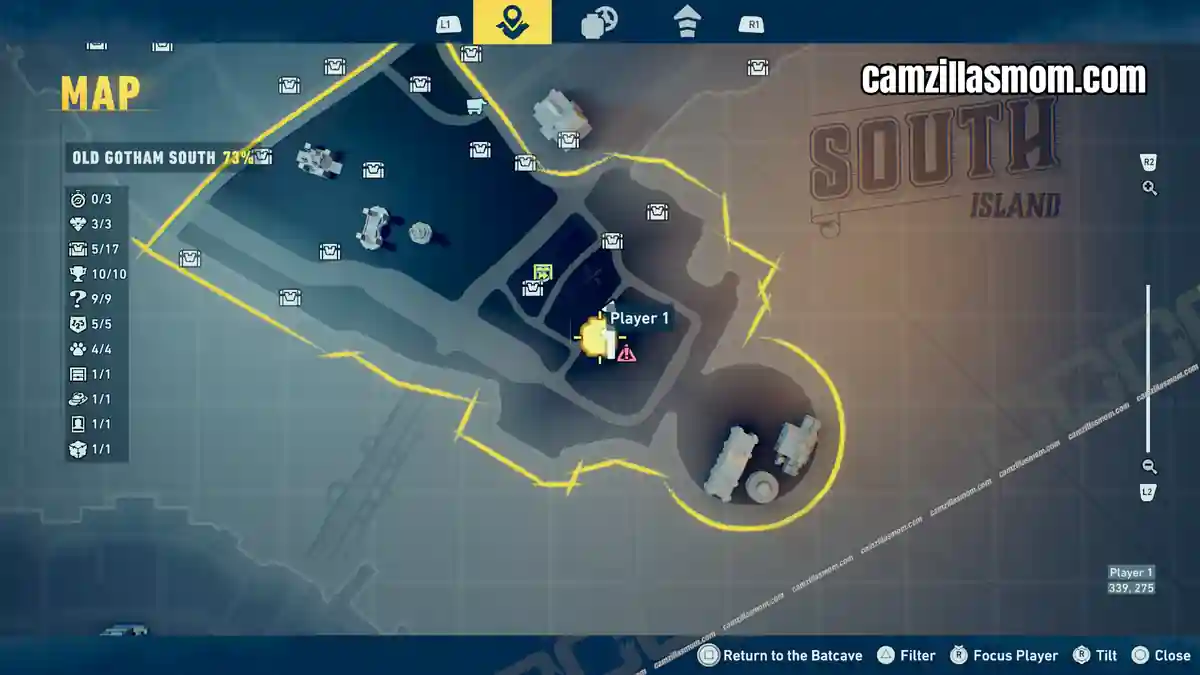
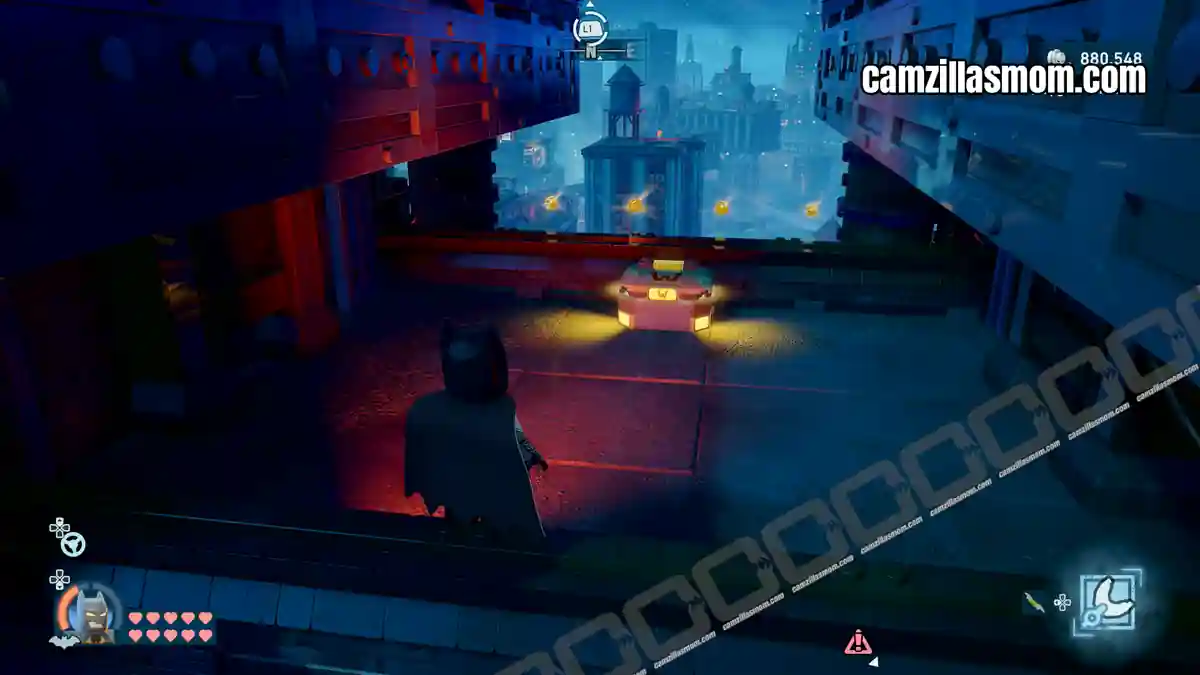
Coordinates: 340, 277
Above the previous cache is a bridge connecting two buildings. This WayneTech Cache is on this bridge.
7
Coordinates: 318, 291
This WayneTech Cache is just next to the Subwayne.
8
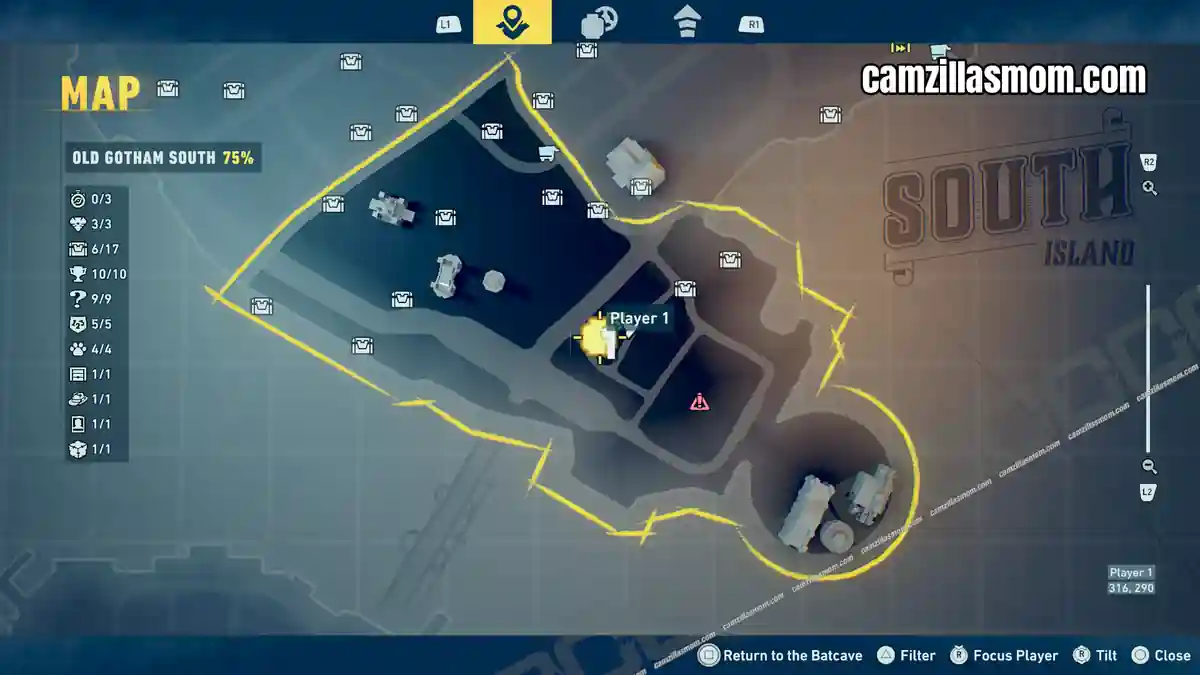
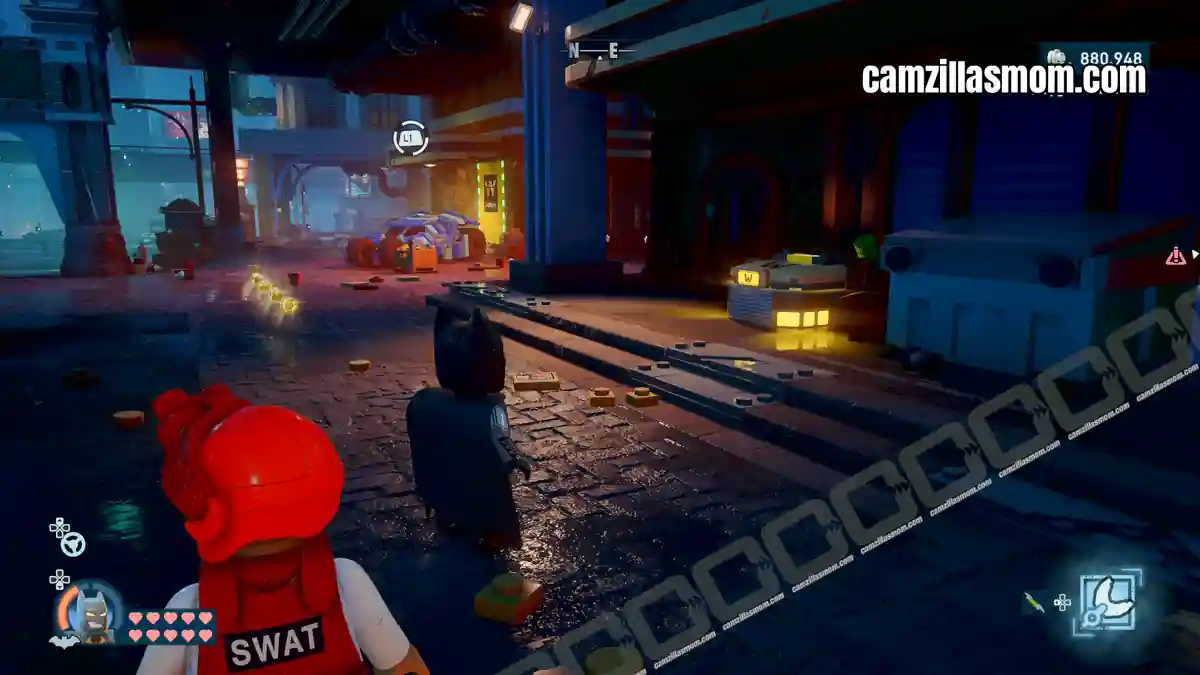
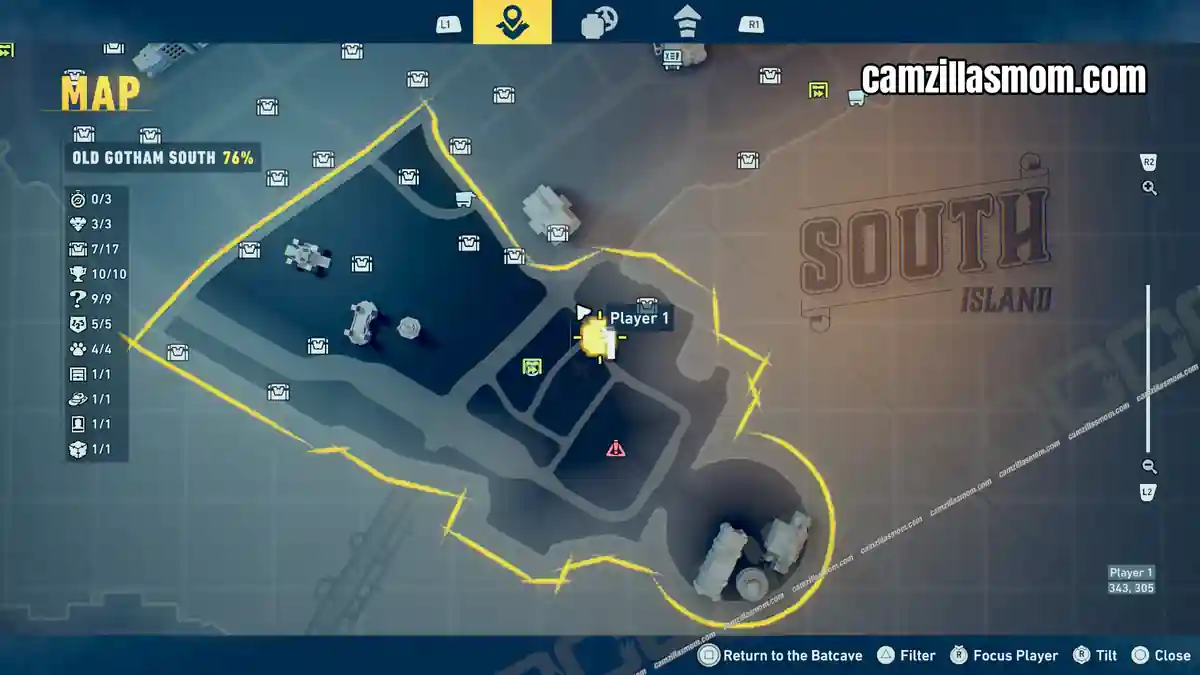
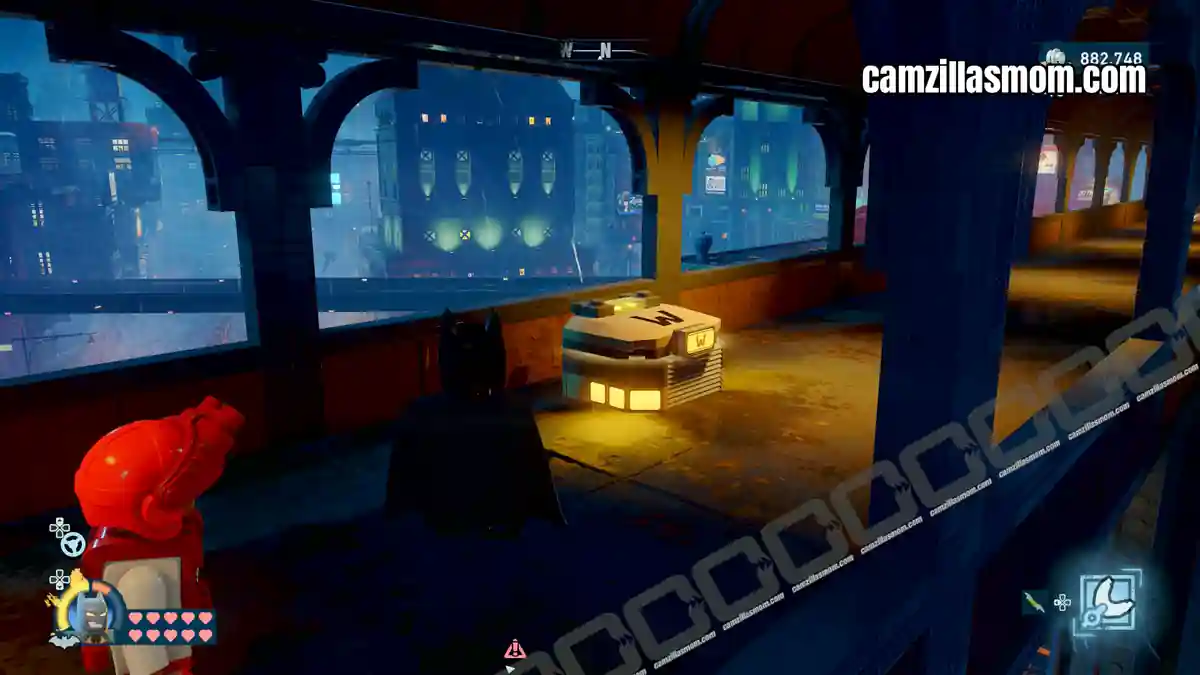
Coordinates: 343, 306
Another one is at the overpass northeast of the Subwayne.
9
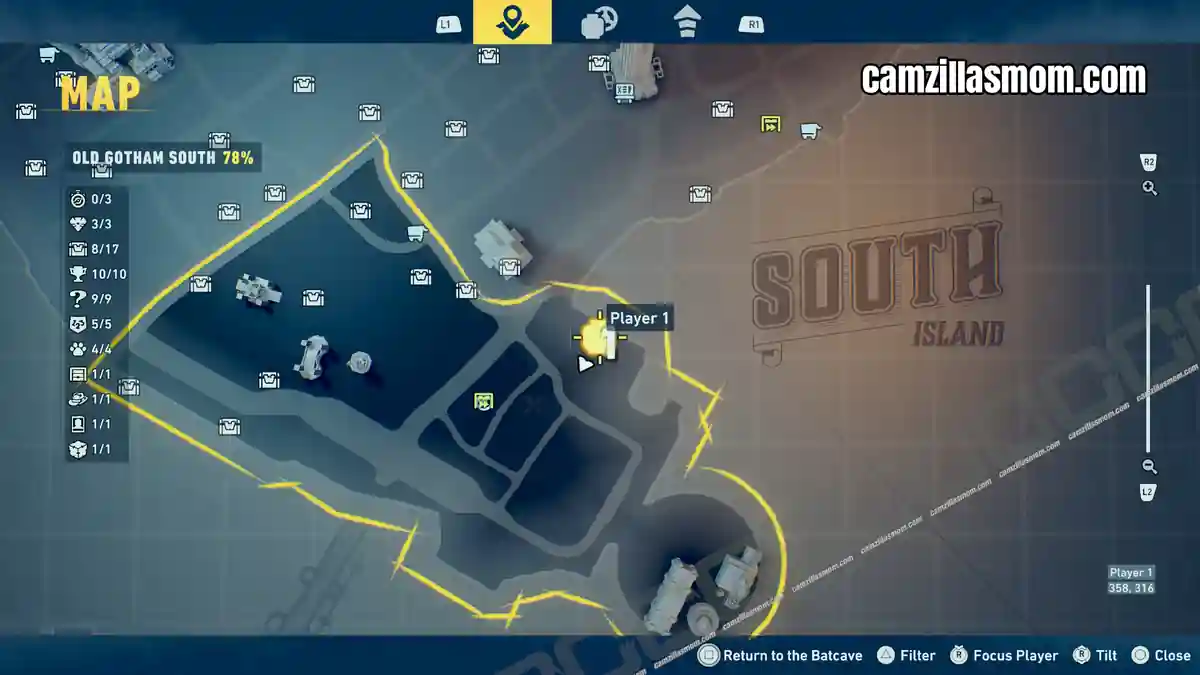
Coordinates: 358, 315
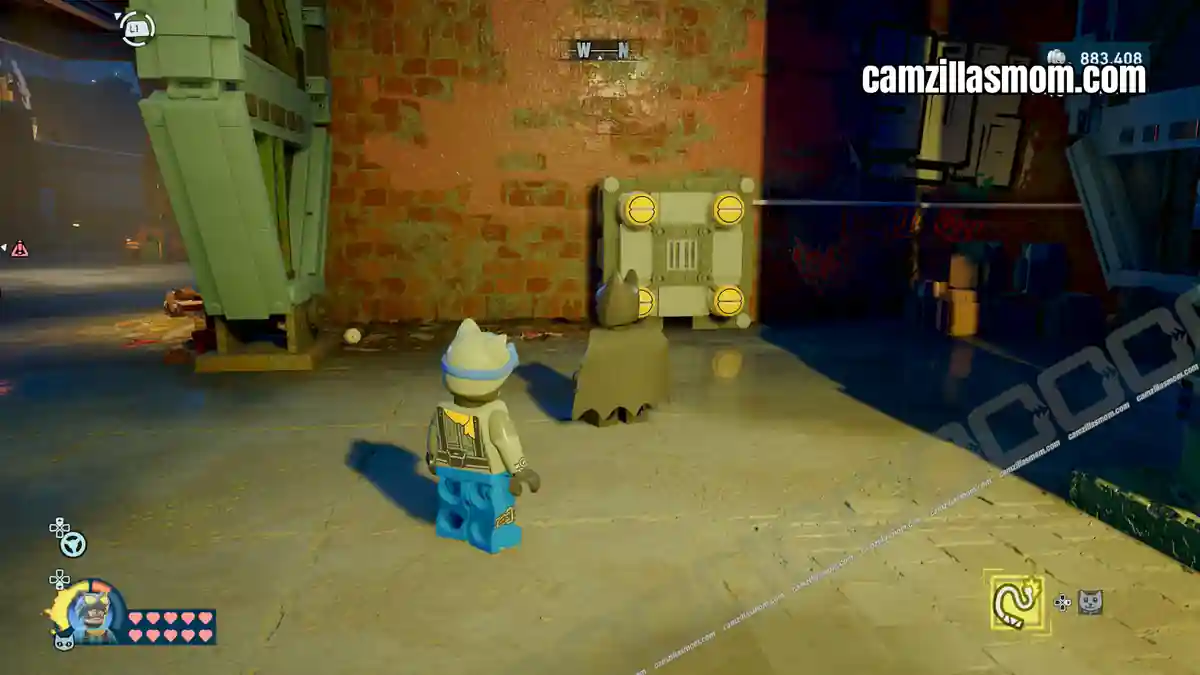
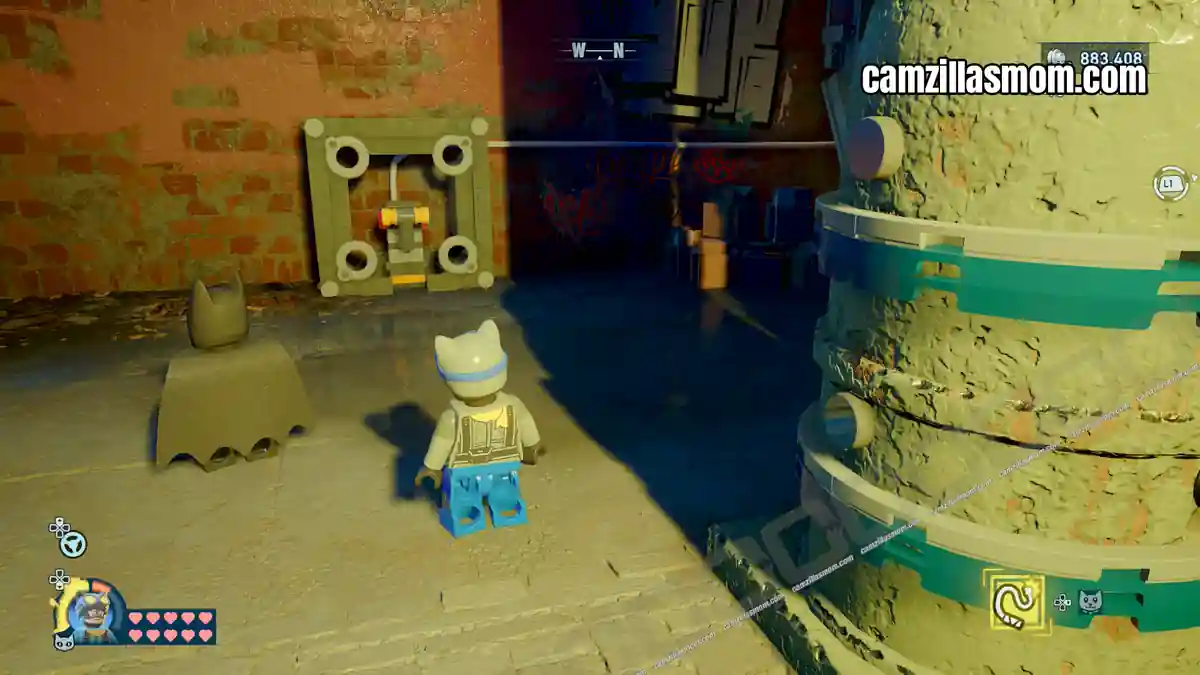
There is an inactive WayneTech Cache in the northeast, under a staircase.
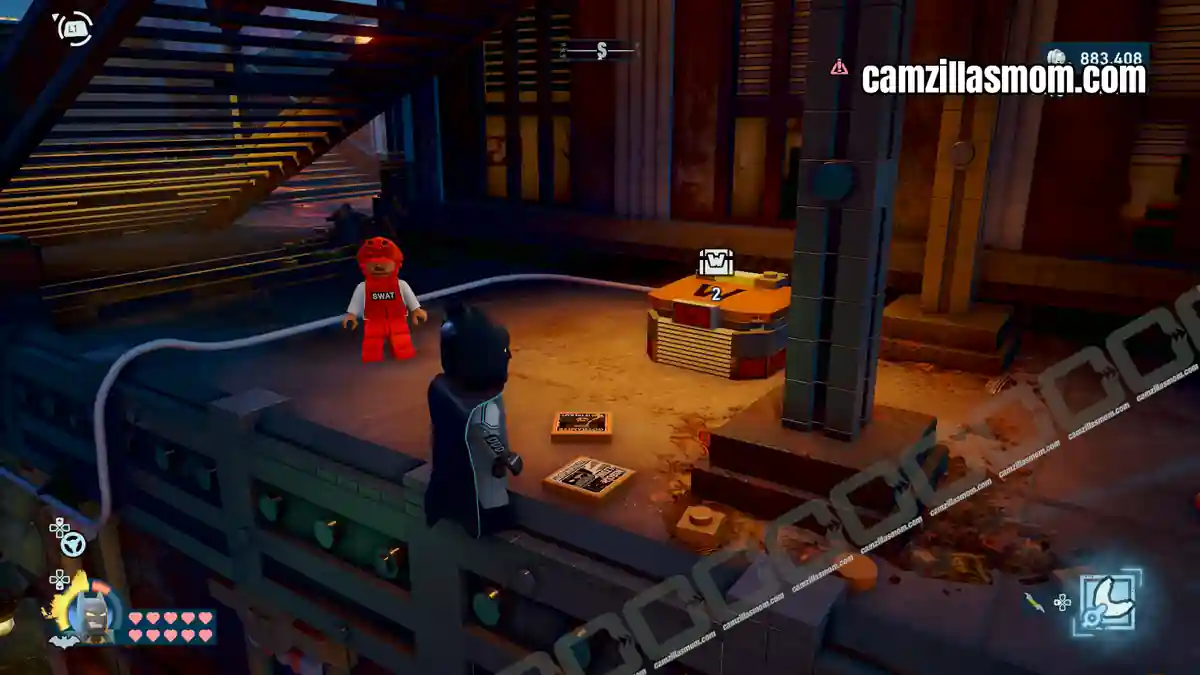
Follow the cable down to a wall cover and unscrew it with Catwoman. Pull the lever behind it.
10
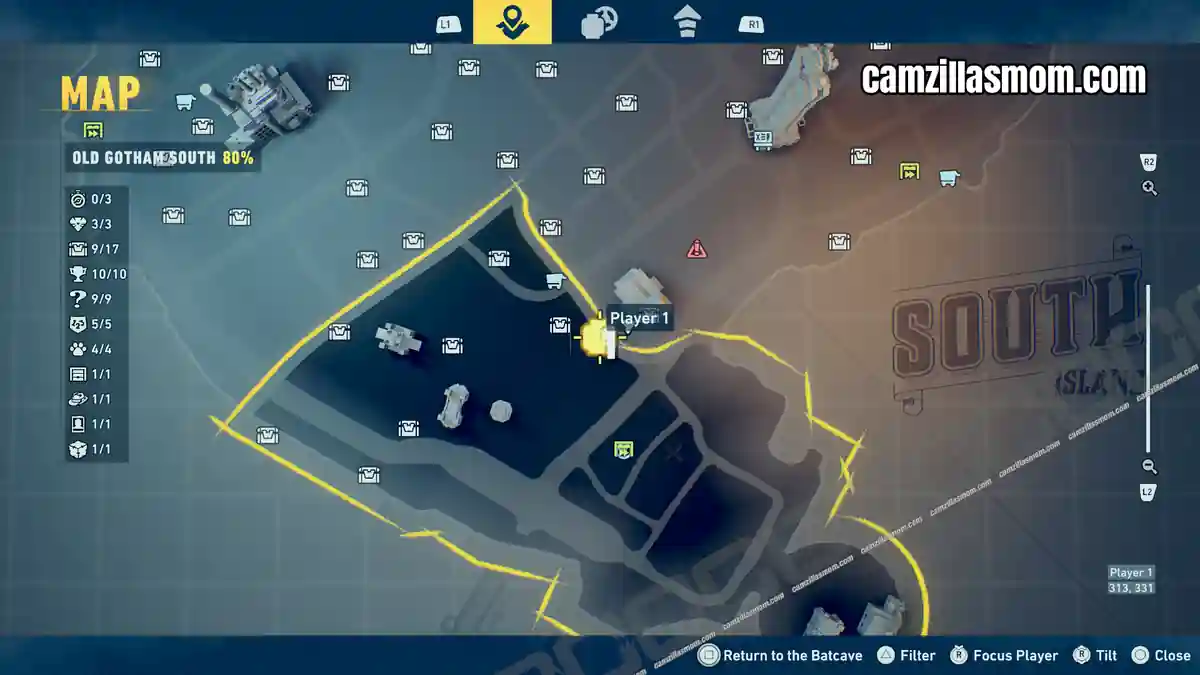
Coordinates: 315, 331
Another inactive cache is at the border of Old Gotham north, behind a billboard.
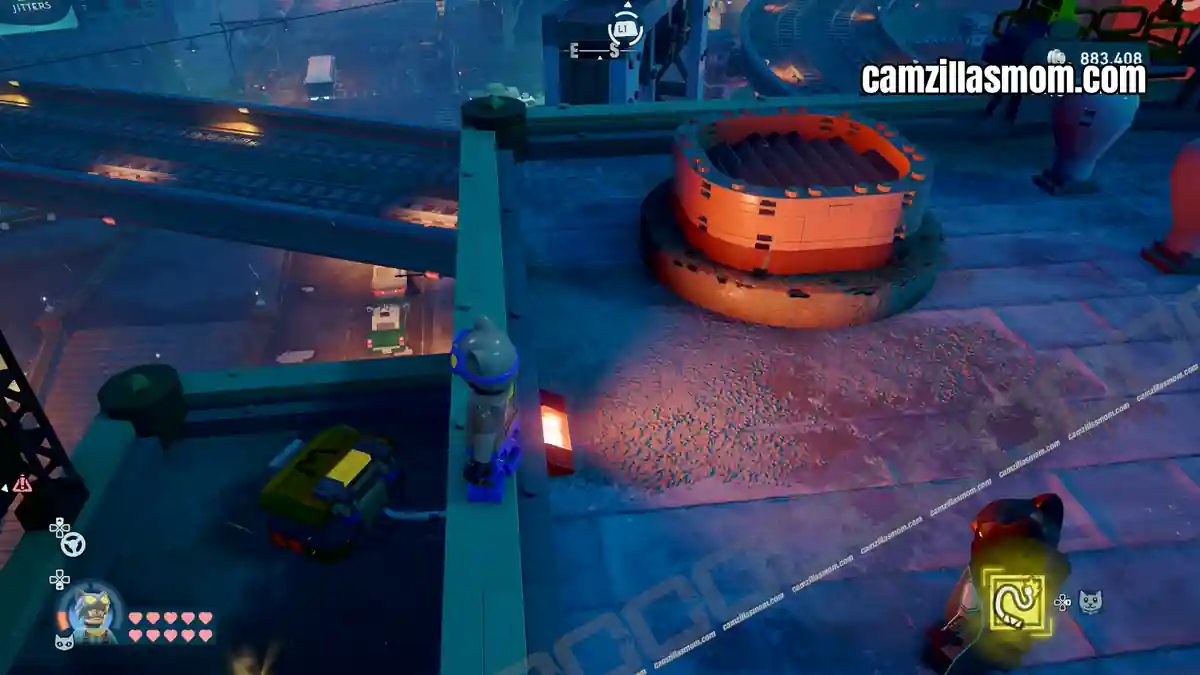
Follow the cable down to find an elevator at the top of the roof. Destroy the chimneys around it to build a spindle for Catwoman’s whip. Use it to lower the elevator. Follow it down to the lever that powers the WayneTech cache.
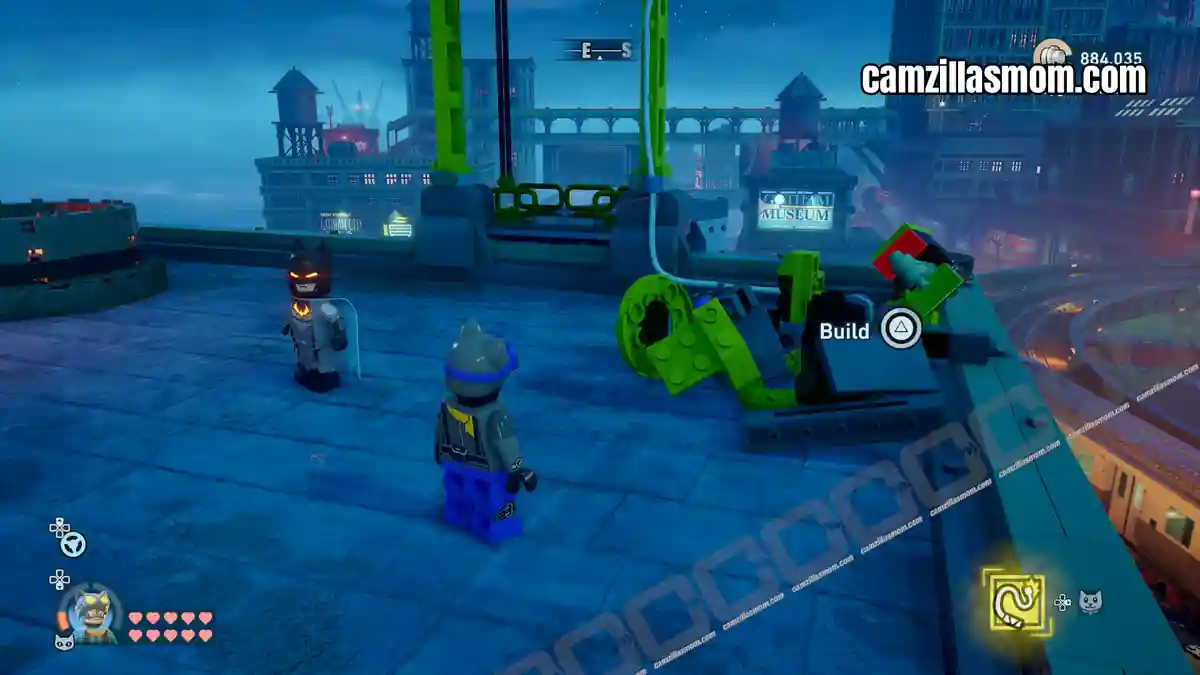
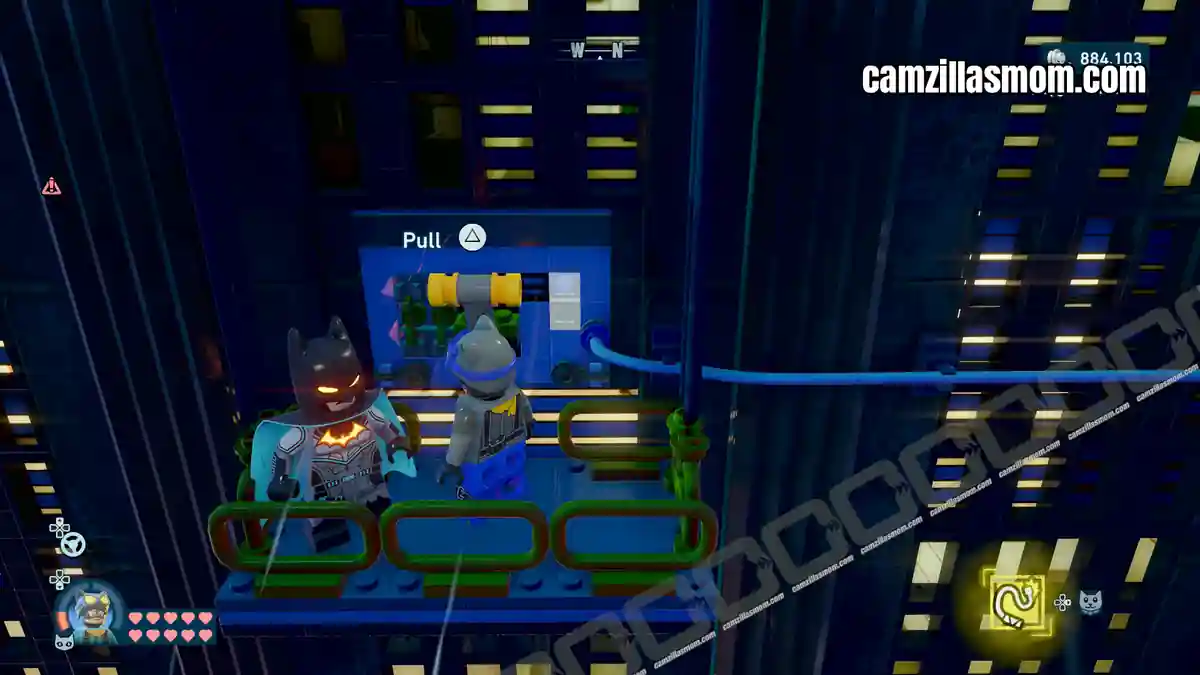
11
Coordinates: 301, 335
In the east, on top of the skyscraper, is a WayneTech Cache protected by Henchmen.
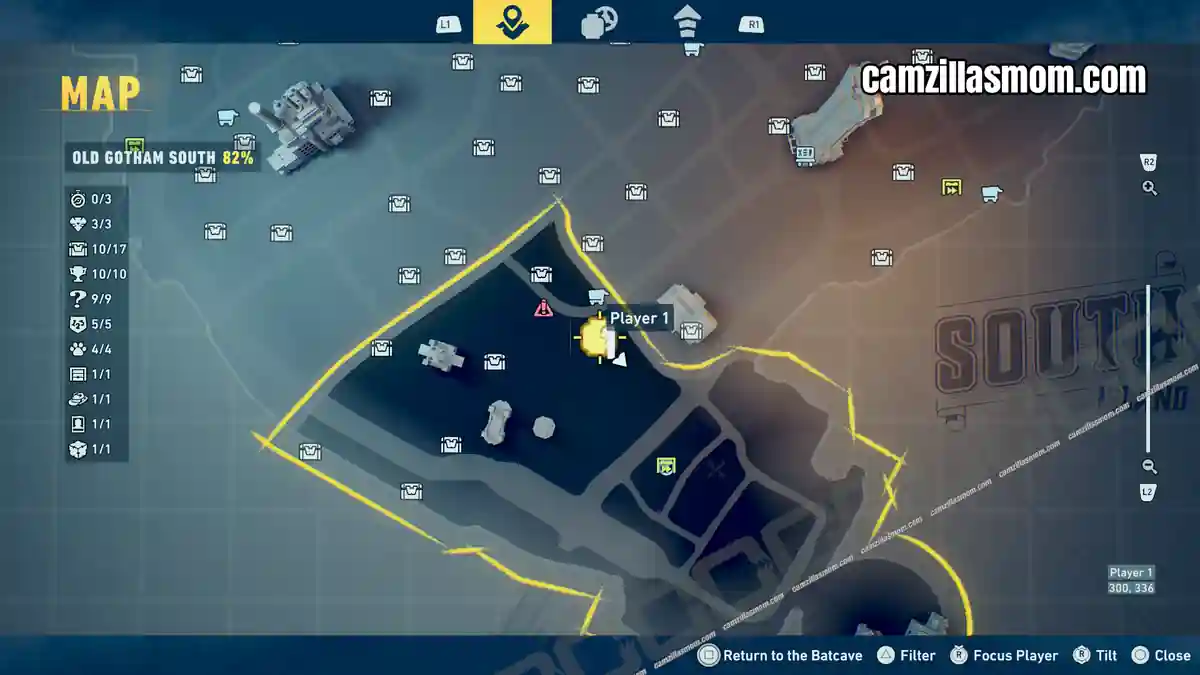
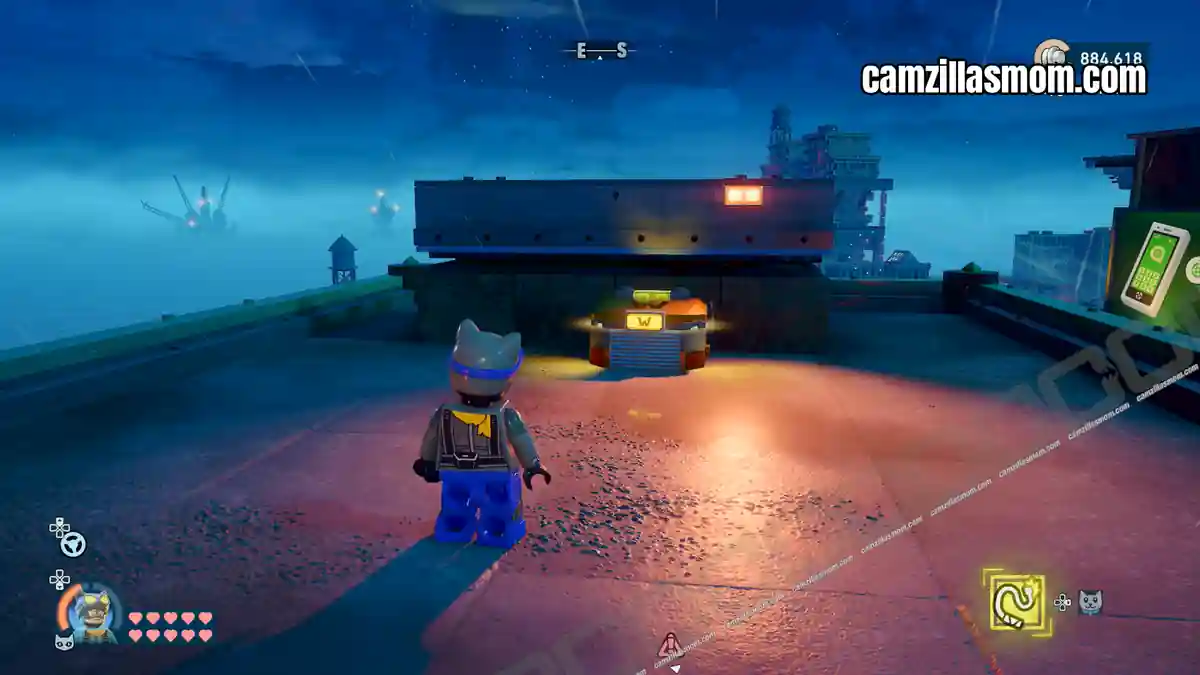
12
Coordinates: 281, 357
The next cache is in the northwestern corner of the Old Gotham South district. On the lowest level, stored amongst junk.
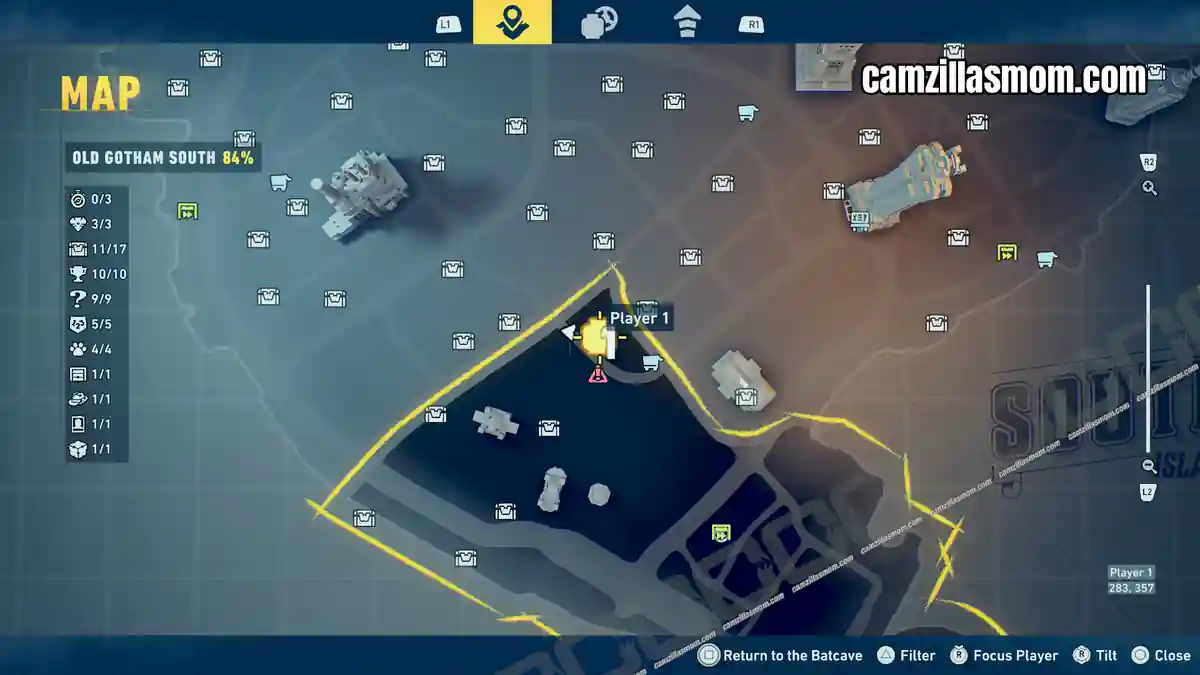
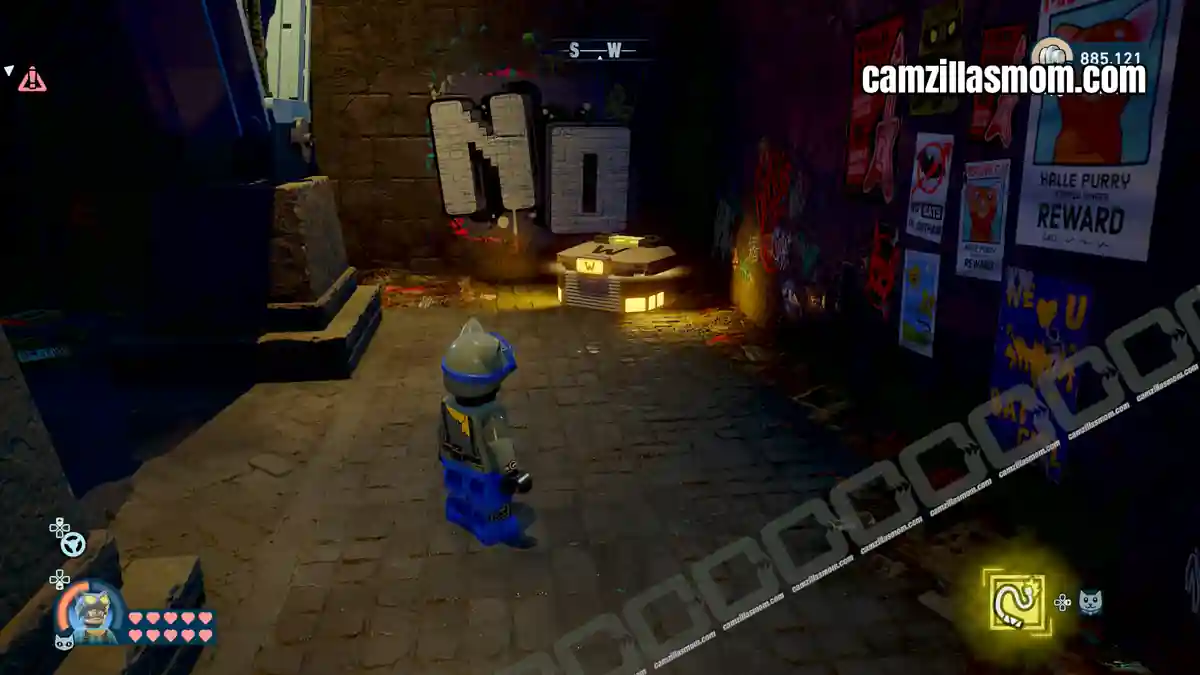
13
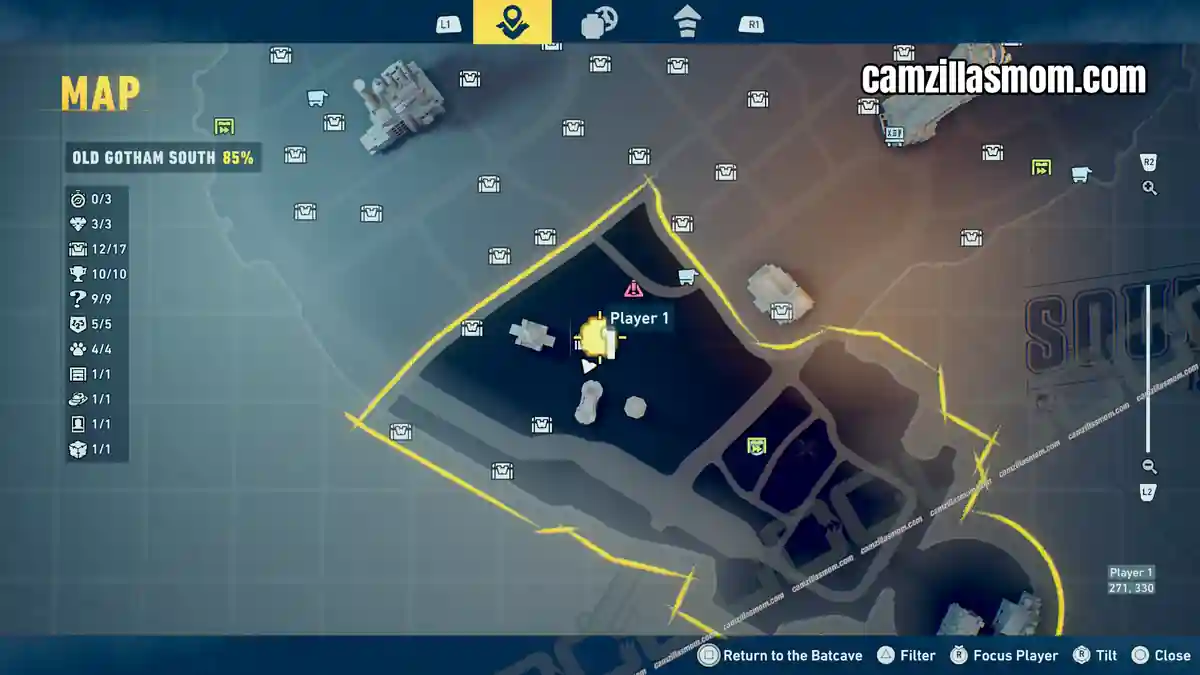
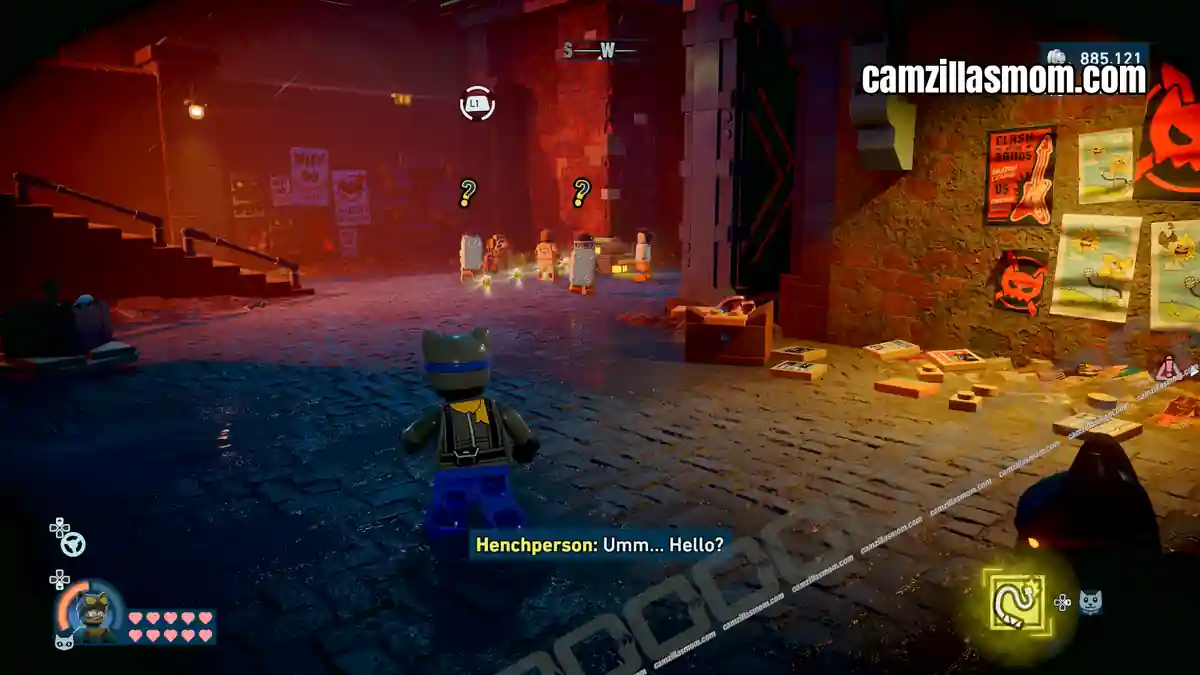
Coordinates: 266, 329
This WayneTech Cache is south of the previous one, on the lowest level of the district, protected by a large group of Henchmen.
14
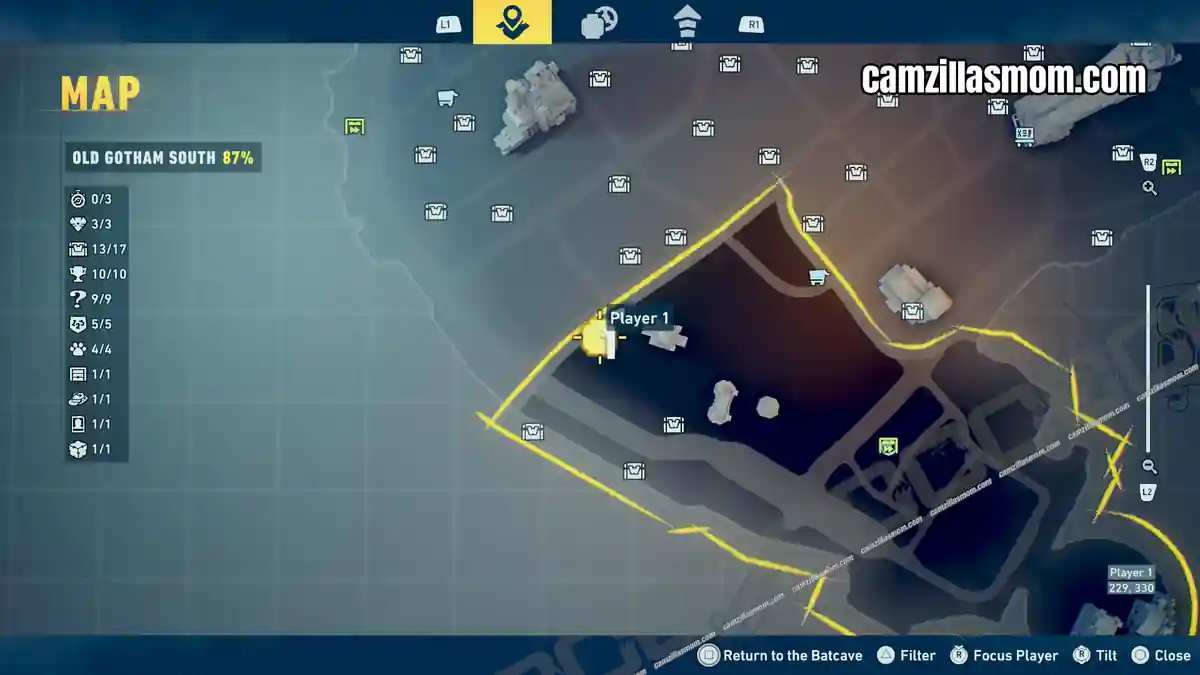
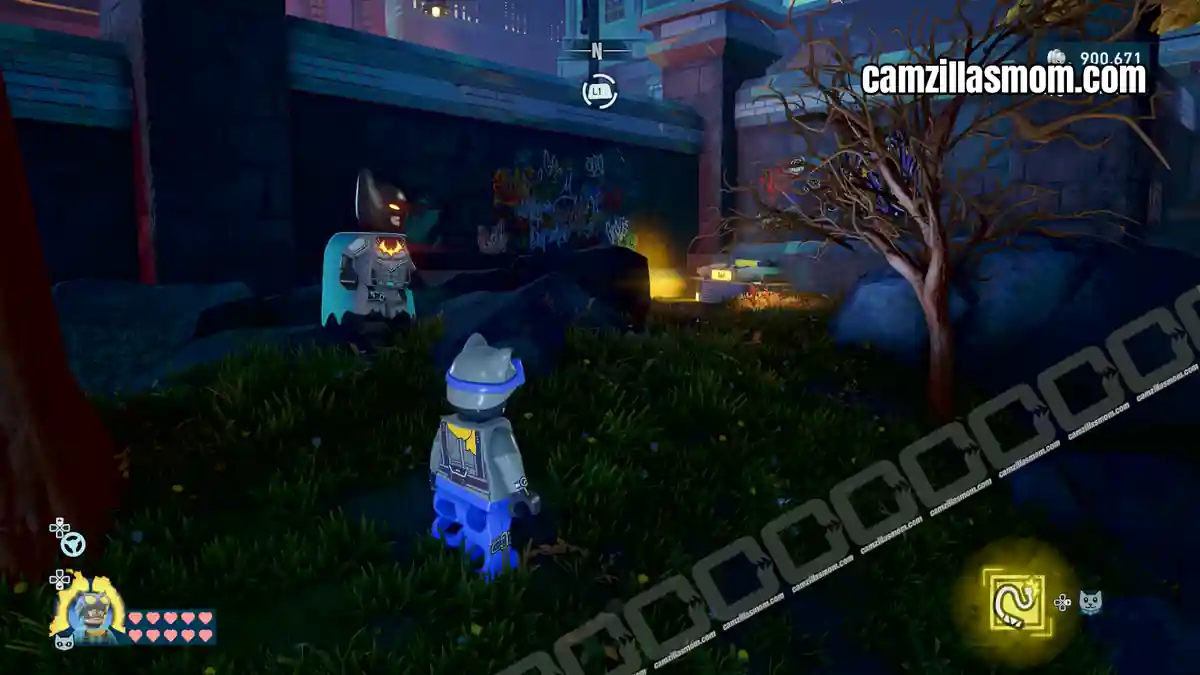
Coordinates: 230, 333
The next one is right at the northwestern border of Old Gotham West, in the corner of the park.
15
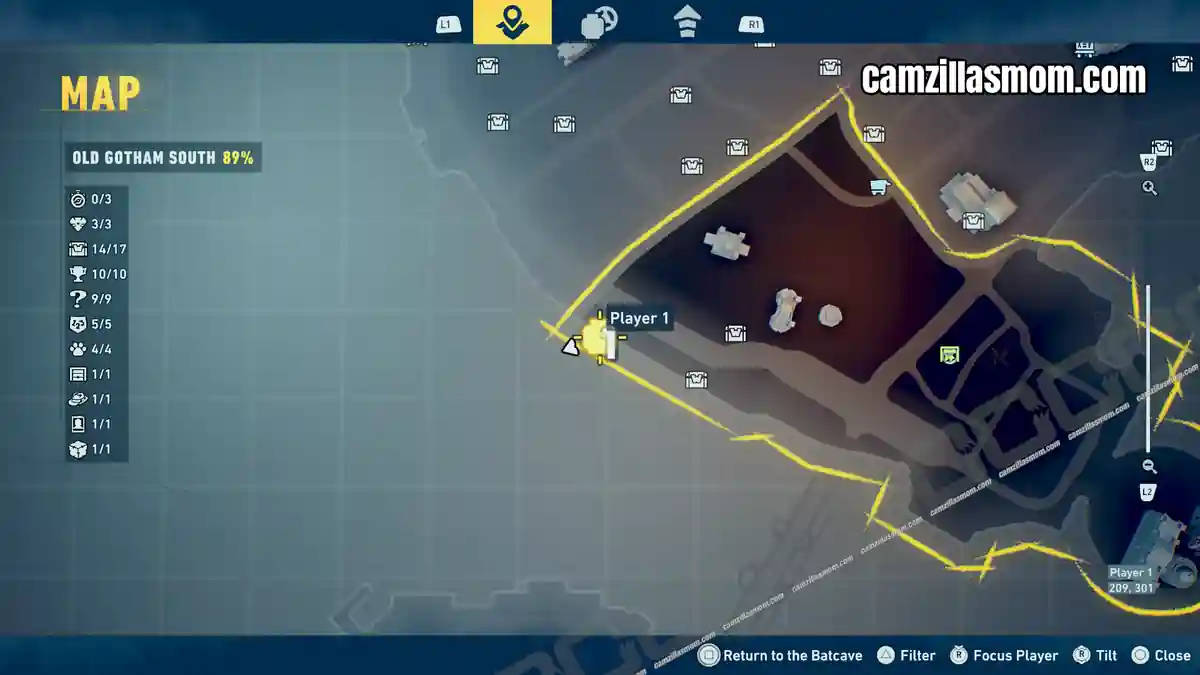
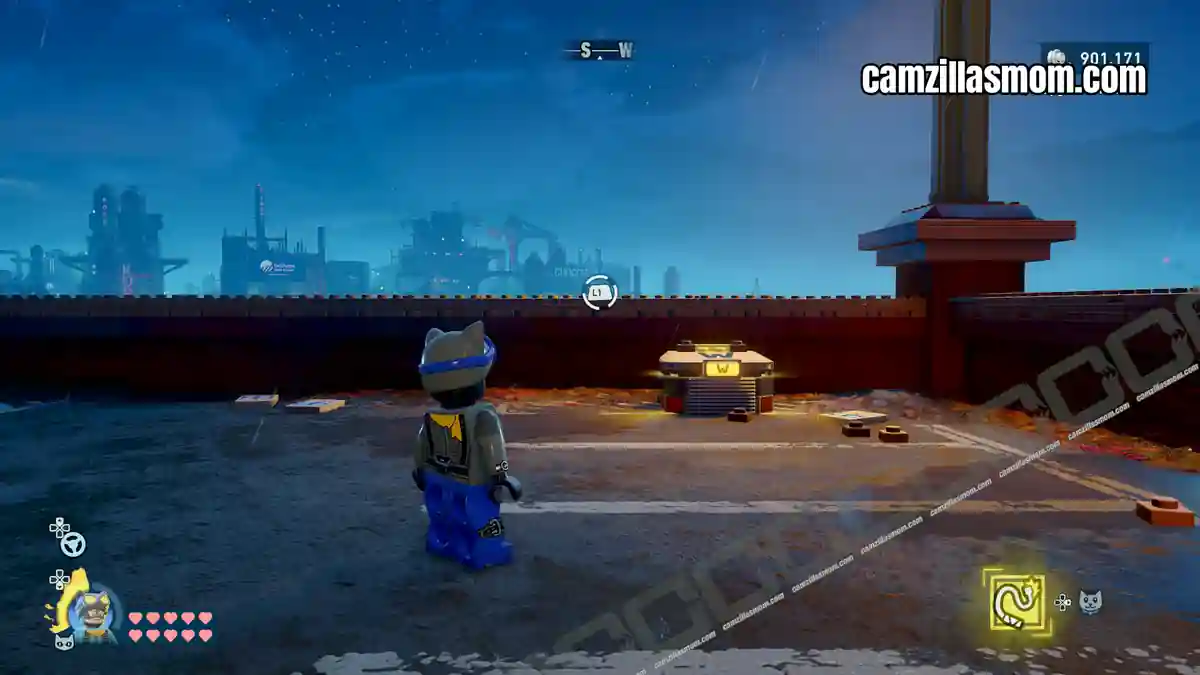
Coordinates: 209,301
Head to the westernmost corner of Old Gotham South to find this WayneTech Cache by the waterfront parking.
16
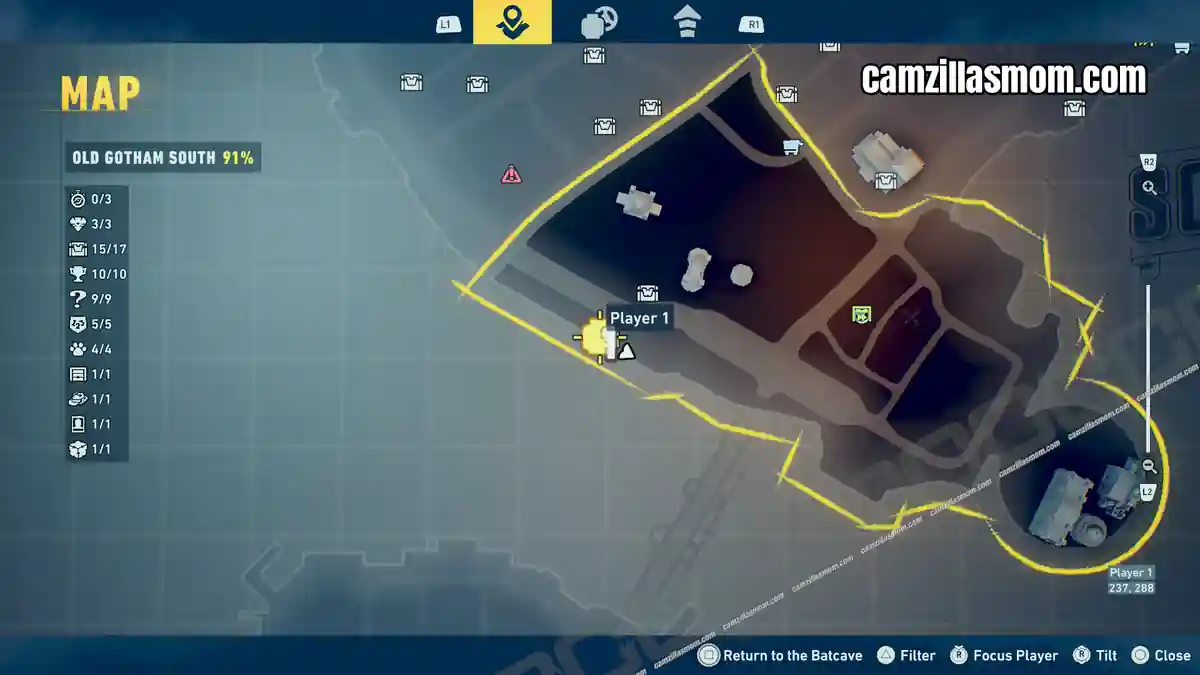
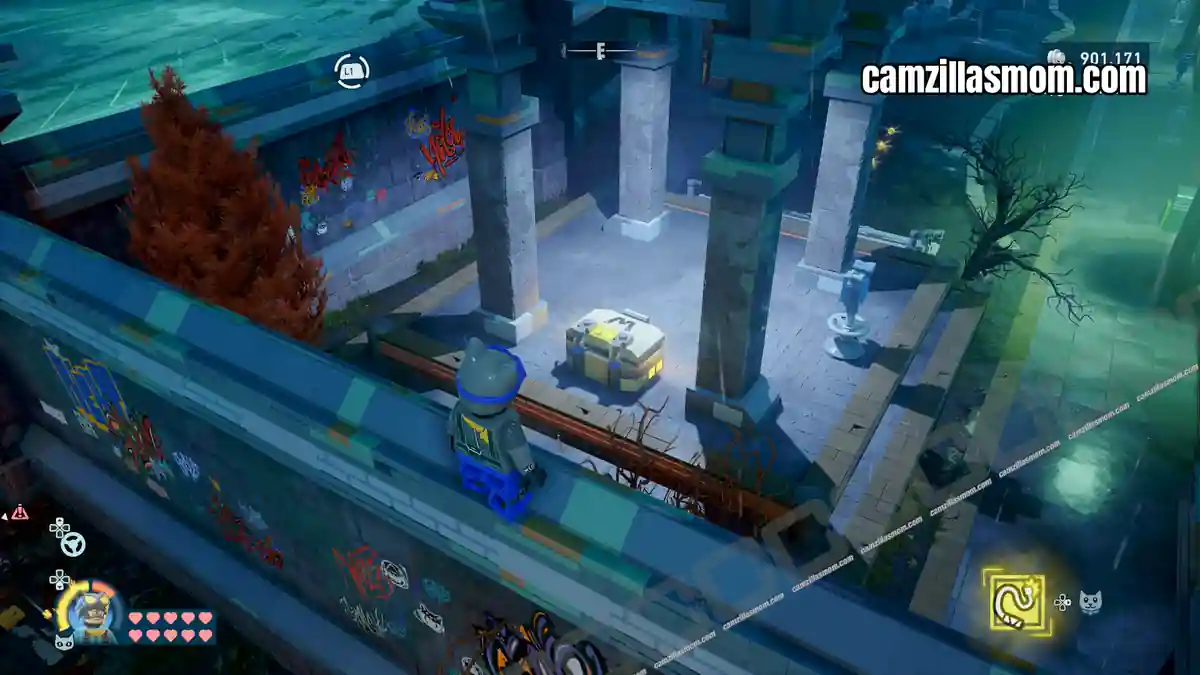
Coordinates: 240, 288
Follow the coastline to the east to find this one at the park.
17
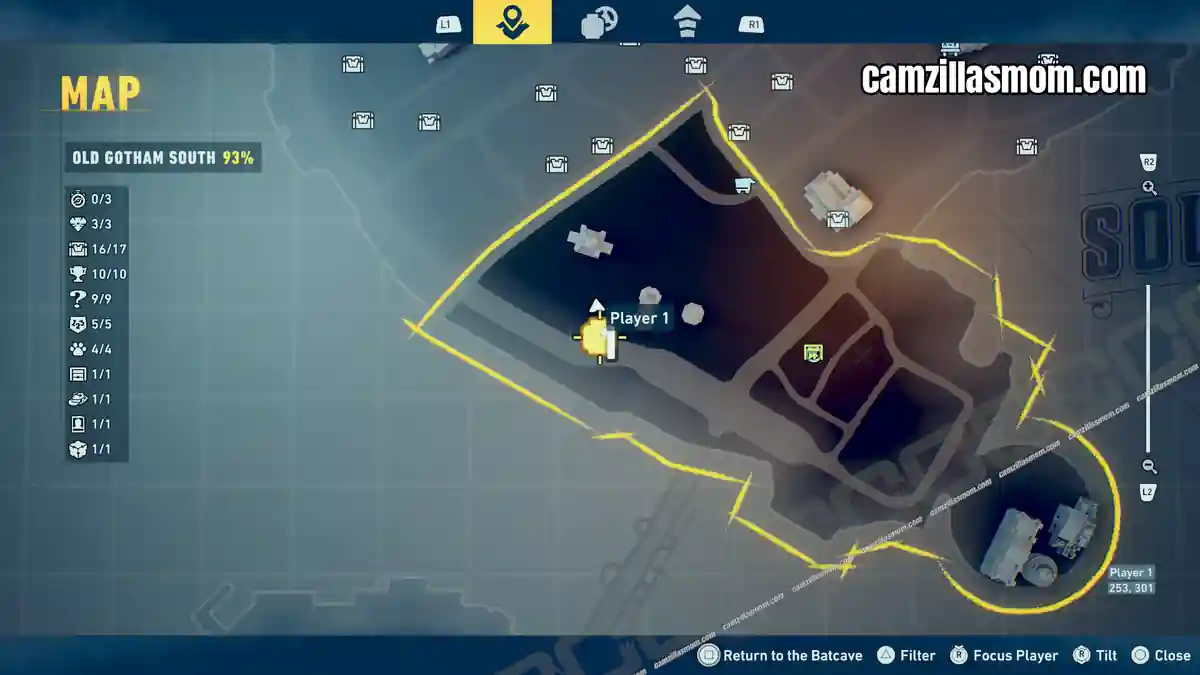
Coordinates: 253, 302
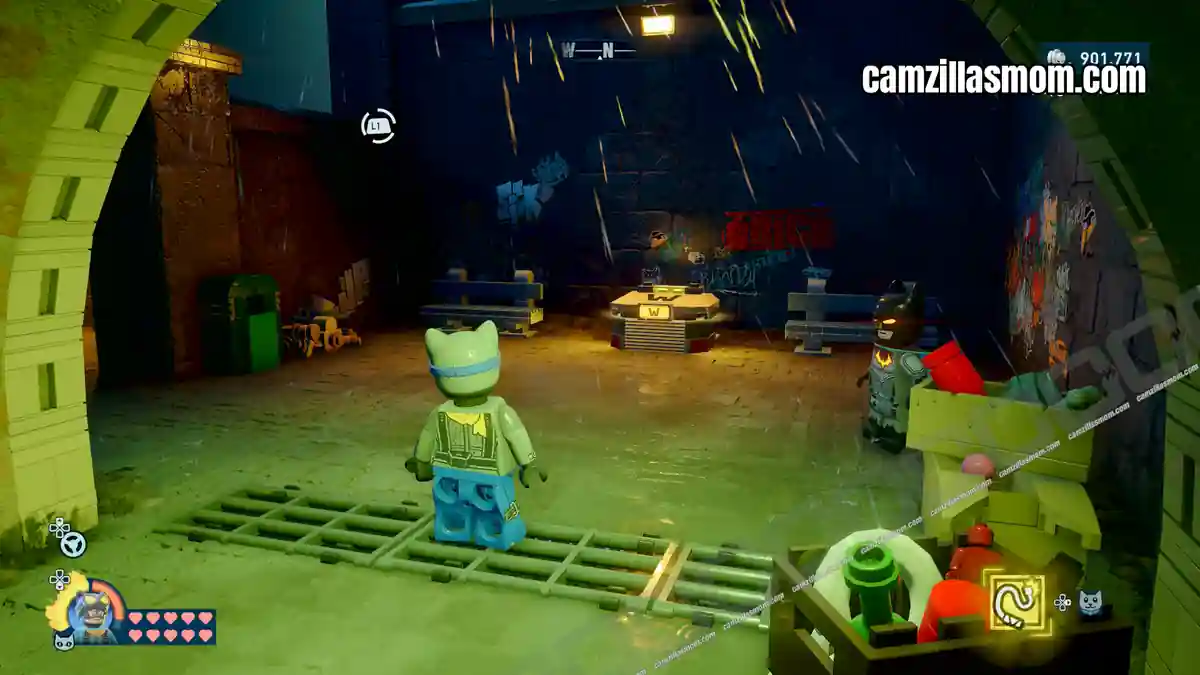
The last WayneTech Cache is at the park’s underpass.
Batcave Trophy – Dice
There are 10 Batcave Trophy Dice hidden across Old Gotham South, from rooftops around Gotham Zoo to street level in the parks and underpasses. Most are out in the open once you know where to look.
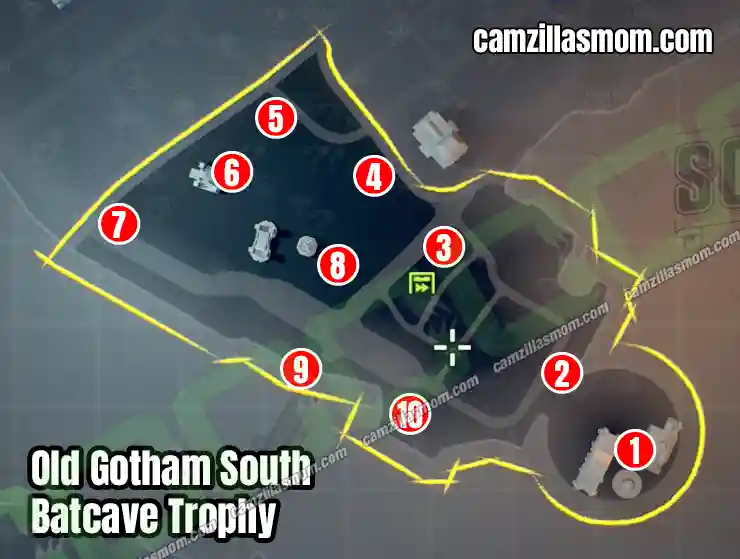
1
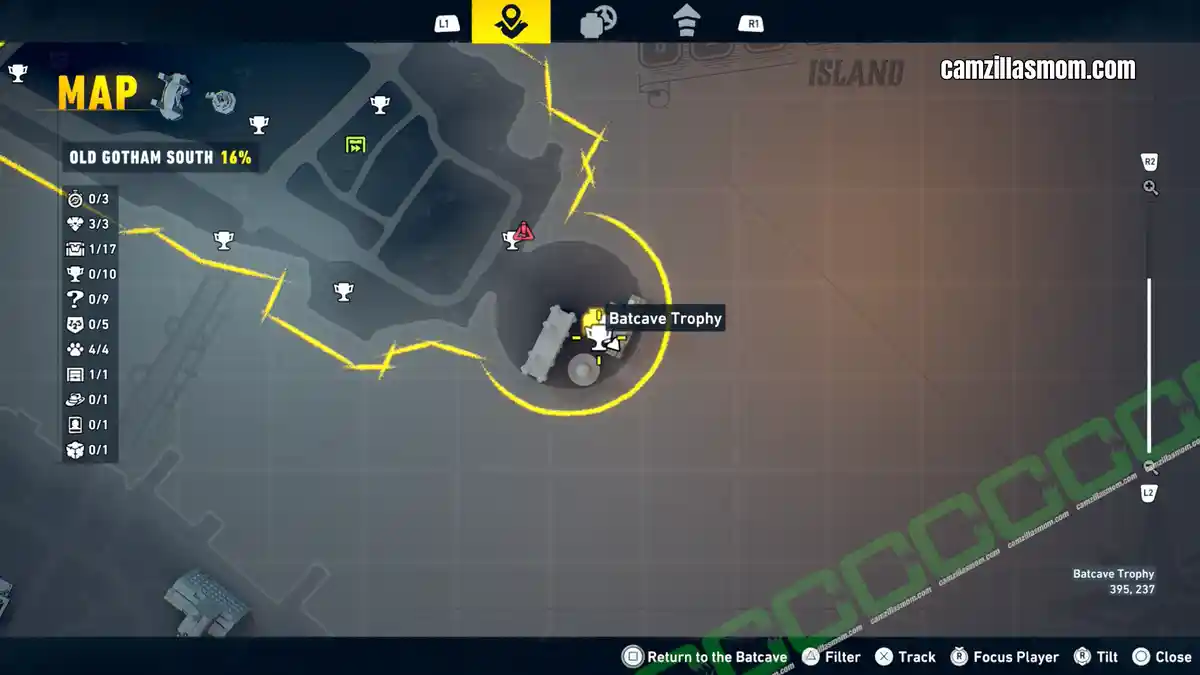
Coordinates: 395, 237
One Batcave Trophy Die is at Gotham Zoo’s main building.
2
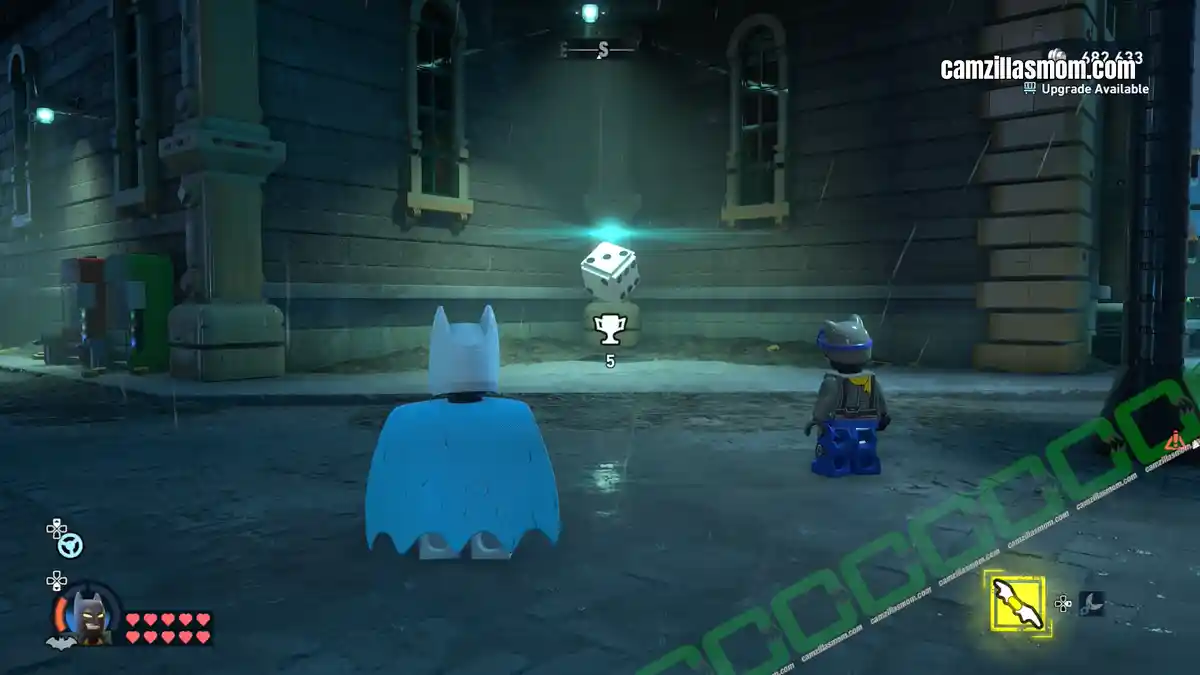
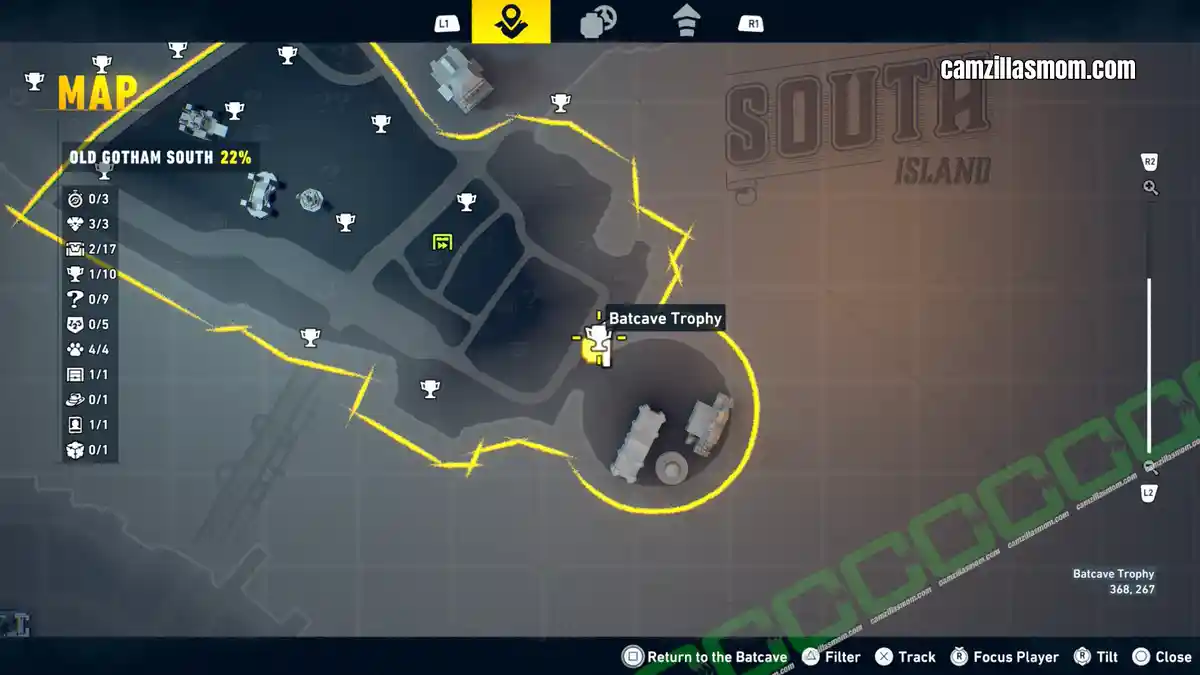
Coordinates: 368, 267
This dice is on the roof of the building right across from the Gotham Zoo Entrance gate.
3
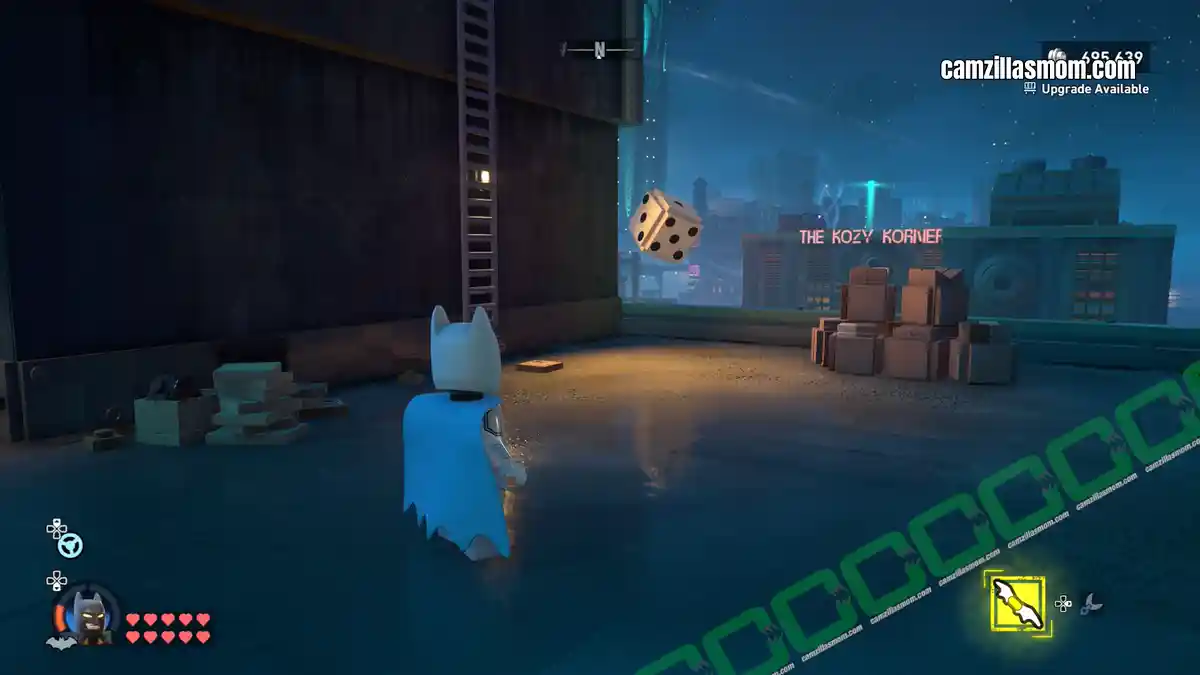
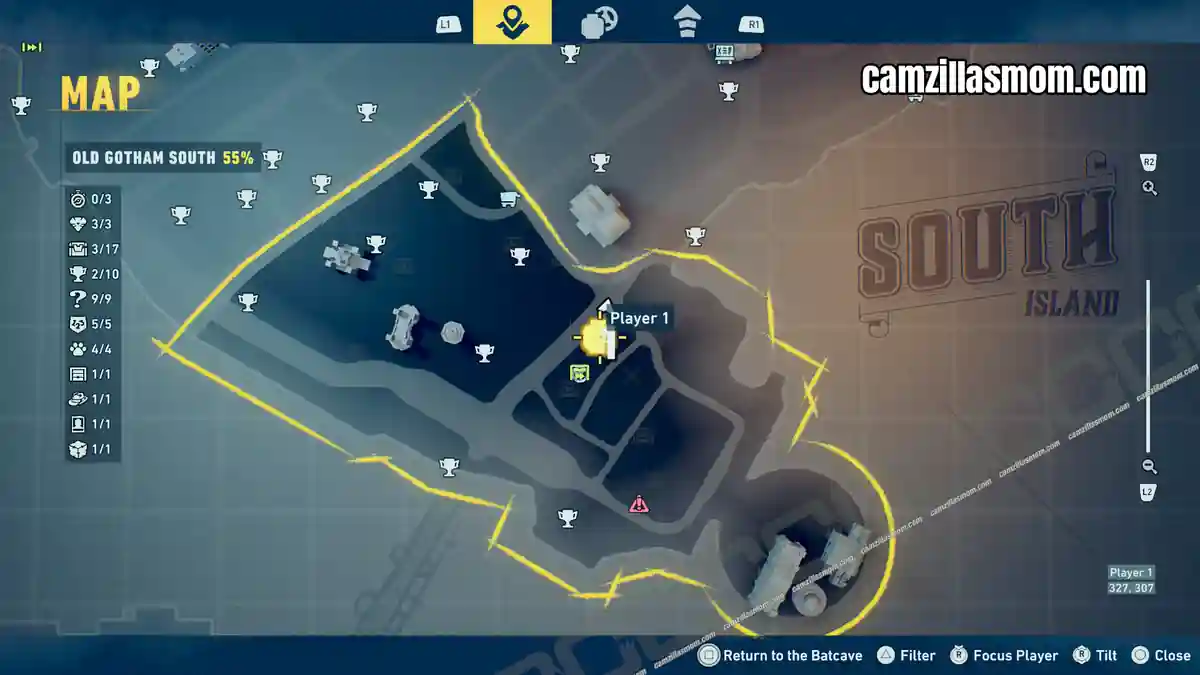
Coordinates: 328, 308
This one is on top of a building just north of the Subwayne.
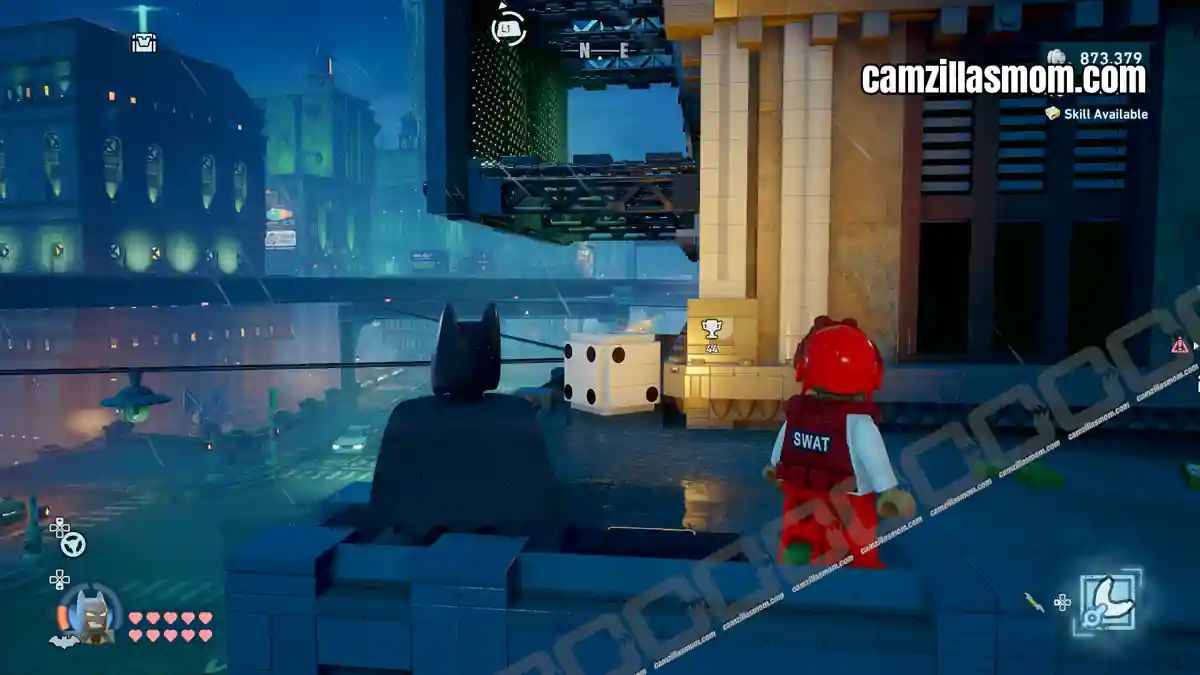
4
Coordinates: 303, 332
In the northern part of Old Gotham North is a shopping mile on a massive platform. This dice is below, next to one of the platform’s pillars.
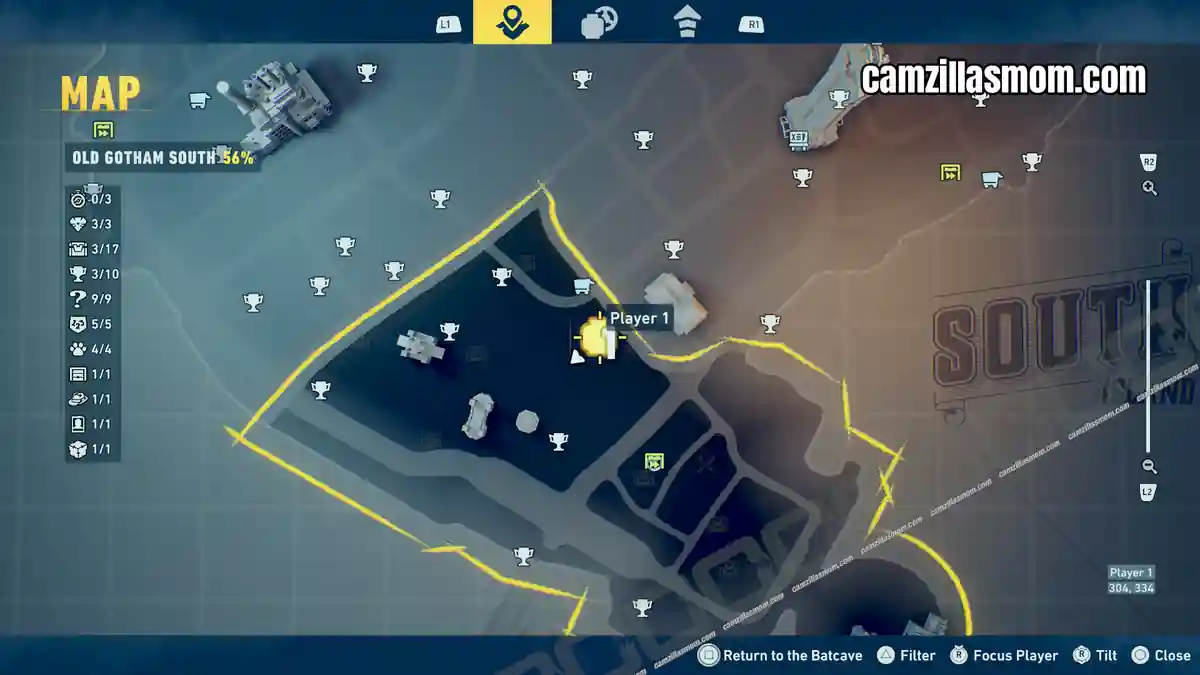
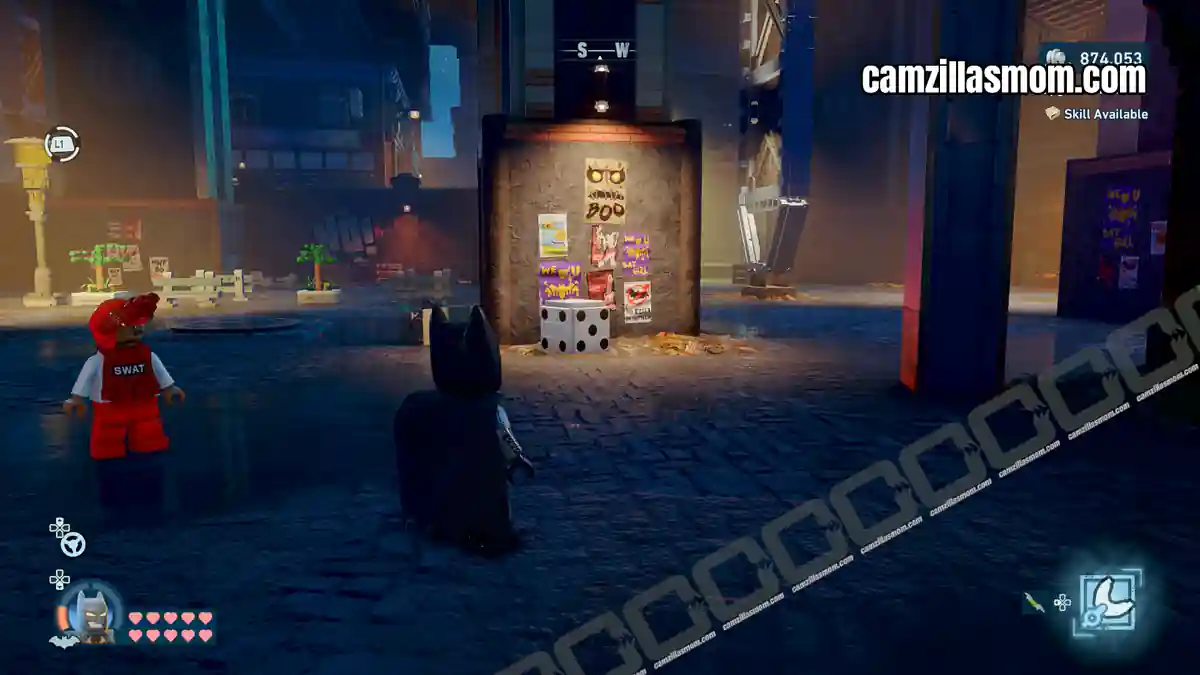
5
Coordinates: 258, 335
This dice is in the northern corner of the district, on top of a building next to the train tracks.
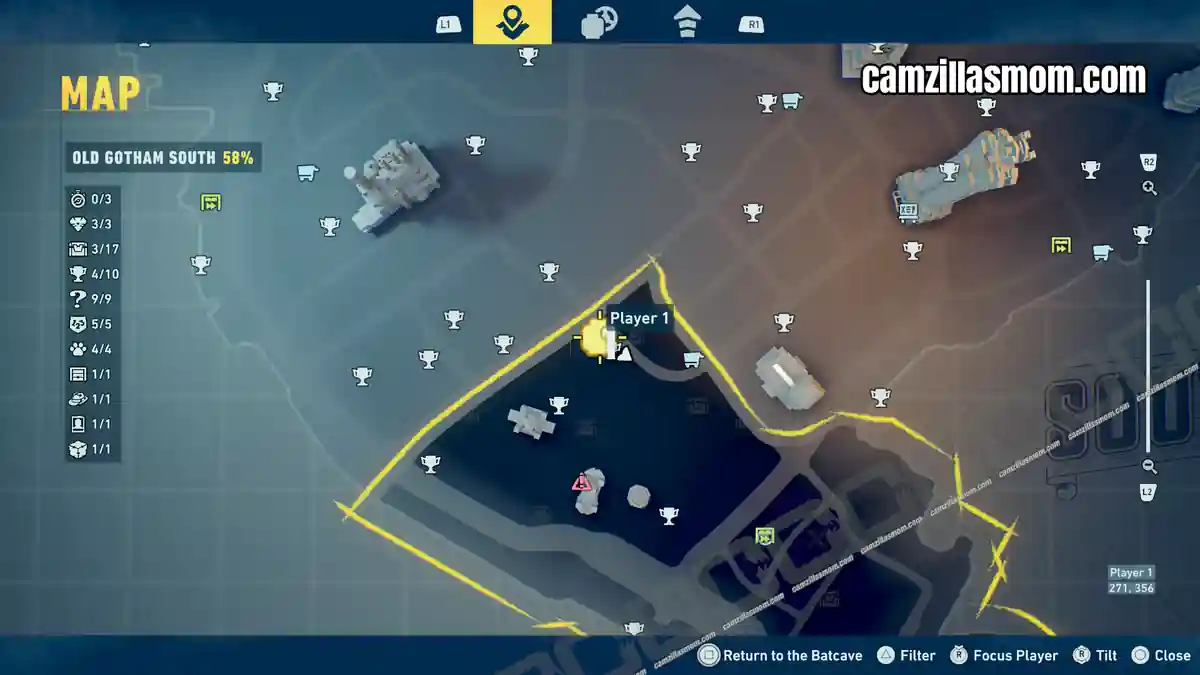
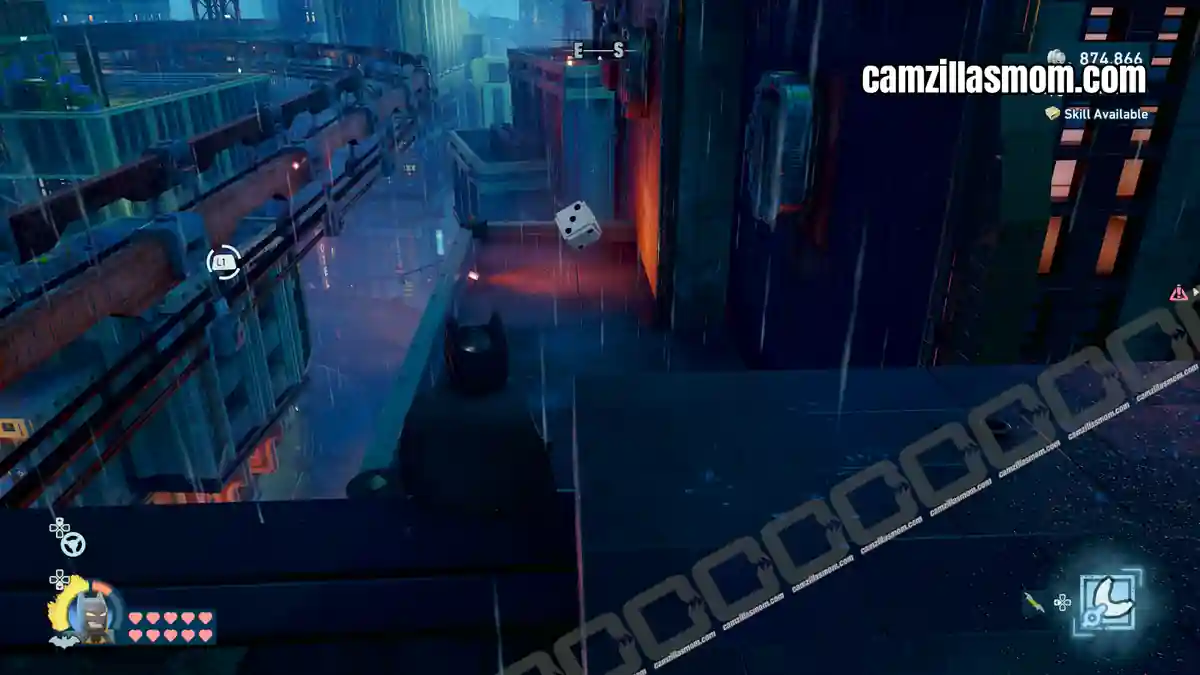
6
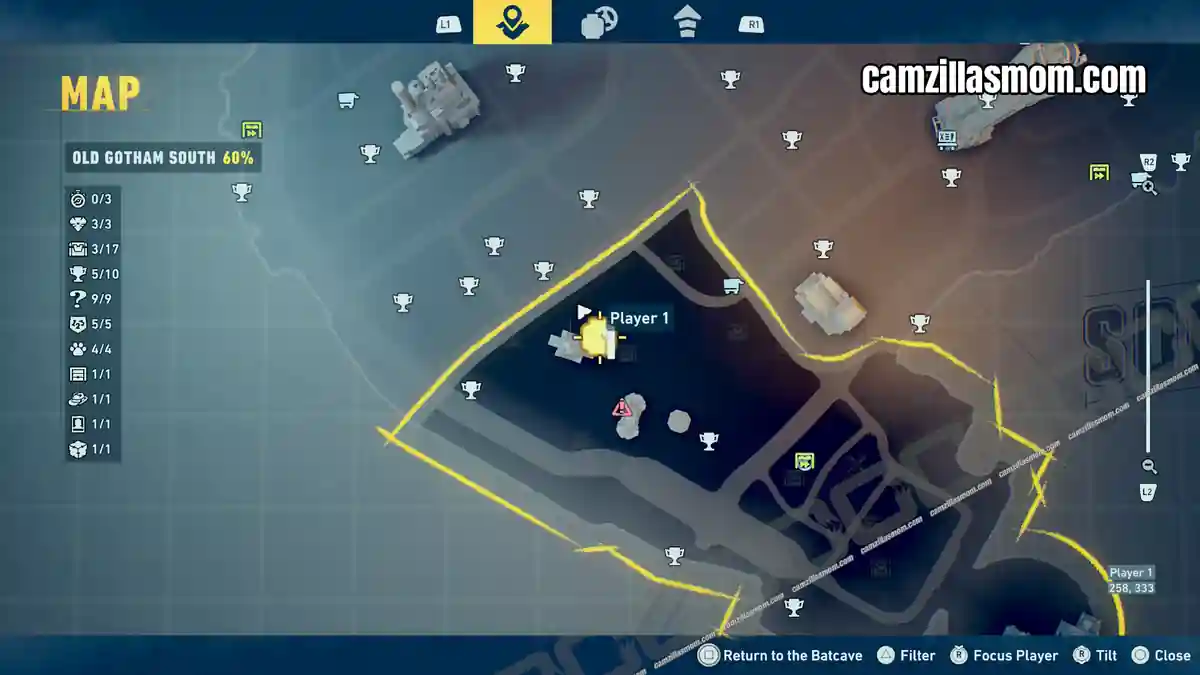
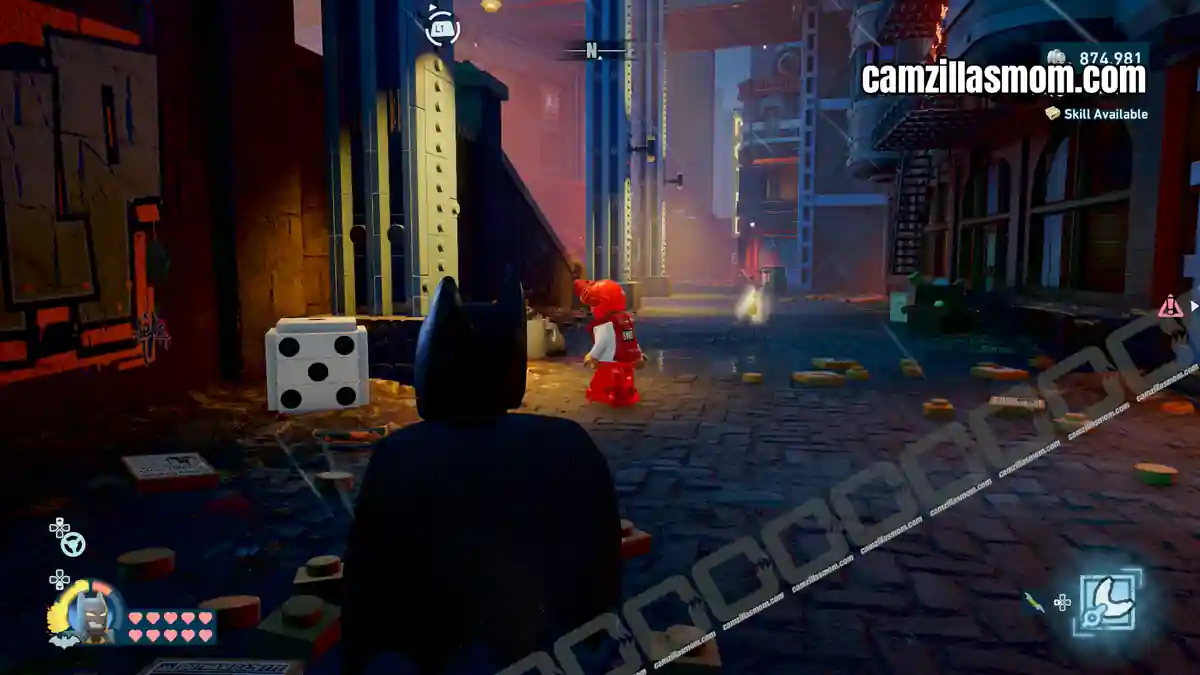
Coordinates: 258, 335
The next one is at the ground-floor level, next to the northeasternmost building on the map.
7
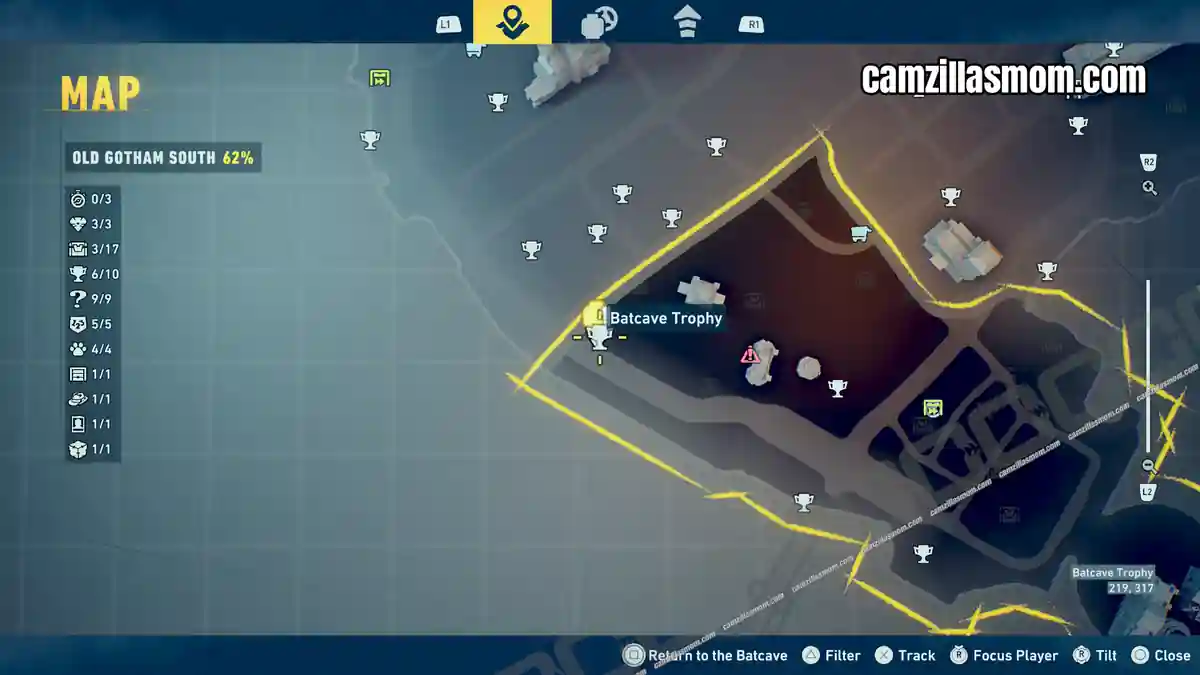
Coordinates: 219, 317
This dice is in the easternmost corner of Old Gotham South, by the park entrance.
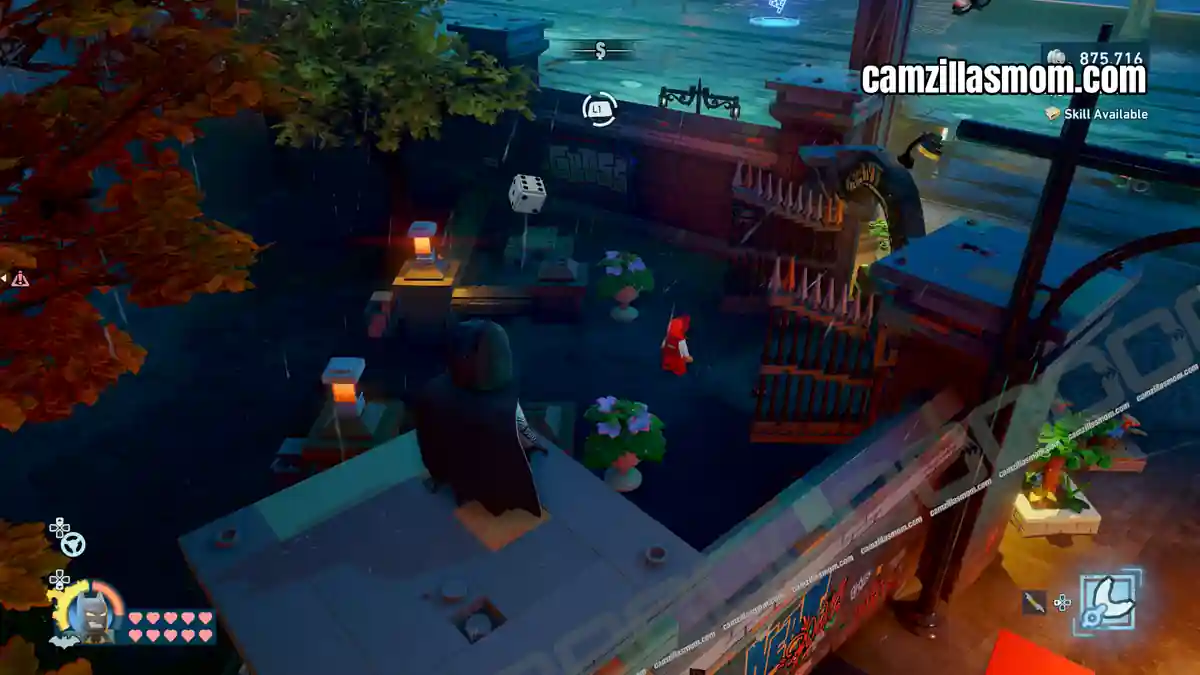
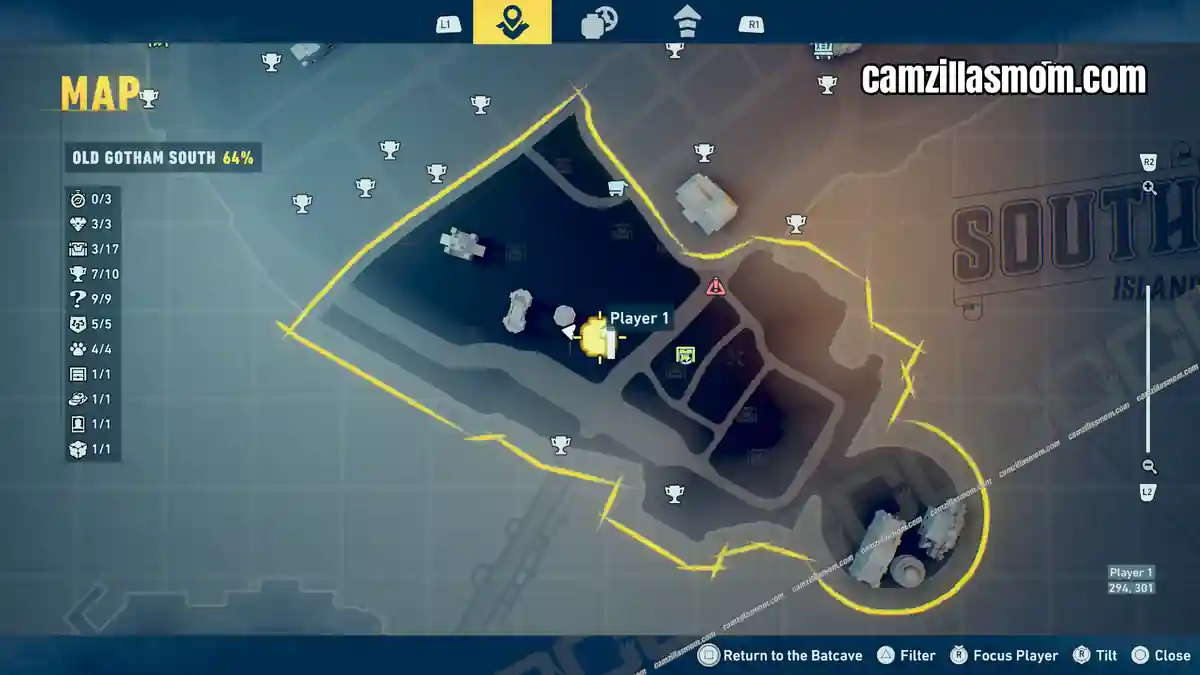
8
Coordinates: 292, 302
The next one is west of the Subwayne inside the pavilion of a small park.
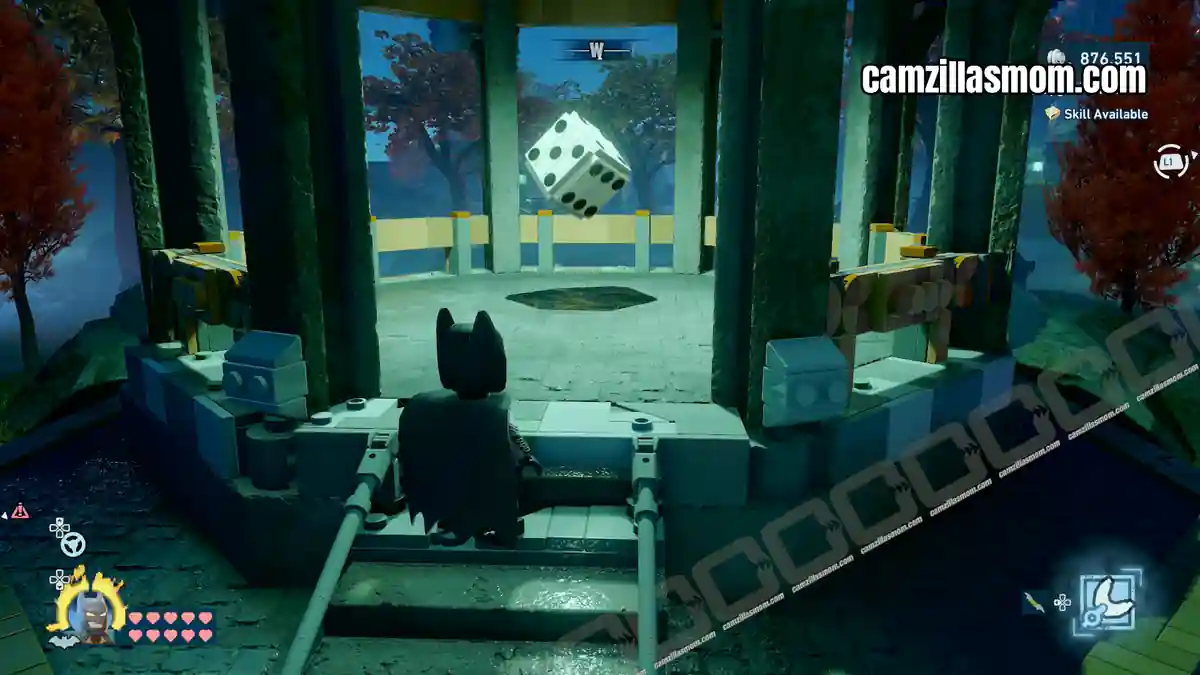
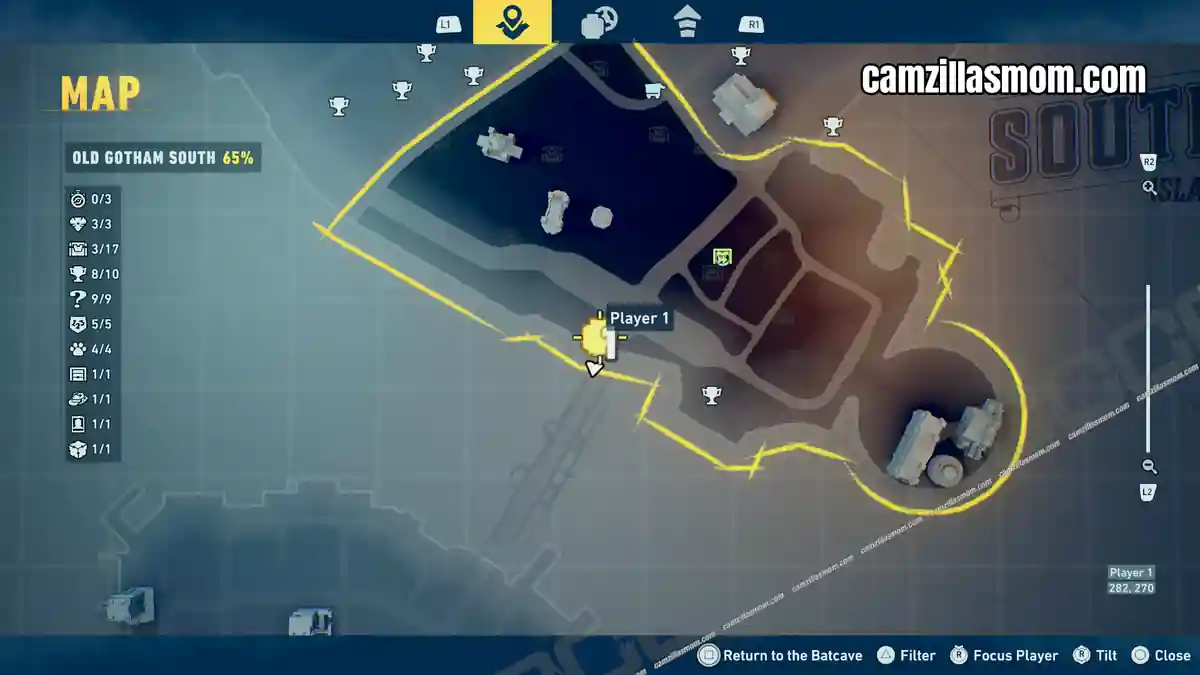
9
Coordinates: 281, 267
This dice is in the southern park near the waterfront and the bridge.
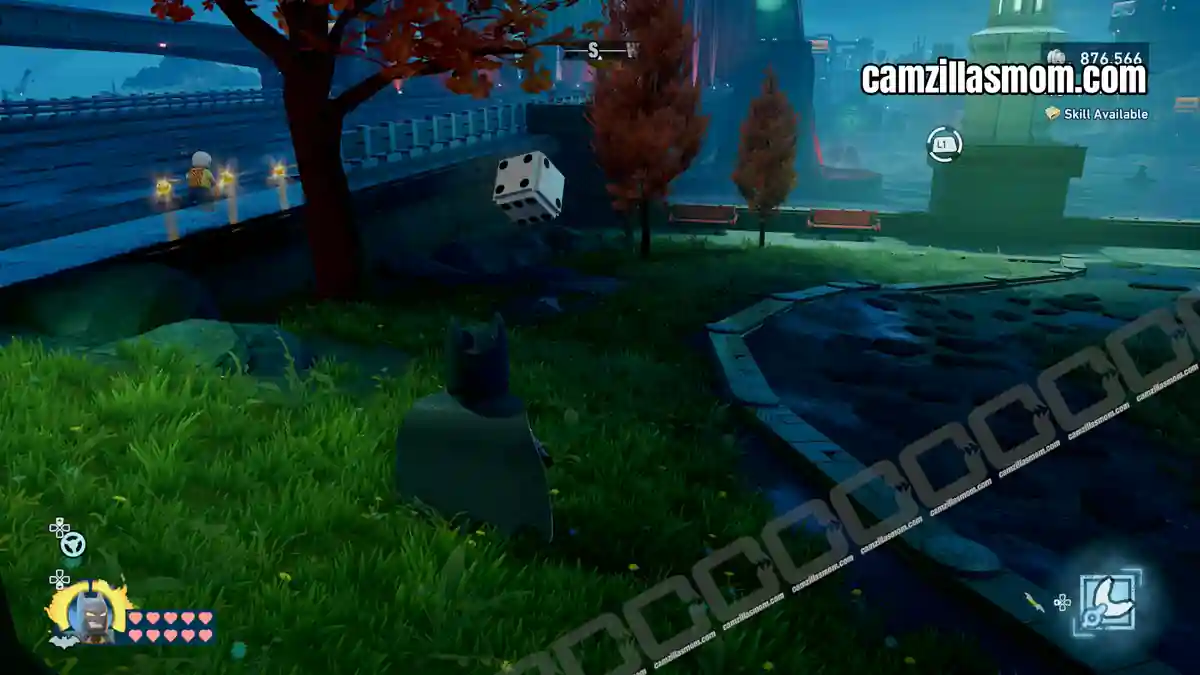
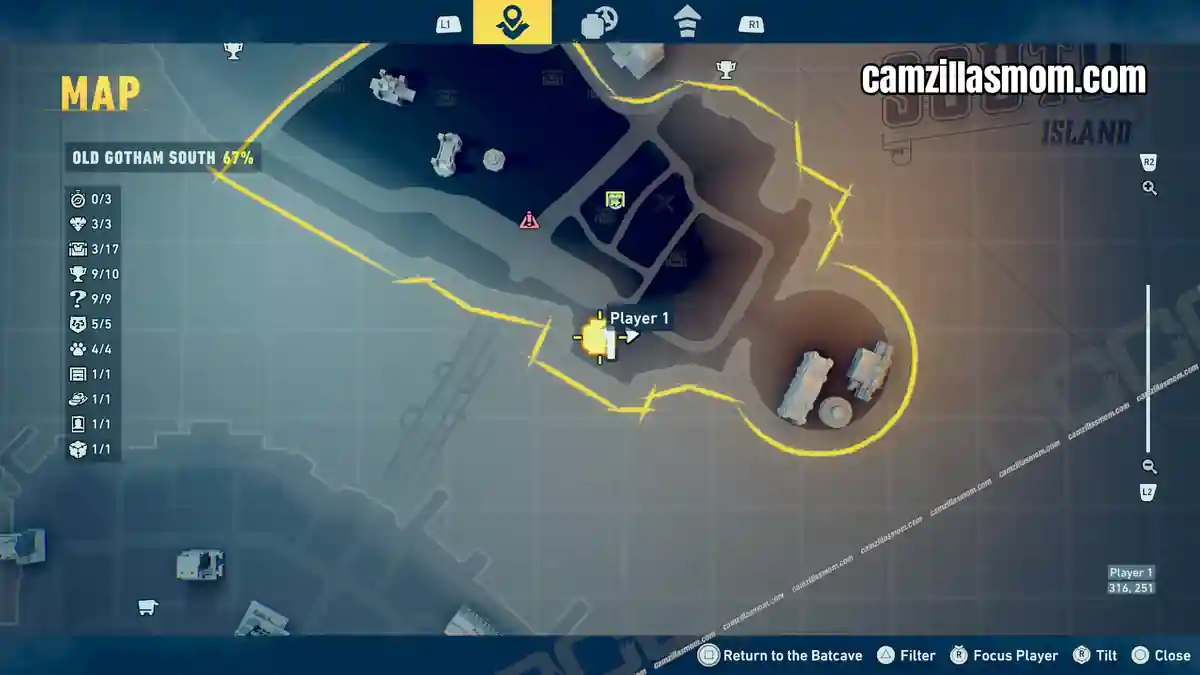
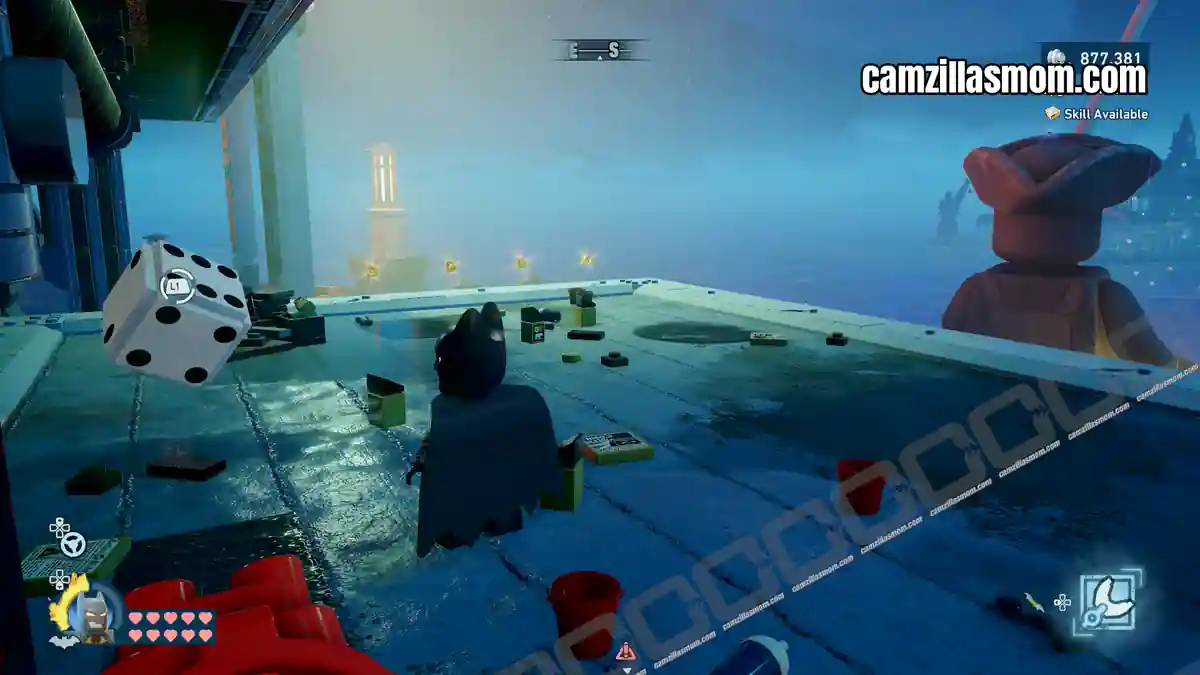
10
Coordinates: 317, 251
The last one is by the water, behind the big LEGO statue near the bridge.
Riddler Puzzles – 9
Old Gotham South is home to 9 Riddler Puzzles, the highest count of any single district. Each puzzle requires a different combination of character abilities to solve and rewards a collectible upon completion.
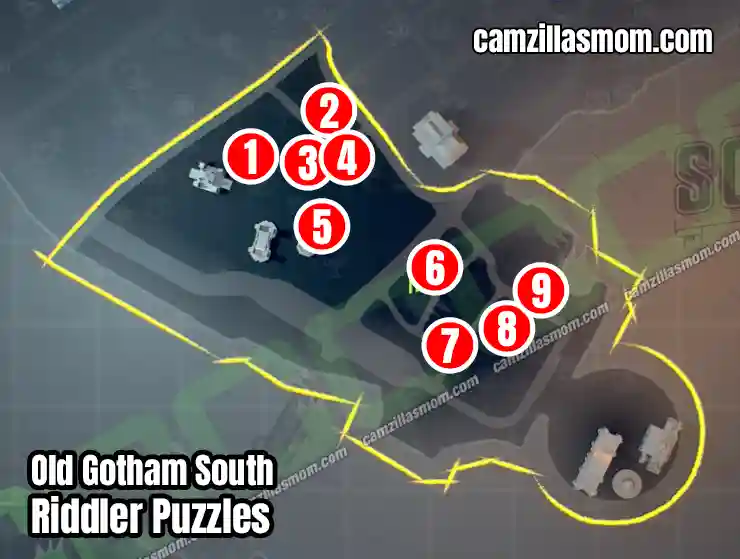
1 – Turn the Other Leak
2 – Anti-Monitors
3 – Gloomy Tunes
4 – Feeling Steamed
5 – Lightning Round
6 – Seek-quence
7 – Cog-nitive Dissonance
8 – Services Charge
9 – Pattern Recon-ition
1 – Turn the Other Leak
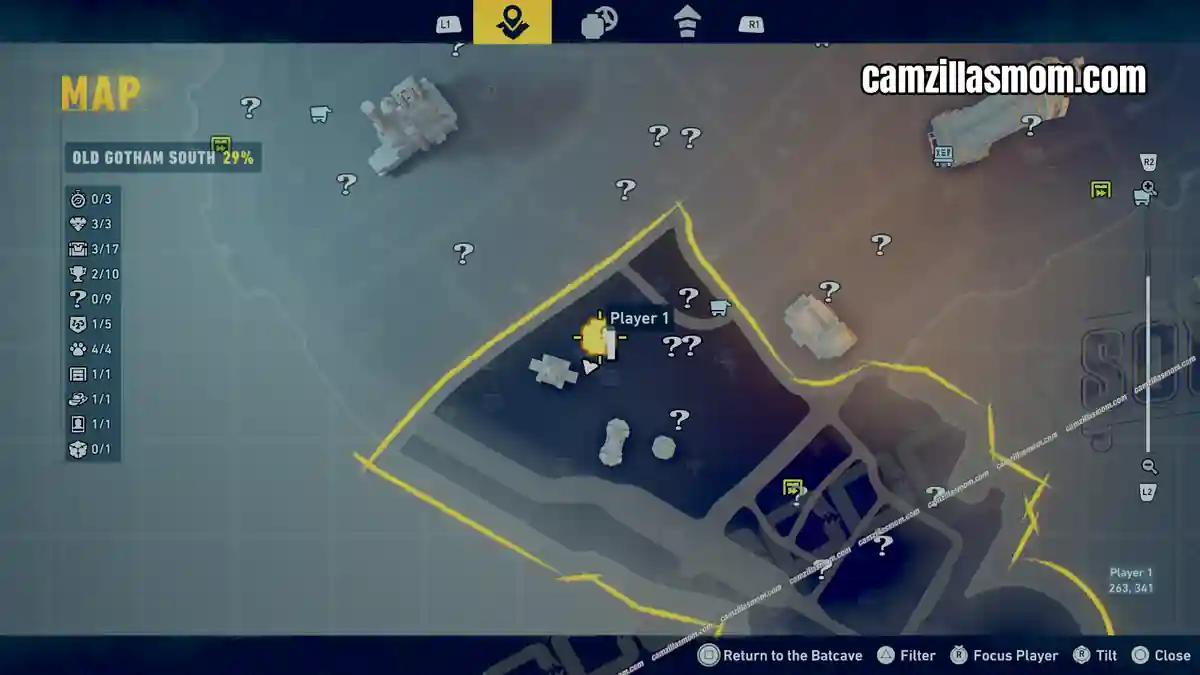
Coordinates: 264, 339
Turn the Other Leak is just east of the previous puzzle, near a triangle-shaped roof.
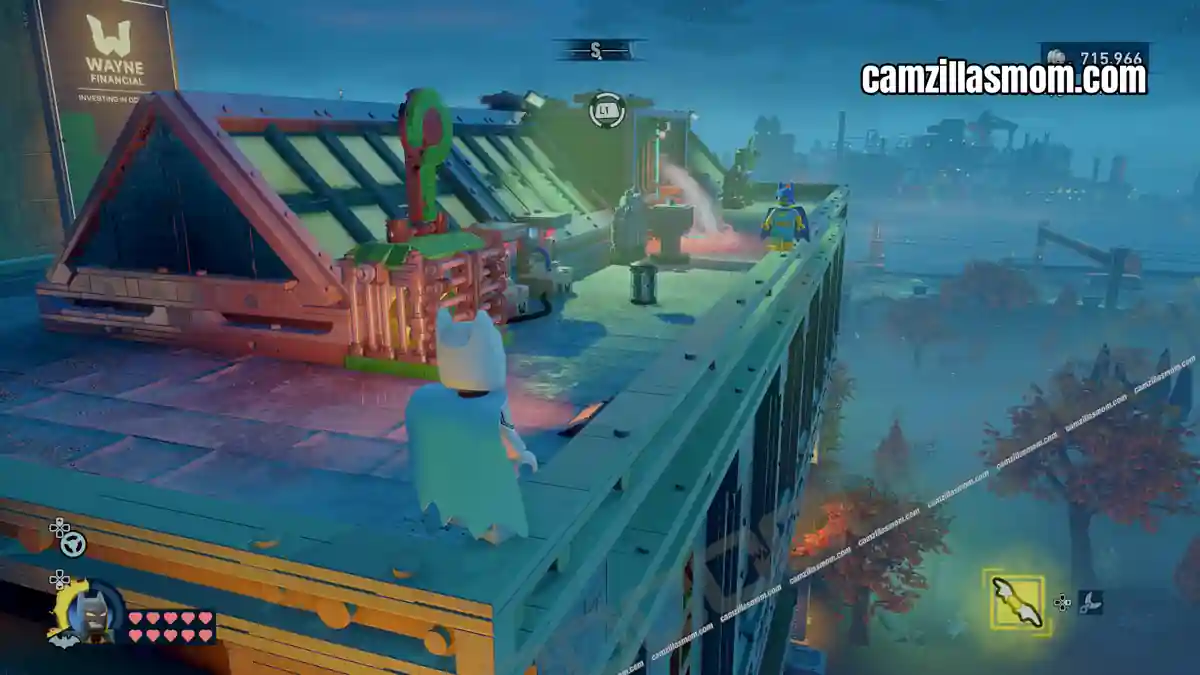
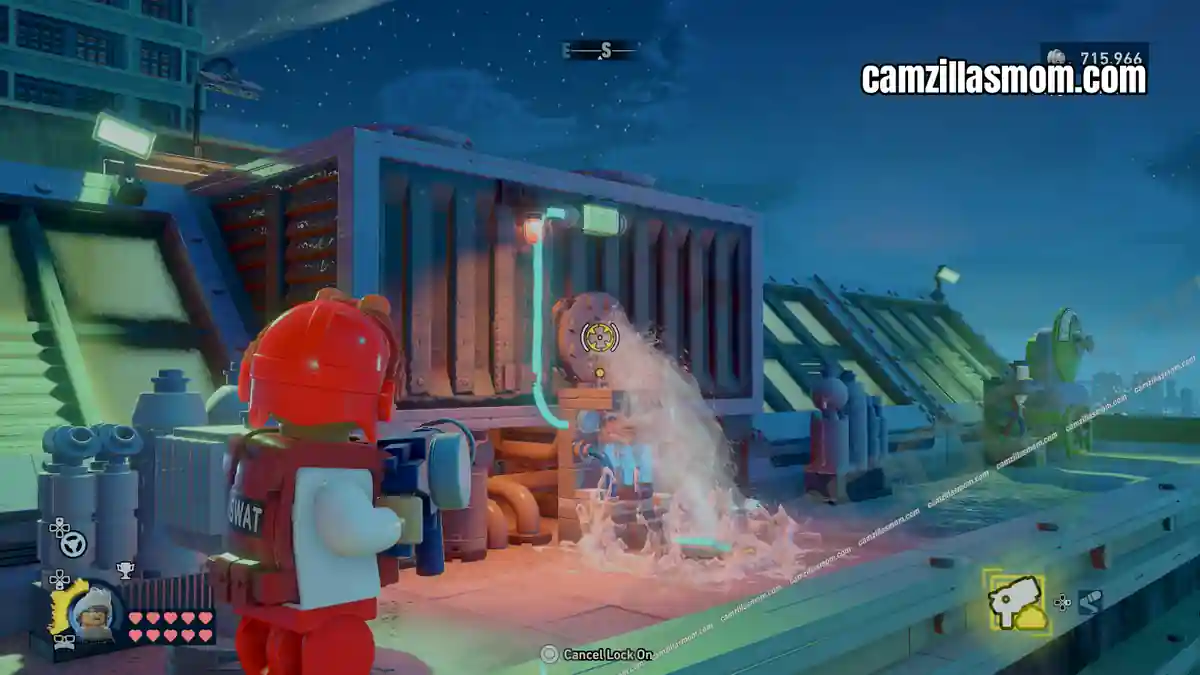
There is another leak for Jim Gordon to plug with his Foam Sprayer. Then pick up the battery and put it in one of the two slots by the puzzle.
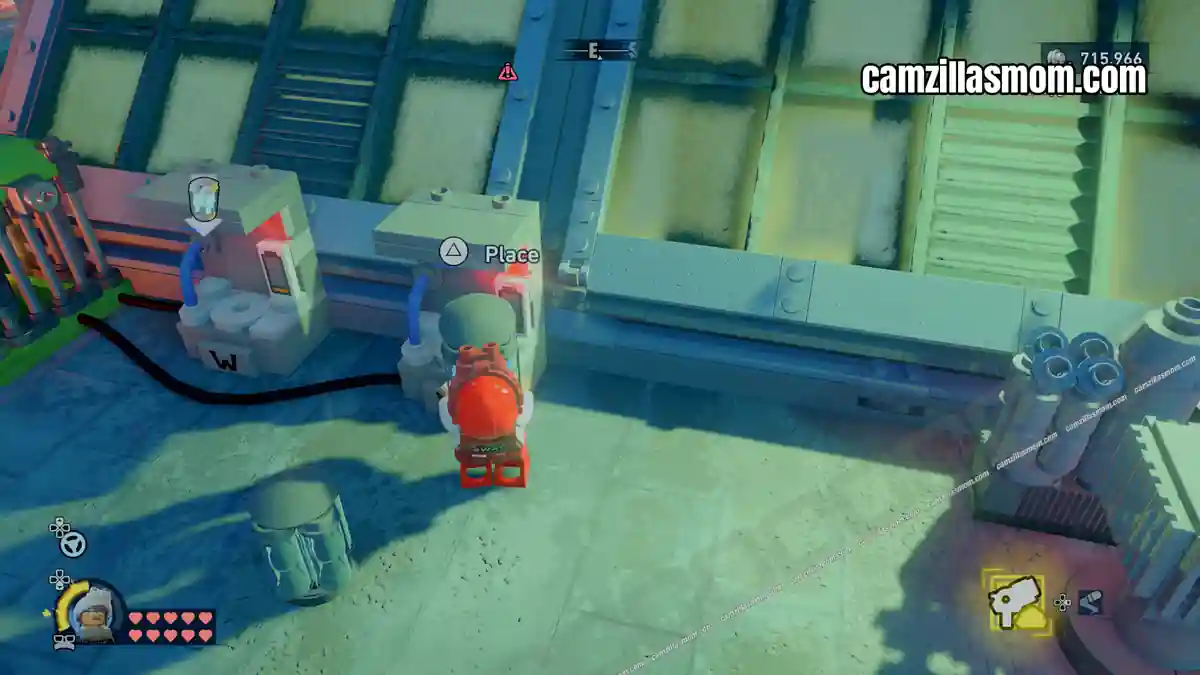
Pick up the empty battery and place it into the battery charger on the other side of the roof.
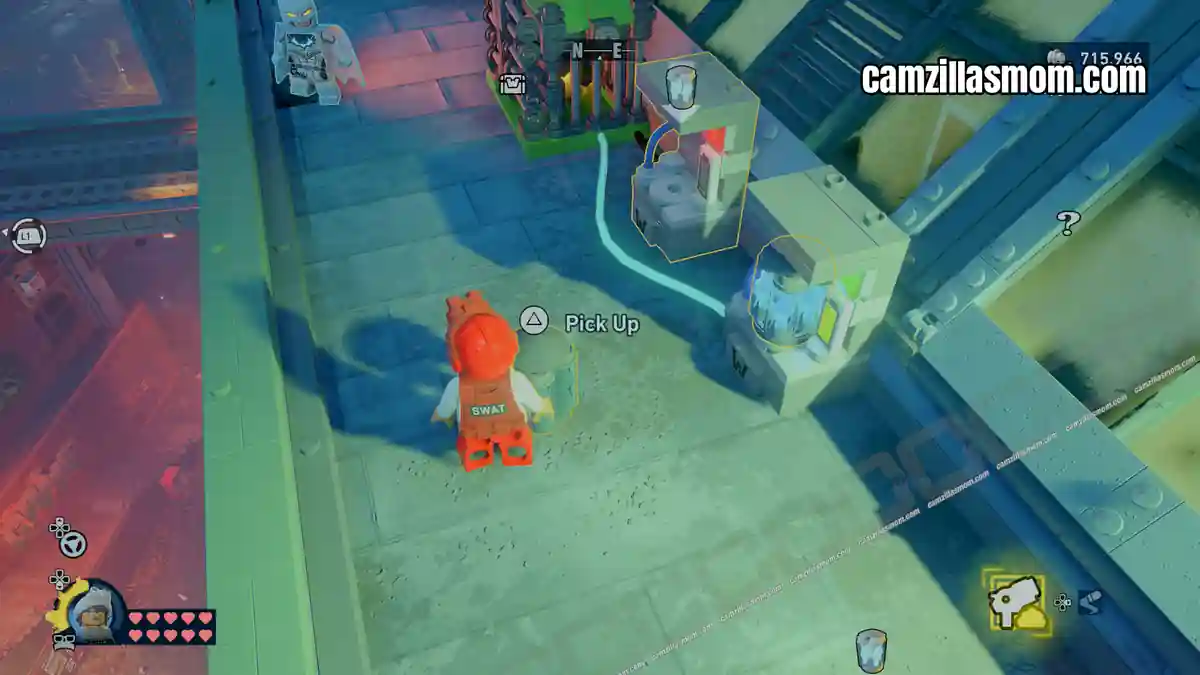
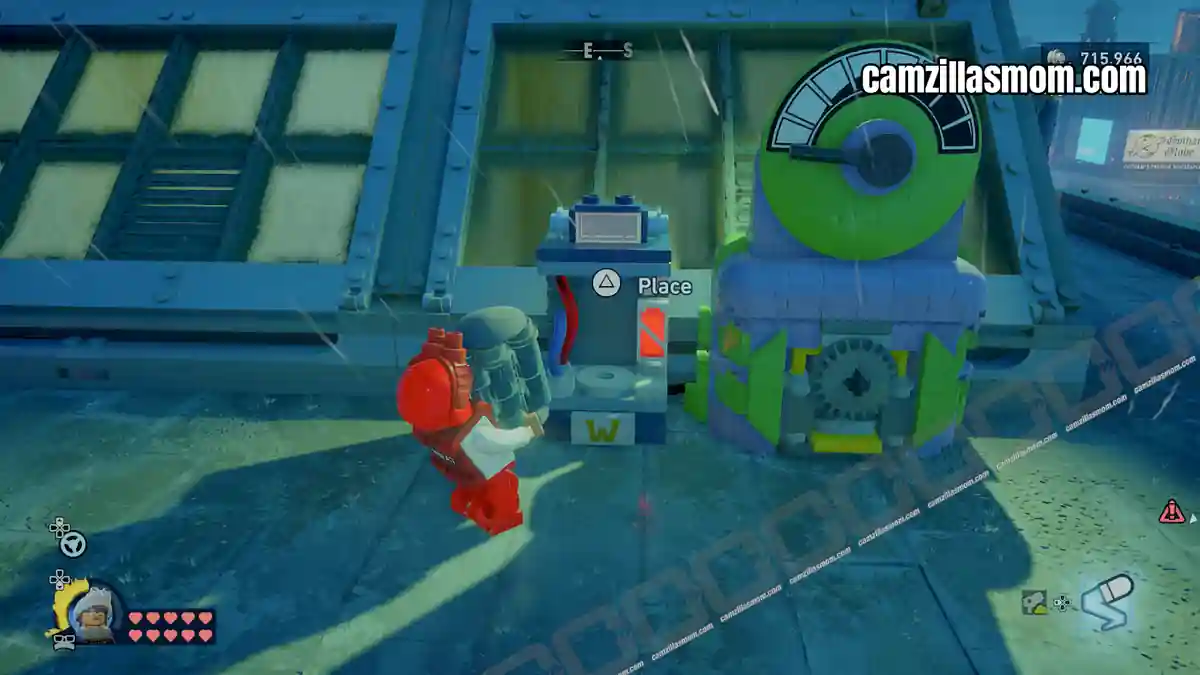
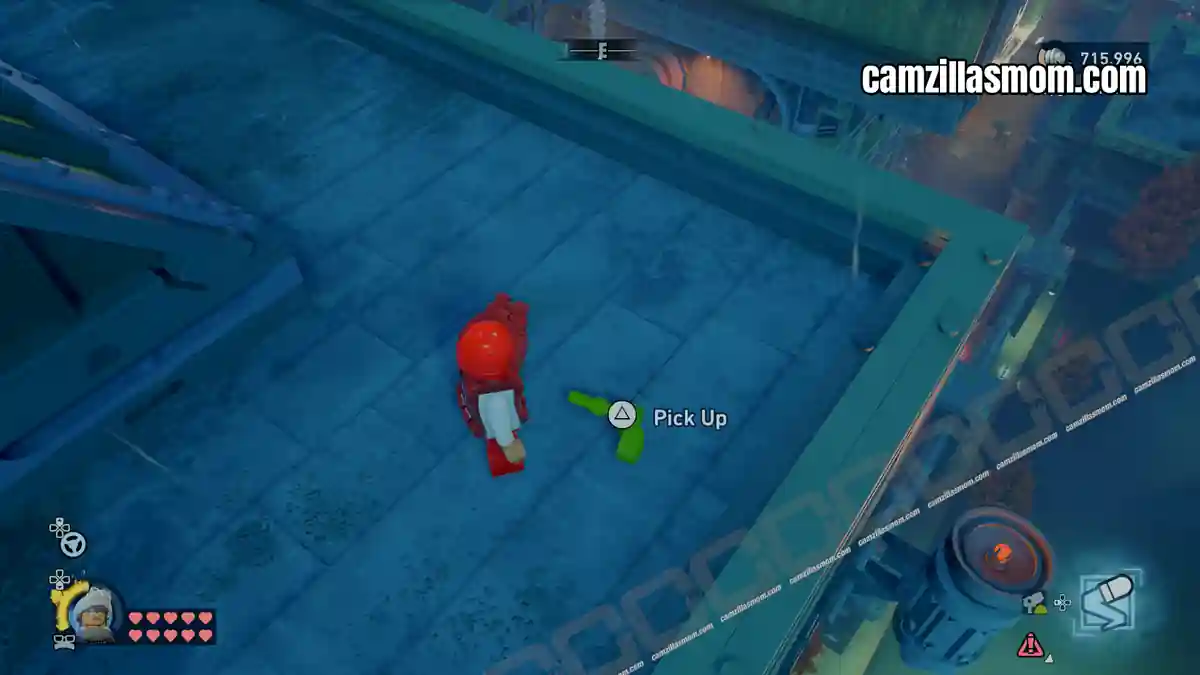
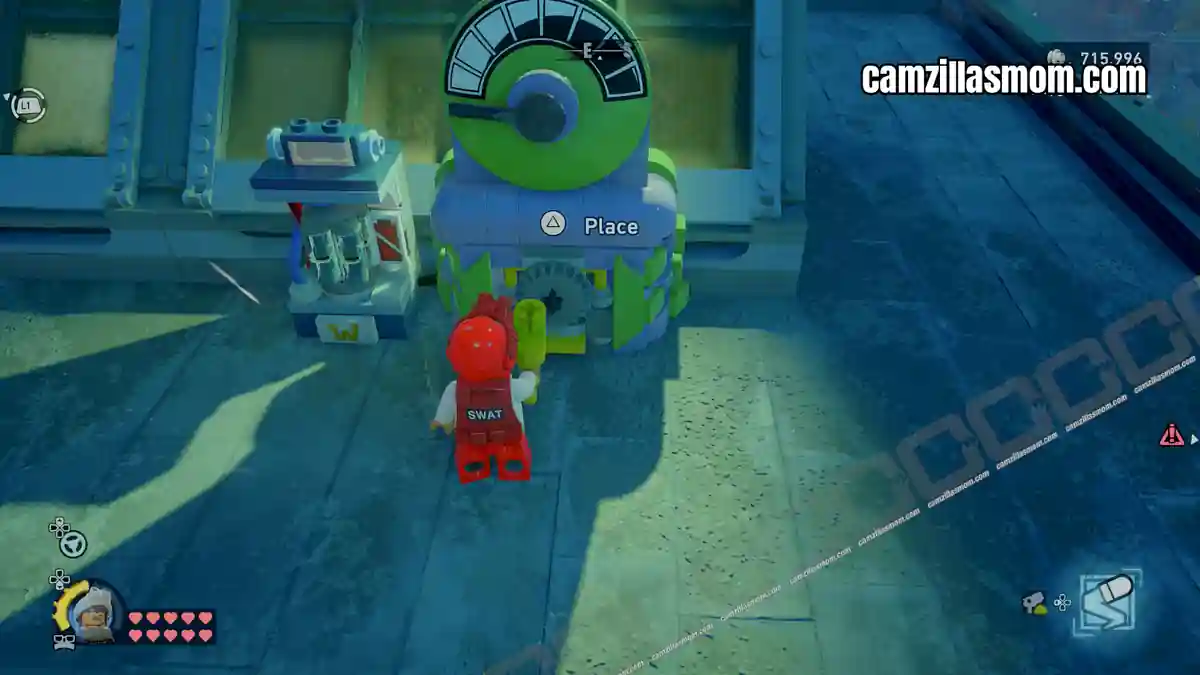
The charger needs a handle, which is on top of the nearby satellite dish. Smash it and use the handle to charge the battery. Pick up the second battery and put it into the second battery slot to open the Puzzle box.
2 – Anti-Monitors
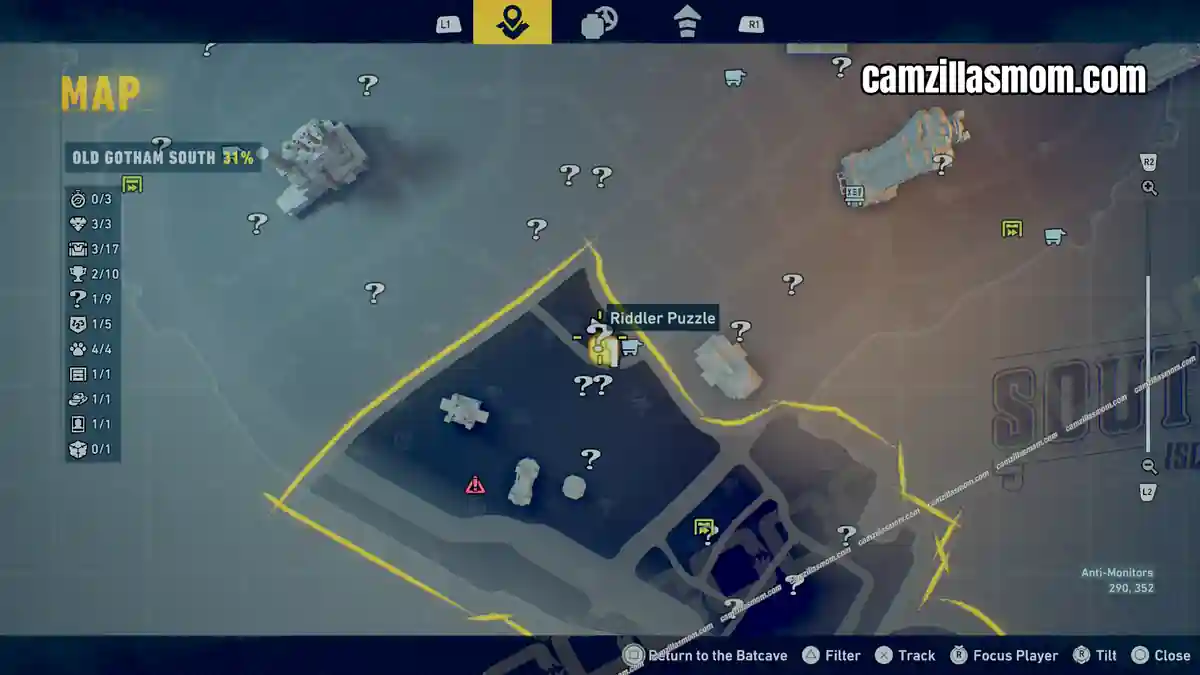
Coordinates: 290, 352
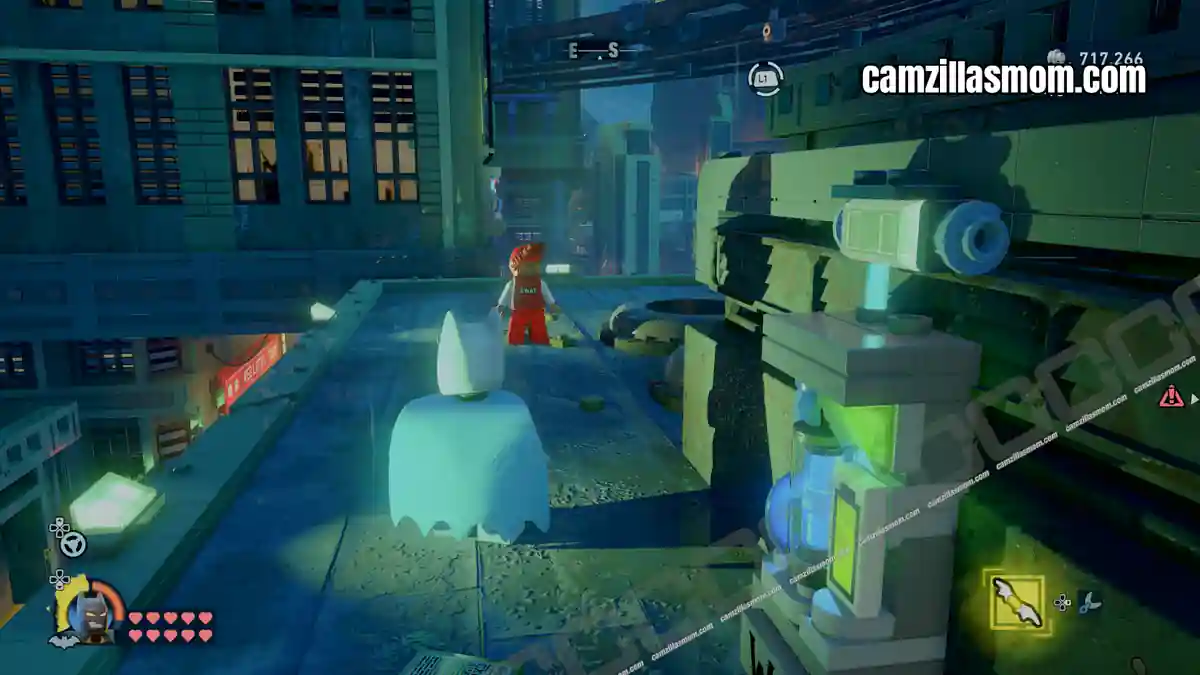
Anti-Monitors is the northernmost Riddler puzzle in the Old Gotham South district. This puzzle needs four batteries for the puzzle box lever to work. At the start, three cables are without power.
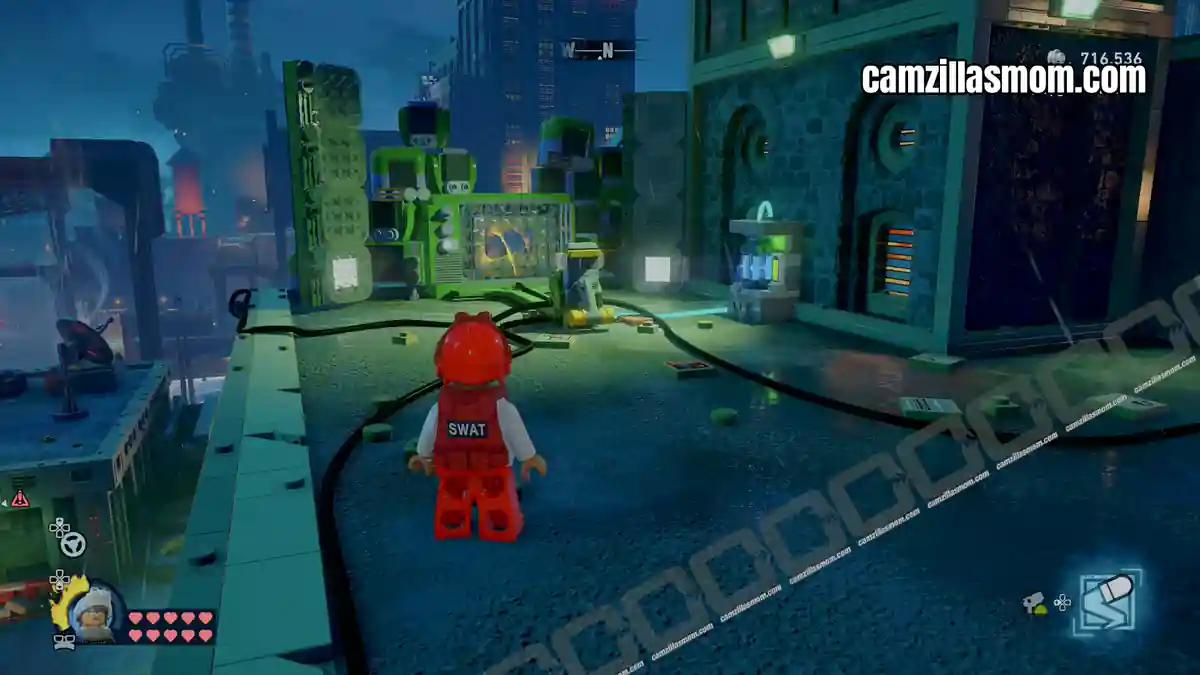
The first battery is right around the corner, powering a satellite dish. Place it in the generator below the satellite dish.
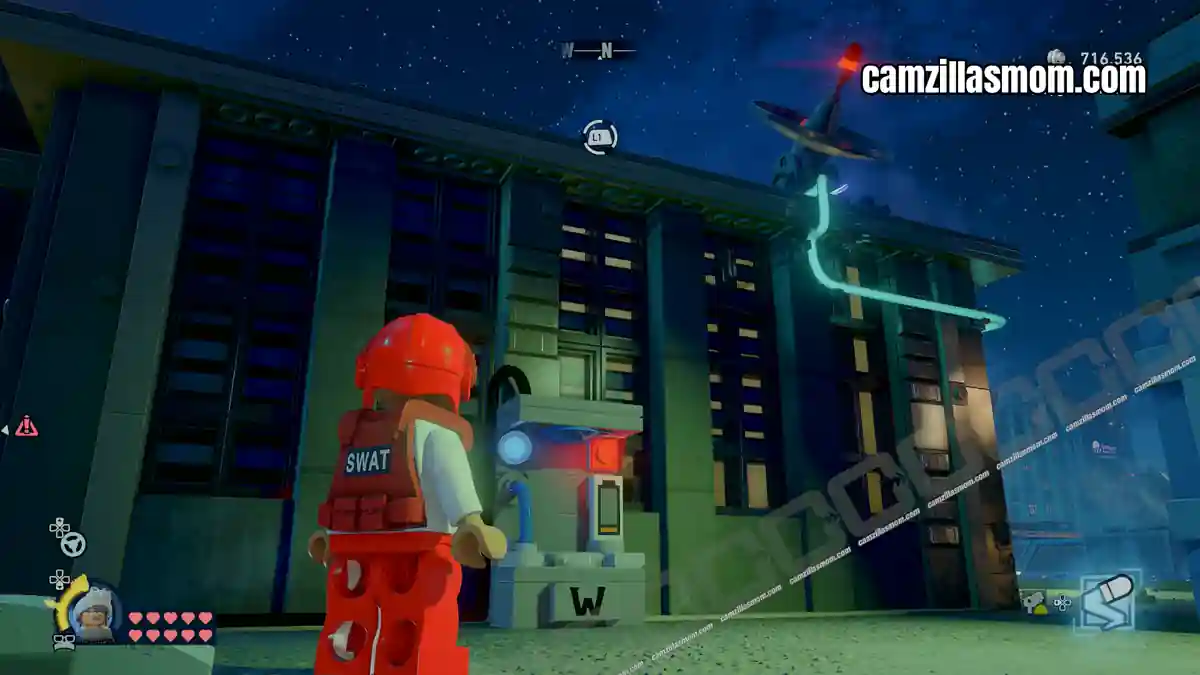
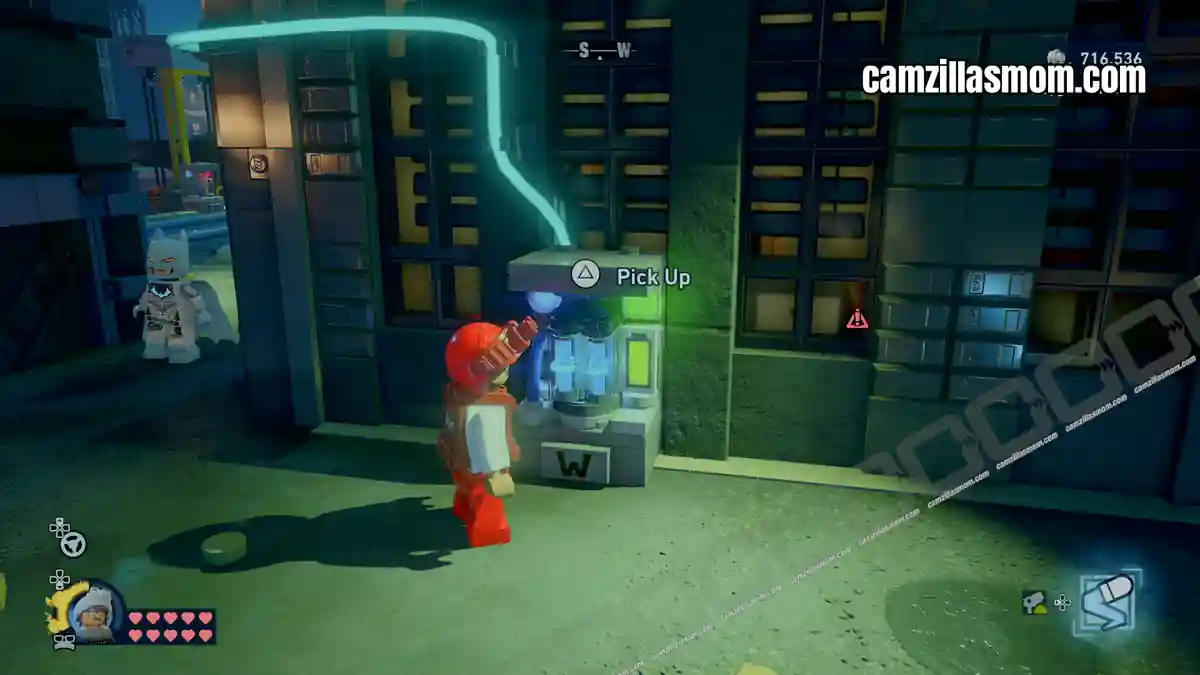
For the second battery, you need to take one of the already placed batteries to power the nearby elevator. It will go down. But you will need a small battery for the generator below. There is one right around the corner from the satellite dish’s battery. Pick it up, then drop down to put the small battery into the slot there. Once done, return the big battery from the elevator back into the slot below the satellite dish.
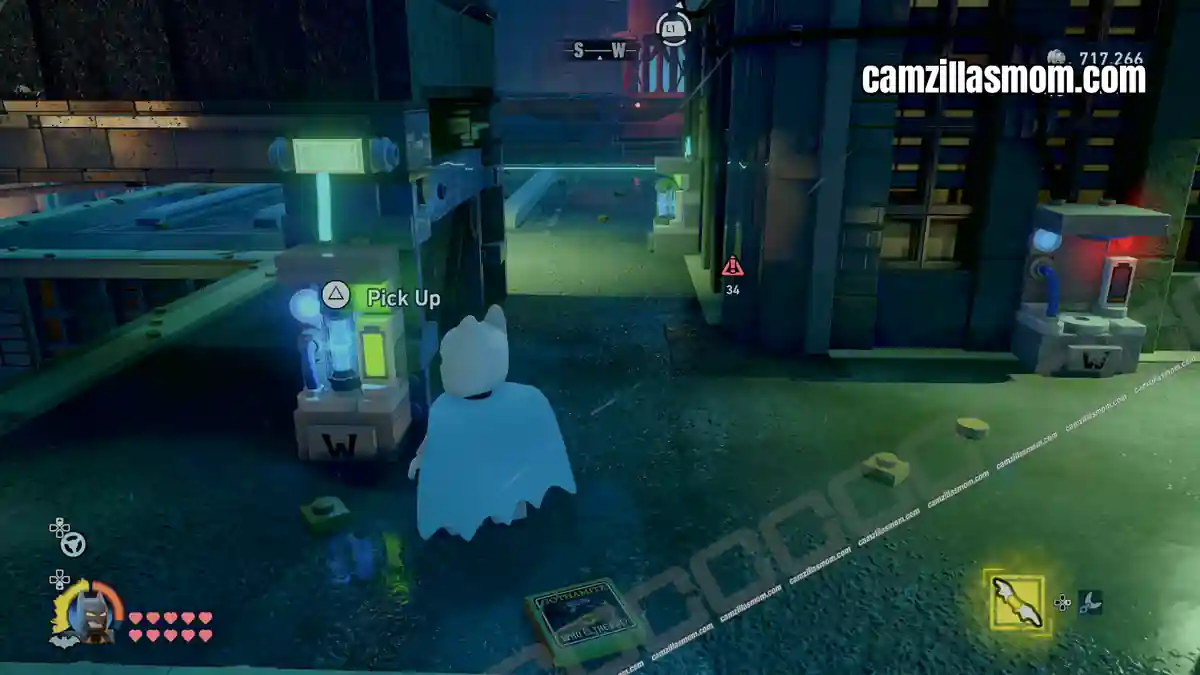
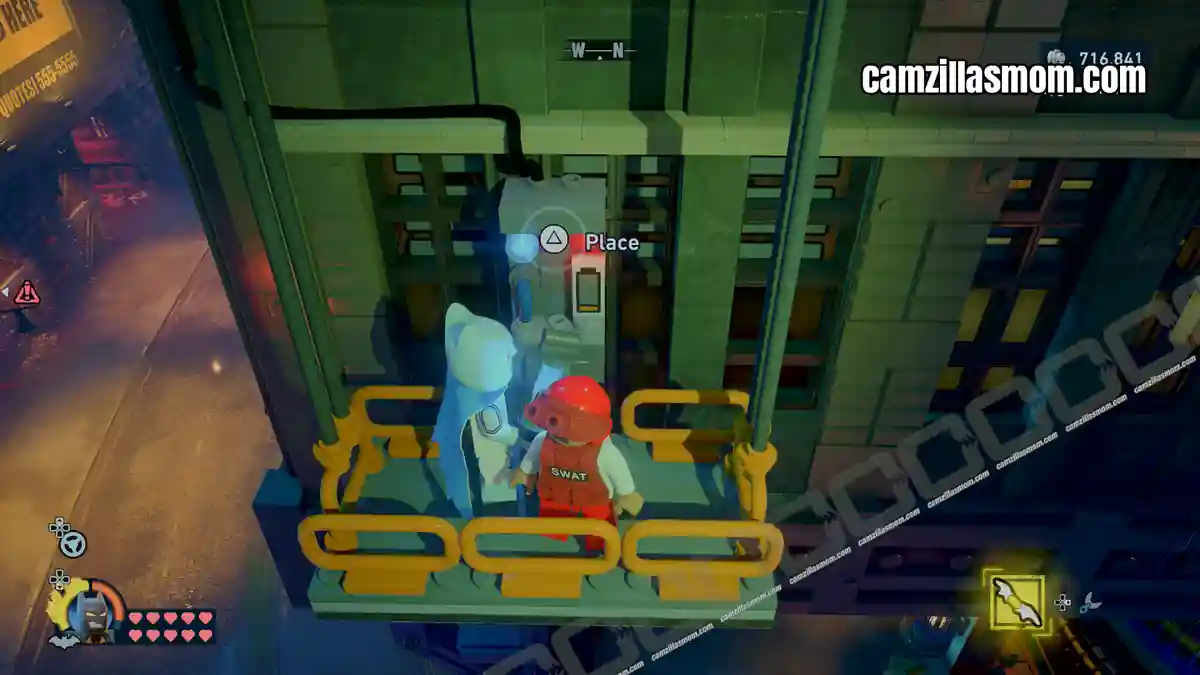
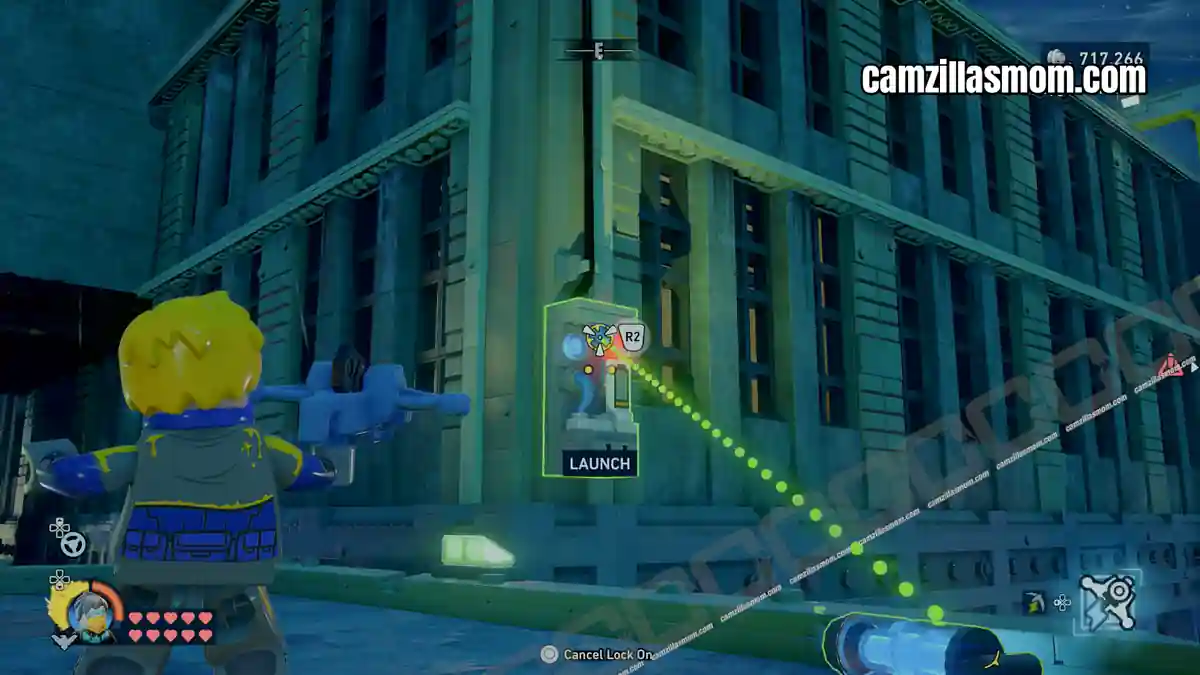
For the last battery, the generator is also attached to the wall, but unfortunately there is no elevator to reach it. There is a battery nearby though.
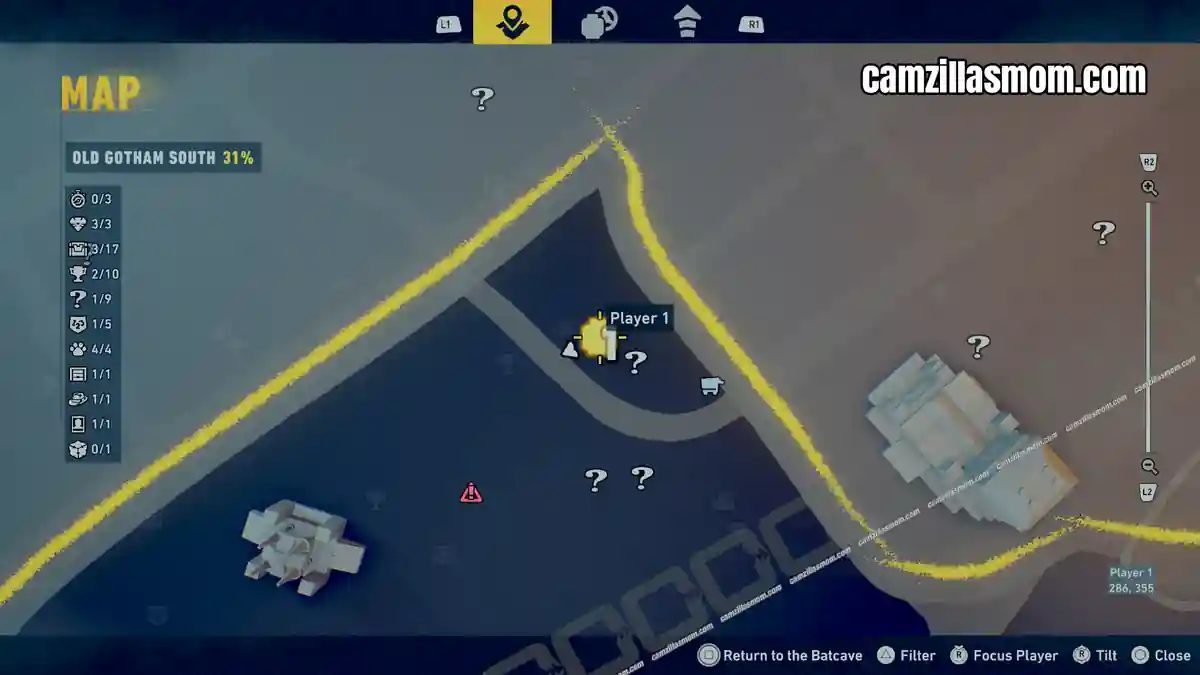
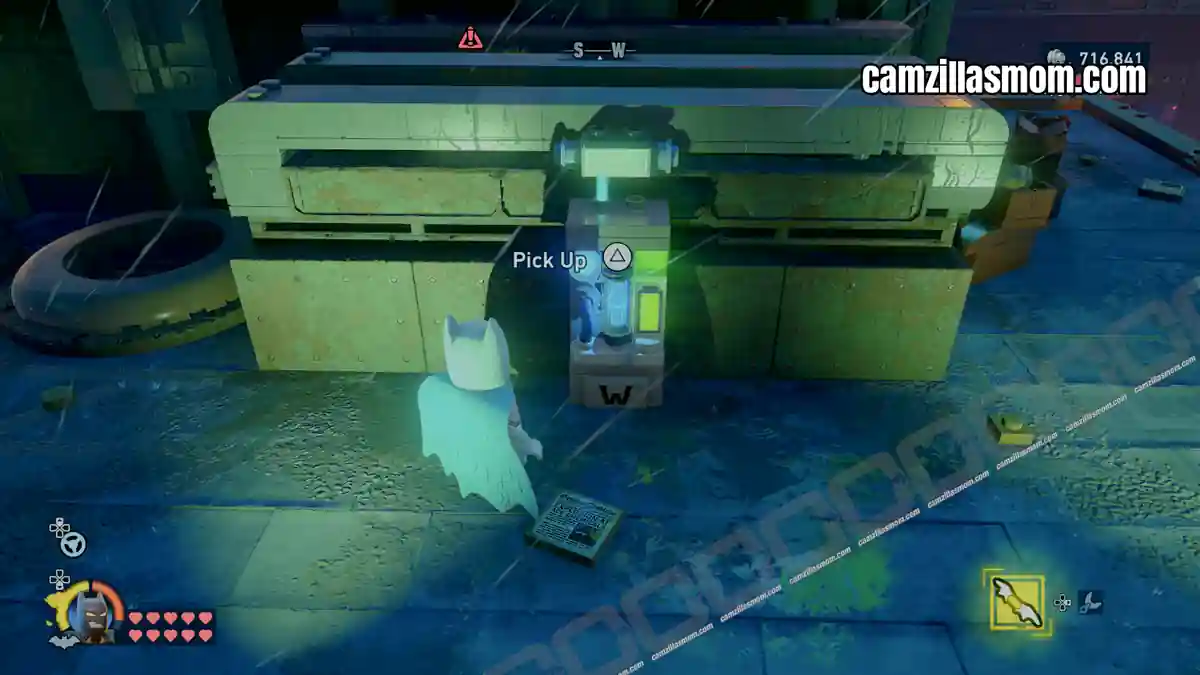
For the last battery, the generator is also attached to the wall, but unfortunately there is no elevator to reach it. There is a battery nearby though. Take the battery and drop it near the battery slot. Then switch to Nightwing and use the Cable Launcher to connect the battery with the slot. Now head back to the puzzle box, use the lever and pick up the reward.
3 – Gloomy Tunes
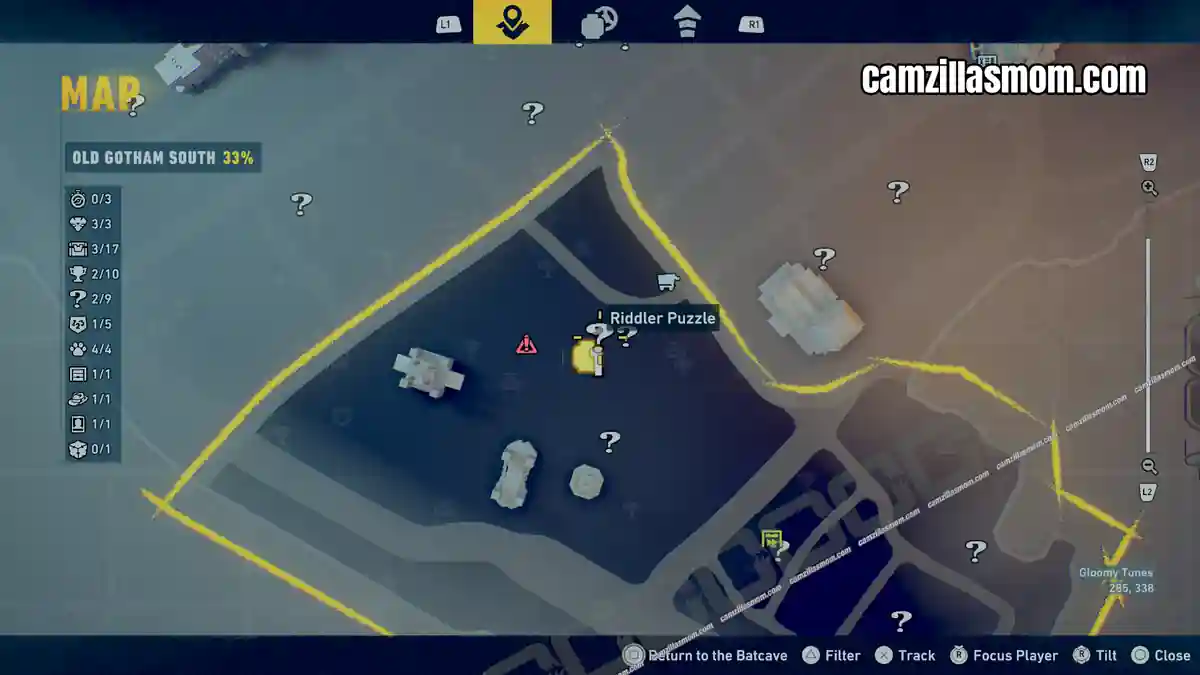
Coordinates: 285, 338
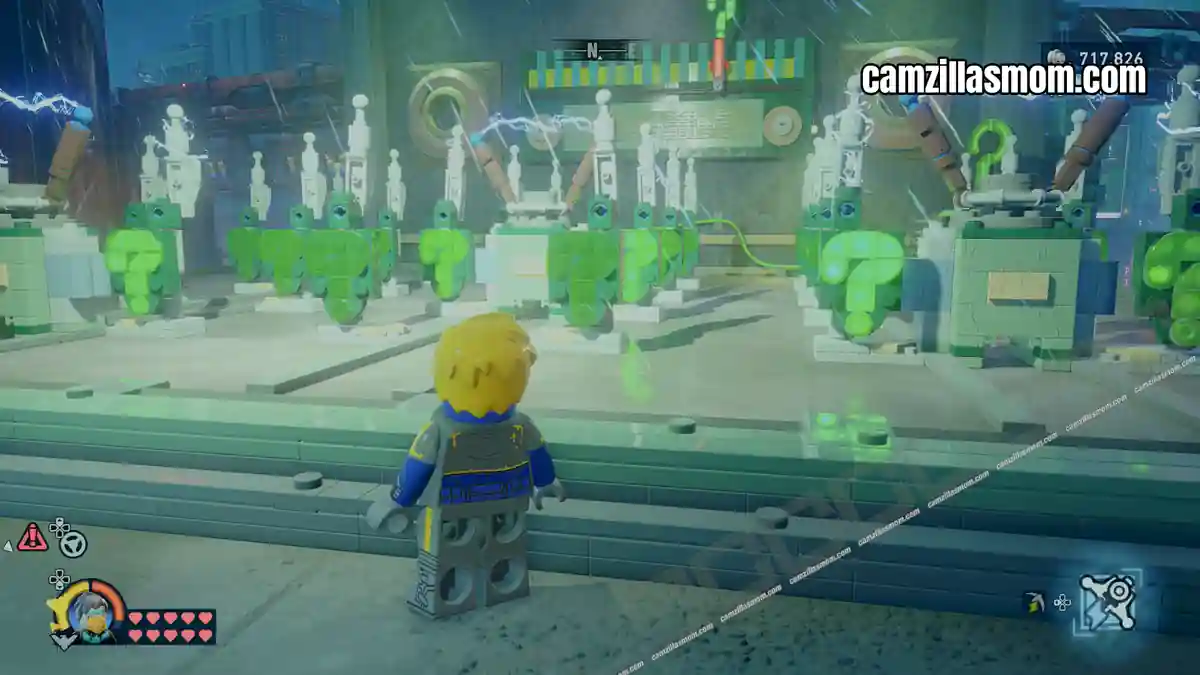
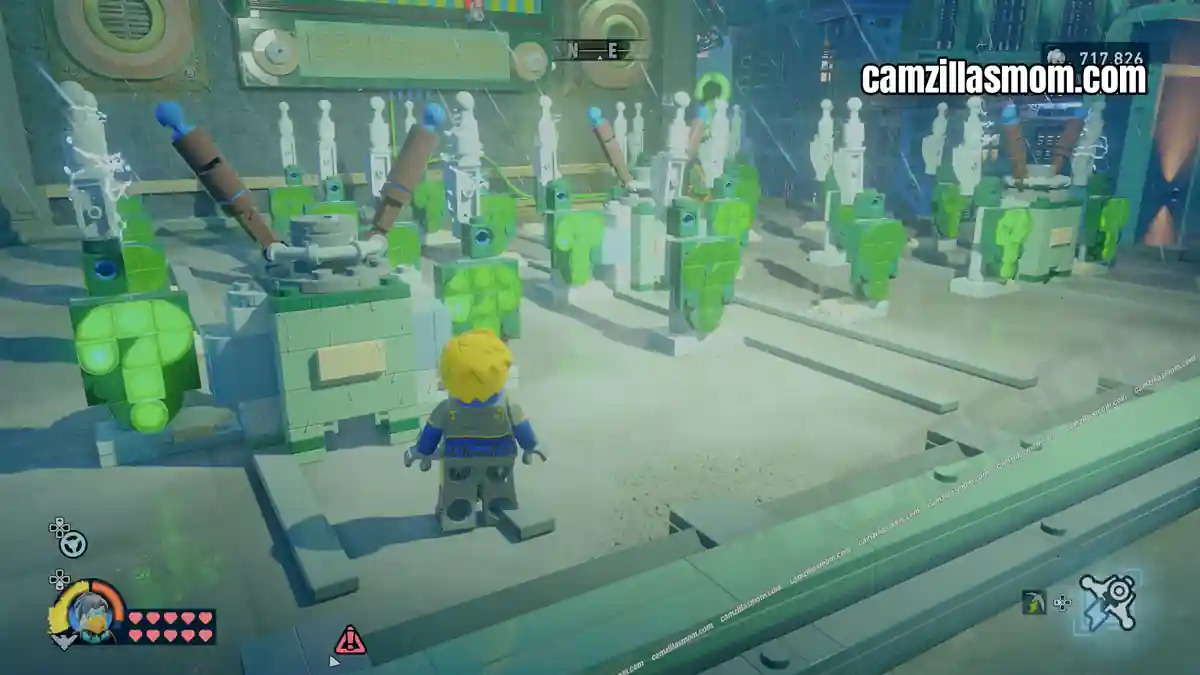
Gloomy Tunes is just southwest of the previous puzzle and plays with electricity as well. The goal here is to move three transistors to power the radio-like structure at the back wall.
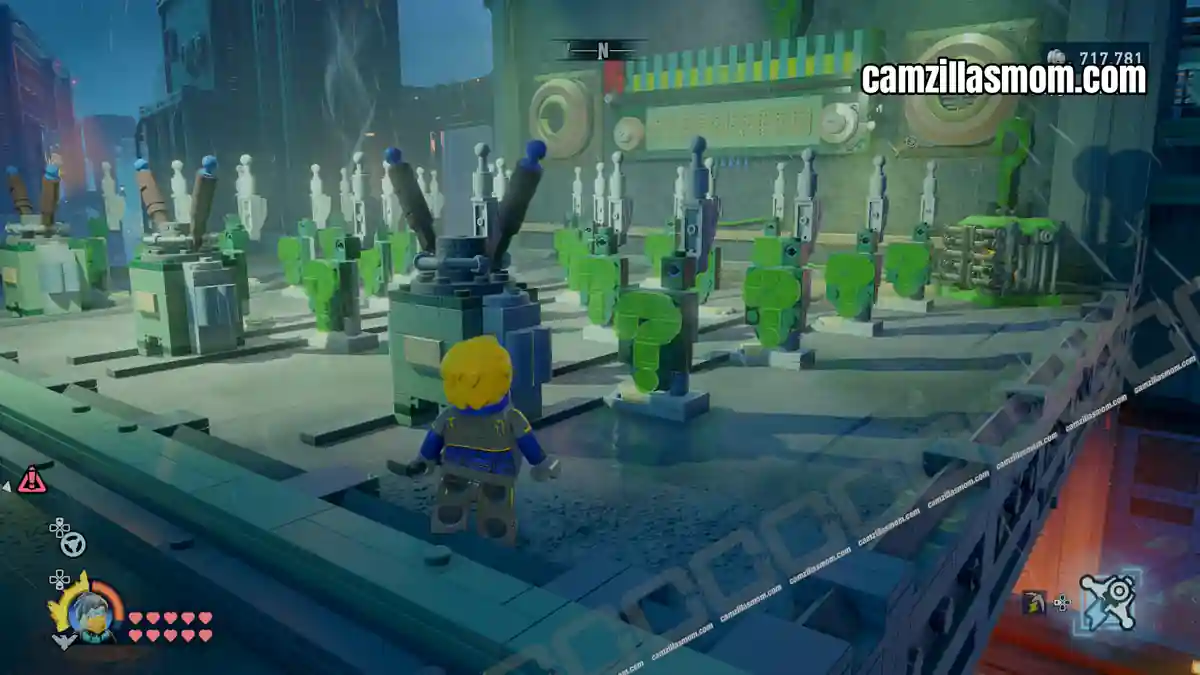
The left transistor has to be on the first position, the second transistor on the second position, the third transistor on the first position to open the Riddler’s puzzle box.
4 – Feeling Steamed
Coordinates: 291, 338
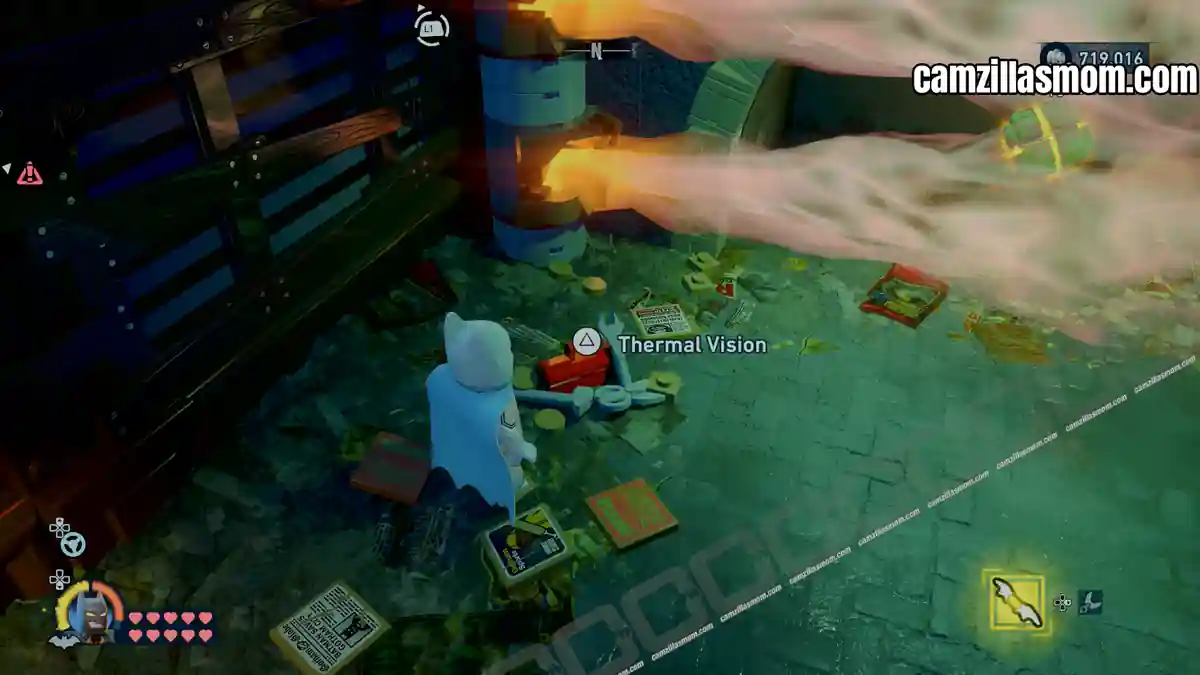
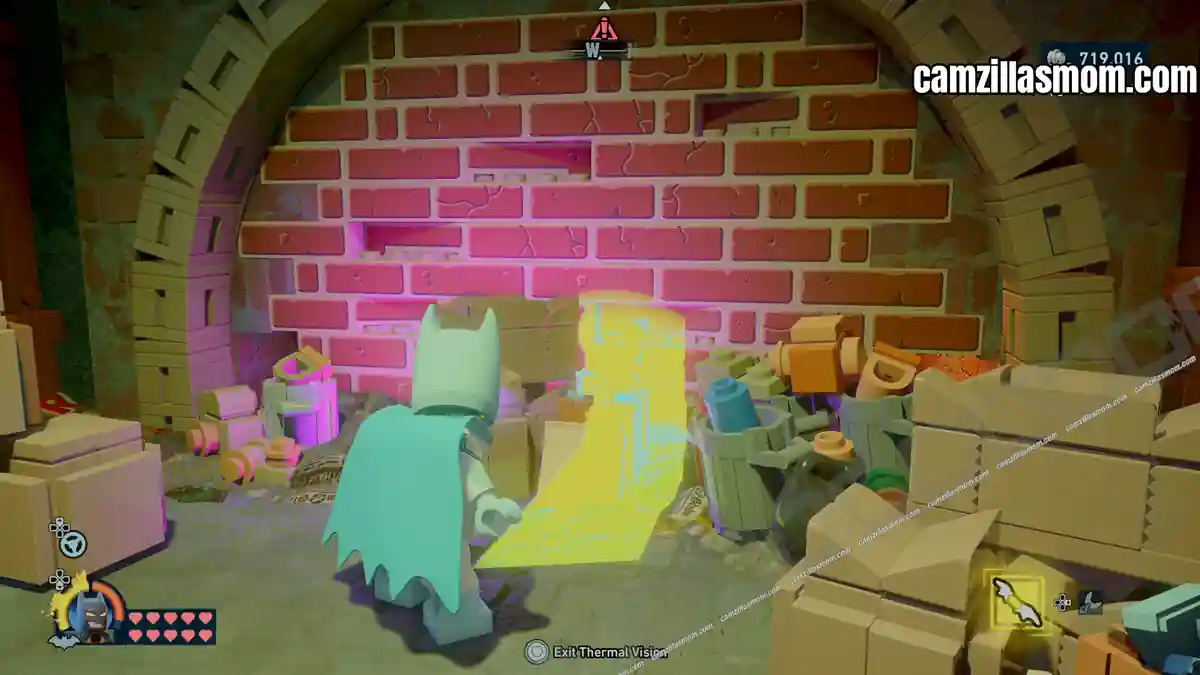
Feeling Steamed is right next to the previous puzzle, but at the ground level. Two steam vents are preventing access to the puzzle box.
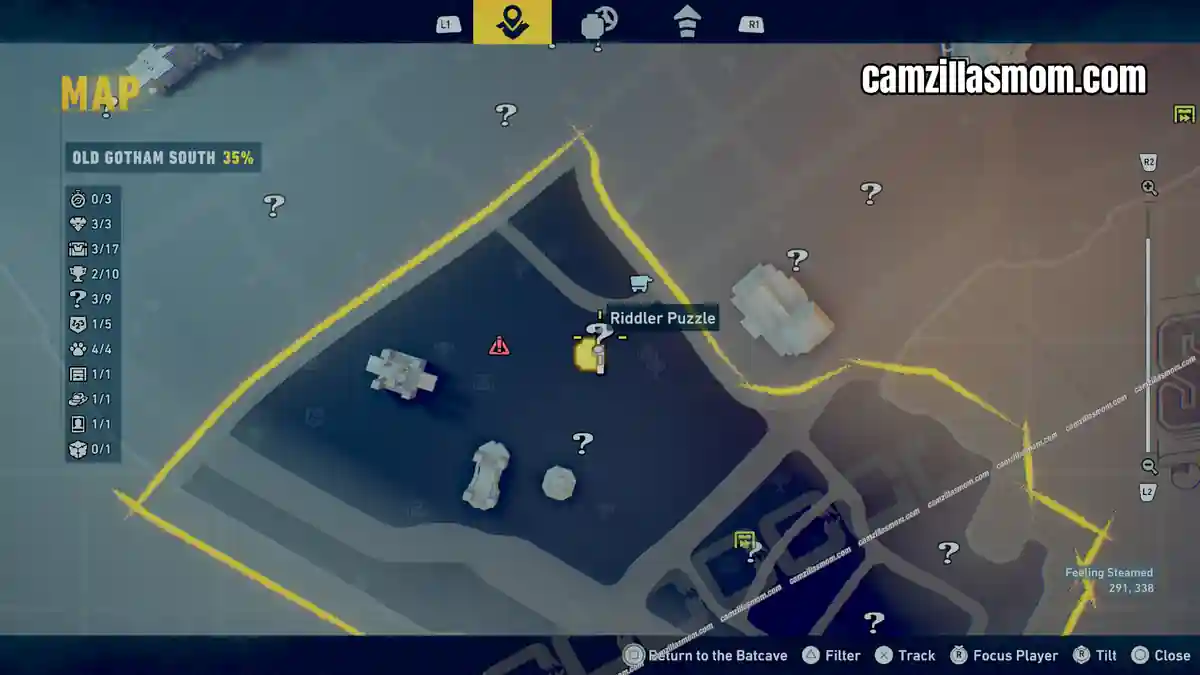
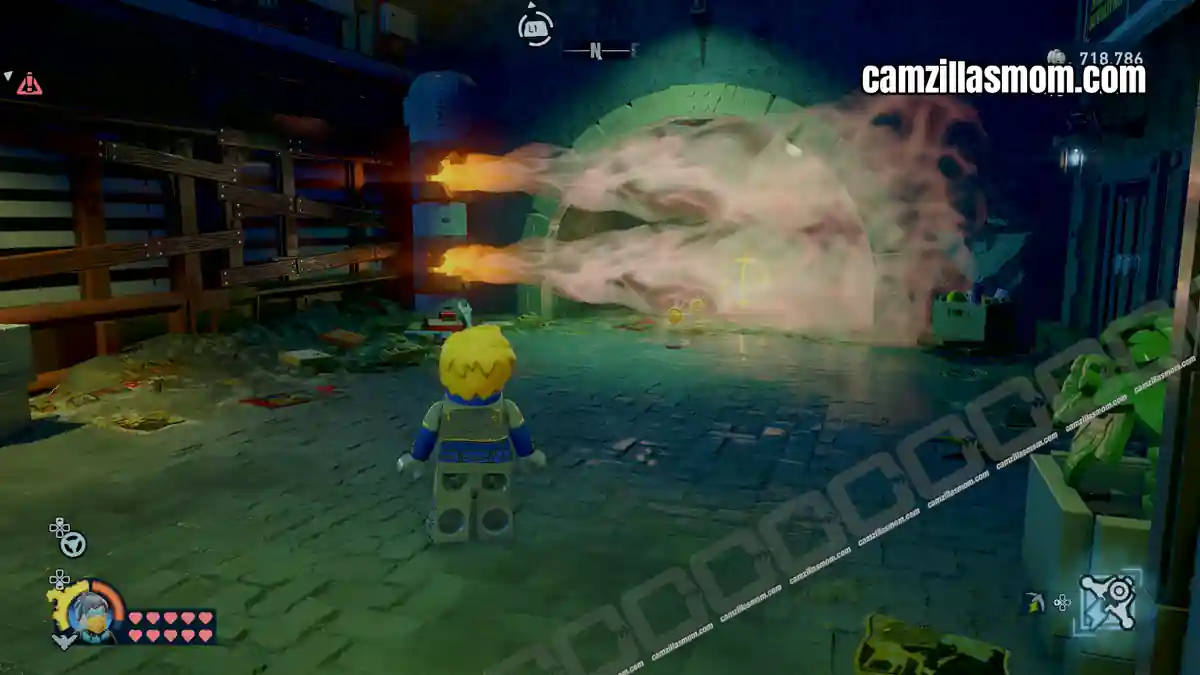
There is a small toolbox at the base of the steam generator. Use Batman’s Thermal Vision. Then follow the yellow glowing pipe to a destructible wall. Use Batman’s Explosive Spray to destroy the wall. Behind it is the valve. Use it to turn off the steam. Now you can reach the puzzle box.
5 – Lightning Round
Coordinates: 287, 316
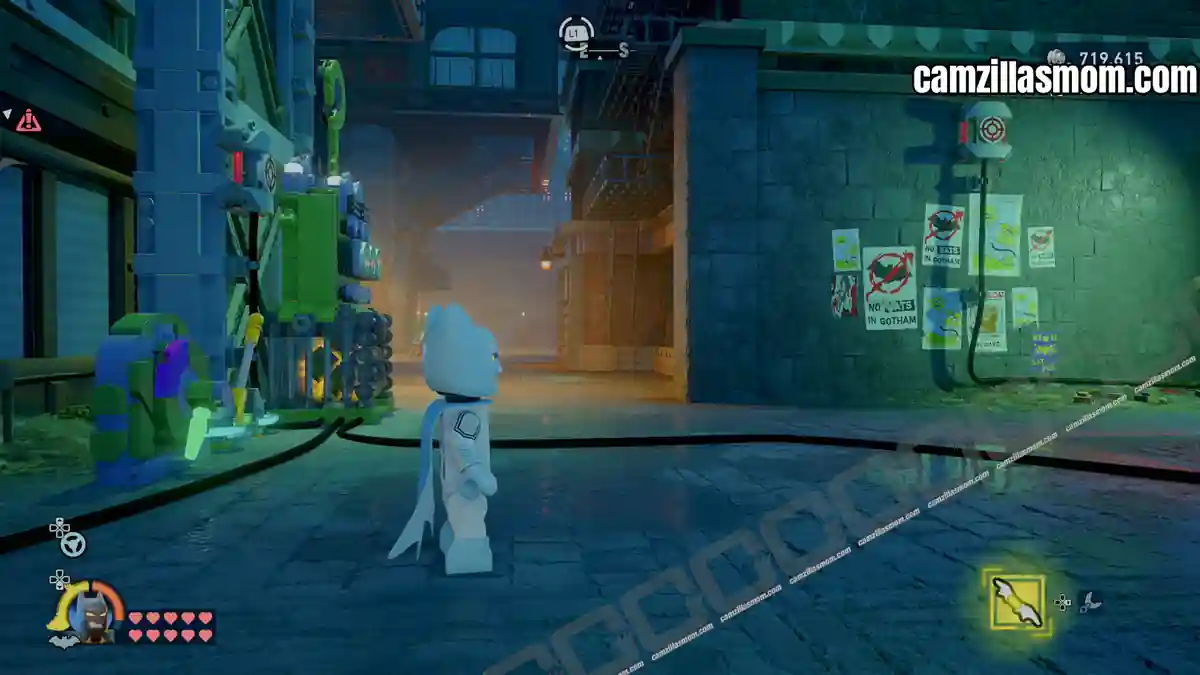
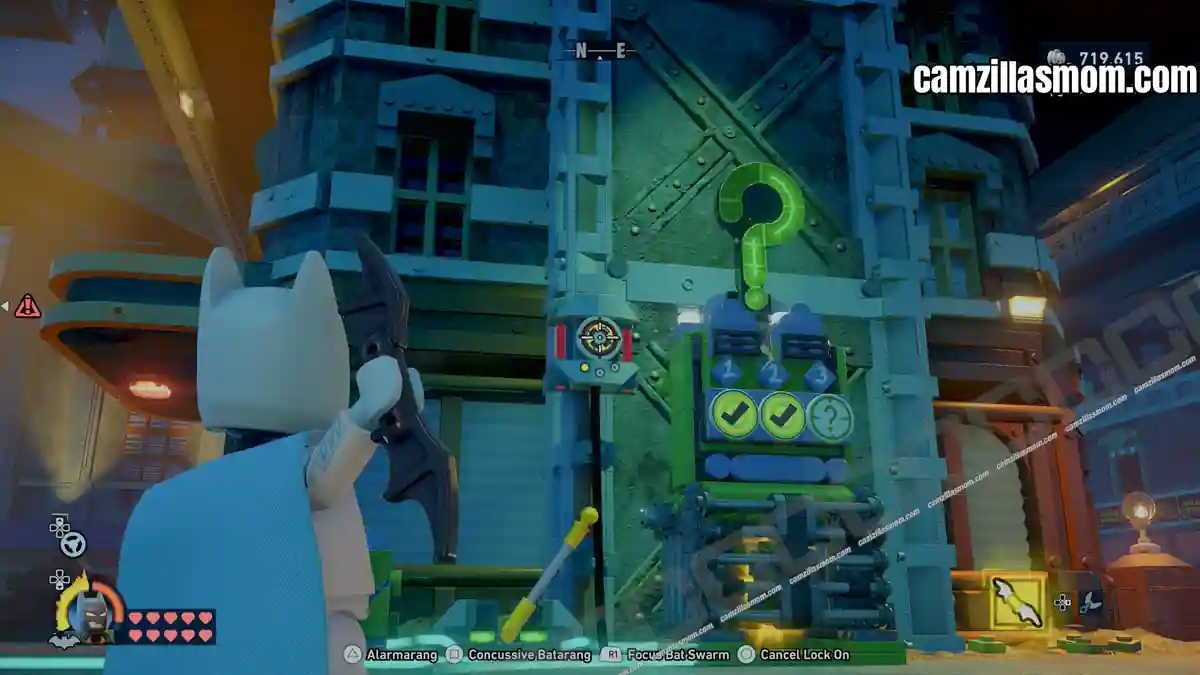
Lightning Round is a puzzle with three numbers, three cables and a lever just south of the previous puzzle.
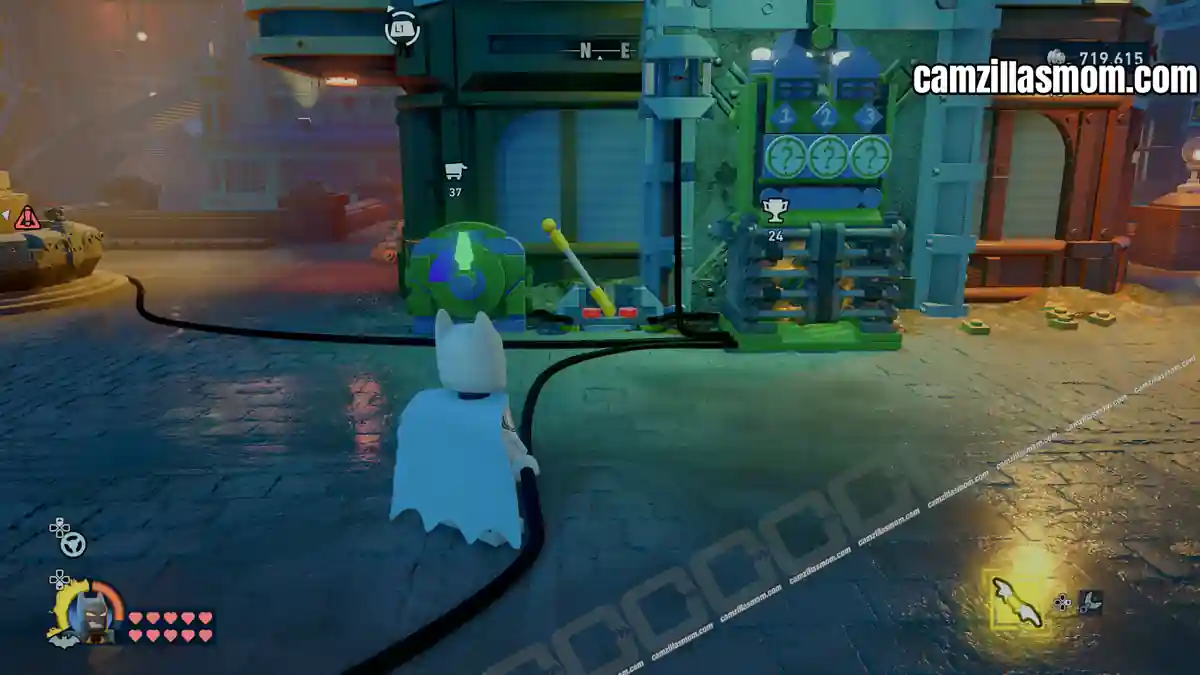
First, make yourself familiar about where the cables lead. As soon as you use the lever of the device, three targets will appear at the end of each cable. Shoot those four targets before the time runs out.
6 – Seek-quence
Coordinates: 322, 293
The Seek-quence Riddler Puzzle is above the Old Gotham South Subwayne. There are five lights with cables behind the puzzle box, leading to five levers. The levers have to be pulled in a certain order.
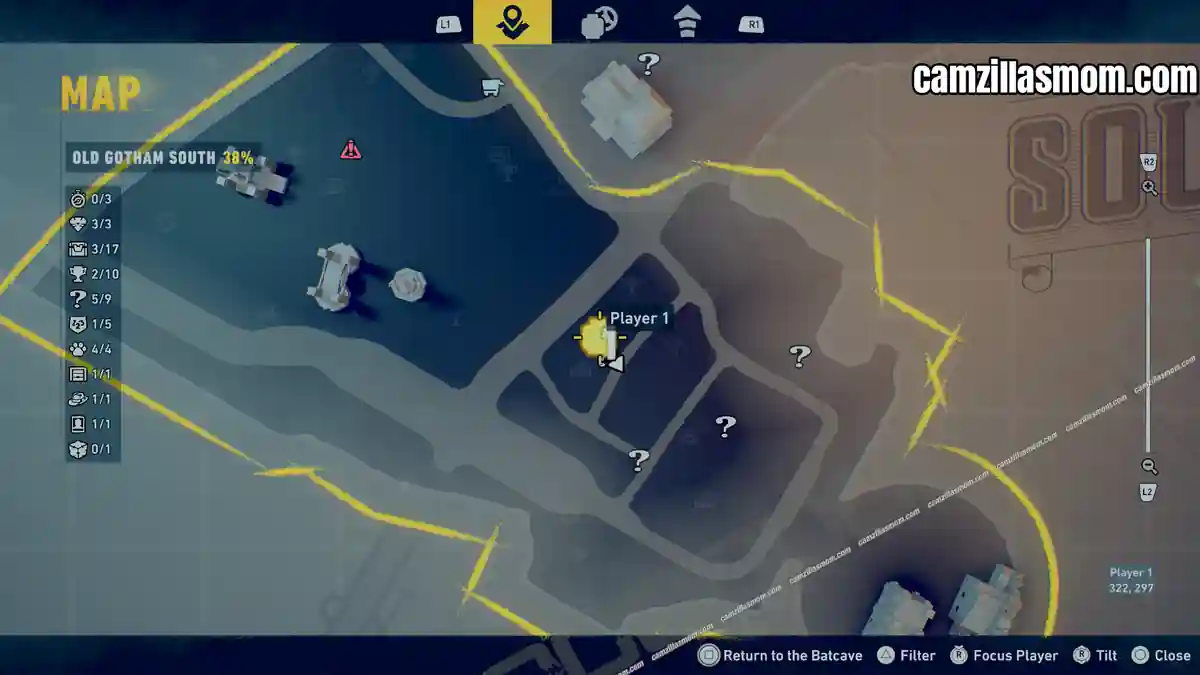
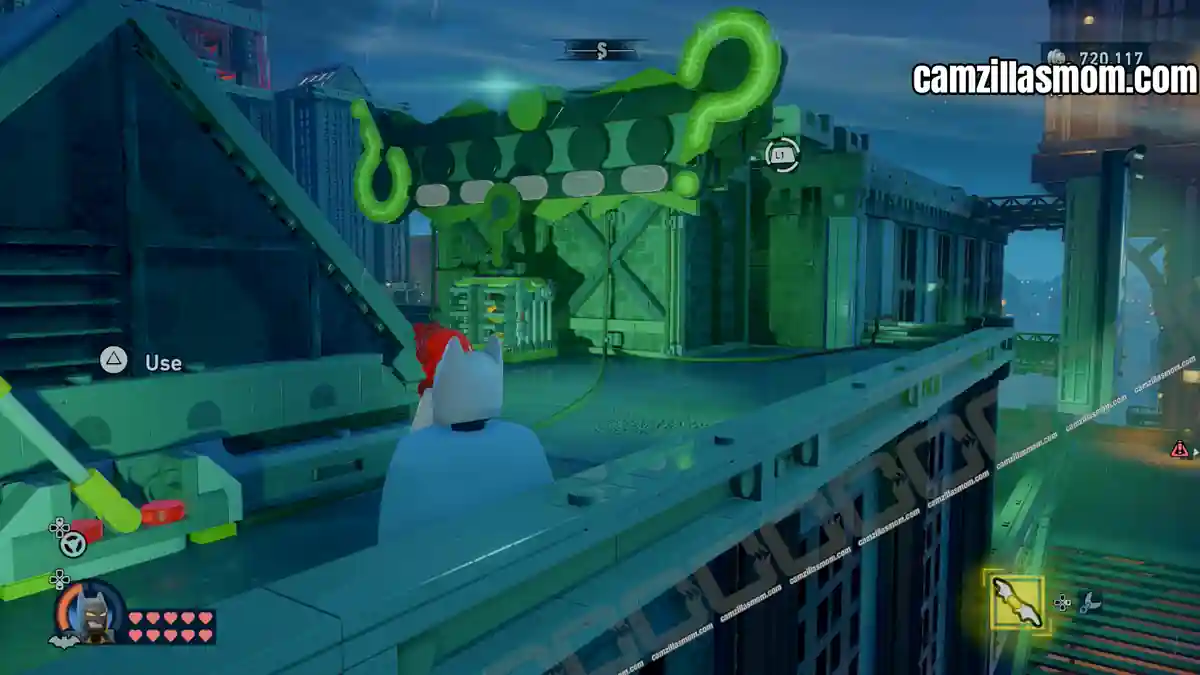
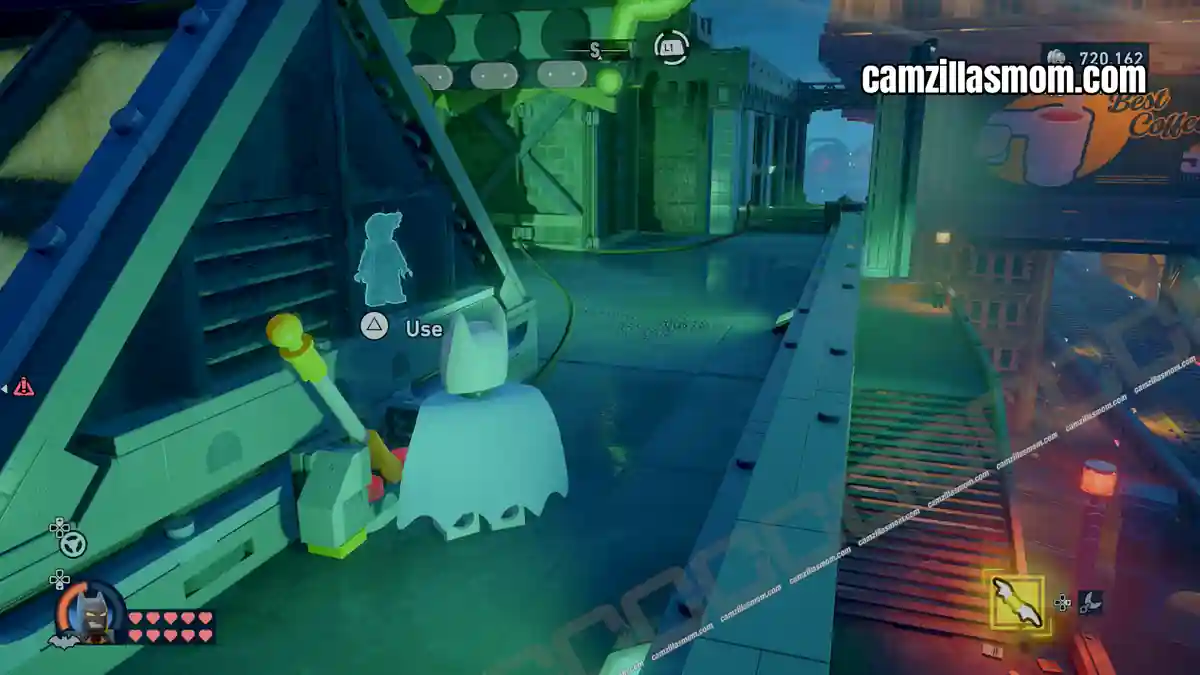
First, use UV Vision on the plant pots in front of the puzzle box and look up to the lights. The lever order will be displayed. 2 – 1 – 5 – 3 – 4
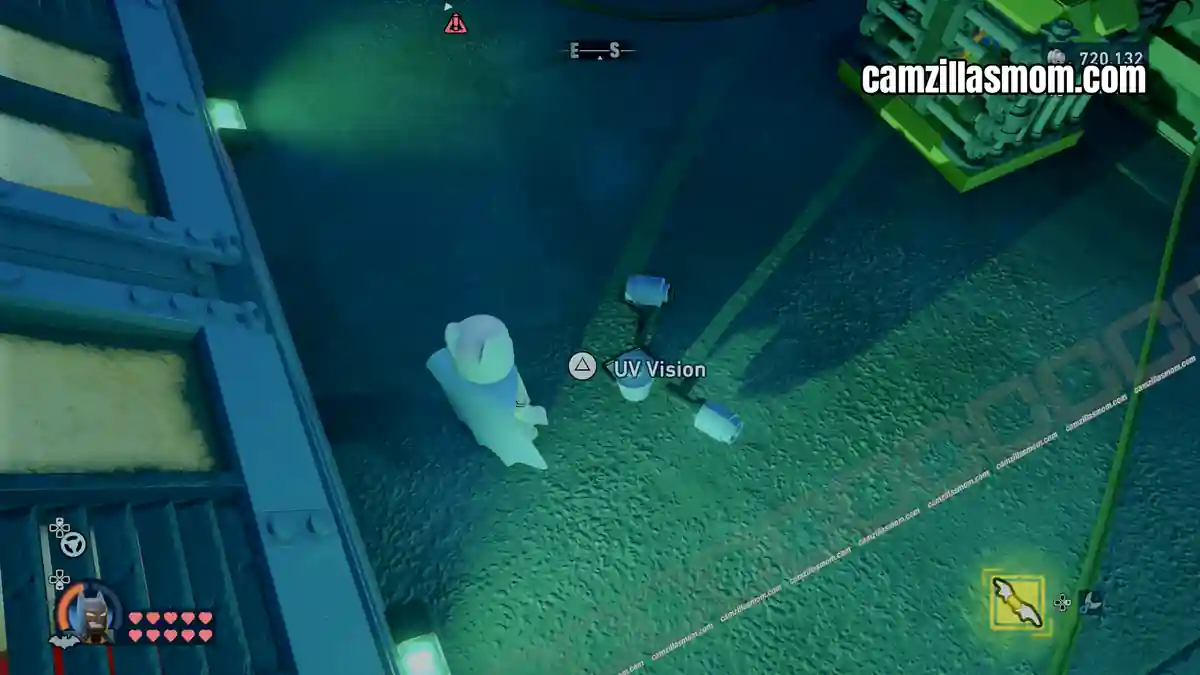
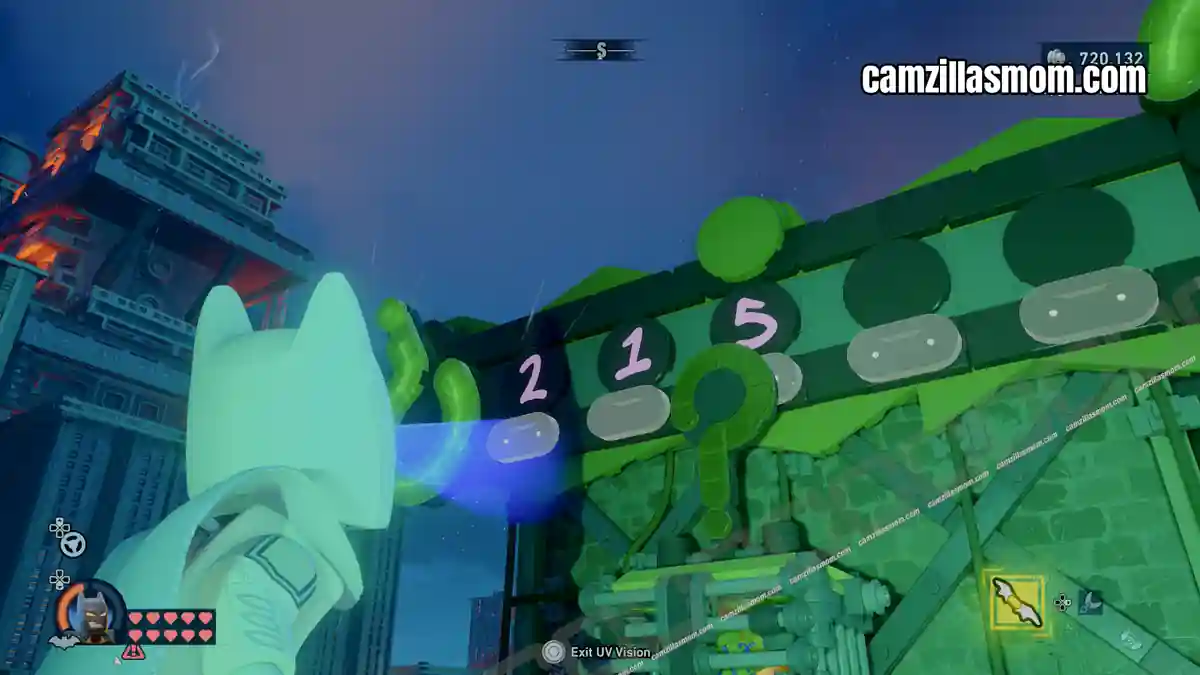
This means, that you first have to follow the second cable from the left to the lever. It is under fire. Use Jim Gordon’s foam sprayer to extinguish the fire and pull the lever.
Then follow the first cable to a mechanism that is missing the lever. Shoot a batarang at the nearby cobweb to get the lever. Use it to activate.
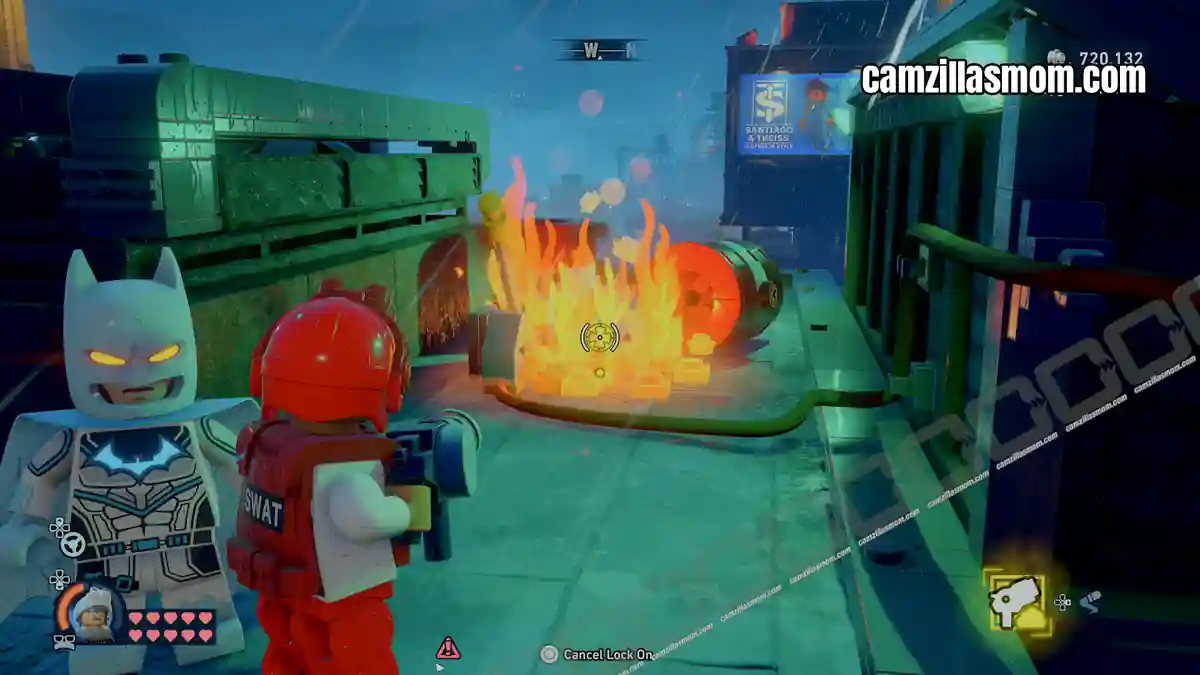
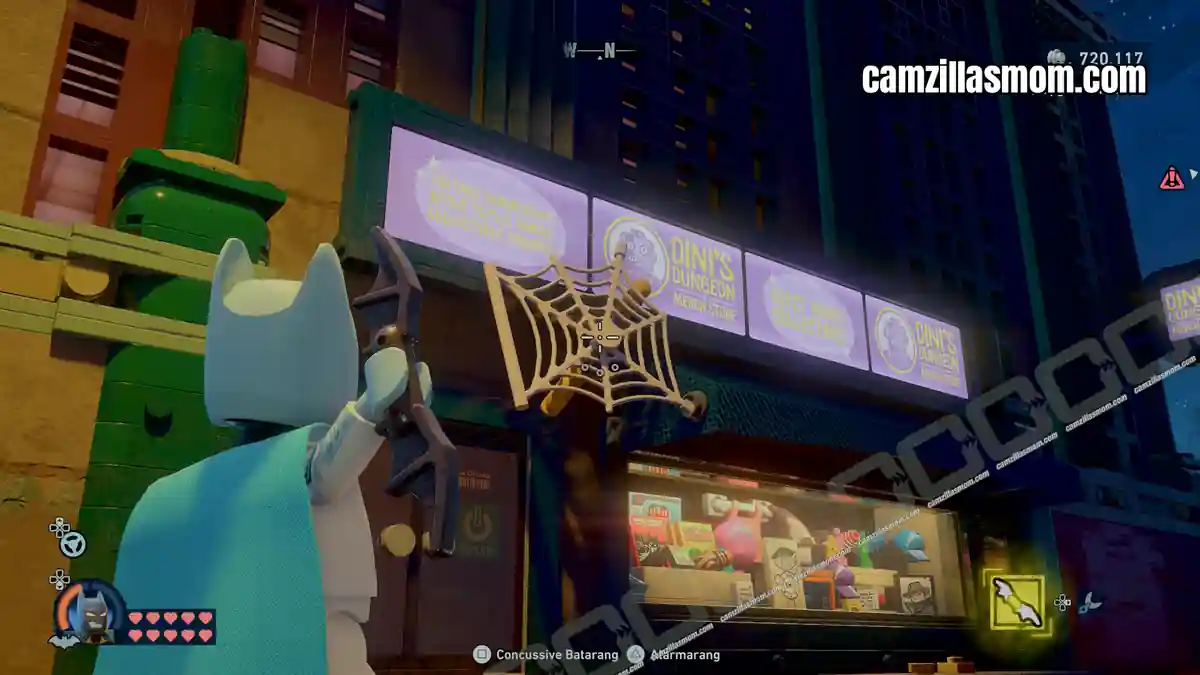
Next, follow the fourth cable to the lever and pull it. Then, the fifth cable to the lever to pull that one as well.
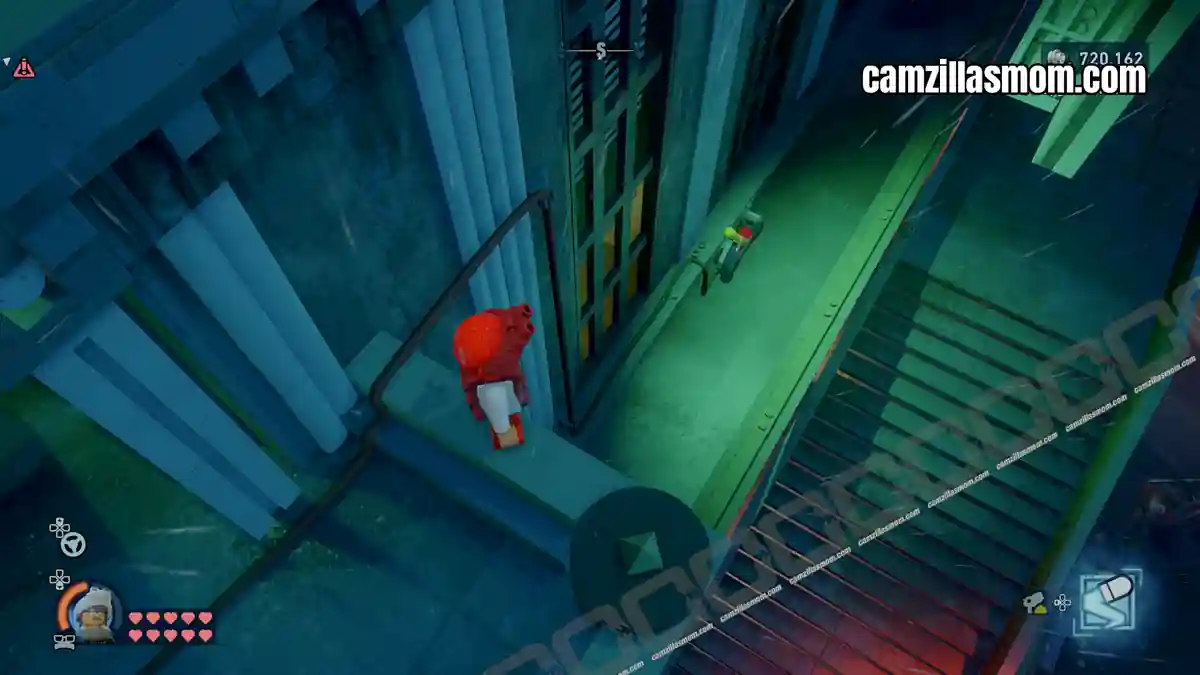
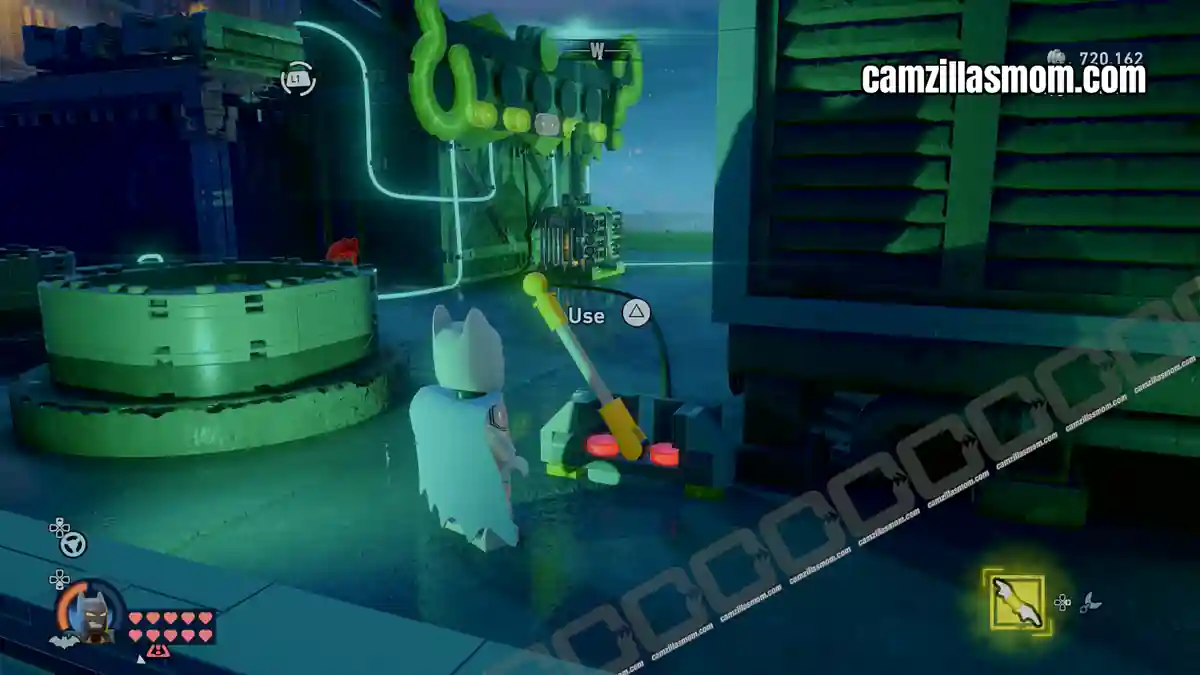
Pull the last lever to open the puzzle box.
7 – Cog-nitive Dissonance
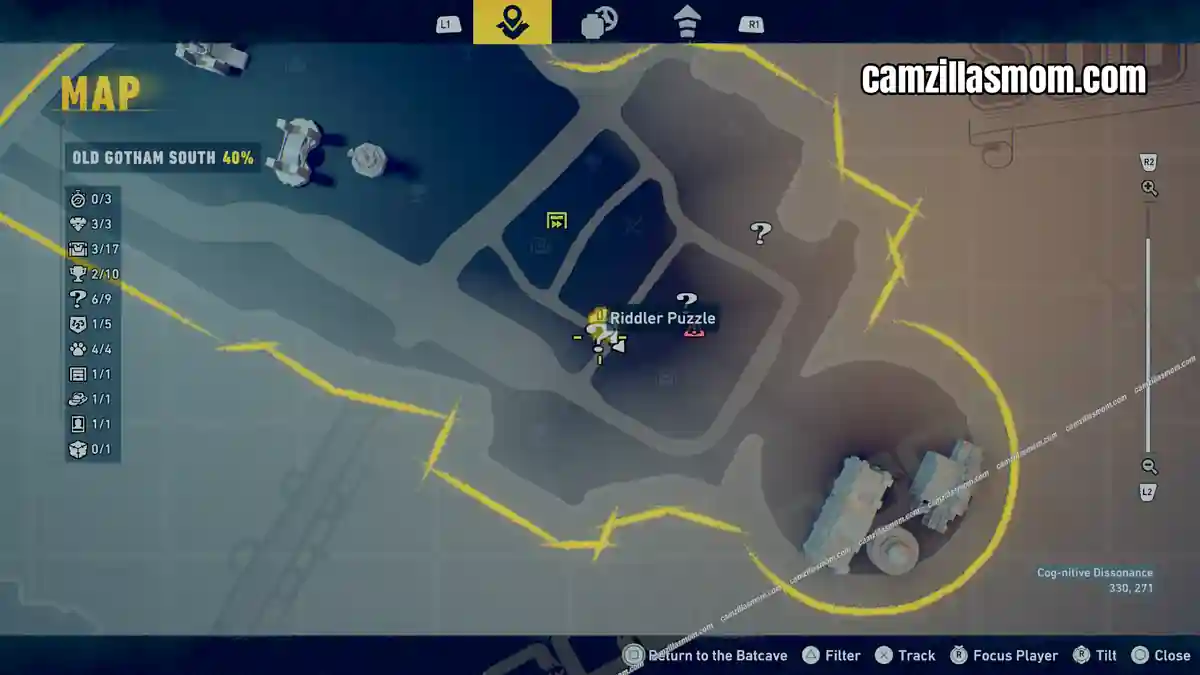
Coordinates: 330, 271
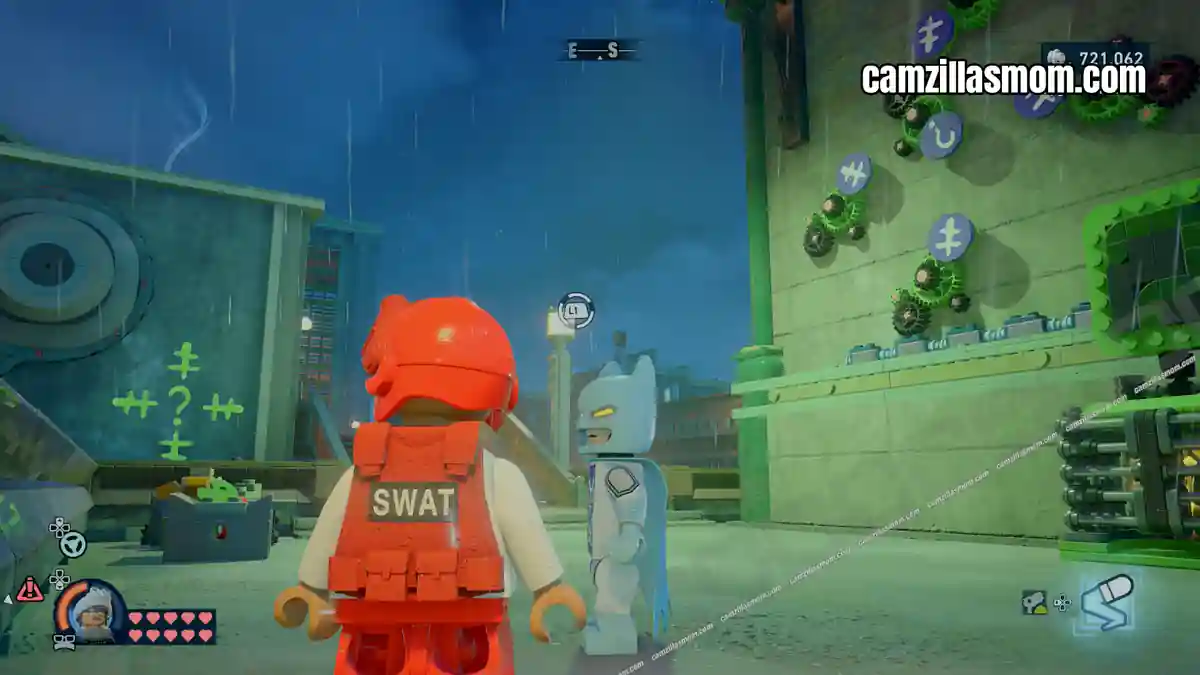
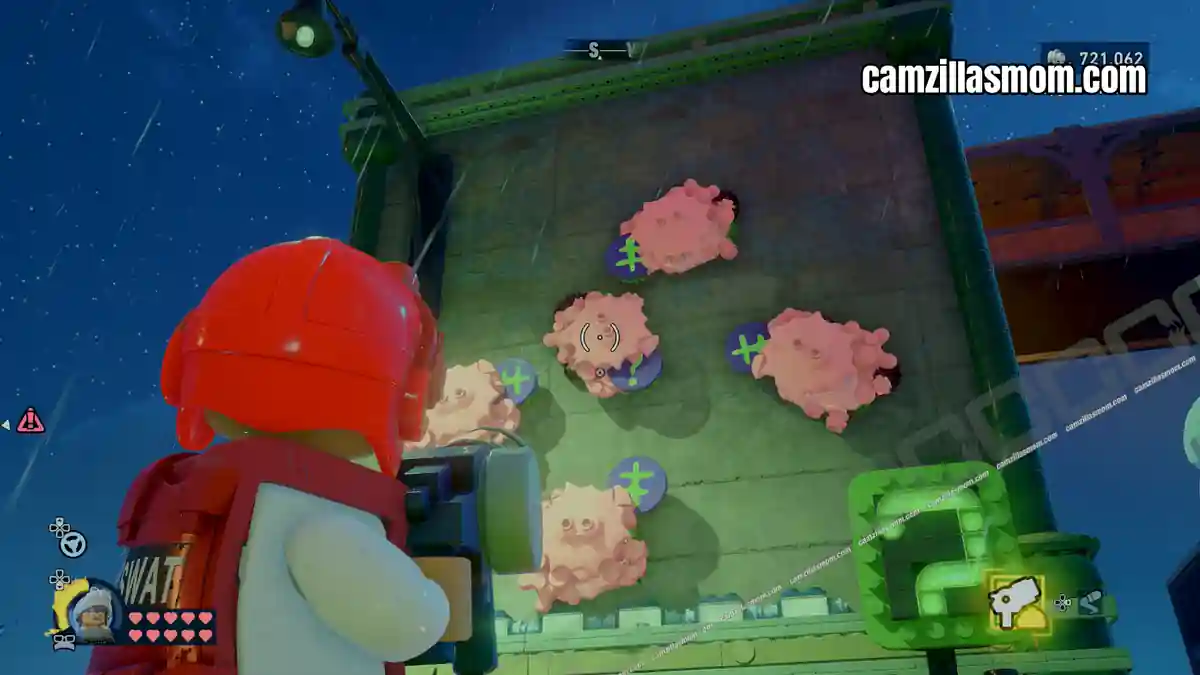
In Cog-nitive Dissonance you have to use Jim Gordon’s Foam Sprayer to stop the question mark symbol and the symbols around it at the right time so it’s standing “right”, like on the graffiti on the wall. Remember: You can always shoot the foam if you got it wrong.
8 – Services Charge
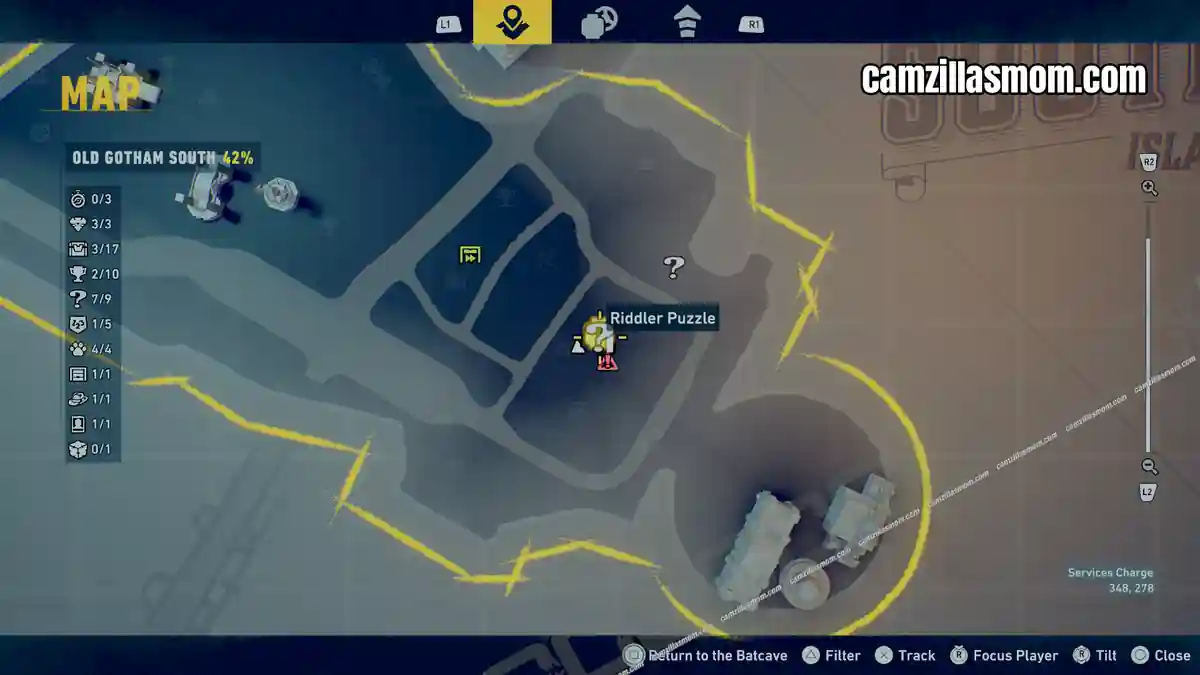
Coordinates: 348, 278
Services Charge is the Riddler Puzzle east of “Cog-nitive Dissonance”.
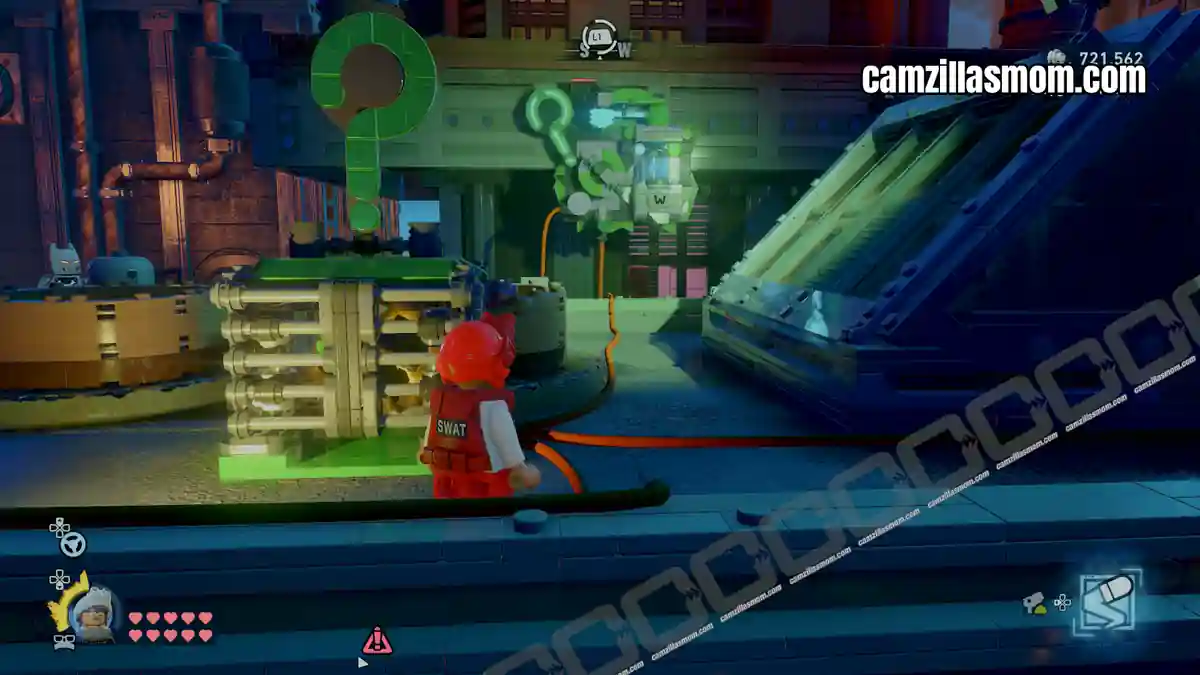
The puzzle box is powered by three cables. The first cable can be powered right behind the puzzle box. Use the lever to rotate the disk so the colours of the tip match.
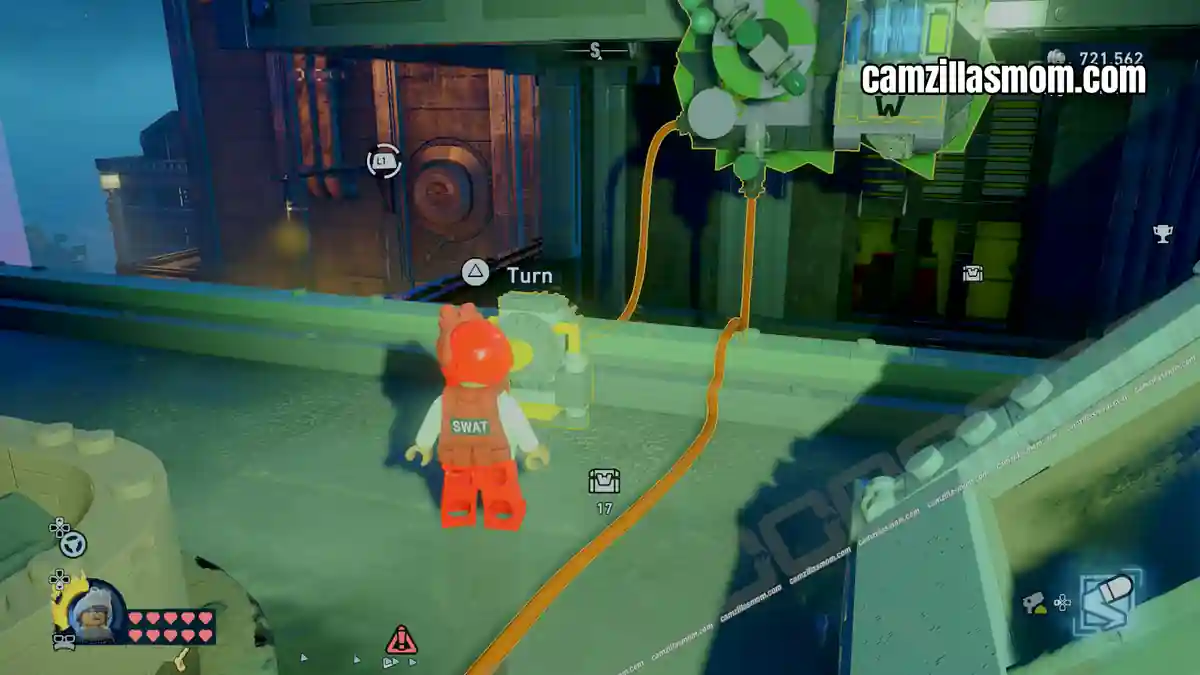
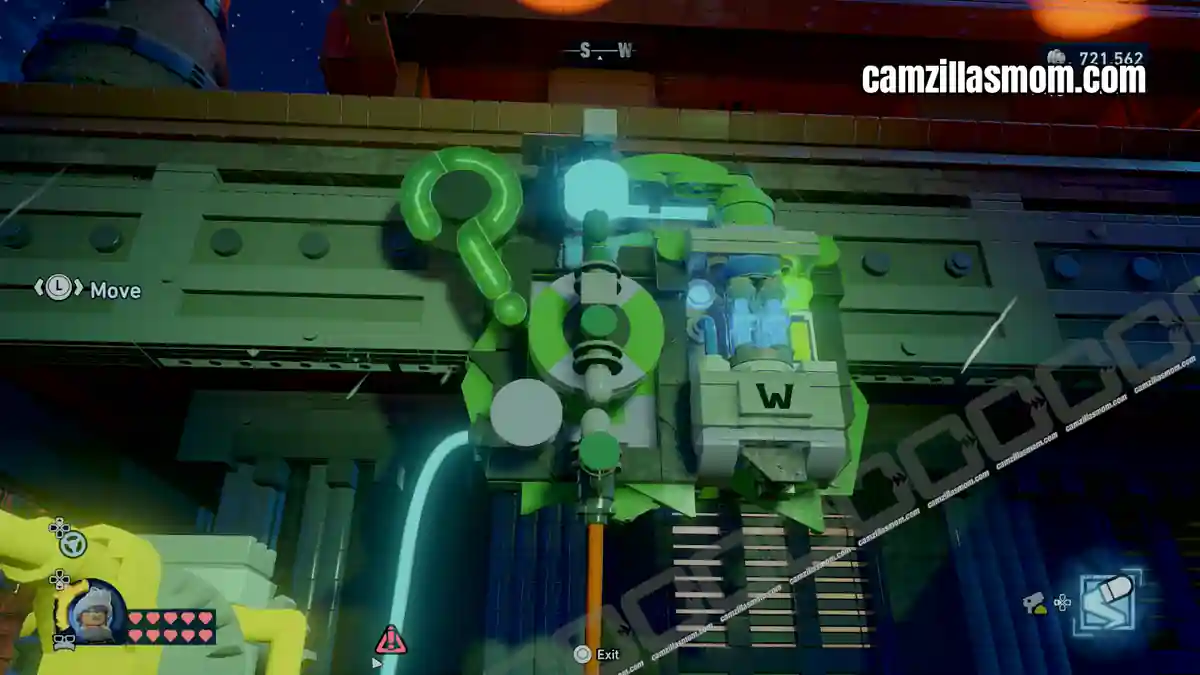
Follow the second cable to a device that needs Nightwing’s Cable Laucher to the other side. Once the cable is there, head to the other side and rotate the disc as above so the colors match.
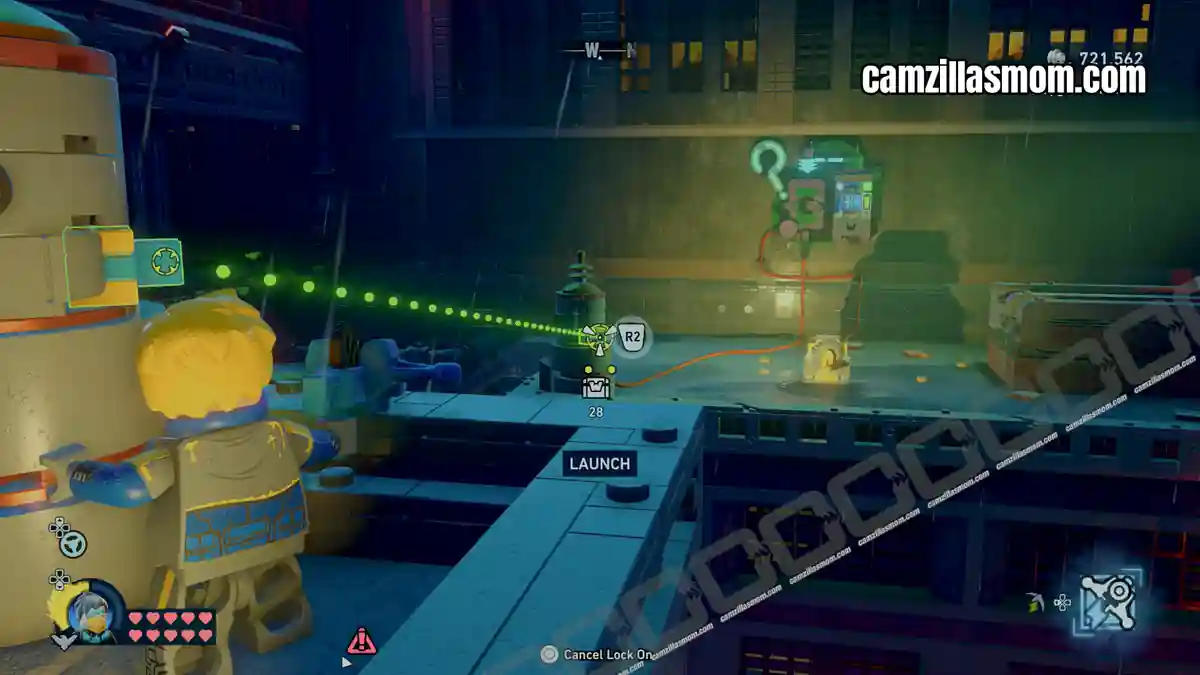
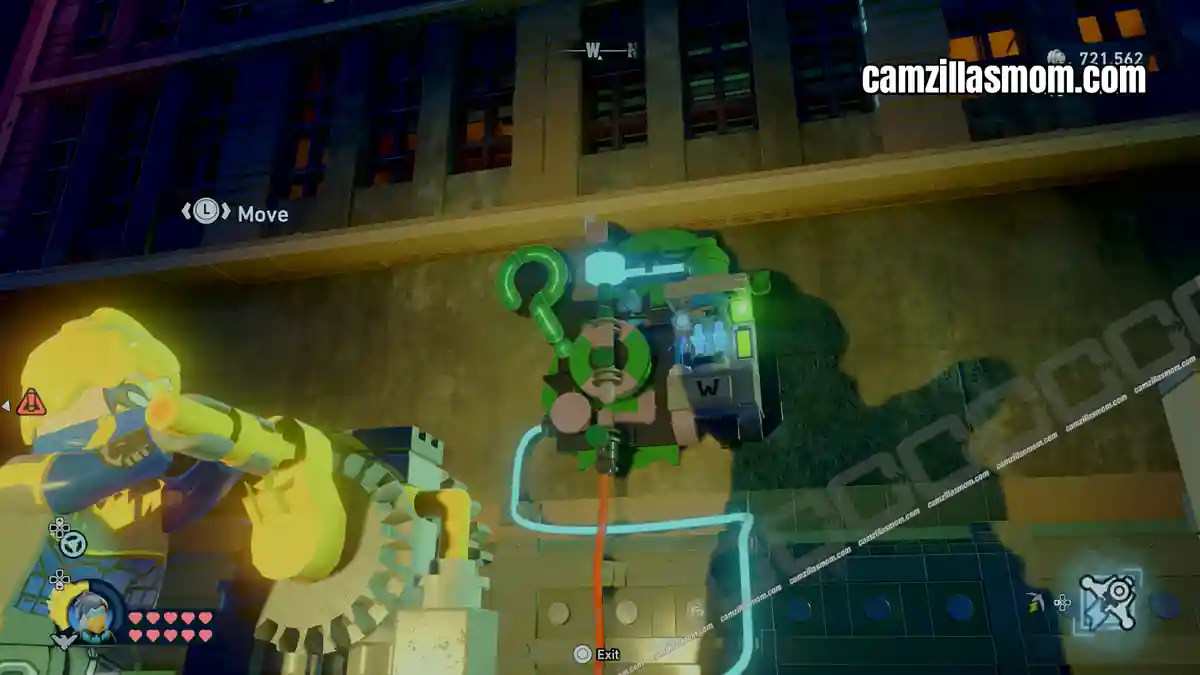
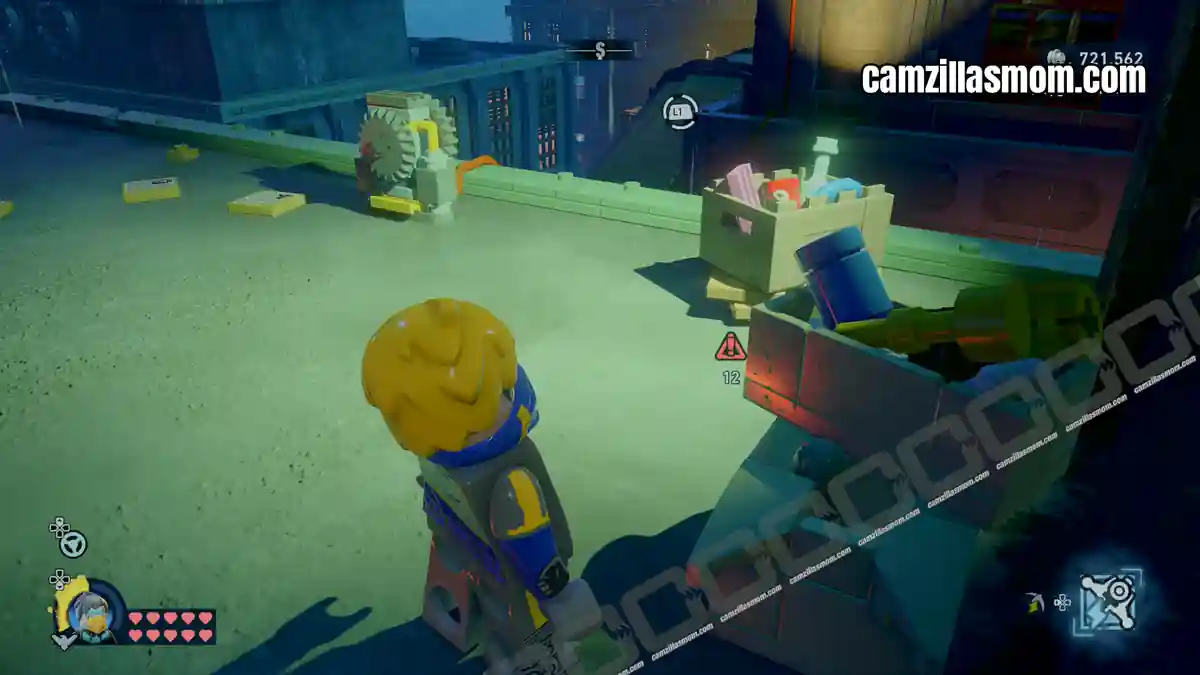
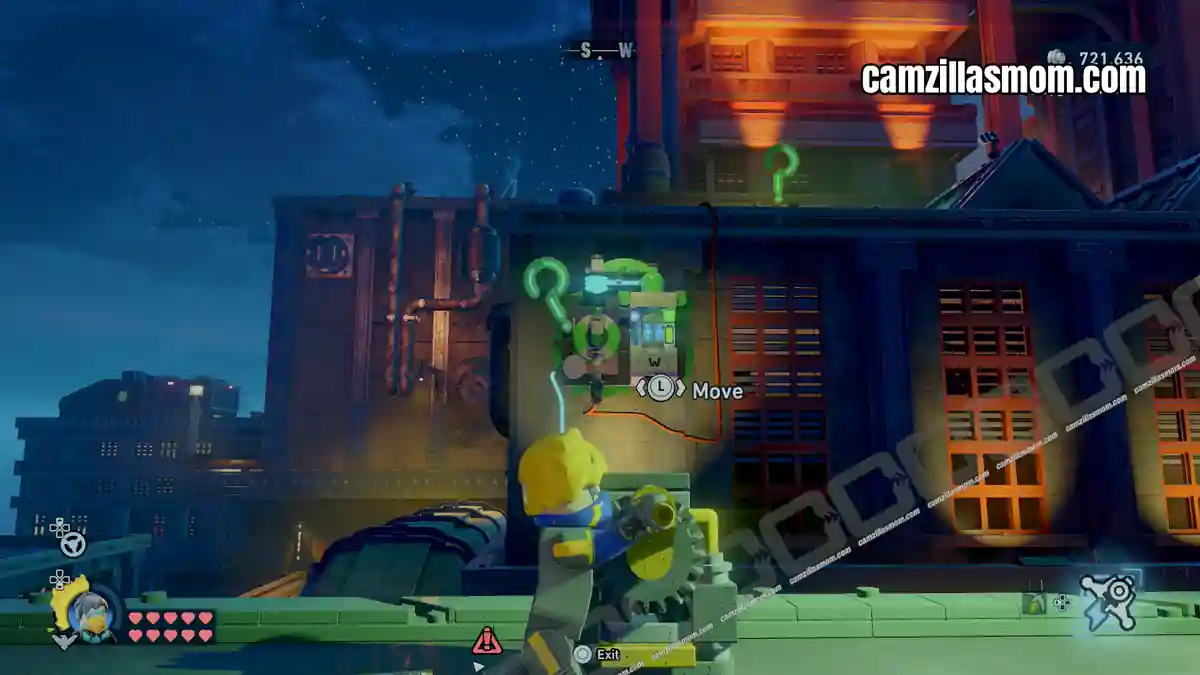
Follow the third cable to the third lever but it is missing! It’s on top of the nearby boxes. Use it to turn the disc again to match the colours. Now the puzzle box is open and you can pick it up.
9 – Pattern Recon-ition
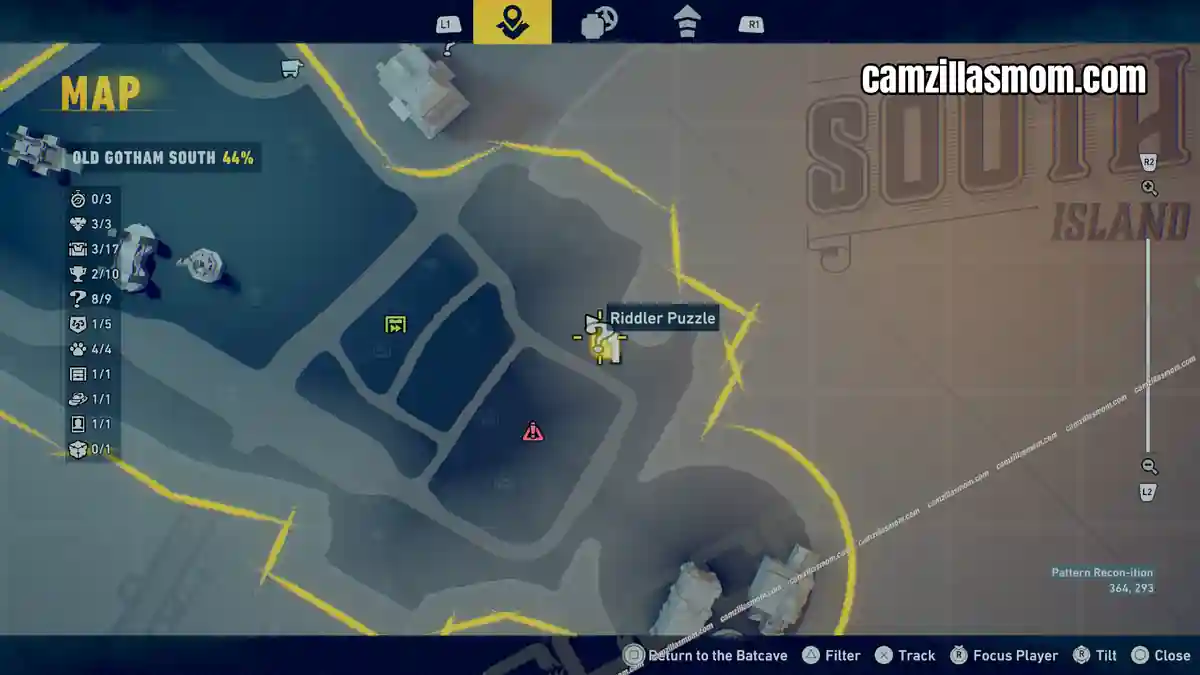
Coordinates: 364, 293
The last Riddler Puzzle in the Old Gotham South district is just northeast of the previous one, on the ground floor near the waterfront.
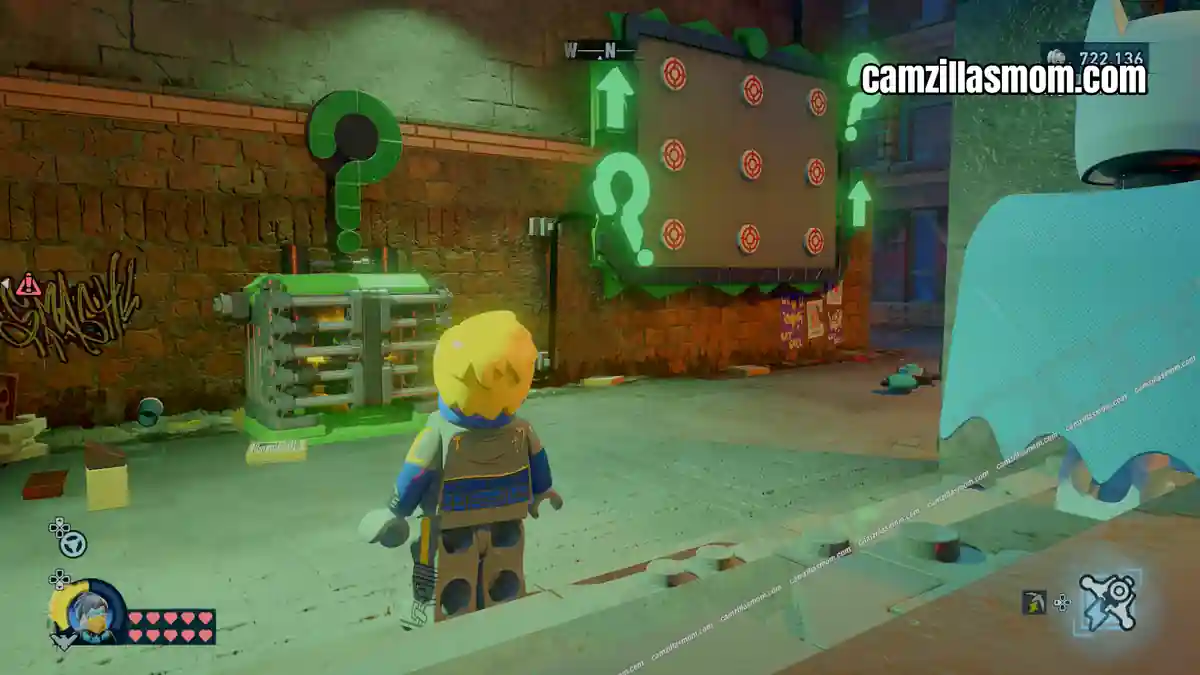
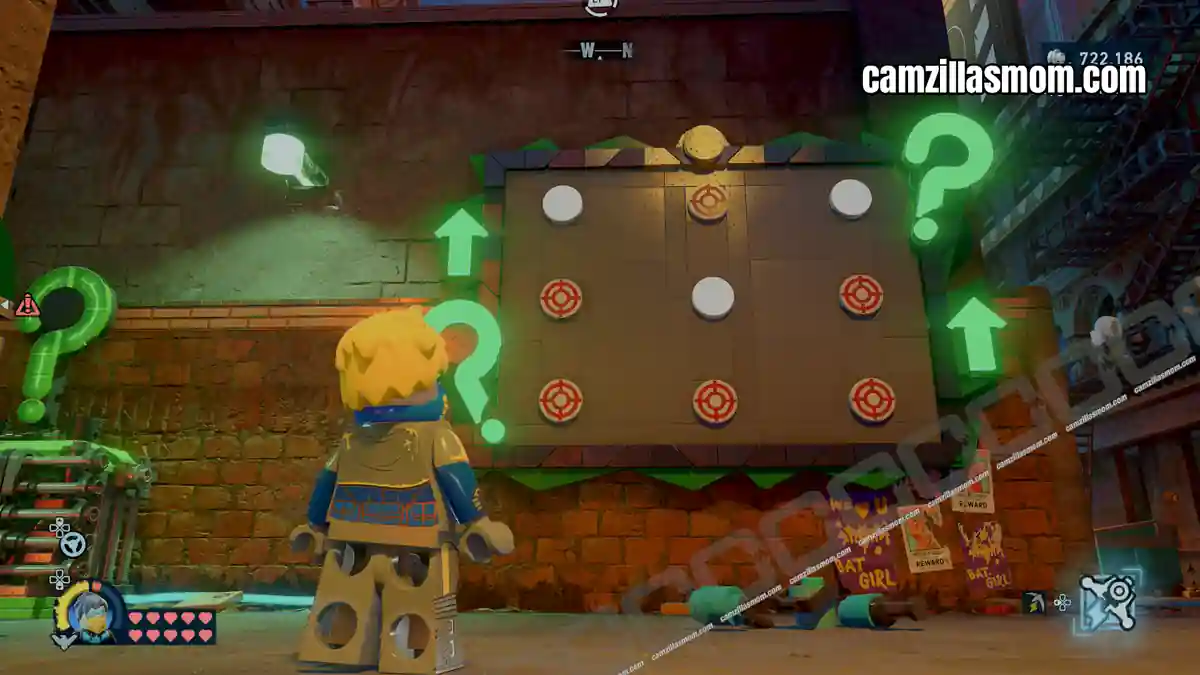
In front of the board with the nine targets are some spray cans where Batman can use his UV Vision. Follow the paint spatters to a wall that shows which targets need to be shot (the dots).
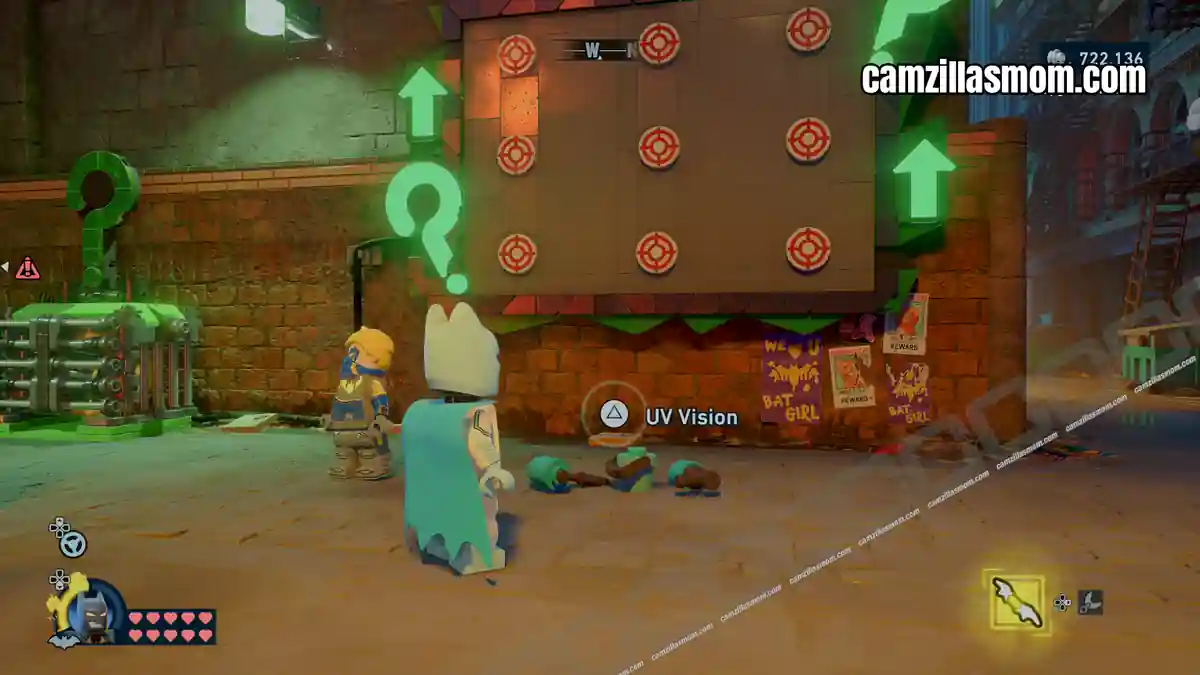
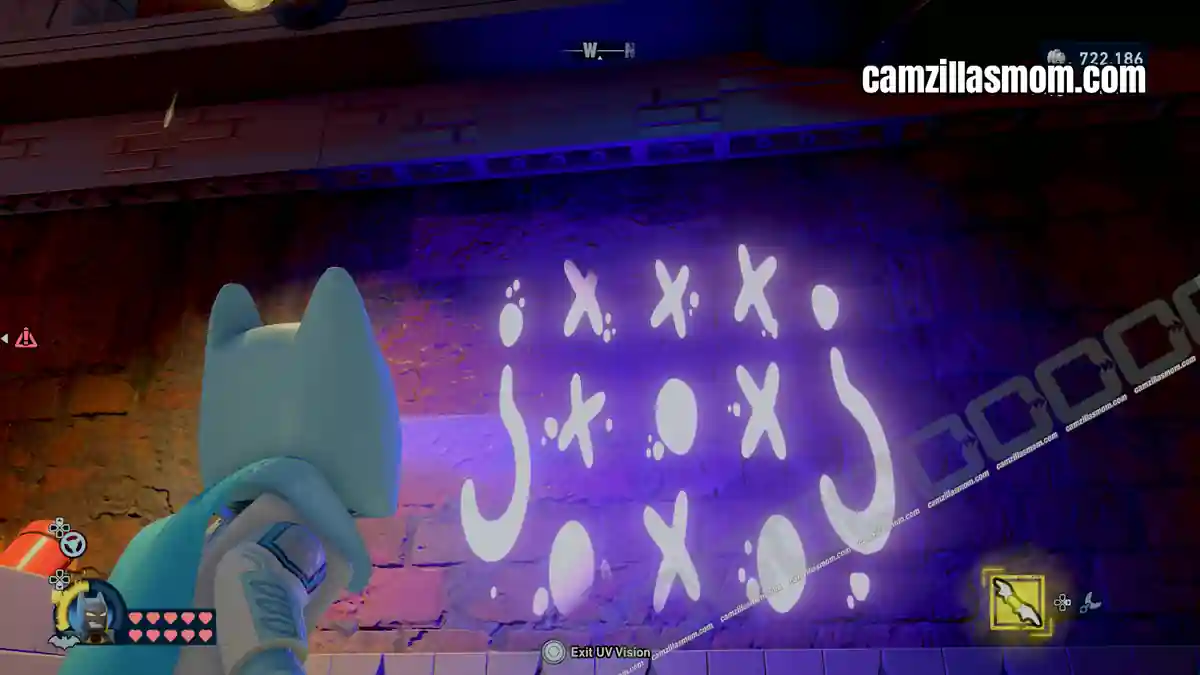
Note: In the paint, the solution is upside down.
Cluemaster Puzzles – 5
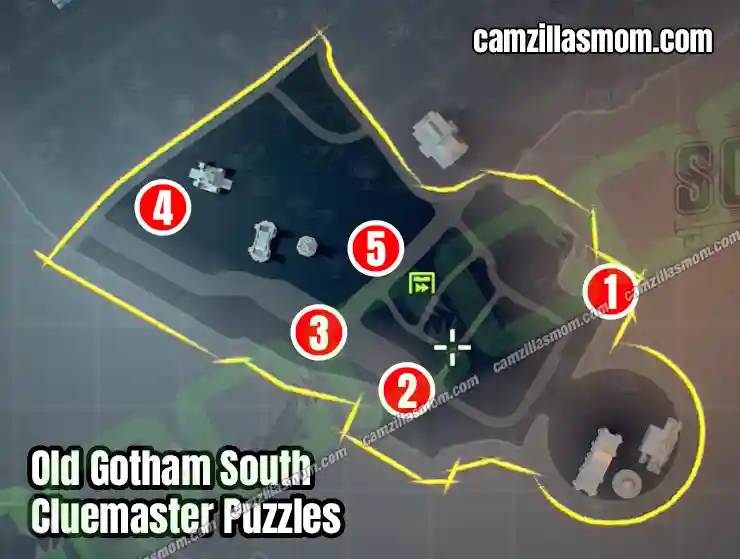
Five Cluemaster Puzzles are located in Old Gotham South, including one indoor Puzzle Room. Each challenges you to read environmental clues and interact with the puzzle mechanism in the right way to unlock the reward box.
1 – Feeling Cranky
2 – Tumbler Craze
3 – Late Knight Cable
4 – Parkget Practice
5 – Clue’s Done It
1 – Feeling Cranky
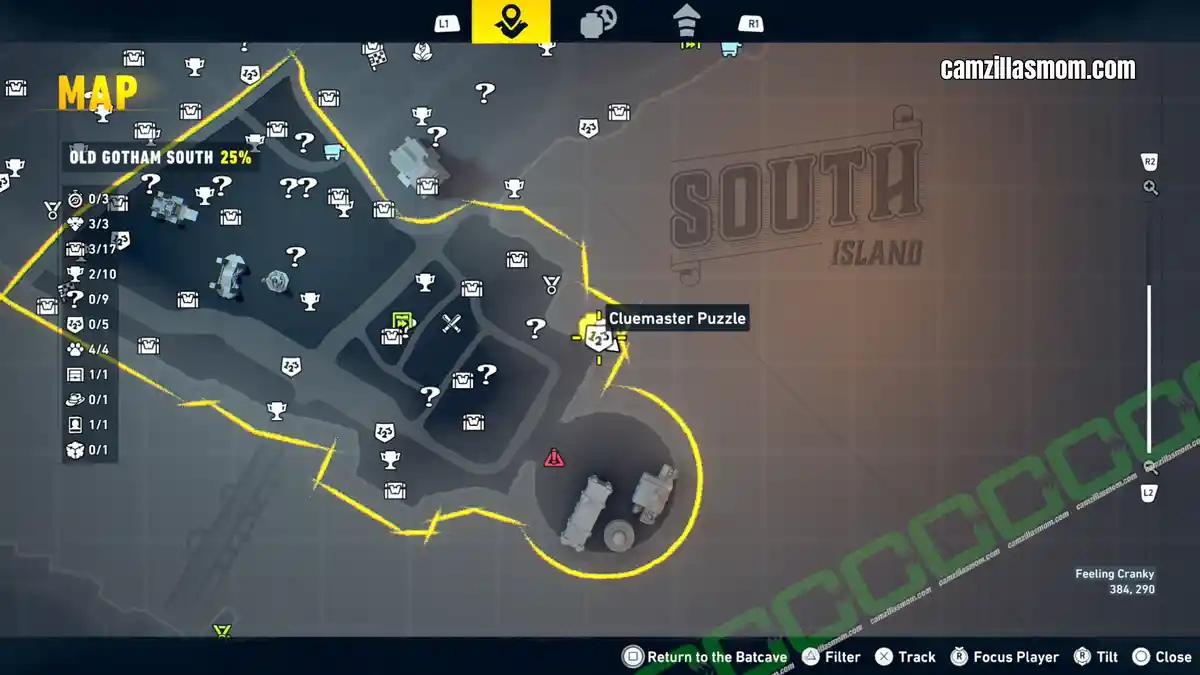
Coordinates: 384, 290
The Feeling Cranky Cluemaster puzzle is north of Gotham Zoo, by the water. As the name hints, the puzzle is missing one of the three cranks.
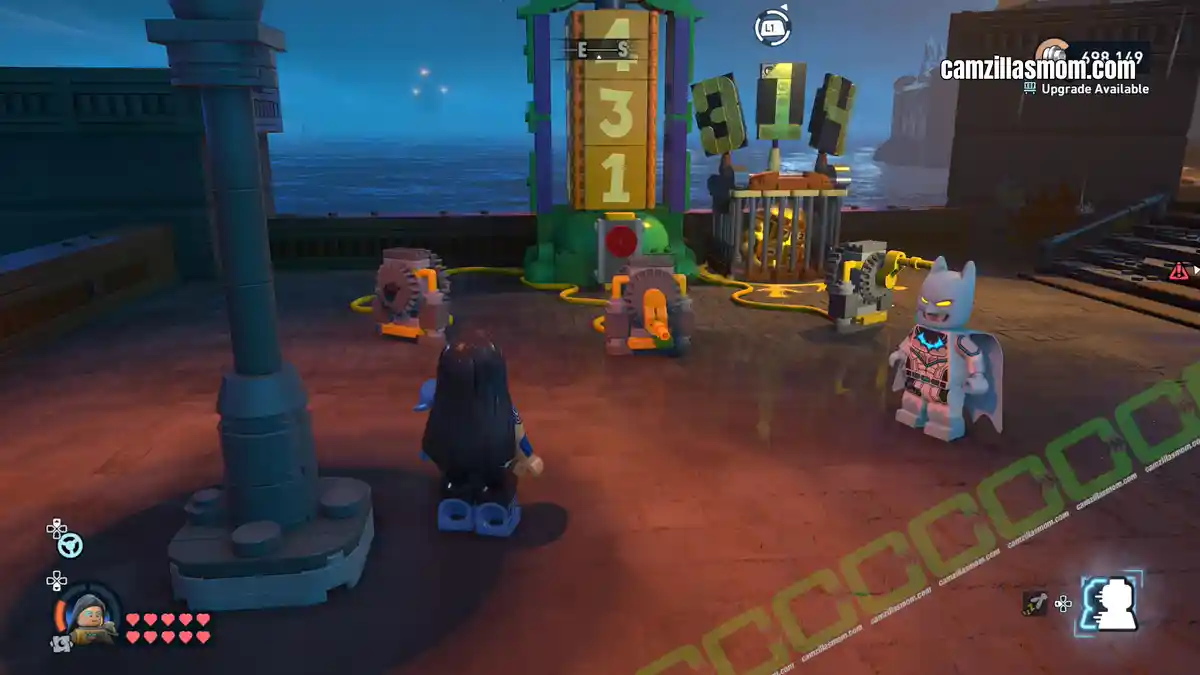
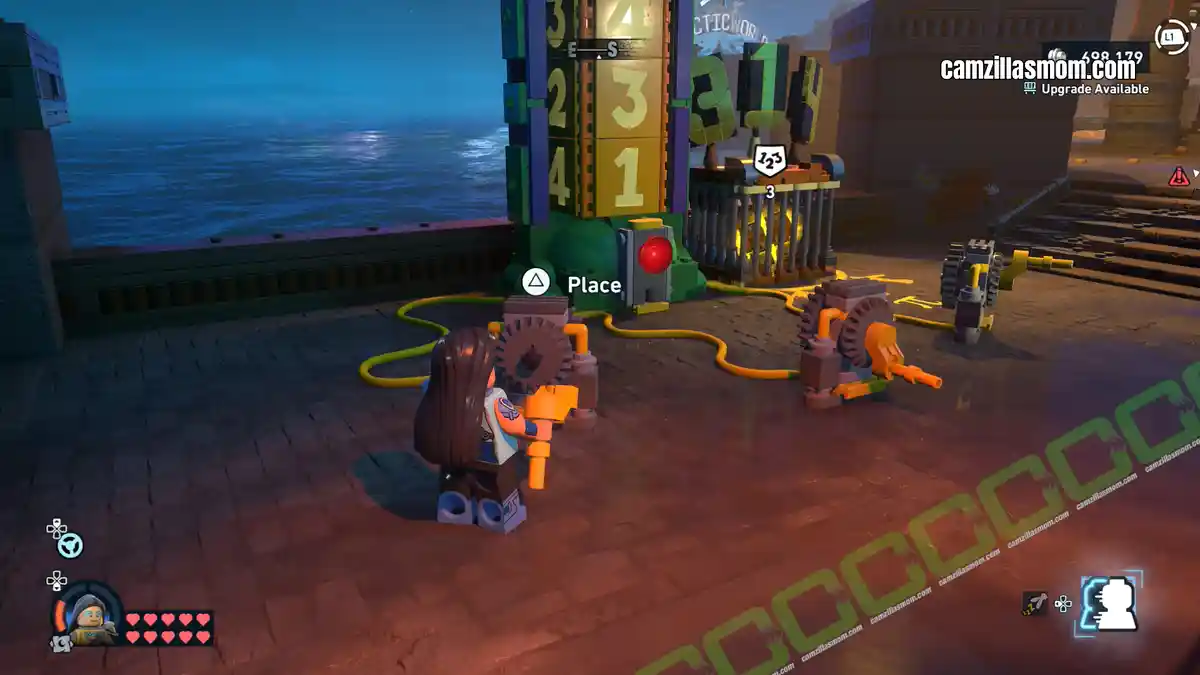
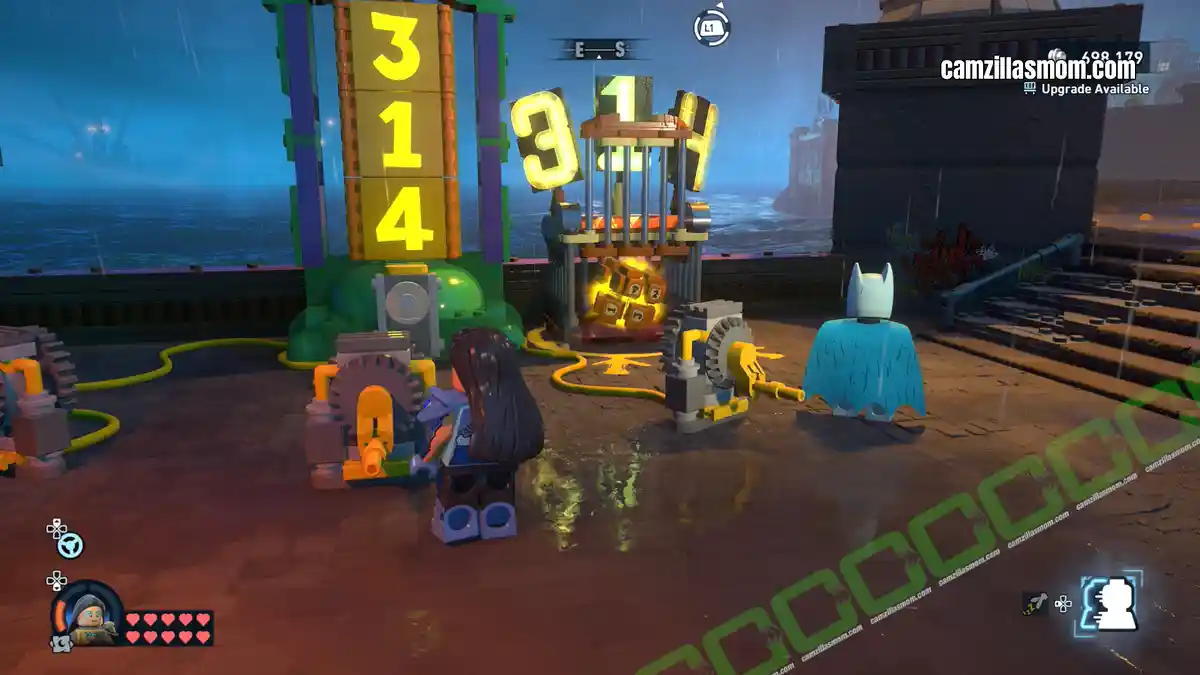
Destroy the cardboard boxes pile on the other side of this pier to find it and place it inside the slot. Then, use the cranks to set the code 314 as shown on the puzzle box cage and on the floor in front of it with the “Pi” symbol.
2 – Tumbler Craze
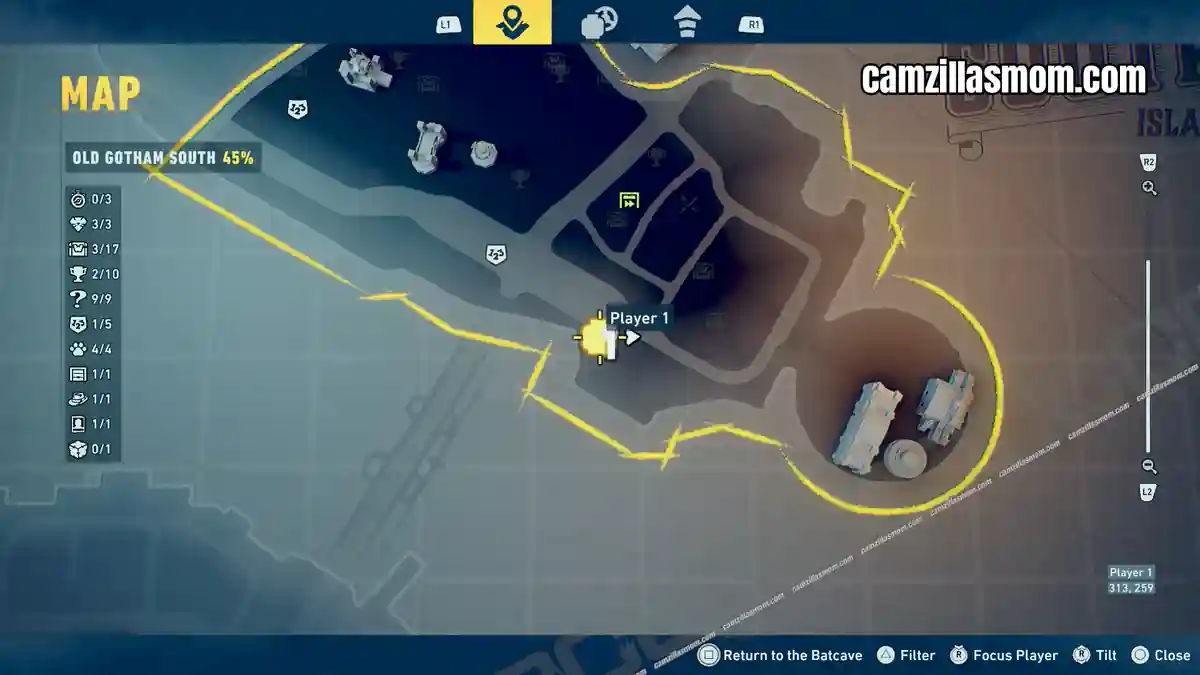
Coordinates: 315, 260
Tumbler Craze is on the southern side of Old Gotham South, on the roof of the KORD building.
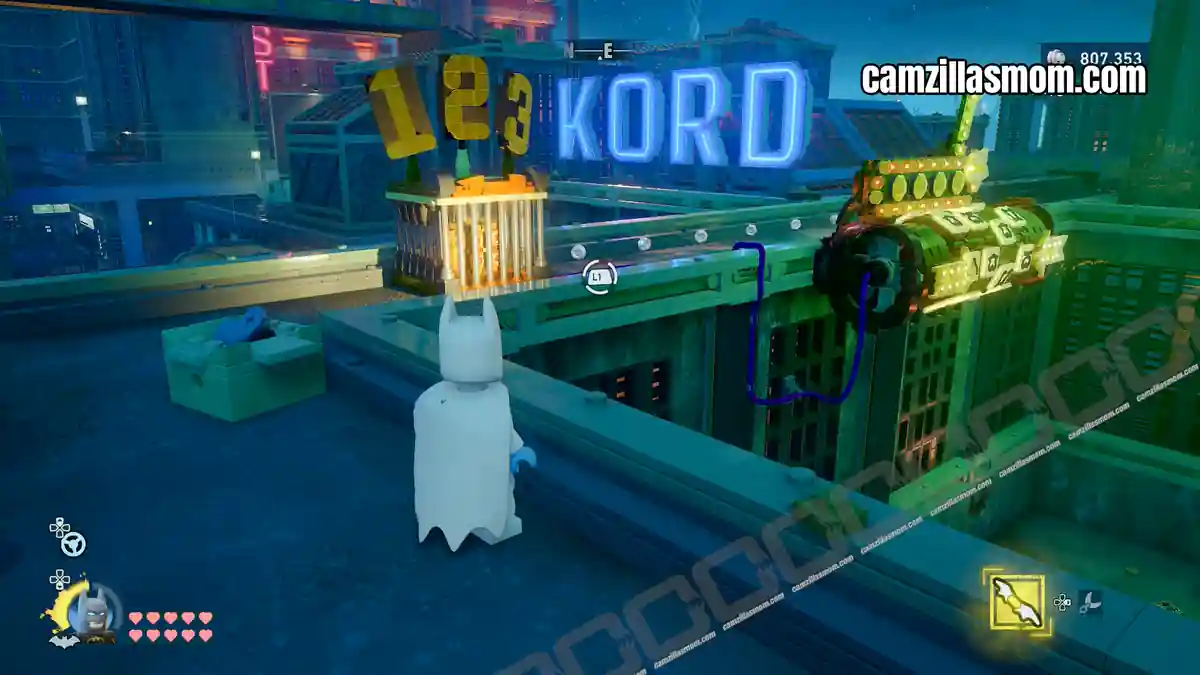
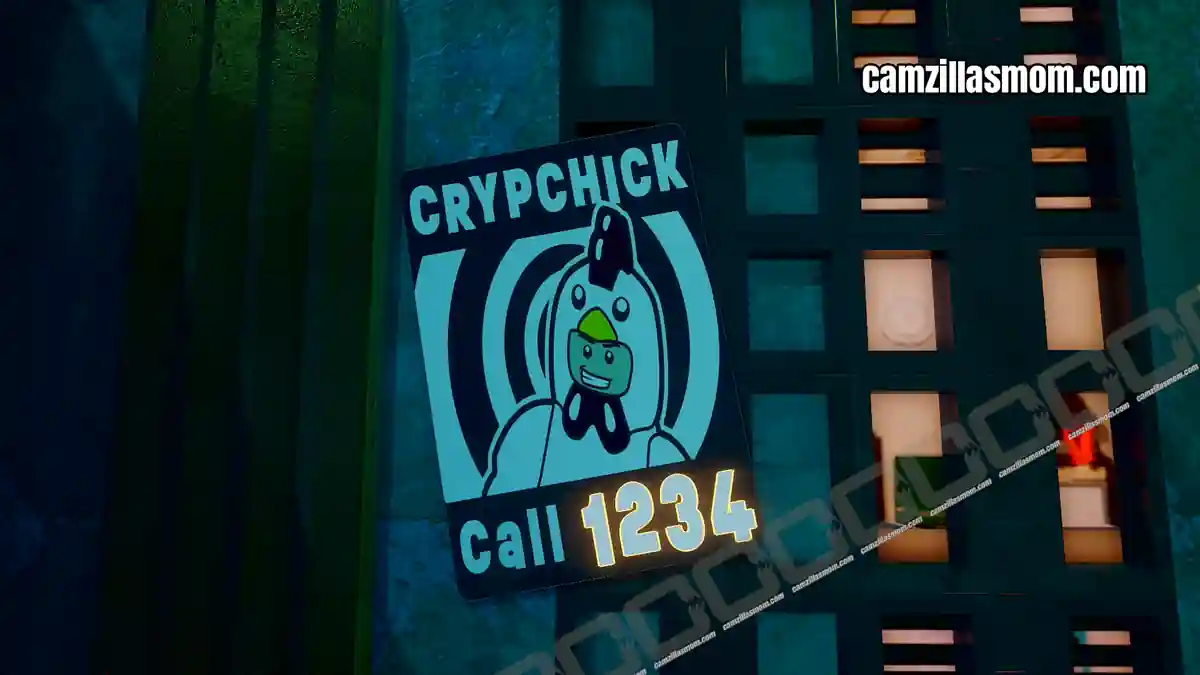
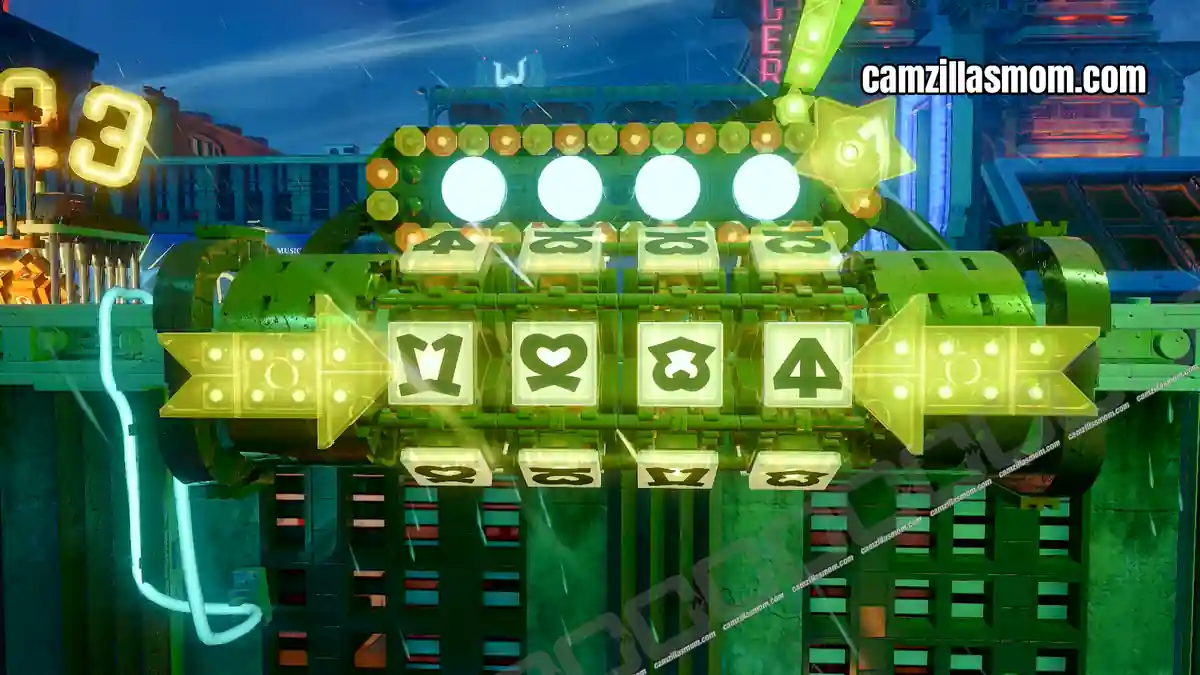
There are four buttons you can use to enter a code. Look for Crypchick posters in the area. They show that the code is 1234. The symbols are just a mirrored image of two numbers. Set the code 1234 by pressing the buttons to receive the Puzzle Box.
3 – Late Knight Cable
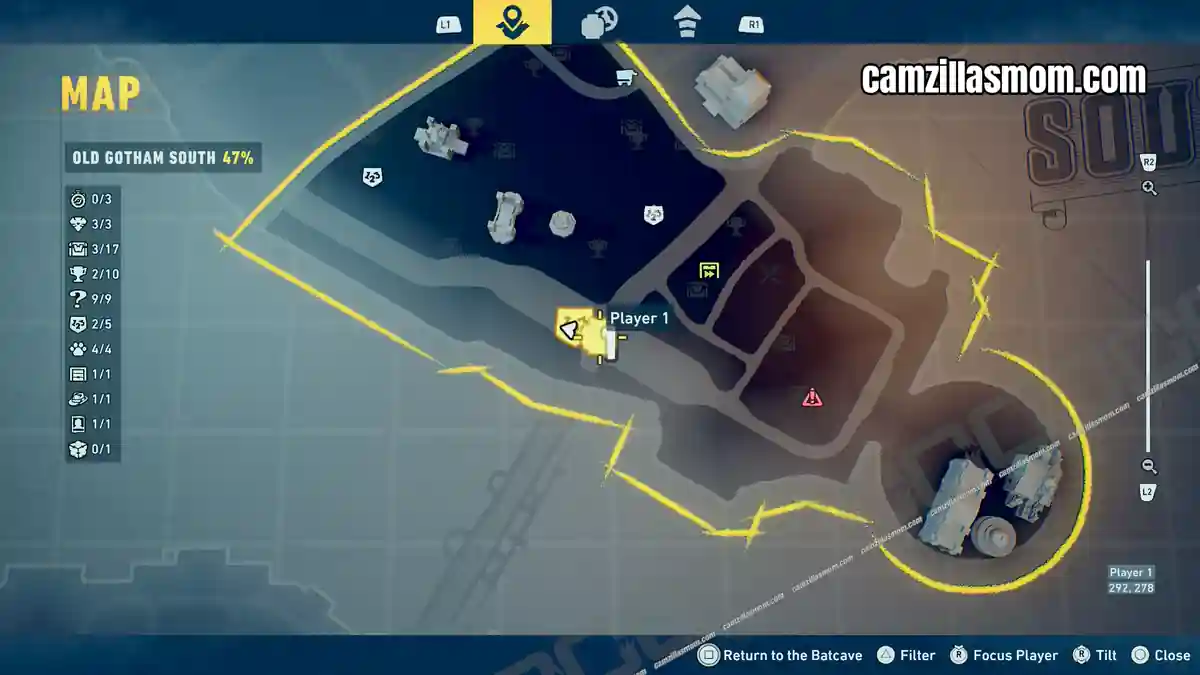
Coordinates: 286, 281
This cable is just northwest of the previous one, on top of the roof with the water tower.
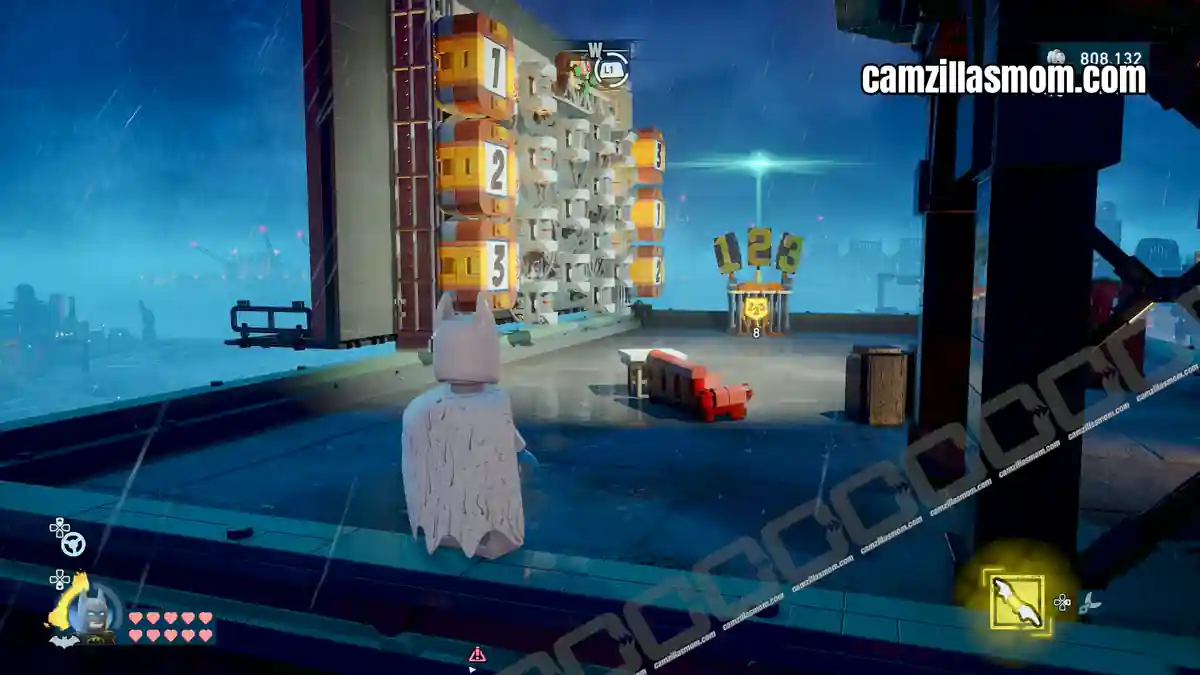
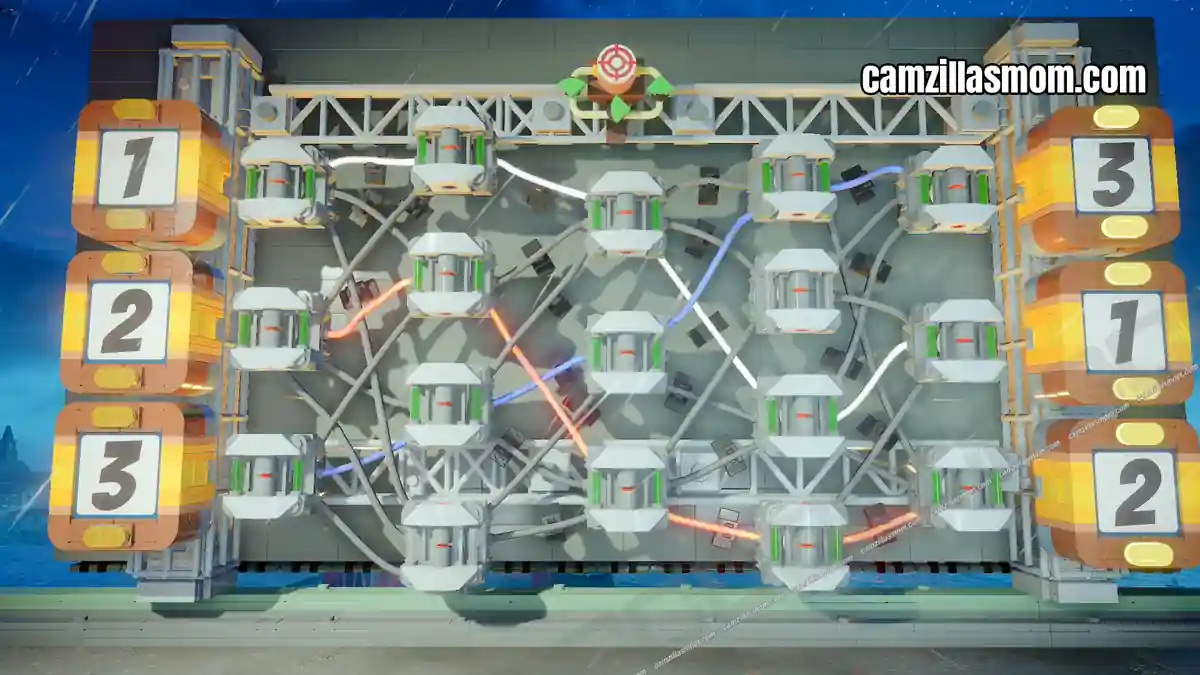
This puzzle is a giant switchboard with three targets to the left and one in the center above it. This center target is the reset button. Steer the power from the left number to the right number. The screenshot below shows the solution.
4 – Parkget Practice
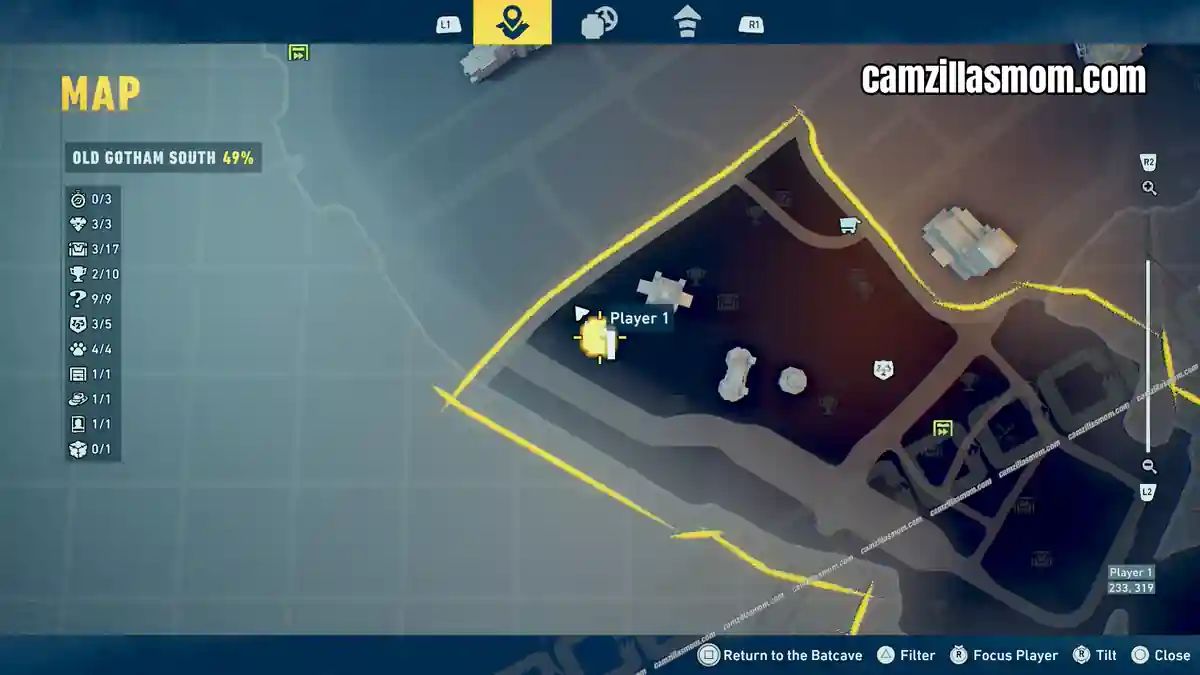
Coordinates: 231, 321
Parkget Practice is in the western park near the border to Old Gotham West.
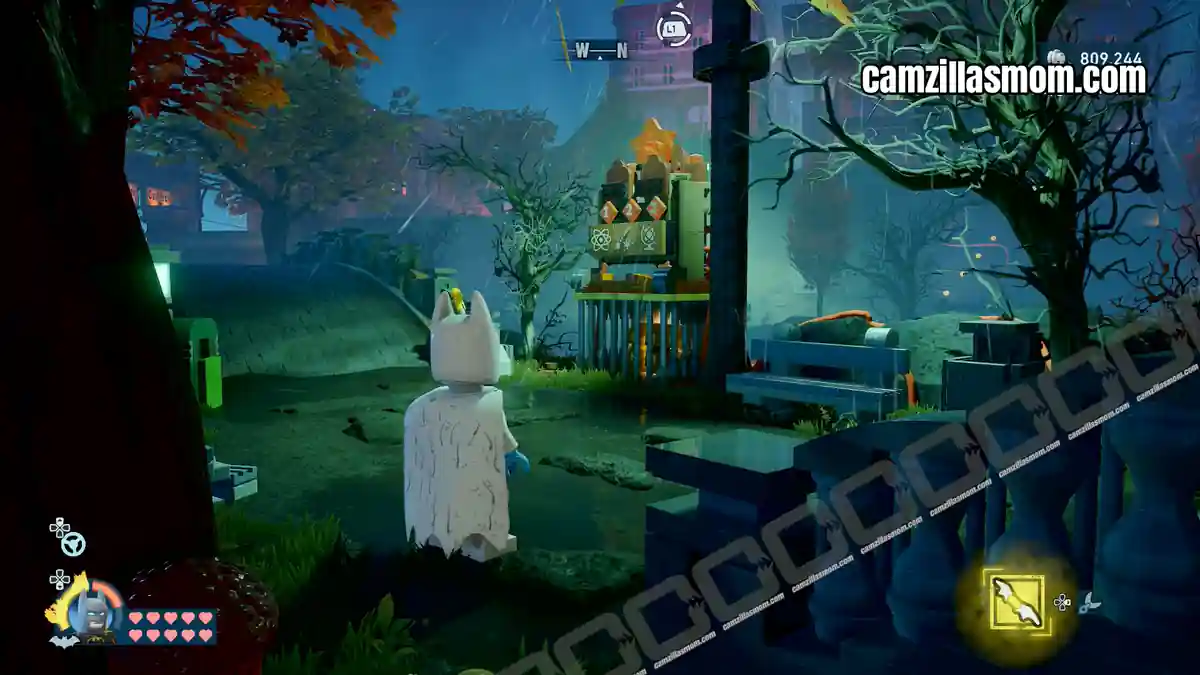
There are three symbols on the puzzle for you to find: Atom, Paintbrush, Globe. Pull the lever, then follow the cables to three targets. Shoot them in this order to open the puzzle box.
5 – Clue’s Done It
Coordinates: 306, 311
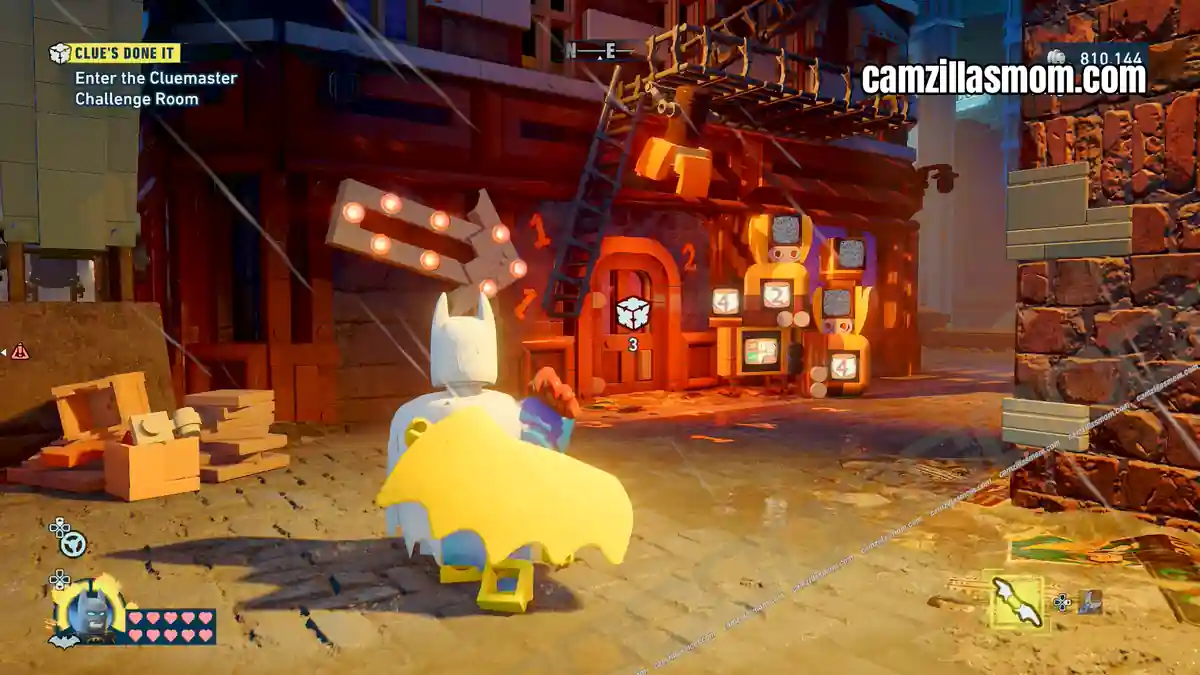
Cle’s Done It is the second Cluemaster Puzzle Room to be solved after Clue Me In. Like with the Riddler Puzzle rooms, they are unlocked procedurally after solving enough puzzles in the open world. Only one of them is active at a time.
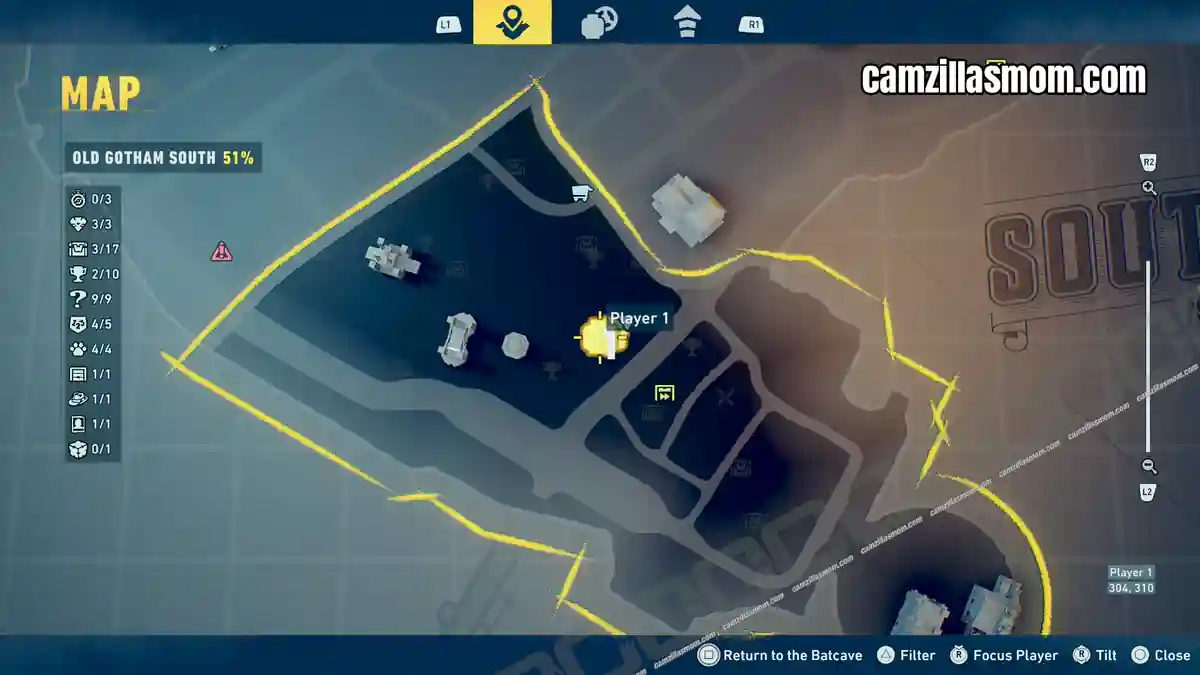
Clue’s Done it is northwest of the Old Gotham South Subwayne. The entrance is at the ground floor.
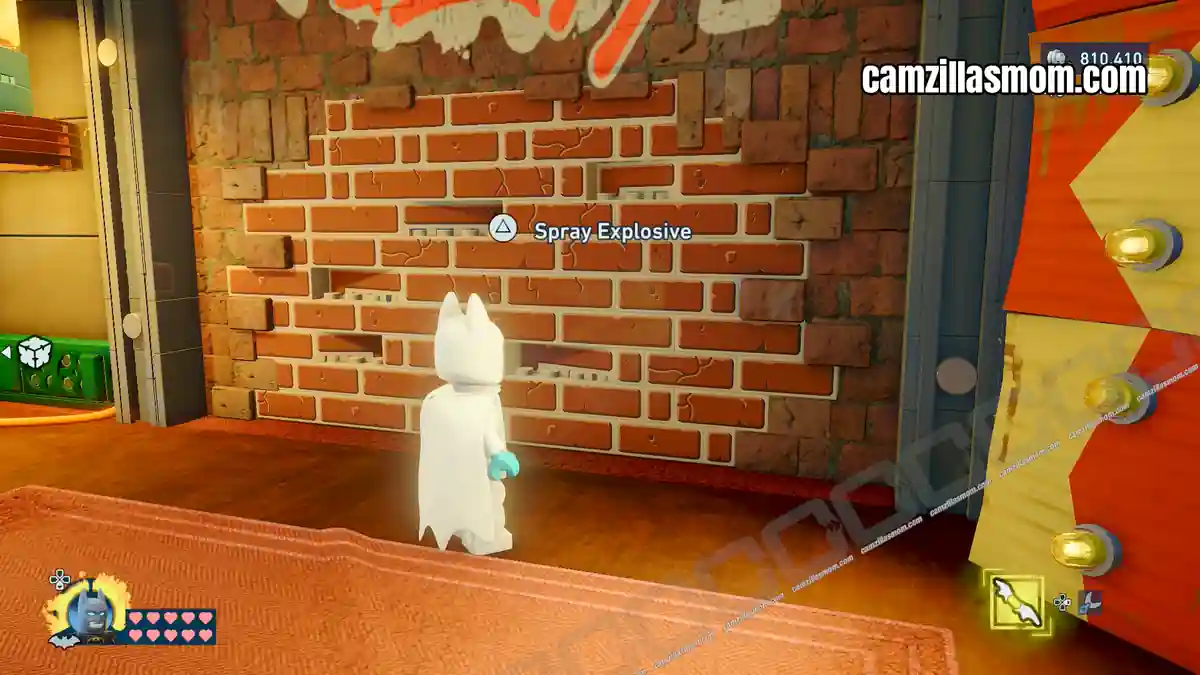
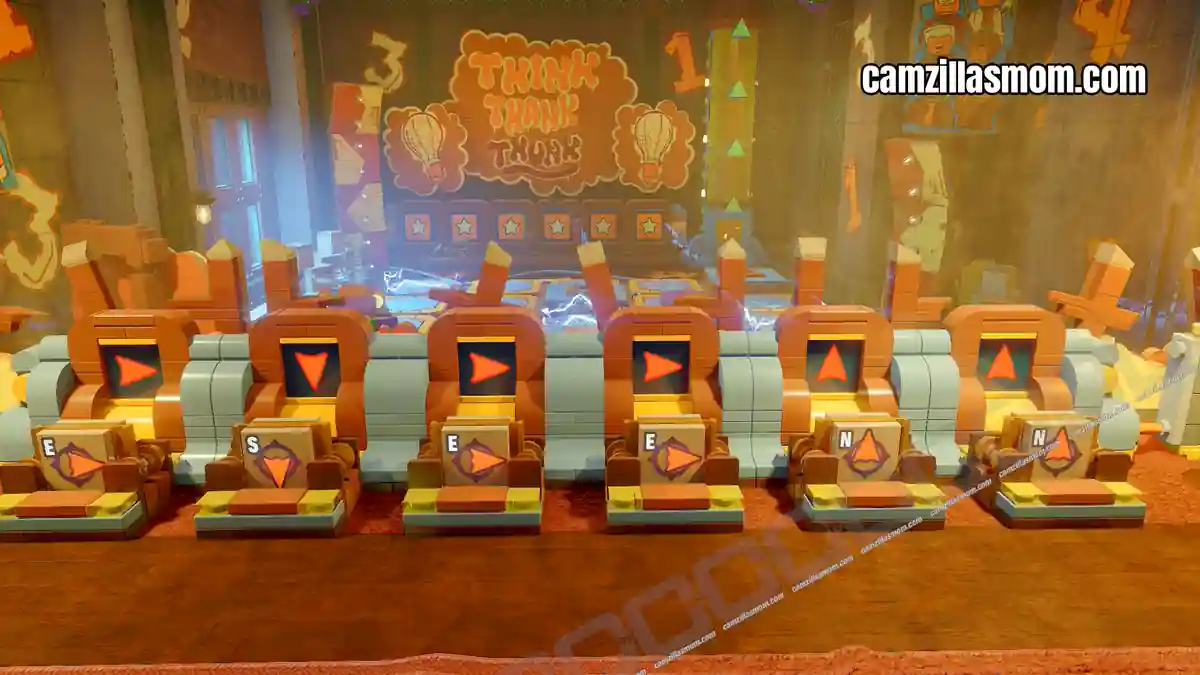
Inside, another robot puzzle awaits with 6 steps, but only 5 bricks on the floor. There is a destructible wall for Batman’s explosive spray. Blow it up to find four more directional pieces. Now you can solve the puzzle.
Solution: E-S-E-E-N-N. Press the button to execute.
Escaped Zoo Animals – 4
Four Escaped Zoo Animals are hiding across Old Gotham South, all tied to Gotham Zoo and the surrounding district. One is introduced during the story, while the other three are open-world catches available after the relevant mission unlocks them.
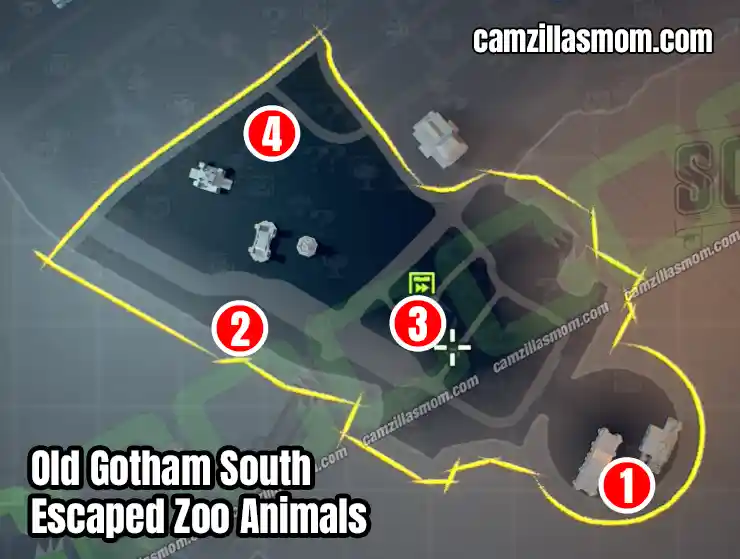
Coordinates in the brackets
1 – Polar Bear (385, 226)
2 – C’meercat (256, 279)
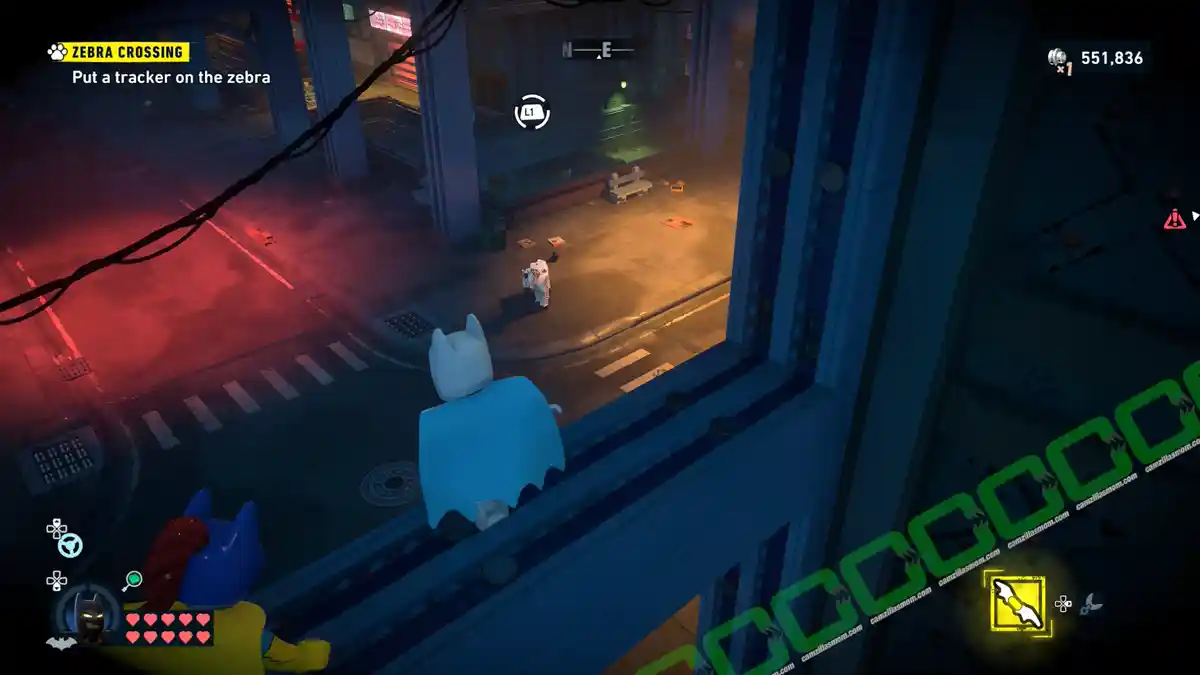
3 – Zebra Crossing (329, 284)
4 – Find Cobblenet (261, 343)
Polar Bear
Coordinates: 385, 226
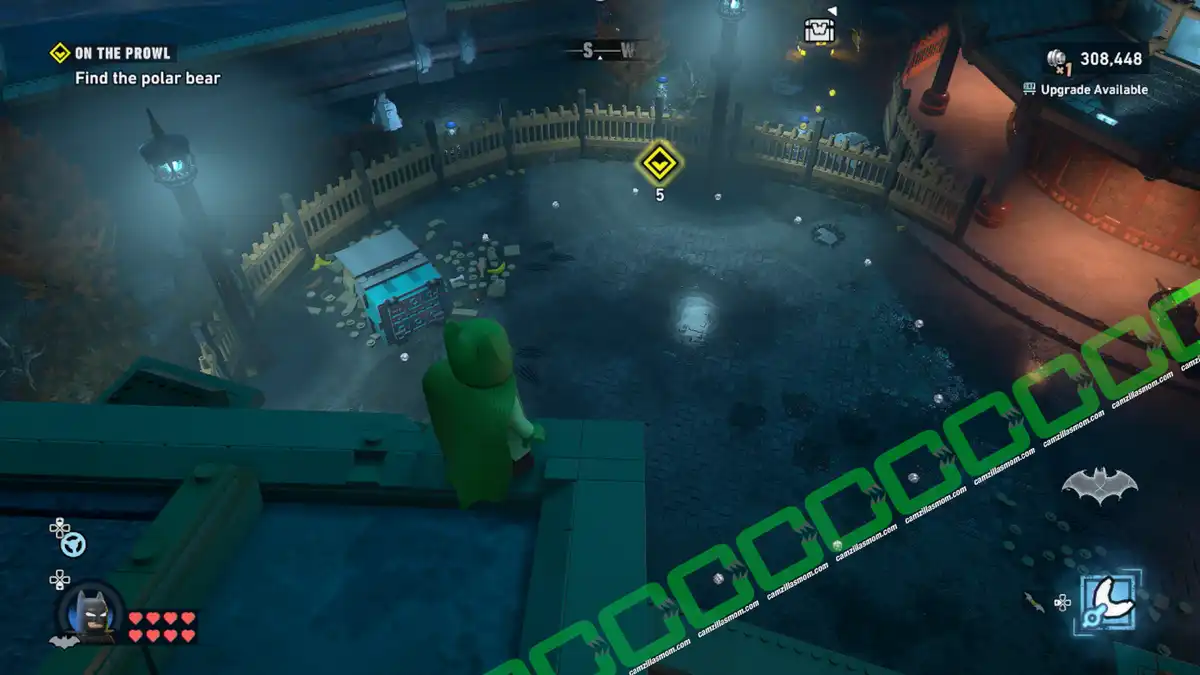
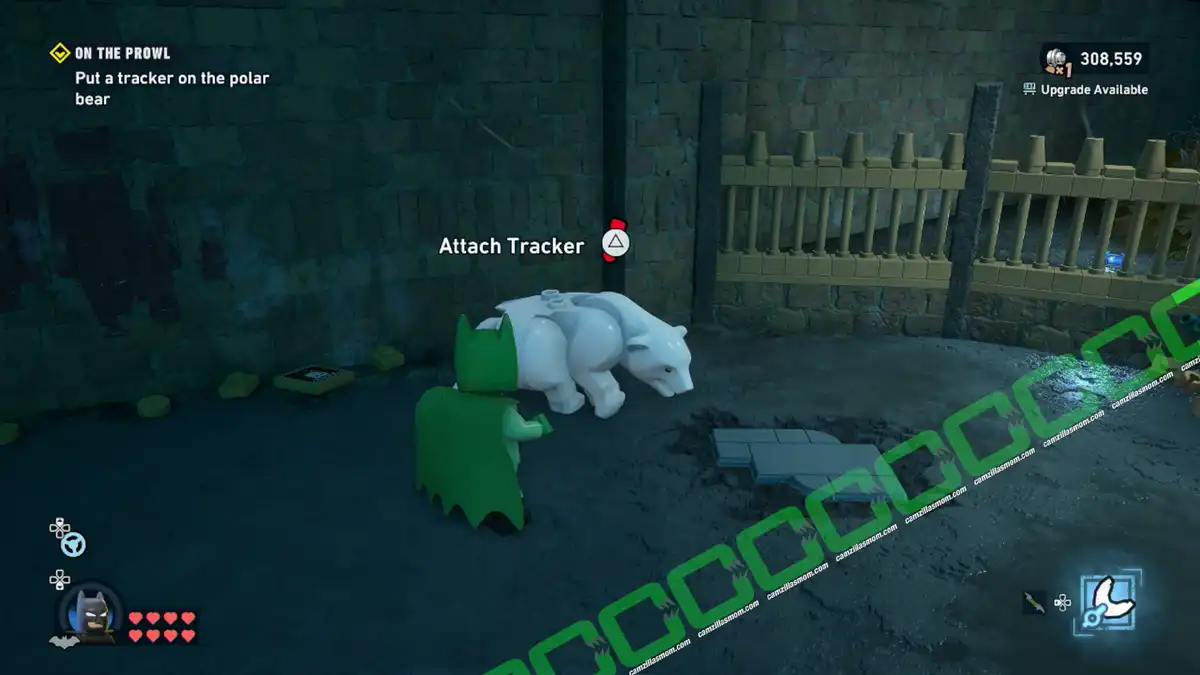
The Polar Bear is part of Mission 7: The Penguin. It acts like a brute thug enemy. It will charge at you, and you have to dodge. Make it bump into a wall, so it gets confused. Approach it from behind to attach the animal tracker.
C’meerkat
Coordinates: 256, 279
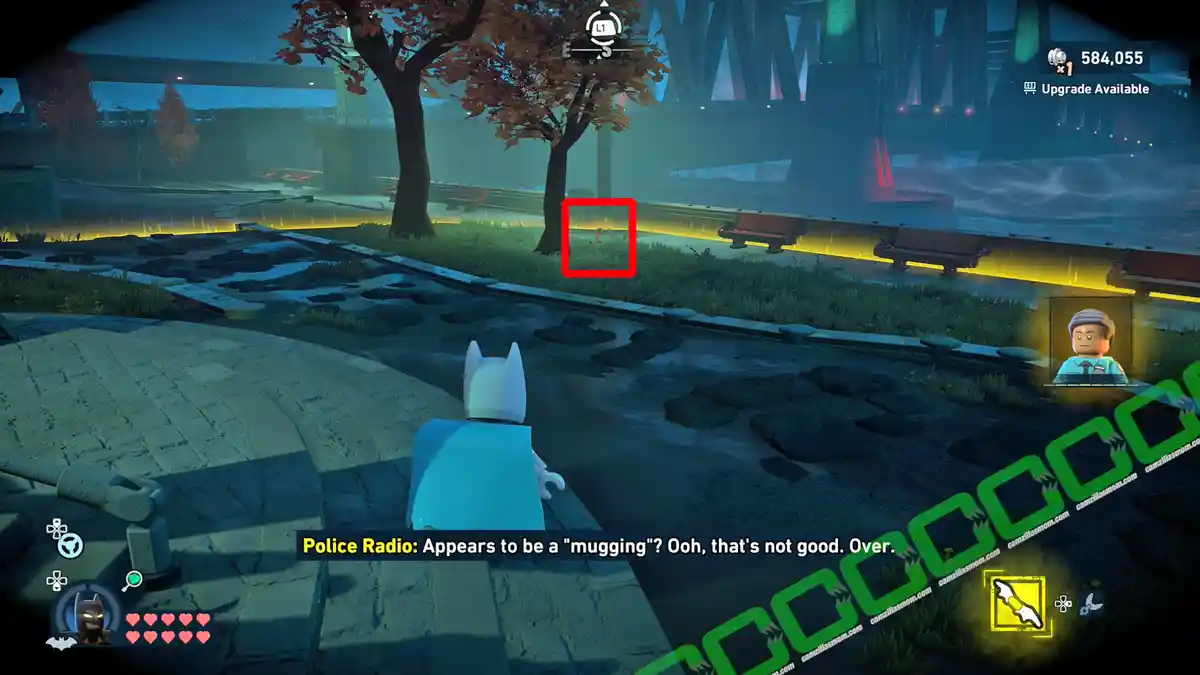
There are five meerkats hiding in the southern waterfront park.
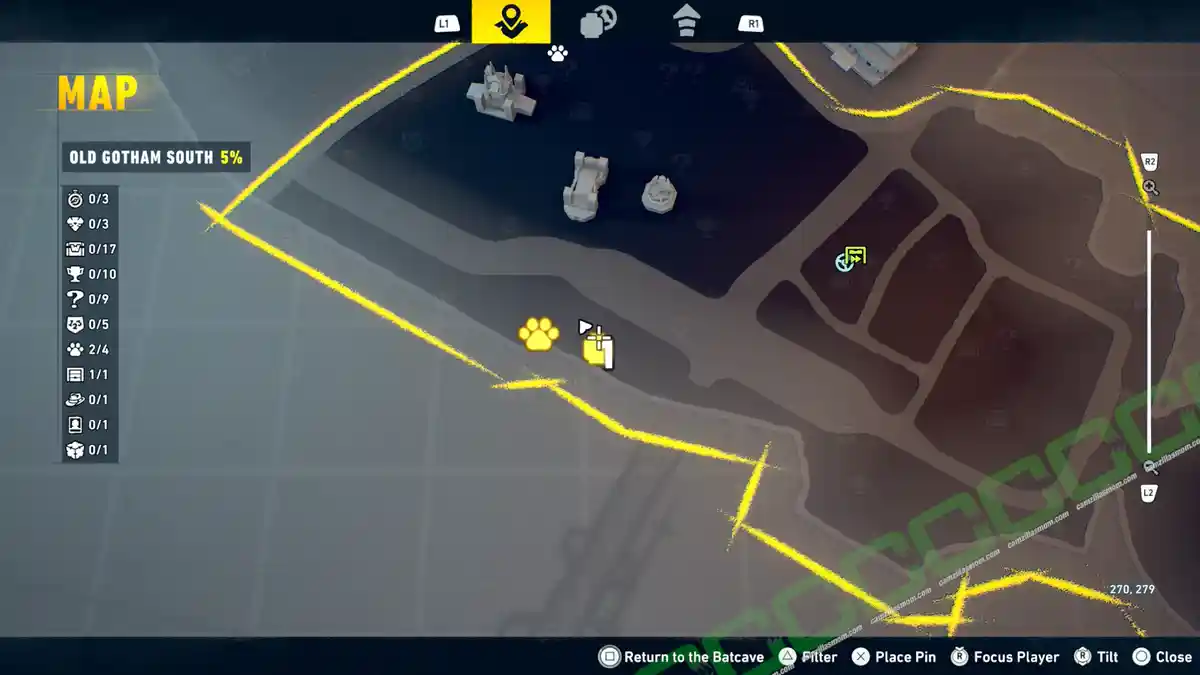
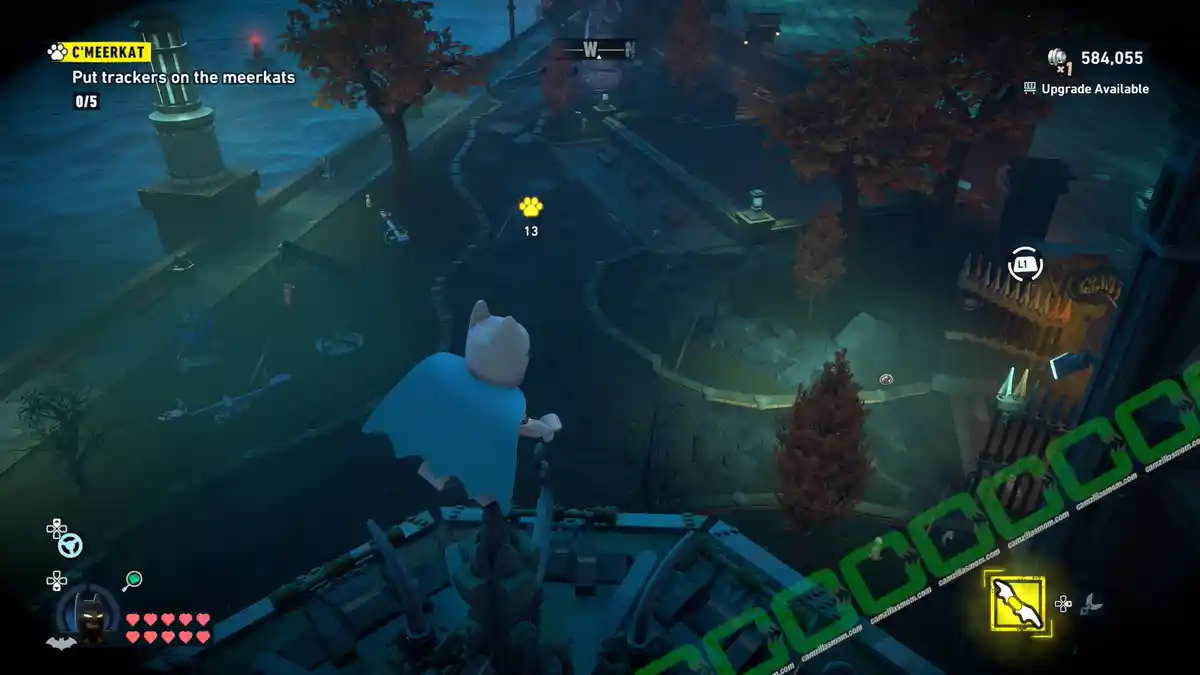
The first is between the pavilion and the park gate, the second meerkat is in the pavilion.
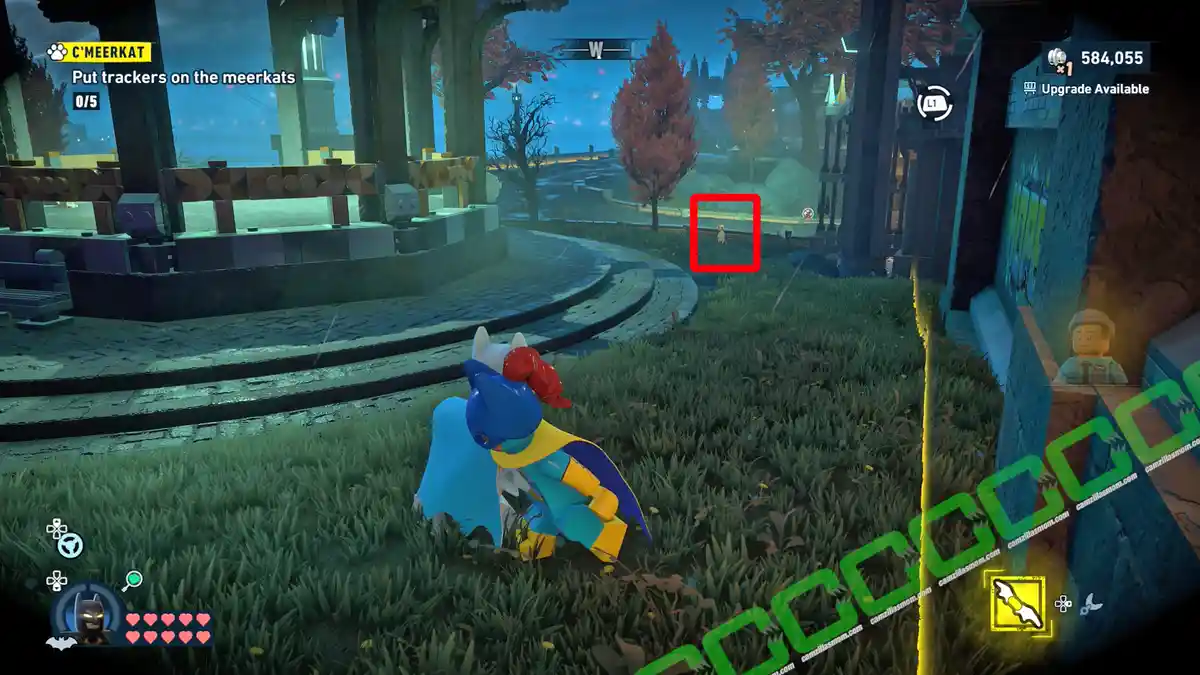
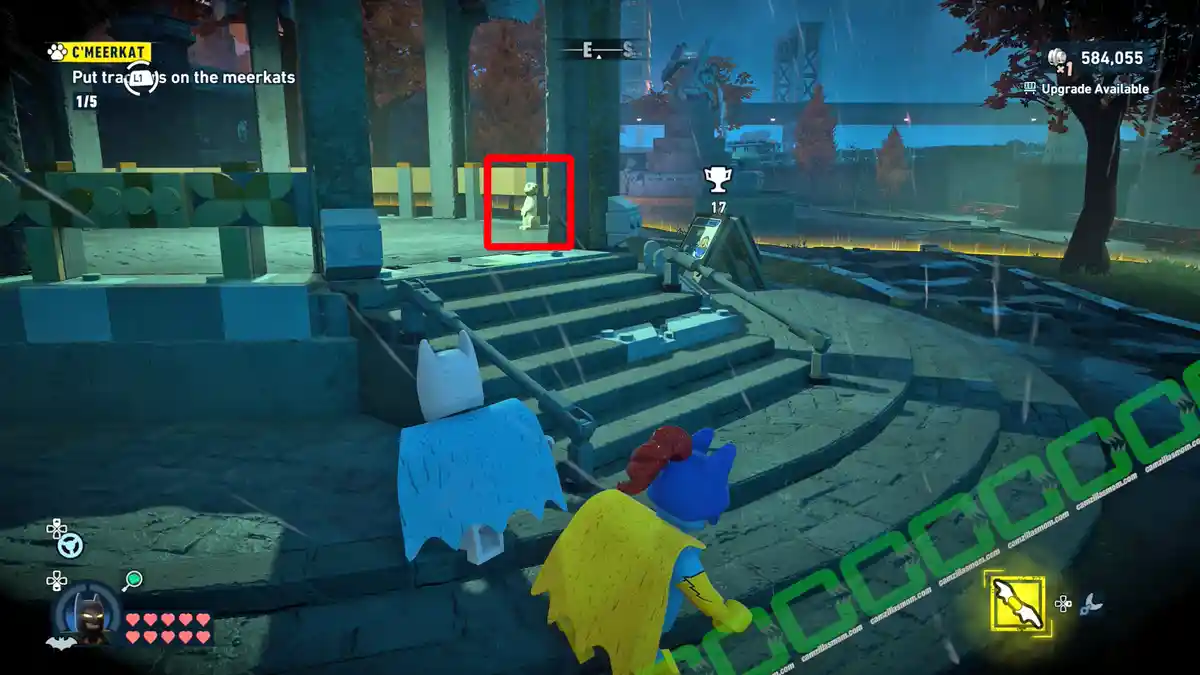
The third is under the tree in the southern corner of the park, by the water. For the fourth, follow the seaside wall to the north to find it by the playground.
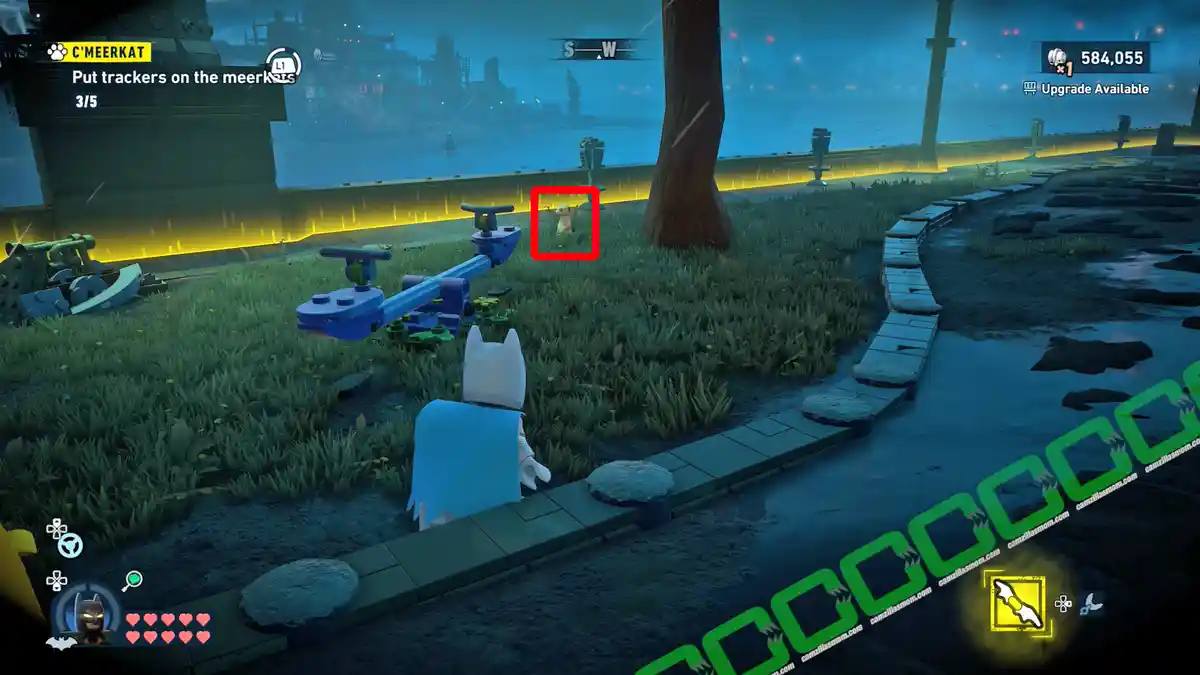
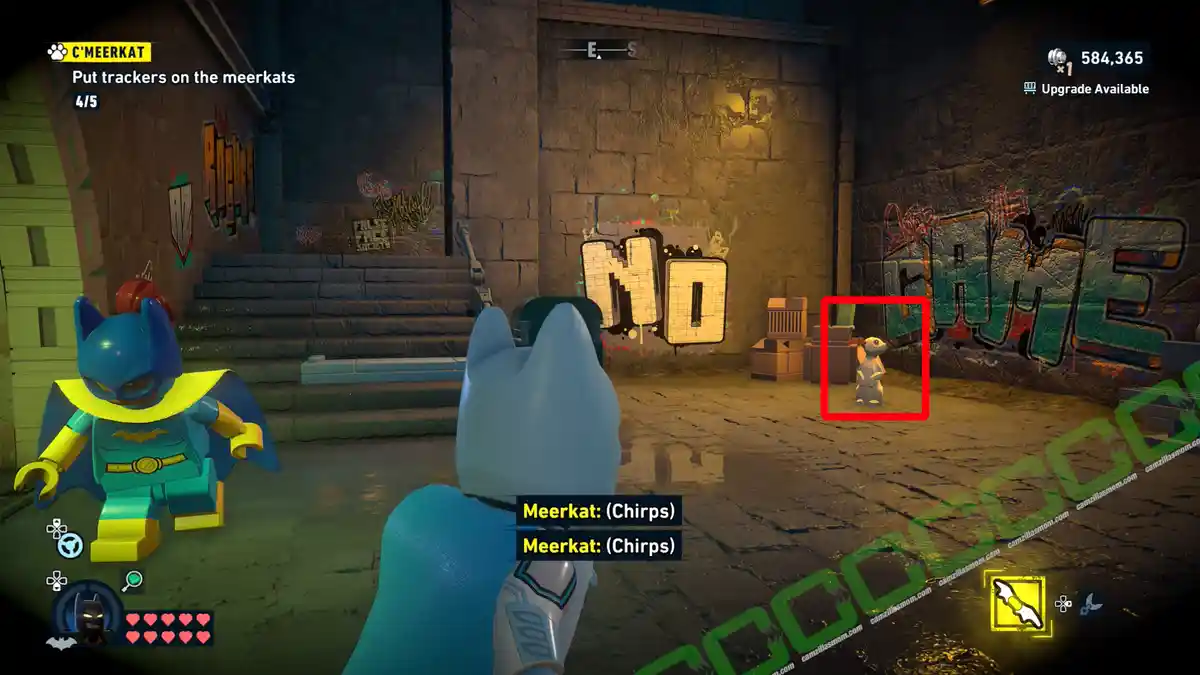
The last meercat is down in the sewers. There is a staircase near the fountain. Follow it down to the bottom to find the meercat.
Zebra Crossing
Coordinates: 329, 284
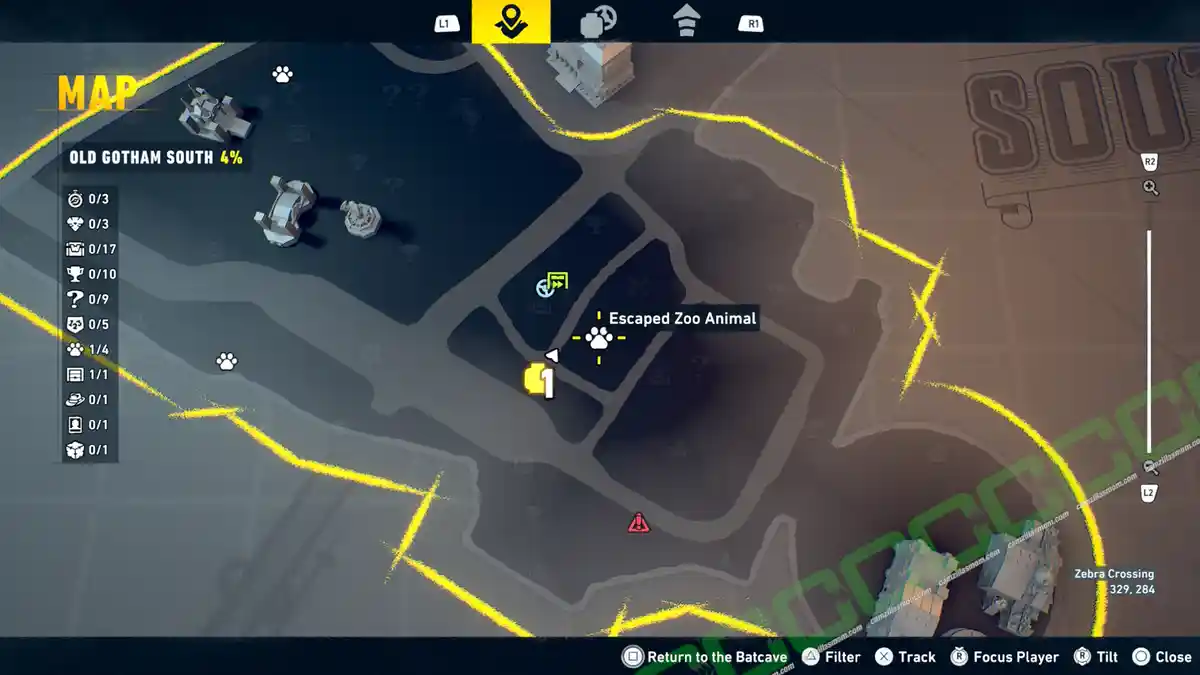
The Zebra can be caught just southeast of the Subwayne on the ground level of Old Gotham South. It is standing southwest of the Escaped Zoo Animal symbol on the map, at the road crossings. Approach it from the back and attach a tracker.
Find Cobblenot
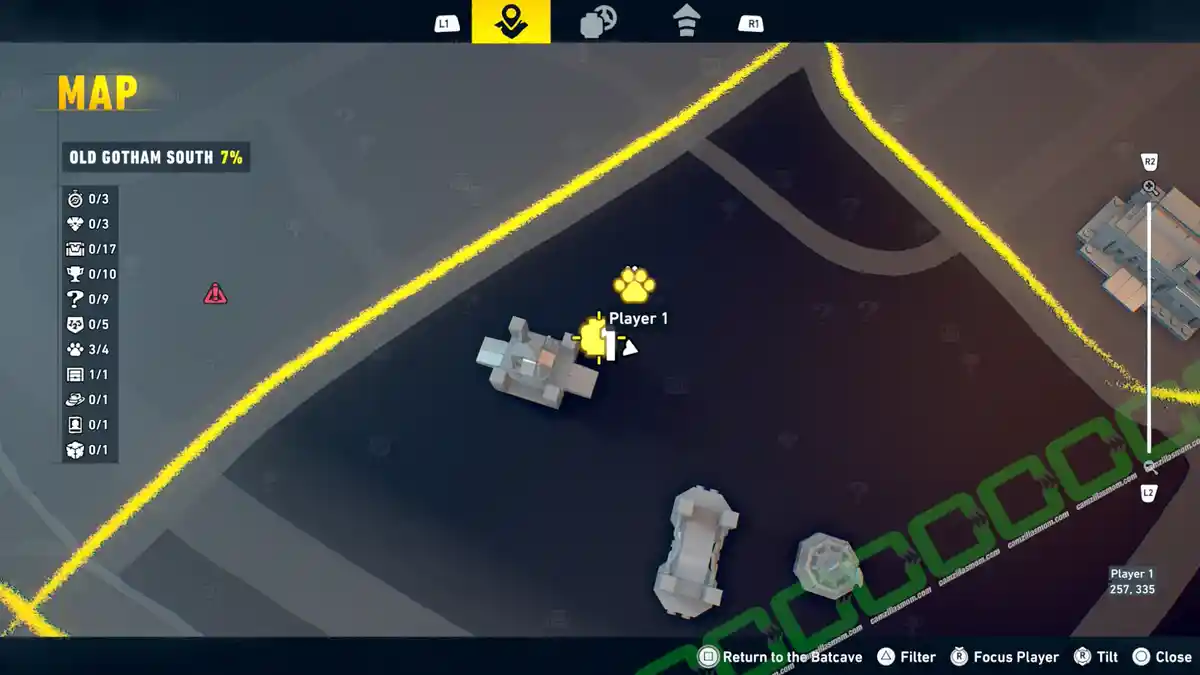
Coordinates: 261, 343
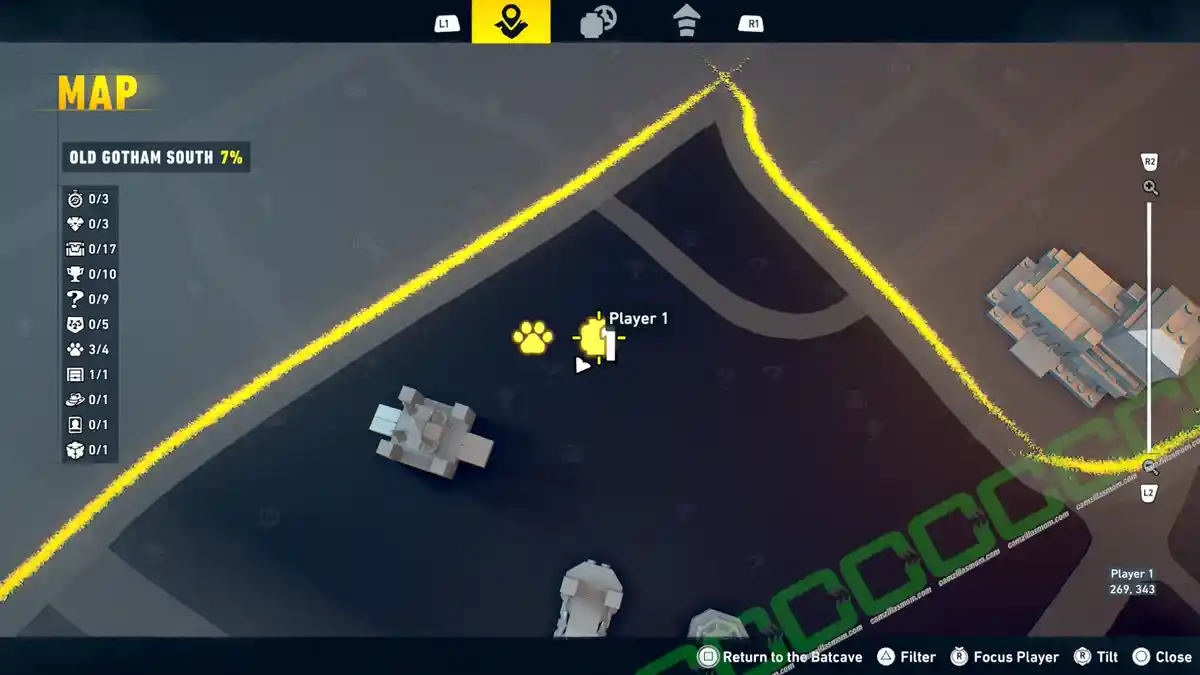
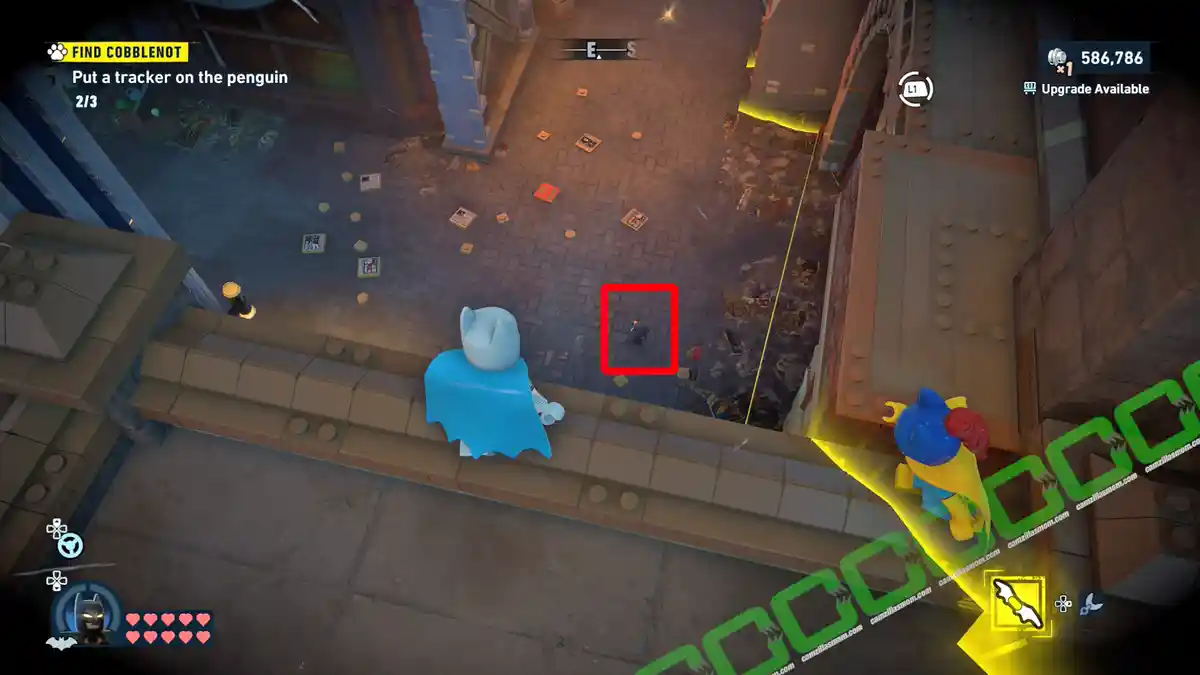
In Cobblenot, you have to find three penguins in the northwest of Old Gotham South. They will run away when they see you.
One of them is sitting on the ground floor east of the marker on the map.
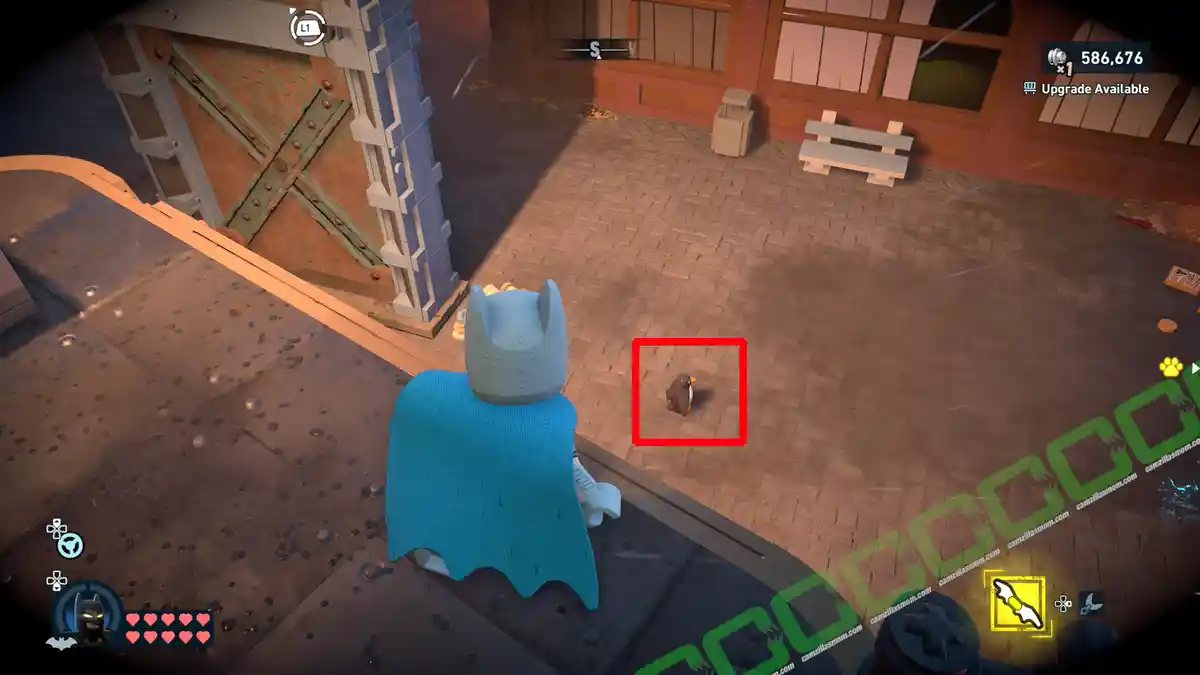
The second is sitting at the base of the northern stairs.
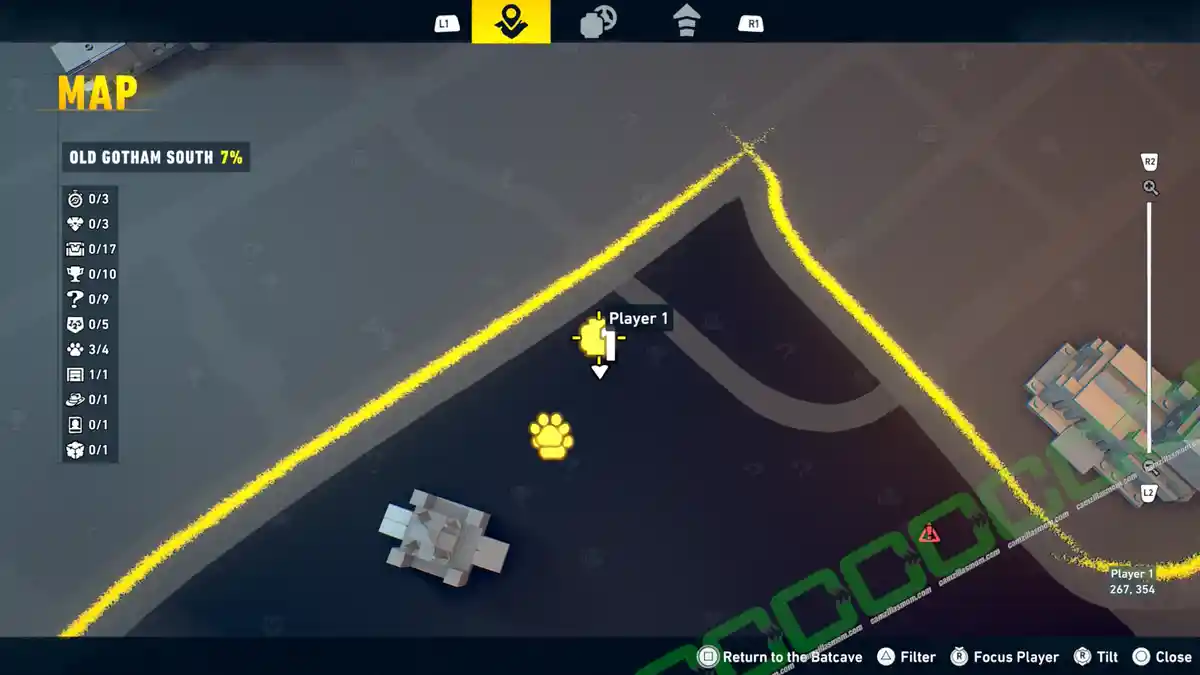
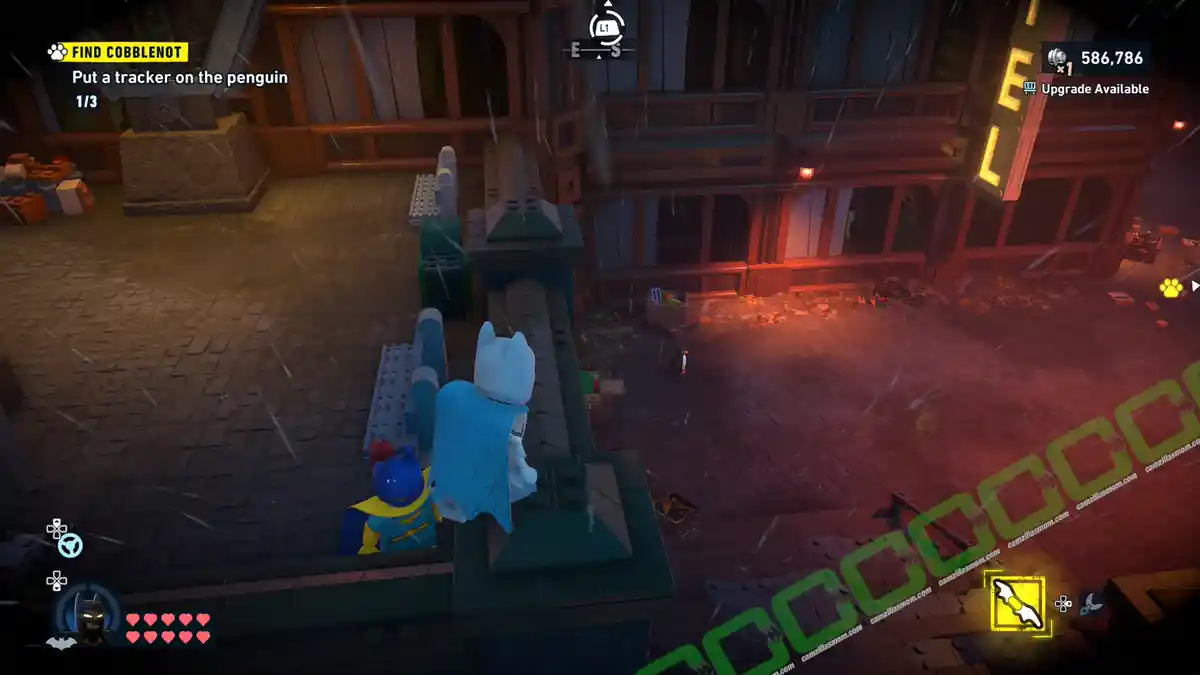
The third penguin is at the bottom of the stairs in the southwest, near a Batcave Trophy collectible.
Subwayne
Coordinates: 323, 296
This Subwayne is blocked by a couple of bollards.
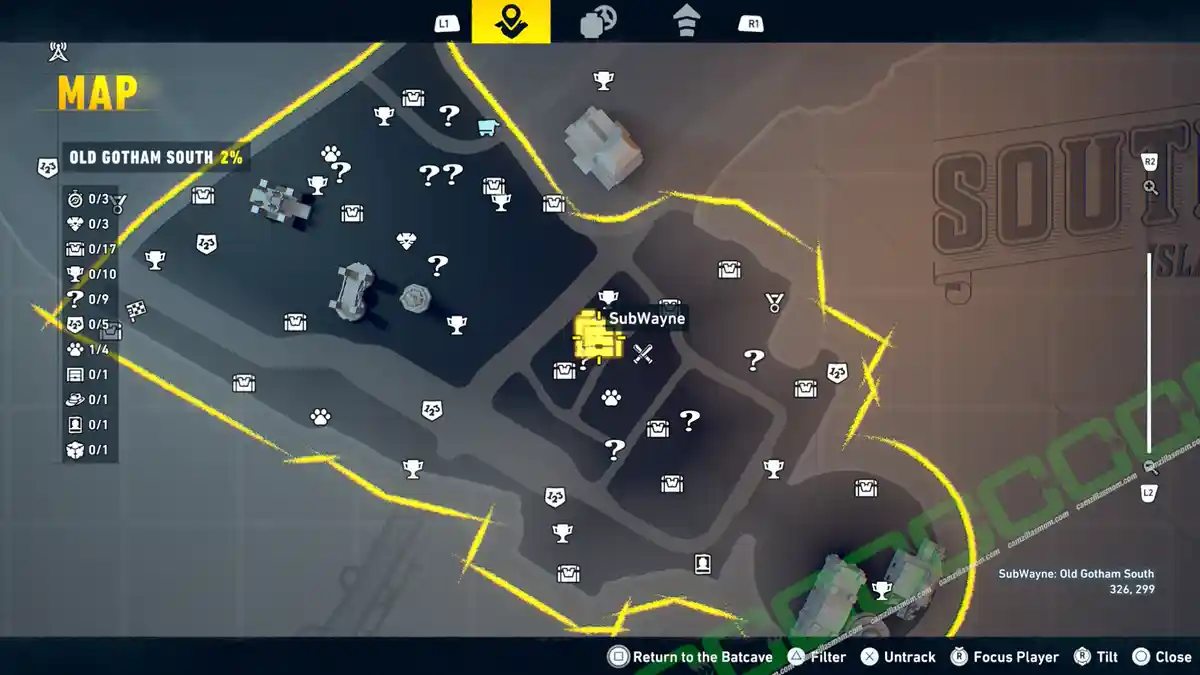
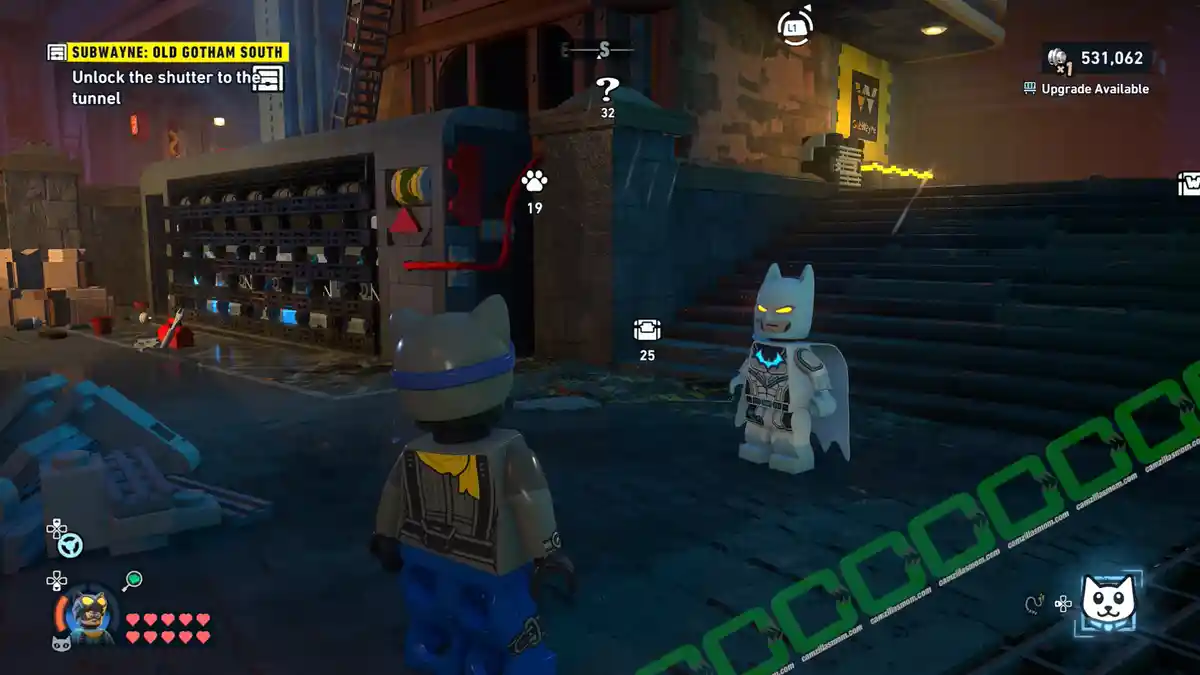
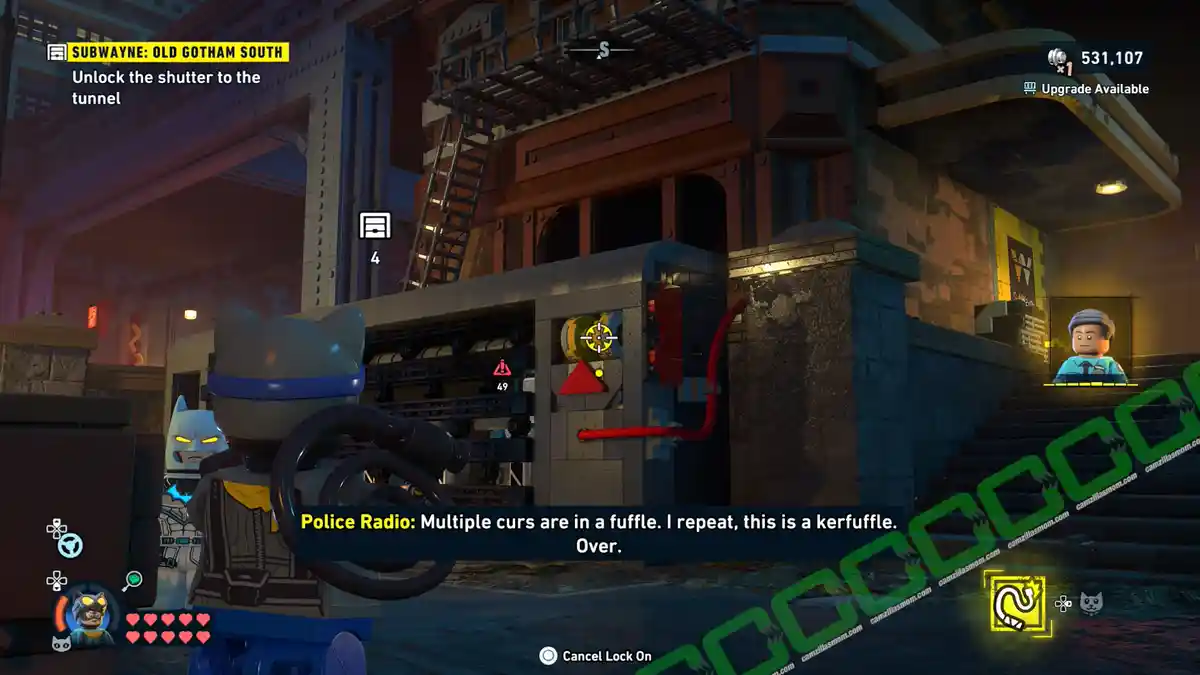
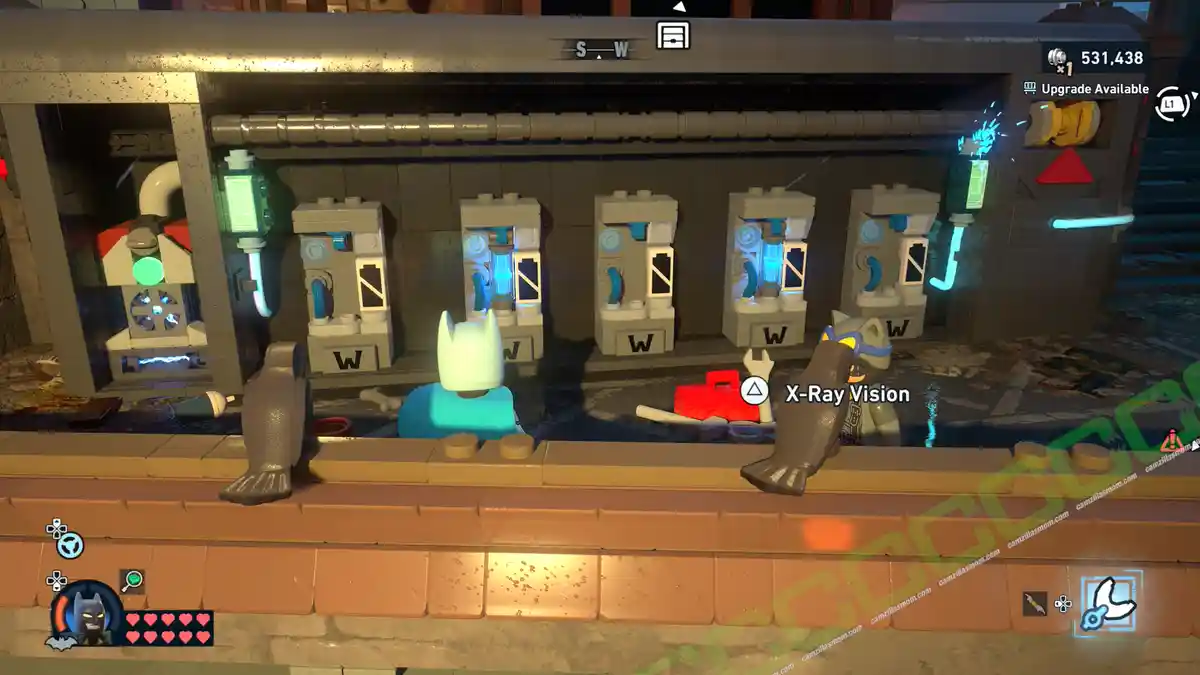
Use Catwoman’s Whip to open the shutters of the battery bank around the corner to reveal 5 generators that require a battery each. Two are present and can be inserted.
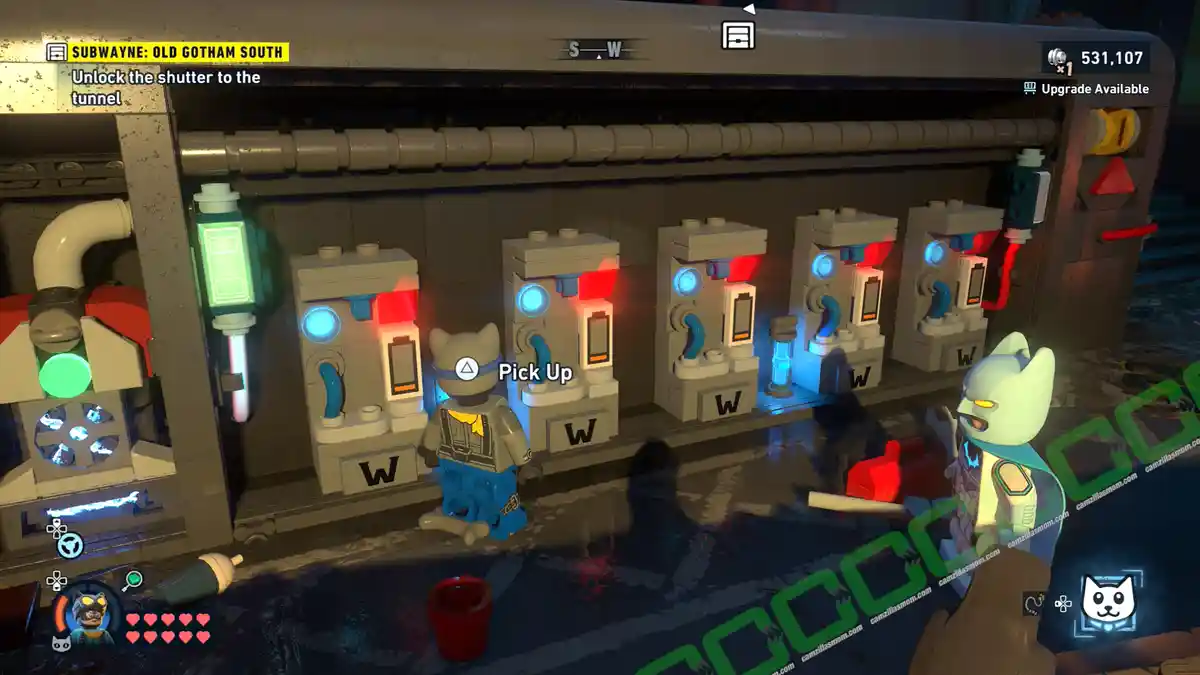
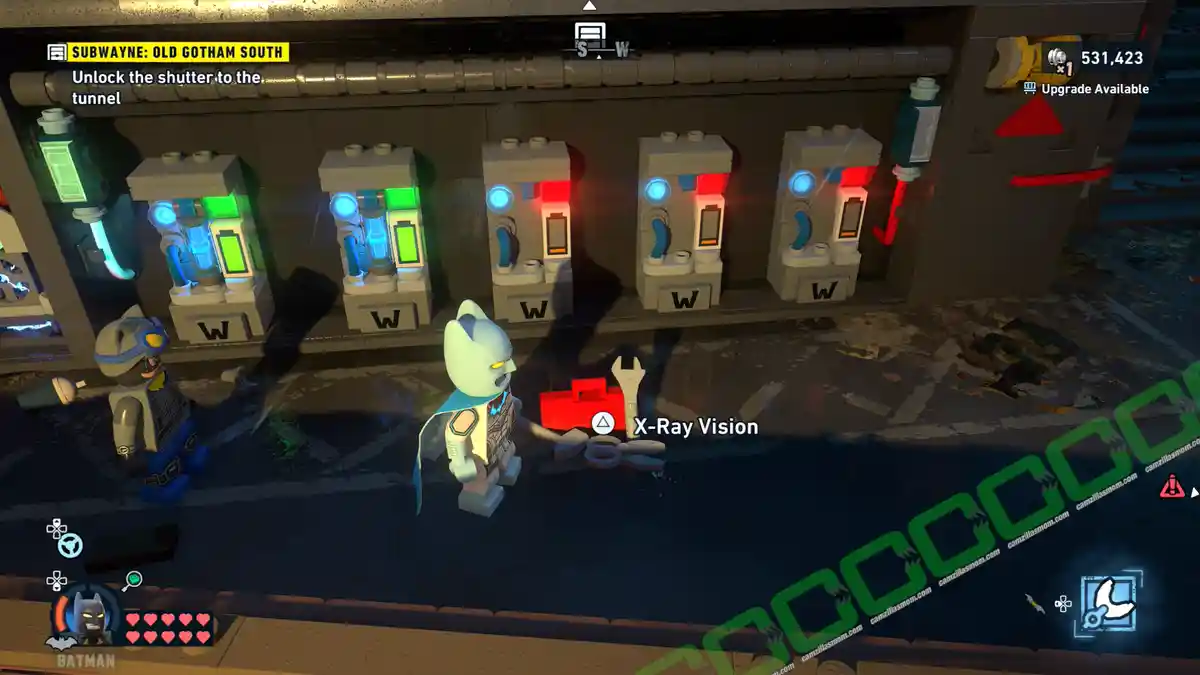
Use Batman’s UV Vision to see which generator goes to the bollards to put the batteries into the right ones. It’s the second and the fourth. Head up to the bollards and press the button to lower to bollards.
The Case of Waylon Jones
Tipping the Scales is the fifth chapter of the Case of Waylon Jones side quest, picking up after The Clawed Crusader in Cauldron South. Follow the trail of scratchmarks with Batman’s UV Vision to track down Waylon Jones and close the case.
Tipping the Scales
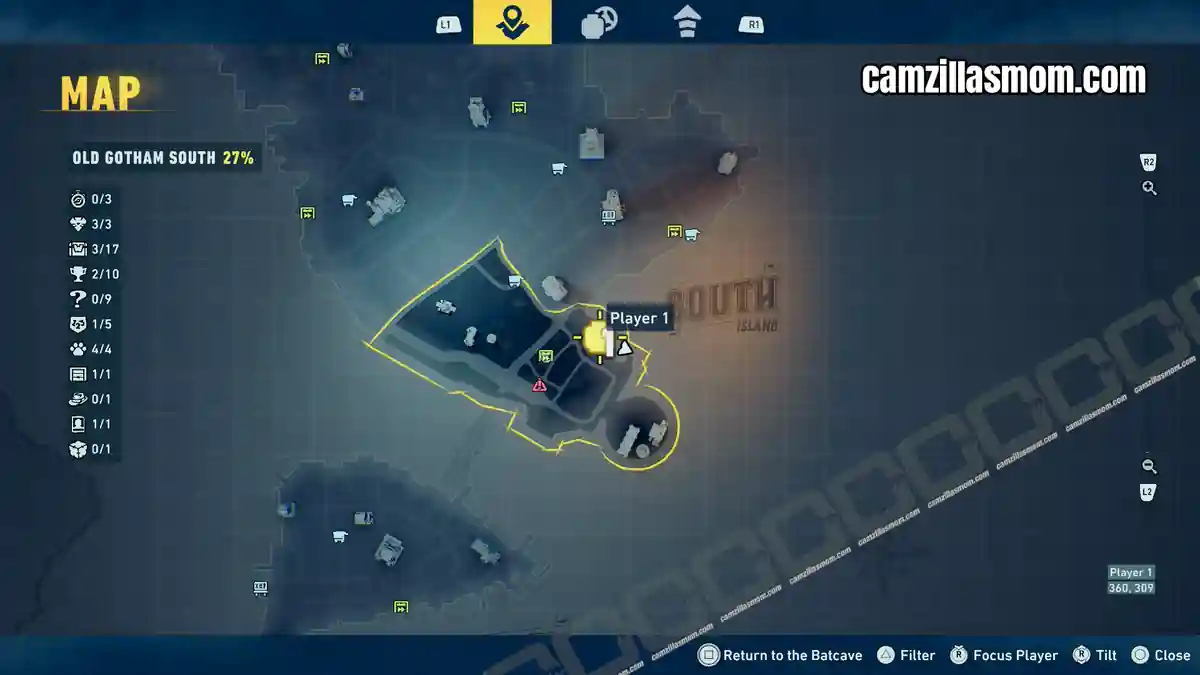
Coordinates: 360, 308
This is the fifth Case of Waylon Jones. Right after The Clawed Crusader in the Cauldron South.
Detective Bullock is waiting on top of a building in the northeast of Old Gotham South.
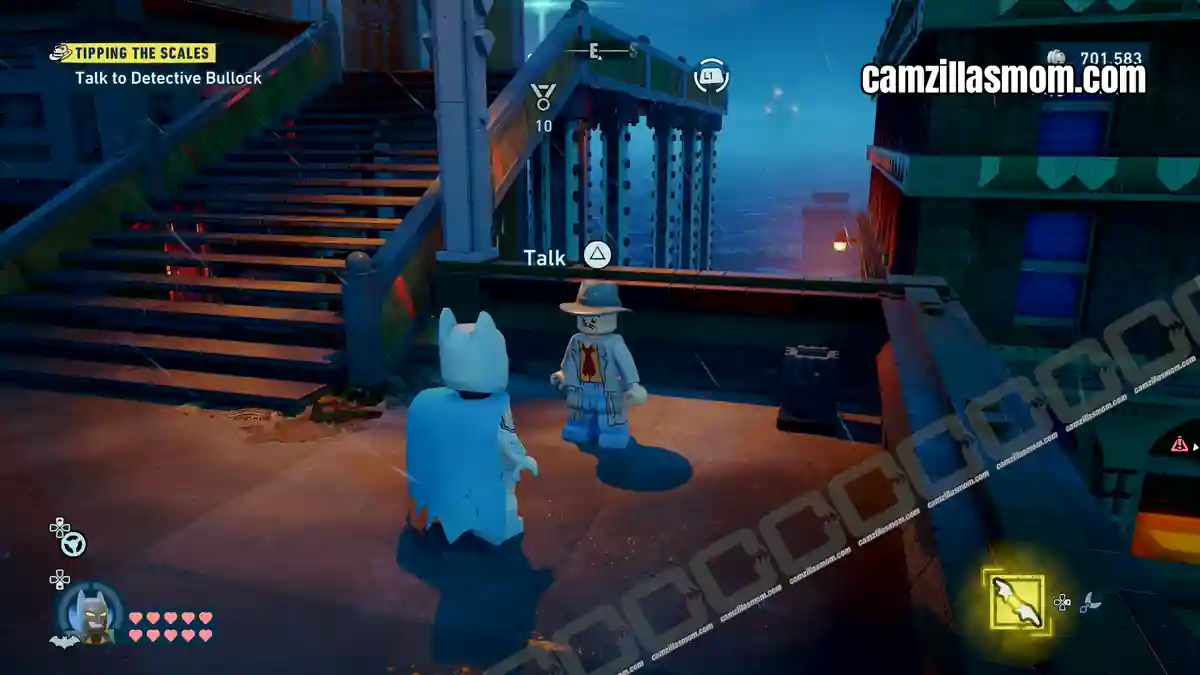
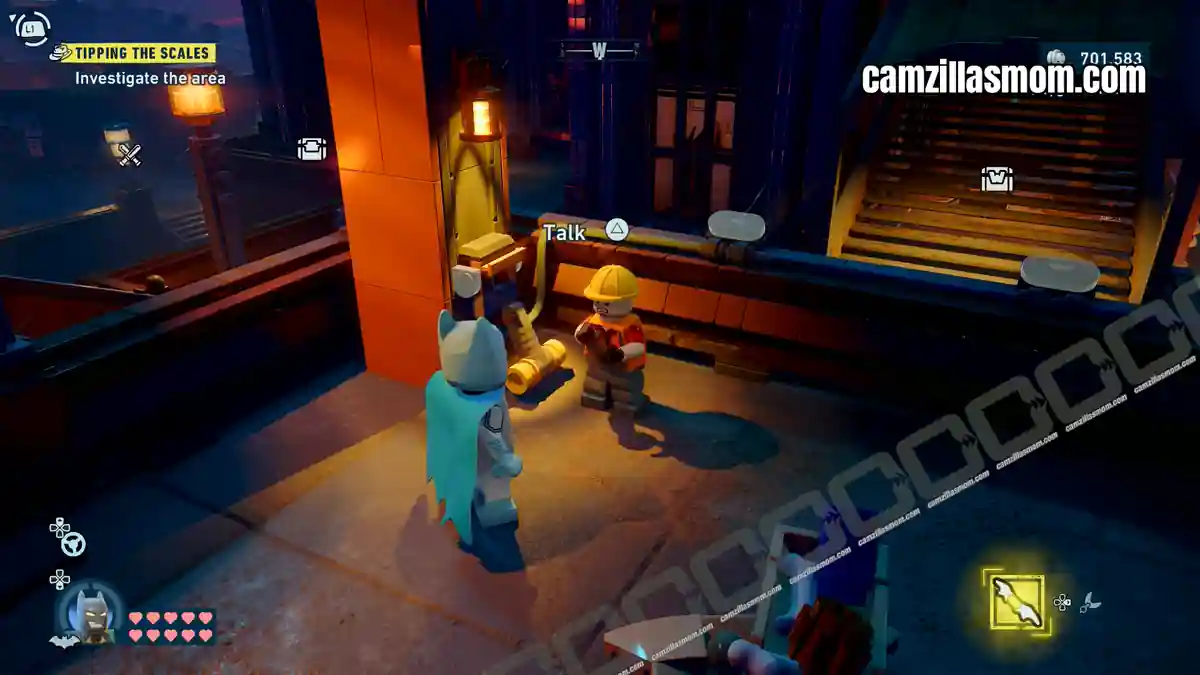
The area to investigate is upstairs from Detective Bullock. Talk to the construction worker there. He will pull a switch. Follow the power cable down to the waterfront. You will see that the power needs to be flowing from right to left through three power switches. Select Nightwing and use his Electric Briarang to select all three power boxes from right to left. Then shoot to direct the power to the elevator to the left.
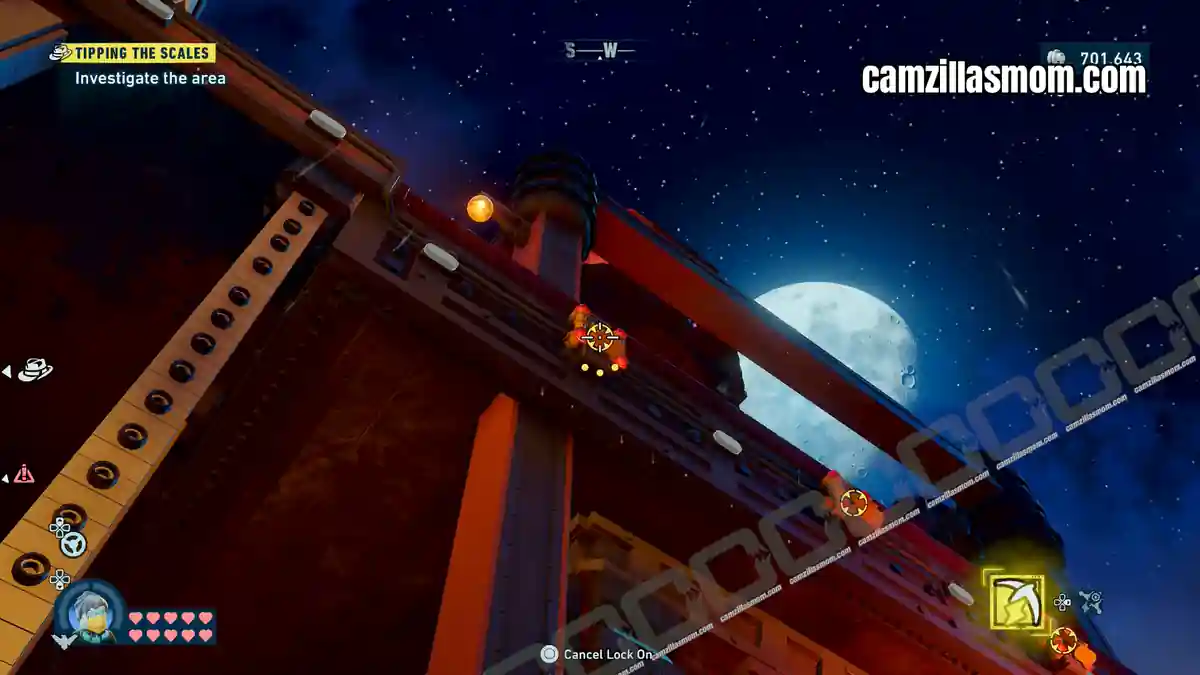
Climb up to the elevator platform and analyse the scratchmarks with Batman. Then, jump to the ground level and follow the scratchmarks to a pile of boxes. Destroy the boxes to reveal a scratchmark where Batman can use UV Vision.
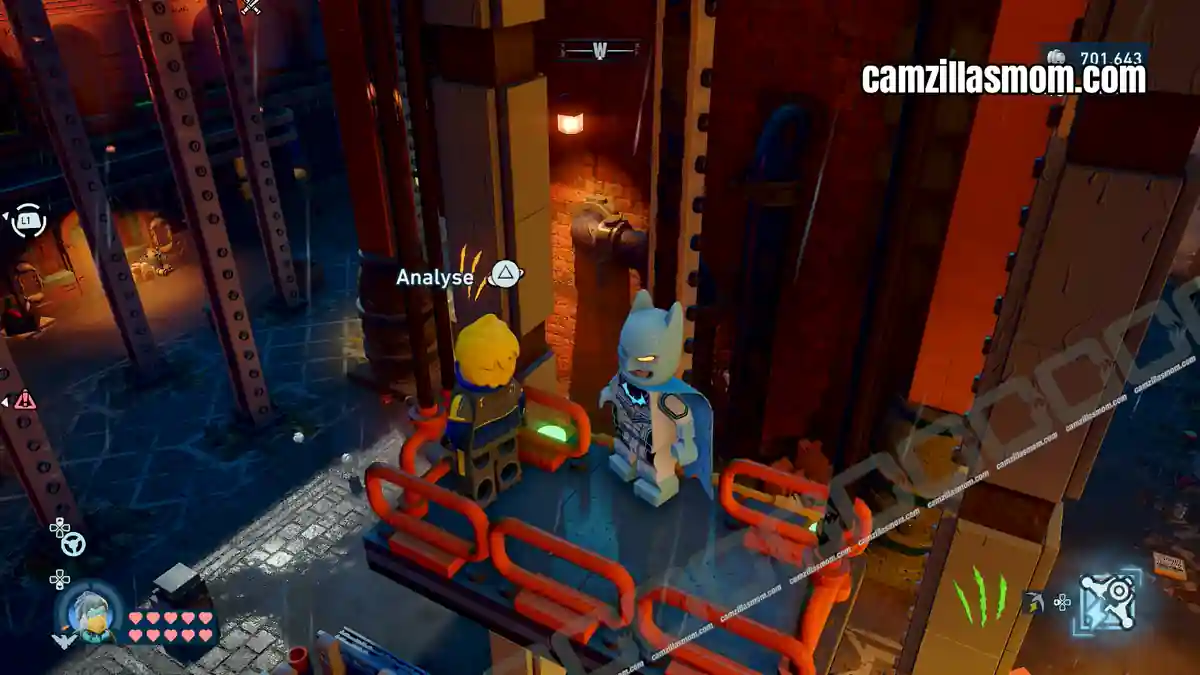
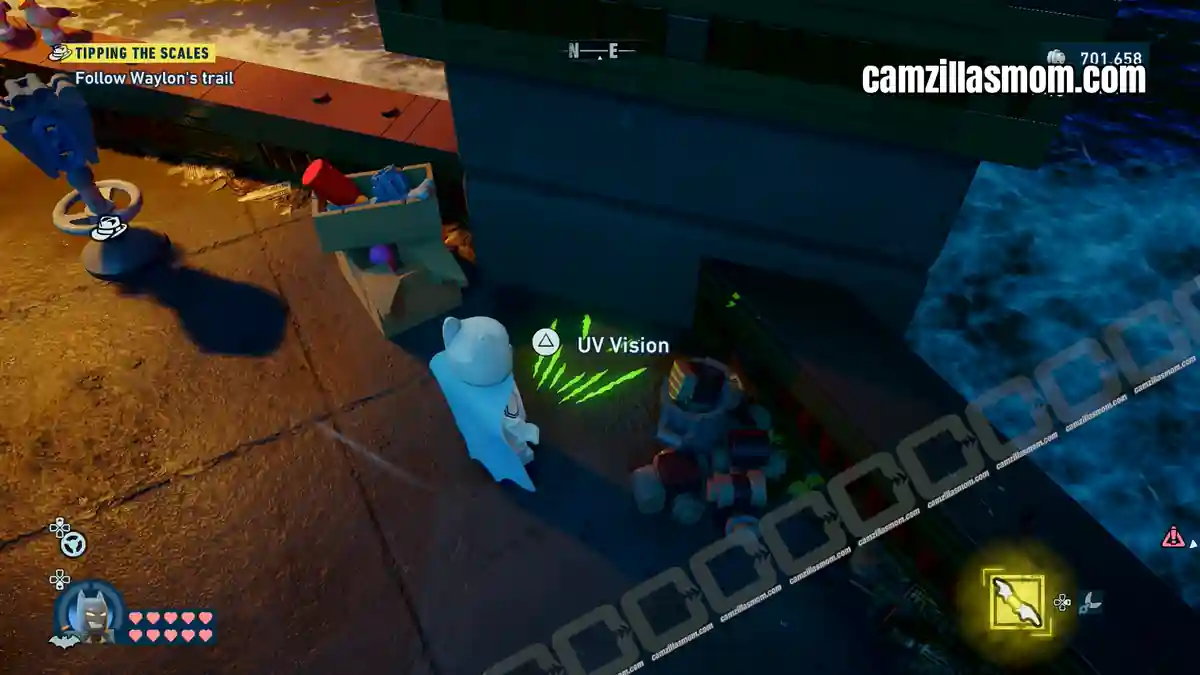
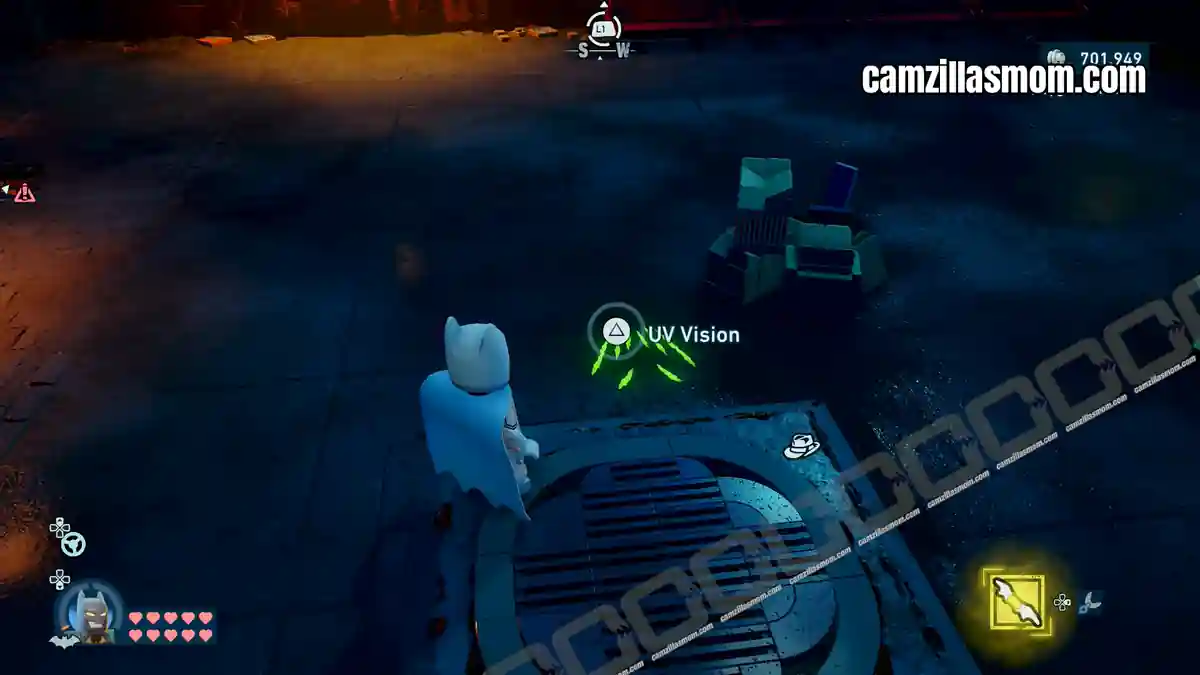
Follow the scratchmarks to another pile of boxes. Destroy the pile to reveal another set of scratches, where Batman can use UV Vision on. Follow them to a big manhole.
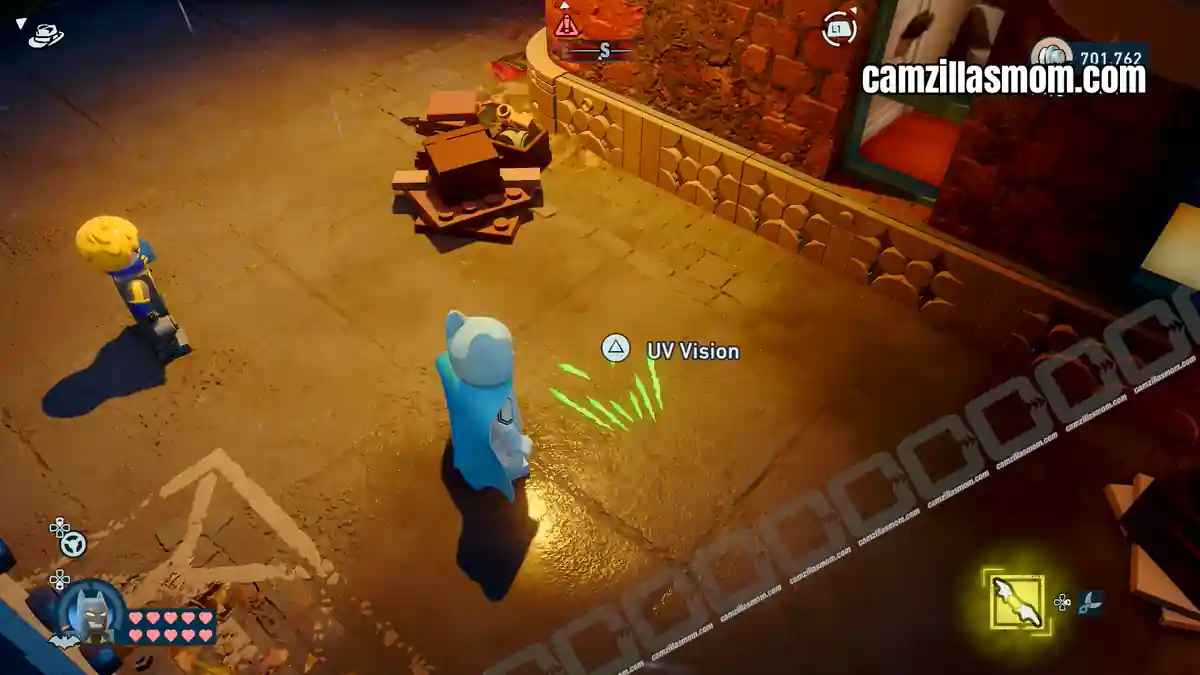
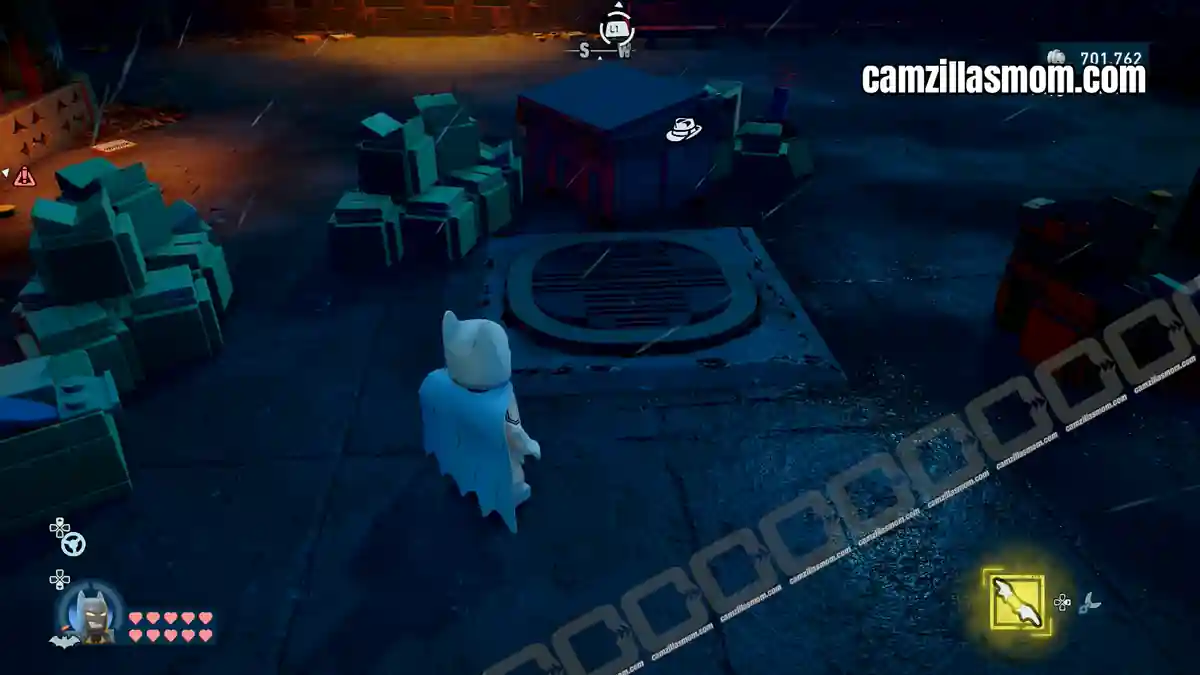
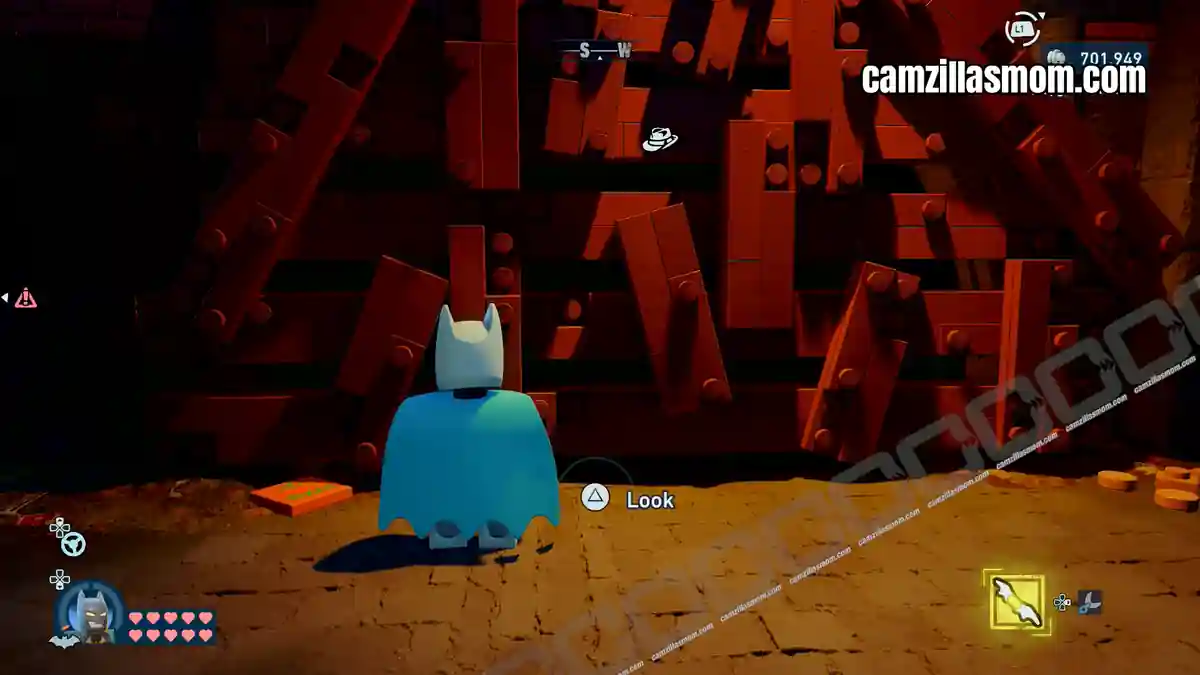
Destroy the boxes here and use UV Vision again on the new set of scratches. Follow them to a wall. Interact with it to find Waylon Jones in his other form. Talk to them. This will complete the case and you are rewarded the Batman ’66 Motorcycle for Batgirl to buy at the Garage.
-> Next Case: Investi-gator at Newtown.
Wanted Poster
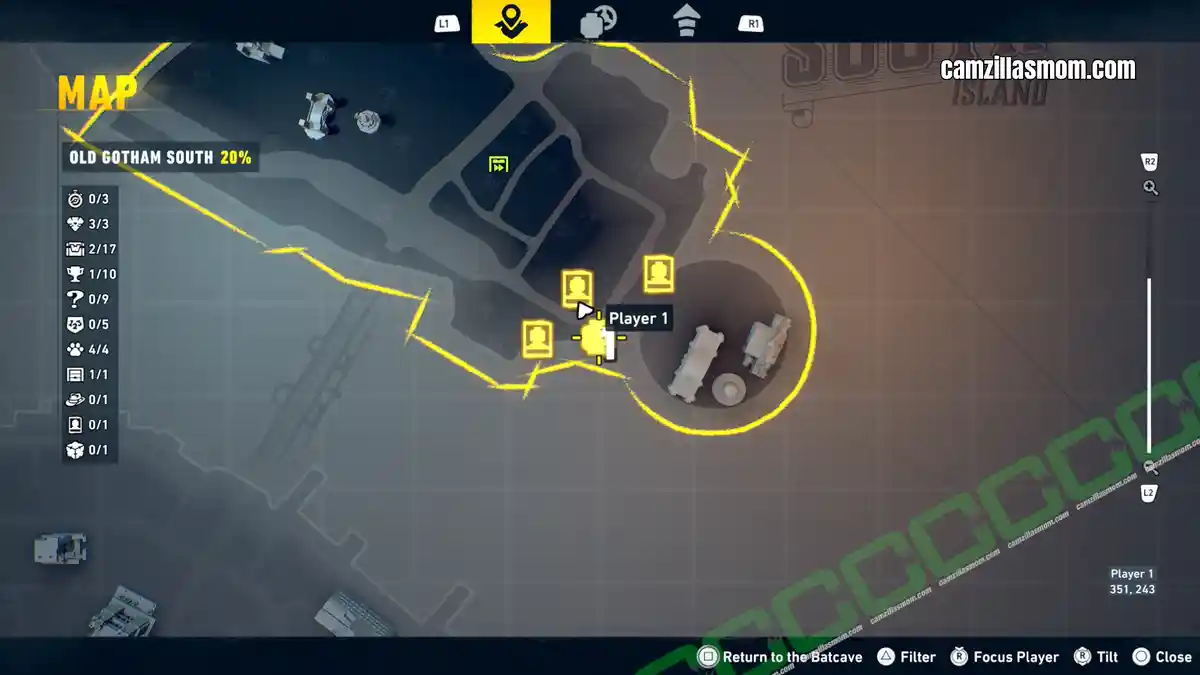
Coordinates: 351, 243
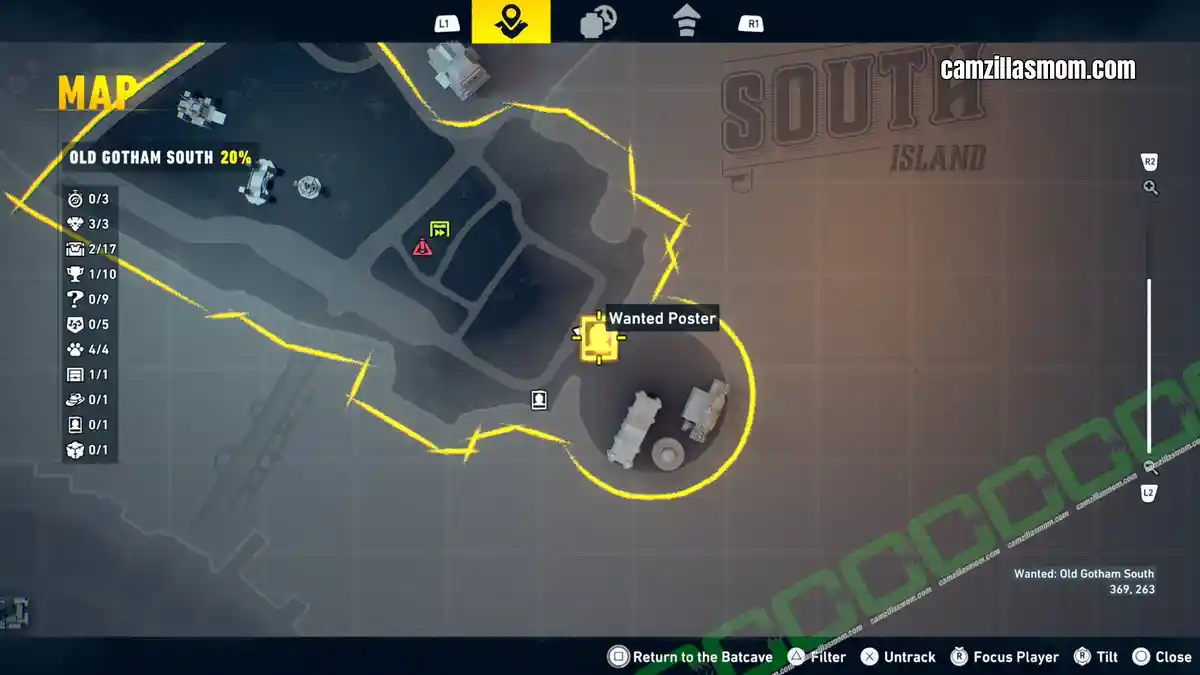
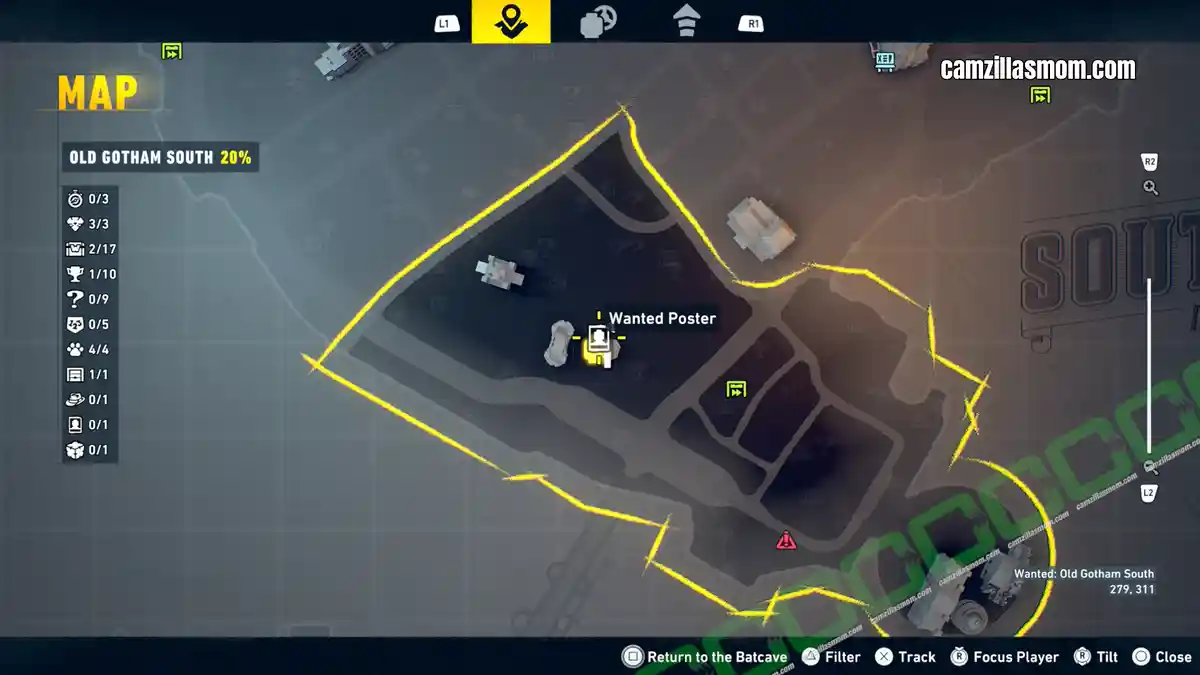
There is only one Wanted Poster activity at Old Gotham South. The poster board is in the southeast, near Gotham Zoo. As soon as you enter the area, the three poster parts will be marked on the in-game map.
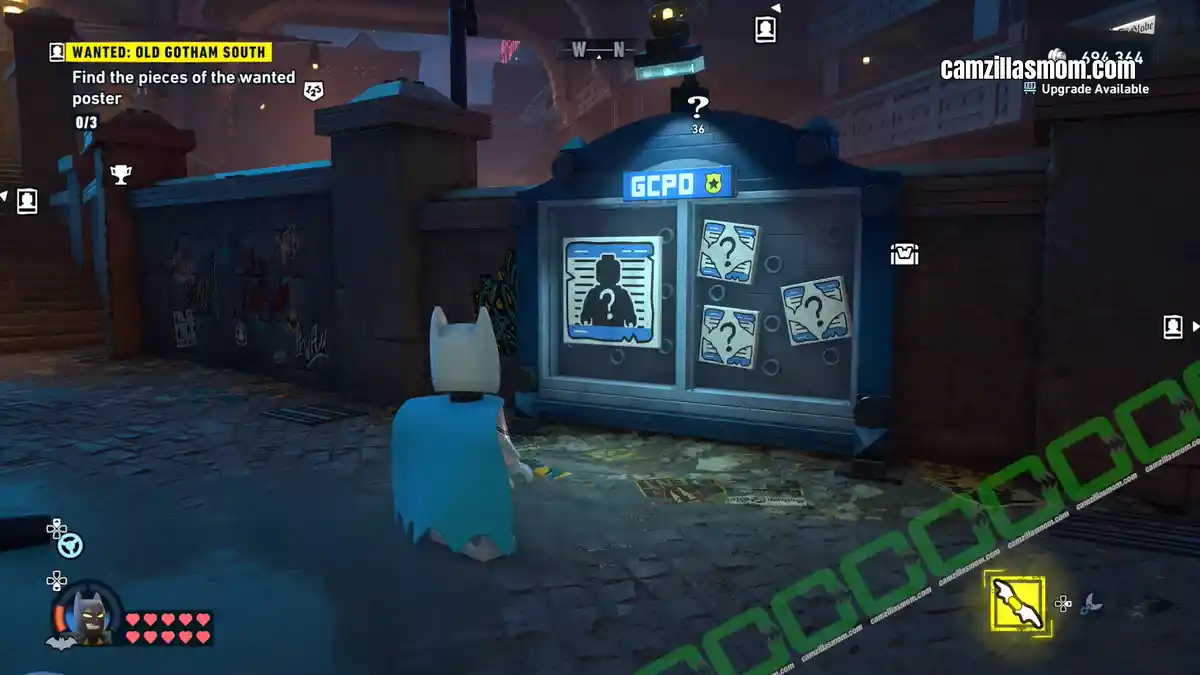
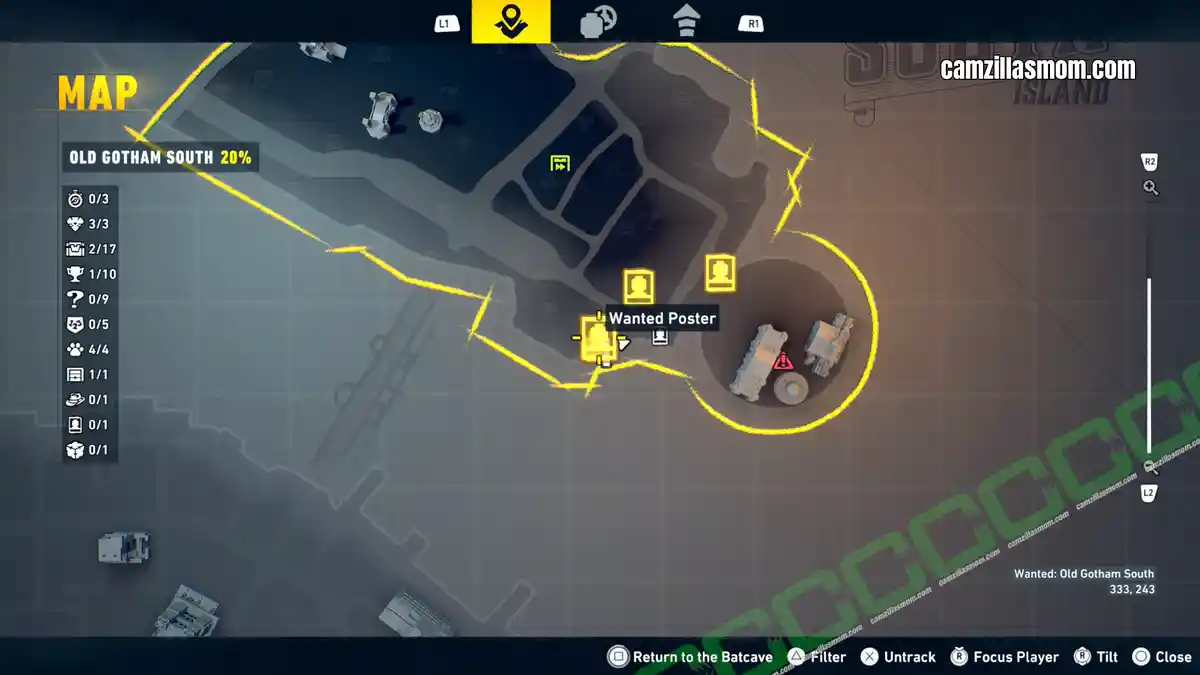
Coordinates: 333, 243
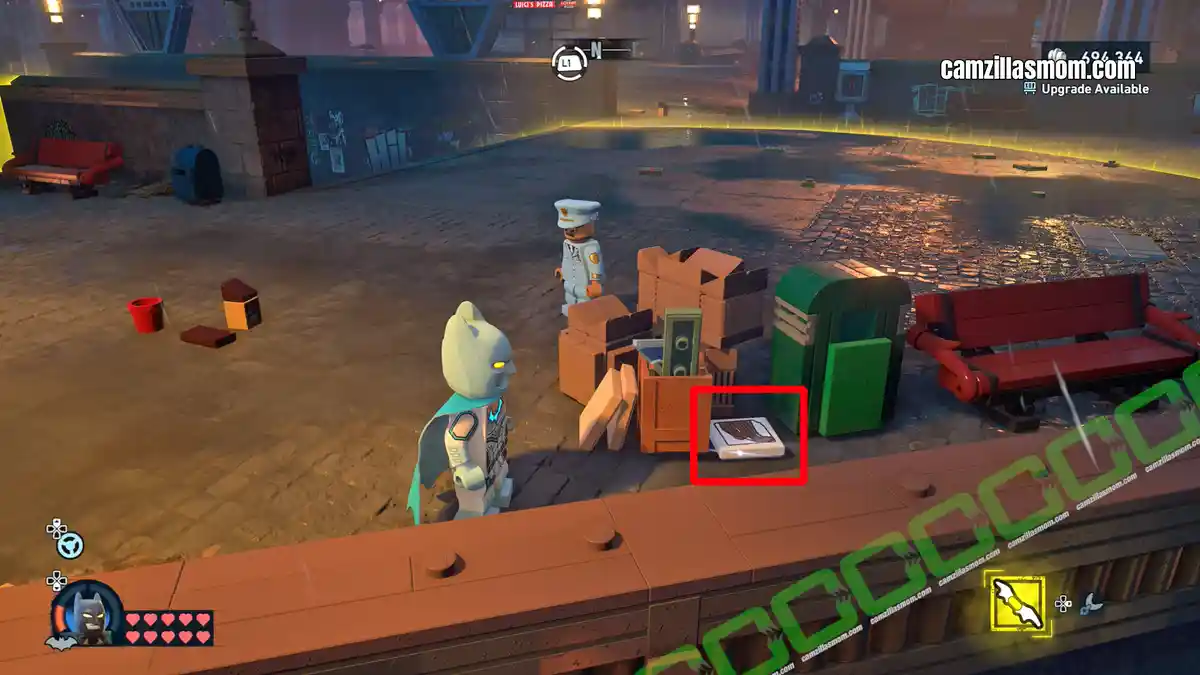
The first poster piece is hiding behind a pile of garbage.
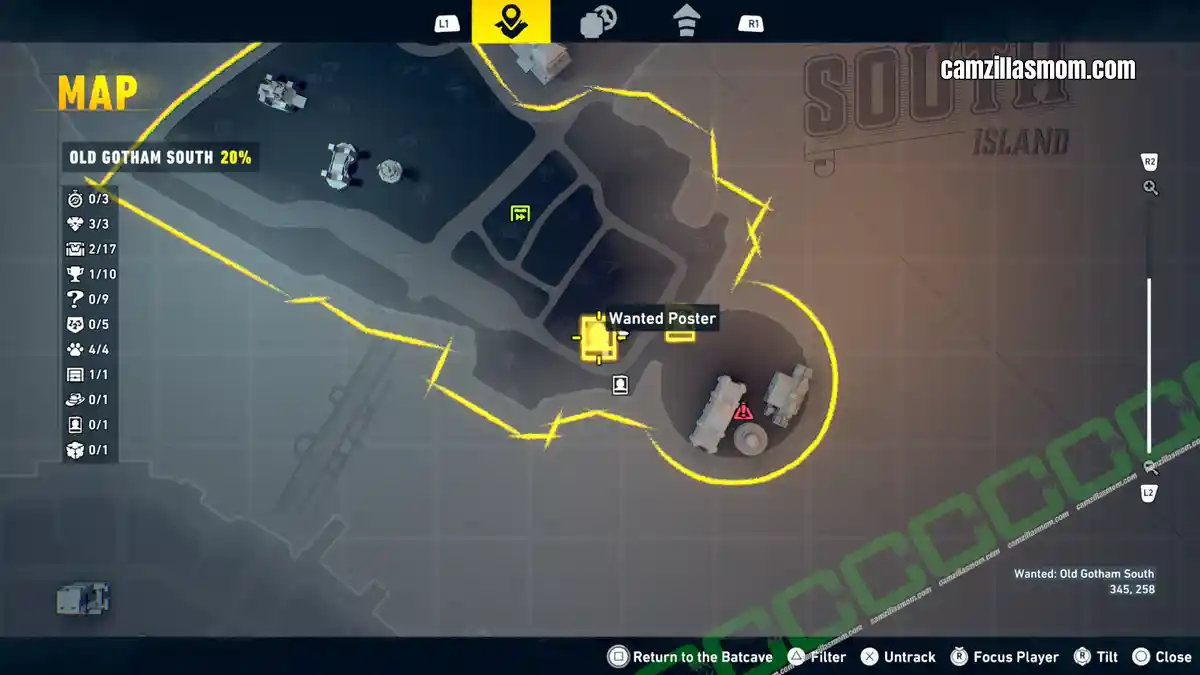
Coordinates: 345, 258
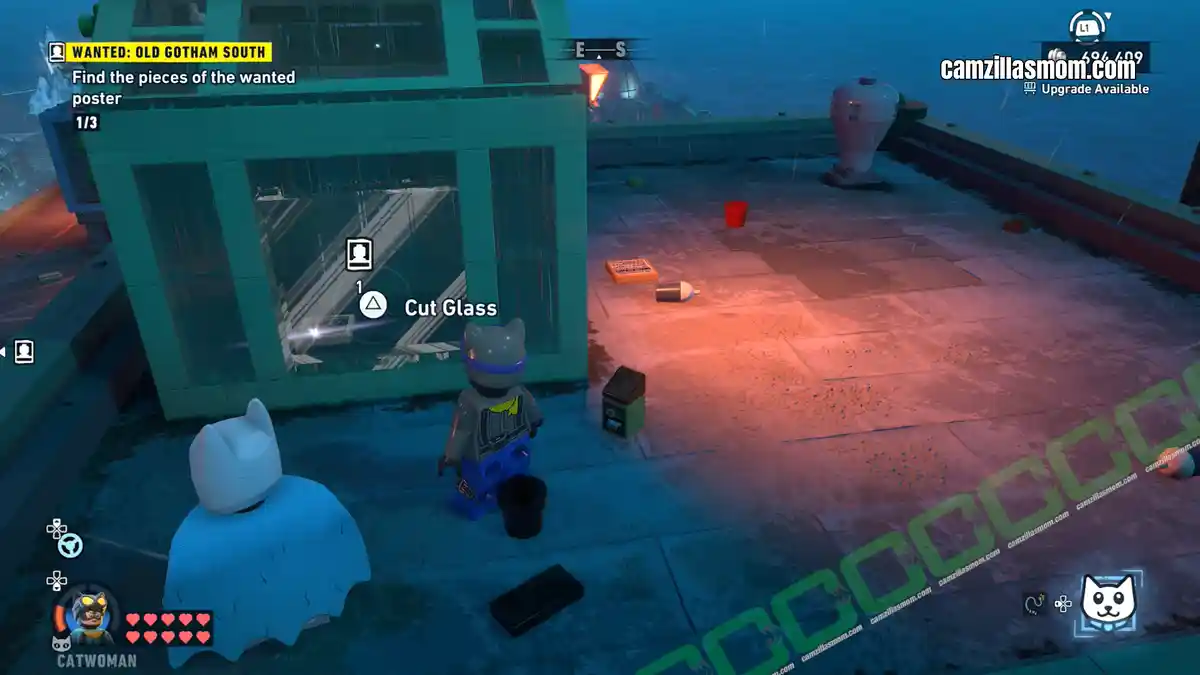
The second piece is on top of a building inside a small greenhouse. Cut the glass with Catwoman to retrieve it.
Coordinates: 369, 263
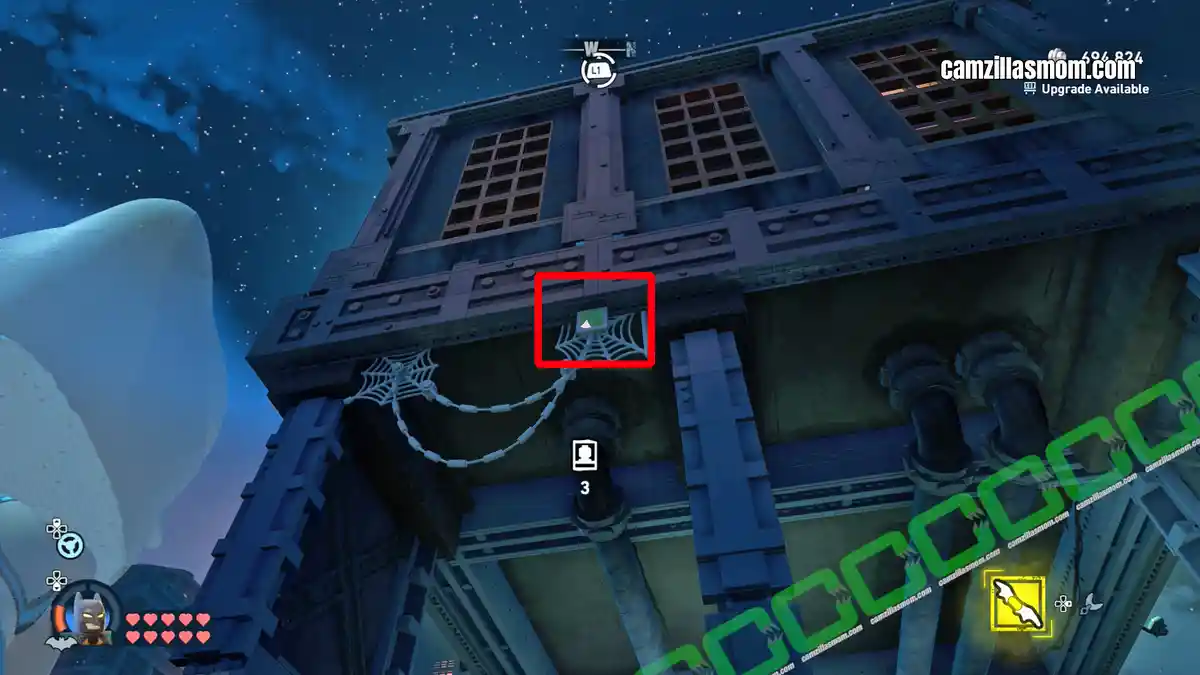
The last piece is hanging in a cobweb at the underpass. Throw a Batarang to get it.
Assemble the Wanted Poster
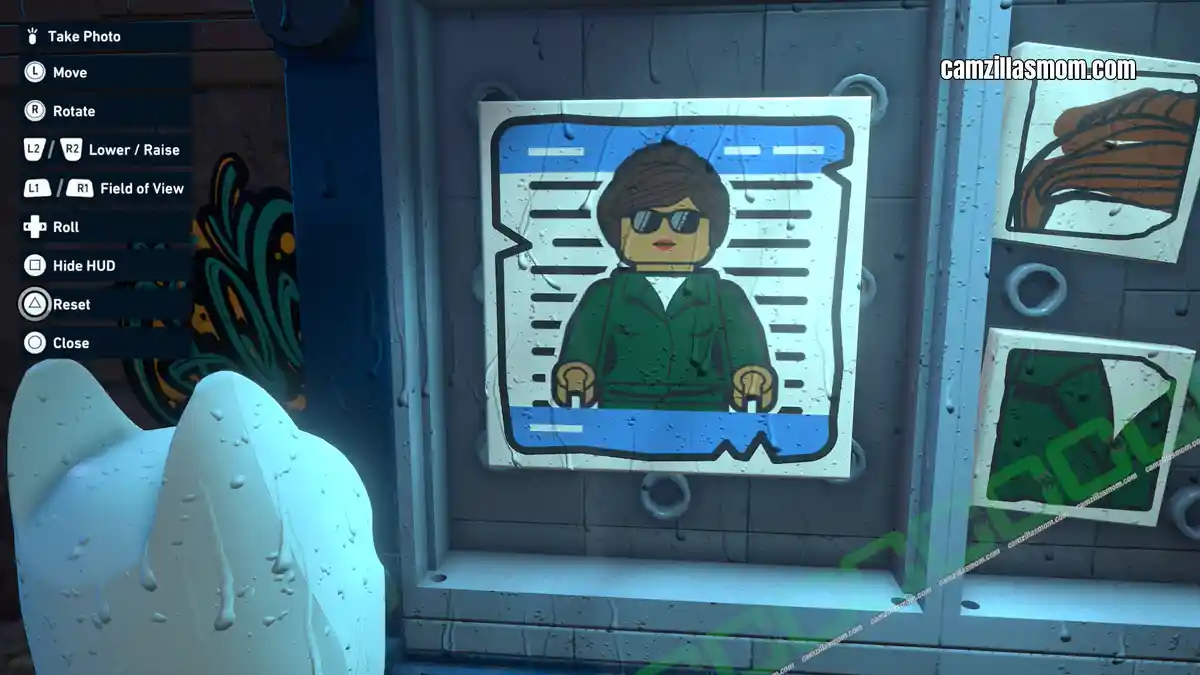
Return to the Wanted Poster Board to put the poster back together.
Coordinates: 279, 311
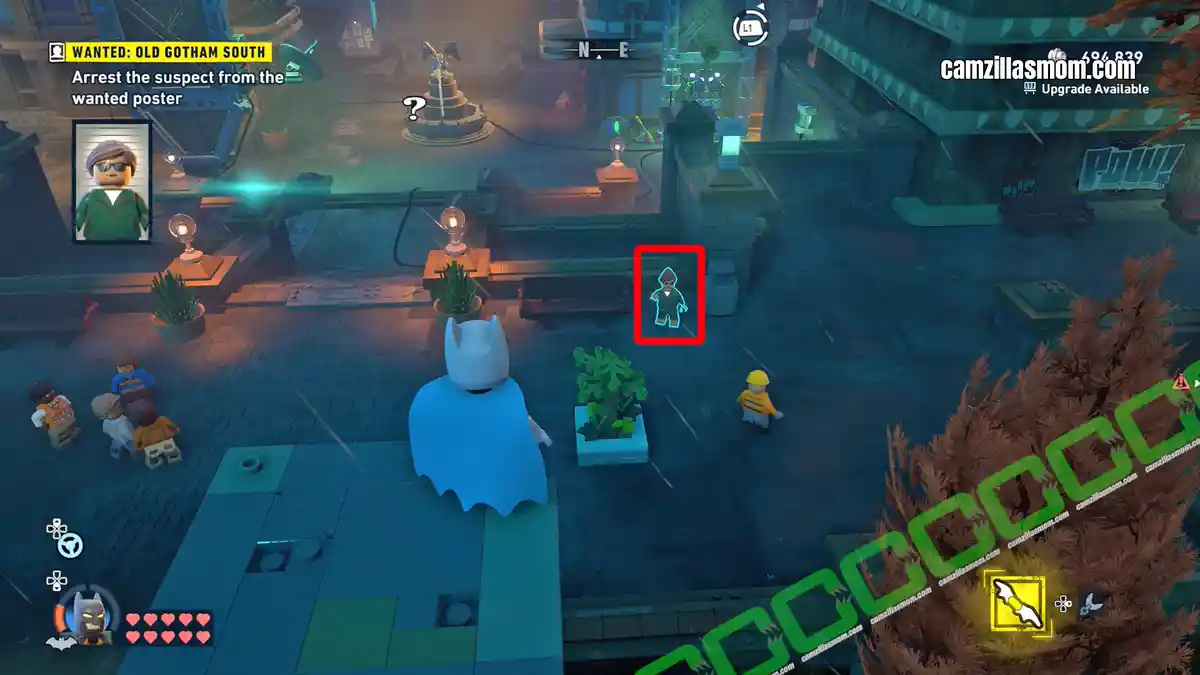
The criminal from the poster is in the northwestern park of Old Gotham South. Talk to and arrest them.
Studs Chests
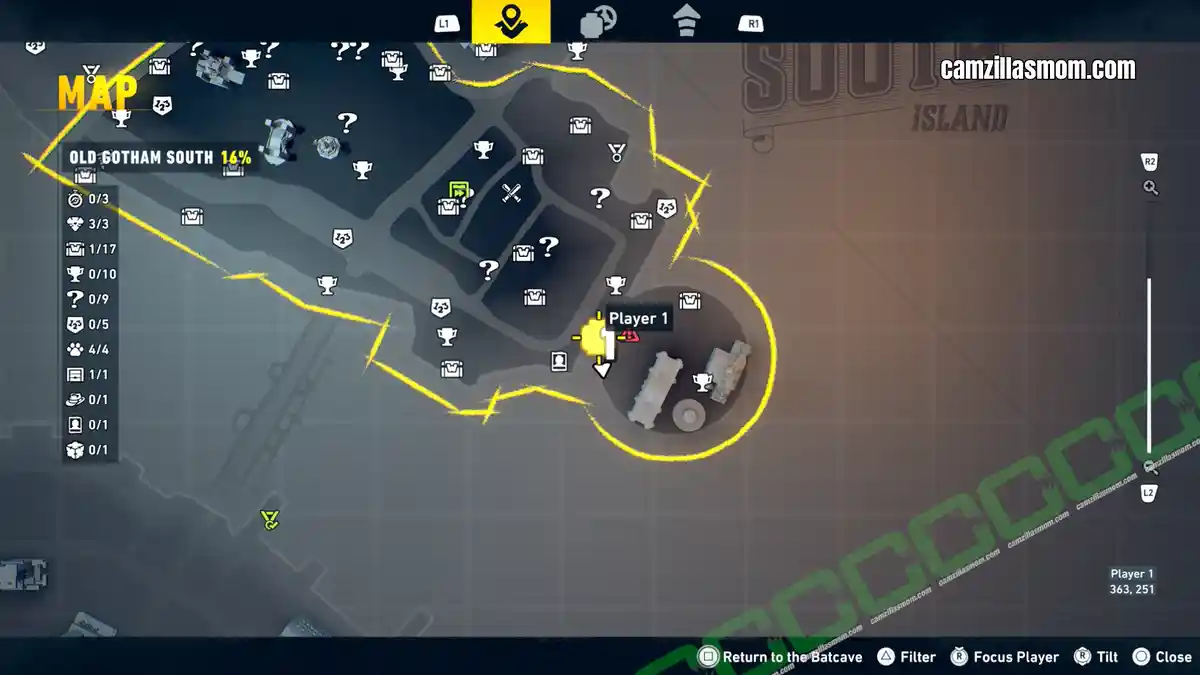
1
Coordinates: 363, 251
This chest is to the right of the Gotham Zoo Main entrance.
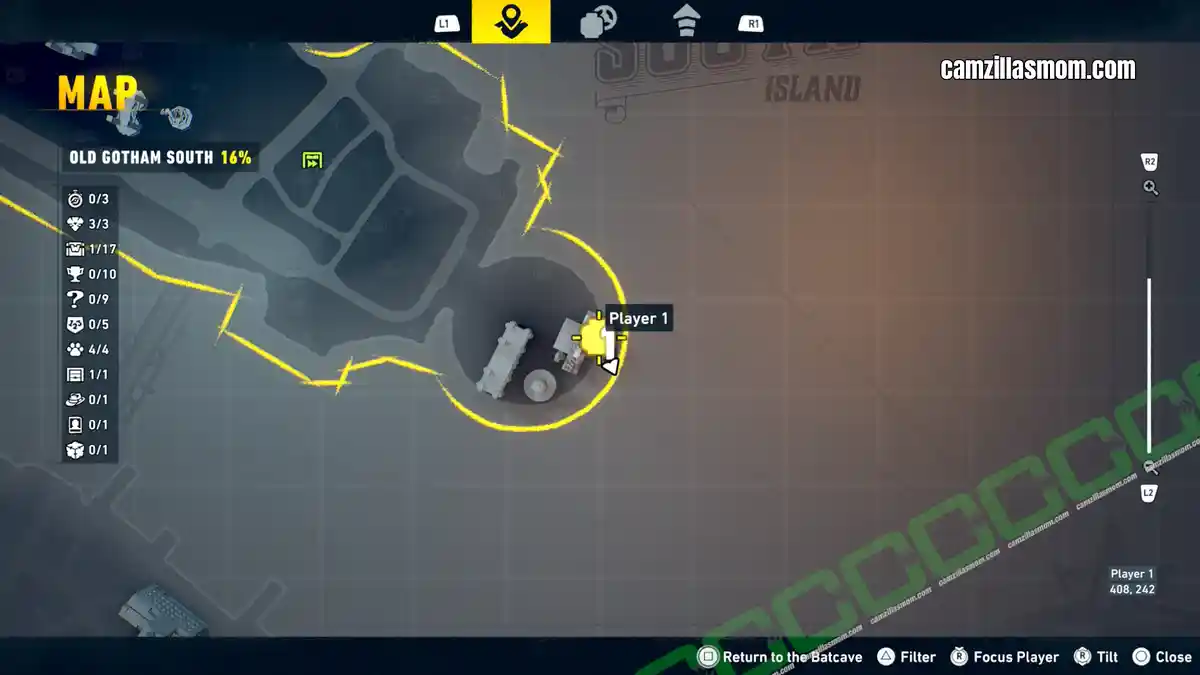
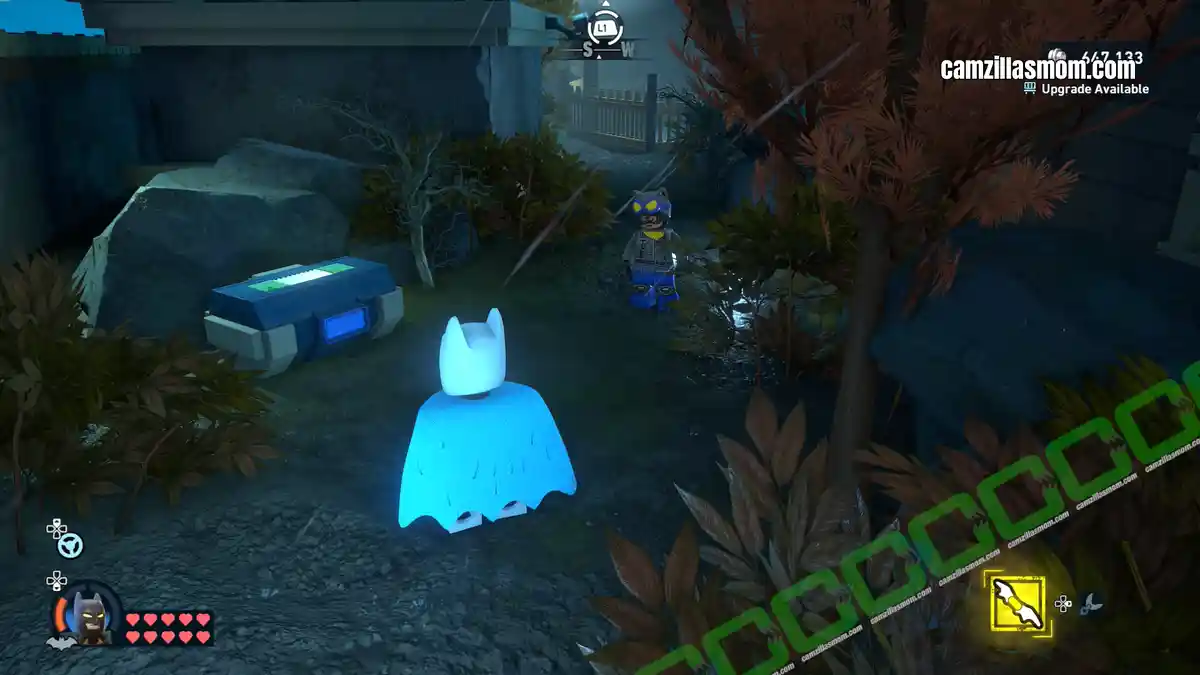
2
Coordinates: 408, 242
It’s behind the Arctic World building at Gotham Zoo, in the garden.
3
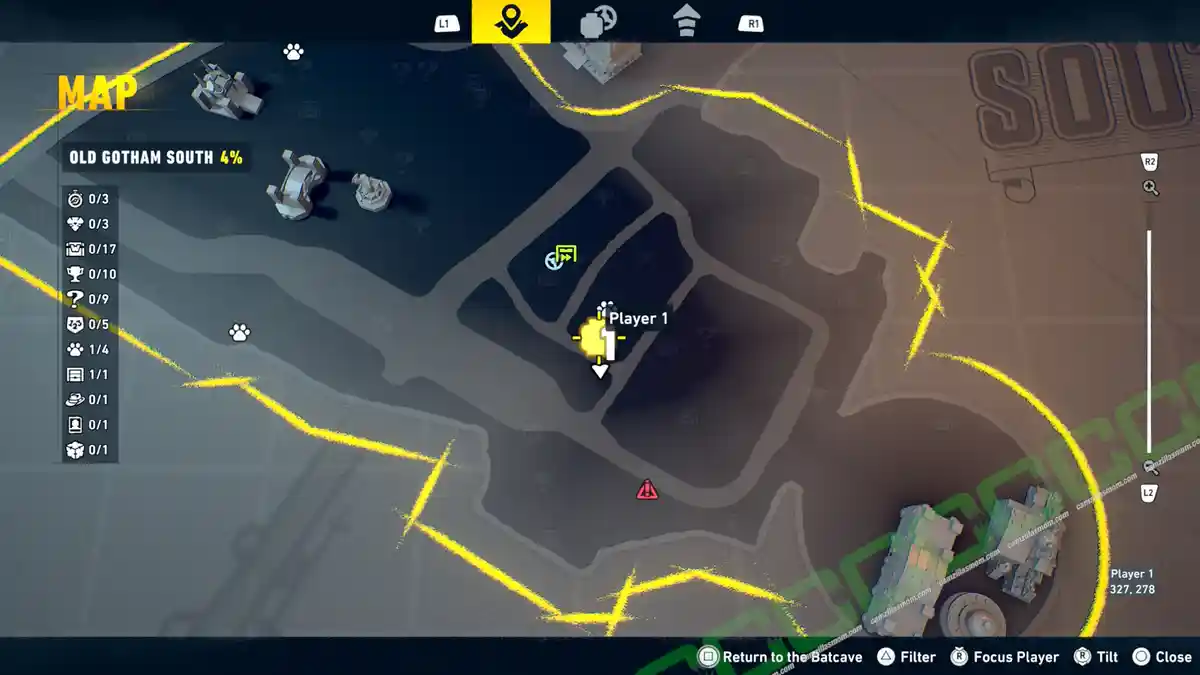
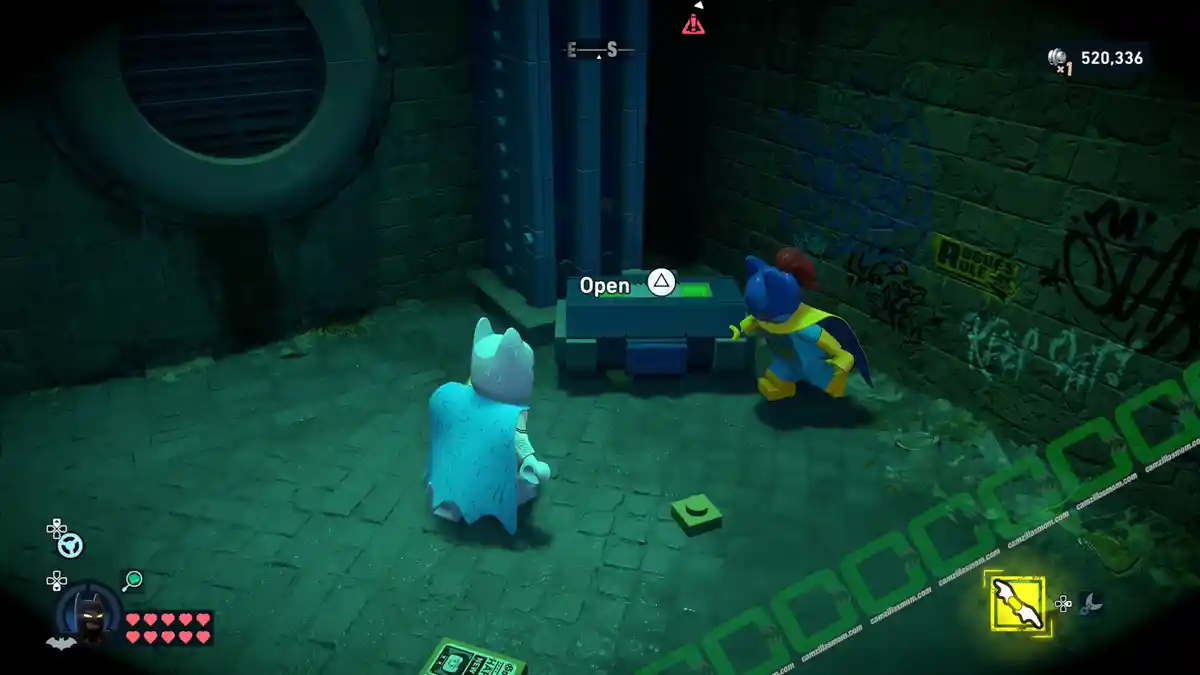
Coordinates: 327, 278
At the bottom level sewers, southeast of the Subwayne is an unnamed Studs Chest.
4
Coordinates: 297, 273
The chest is at the base of a bridge pillar for the train tracks above.
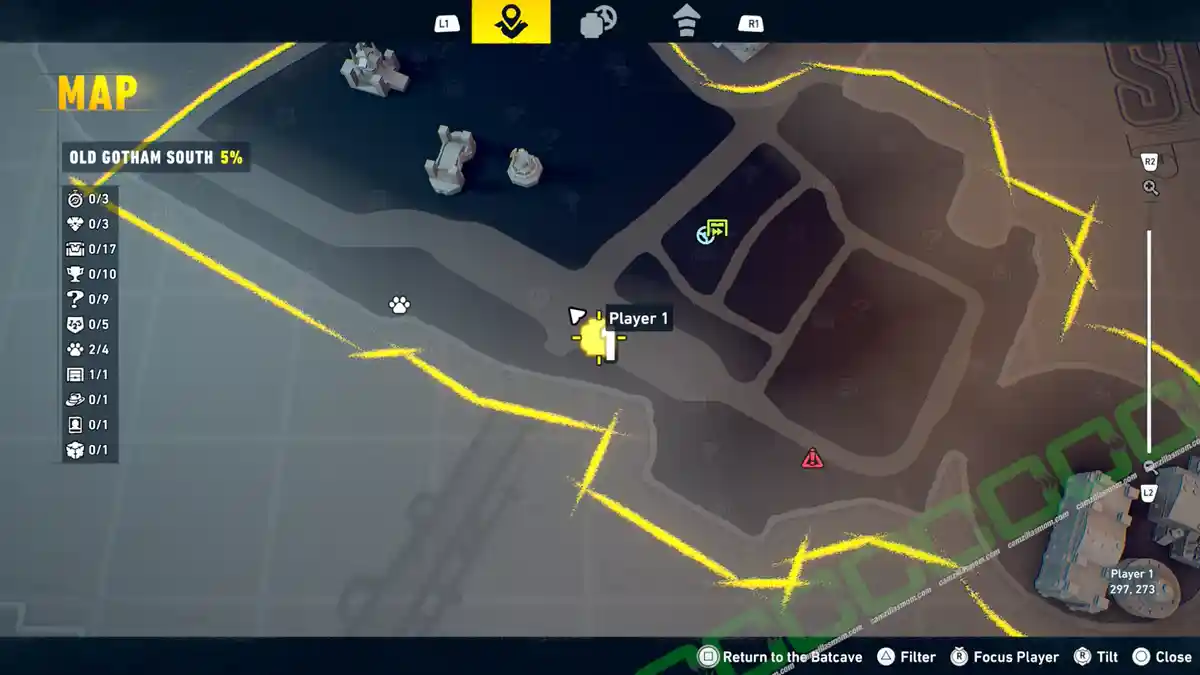
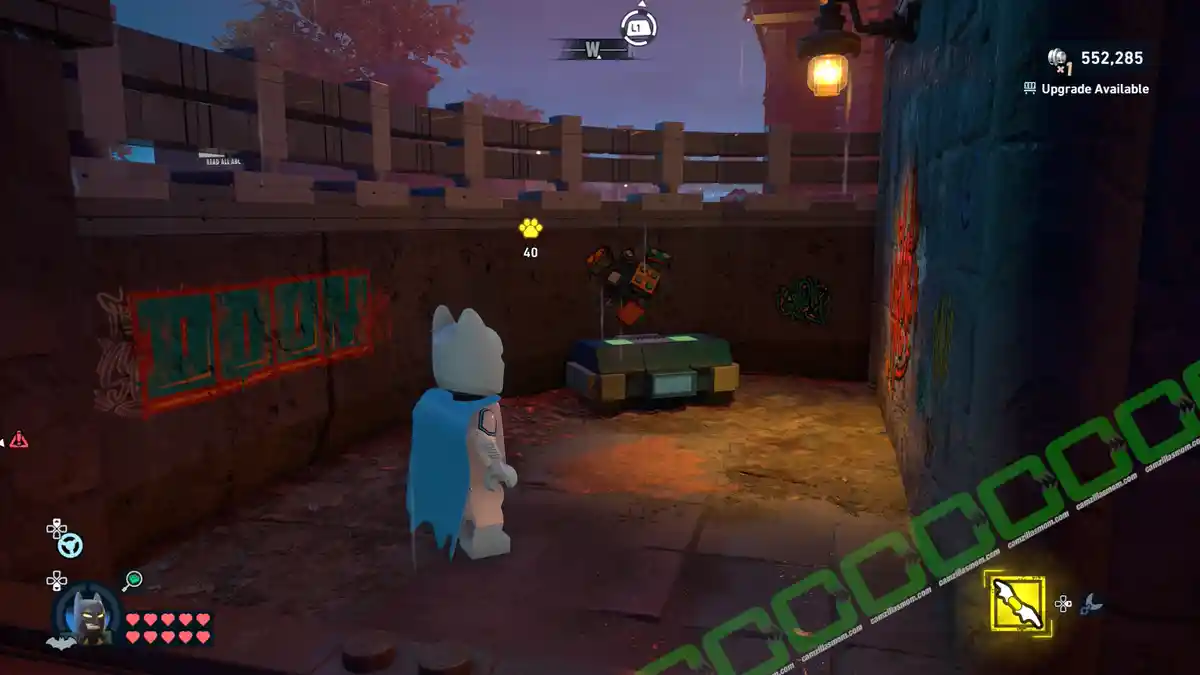
5
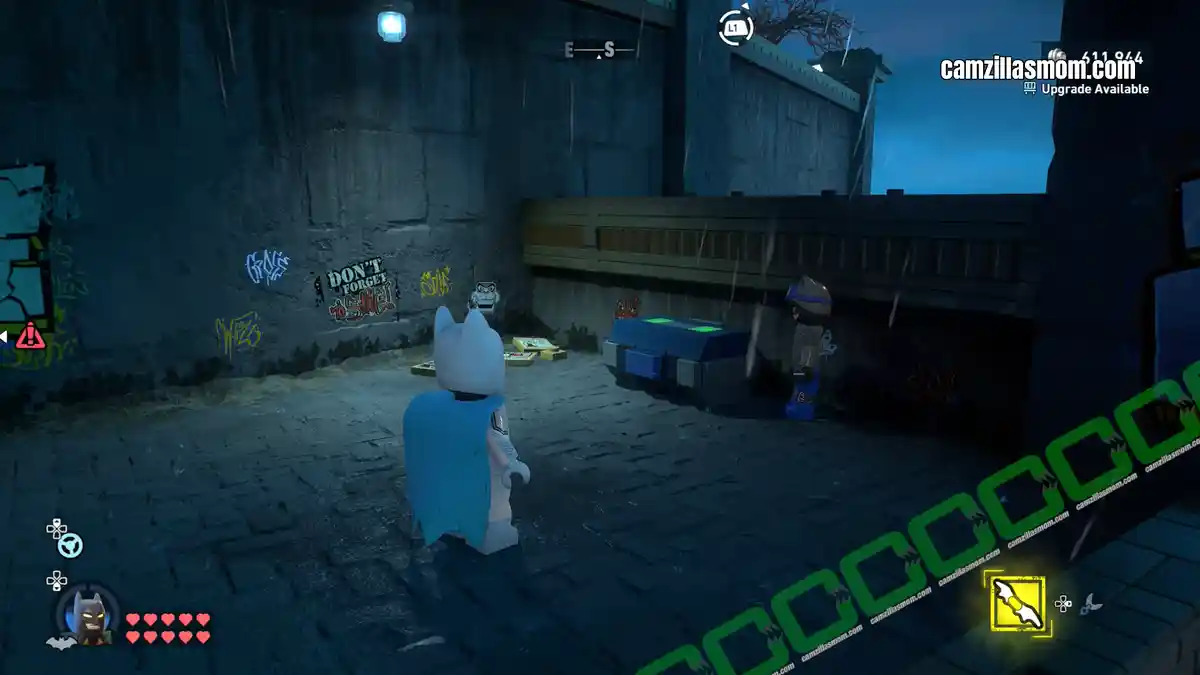
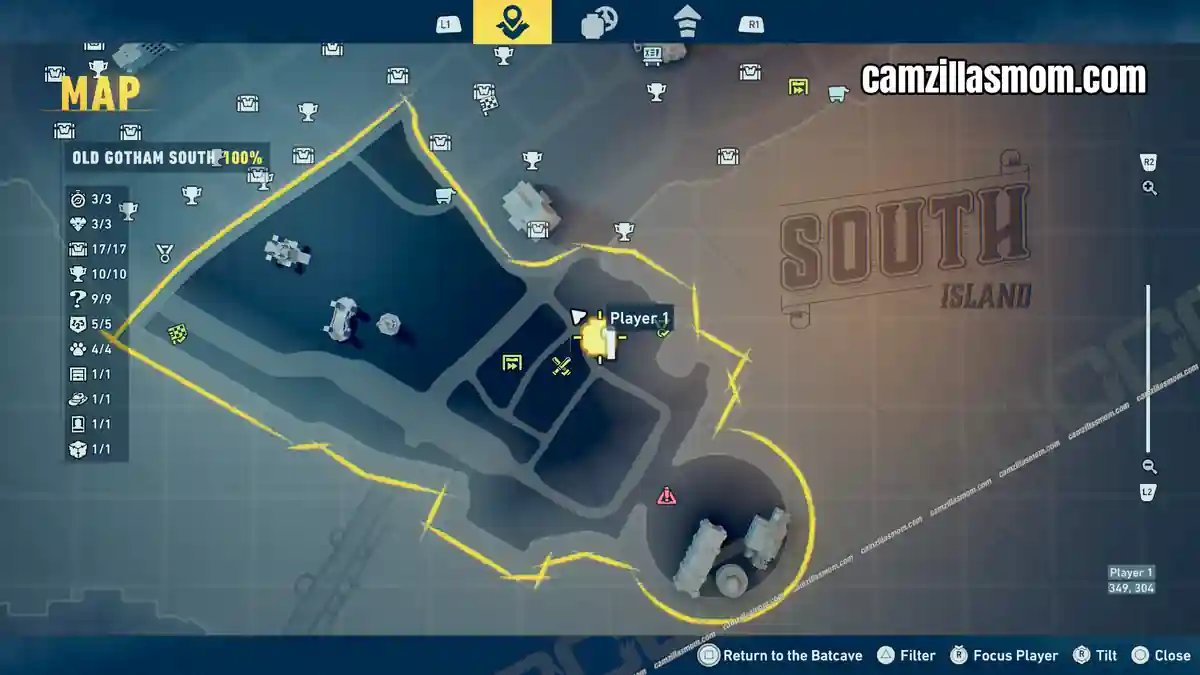
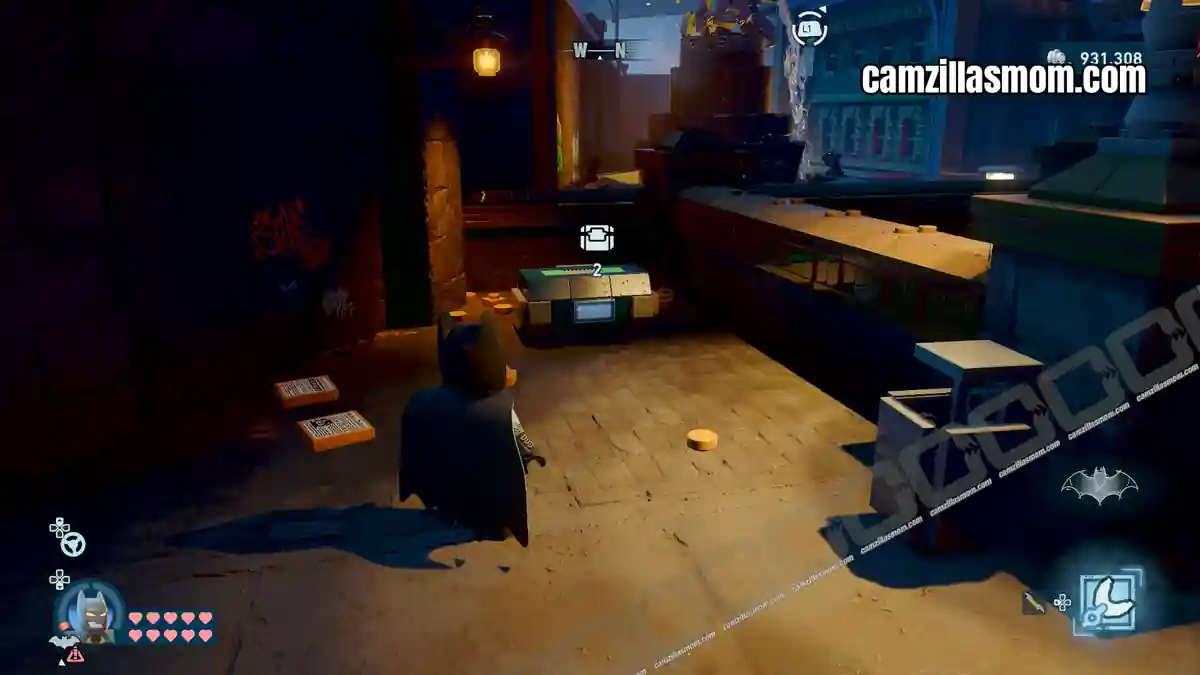
Coordinates: 349, 304
Northeast across the street from the Combat Trial, in a dark alley.
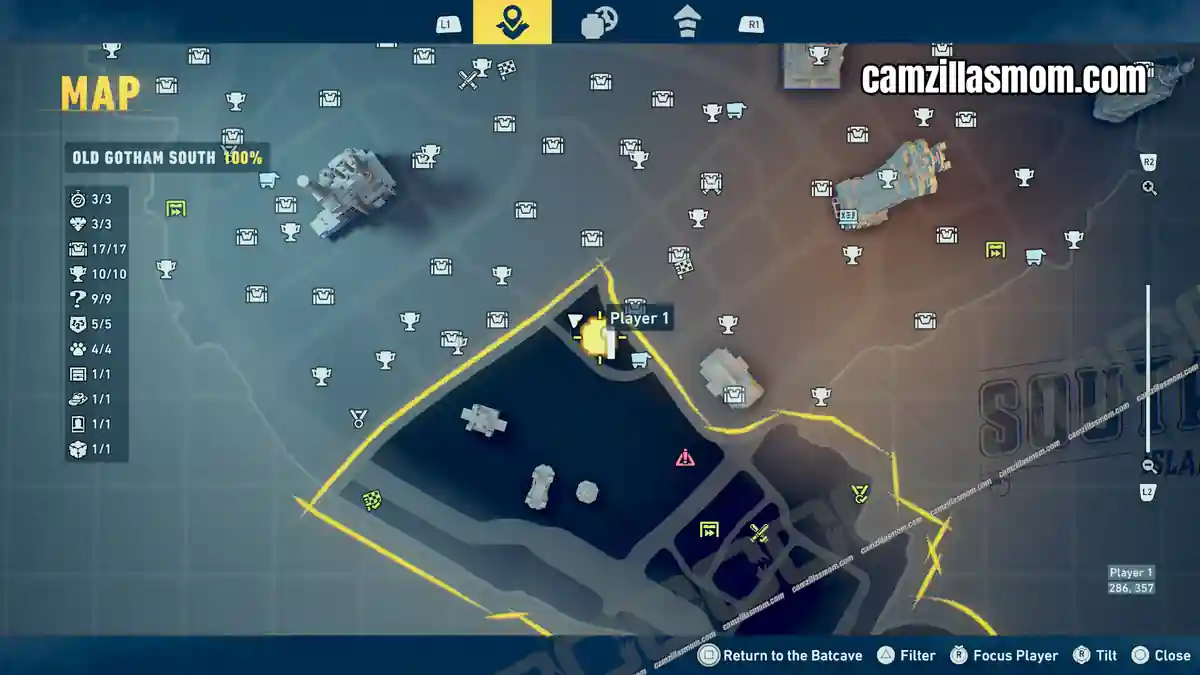
6
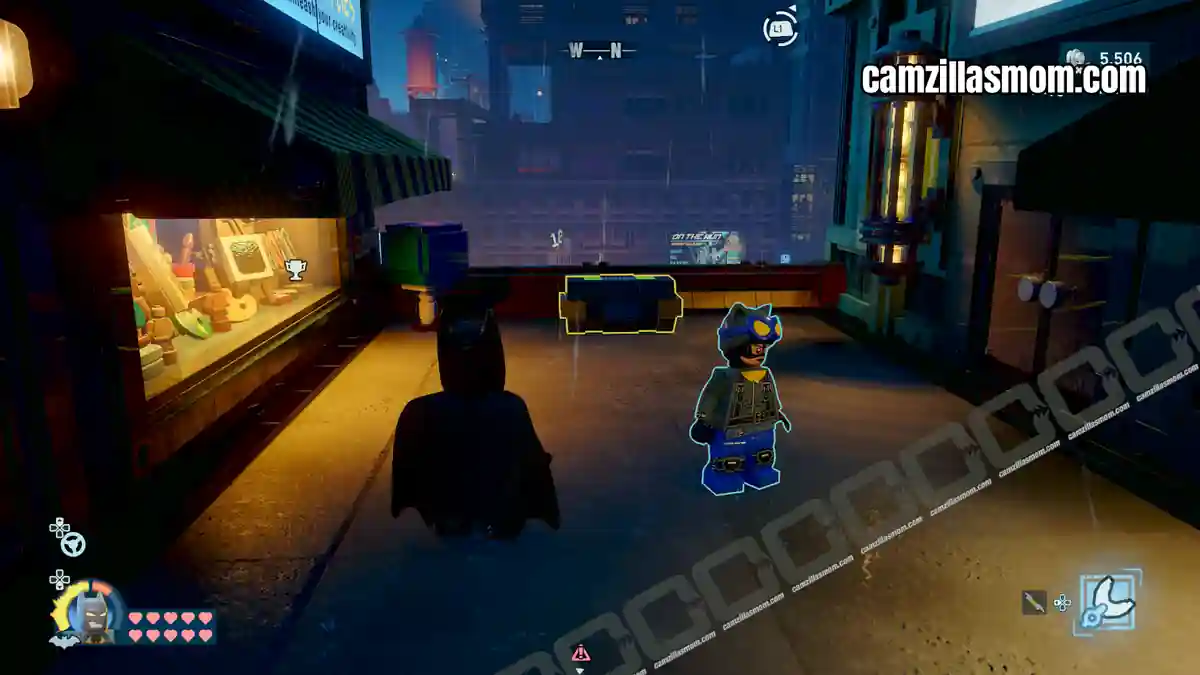
Coordinates: 286, 357
At the northernmost corner of the district is an overhead platform with restaurants and shops. Here’s the Studs chest.
7
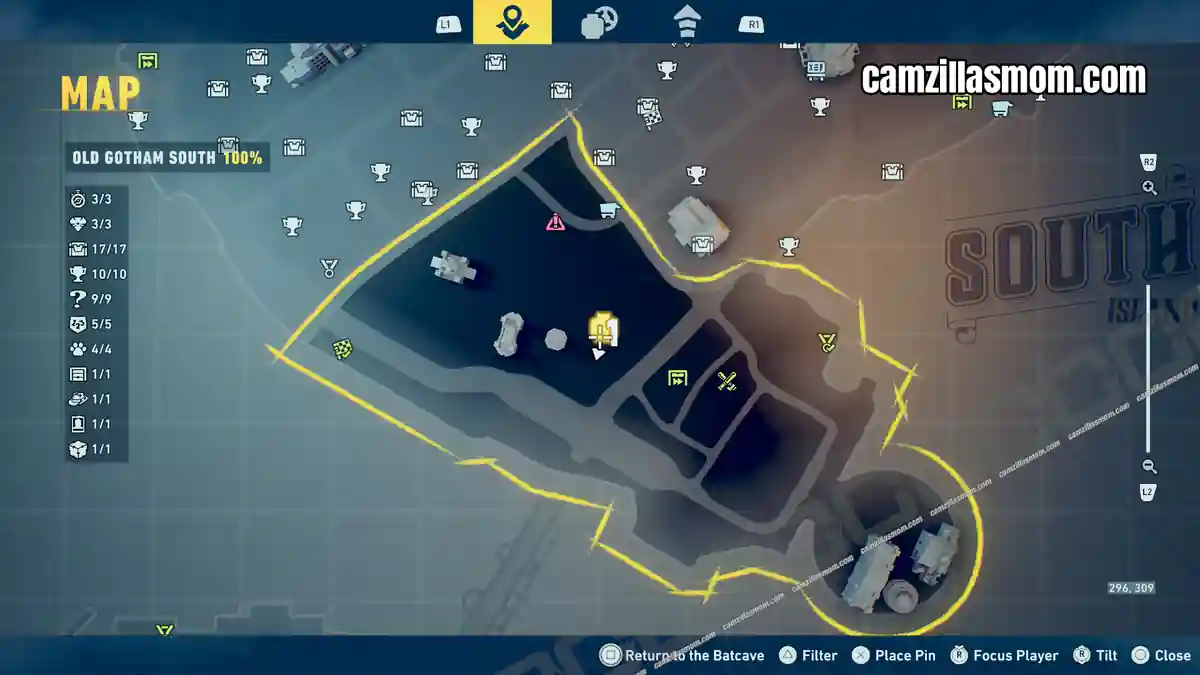
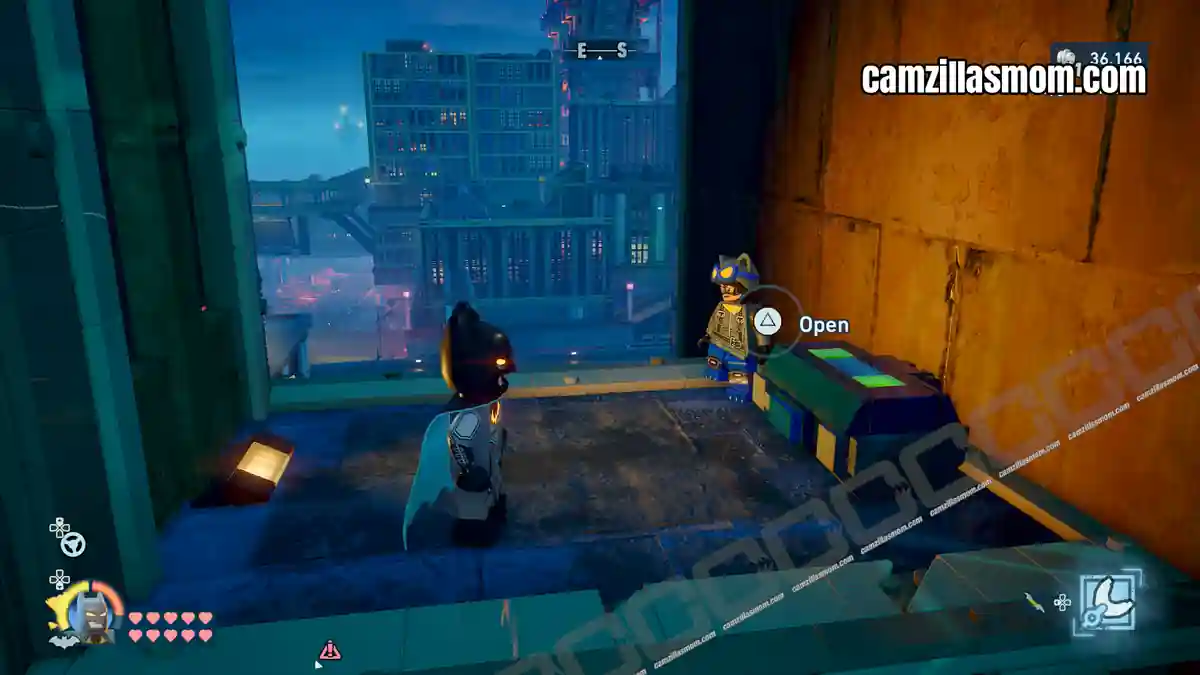
Coordinates: 296, 309
This Studs Chest is in the center of Old Gotham South, northwest of the Subwayne. It’s high up, tucked away between buildings.
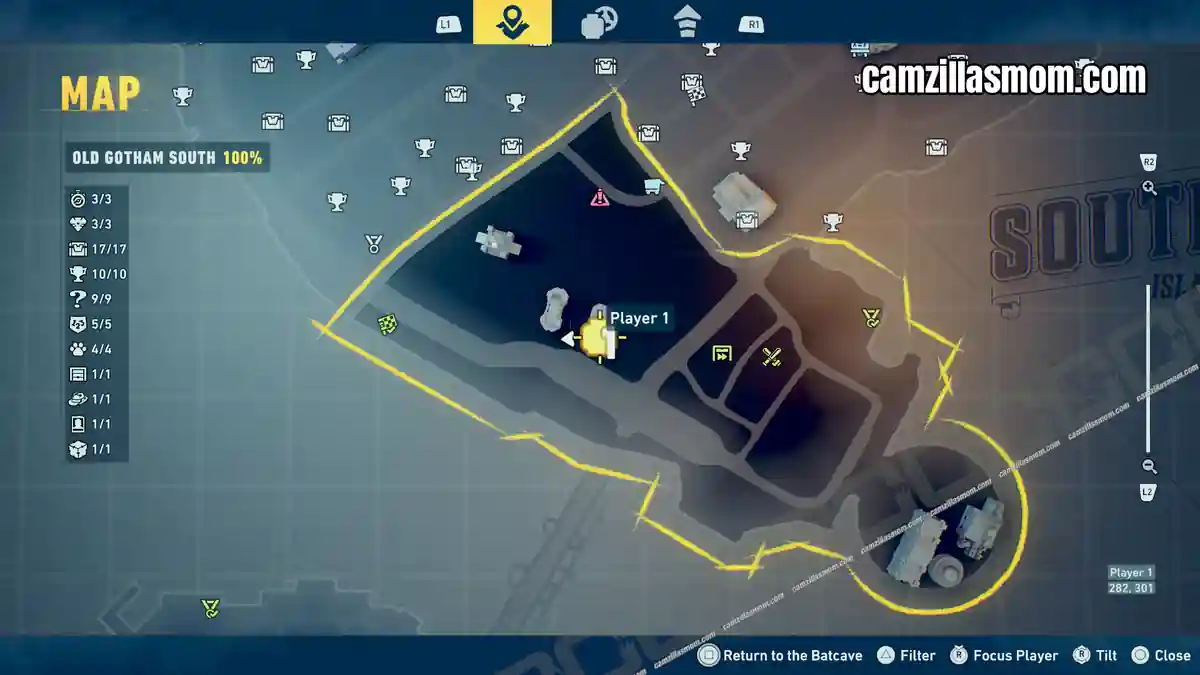
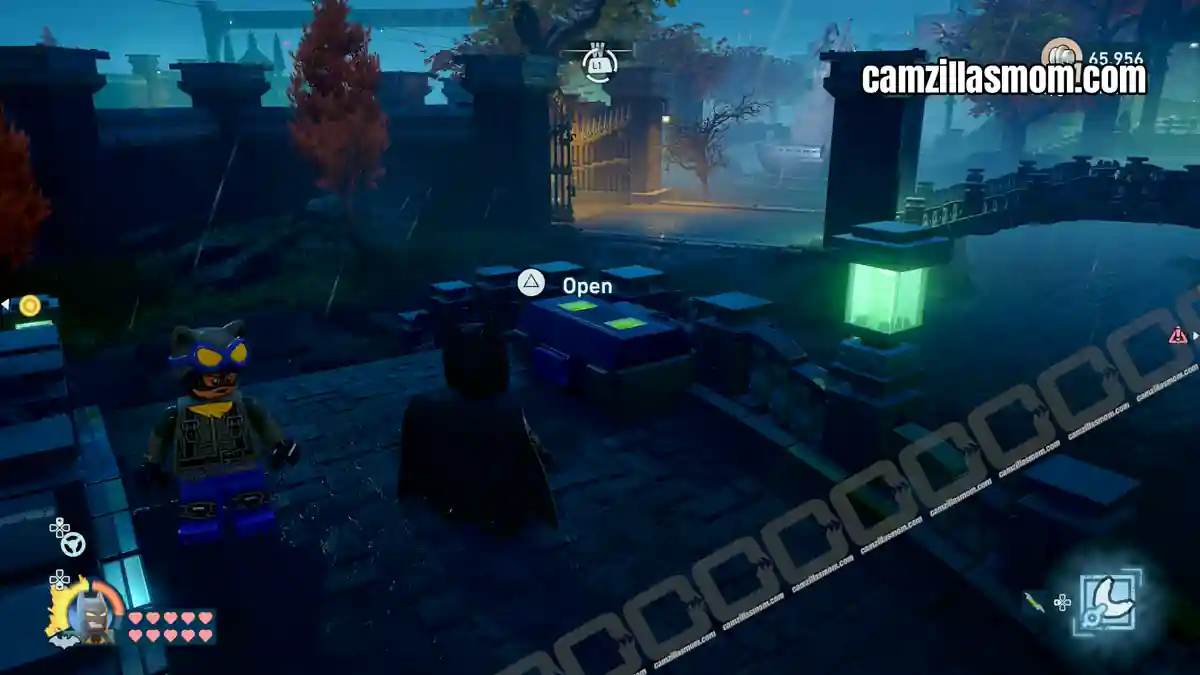
8
Coordinates: 282, 301
Down below in the park on the bridge.
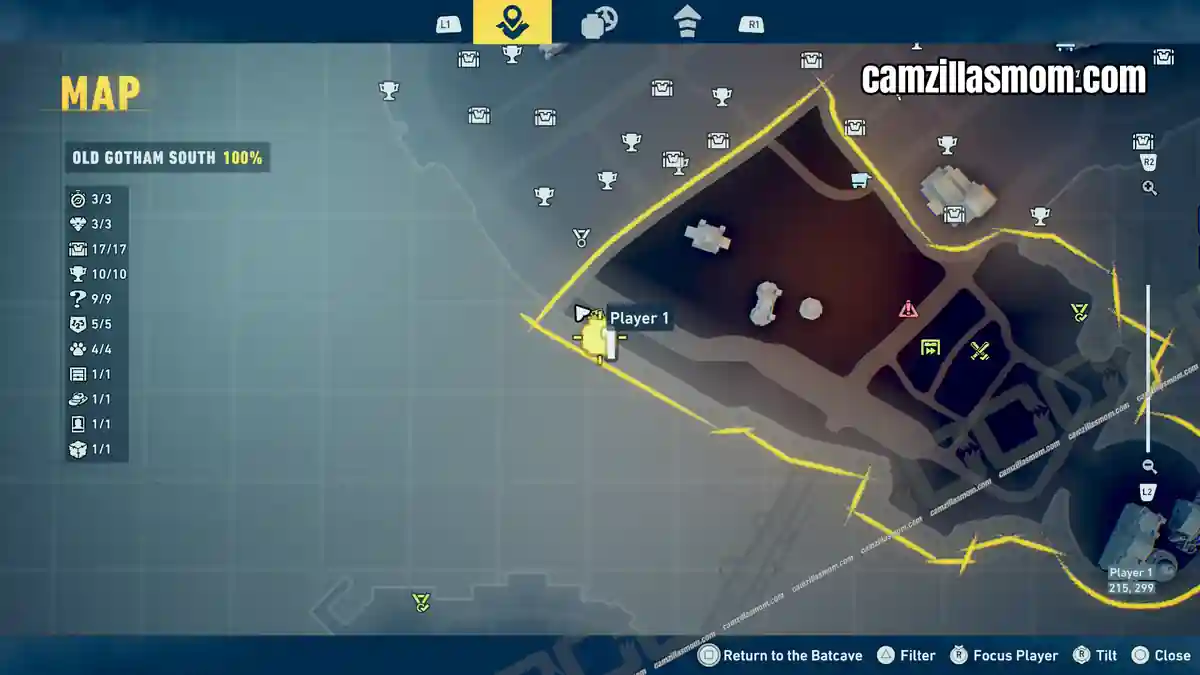
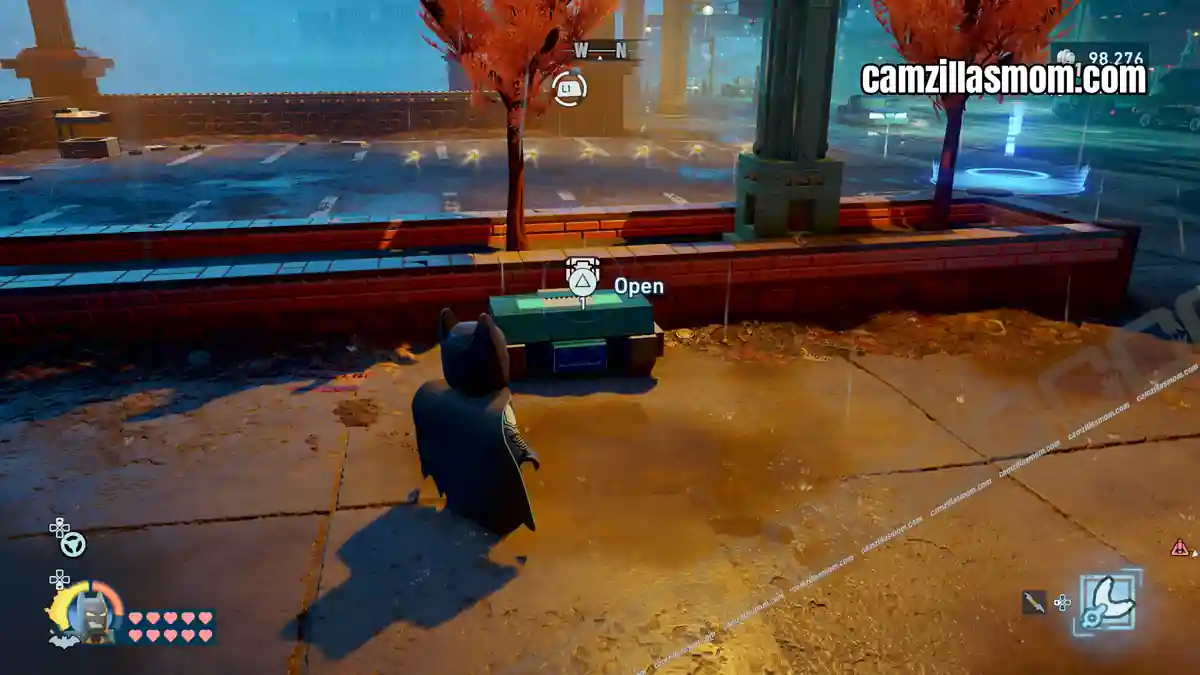
9
Coordinates: 215, 299
This chest is in the westernmost corner on the same parking lot as the Driving Trial.
10
Coordinates: 253, 299
At the main road’s underpass.
More LEGO Batman: Legacy of the Dark Knight Guides
Mission 9: Joker 100% – LEGO Batman Legacy Walkthrough
100% walkthrough for Mission 9: Joker in LEGO Batman: Legacy of the Dark Knight. Covers all 3 balloo…


About LEGO Batman: Legacy of the Dark Knight
Release: May 22nd, 2026
Developer: TT Games
Publisher: Warner Bros. Games
Official Website: https://legobatmangame.com/