Stuck on the Cluemaster Puzzles in Tricorner? This guide covers all 5 puzzle locations in the Tricorner Island district of LEGO Batman: Legacy of the Dark Knight, complete with map coordinates, step-by-step solutions, and the characters you need. Each puzzle requires a different ability, so knowing which hero to switch to saves a lot of frustration.
-> Part of the Tricorner 100% Guide
Related Guides:
All 23 Red Brick Locations & Looks
All 60 Cluemaster Solutions in LEGO Batman Legacy
Tricorner Plant Life 100%
Tricorner Zoo Animals 100%
Tricorner Wanted Posters 100%
LEGO Batman: Legacy of the Dark Knight Hub
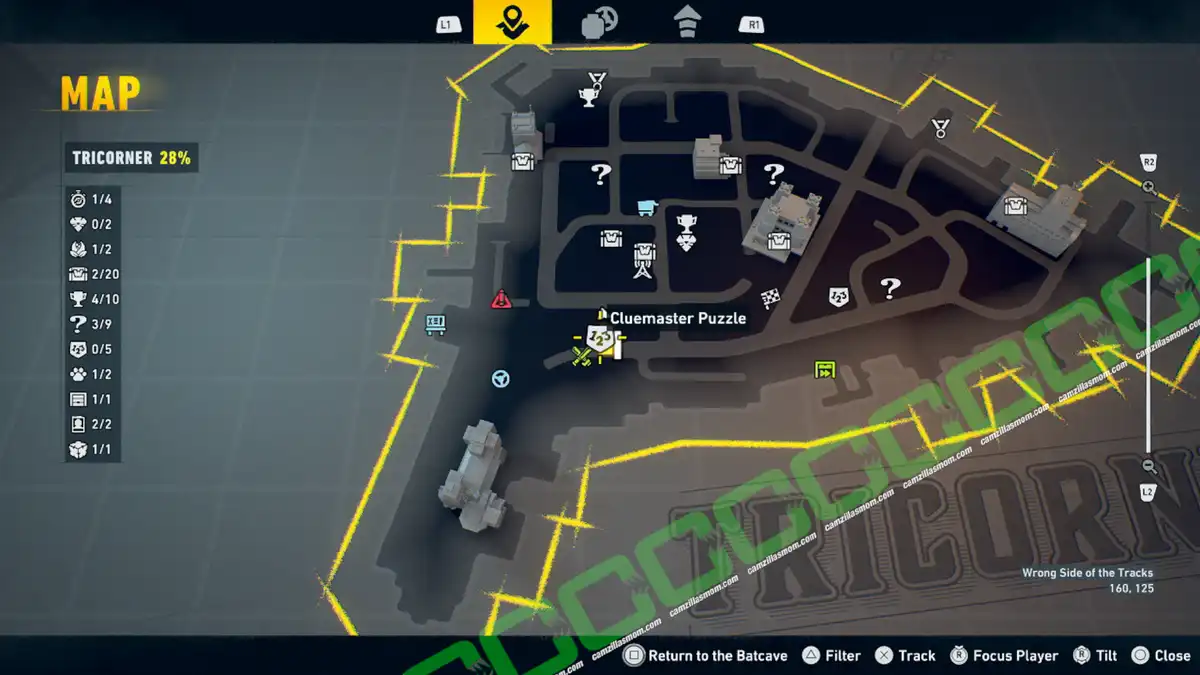
Overview Map

Coordinates in the brackets
1 – Wrong Side of the Tracks (160, 125)
2 – Shock Value (224, 137)
3 – Staffing Problems (191, 153)
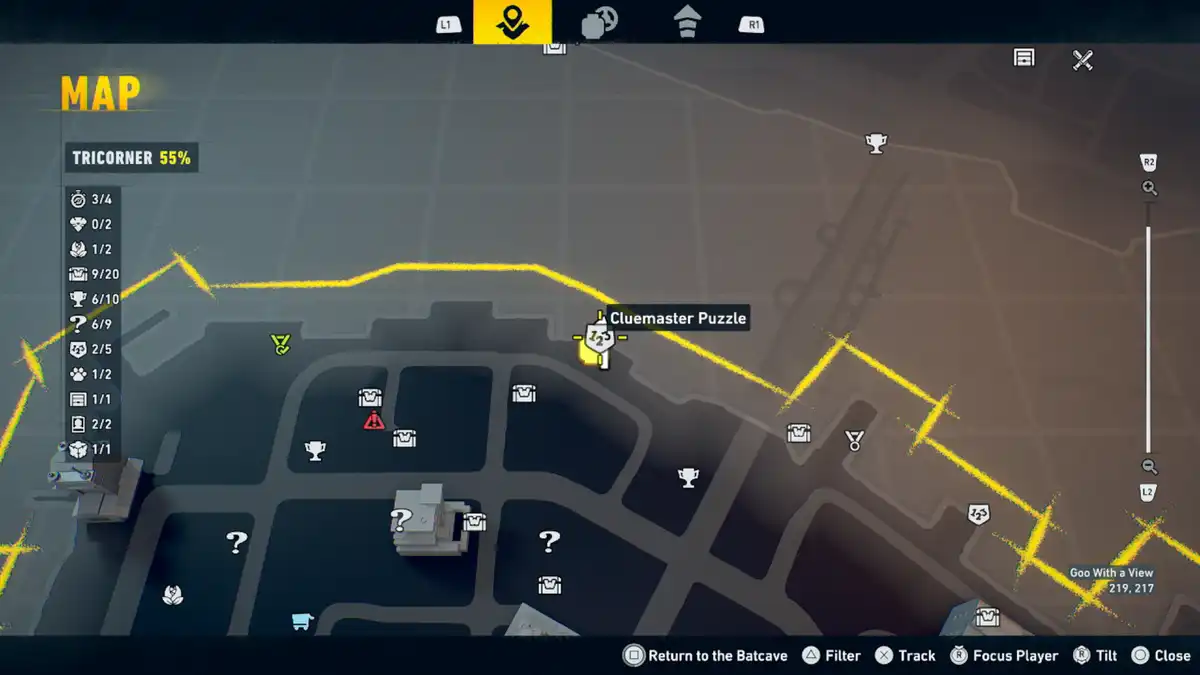
4 – Goo With a View (219, 217)
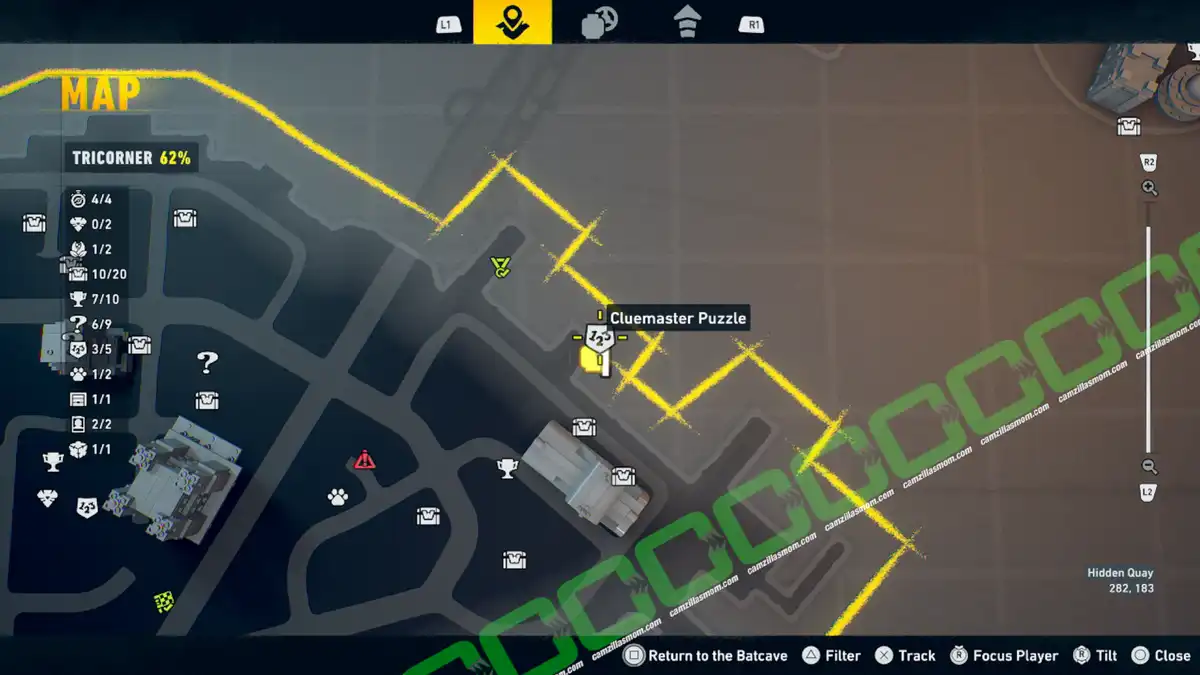
5 – Hidden Quay (282, 183)
1 – Wrong Side of the Tracks
Coordinates: 160, 125
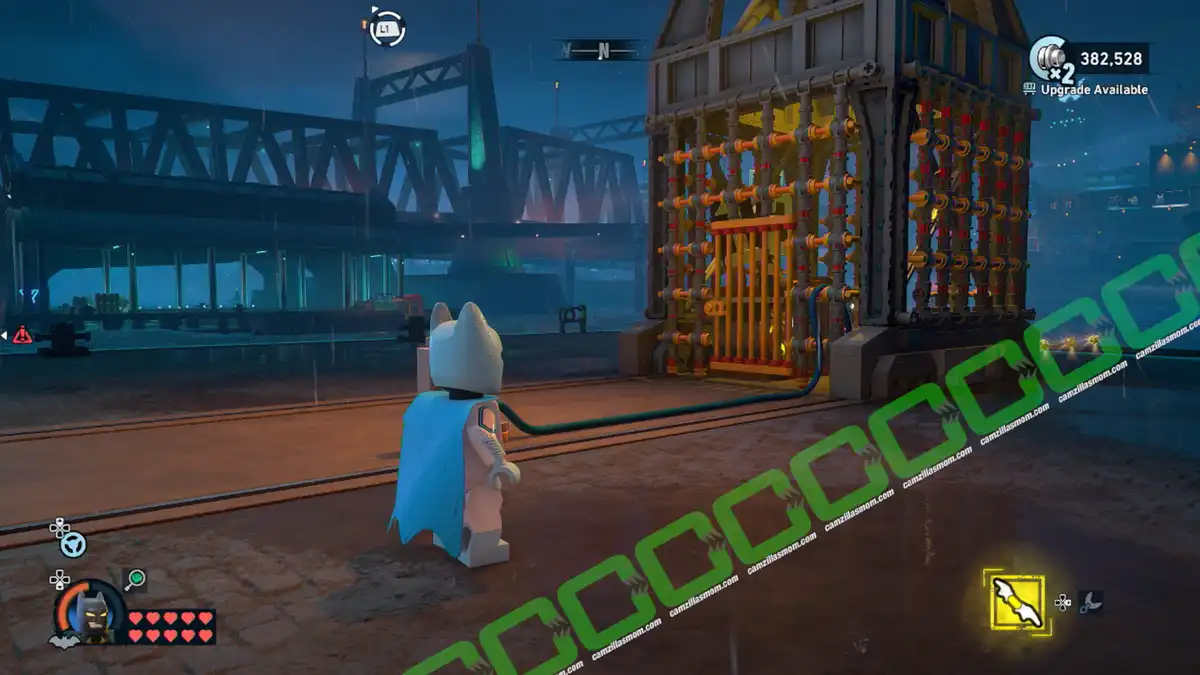
The Cluemaster Puzzle cage is locked behind a power connection that runs through two train cars – but you can only reach the starting connector from the opposite side of the tracks.
The Wrong Side of the Tracks Cluemaster Puzzle is near the Tricorner Docks in the southwest of the island.
Note: There is a Bat Symbol collectible on the other side of the Puzzle Cube’s wall.
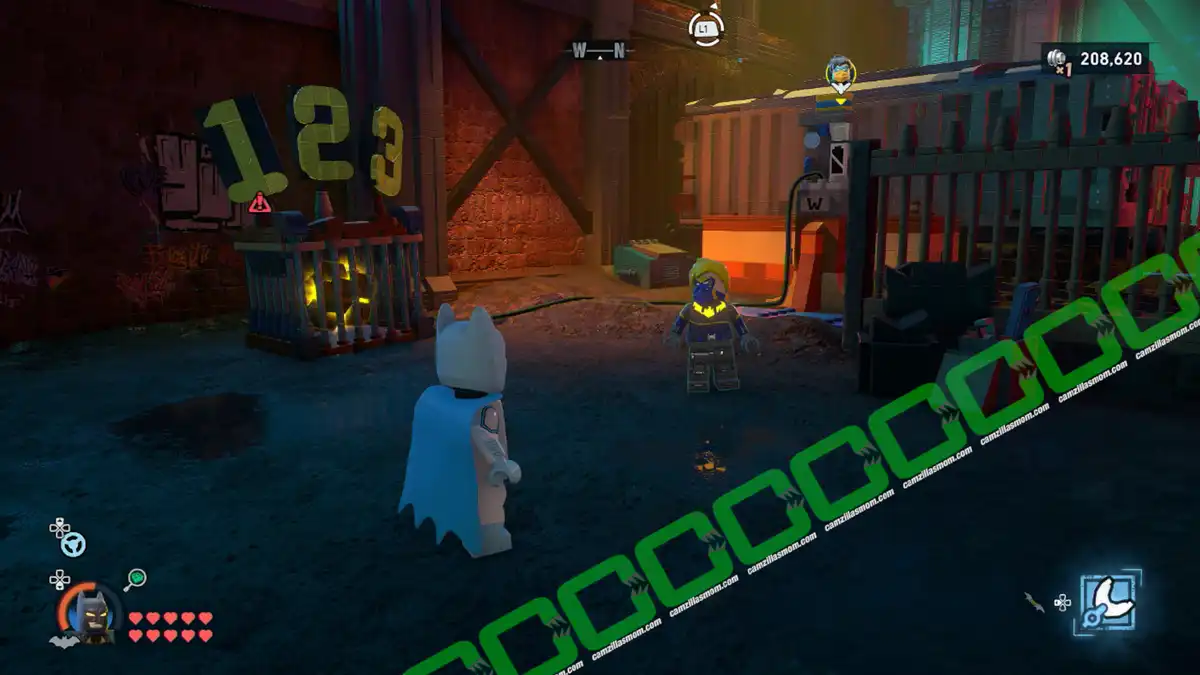
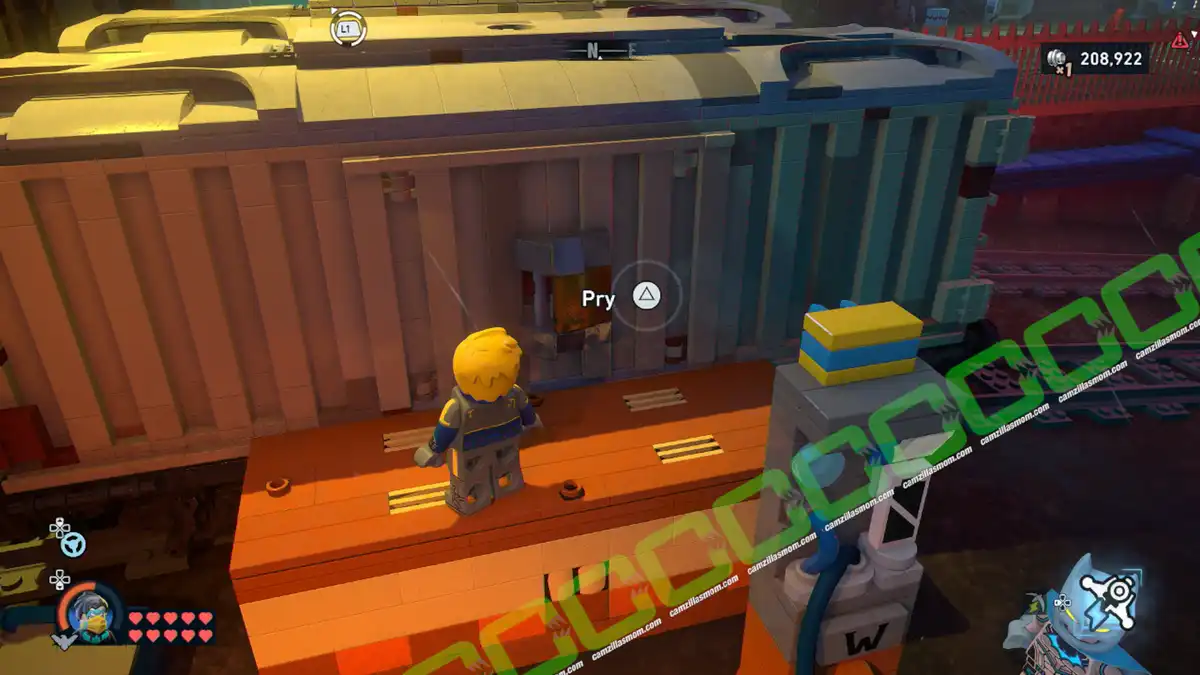
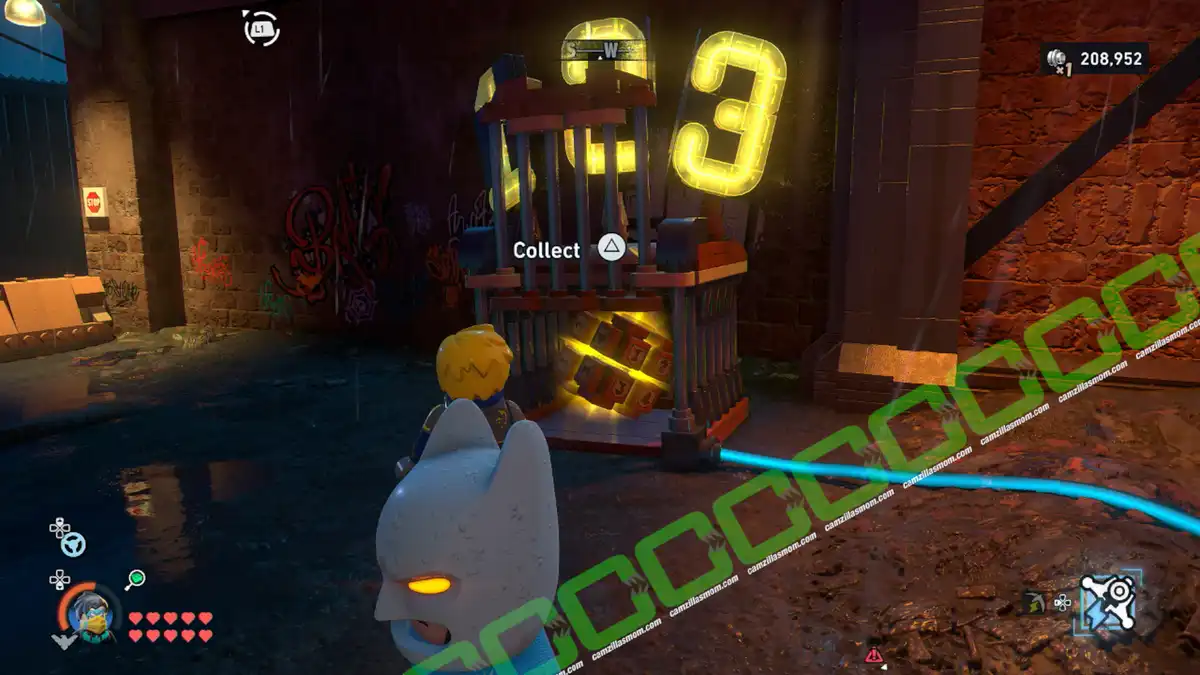
The puzzle’s name is giving away a clue. If you are standing next to the Cluemaster Cube cage like me in the screenshot above, you’re standing on the wrong side of the tracks to start the puzzle. The starting point is on the other side, next to the train car. Switch to Nightwing and connect the two connectors with the Cable Launcher.
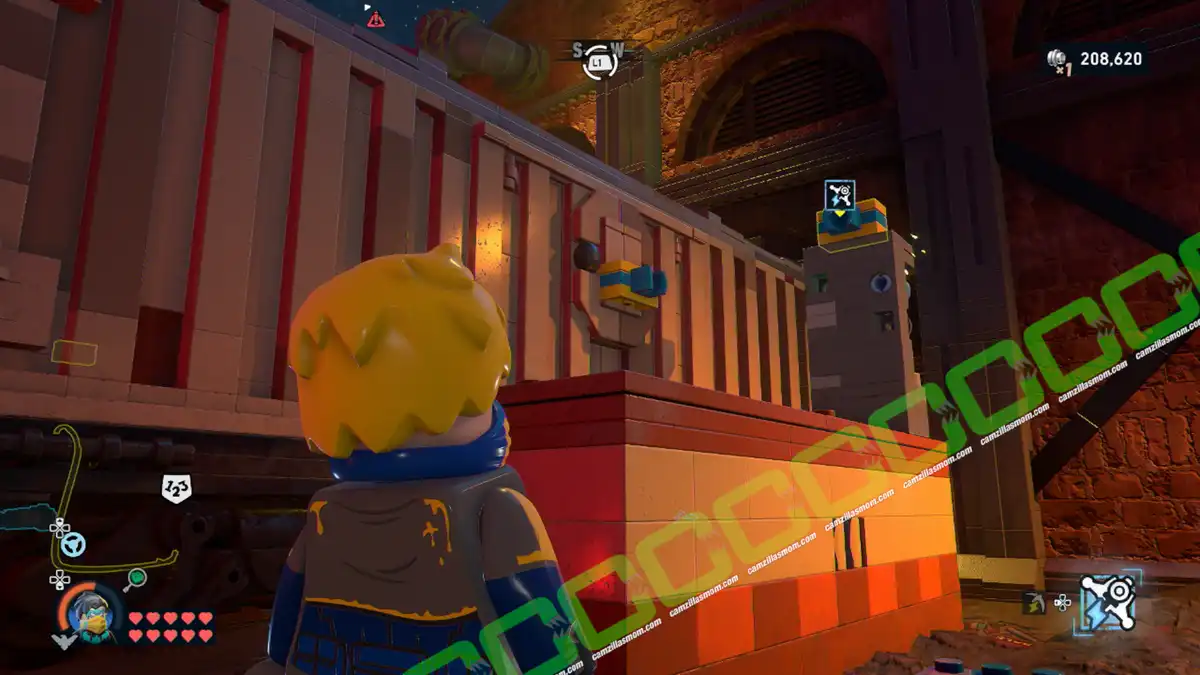
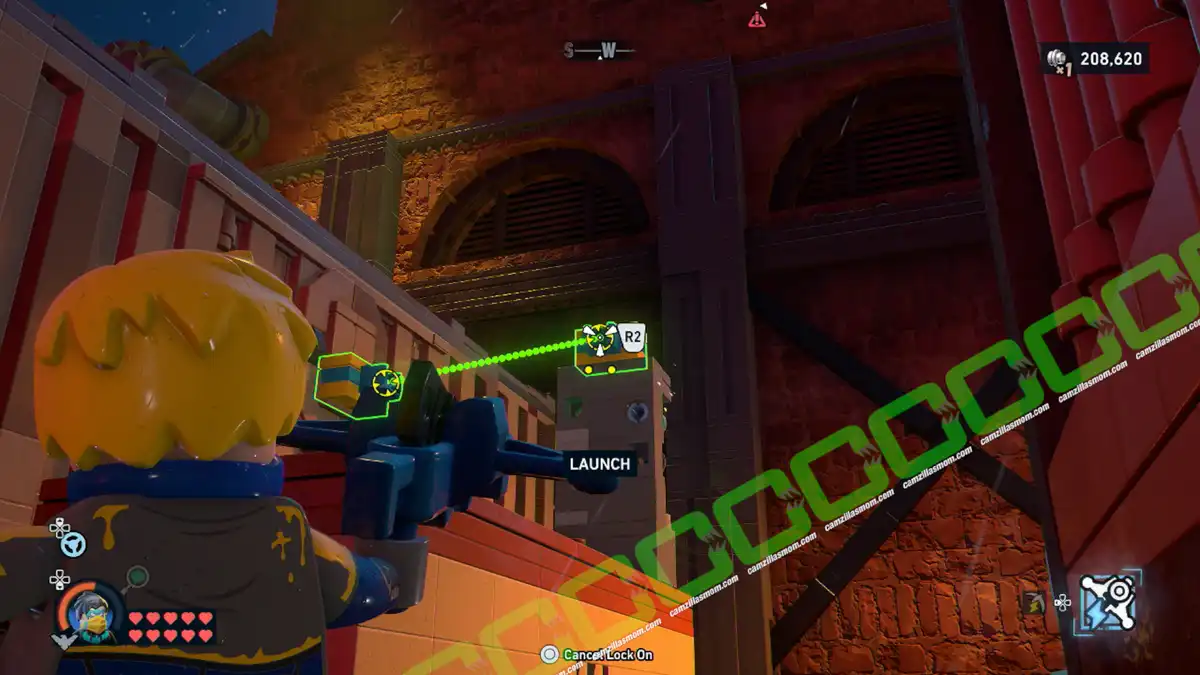
The train car’s doors flip open. Switch to Batman and use the Bat Claw on the yellow plug to open the second train’s doors. Then switch to Nightwing and pry open the doors with the staff on the side of the puzzle cage.
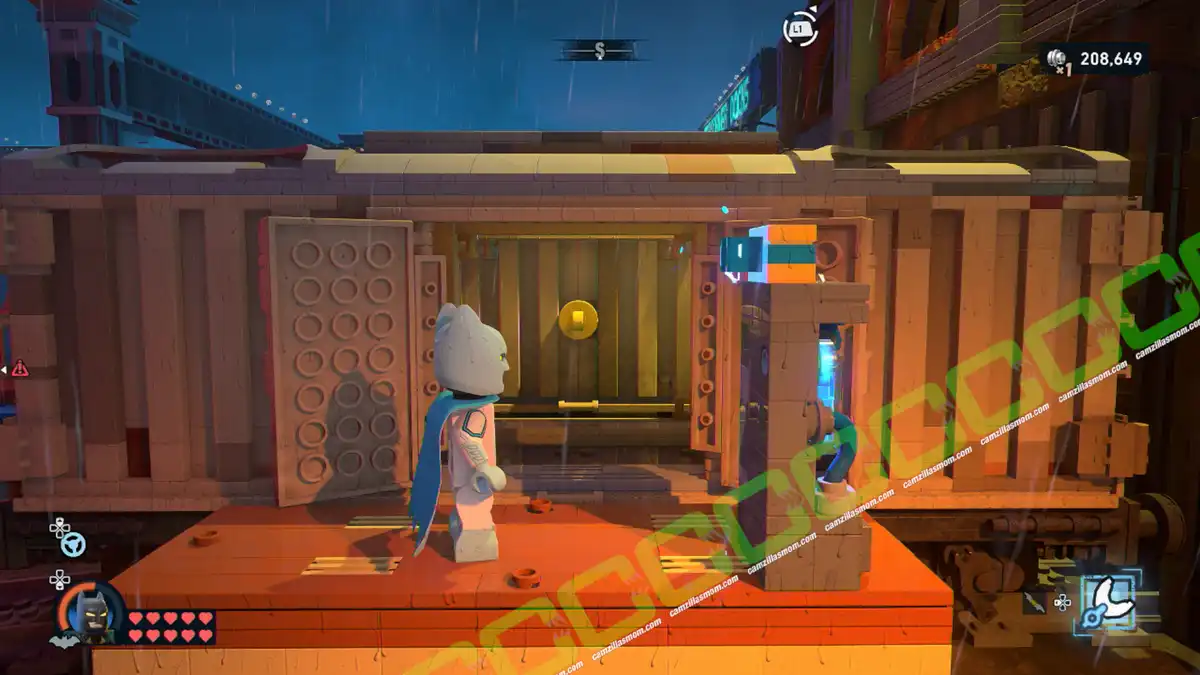
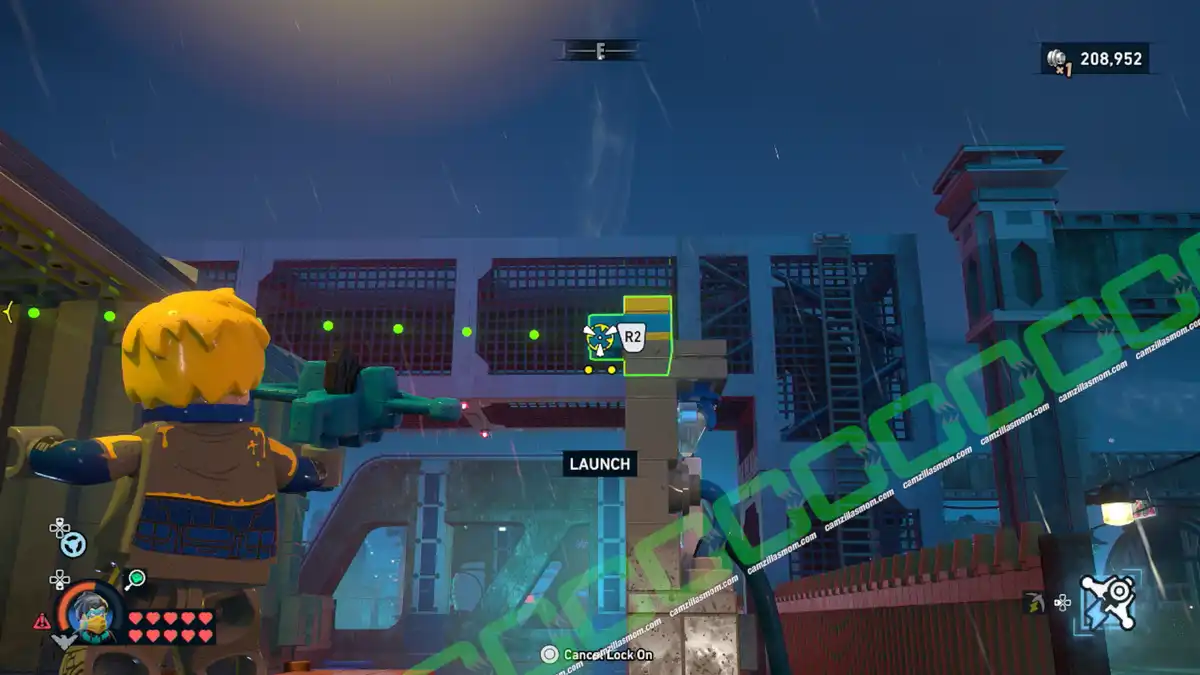
Now Nightwing can connect the power with the cable launcher, with the cable going through the train cars. This will open the Cluemaster Puzzle cage.
2 – Shock Value
Coordinates: 224, 137
The Cluemaster Puzzle box is trapped inside an electric-fenced room with no obvious way in, and the power keeping the fence active needs to be cut before you can access the door.
There is a Cluemaster Puzzle inside an electric-fenced room on the main road north of the Tricorner Subwayne Fast Travel point.
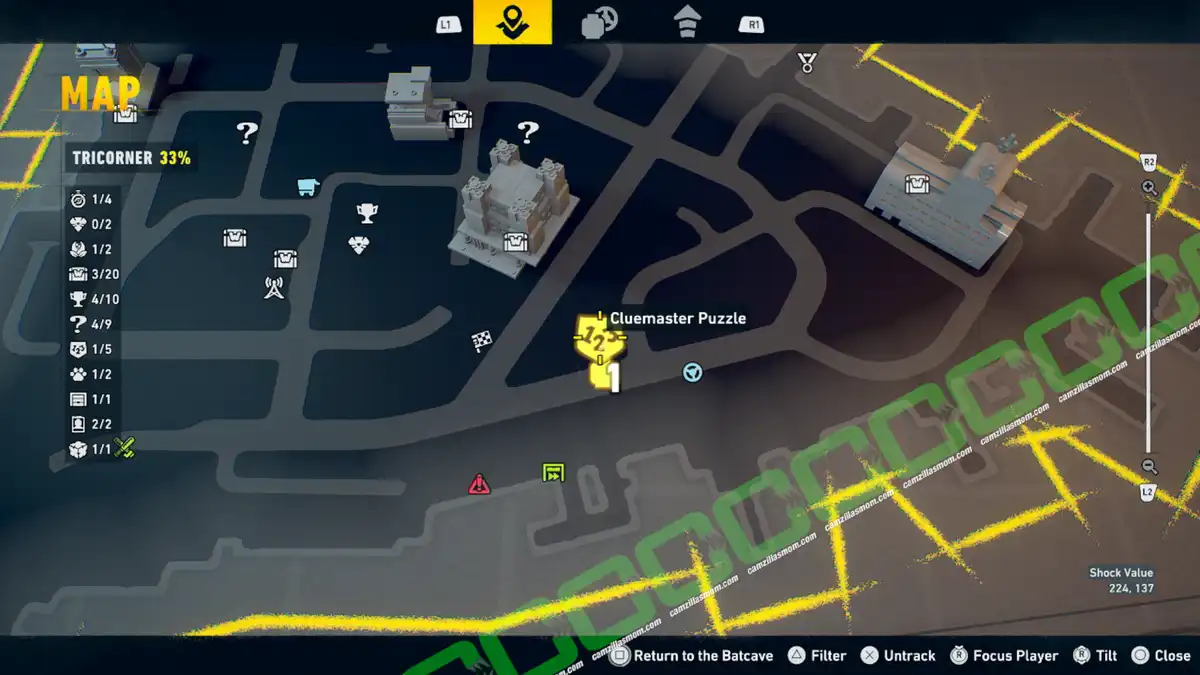
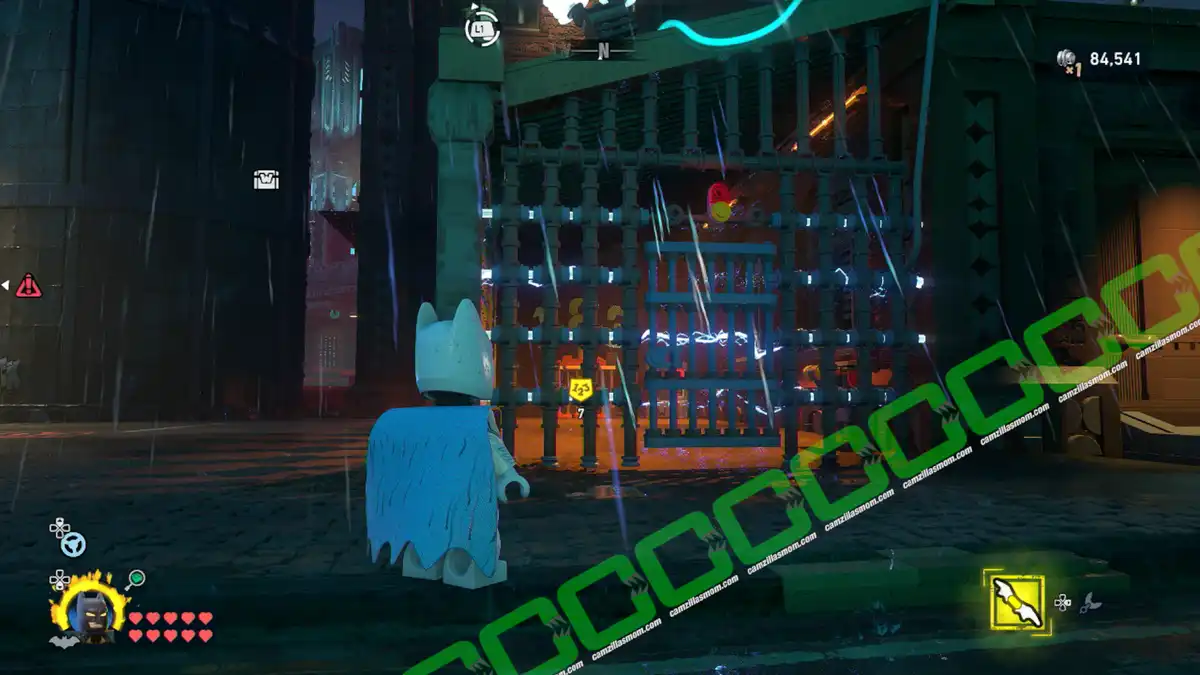
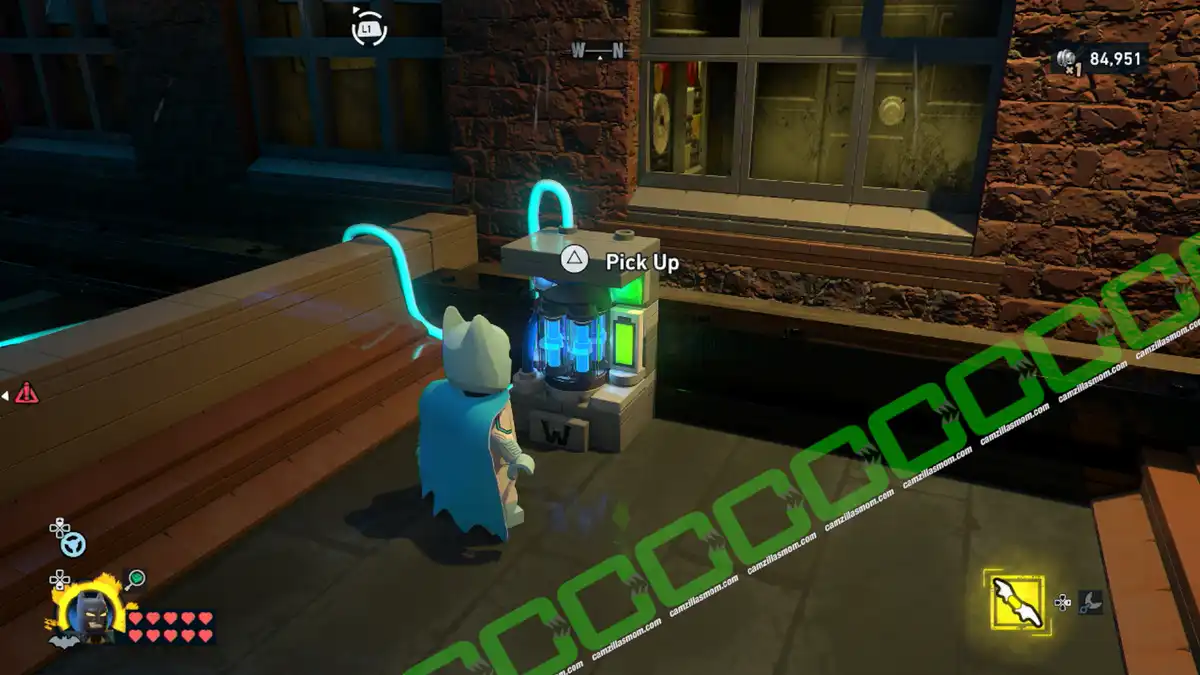
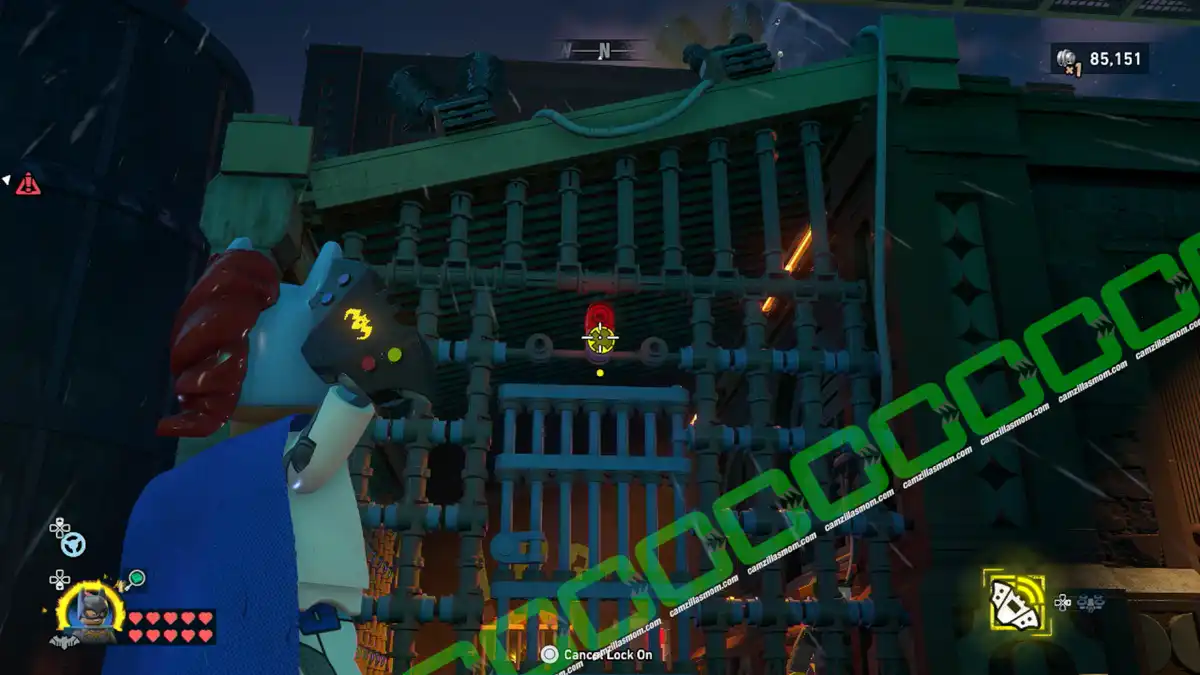
Follow the glowing power cable to the roof, where you can pull the battery out of the socket. Take it down to the fence. Switch to Batgirl and hack the fence’s door with a Hackarang. Insert the battery and place it into the empty socket to open the Cluemaster Puzzle box.
3 – Staffing Problems
Coordinates: 191, 153
The Cluemaster Puzzle box sits locked on a rooftop, hidden behind a sealed panel that can only be forced open with a staff – revealing three buttons that all need to be pressed.
There is a rooftop garden west of the GCPD Tricorner building with a Cluemaster Puzzle.
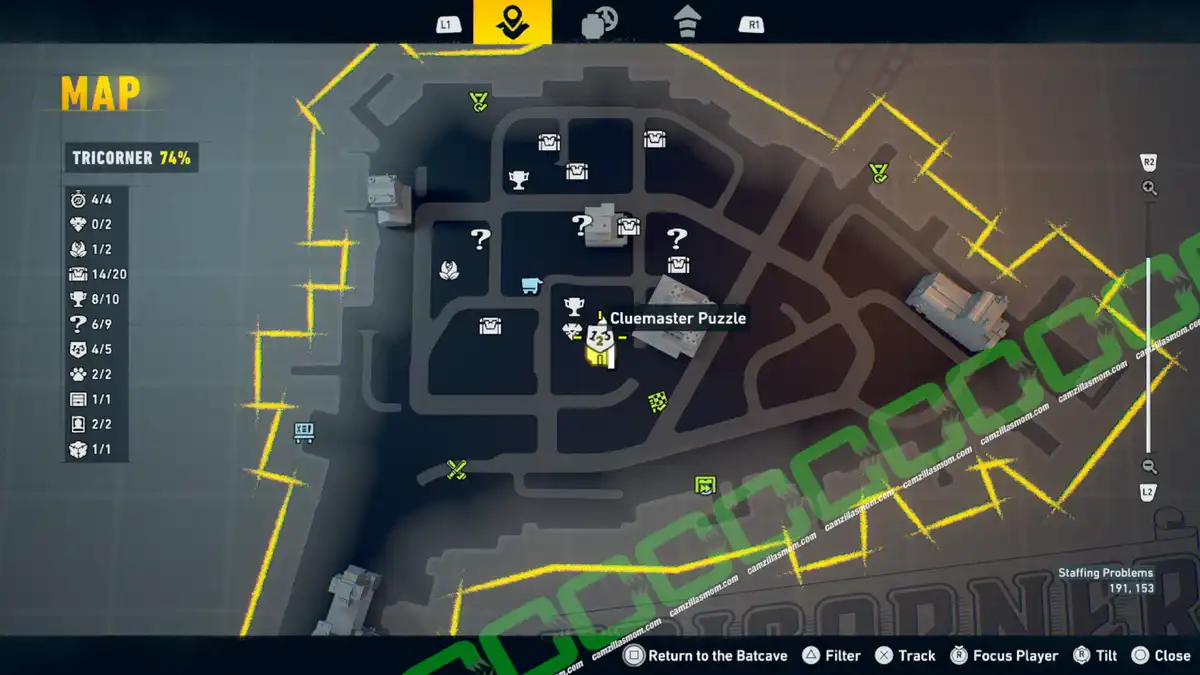
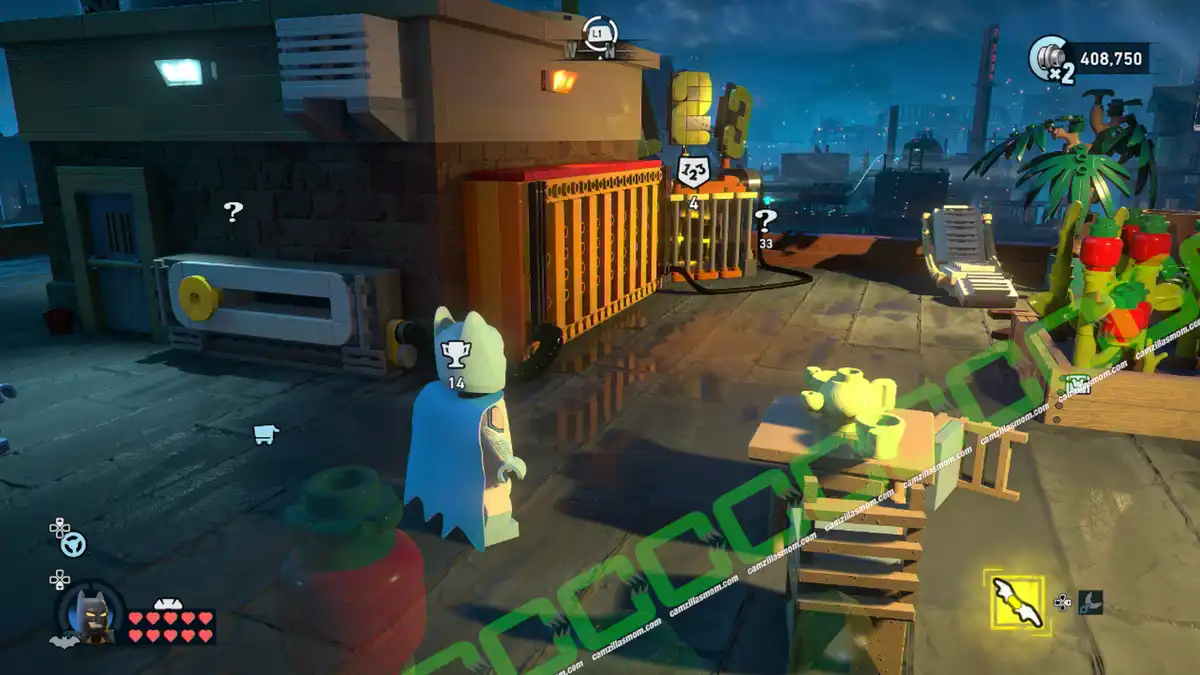
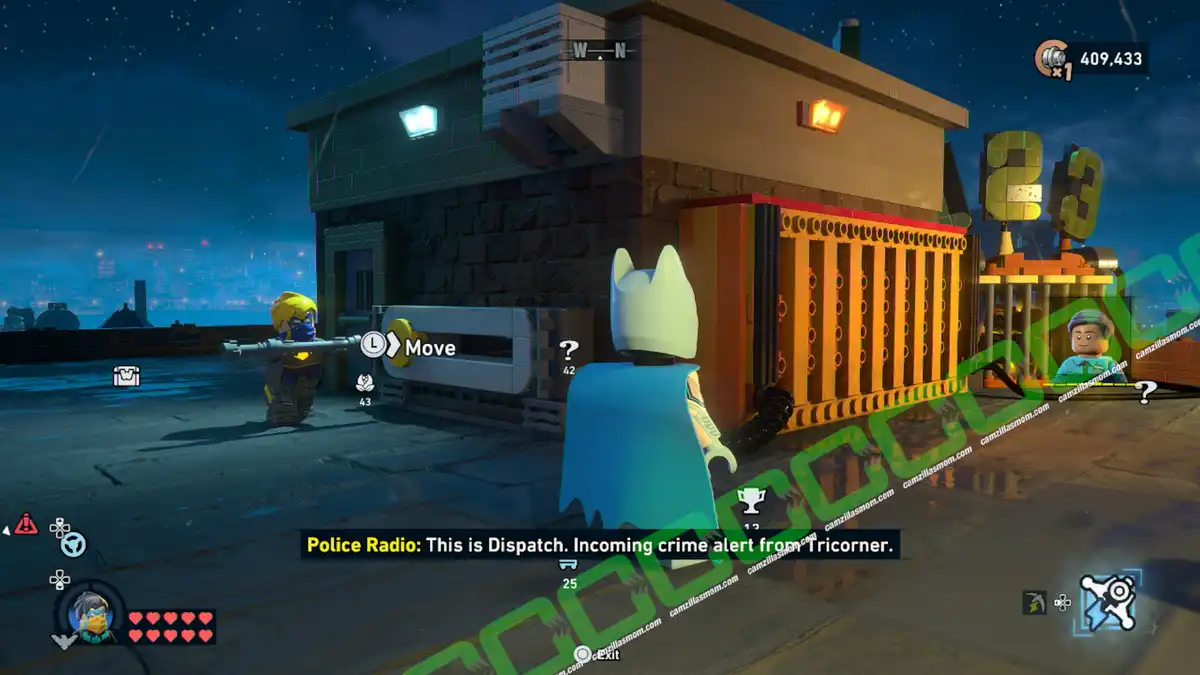
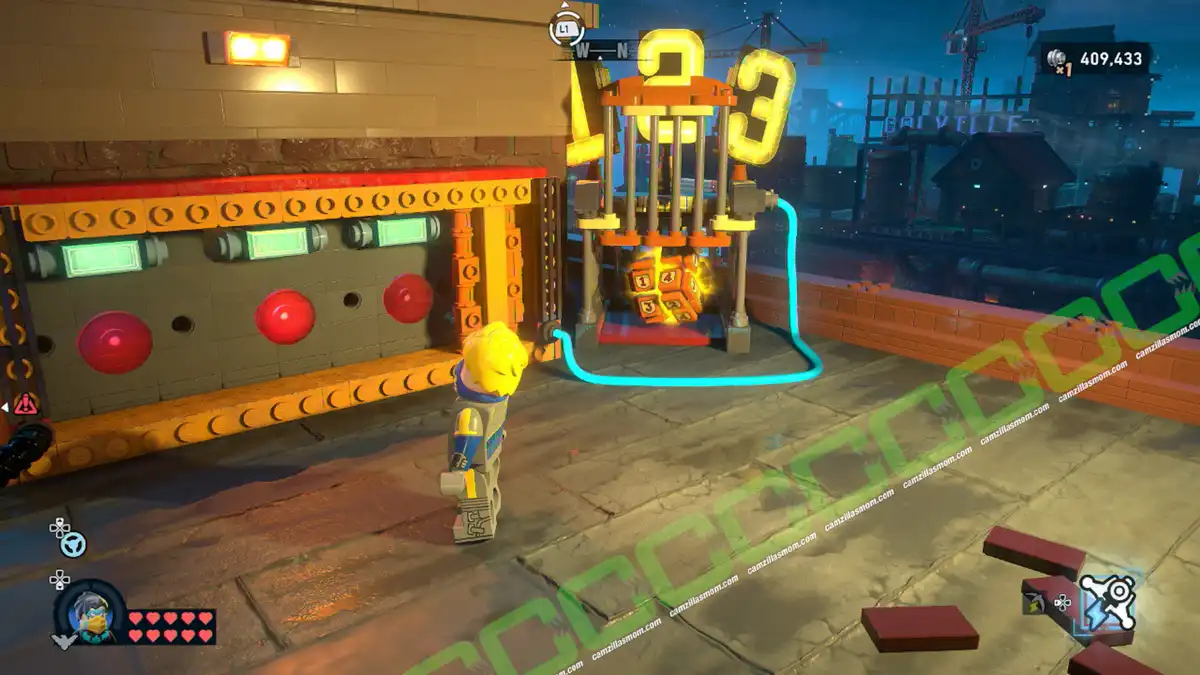
Switch to Nightwing or Robin to use his staff as a lever to open the orange panel on the side, revealing three red buttons. Press all red buttons so the green light above them is on. This will solve the puzzle.
4 – Goo With a View
Coordinates: 219, 217
The Cluemaster Puzzle box is submerged inside a tank that fills with green liquid when the valve is turned, making it impossible to retrieve until the flow is stopped.
In the northern part of Tricorner is a Cluemaster Puzzle with the Puzzle Box in an empty tank and a valve next to it.
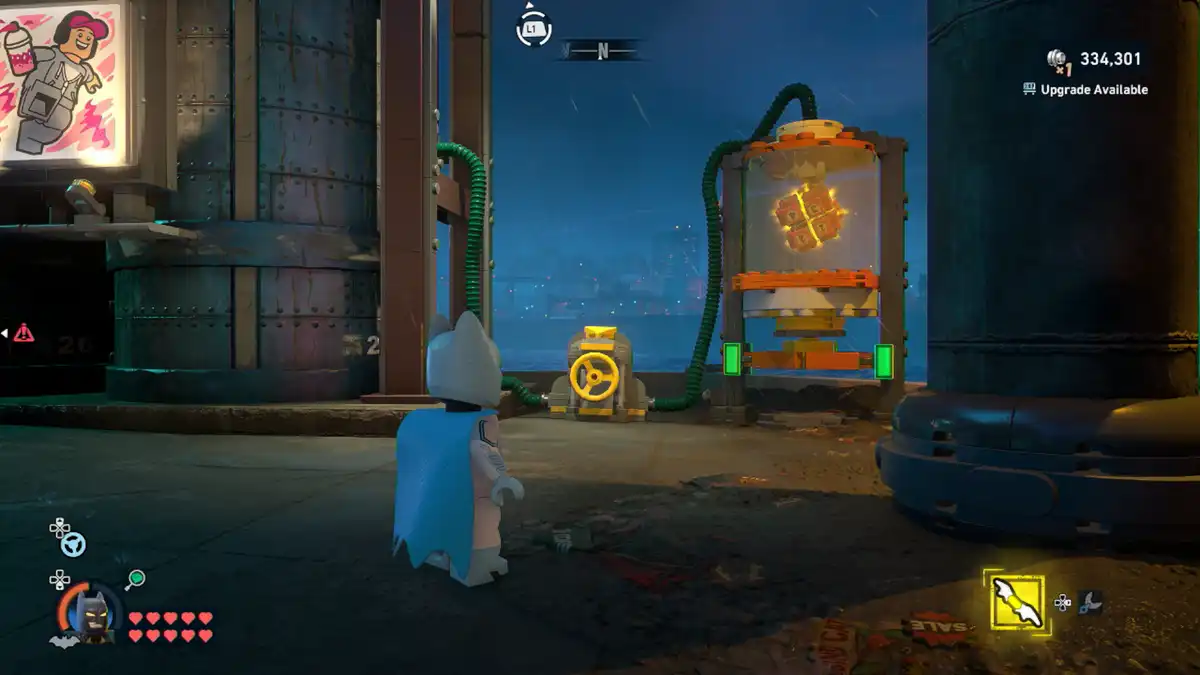
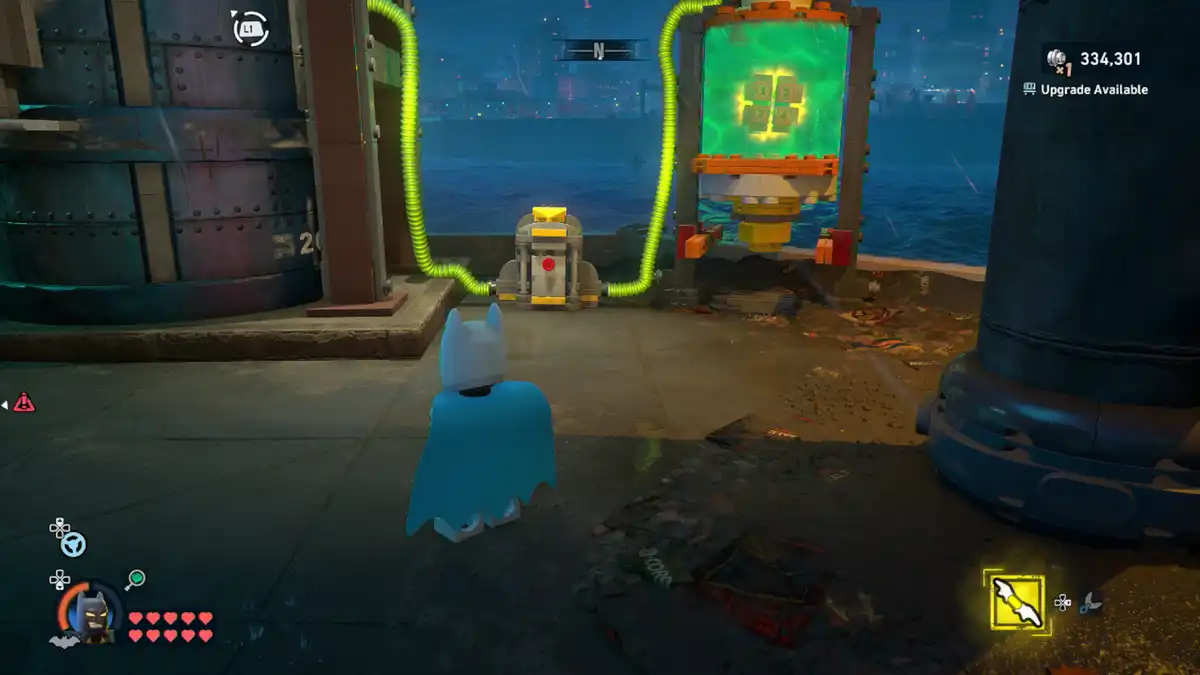
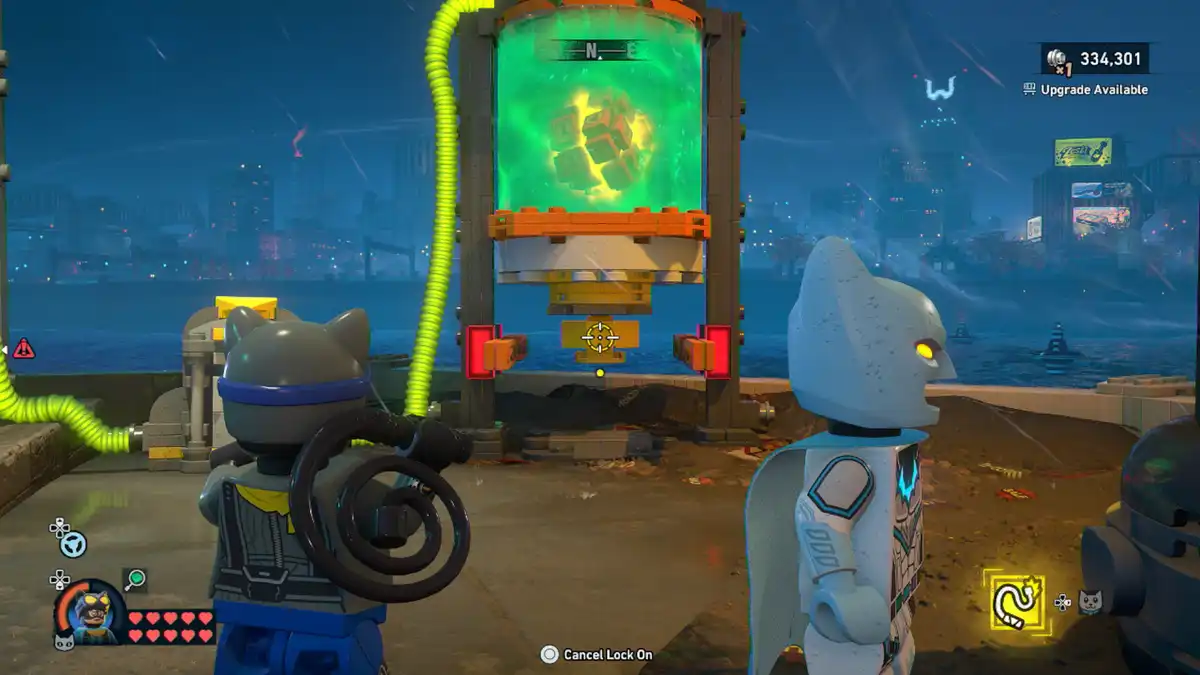
Turning the valve will break it, filling the tank with a green liquid. Switch to Catwoman to use the Whip at the bottom of the tank to release the liquid and the Puzzle box. But the liquid won’t stop flowing. Switch to Jim Gordon to plug in the tank with the Foam Sprayer, so you can pick up the puzzle box.
5 – Hidden Quay
Coordinates: 282, 183
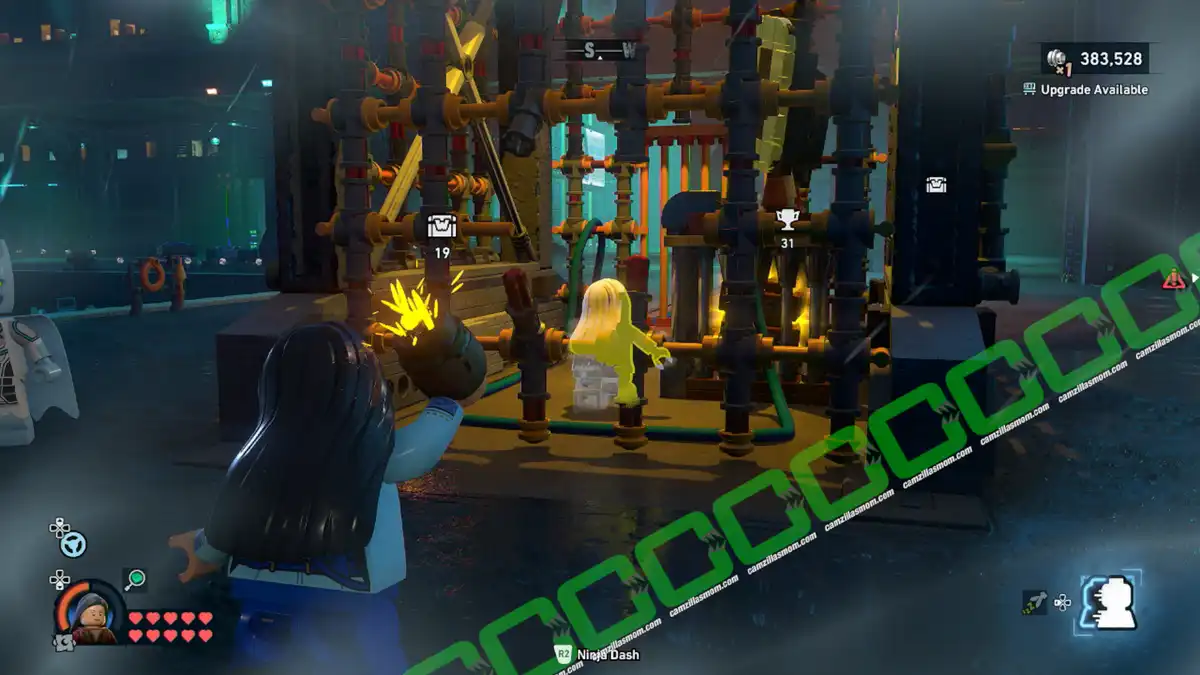
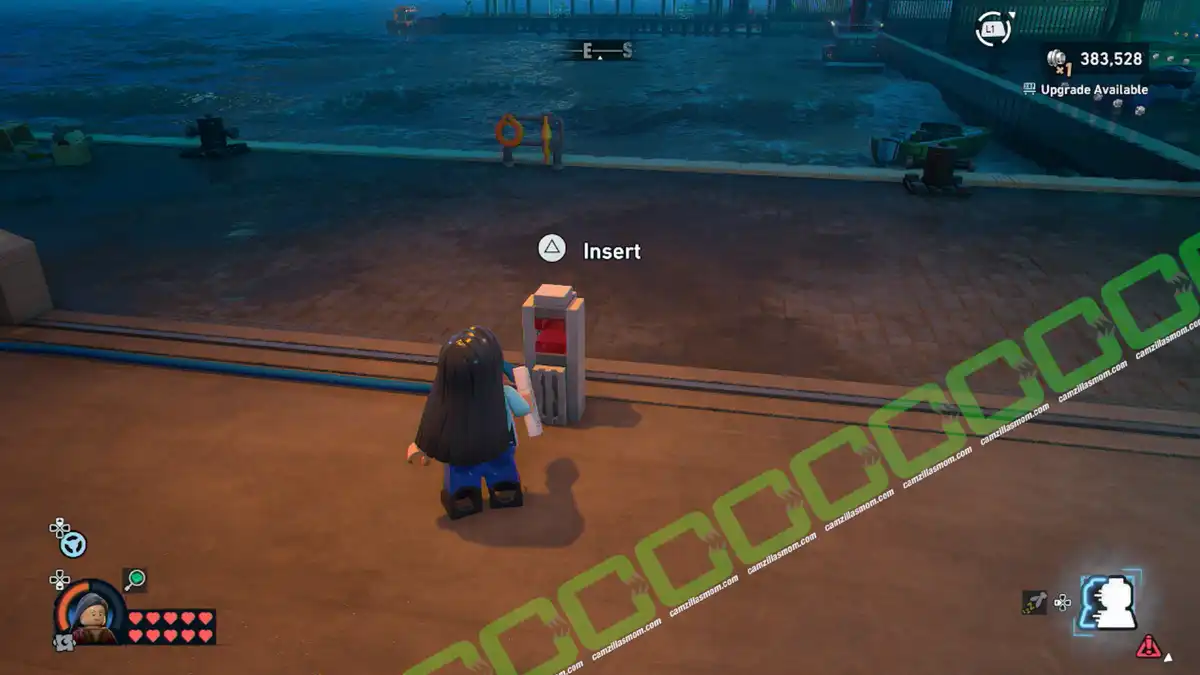
The Cluemaster Puzzle box is locked inside a cage with a terminal out front requiring an access card, but the card itself is trapped inside the very cage you need to open.
On the east side of the northern Tricorner bridge is another Cluemaster Puzzle. There is a terminal in front of the Puzzle box that requires an access card that is inside the cage.
Some bars at the back of the cage are broken. Switch to Talia and use Ninja Dash near the broken parts to get inside. Pick up the access card and use Ninja Dash again to get out. Insert the card at the terminal to complete the puzzle.
More LEGO Batman: Legacy of the Dark Knight Guides
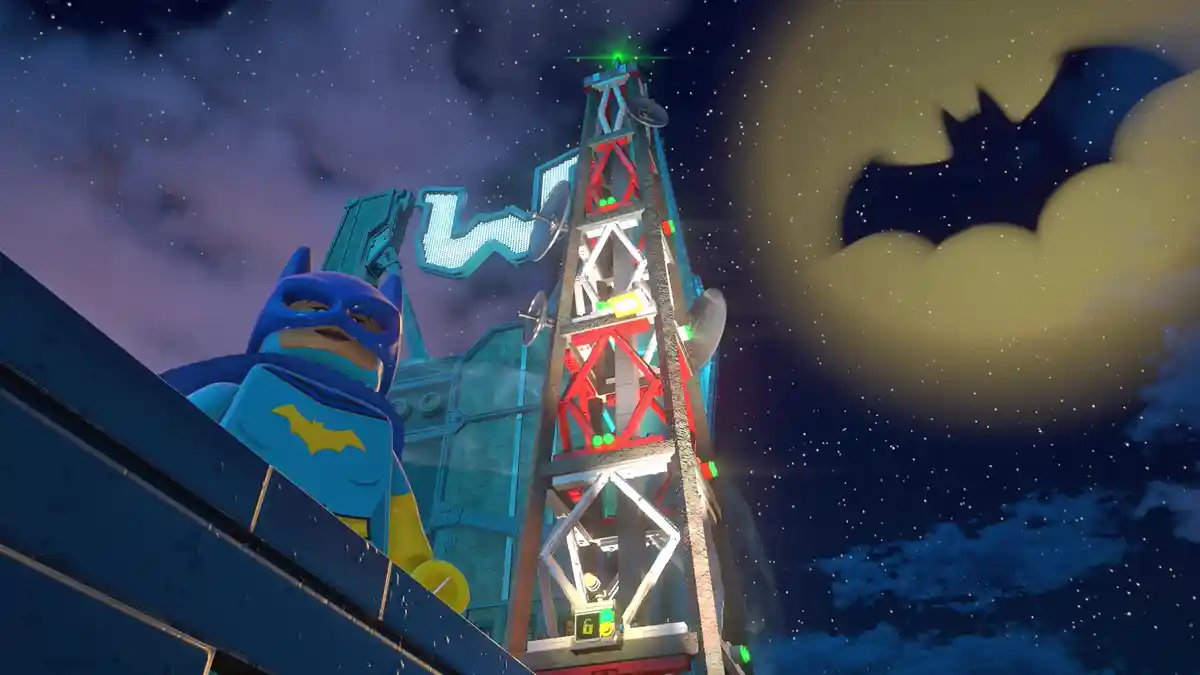
LEGO Batman Legacy: All 9 Tower Locations
All 9 tower locations in LEGO Batman: Legacy of the Dark Knight – map coordinates and screenshots fo…
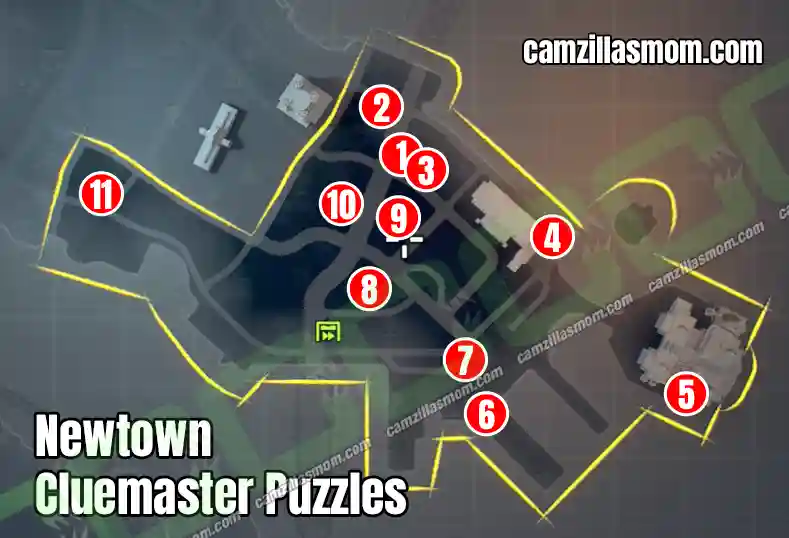
LEGO Batman Legacy: All Cluemaster Puzzles at Newtown
Complete guide to all 11 Cluemaster Puzzle solutions in Newtown – LEGO Batman: Legacy of the Dark Kn…
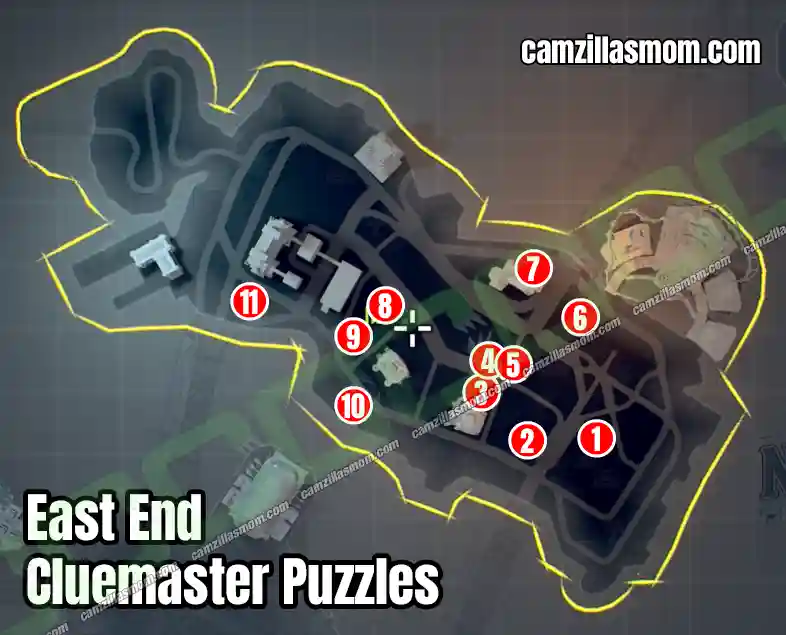
LEGO Batman Legacy: All Cluemaster Puzzles East End
Complete guide to all 11 Cluemaster Puzzle solutions in East End – LEGO Batman: Legacy of the Dark K…
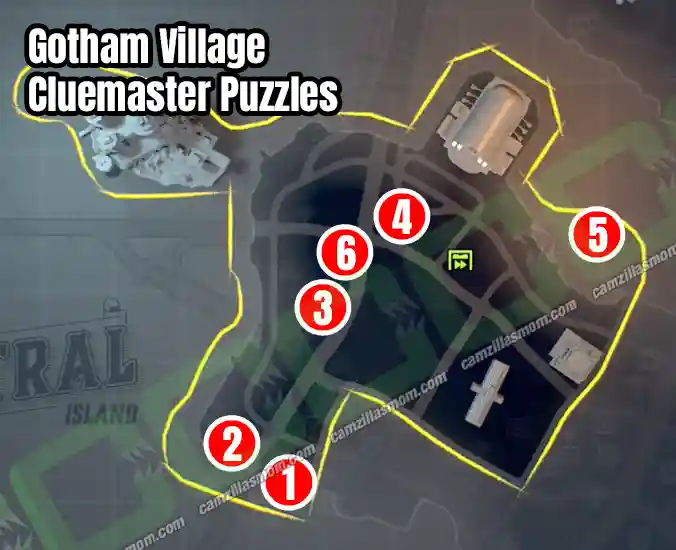
LEGO Batman Legacy: All Cluemaster Puzzles Gotham Village
Complete guide to all 6 Cluemaster Puzzle solutions in Gotham Village – LEGO Batman: Legacy of the D…
LEGO Batman Legacy: All Escaped Zoo Animal Locations
Complete guide to all 21 Escaped Zoo Animal locations in LEGO Batman: Legacy of the Dark Knight – di…
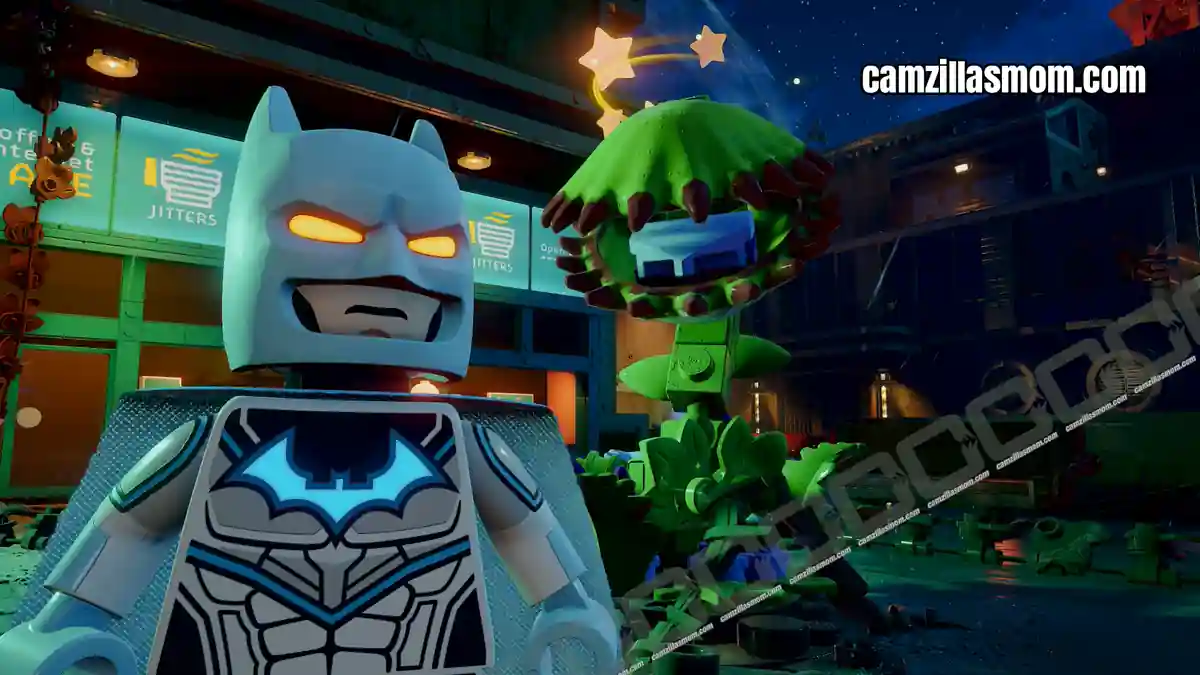
LEGO Batman Legacy: All Plant Life Locations and Solutions
Find all 10 Plant Life locations and solutions across 7 districts in LEGO Batman: Legacy of the Dark…


About LEGO Batman: Legacy of the Dark Knight
Release: May 22nd, 2026
Developer: TT Games
Publisher: Warner Bros. Games
Official Website: https://legobatmangame.com/