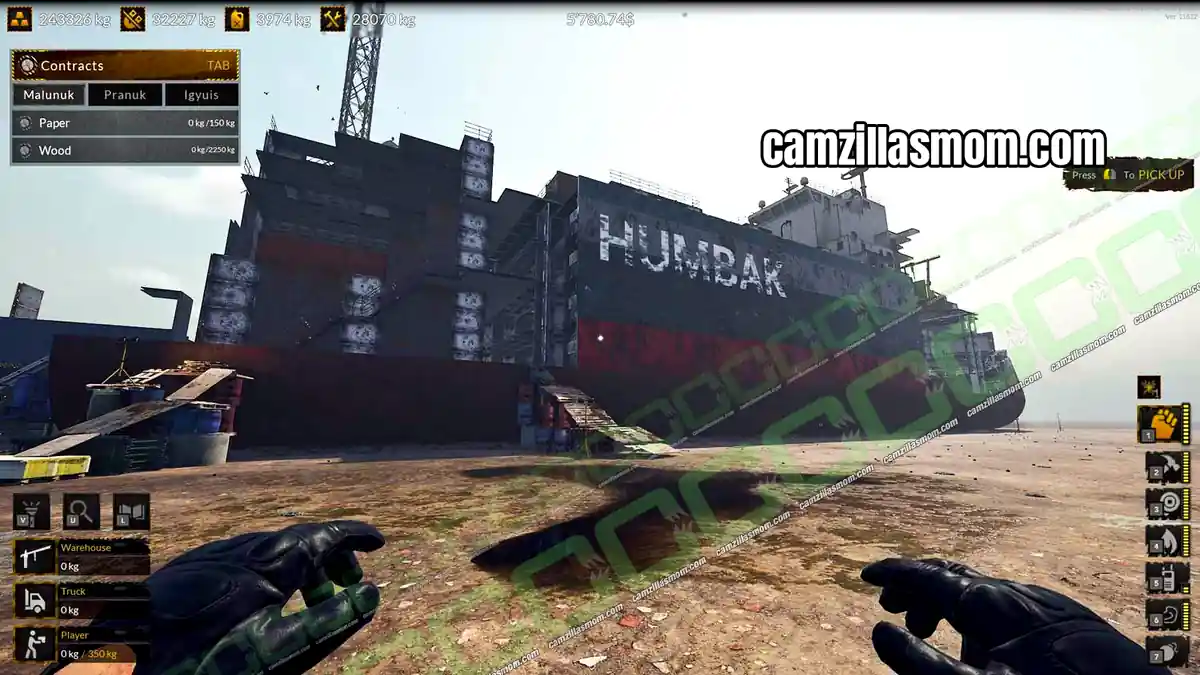
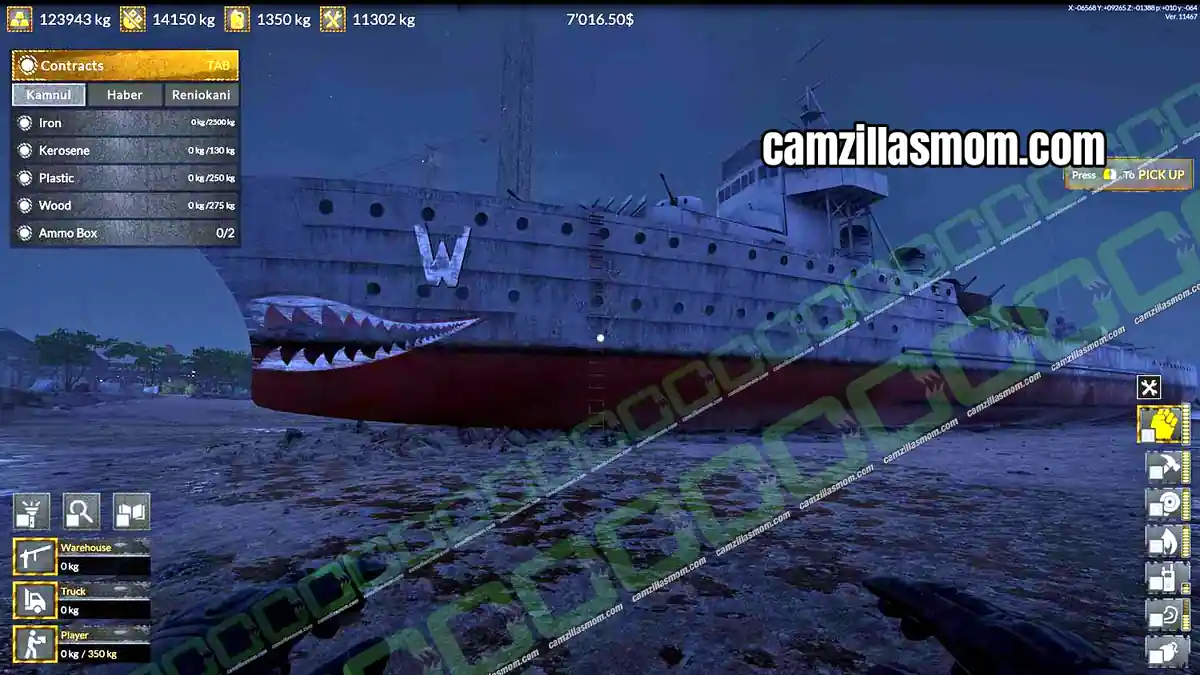
Buy the Fuso large warship from the Warships DLC for $4000 on the office laptop in Ship Graveyard Simulator 2 to unlock the Shizamu, Mirikoro and Tyler contracts. This guide covers every hazard, all 100 beds, 40 chests and 30 ammo boxes, the fastest way to 2000kg of aluminum (aluminium), and the Canon collectible. The decks run from the ground floor at Level 0 up to Level 7.
Related Guides:
More Ship Graveyard Simulator 2 Guides
Fuso Contracts at a Glance
5 items
- Plastic900kg
- Aluminum2000kg
- High Alloy Steel1500kg
- Low Alloy Steel6500kg
- Beds100
Total: 13 items across 3 contracts plus 1 collectible – see the full shopping list and turn off the hazards first
All Items You Need for the Fuso Contracts
You can switch between the contract tabs in the game to see what each client wants from the Fuso. Here is everything for all three contracts in one list, sorted alphabetically:
| Item | Amount | Contract |
| Acid | 180kg | Shizamu |
| Aluminum (Aluminium) | 2000kg | Mirikoro |
| Ammo Box | 30 | Tyler |
| Bed | 100 | Mirikoro |
| Chest | 40 | Tyler |
| Cloth | 150kg | Shizamu |
| High Alloy Steel | 1500kg | Mirikoro |
| Ladder | 4 | Tyler |
| Low Alloy Steel | 6500kg | Mirikoro |
| Oil | 230kg | Shizamu |
| Paper | 250kg | Shizamu |
| Plastic | 900kg | Mirikoro |
| Transmitter | 2 | Tyler |
Pick up all contract items before you start dismantling anything. Items destroyed during salvaging are gone, and on a ship this size that can cost you a lot of time.
Hazards: Electricity, Gas and Radiation
Turn off the electricity first, then the gas. You do not need to remove the radioactive barrels to finish the three contracts or to find the Canon.
Electricity
The Fuso has eight electricity switches: one each on the sixth, fourth and first floor, and five on the ground floor. Work from the top of the ship down.
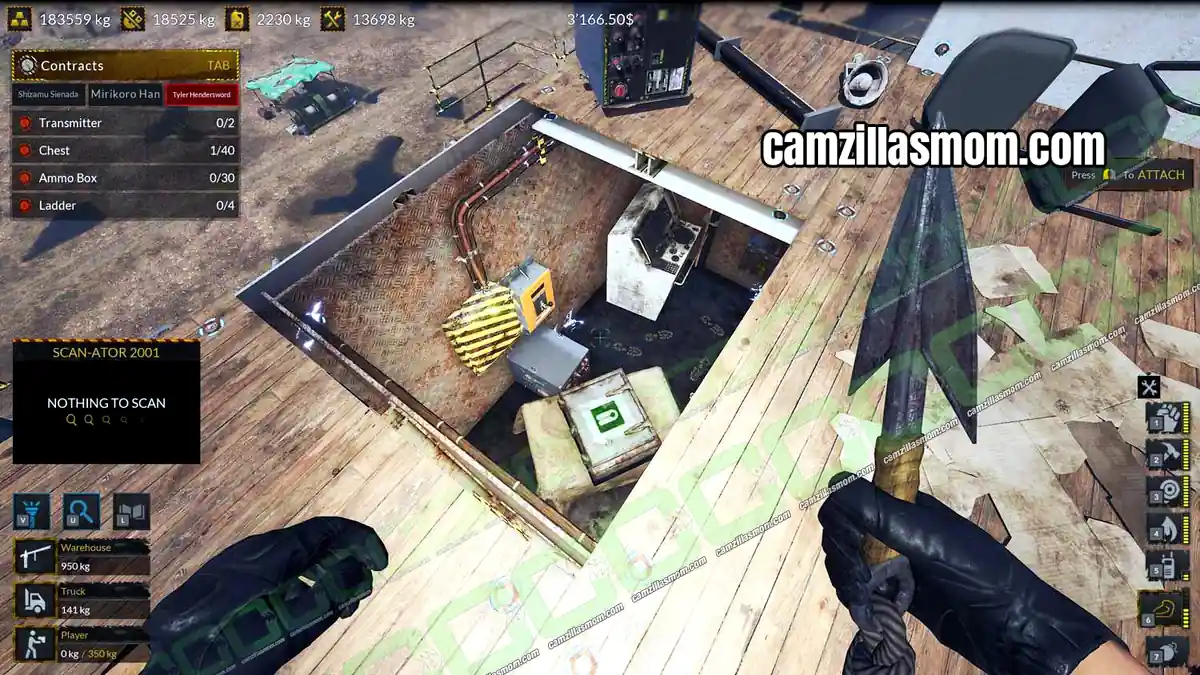
Electricity 1: Sixth Floor – Level 6
Go up to the seventh floor and drop through the hole in the floor to reach the switch.
Electricity 2: Fourth Floor – Level 4
The switch is easy to reach on the fourth floor, near the damaged end of the ship.
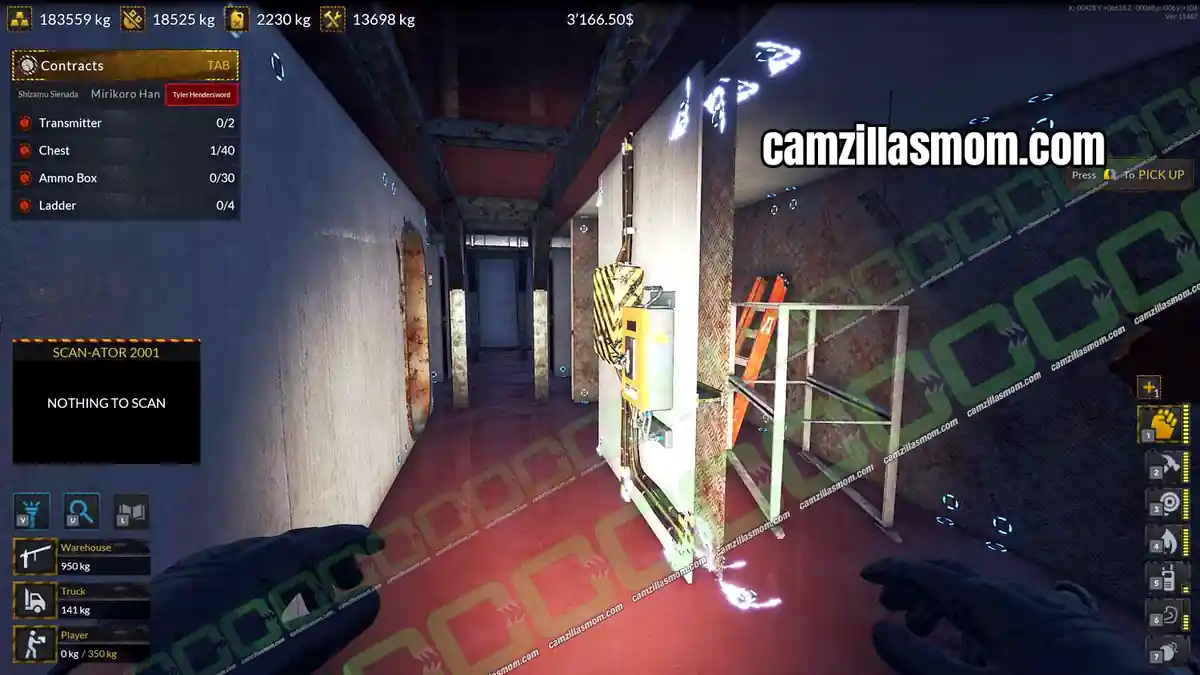
Electricity 3: First Floor – Level 1
This switch is in a first floor corridor. The quickest way there is from the damaged back of the ship.
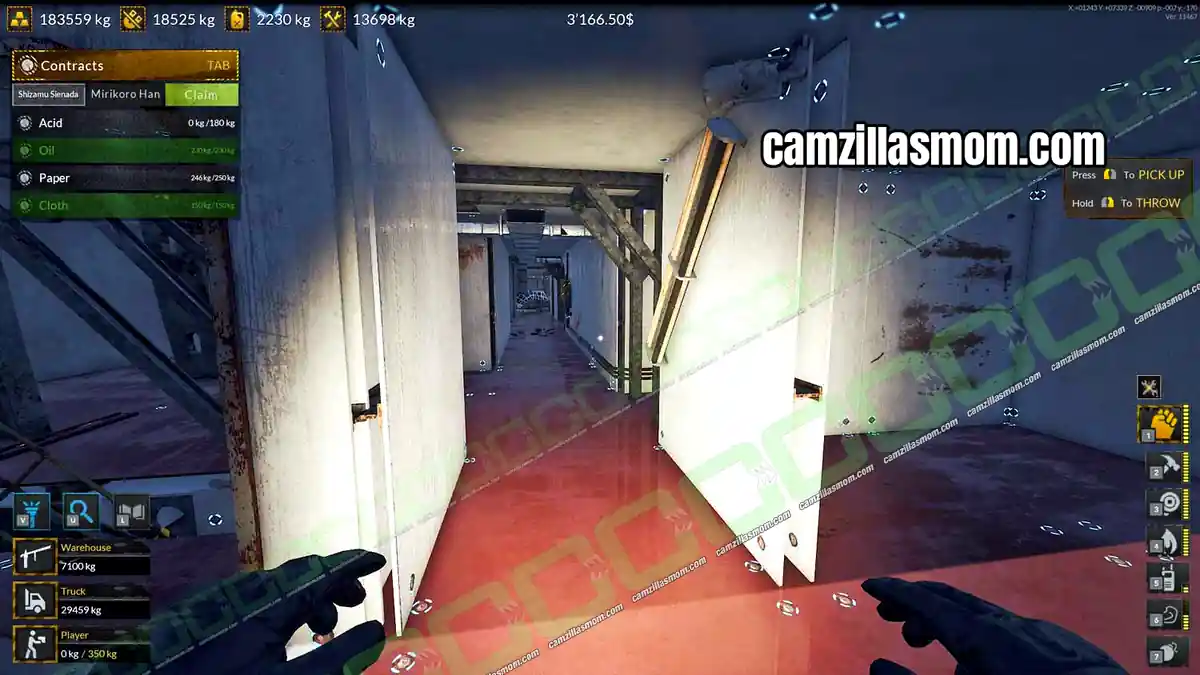
Electricity 4: Ground Floor – Level 0
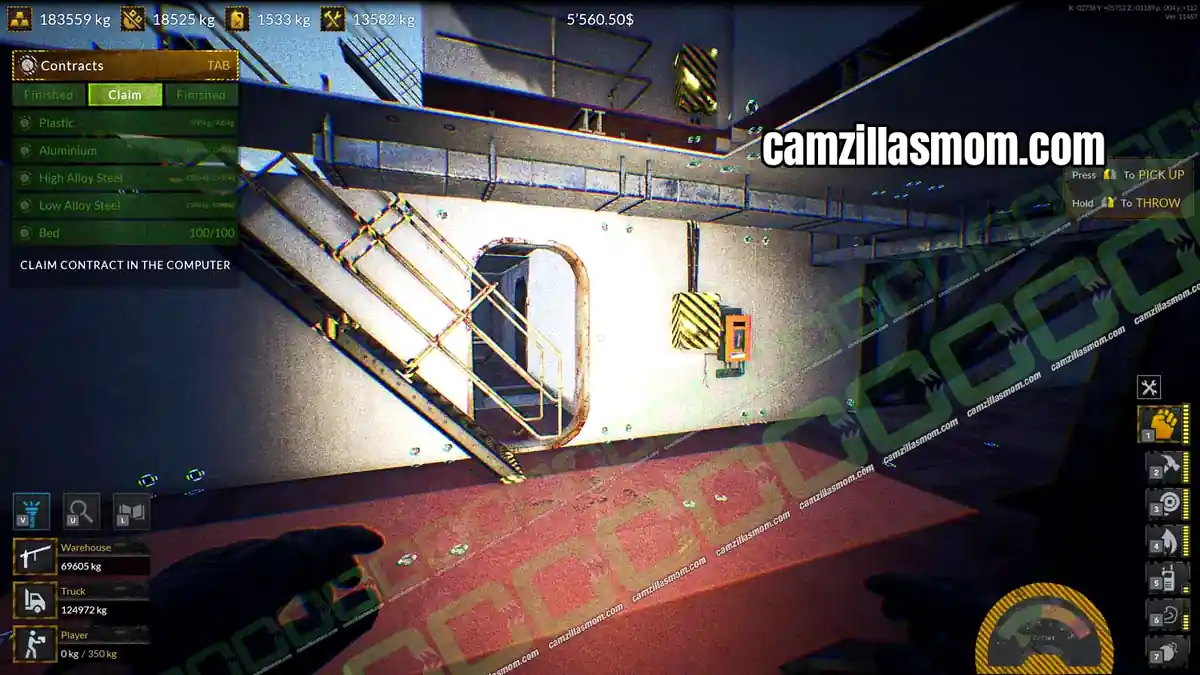
The fourth switch is in the starboard corridor on the ground floor, next to a radioactive hazard, which is why the screenshot is blurry.
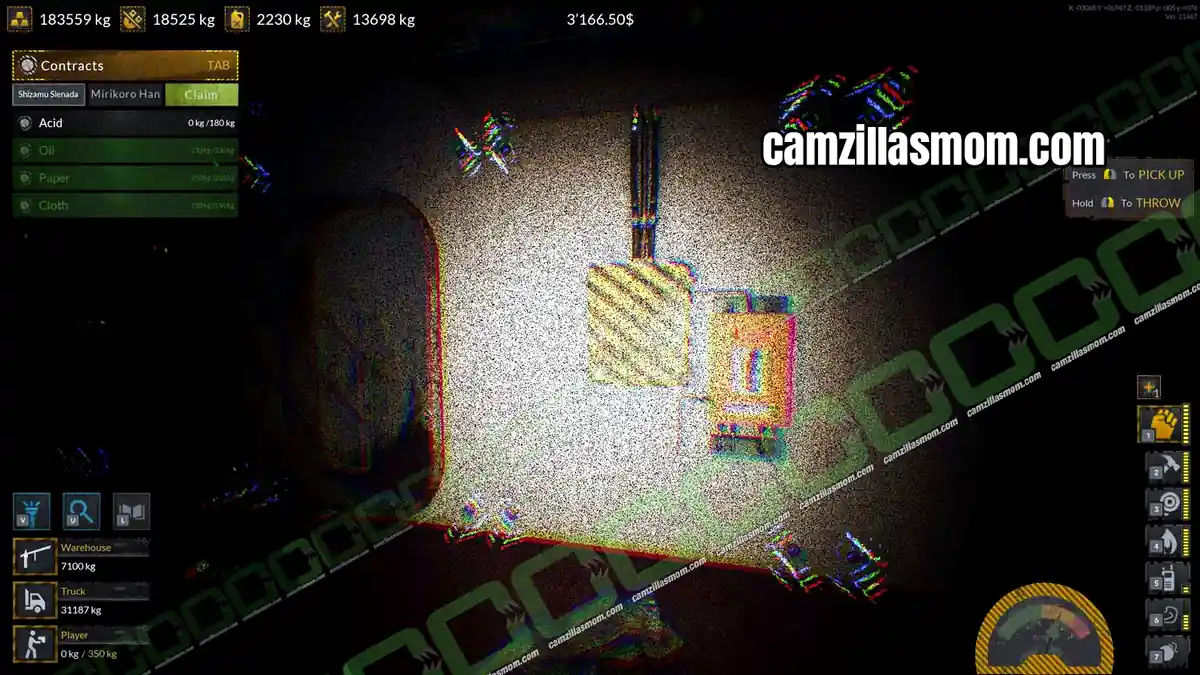
Electricity 5: Ground Floor – Level 0
Find the ground floor corridor with the closed metal door. The switch is right next to it.
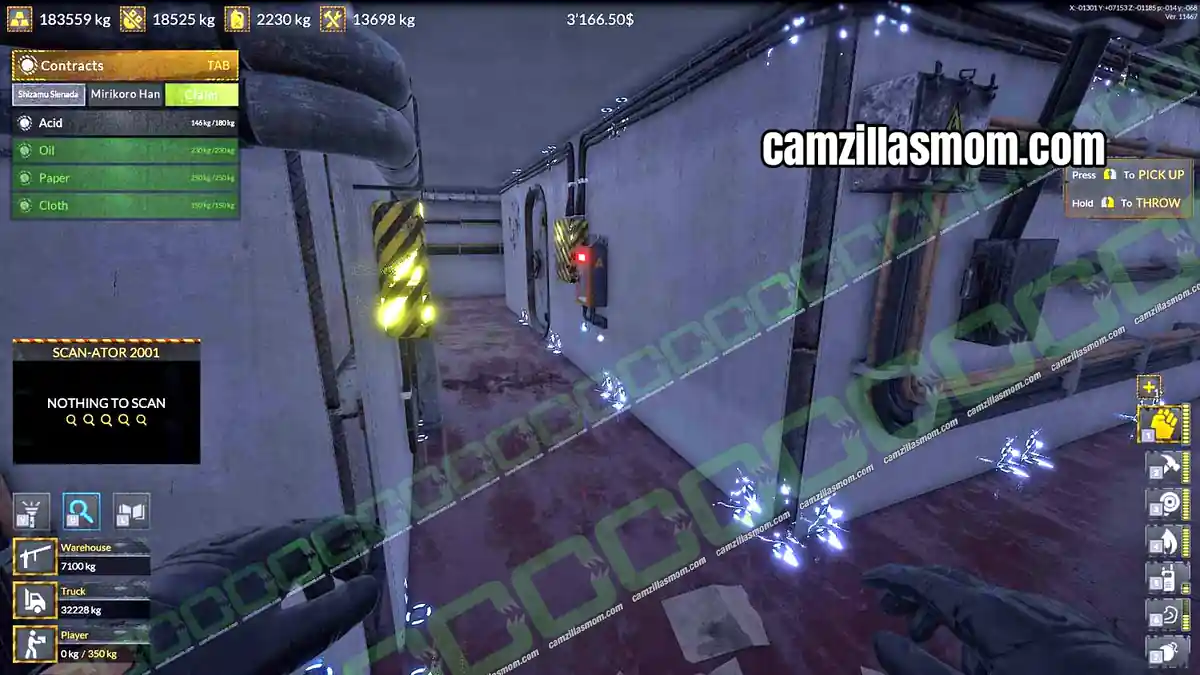
Electricity 6: Ground Floor – Level 0
The sixth switch is in the room behind that metal door.
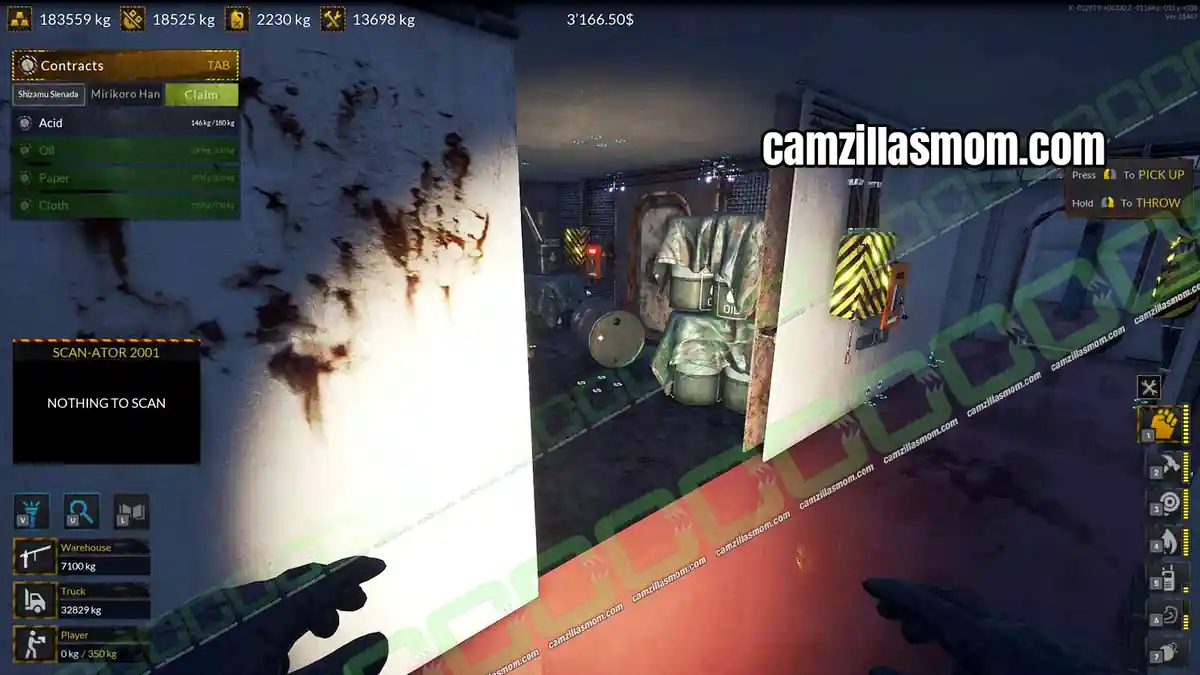
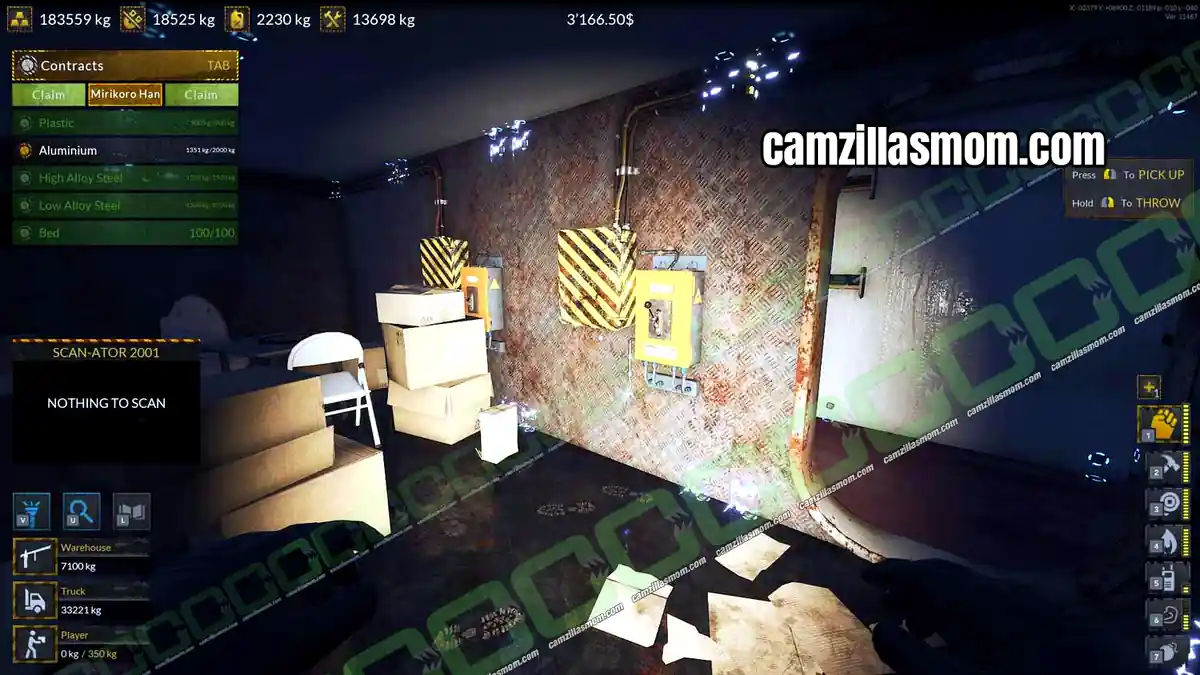
Electricity 7: Ground Floor – Level 0
A little further toward the center, a cluttered room holds two switches.
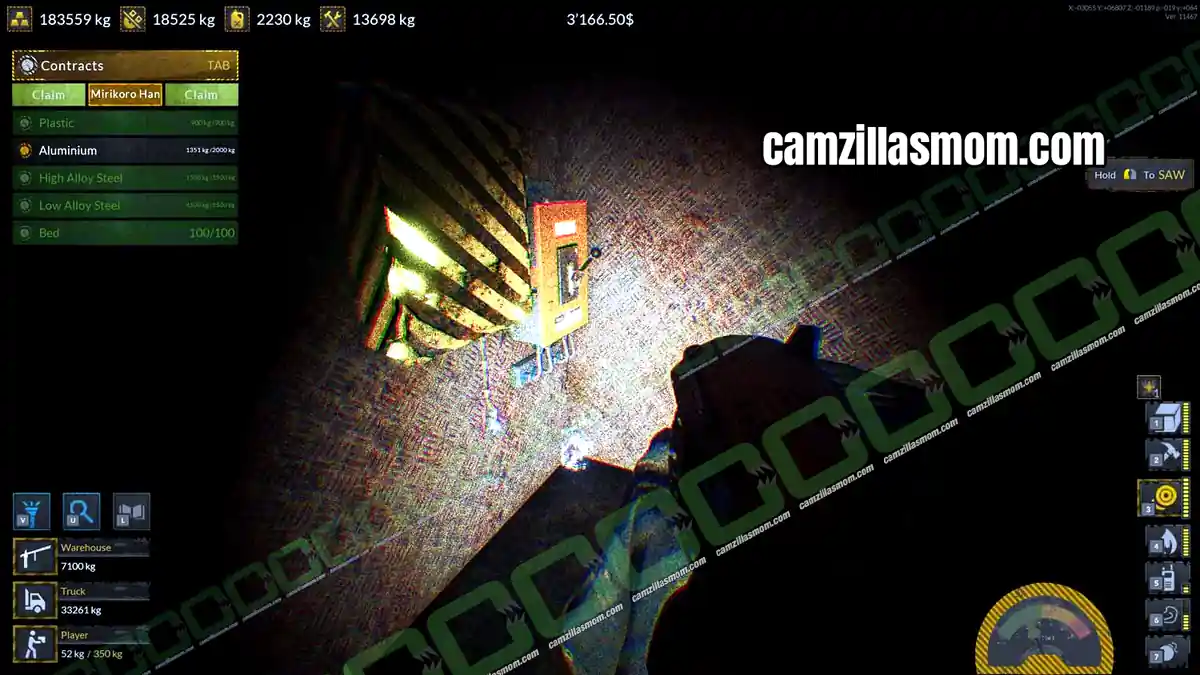
Electricity 8: Ground Floor – Level 0
Keep going toward the front. The last switch is in the room next to a radioactive hazard.
Gas
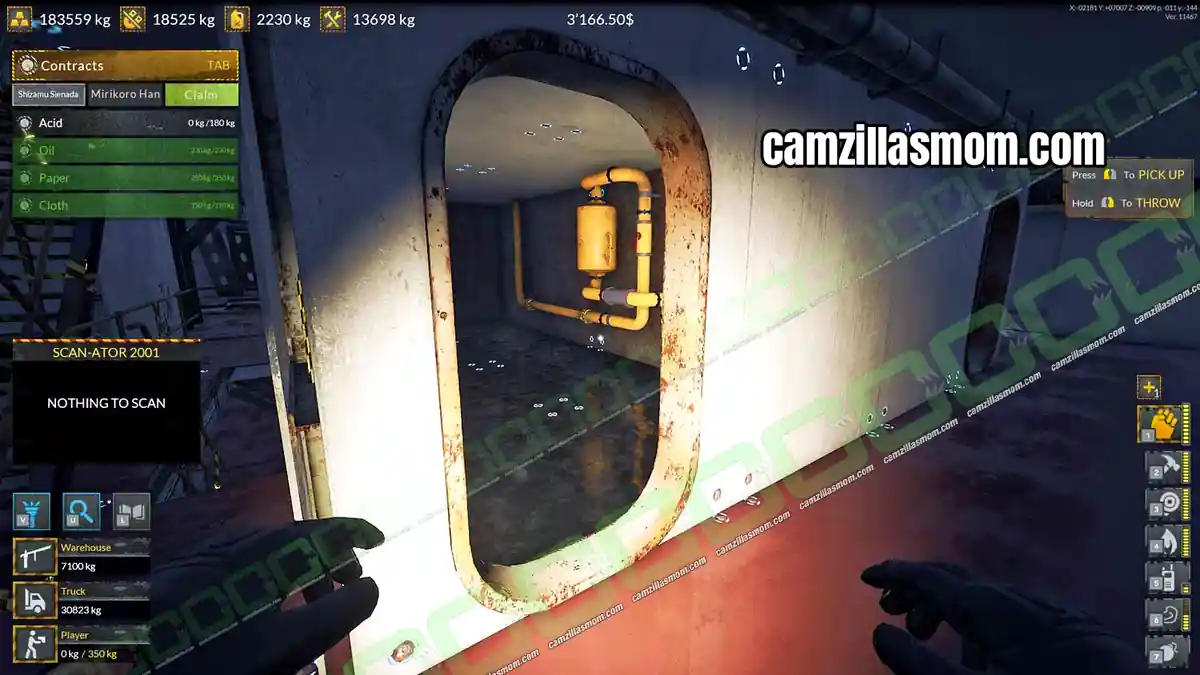
Gas: First Floor – Level 1
The only gas hazard is in an unlocked room toward the center of the first floor.
Radiation
Two groups of radioactive barrels sit on the ground floor. Lifting them out with the crane means clearing every floor above first, so skip them if you only want the contracts.
Radiation 1: Ground Floor – Level 0
One set of barrels is in the room right behind the fourth electricity switch. Another set is in a room toward the front from the seventh switches.
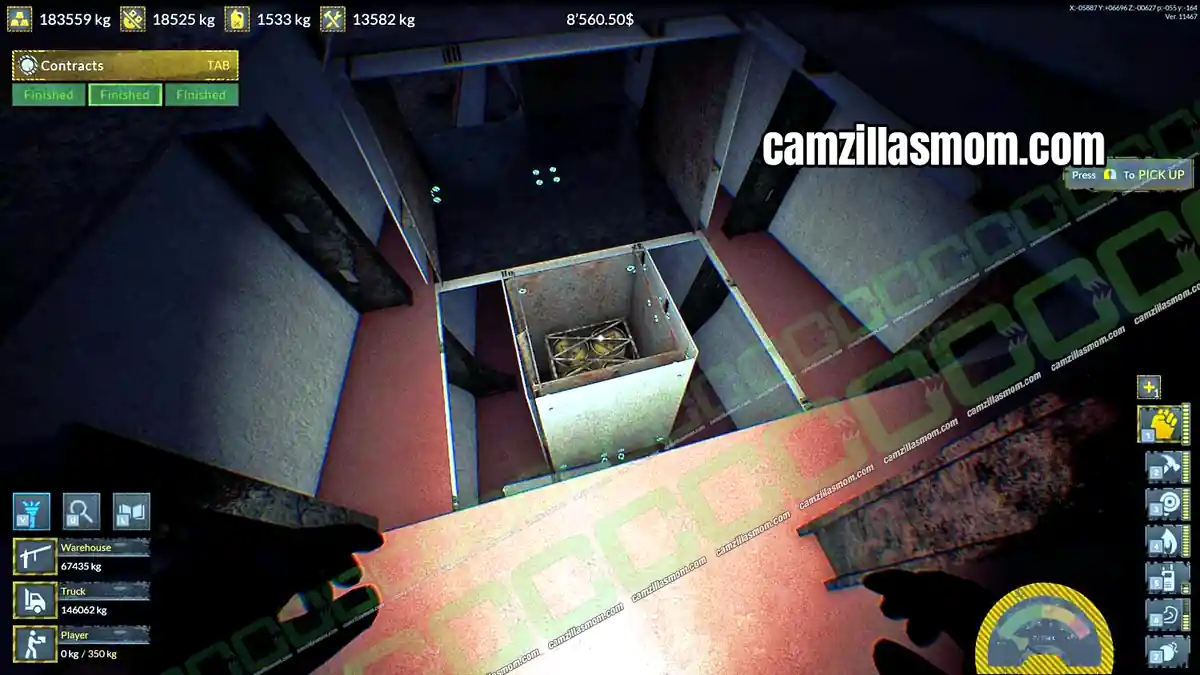
Radiation 2: Ground Floor – Level 0
At the front of the ship, the barrels sit in a small room without a door.
Shizamu Contract: Acid, Oil, Paper and Cloth
You need: 180kg Acid, 230kg Oil, 250kg Paper and 150kg Cloth
Acid and oil come from barrels and Crane Cargo. Paper and cloth are mostly trash on the floor, cardboard boxes and furniture, so collect them while you walk the decks for the other contracts.
Acid
The green acid barrels on the ground floor alone give you 224kg, more than the 180kg you need.
Ground Floor – Level 0
Acid Storage 1: 40kg, 2x 25kg, 28kg and 3x 7kg
On the starboard side toward the back, between the hull and the walls, is a storage area with a 40kg barrel, two 25kg barrels, a 28kg four-pack and three 7kg barrels.
Acid Storage 2: 28kg, 2x 25kg and 7kg
The room with the sixth electricity switch has a metal door. Behind it is a small acid storage with a 28kg four-pack, two 25kg barrels and a 7kg barrel.
Crane Cargo: 120kg
Near the damaged rear of the ship, a room on the port side holds a Crane Cargo with 120kg of acid.
Radioactive Barrels: 80kg each
The radioactive barrels behind the fourth electricity switch and the walled-in set in the nose of the ship both contain 80kg of acid.
Oil
You do not need any Crane Cargo for oil. The barrels on the second floor plus the four-pack on the fifth floor give you 235kg, just over the 230kg you need.
Ground Floor – Level 0
Sixth Electricity Switch Room
Four 7kg barrels, two 10kg barrels, three 40kg four-packs and a Crane Cargo with 190kg of oil.
First Floor – Level 1
Crane Cargo: 60kg
Behind a locked metal door is a Crane Cargo with 60kg of oil.
Second Floor – Level 2
4x Four-Packs: 40kg each
At the front of the ship, where the radiation is noticeable, stand four four-packs of oil barrels with 160kg in total.
5x Single Barrels: 7kg each
Five single barrels with 35kg in total sit in the same area.
Fifth Floor – Level 5
Four-Pack: 40kg
On the fifth floor deck, a four-pack of oil barrels stands next to the big front cannon.
Paper
Paper is the hard part of this contract. The two Crane Cargo boxes only give you 75kg, so you have to collect the paper trash and cardboard boxes on the floors as well.
All Floors
Paper Trash and Cardboard Boxes: 1kg each
Pick up every piece of paper trash and every cardboard box you see.
Ground Floor – Level 0
Crane Cargo: 35kg
Across from the fifth electricity switch, a room with a metal door holds a Crane Cargo with 35kg of paper.
Crane Cargo: 40kg
The room with the sixth electricity switch has a Crane Cargo with 40kg of paper.
Cloth
Cloth works the same way. The three sofas and the Crane Cargo only add up to 76kg, so pick up orange cable rolls and fabric trash wherever you find them.
All Floors
Orange Cable Rolls: 1kg each
Every orange cable roll on the floor holds 1kg of cloth.
Fabric Trash: 1kg each
Collect any cloth trash lying around.
Ground Floor – Level 0
Crane Cargo: 40kg
The room with the sixth electricity switch has a Crane Cargo with 40kg of cloth.
Fifth Floor – Level 5
Sofa: 12kg
One of the fifth floor rooms has a sofa.
Sixth Floor – Level 6
2x Sofas: 12kg each
One sofa is in the small room with the transmitter, and another stands in front of the TV in the rec room.
Mirikoro Contract: Plastic, Aluminum, High Alloy Steel, Low Alloy Steel and 100 Beds
You need: 900kg Plastic, 2000kg Aluminum (Aluminium), 1500kg High Alloy Steel, 6500kg Low Alloy Steel and 100 Beds
Aluminum and the beds take the longest. The steel and plastic go much faster. Collect the beds before you dismantle anything, or some of them will be destroyed.
Plastic
You do not need the first floor Crane Cargo for plastic. Collect the plastic trash while you gather paper and cloth, and hammer out the blue walls near the bathrooms.
All Floors
Blue Walls, Ceilings and Floors
Everything painted blue is made of plastic.
Plastic Trash: 2kg or 3kg
Tarps, bottles and pipes lie on the floor and sit in metal racks.
First Floor – Level 1
Crane Cargo: 180kg
Behind a locked metal door is a Crane Cargo with 180kg of plastic.
Aluminum (Aluminium)
2000kg of aluminum is the toughest requirement of all three Fuso contracts. The fastest way is to hit every square and round silver pipe overhead while you are below deck collecting paper and cloth. Each segment gives you 5kg.
All Floors
Overhead Pipes and Ventilation: 5kg each
Most pipes and ventilation parts below deck are made of aluminum.
Ground Floor – Level 0
Crane Cargo: 60kg
Near the damaged back of the ship, a room on the port side holds a Crane Cargo with 60kg of aluminum.
Radioactive Barrels
Both groups of radioactive barrels (see Radiation) contain aluminum, if you decide to remove them.
First Floor – Level 1
Crane Cargo: 50kg
A Crane Cargo in the first floor corridor holds 50kg of aluminum.
Crane Cargo: 45kg
Behind a locked metal door is another Crane Cargo with 45kg.
Crane Cargo: 110kg
A third Crane Cargo in a nearby room holds 110kg of aluminum.
Gas Hazard Components: 60kg
Once the gas is off, dismantle the gas hazard parts in the room with the main tank for 60kg in total.
Fifth Floor – Level 5
Black Flat Piece: 5kg
A flat piece of aluminum lies on the outer deck at the front of the ship.
Equipment with Hatches
All equipment with hatches on the outer deck is made of aluminum.
Bollards: 5kg each
The bollards with three knobs on top of the hull are made of aluminum.
Sixth Floor – Level 6
2x Big White Hatches: 5kg each
Two large square floor hatches on the sixth floor contain aluminum.
High Alloy Steel
High alloy steel is the easiest part of this contract. The three huge cannons on the fifth floor deck alone give you 1980kg, more than the 1500kg you need.
All Floors
White Walls, Floors and Ceilings
The white surfaces are made of high alloy steel.
Deck Equipment
Most equipment on deck contains high alloy steel.
Ground Floor – Level 0
10x Racks with Cylindrical Objects: 100kg each
A large room at the rear of the ground floor holds ten racks with white cylindrical objects, 1000kg in total.
Crane Cargo: 70kg
Opposite the fifth electricity switch, a room with a metal door holds a Crane Cargo with 70kg of high alloy steel.
First Floor – Level 1
Crane Cargo: 200kg
A Crane Cargo in the first floor corridor holds 200kg.
Crane Cargo: 135kg
Another Crane Cargo in a nearby room holds 135kg.
Fifth Floor – Level 5
14x Manual Cannons: 30kg each
Fourteen manual cannons on the outer deck give you 420kg in total.
3x Huge Cannons: 660kg each
The three large cannons on the outer deck give you 1980kg, which covers the whole contract on their own.
Low Alloy Steel
6500kg sounds like a lot, but most of the Fuso is made of low alloy steel. The three huge cannons you remove for high alloy steel also give you 3300kg. Then detach the round cannon bases and lift them out with the crane. Each one holds 1300kg, so three of them take you past 6500kg.
All Floors
Wall Frames: 2kg, 10kg or 20kg
The stabilizing wall frames are made of low alloy steel. Small parts weigh 2kg, medium parts 10kg and long parts 20kg.
Red Walls, Floors and Ceilings
Everything painted red is made of low alloy steel.
2x Anchors: 250kg each
Detach the anchors on the fourth floor so the crane can collect them.
Ground Floor – Level 0
3x Gas Tanks: 24kg each
Three gas tanks stand in the large room at the back, near the damage.
Fifth Floor – Level 5
3x Huge Cannons: 1100kg each
The three large cannons on the outer deck give you 3300kg in total.
Round Cannon Bases: 1300kg each
Each cannon sits on a round base with 1300kg of low alloy steel.
Big Winch: 160kg
A large winch on deck holds 160kg.
100 Beds
Collecting 100 beds takes a while, since most of them are below deck. Grab them while you collect paper, cloth and plastic trash. The triple bunk beds count as two beds, one double and one single. There are more than 100 beds on the Fuso, and the list below is one route to get all you need.
Ground Floor – Level 0
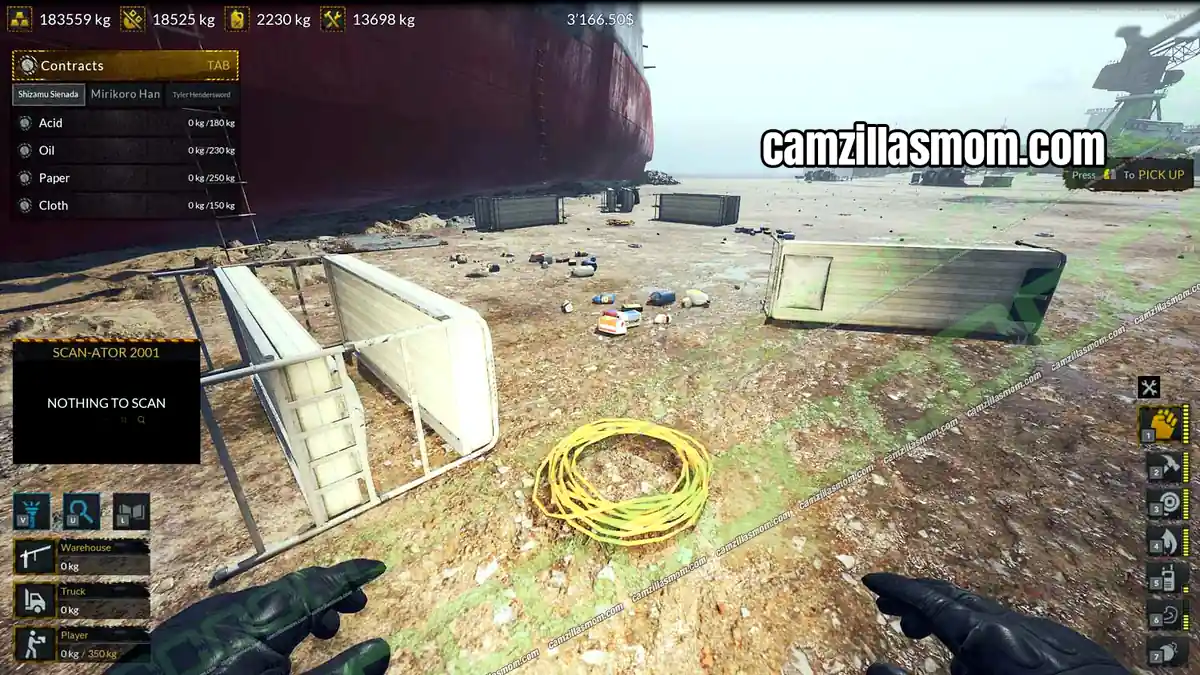
Beds 1 to 5: Outside the Ship
Five beds lie in the dirt outside the ship.
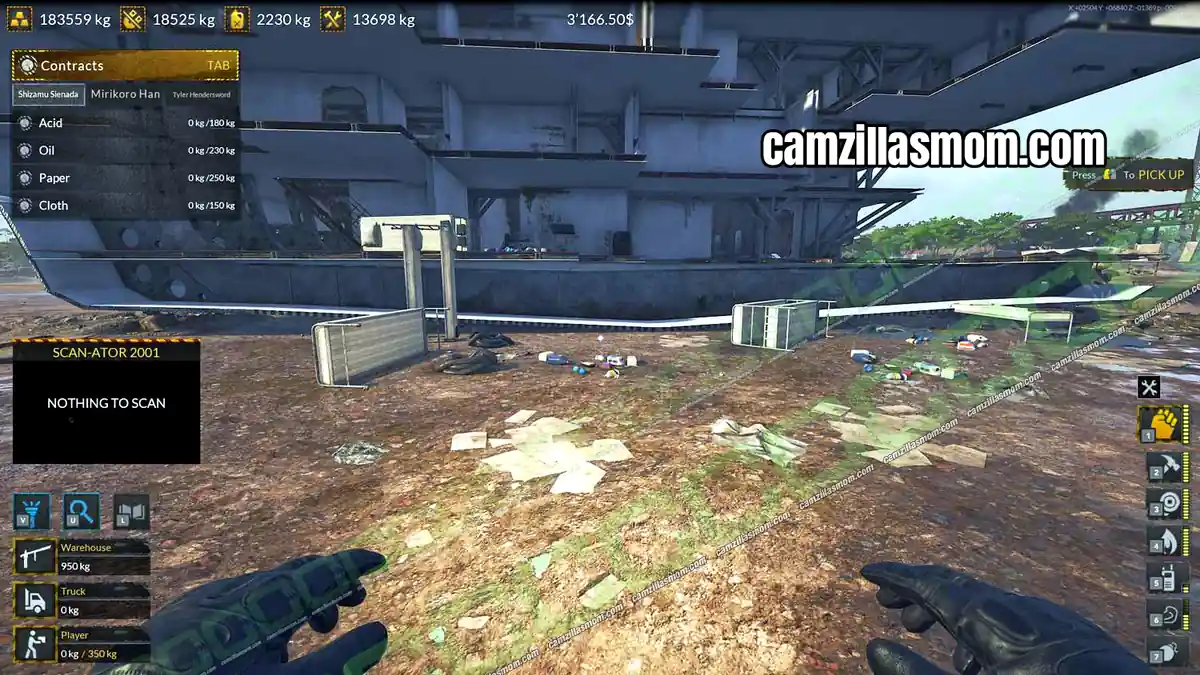
Beds 6 to 10: Damaged Side
Five more beds have fallen out of the damaged side of the ship.
Sixth Floor – Level 6
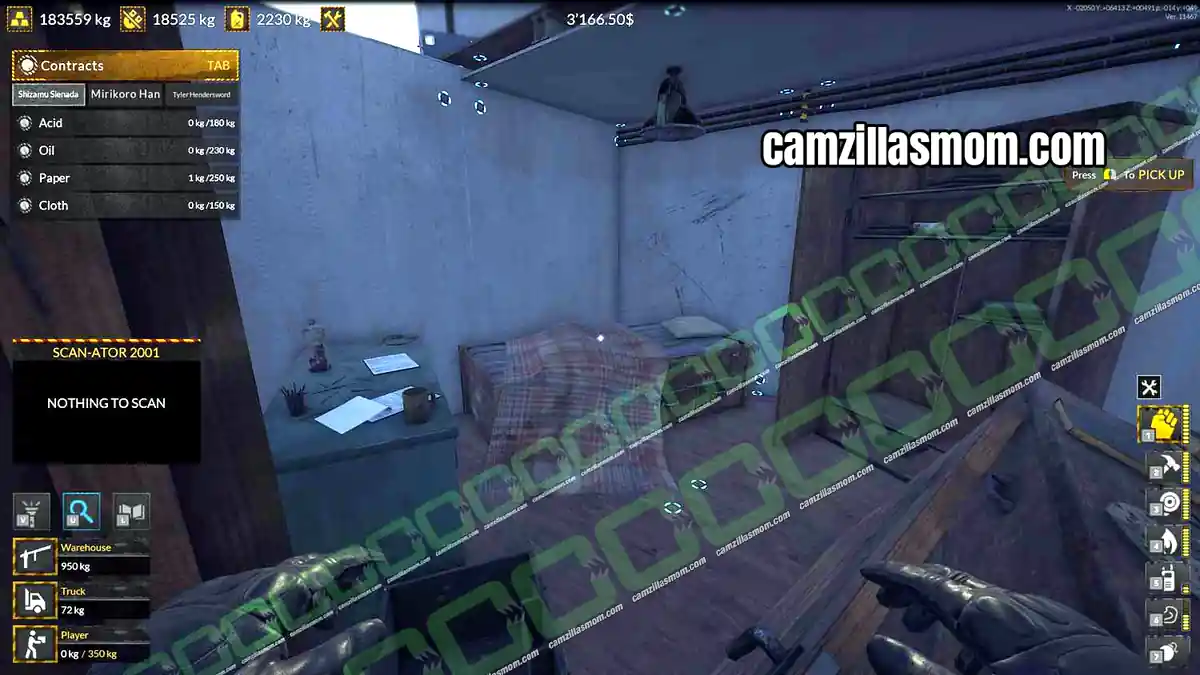
Bed 11: Wooden Door Room
A bed stands in a room with a wooden door on the sixth floor.
Seventh Floor – Level 7
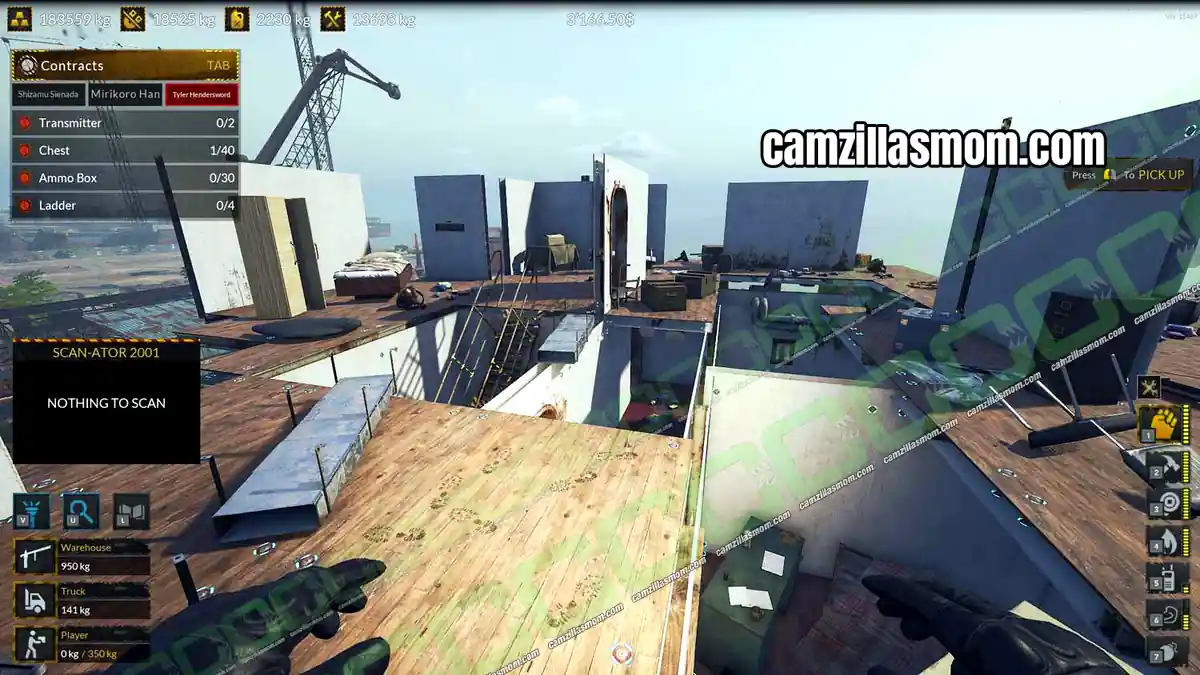
Bed 12: Destroyed Seventh Floor
A bed is left on the demolished seventh floor.
Fourth Floor – Level 4
Beds 13 to 16: Cannon Base Bedrooms
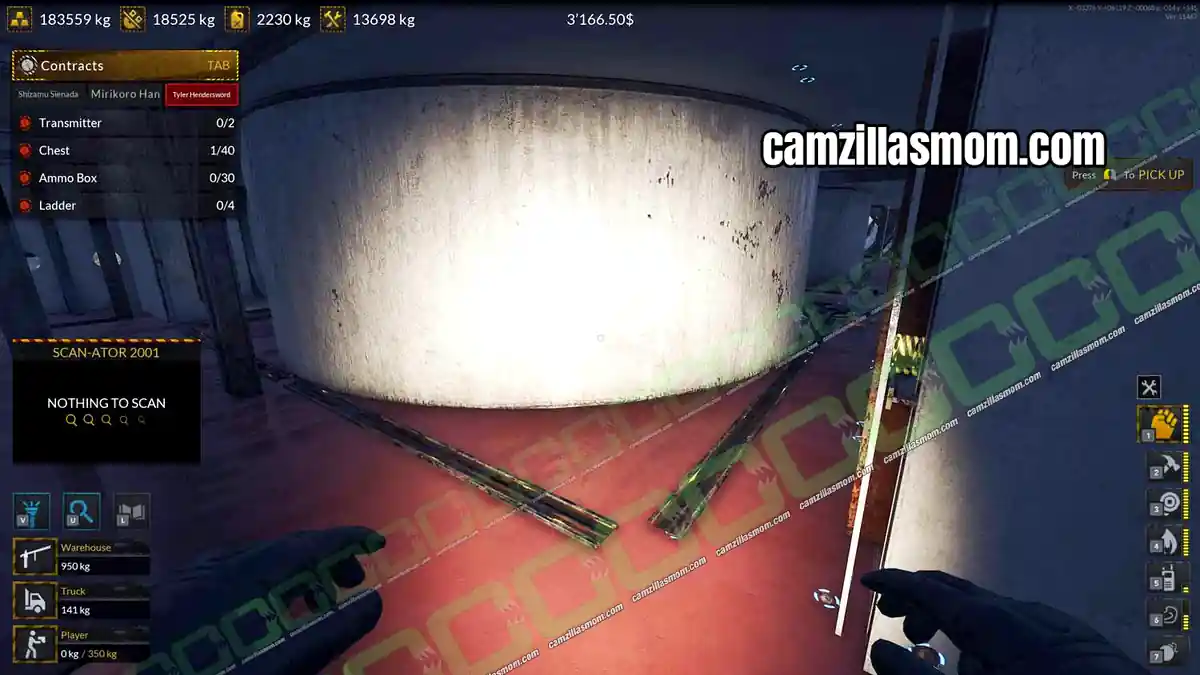
Head below deck. Past the port and starboard cannon rooms at the back, toward the front where the round cannon bases are, three bedrooms hold four beds.
Bed 17: Center Corridor
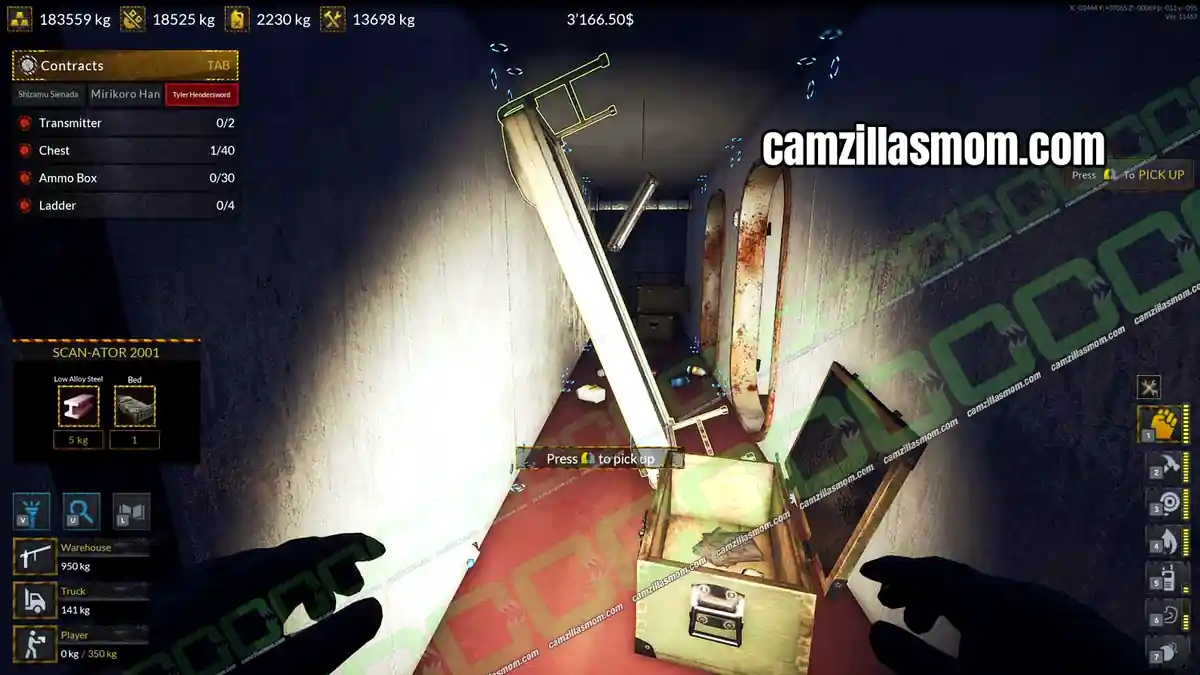
Near the center of the fourth floor, a bed stands in the middle of a corridor.
Beds 18 to 21: Next to the Corridor Bed
The room beside that bed has four beds.
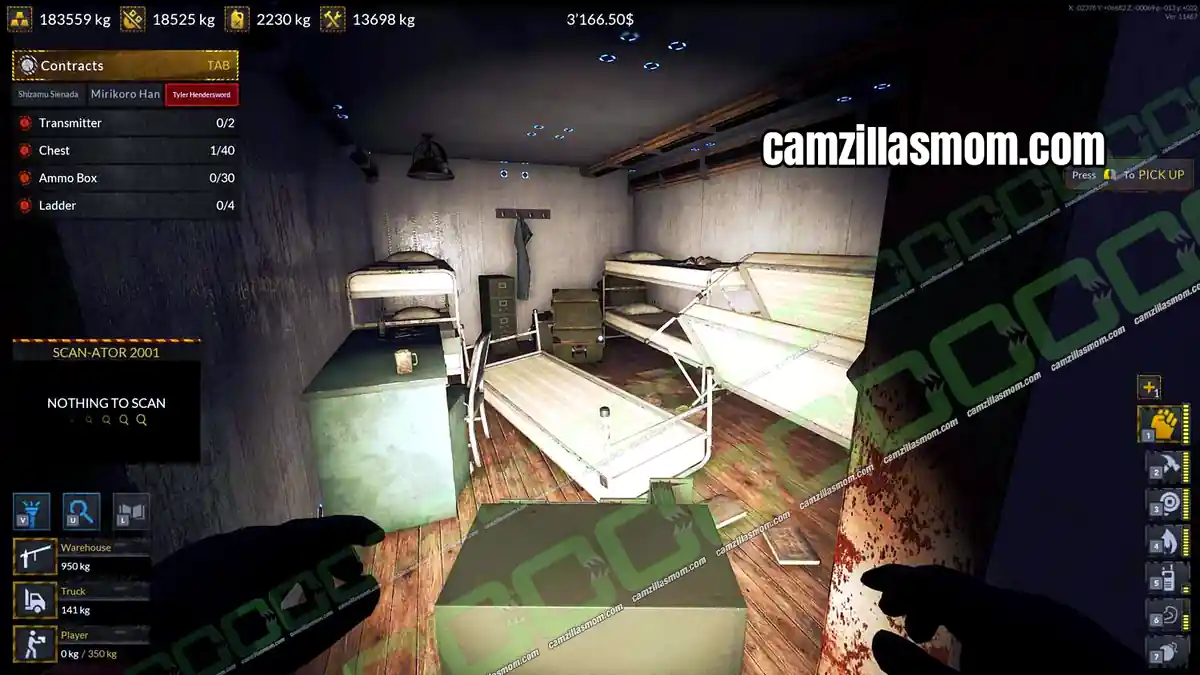
Beds 22 to 26: Next Room
The room next door has five more beds, counting the triple bunk as two.
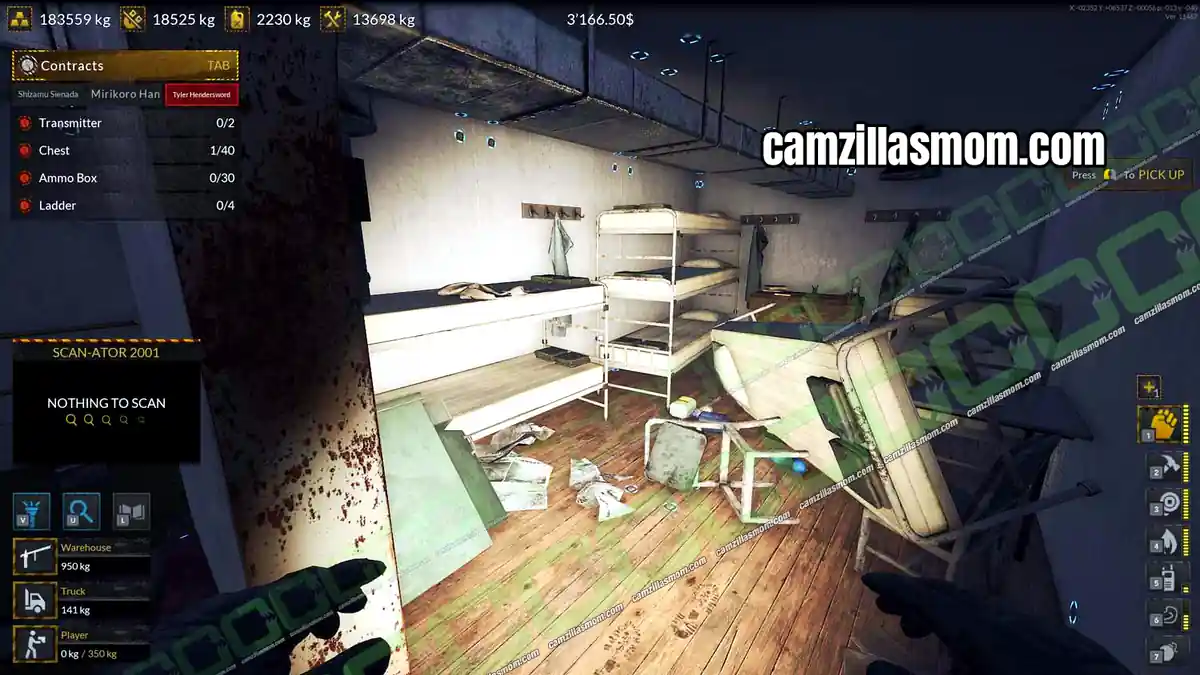
Beds 27 to 34: Big Central Bedroom
Toward the damaged back, a central room holds eight beds.
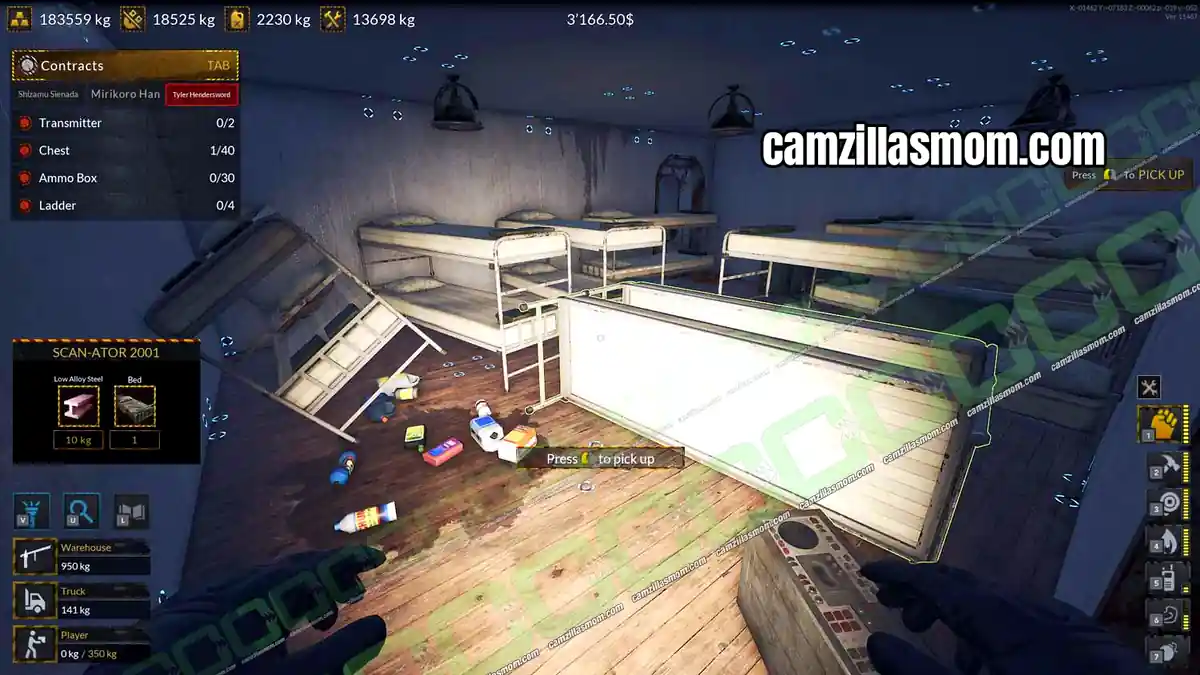
Beds 35 to 38: Smaller Bedroom
Beside it is a smaller room with four beds.
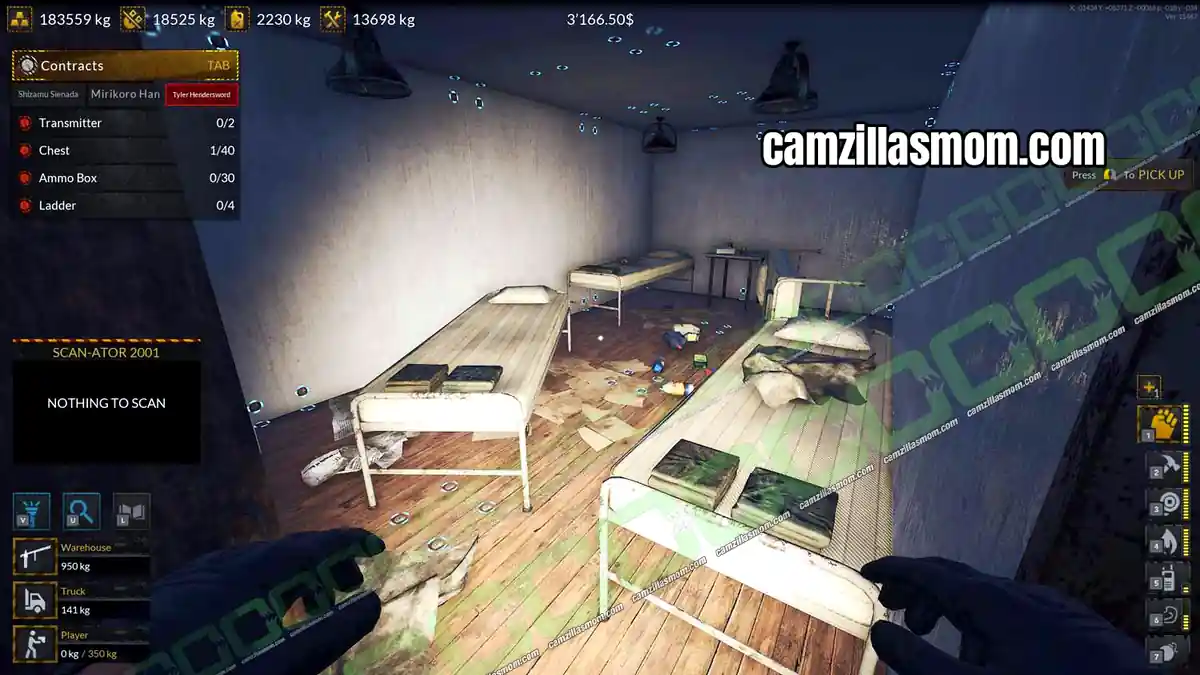
Beds 39 to 41: Turret Support Room
Near the damaged section, the room with the round support for the big cannon above has three beds.
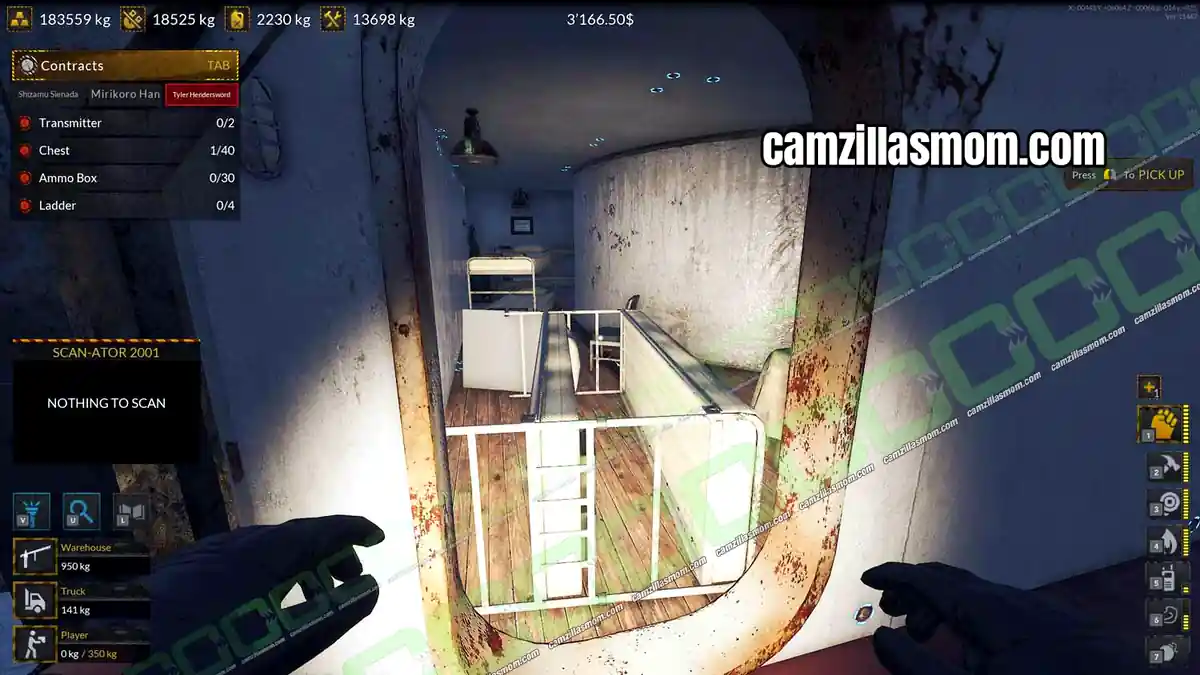
Beds 42 and 43: Next Room
The next room has two beds.
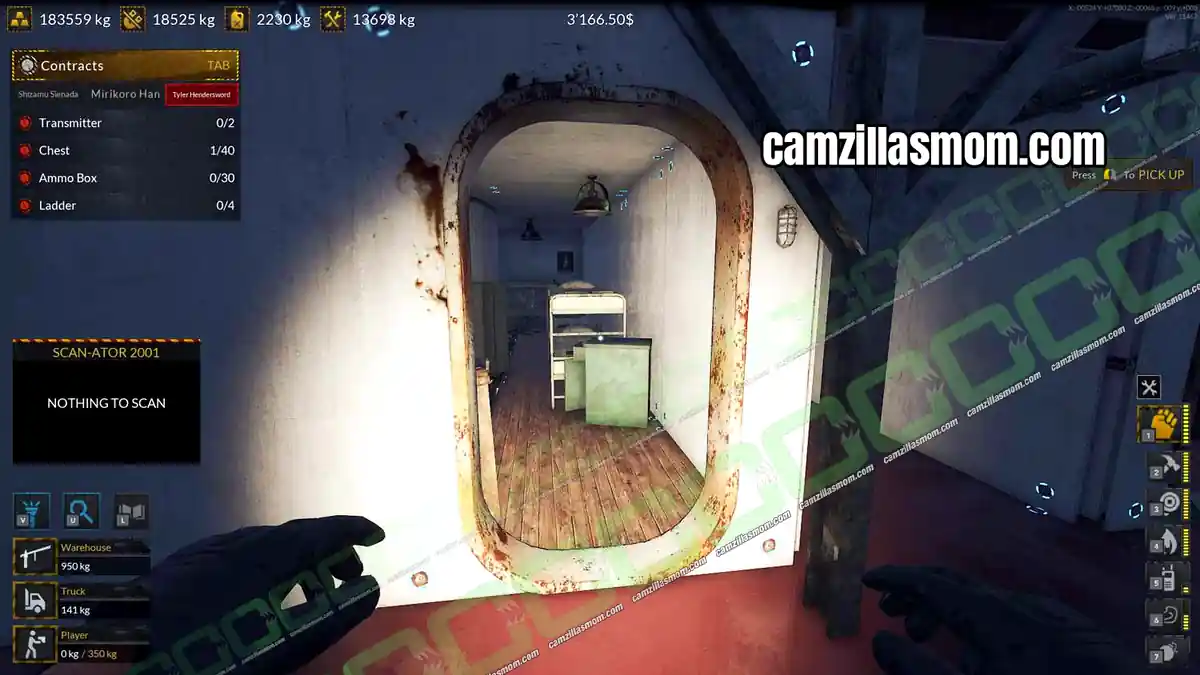
Third Floor – Level 3
Beds 44 and 45: Small Starboard Bedroom
At the front of the ship is a small starboard bedroom with two beds.
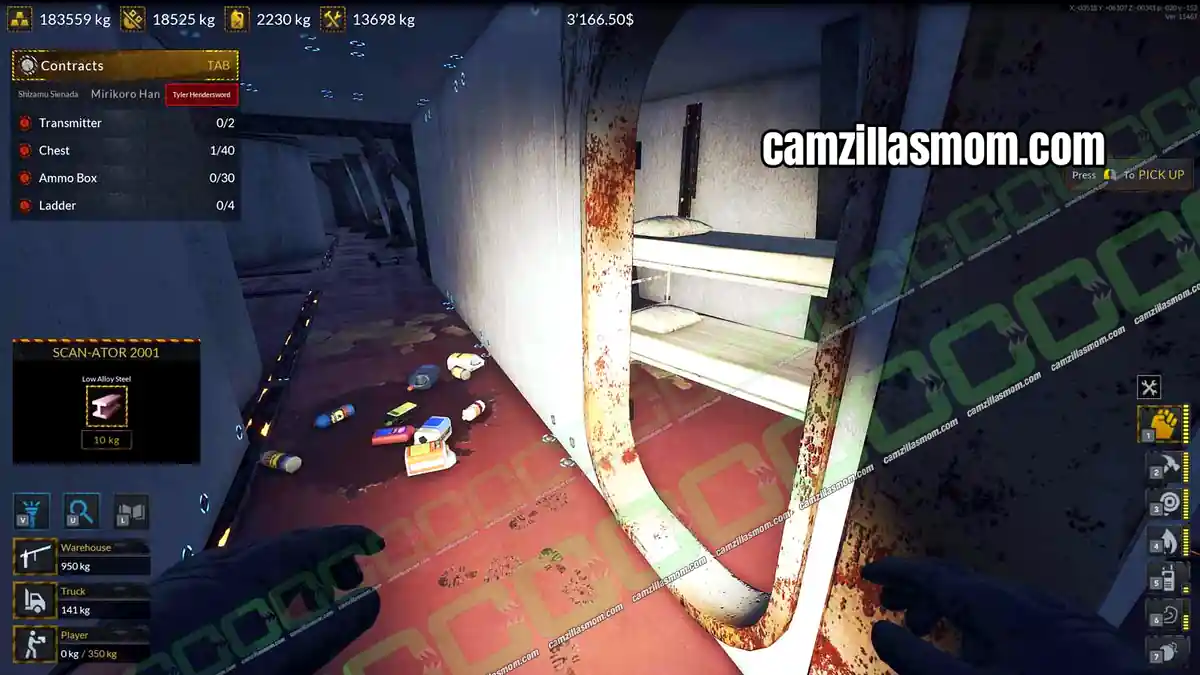
Beds 46 to 49: Front Corridor
The corridor nearby has four beds, counting the triple bunk as two.
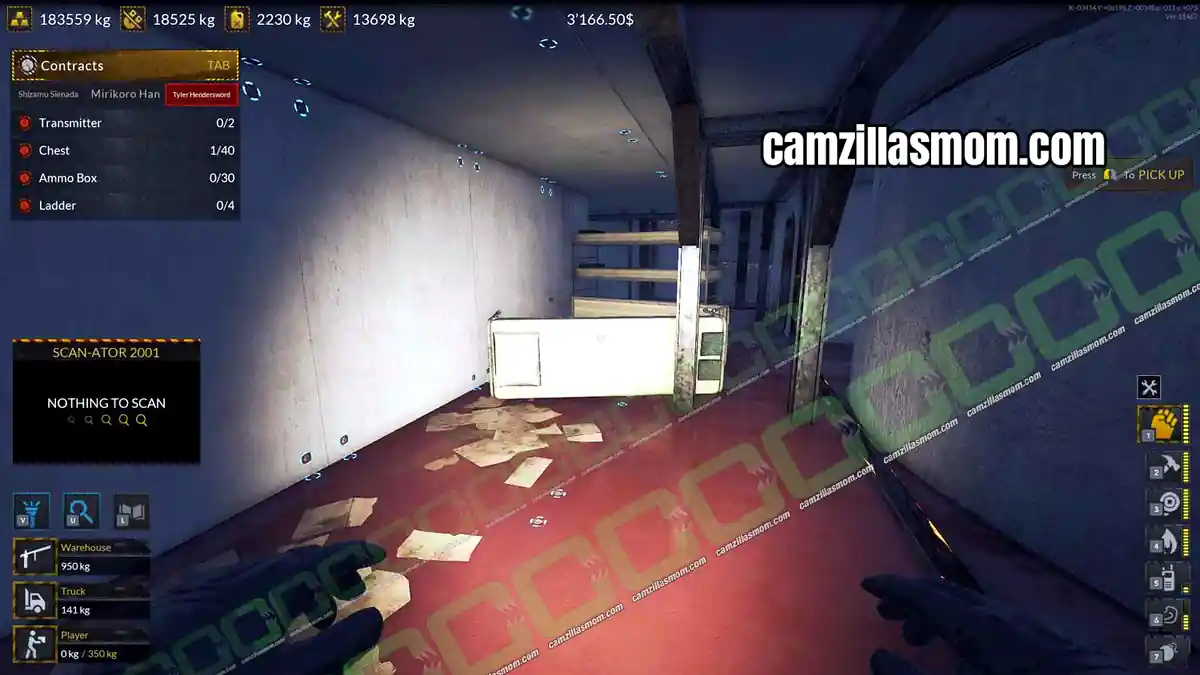
Beds 50 and 51: Damaged Port Bedroom
At the end of the corridor, a damaged bedroom has three beds. You only need two of them.
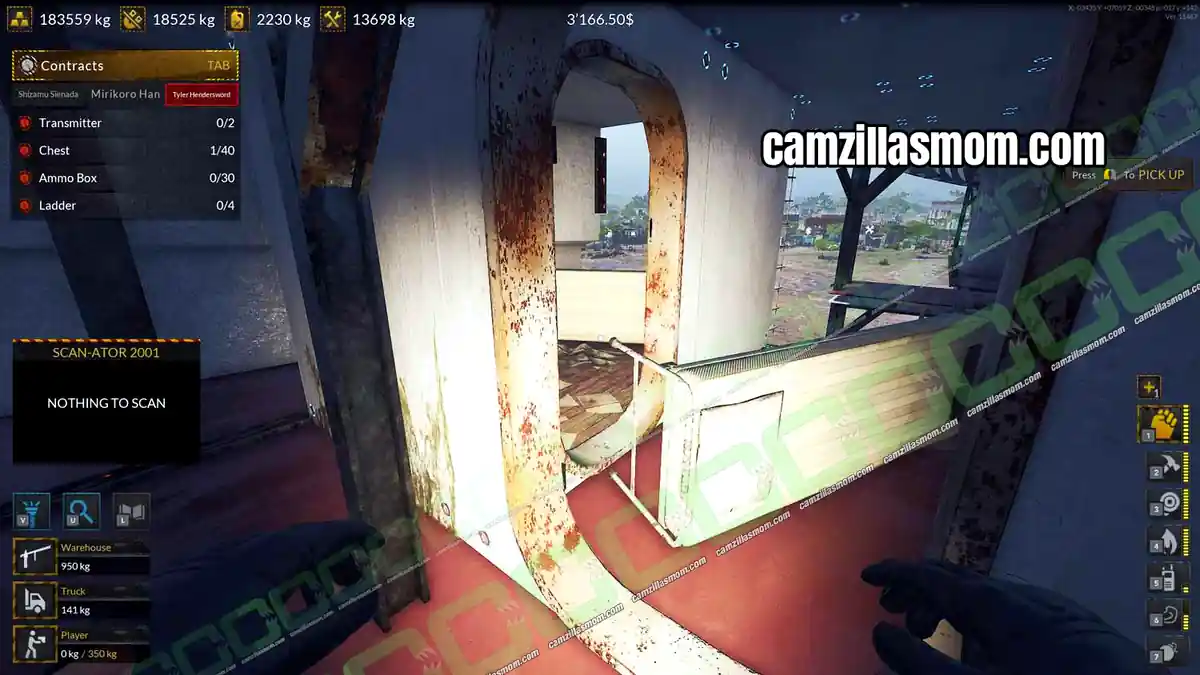
Beds 52 to 54: Starboard Corridor
Walk down the starboard corridor to the back. A small bedroom has two beds, and a third bed stands in the corridor.
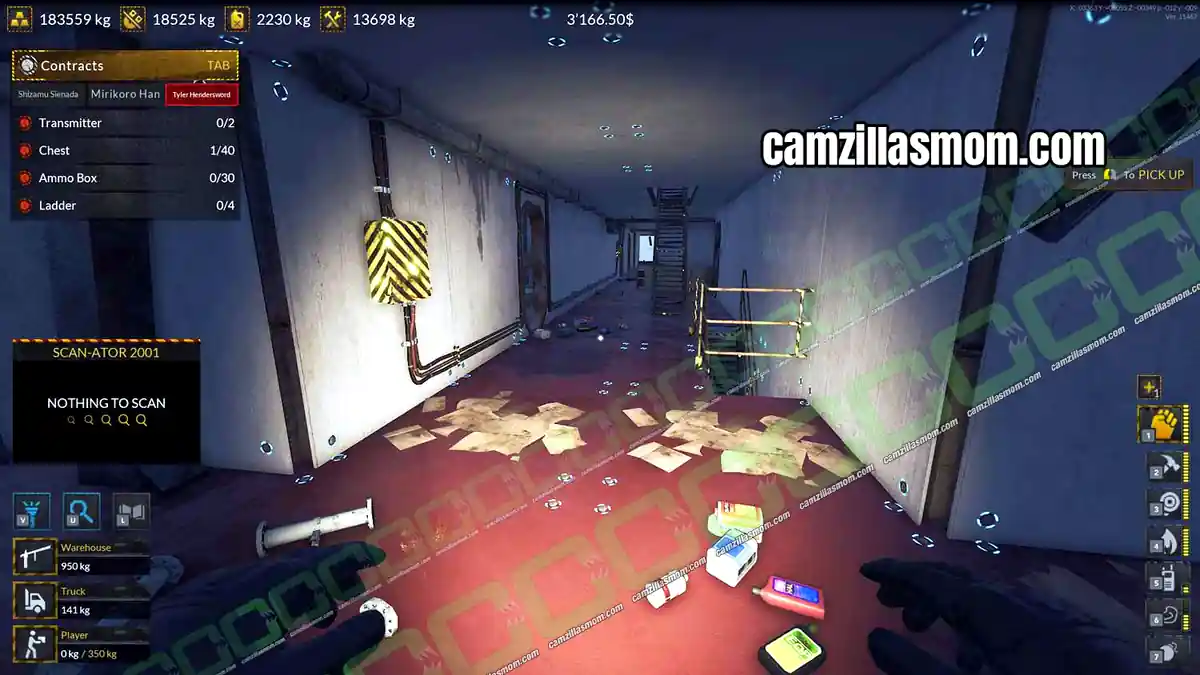
Beds 55 and 56: First Port Bedroom
Back at the damaged front port bedroom, walk down the port corridor. The first small bedroom has two beds.
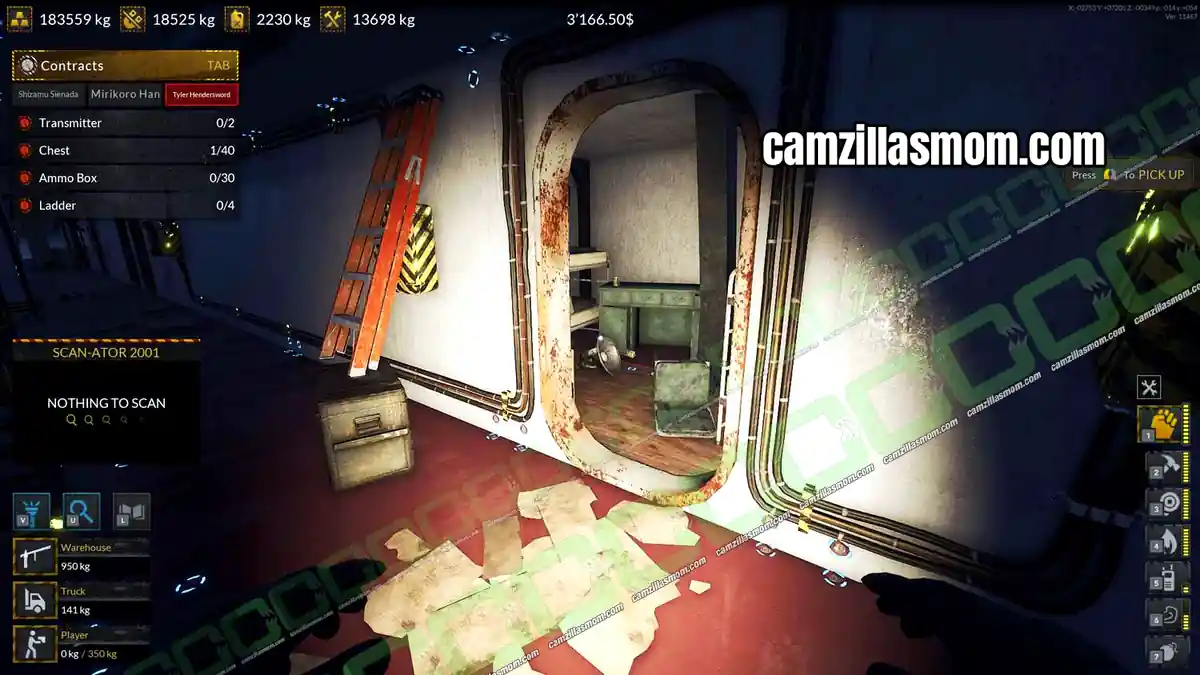
Beds 57 to 60: Second Port Bedroom
The next bedroom along the corridor has four beds.
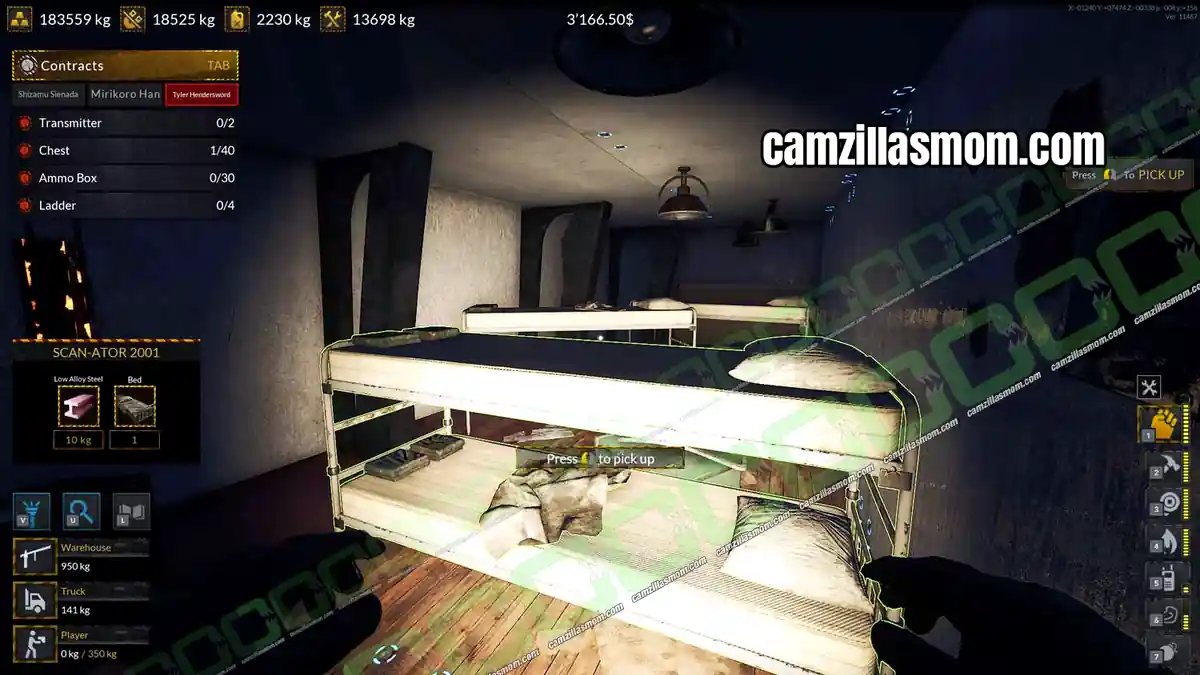
Beds 61 and 62: Back Corridor
Near the damaged back, two beds stand in the corridor.
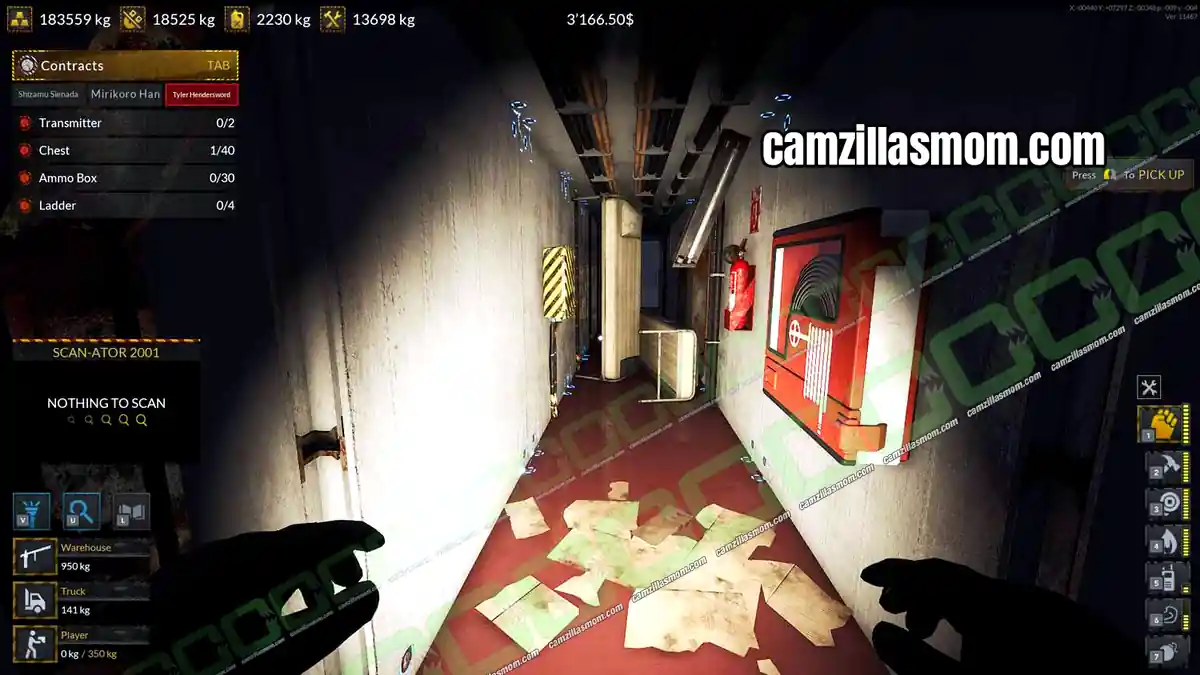
Beds 63 to 65: Bedroom at the Back
The bedroom next to them has three more beds.
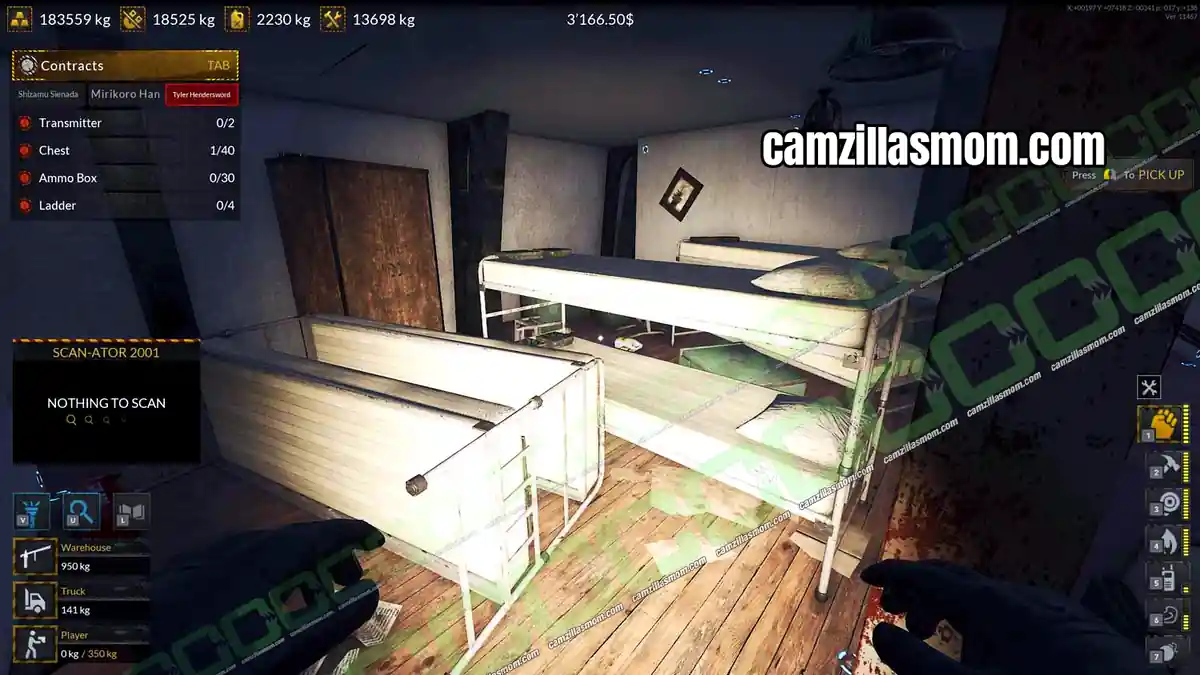
Beds 66 to 72: Turret Support Bedroom
At the back center, a large bedroom with a round turret support has seven beds.
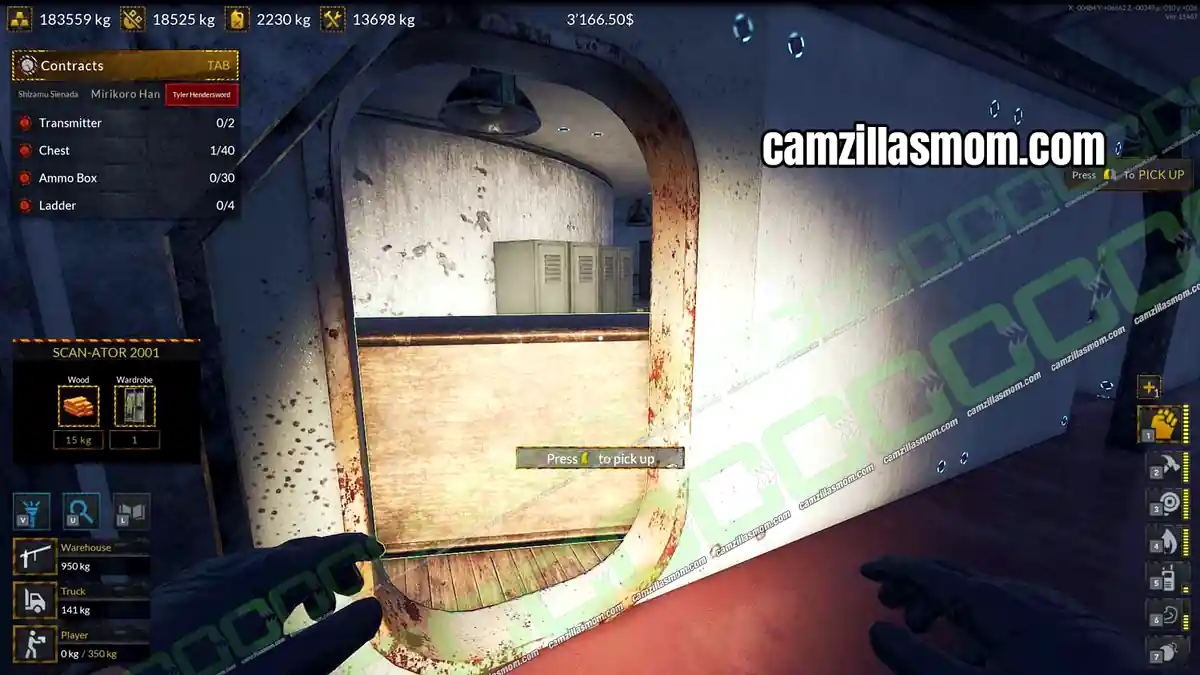
Second Floor – Level 2
Beds 73 and 74: Next to the Big Laundry
A small bedroom next to the large laundry room has two beds.
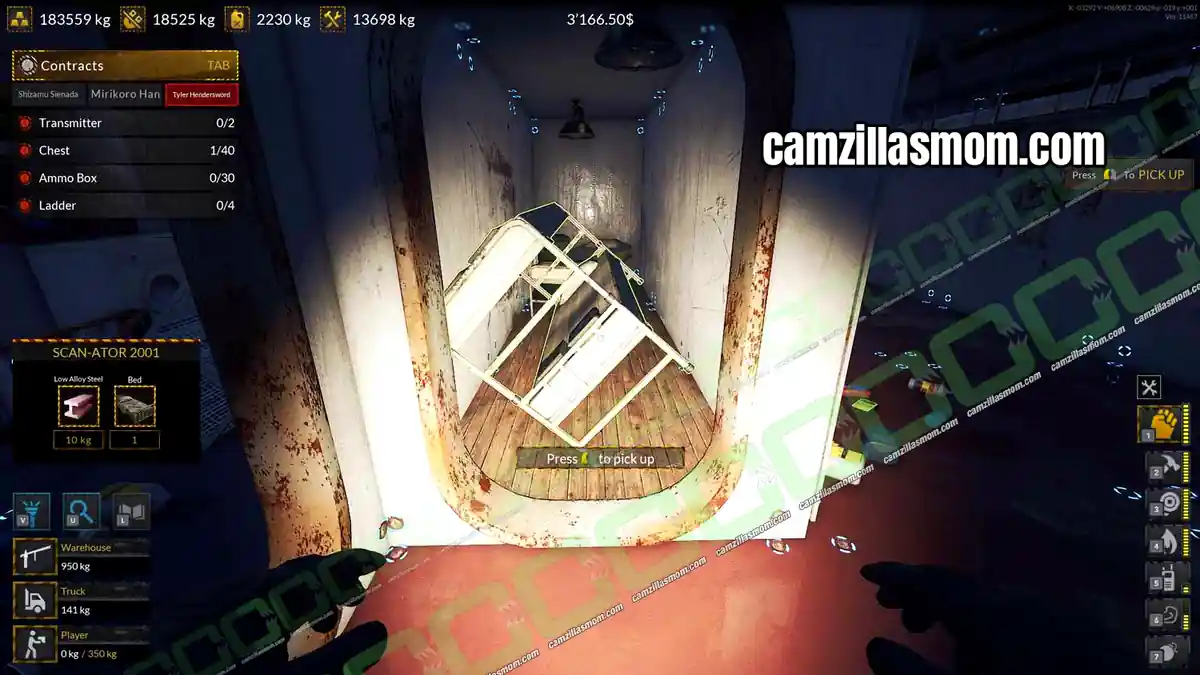
Beds 75 and 76: Small Port Bedroom
Next to it is a small port side bedroom with two beds.
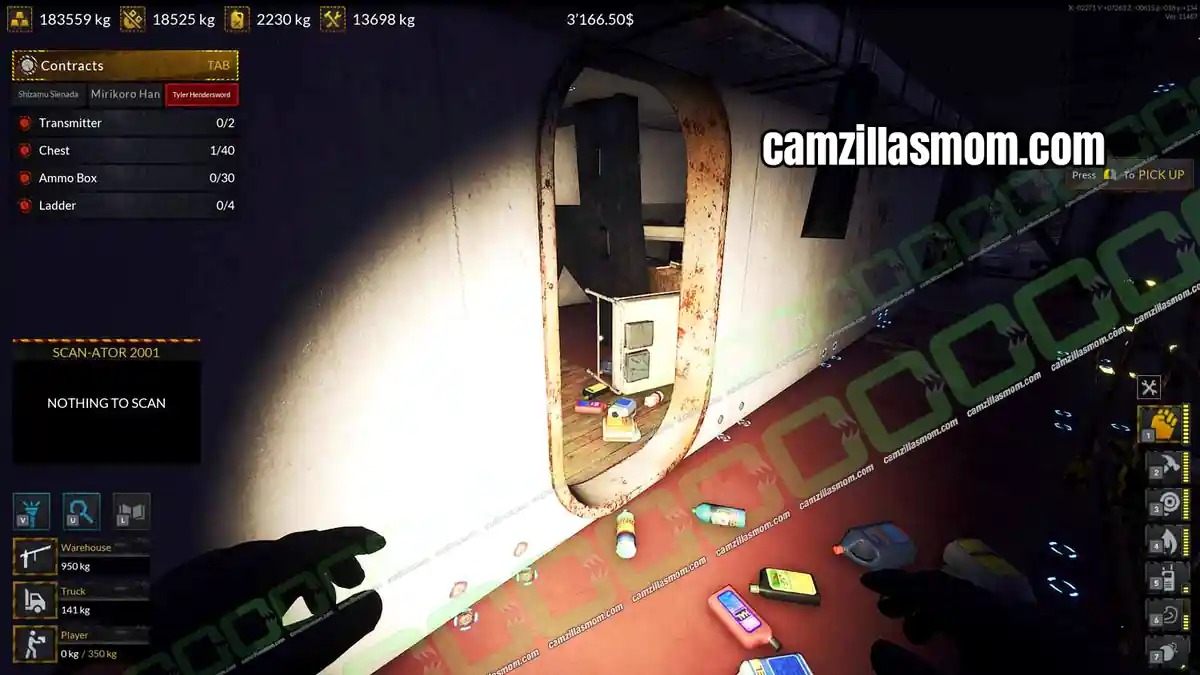
Beds 77 and 78: Across the Gap
Follow the port corridor and cross the gap in the floor. The bedroom on the other side has two beds.
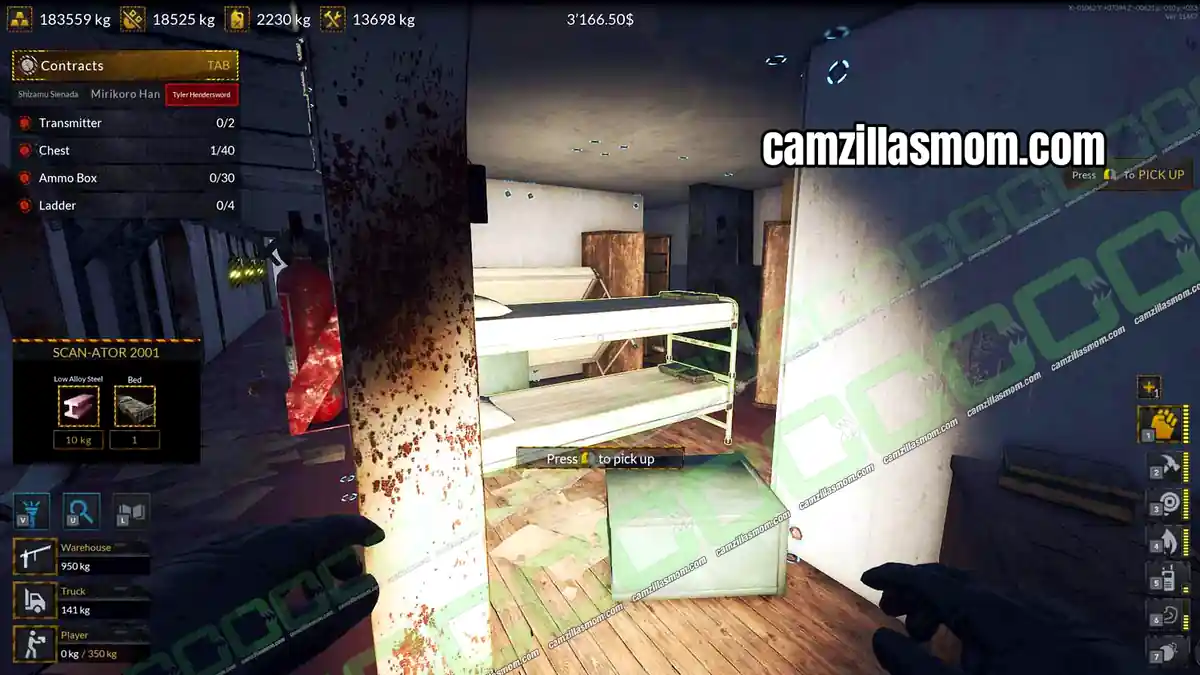
Beds 79 to 81: Long Narrow Room
Opposite it is a long, narrow room with three beds.
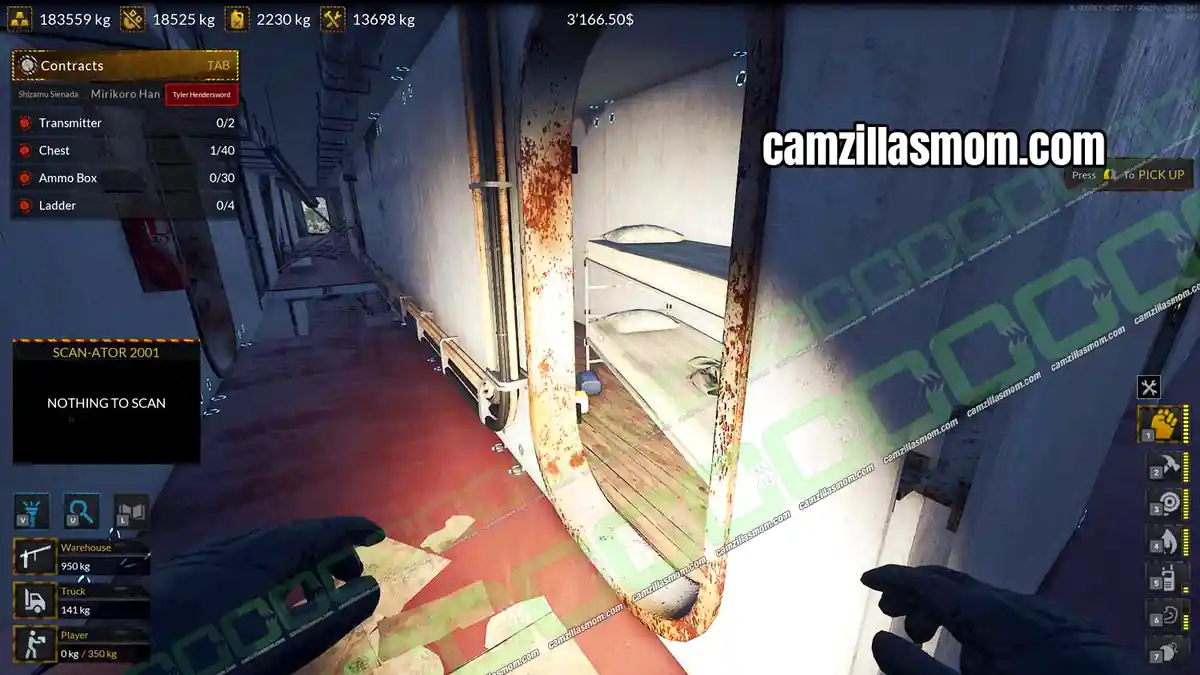
Beds 82 to 85: Opposite the Ammo Room
Directly opposite the ammo room at the back is a bedroom with four beds.
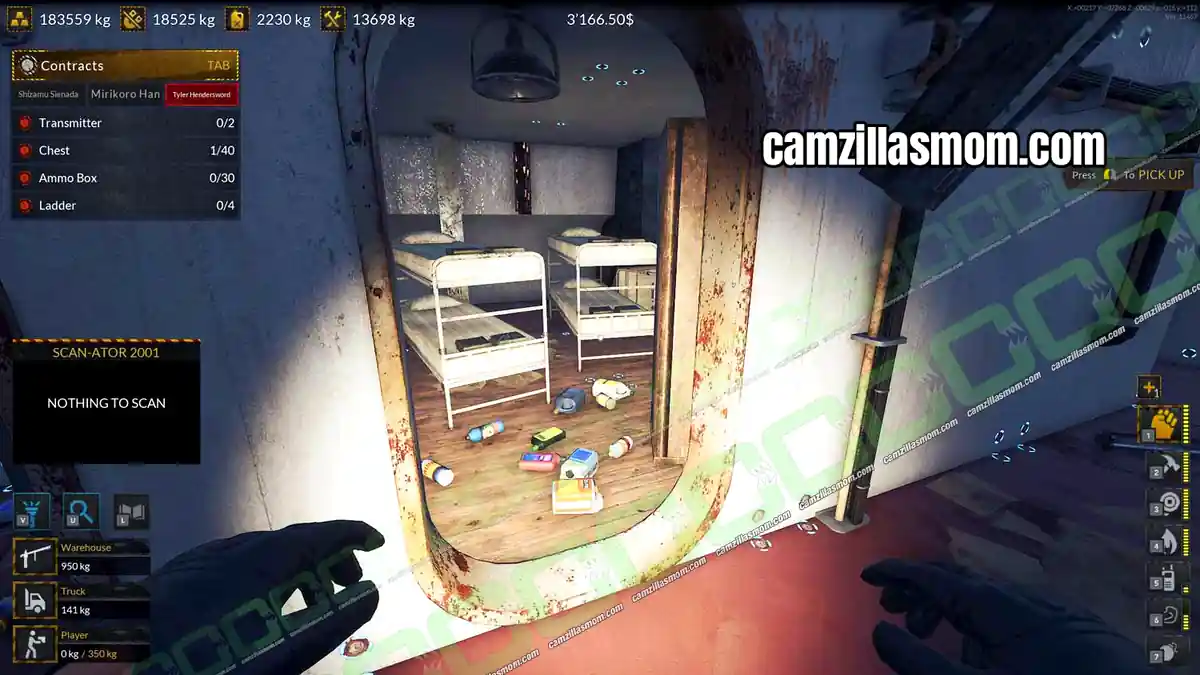
Beds 86 and 87: Near the Stairwell
Back toward the front along the starboard corridor, a bedroom near the stairwell has two beds.
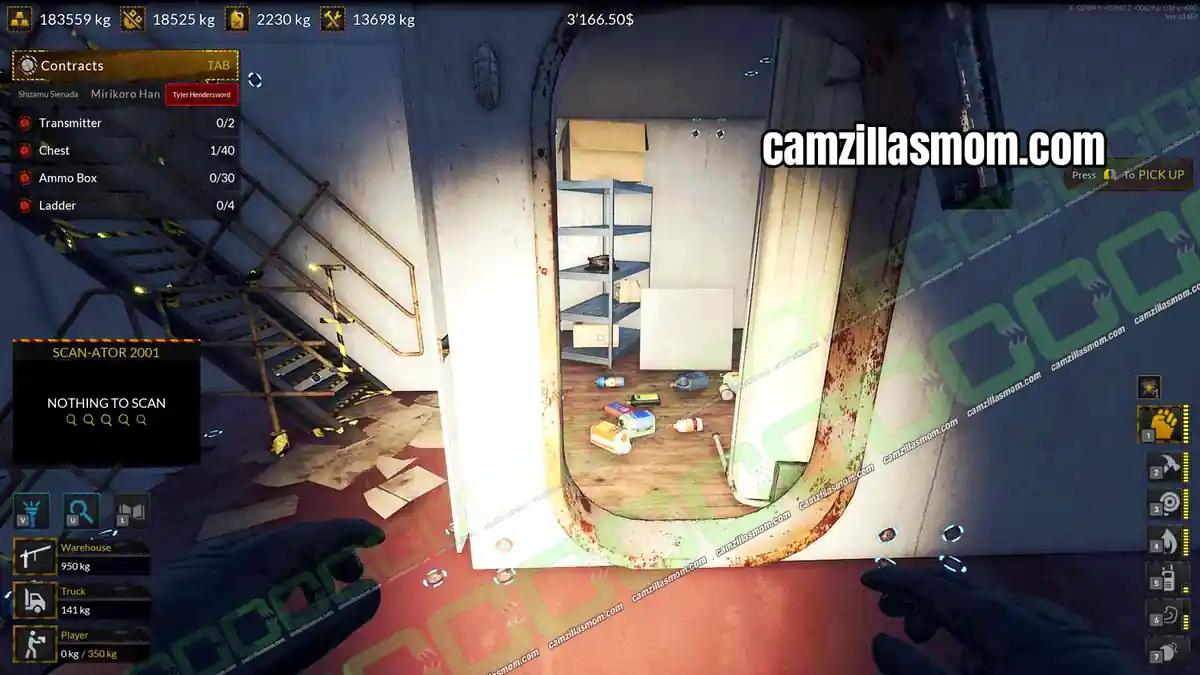
Beds 88 and 89: Center Bedroom
Follow the corridor to the back and turn left. A bedroom in the center of the ship has two beds.
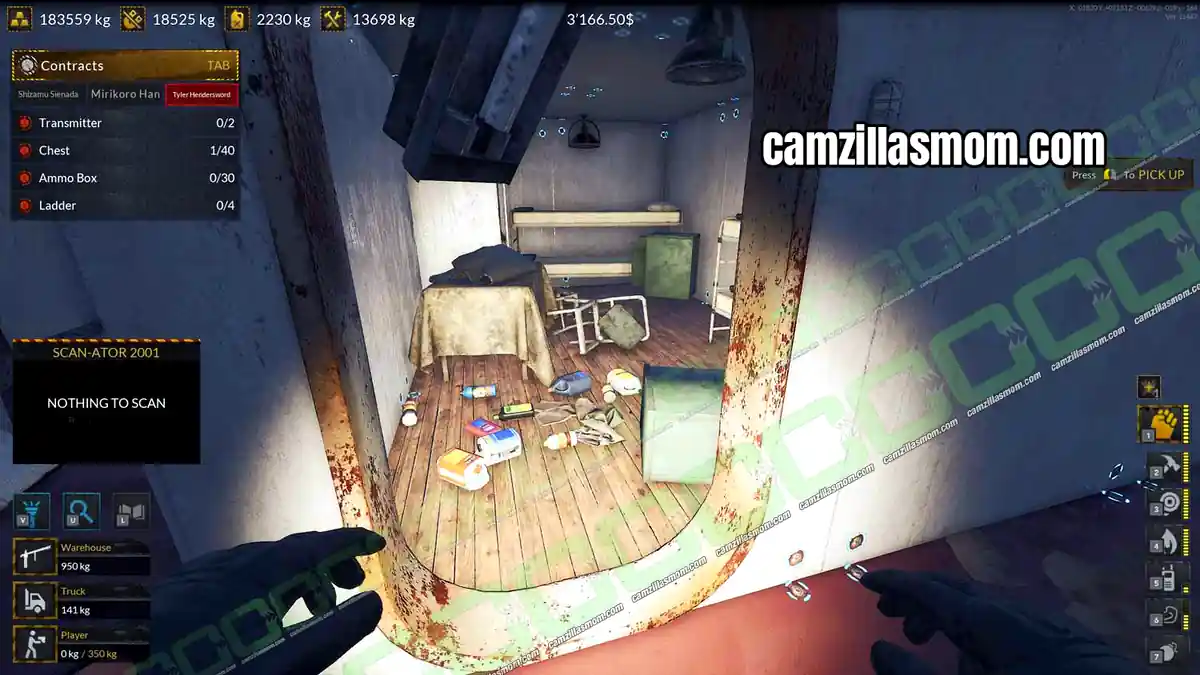
Beds 90 and 91: Long Center Bedroom
Also in the center is a long, narrow bedroom with two beds.
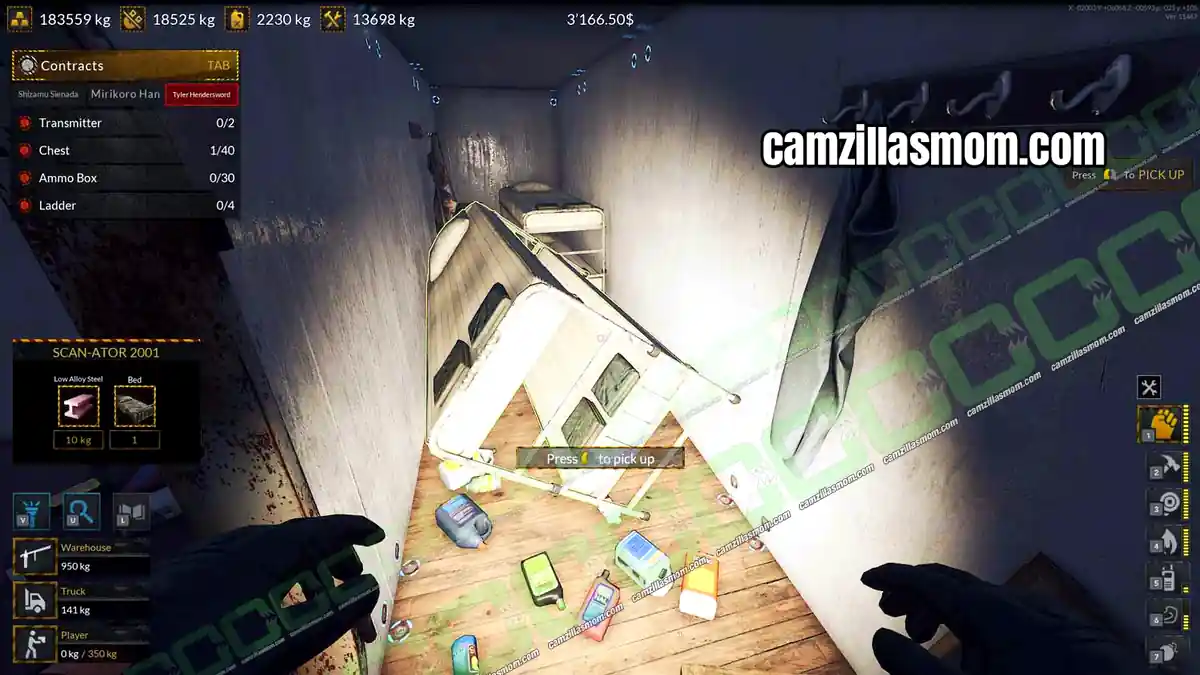
Bed 92: Messy Starboard Bedroom
In the starboard corridor, a messy bedroom has a single bed.
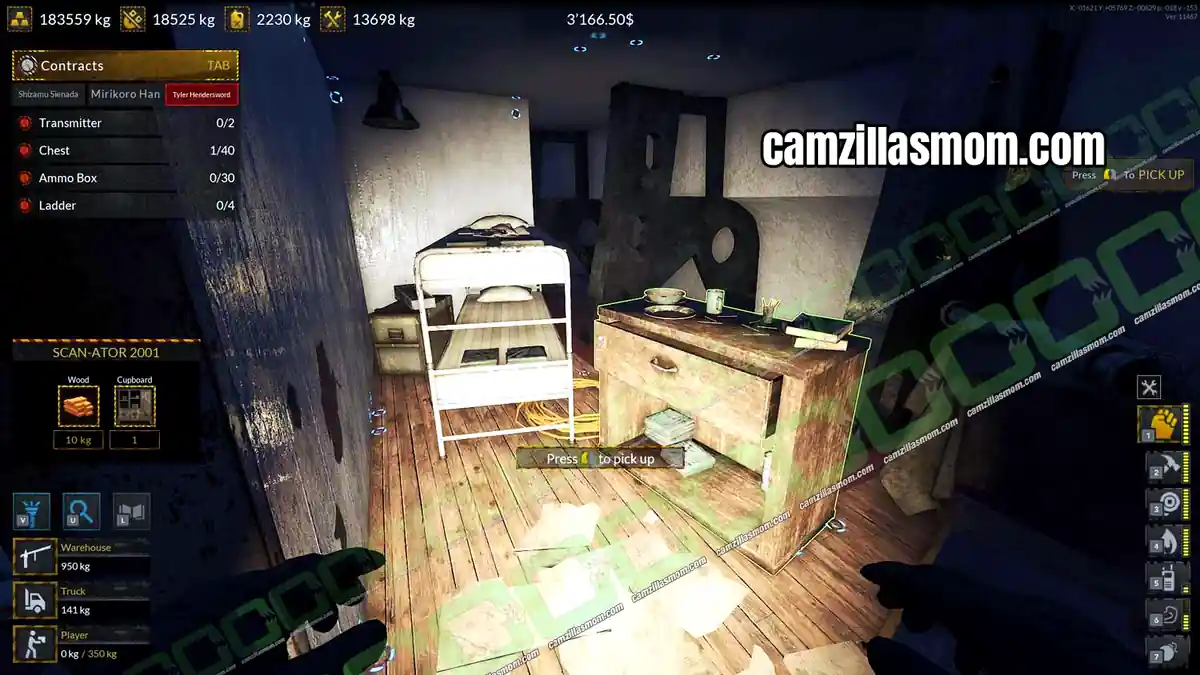
Beds 93 to 97: Next to the Small Laundry
Further down the corridor, a long bedroom next to a small laundry room has five beds, counting the triple bunk as two.
Beds 98 to 100: Damaged End
At the damaged back of the ship, a bedroom off the corridor has six beds. You only need three of them to reach 100.
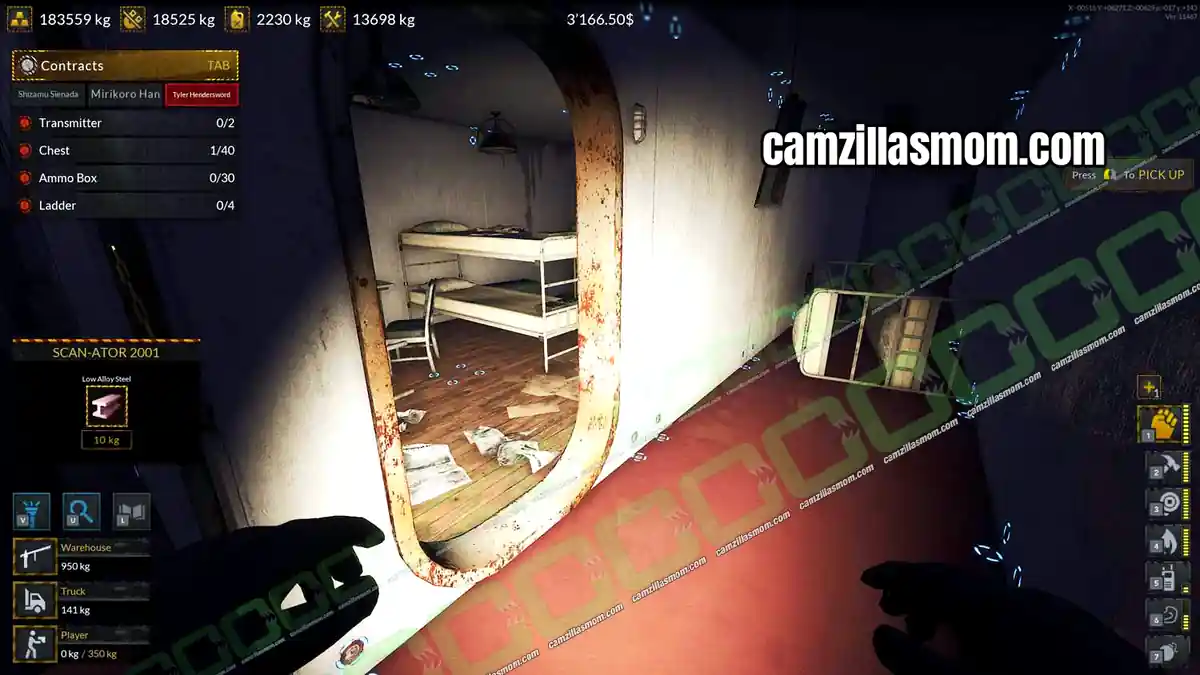
Tyler Contract: Transmitters, Chests, Ammo Boxes and Ladders
You need: 2 Transmitters, 40 Chests, 30 Ammo Boxes and 4 Ladders
This contract only asks for items, no materials. Collect them before you dismantle anything, or you might destroy what you need.
Transmitters
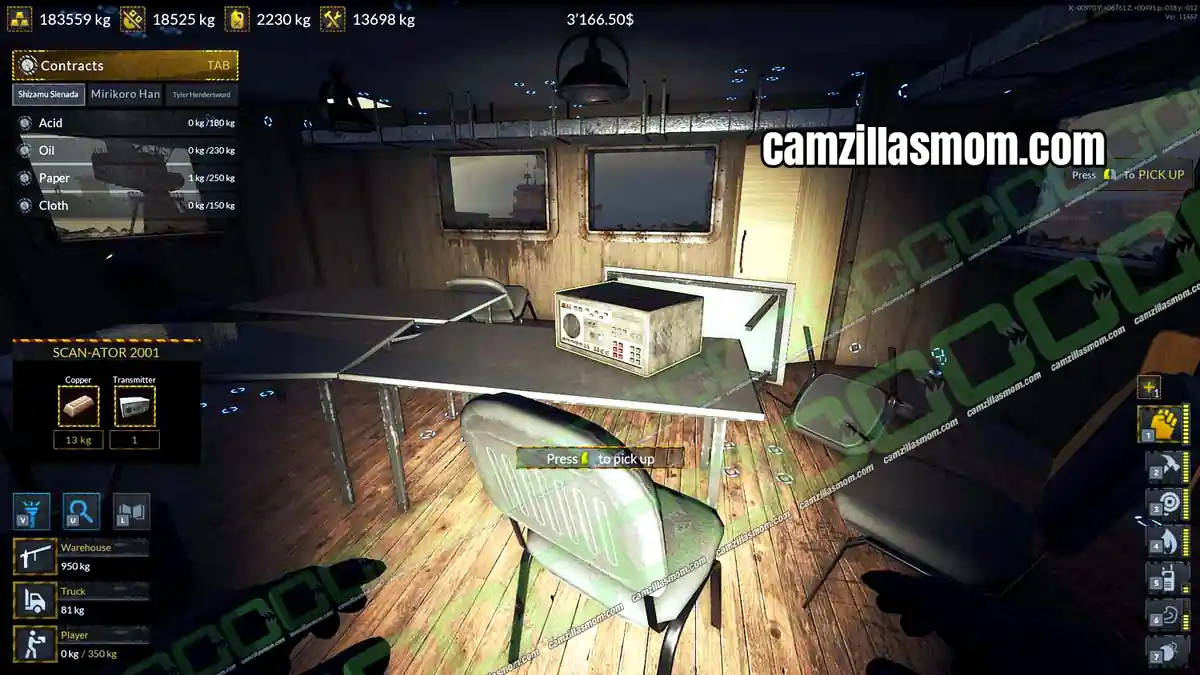
Both transmitters are gray, square boxes on the sixth floor.
Sixth Floor – Level 6
Transmitter 1: Wooden Door Room
The first transmitter is in a room with a wooden door.
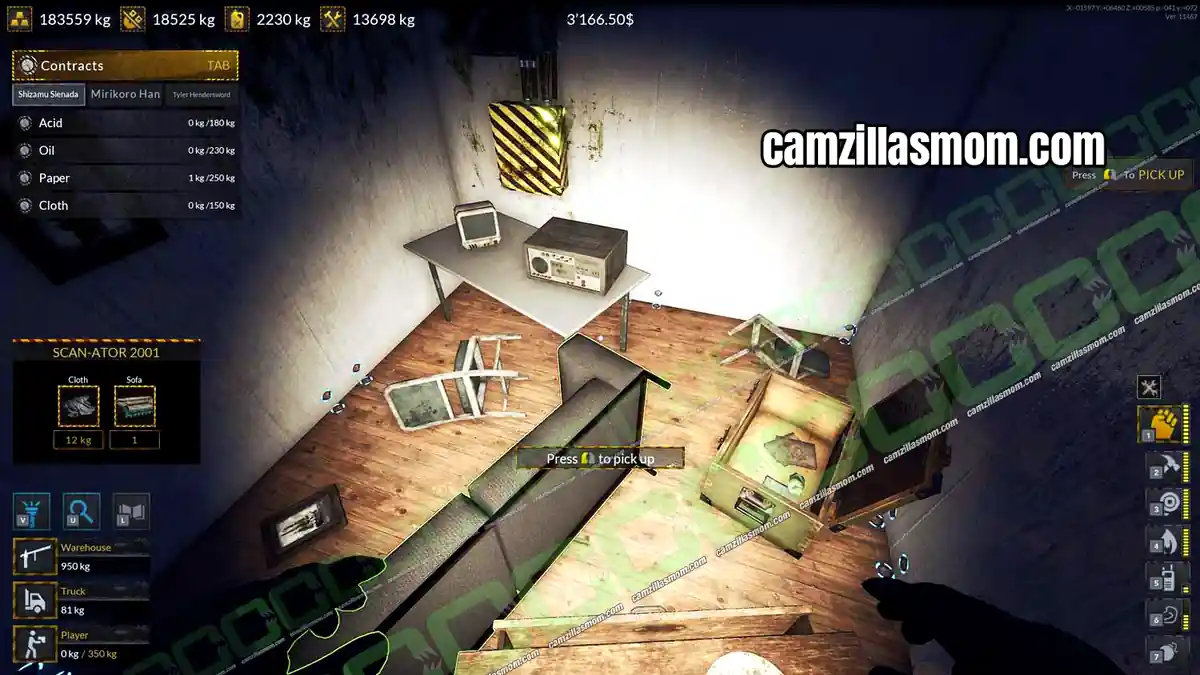
Transmitter 2: Rec Room
The second one is in the large rec room.
Chests
The Fuso is full of chests, and you will pick up most of them while collecting paper, cloth and plastic. This is one route to 40.
Ground Floor – Level 0
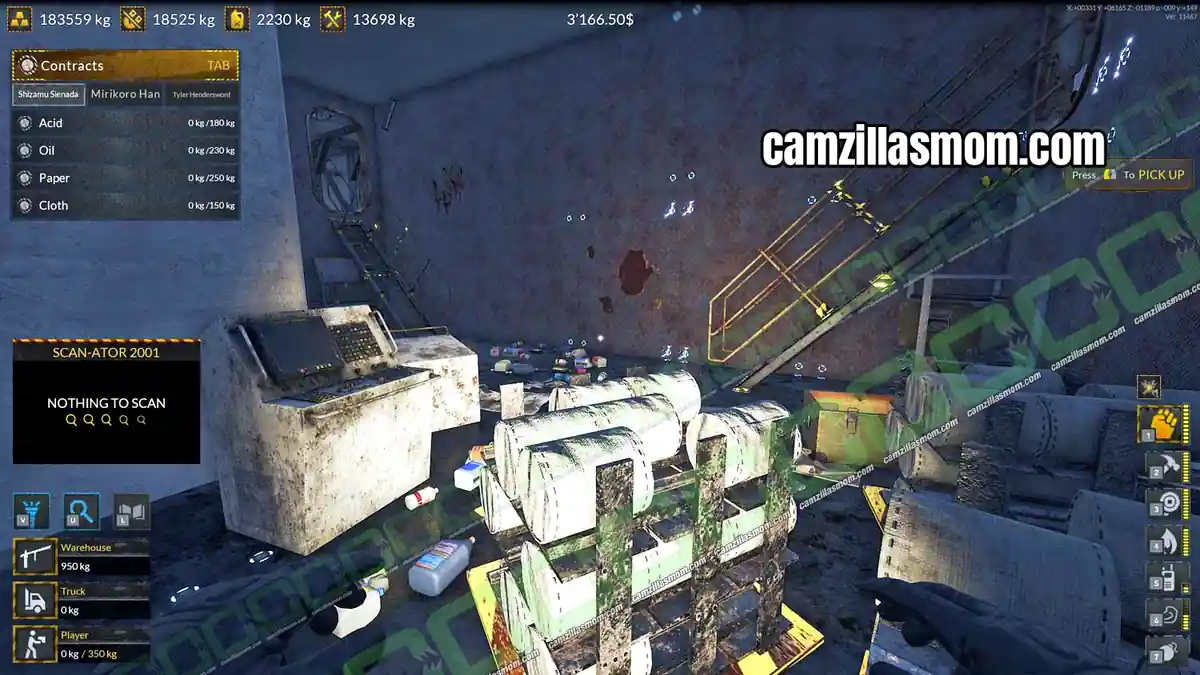
Chests 1 to 4: Large Room at the Back
The large room at the damaged rear of the ship has four chests.
Fifth Floor – Level 5
Chests 5 to 7: Sofa Room
A room with a sofa has three chests.
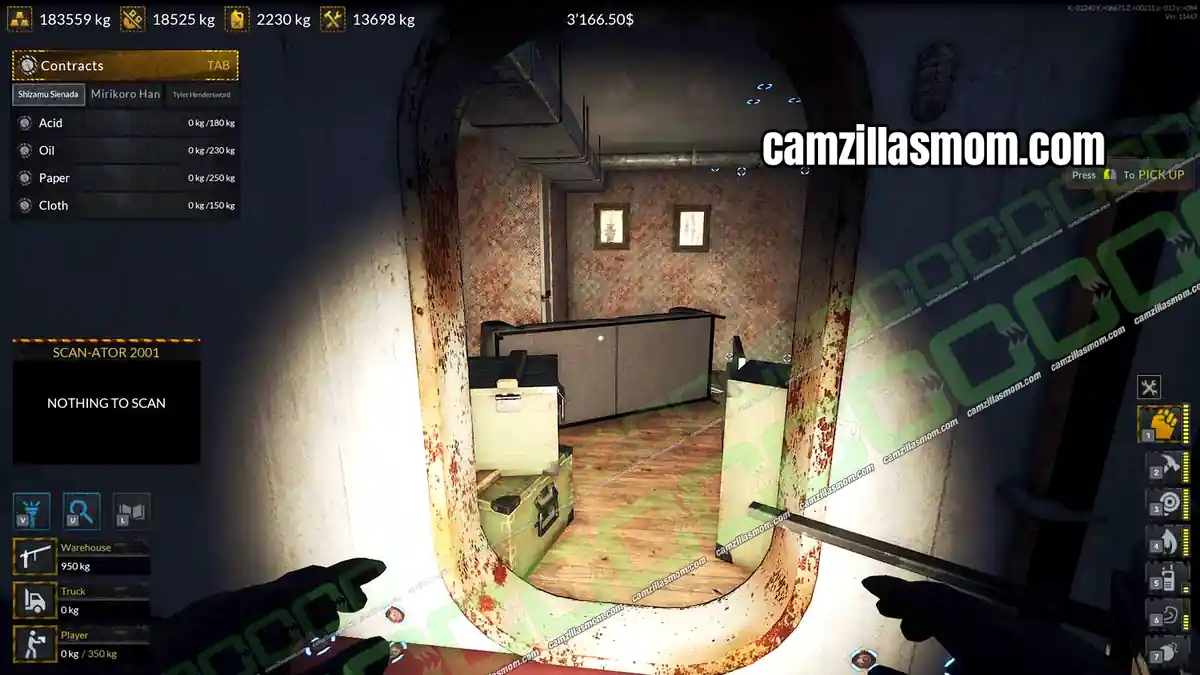
Chests 8 and 9: Locked Metal Door
A room behind a locked metal door has two chests.
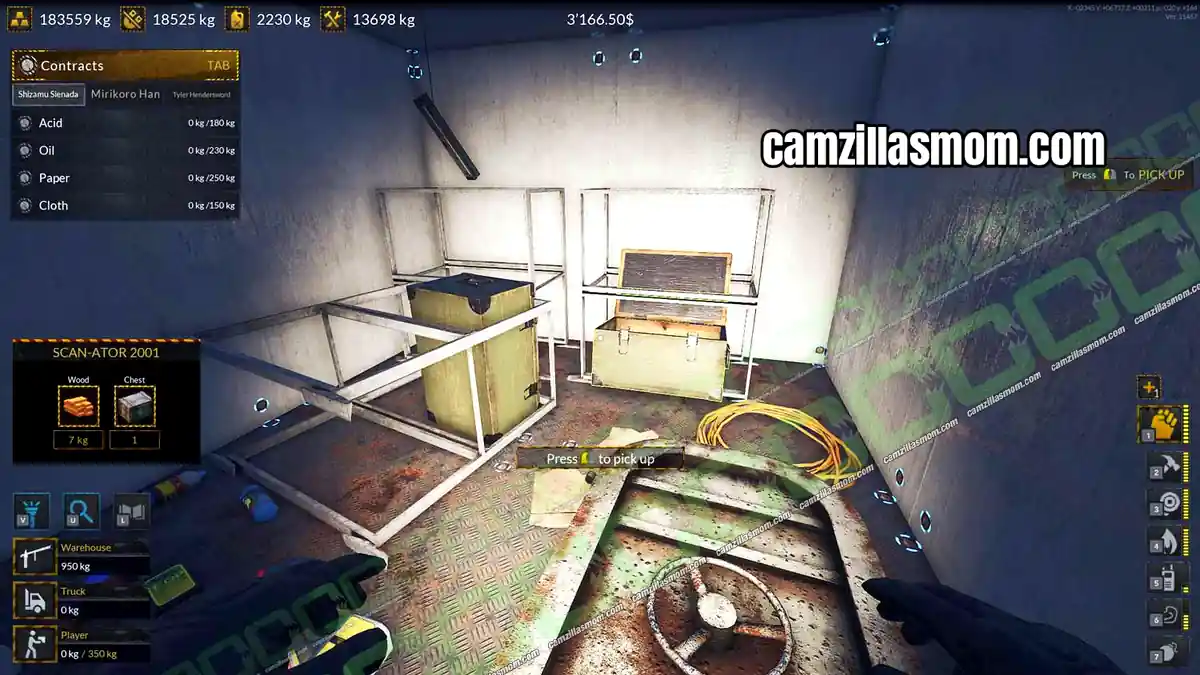
Chest 10: Next Metal Door
Go through the metal door next to it for one more chest.
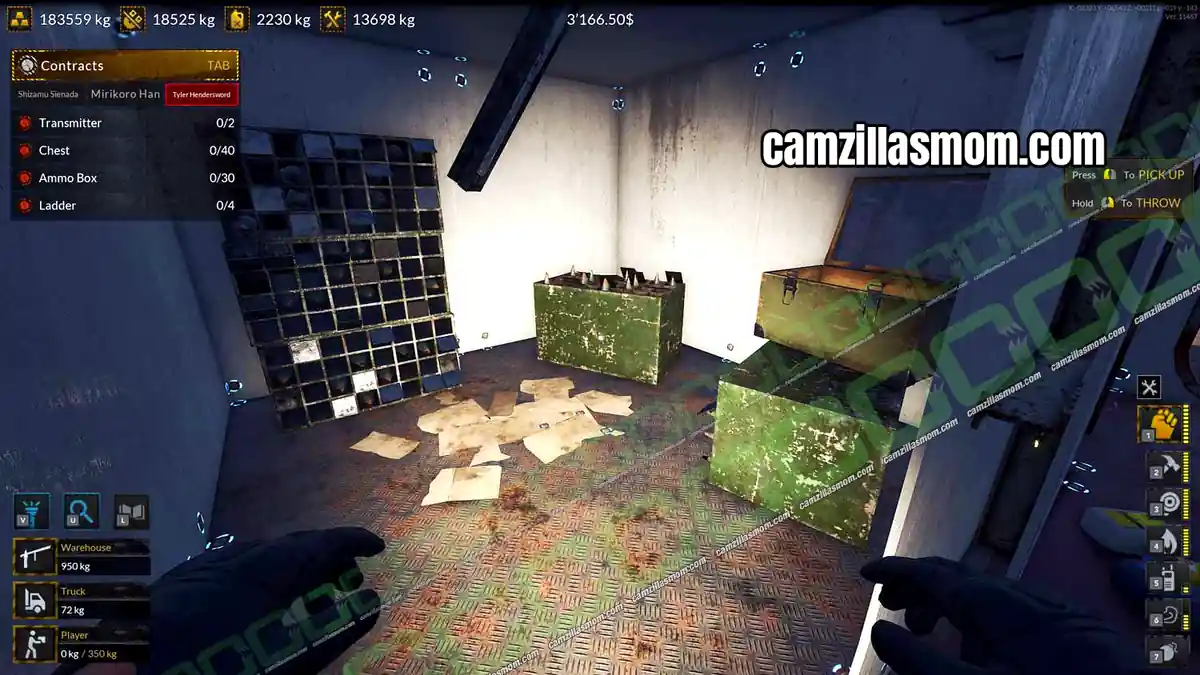
Sixth Floor – Level 6
Chests 11 to 16: Metal Door Room
The sixth floor has two rooms with closed metal doors. One is electrified. The other one holds six chests.
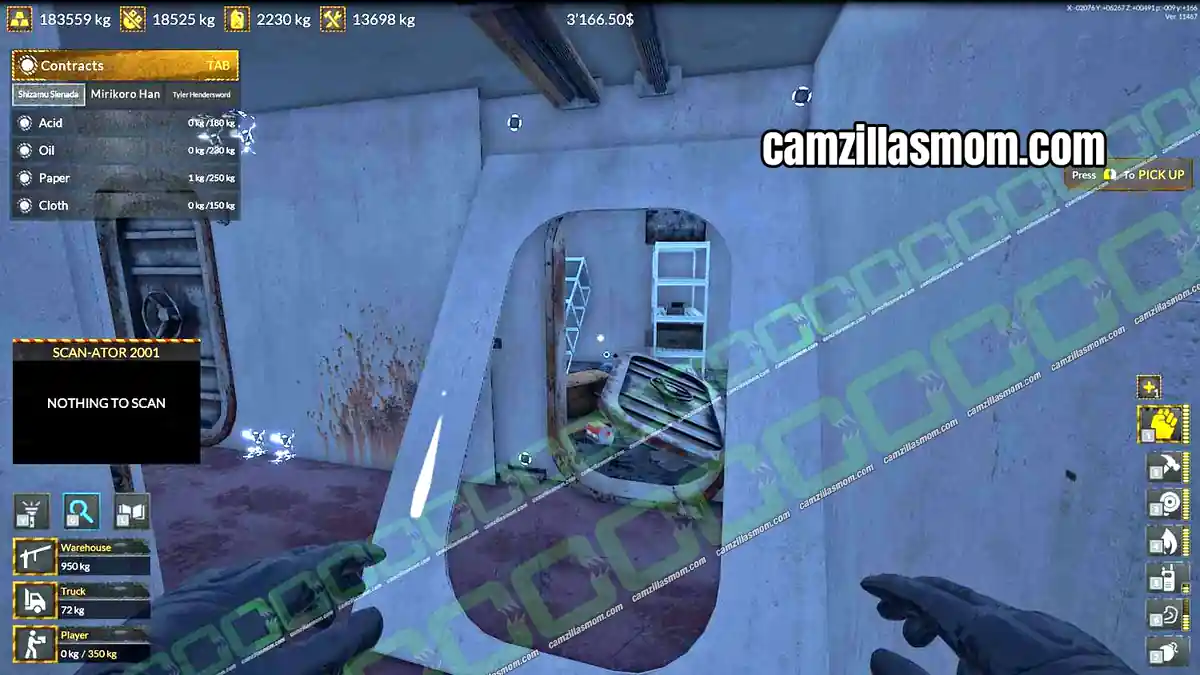
Chests 17 and 18: Stairwell
Two chests sit in the sixth floor stairwell.
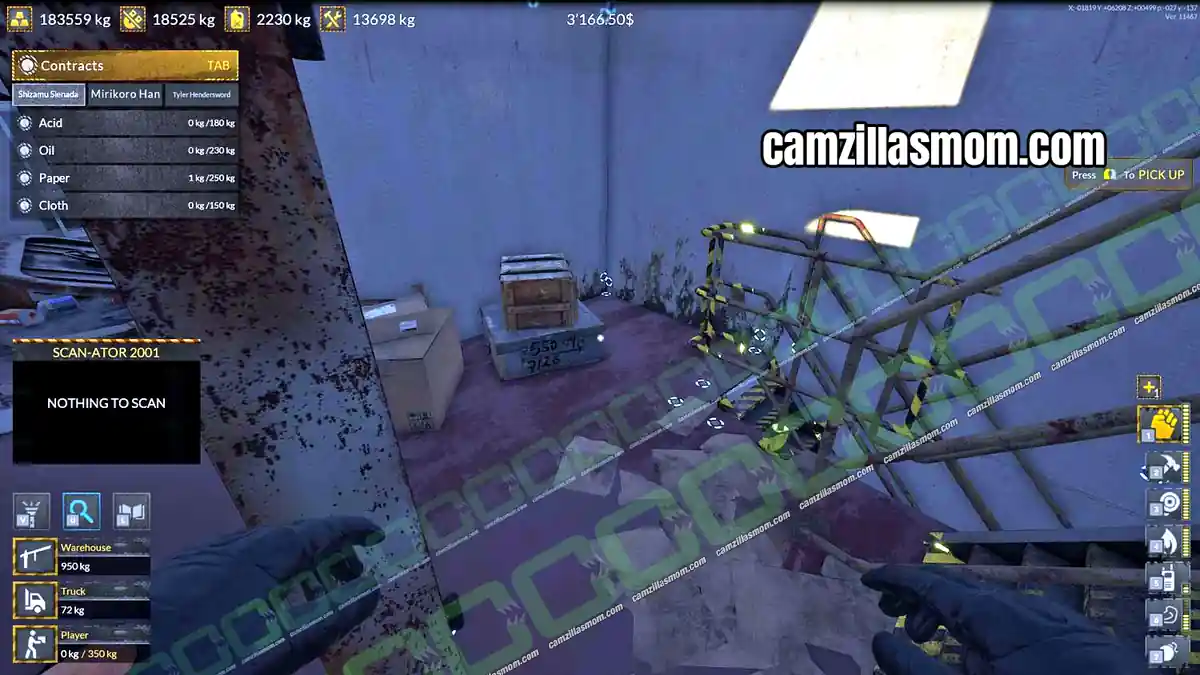
Chest 19: Transmitter Room
The room with the first transmitter has a chest.
Chests 20 to 23: Small Metal Door Room
A small room with a metal door holds four chests.
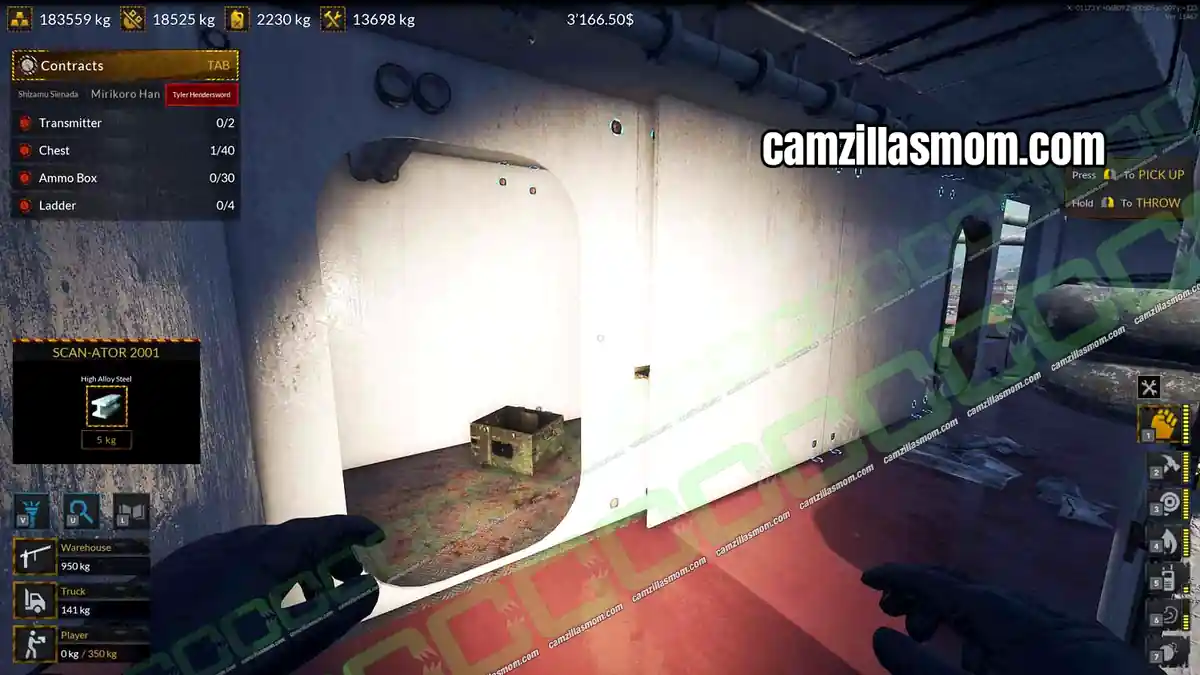
Chest 24: Electricity Room
A chest stands in the same room as the sixth floor electricity switch.
Seventh Floor – Level 7
Chests 25 to 33: Destroyed Seventh Floor
Several chests lie on the destroyed seventh floor. They come in different shapes and sizes.
Fourth Floor – Level 4
Chests 34 to 38: First Starboard Cannon Room
Below deck, starting at the damaged rear, the first starboard cannon room has five chests.
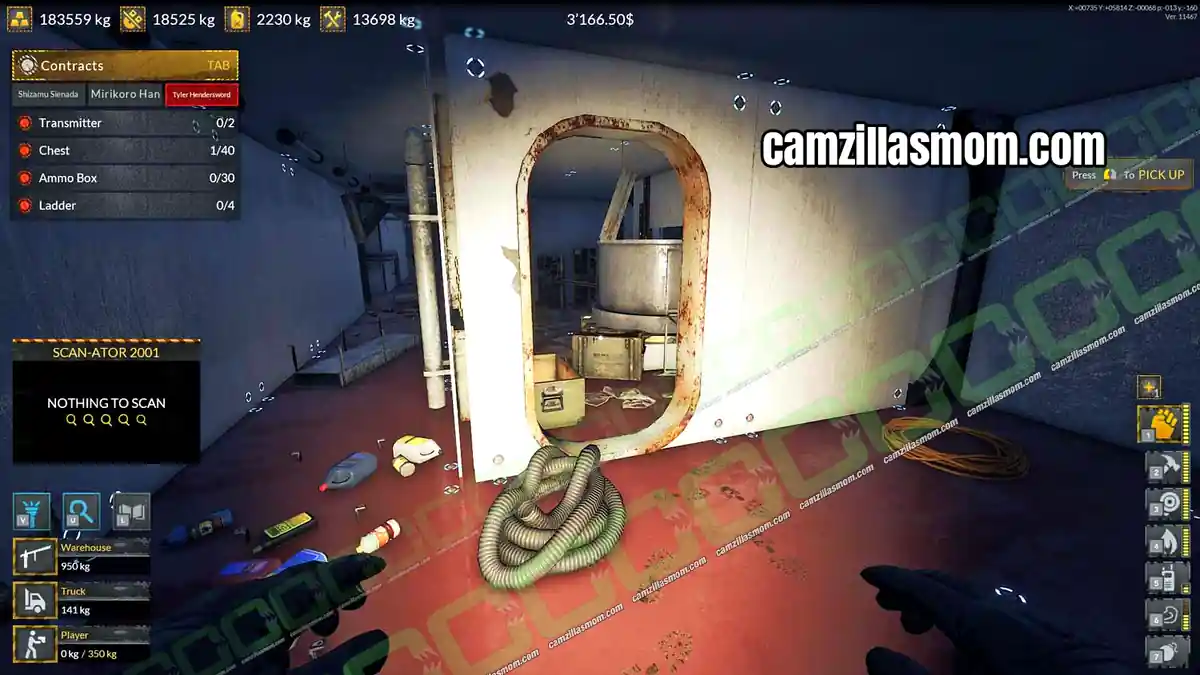
Chests 39 and 40: Third Starboard Cannon Room
The third cannon room has two more chests. If you are still short, the port side cannon rooms have many more.
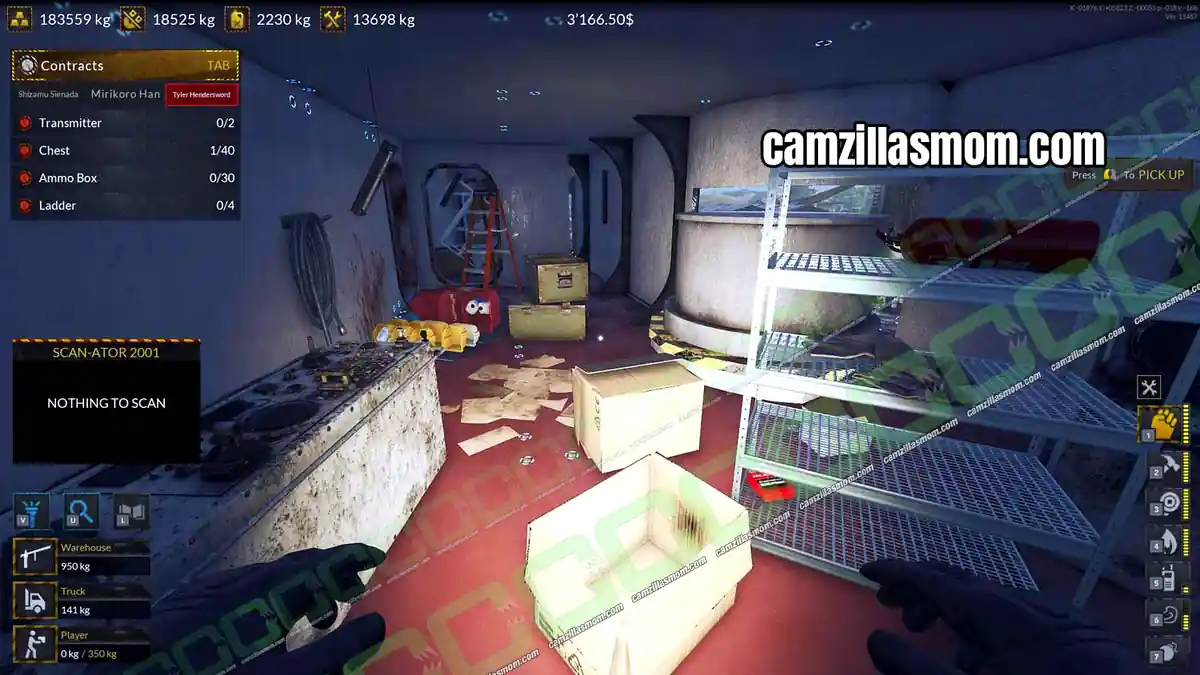
Ammo Boxes
Ammo boxes are large rectangular crates with rockets inside. The quickest source is the rooms at the bottom of the big round cannon bases.
Ground Floor – Level 0
Ammo Boxes 1 and 2: Large Room at the Back
The large room at the damaged rear has two ammo boxes.
Fifth Floor – Level 5
Ammo Boxes 3 to 7: Locked Metal Door
A room behind a locked metal door holds five ammo boxes.
Fourth Floor – Level 4
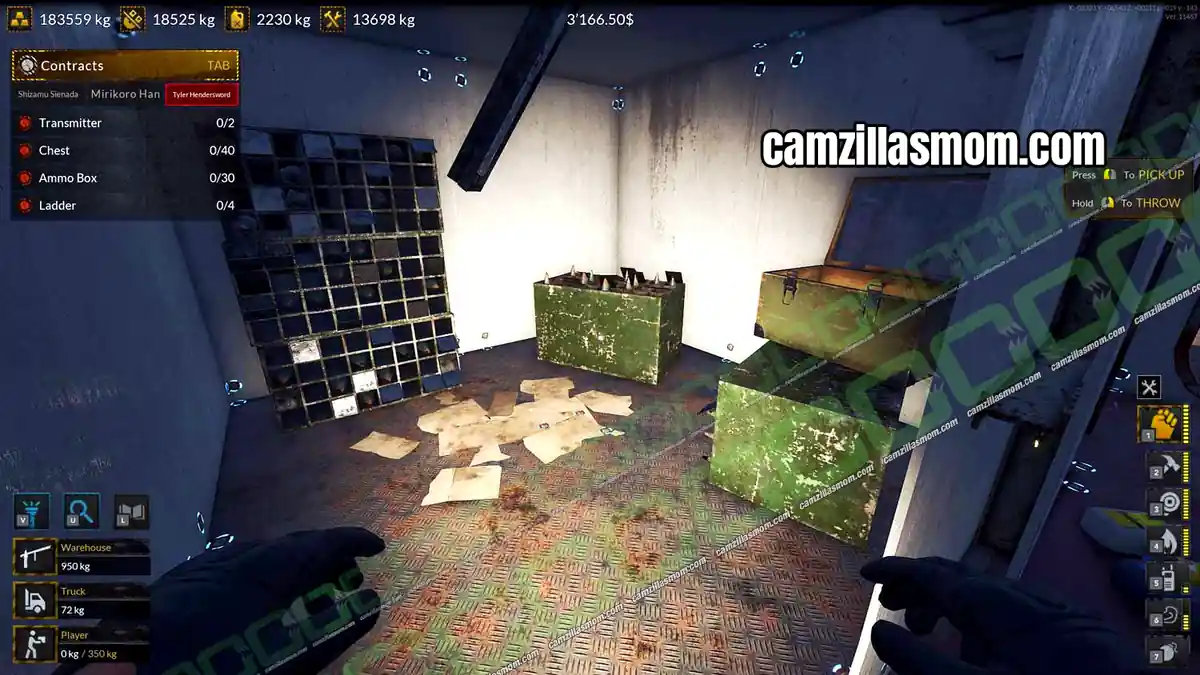
Ammo Boxes 8 to 10: First Starboard Cannon Room
The first starboard cannon room from the destroyed back has three ammo boxes.
Ammo Boxes 11 to 16: Port Cannon Room
One of the port side cannon rooms has six ammo boxes.
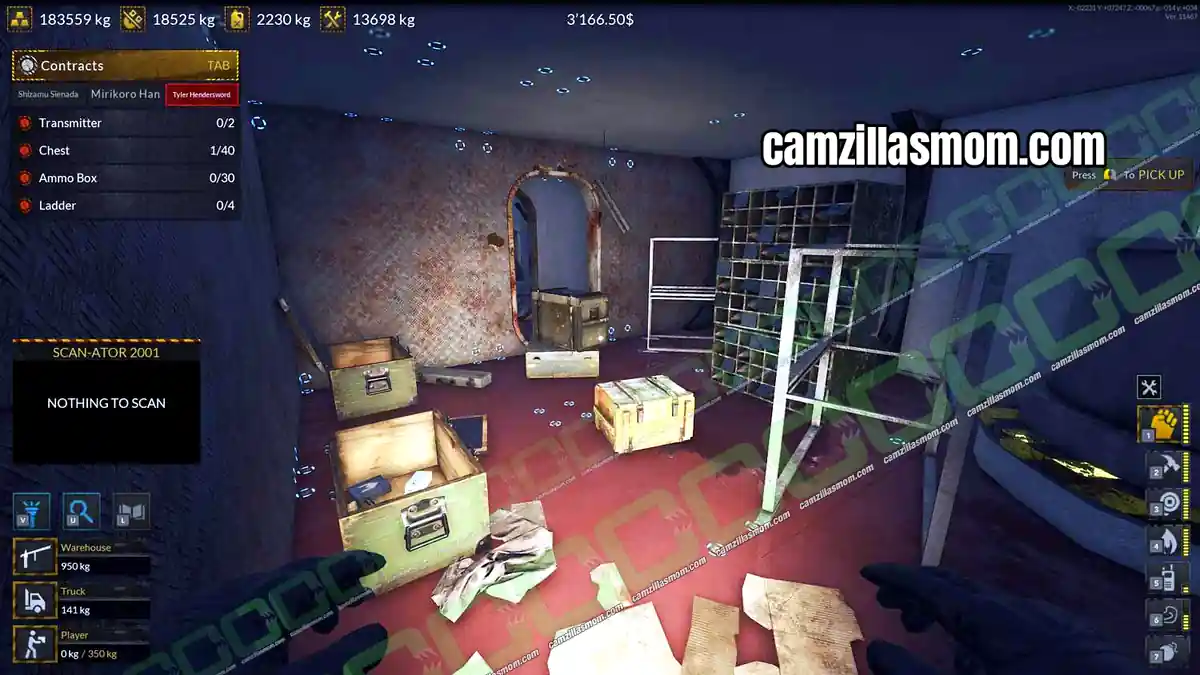
Ammo Boxes 17 to 19: Last Port Cannon Room
The last port side cannon room, near the destroyed end, has three ammo boxes.
Third Floor – Level 3
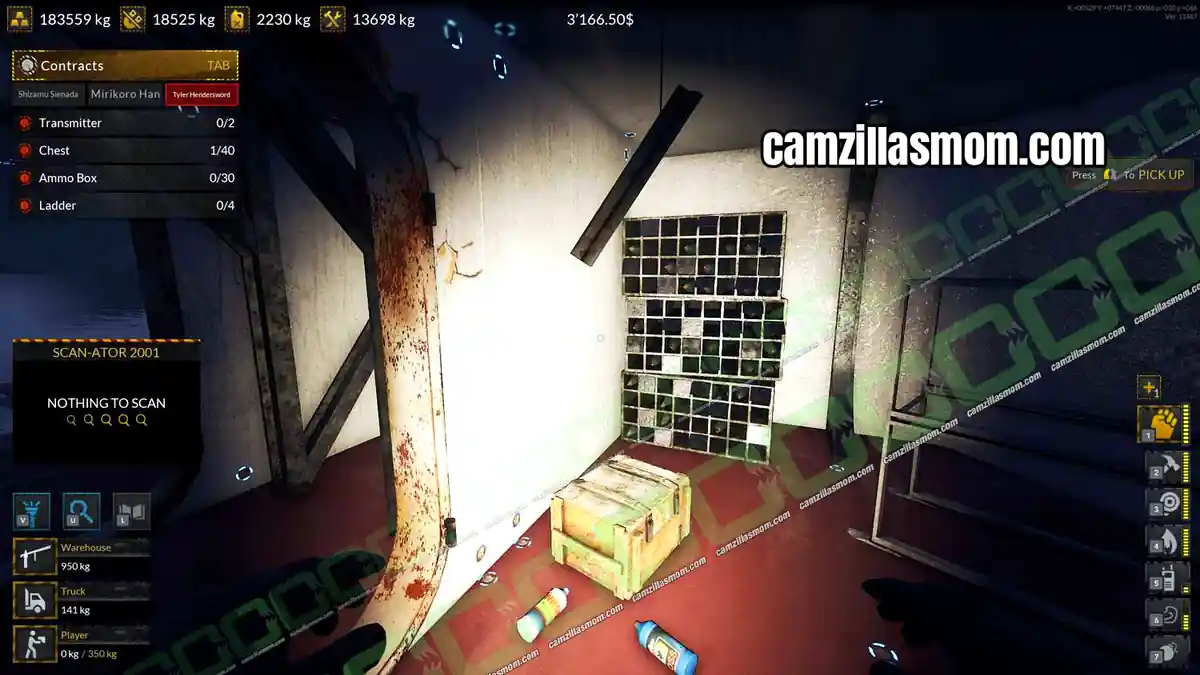
Ammo Boxes 20 to 23: Damaged Front
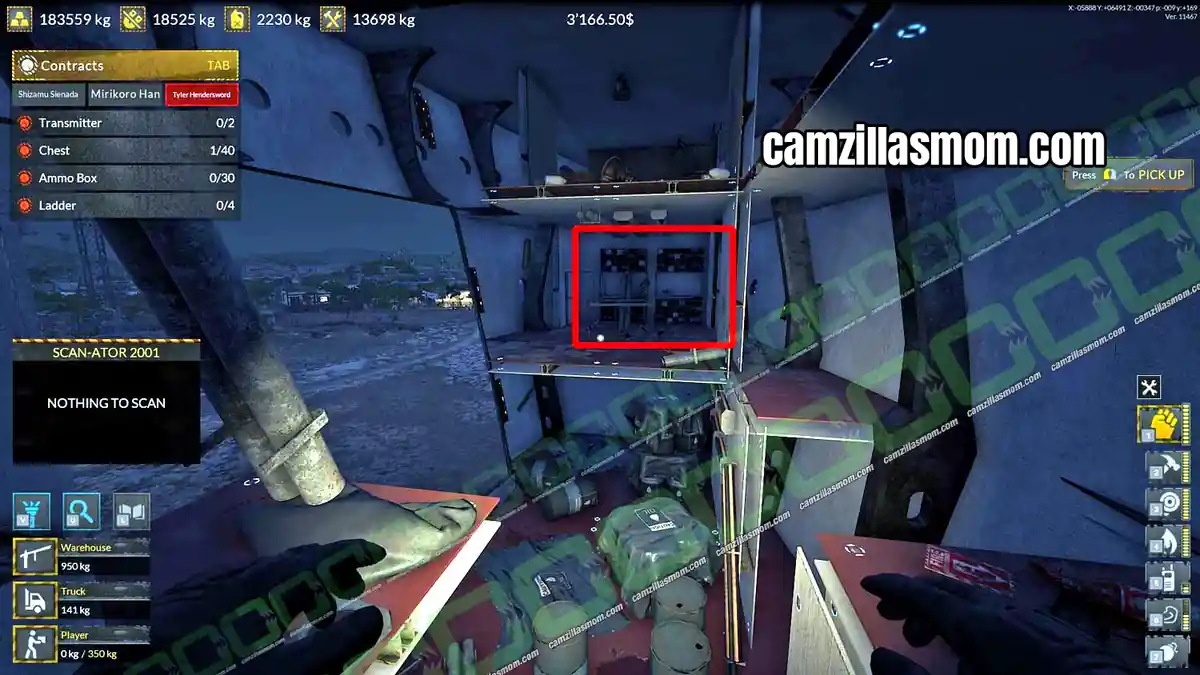
At the front of the third floor, part of the hull is missing. Use the rope tool to reach the four ammo boxes there.
Second Floor – Level 2
Ammo Boxes 24 to 30: Ammo Room
The ammo room near the front of the second floor holds 16 ammo boxes. You only need seven of them.
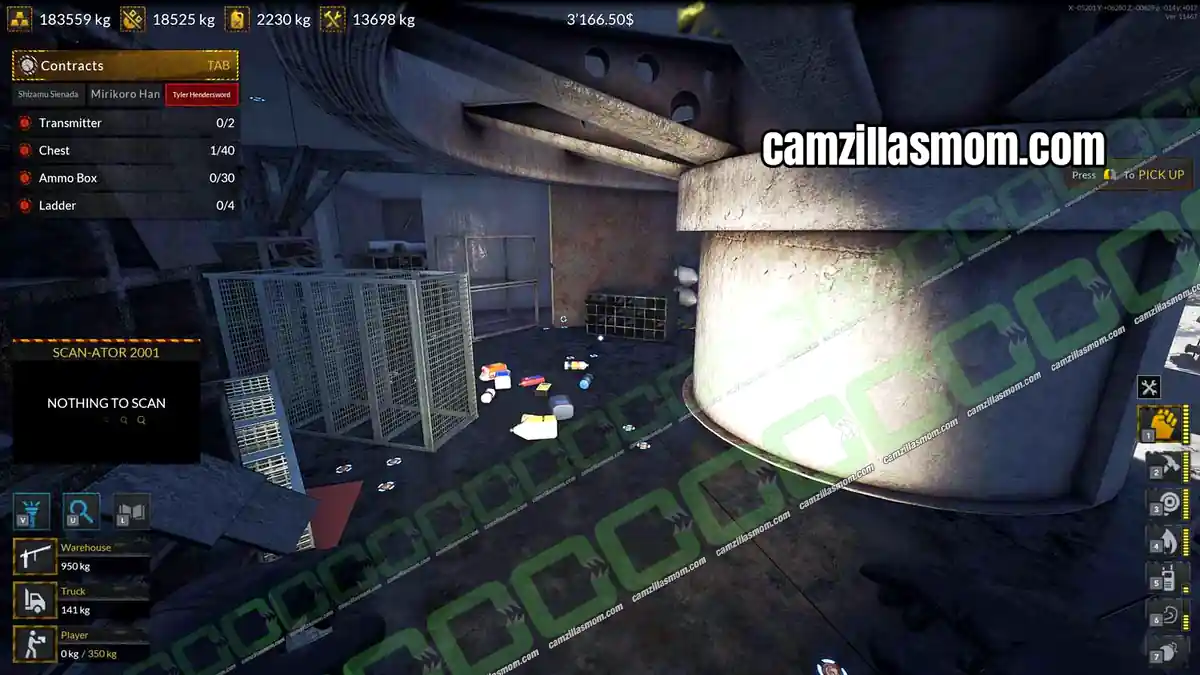
Ladders
The Fuso has many ladders. The quickest four are on the fifth floor: two on the outer deck and two in a storage room.
Fifth Floor – Level 5
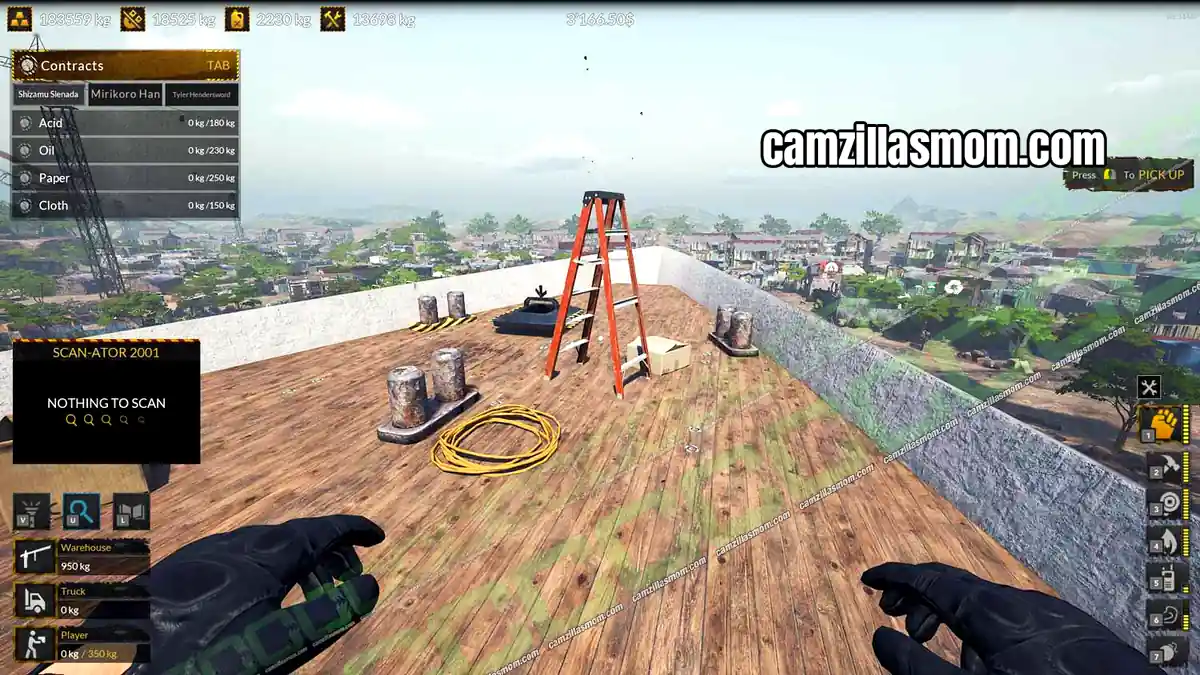
Ladder 1: Front Deck
A ladder lies at the front of the fifth floor deck.
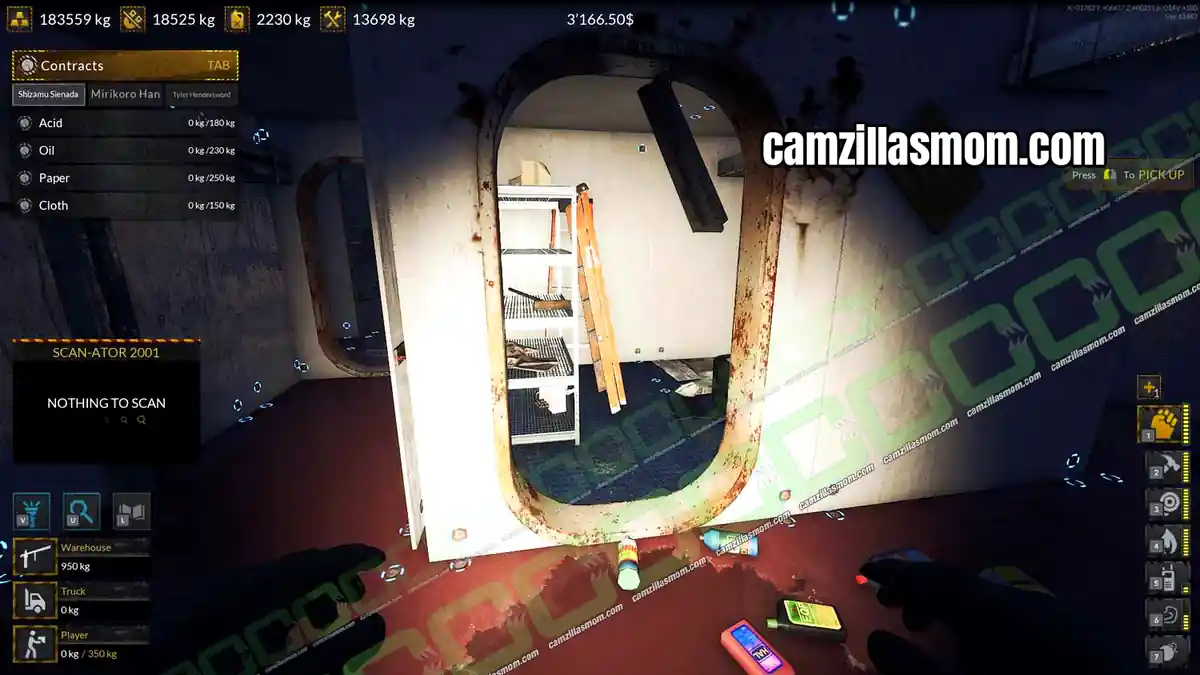
Ladders 2 and 3: Storage Room
Two ladders are inside the storage room.
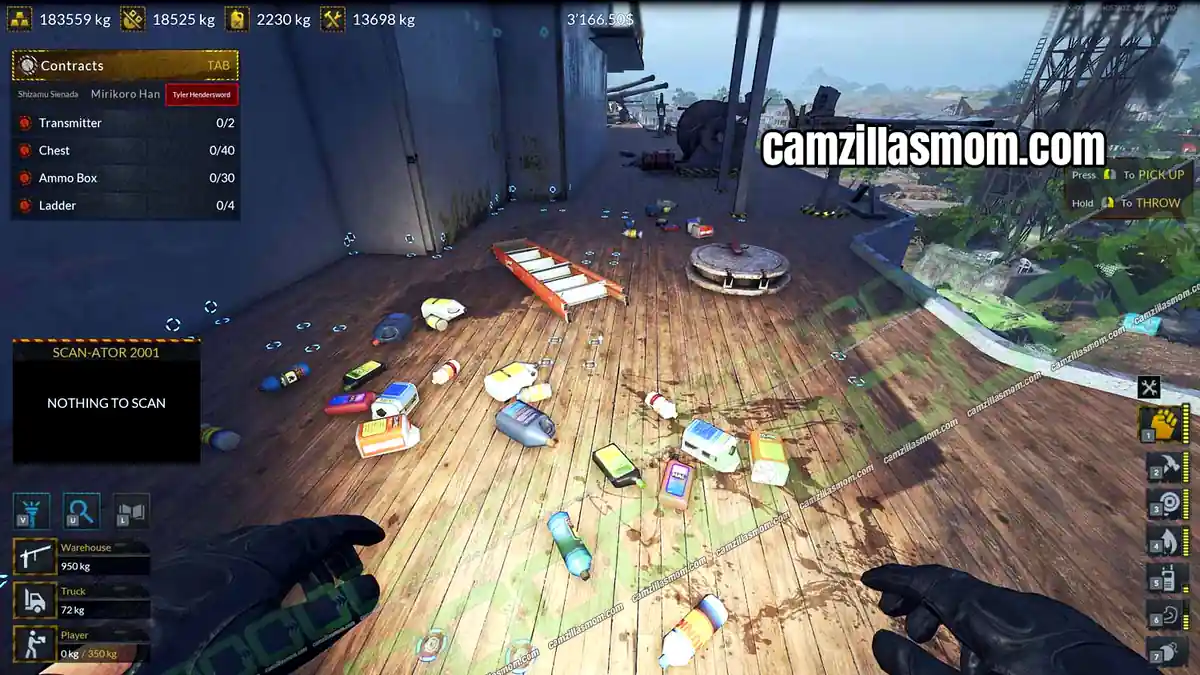
Ladder 4: Back of the Deck
Another ladder lies on the floor at the back of the outer deck.
Collectible: The Canon
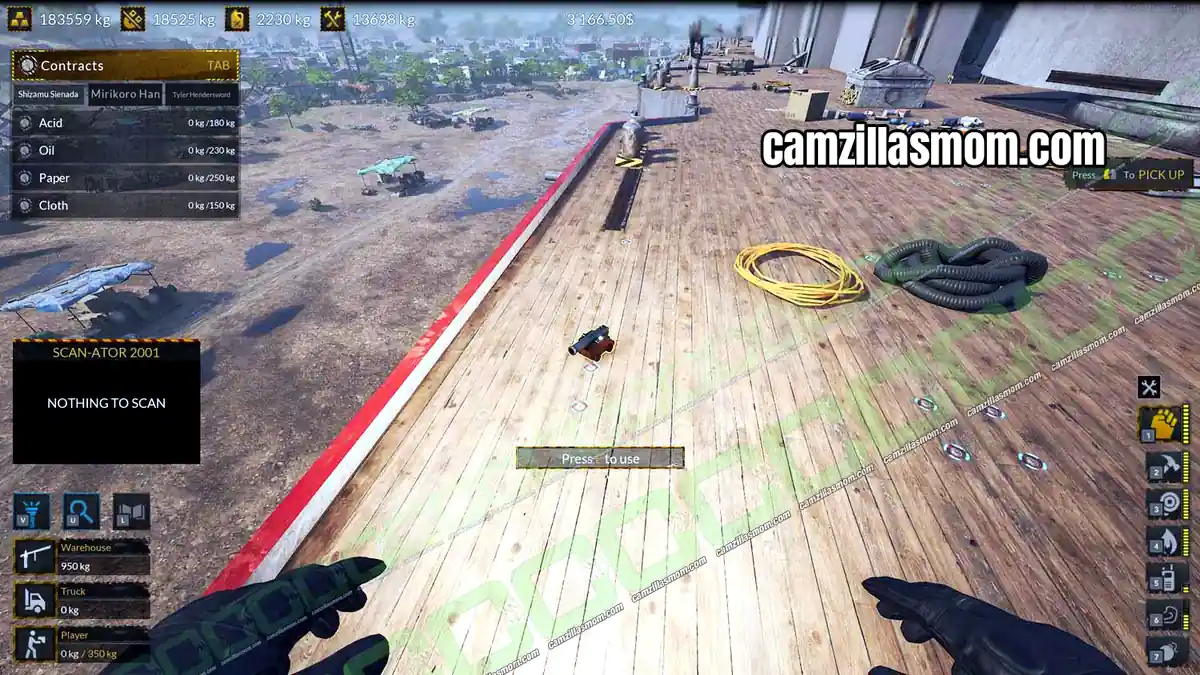
Go to the outer deck on the fifth floor. At the back, where the ship is split from its rear section, a small antique cannon lies on the floor.
More Ship Graveyard Simulator 2 Ship Guides
Every other ship in Ship Graveyard 2 has its own contract guide: AOG-Gosiabelle, Aramano Adrianii, Caroline, Chevy, Chilling-Turtle, Gas Goober, Green Rex, Heavy Mermaid, Humbak, Mad Sea, Mariner, Maroon Lagoon, Multi Wojti, Slippery Herring, Snopkowich, Tunacolada and Wicher.


About Ship Graveyard Simulator 2
All guides: Ship Graveyard Simulator 2 Guides
Release: August 16th, 2023
Developer: Games Incubator
Publisher: Games Incubator, PlayWay S.A.
Official Website: https://games-i.com/