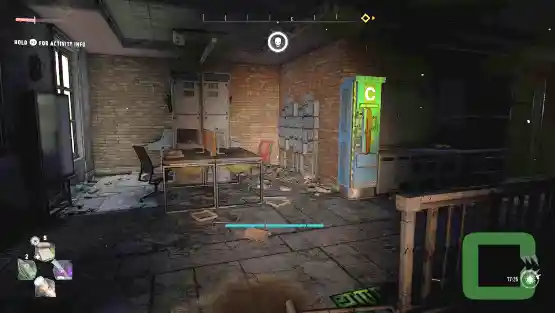
The Water Tower quest in Dying Light 2 is a crucial part of the game that involves exploration, combat, and critical decision-making. This guide offers clear, step-by-step instructions to help you navigate the quest effectively, from disarming explosives to making key choices that impact the story.
The Water Tower Quest Walkthrough
1 – Get to the Water Tower
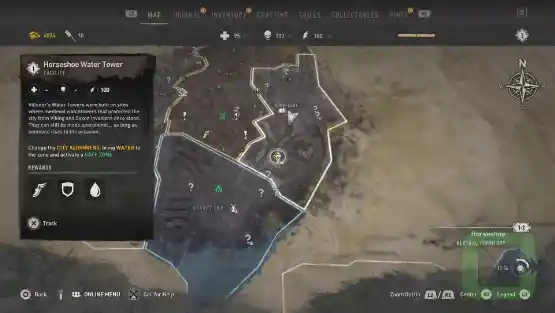
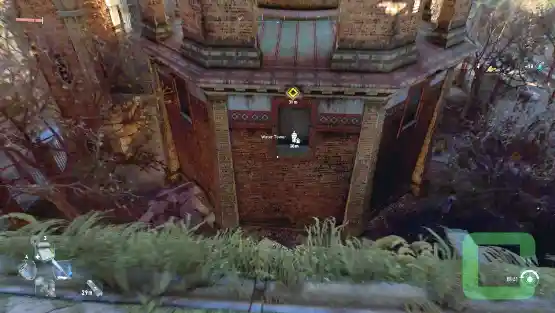
Go to the quest marker location of the Water Tower.
2 – Find and Disarm the Explosives
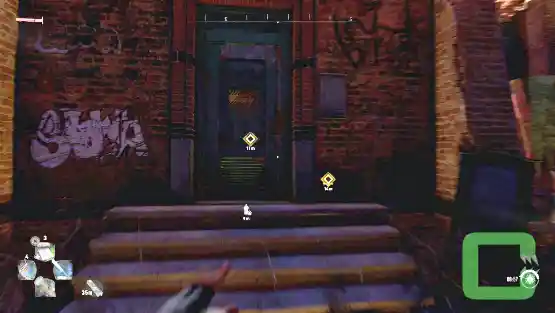
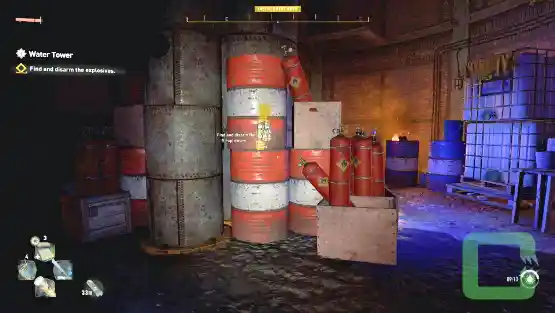
Begin by entering the Water Tower through the ground floor. You’ll need to pick the lock to gain access. The first explosive can be found right inside.
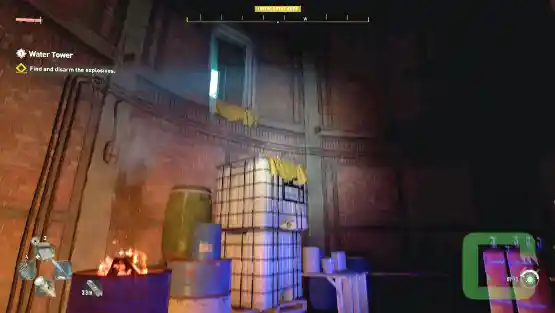
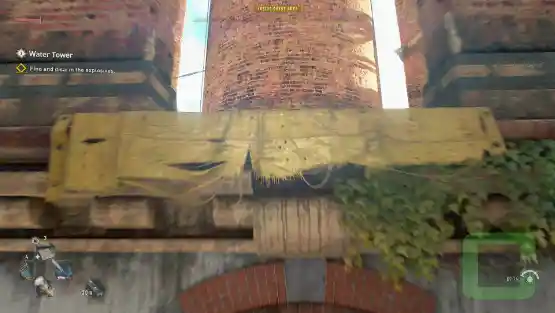
Head to the back of the room and climb up to the next level. Once outside, use the boxes to ascend further, then turn around and climb even higher.

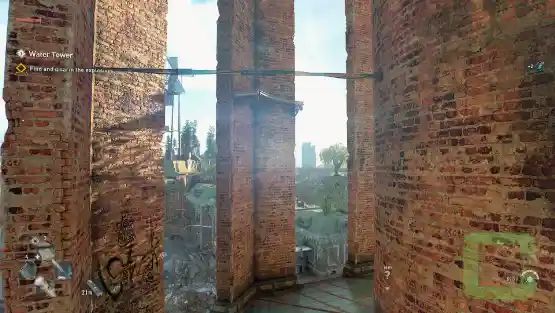
Look for a climbing spot marked by a yellow cloth and make your way up. Once there, use the bars to ascend even higher.
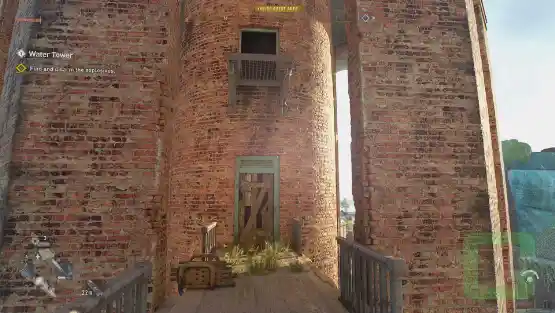

You’ll arrive at a platform featuring a ladder you can lower as a safety measure in case you fall, along with a barricaded door that can be broken through with a melee attack. Inside, you’ll discover the second explosive.


To reach the next level, climb the large pillar at the center of the room and jump out through the window. From there, make your way to a small tower. Once you arrive, you can lower the ladder again.
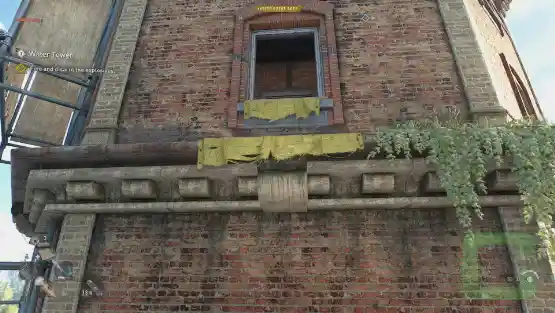
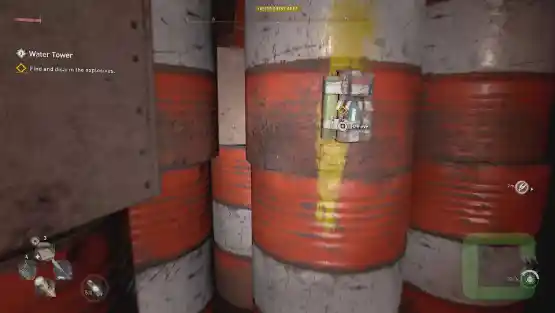
Climb the ladder and look up – you can enter through the window above. Once inside, head through the green door to reach the third explosive.
3 – Climb to the Top of the Water Tower
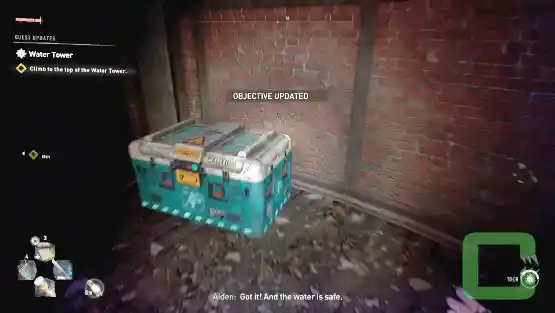

First, be sure to pick up the Inhibitor located in this room. Once you have it, use the yellow bars on the wall to climb up and proceed further.


Break through the barricaded window to make your escape. From there, jump onto the hanging cage and use it to climb to the next level.
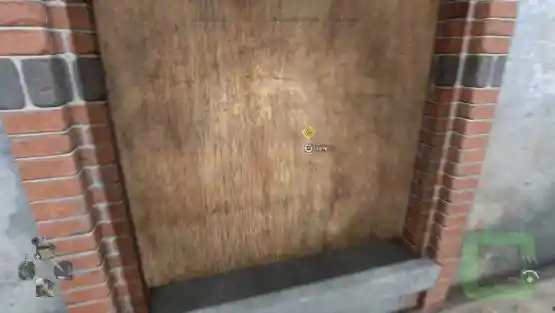
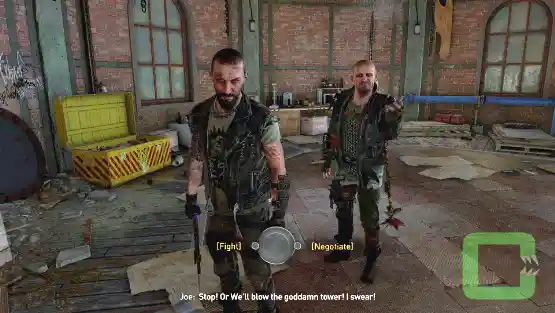
Interact with the barricaded window to get inside. Decide if you want to fight or negotiate.
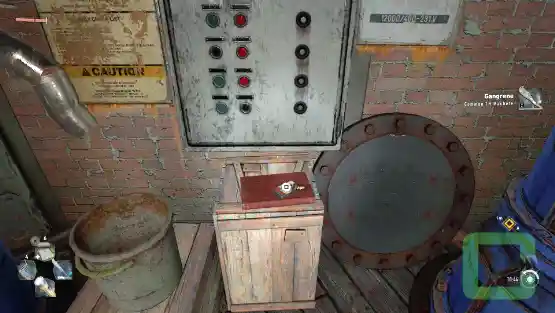

Before you turn on the water, take a moment to gather the Tape Collectible titled “Tourism Office of Villedor – Horseshoe” located in this room. Once you’ve secured this important item, you can activate the facility. Consider carefully which faction you wish to allocate it to; I ultimately chose to support the Bazaar.
4 – Search Barney’s Hideout for Evidence & Defeat Barney


Arrive at the motel and skillfully pick the lock. Once inside Barney’s room, start your search. Don’t forget to check out the stereo; it might hold some hidden secrets!


Move the board at the back of the room, and you will find the critical piece on the floor. Then, fight Barney.


Dying Light 2: Stay Human
Release: February 4th, 2022
Developer: Techland
Publisher: Techland, Square Enix
Official Website: https://dyinglightgame.com/