Beyond the Margins is the 13-quest questline of the Charting the Unknown DLC for Crimson Desert. Kliff and his old friend Sebastian the mapmaker cross a sandstorm barrier into a hidden desert, reconnect cut-off villages, purify corrupted marker stones and track the Antumbra to their hideout. This walkthrough covers every quest in journal order, with all locations, marker stone stakes and rewards.
Related Guides:
Six Statues and the Beast Questline
Ashen Steps Questline
More at the Crimson Desert Hub
All 13 Beyond the Margins Quests
Pailune tavern
Reward: none
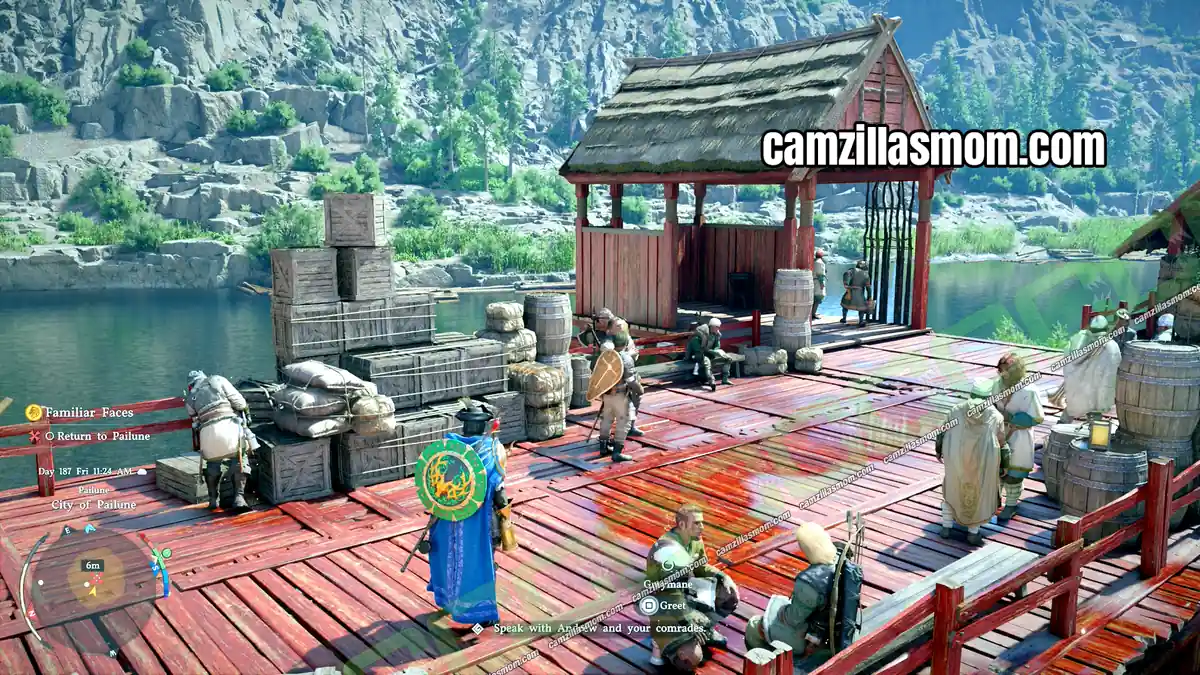
Pailune
Reward: Greymane Apprentice Combat Armor
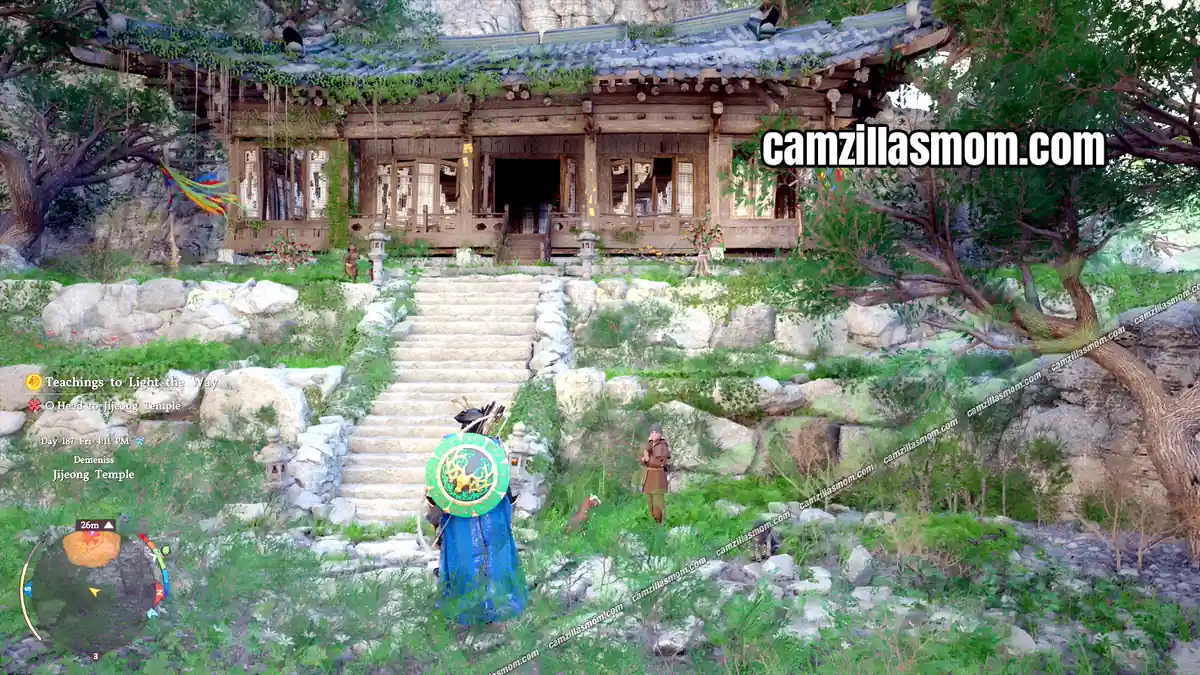
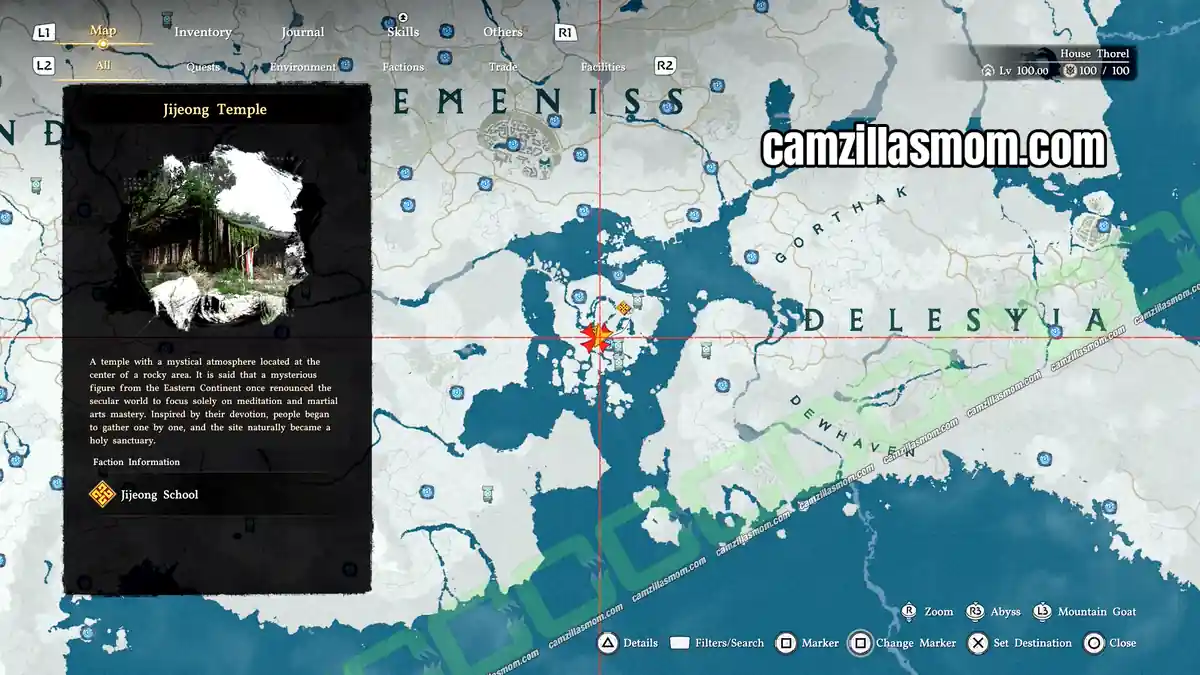
Jijeong Temple
Reward: none
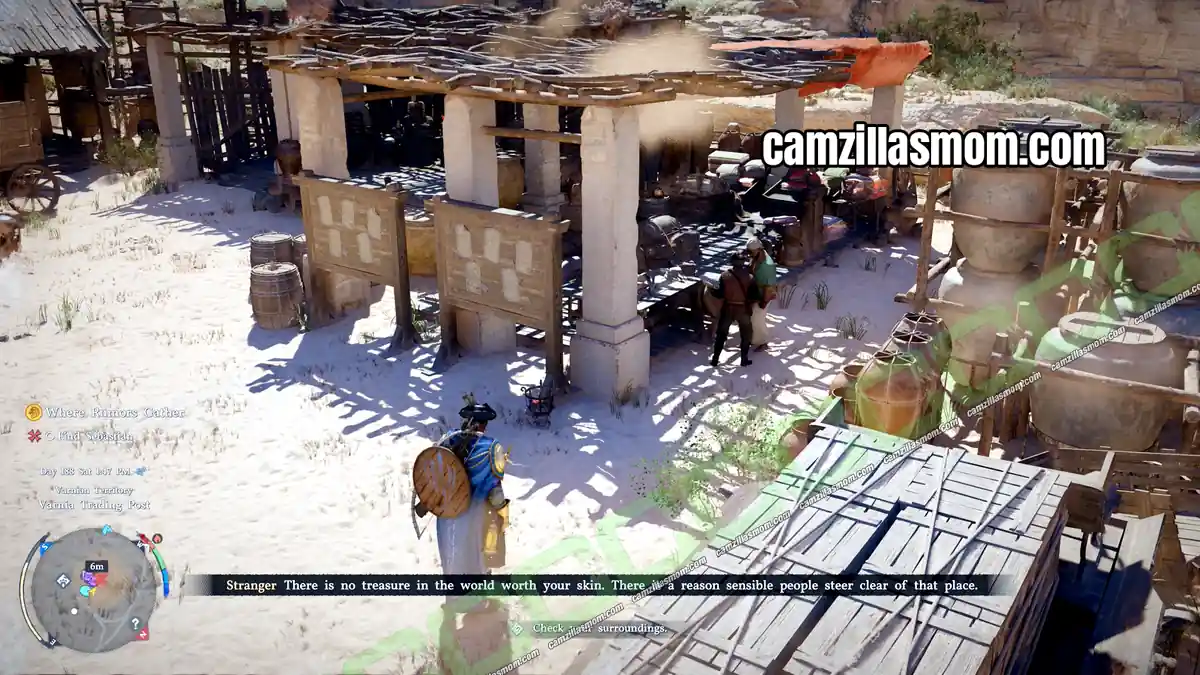
Varnia
Reward: none
Sandstorm barrier
Reward: 100 Glowing Seeds
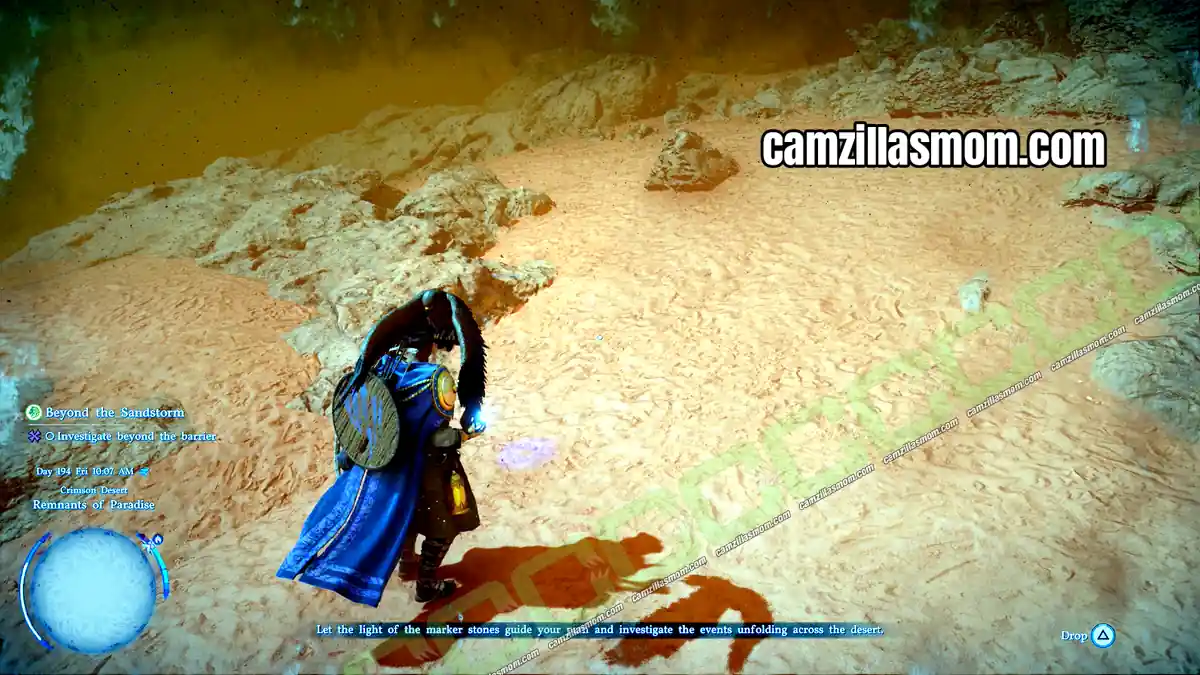
Beyond the barrier
Reward: none
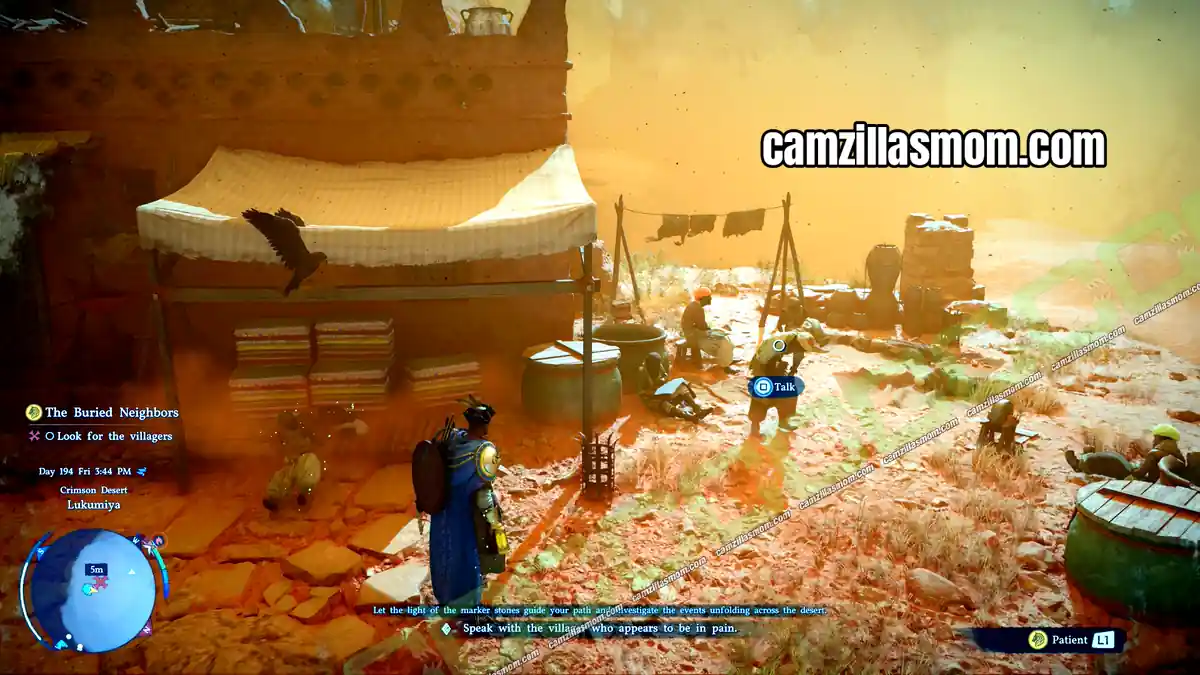
Lukumiya and Maddin
Reward: Lukumiya and Maddin Survey Records
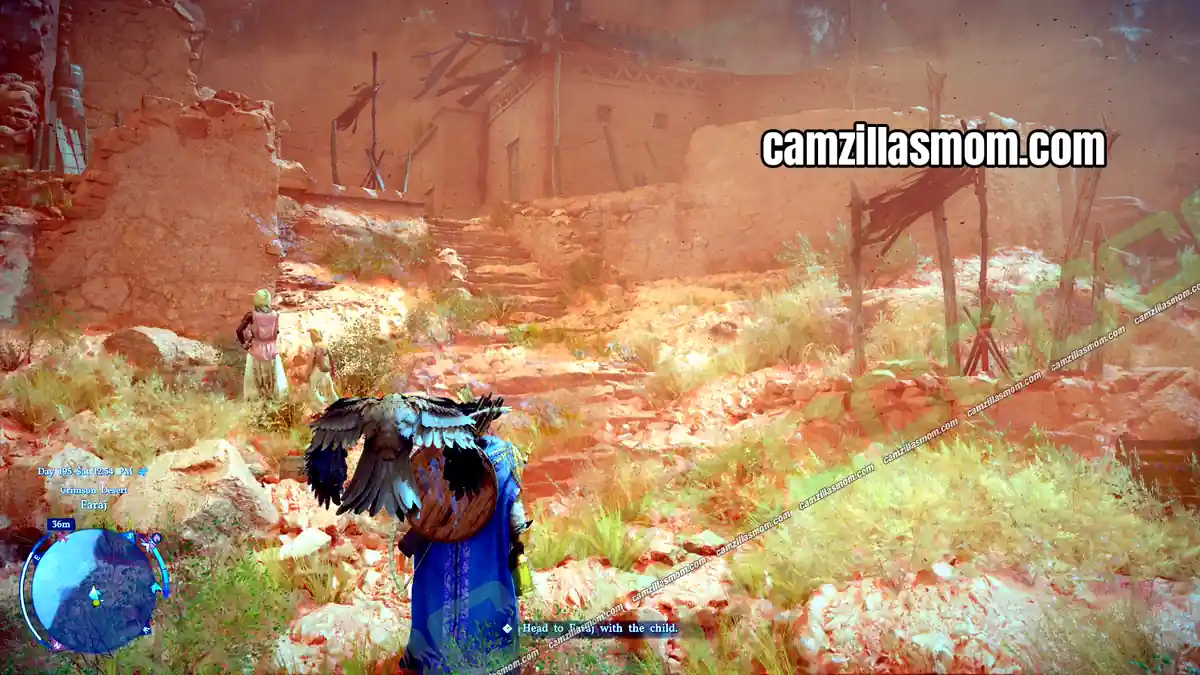
Maddin to Faraj
Reward: Faraj Survey Records
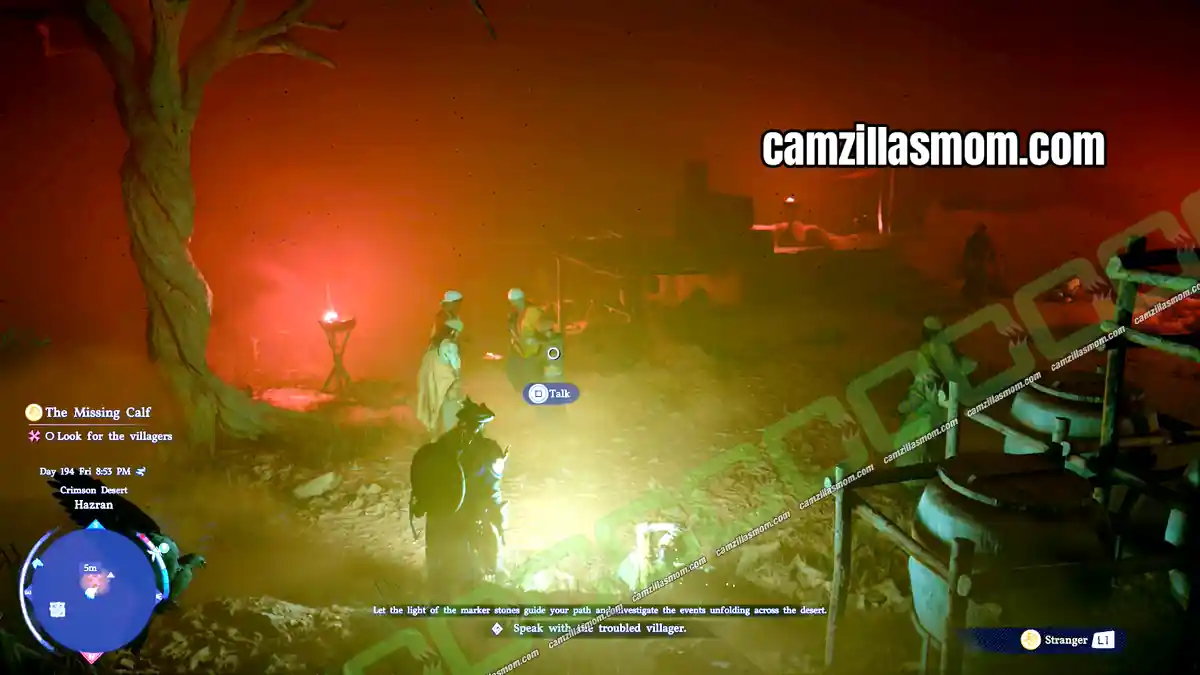
Hazran
Reward: Hazran Survey Records
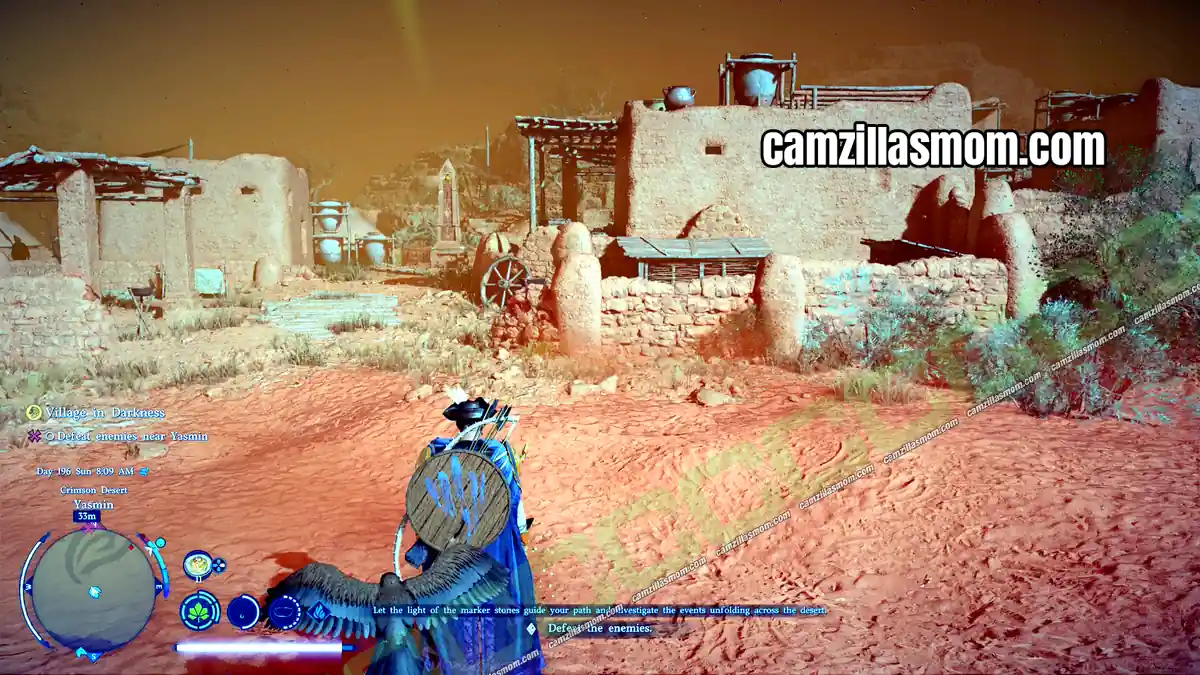
Yasmin
Reward: Yasmin Survey Records
5 corrupted marker stones
Reward: Remnants of Paradise Survey Records
The Silent Burial Ground
Reward: Abyss Artifact, Silent Burial Ground Survey Records
Sebastian’s tent
Reward: none
Total: 13 quests – Greymane Apprentice Combat Armor, 100 Glowing Seeds, Abyss Artifact, 7 Survey Records
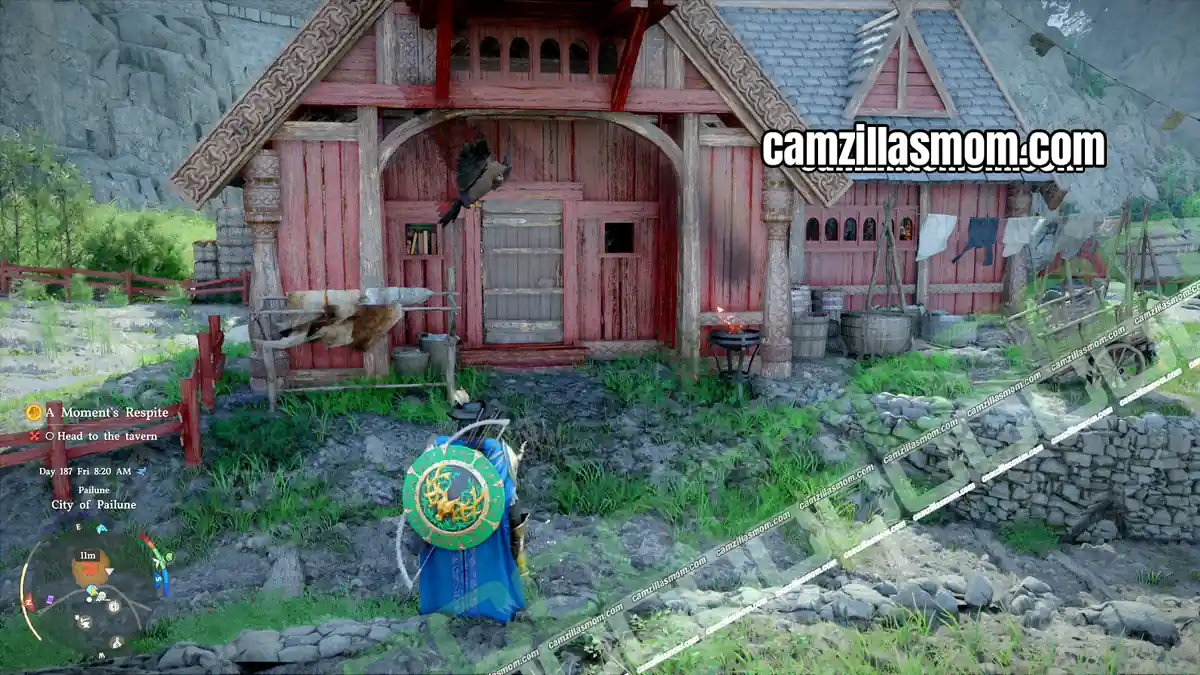
1 – A Moment’s Respite
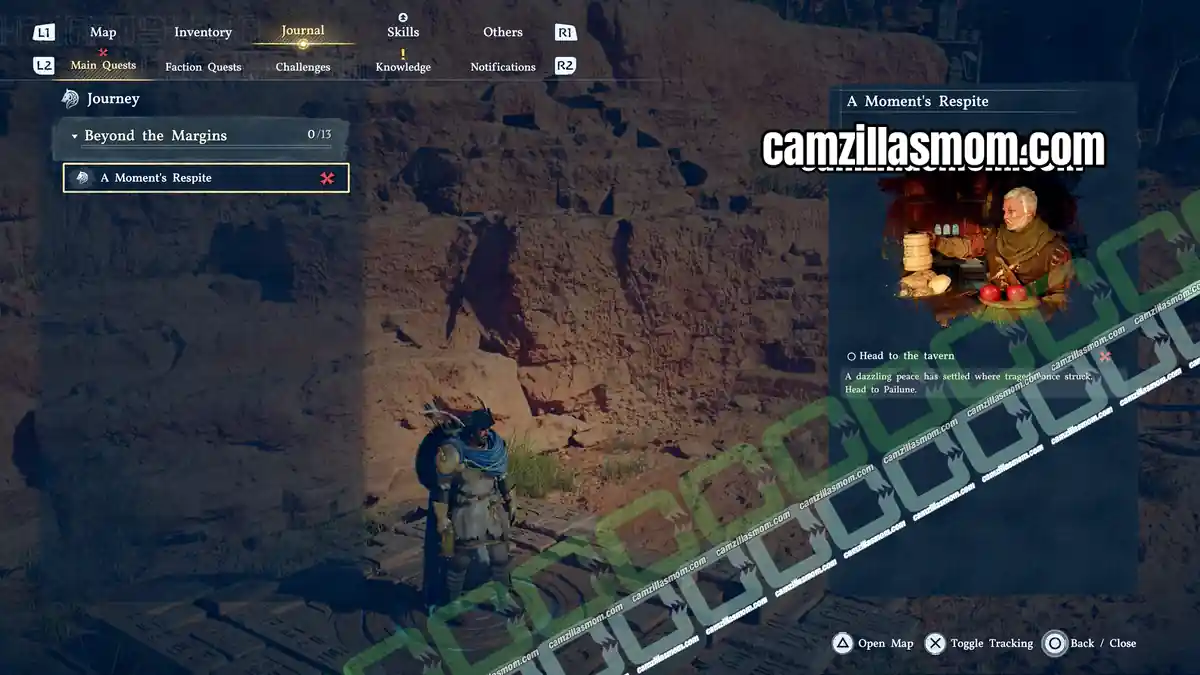
A Moment’s Respite is the first quest of the Charting the Unknown DLC. It becomes active automatically once the DLC is installed.
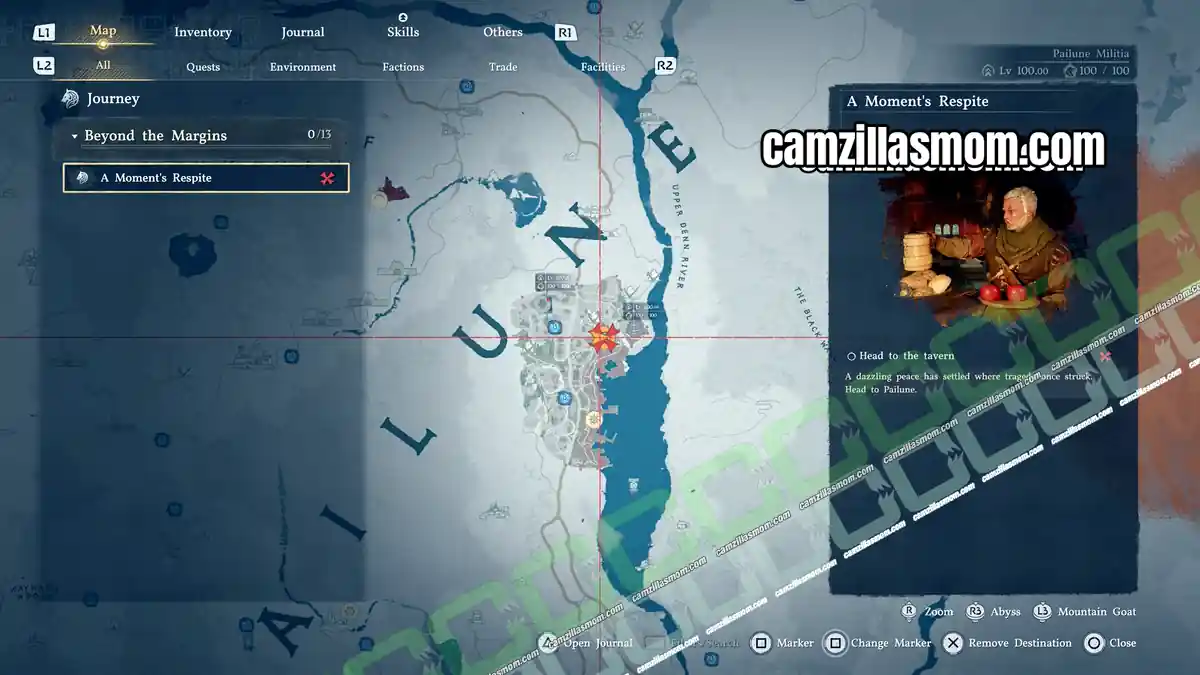
Head to the Tavern
The tavern is in the northeast of Pailune City. A cutscene starts as soon as you enter.
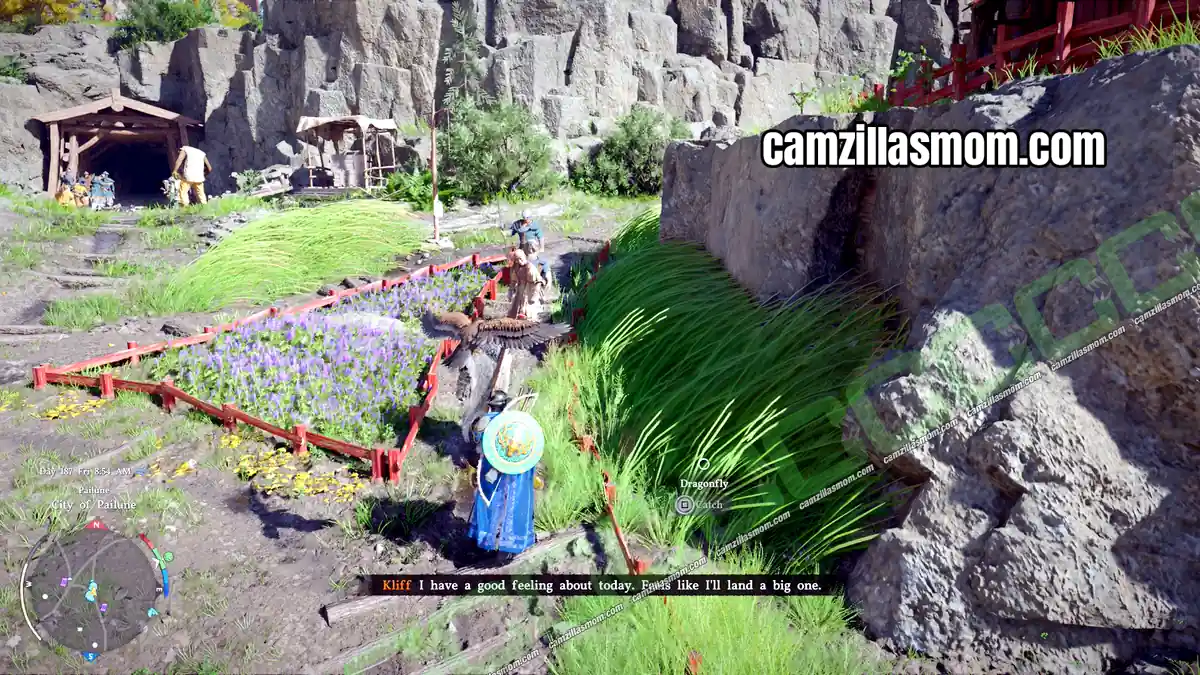
After the cutscene, walk with Oongka to the docks north of Pailune to go fishing. You have to catch a fish to advance. If fishing isn’t your thing either, here’s a quick refresher:
– Cast the line and wait for a fish to bite
– Once it’s on the line, move the rod in the opposite direction to the fish until it stops splashing
– Reel in while it doesn’t splash, and repeat the rod and reel sequence until you land the fish
2 – Familiar Faces
Return to Pailune
After fishing, return to the Pailune docks, where Andrew waits with a couple of Greymanes. Talk to Andrew to continue.
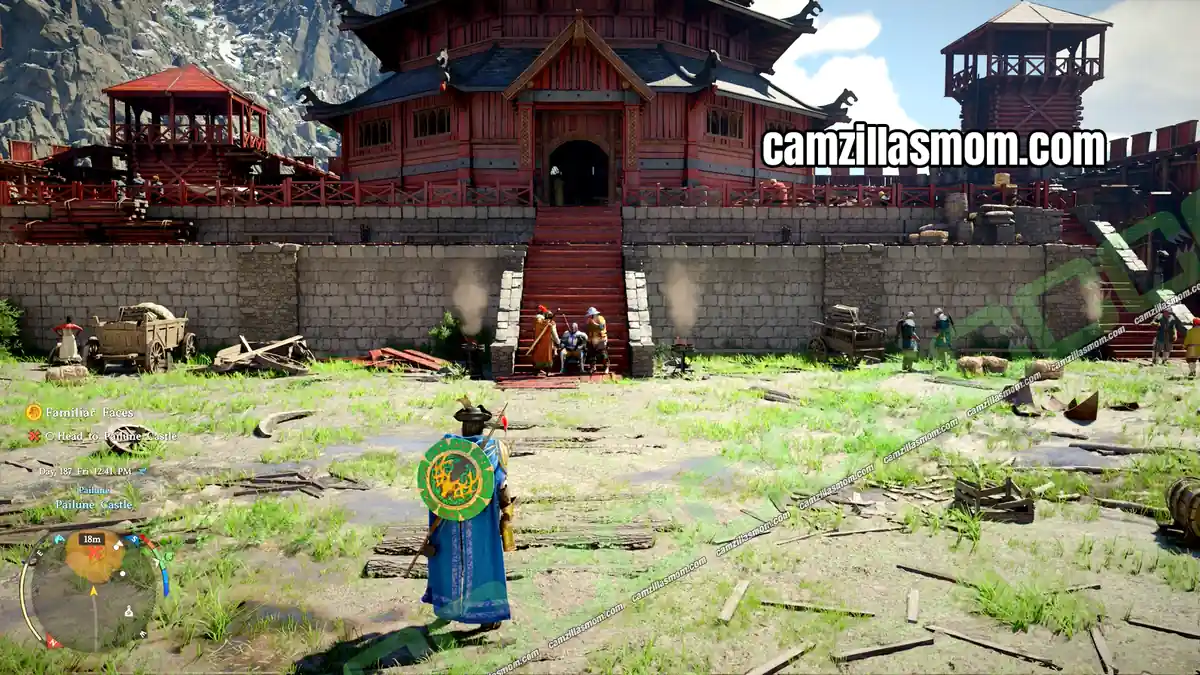
Head to Pailune Castle
Andrew tells Kliff that Matthias is waiting for him at Pailune Castle. The cutscene starts as you approach the group. Matthias has trained tirelessly and challenges Kliff to a duel. Defeat him once more to continue.
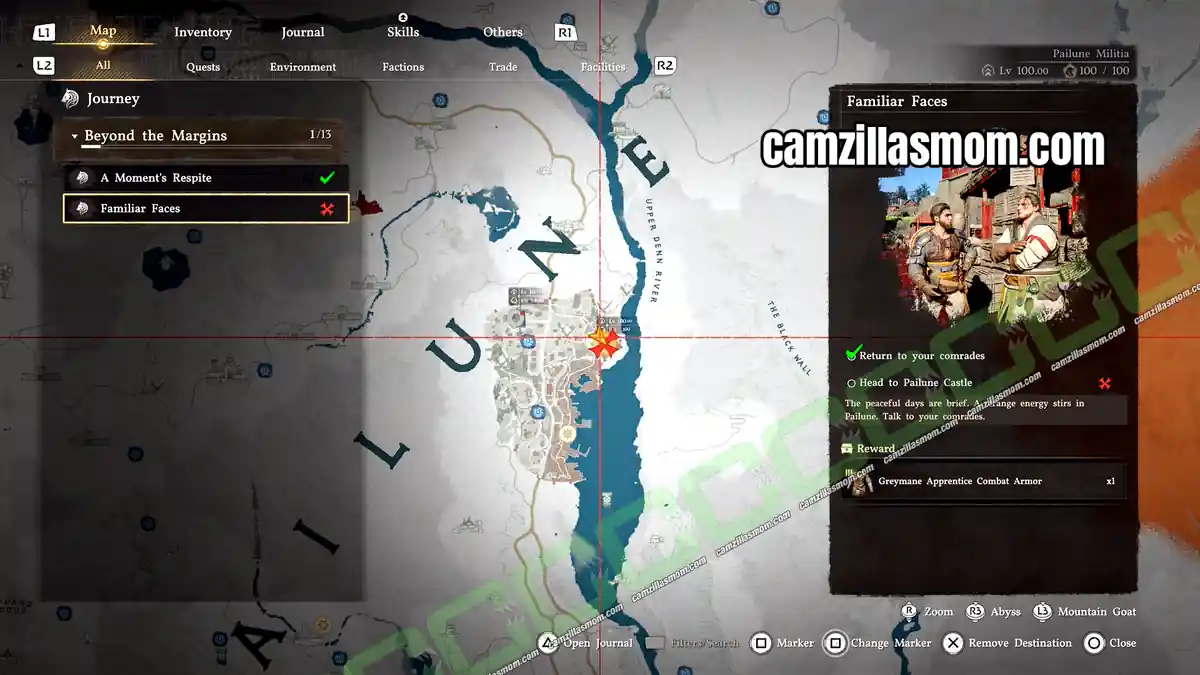
Return to Your Comrades
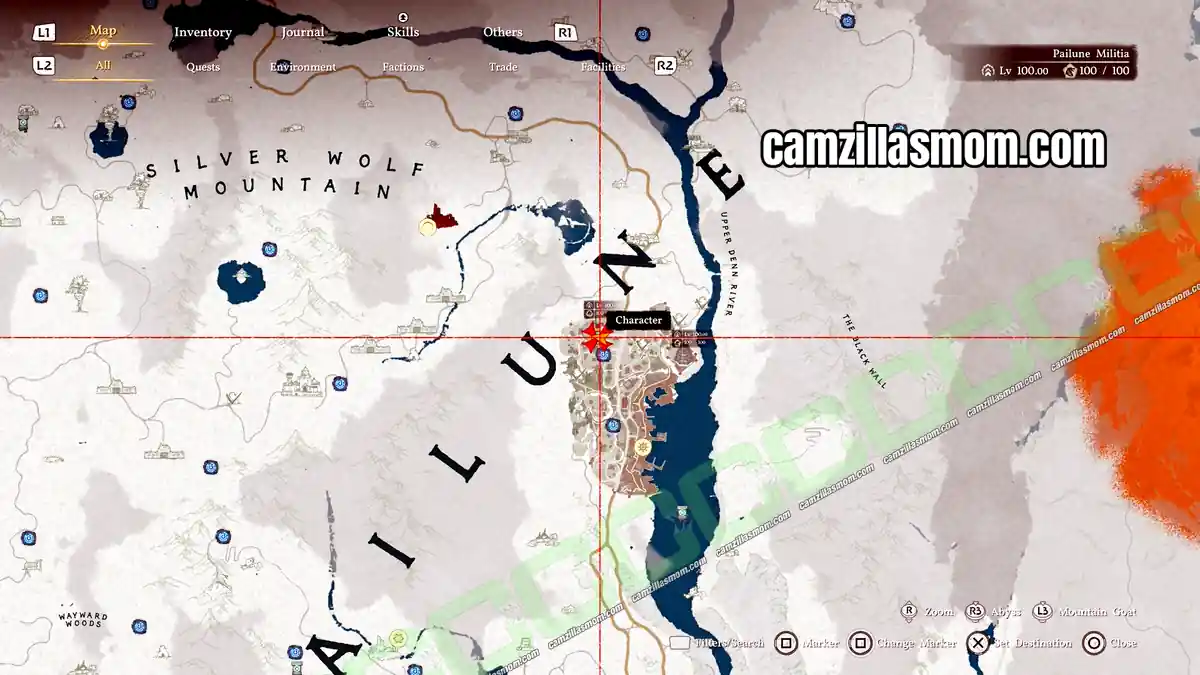
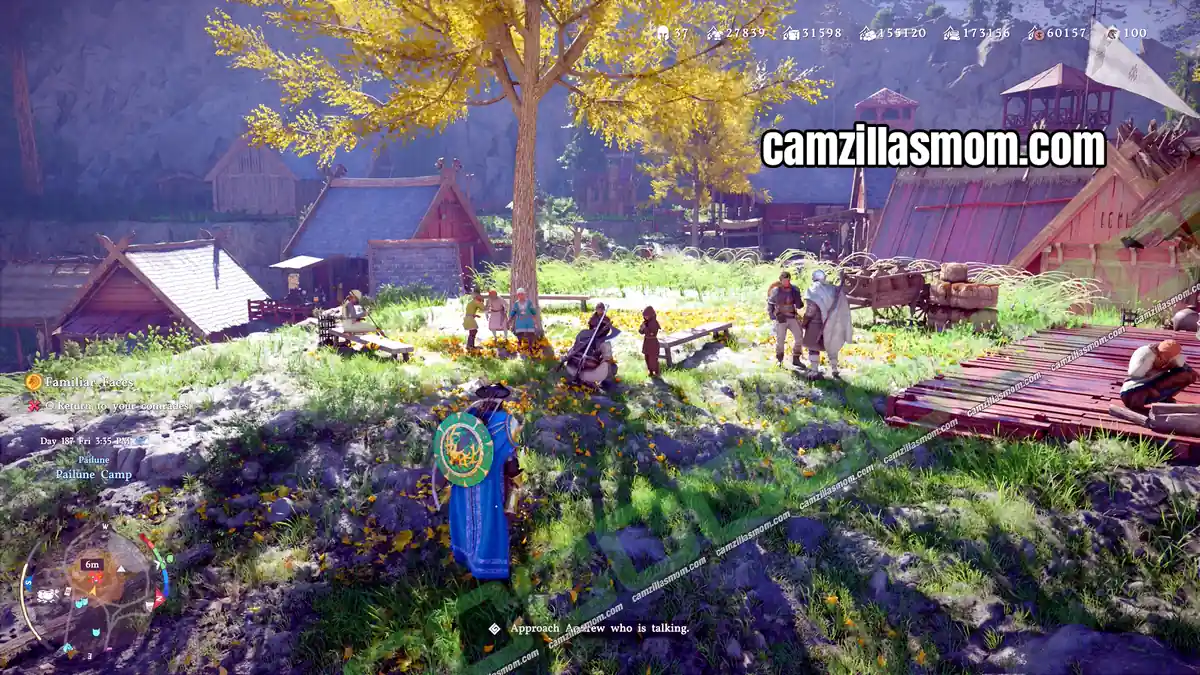
Go to the Greymane camp in Pailune City and talk to Andrew again. A monk from Jijeong Temple is there with a message: the head monk is asking for Kliff because T’rukan is causing trouble again. You receive the Greymane Apprentice Combat Armor after the conversation.
3 – Teachings to Light the Way
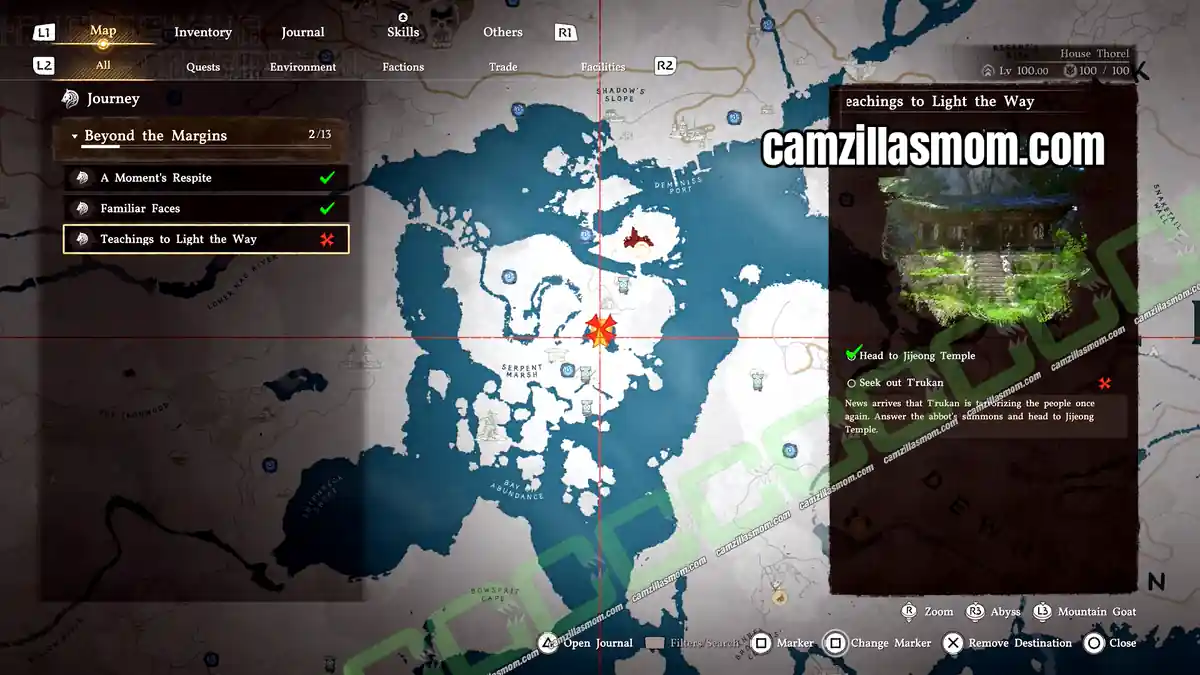
Head to Jijeong Temple
Jijeong Temple is where Kliff faced the tiger-masked T’rukan in the Six Statues and the Beast questline. Return there and talk to the chief monk (called the abbot in the quest log) in the main building.
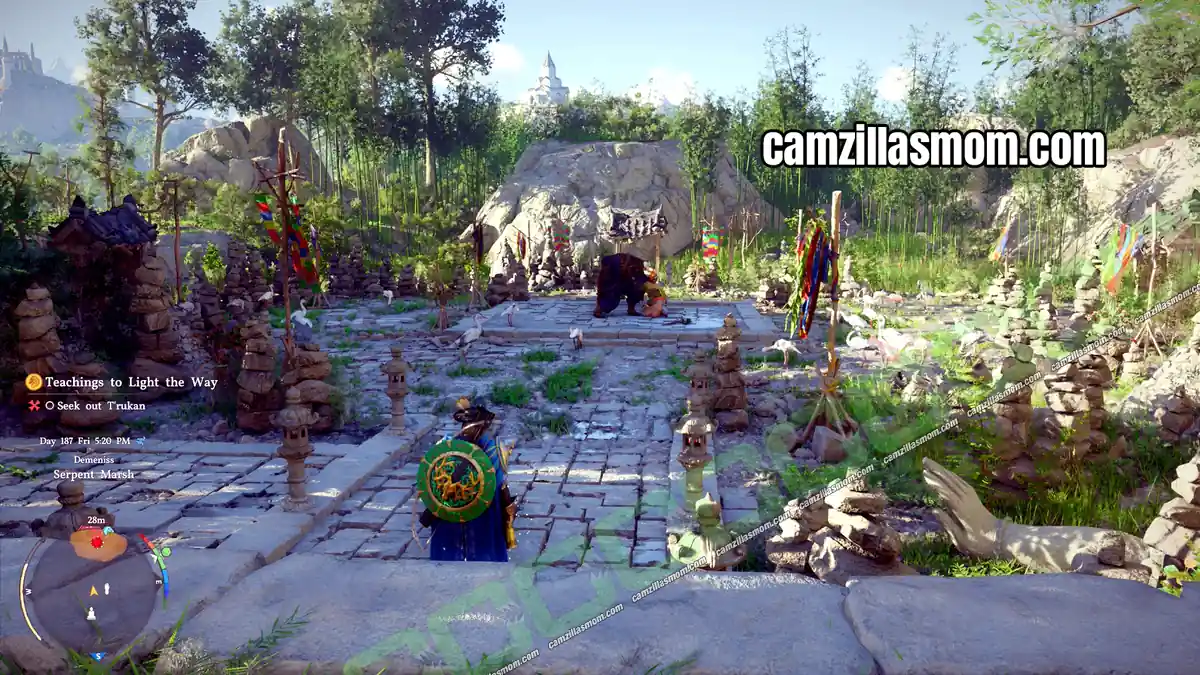
Seek Out T’rukan
T’rukan is waiting in the arena below, where Kliff defeated him in the main story, bullying a couple of soldiers. Kliff picks up a branch and fights him with it, so the fight takes a little longer than usual. Defeat him to continue.
Return to the Chief Monk
After T’rukan’s defeat, talk to the chief monk once more. He reveals the real reason he called Kliff: the Witches of the East sensed whispers of darkness in the desert, and Umbra’s followers may not have vanished. Kliff decides to find a mapmaker in Varnia who can navigate the shifting sands.
4 – Where Rumors Gather
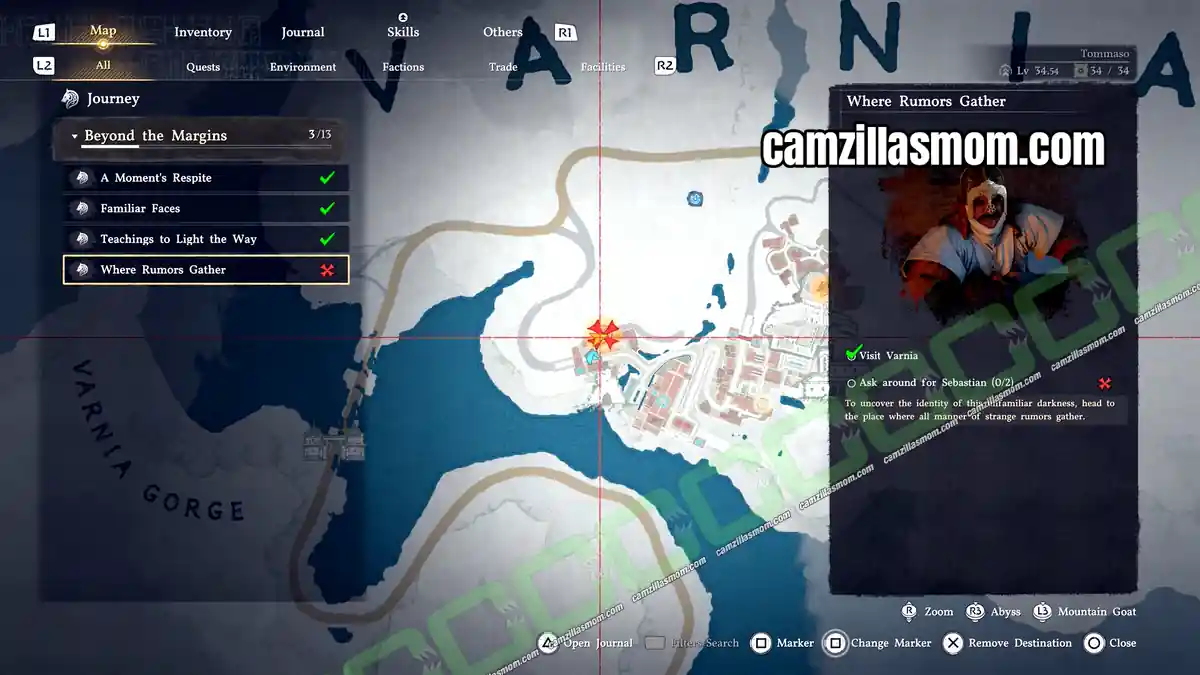
Visit Varnia and Ask Around for Sebastian
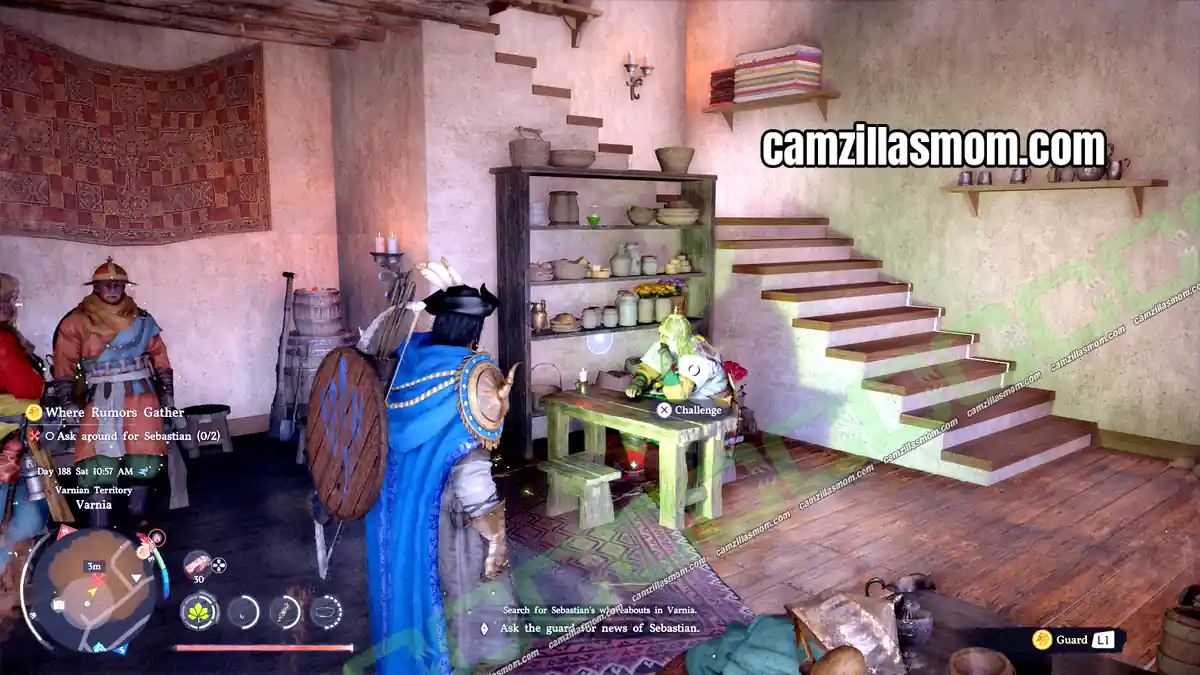
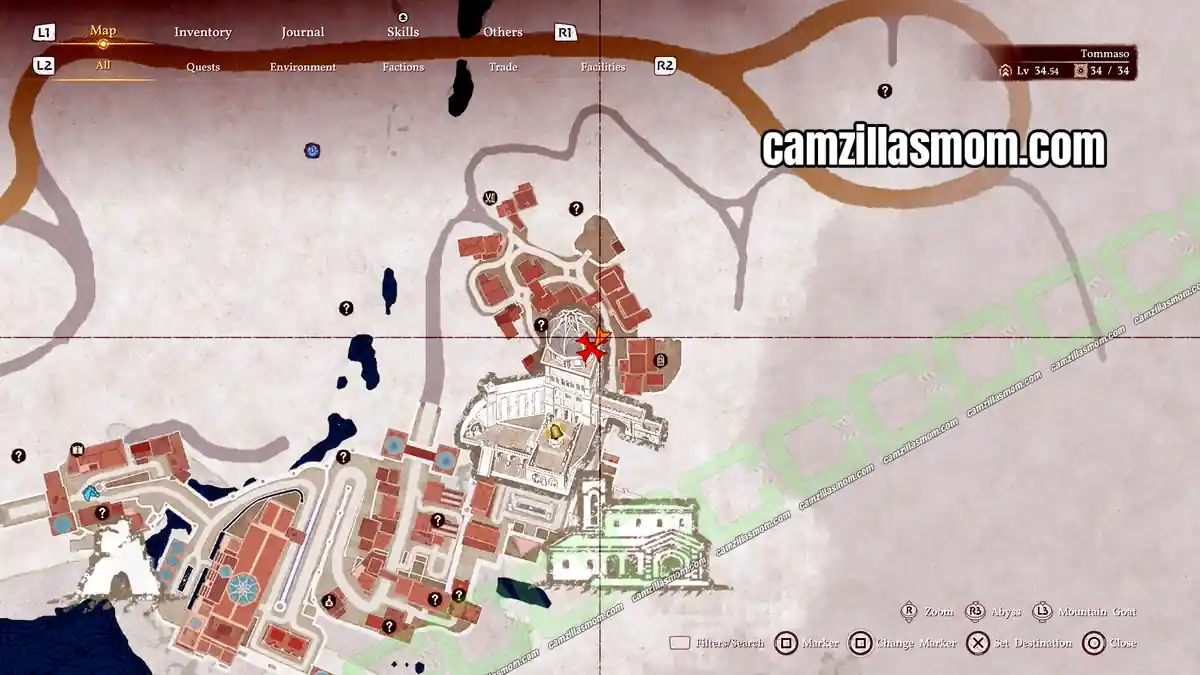
The quest fast travels you to the southern gates of Varnia, in the far northeast of the map. Once inside the town, two areas are marked on the map where you can ask around for Sebastian. The first is the tavern at the western town gates. Talk to the guard sitting at a table on the ground floor and beat him at arm wrestling. He tells you about a traveler with a pack full of scrolls and drafting tools: Sebastian, the mapmaker Kliff met at the start of the game.
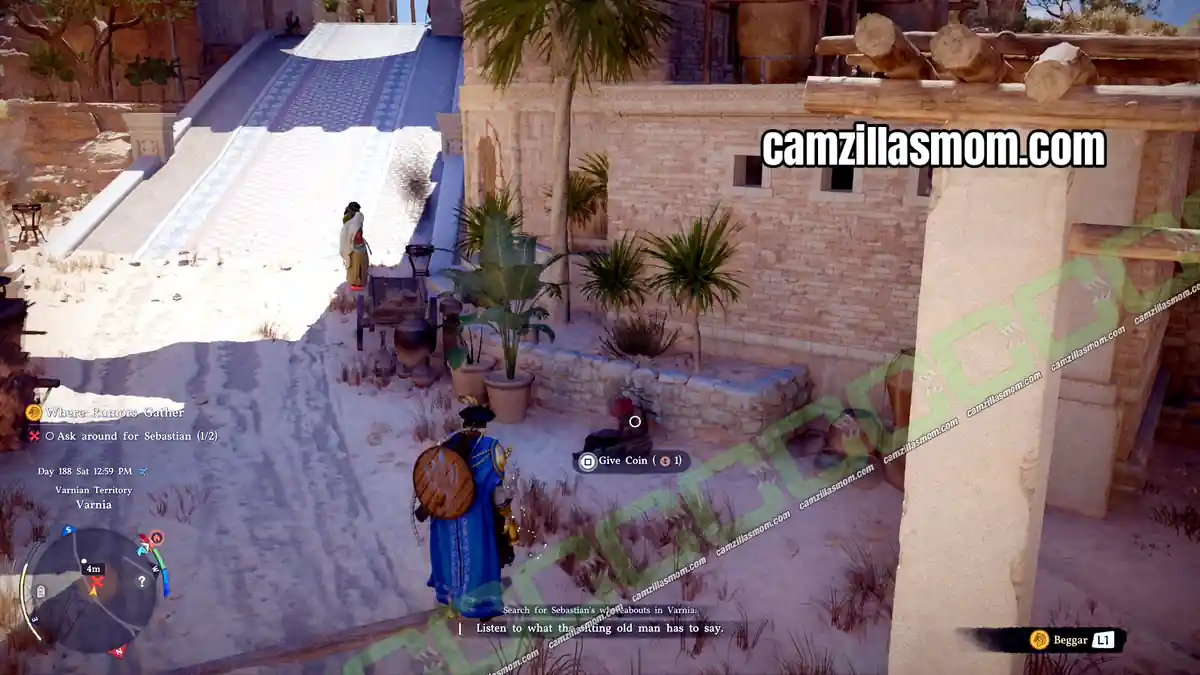
Leave the tavern, head to the northeast of town and give the beggar in the road some money to start the conversation. For a moment Kliff thinks he might be Alustin. The beggar met the Eastern witches in a back alley and passes on their warning about a fierce gale in the sands, standing like a barrier of stone.
Find Sebastian
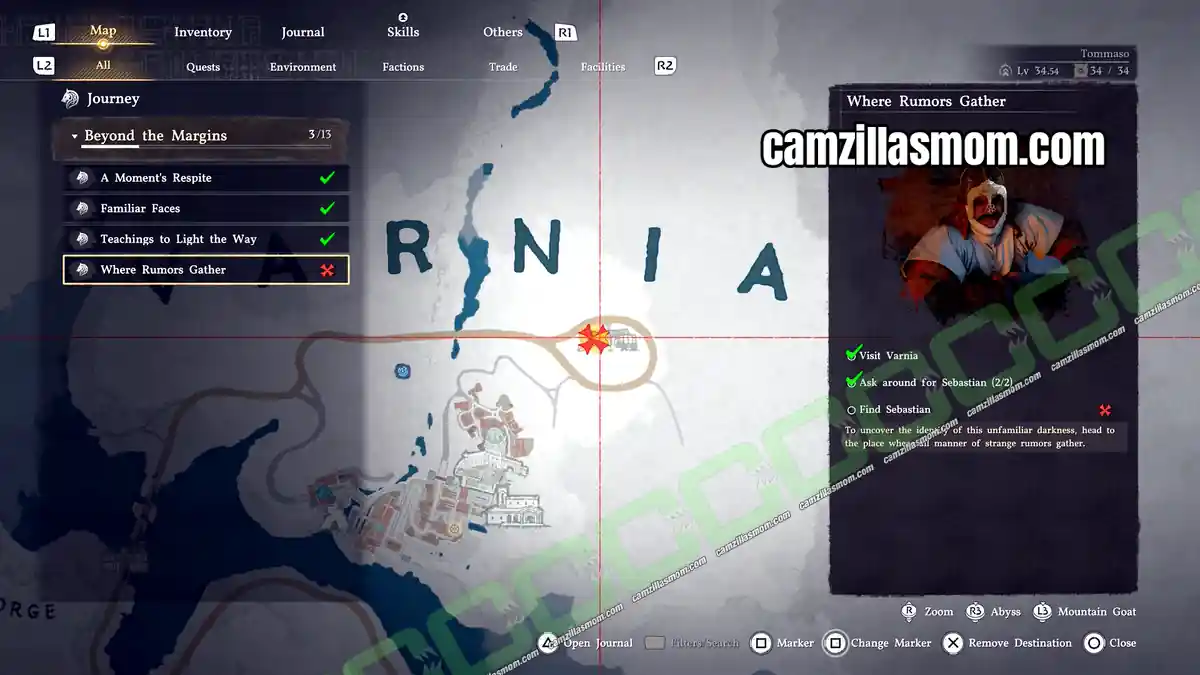
The quest marker now leads to the end of the road at the northeastern tip of the map, northeast of Varnia. You’ll find Sebastian there.
After the conversation, follow Sebastian on horseback. The two of them then fast travel ahead, shown in a cutscene.
5 – Witches of the East
Witches of the East plays out almost entirely in cutscenes. At the sandstorm barrier, Kliff and Sebastian meet Maegu and Moosa, the two witches from the Ashen Steps questline, who are pursuing the remnants of Antumbra. The White Crow appears briefly before vanishing again.
The witches combine their power to force a path through the unstable wall of storms, and the group crosses into the hidden land beyond the barrier. You receive 100 Glowing Seeds, and the quest completes during the cutscene. Sebastian sets up his tent at the southern entrance of the storm area to start his maps, while Kliff heads off alone to scout.
6 – Beyond the Sandstorm
Investigate Beyond the Barrier
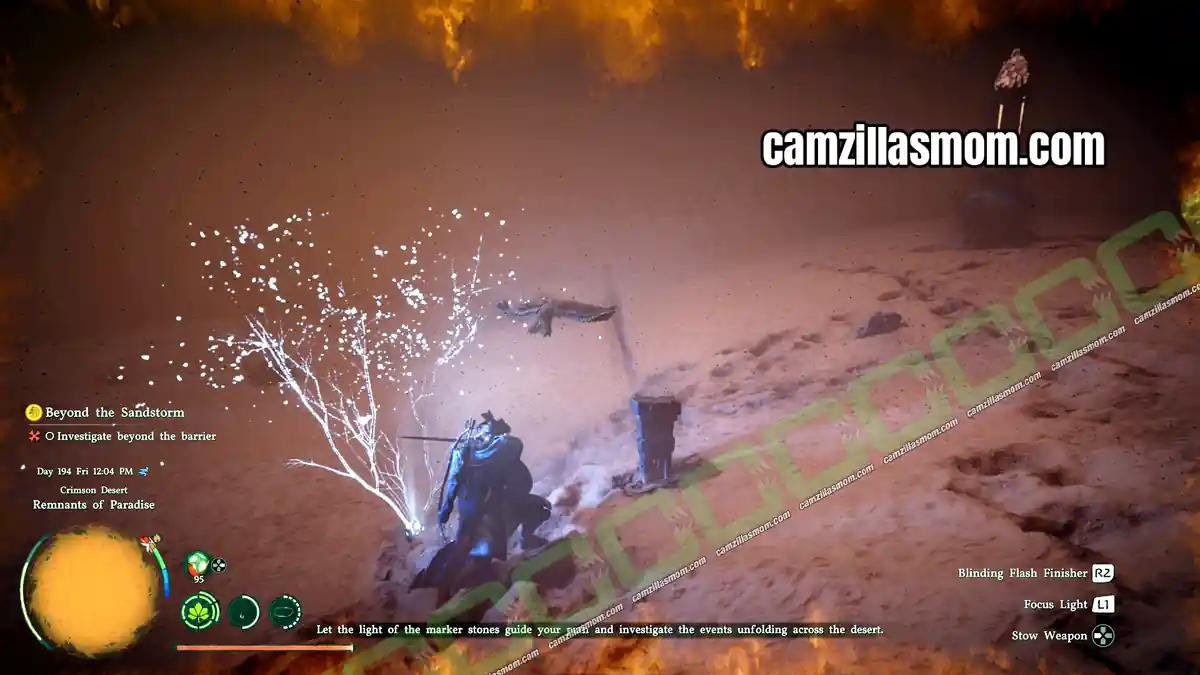
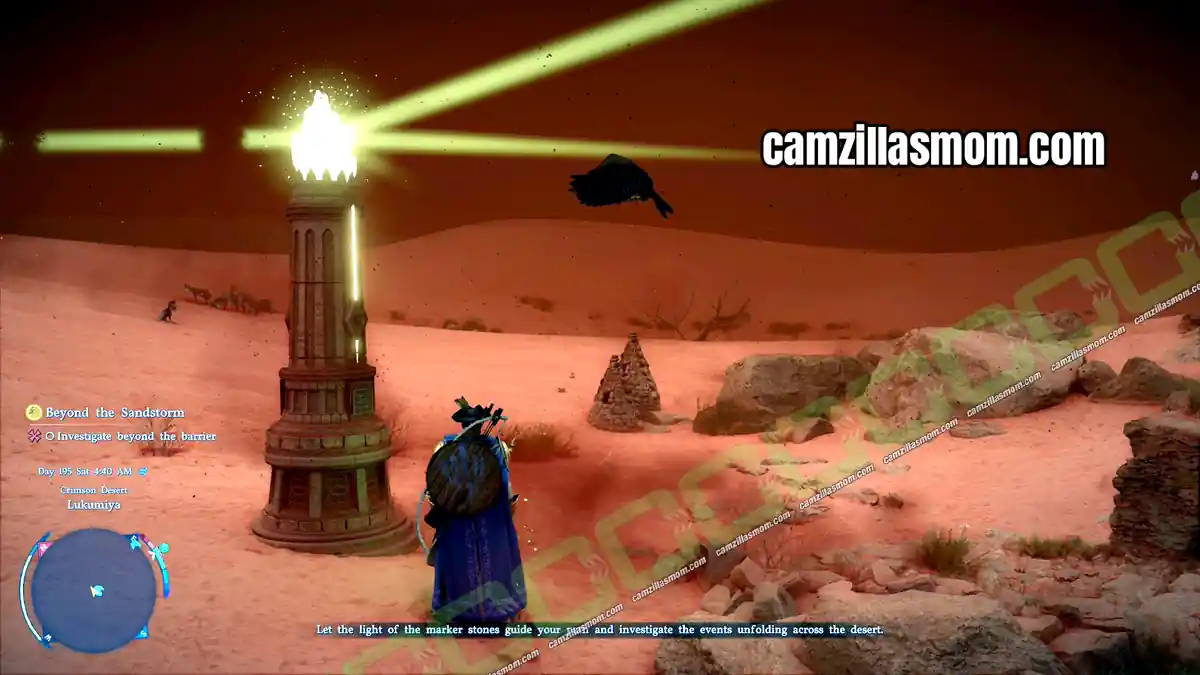
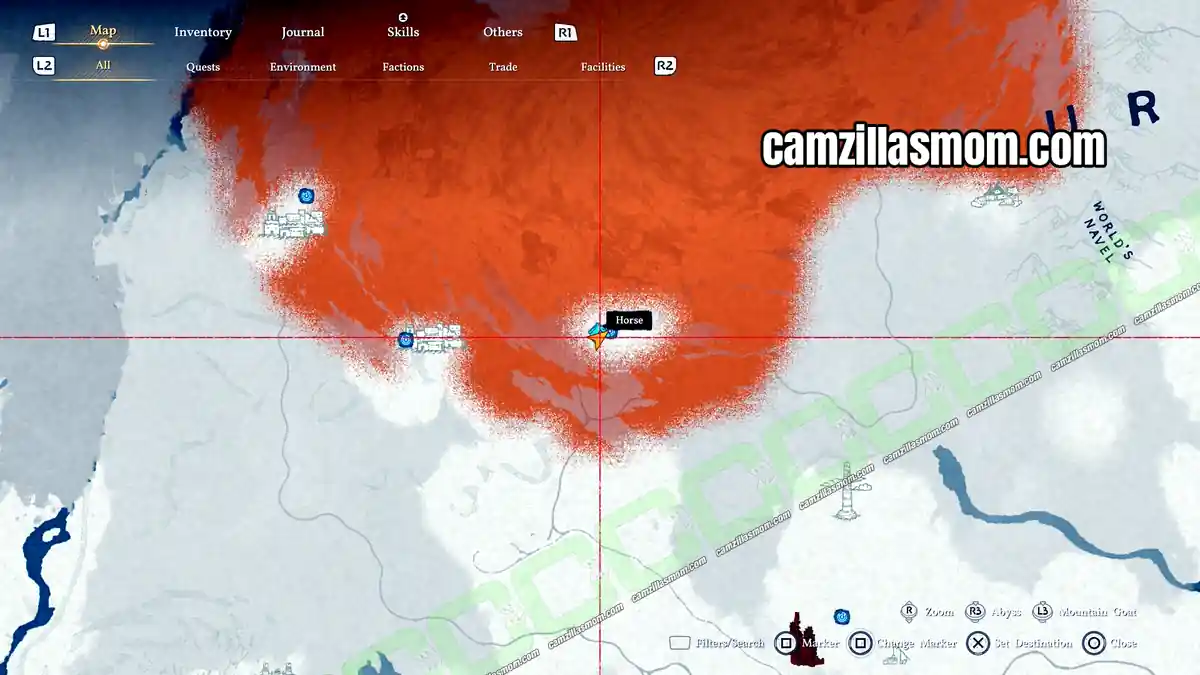
The map is completely covered by the storm at first, so marker stones and Glowing Seeds are your only way to navigate. Interact with a marker stone below its beam to see which village that beam leads to. Glowing Seeds are in the Functions menu: select them with the right controller button, drop one with Triangle, and take it back with Square. Seeds you pick up go back into your stock.
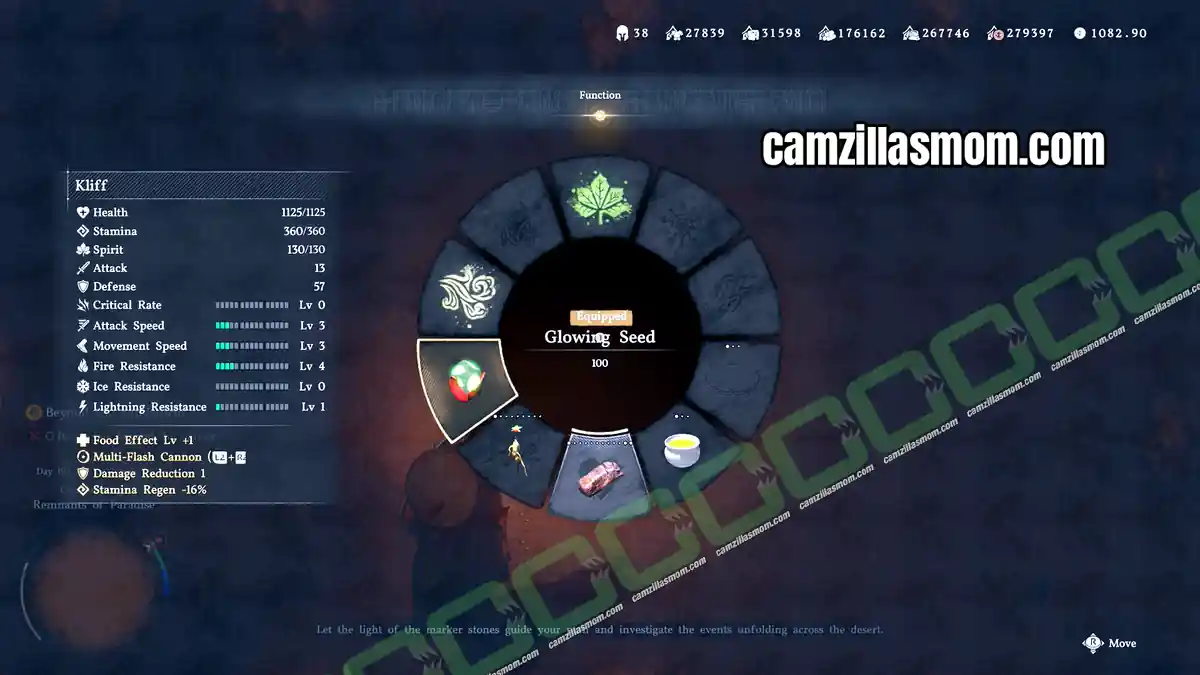
Keep following the marker stones and the direction of their light. Place Glowing Seeds between the marker stones so you can find your way back. Soon you’ll reach a corrupted marker stone, which points in the wrong direction. Use Blinding Flash (L1 + R1) to see where the stakes are.
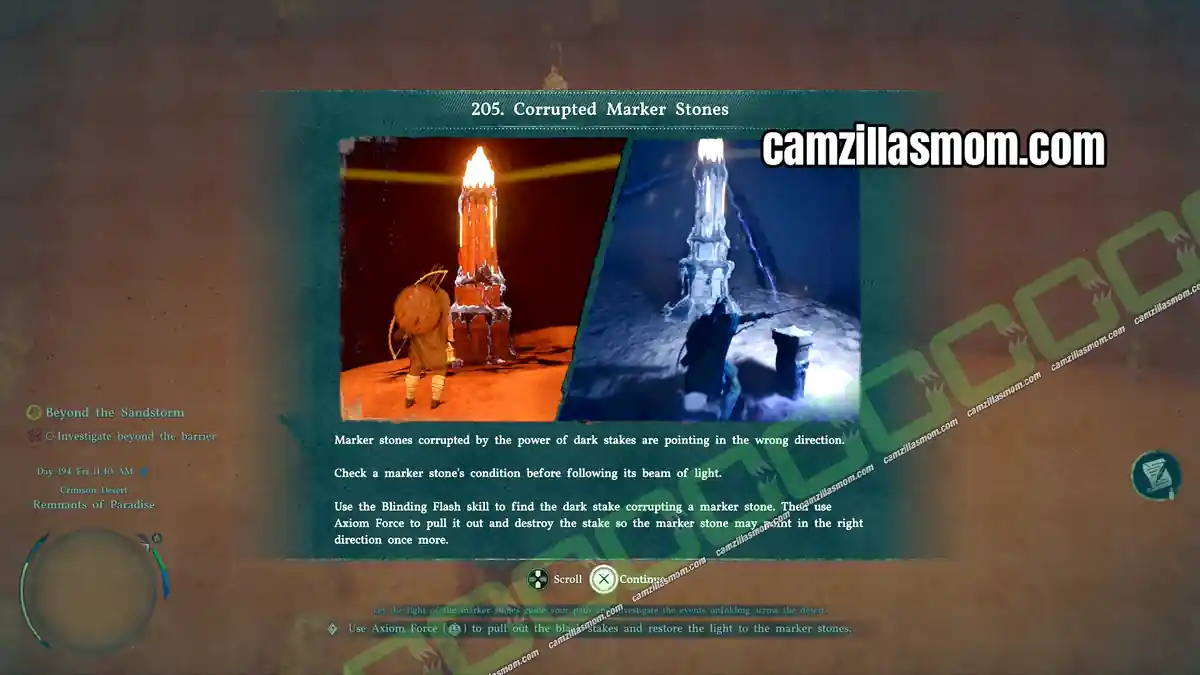
There are three stakes. Use Axiom Force to connect with a stake, then push the right stick up to pull it out.
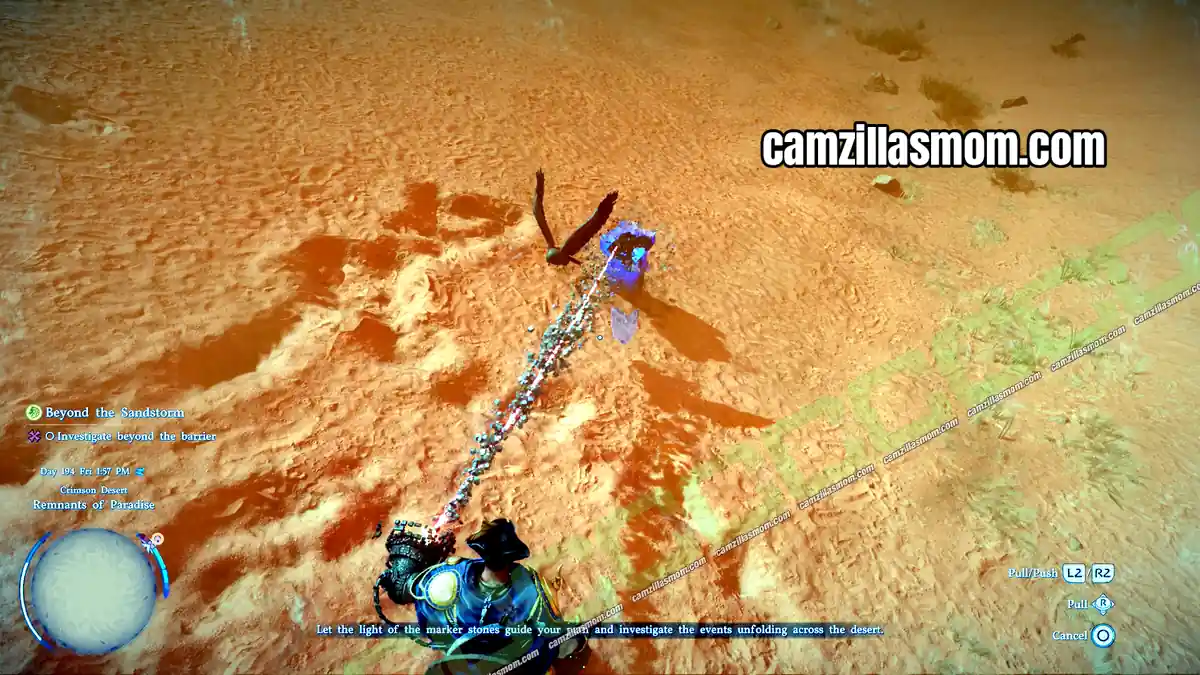
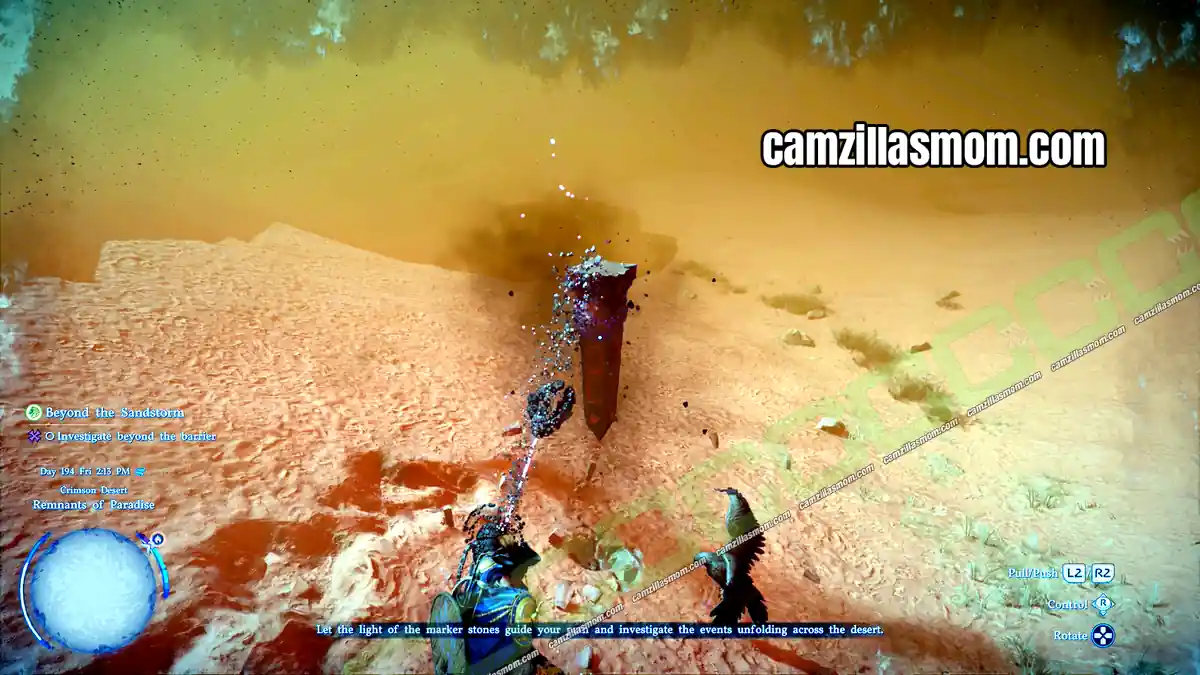
After pulling out all three stakes, the light points the right way again. This first stone also counts toward Distorted Light. Keep following the beams from marker stone to marker stone, placing Glowing Seeds along the way, until you reach Lukumiya. Beyond the Sandstorm stays open in the background and completes once Sebastian’s map is done.
7 – The Buried Neighbors
Look for the Villagers
This quest starts when you reach Lukumiya. Enter the village and find the patient at the top of the village. They warn you about a plague: the village has run out of medicine, and the road to the neighboring village where herbs grow has been cut off. Don’t forget to activate Lukumiya’s Abyss Nexus fast travel point near the patient.
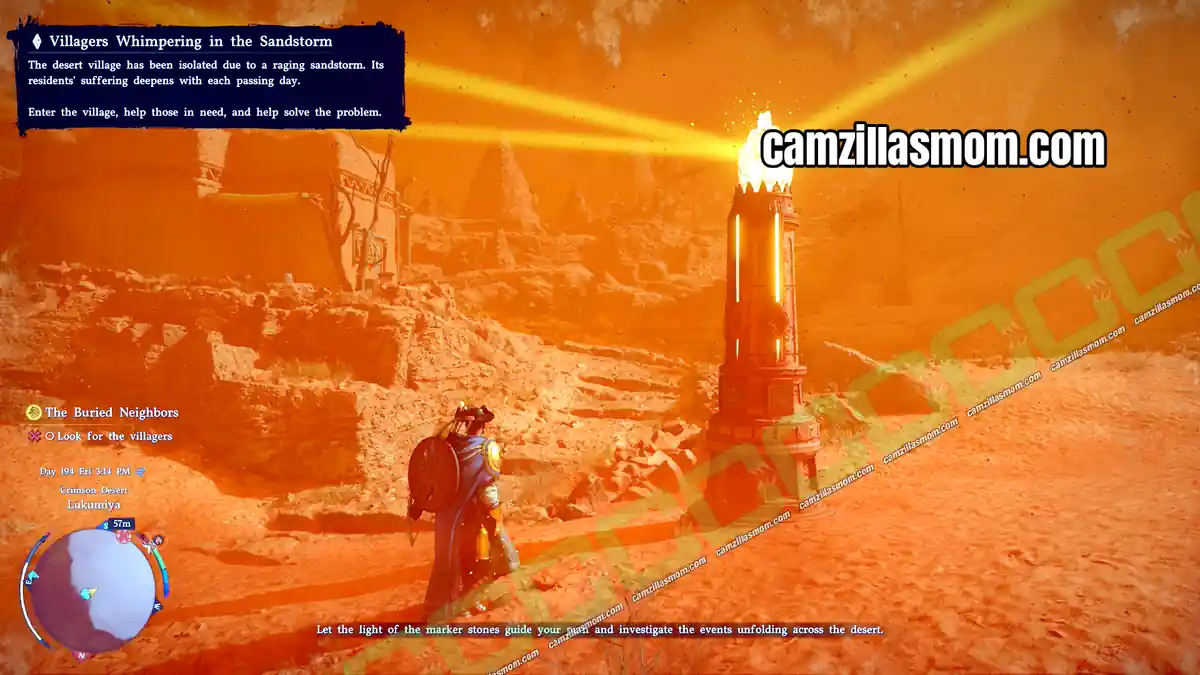
After talking to the patient, return to the marker stone and follow the beam toward the northeast, past the dry well behind the village.
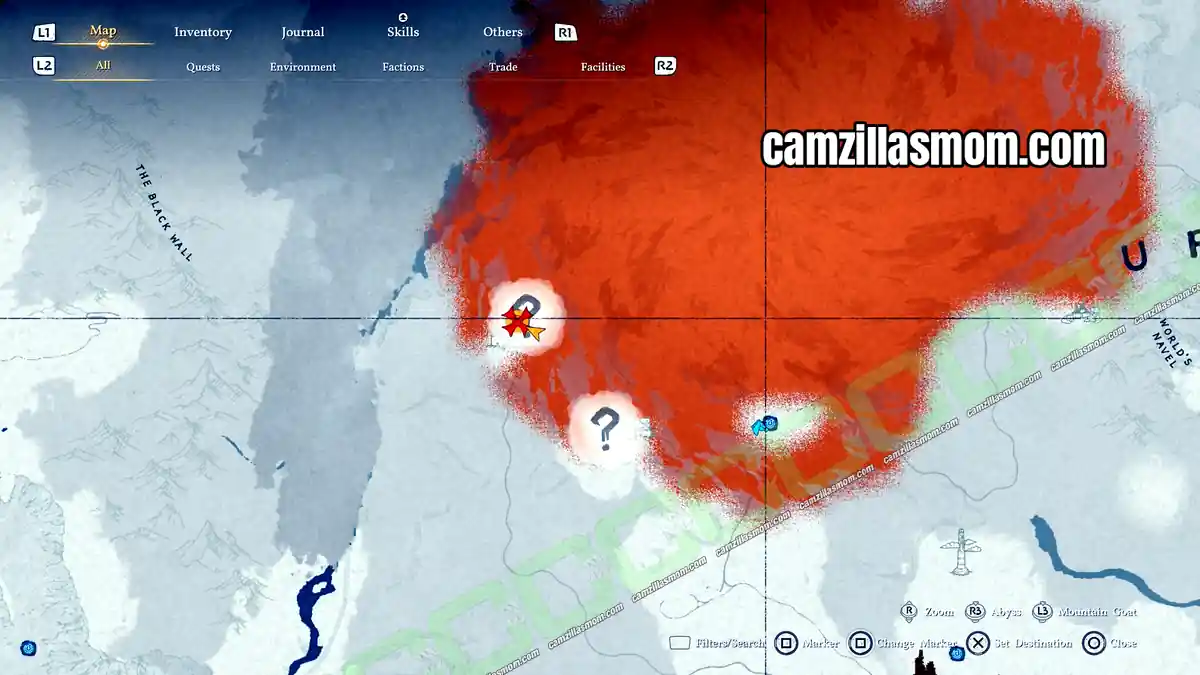
You’ll find another corrupted marker stone. Antumbra warriors attack as soon as Kliff approaches, so defeat them before purifying the stone. There are three stakes: find them with Blinding Flash and pull them out. Two are in the open near the marker stone, and the third is hidden behind pots in the ruins below.
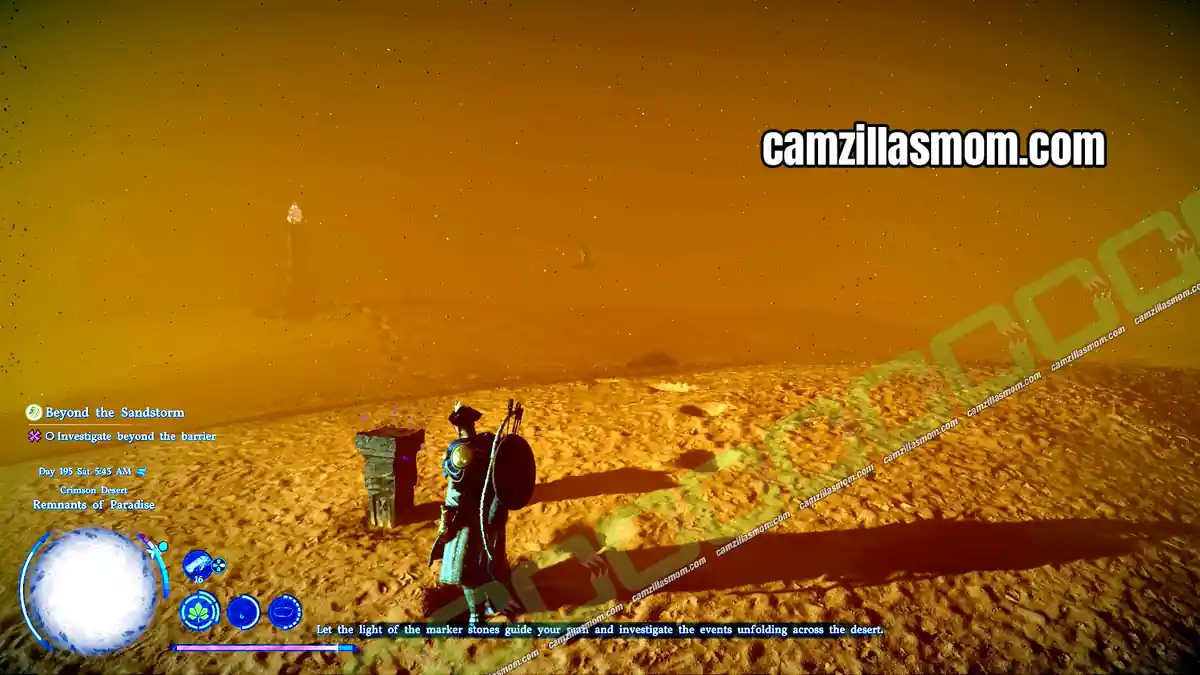
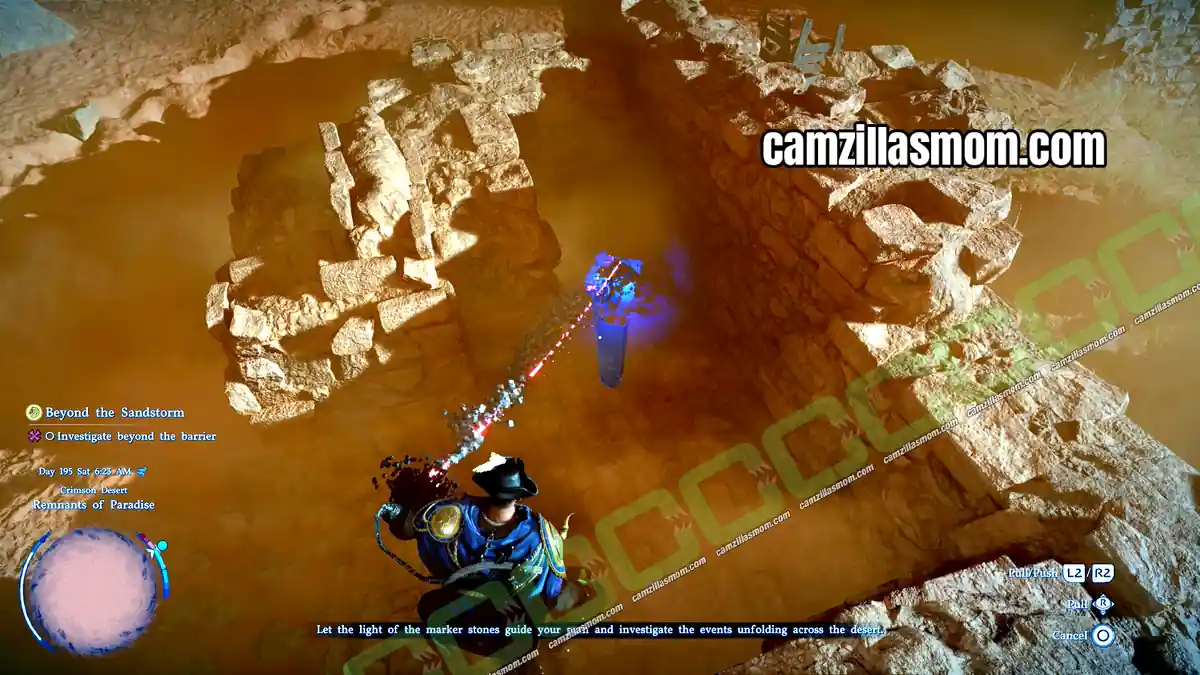
Head to Maddin
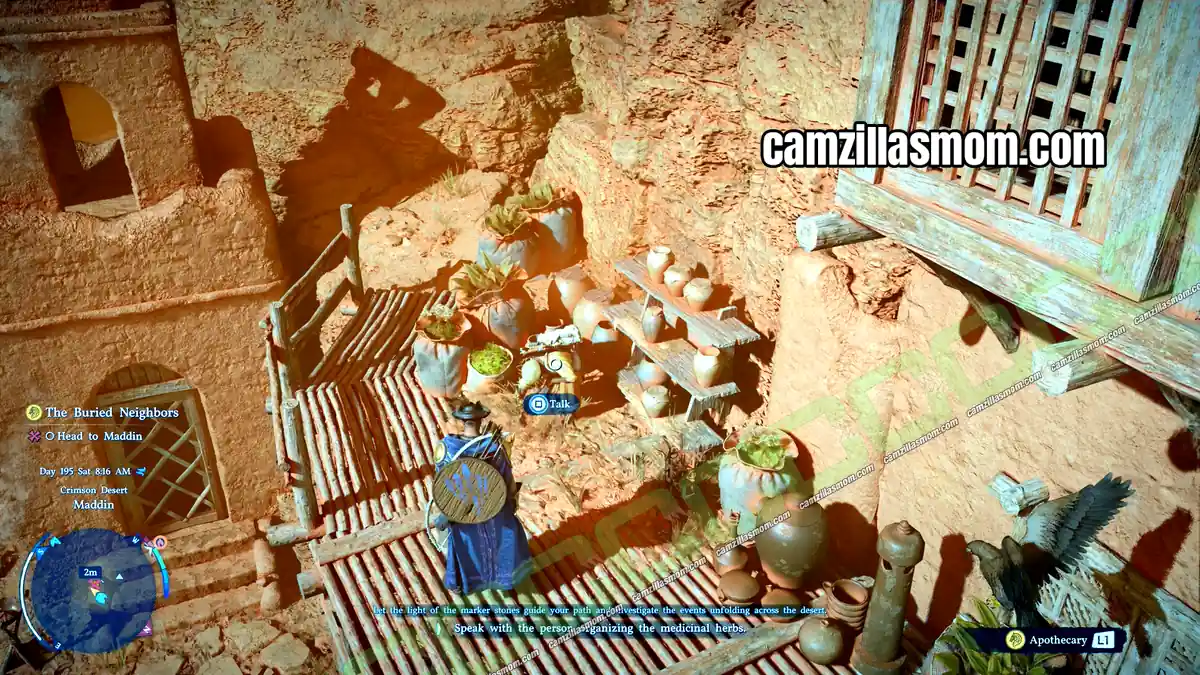
Return to the cleaned marker stone and follow the beam toward Maddin and Faraj. Maddin is in the center, right at the storm’s eye. Be careful not to get caught in the spiraling storm: it pulls you up into the air and drops you again, so be prepared to fly. Activate Maddin’s Abyss Nexus fast travel point before leaving. The apothecary you’re looking for is in the top section of Maddin, near the bags of herbs. He reveals that Maddin never abandoned Lukumiya: the marker stones were turned, black stakes were planted along the road, and people dressed in black had passed through. He gives Kliff all the herbs he needs.
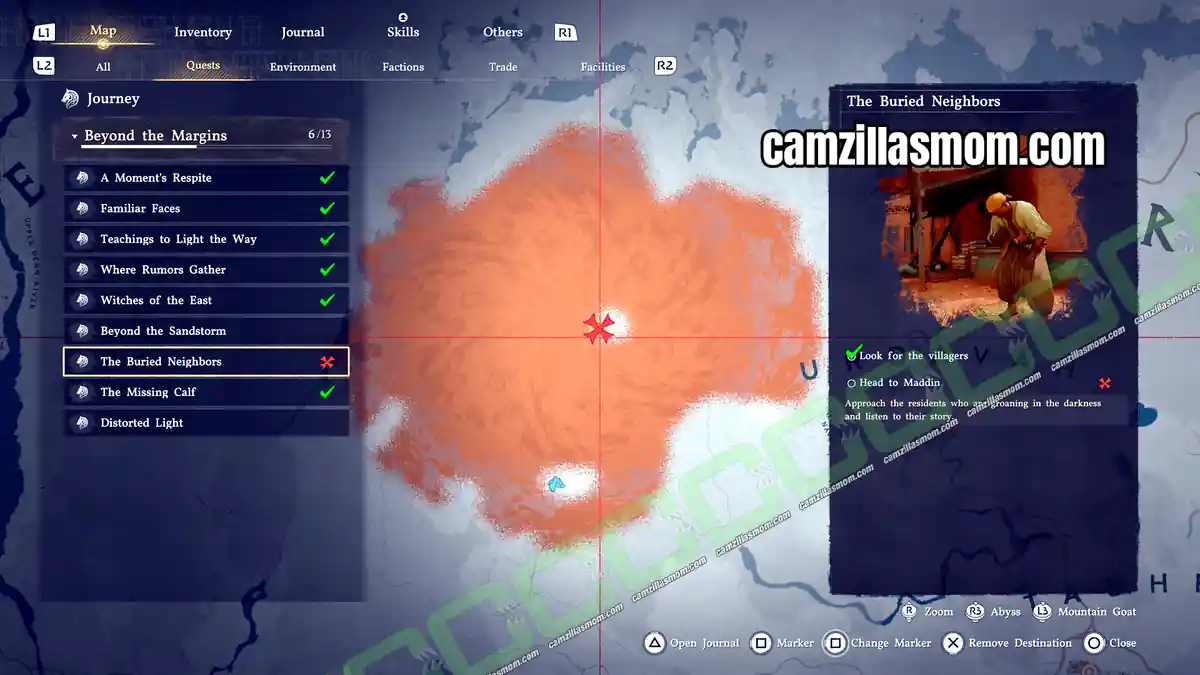
Return to Lukumiya
The villagers are gathered near the marker stone in the center of Lukumiya. Talk to the patient by the well to hand over the herbs and the message from Maddin. You receive the Lukumiya Survey Records and the Maddin Survey Records.
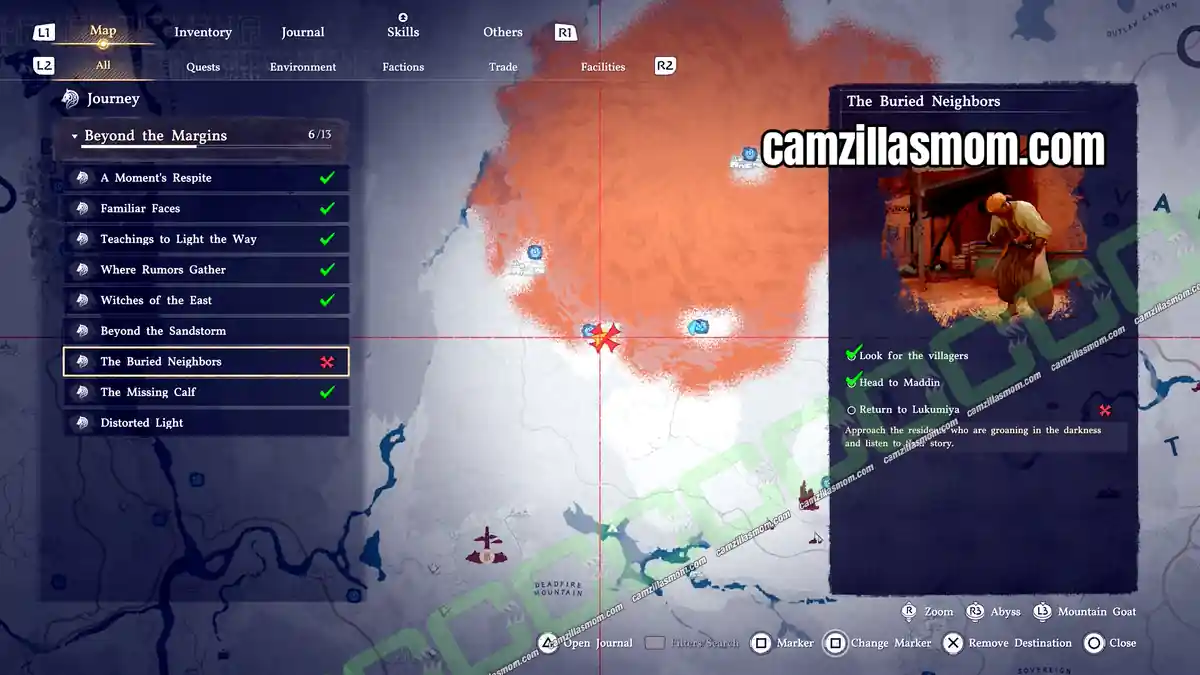
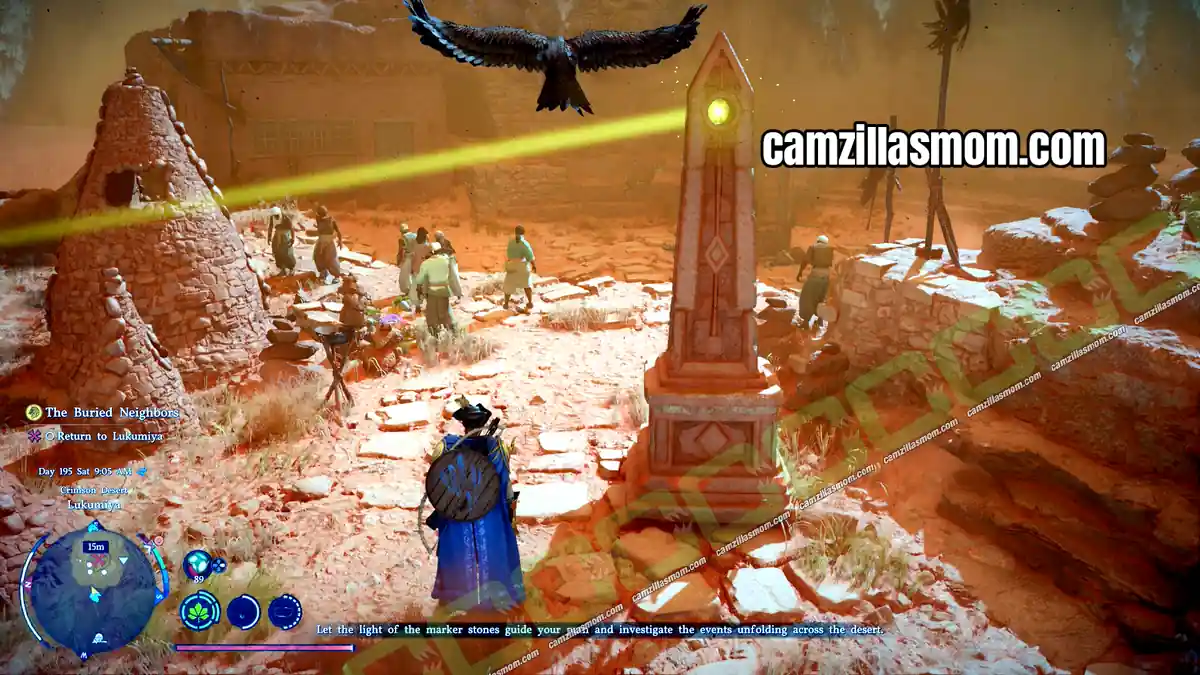
Return to Sebastian
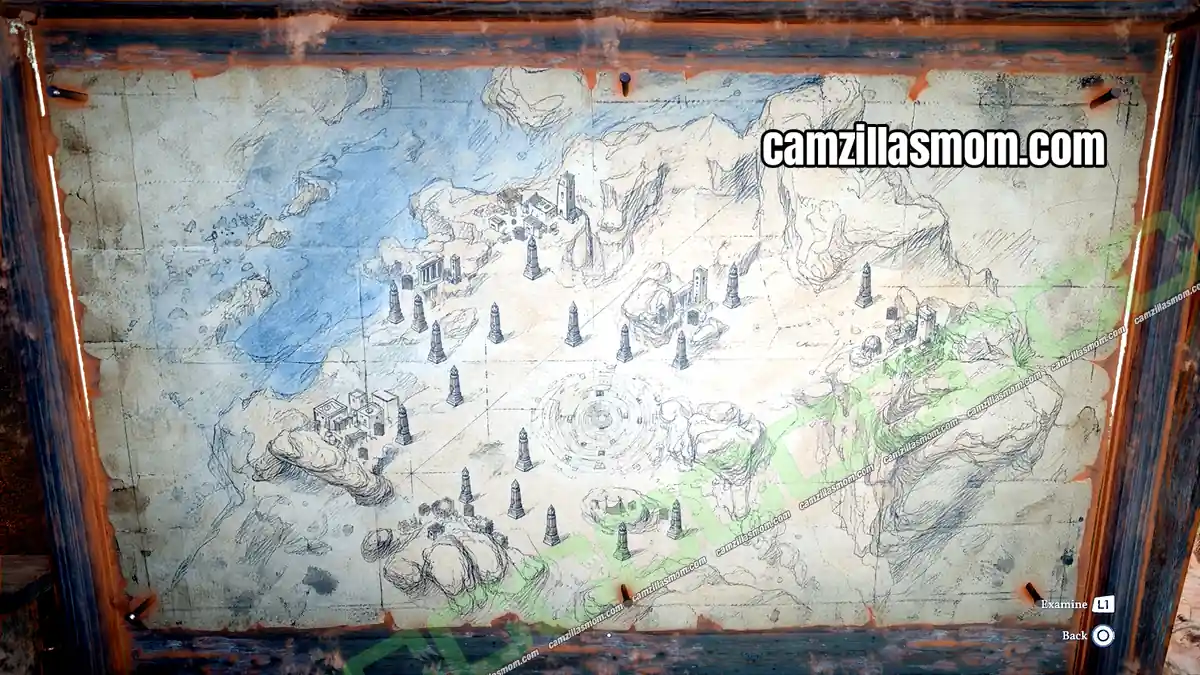
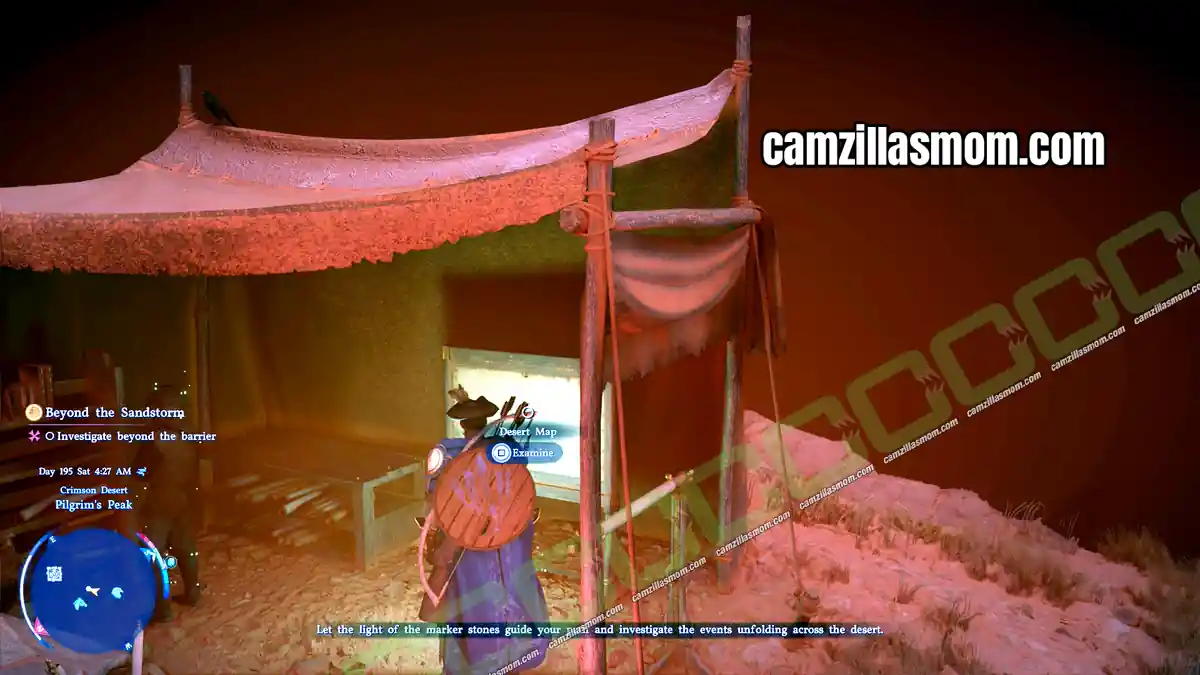
Return to Sebastian’s tent at the southern entrance of the storm area and hand in both survey records. Follow the staircase to the top of the hill. As soon as Kliff gets close to the tent, he enters it and adds his findings to Sebastian’s desert map, which completes the quest.
8 – The Lost Child
Speak with the Crying Child
Follow the light beam through Maddin to the marker stone on the far side, toward Faraj. A crying boy sits there. Talk to him to start the quest. He went out to gather herbs, got lost in the sandstorm, and saw people in black moving the stone pillars.
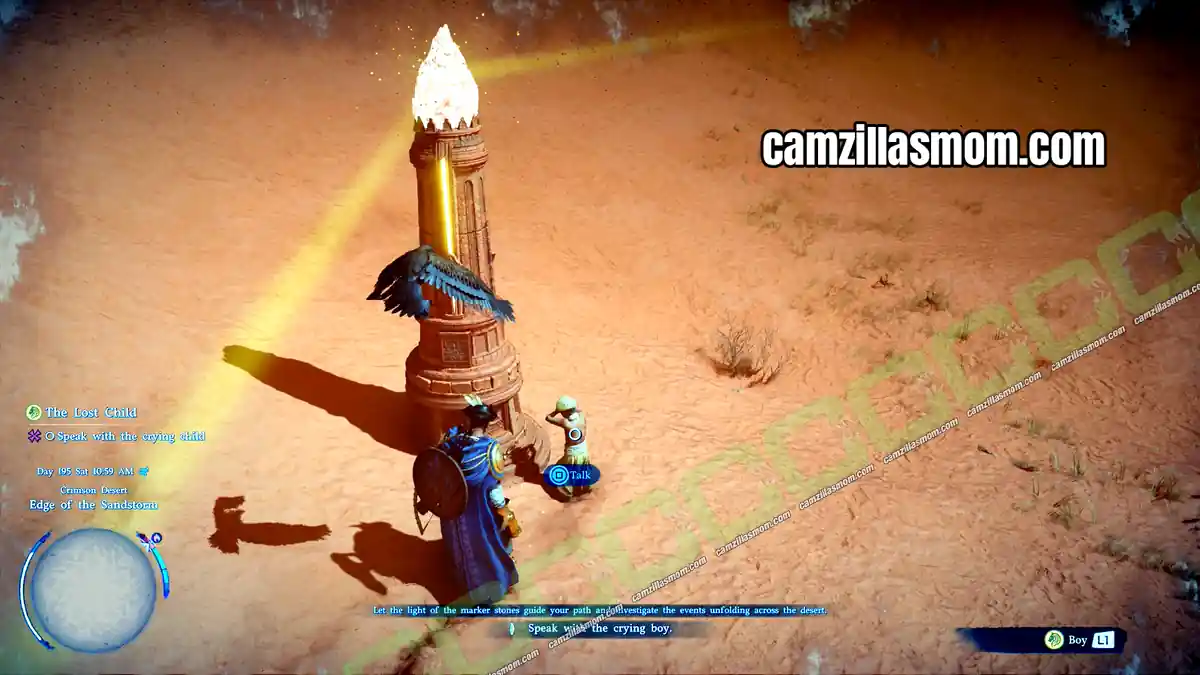
Follow the light beam toward Faraj. You can always read the sign below a beam to see where it leads. The boy follows Kliff, so don’t run too fast, or the quest is cancelled and you have to restart it at Maddin’s Faraj marker stone.
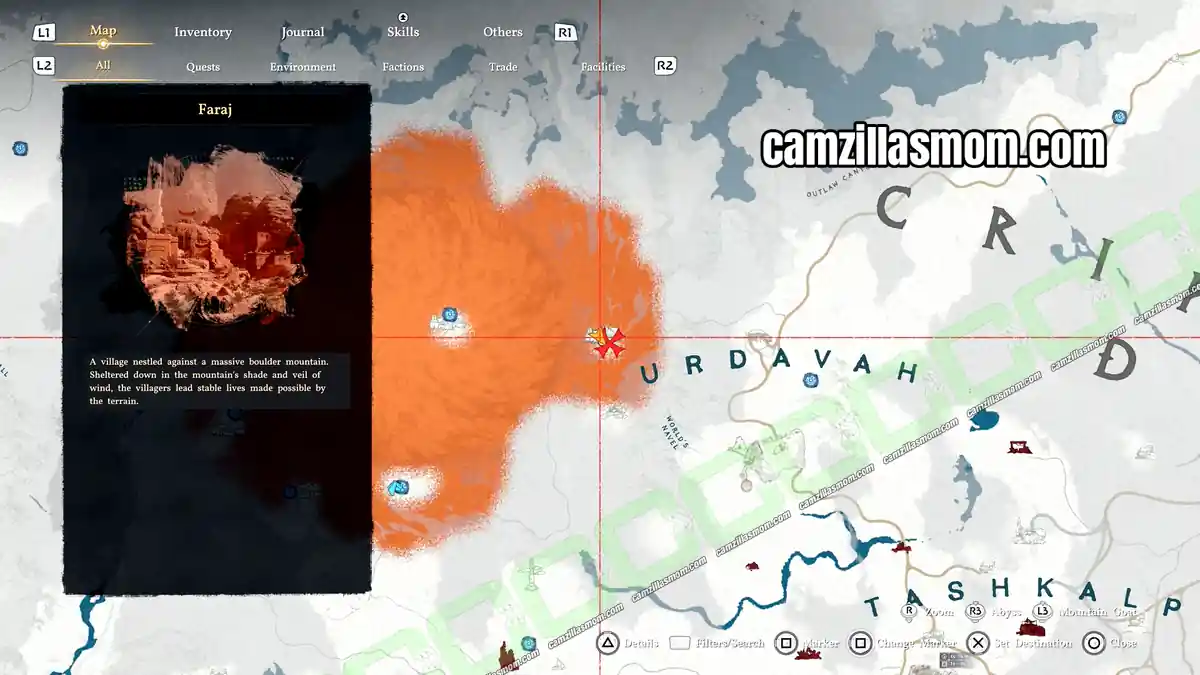
Enter the village and head to the quest marker to take the boy home. His family has noticed more and more people losing their way since the people in black appeared. The quest ends with Kliff drawing the Faraj Survey Records. Activate Faraj’s Abyss Nexus fast travel point before leaving.
Return to Sebastian
Sebastian is by his tent, where you left him. Follow the staircase to the top of the hill. As soon as Kliff gets close to the tent, he enters it and adds his findings to Sebastian’s desert map, which completes the quest.
9 – The Missing Calf
Look for the Villagers
The Missing Calf starts when you reach Hazran. Speak to the stranger there to find out more: he lost his bison herd to a sandstorm on the pasture south of the village and wants you to bring them back.
Find the Bison Calf
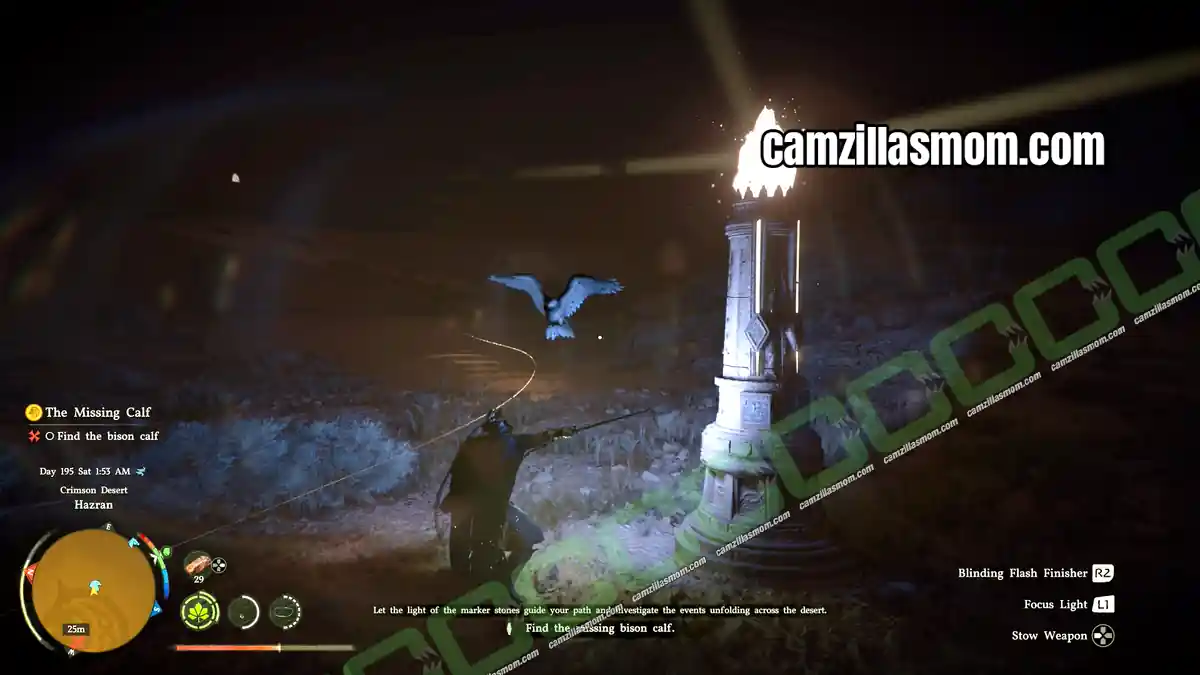
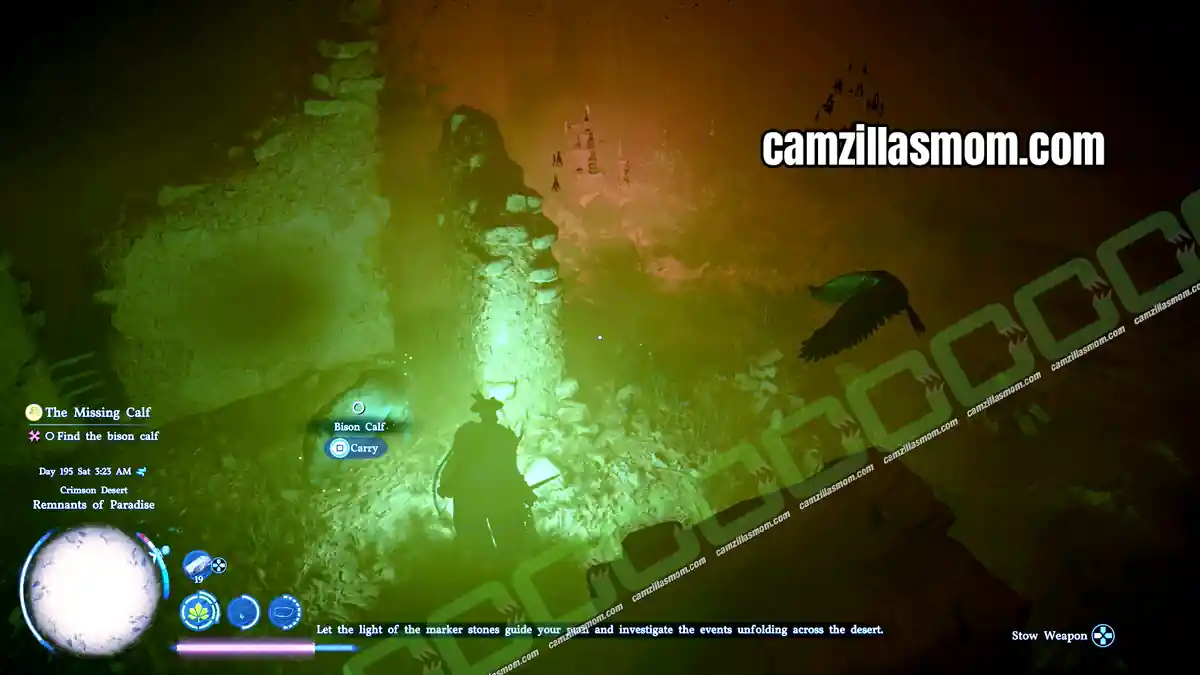
Use your lantern to find the bison tracks. To light it, hold the D-pad, select the lantern with the right stick and release. Then hold L1 with the lantern lit and your weapons stowed to cast its light ahead of you. Place Glowing Seeds as you go so you can find your way back. The tracks lead to ruins filled with Antumbra warriors. Defeat them, then find the calf inside the ruins.
Return the Bison Calf to the Village
If you planted Glowing Seeds, follow them back to Hazran. The stranger is waiting at the bison enclosure. You receive the Hazran Survey Records.
Return to Sebastian
Sebastian is by his tent, where you left him. Follow the staircase to the top of the hill. As soon as Kliff gets close to the tent, he enters it and adds his findings to Sebastian’s desert map, which completes the quest.
10 – Village in Darkness
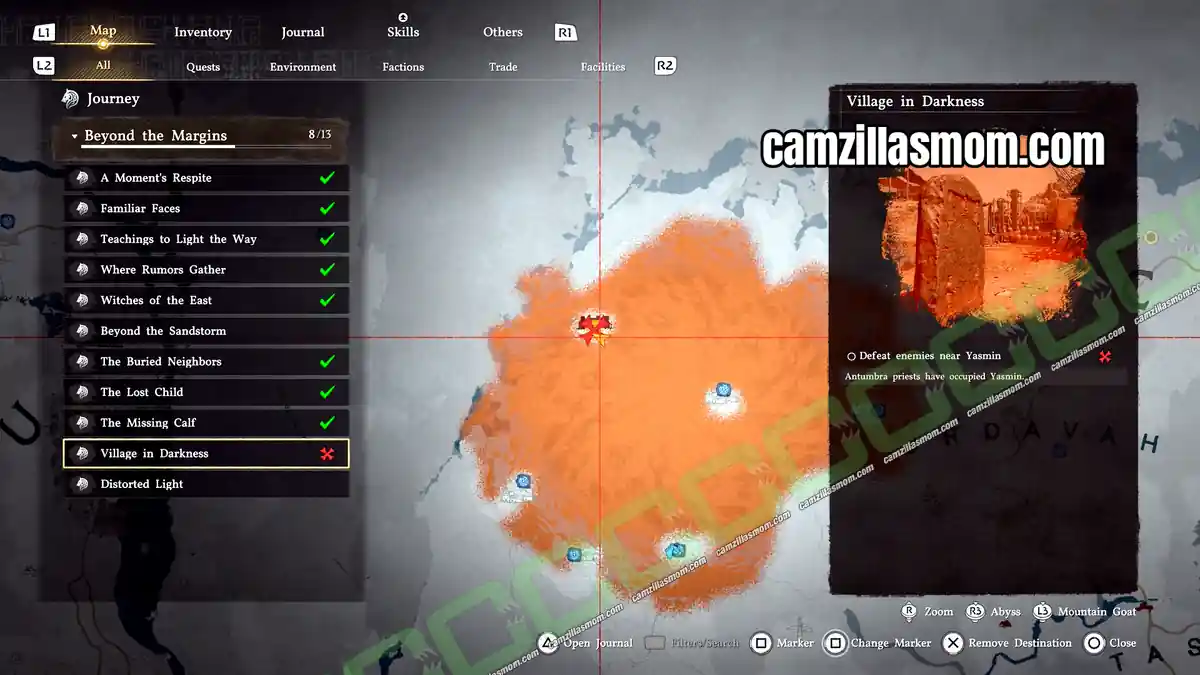
Defeat Enemies near Yasmin
You can reach Yasmin by heading north from Hazran. Antumbra priests occupy the village and attack as you arrive. Defeat them all to liberate Yasmin. Kliff then receives the Yasmin Survey Records. Activate Yasmin’s Abyss Nexus before returning to Sebastian.
Return to Sebastian
Sebastian is by his tent, where you left him. Follow the staircase to the top of the hill. As soon as Kliff gets close to the tent, he enters it and adds his findings to Sebastian’s desert map, which completes the quest.
11 – Distorted Light
Distorted Light runs alongside the other quests: purify all five corrupted marker stones. Each one has three dark stakes. Find them with Blinding Flash (L1 + R1), connect with Axiom Force and push the right stick up to pull them out.
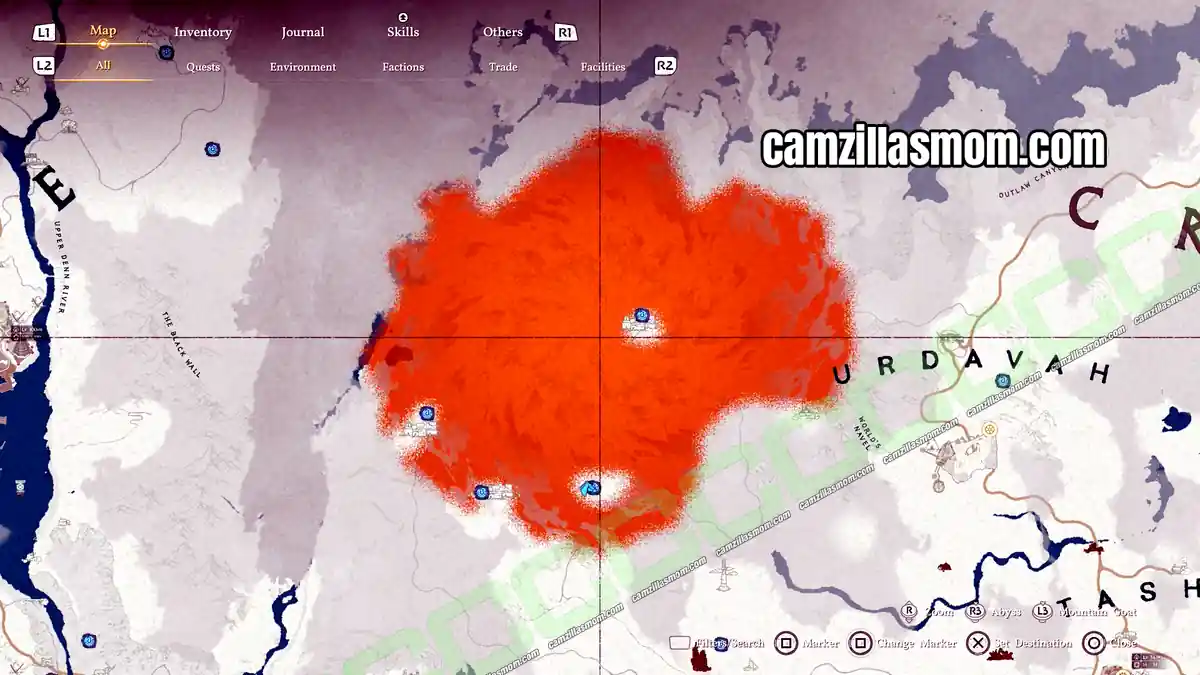
All Corrupted Marker Stones Overview Map
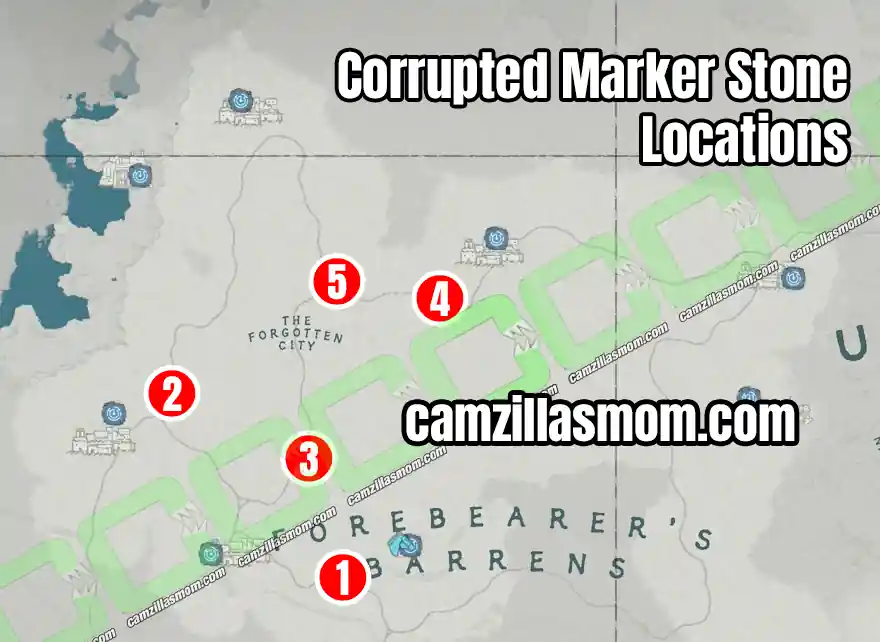
1 – Pilgrim’s Path
2 – Hazran Village
3 – Northeast from Lukumiya
4 – Between Lukumiya and Maddin/Faraj
5 – Towards Yasmin
1 – Pilgrim’s Path
The first corrupted marker stone is on the way to Lukumiya during Beyond the Sandstorm, and you have to purify it to reach the village. The Corrupted Marker Stones tutorial appears here.
2 – Hazran Village
The second corrupted marker stone is just northeast of Hazran’s marker stone. You can see it uphill. Antumbra Sand Warriors attack as Kliff approaches, so defeat them before removing the three stakes.
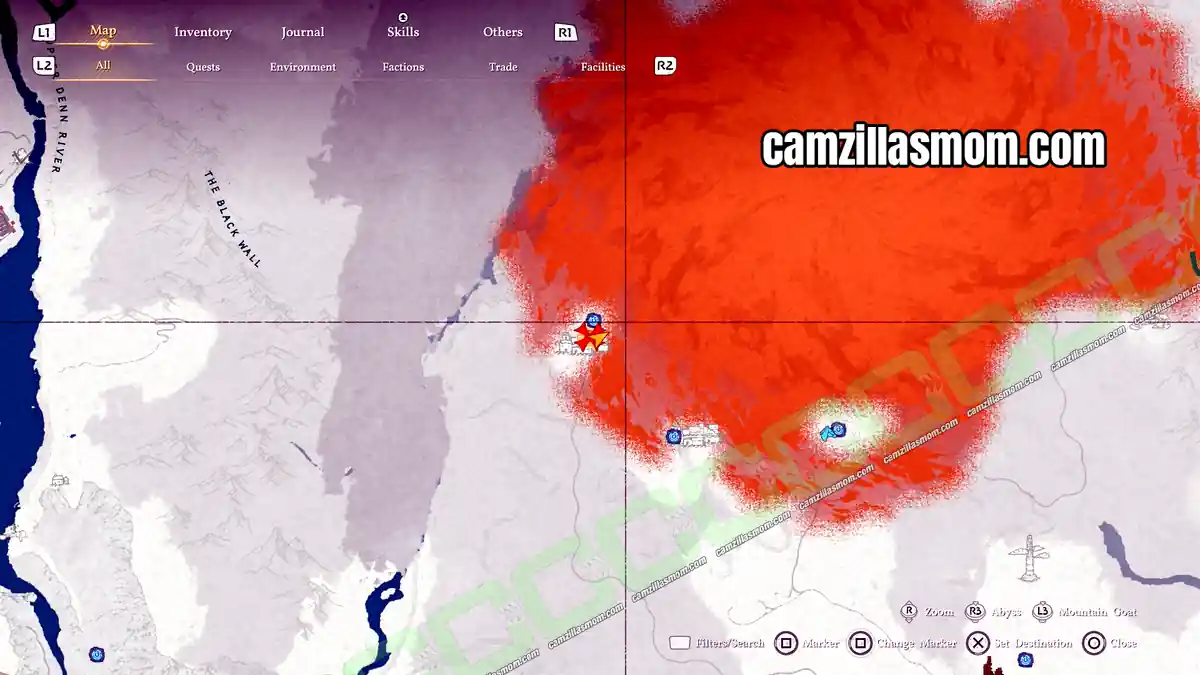
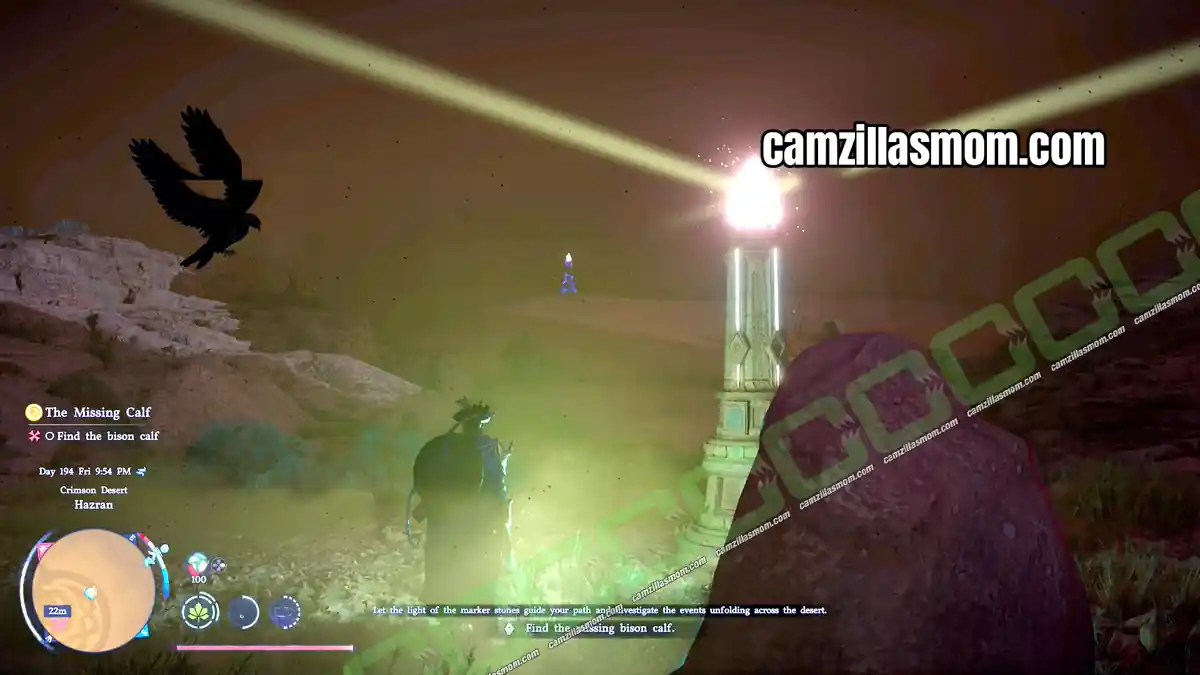
Use Blinding Flash next to the marker stone to find the way to the stakes. One path leads past a tree to ruins covered in Bismuth. Use Force Palm to destroy the Bismuth and reveal the stake inside.
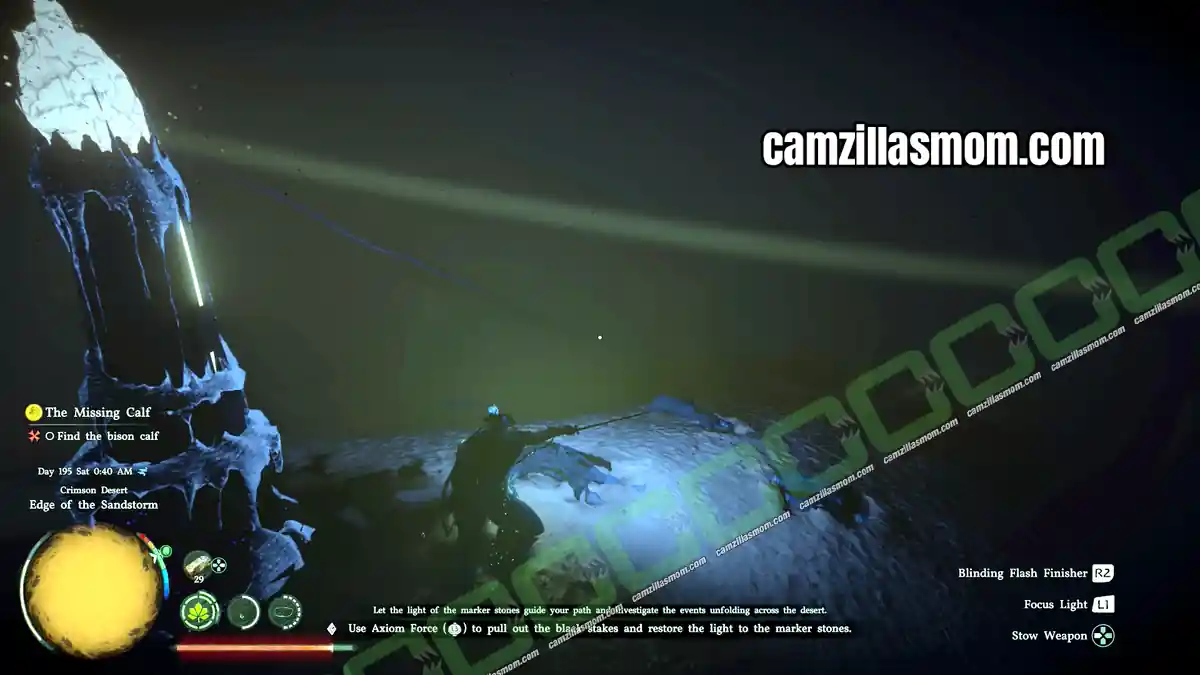
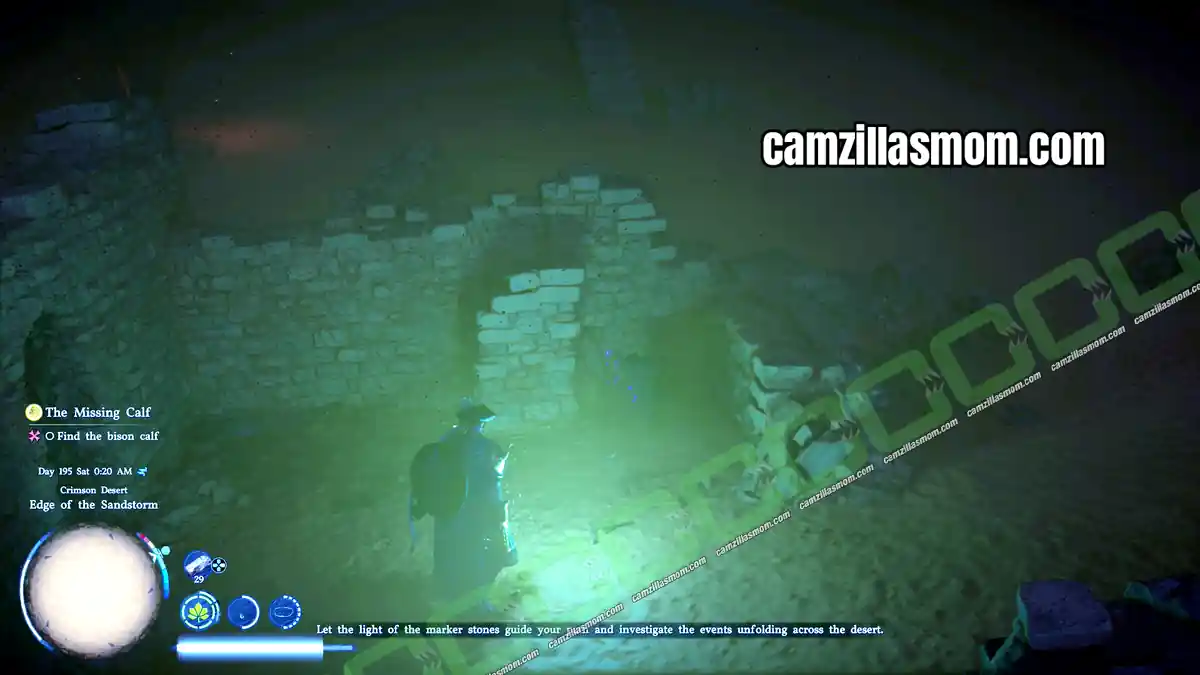
The second stake is also inside a ruin covered in Bismuth: break it with Force Palm to reach the stake. The third stake is in the open, with no Bismuth blocking the way.
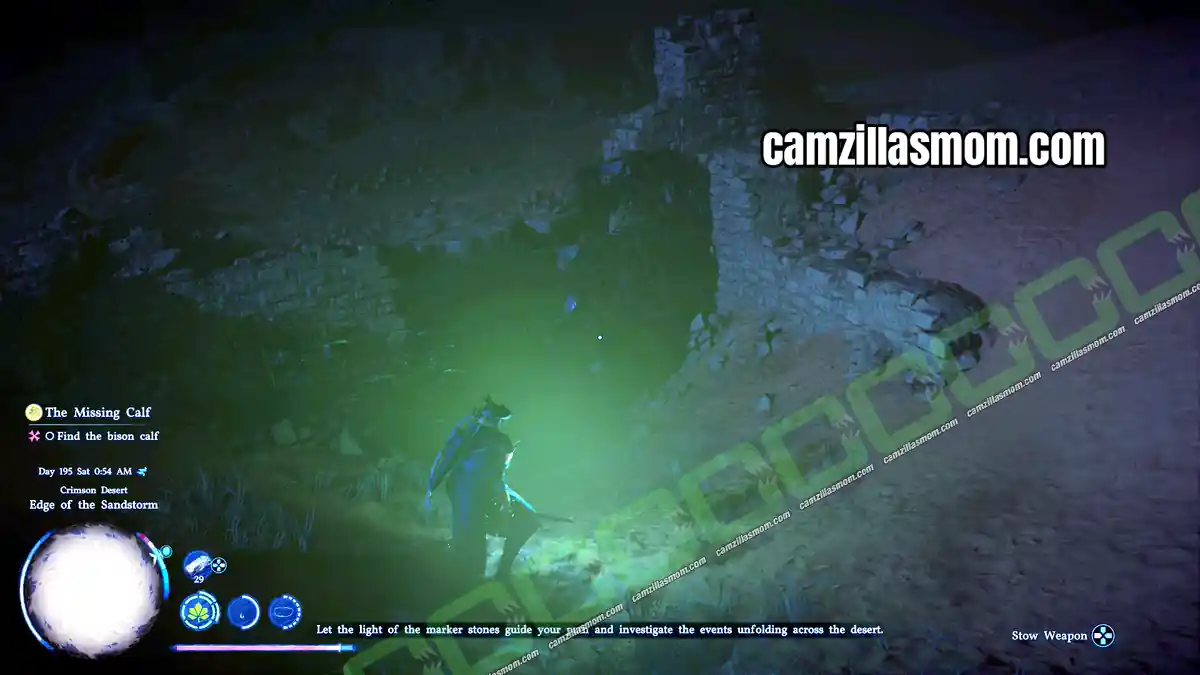
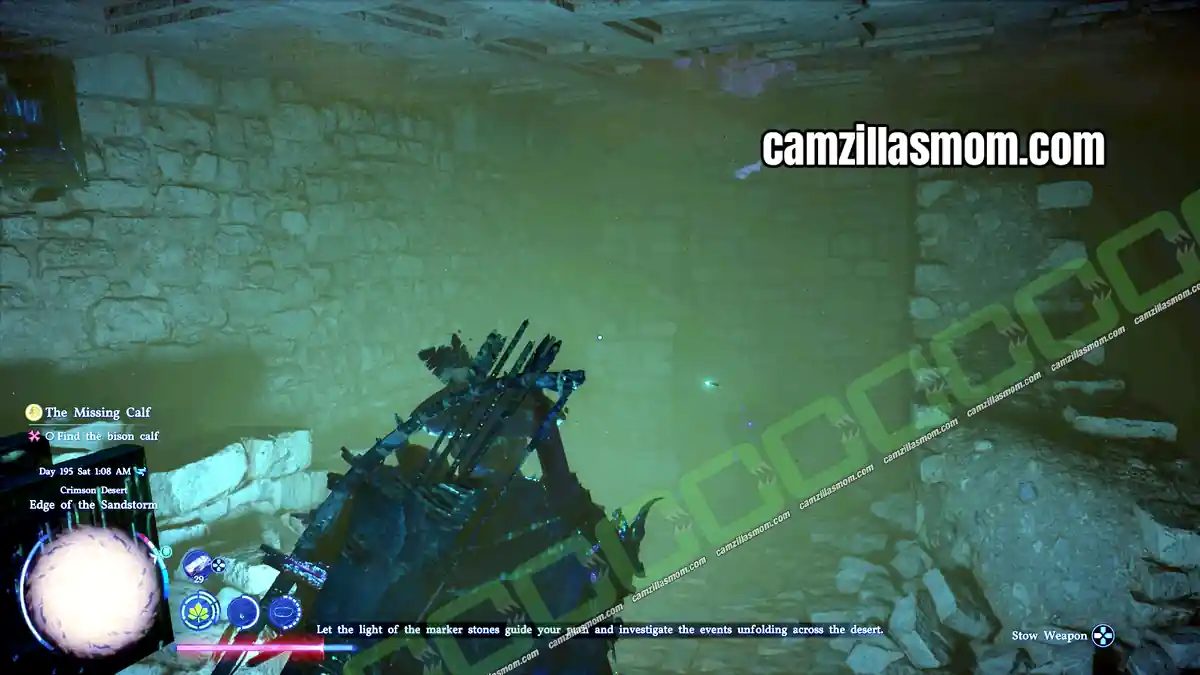
3 – Northeast from Lukumiya
From Lukumiya’s marker stone, head northeast to find the next corrupted marker stone. This is the one on the way to Maddin in The Buried Neighbors. Antumbra warriors attack as Kliff approaches, so defeat them first. Two of the three stakes are in the open near the marker stone, and the third is hidden behind pots in the ruins below.
4 – Between Lukumiya and Maddin/Faraj
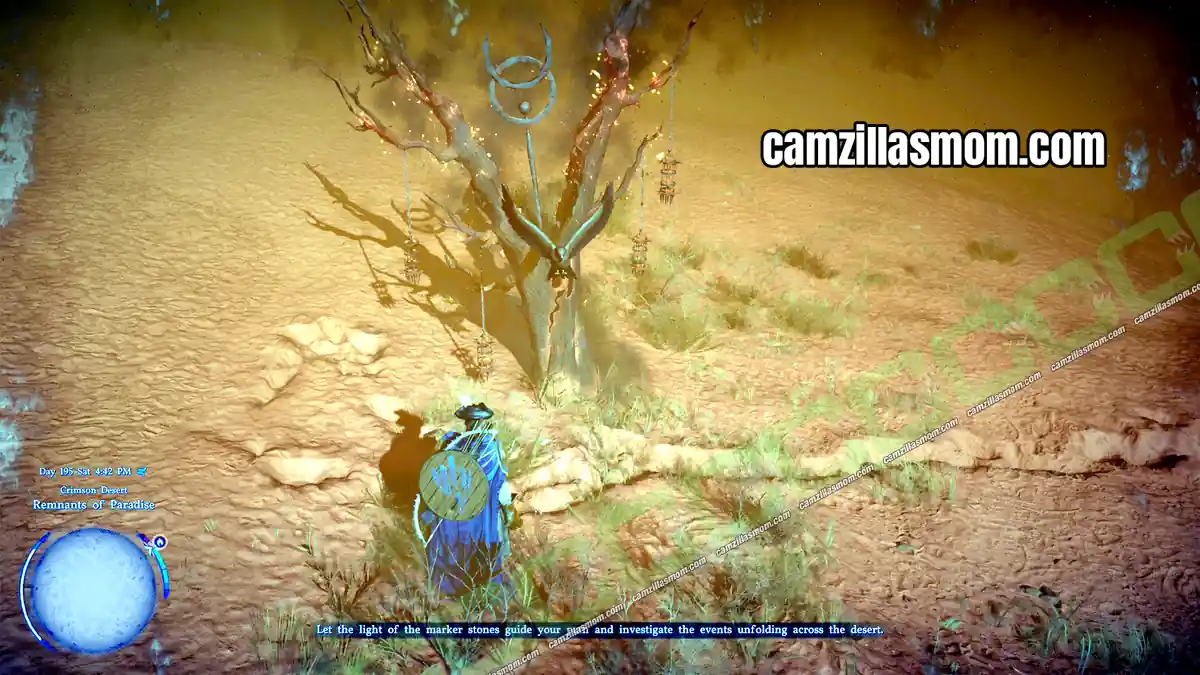
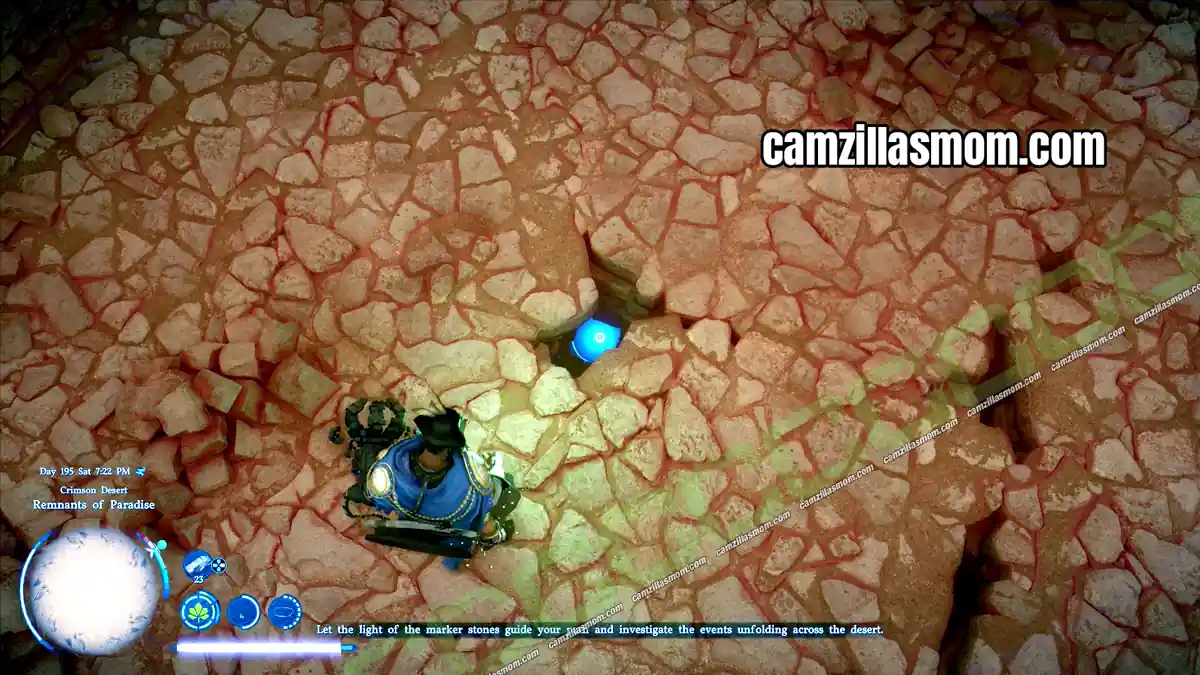
The fourth corrupted marker stone is southwest of Maddin. Antumbra attack as you get close, so defeat them, then find the three stakes. One is in the open, one is inside a tree, and one is behind a heavy stone door. For the tree stake, burn the tree with Concentrate Light: hold R1 during Blinding Flash, aim at the tree with the right stick, then press L1. For the stake behind the door, climb onto the roof and look through the biggest hole. Where you see a purple flicker, use Axiom Force to pull the stake out. There’s no need to open the stone door.
5 – Towards Yasmin
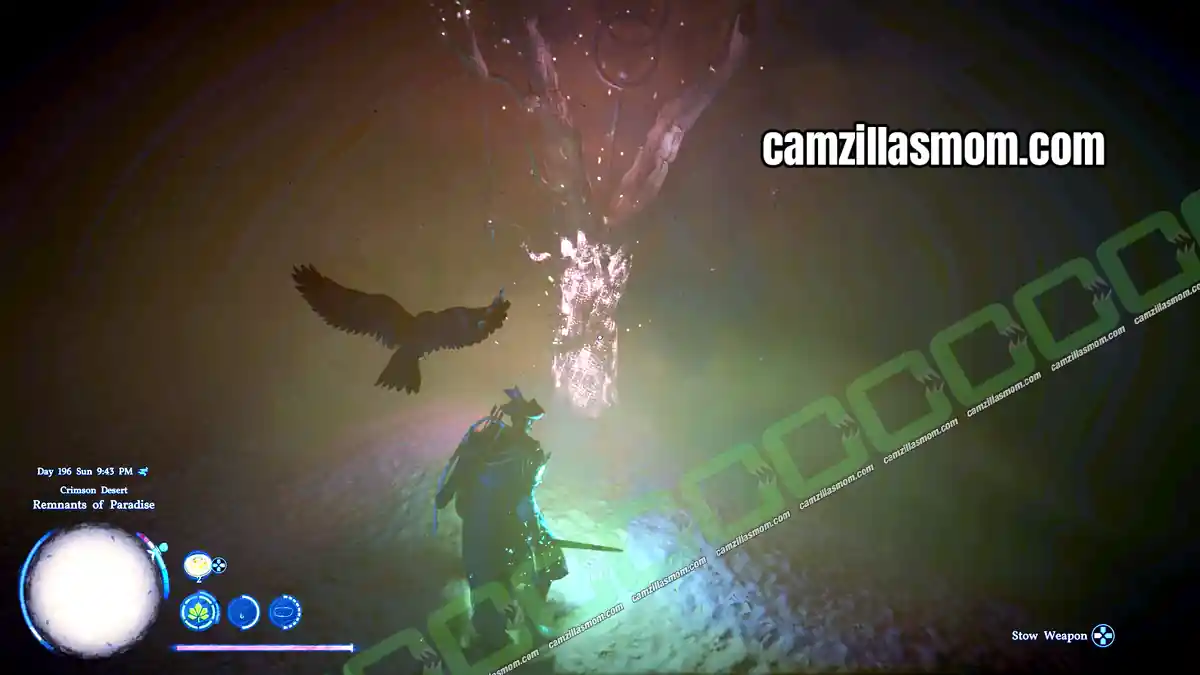
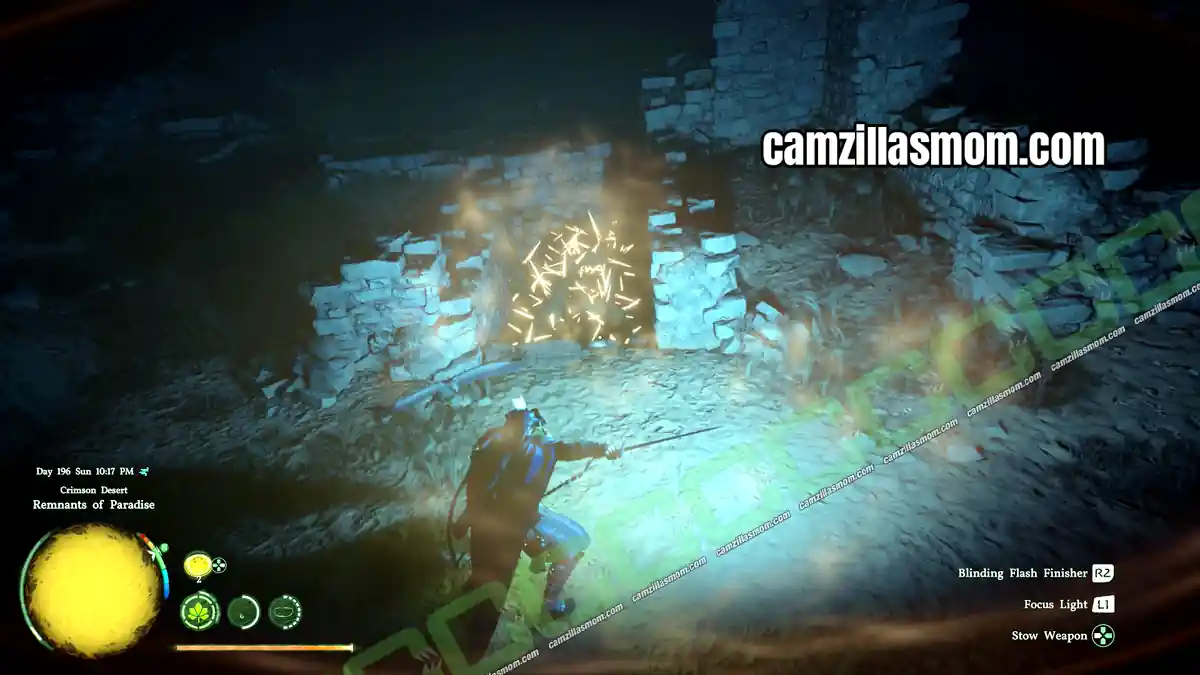
The last stone again has three stakes. One is stuck in a tree that you have to burn first with Concentrate Light (hold R1 during Blinding Flash, aim with the right stick, press L1). One is just above the marker stone, and the last is in the basement of the ruins. Burn the spikes off the staircase the same way to get downstairs. Purifying this stone completes the set, and you receive the Remnants of Paradise Survey Records.
Return to Sebastian
Sebastian is by his tent, where you left him. Follow the staircase to the top of the hill. In the cutscene, Sebastian traces where every corrupted marker stone was pointing. All the false directions meet at one blank spot on the map, the only piece still missing. Beyond the Sandstorm and Distorted Light complete, and Veil of Darkness begins.
12 – Veil of Darkness
Follow the Traces of Antumbra
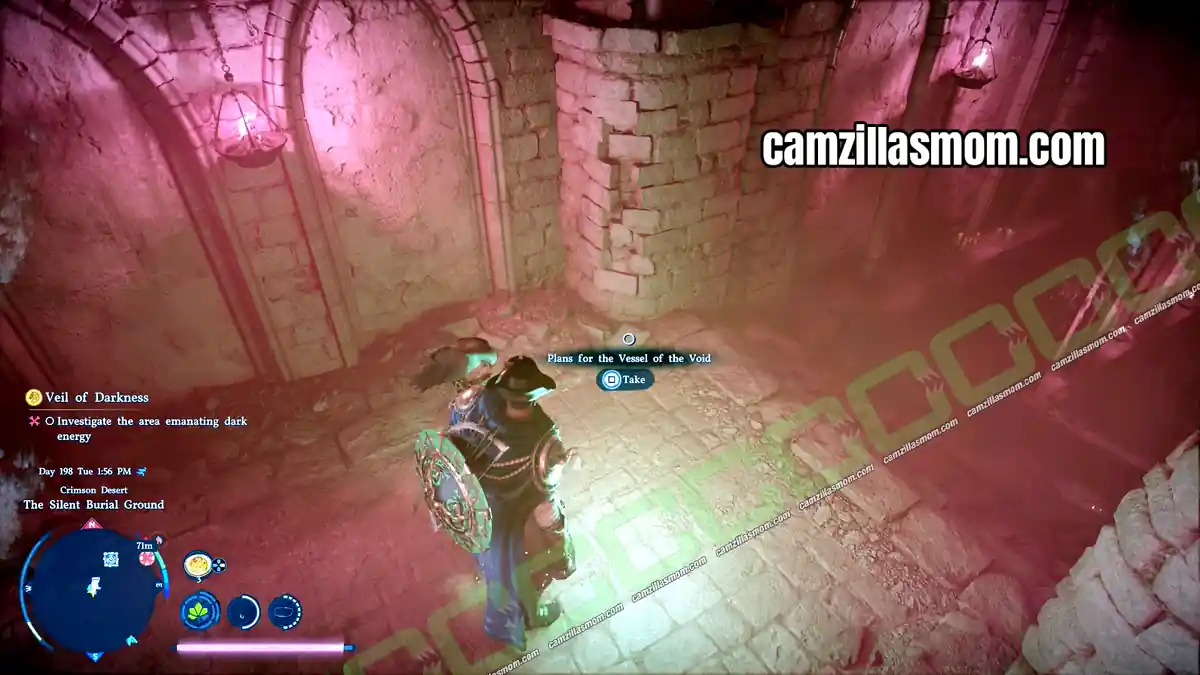
Go to The Silent Burial Ground, southwest of Yasmin. Follow the winding stairs down until you reach the Abyss Nexus fast travel point. Antumbra warriors attack Kliff constantly on the way down.
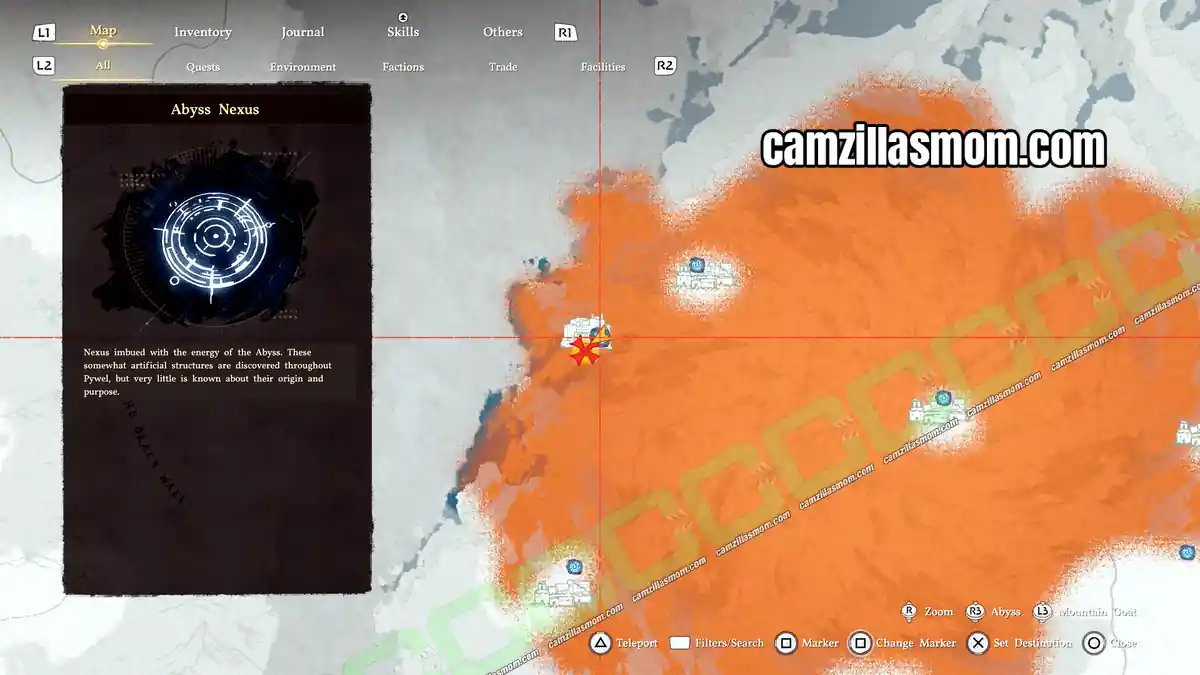
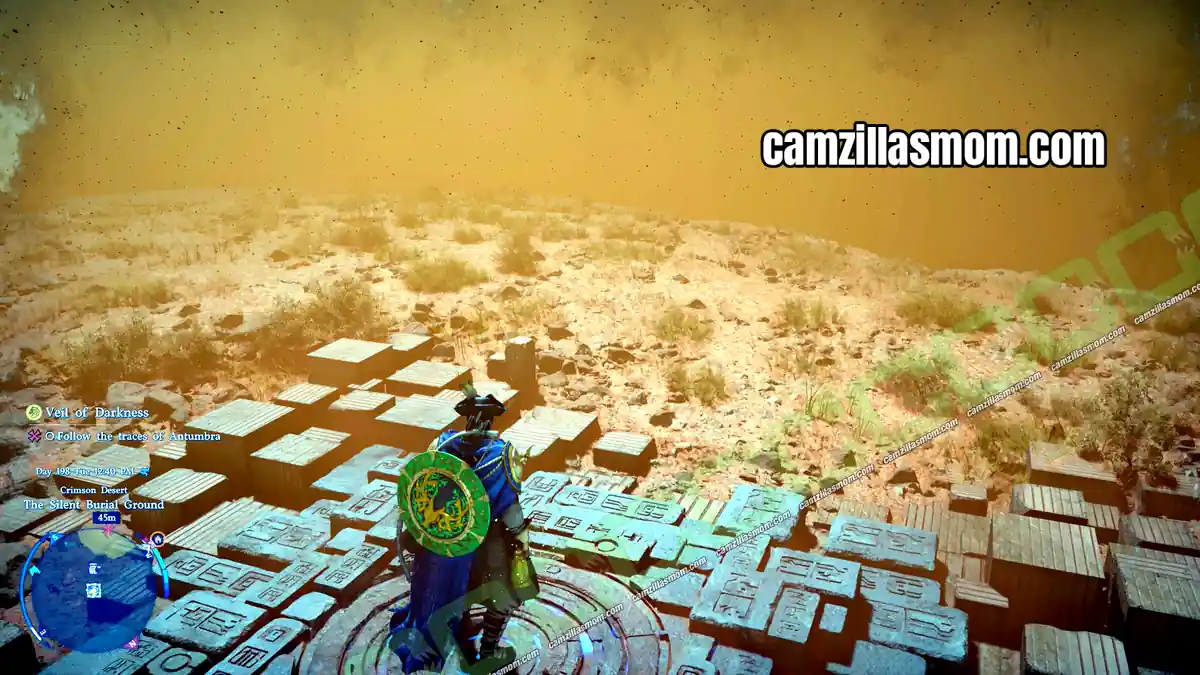
From there, drop down one level to the closed door. You’ll also see a purple document on the minimap. Antumbra soldiers are waiting below.
Investigate the Area Emanating Dark Energy
If you found this door earlier, before you had all but one map piece for Sebastian, it was locked. Now that Veil of Darkness is active, it opens and Kliff can enter.
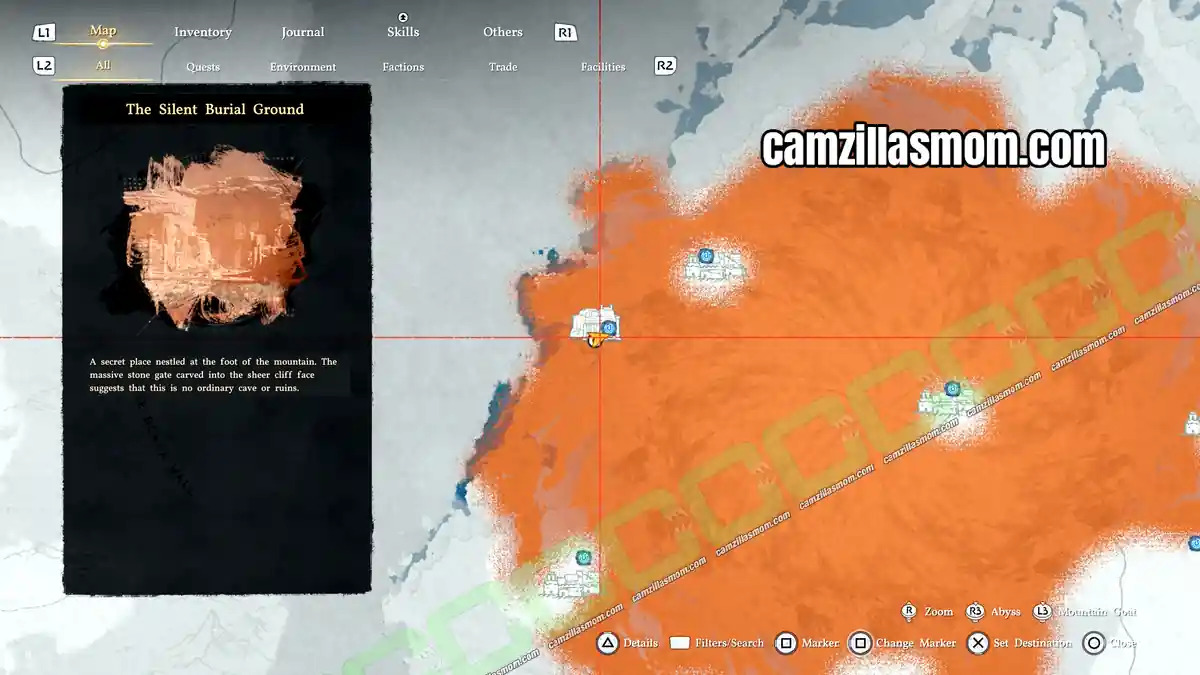
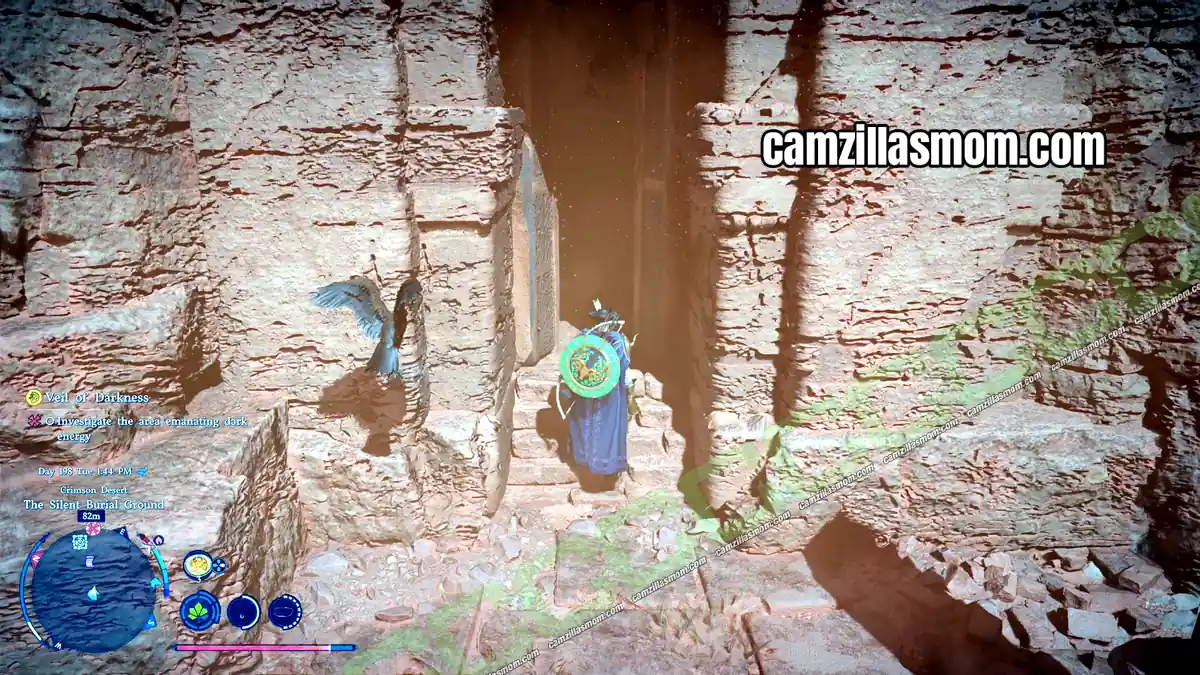
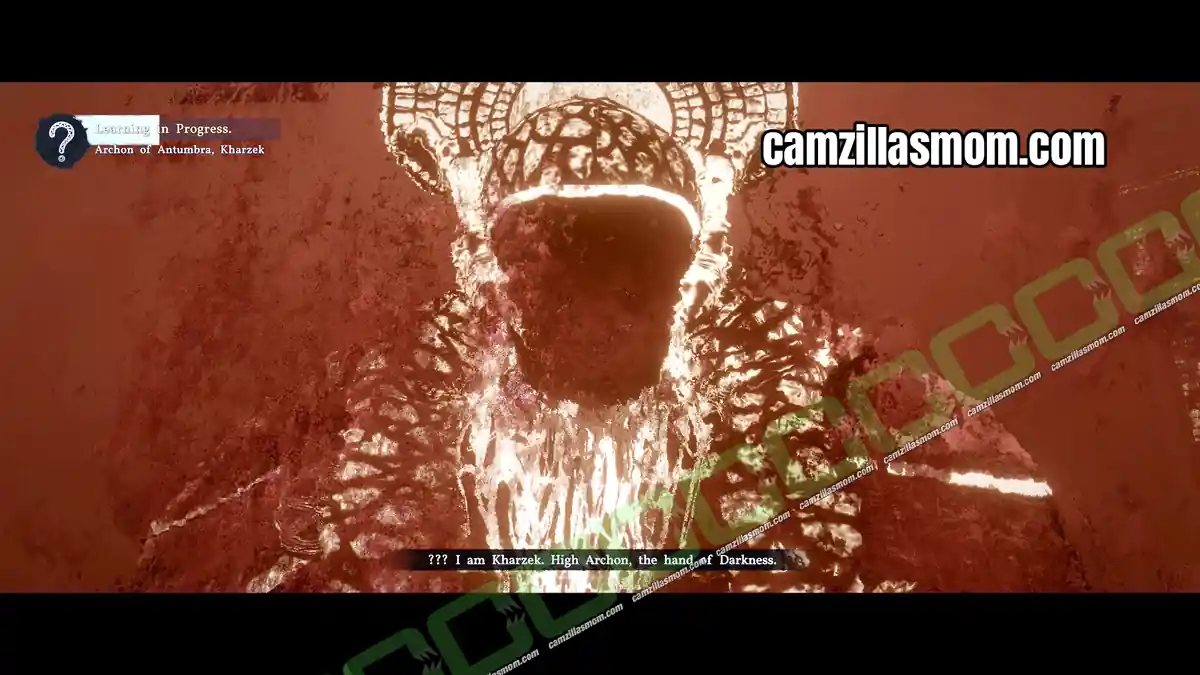
Right after the entrance, pick up the purple document from the floor: Plans for the Vessel of the Void. It adds a Knowledge entry about Nihail, a mercenary commander the Antumbra want to turn into a servant of Umbra. Further down, Kharzek, High Archon of Antumbra, is summoned, and Kliff has to defeat him. Afterwards you receive the Silent Burial Ground Survey Records and an Abyss Artifact.
13 – Path of the Mapmaker
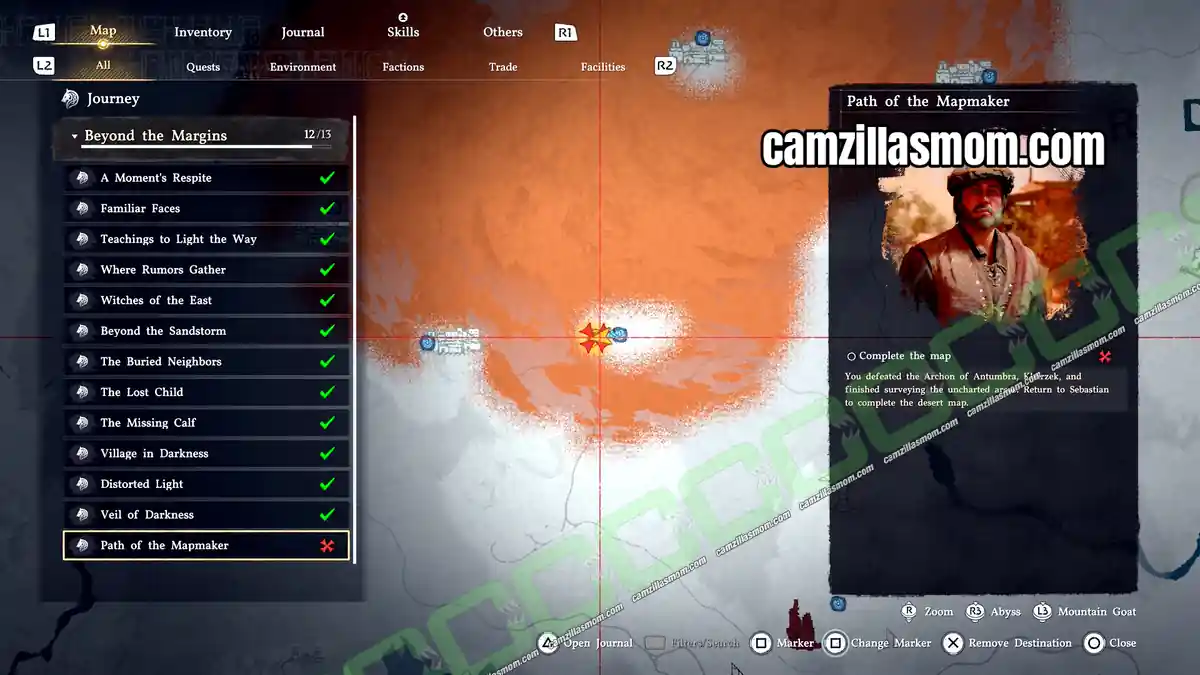
Complete the Map
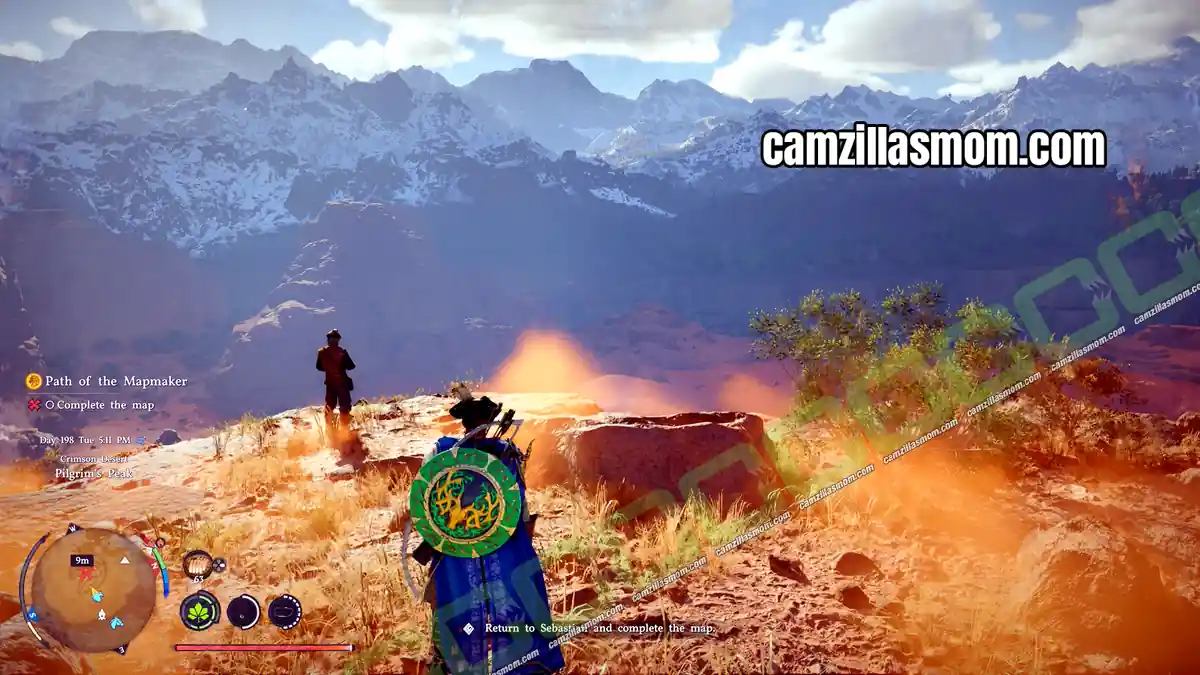
Return to Sebastian with the last map piece to complete his desert map. In the final conversation, Kliff reflects that his footprints have become a road people walk together, and he vows to keep mending paths wherever someone has lost their way. From this point on, the storm has cleared from the map, and Beyond the Margins is complete.
More Crimson Desert Guides

Crimson Desert: Luke’s Request Quest Walkthrough
Crimson Desert Luke’s Request walkthrough: place the flower basket in the old house and unlock your …

Crimson Desert: Lunar Judgment Questline Walkthrough
Step-by-step walkthrough for the Lunar Judgment questline in Crimson Desert. Defeat the Full Moon, H…

Crimson Desert: Luther’s Request Quest Walkthrough
Complete Luther's Request in Crimson Desert by talking to Luther at the western bonfire in Howling H…

Crimson Desert: Maintaining Focus Quest Walkthrough
Complete Maintaining Focus in Crimson Desert by observing the southern waterfall and reporting back …

Crimson Desert: Man Crushed by a Wagon Quest Walkthrough
Crimson Desert Man Crushed by a Wagon walkthrough: find the trapped man and deliver cloth to his wif…

Crimson Desert: Missing Companion Wooly Quest Walkthrough
Stuck on the Missing Companion quest in Crimson Desert? This quick walkthrough shows you where to fi…


About Crimson Desert
Release: March 19, 2026
Developer: Pearl Abyss
Publisher: Pearl Abyss
Official Website: https://crimsondesert.pearlabyss.com/en-US/Main