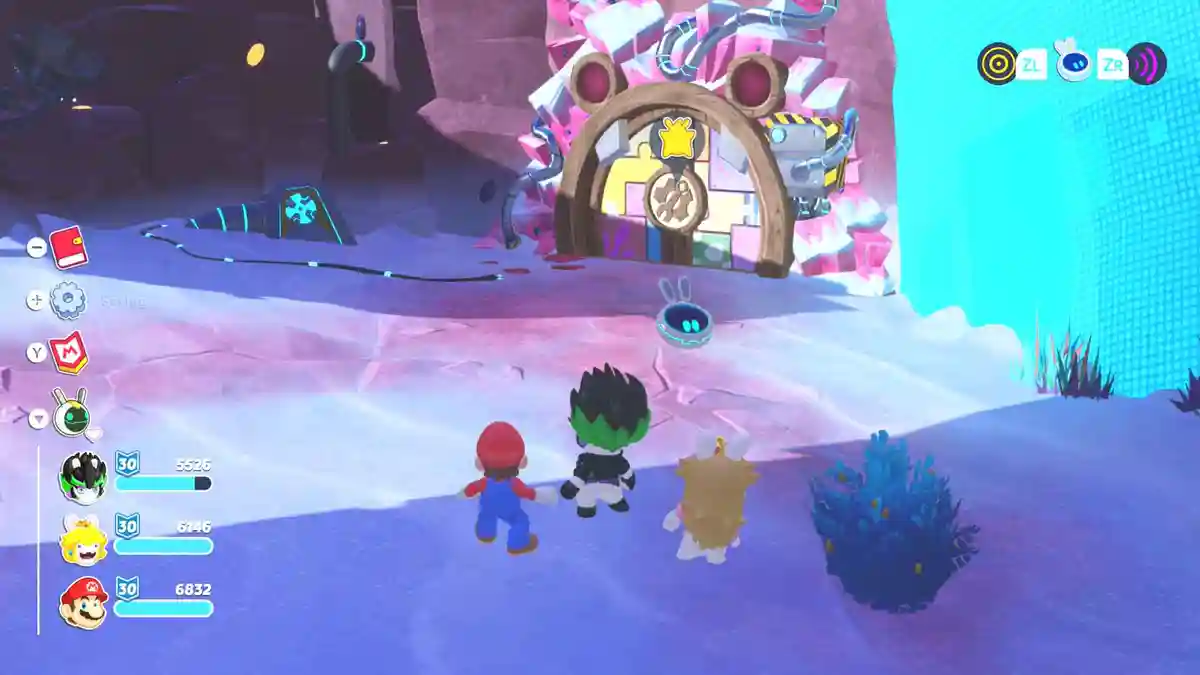
Every Barrendale Mesa side quest rewards a Planet Coin in Mario & Rabbids Sparks of Hope, so this guide walks through all of them in order, from A Fowl Attraction to Worksite Hazard. Once you’ve finished every side quest and collected every coin, you’ll receive a Gold Prism, which unlocks the Spark branch on any Hero’s Skill Tree.
Related Mario + Rabbids Guides
Where are the Planet Coins – Beacon Beach?
Where are the Planet Coins – Pristine Peaks?
Where are the Planet Coins – Palette Prime?
Where are the Planet Coins – Terra Flora?
All Sparks Locations
Mario + Rabbids Spars of Hope Game Hub
- All Barrendale Mesa Side Quests
- A “Fowl” Attraction
- A Lost Art
- Barren Gateway
- Be a Depleter Defeater
- Blue Coin Challenge
- Build Bridges
- Cannon Front
- Courageous Duo
- Darkmess, Uncontained
- Desert Highway Darkmess
- Gate to the Abandoned Settlement
- Generator Investigator
- Green Coin Challenge
- Launch Site Secrets
- Magikoopa Hunt
- Red Coin Challenge
- Spellraiser Hunt
- Stuck at Work
- The Brawn and the Brain
- The Riddle of Barrendale Mesa
- Toadette Trouble
- Victor’s Barrendale Mesa Invitational
- Worksite Hazard
- More Sparks of Hope Guides
All Barrendale Mesa Side Quests
Here’s every Barrendale Mesa side quest that hides a Planet Coin, in the order you’ll naturally run into them while exploring
A “Fowl” Attraction
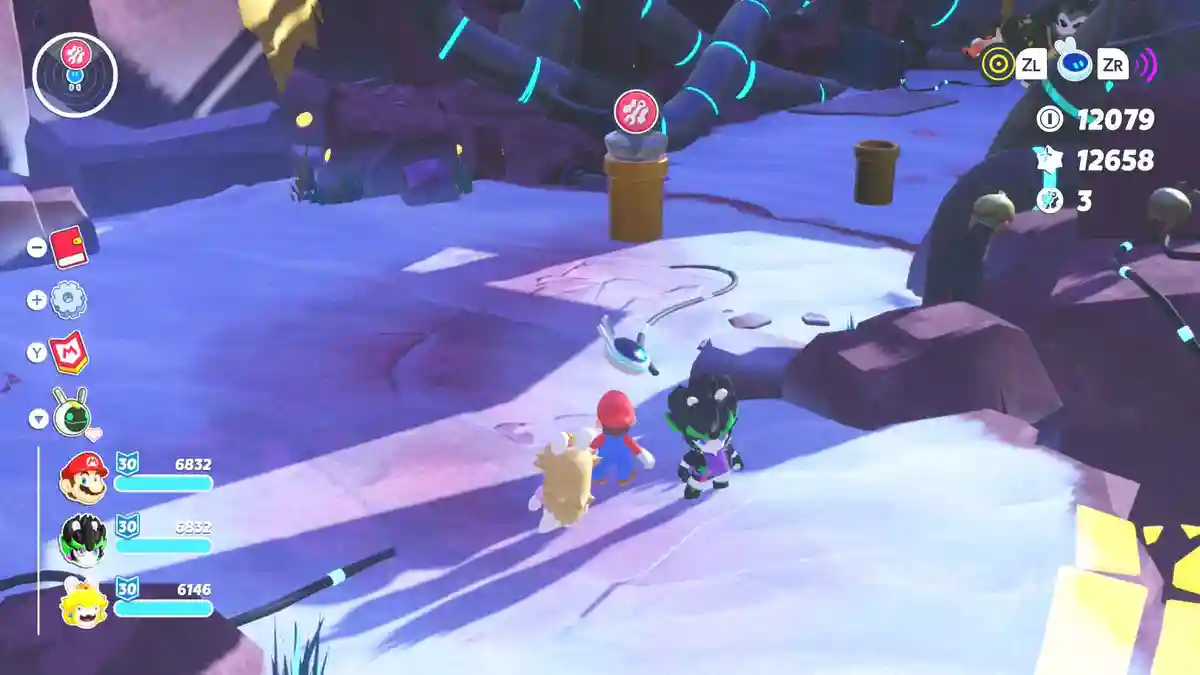
This is the side quest tied to the locked golden pipe, and you’ll need all 30 available Sparks before you can start it. The access point sits where you completed the long bridge puzzle during the story quest to drop the crane’s ladder. Scan for a bridge across to the golden pipe, then defeat the Giant Magnafowl to finish the quest.
A Lost Art
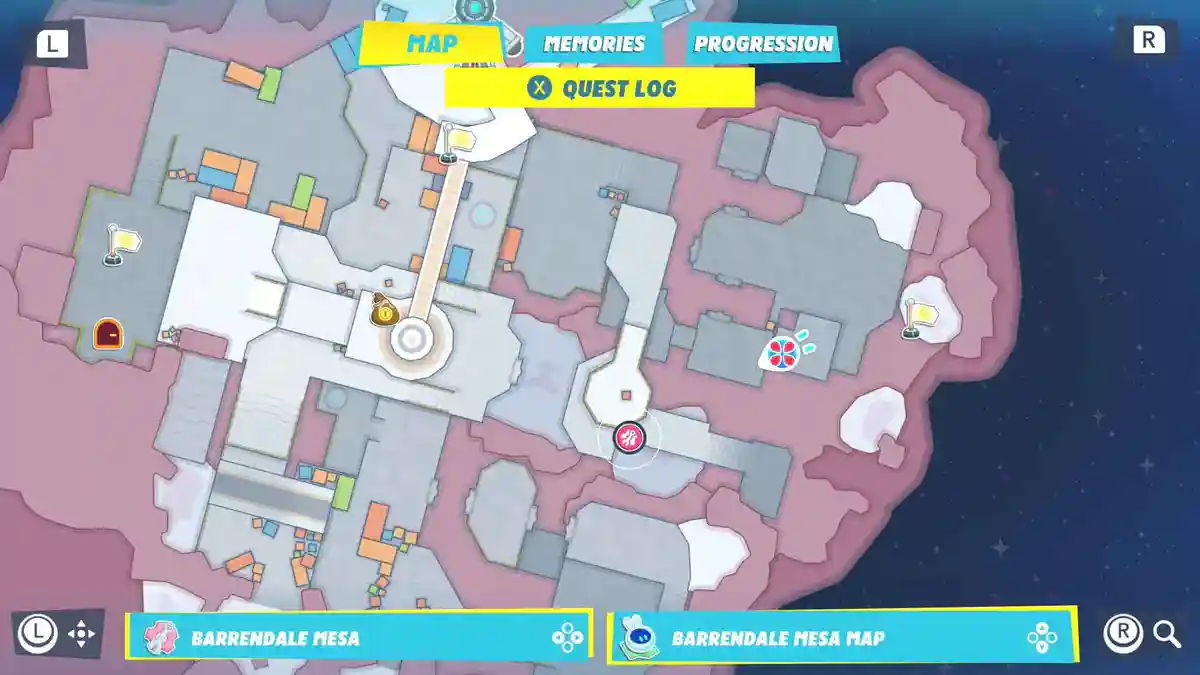
In the southeast corner of the Barrendale Mesa map is a headless statue standing next to a clogged white pipe, and your job is to track down the missing head.


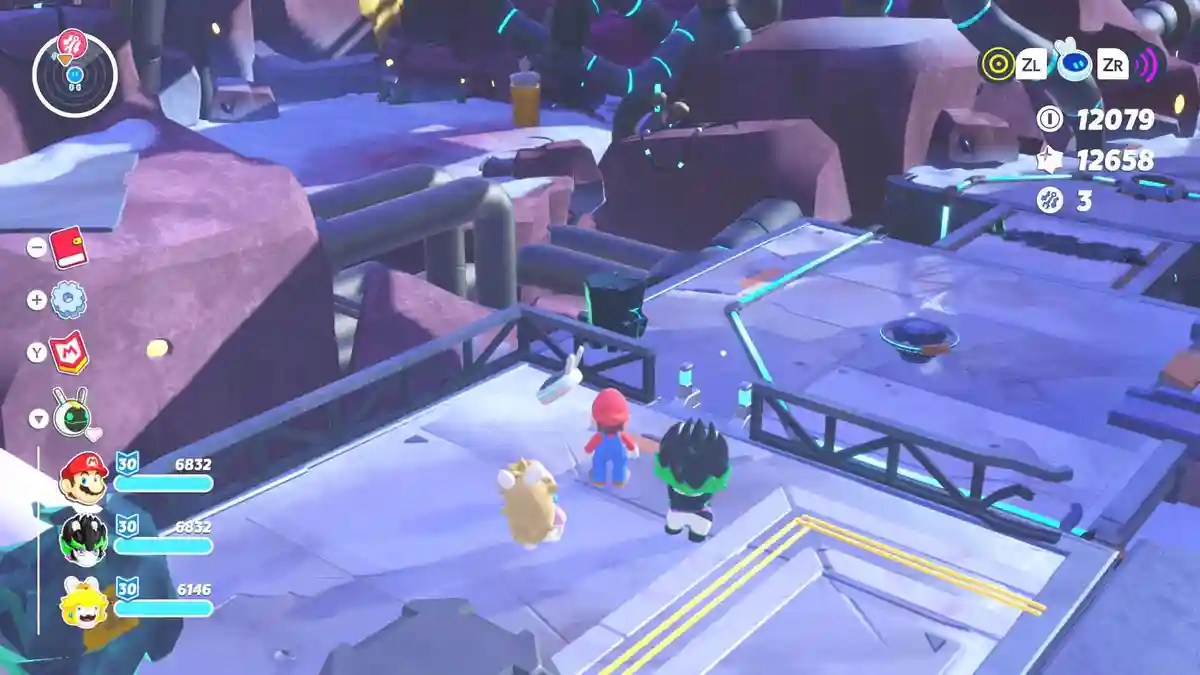
Next to the quest giver is a large purple floor tile that stabilizes the bridge ahead – use it and cross over. Just past the bridge, scan the rock marked with a yellow whirl and it will point left toward a hidden ladder.


Ignore the blue pyramid key for now and climb the other ladder instead. Next to the quest giver is that same purple stabilizer tile – use it again to cross the next bridge.


At the top of this ladder, scan for a yellow bridge, cross it, and slide down. From here you can lower a ladder and also smash a large block with your WAVE ability (ZR) – destroy it.


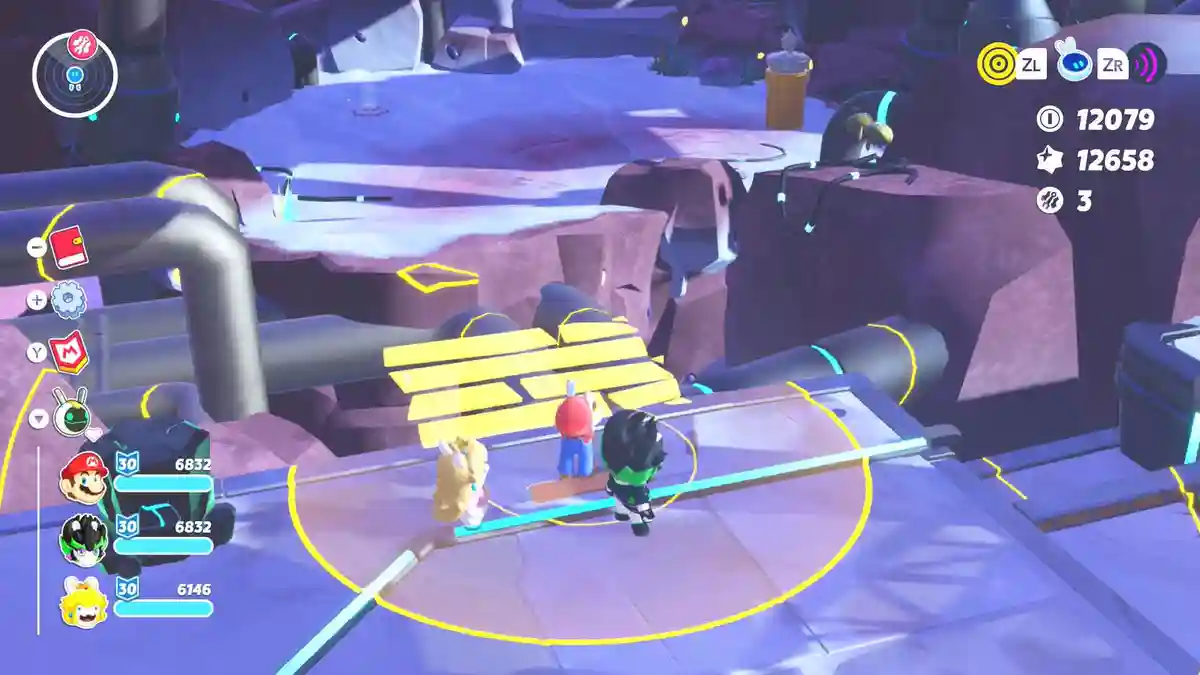
The item revealed on the far side is a decoy. Scan again for another yellow bridge and cross it to reach a second stabilizer tile – use it.


Now go back for the pyramid key and carry it across the stable, purple bridge into the nearby device. The pipe is now unlocked.


Right next to that now-open pipe is the statue’s head. Pick it up, slide down the pipe, and set it back on the statue’s shoulders – the Planet Coin container appears, and the coin is yours.


Barren Gateway
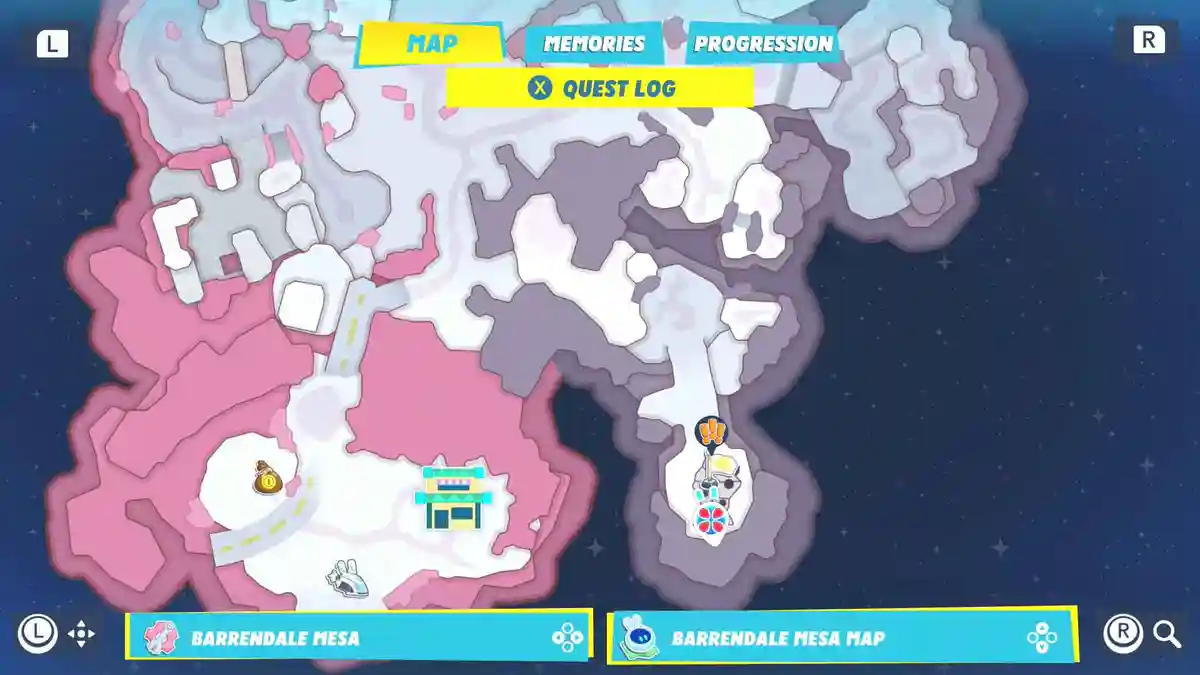
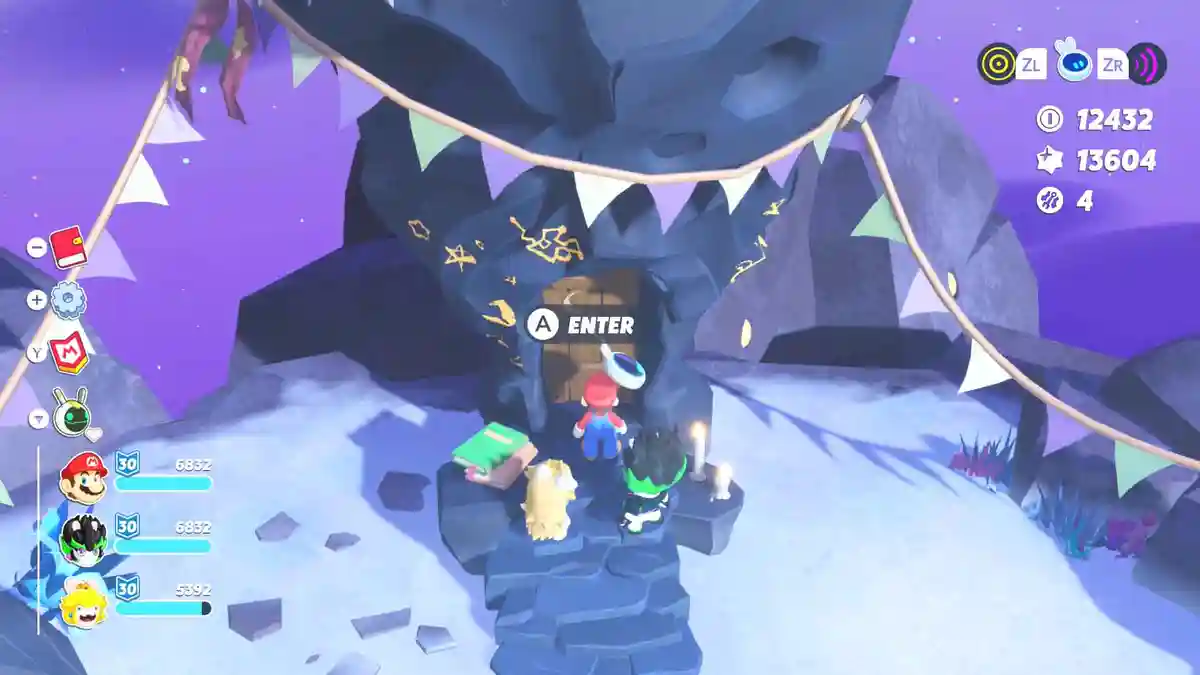
Madame Bwhastrella has another Dimensional Drift for you here. Clear it out to claim this Planet Coin.
Be a Depleter Defeater
On the western edge of the map, a lone Defeater guards a round treasure box holding the Speedway Kaboomer weapon skin.


Blue Coin Challenge
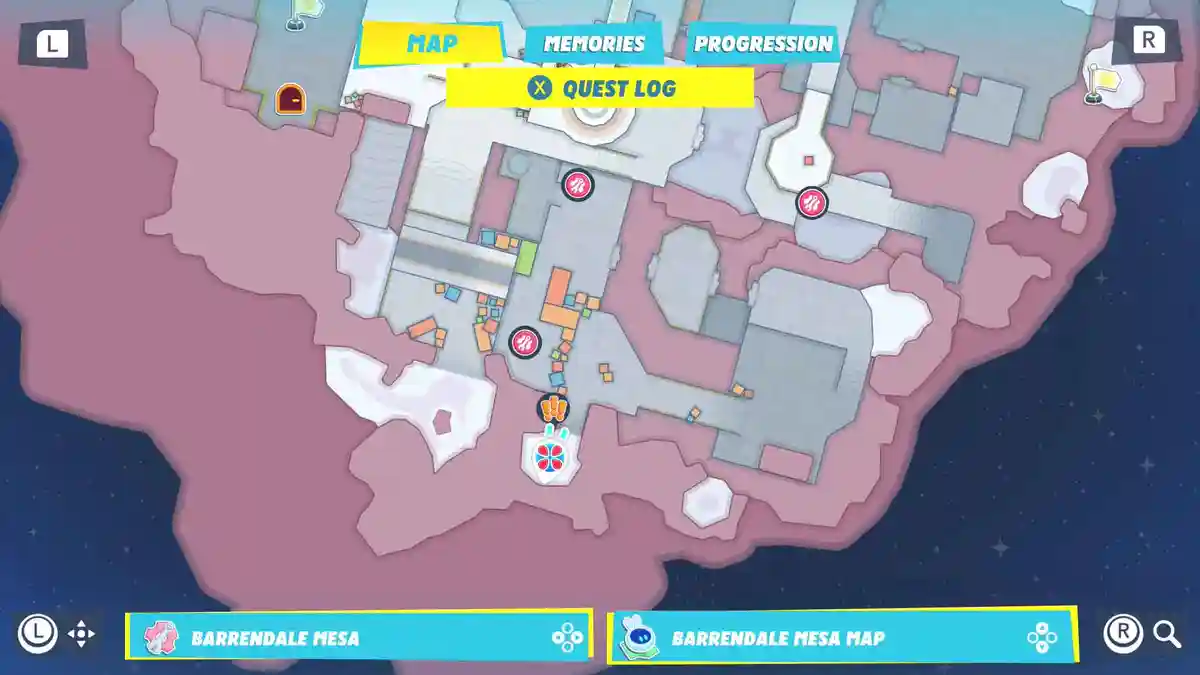
South of the crane you’ll find the familiar blue pipe. Slide down and take on the challenge, which is entirely about building bridges with your ZR stabilizer ability. Clearing it also earns a Techno Crab holding the Galactic Atlas: Barrendale Mesa.
Build Bridges
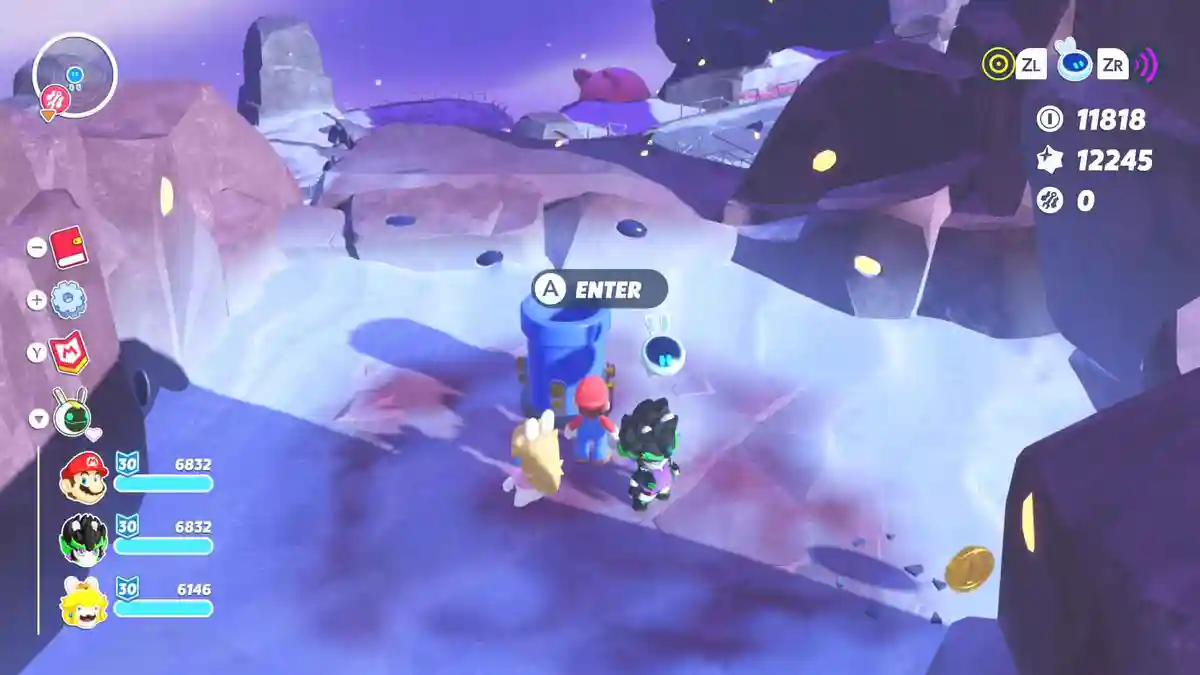
In the southwest corner of the map, a pair of barriers needs clearing before this Planet Coin becomes accessible, and here’s how to do it.


Take the pipe up. At the other end, jump down onto the purple bridge, turn right, and drop to ground level – you’re now on the other side of the Darkmess Barrier.


There’s one WAVE block here you can use as an elevator. Lower it with your ZR ability, push the nearby box on top, then send the block – box and all – back up.


Next, we need to drop the barrier. Walk underneath the big purple bridge to find the yellow cube key for the barrier device, then carry it over and place it inside.


Beside the barrier device is another purple stabilizer tile – use it. Then head back through where the barrier stood and take the white pipe again. Jump down, and you’ll fall through the first bridge onto the one below.


Cross the bridge and use the stabilizer tile on the other side. Now you can push the box over to the blue pressure plate.


Use the bridge stabilizer again and cross over to where you can jump down to the ground floor.


At ground level, use the stabilizer once more, then head up the white pipe, jump down onto the bridge, and grab the Planet Coin.


Cannon Front
This area only opens up after completing the Tortured Artist side quest.
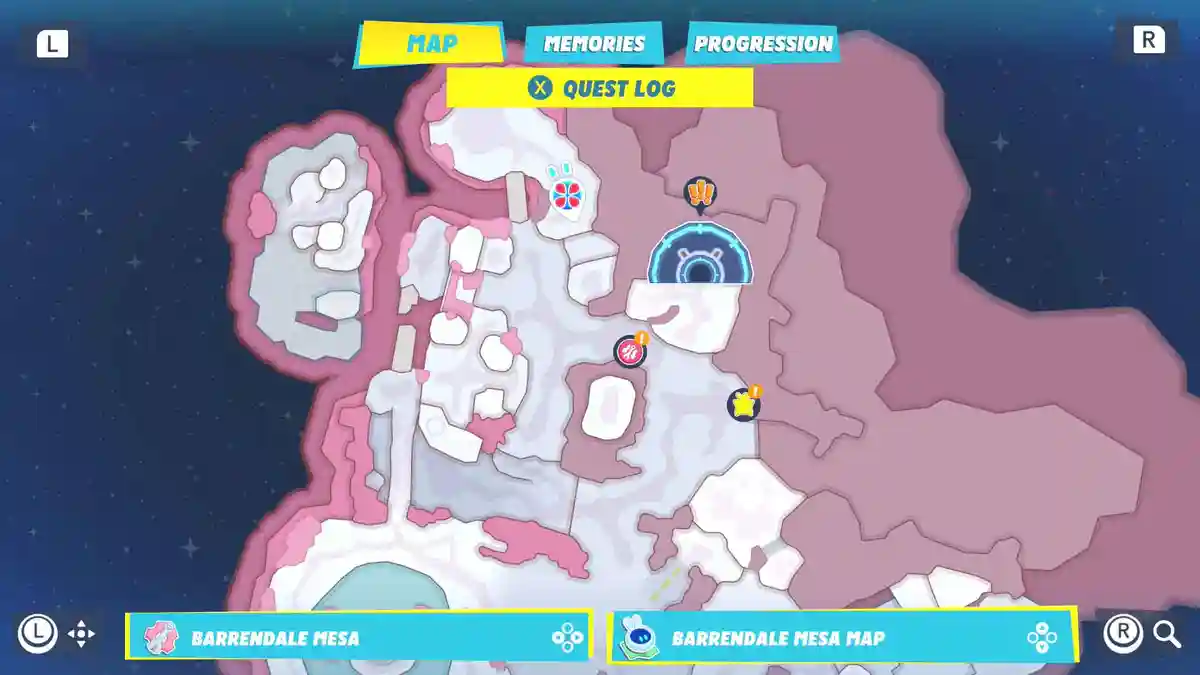
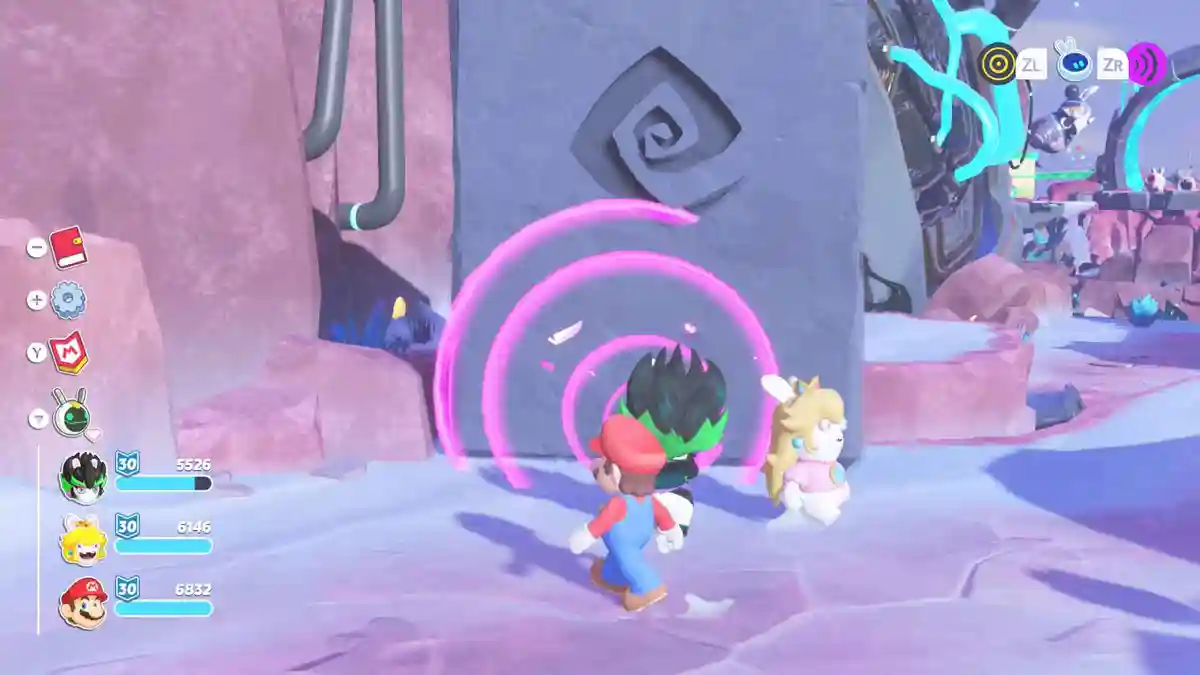
Cross the bridge, dash to grab the egg, and from the same ground level, get as close as possible to the Eye and throw it. The Eye will highlight to confirm it’s worked.
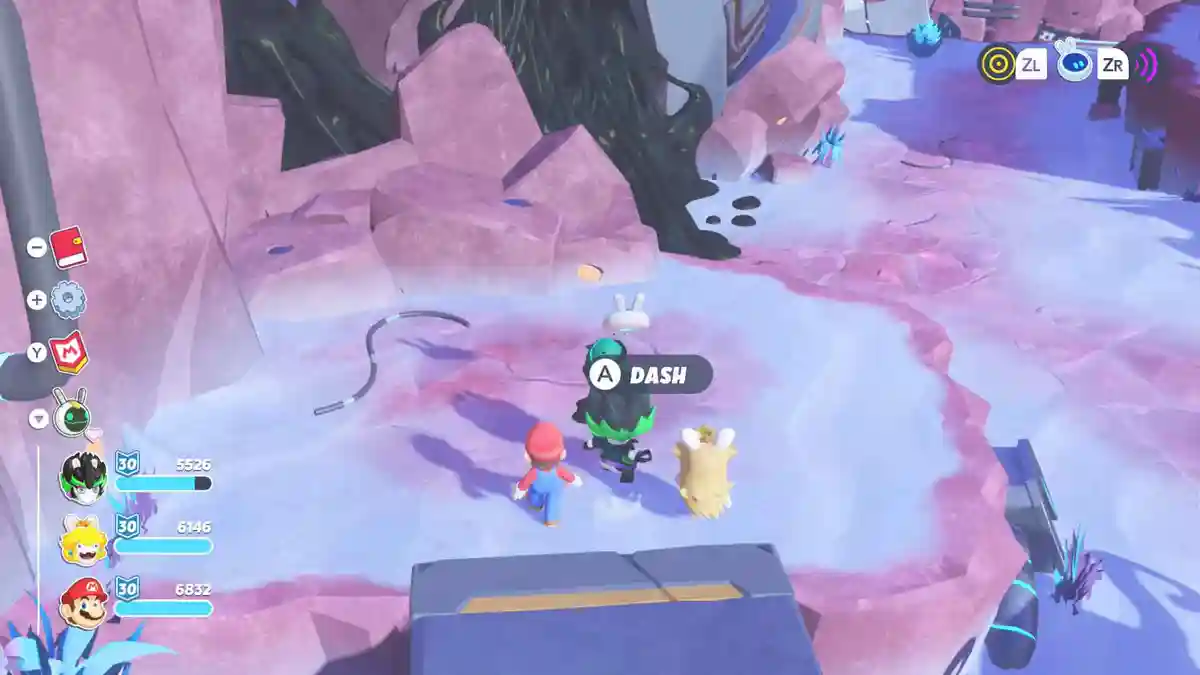
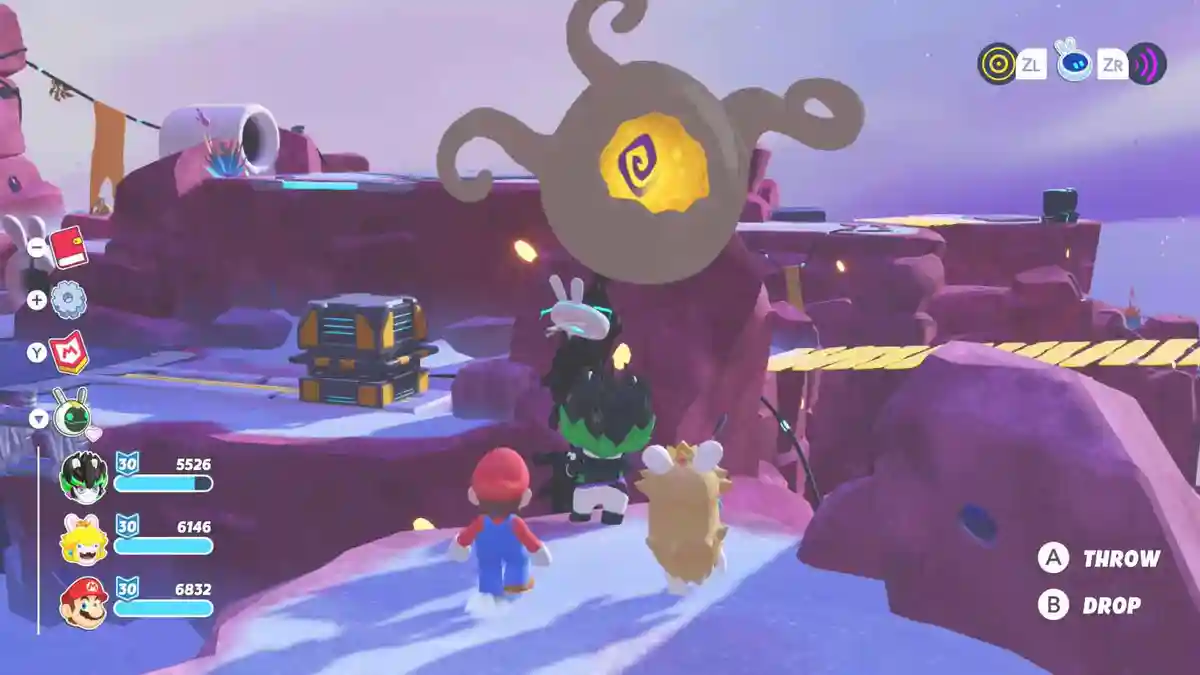
With the ramp now cleared of Darkmess, you can head down. Move the WAVE block left with your purple ZR ability so you can reach the white pipe above.
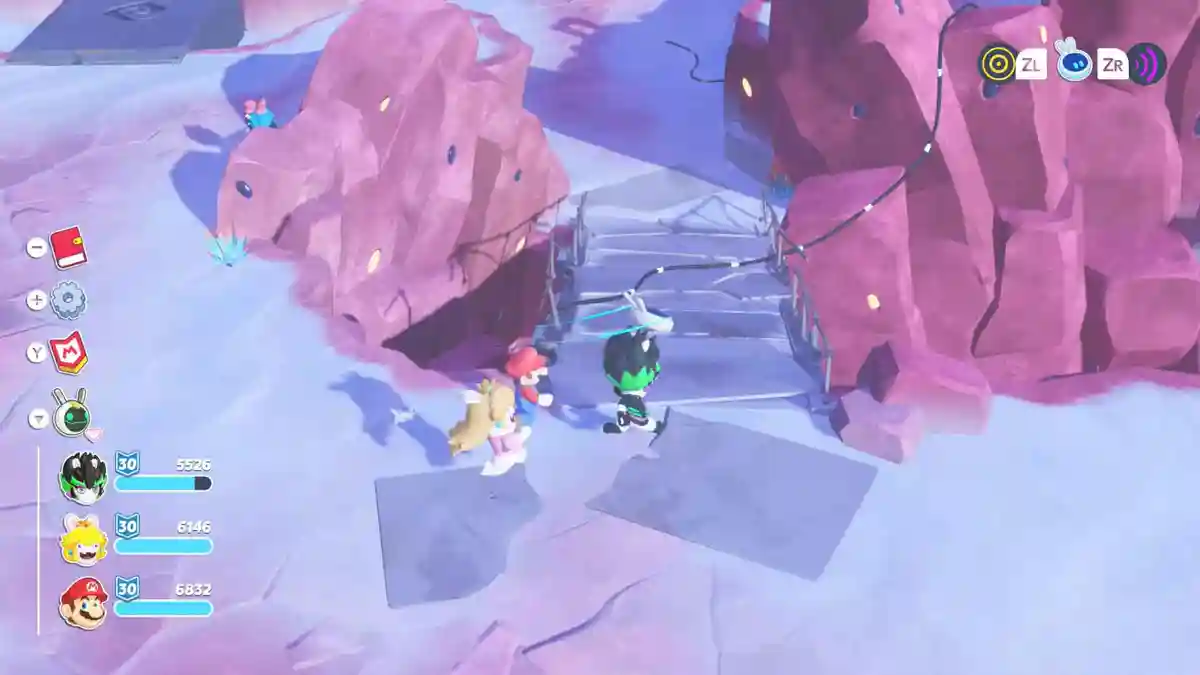
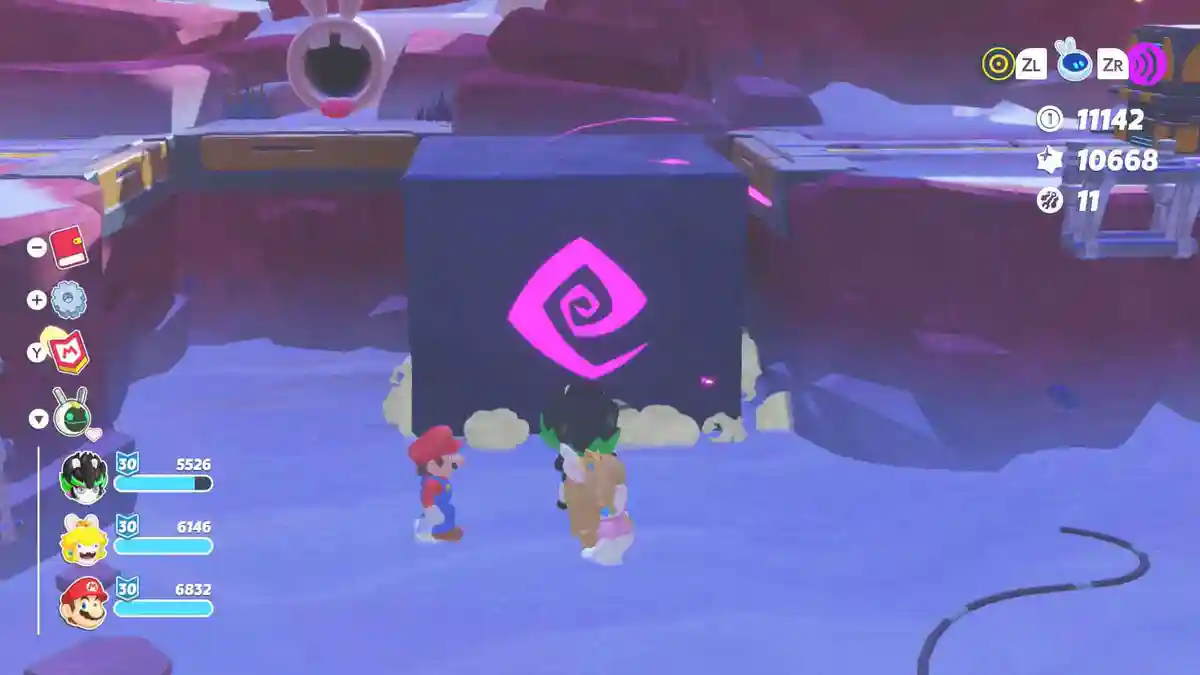
Climb the ladder and use the pipe to cross to the other side. From here you can jump down to a movable box and a ladder you can drop – do both, then climb down.
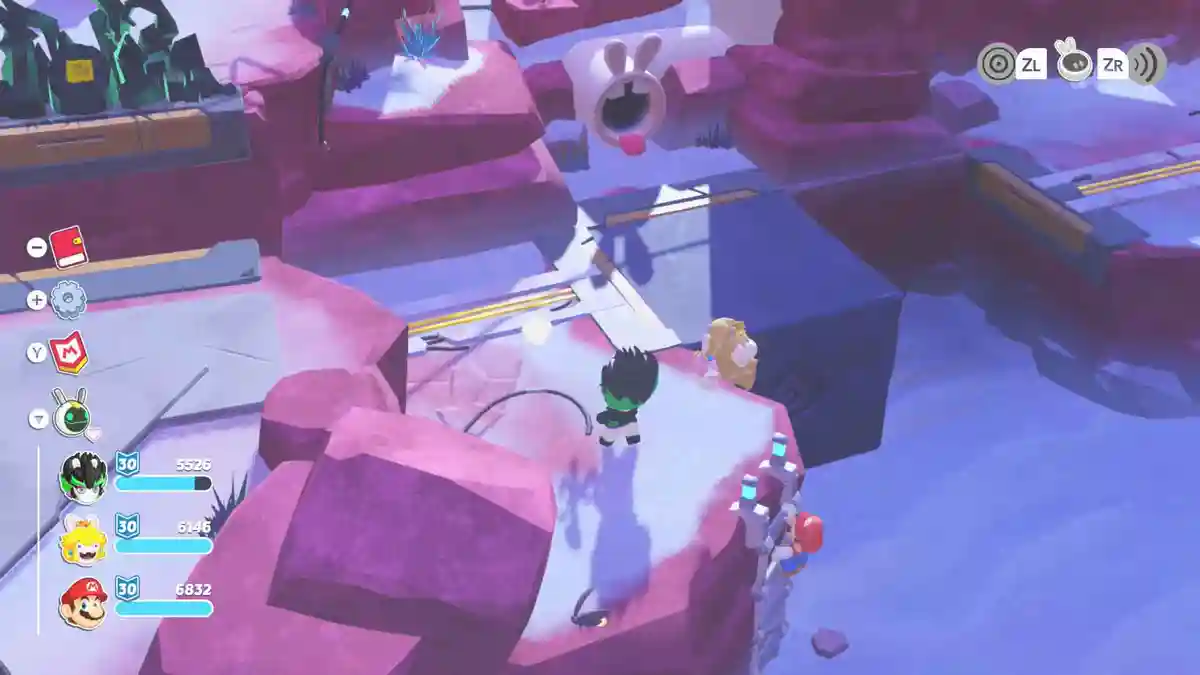
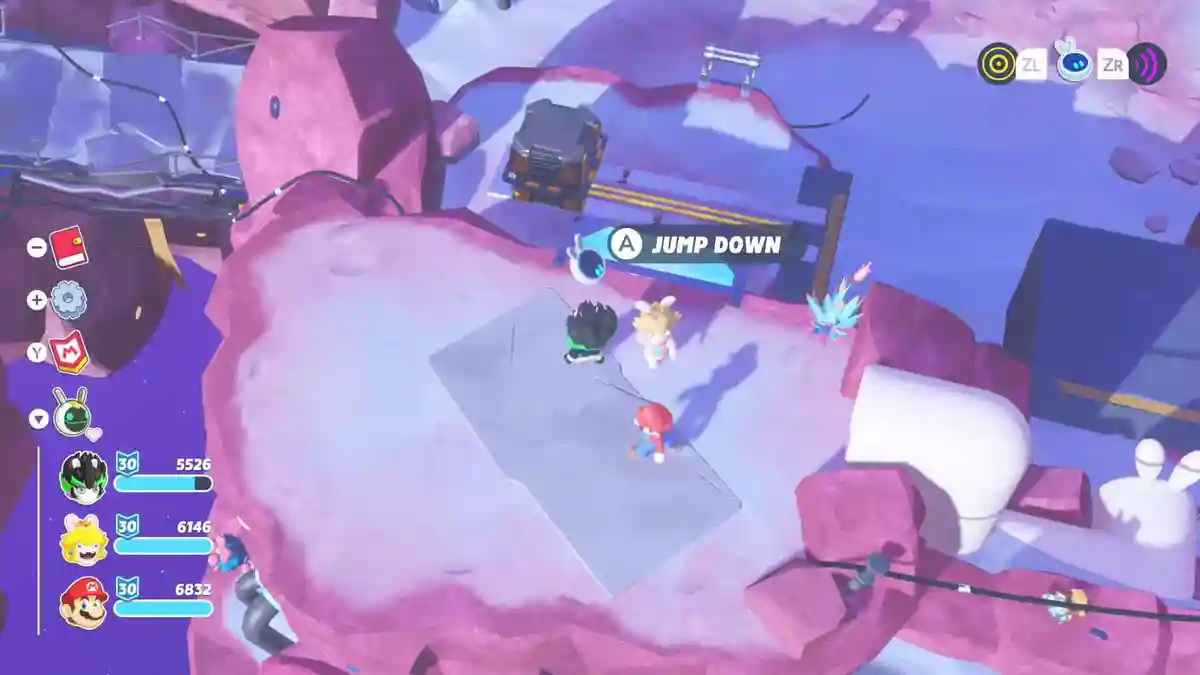
Next, we’re moving this box onto the WAVE block. Move the ground-floor WAVE block to the right, climb the ladder to push the box onto it, then head back down and move the block – box included – to the left.
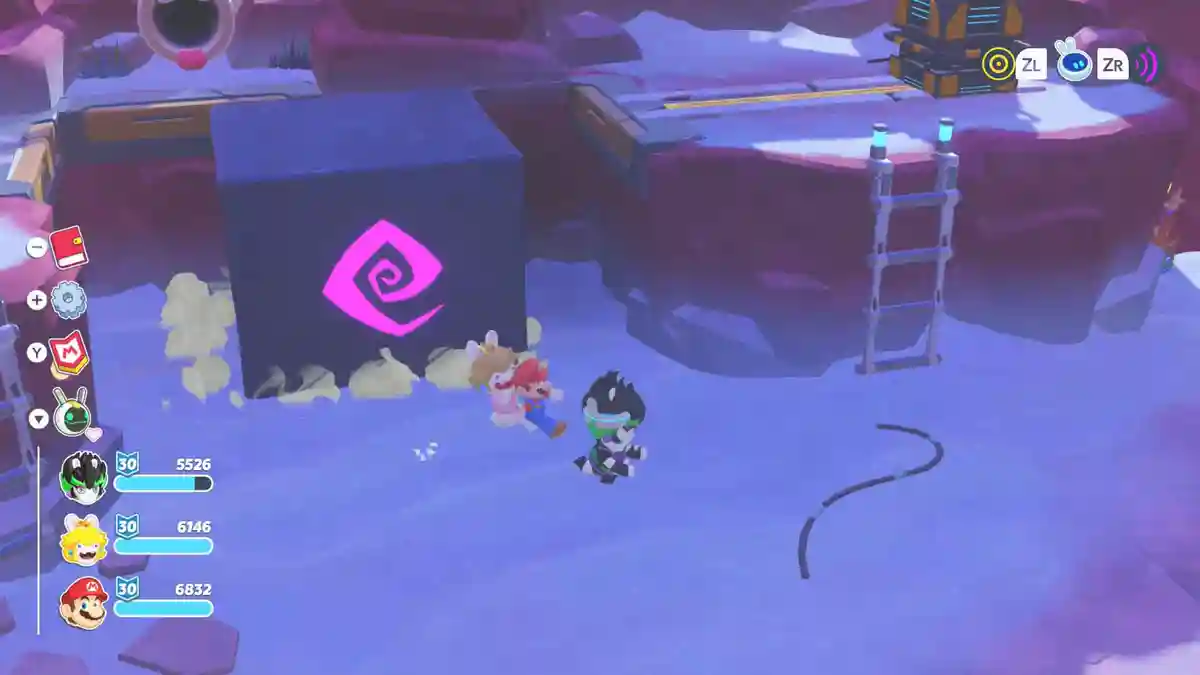
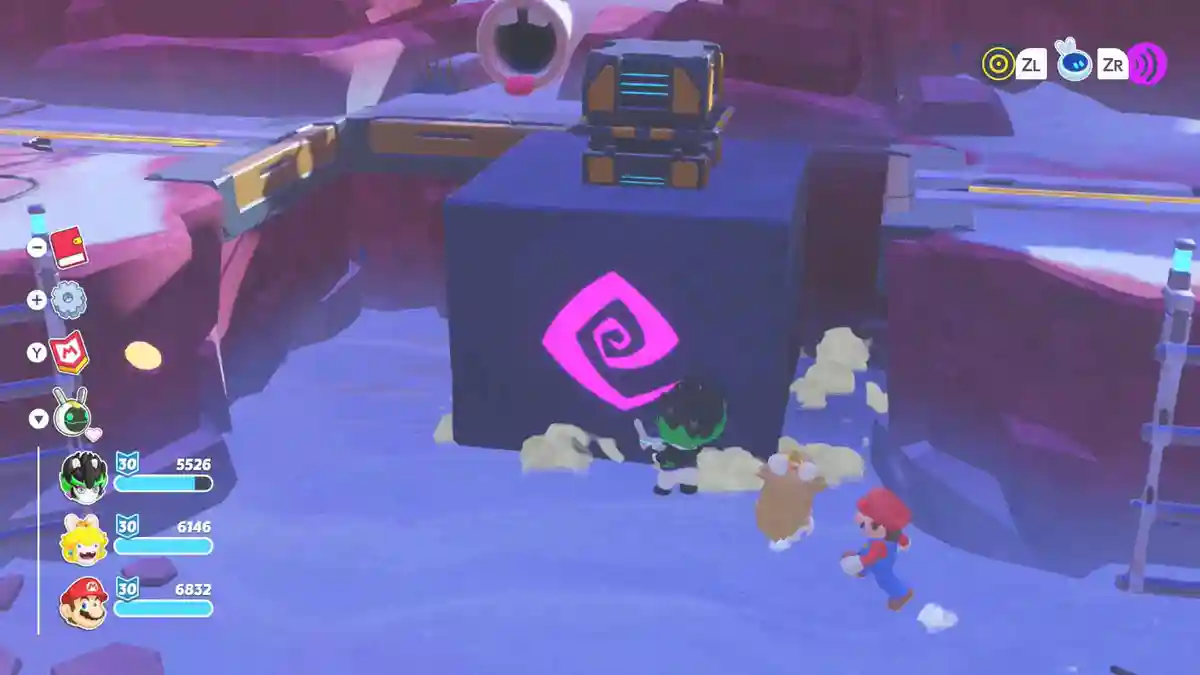
Pull the box along the yellow strip all the way to the other side, then lower another WAVE block to push it onto the yellow pressure plate.
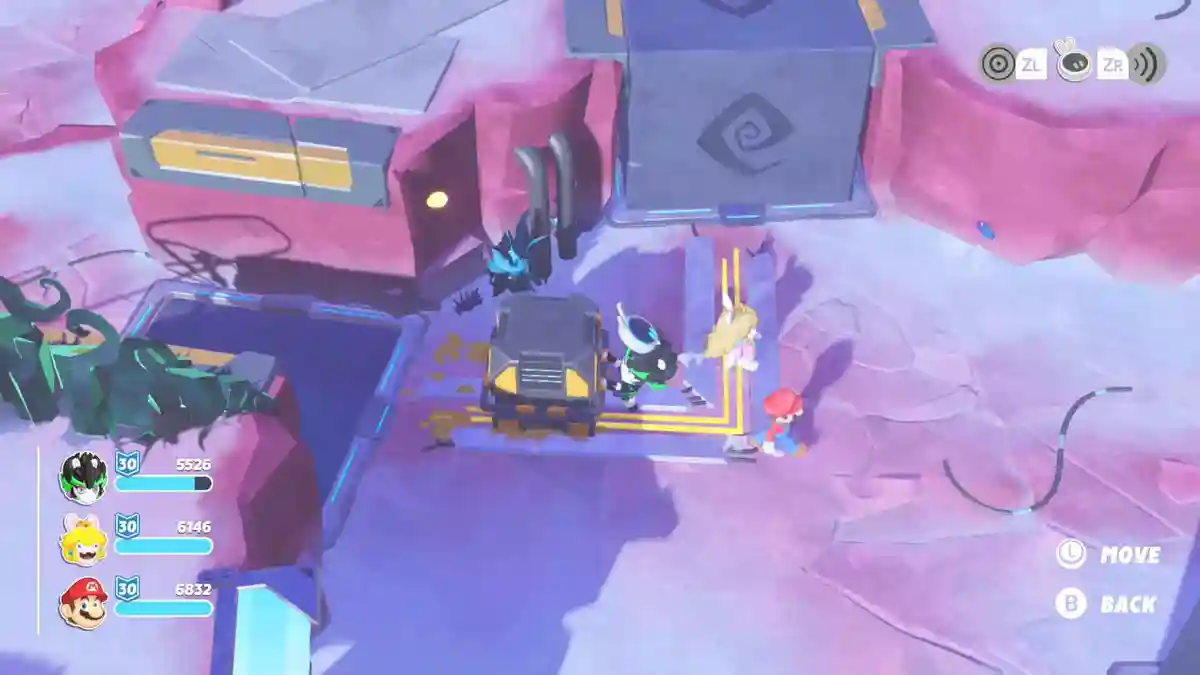
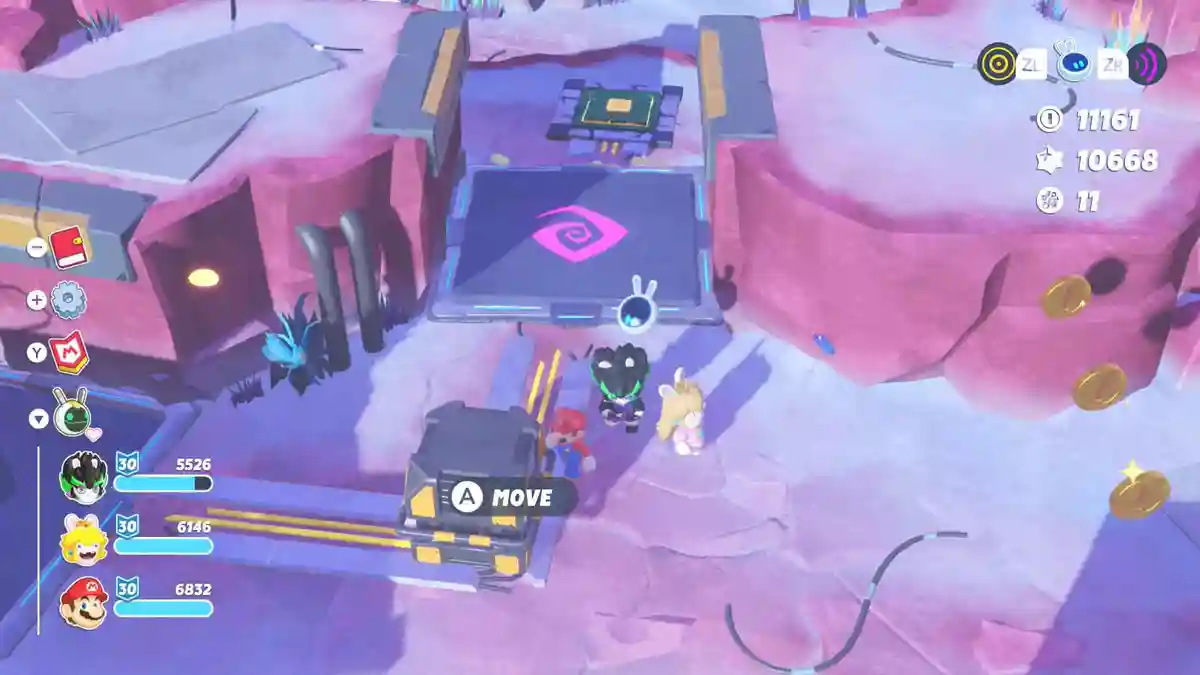
The barrier to the device is now dropped, but you’ll need a blue pyramid key to open it. Lower the WAVE block below the pyramid barrier to reveal the key behind it, then raise the other WAVE block (the one you used to pull the box to the pressure plate) so you can reach the device. Carry the pyramid and drop it onto the WAVE block near the pressure plate, then send it back up – make sure you’re standing on the same side as the pressure plate.
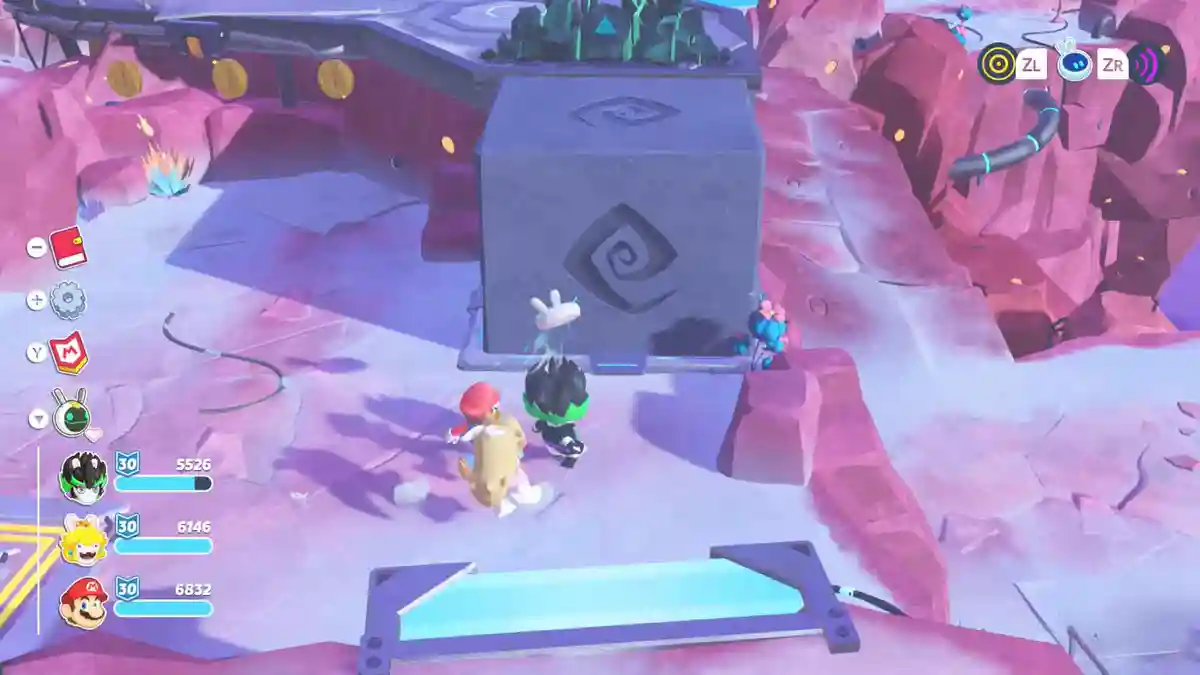
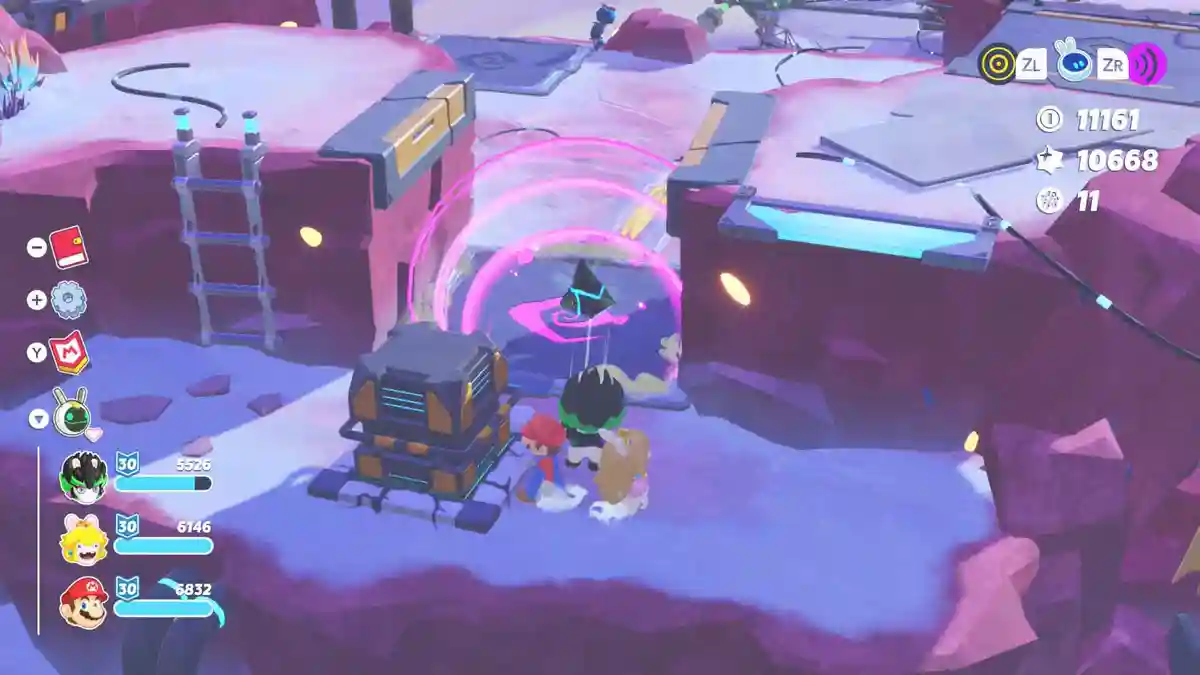
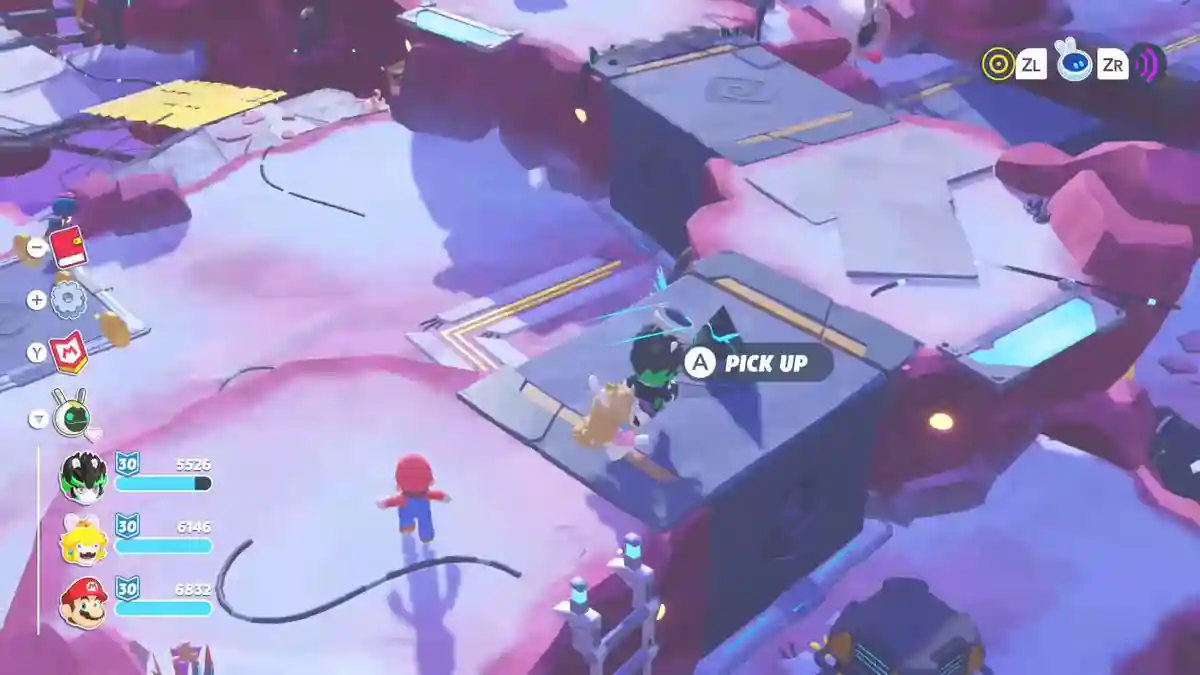
Climb the ladder, grab the pyramid, and place it in the device to lower the barrier. Go back down and raise the WAVE block near where the pyramid was, or you’ll get stranded with no way to reach the Planet Coin after scanning for the bridge. Open the propeller container near the cannon to claim it.
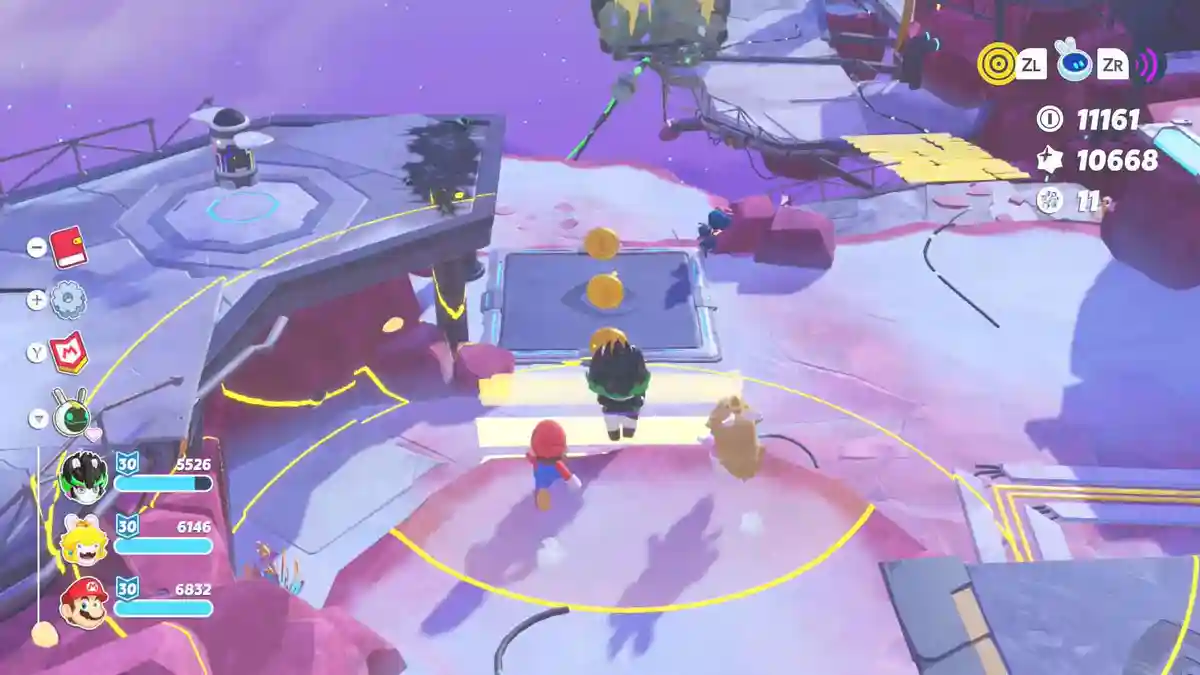
Courageous Duo
Northeast of the crane is a special Darkmess Puddle that can only be fought with Mario and Edge. Clearing it rewards the Steampunk Dual Slinger weapon skin along with Mario’s memory.
Darkmess, Uncontained
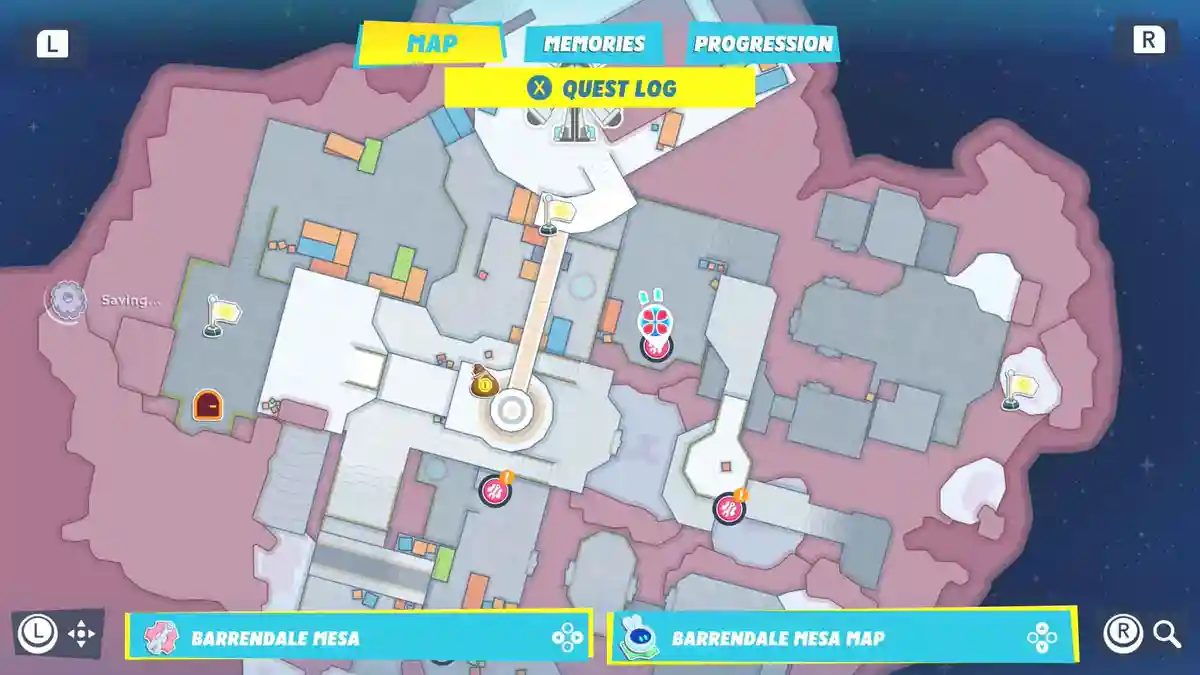
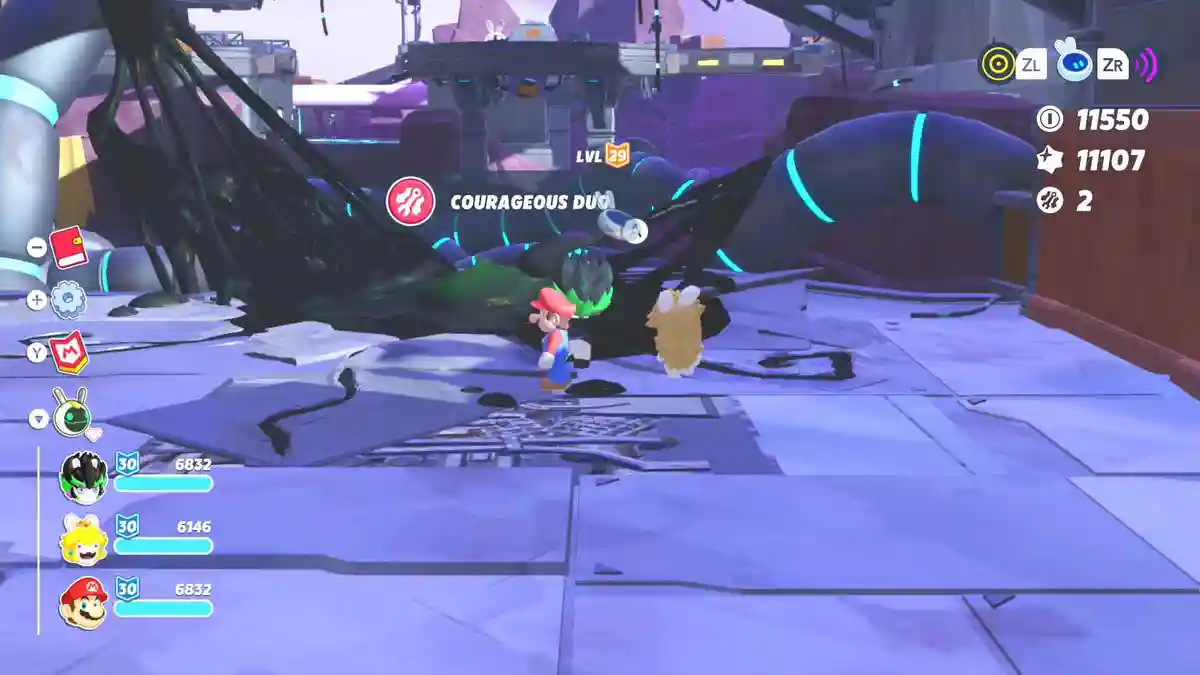
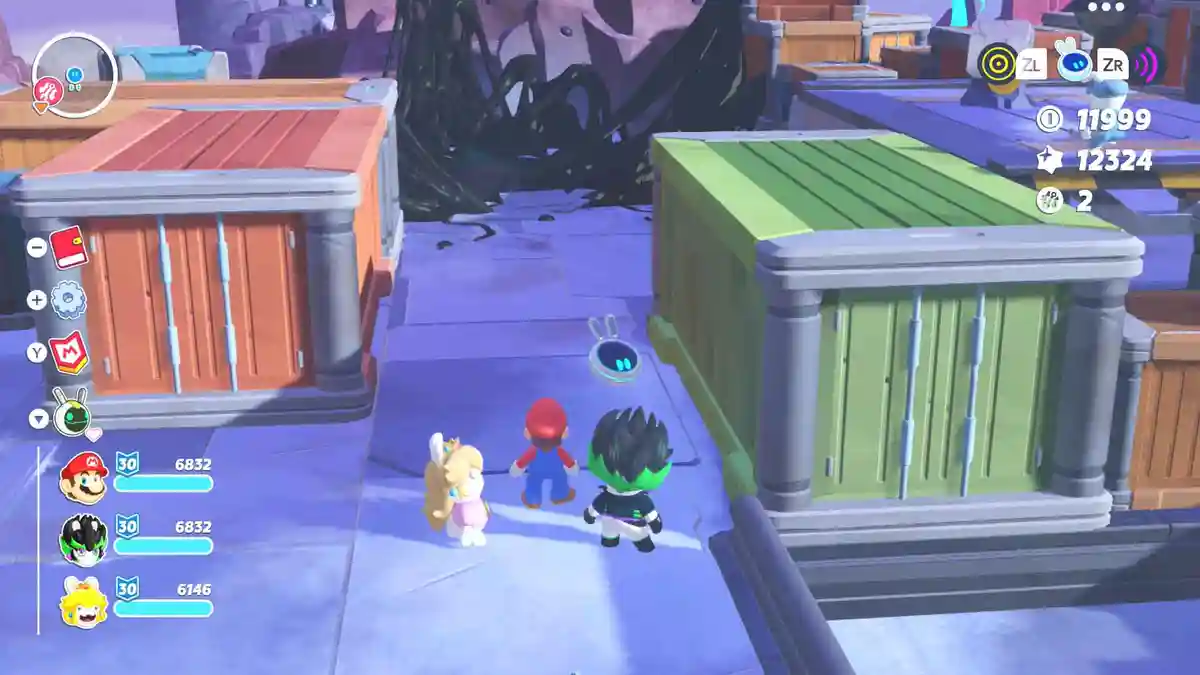
This Darkmess Puddle sits south of the crane and is only reachable once you’ve used the crane to move the container blocking the passage.
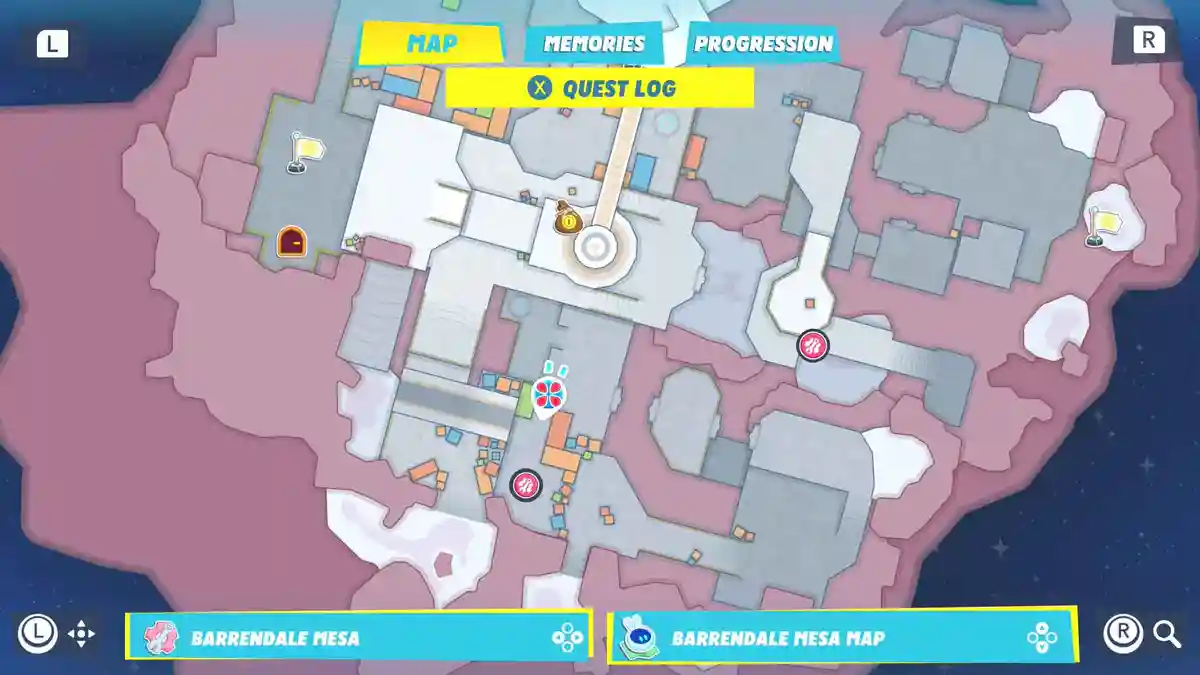
Desert Highway Darkmess
Clear the Darkmess Puddle blocking the central highway.


Gate to the Abandoned Settlement
Clear the Darkmess Puddle guarding the gate into the abandoned settlement.


Generator Investigator
South of the windmill you’ll spot a green pressure plate and a green push-line with no box in sight. Scan the far end of the line with ZL and a box will appear.
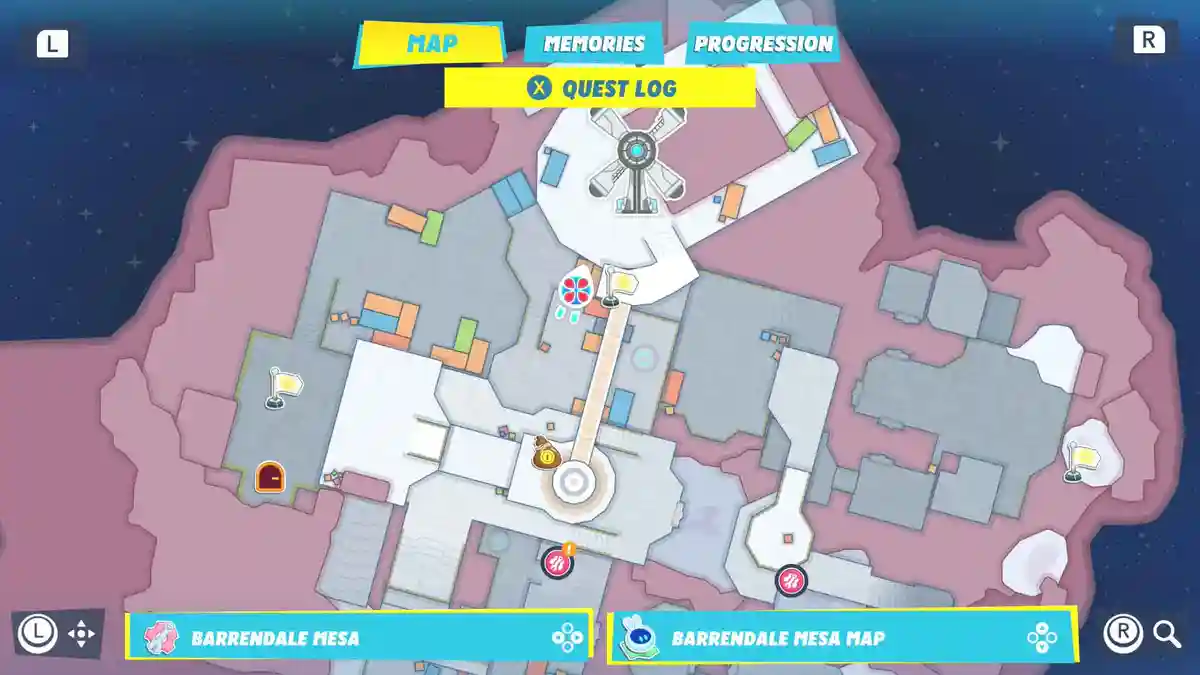
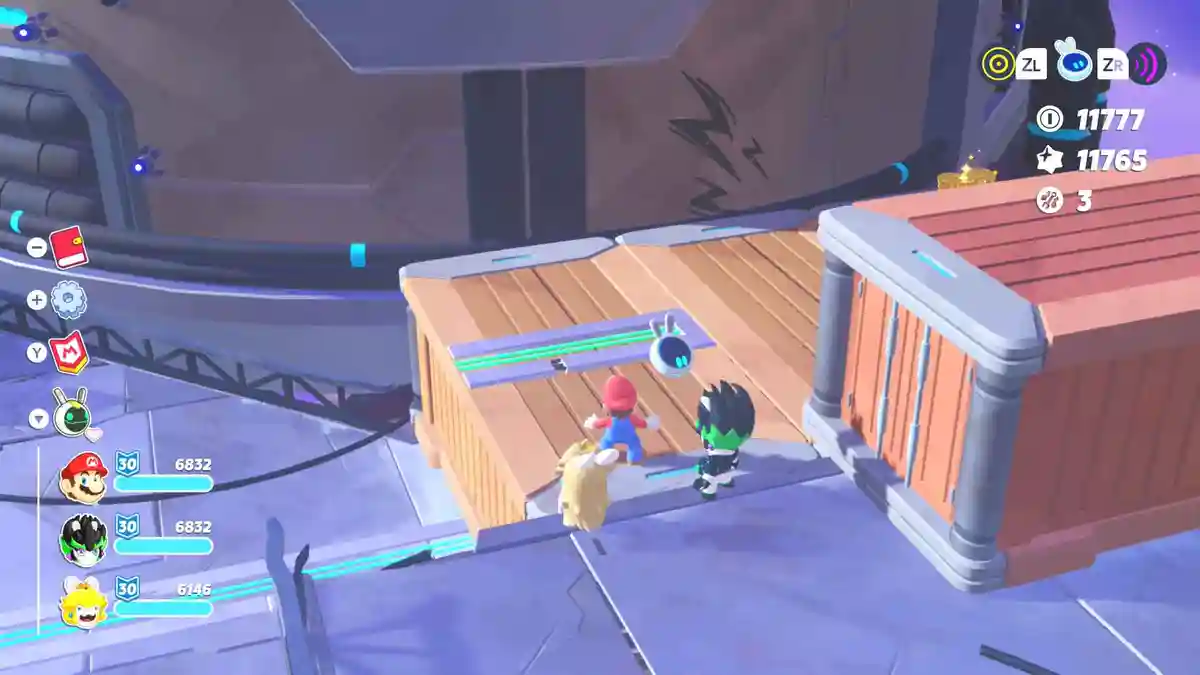
Push the box off the edge onto the pressure plate. The nearby barrier opens, revealing a battery behind it.
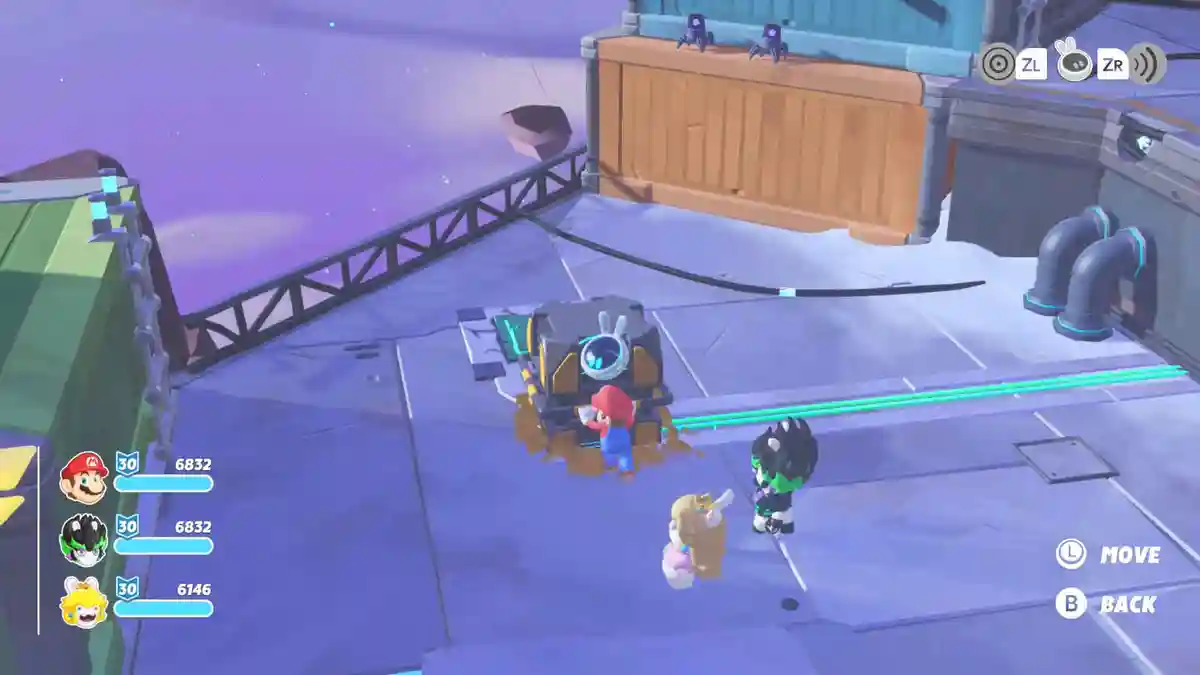
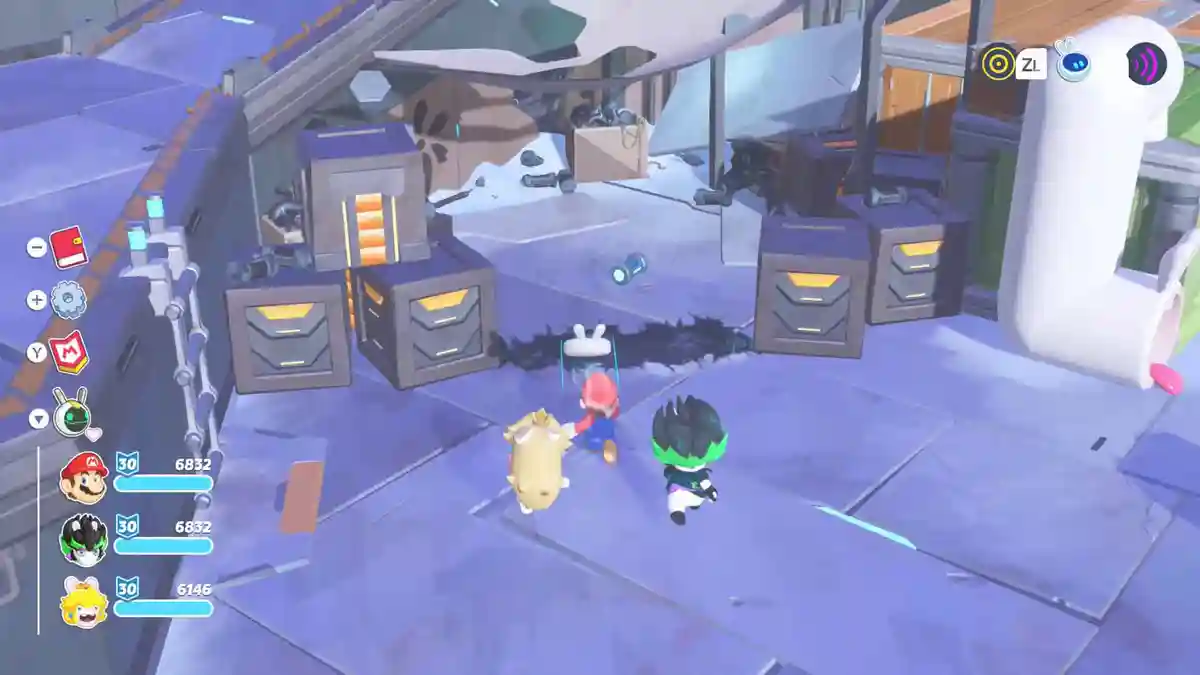
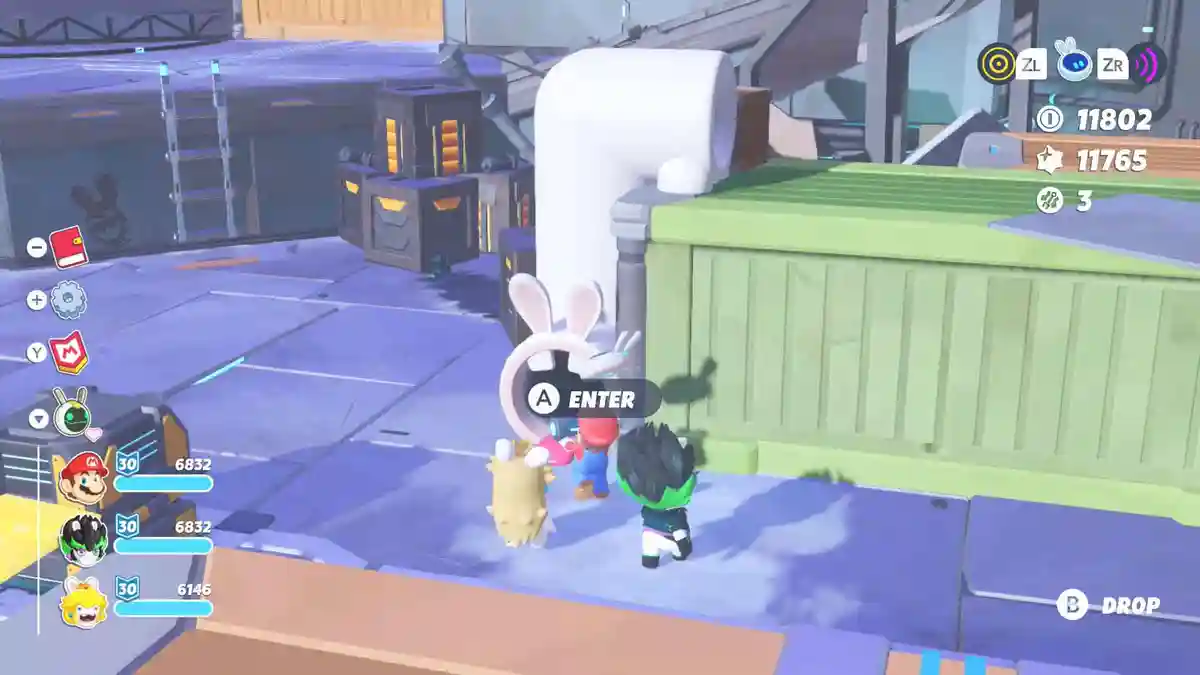
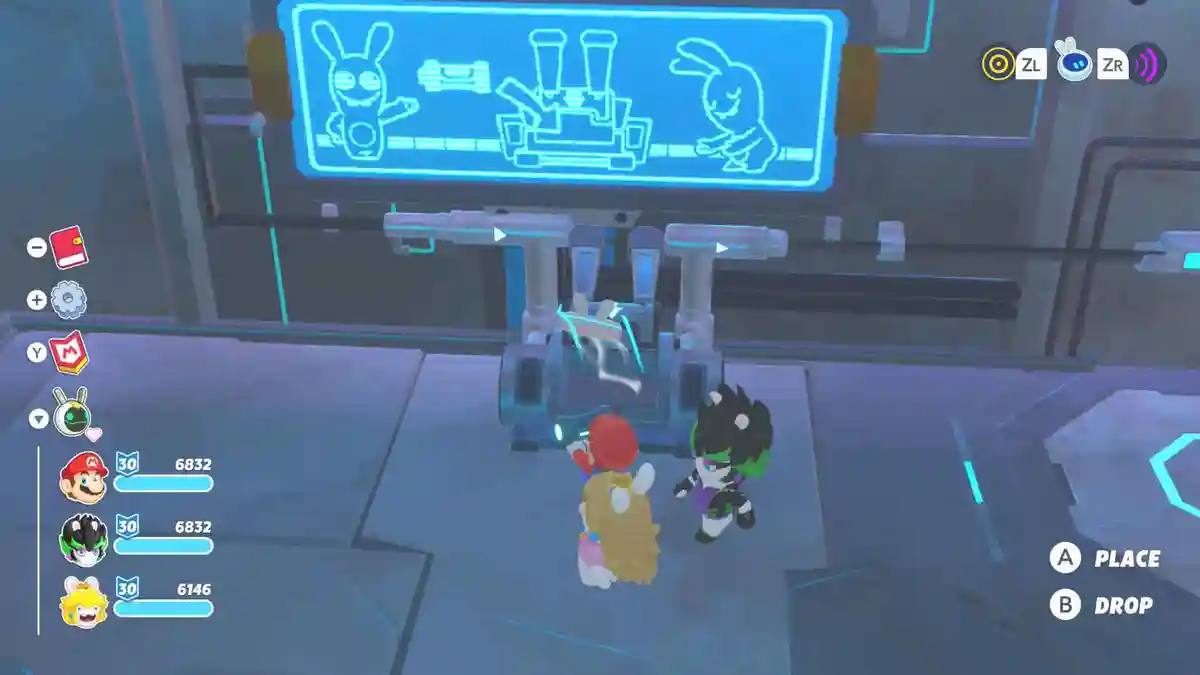
Carry the battery into the nearby white pipe and place it in the device on the other end to complete the quest.
Green Coin Challenge
Take the white pipe up from below to unlock this challenge.


Launch Site Secrets
In the northeast of the map is a Darkmess Eye guarded behind a puzzle. Climb the ladder and enter the cannon to begin.


It’s not essential, but drop the nearby ladder for easier access later. Then scan the area to find footprints leading to a hidden ladder down, and climb it.


Use ZR on the lowered WAVE block to raise it into a bridge across to the yellow cube key. Grab the key and drop it back onto the block.


Head back down, lower the WAVE block, pick up the cube, and place it in the nearby device. This drops the barrier at the only spot where you can throw the egg at the Eye. Go back up, but raise the WAVE block again so you can cross over on top.


Move this WAVE block into position too, so you can use it as a second bridge. Climb the ladder up to the Darkmess Egg, dash, and grab it.


Slide down the nearby ramp with the egg, head up to where the barrier used to be, and throw it at the Eye. Don’t forget to grab the Planet Coin from the propeller container nearby.


Magikoopa Hunt
Just north of the garage, a Rabbid needs help hunting down three Magikoopas – the magician-looking enemies scattered across Barrendale Mesa. If you’re struggling to find the last one, traveling to another planet or map and back will reset their spawns.


Red Coin Challenge
This challenge starts just behind the Gate to the Abandoned Settlement in the east of the map. Take the cannon right after passing through the first red ring, then loop around the settlement — the final two rings are tucked behind the white pipe.


Spellraiser Hunt
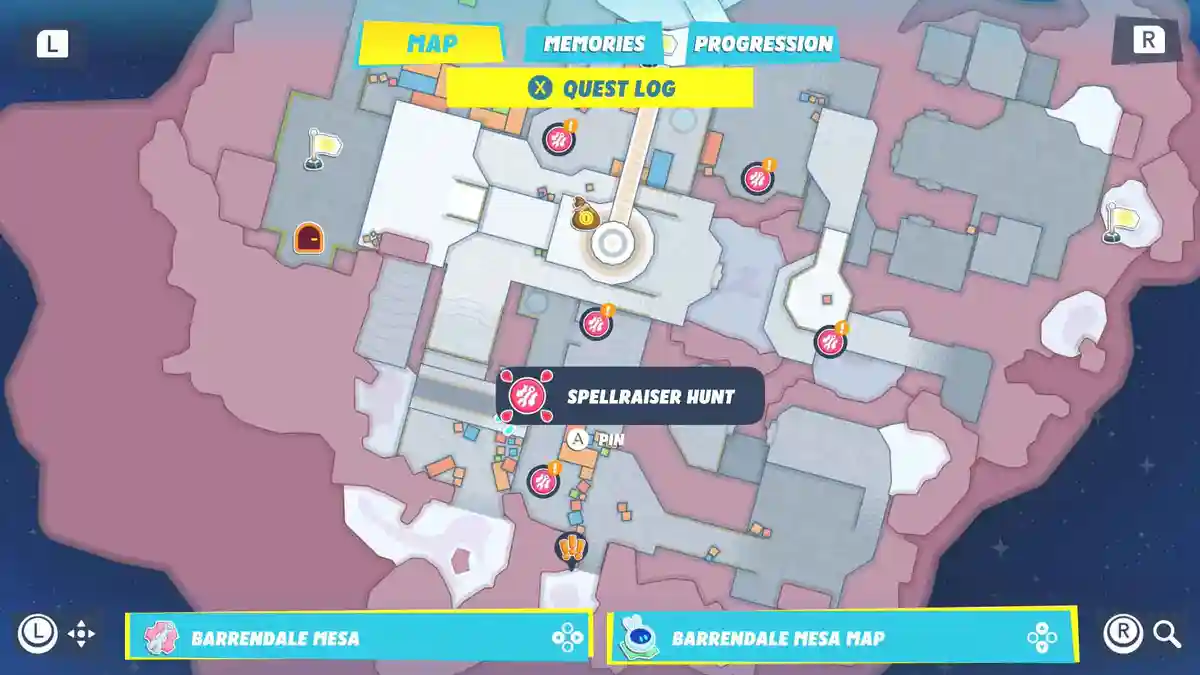
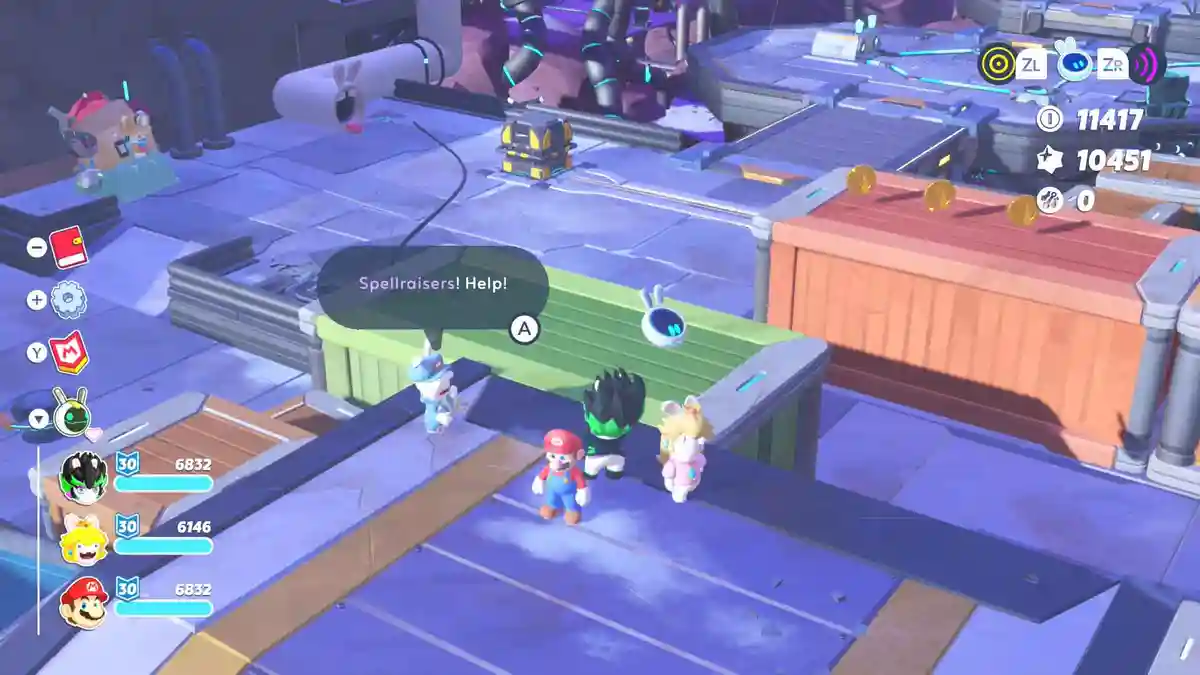
In the south-central area near the crane, a Rabbid asks you to hunt down three Spellraisers – the floating, purple-haired Rabbids found around the map.
Stuck at Work
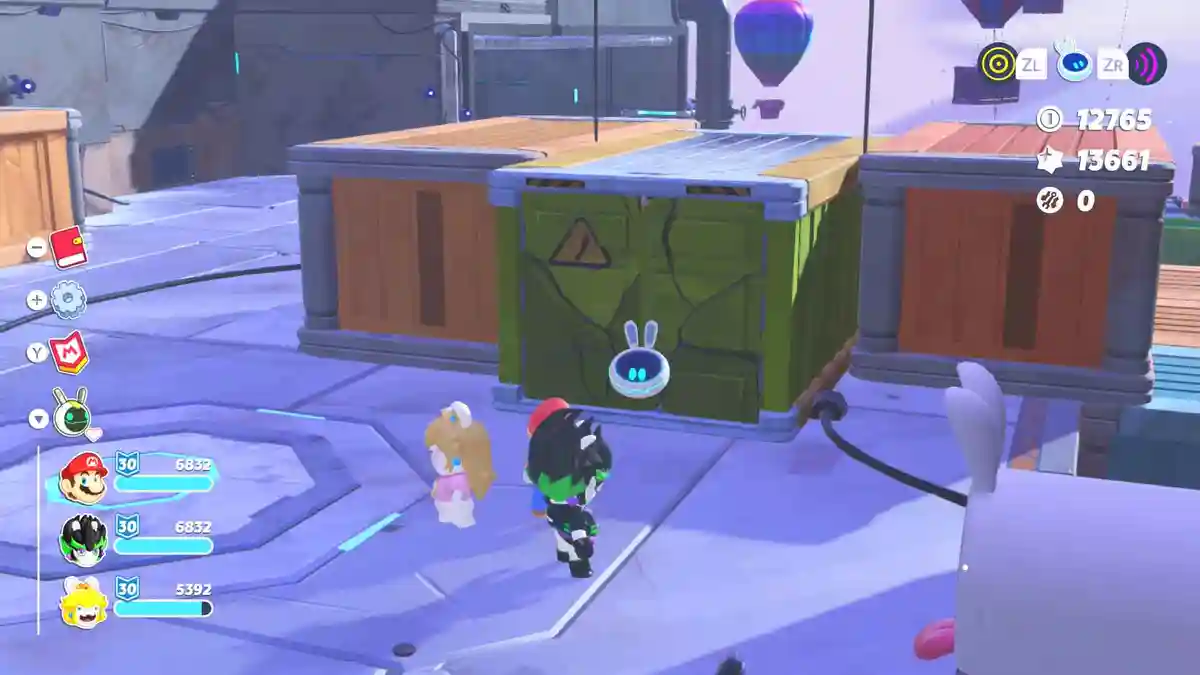
This Planet Coin is locked inside the container the crane moves. Rotate the crane left using its controls, then fast travel to the Barrendale Windmill flag and take the green pipes down. Use ZR on the crack at the back of the container to open it.
The Brawn and the Brain
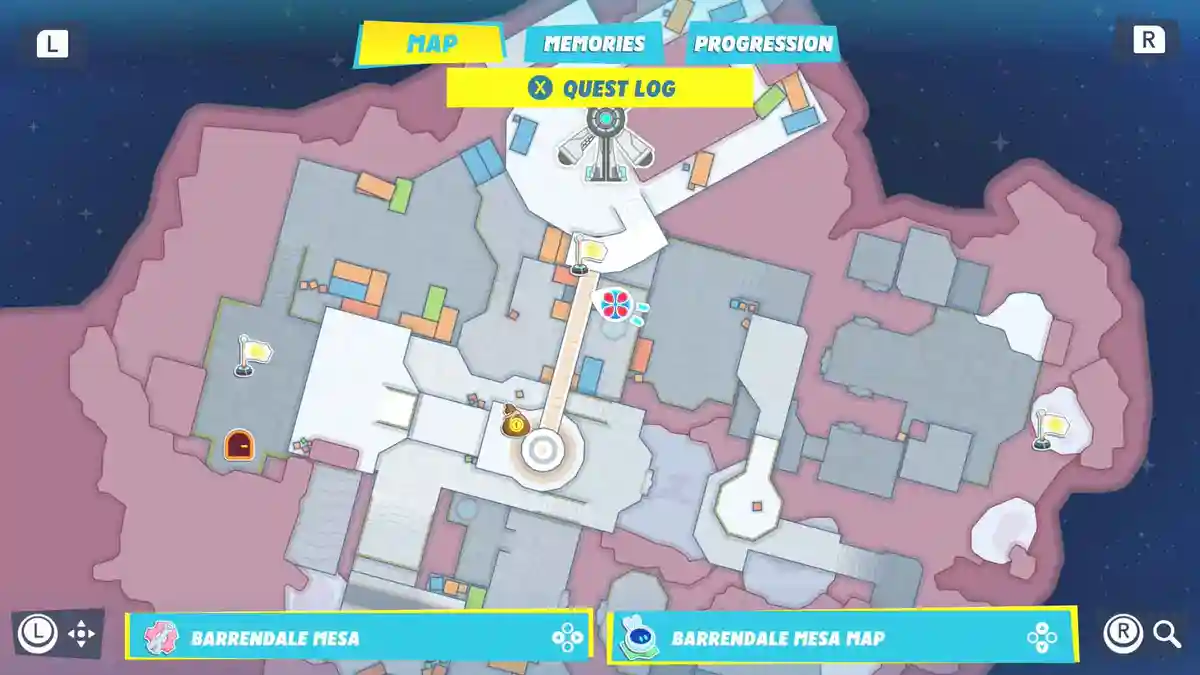
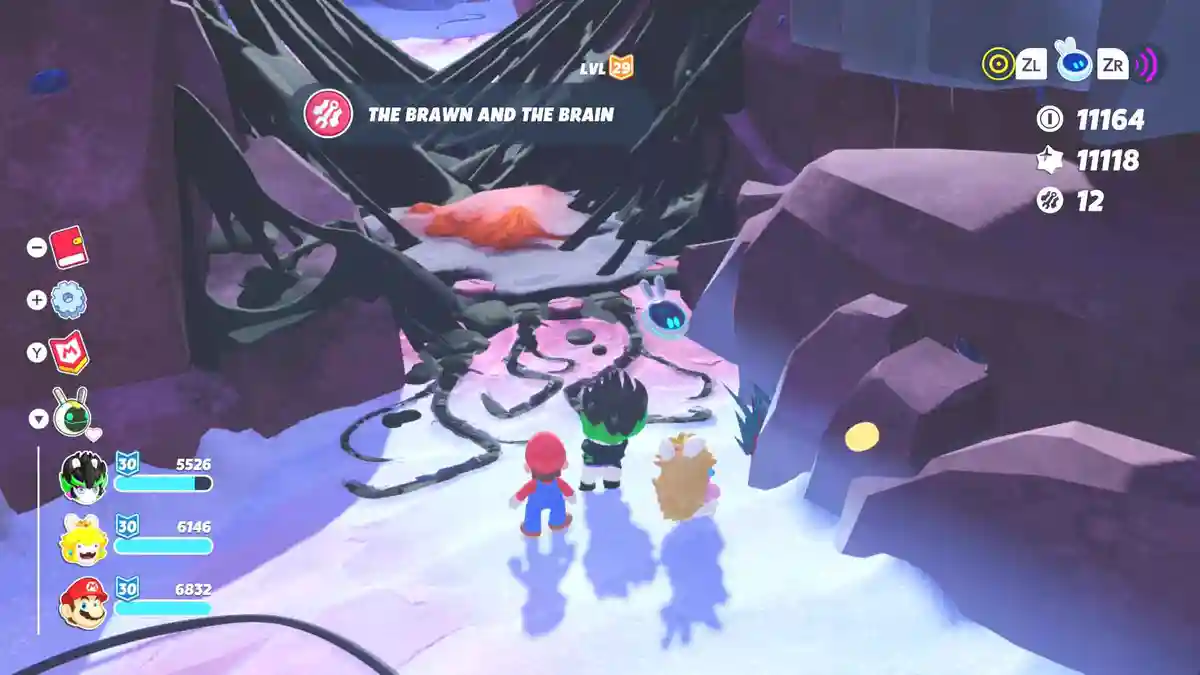
A Darkmess Puddle sits right next to the Secret Zone door here. It’s a six-round survival fight starring Bowser and Luigi, and clearing it rewards the Steampunk Bowzooka along with Bowser’s memory.
The Riddle of Barrendale Mesa
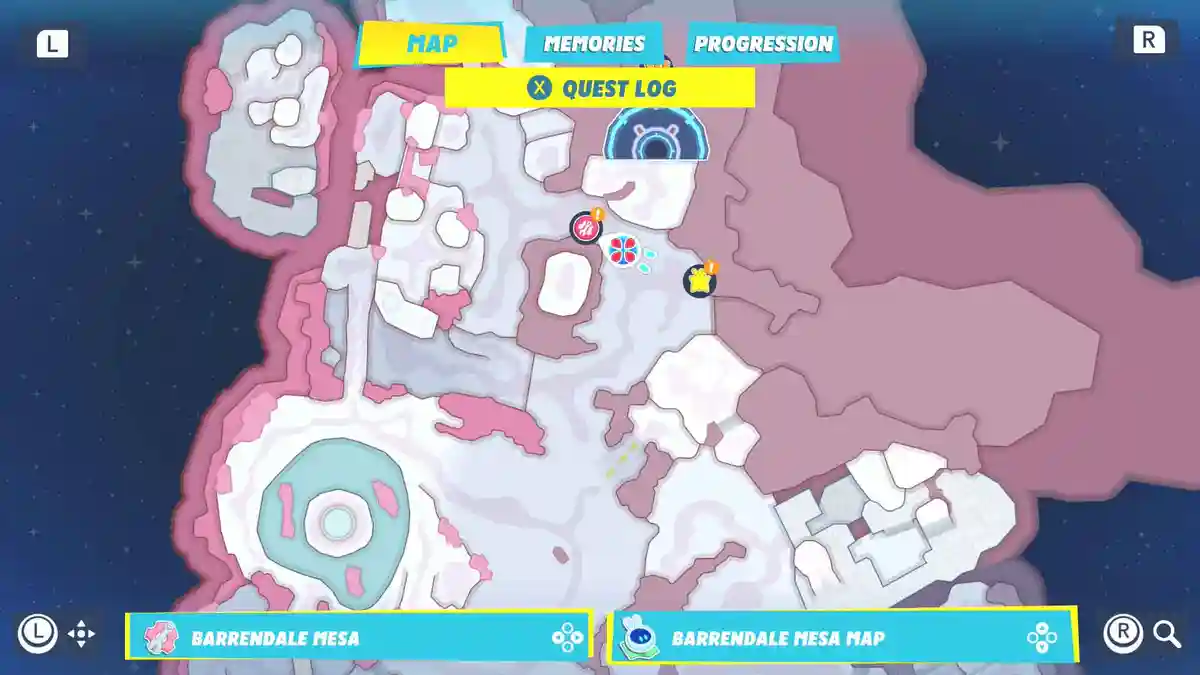
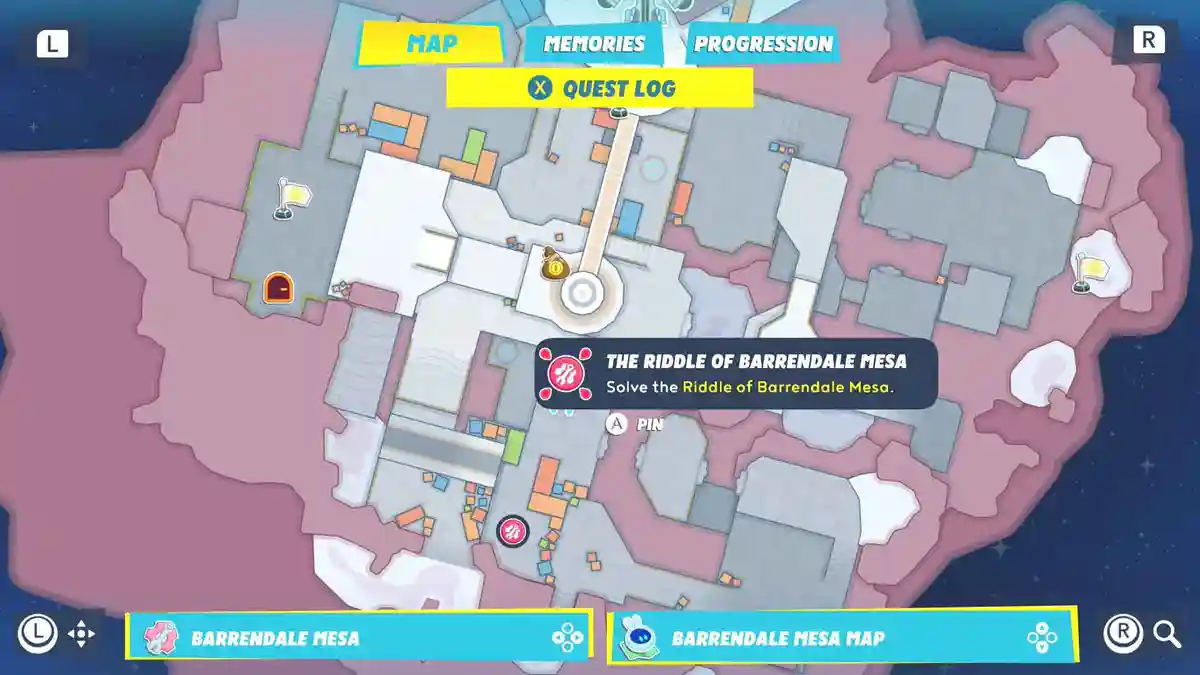
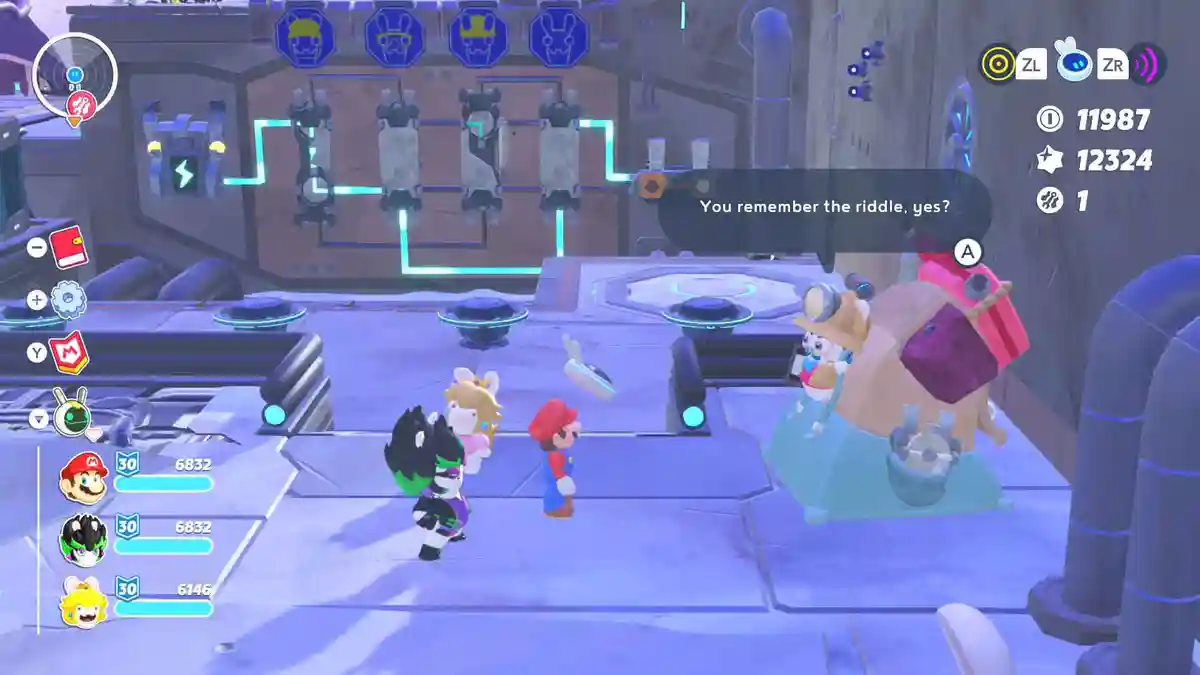
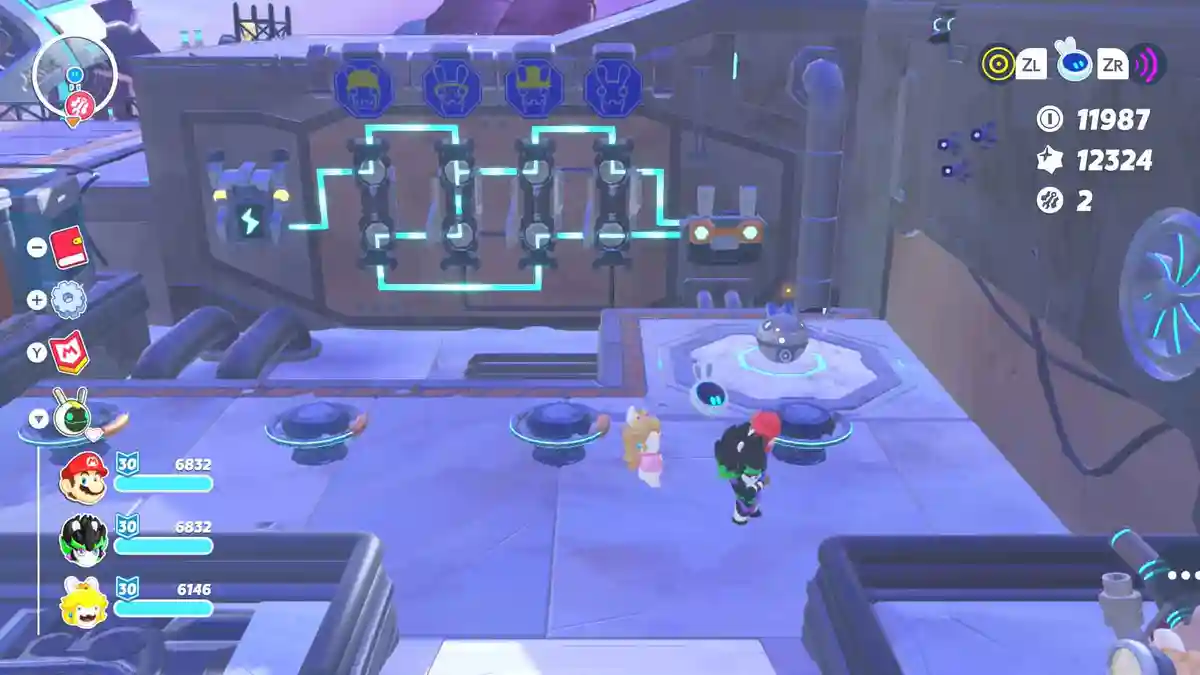
South of the crane you’ll find this map’s riddle puzzle waiting to be solved.
Toadette Trouble
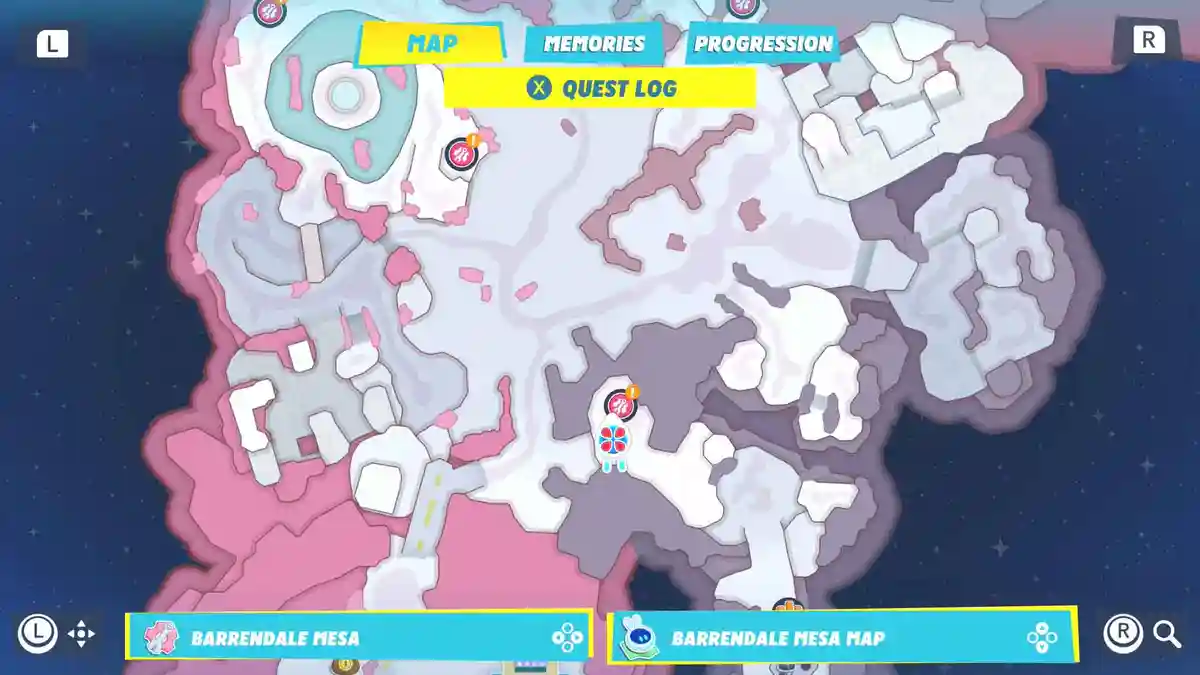
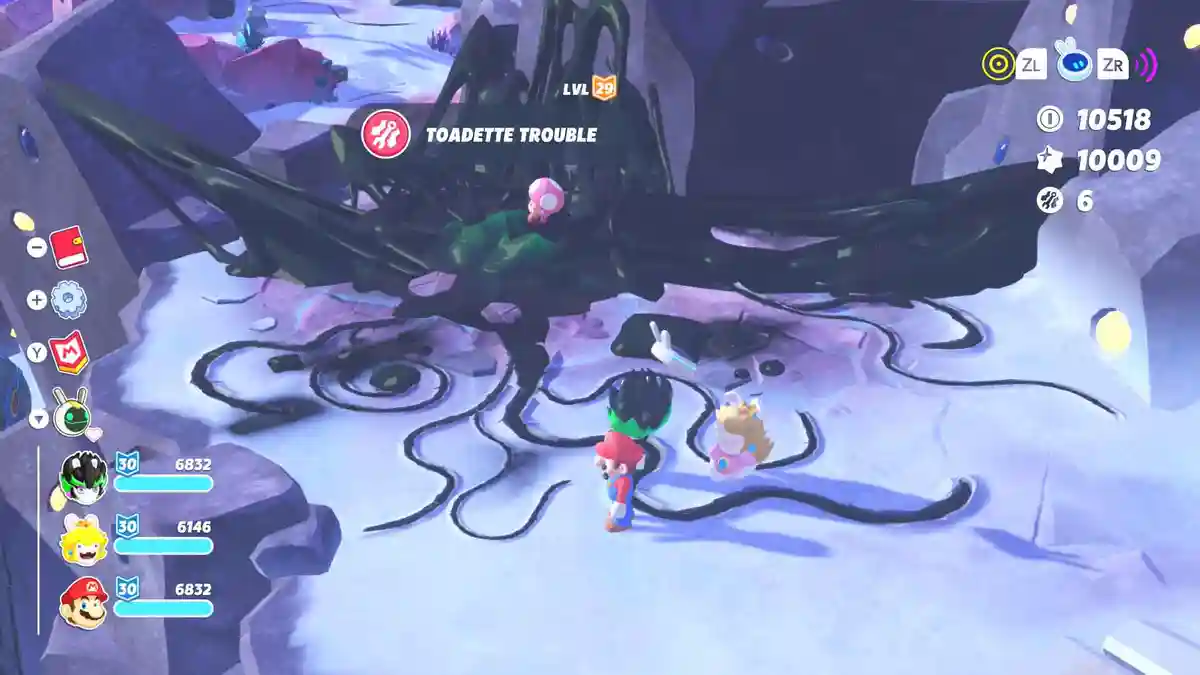
Toadette is trapped inside a Darkmess Puddle, accessed from the same spot as the A Lost Art side quest – clear that one first so you know the route. Fight through the Darkmess to free her and claim the Planet Coin.
Victor’s Barrendale Mesa Invitational
Another fishing challenge – catch the fish the same way you did previously to earn this Planet Coin.


Worksite Hazard
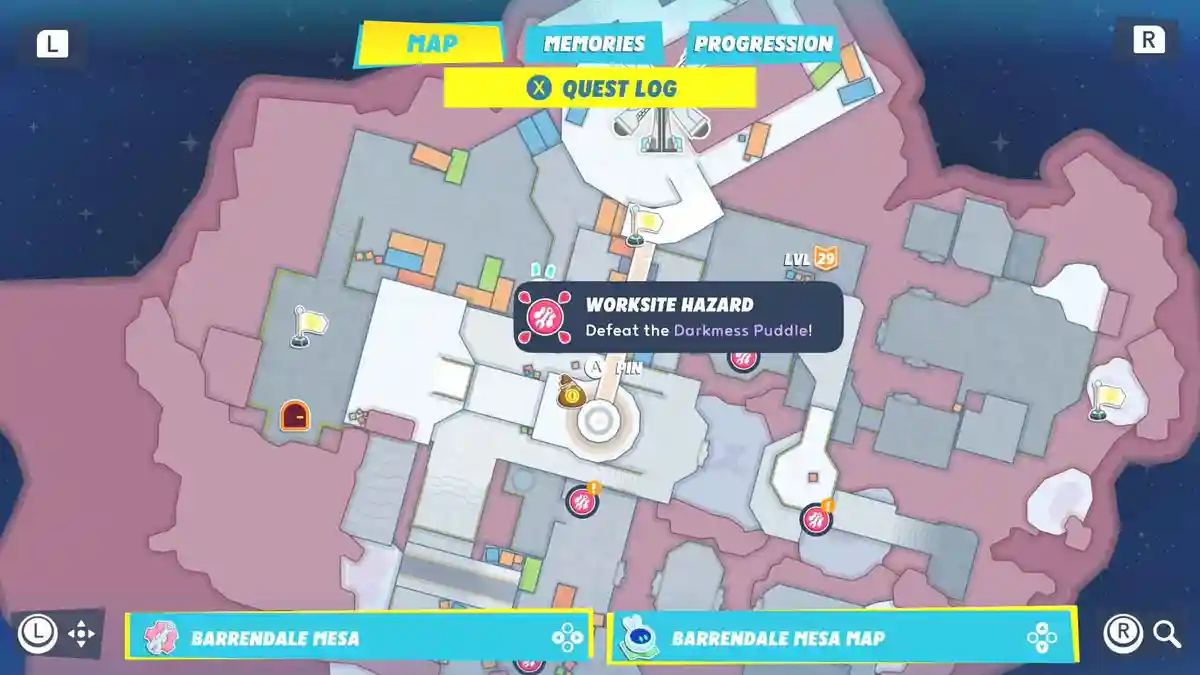
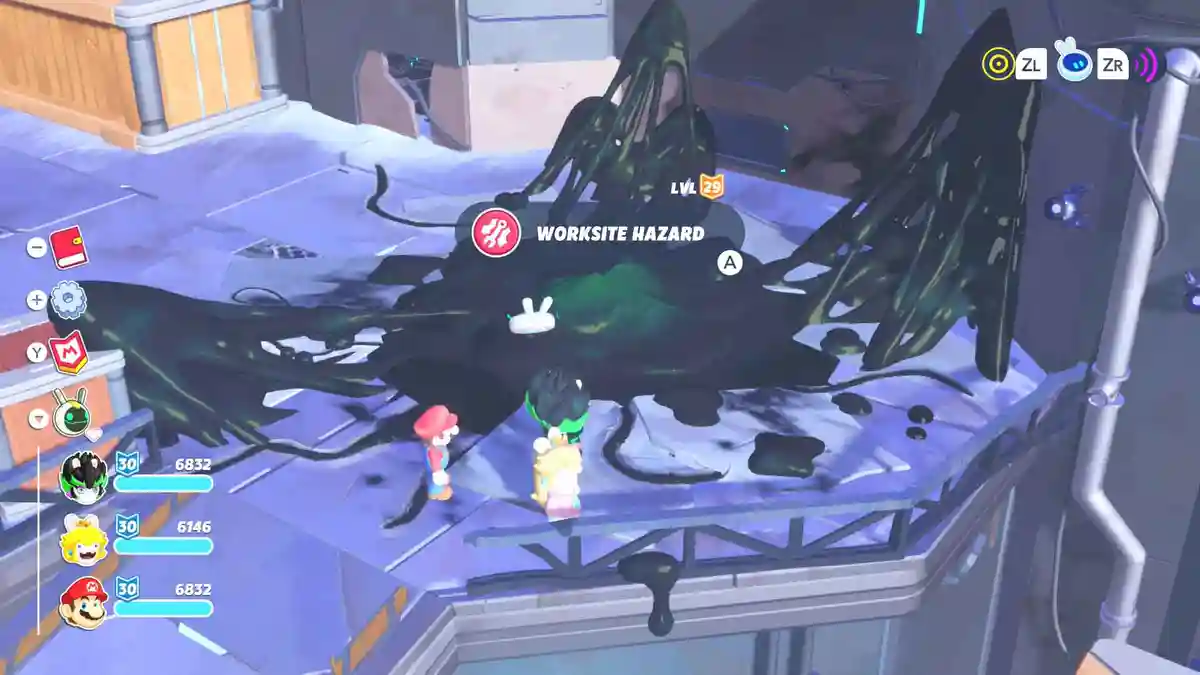
Clear the Darkmess Puddle sitting north of the crane.
More Sparks of Hope Guides
Mario + Rabbids Sparks of Hope: All Beacon Beach Memories Locations
Find all 12 Memories at Beacon Beach in Mario + Rabbids Sparks of Hope. 6 are free at the start, the…
Mario + Rabbids Sparks of Hope: All Beacon Beach Planet Coins
Here's how to collect all Planet Coins at Beacon Beach in Mario + Rabbids: Sparks of Hope.
Mario + Rabbids Sparks of Hope: All Collectibles at Beacon Beach – 100% Progression
This is a complete Beacon Beach collectibles guide of Mario + Rabbids Sparks of Hope. Find all colle…
Mario + Rabbids Sparks of Hope: All Palette Prime Planet Coins
Where to find every Planet Coin on Palette Prime in Mario + Rabbids Sparks of Hope. All side quests …
Mario + Rabbids Sparks of Hope: All Pristine Peaks Memories Locations
Find all 12 Memories at Pristine Peaks in Mario + Rabbids Sparks of Hope. This guide covers every Me…
Mario + Rabbids Sparks of Hope: All Pristine Peaks Planet Coins
Find all 22 Pristine Peaks Planet Coins in Mario + Rabbids Sparks of Hope. Every location covered wi…


About Mario + Rabbids – Sparks of Hope
Release: October 20th, 2022
Developer: Ubisoft Milan and Paris
Publisher: Ubisoft
Official Website: https://www.ubisoft.com/en-gb/game/mario-rabbids/sparks-of-hope