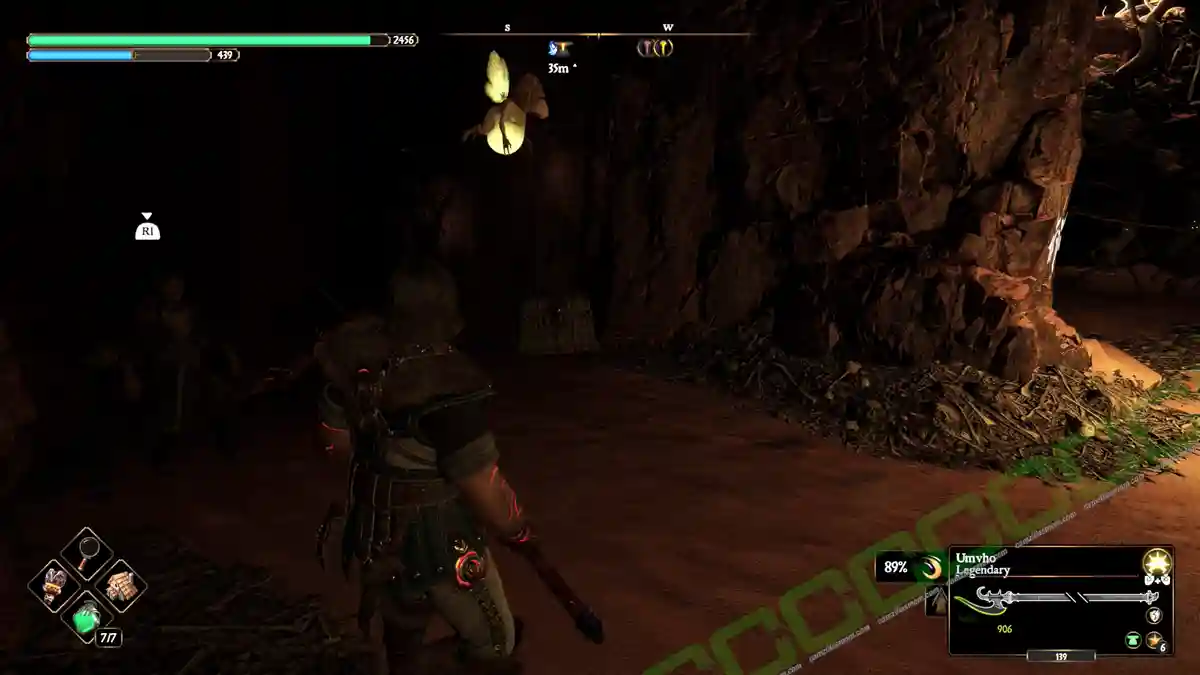
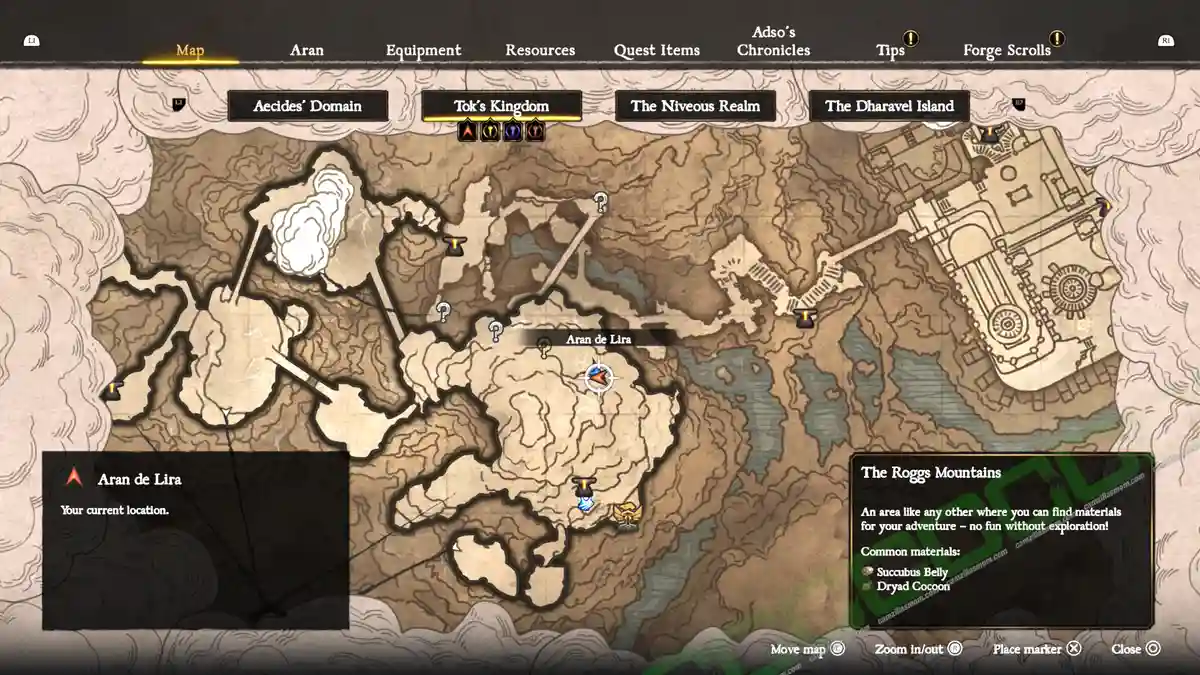
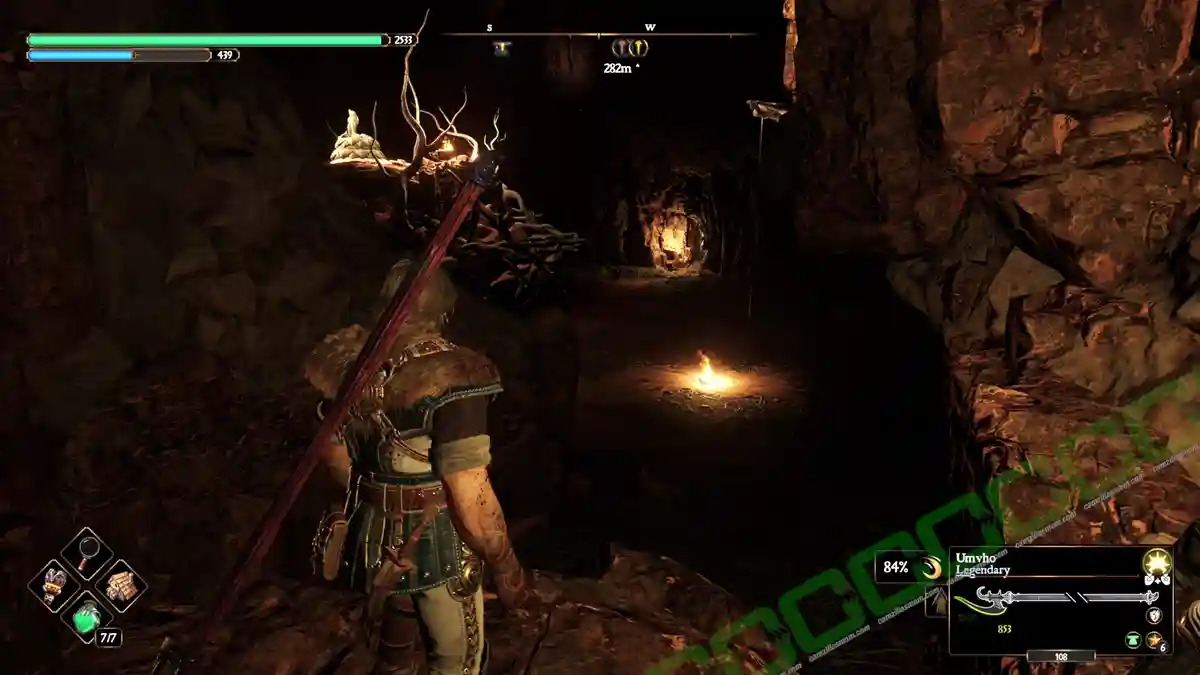
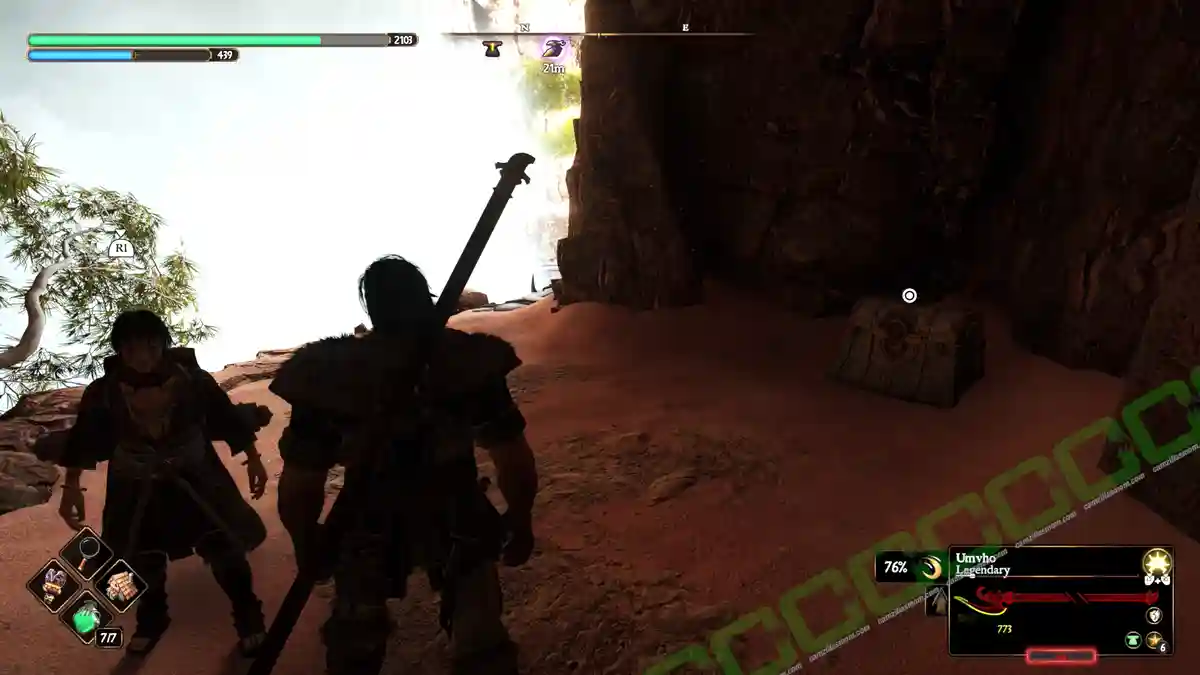
In Blades of Fire, there are 13 Nerea’s Tears Statues, and each one requires two Blue Gem Tears to unlock a piece of a fragmented tablet. This guide explains where to find all 26 Blue Gem Tears and how to access the 13 Nerea’s Tears Statues so Aran can reconstruct the Tablet
-> More Guides at the Blades of Fire HUB
- Nerea’s Tears / Blue Gem Locations
- Besacarr Hamlet – Hollow Plain Paladin
- Besacarr Hamlet – Belitara’s Witchwood Templar
- Besacarr Hamlet – Crop Fields Templar
- Kar-Lethel Swamp – Island Templar
- The Crimson Fort Paladin
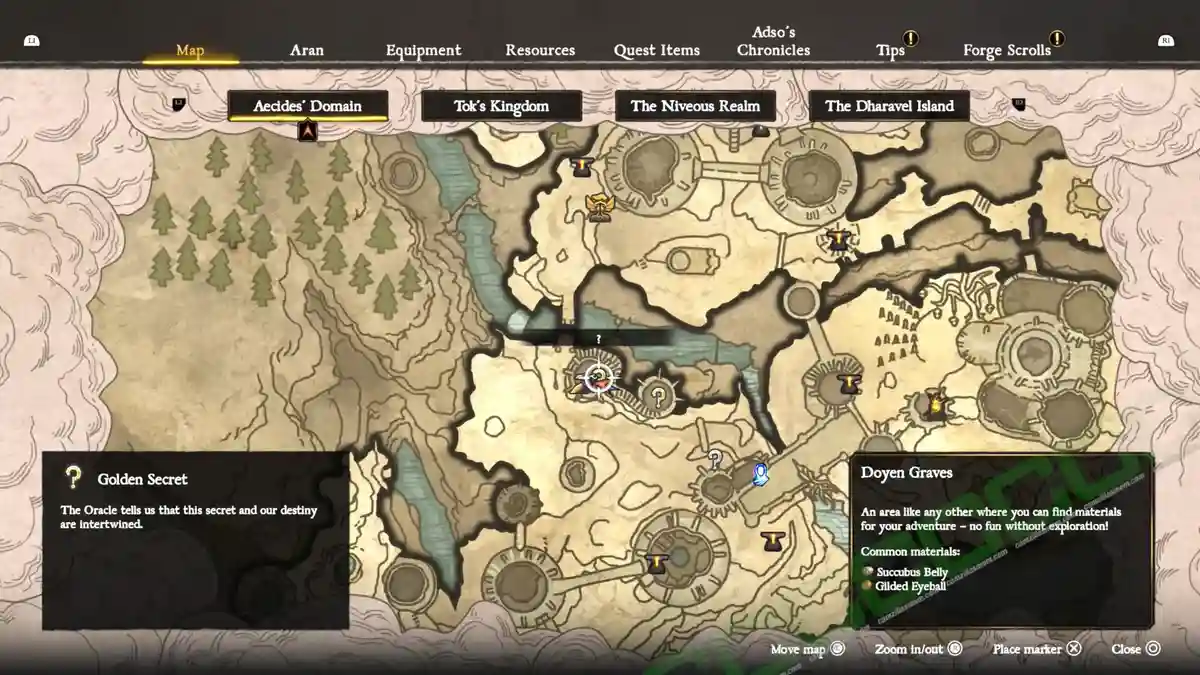
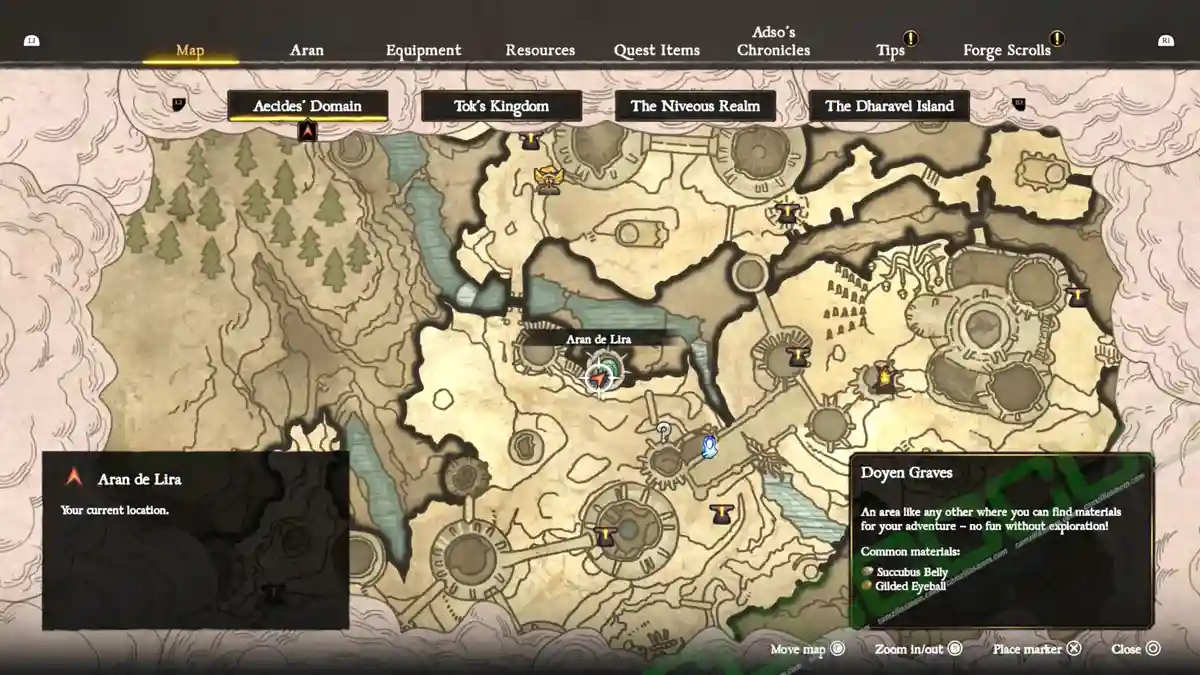
- Doyen Graves – Cursed Bridge Templar
- Doyen Graves – Karamuth Templar
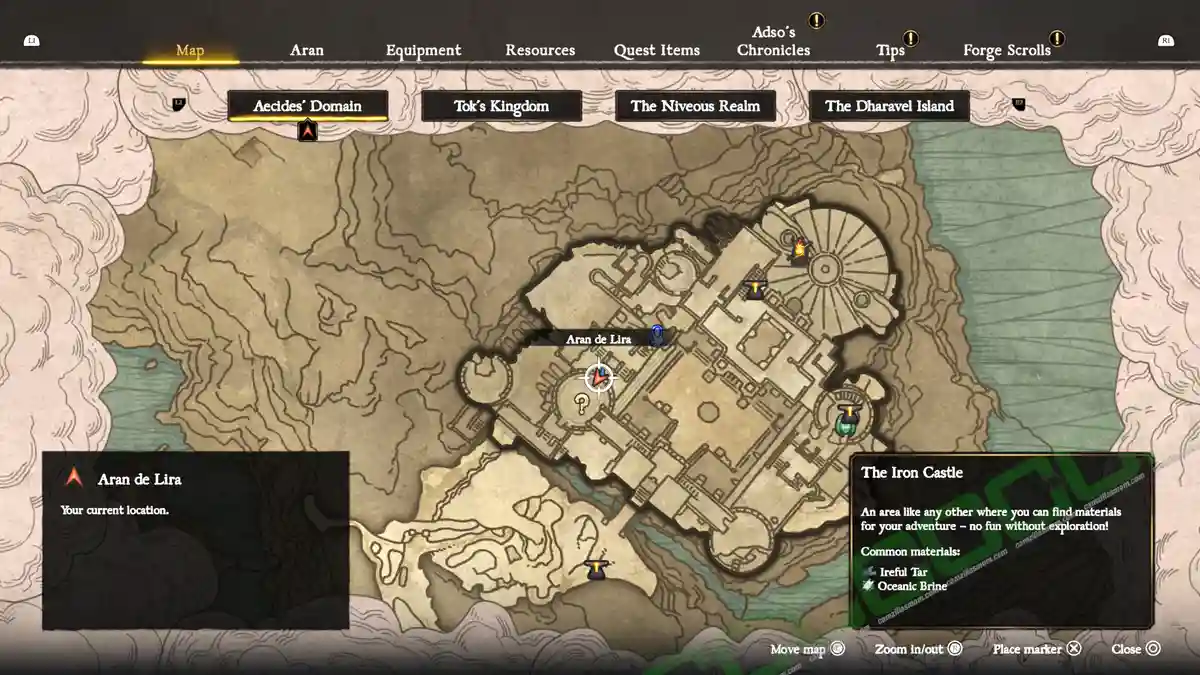
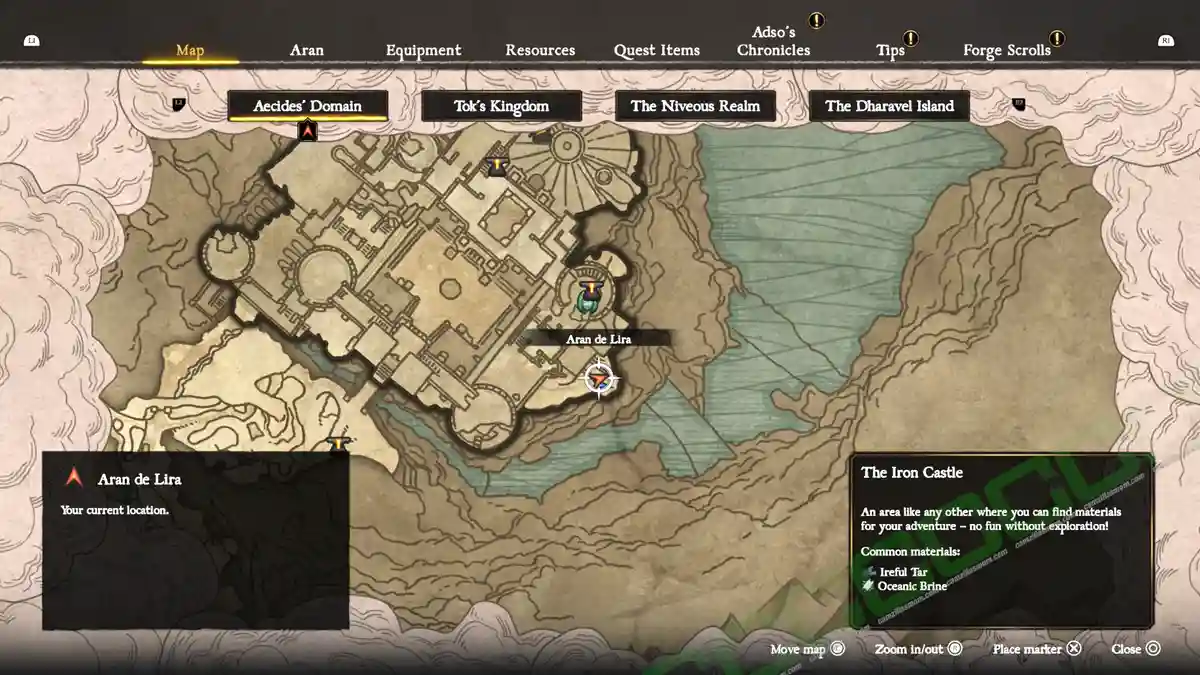
- The Iron Castle – Northern Light Rune Templar
- Watchtower Domain – Lady of the Lake
- Northern Hiss City – Light Rune Templar
- Egion’s Abbey Templar
- Egion’s Abbey / Roggs Mountains Paladin
- Roggs Mountains – Northern Karamuth Templar
- Roggs Mountains – Hurmuz Statue
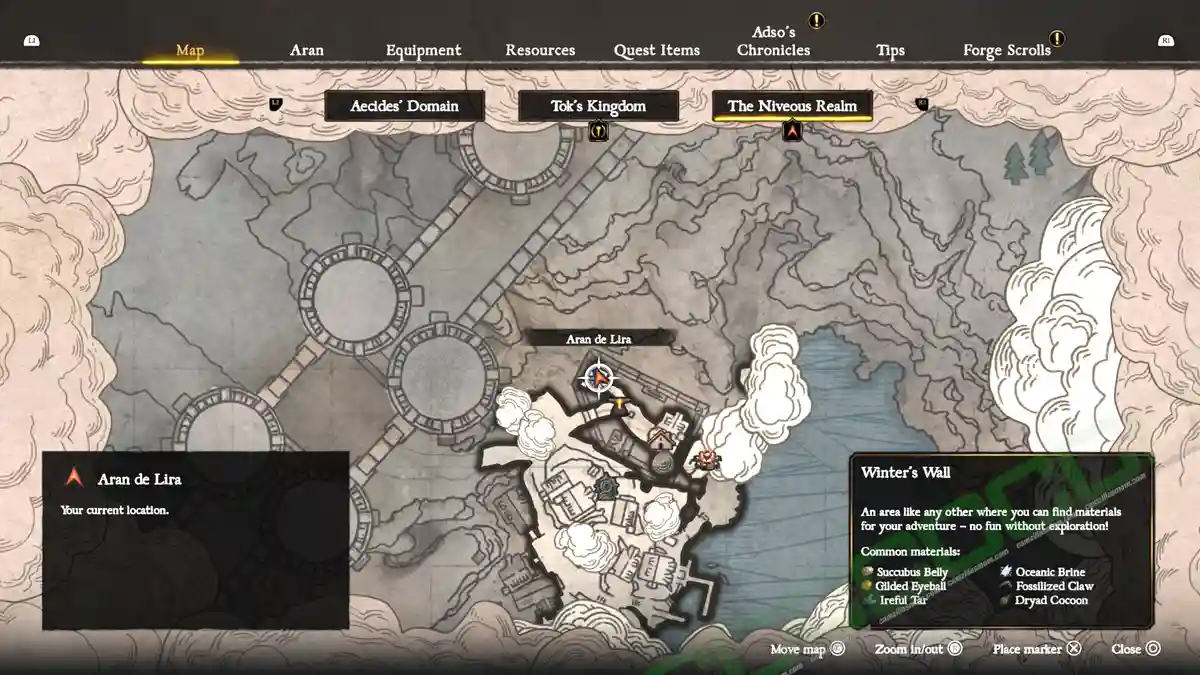
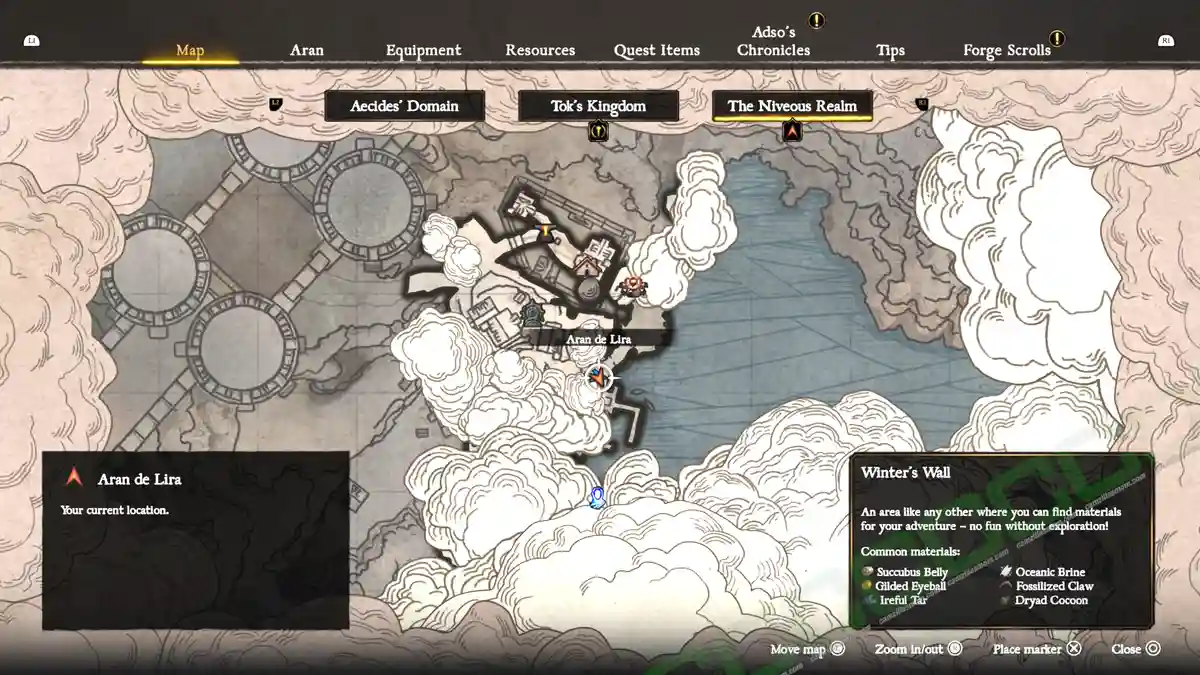
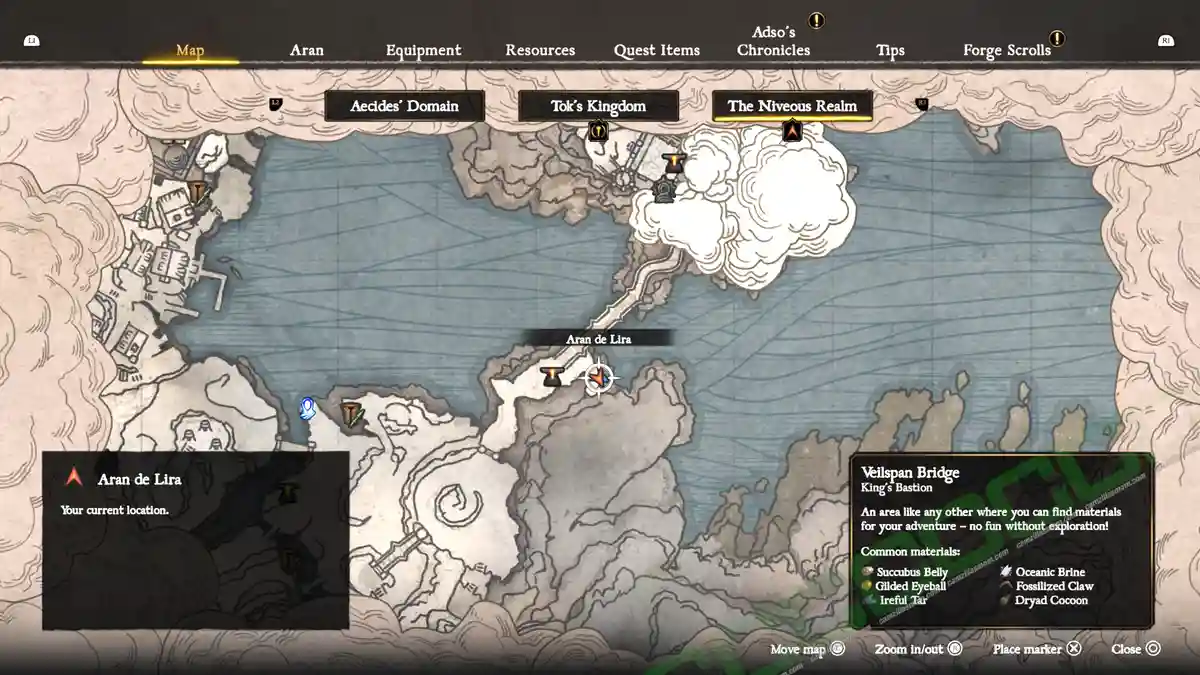
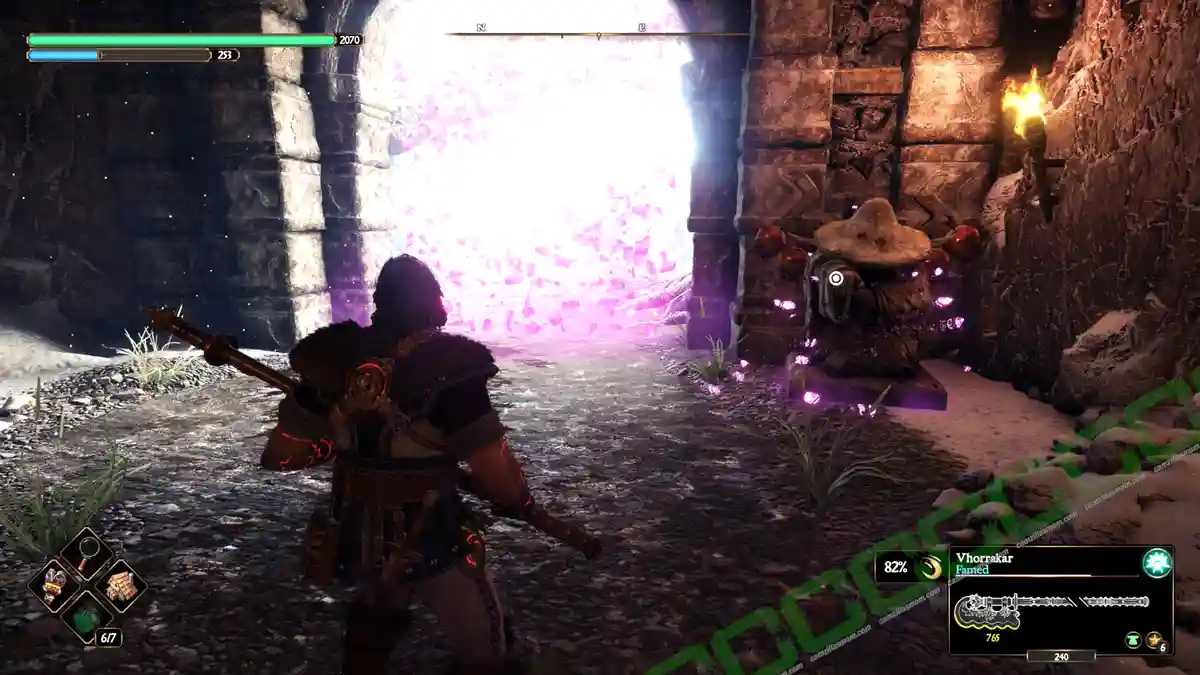
- Winter’s Wall Stranger
- Winter’s Wall Paladin
- Winter’s Wall Templar
- Dryads Forest Templar
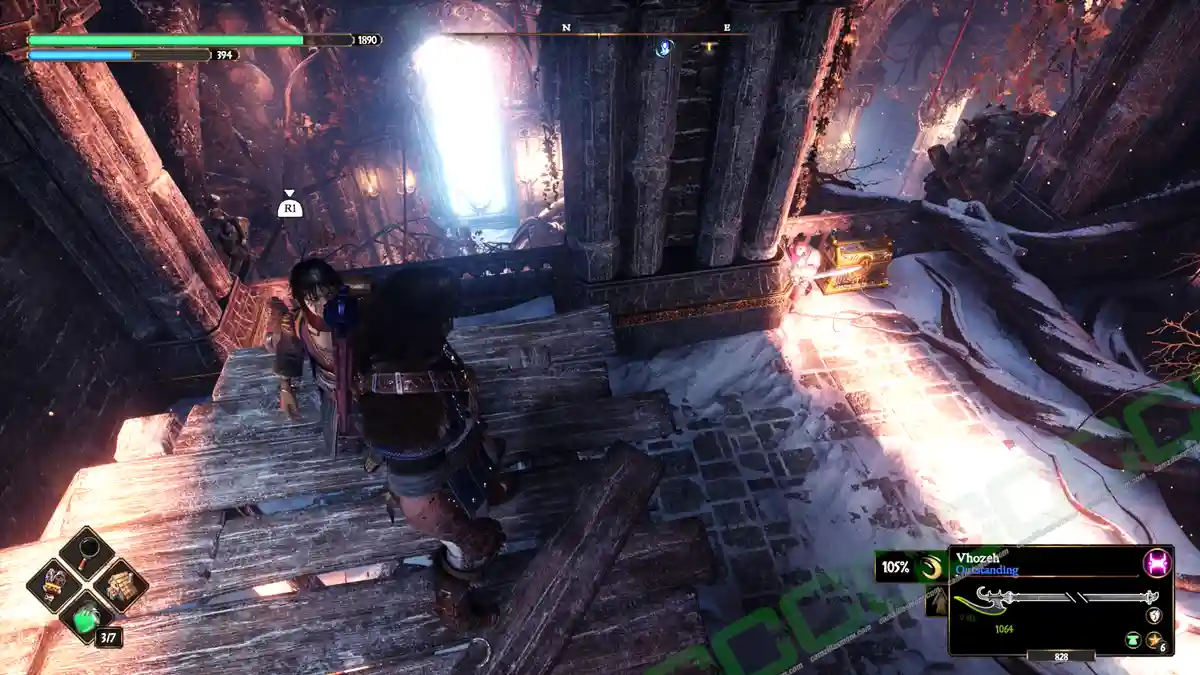
- The Royal Palace – Paladin
- The Royal Palace – Templar
- Nerea’s Tears Statues Locations
- Egion’s Abbey Library
Nerea’s Tears / Blue Gem Locations
There are 26 Nerea’s Tears, blue gems scattered around the Blades of Fire world. Here’s where they are.
Besacarr Hamlet – Hollow Plain Paladin
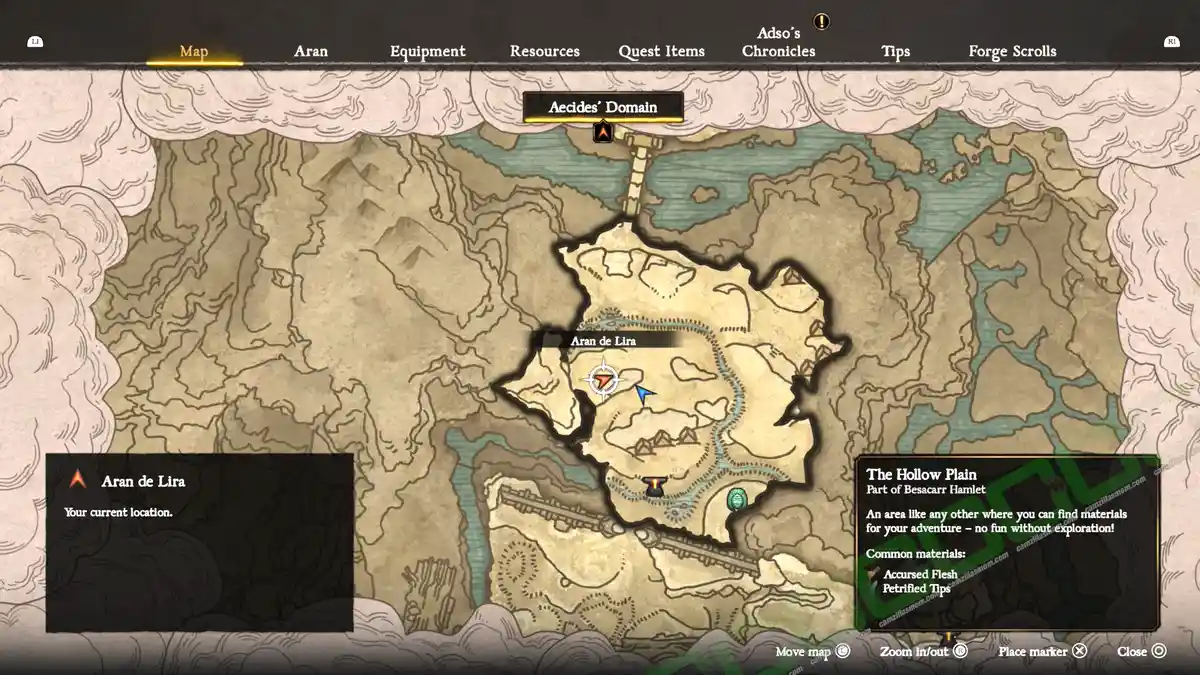
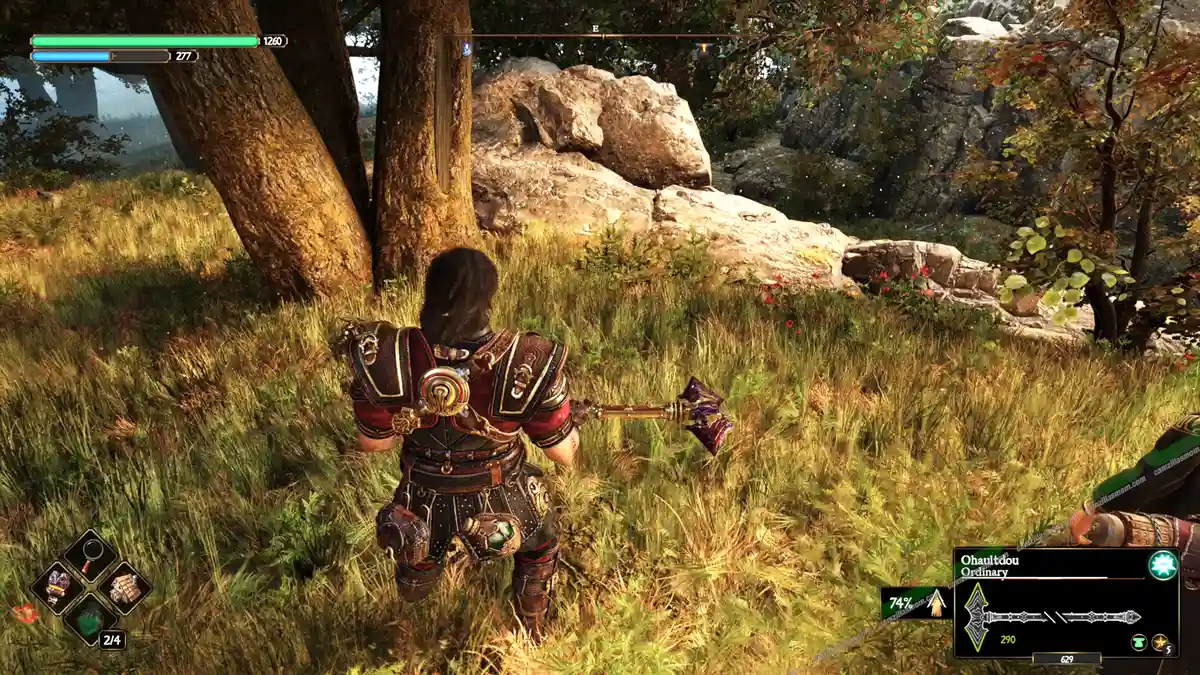
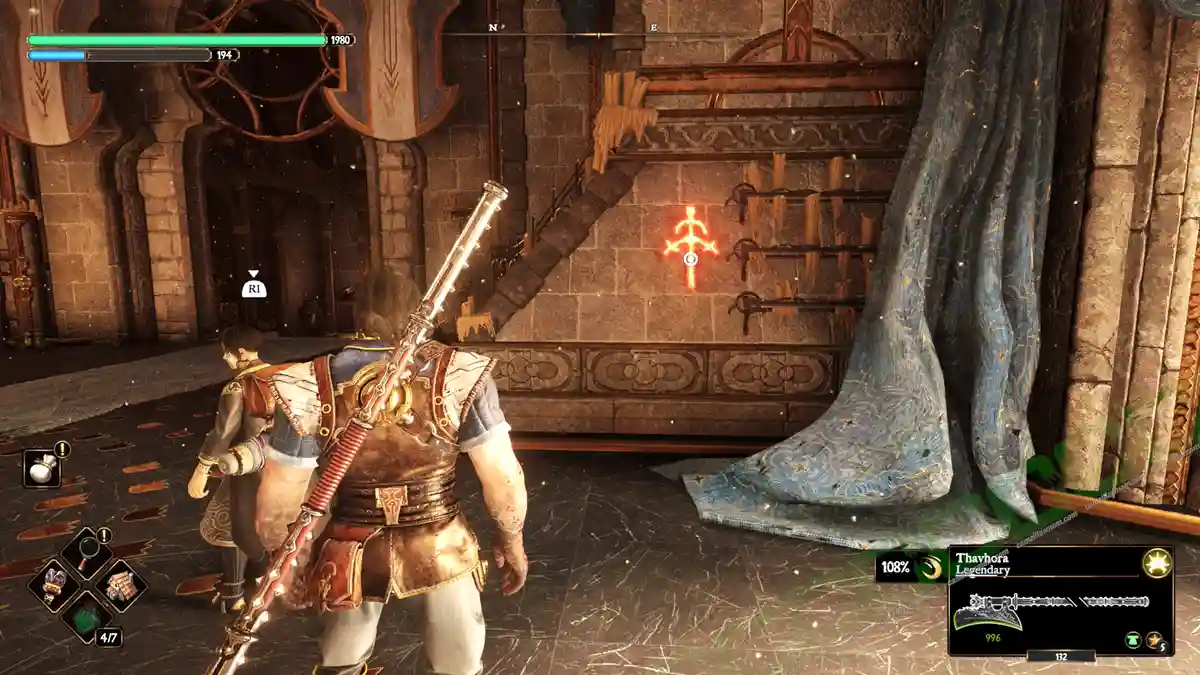
First, you have to find the Paladin’s name. These are red glowing engravings. The first name is written right next to the gate by the Kar-Lethel Wall anvil at the Hollow Plain.
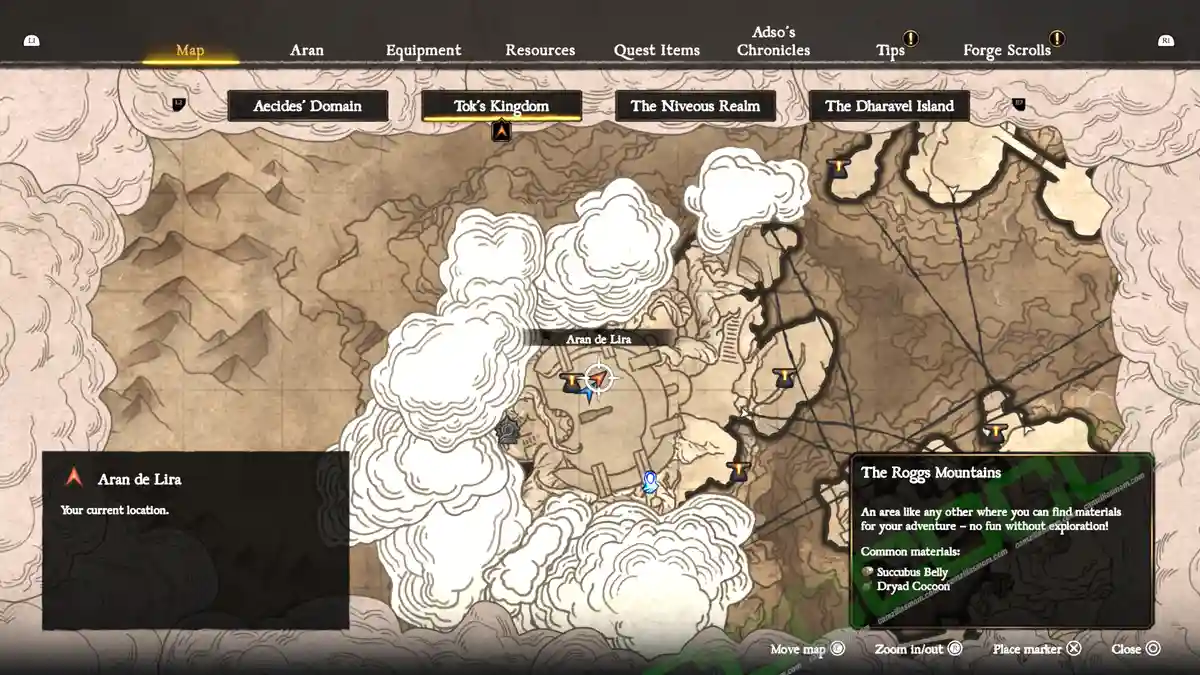
Then, find the Paladin at this location:
Besacarr Hamlet – Belitara’s Witchwood Templar
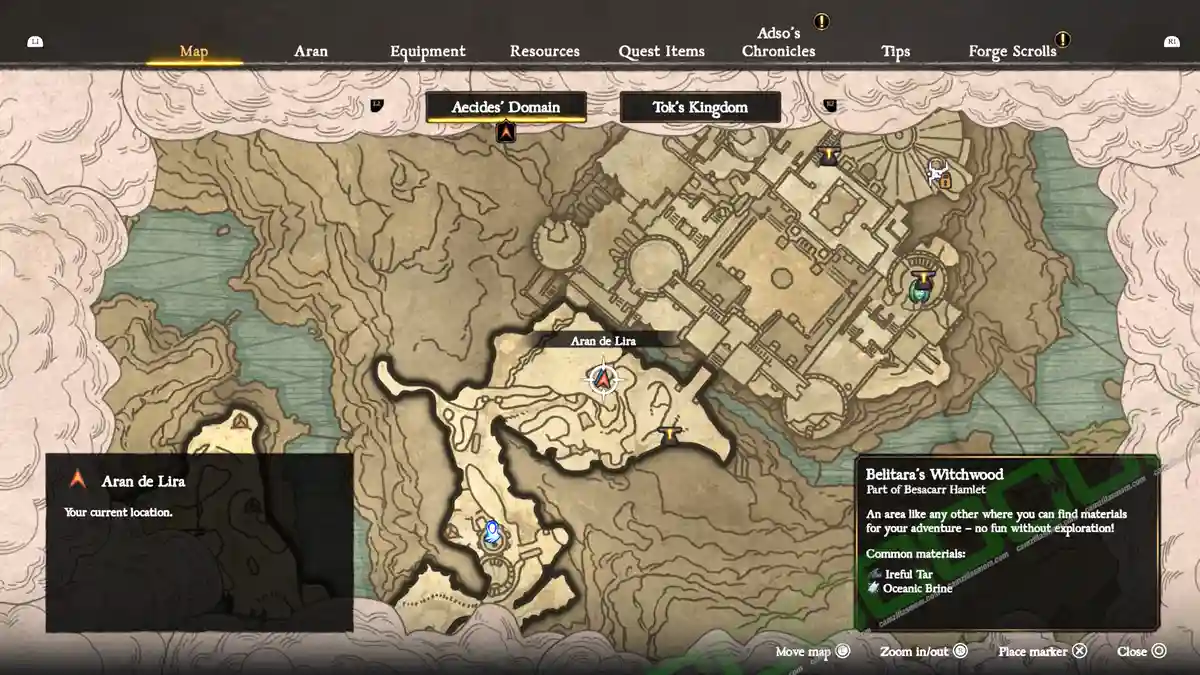
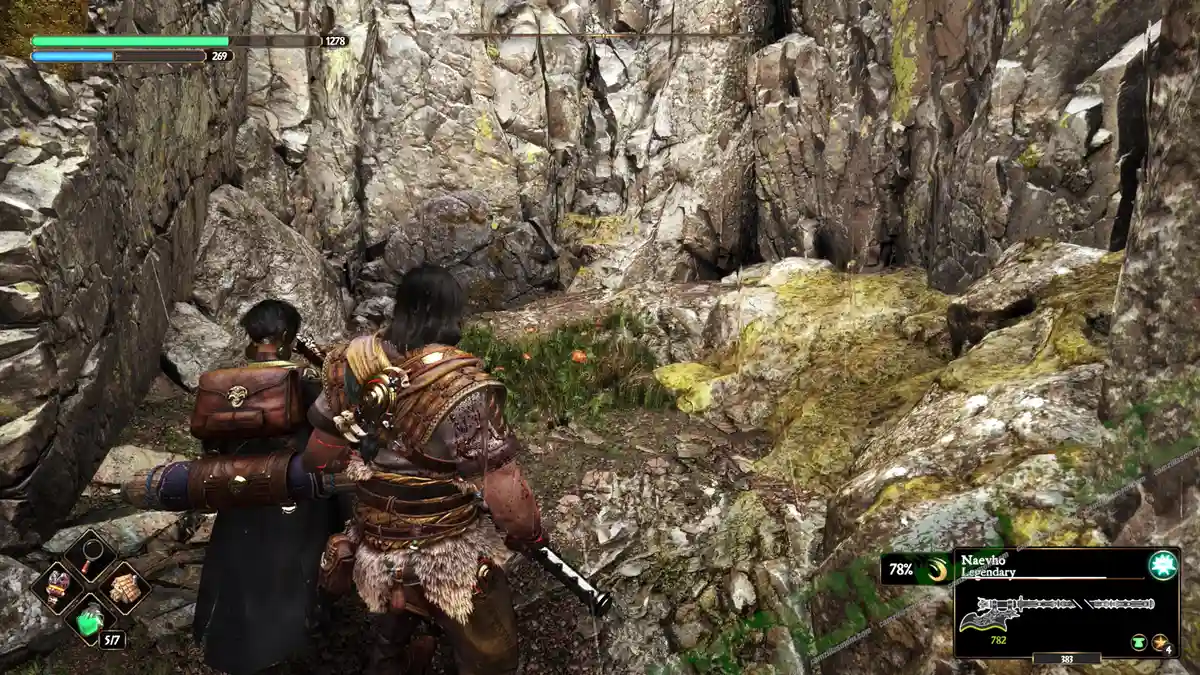
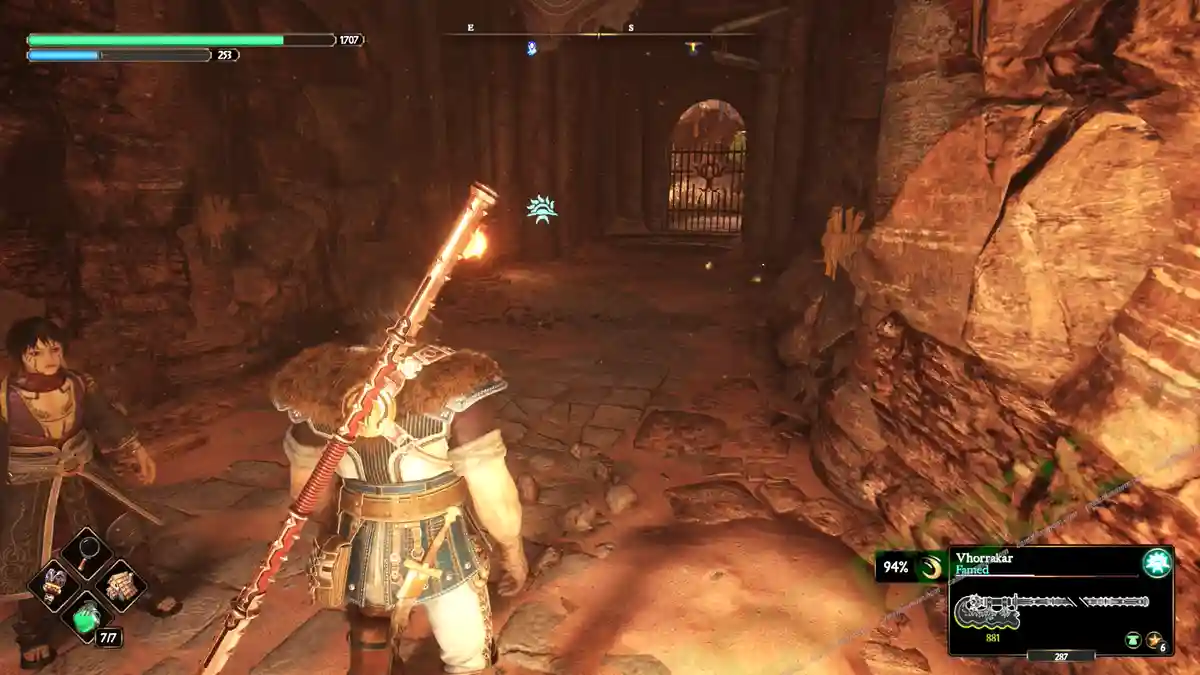
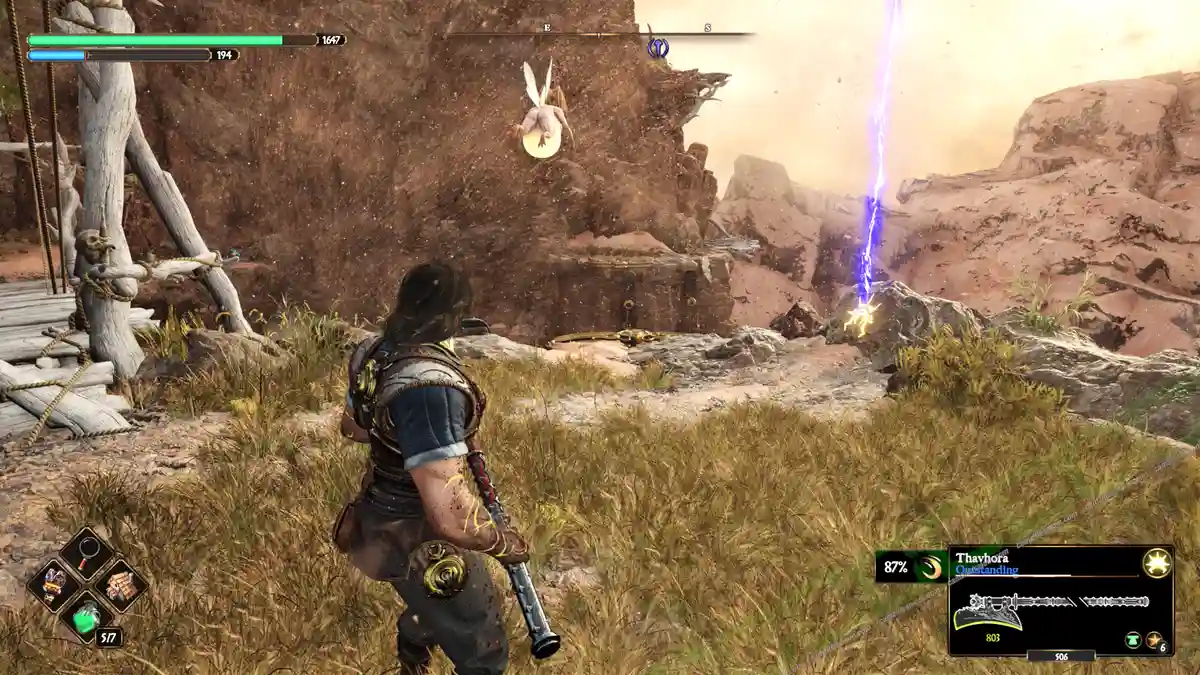
The Templar west of the Iron Castle Entrance anvil carries one of Nerea’s Tears. The bird that wakes him sits at the top of the tower just south of this location.
Besacarr Hamlet – Crop Fields Templar
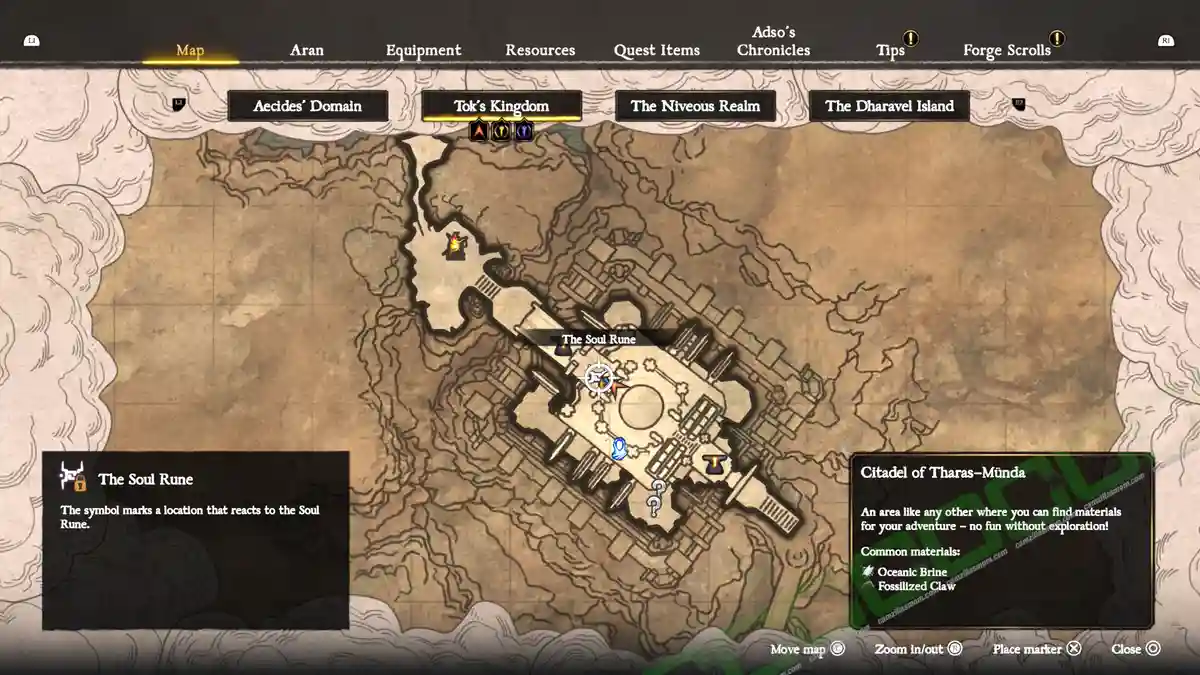
At Belitara’s Witchwood, there is a Soul Rune in the southwest. Follow the story until the Blue Lady offers you a Soul Rune while at the King’s Bastion in the Niveous Realm world. Return to Belitara’s Witchwood and offer the Soul Rune a weapon charged with souls. This will give you the crank/lever for the bridge to the south.
One of the three Templars in the east of the Crop Fields carries one of Nerea’s Tears. The Crow to wake them sits on the top floor of the windmill in the north of the Crop Fields.
Kar-Lethel Swamp – Island Templar
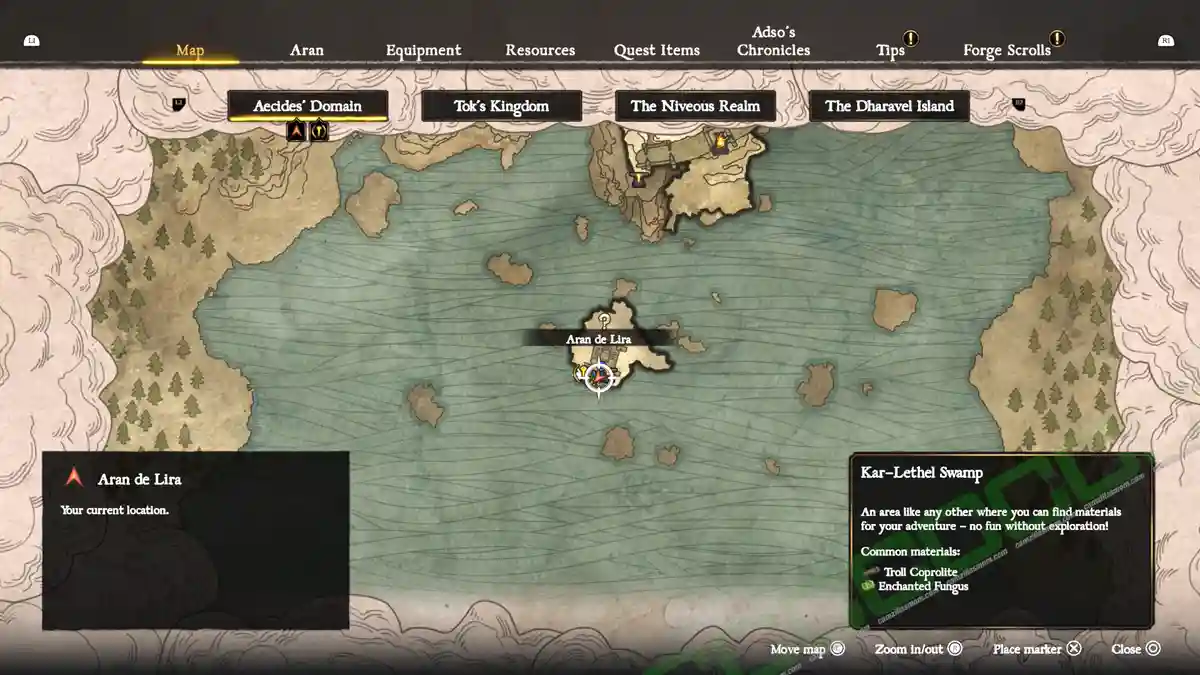
There is an island to the south of the Kar-Lethel Swamp that you can only reach with the Karamuth. Here’s a guide on how to summon the Karamuth to reach this island. Take the elevator down to the bottom of the island, where you can find a templar across a gap, a node with no energy, and a node with energy. A Light Rune highlights the area where Morlocks lurk in the dark.
Obviously, you will have to transport the energy from one node to the other, crossing the Dark Murlock room with a light rune. The best strategy is to first go without the energy, to clear the path. In the dark room, head right and smash 1-2 light mushrooms on the way to charge the light source. The exit is marked with a fire, where another Light Rune will reveal an inscription that Adso can read to open the path to the other energy node. Now you can walk the same route with the energy to reach the Templar.
Hit the Templar once with your weapon to reveal the crow. It first sits near the anvil, then flies over to the left. You now have to cross the Morlocks’ room to the left to reach the crow, then return through the dark to the Templar to fight and win Nerea’s Tear.
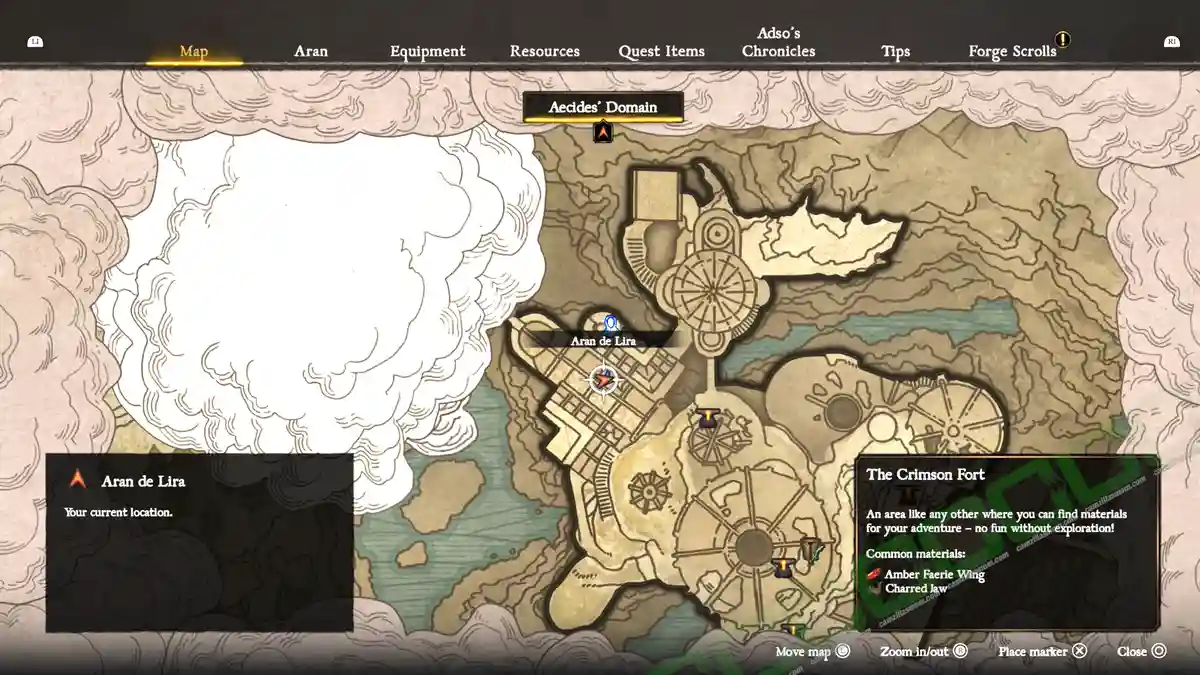
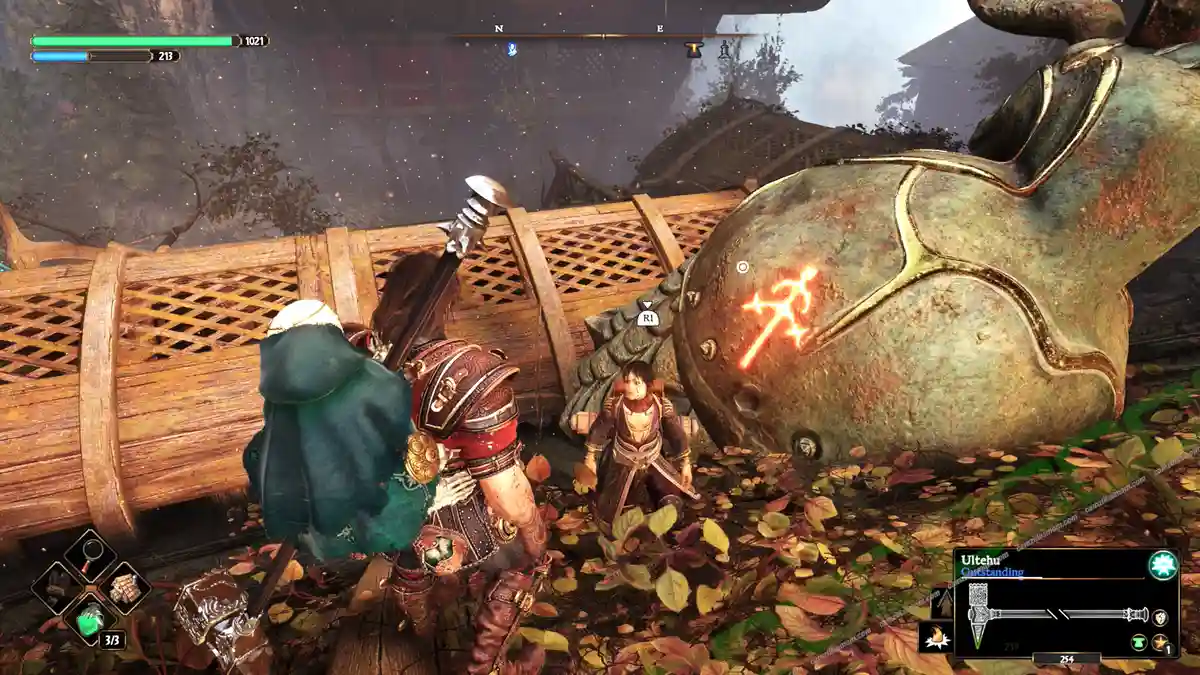
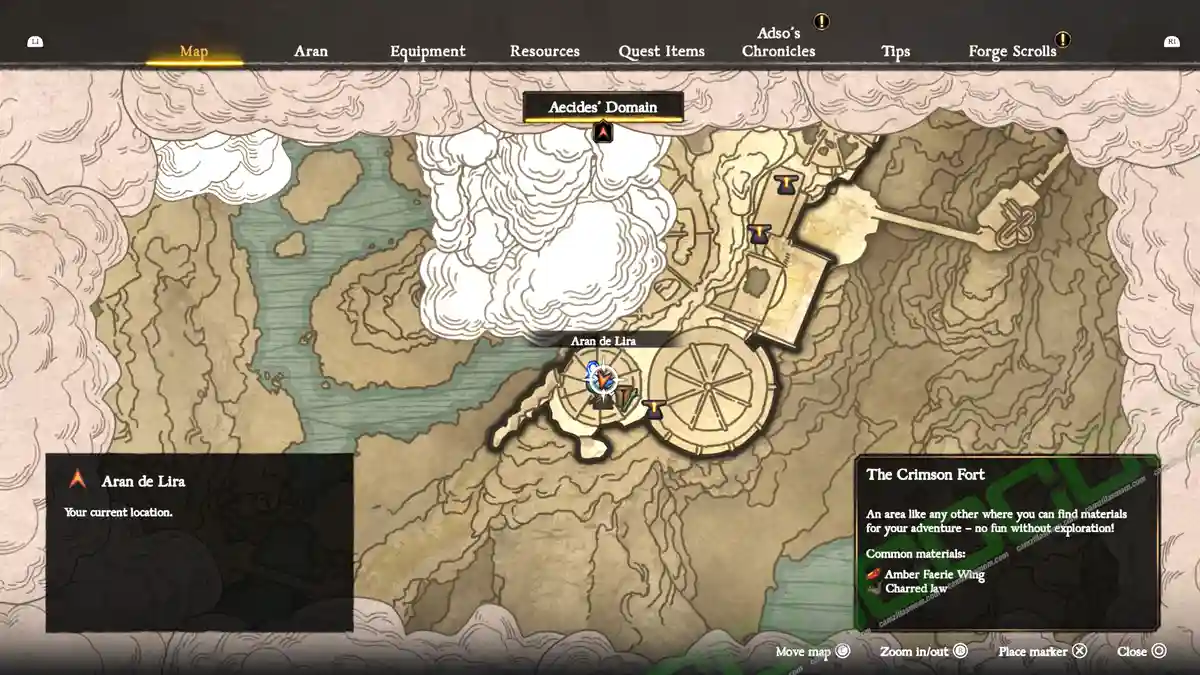
The Crimson Fort Paladin
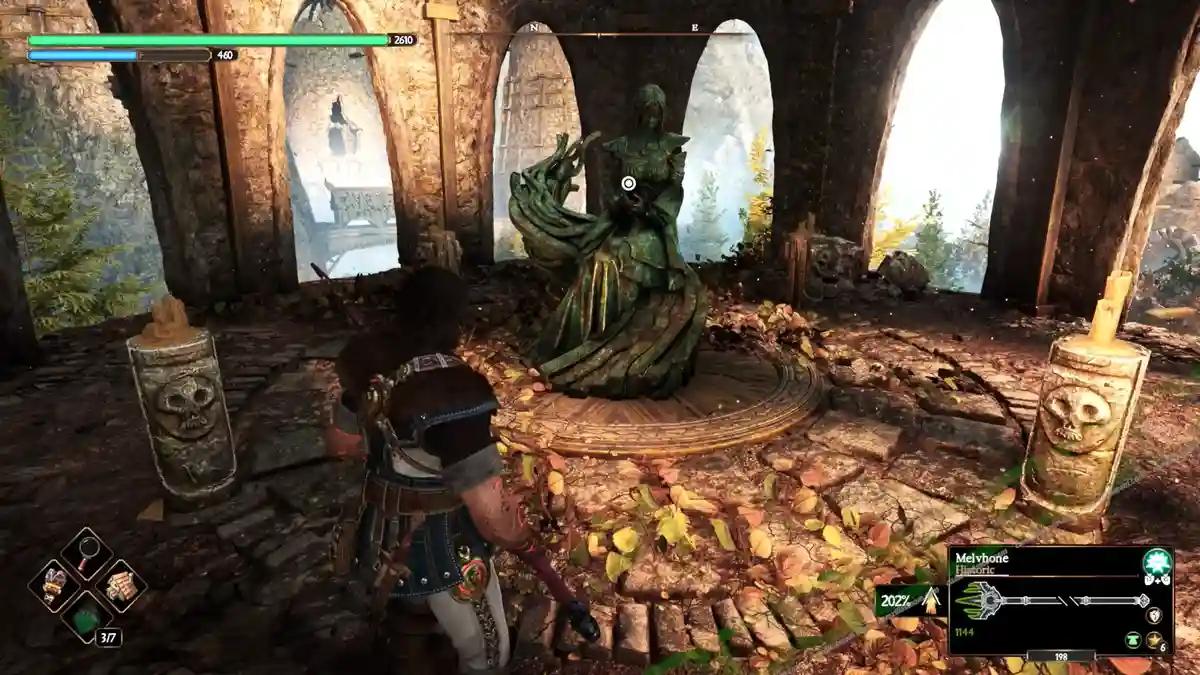
The paladin’s name at the Crimson Fort is engraved on the roof of the building to the west, just next to the hole you can drop down to reach the Throne Room anvil in the story. Cross the Eagles Bridge heading north, then make your way southwest to find a climbable rope in the winding staircase leading to the rooftop. Once there, you’ll discover the Paladin’s name elegantly inscribed on a statue.
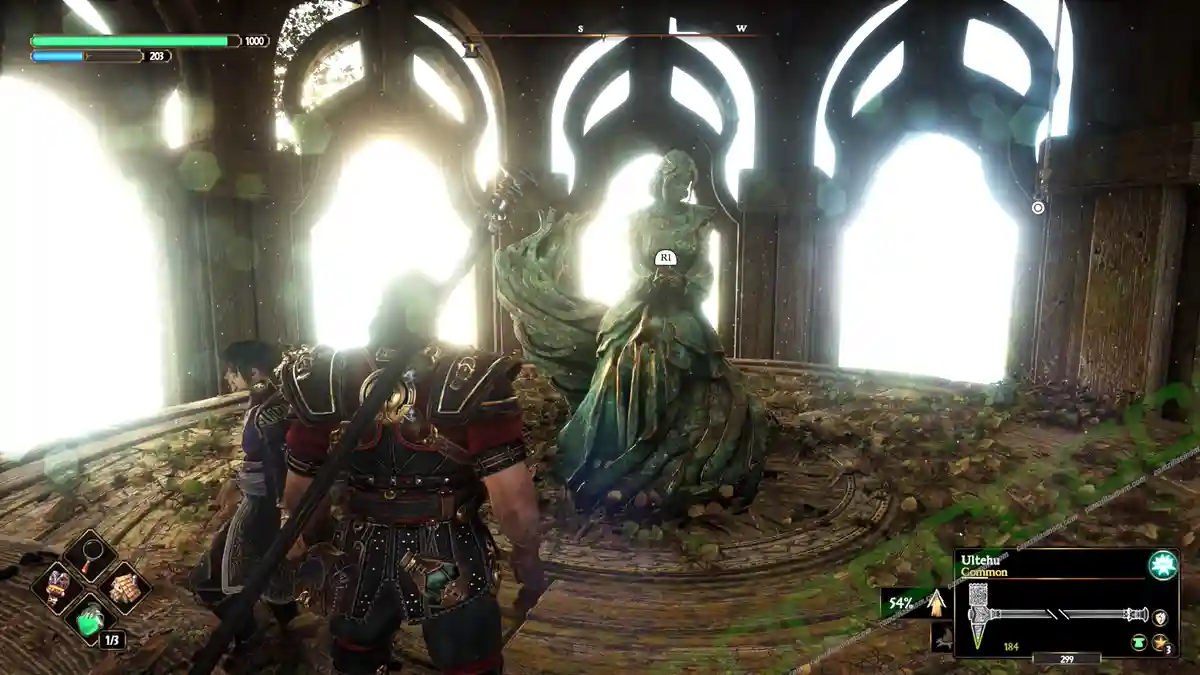
The Paladin is above Nerea’s Statue. Return and speak his name to get a blue gem.
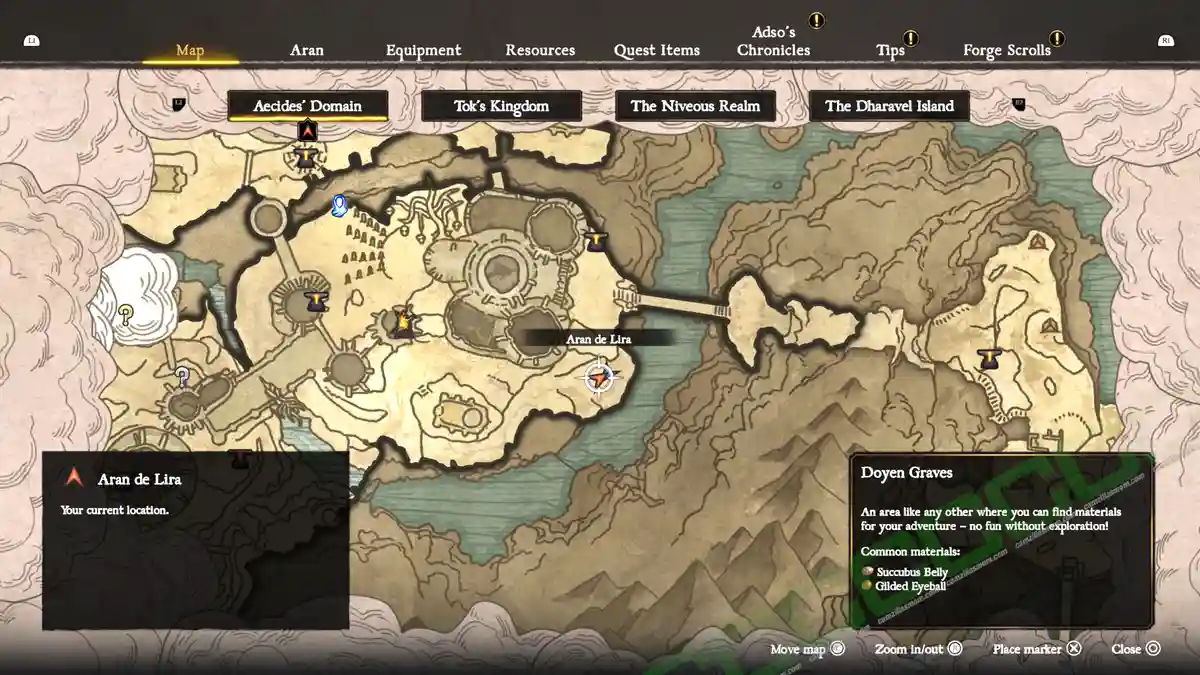
Doyen Graves – Cursed Bridge Templar
One of the three templars south of the Cursed Bridge at Doyen Graves carries a blue gem. The crow sits across the bridge north of the Cursed Bridge anvil.
Doyen Graves – Karamuth Templar
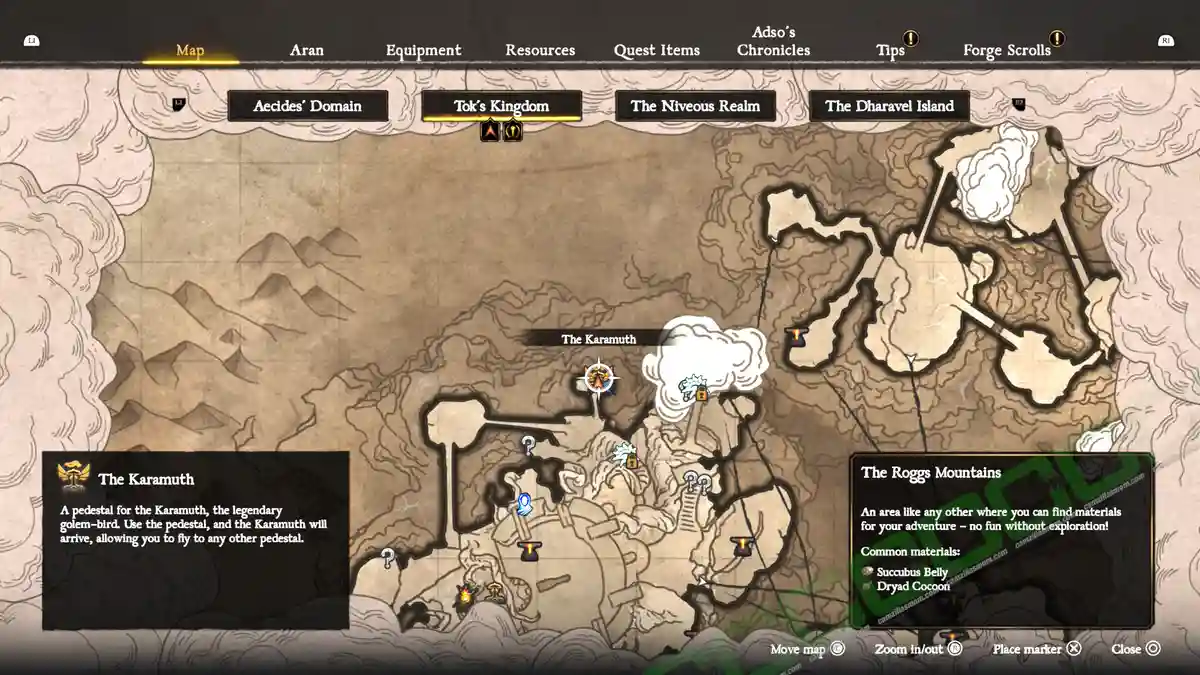
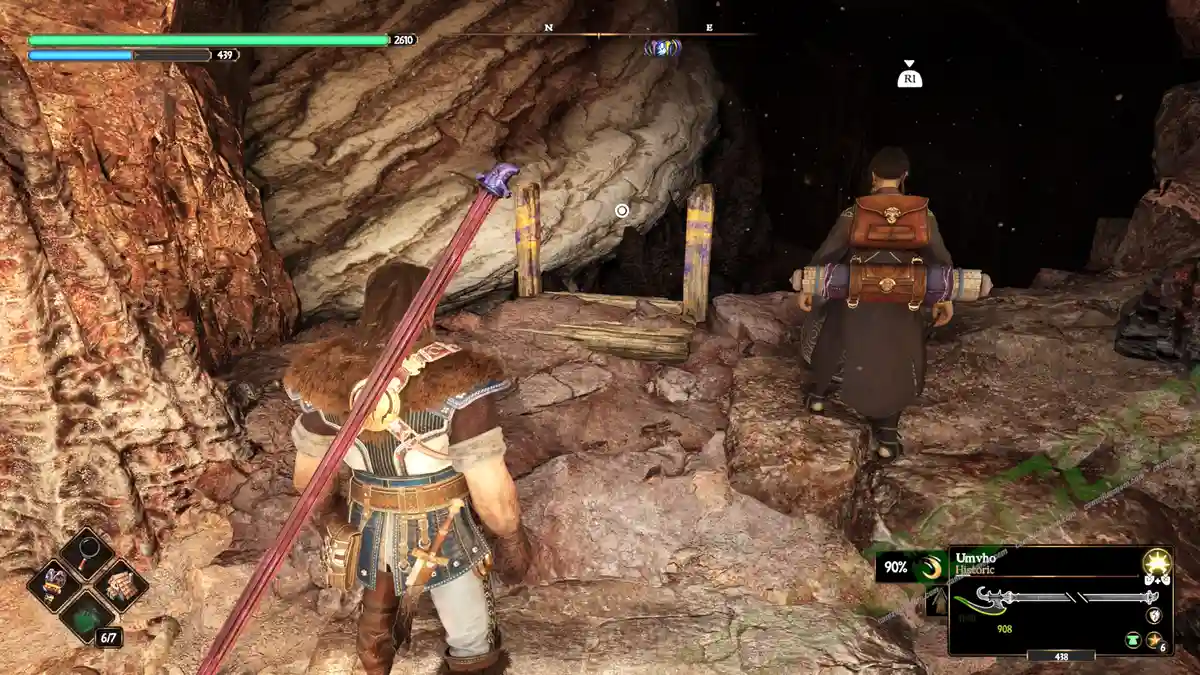
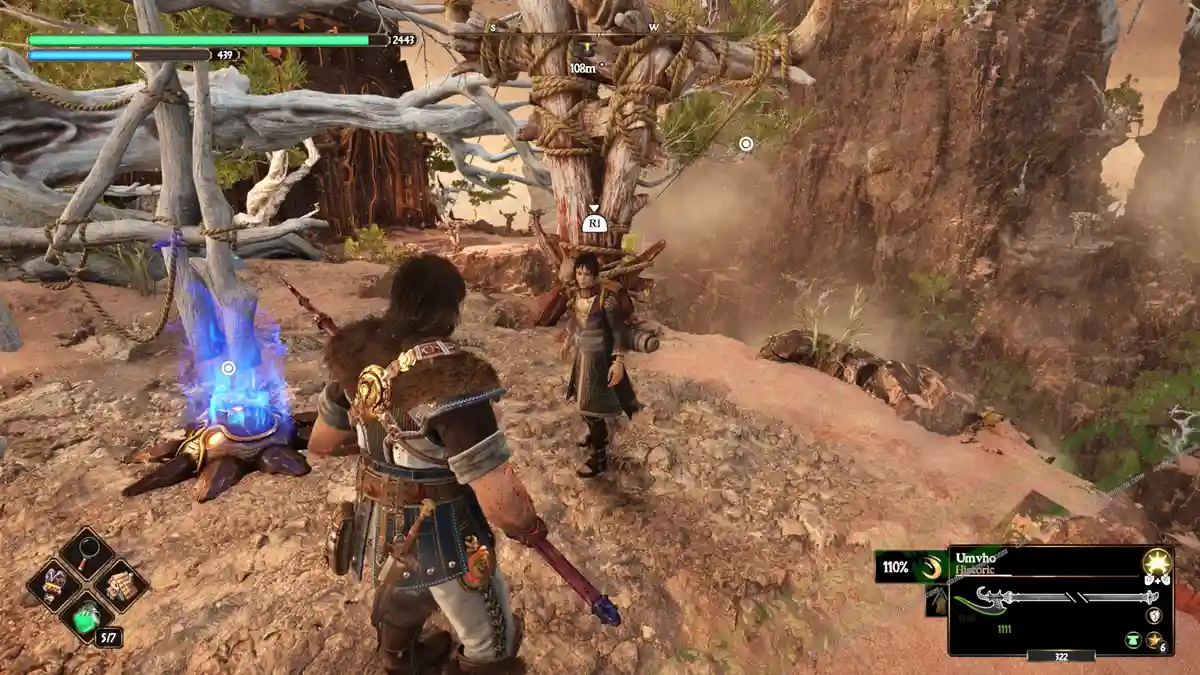
Learn how to fly the Karamuth after you’ve repaired it and reached the Citadel. Here’s my guide. Then fly to the only Karamuth spot at Doyen Graves. This will instantly remove the fog of war on the map. Nearby, you can open the gate that leads to the Flooded Tower anvil. Now, head south and jump down the bridge that has the drawbridge up. There is also a crow you can follow. The path leads into a cave where a group of undead are circling around a crank/lever mechanism. The lever is missing, though.
Find the lever at the end of the eastern corridor, in the hand of a skeleton, and use it on the mechanism in the center. This will spawn a group of beasts. Defeat them to open the gate. Climb up a nearby ladder and go through the newly opened passage. Once outside, you can open the gate to the west, which will make passing through the Doyen Graves easier. Keep following the crow to the other side of the drawbridge and up a small tower, where the Templar is. Defeat him to receive the blue gem, Nerea’s Tear.
The Iron Castle – Northern Light Rune Templar
Use a Light Rune imbued weapon on the northern Light Rune in the Iron Castle
Just before you go through the first gate in the new area, climb up a couple of ladders to reach the top of the tower. Here you can enter and hit the templar there to see where the crow is.
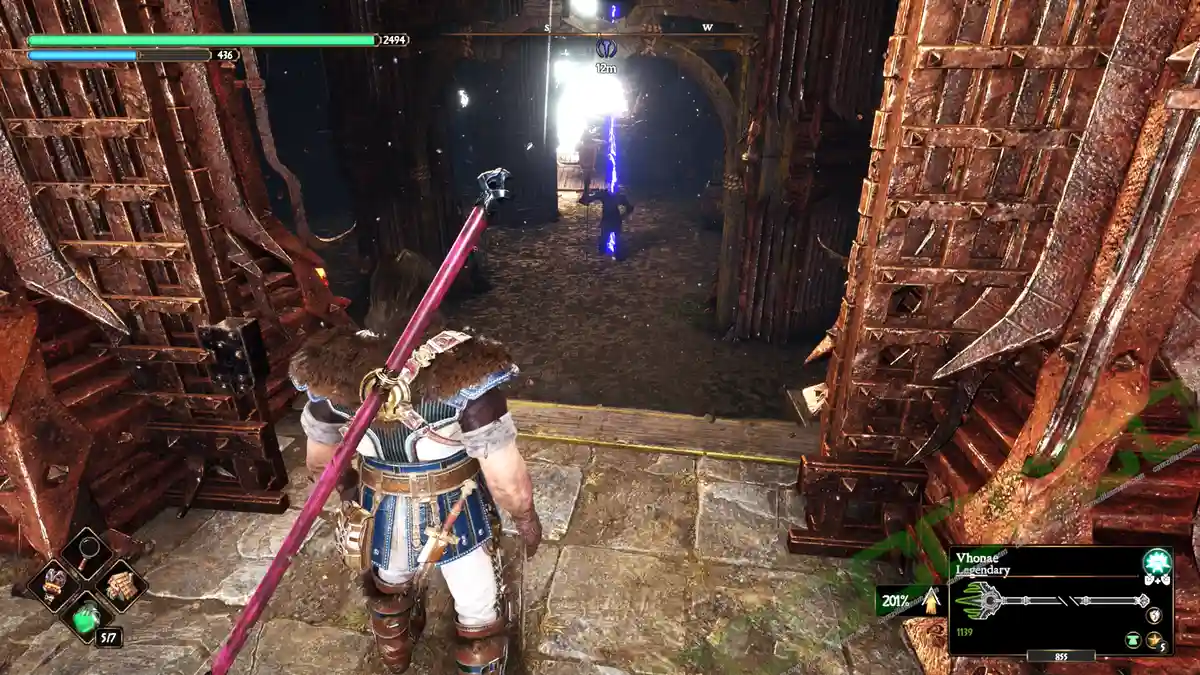
There’s a closed gate near the Templar, and your goal is to open it. Start by exiting through the opening behind the Templar and climbing to the top using the rope. Once there, you’ll find two cracks. Drop down twice at the second crack to reach the corridor with the gate, the lever, and the crow. Follow the crow, defeat the templar, and you’ll receive a blue gem.
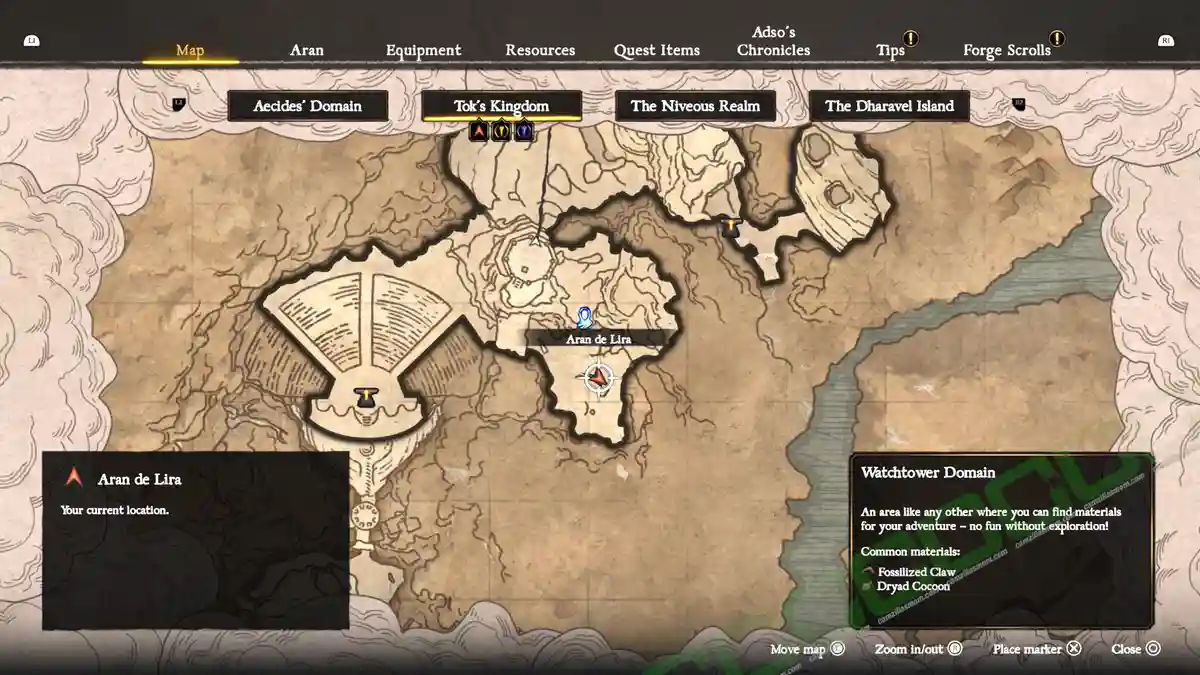
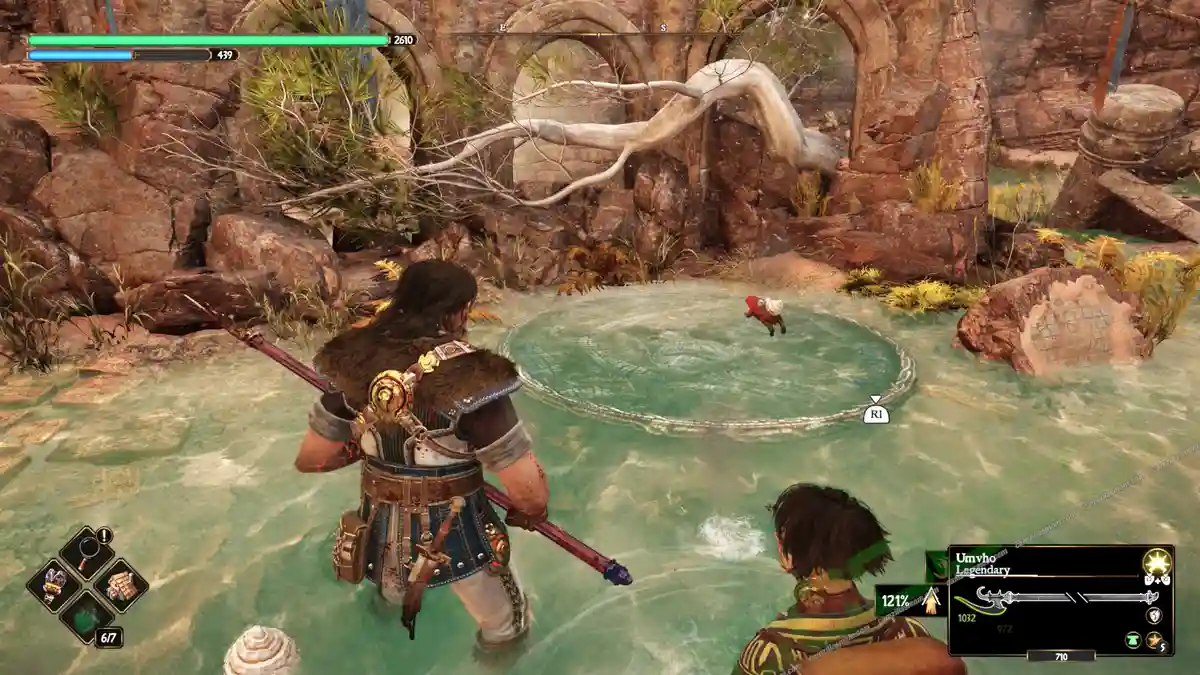
Watchtower Domain – Lady of the Lake
In the southeast of the Watchtower Domain in Tok’s Kingdom, in the pond is a Soul Rune. Come back with a weapon that is charged with a Soul Rune imbued. A purple hand appears – the hand of the Lady of the Lake – expecting something. She needs the sword Excalibur. Forge a Greatsword with the biggest parts and a straight blade. Rename it Excalibur and give it to her to receive a blue gem.
Northern Hiss City – Light Rune Templar
Northwest of the Inscribed Stone Room in the Northern Hiss City is a blue dispenser that shoots a blue orb at Aran as soon as he gets too close. This will take you to a Templar that requires a crow to wake. Use a Light Rune at the nearby Light Rune Inscription. This will make a yellow bridge appear to cross over the abyss to reach a chest and the crow. Defeating the Templar will give you one of Nerea’s Tears.
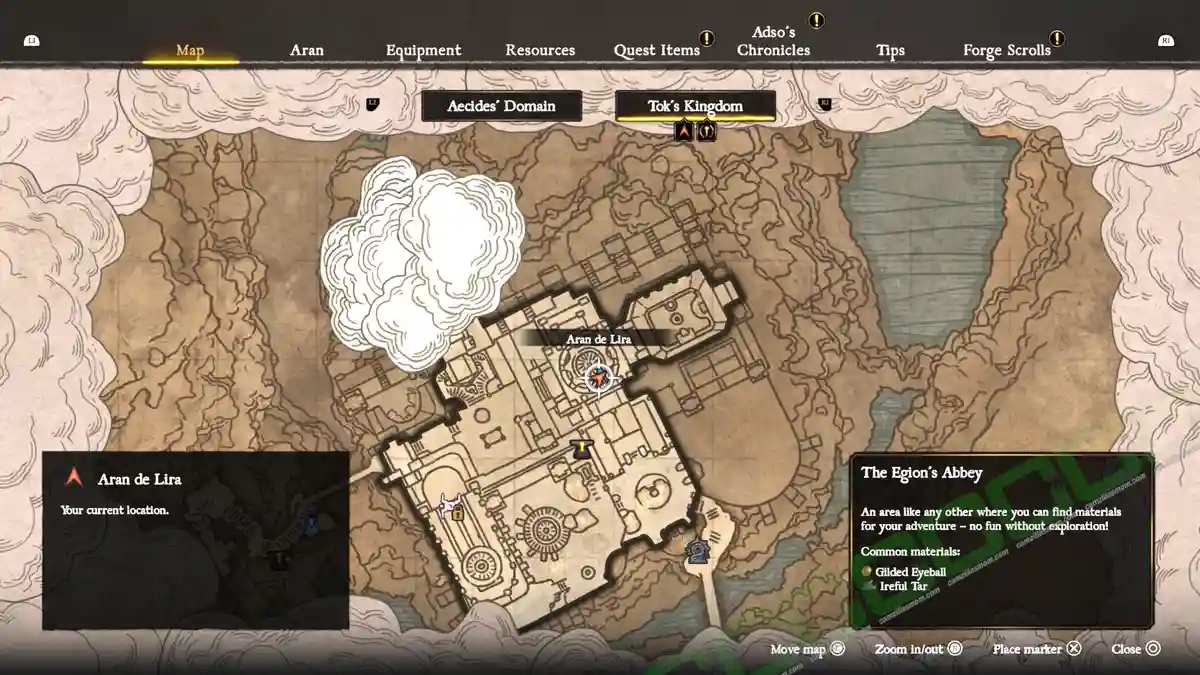
Egion’s Abbey Templar
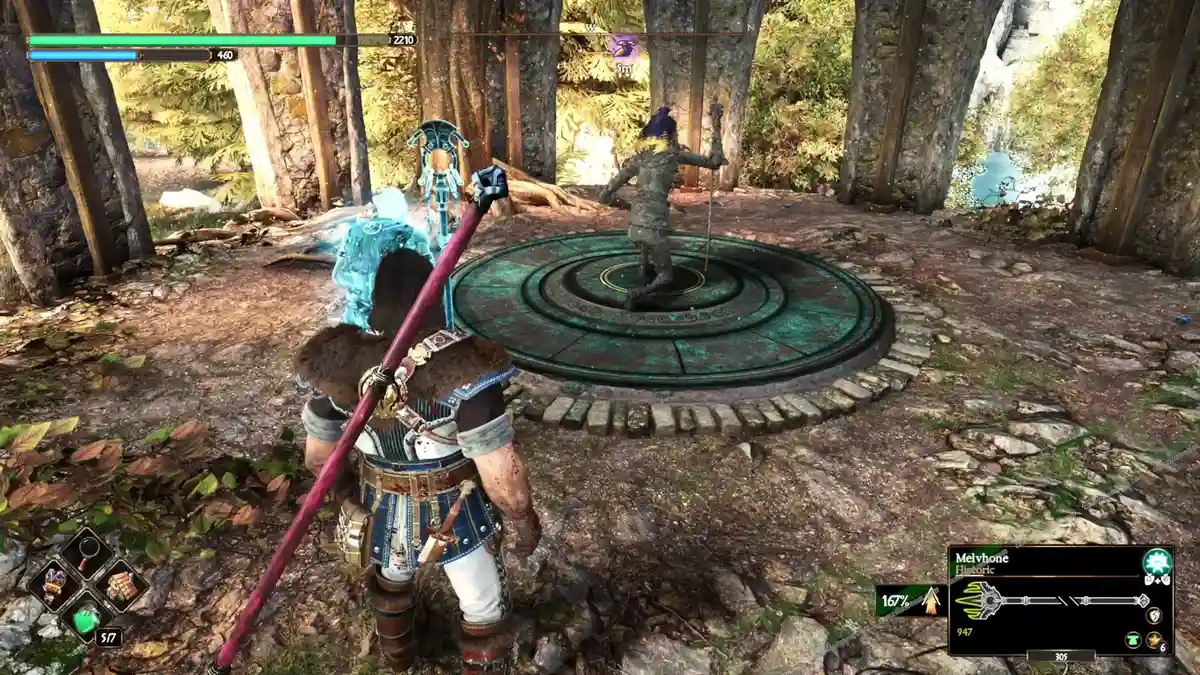
A Templar in the gazebo at the cemetery in the outer courtyard of Egion’s Abbey holds Nerea’s Tear. You’ll find a crow sitting on the fountain east of the Altar room. Progress through the story until you reach the Altar room, where you can forge the Aureus Spear. After that, follow the crow to the altar, then to the outside pyre, and finally to the cemetery courtyard to awaken the three Templars.
Egion’s Abbey / Roggs Mountains Paladin
An inscription of the Paladin of the Aurora’s name can be seen on the Altar Room wall at The Egion’s Abbey. You will get there during the story.
The Paladin is at Roggs Mountain inside the room leading from the Dhyrias’ Forge anvil. Go west from the anvil and upstairs to the right to reach him.
Roggs Mountains – Dhyrias Hammer
From the Dhyrias’ Forge Anvil, head down to the elevator, where you can turn left. After the Roggs attack, you now have a Roggs Skull to be able to take the zipline to the Lava Temple anvil. Inside the Lava Temple is Dhyrias’ Hammer. Defeat the Templars to receive two blue gems.
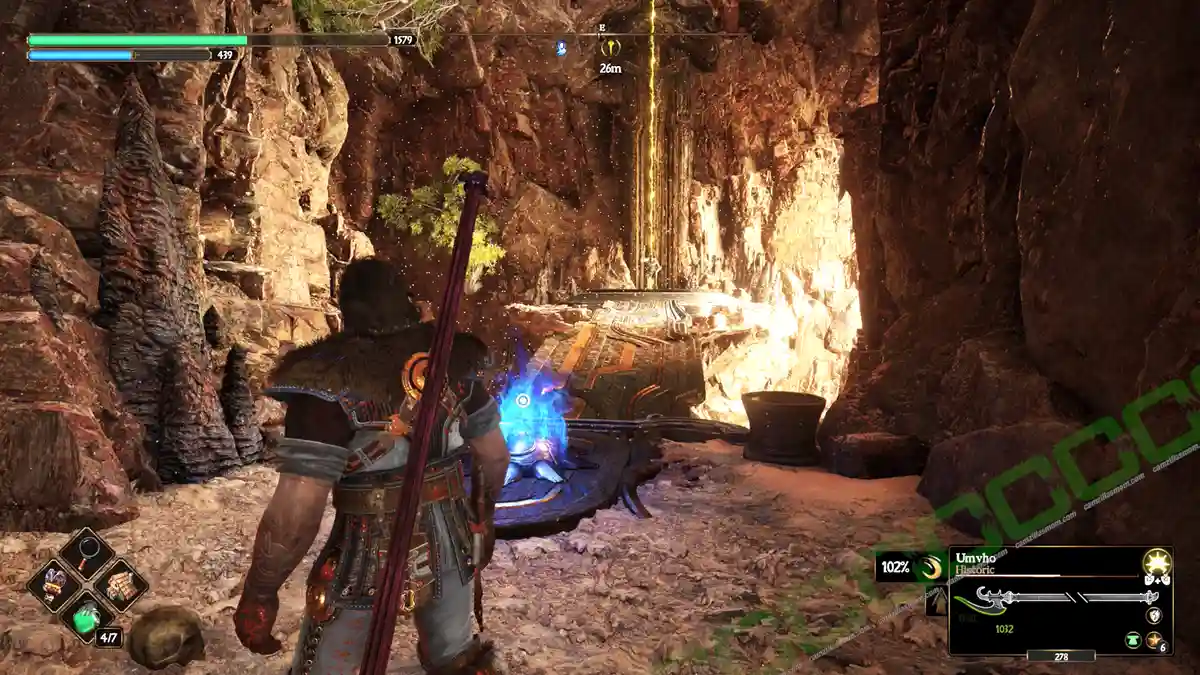
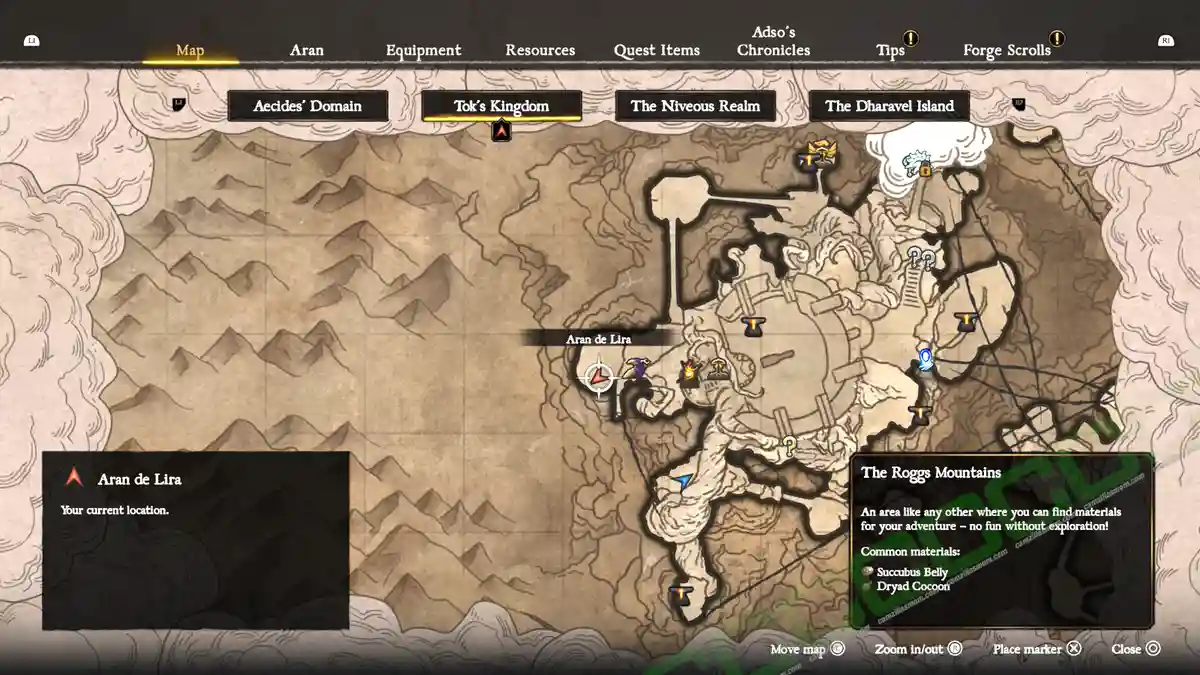
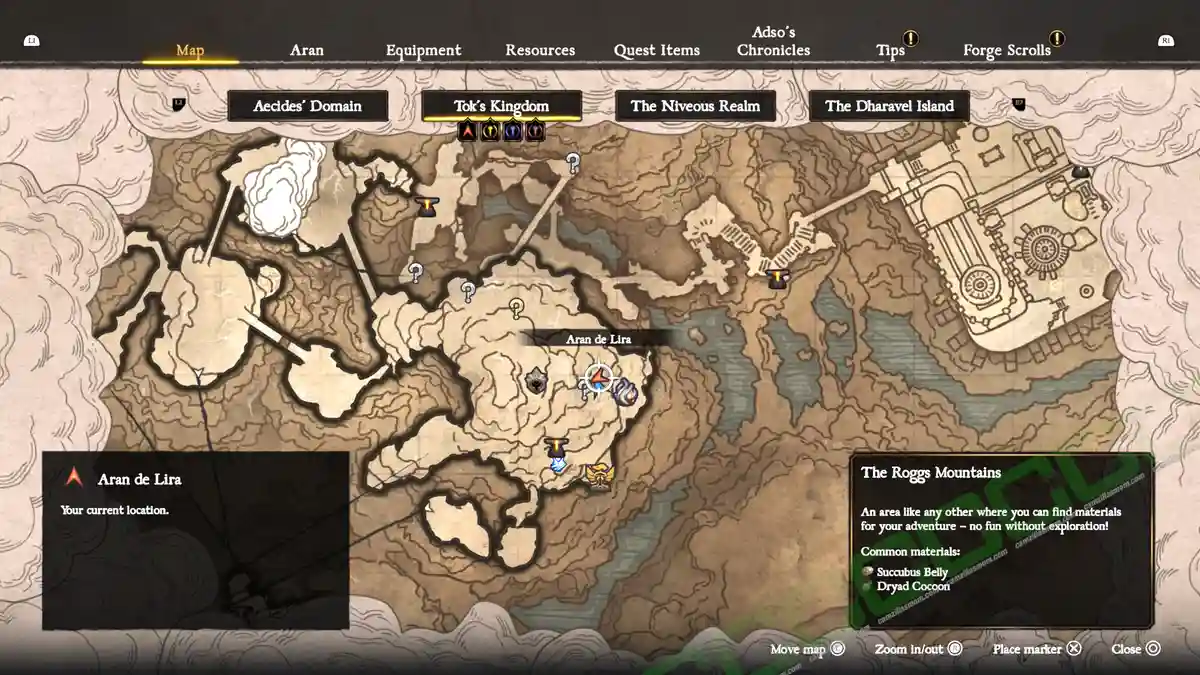
Roggs Mountains – Northern Karamuth Templar
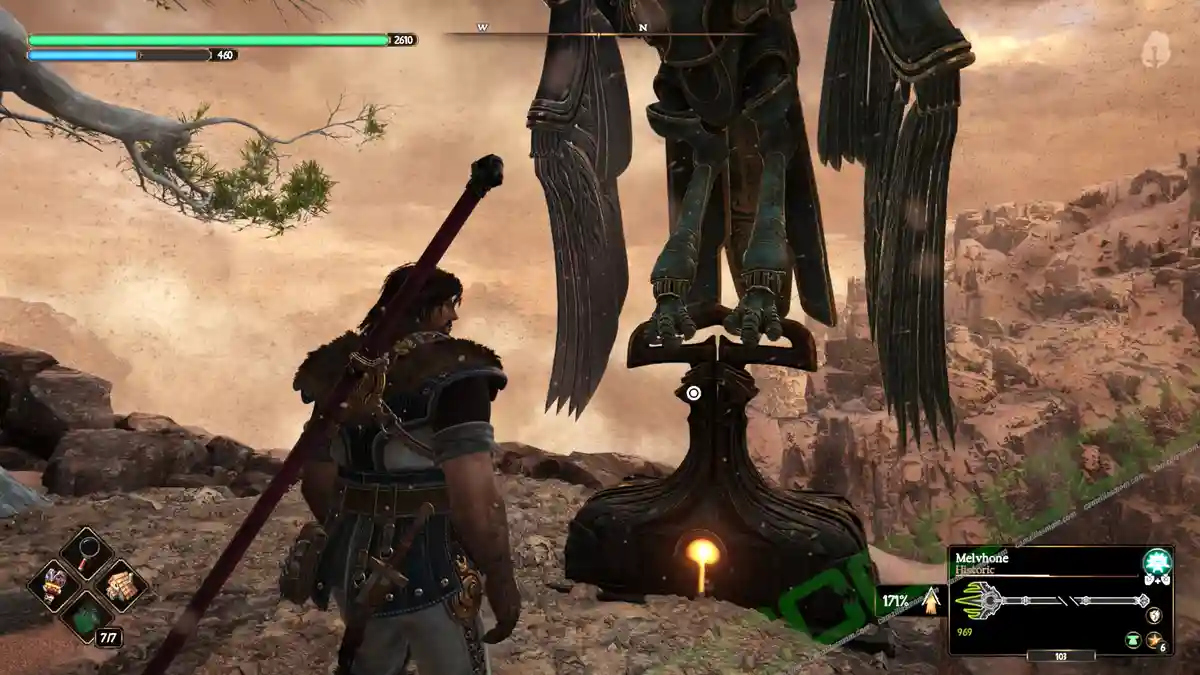
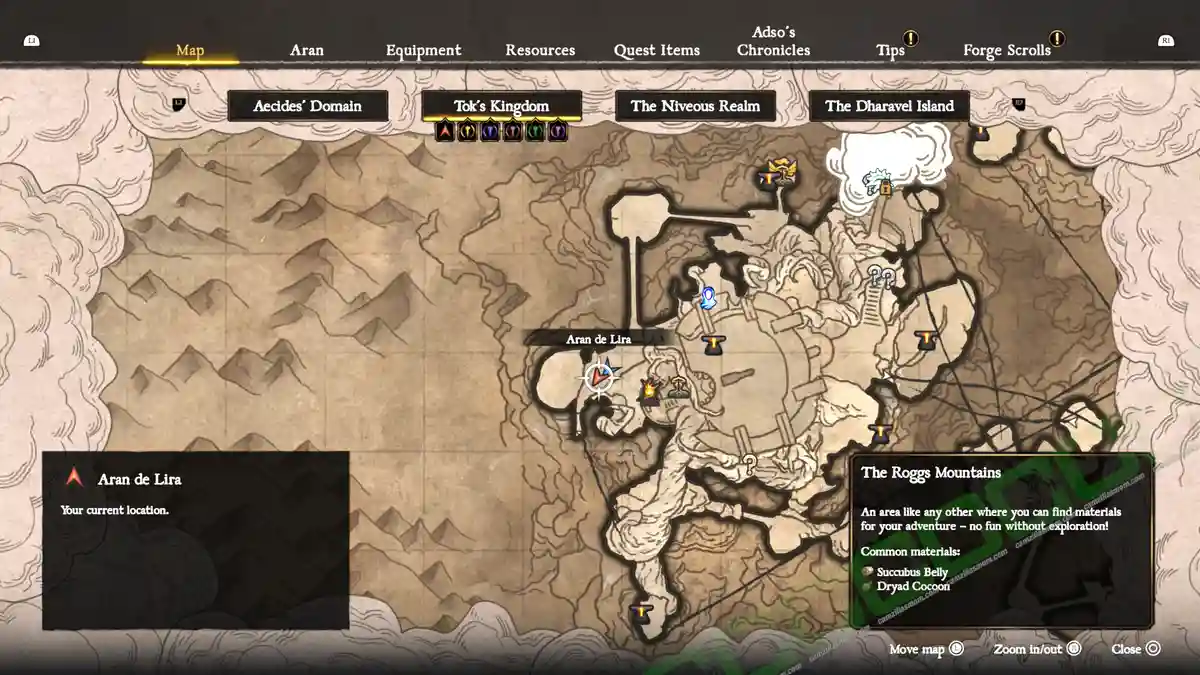
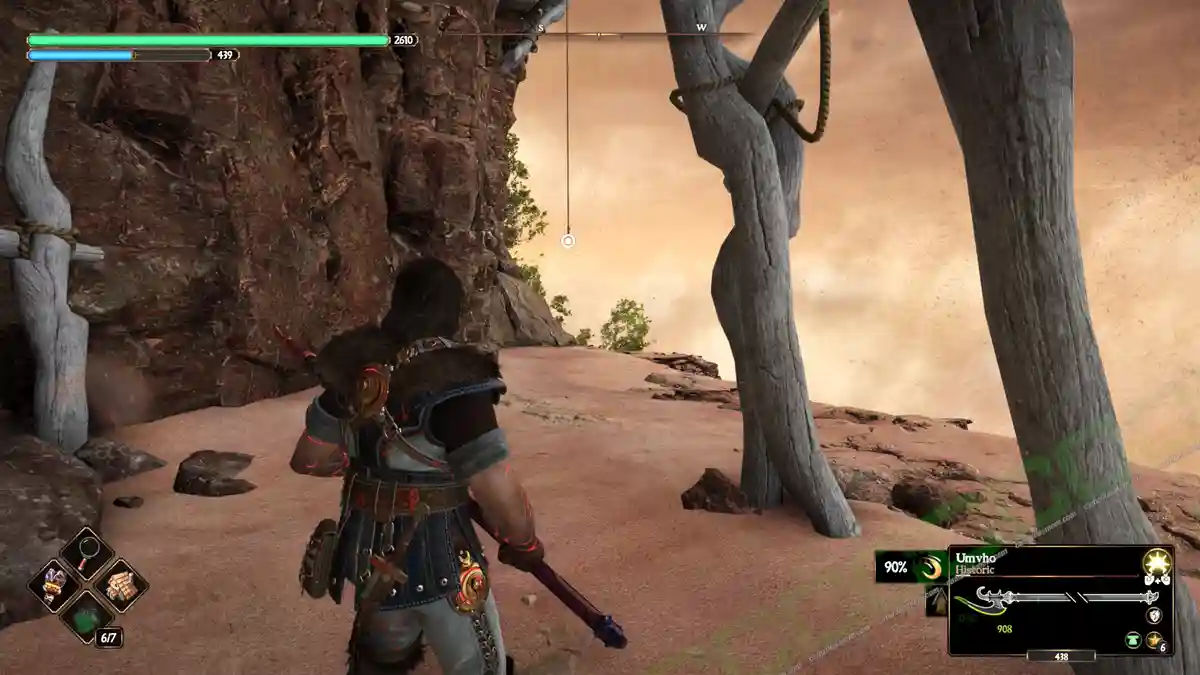
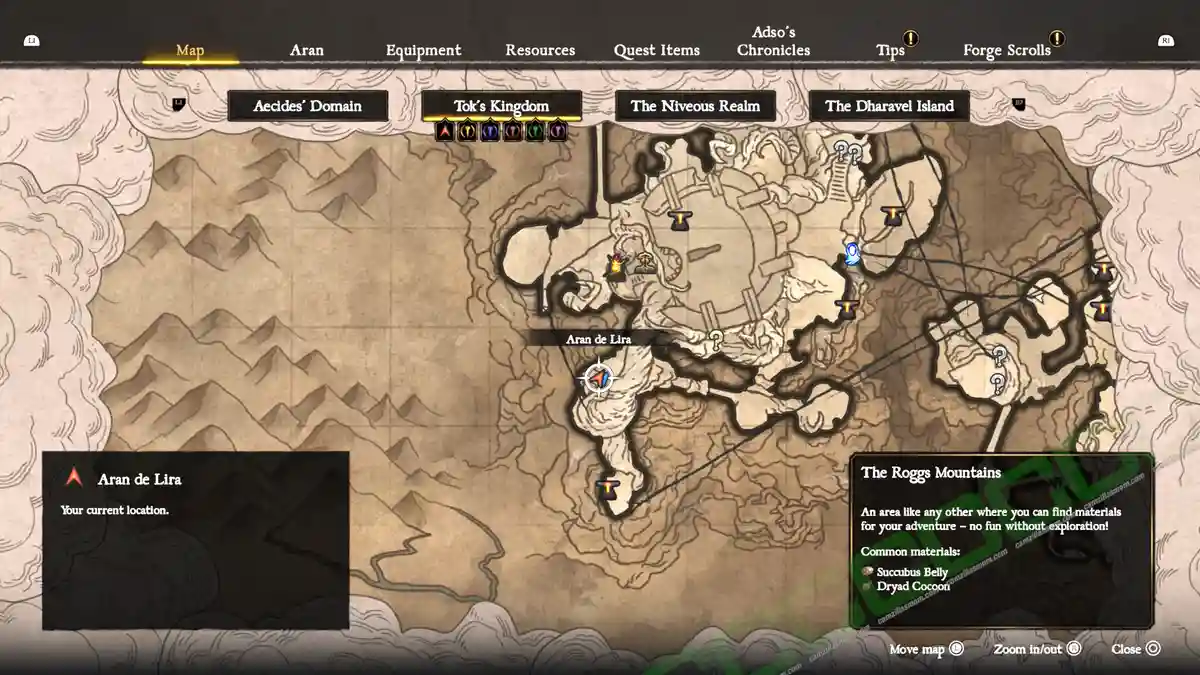
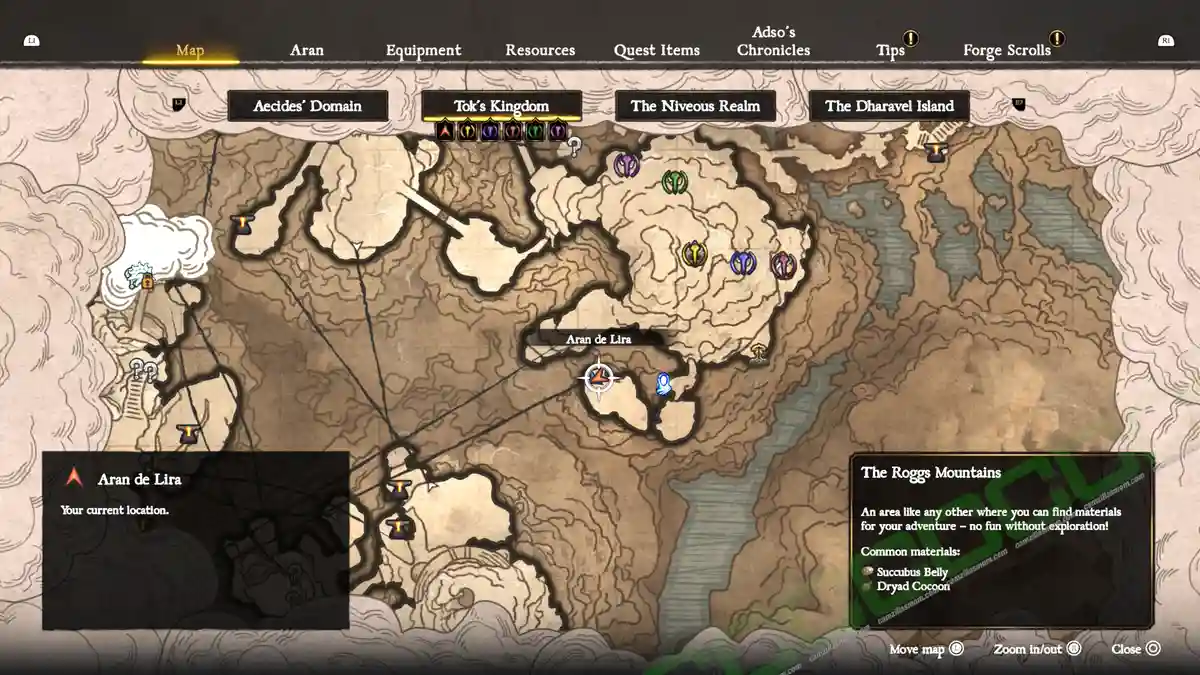
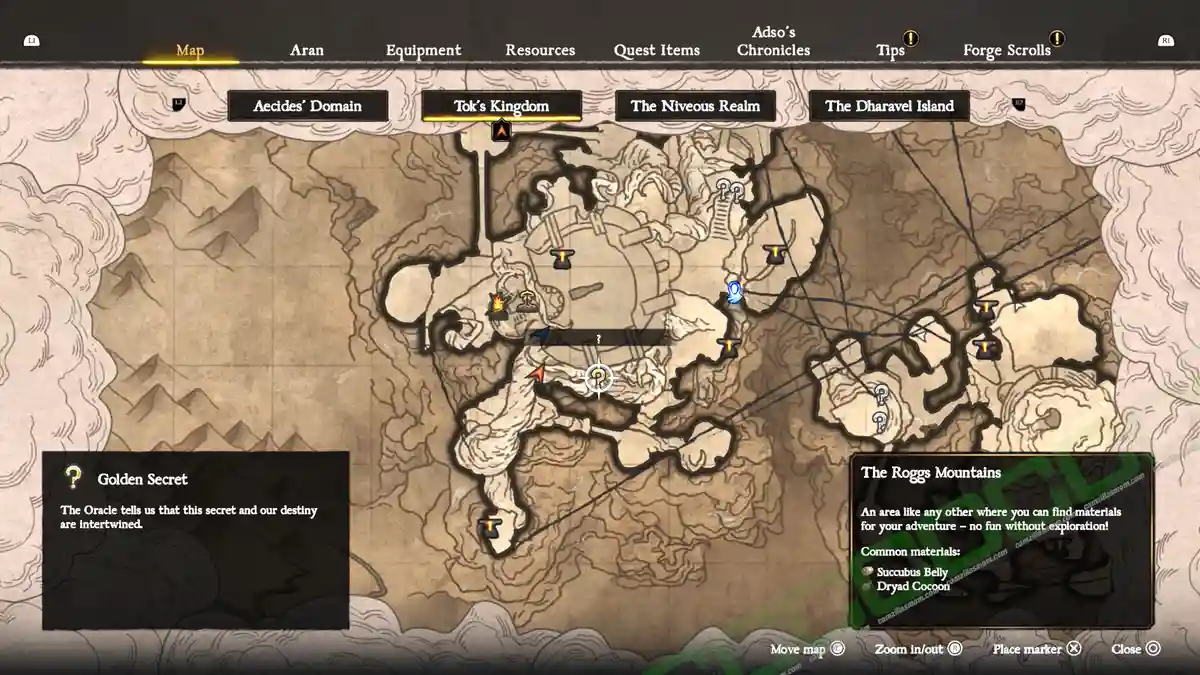
Make sure to unlock the Karamuth at the end of the game. Now you can use one of the Karamuth landing spots on the map to fly north of the Dhyrias’ Forge anvil, where you can activate the Karamuth’s Aerie anvil. Here’s my Karamuth guide.
There is a passage into a cave, where you need a Time Rune to repair a bridge. Do so and cross over. A group of level 3 Grilled Putrids and two Sentenza will attack you. Either fight or ignore them to reach the rope at the top of the hill. Climb it up and take the zipline at the other end.
On the other side, look to the left towards a cave entrance, where you can drop a ladder for better access. Then take the nearby elevator to the Sky’s Thread anvil.
Take the long zipline there and cross the cave to the other side, where you can drop a ladder to climb down. Use the elevator to reach the energy node guarded by Royal Wardens.
Pick up the energy and return with the nearby zipline. Go north, across a wooden bridge. At the end of the bridge, turn right, where you can interact with the energy node to transfer the energy before being attacked by fire elementals and Forger Sentinels.
For the crow, smack the templar once to see where it is. Cross the cave with the Rotspawn and where the two trolls were to reach the crow at this location, where it flies to an elevated, smaller Rotspawn nest cave before landing on the Templar, where Aran can now fight for the blue gem, Nerea’s tear.
Roggs Mountains – Hurmuz Statue
Aquire the ability to fly a Karamuth at the end of the story. Here’s my guide. Then travel to the eastern Karamuth spot, where you can find the Crusader’s Grotto anvil and a Hurmuz statue at the other end of a wooden bridge. Head down the path to enter the Murlock’s dark cave. Stay to your right, where you can find a chest in the first lit chamber. From there, head north and exit through the right crack in the wall. Here, fight 3 Forger Sentinels to charge up Hurmuz’s medallion. Return to Hurmuz’s medallion and interact with it to blow up a passage to the north.
Return to the location of the previous chest, instead of going to the crack, head up the path to the left, and jump down back into the Murlock dark cave, where you can find a rope in the lit center area, just below the blown-up Hurmuz statue. Use the rope to climb up and hit the Templar there to find the crow. It sits near the Karamuth and the anvil. It will fly to a ledge below the Hurmuz statue, then to the east side of the cave, where the Sentinels were. From there, it will ignore the Templar and fly across to the west side of the Murlock cave, where another lit passage is.
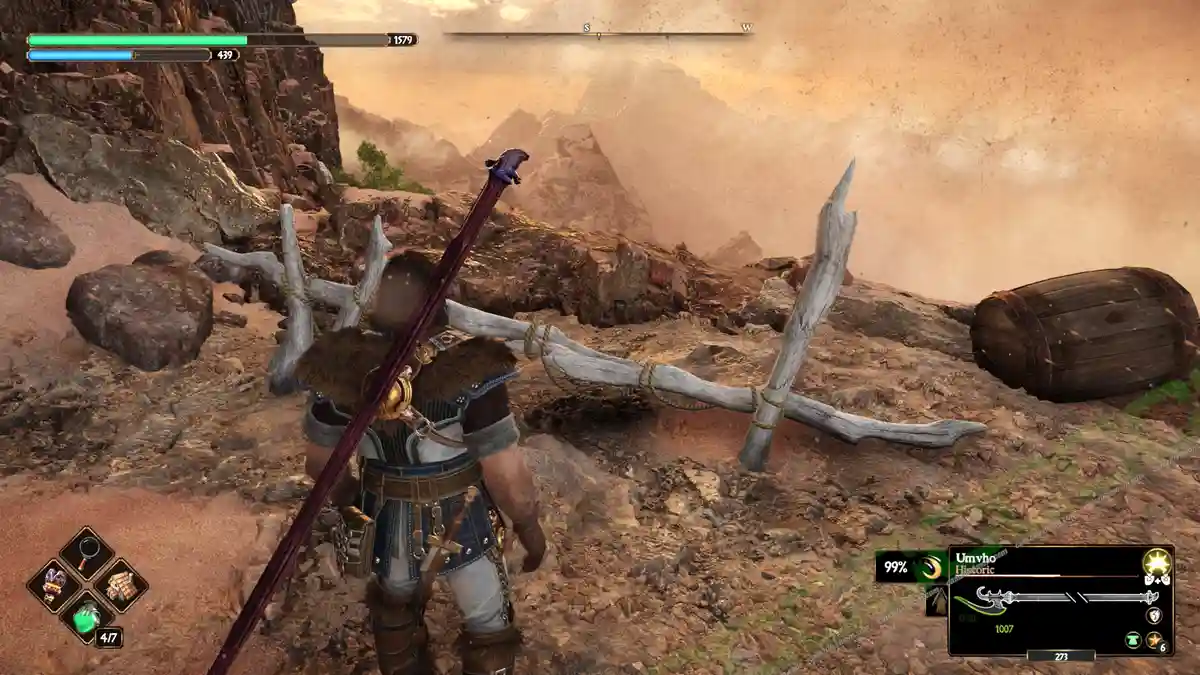
Destroy the bone weight of the barricade there so it opens, and squeeze through the crack at the other side. Here you will find a second chest. Follow a narrow ledge to the other side, then cross a small bridge to make the crow fly to the Templar. Fight him to receive a Nerea’s Tear.
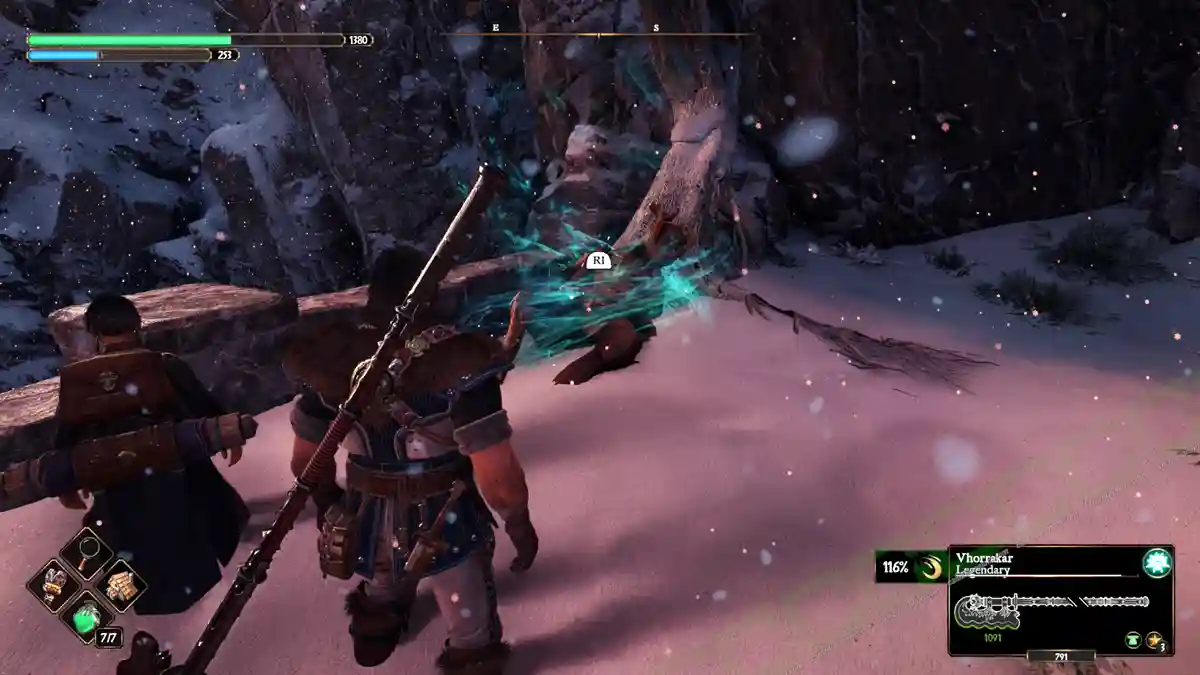
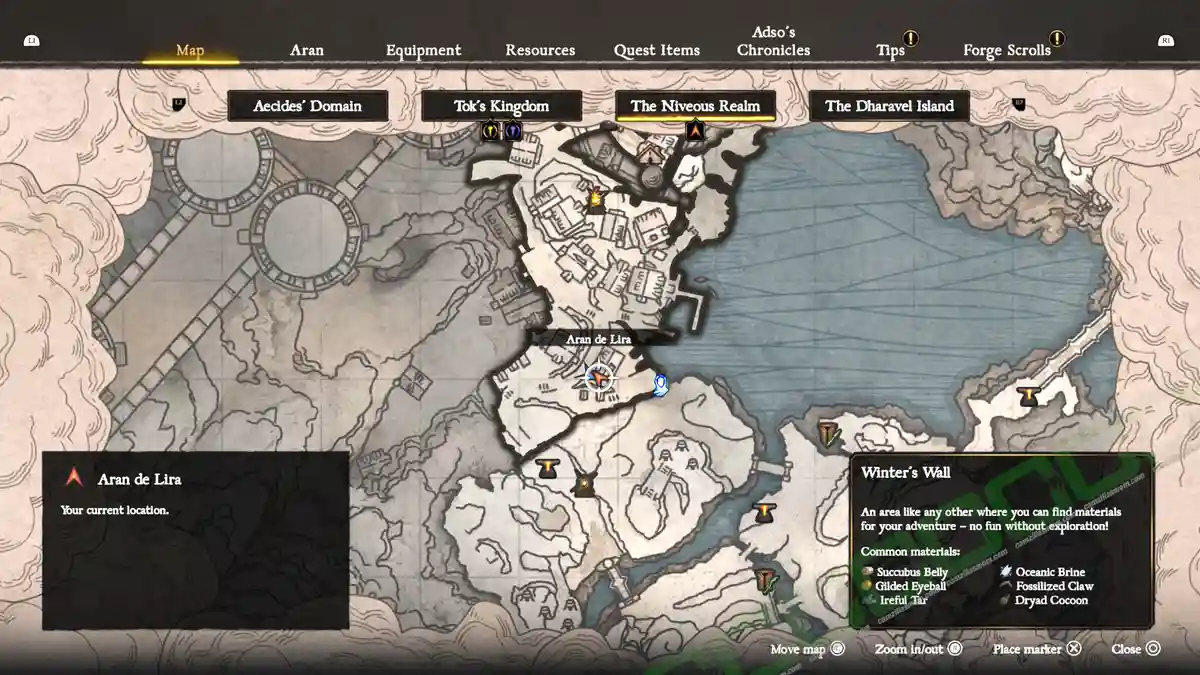
Winter’s Wall Stranger
Enter the house just northwest of the Camp Anvil and speak to the stranger there. Use all of the options to talk to him, and he will give you a Tear at the end.
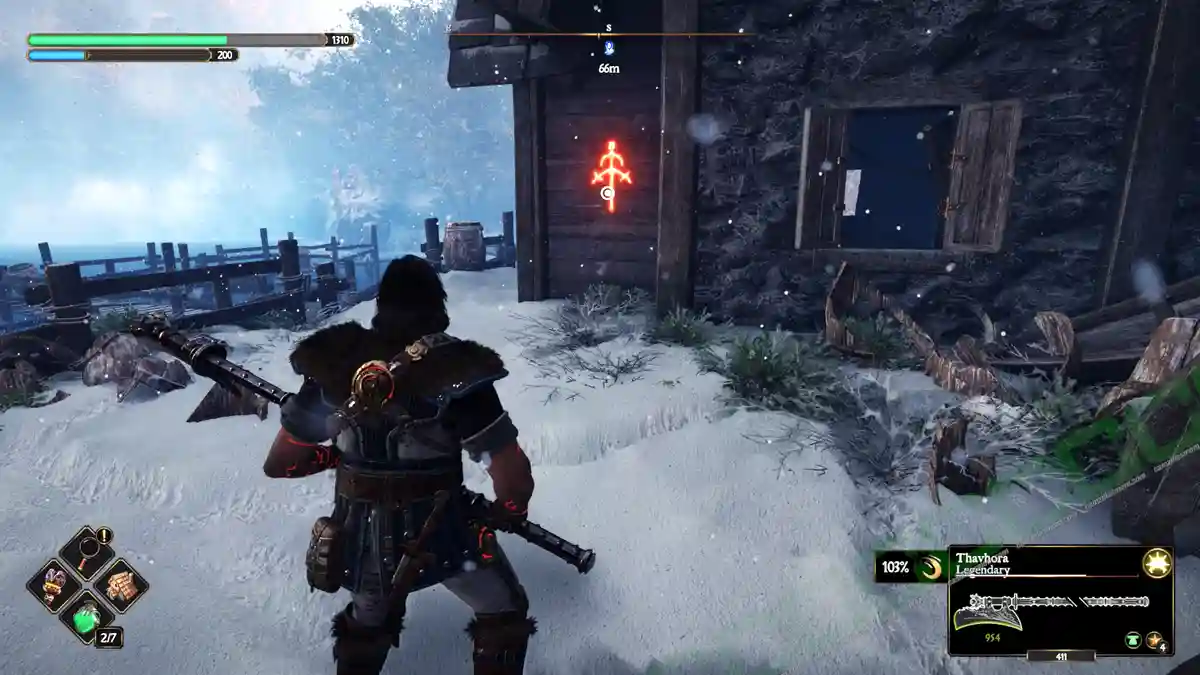
Winter’s Wall Paladin
An inscription of the Paladin of the Aurora’s name can be seen on a building southeast of the Camp Forge.
You can find the Paladin east of the Dryads Forest Exit anvil, by the water. Let Adso speak his name to get Nerea’s Tear.
Winter’s Wall Templar
One of the three templars in the northeast of Winter’s Wall is carrying one of the tears. Wake them with the nearby crow and defeat them.
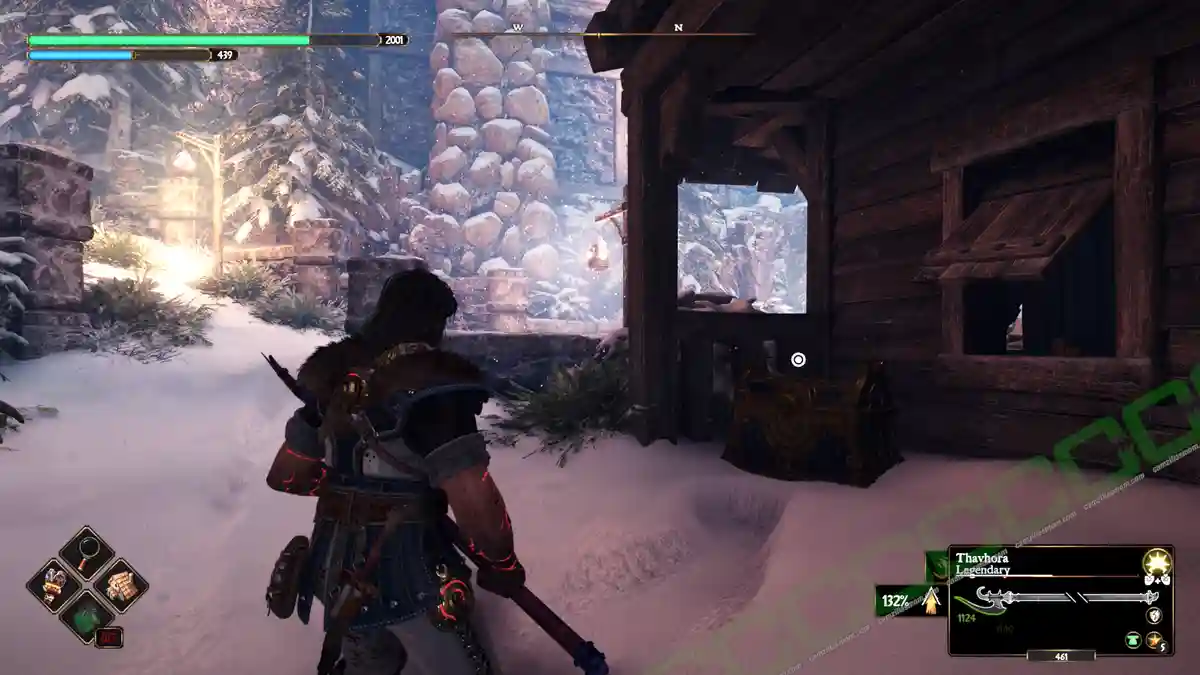
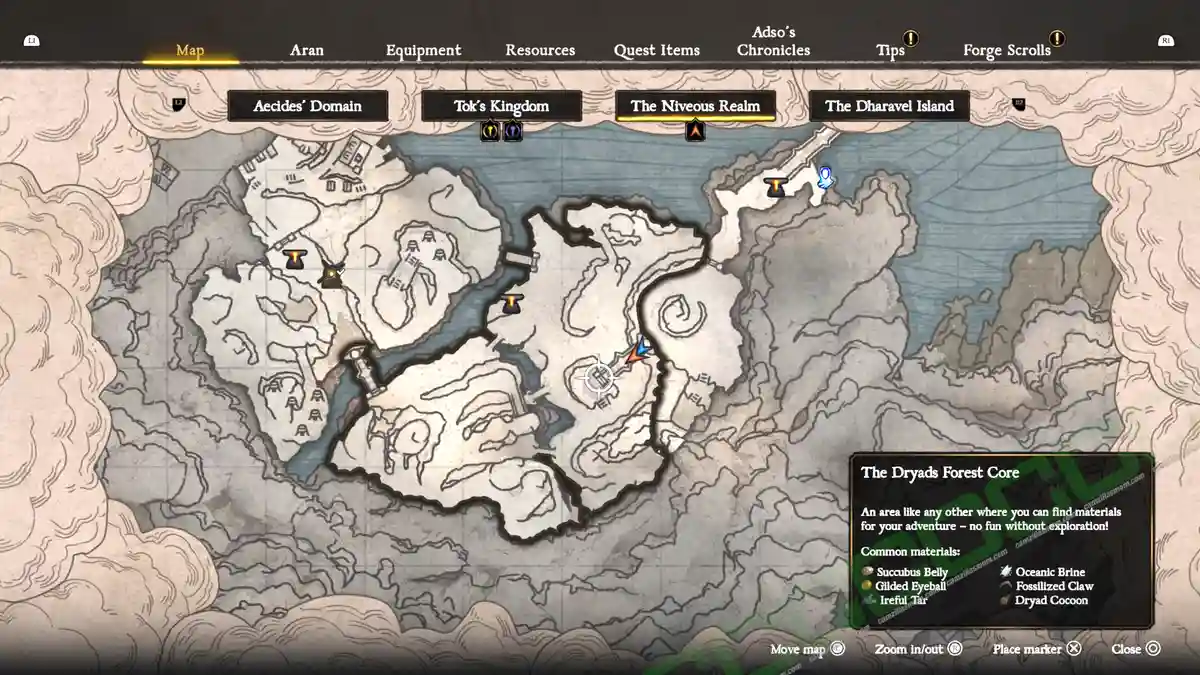
Dryads Forest Templar
One of the two templars on the bridge in the center of The Dryads Forest carries a Nerea’s Tear.
The Royal Palace – Paladin
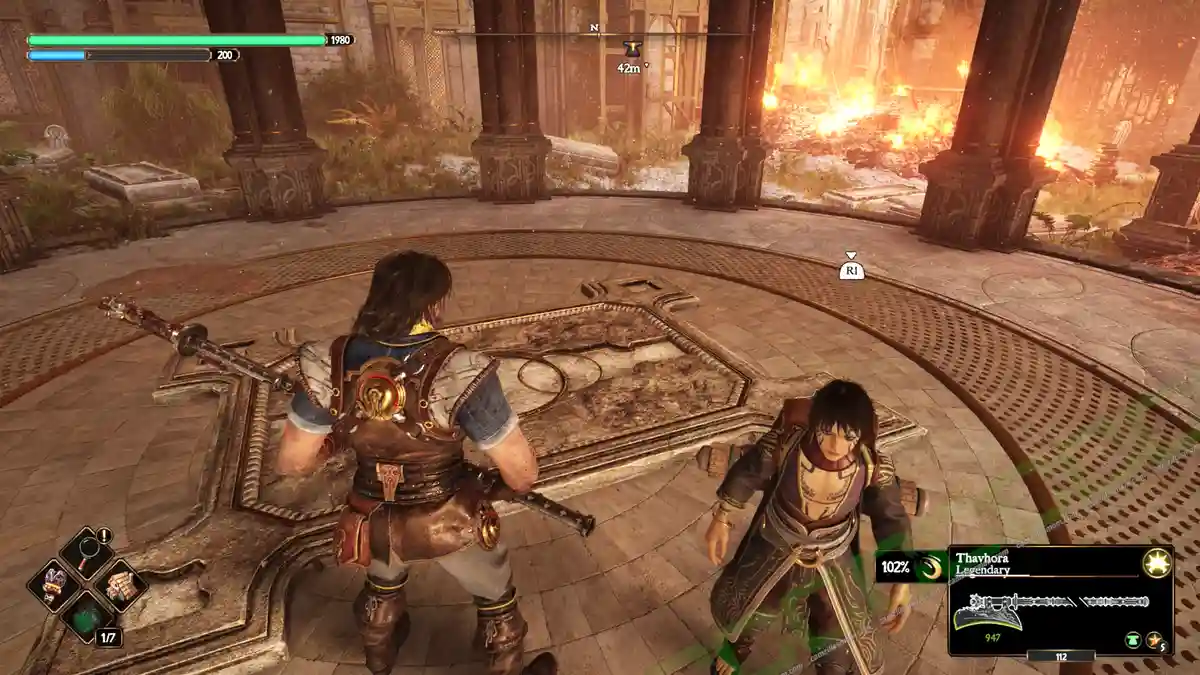
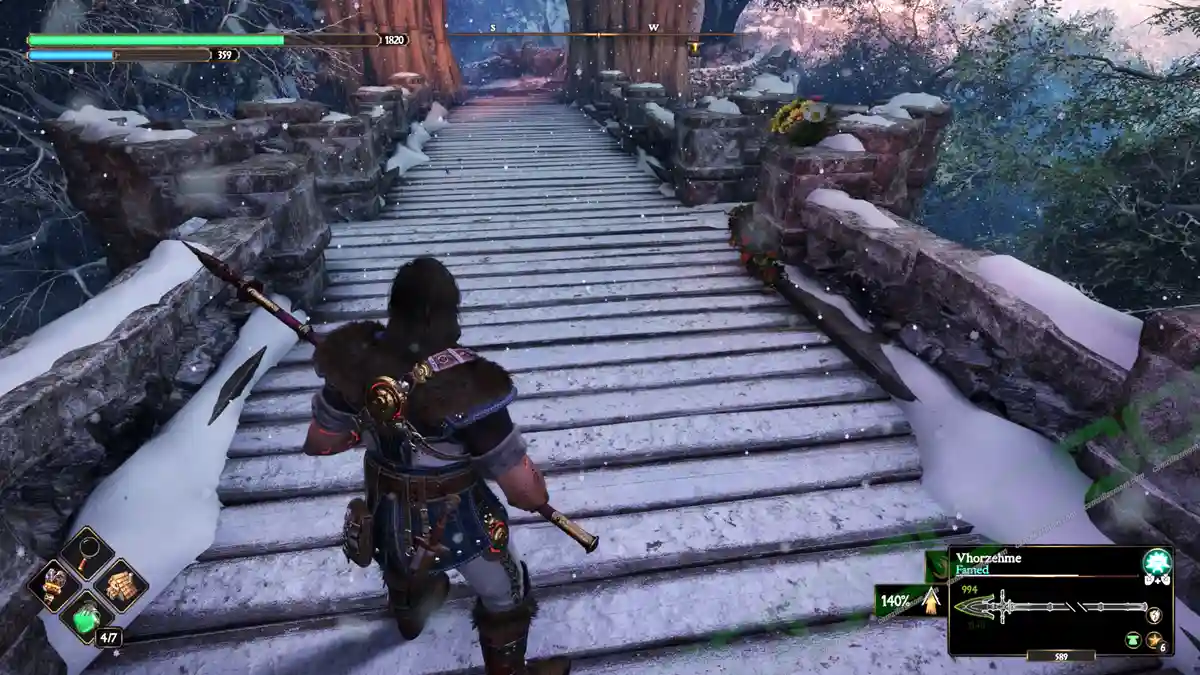
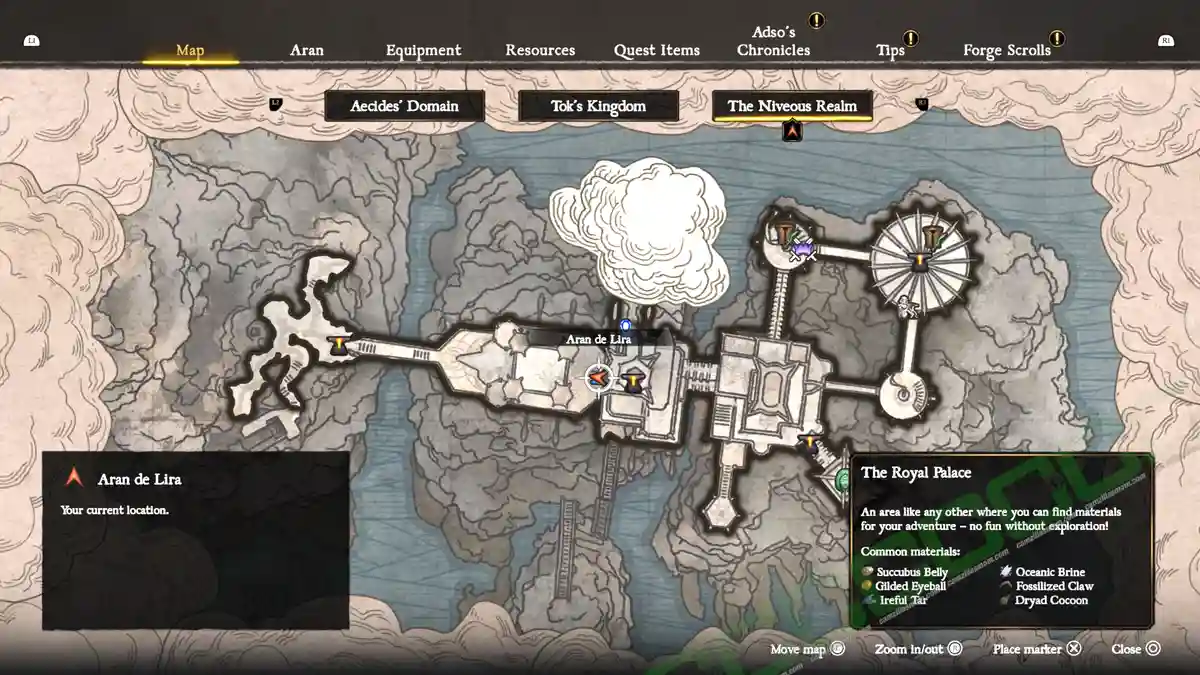
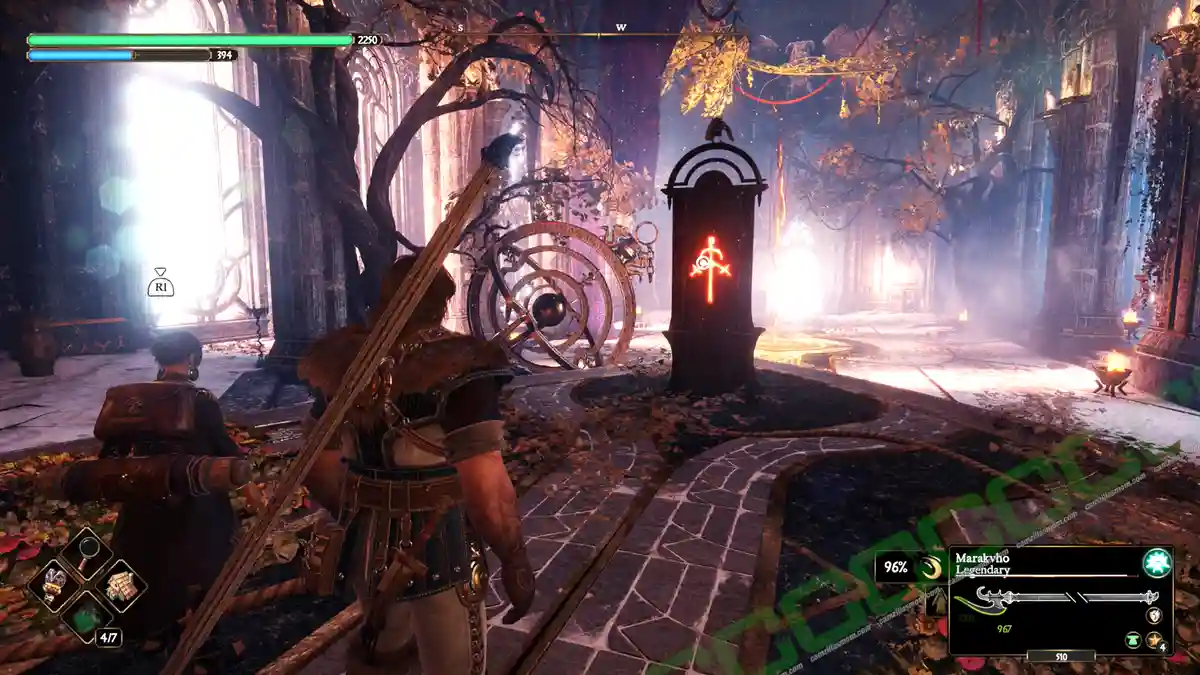
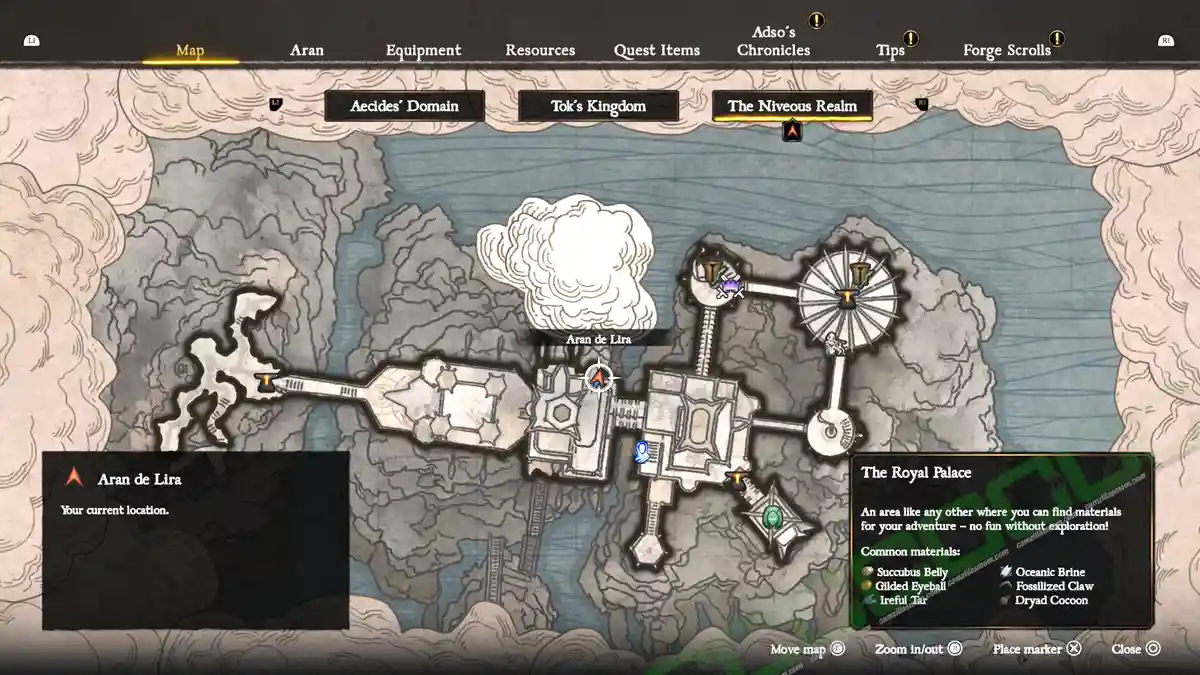
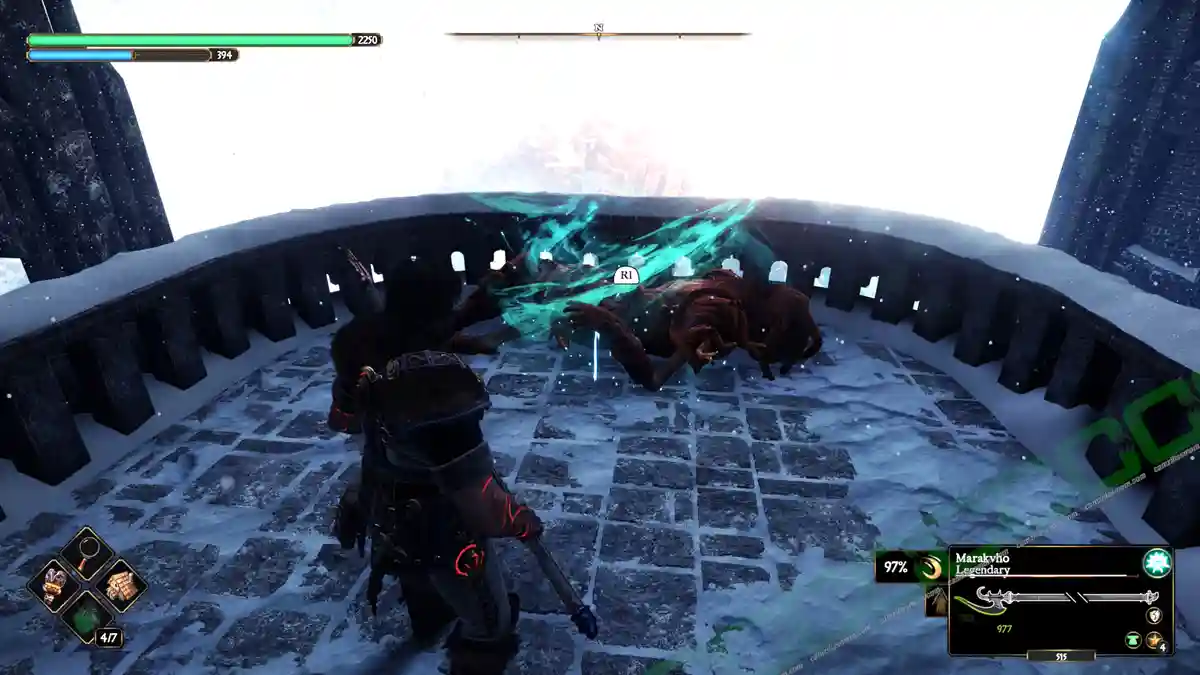
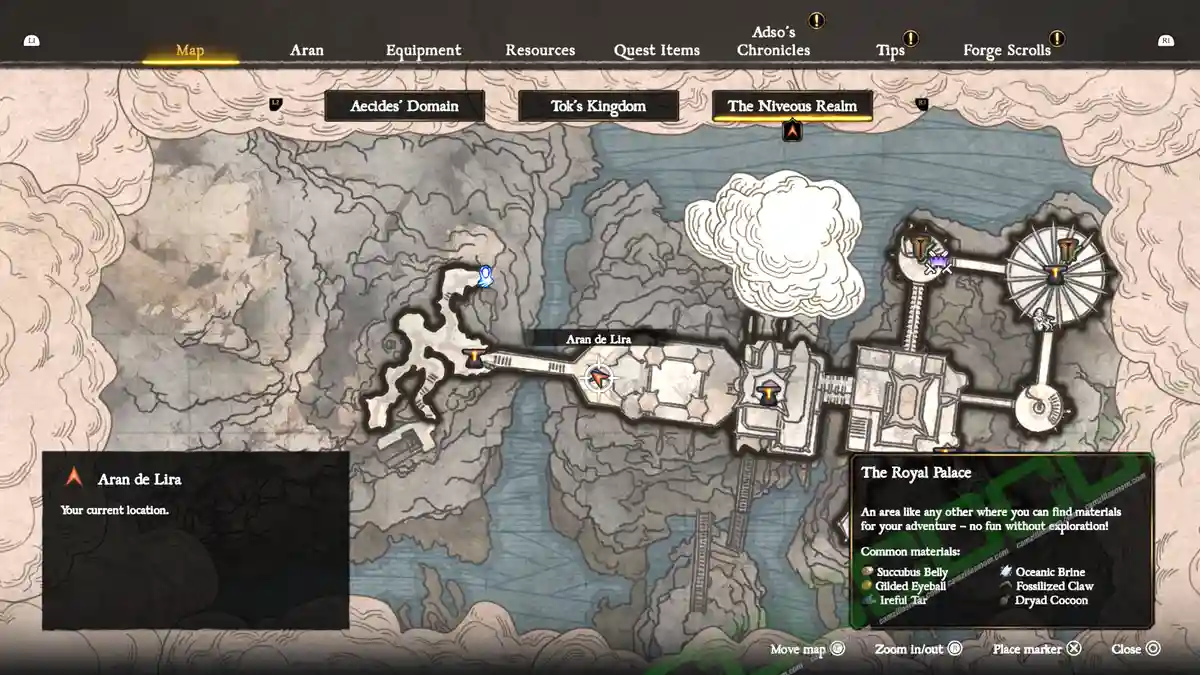
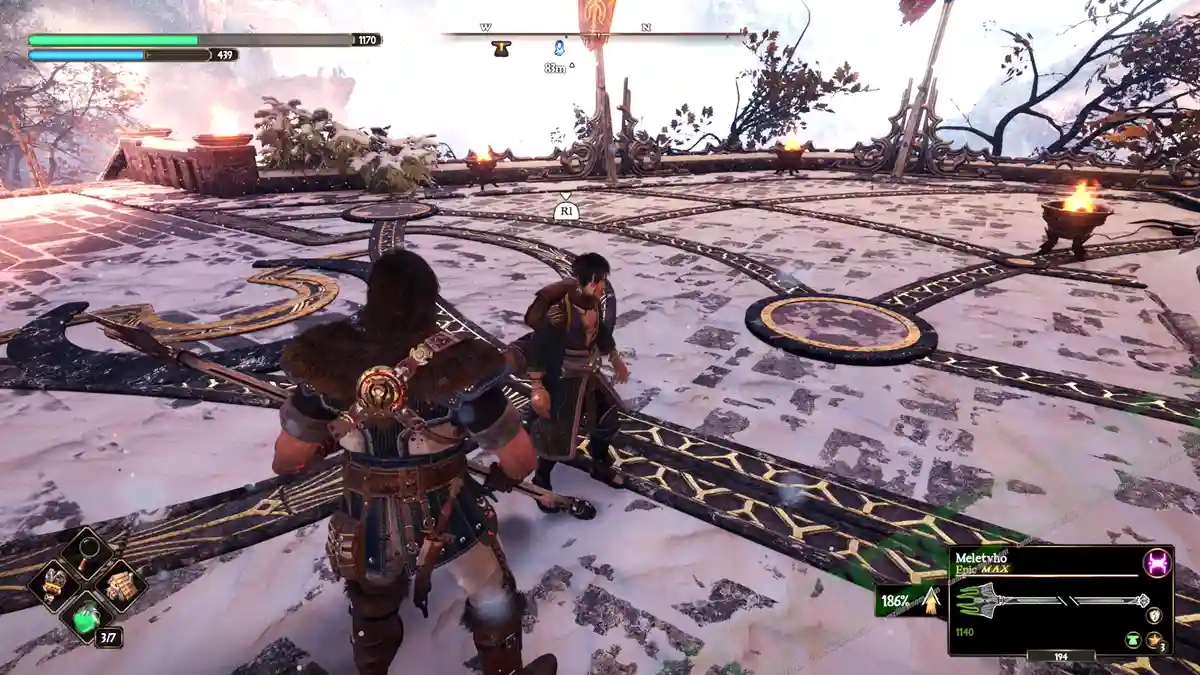
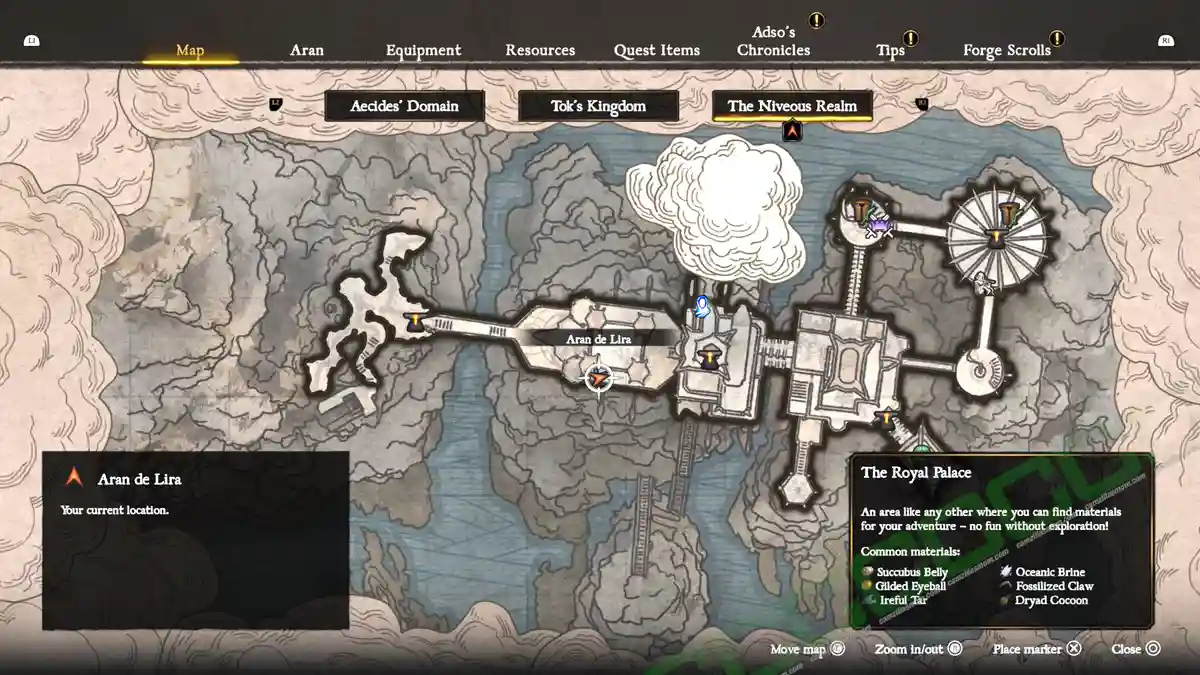
The inscription of the Paladin’s name is just west of the Throne Room anvil. Behind the throne.
From the Mausoleum, cross over to the tower to the west and go all the way to the bottom to cross over to the main palace room. Before you enter, go downstairs, where you can cross over to the west again towards the Throne Room anvil to find the Paladin lying on one of the balconies.
The Royal Palace – Templar
Follow the crow from the throne room to the paladins in the west. Two of them carry a blue gem tear.
Nerea’s Tears Statues Locations
There are 13 Nerea’s Statues that hold a tablet fragment. Each statue needs two tears. Here’s where they are.
Besacarr Hamlet – The Hollow Plain
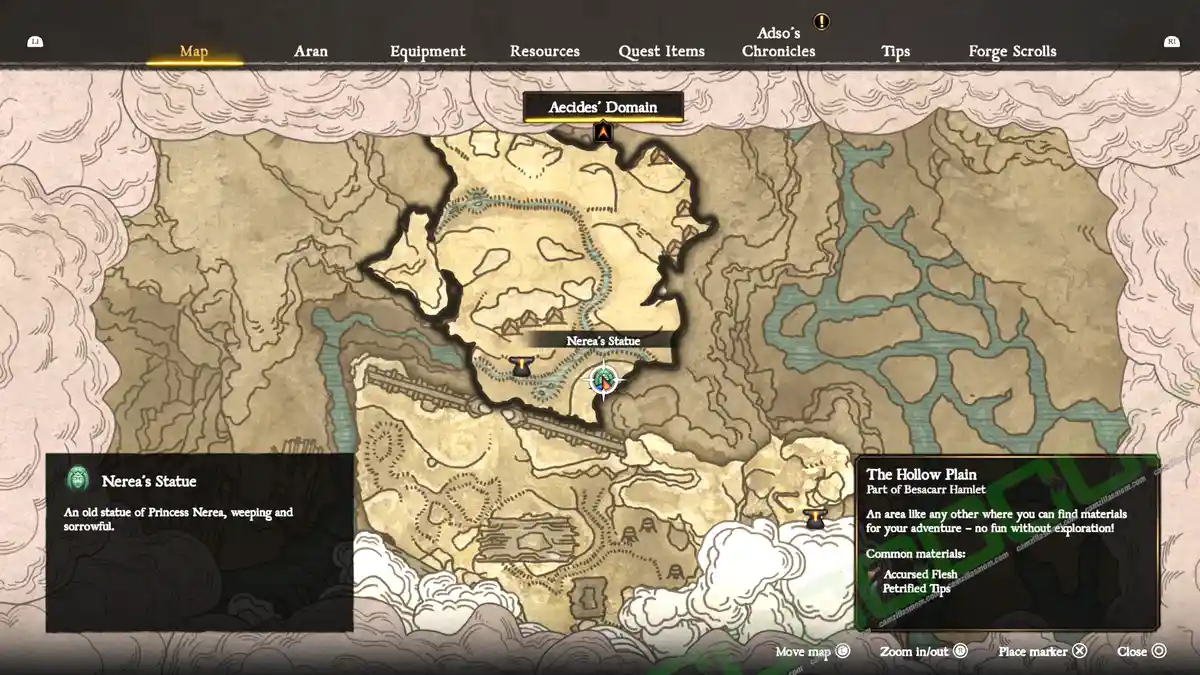
To reach Nerea’s Statue, you have to go through the caves in the Kar-Lethel Swamp in the northeast. The statue requires two Nerea’s tears to be placed on the face. It does not matter from which region you get those tears. Placing two tears into her face will give you one of the 13 Fragmented Tablets.
Kar-Lethel Swamp
There is also a Nerea’s Statue at the Kar-Lethel Swamp. It’s below the Forger’s Anvil, but you need to prepare a couple of steps and transport energy to get there.
As you progress through the story, your journey will eventually lead you to the quest for the third piece of the Golem’s Heart. To retrieve it, you’ll need to transport energy from the spawn point of the Thaumaturgist’s Abomination to the elevator at the bottom level.
This is the energy you have to transport to the bridge to cross over to the Templar of the Sacred Steel as well. If you have already transported it to the elevator, you need to take it back to the Thaumaturgist’s Abomination spawn point to reset the timer. From there, go up to the top floor, where Adso can open a gate towards the Templar Bridge. If you run, you will make it.
Then, reach the Black Metal Towers anvil. With a Light Rune equipped, you can cross the energy bridge east of the Forgers’ Sanctum and open the passage with the Light Rune Symbol there. Then you can climb up a stone ladder to reach the Black Metal Towers Anvil.
From there, carefully drop down to the bottom, where you have to defeat Vexers and Forger Sentinels. Tell Adso to open the gate there. On the other side are two levers that will lower the water and expose Nerea’s Statue. Additionally, a cutscene will show an elevator platform going up. This elevator is at the southern Forgers’ Sanctum exit.
At the bottom of the elevator is a node with no energy. Return to the Templar bridge or the location where you’ve left the energy in the story and pick up the energy once again. There is a climb point back to the elevator at this point:
Be quick! Take the elevator down to the bridge node and activate it with the energy from the Templar bridge to reach Nerea’s Statue.
The Crimson Fort
Nerea’s Statue is at the top of the Library Tower at The Crimson Fort. You can easily get it by climbing the ladders inside the Library Tower.
Doyen Graves
There is a Nerea’s Statue in one of the towers that can only be reached with the Karamuth. Fly to the only Karamuth landing spots at the Doyen Graves and head west to find it.
The Iron Castle
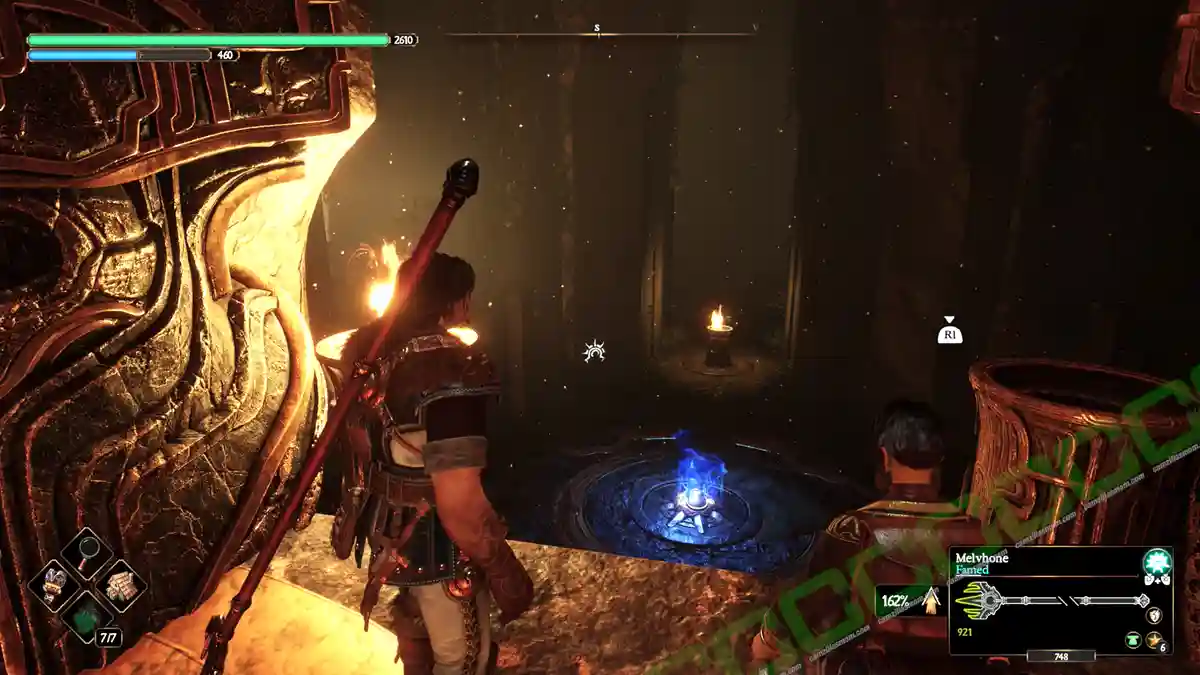
There is a Light Rune inscription at the bottom of the eastern tower of the Iron Castle. Make sure to have a Light Rune on one of your weapons and present the weapon. If you don’t have a Light Rune yet, follow the story until the Blue Lady starts to sing and offers you a Light Rune. Once inside, head downstairs to find the Nerea’s Tears Statue, behind a locked gate.
Go back upstairs and defeat the Rotspawn in the next room. Exit here to go outside, where you can find a templar. Smack it once with your weapon and defeat it to receive the Ancient Key that will open the gate to the Nerea’s Tears Statue.
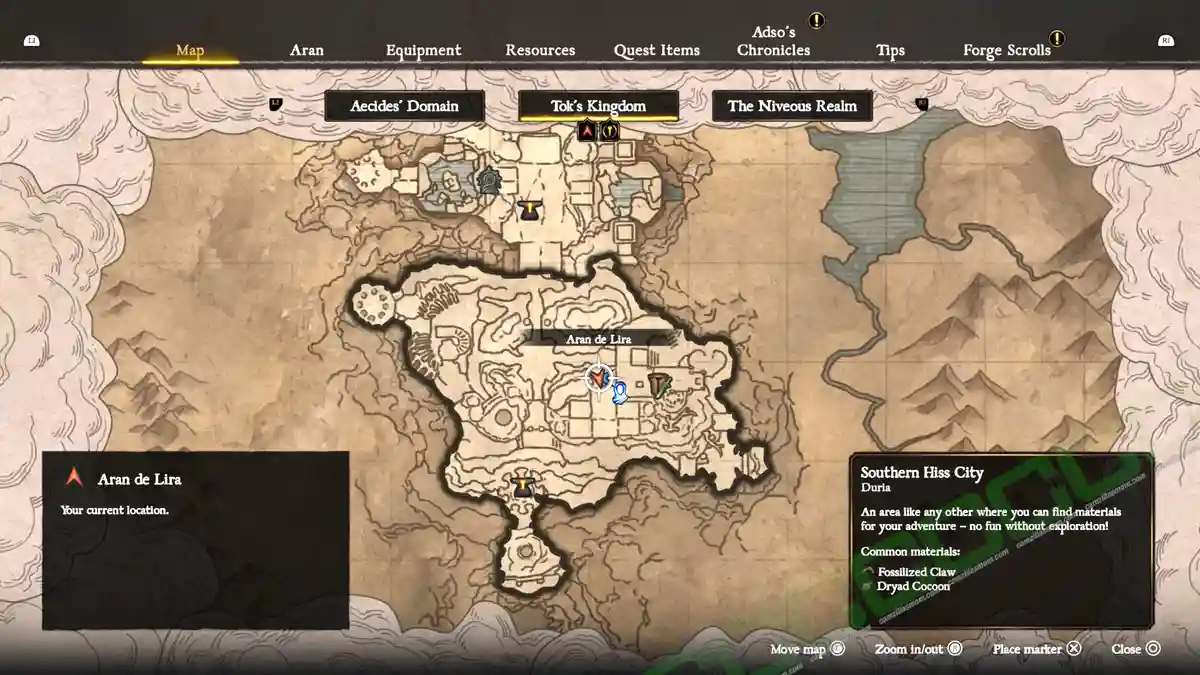
Southern Hiss City
To find the Nerea’s Tears Statue in the Southern Hiss City, you first have to find a Golden Bell for the Gold Pilgrim.
You can find the golden bell during the main story at the King’s Bastion at this location:
Use the bell to drop the pink passage and enter the new area, where a blue dispenser will send you to a new area. There is a Time Rune there that opens the gate and repairs a big, round platform in the center of the room. Stand on this platform and get shot by a green and blue dispenser orb at the same time to get transported to the Nerea’s Tears Statue.
Watchtower Domain
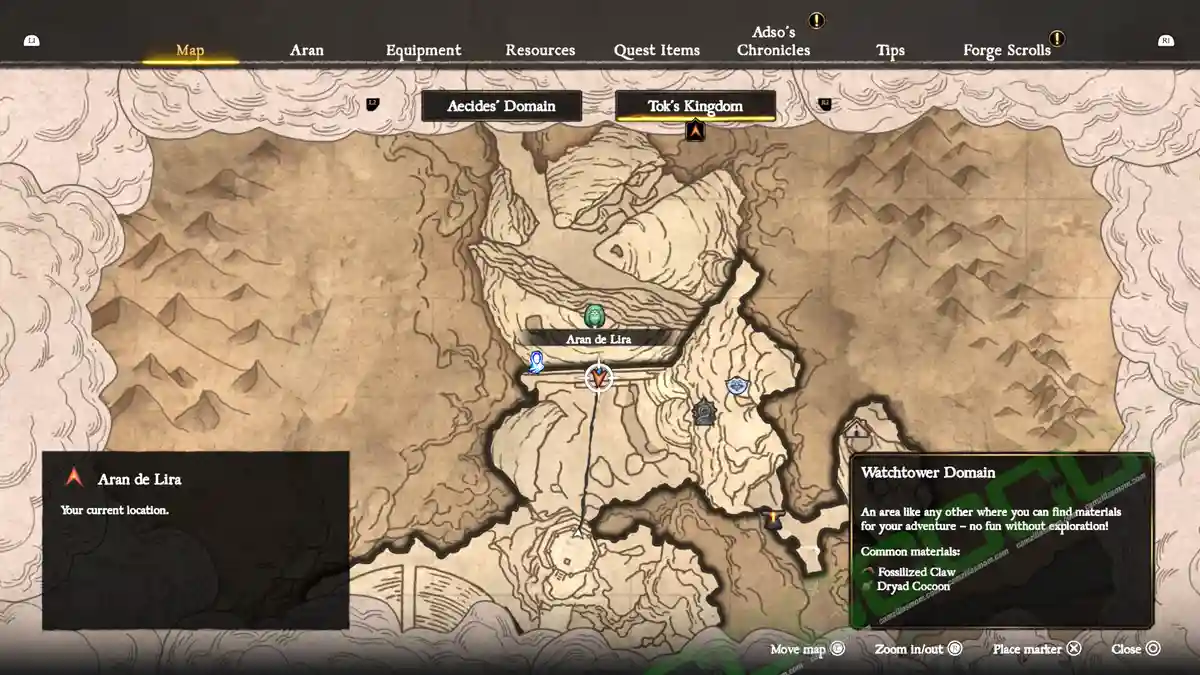
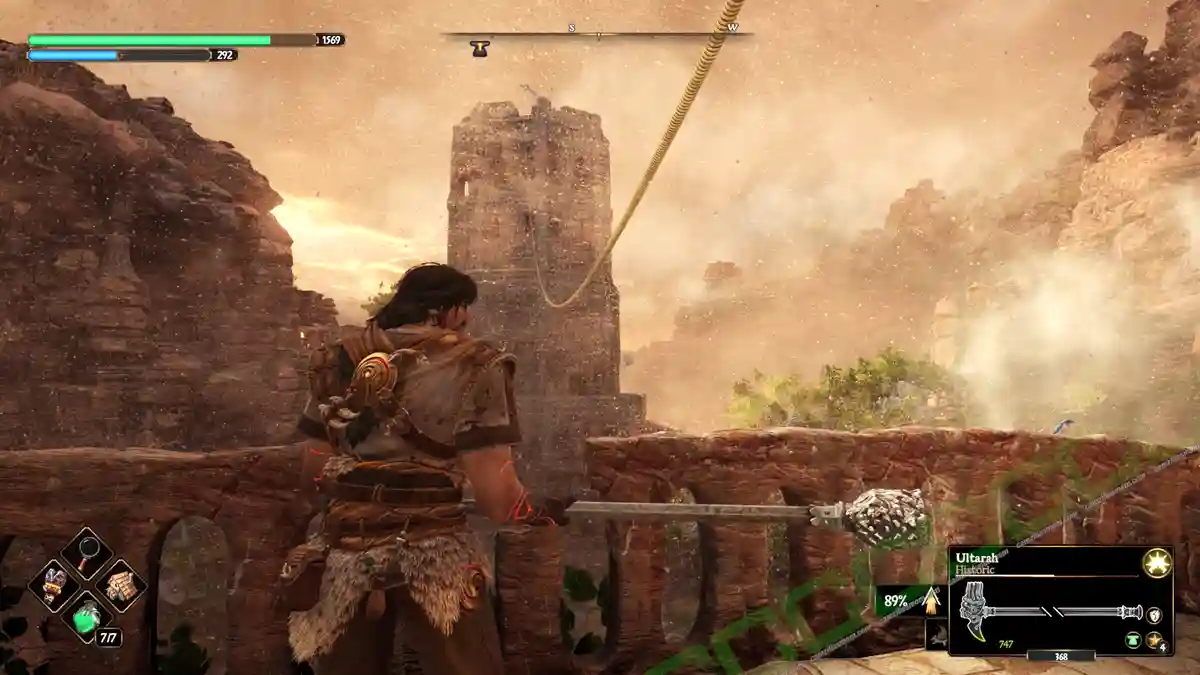
The Nerea’s Tears Statue at the Watchtower Domain can be reached by using a zipline from the watchtower’s roof. To use the zipline, you have to loot one of the Roggs Skulls from the Roggs at The Roggs Mountains.
The Roggs Mountains
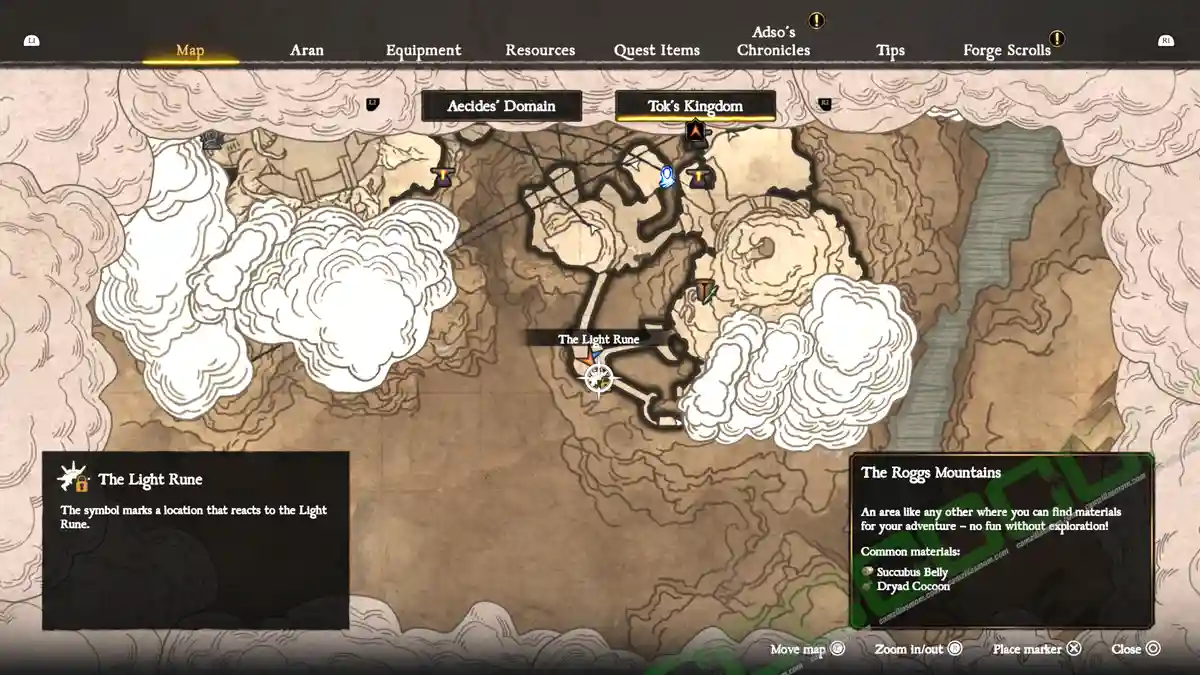
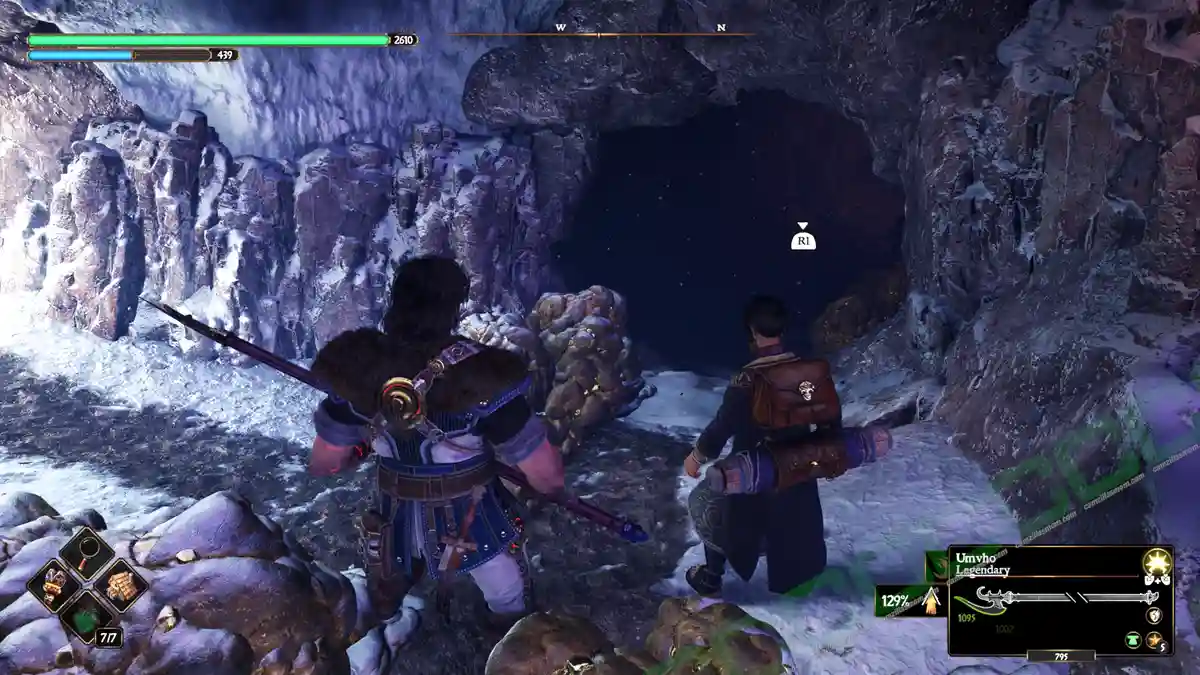
South of the Chasm of Despair anvil, you’ll find a Light Rune. To reach it, cross the cave with the sand elementals and activate the rune using a weapon imbued with Light Rune power. This will create a light bridge you can cross. On the other side, climb up the rope and use the zipline to reach another area. There, you’ll find a cave with water.
Inside this cave, you’ll find a Nerea’s Tears statue, though it’s submerged. Follow the southern path to reach the Morlock’s Abyss anvil. Call the elevator and head down to the Morlocks’ abyss, where you can use a crawlspace to get to the dark room filled with Morlocks. This room has a torch in the center of it. Destroy everything around it to drain the water and access Nerea’s statues to open it. Start by exiting through the opening behind the Templar and climbing to the top using the rope. Once there, you’ll find two cracks. Drop down twice at the second crack to reach the corridor with the gate, the lever, and the crow. Follow the crow, defeat the templar, and you’ll receive a blue gem.
Citadel of Tharas-Münda
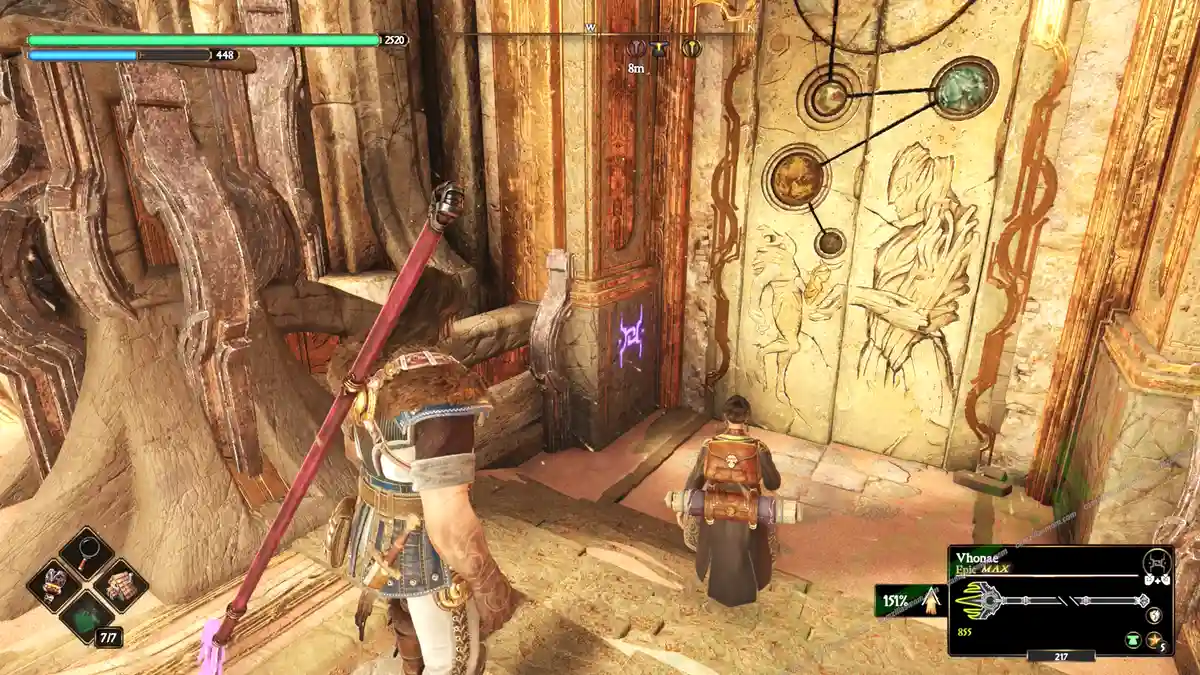
After defeating Thalmudak in the arena of the Citadel of Tharas-Münda, return to the Pinnacle of Fate anvil to open the door there. Behind the door, you will find the Nerea’s Tears Statue.
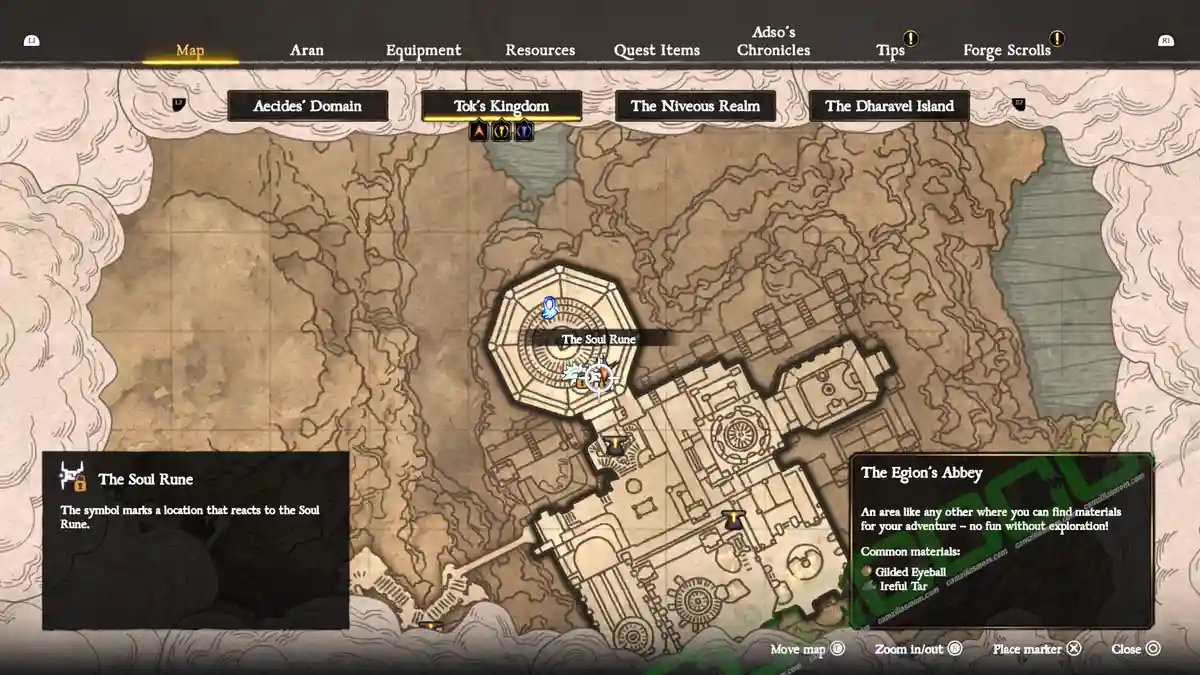
Charge the Soul Rune and interact with the door. A purple hand will appear asking for an object. It’s an orb called “The Dark Gazer”. To find it, travel to the Throne Room anvil at the Royal Palace. From there, go upstairs and head outside to where the paladins are. A group of Athanatoi Shamans will attack here. Take the southern path, crouch under the debris, and drop down a rope at the end to reach a chest with the Dark Gazer in it.
Winter’s Wall
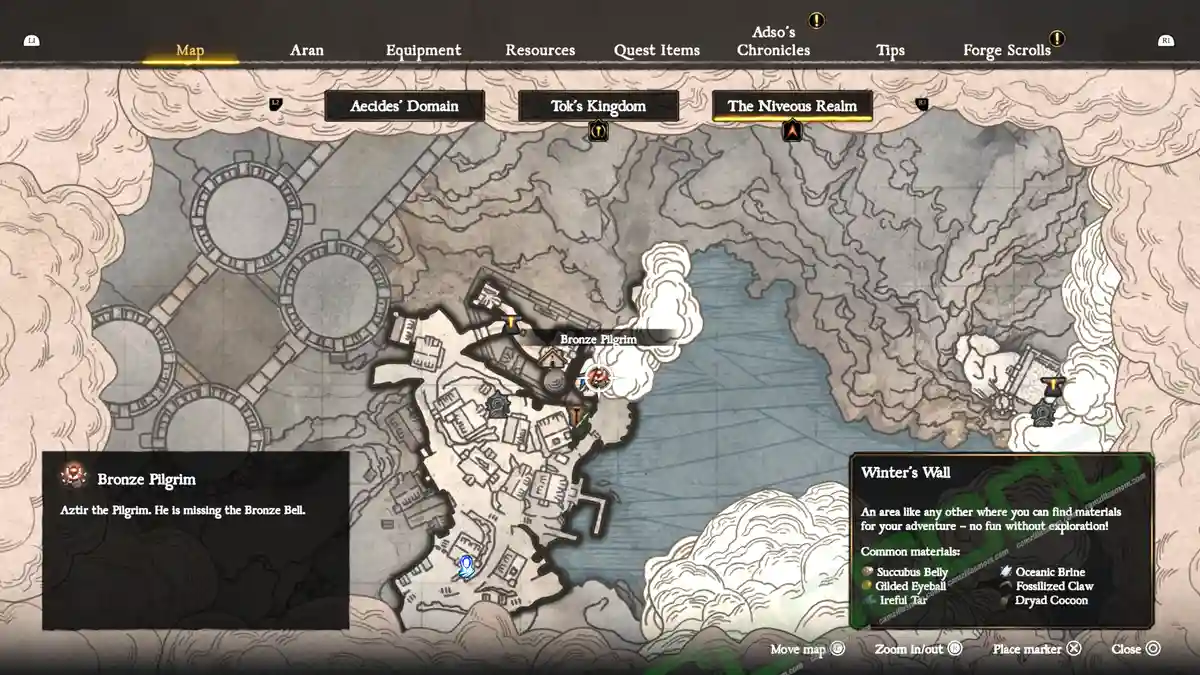
Use a Bronze Bell at the Bronze Pilgrim in the east of Winter’s Wall, by the coast. Follow the path to the top to find the Nerea’s Tears statue.
The Royal Palace
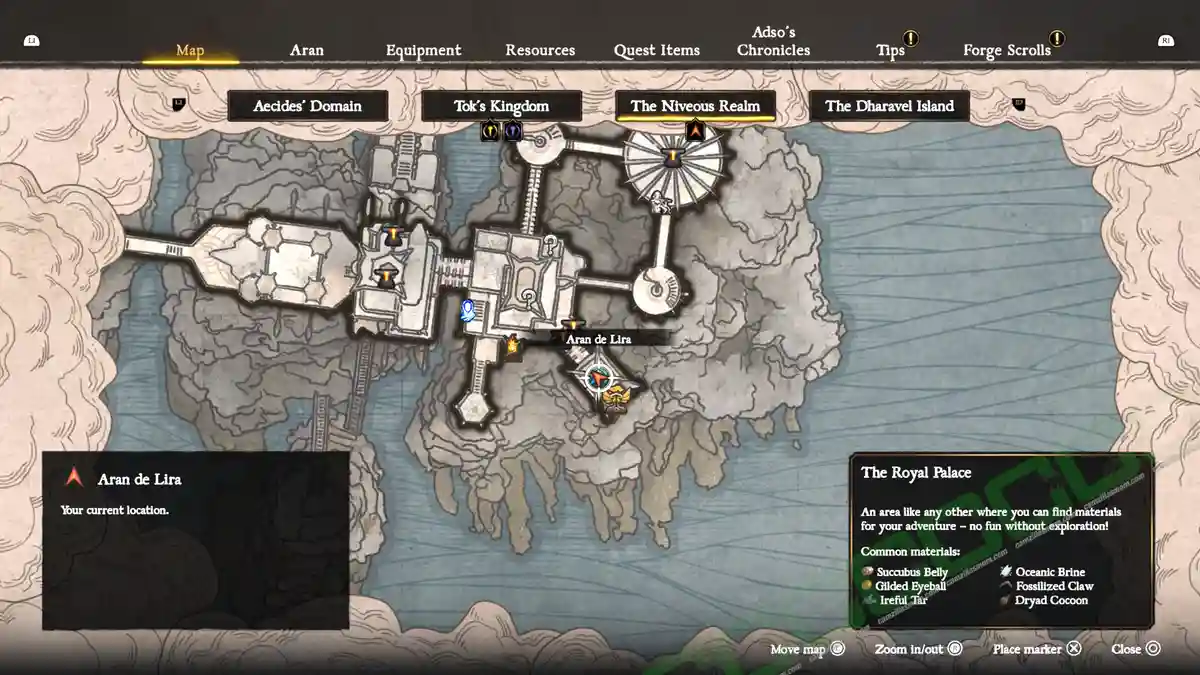
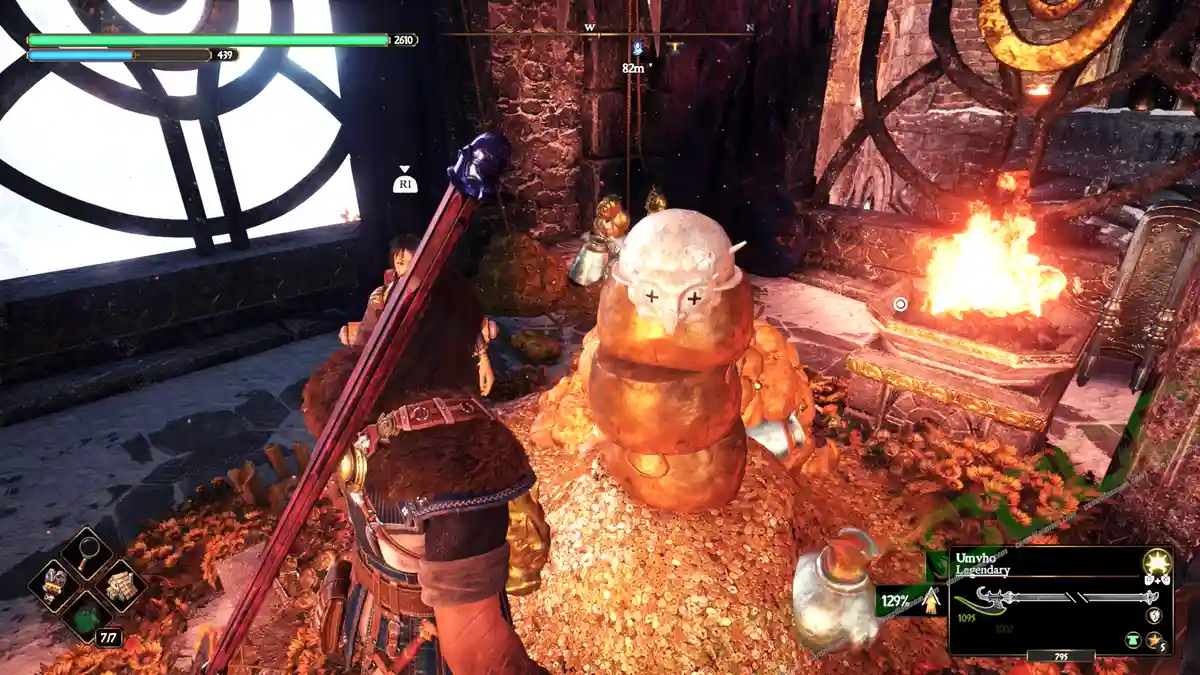
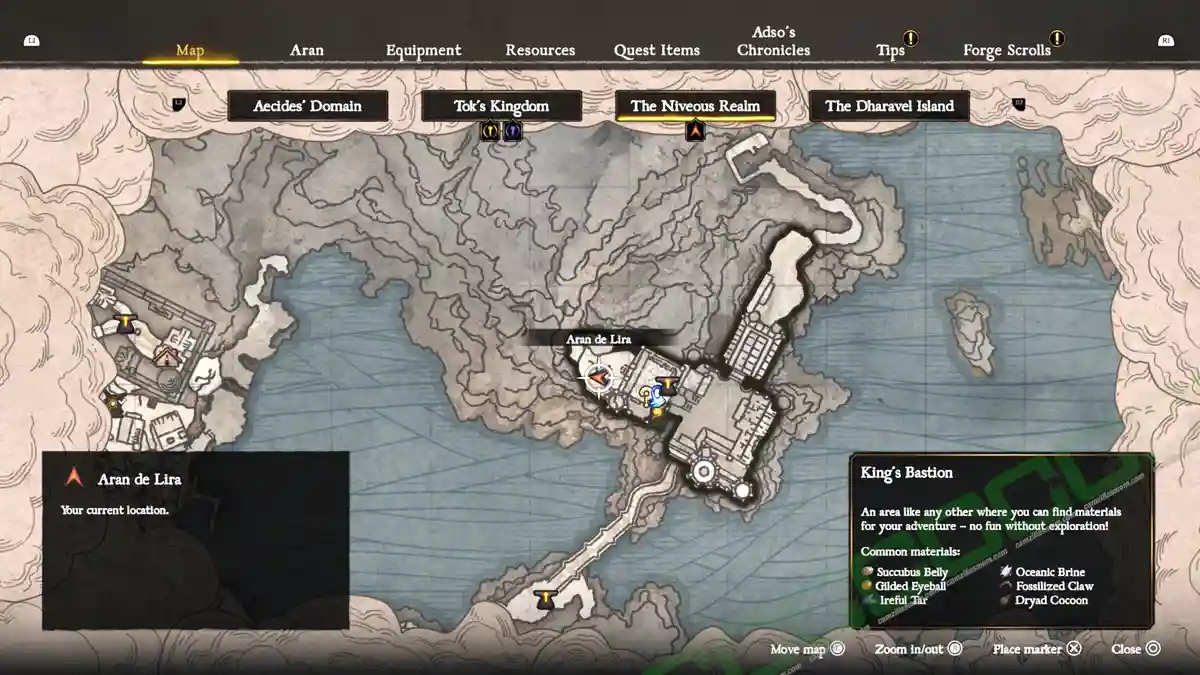
The Nerea’s Tears Statue is in the southeastern tower of the Royal Palace and can only be reached by flying a Karamuth. Instead of a Statue, you will find a pile of treasure. Interact with it to continue.
After concluding that Vhoroo the looter has stolen the statue, Adso thinks he hides at the Bastion. The back of the bastion is now covered in piles of excrement, and the tunnel now has an extra opening. From the West Tower Cells anvil, climb the staircase, then the ladder to get to the back of the bastion to reach it.
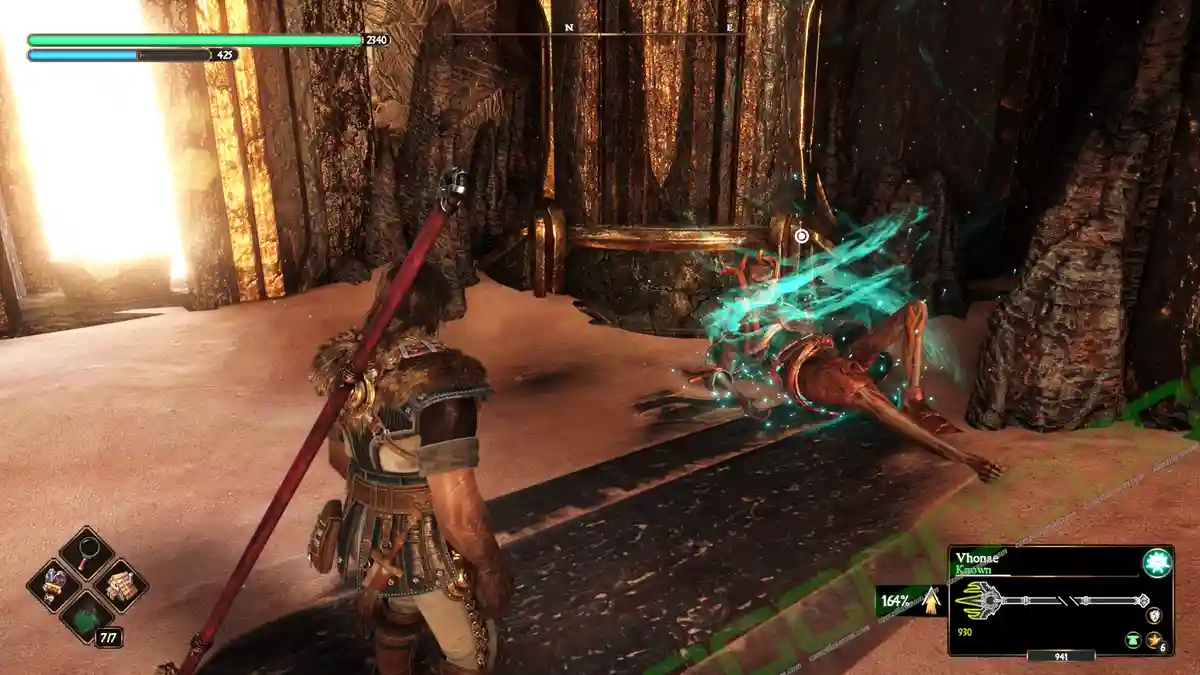
You can now enter the area below the Bastion to find Vhoroo’s treasure chamber. Defeat Vhoroo and interact with the Nerea’s Tears Statue there.
Egion’s Abbey Library
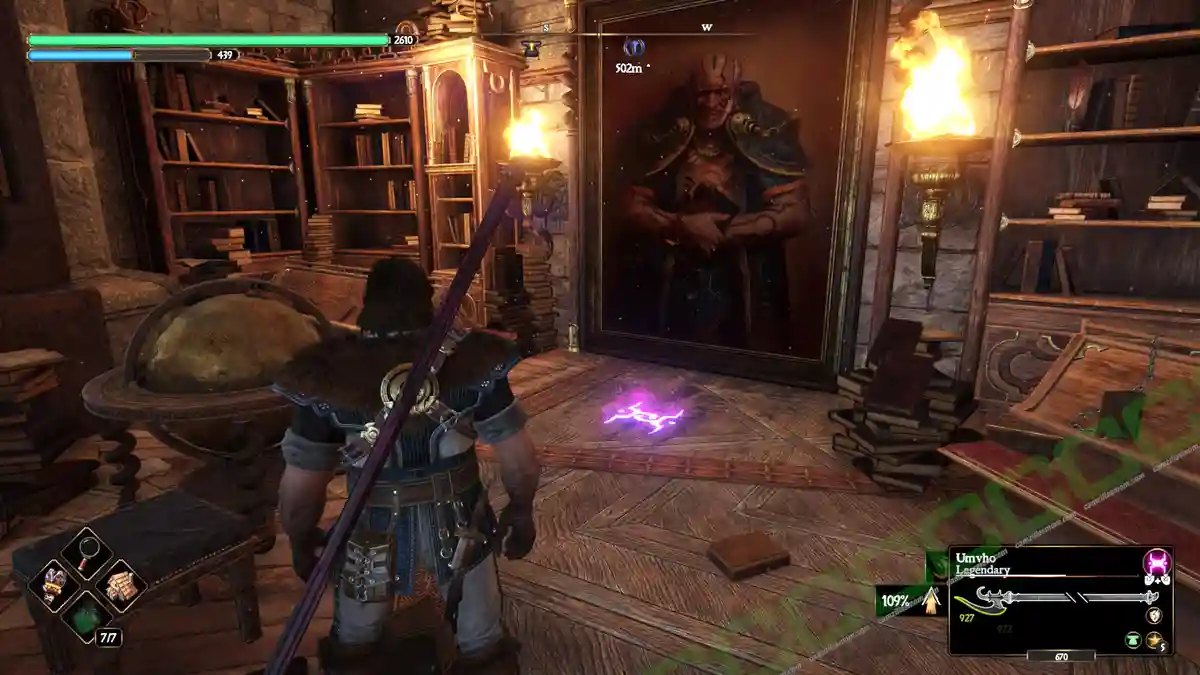
Adso can only translate the tablet in the Library of the Egion’s Abbey in Tok’s Kingdom. Travel to the Library anvil, where you can now interact with the door. Adso will find a key and open the Library. First, make sure you have a weapon imbued with a charged Soul Rune. Then, find the Soul Rune at the painting of Abbot Dorin – the abbot that got killed at the start of the story.
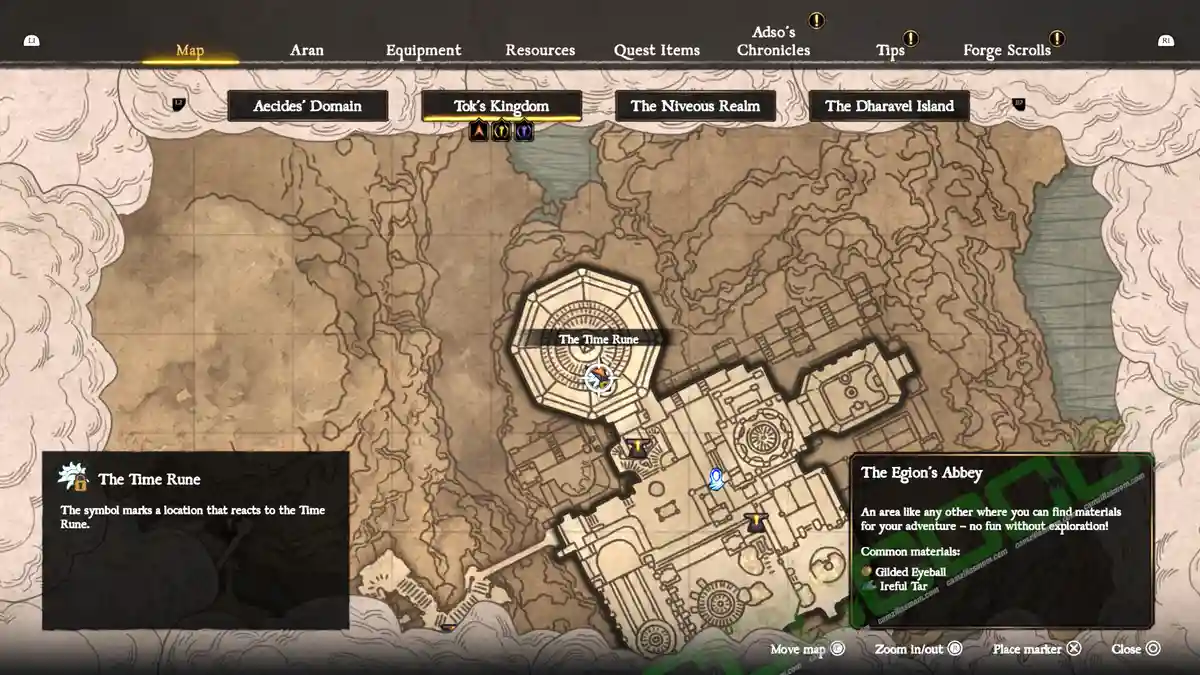
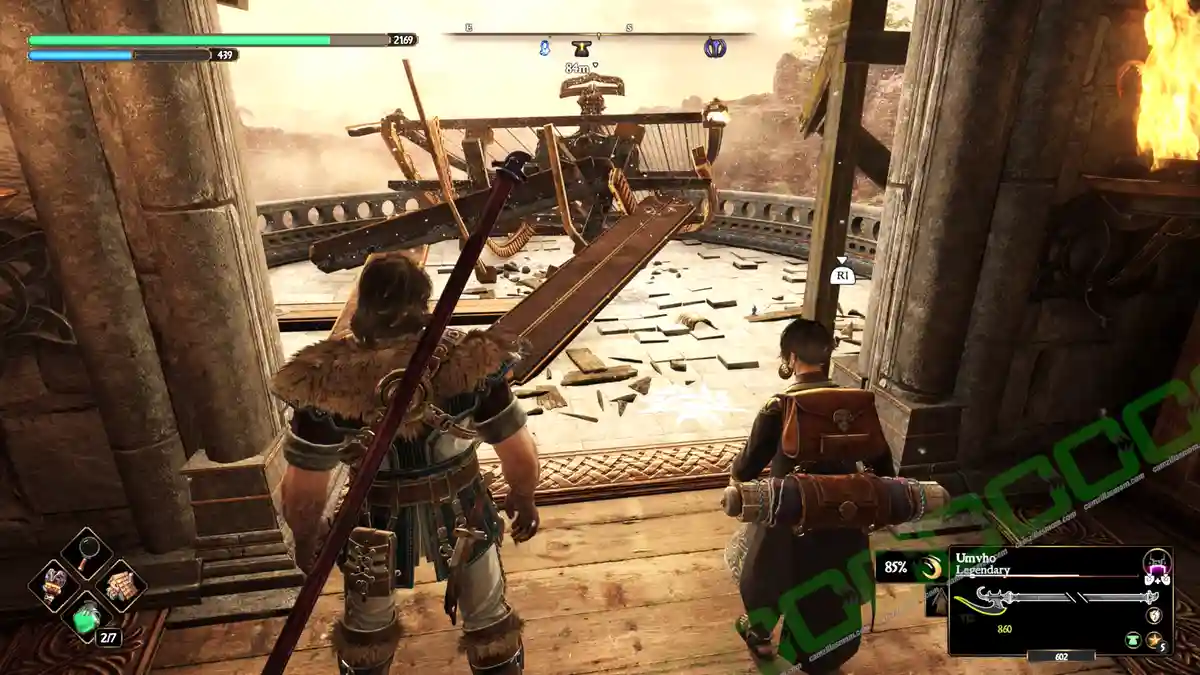
Adso will receive a book at will, “sense something” when close enough. There are three glowing spells scattered in the library to activate the elevator in the center. Every time Adso reads one of the runes, beasts will spawn to fight until he’s done reading. They are glowing brightly and not hard to find. Then, enter the elevator to reach the top of the library. On the balcony, you can use the time rune to reconstruct a Karamuth’s landing spot.
Travel to the nearest Karamuth point of your choice and use it to fly to the top of the library. The destination will be selected for you. There is an anvil, but it can’t be activated without a translated tablet. Adso will find the book upstairs, where you have to make a choice: Either burn the Genesis Hex or use it on Nerea’s body in the Royal Palace’s Mausoleum.
MORE BLADES OF FIRE GUIDES
Blades of Fire
Release: May 22, 2025
Developer: MercurySteam
Publisher: 505 Games
Official Website: https://bladesoffire.com/
