Chapter 6: Gaipajama is the sixth and final chapter of Tintin Reporter – Cigars of the Pharaoh, and Tintin arrives at the palace of the Maharajah of Gaipajama without Snowy. This Tintin Cigars of the Pharaoh Chapter 6 walkthrough takes you through all 14 quests in order, including the tree door puzzle, the pole jumping puzzle, the cigar factory and the ending.
Related Guides:
Chapter 1: MS Epomeo Walkthrough
Chapter 2: Tomb of Kih-Oskh Walkthrough
Chapter 3: Arabia Walkthrough
Chapter 4: Abudin Walkthrough
Chapter 5: Indian Jungle Walkthrough
Tintin Reporter – Cigars of the Pharaoh Game Guides
- 1 – Maharajah’s Dummy Part 1: The Snake and the Punji
- 2 – Ghandaladir’s Room: Escape the Secretary’s Office
- 3 – Maharajah’s Dummy Part 2: Finish the Dummy
- 4 – A Puzzling Tree: Tree Door Puzzle Solution
- 5 – Up!: Pool Pole Jumping Puzzle Solution
- 6 – Smugglers Part 1: Follow the Man in the Kih-Oskh Robe
- 7 – Cigars of the Pharaoh: The Flor Fina Cigar Factory
- 8 – Smugglers Part 2: Mining Cart Puzzle and Crowbar
- 9 – A Spy in Our Midst: Secret Meeting Password
- 10 – Face Value: Unmask the Kih-Oskh Brotherhood
- 11 – Eyes on the Run: Chase the Fakir
- 12 – Himalayan Chase: Catch the Villains’ Car
- 13 – Rock: Snowy’s Rock Throws
- 14 – The Royal Heir: Save the Prince and the Ending
1 – Maharajah’s Dummy Part 1: The Snake and the Punji
Location: Gaipajama – Maharajah’s Palace
Quest Step: Find a head and a body for the dummy
Tintin is convinced that whoever poisoned the Maharajahs, Zlotzky and the professor will try the same with the current Maharajah, so he builds a dummy to put in the Maharajah’s bed. Take the coconut from the fruit bowl as the head and the mannequin by the window as the body.
The young Prince of Gaipajama comes in for a short chat and leaves again. Thanks to his visit, Tintin now knows how to open the secret doors: move the right tusk on the door. Interact with the left door and go into the room behind it. As you approach the desk, a snake blocks your path.
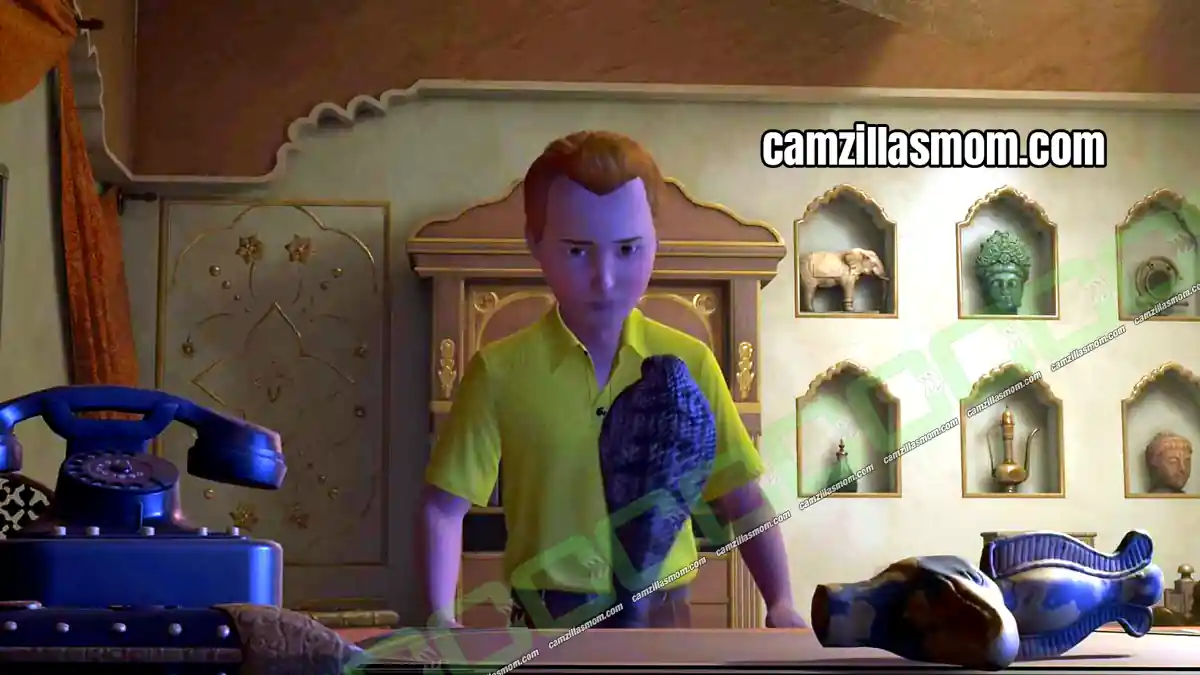
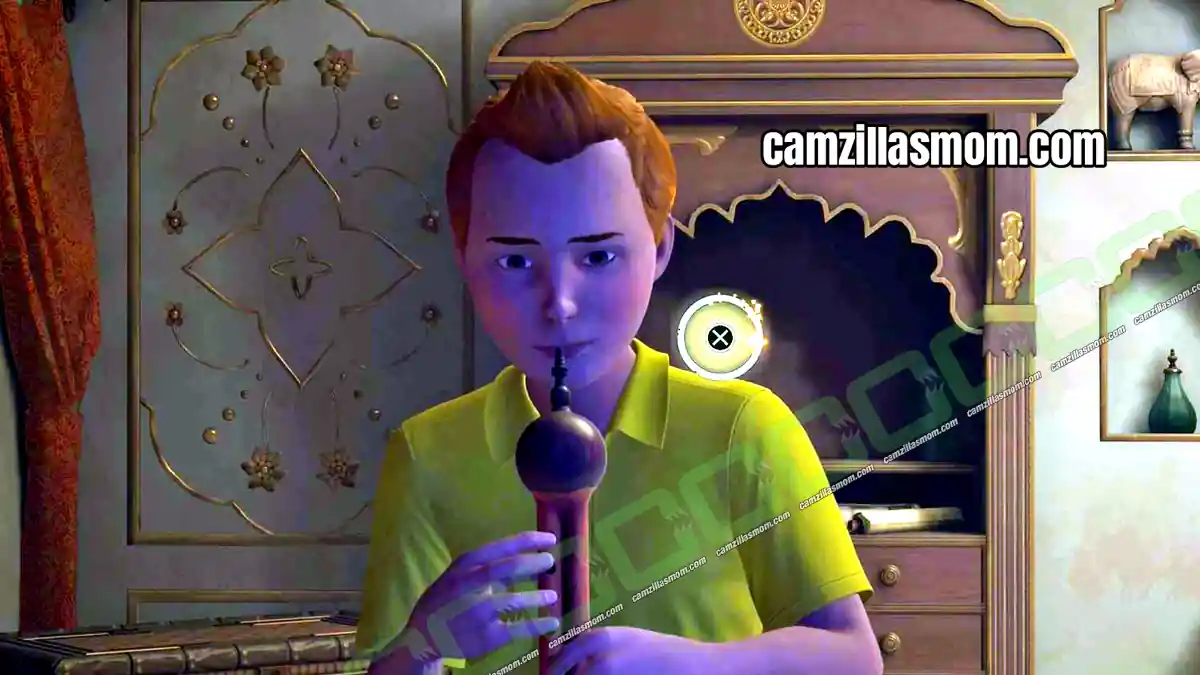
Go back to the Maharajah’s bedroom and into the Prince’s room next to it, the one with an elephant head on the door. Ask the Prince about the snake, and he teaches Tintin how to play the Punji to lull it to sleep.
Return to the room with the snake and use the Punji. The snake goes back into its pot, and Tintin can investigate the desk, where he finds another statue from the tomb. Someone comes in, so Tintin hides under the desk and overhears a conversation between the Maharajah’s Secretary and the Grand Master.
2 – Ghandaladir’s Room: Escape the Secretary’s Office
Location: Gaipajama – Maharajah’s Palace
Quest Step: Get out of the secretary’s room
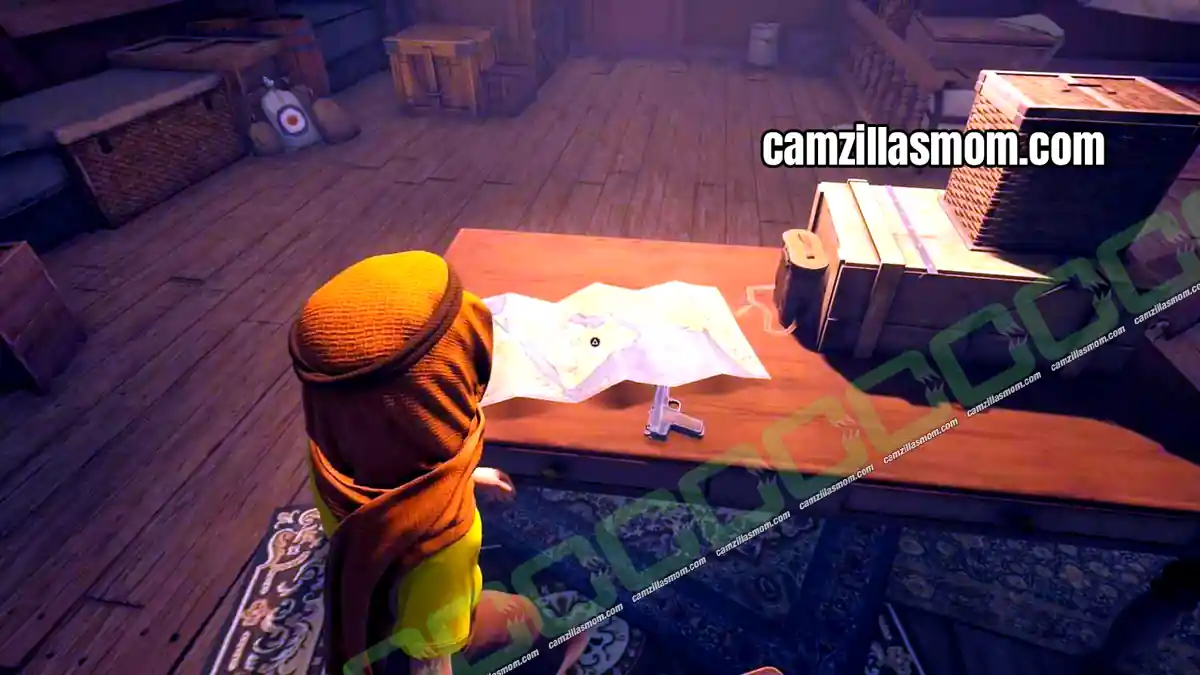
The Secretary locks the door when he leaves, so Tintin can’t get back to the Maharajah’s bedroom through the secret door. Take another look at the desk and pick up the Kukri knife. Use it to open the chest and take the ear trumpet.
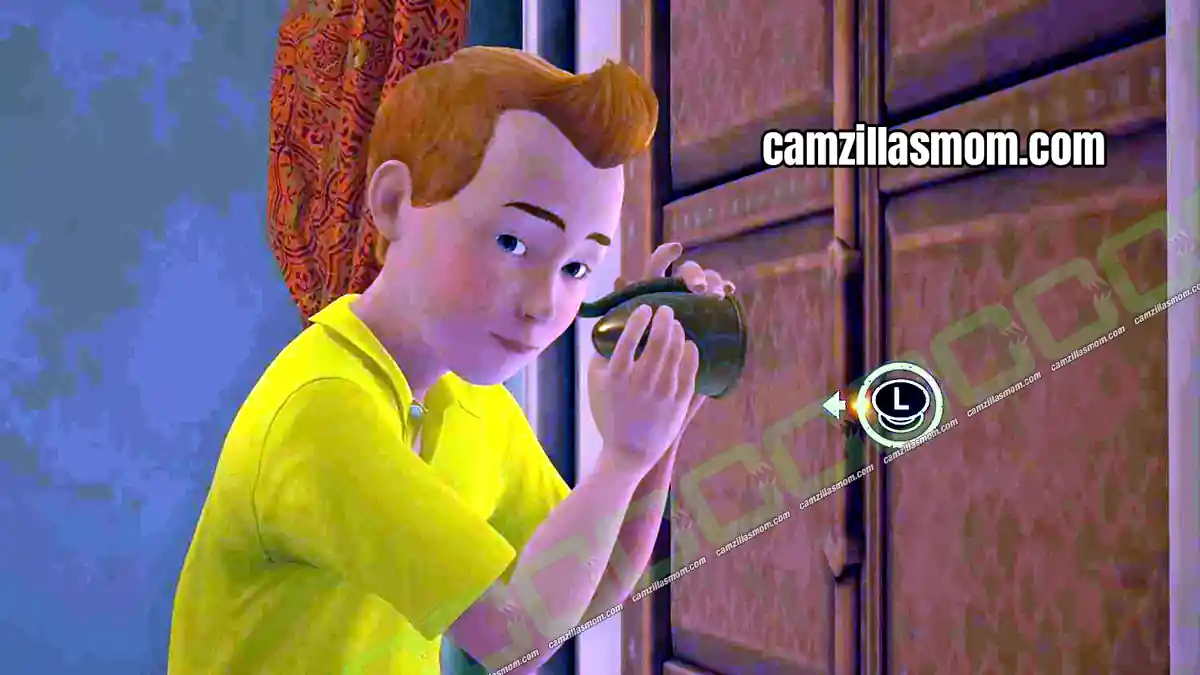
Interact with the real door, and Tintin uses the ear trumpet to listen for anyone in the corridor. If you can’t hear anything, turn up the volume. You hear footsteps coming closer and fading away again. Once they are gone, leave with the movement shown on screen. Tintin automatically returns to the Maharajah’s bedroom.
3 – Maharajah’s Dummy Part 2: Finish the Dummy
Location: Gaipajama – Maharajah’s Palace
Quest Step: Stick the coconut on the mannequin
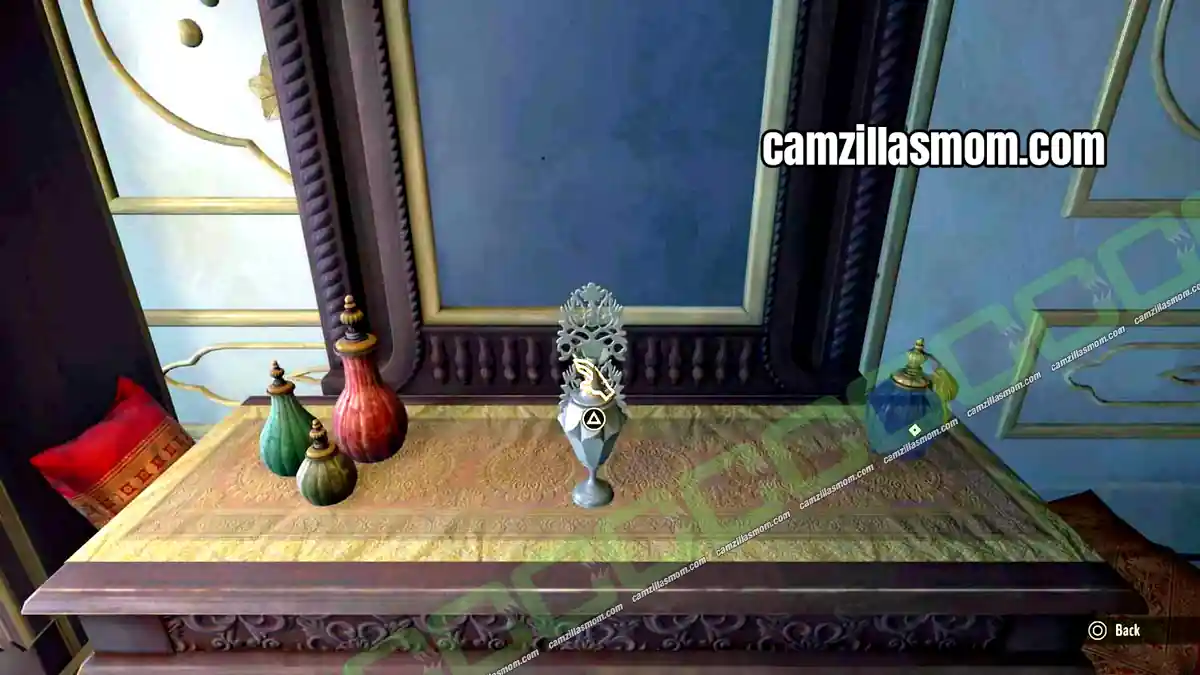
Back in the Maharajah’s bedroom, interact with the mannequin to stick the coconut on it. Pick up the bottle of Kohl from the dresser with the mirror and use it on the mannequin to paint a face. The last thing missing is a beard: interact with the red curtain, and Tintin cuts a beard, finishes the dummy and puts it in the bed.
4 – A Puzzling Tree: Tree Door Puzzle Solution
Location: Gaipajama – The Tree Door
Quest Step: Solve the tree mechanism
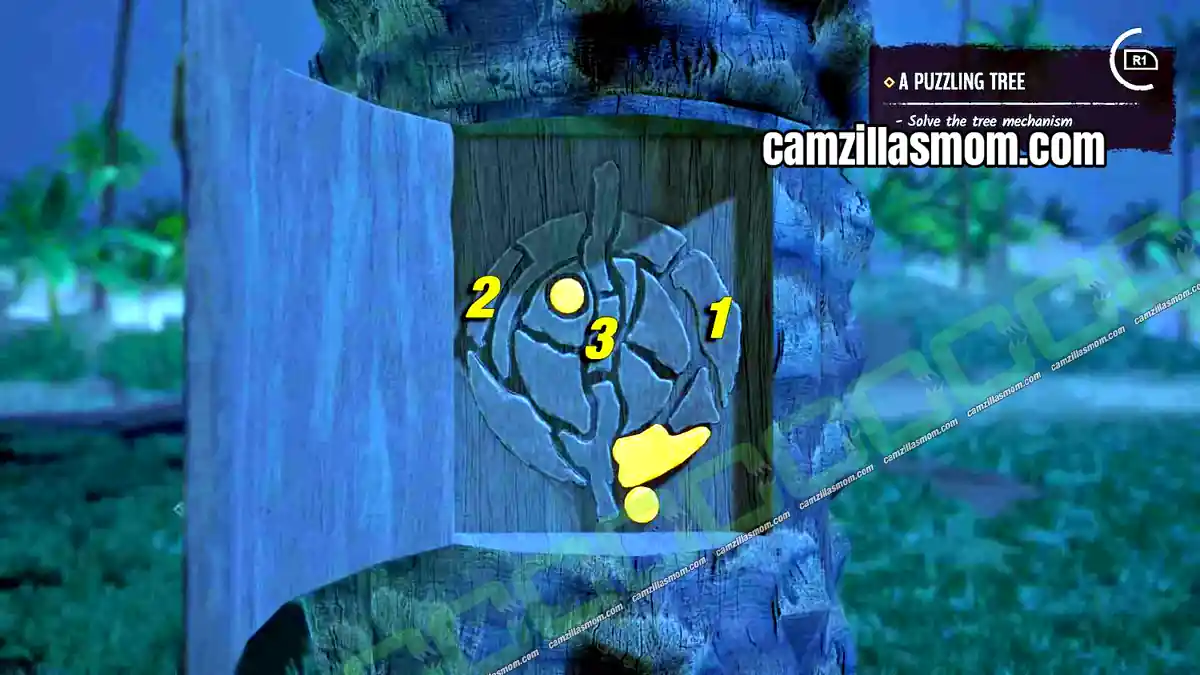
In the next sequence, the Fakir disappears through a door in a tree. To open it, press the buttons until the symbol is complete. It works like the Ankh puzzle in the Tomb of Kih-Oskh: pressing a button also fills in the pieces next to it. The screenshot below shows the solution.
5 – Up!: Pool Pole Jumping Puzzle Solution
Location: Brotherhood Hideout – Pool
Quest Step: Find your way back to the upper floor
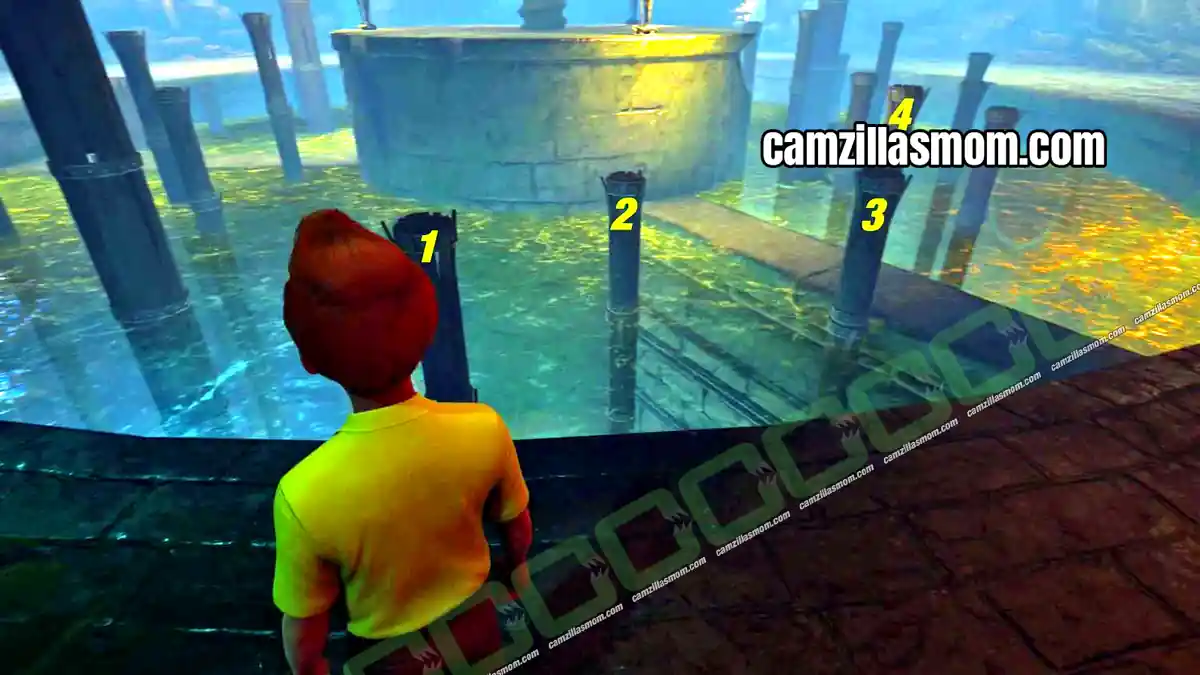
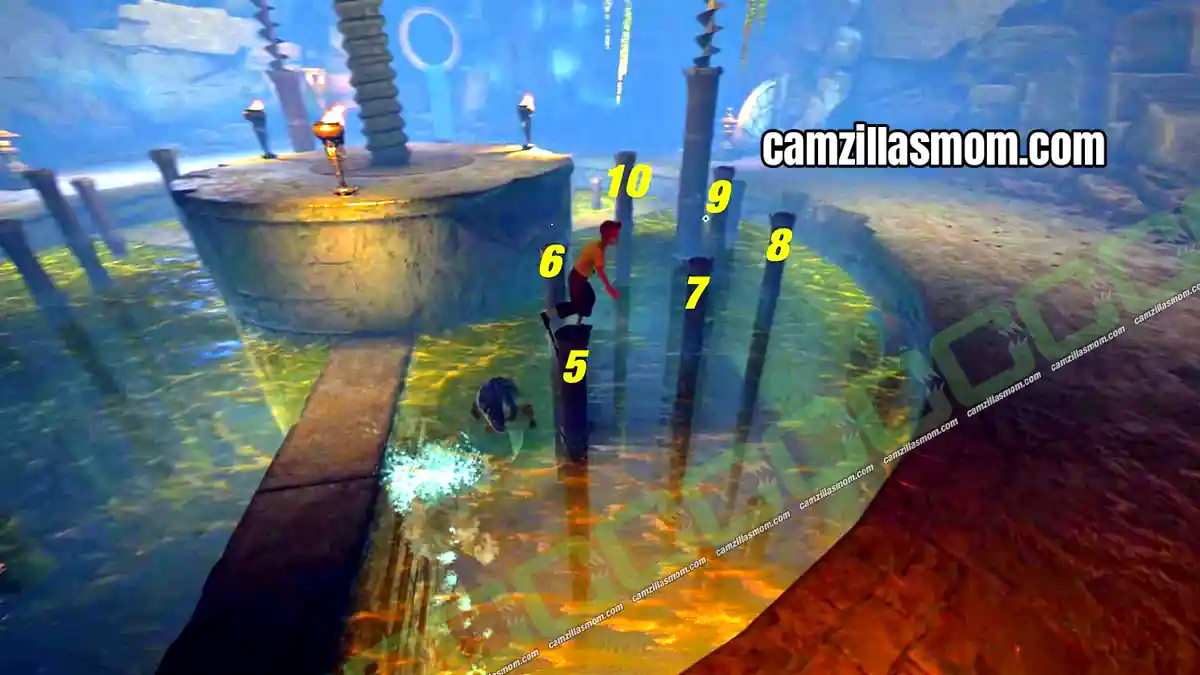
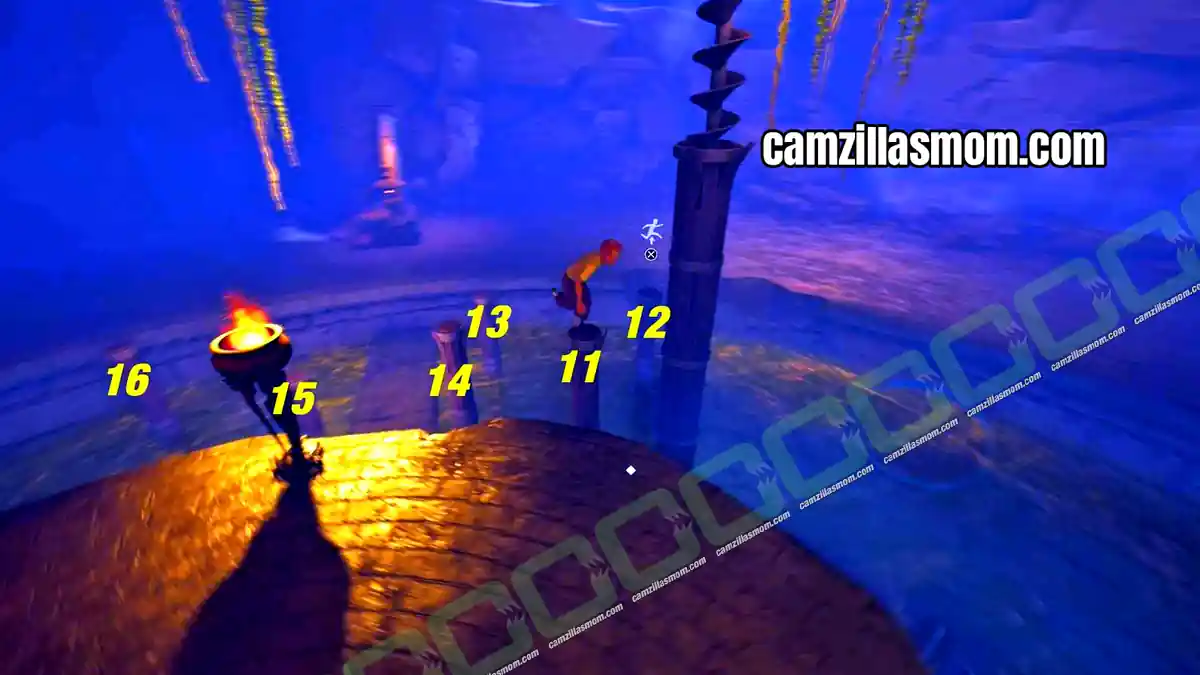
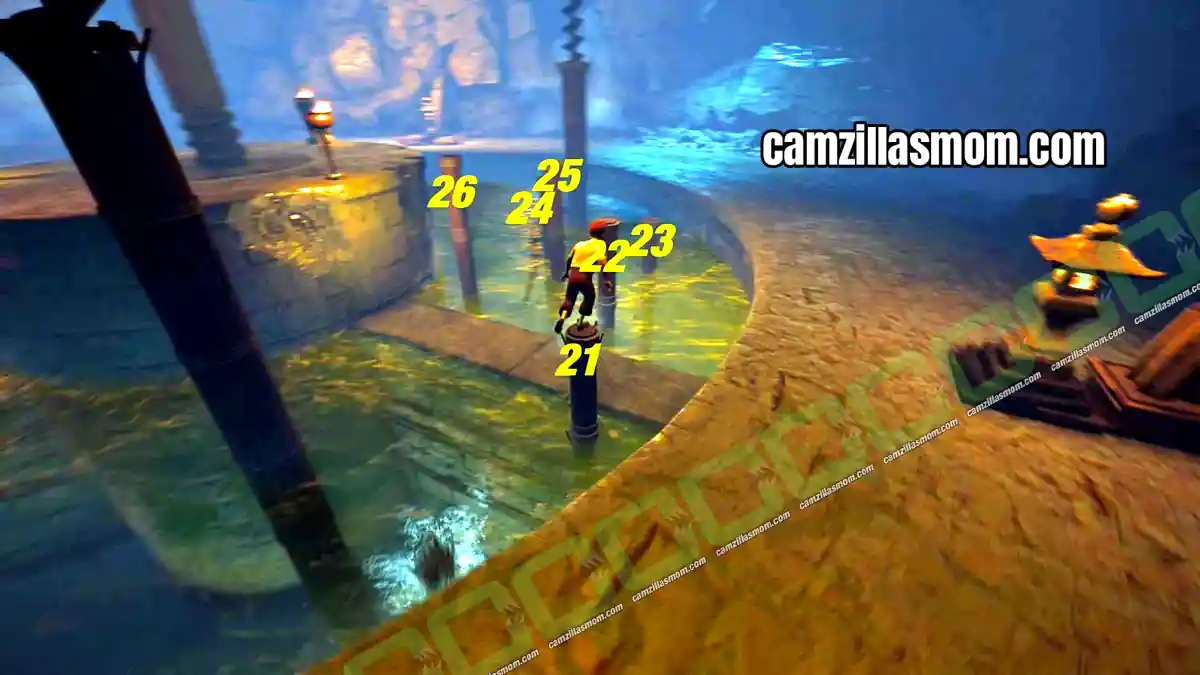
Tintin finds a circular pool with a screw mechanism in the middle. The pool is split into three sections, and poles stick out of one of them. Jump on each pole to make it disappear. Once a set of poles is gone, the screw, which is actually an elevator, comes down further.
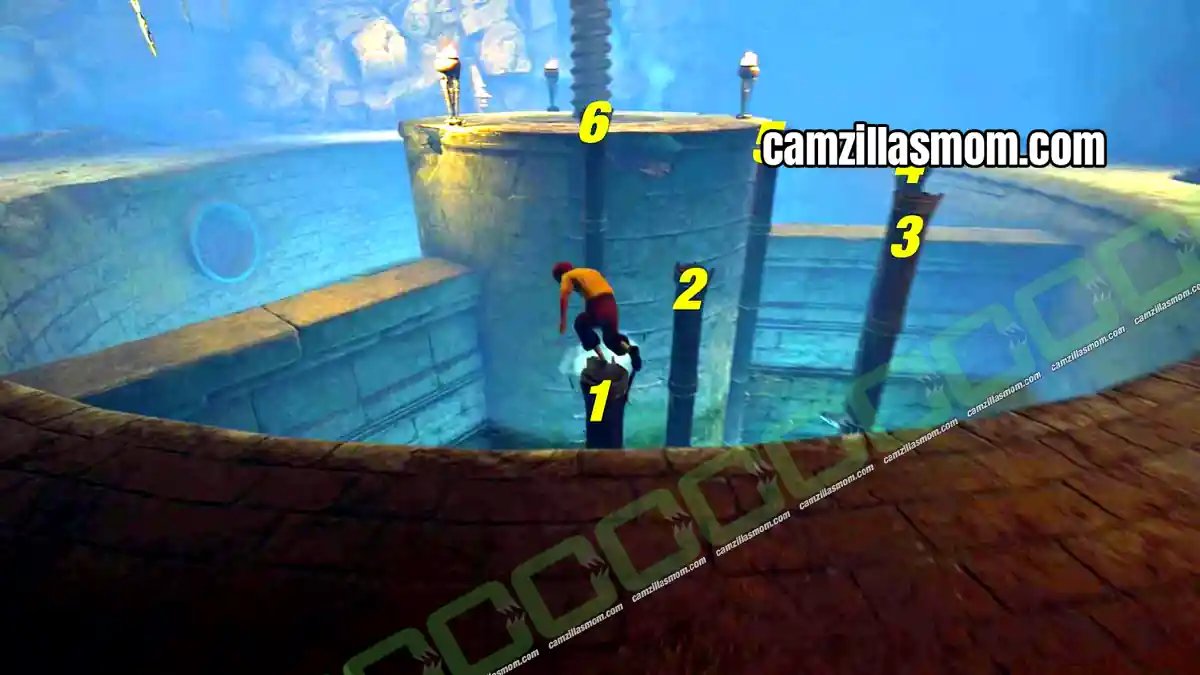
Second set of poles: Two new sets of poles appear. One replaces the first set, and the other shows up on the left. You can solve them in any order, but both have to be cleared. Start with the easier one and jump the poles from the outside ring, as shown below.
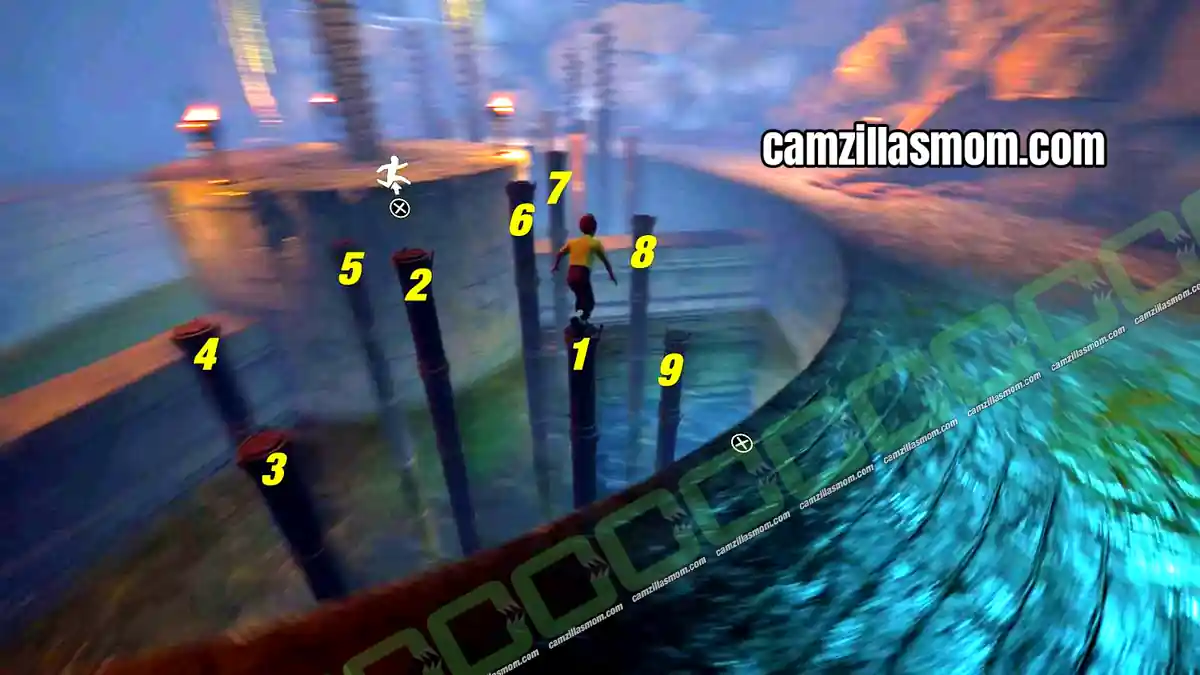
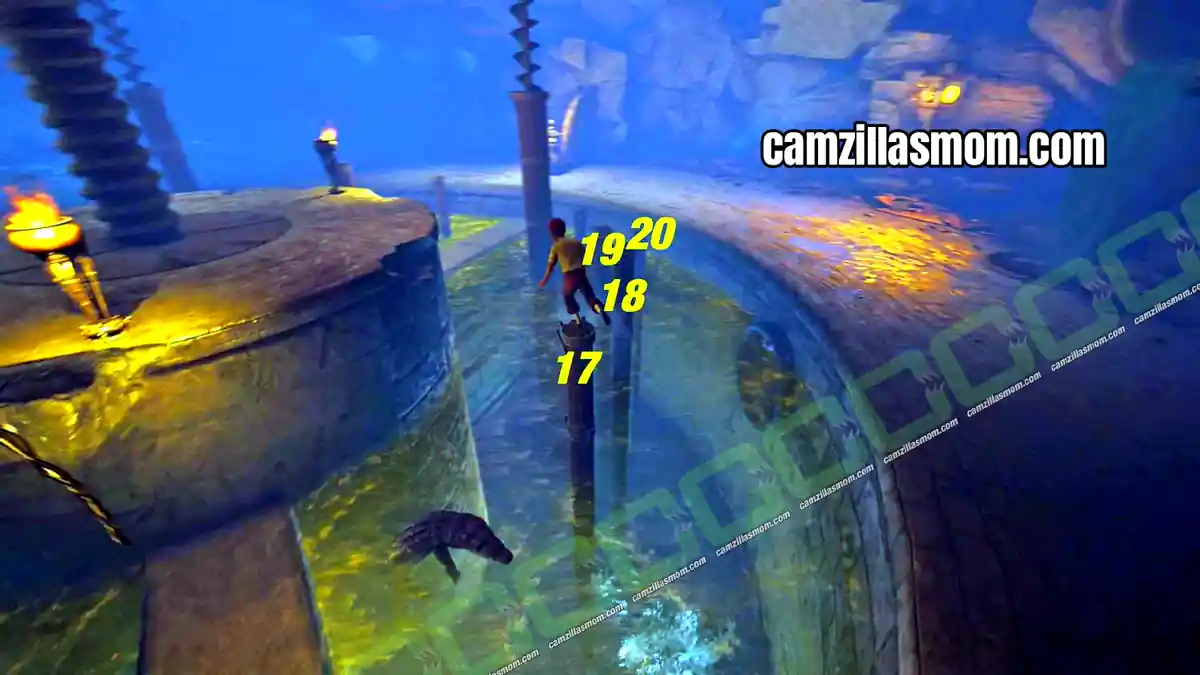
Third set of poles: Now head over to the set that looks more complicated and solve it as shown in the three screenshots below.
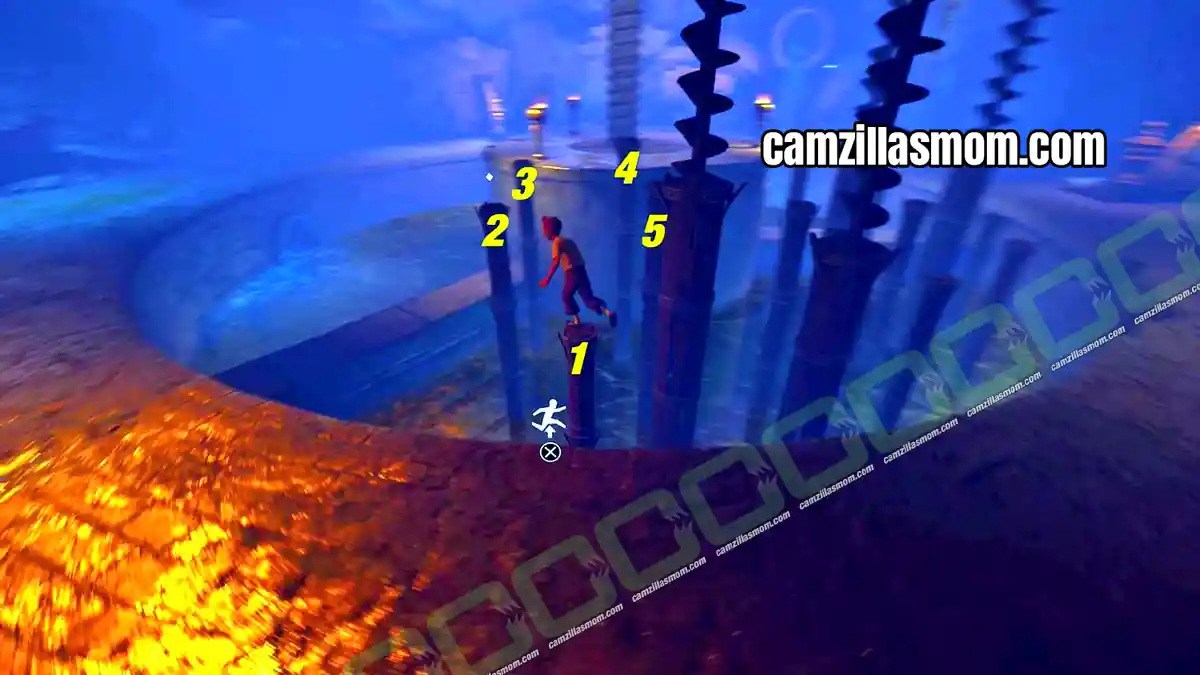
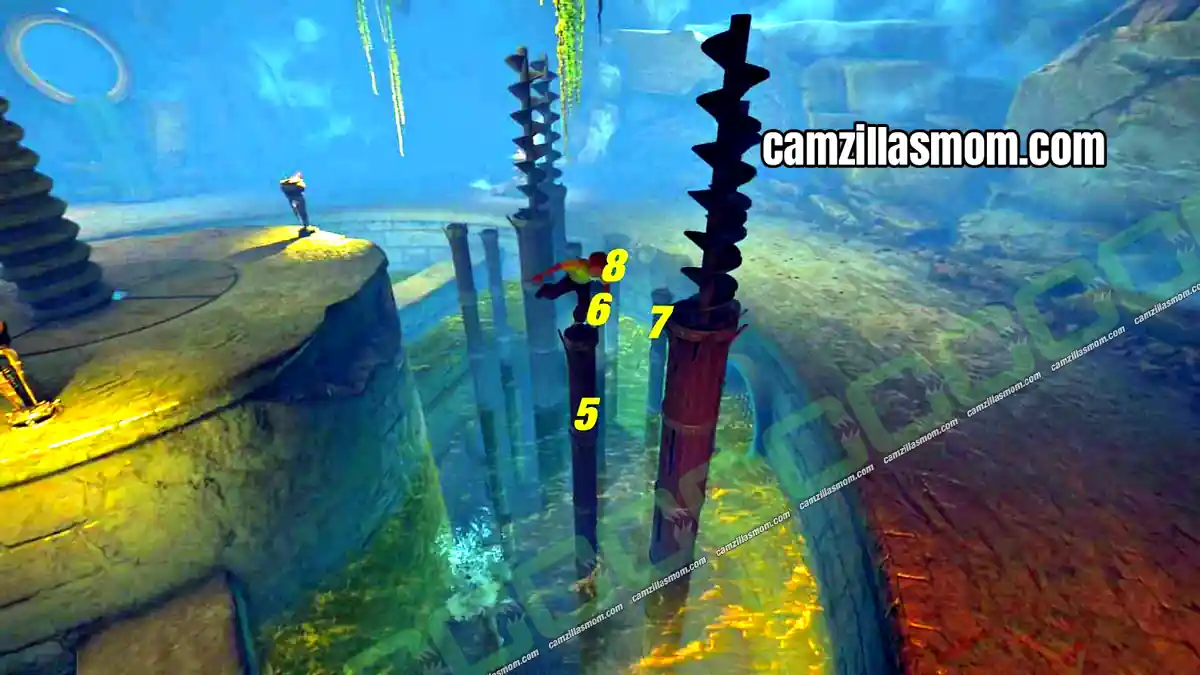
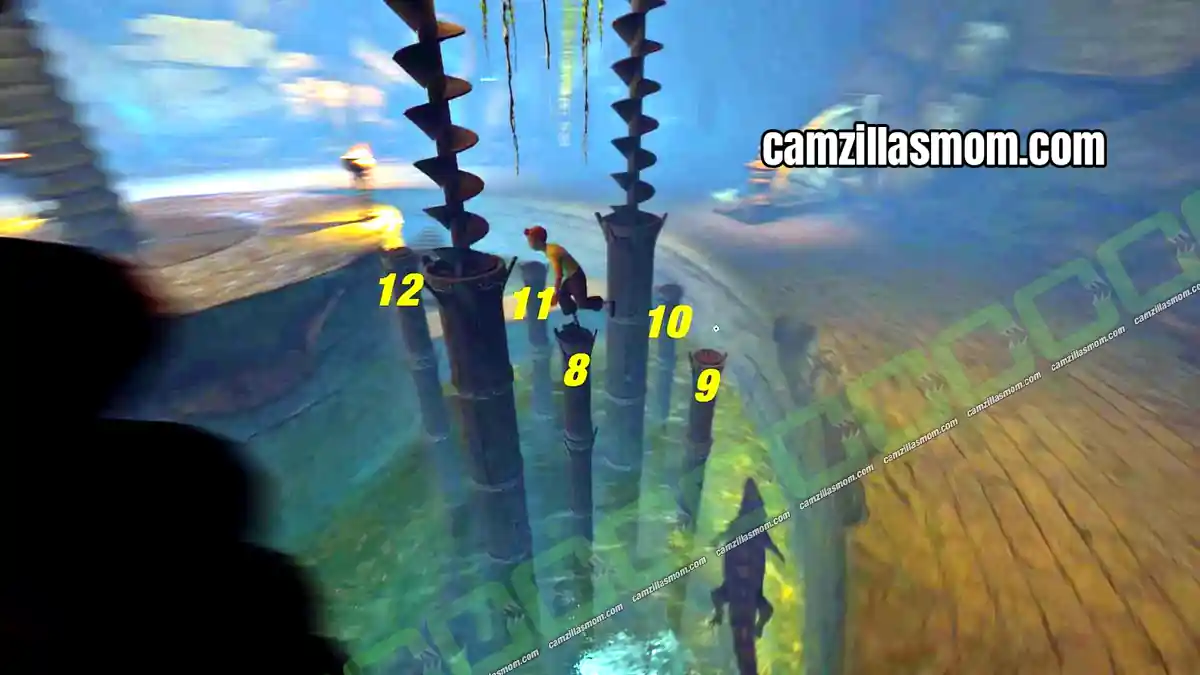
Last set of poles: The final pole puzzle stretches across the whole pool. One path is blocked by a massive pole, and that is where you start. The five screenshots below show all the jumps.
6 – Smugglers Part 1: Follow the Man in the Kih-Oskh Robe
Location: Brotherhood Hideout
Quest Step: See where the man in the Kih-Oskh robe is going
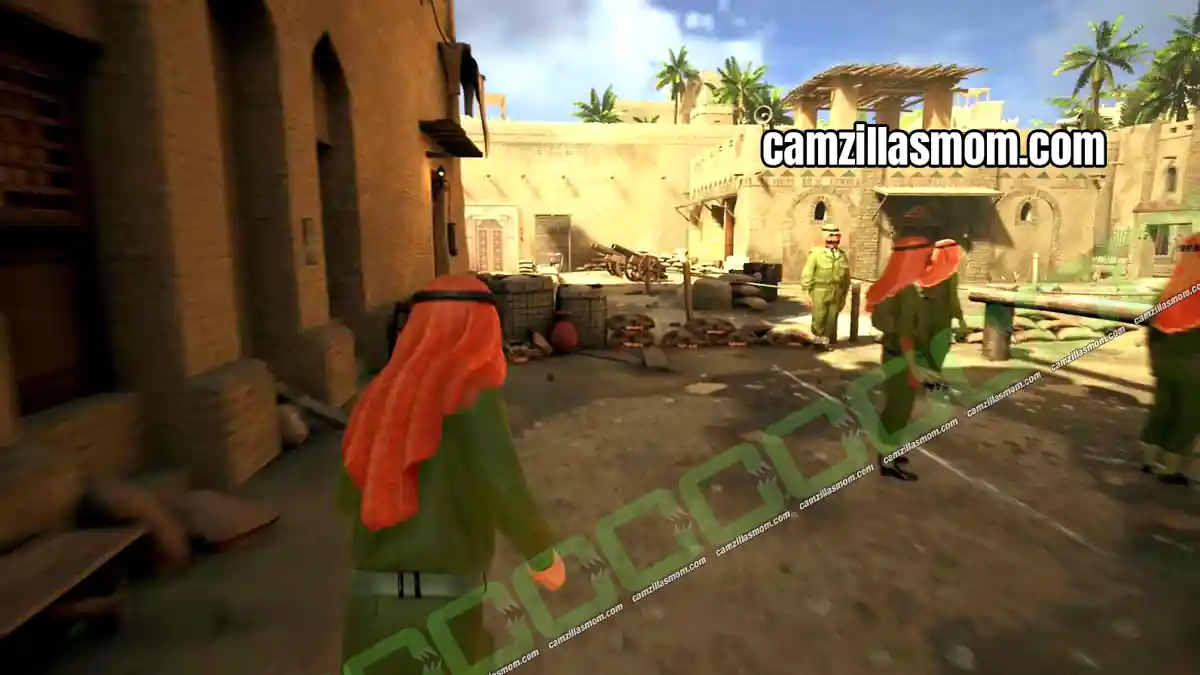
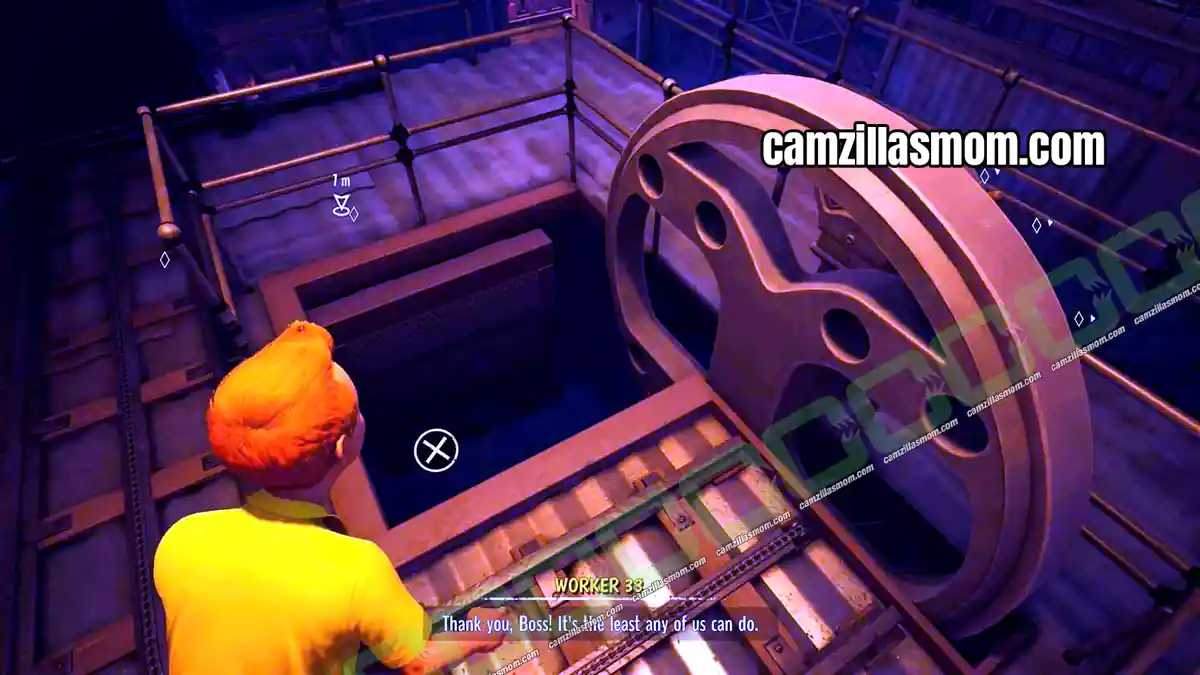
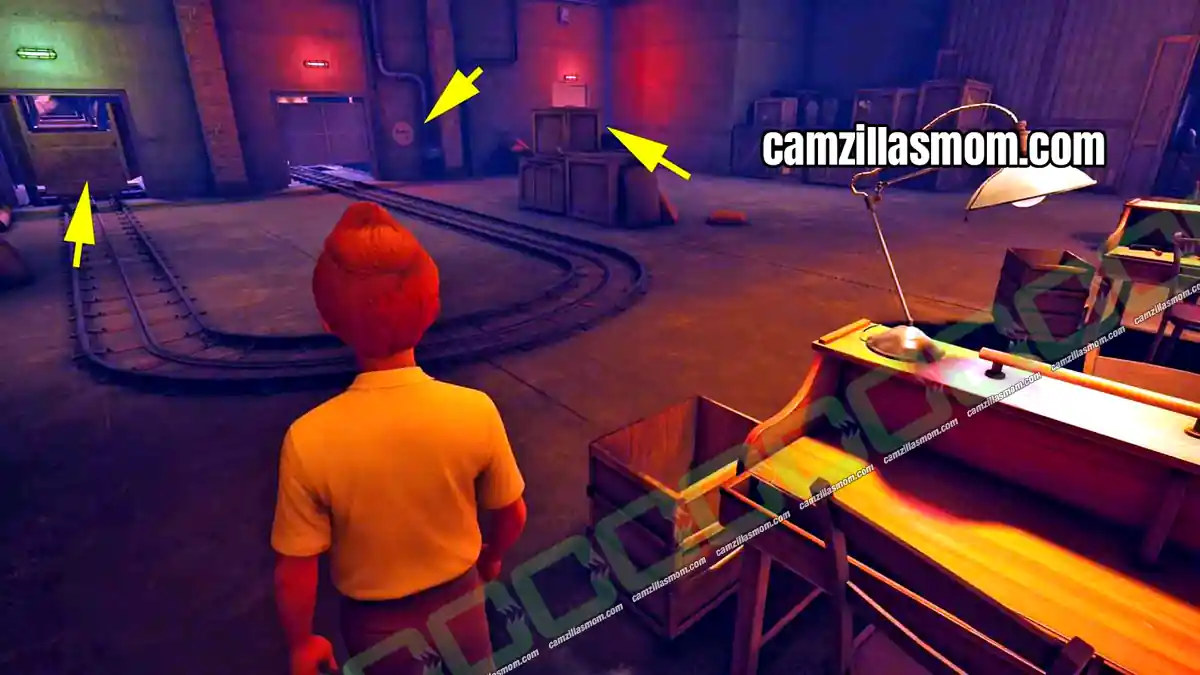
Ride the elevator up and follow the only corridor into a wider area. Next is a sneaking section. To follow the man in the robe past the watching guard, stay behind the mining cart until it goes off to the right. Then go left, behind the cover shown below.
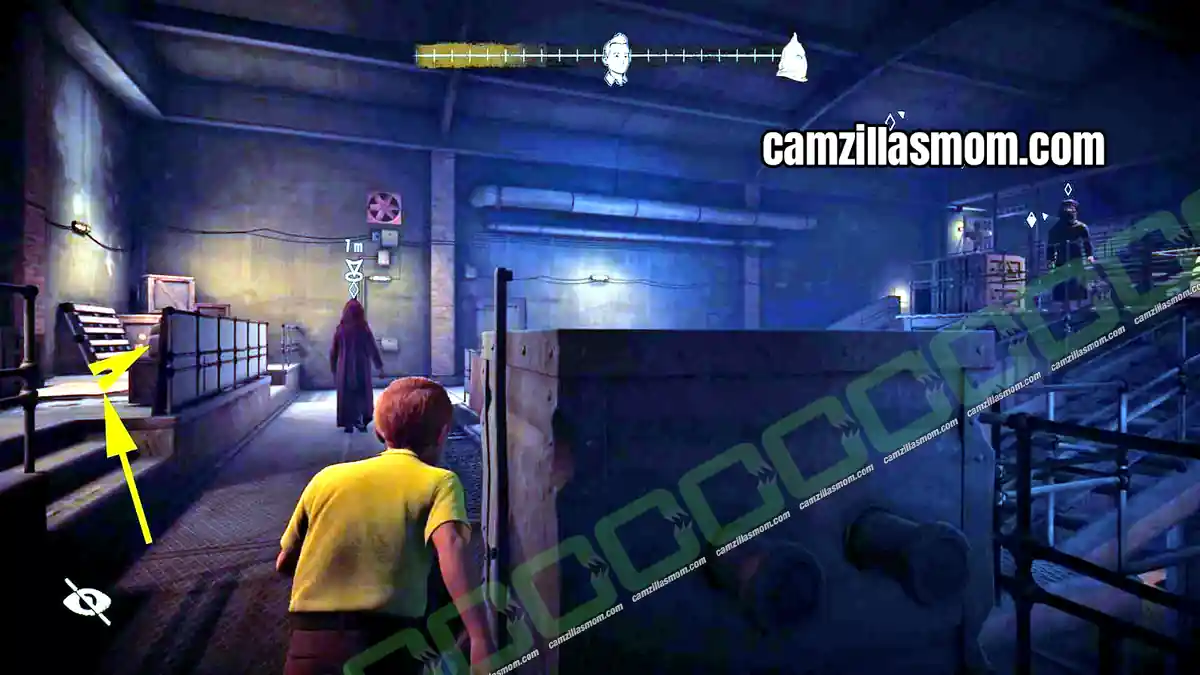
The man in the robe goes downstairs, but Tintin has to stay on this level. Sneak past the guard on the left. Whenever he shows an eye symbol, he can’t see Tintin, so that is your moment to move.
Tip: Remember this spot. Tintin comes back here later and then has to climb up to the left of where he stands in the screenshot below.
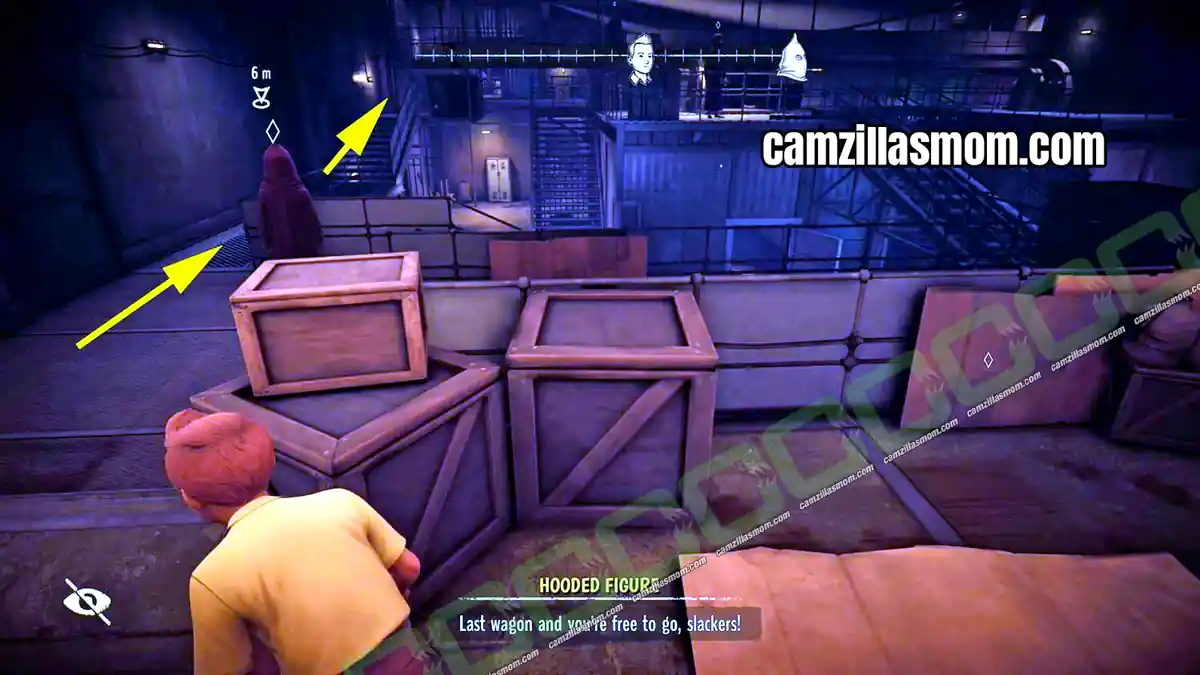
At the other end, climb down to the ground level.
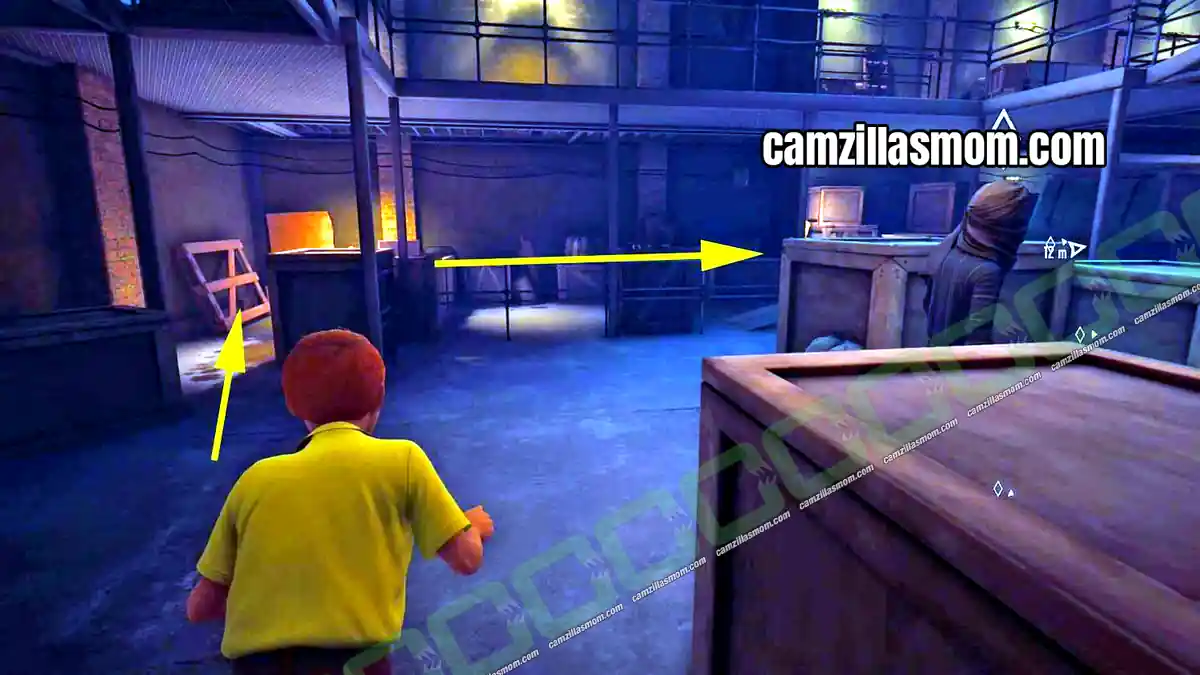
On the ground floor, wait for the man in the robe and the guard to move right. Then head to a hiding spot on the left and use the cover to sneak all the way to the right side of the room.
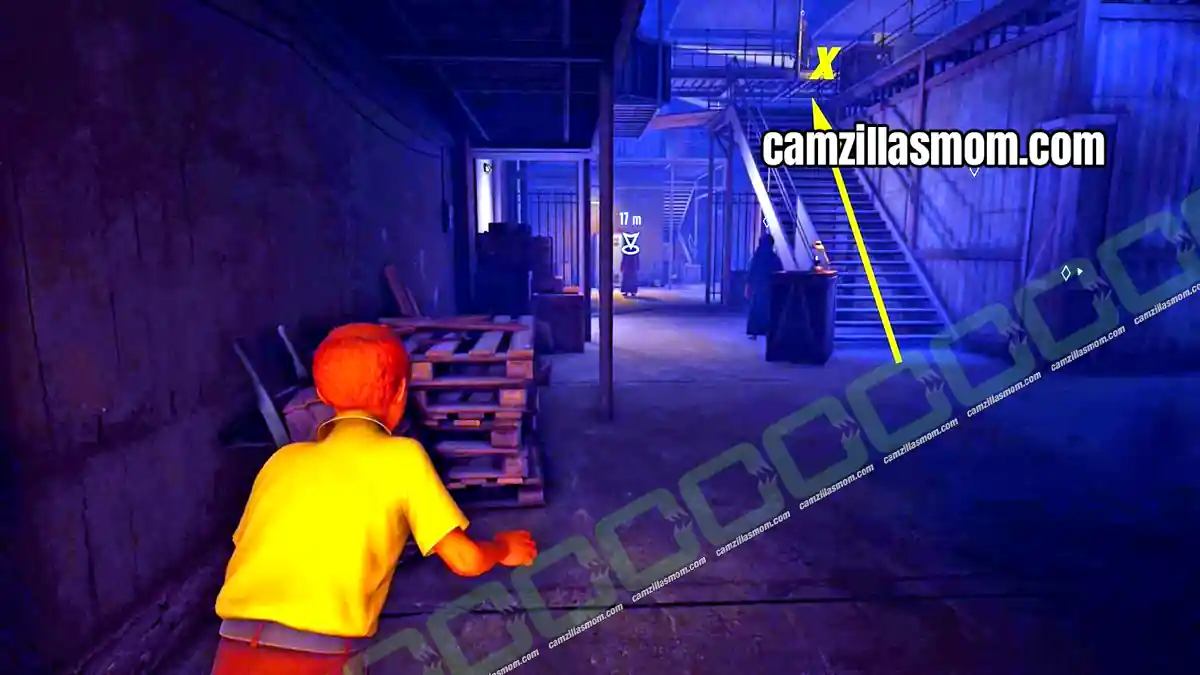
The only way forward is up the stairs, which brings Tintin back to the spot from before. This time, climb up where the X is in the screenshot below.
7 – Cigars of the Pharaoh: The Flor Fina Cigar Factory
Location: Brotherhood Hideout – Cigar Factory
Quest Step: Uncover the truth behind the Flor Fina cigars
You are now above the next part of the hall. Follow the platform all the way around and stay out of the spotlight. You then see the man in the robe leave through a door together with everyone else.
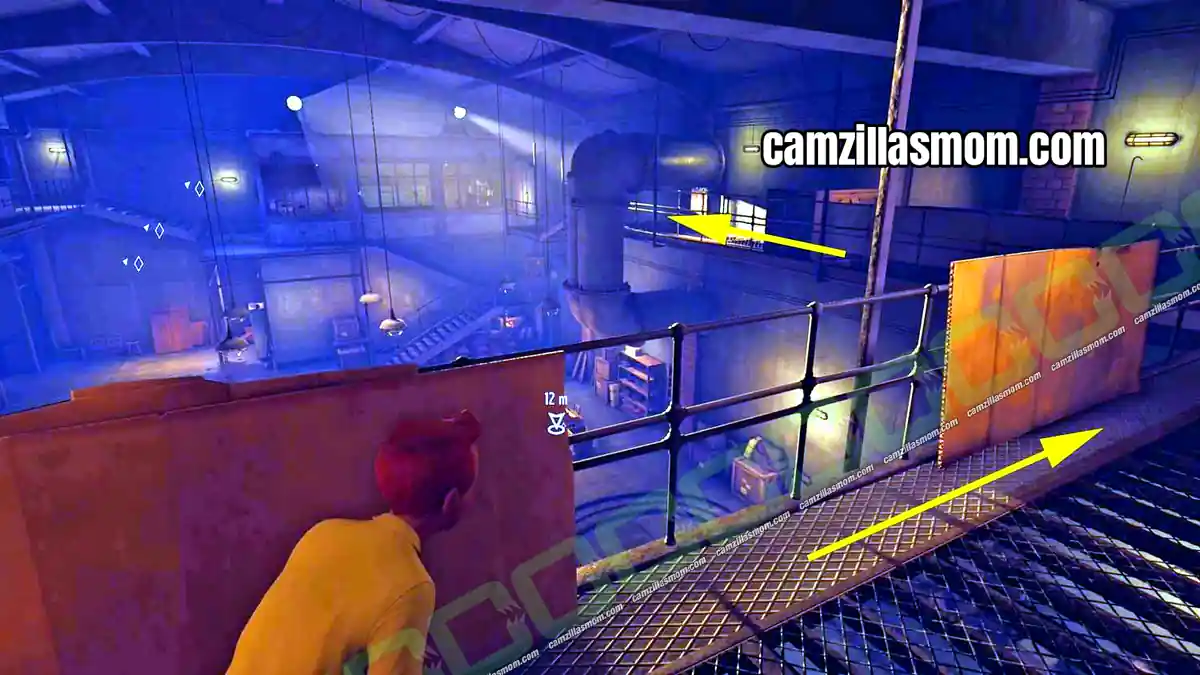
Now that you are alone, investigate the door at the back, the cart filling instructions on the wall and the mining cart. The mining cart is your way out, and Tintin comes up with a plan.
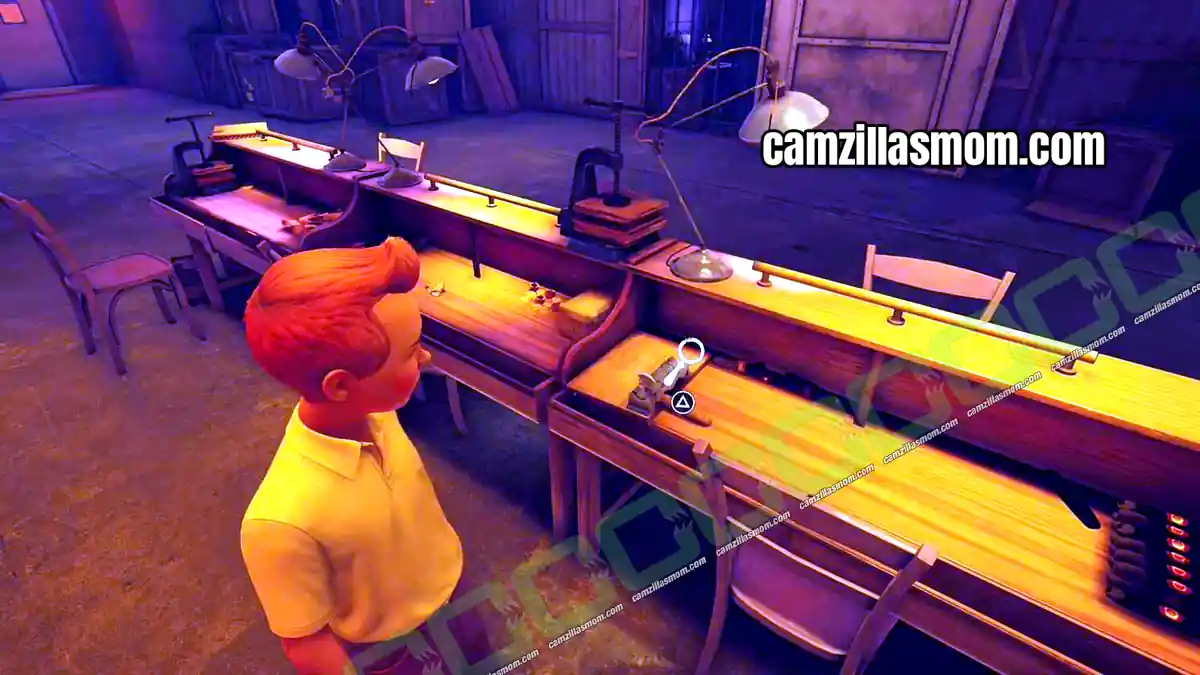
Go from desk to desk to discover how the cigar boxes are made and what actually goes into the cigars.
8 – Smugglers Part 2: Mining Cart Puzzle and Crowbar
Location: Brotherhood Hideout – Cigar Factory
Quest Step: Sneak into the adjacent room, get the wagon moving, craft a cover
Tintin now knows the secret of the cigars. Take another look at the cart poster to see how the cart has to be filled to pass inspection by the controllers on the other side. One table has the Flor Fina label and another has the seal of guarantee, which you need soon. There is also a pile of Flor Fina boxes on one table, but it only has 13 boxes. Tintin needs two more for the plan to work.
The two boxes and a pallet are near the wall, as shown below.
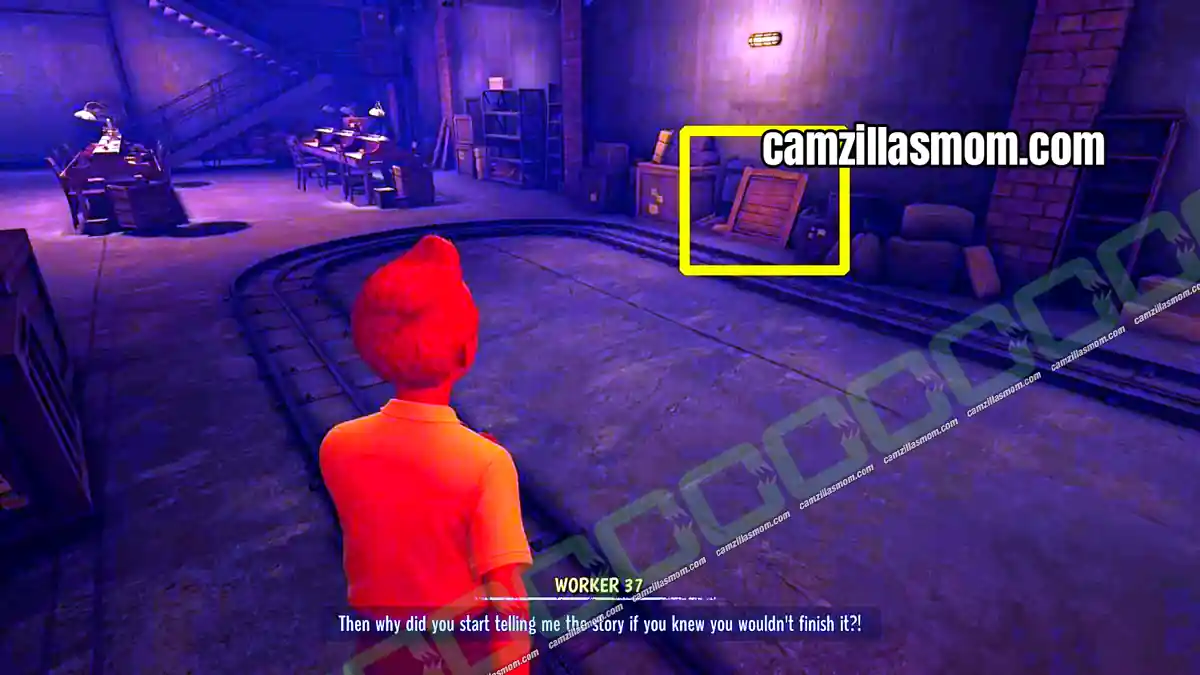
The two boxes are still missing the Flor Fina label and the seal of guarantee, so take them to the two tables. Then go back to the pile of 13 Flor Fina boxes. All that is missing now is glue and a way to move the cart.
The office upstairs is locked, so you need something to open it. Climb back up to the platform where you snuck in. A crowbar hangs on the wall, just below a light.
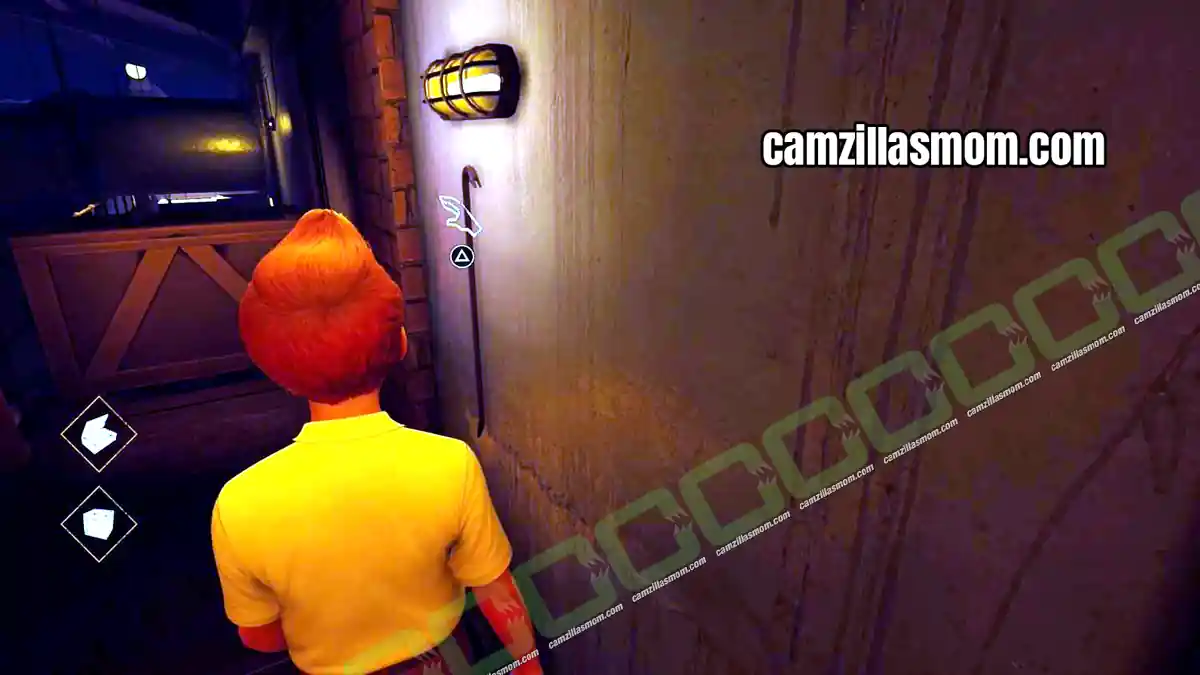
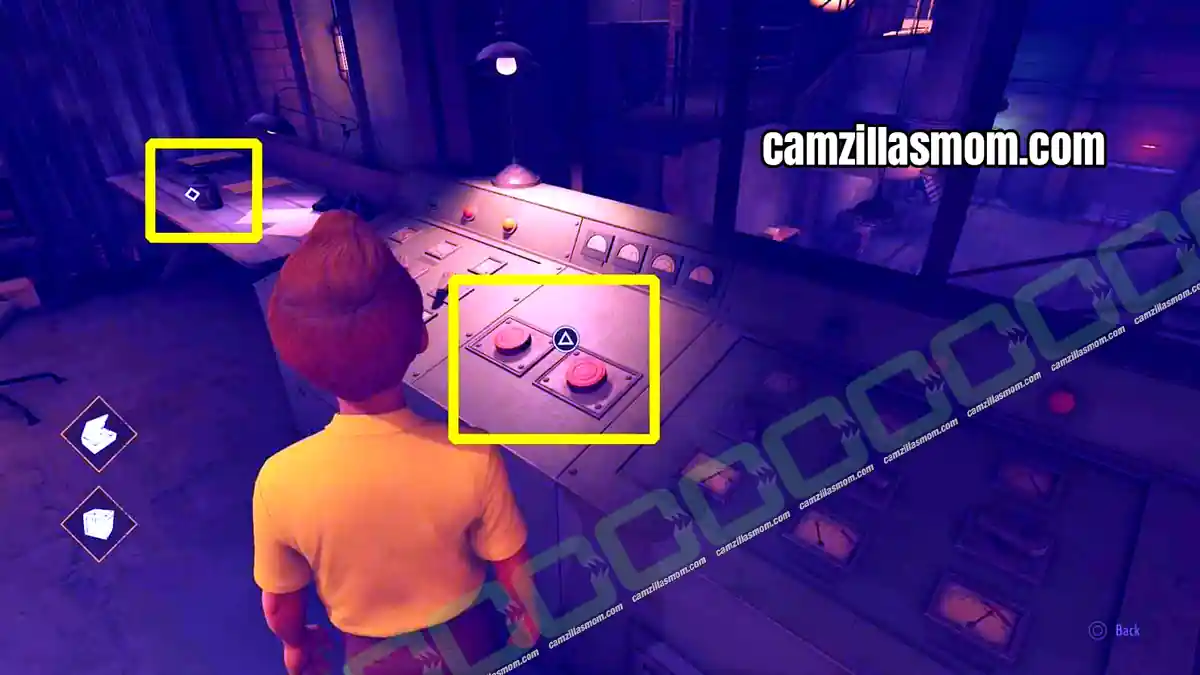
Use the crowbar to open the office door. Inside, the glue is on the table next to the controls for the mining carts. Once Tintin picks up the glue, he builds the ruse. Afterwards, go back to the office and press the left red button.
9 – A Spy in Our Midst: Secret Meeting Password
Location: Brotherhood Hideout – Meeting Room
Quest Step: Get past the windowed door
Follow the corridor to the next cutscene, where Tintin gets a robe. The door with a window only lets in people wearing a robe. Knock on it, and it turns out you also need one of the statues from the tomb. Go back to where you got the robe and search the man on the floor, Doctor Finney. He has a small statue in his pocket.
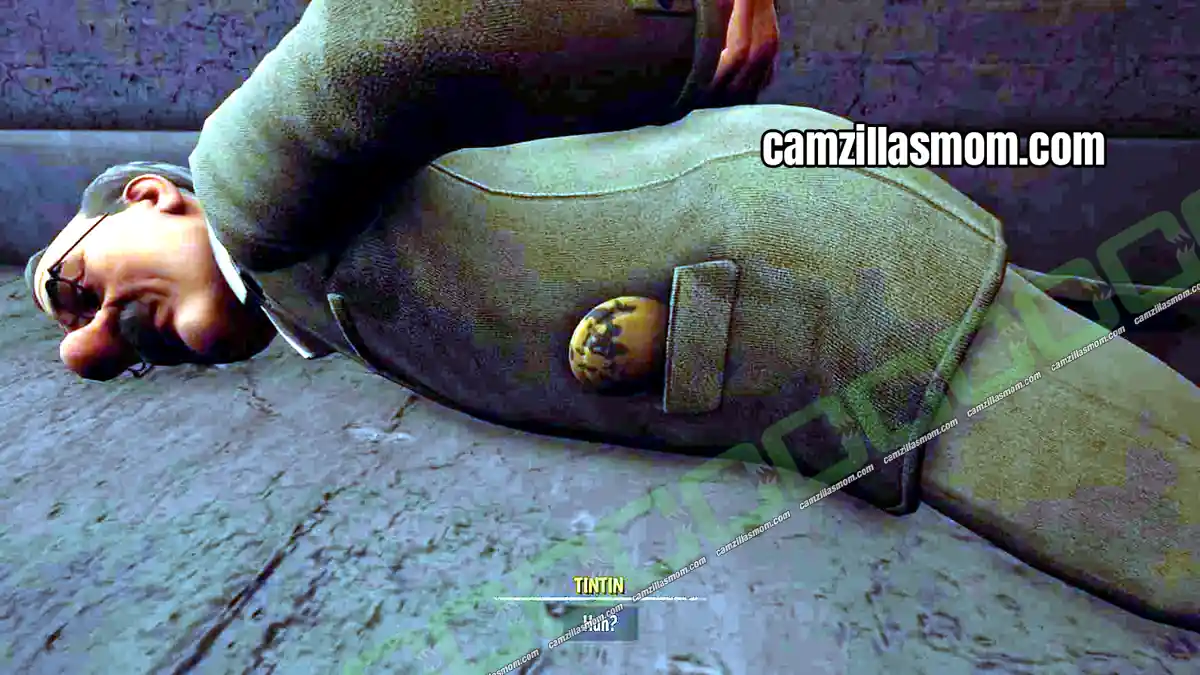
Return to the door and show the statue to get in.
In the meeting room, first interact with the door, which is Tintin’s escape route. Then talk to everyone and look at the table. Tintin’s seat is not next to the door, so you have to swap the seats to make sure he sits by it.
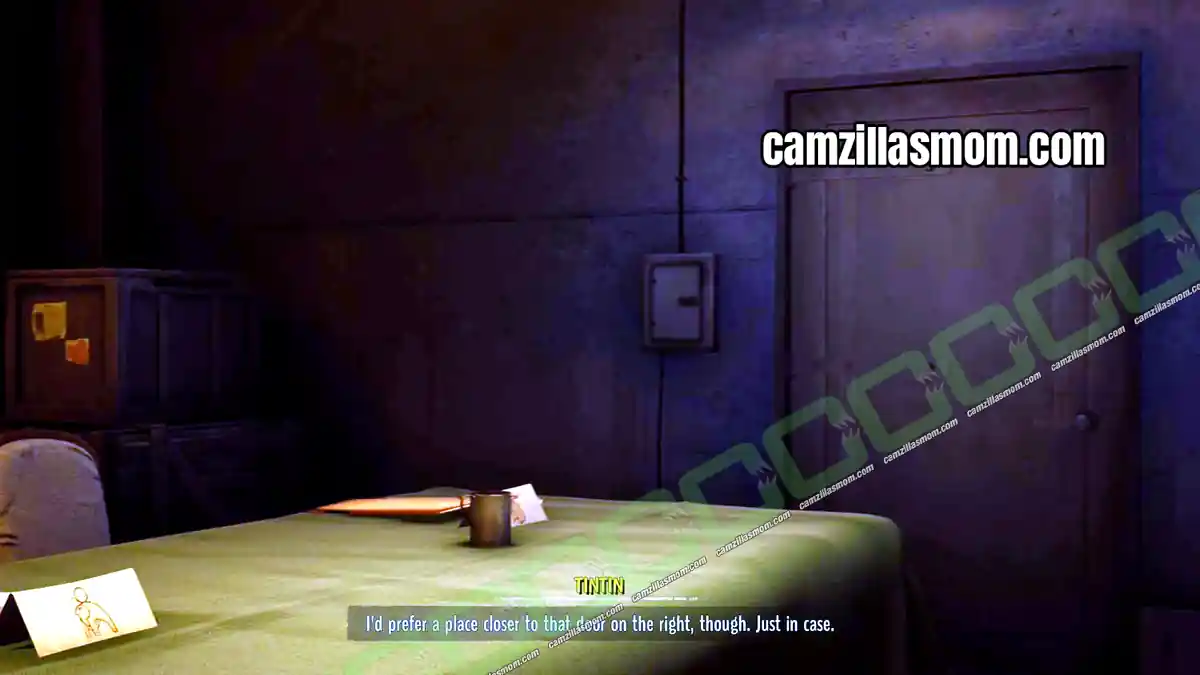
Talk to the group of three, then to Horus and Khnum. This is how you learn the meeting password: Kih-Oskh and Gaipajama. After the conversation, talk to Khnum alone, then talk to Horus while Khnum swaps the seats.
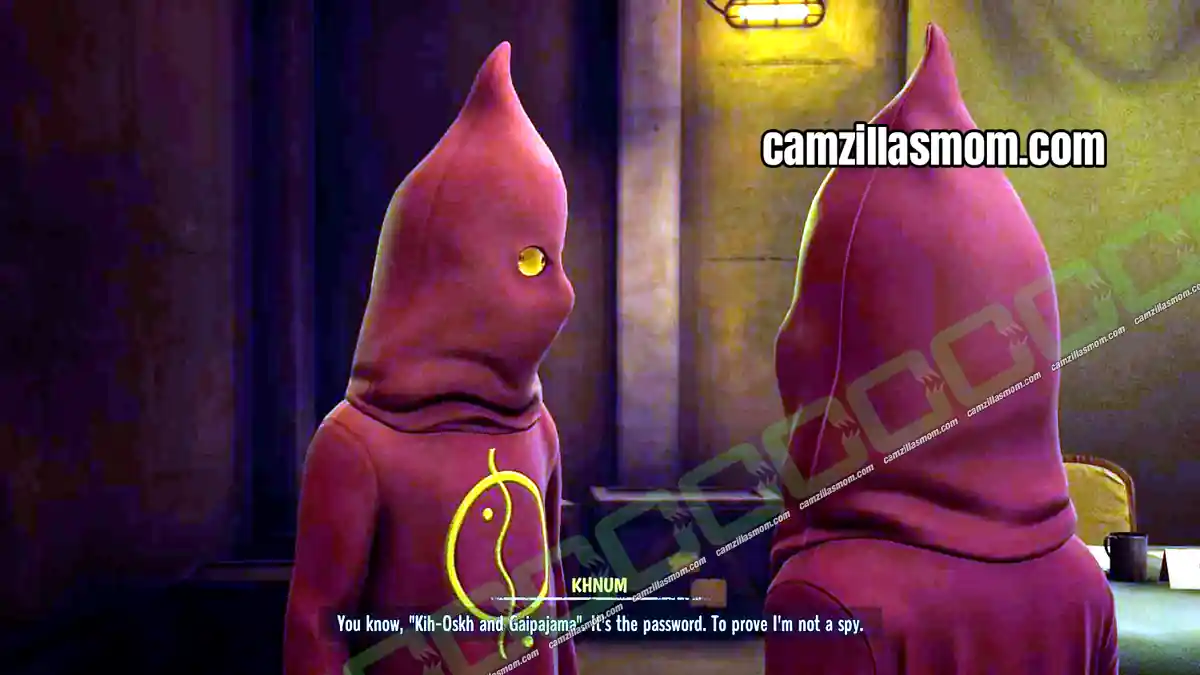
When you are asked for the password after the next cutscene, answer Kih-Oskh and Gaipajama.
10 – Face Value: Unmask the Kih-Oskh Brotherhood
Location: Brotherhood Hideout – Meeting Room
Quest Step: Unmask the Kih-Oskh Brotherhood
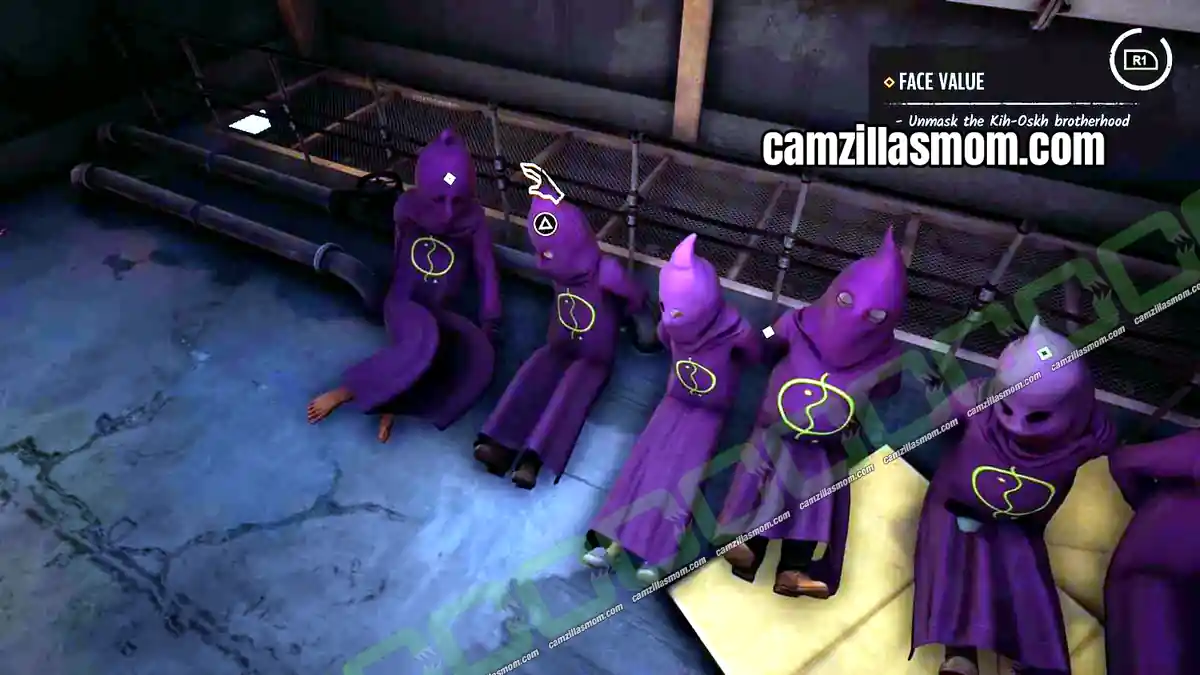
After Tintin takes care of all the brotherhood members on his own, pull off their hoods one by one.
11 – Eyes on the Run: Chase the Fakir
Location: Brotherhood Hideout
Quest Step: Chase the fakir!
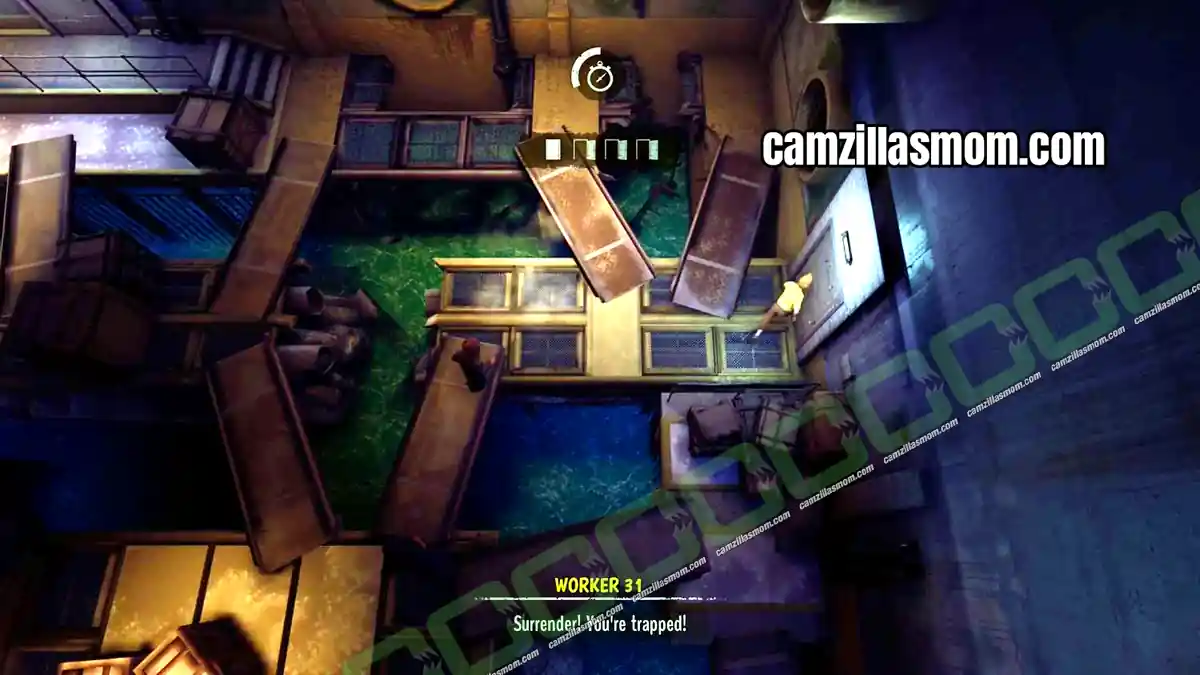
The Fakir gets away. Chase him until you reach the room with the guards, where you have to check the doors to find out where he went. He took the door on the far right, marked in the screenshot below.
12 – Himalayan Chase: Catch the Villains’ Car
Location: Himalayas
Quest Step: Catch up with the villains’ car
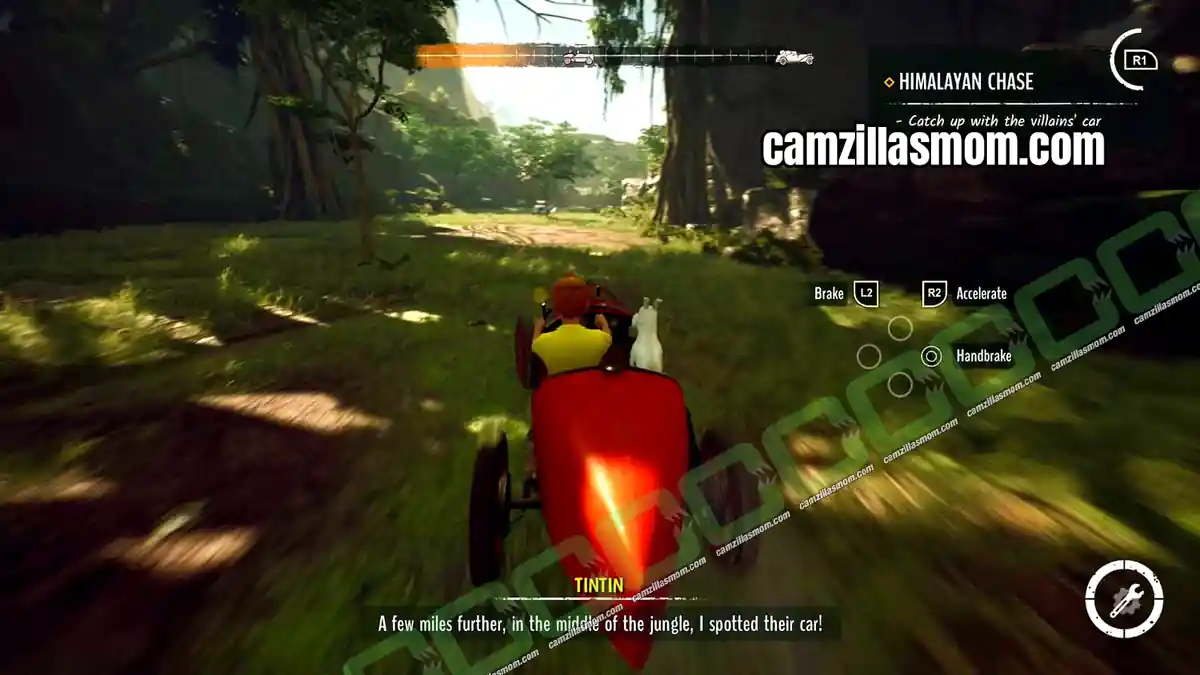
Next is a car chase through the Himalayas. Just stay on the gas, and you catch up eventually.
13 – Rock: Snowy’s Rock Throws
Location: Himalayas
Quest Step: Throw a rock onto the fakir’s head
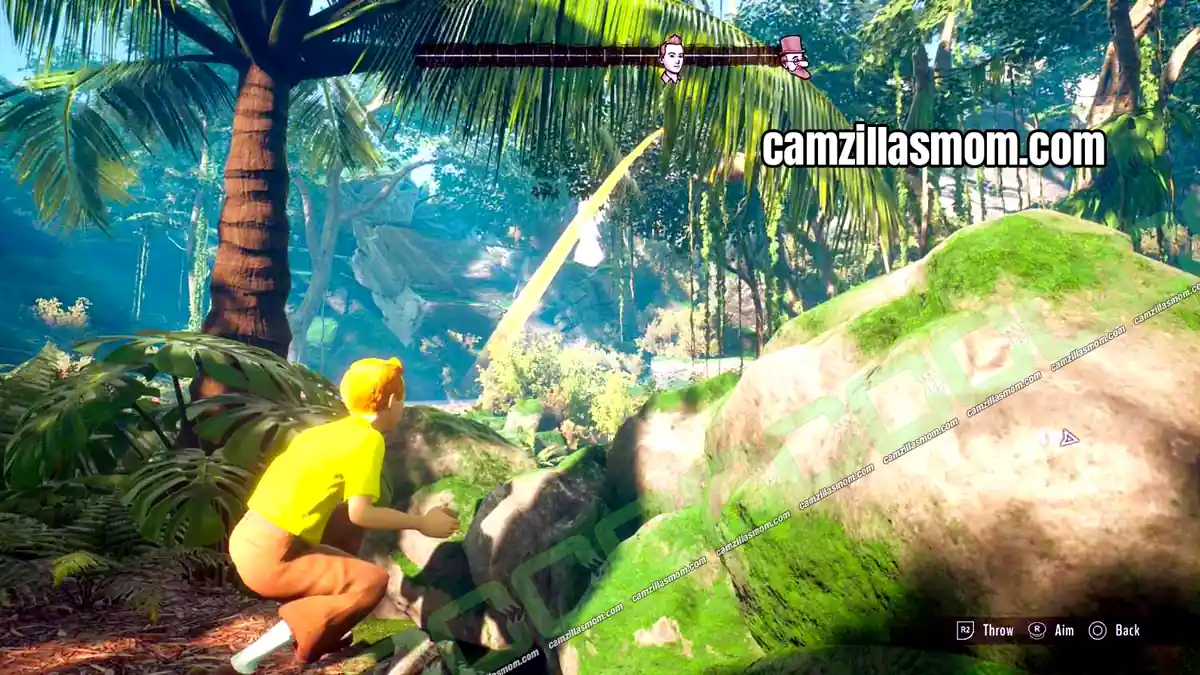
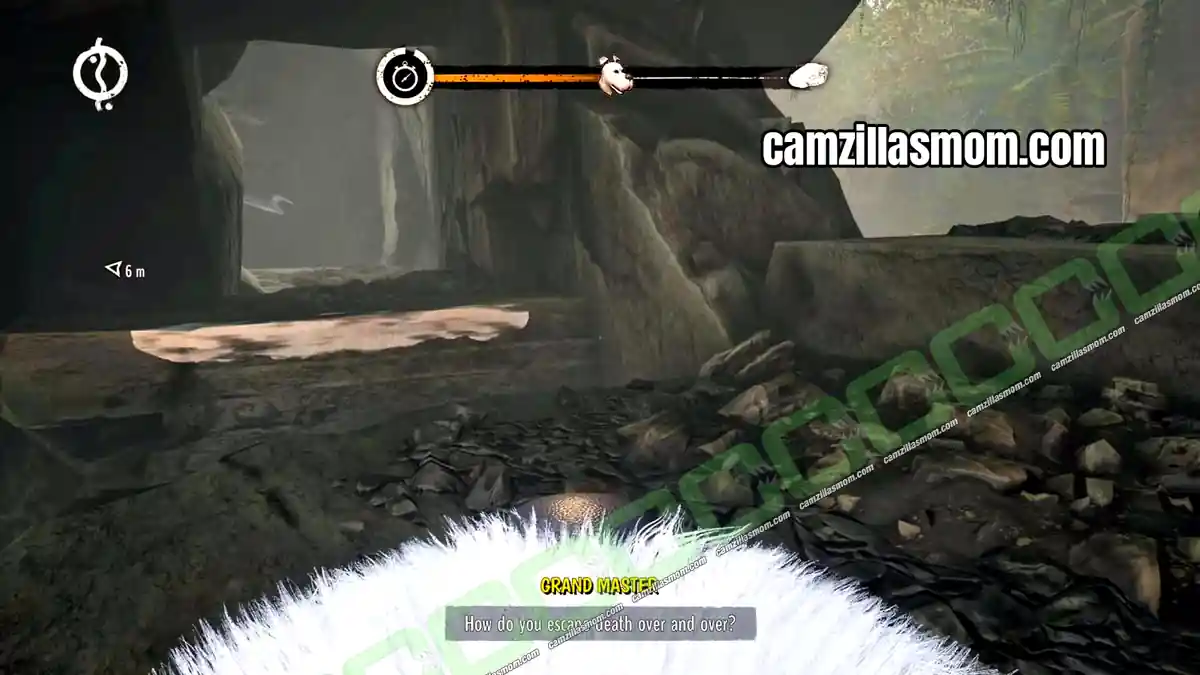
Now you play as Snowy, and each part is timed. To stop Tintin from being poisoned, Snowy has to find a rock and throw it down at the group each time, until he finally hits the Fakir. General tip: follow the rocks with the white paint.
At the start, look left and follow the path with the white paint. There is a lot of jumping.
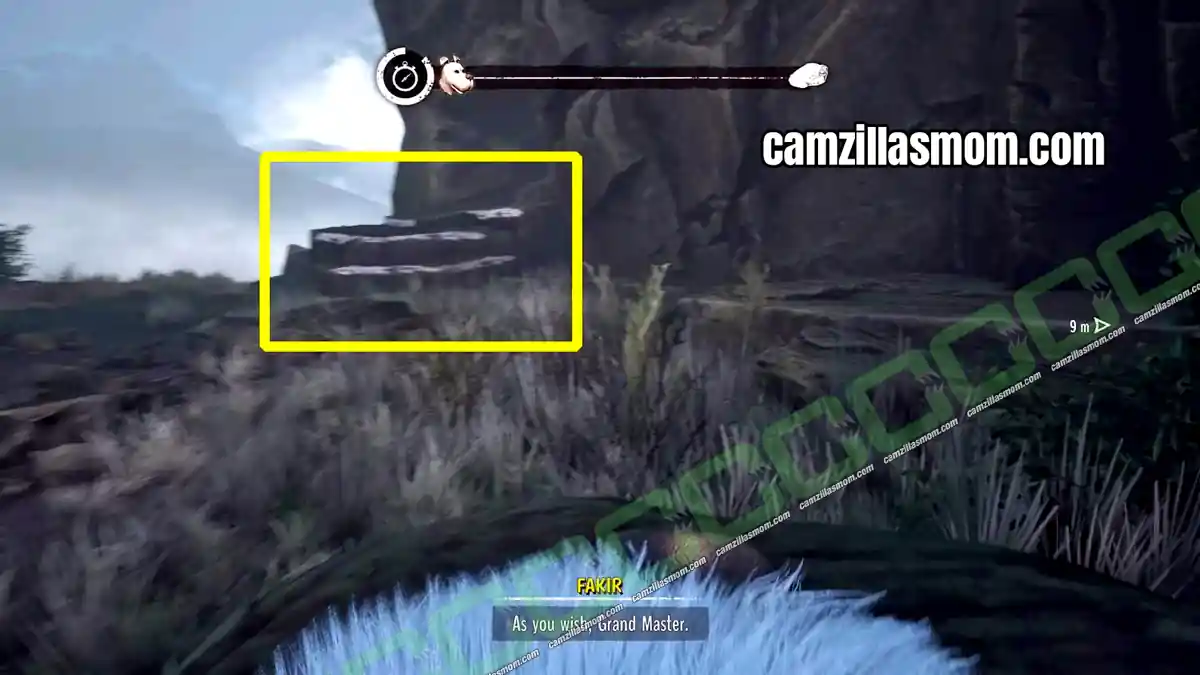
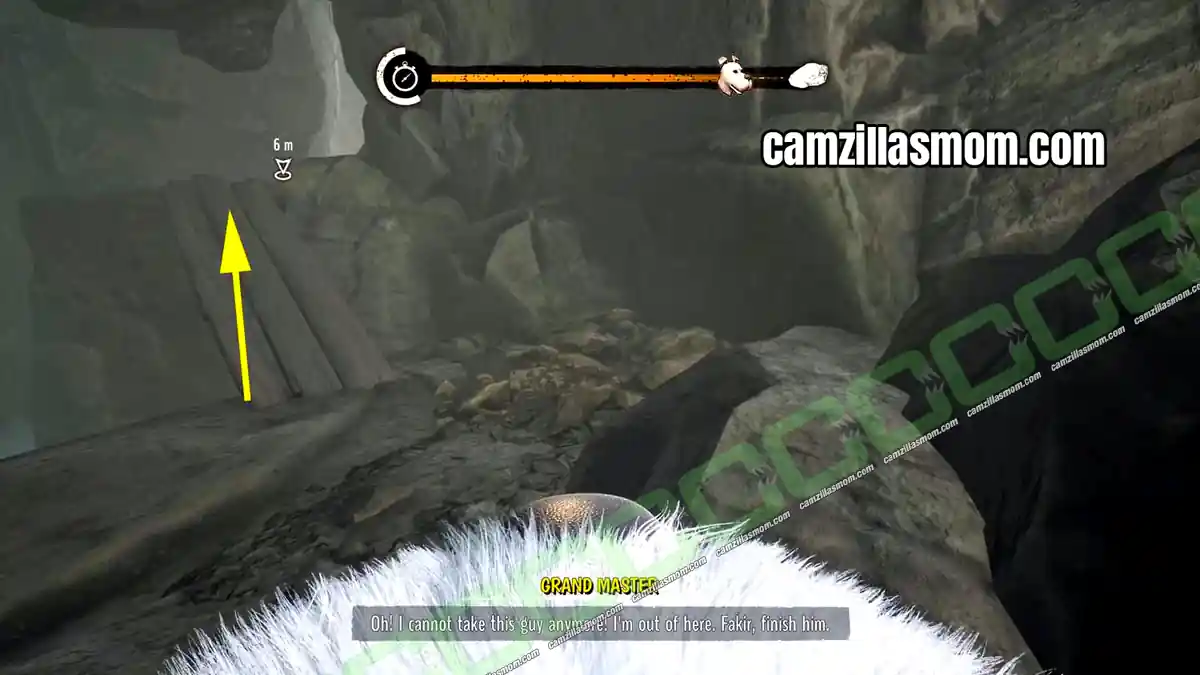
Inside the cave, look for the plank bridge above you. That is what you have to cross. Start climbing where the arrows are in the screenshot below.
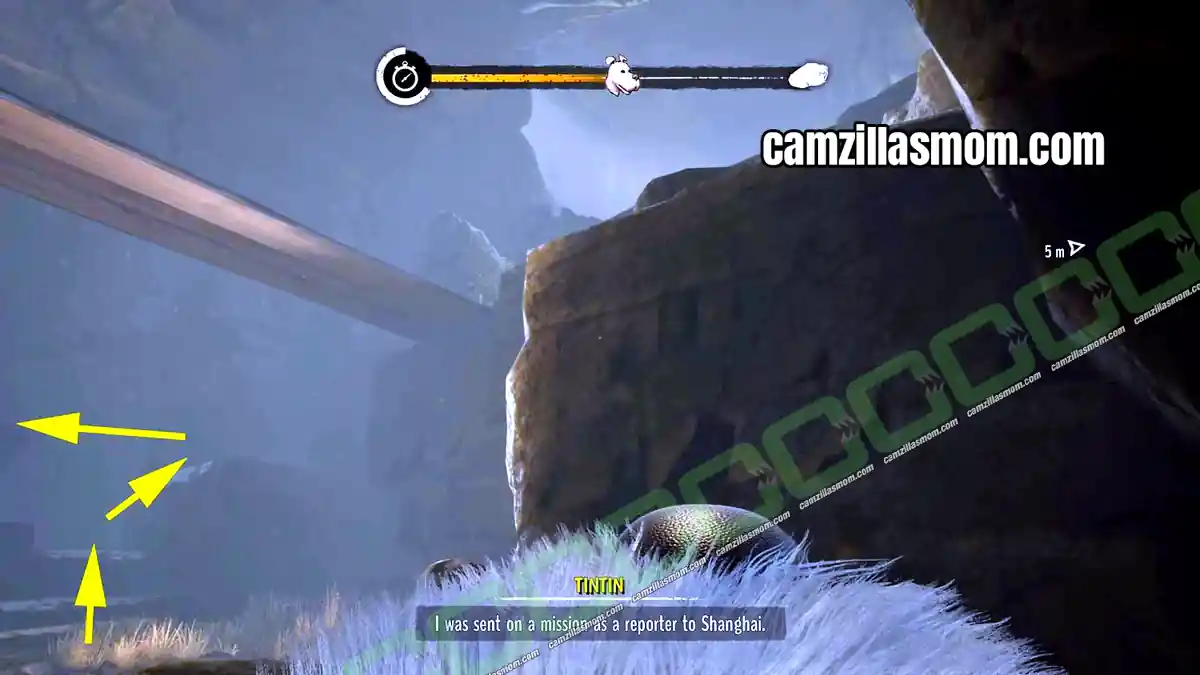
The first rock is just across the bridge. Interact with it to continue.
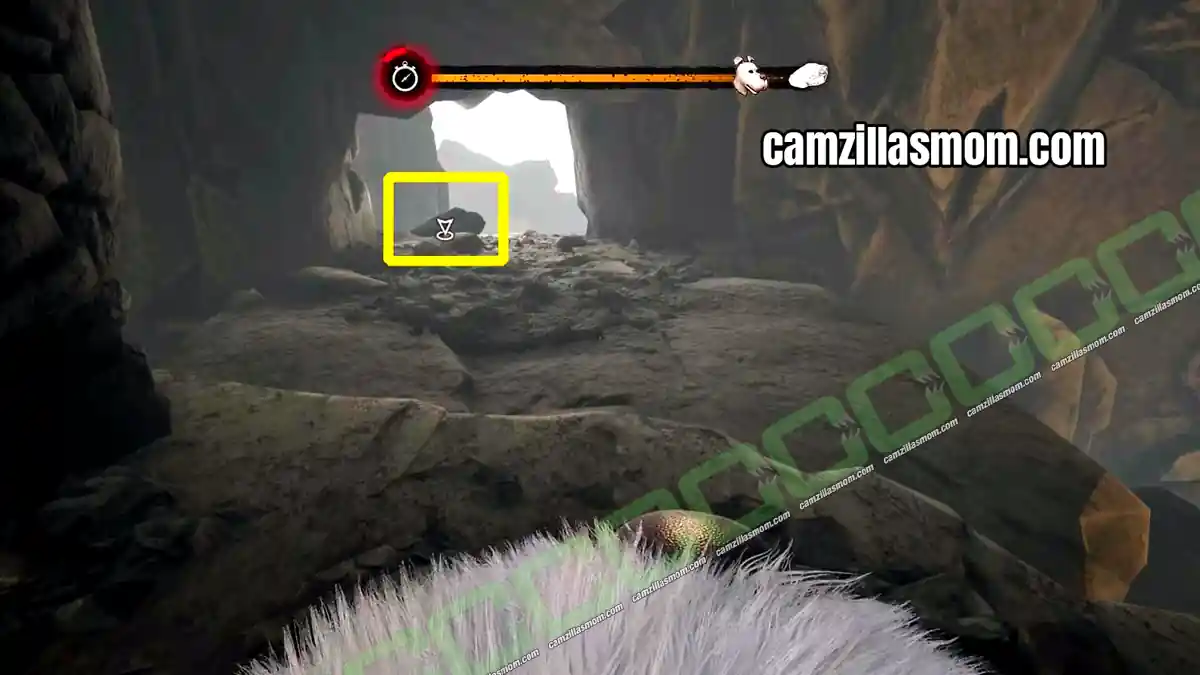
After the cutscene, turn around. The path continues inside the cave, up to the right.
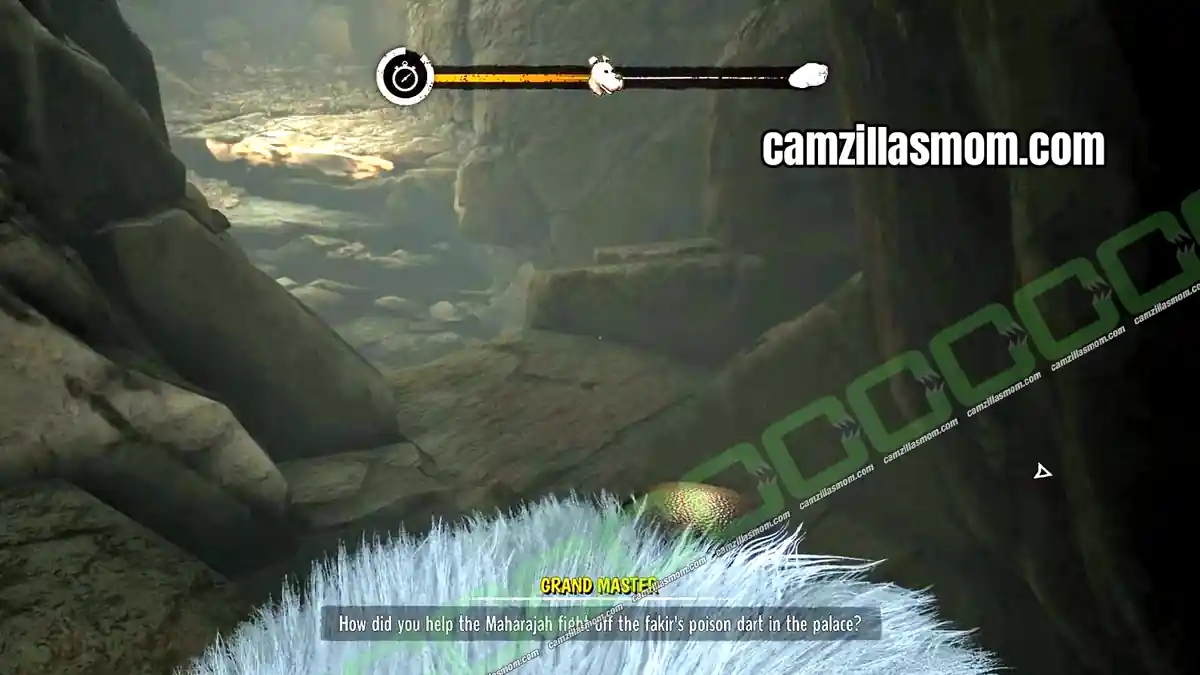
The way up is marked with white paint and leads you straight to the second rock.
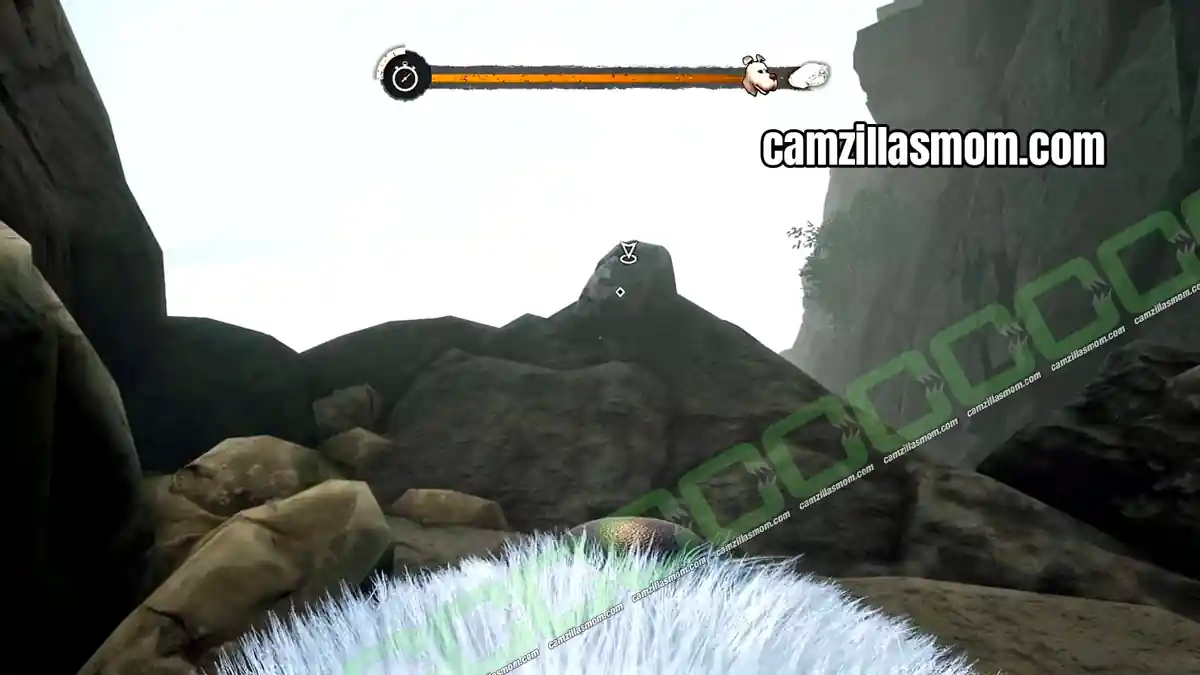
After the cutscene, turn around to face the cave. The path continues to the right.
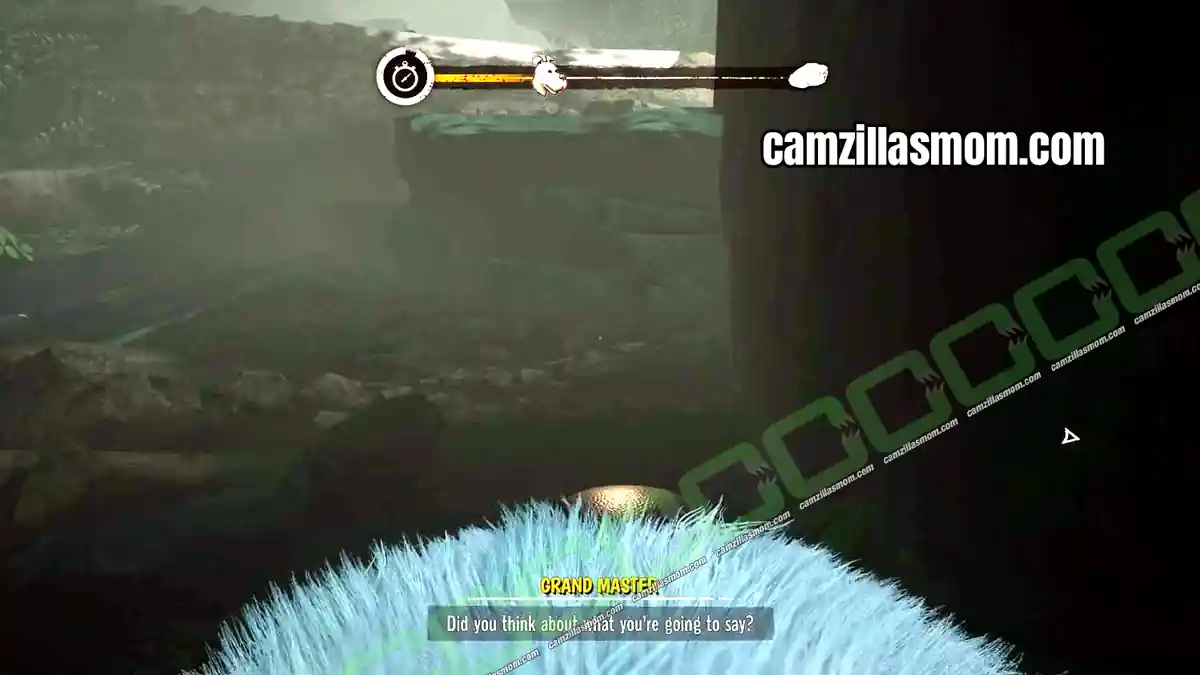
Climb up there and look back down. The white smeared path is the one to take next.
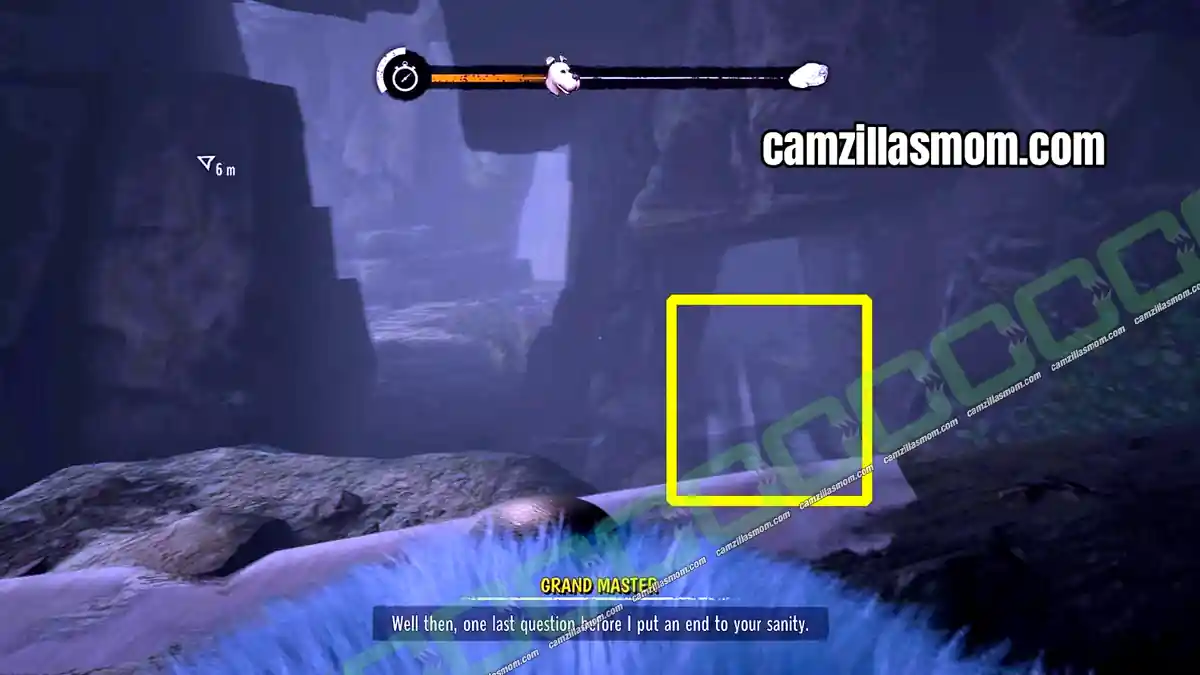
On the other side of this little tunnel is a white smear on the wall. Follow it and climb up along the white paint.
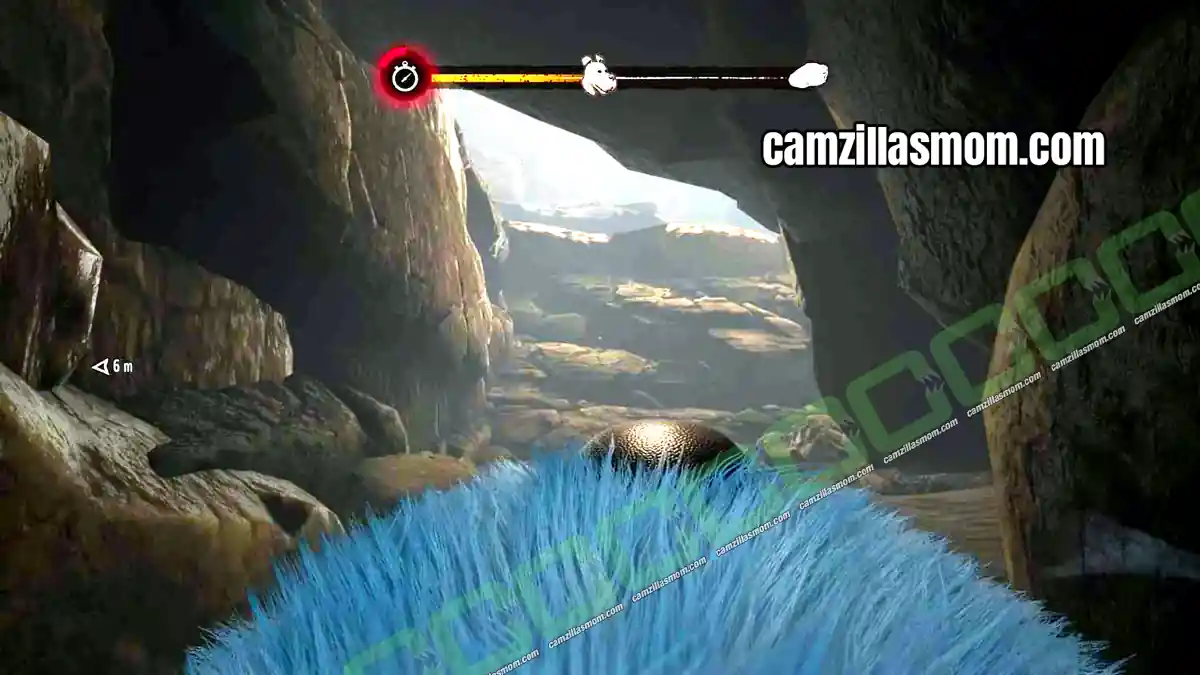
At the very top of this climb, there is another white smear on the right wall. Follow it to the other side to reach the third rock, which is actually a branch this time.
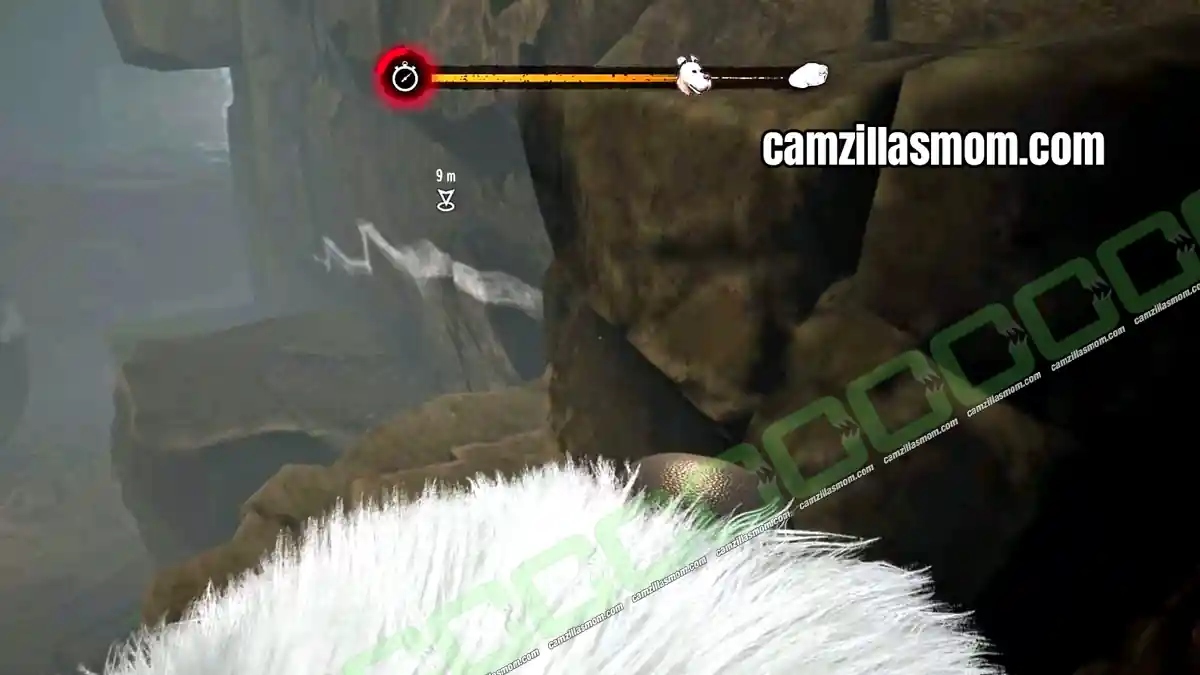
After another cutscene, turn around and follow the white paint across the gap.
Follow the white smear to a wooden plank bridge. The last rock is up there.
14 – The Royal Heir: Save the Prince and the Ending
Quest Step: Save the Prince!
All that is left to finish the adventure is to chase the Grand Master, catch him and save the Prince. The chase is a long one, so just keep going.
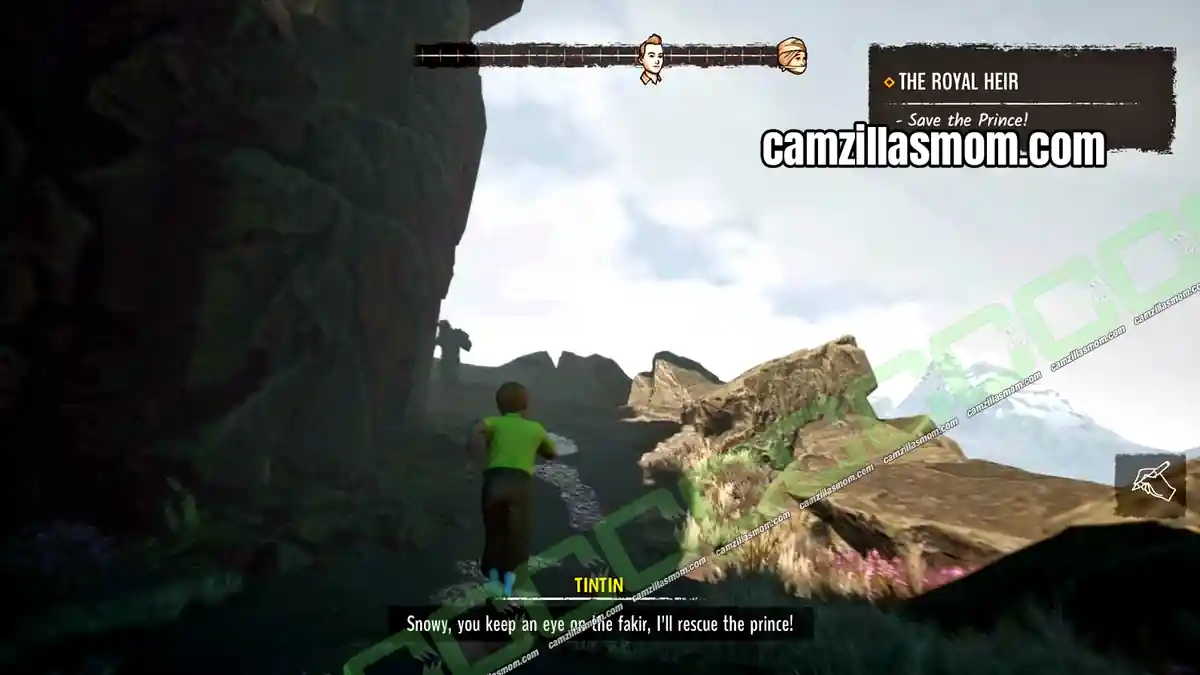
The ending cutscene follows, and during the parade the Long Live Gaipajama! trophy unlocks. With that, you have finished Tintin Reporter – Cigars of the Pharaoh.
Previous: Chapter 5 – Indian Jungle Walkthrough
All Chapters: Tintin Reporter – Cigars of the Pharaoh Game Guides


About Tintin Reporter – Cigars of the Pharaoh
Based on: Cigars of the Pharaoh by Hergé
Release: November 7th, 2023 (Nintendo Switch: October 17th, 2024)
Developer: Pendulo Studios
Publisher: Microids
Official Website: https://microids.com/game-tintin-reporter-cigars-of-the-pharaoh