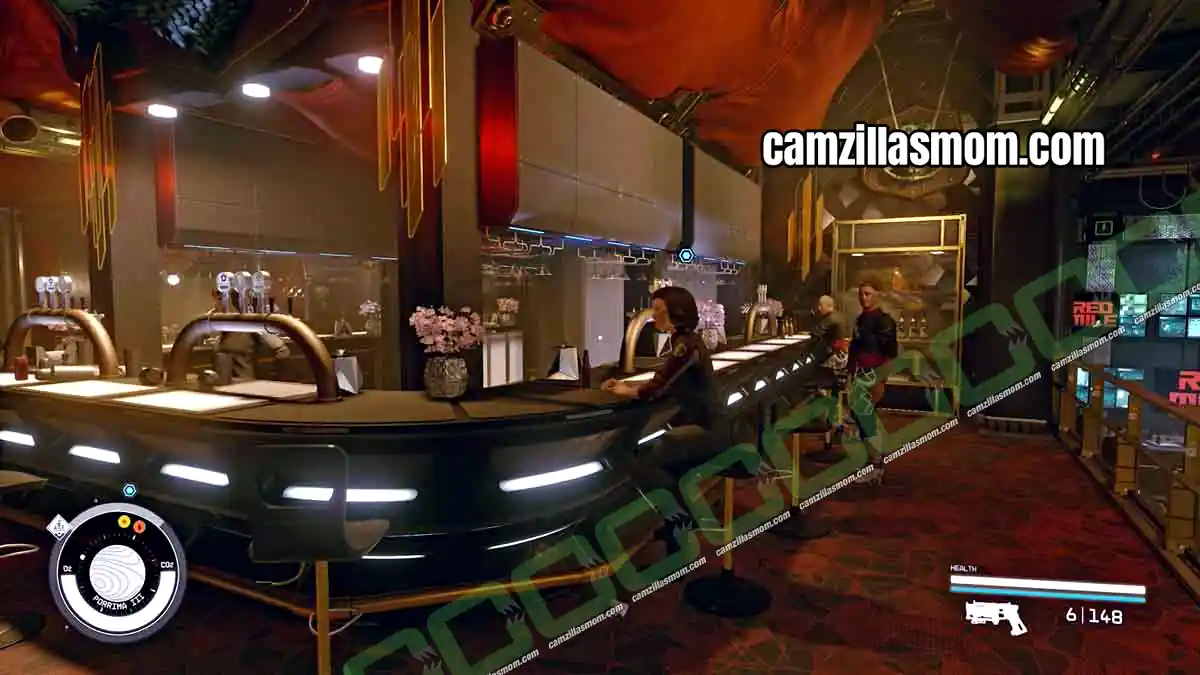
All That Money Can Buy is the Constellation mission that follows straight on from Into the Unknown in Starfield, and it’s one of the more dialogue-heavy main quests in the game. I’m walking you through every step below, from the first conversation with Walter Stroud at the Lodge through to negotiating for the artifact and dealing with Slayton on Neon.
Related Guides:
Starborn Story Mission Walkthrough
Starfield Game Guides Hub
- 1 – Talk to Walter Shroud
- 2 – Travel to Neon
- 3 – Talk to Walter Shroud
- 4 – Check In at Shroud-Eklund HQ
- 5.1. Ask About Security
- 5.2. Check the Door Controls
- 5.3. Investigate the Buyer
- 5.4. Search the Seller’s Sleepcrate
- 6 – Talk to Walter Stroud
- 7 – Go to the Astral Lounge
- 8 – Locate the Seller
- 9 – Talk to Walter Stroud
- 10 – Negotiate for the Artifact
- 11 – Head to the Entrance
- 12 – Go to Slayton Aerospace HQ
- 13 – Find a Way to the Next Floor
- 14 – Go to the Next Floor
- 15 – Confront Nicolaus Slayton
- 16 – Talk to Musgrove
- 17 – Go to the Ship
1 – Talk to Walter Shroud
Mission Text:
“Walter Stroud wants to talk to me.”
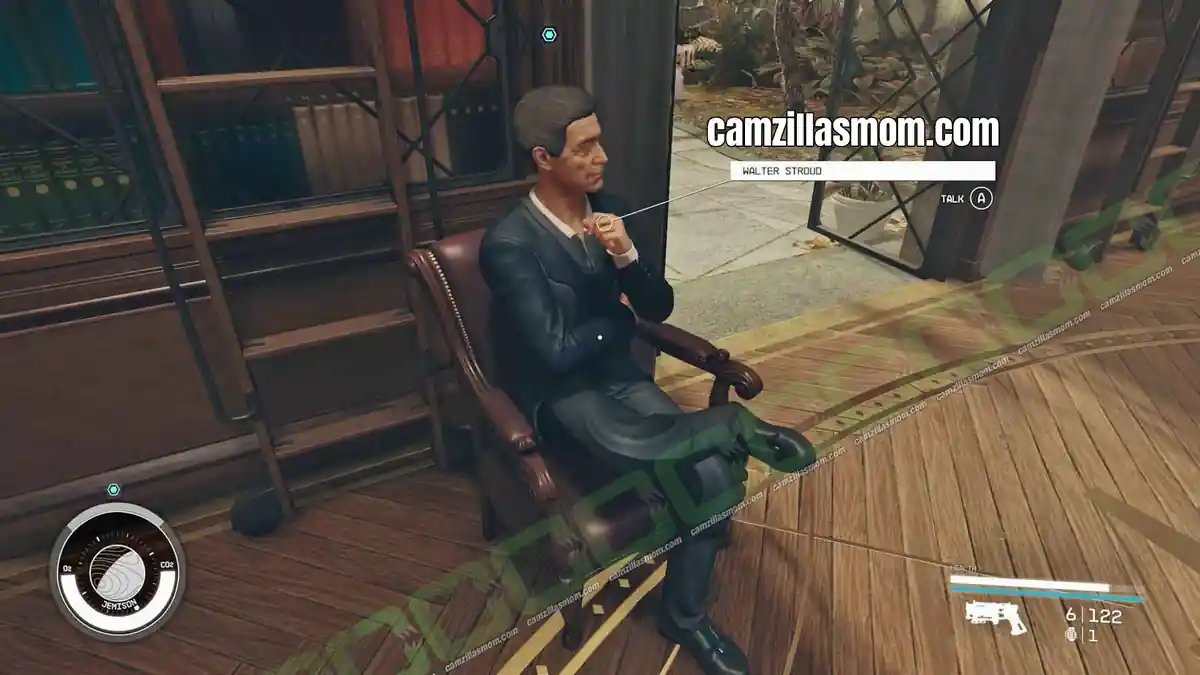
Walter Stroud is waiting for you at The Lodge, Constellation’s headquarters on Jemison in the Alpha Centauri system.
2 – Travel to Neon
Mission Text:
“Walter has asked me to come with him to Neon, where he intends to purchase an Artifact. He’ll be riding as a passenger in my ship until we get there.”
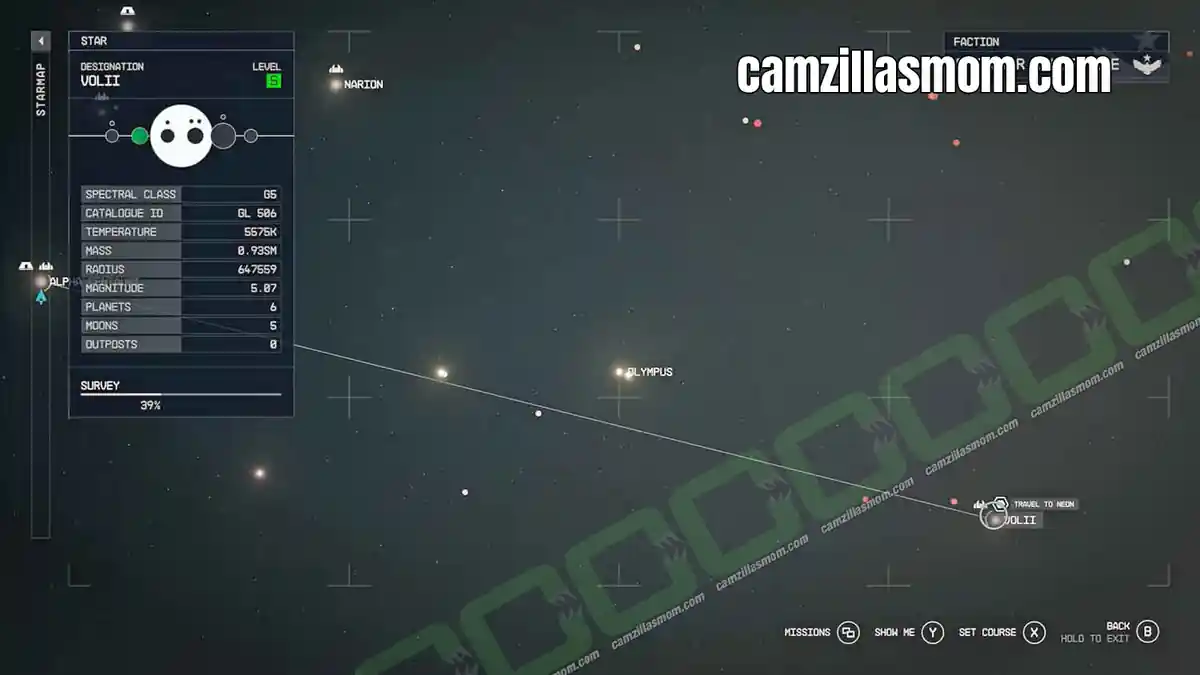
Head back to your ship and set a course for Neon. On the Starmap it sits in the VOLII System (Volii Alpha), just to the right of Alpha Centauri, so it’s a short jump once you’re clear of Jemison.
3 – Talk to Walter Shroud
Mission Text:
“Walter has asked me to come with him to Neon, where he intends to purchase an Artifact. He’ll be riding as a passenger in my ship until we get there.”
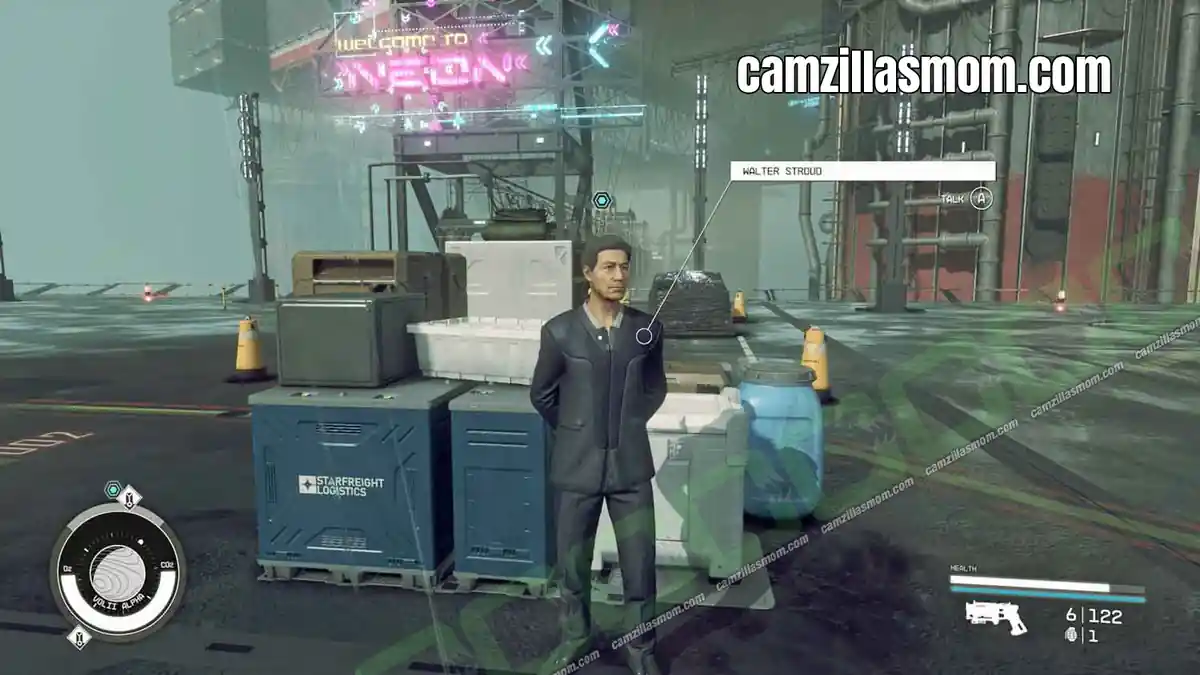
Once you land, Walter is standing just outside your ship at Neon Spaceport, ready to talk you through the next step.
4 – Check In at Shroud-Eklund HQ
Mission Text:
“Walter needs to head to the Stroud-Eklund offices here on Neon before we can meet with our Artifact seller.”
Follow the mission marker to the spaceport elevator and ride it up to the Neon Upper Level. Turn right and follow the walkway all the way back to the Trade Tower, where a ground-floor elevator takes you up to Stroud-Eklund Corporate HQ.
At reception, wait for the receptionist to buzz you through, then follow the marker inside. Walter is already talking with Issa Eklund when you arrive, and between them they’ll set you up with two parallel objectives: Ask About Security and Investigate the Seller.
5.1. Ask About Security
Mission Text:
“Walter and Issa want me to investigate the seller and case the Astral Lounge. The seller was connected to us by James Newill. The Astral Lounge is in the Trade Tower.”
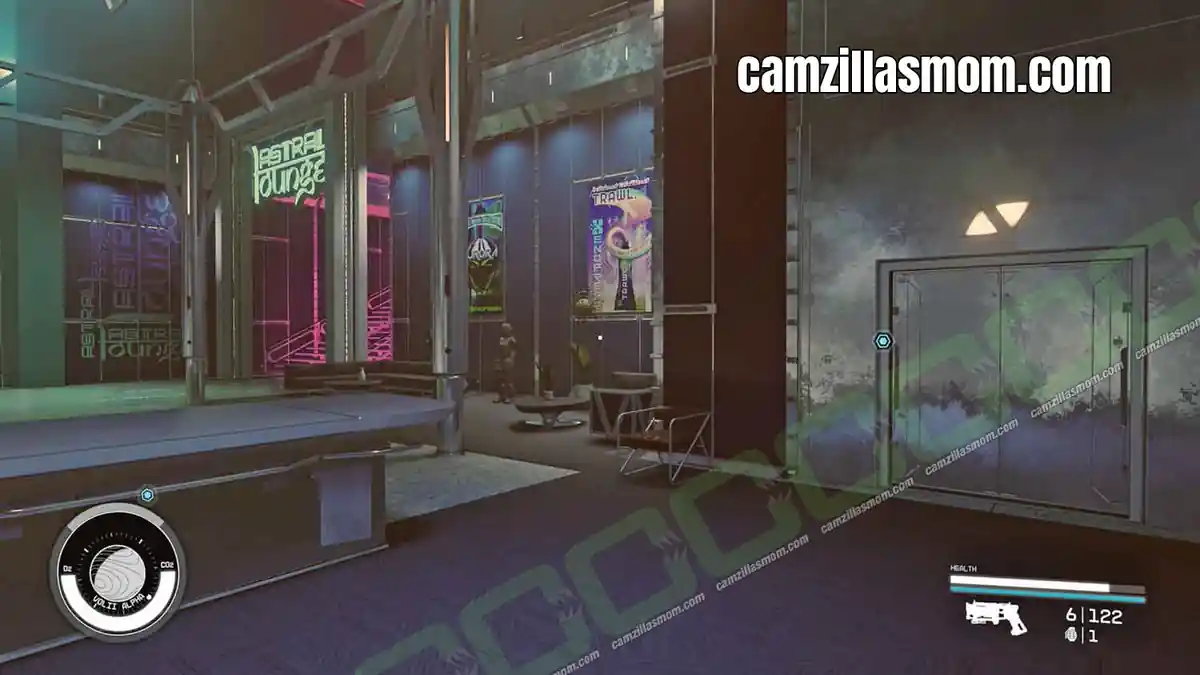
Head back down to the Trade Tower lobby and take the pink staircase up into the Astral Lounge on Neon.
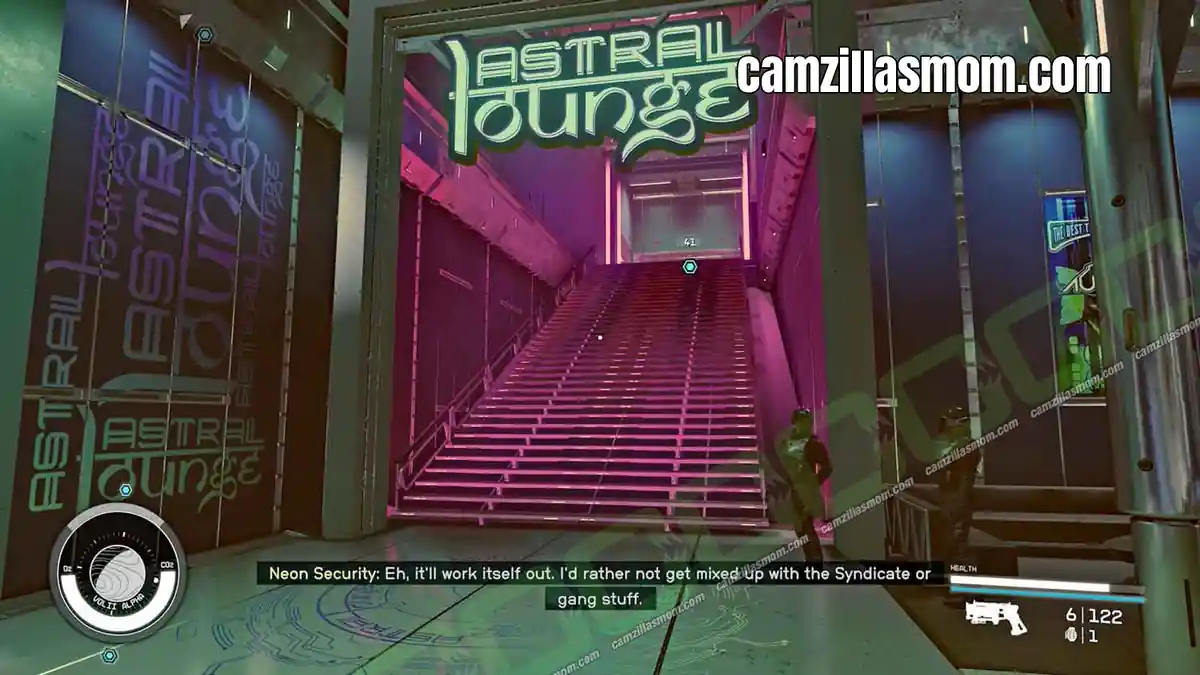
Inside, talk to Boone Morgan, the bartender.
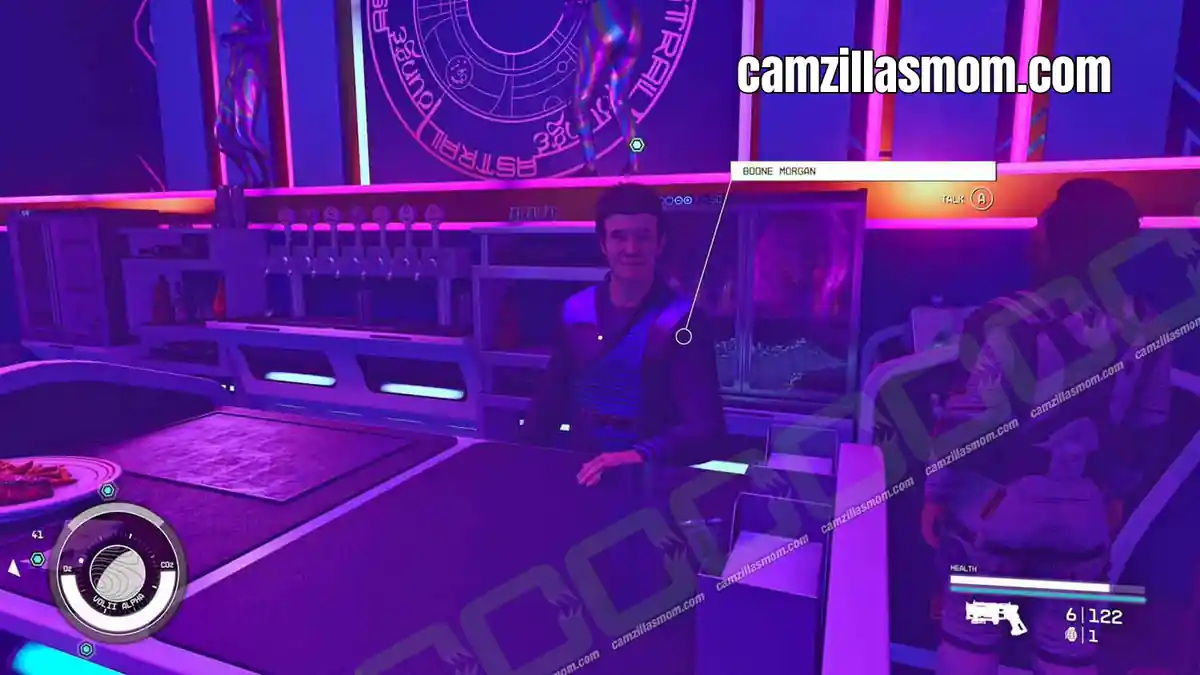
Tell him you’ve got a meeting there later and you’re worried about security, then keep pressing him on it. You can either hand over 4,000 Credits outright or pass a persuasion check, which drops the price to 1,000 Credits. Either way, this opens up the next objective: Check the Door Controls.
5.2. Check the Door Controls
Mission Text:
“Walter and Issa want me to investigate the seller and case the Astral Lounge. The seller was connected to us by James Newill. The Astral Lounge is in the Trade Tower.”
Follow the marker to the VIP Elevator at ground level inside the Astral Lounge.
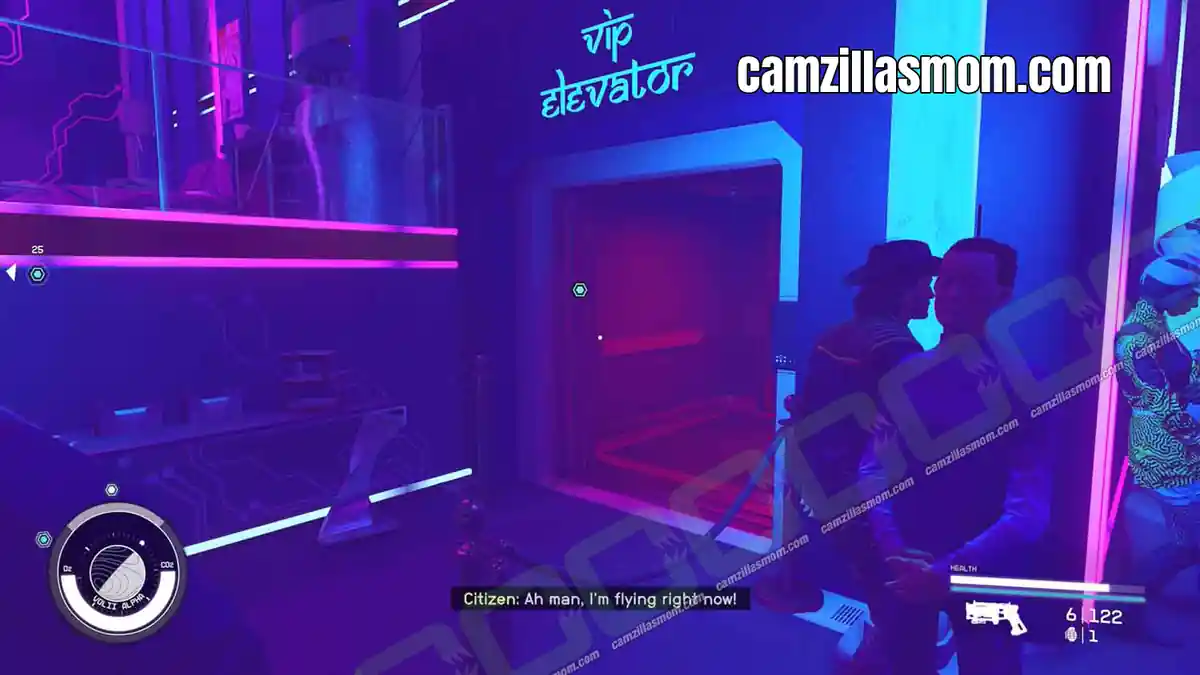
Ride it up to the VIP Balcony and head for the computer terminal by the door.
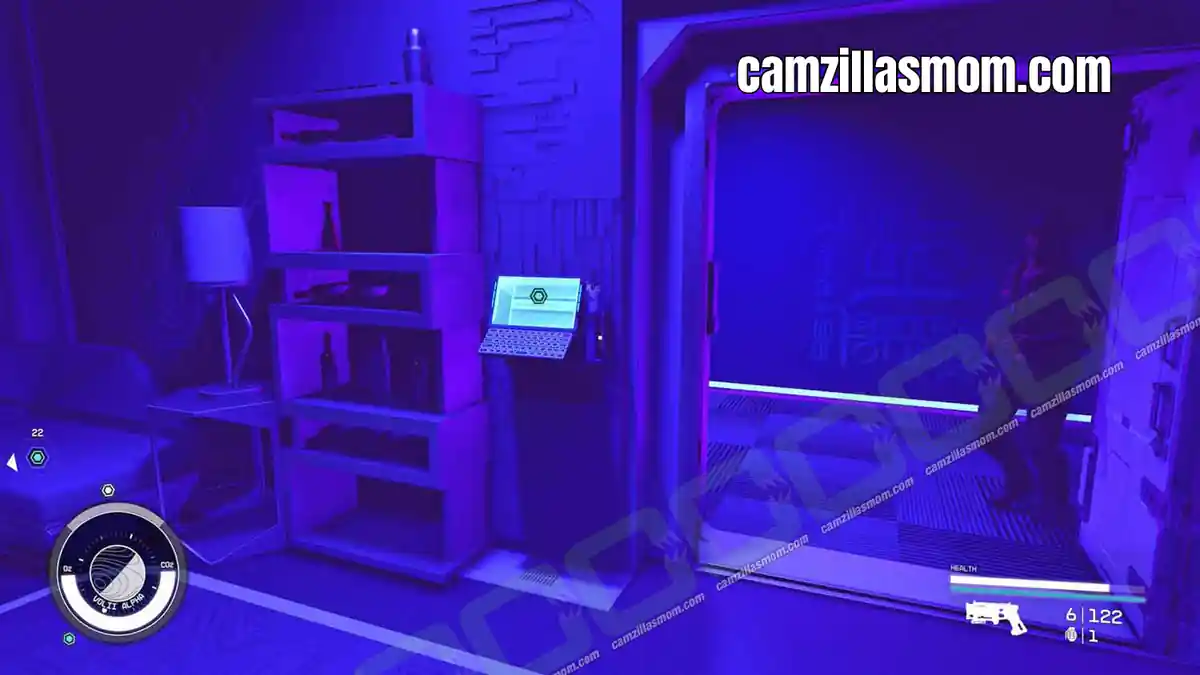
It’s only Novice-locked, so a single Digipick gets you in. Once you’re through, select Remote Door Control to finish this part of the setup.
5.3. Investigate the Buyer
Mission Text:
“Walter and Issa want me to investigate the seller and case the Astral Lounge. The seller was connected to us by James Newill. The Astral Lounge is in the Trade Tower.”
With the Astral Lounge sorted, it’s time to look into the buyer. Leave the lounge and follow the marker to Newill’s Goods on the Upper Level, where James Newill is waiting.
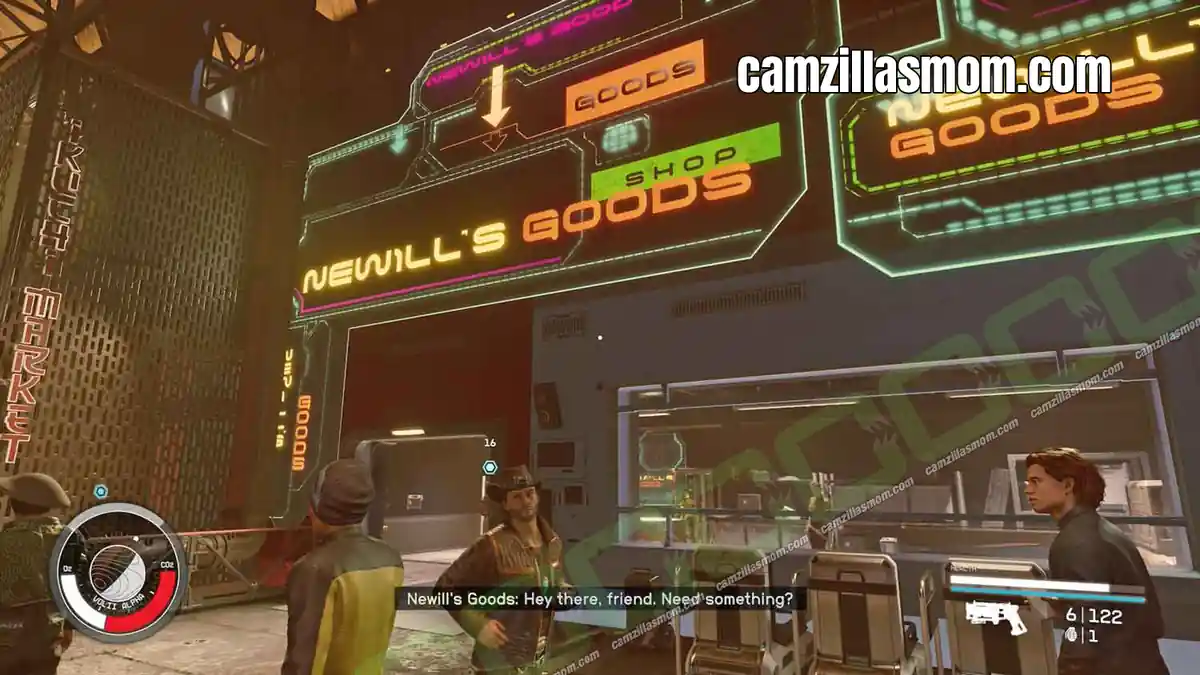
Tell him “You set up a meeting with Walter Stroud recently,” then either pay him 2,500 Credits or persuade him for the information. Either route unlocks Search the Seller’s Sleepcrate.
5.4. Search the Seller’s Sleepcrate
Mission Text:
“Walter and Issa want me to investigate the seller and case the Astral Lounge. The seller was connected to us by James Newill. The Astral Lounge is in the Trade Tower.”
Head down to the Ebbside level to find the seller’s sleepcrate. The door is Novice-locked, so a single Digipick opens it.
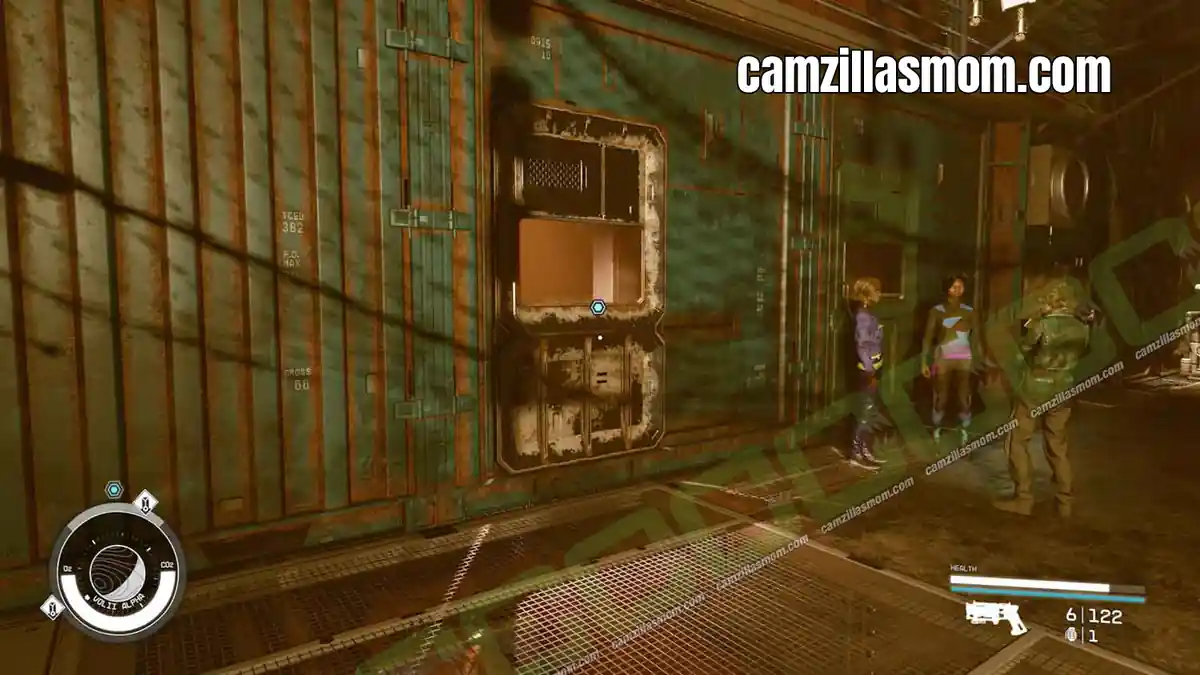
Inside, use the computer and open all three Personal Correspondence folders to finish gathering intel.
6 – Talk to Walter Stroud
Mission Text:
“I should talk to Walter about what I’ve found, and let him know we’re ready to meet the seller.”
Head back to the Trade Tower lobby and take the elevator up to Stroud-Eklund Corporate HQ to fill Walter in on what you found.
7 – Go to the Astral Lounge
Mission Text:
“I need to head over to the Astral Lounge and find the person selling the Artifact.”
Ride the elevator back down to the lobby and go straight into the Astral Lounge, where Walter is waiting near the entrance. He’ll give you the code phrase “Ramsay and Travers” so you can identify the buyers when you find them.
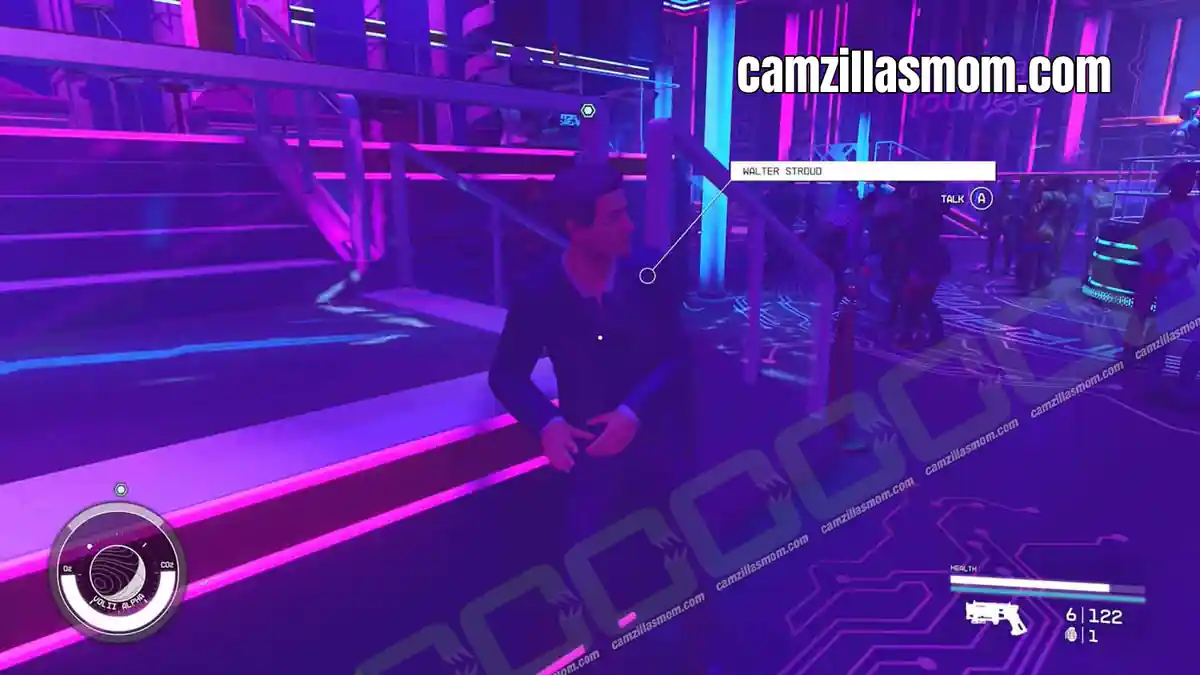
8 – Locate the Seller
Mission Text:
“The seller will have a large security briefcase and will respond to the code phrase “Ramsay and Travers.””
If you’re trying to locate the seller in this Starfield mission, look for a man carrying a large briefcase near the bar in the Astral Lounge. His name is Musgrove. Approach him and give him the code phrase “Ramsay and Travers” to confirm the deal.
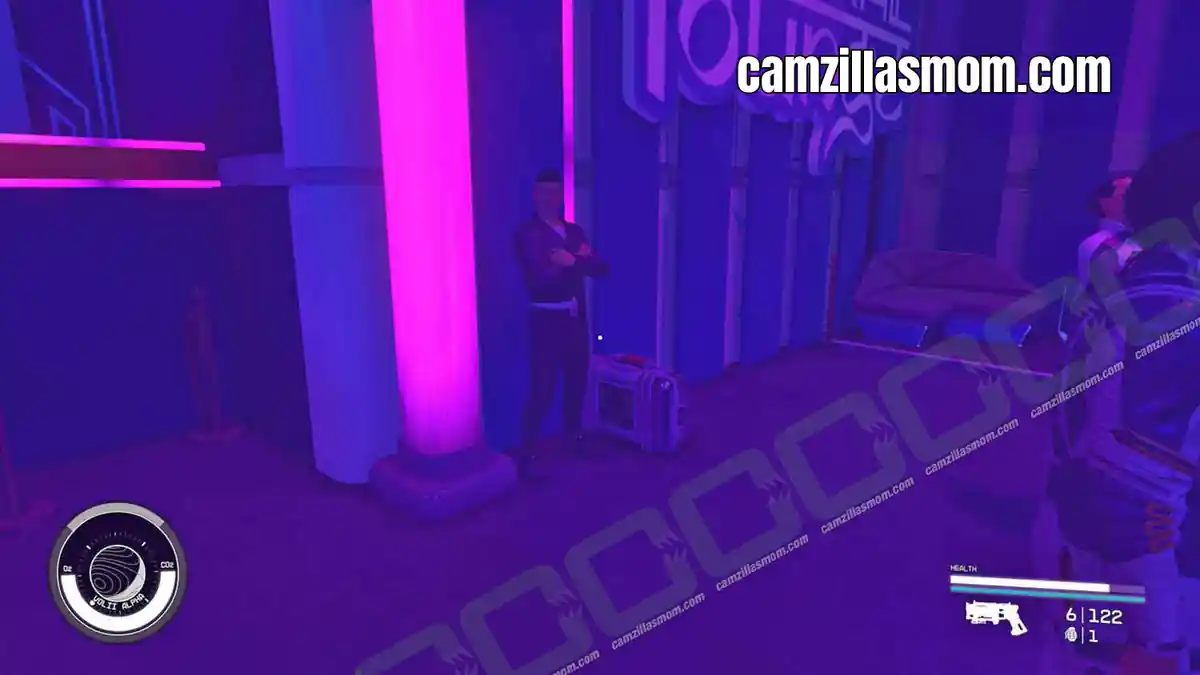
9 – Talk to Walter Stroud
Mission Text:
“I found the seller. Time to meet with him and Walter.”
Go back and find Walter, who’s standing near the VIP Elevator, and let him know you’ve located Musgrove.
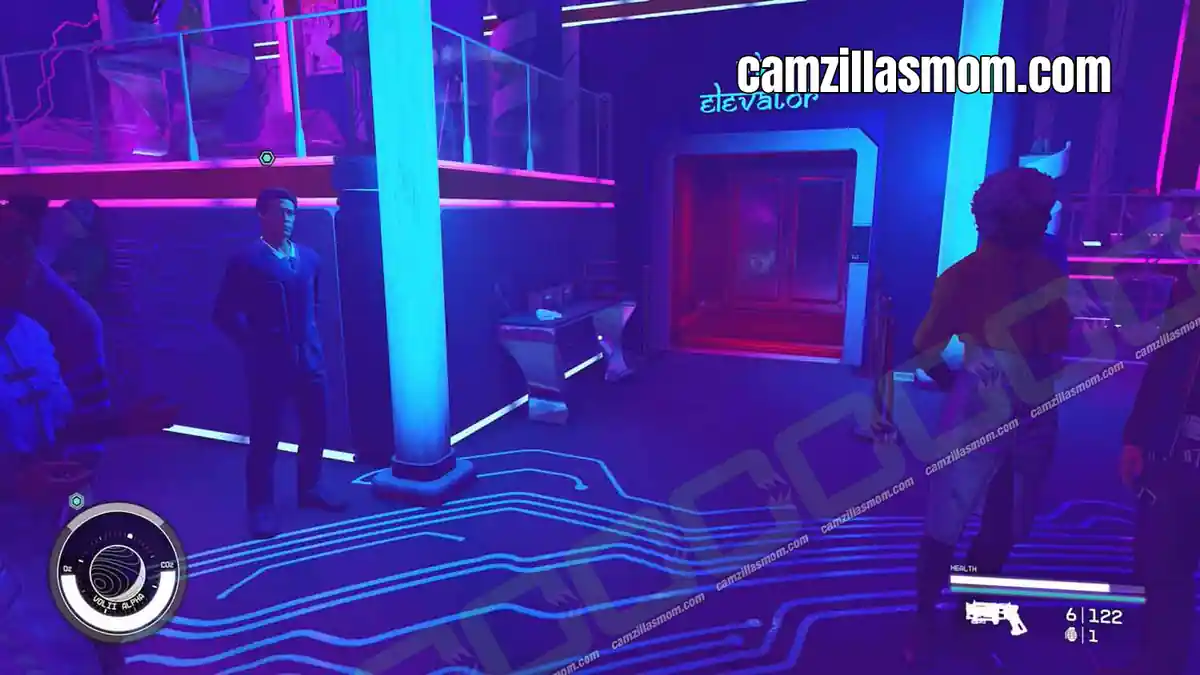
10 – Negotiate for the Artifact
Mission Text:
“I found the seller. Time to meet with him and Walter.”
Take the VIP elevator up to the balcony for the negotiation. You can either sit down opposite the seller or remain standing.
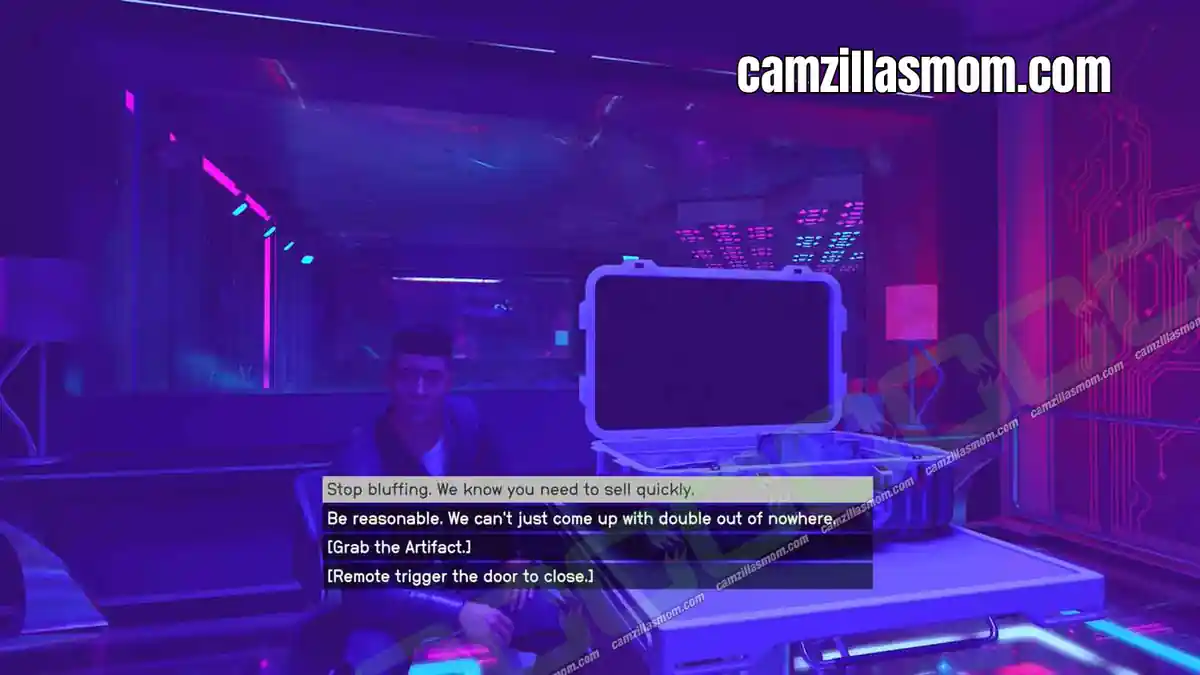
Partway through, you’ll get the option to close the door, which then lets you bring Security in on your side if things get tense. Taking that route is generally the smoothest way through this part of All That Money Can Buy.
11 – Head to the Entrance
Mission Text:
“We have the Artifact. Time to leave.”
However you handled the negotiation, you’ll walk away with the artifact. Head back toward the entrance, but be ready: as soon as you step off the VIP Balcony, a Slayton agent stops you and demands the artifact back as “his property.” You can persuade him, call Security, or just fight your way past.
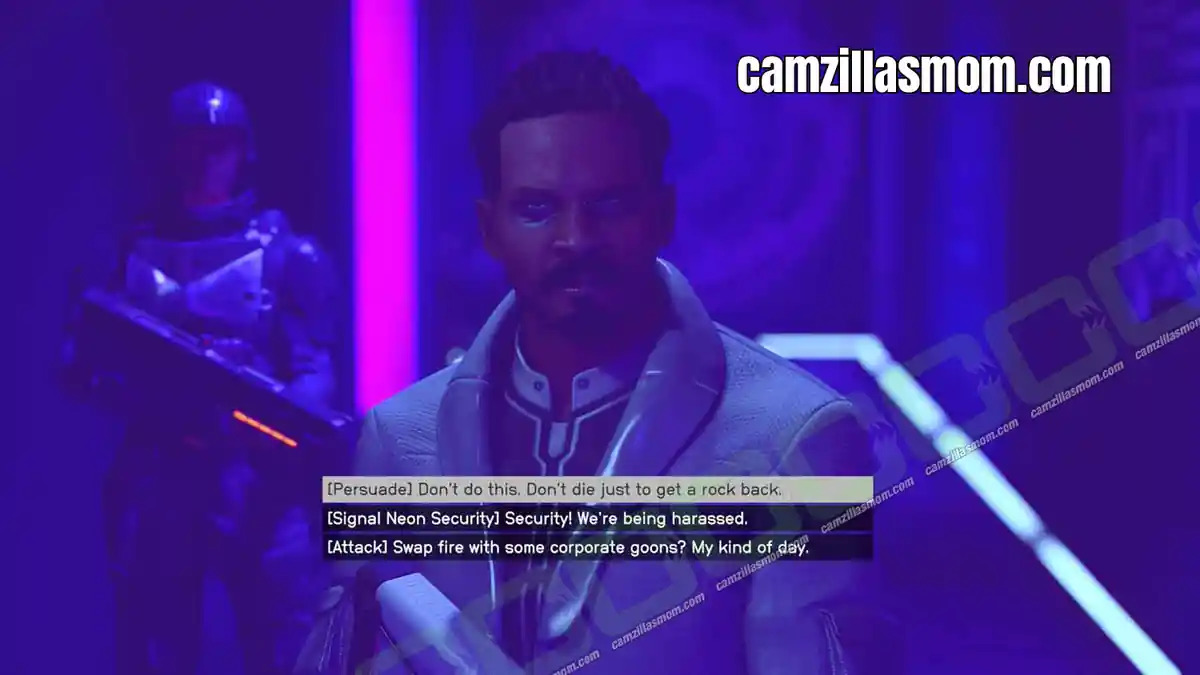
However you deal with him, take the elevator down and talk to Issa Eklund at the exit. Slayton has put a bounty on your head and impounded your ship, so agree to help her get him off your back.
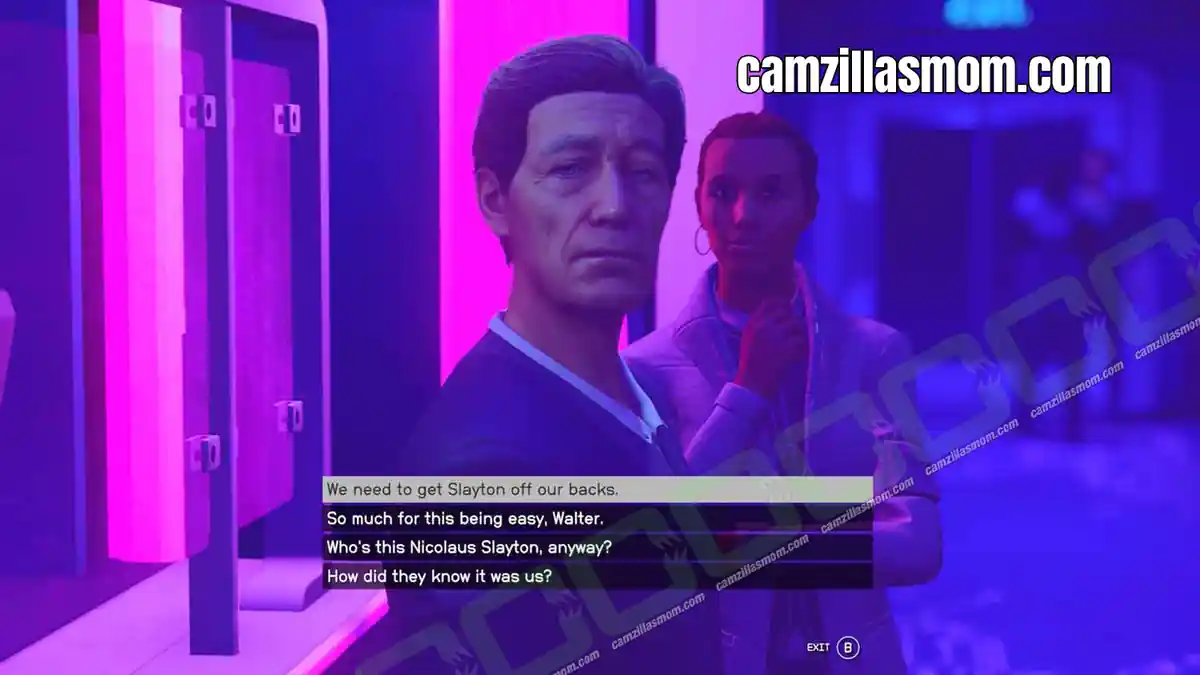
12 – Go to Slayton Aerospace HQ
Mission Text:
“Slayton has impounded my ship at Neon’s spaceport. I’ll need to confront him and get him to free my ship before we can leave.”
Leave the Astral Lounge and take the Trade Tower lobby elevator up to Slayton Aerospace to start sorting out your impounded ship.
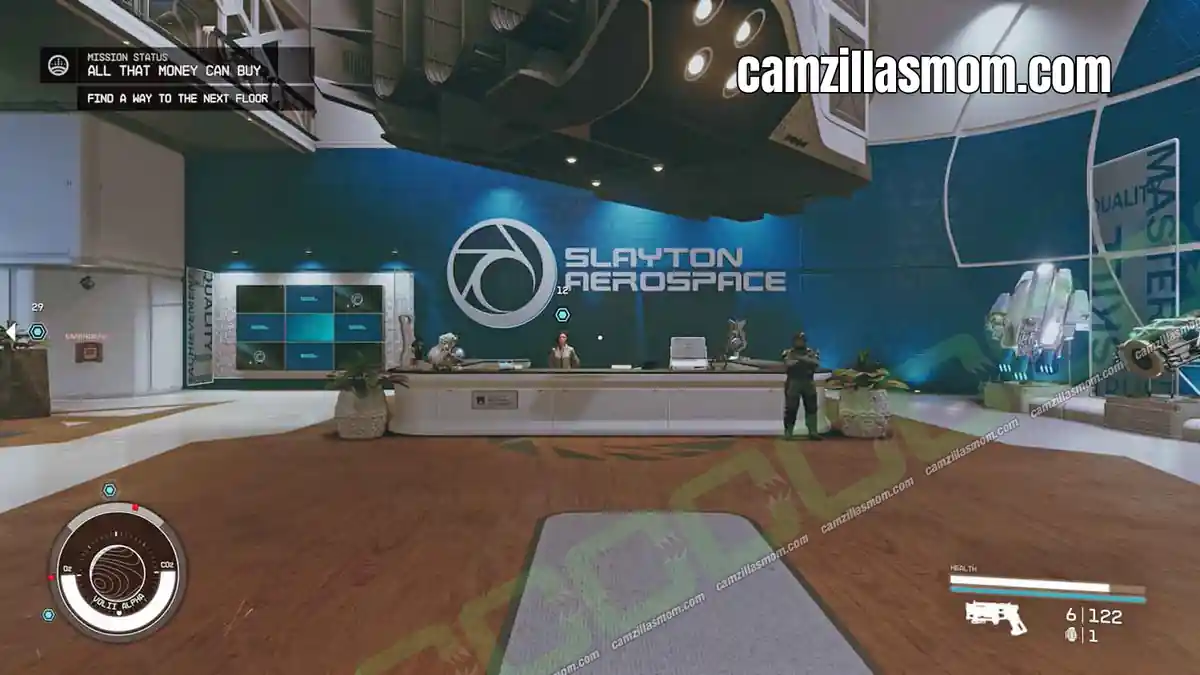
13 – Find a Way to the Next Floor
Mission Text:
“Slayton has impounded my ship at Neon’s spaceport. I’ll need to confront him and get him to free my ship before we can leave.”
Talk to the receptionist first, either persuading her or attacking outright. The elevator up needs an access code, so if talking doesn’t work, head to the two Novice-locked doors nearby and sneak-hack your way through instead.
Go through the door beside the coded elevator and use the elevator maintenance terminal inside to override it manually, staying out of Security’s line of sight while you work.
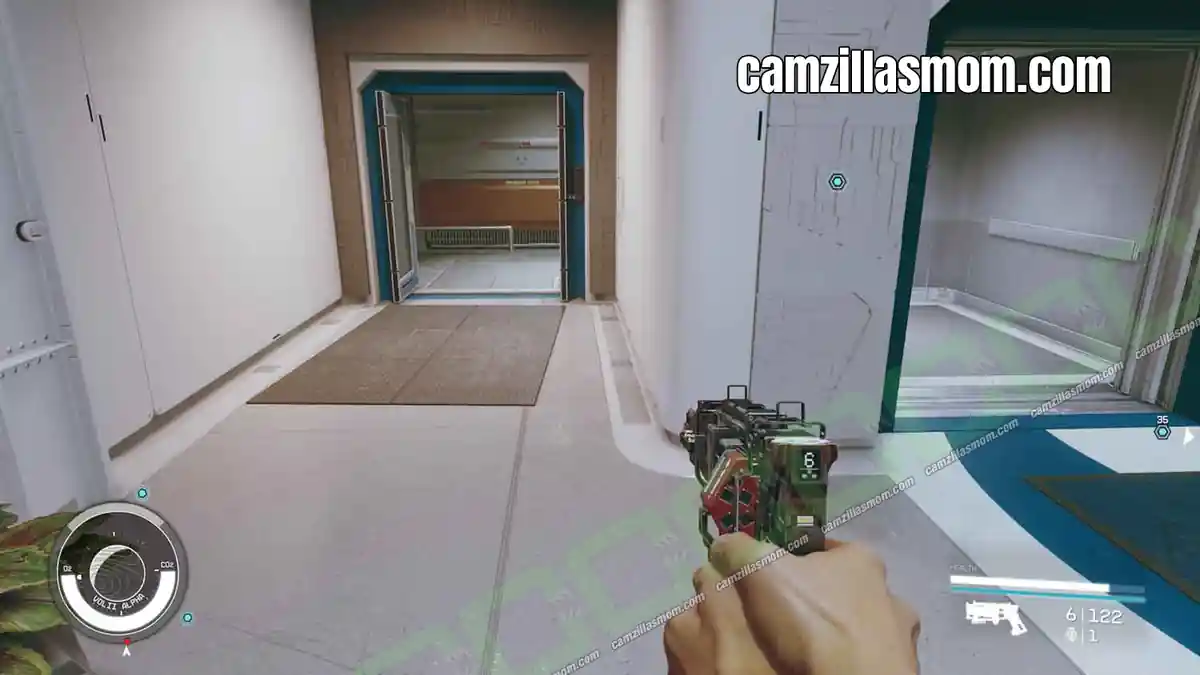
Once the elevator’s overridden, ride it up. Slayton calls in over the intercom before you reach the top, and Walter is there to talk to once you arrive.
14 – Go to the Next Floor
Mission Text:
“Slayton has impounded my ship at Neon’s spaceport. I’ll need to confront him and get him to free my ship before we can leave.”
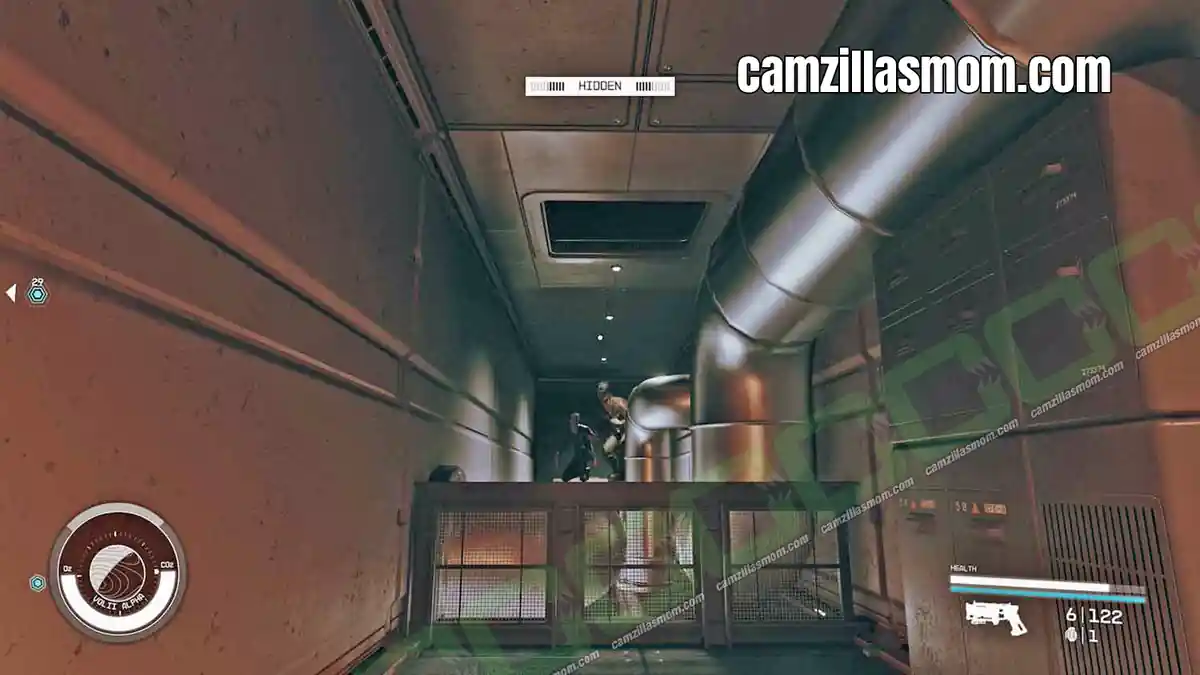
Issa patches into the intercom here and points you toward a vent near the elevator exit as a way to sneak past Slayton’s security on Neon.
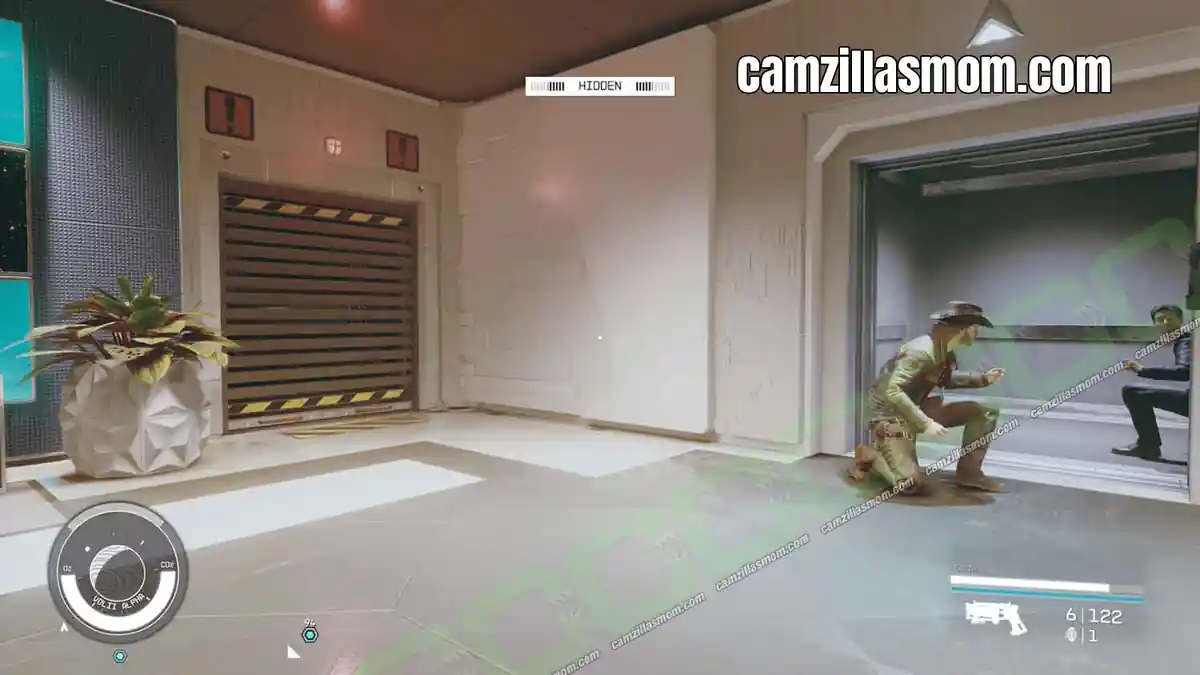
Follow the vent along until you’re above the elevator shaft, then cross over the top of it to reach the vent on the far side, as Issa instructs.
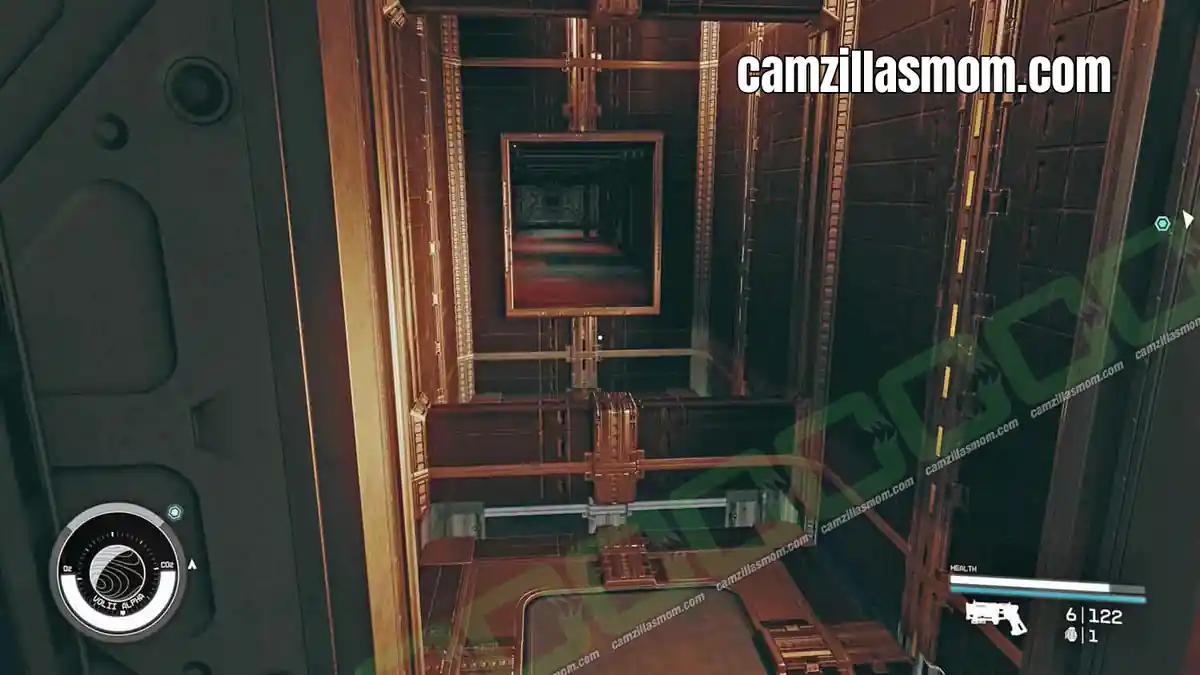
Drop down when she tells you to and follow the corridor to the end. Skip the two emergency doors here to avoid raising the alarm, and instead climb through the open vent at the far end of the corridor.
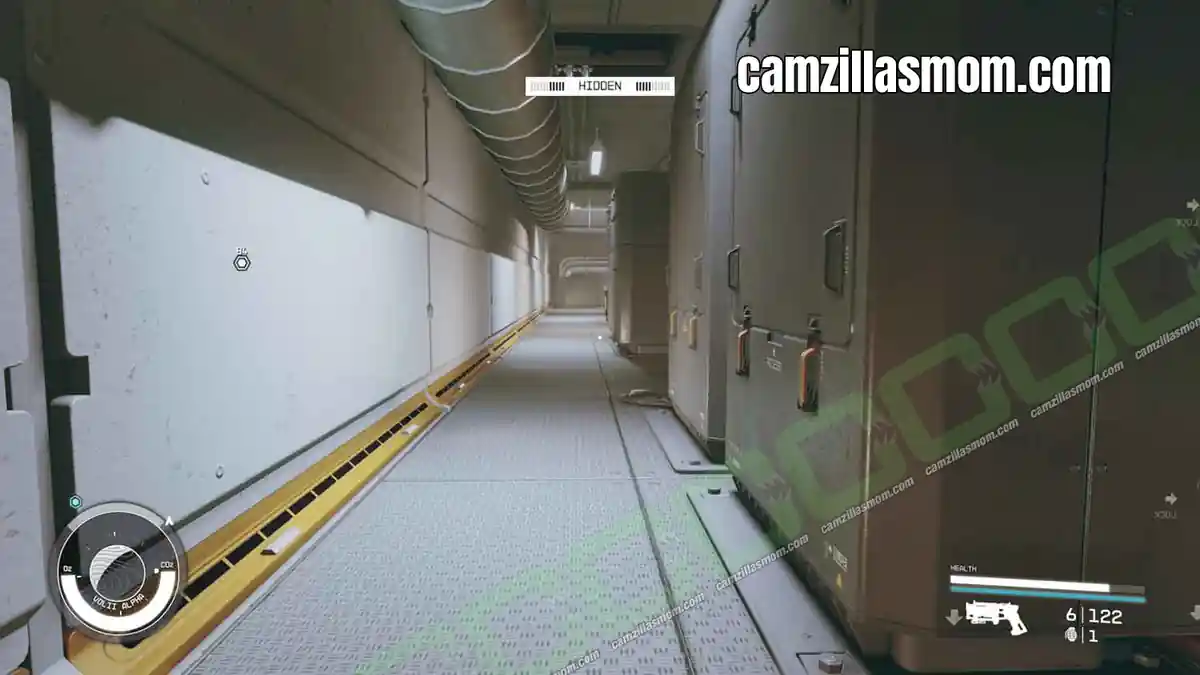
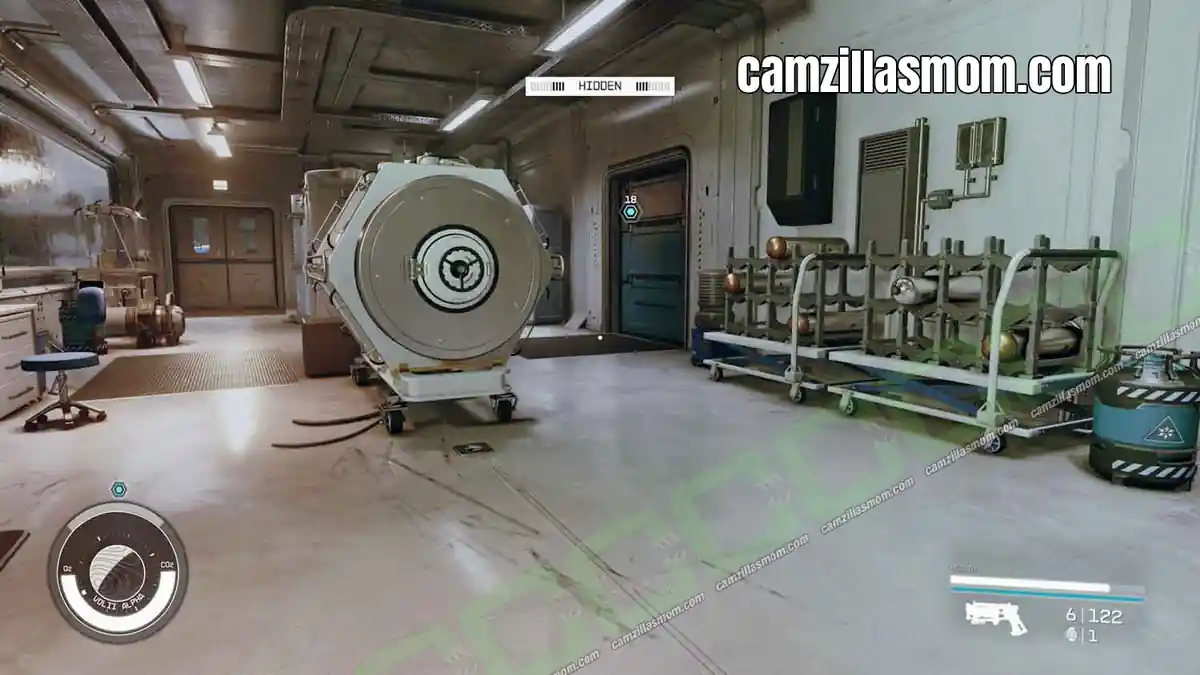
That leads to a clear room with an open hatch. Drop through it, then follow Issa’s directions to another maintenance room with a second open hatch right beside the one you climbed in from. Drop down there too.
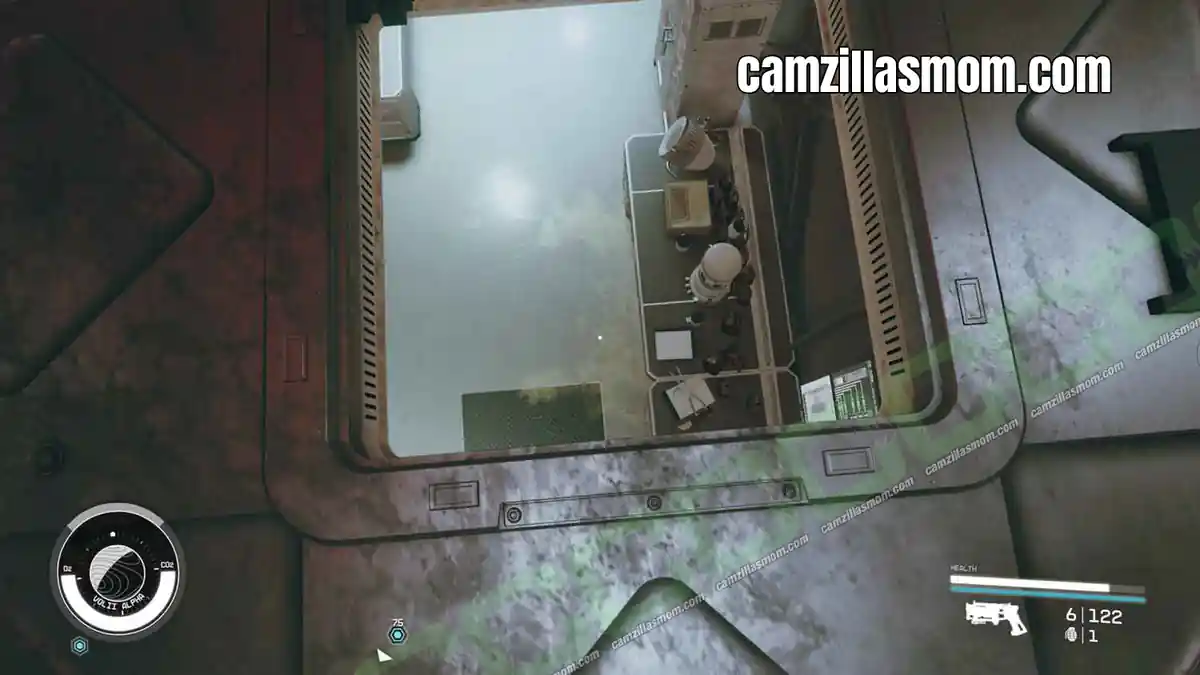
From there, take the door on the right, cross into the next room, and head for the blue windowless door, which leads outside.
Outside, you’re mostly done with sneaking. Climb the short exterior staircases on Trade Tower and re-enter through the door you find at the top.
15 – Confront Nicolaus Slayton
Mission Text:
“Slayton has impounded my ship at Neon’s spaceport. I’ll need to confront him and get him to free my ship before we can leave.”
Back inside, follow the corridor to the elevators, where Issa talks you through calling one over so you can cross to the other side. Nicolaus Slayton is waiting for you there.
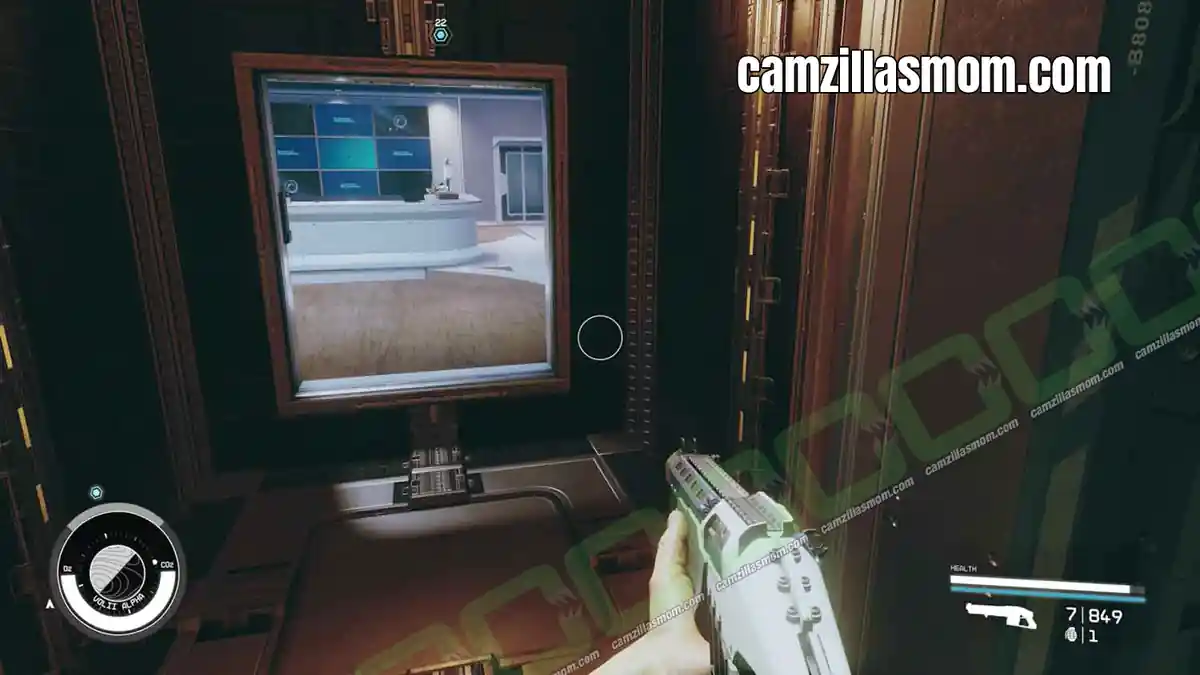
Whether you decide to talk him down, spare him, or take the more aggressive kill Slayton route in Starfield is entirely up to you, and it shapes how the rest of this confrontation plays out.
16 – Talk to Musgrove
Mission Text:
“Slayton has impounded my ship at Neon’s spaceport. I’ll need to confront him and get him to free my ship before we can leave.”
Once you’ve settled things with Slayton, talk to Musgrove in the next room to make your final Starfield Musgrove choice: let him go, hand him over to face jail, or kill him outright.
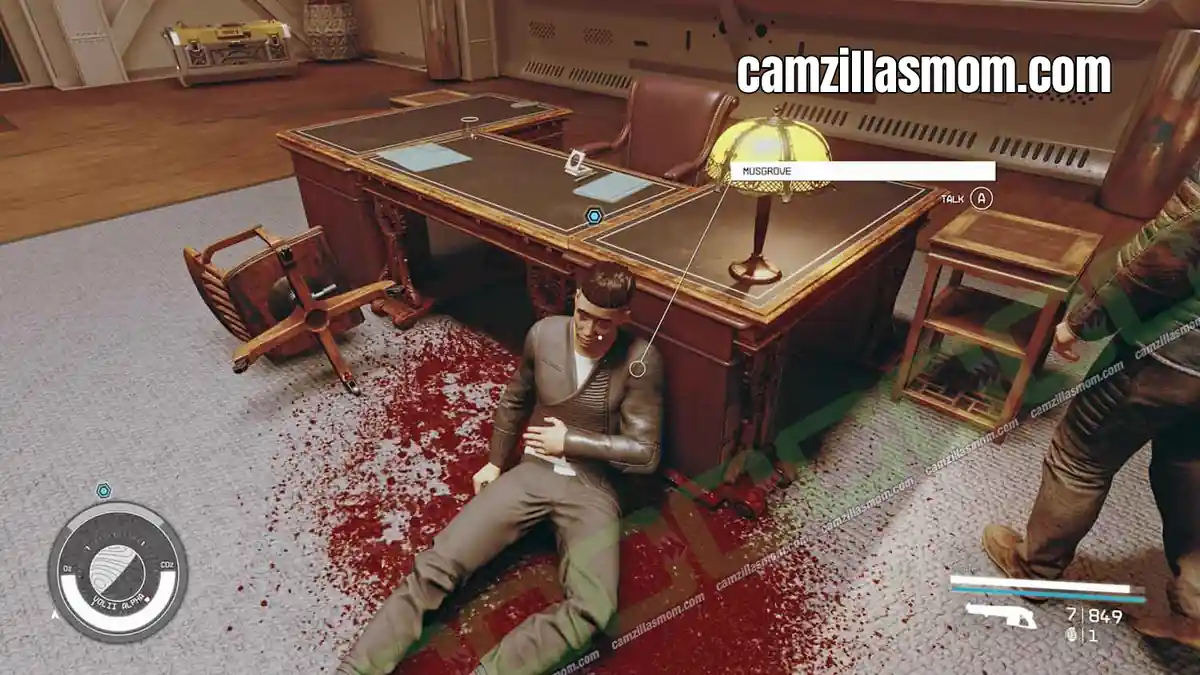
If you’re weighing up the best outcome for All That Money Can Buy in Starfield, letting Musgrove go tends to be the cleanest resolution unless you’re deliberately playing a more ruthless character.
17 – Go to the Ship
Mission Text:
“Our ordeal with Slayton is over and we’re finally free to leave Neon and get the Artifact back to the Lodge.”
Take the elevator down to the Slayton lobby, then down again to the Trade Tower lobby, and follow the marker back to your ship. Walter talks to you once you’re in the pilot’s seat, and then you’re clear to take off.
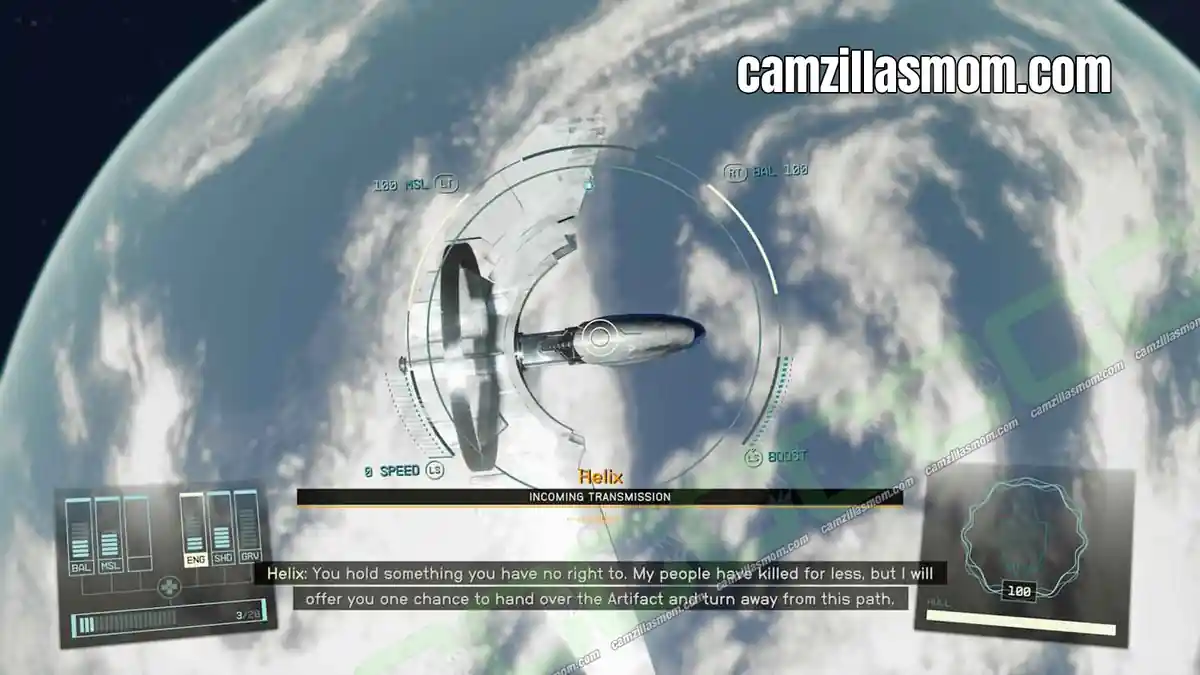
In orbit, a ship called the Helix hails you, identifying themselves as Starborn. You can try to escape, hand over the artifact, or fight. I escaped and headed straight back to the Lodge, but whichever you pick, the follow-up mission Starborn unlocks in your Missions menu once All That Money Can Buy wraps up.


About Starfield
Release: September 6th, 2023
Developer: Bethesda Game Studios
Publisher: Bethesda Softworks
Official Website: https://bethesdagamestudios.com/