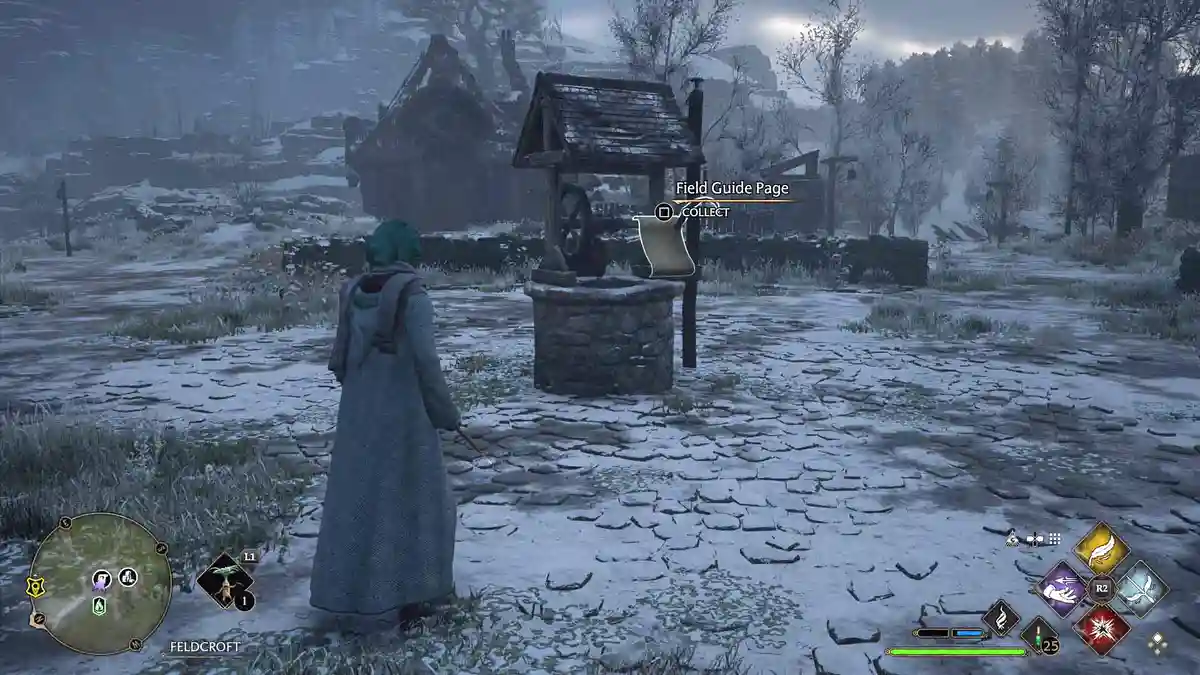
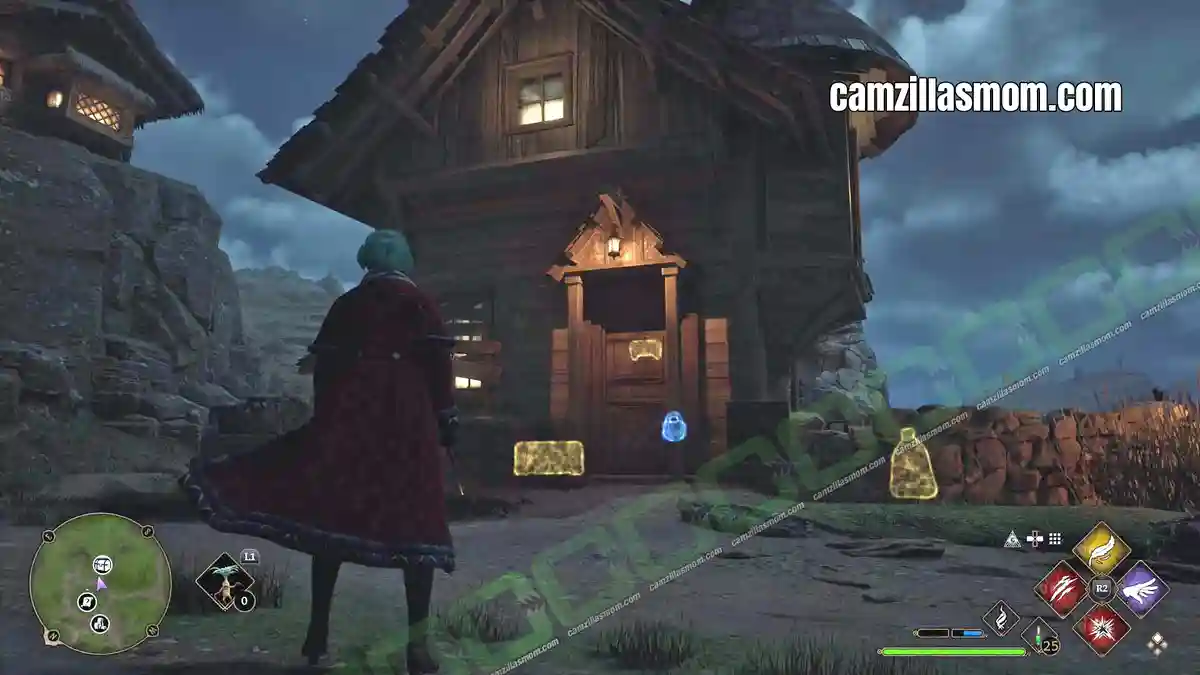
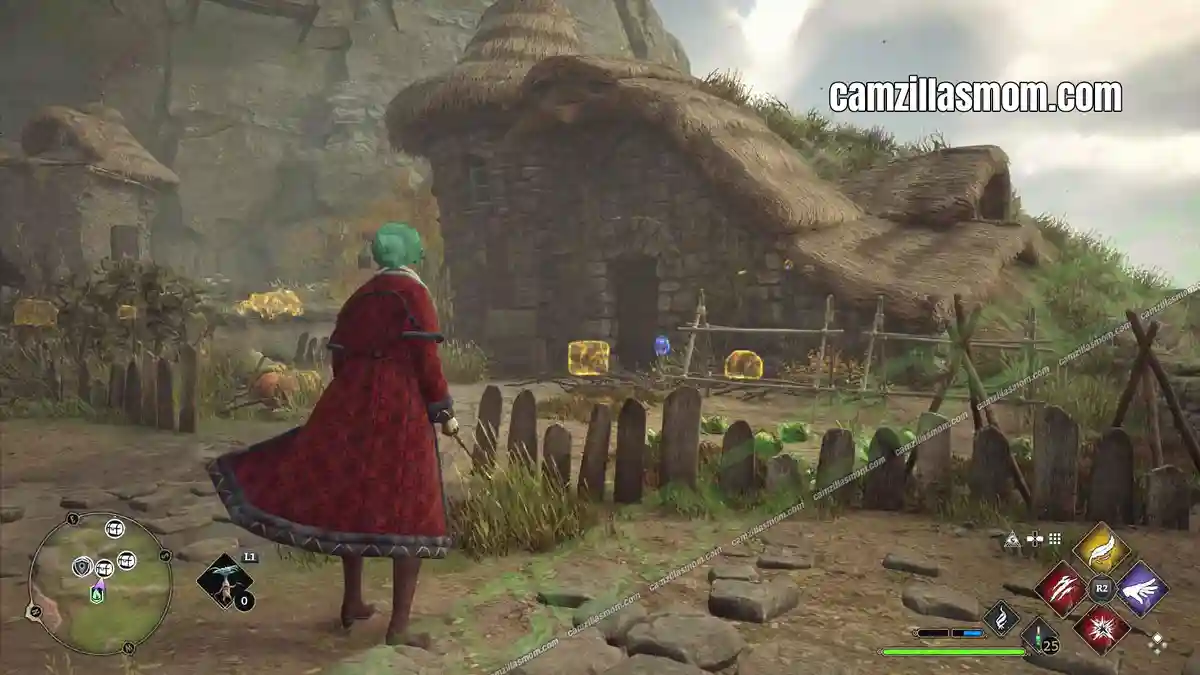
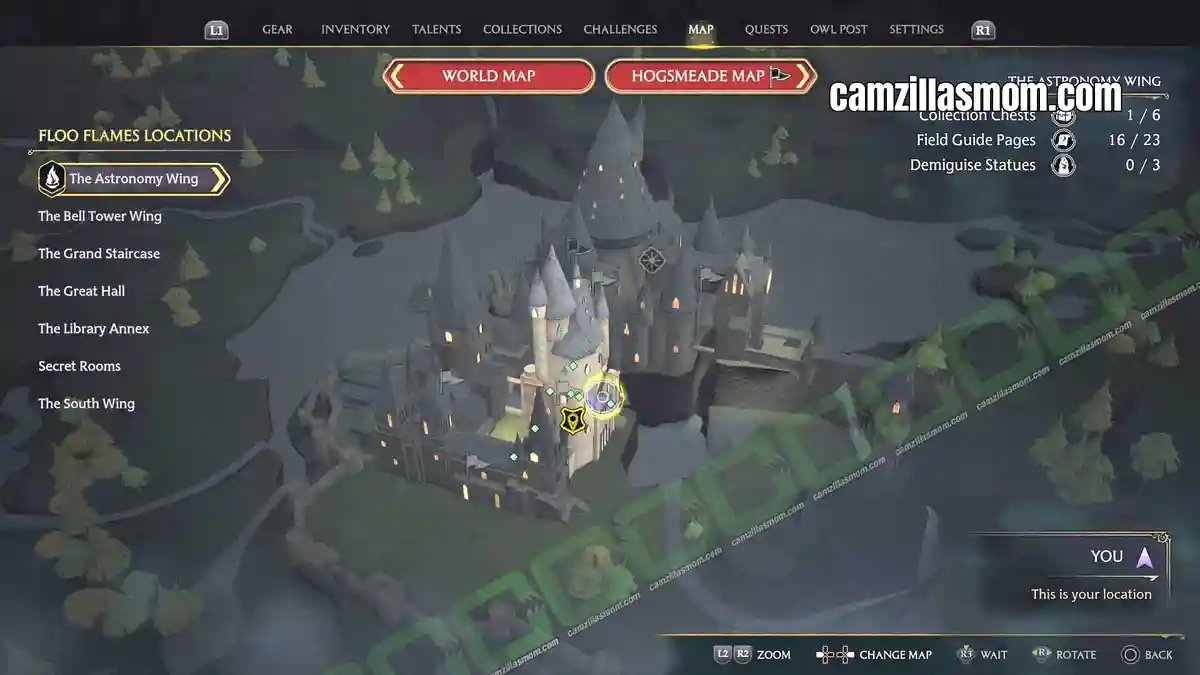
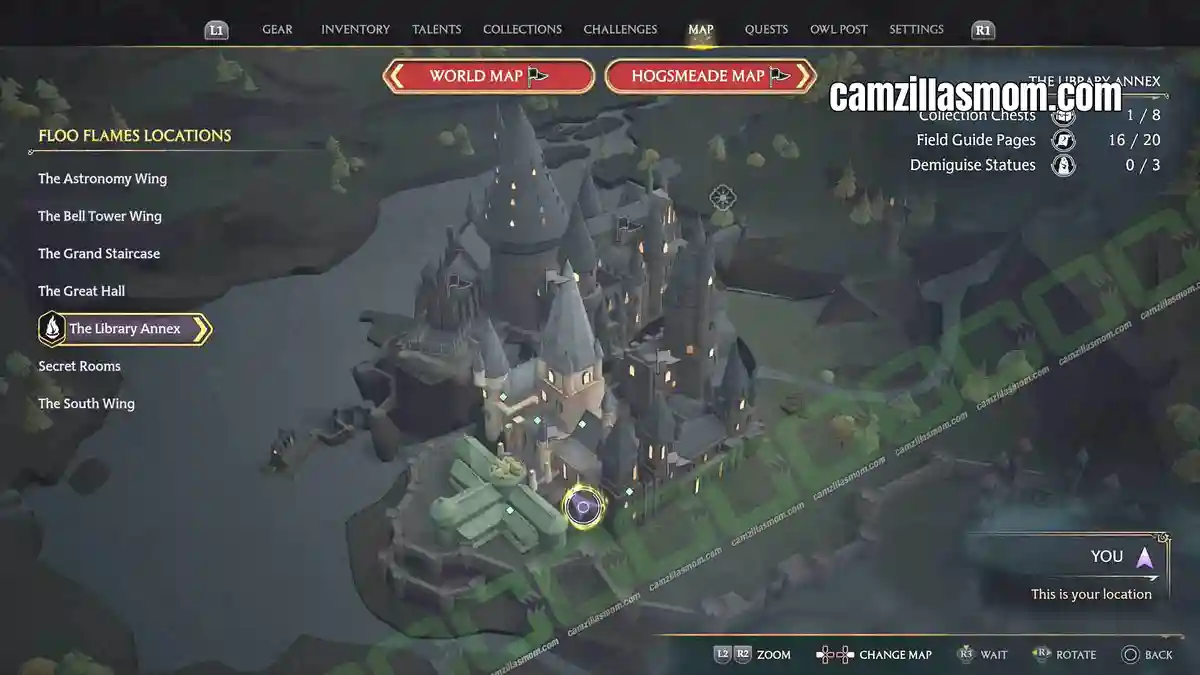
The Astronomy Wing holds 32 collectibles in total: 6 Collection Chests, 23 Field Guide Pages and 3 Demiguise Statues. Here’s every location, including the two arithmancy puzzle doors and the four pages hidden down in the Bell Tower dungeons, so you can finish the area at 100%.
A note on the area boundaries. Four of the Astronomy Wing’s Field Guide Pages and one of its Collection Chests are physically located in the Bell Tower Wing dungeons, past the sleeping dragon statue. The game still counts them towards Astronomy Wing completion, so they’re included here. The reverse also happens: the Demiguise Statue in that same dungeon counts as Astronomy Wing, while the Field Guide Page beside it belongs to the Bell Tower. Magic works in mysterious ways.
Related Guides:
All Demiguise Statues (Demiguise Moons) Guide
Library Annex Collection Chests & Collectibles
How to pick Locks in Hogwarts Legacy
More Guides at the Hogwarts Legacy Game Guides Hub
Astronomy Wing Collection Chests
Hogwarts is full of chests, but only a handful count towards the “Collections” section in the game menu. Those are the Collection Chests. The Astronomy Wing has 6 of them, and two sit behind arithmancy puzzle doors with full solutions below.
1 – Professor Fig’s Classroom
Climb the main staircase of the Astronomy Wing and enter Professor Fig’s classroom through the smaller staircase. The chest sits on a desk.
Reward:
Corkscrew – Light and Dark Brown – Wand Handles
2 – Charms Classroom Arithmancy Door
Above the Charms Classroom you’ll find a locked puzzle door. Head to the upper levels near the classroom to reach it.
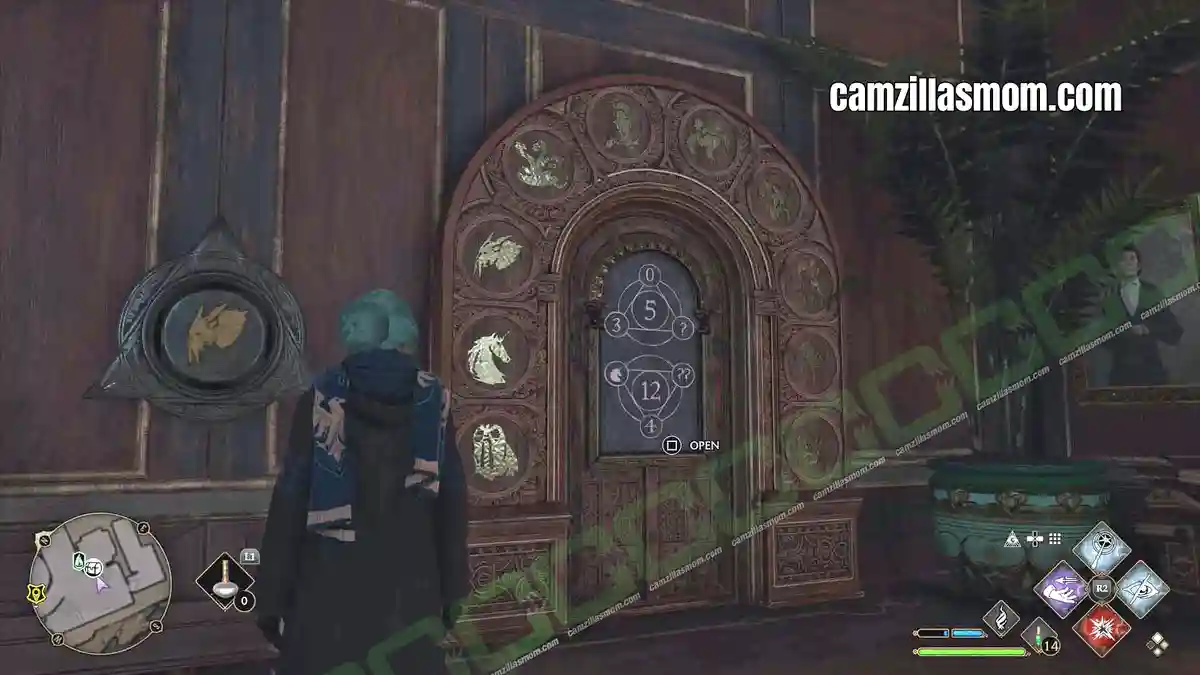
Cast Revelio to expose the two sums on the door. The top sum ends in a single question mark, the bottom one in a double question mark. Both question marks appear nearby as rotating dials, and that’s where your answers go.
Before you do any maths, read the door frame. Ten beasts run around it and each one stands for a digit from 0 to 9.
Seal = 0
Unicorn = 1
Goat = 2
Hydra = 3
Puffy Bird = 4
5 Legged Spider = 5
Lizard = 6
Octopus = 7
Spider = 8
Kraken = 9
If you’d rather not memorise the beasts, just count. Start at the bottom left of the door frame with the Seal as 0 and count up and around clockwise to the Kraken as 9. That works on every arithmancy door in the game.
First Sum: 0 + 3 + ? = 5
0 plus 3 plus 2 = 5. Dial in the GOAT for the ? – the third beast from the left.
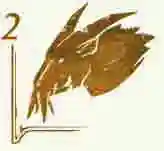
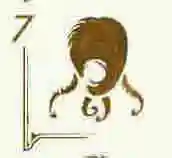
Second Sum: Unicorn + 4 + ?? = 12
The UNICORN is a 1. 1 plus 4 plus 7 = 12. Dial in the OCTOPUS for the ?? – the eighth beast from the left.
The door opens and the Collection Chest is inside.
Reward:
Small Game Tables – Conjurations
3 – Transfiguration Courtyard Arithmancy Door
This door sits just outside the Astronomy Wing, by the exit leading into the Transfiguration Courtyard. It’s technically on Library Annex ground, but the chest counts towards Astronomy Wing completion, so tick it off here.
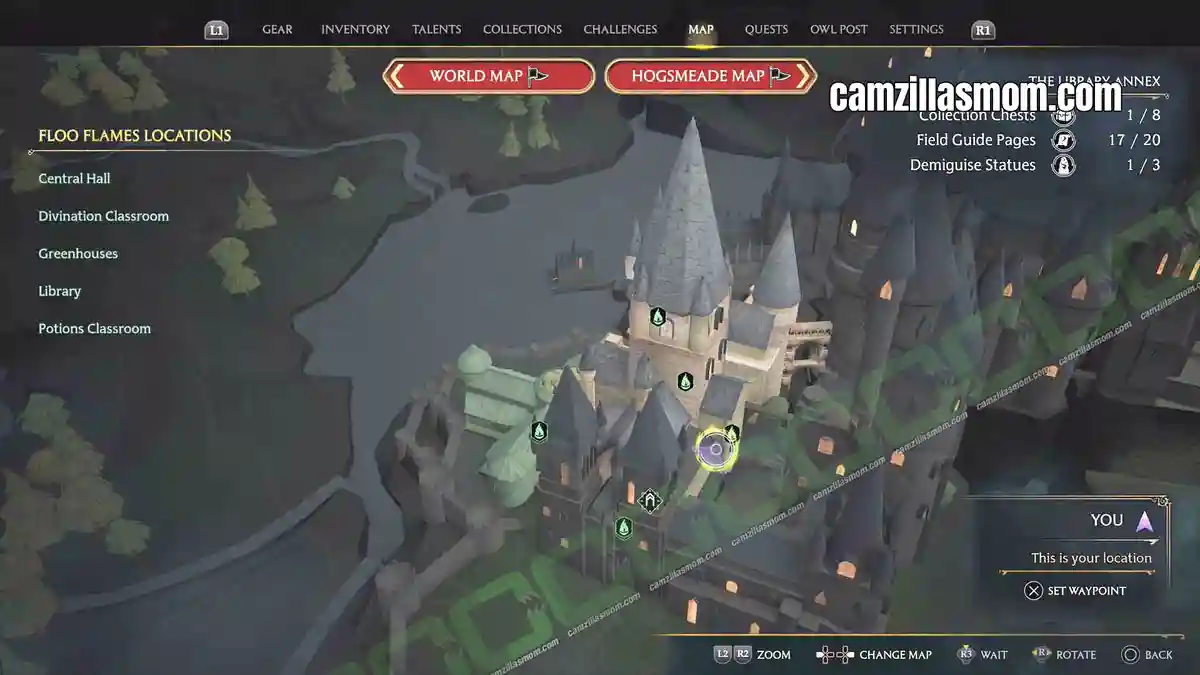
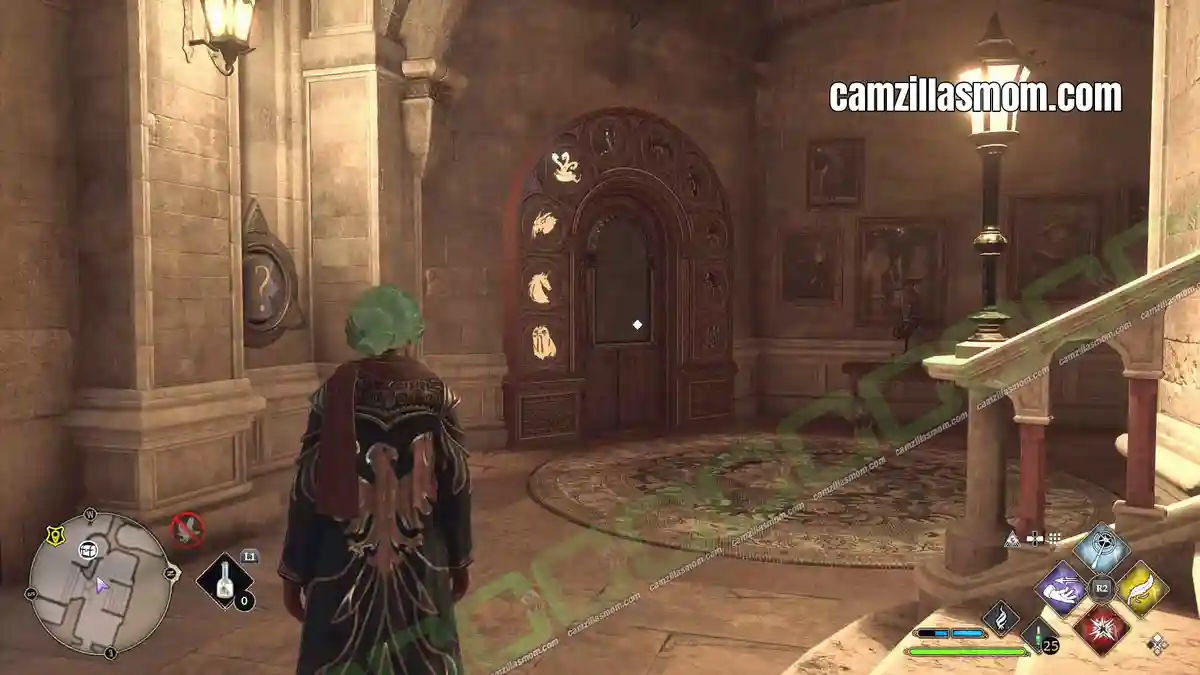
Same method as before. Revelio exposes both sums, then find the two dials nearby. The beast key on the door frame runs Seal 0 through to Kraken 9.
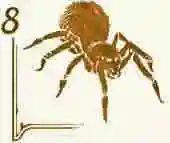
First Sum: 11 + Goat + ? = 21
The GOAT is a 2. 11 plus 2 plus 8 = 21. Dial in the SPIDER for the ? – the ninth beast from the left.
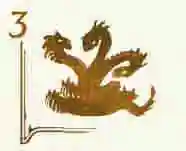
Second Sum: 5-Legged Spider + Kraken + ?? = 17
The 5-LEGGED SPIDER is a 5 and the KRAKEN is a 9. 5 plus 9 plus 3 = 17. Dial in the HYDRA for the ?? – the fourth beast from the left. This dial is above the door, one floor up.
The door opens and the chest is inside.
Reward:
Skull and Candles Shelf – Conjurations
4 – Charms Classroom Rooftop
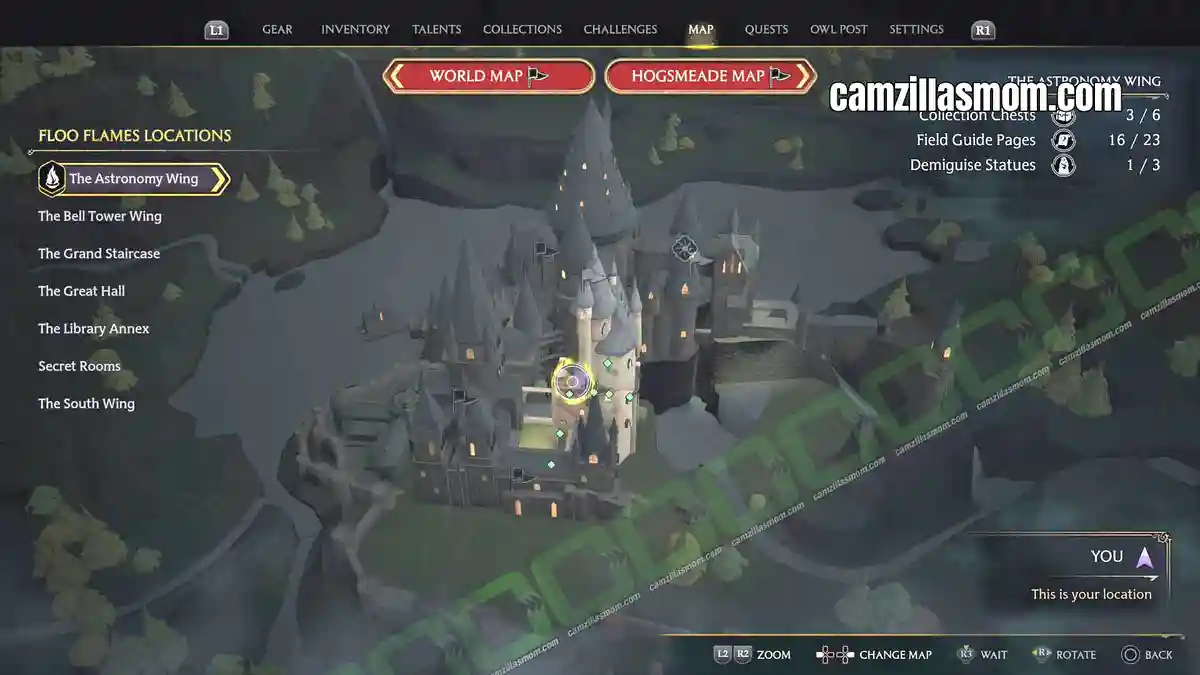
Inside the Charms Classroom, take the staircase up to a locked room (Level 1). Unlock it, climb the spiral staircase inside, and you’ll come out on a small rooftop area with the chest against the wall.
There’s a second locked door up here too (Level 2). That one holds the Dark Tower Cell Field Guide Page, covered further down.
Reward:
Celestial – Blue – Wand Handles
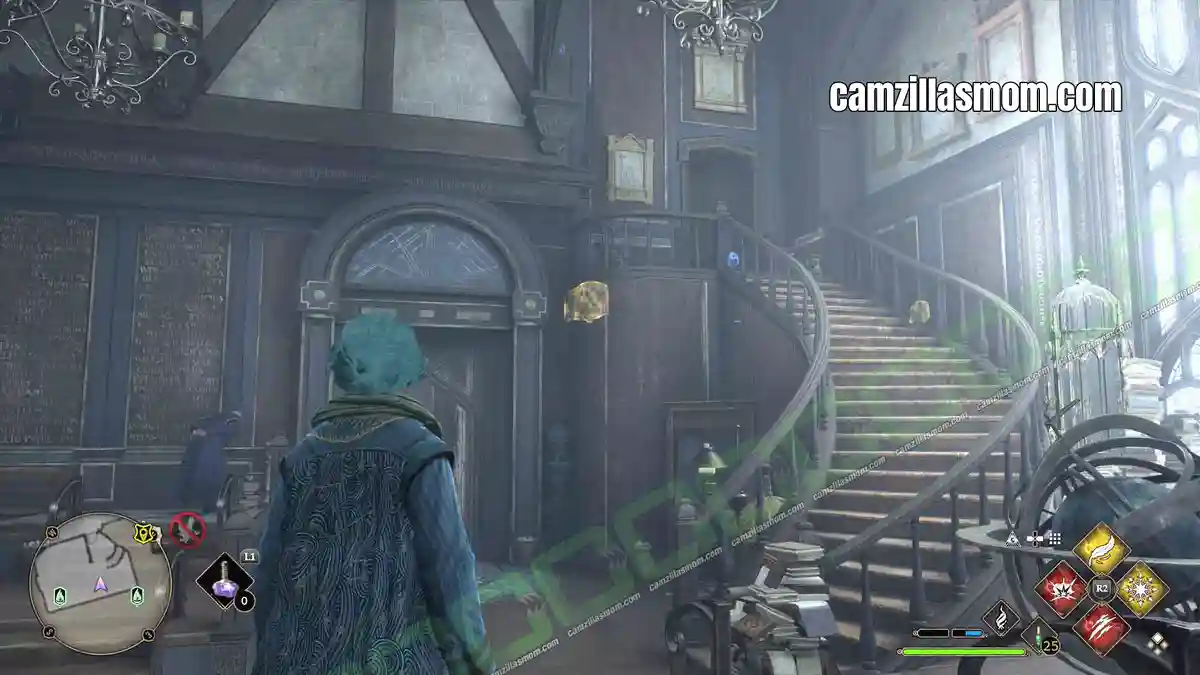
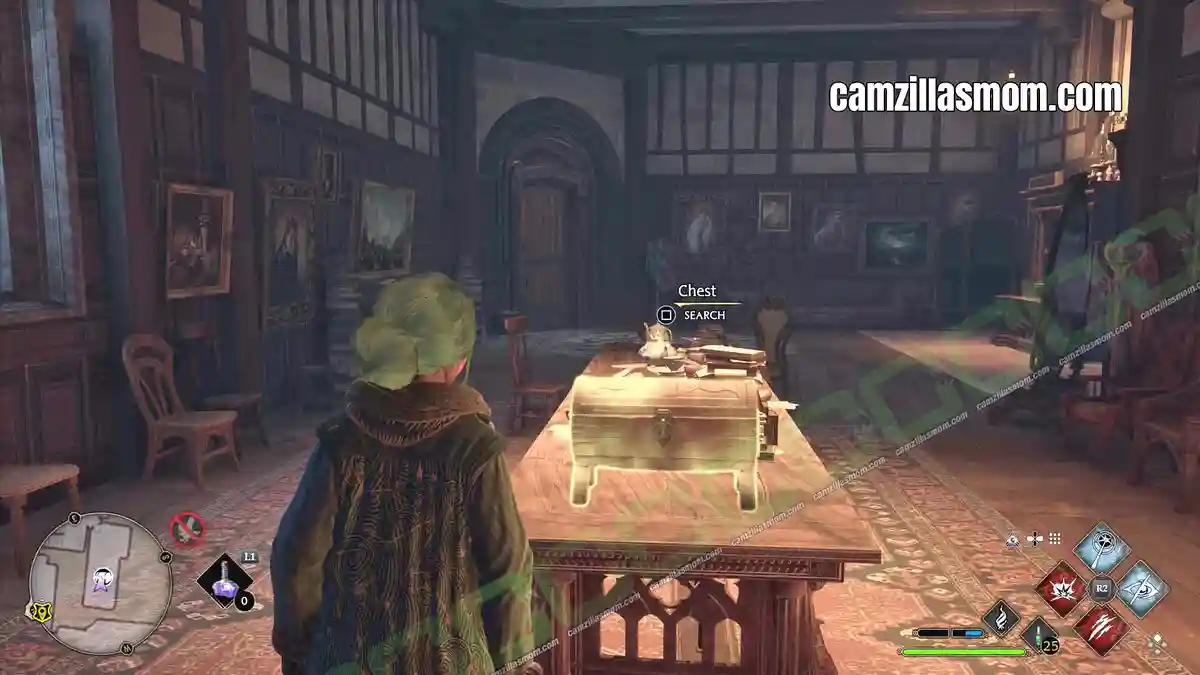
5 – Locked Office at the Bottom of the Staircase
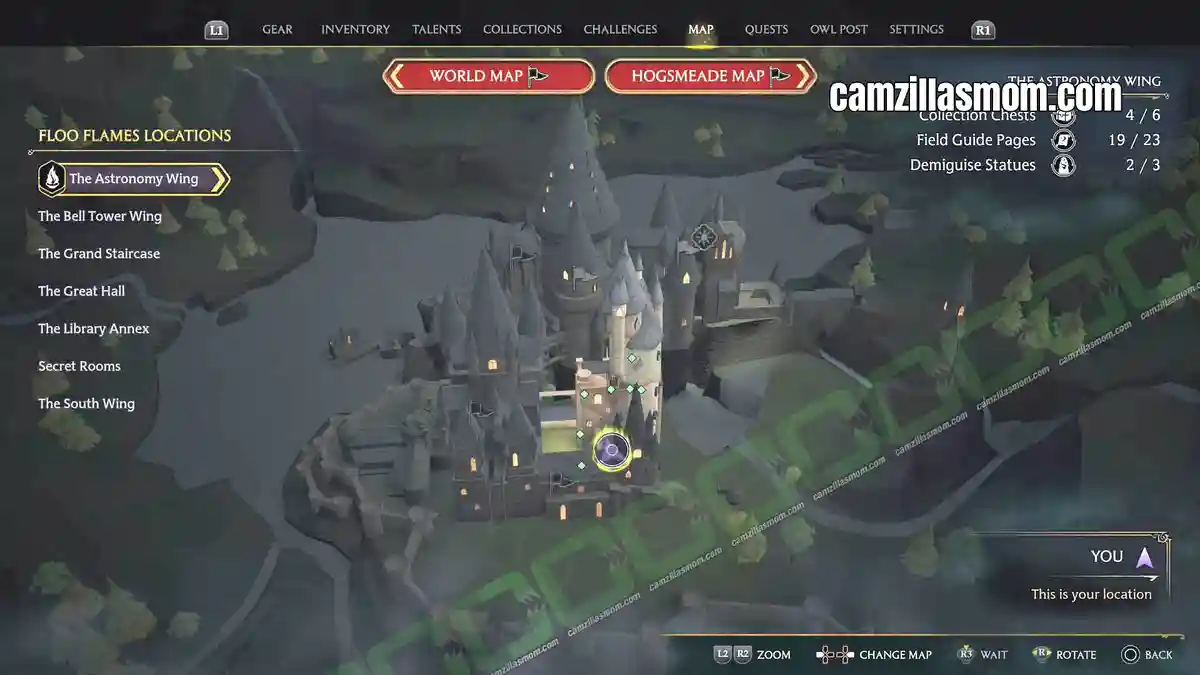
A locked office sits at the base of the Astronomy Wing’s main staircase. Unlock the door and the chest is inside.
Reward:
Avian – Beige – Wand Handles
6 – Alchemy Classroom: Bell Tower Dungeons
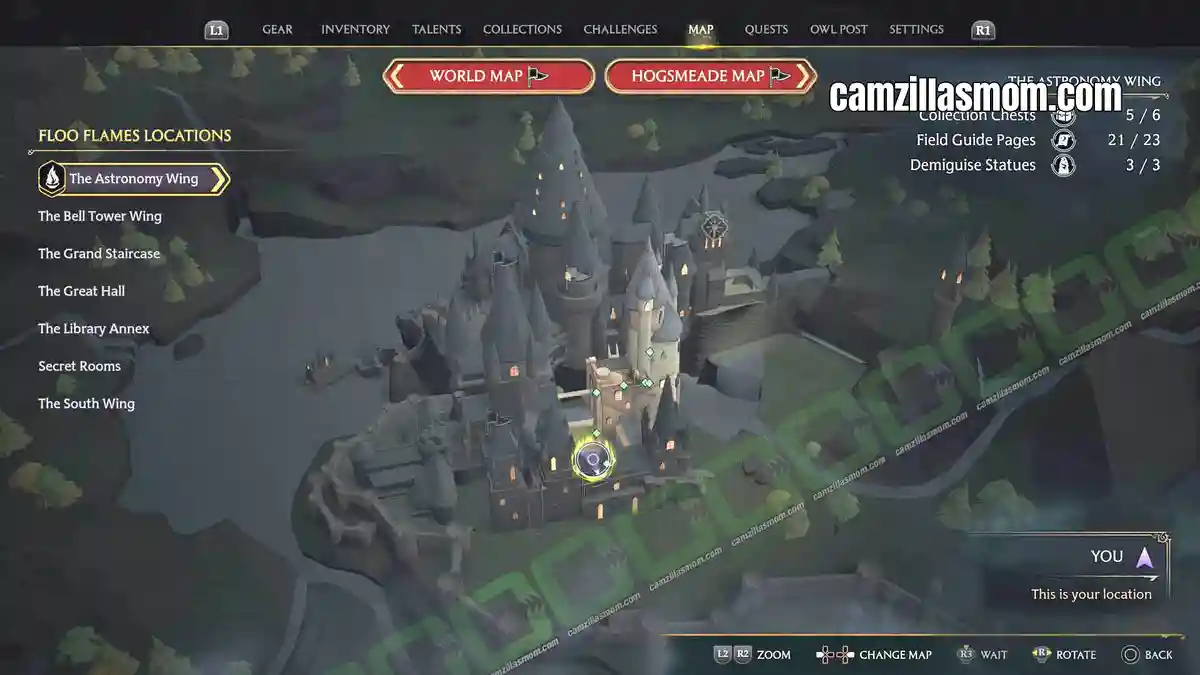
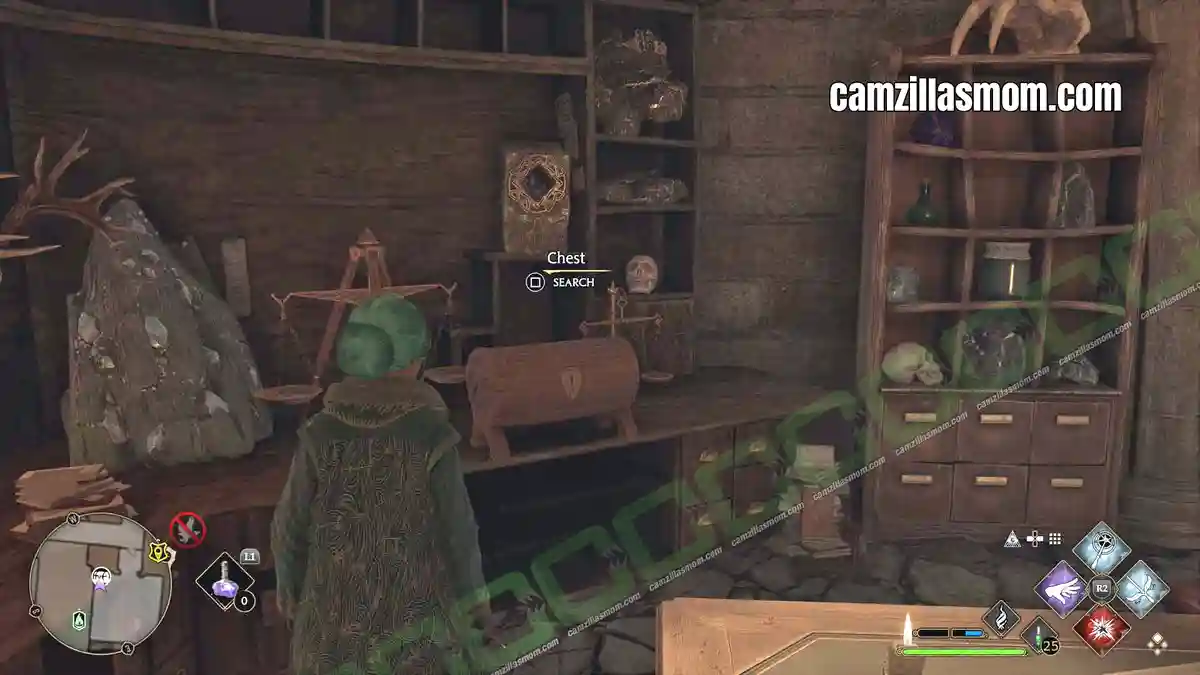
Fast travel to the Bell Tower Courtyard. With the Floo Flame behind you, climb the stairs on the left and go through the door, then keep heading down until you reach the dungeons. Turn right past the sleeping dragon statue and follow the corridor to the end, where a Level 2 door leads into the Alchemy Classroom. The chest is inside.
This one room is worth the trip: it holds a Collection Chest, the Alchemy Class Revelio Page and a Dragon Bowl page, with a Flying Page and a Globe Statue page just beyond it.
Reward:
Avian – Beige – Wand Handles
Astronomy Wing Field Guide Pages (Revelio Pages)
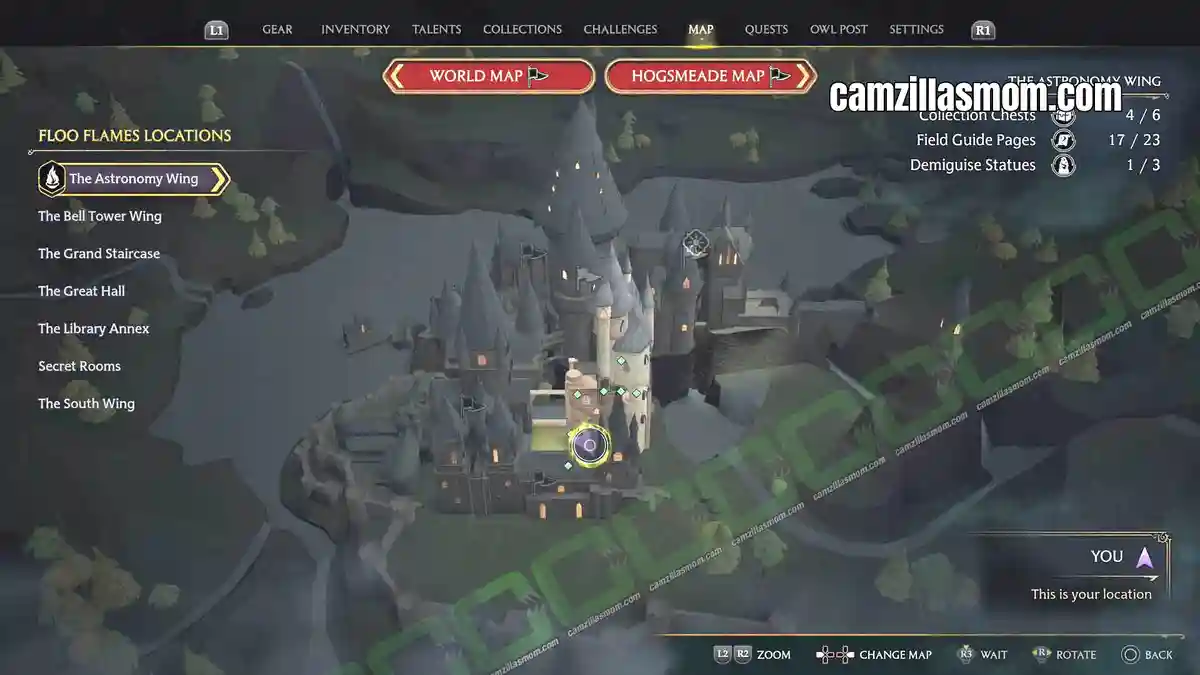
Field Guide Pages come in two flavours. Revelio Pages are the named ones you uncover with Revelio and that get logged in your Collections menu. The rest are unnamed: Flying Pages you snatch out of the air with Accio, plus pages hidden behind moth mirrors, dragon bowls and globe statues. Both types count towards the Field Guide Pages challenge, and all 23 are listed below.
Revelio Pages
There are 12 named Revelio Pages in the Astronomy Wing, listed here in the order they appear in the game’s Collections – Revelio Pages menu so you can tick them off one by one.
1 – Tapestry of Barnabas the Barmy
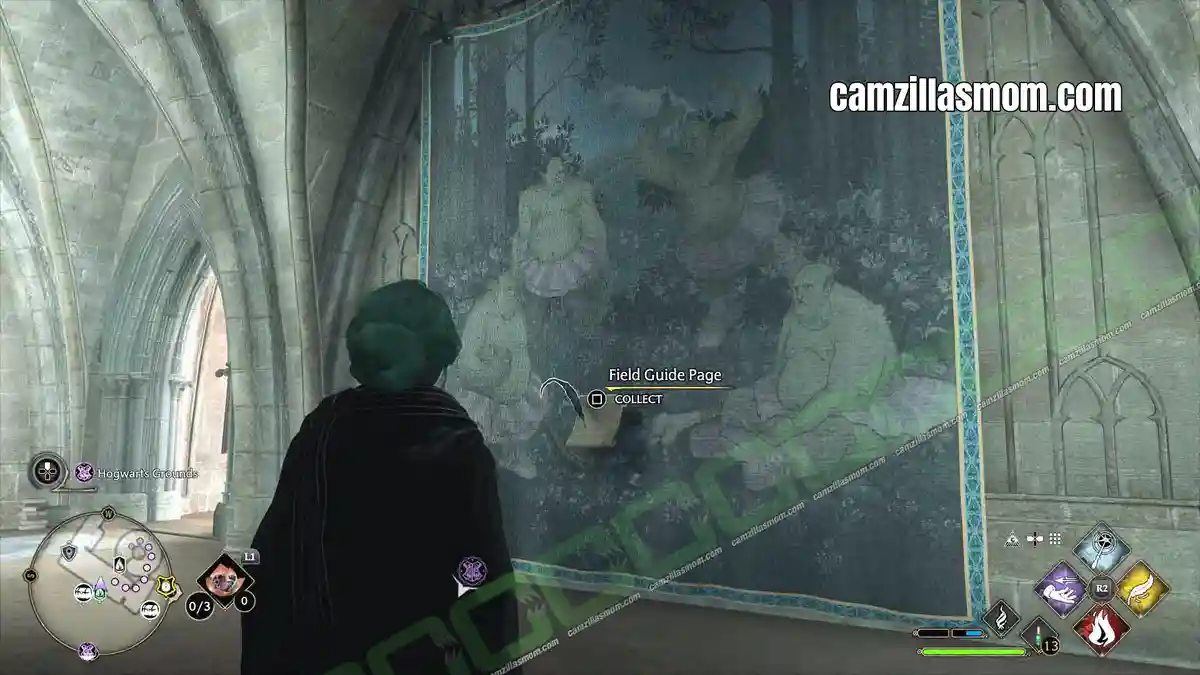
“This tapestry depicts the wizard Barnabas the Barmy’s foolish attempt to train trolls for the ballet. One can only imagine the impact on the arts had he succeeded.”
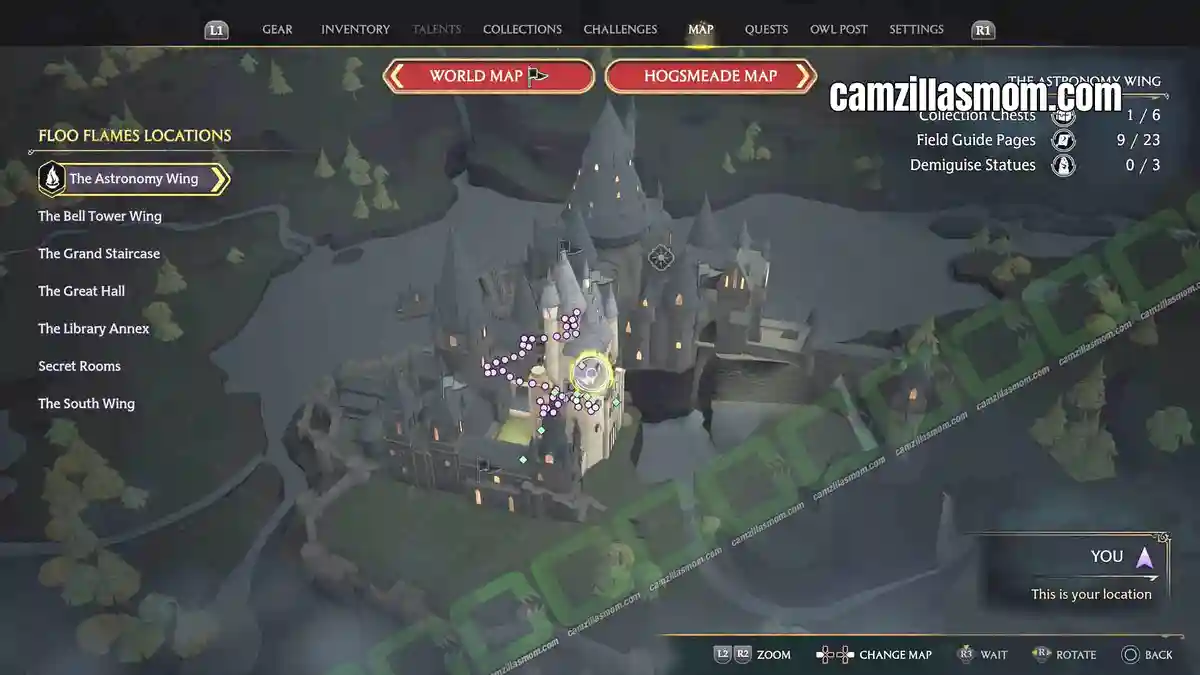
From the Astronomy Tower Floo Flame, head down the stairs and follow the corridor. The animated tapestry is on the left, above the Charms Classroom. Cast Revelio.
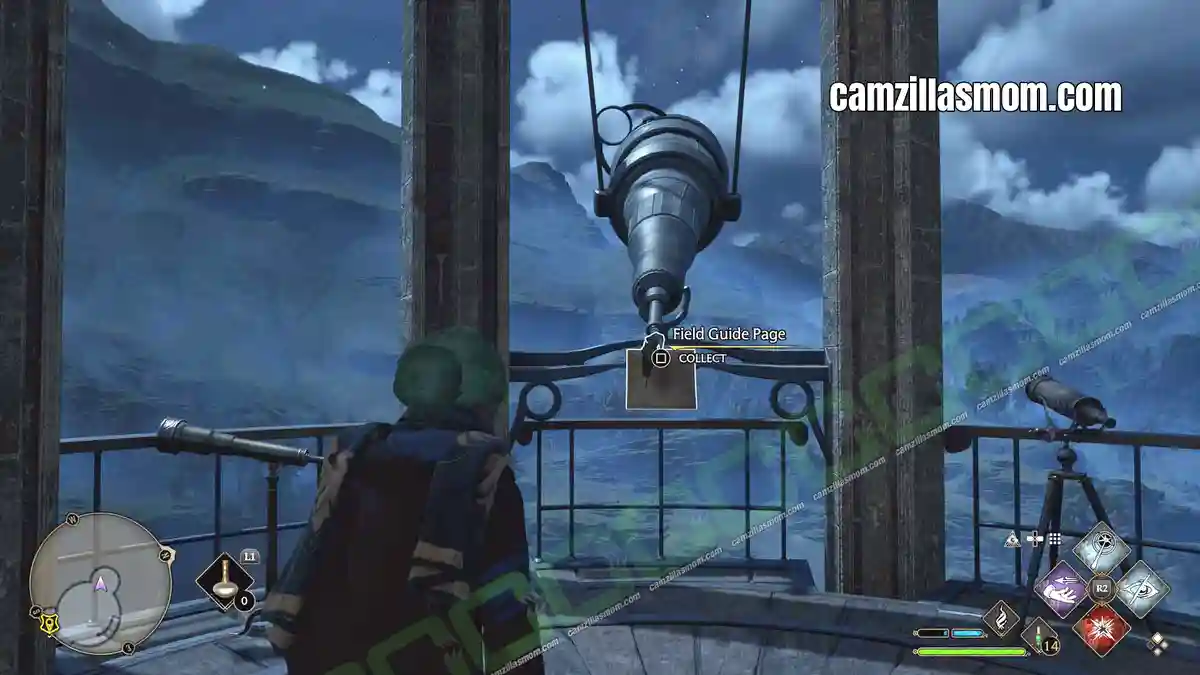
2 – Astronomy Telescope
“This telescope is the finest stargazing instrument of its kind, perfect for viewing the moon and the stars and anything else one might find in the night sky.”
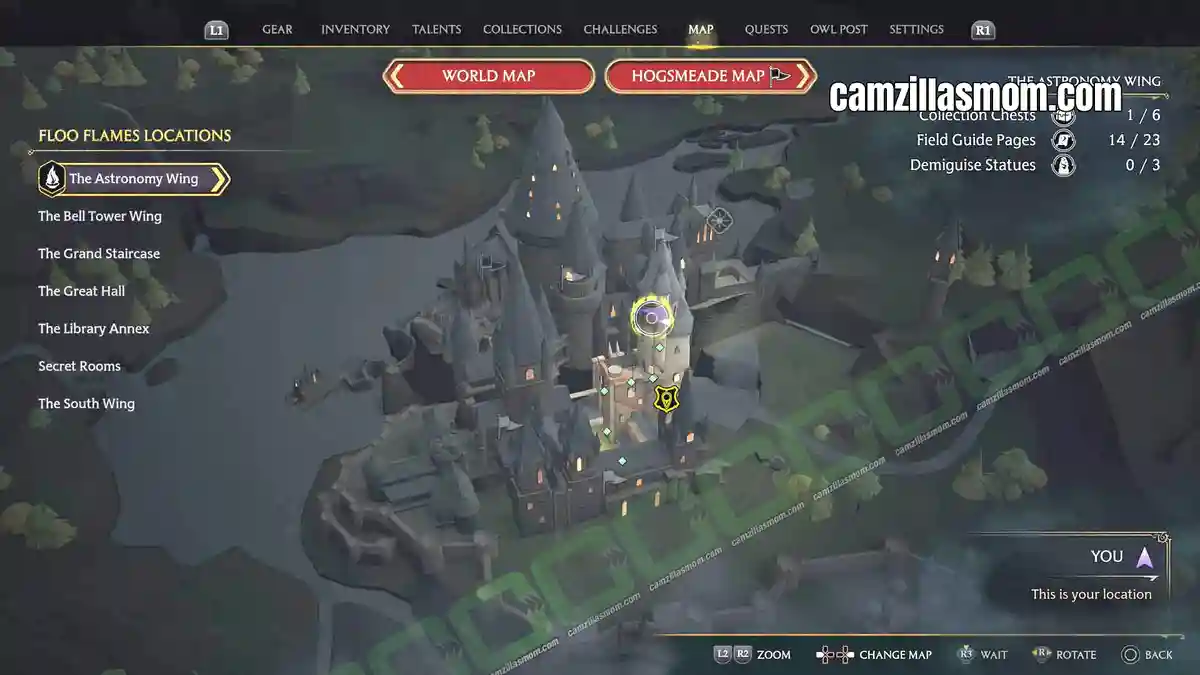
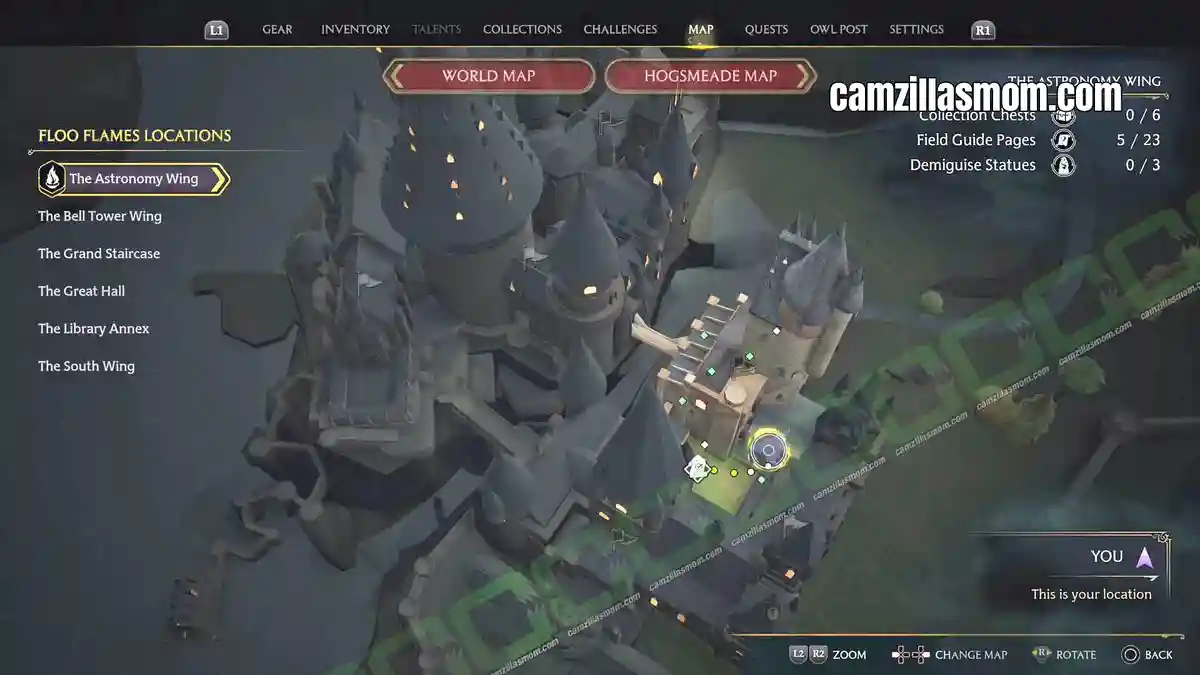
Use the Astronomy Tower fast travel point, go through the wooden arch and up the stairs, then climb the spiral staircase to the very top. Cast Revelio in front of the largest telescope.
3 – Partial Transfiguration
“This partially Transfigured teacup – likely the soon-to-be-reversed error of a second-year – serves as a cautionary tale for those students who do not take seriously the complexities of dangers of Transfiguration.”
Fast travel to the Transfiguration Classroom, go inside and approach the desk on the left side of the room. Cast Revelio.
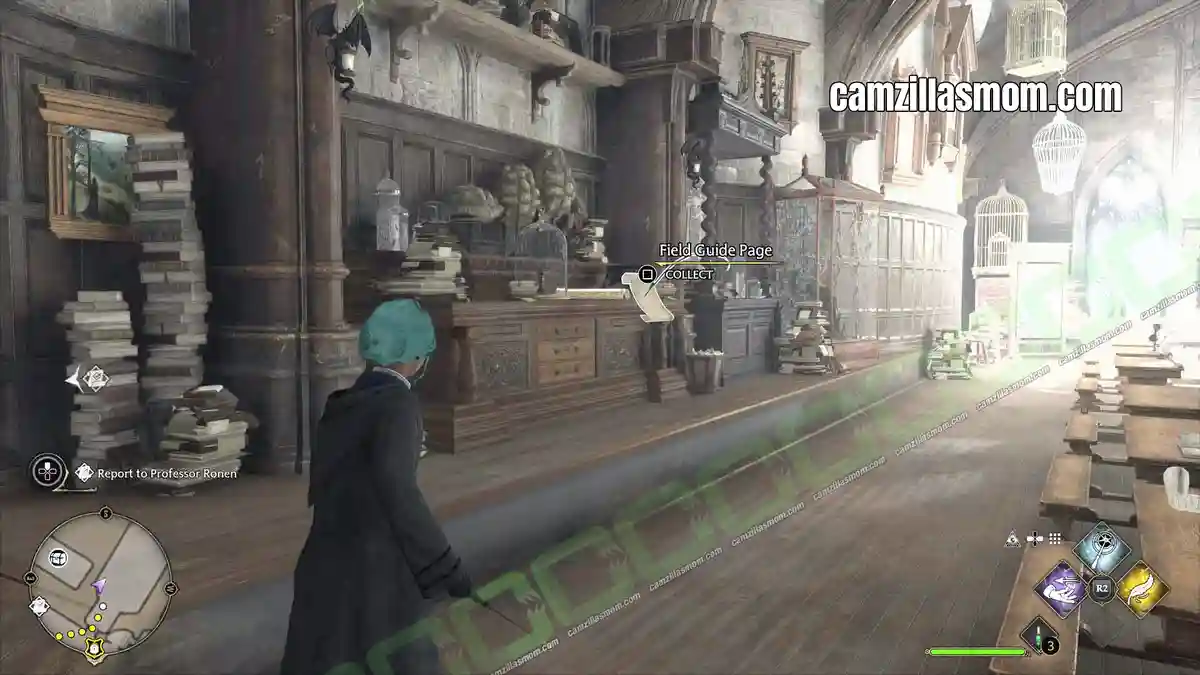
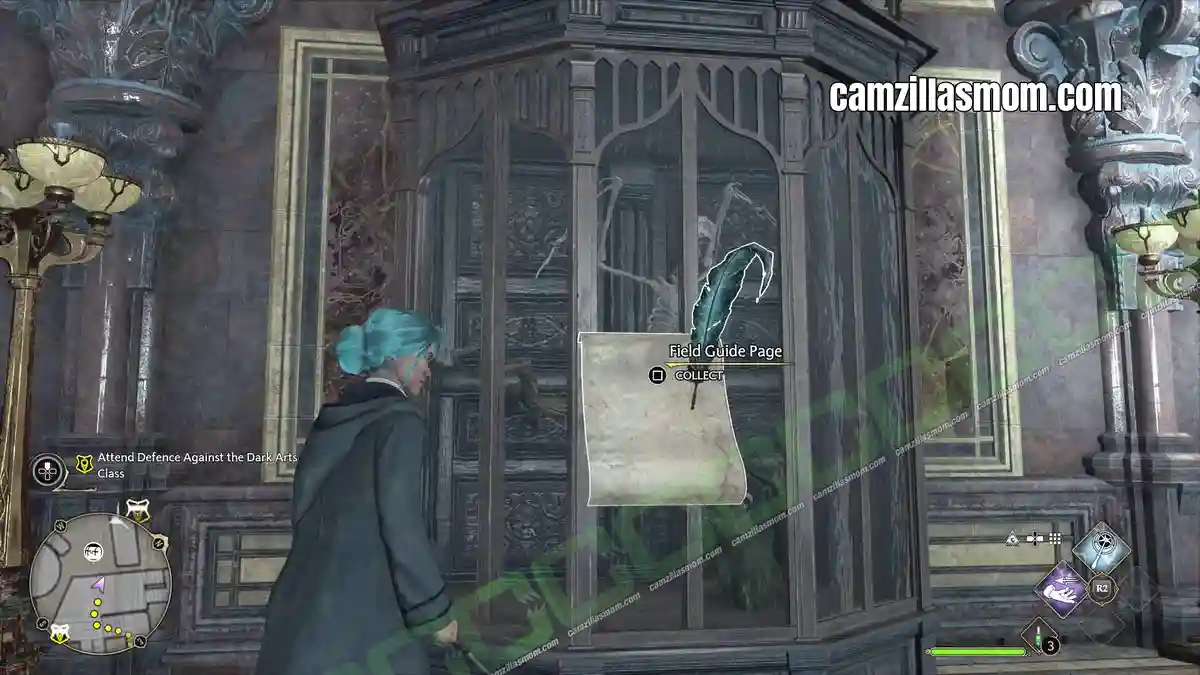
4 – Augurey Skeleton
“This is a skeleton of an Irish phoenix or Augurey – an intensely shy bird who can forecast the coming of rain and whose mournful cry was once believed to foretell death.”
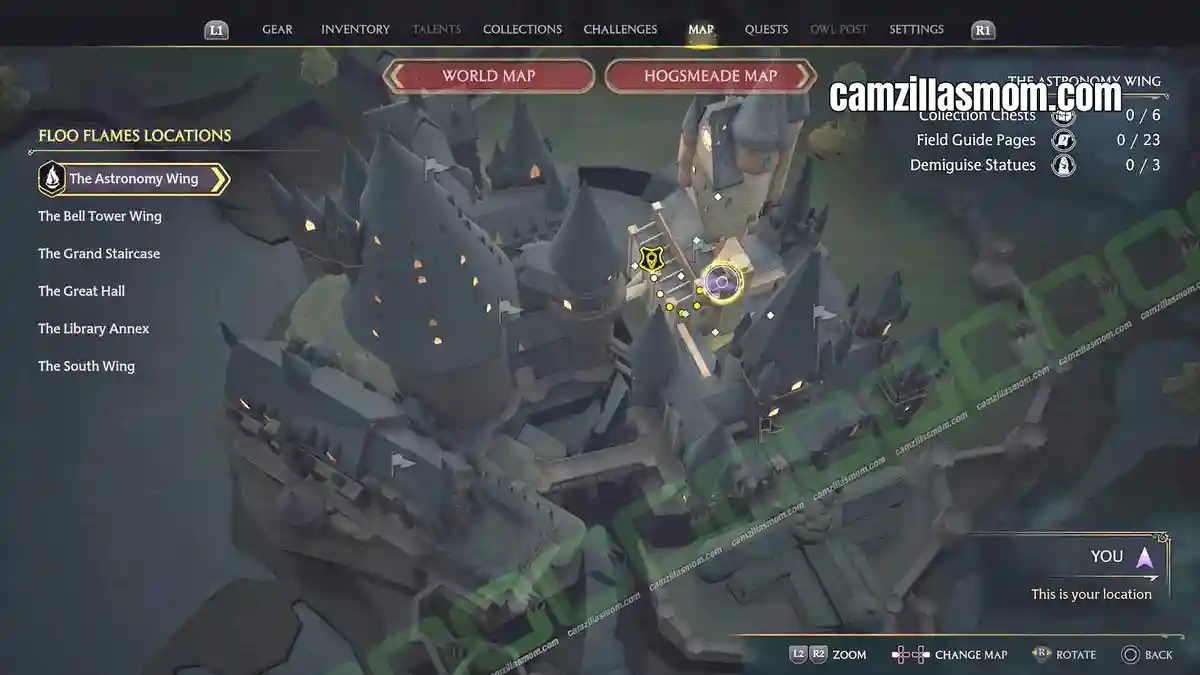
Fast travel to the Defence Against the Dark Arts Tower, head down the stairs and turn right. Keep going down until you reach the bird skeleton in its display cabinet, then cast Revelio.
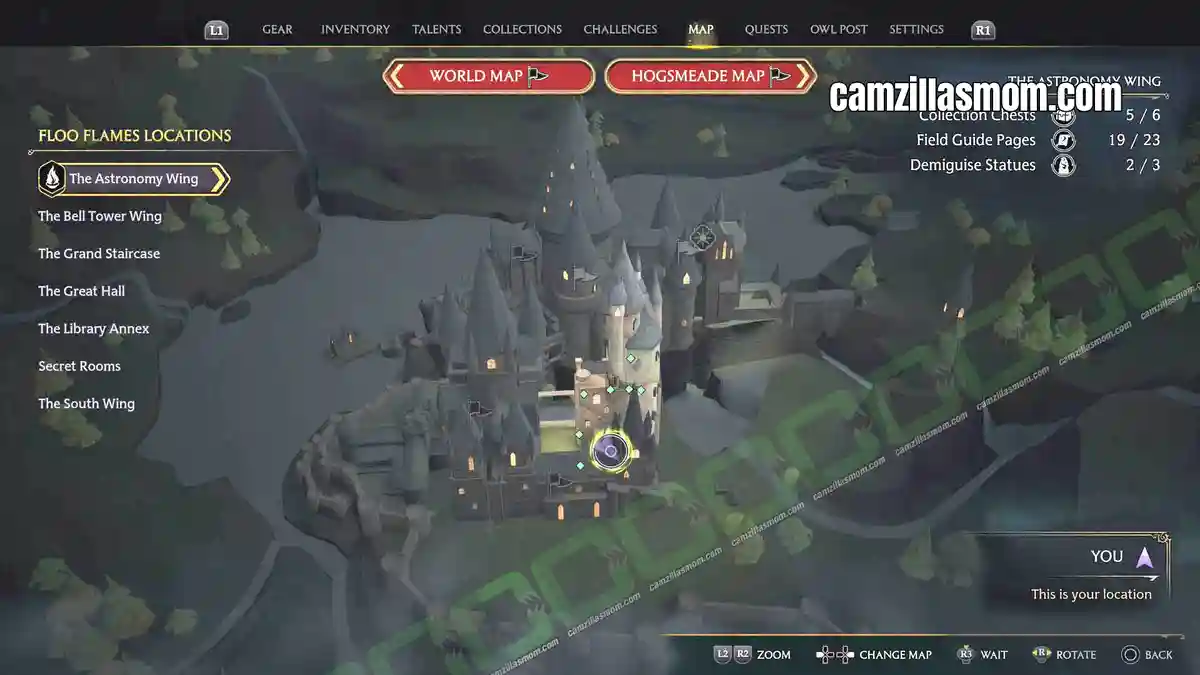
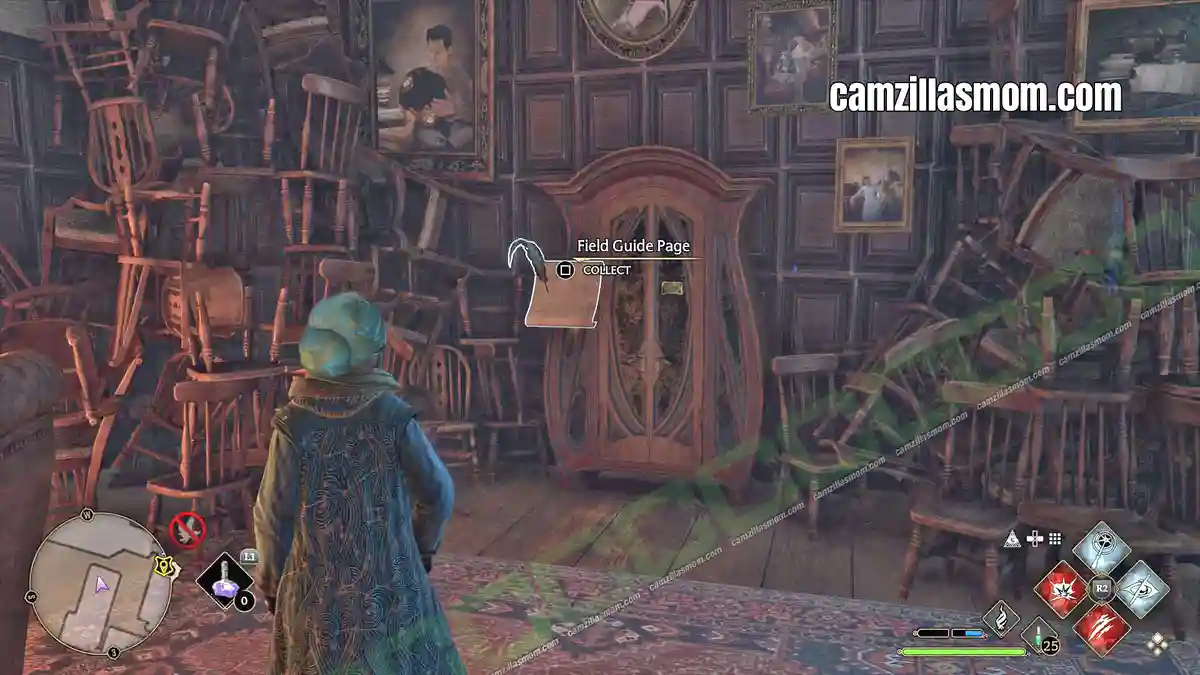
5 – Boggart Closet
“This old cupboard is said to have once contained a powerful Boggart that five professors working together could barely repel as it shifted among werewolf, tornado, a plate of haggis, a Hungarian Horntail, and someone’s mother-in-law.”
From the Transfiguration Courtyard Floo Flame, enter the castle through the door beside it, turn right and go up the staircase. A Level 2 locked door waits at the top. Inside, head to the wardrobe at the end of the room and cast Revelio.
6 – Hebridean Black Skeleton
“This large dragon skeleton that hangs in the Defence Against the Dark arts classroom is allegedly a trophy taken by Professor Hecat after she single-handedly defeated one of the largest poaching rings in Eastern Wales during the Great Poacher Raid of 1878.”
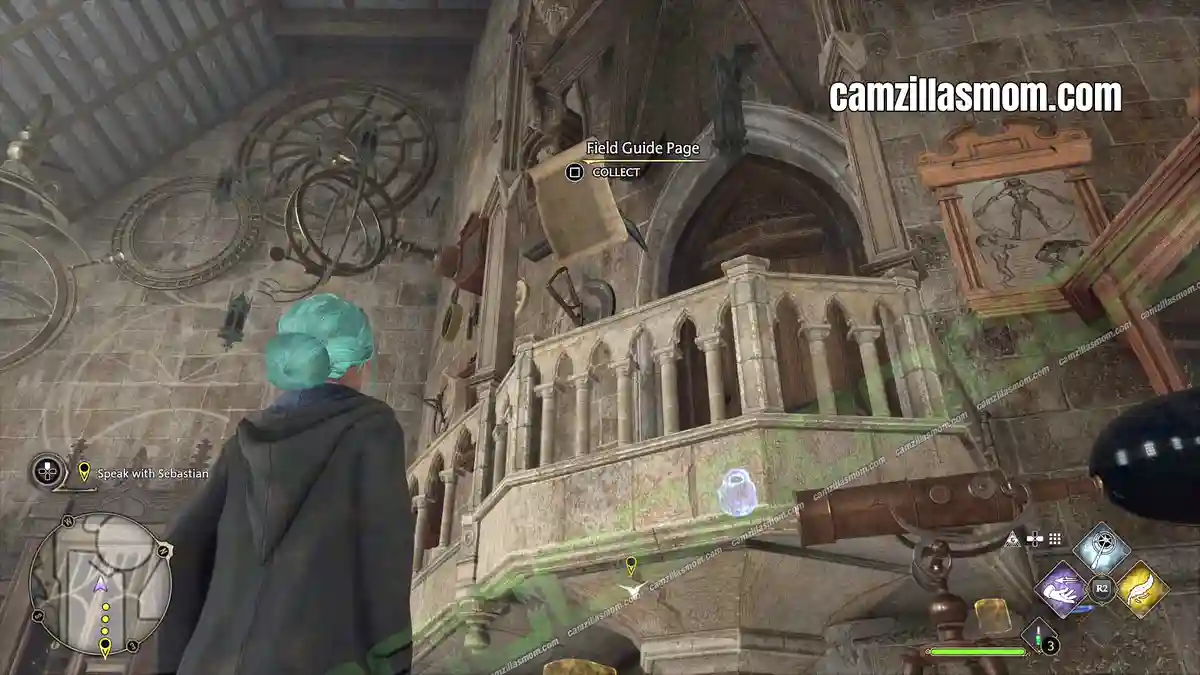
Fast travel to the Defence Against the Dark Arts Classroom, go inside and walk to the stairs at the end of the room. Cast Revelio at the balustrade and the huge dragon skeleton overhead gives up its page.
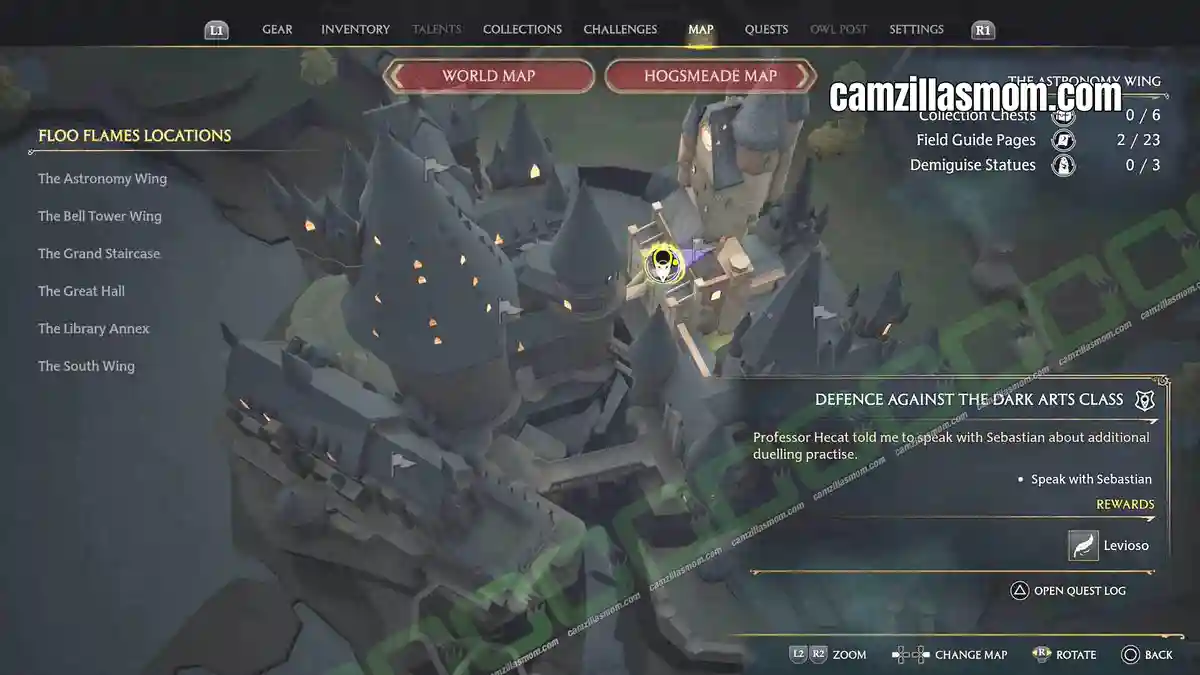
7 – Painting of Illyius
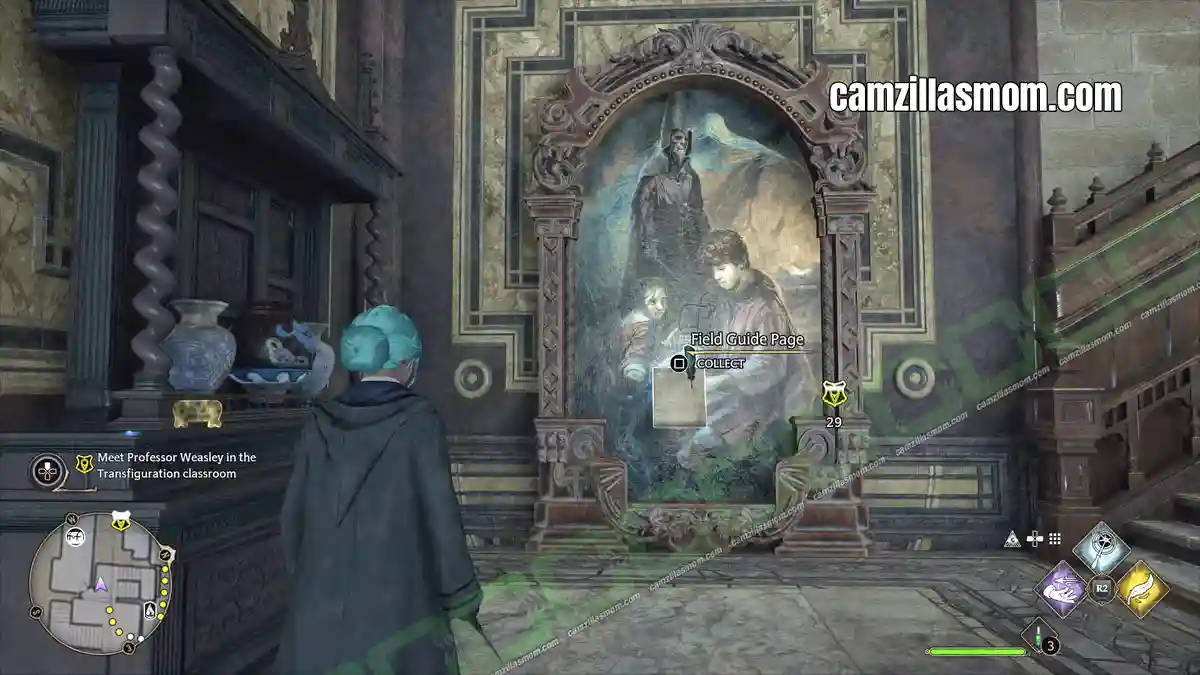
“This painting depicts the young orphan wizard Illyius, who famously saved his entire village from an army of Dementors and the Dark wizard Raczidian by conjuring a mouse Patronus.”
From the Transfiguration Courtyard Floo Flame, enter the castle through the door beside it, turn right and go up the staircase. The painting hangs on the wall at ground level. Cast Revelio.
8 – Serpentine Beast Window
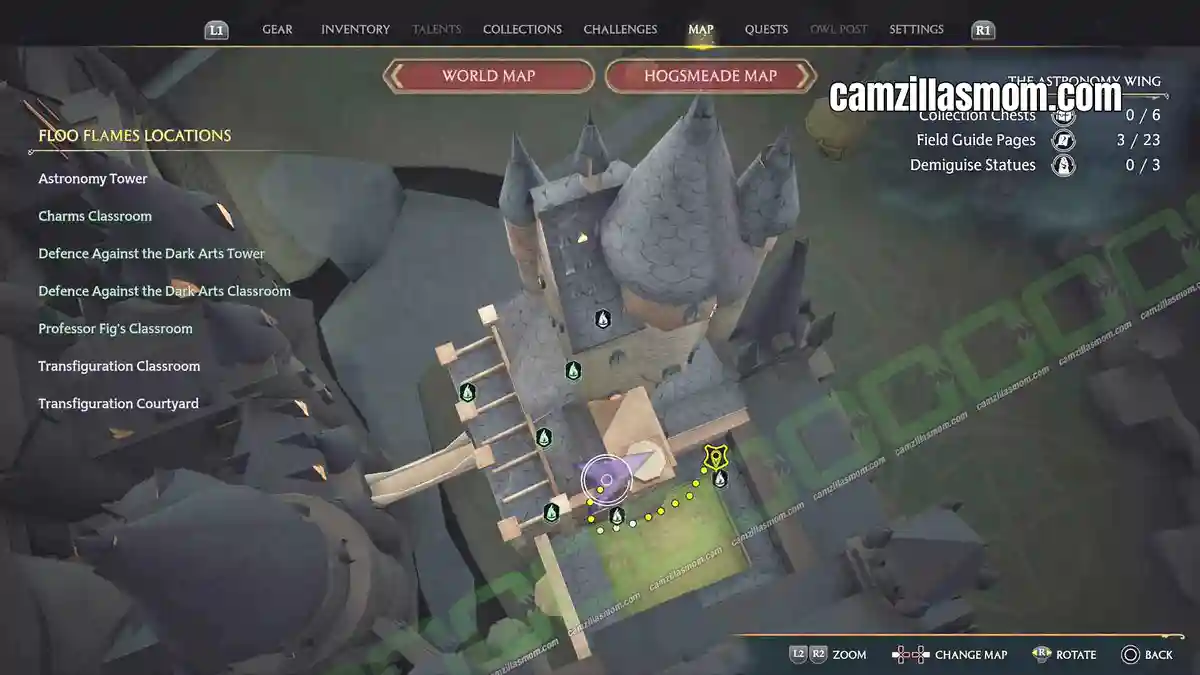
“Although Slytherins like to think this window is somehow a tribute to their house founder, it is actually a serpentine beast coiled around a tree that extends from the mouth of the legendary Green Man.”
Fast travel to the Defence Against the Dark Arts Classroom, take the stairs on the right and walk to the end of the hall. The colourful window is on your right. Cast Revelio.
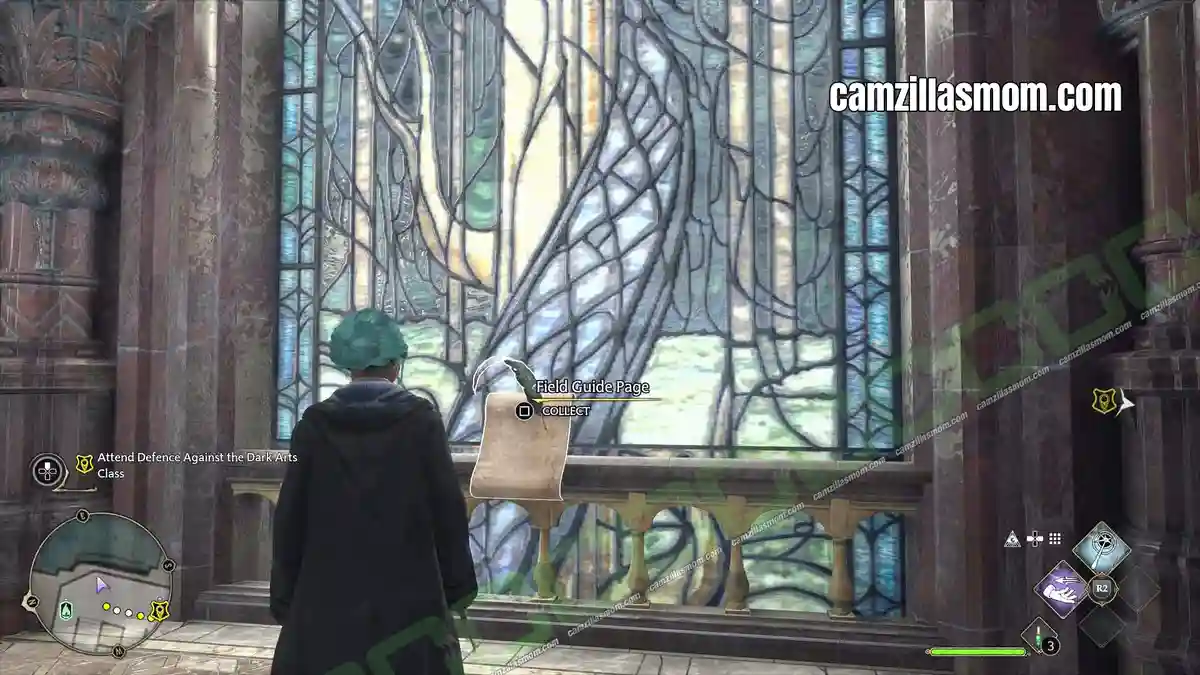
9 – Dark Tower Cell
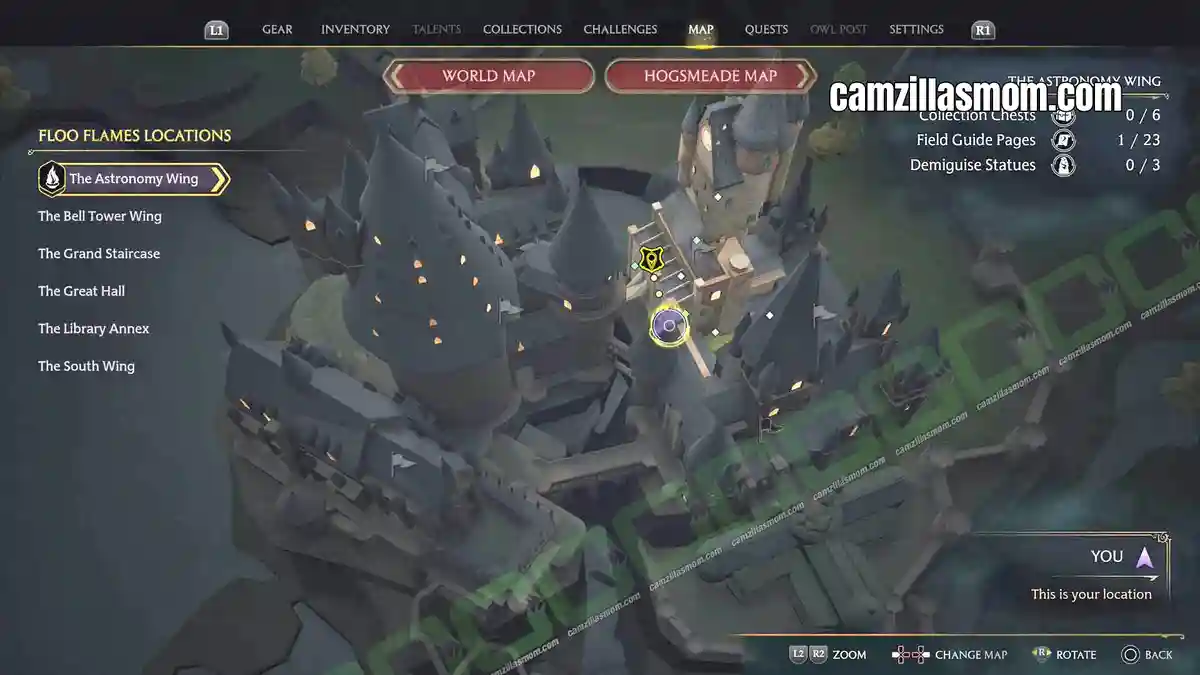
“It is said that, centuries ago, a Charms professor kept a troll here on which students could practise particularly challenging spells. Shocking, to be sure, but perhaps unsurprising during a time when Quidditch involved the use of live Snidgets. One can only wonder what it may be used for in the future.”
Two locked doors stand between you and this one. From the Charms Classroom Floo Flame, go into the classroom and take the staircase on the left. Open the Level 1 door at the top, climb the spiral staircase to the roof, then turn left and open the Level 2 gate. Cast Revelio inside the cell.
The Collection Chest on this rooftop is covered above under 4 – Charms Classroom Rooftop.
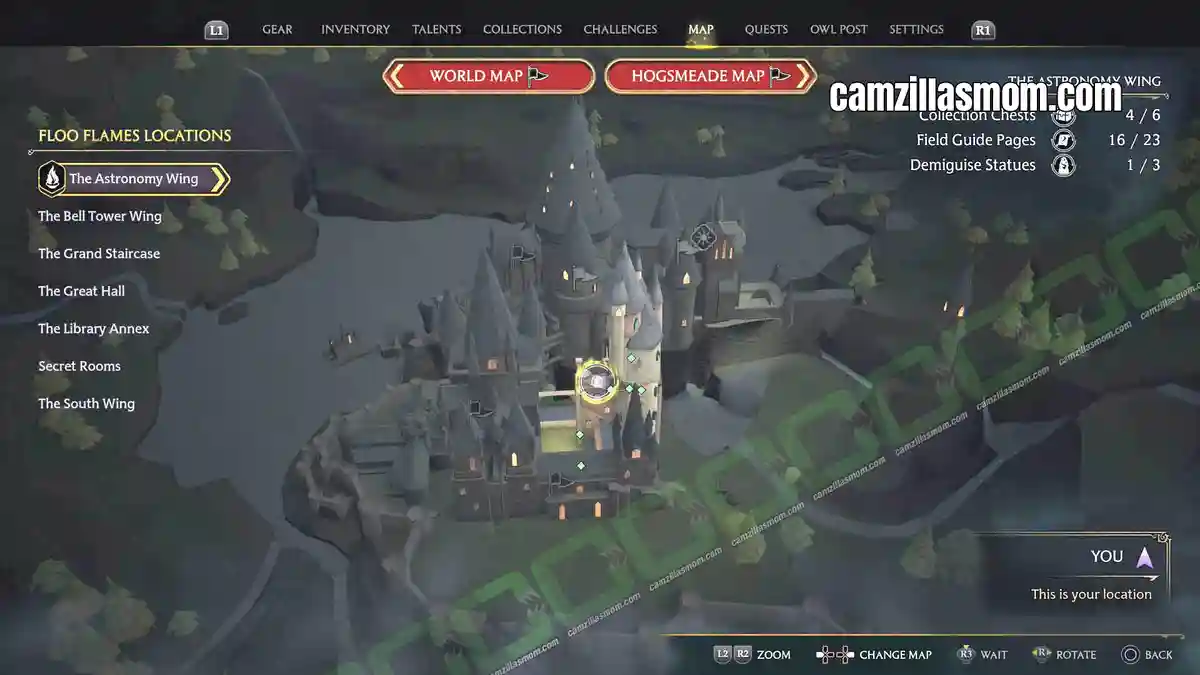
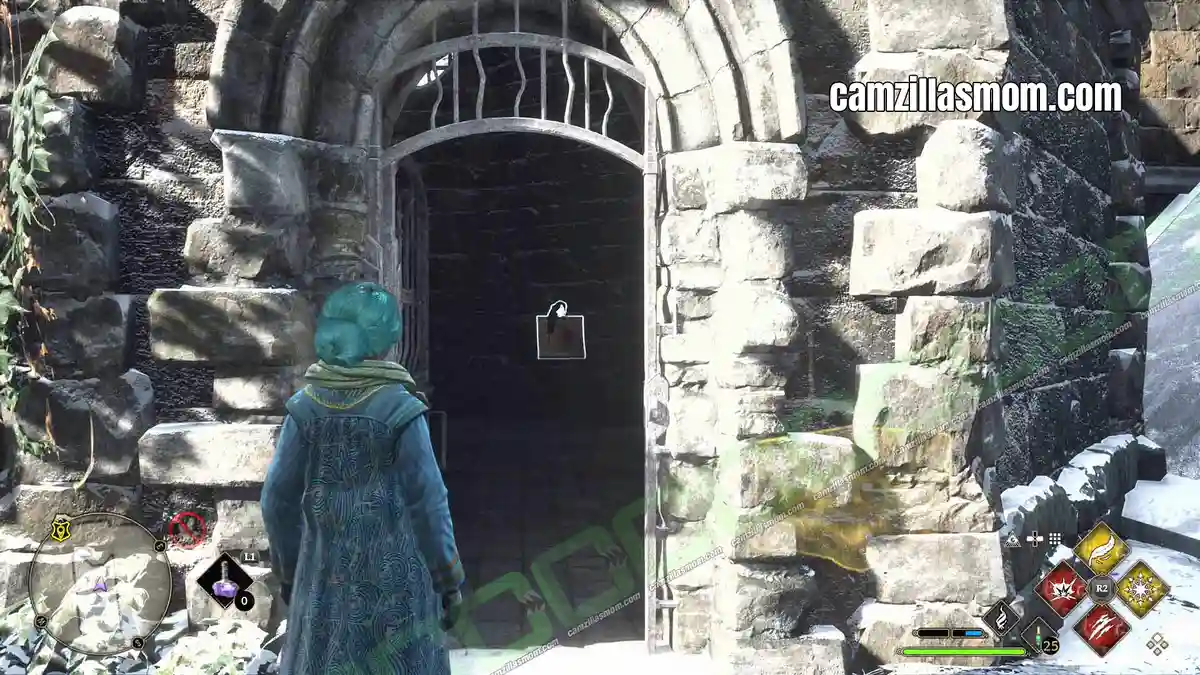
10 – Alchemy Class
“An arcane subject offered to older students on the rare occasion when demand suffices, Alchemy focuses on the four natural elements and the science of transmutation.”
Down in the Bell Tower dungeons, behind the Level 2 door past the sleeping dragon statue. Full directions are above under 6 – Alchemy Classroom: Bell Tower Dungeons. Cast Revelio once you’re inside.
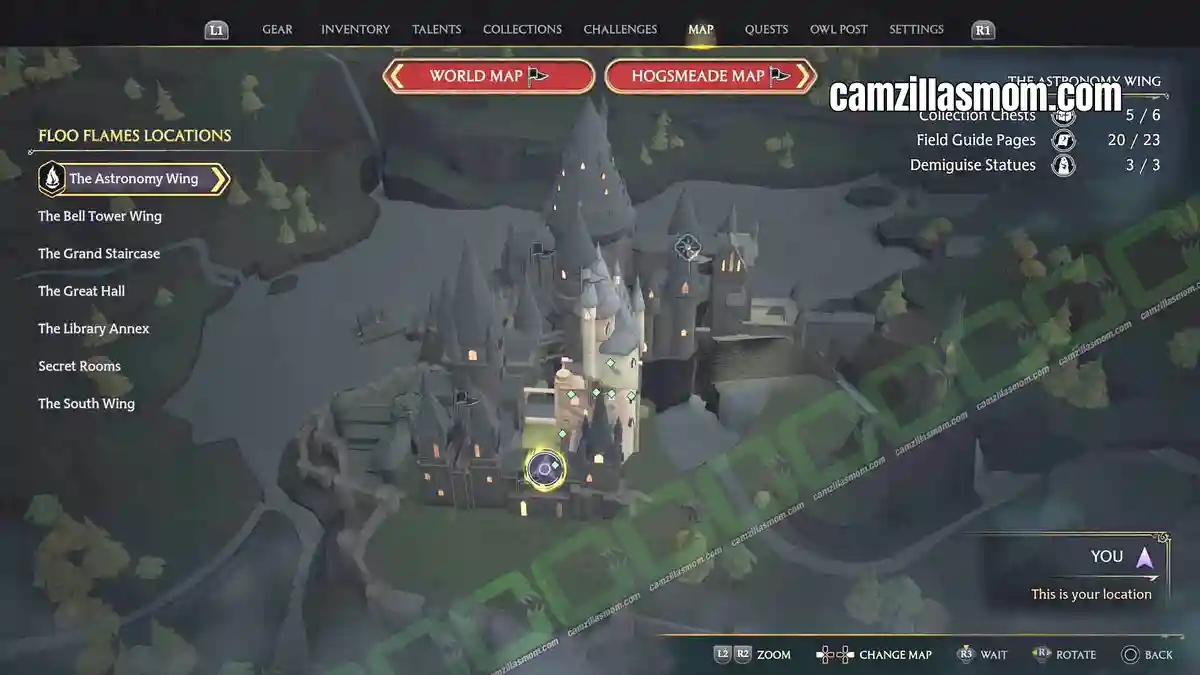
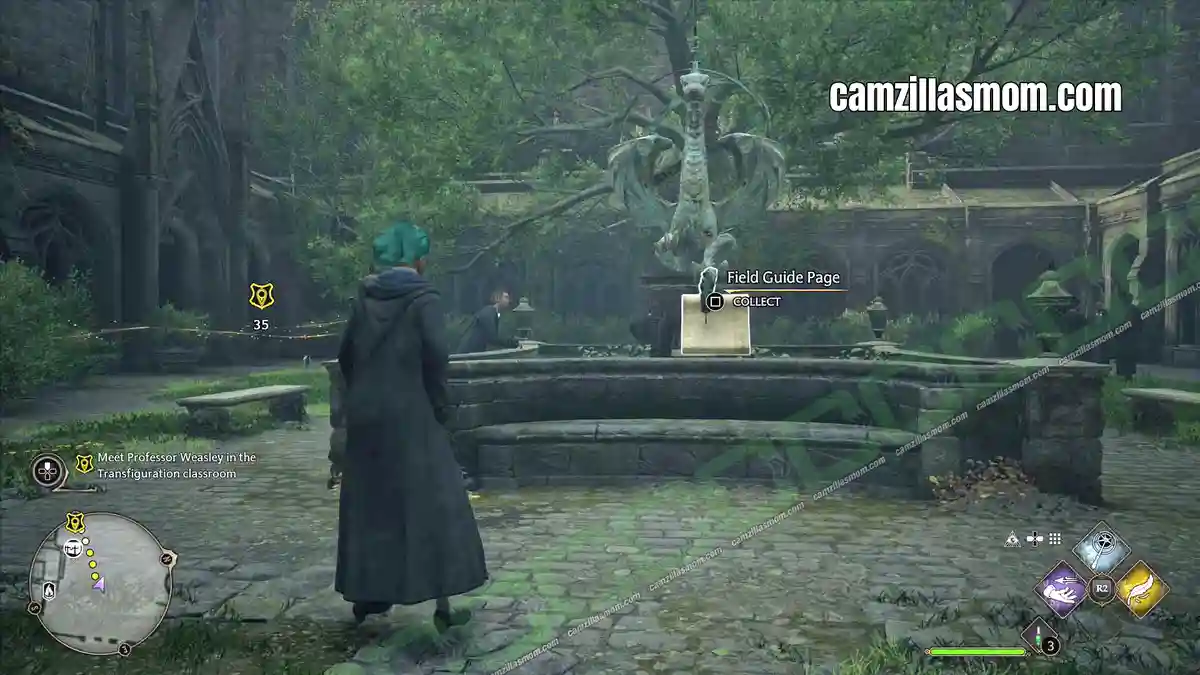
11 – Wyvern Fountain
“This fountain in the Transfiguration Courtyard has a likeness of a wyvern on top and serves as a relaxing place for students to gather. Despite rumours to the contrary, possibly started by Sir Cadogan, this is most assuredly not meant to be the Wyvern of Wye, slain by the lively knight in spite of himself.”
Use the Transfiguration Courtyard Floo Flame and walk up to the statue in the middle of the courtyard. Cast Revelio.
12 – Pungent Passage
“This passage is relatively non-descript as far as passages go. However, the mishandling of a crop of Mimbulus mimbletonia in the sixteenth century – and the accompanying tsunami of Stinksap – left it with a rancid odour that even the strongest Scouring Charm cannot seem to eradicate.”
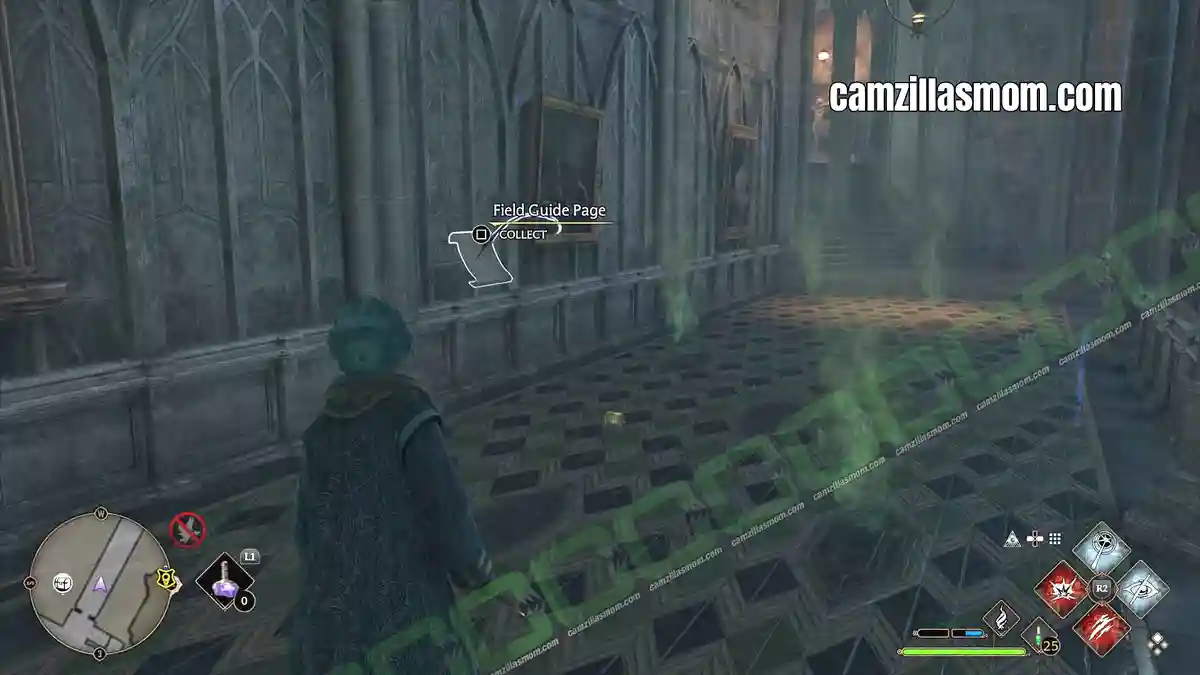
Use the West Tower Floo Flame in the Bell Tower Wing and take the stairs down to the left. Stand in the middle of the corridor with the green gas rising from the floor and cast Revelio. You can also reach it from the Charms Classroom by taking the staircase down and going through the door on the right.
Unnamed Field Guide Pages
These pages have no entry in the Collections menu, so they vanish once you pick them up. They still count towards the Field Guide Pages challenge, and you need all of them for 100% area completion. Four kinds show up in the Astronomy Wing:
1 – Flying Pages – catch them with ACCIO
2 – Moth Mirrors (black, empty picture frames) – cast LUMOS, find the moth, carry it back
3 – Dragon Bowls – cast INCENDIO
4 – Globe Statues – cast LEVIOSO
The Astronomy Wing has 11 of them: 2 Flying Pages, 3 Moth Mirrors, 3 Dragon Bowls and 3 Globe Statues.
13 – Flying Page: Charms Classroom
Fast travel to the Charms Classroom Floo Flame. The page drifts through the air in the common area right by the flame. Head up the stairs past the statue outside to the student lounge if you can’t spot it straight away. Cast ACCIO.
14 – Flying Page: Wine Cellar
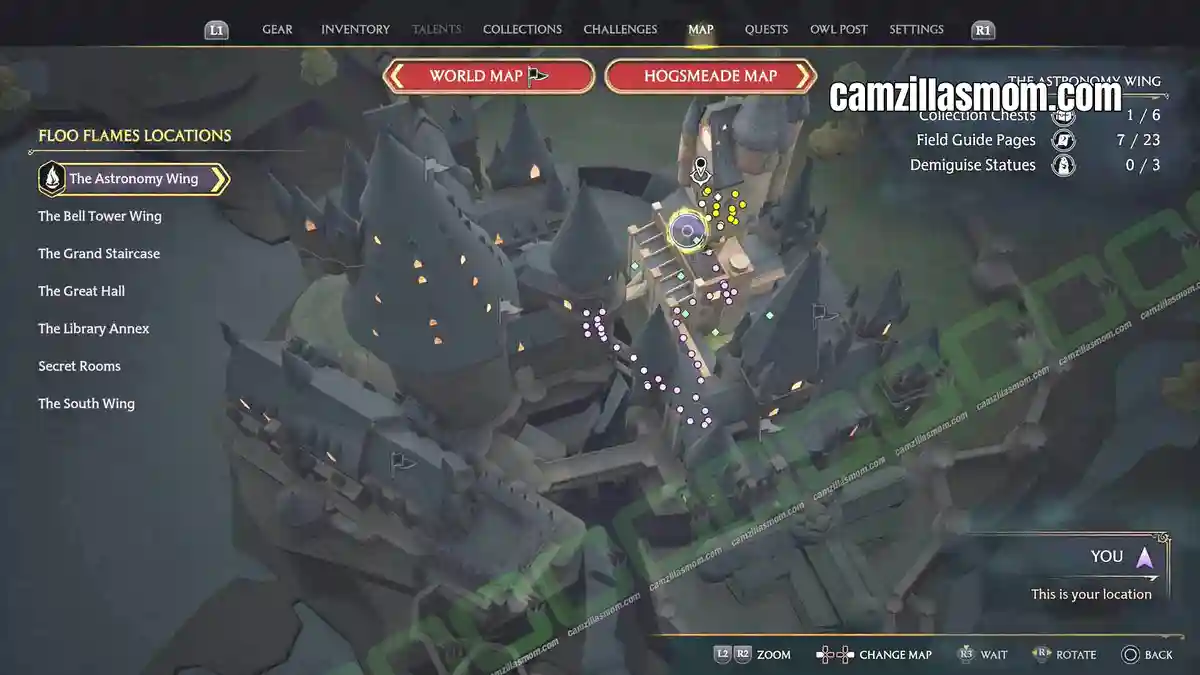
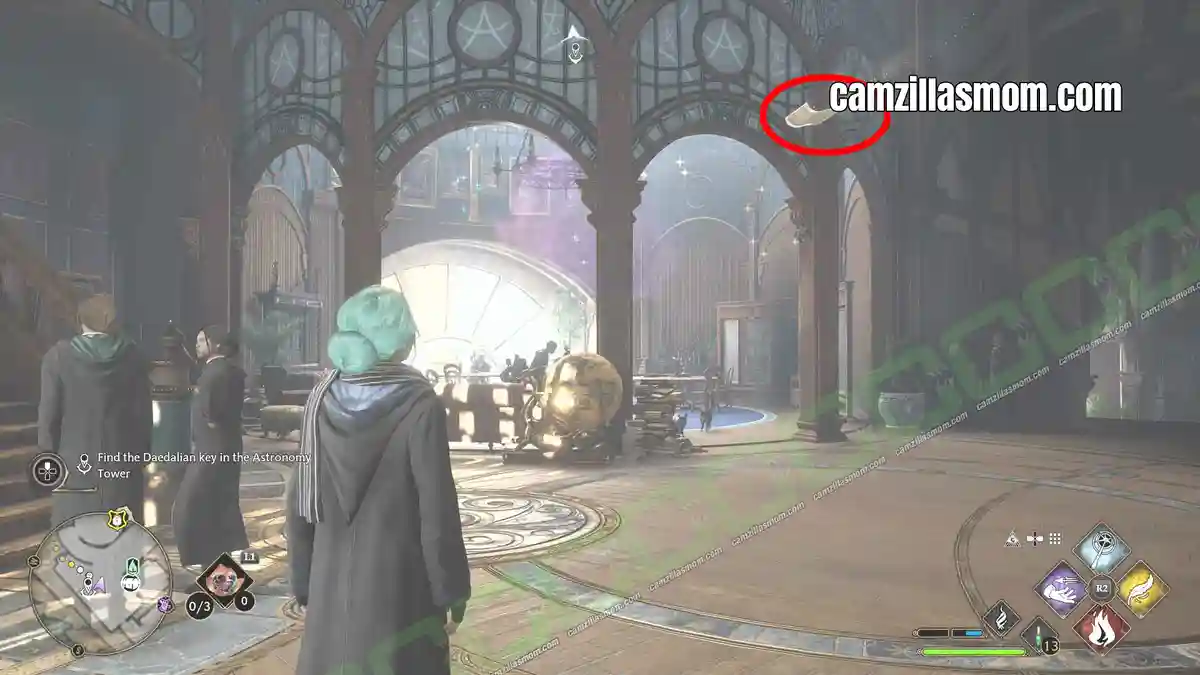
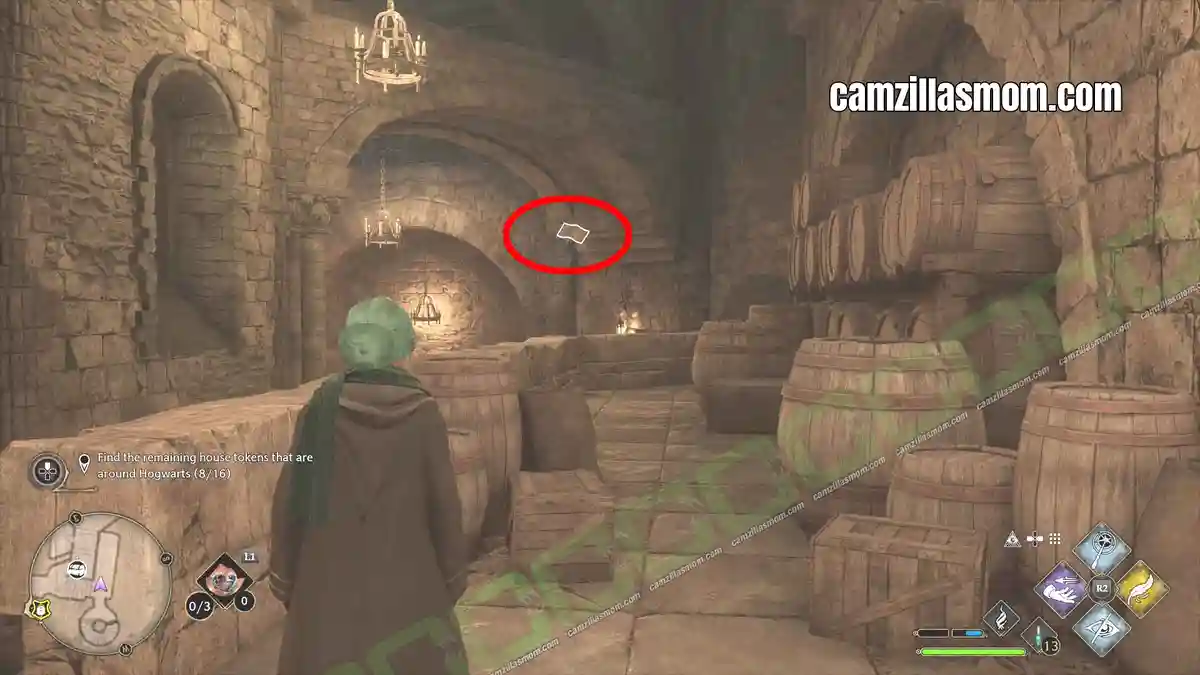
Deep in the Bell Tower dungeons. Follow the route to the Alchemy Classroom, then go through the door at the end of that chamber. Turn left, follow the corridor to the end and turn left again before the stairs. Look up and cast ACCIO.
15 – Moth Mirror: Defence Against the Dark Arts Tower
This is one of the collectibles from the Like a Moth to a Frame quest. Go up the main staircase to the 4th floor, the top floor, where the black moth mirror hangs.
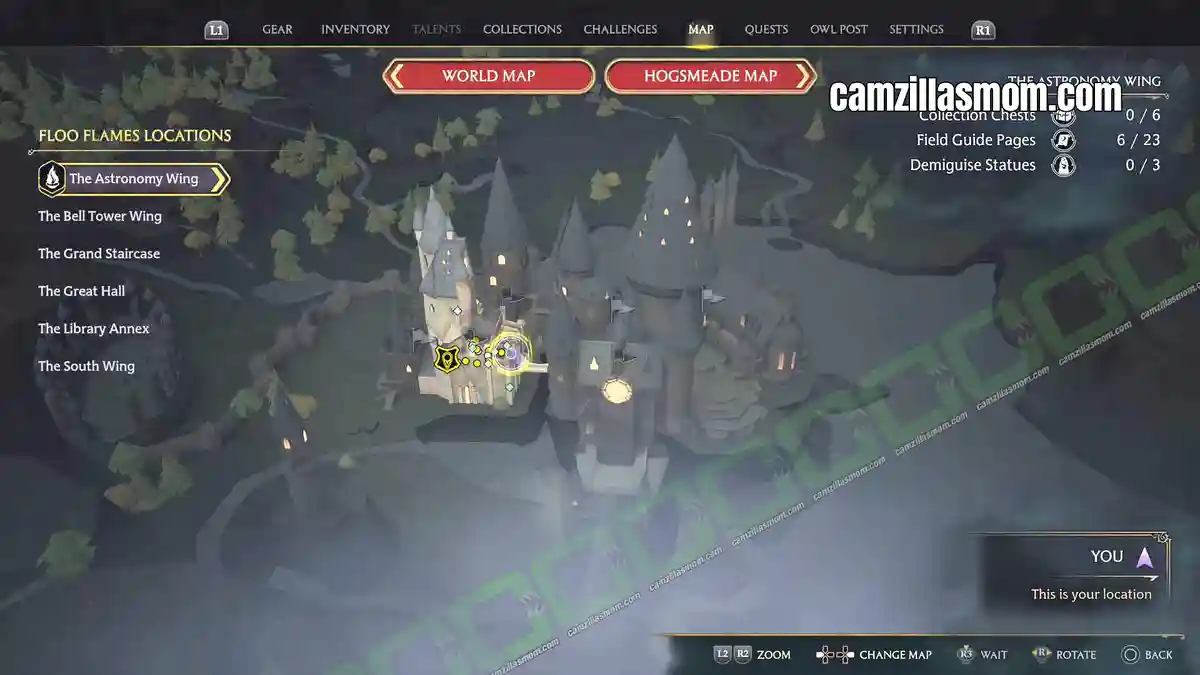
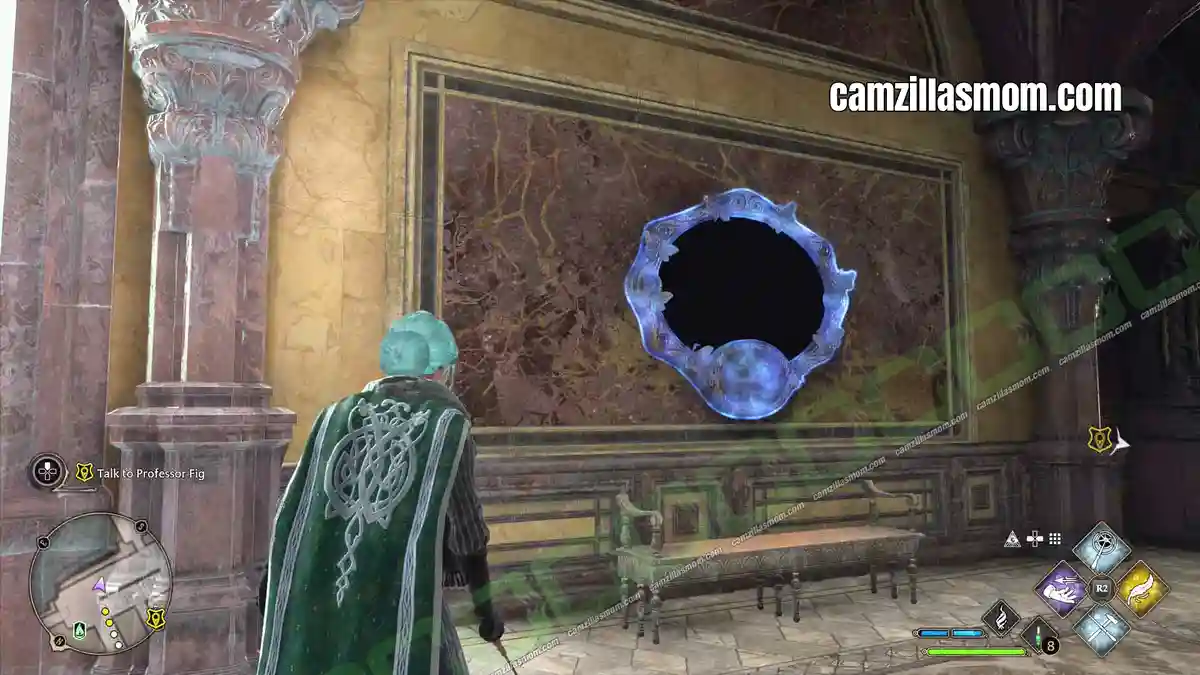
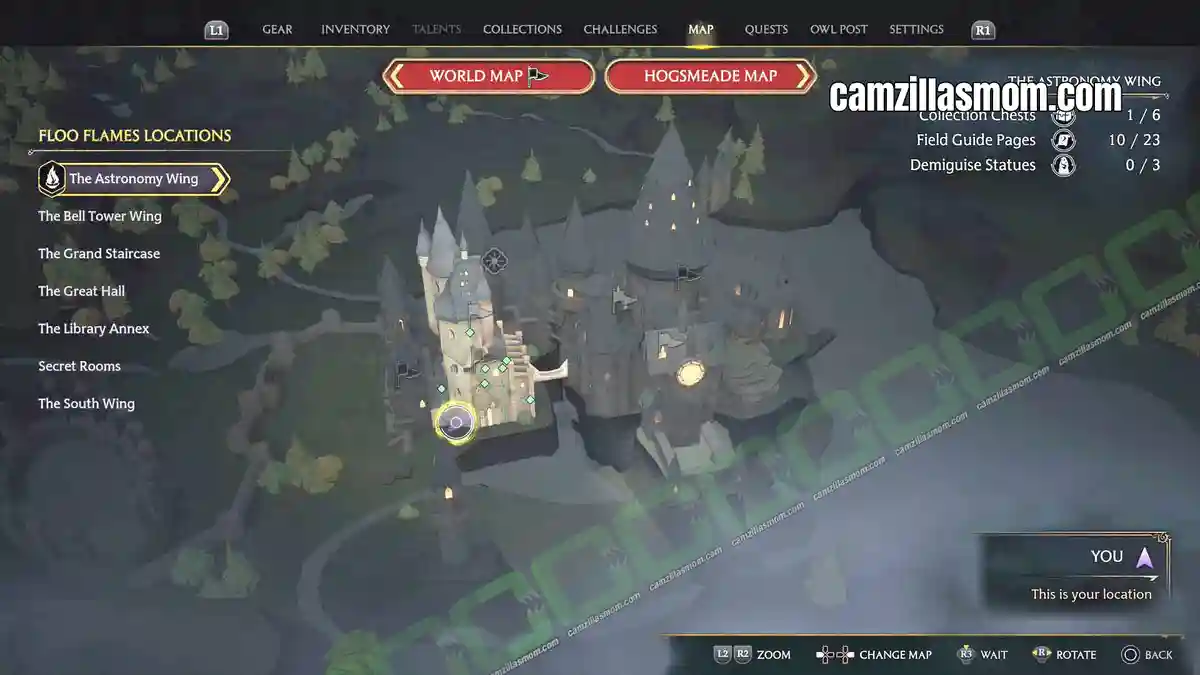
Cast LUMOS at the frame and it reveals a scene that stays visible. That scene shows you where the moth is hiding. Head through the nearby corridor and take the stairs on the other side. At the top you’ll reach the spot from the picture, with the moth sitting on a pillar.
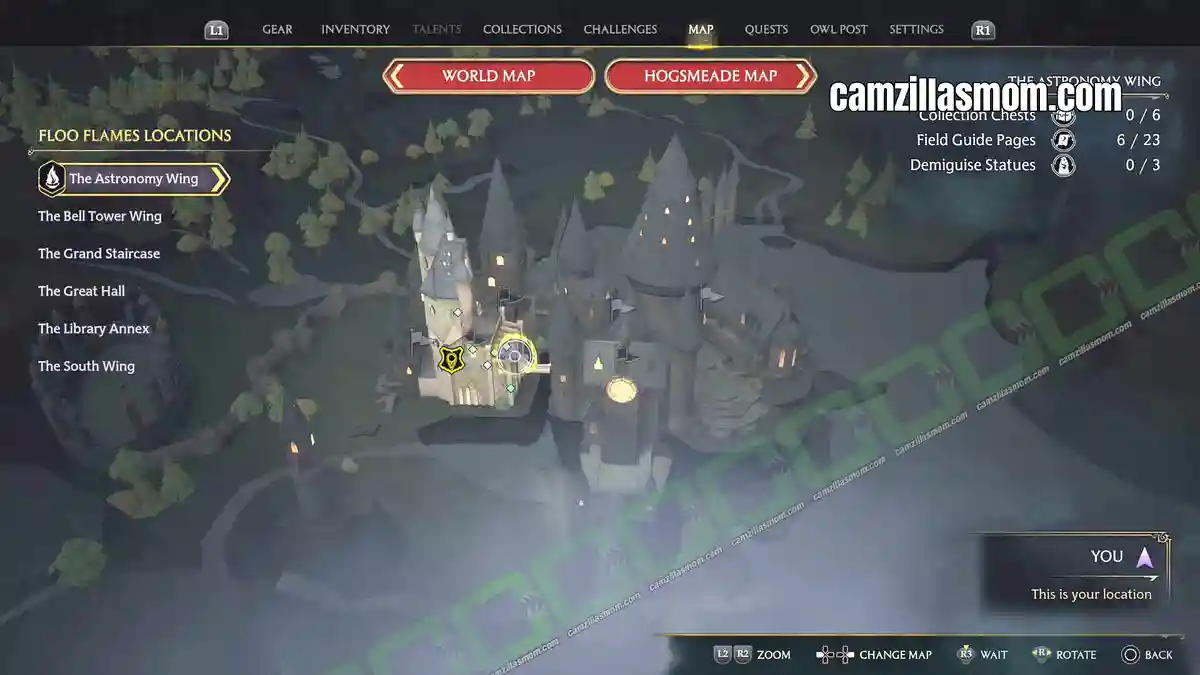
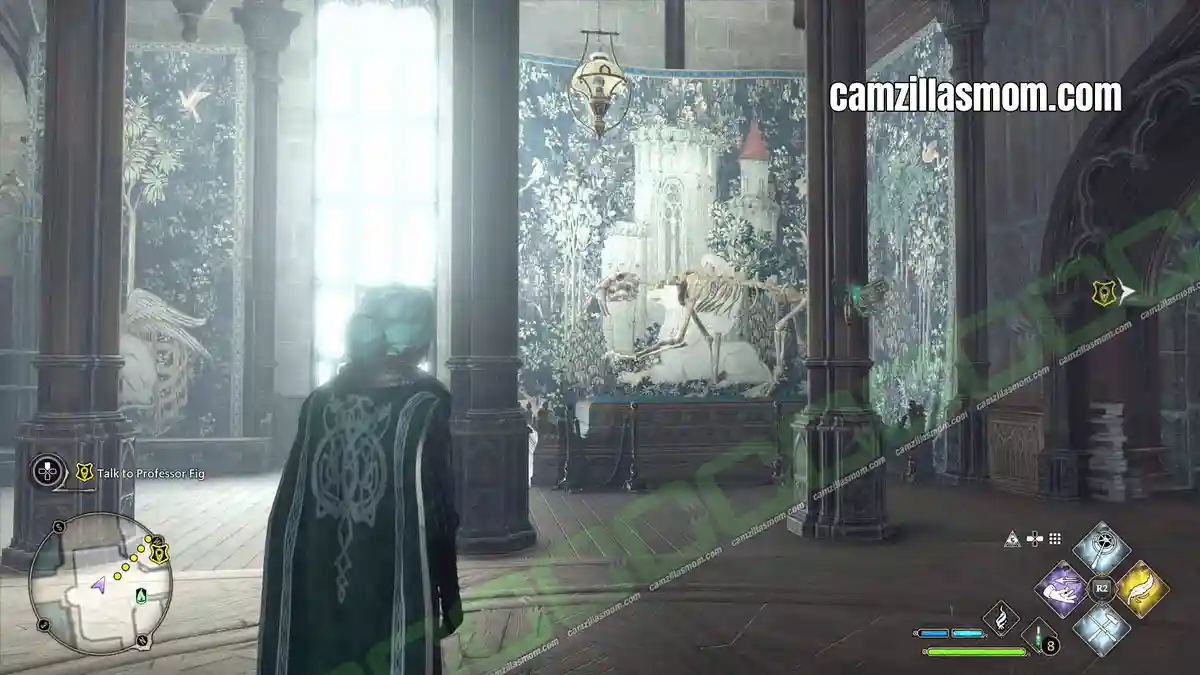
Cast LUMOS near the moth and it starts circling your wand, following the light for as long as it’s lit. Carry it back to the frame, stand close and drop Lumos. The moth settles into the notch beneath the painting and your Field Guide Page appears.
16 – Moth Mirror: Astronomy Tower
Heading up to the Astronomy Tower, you’ll pass a fireplace with a black moth mirror beside it, next to the suit of armour. Cast LUMOS to reveal the scene.
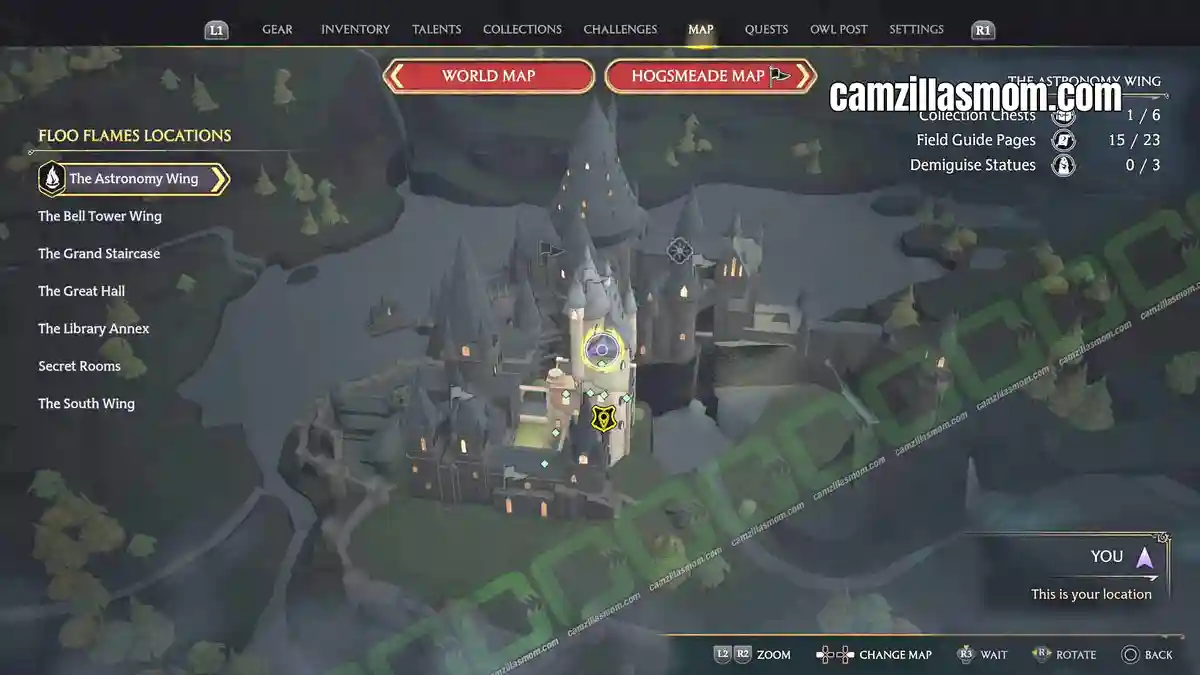
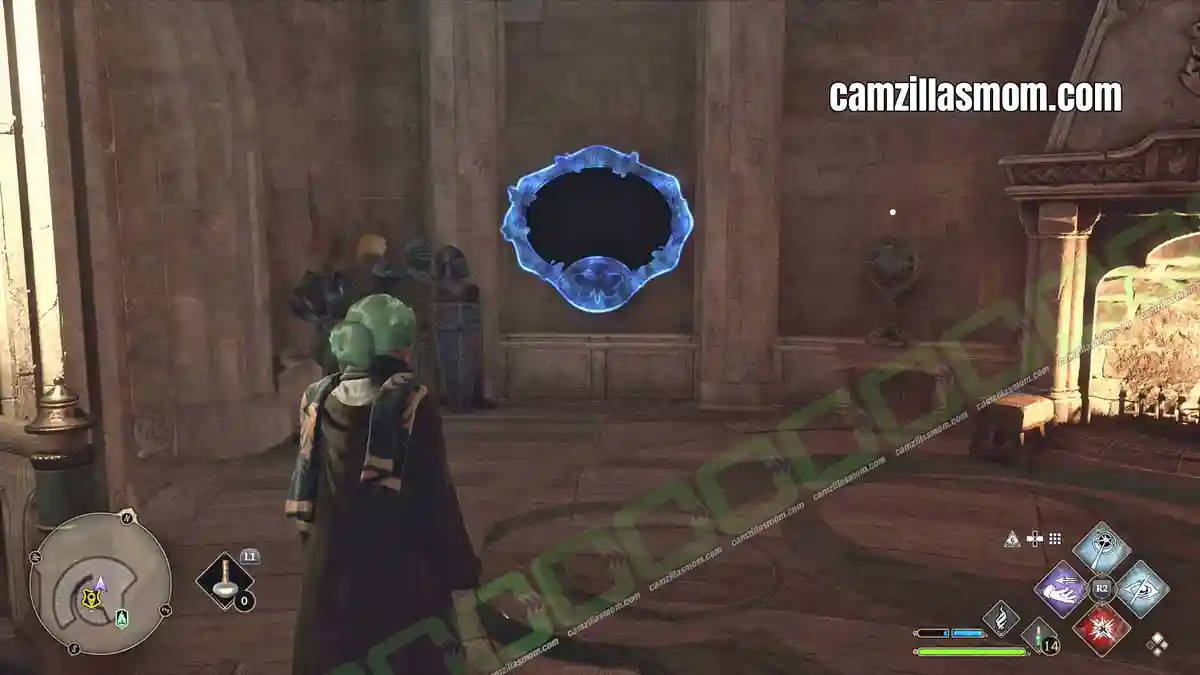
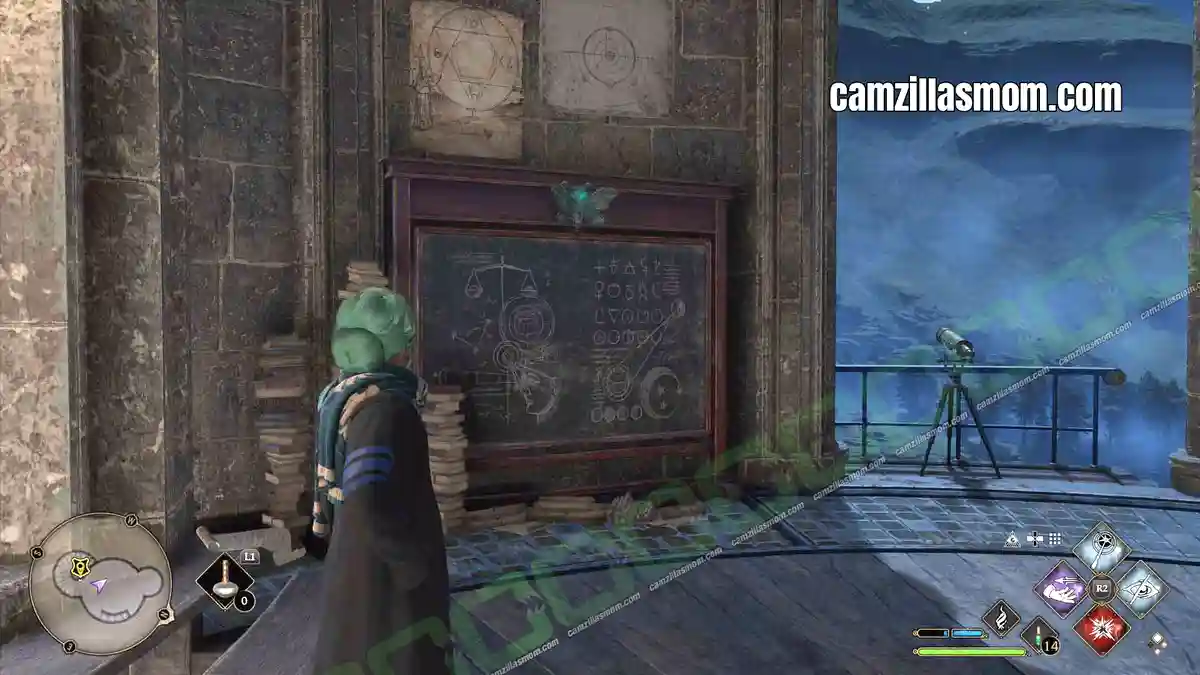
Climb the spiral staircase to the top, where the small telescopes are. The moth is sitting on the blackboard on the left. Carry it back down to the frame.
17 – Moth Mirror: Pungent Passage
From the Charms Classroom, take the staircase down until you reach a door on the right leading into the Pungent Passage. The moth mirror hangs at the end of this corridor.
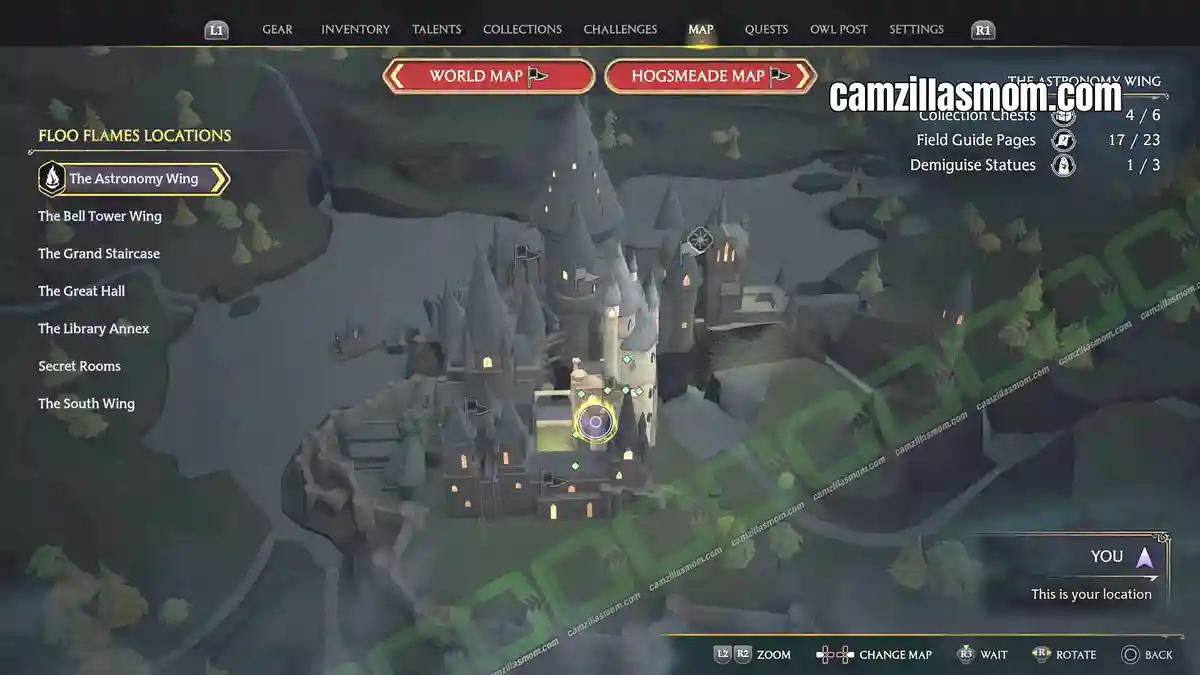
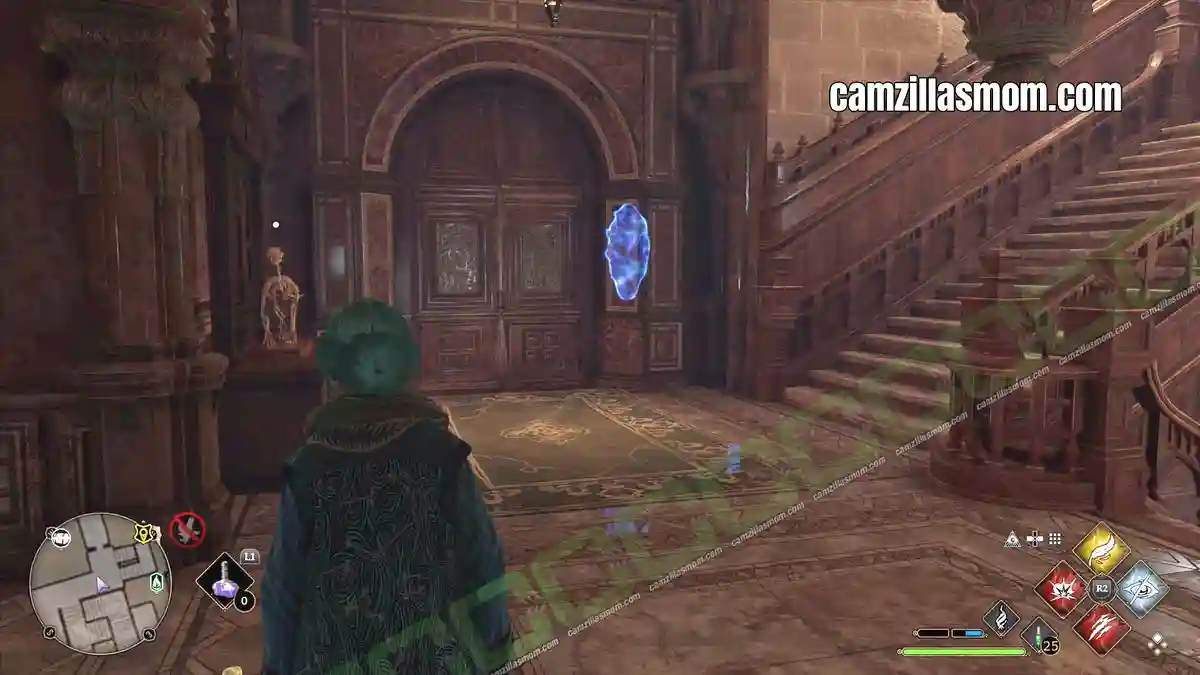
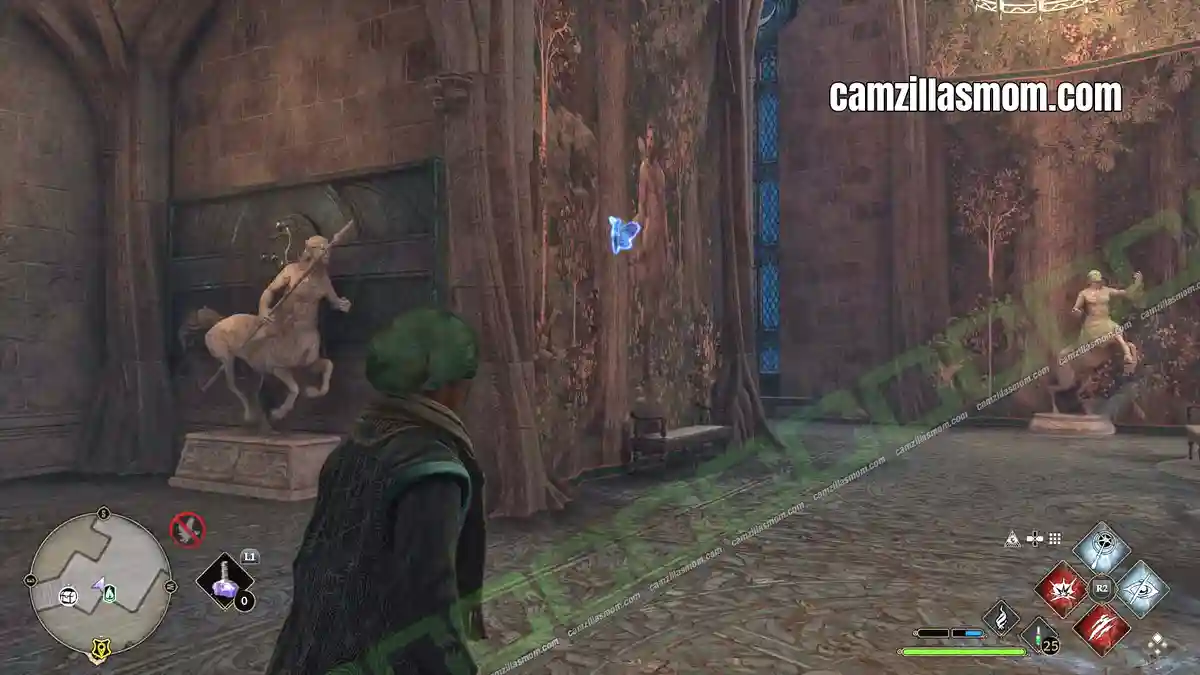
Cast LUMOS, then continue through to the next area, the less pungent one back towards the West Tower Floo Flame. The moth is on the centaur tapestry. Bring it back to the frame.
18 – Dragon Bowl: Professor Fig’s Classroom
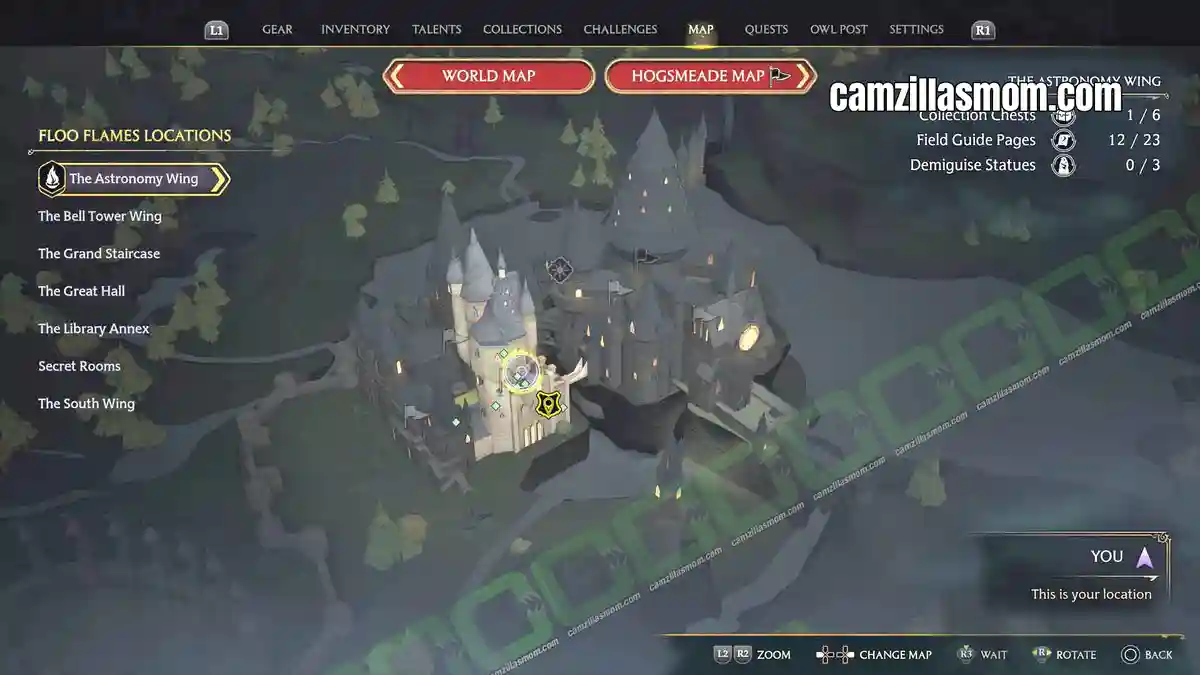
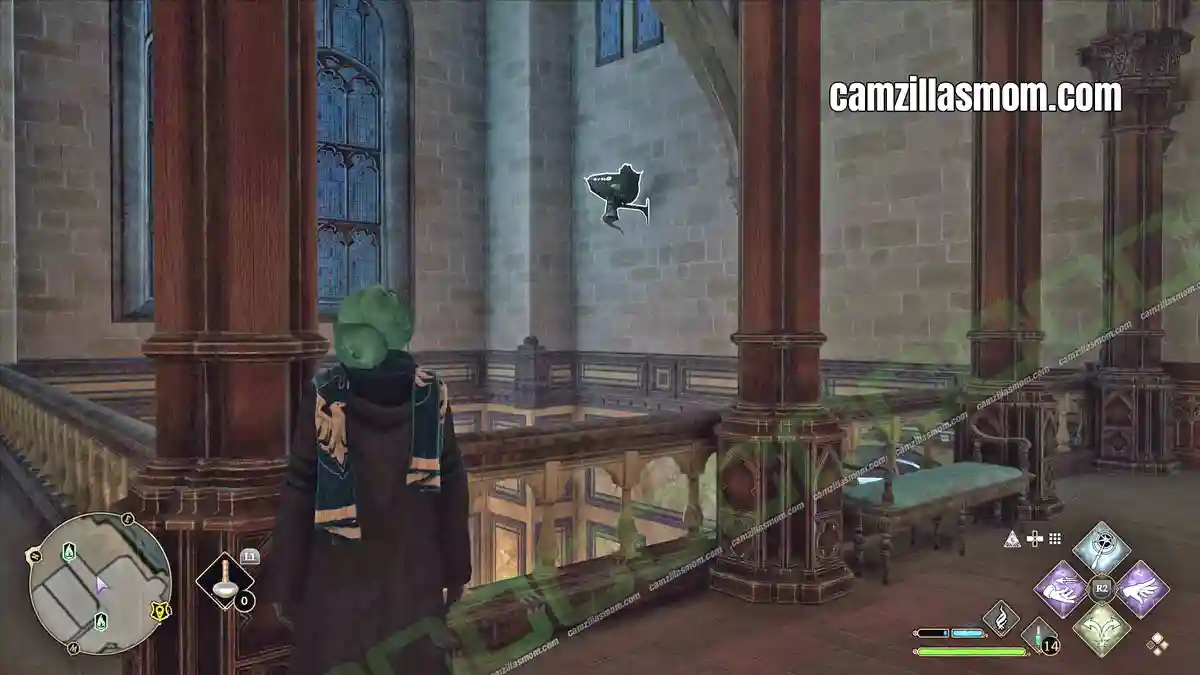
Fast travel to Professor Fig’s Classroom. Standing in front of the Floo Flame, turn right and walk to the balustrade overlooking the room below. The Dragon Bowl is on the far wall above. Cast CONFRINGO or INCENDIO to light it, then ACCIO to pull the page towards you.
19 – Dragon Bowl: Astronomy Tower
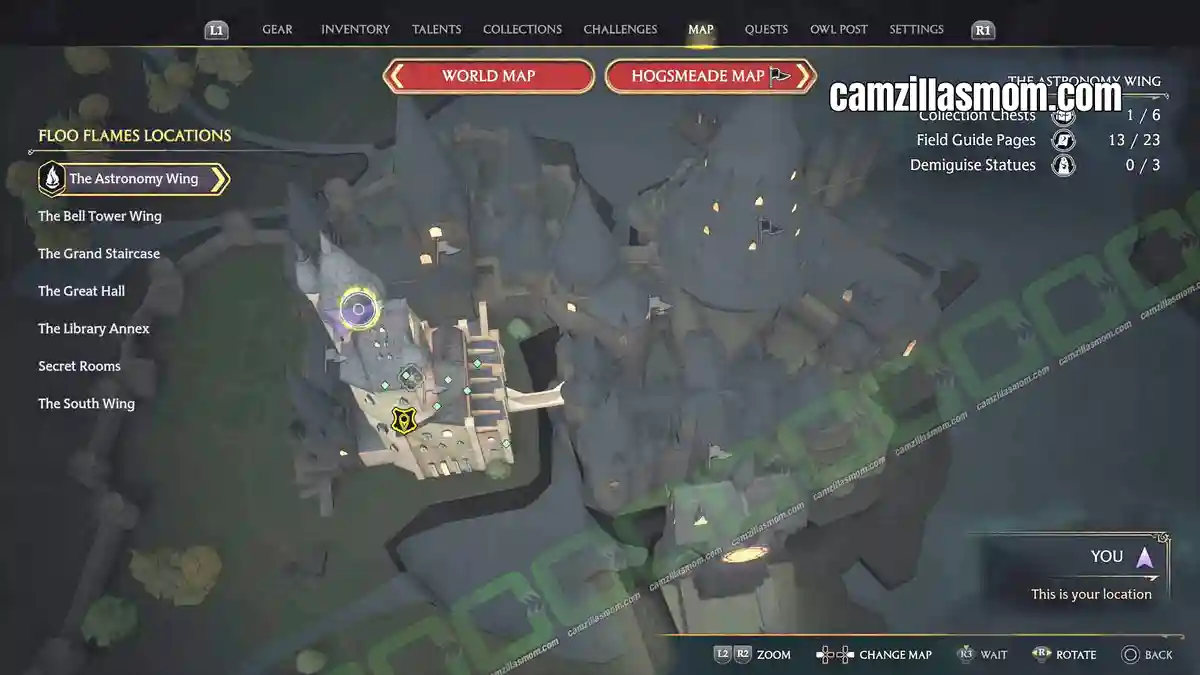
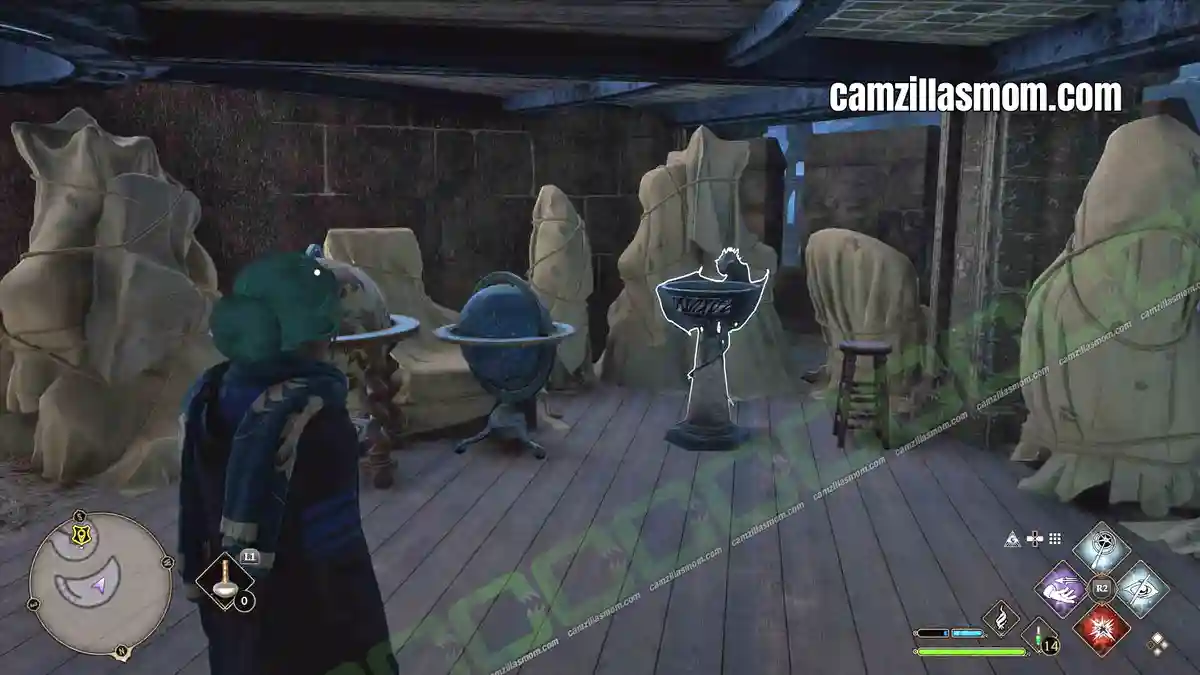
Head to the top of the Astronomy Tower. When you reach the platform with the telescopes, turn right and go down the winding staircase. The Dragon Bowl is underneath the platform. Light it with any fire spell.
20 – Dragon Bowl: Alchemy Classroom
This is the one most people miss, because it’s in the same locked dungeon room as the Alchemy Class Revelio Page and it’s easy to grab the page, open the chest and walk straight back out.
Follow the route from 6 – Alchemy Classroom: Bell Tower Dungeons and open the Level 2 door. Once inside, turn around and look up above the doorway you just came through. The Dragon Bowl is mounted up there. Light it with CONFRINGO or INCENDIO, then cast ACCIO to pull the page down.
21 – Globe Statue: Charms Classroom
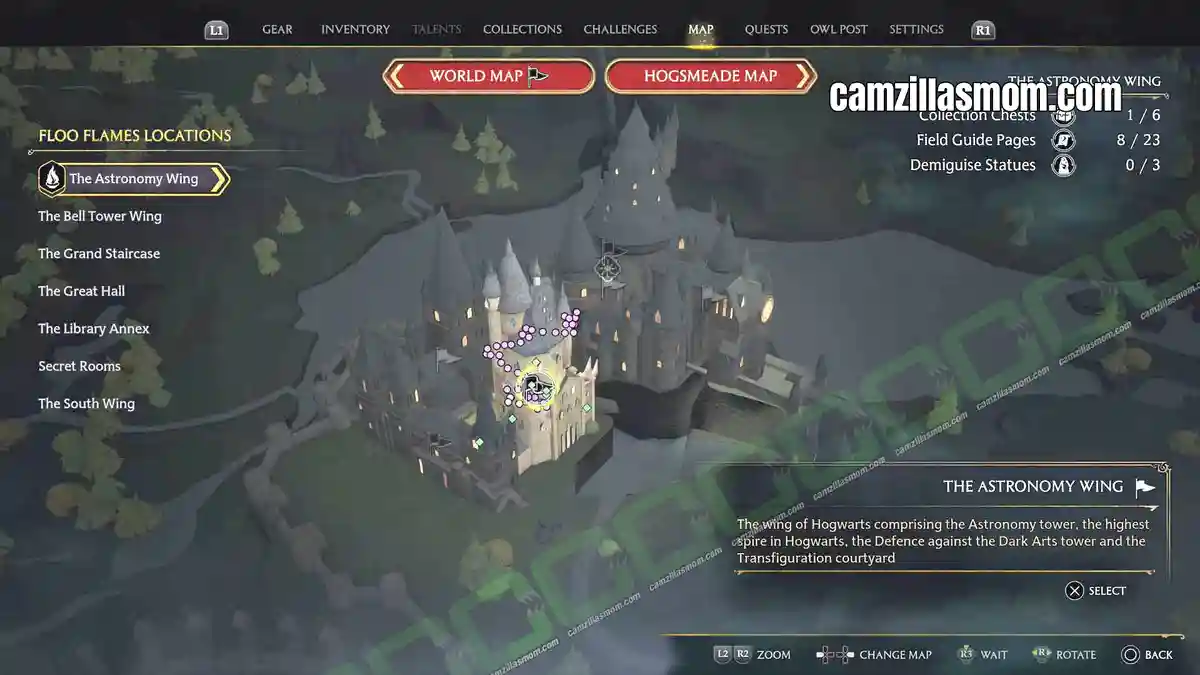
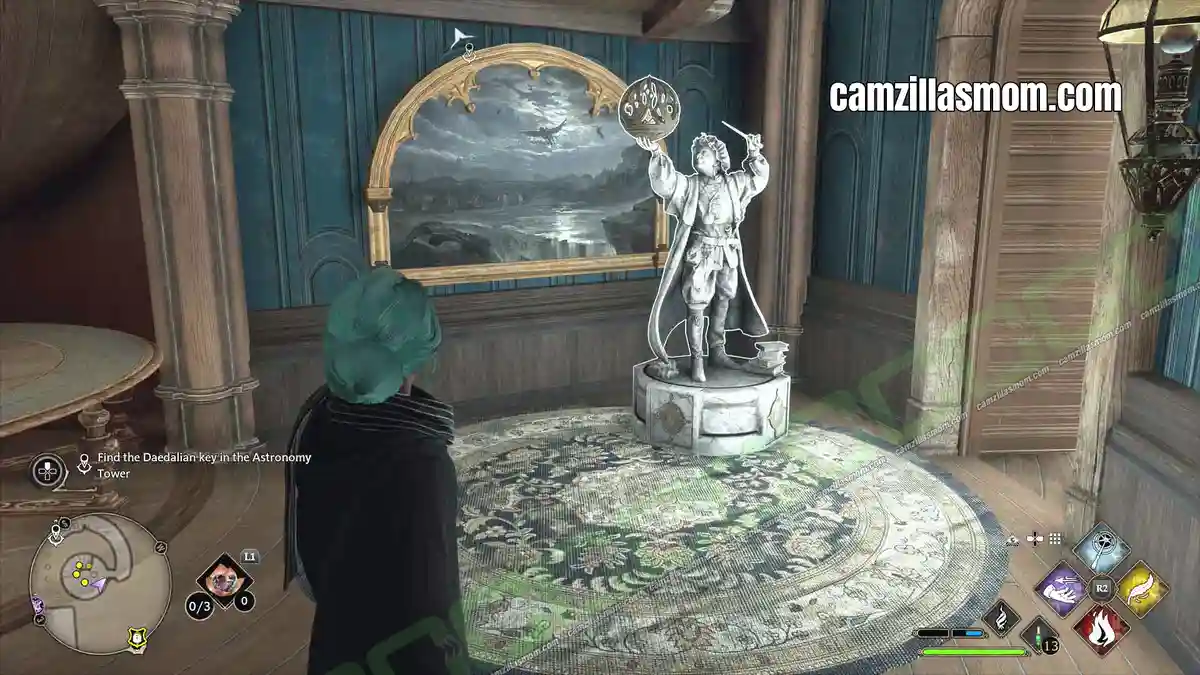
From the Charms Classroom Floo Flame, go up the stairs to the left into the student lounge area, then take the winding staircase up towards the Astronomy Tower and into the small round room. The statue holding the globe is inside. Cast LEVIOSO.
22 – Globe Statue: Transfiguration Courtyard
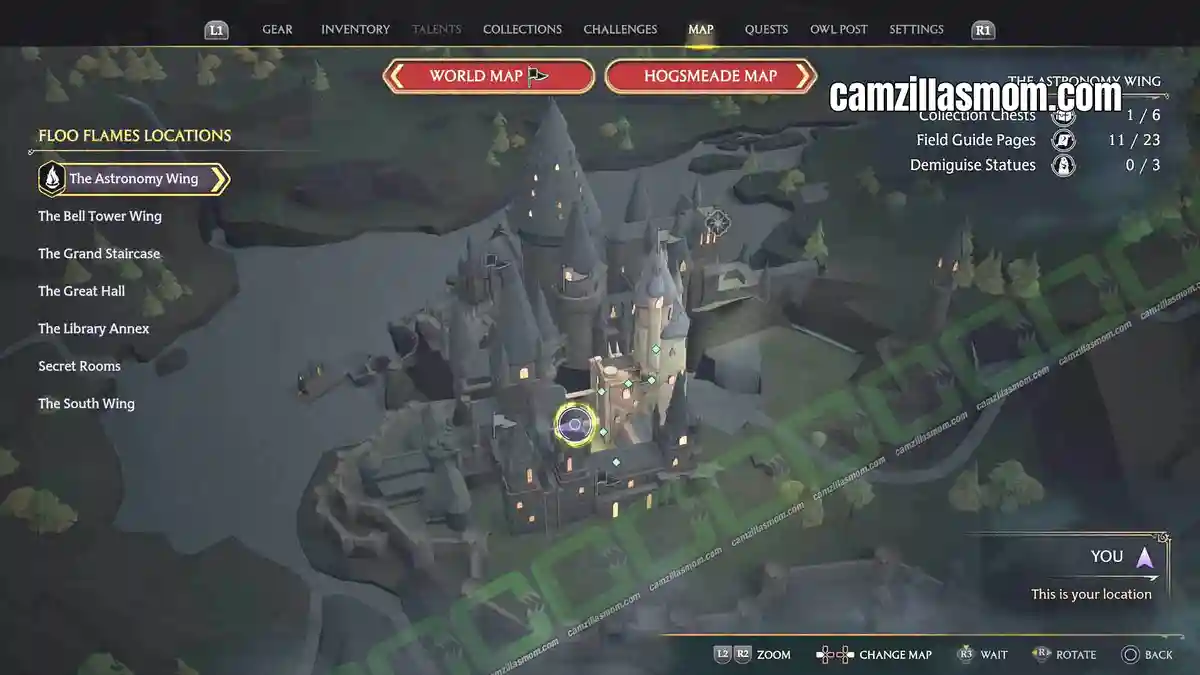
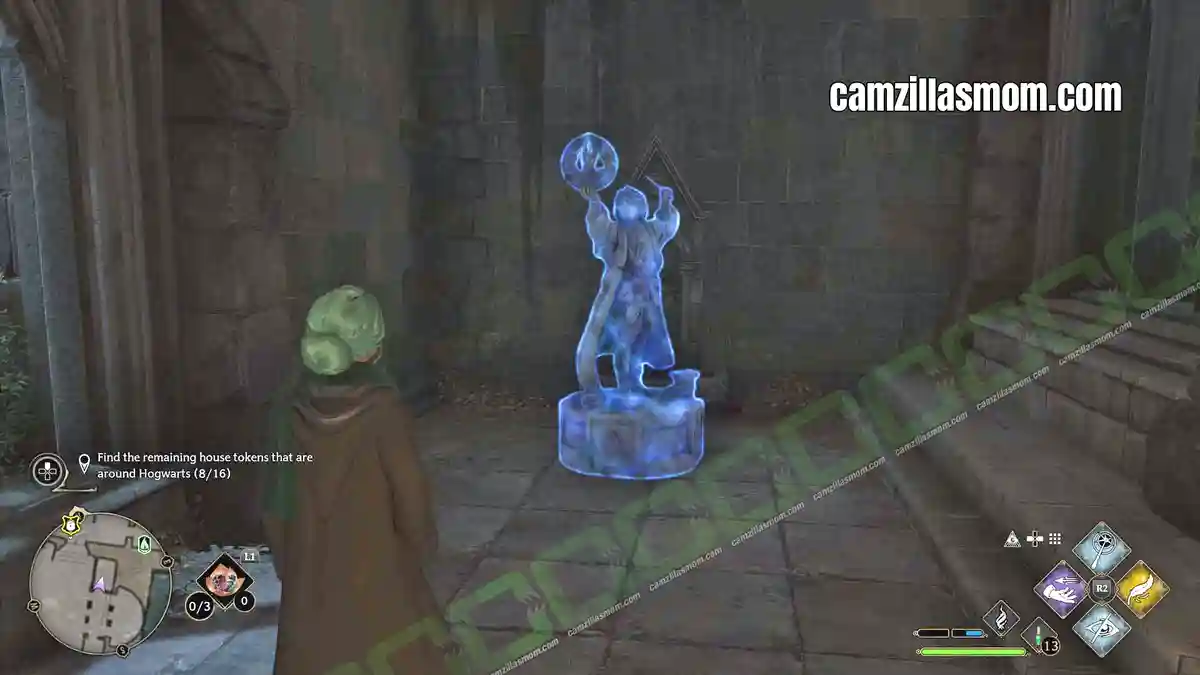
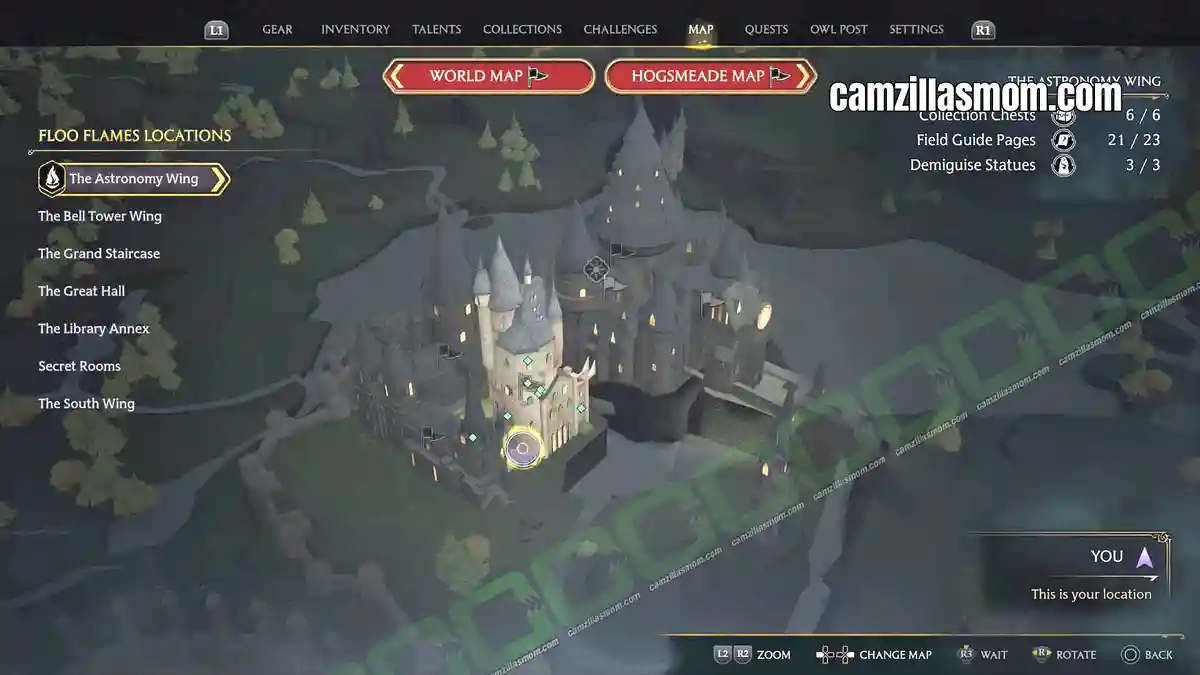
From the Transfiguration Courtyard Floo Flame, go through the arch on the right and turn left into the covered north-eastern corner, near the water. Cast LEVIOSO on the statue.
23 – Globe Statue: Wine Cellar
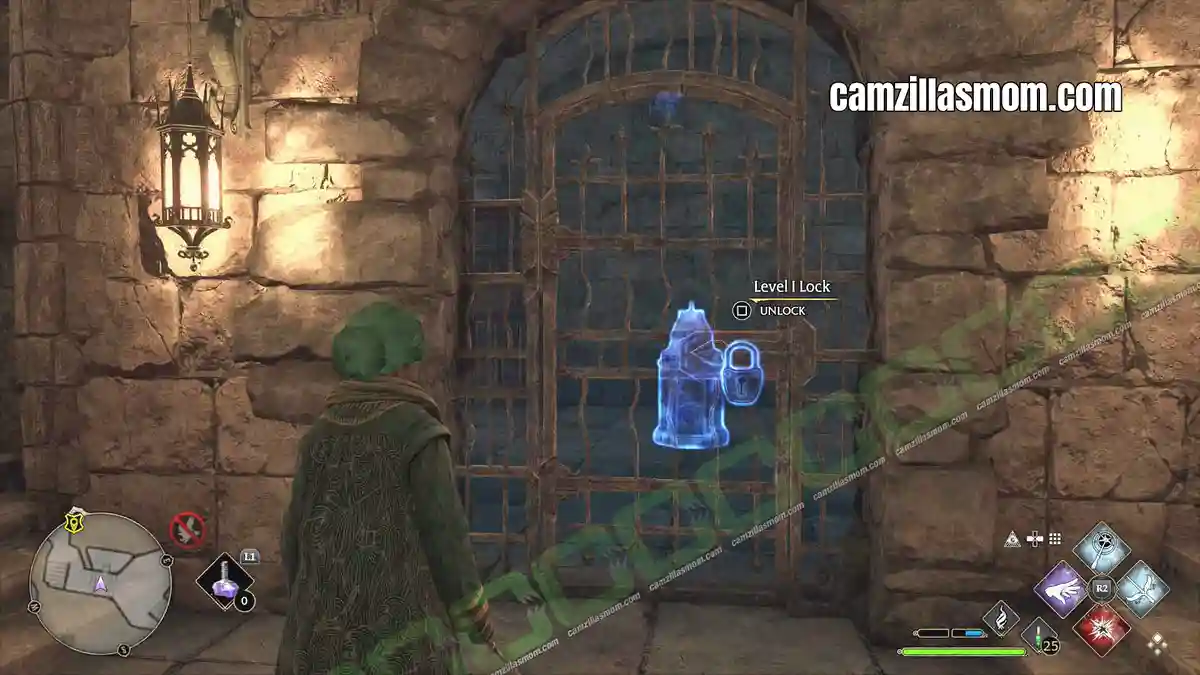
The last page in the wing. Carry on past the Flying Page in the dungeons until you reach a gate with a Level 1 lock. Open it, step inside and interact with the frog statue, which teleports you into the Wine Cellar. The Globe Statue is waiting there. Cast LEVIOSO.
Astronomy Wing Demiguise Statues (Demiguise Moons)
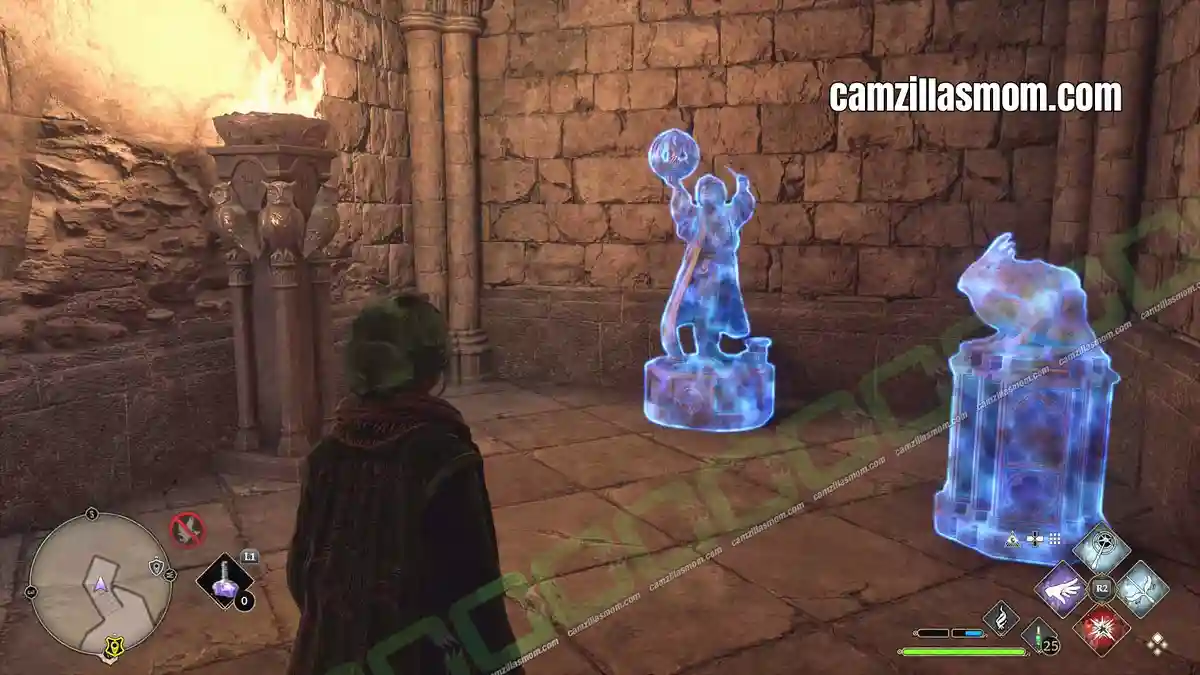
Demiguise Statues, often called Demiguise Moons, unlock with the main story quest “The Caretaker’s Lunar Lament”. You can only collect them at night, and the Astronomy Wing has 3. Each one you hand in raises your Alohomora level, which is what gets you through the Level 1 and Level 2 doors in this guide.
For every Demiguise Statue in the game, see my All Demiguise Statues Guide.
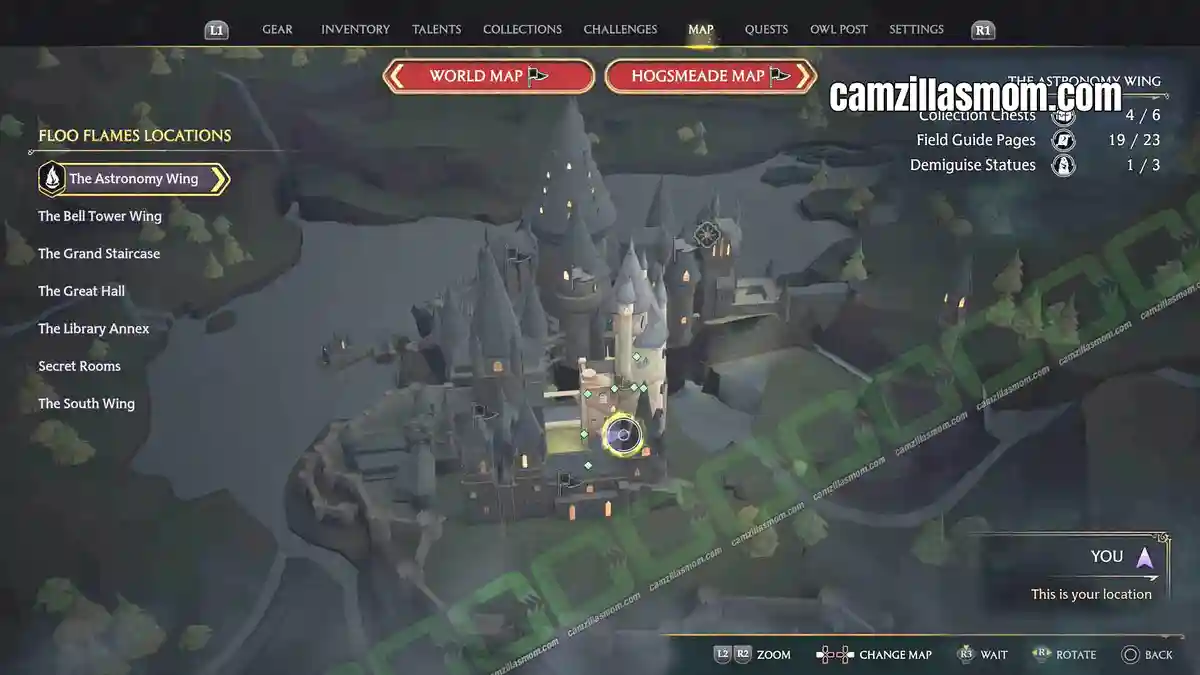
1 – Professor Fig’s Office
Once Professor Fig’s office is unlocked through the story, head into the back portion of his workspace. The statue is easy to spot from there.
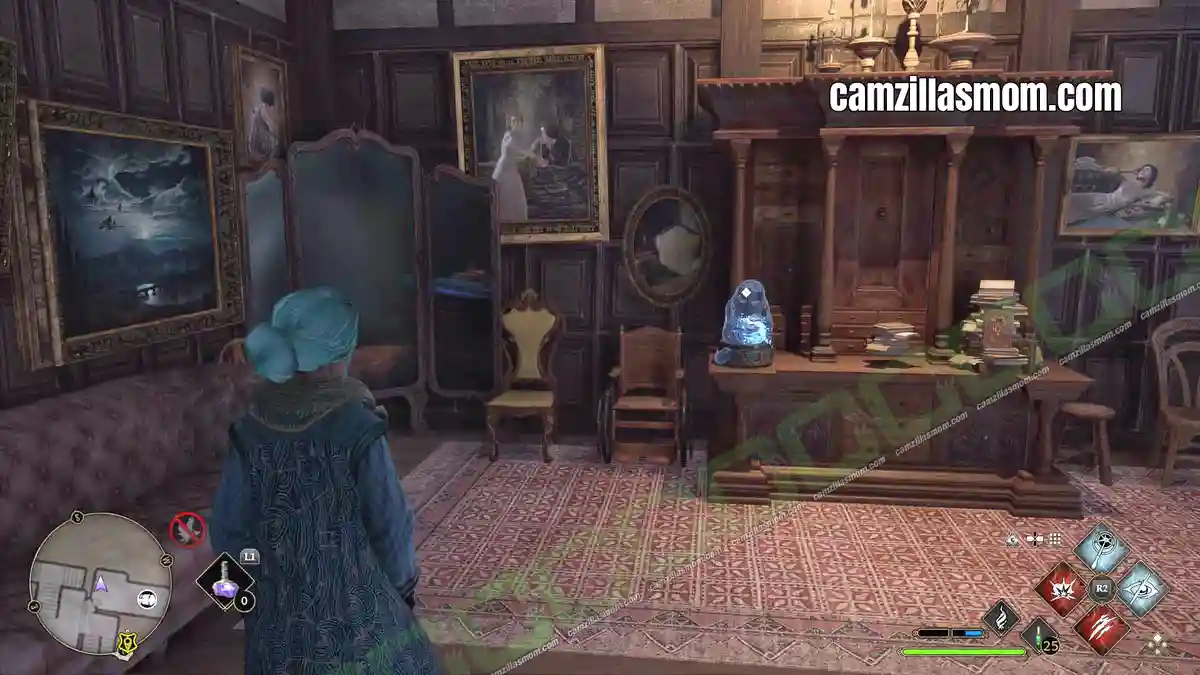
2 – Locked Office at the Bottom of the Staircase
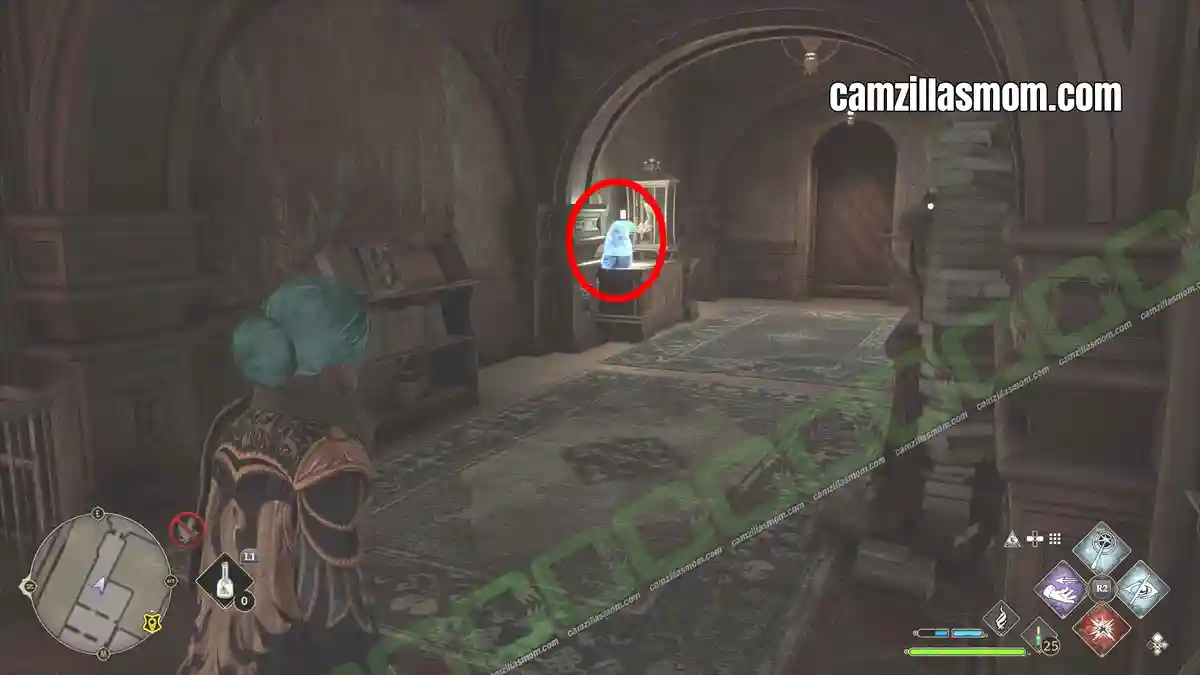
The same locked office as Collection Chest 5, at the base of the Astronomy Wing’s main staircase. Unlock the door and the Demiguise is inside.
3 – Bell Tower Dungeons
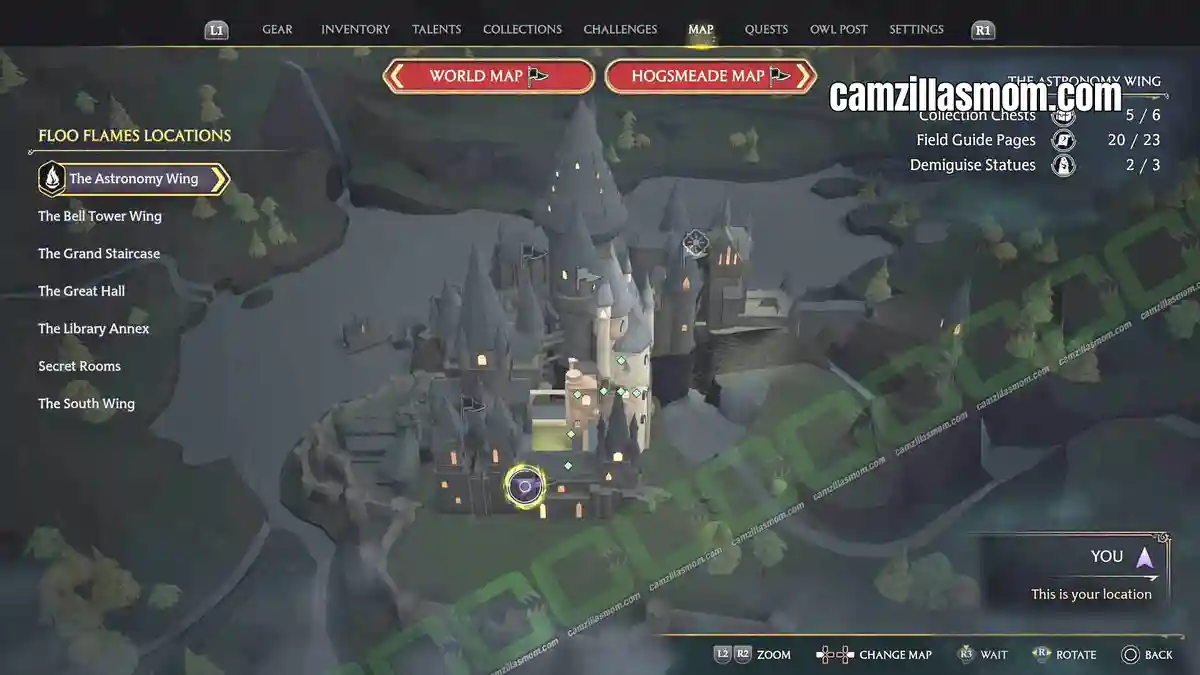
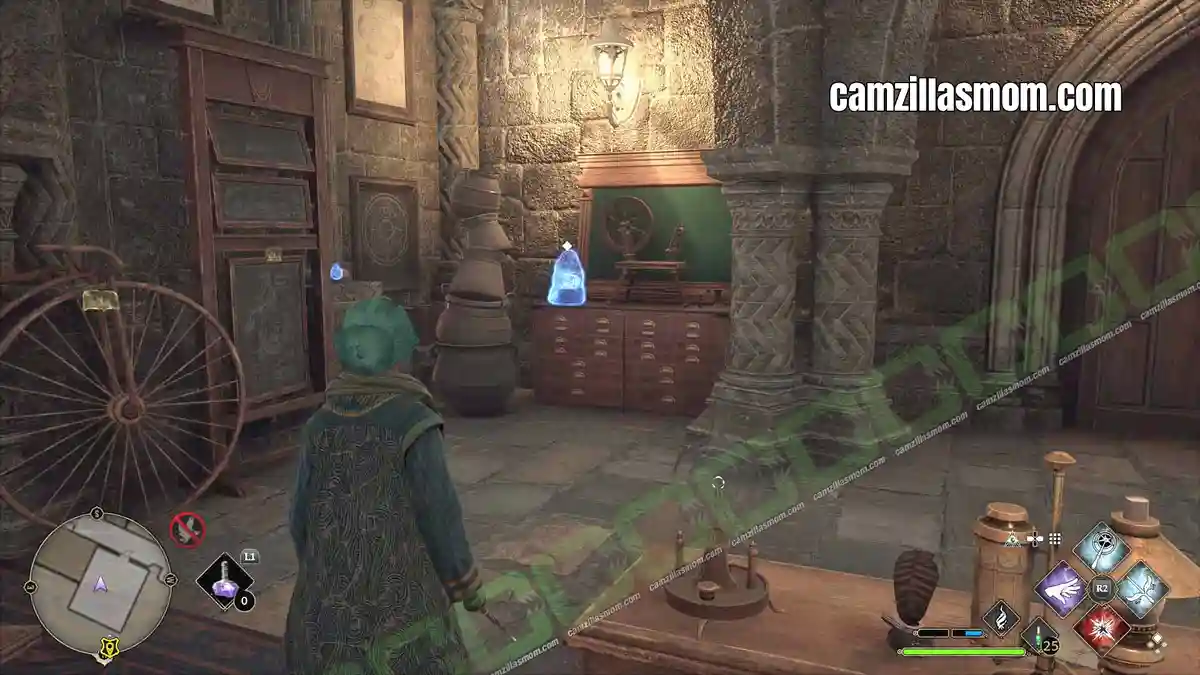
Take the main staircase in the Bell Tower Wing down to the basement, walk past the dragon statue and unlock the first locked door you come to. The Demiguise is immediately on your right as you enter.
This is the room where the game’s zoning gets odd: the Demiguise counts towards the Astronomy Wing, while the Field Guide Page in the same room belongs to the Bell Tower.


About Hogwarts Legacy
Release: February 10th, 2023
Developer: Avalanche Software
Publisher: Warner Bros. Interactive Entertainment
Official Website: https://www.hogwartslegacy.com/en-us