Skip to content

All You Need – Lucky Dice: Shattergrave Barrow

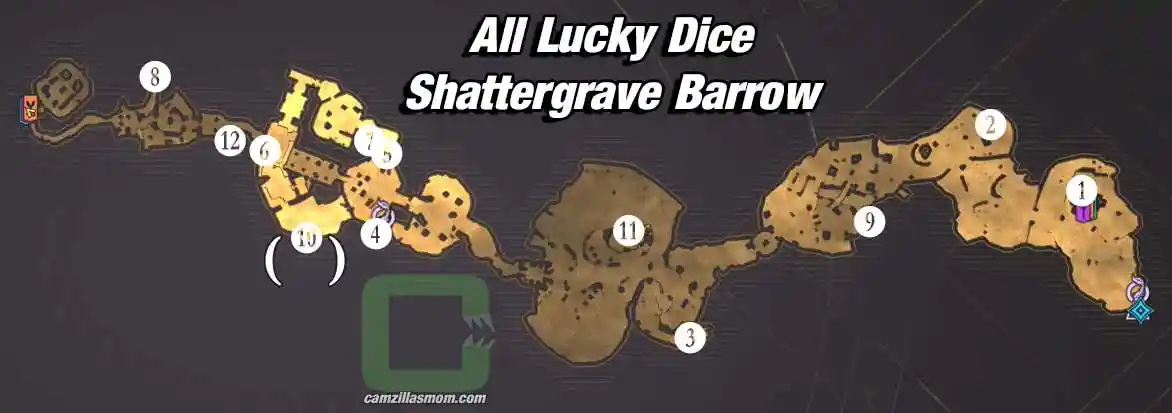
Here’s where you can find all 12 Lucky Dice: Shattergrave Barrow. This covers 12 of 12 Campaign Challenges you have to complete to get 100% Shattergrave Barrow Progress completion.

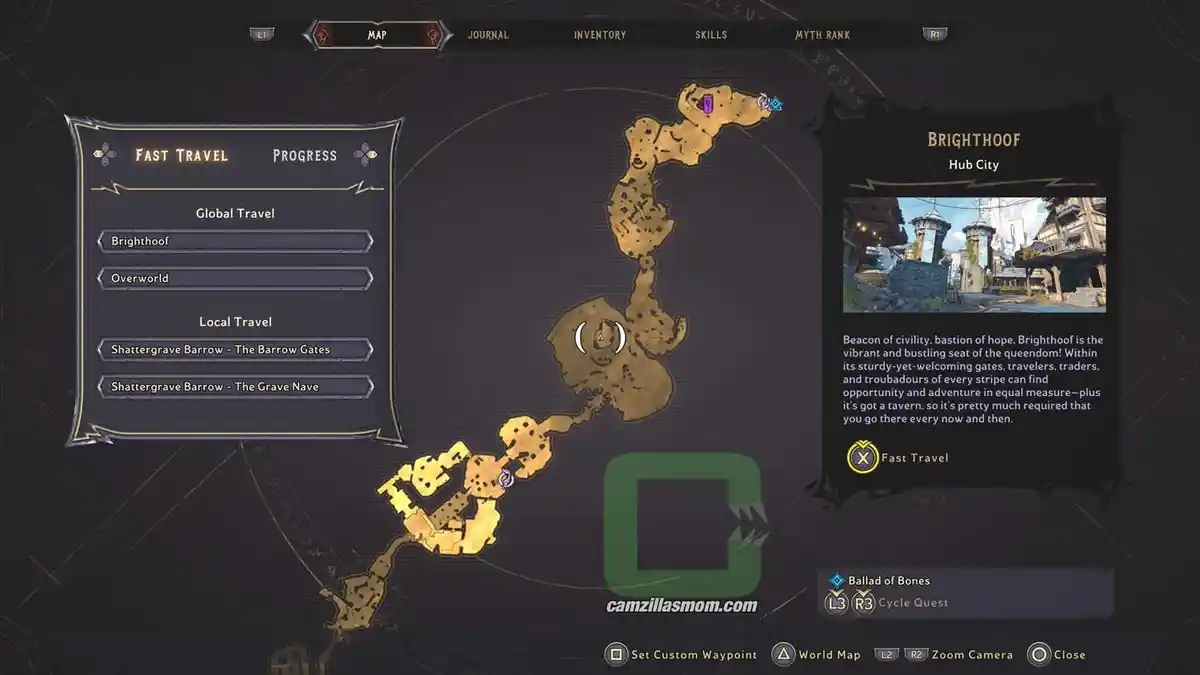
Here’s the Lucky Dice: Shattergrave Barrow Overview Map. Detailed Maps and Screenshots below.


Lucky Dice 1

At the start of Shattergrave Barrow – “The Barrow Gates” – , go around the Vending Machine Building. There is a wall you can smash to get inside at the back. That’s where the die is.

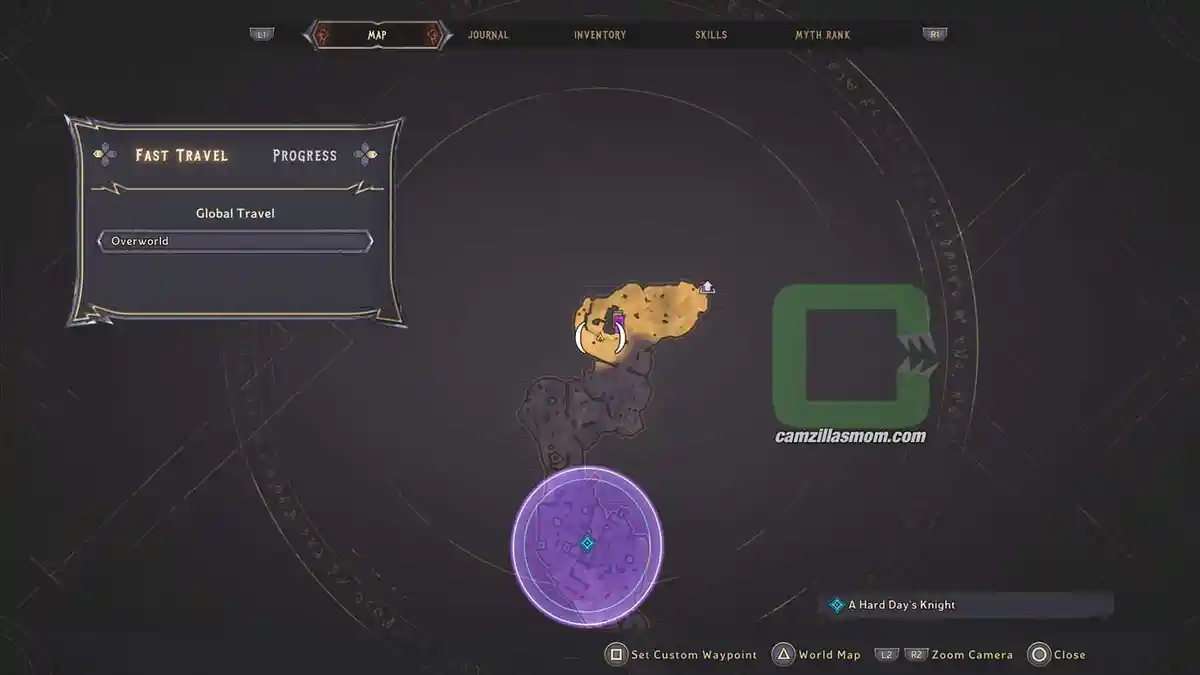
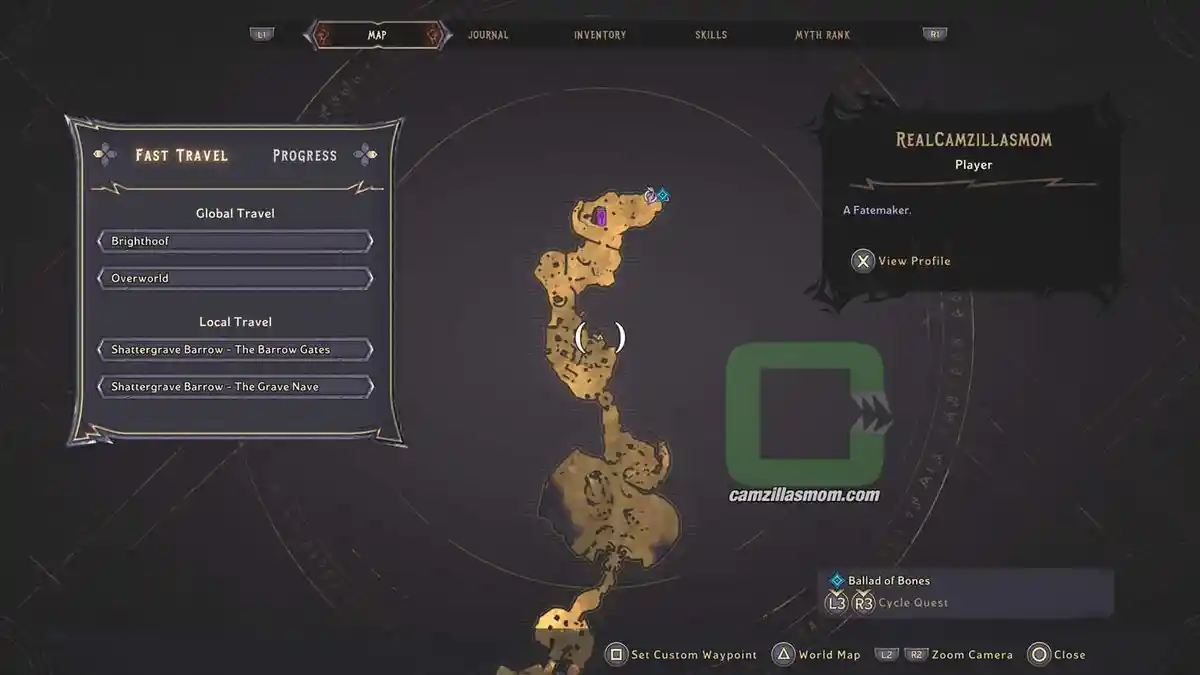
The location on the map with full zoom out.
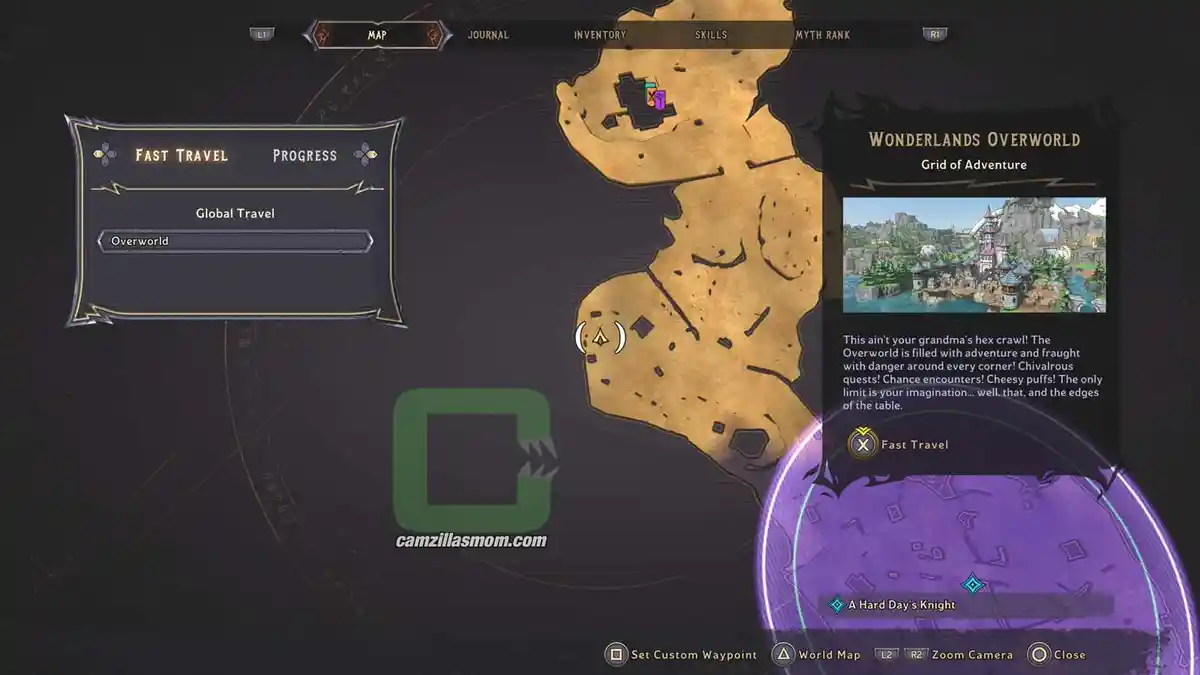
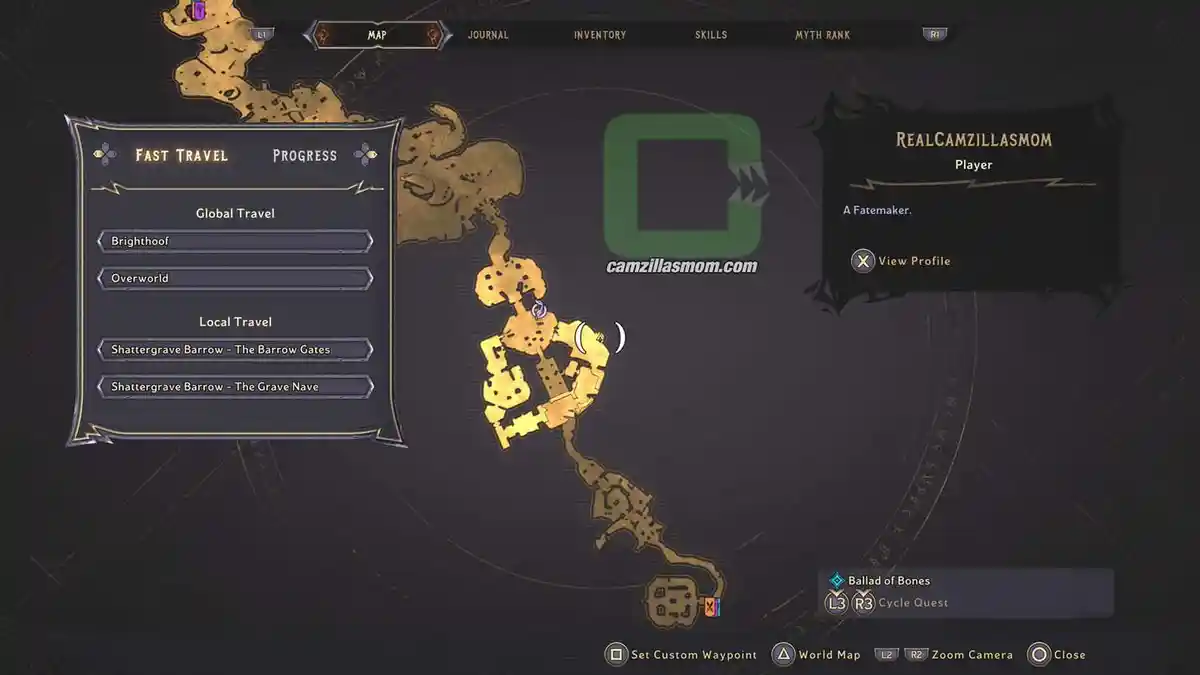
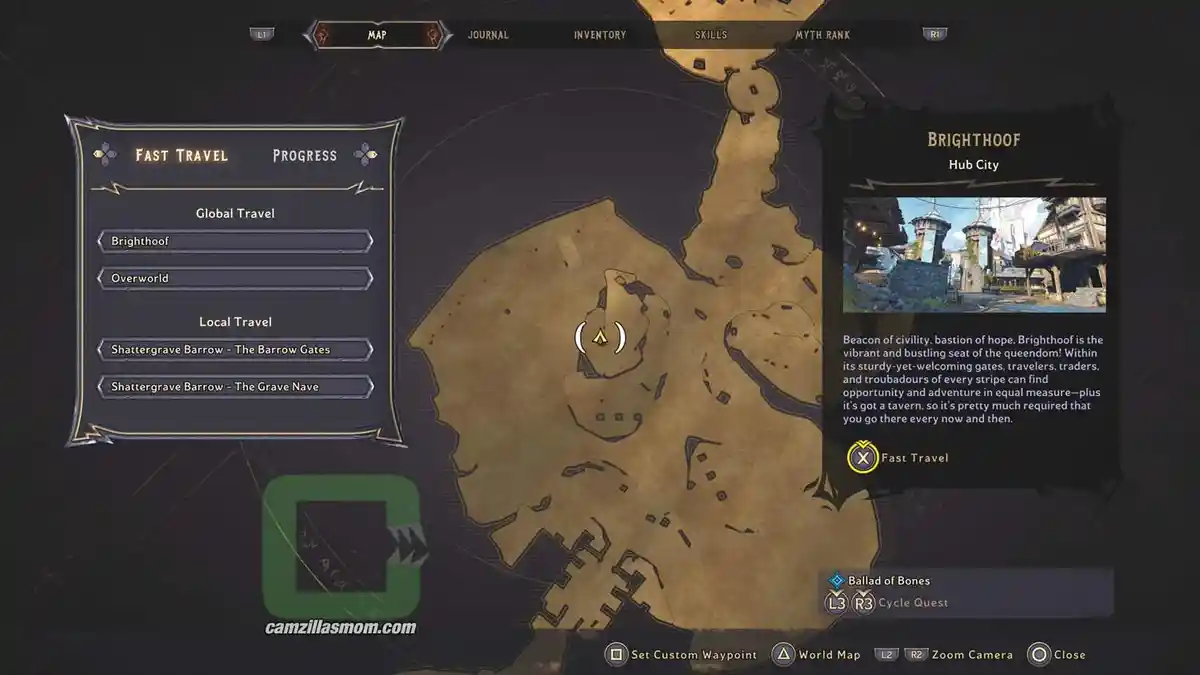
The location on the map with zoom in.
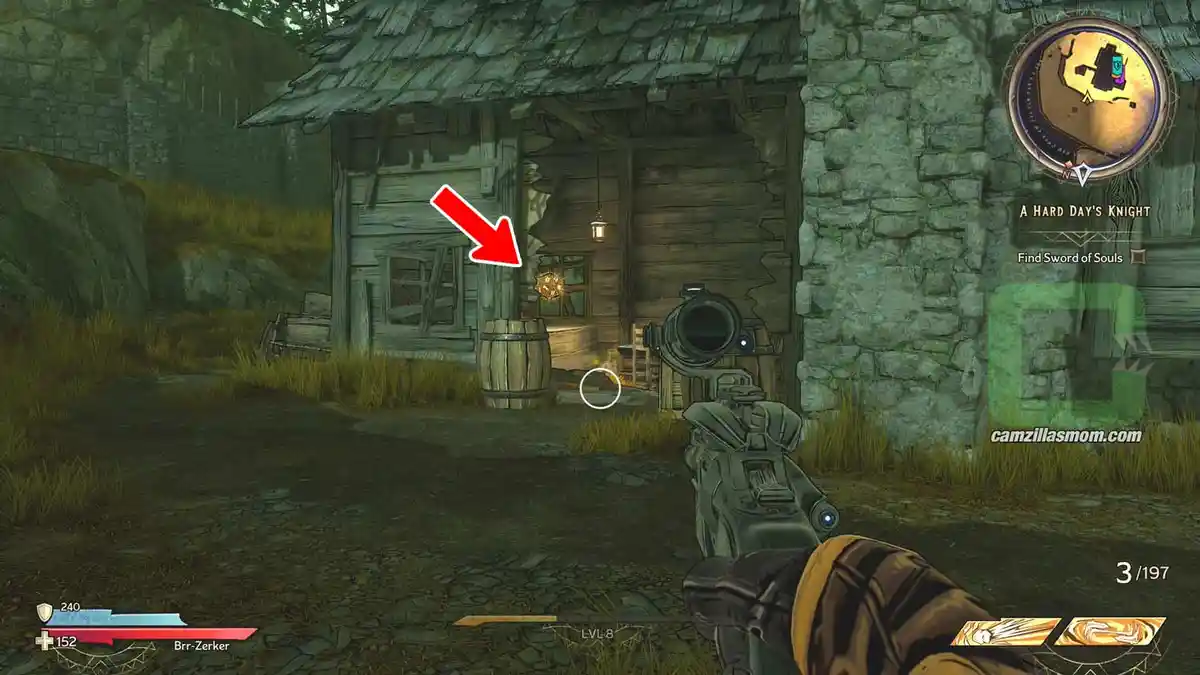
Wall already smashed, die inside.
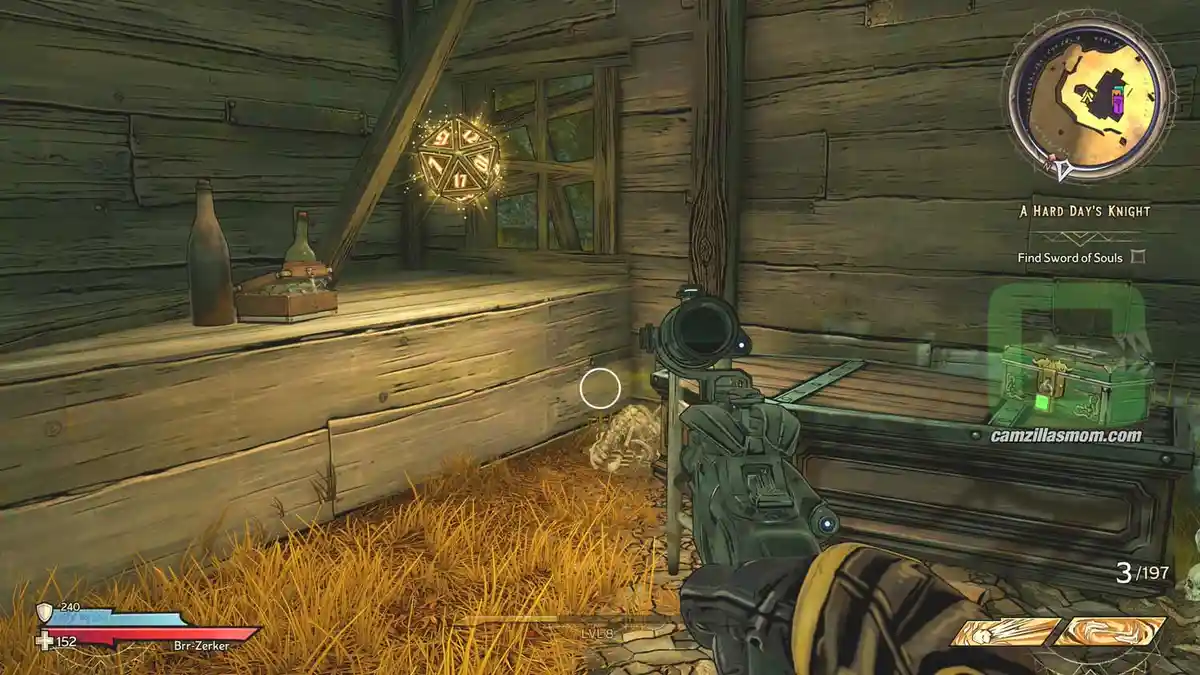
The die on the counter.

Lucky Dice 2

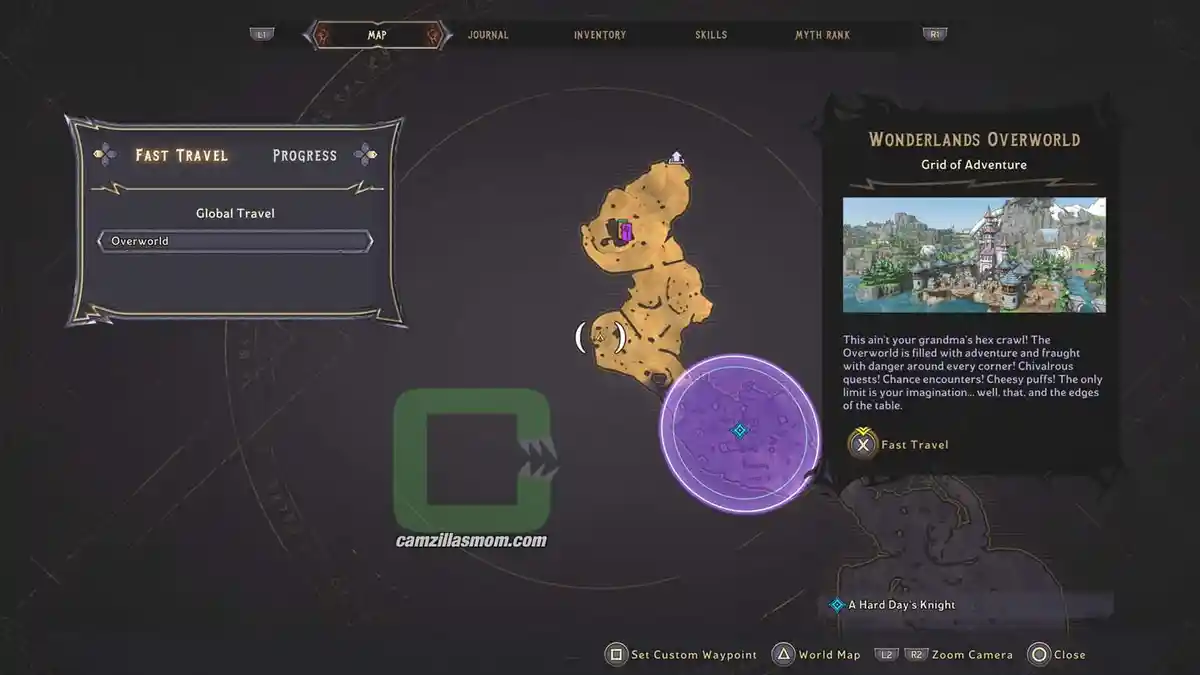
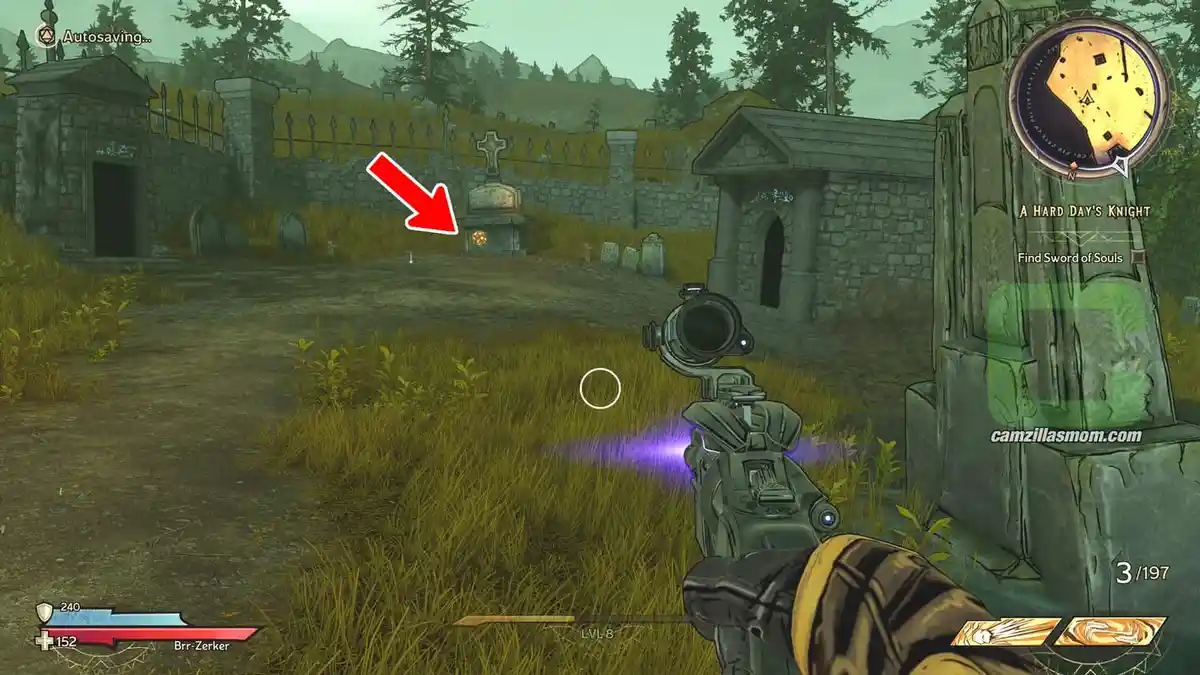
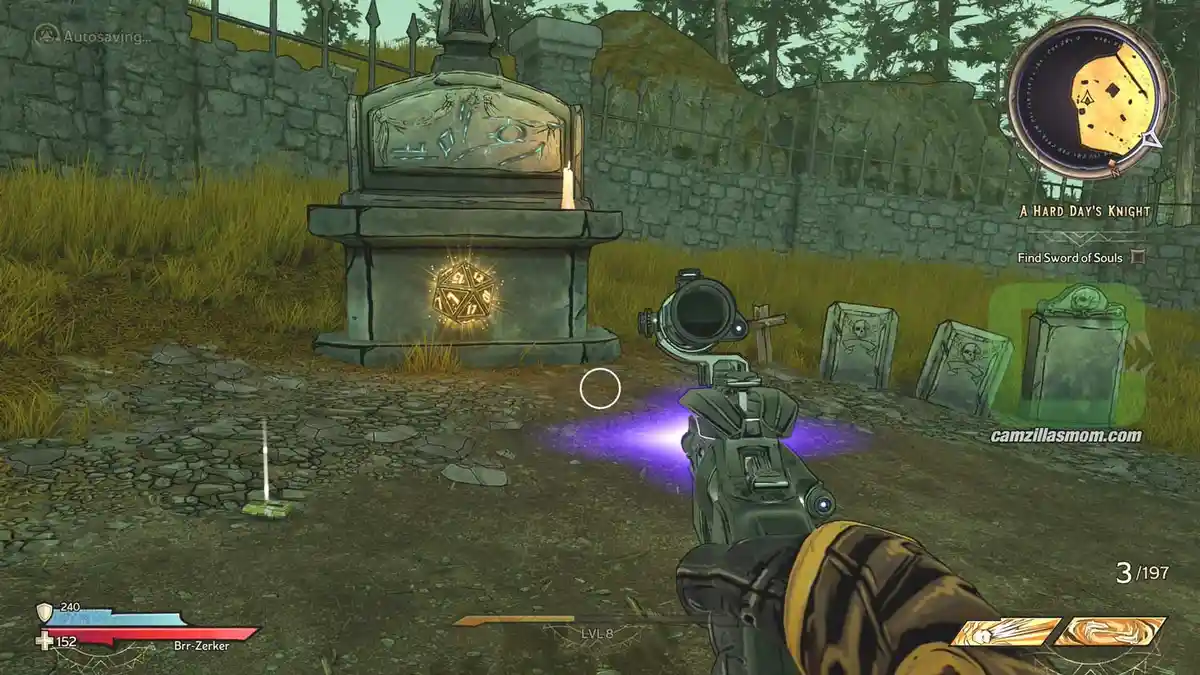
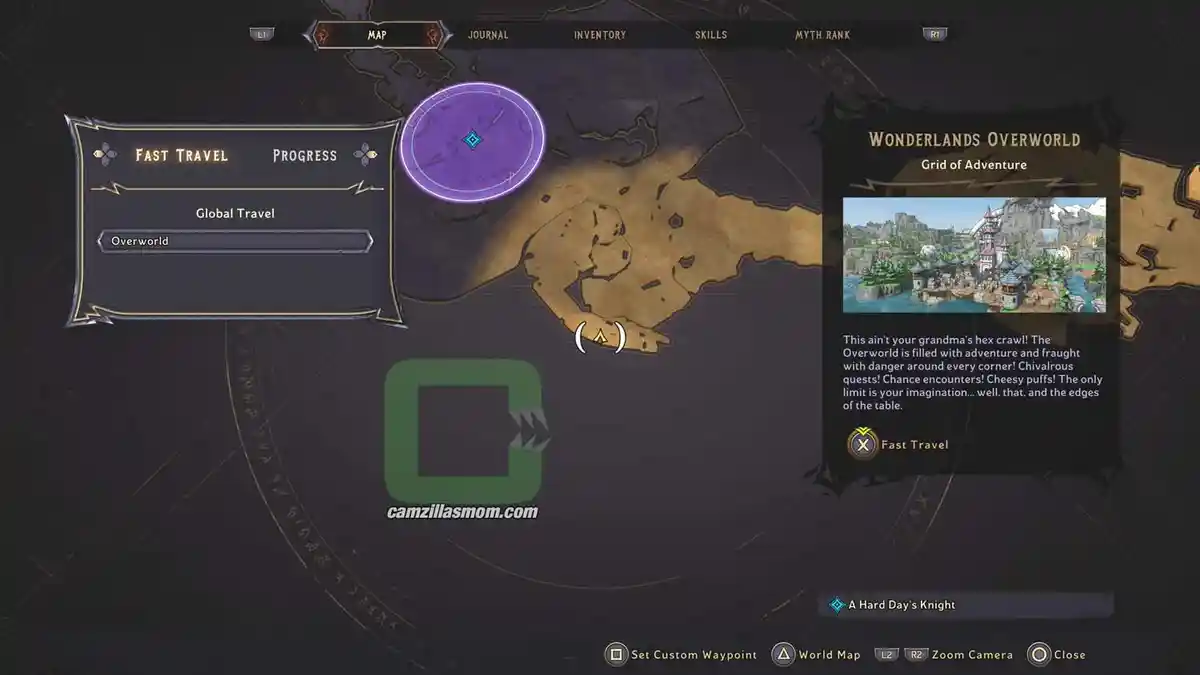
The second die is right after “The Barrow Gates” in the “Morhaim’s Crop” area. It’s between two tomb entrances.

The location on the map with full zoom out.
The location on the map with zoom in.
Between the two tombs.

Lucky Dice 3

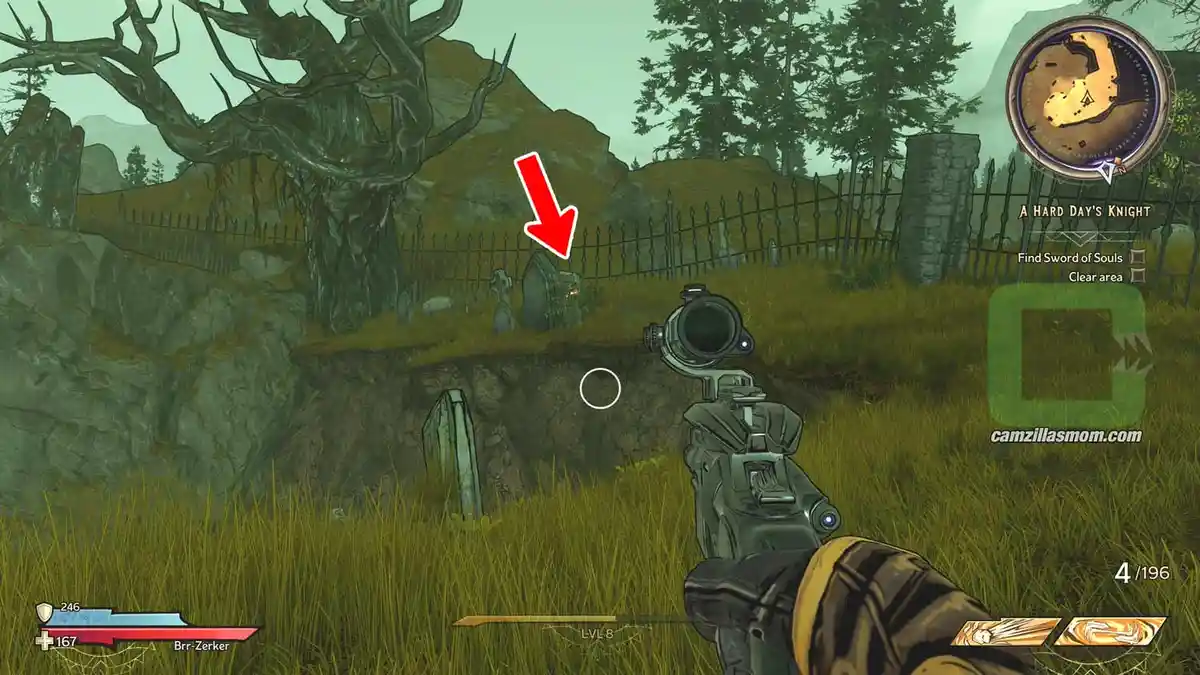
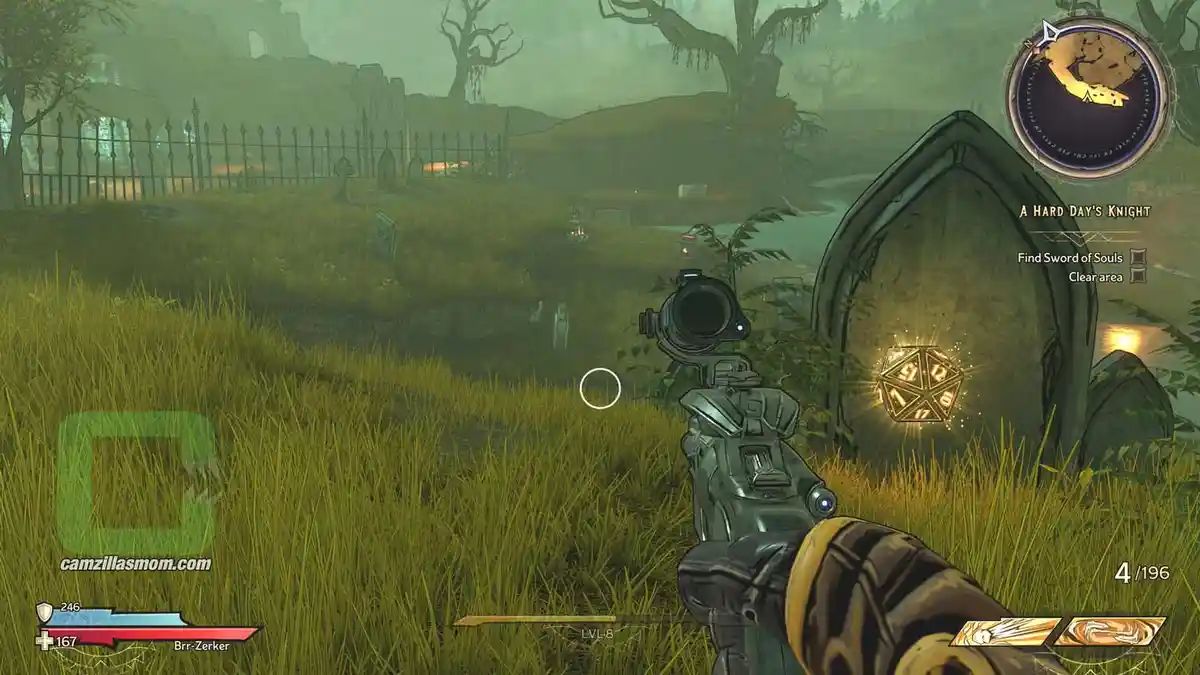
After “Morhaim’s Crop” you enter “The Bone Grove”. High up to the left, the die is hiding behind a grave stone.

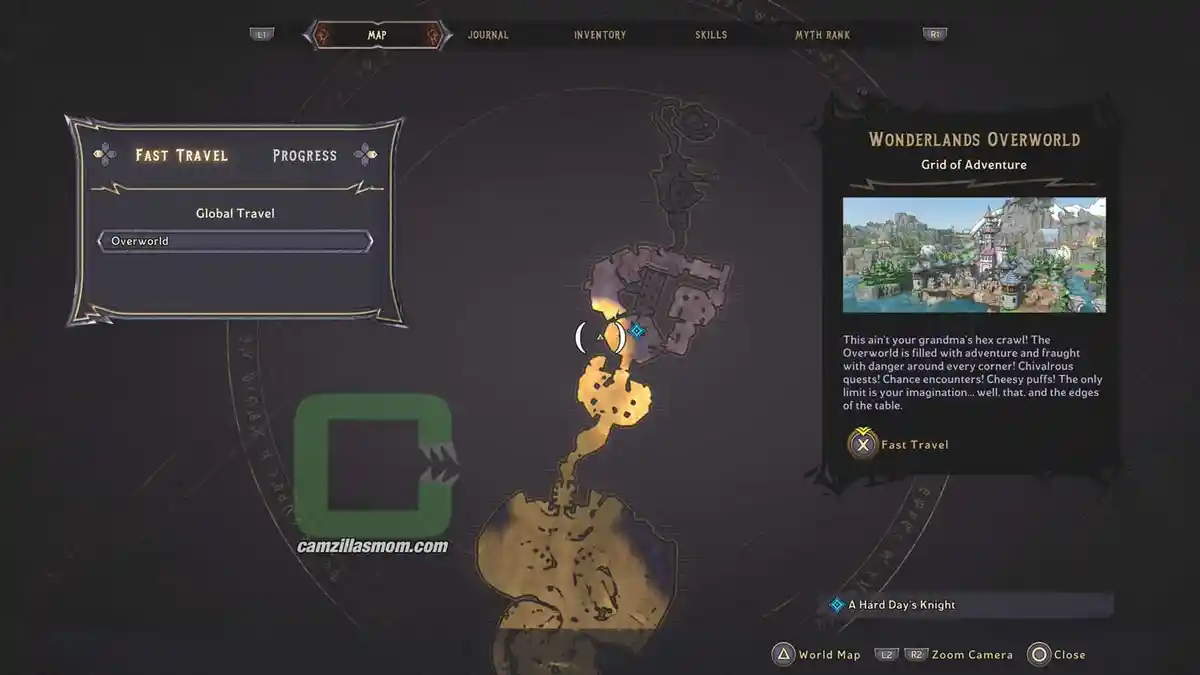
The location on the map with full zoom out.
The location on the map with zoom in.
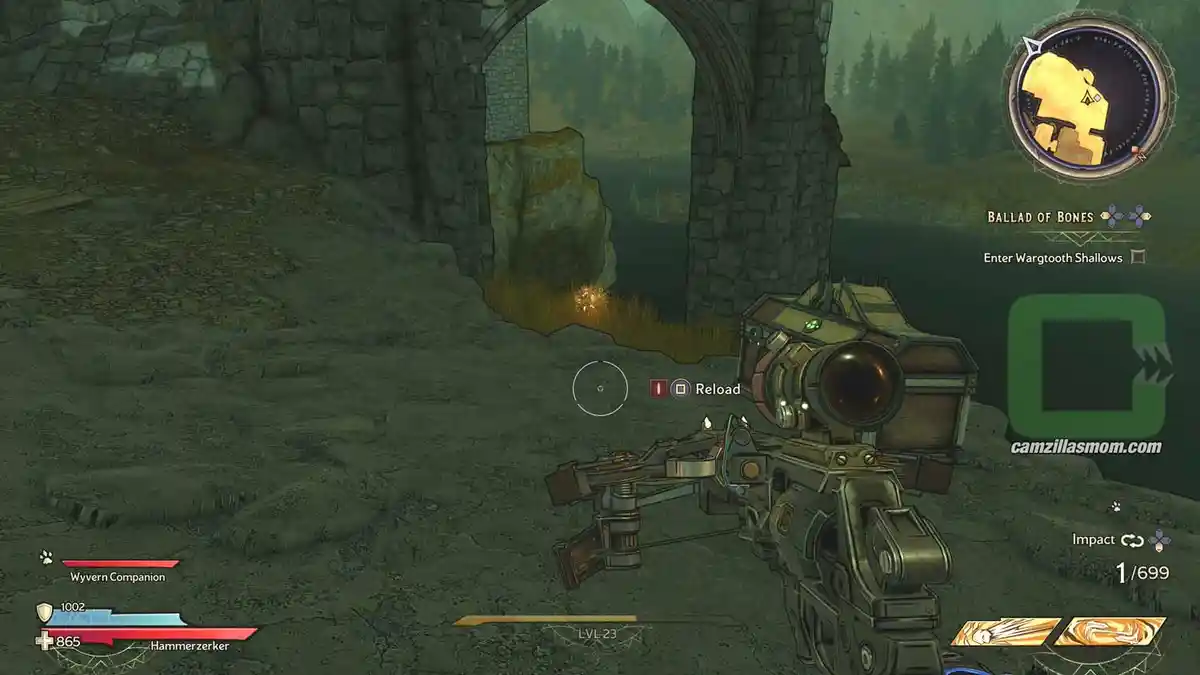
Look closer behind the grave stone.

Lucky Dice 4

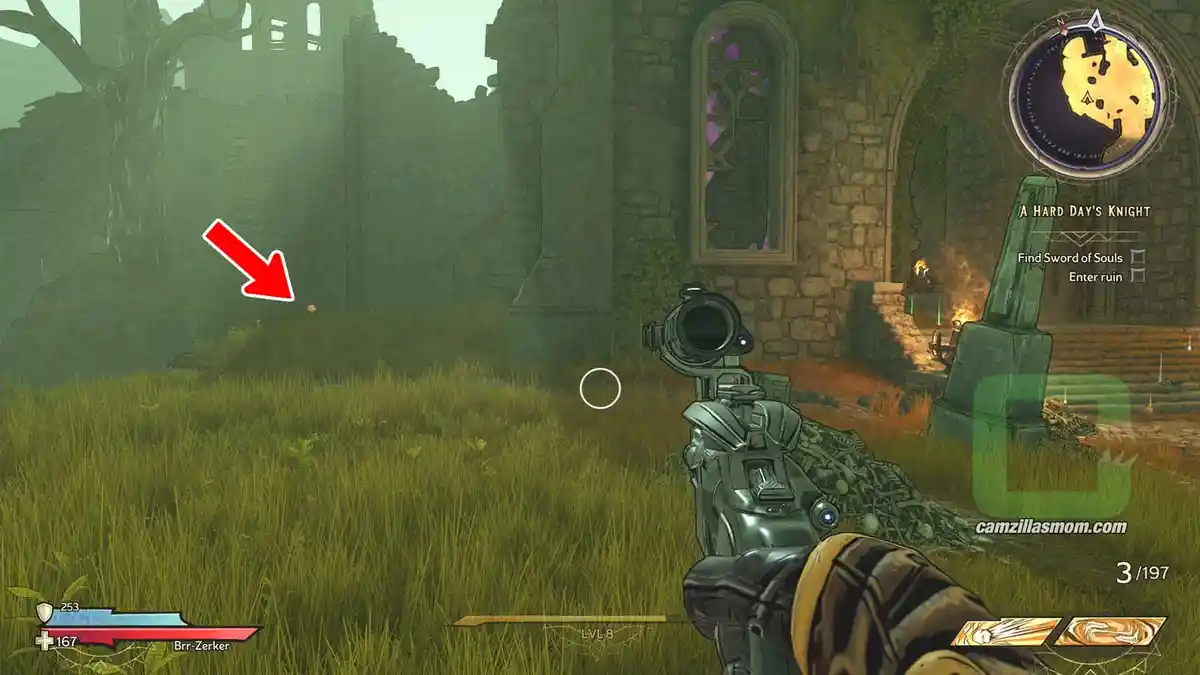
At “The Bone Grove” is a big castle – “The Grave Nave”, don’t enter. Follow the left outside castle wall to the Lucky Die.

The location on the map with full zoom out.
The location on the map with zoom in.
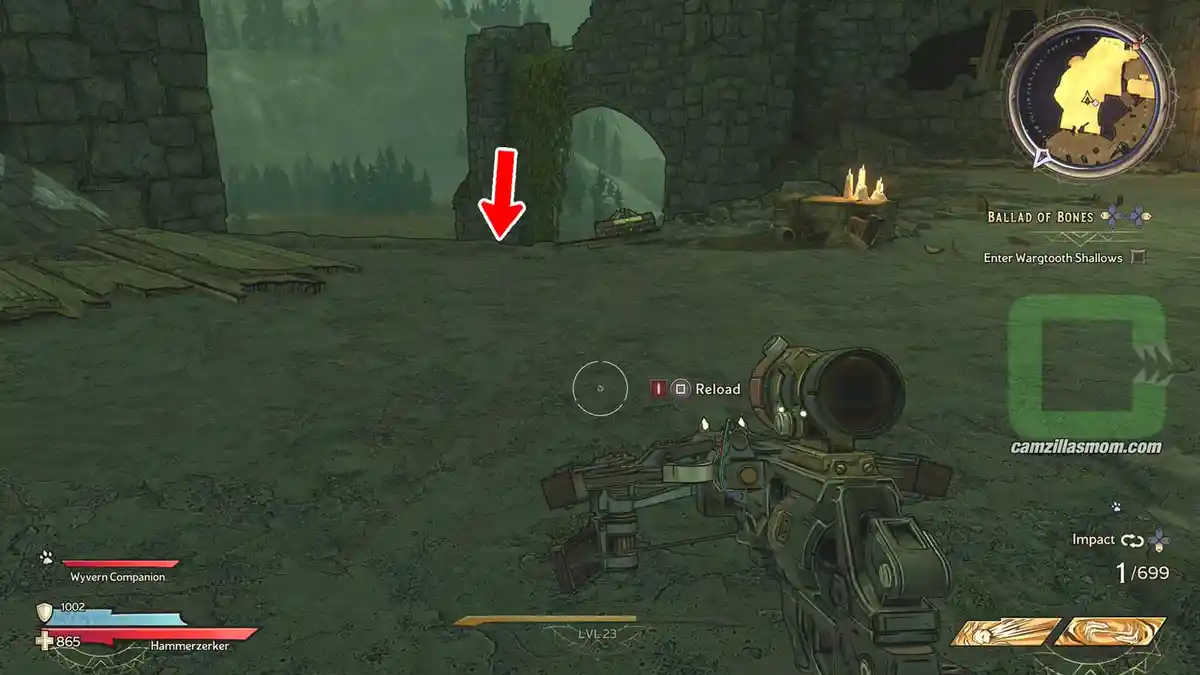
The Lucky Die far away left of the castle.

Lucky Dice 5

Inside the big castle, “The Grave Nave”, there is a barricaded room. Just smash the boxes, barrels and the entrance and you can get the die.

The location on the map with full zoom out.
The location on the map with zoom in.
Behind the barricade.
Just destroy it.

Lucky Dice 6

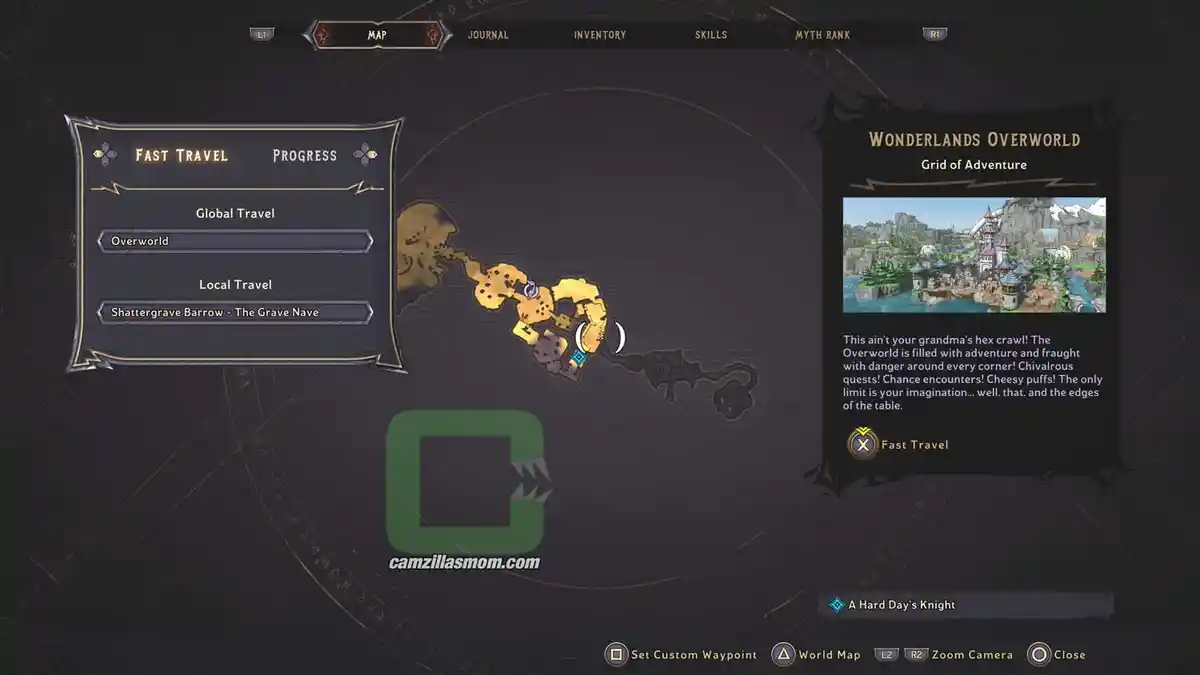
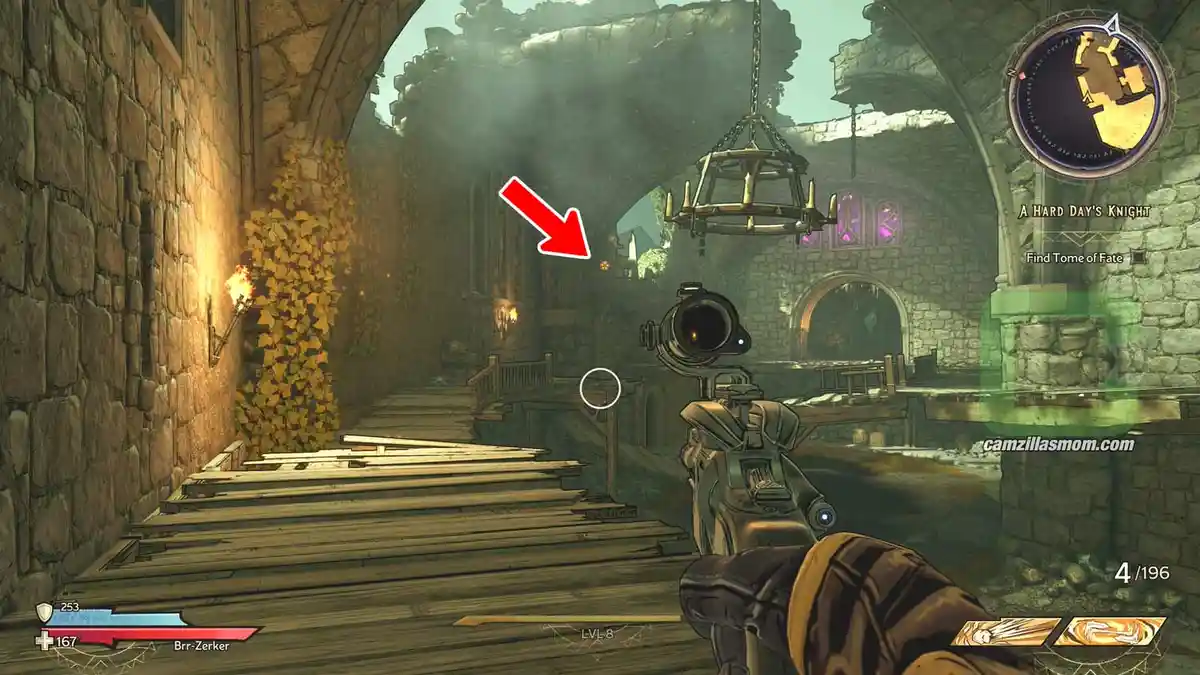
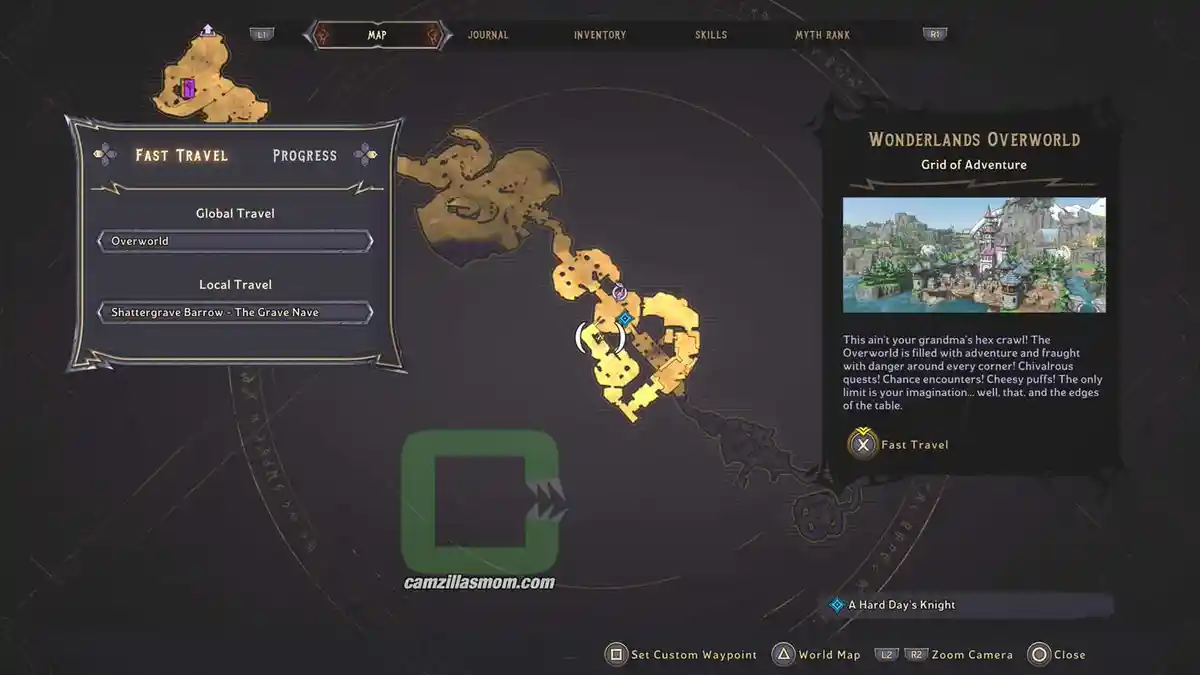
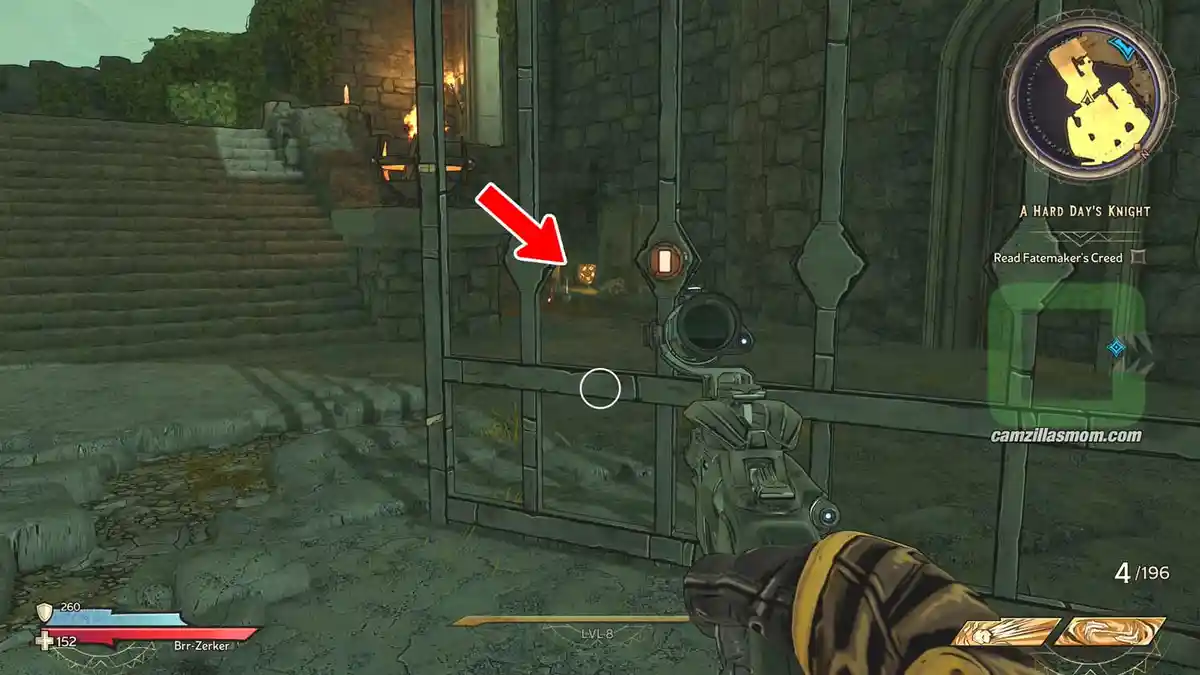
Near “The Grave Nave” waypoint, at the top level of the castle.

The location on the map with full zoom out.
The location on the map with zoom in.
Far away view of the die, top of the castle.
Climb up the little ramp.

Lucky Dice 7

After defeating the “Mimic” chest in the story near the “The Grave Nave” waypoint, you open a gate. On the other side is a die hiding behind boxes and barrels at the bottom of the stairs.

The location on the map with full zoom out.
The location on the map with zoom in.
Boxes and barrels already cleared.

Lucky Dice 8

At “The Sundercroft”, there is a small room / cave at the top level with the die in it.

The location on the map with full zoom out.
The location on the map with zoom in.
The room with the die in it.

Lucky Dice 9

Back at “Morhaim’s Crop”, there is dug out grave with a Lucky Dice in it.

The location on the map with full zoom out.
The location on the map with zoom in.
Standing on the bridge, looking to the grave.

Lucky Dice 10

At the “The Grave Nave”, don’t go down the tomb yet, climb up towards the first red chest. Right below it is the Lucky Dice.

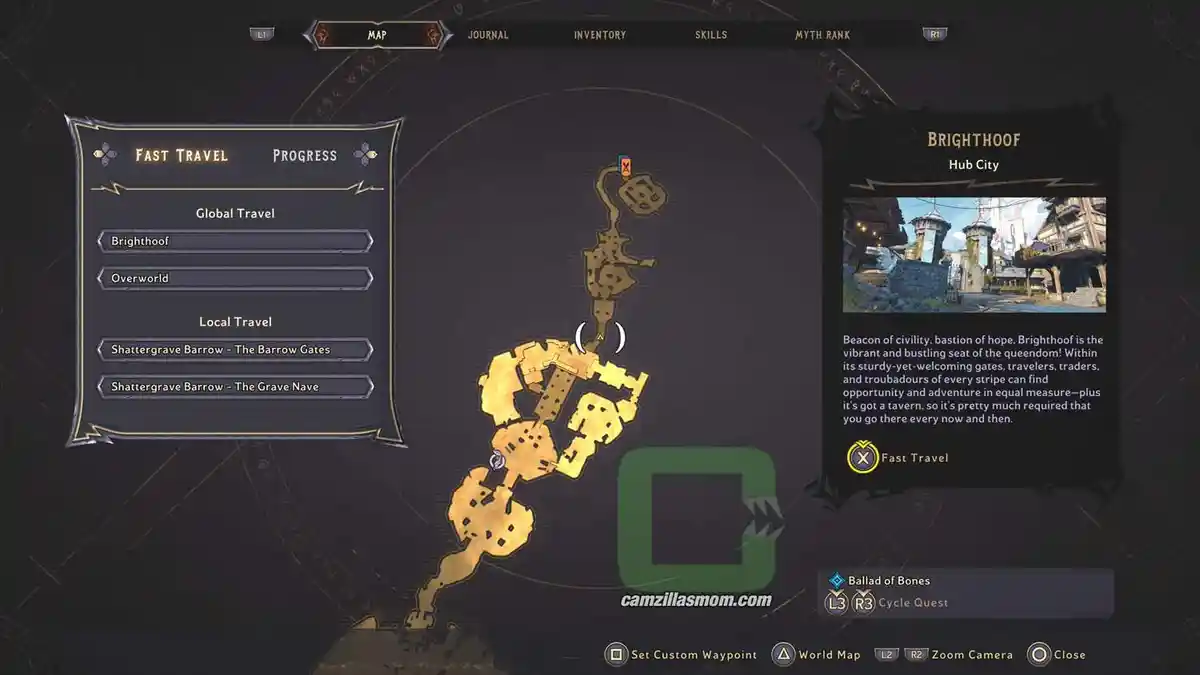
The location on the map zoomed out.
The location on the map with zoom in.
Lucky Dice below the Red Chest.

Lucky Dice 11

Back at the “The Bone Grove”, there is a hill with a big tree and a red chest next to it. Just below, on a ledge, is the Lucky Dice.

The location on the map zoomed out.
The location on the map with zoom in.
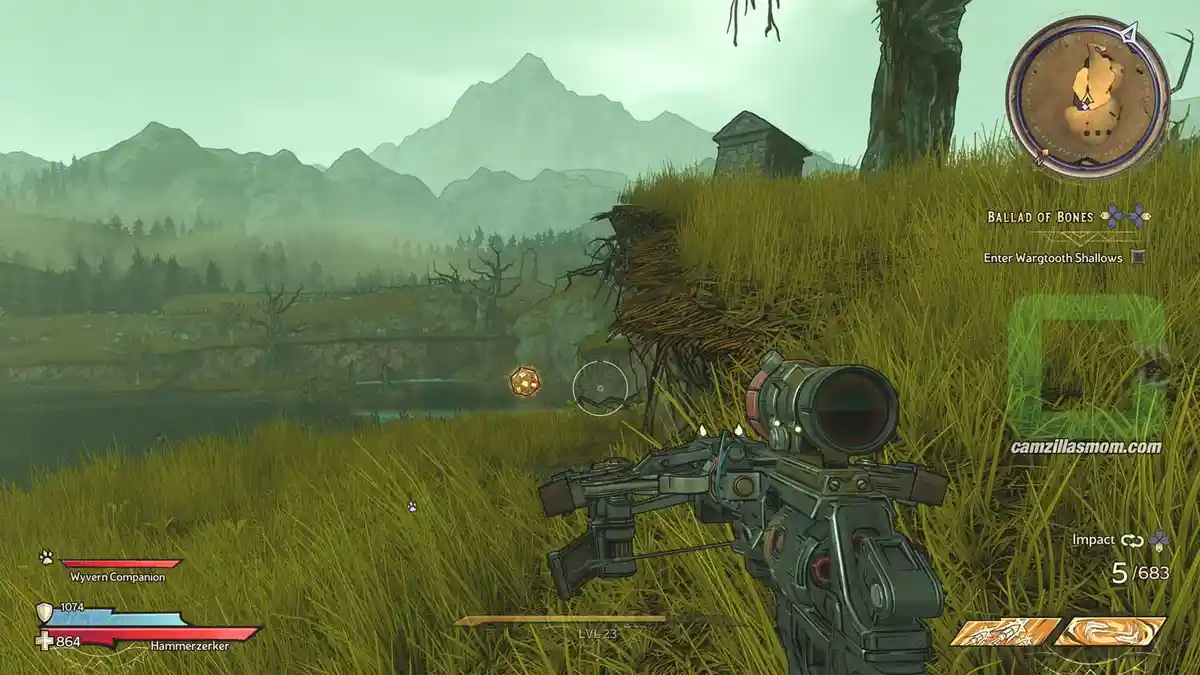
The Lucky Die on the hill in the distance.

Lucky Dice 12

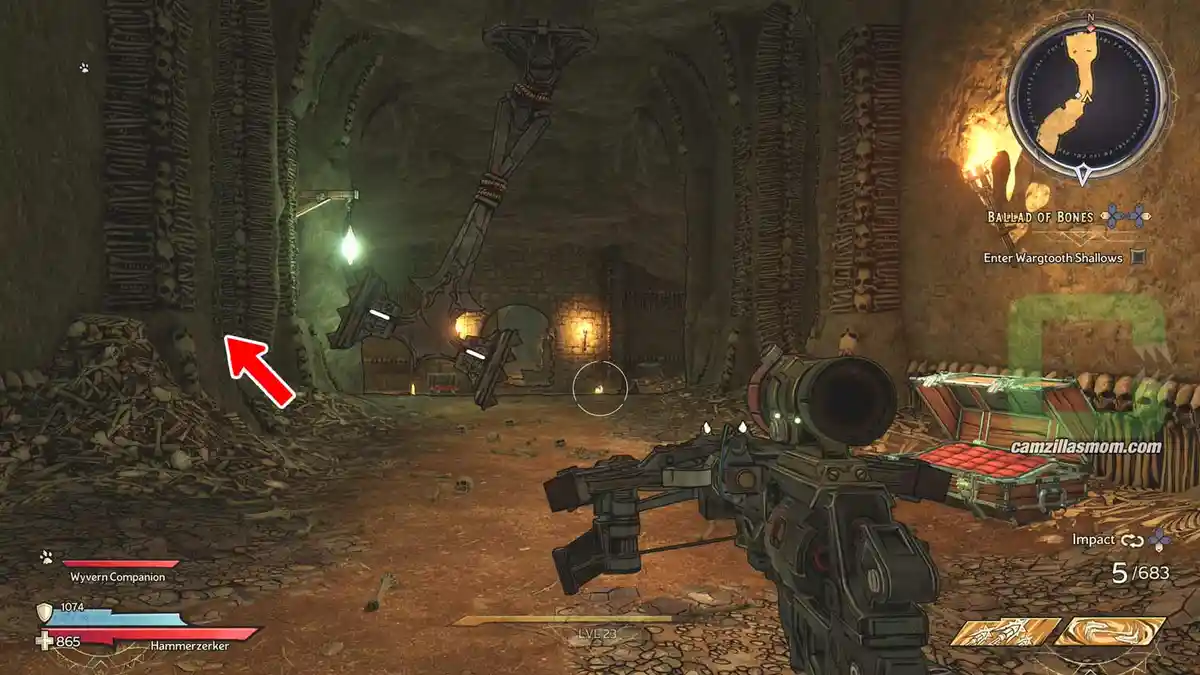
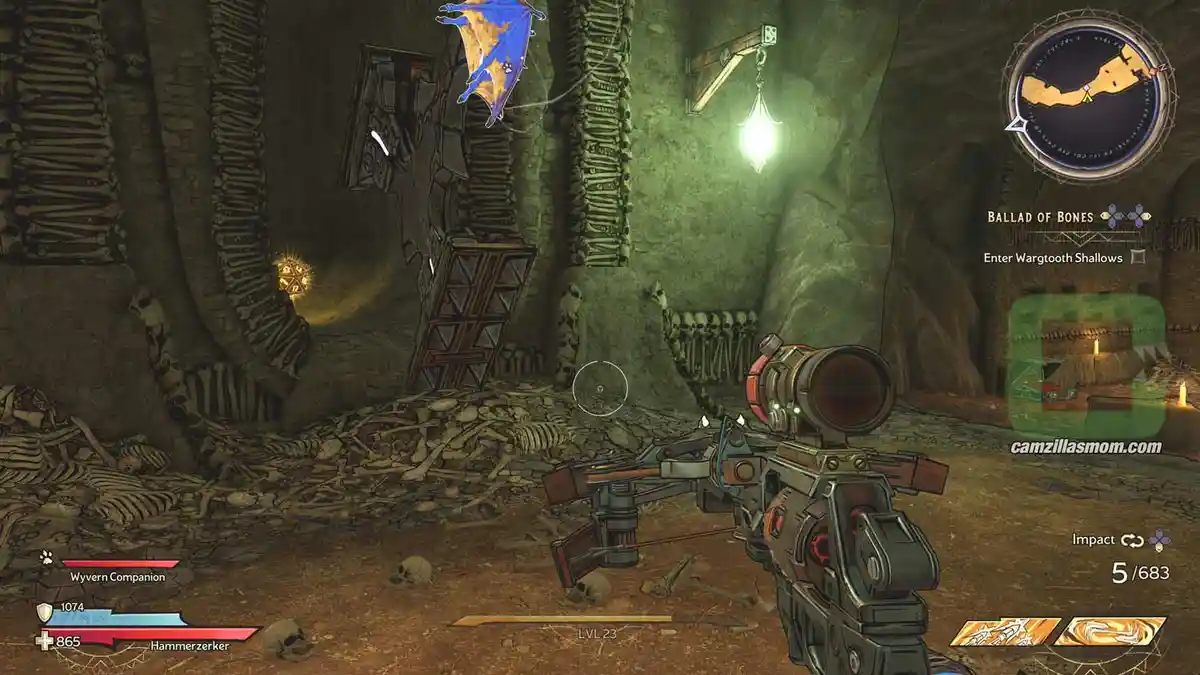
Enter the tomb at “The Grave Nave”, follow the corridor until you get to the swinging hammer. The Lucky Dice is in the left alcove of this hammer. You can get inside and to the back. It won’t hurt you.

The location on the map zoomed out.
The location on the map with zoom in.
The Swinging Hammer. Lucky Dice to the left.

This is TINY TINA’S WONDERLANDS
Release: May 26th, 2022
Developer: Gearbox Software
Publisher: 2K Games
Official Website: https://playwonderlands.2k.com/
Guides by camzillasmom.