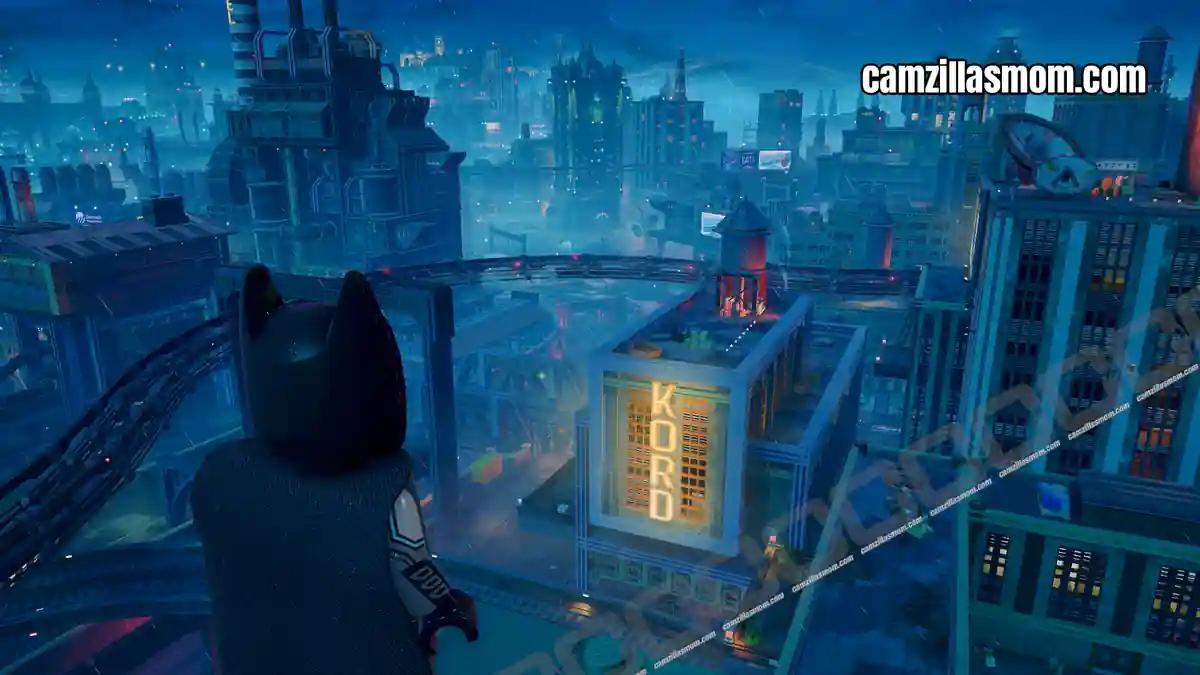
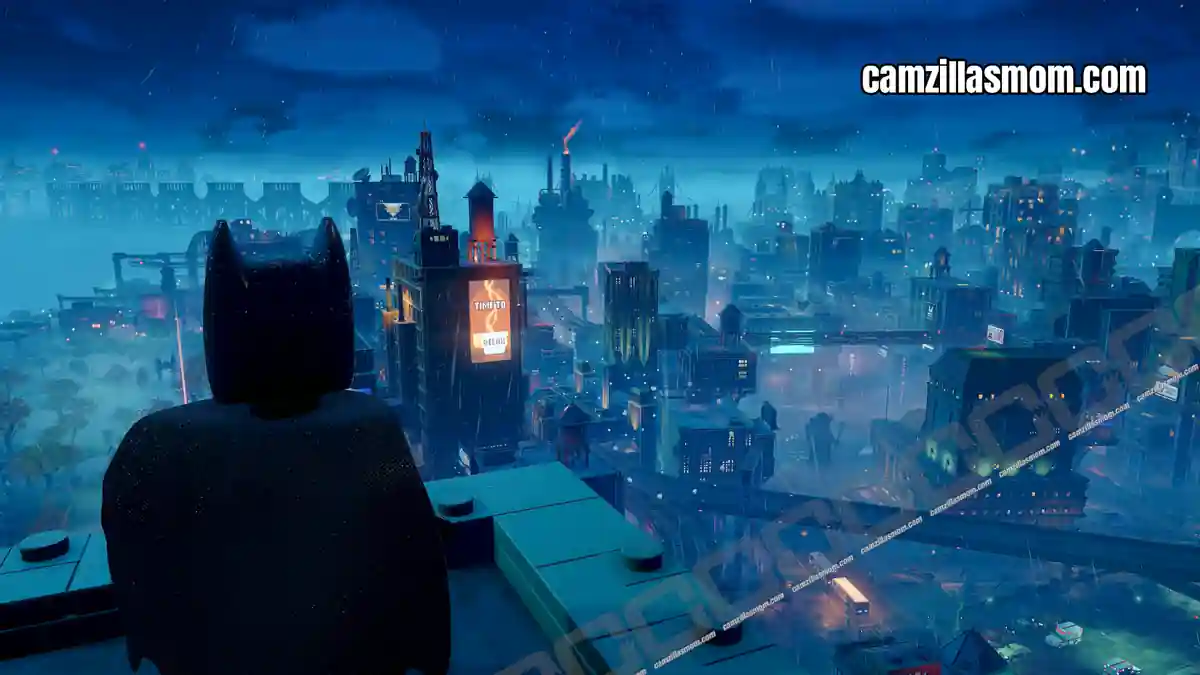
There are 9 Riddler Puzzles scattered across the Tricorner district in LEGO Batman: Legacy of the Dark Knight. One of them – the Mirror Puzzle – is required to progress through Mission 4. This guide covers every puzzle with step-by-step solutions, map coordinates, and screenshots.
-> Part of the Tricorner 100% Guide
Related Guides:
Tricorner Plant Life 100%
Tricorner Cluemaster Puzzles 100%
Tricorner Zoo Animals 100%
Tricorner Wanted Posters 100%
LEGO Batman: Legacy of the Dark Knight Hub
Overview Map
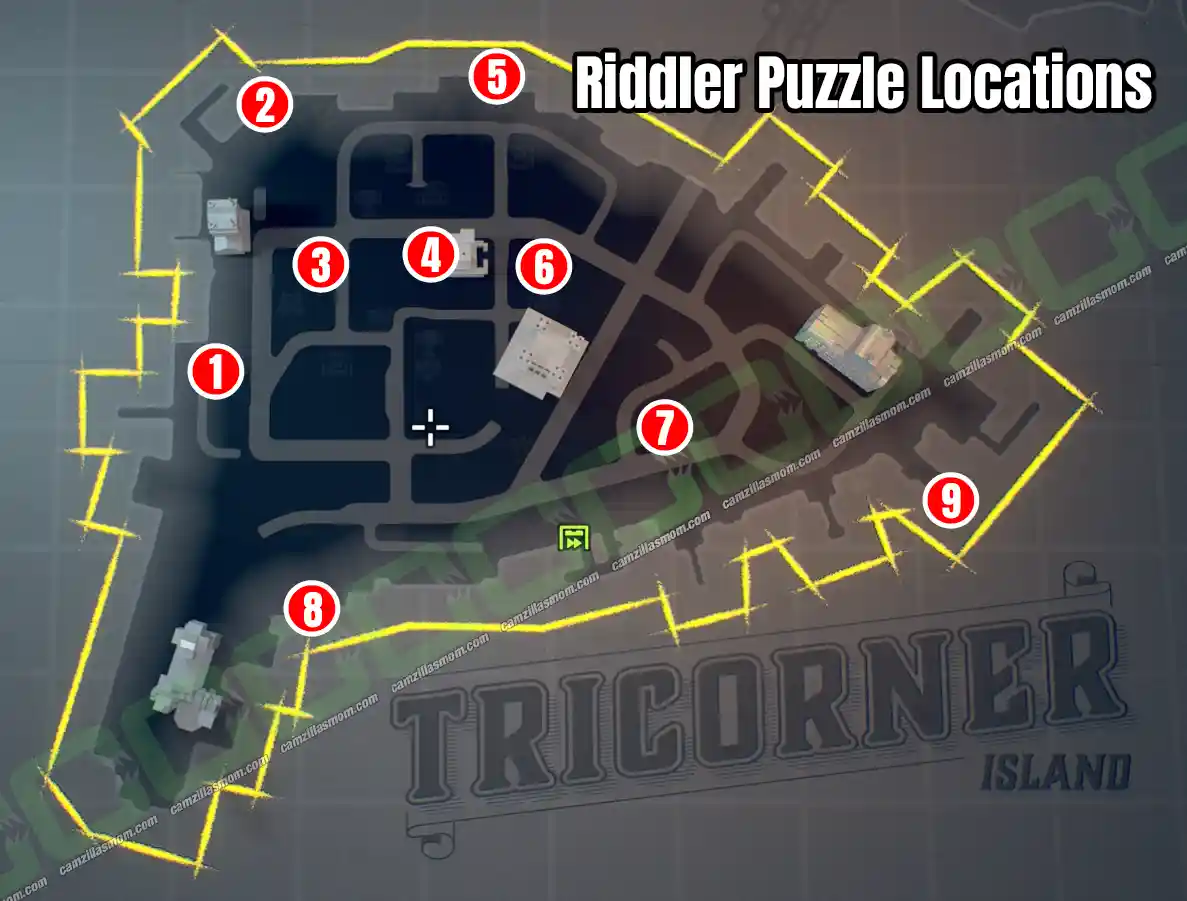
1 – Mirror Puzzle (Mission 4)
Coordinates: 135, 156
This one is required before you can start Mission 4: Carmine Falcone. You’ll work through three connected mirror rooms, each asking you to place specific objects on pedestals in the right order
How to solve the Mirror Puzzle:
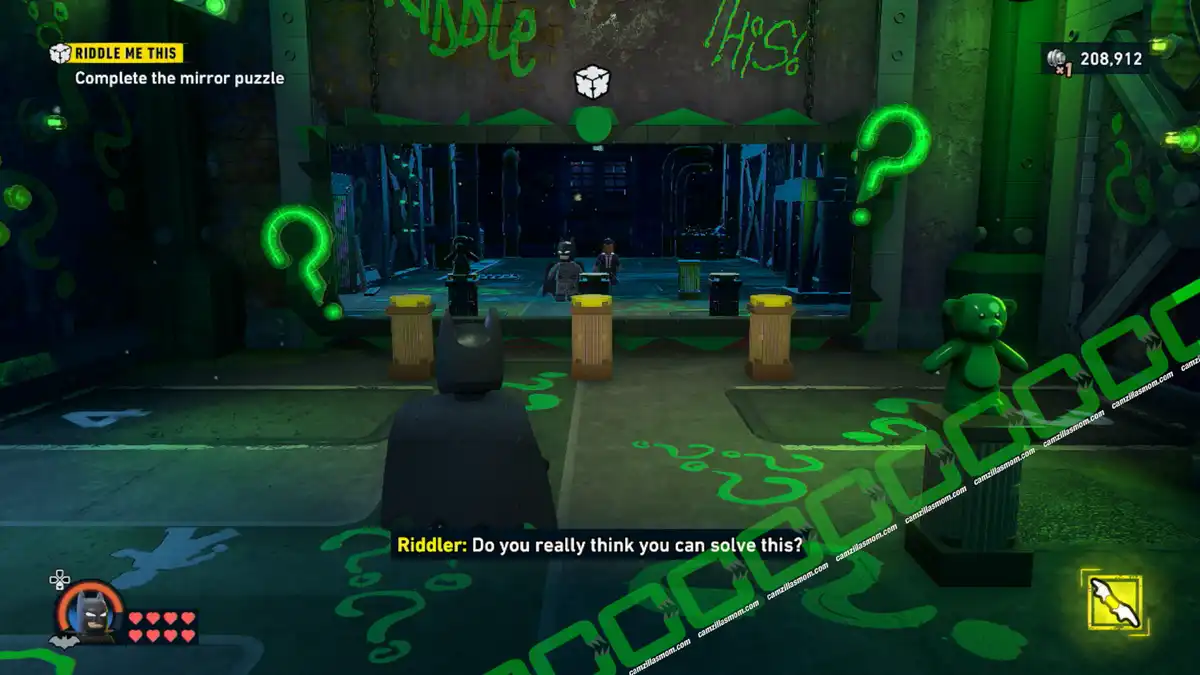
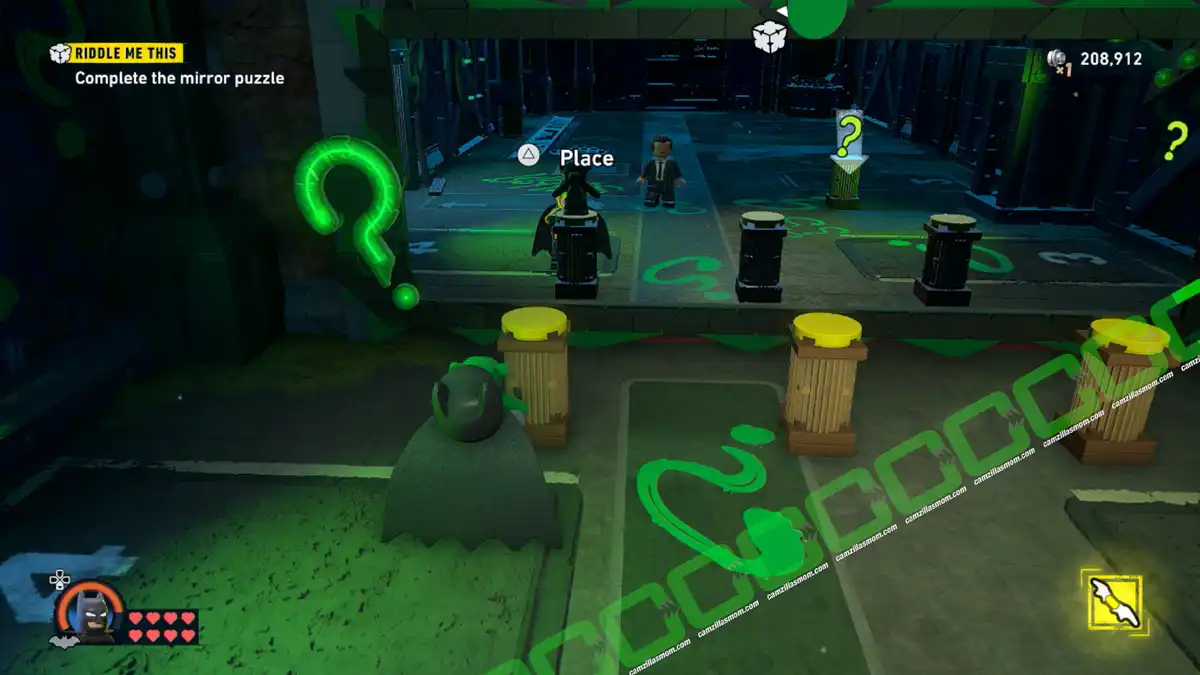
There are three pedestals and a teddy bear. Place the teddy bear on the left pedestal. After solving the puzzle, the Riddler will officially introduce himself.
Looks like the first Mirror Puzzle was just a warmup. The second puzzle wants you to place a bust, a lamp, and a candlestick in this order from left to right. The candlestick is already there, but on the wrong pedestal. Let’s move it to the right first.
Remember: You can always use “Detect”.
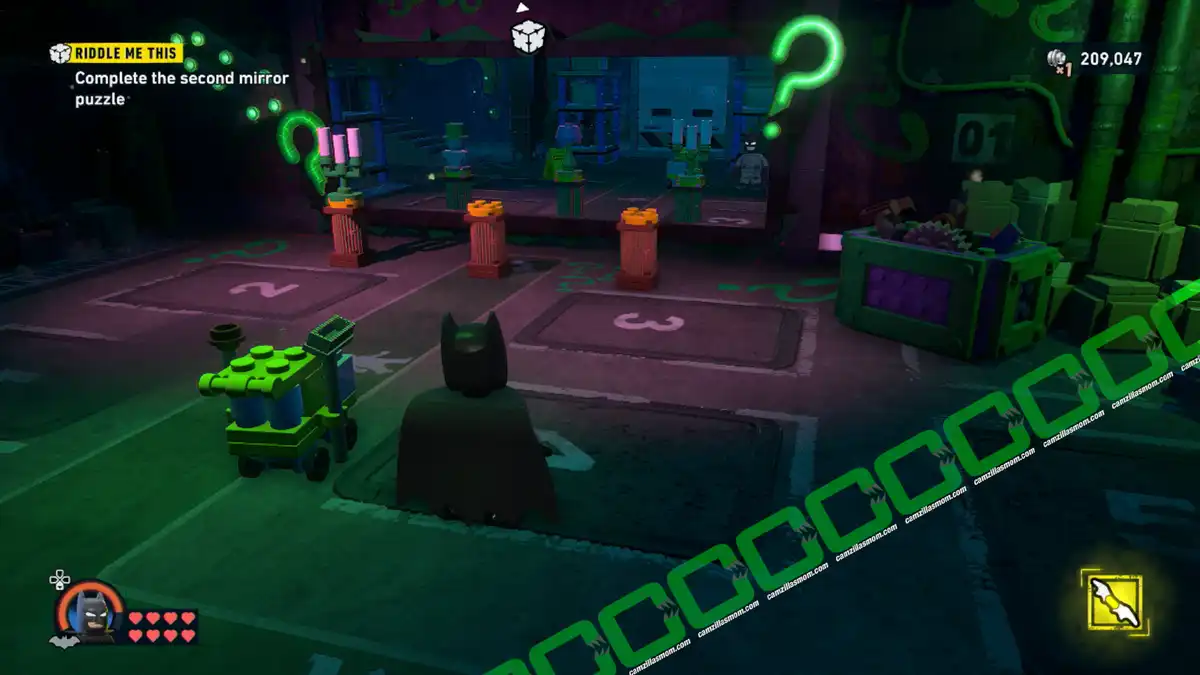
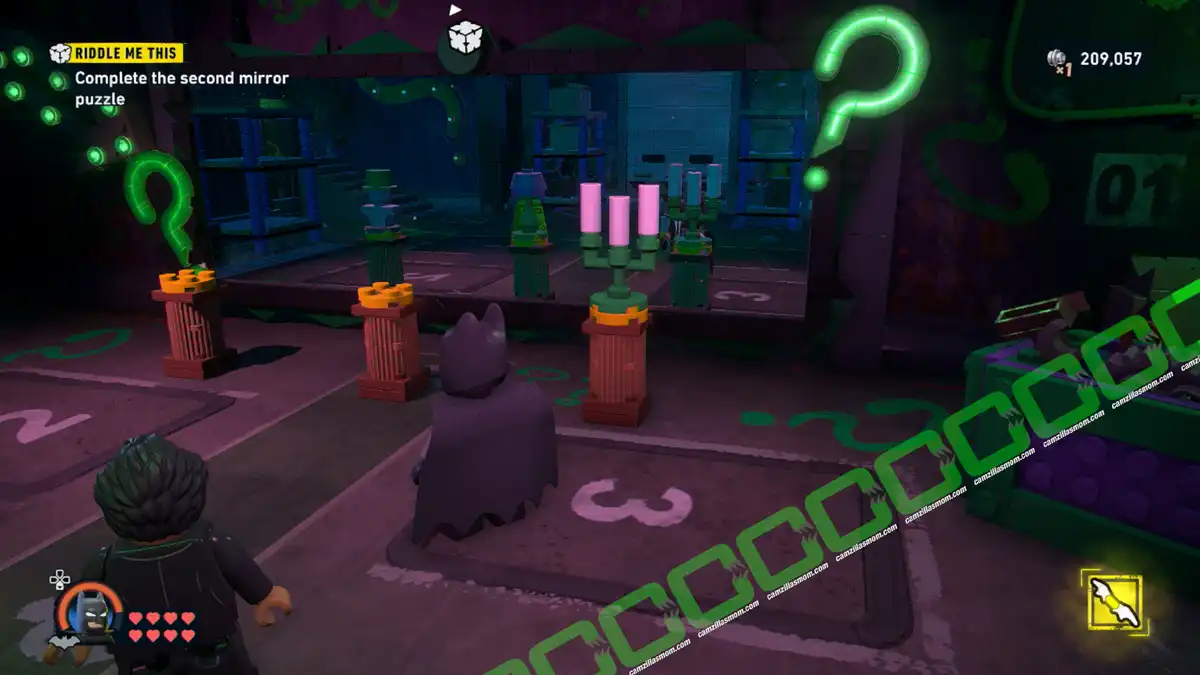
Now, destroy everything to find the bust and the lamp. The bust is in the pile to the right of the mirror. Pick it up and place it on the left pedestal.
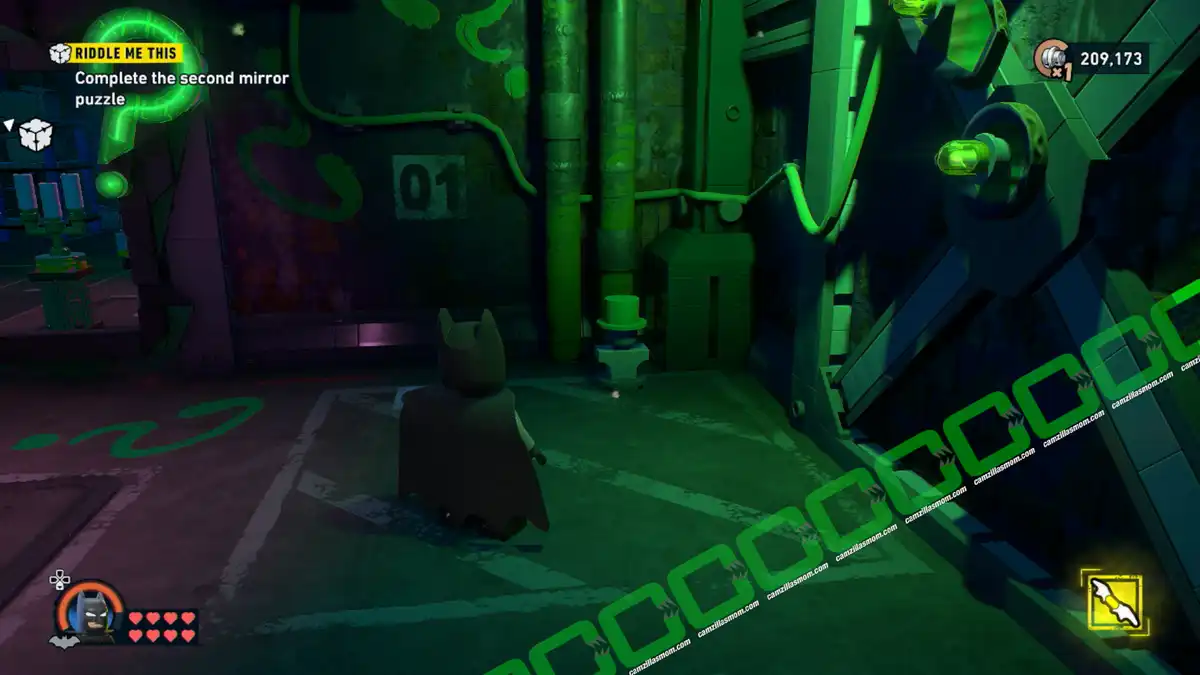
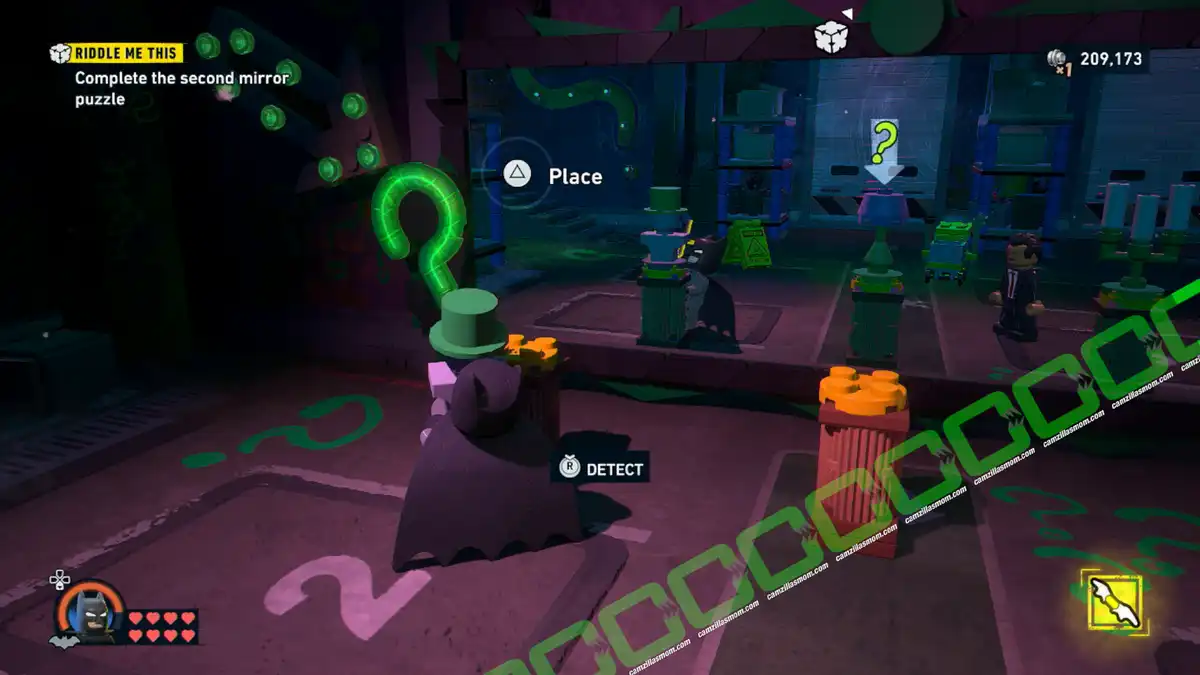
The lamp is next. Head upstairs and find the lamp next to the desk. Place it on the center pedestal to solve the puzzle.
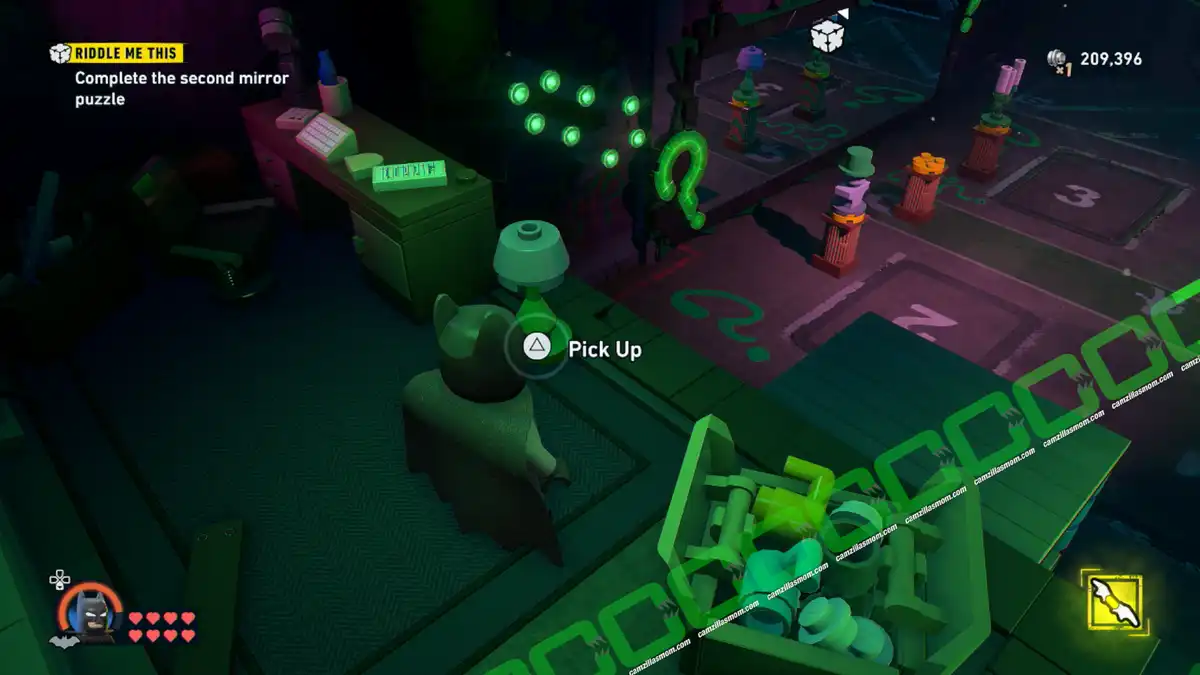
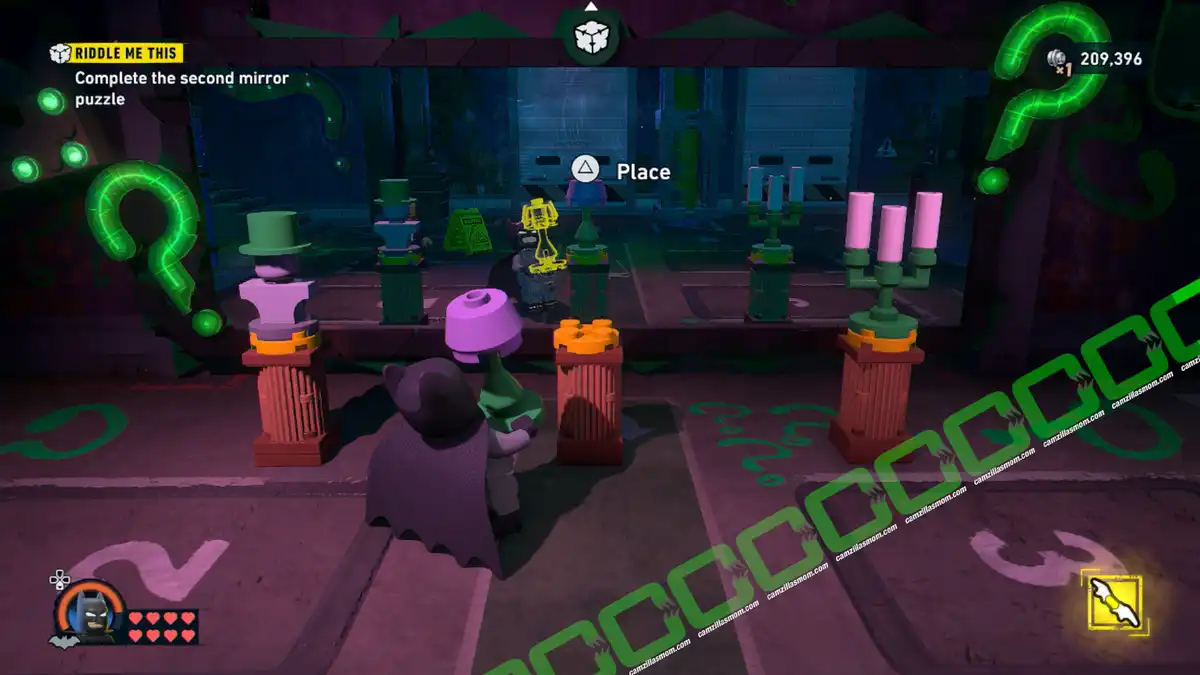
Move on to the third Mirror Puzzle. This time, you need a lamp and a radio. Destroy everything to find the radio behind one of the shelf units. Pick it up and place it on the right pedestal.
For the lamp, just take the one from the Second Mirror Puzzle and place it onto the left pedestal of the Third Mirror Puzzle. Sneaky one!
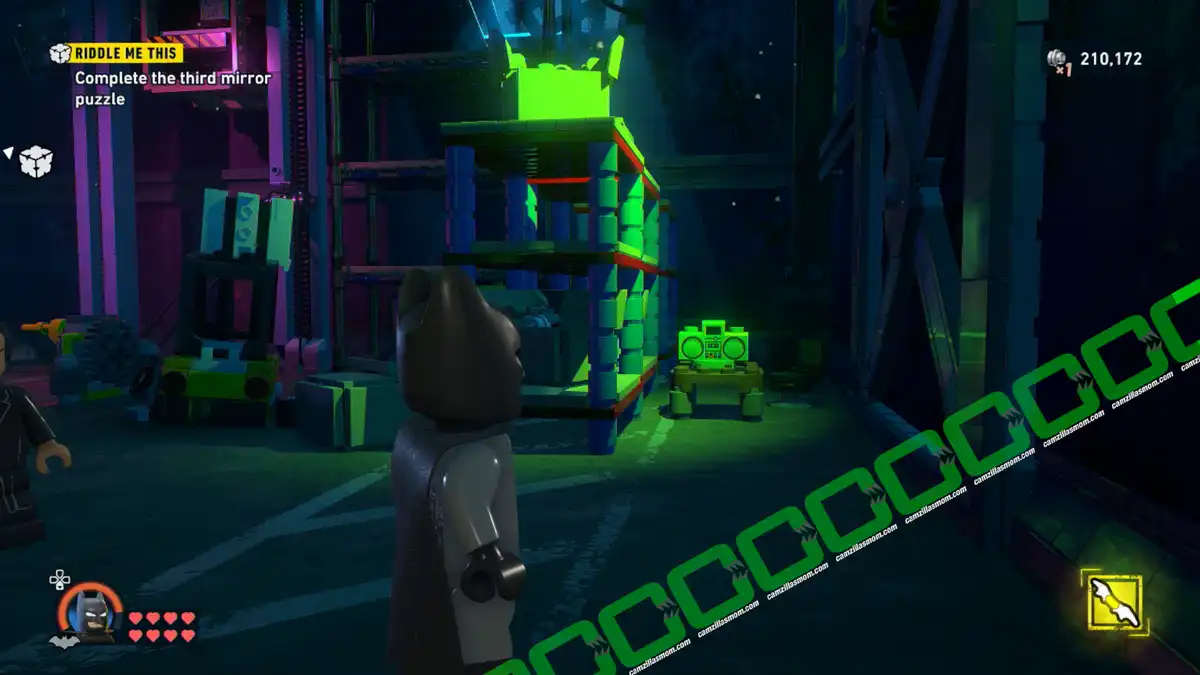
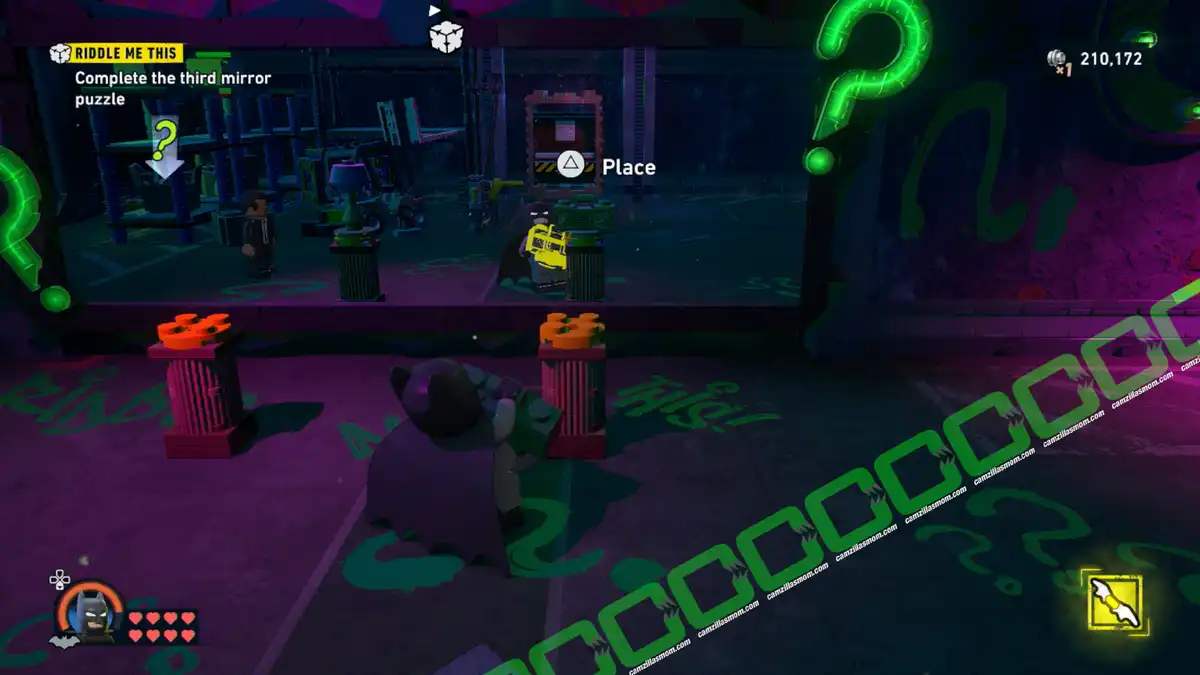
Pick up the Riddler Puzzle Box. Completing this puzzle not only completes the only Riddler Puzzle Box in Tricorner but also solves 1 of 9 Riddler Puzzles.
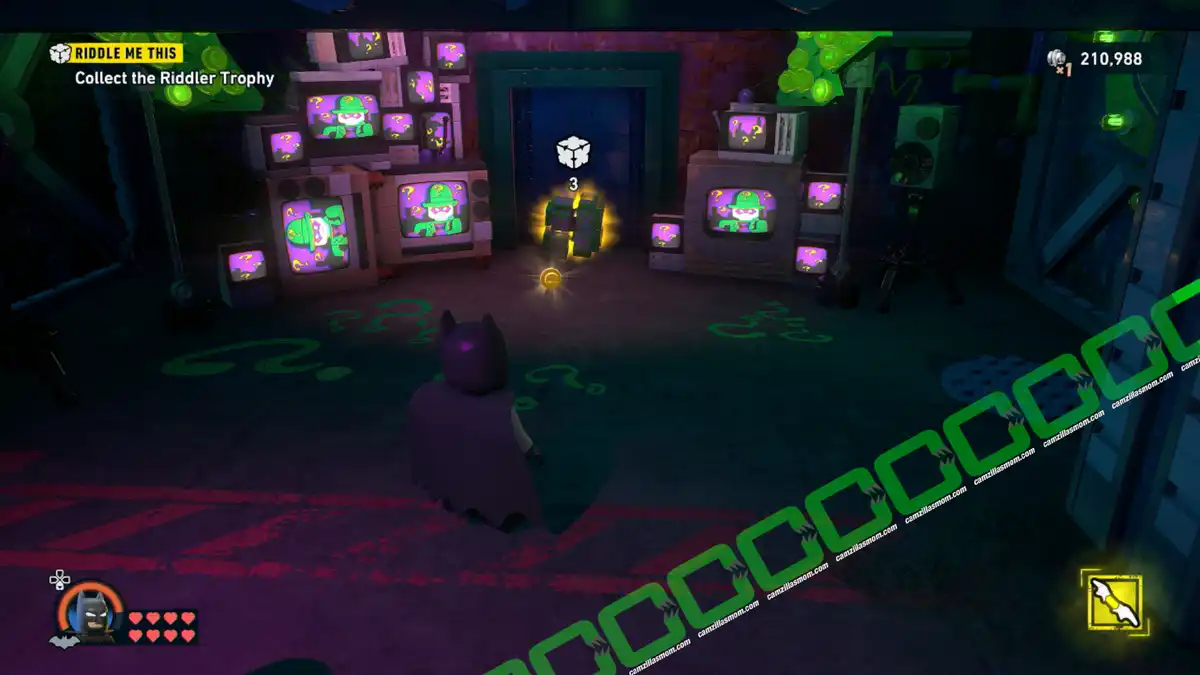
2 – Water Ya Waitin’ For?
Coordinates: 145, 221
At the northwestern waterside, a purple Riddler device needs a battery and a foam fix. You’ll need Robin or Nightwing to pry the panel, then Jim Gordon to clean up the mess.
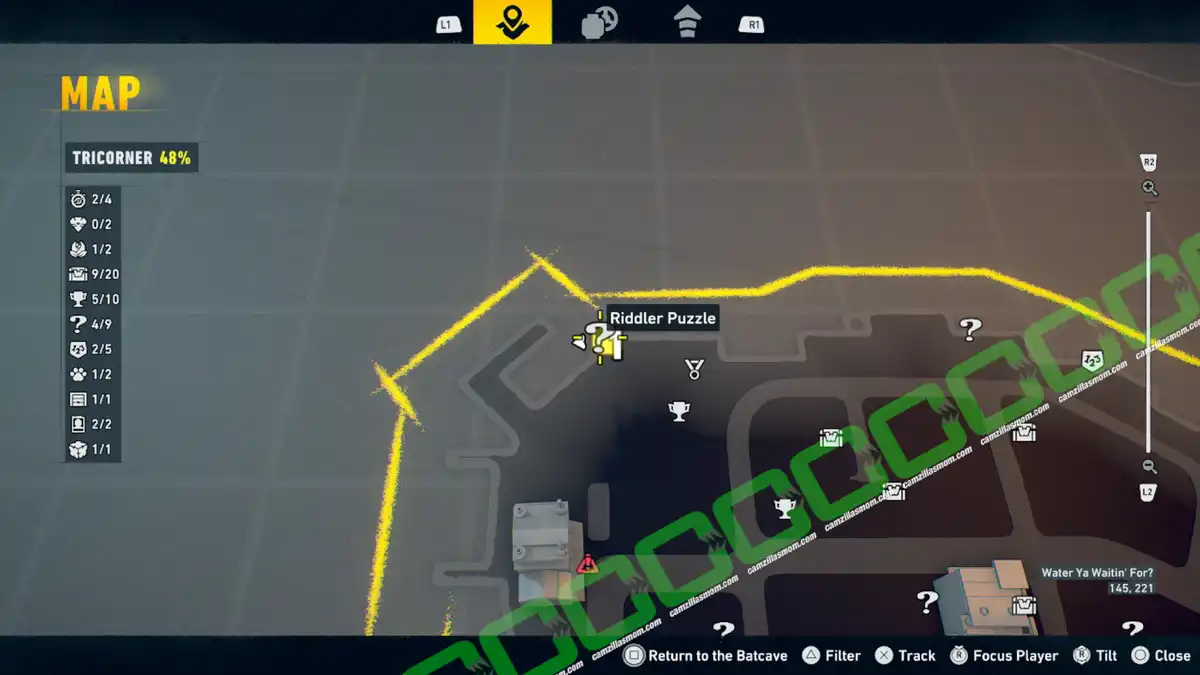
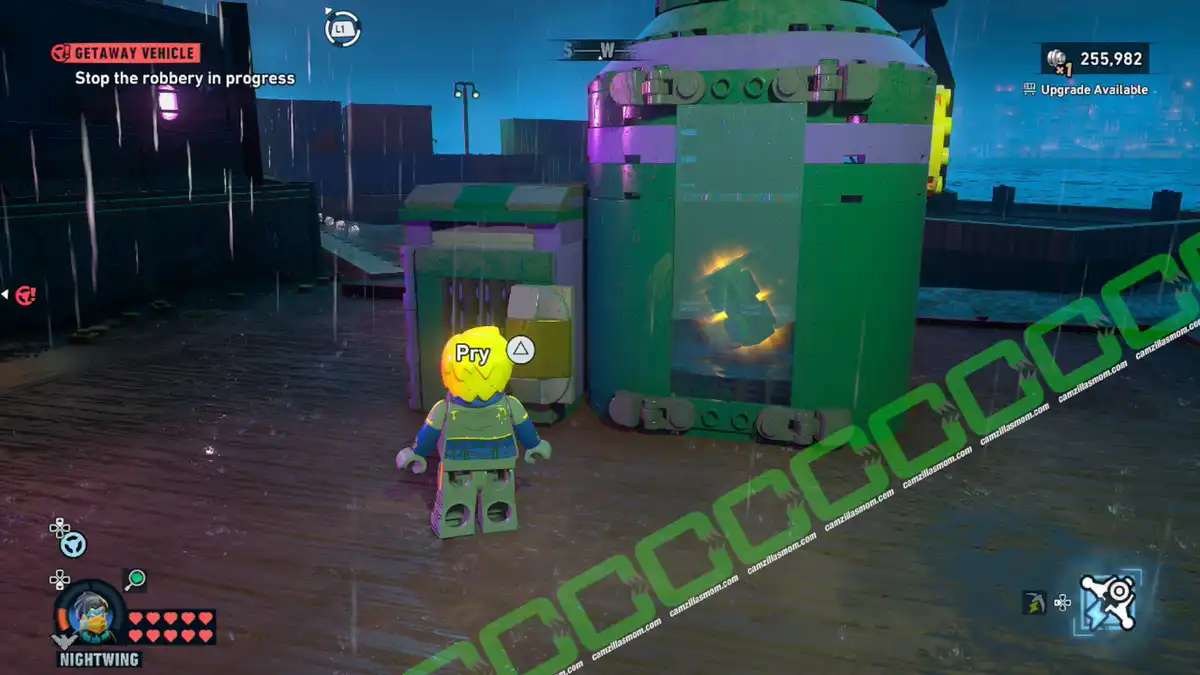
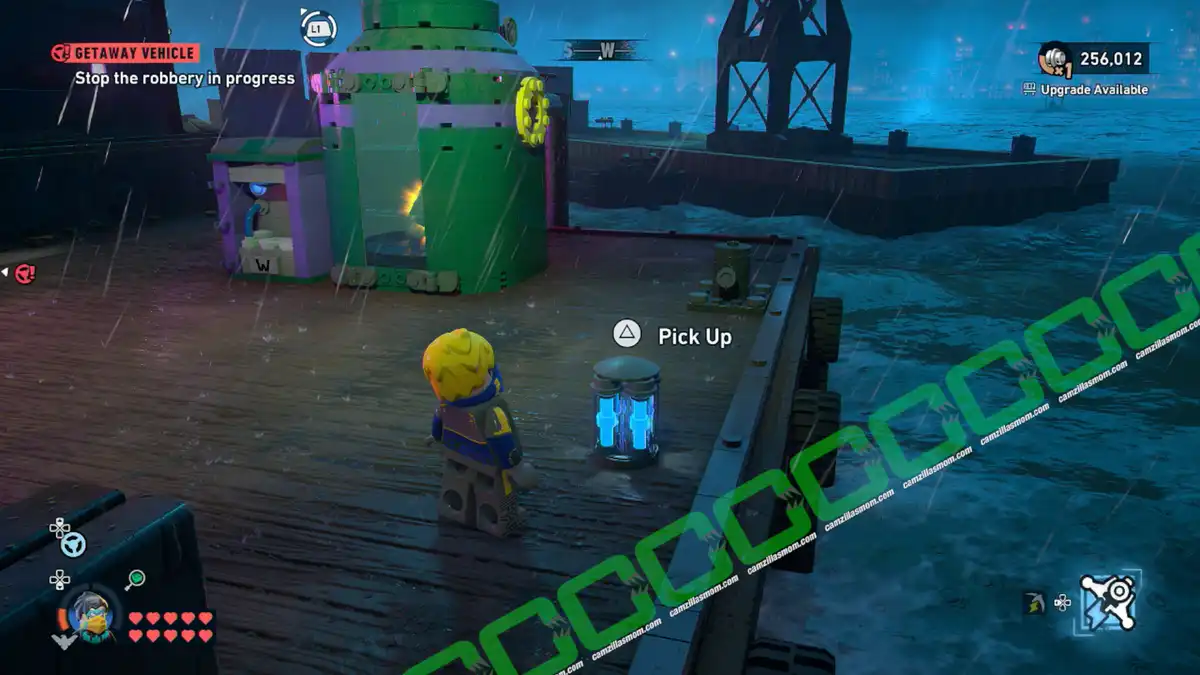
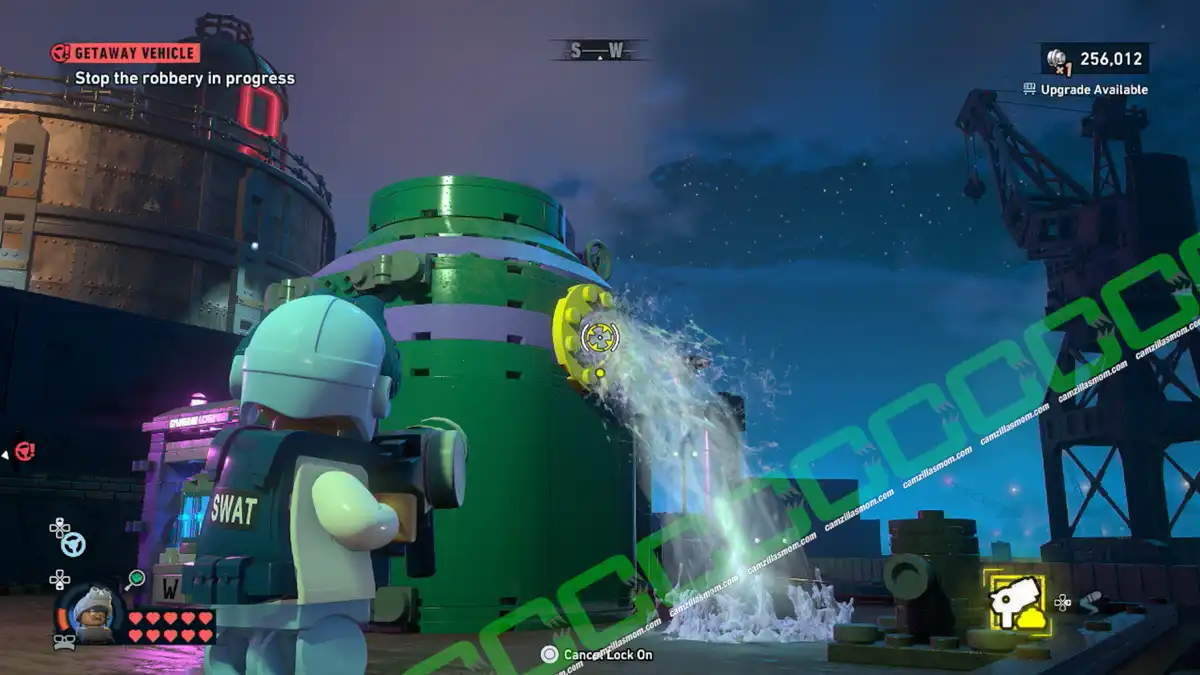
The device needs a battery. Destroy everything nearby to find one to put into the battery slot. The water will be pushed out of the vent, but not the puzzle box. Switch to Jim Gordon and plug the water spill with the Foam Sprayer. You can now pick up the puzzle box.
3 – Pixel Perfect
Coordinates: 160, 178
Three power switches, three rows of building windows, one correct pattern. Find the code on the floor next to the puzzle box, then hit each switch in the right configuration.
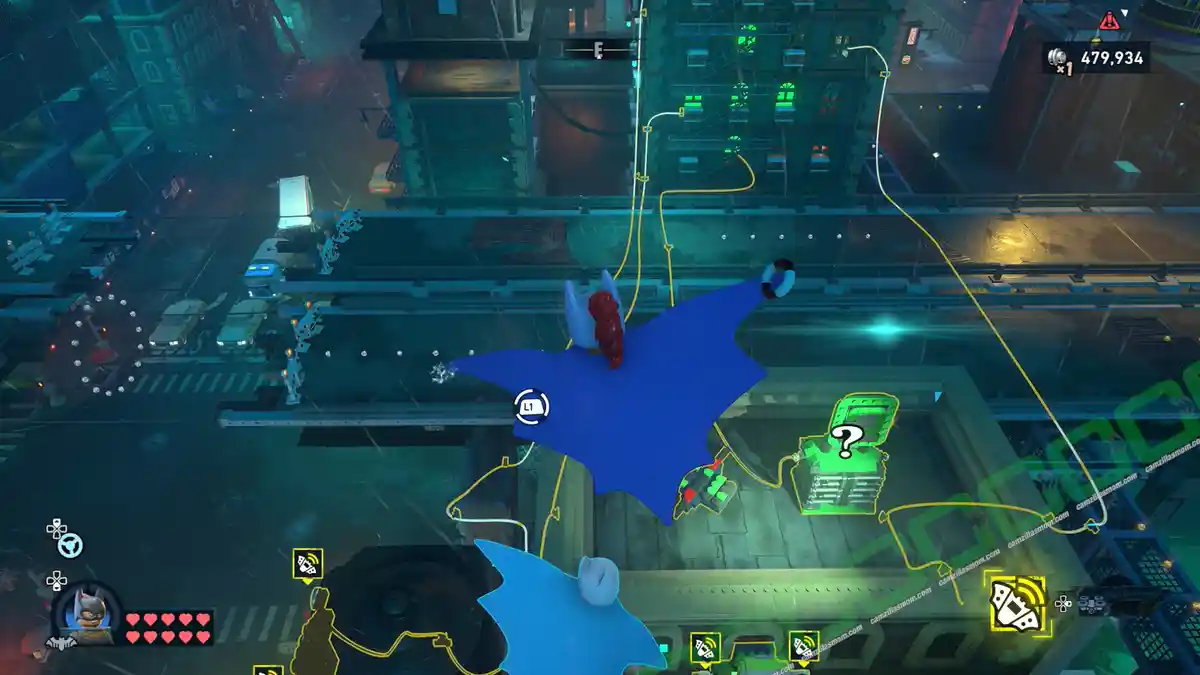
The Pixel Perfect Riddler Puzzle is in the northwest of Tricorner and connects three power boxes with targets to a building on the other side of the road. Set all green glowing in the right order for the Riddler Puzzle box to open.
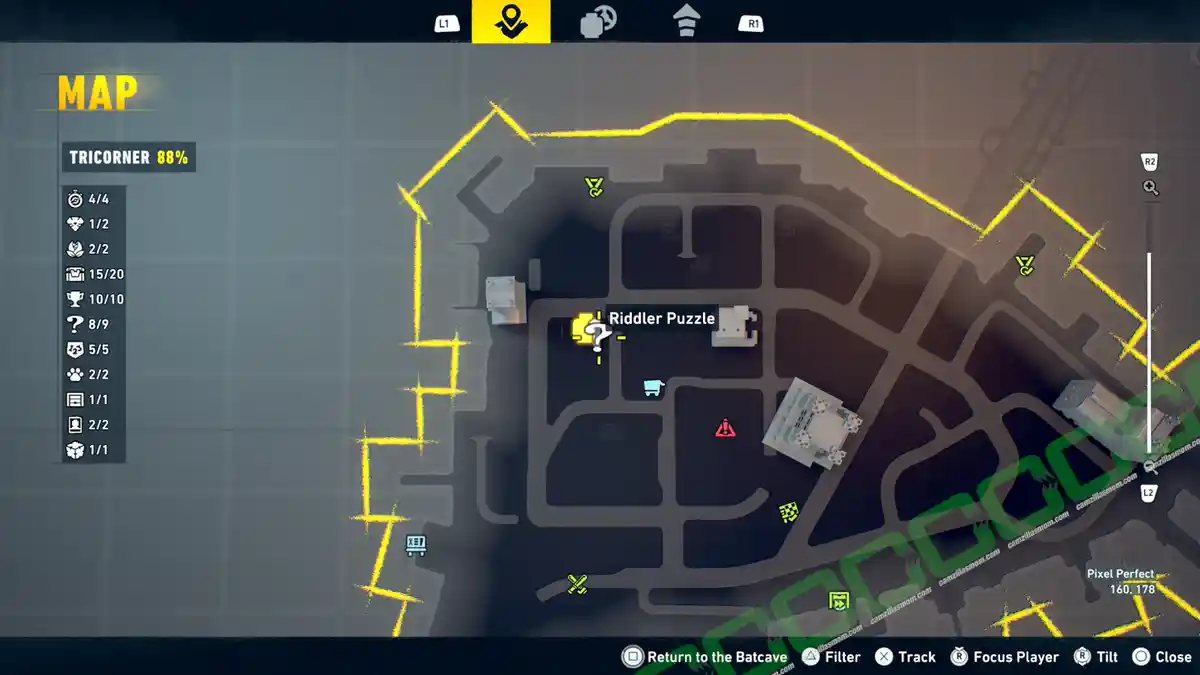
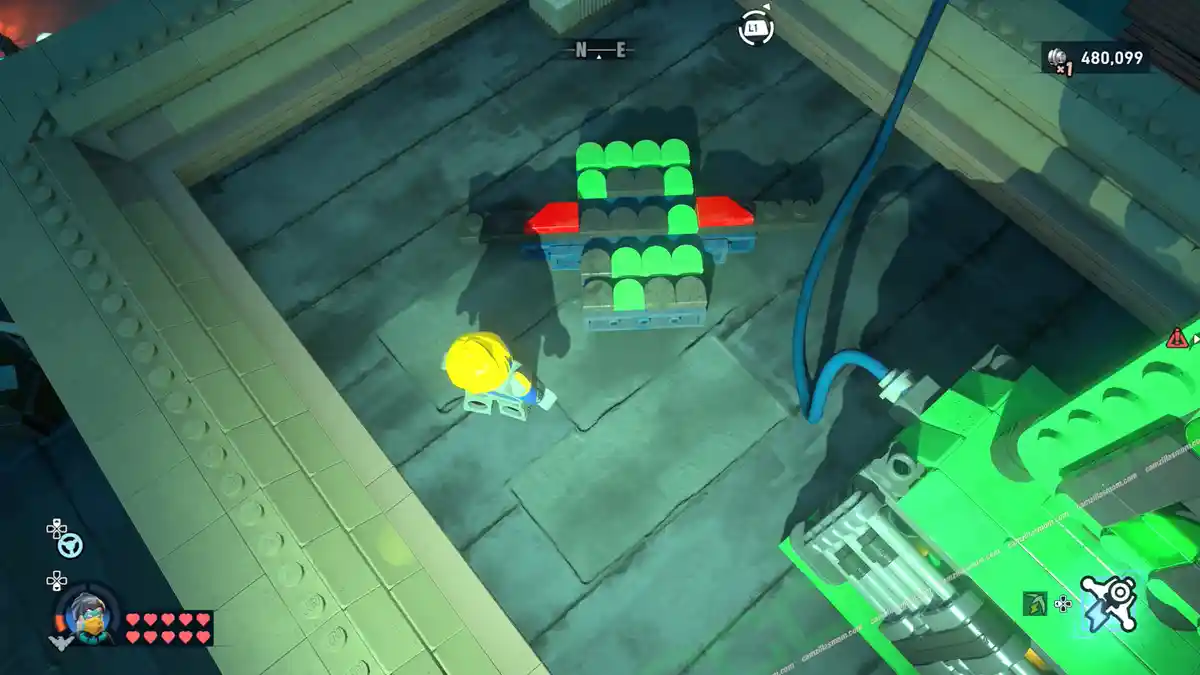
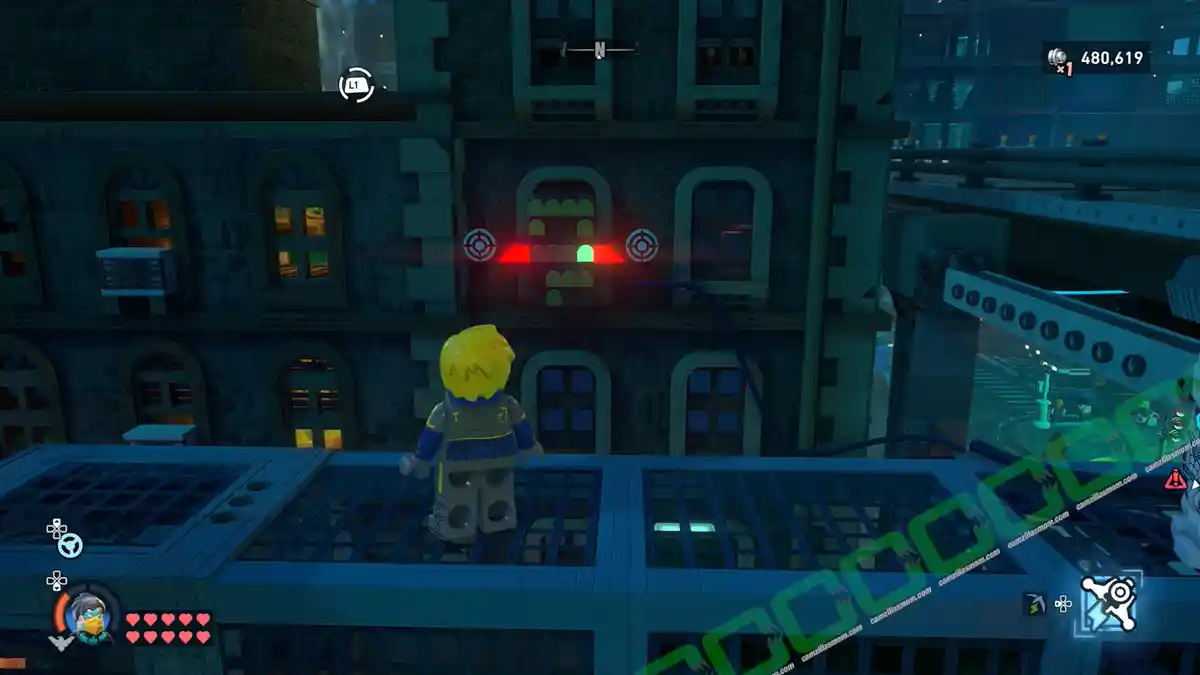
The correct code for the building’s windows can be seen on the floor next to the Riddler Puzzle box. To start, look for the bright blue glowing power cable below the puzzle box. Destroy all green boxes to reveal a box with two target this switch sets the lights at the bottom windows. Lights 2-4 have to glow, with the first one to be out (as in the screenshot below).
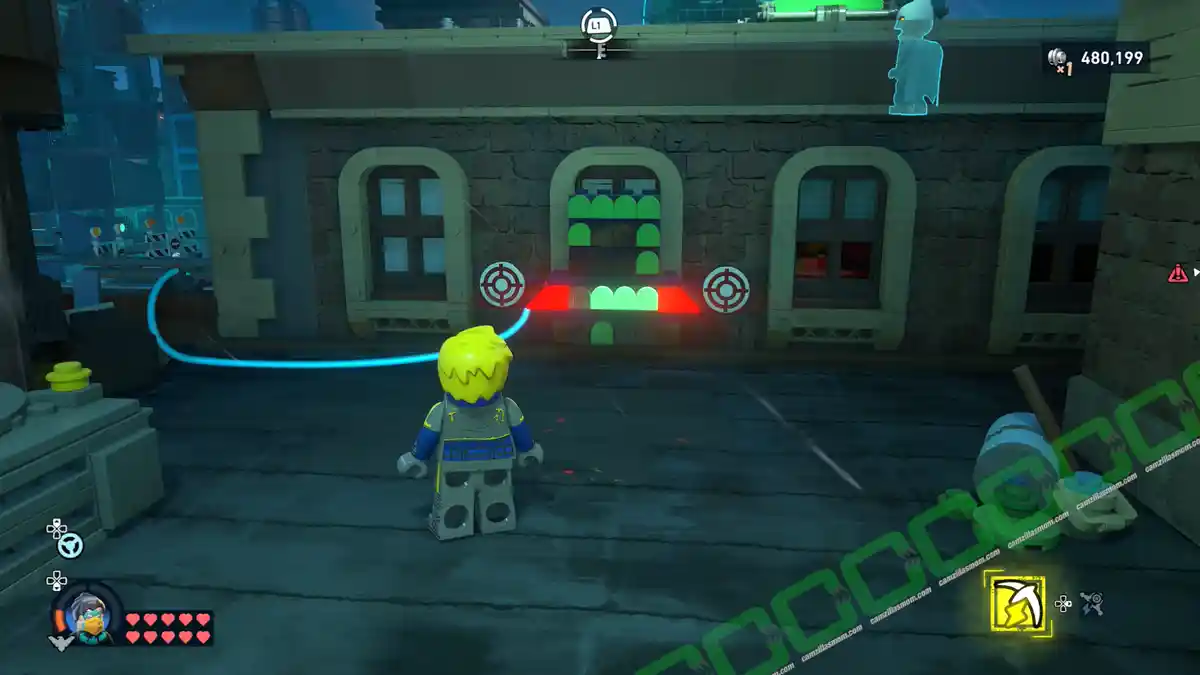
The second switch is on the side of the water tower to the left. Grapple onto the light pole in front of it to shoot the targets. Here, lights 1 and 2 have to glow; the two in the middle have to stay out. The third switch is hanging on the southern side of the puzzle’s building. Here, only the fourth light has to glow.
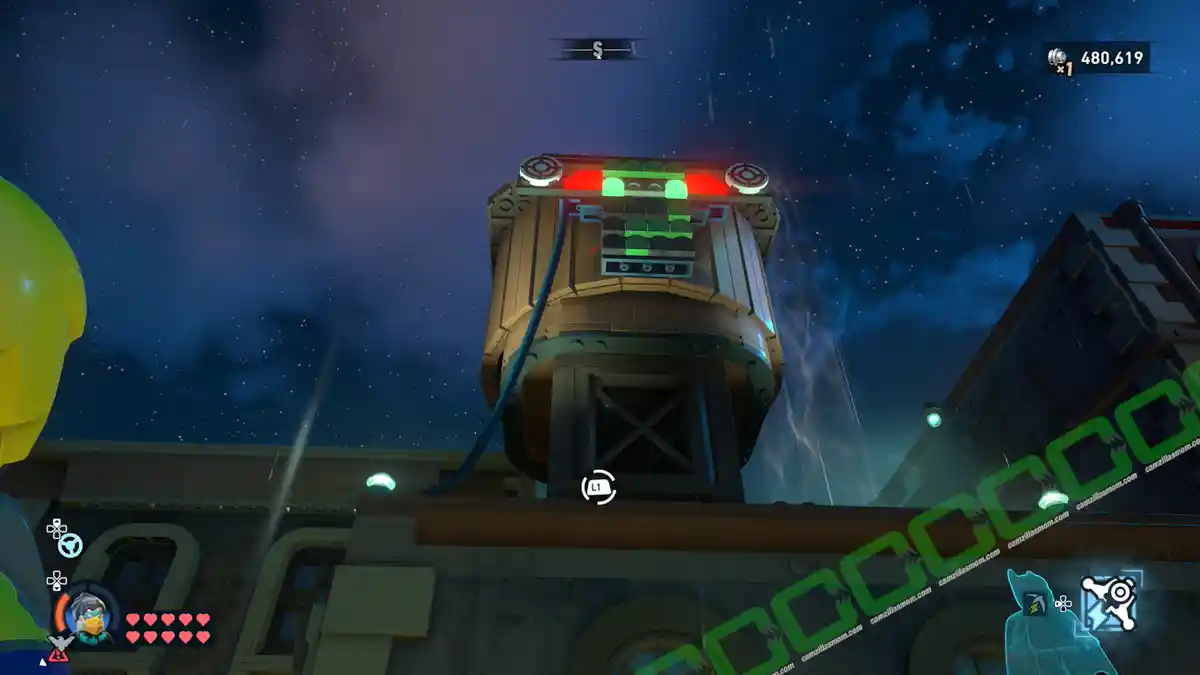
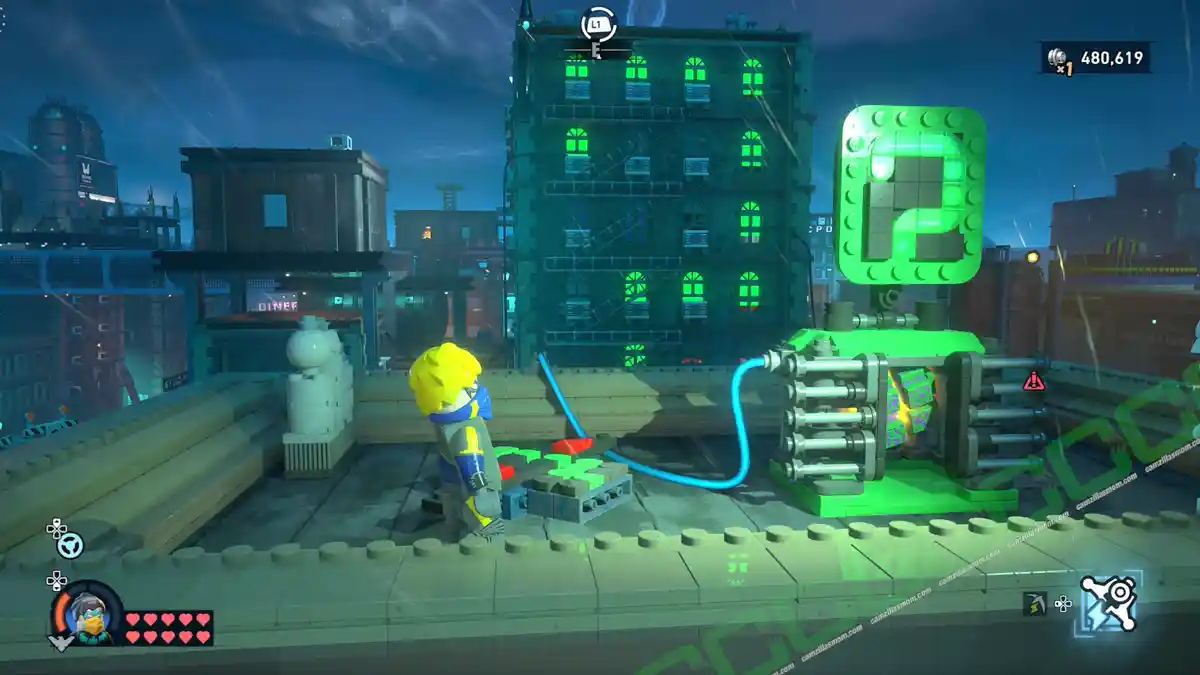
All the green lights of the building at the other side of the road are now glowing as they should, showing a green Riddler question mark, and the Riddle box is open.
4 – Grounded
Coordinates: 186, 182
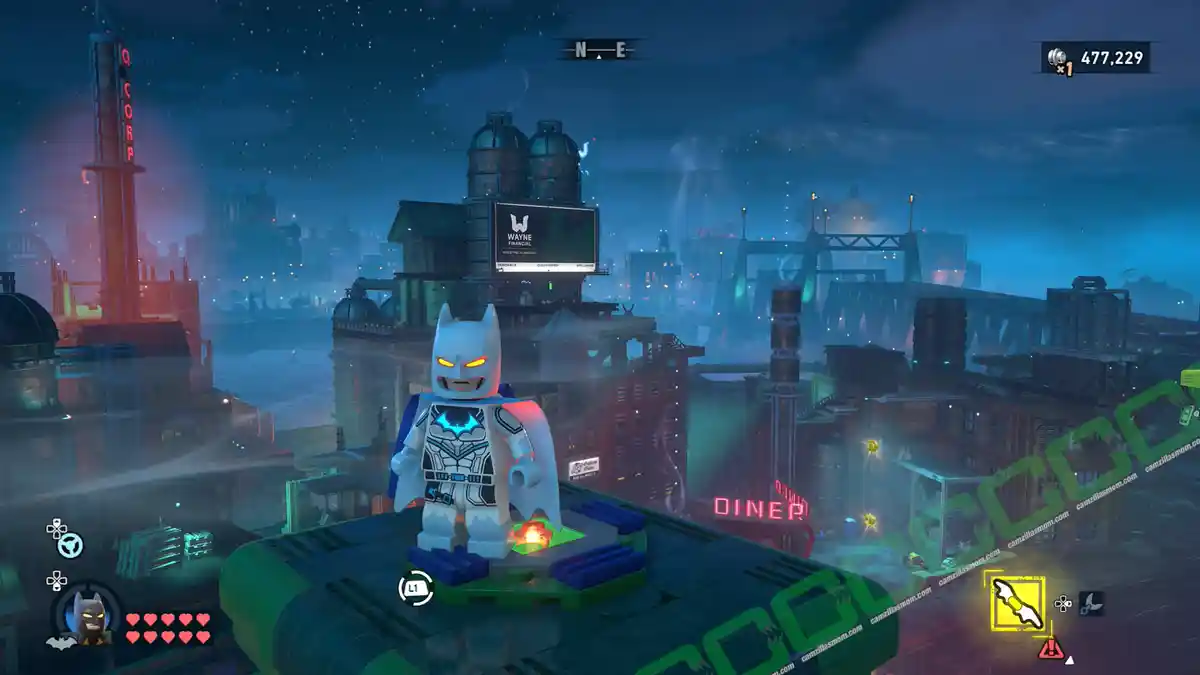
The puzzle box is sitting on a live power grid – touch it and you’ll fry. You’ll need to glide to a button on a suspended pillar to cut the power, then switch characters to grab the box.
This Riddler Puzzle box is trapped on an active power grid and can’t be retrieved without turning the power off.
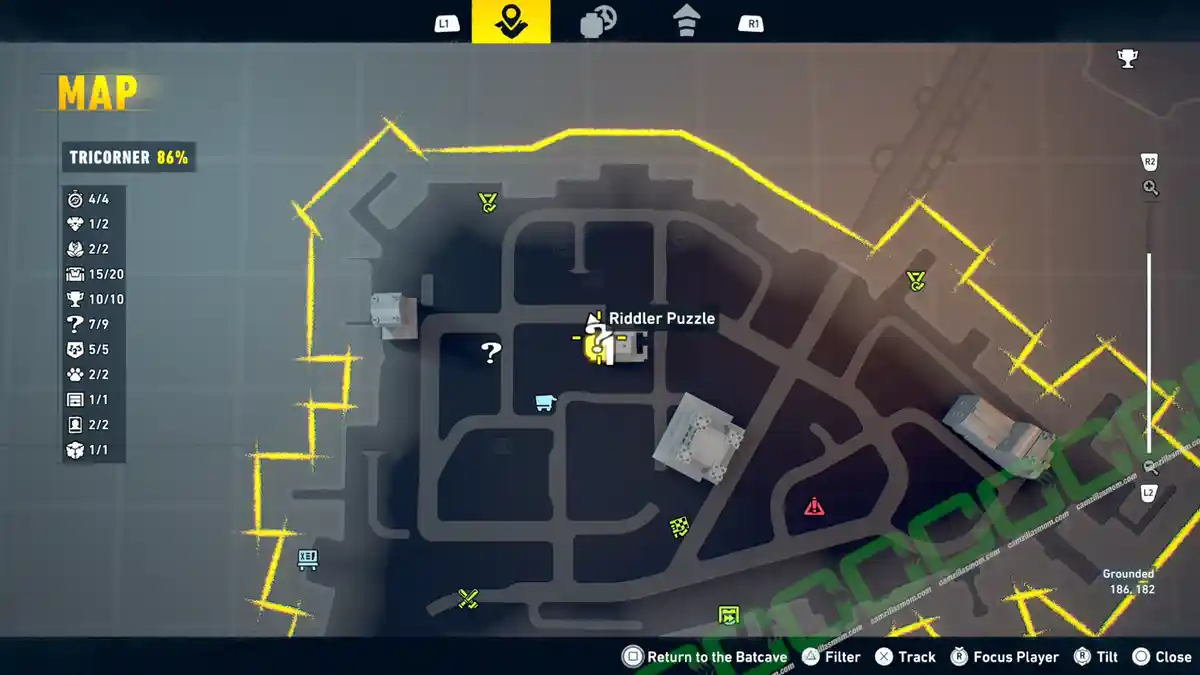
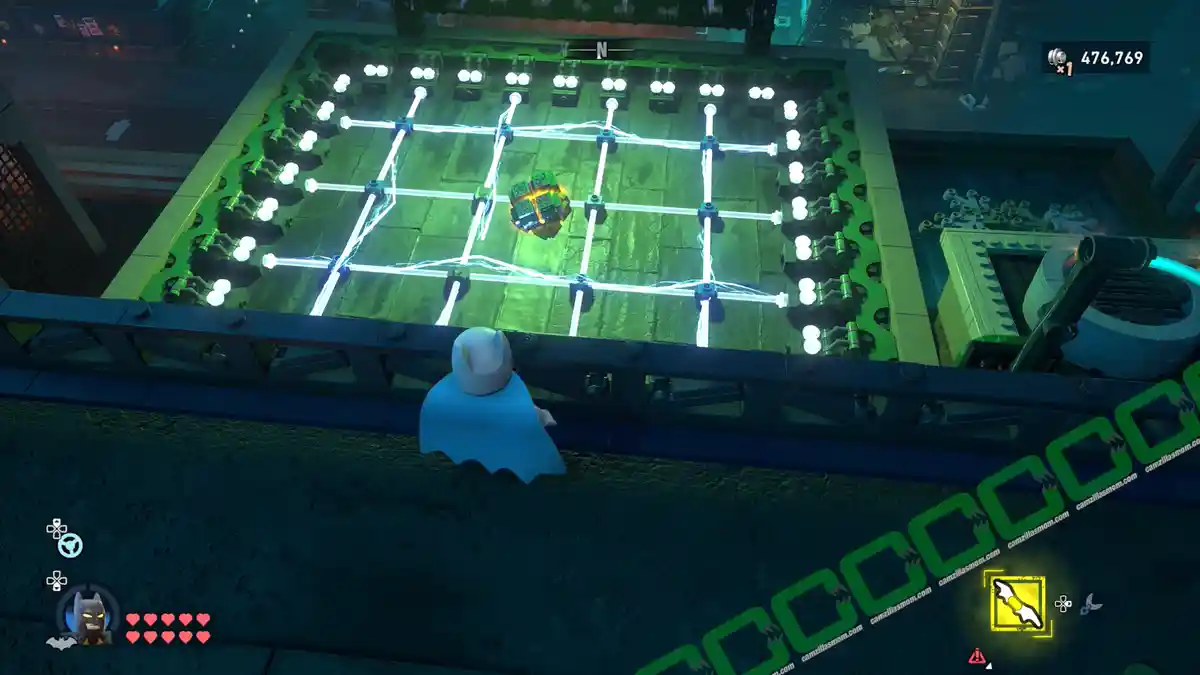
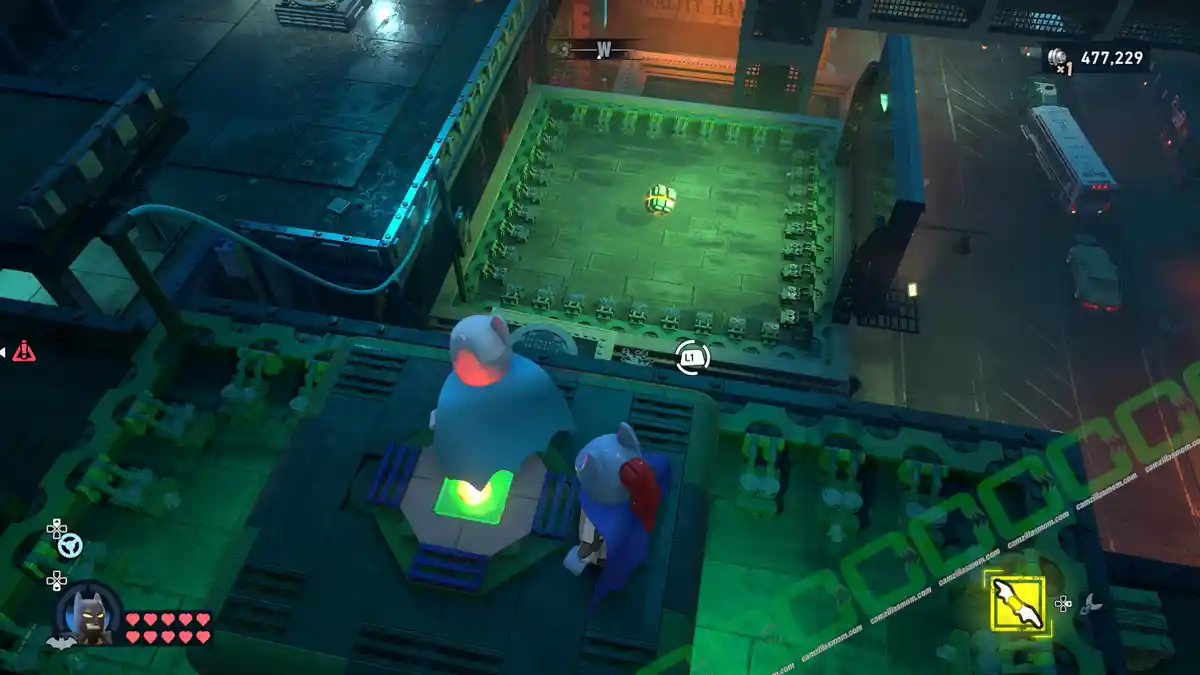
Follow the power cable to the upper active grid. There is a pillar in the middle of it that has the off button. Since there is no grapple point on that pillar, you have to glide to it. A good starting point is the nearby “Wayne Financial Billboard”. You can also use the updraft vent down below.
While standing on the power button, switch to another character to retrieve the Riddler Puzzle Box.
5 – Deep Dive
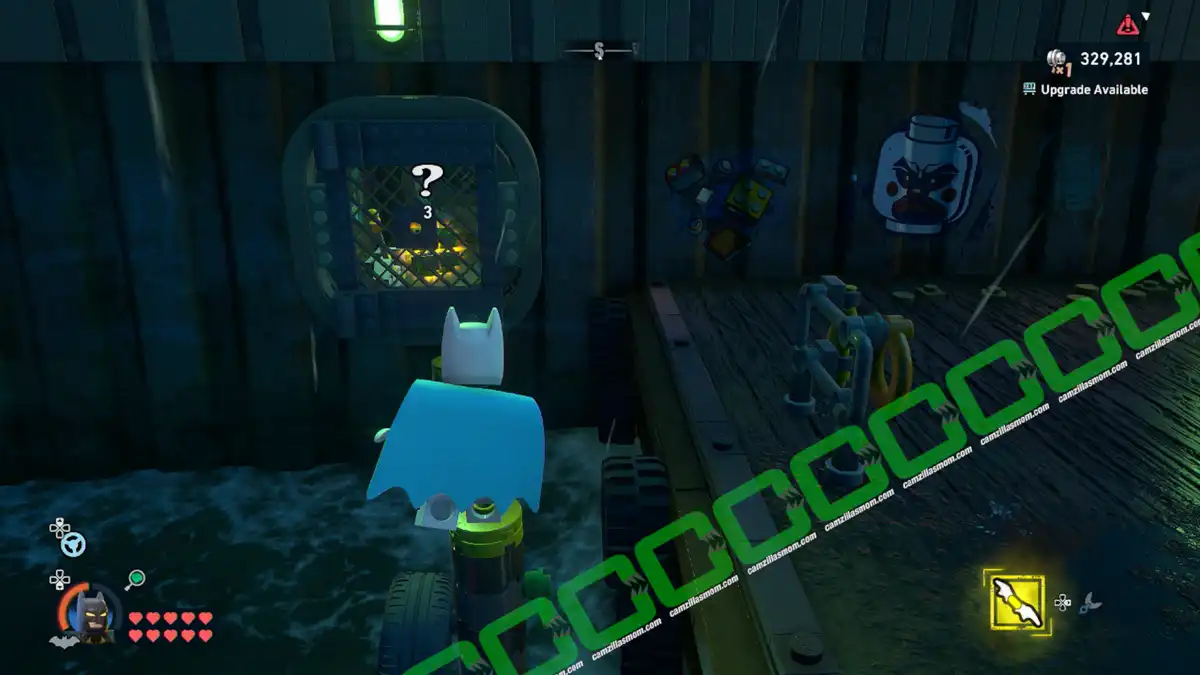
Coordinates: 202,222
There’s a green platform above the puzzle box. Grapple to the top, then drop through it to land in the hidden chamber below. Climb the ladder inside to reach the reward.
The Deep Dive Riddler Puzzle is at the northern side of Tricorner by the wooden platform at sea level.
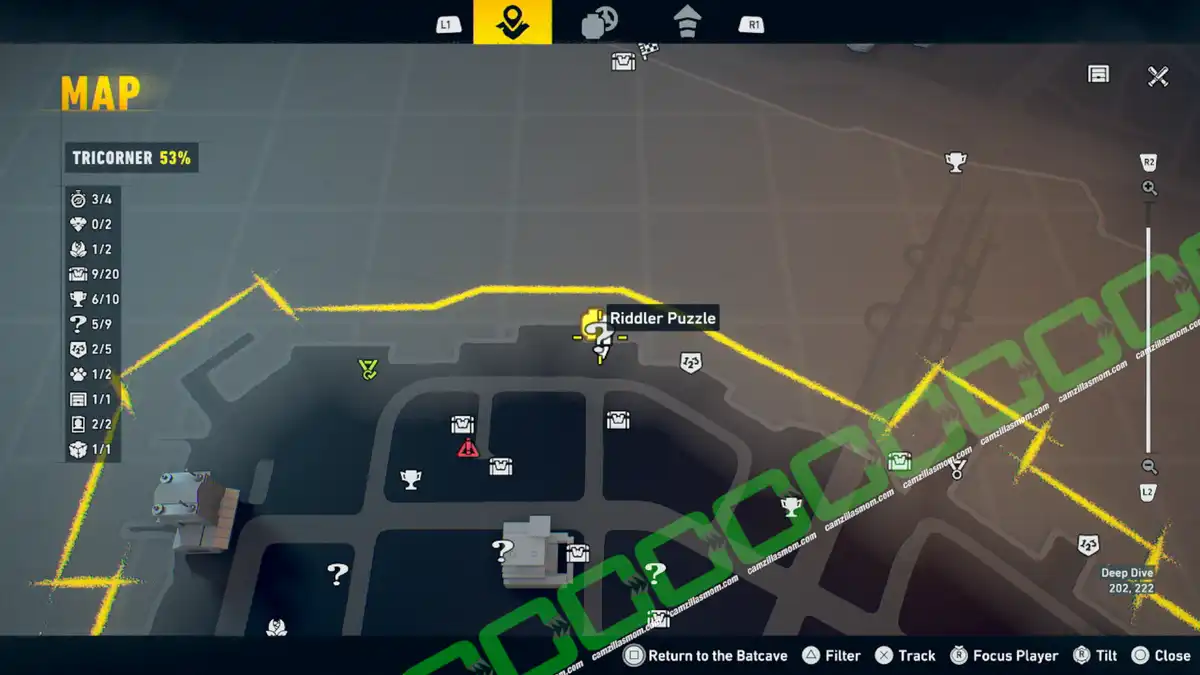
Above the Riddler Puzzle box is a green platform. Grapple all the way up and let yourself drop down (Deep Dive) onto the platform. It will open up, and you will land below it.
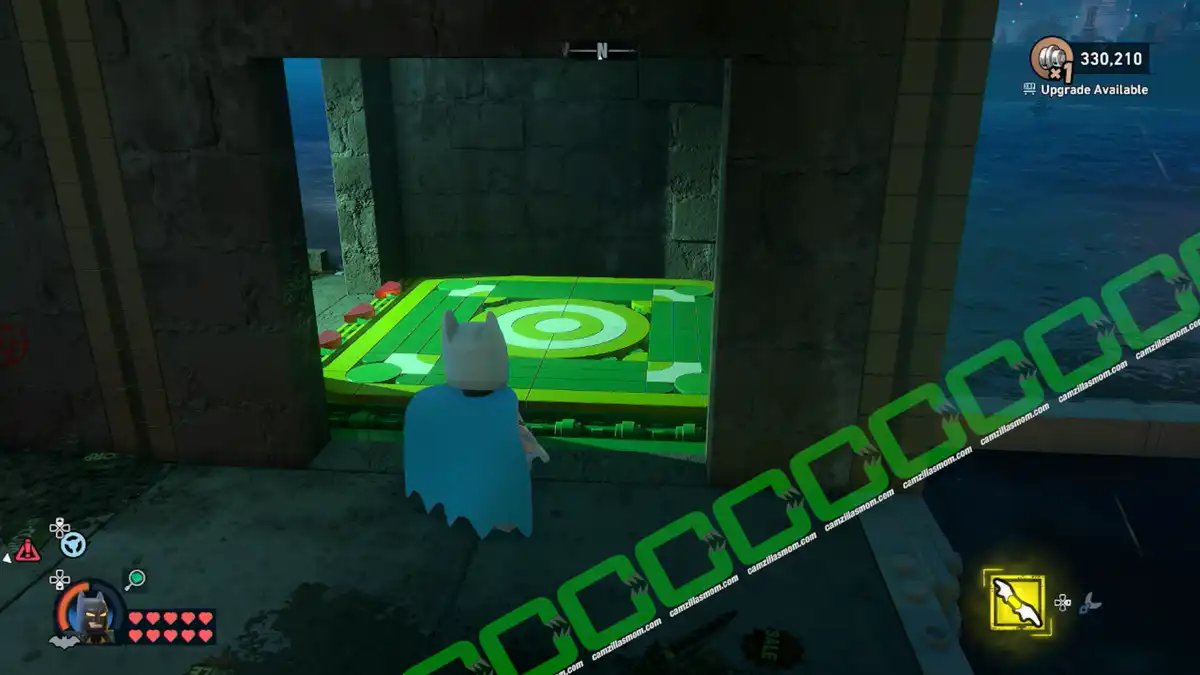
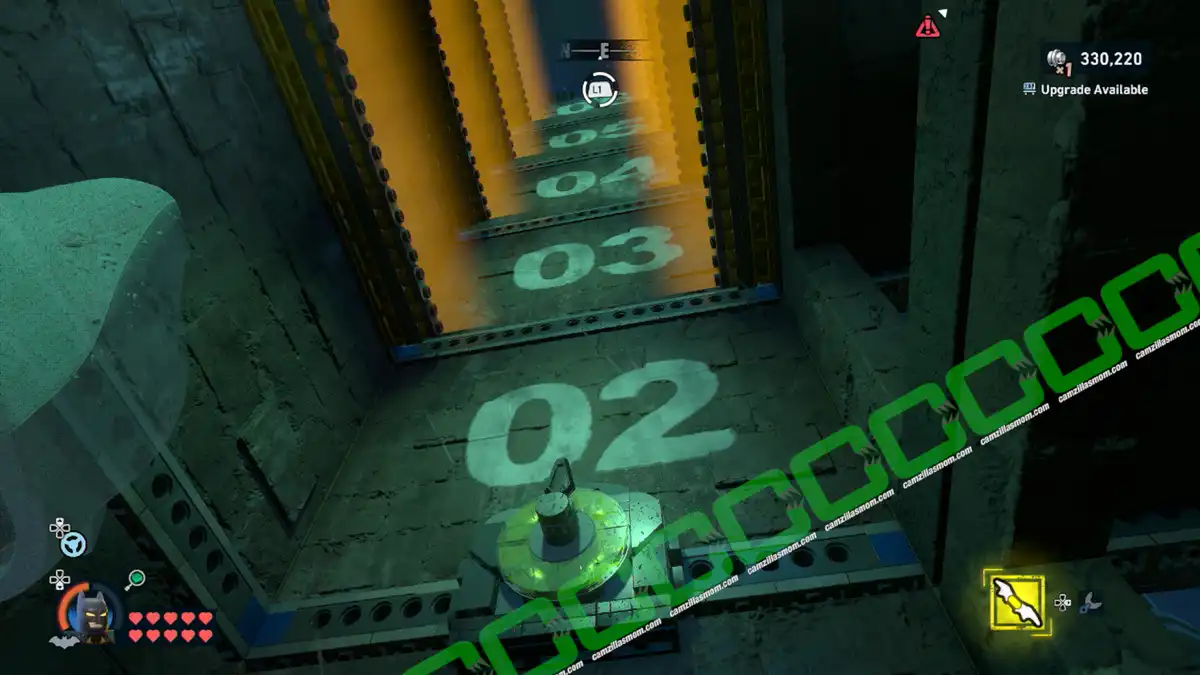
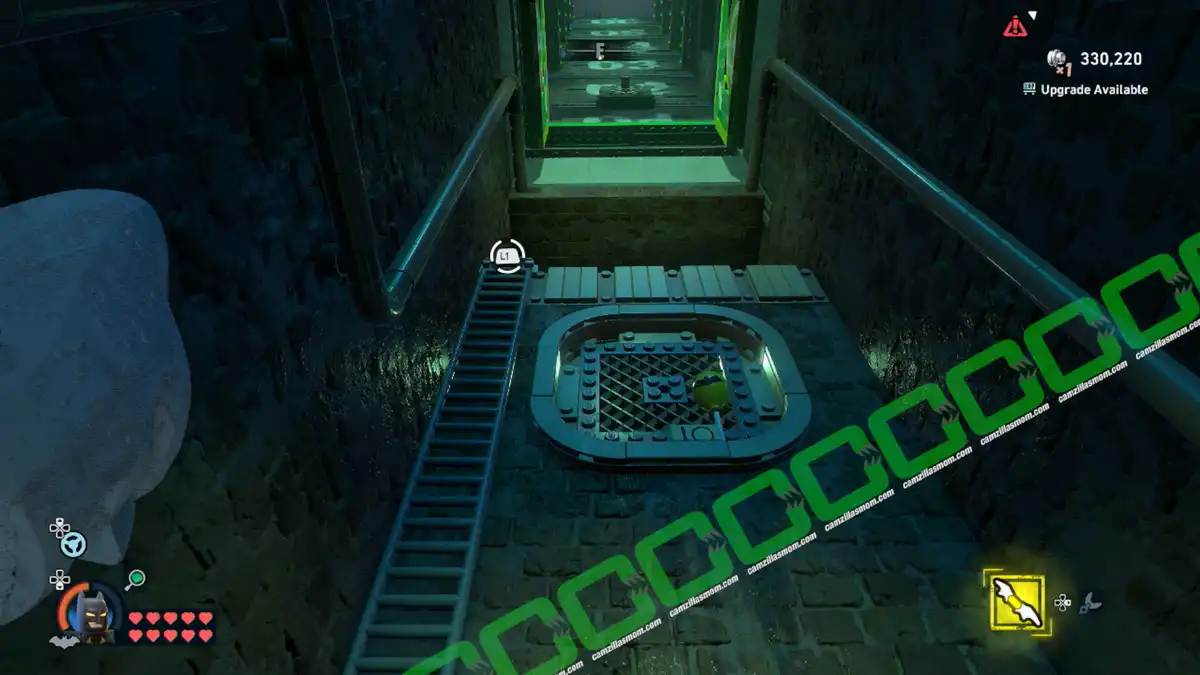
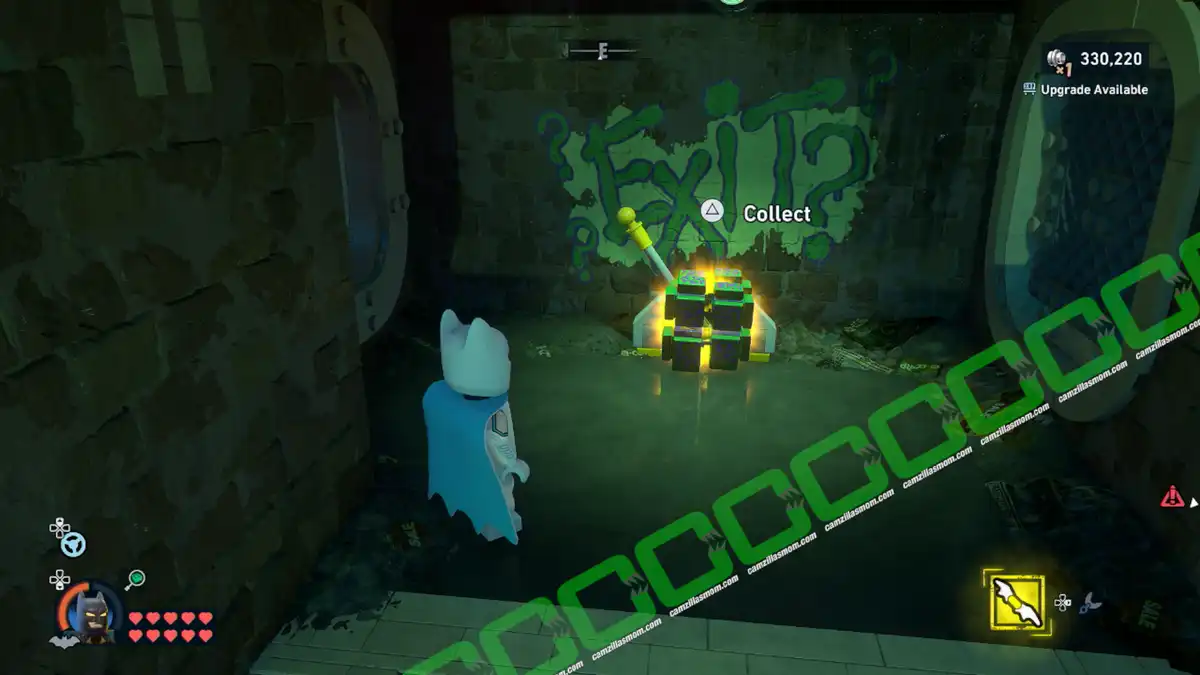
In the ditch, below the green Riddler Platform, climb the ladder to reach the Riddler Puzzle box. Use the lever to get out.
6 – Lift: Off
Coordinates: 211, 178
A hotel sign is hiding the puzzle box. Three batteries, two generators, and one elevator ride later, you’ll knock the “O” loose and be able to grapple up to claim it.
North of the GCPD Building is a house with an elevator and two Riddler question marks on the roof. The Riddler Puzzle cube is trapped in the “Hotel” sign.
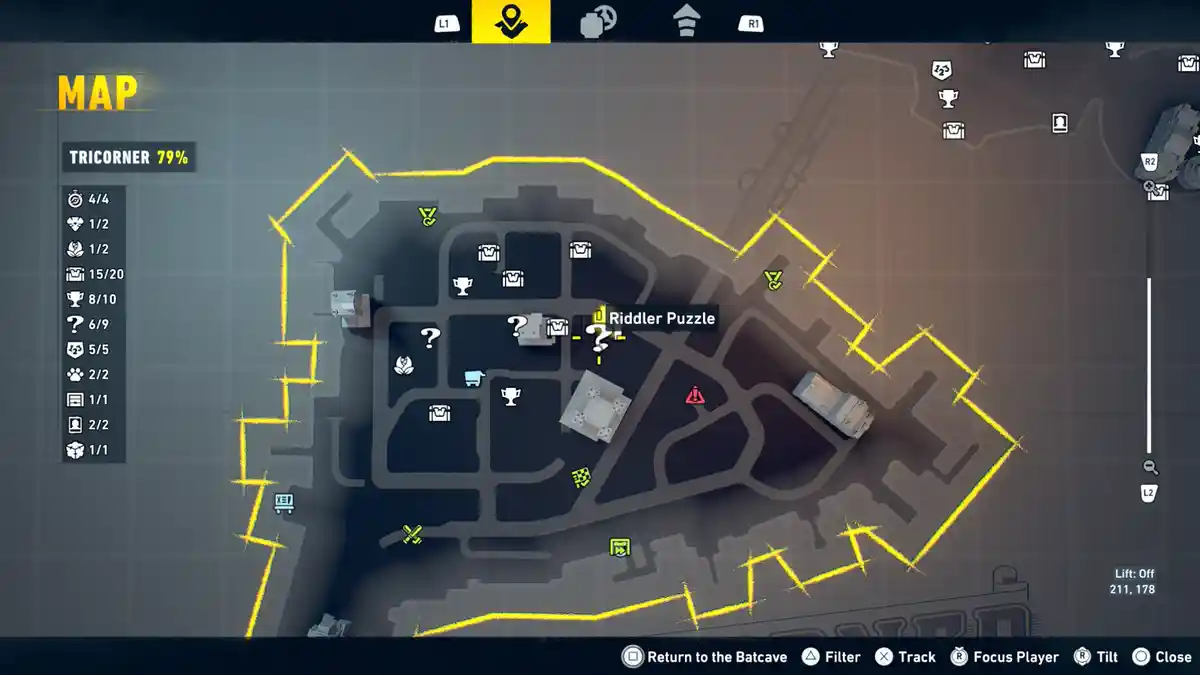
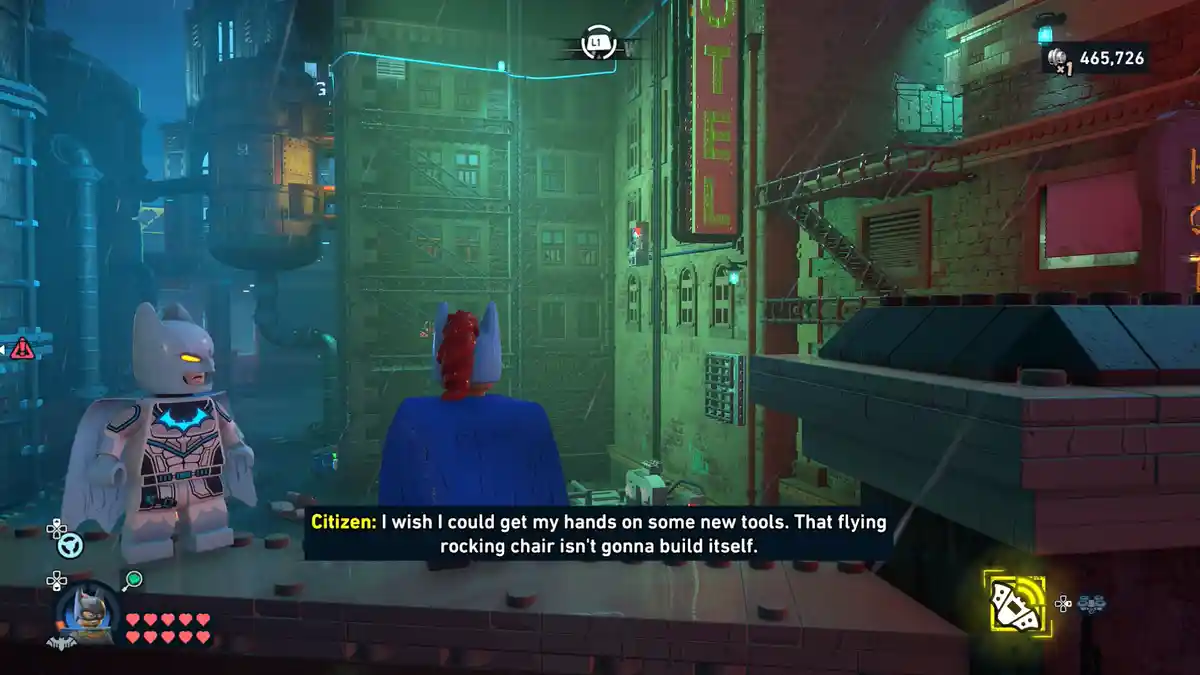
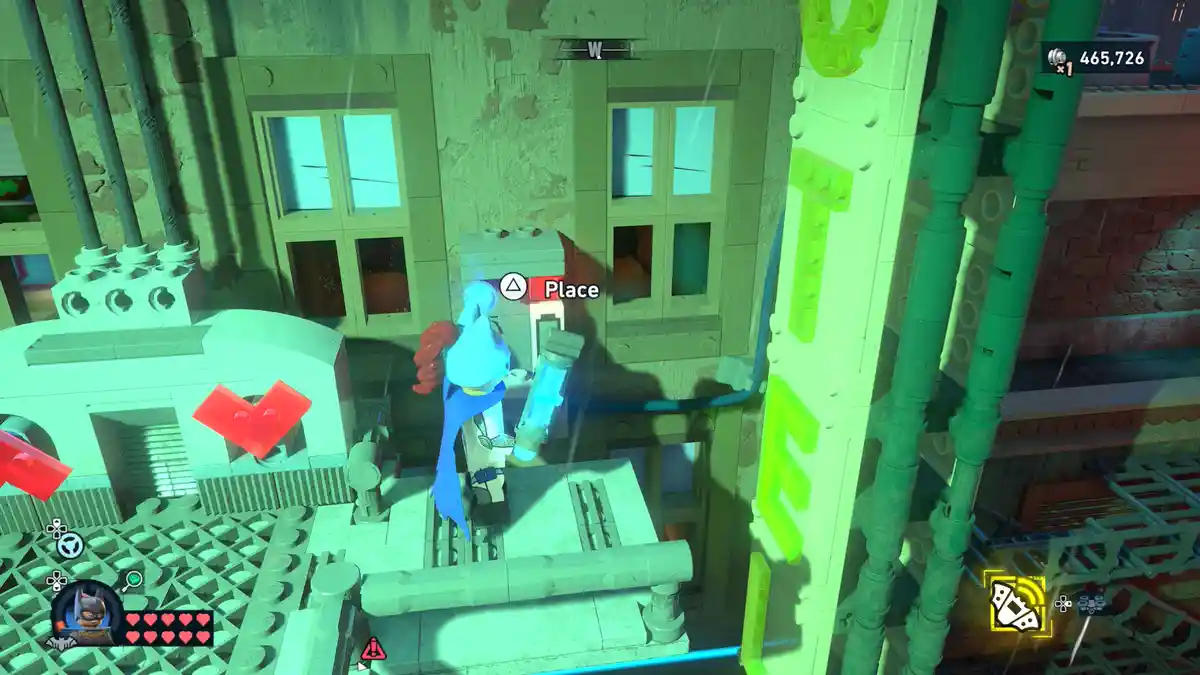
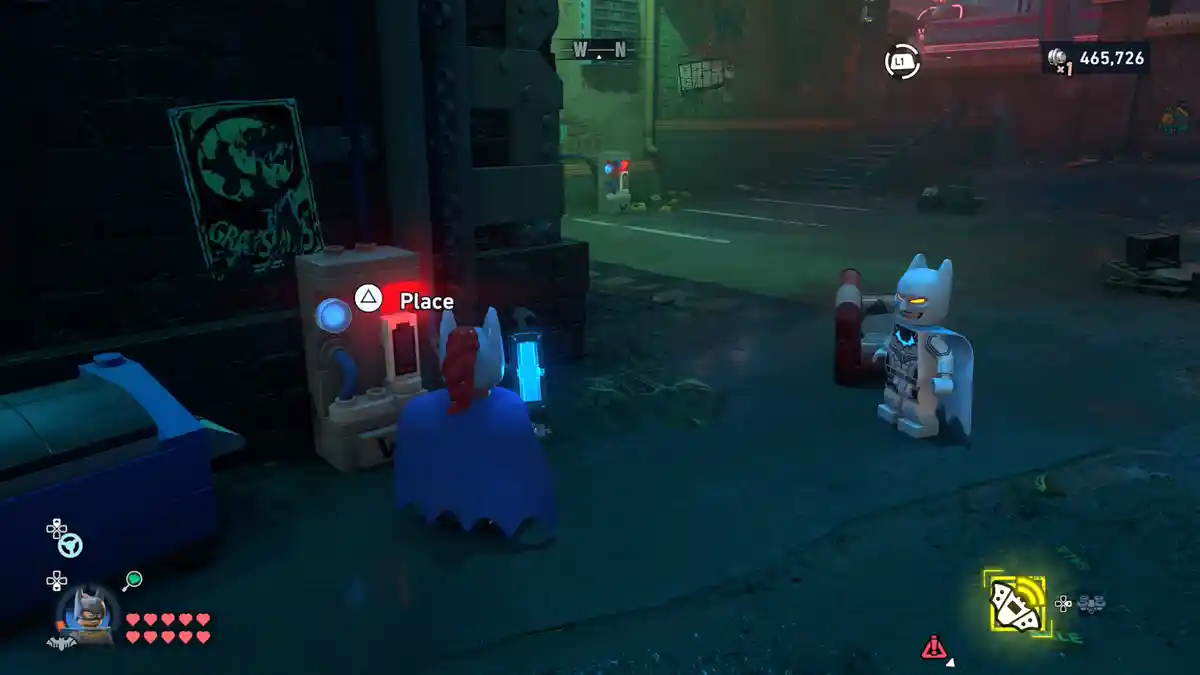
First, there is a battery next to a dumpster on ground level. Put this battery into the elevator on the ground floor. Now the elevator is usable to reach the other two generators attached to the house. Retrieve one of the batteries from one of the two Riddler question mark signs on the roof. Then, ride the elevator two levels up to place the battery in the first generator.
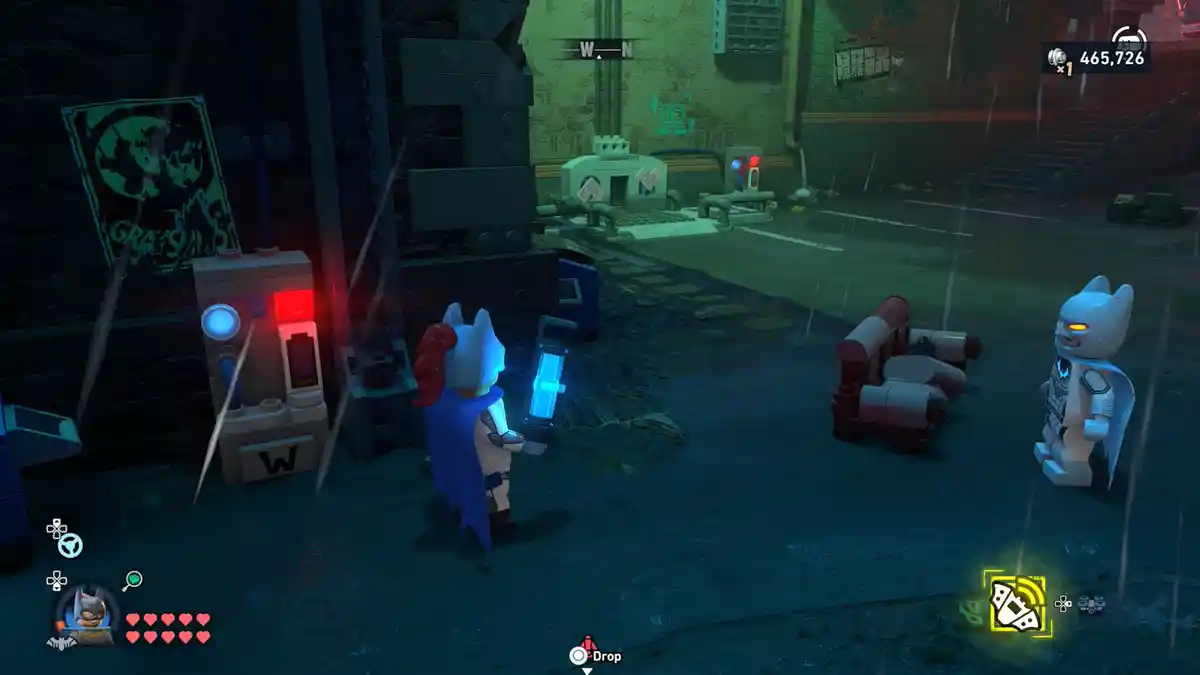
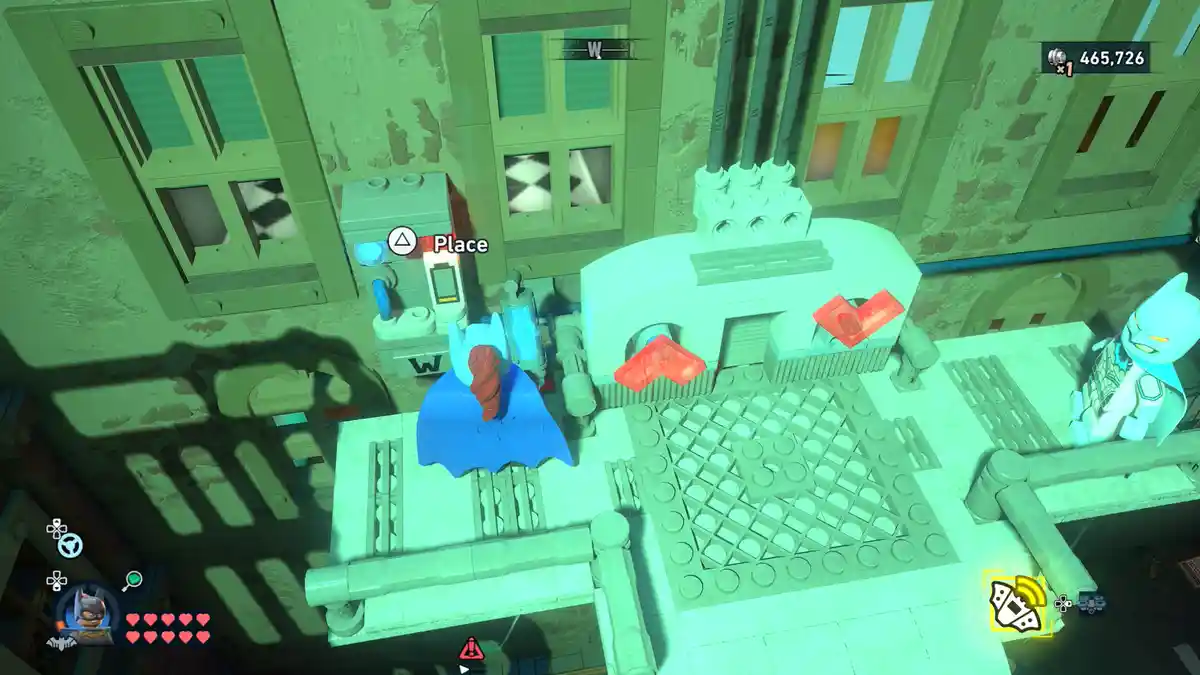
Now, pick up the battery from the other Riddler question mark on the roof, ride the elevator to the next generator, and insert it. Now, ride the elevator to the top floor and leave it there. Return to the ground floor, remove the elevator’s battery, and put it back into the slot next to the dumpster. This will break the “O” from the “Hotel” sign, and you can grapple up to the elevator to pick up the Puzzle box.
7 – Chut-ing Gallery
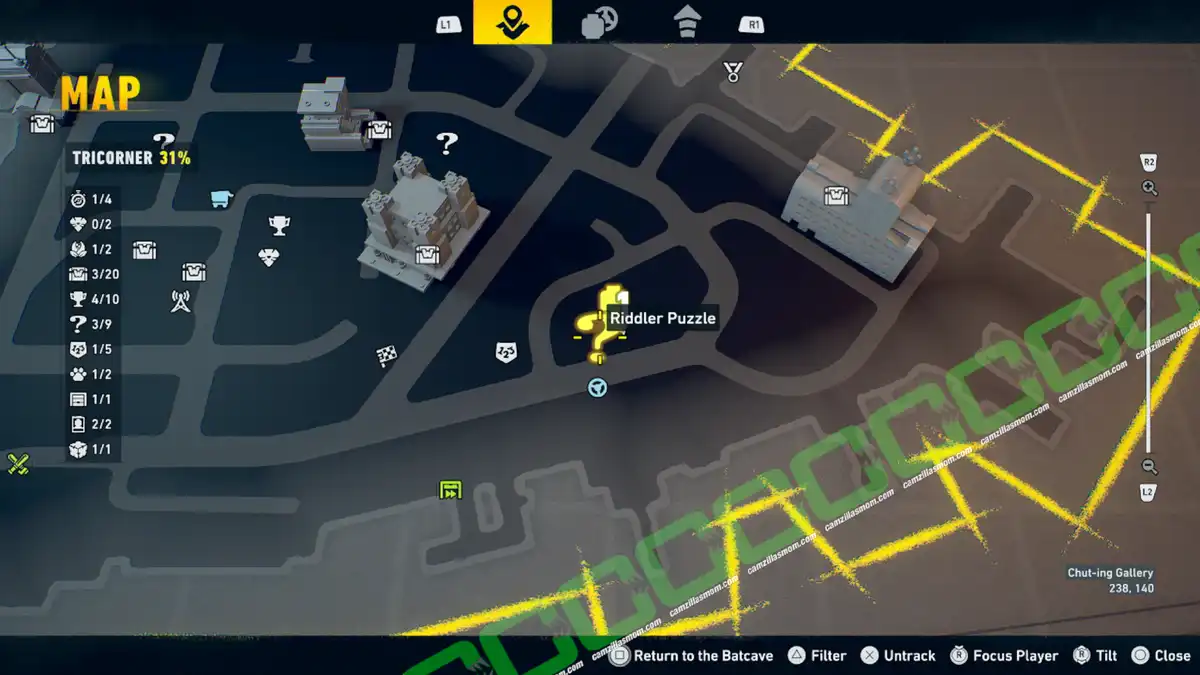
Coordinates: 238, 140
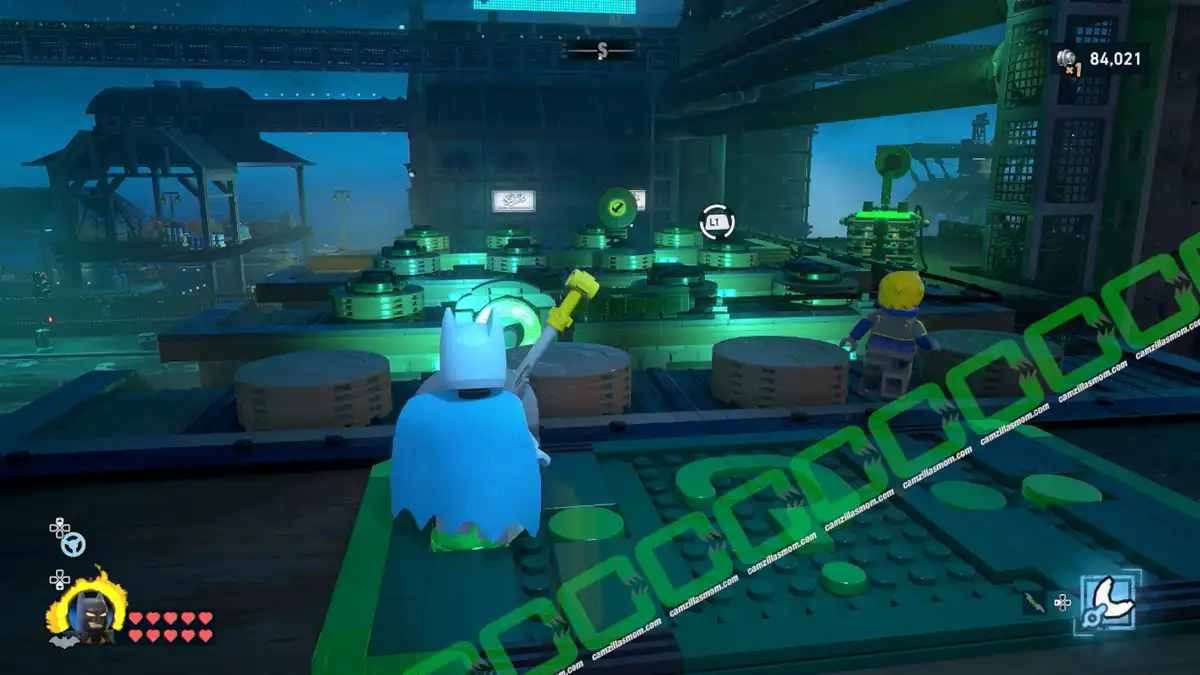
Pull the lever on the rooftop platform to start a shooting range. Hit six green targets while avoiding the red ones to open the cage and collect the puzzle box.
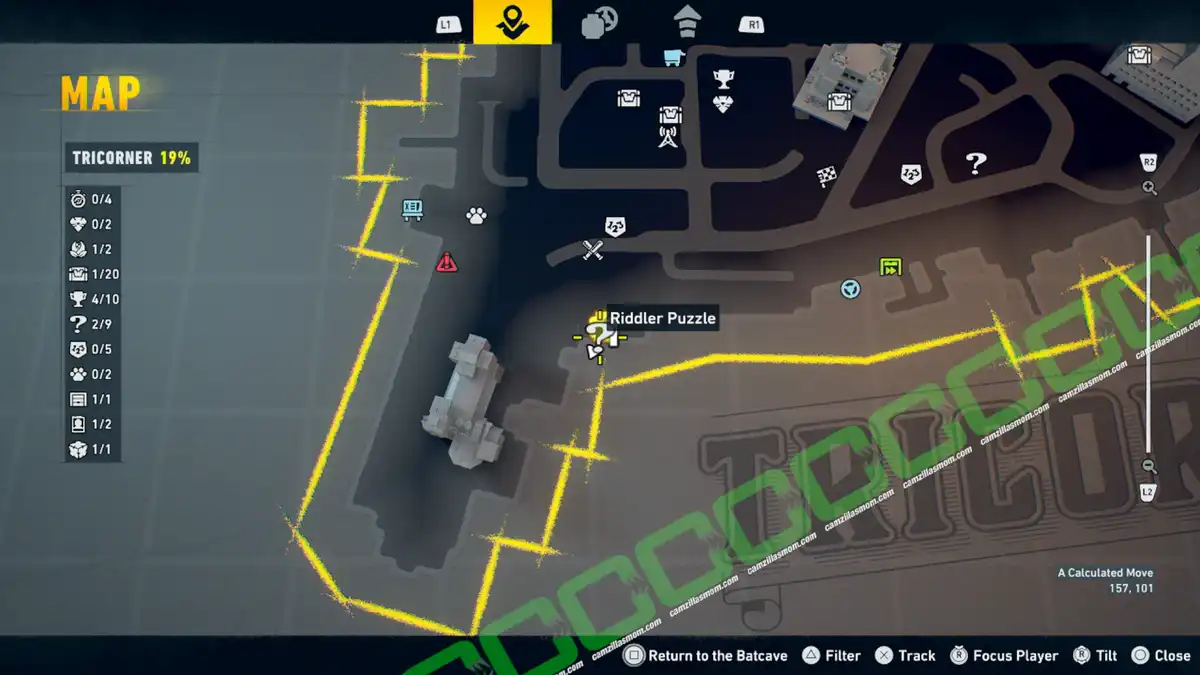
8 – A Calculated Move
Coordinates: 157, 101
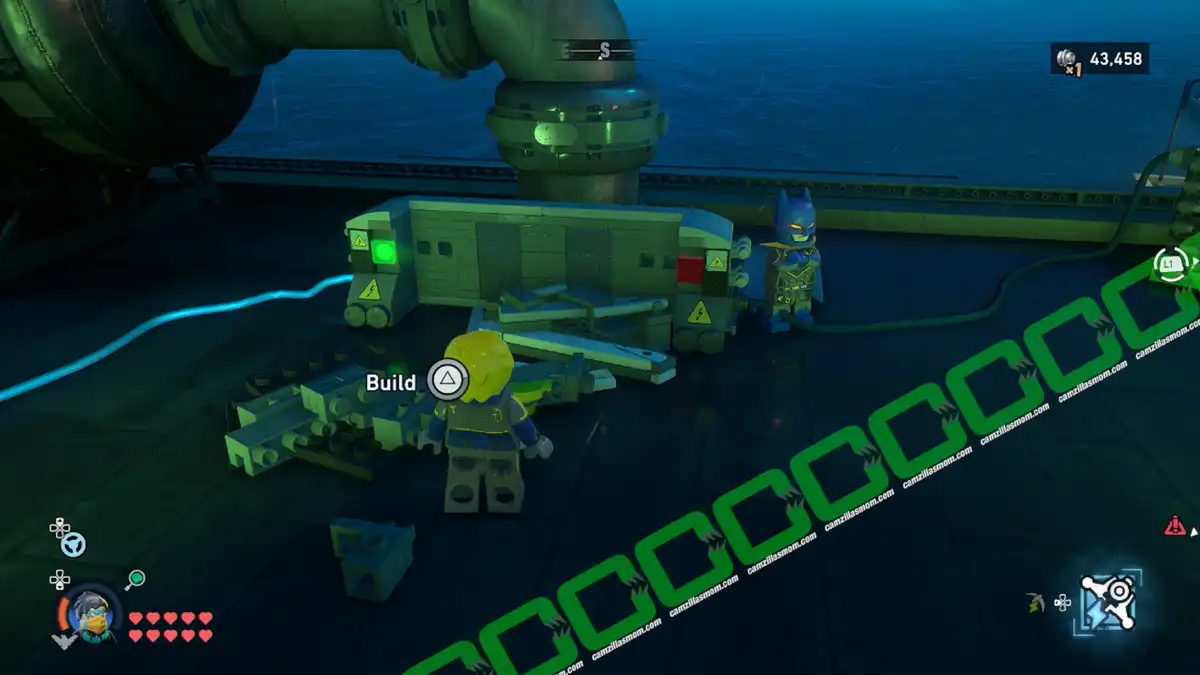
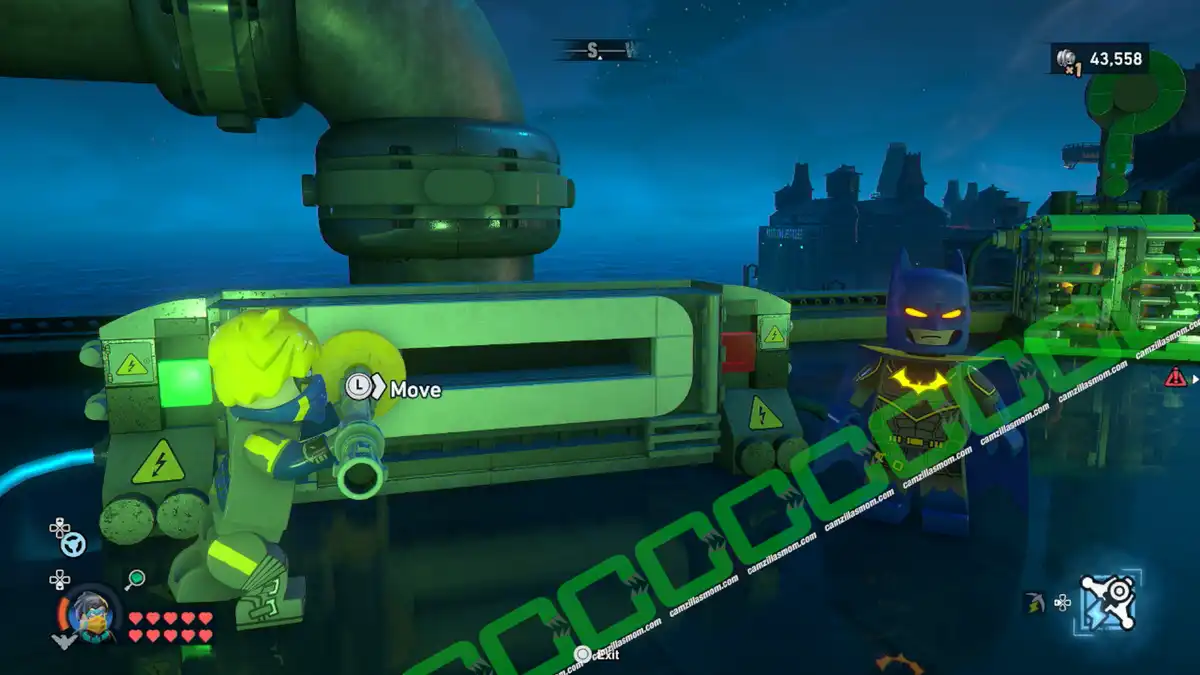
Two batteries, two generators, and Nightwing’s Cable Launcher are all needed here. Once the power is routed, destroy the broken box on the roof and build a new one to finish the job.
Southwest of Tricorner is this Riddler Puzzle on the roof of a building by the water. It is connected to other parts at ground level.
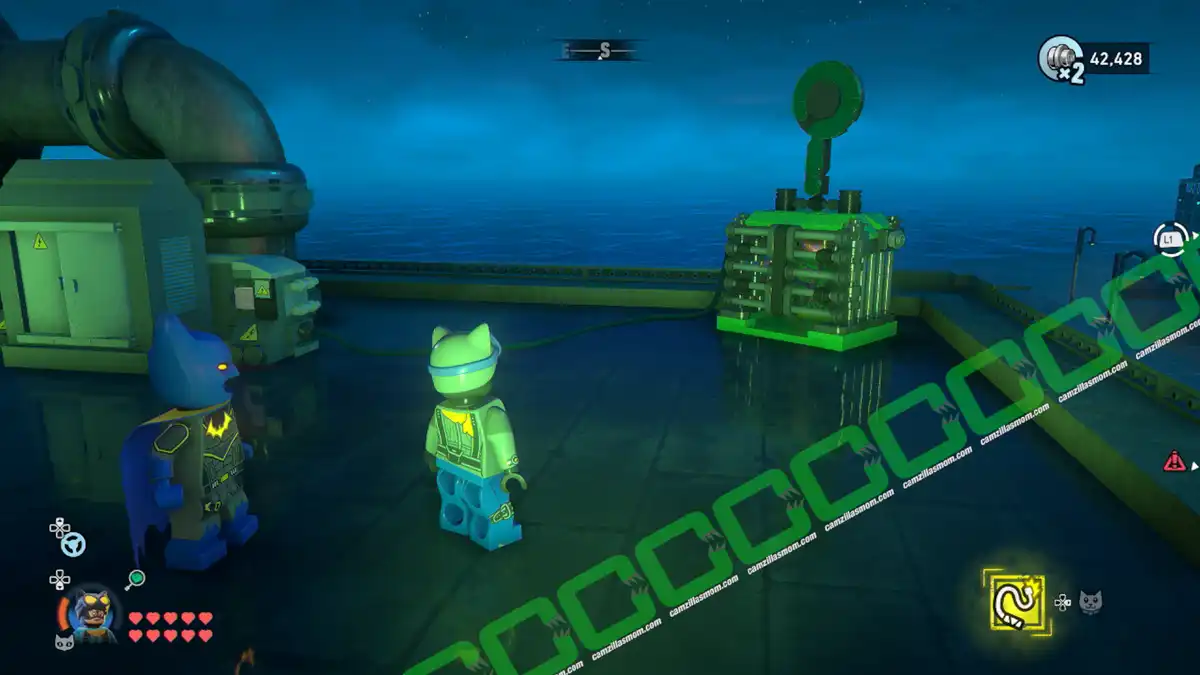
On the ground floor is a box with a large battery inside, right next to the toppled-over water tower. Pick it up and put it inside one of the generators.
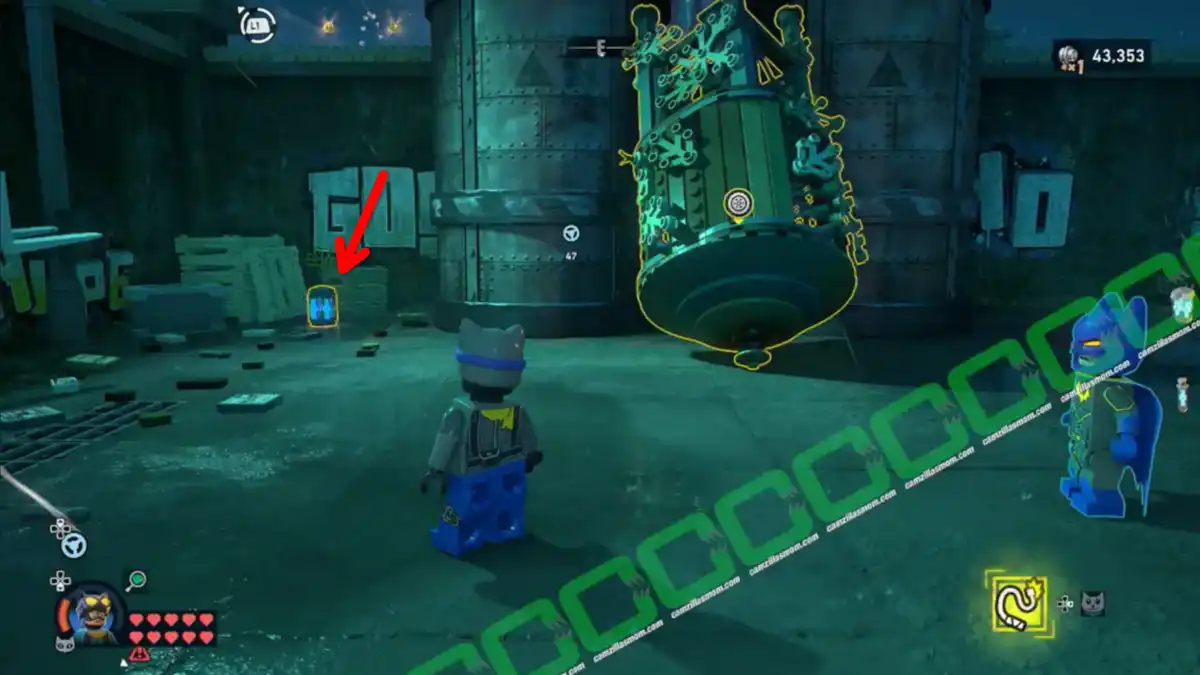
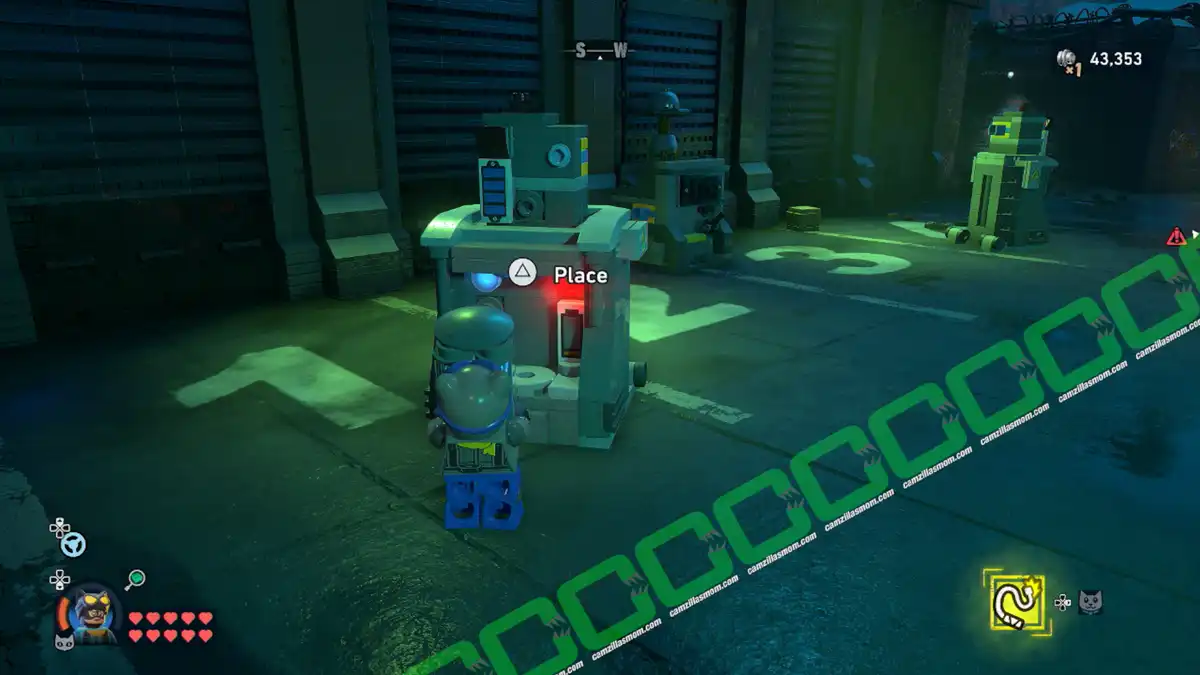
On the same roof as the Riddler Puzzle is a small battery. Pick it up and put it in the other generator.
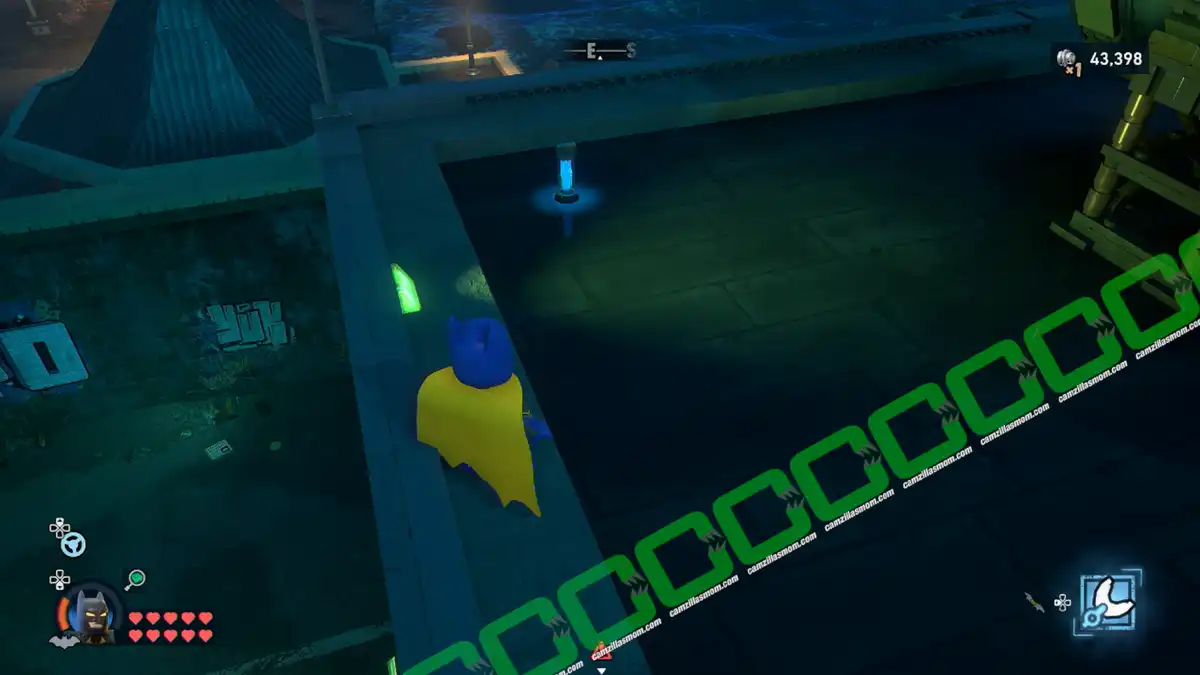
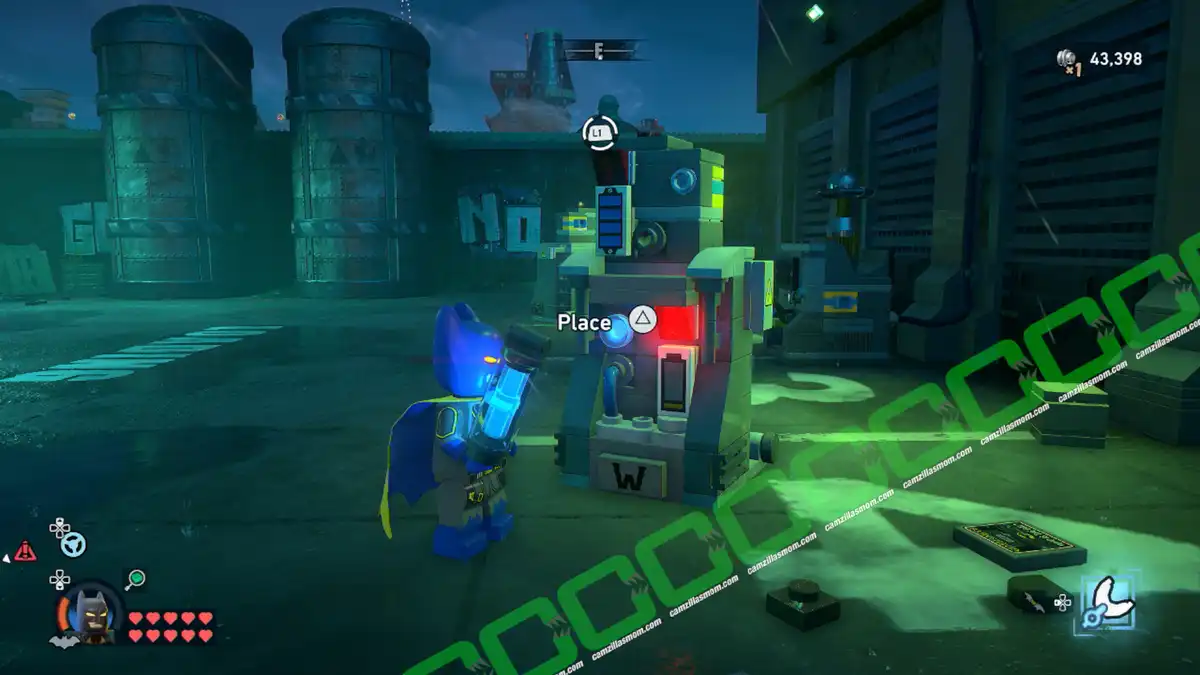
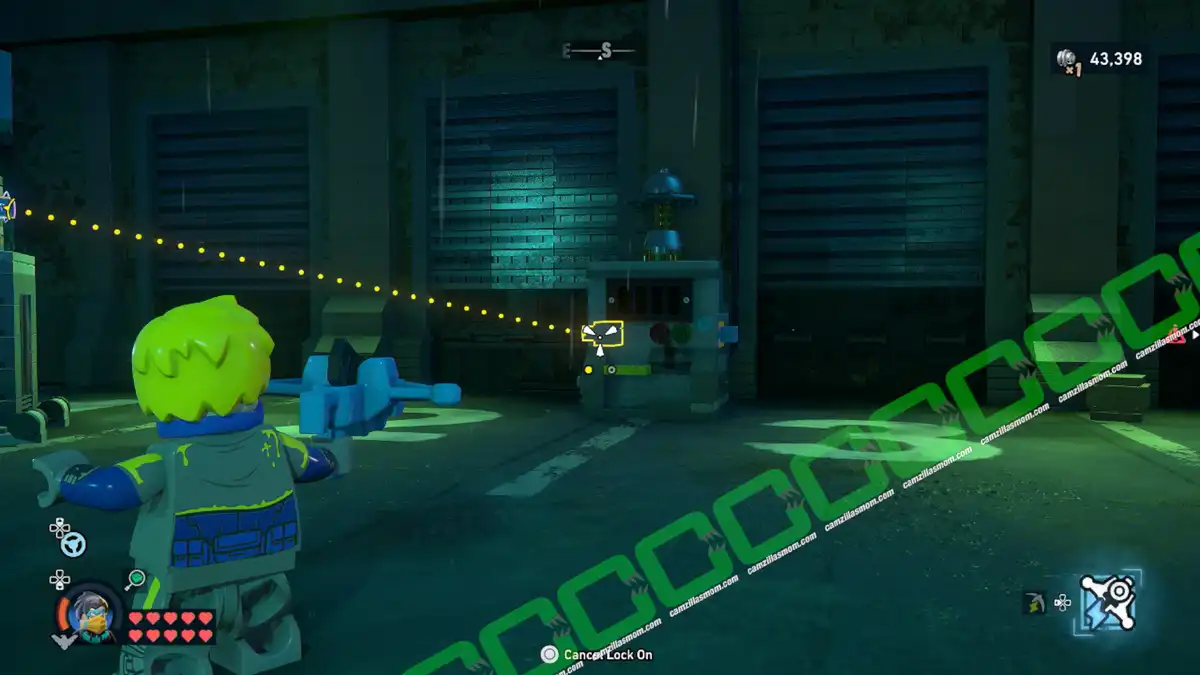
Switch to Nightwing and connect the two generators with the device at the center by using the Cable Launcher.
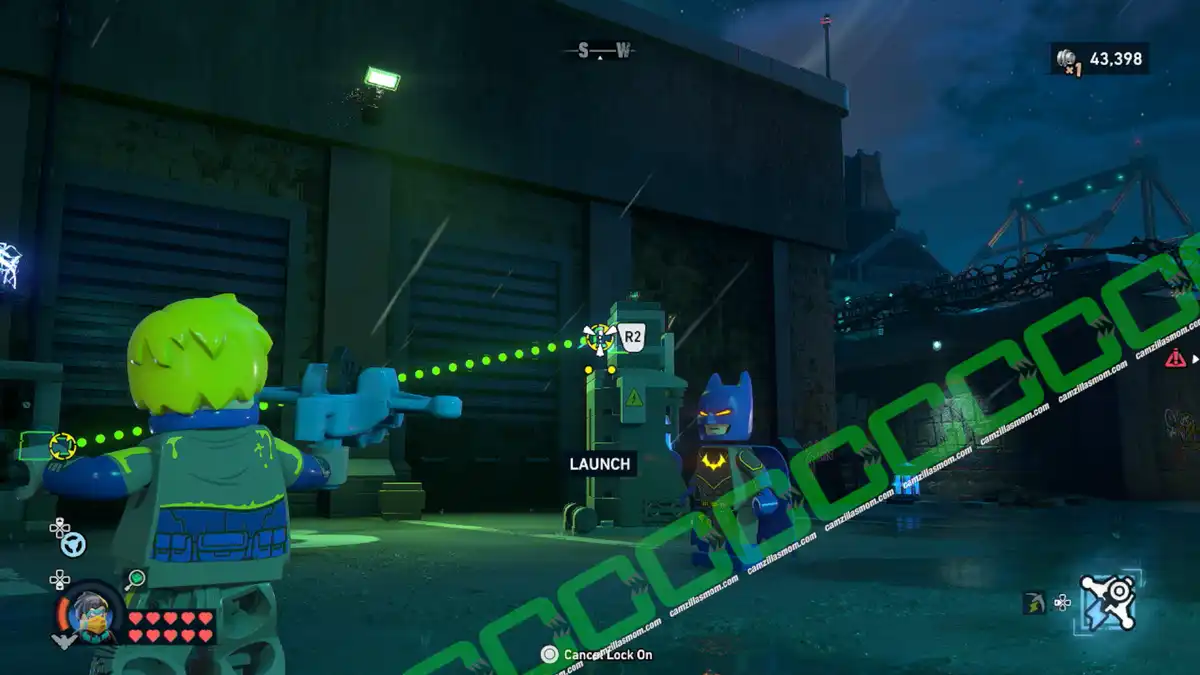
Follow the power up to the roof. The box to the Puzzle Cage still doesn’t have power. Destroy the power box there and build a new one. Insert Nightwing’s staff and move it forward to power the Puzzle box.
9 – Sunken Treasure
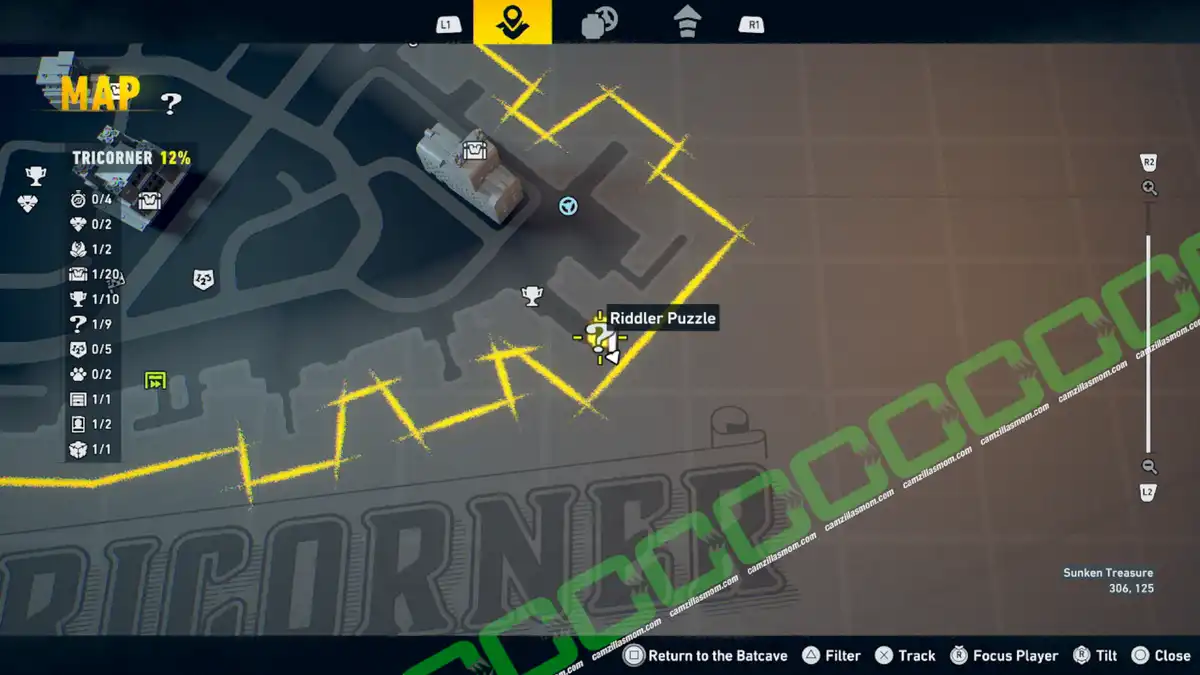
Coordinates: 306, 125
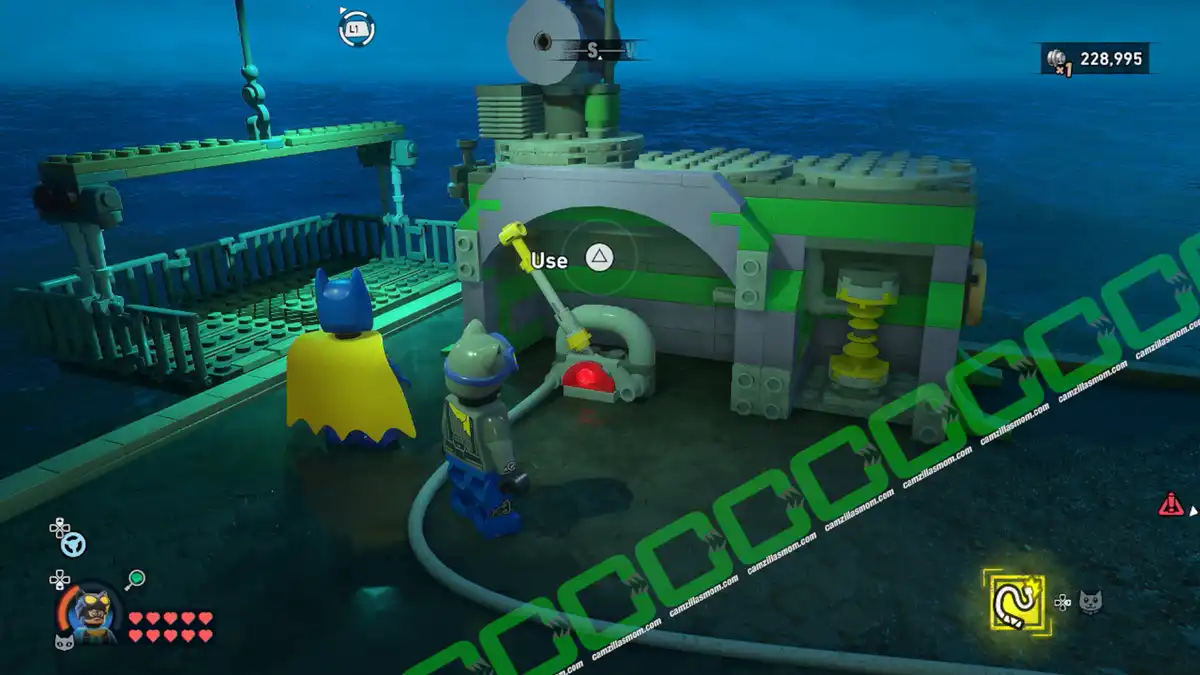
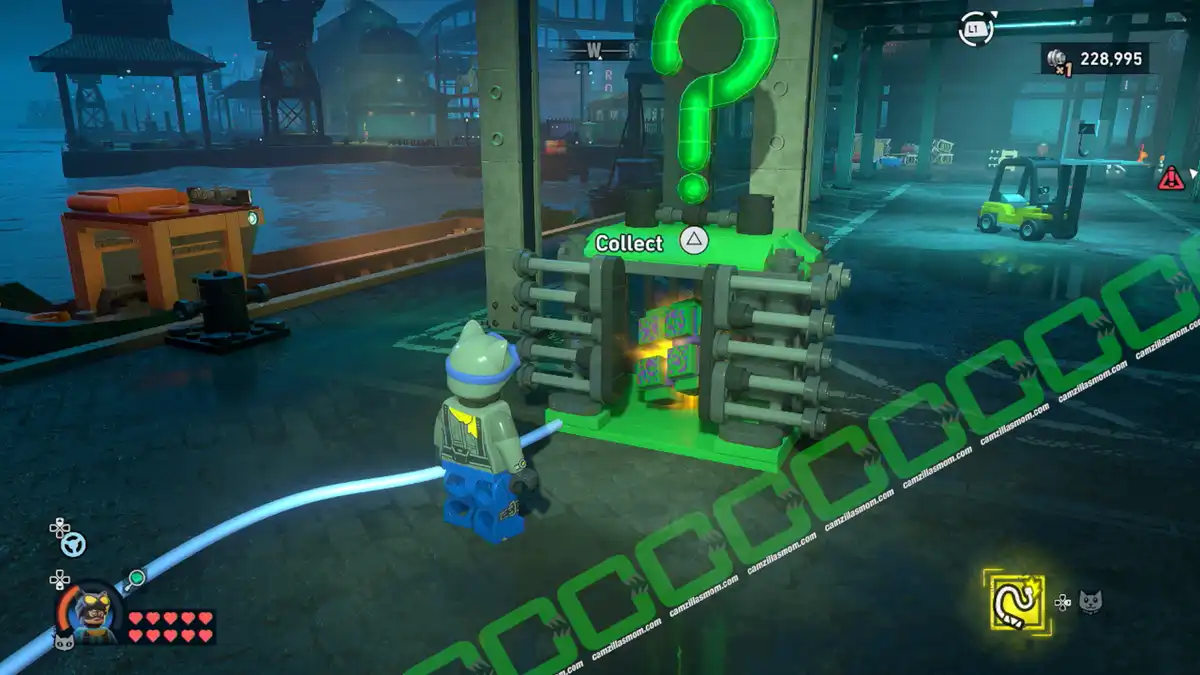
At the eastern docks, use Batman’s Bat Claw on the crane panel, then switch to Catwoman to raise the sunken platform. A lever on the platform unlocks the puzzle box above.
This Riddler Puzzle, named Sunken Treasure, is at the eastern Tricorner Docks, not far from one of the two Plantlife activities.
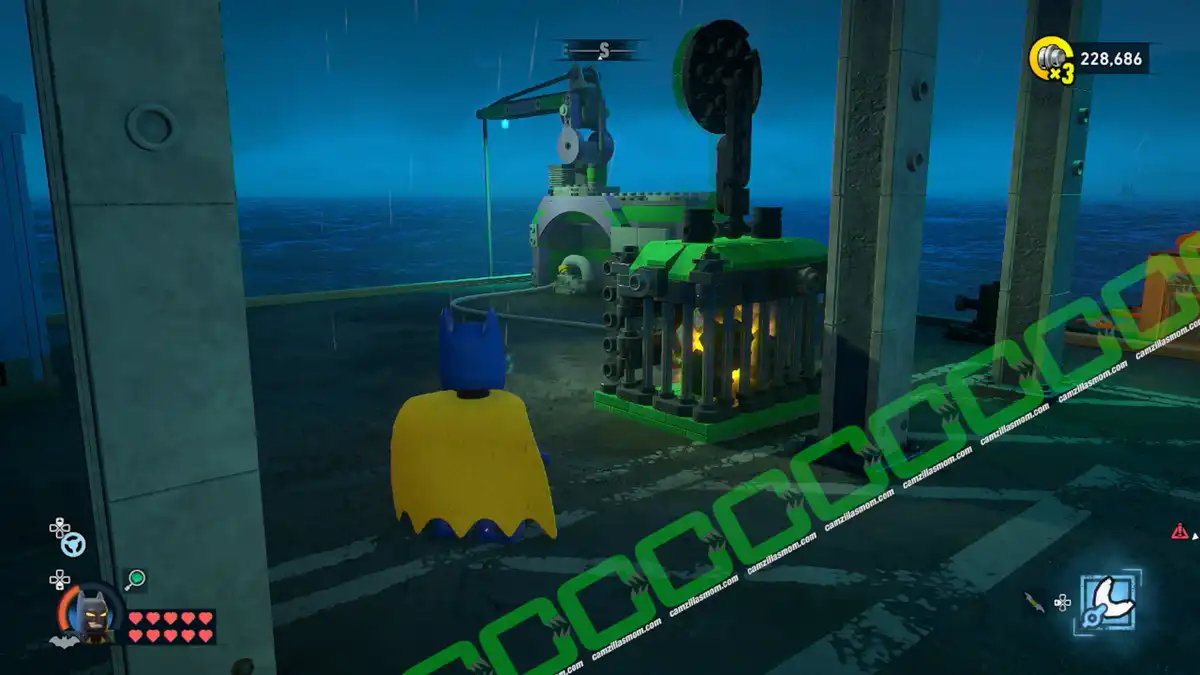
Pull off the panel of the nearby crane with Batman’s Bat Claw. Then switch to Catwoman to use the Whip on the spiral to raise the underwater platform.
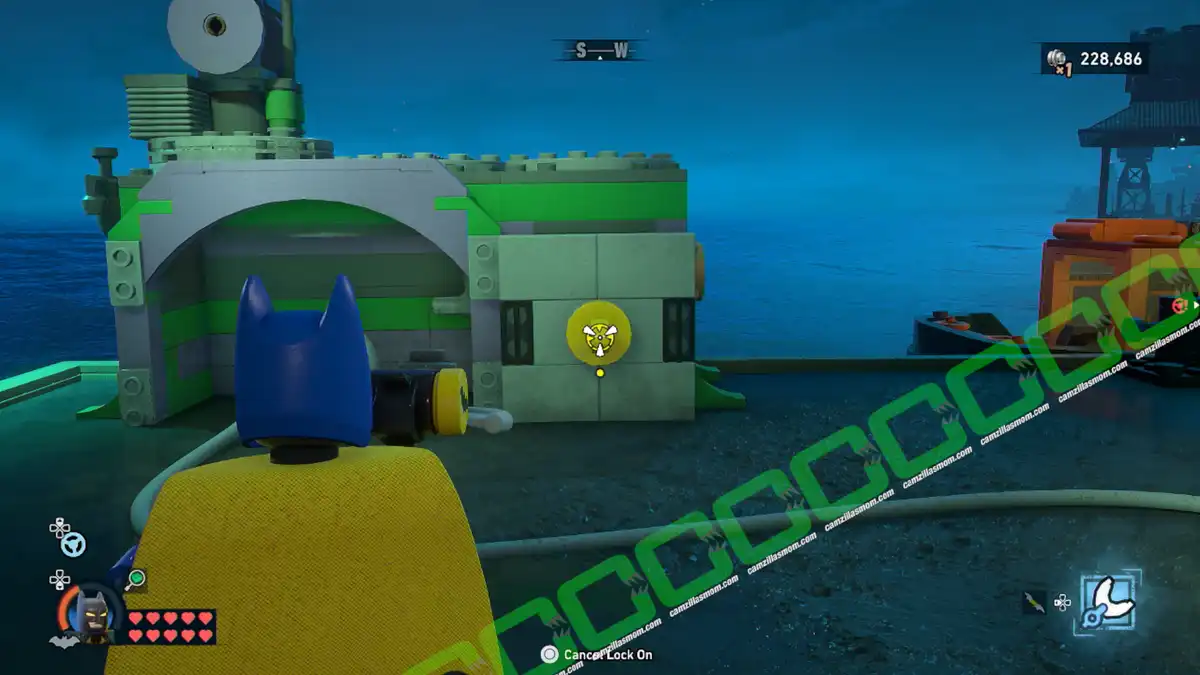
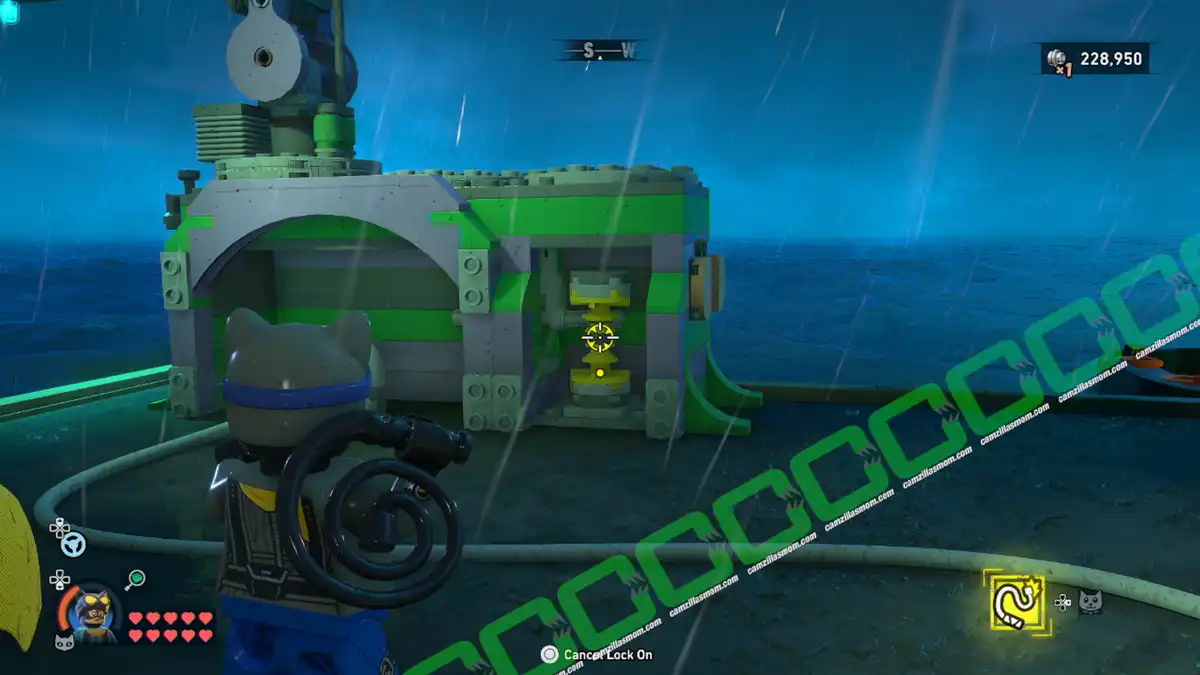
On the platform is a lever. Use it on the crane device to open the Puzzle lock to the Puzzle Box.
More LEGO Batman: Legacy of the Dark Knight Guides
LEGO Batman Legacy: All 9 Tower Locations
All 9 tower locations in LEGO Batman: Legacy of the Dark Knight – map coordinates and screenshots fo…
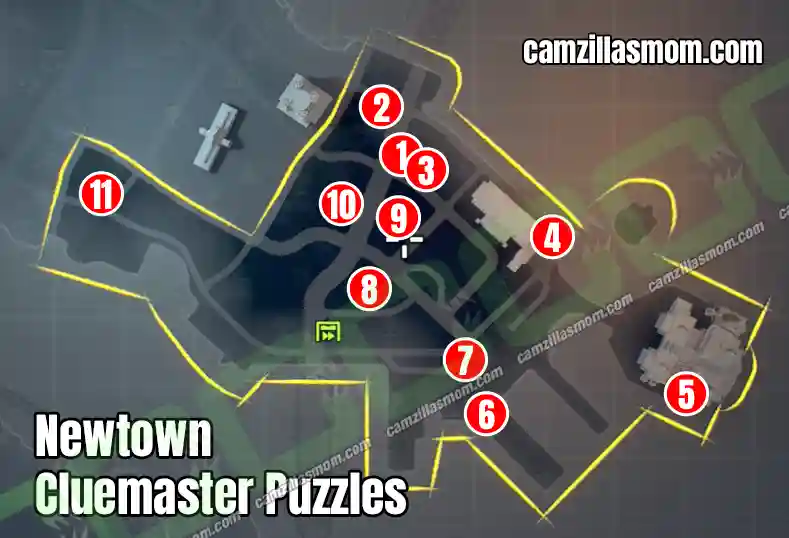
LEGO Batman Legacy: All Cluemaster Puzzles at Newtown
Complete guide to all 11 Cluemaster Puzzle solutions in Newtown – LEGO Batman: Legacy of the Dark Kn…
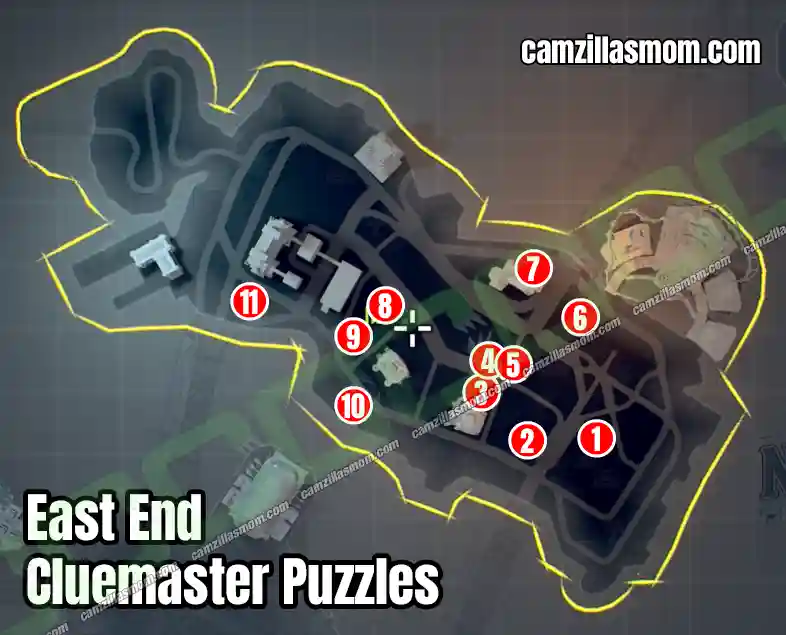
LEGO Batman Legacy: All Cluemaster Puzzles East End
Complete guide to all 11 Cluemaster Puzzle solutions in East End – LEGO Batman: Legacy of the Dark K…
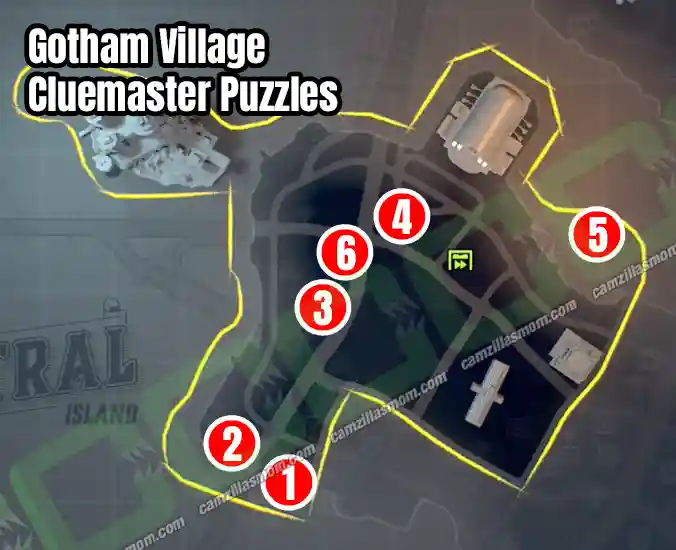
LEGO Batman Legacy: All Cluemaster Puzzles Gotham Village
Complete guide to all 6 Cluemaster Puzzle solutions in Gotham Village – LEGO Batman: Legacy of the D…
LEGO Batman Legacy: All Escaped Zoo Animal Locations
Complete guide to all 21 Escaped Zoo Animal locations in LEGO Batman: Legacy of the Dark Knight – di…
LEGO Batman Legacy: All Plant Life Locations and Solutions
Find all 10 Plant Life locations and solutions across 7 districts in LEGO Batman: Legacy of the Dark…


About LEGO Batman: Legacy of the Dark Knight
Release: May 22nd, 2026
Developer: TT Games
Publisher: Warner Bros. Games
Official Website: https://legobatmangame.com/