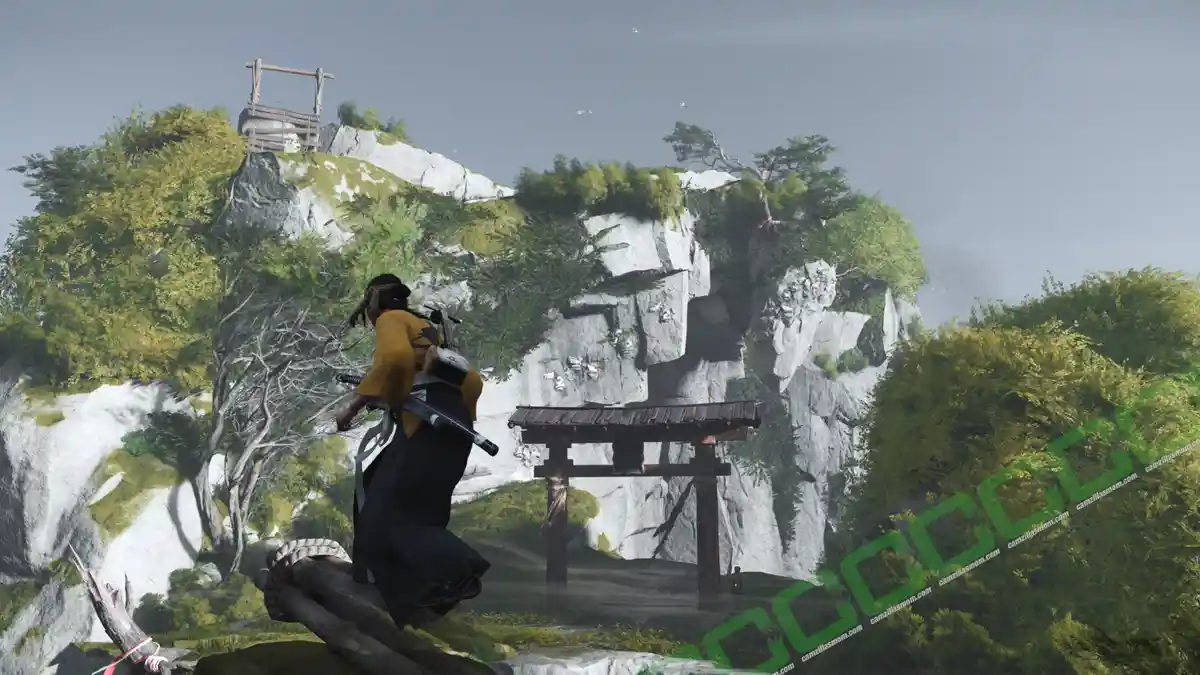
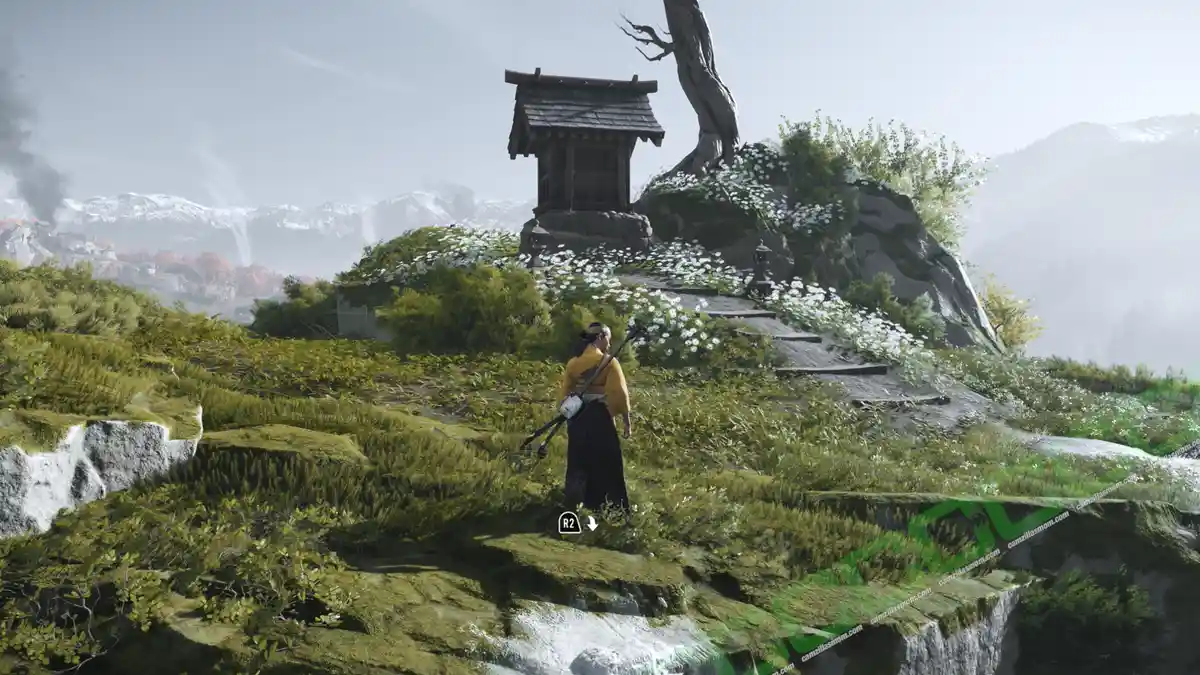
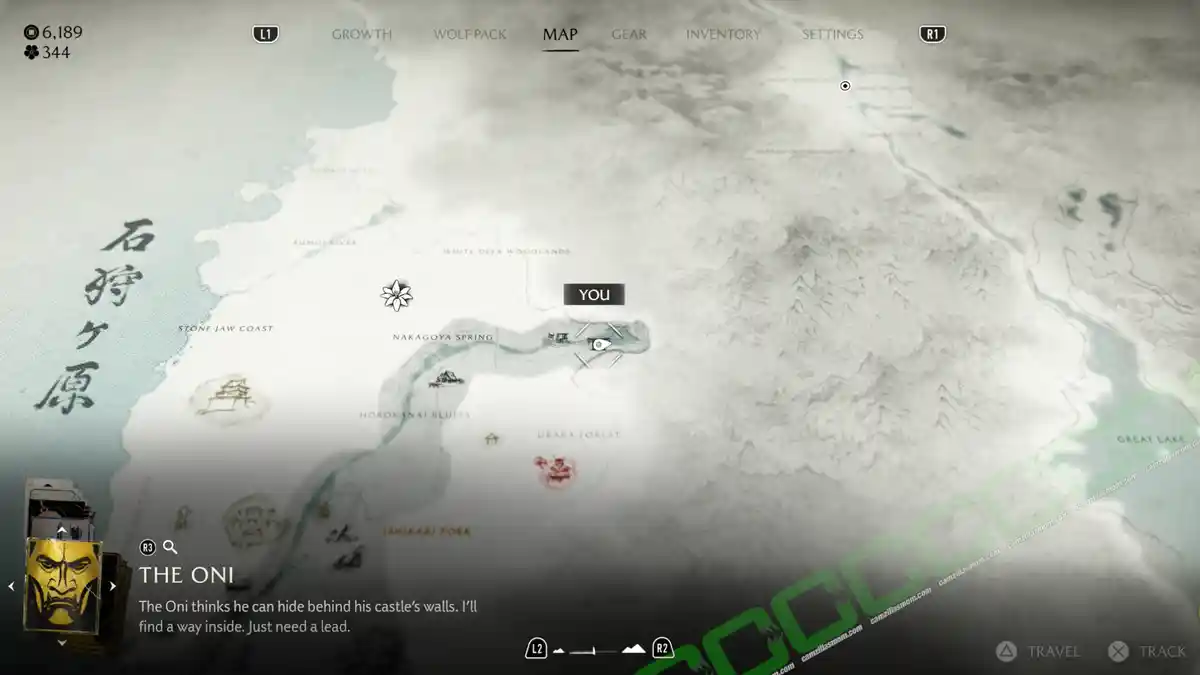
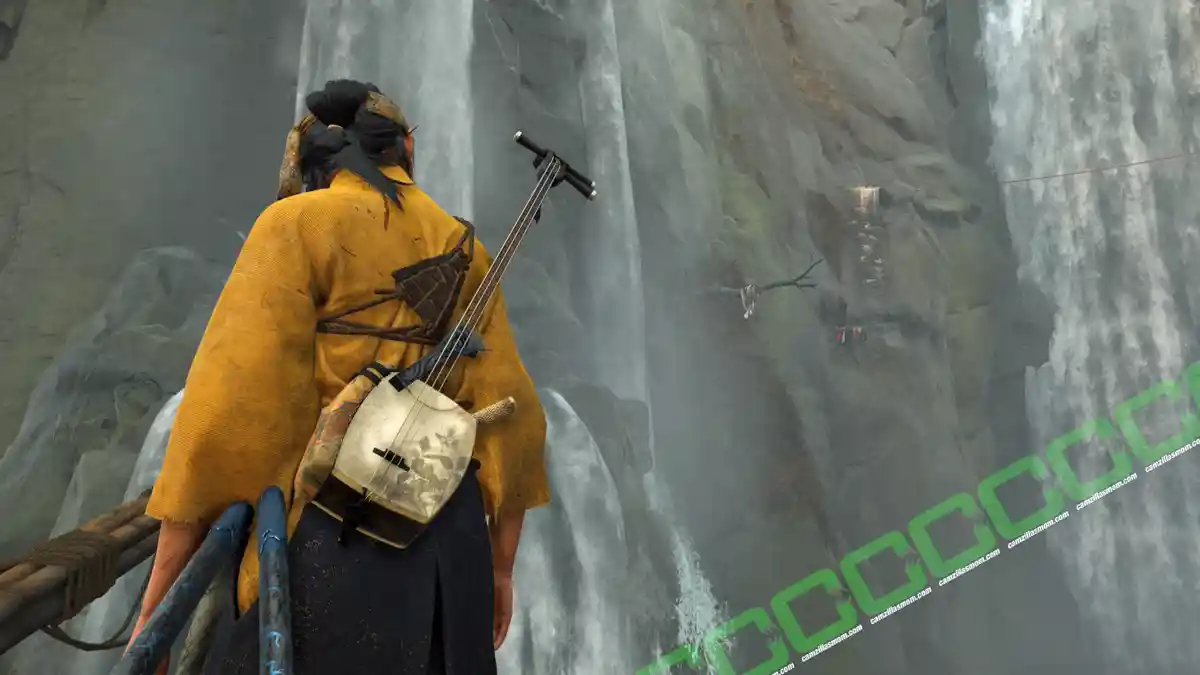
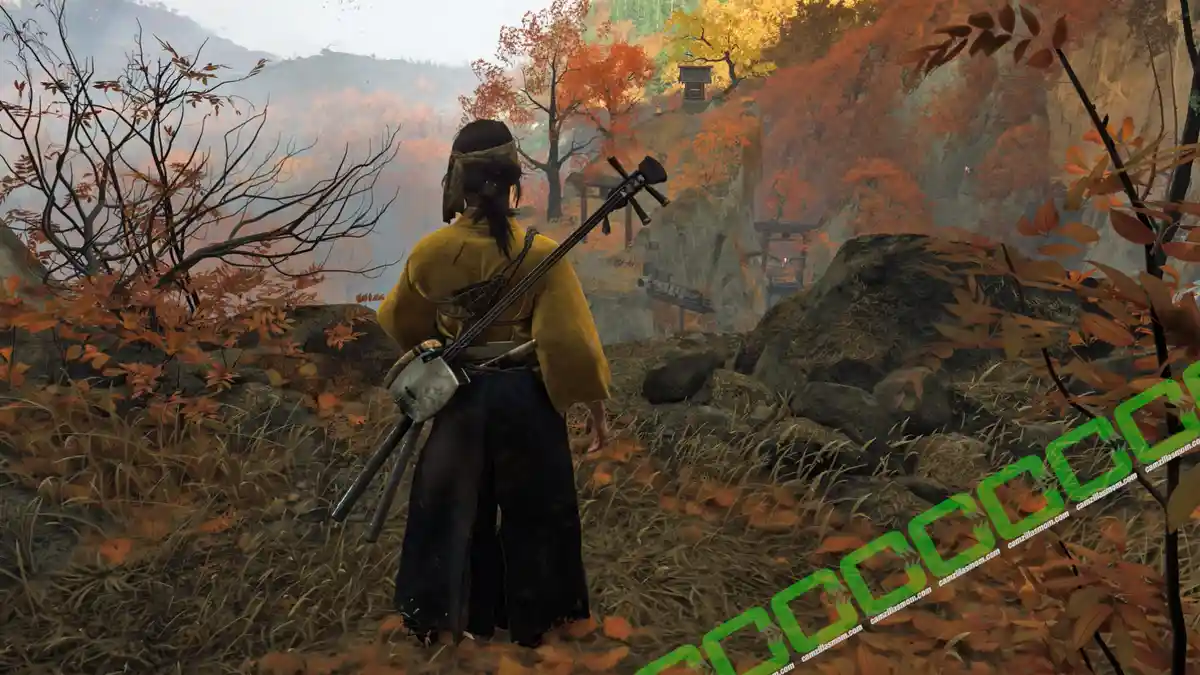
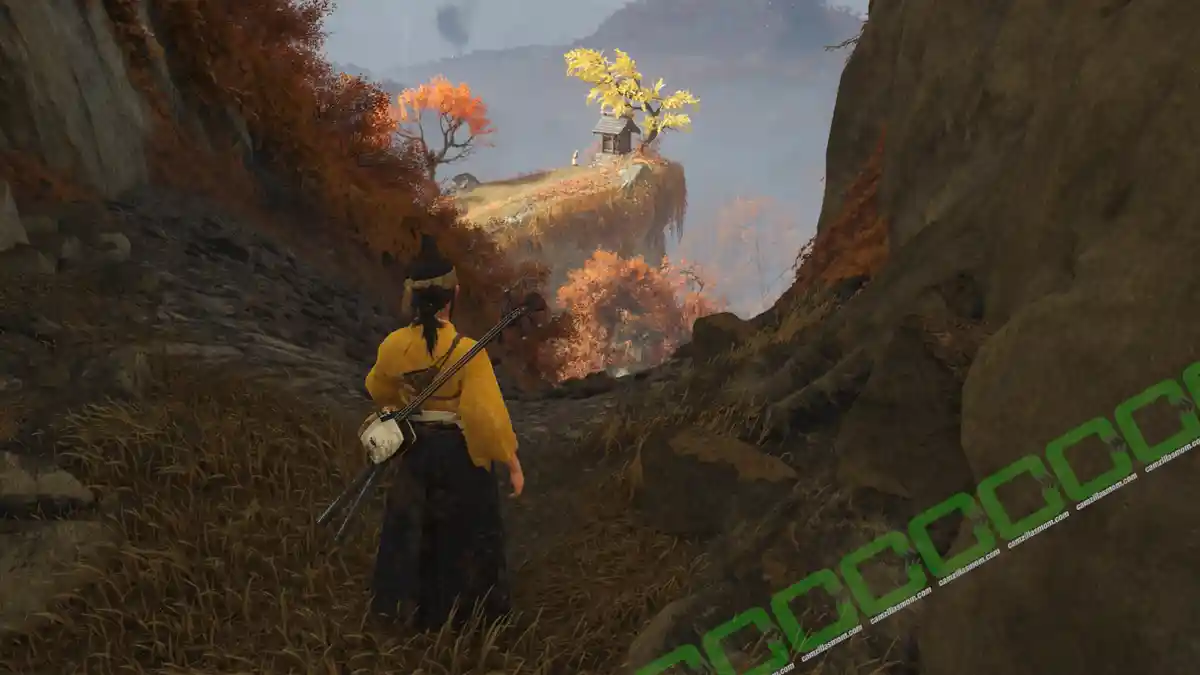
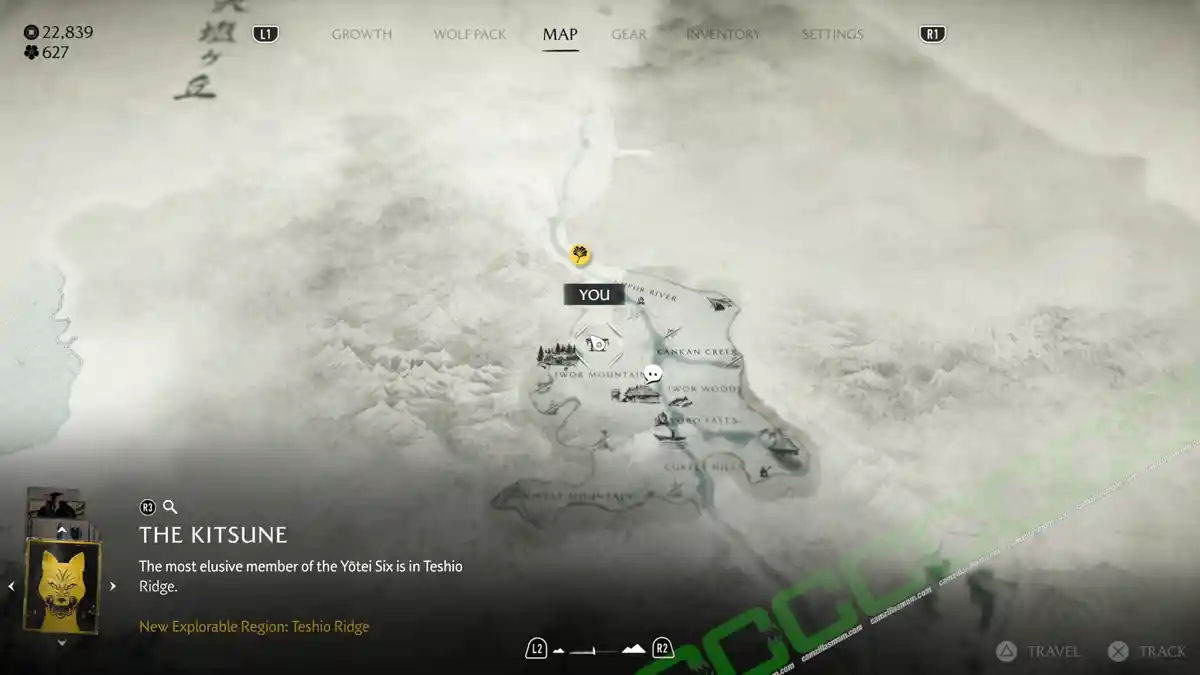
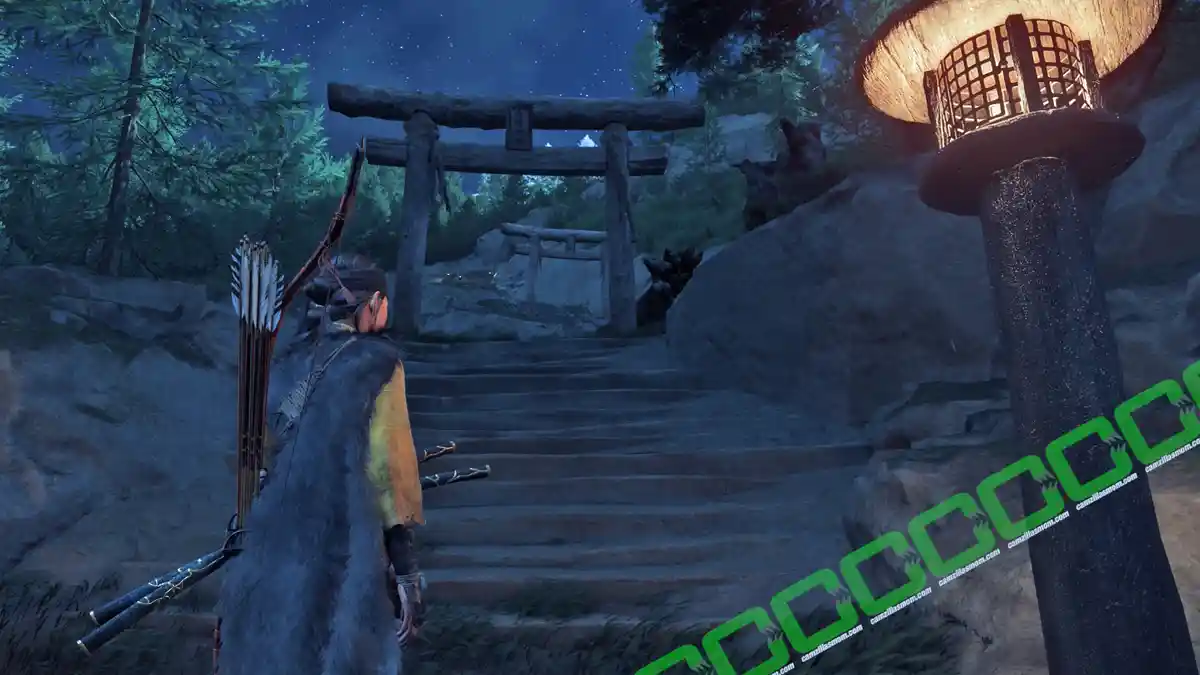
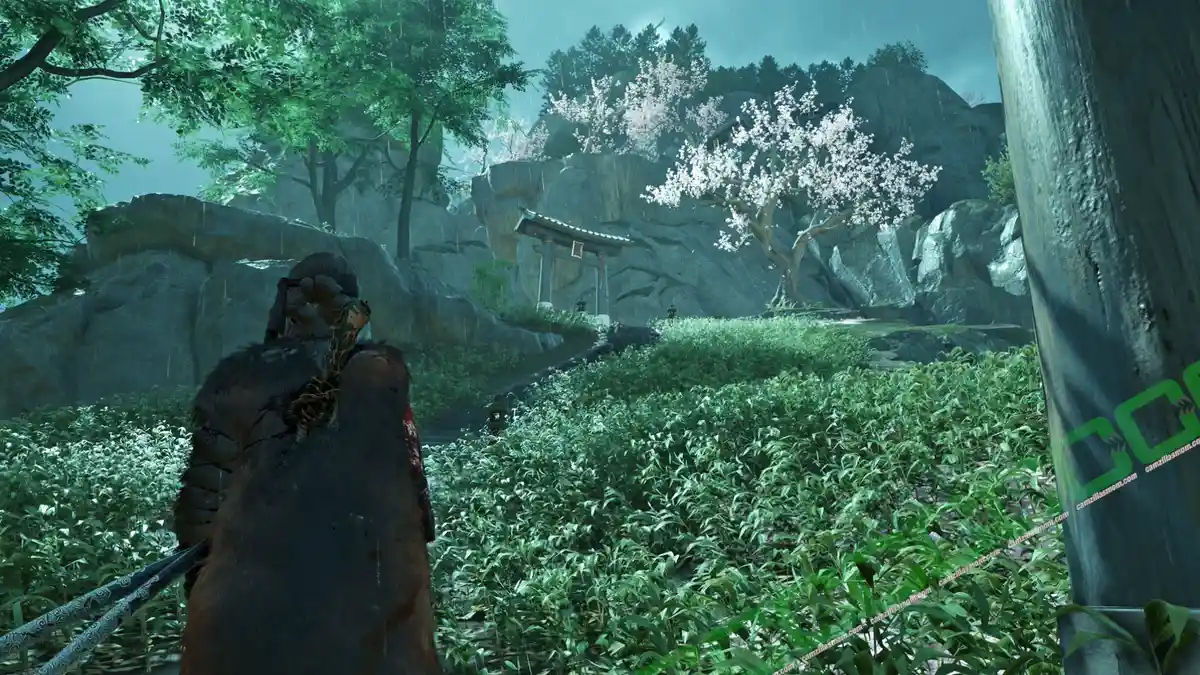
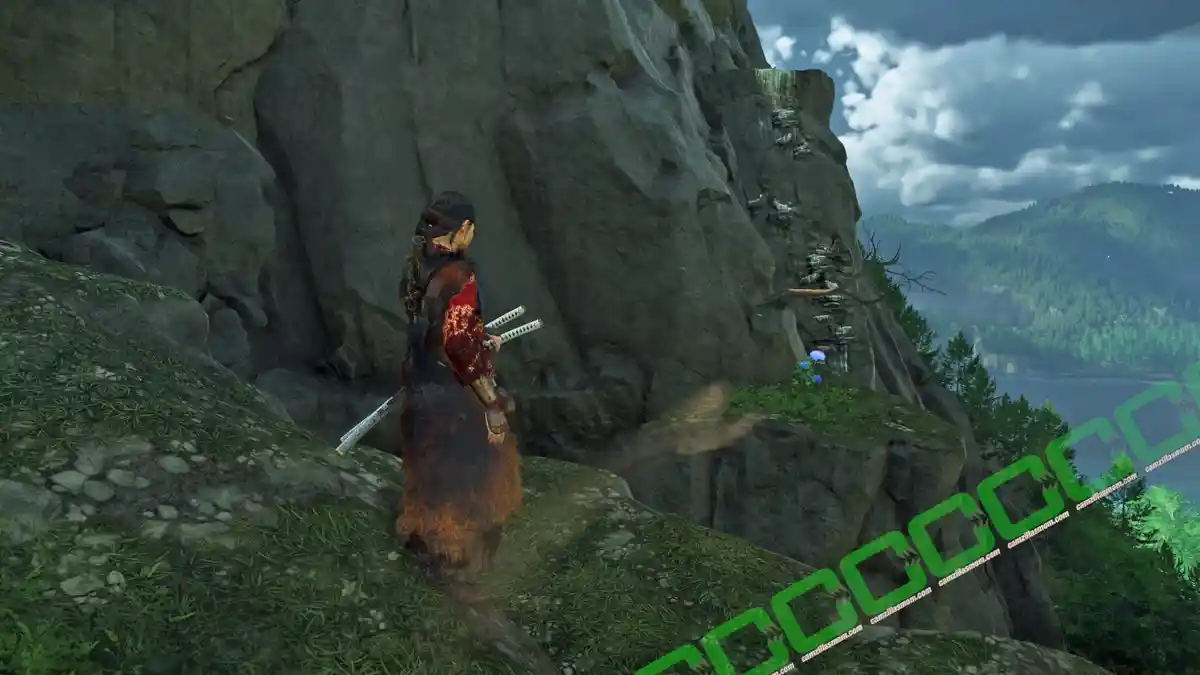
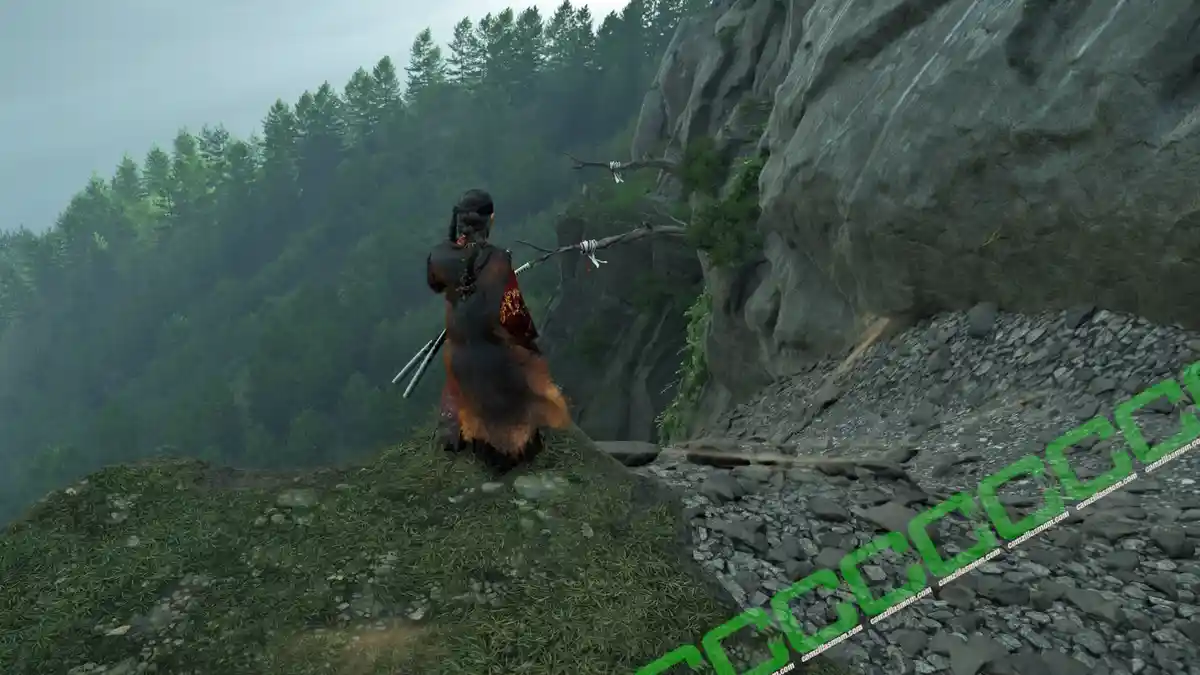
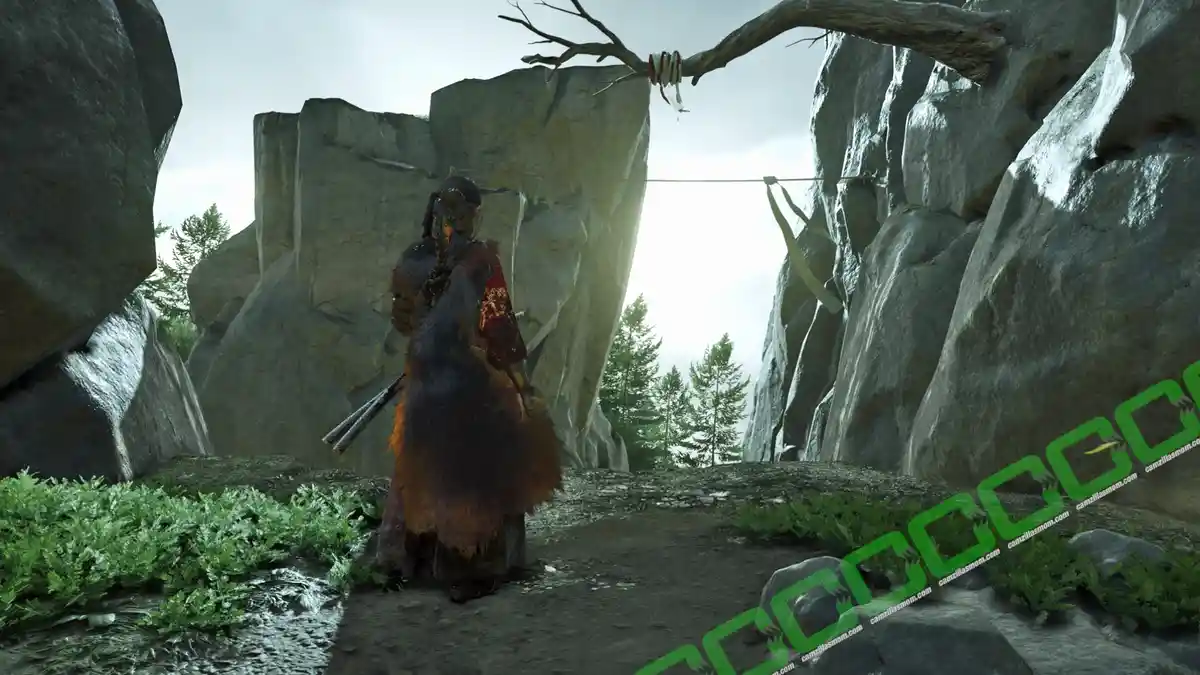
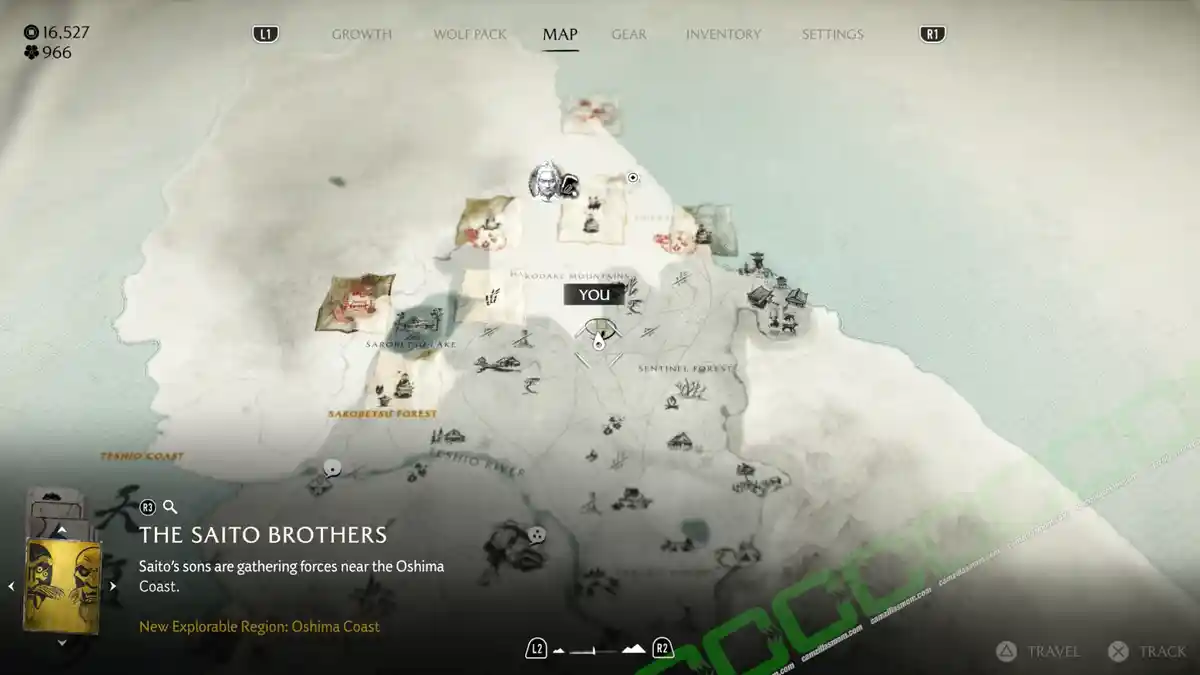
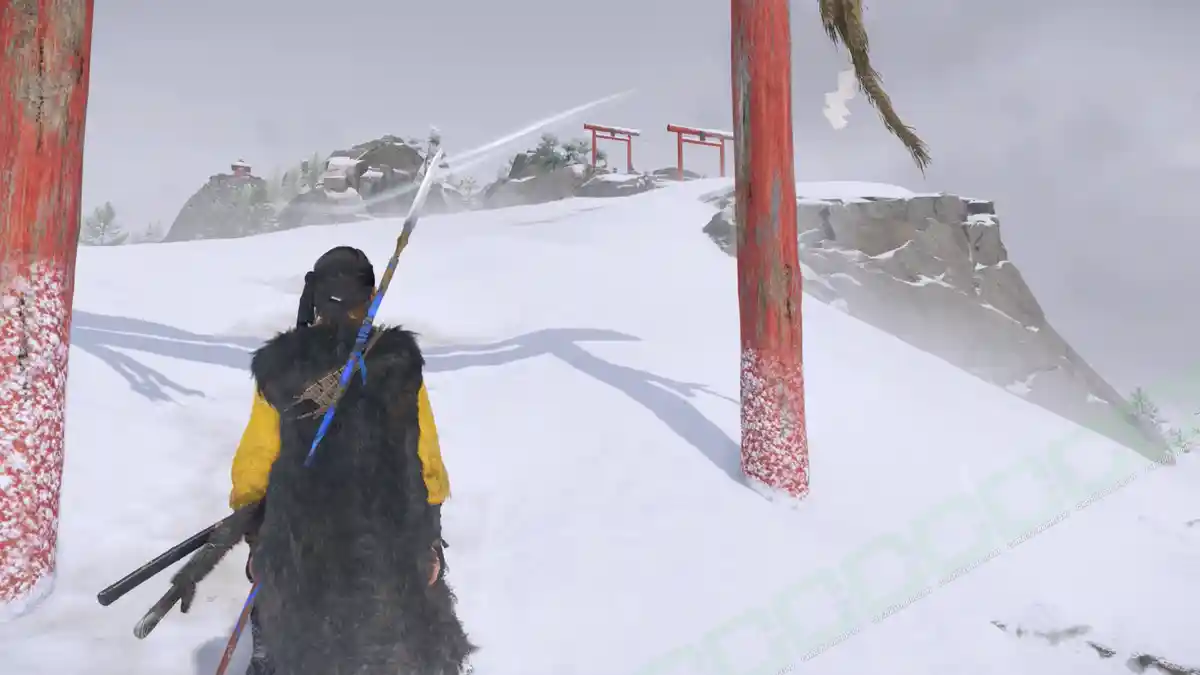
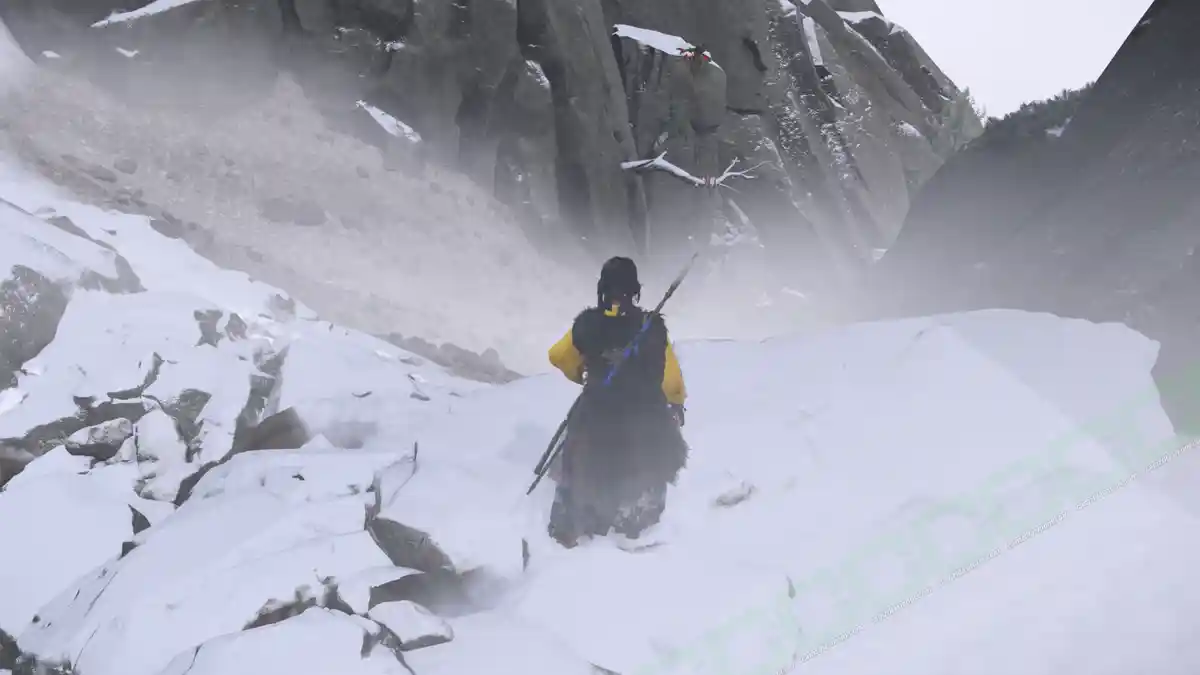
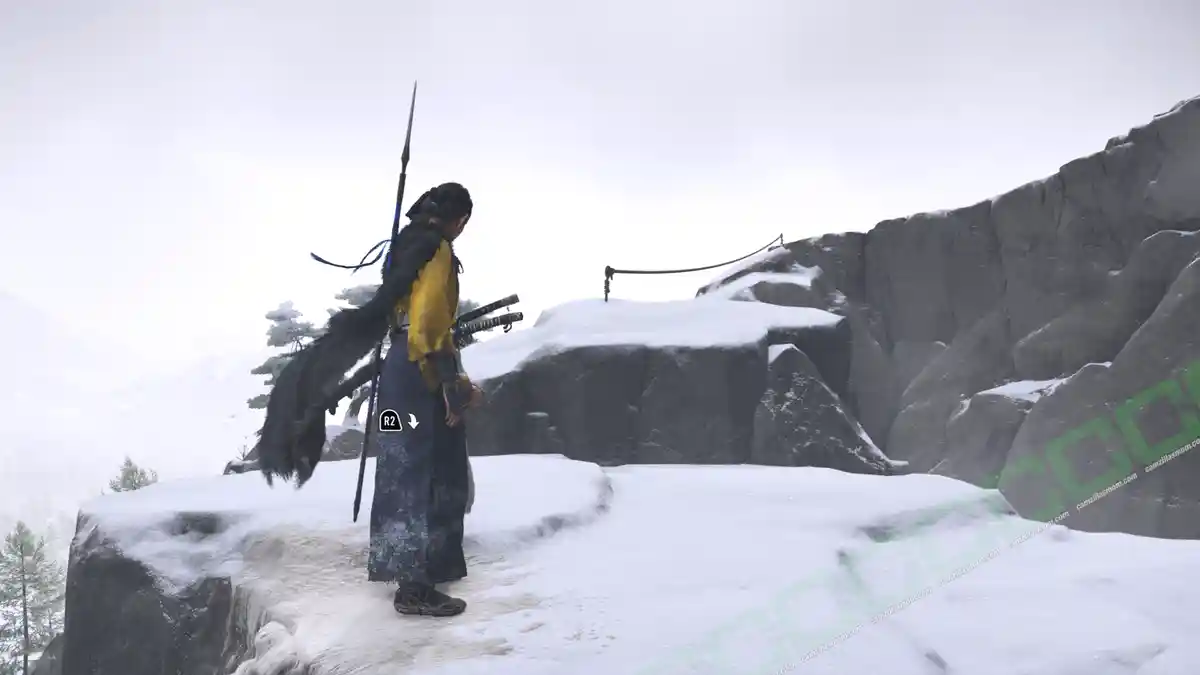
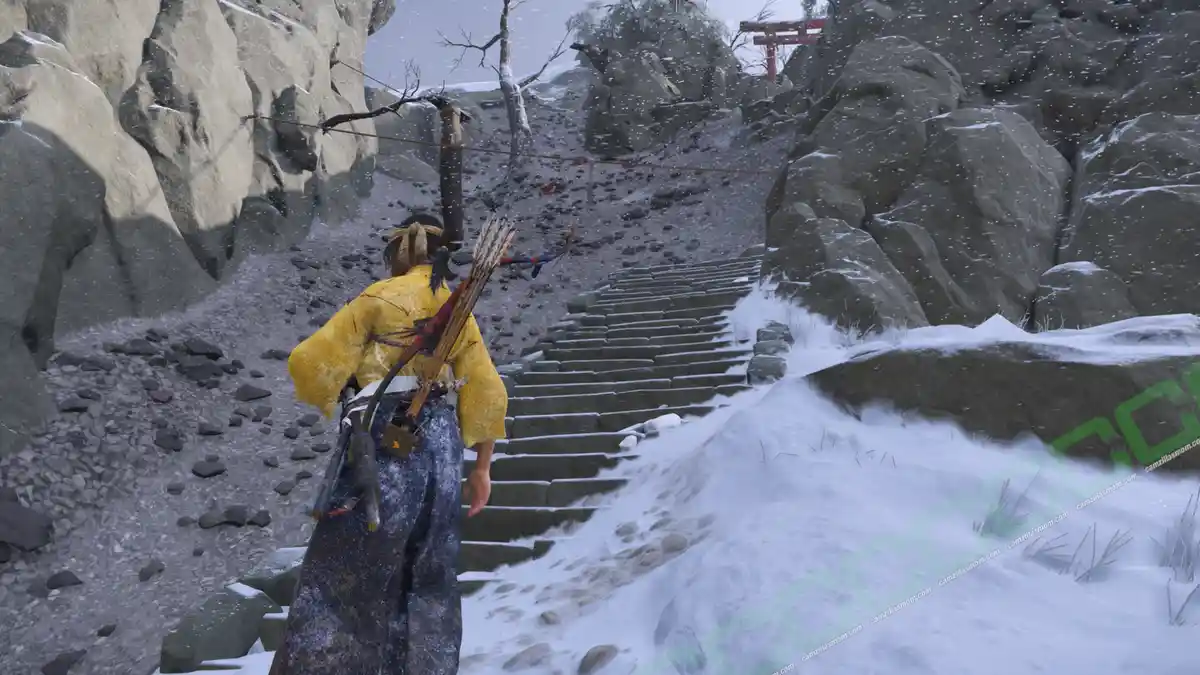
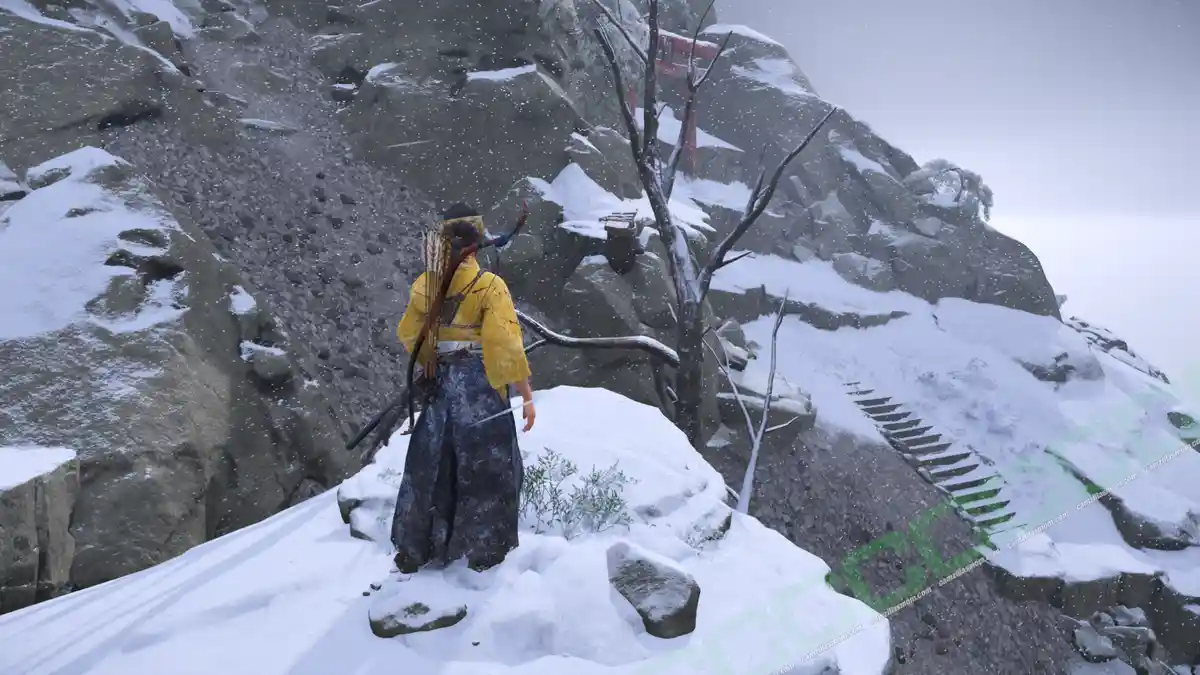
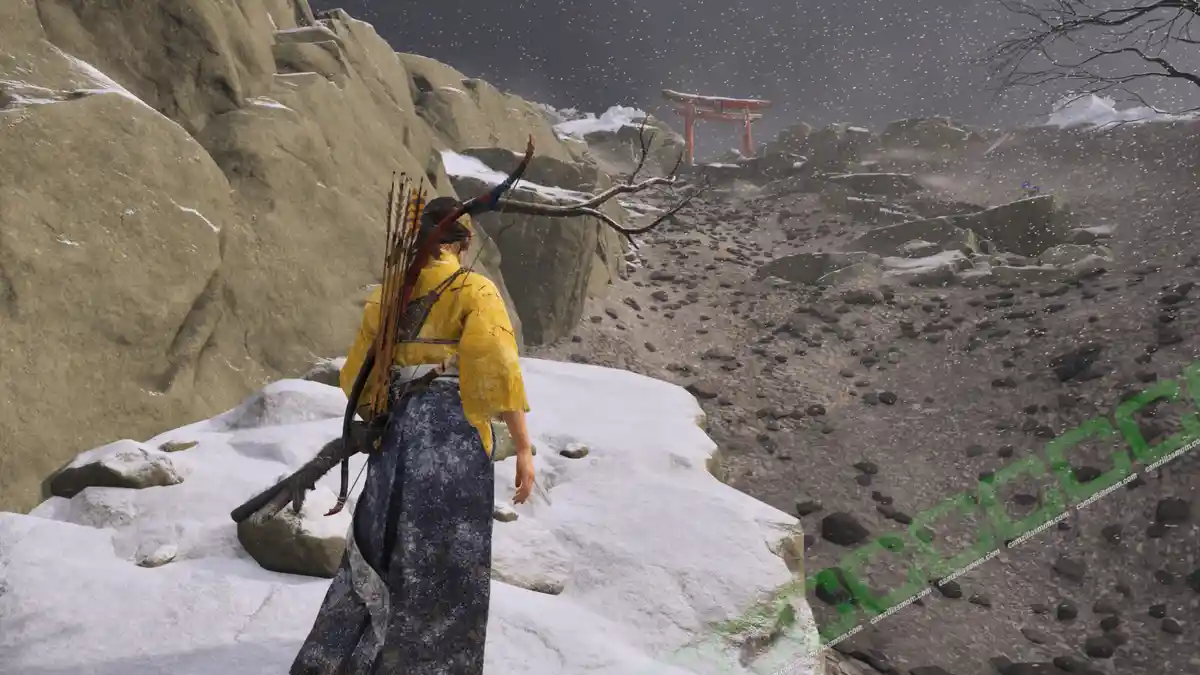
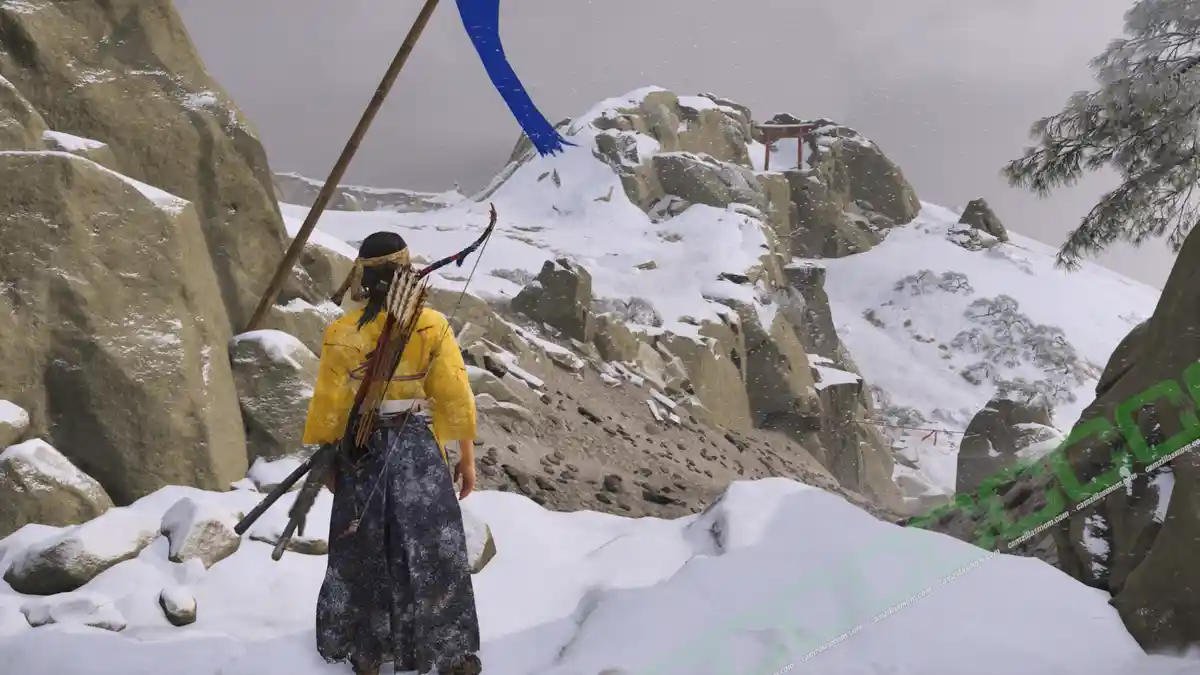
Conquer all 13 shrines in Ghost of Yotei to earn a Major Charm at each summit. Follow this guide to reach every peak.
In-game description:
“Shrines honour the kami that make up the natural landscapes of Ezo. Climb their trails to offer a prayer and receive the kami’s blessings as Major Charms. They are also strategic lookouts to use your spyglass.”
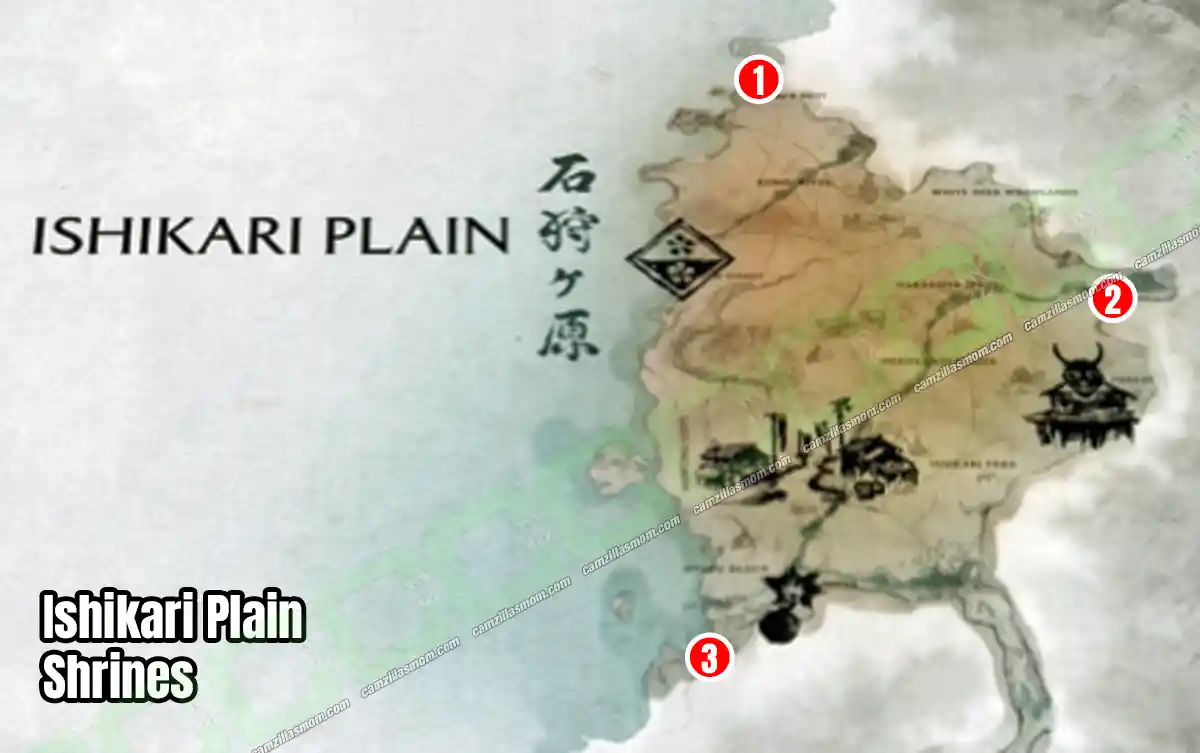
Ishikari Plain
1 – Azure Wind Shrine
2 – Winding Tears Shrine
3 – Sun’s Peak Shrine
Azure Wind Shrine
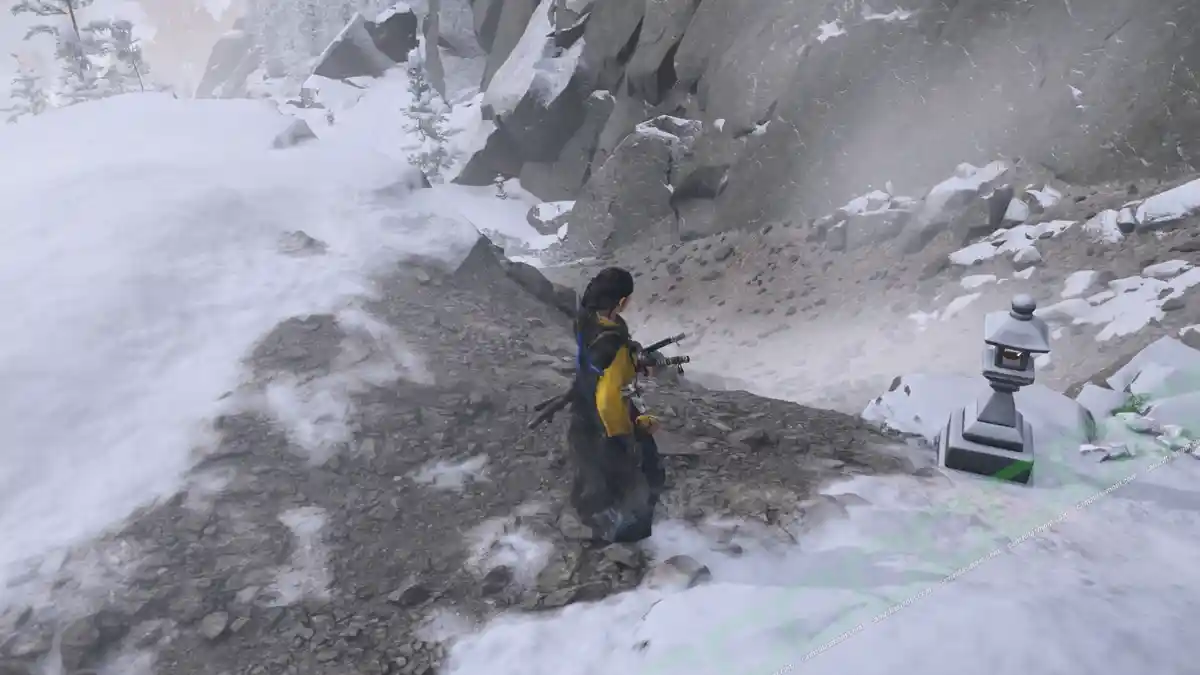
The Azure Wind Shrine is in the very north of Ishikari Plain. You will have to get to the top during the story quest: Twin Wolves, Twin Hearts.
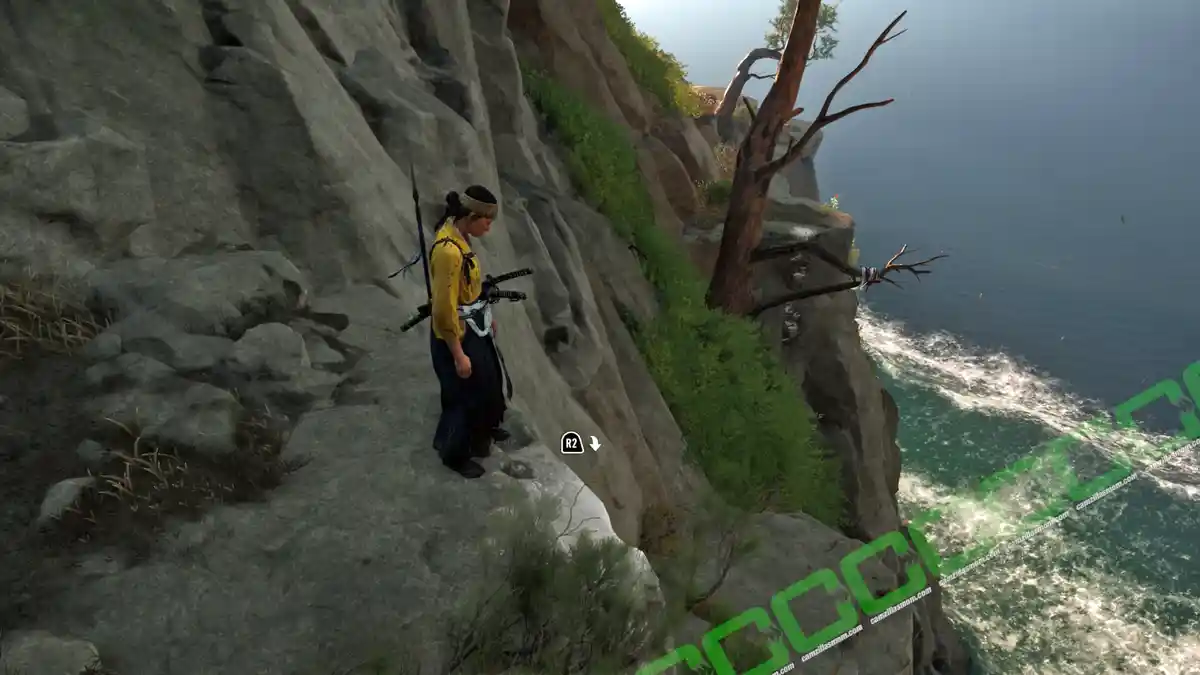
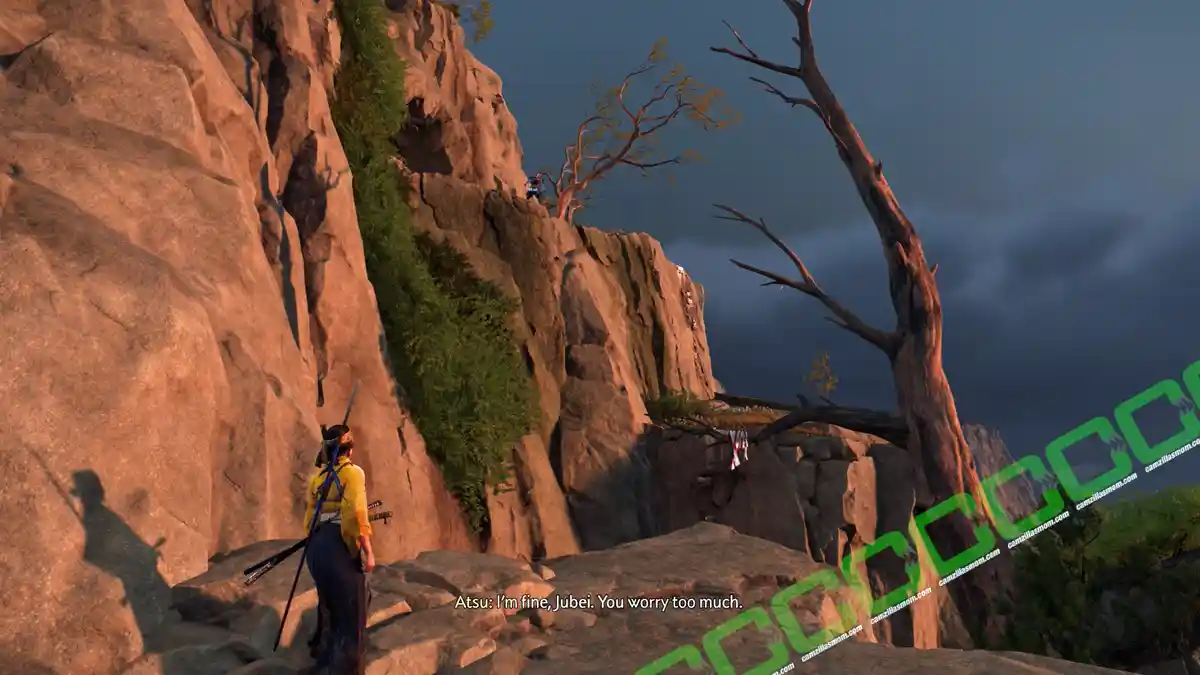
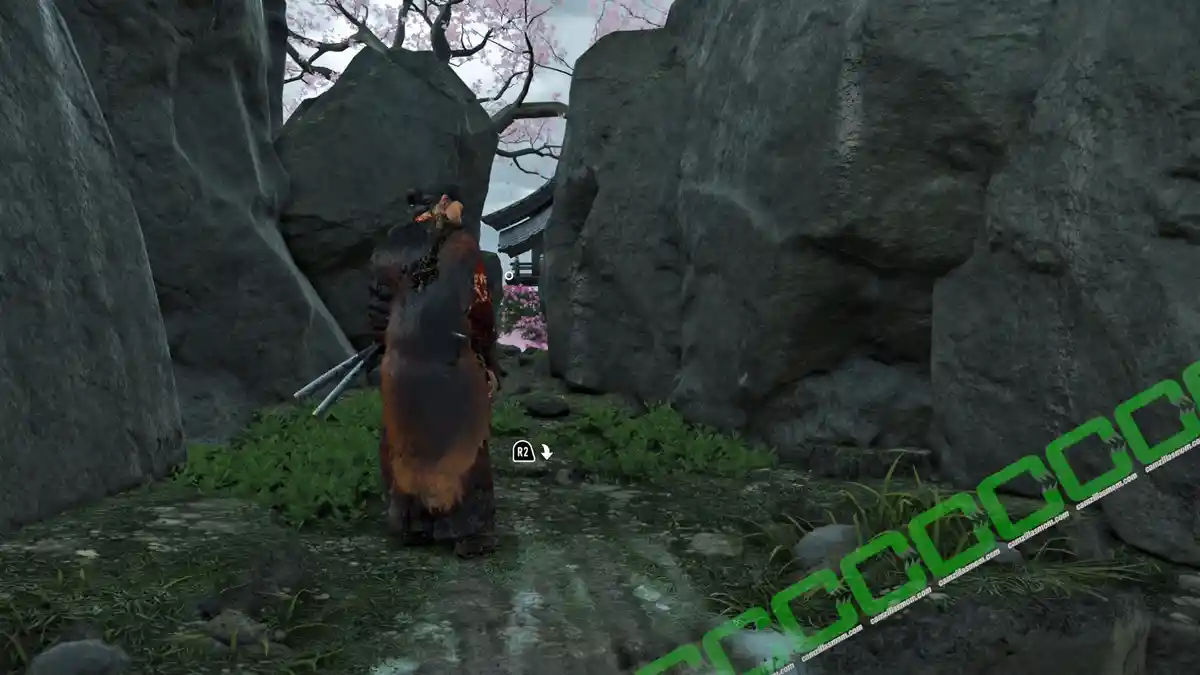
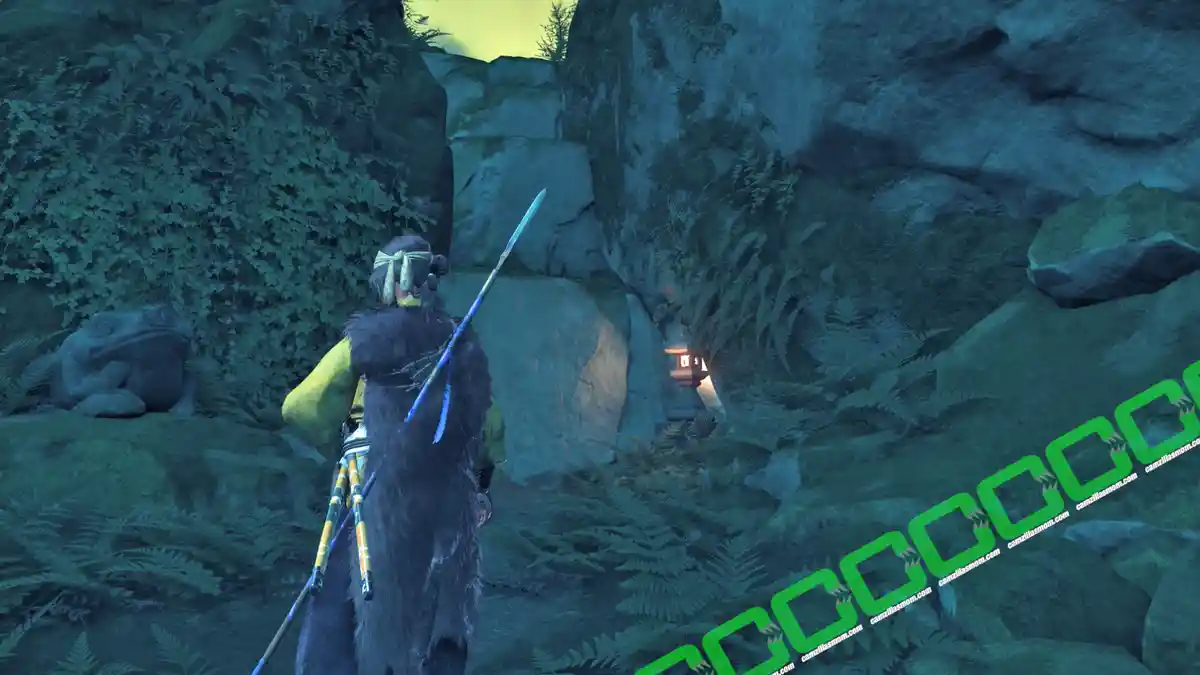
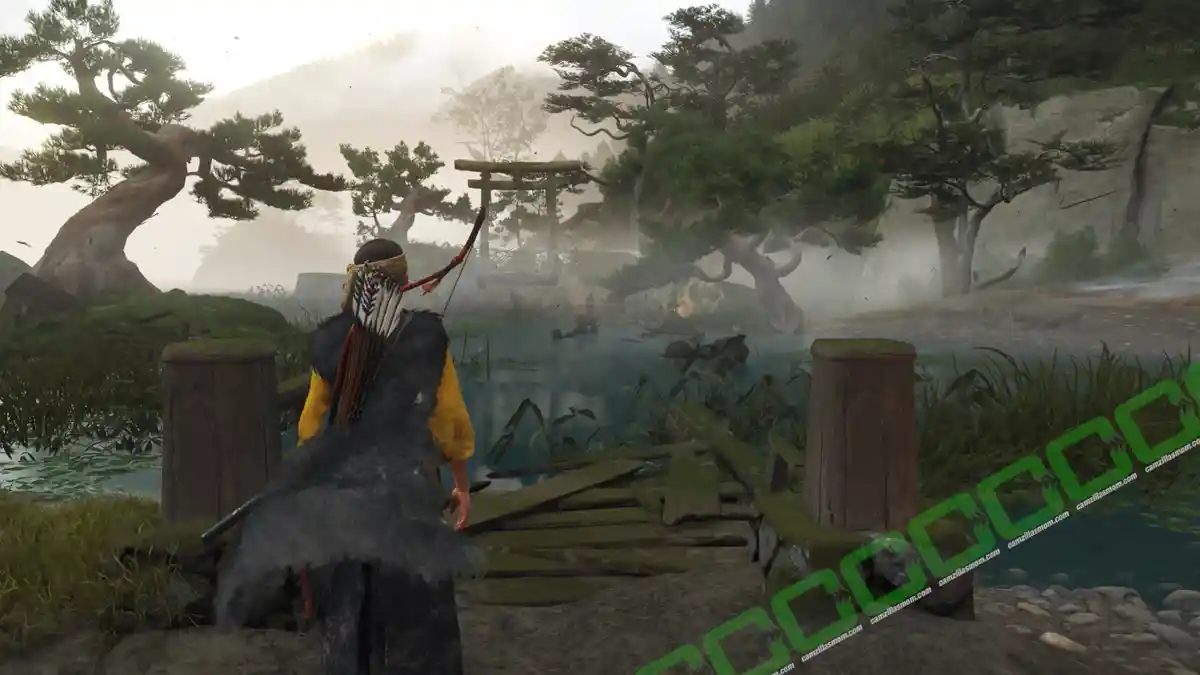
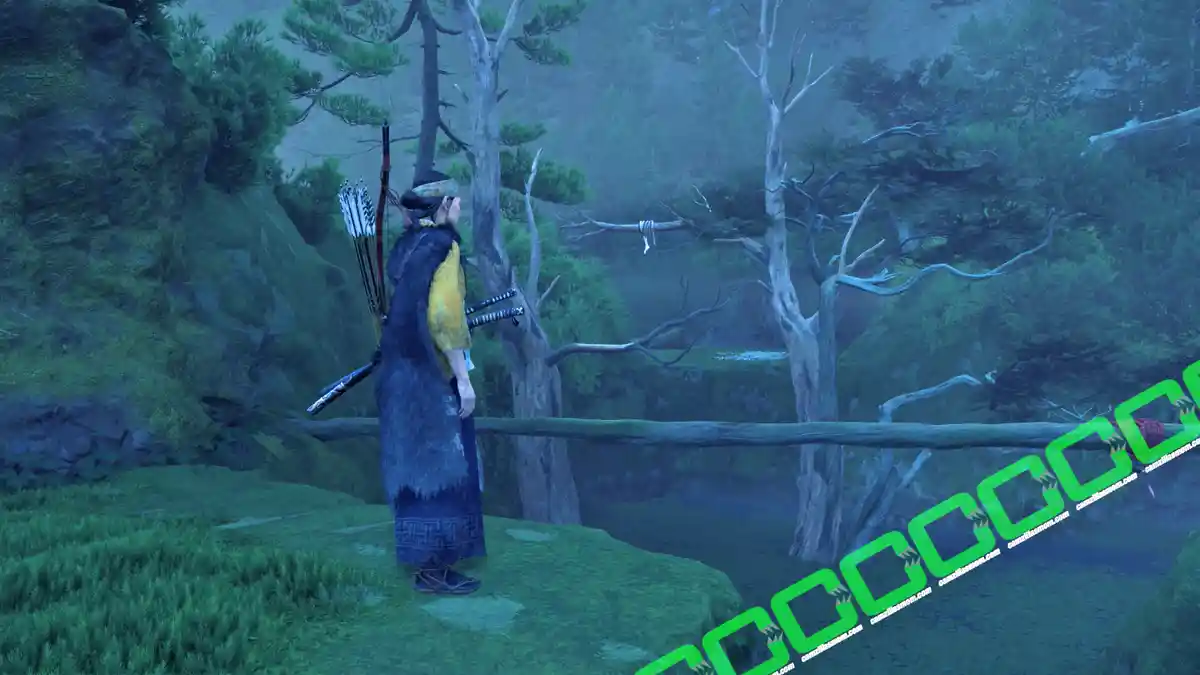
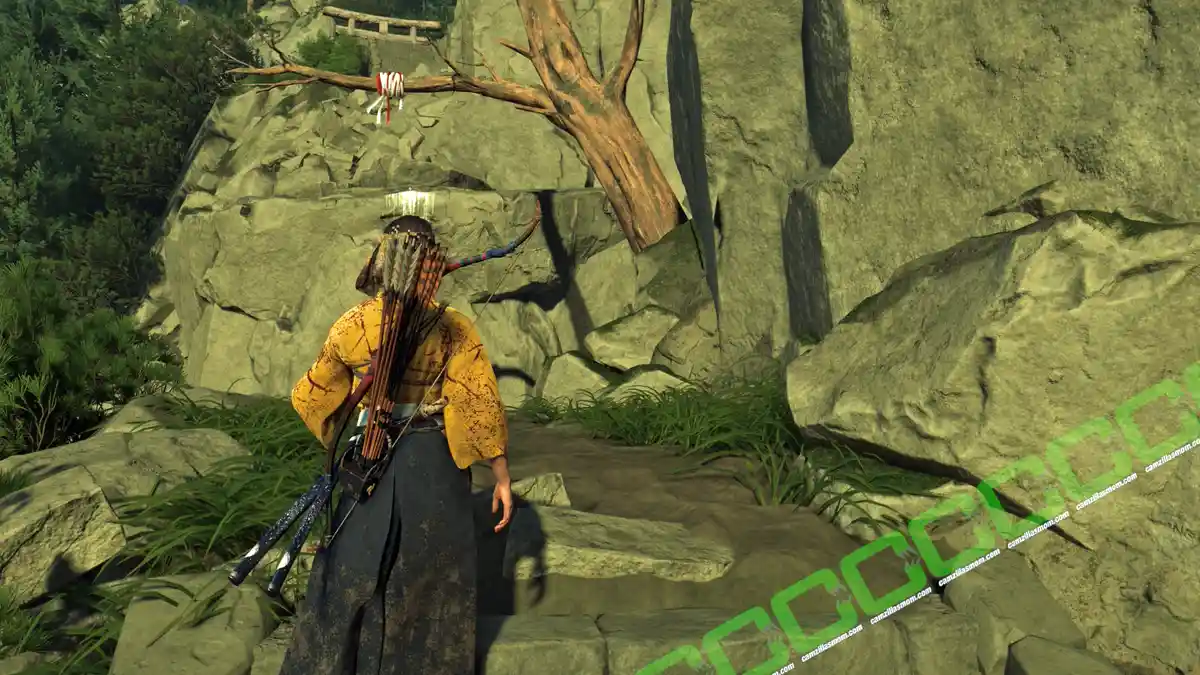
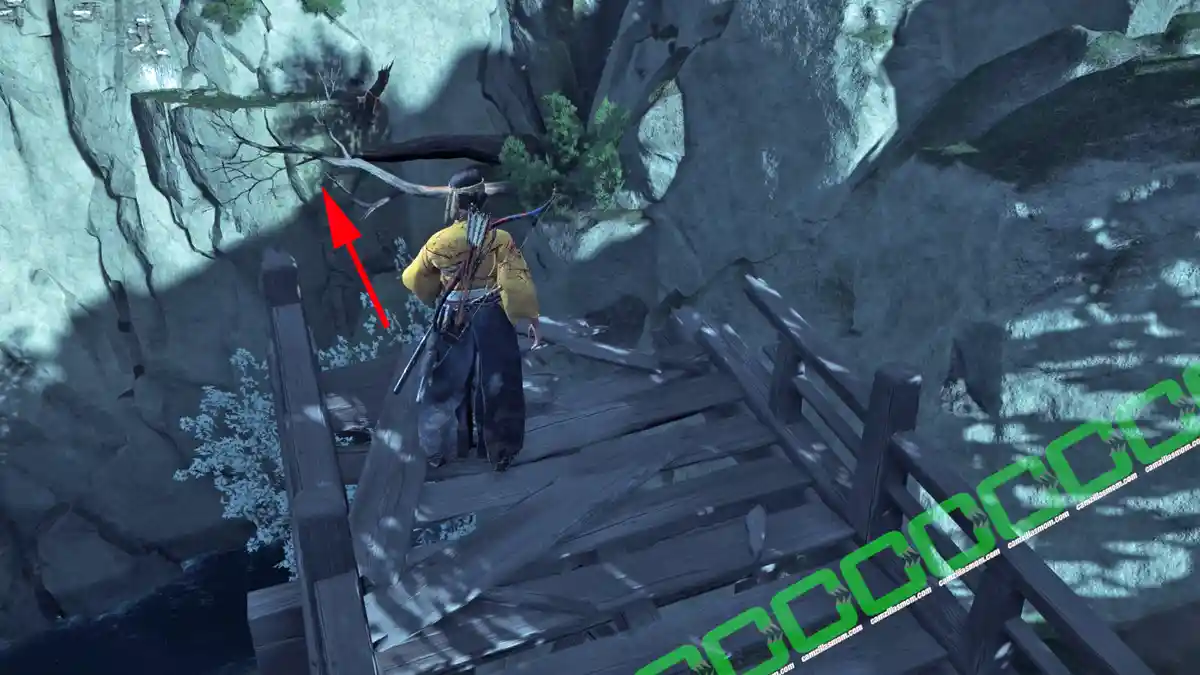
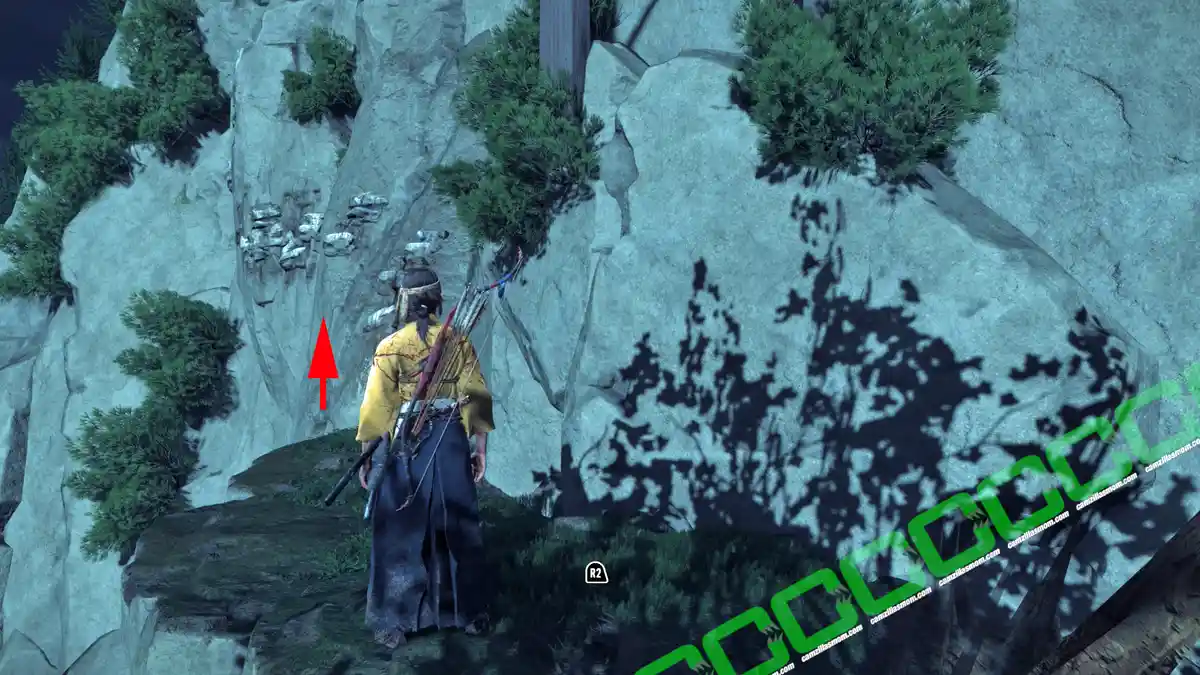
Climb up the wall shown in the screenshot above and follow the path to the north to face a group of bounty hunters. The wooden bridge to the shrine is burnt. Look for a grapple point to the left, where you can use another grapple on the other side to reach the other side of the bridge. Here you can help Jubei cross.
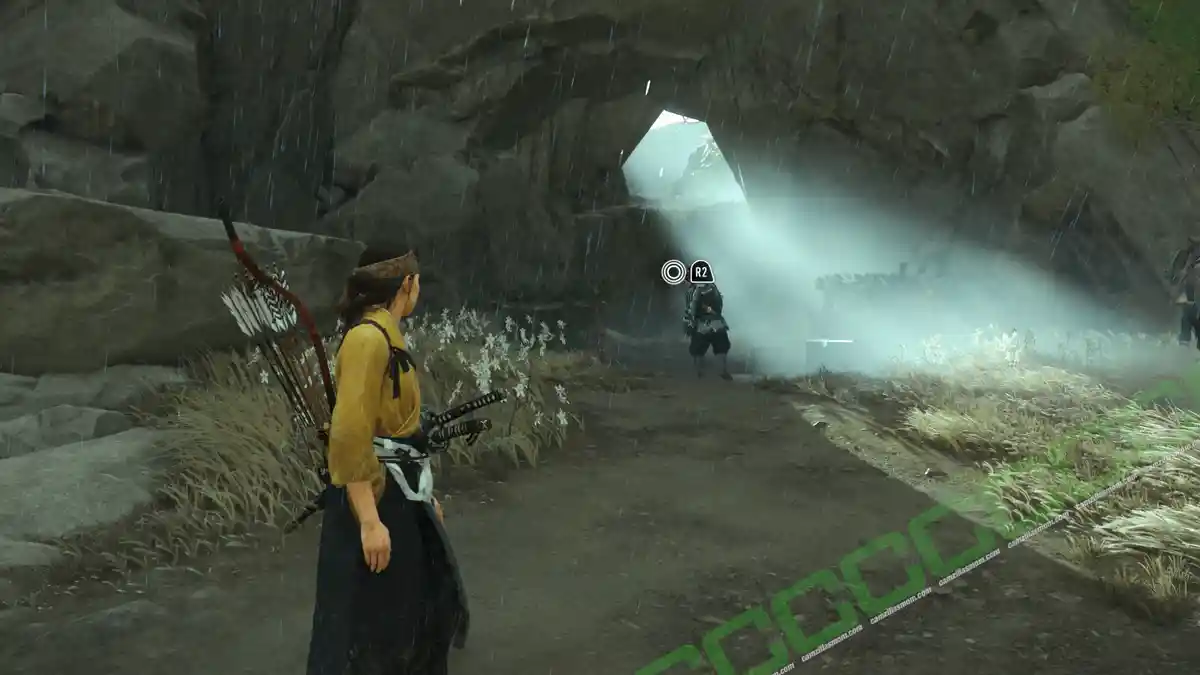
The path leads into a cave with a barrier. Pull the barrier off the passage and go through it. After the fall, go through the only tunnel to the outside, where you can grapple to a wall to the left. Ascend from there to meet up with Jubei again. Together, climb up to the shrine.
Reward:
Charm of Hachiman
Sun’s Peak Shrine
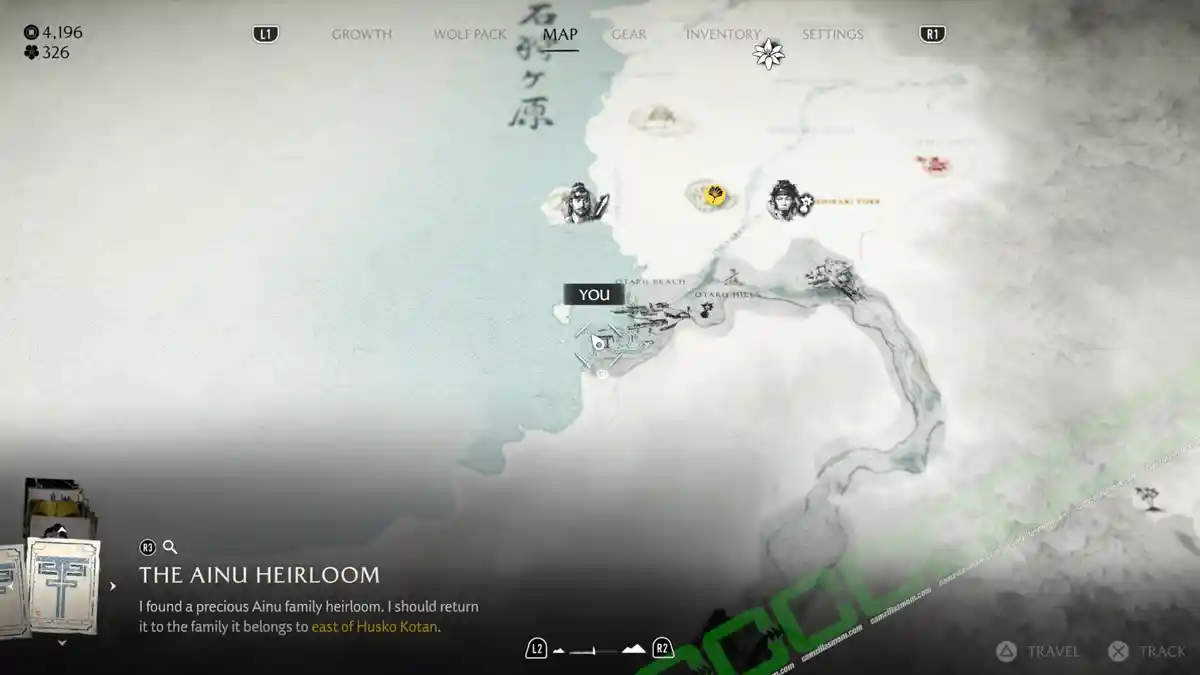
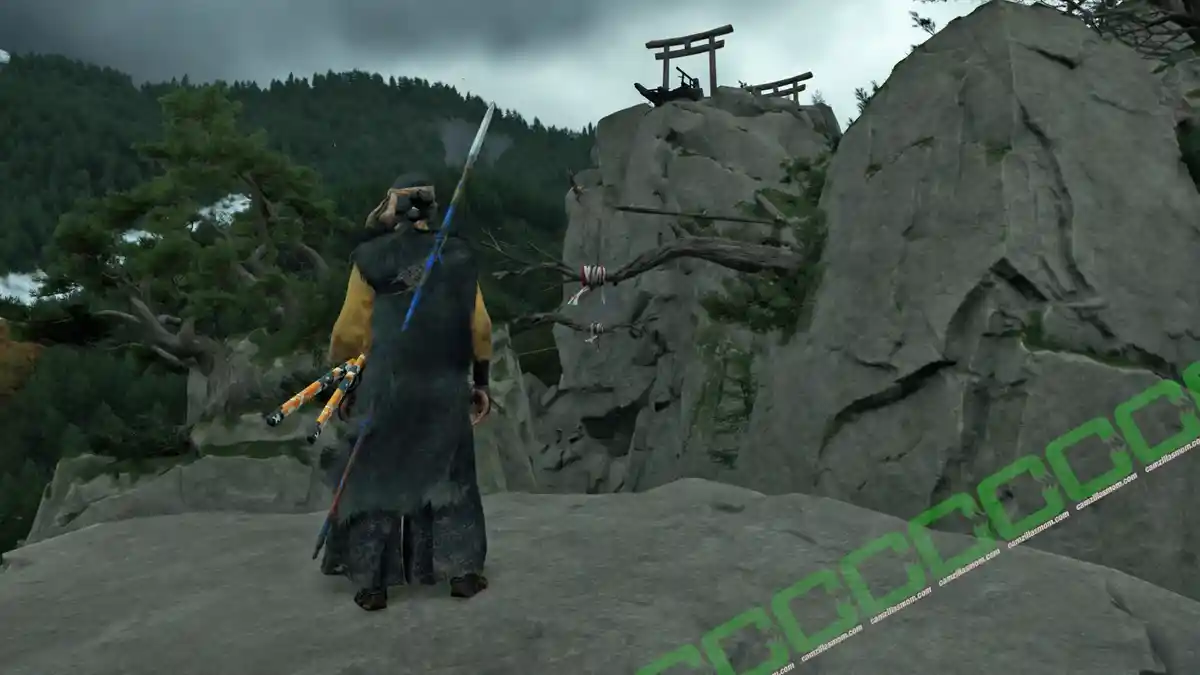
The Sun’s Peak Shrine starts at the southernmost tip of Otaru Beach at Ishikari Plain. The shrine itself is on the very top of the island in the sea ahead.
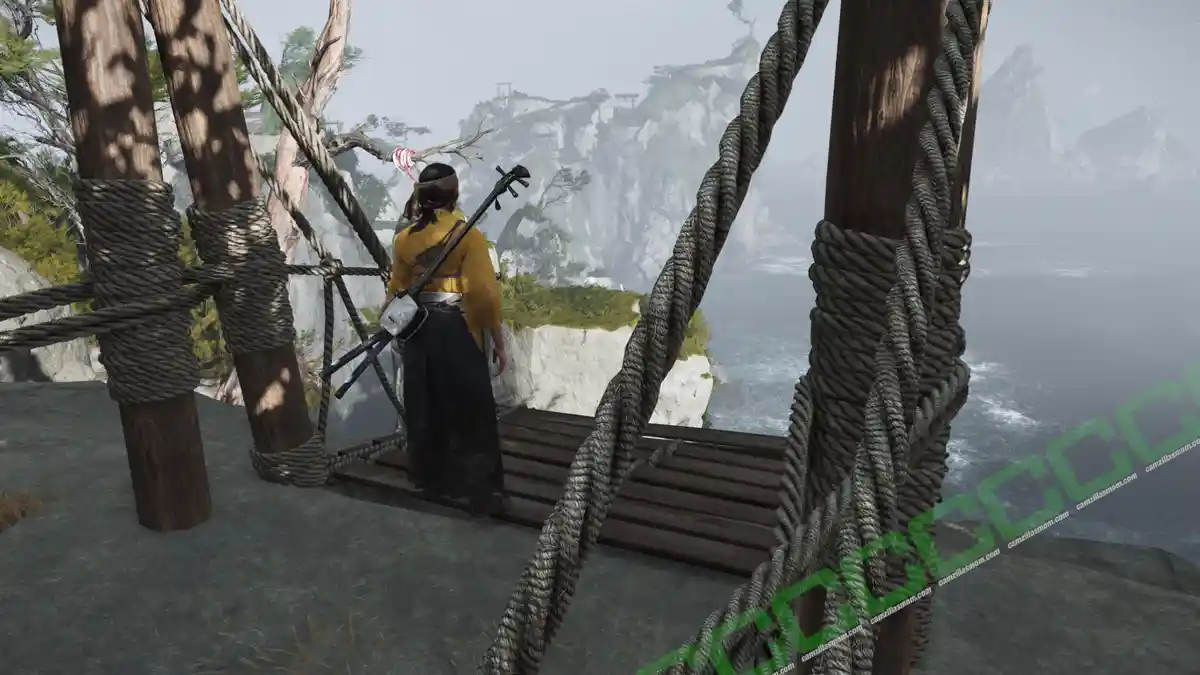
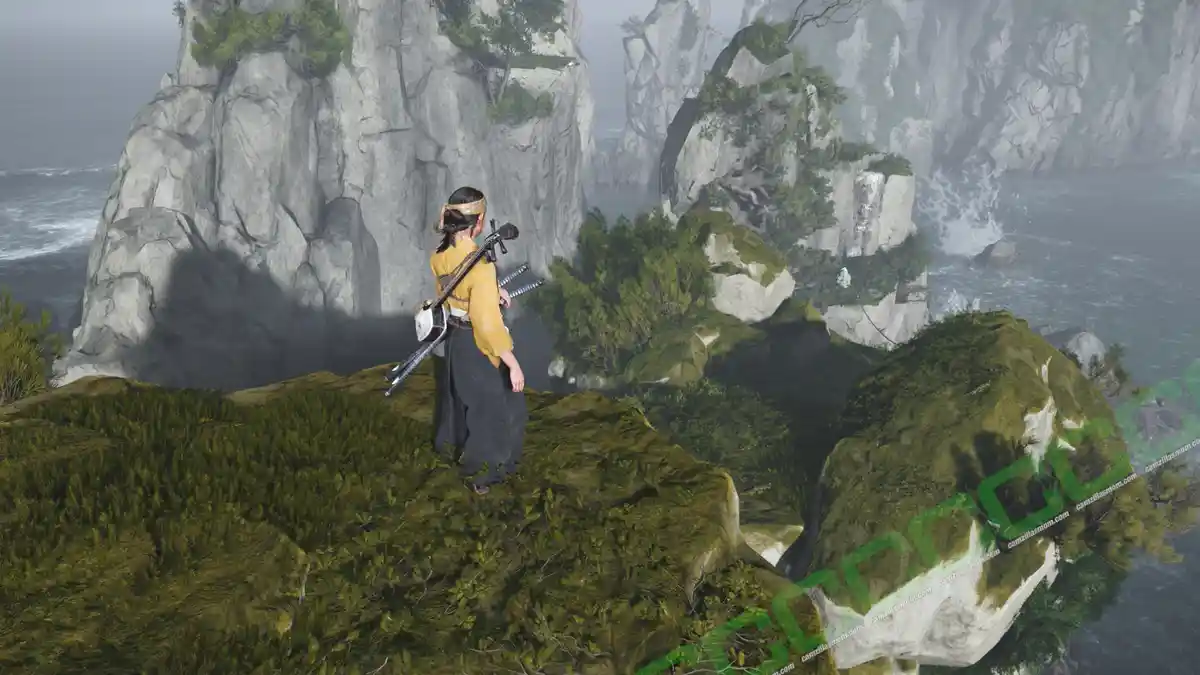
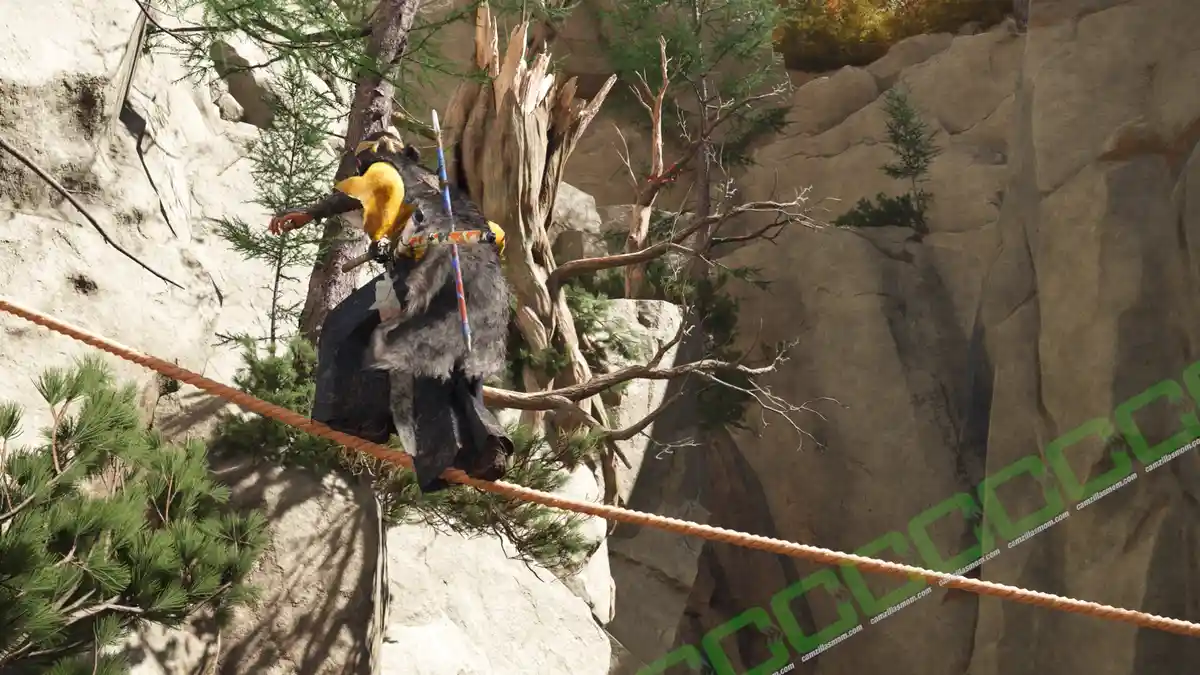
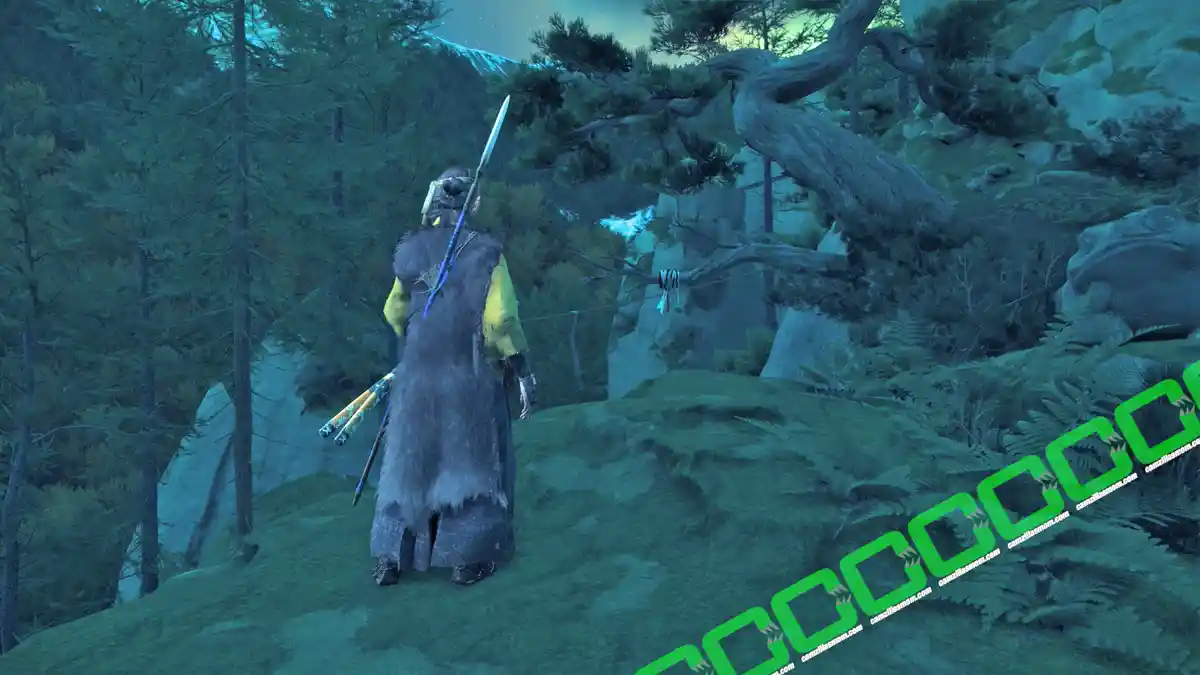
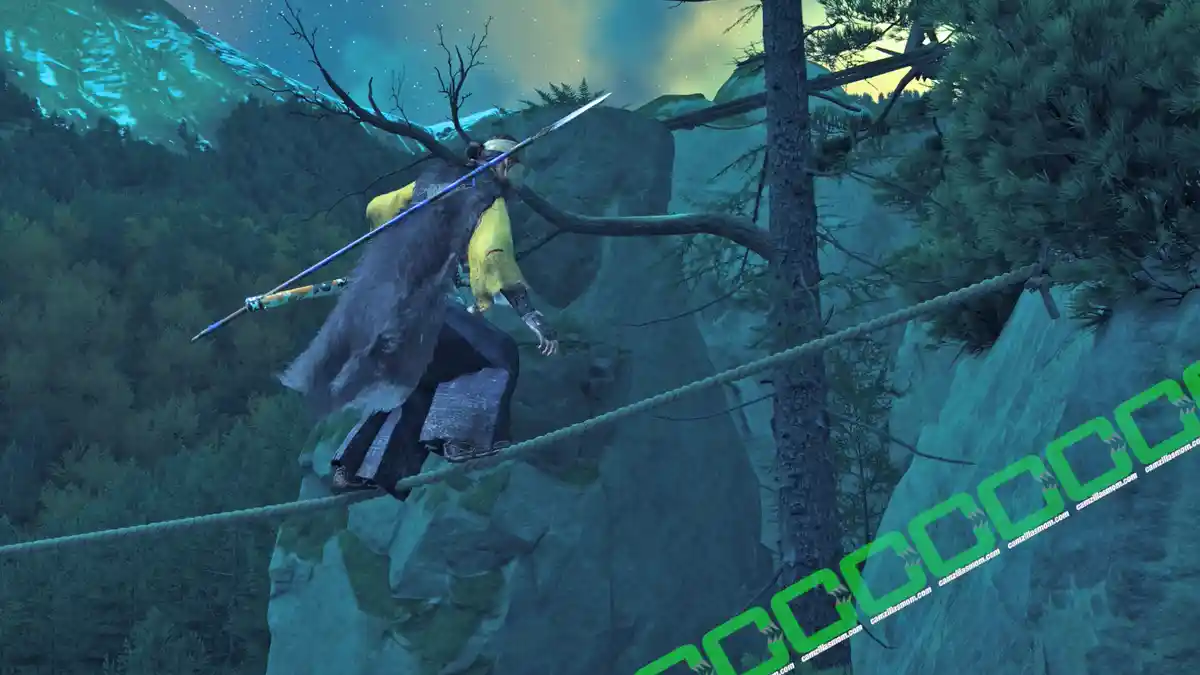
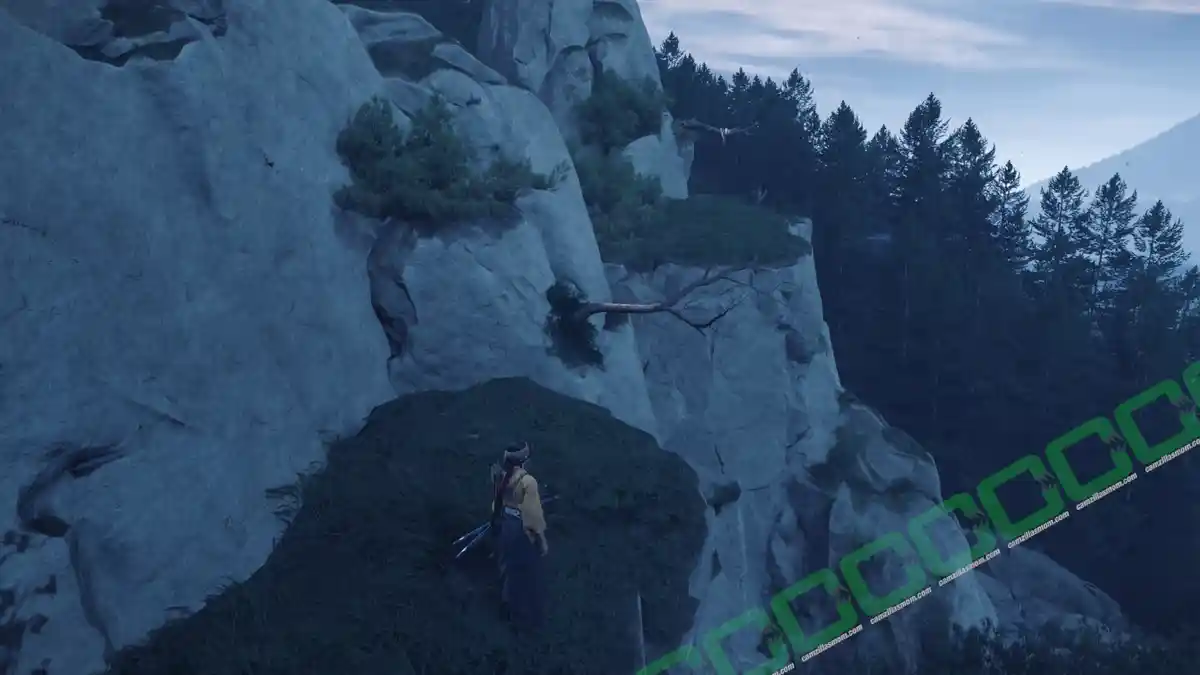
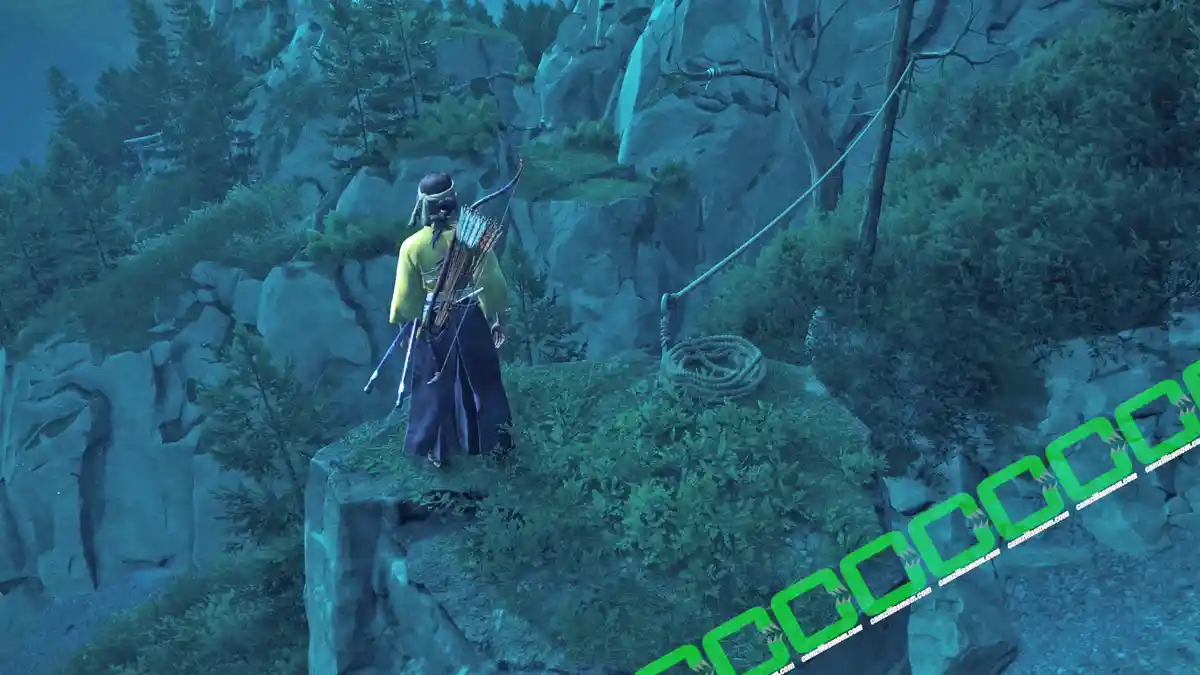
From the starting point, grapple across to the next rock, and from there to the next island. Here you can balance across using the rope, and climb further up at the other end.
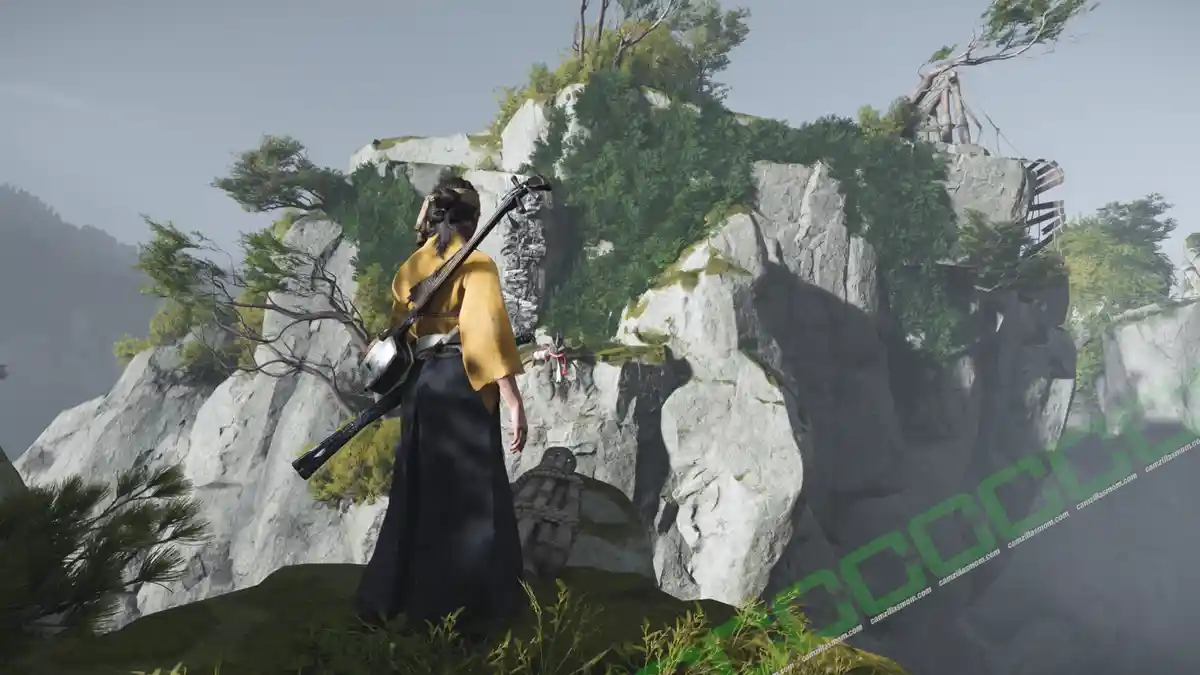
Next is a grapple and climb up to another broken bridge, where you can balance across using another rope. On the other side, squeeze through a gap to the left of the broken bridge above and use the branches and a grapple to get around the island.
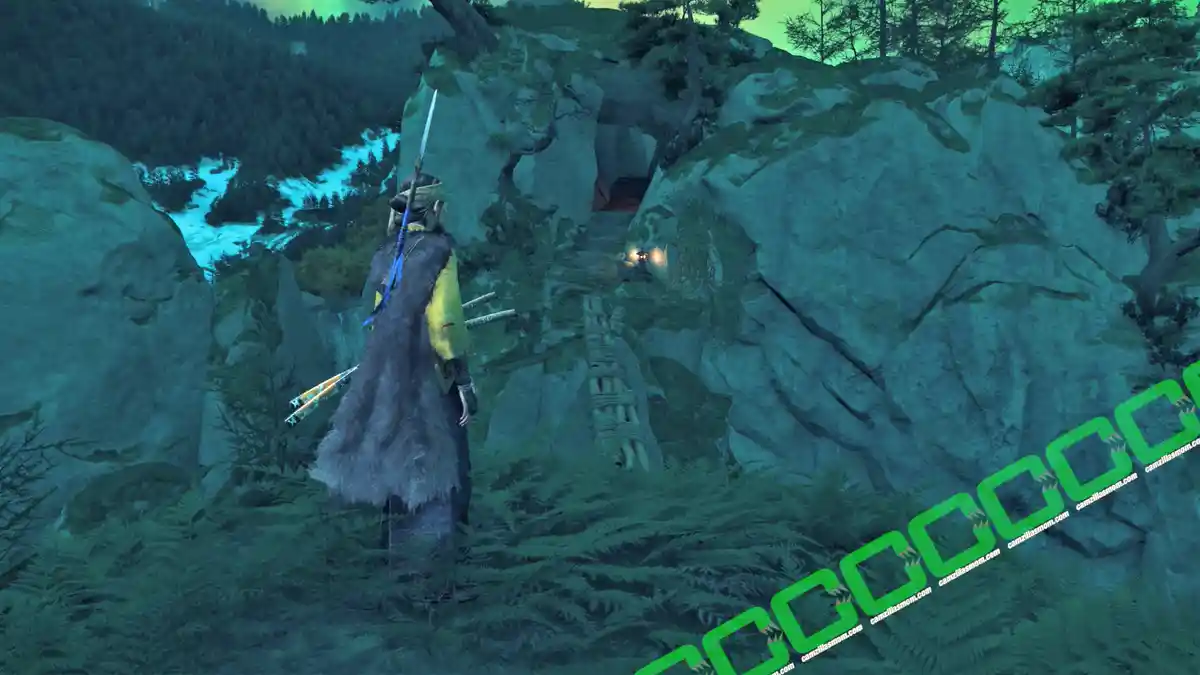
From here, you can cross over to the shrine island, where a longer climb follows, up to the shrine.
Rewards:
Charm of Izanagi
Winding Tears Shrine
The Winding Tears Shrine starts at the northeast of Ishikari Plain, by the river.
Cross the river across the bridge towards the north and follow the path. At the broken bridge, climb the wall to the right to get higher up. Use the branches to cross over the gap.
You will then be at a pool of waterfalls. There is a bamboo bridge you need to cross first. Use the grapple to get there. Then use some more grapples and a climbable wall to reach a rope that gets you to the other side.
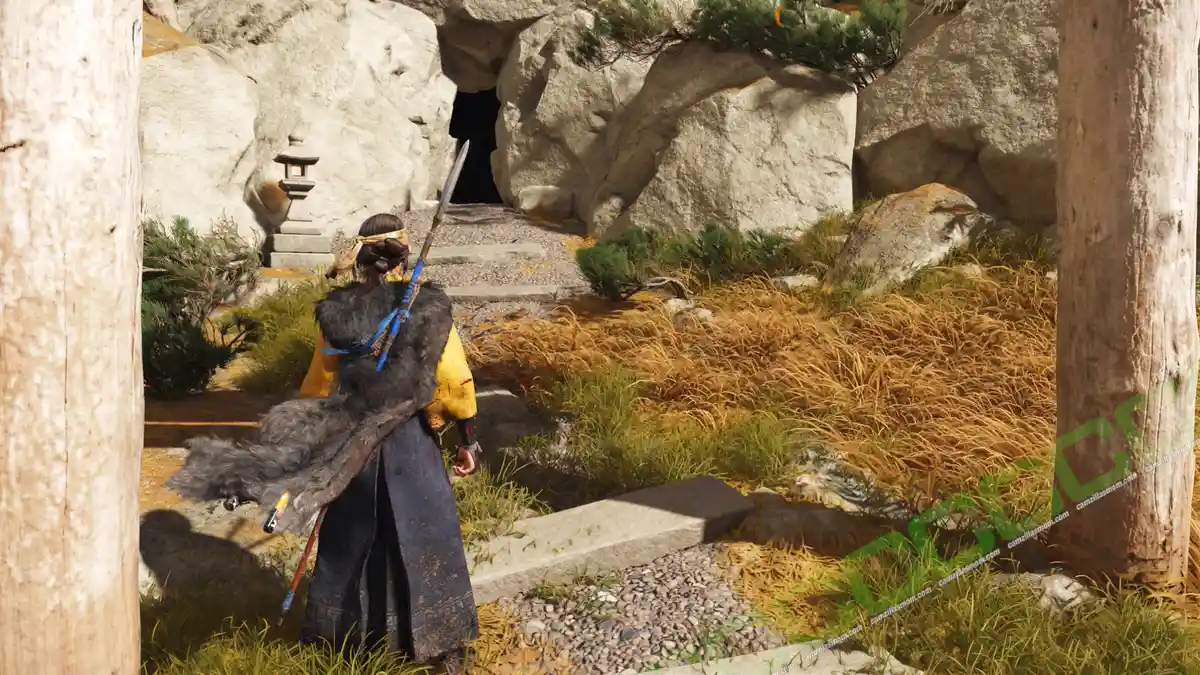
Climb the wall here to find a cave entrance at the top. Squeeze into the cave and pass through it. You will see the shrine at the exit. Head to the right past the waterfall and grapple over to a small tunnel that takes you to another waterfall.
Pass behind the waterfall, where you can grapple over the water. Next is a gravel slide, where you can see the shrine ahead. Slide down and grapple at the bottom. Follow the path. A last grapple will take you to the final ascent.
Rewards:
Charm of Homusubi
Nayoro Wilds
Patient Frost Shrine
The Patient Frost Shrine starts in the Iwor Mountains north of Husko Kotan in the Nayoro Wilds.
Follow the path and use the log to cross over with a grapple point at its end. Next is a stretch with a grapple and a branch leading to a ledge at the other side of the valley. From there, climb to the top.
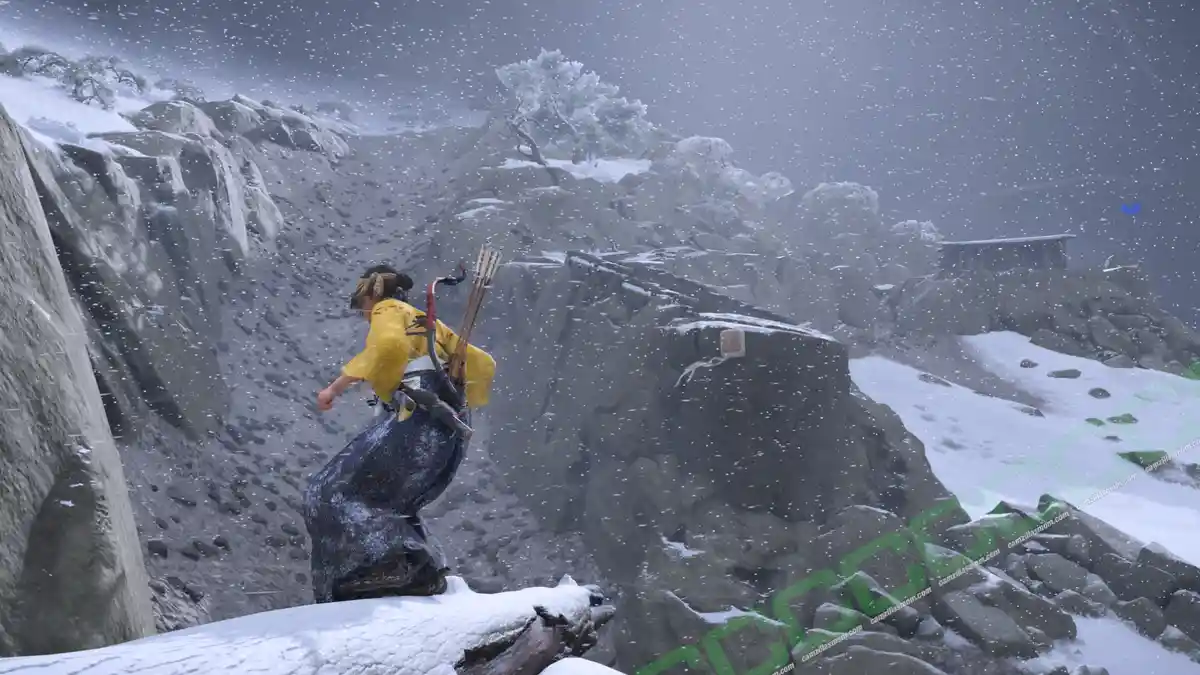
At the top, follow the path to the next grapple point. Cross the bridge, which will lead to a broken bridge you can grapple across. The bridge will collapse, sending you down a gravel slide. At the end of the slide, grapple up. Cross through the nearby cave and climb the center pillar to get back outside. You’ll come out just past the broken bridge.
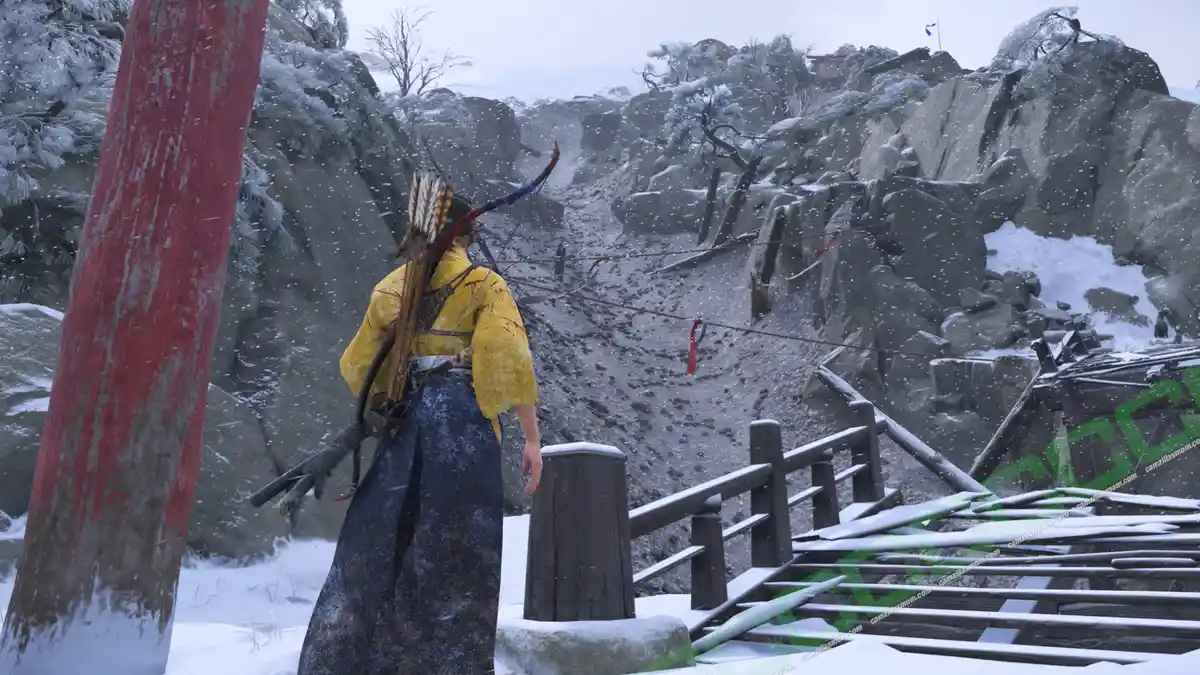
Follow the path upward and cross a log to reach a grapple point. Climb up and crawl through the cave ahead. Continue along the snowy path until you reach a broken bridge. Use your grapple to swing across below it, then climb up the other side to find another cave. Use your grapple to pull the cave entrance open and go inside. At the end of the cave, just follow the stairs up to the shrine.
Rewards:
Charm of Yamatotakeru
Oshima Coast
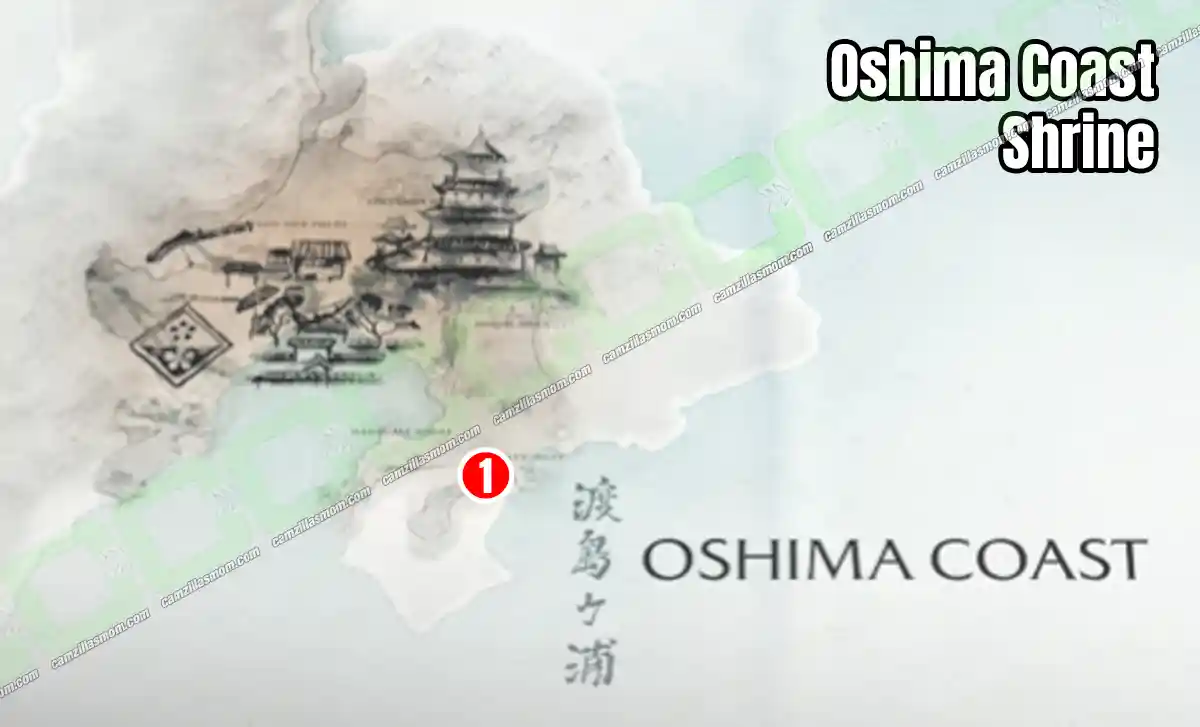
Budding Grace Shrine
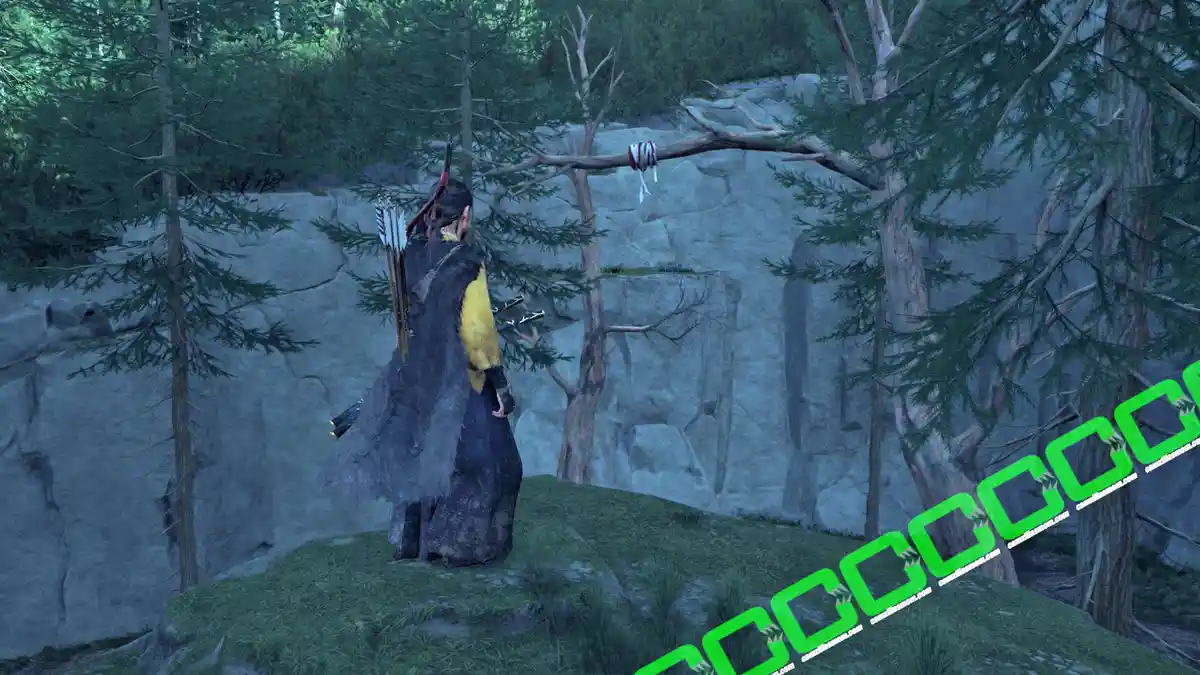
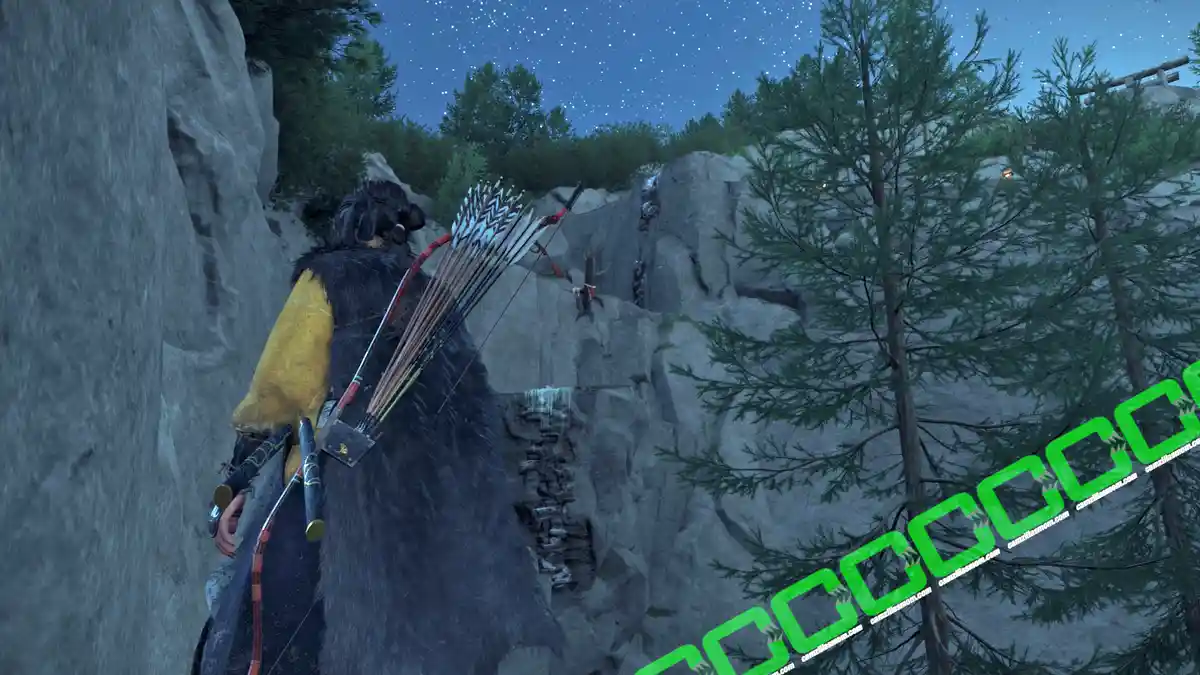
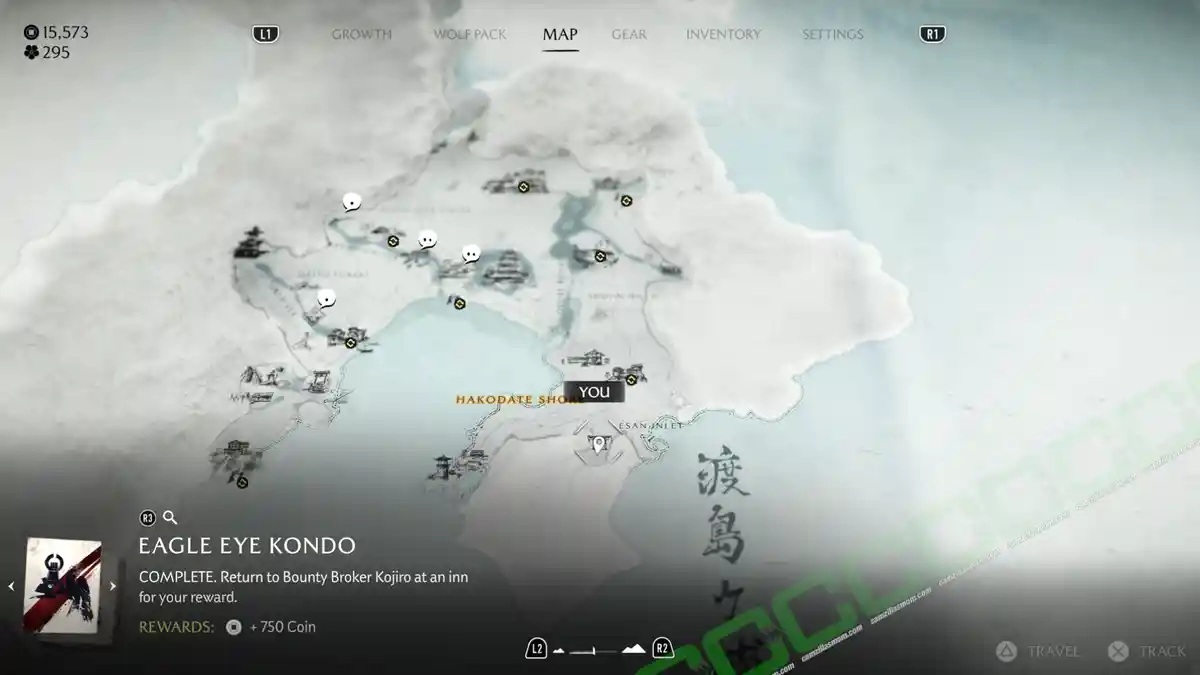
The Budding Grace Shrine is in the southwest of Oshima Coast, near Esan Inlet.
Follow the path until it ends. Cross over to the right and climb up the walls until you reach the shrine path again.
At the broken bridge, slide down the gravel slide and follow the parkour path at the base to reach the next stretch.
You will reach a small pond with a barricaded cave at its end. Pull it open with the grapple and enter. At the other end is another gravel slide with two visible grapple points. Cross over and find a gap in a wall. Squeeze through to find the next parkour challenge at the other end. A grapple and a rope.
Get to the top of this little hill and jump over to a climbable wall. One last parkour crossing before reaching the shrine.
Reward:
Charm of Takemikazuchi
Teshio Ridge
1 – Chilled Peak Shrine
2 – Enduring Hold Shrine
Chilled Peak Shrine
The Chilled Peak Shrine is in the northwest of Teshio Ridge. The entrance is destroyed. Use the gap in the wall to start the climb.
After squeezing through you will see the shrine on the top of the mountain and a climb leading to a shrine gate. Reach this gate to find another gap to squeeze through that will fast-travel you higher up.
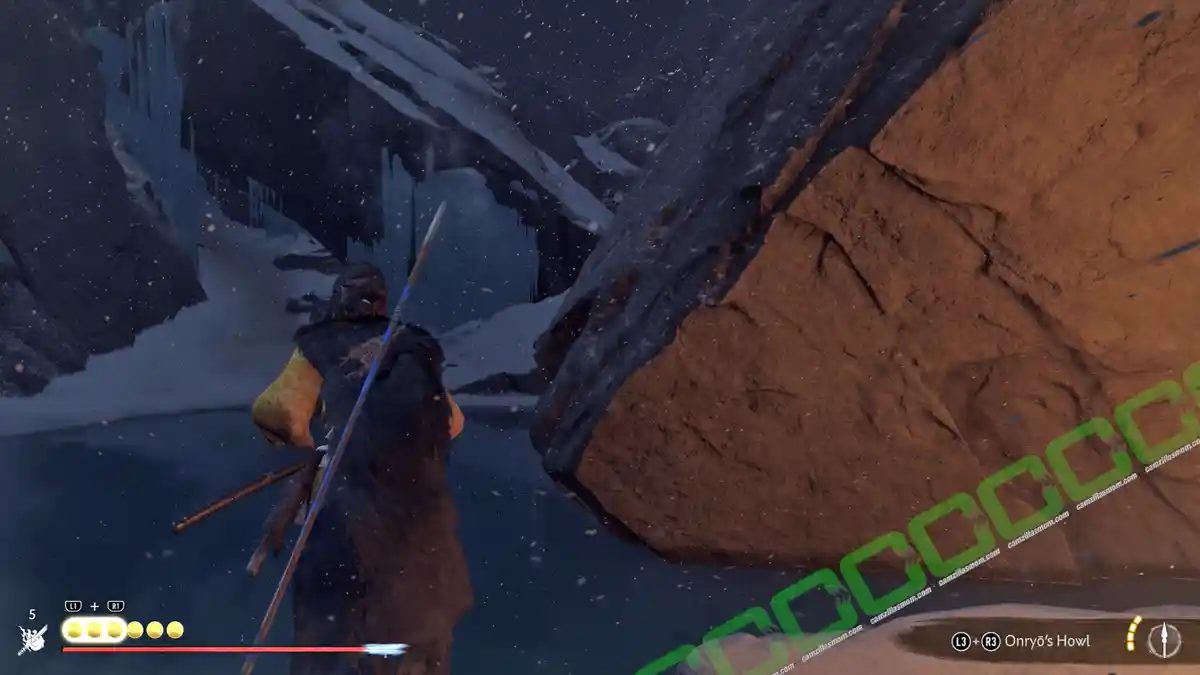
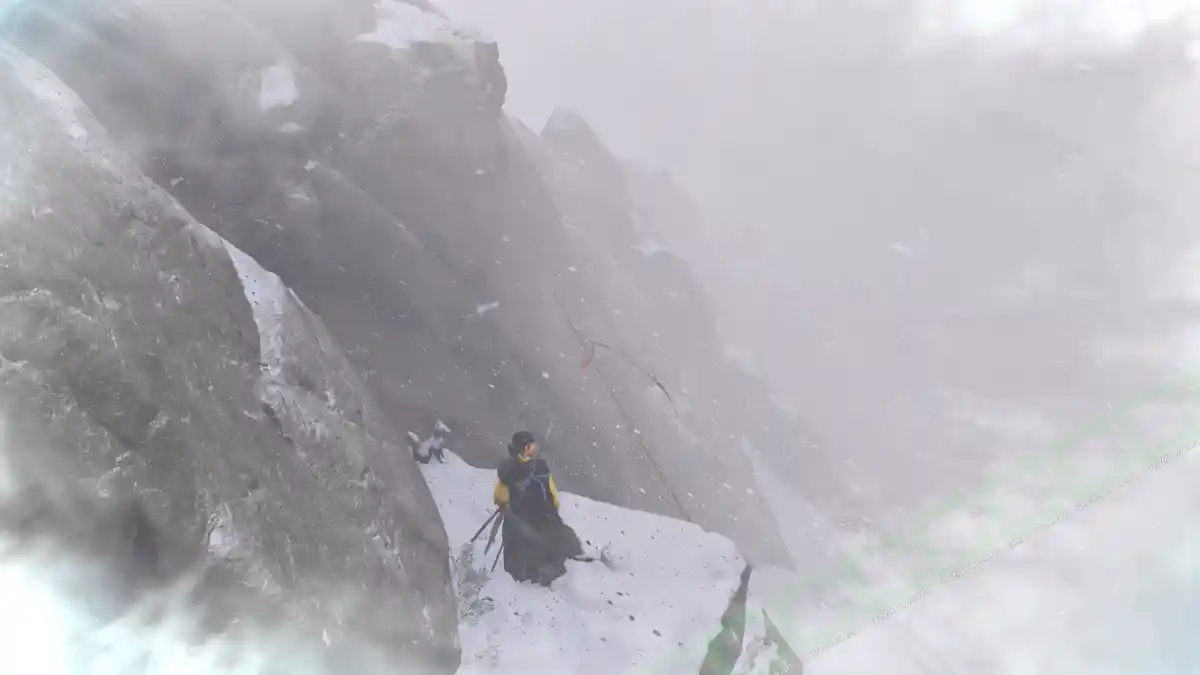
On the other side is a snowstorm. So you have to rush between the campfires on the way, where you can warm up. The lanterns will guide you to the top. Once you reach the frozen lake, head south to another campfire. From here, you can reach the Reliquary of Compassion.
Return to the previous fire on the lake and follow the shrine gate steps upwards. Follow the light to another campfire and a gap in the wall. Don’t follow the gap. Instead, head west into a cave. Climb to the top at the end and keep climbing up using the grapples and the rope.
After the rope, keep climbing and you will find a campfire at the top. Then squeeze through a gap in the wall to finally arrive at the shrine. – A very pretty one.
Reward:
Charm of Sukunahikona.
Enduring Hold Shrine
This shrine starts at the center of Teshio Ridge, east of Sarobetsu Lake.
Follow the path up the hill until you reach the first abyss. Cross it by grappling over to the right side. The path continues there, ending at a gravel slide. Slide down and use the grapple at the bottom. Remember to jump before grappling. Climb up the mountain wall at the end of the gravel slide to reach the rope crossing.
Next is another gravel slide. At the bottom of it, look for a gap in the wall and squeeze through. Follow the parkour path at the other end. You can already see the next rope crossing in the distance.
There are two ropes. Use them to advance and reach the third gravel slide. Continue to squeeze through a gap in the wall to reach another rope.
Look up to the mountain to see the path ahead. You can already spot the shrine. When you reach the frozen pond, follow the water to the right to find a hidden chest. Return to the pond and squeeze through the gap at the far end.
You will reach a building after the squeeze, where you can squeeze into a cave right next to the structure. Climb up the wall in the cave to reach a second building, where you can grapple across the abyss to the nearby steps. Keep following this path until you’ve reached the shrine.
Reward:
Charm of Masaka
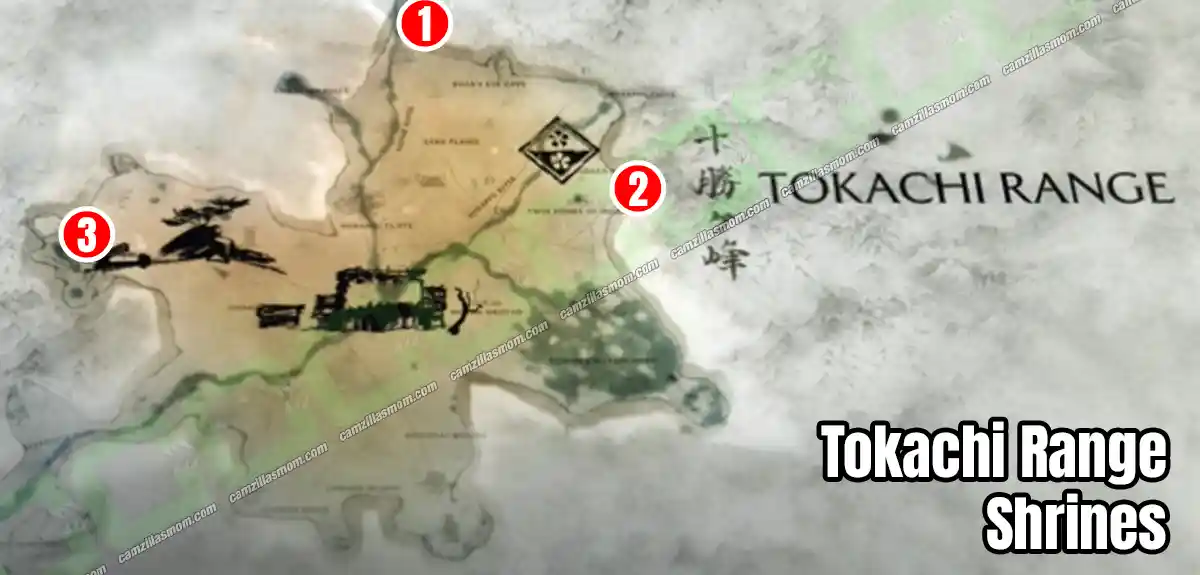
Tokachi Range
1 – Risen Fog Shrine
2 – Faithful Leap Shrine
3 – Amber Respite Shrine
Amber Respite Shrine
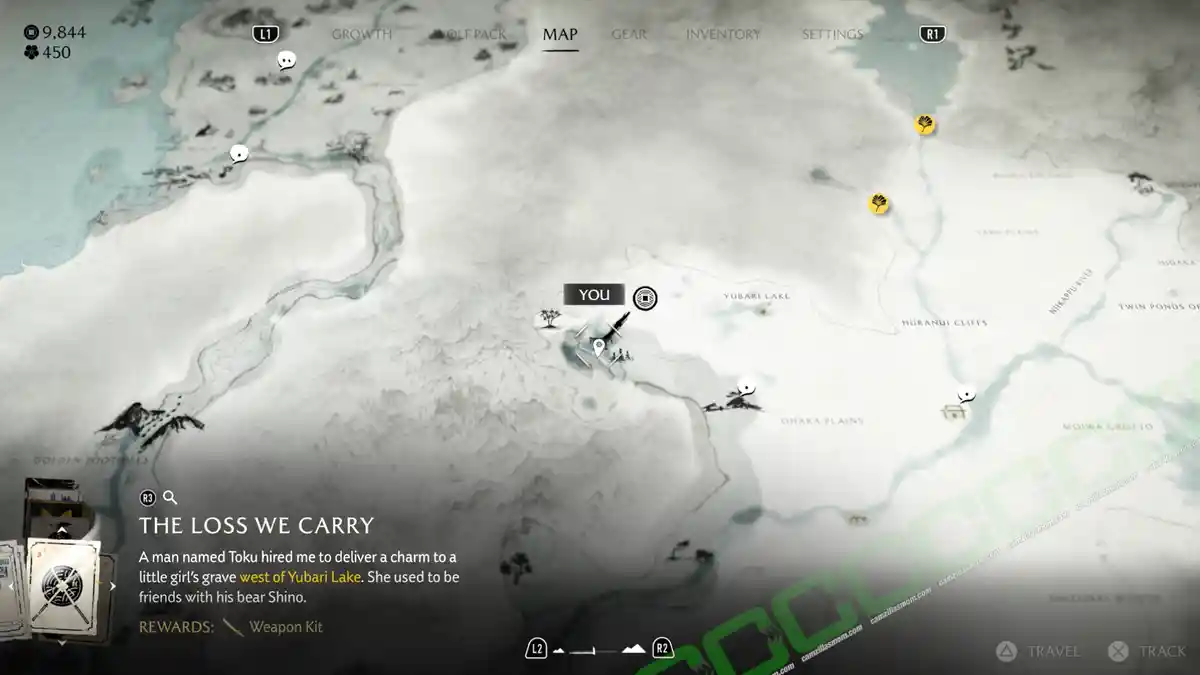
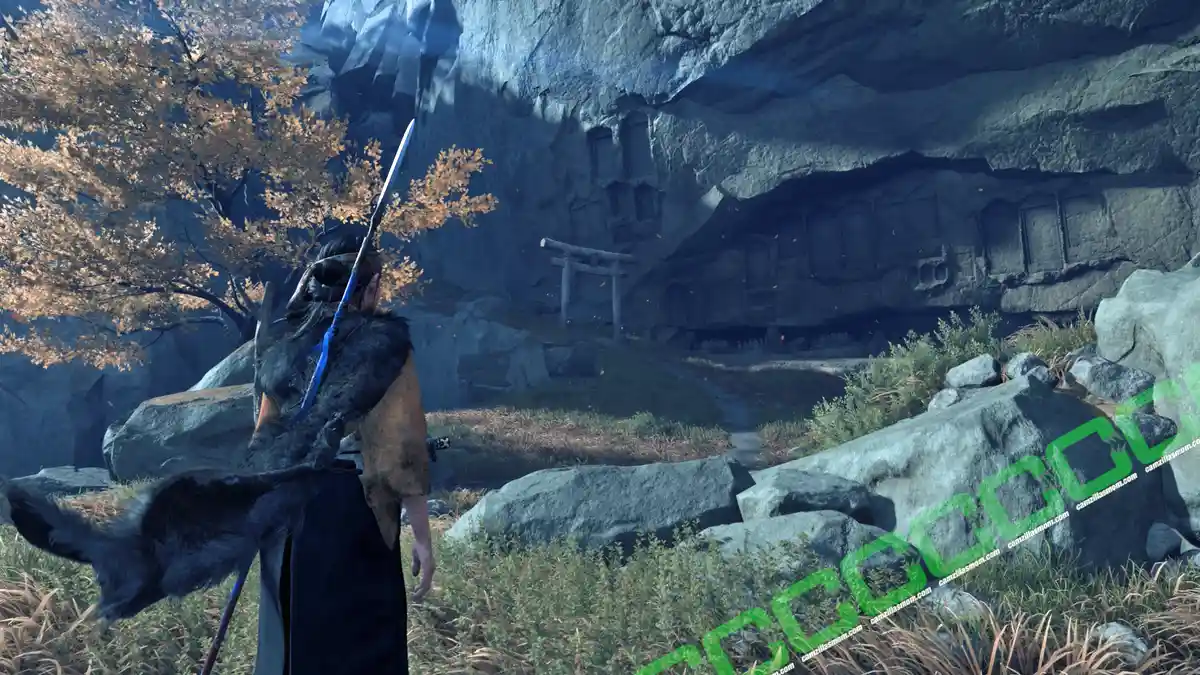
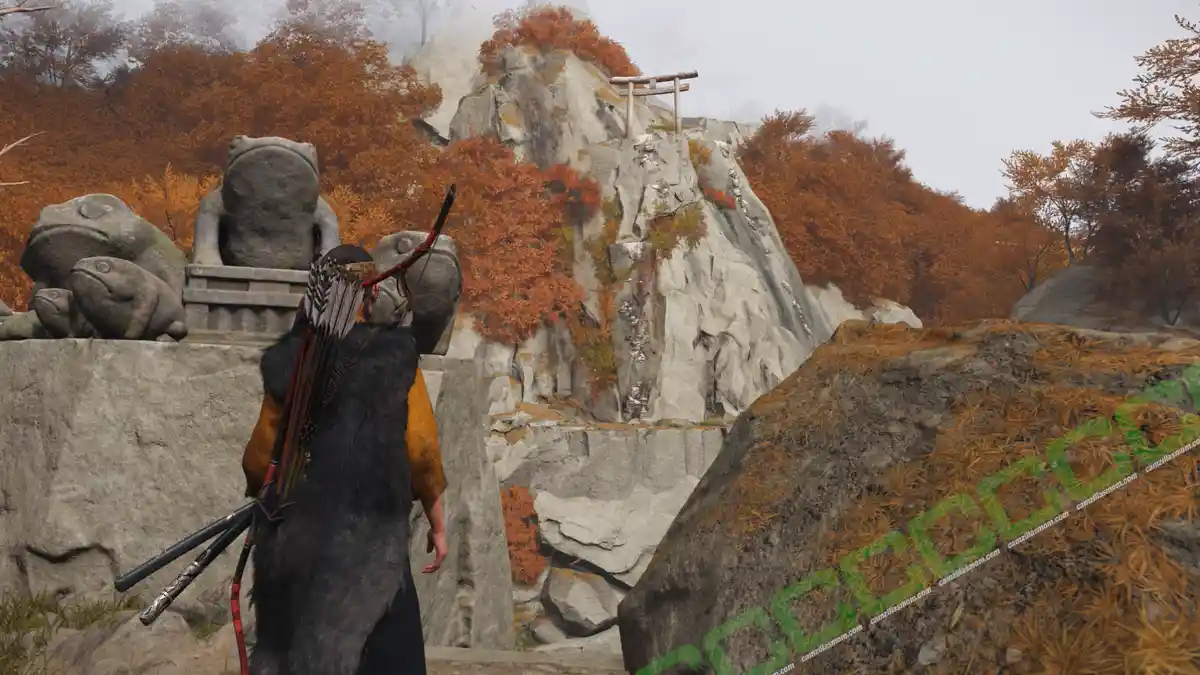
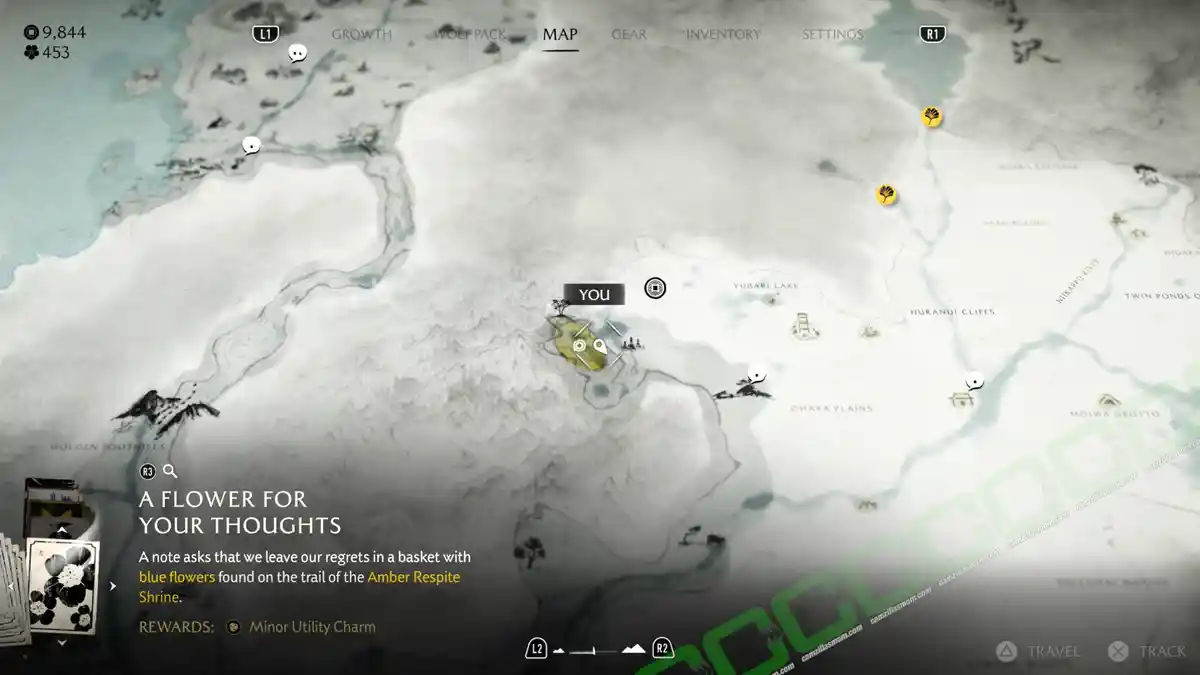
The Amber Respite Shrine is in the northwestern corner of the Tokachi Range. Look for a waterfall and a round statue to start the climb. At the starting location, there is also a message pinned on the tree. Reading it will start the mission: “A Flower for your thoughts”. Pick blue flowers while climbing the Shrine and leave them in the basket after.
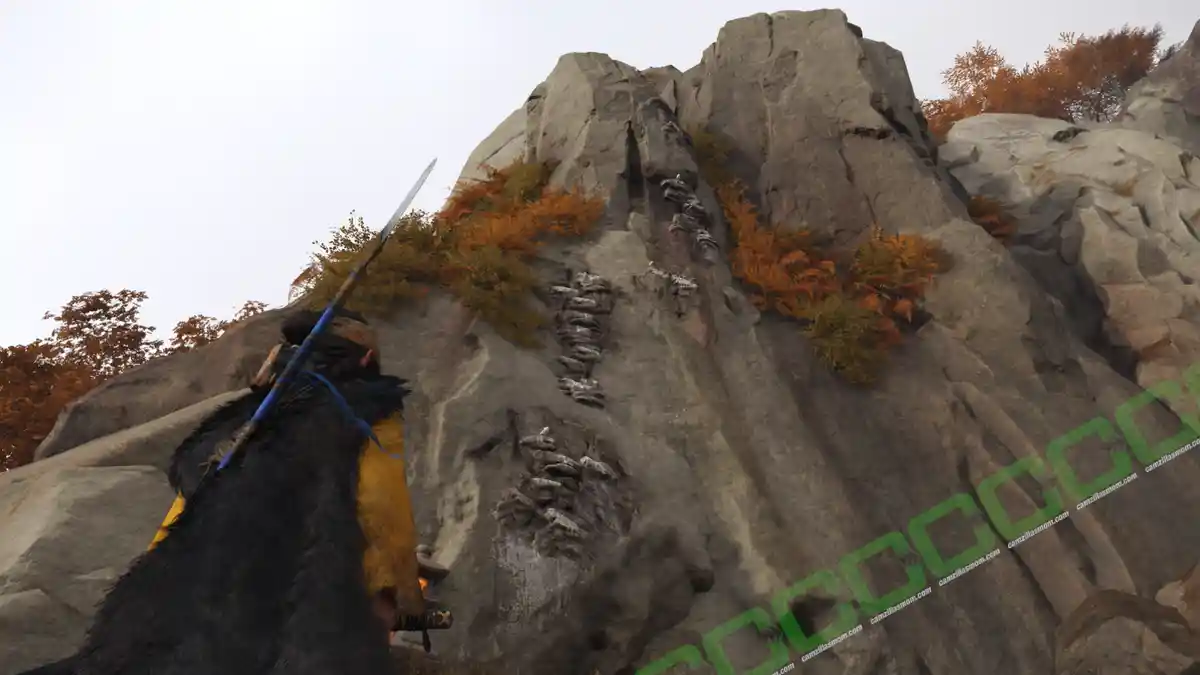
Follow the path ahead to climb a rocky wall up to the next stretch with a gap to squeeze through at the end. It leads to a vista and a cave entrance. Go through the cave and follow the path with the frog statues to another wall to climb.
At the top, you can follow the path again to a gap to squeeze through and an abyss to jump over to reach the shrine’s stairs. Another jump and some more climbing follow near a small pond, where you can actually choose your path.
At the next vista, you can see the shrine when looking up to the mountain. The last stretch starts with a slide down the gravel with a grapple at its end. Remember to jump to grapple.
Reward:
Charm of Masakado
All 3 Flowers of Forgiveness Locations
At the top of the shrine, don’t use the fast travel grapple. Instead, slide down to the left to reach the pond below, where you can find a flower on the left-hand side.
The second flower is in the same pond area as the previous one, just at the other side, near the waterfall.
The third and last flower is also here at the pool, where the water exits the pond. Return to the basket at the start of the shrine climb to receive a charm.
Reward:
Charm of Lingering Affliction
Faithfull Leap Shrine
You can find the Faithfull Leap Shrine in the Hidaka Grove, located in the eastern part of the Tokachi Range. From the starting point, just follow the winding path uphill.
At the broken bridge, proceed on foot and use the grapple to pull down a branch, allowing you to cross to the other side. From there, use a double grapple to reach the top. Once at the top, jump toward the horizontal rope and grapple onto it to get on it.
On the rope, go to the left and look up for the branches you need to ascend further. You will have to pull down another branch further up to climb higher. Cross over a bamboo bridge to reach a gap in the wall.
Go through the gap to move further up the mountain. Once you’re out, you’ll see a broken bridge ahead and a strange light to your right. The light marks the spot where you need to climb next. At the top, cross the abyss using a log bridge and continue uphill. Next, look for a grapple point on a branch.
Use the grapple and swing over to a rope to climb up to it. You can now jump on a branch to advance. From there, use the bamboo bridges to reach the last stretch.
Next, you can see the shrine at the top of the mountain. Follow the path and keep using those grapples, ropes, and bamboo bridges to get there.
Reward:
Charm of Futsunushi
Risen Fog Shrine
At Tokachi Range, head north to the Great Lake. Instead of taking the ferry in the story, head further north along the eastern shore to find the starting point for the Risen Fog Shrine.
Follow the broken bridge and the path, climbing up a log. A grapple to the other side follows, using tree branches and a climbable wall. Keep following the grapples, branches, and logs to a gravel slide area. Here, you have to cross a gravel slide using the pillar platform.
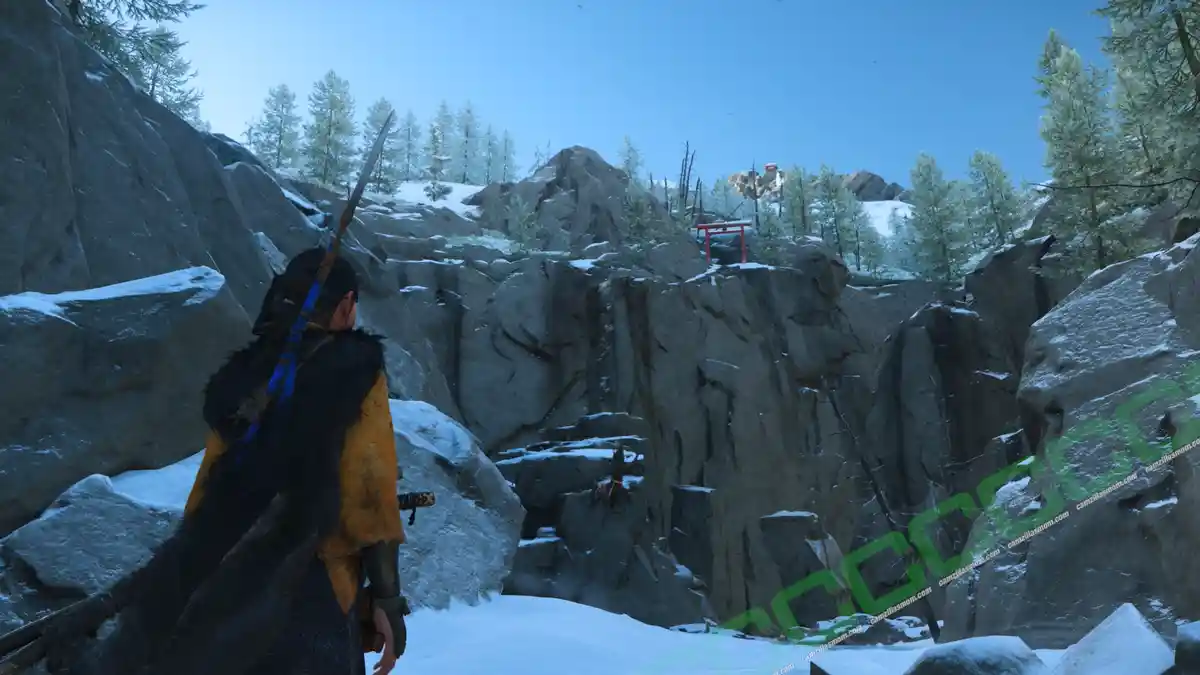
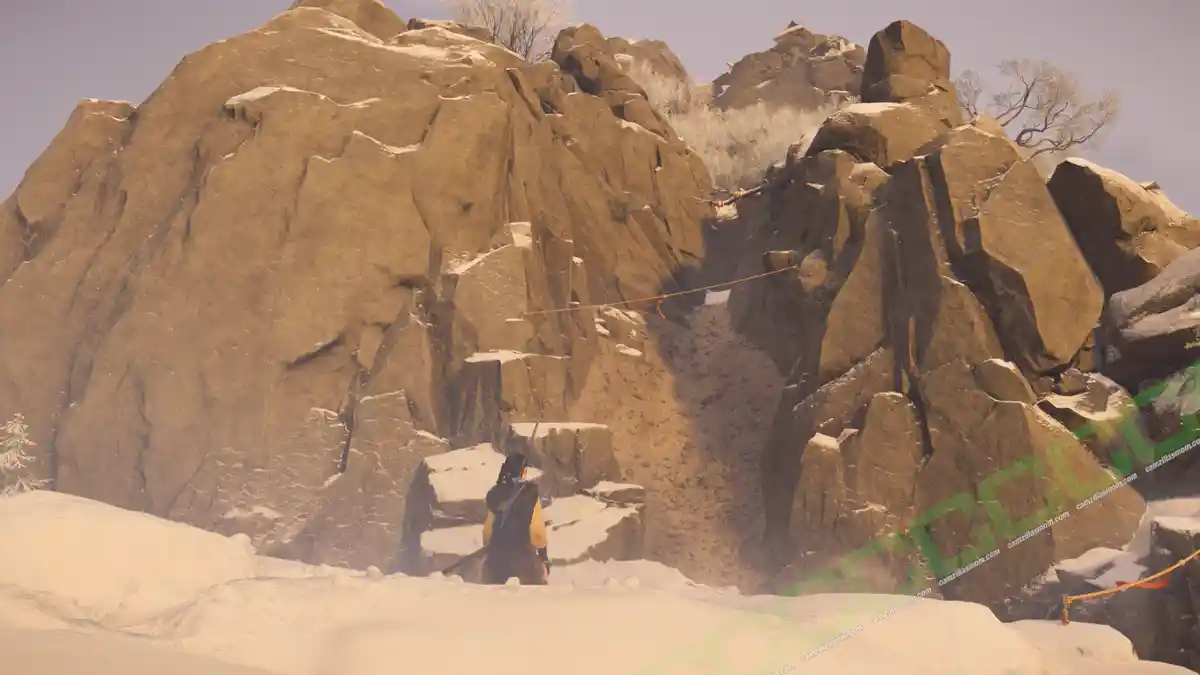
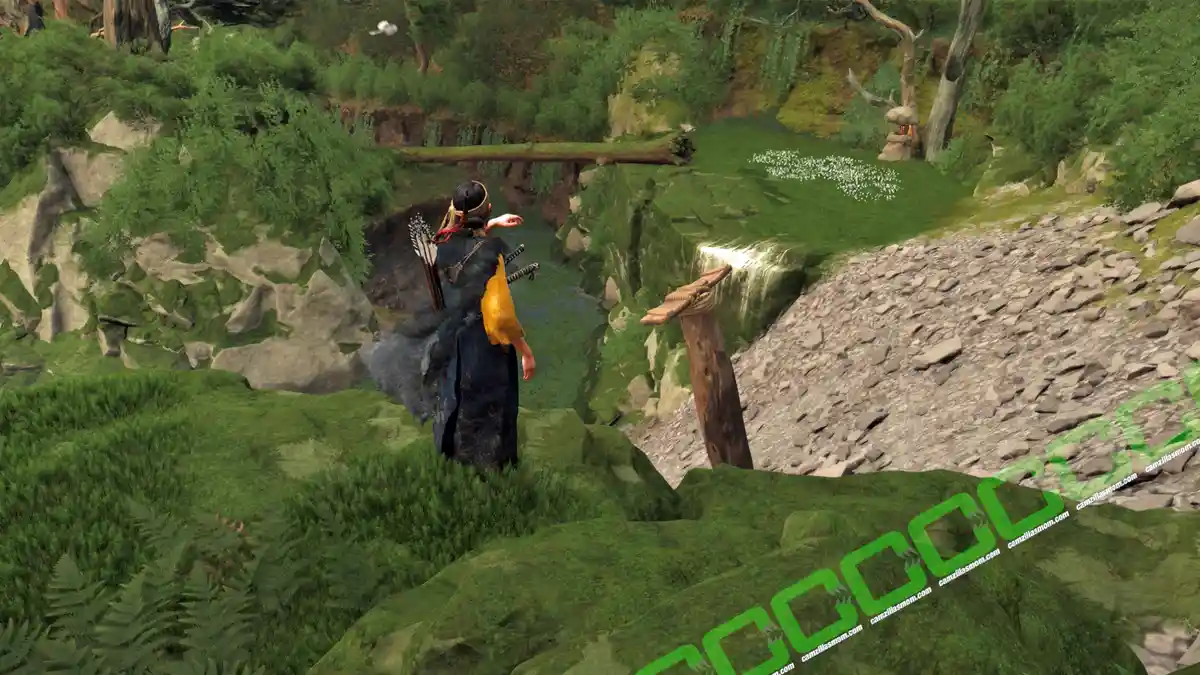
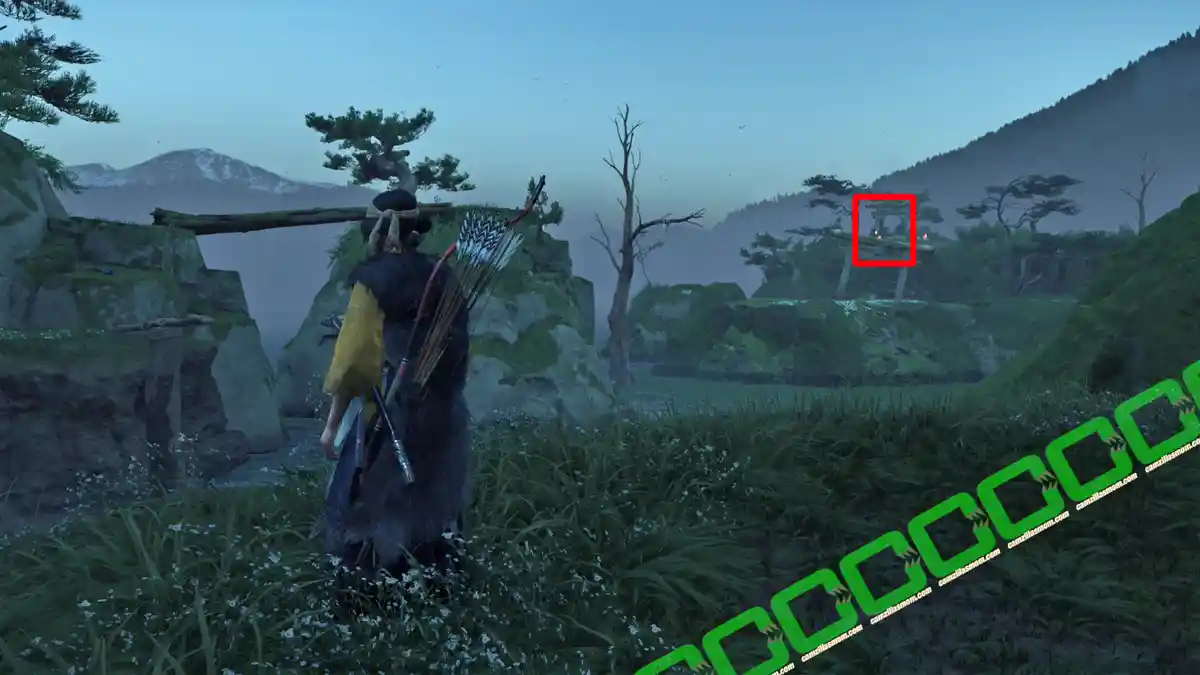
On the other side, cross over the abyss using the log shown in the screenshot above. This leads to a small area with a flower and a grapple. Use it to cross over to the other side, where you can squeeze through roots into a cave below a tall tree. Squeeze out at the other side, where you can already spot the shrine in the distance.
Below the shrine, pull a log down with the grapple to cross over, around to the other side. Here, you need to grapple and pull down a branch for the last part of the climb.
Rewards:
Charm of Kibitsuhiko
Yotei Grasslands
1 – Mount Yotei Shrine
2 – Blooming Ridge Shrine
3 – Fall’s Rest Shrine
Blooming Ridge Shrine
The Blooming Ridge Shrine is in the northeastern corner of the Yotei Grasslands, just south of Serpent’s Pass.
Follow the gates uphill, where you will have to grapple over an abyss. Then, follow the path to the right, jumping on a branch to advance.
Next, look up to your right, where you will see another grapple point above the grapple slide. This grapple will take you higher uphill. Follow the flower path into a cave, where you need to climb again to reach the upper exit. From there, keep climbing upwards, using branches, climbable walls, and grapples.
After a steep climb, you will see the shrine in the distance.
Reward:
Charm of Amenowahahiko
Fall’s Rest Shrine
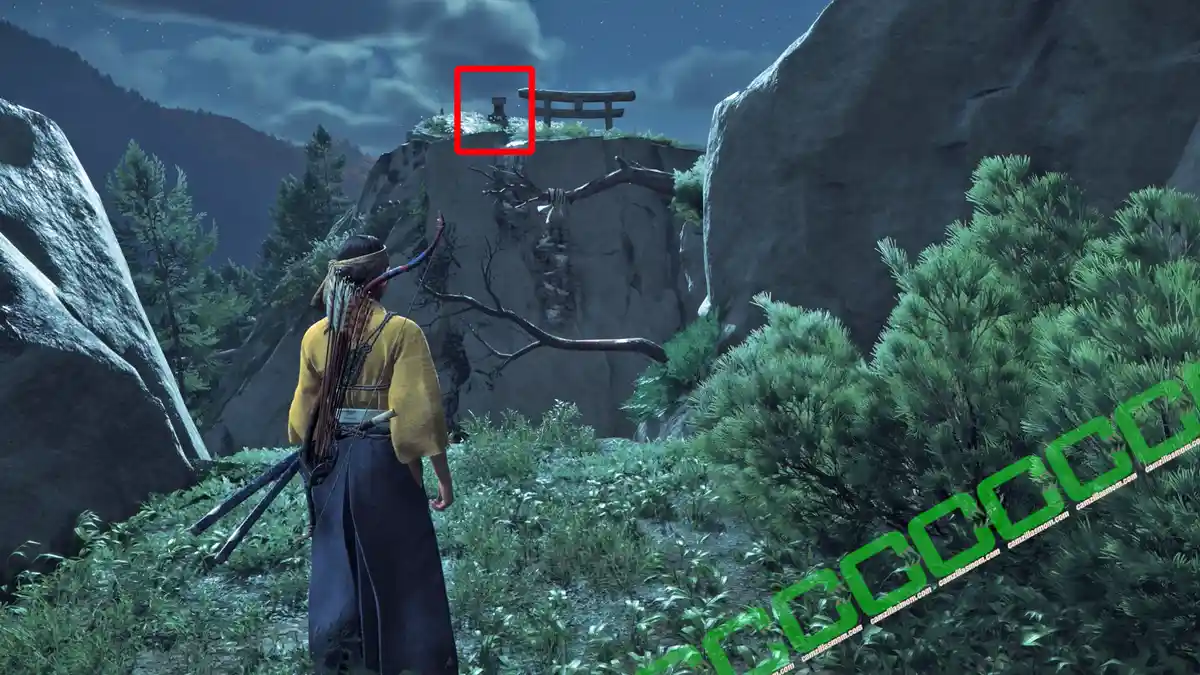
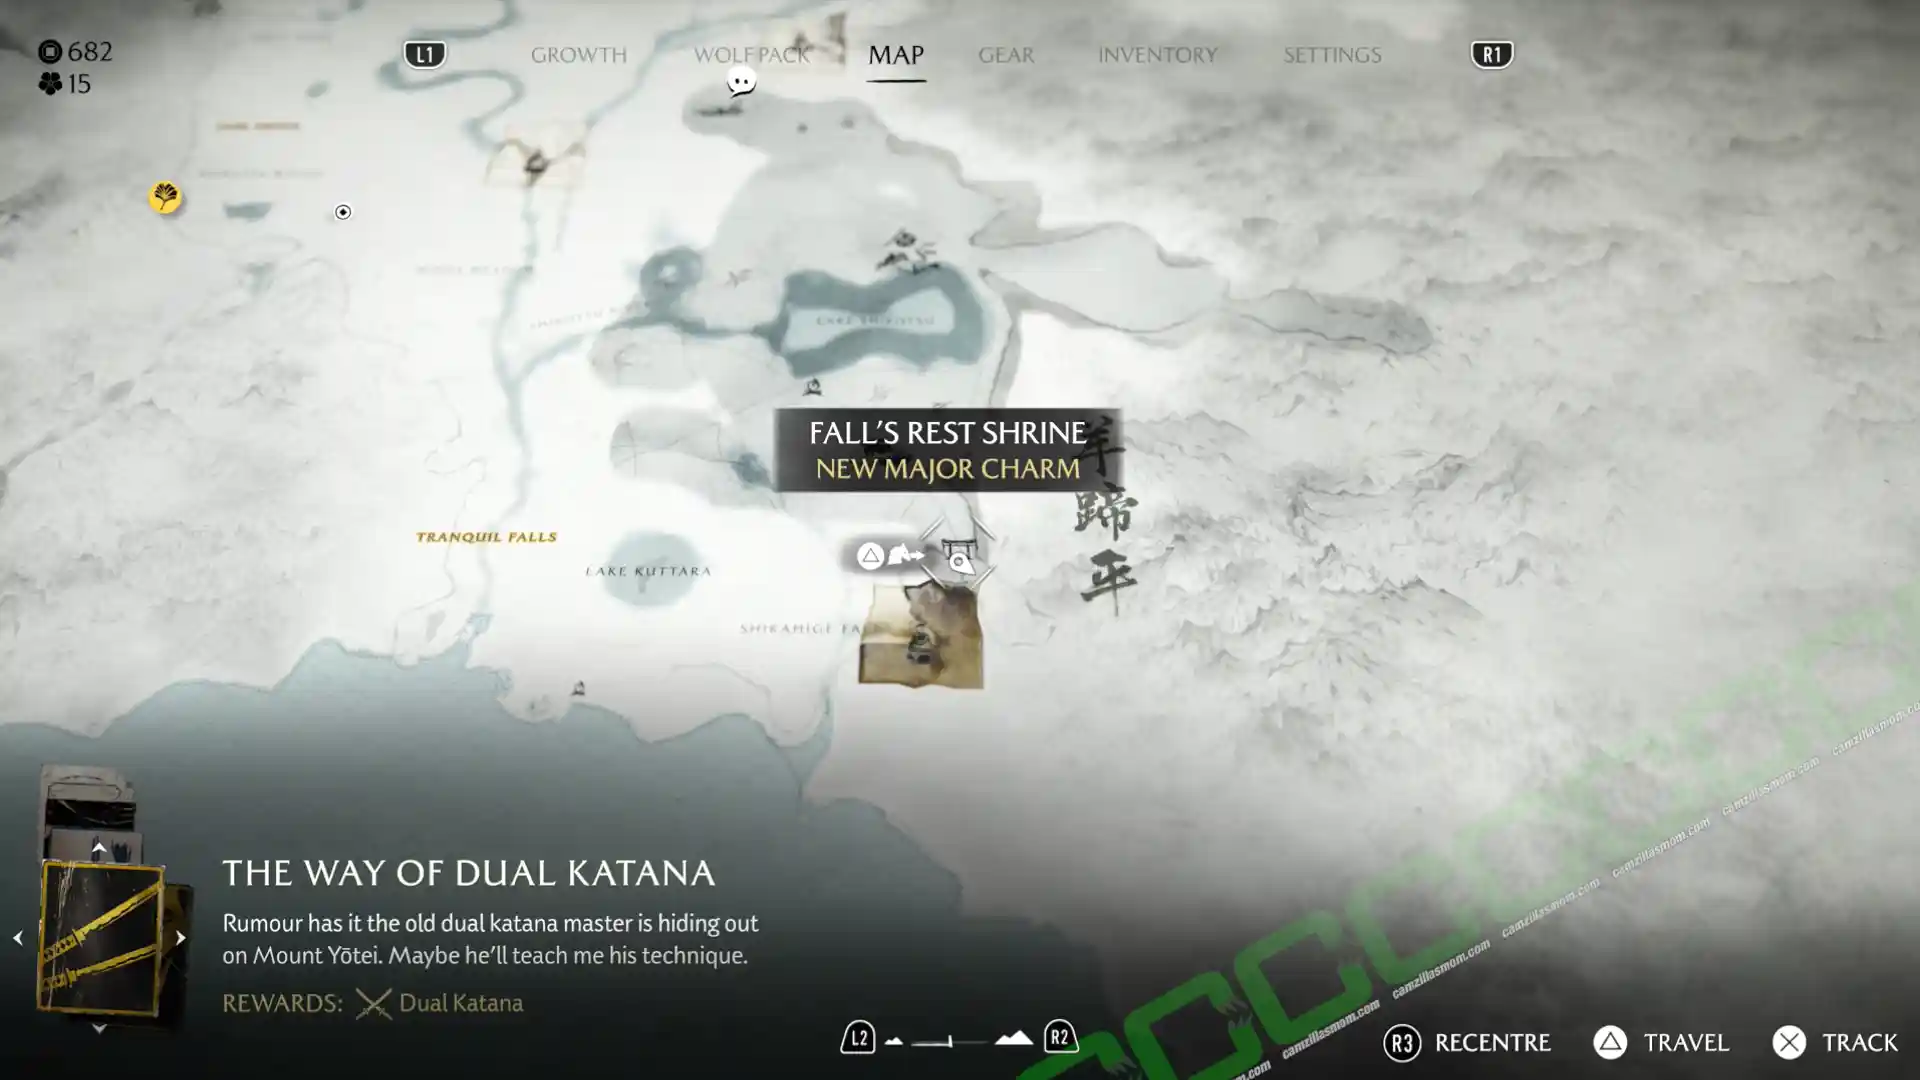
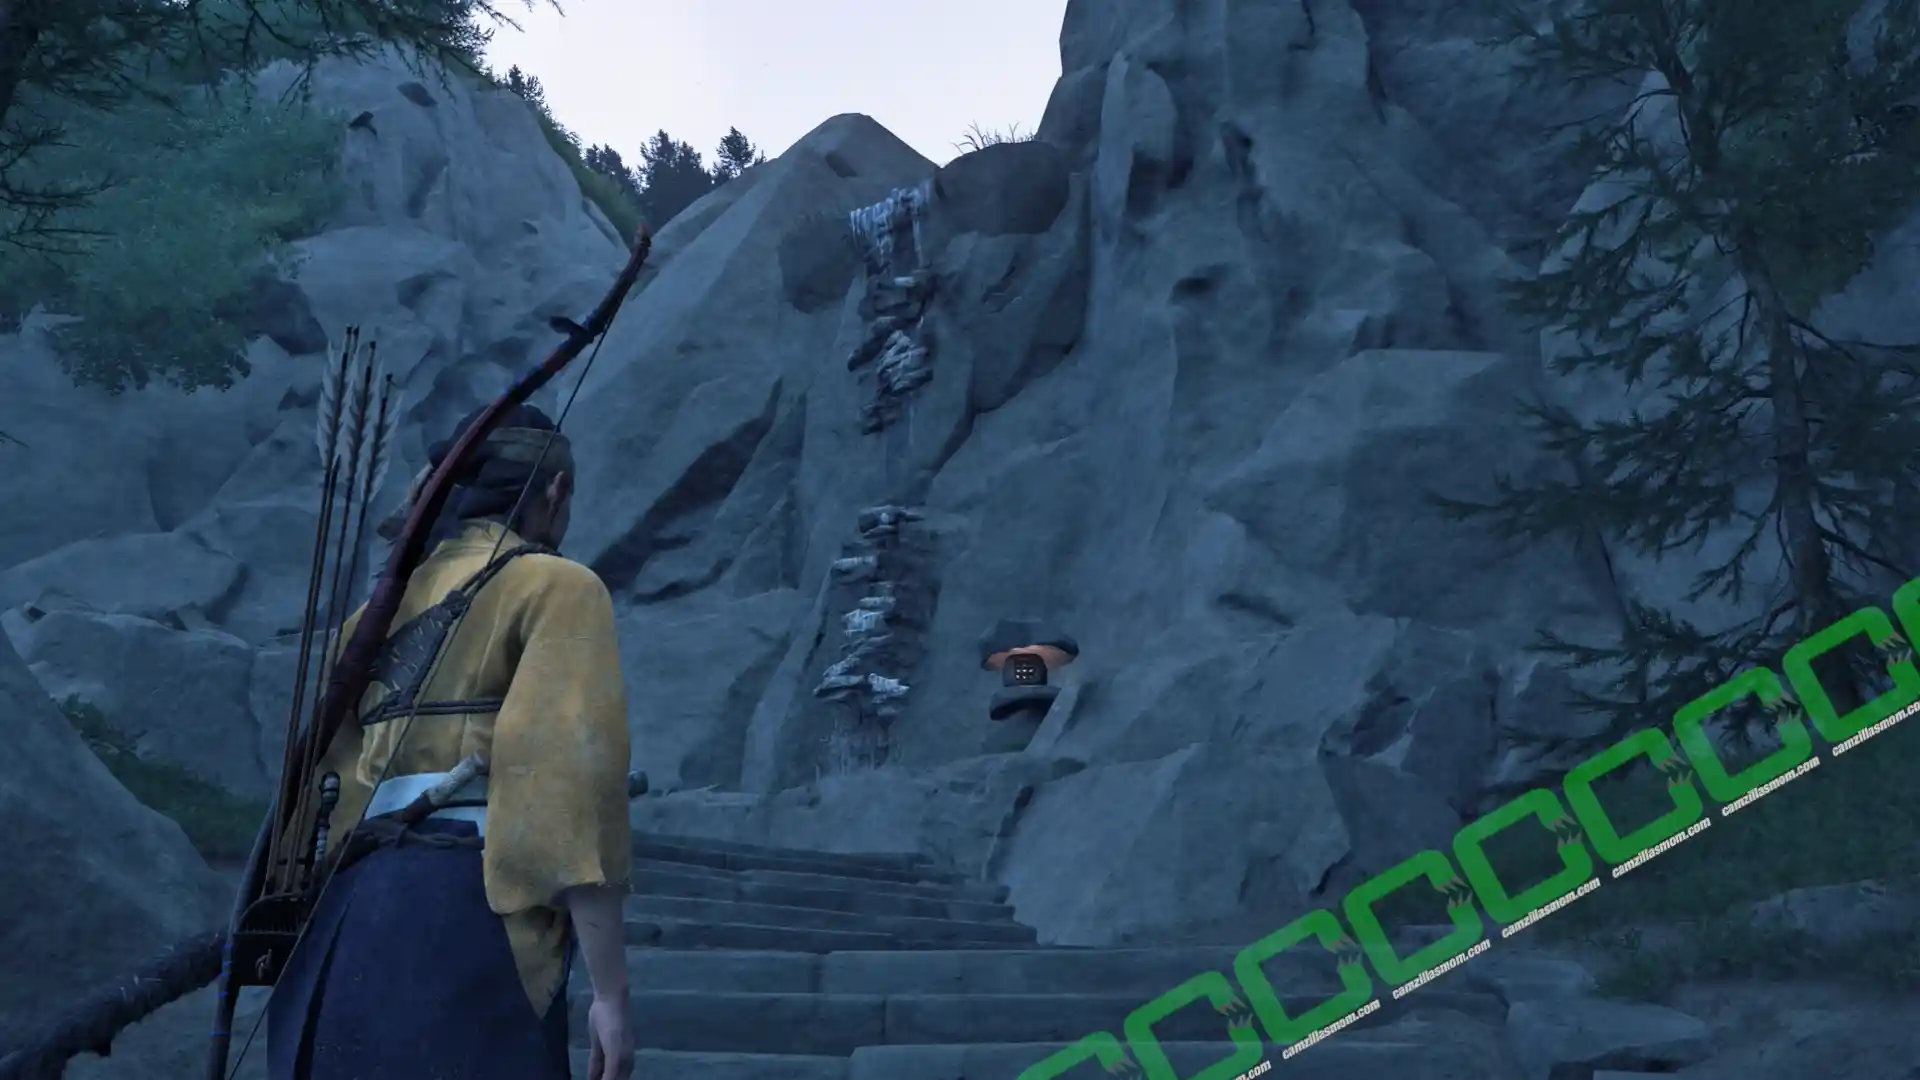
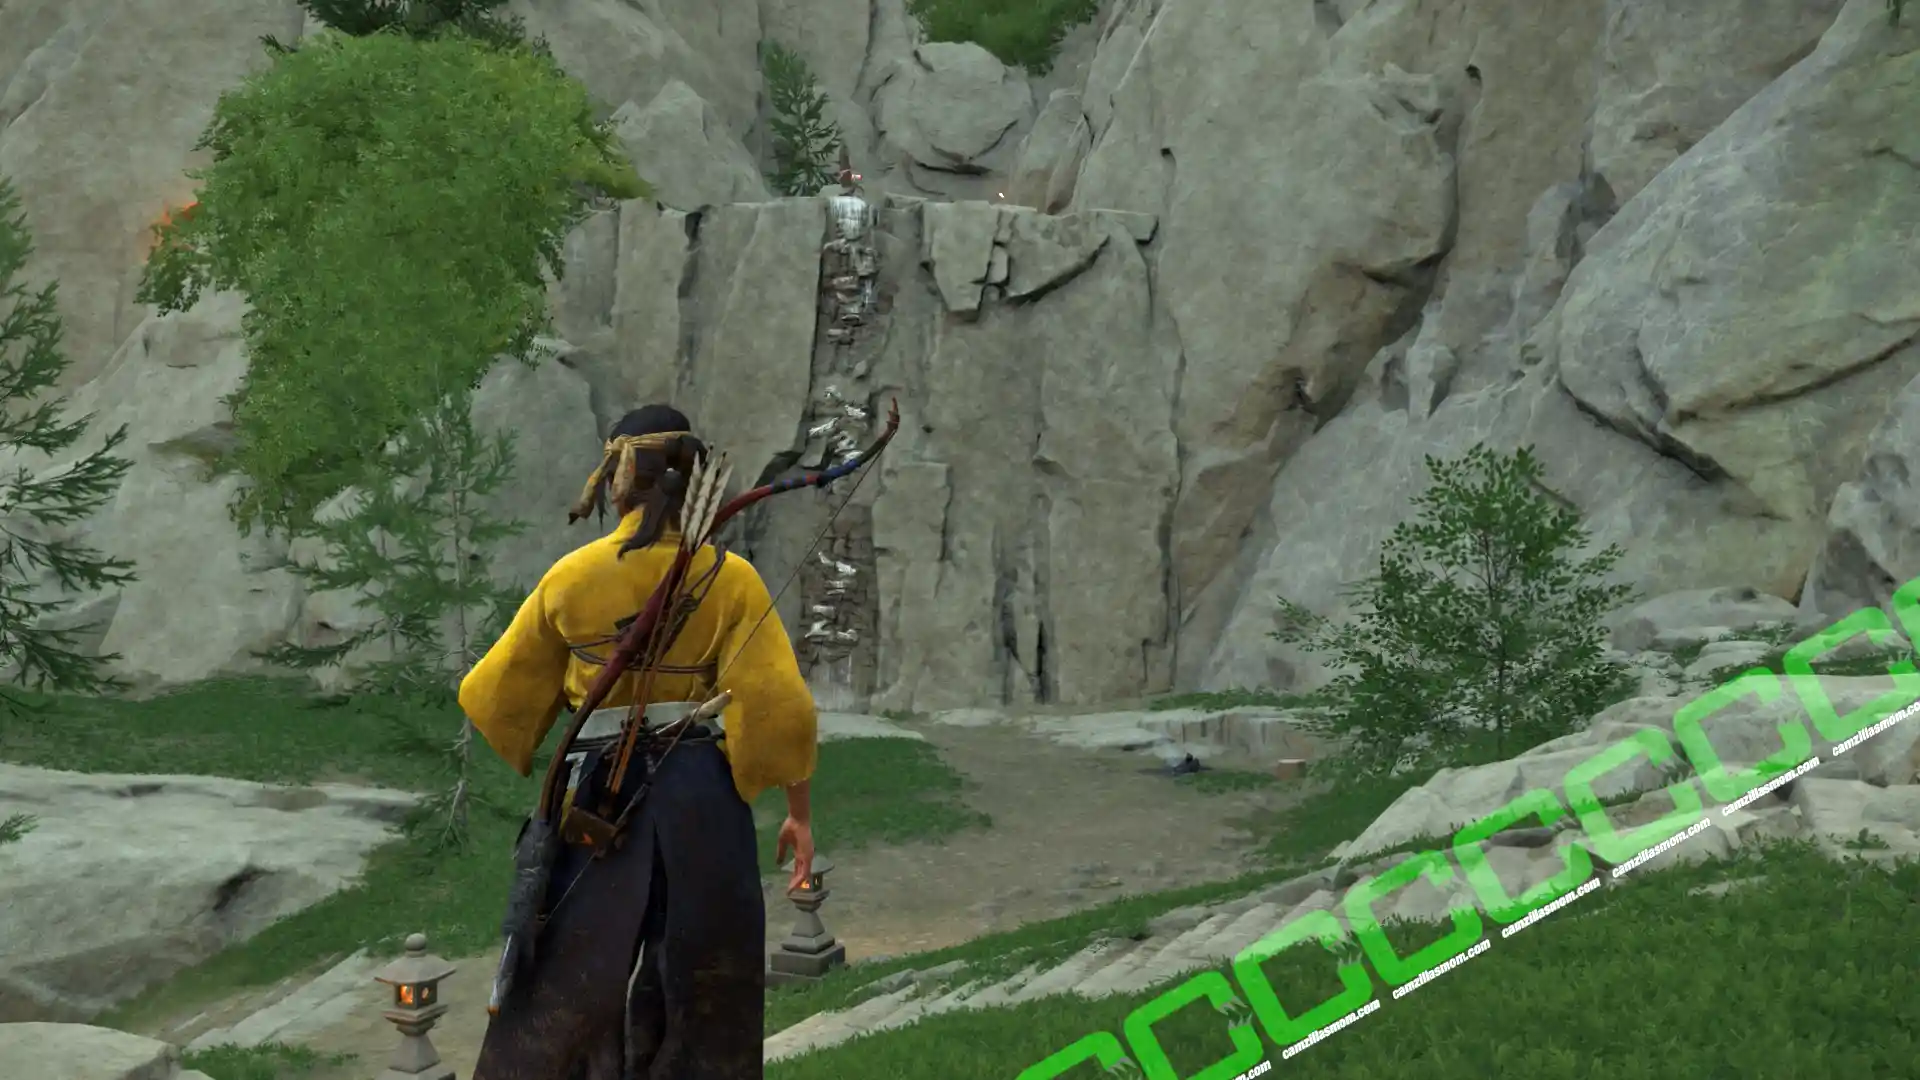
The Fall’s Rest Shrine is in the south of the Home location at the Yotei Grasslands, at the border of the map. Follow the Shrine trail to a climbable mountain wall.
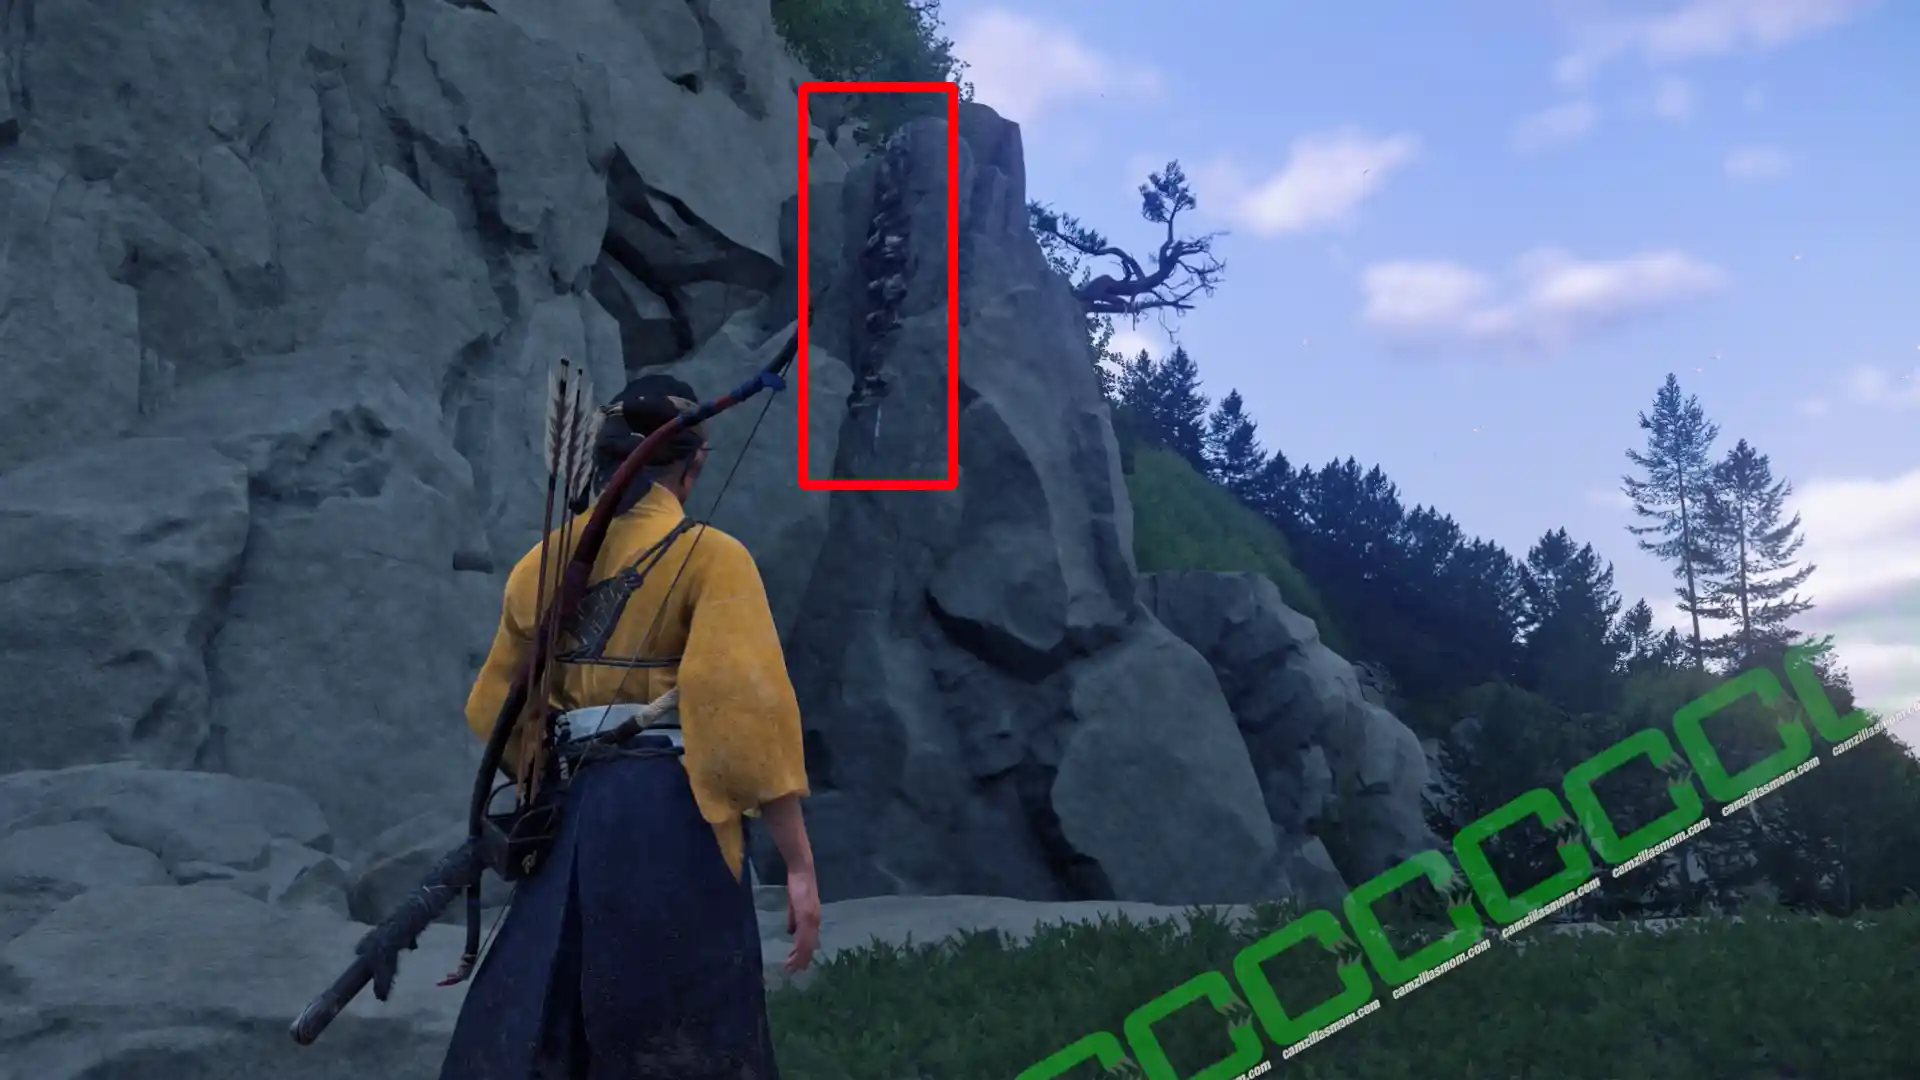
Climb the wall up and follow the steps at the top until you reach an abyss. The floor must have collapsed. If you look up to the left, you will see another climbable wall. You can get there by climbing the wall at the base of the last stairs.
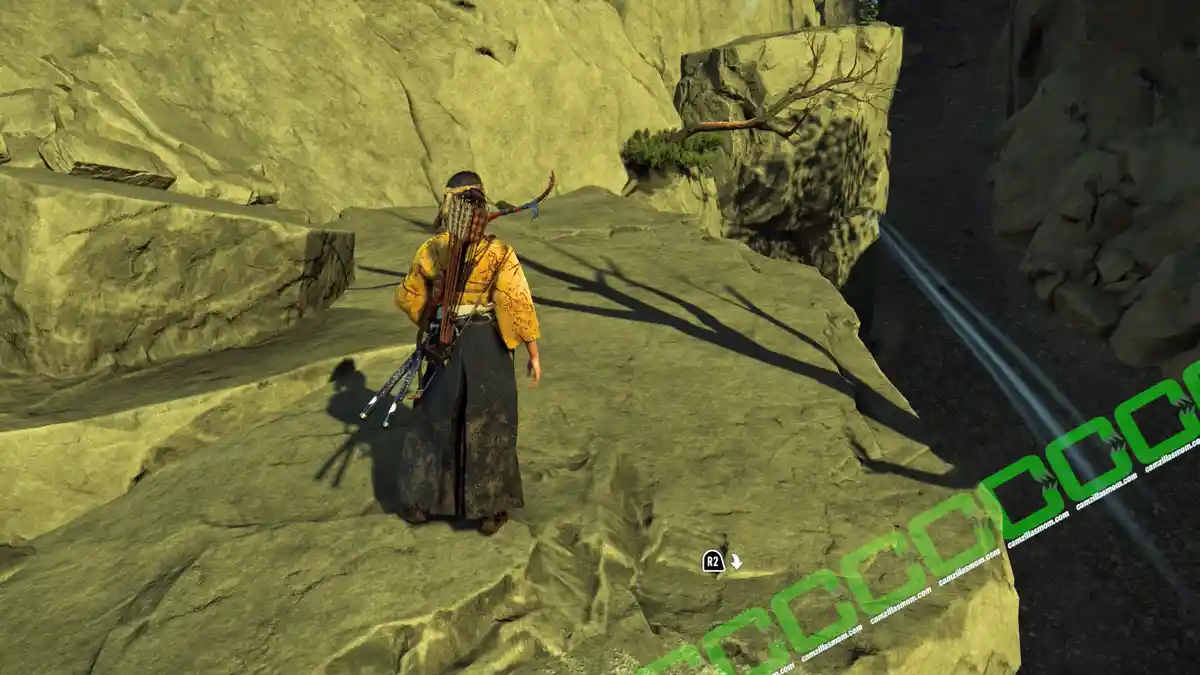
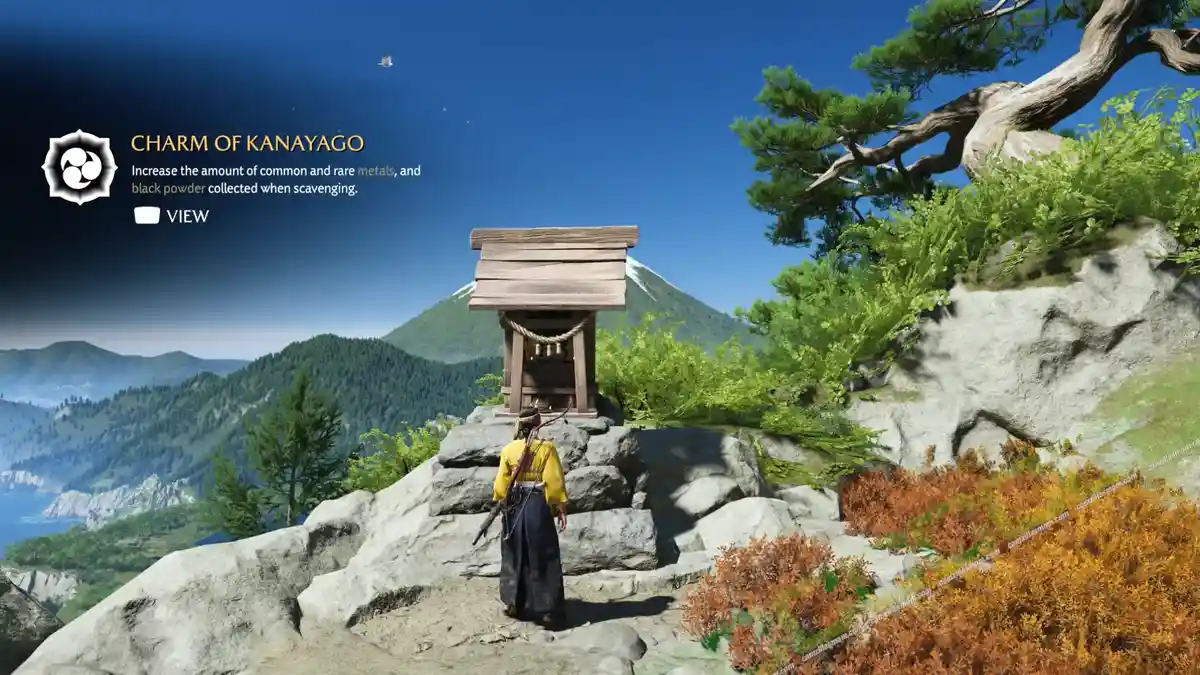
Jump and use R2 to use grapple points. Then, keep following the lit climbing path. Climb points are marked with white paint, grapple points are red and white. Obviously, the shrine is at the top. Bow to receive your reward. Instead of using the nearby grapple point to go down, climb further up from the shrine’s location to find a chest with fish.
Reward:
Charm of Kanayago
Mount Yotei Shrine
The Mount Yotei Shrine is at the westernmost border of the map near Mount Yotei, west of Outcrop Homestead at the Yotei Grasslands.
The bridge is gone, but you can jump across and grapple to the other side from the end of the broken bridge. From there, you can climb the wall to the left.
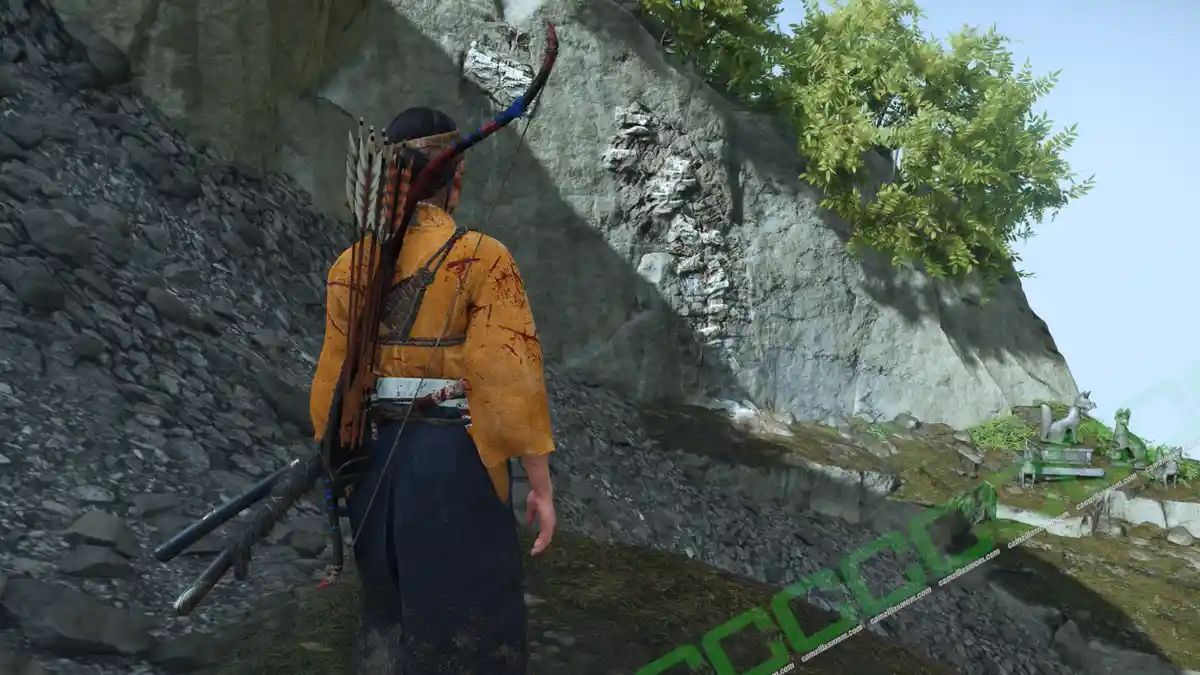
Follow the path past the yellow ginkgo tree and squeeze into a cave that takes you up the mountain. There are a couple of fox statues and a red rope. Slide down the gravel and grapple onto this red rope. You need to jump while sliding to grapple. Climb the mountain and cross over when you see the fox statues on the other side. Here you can climb up a wall.
Keep following the path until you reach the area with the two red ropes over the gravel slide path. Grapple onto the closest rope and cross over to the fox statues. From there, you can grapple onto the second rope so you can reach the top of the ridge and climb further up.
Keep following the path until you reach a climbable wall with a grapple point above you. This is the way to go. Keep following the path that leads to a shelter.
Start your next climb above the shelter by grappling onto a rope. From there, jump onto a branch and from there onto the pole that leads to another rope-grapple. From the rope, jump to the other side – firm ground again. From there, jump onto the branch to cross over.
Follow the path to the next gravel-slide area. Use the branches and the little island of rocks to reach the top. When you reach the blue flag, jump and slide down to the red rope below. Remember to jump to grapple! From the rope, you can climb up to the path again.
At the top of the climb, squeeze through another gap, where you can finally reach the shrine.
Rewards:
Mother’s Charm & Father’s Charm
Browse Ghost of Yotei
Ghost of Yotei: All Zeni Hajiki Gambling Locations
Discover all Zeni Hajiki gambling spots in Ghost of Yotei. Win Charms and coins at inns and dens wit…
Ghost of Yotei: Puzzle Box Locations & How to Open Them
Find and unlock Ghost of Yotei's puzzle boxes in Teshio Ridge with this detailed guide.
Ghost of Yotei: Saddle Dye Locations & How They Look
Discover Ghost of Yotei saddle dye locations for Hunter’s and Traveller’s Saddles. Includes details …
Ghost of Yotei: Shamisen Songs, Dyes & How They Look
Learn about the Shamisen Songs in Ghost of Yotei, their uses, and how they help you find items or lo…
Ghost of Yotei: Where to find all Bounties
Discover all 31 bounties in Ghost of Yotei, including locations, rewards, and strategies to complete…
Ghost of Yotei
Release: October 2, 2025
Developer: Sucker Punch Productions
Publisher: Sony Interactive Entertainment
Official Website: https://www.suckerpunch.com/
