This guide provides a clear, step-by-step walkthrough for the Broadcast story quest in Dying Light 2. It covers everything from meeting key characters to solving puzzles and overcoming challenges, ensuring you complete the mission efficiently.
- Broadcast Quest Walkthrough
- 1 – Meet with Jack and Juan at the Fish Eye
- 2 – Talk to Lawan & Frank
- 3 – Talk to Rowe at VNC Tower & Head to the Electrical Substation
- 4 – Connect Cables inside the Electrical Substation
- 5 – Talk to Rowe at the VNC Tower
- 6 – Enter the Elevator & Go to the Other Tower
- 7 – Go to the Power Distribution Room
- 8 – Restore the Power/Check the Fuses
- 9 – Pull the Cable through the Basement
- 10 – Meet Rowe at the Camp on the 8th Floor
- 11 – Talk to Matt / Check for Survivors
- 12 – Find a Way Out & the Nightrunner Equipment
- 13 – Use the Grappling Hook to Escape the Room
- 14 – Reach the Top of the VNC Tower
- Walkthrough Video
Broadcast Quest Walkthrough
1 – Meet with Jack and Juan at the Fish Eye
Wait for Jack to call you to the Canteen for a talk. After that, meet him and Juan there.
2 – Talk to Lawan & Frank
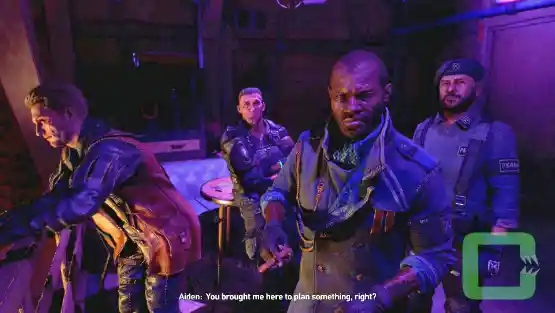
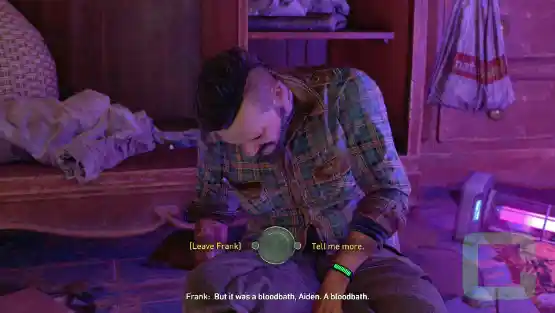
Meet with Lawan to decide whether you want to speak to Frank first.
3 – Talk to Rowe at VNC Tower & Head to the Electrical Substation
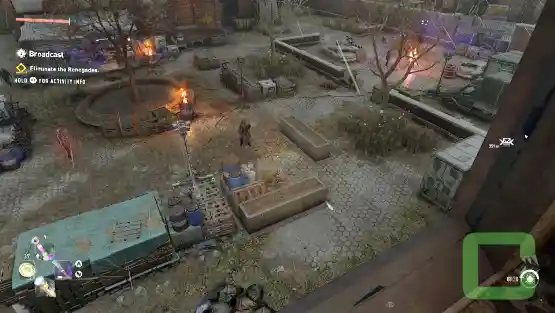
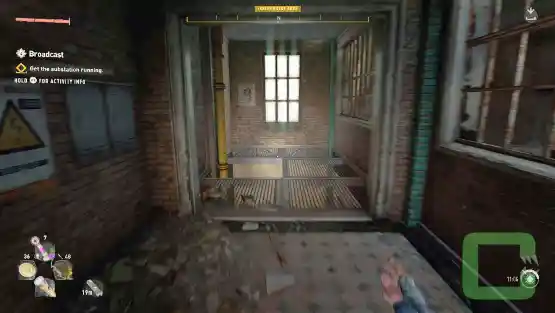
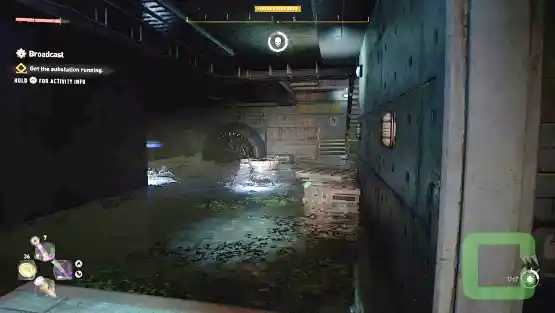
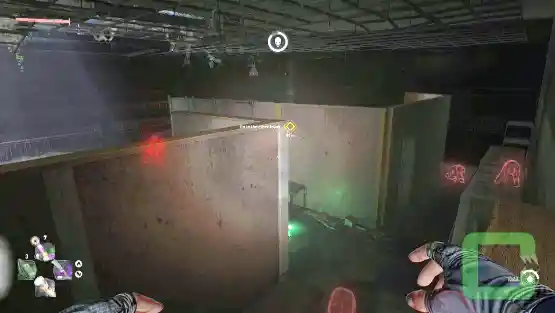
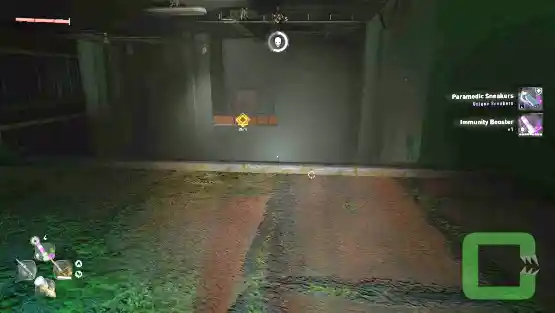
On your way to the VNC Tower, Rowe directs you to the Electrical Substation. Next to the Electrical Substation, there is a house that offers a view down onto the Renegades. Inside this house, you can find a collectible called “The Power Outage Mandate” in a box (see the first screenshot). After collecting it, proceed to defeat the Renegades.
4 – Connect Cables inside the Electrical Substation
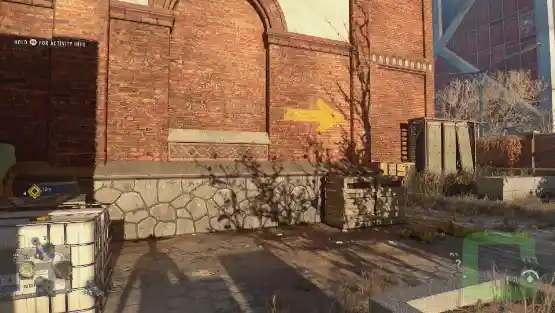
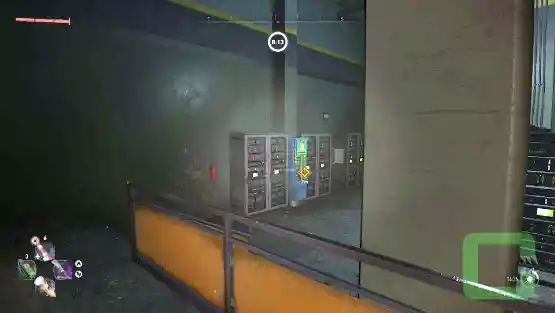
Follow the large yellow arrow to locate the Substation entrance just around the corner. You’ll find a Green A-B Generator at the entrance. Start by connecting it to Gate A, then press the Gate A button to open it. Next, connect the generator to Gate B and press the Gate B button to unlock that gate. Once both gates are open, the generator is no longer needed.
Once inside, take the staircase to reach the top floor. Look for a yellow pipe that you can climb down to access Green Generator 1 and C. From there, unlock the yellow gate on this side.
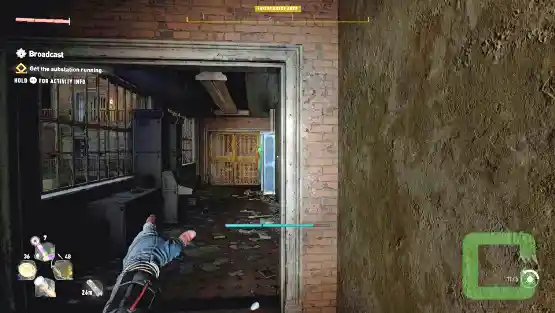
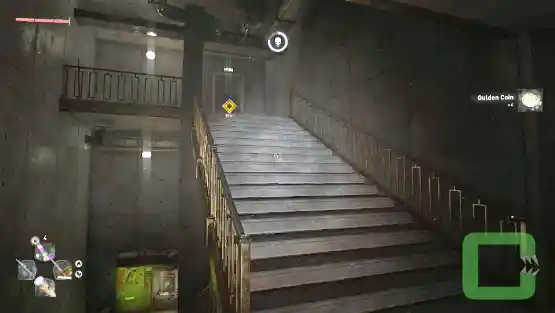
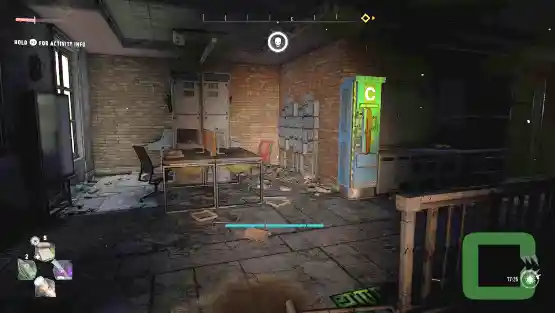
Take the cable from Green Generator 1C and connect it to Red Generator C, located one level up on the third floor near the open door shown in the screenshot. Follow the yellow markings to climb directly to the third floor for a straightforward path.
You can now access the safe containing the Inhibitor. The safe combination is 314 and can be found inside the box.
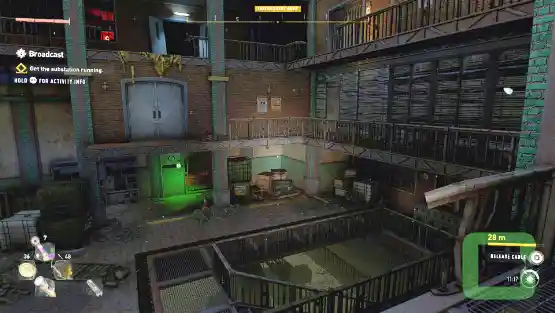
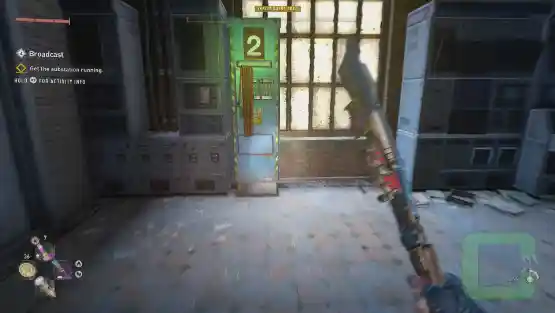
While we’re here, we can link Green Generator 2 (located in the Gate C Room) to Red Generator 2 (in the basement). Simply jump down from the Gate C level to the basement to connect the cable.
To escape the room now flooded with electrified water, head to the open ventilation shaft located in the corner.
Disconnect Gate C from Green Generator 1 C and reconnect it to Red Generator 1. Next, take the elevator to the control room and activate the Substation. After dealing with the Renegades, reactivate the Substation and choose your faction.
5 – Talk to Rowe at the VNC Tower
Go to the VNC Tower. Before you talk to Rowe, pick up the Collectible Tape ” Tourism Office of Villedor – VNC Tower” at the Reception Desk.
6 – Enter the Elevator & Go to the Other Tower
Talk to Wierzbowski and climb up the elevator shaft to the other floor.
Move carefully and stay silent as you cross the room filled with zombies – there are too many Volatiles to risk drawing attention. Your goal is to reach the next room, a safe space where they won’t be able to follow.
7 – Go to the Power Distribution Room
Eliminate the zombies obstructing your path in the room. Once the way is clear, proceed forward and speak with the soldier.
8 – Restore the Power/Check the Fuses
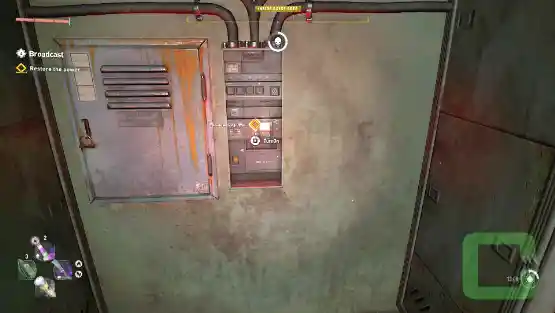
Head through the door behind Leon and confront Chris in battle. After defeating him, loot his Dog Tag and activate the power. While checking the fuses, be prepared to fend off an attack from the Infected. Once the area is secure, return to the main switch to fully restore power. Finally, contact Rowe and head back to find Leon – only to discover he’s gone…
9 – Pull the Cable through the Basement
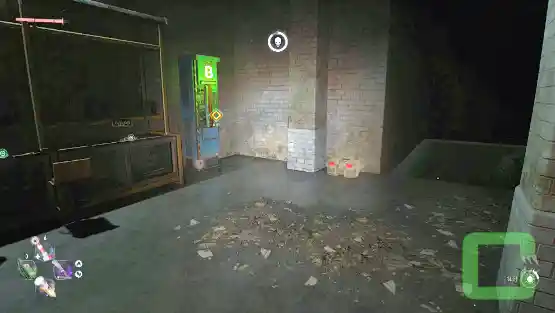
When working with cables, always aim for the most straightforward path. Head back to the room where you powered on the system, grab the cable from Green Generator A, and take the staircase down. Simple enough? Once at the bottom, connect the cable to Red Generator A. Press the button to open Gate A and proceed through.
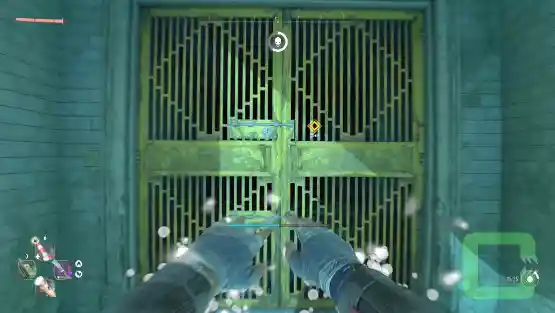
In the adjacent room, you’ll find Green Generator B and a flooded staircase leading down. Hold off on grabbing the cable for now. Instead, dive into the water and follow the cables to the other side. Along the way, you’ll encounter a yellow gate that needs to be opened – this step is crucial, as the cable won’t reach without it. Once the gate is unlocked, return to retrieve the cable and connect it to Red Generator B on the opposite side.
10 – Meet Rowe at the Camp on the 8th Floor
Take the elevator up and talk to Rowe. He will give you the VNC Tower Blueprints Mementos Collectible. Talk to the team to rest.
11 – Talk to Matt / Check for Survivors
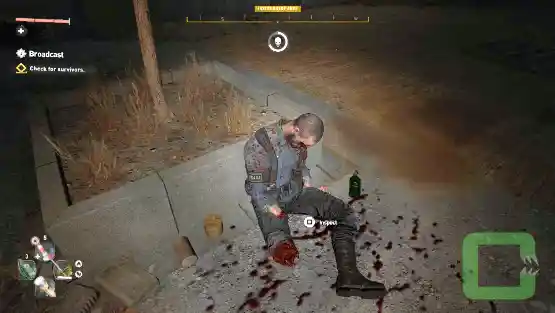
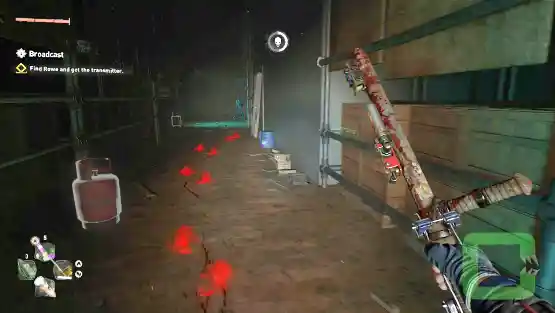
Speak with Matt at the elevator to trigger the cutscene. Once it concludes, examine the body located directly in front of the elevator (Hicks). Eliminate the infected nearby to proceed further, allowing you to locate Wierzbowski and Hudson. To find Rowe, use your scanner to track the red footprints leading to his location.
12 – Find a Way Out & the Nightrunner Equipment
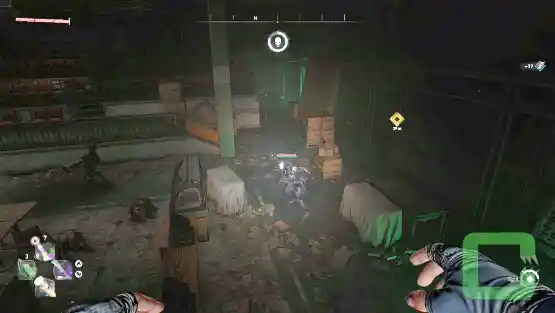
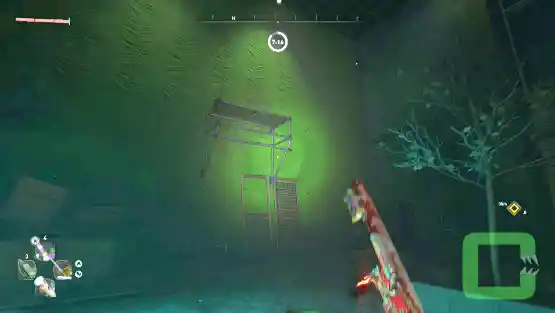
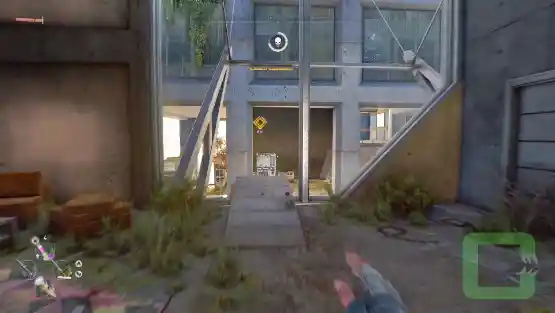
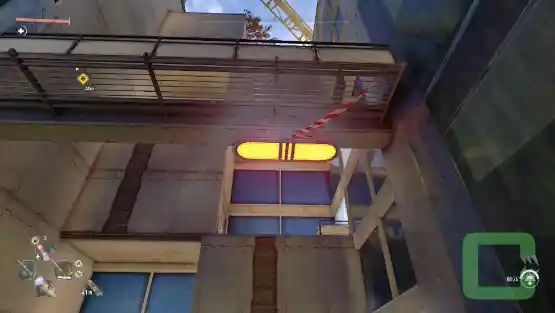
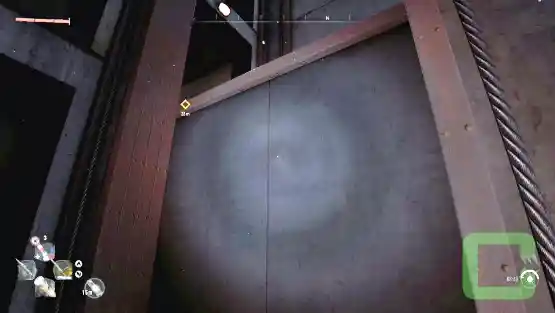
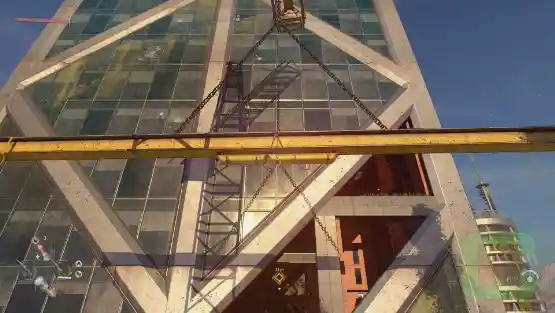
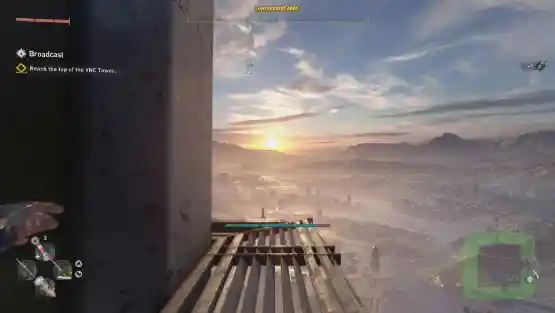
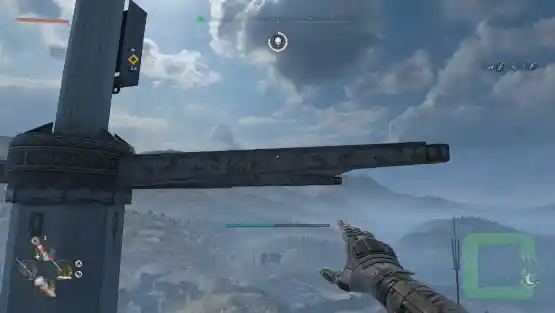
Leave Rowe’s final resting place and survive until Lawan reaches Frank. Be sure to grab all the free upgrade loot along the way – it’s worth it! To locate the Nightrunner equipment, you’ll need to climb to a higher vantage point. Head to the ladder and look for a scaffolding platform (see screenshot). Climb up onto it, then jump to the next platform of the same design. From there, leap onto the pillar and shimmy to the right along the ledge. You’ll find an opening above you – climb through to retrieve the gear.
Here, you can climb up the elevator to receive the grappling hook.
13 – Use the Grappling Hook to Escape the Room
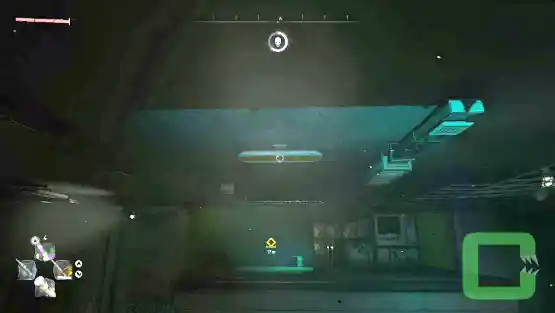
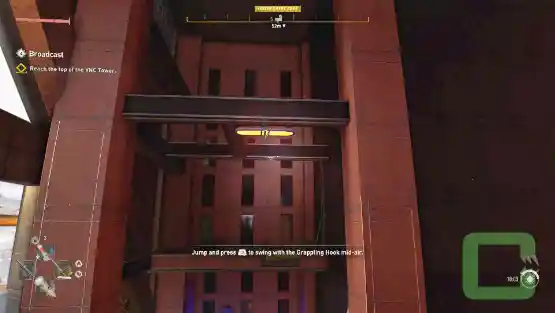
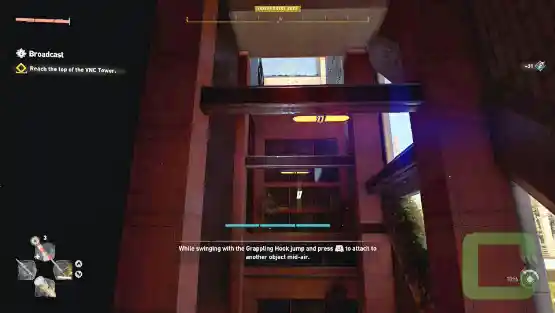
Start by swinging back to the spot where you first climbed in. Next, use the oval ceiling lamps to swing across the room. From there, you can make your way to the other side, outside the room.
14 – Reach the Top of the VNC Tower
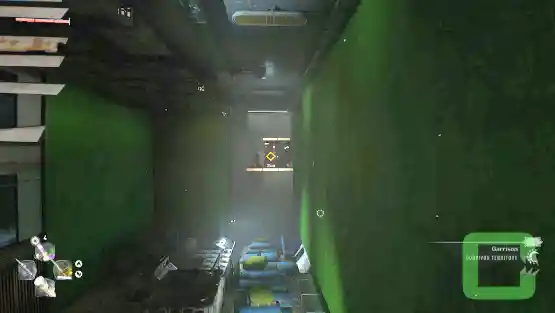
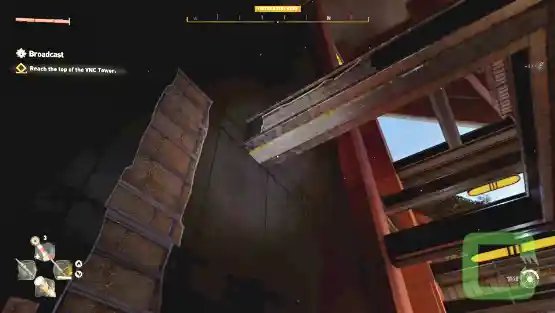
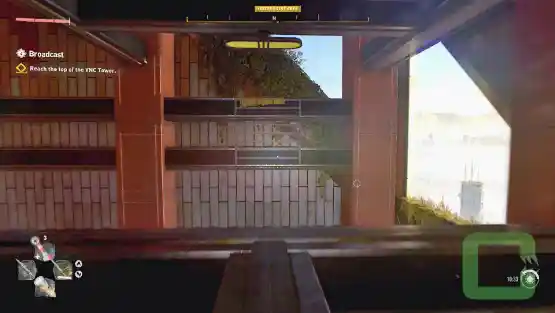
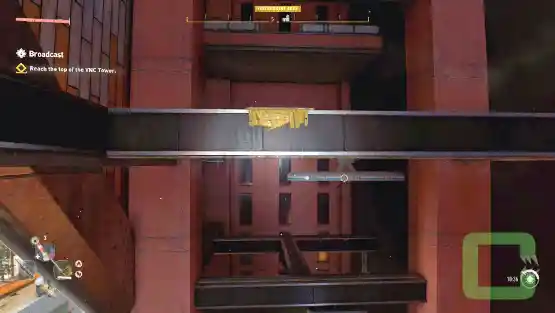
In the green room, you have two options to progress. You can perform a double swing by grappling onto the oval lamps on the ceiling (Grapple – Jump – Grapple), or drop down, leverage the high ground, and grapple again to continue. Once completed, head upstairs to reach the exit.
In this area of the building, you’ll face relentless attacks from the Infected. Quickly follow the marker to swing to safety. From there, continue your journey by swinging and climbing across the broken sections of the structure to progress further.
Re-enter the building at the top and take the elevator to ascend further.
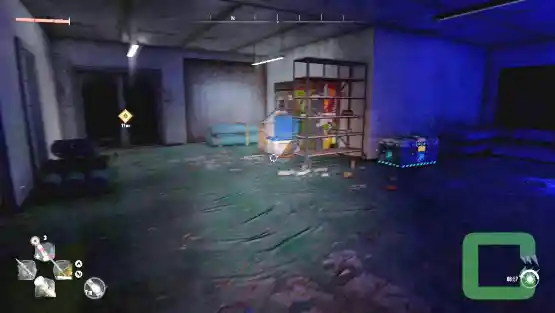
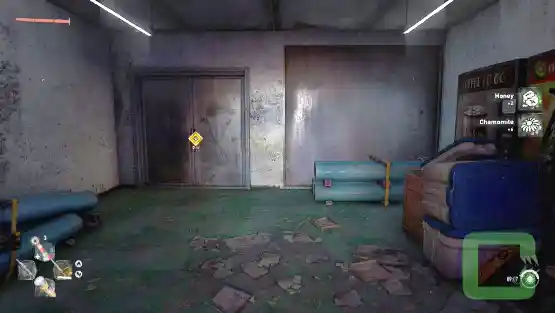
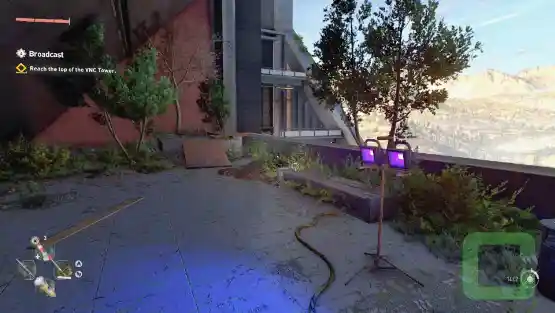
Proceed to the area illuminated by UV lights, where you’ll find an Inhibitor box. Once you’ve collected it, exit through the nearby door to trigger the next cutscene.
Examine the damaged bridge or crossing ahead. Jack reaches out with a suggestion to utilize the crane nearby. Start by activating the generator at the crane’s base to power it up. Once operational, position the steel girder to create a path and use it to grapple across safely.
In the “Red Lobby,” climb the metal frame and use the lower oval lamp as a grapple point to reach the other side.
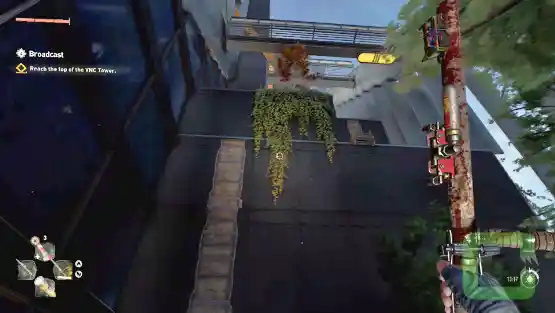
Look around this area, and you’ll spot another damaged wall that you can climb. Once at the top, use your grapple to reach the metal frame across the room.
Jump up to a higher beam from here and grapple to the torn-up wall on the other side.
Move across the room using the UV light, then climb the metal frame on the far side. Once at the top, execute a double-grapple to reach the next area.
Enter a room teeming with Infected, but don’t worry – you can navigate across safely by using the long lamps lining both sides. Continue through the corridor until you reach a room illuminated by UV light, which also leads to an outdoor exit. From here, climb higher by scaling the broken wall ahead.
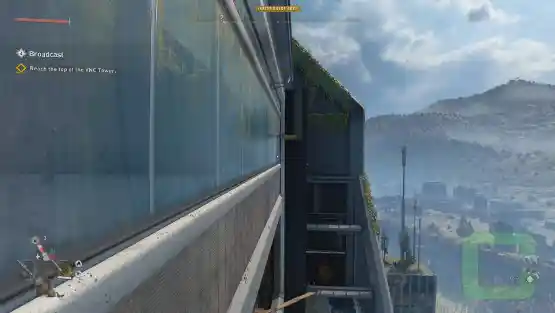
Once at the top of the broken wall, use your grapple to latch onto one of the oval lamps, swinging yourself up to the highest platform where a ladder awaits. Once you’ve reached the ladder, drop it down for easier access.
Use your grapple and climb the broken walls to progress until you reach a pool and a re-entry point into the building. Move through the building to the other side, where you’ll find UV lamps and an exit leading back outside. From here, you’ve reached the top of the pool. Be sure to lower the ladder as a fallback in case you need to climb back up.
Use your grapple to ascend further and reach the orange platform. Once there, climb back into the building, cross through it, and continue your climb on the opposite side.
All that’s left is a bit of timing and a stroke of luck to reach the final section with the solar panels.
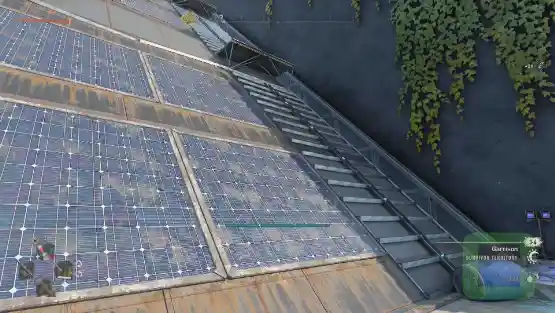
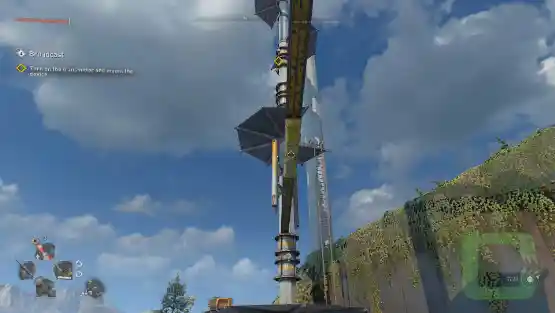
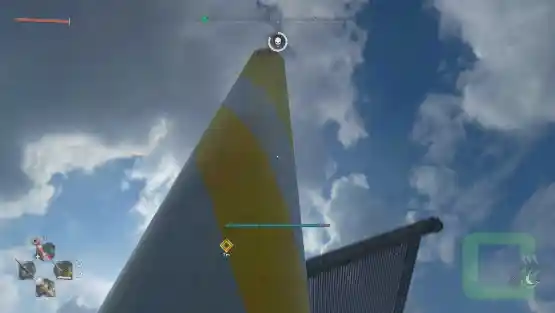
Climb up the metal bars to reach the platform, then swing across to the small cranes. Be cautious on the solar panel surface – it’s slippery, and you’ll slide right back down. Once at the top, ascend the ladder of the antenna next to your target. From there, you can grapple over to the main objective with ease.
Climb the ladders as high as they go, then use the yellow-marked cylinders on the sides to continue your ascent. Once you reach the quest marker, interact with it and make your decision.
Walkthrough Video
1 – Meet with Jack and Juan at the Fish Eye. – 00:20
2 – Talk to Lawan / Talk to Frank – 03:55
3 – Talk to Rowe at the VNC Tower / Find out what is going on at the Electrical Substation. – 08:12
4 – Connect cables inside the Electrical Substation. – 11:08
5 – Talk to Rowe at the VNC Tower – 20:27
6 – Enter the elevator / Go to the other tower – 23:16
7 – Go to the power distribution room. – 26:51
8 – Restore the power / Check the fuses – 33:13
9 – Pull the cable through the basement – 37:38
10 – Meet Rowe at the camp on the 8th floor. – 40:51
11 – Talk to Matt / Check for survivors – 51:23
12 – Find a way out – 54:04
13 – Use the grappling hook to get out of the room. – 59:32
14 – Reach the top of the VNC tower – 01:00:44
Dying Light 2: Stay Human
Release: February 4th, 2022
Developer: Techland
Publisher: Techland, Square Enix
Official Website: https://dyinglightgame.com/

