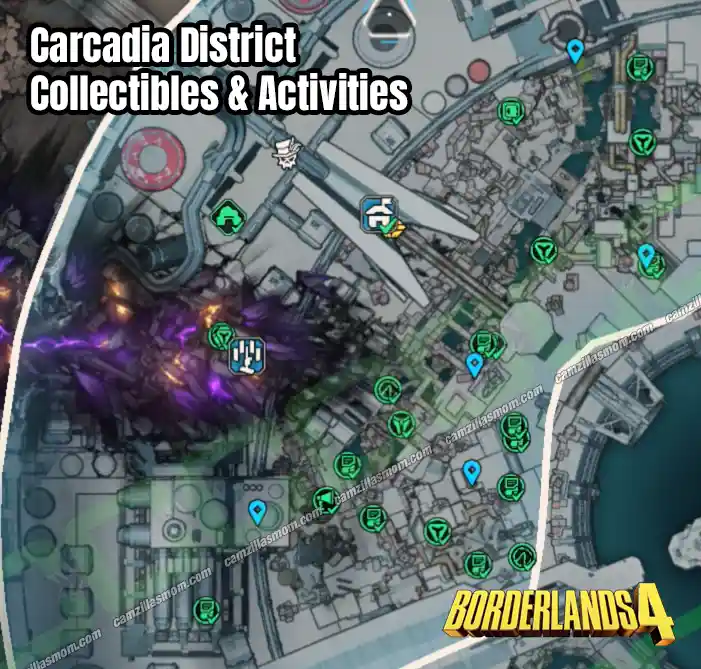
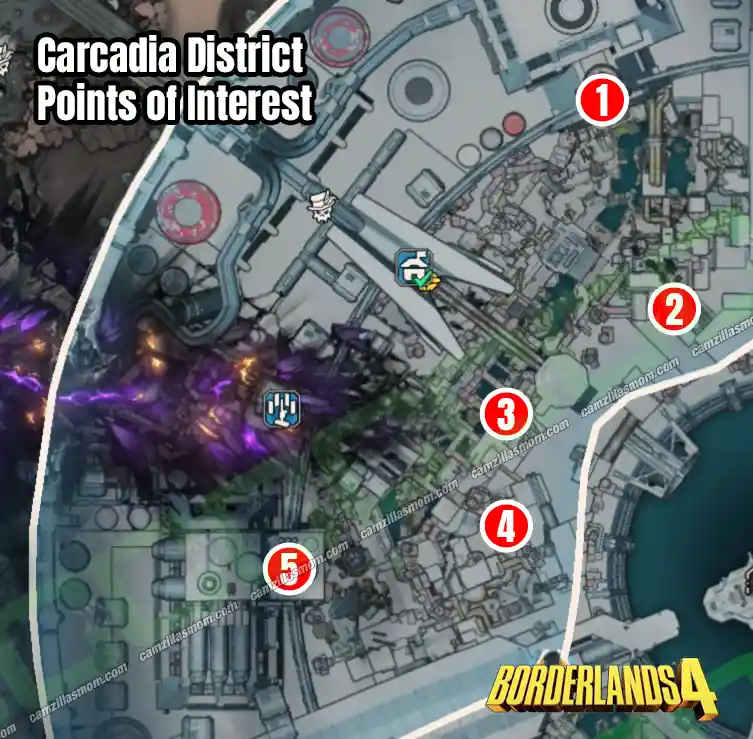
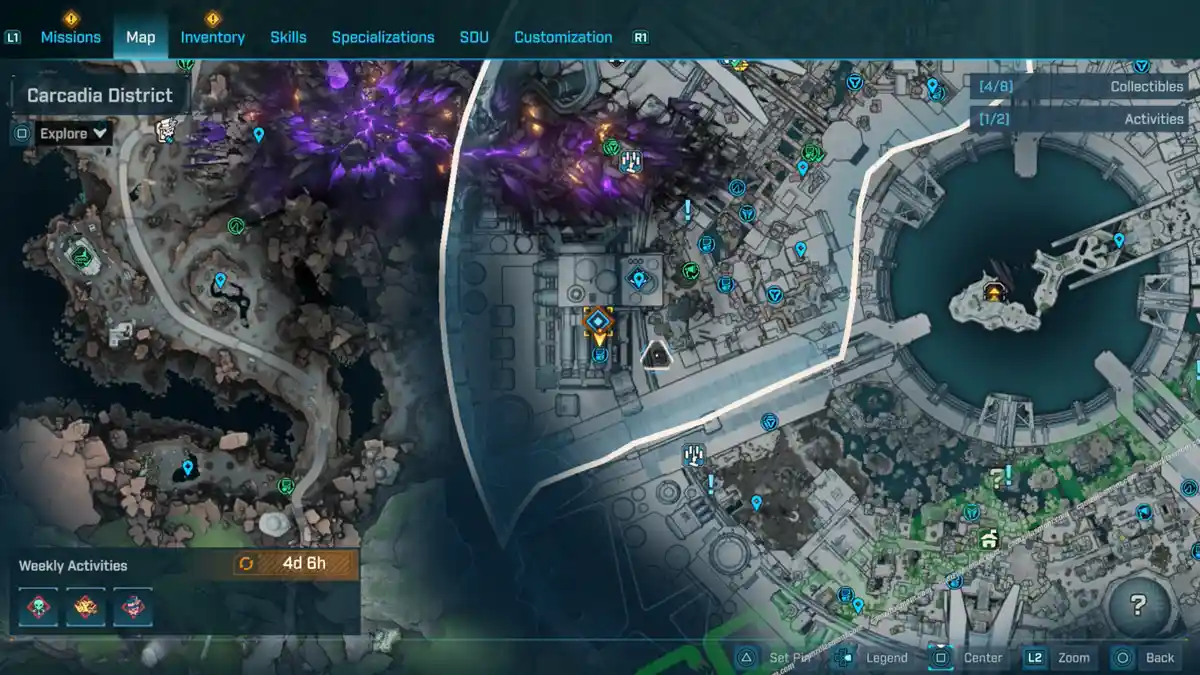
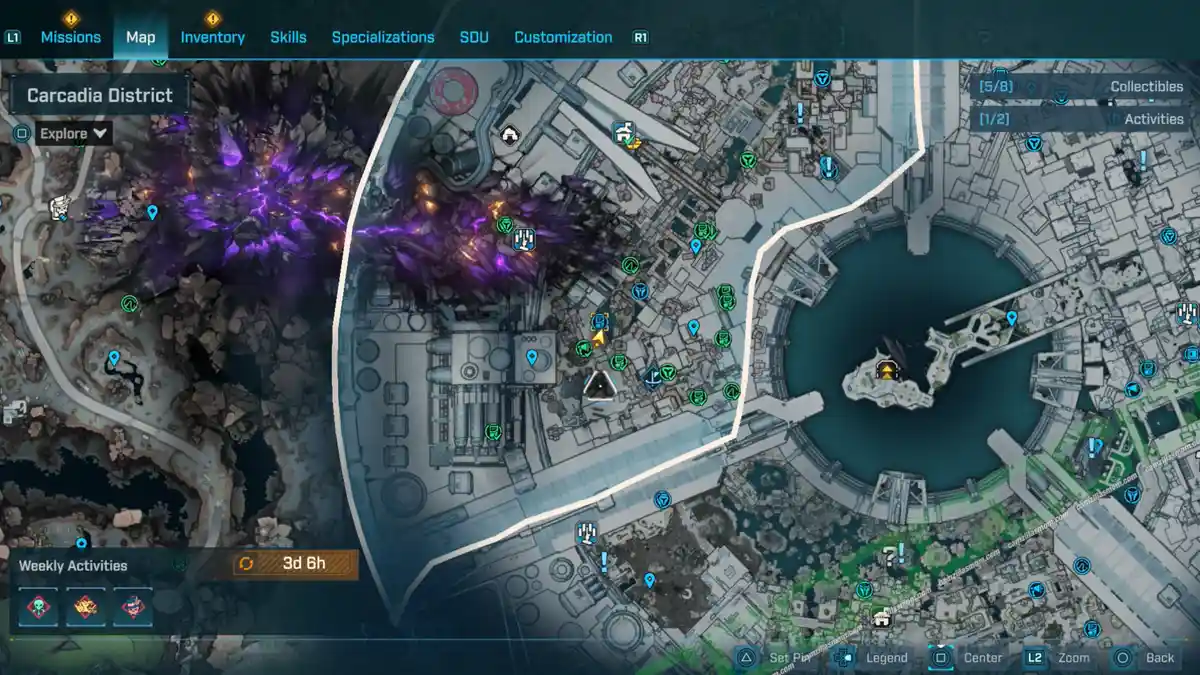
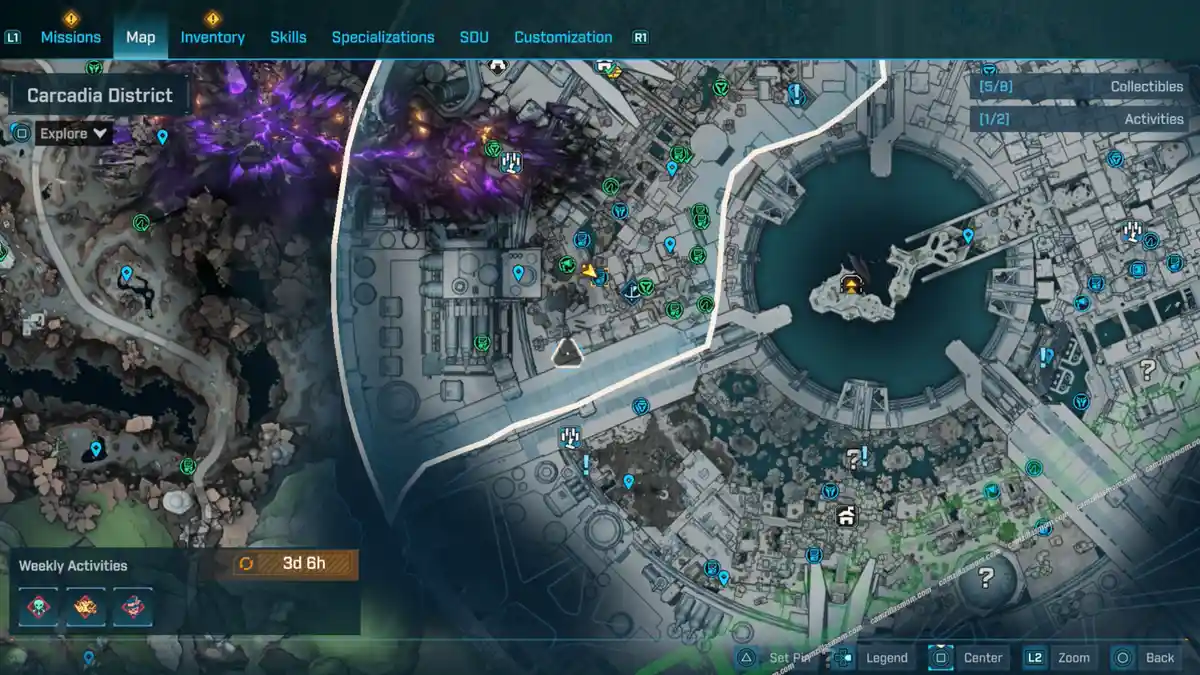
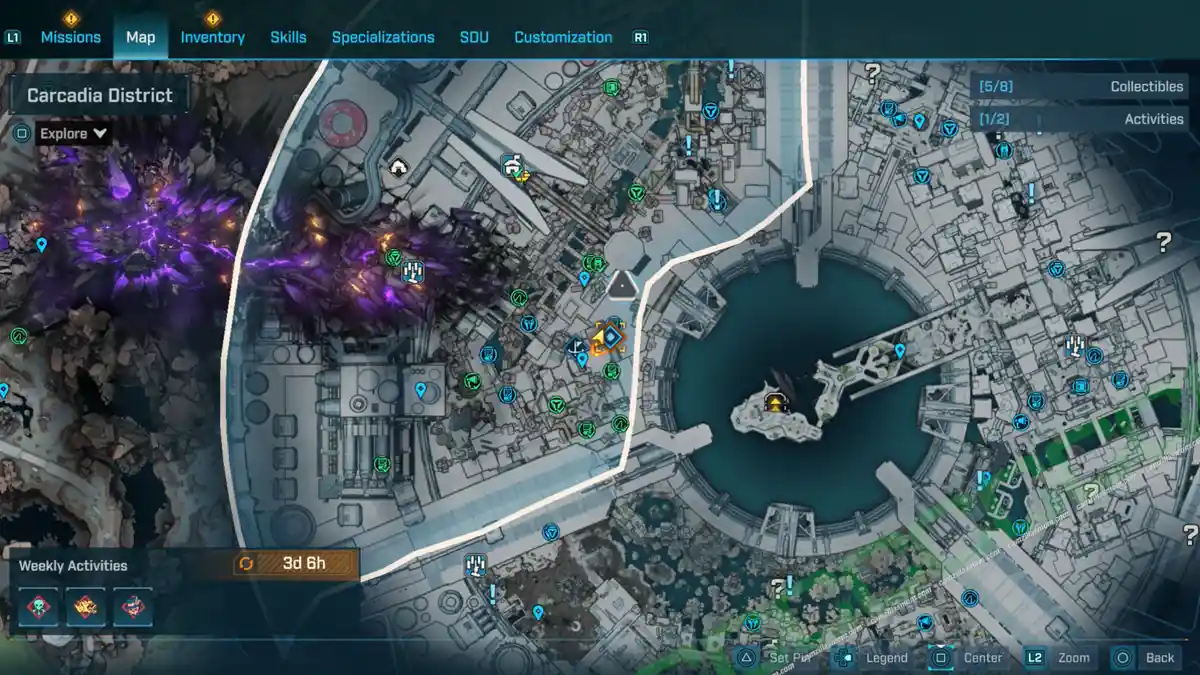
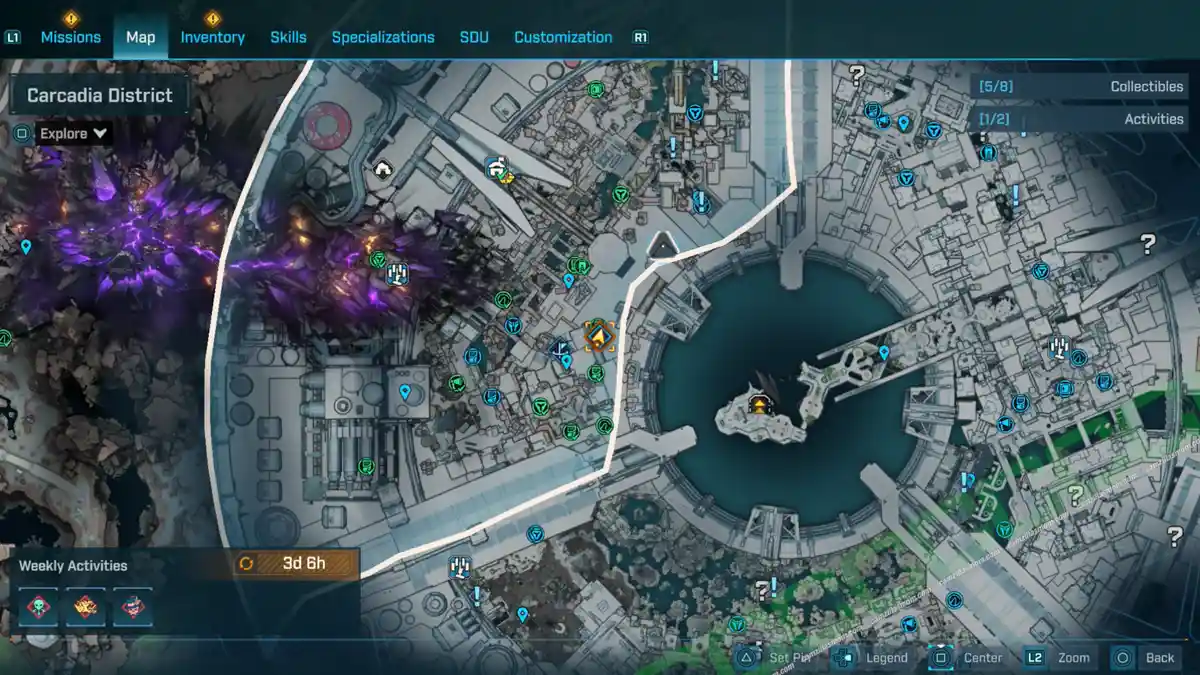
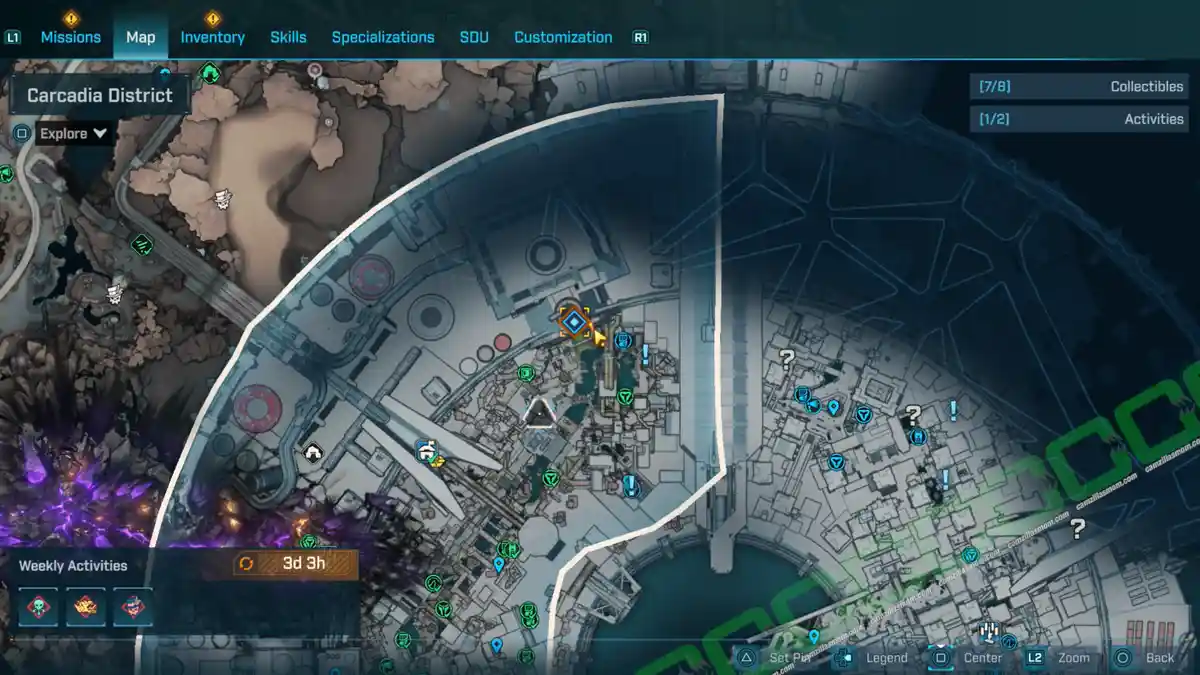
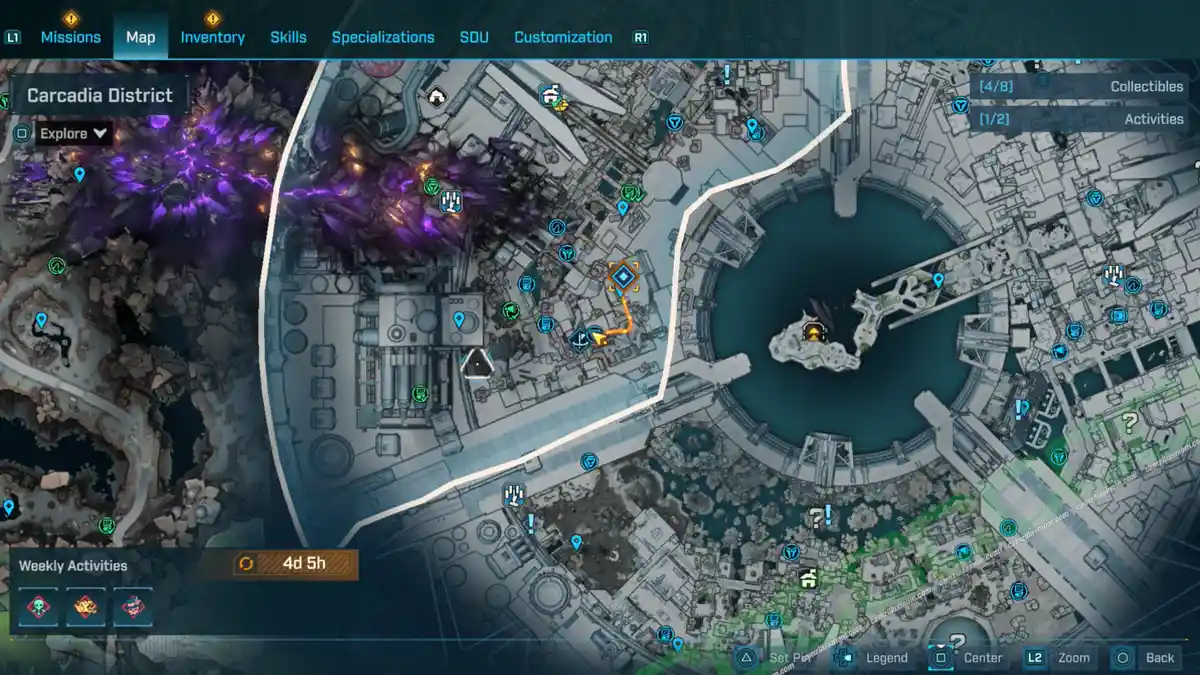
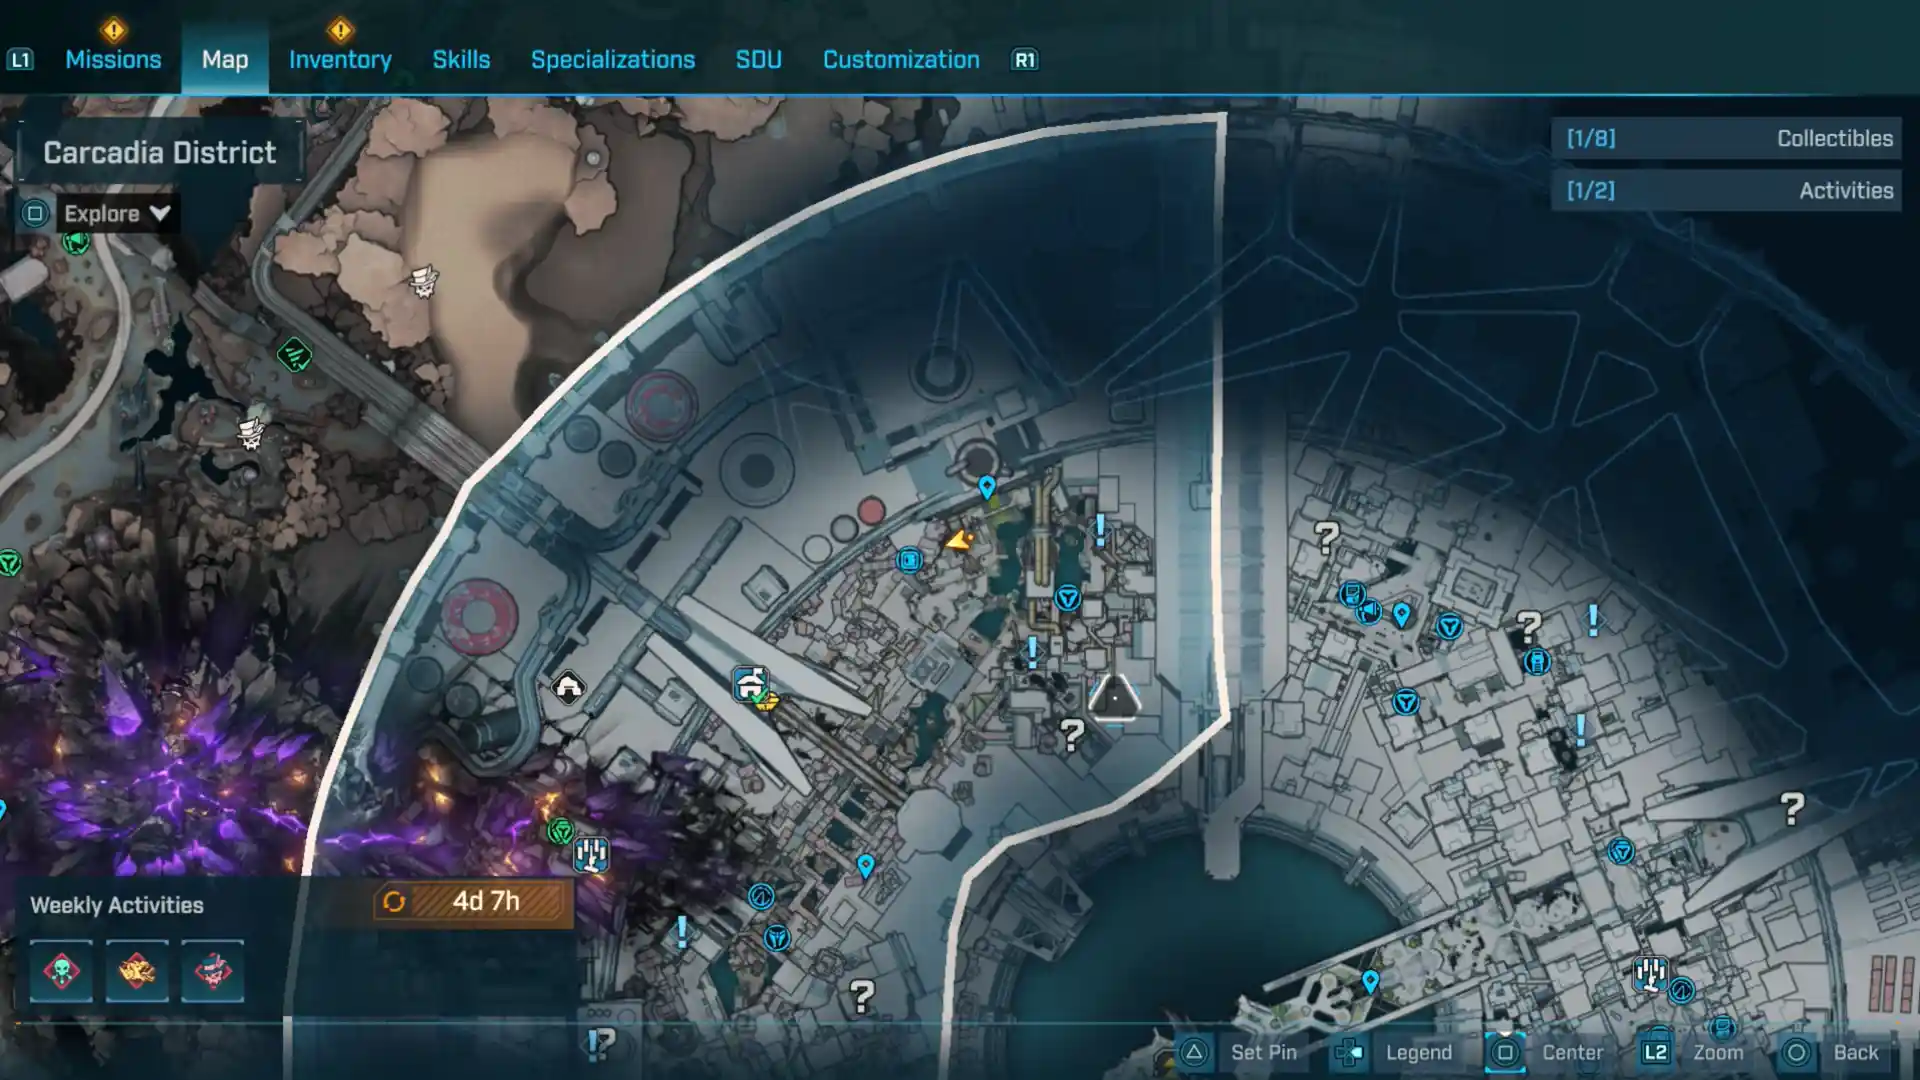
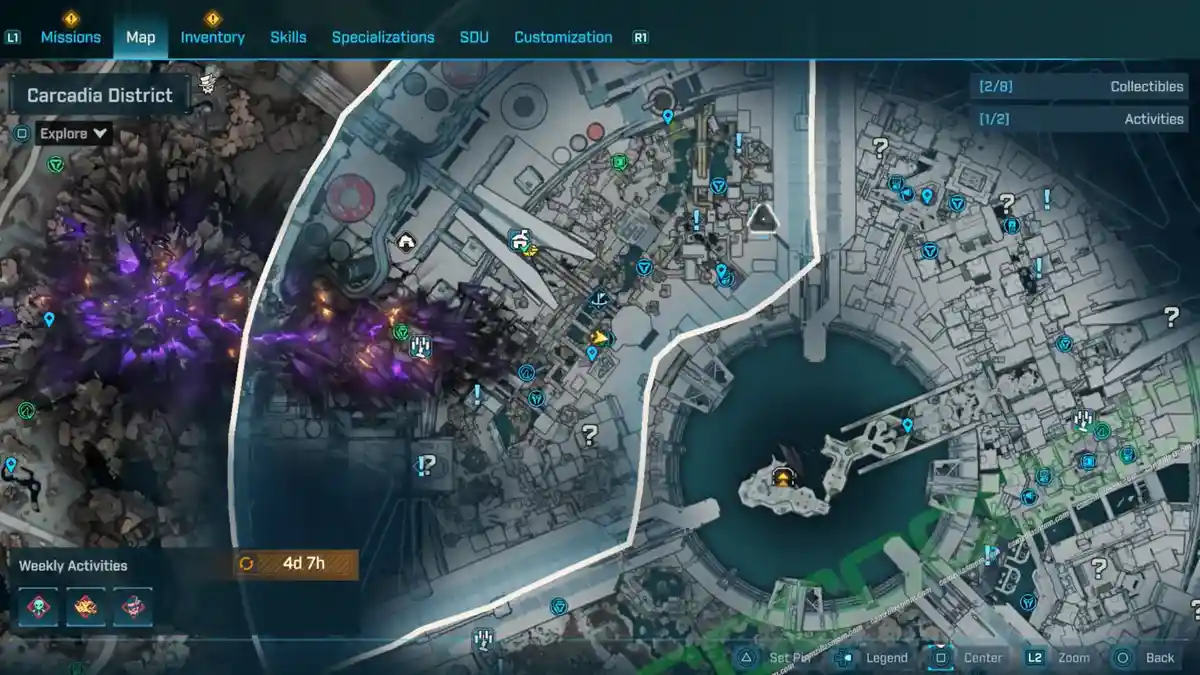
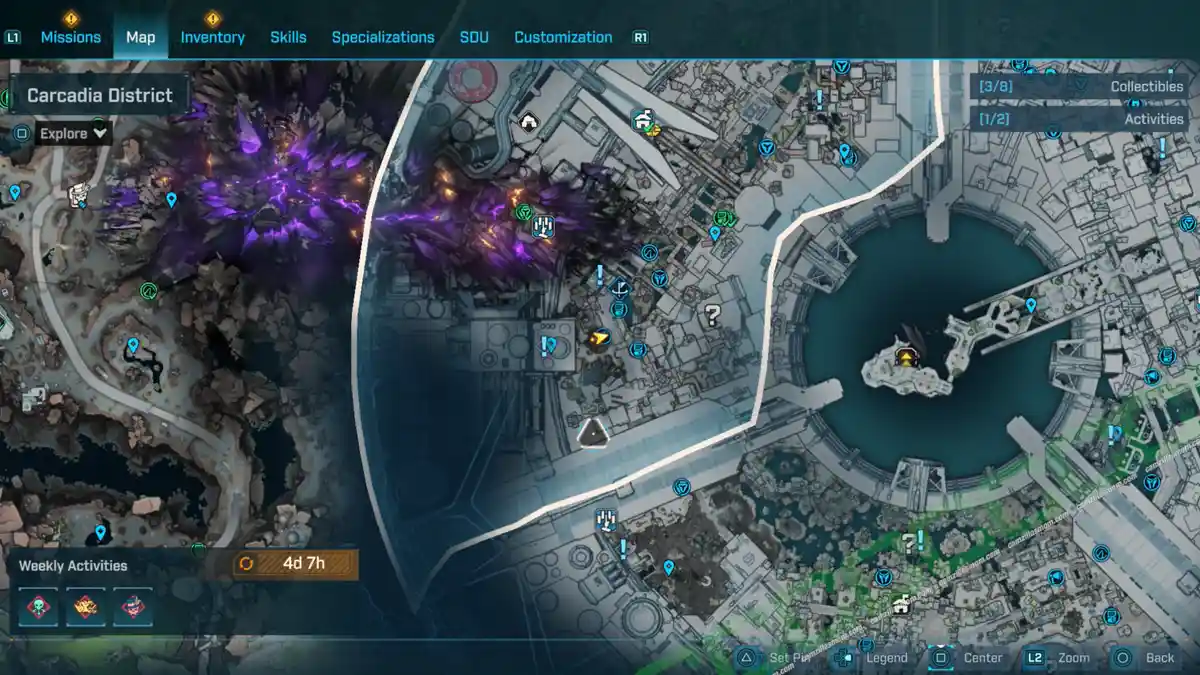
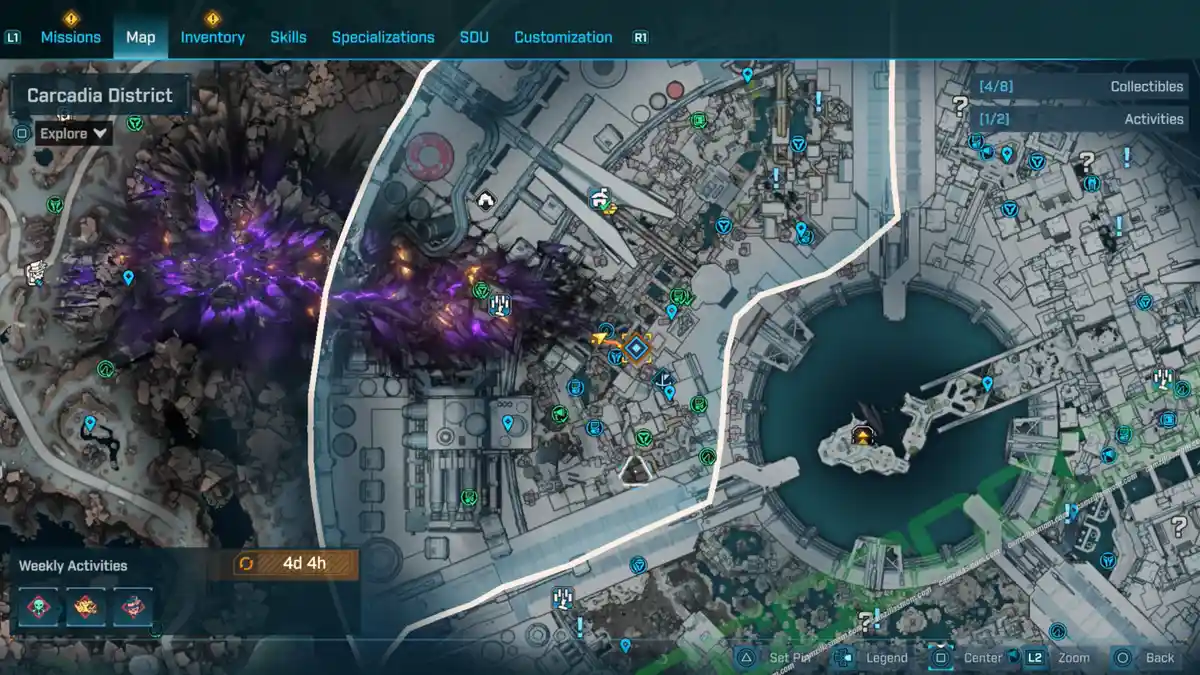
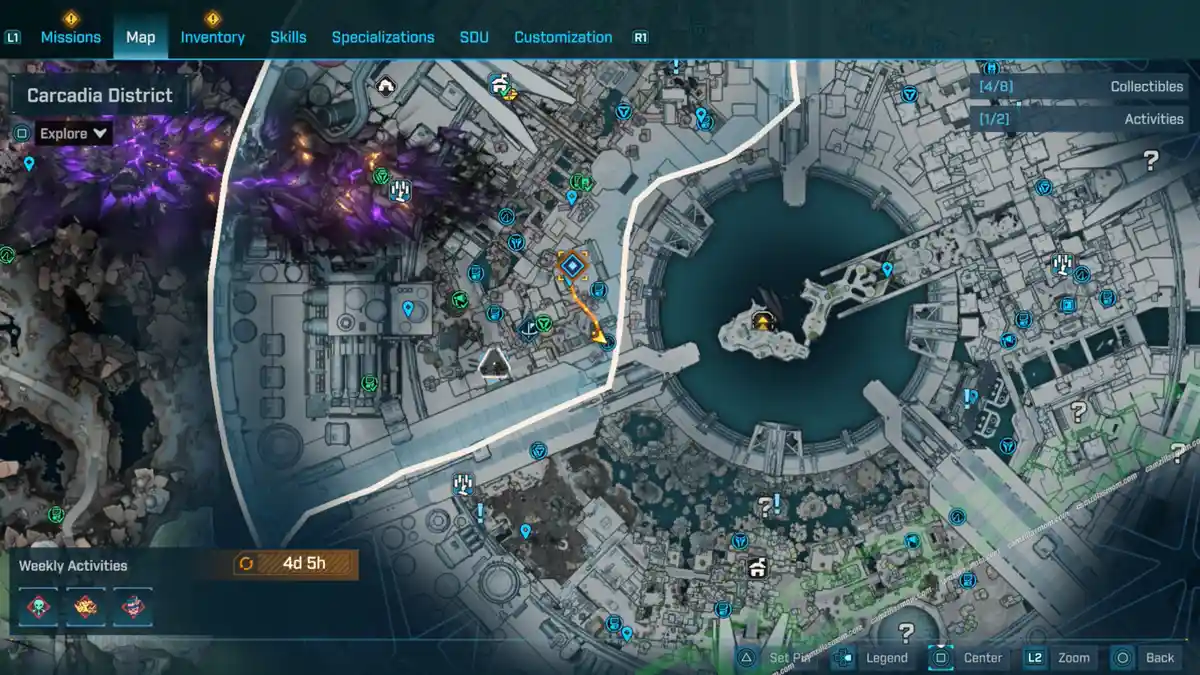
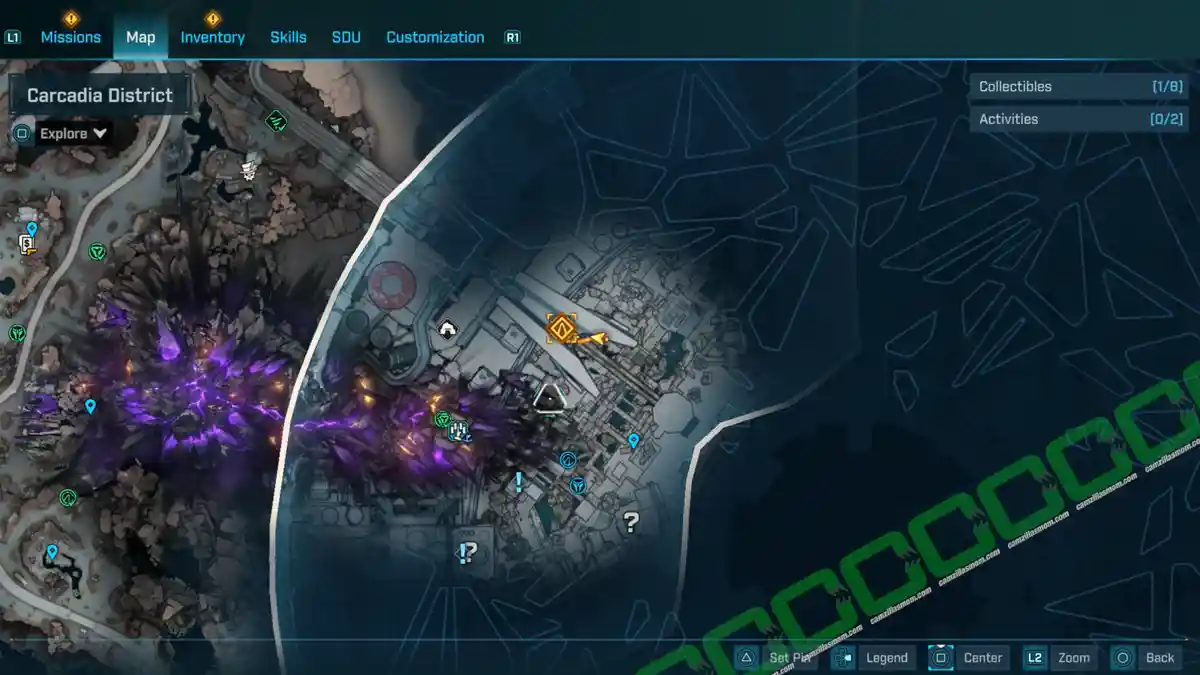
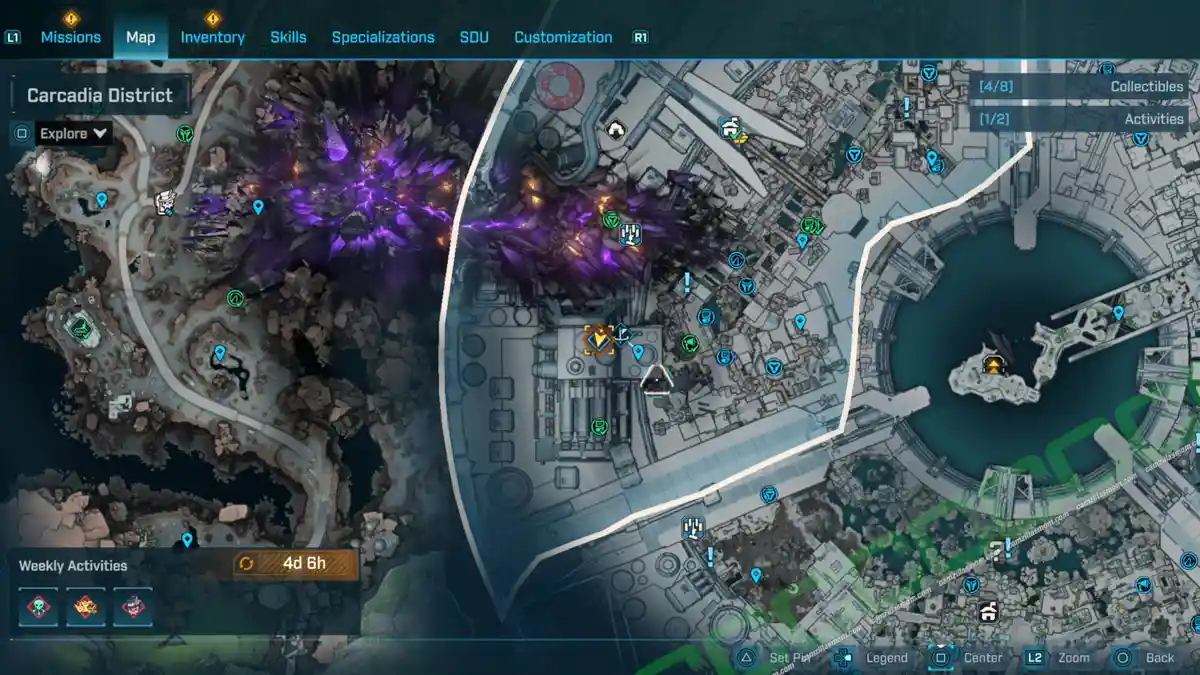
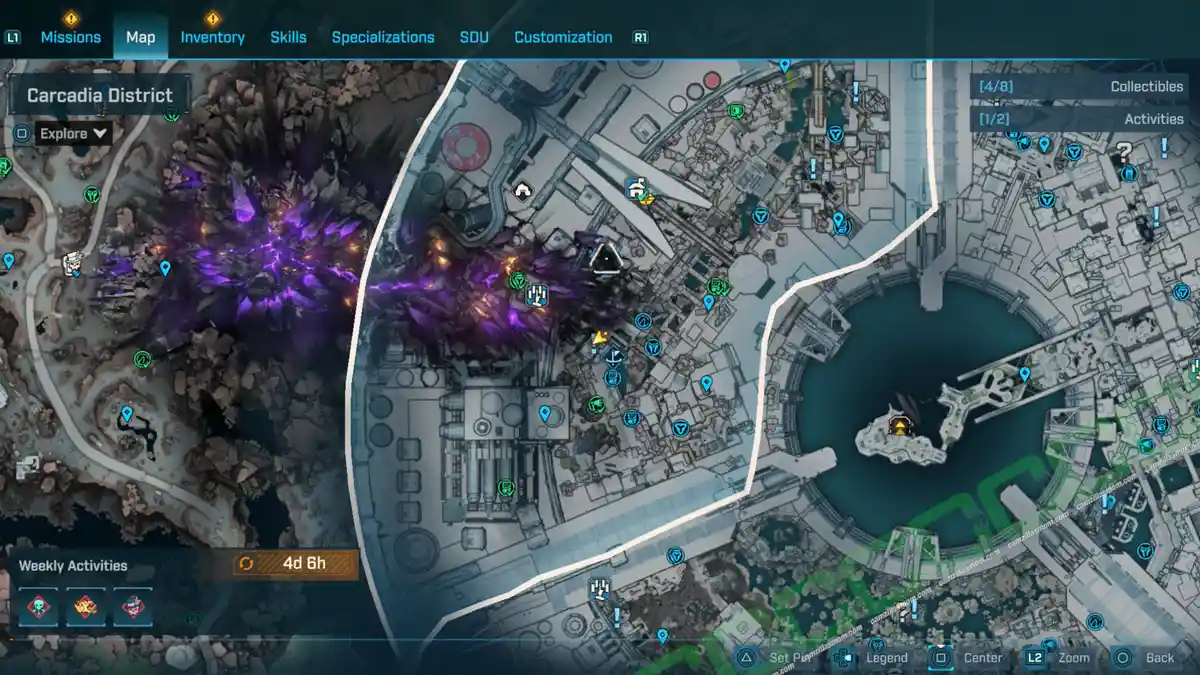
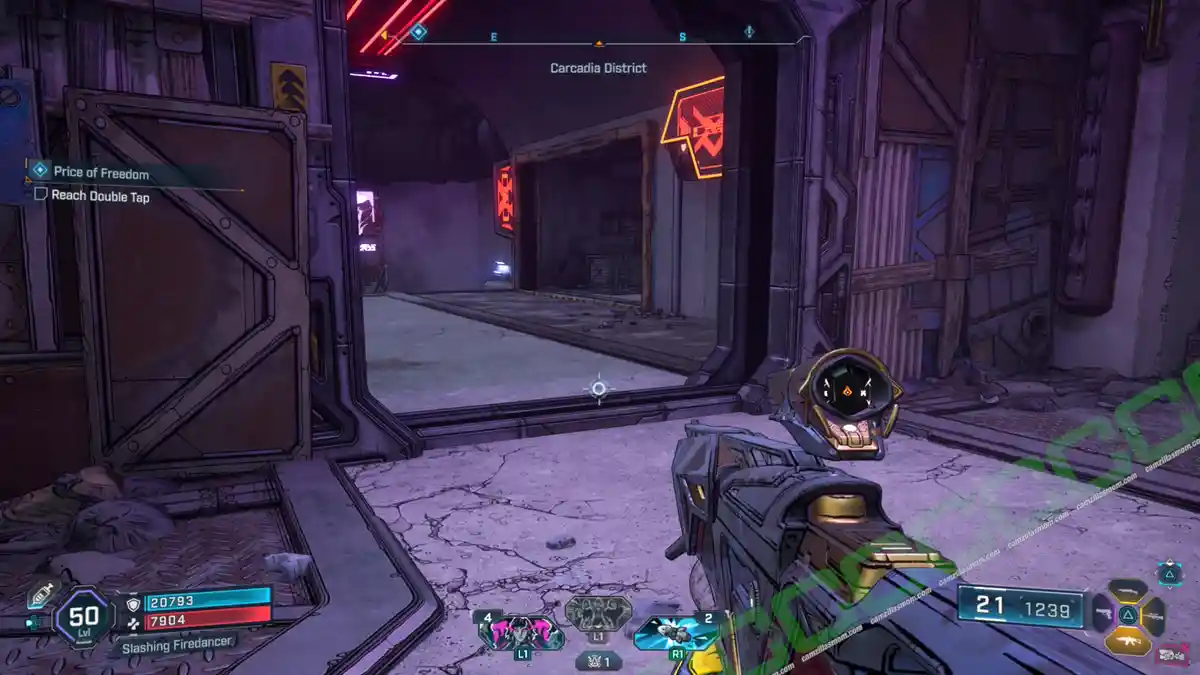
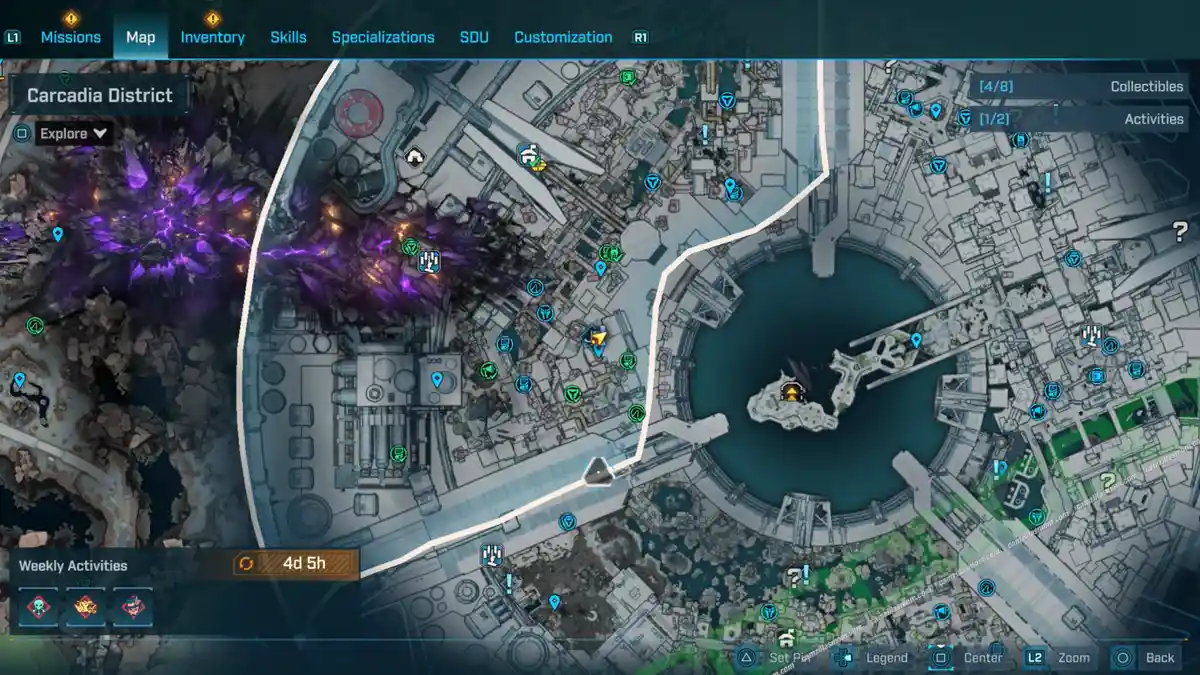
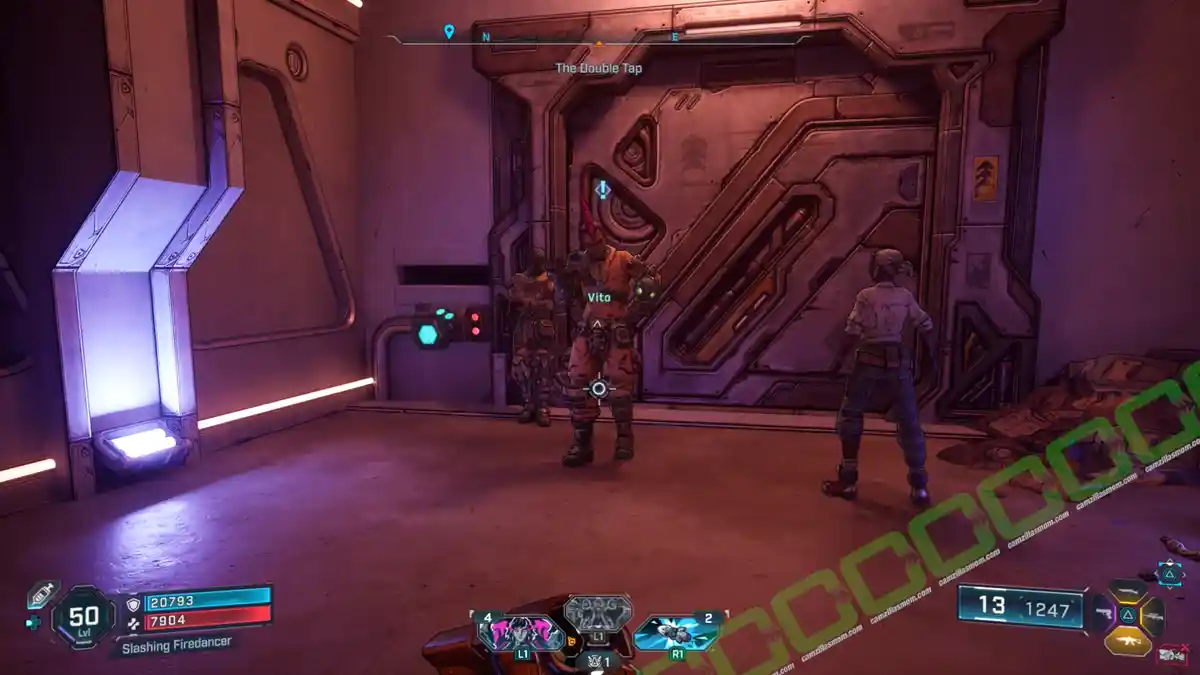
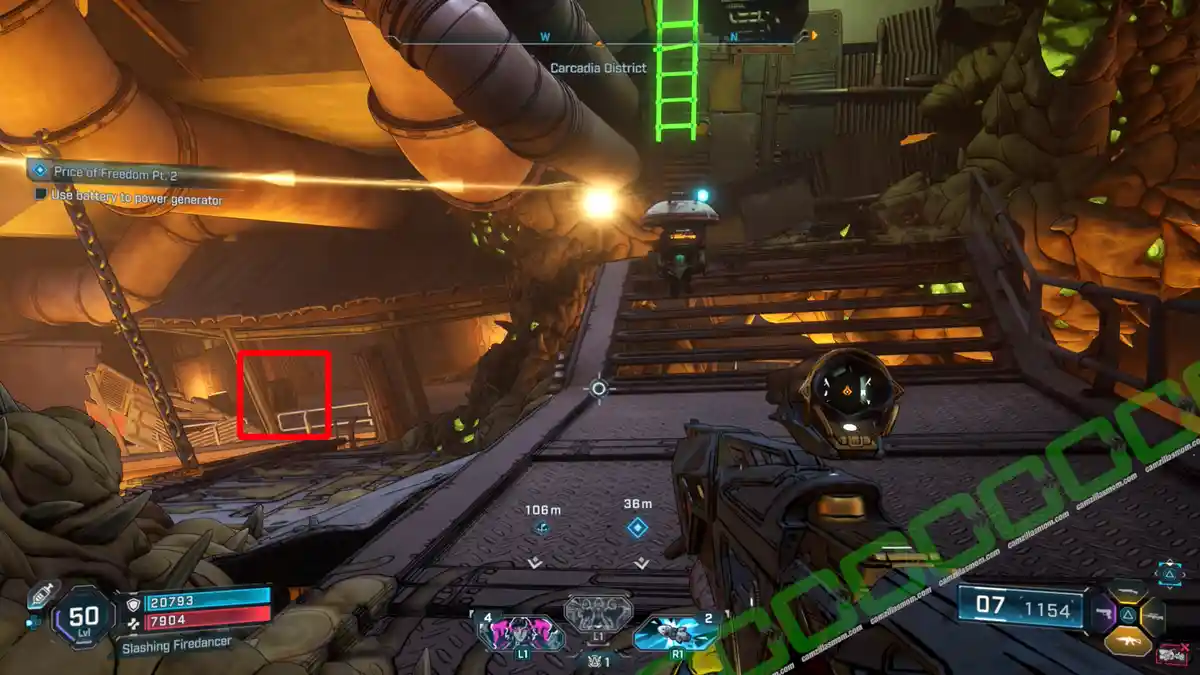
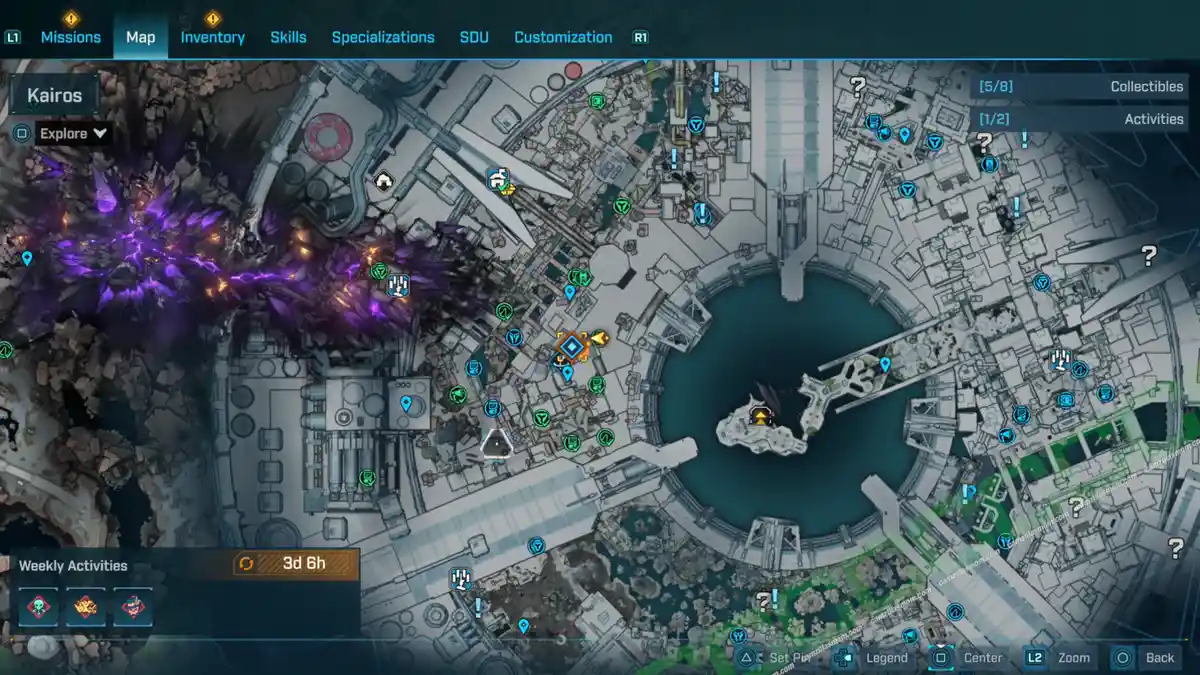
Explore every corner of the Carcadia District in Borderlands 4 with this detailed guide. Uncover ECHO Logs, Vault Symbols, and other collectibles, while tackling side missions and activities. With clear maps and step-by-step instructions, this guide is your ultimate companion to mastering this region.
MORE DOMINION GUIDES
Fades District
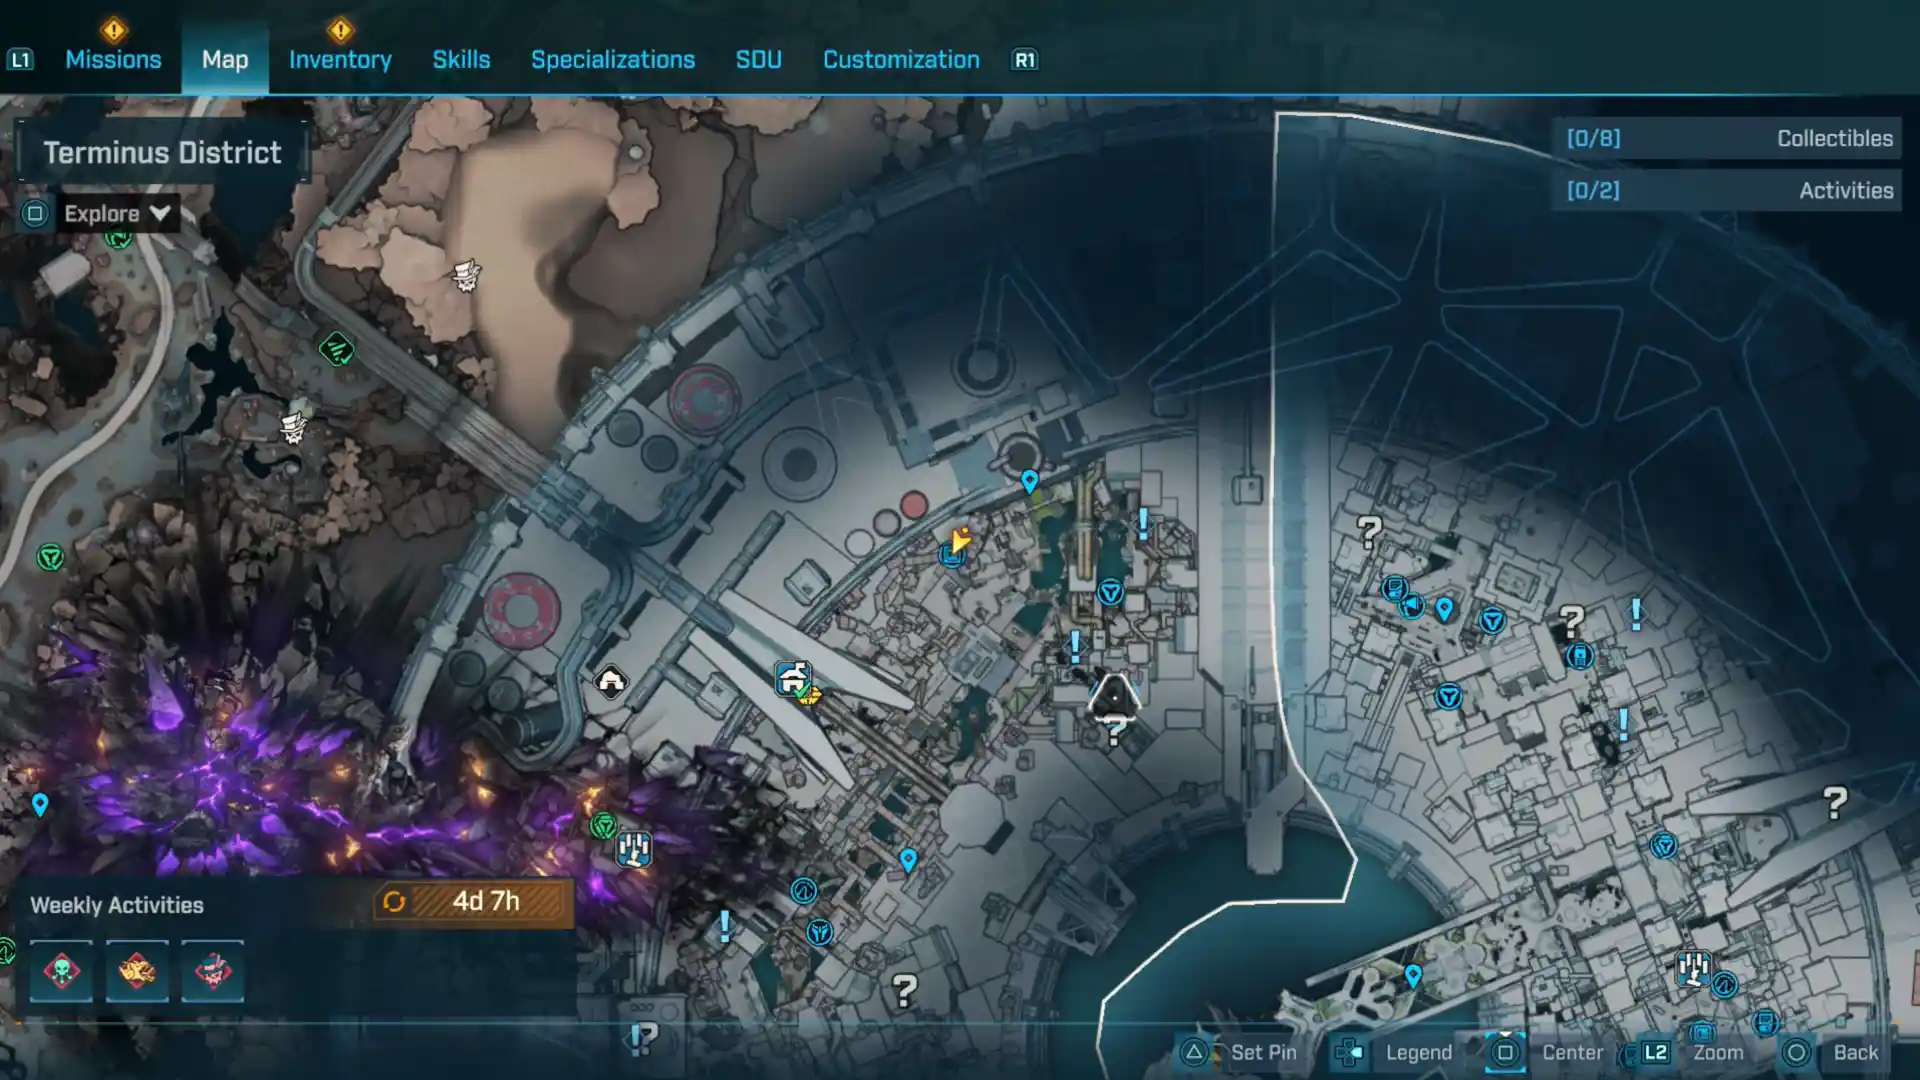
Terminus District
Upper Dominion
-> More Borderlands 4 Guides at the Hub
Collectibles
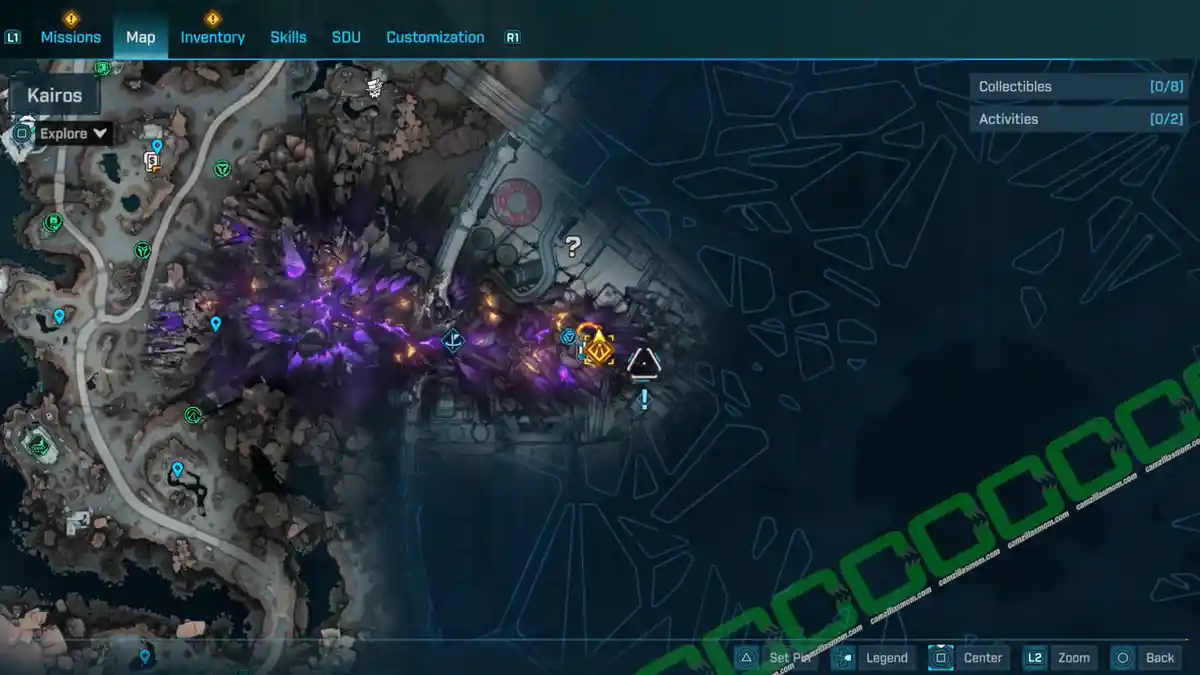
Vault Hunter’s Guide to Kairos – 1
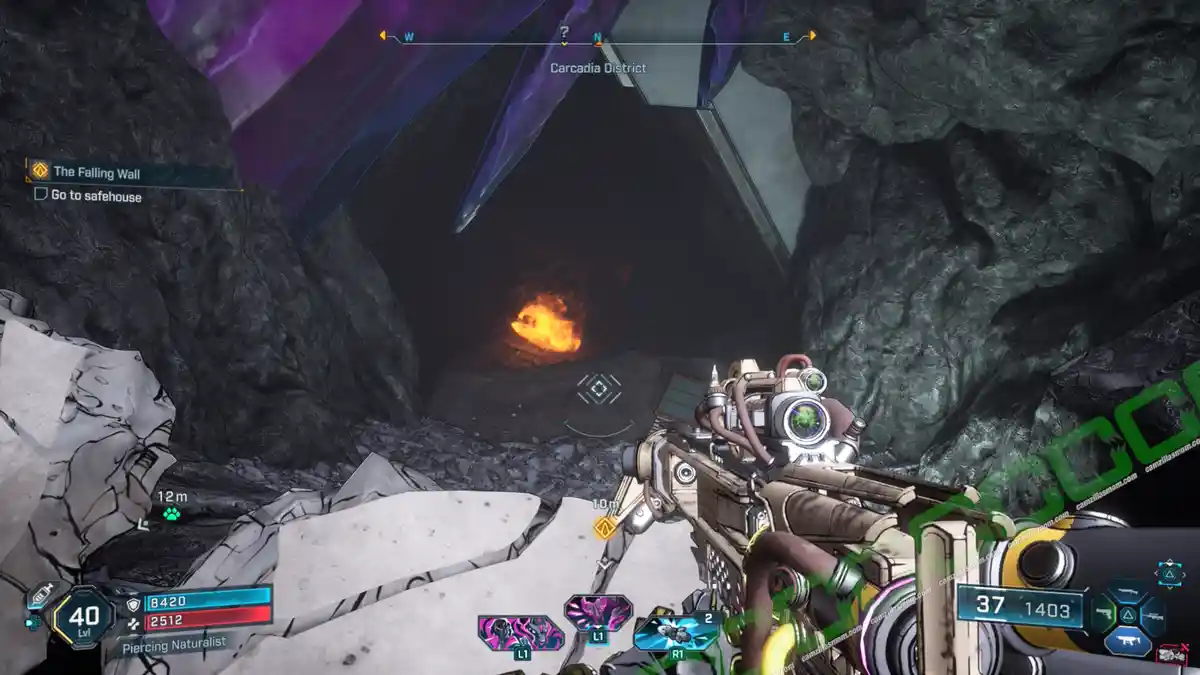
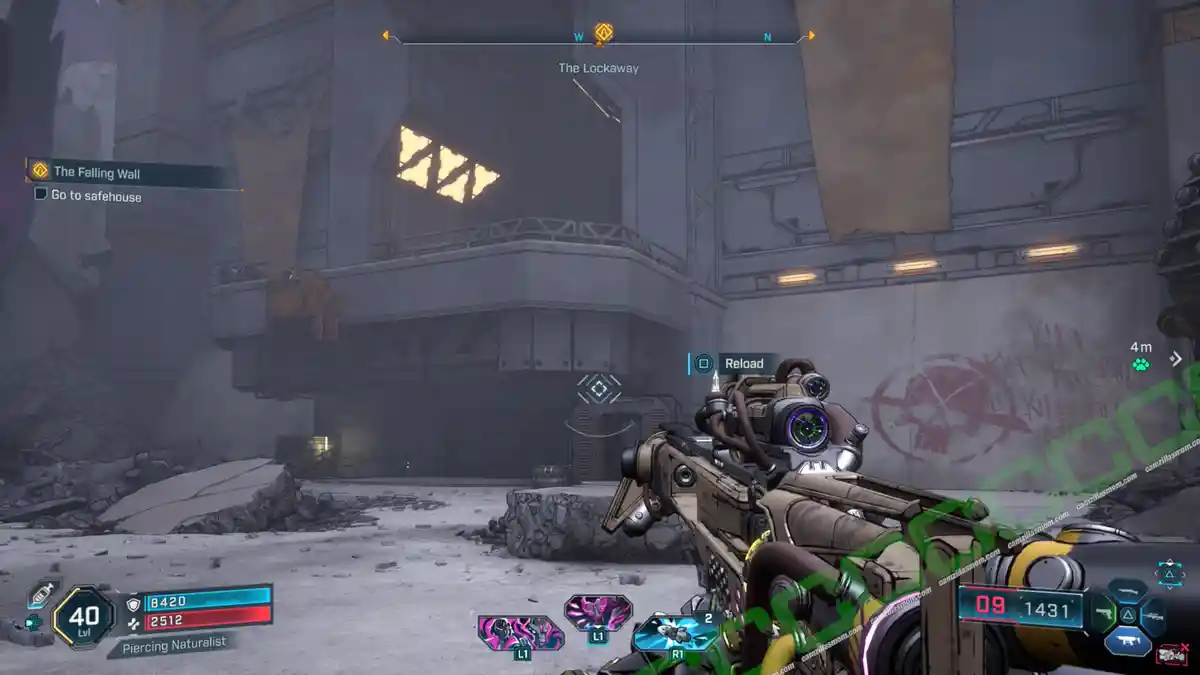
The Vault Hunter’s Guide: Escape is probably the first collectible you will find when coming into the city from Lopside. In the Story Mission: The Falling Wall, you will have to inspect the wall and notice that the Vault Hunter’s Guide to Kairos is below you. Keep going and enter the city through the crack. You have to approach it from the other side. Drop down to the left and get to the bottom to find it.
Description:
“Arjay finds freedom… and a new calling..”
-> Also available: Guided Tour – All 12 Vault Hunter’s Guides
ECHO Logs – 10
-> Also available: Kairos Speaks – All ECHO Logs
1 – Captain Suckattack Sucks
Accept the Side Mission: Overwriting a Wrong in the south of the district. At the location where you find the drone needed in the mission, head a bit further south and look for an overhead grapple. This will take you to a control room with the ECHO Log.
Description:
“Sufferin’ Suckattack!”
2 – Virgin Breath
Get back outside and head down to find the Virgin Breath on the balcony overlooking the district.
Description:
“Amon has a way with words.”
3 – Life Hack
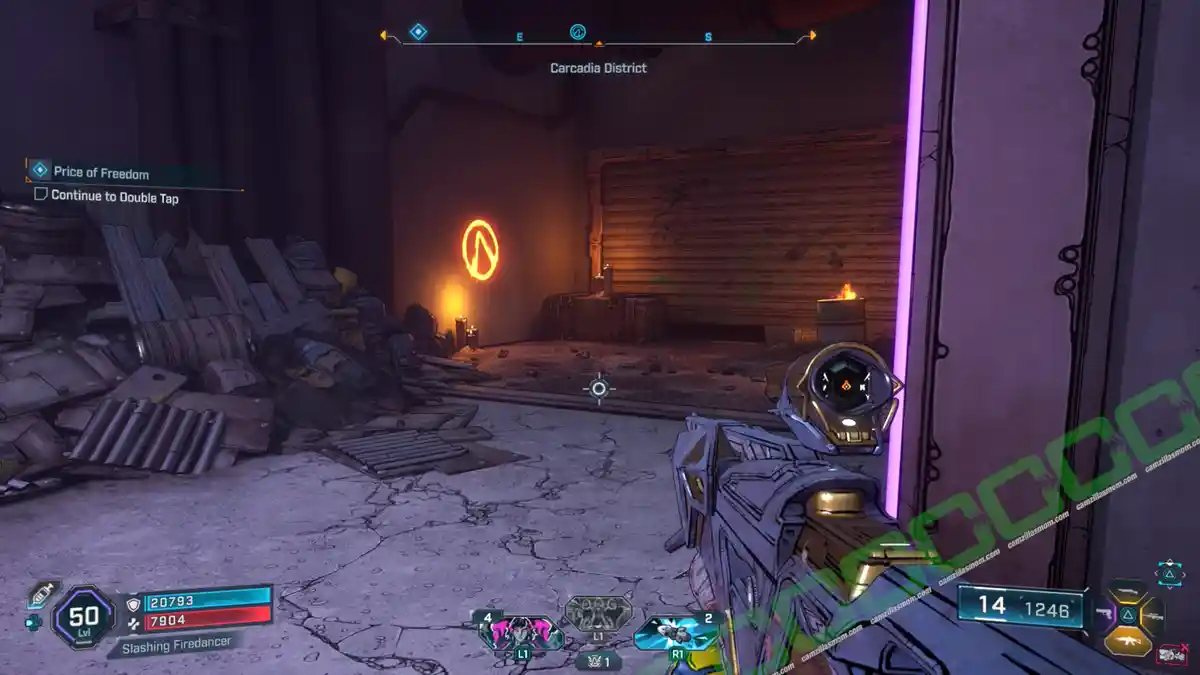
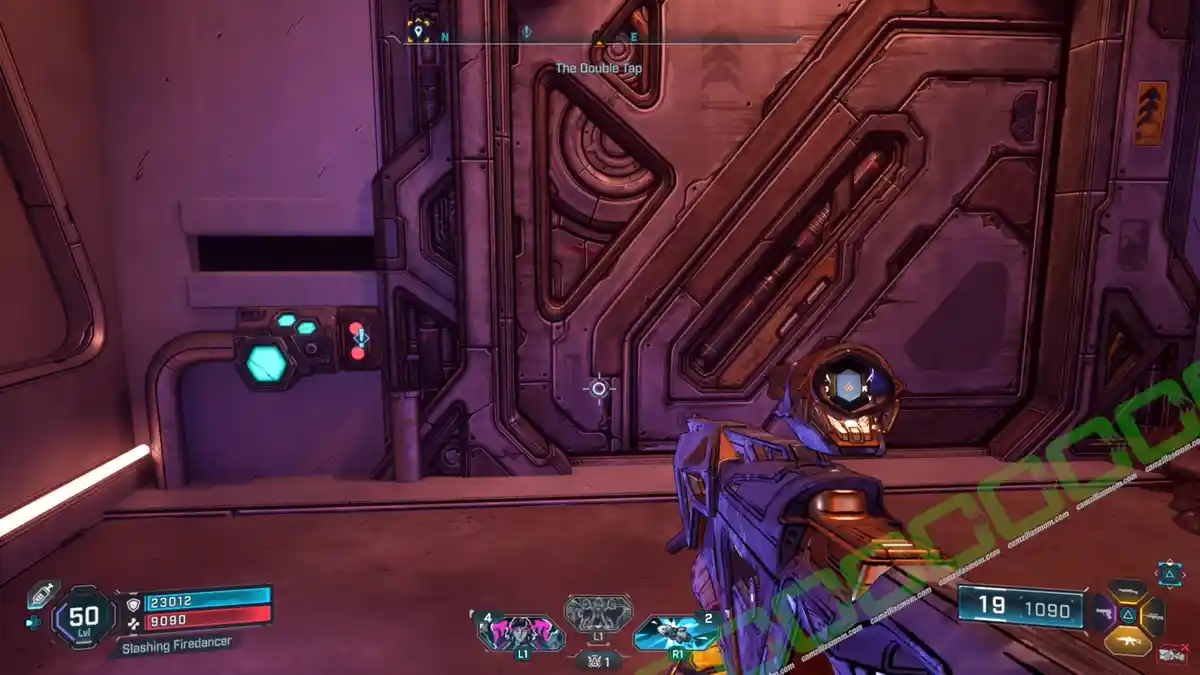
This ECHO log is near the outer door to The Double Tap, which is opened during the “Price of Freedom” Side Mission.
Description:
“Scientists without borders.”
4 – Half Glass Gang Password
This ECHO Log is a mission log that counts towards the region’s ECHO Log collectibles. Pick it up during the Side Mission “The Black Market”, where you have to find a password to enter the Double Tap.
Description:
“Record your passwords for safety!”
5 – Lee from the Band
Accept the Side Mission: Price of Freedom and play it until Joe opens the gate to the Double Tap in the south to reach this Vault Symbol. The ECHO Log is in a small passage next to the Double Tap main entrance.
Description:
“Battle of the band.”
6 – New Runner
Continue with the Side Mission “The Black Market”, return to the Double Tap, and enter Vito’s Fine Establishment, where you can reach a room on the top floor with this ECHO Log inside.
Description:
“Old runners aren’t worth the risk.”
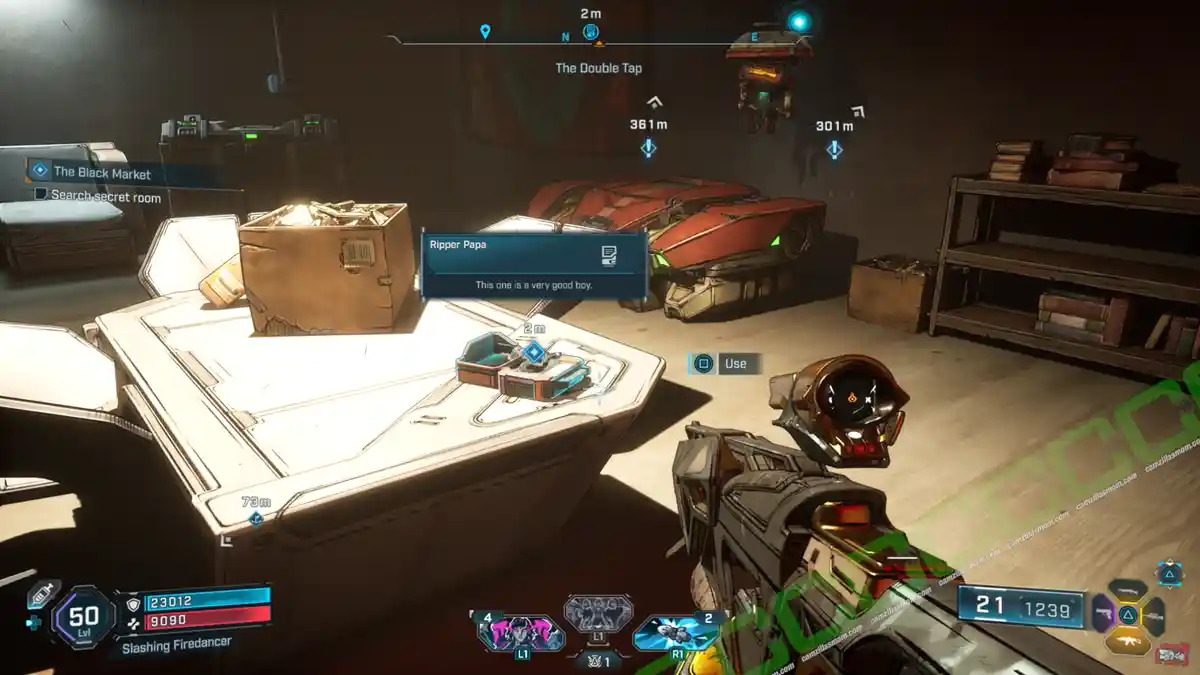
7 – Ripper Papa
Continue with the same Side Mission to find this ECHO Log in the secret room.
Description:
“This one is a very good boy.”
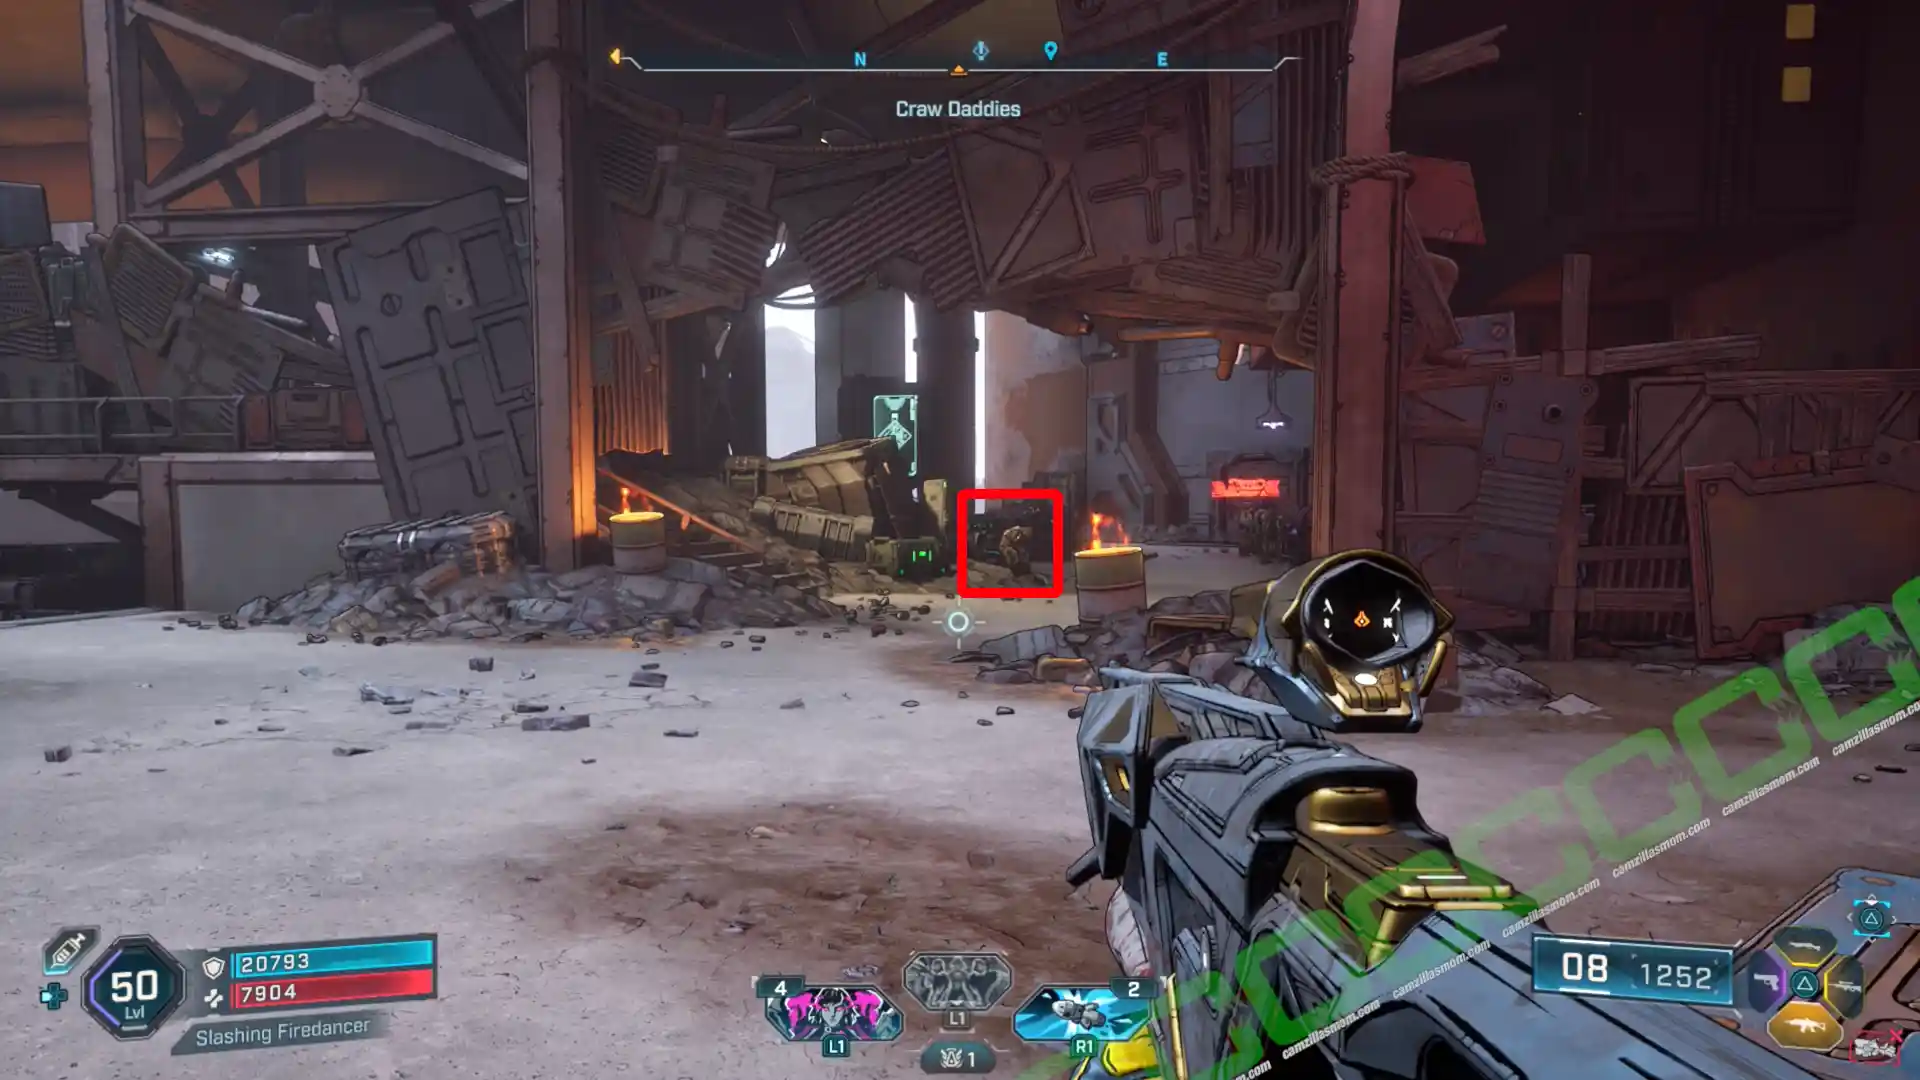
8 – She’s A Goth Girl
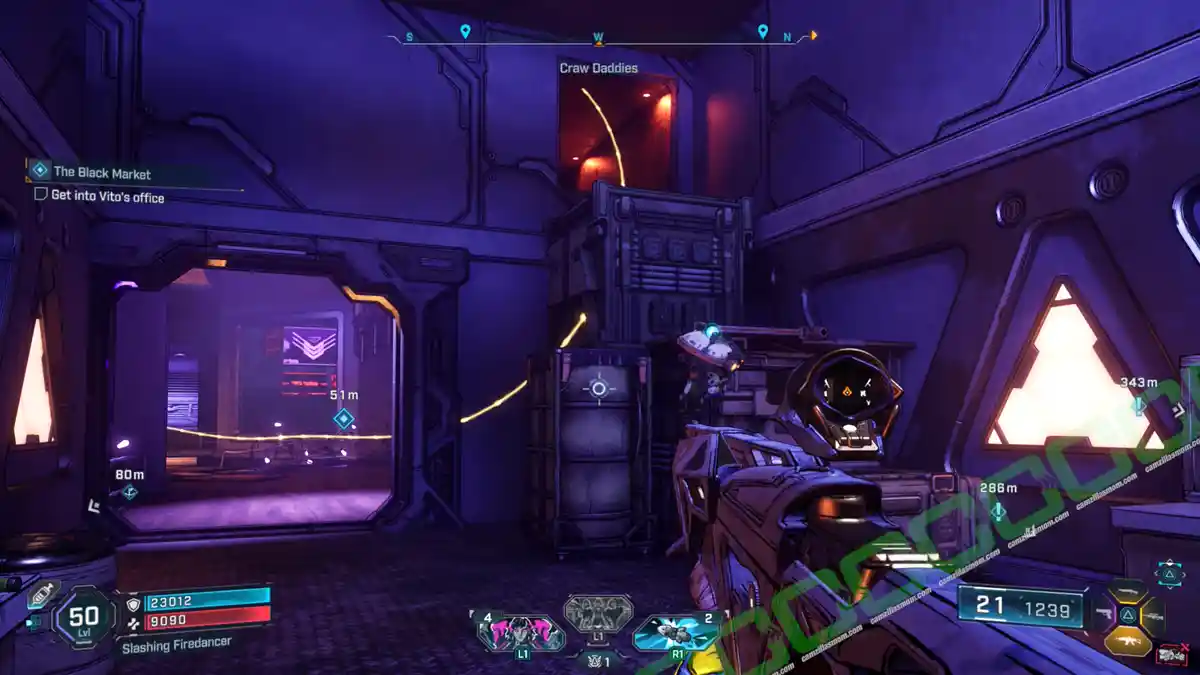
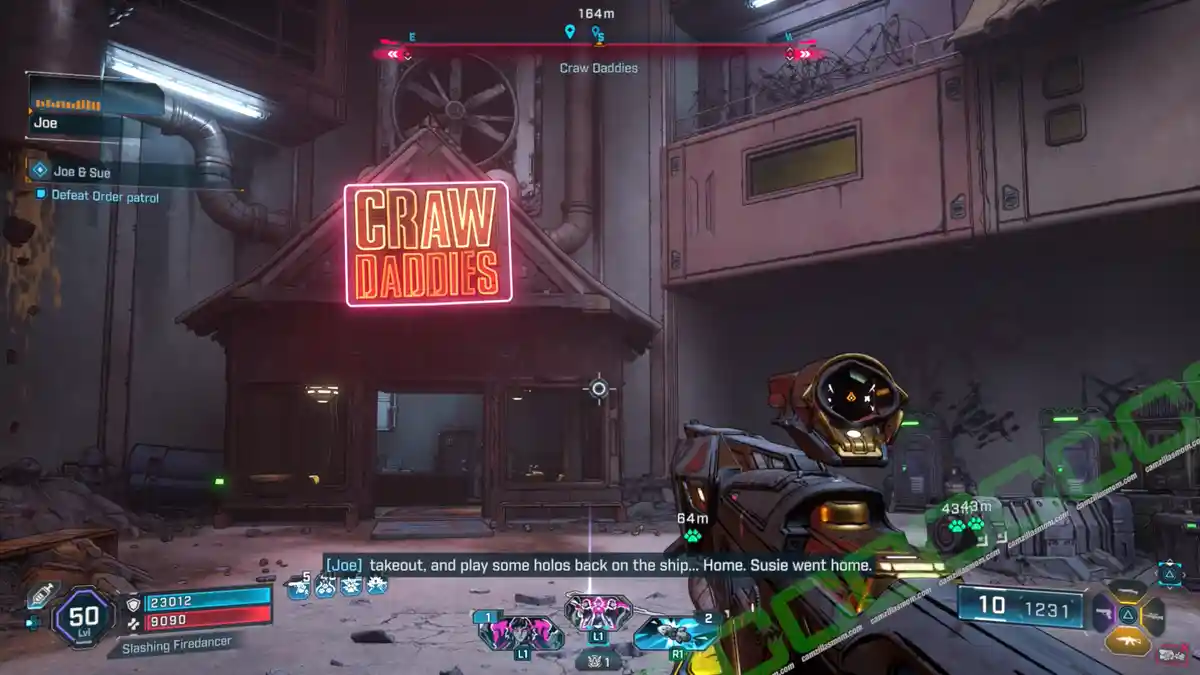
This ECHO Log is right at the Craw Daddies POI. With the “Craw Daddies” named building at your back, just look inside the covered settlement, and you can spot the Log. The Lost Capsule is just opposite of this Log.
Description:
“A seance, of sorts.”
9 – The Love Story of Joe and Sue
This ECHO Log is in Joe’s house at Mossmellow Retreat. You can enter it in the Side Mission: Joe & Sue. In the house, reach the top floor to find the Log on the floor.
Description:
“Would you love me…?”
10 – Toilet Joke
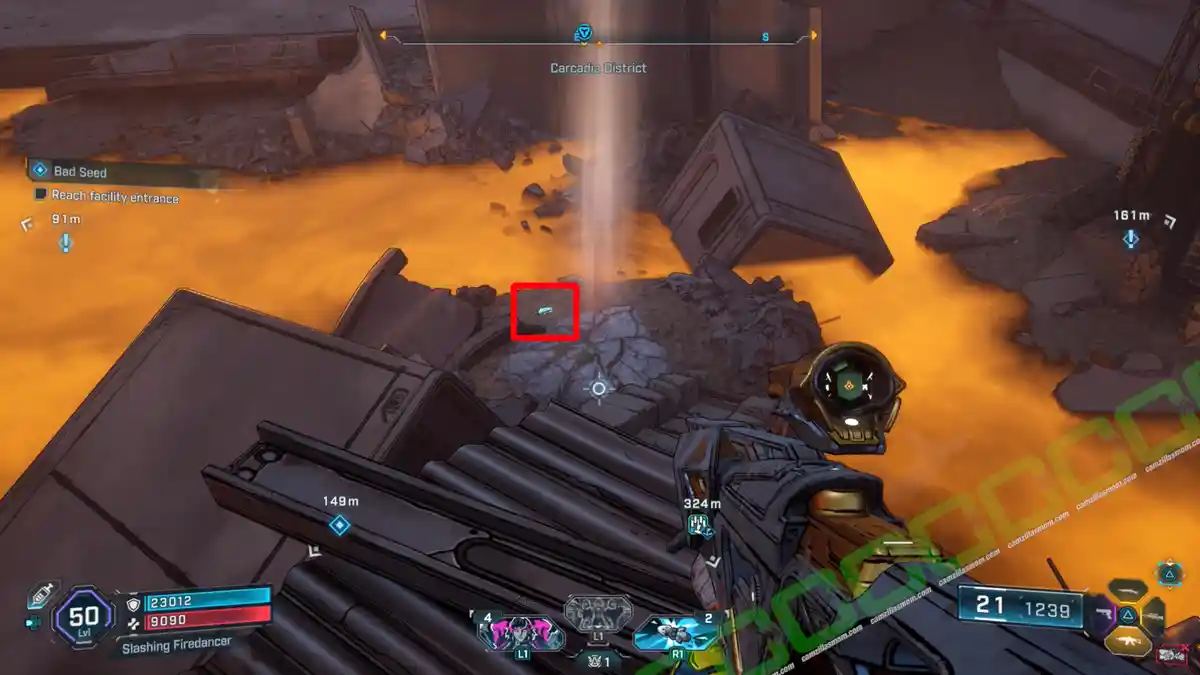
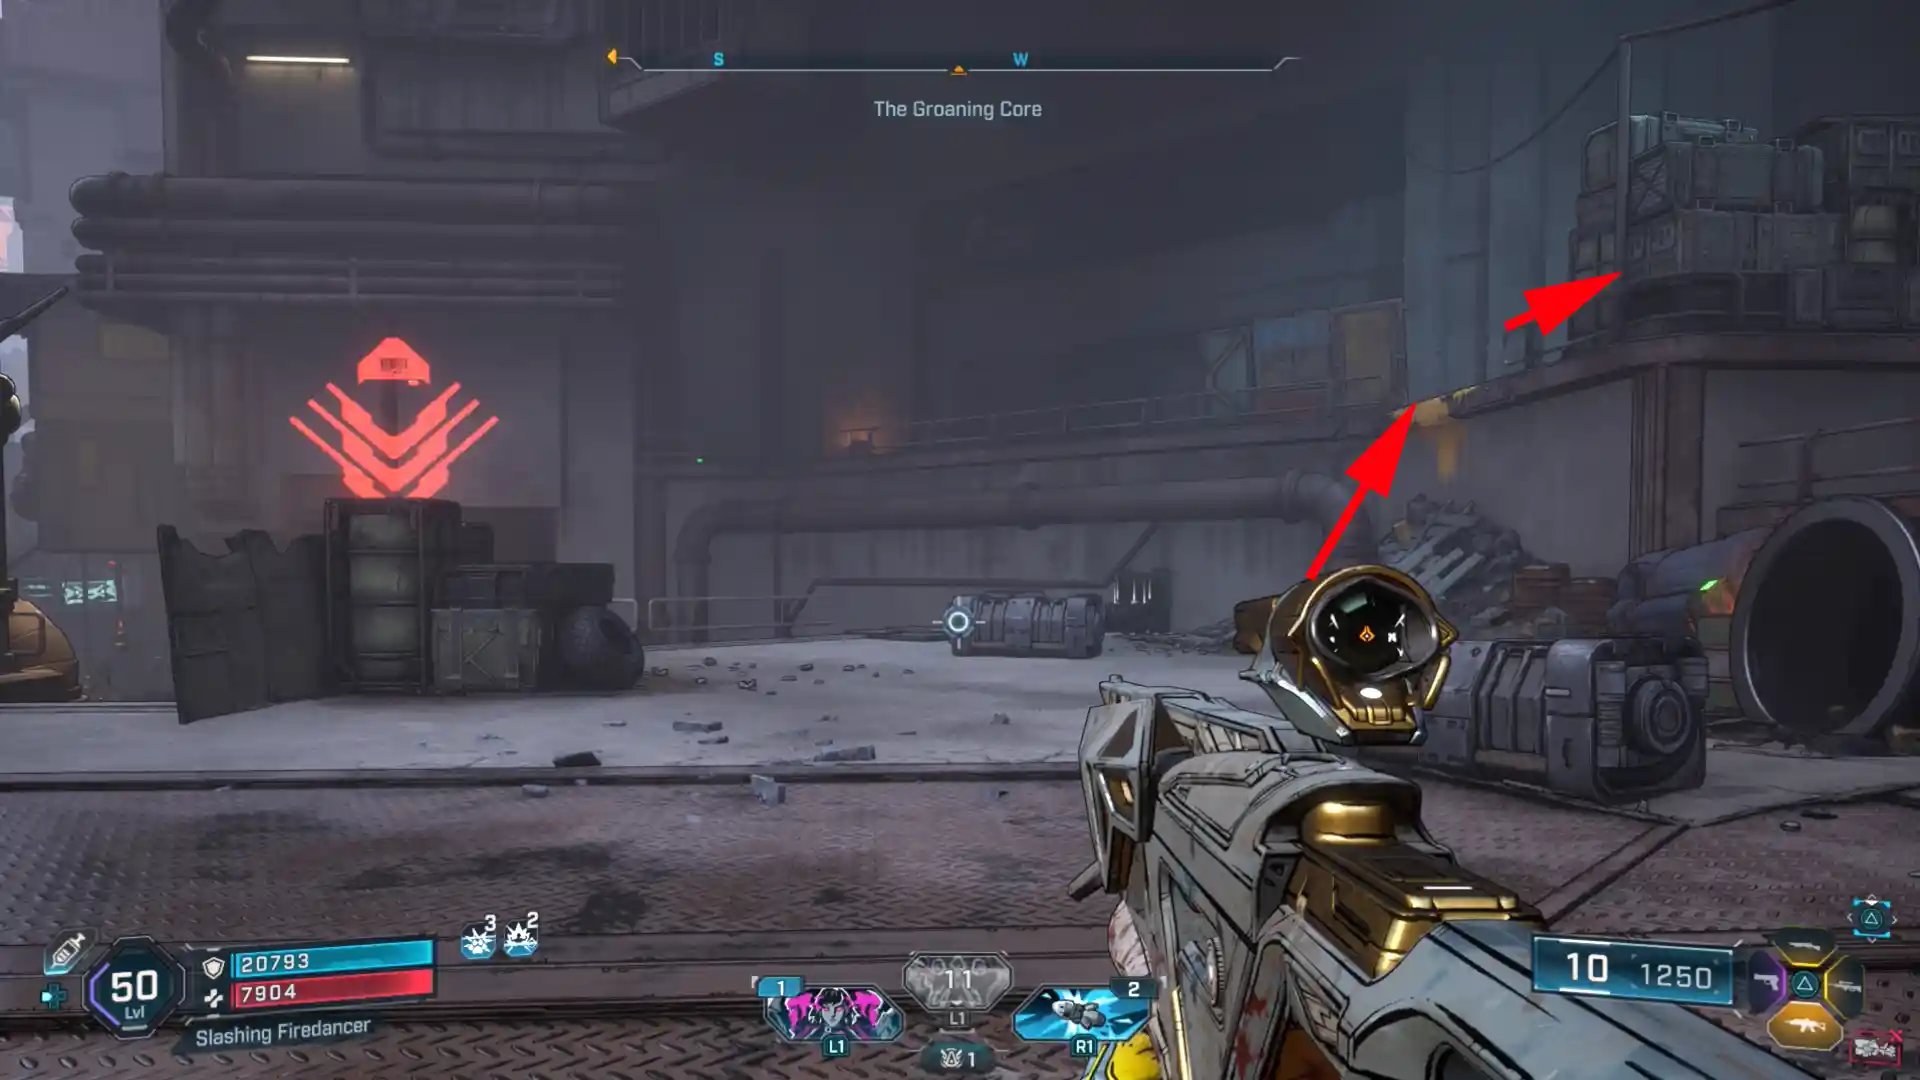
You will reach this ECHO Log east of the Groaning Core during the Side Mission “Bad Seed”. At Groaning Core, look for a couple of grappling points that take you up to a shaft with yellow arrows.
Climb this shaft to the top, where you turn right. Follow this path until you reach a red-lit room with a toilet at its end, where the ECHO Log is.
Description:
“The most expensive sh*t.”
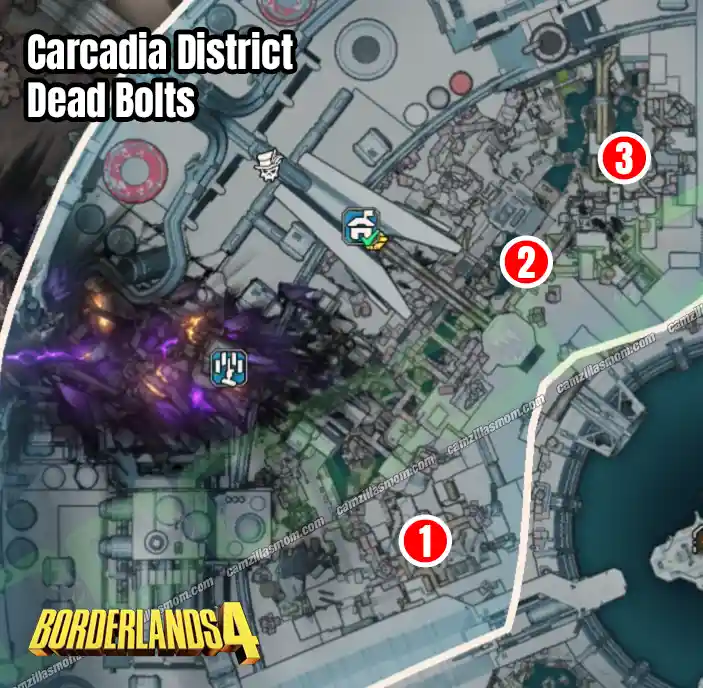
Dead Bolts – 3
1 – Substantial Gains
Accept the Side Mission: Price of Freedom and play it until Joe opens the gate to the Double Tap in the south to reach this Dead Bolt.
Description:
“Crunch Larrsson. Isolus. 55,196 hours. Offline.”
2 – KRATCH
Keep your eyes open during the Side Mission: Price of Freedom Pt.2. On the way to the pipe exit, you can find this Dead Bolt.
Description:
“Afton Lisk. Hermes. 38,536 hours. Offline.”
3 – Positive Drinking
This Dead Bolt is in the north of the region, close to The Groaning Core. There is a broken bridge, and the Dead Bolt is below it.
Description:
“Kura Au. Courtrain. 9,581 hours. Offline.”
Electi Safe – 1
For the Electi Safe, head to the Groaning Core POI in the northeast. In the western parts of the Groaning Core is a marketplace inside one of the Dominion’s outside walls.
Once inside the marketplace, turn left and you’ll find the Electi Safe at the back.
Lost Capsule – 1
The Lost Capsule is at the Craw Daddies covered settlement in the center of the Carcadia District. It is just opposite of the She’s a Goth Girl ECHO Log. Carry it to the Safehouse: The Lockaway to decrypt.
Propaganda Speaker – 1
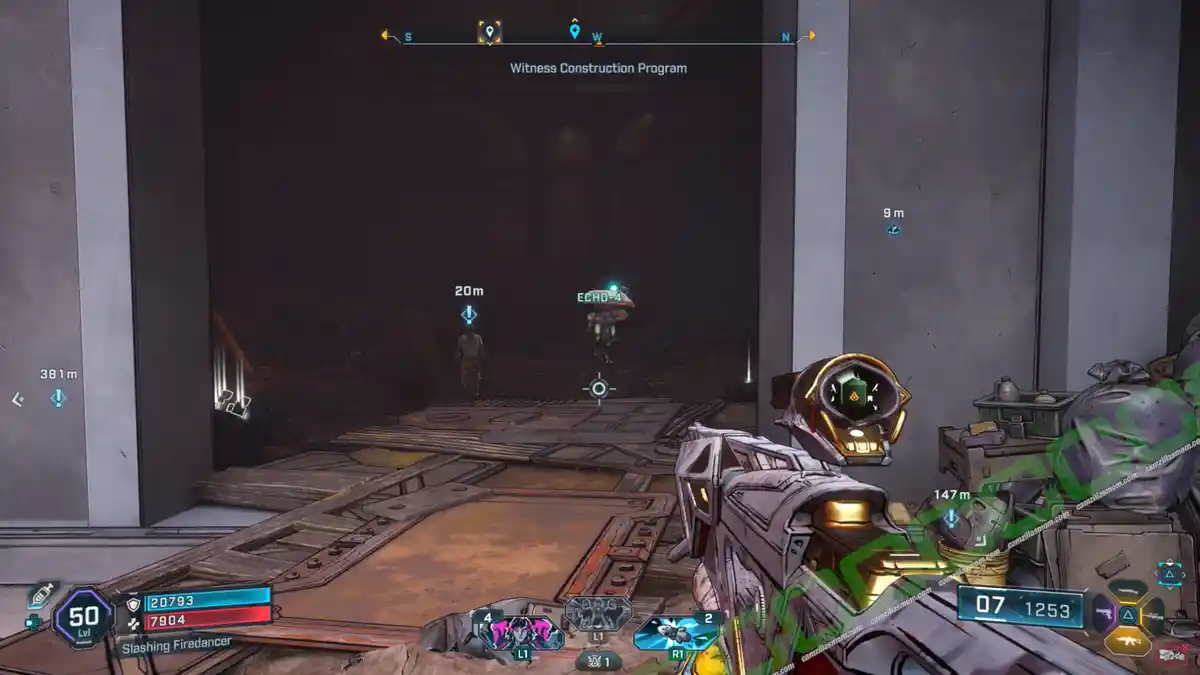
The Propaganda Speaker is in the south of the Carcadia District, just east of the Witness Construction Program POI marker on the map.
Evocarium – 1
1 – Eridian: Power
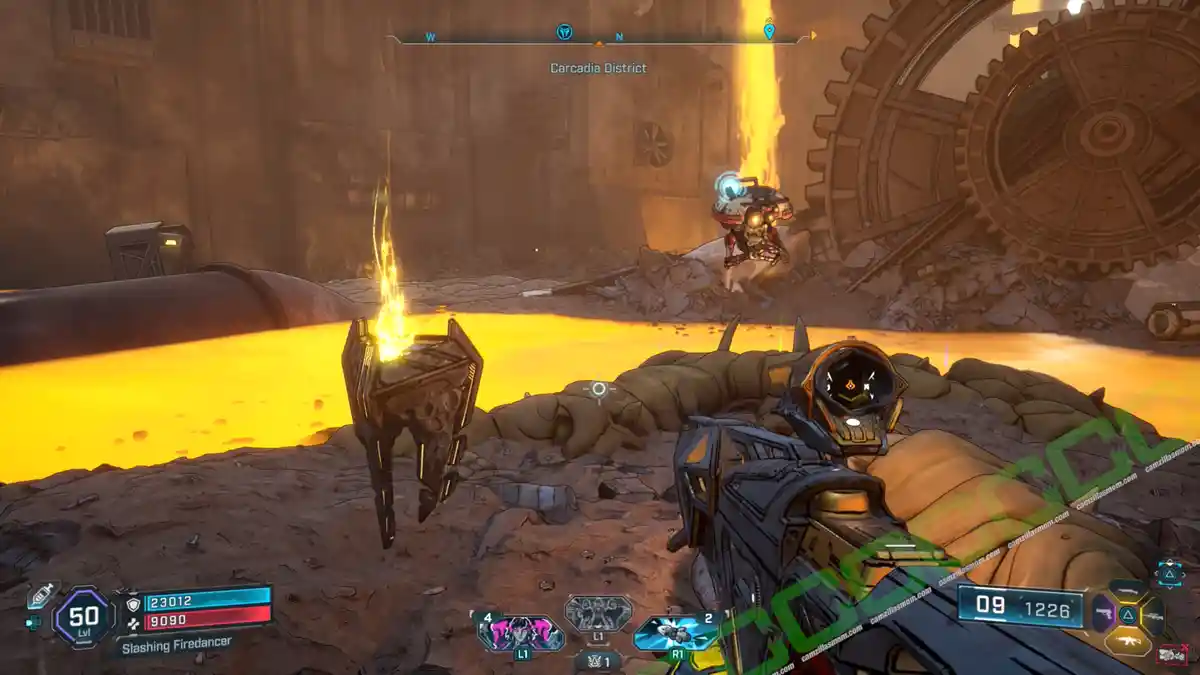
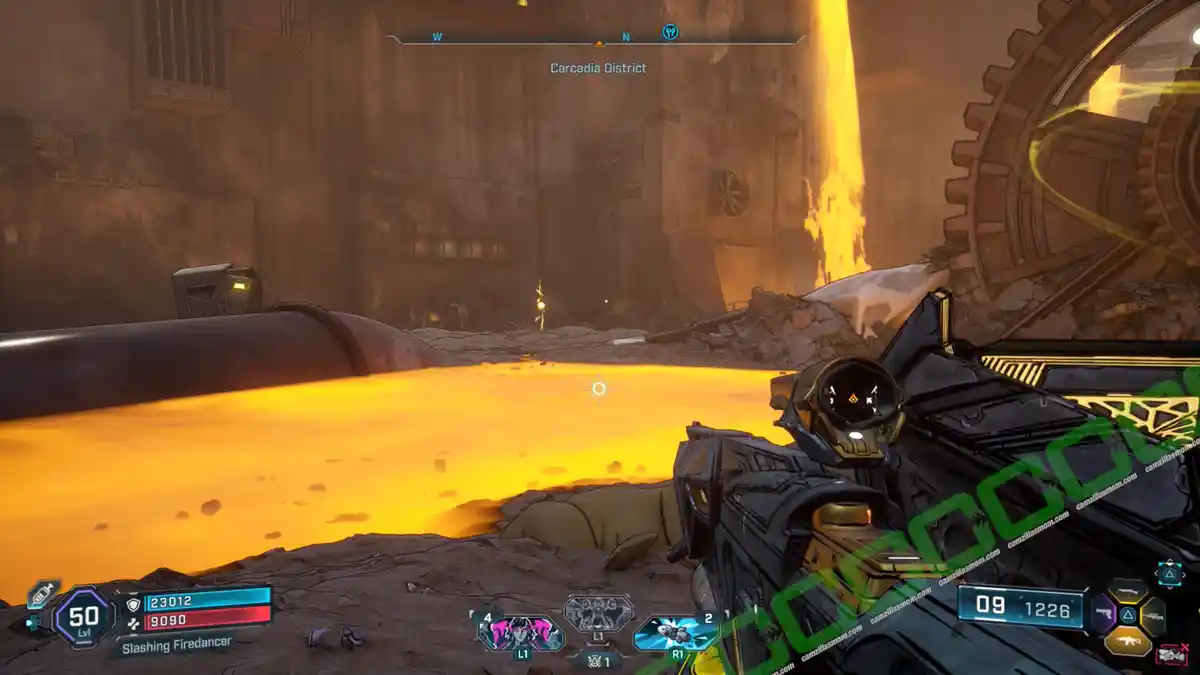
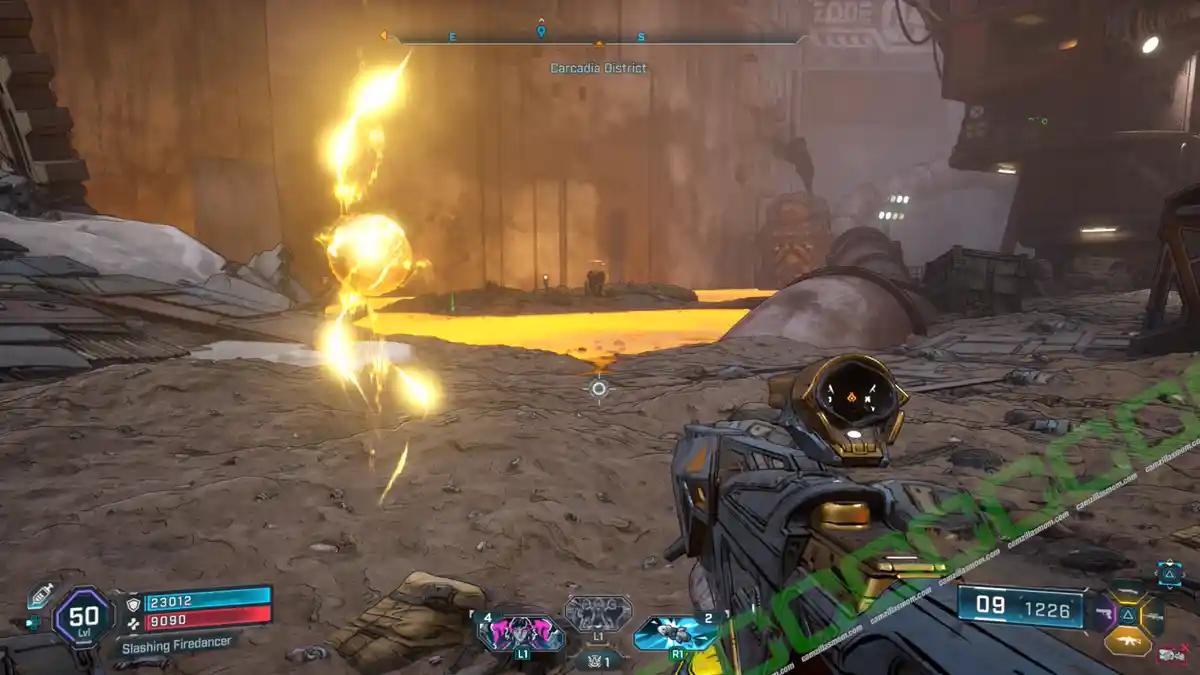
The Evocarium is in the south at the bottom of the yellow waste pit.
The first orb is just north of the Evocarium.
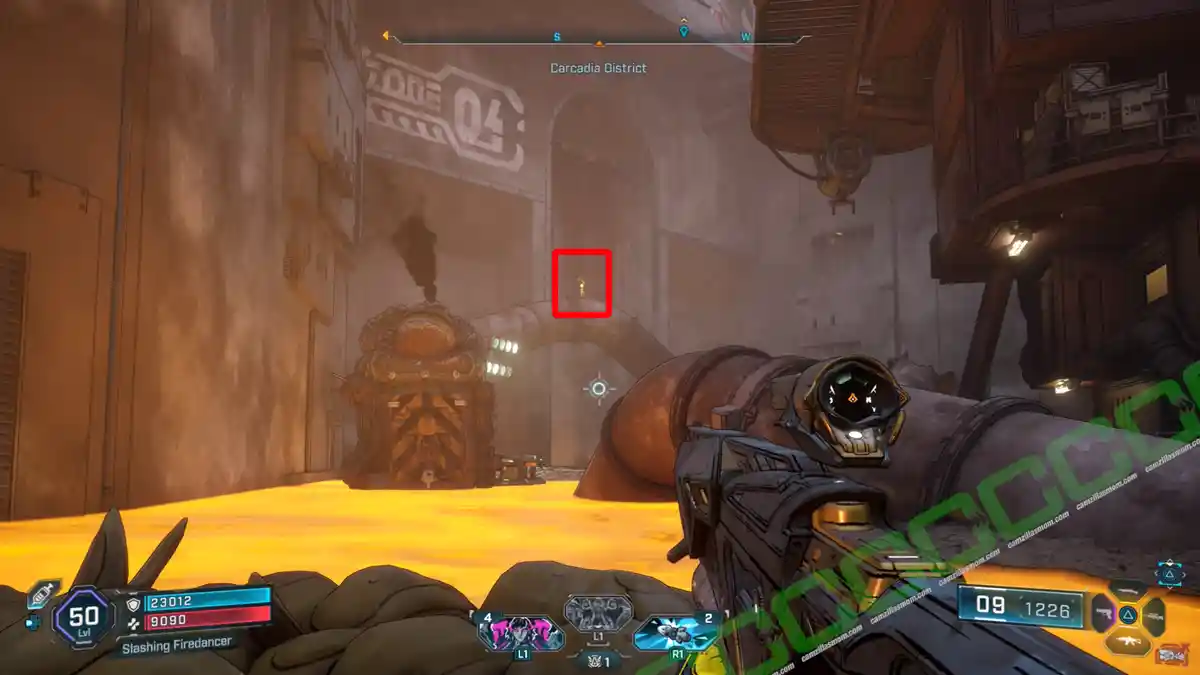
The second orb is on top of the building. You can climb it by using the vertical wind shaft at the back of it.
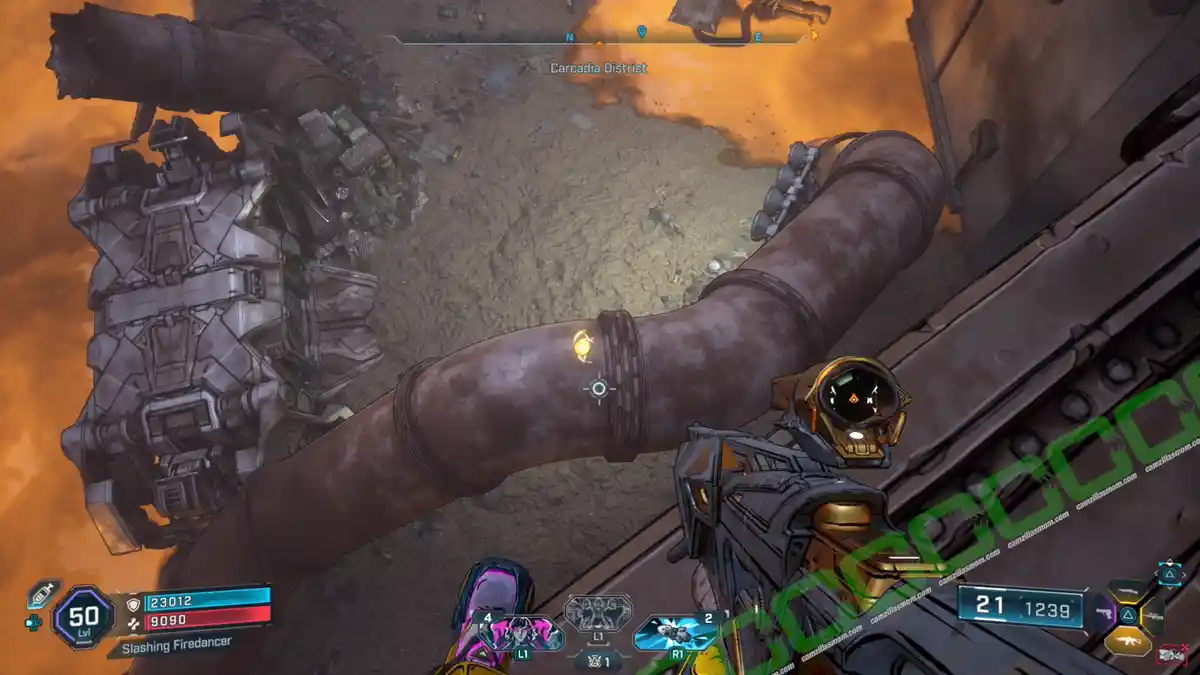
The last one is on top of a pipe in the south. Glide over there from the building. Collect all three orbs and return to the Evocarium to receive Eridian: Power.
-> Also available: Stranded Sister – All 18 Evocariums Revealed
Vault Symbols – 2
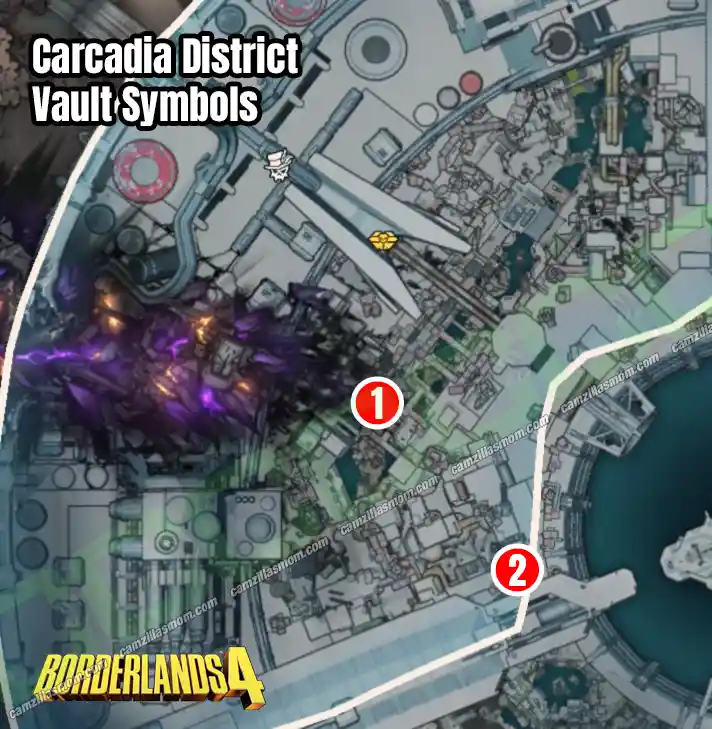
1 – West of Craw Daddies
The easiest way to get this Vault Symbol is during the Side Mission: Price of Freedom Pt. 2. Joe and Sue need a power core for a deposit to open a door. To find it, you need to reach a room behind a ladder. You can also find this Vault Symbol.
2 – Double Tap
Accept the Side Mission: Price of Freedom and play it until Joe opens the gate to the Double Tap in the south to reach this Vault Symbol. It is in the courtyard in front of the Double Tap building entrance.
Activities
Safehouse: The Lockaway
This Safehouse is part of the Story Mission: The Falling Wall.
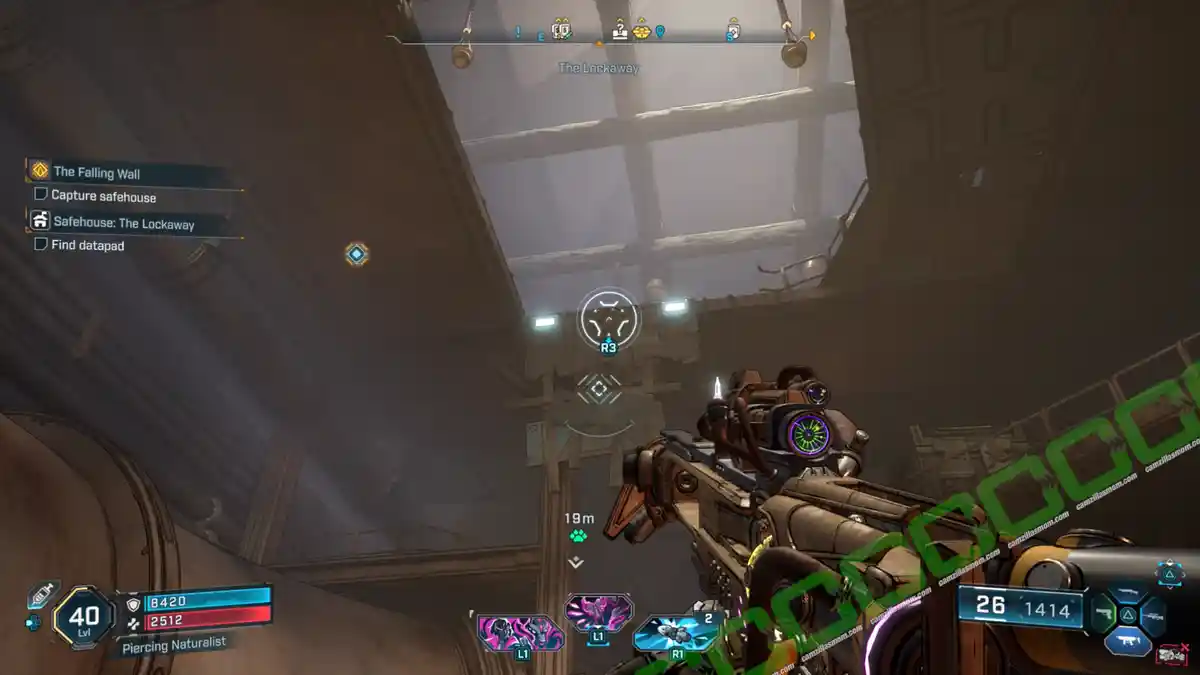
Use the grapple point on the balcony to get inside. In the next room, defeat the order, then use the grapple point on the Order poster to get up to the next level. Climb the staircase and use the grapple point at the top to reach the safehouse level. The datapad is on the table.
Abandoned Auger Mine: The Toil of Spoiling Vis
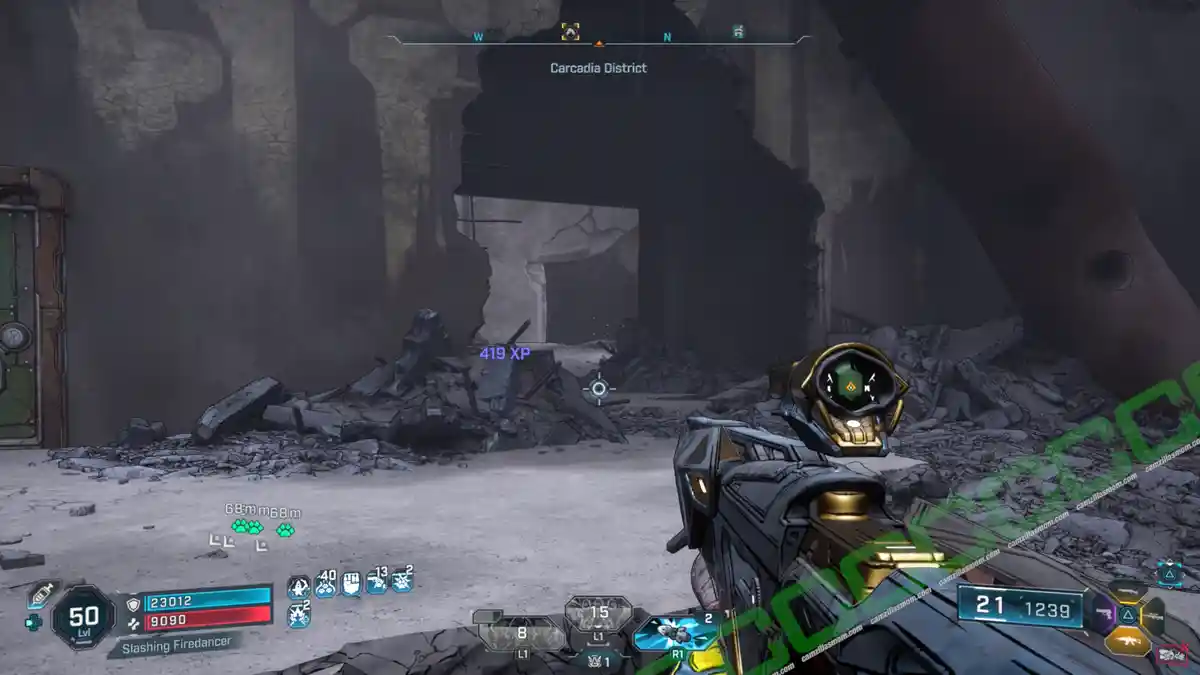
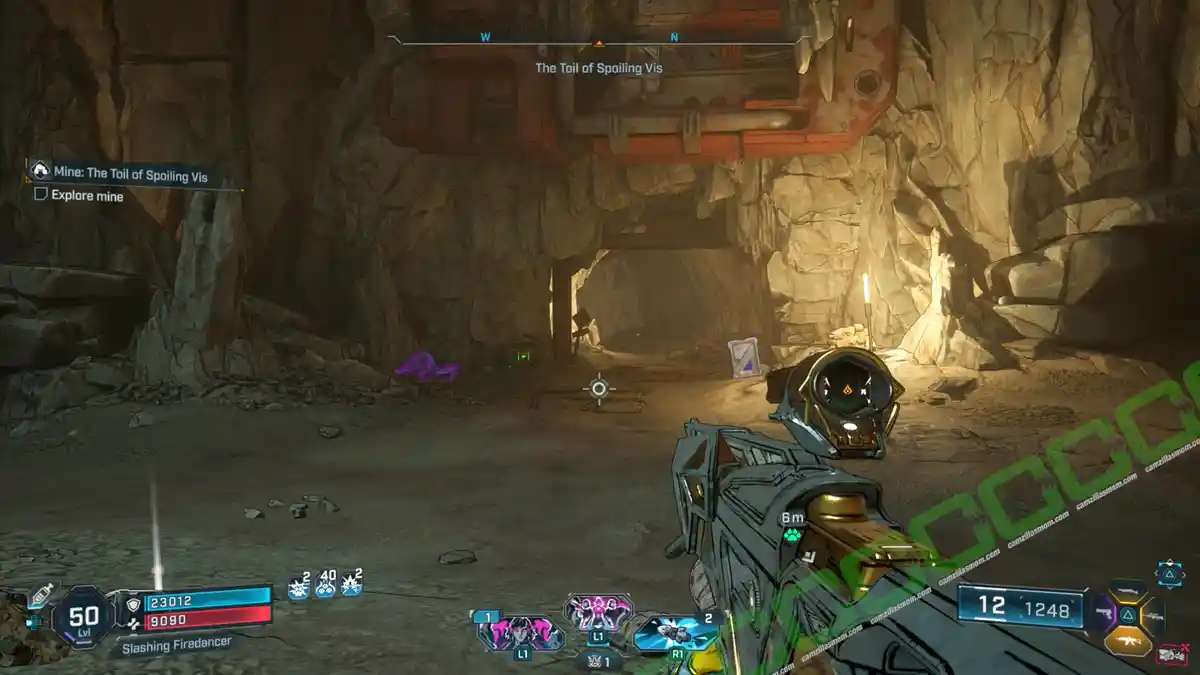
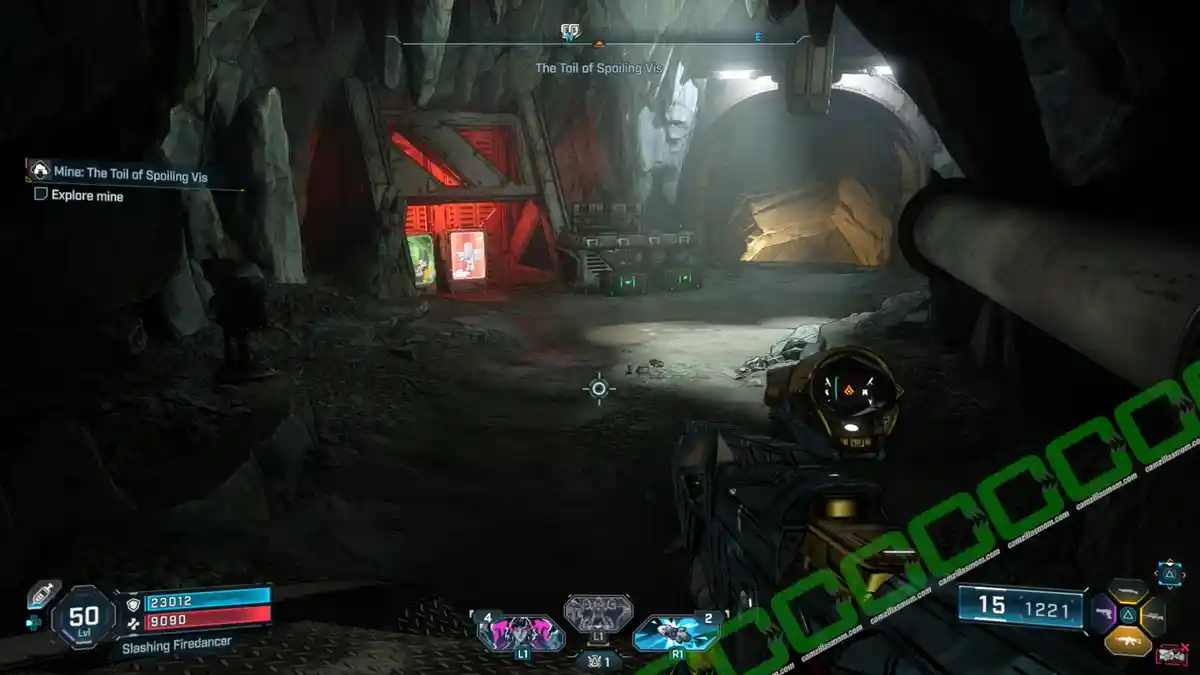
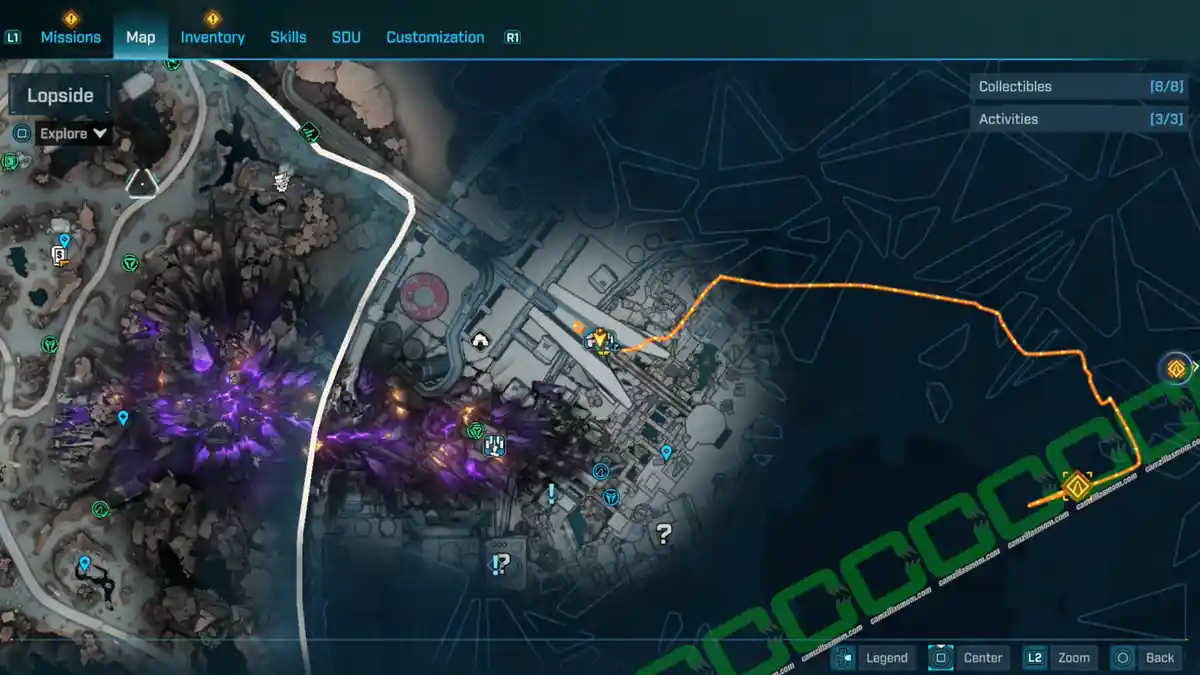
The access point to the Abandoned Auger Mine is at this location, shown below. To find it better, follow the bottom, yellow-goo pit to the south until you reach the area with the Evocarium and the tower. Climb the tower and work your way up towards the west. Once you reach the top, you will find an Order-infested area with this hole in the wall that leads to the Auger Mine entrance.
Inside, drop down the long shaft to the bottom to enter a cave with maulers. Head towards the northwest to find a passage that goes deeper into the mine. In the next cave is a rift that you can grapple to advance.
The rift will take you to the higher level of the first cave, where you can cross over to the other side using the center pillar. Follow the path to reach the vending machines and start the fight against Axemaul.
Side Missions
-> Also Available: All Side Missions in Borderlands 4
Overwriting a Wrong
Side Mission Start:
Witness Construction Program – Terry
What it is about:
Reprogram the killer drones.
Side Mission Steps:
-> Take modified ECHO Log.
-> Enter drone factory: Just above the mission giver.
-> Find complete drone: In the southern part of the factory.
-> Start virus upload to the drone.
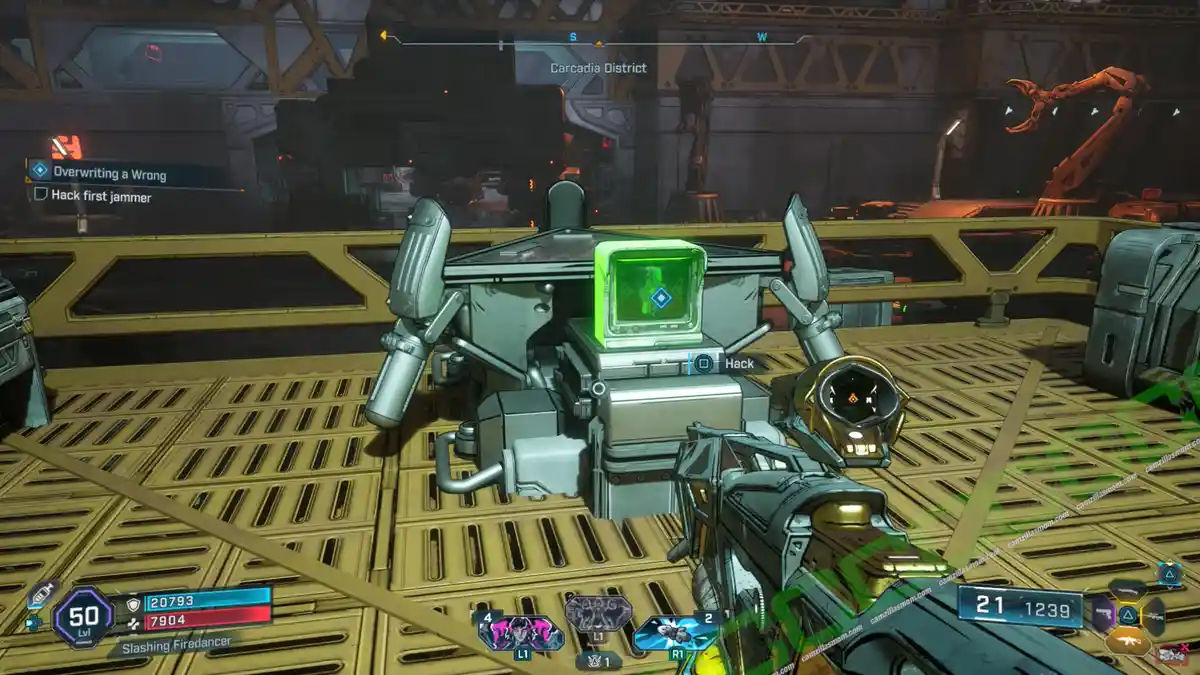
-> Reach first jammer, hack it.
-> Destroy the first jammer’s nodes: The nodes are just swirling around above the hacked monitor.
-> Hack second jammer: Not far from the first one.
-> Destroy the second jammer’s nodes: Don’t hit the round ones.
-> Hack third jammer: It’s in the same overhead control room as the ECHO Log collectible.
-> Destroy the third jammer’s nodes: Again, don’t hit the round ones.
-> Return to drone, Upload virus.
-> Destroy red order nodes: Another round of hacking, avoiding the round ones.
-> Clear remaining enemies
Price of Freedom
Side Mission Start:
Northeast of Witness Construction Program – Joe in the prison cell (release him to start)
What it is about:
Help Joe and his wife.
Side Mission Steps:
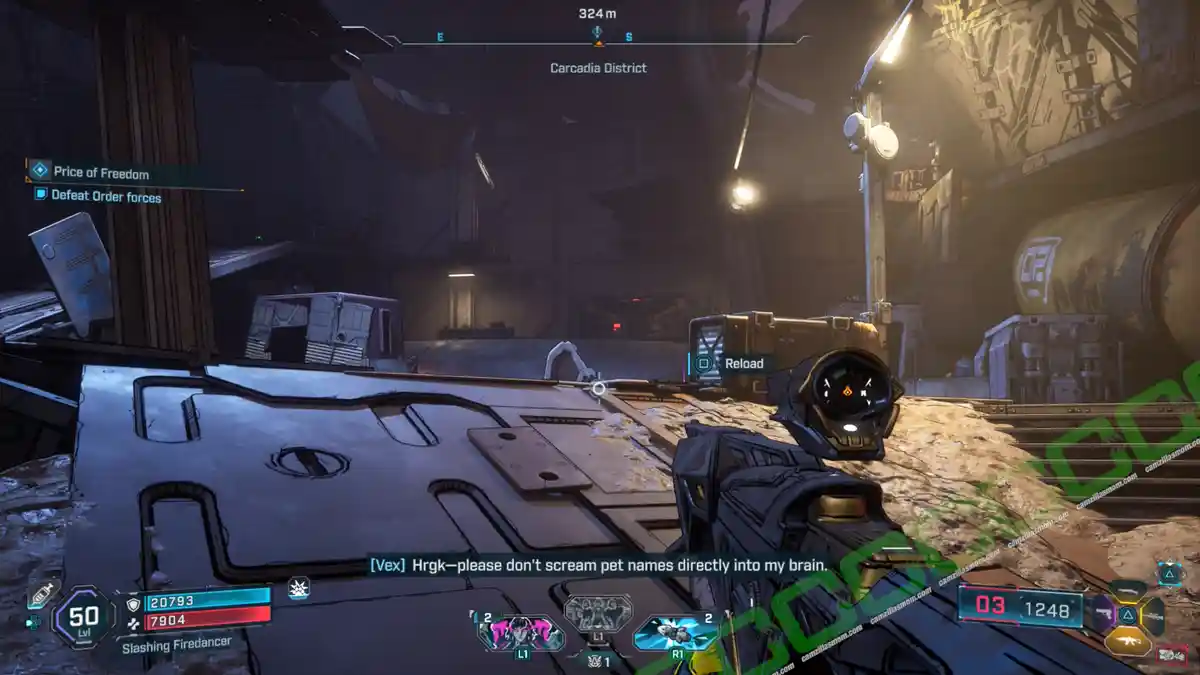
-> Rescue Sue, Defeat Order Forces.
-> Rescue Sue: Open the big gate at the same location.
-> Talk to Joe
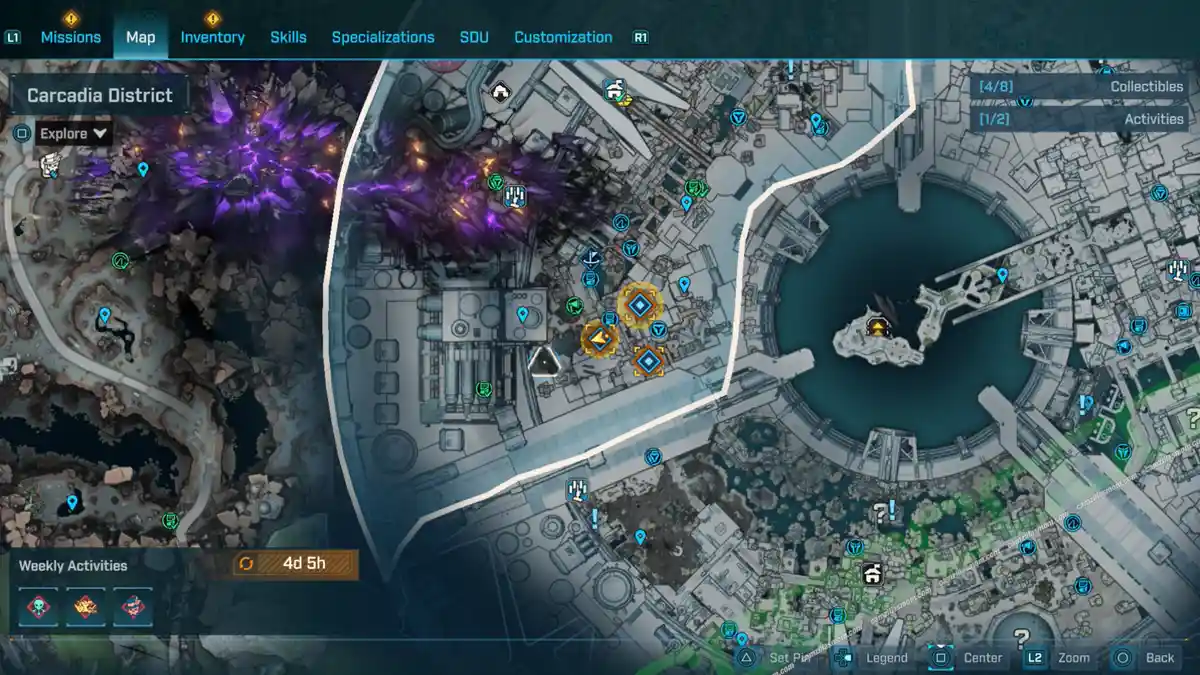
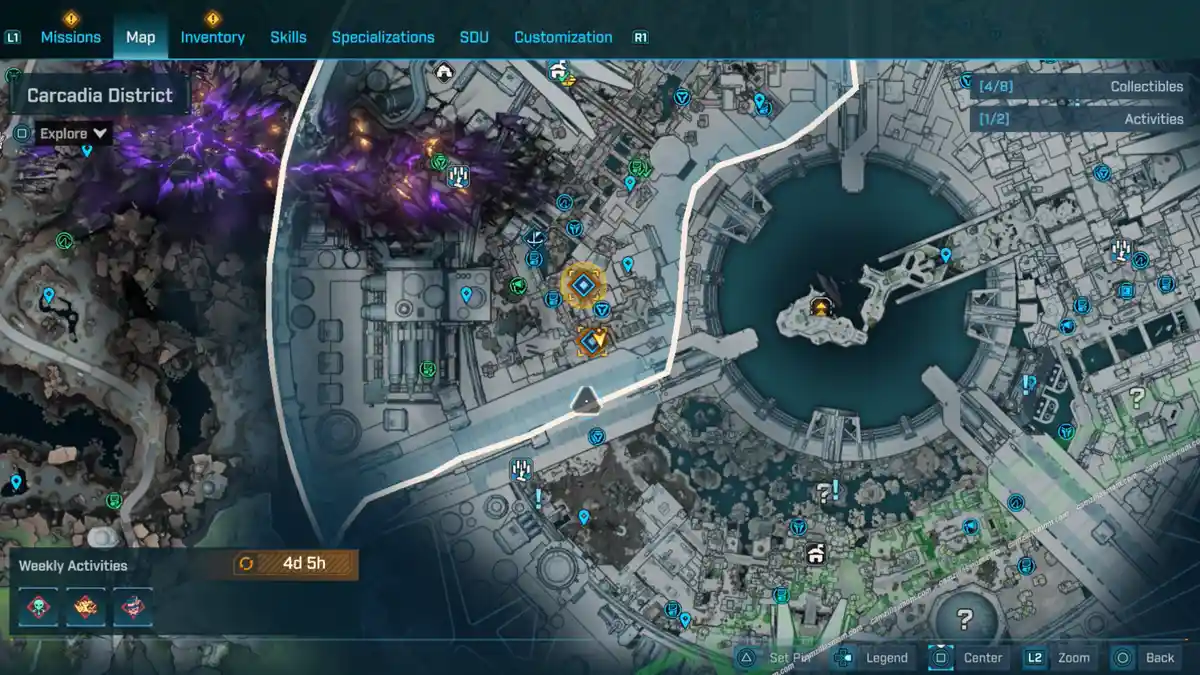
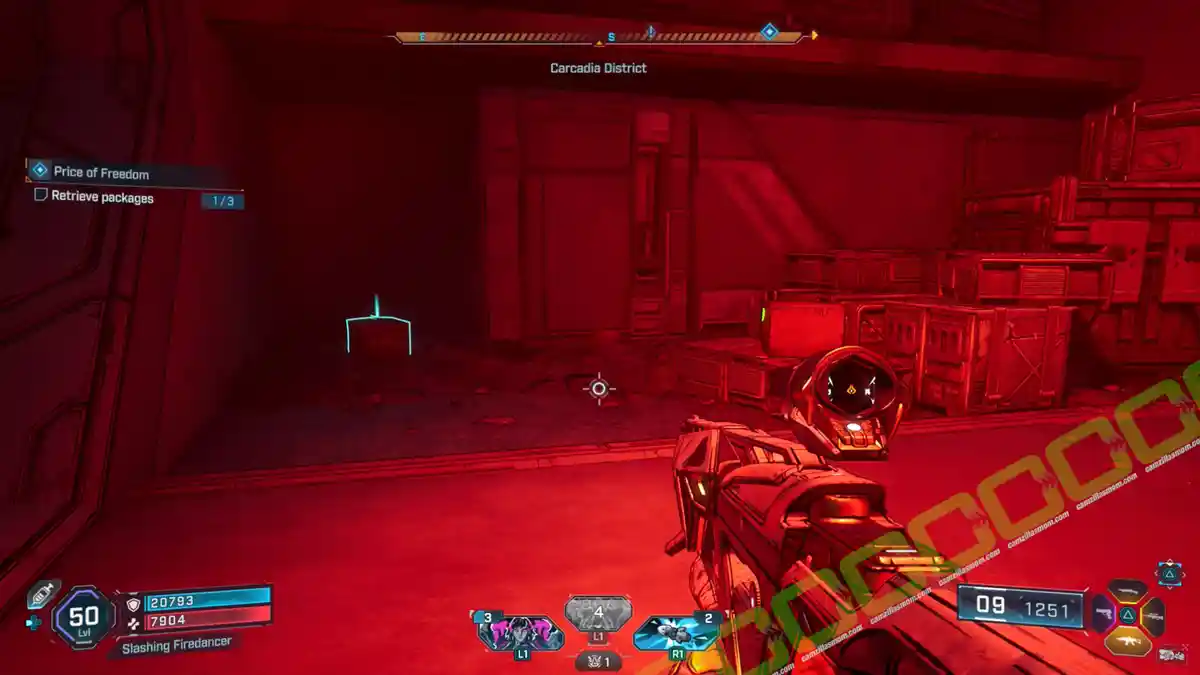
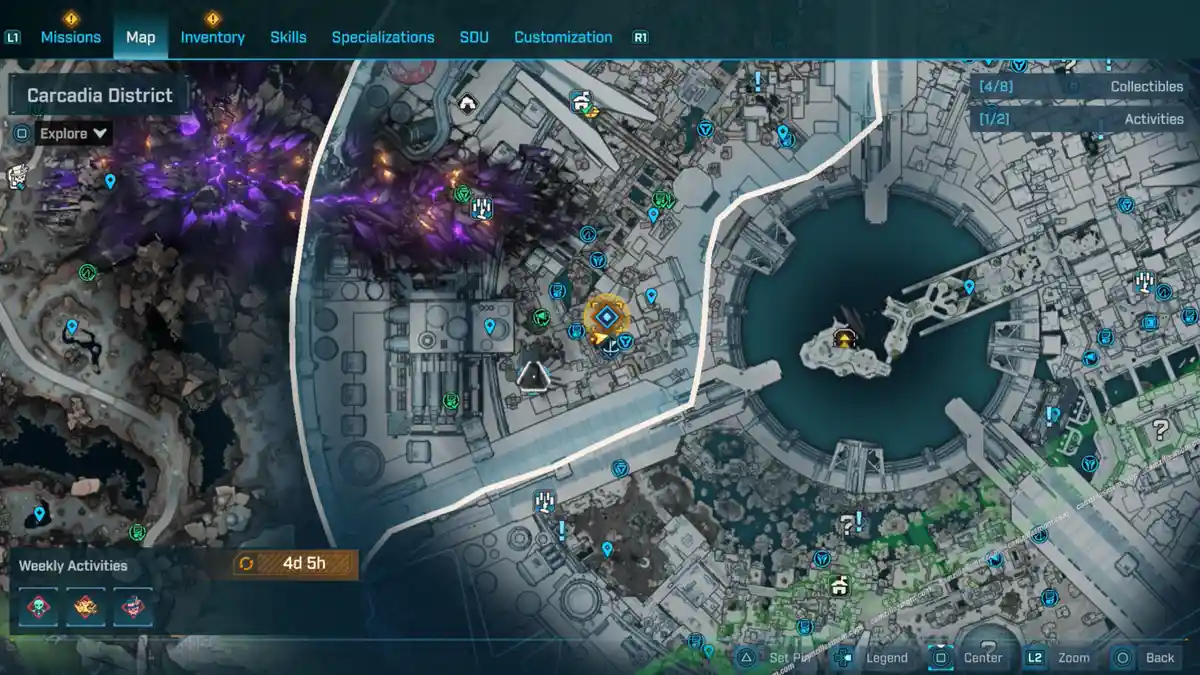
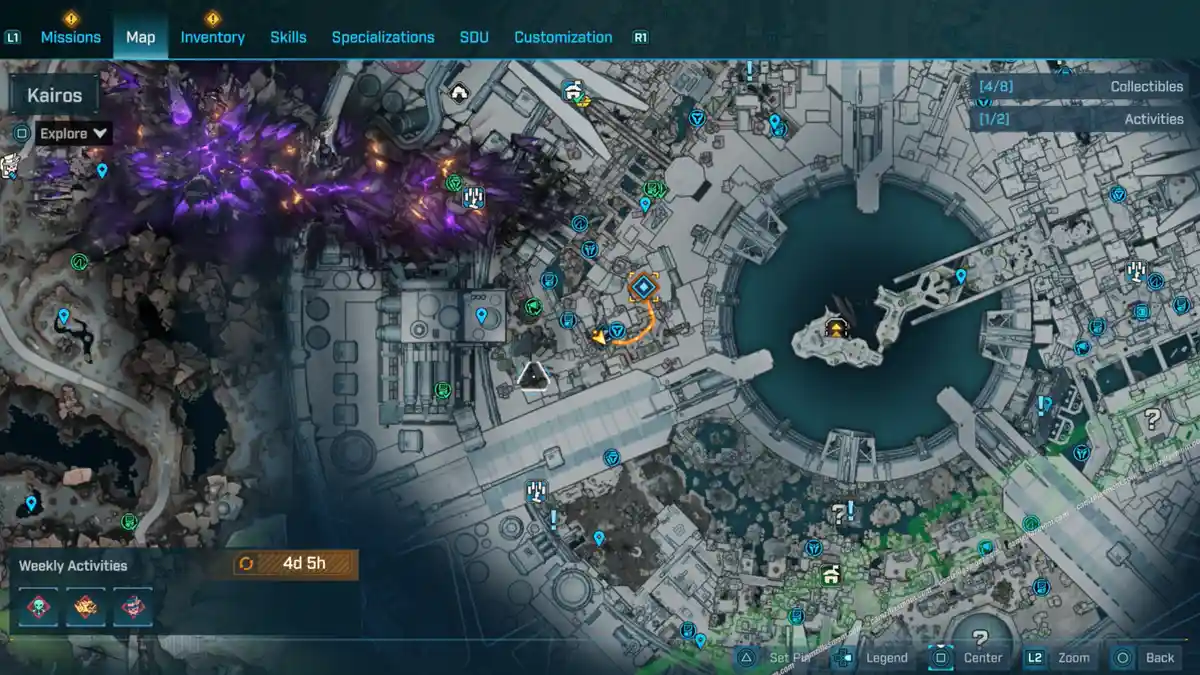
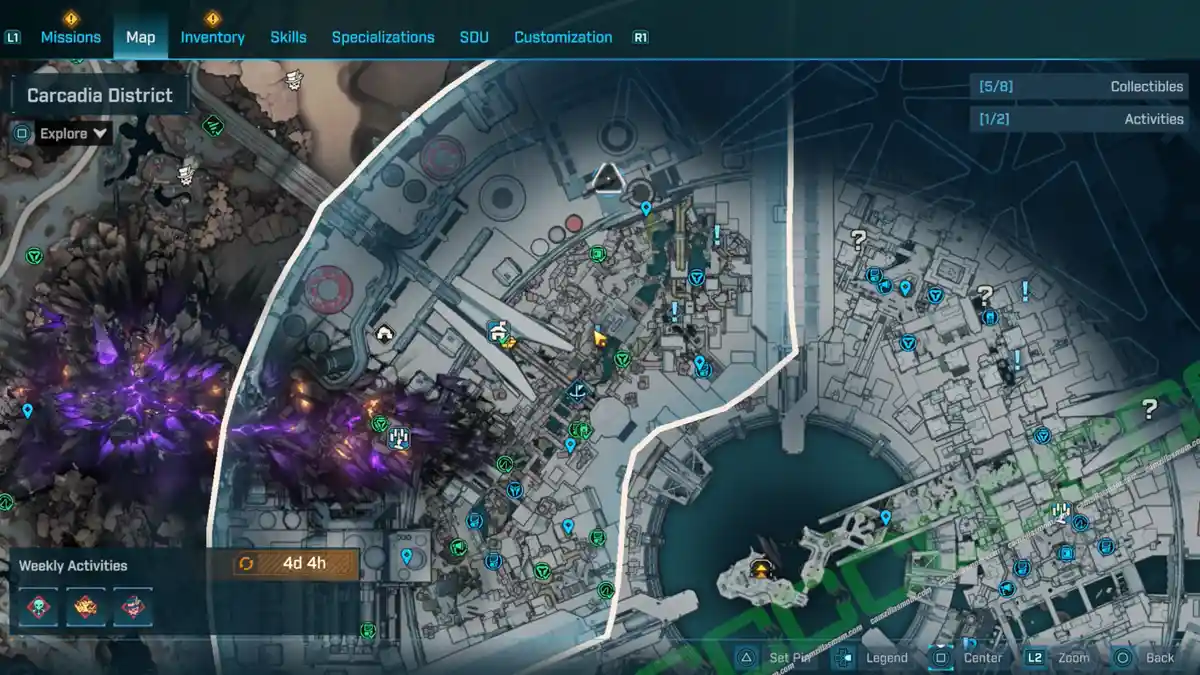
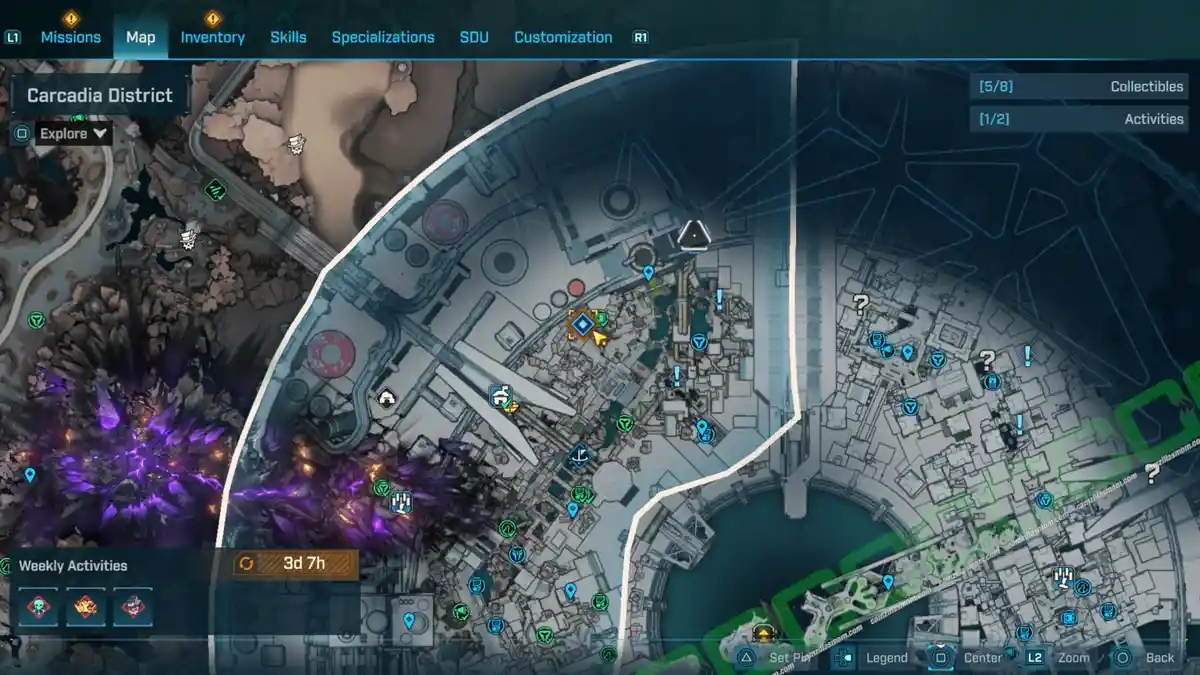
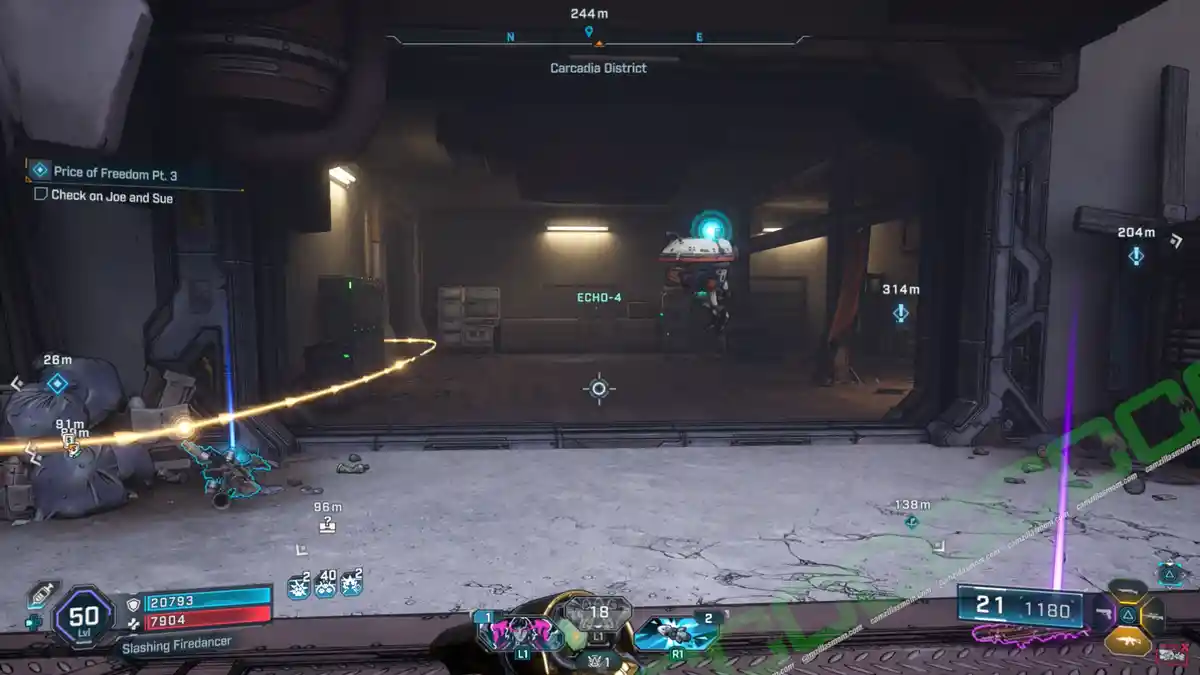
-> Retrieve packages: There are three locations close to each other nearby. The first one is behind a vent that you can pull off. The second is in the corner of a red-lit dead end, and the last one is in an overhead room. Use the platforms, ladder and balconies to get there.
-> Regroup with Joe and Sue: Just below the third location shown in the above screenshot.
-> Give packages to Joe
-> Reach Double Tap: The door behind Joe opens – collectibles can now be accessed. There is a Dead Bolt behind this door.
-> Defeat Commander Rufford’s forces.
-> Continue to Double Tap
-> Defeat Commander Rufford and troops.
-> Enter Double Tap: Through the door with Vito the bouncer.
Price of Freedom Pt. 2
Side Mission Start:
The Double Tap – Vito
What it is about:
Protect Joe and Sue as they escape the city.
Side Mission Steps:
-> Reach Pipe Access with Joe and Sue: Follow them. They will open a door at the back of The Double Tap.
-> Open pipe hatch: This needs a power core for the deposit. Cross over to the west, but don’t go up the ladder there. The power core is in the area behind the ladder. You will find one of the two Vault Symbol collectibles in the same room. Put the power core into the deposit and use the lever.
-> Cross radioactive pit: Follow the marker to the north.
-> Shoot 5 weak spots in pipes: They are highlighted. You need to move around a bit to find the right angle.
-> Continue to cross radioactive pit.
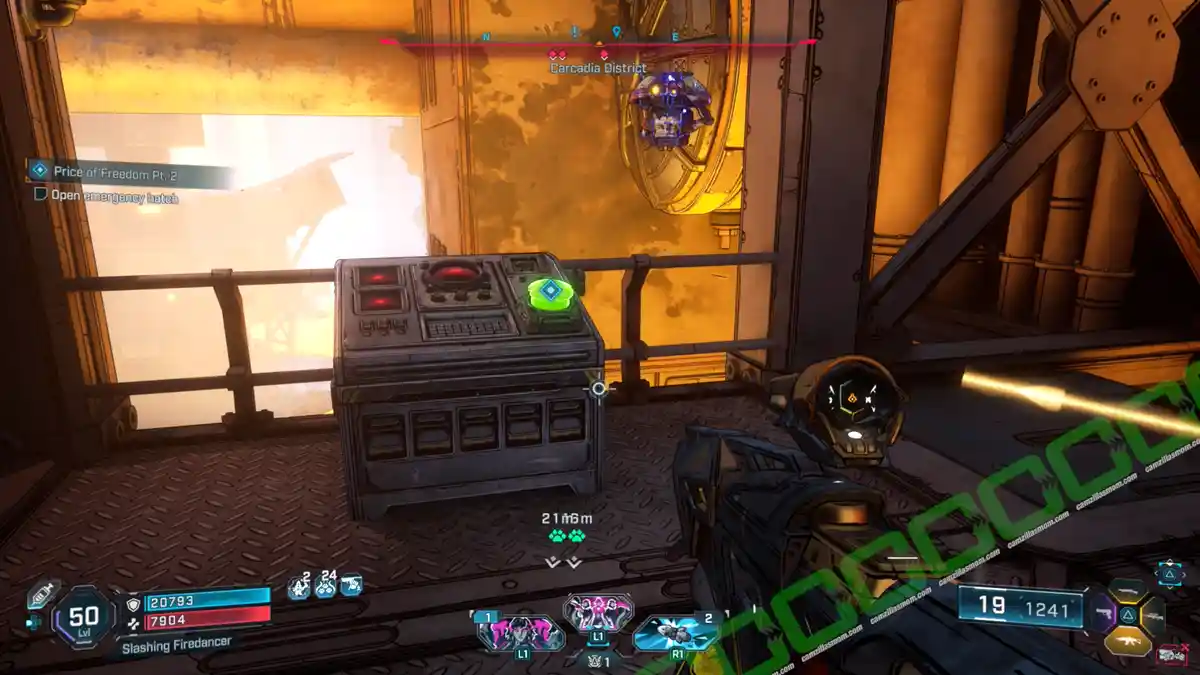
-> Open emergency hatch: There is a nearby door. Go through it and head down to find the hatch.
-> Reach pipe exit: Head back up and keep following the path. On the way there, make sure to pick up one of the three Dead Bolt collectibles lying on a small platform.
Price of Freedom Pt. 3
Side Mission Start:
The Pipe Exit from the previous mission – Vito
What it is about:
Another mission to keep Joe and Sue safe.
Side Mission Steps:
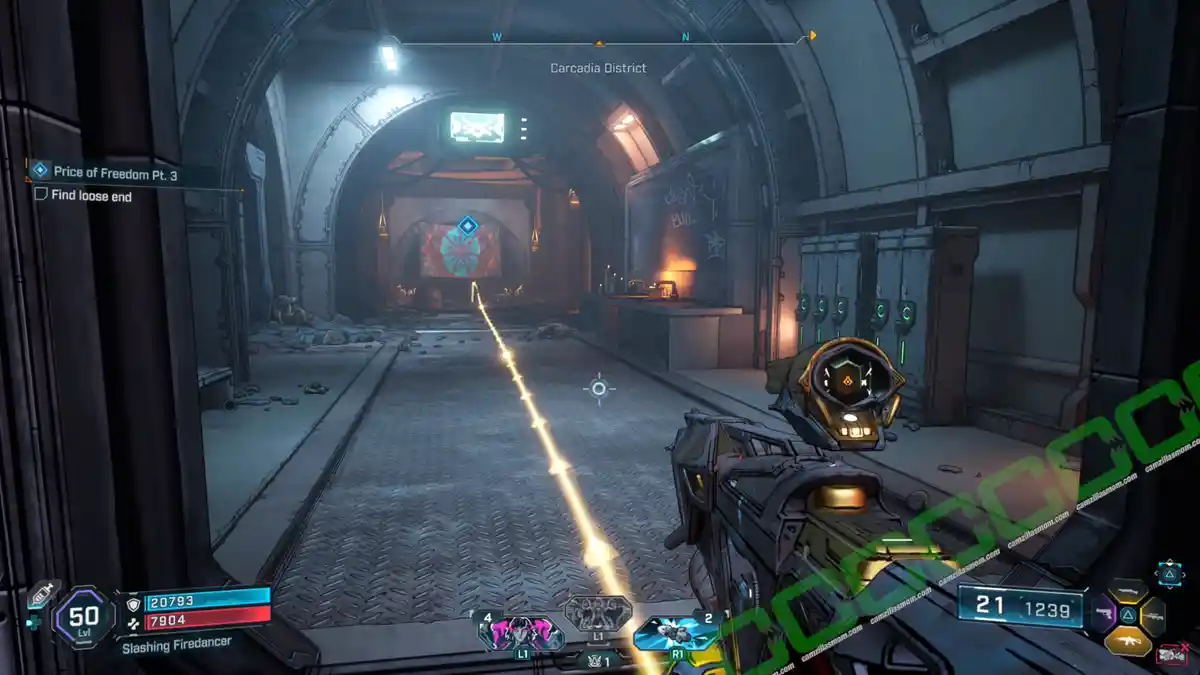
-> Find loose end: In the western part of the Groaning Core.
-> Clear ambush
-> Reach Vito’s hideout, defeat Vito’s rippers: Near the safehouse.
-> Defeat Vito and his goons.
-> Check on Joe and Sue.
-> Free Joe: This will finish the mission and provide new missions to shut down Vito’s partners.
The Black Market
Side Mission Start:
The Double Tap – Door
What it is about:
Investigate Vito’s place.
Side Mission Steps:
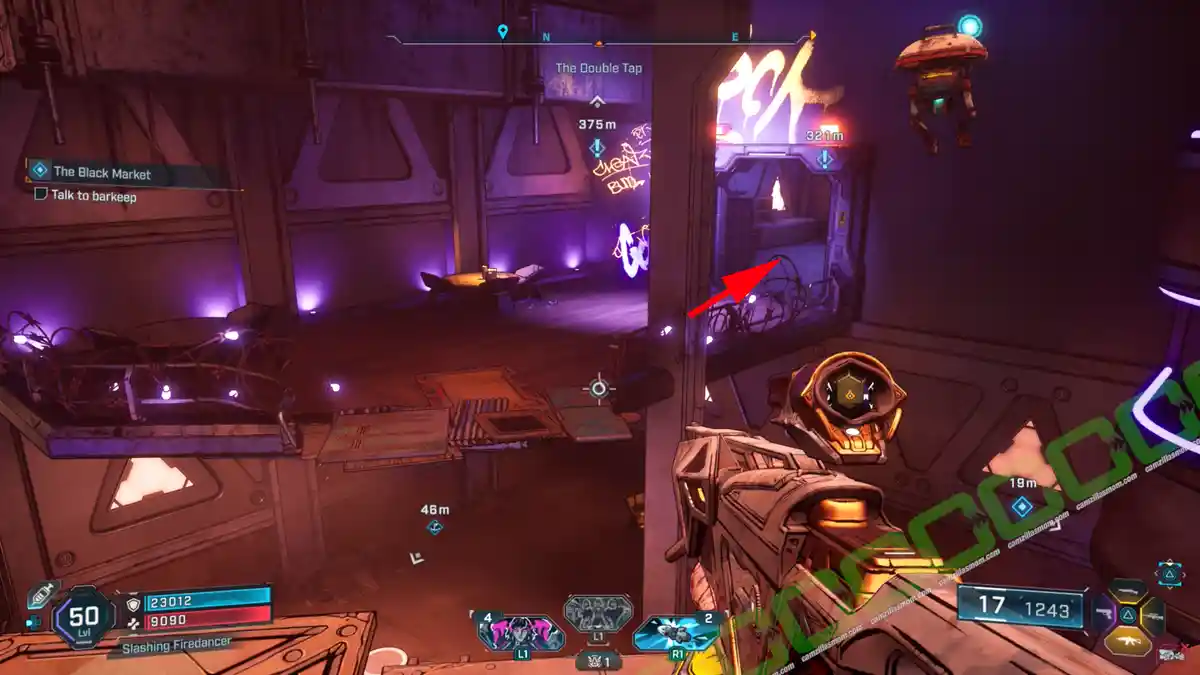
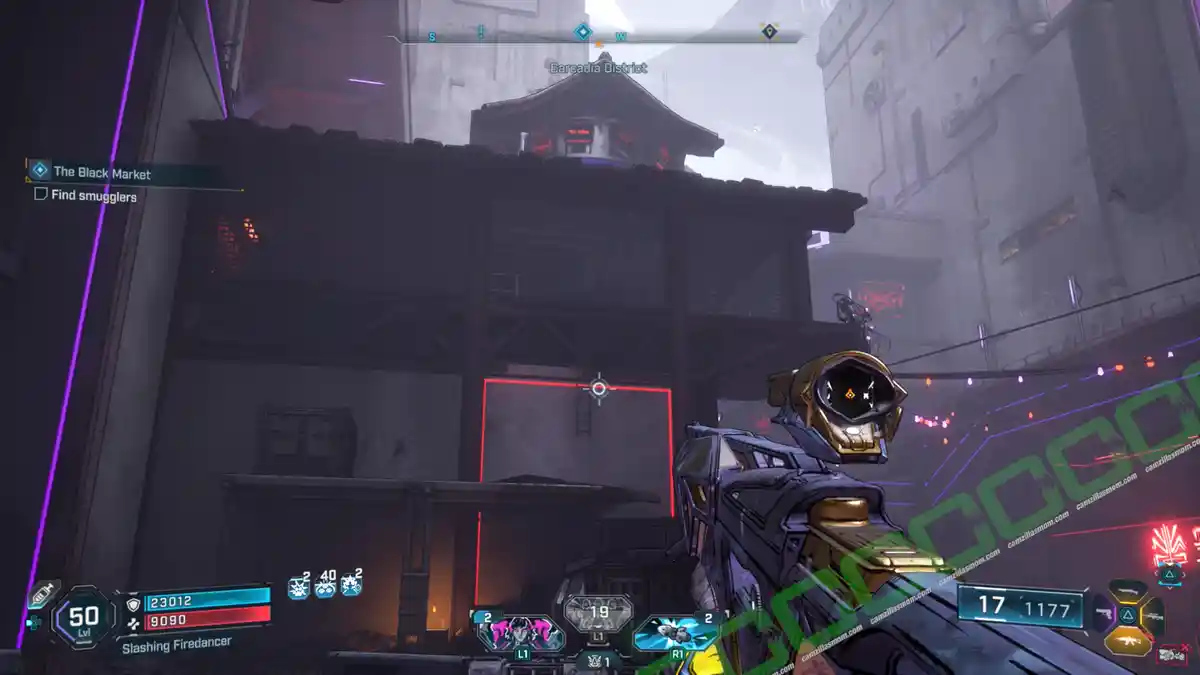
-> Find smugglers, defeat Order: Exit the Double Tap. In this courtyard is a room high up that you can reach by a ladder. Inside is a group of Order fiends that need treatment.
-> Listen to smuggler’s log: On the floor, after defeating the Order. This is one of ten ECHO Log collectibles in the Carcadia District.
-> Give password: Return to the Double Tap door.
-> Enter Vito’s Fine Establishment
-> Talk to barkeep.
-> Get into Vito’s office: On the top floor. The door is locked. There is a room with an ECHO Log collectible. In the same room is an open vent that you can use to get into the office.
-> Explore Vito’s office: Push the button.
-> Enter secret room: Behind the bar.
-> Search secret room: Read the ECHO Log on the table (another ECHO Log collectible). This will complete the Side Mission.
Bad Seed
Side Mission Start:
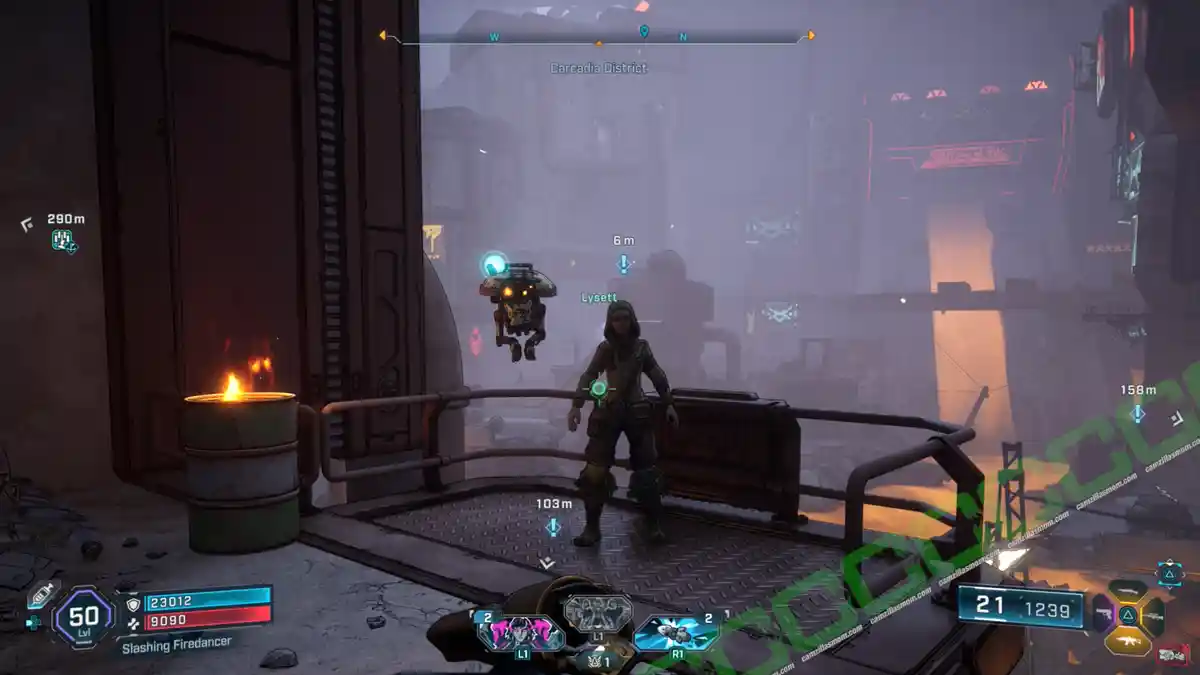
Mossmellow Retreat North – Lysett
What it is about:
End world hunger.
Side Mission Steps:
-> Take bioengineered seed.
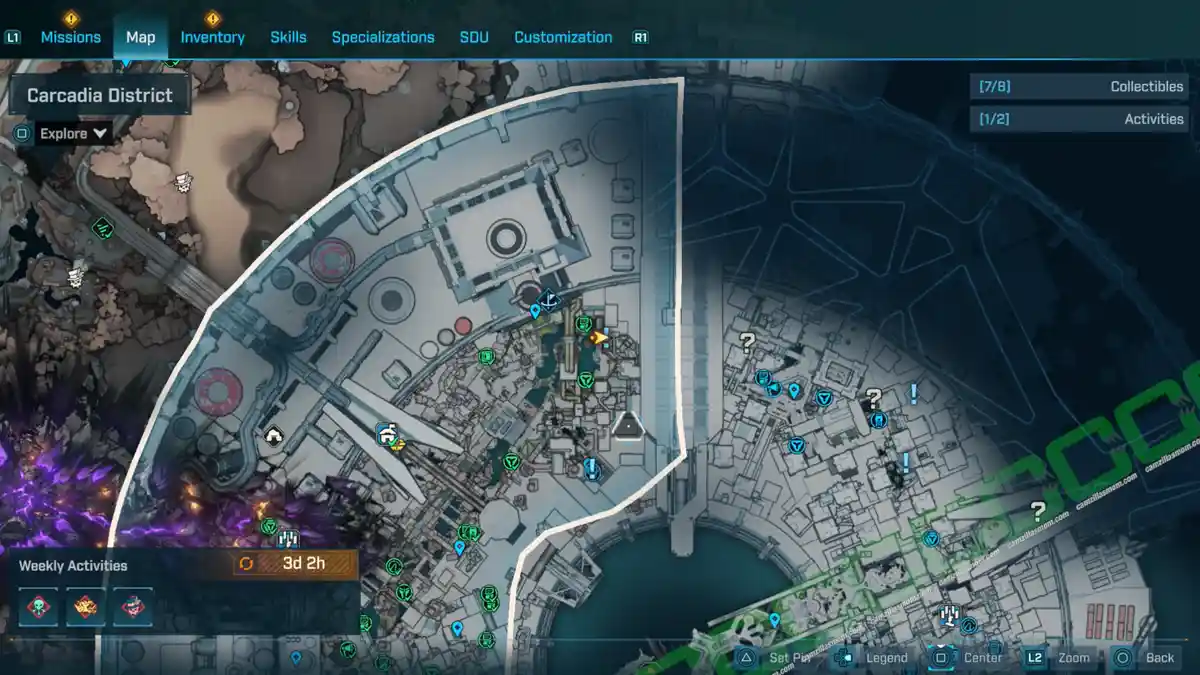
-> Reach facility entrance: In the north, just by the Groaning Core marker on the map. There are a couple of grappling points that take you to a shaft, which you can climb up. Look for the yellow arrows shown in the screenshot below.
-> Open facility gate: Push the button.
-> Unlock doors: Notice there is someone in the gears…
-> Unclog gears: Grapple the iron bar.
-> Make your way into facility: There is a ladder going up. Then use the grapples and another to climb some more to reach a ventilator shaft. Follow the shaft and drop down into the facility.
-> Defeat security.
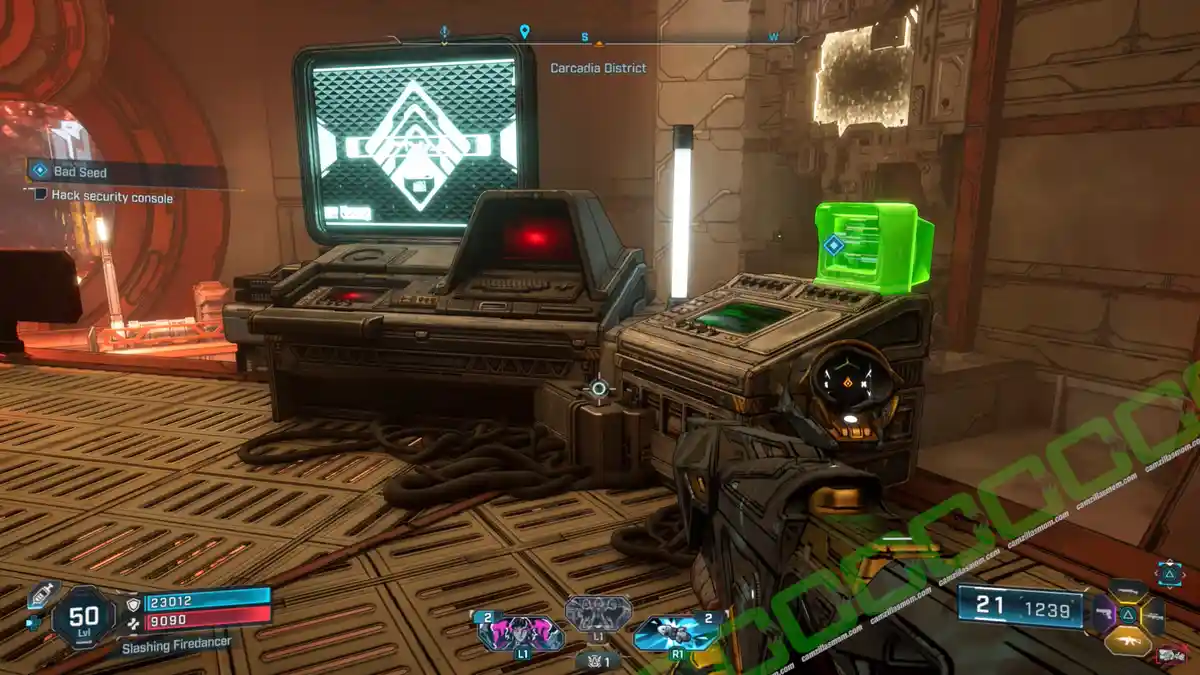
-> Hack security console: At the top of the room.
-> Enter maintenance shaft, reach transistor: The open shaft to the west. You now have to climb again, but avoid the flaming turbines.
-> Spin transistor’s turbines: Grapple the grapple points.
-> Return to transistor room: Avoid the flames again…
-> Defeat reinforcements
-> Overcharge transistor: Go through the northern gate to reach the control room and push the button.
-> Enter core room: Go through the southern, round gate.
-> Defeat facility director and guards.
-> Put seed in core, overcharge core: Pull lever.
-> Pick up seed
-> Leave facility: Finishes Side Mission
The Cat’s Pajamas
Side Mission Start:
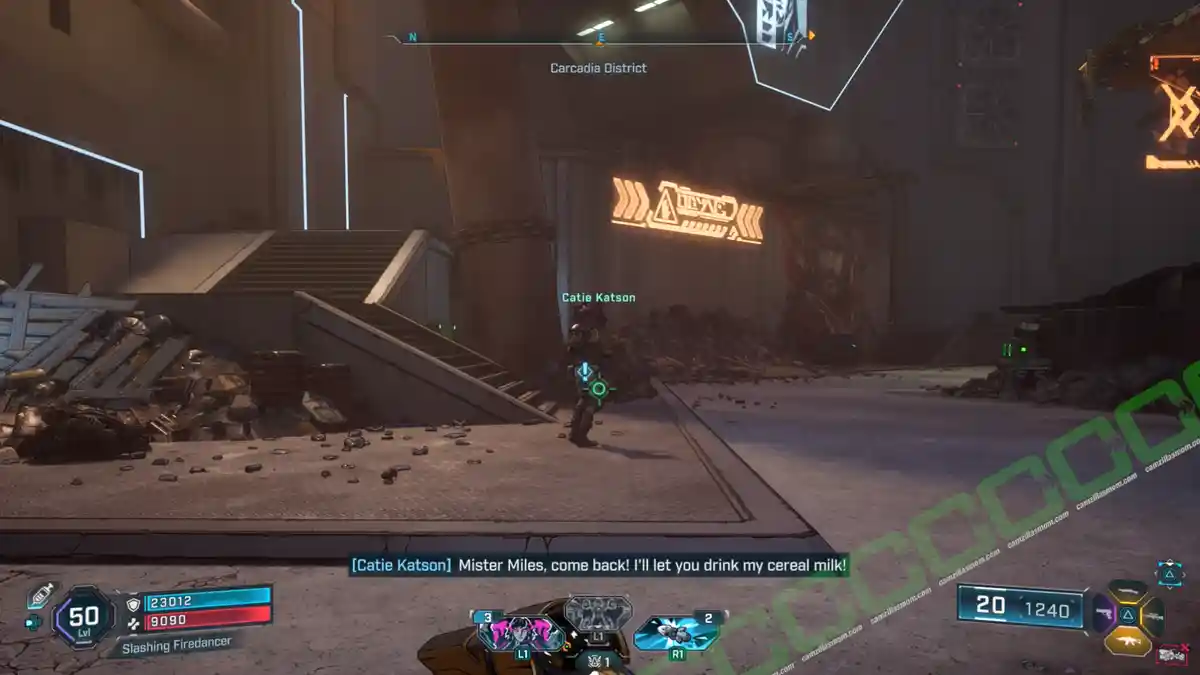
The Groaning Core East – Catie Katson
What it is about:
A lost cat, a lady in need.
Side Mission Steps:
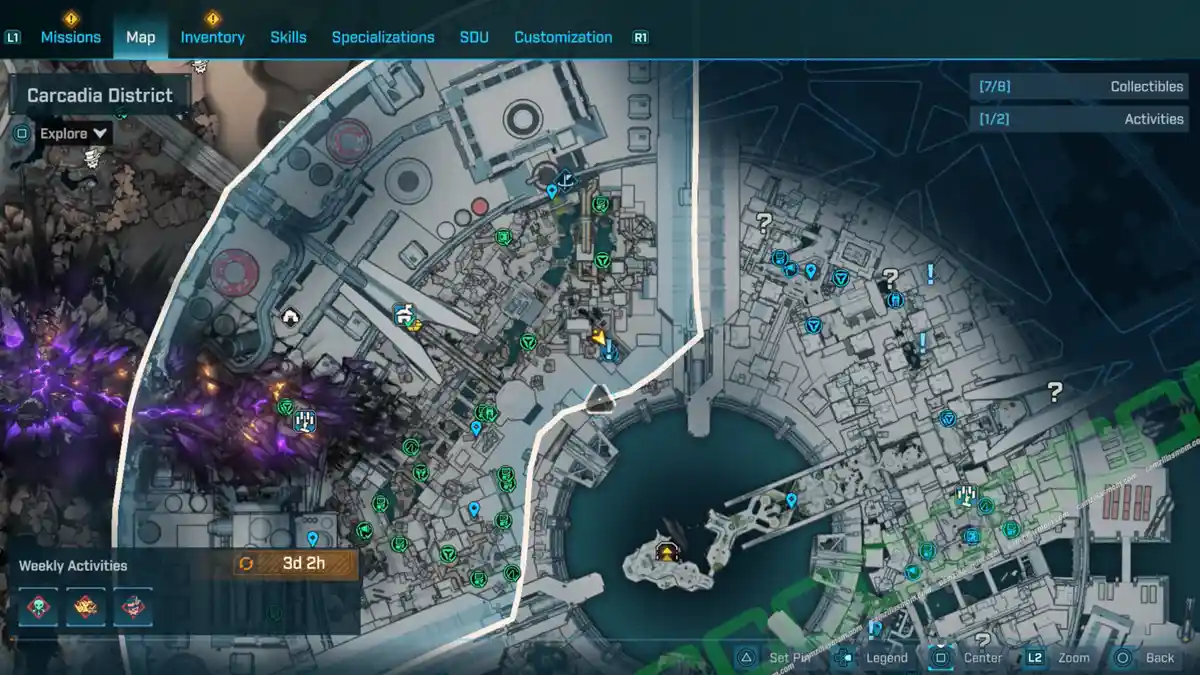
-> Reach Mister Miles: He’s high up, just slightly to the east. Time to climb. Follow the staircase and the yellow markers. You will have to avoid flaming turbines like in the previous side mission.
-> Talk to Mister Miles: Not what I expected…
-> Return to Catie Katson
-> Defeat Catie Katson and her cats.
Joe & Sue
Side Mission Start:
Mossmellow Retreat – Joe
What it is about:
Visit Joe & Sue.
Side Mission Steps:
-> Go see Sue: At the back.
-> Search upstairs: Sue is not here.
-> Talk to Joe
-> Search restaurant for Sue: At Craw Daddies.
-> Defeat Order Patrol.
-> Search ship for Sue: Near Witness Construction Program – where you met her the first time.
-> Find gardening tools: Look for defeated order bodies to find the tools. Two of them are on the ground floor, while the third is on the higher platform.
-> Defeat Order troops
-> Give tools to Sue.
Browse All Borderlands 4 Guides
Borderlands 4: Idolator’s Noose Collectibles & Activities
Find all Idolator’s Noose collectibles & activities in Borderlands 4! Our guide has maps and steps t…
Borderlands 4: Lopside Collectibles & Activities
If you’re diving into Borderlands 4 and aiming to conquer the Lopside region, this guide has y…
Borderlands 4: Moon-Called Throne Collectibles
Uncover the two Vault Symbols in Borderlands 4's Moon-Called Throne. A quick guide to help you compl…
Borderlands 4: Ruined Sumplands Collectibles & Activities
Complete your Borderlands 4 adventure in the Ruined Sumplands! This guide covers all collectibles, a…
Borderlands 4: Stoneblood Forest Collectibles & Activities
Discover all collectibles and activities in Borderlands 4's Stoneblood Forest. Your ultimate guide t…
Borderlands 4: Terminus District Collectibles & Activities
Explore every corner of the Terminus District in Borderlands 4 with this detailed guide. Uncover ECH…
Borderlands 4
Release: September 12, 2025
Developer: Gearbox Software
Publisher: 2K Games
Official Website: https://borderlands.2k.com/borderlands-4/
